Category: Interactive I

ASCENSION


ASCENSION


ASCENSION is an interactive installation that aims transports the users to a world beyond the one they are familiar with. The artists borrows the idea of a Mandala ,a chart or geometric pattern that represents the cosmos metaphysically or symbolically; a microcosm of the universe and the Audience interacts with it through the use of light.
ASCENSION stimulates your senses, immersing you in sound and lights that responds to your engagement with it. Light controls the installation, and it becomes alive as the light meets the centre of the circle, bringing forth this idea of enlightenment.

ASCENSION brings forth ideas of ancient time and infuse it into modern art, connecting  One with the Universe and channelling our consciousness through the installation as we become lost in it.


Let us ascend.


Project by Issac Ting, Darryl Lim and Nathanael Goh


( The making of ) ASCENSION


DSC_0576_5IMG_1558

Lets talk about the process


When we began we just had so many different ideas floating about. What can we do using a Camera, projectors and space.The answer?


So many things. Infinite possibilities .

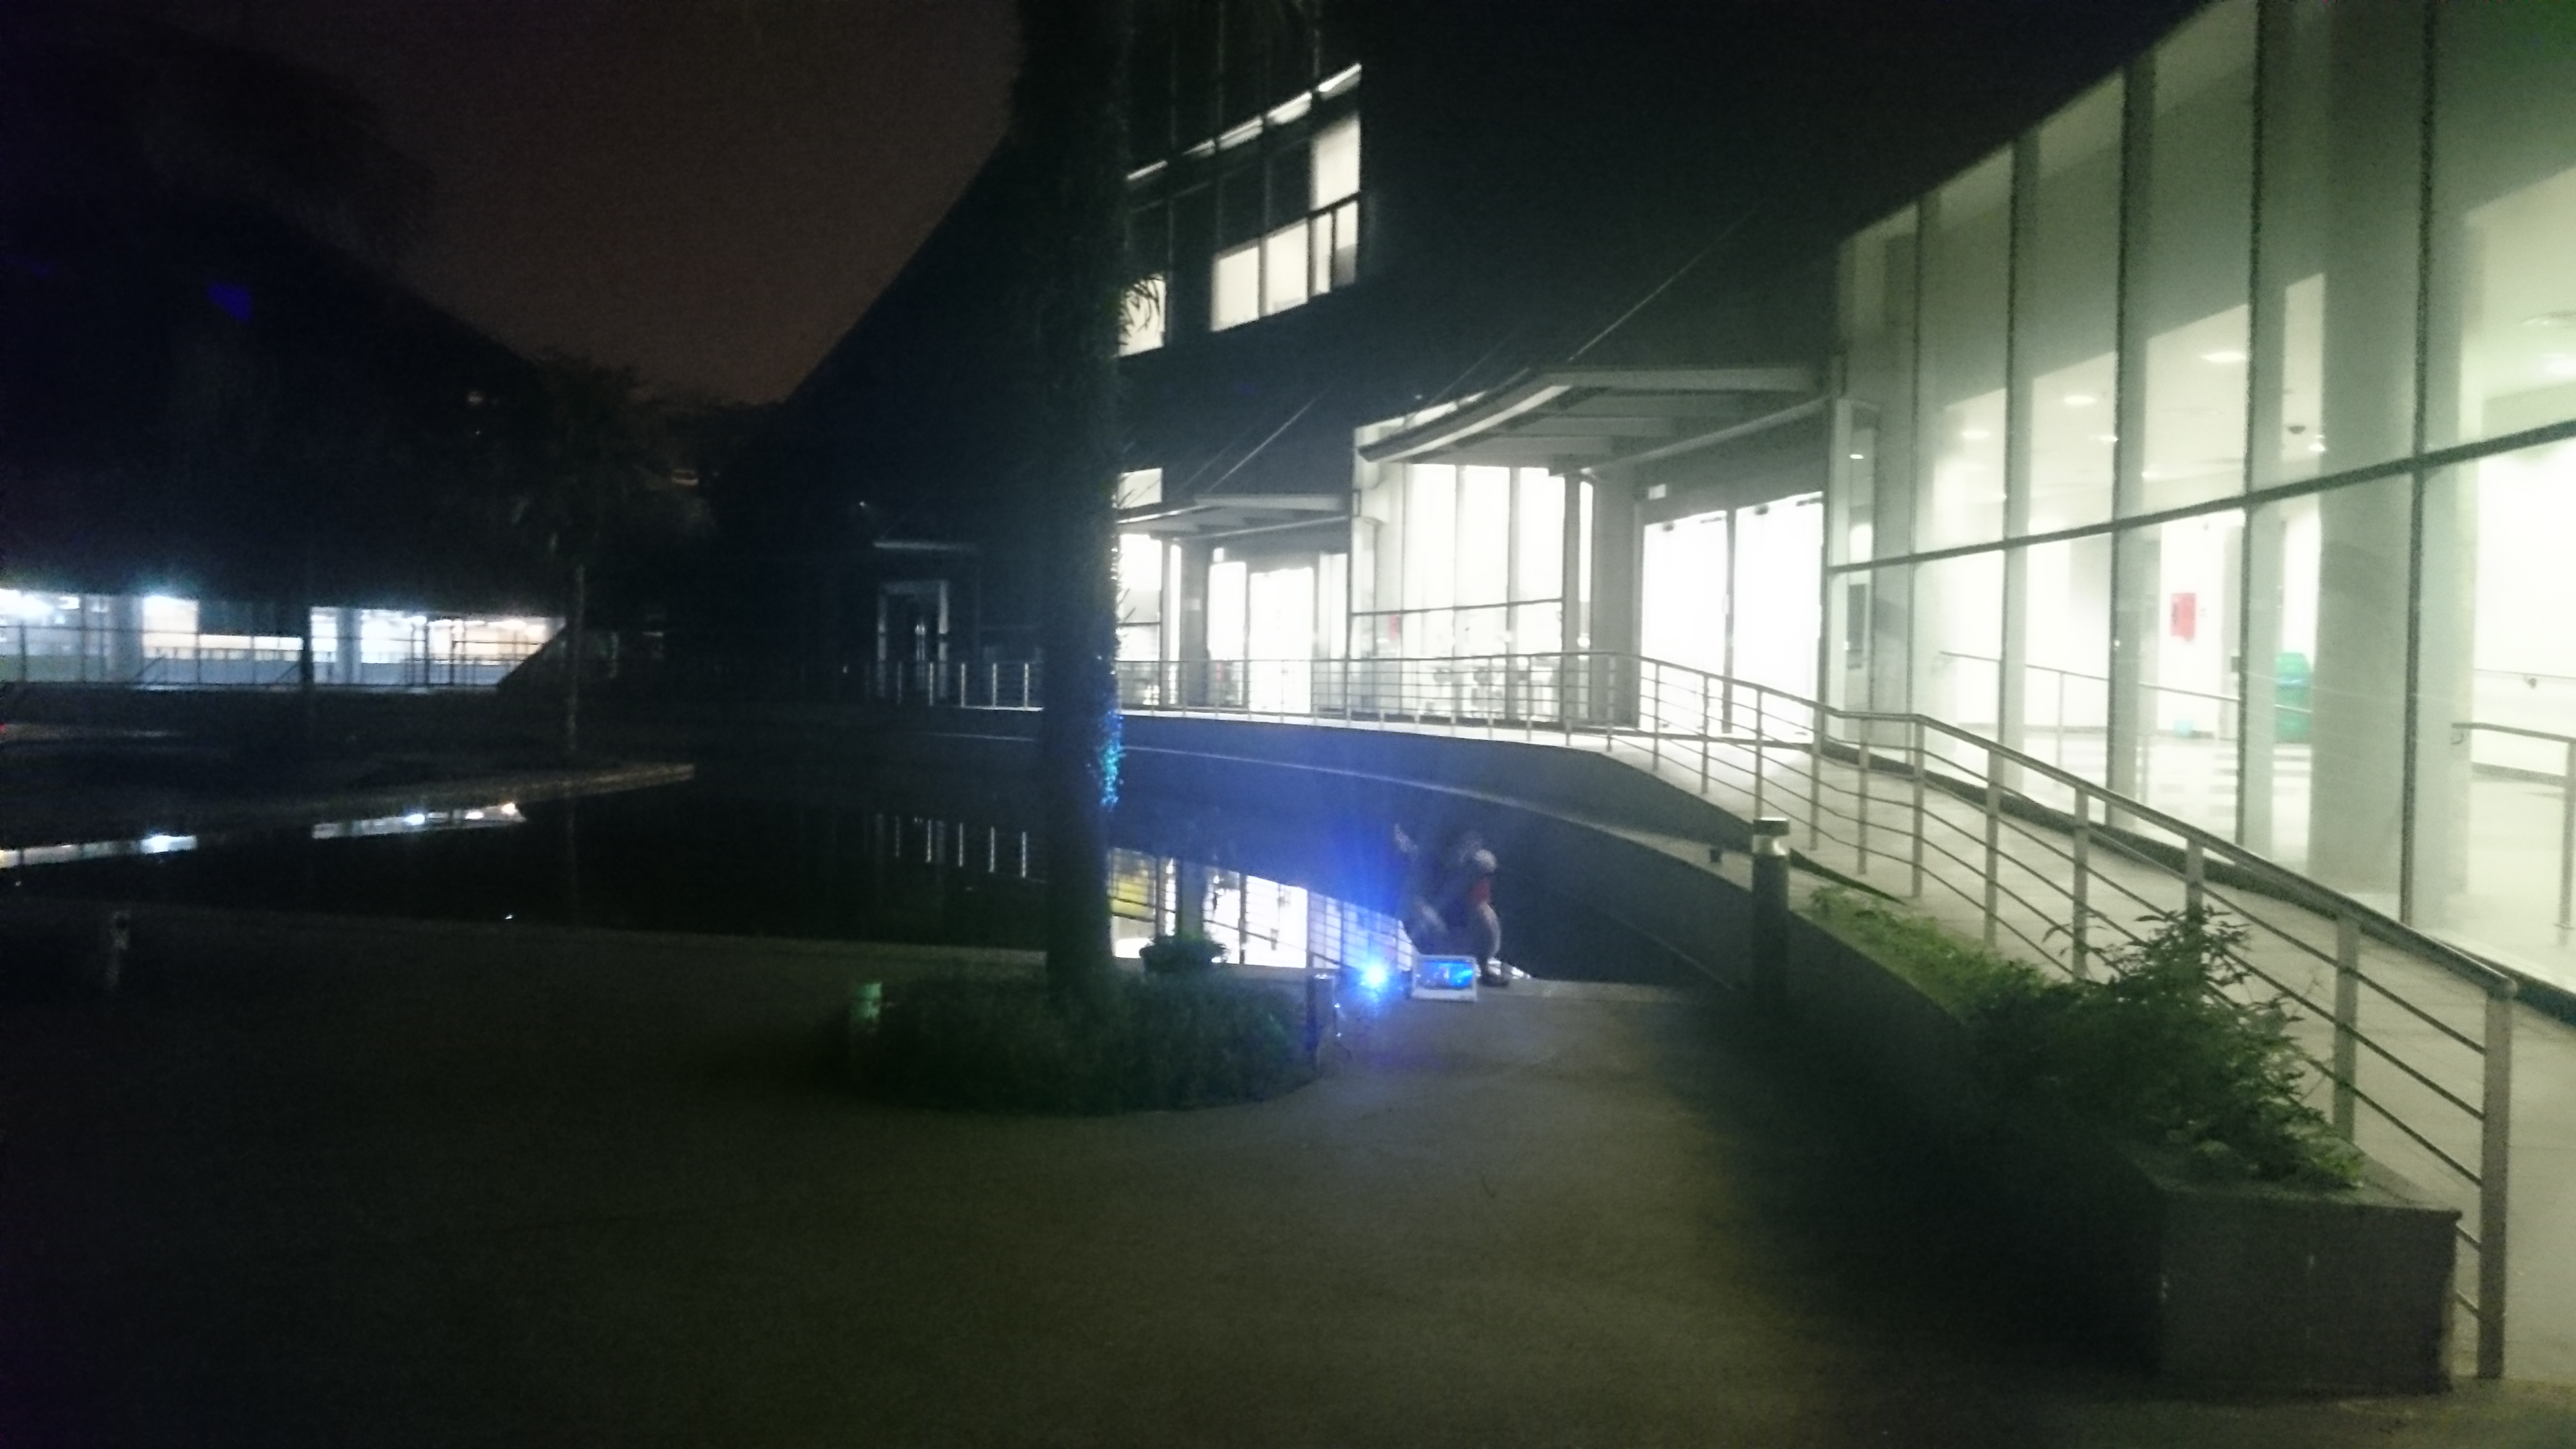
We started off with exploring the school, staying behind each day till all the lights went out, the we took the projectors out and went around, trying every inch of the school.


We did that literally for weeks. 


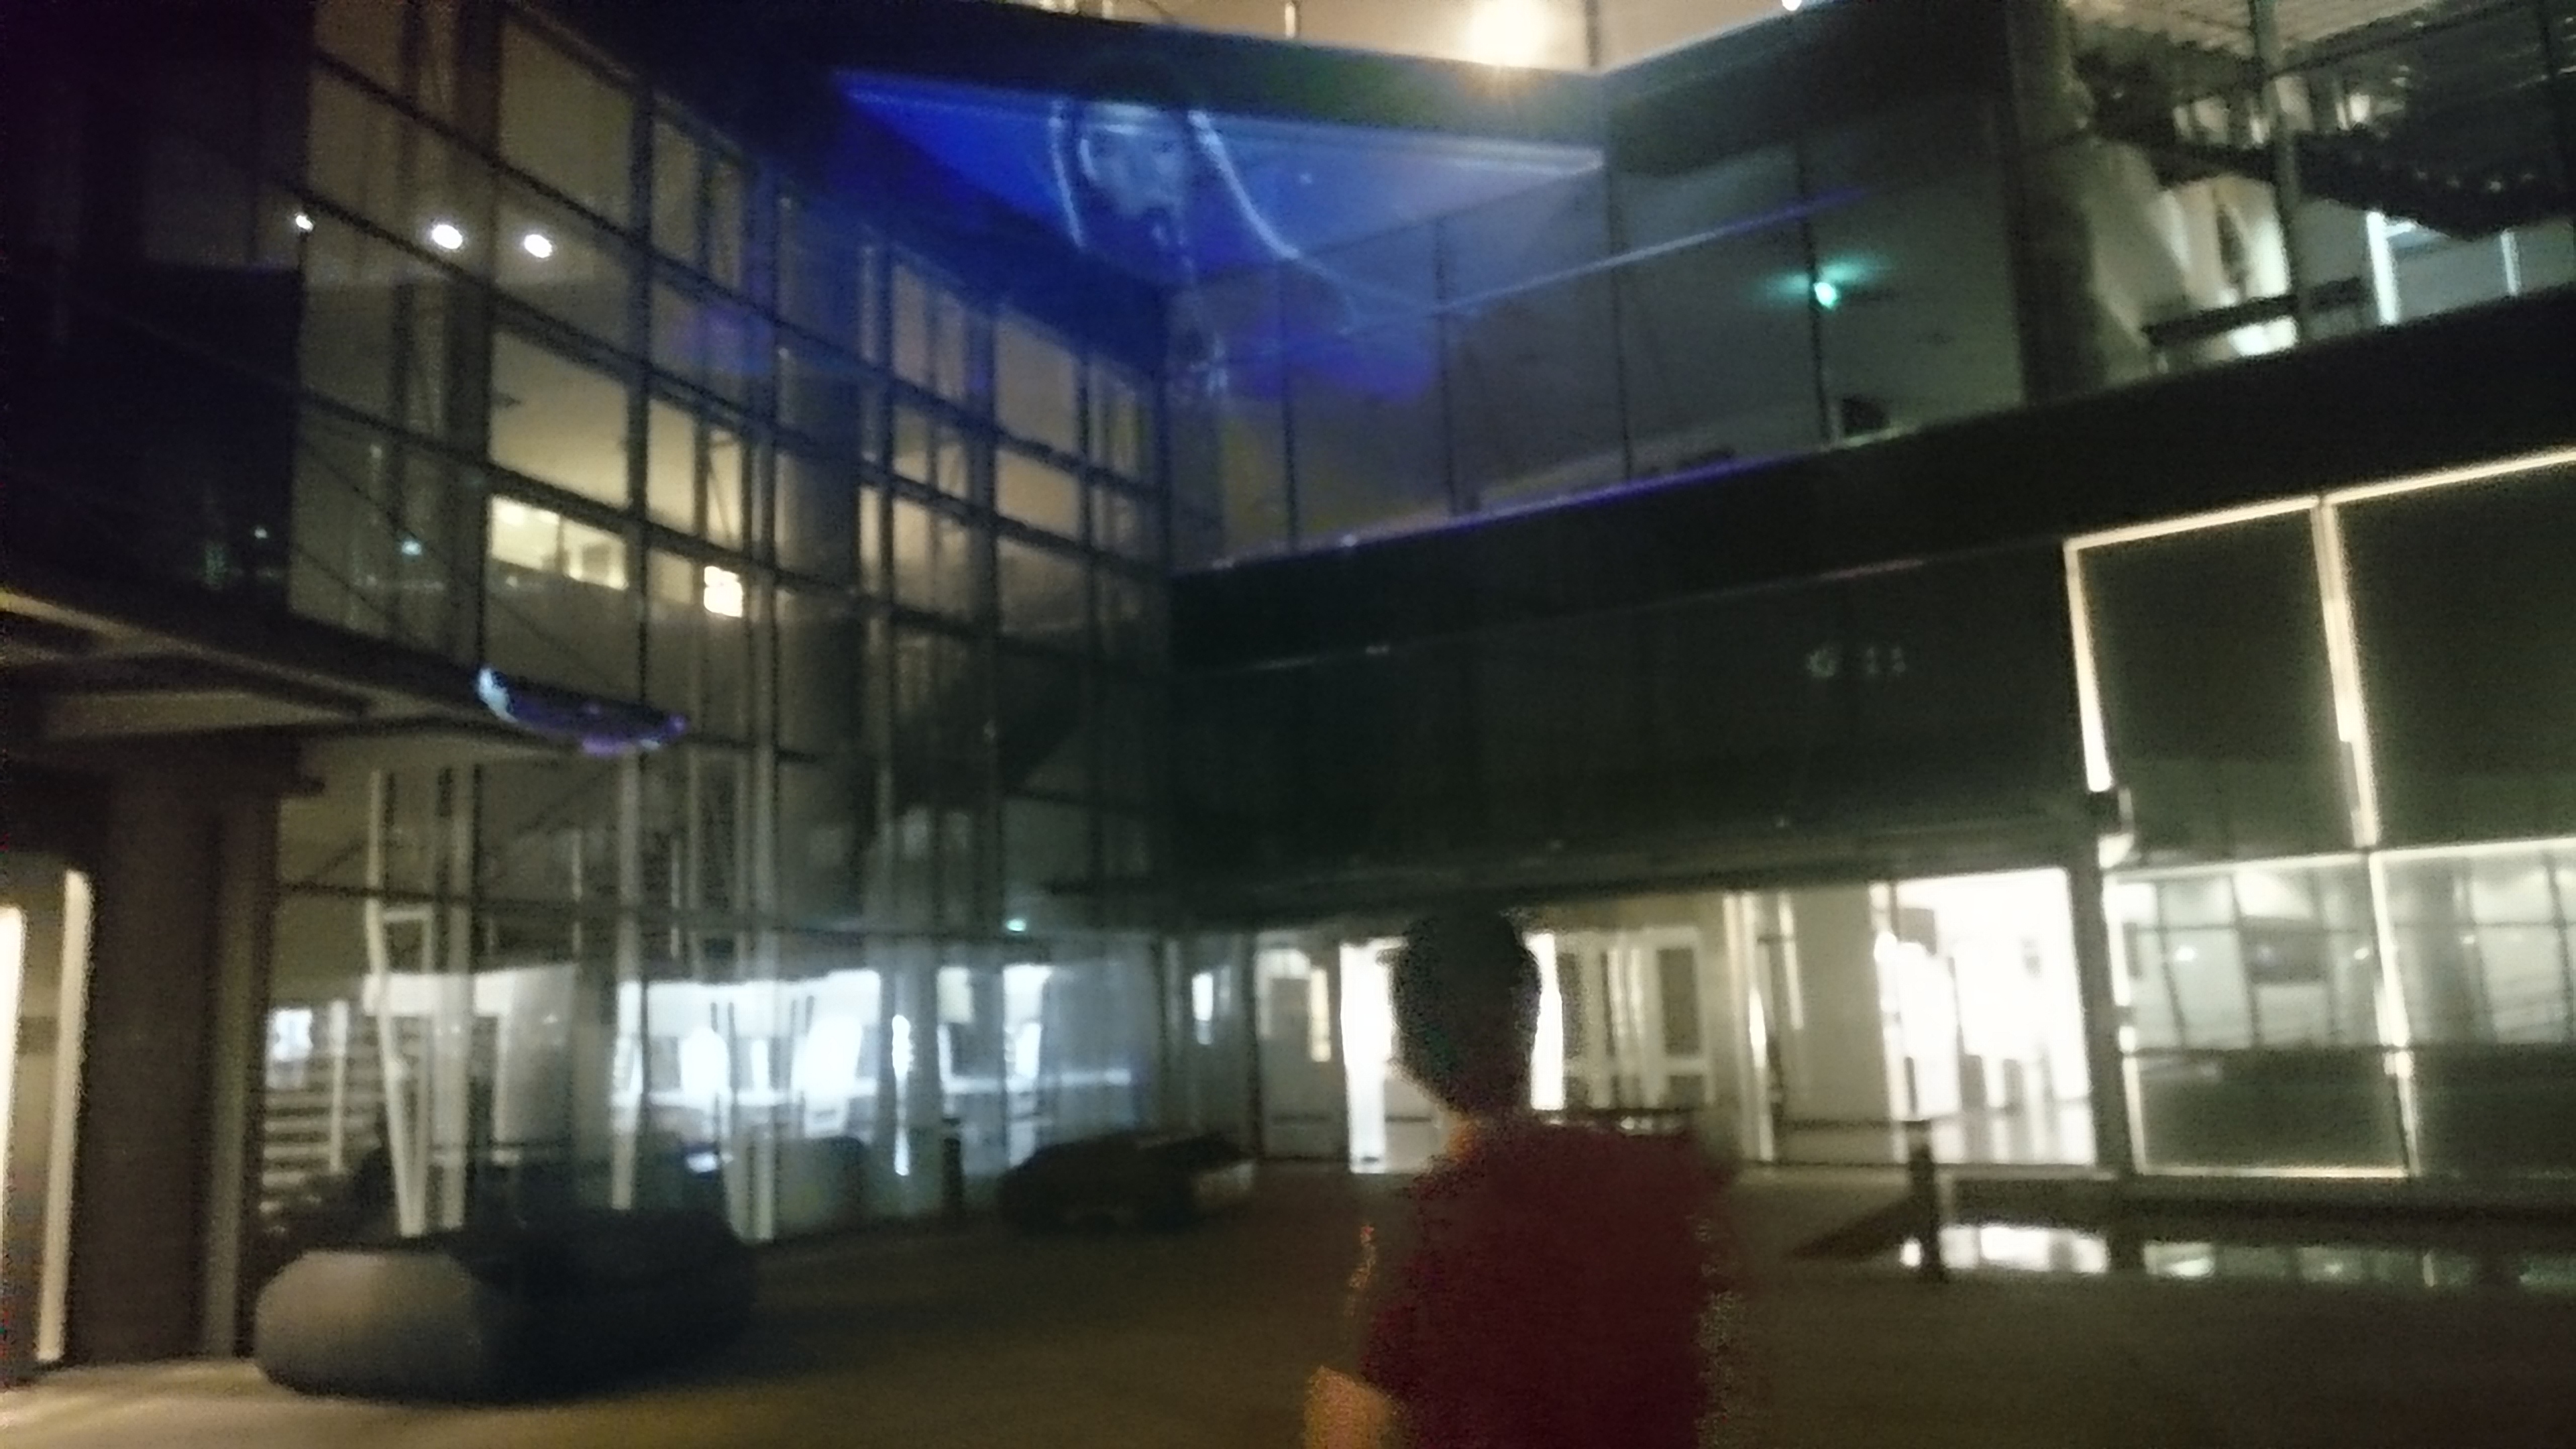
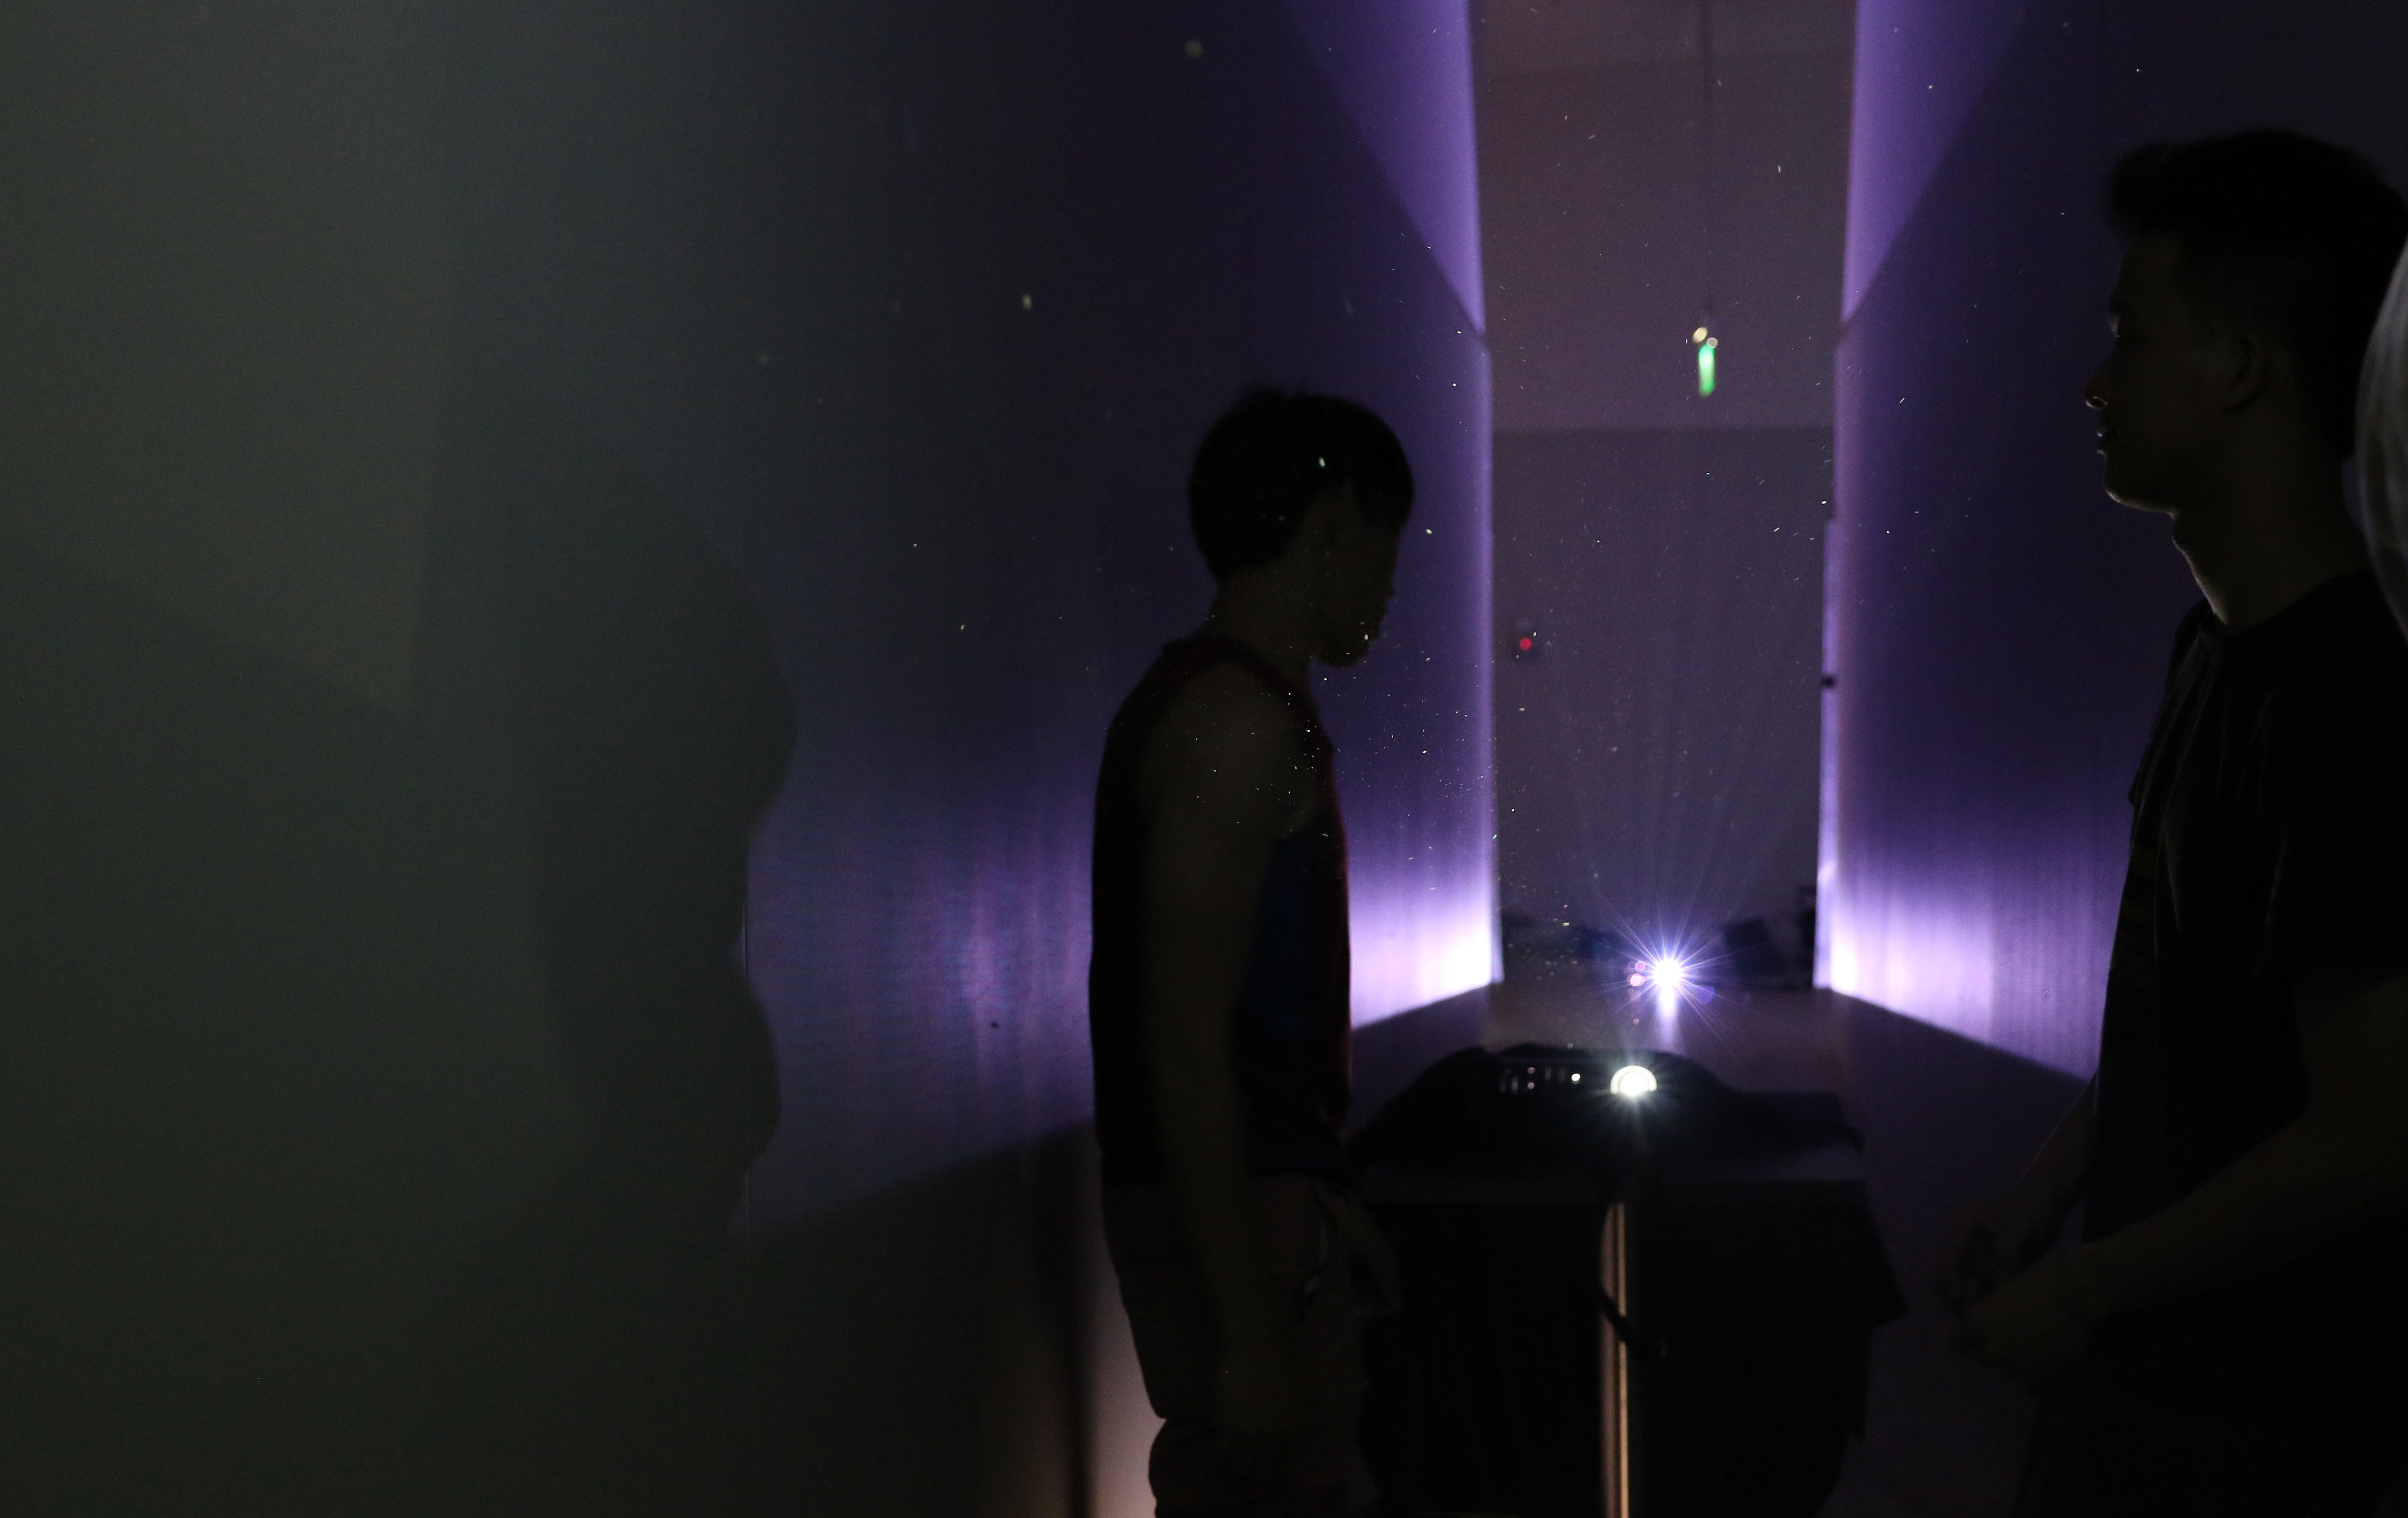
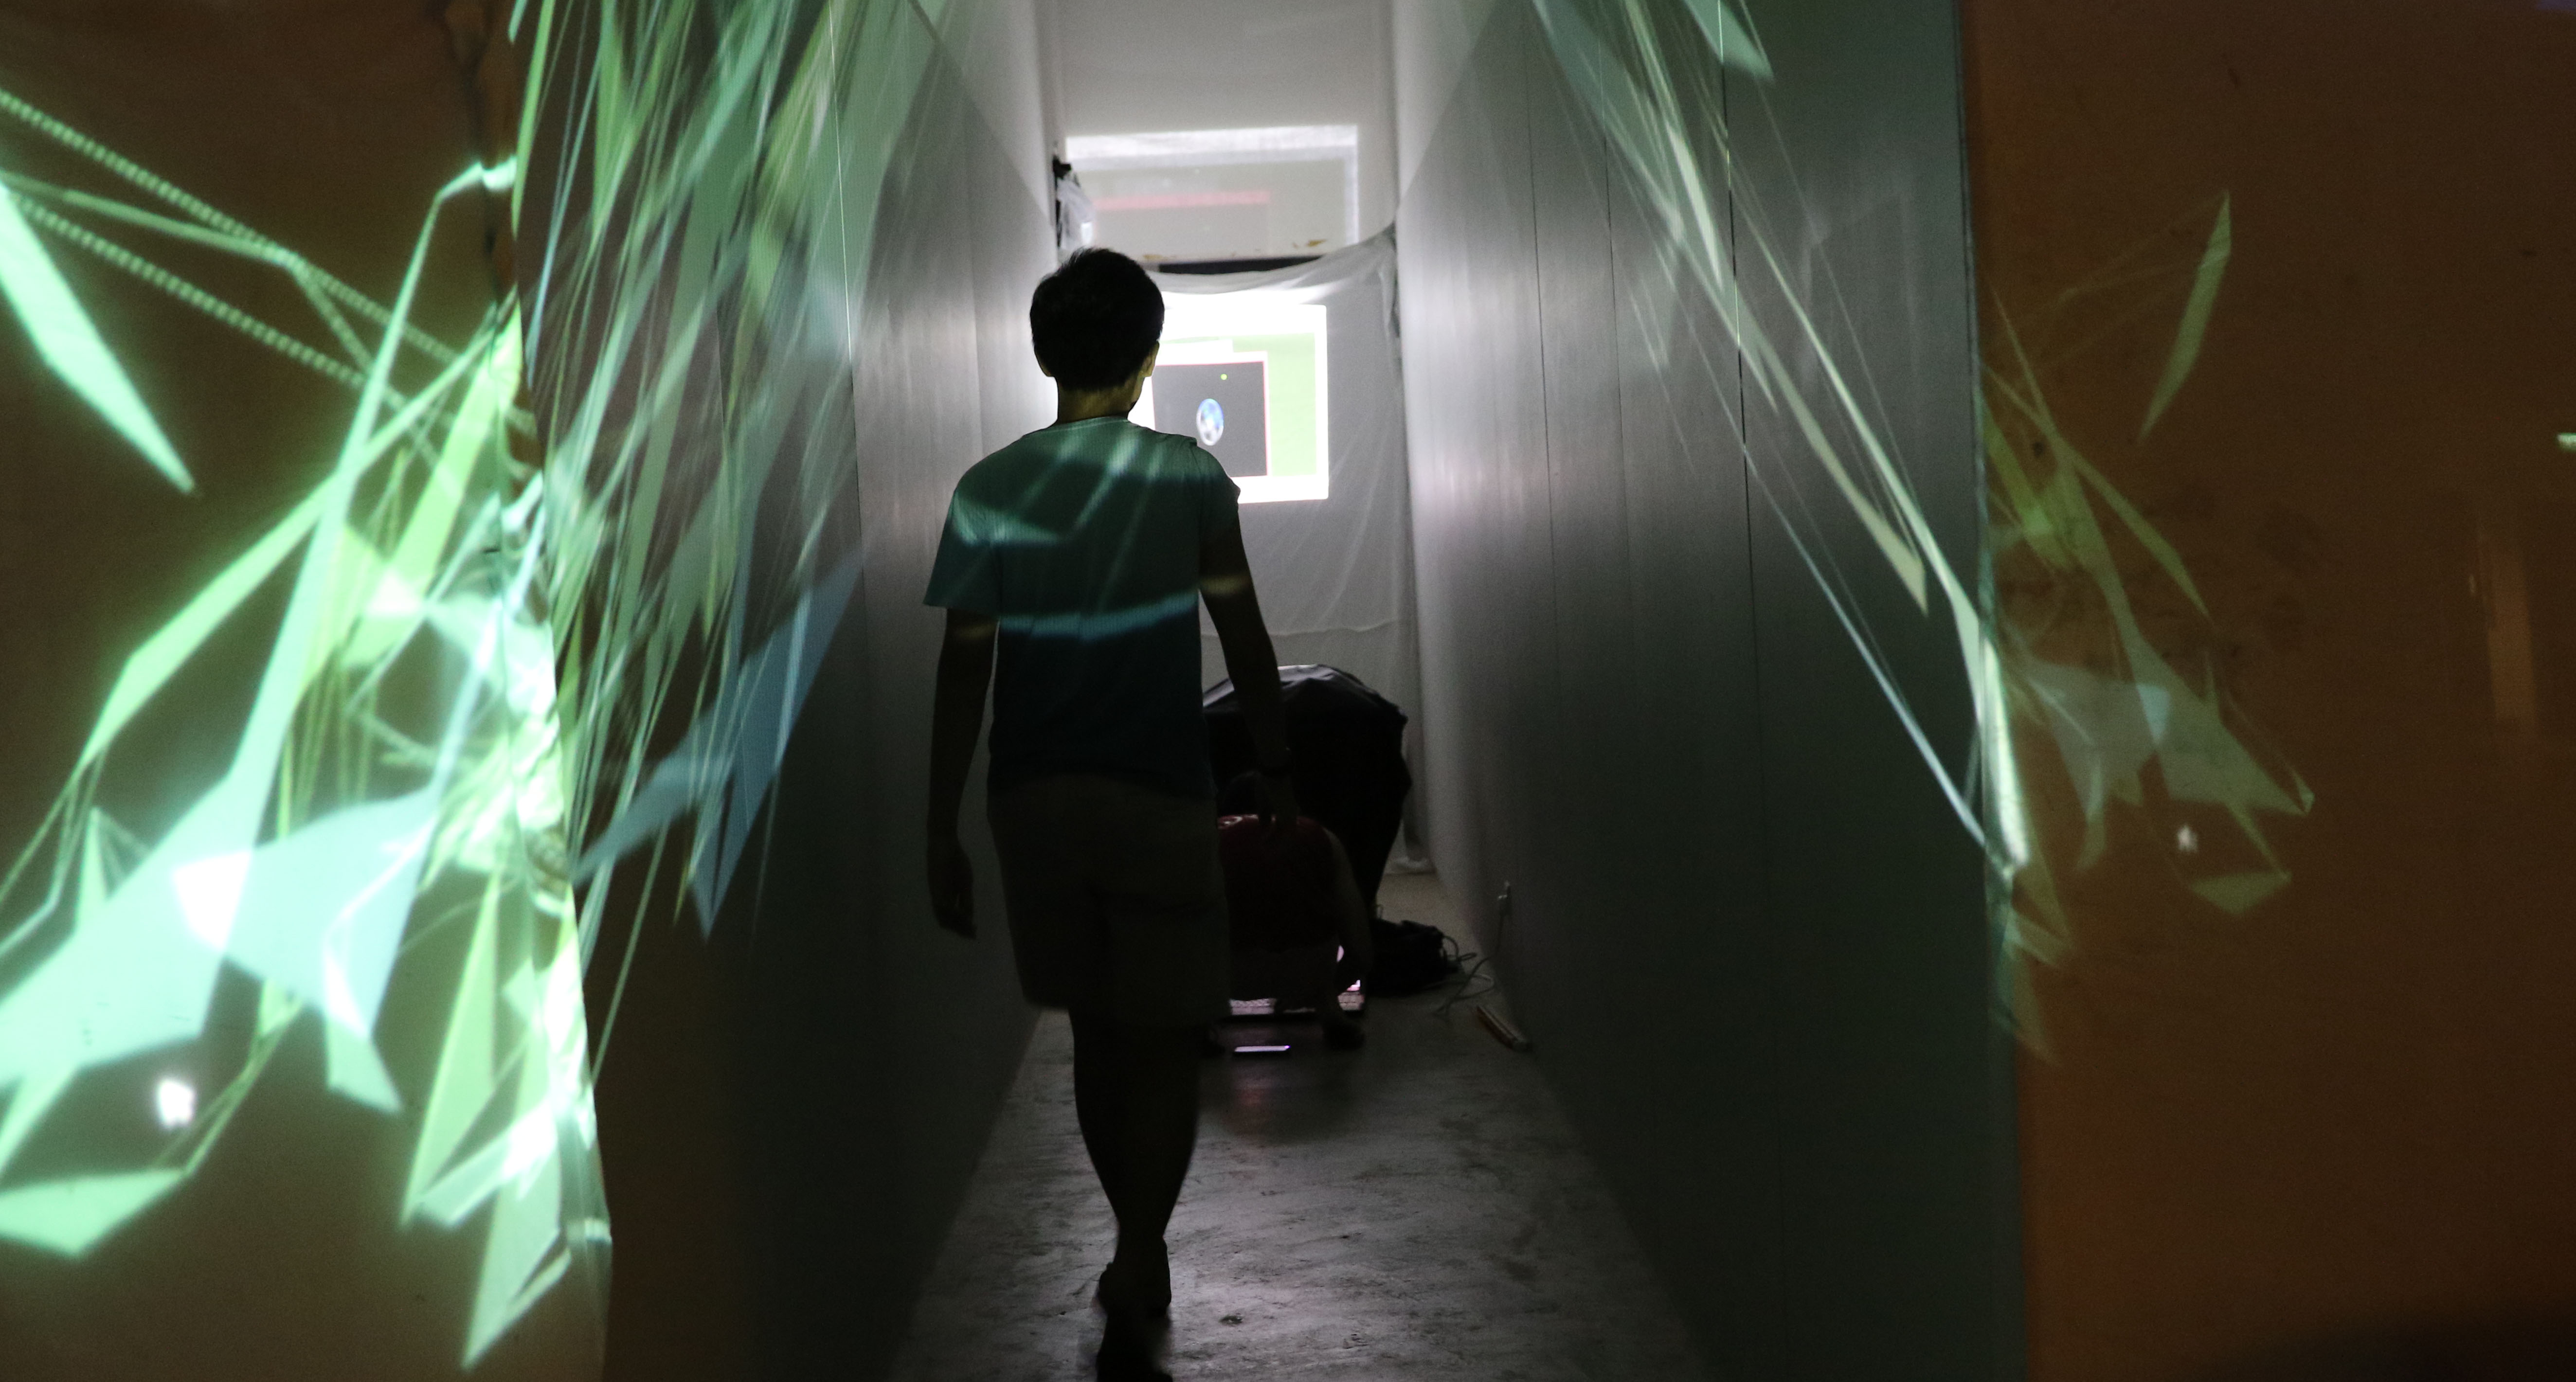
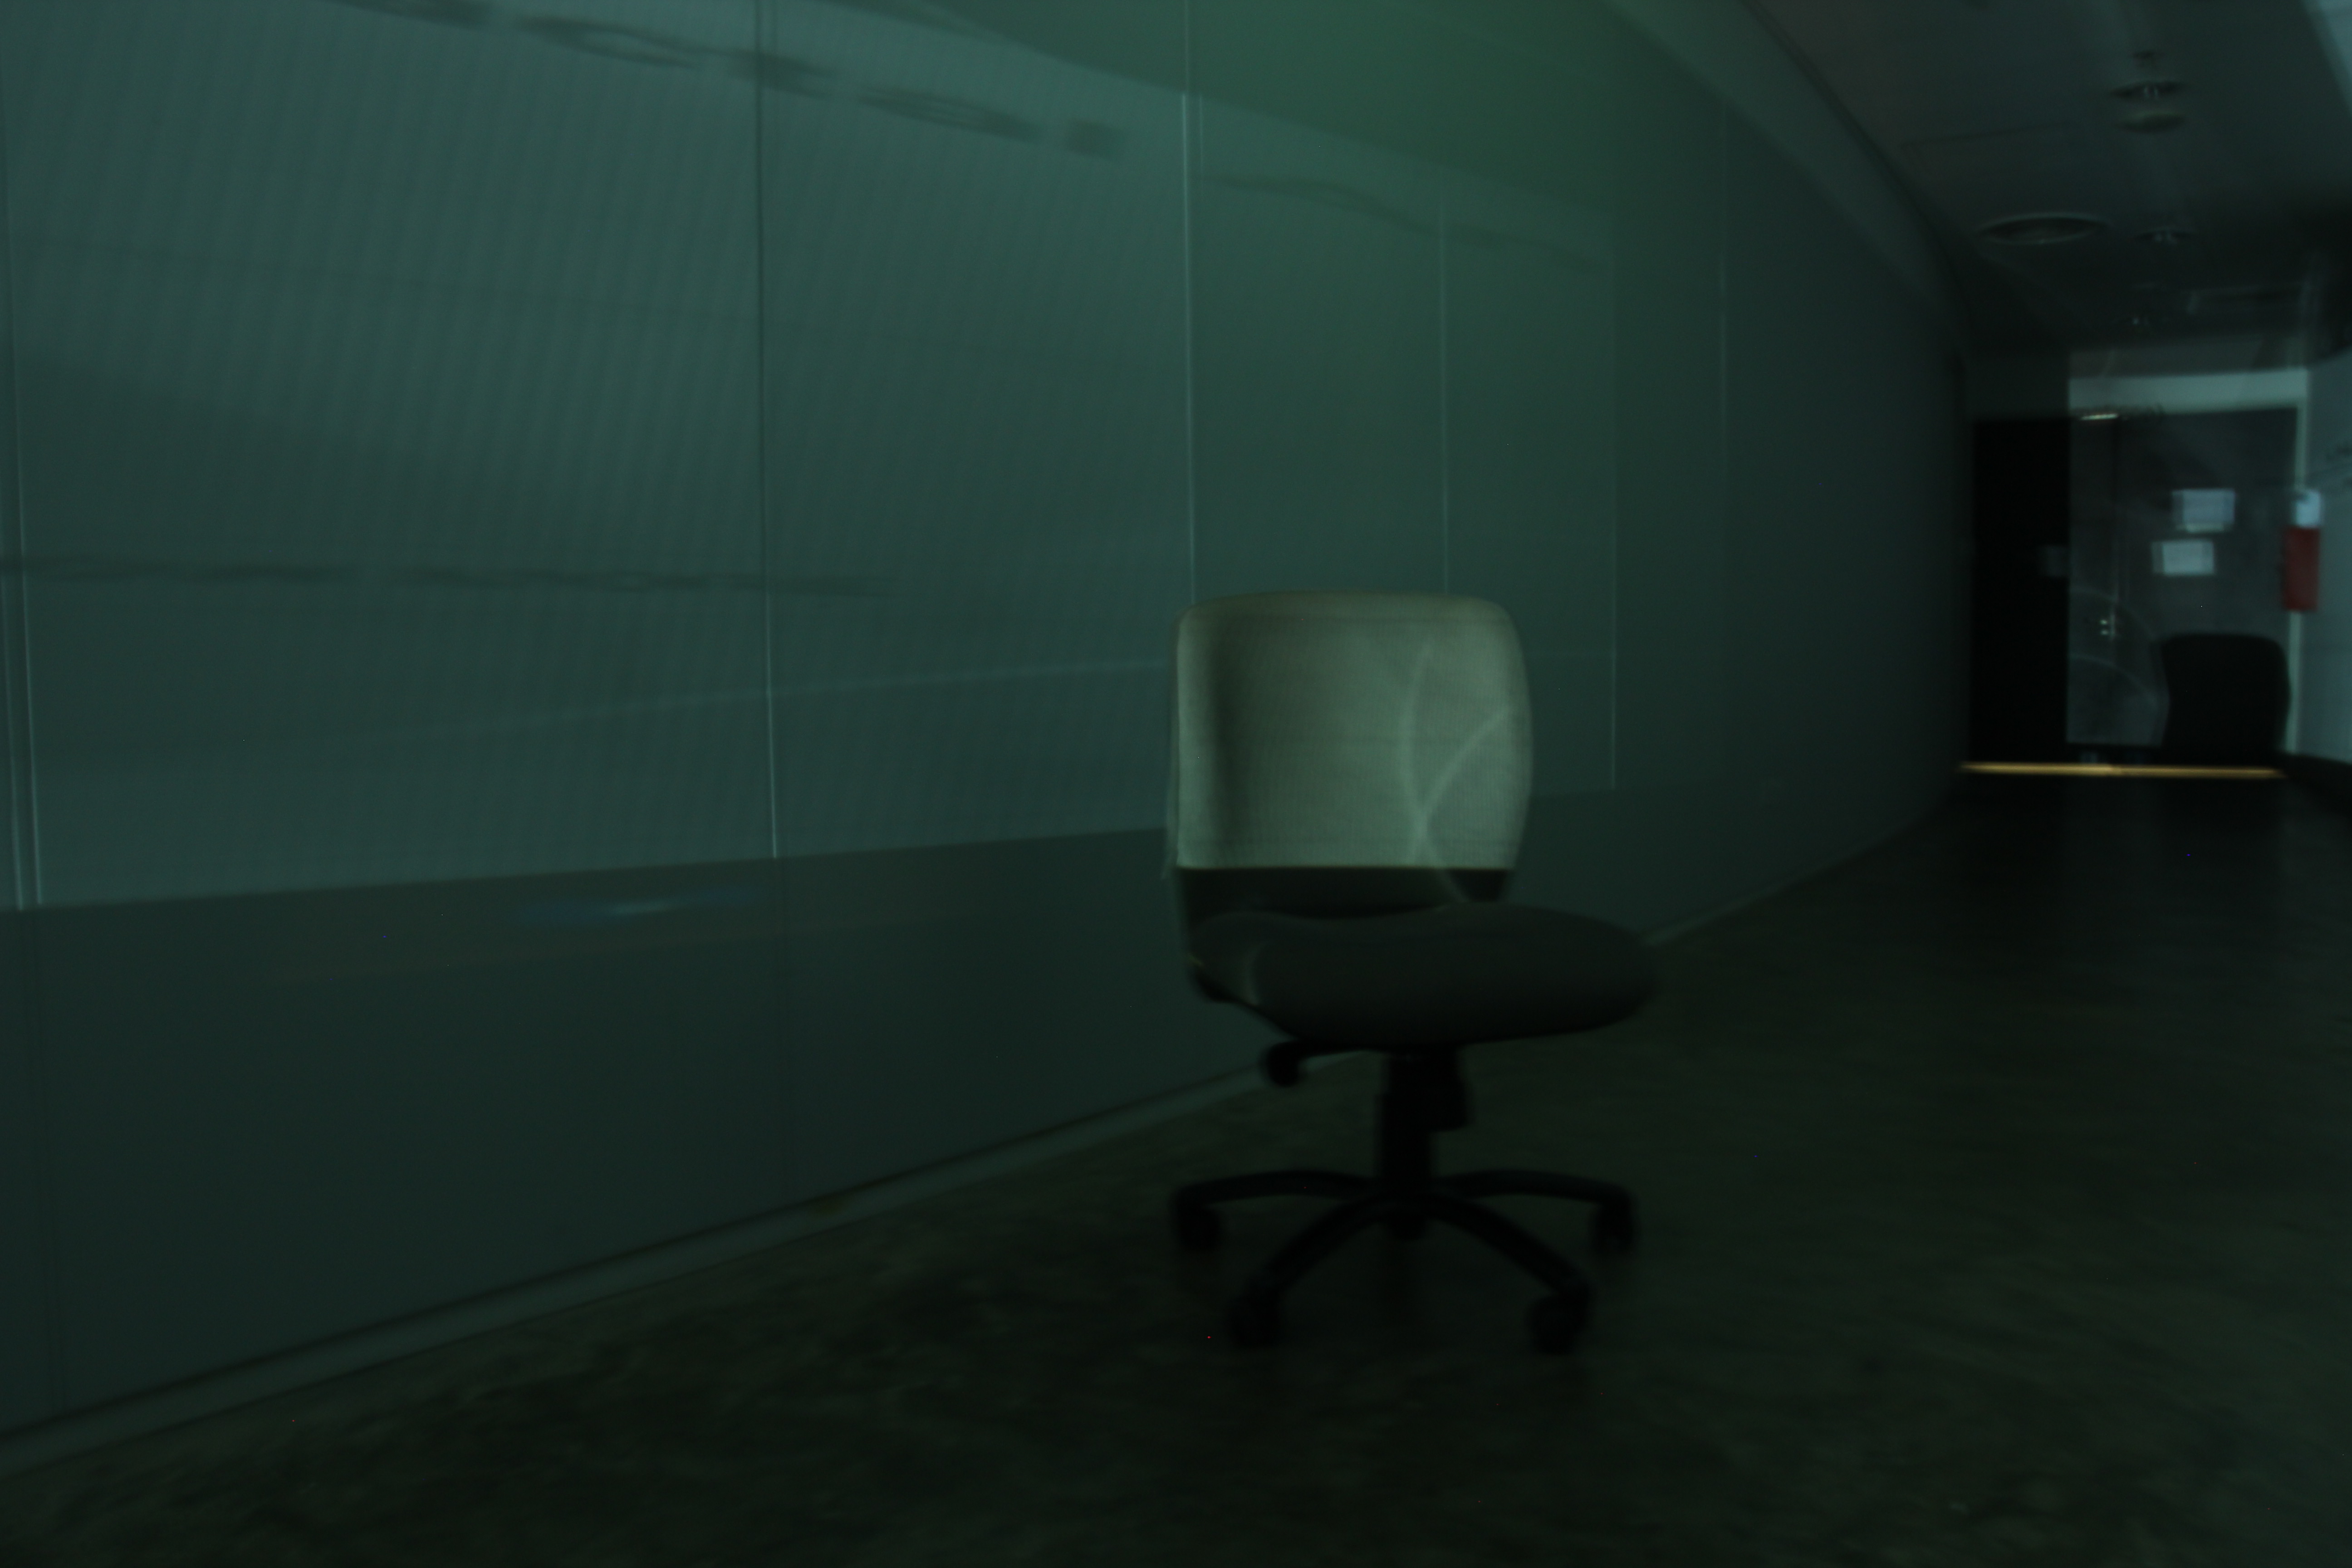
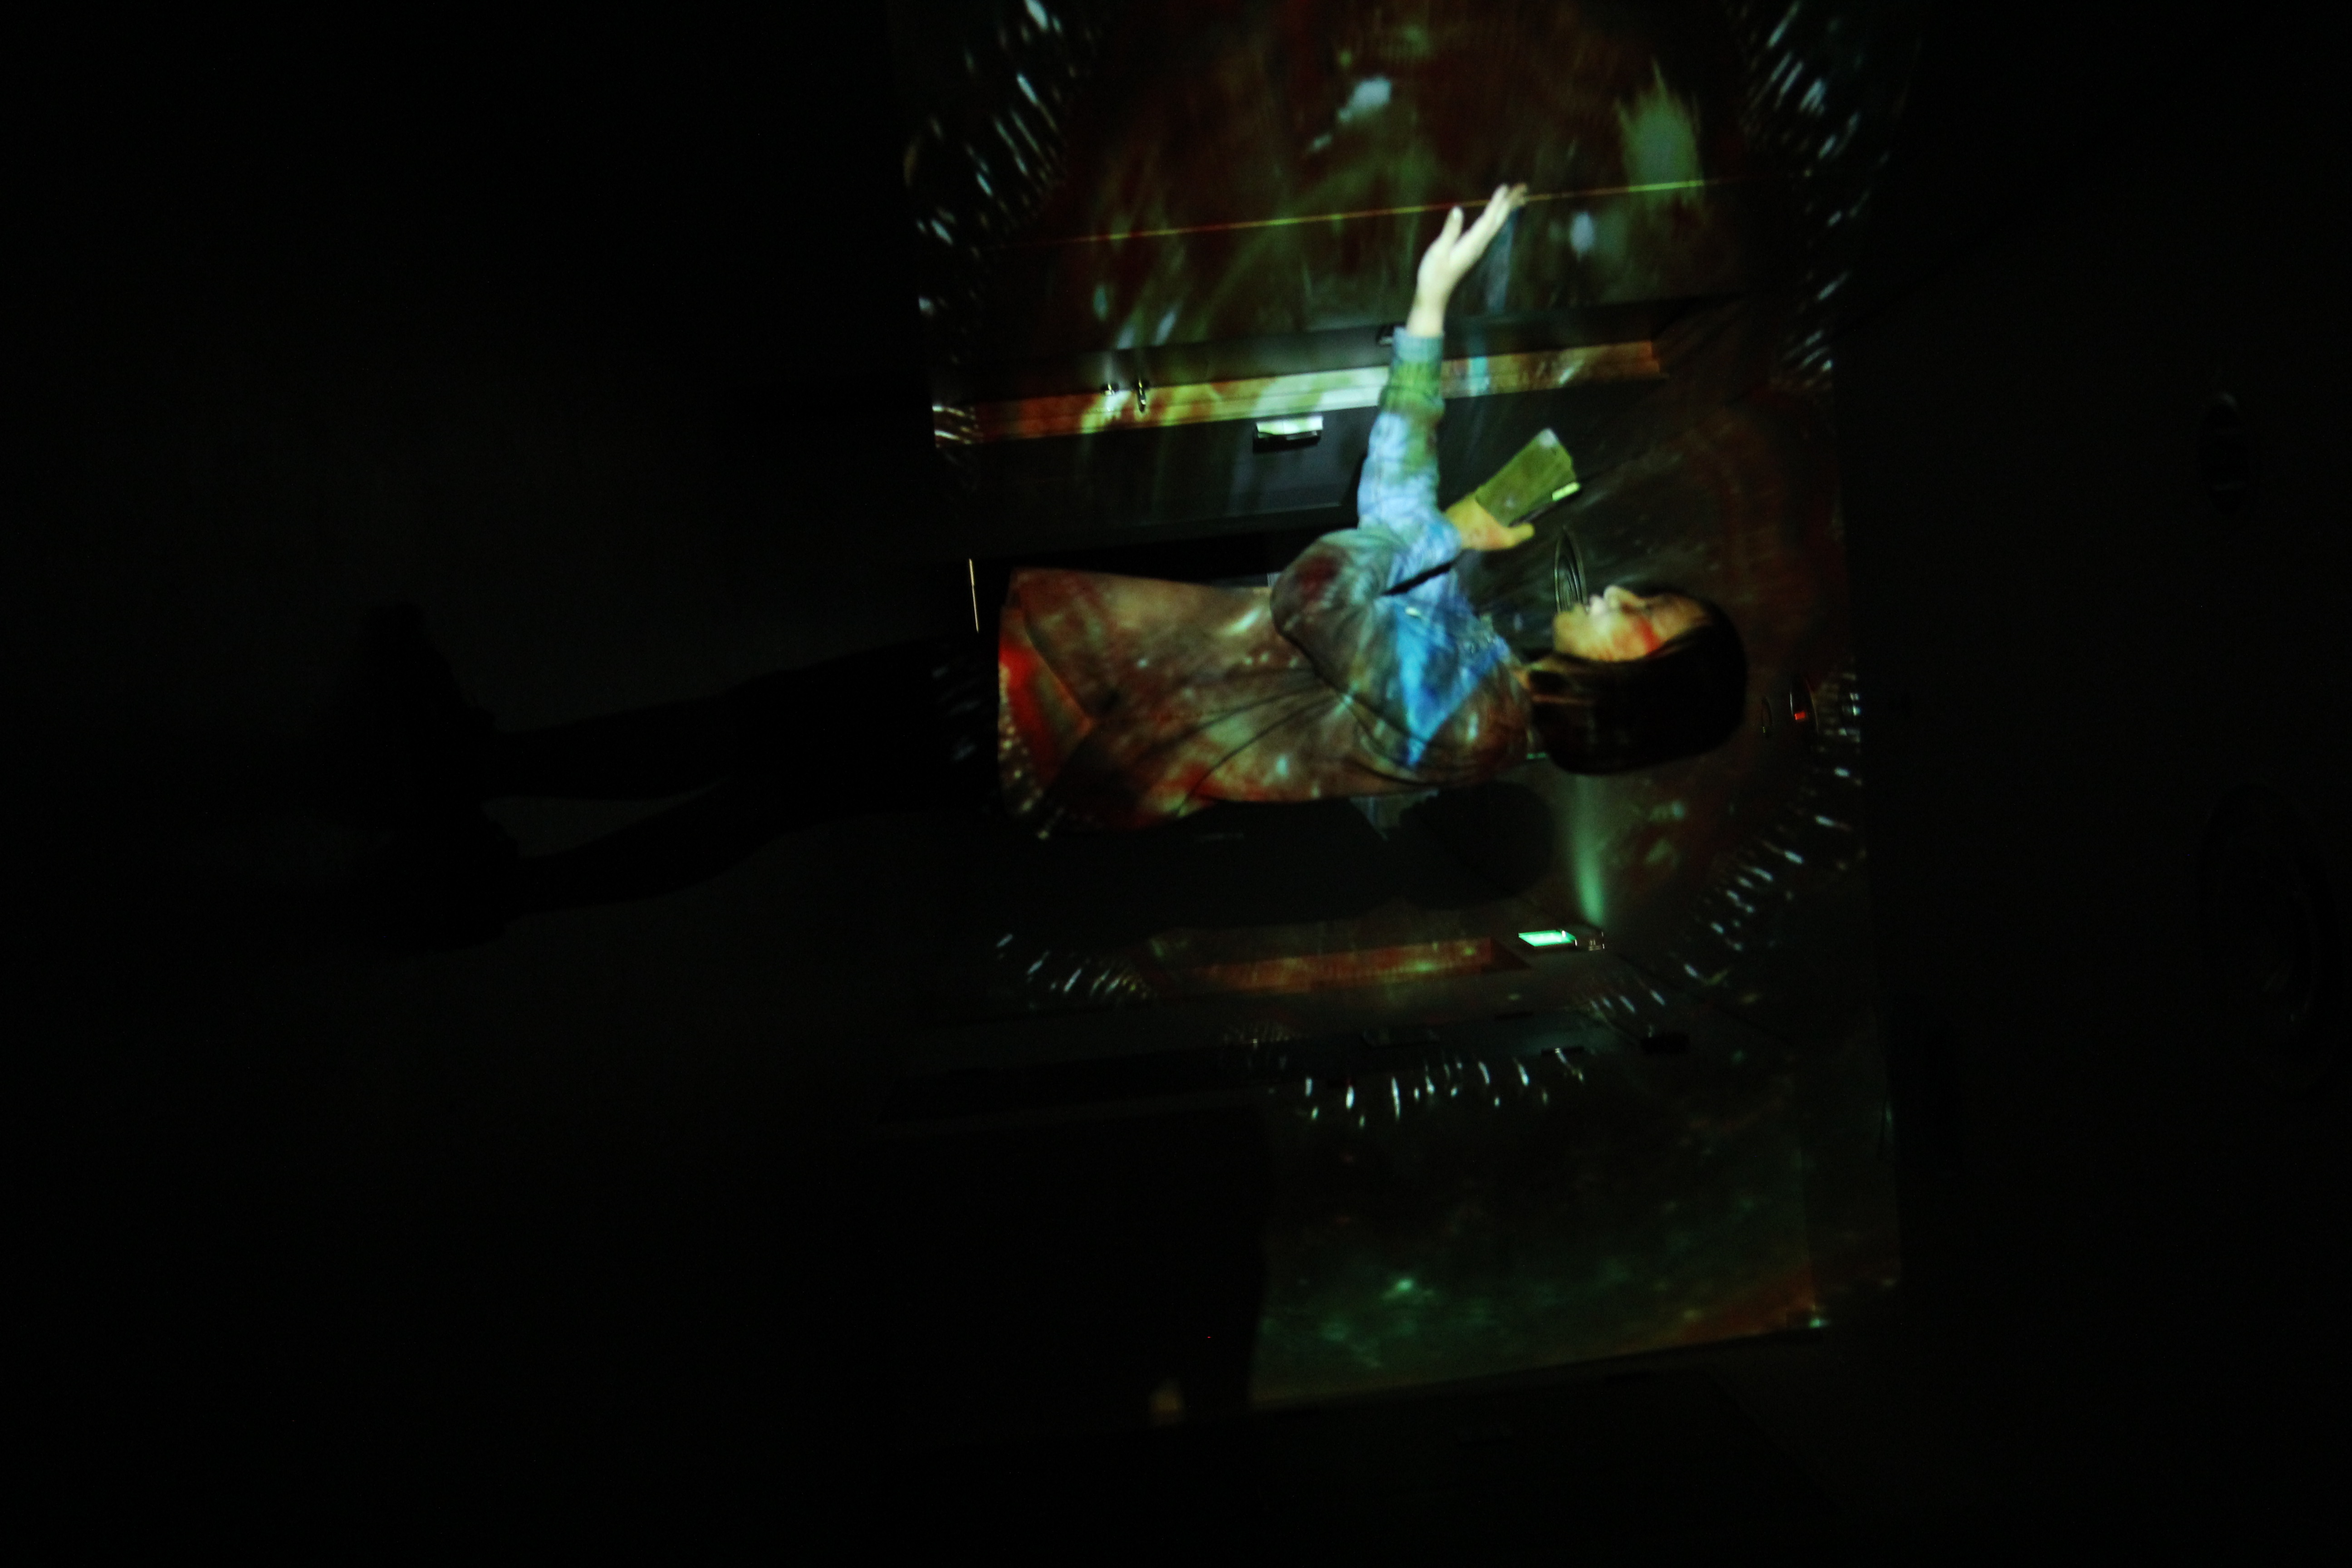
Space, we believe, is a key element of ASCENSION.

What you project on to is just as important, if not more so , than what you actually project onto.

We had a few ideas that we tried. Outside out ADM, the Sunken Plaza, classroom, the walkway outside of the IM room, B1-1….  It took us many tries and a lot of trial and error before we managed to find the spot we wanted.

DSC_0571_6


IMG_1568IMG_1569IMG_1582IMG_1564IMG_1577


IMG_1567


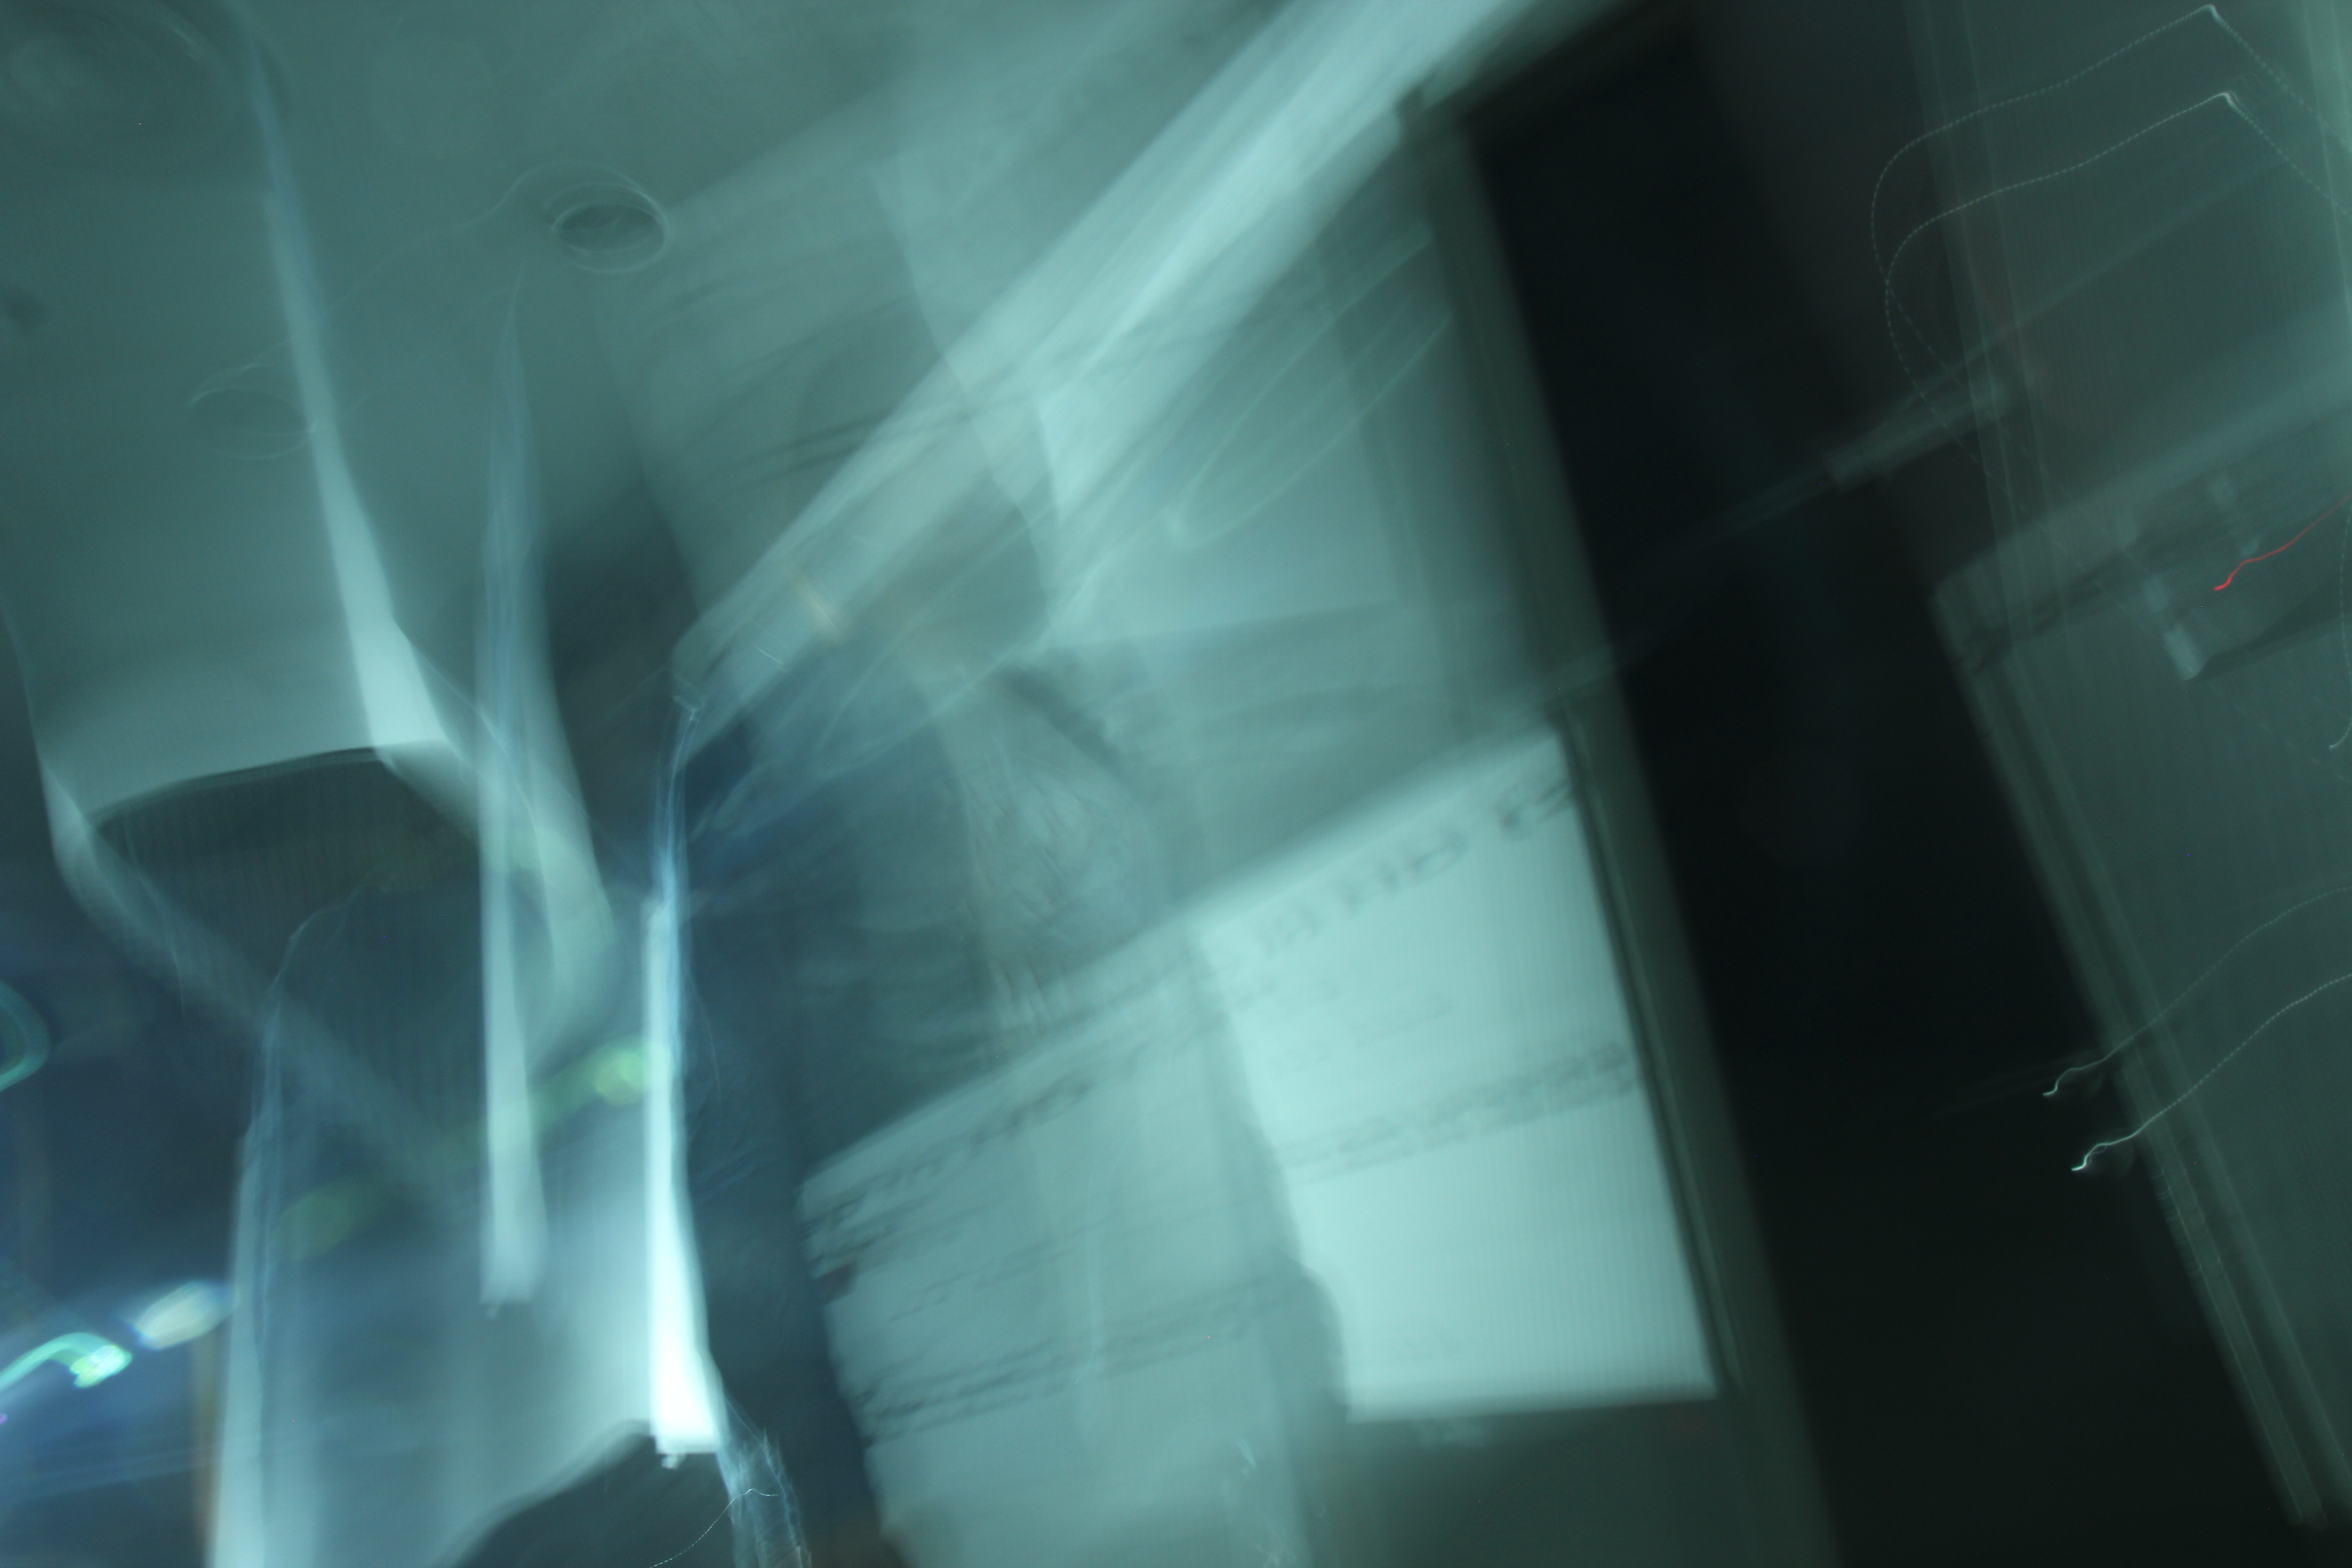
Truth be told, we had way too many ideas that we wanted to try and explore until we actually did it.  We had the idea of projecting on glass and water, but a quick experiment showed how bad an idea it was. We thought of making our own sensors to control the interaction but hours were spent and wasted with nothing to show for. We tried, failed and the clock was ticking.  Things were not smooth sailing.


One day after class, we decided that we had to decide something and do it fast.  We did not need a very complicated mechanics to make our idea work, we did not need a huge space to make it immersive, we didn’t need anything fancy. Just the right space, the right  visuals and the right concept to fit it in place


3F2A19103F2A21143F2A1929


3F2A193

Each of us had to handle different roles or ASCENSION would never have worked.


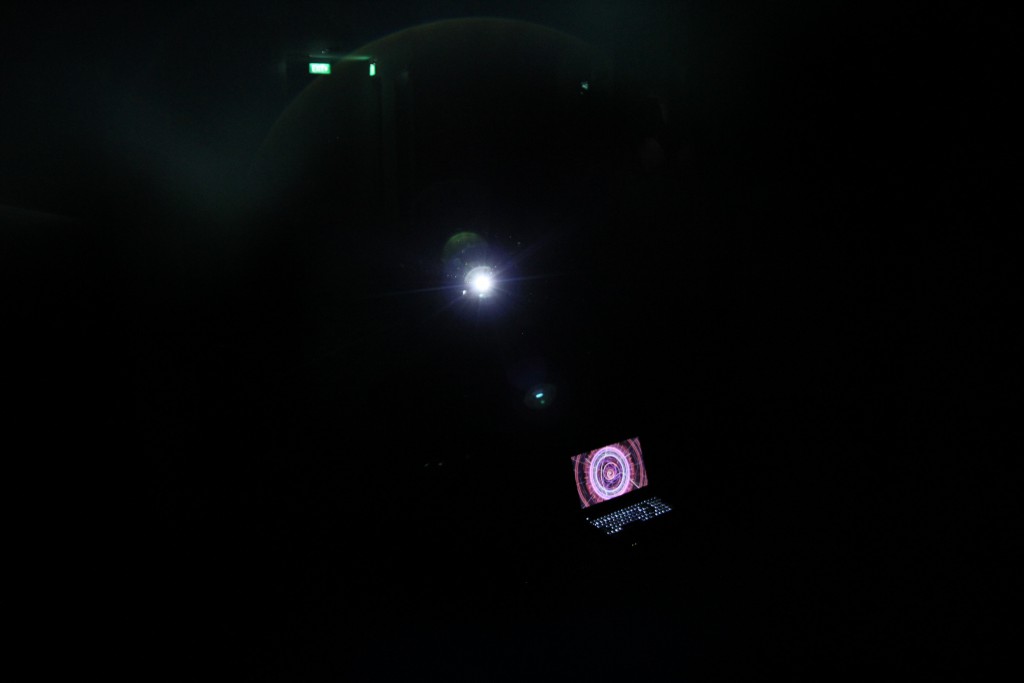
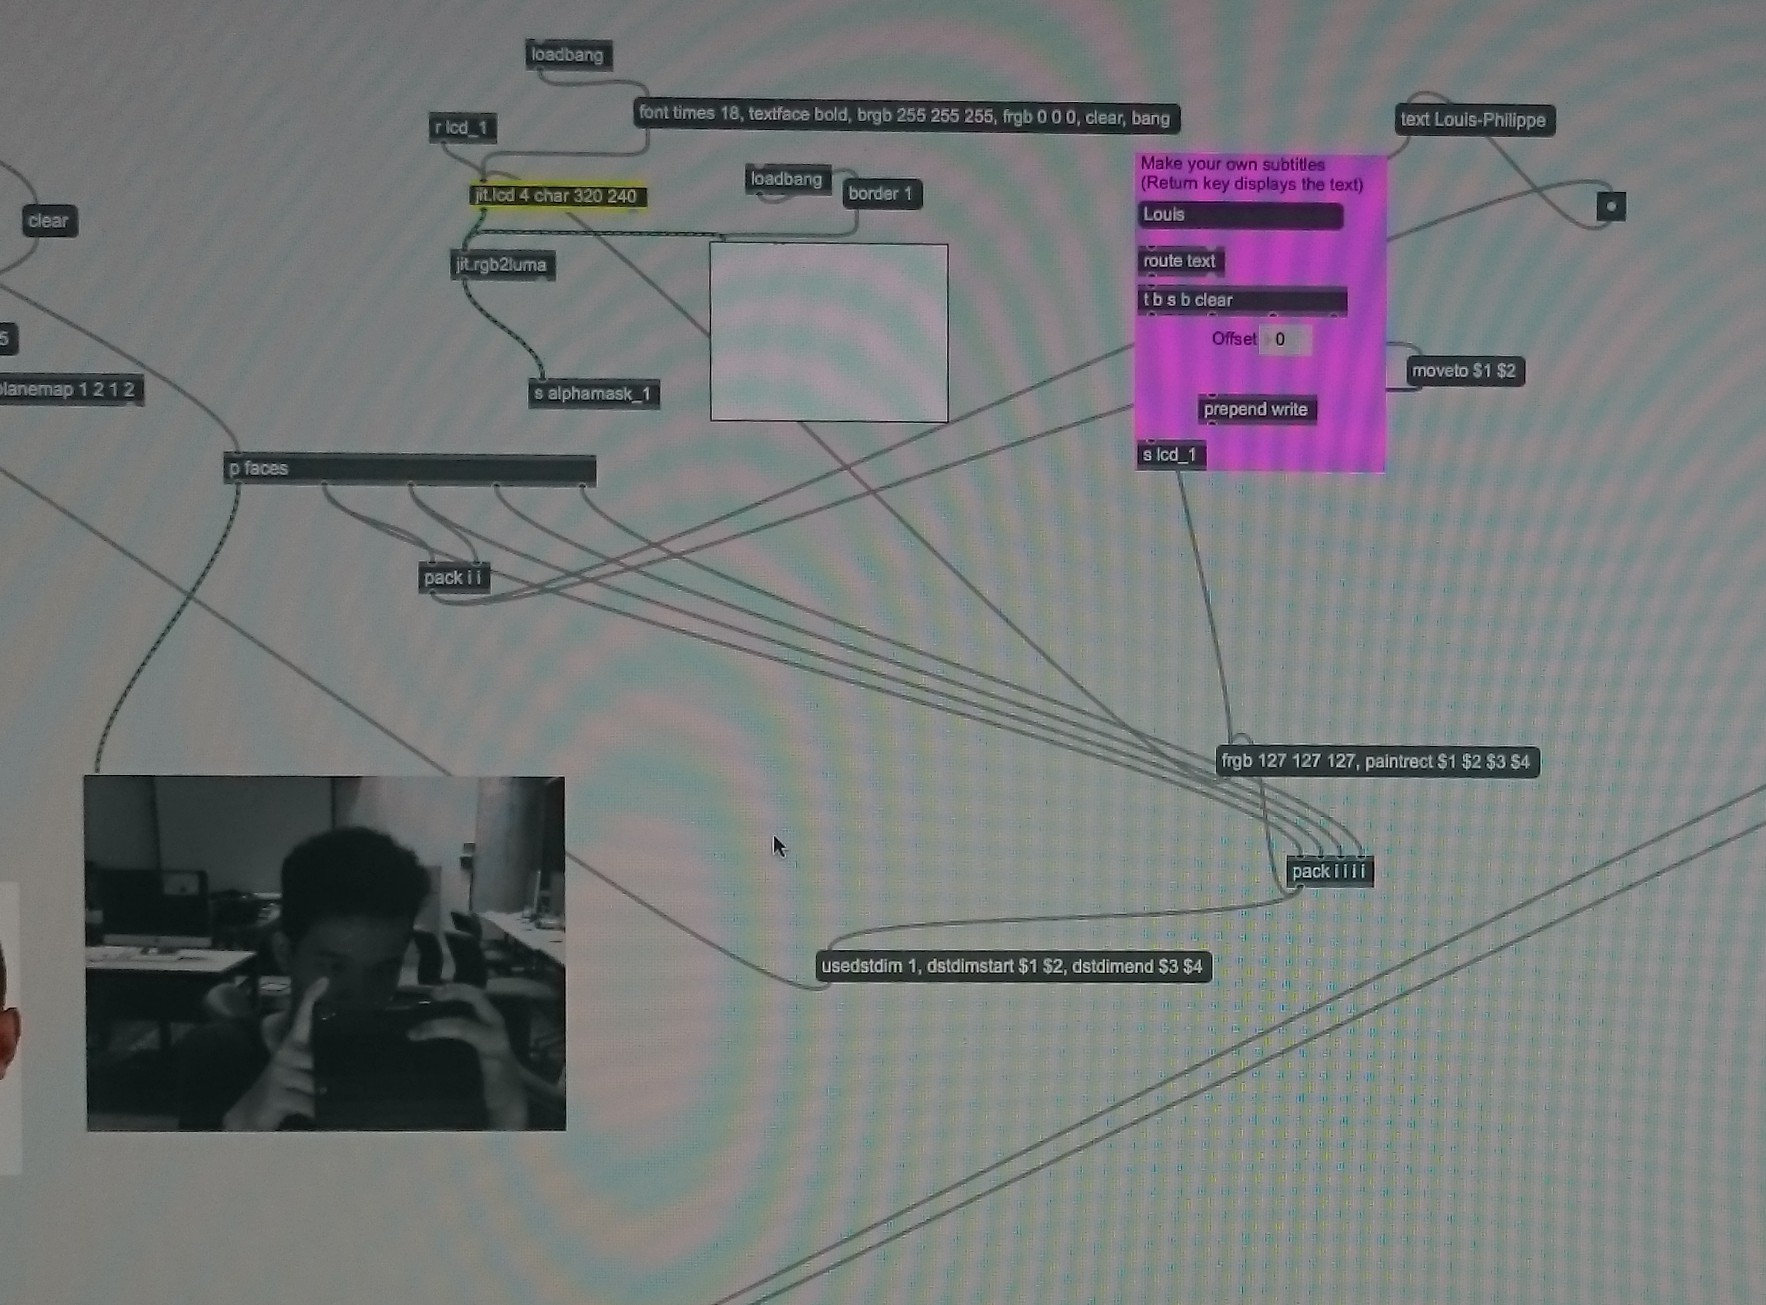
Darryl dived down into finding the right visuals, exploring Max furiously, Nat worked on getting the interaction aspect  of it , creating a light tracker and I went about creating the space.


When it was finally time, the three of us came together to put all our handwork together.


3F2A2213
3F2A2143


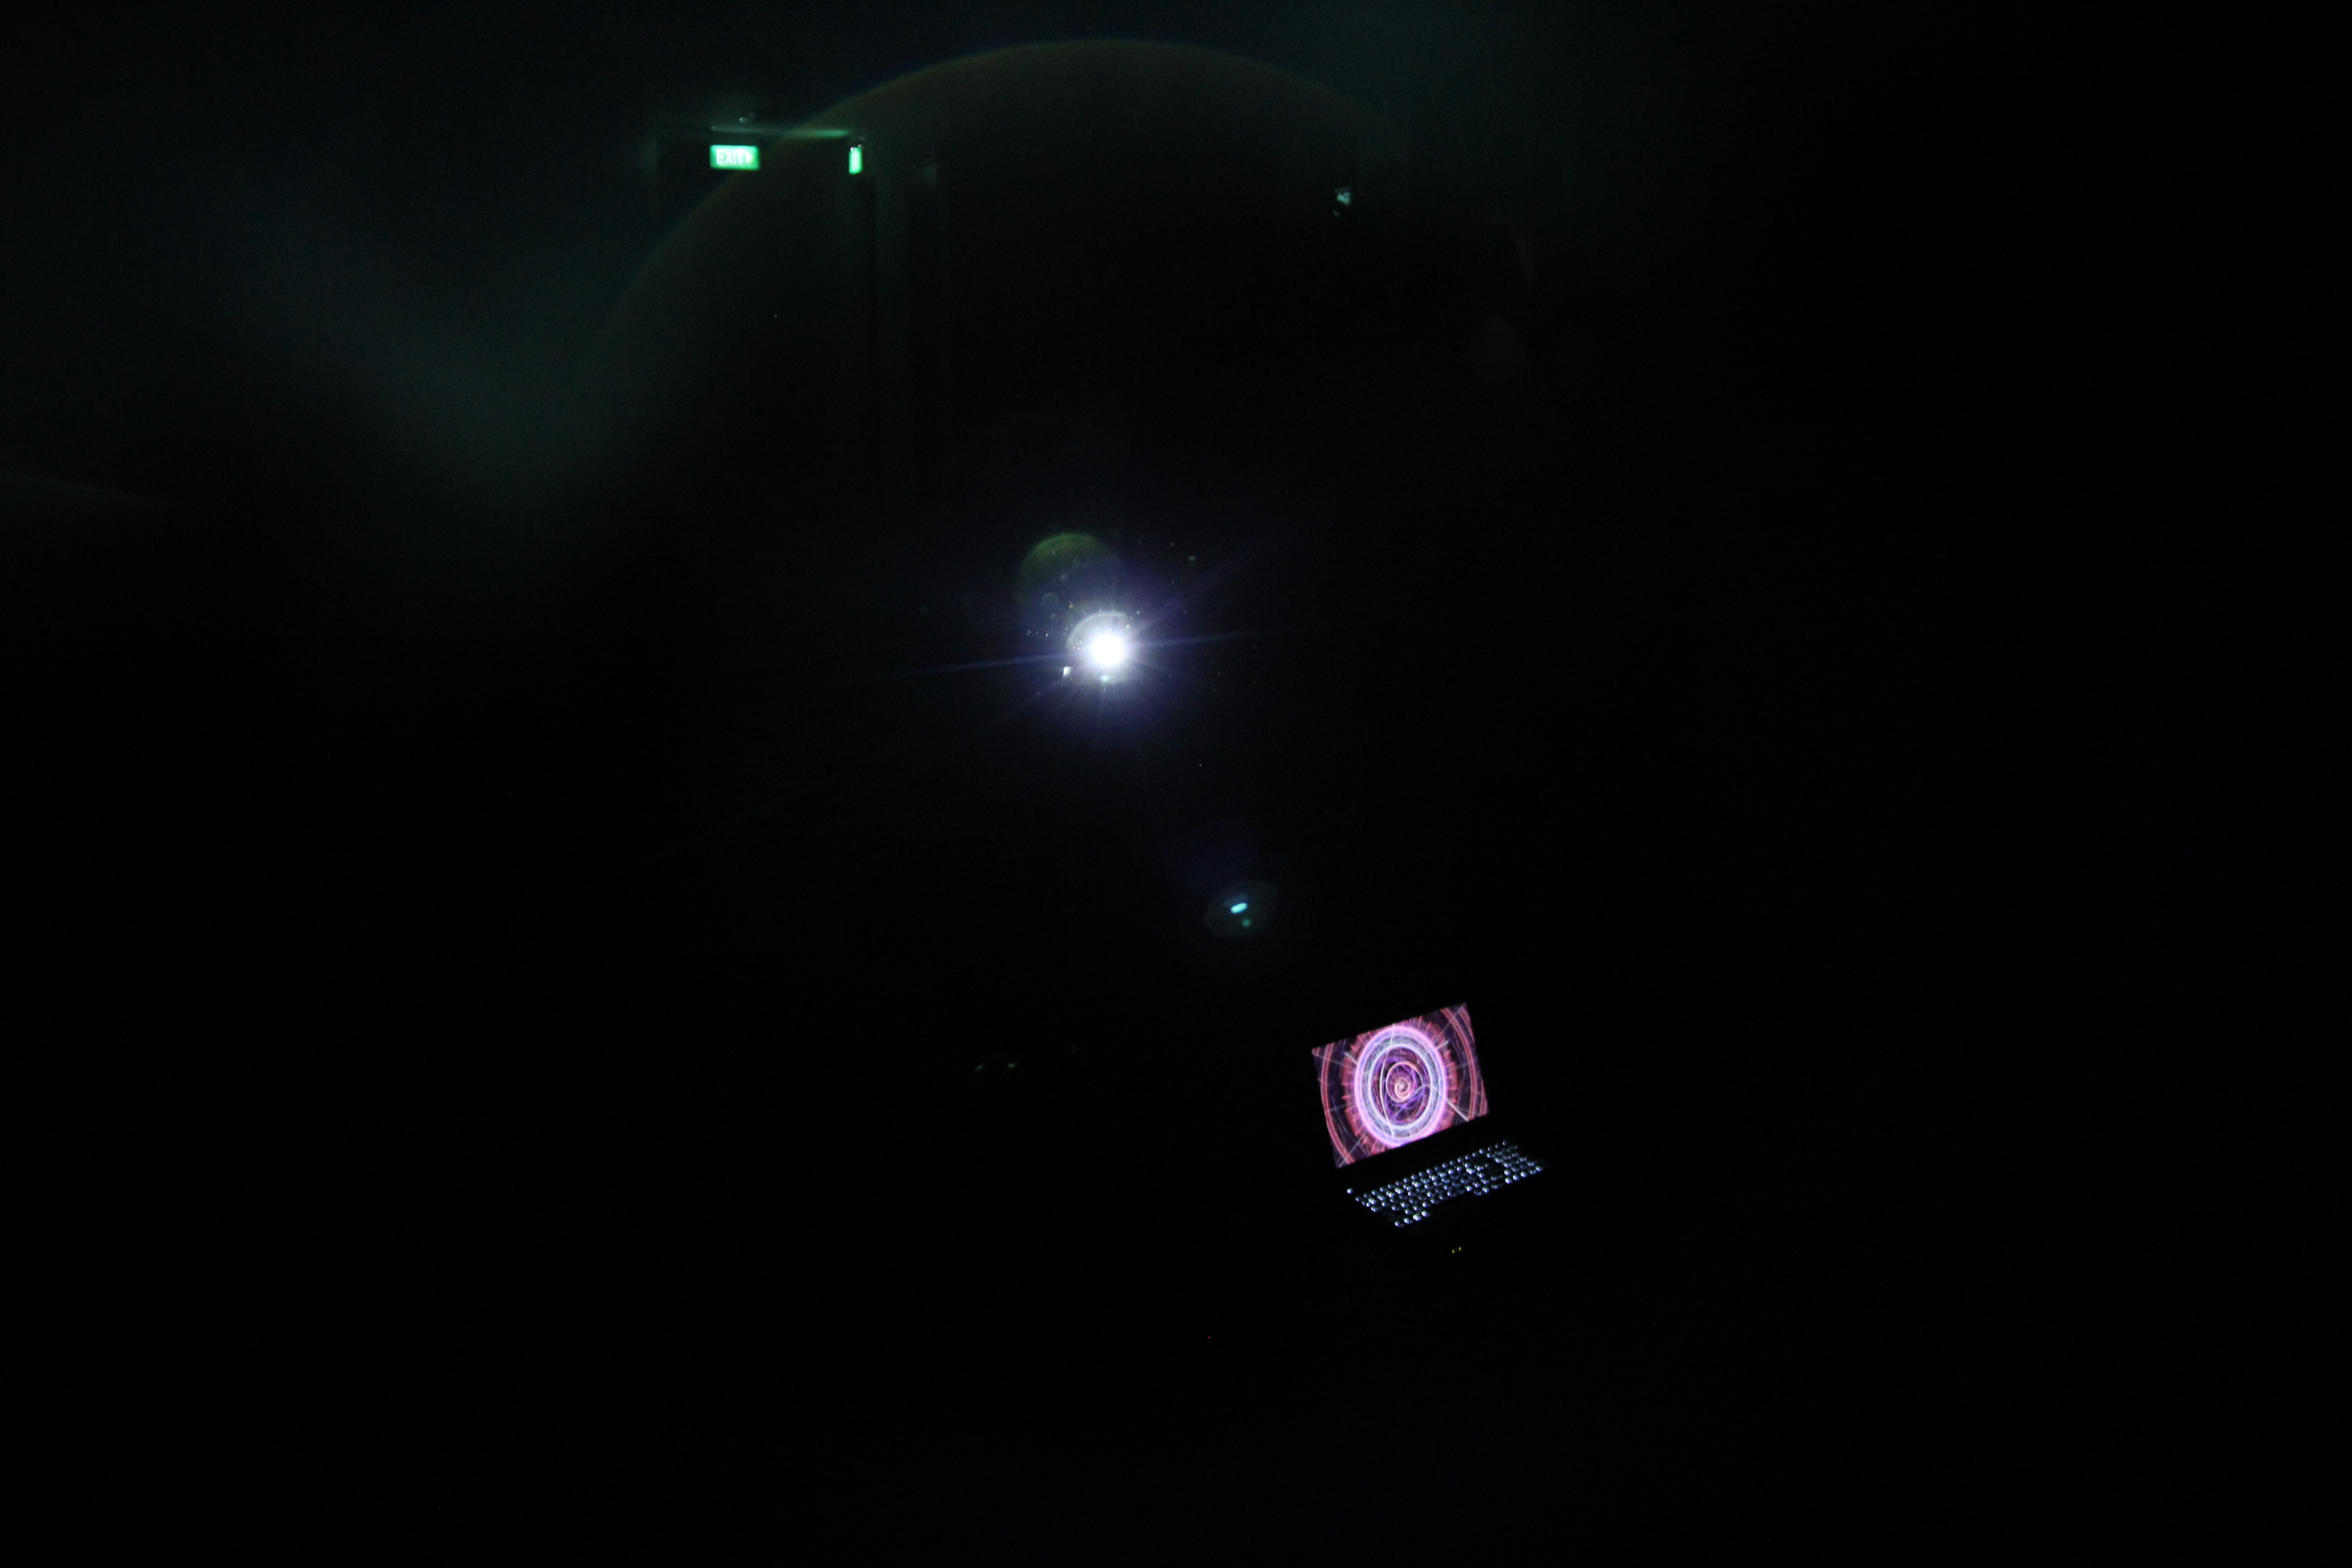
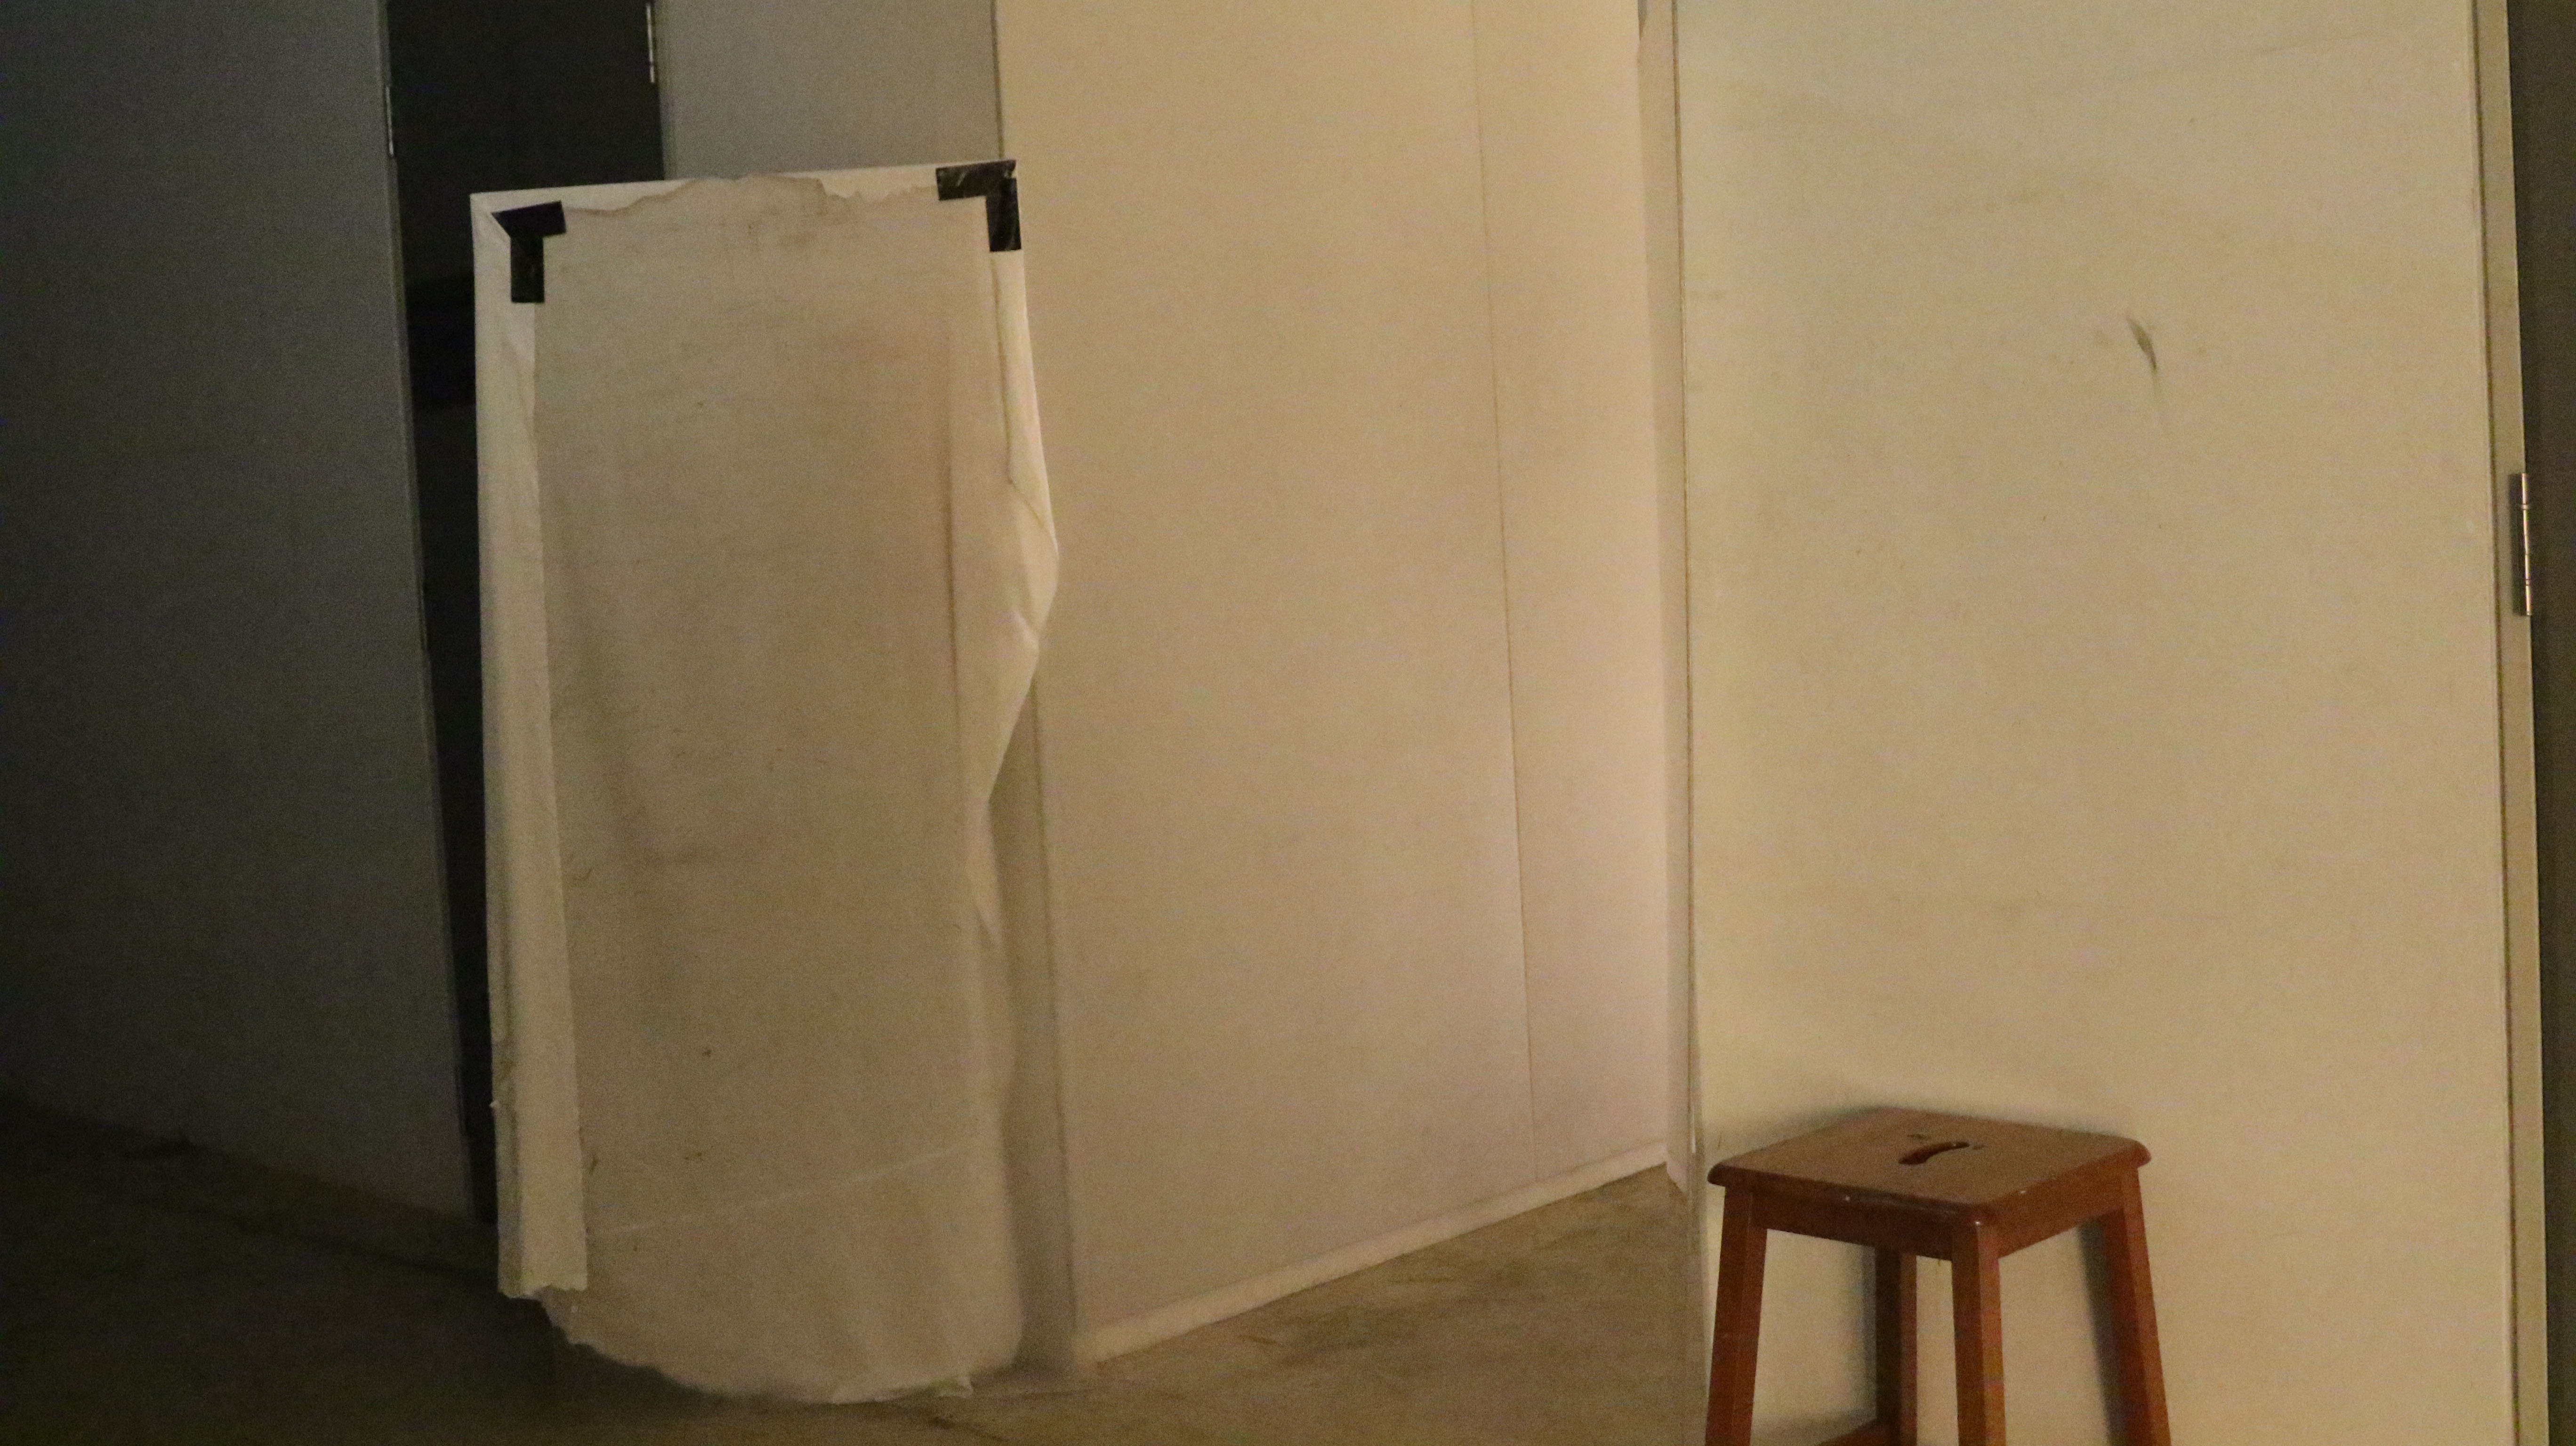
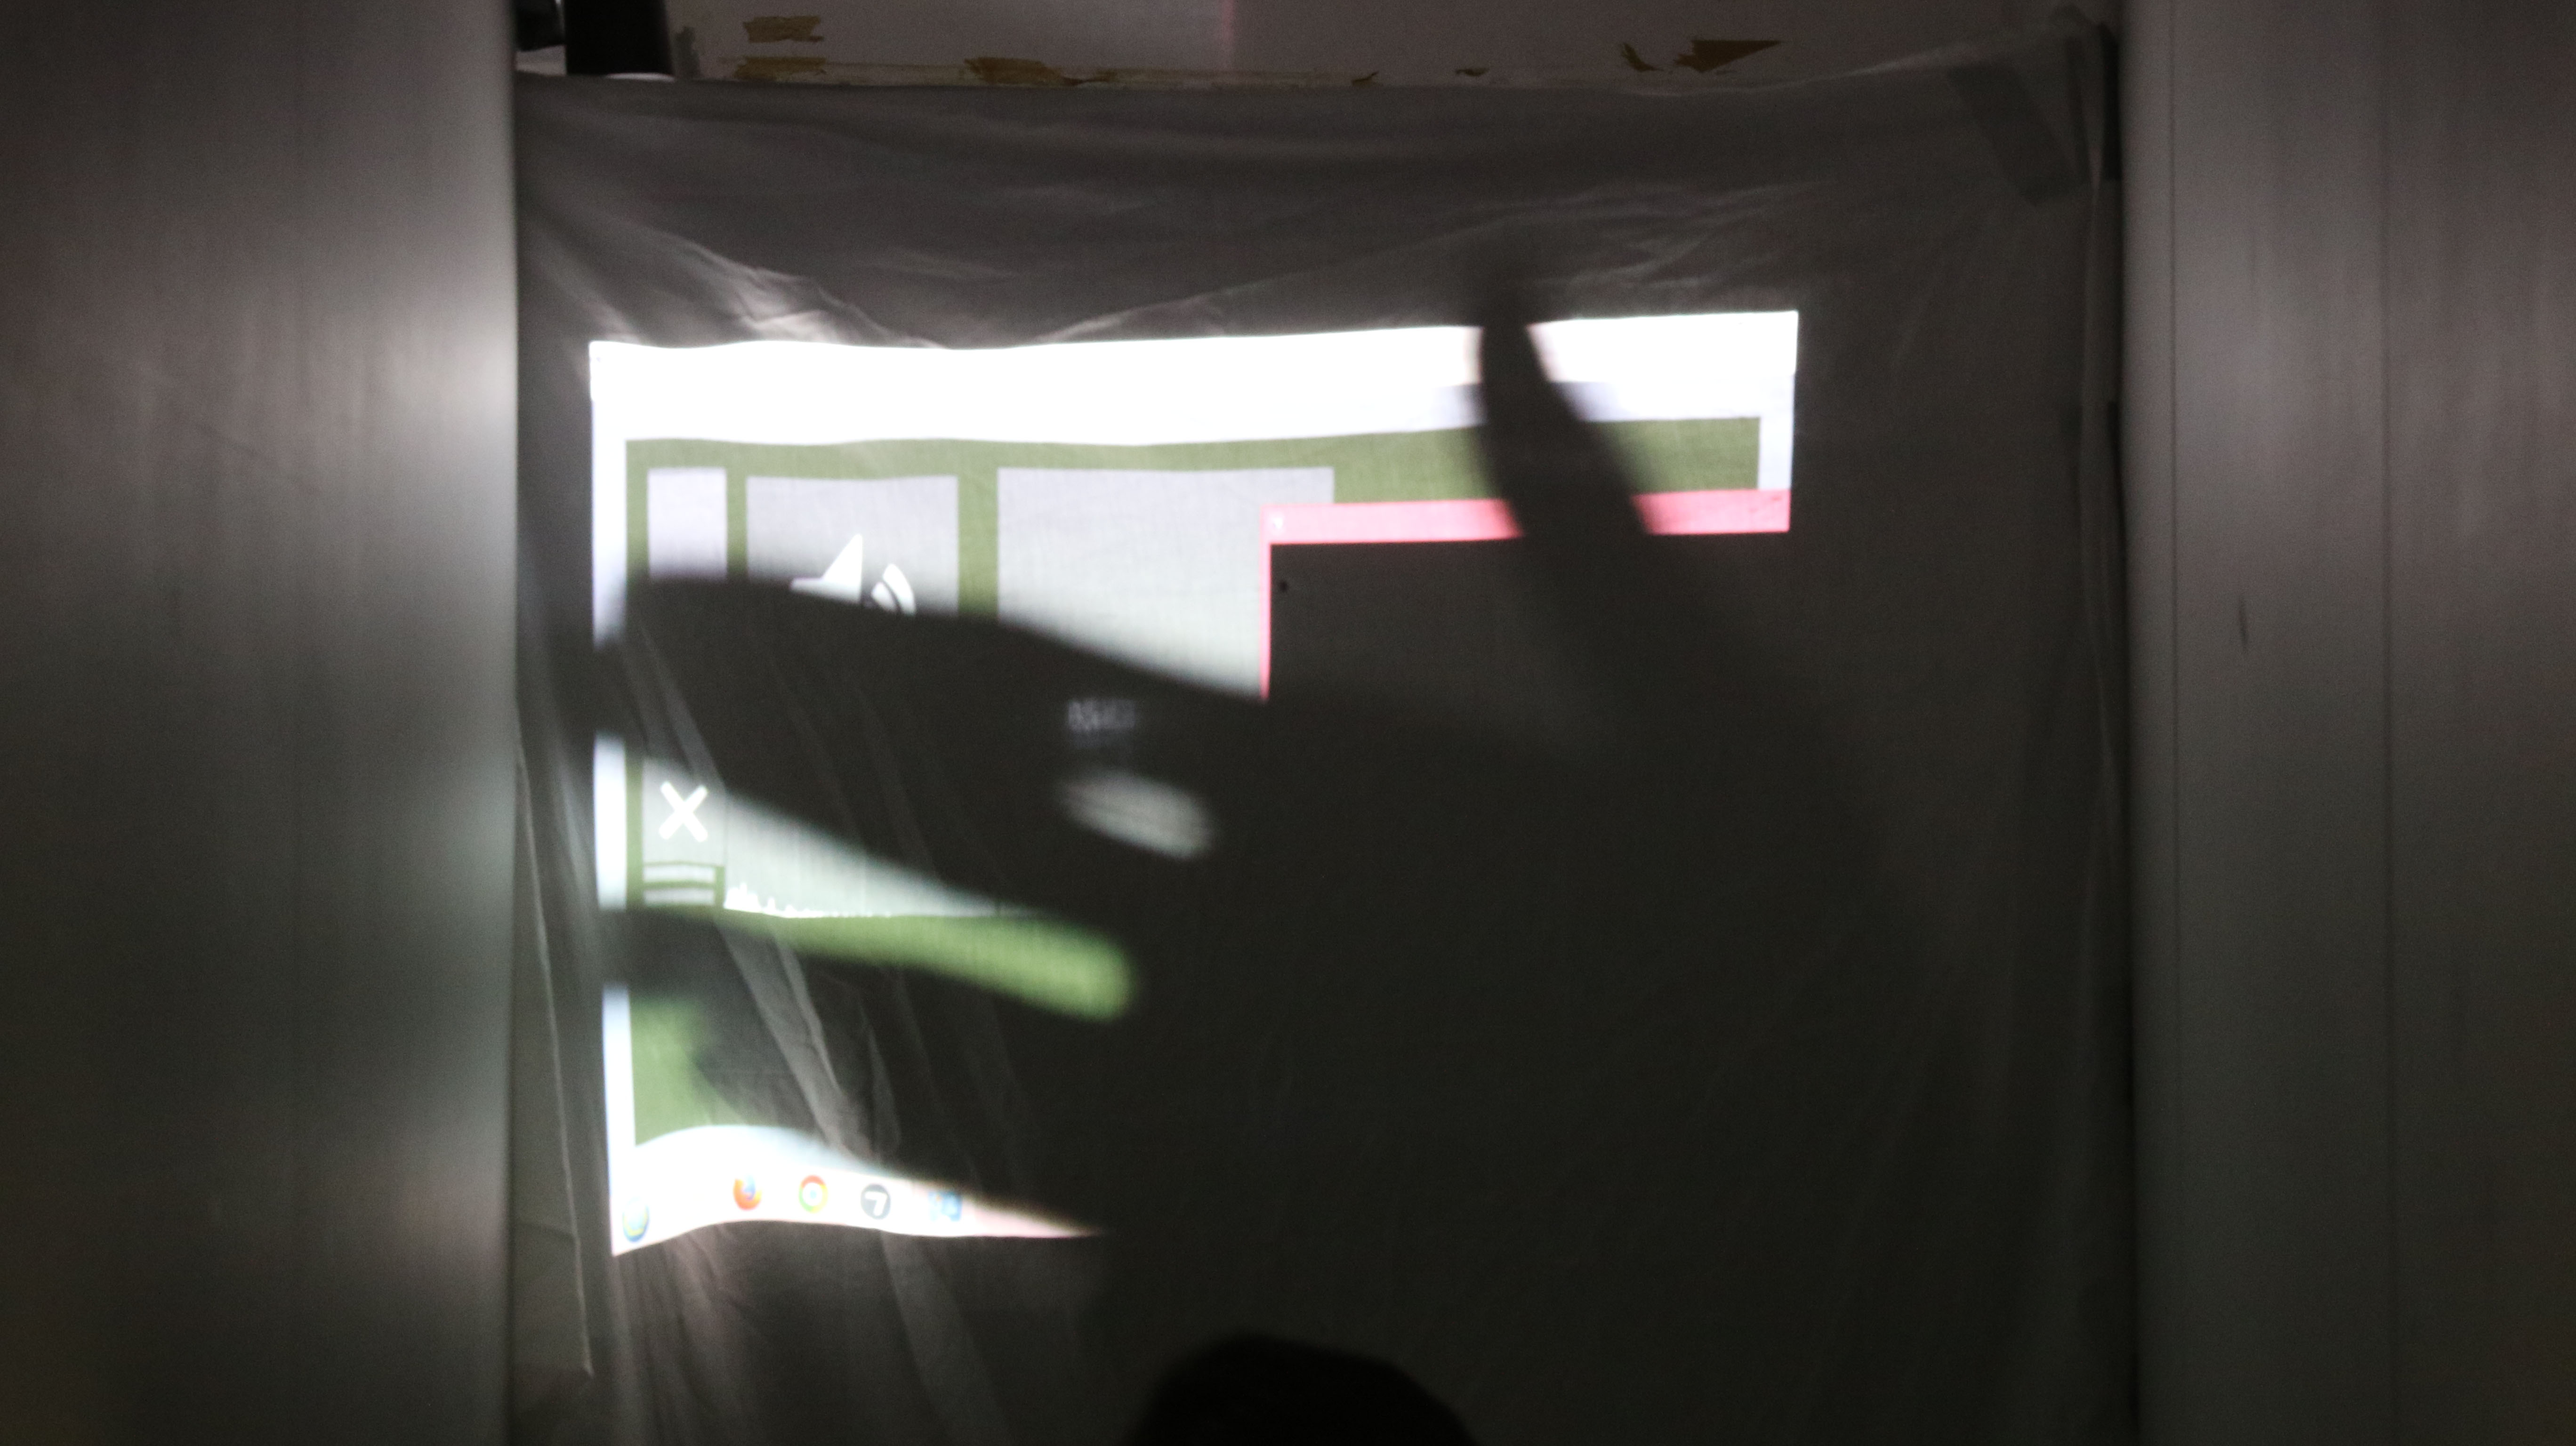
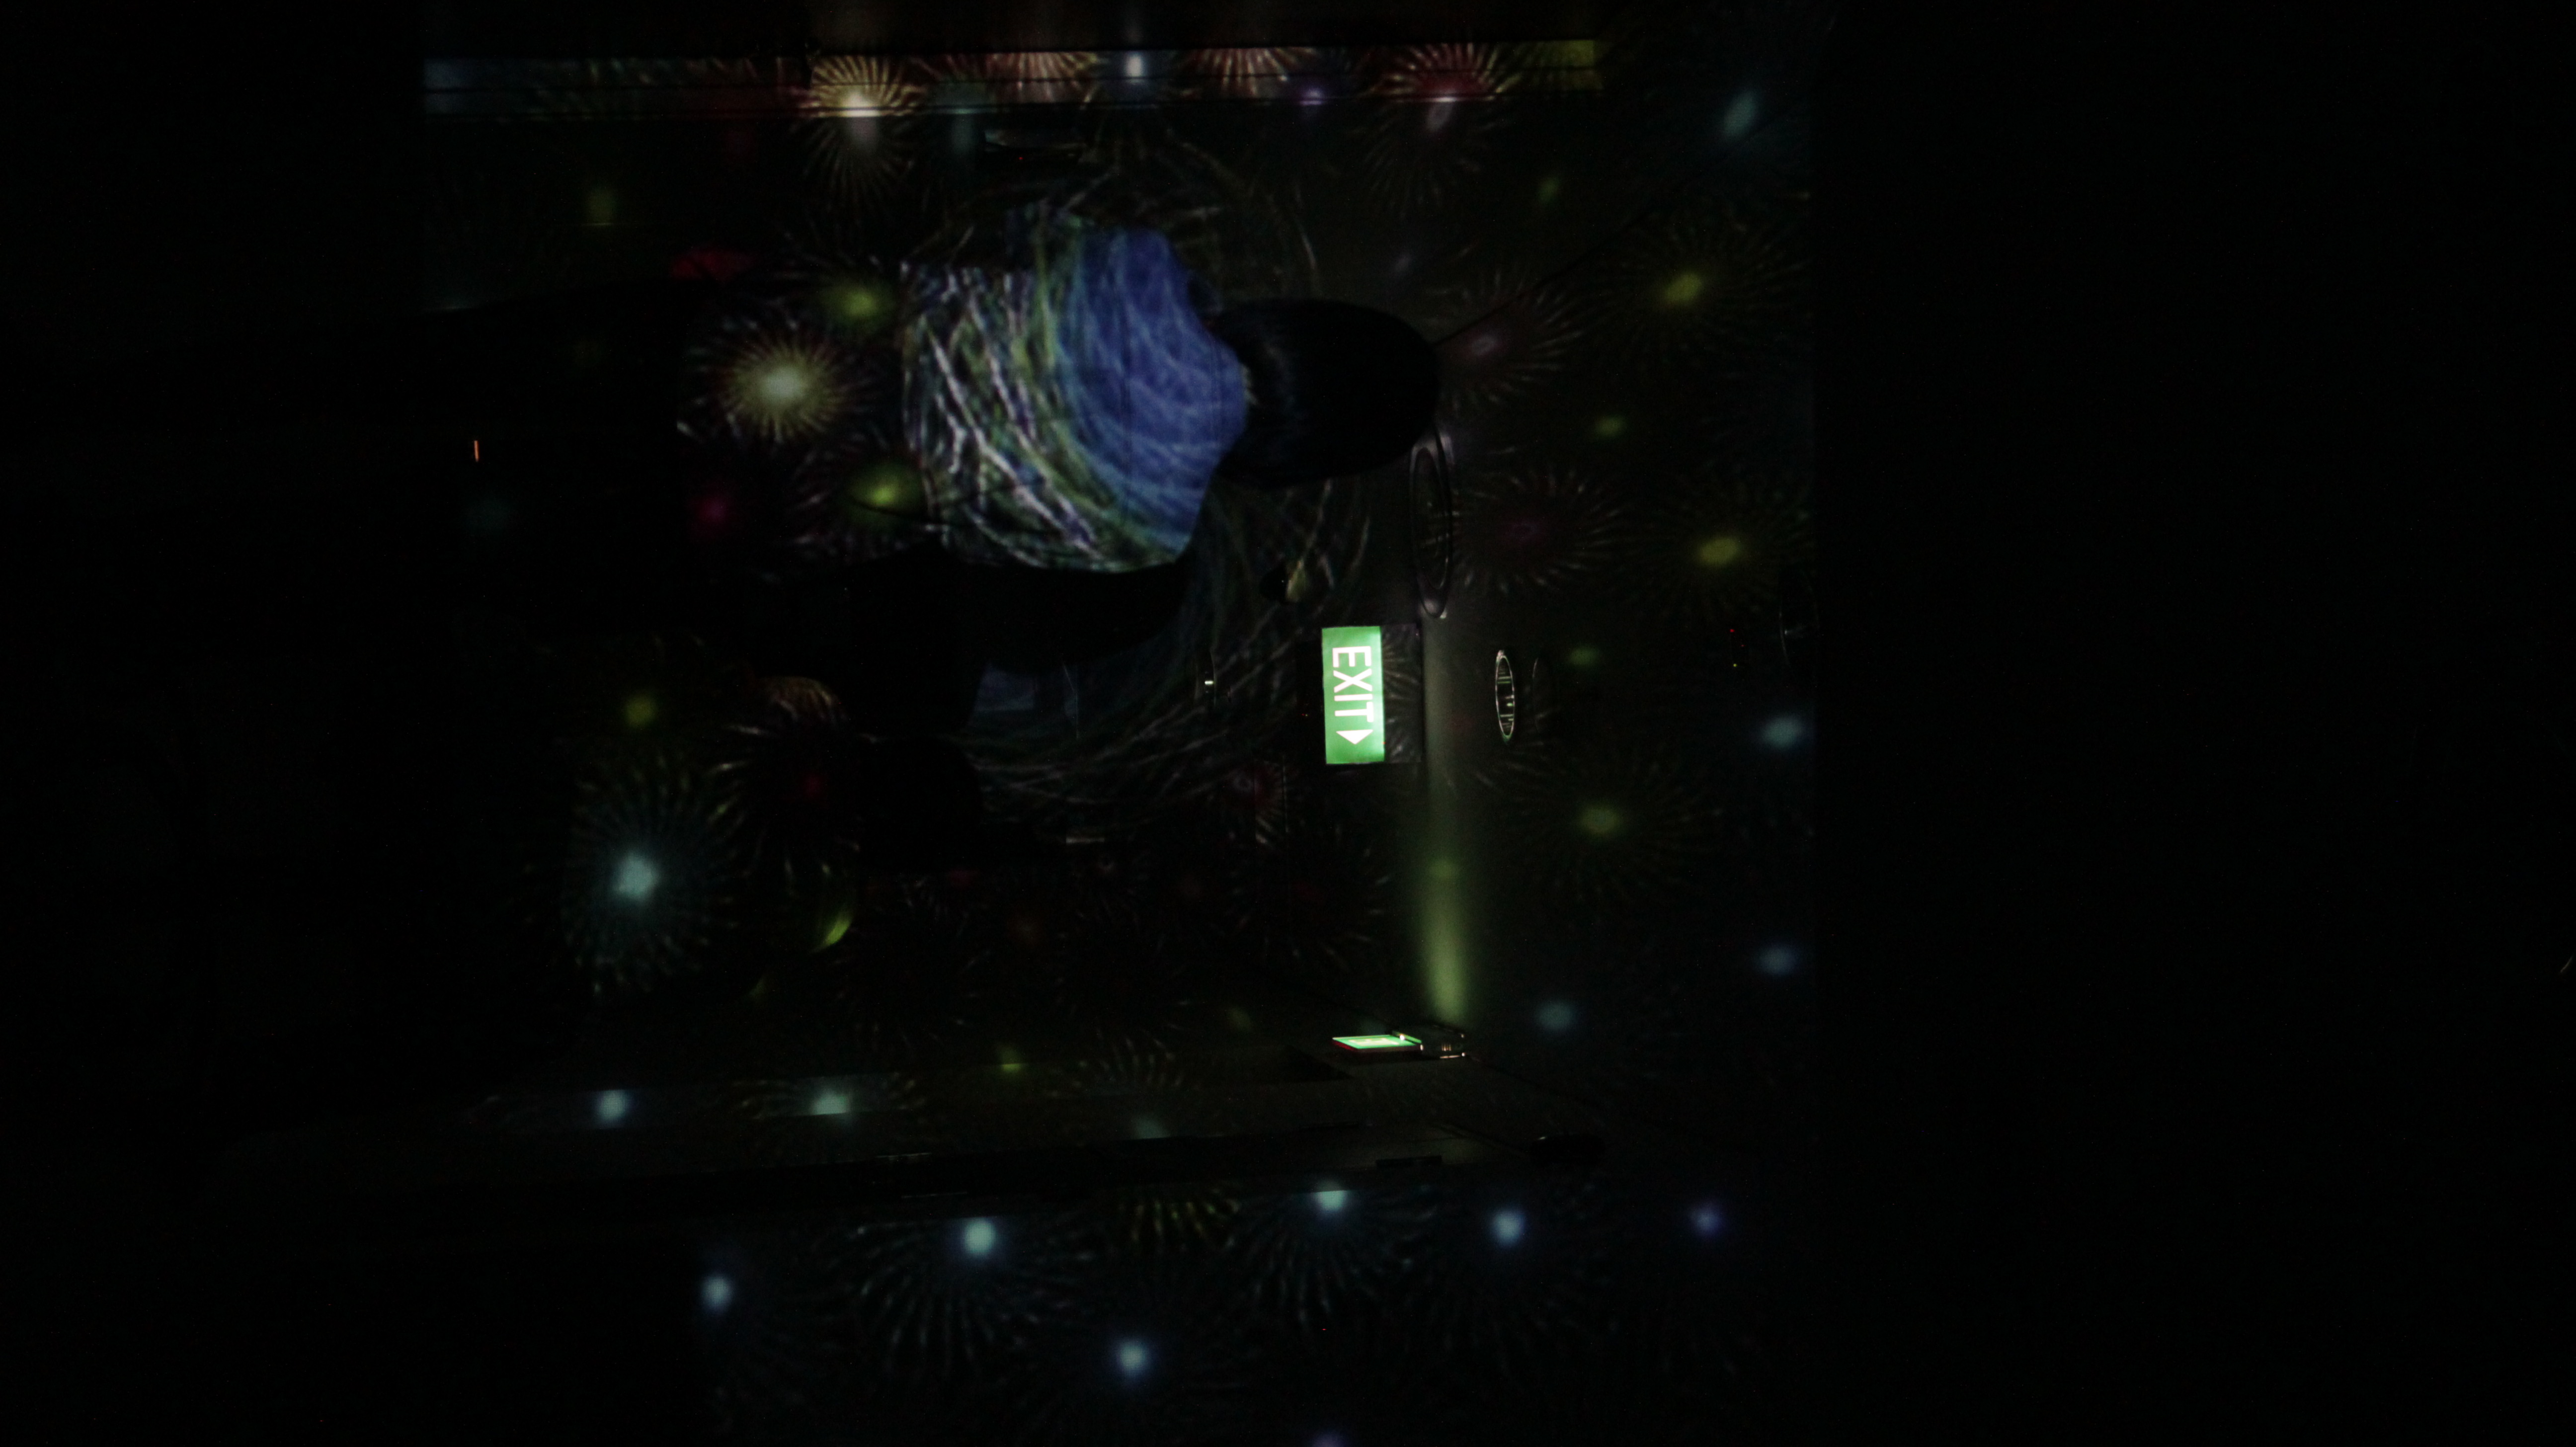
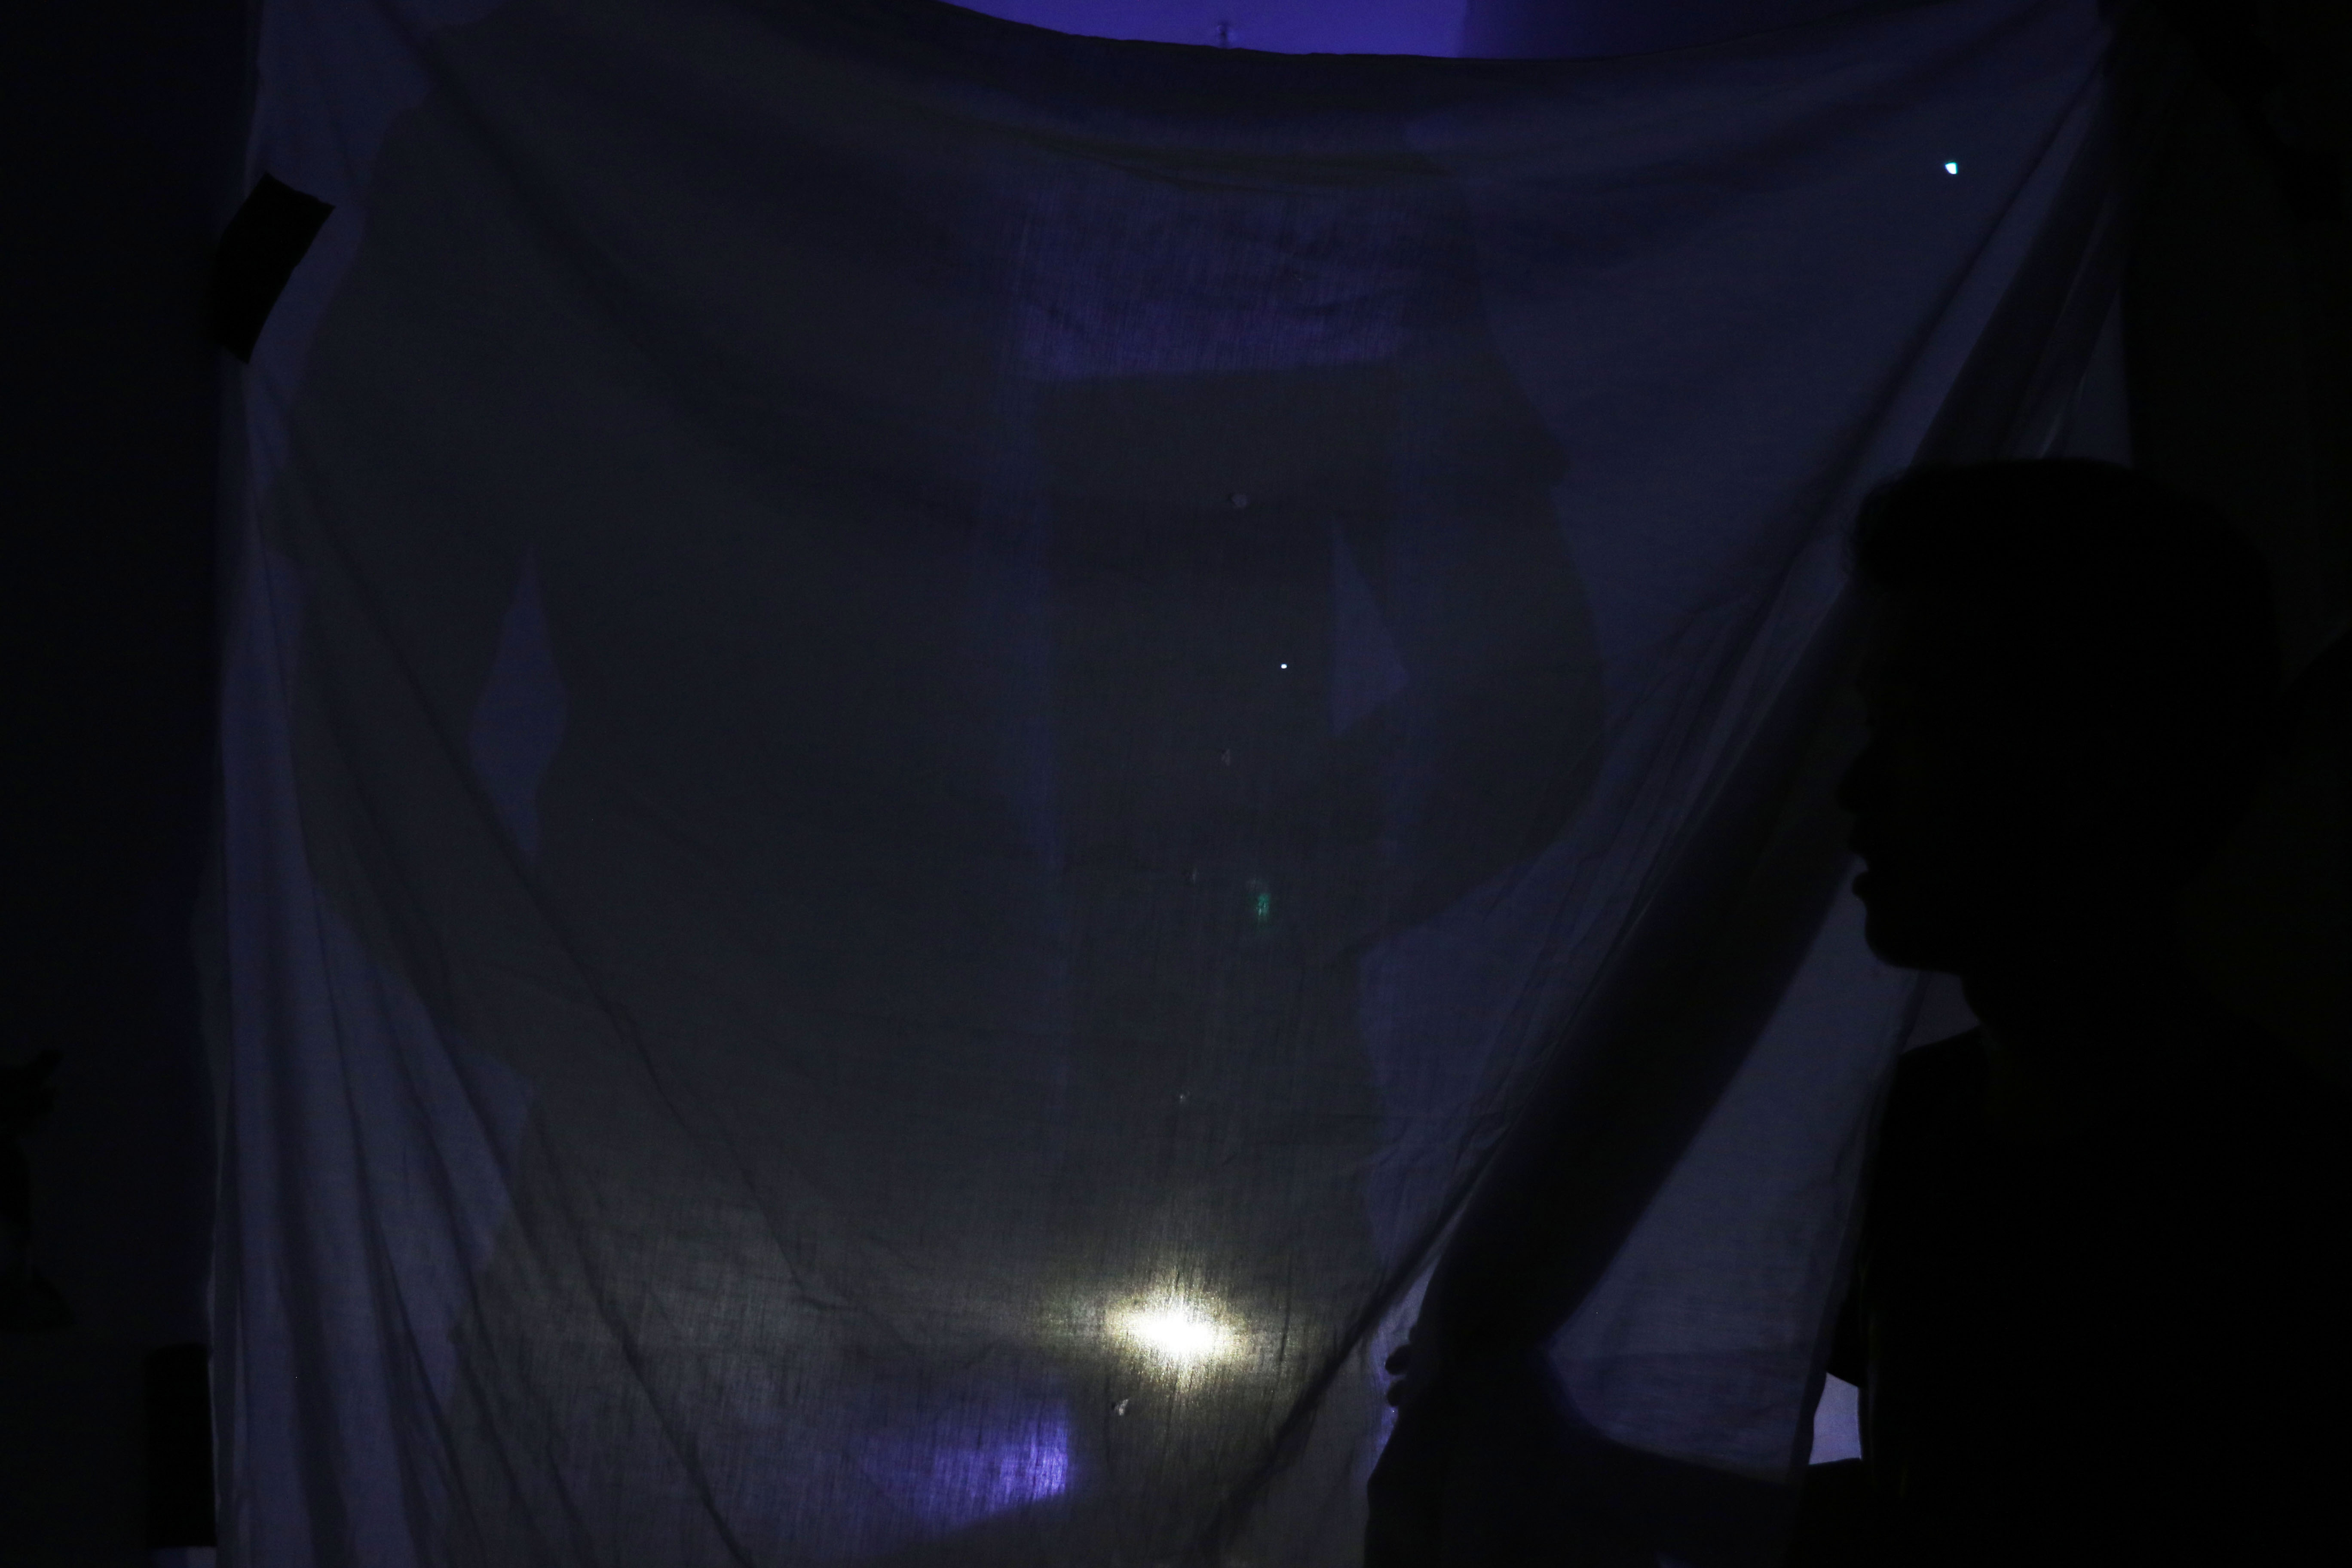
Before we can begin the filming, preparations had to be made.  Filming in the dark meant that lighting was a problem. If we used a low entry camera, the footage may end up becoming too grainy and all our efforts would have been in vain.   In order for the space to be truly immersive, we had to mask it and hide what make the stood out like a sore thumb.


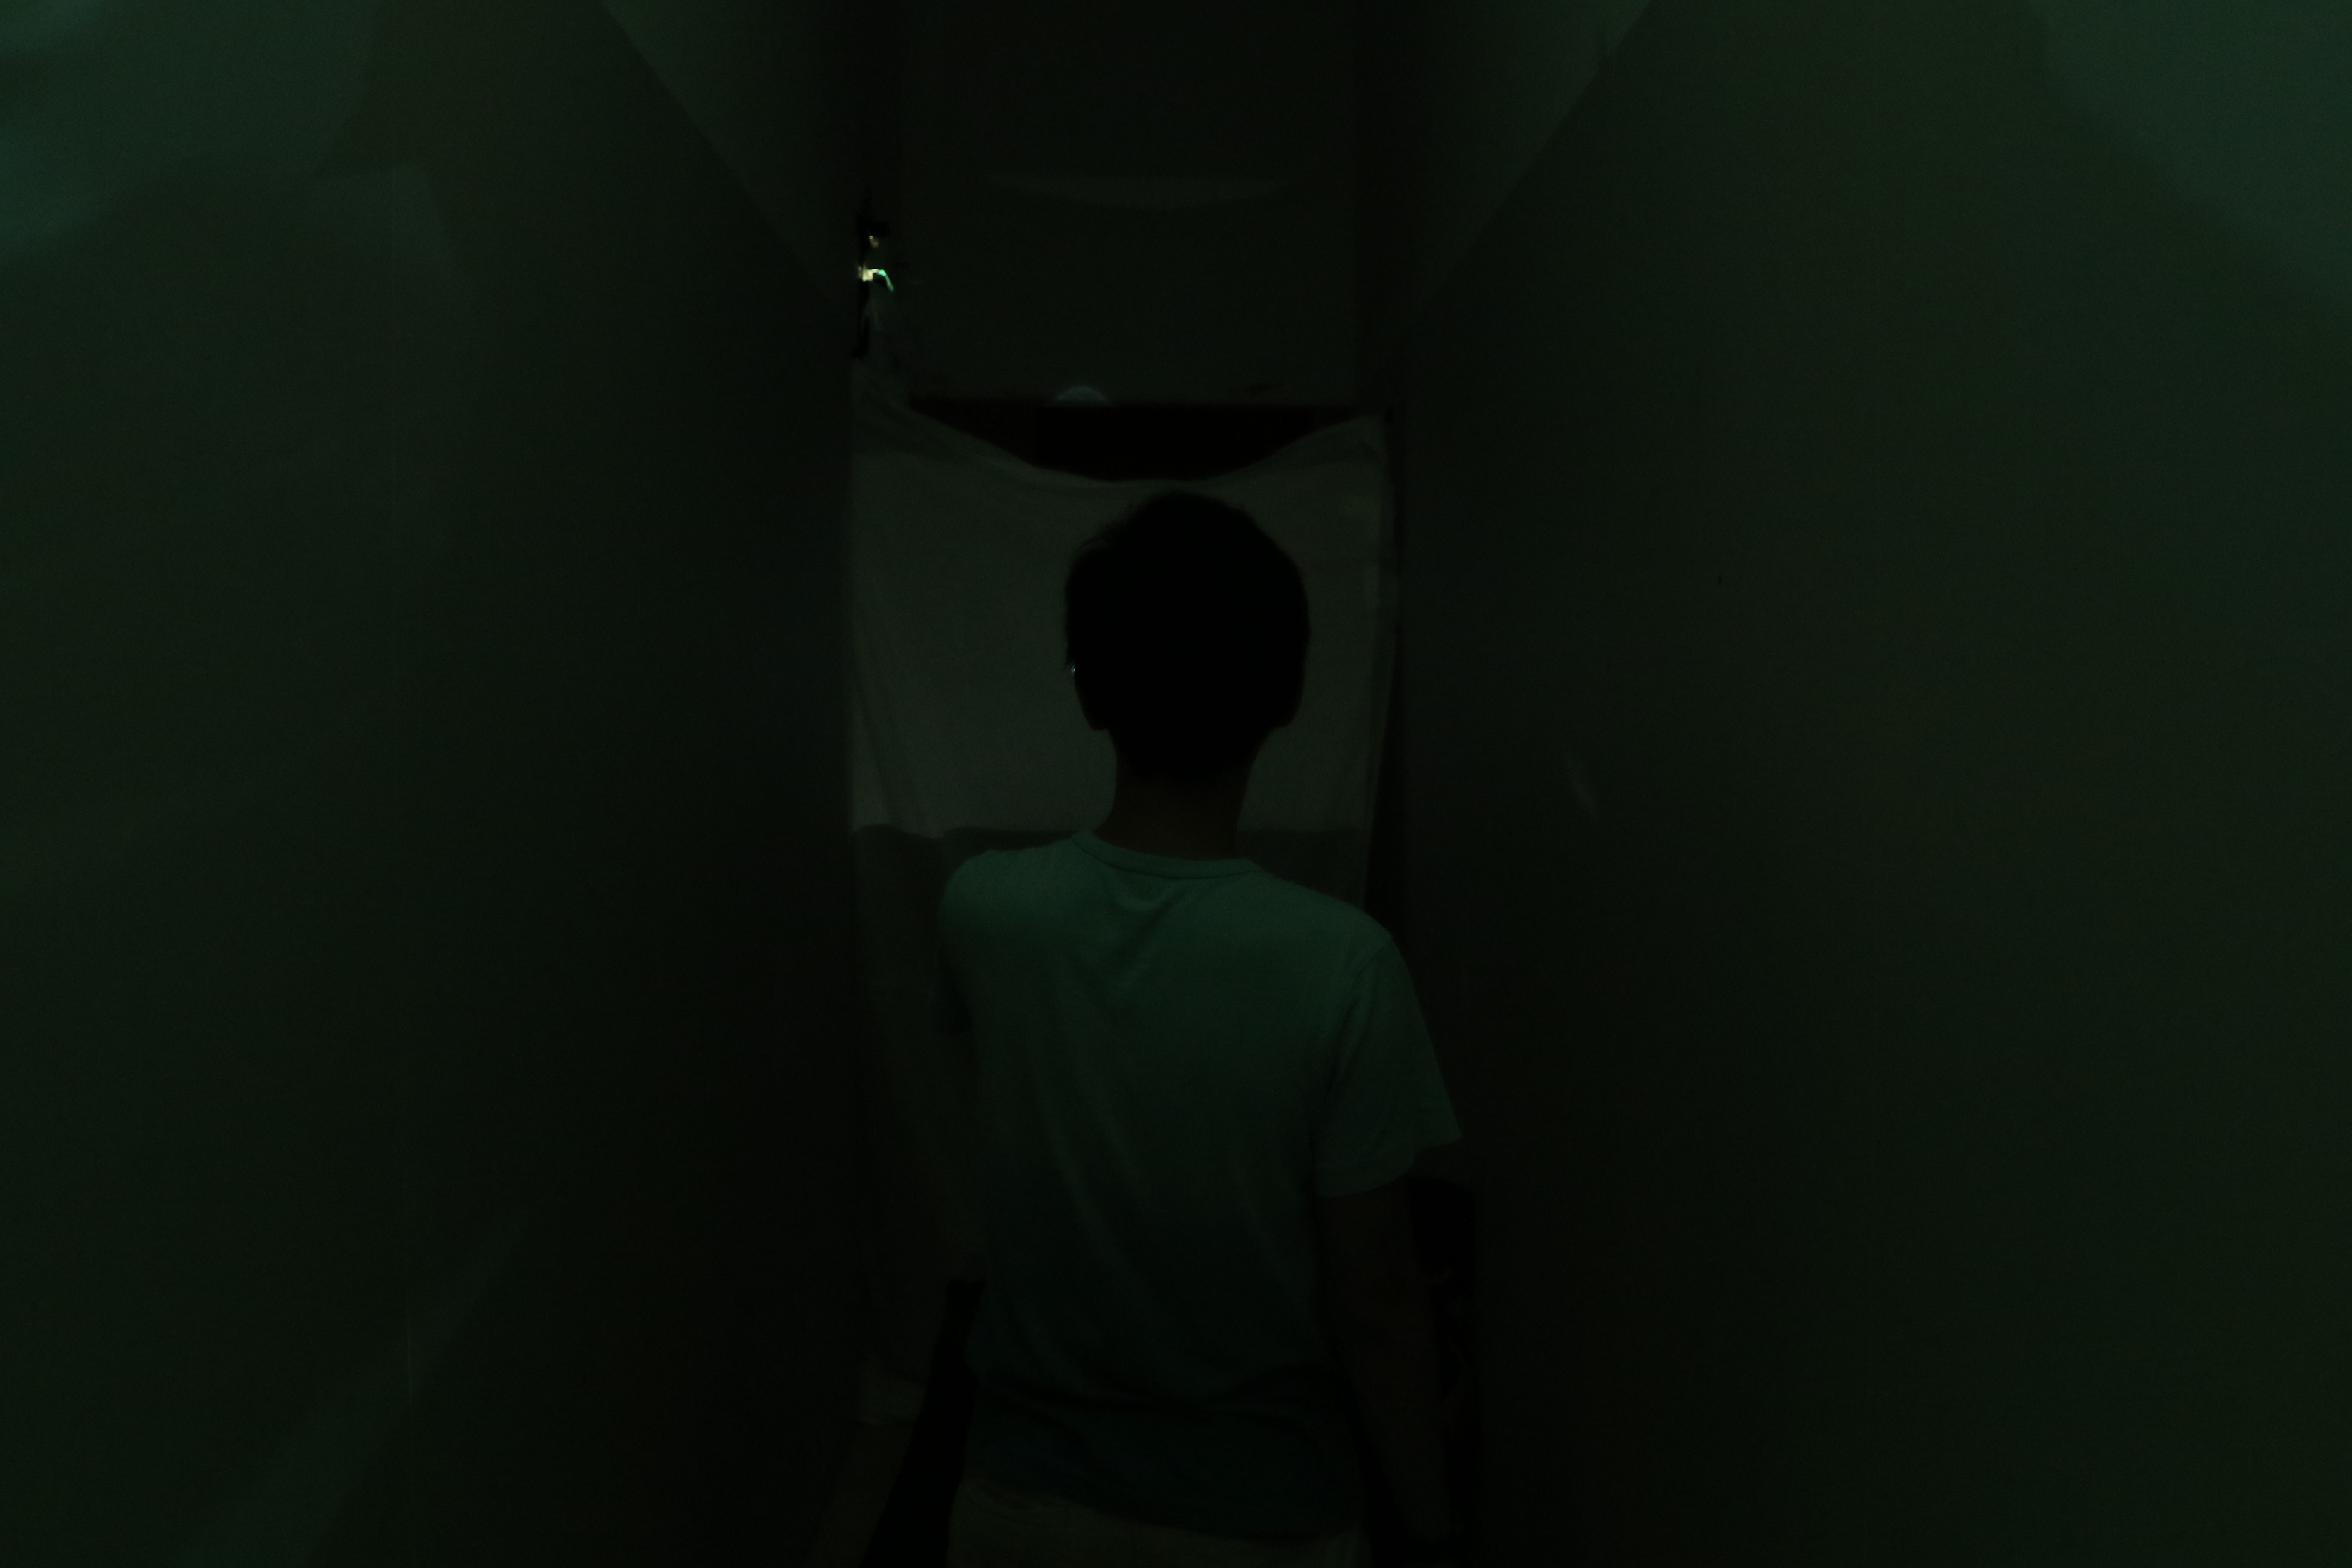
Clothe was used to cover areas that were unsightly. Setting up took practice, we had to try, fail and then try again.  A few nights were spent finding a way for the space to bring out the essence of the visuals.

3F2A2124


3F2A2053


The shoot itself was tensed.  We knew that whether our project makes or breaks depended on it.  A short list of the shots we needed was discussed and cameras were placed in place .


3F2A19383F2A1936
IMG_1579 IMG_1580 3F2A2184 


MASKING – PROCESS

Project objective : PUTTING OBAMA FACE 

Step 1

Adding image to the screen and using alpha blending to merge the two images


Step 2

Inputting the coordinates of the face tracker and using it to draw the image file.

Step 3.

Twerking the settings so that the face image covers my face completely.


One of the main problems was adding the values of the rect into the matrix and then adding the image.

I couldnt get the right values in so the image responded to the face but it was only around the top left corner of the screen and not scaled to size.


usedstdim 1 was used, taking string 1 and 2( x1, y1) for the start and string 3 and 4 for the end (x2,y2).


DSC_0547

Face is detected! Image draws with the box.


The box drawn was smaller then my face so the value of y1 had to be adjusted to cover the entire face.


Color of the face was also adjusted through the channel.

I have yet to blend the sides of the image yet.

obama

After editing the image, the face now fits my face but the alpha blending is still lacking


Thanks Obama

assignment 2


Interactive 1 Assignment

The approach to this installation seemed fairly simple.

Step 1

Find the X coordinates of the face

Step 2 

Create two conditions

to trigger the left and right video.


One of the few problems when creating this installation was when the face detection was not really very reliable.


The video will re trigger every time the face detection failed.

A remedy of this was to use a better cameraDSC_0551


Using a logitech 1080 HD camera I was able to get a better reading of the face and hence able to create a more reliable installation.


Screen shot of code shown below


Screen Shot 2015-09-15 at 12.46.25 AM