MILESTONE: One week before submission!
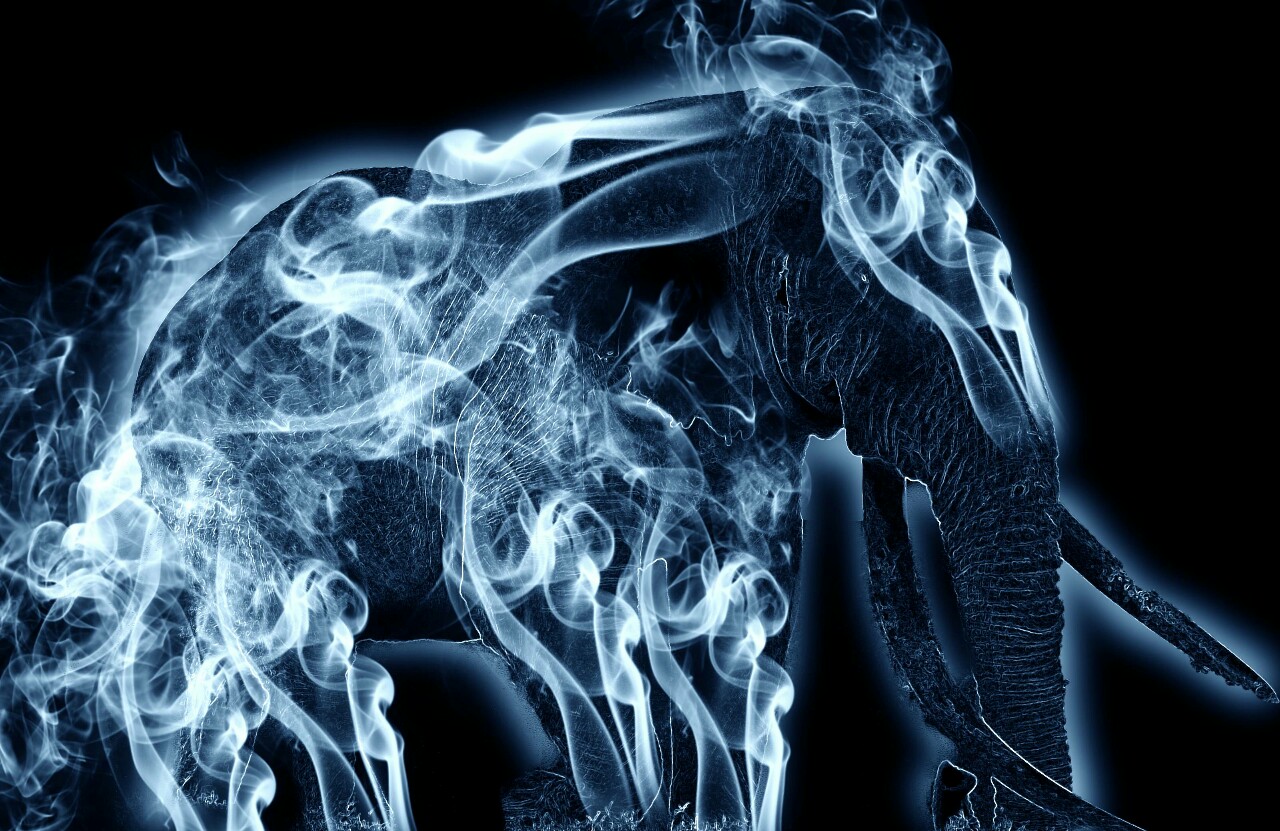
Merging our animation into the particle system:
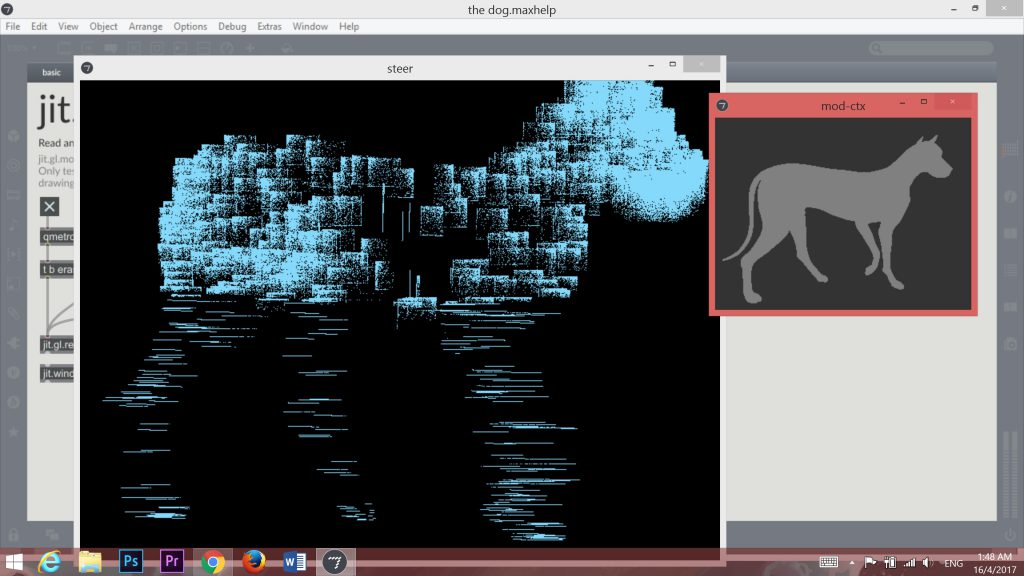
Our 3D animation and 2D particle system rendered in the same space, but on different planes.
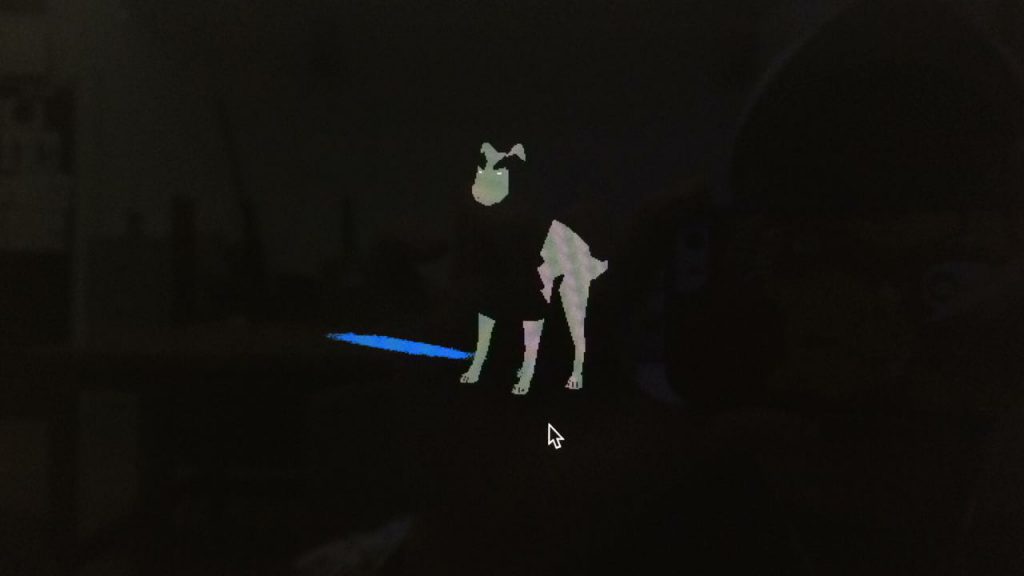
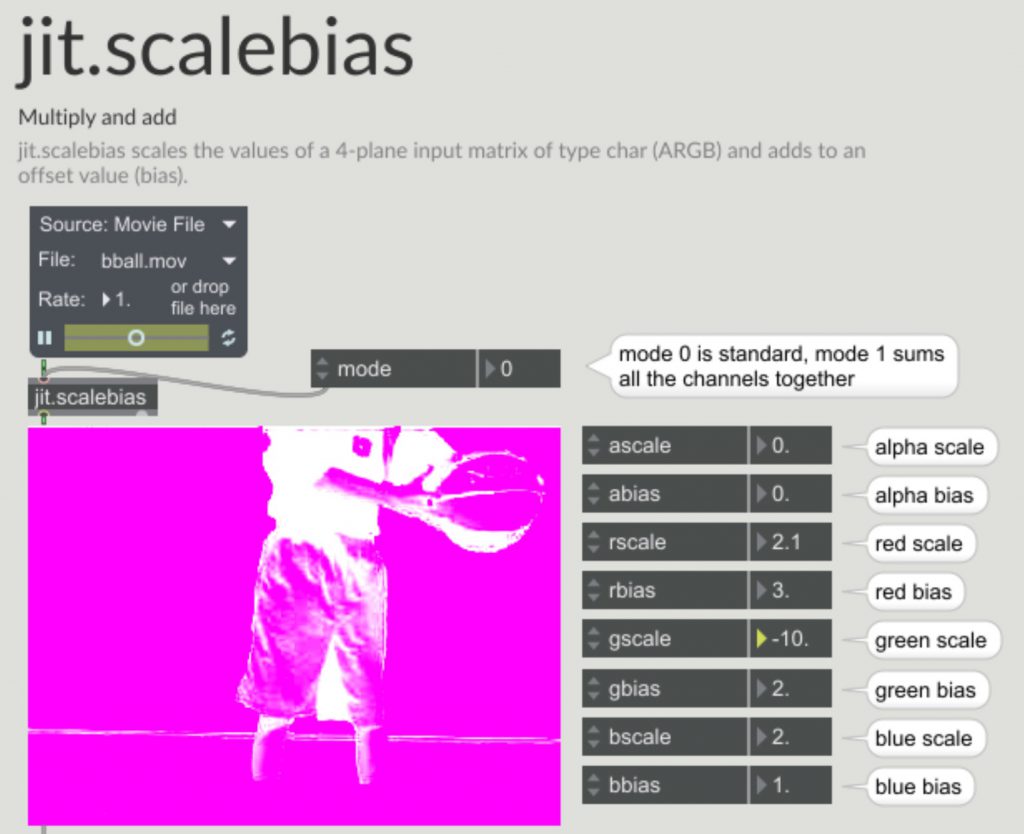
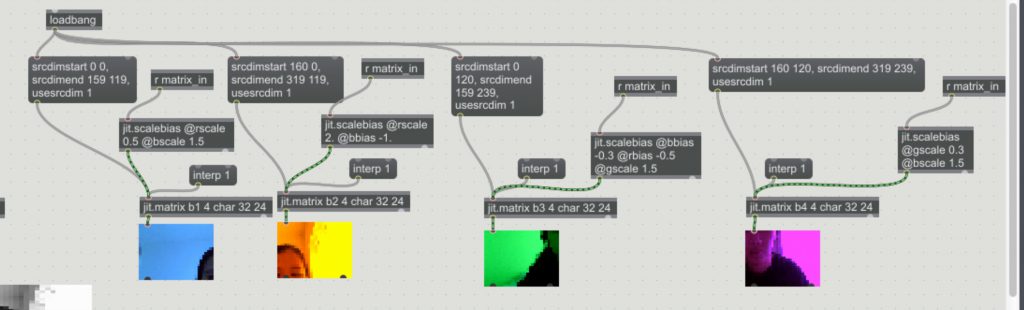
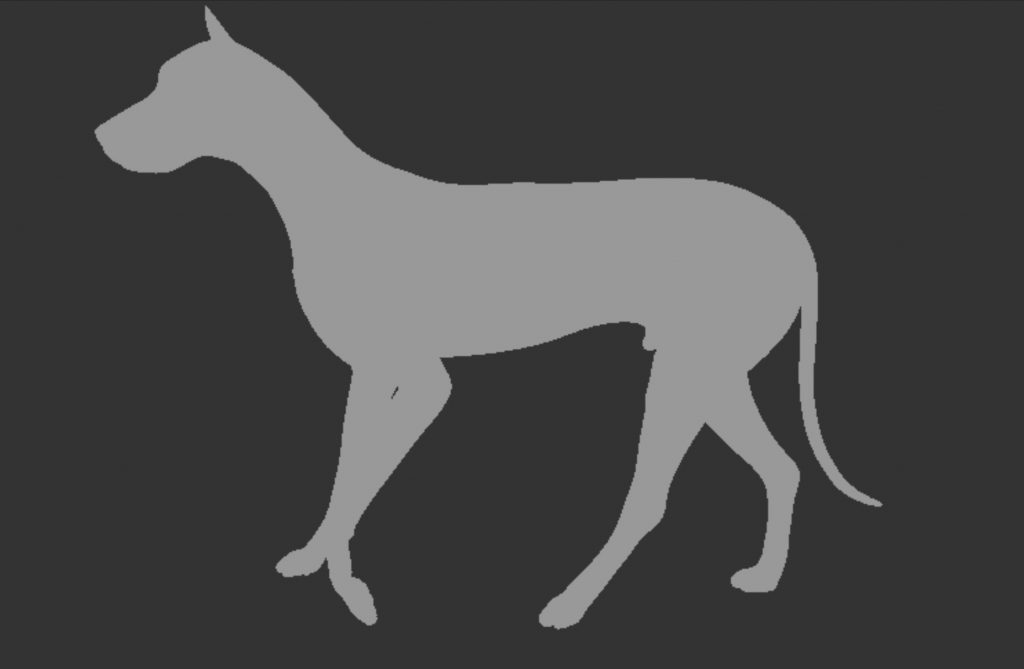
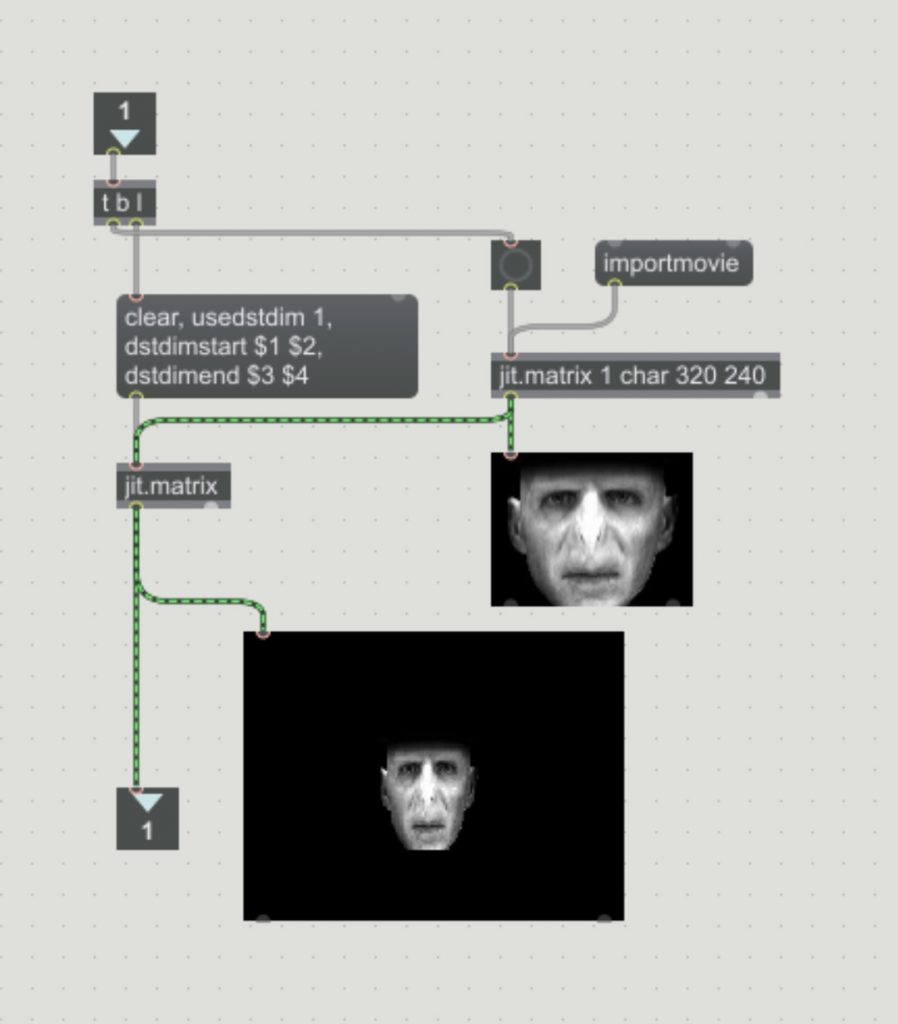
After a long while of experimenting and figuring out the patch, we finally managed to render the animation in point mode. We extracted the location matrix of the animation and linked it with the location matrix of the particle patch (and disabling the randomness generated by the noise). However, it resulted in a very glitchy spread of particles, although the general shape of the animation is there.
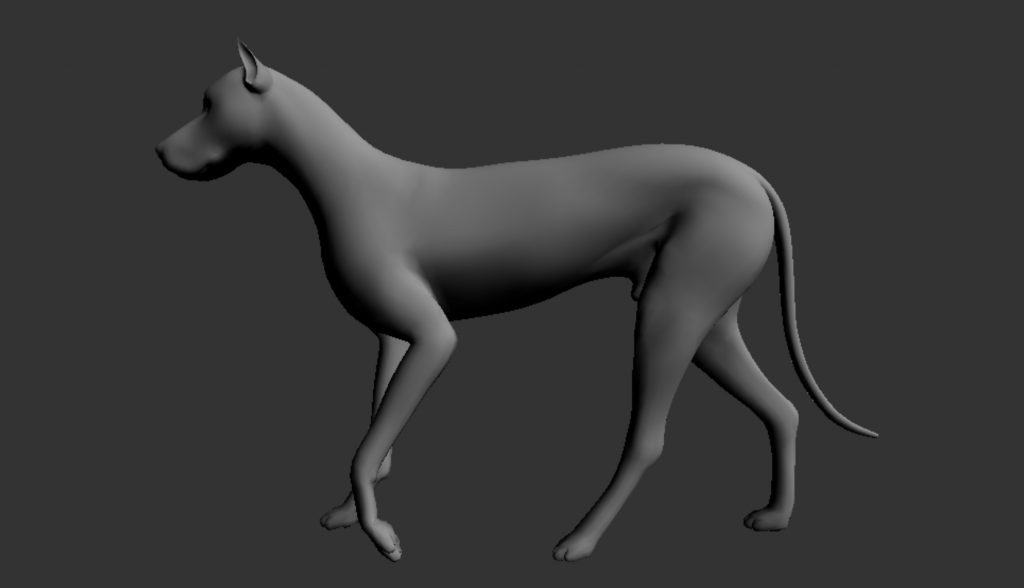
(Front view of the dog)
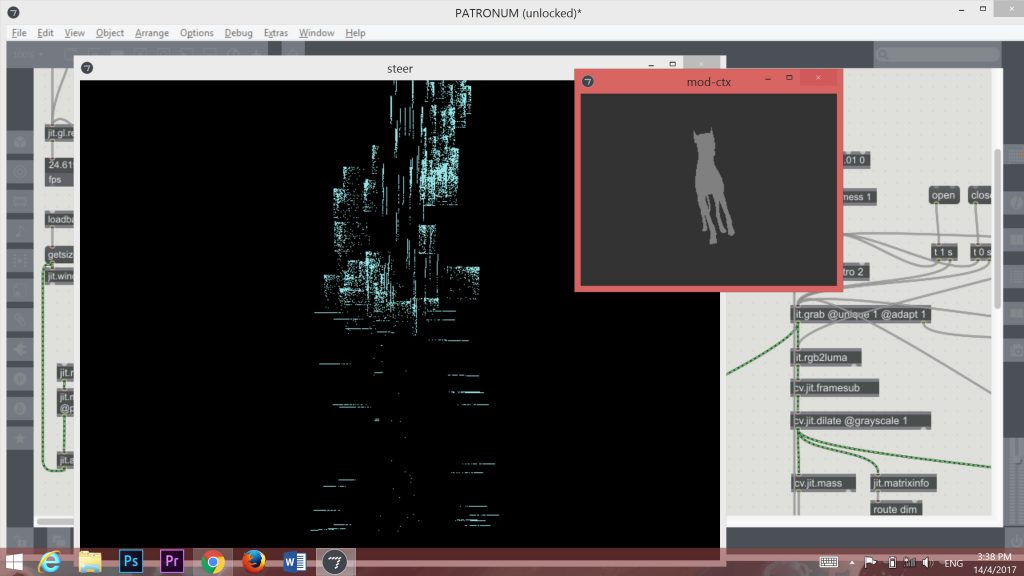
(Side profile of the dog)
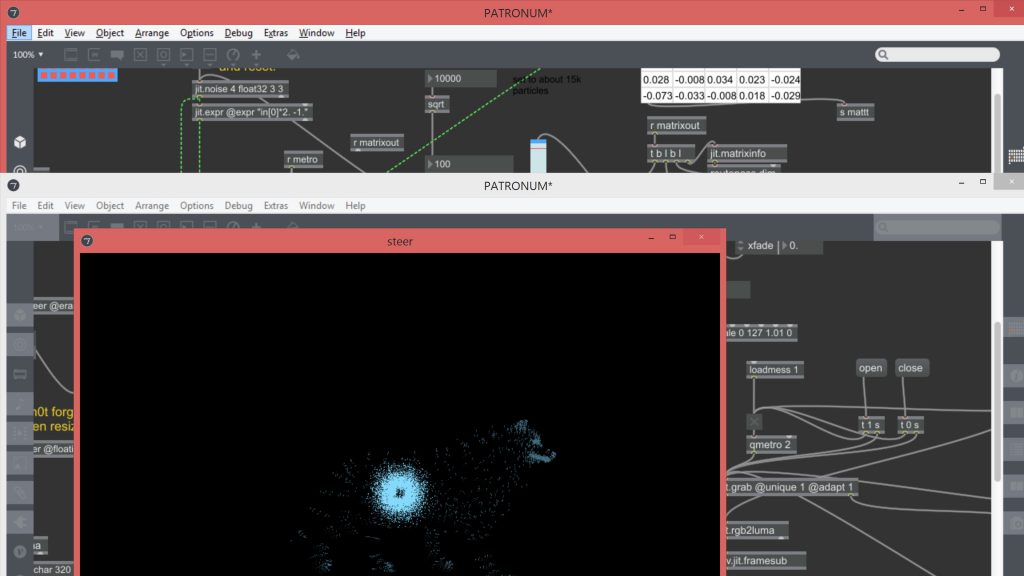
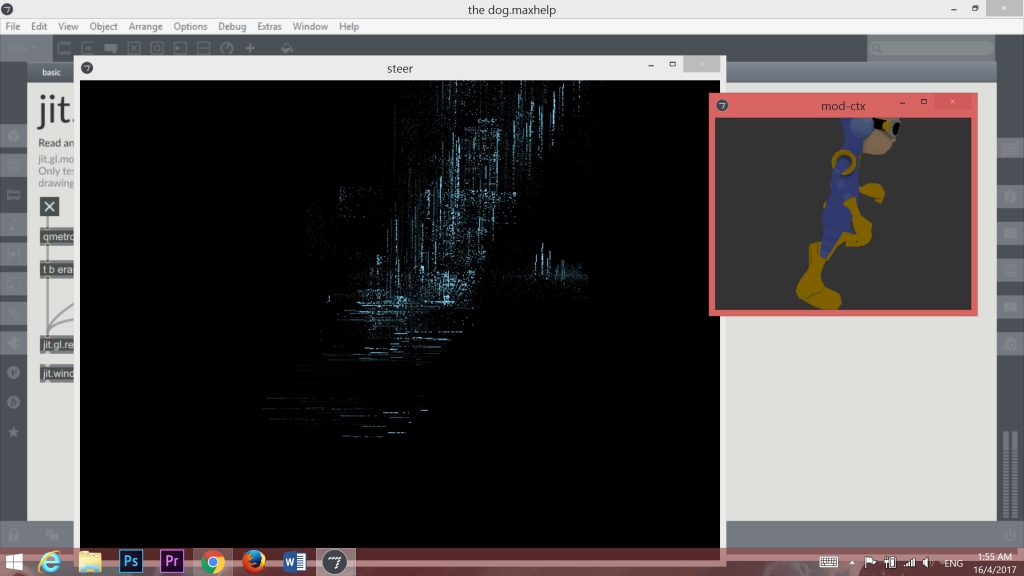
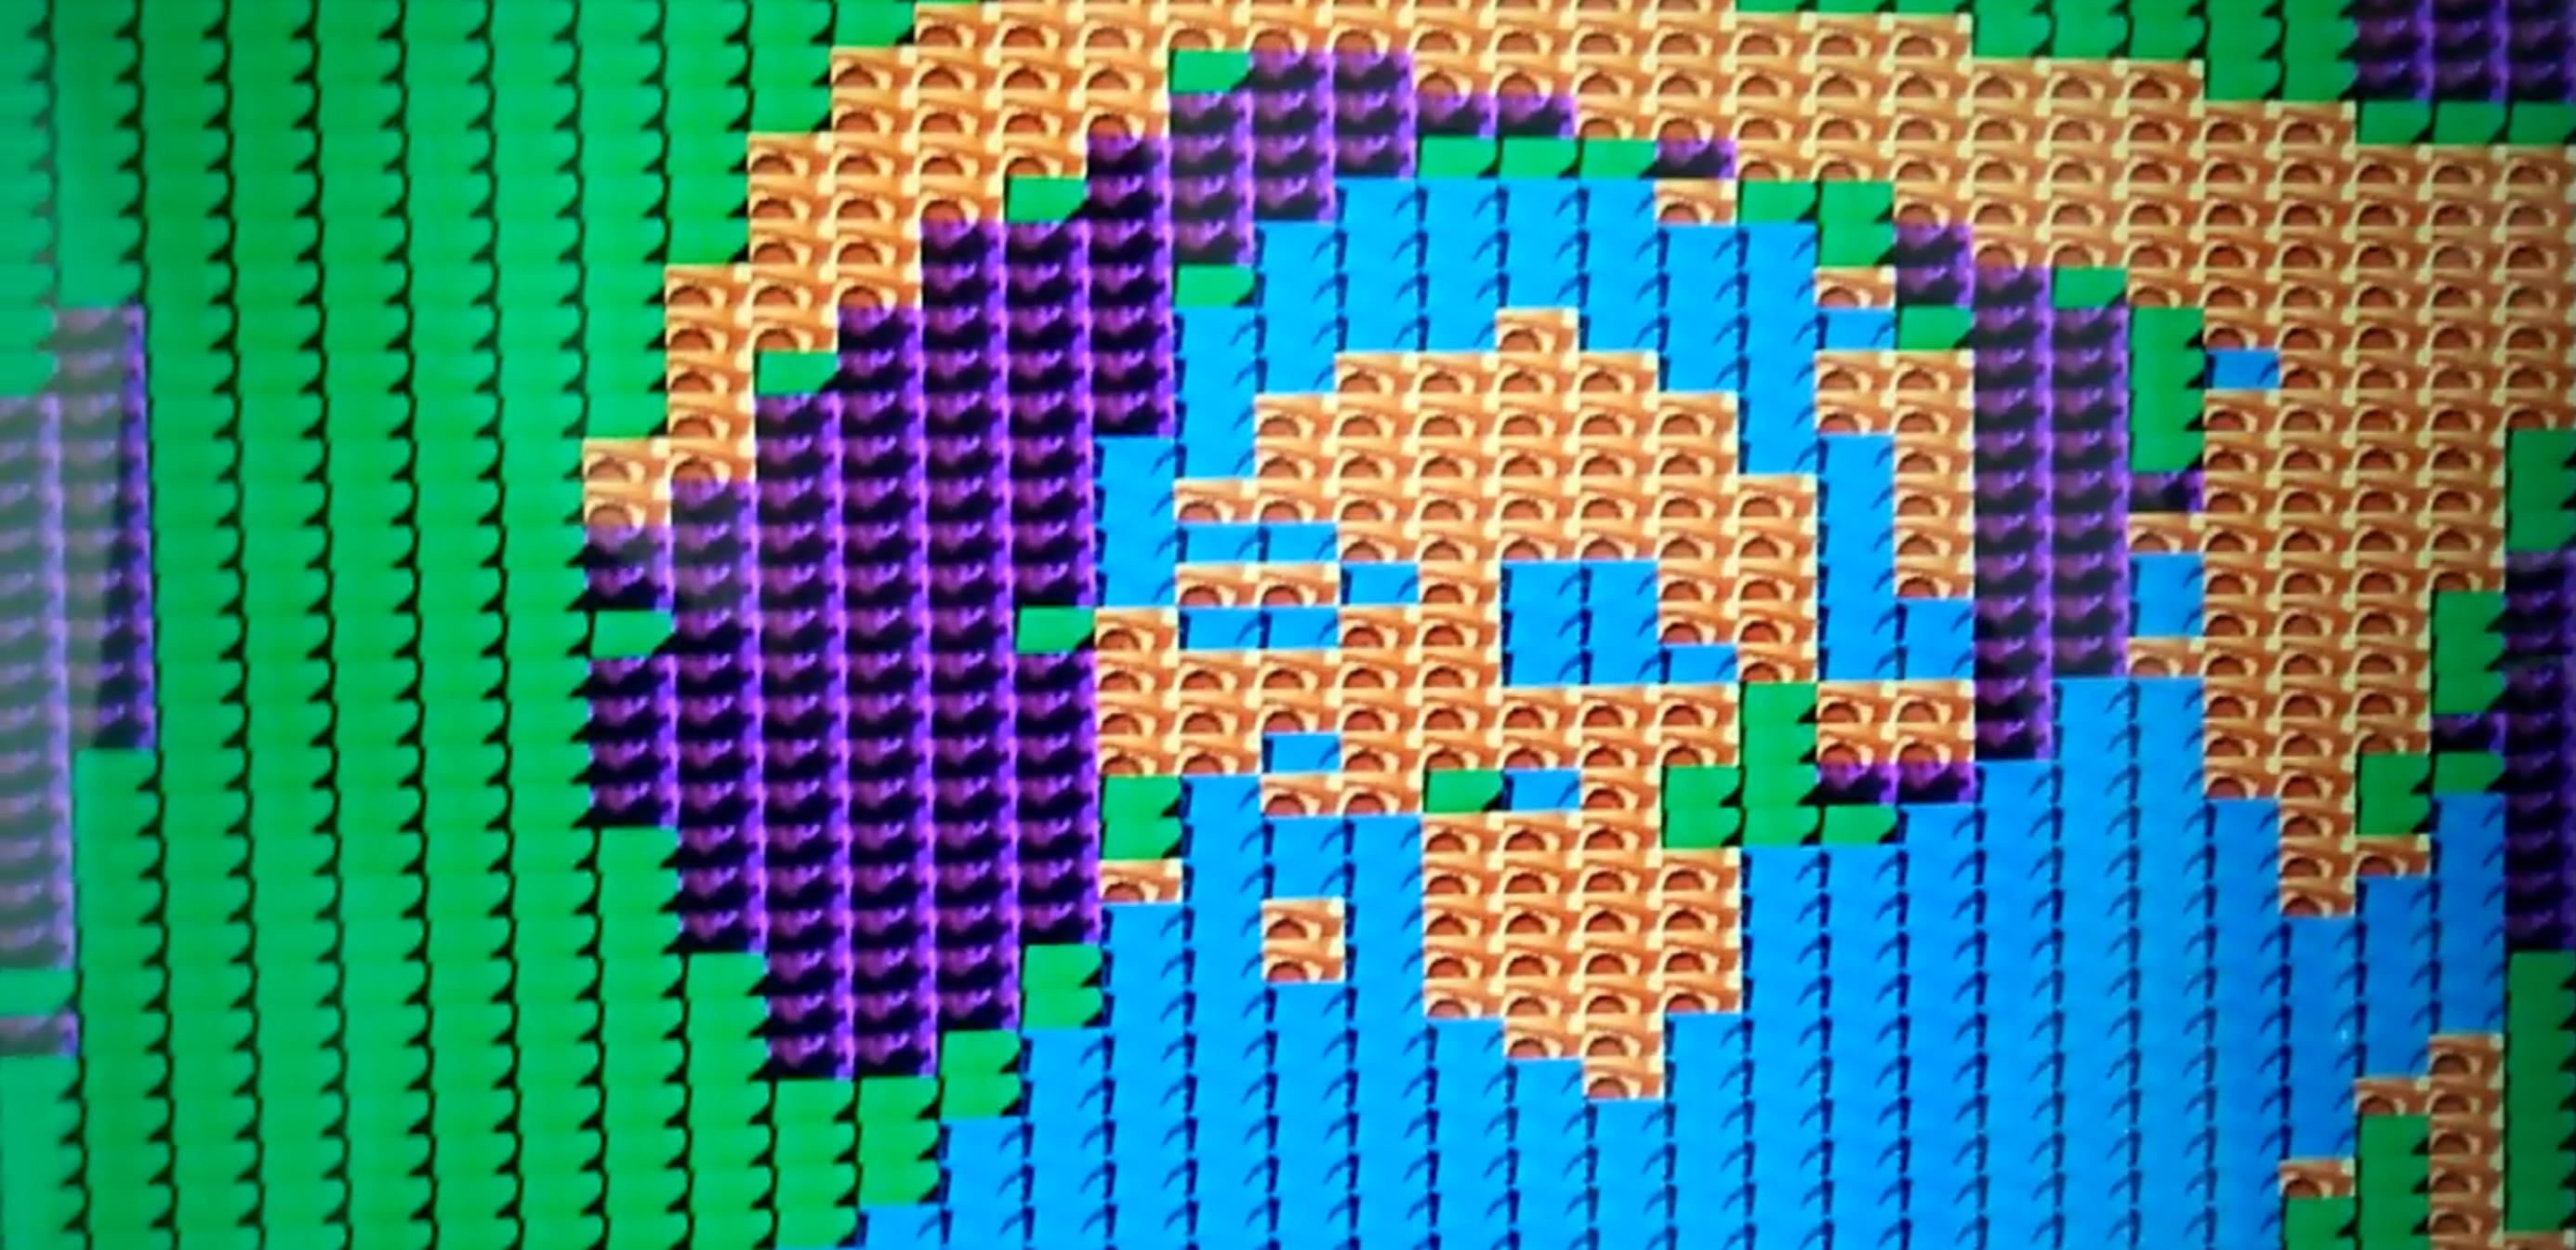
 After a few days, we finally managed to get a smooth 3D spread of particles for our dog – and animate it!

We also found a function called jit.xfade -> which allowed us to switch between two matrices, 0 being left matrix, 1 being the right matrix, and anything in between 0 and 1 displays a mix of the two.
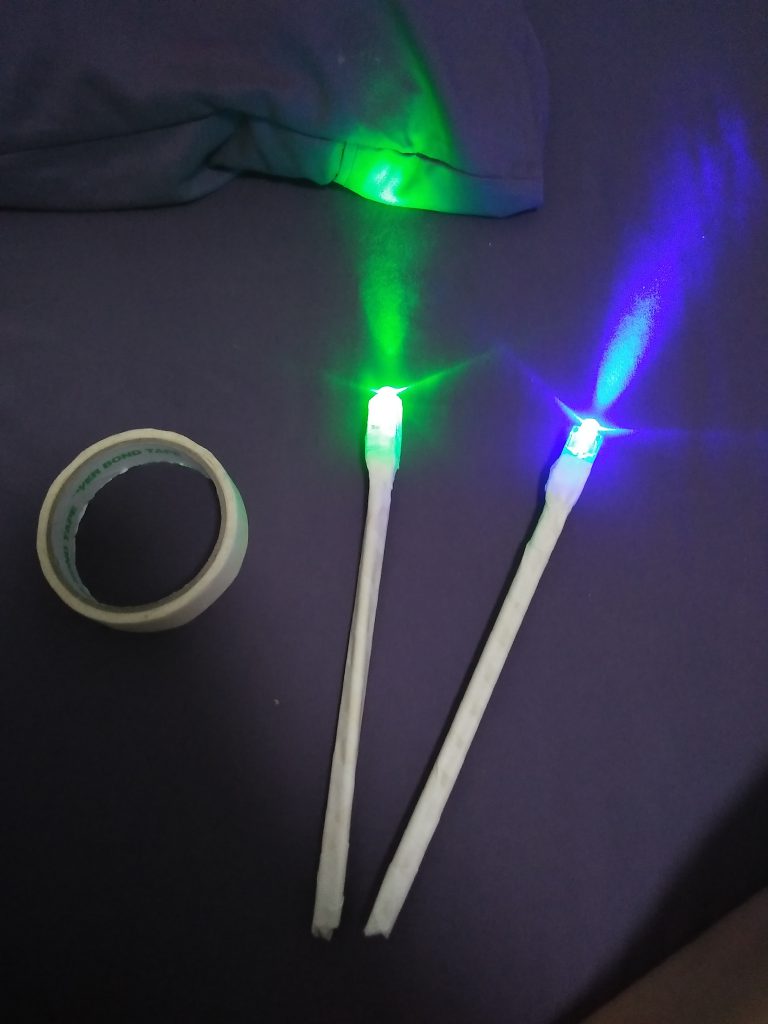
Hence, our left matrix was the animated dog, and our right matrix was noise. We then connected the slider (scaled from 0 to 1) to our presence patch. Therefore, the faster the wand is waved, the more likely the dog is going to appear!
moving on to…
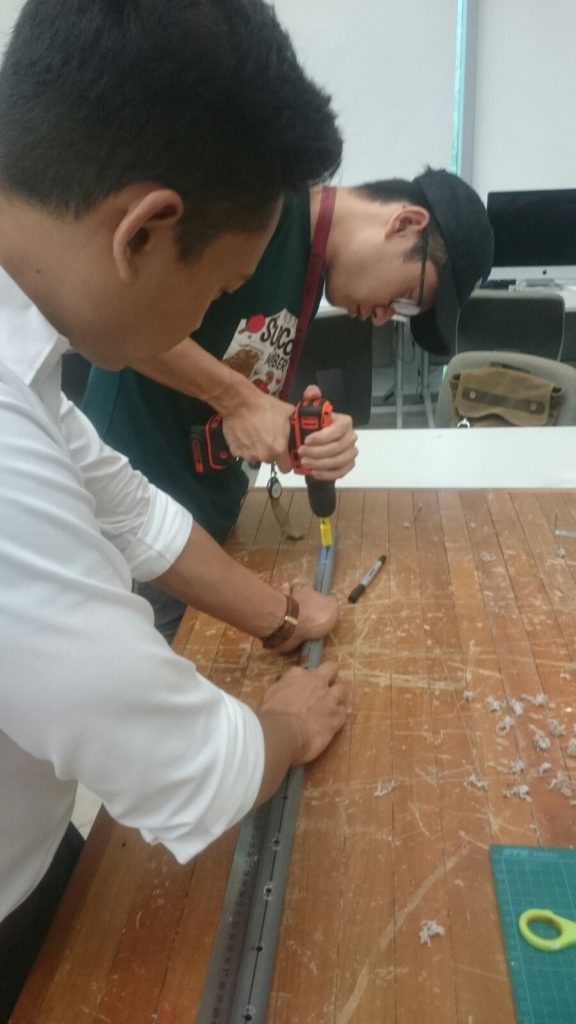
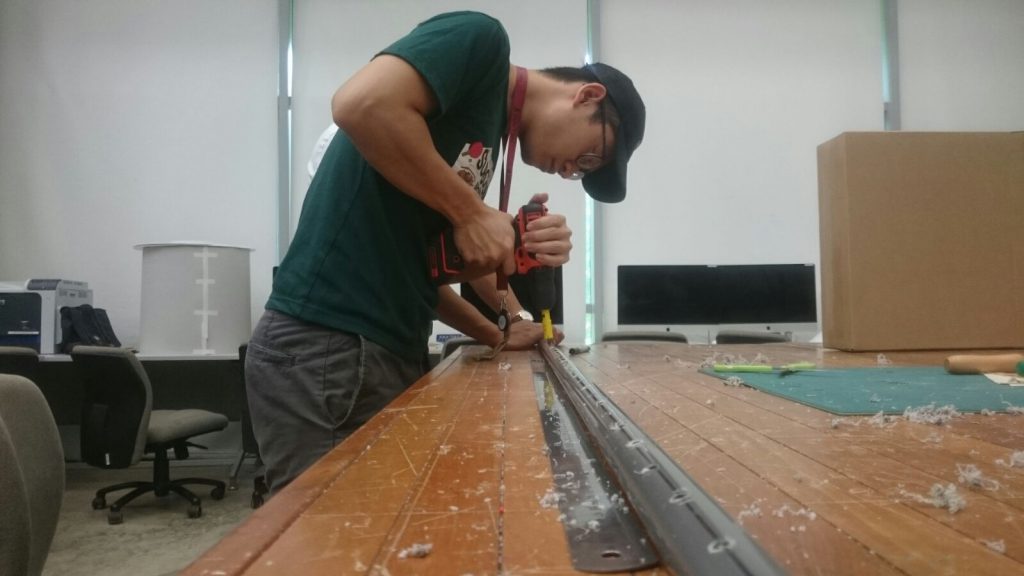
Physical setup:
We met up in school on a friday to build and test our smokescreen system. As we were unable to purchase dry ice on that particular day (it was a public holiday), we decided to experiment using a smoke machine we borrowed from school.
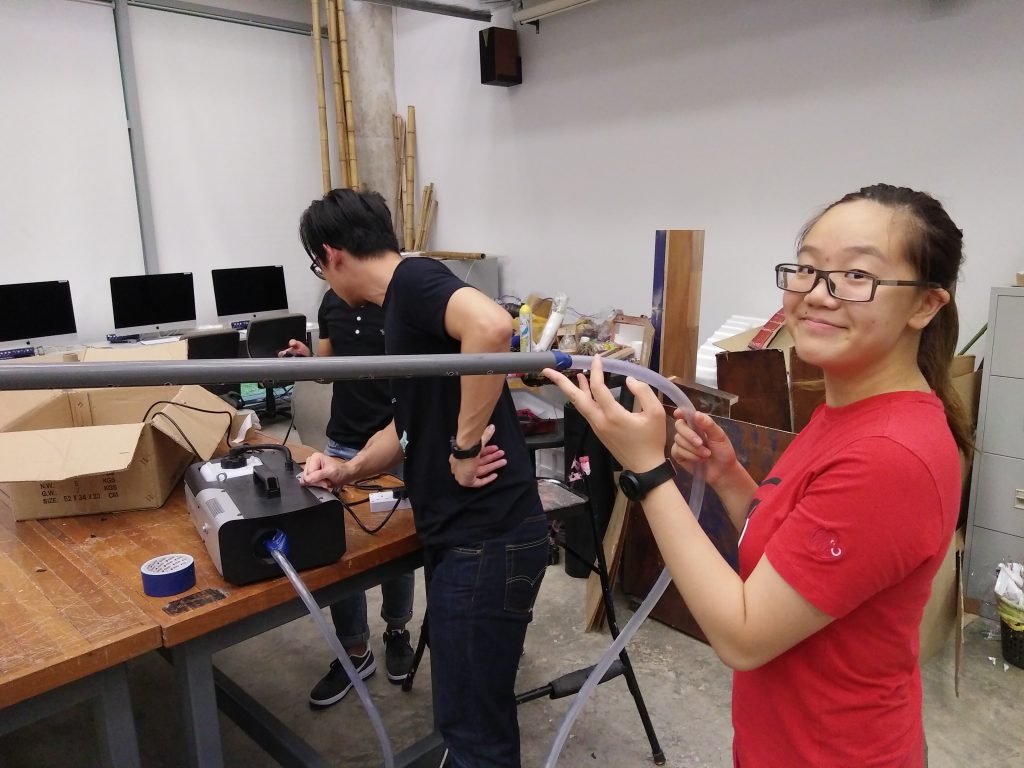
Connecting our hoses and hole-y pipe, and propping them onto a stand.
Unfortunately it was unfeasible to use the smoke machine (we kinda expected it actually), because the smoke was very hot and insufficient in amount. It overheated our funnel and melted the glue on the duct tapes.
A few days later…
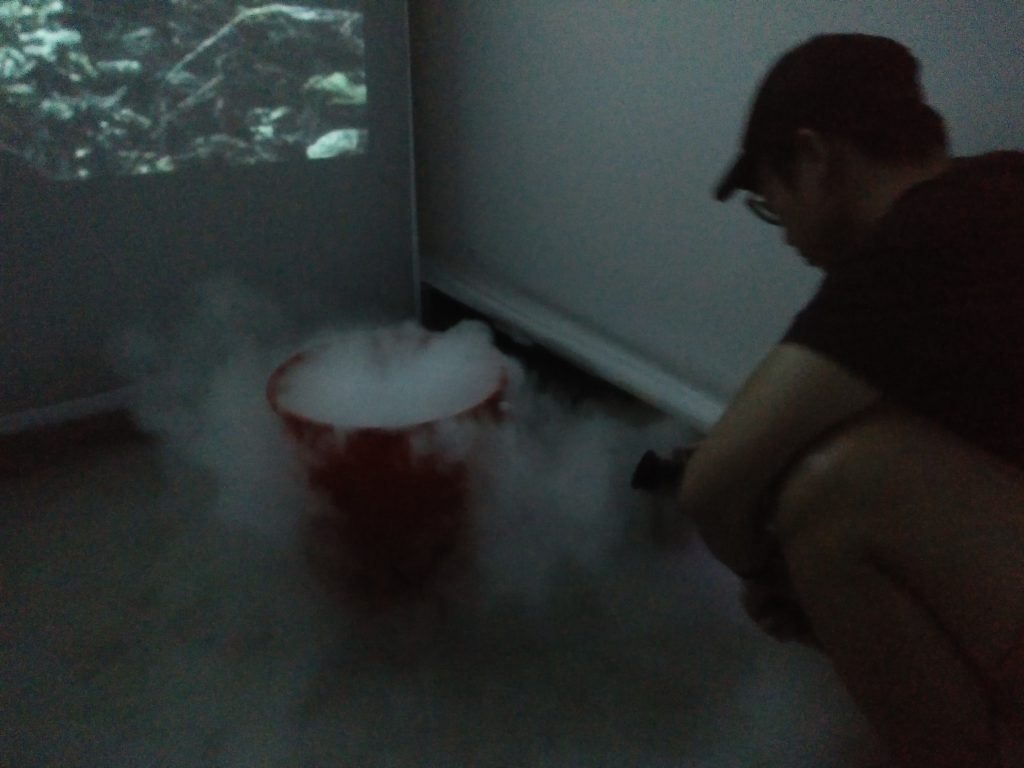
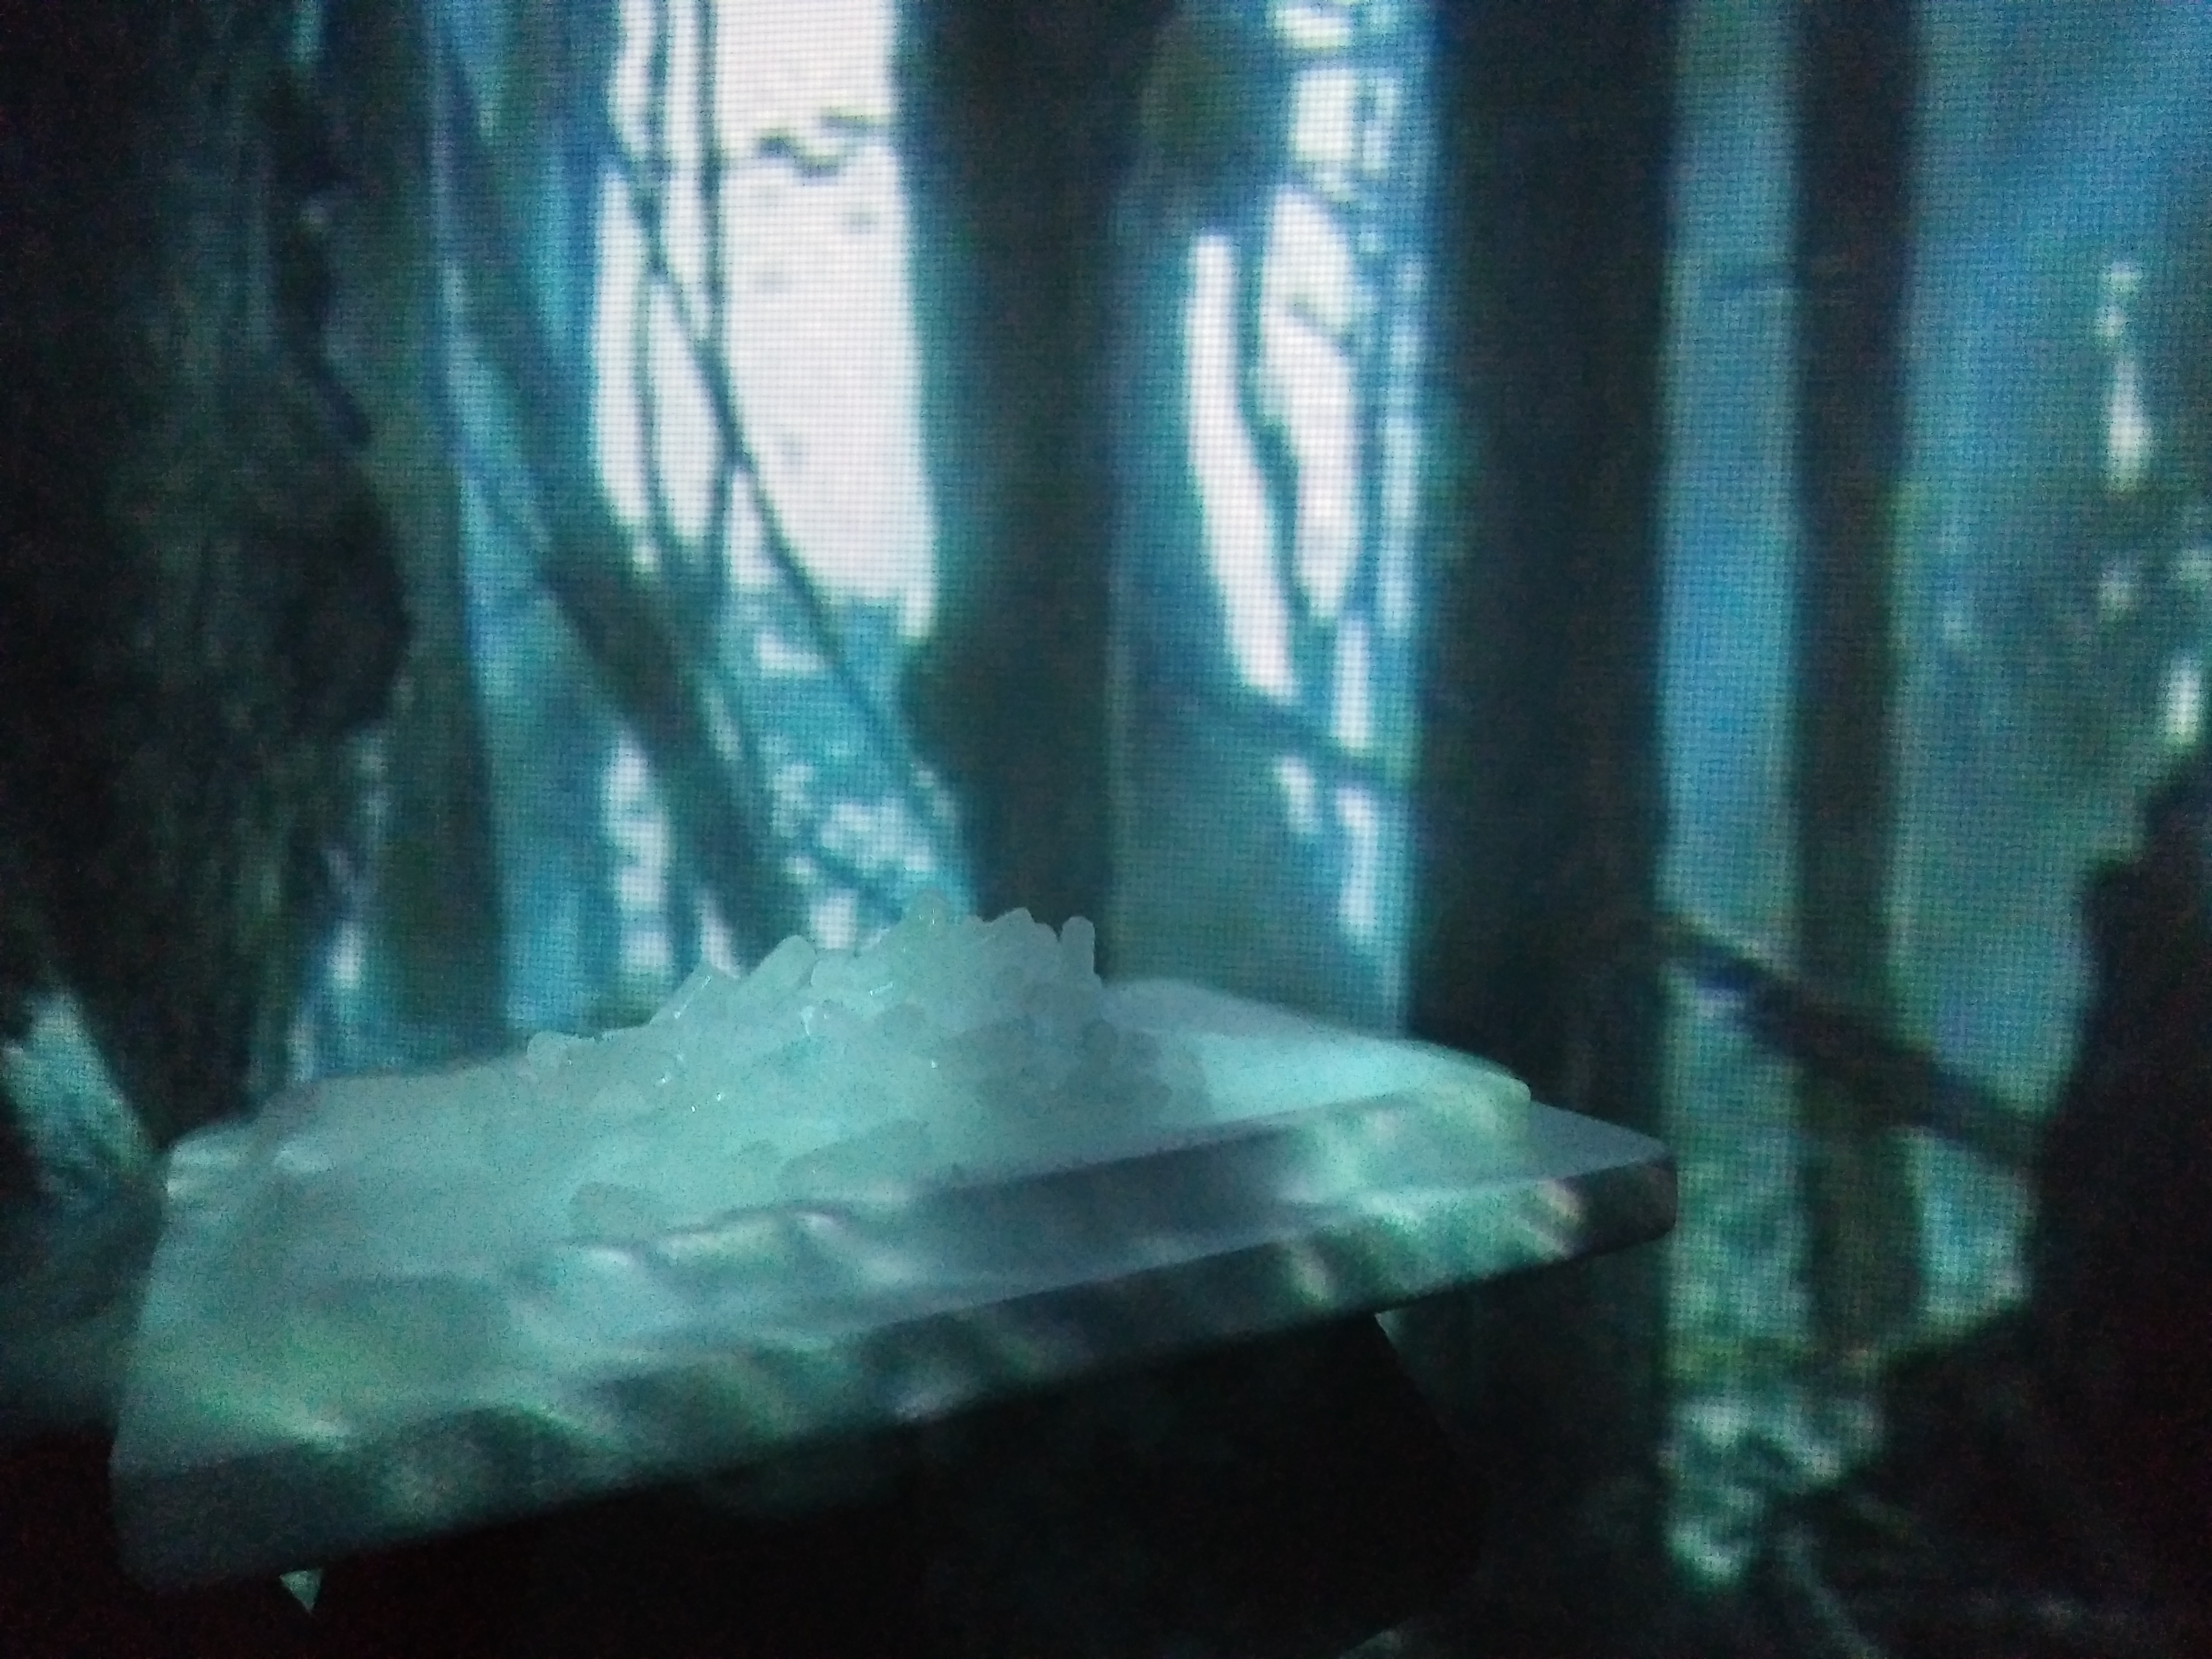
Managed to get the dry ice (3.0kg) from the store! We built a pail system to channel the smoke from the pail up to the pipes, and dumped hot water onto the pail of dry ice to produce the smoke.
Result? -> Our system did work, but the smoke channelled out from the pipes were too weak and too little (like short wisps, definitely unable to form a screen). Hence, we decided to increase our amount of dry ice.
On the day of presentation…
We decided to ditch the smokescreen idea because the smoke wasnt solid enough, and we really needed a clear projection to see the shape and change of the particles.

 Second part: