Interactive II: FINAL

Presentation day setup:

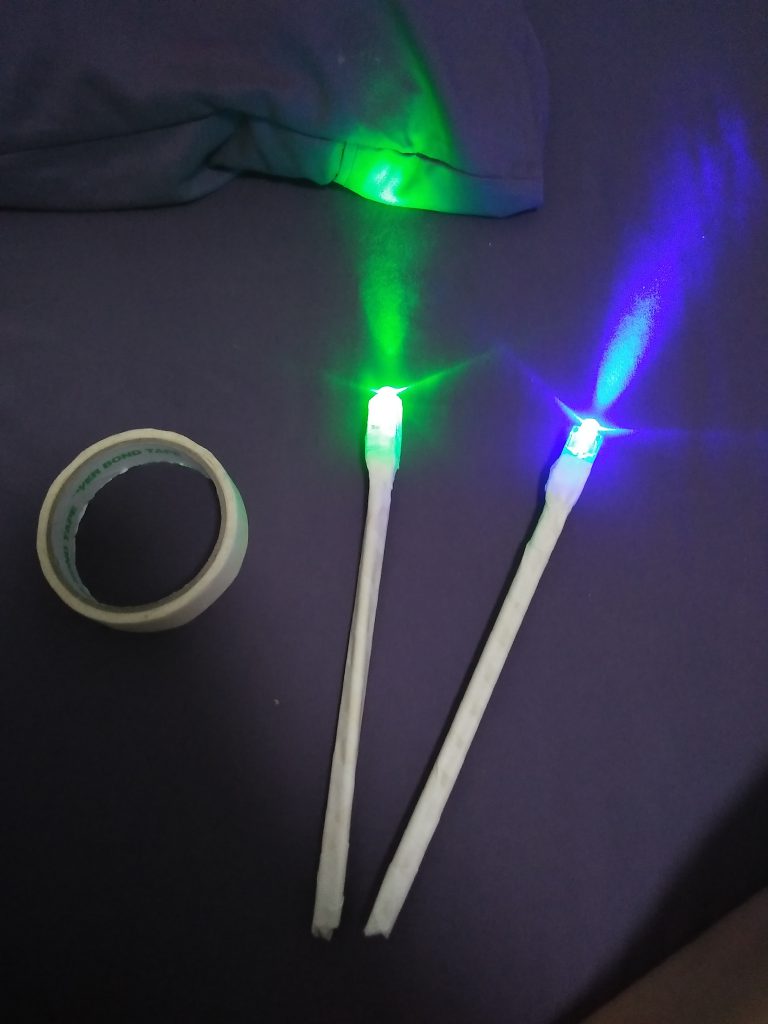
Our homemade wands!

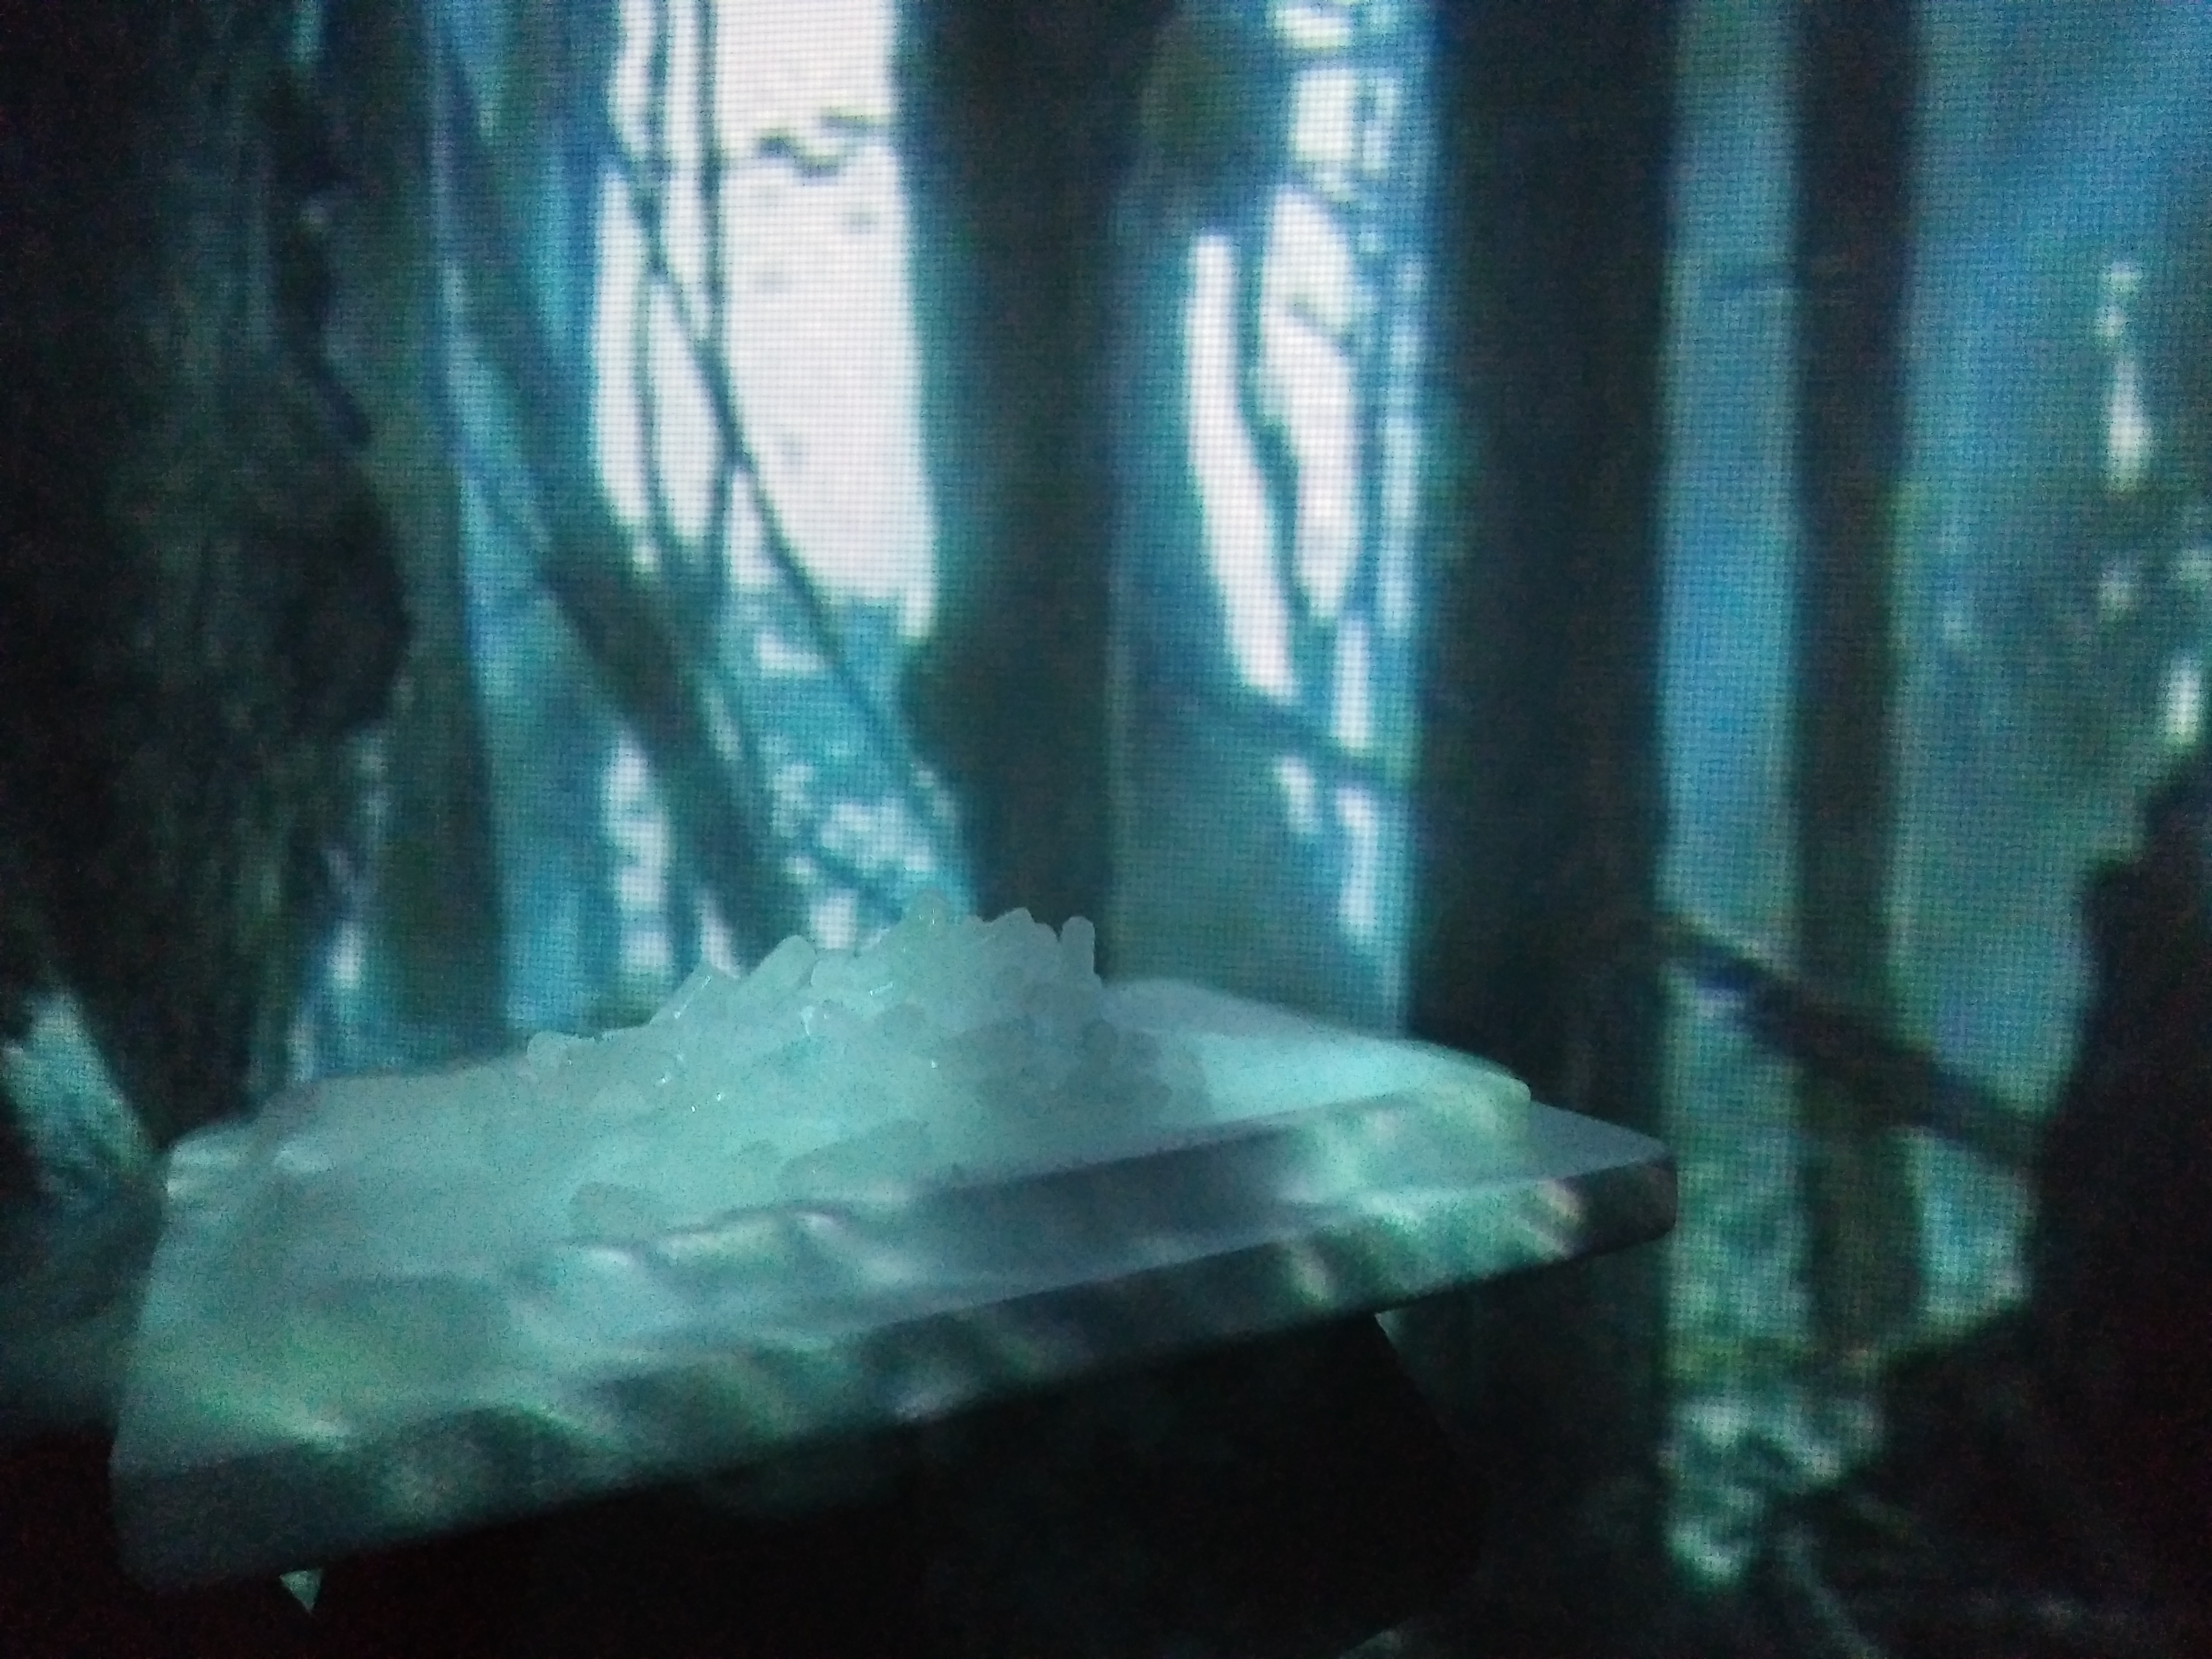
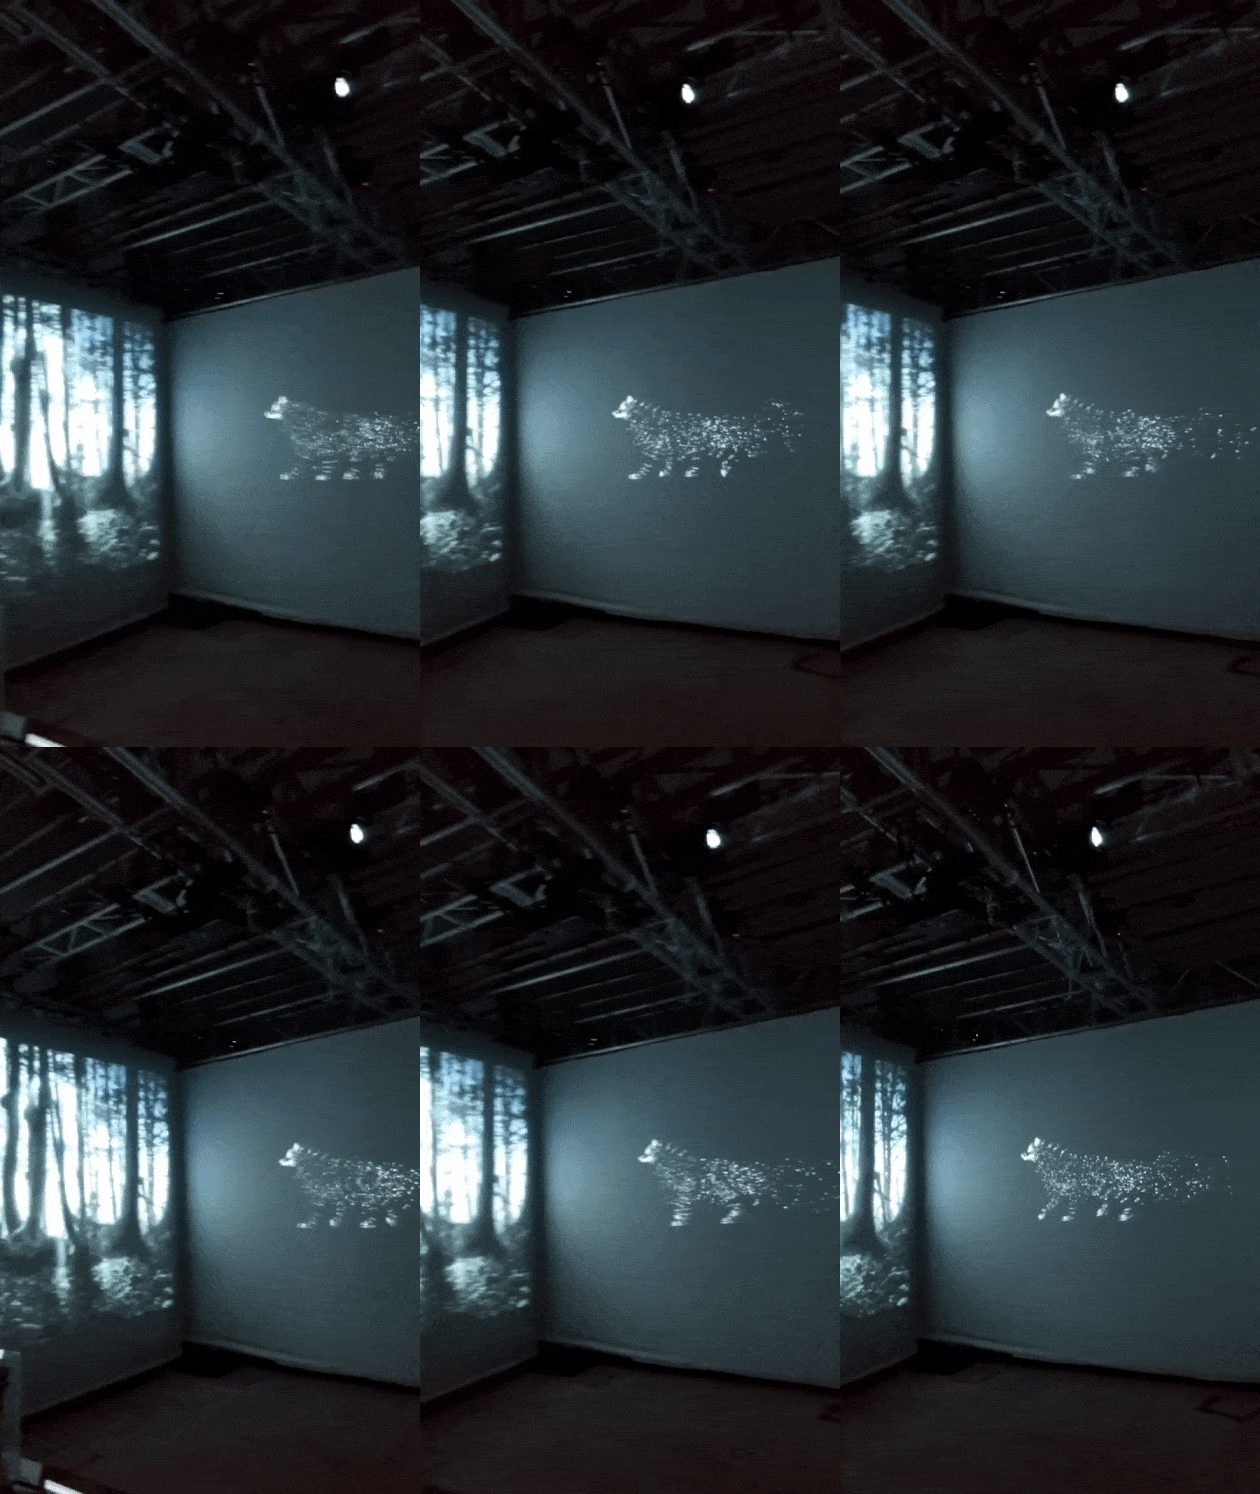
Projection on screen – we wanted to split the projection across all three screens initially, but were unable to calibrate all three of them. Hence, we displayed a foresty background on the other two sides!


Video documentation:

Interactive II: #3 Milestones

MILESTONE: One week before submission!

Merging our animation into the particle system:
Our 3D animation and 2D particle system rendered in the same space, but on different planes.

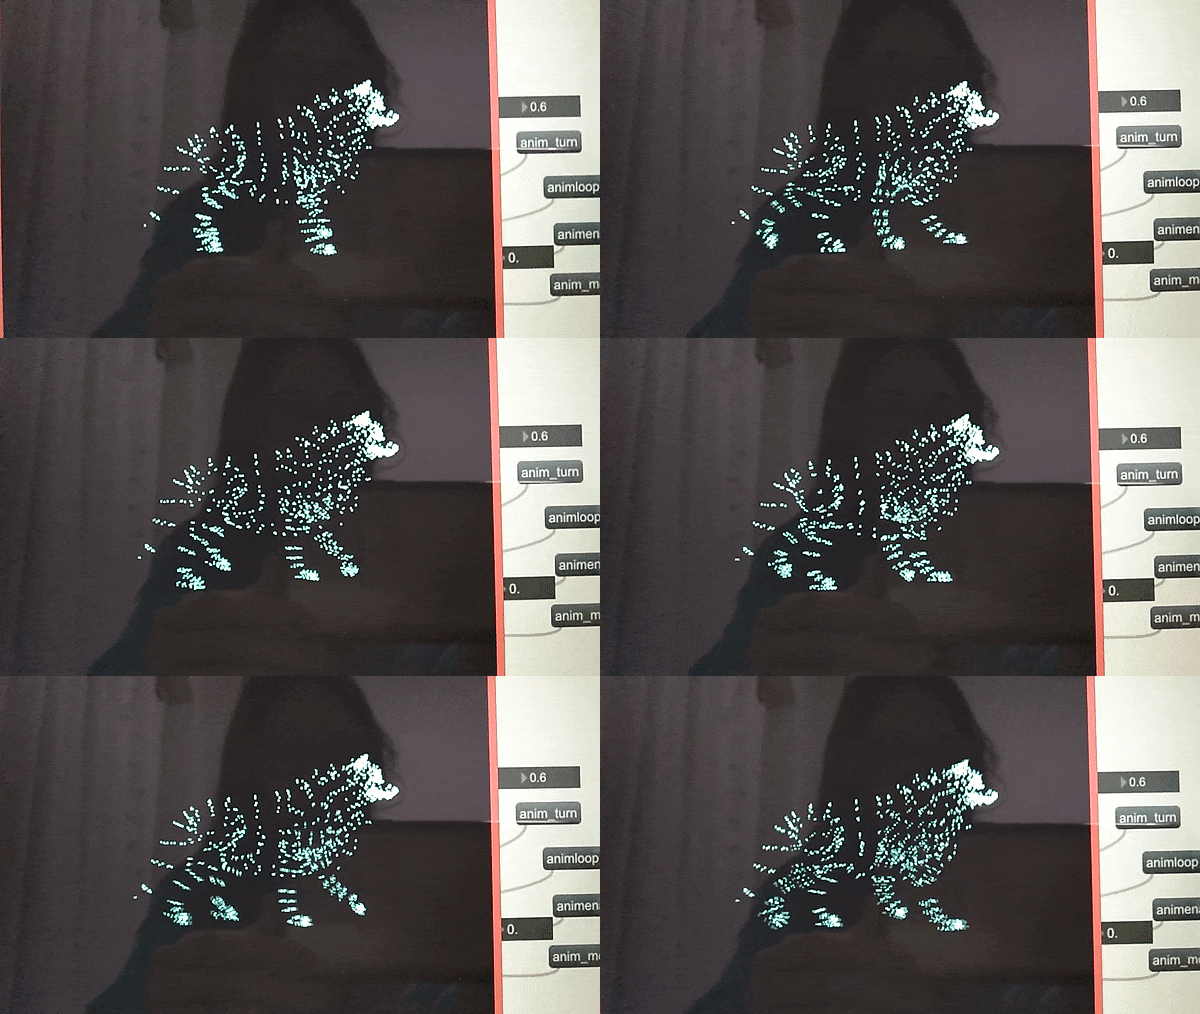
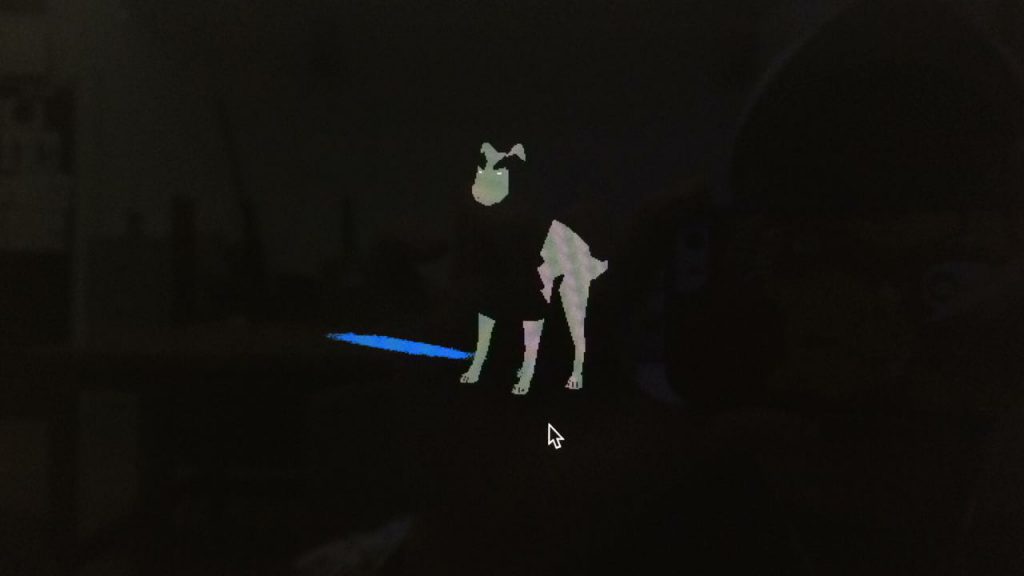
After a long while of experimenting and figuring out the patch, we finally managed to render the animation in point mode. We extracted the location matrix of the animation and linked it with the location matrix of the particle patch (and disabling the randomness generated by the noise). However, it resulted in a very glitchy spread of particles, although the general shape of the animation is there.
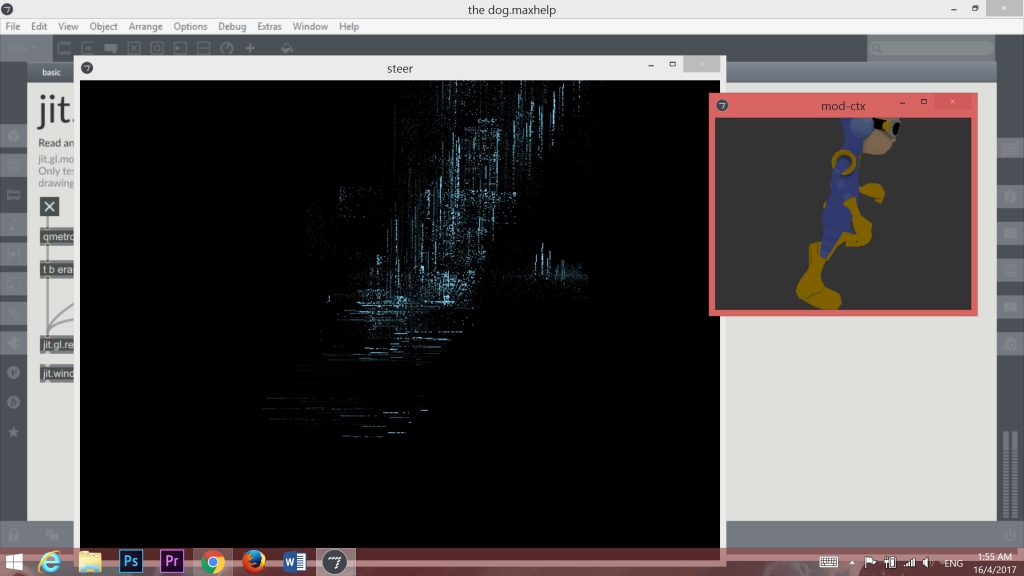
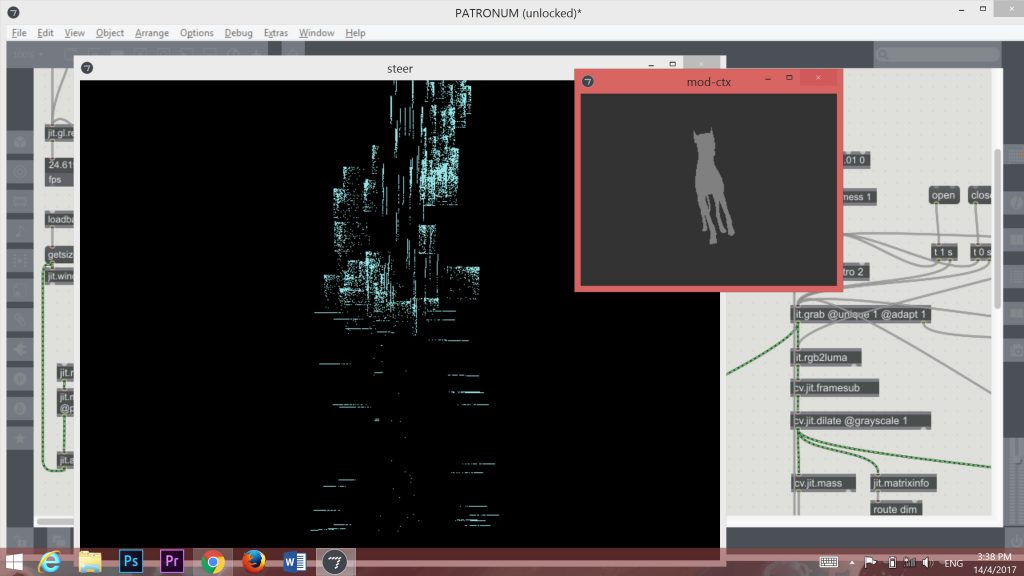
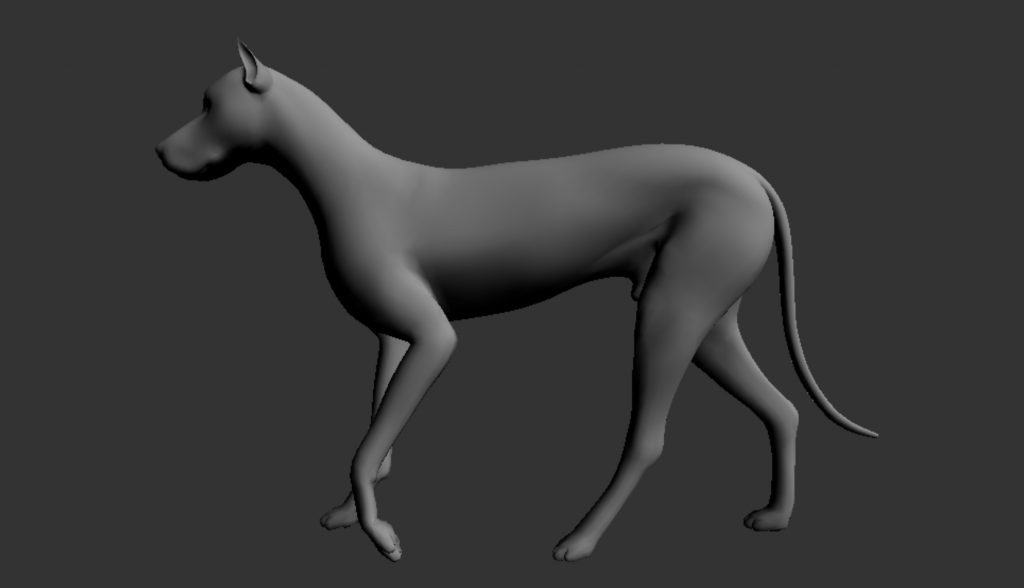
(Front view of the dog)
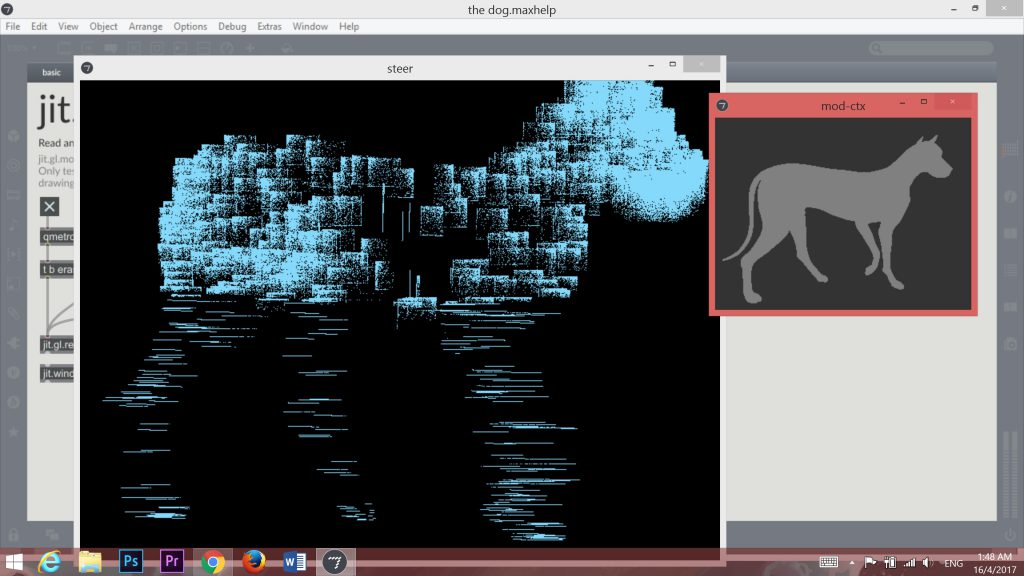
(Side profile of the dog)
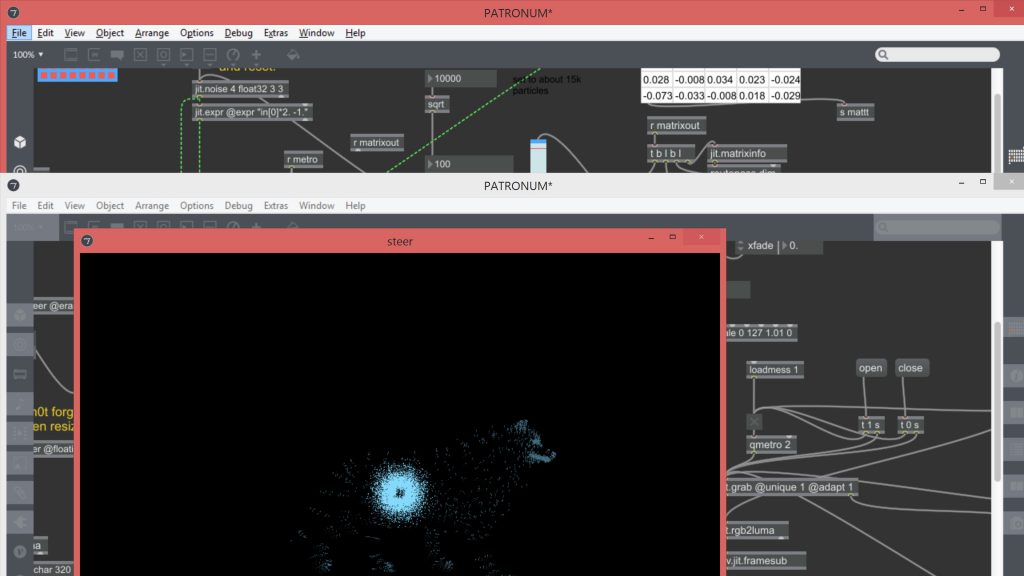
After a few days, we finally managed to get a smooth 3D spread of particles for our dog – and animate it!
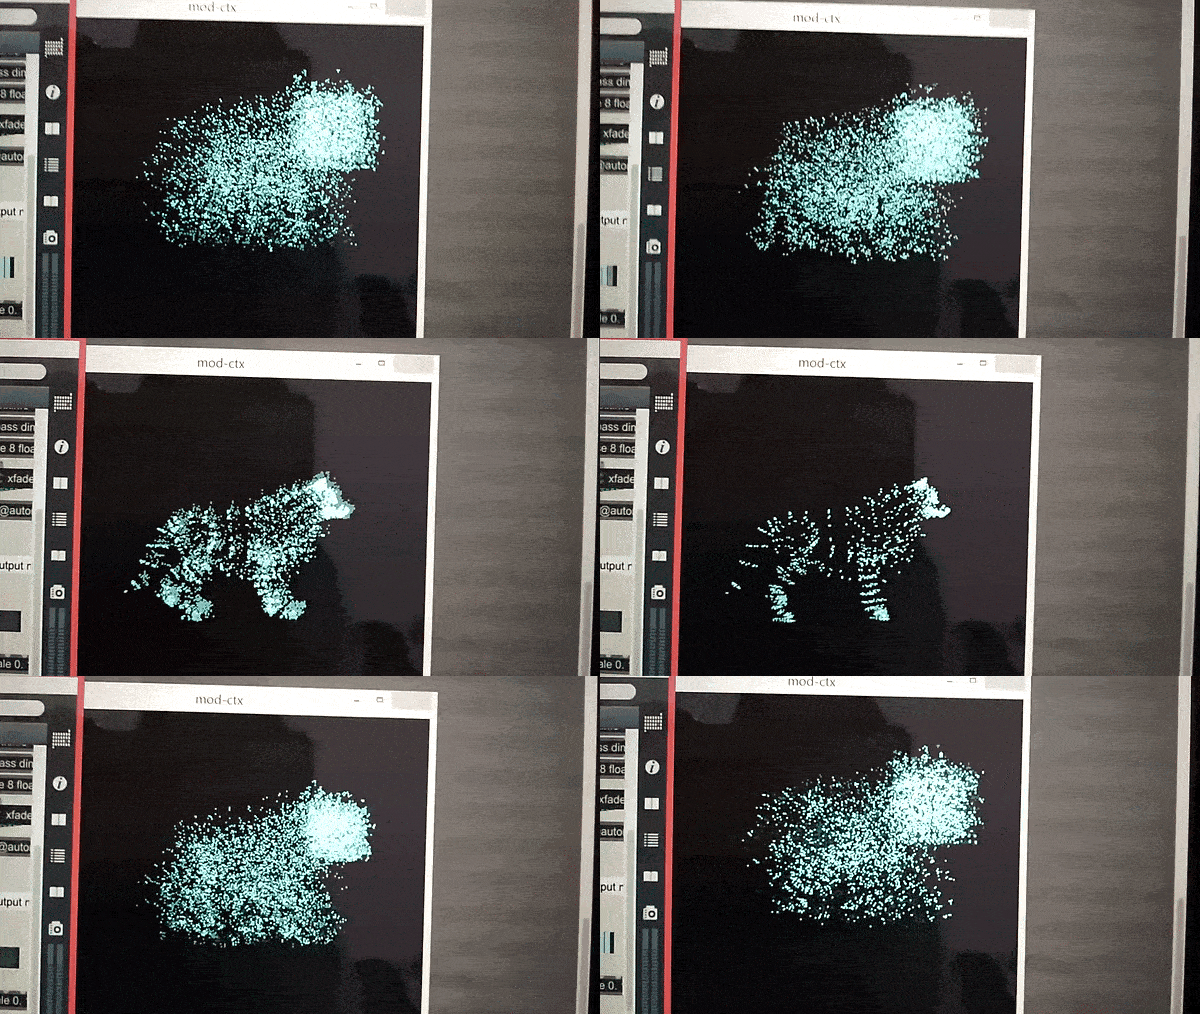
We also found a function called jit.xfade -> which allowed us to switch between two matrices, 0 being left matrix, 1 being the right matrix, and anything in between 0 and 1 displays a mix of the two.

Hence, our left matrix was the animated dog, and our right matrix was noise. We then connected the slider (scaled from 0 to 1) to our presence patch. Therefore, the faster the wand is waved, the more likely the dog is going to appear!


moving on to…


Physical setup:
We met up in school on a friday to build and test our smokescreen system. As we were unable to purchase dry ice on that particular day (it was a public holiday), we decided to experiment using a smoke machine we borrowed from school.
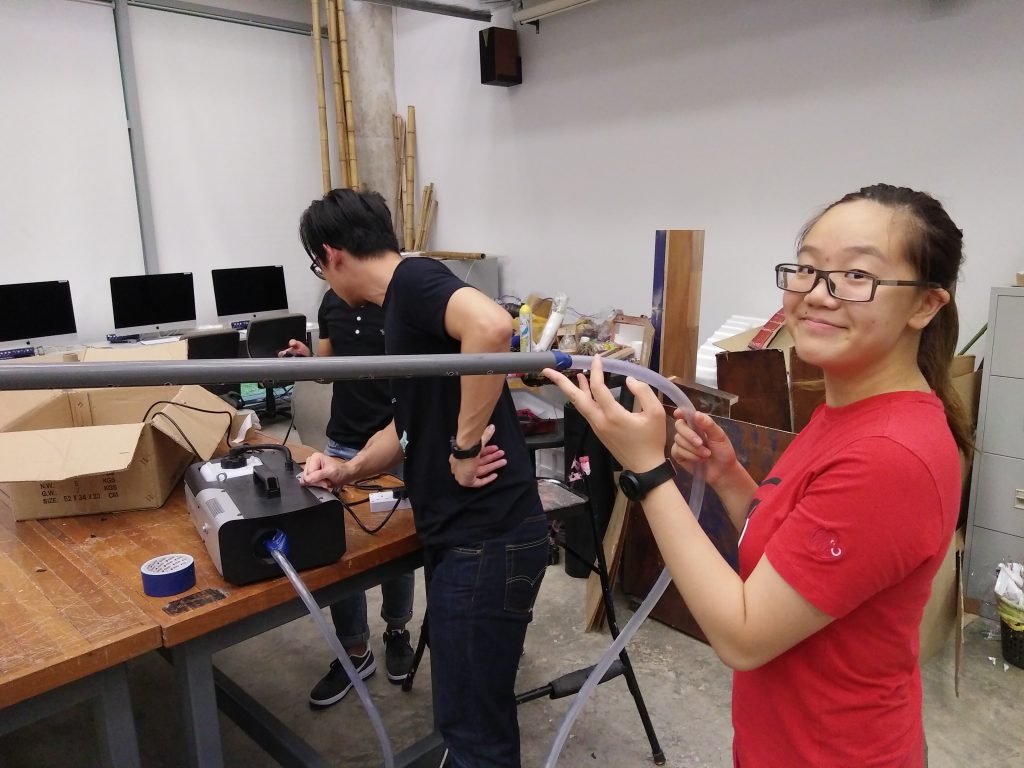
Connecting our hoses and hole-y pipe, and propping them onto a stand.

Unfortunately it was unfeasible to use the smoke machine (we kinda expected it actually), because the smoke was very hot and insufficient in amount. It overheated our funnel and melted the glue on the duct tapes.

A few days later…

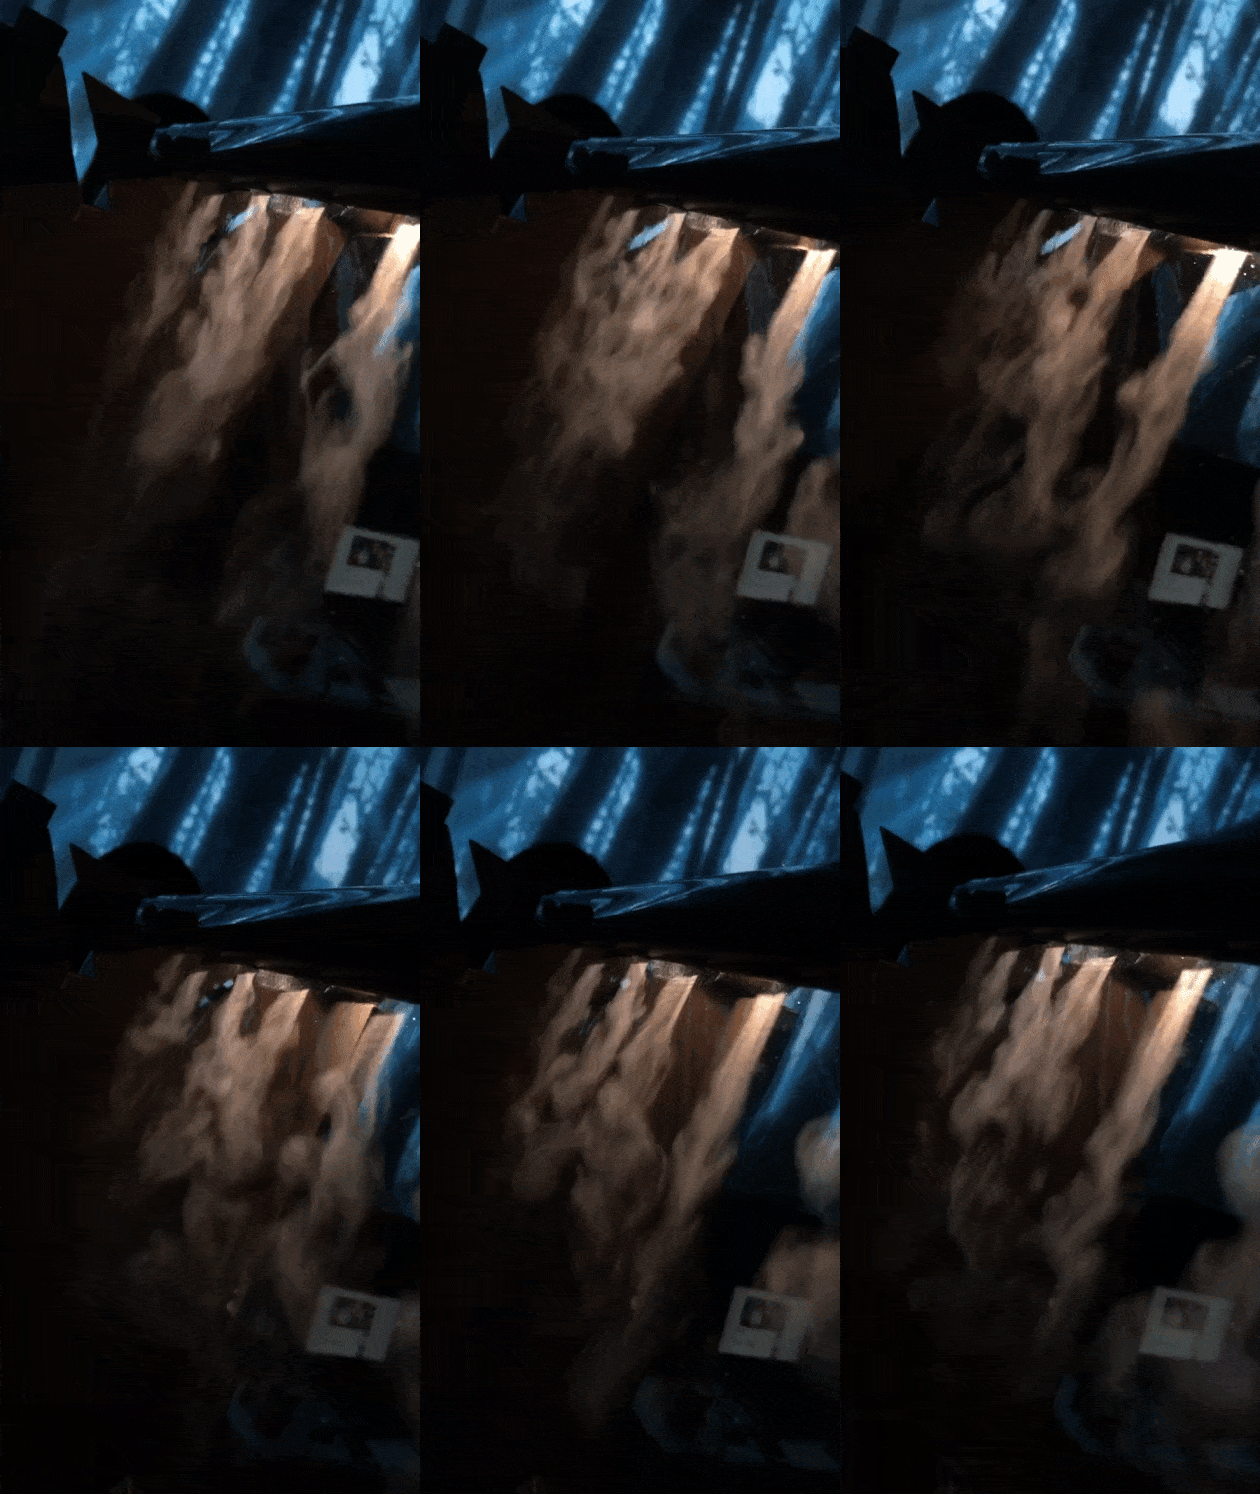
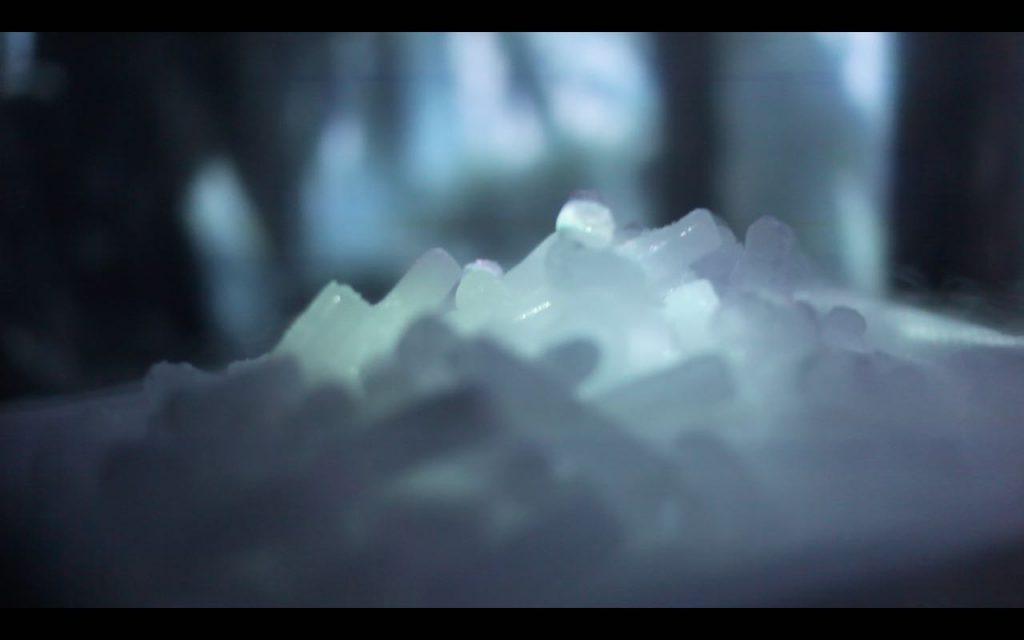
Managed to get the dry ice (3.0kg) from the store! We built a pail system to channel the smoke from the pail up to the pipes, and dumped hot water onto the pail of dry ice to produce the smoke.

Result? -> Our system did work, but the smoke channelled out from the pipes were too weak and too little (like short wisps, definitely unable to form a screen). Hence, we decided to increase our amount of dry ice.
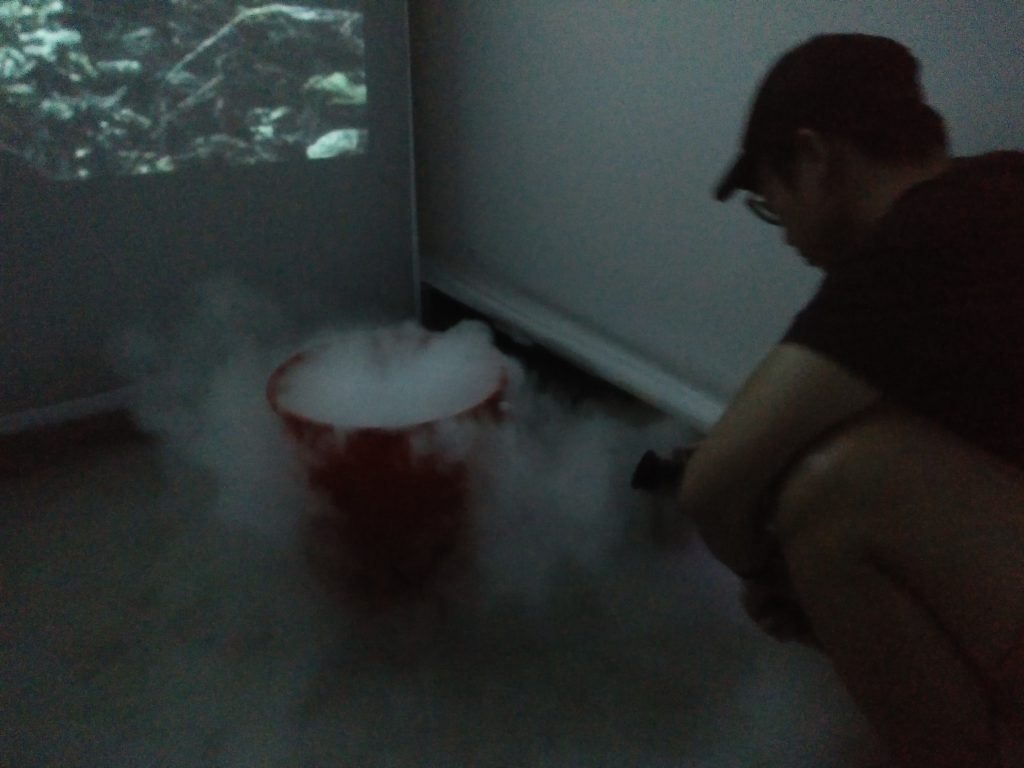
On the day of presentation…

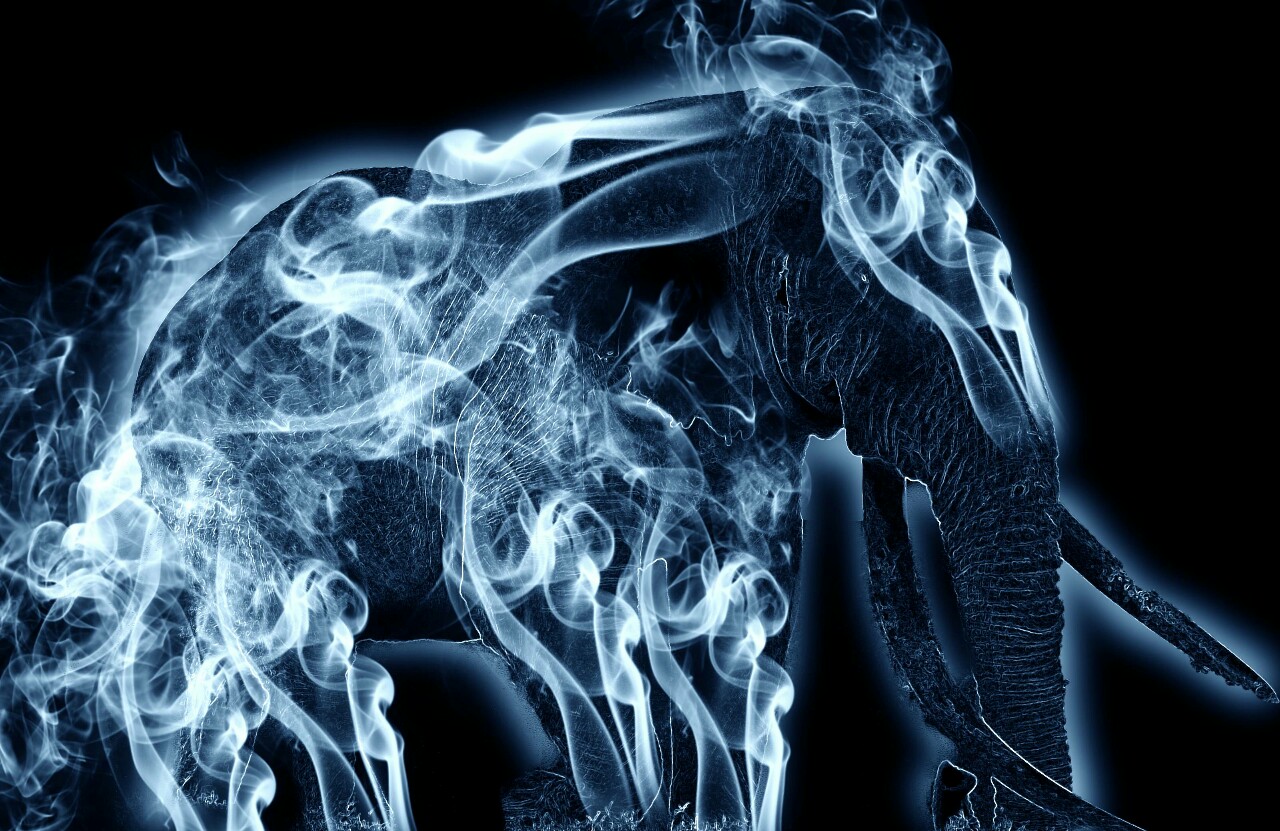
We decided to ditch the smokescreen idea because the smoke wasnt solid enough, and we really needed a clear projection to see the shape and change of the particles.
Interactive II: #2 Milestones

WEEK 2 MILESTONES 4/4

What we achieved:
We sourced around for patches related to particles and camera blob tracking. Of the two particle patches we found, the flow and behaviour of one was smoother than the other. However, we had some problems understanding the patch because it had many foreign objects and attributes involved. (jit.gl, mesh, render, jit.gen, jit.expr)

We used cv.jit.blobs.centroids for the tracking of the light source, and cv.jit.module.presence for the detection of movement.
Sensing: Camera detection
Effecting: Drawing of blob at the brightest spot (depending on the set threshold and the brightness of the surroundings), and output the xy coordinates of that spot

We linked both cv.jit patches with the particles, hence the particles can now be tracked using the blob. We also altered the number of particles and level of attraction to suit our project, however, we failed to change the colour of the particles.

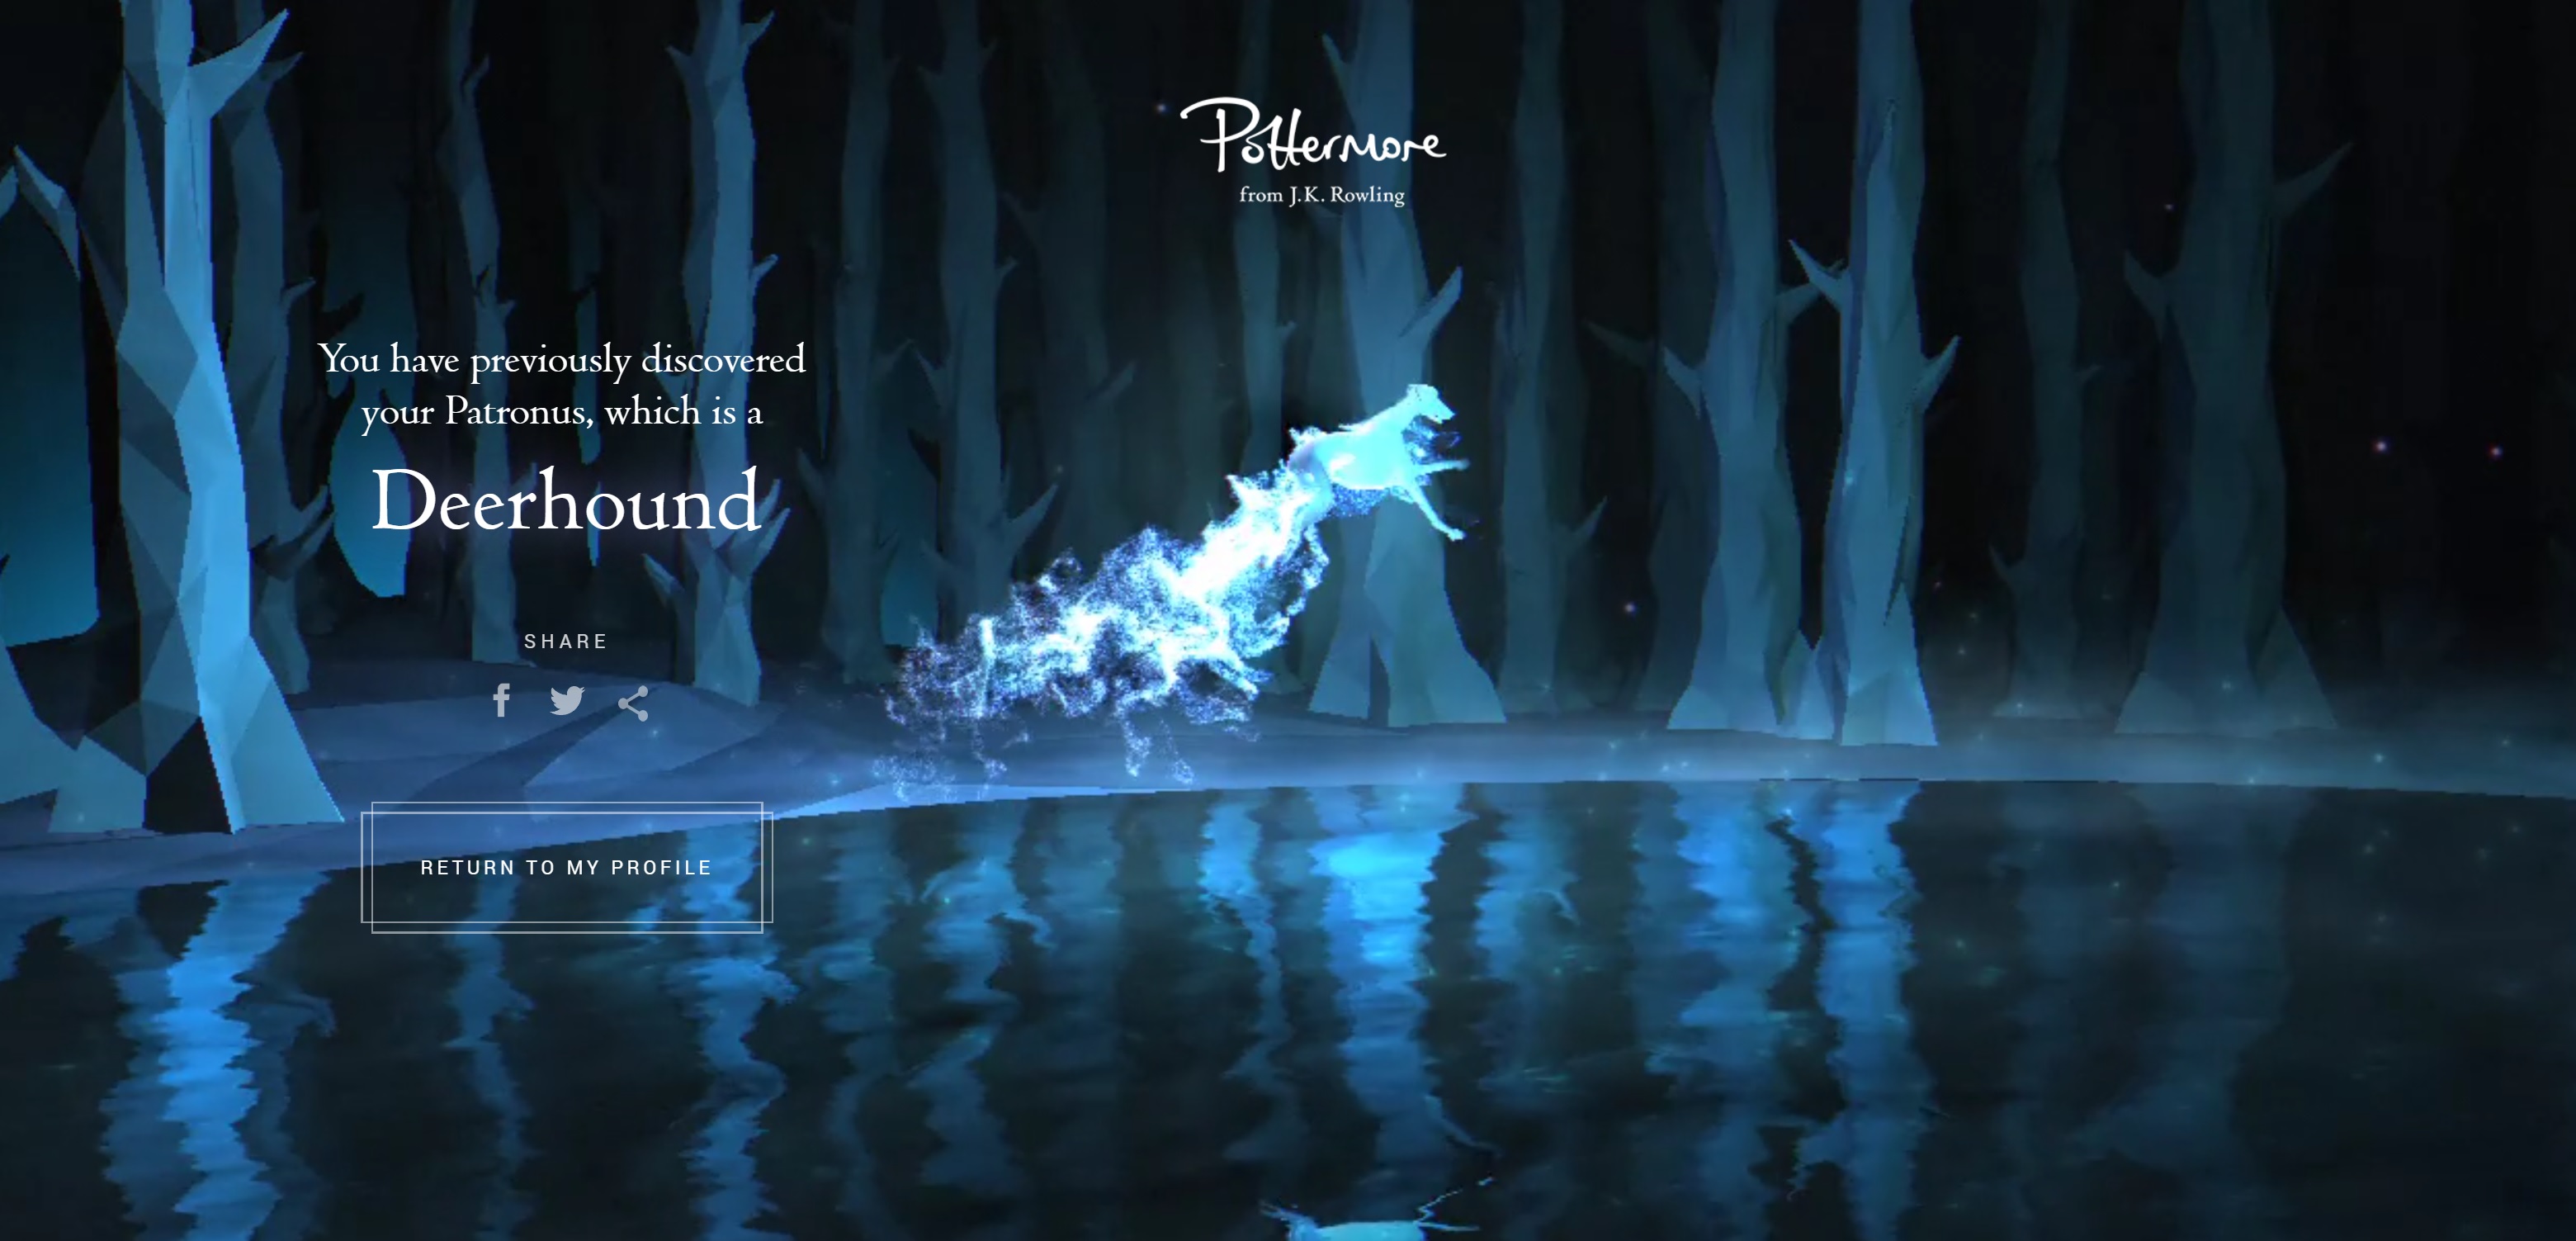
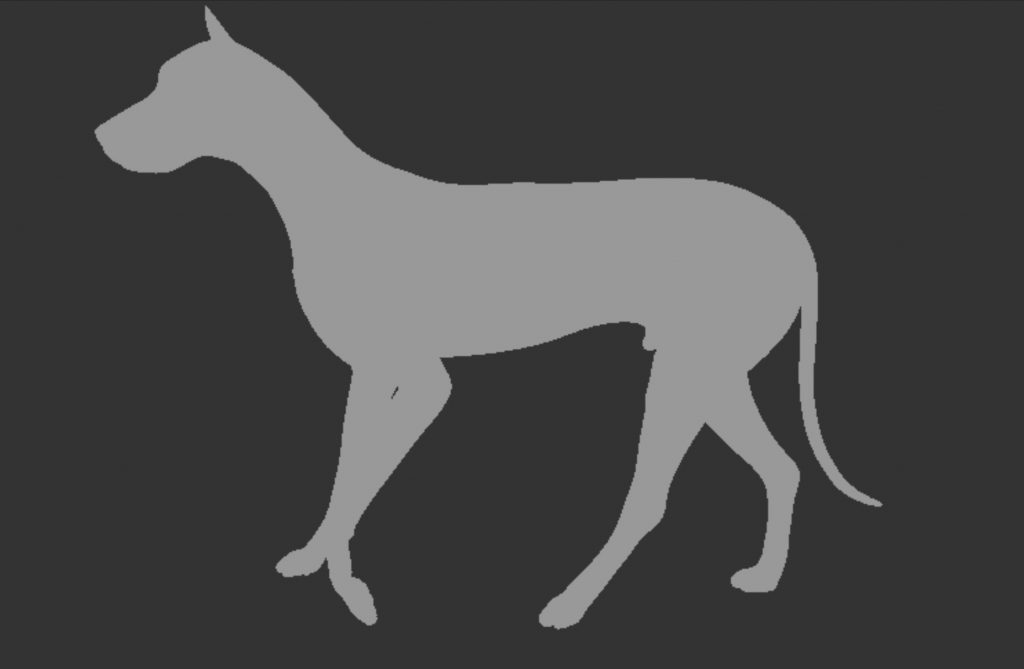
Animation: Started on the rendering of a 3D deer and a deerhound.

Challenges:

1. Can’t change colour of particles
2. Camera was laggy because there was two face detection going on

New problems: Need to understand this complicated patch.


WEEK 3 MILESTONES 11/4

What we achieved:
With Lpd’s help, we managed to change the colour of the particles. Turns out there was an extra cord connecting our jit.gl mesh with some random object and none of us noticed it.

We decided to add some audio effects into our patch – by linking it with the movement tracking (cv.jit.module.presence) and onebang. So, if player’ s movement speed > 80, magic wand sound effect will trigger.

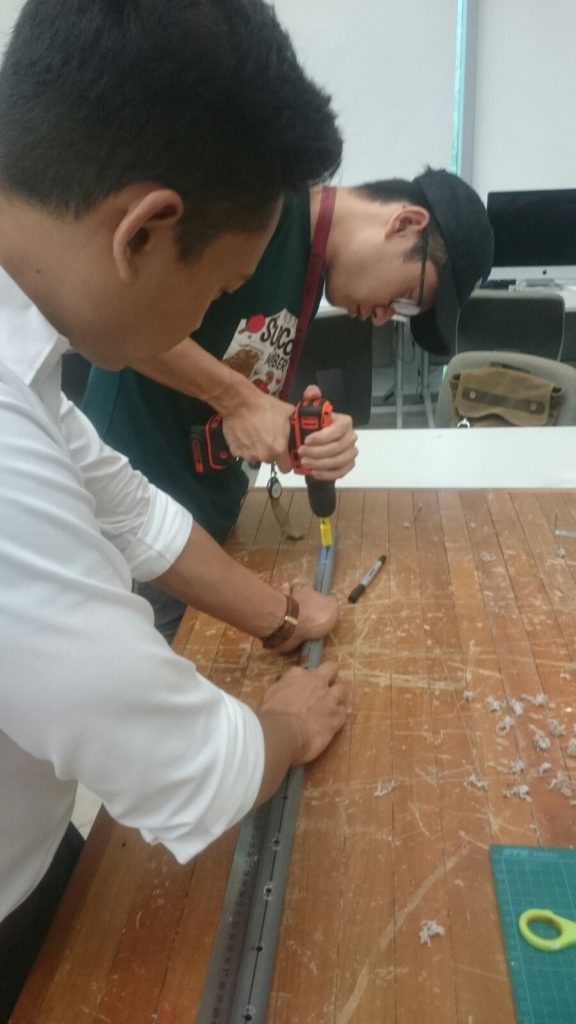
We met up for a prop-making session to work on our smokescreen.
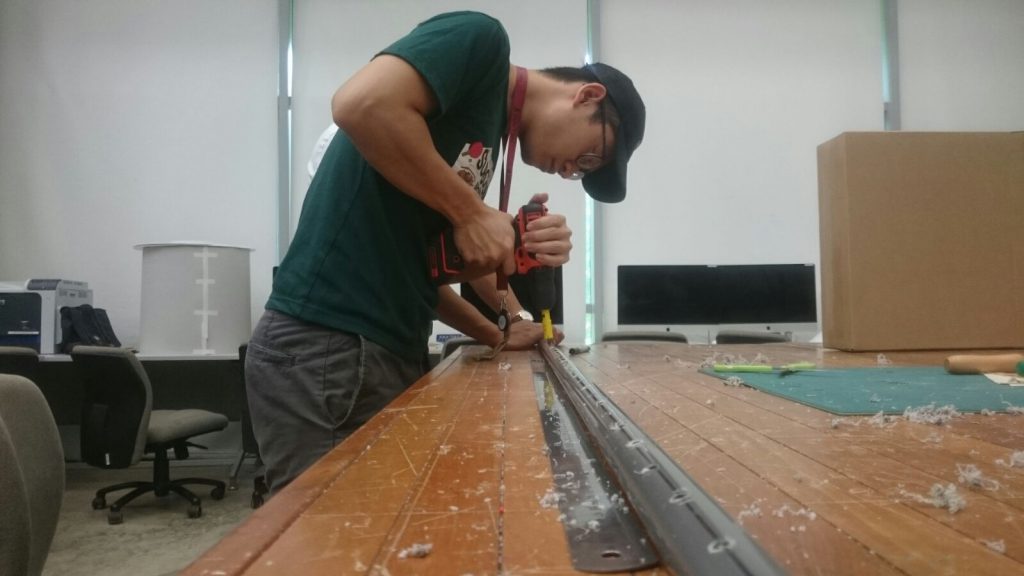
Some process pictures of us drilling holes into a PVC pipe that we found:

Animation: Managed to lock down all key poses and get some basic movements for the walk cycle of the deer and deerhound.

Challenges:

1. Time constraint
2. Overcrowded patcher (needs to split to two computers)
3. How do we put in the animation? (next step)

Narratives for Interaction: Final Project Process

Title: U N S E E N
Media: Website
Projection description:

Unseen is an interactive text-based website that illustrates the story of a secret agent from a first-person perspective. Due to unforeseen circumstances, the main character in injured and loses his sense of sight, making it a challenge to do even the simplest of things. Limited by pure text and soundscape, the players can select and direct the thoughts and decisions of the main character, as he journeys through secret missions and lands in a total predicament.

The story begins with the main character waking up in an unknown location. As he recalls and explores his surroundings through sounds and touch, he attempts a search and succeeds in locating a secret passage way out. The players are given a chance to source for useful materials to aid the escape, before being presented with two options that splits the storyline.

Processes:
This webpage is a combination of two initial concepts that I had in the beginning – prison break and blind soundscape. I was inspired by American TV crime series White Collar and Prison Break, by how their storylines were so cleverly planned and written. After checking out some existing interactive story-games such as Blindscape and NoStranger, I was surprised at how text alone (or with soundscape) can be so engaging, and decided to explore further into text-based interaction. From these inspirations, ideas started to come together as I began creating my own crime-themed story.

My initial idea was to use JavaScript or ChoiceScript, which I realised was not ideal because JavaScript alone required too much technical work and ChoiceScript offered very limited design and functions. I then came across a story-telling programme called Twine, which helps users to better structure their stories by presenting each page in a mindmap format. It was very understandable and useful in helping me create split paths in my story, and can be exported in JavaScript, CSS and HTML format. It was only until much later that I realised that Adobe Muse could also work and actually was able to produce better graphics as compared to Twine. However, I stuck with Twine because my webpage was mostly text-based.

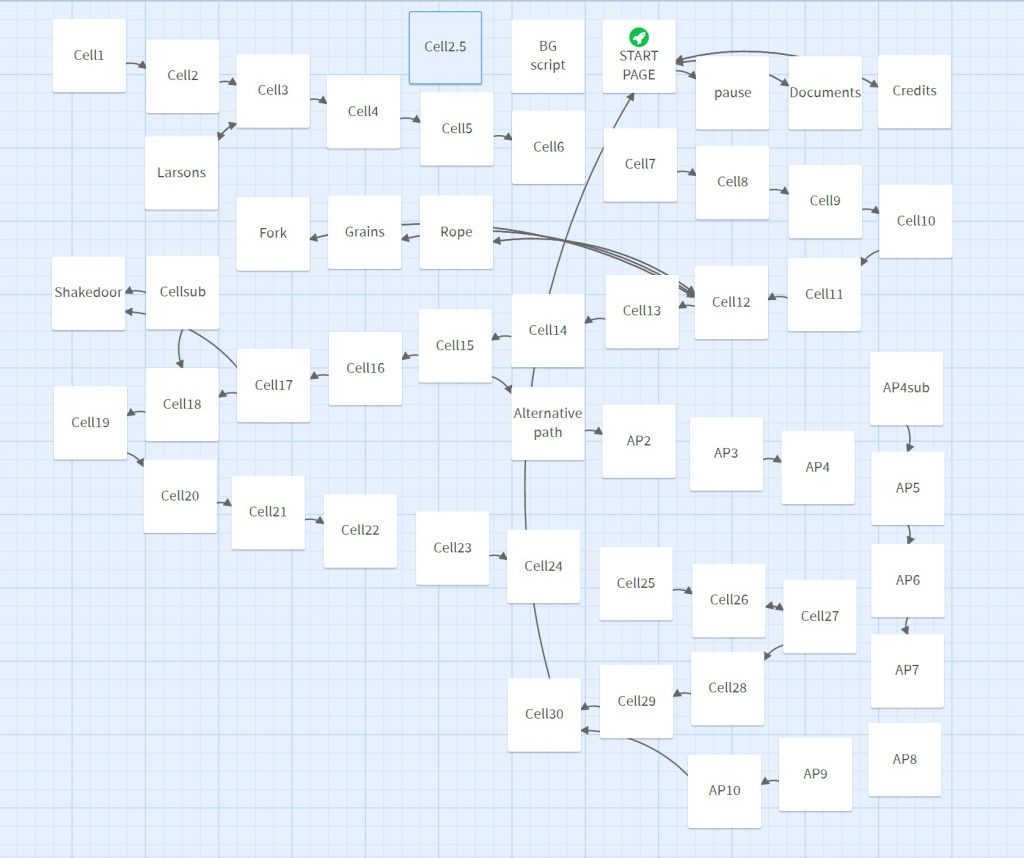
This is what Twine looks like:Twine is structured in a mindmap format – where you can link passages to one another through links, or timed transitions. The code and content for each page is stored inside each of these passages (or cells).
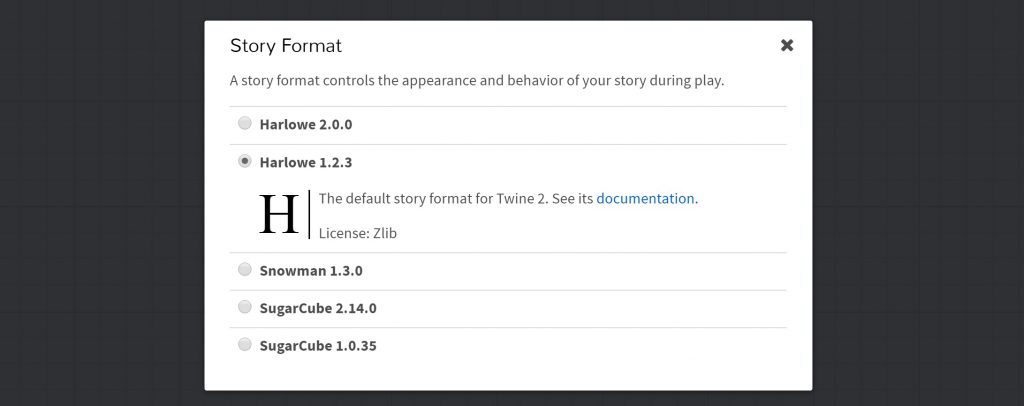
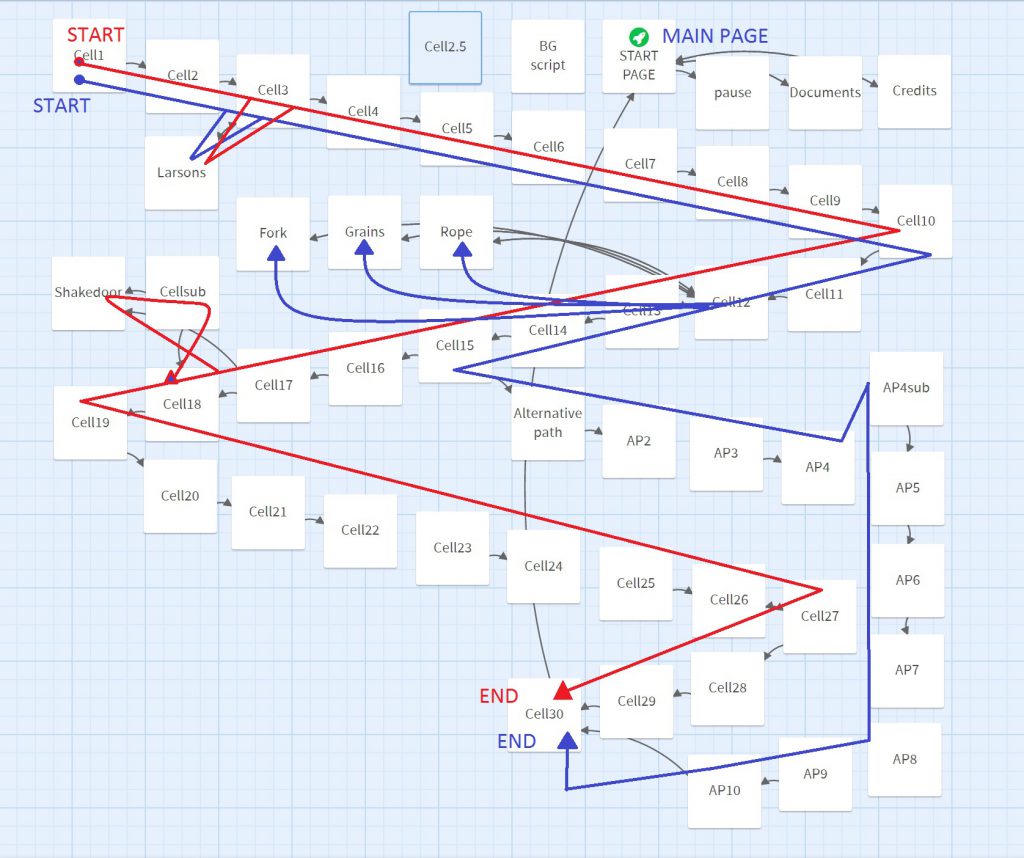
There are three different story formats to choose from – Harlowe, Snowman, and SugarCube, each with its own layout and limitations. I started off with Harlowe, which was good for editing text, styling text and also timing their appearance -> E.g. (live:2.0s)[your text will appear after 2 seconds]

The problem came when I wanted to add sounds into my website. Harlowe doesn’t support audio (except simply playing an audio on a passage, with no controls or timing whatsoever).

Challenges:
I certainly faced several challenges in my story-making process – both in terms of the content and the coding. My biggest fear was for my story to become too wordy and boring, such that the readers would lose interest. To tackle that, I decided to minimise my words by using key phrases and thoughts to narrate my story. I also encountered difficulties while trying to calibrate the audio clips, and the timing of certain words, because certain functions were restricted by the default Twine programme.

Narratives for Interaction: Her Story Game Review

Her Story is an interactive video game produced and directed by Sam Barlow in 2015, and has won several game publication awards since. The game is set in a detective desktop computer, with access to video footage of police interrogation of a woman (Viva Seifert) on several separate occasions. The page starts off with a few snippets of the interview, revealing the crime – the murder of a missing man named Simon.

The woman proceeds to introduce herself as Hannah Smith – Simon’s wife. The keyword search function in the corner prompts us to further research on the case, by searching notable names and phrases mentioned in each interview. The game leads us on to search for video after video, digging deeper and deeper into the case.

As the pieces come together, a bigger picture is gradually revealed. At some point, the woman starts to refer to Hannah as a third person, indicating the existence of a twin sister. Eve and Hannah are twin sisters and she, in the interview, is the former. The two identities, Hannah and Eve, seem to merge into a single person as one’s alibi is used as an excuse for the other’s murder of Simon. The video footage leads us endlessly – from her singing videos to her troubled relationships.

I was intrigued by how the game was so engaging, despite its simple design and 90s themed graphics. Although I didn’t play the game till the end, I watched its gameplays on YouTube, which easily lasted for an hour. The game brings us through countless twists and turns, and many surprising revelations. Important clues are scattered throughout the gameplay – such as an occasionally flickering of the office light and the faint reflection of a woman with striking resemblance to Hannah/Eve. One of the events that struck me was a video of the woman casually performing on her guitar, singing about the rain and making a bow out of hair and bones. The eventual realisation that it was actually a song about her murder of her twin sister was extremely creepy.

The game ends without any confirmed accusations or a definite conclusion – a chat window asking if the player is ‘finished’. It is then revealed that the player (you) is actually Sarah, Eve’s daughter, who came to seek the truth behind her mother and Hannah (hence the reflection on the desktop).

Her Story opens up our imagination and gives us the exciting role of a desktop detective. The concept is not only meticulously planned out, but the attention paid to the little details was also exceptional – from important hidden clues to mindless comments like Simon’s preference for blondes. It is one of the most creative and deep storylines I’ve ever read and is certainly an inspiration to me.

Narratives Sharing: Compact Disk Dummies (8)

Compact Disk Dummies Official (Belgium) is an interactive website made to promote their debut album ‘Silver Souls’. The site is set in a messy living room and a music room, with hovering objects and human replaced by dolls (resembling members of the band). The concept behind this was to recreate the feel and vibe of the music album within a website.

Click here to try it out!

I personally really like this website because it allows good exploration of the room. The content is entertaining and informative (of their album) at the same time, and the graphics are quite trippy.

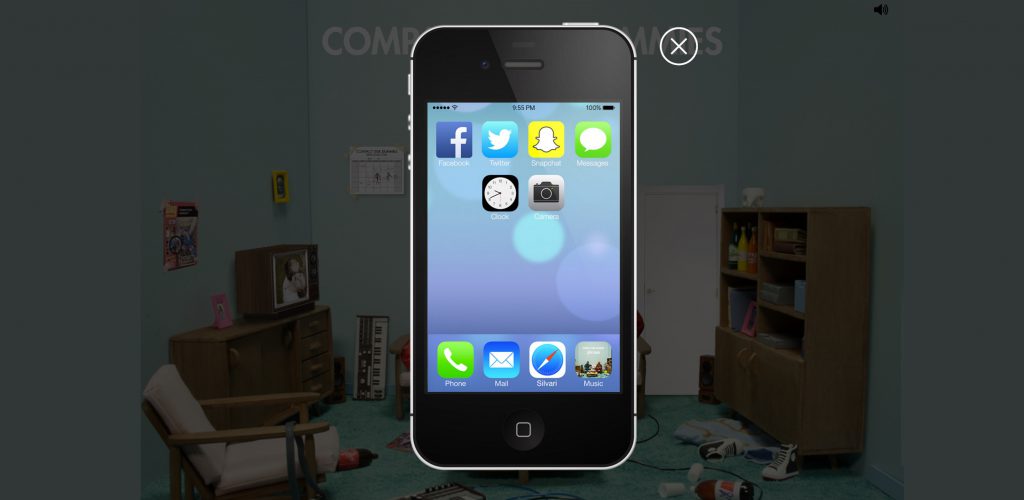
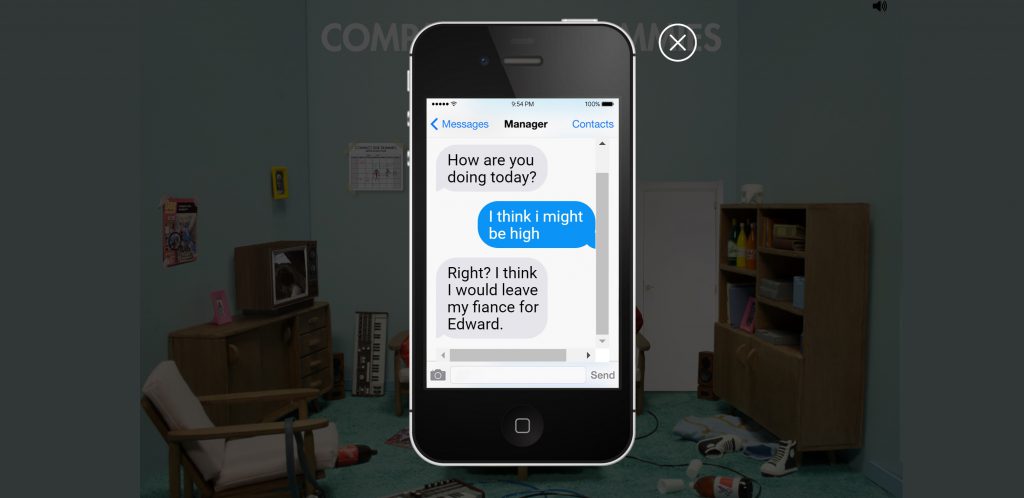
What’s in the living room? – There is a mobile phone on the ground that often vibrates. You can click on it and access several applications on it!  You can also text your manager (who replies very frequently)… Or take doll selfies on the camera function.
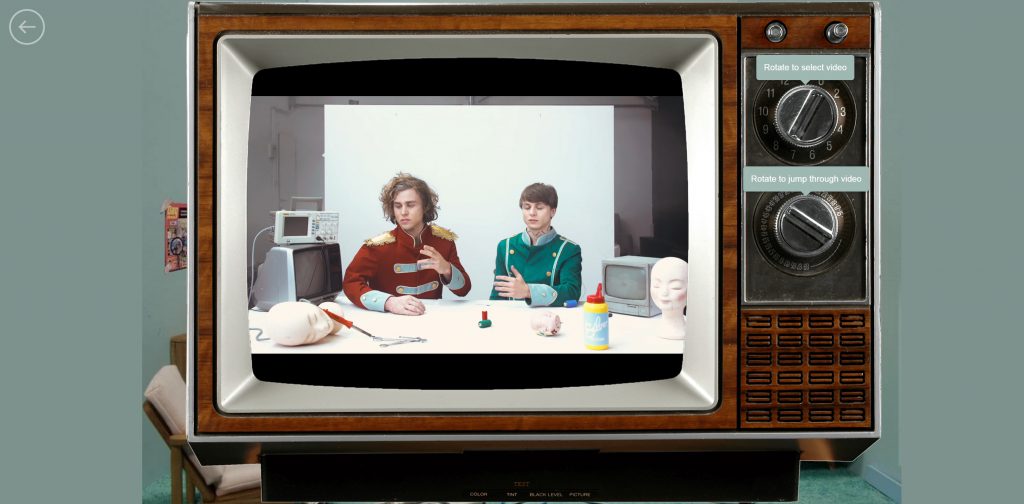
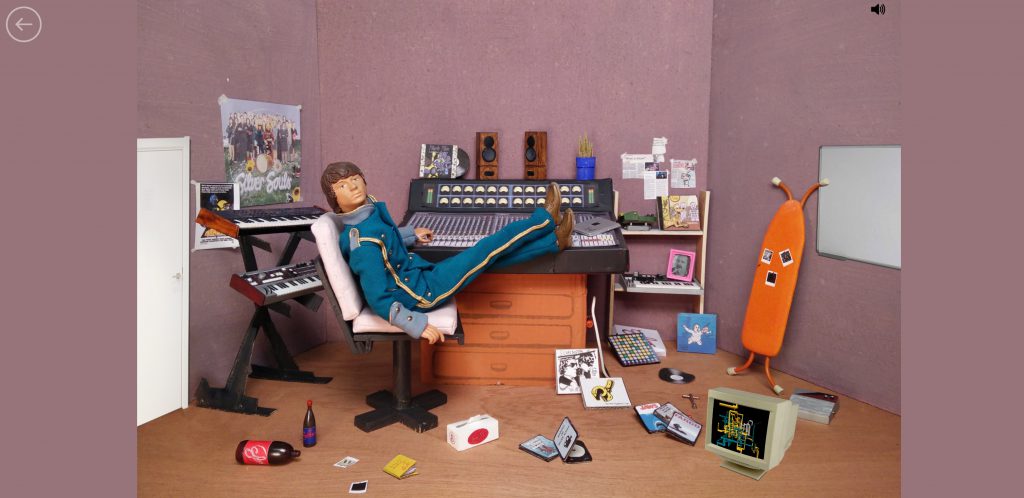
There are also music videos on the television, where you can toggle between many videos and the timings. Other accessible objects include the posters, the game controller and their schedules on the wall.

What’s in the music room? – Another doll member, and an audio mixer for you to play with.
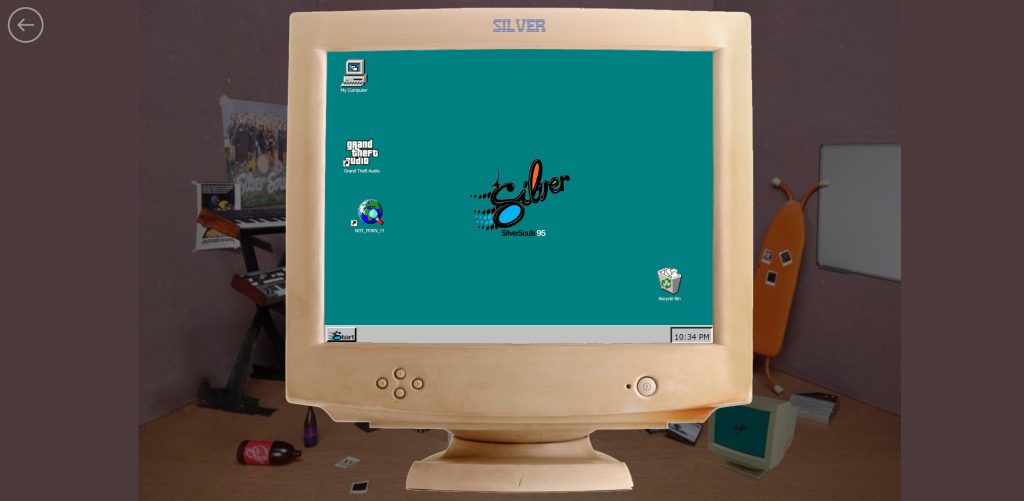
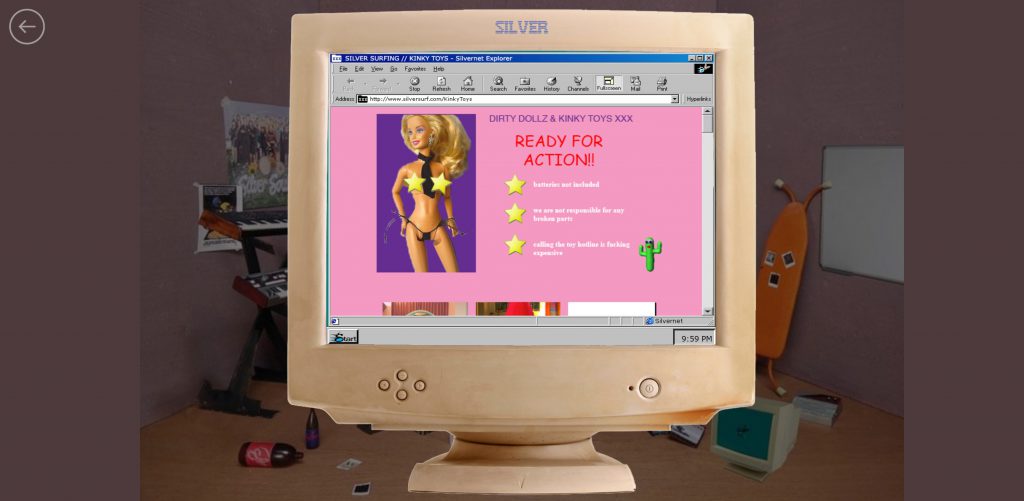
You can also access the computer, although there are limited things you can do here. There’s a grand theft auto icon on the computer but it doesn’t run. Some inacessible computer files and an internet link on the desktop labelled ‘NOT_PORN_!!’ (see below).
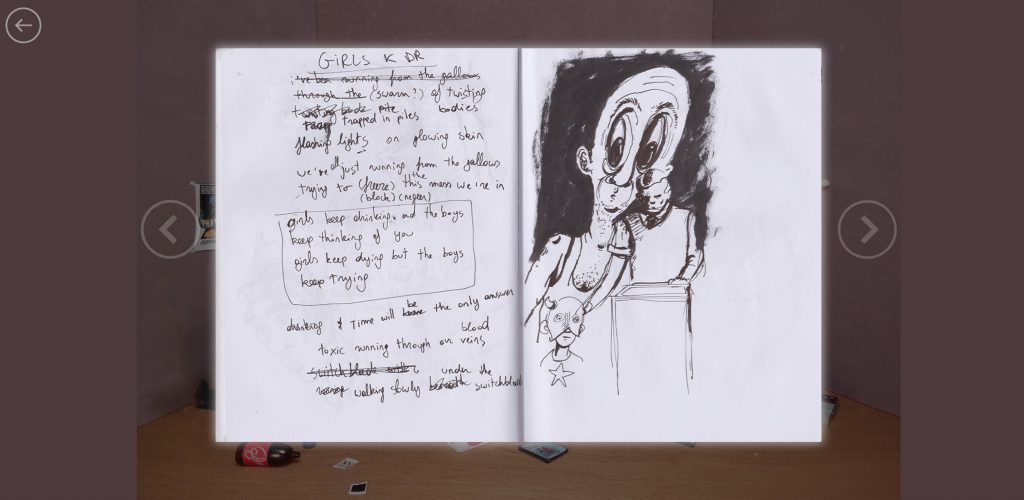
Also found a sketch fill with pages of lyrics and drawings, illustrating the band’s music making processes and random thoughts. Other clickable items include more posters and album covers.

MAX Assignment 4: Impostor

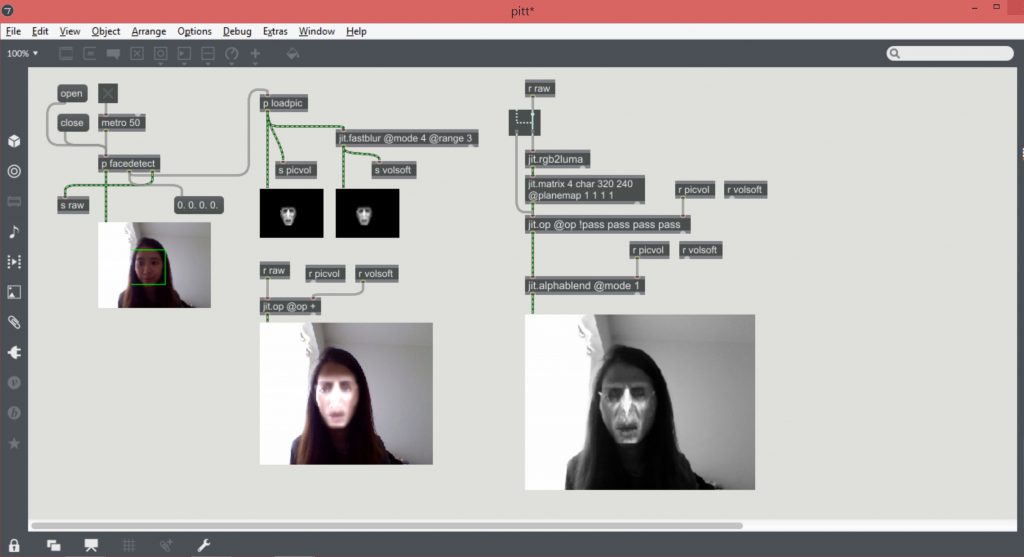
Task: Superimposing a facial image of another person on your face on camera

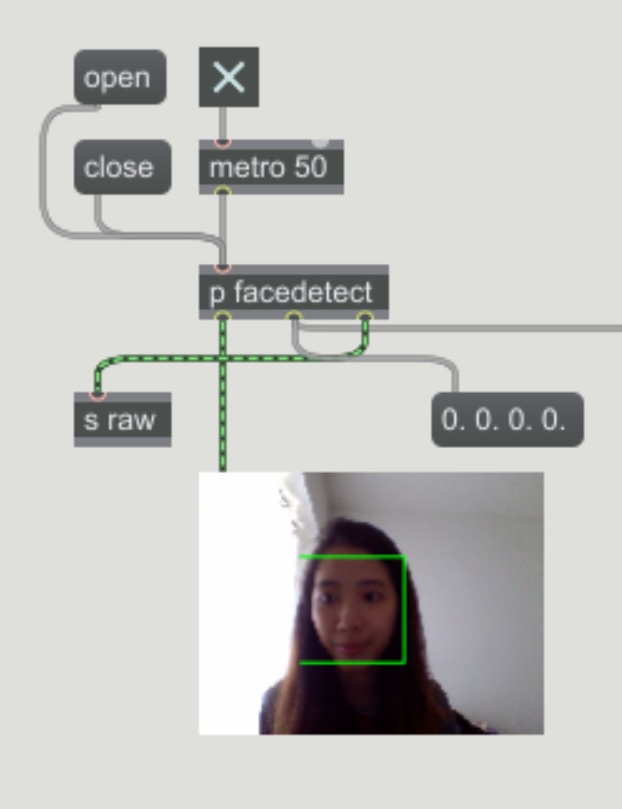
  1. Detection of the face using the camera & drawing out its perimeters (sensing)
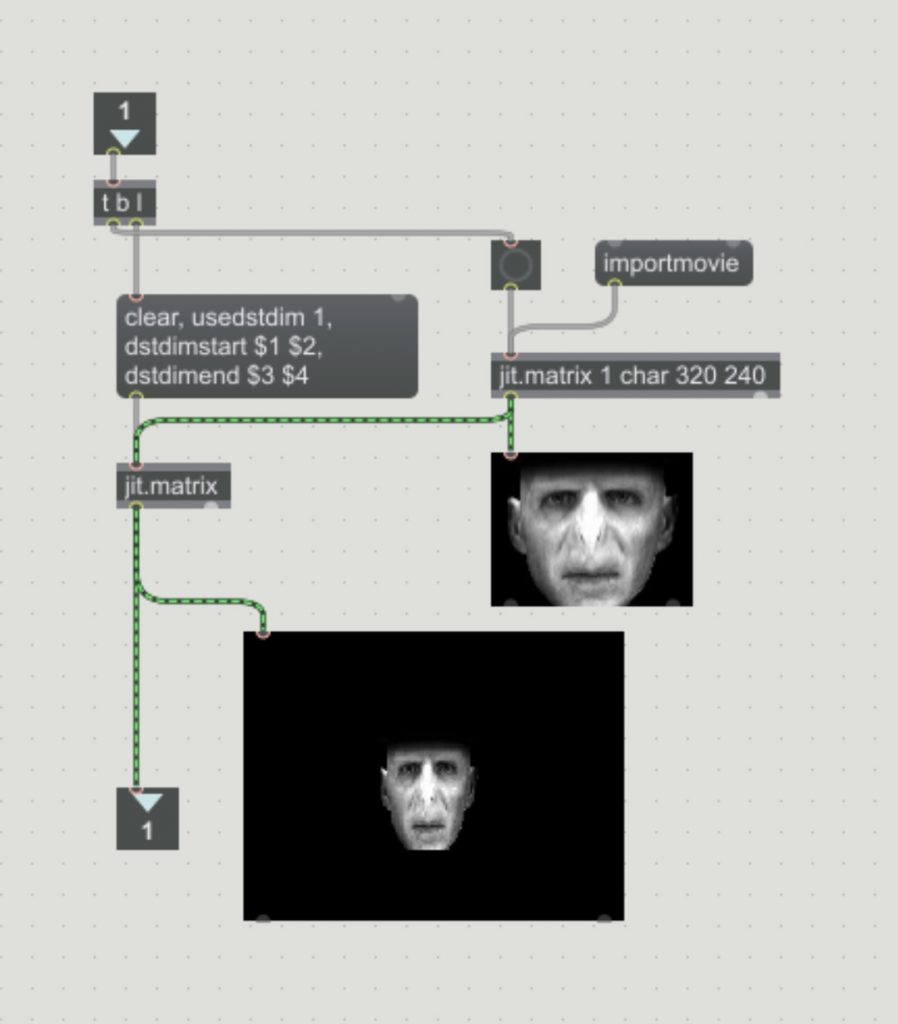
  2. Placing another face, upload a facial .jpg with black background
  3. Blending the image onto the detected face and follow it, soften its edges (effecting)

First part:
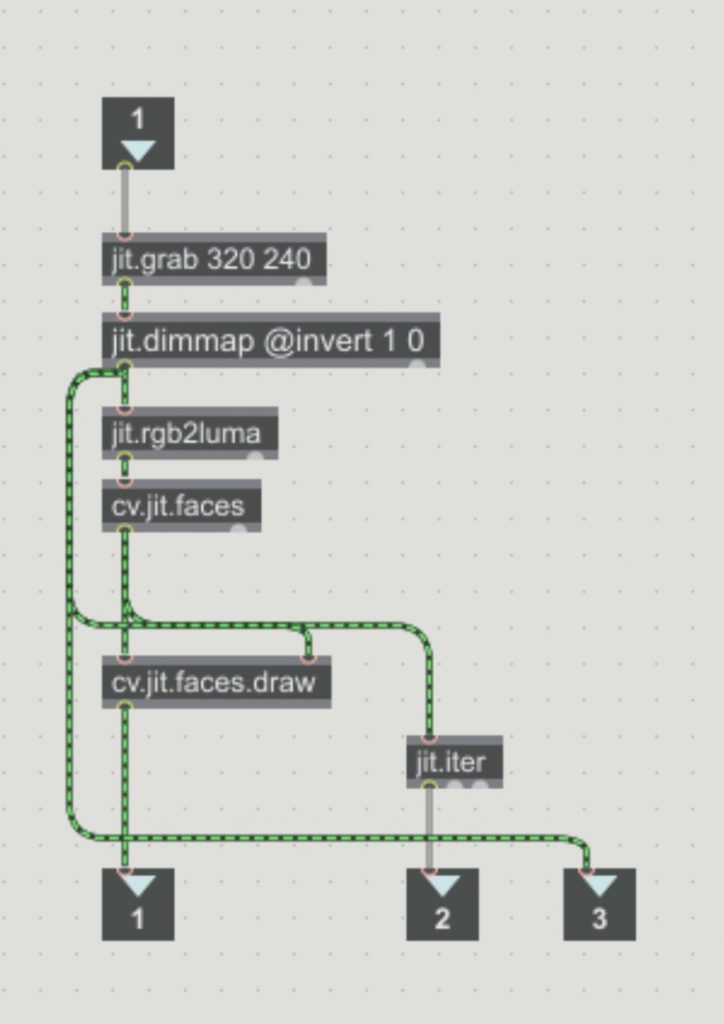
The detection of the face and calculating its perimeters is similar to what we’ve been doing for the previous exercises. (jit.grab + cv.jit.faces)

Second part:
Import your cropped image (just the face with black background) using either ‘read’ or ‘importmovie’. Remember to bang it when you run the patch.

Third part:
Define the position of the imported image, by using destination dimensions on the jit.matrix. The attributes ‘@dstdimstart’ and ‘@dstdimend’ tells the incoming matrix the specific start and end position where it should be. Therefore, this function can be used to match the location of the image to the x and y coordinates of the detected face.

Fourth part:
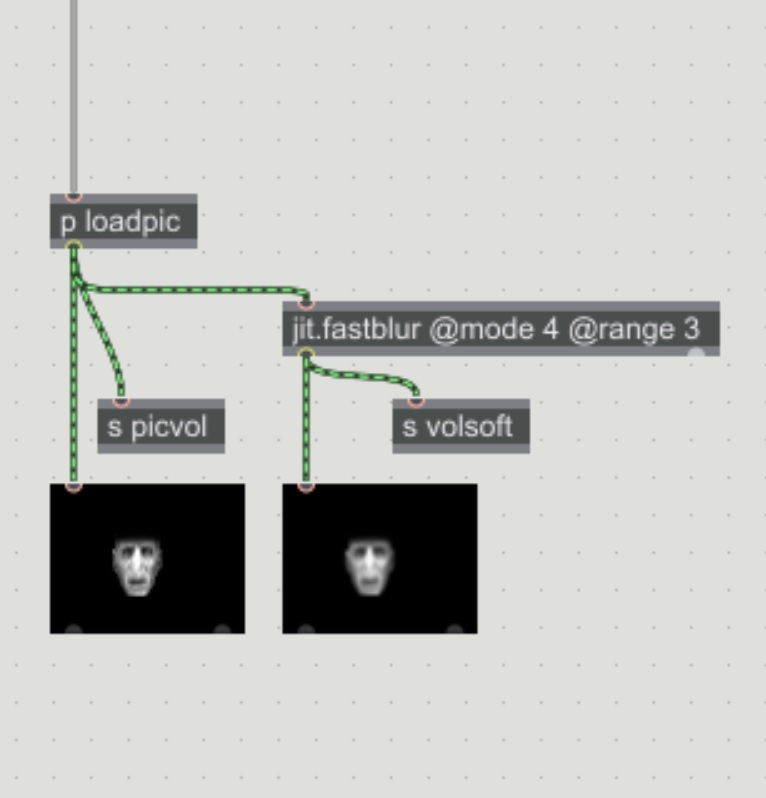
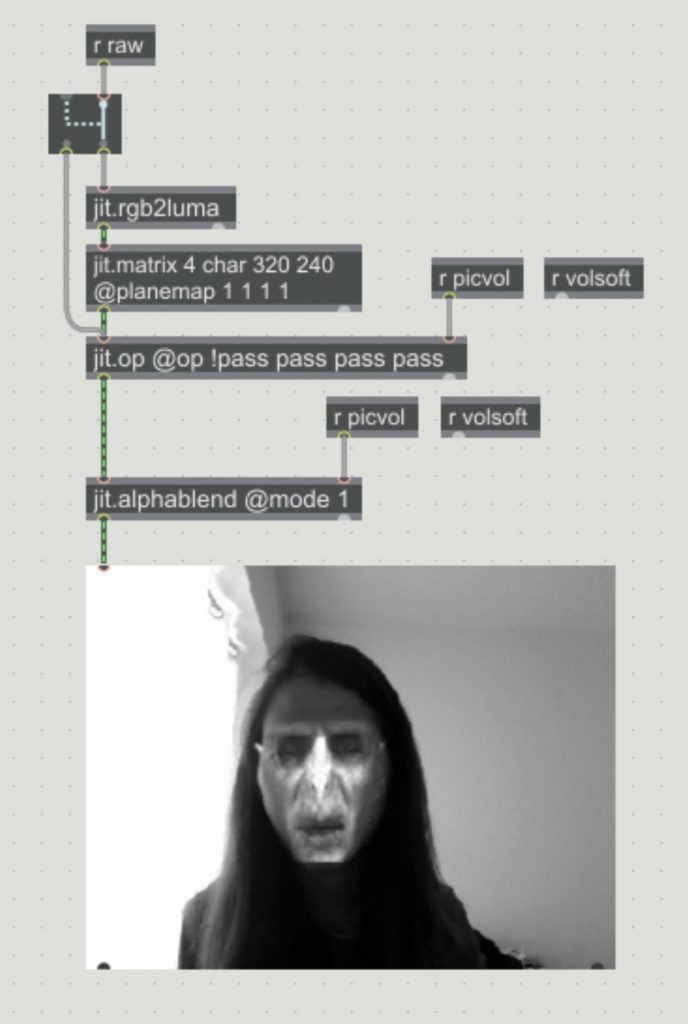
Blend the image and the detected face together using ‘jit.alphablend @mode 1’. Soften the edges using ‘jit.fastblur@mode 4 @range 3’.

Notes:

jit.matrix 4 char 320 240 @planemap 1 1 2 3 -> blends only with the red channel because of the ‘1 1’, therefore the blended alpha = red. For black and white images, use ‘1 1 1 1’ because you need to blend all.

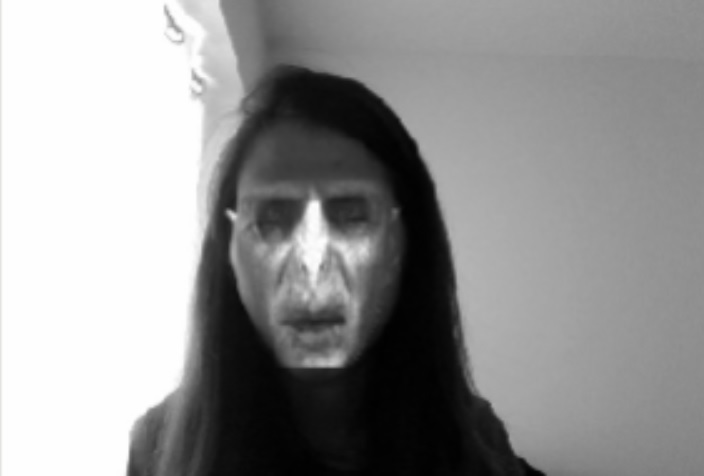
jit.alphablend @mode 0 -> displays just the voldemort mask
@mode 1 -> displays both the mask and camera image (use this)

You can switch between colour and b/w version using ‘gswitch2’. However, I think the black and white version blends better and looks more natural as compared to the coloured one!

Video documentation

MAX Assignment 3: Photobooth

Task: Create a photobooth programme that directs the user to the centre of the screen, and takes a photo 3 seconds after he/she is in the right position.

  1. Detection of the face and drawing its perimeters (sensing)
  2. Different audio tracks triggered based on the position of the user (effecting):
    Right – play “move left!”
    Left – play “move right!”
    Up – play “go down!”
    Down – play “go up!”
  3. Take photo if no audio tracks are triggered for 3 seconds (effecting)

The first part is similar to the previous assignment: using jit.grab and cv.jit.faces to display and detect the human face. Draw out the perimeters of the face.

Using jit.iter, separate the four x and y values of the detected face. Depending on the dimensions and size of your camera window, determine the x and y values for the photobooth (a box area in the middle of the screen).

If the user’s position is out of bounds, the x value will be bigger than or smaller than the designated middle box, and the audio track will be triggered. If the value = 0 or within the perimeters of the box, nothing will happen.


If the user’s position remains within the middle box for more than 3 seconds, a screenshot will be taken and saved onto the desktop!

Video documentation


Notes:

X – metro 1000 – print turnon
                                – delay 250 – print turnoff (turns on AND off)
clocker 100: something like a stopwatch/timer (do something after 5000)
X – clocker 1000 – (i) – >10000 – (i) [changes from 0 to 1 when number is >10000]
X – metro 10 – O
                          – speedlim 1000 – O (limits the speed to 1bang/sec)
X – sel 0 1 – print zero (can have a bigger range of nums, if 1 do this or if 2 do this)
                    – print one
key – branches out to four keys (e.g. arrow up down left right)
(i) – split 0 10 – (i)  [if number between 0 and 10, number appears here]
                            – (i)  [if number >10, number appears here]
onebang – doesnt bang repeatedly, only once when triggered
X – metro 1000 – counter 0 1 100 – (i) [counts from 1 to 100, +1/second]
O – uzi 100 – print [prints 100 bangs in one go]
whats the difference between pack i i i and pak i i i?
-> pack only triggers when the left input changes
-> pak triggers when any one of the inputs changes

Narratives Sharing: Red Collar (6)

Red Collar is a digital media company that produces creative visions, technologies and interactive experiences for their clients. In celebration of their 6th birthday on the 6th February 2017, they created an interactive version of their 2016 end-in-review, documenting their journey and achievements over the course of 2016.

Click here to check out the page!

The page consists of four tabs along the timeline, paired with their respective season and time of the year – autumn, summer, spring and winter. There is a clock at the beginning of each season, and it requires interaction from the user to unlock the timeline.

 Summer

Spring & what they have done

   Winter

Narratives Sharing: Fillory (7)

Fillory is an adventure quest webpage done by Unit9, based on the upcoming Season 2 of U.S TV series The Magicians. This game/webpage features the main characters of the show as heroes, and brings the players through their background stories and journey. A list of quests are also available for players to completed and to further explore the realm.

Click here to check it out!

This website has amazing graphics, especially for the interactive map which allows players to zoom in/out in different perspectives, with realistically animated icons for each location on the map.