
Transfer Printing Technique
Transfer Printing is the transference of an image to fabric or other materials via a substrate. The image is transferred via heat and pressure. Due to the dyes in the substrate – sublime, it creates an imprint. This technique is thus known as sublimation printing.
Three types of transfer printing:
Dry transfer, wet transfer and digital transfer
D R Y T R A N S F E R
Materials: Fabric Crayons, Paper, Wax Paper, Fabric & Iron

D R Y T R A N S F E R T E C H N I Q U E
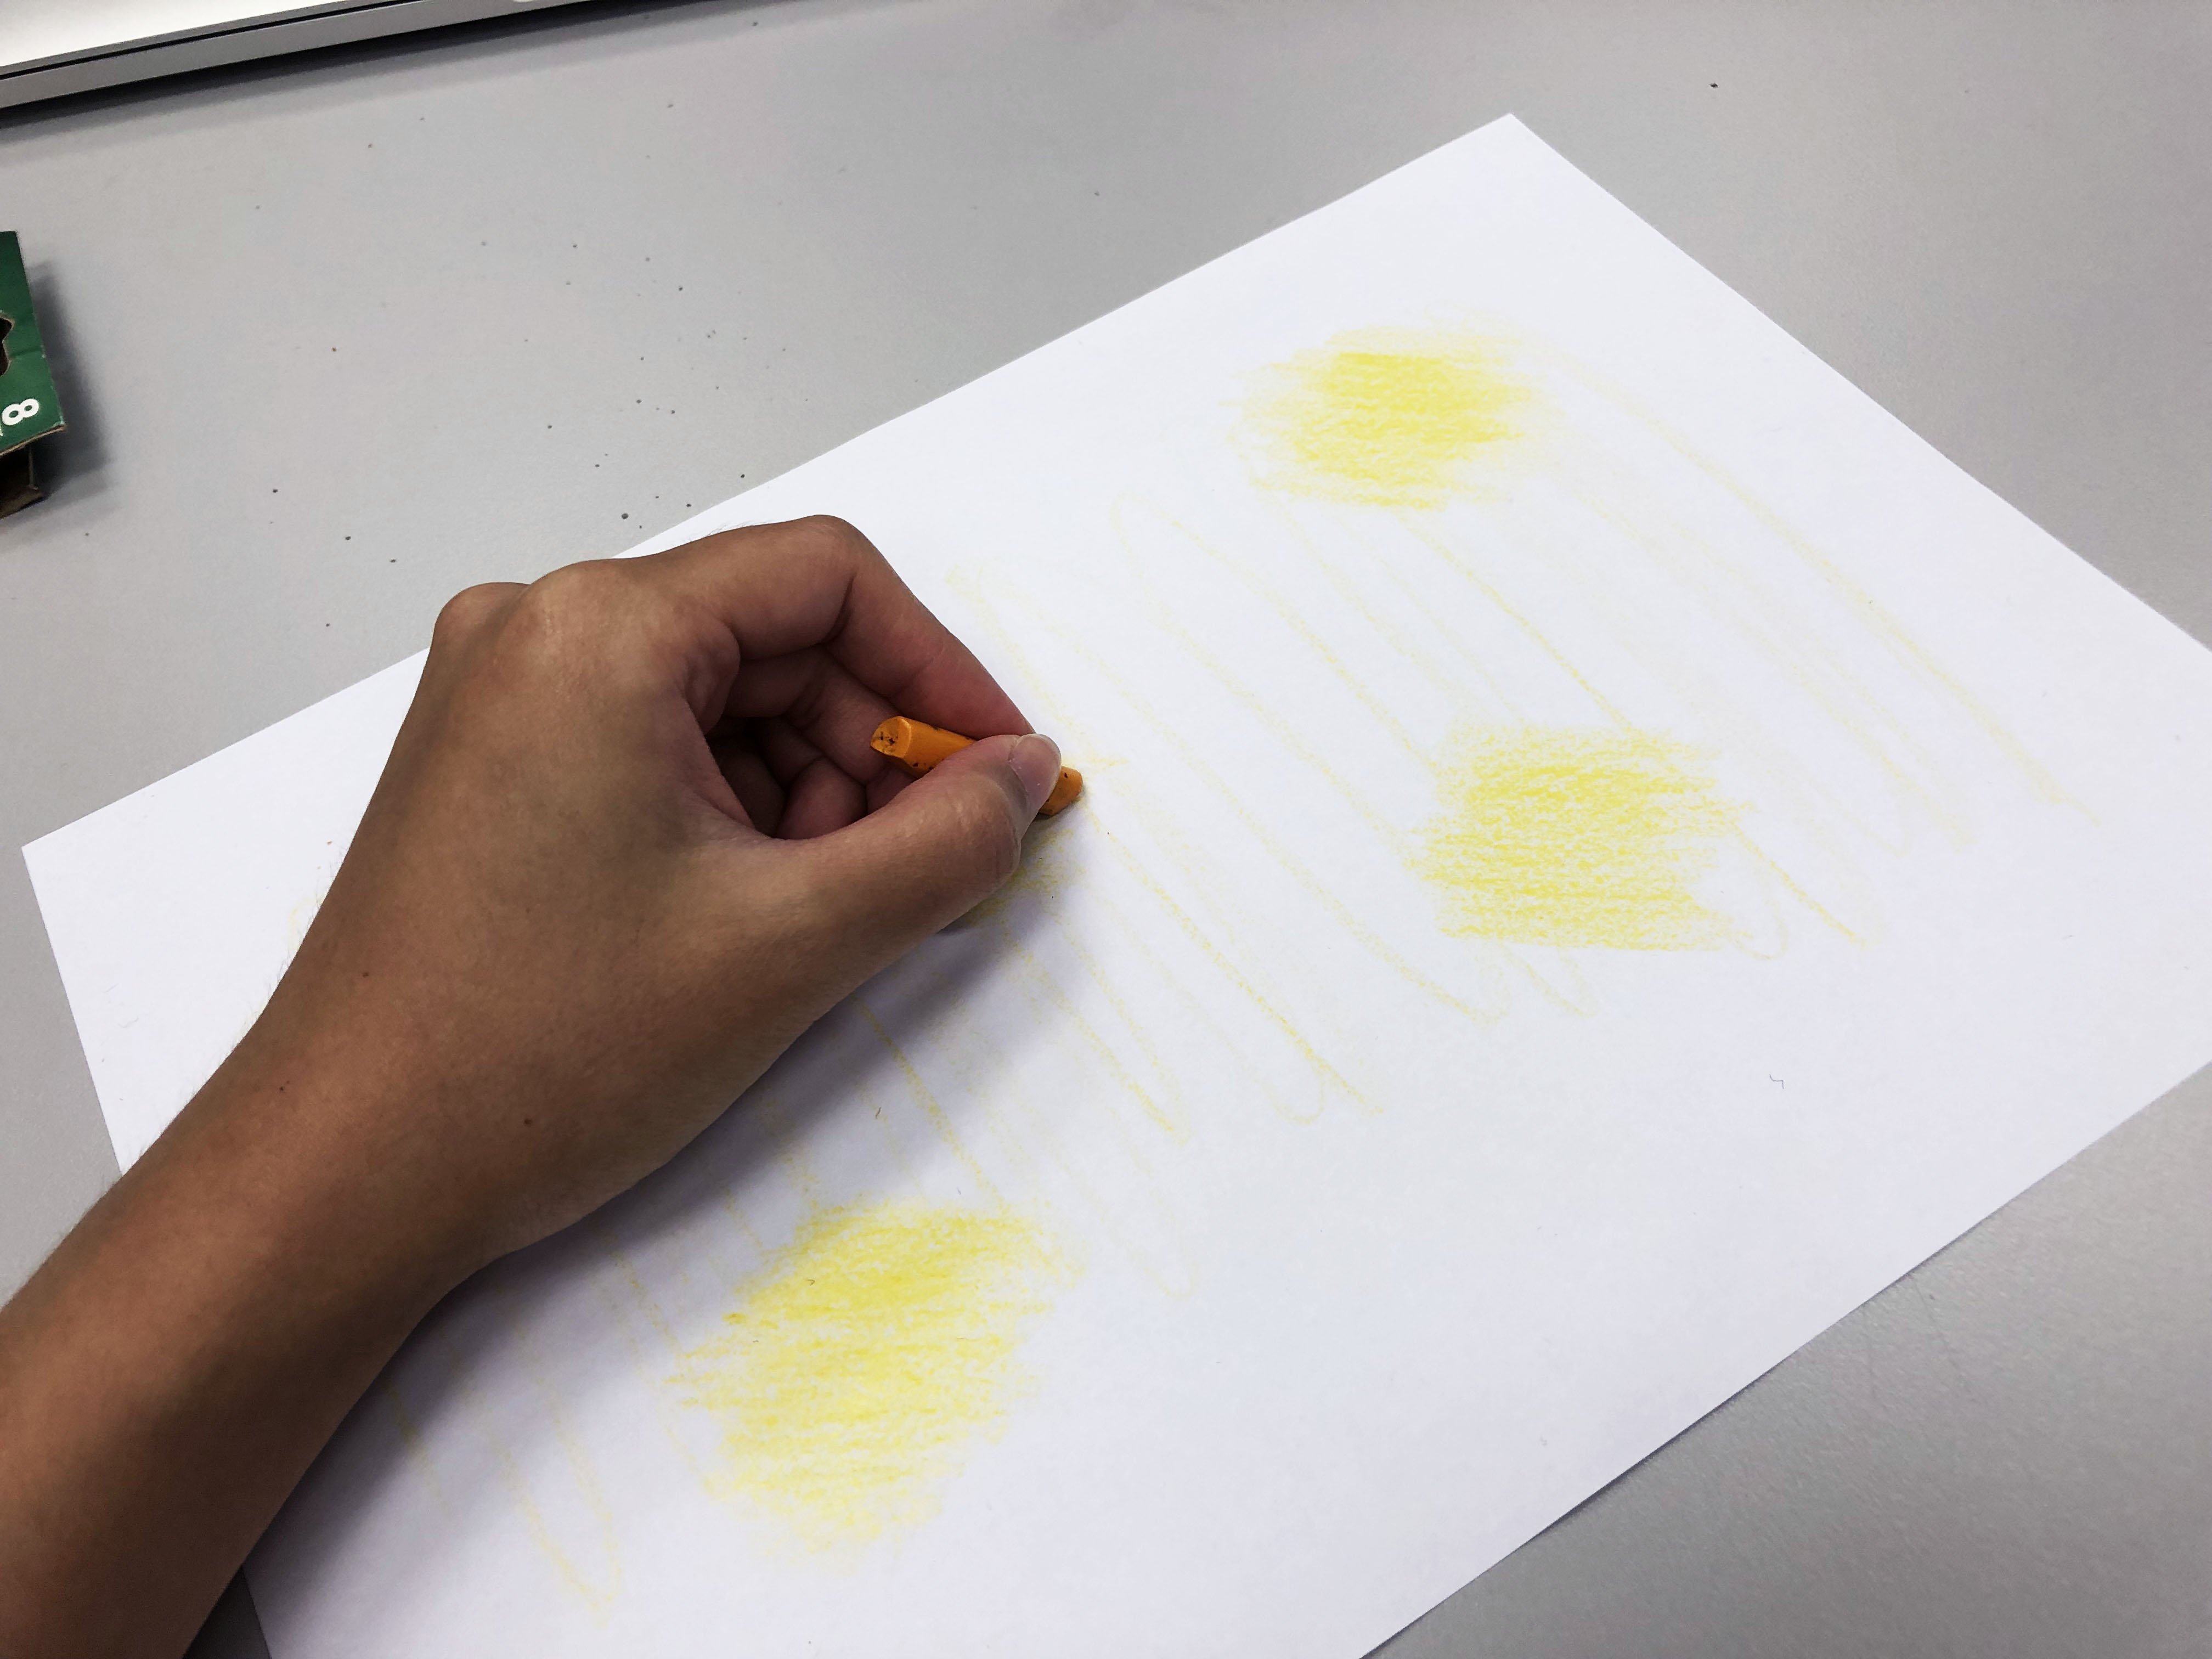
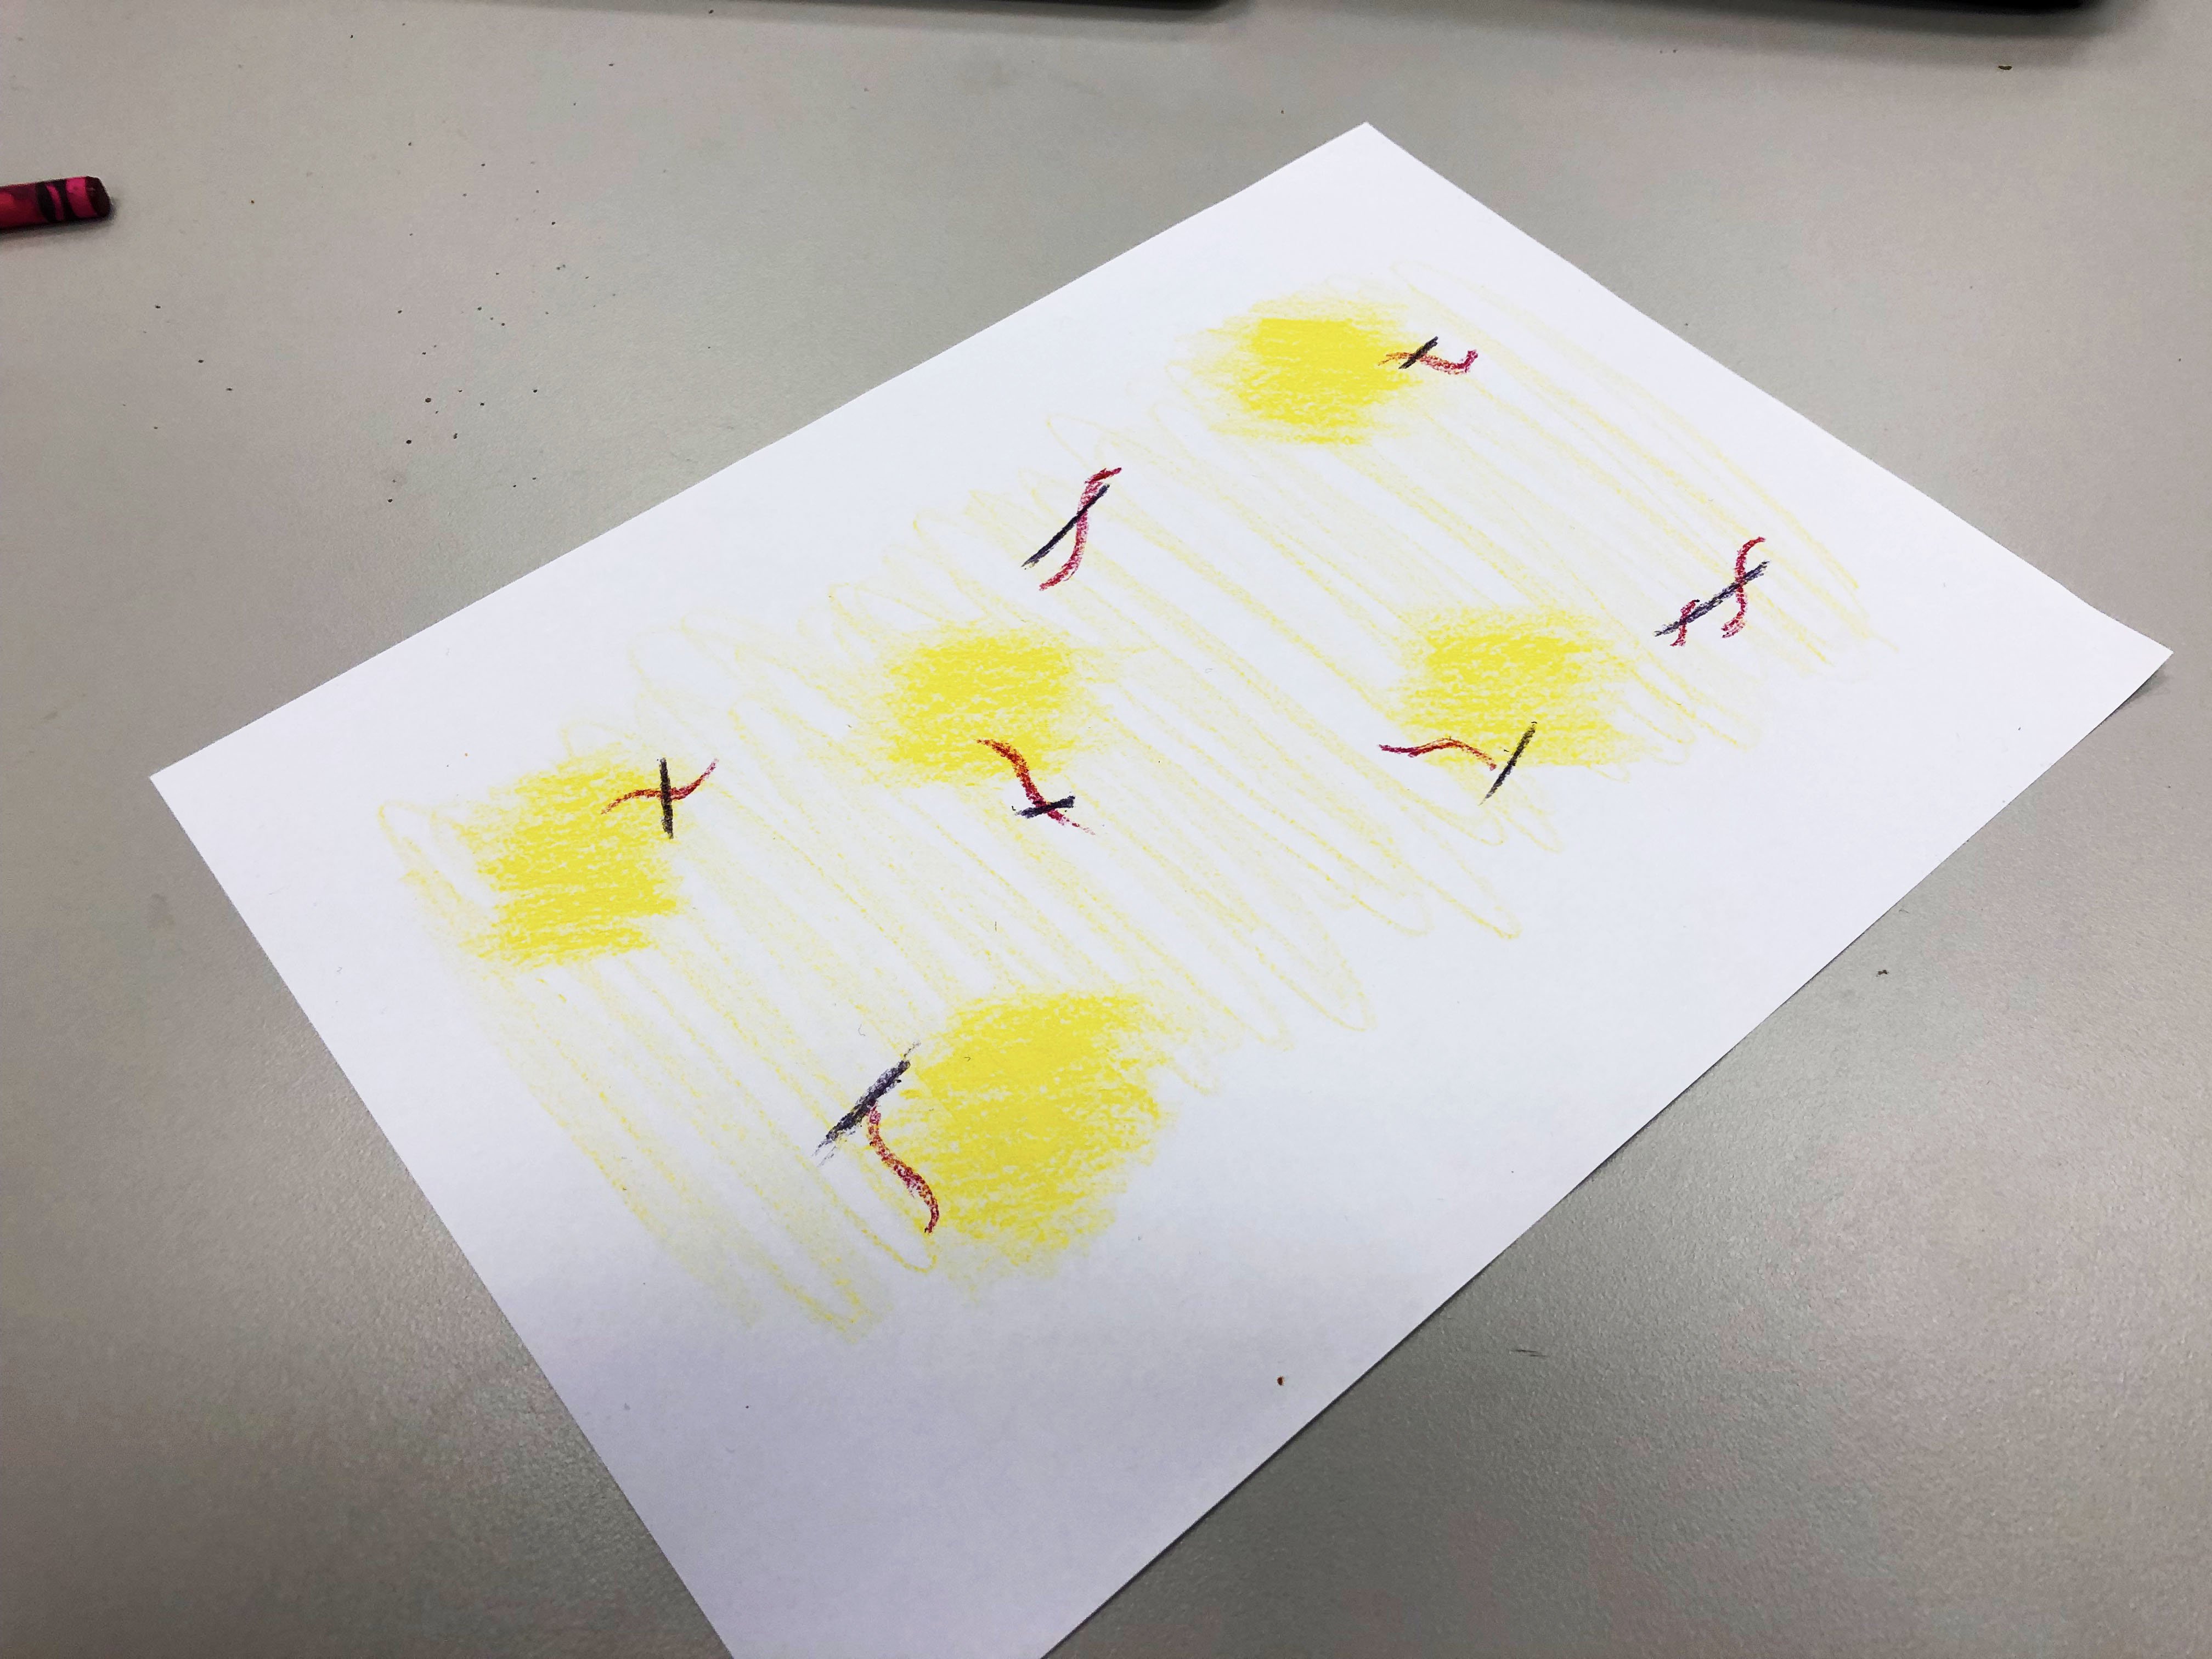
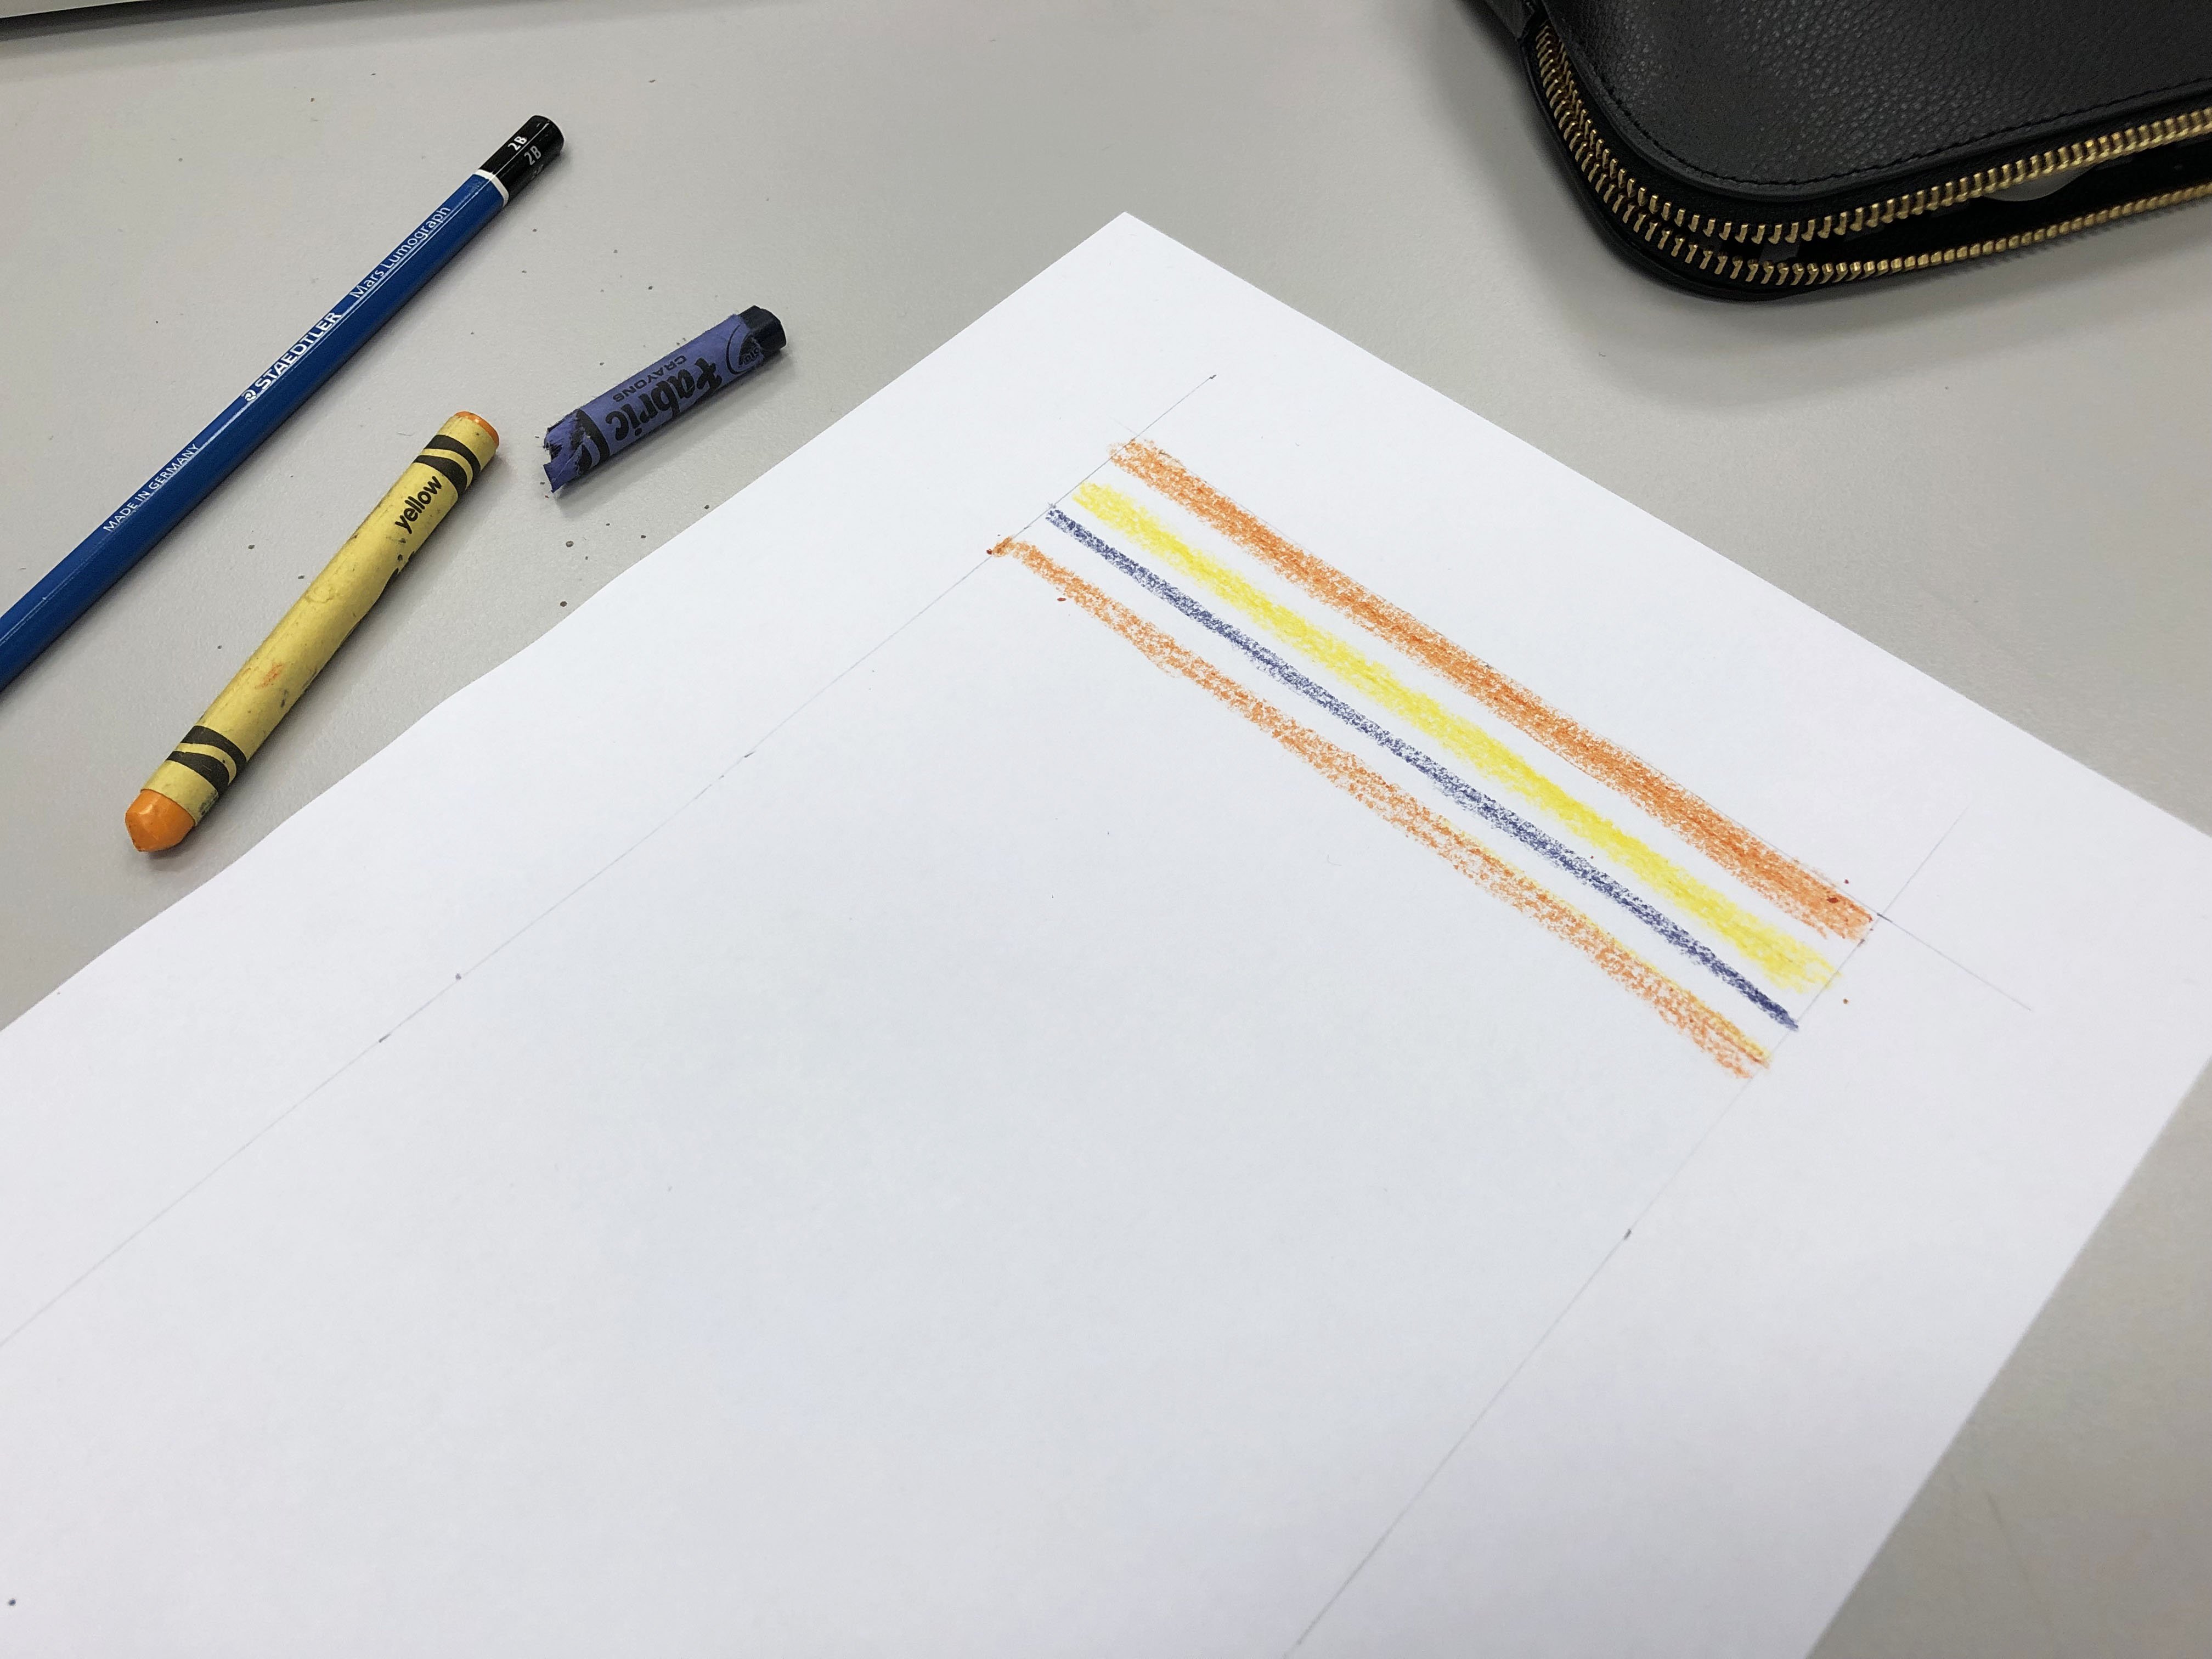
- Use fabric crayons to create your artwork on normal copy paper. You may illustrate or etch it over some patterns and textures.
- Once your illustration is complete, place a piece of fabric (preferably cotton, silk or polyester) on the coloured side of the paper.
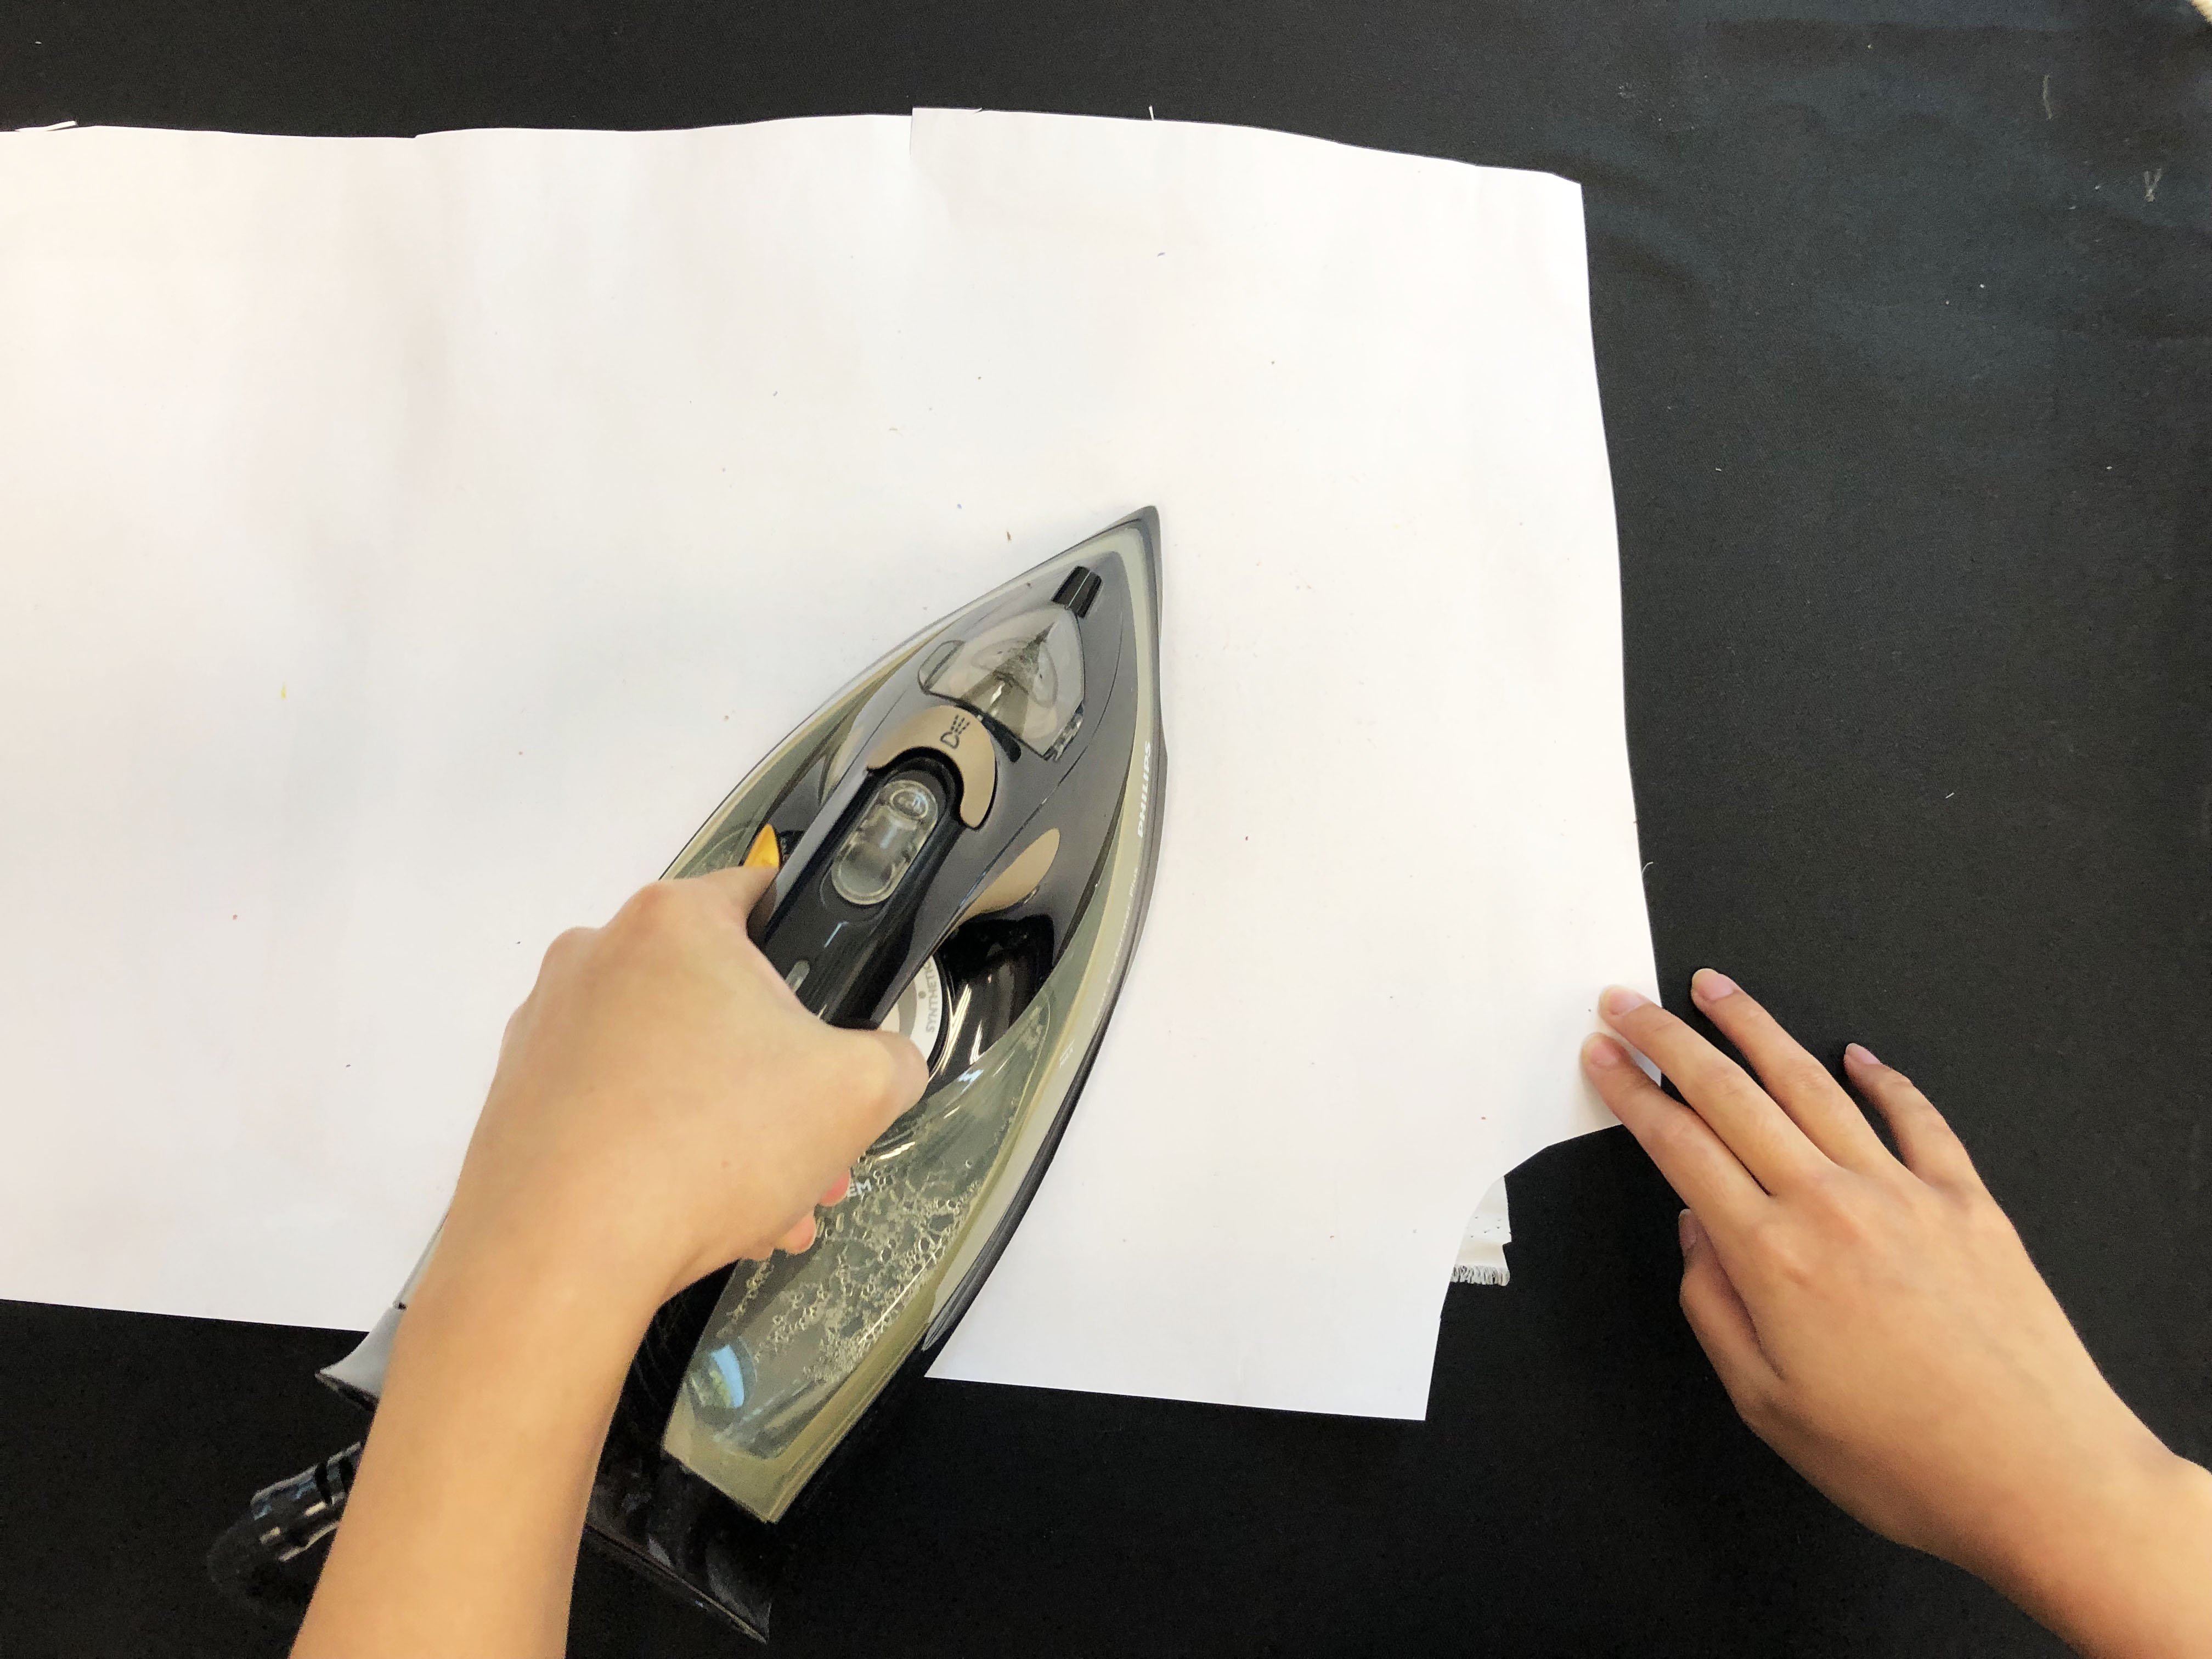
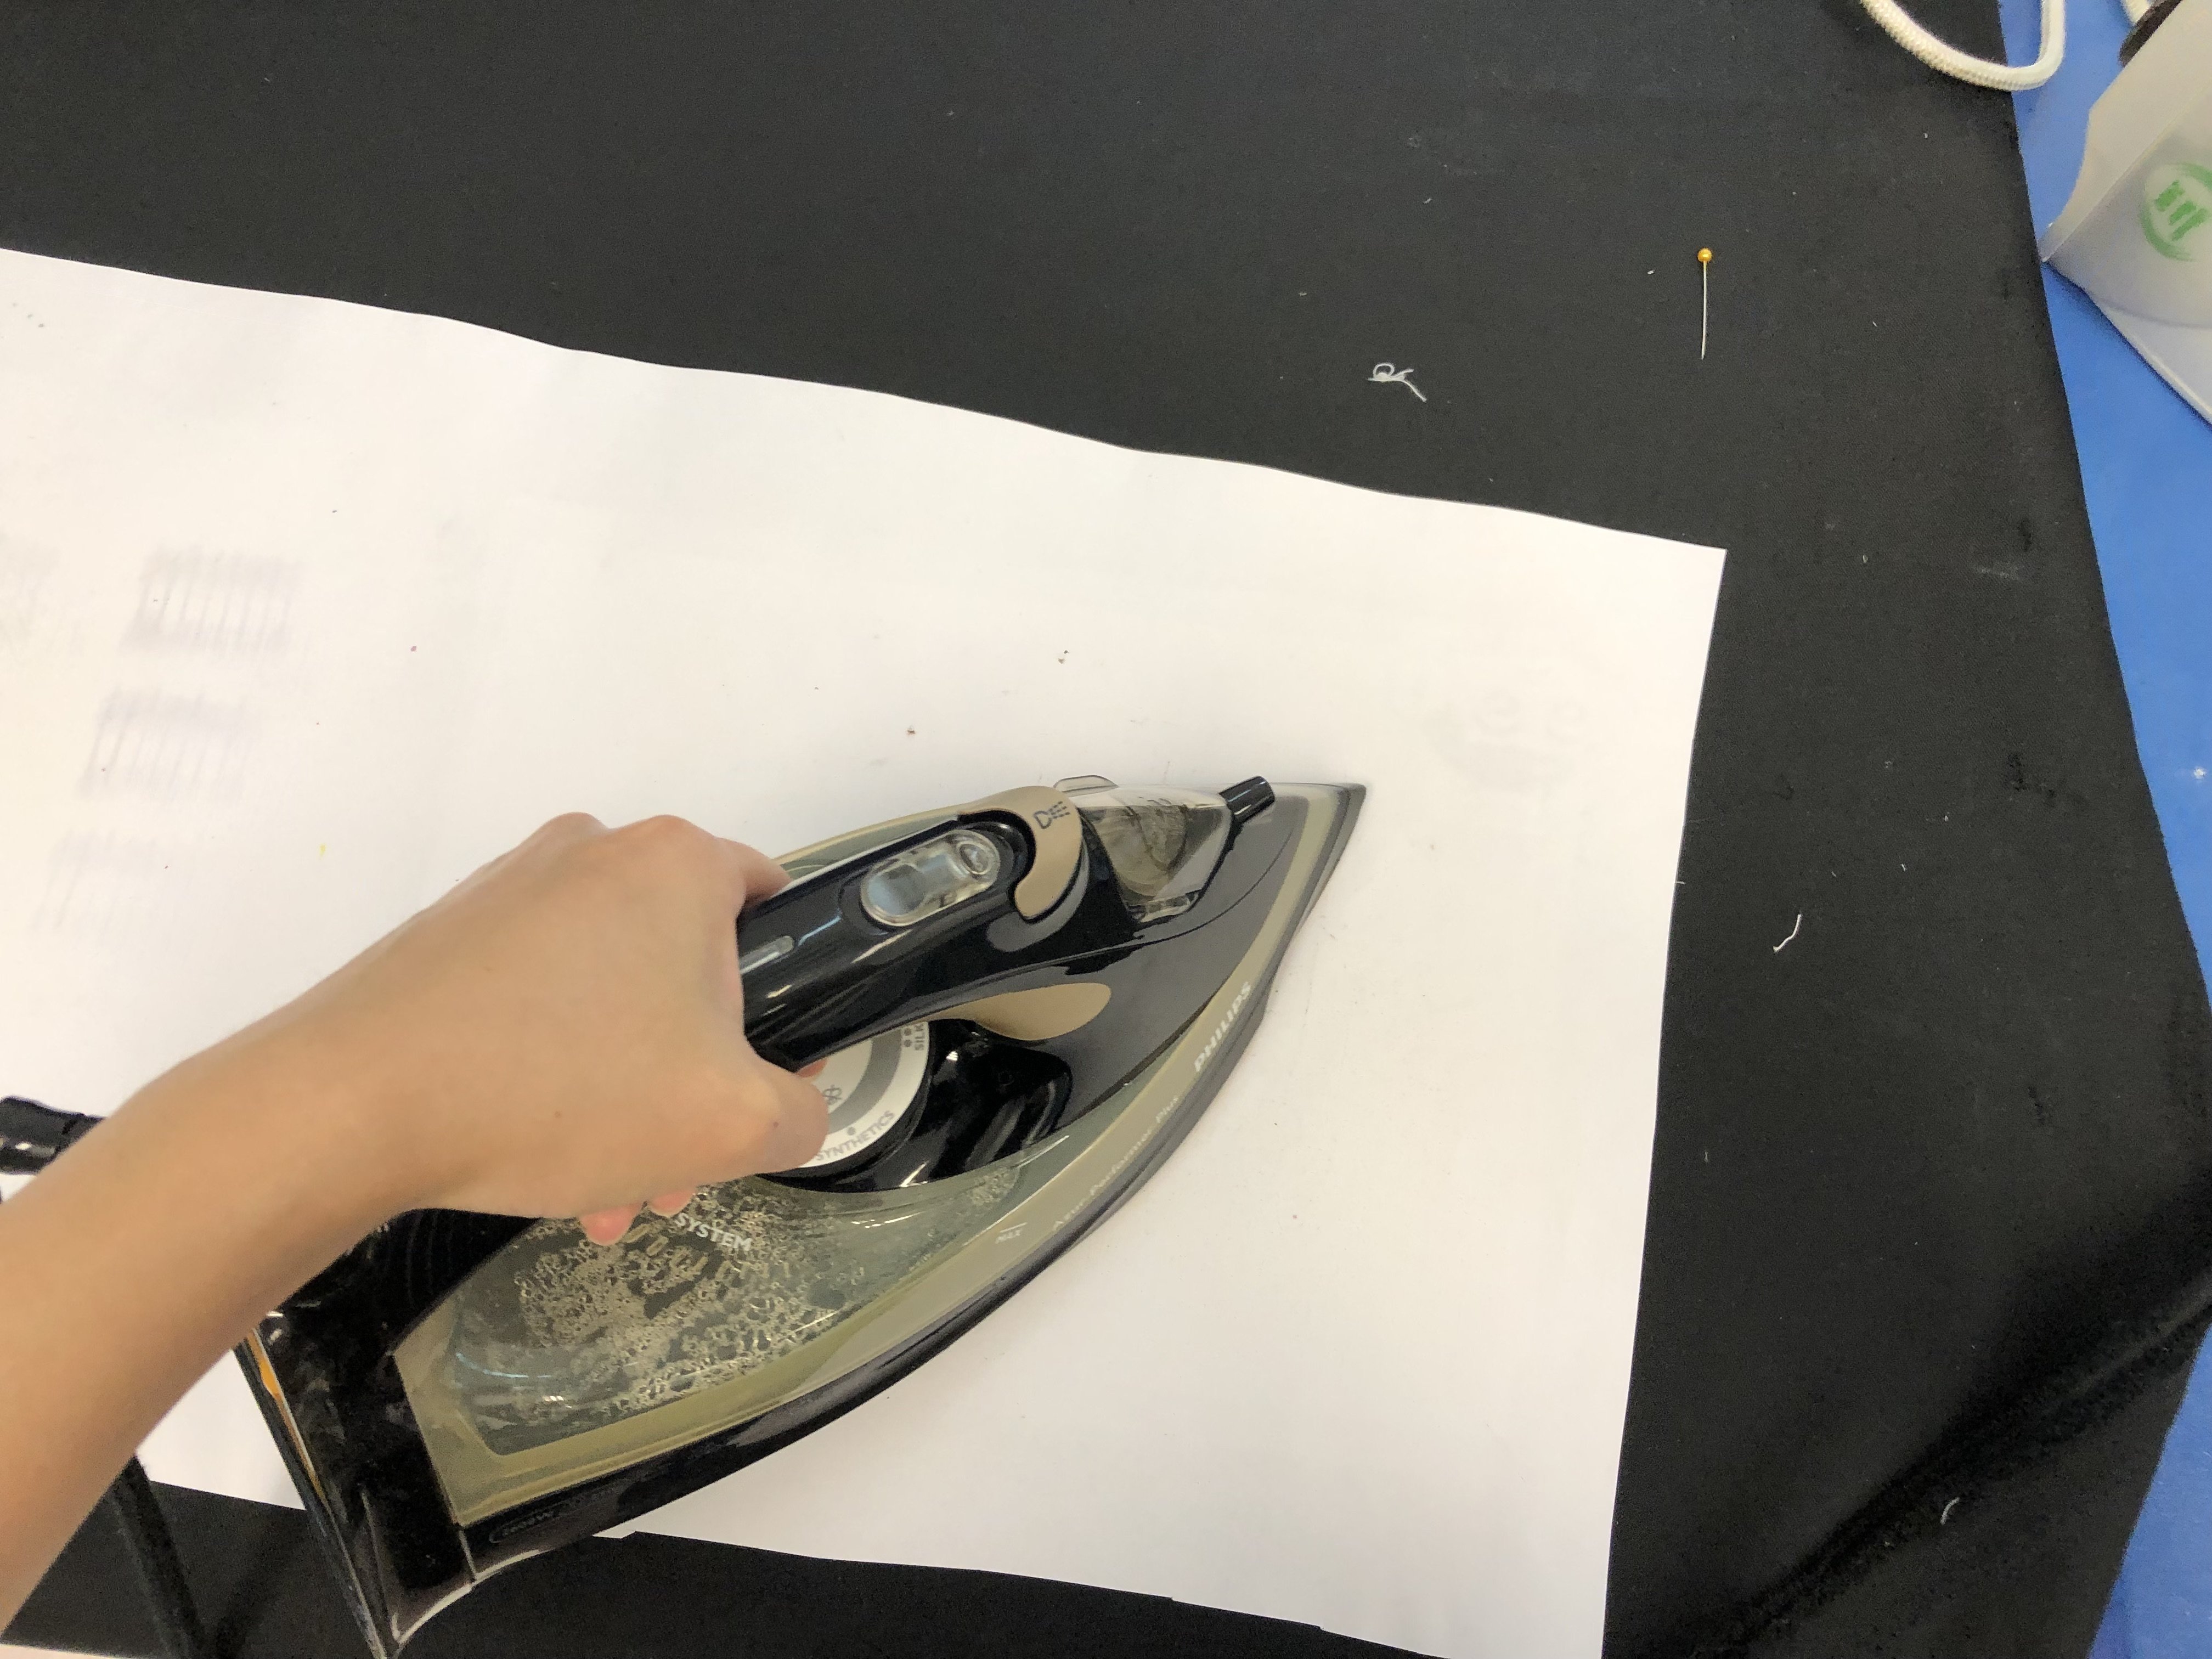
- Heat up your iron, make sure it’s heated in the fabric setting.
- Place a piece of wax paper in between the iron and your fabric to prevent from burning your artwork.
- Slowly iron your artwork and apply pressure occasionally. The heat will cause the ink to transfer onto the fabric.
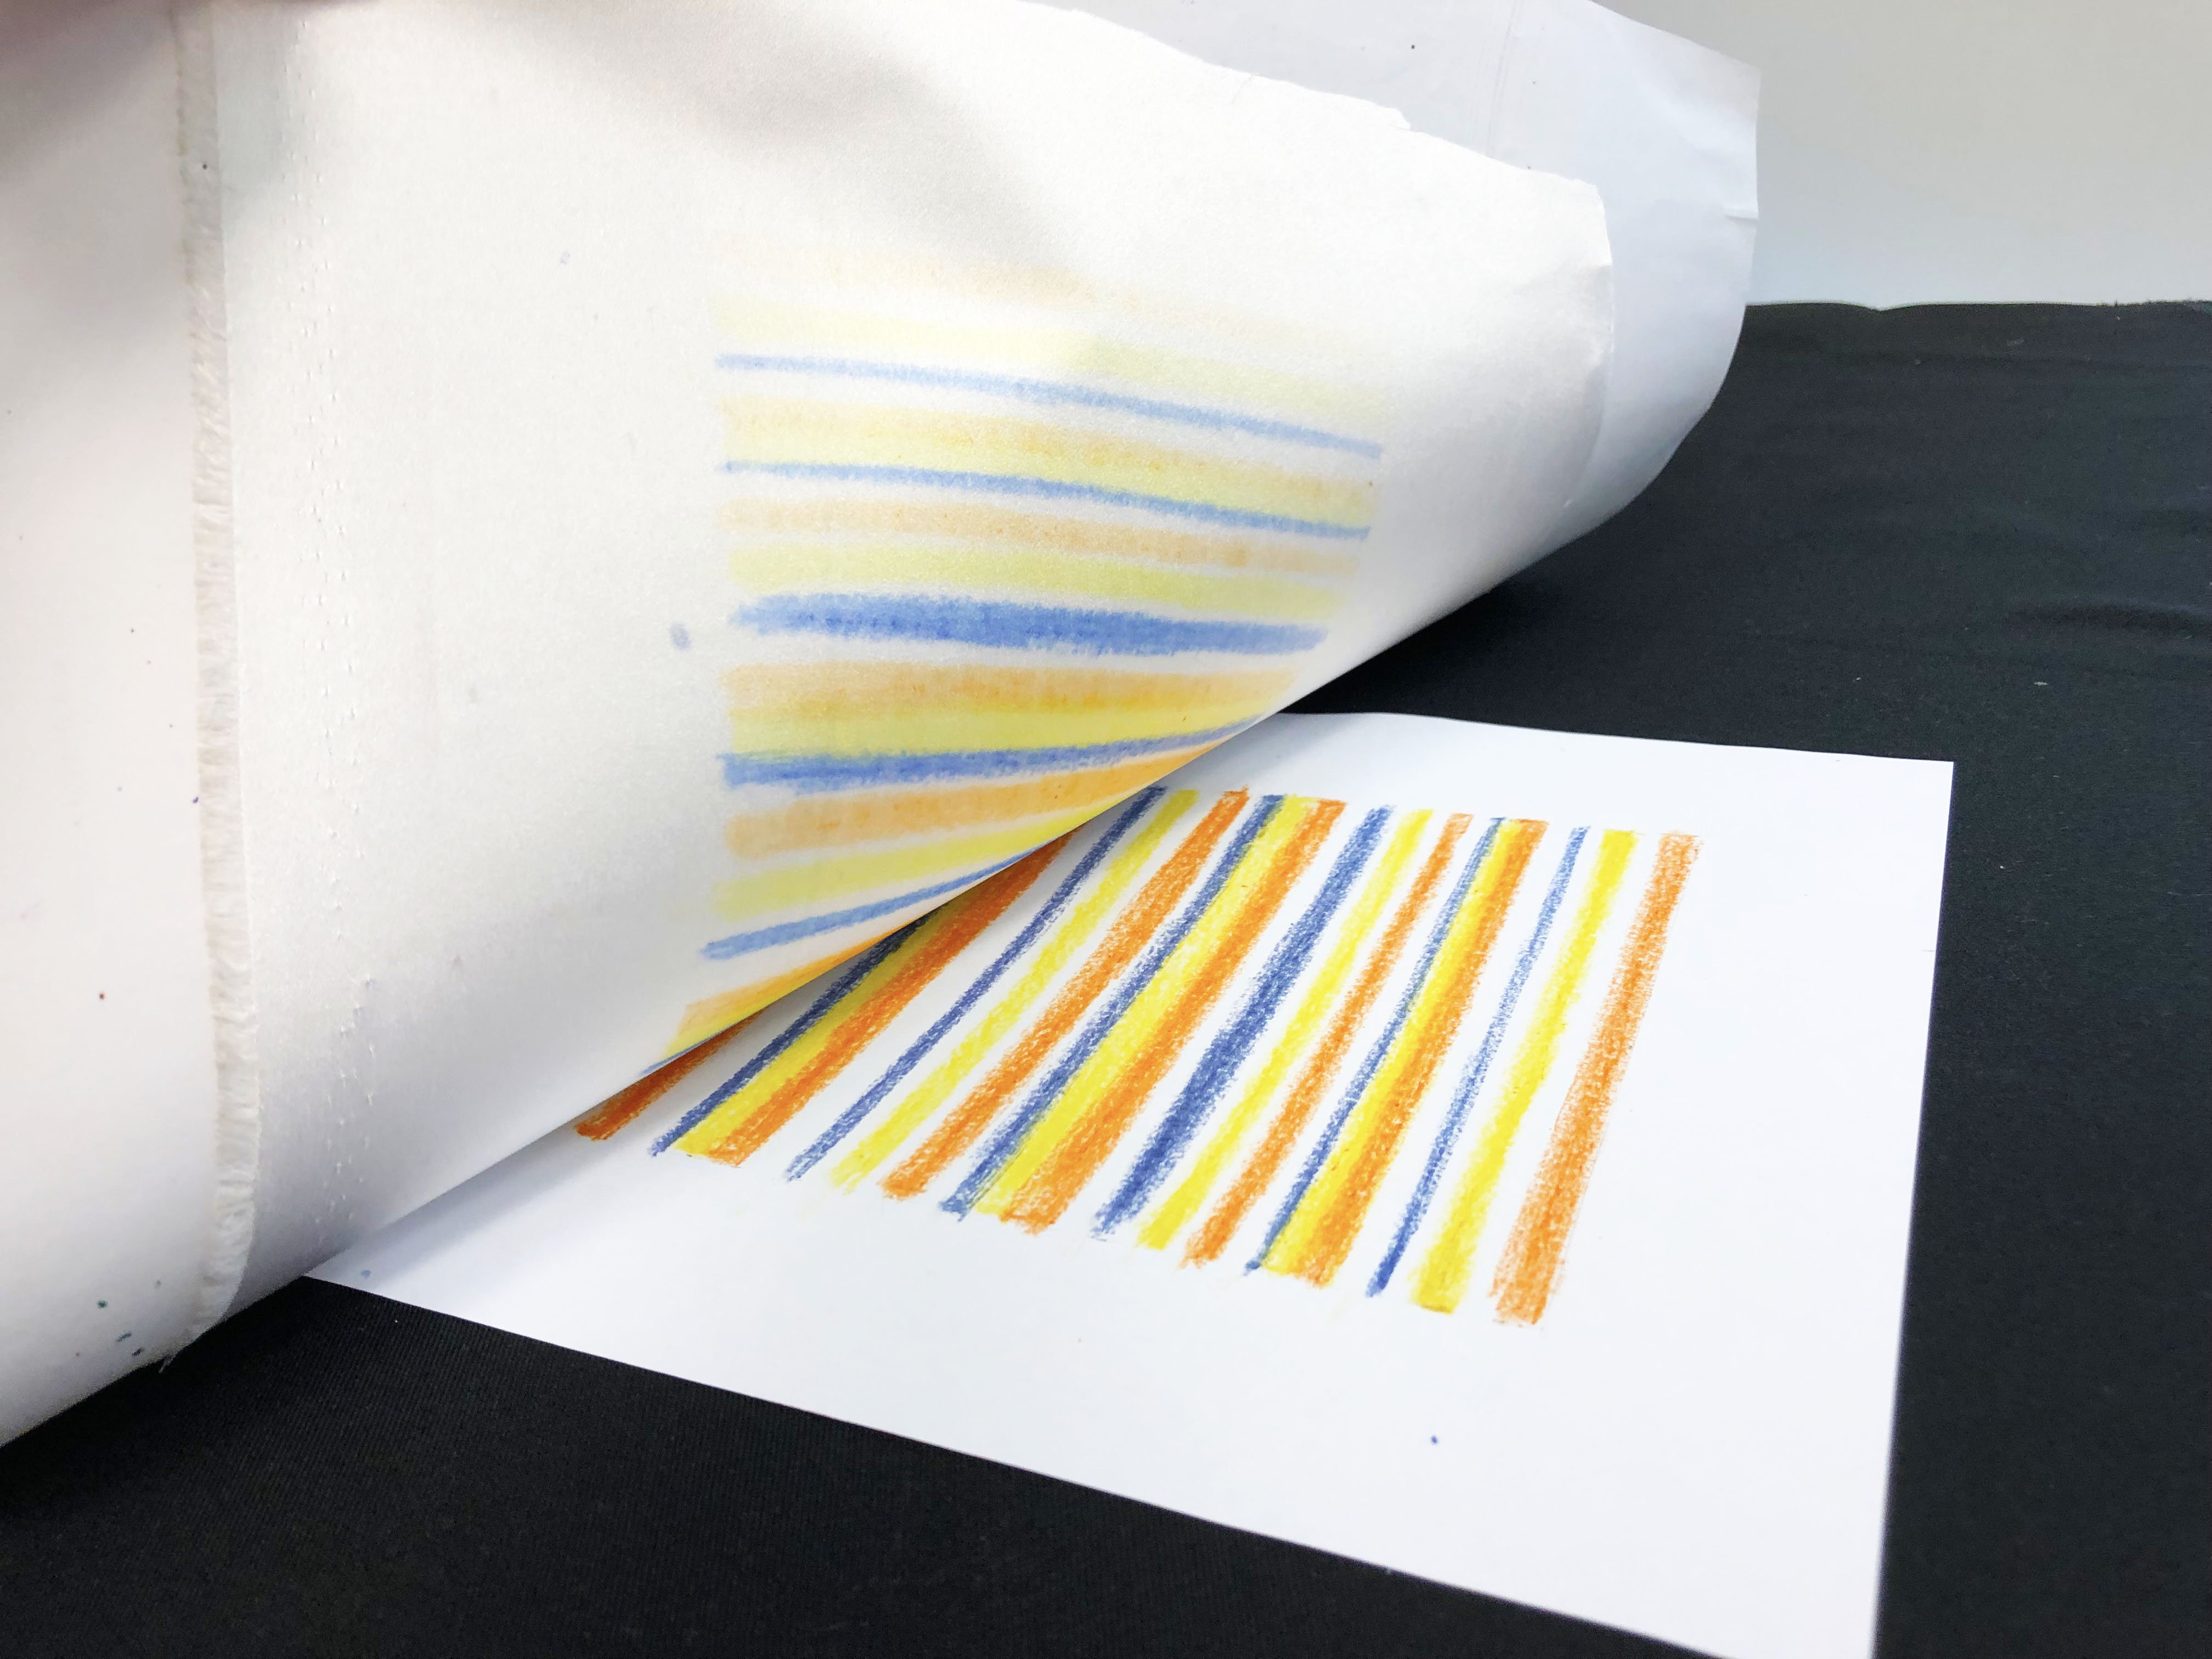
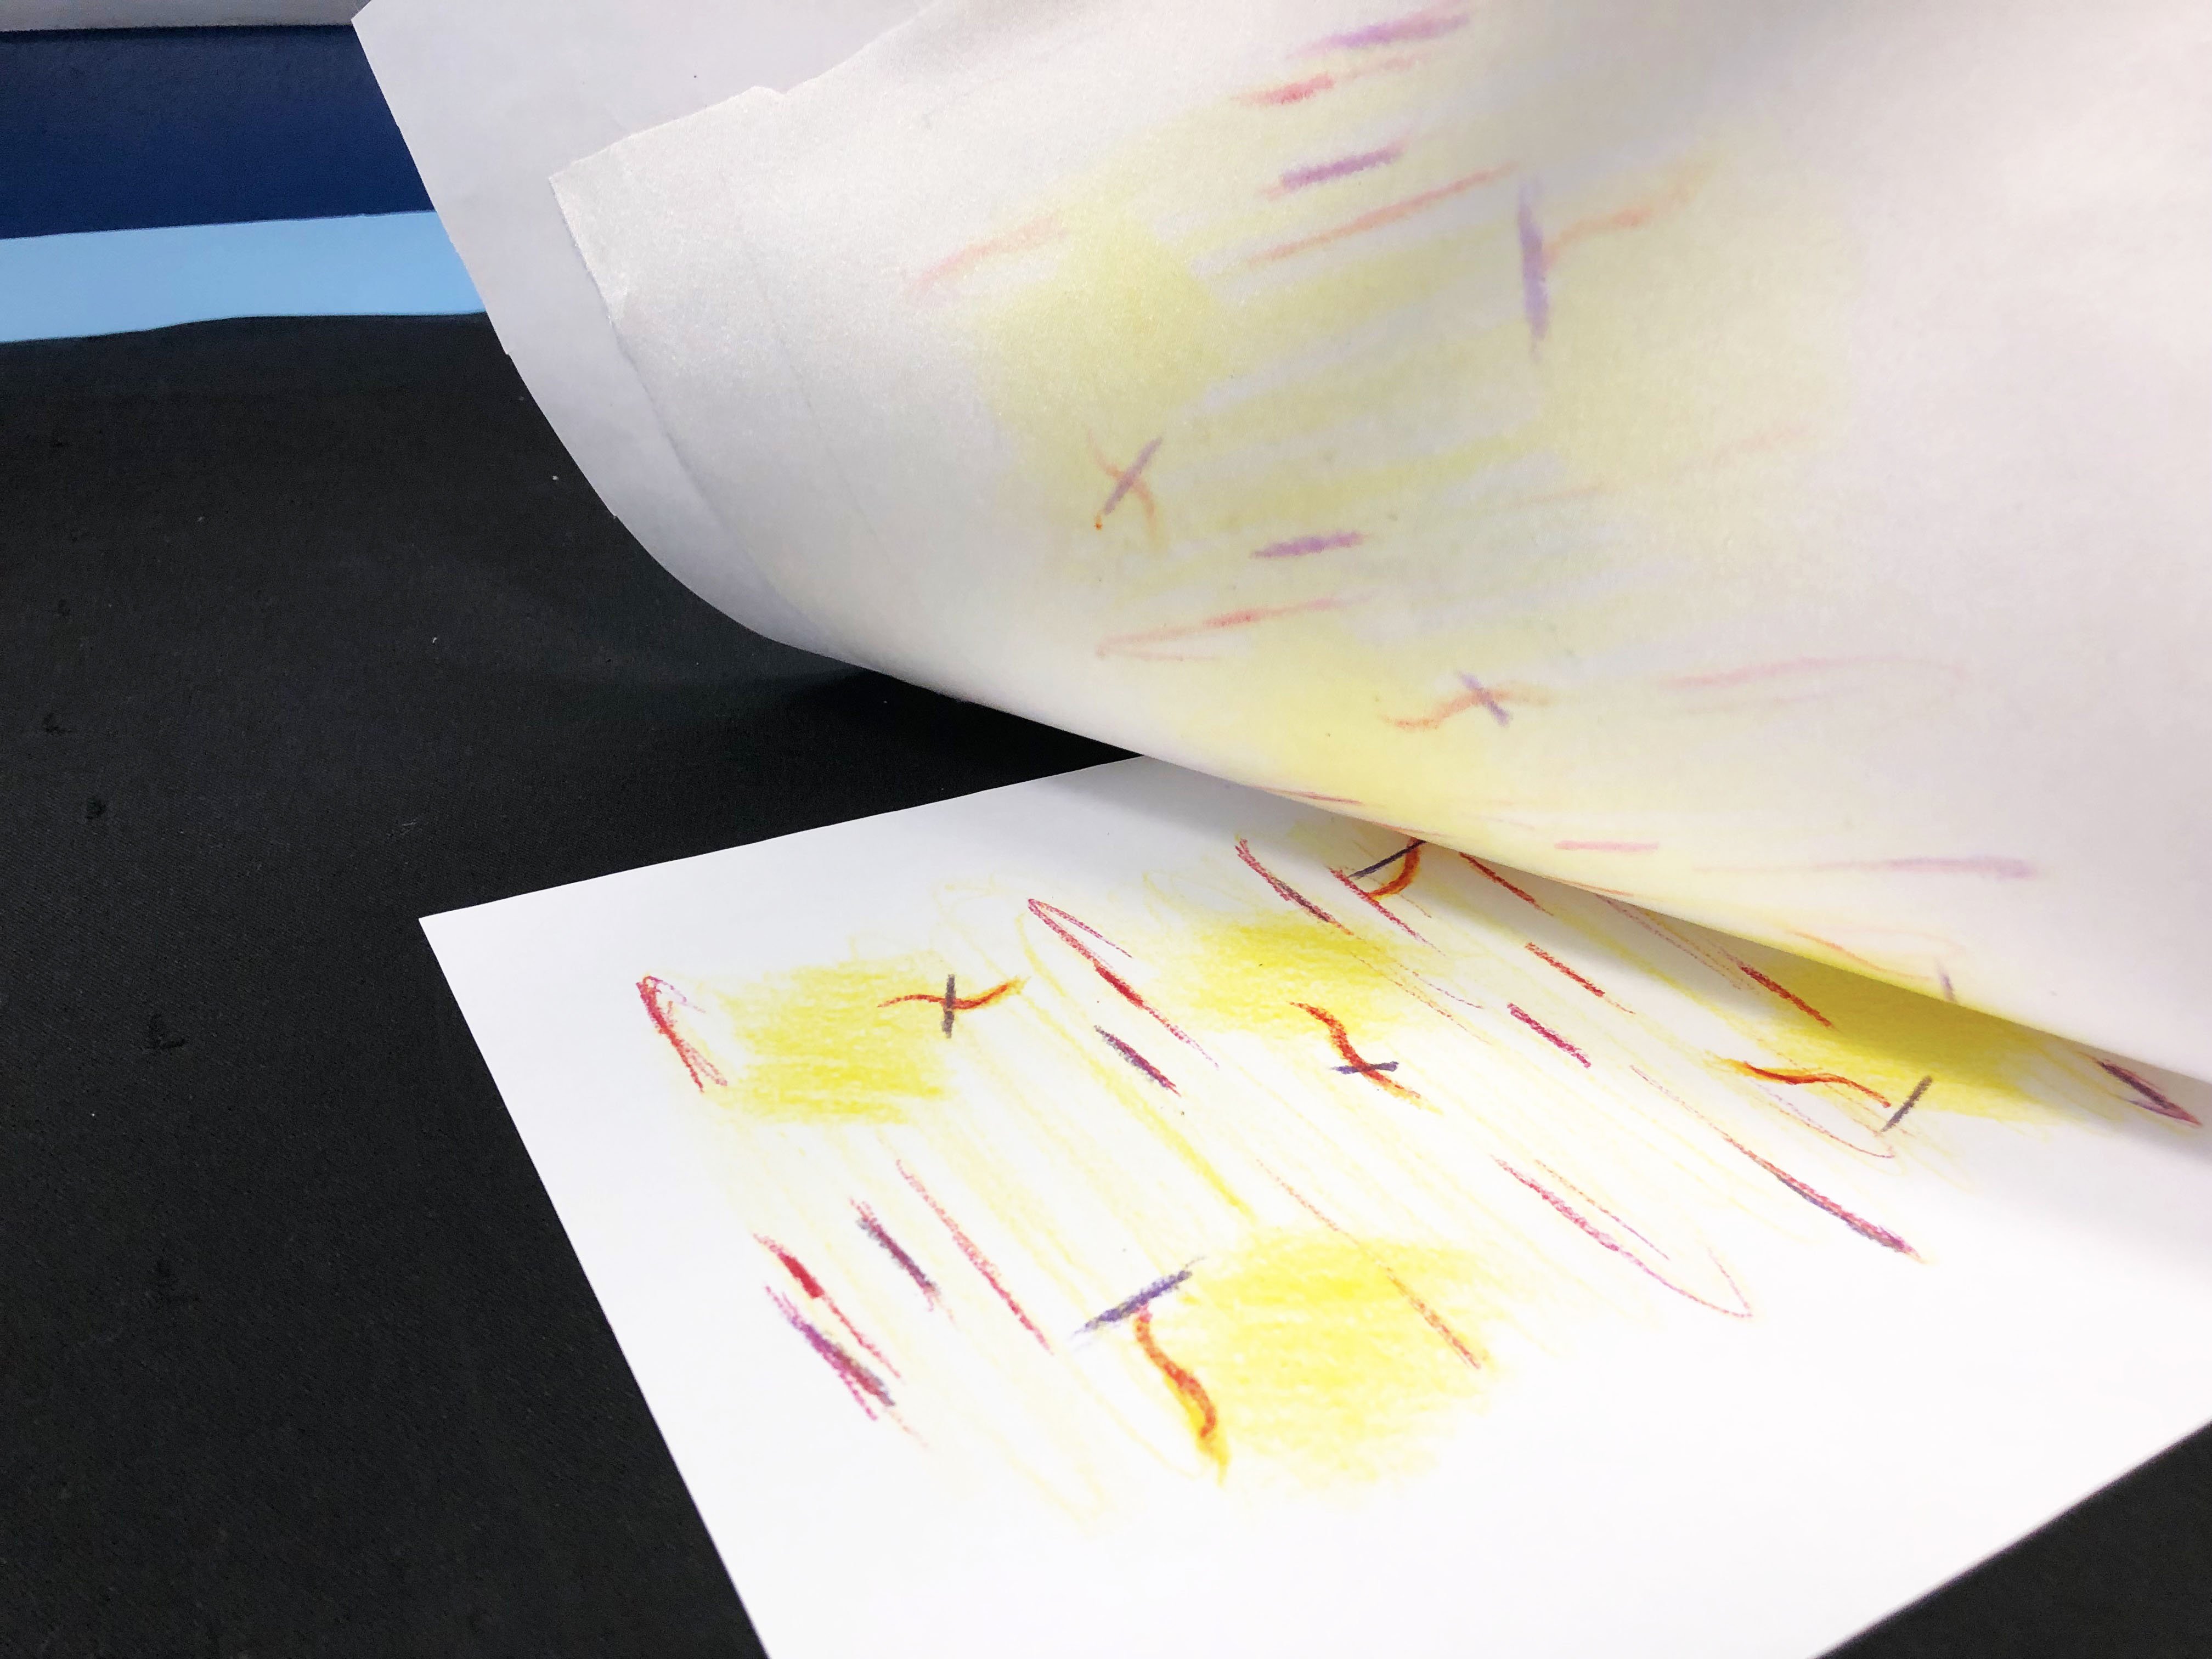
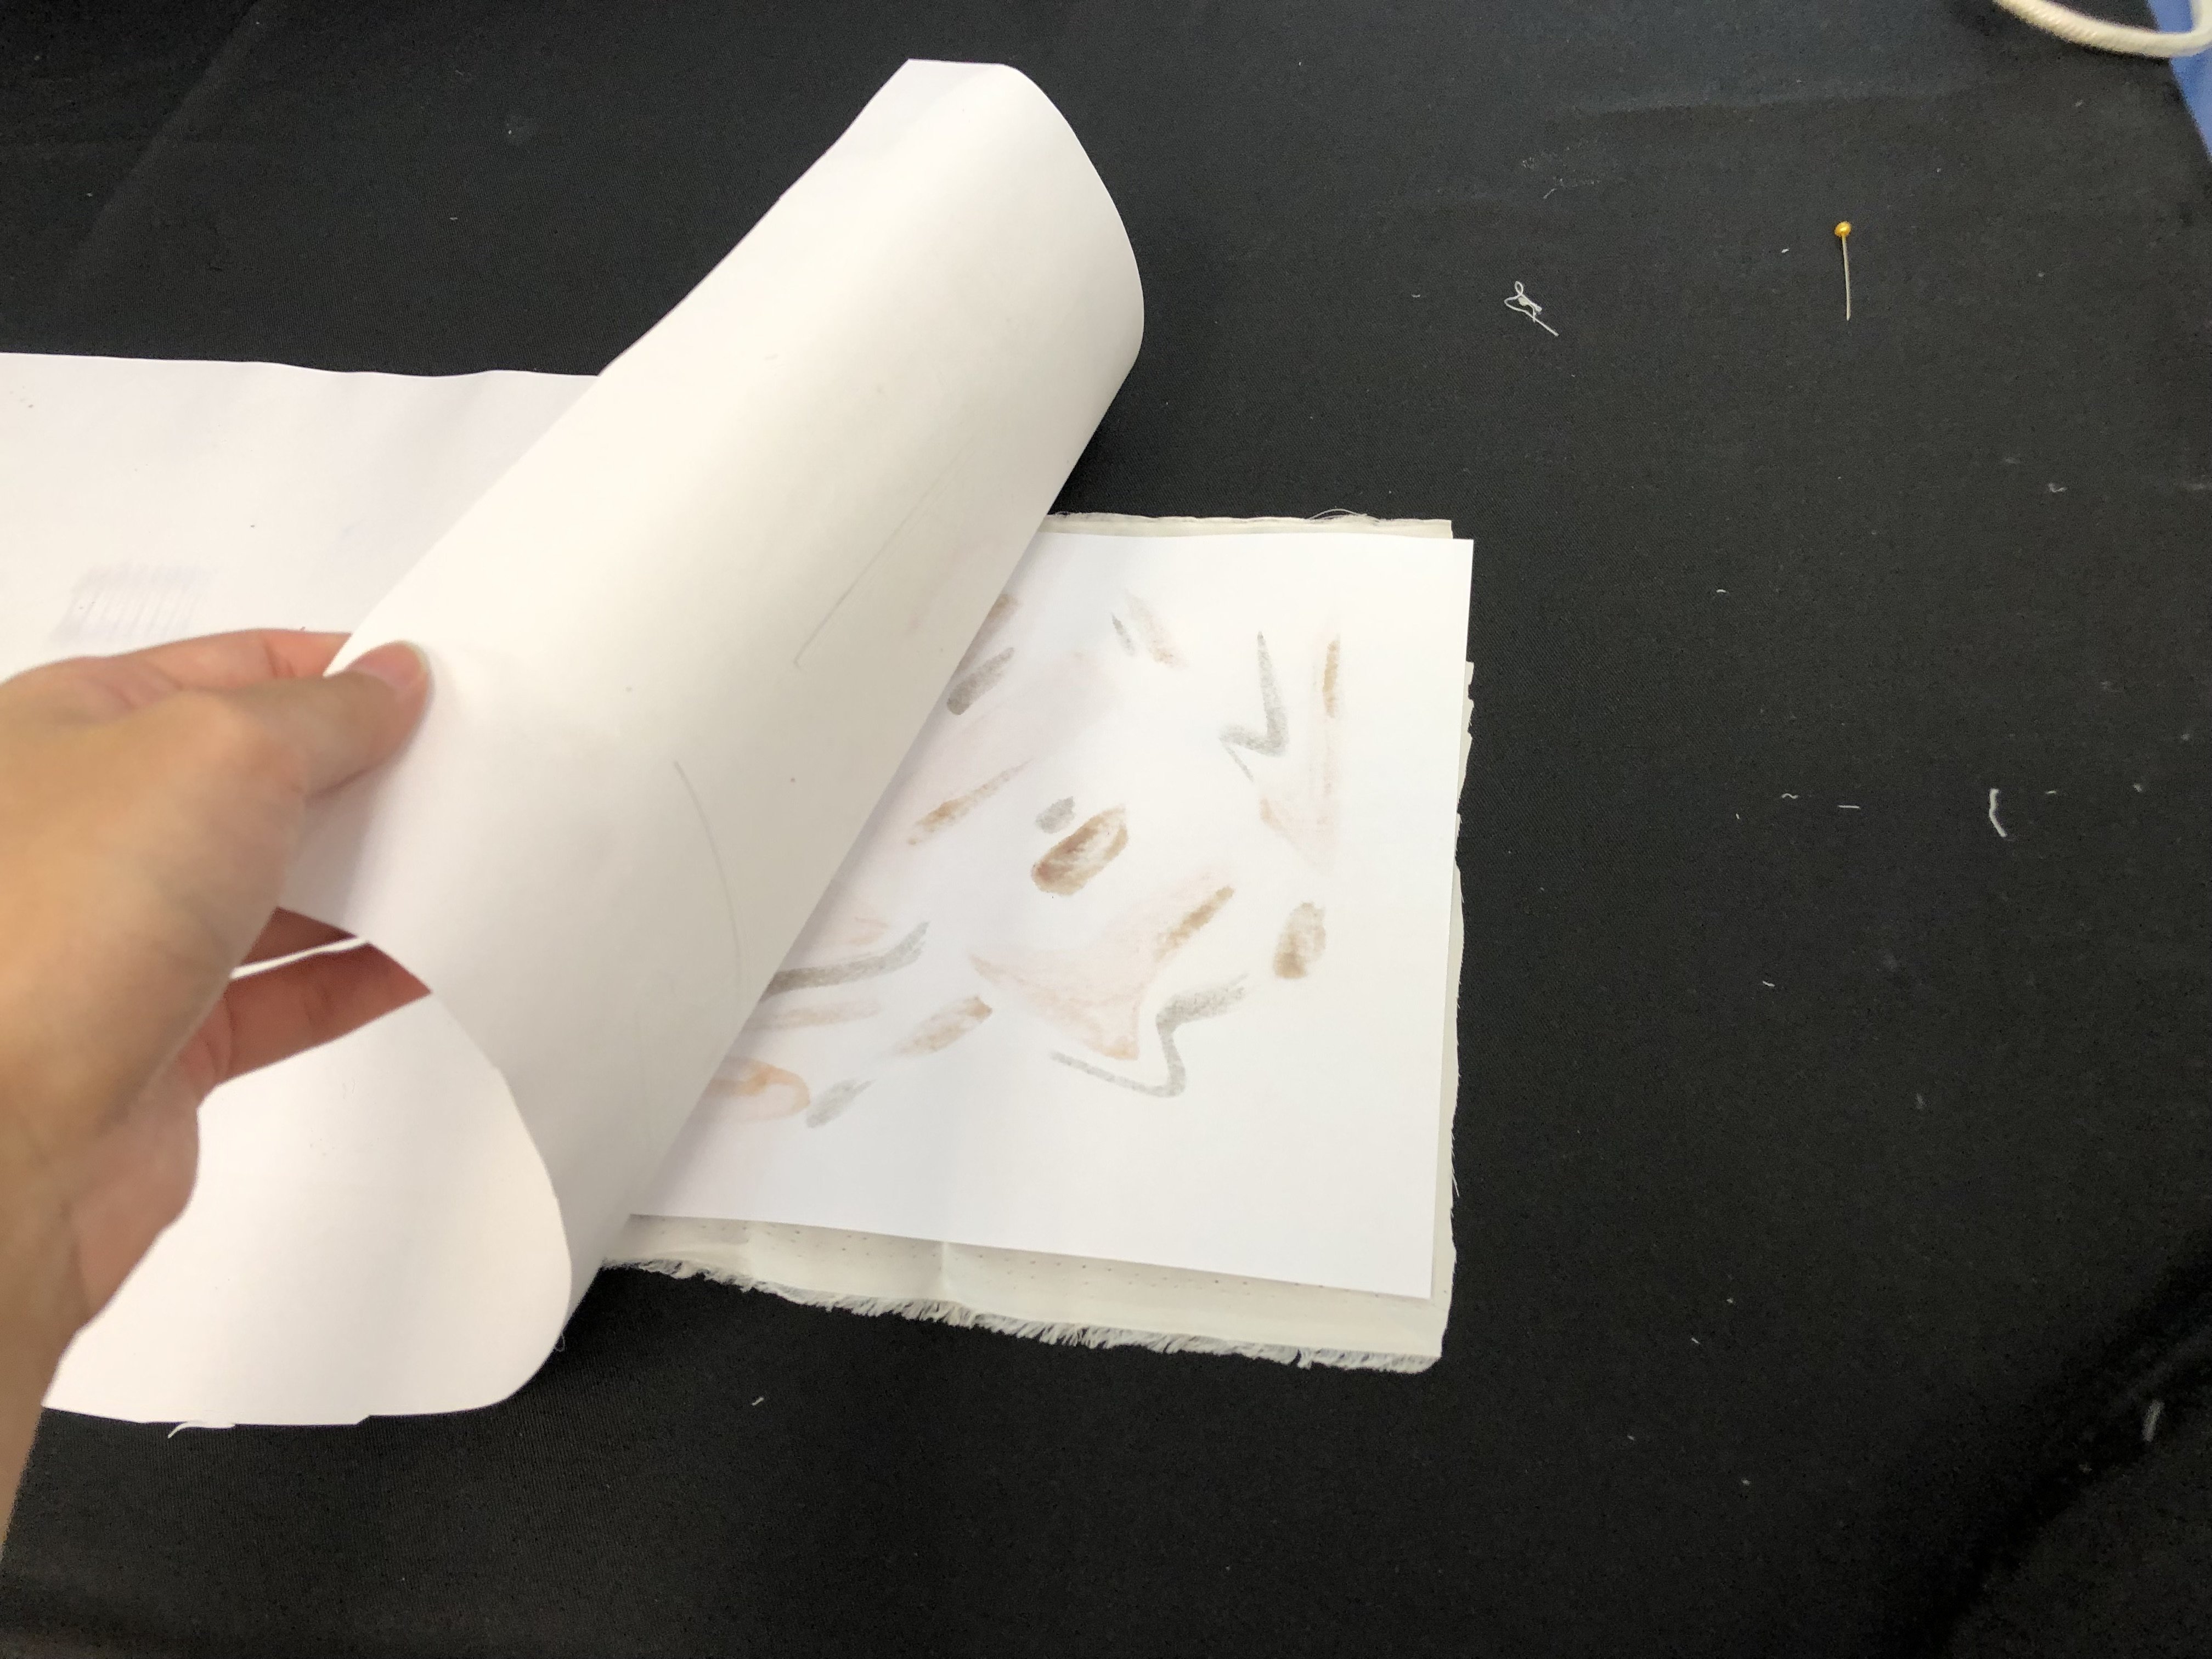
- Once you’ve ironed it thoroughly, check if print is transferred by lifting the corner of the fabric.
- If the colours transferred is up to your satisfaction, you may stop ironing. Otherwise, continue ironing until you’ve reach your desired results.
- Do note that the more prints you make, the more diluted the original crayon ink will be due to the transfers.
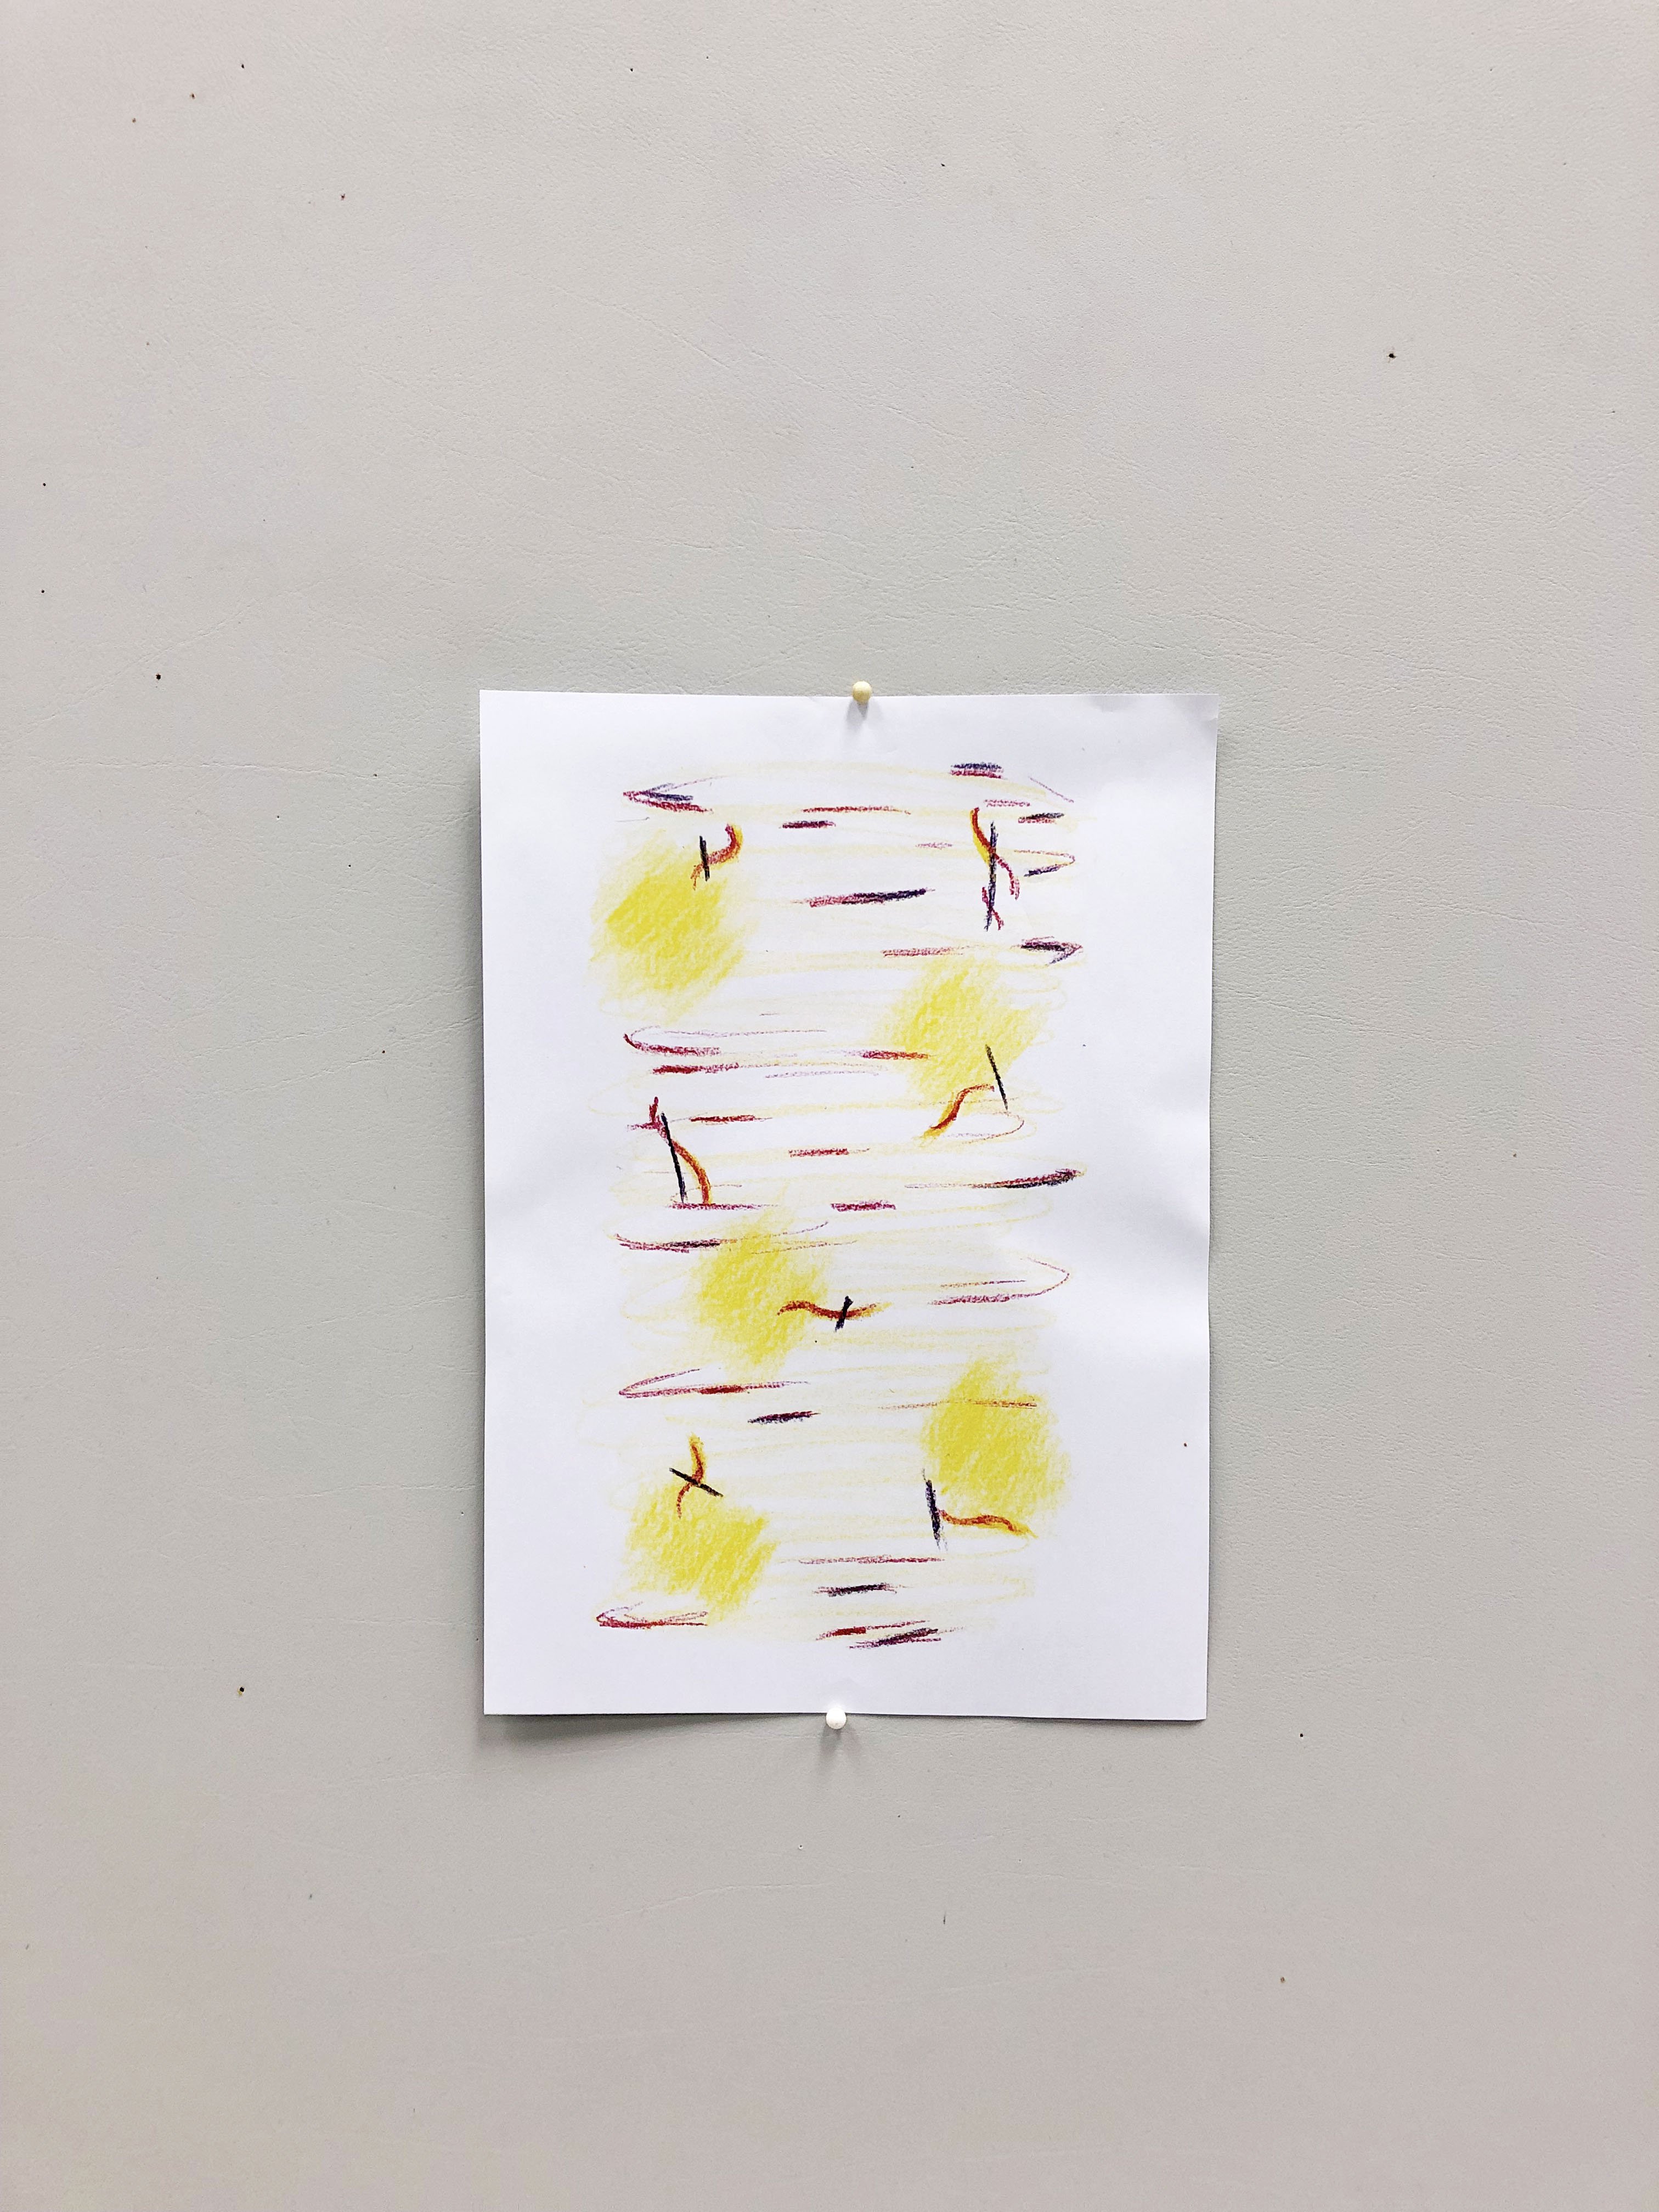
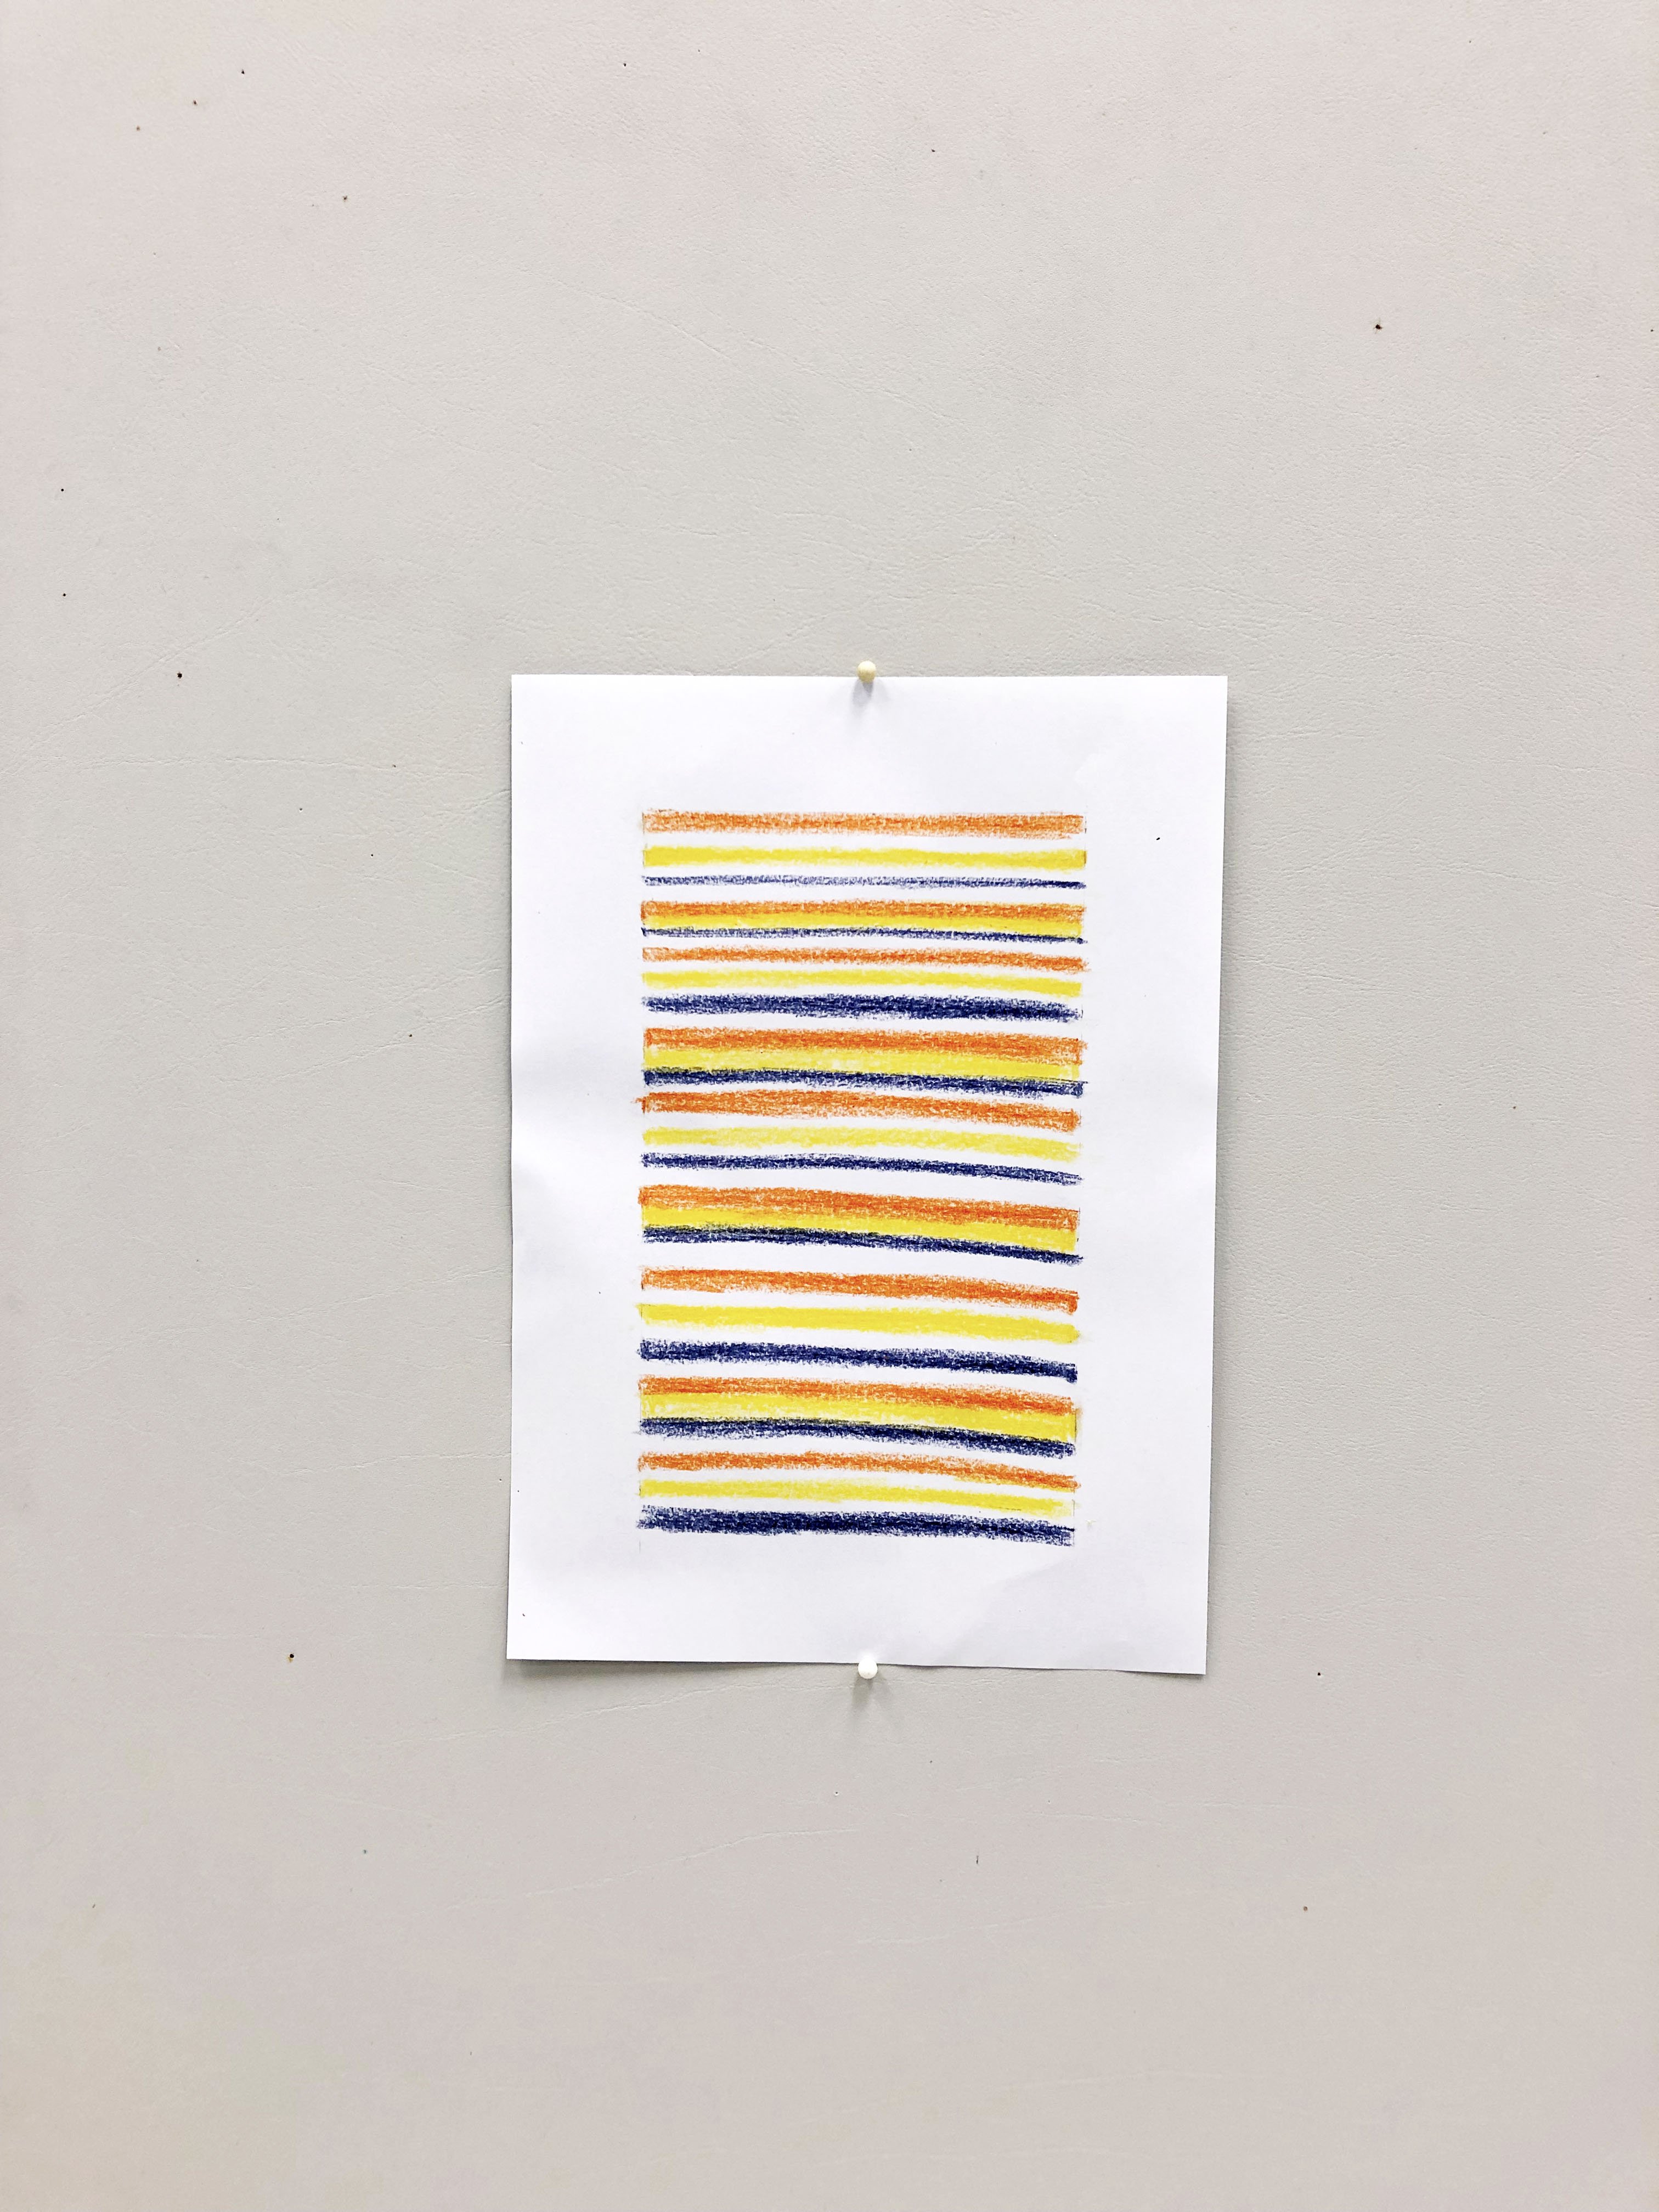
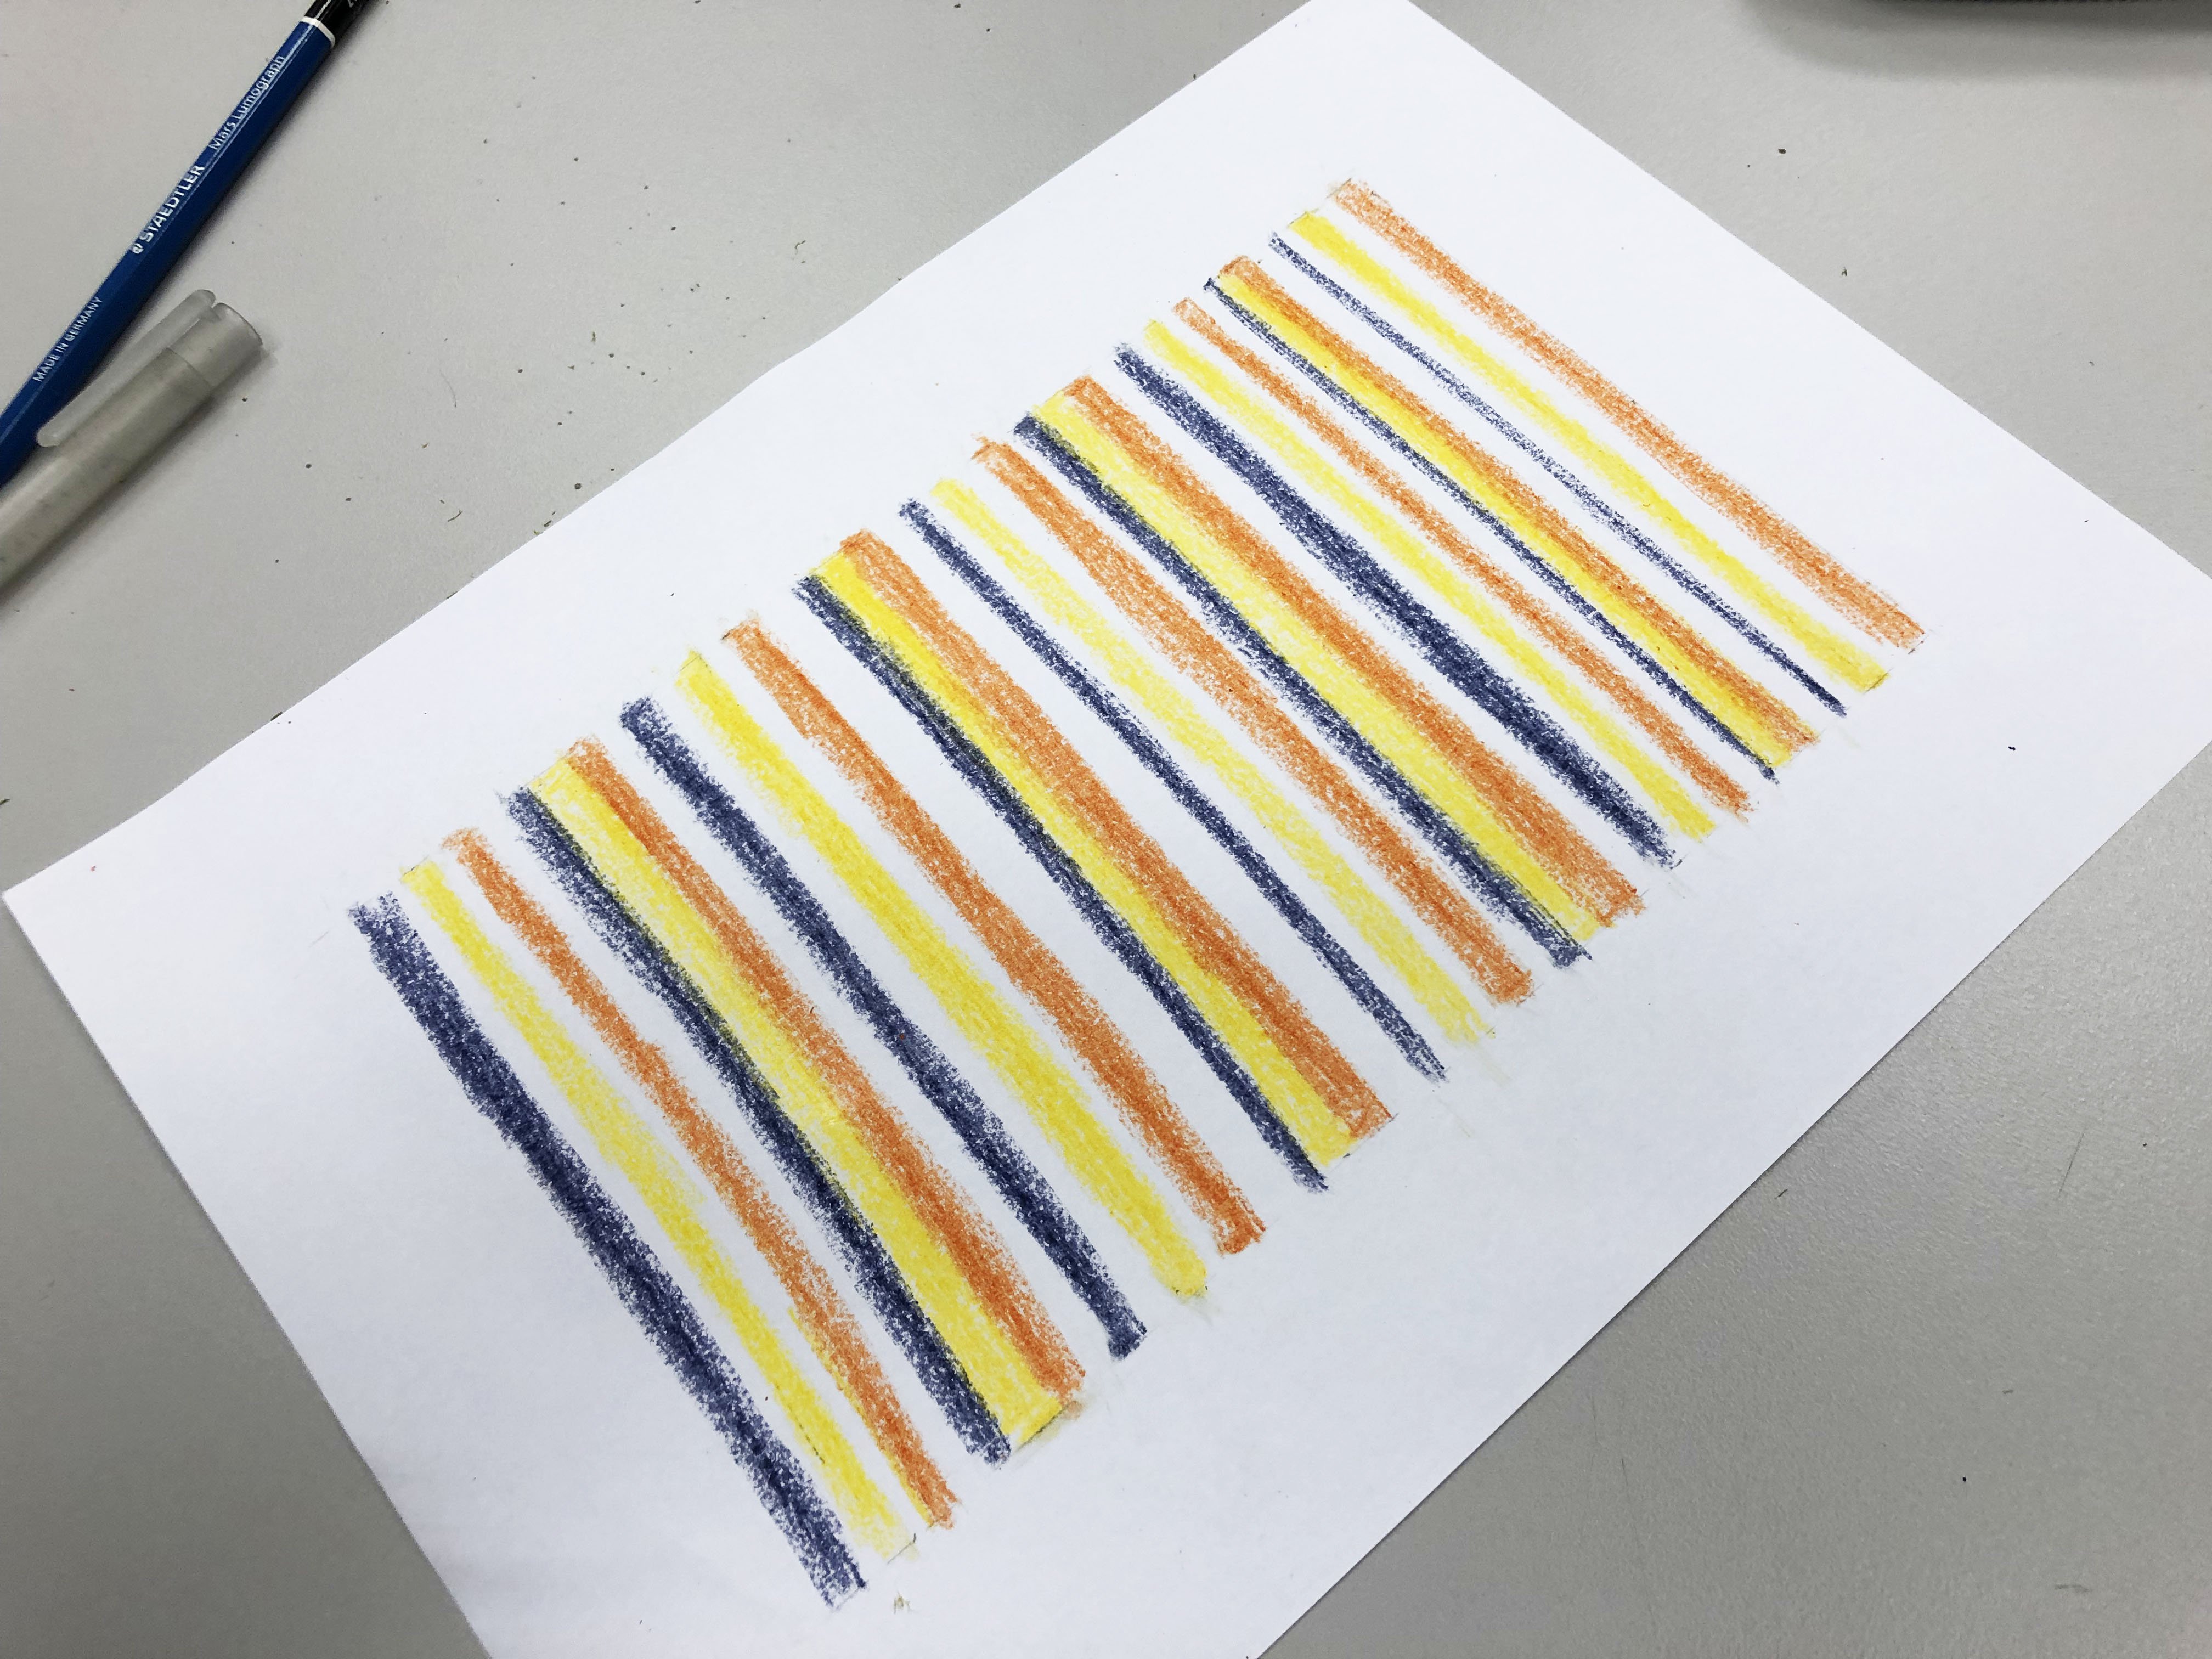
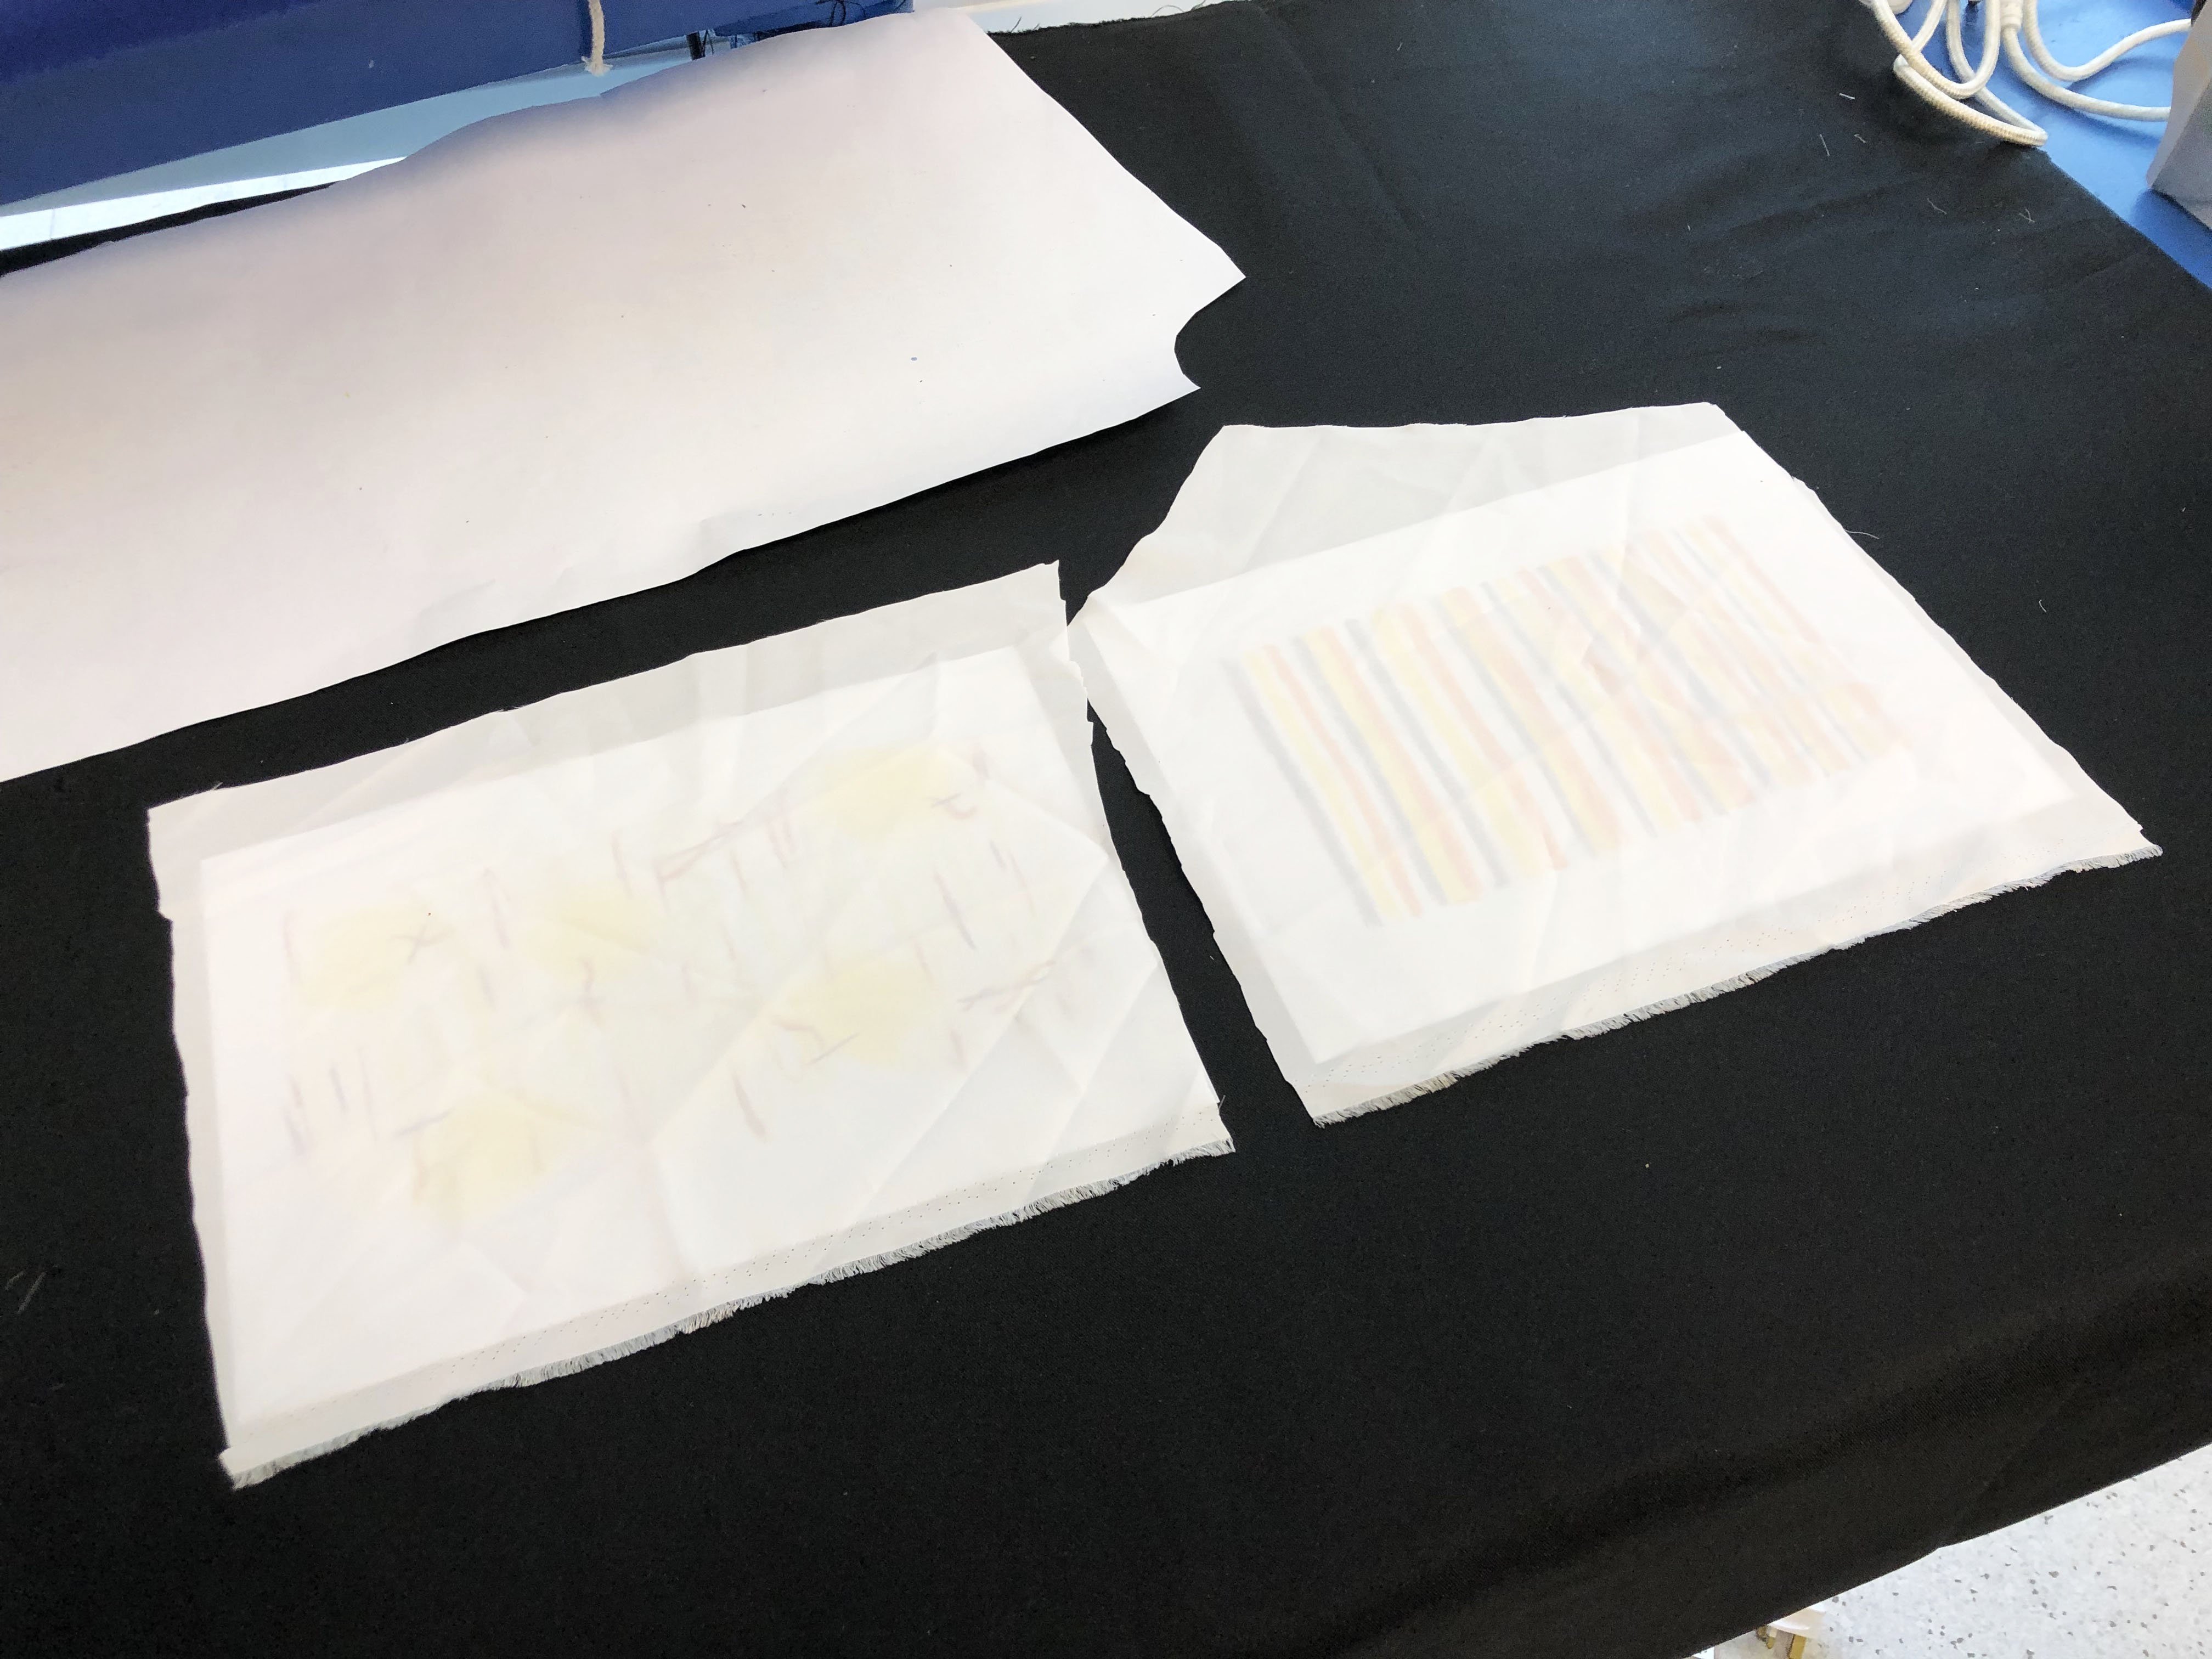
Original Crayon Prints
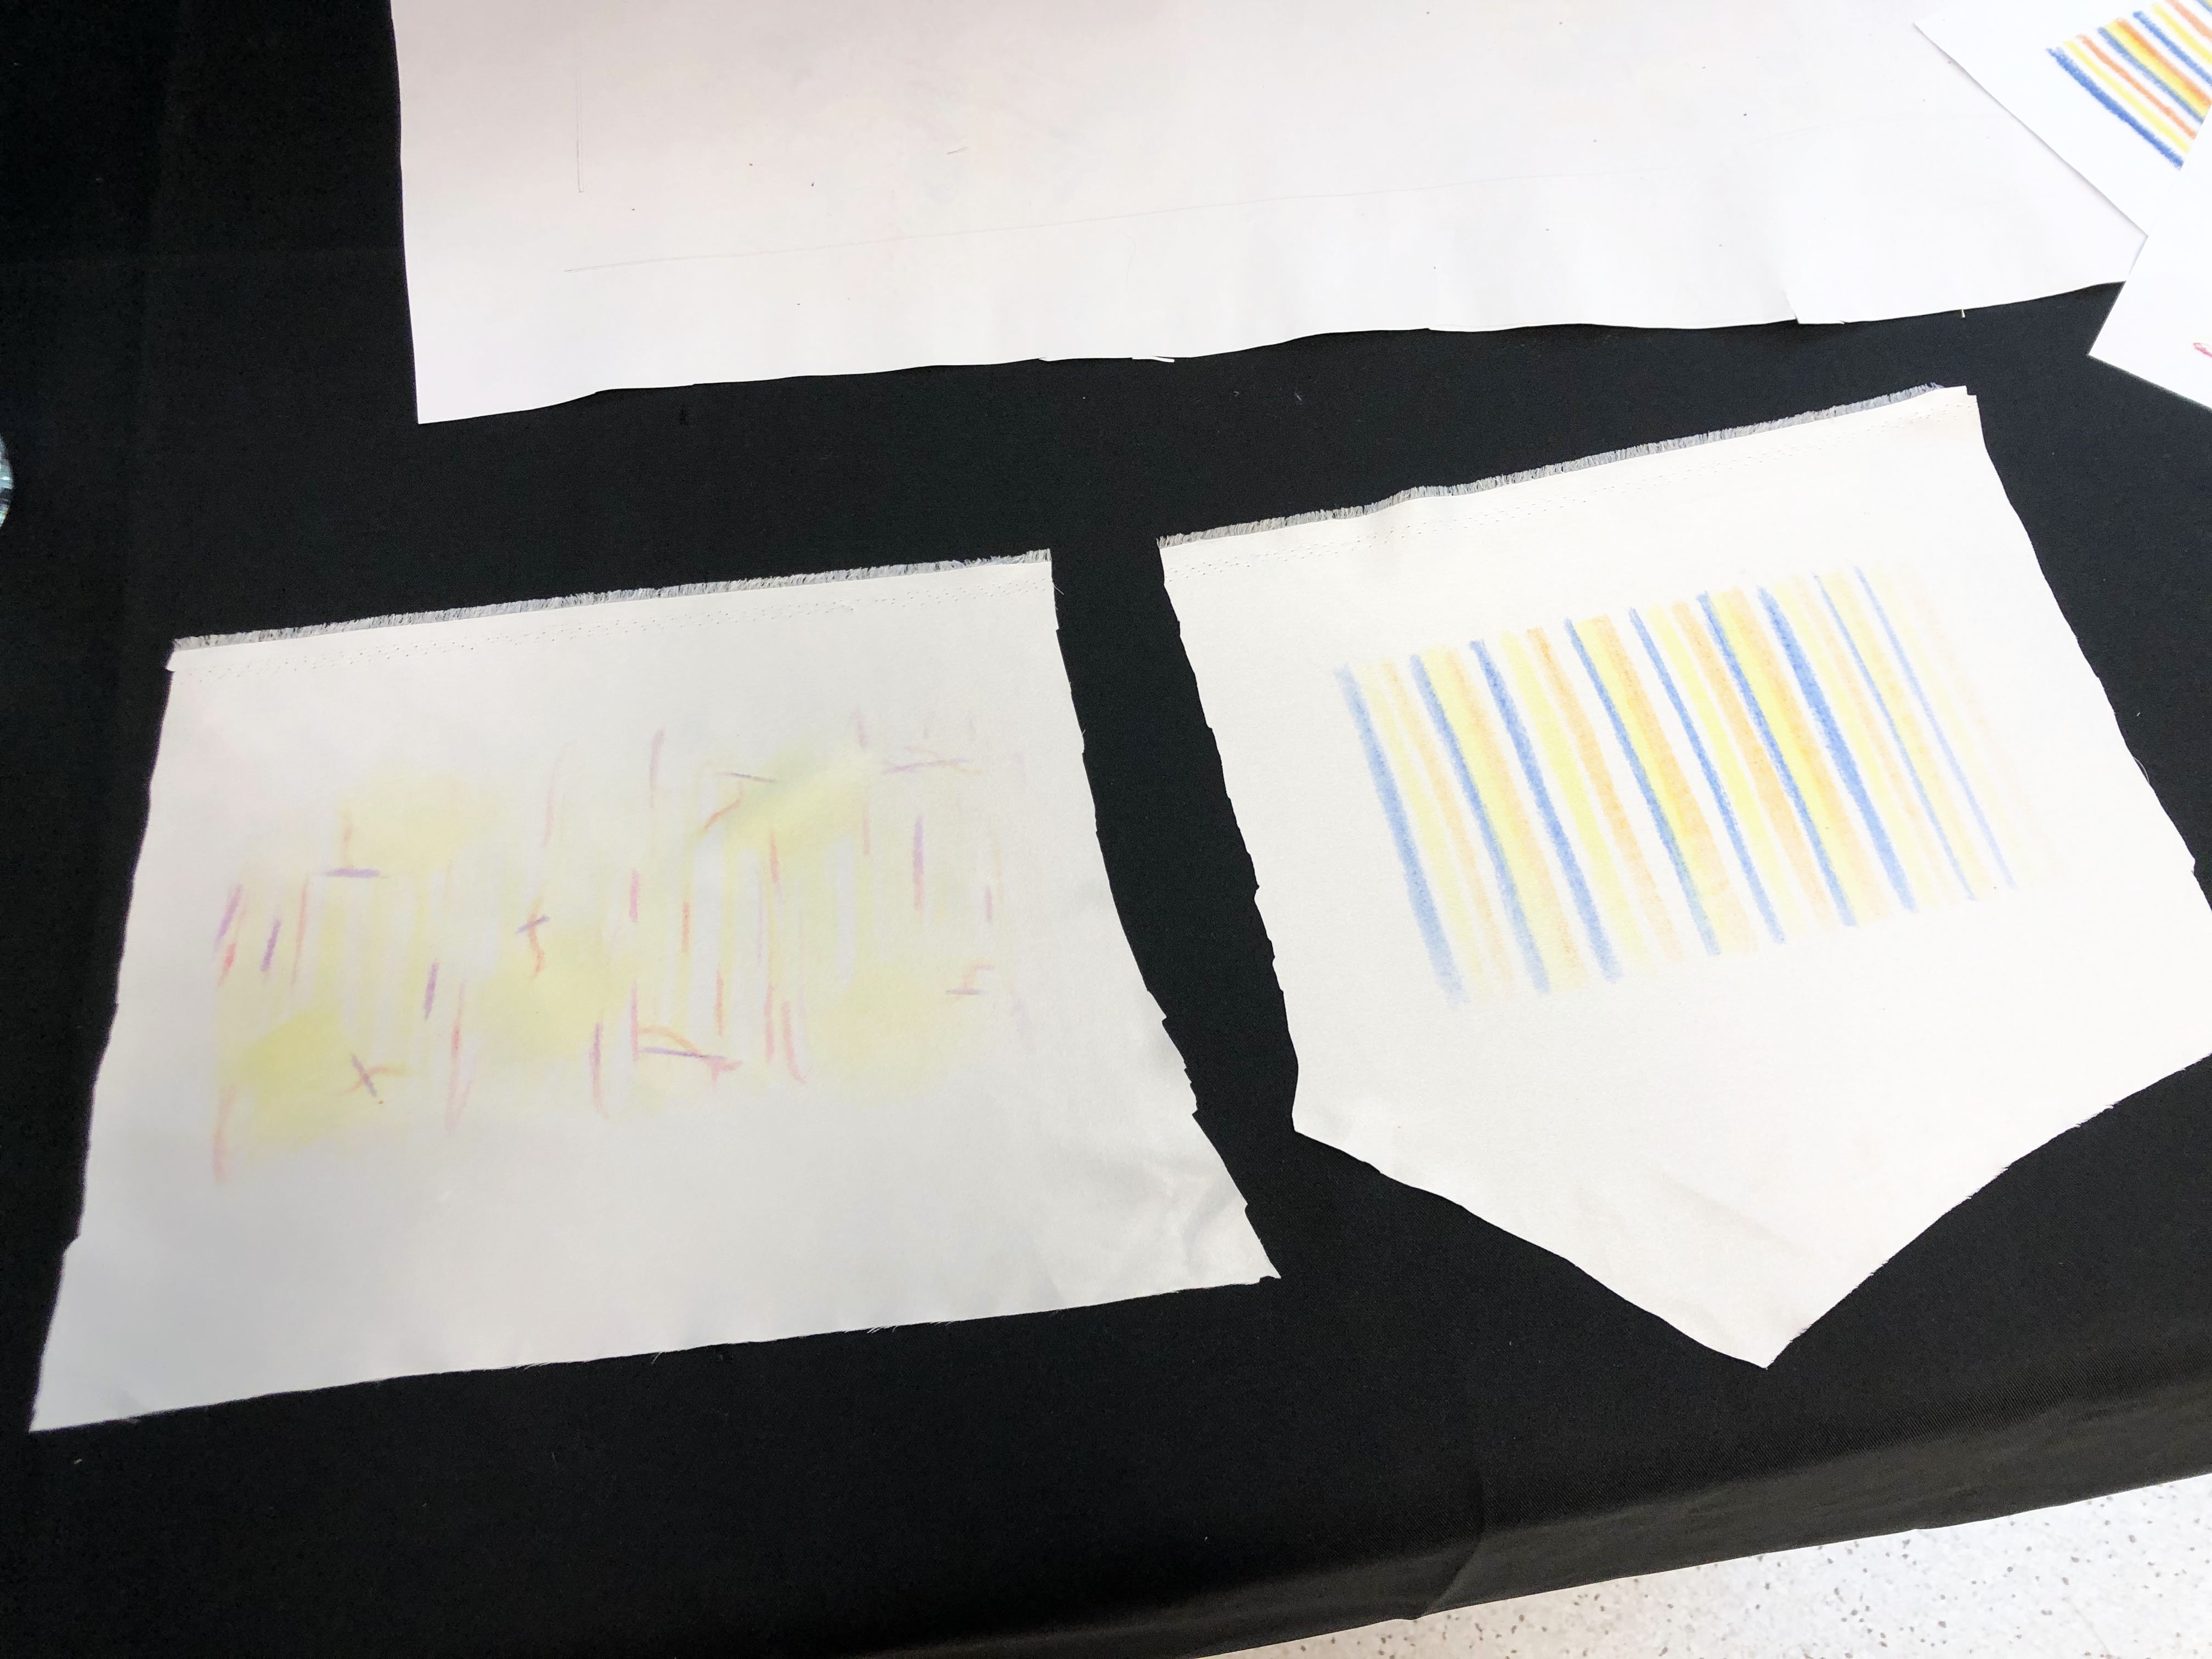
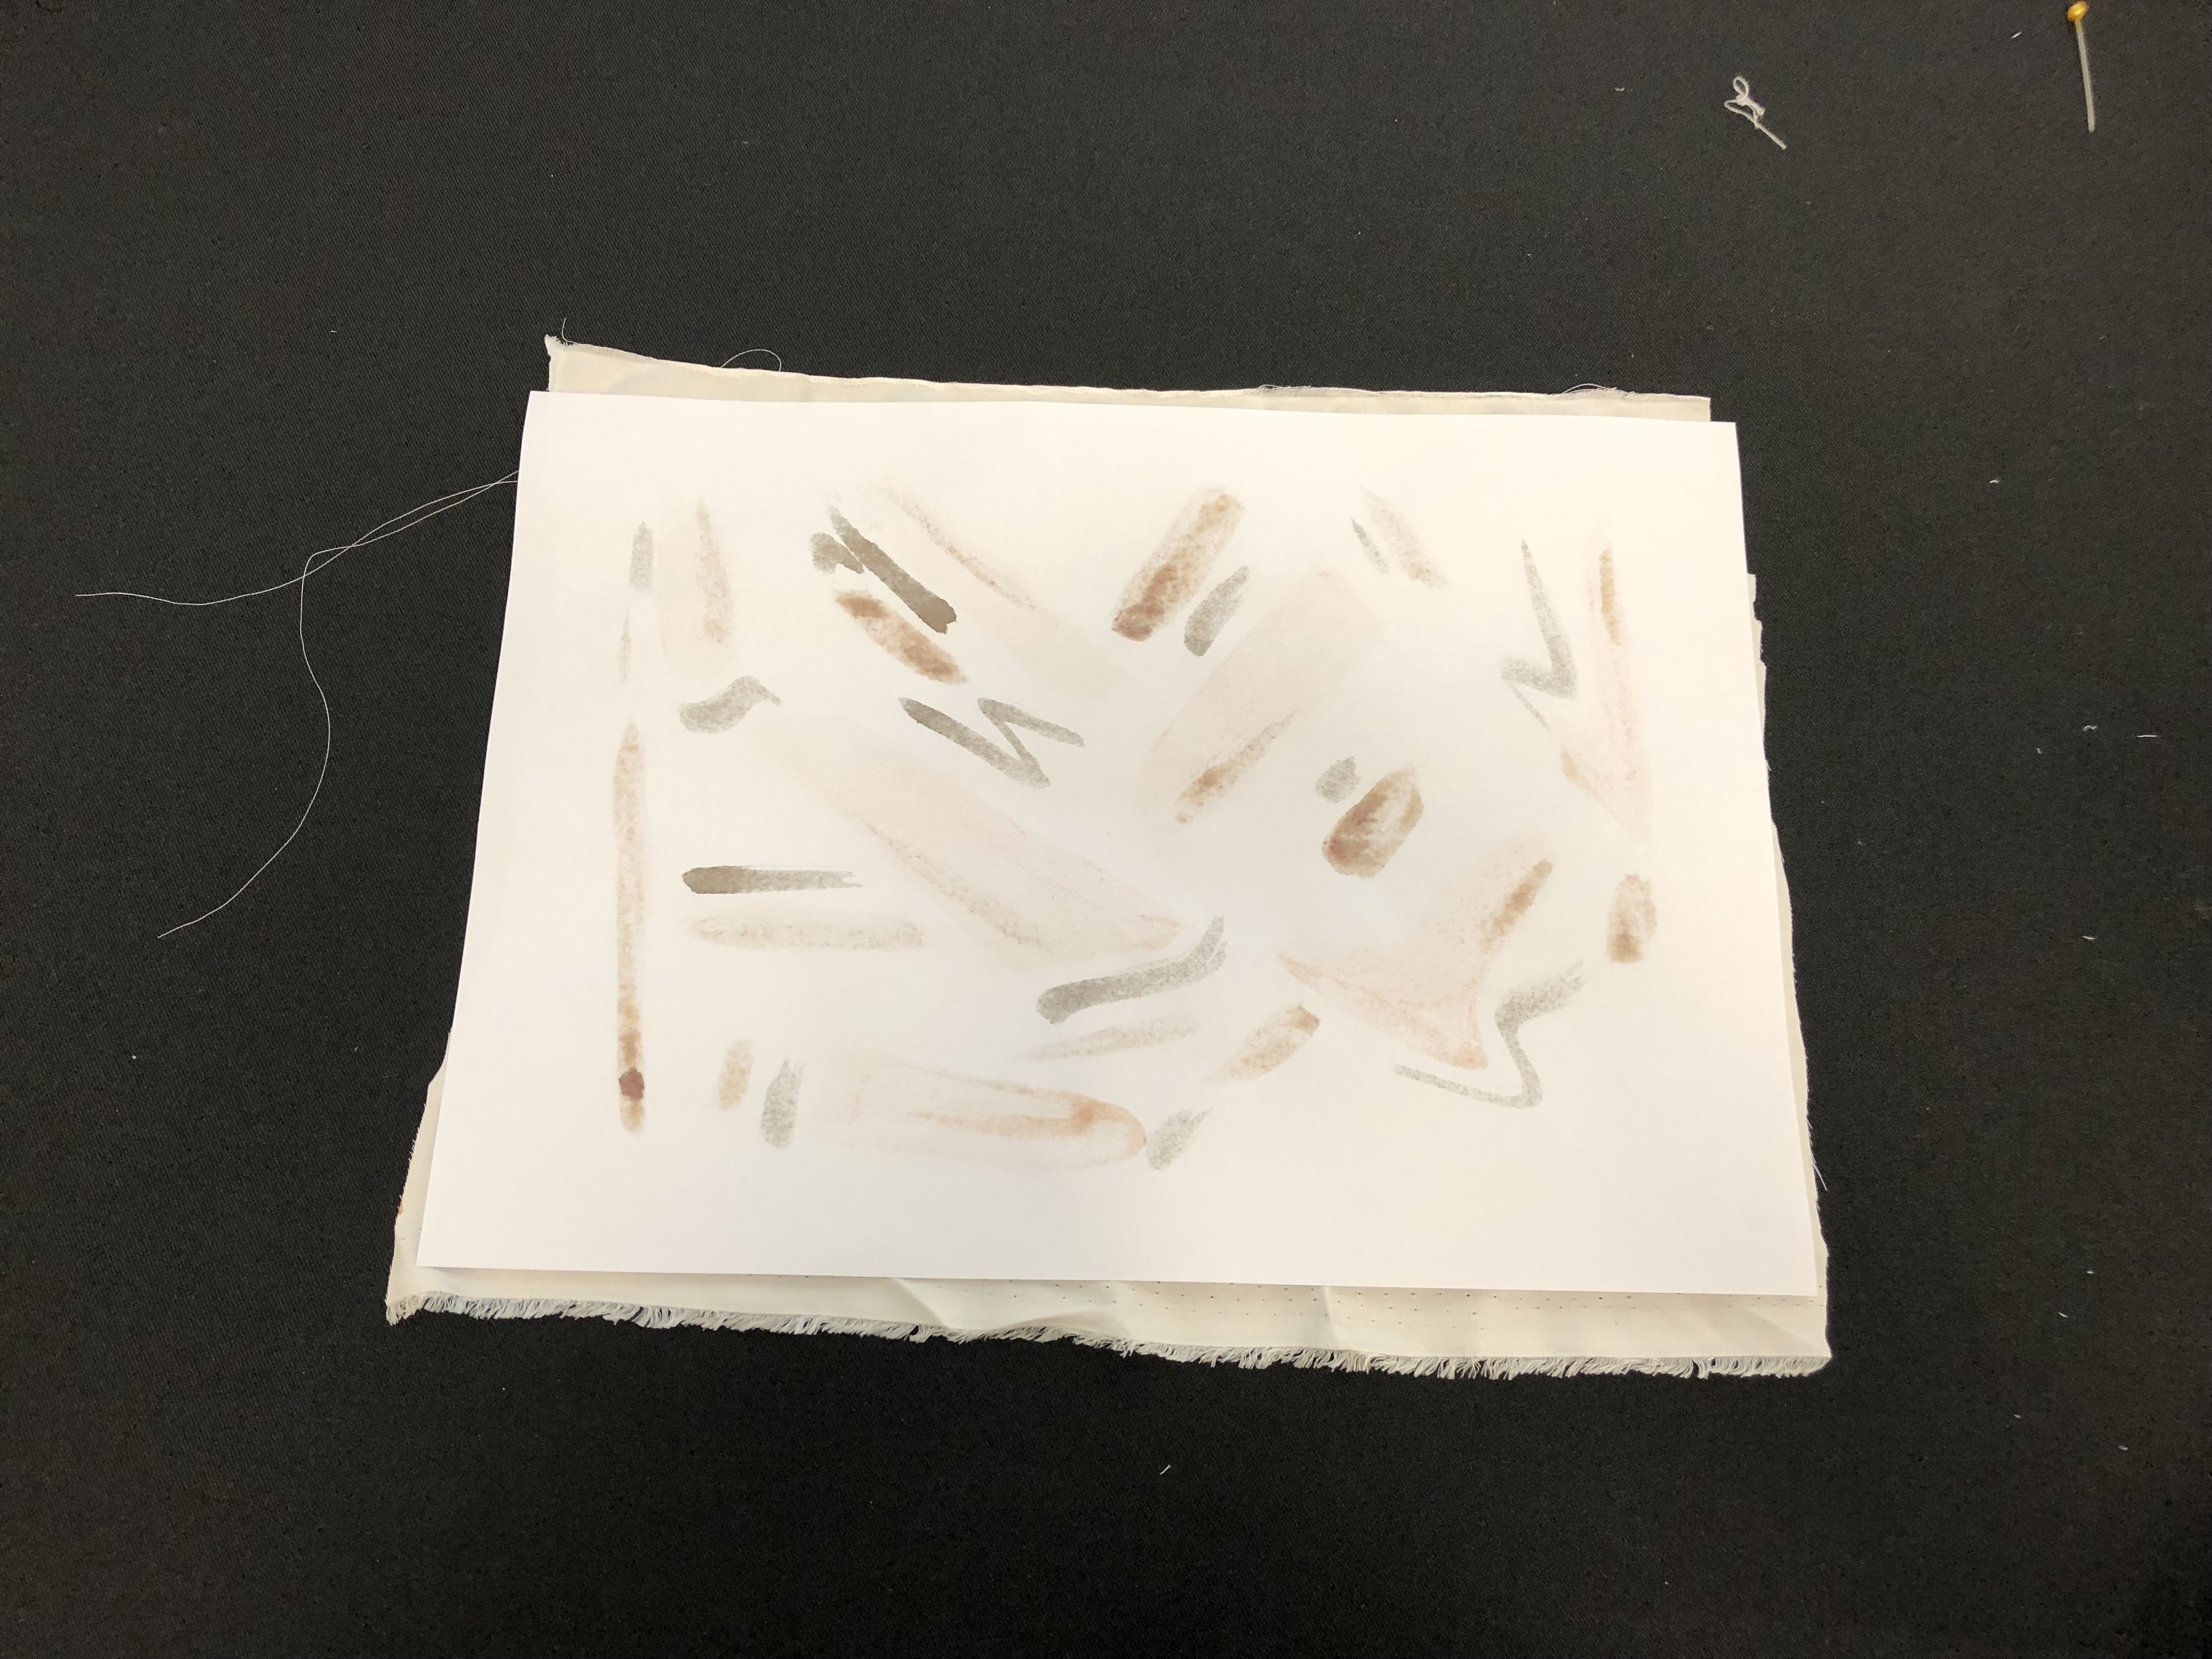
Transfer Printing of the Crayon Prints
What I realise:
My crayon transfer printings turned out a little light. I believe it might have been the choice of my colours and the amount of pressure applied when colouring. I believe the transfer printing will fare better if I have applied more pressure or used darker colours in the colouring stage. However, heat and pressure could also be a factor. It might be due to the lack of time or when insufficient pressure is not applied when ironing. Next time, I would colour it darker and apply more pressure! Overall, this was a fun exercise as it has been soooo long since I touched crayons.
*update* Now i understood why my crayon transfers were so light! The cloth is supposed to be at the bottom, and the crayon paper on top that has to be ironed directly.
W E T T R A N S F E R
Materials: Fabric Paint, Paper, Wax Paper, Fabric & Iron


WET T R A N S F E R T E C H N I Q U E
- Use fabric paint to create your artwork on normal copy paper.
- Once your illustration is complete, place your fabric first, followed by the painted fabric on top of it.
- Heat up your iron, make sure it’s heated in the fabric setting.
- Place a piece of wax paper in between the iron and your fabric to prevent from burning your artwork.
- Slowly iron your artwork and apply pressure occasionally. The heat will cause the ink to transfer onto the fabric.
- Once you’ve ironed it thoroughly, check if print is transferred by lifting the corner of the fabric.
- If the colours transferred is up to your satisfaction, you may stop ironing. Otherwise, continue ironing until you’ve reach your desired results.
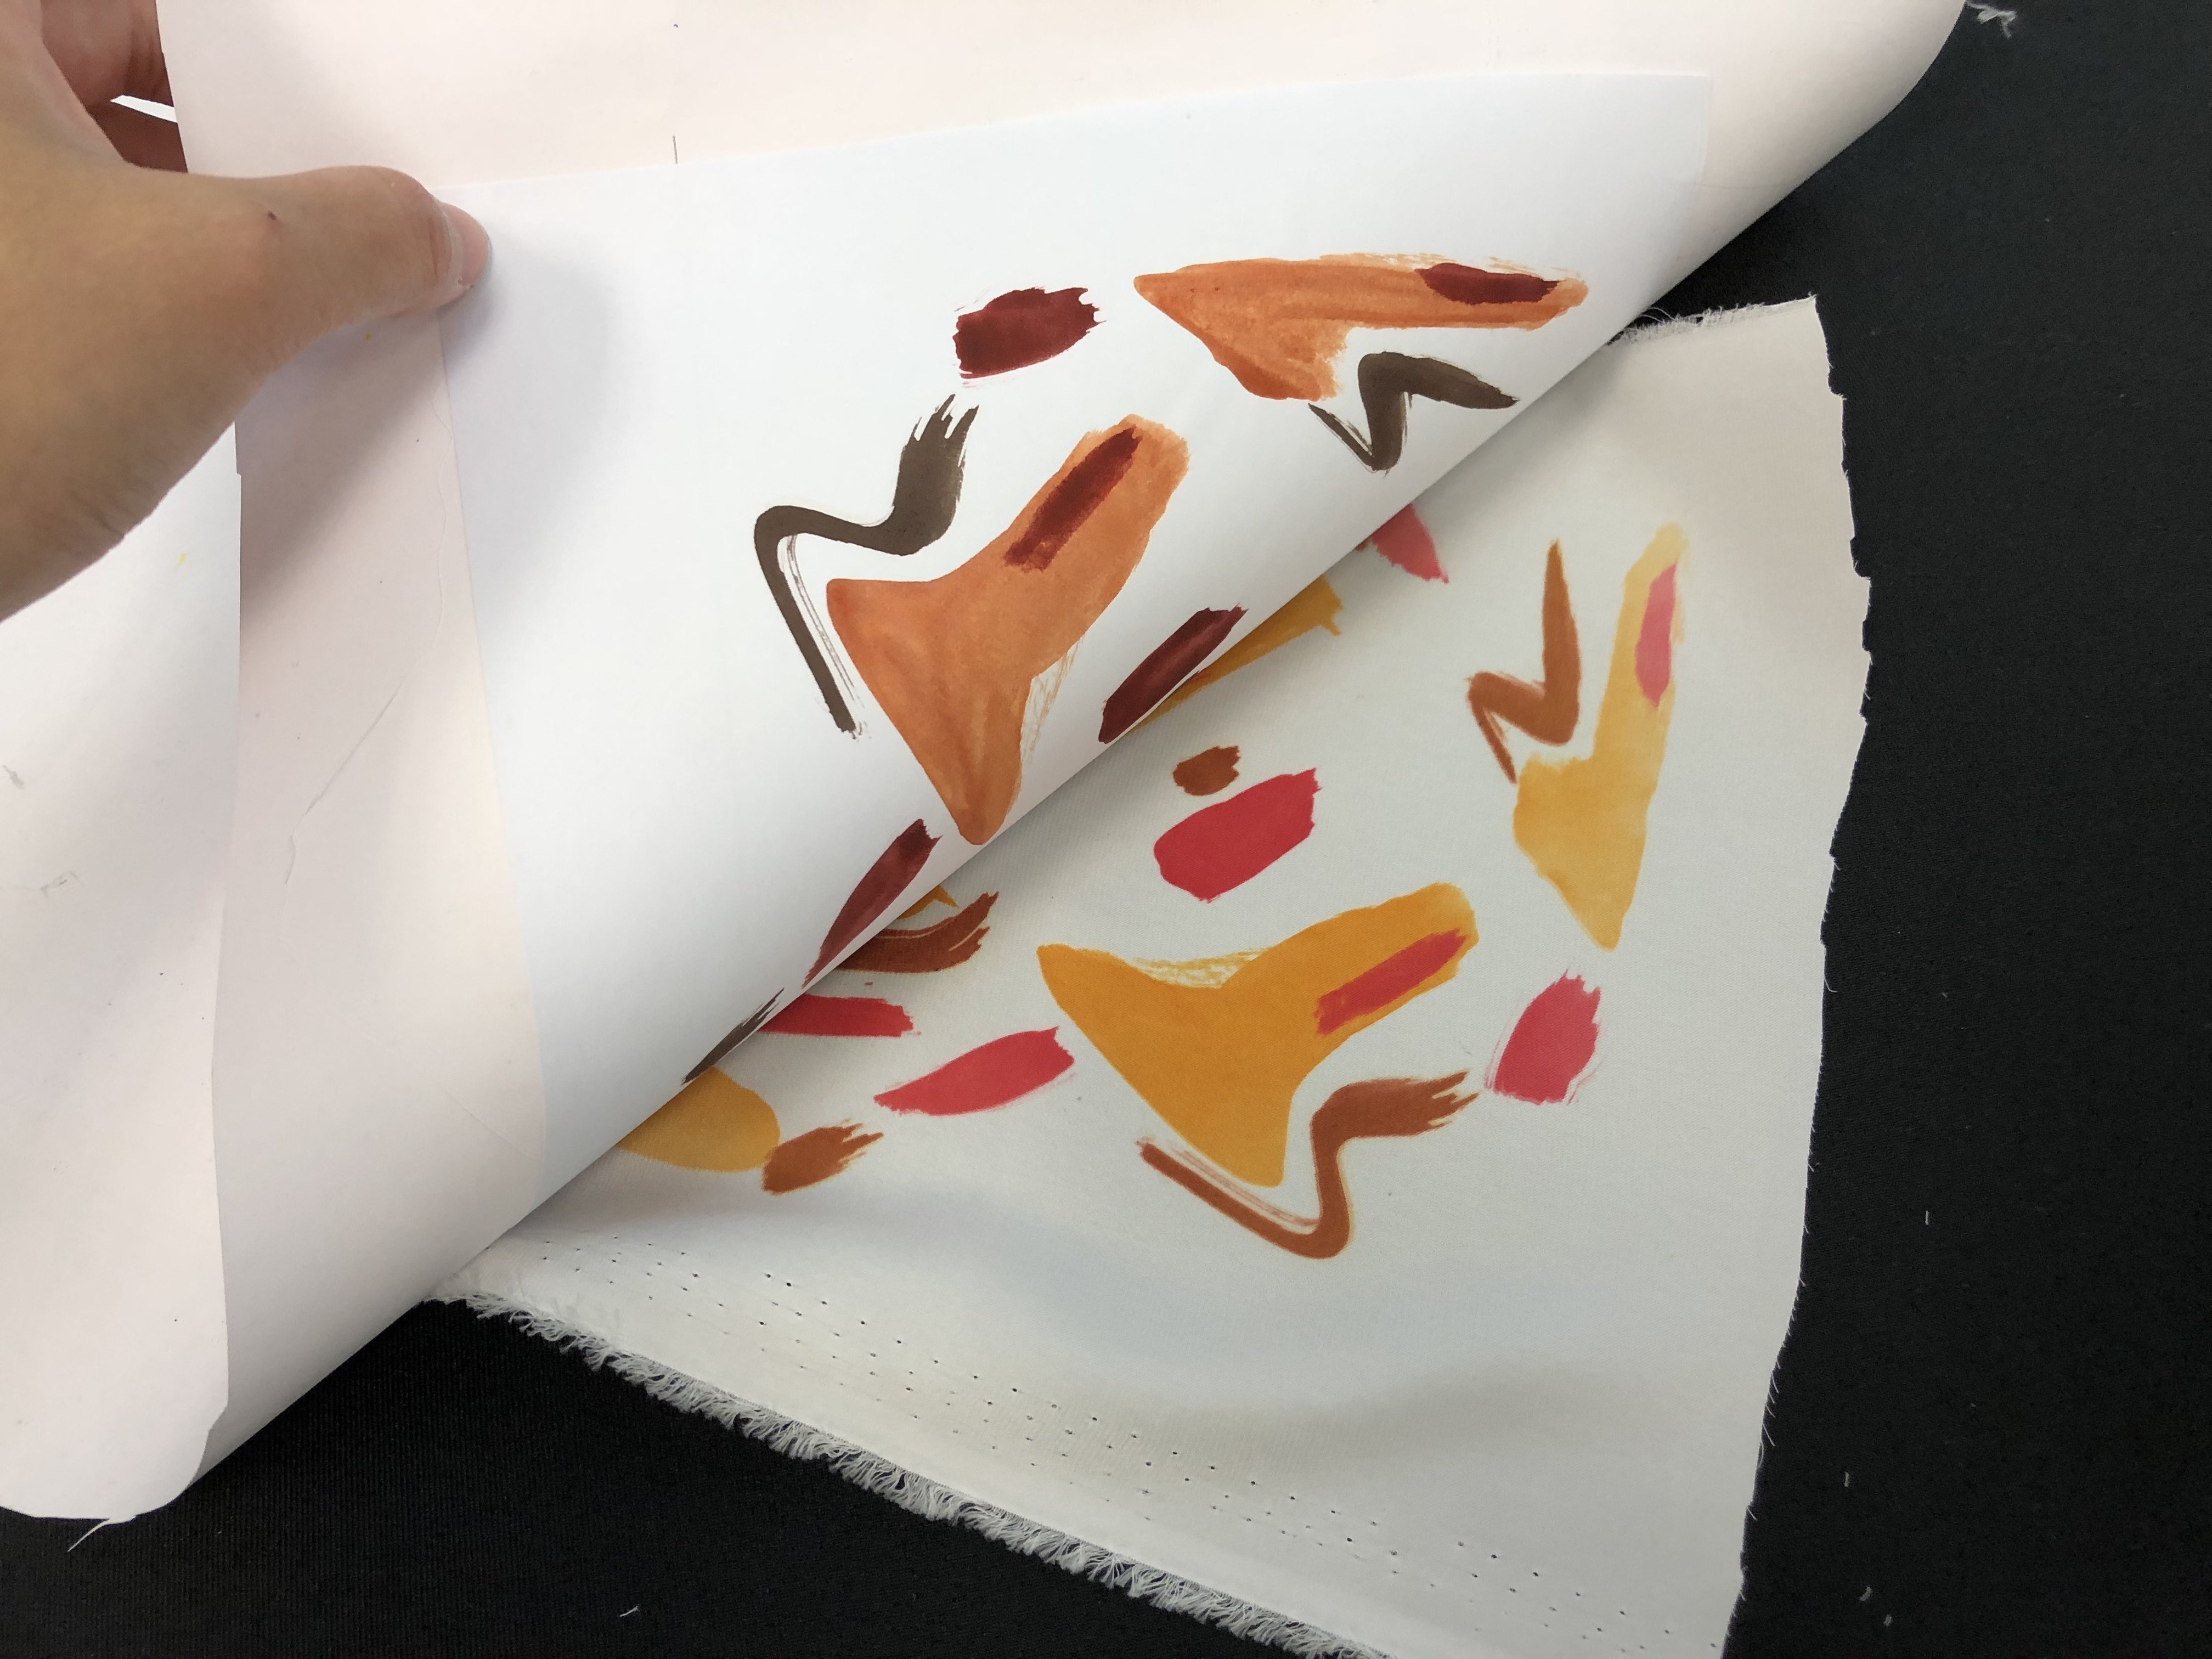
F I N A L W E T T R A N S F E R


What I realise:
I didn’t expect for the colours to turn out brighter than the original painting! The colour that surprised me the most was green. As you can see, the original colour was more of a dark green but after being transferred, it turned out to be bright green! Amazing isn’t it? And previously for my crayon dry transfers, I was wondering why my colours are not saturated enough. What I did wrong was the order of placement of my papers. The right order should be, fabric > paper > wax paper > iron. But previously I did paper > fabric, no wonder the colour weren’t transferred thoroughly! We learn new things everyday :’)
Personally I prefer the wet transfers over the dry ones. It would be the vibrancy of the colours and the usage of medium. What I love about the paint is that, even tiny details like the brush strokes could be transferred over! How cool is that!? Sadly, I’ve yet to try the heat press on the rest of my prints, but I will definitely try it and continue to update this space of mine. I am very excited for the heat press as I saw my classmate’s works and how it transfers literally EVERYTHING. So see you soon little space!!