For this lesson, we will be playing with fabric manipulation and elastics. Firstly, Galina showed us on sewing with elastics.
When sewing with elastics, always put the stitch length to the longest that it will go (basting stitch). By increasing the stitch length, it allows a bigger chunk of elastic for each stitch below, giving the fabric more stretch and pull when it’s done.
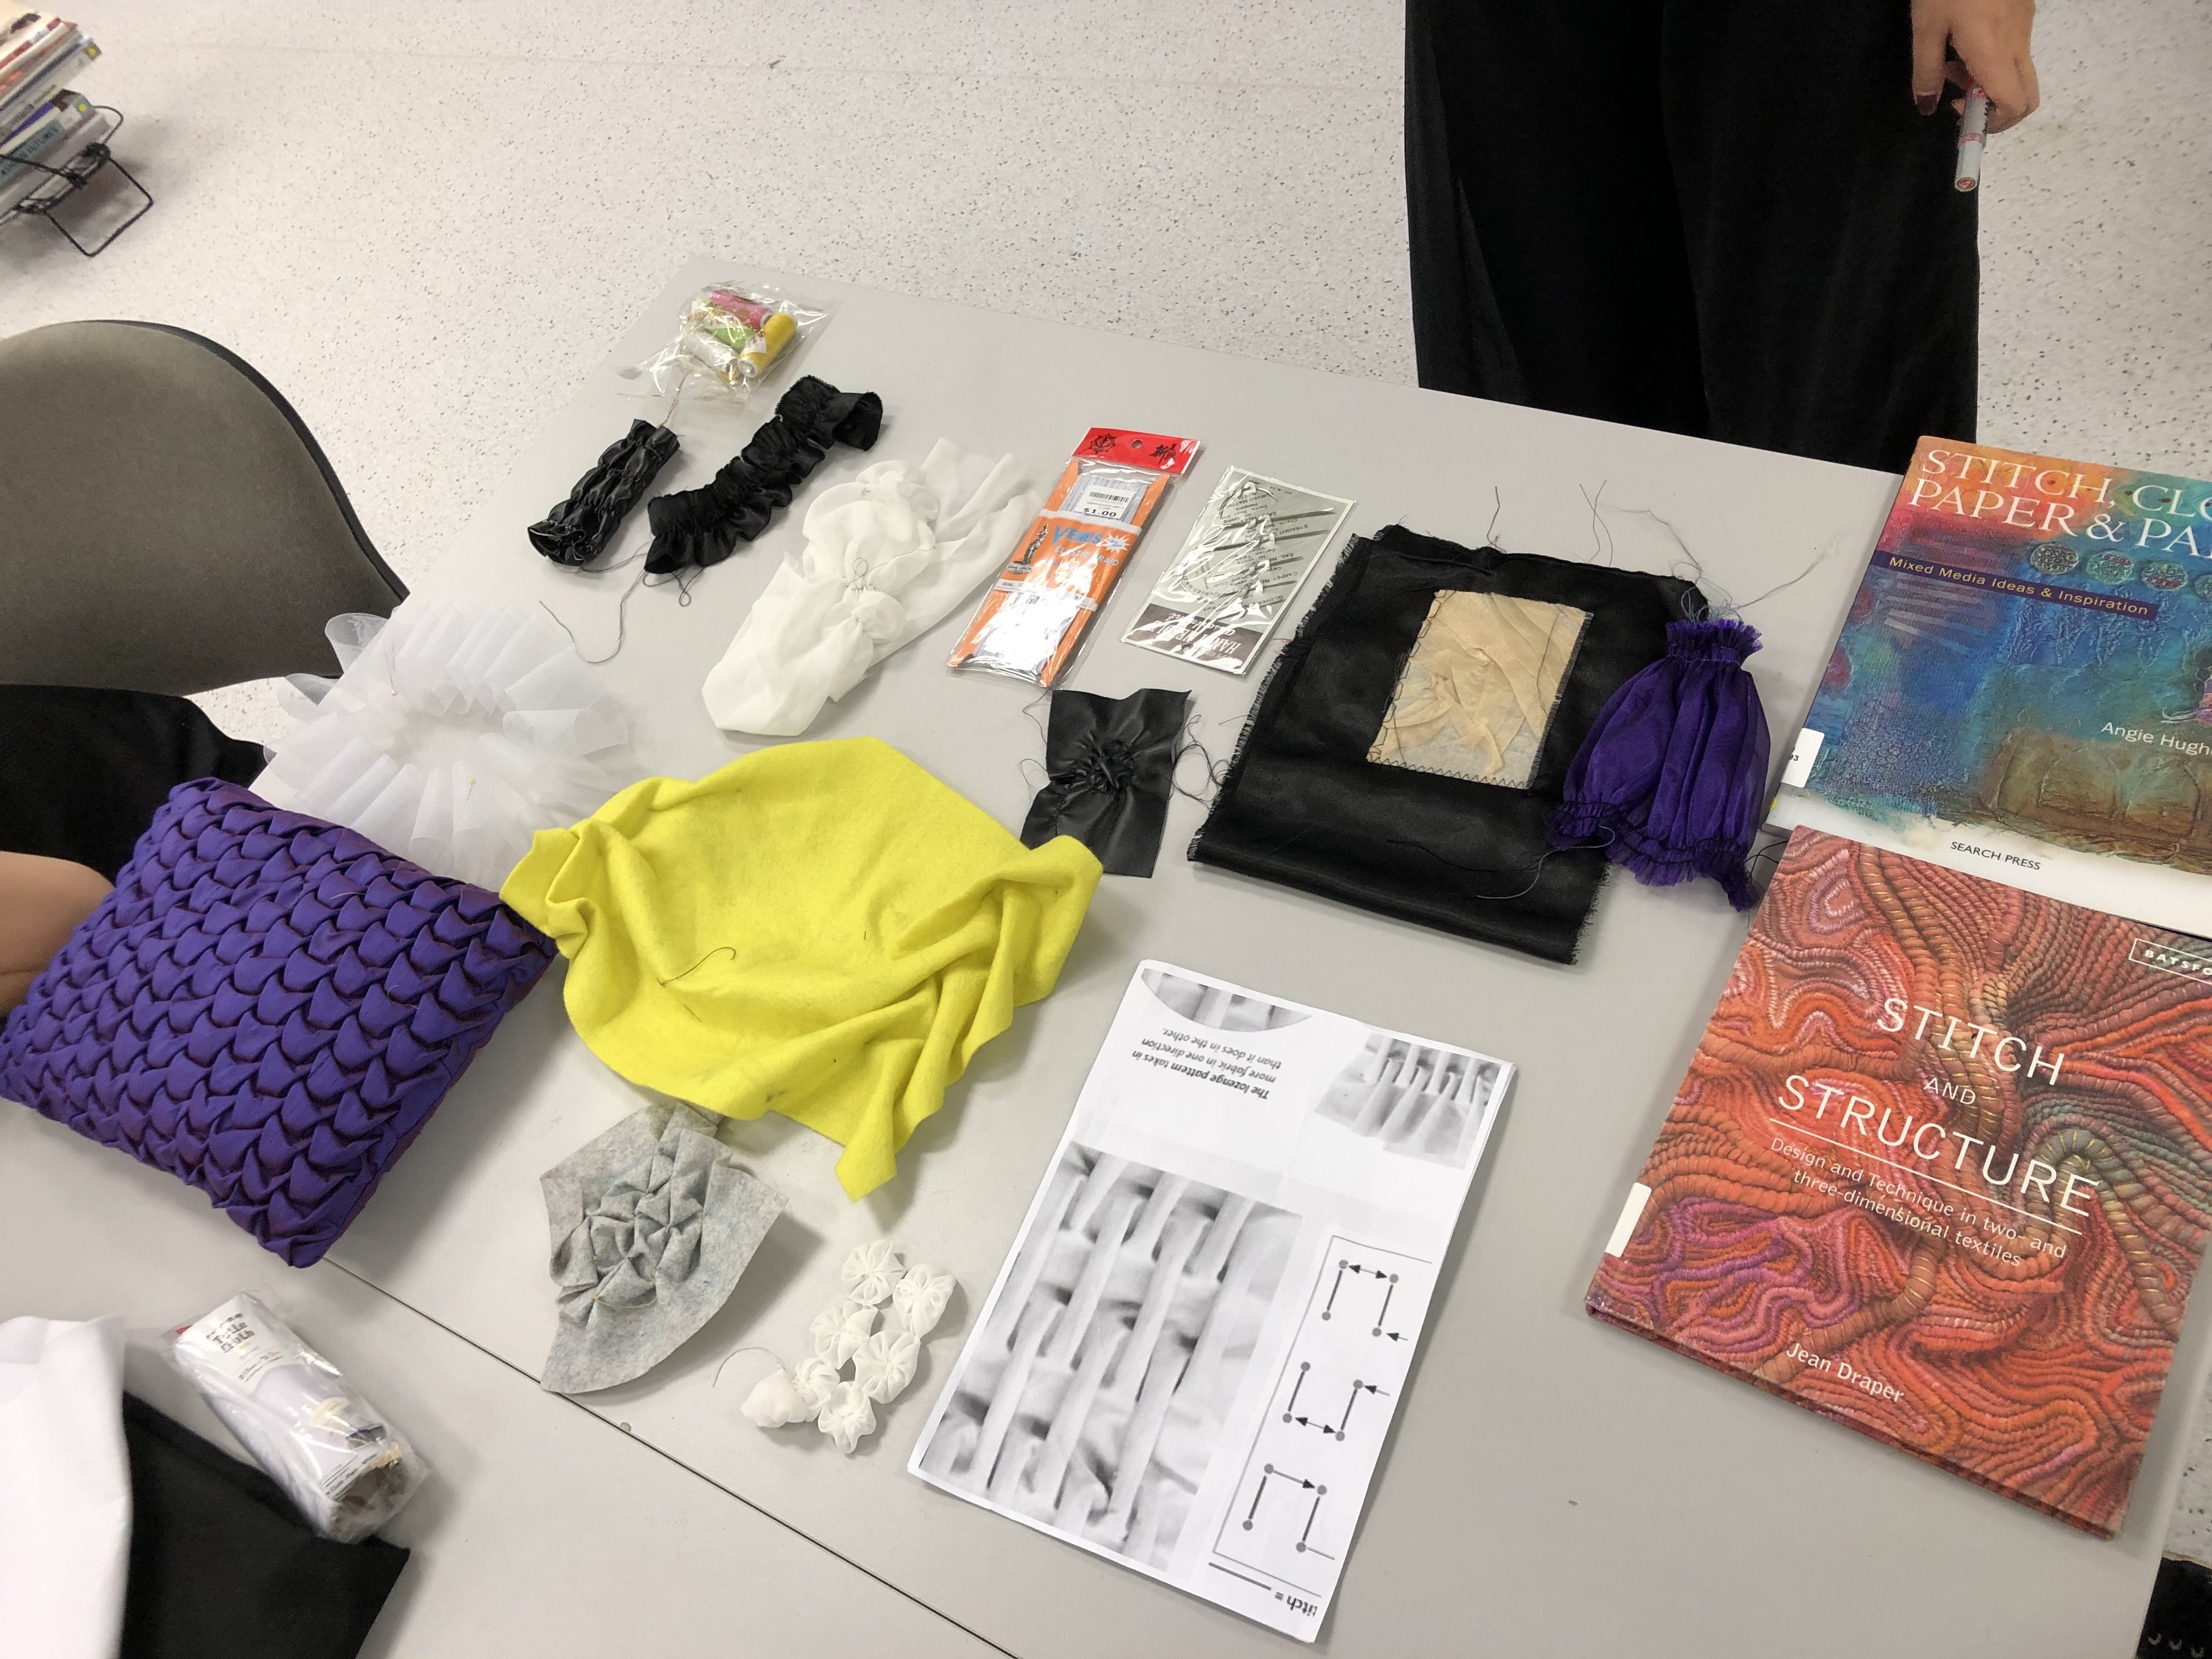
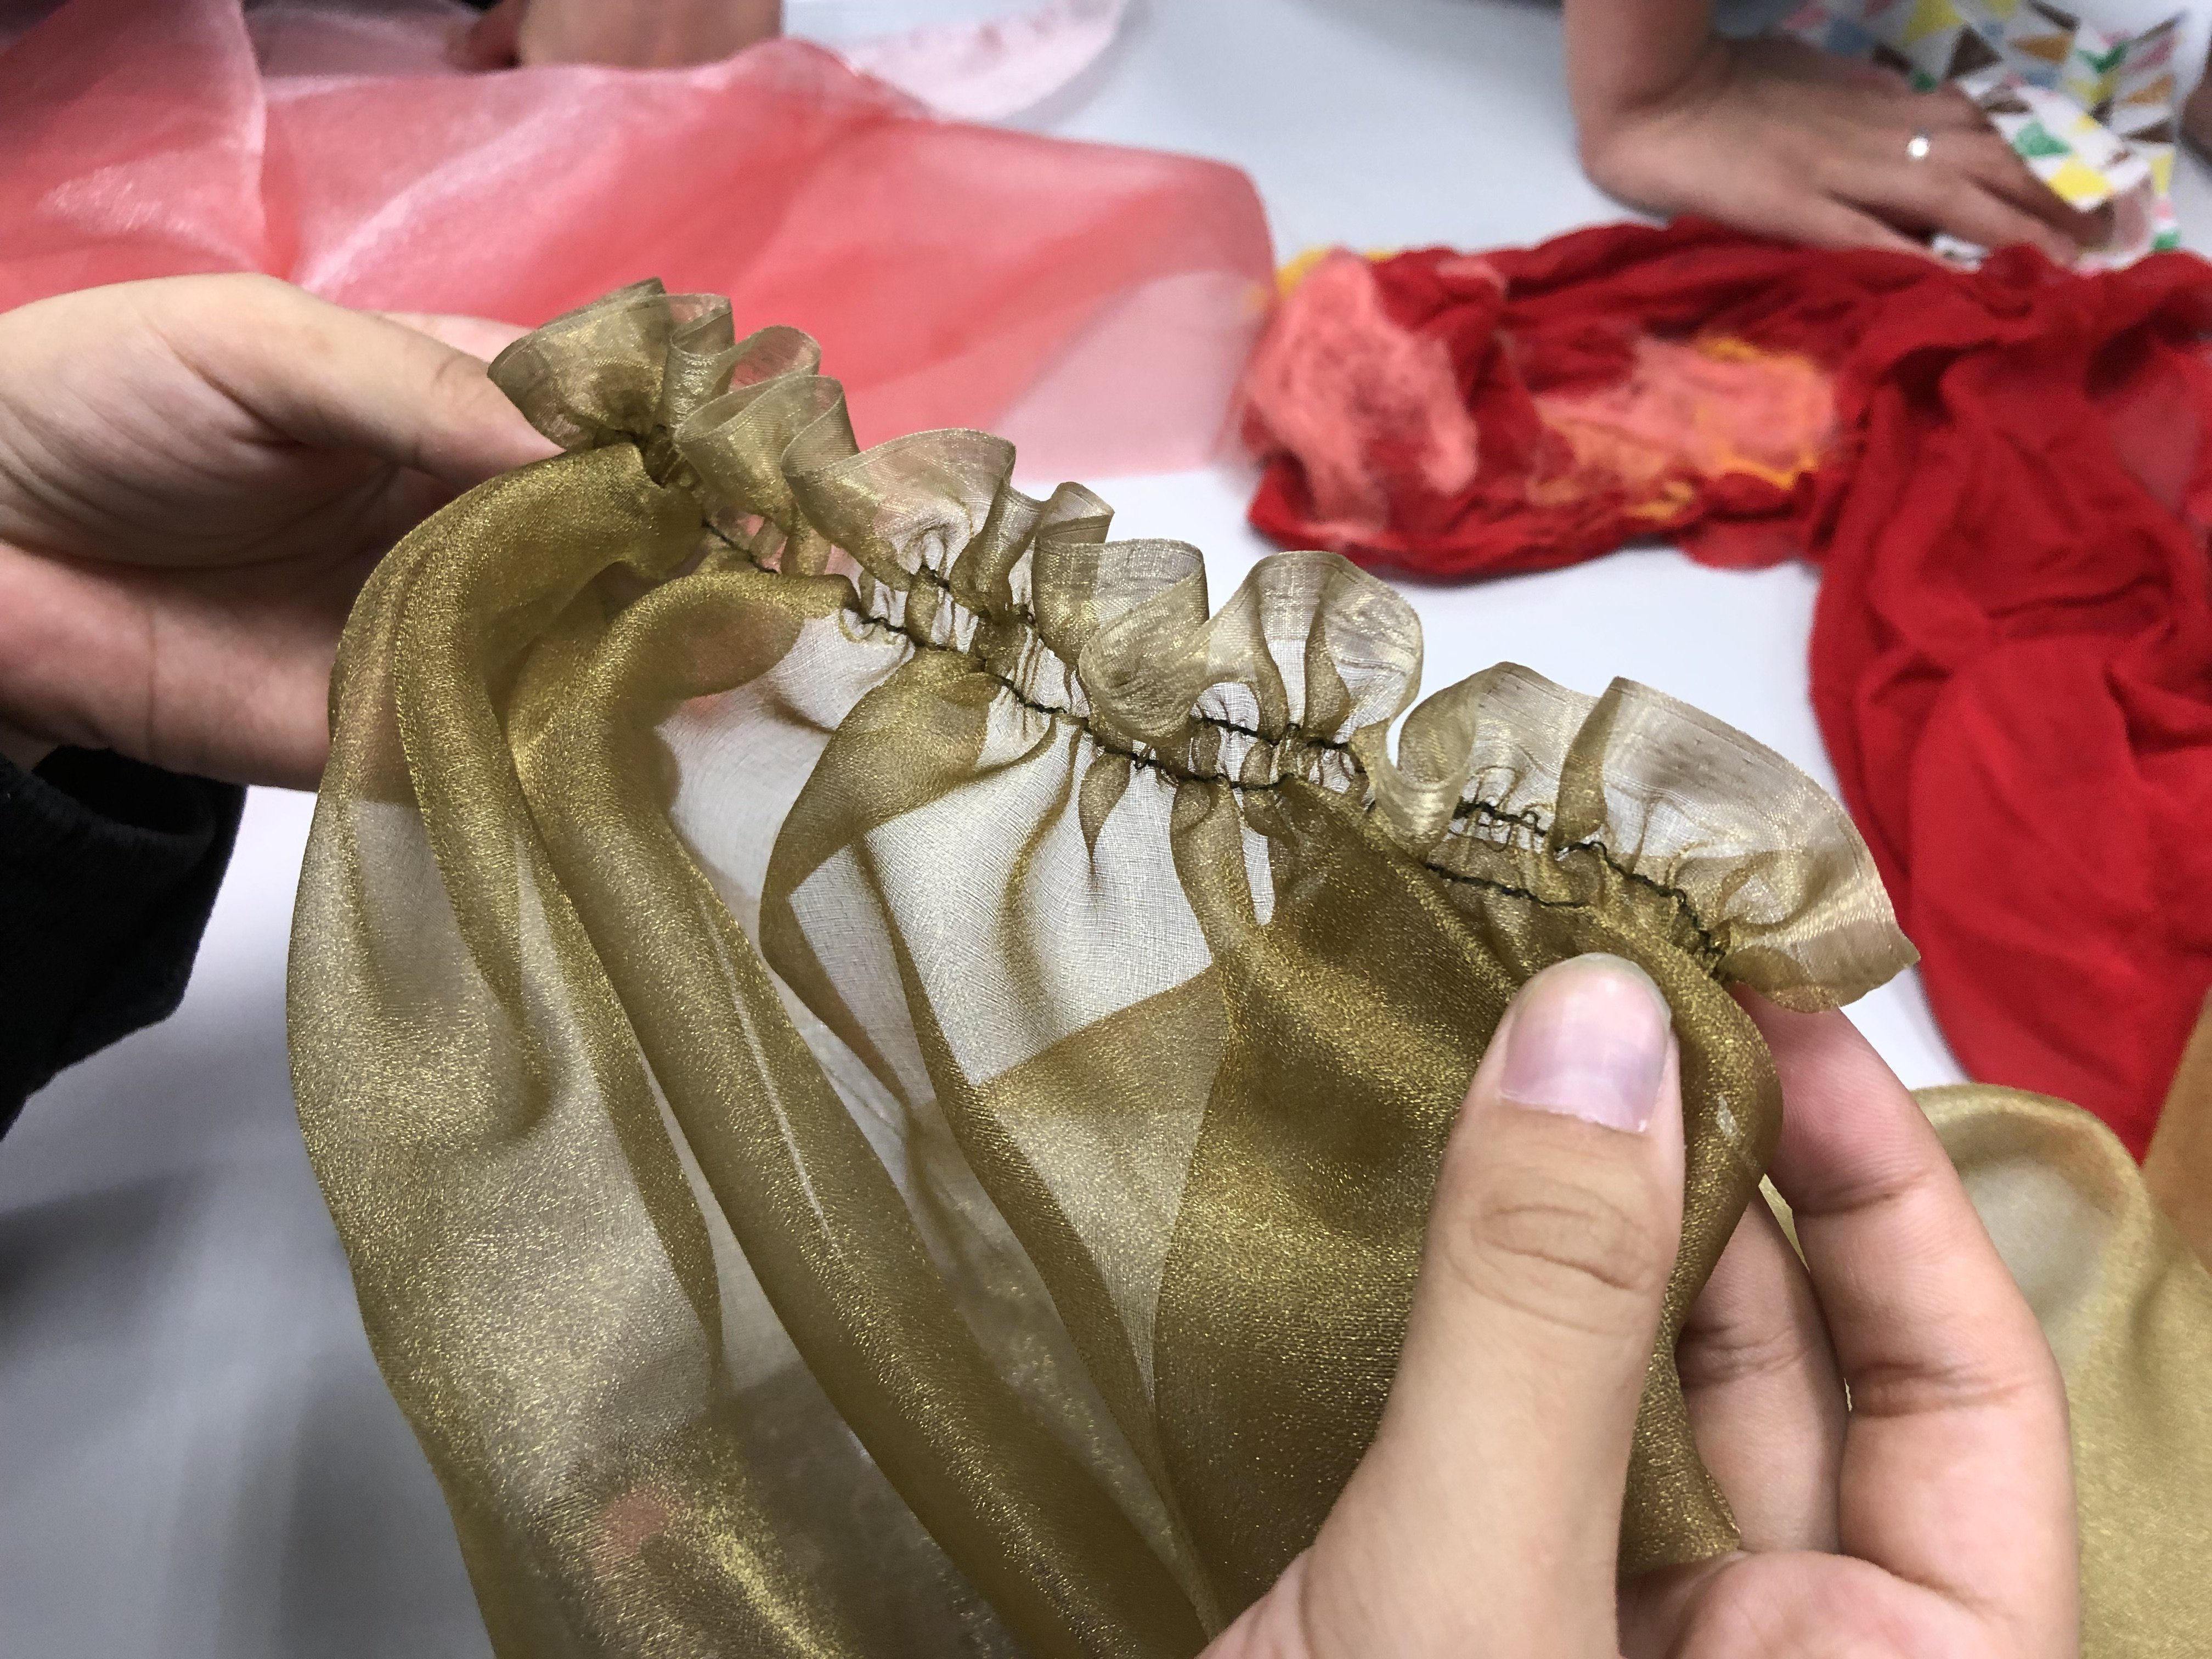
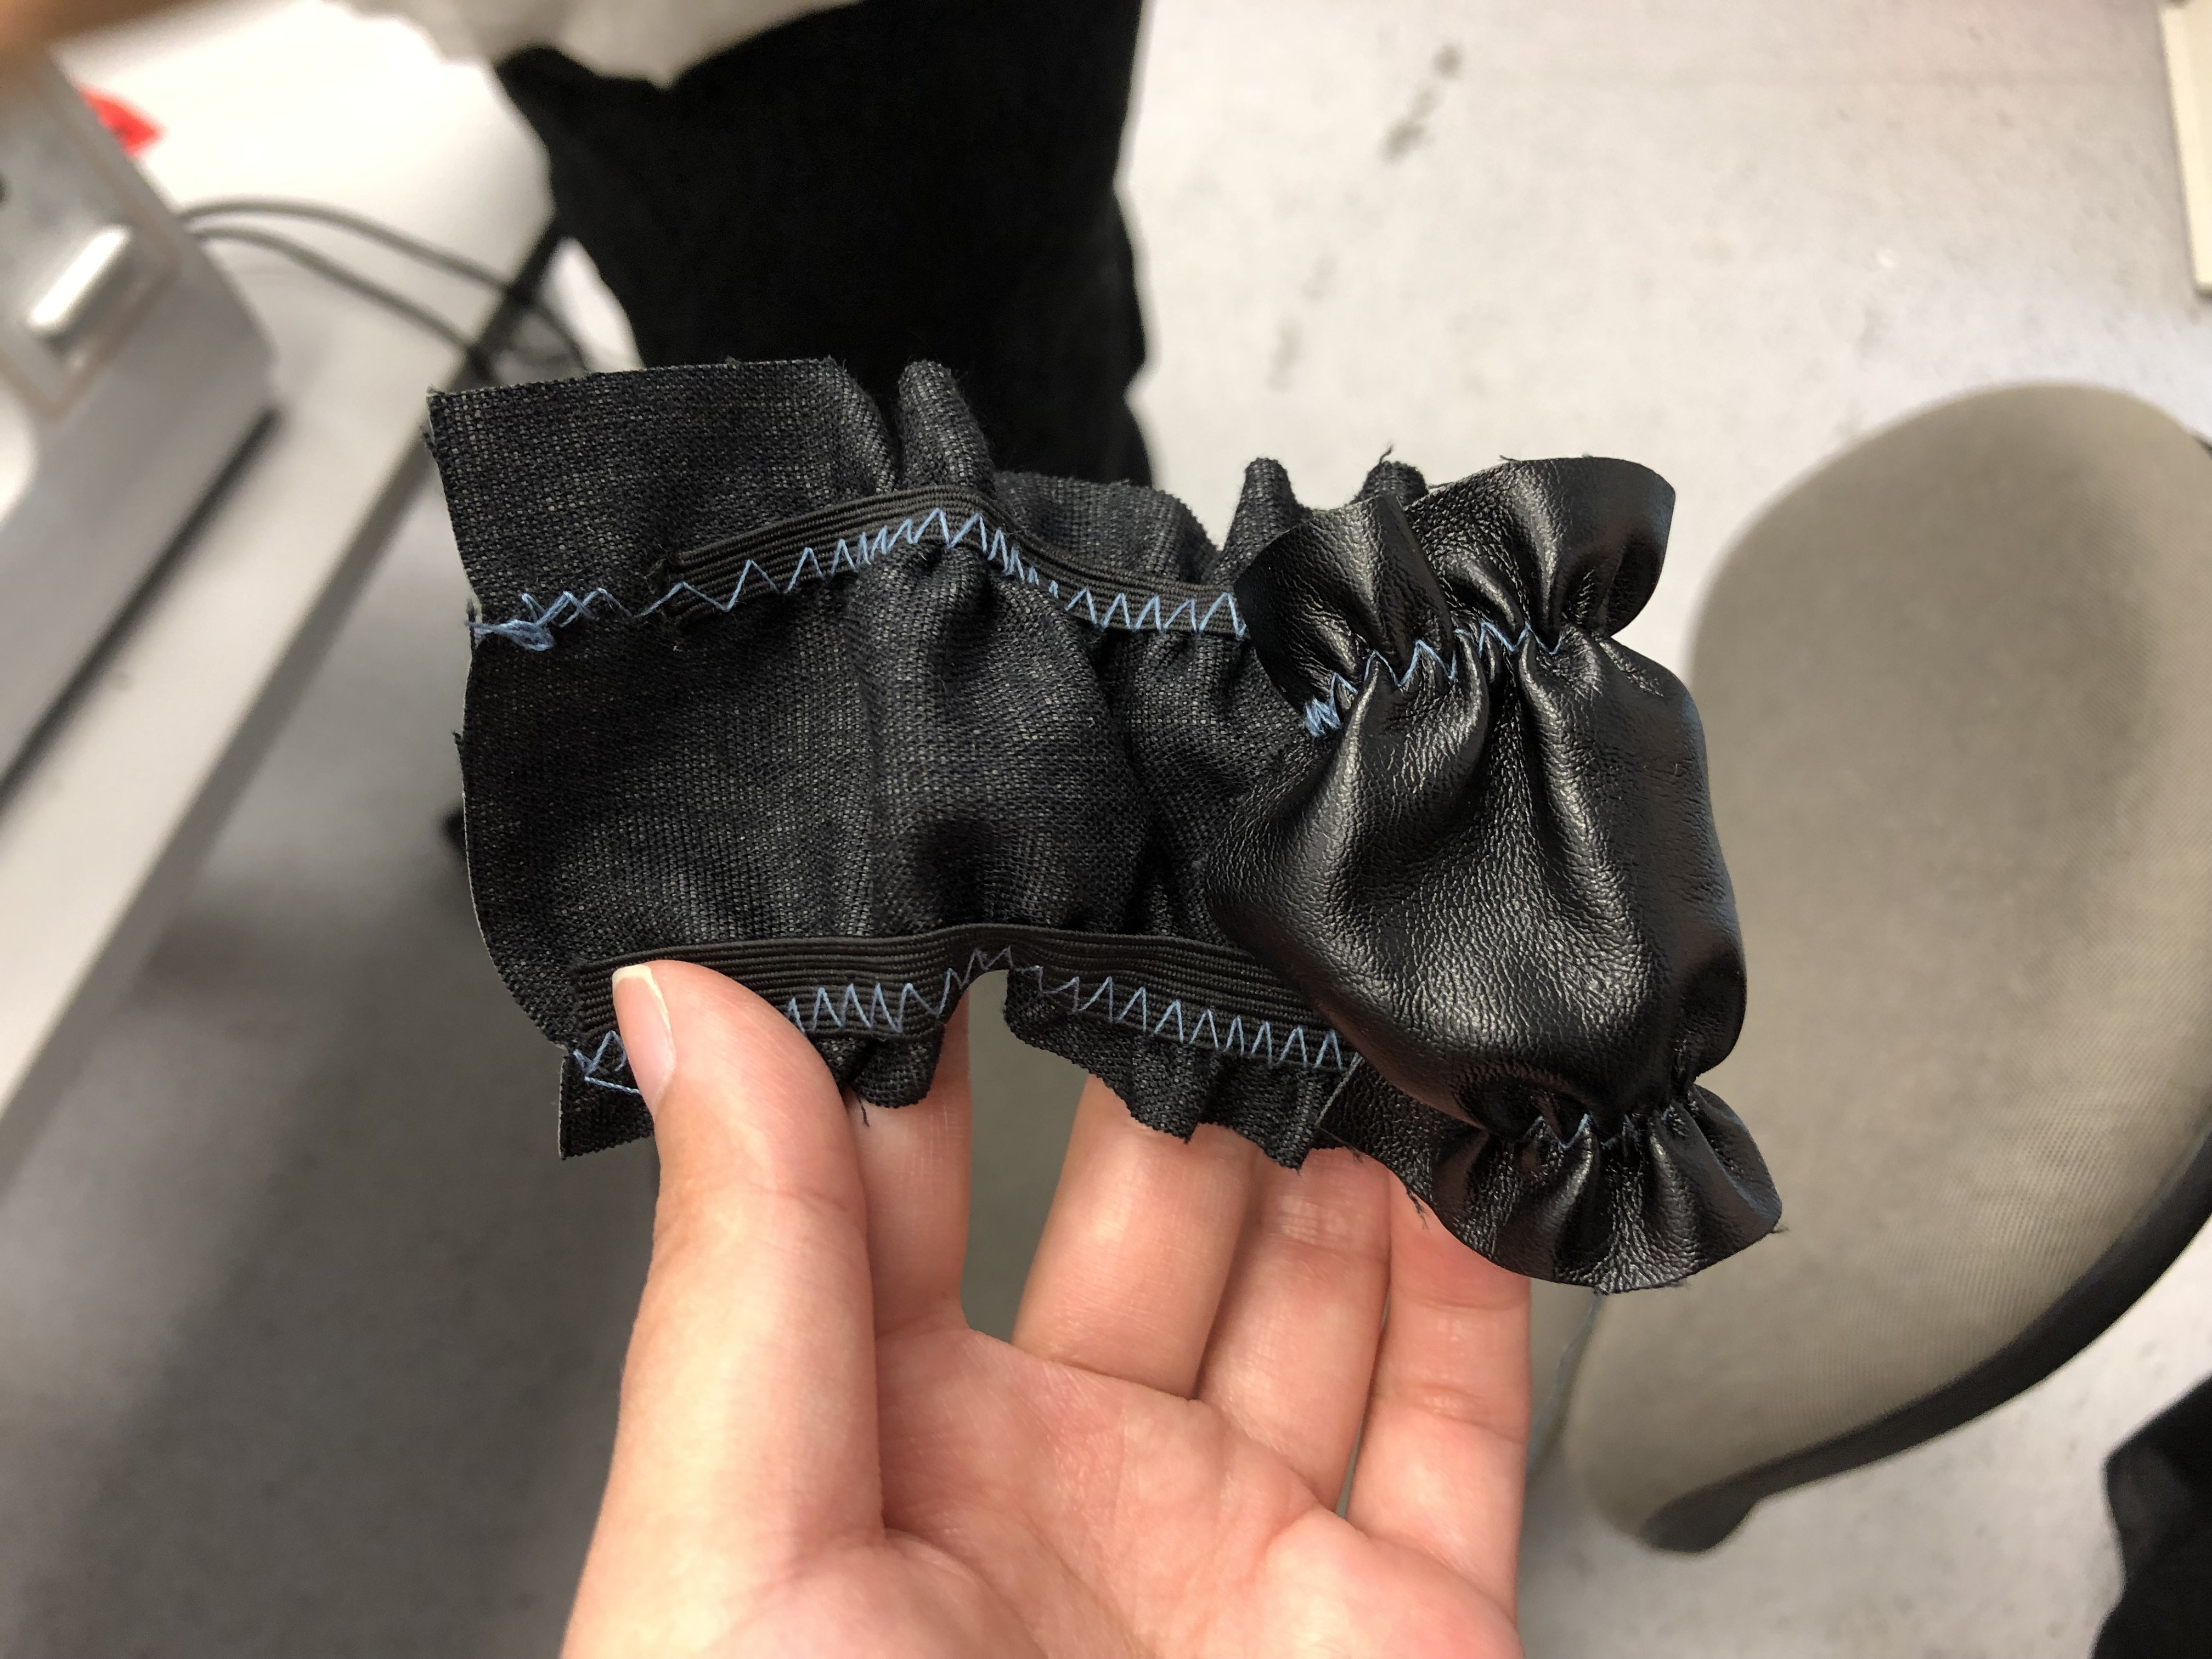
Here are some examples that Galina has done:
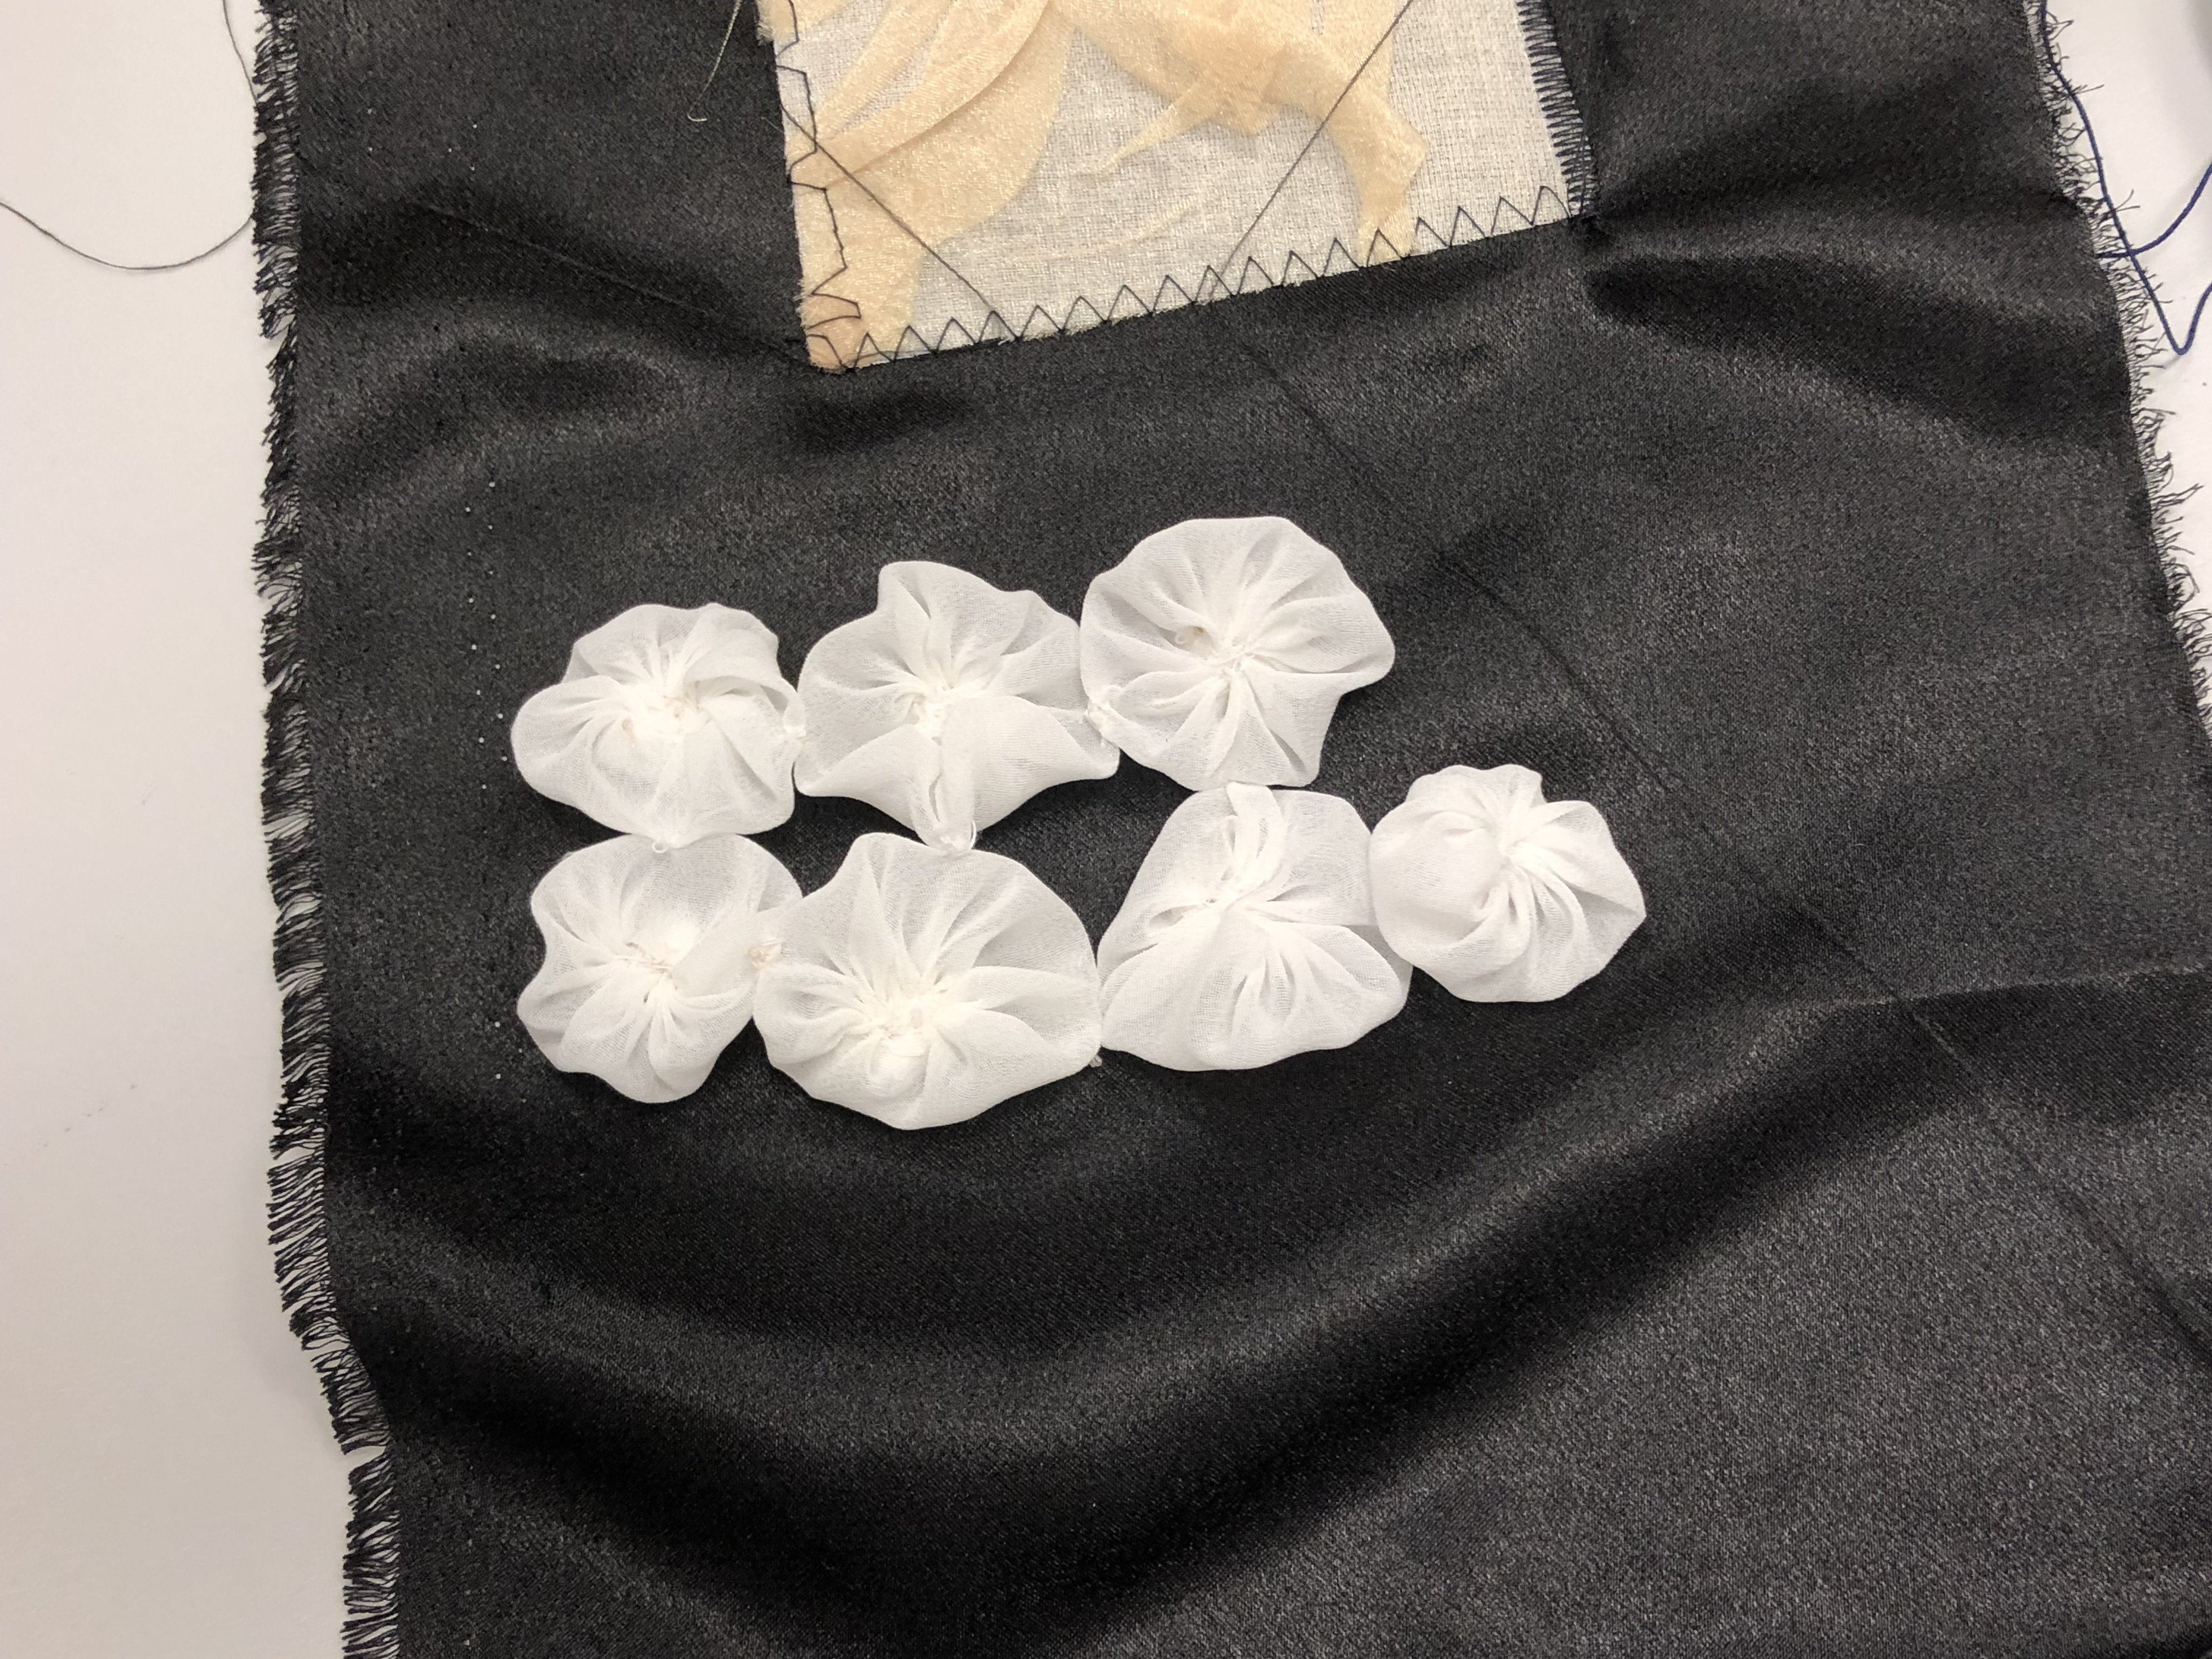
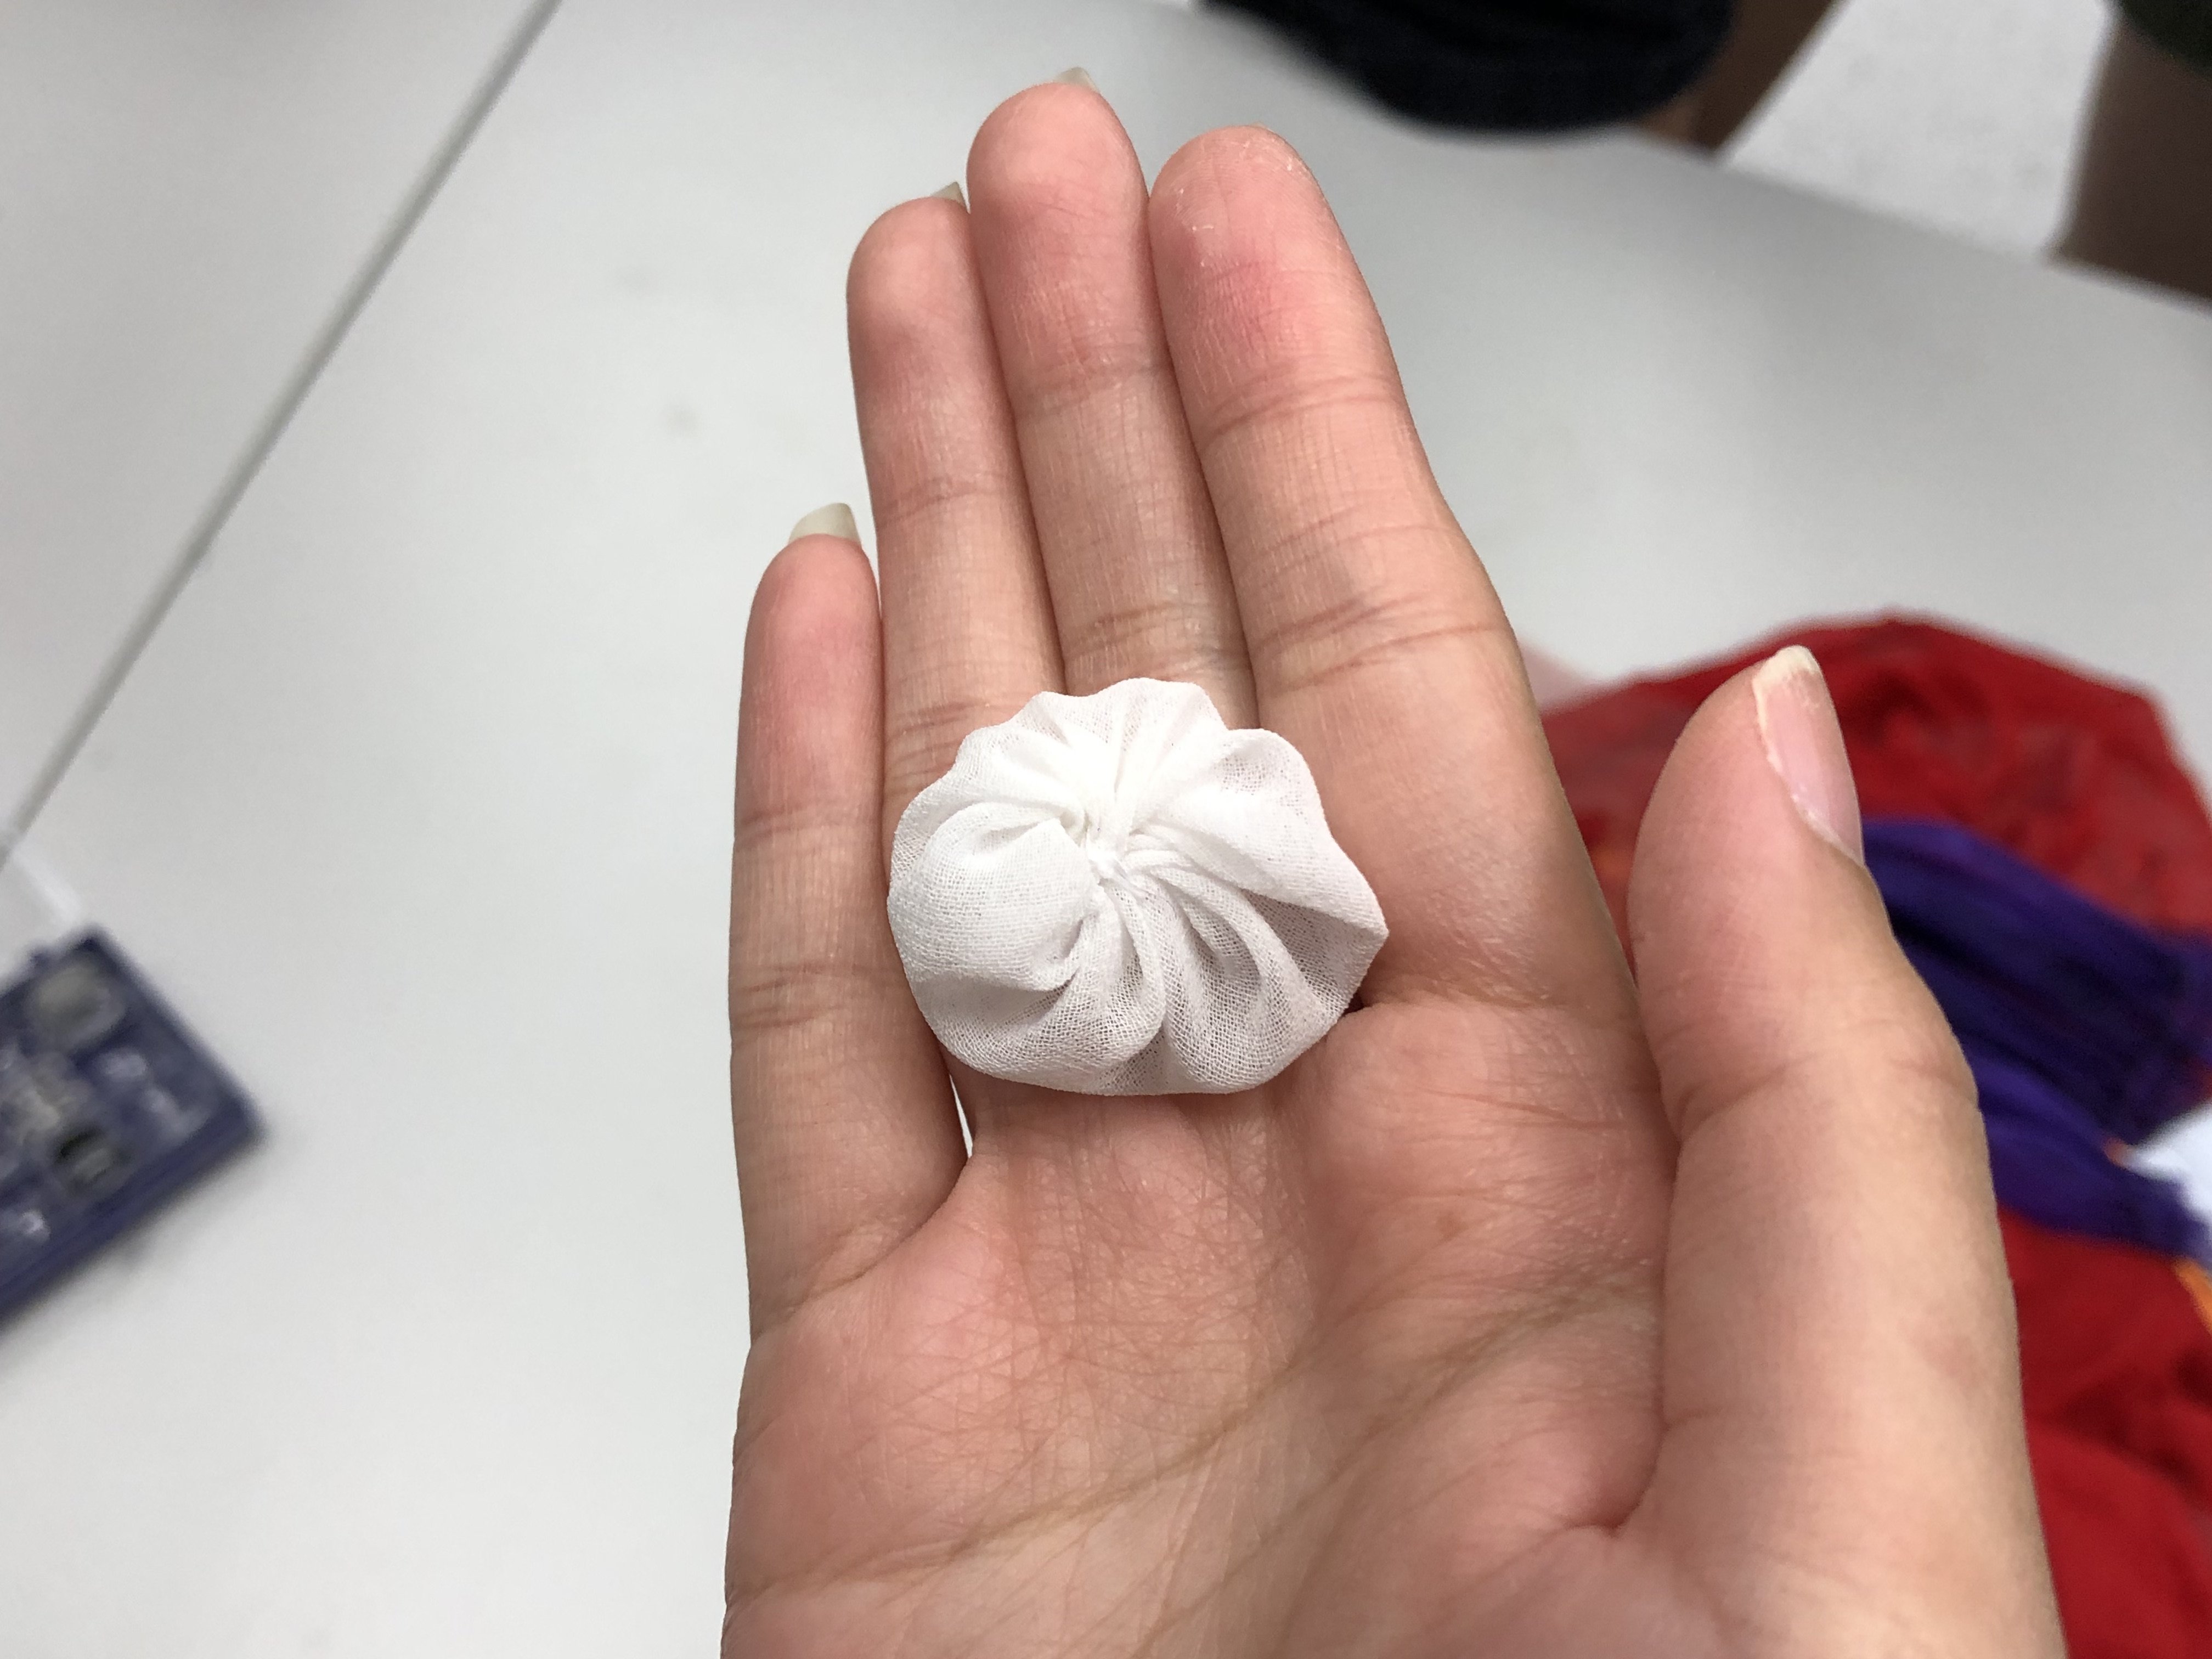
Some hand stitched stuff that looks like little dumplings.

It is important to know the full stretching capacity of the elastic so that it does not snap the stitches if it’s “overstretched”. When sewing, pull the elastic to the maximum and from there, you’ll know the amount of cloth you’ll need. This will allow sufficient fabric for the stretch of the elastic, making sure it’s not too loose or too tight.
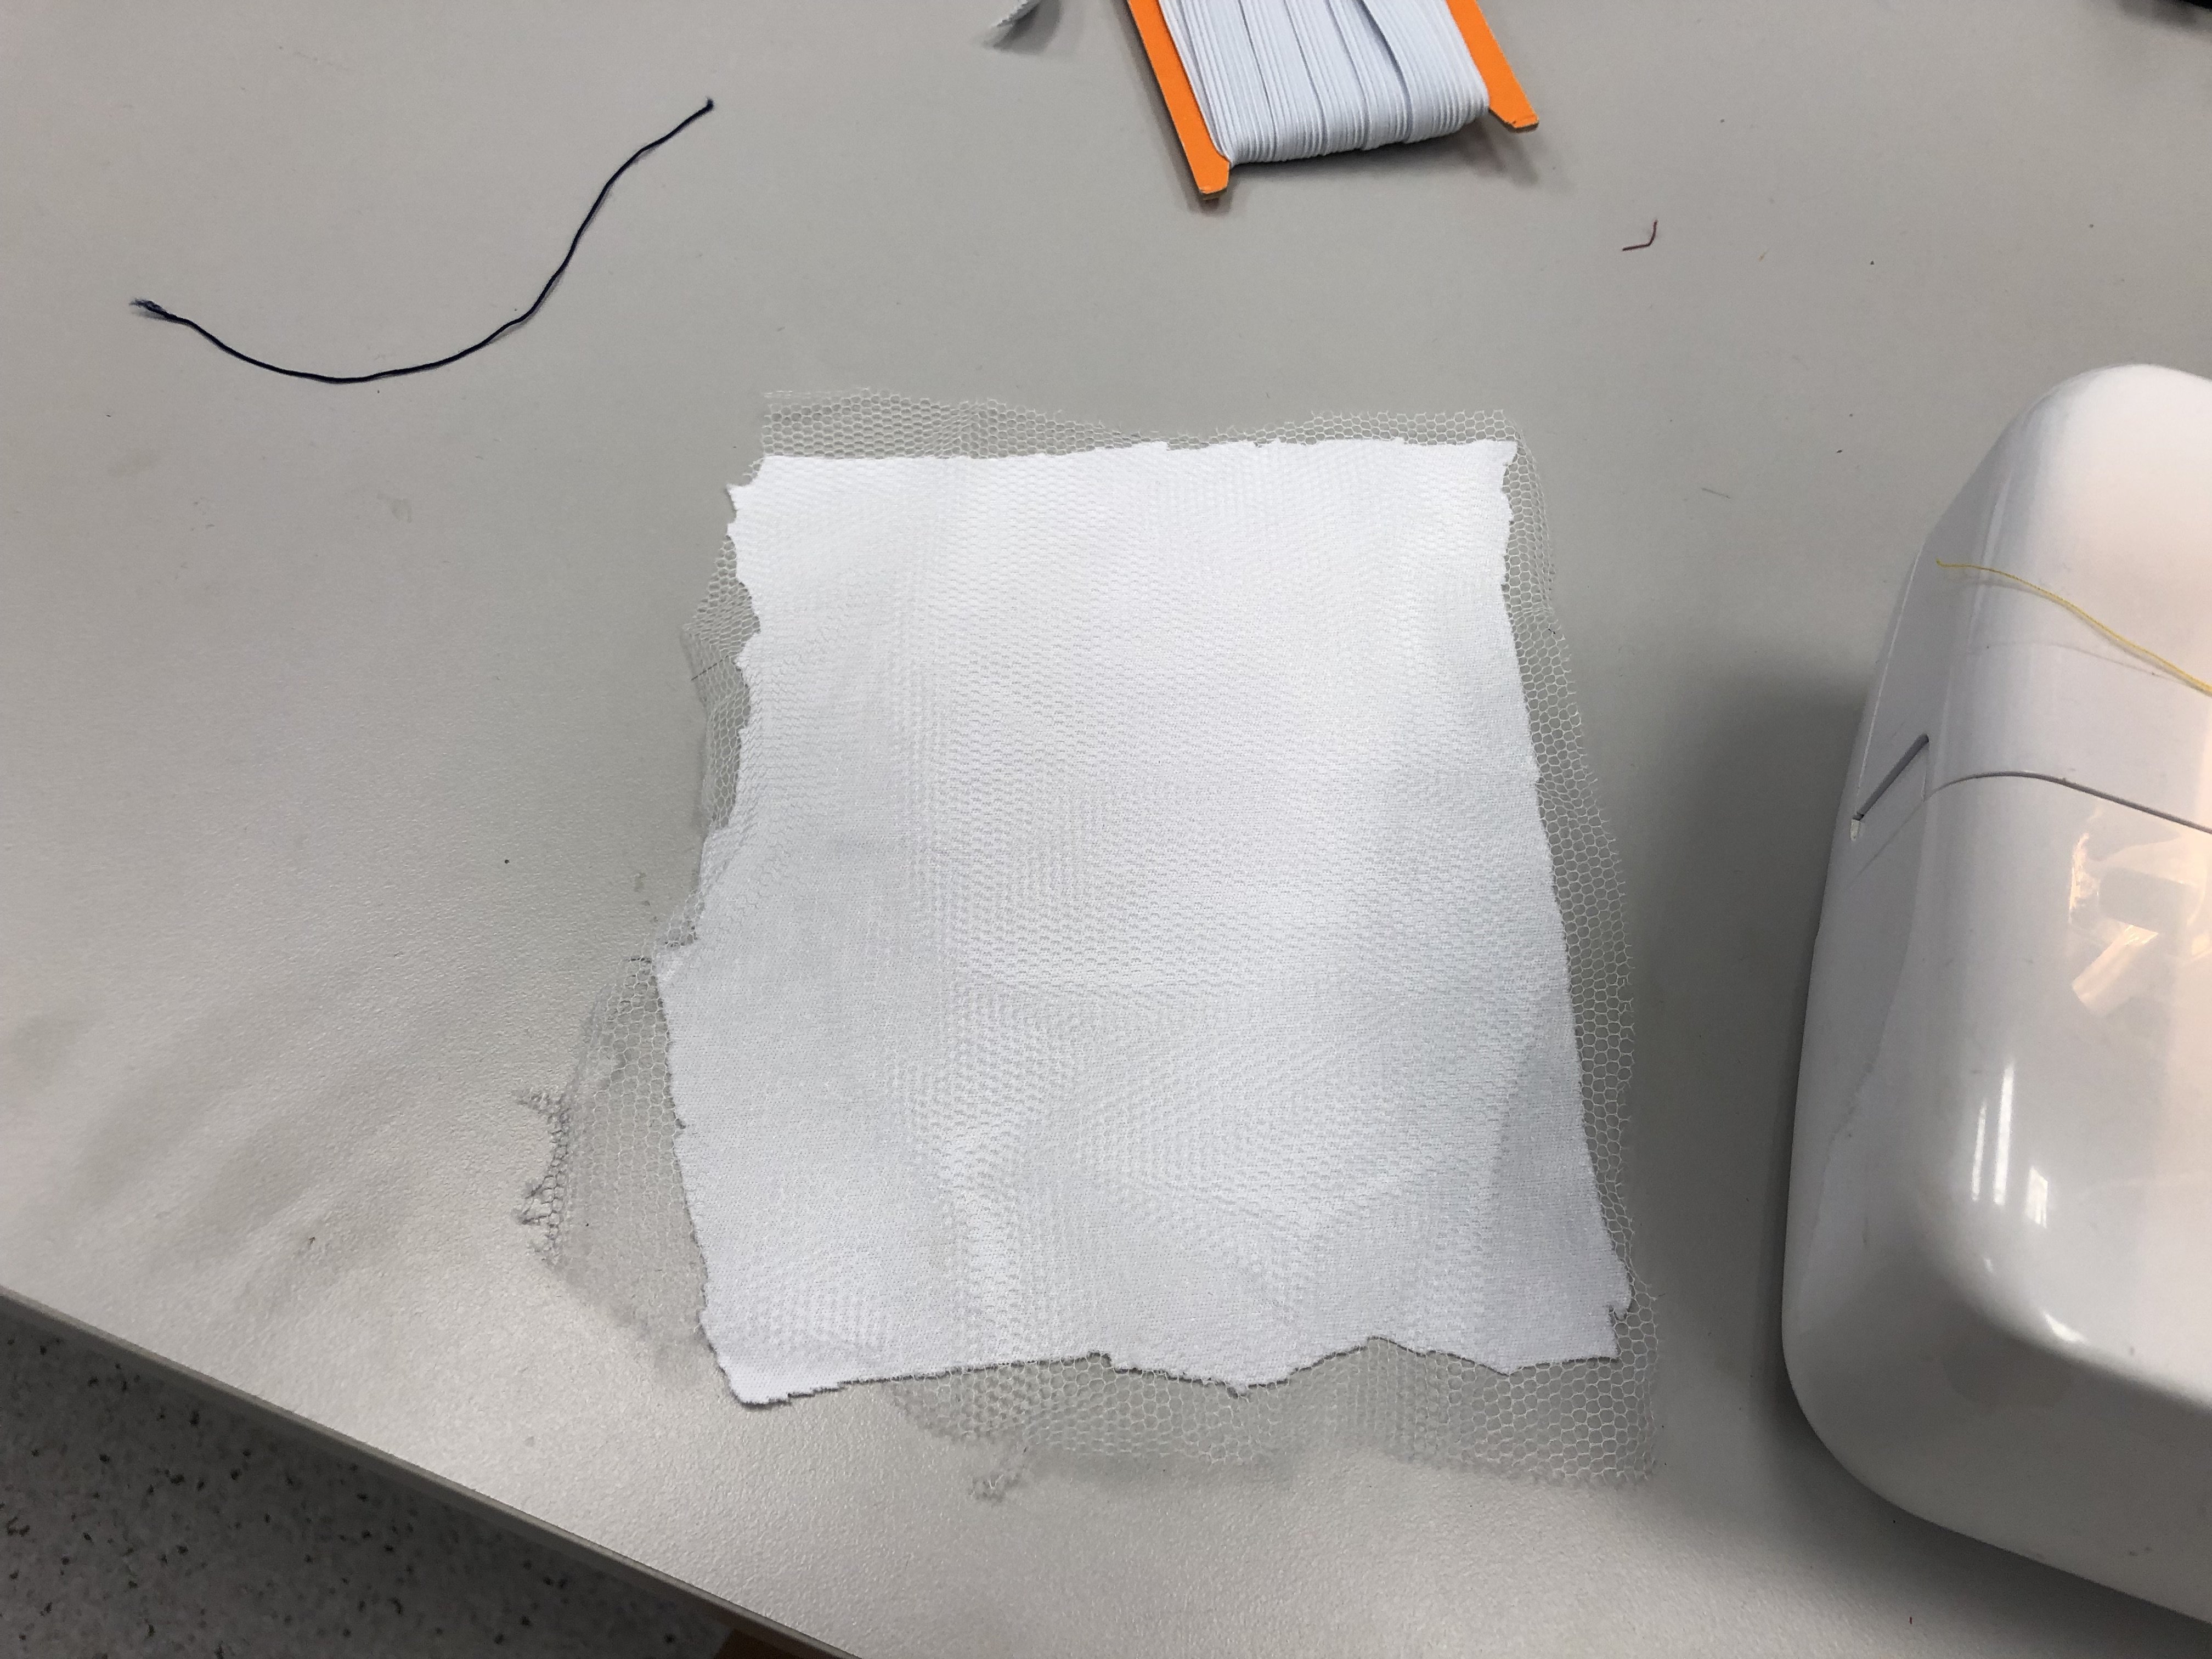
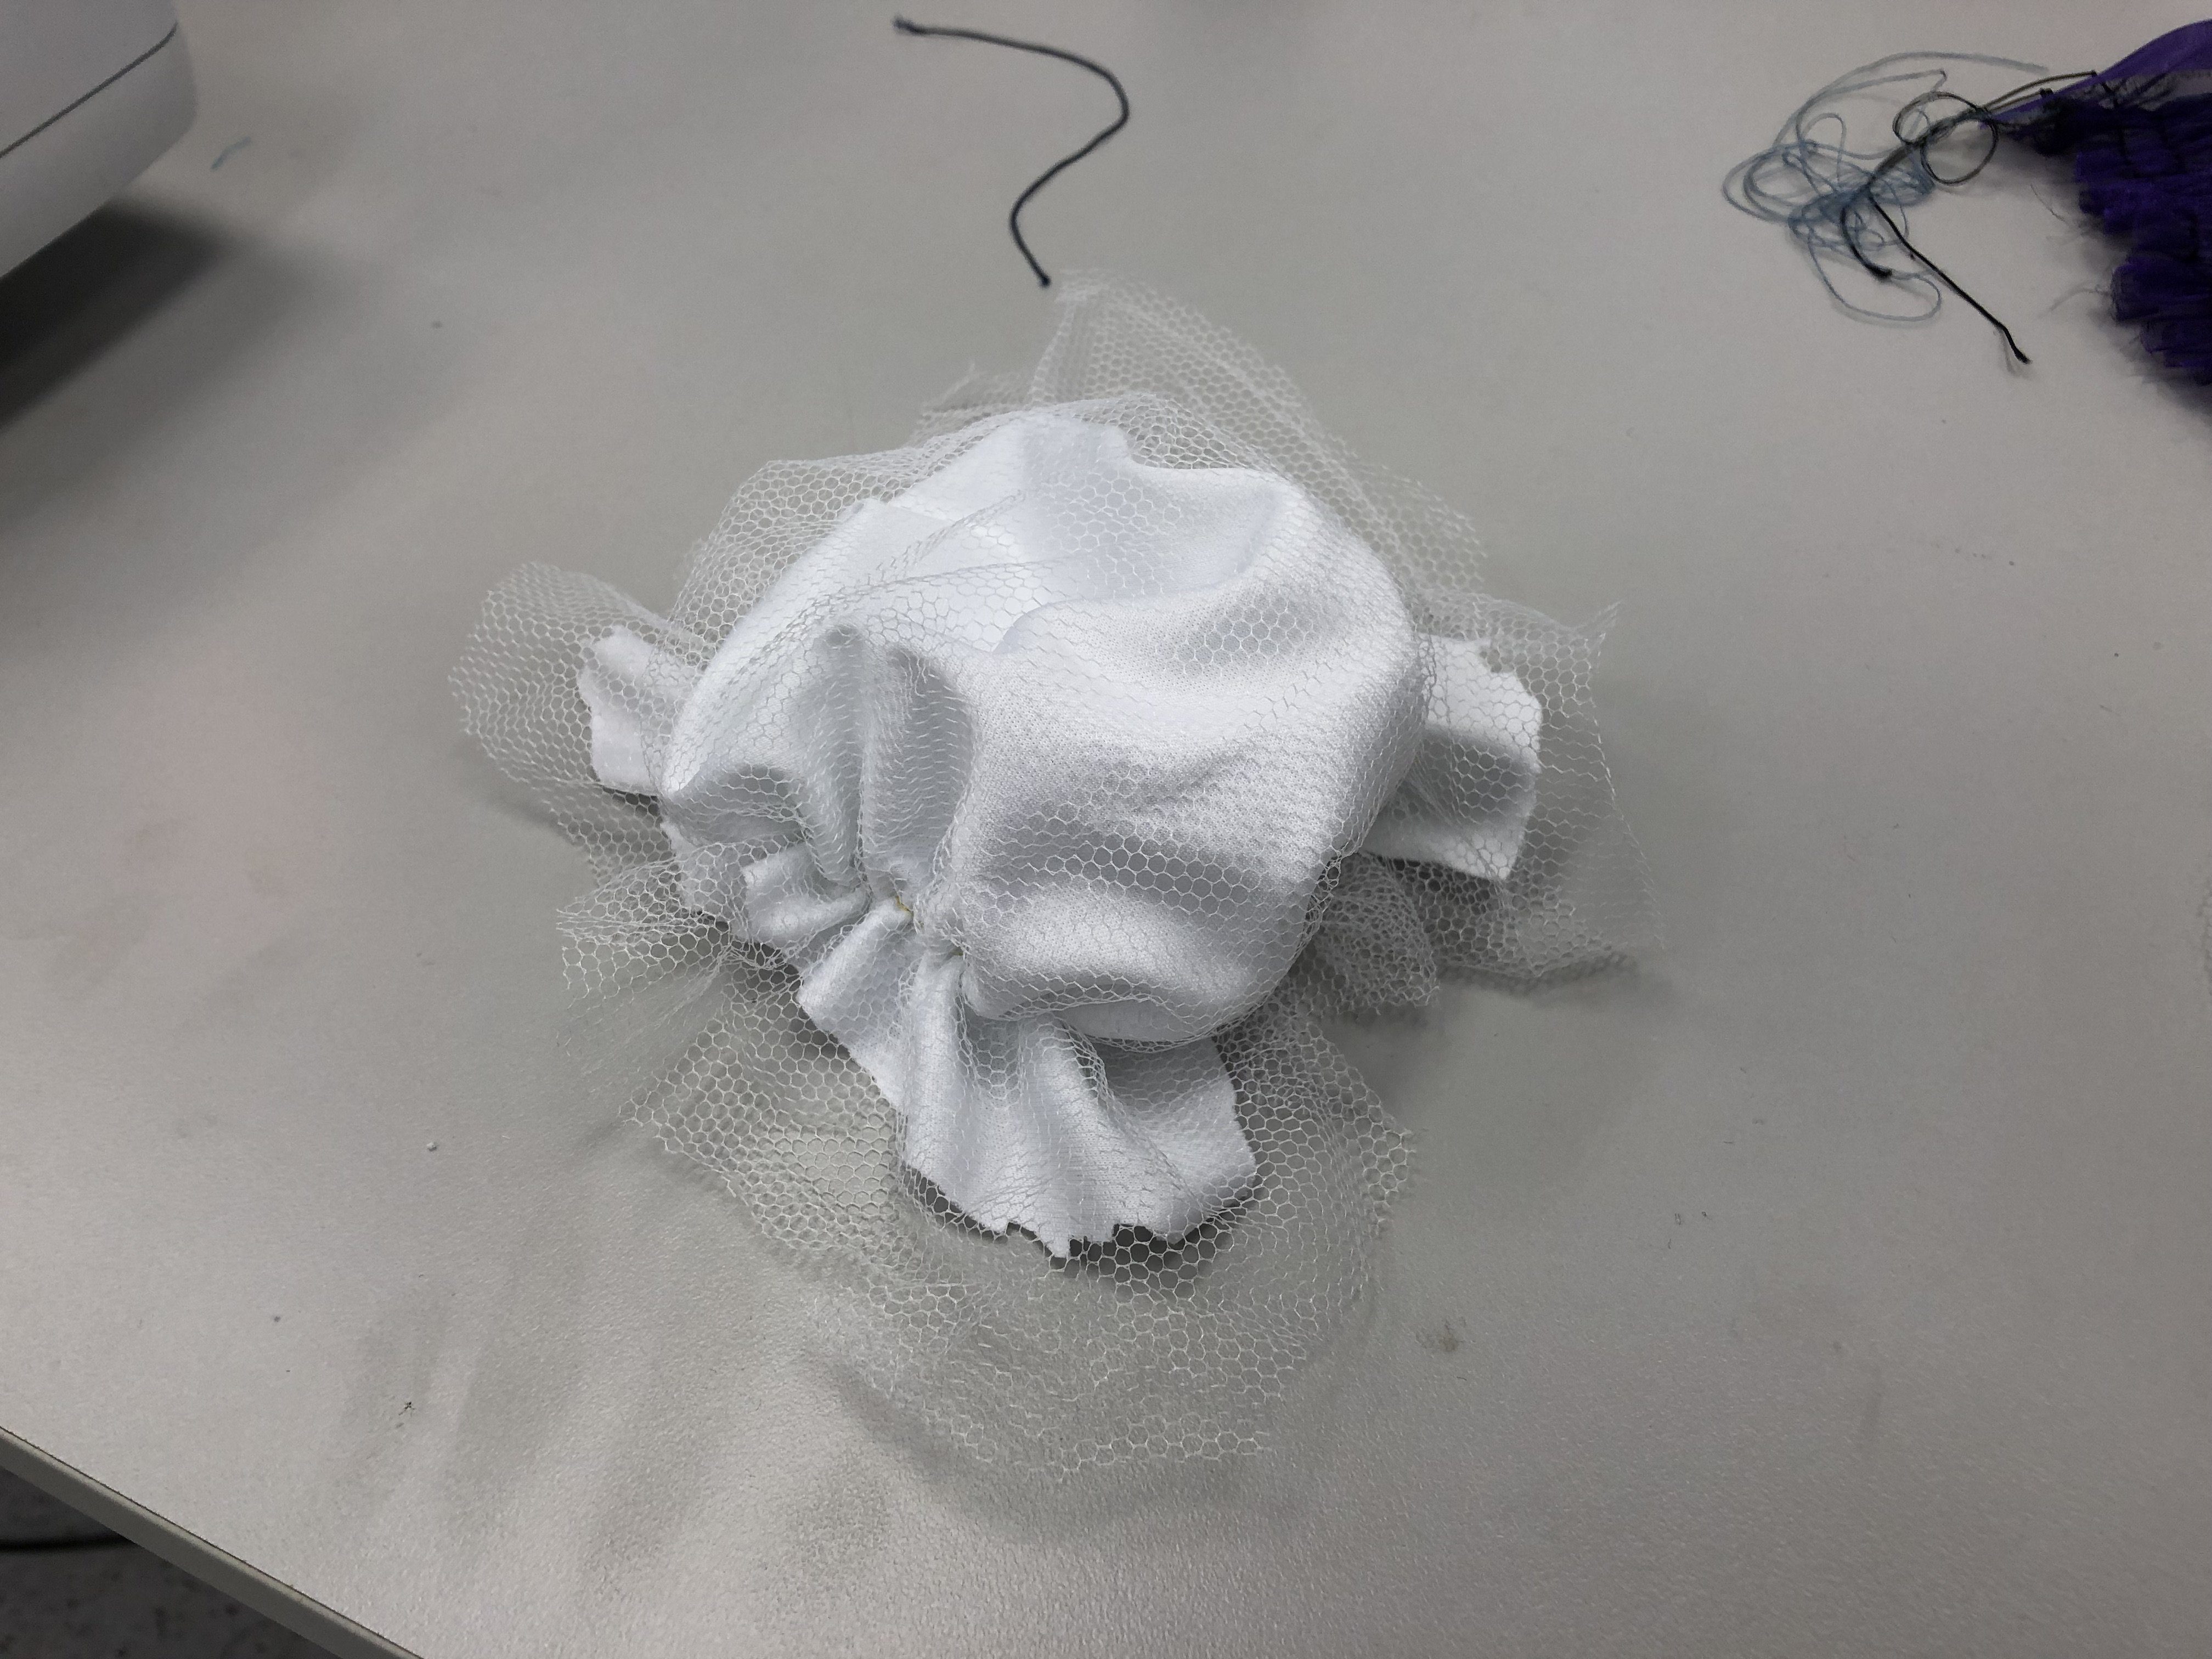
For my version, I decided to combine too fabrics, white polyester fabric as base and white tulle to give it some texture. As mentioned above, I made sure that my elastic was stretched to the maximum to gauge the amount of fabric I will need for it.
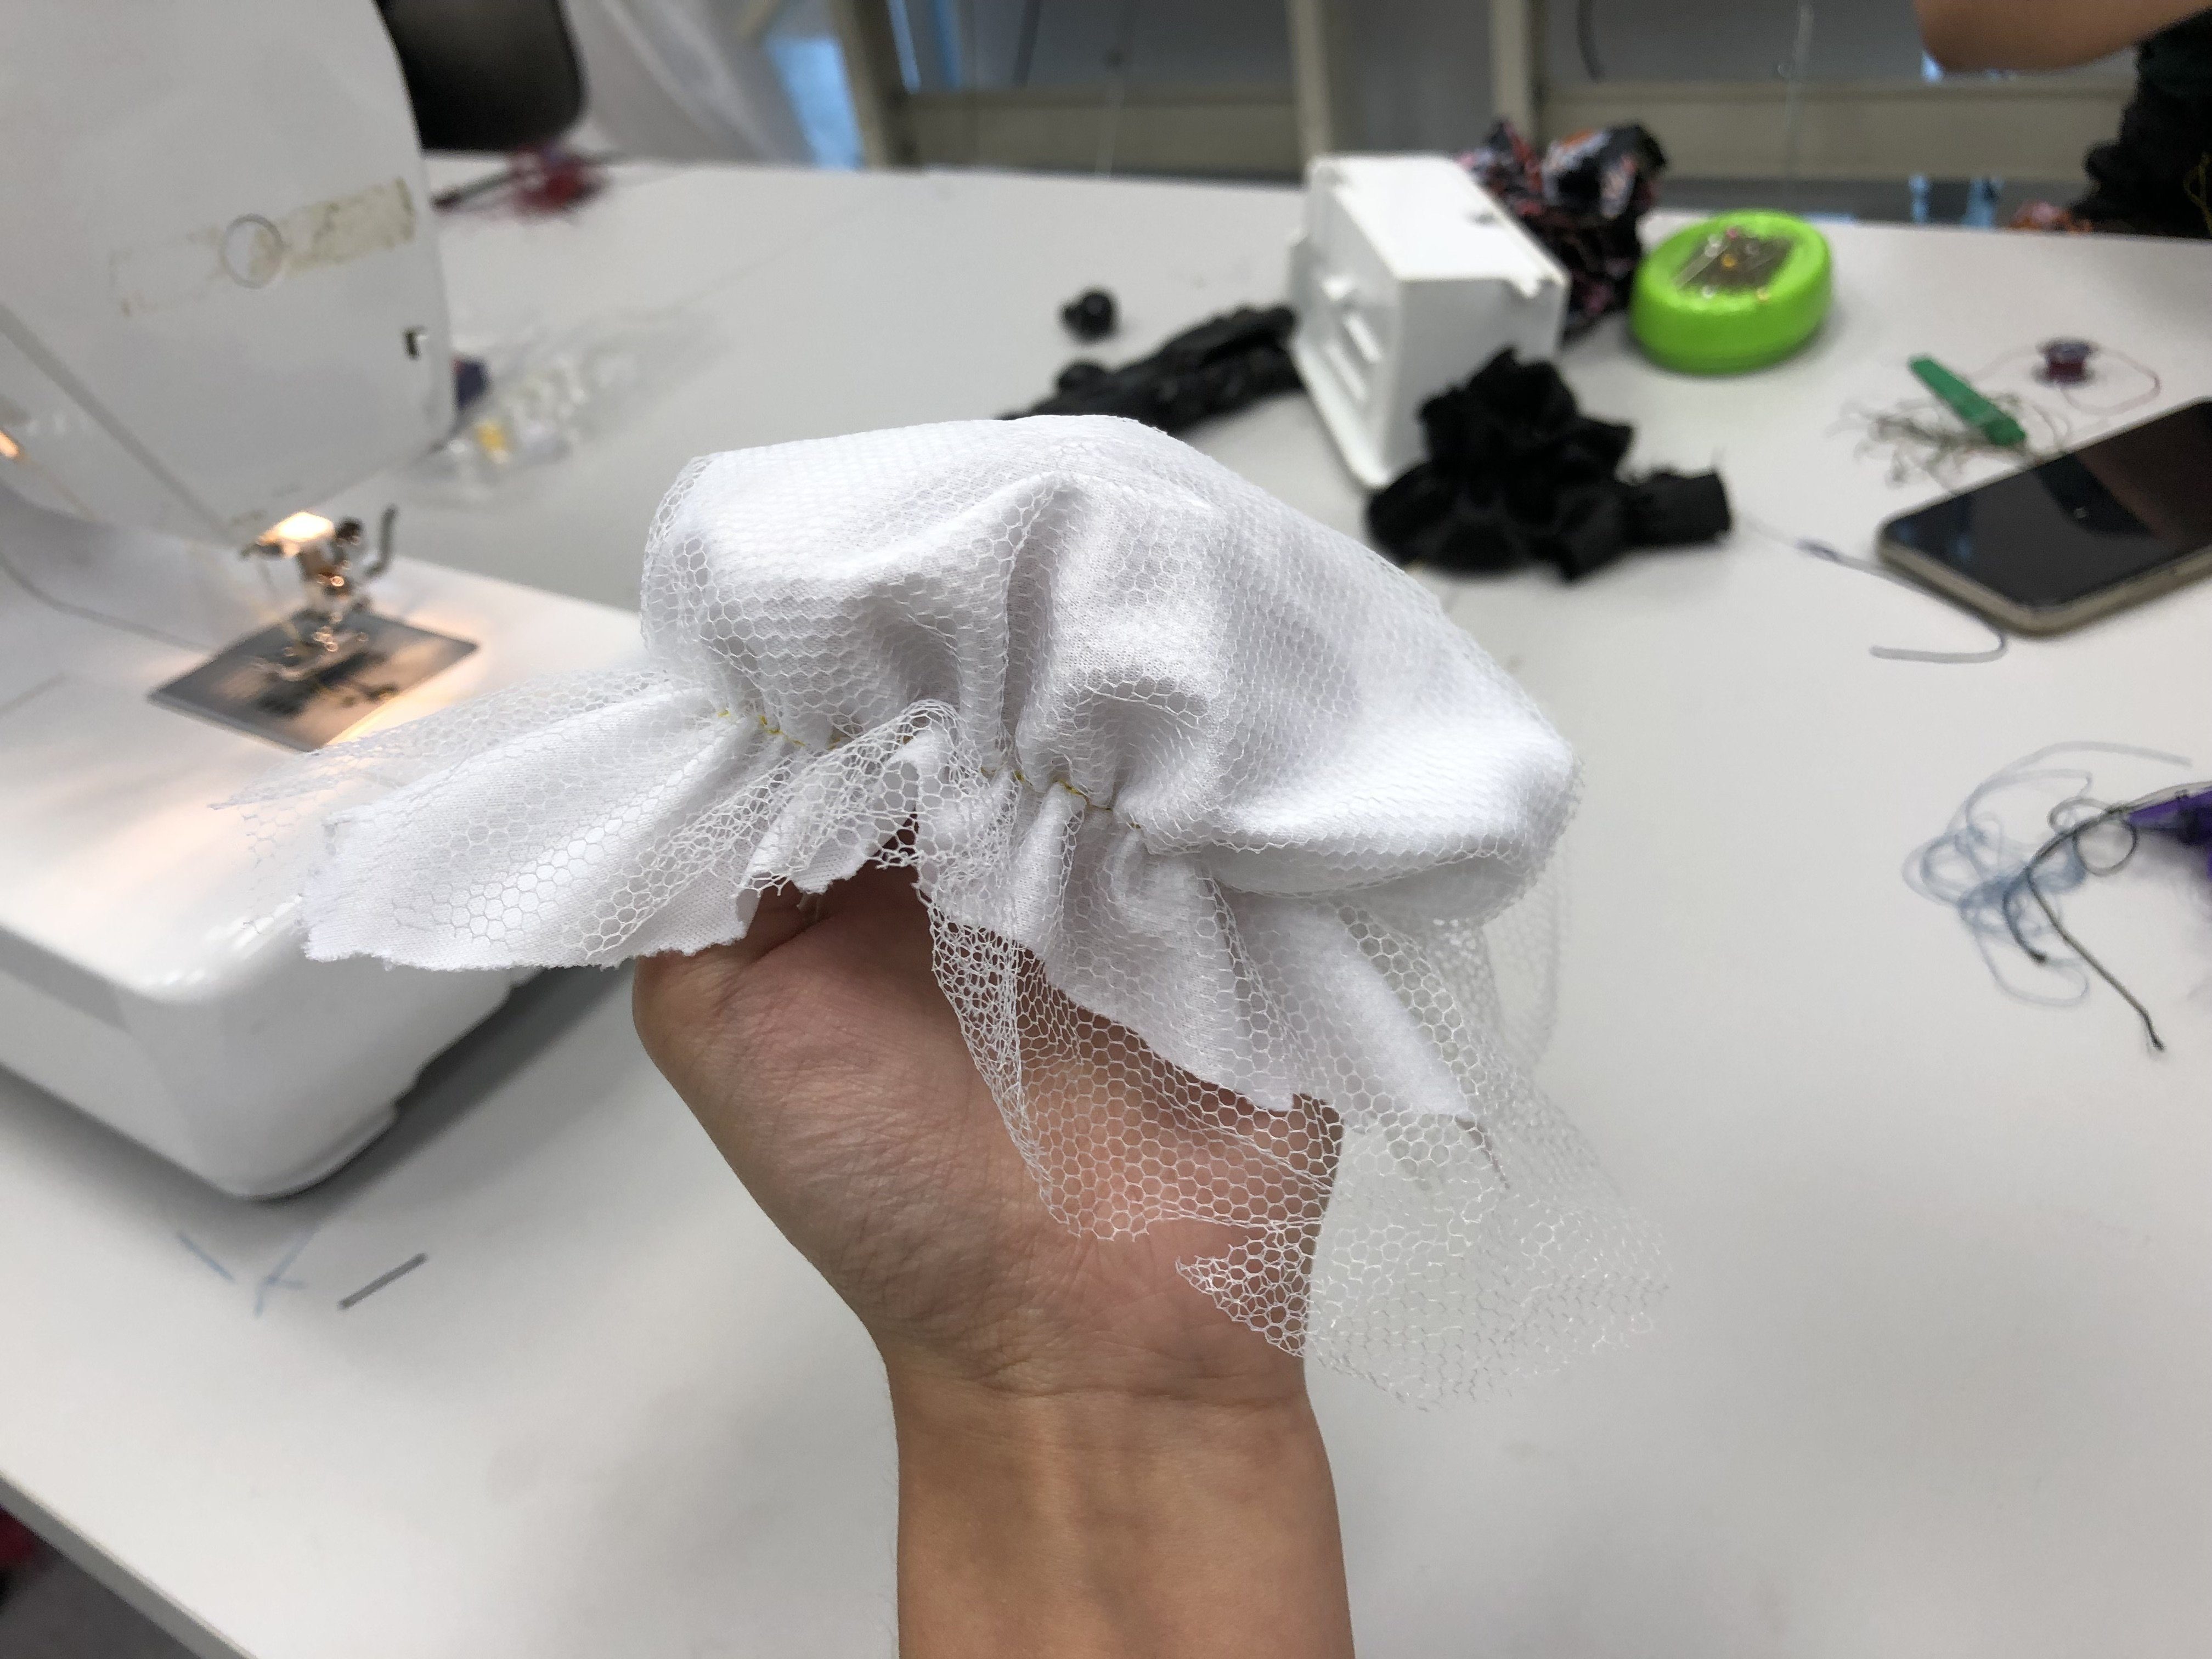
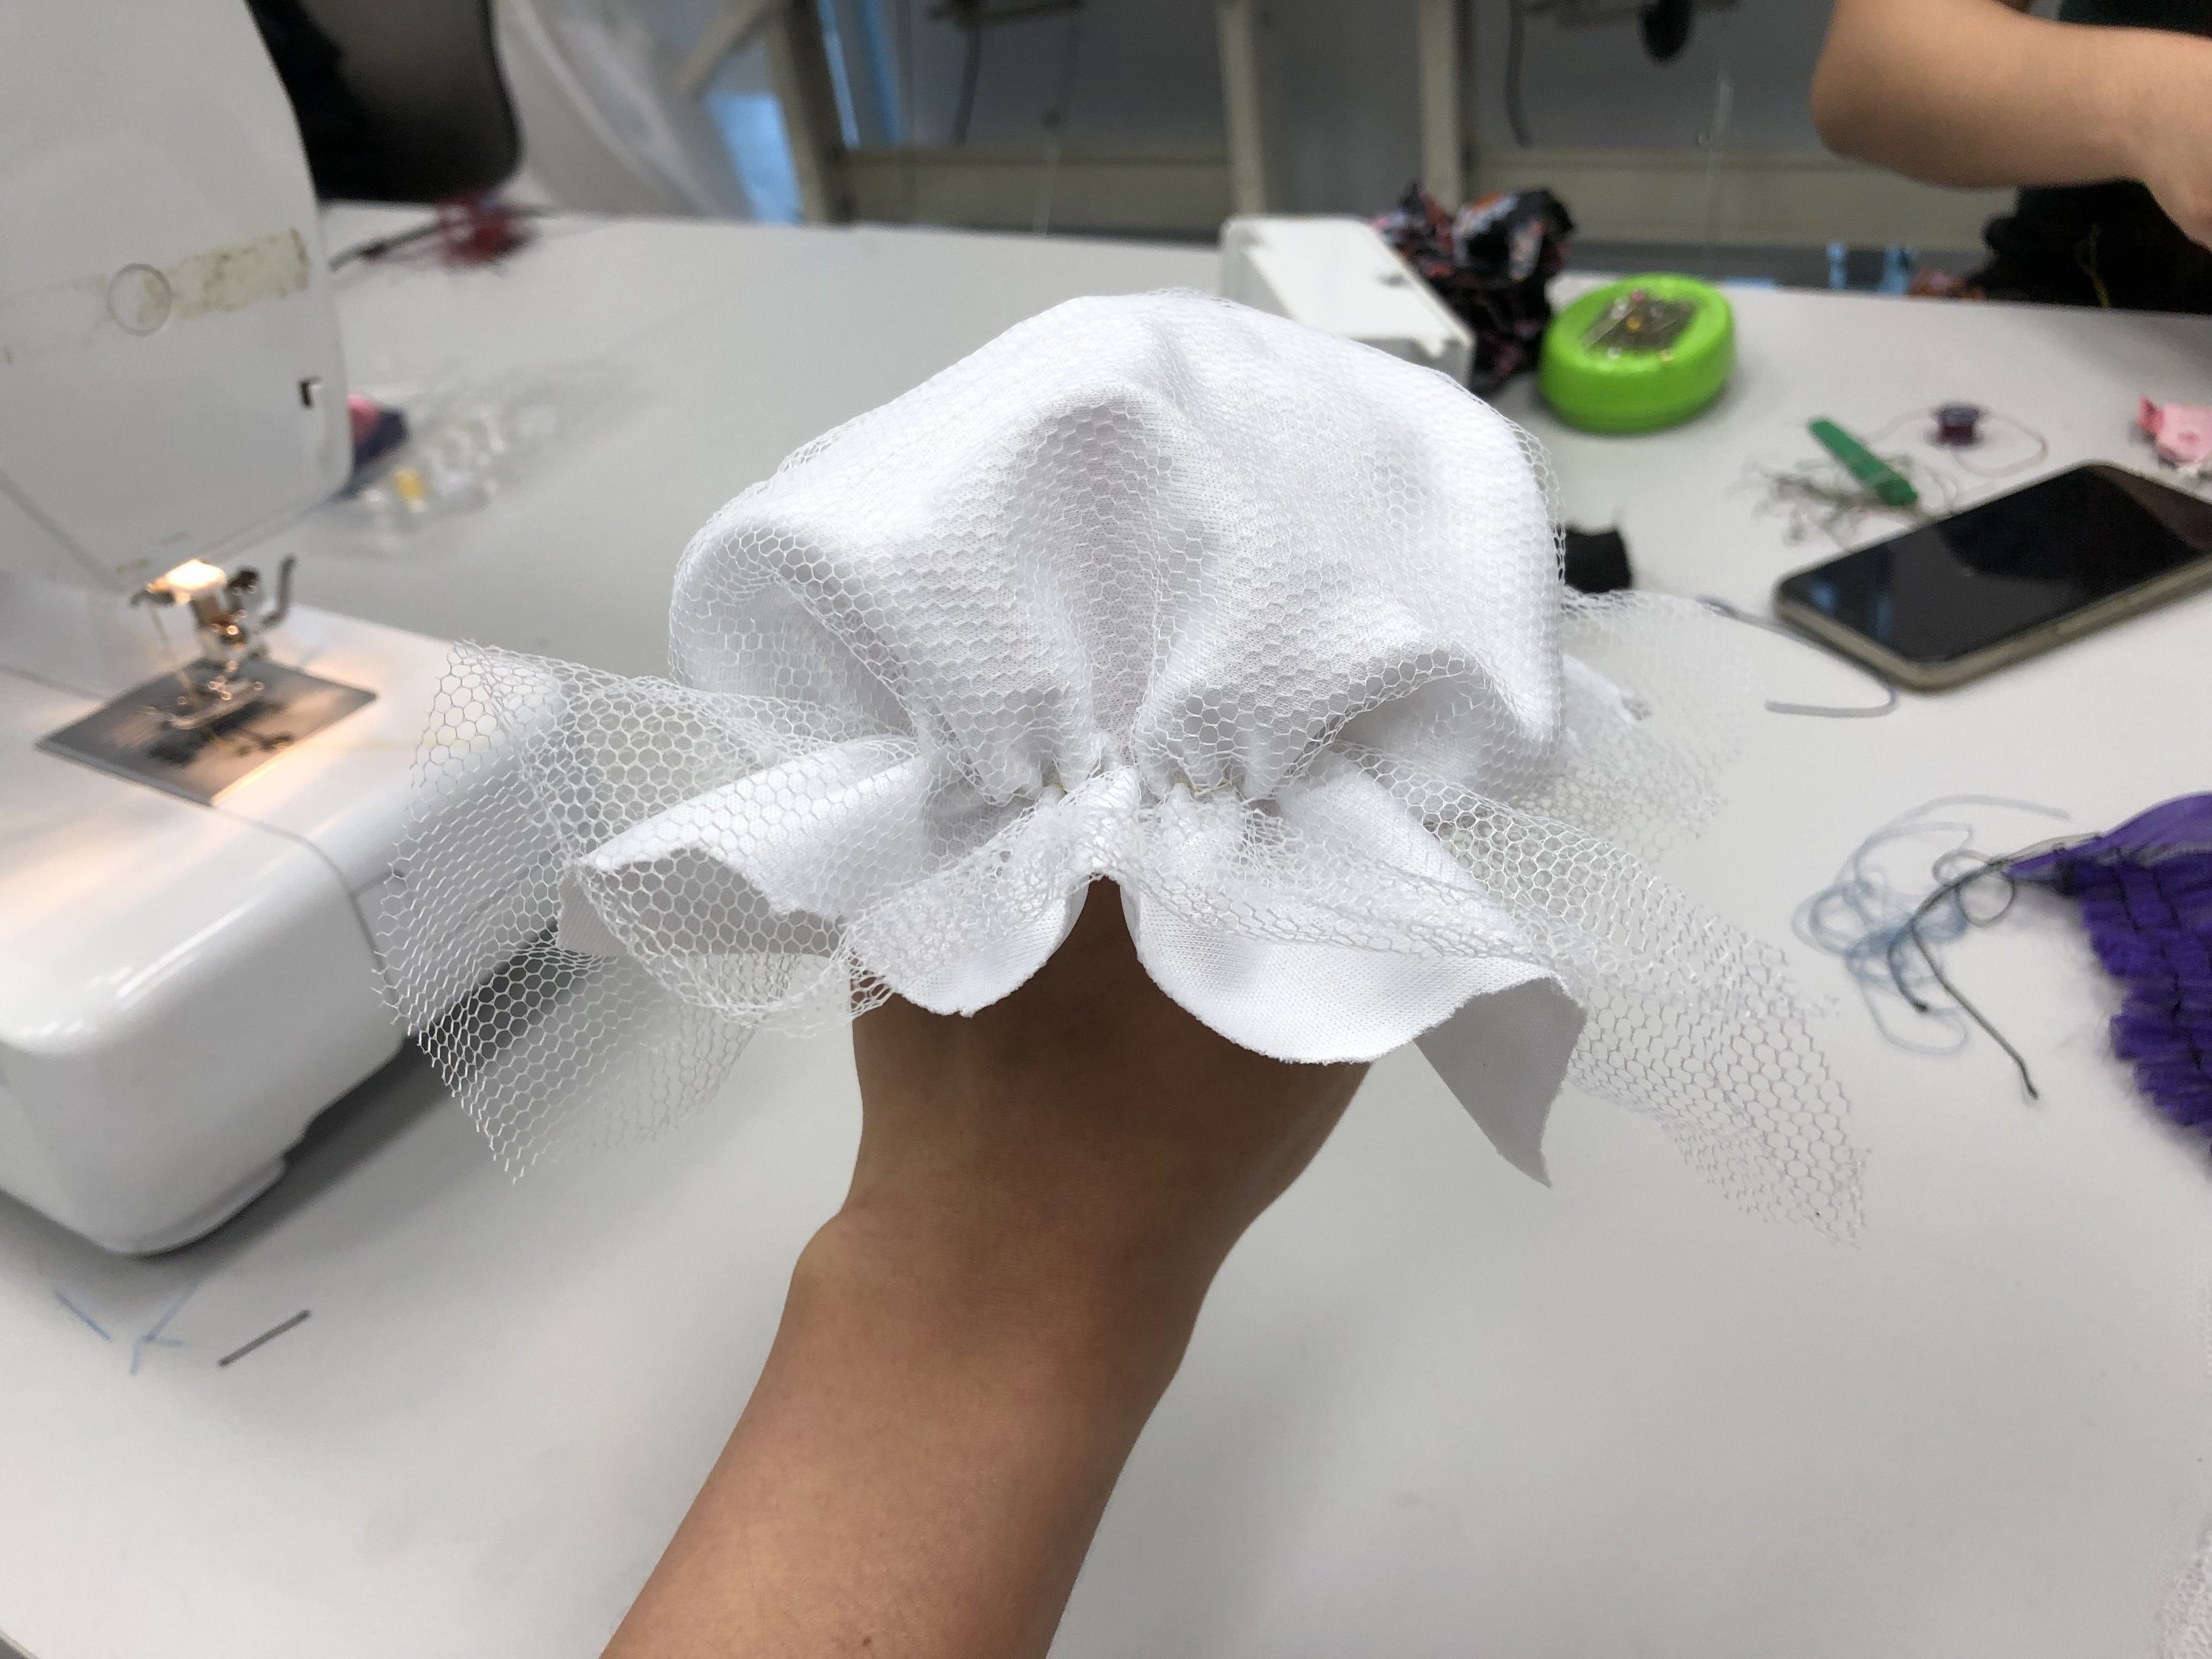
Tadah! I’ve stitched it together. It was quite tough to stitch the elastic onto the fabric as I couldn’t get it to stay in the beginning. The elastic kept moving. But after I managed to stitch the beginning, things were smooth afterwards!

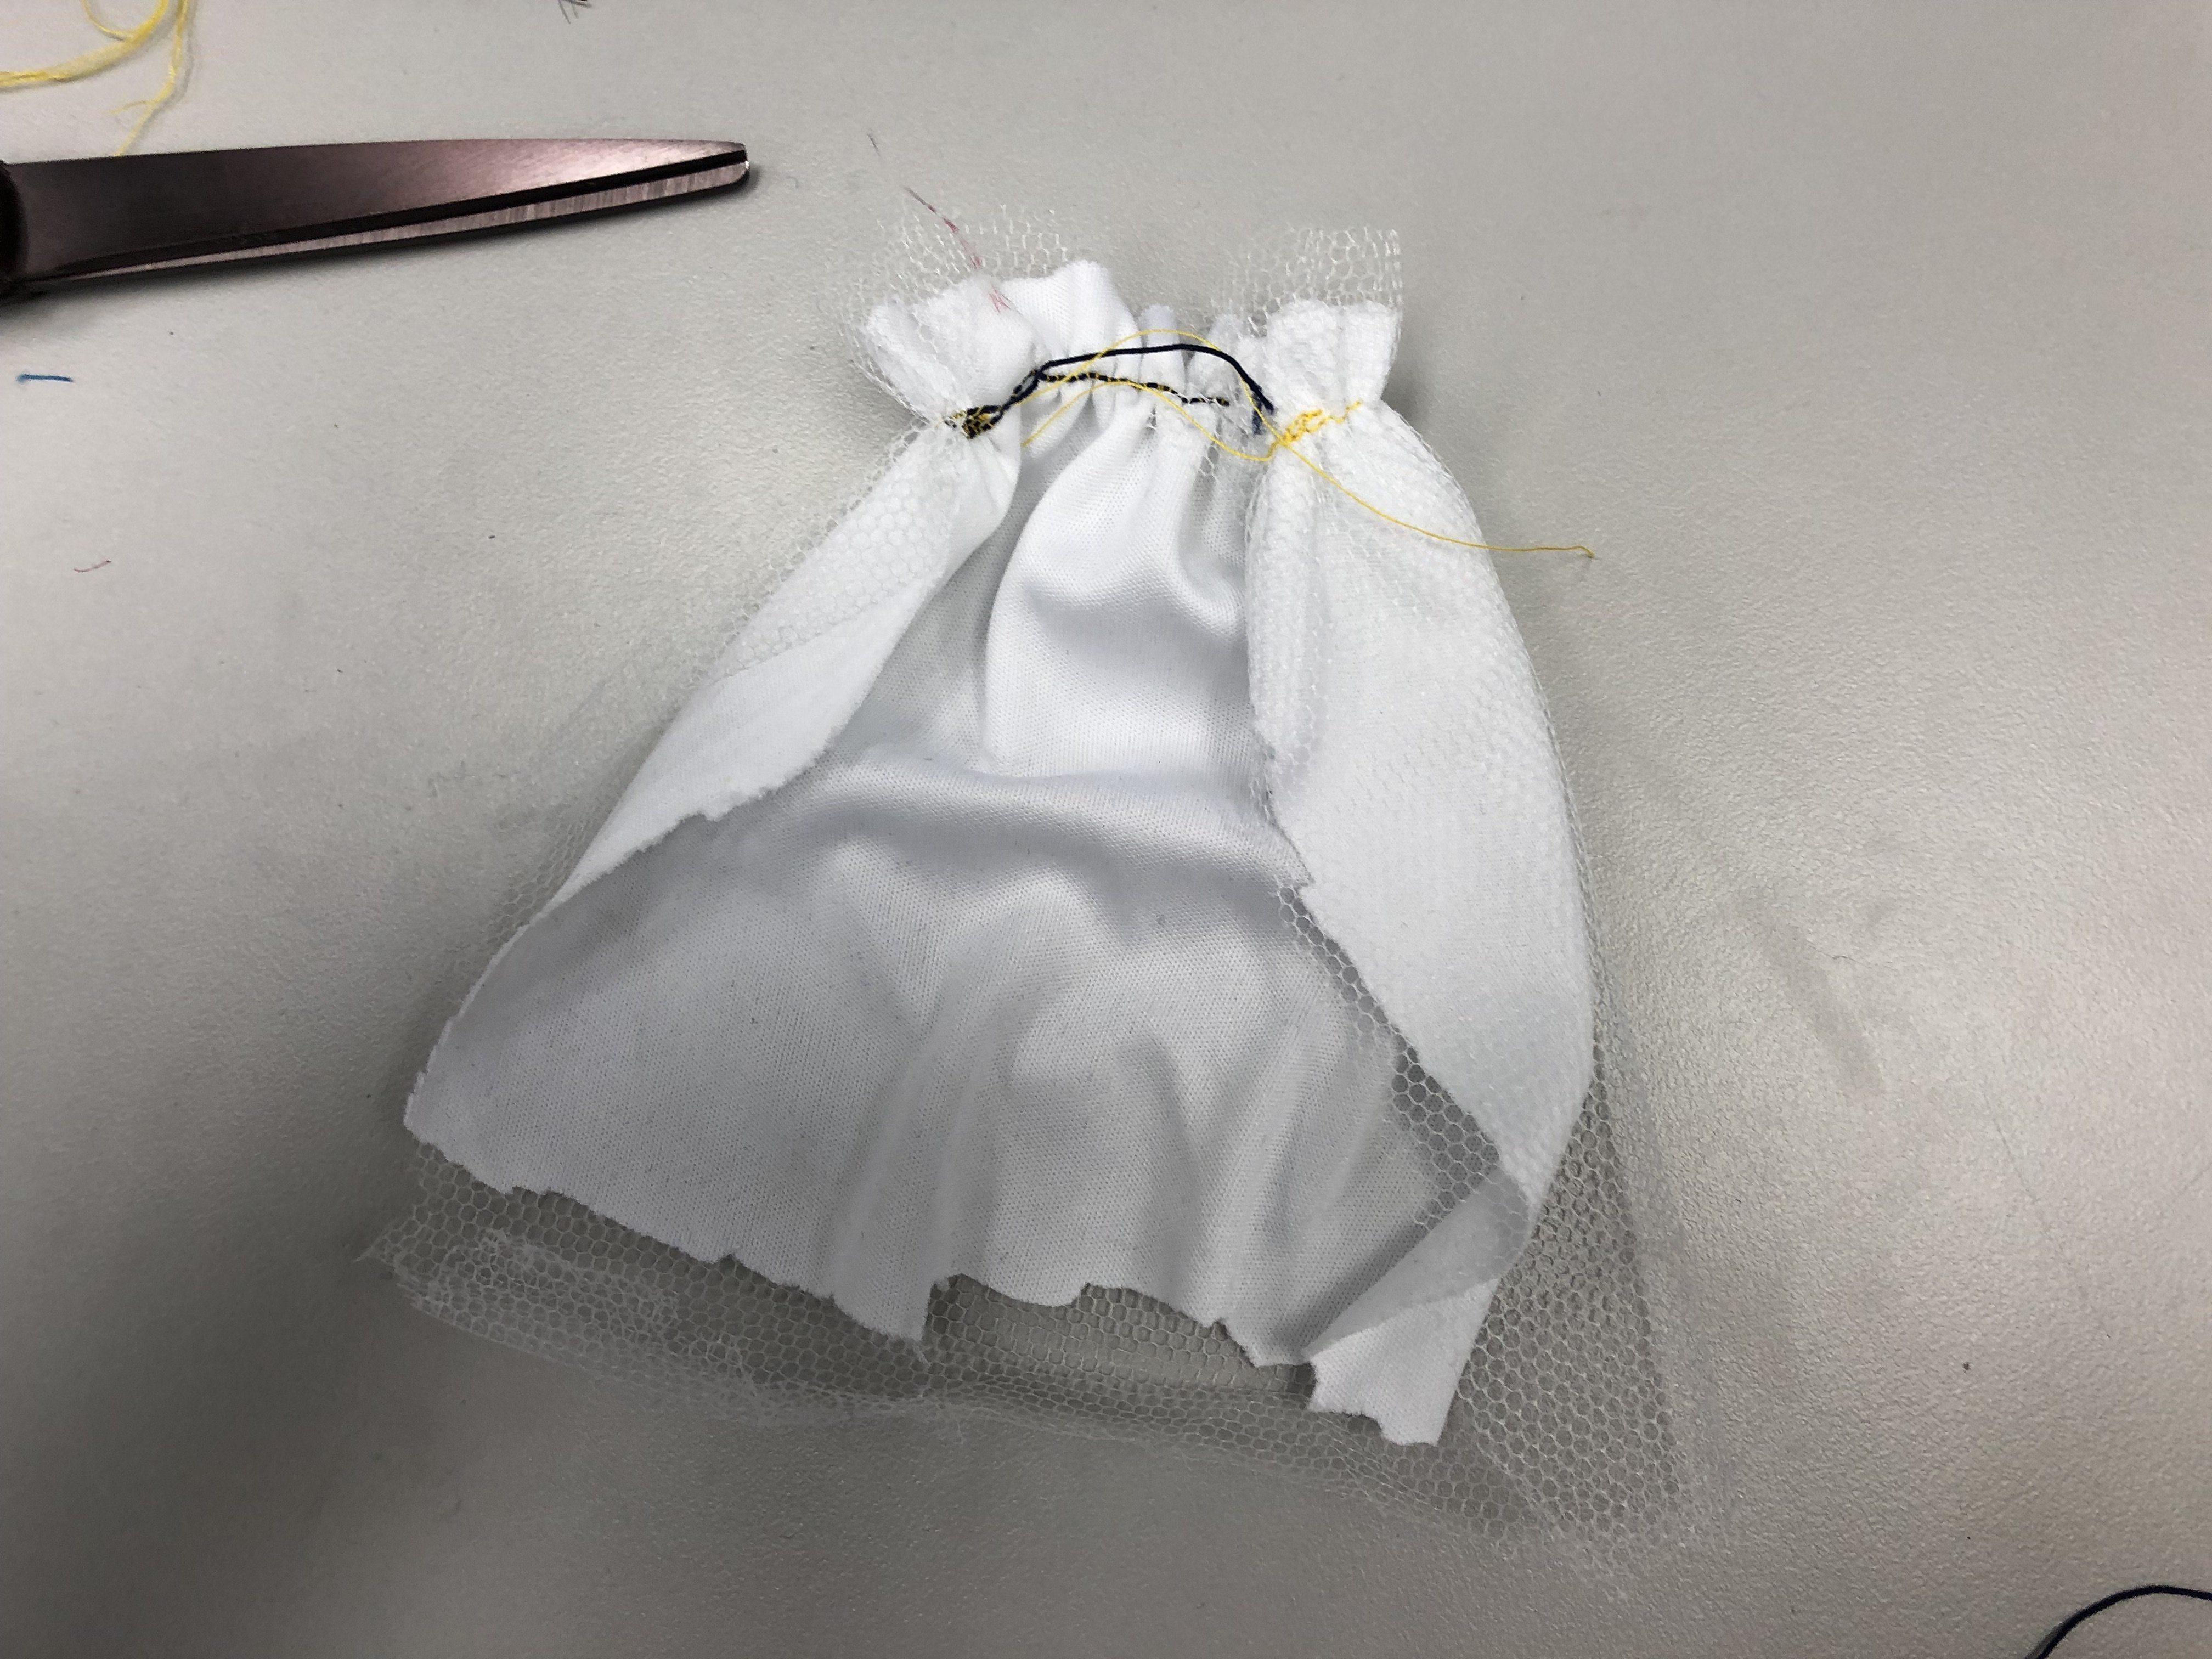
Instead of just a straight stitch, I wanted to try something different. I call it an all around stitch haha, basically stitching a circle that will eventually create a little hat. So this is it! It’s a super mini shower cap.
Part II | Fabric Manipulation, Smocking
Moving on, smocking – the toughestttttt technique for me so far. It took me awhile for me to understand how it works! But really, after you truly understand the process and sequence, it gets easier over time.
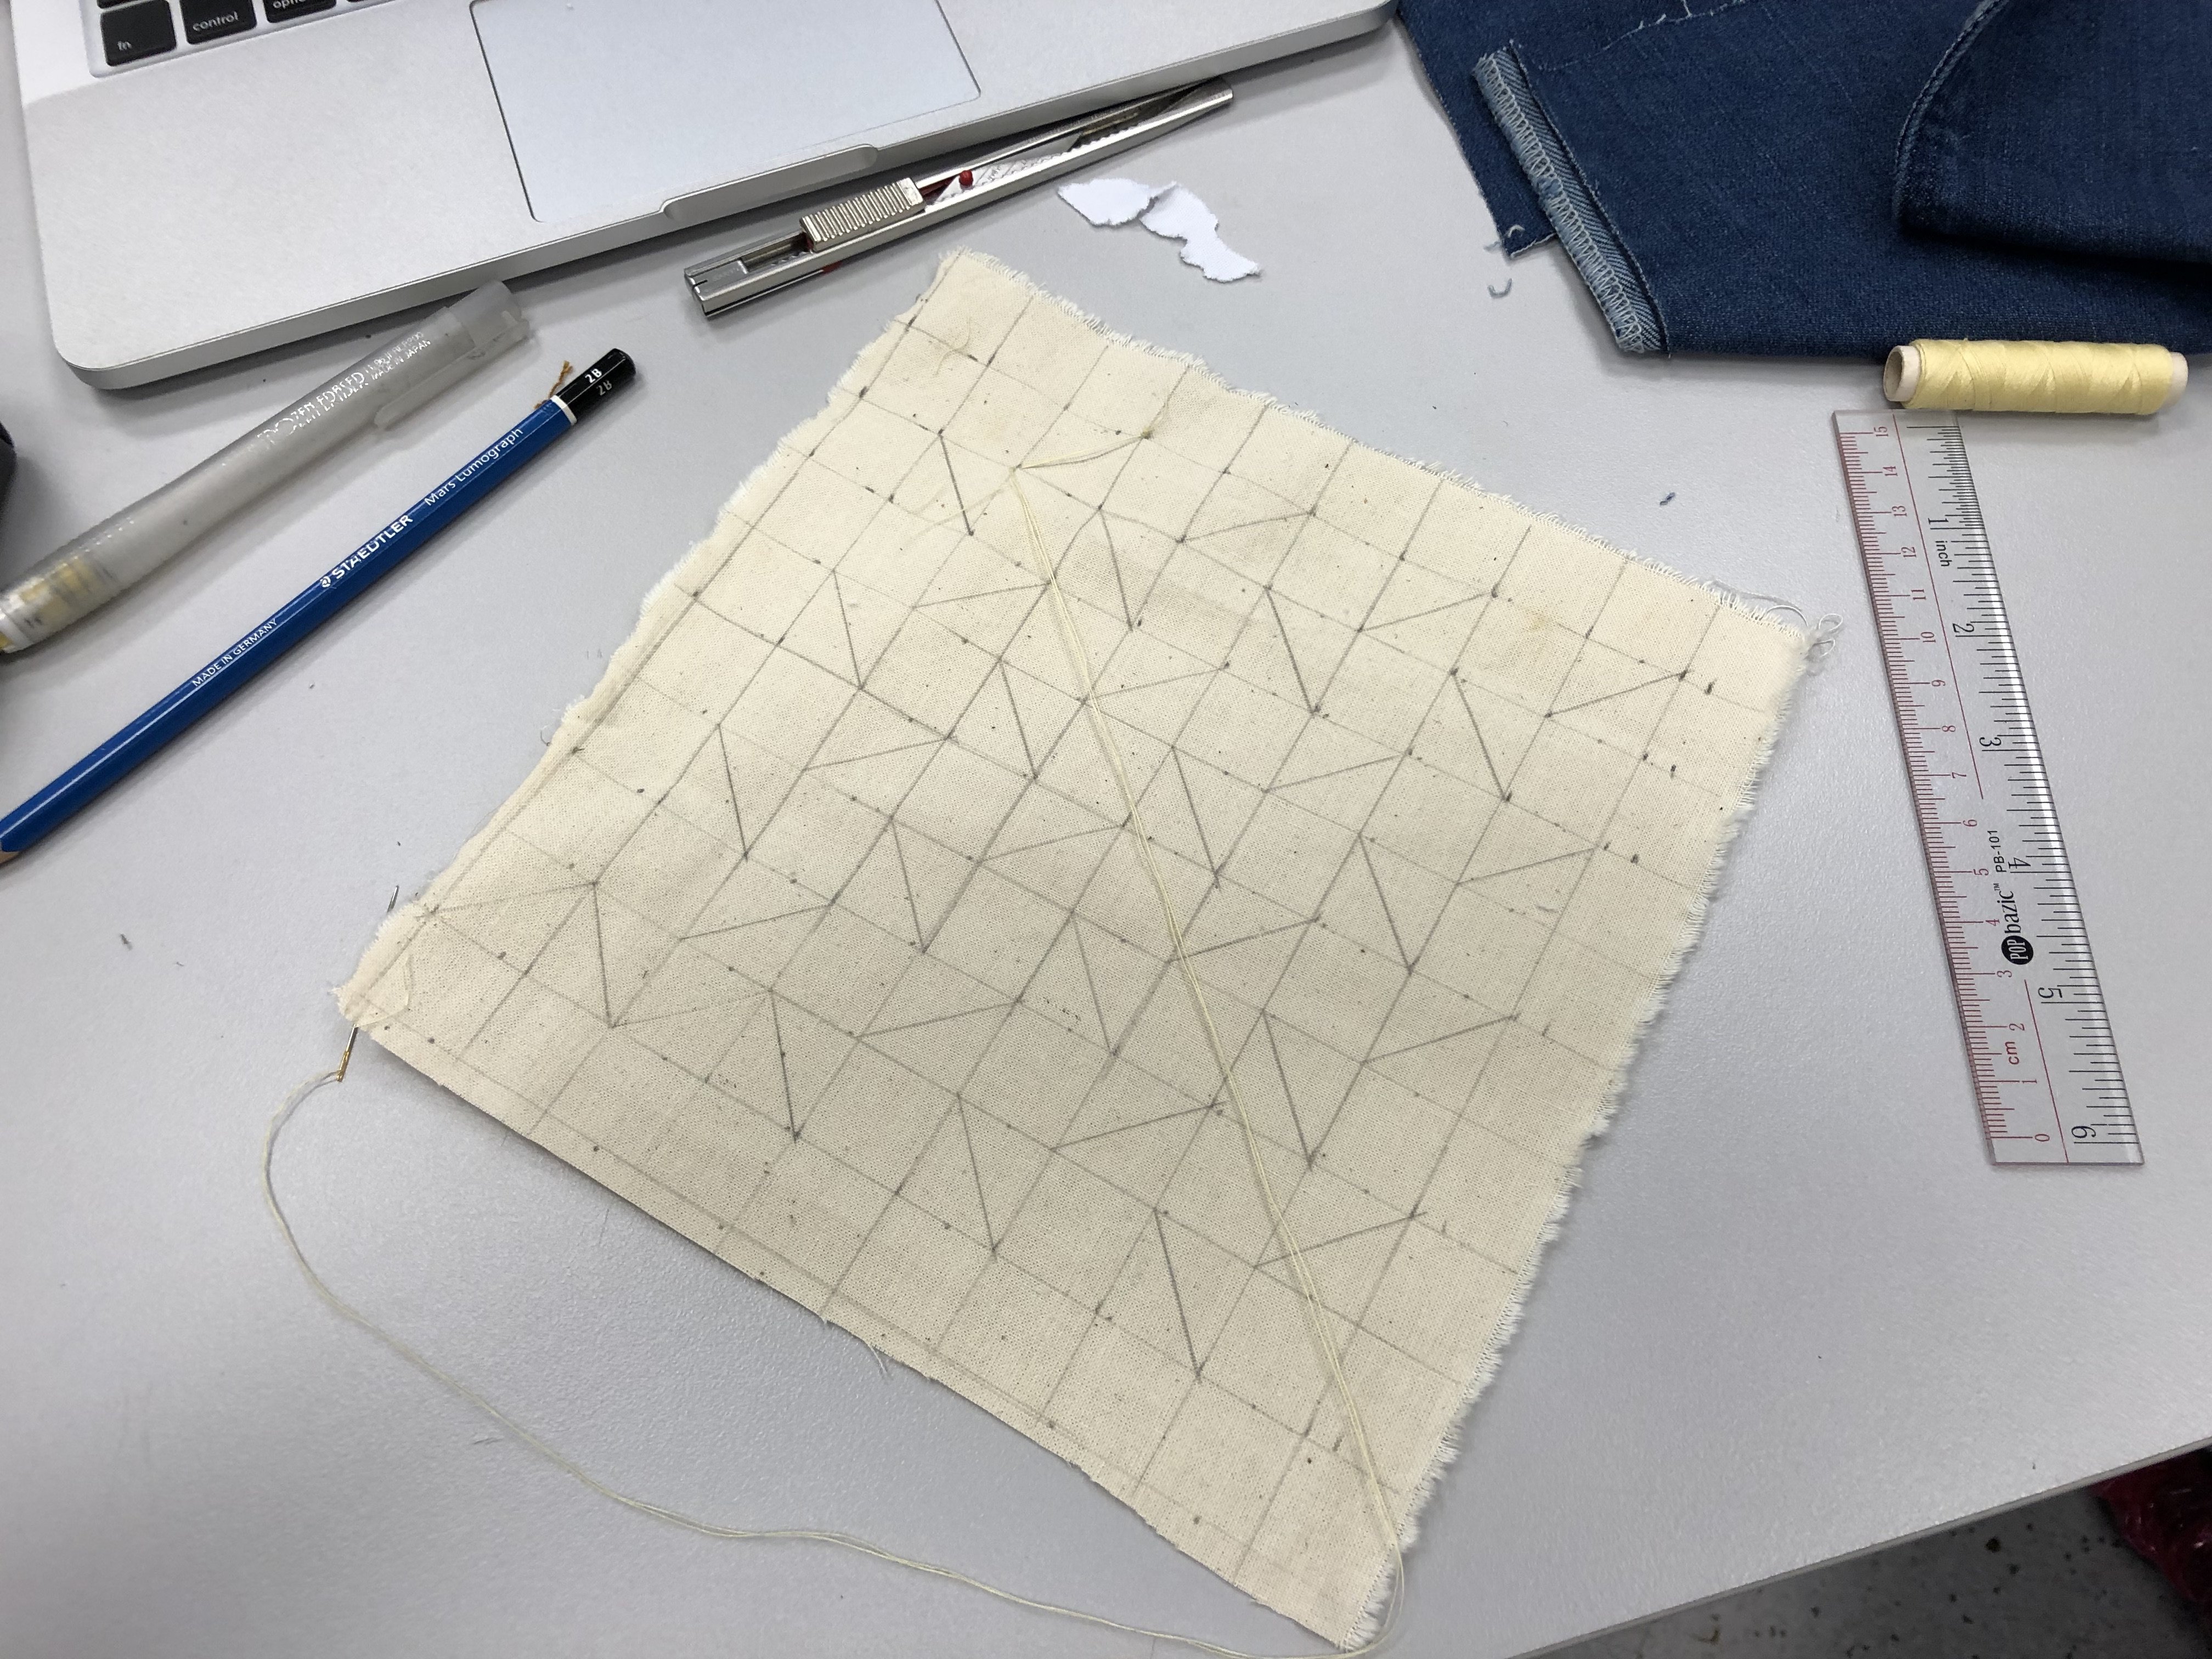
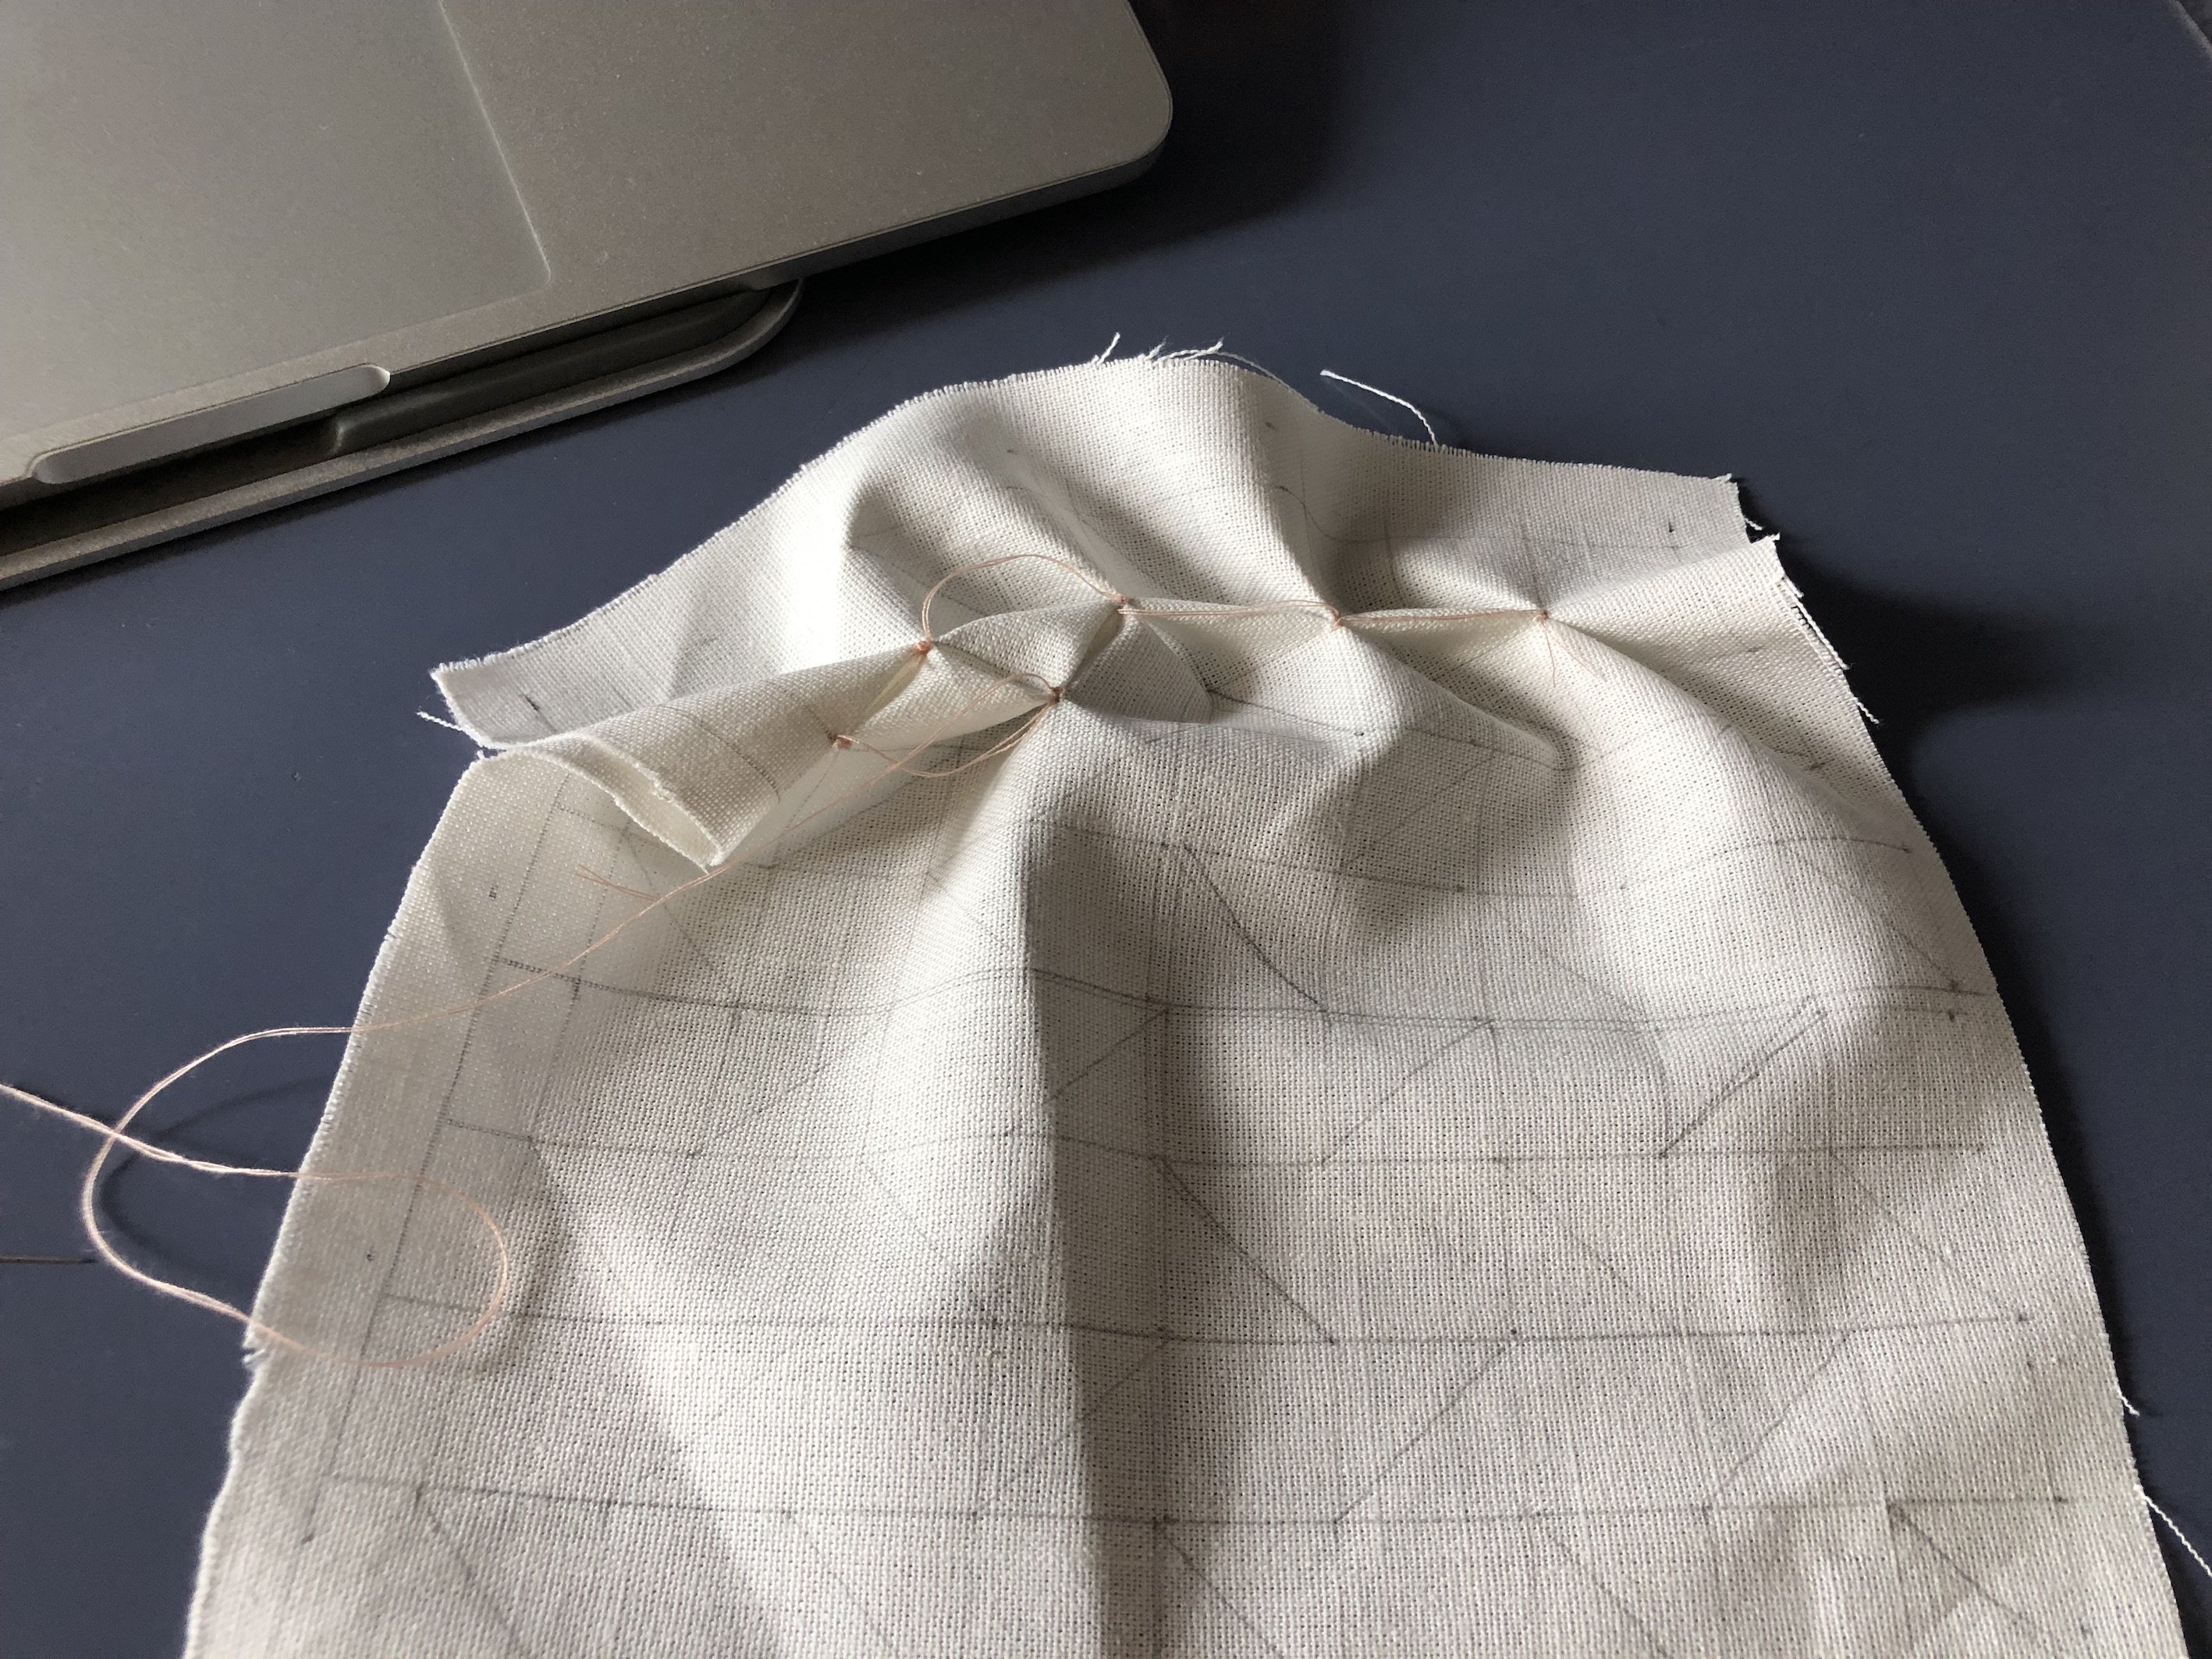
Next, this is the tricky part which took me awhile to figure it out. You’ll have to stitch along the lines. You can decide if you want to do a continuous stitch throughout the entire grid or basically start a new knot once you’ve complete a diagonal line stitch.
To put it in simple works, pull and stitch the ends of the diagonal line together and tie a knot to form a pattern.
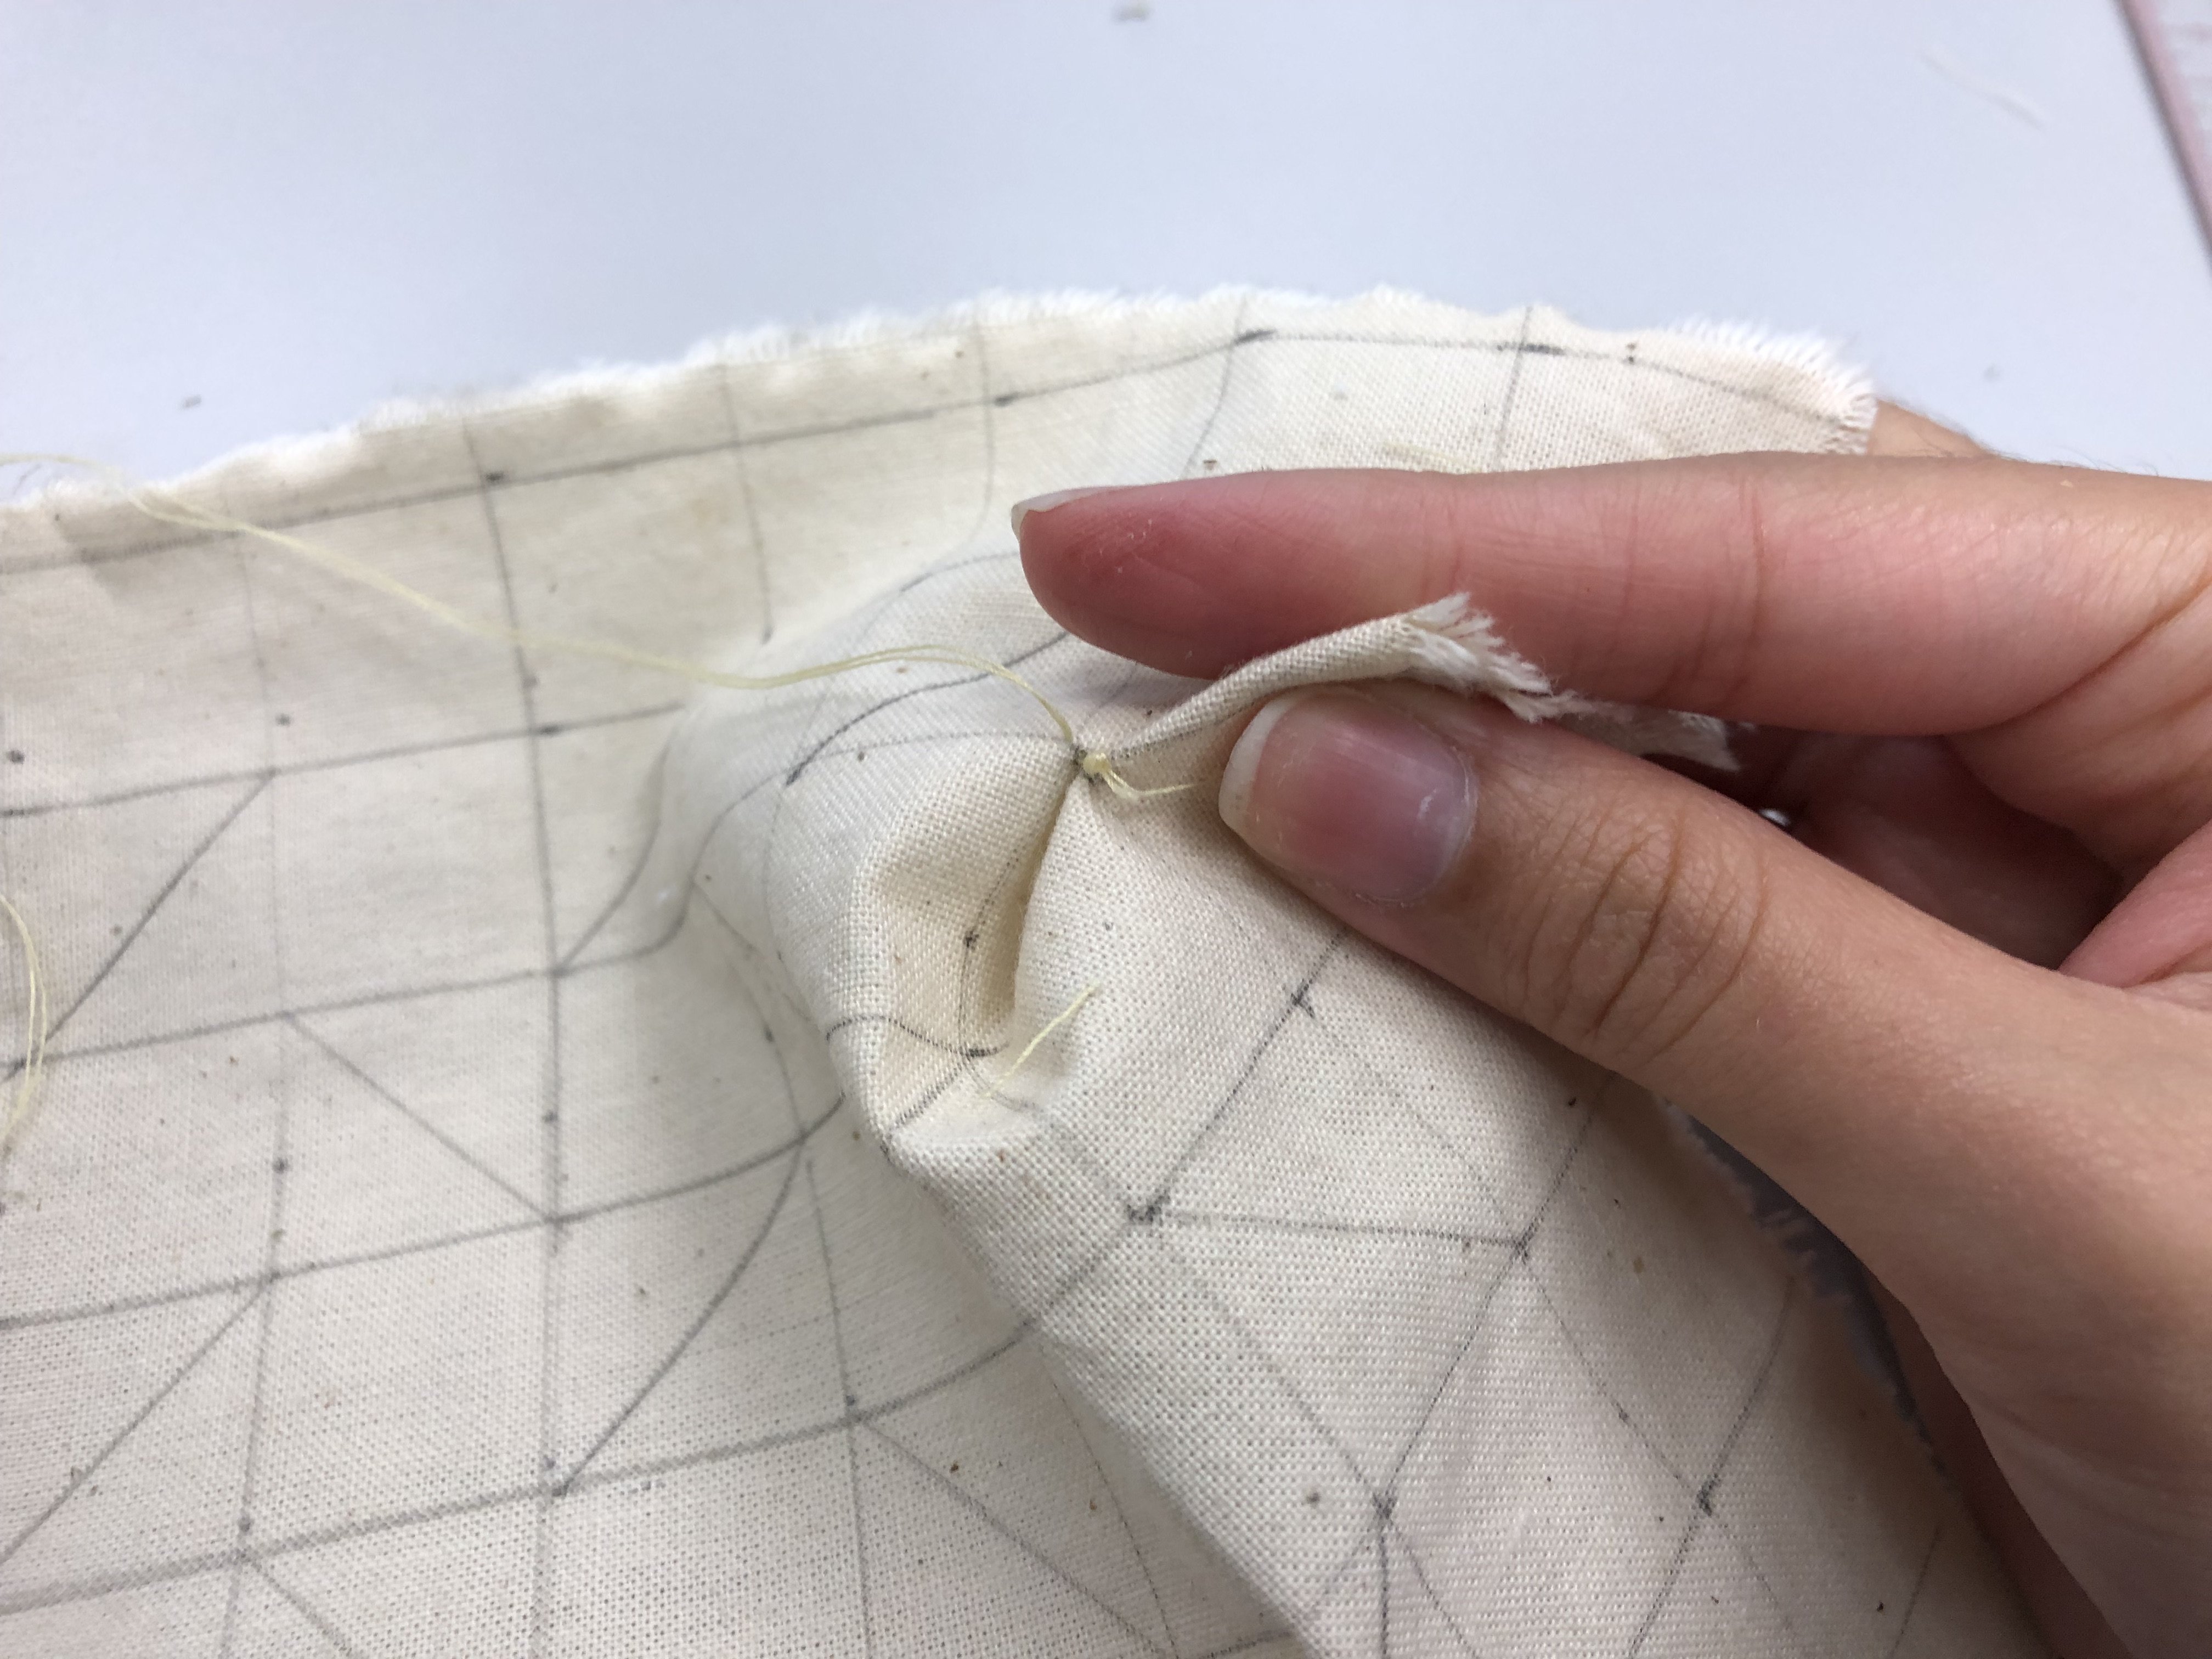
Continue with the same technique throughout the diagonal lines you see on your grid.
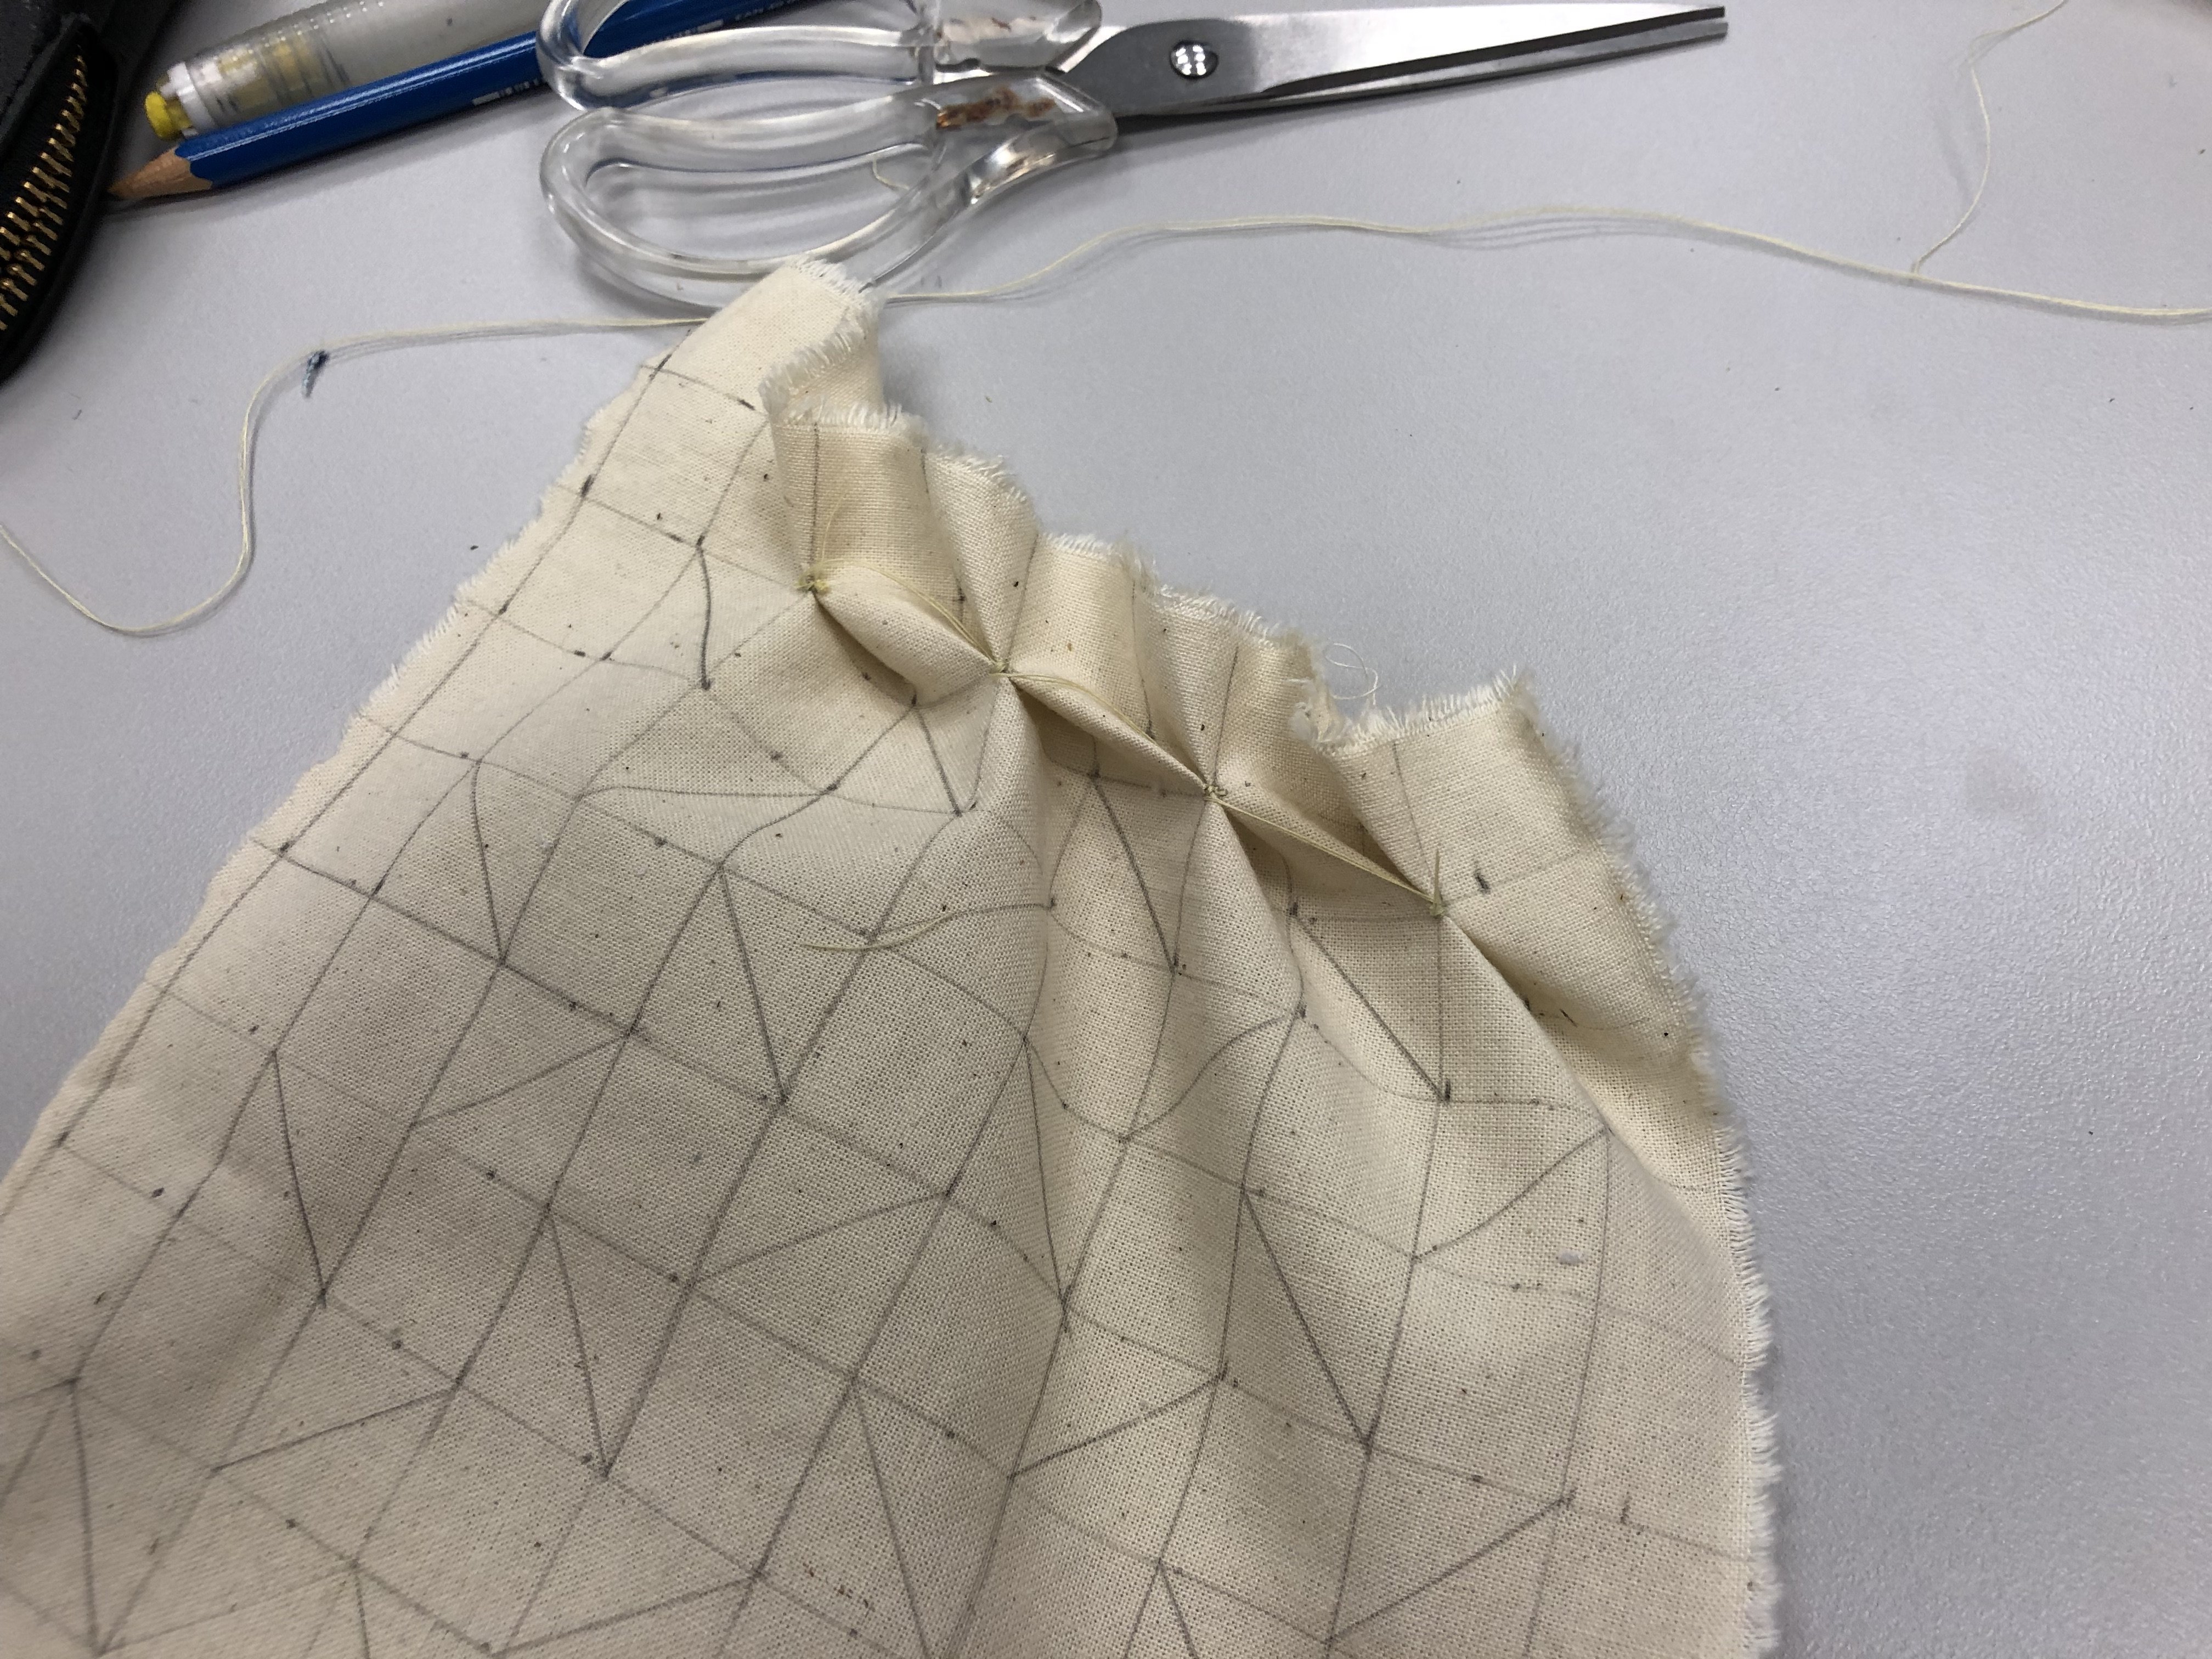
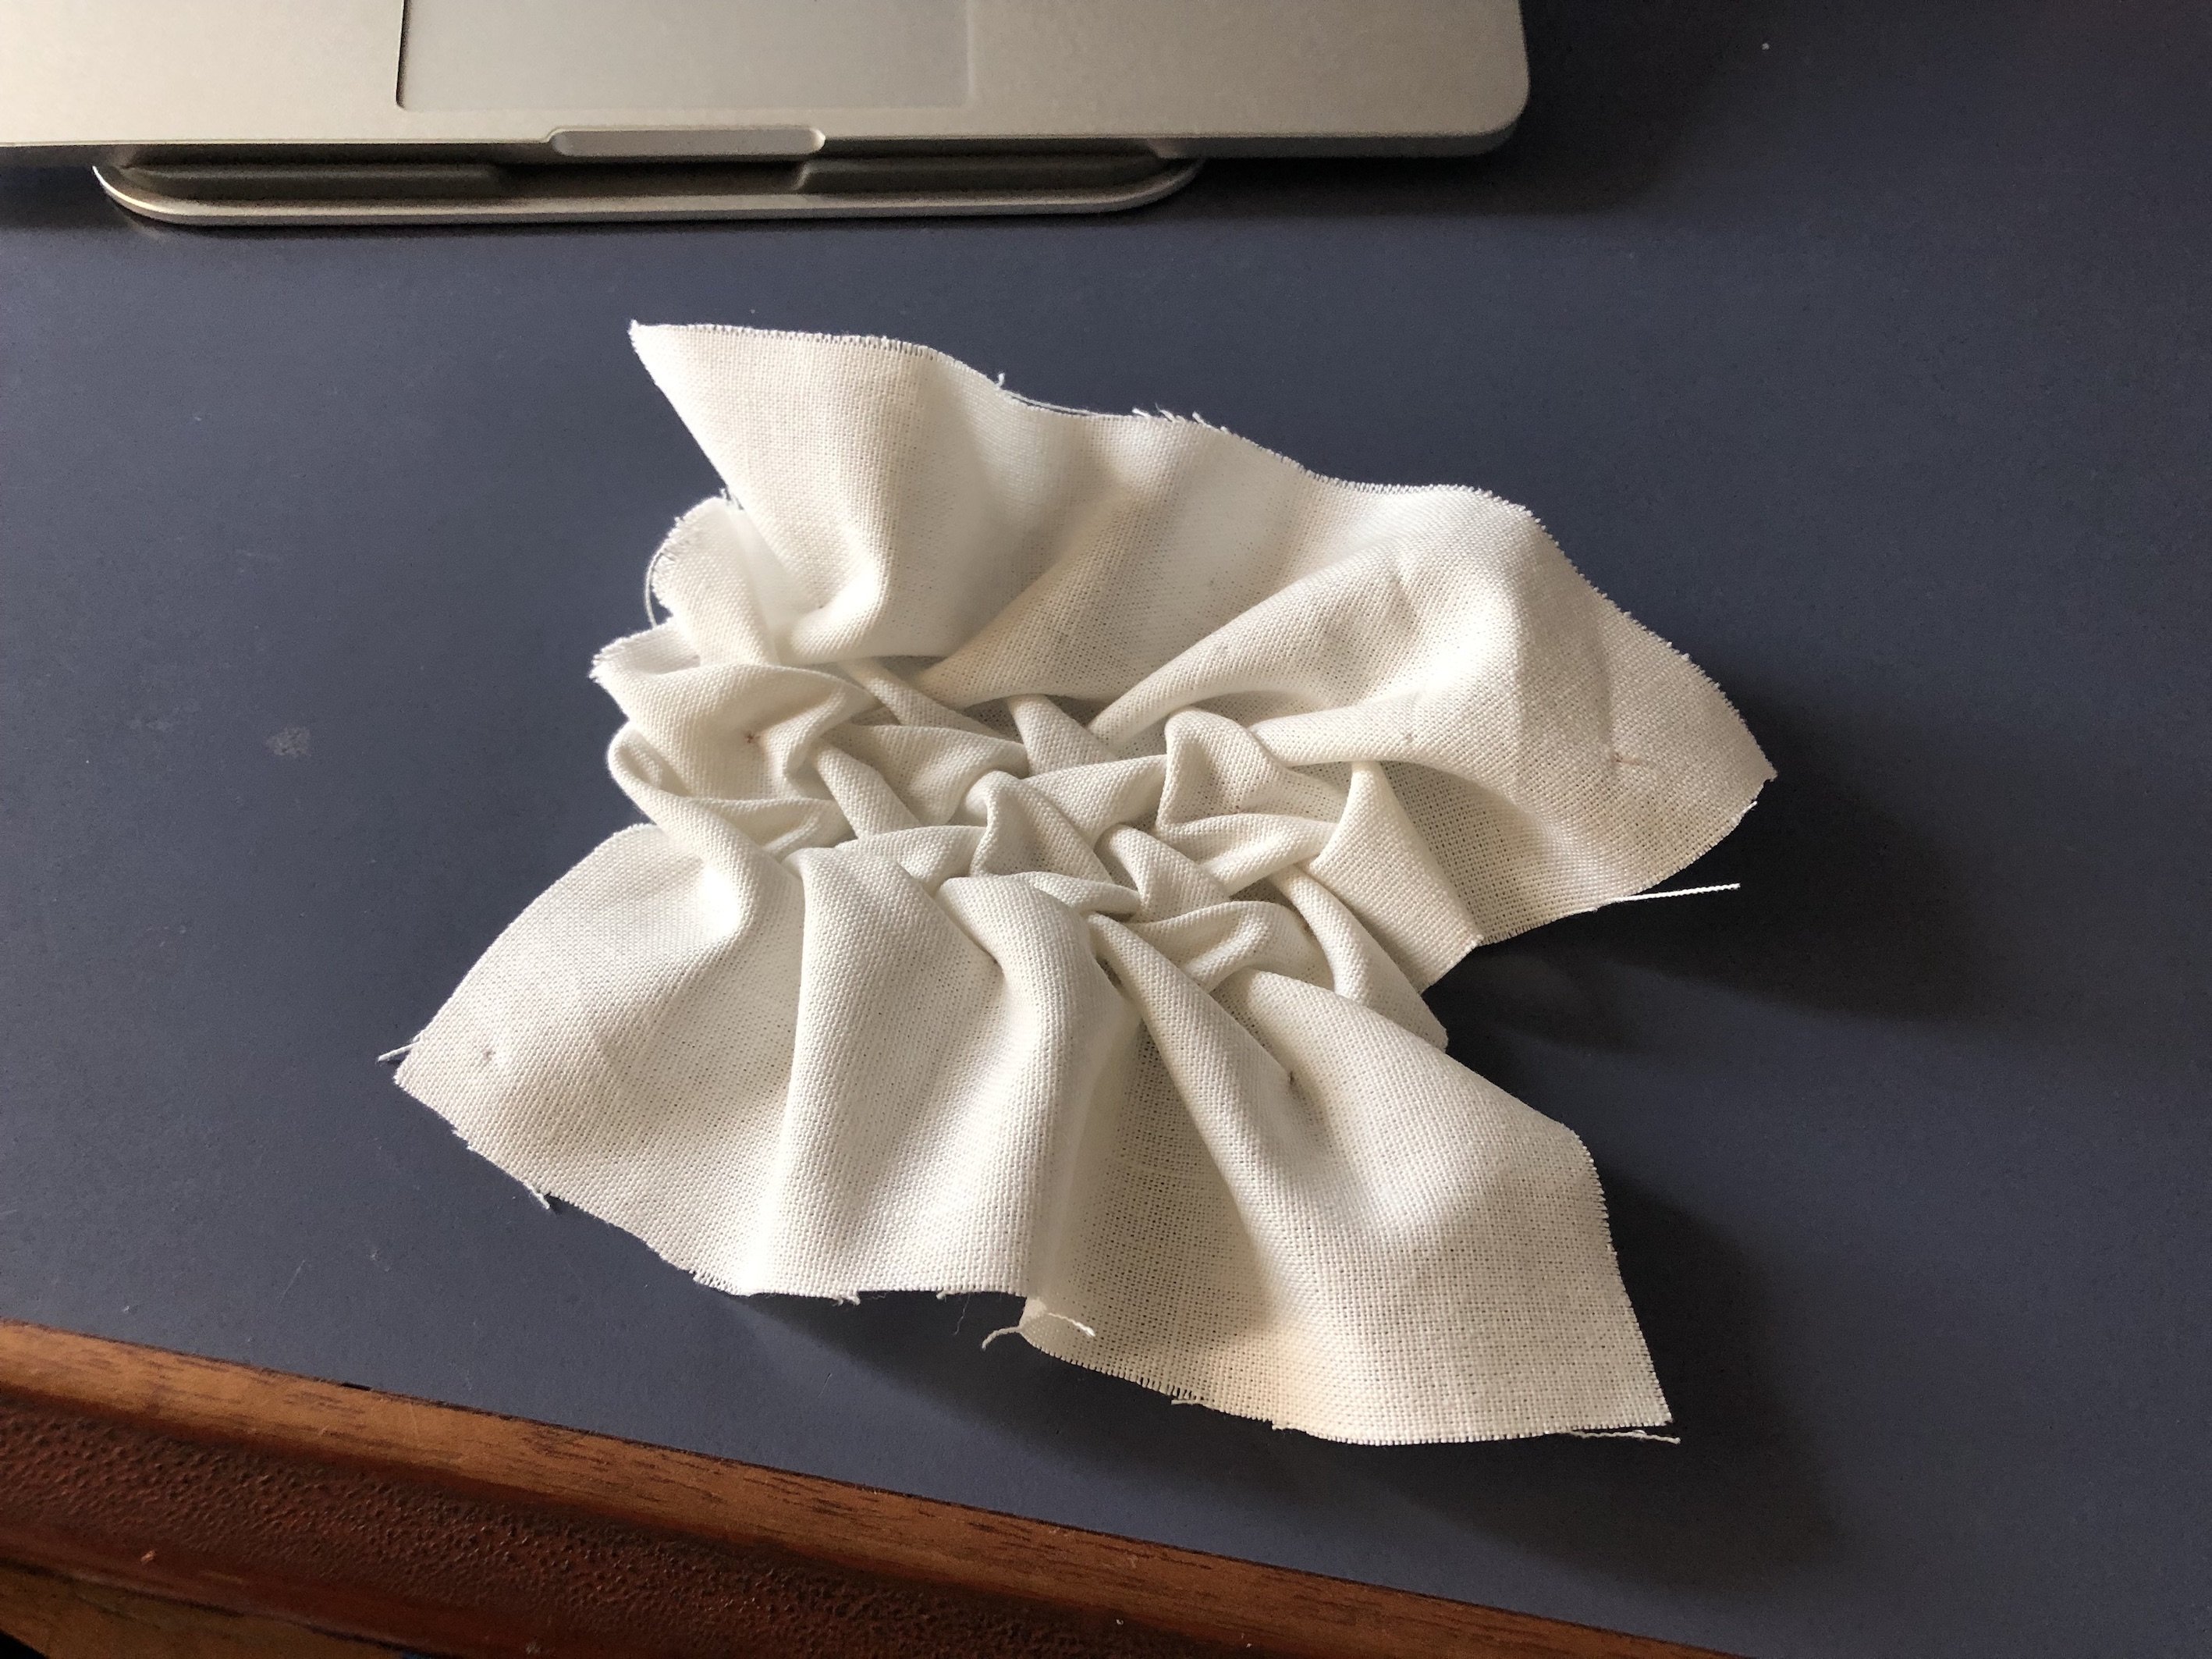
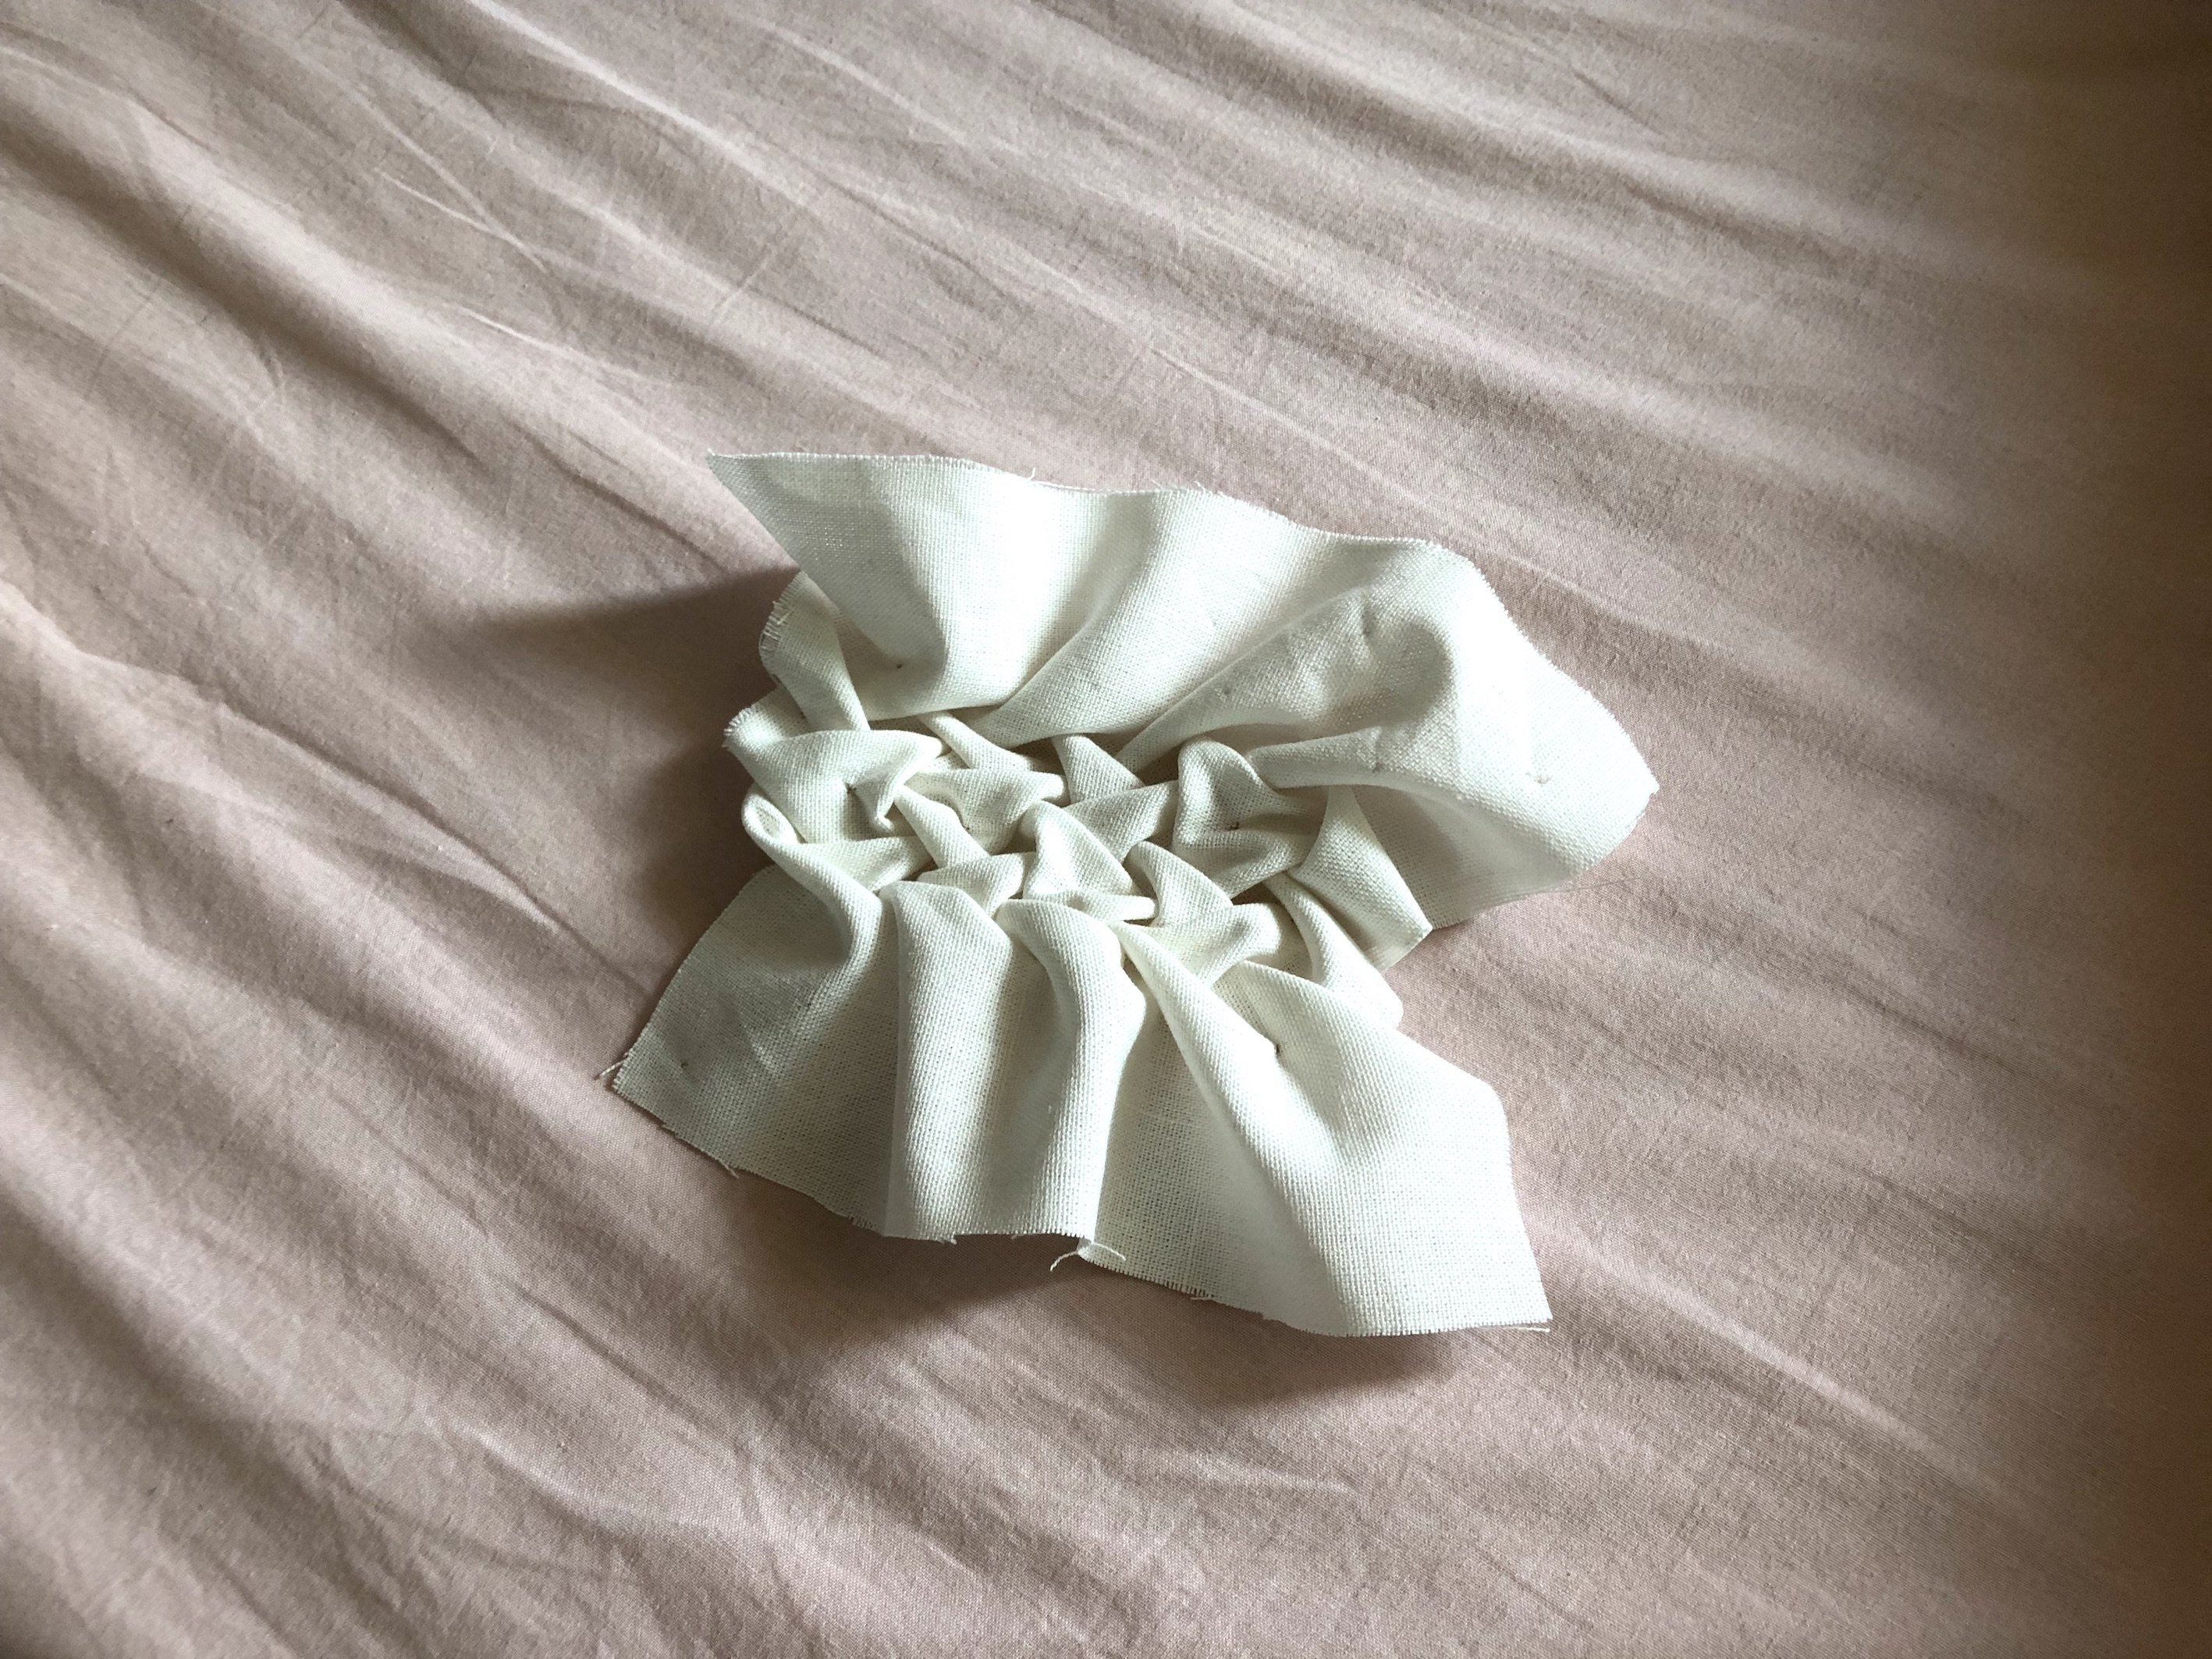
The first layer will roughly look like the pattern below. And this is the last you will see of this cloth as I’ve decided to restart on a new fabric. I was not 100% clear while I was sewing this and thus was a little confused…
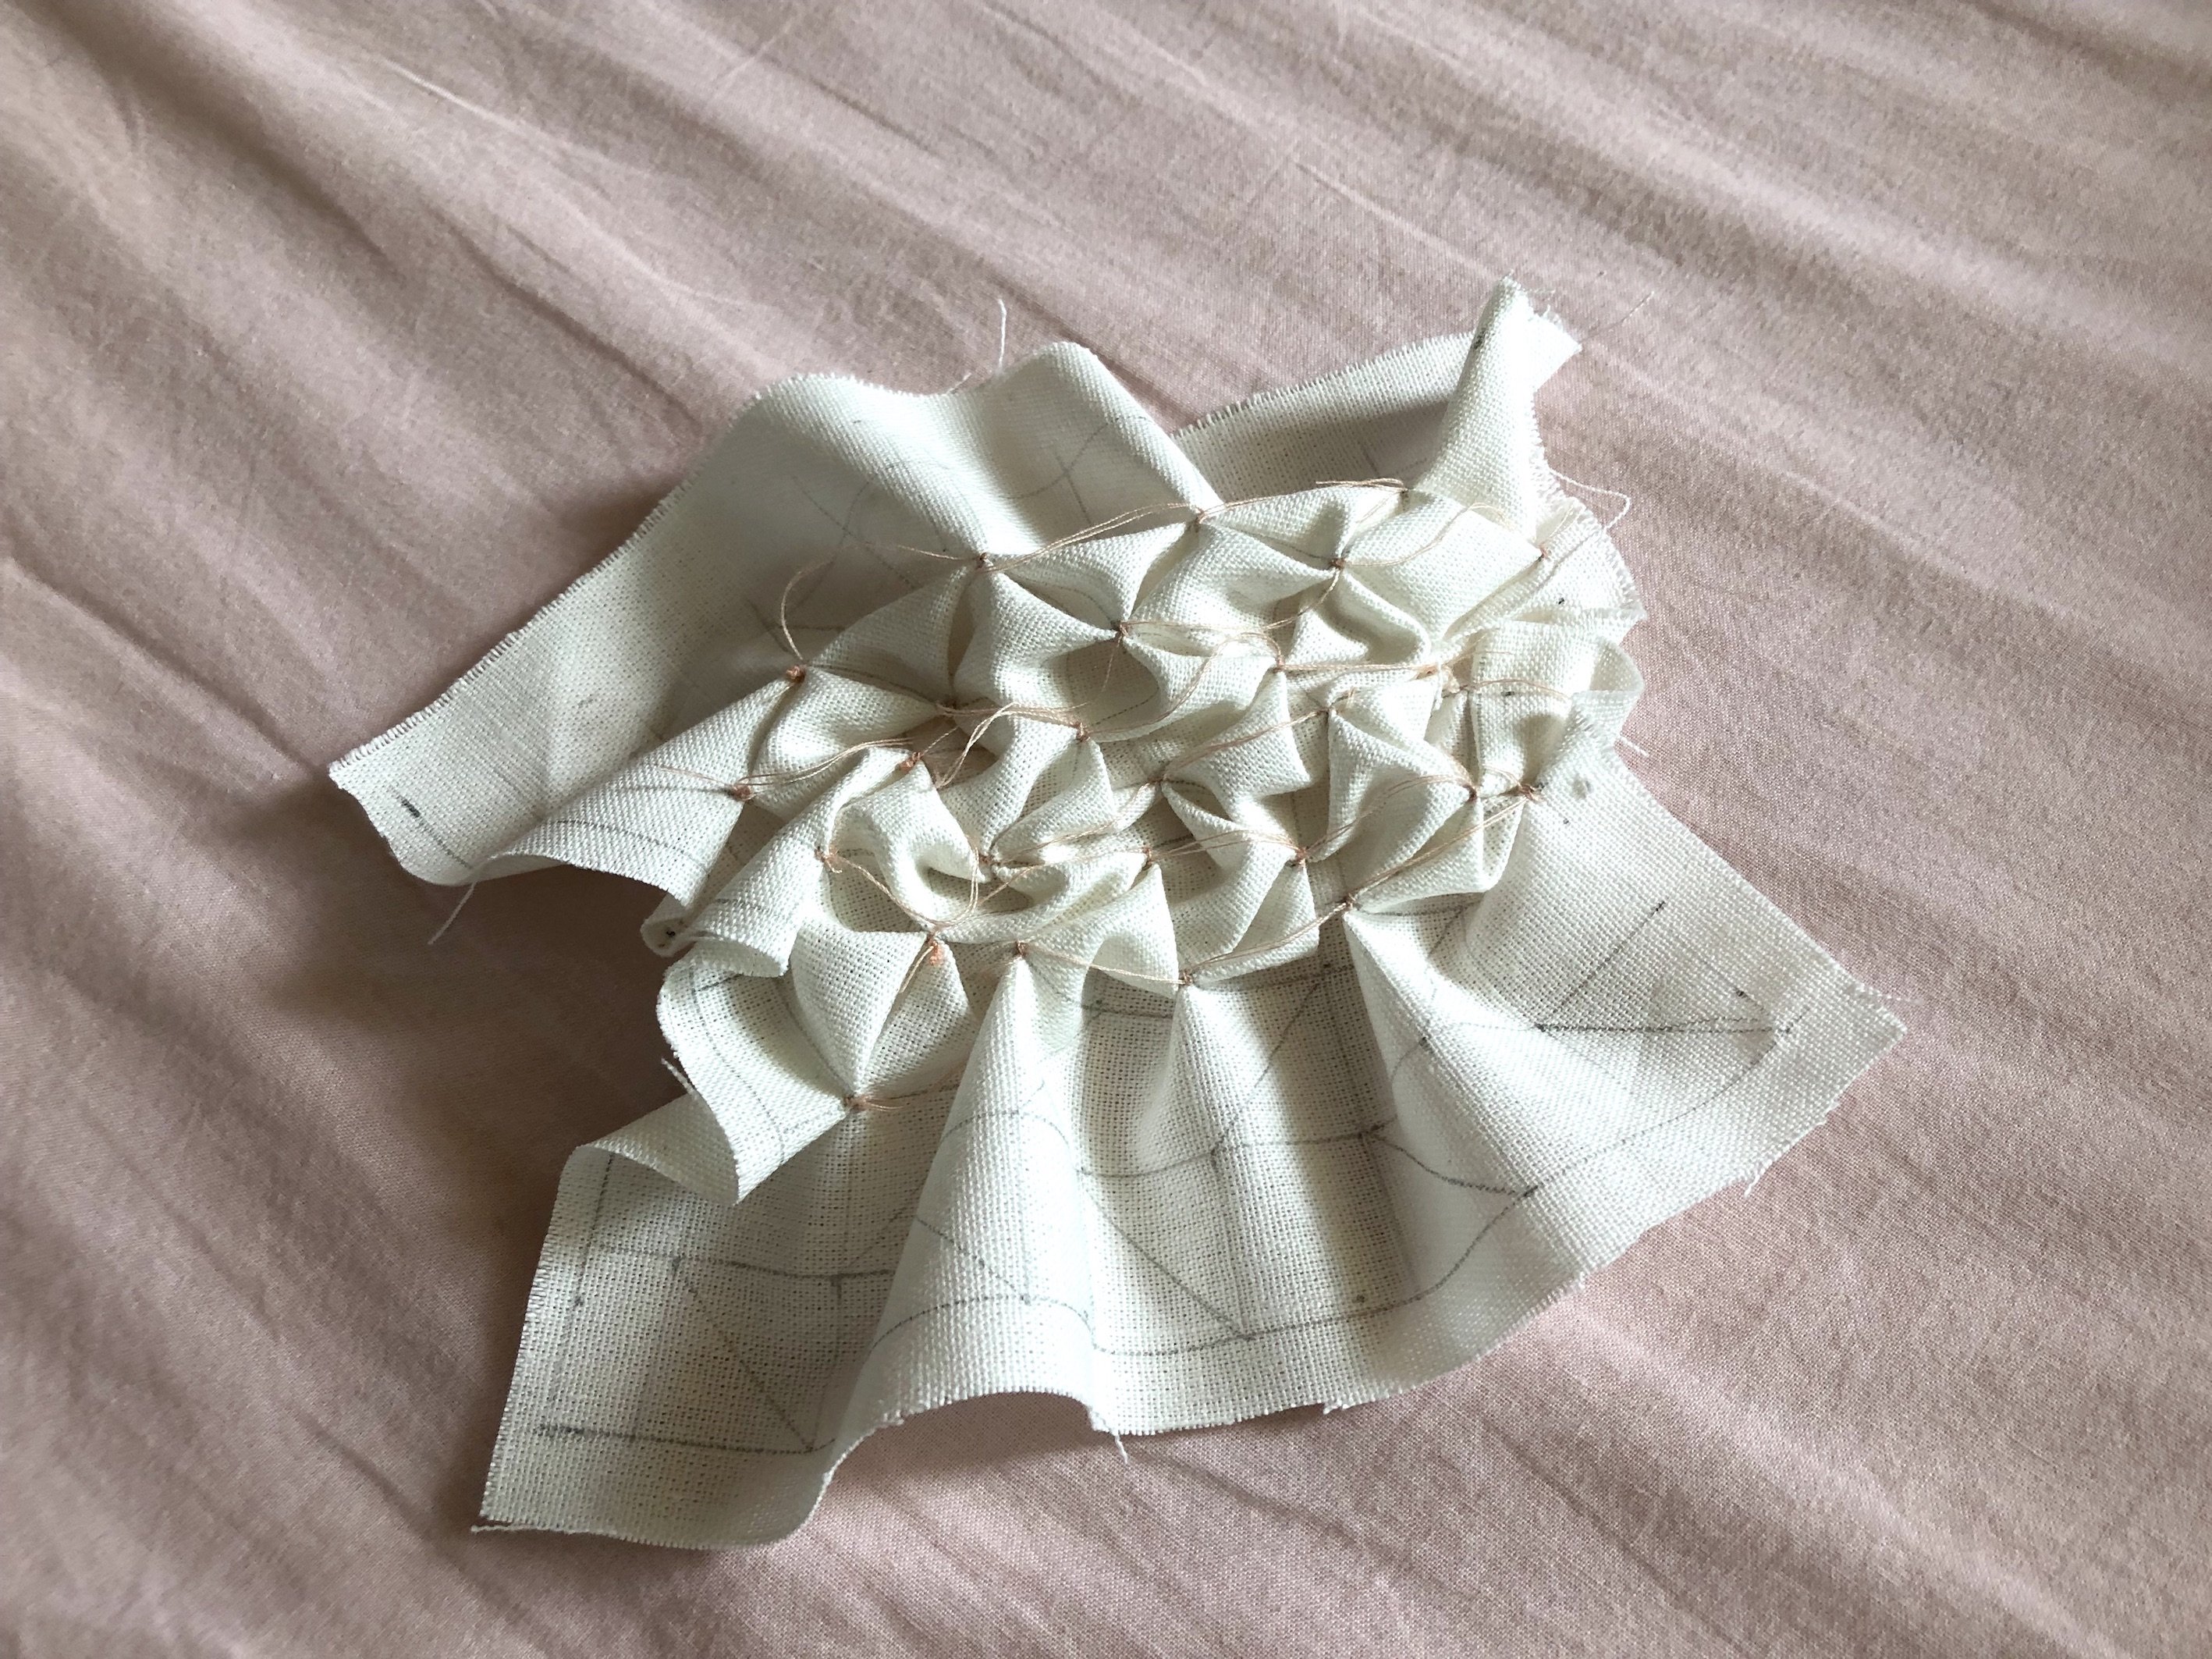
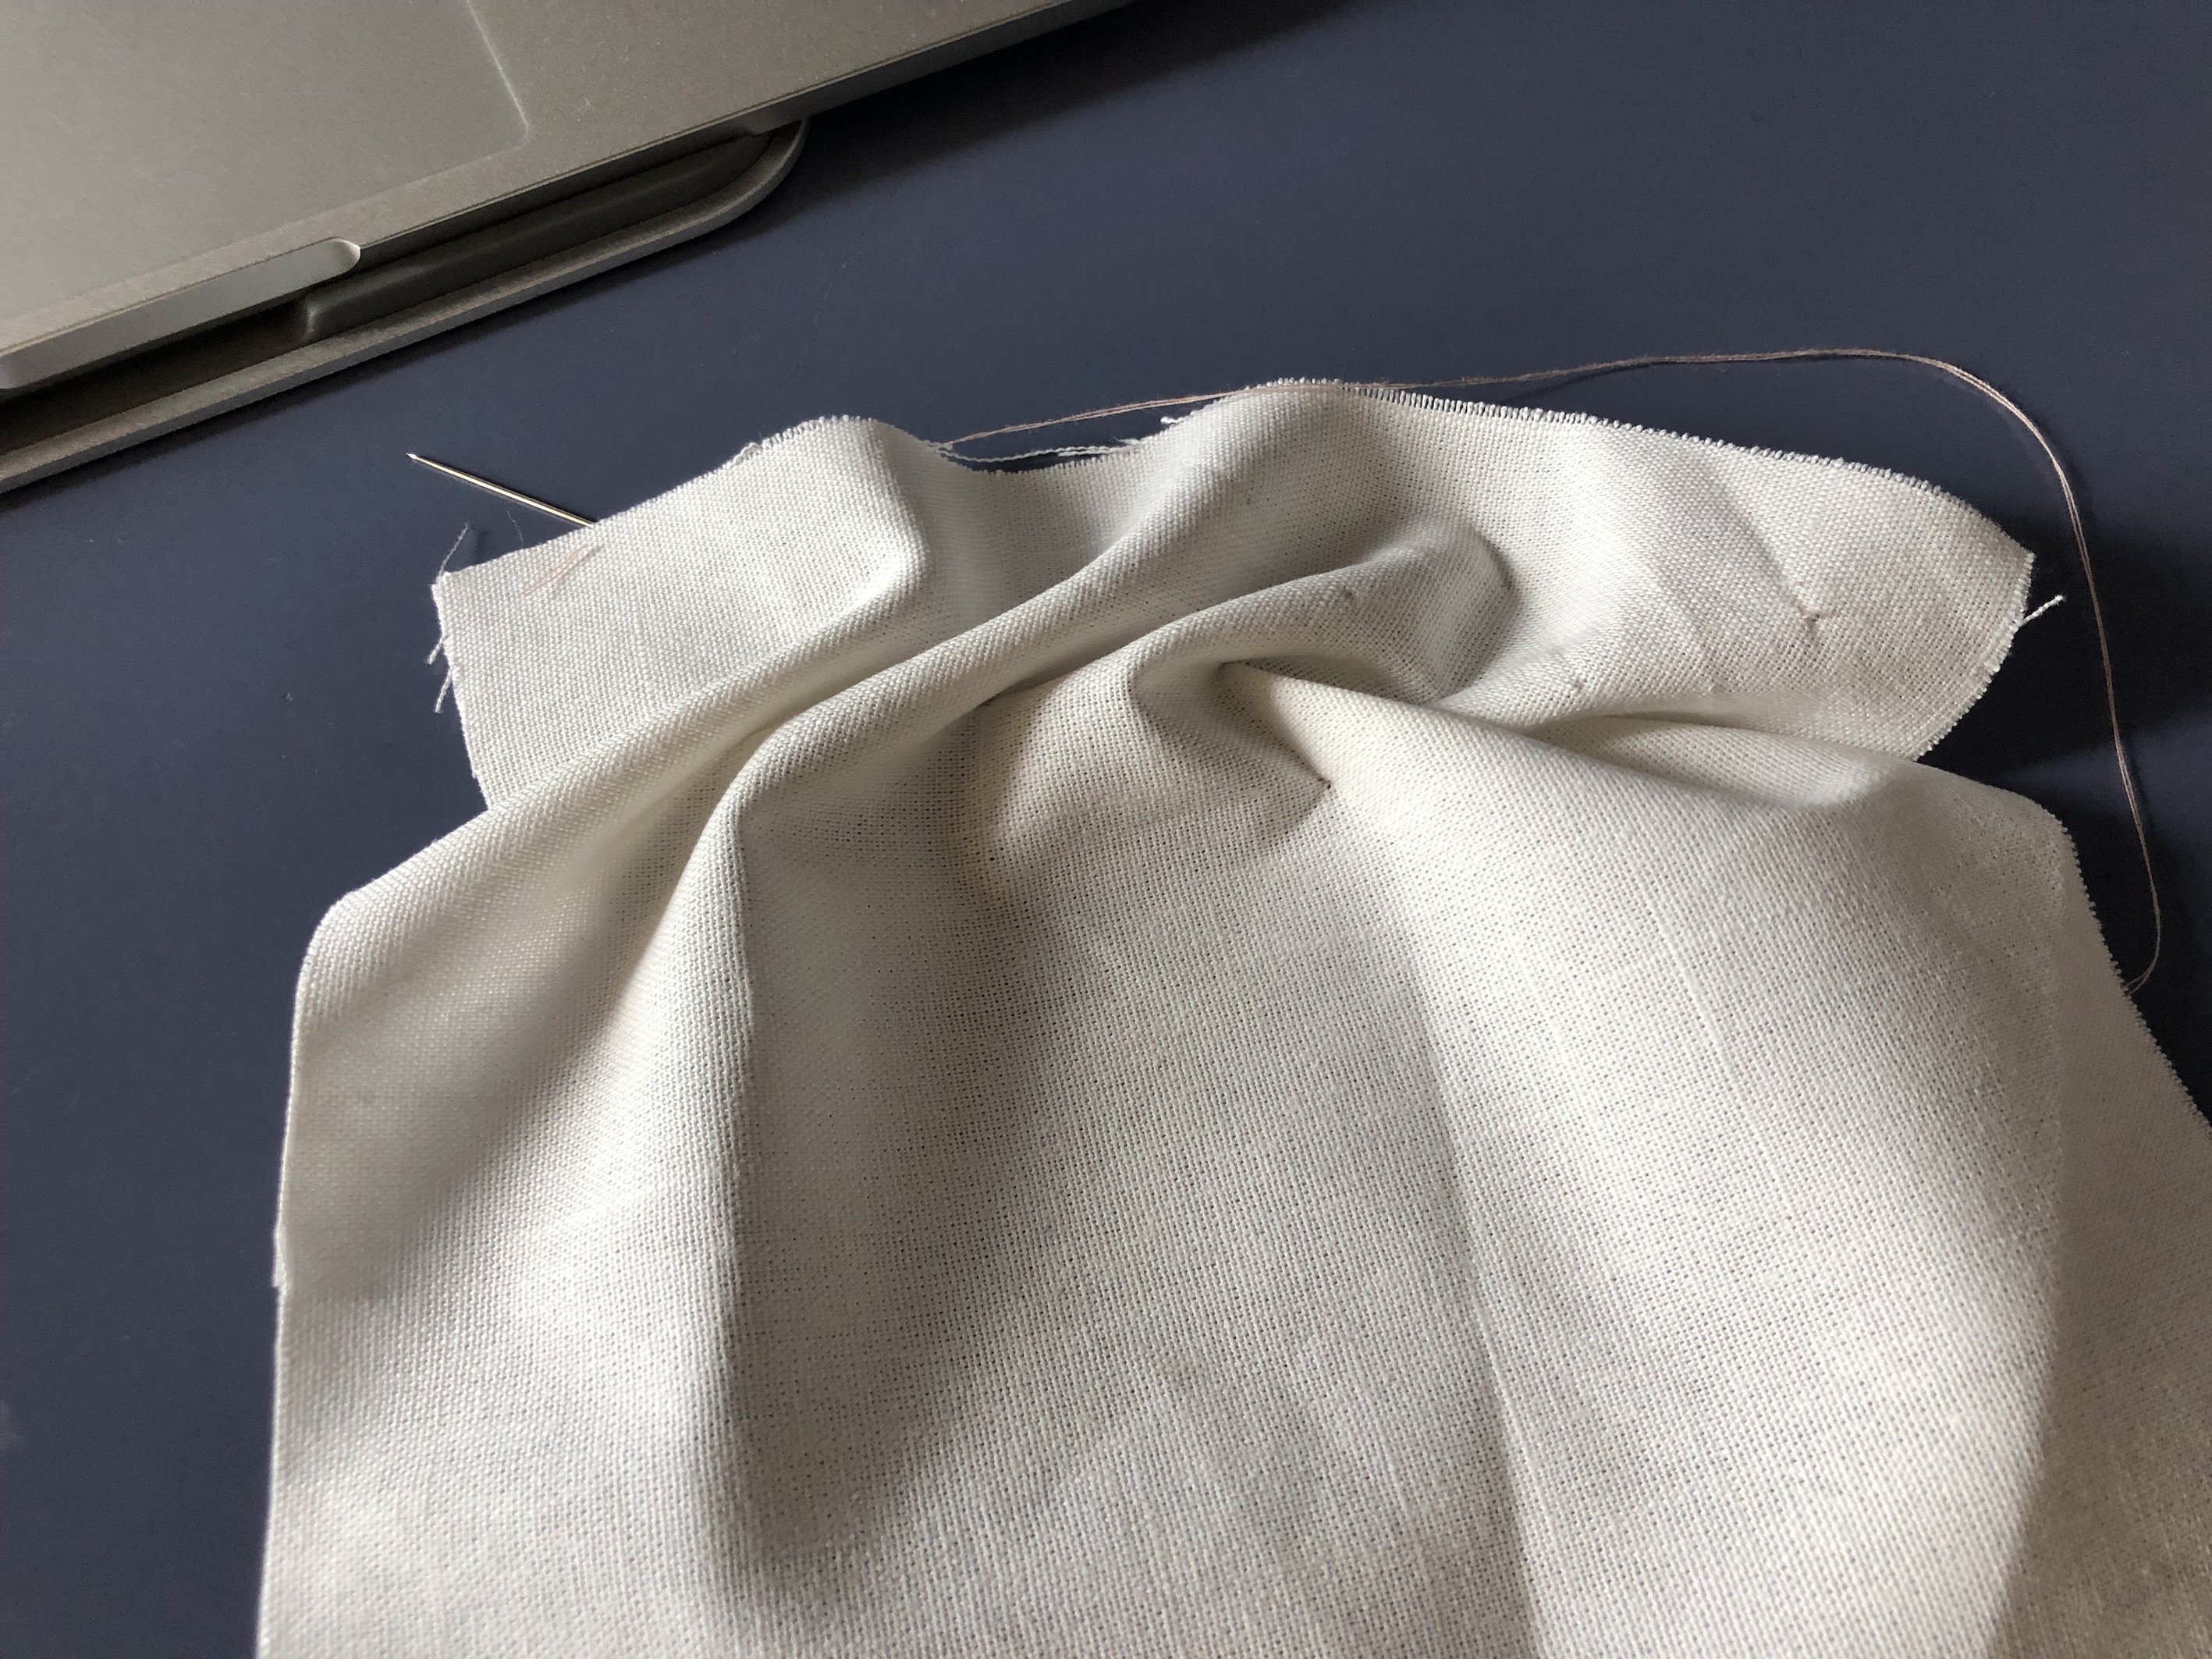
Alright! So restarting on a new cloth. This is muslin cloth by the way and I love how it feels against my skin. The texture that sort of resemble a canvas. But anyways, I’ve restarted on the lattice stitch! For this, i decided to do a continuous stitch throughout the grid.
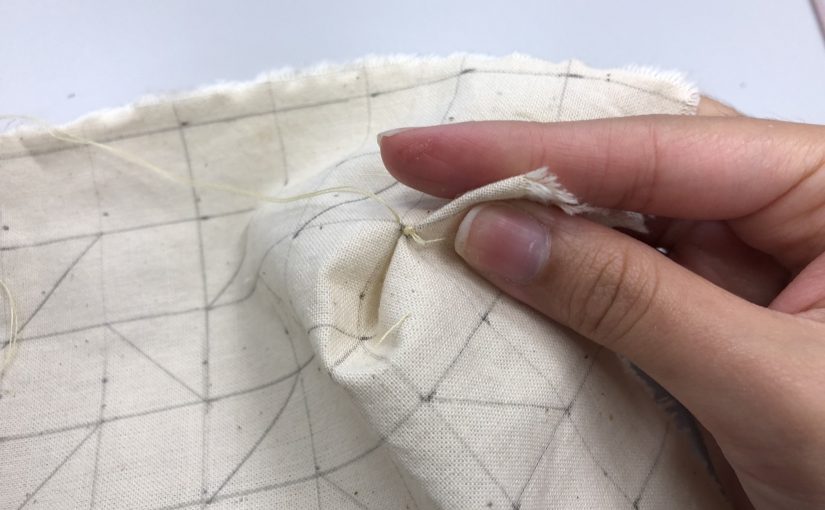
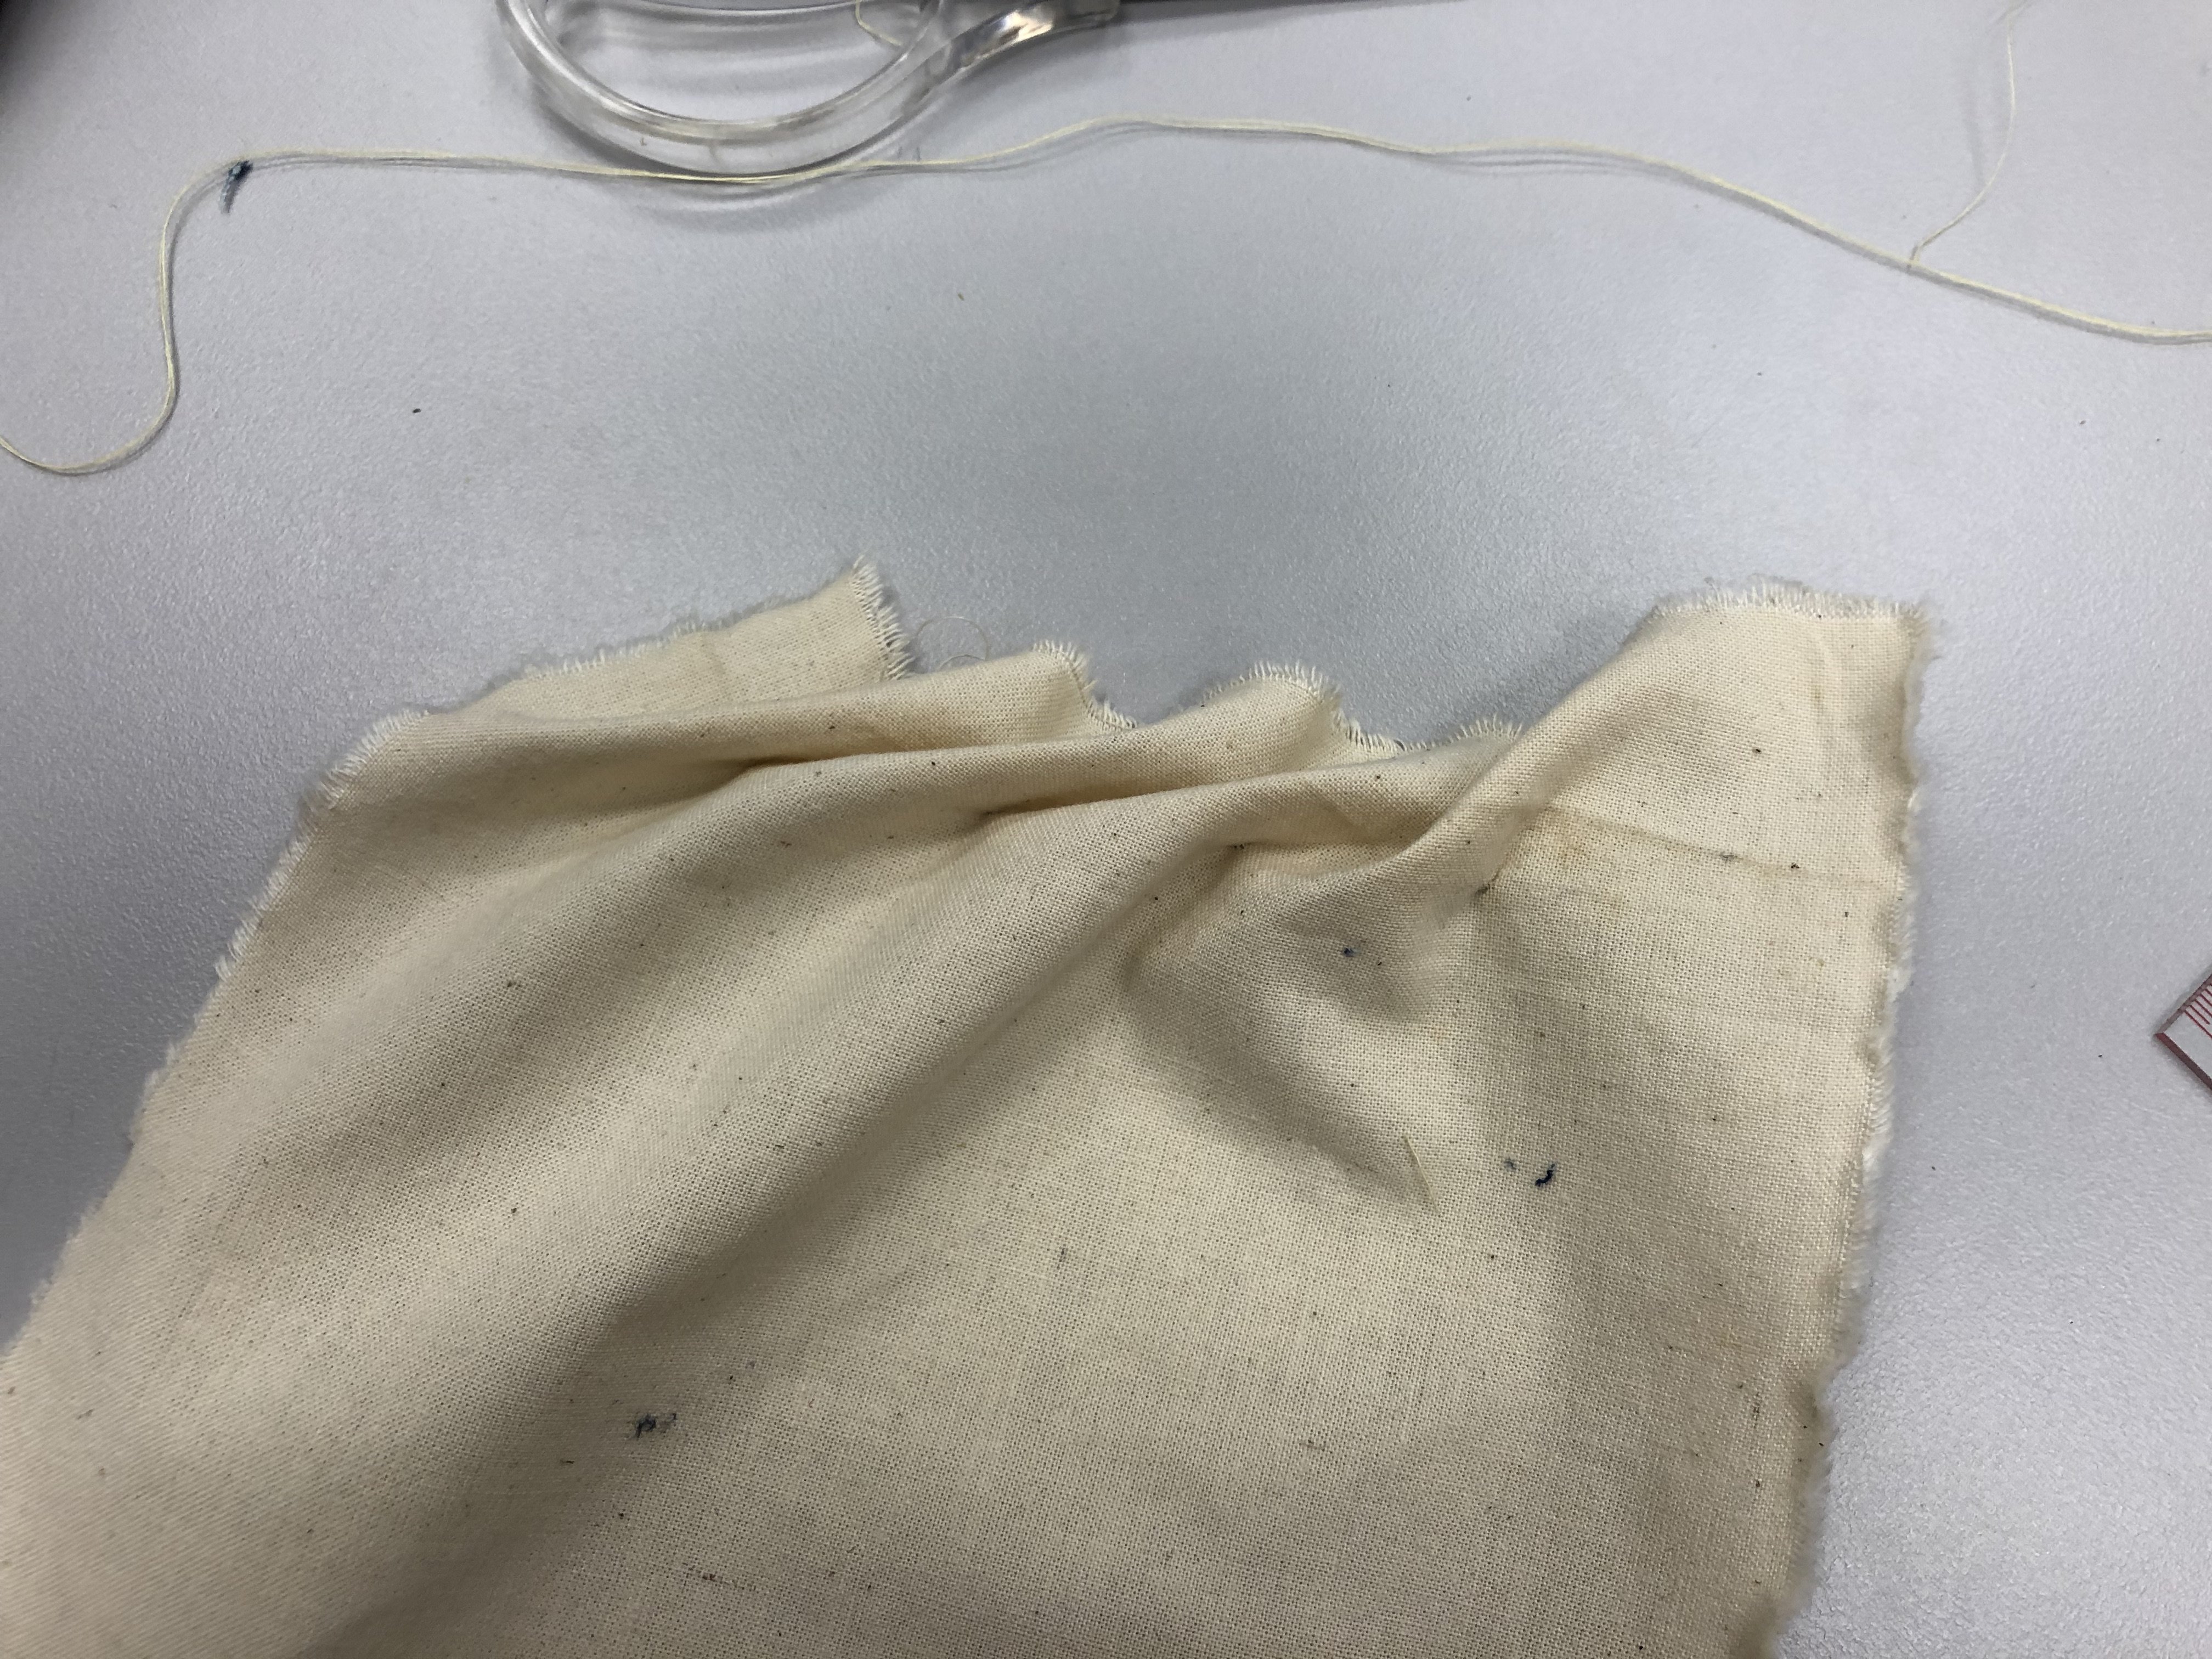
This is how it looks like behind, a tad messy but I tried my best to keep it tidy.
And finally!! It looks like how a lattice stitch is supposed to look! I did two rows and I realised I didn’t have enough cloth T_T I am so tired yet happy with the outcome. Personally, I feel it’s one of the most confusing sewing techniques I’ve learnt so far. Smocking… isn’t easy. I wonder how people can do it so easily! I would definitely love to try the honeycomb technique as it looks so pretty. But for now, I will settle with the lattice stitch that I’ve done 🙂