Hi guys!
So this marks the beginning of our Candycane journey! To note it down, Tisya and I will finally be working together for an IM project heheh.
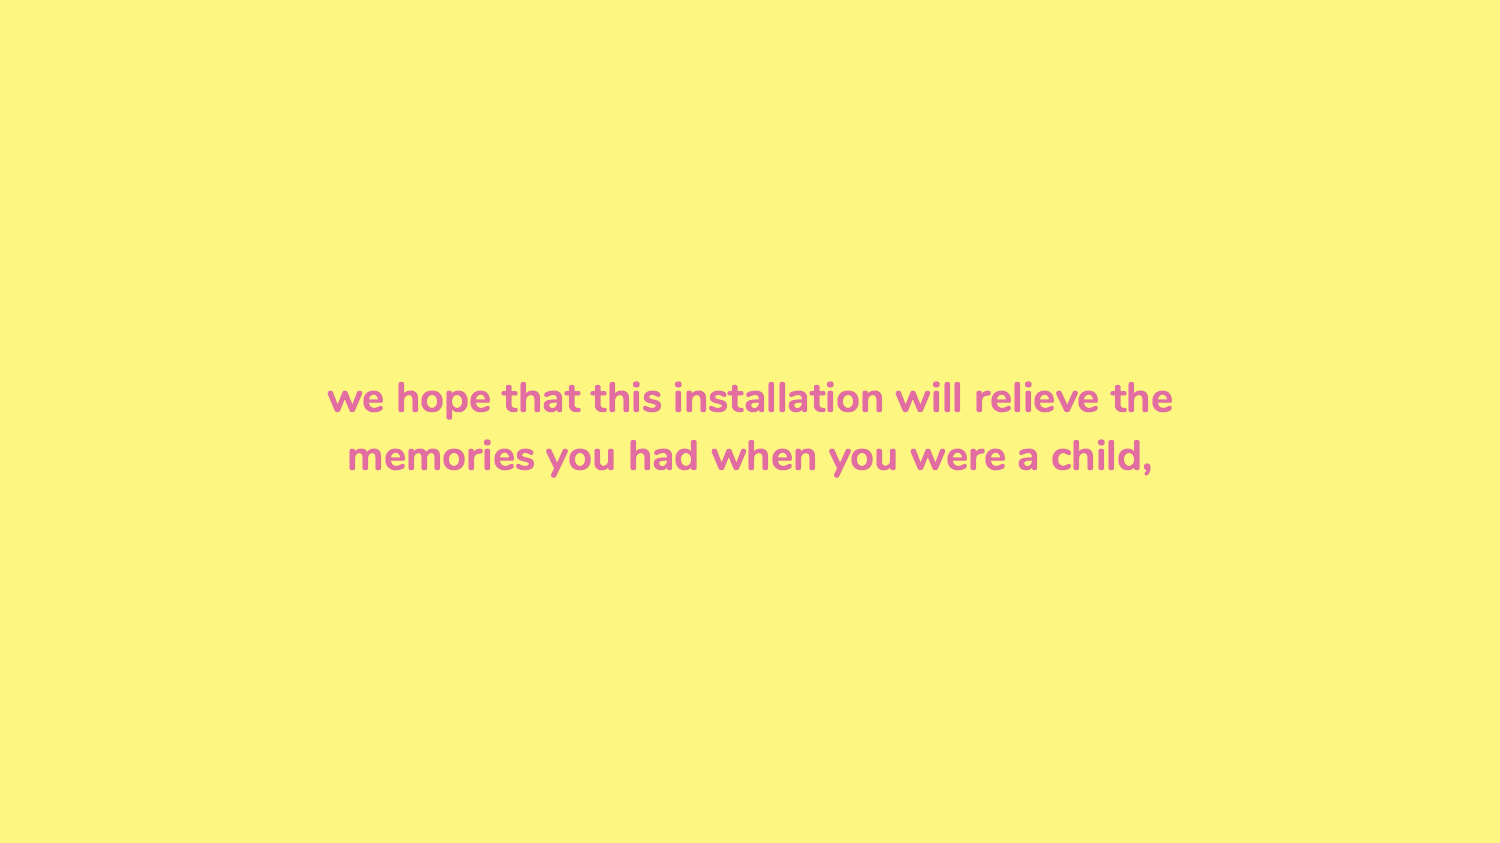
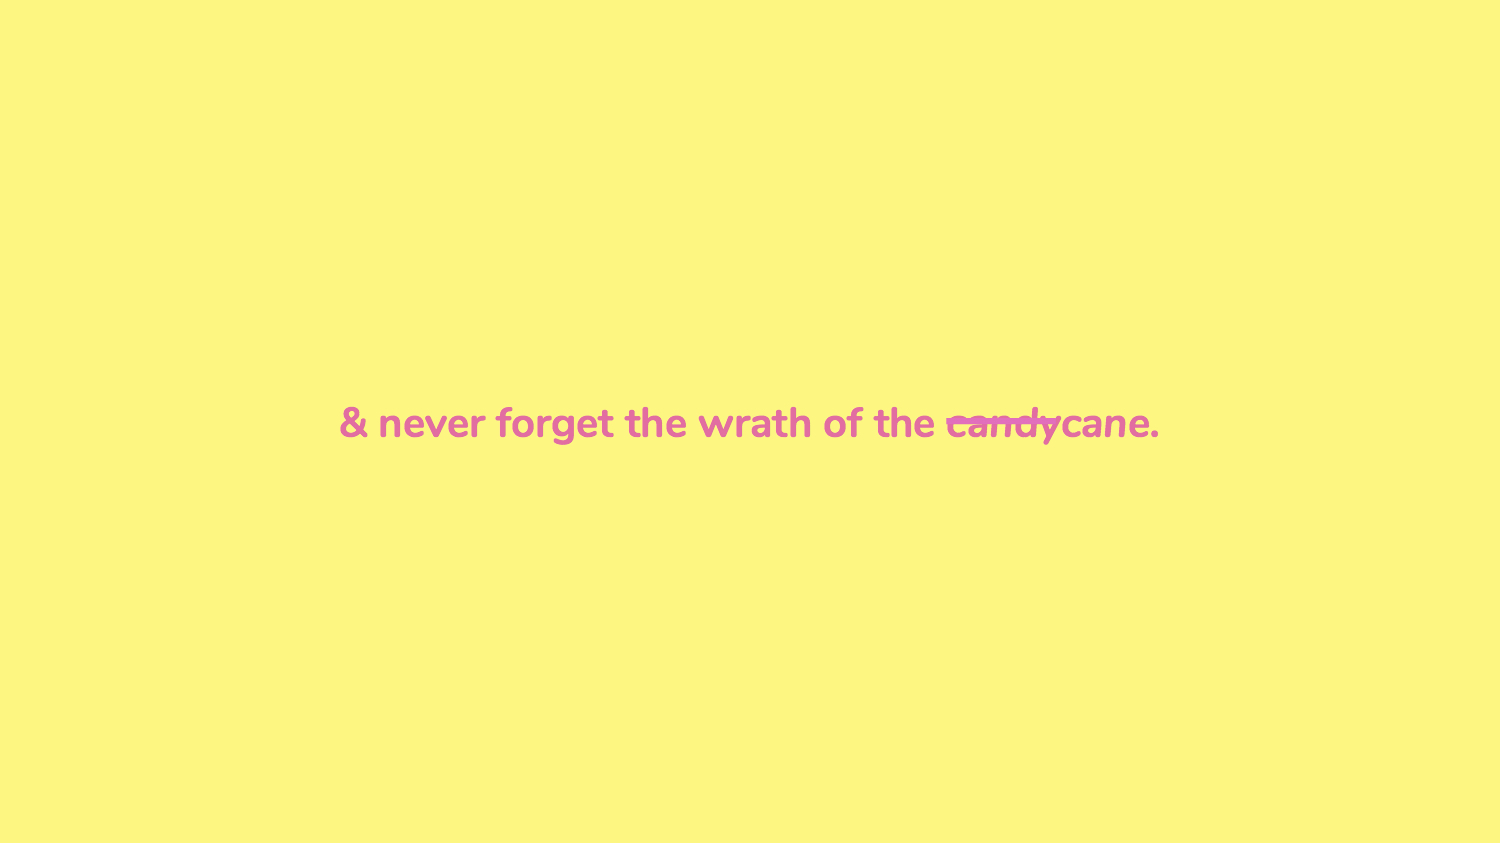
As we all know, when we were young, at the sight of the cane, we know that is a reminder to behave. Otherwise, we will have to face the wrath of the cane. Basically, the pain that was inflicted through the cane was a simple explanation by our parents between what is right or wrong.
Here are some notes that we made:
– Cane as a reflection of our childhood.
– Has a negative connotation associated to it.
– Should a cane be used for caning?
– The cane as a tool of discipline vs The cane as a tool of play.
– Users are granted the power to control the cane (not by choice)
– Placing canes in different contexts. (Compass / massage / piñata)
Ultimately, the tone of voice that we are approaching in our installation would be a tongue-in-cheek manner, a humorous irony that we are seeking to achieve. To portray cane in various situations, aside from its original intention as a disciplinary object. Not to change the perception of how a cane is, but rather seeing the cane in a different light.
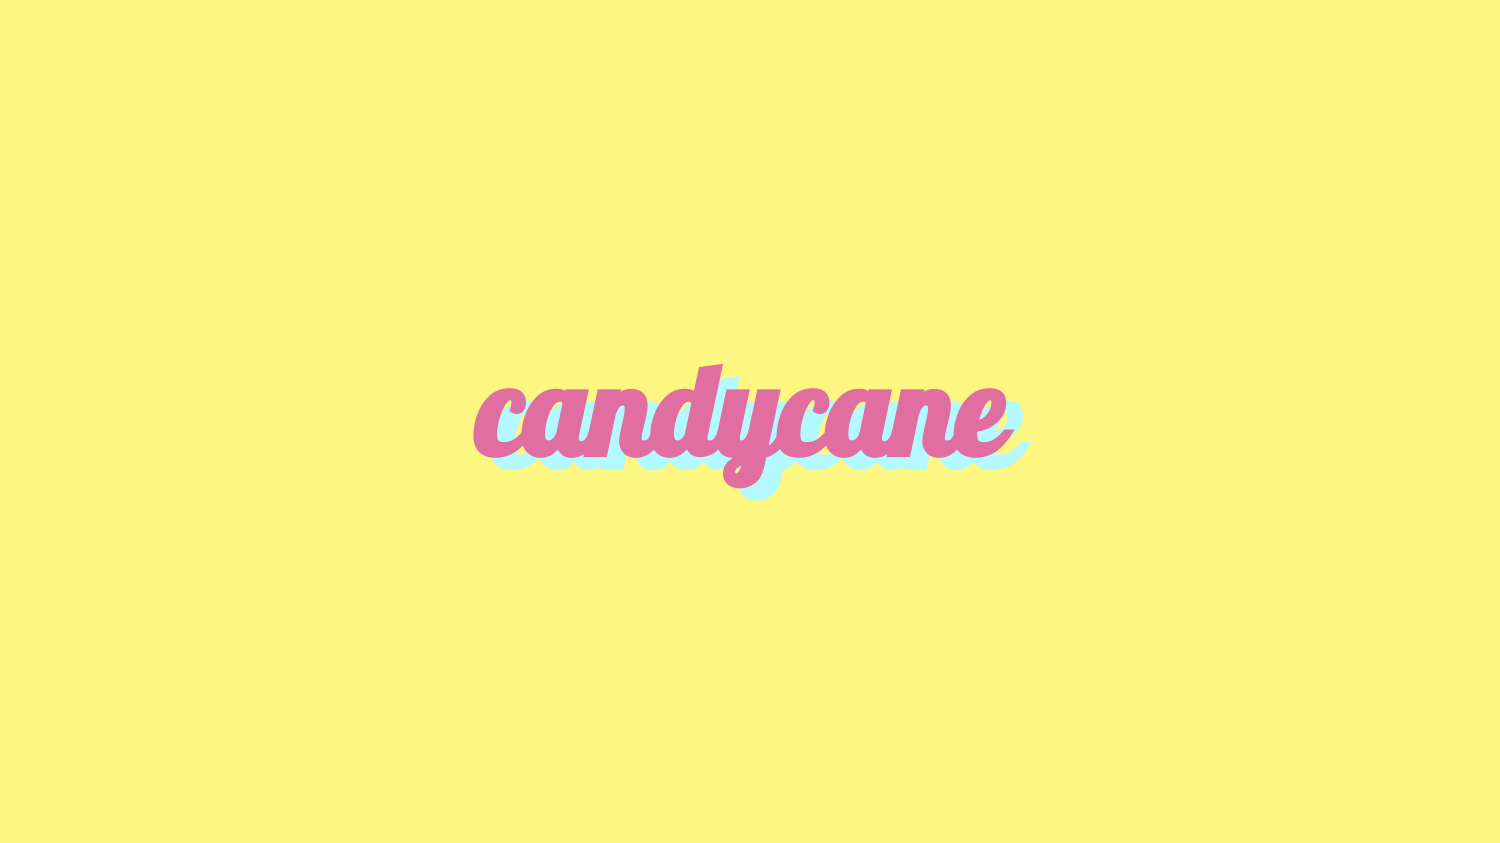
So here’s the new and revised Candycane artist statement!
Candycane
Remember the times when the sight of this wooden rod was enough to get you running? This one-hit wonder, a reflection of our childhood misdeeds, is often used as a disciplinary tool in homes to incite fear and serves as a constant reminder for good conduct.
Candycane attempts to challenge the negative connotations and controversies associated to it, provoking thought about its purpose: “Should a cane be used for caning?”
We came up with various random mundane, humorous scenarios that could be used, other than it being used as a disciplinary object.
Here are some scenes:
1. Massage Parlour
2. Stirring a Cup
3. Pinata
4. Chopsticks (humans are mini sushi)
5. Mathematical Compass
6. Sword fight
7. Blanket Beating
Ultimately, we shortlisted to 3 scenarios which are:
1. Mathematical Compass
2. Massage Parlour
3. Pinata
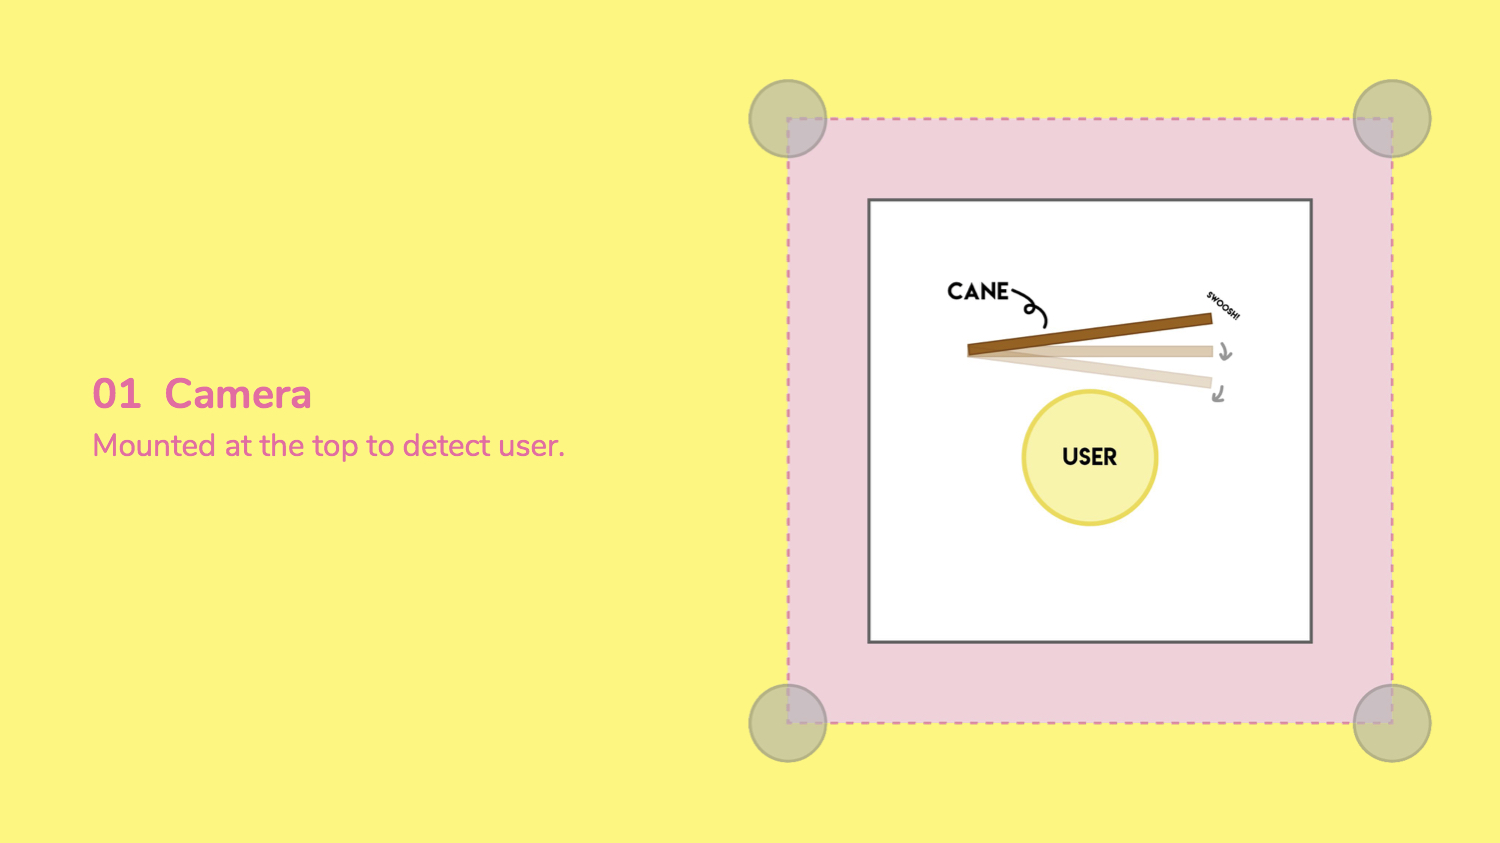
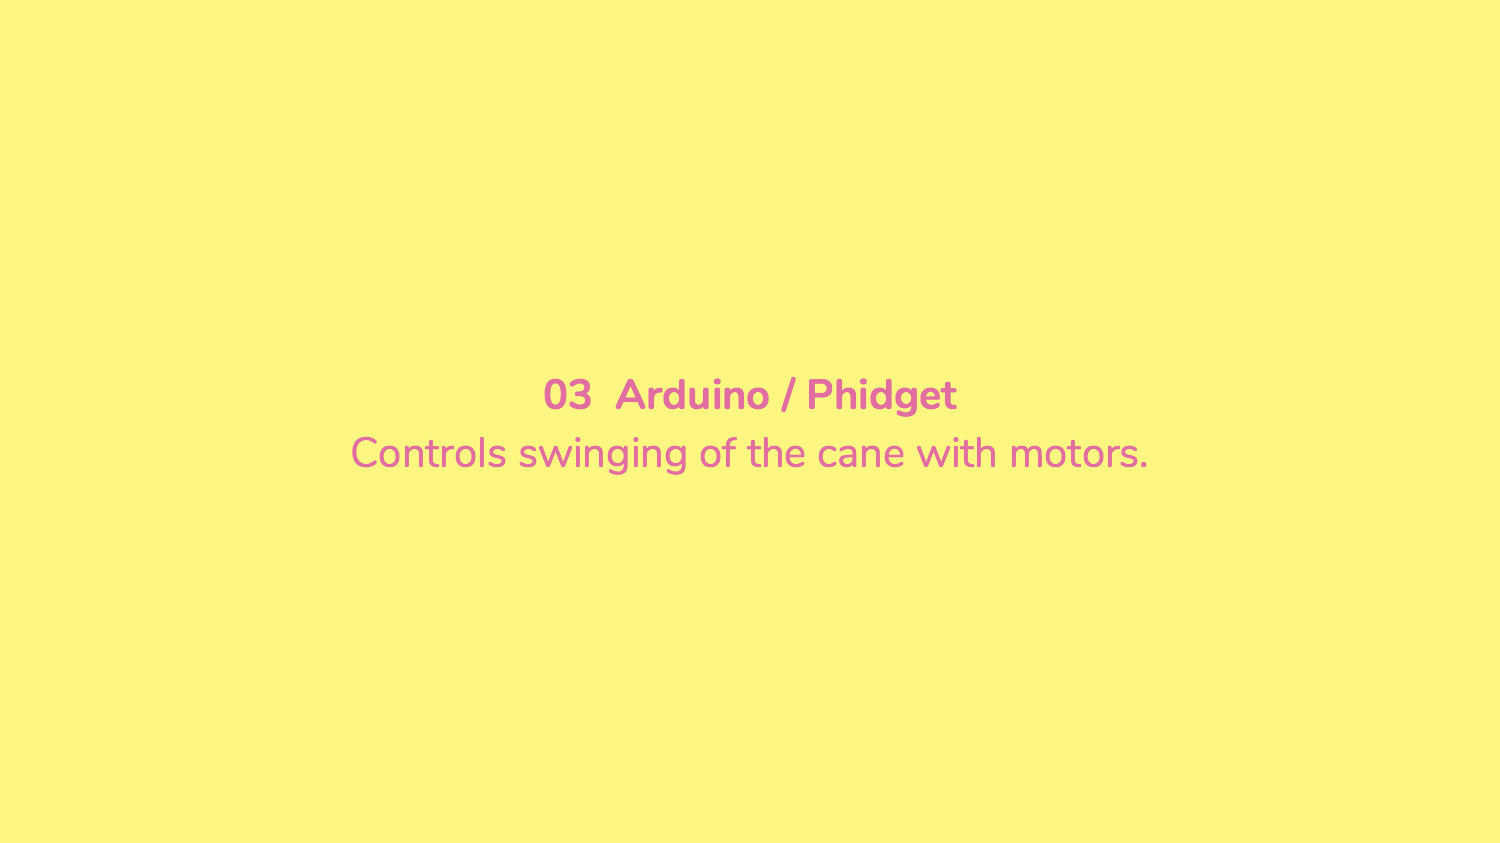
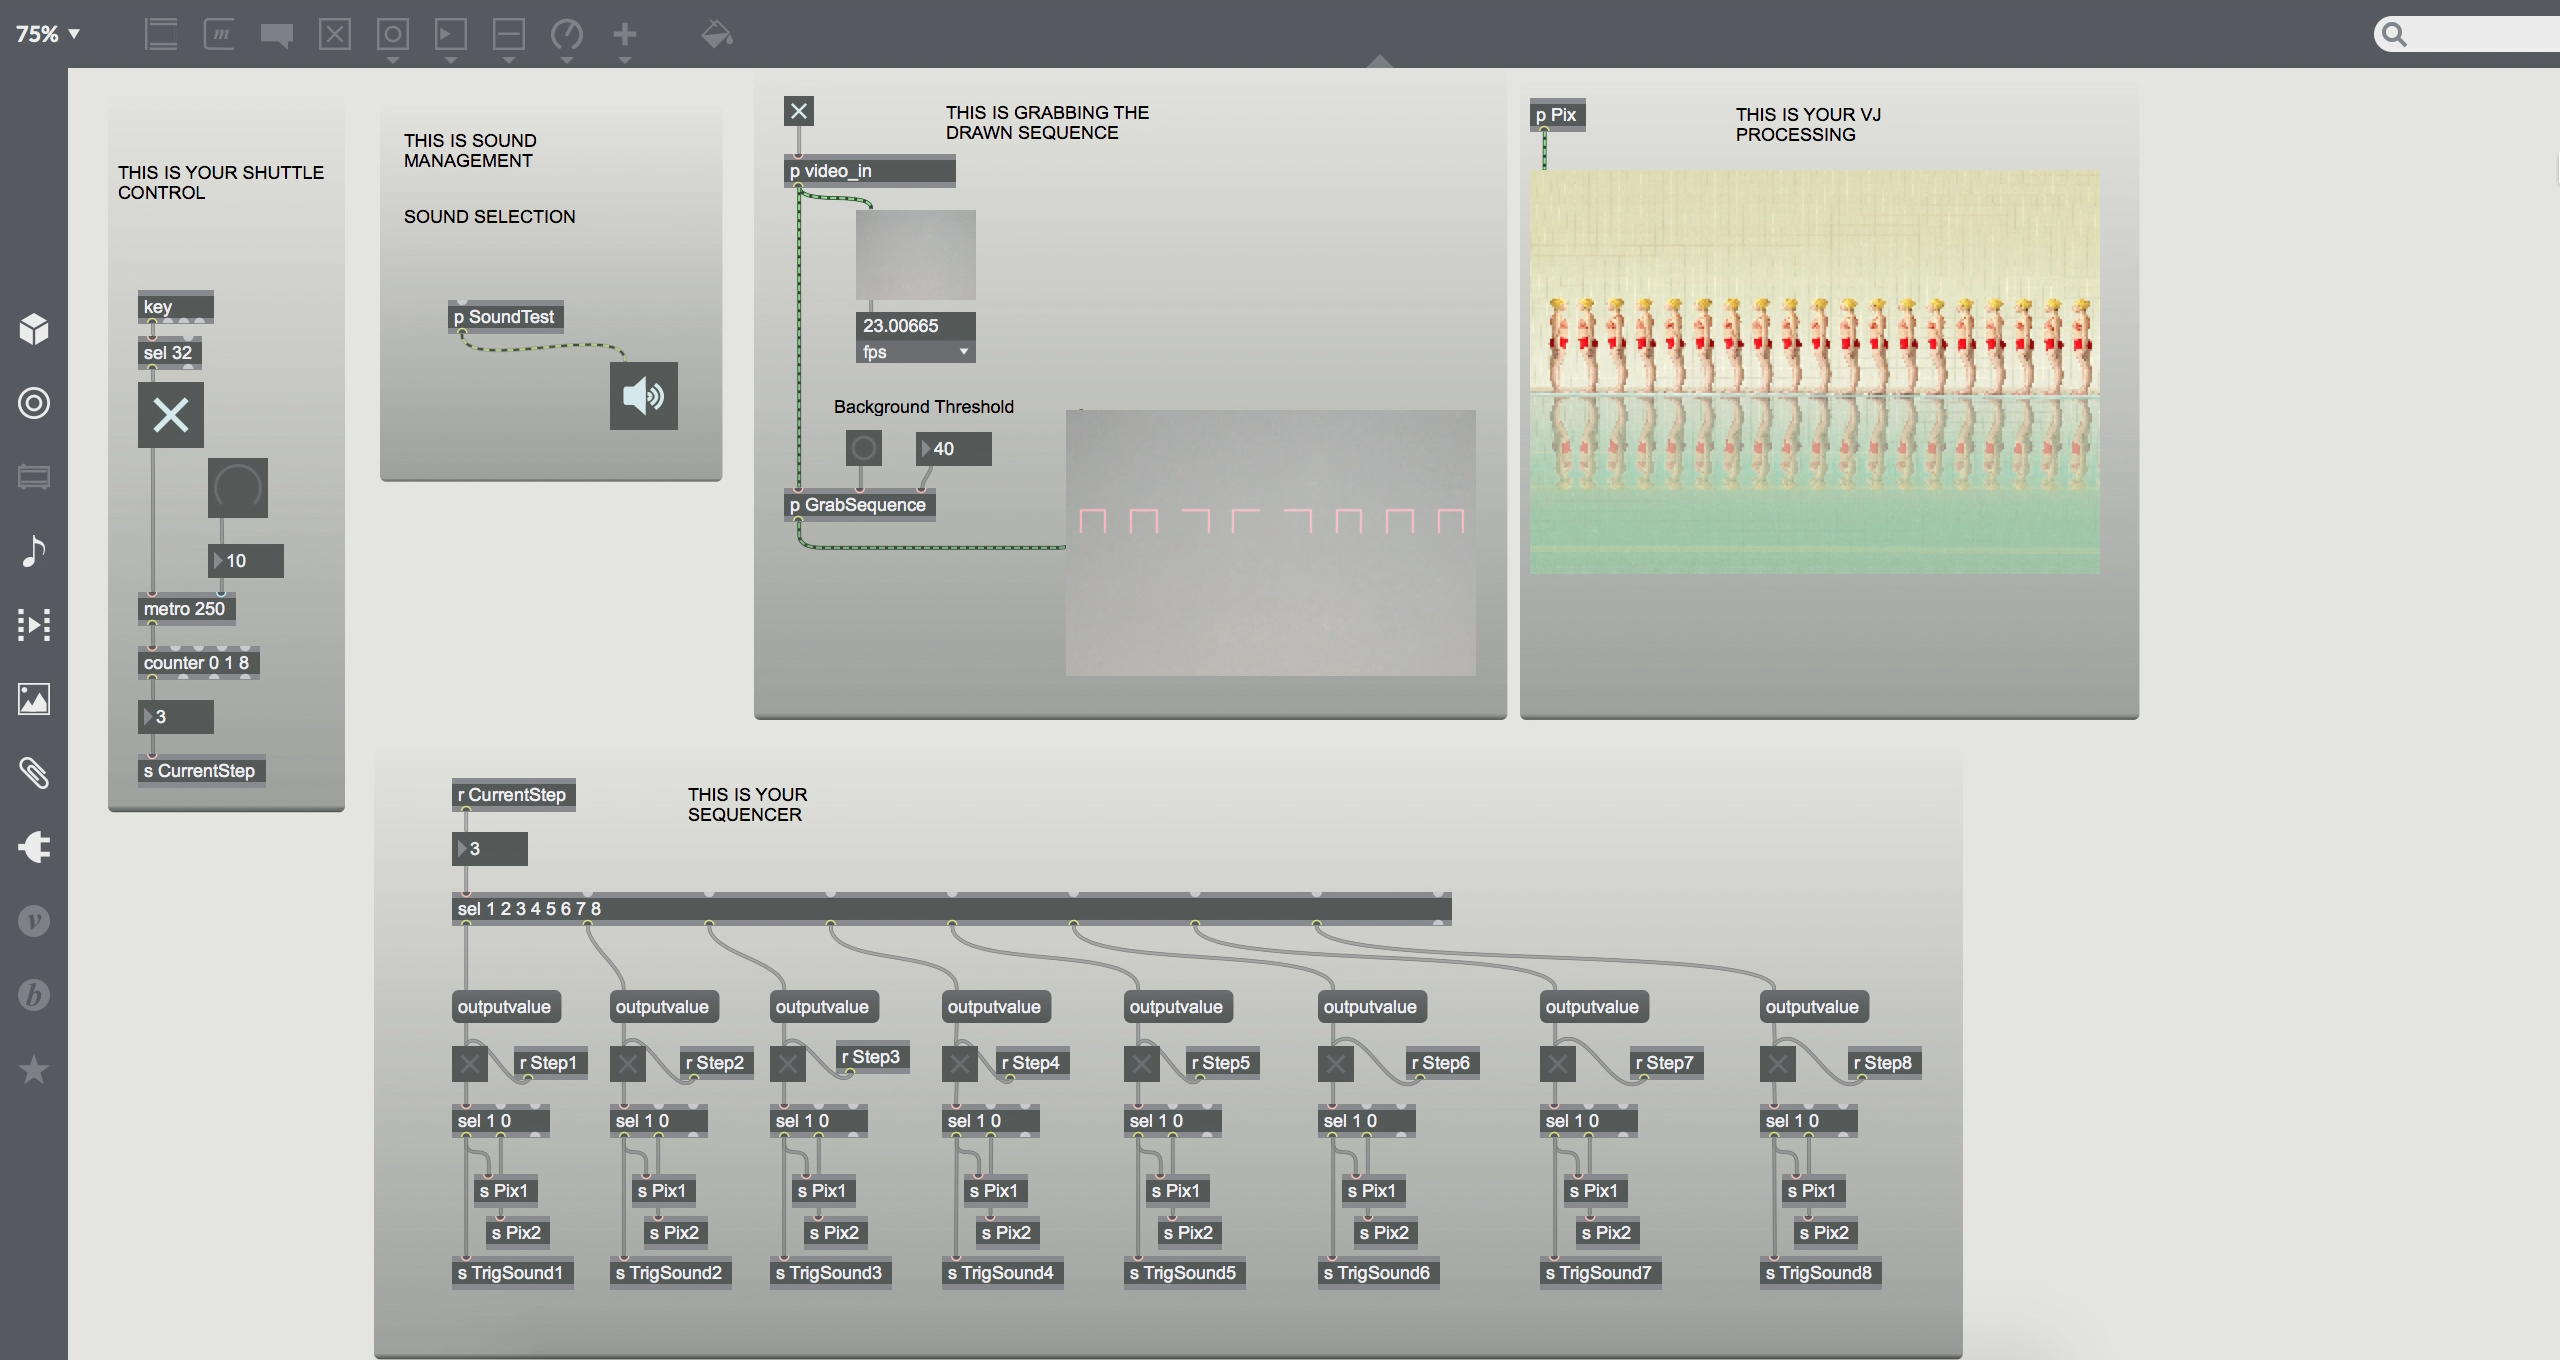
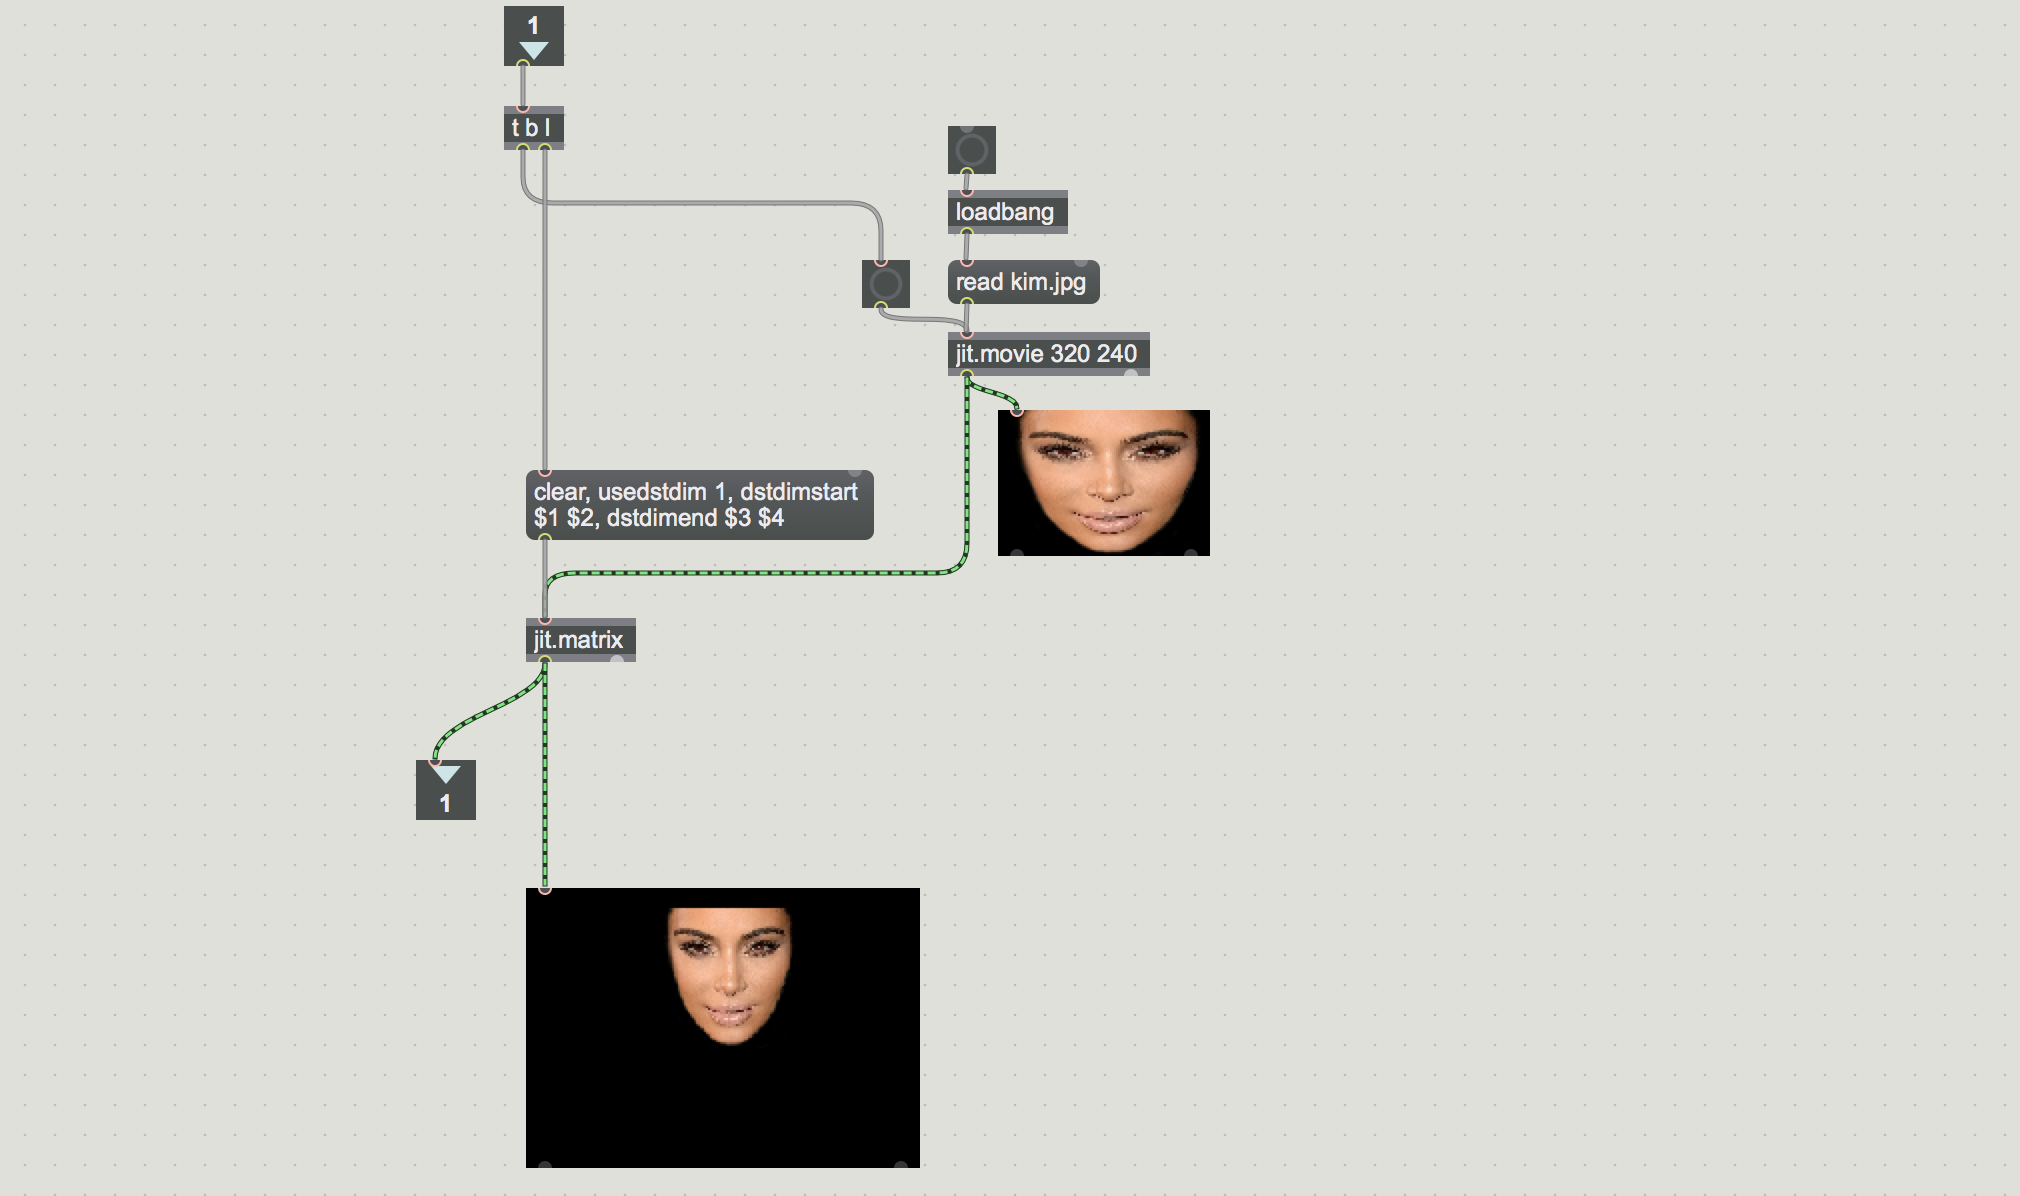
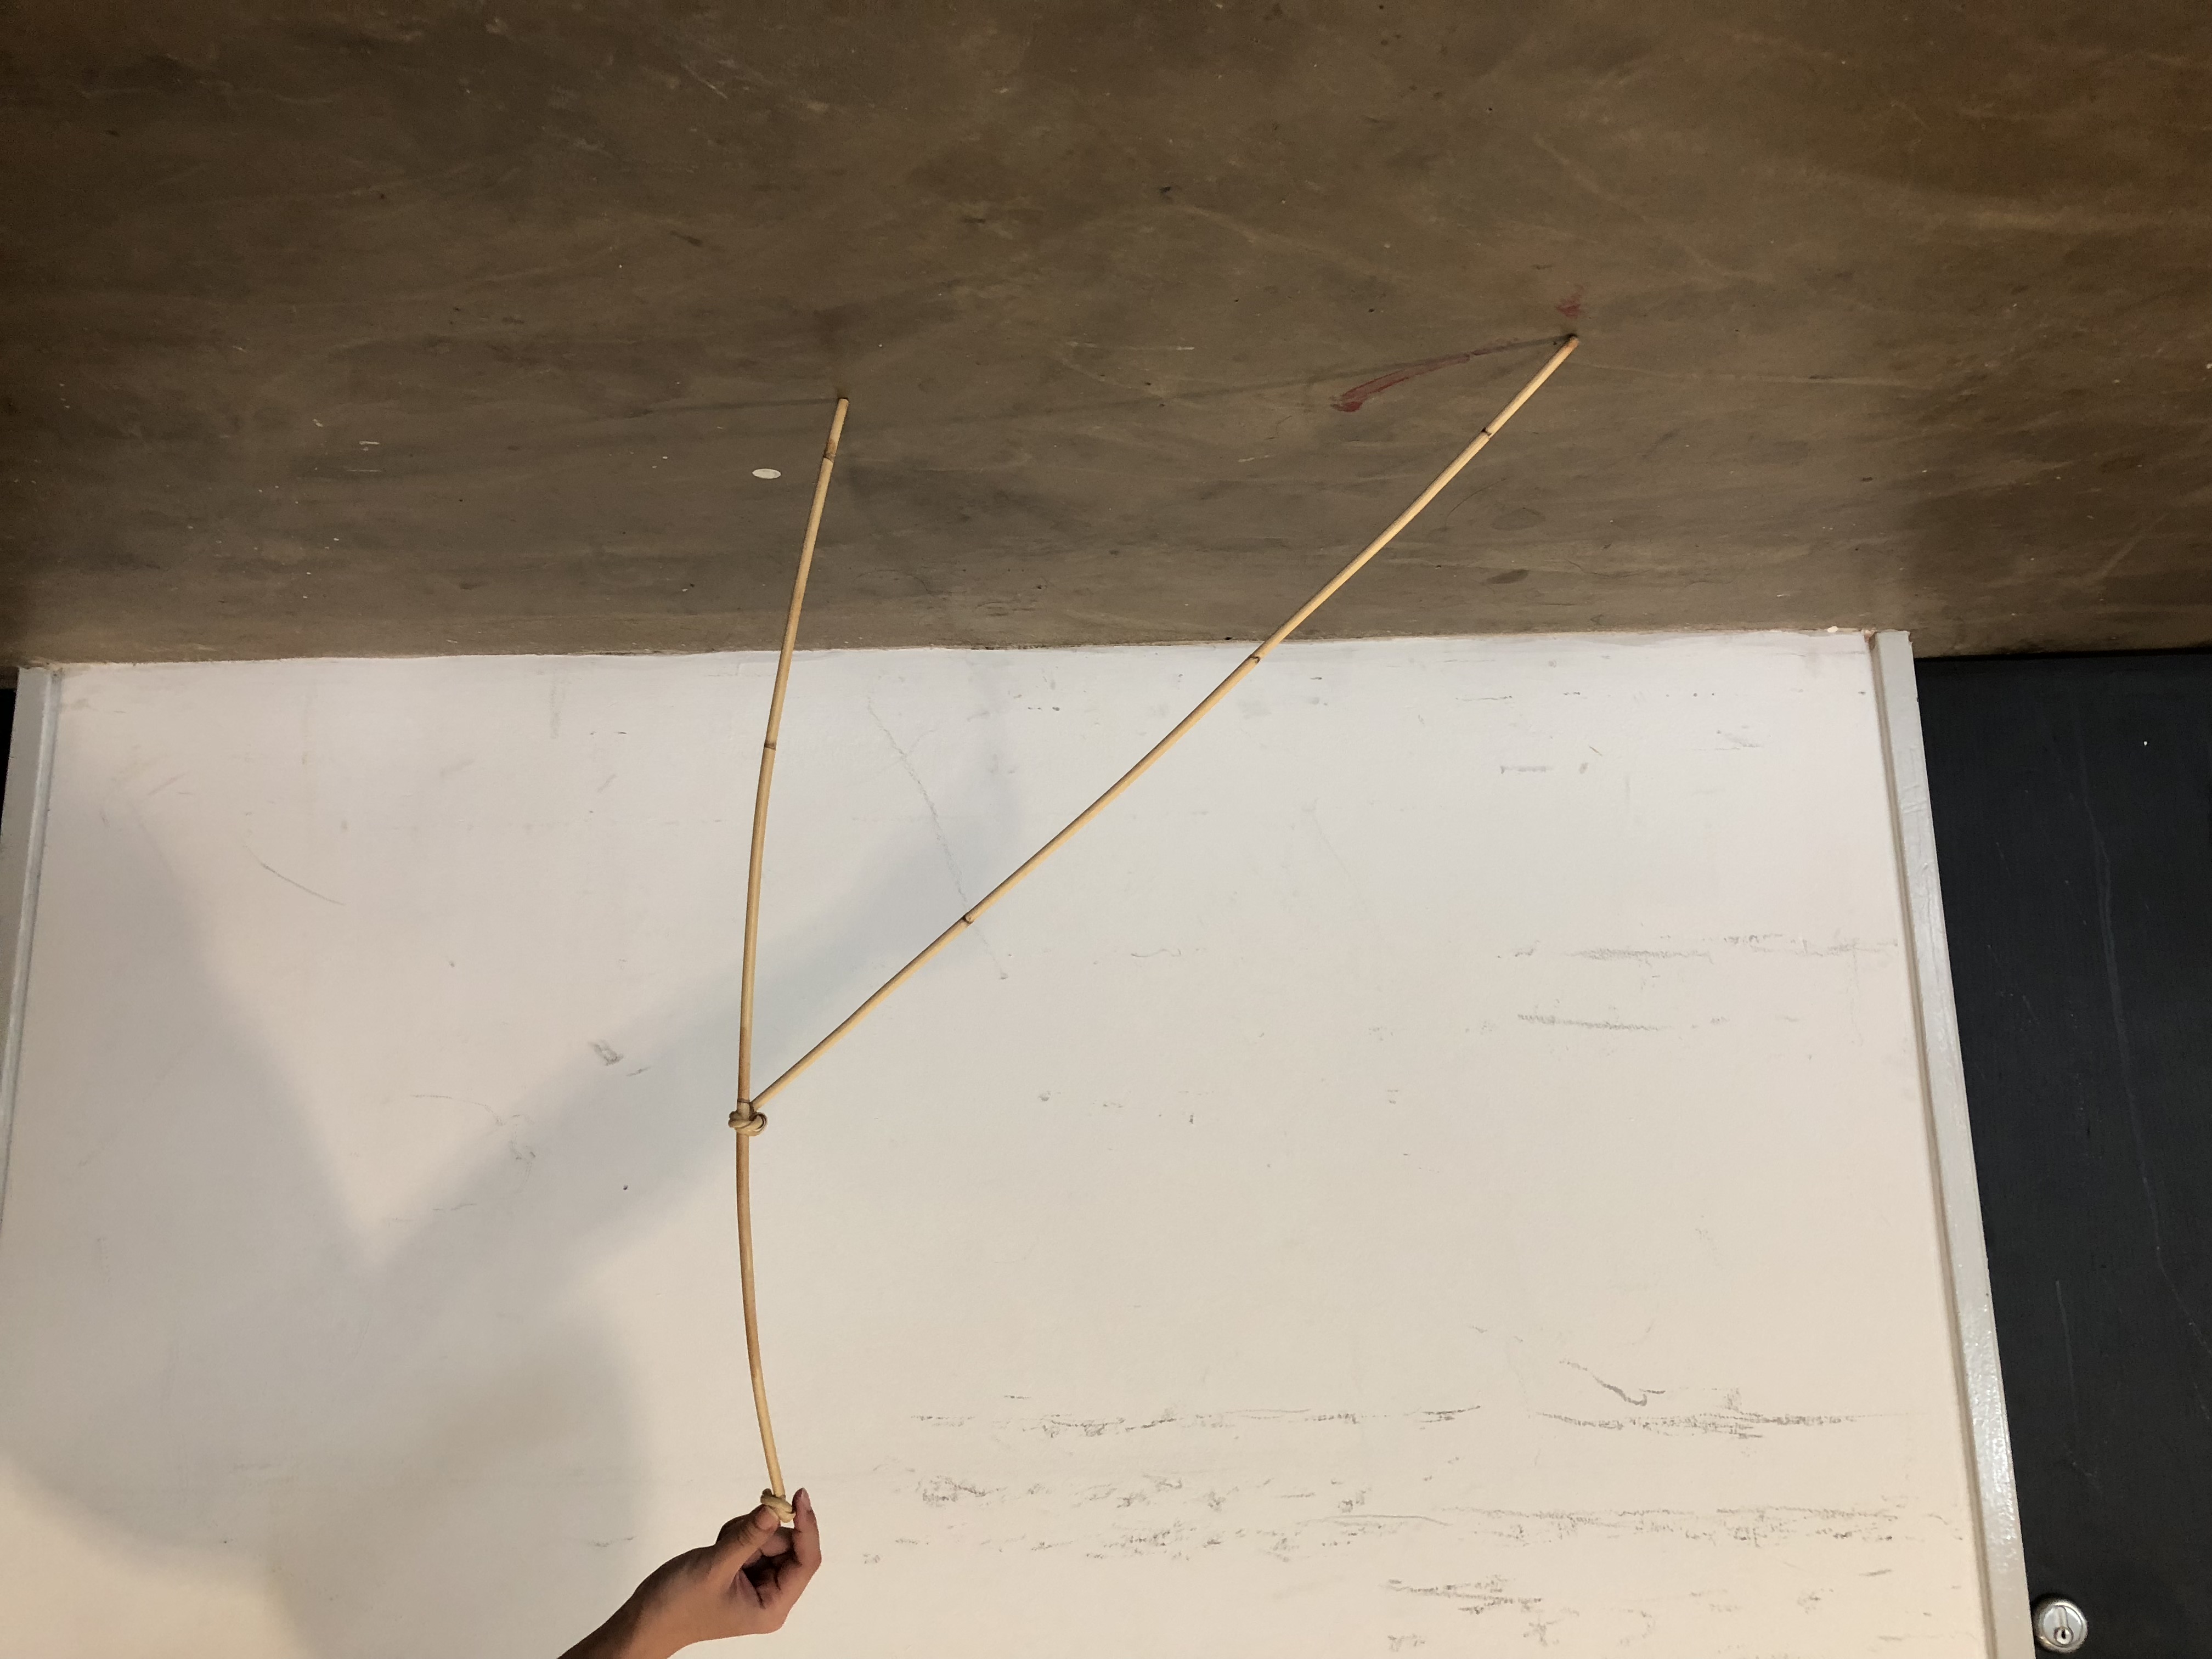
The first ever cane installation that we are touching on would be the Mathematical Compass! So, how it’s gonna work is that the compass will follow the audience and while doing so, it draws a line floor (paper).
For “The Compass”, we need: 2 wooden canes, one motor and blobs detection. Throughout the weekends, we played with motors and worked with its mechanism. We tried Blobs but we couldn’t get it to work 🙁 We are still working on it though!
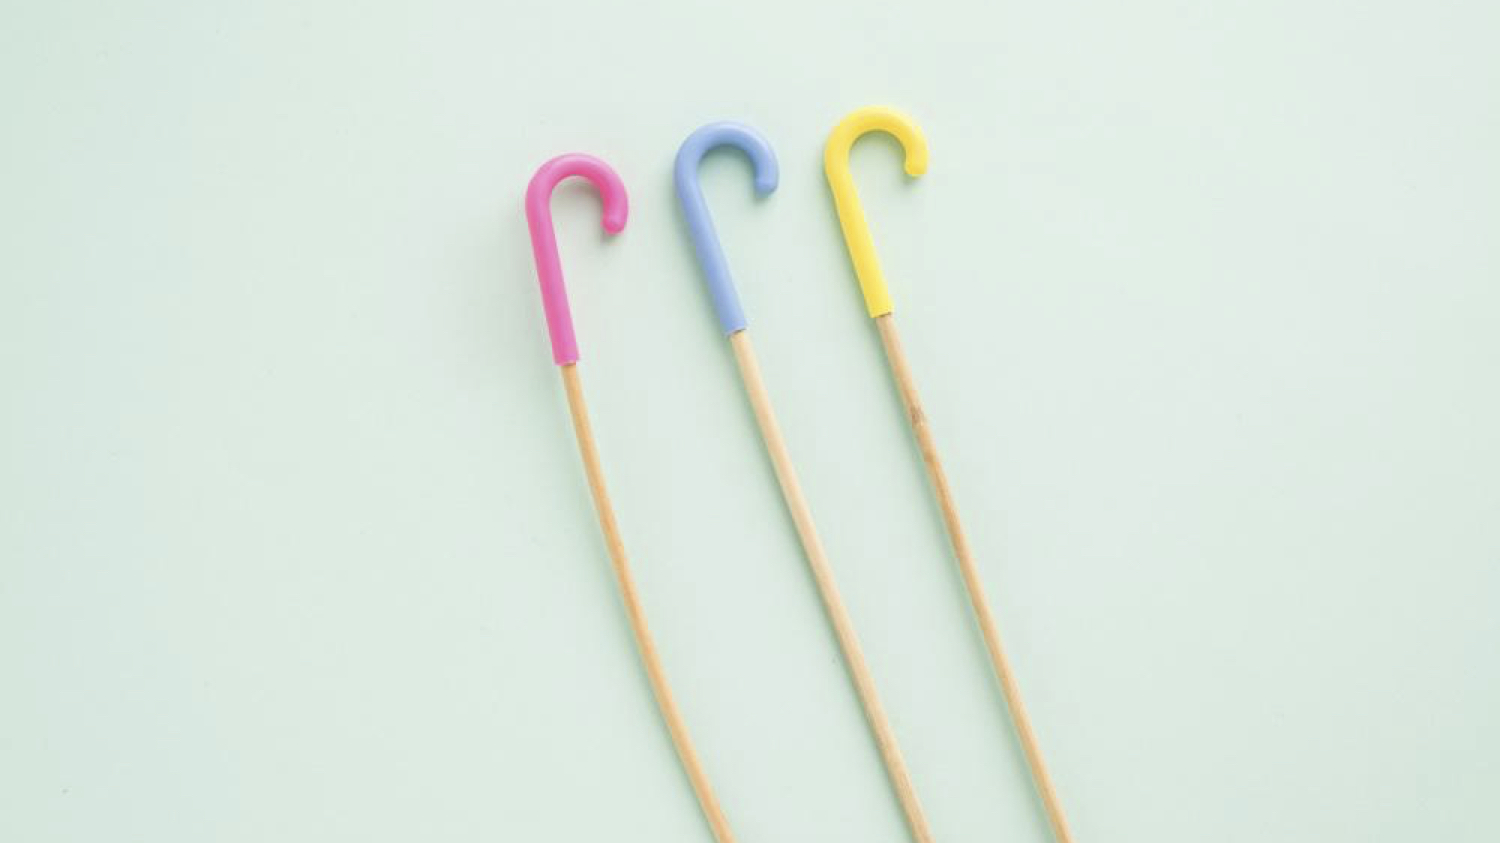
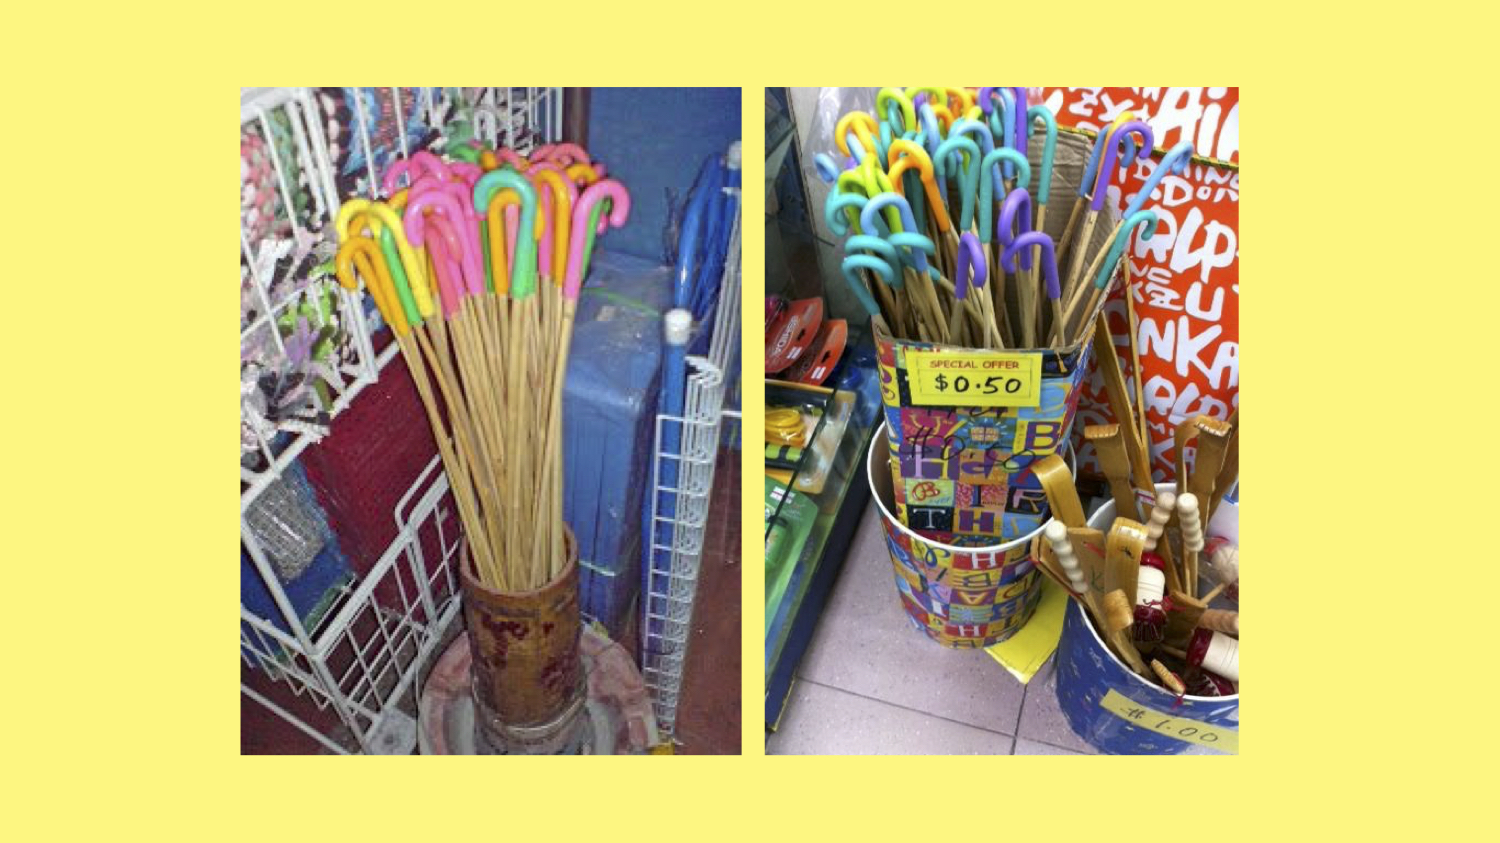
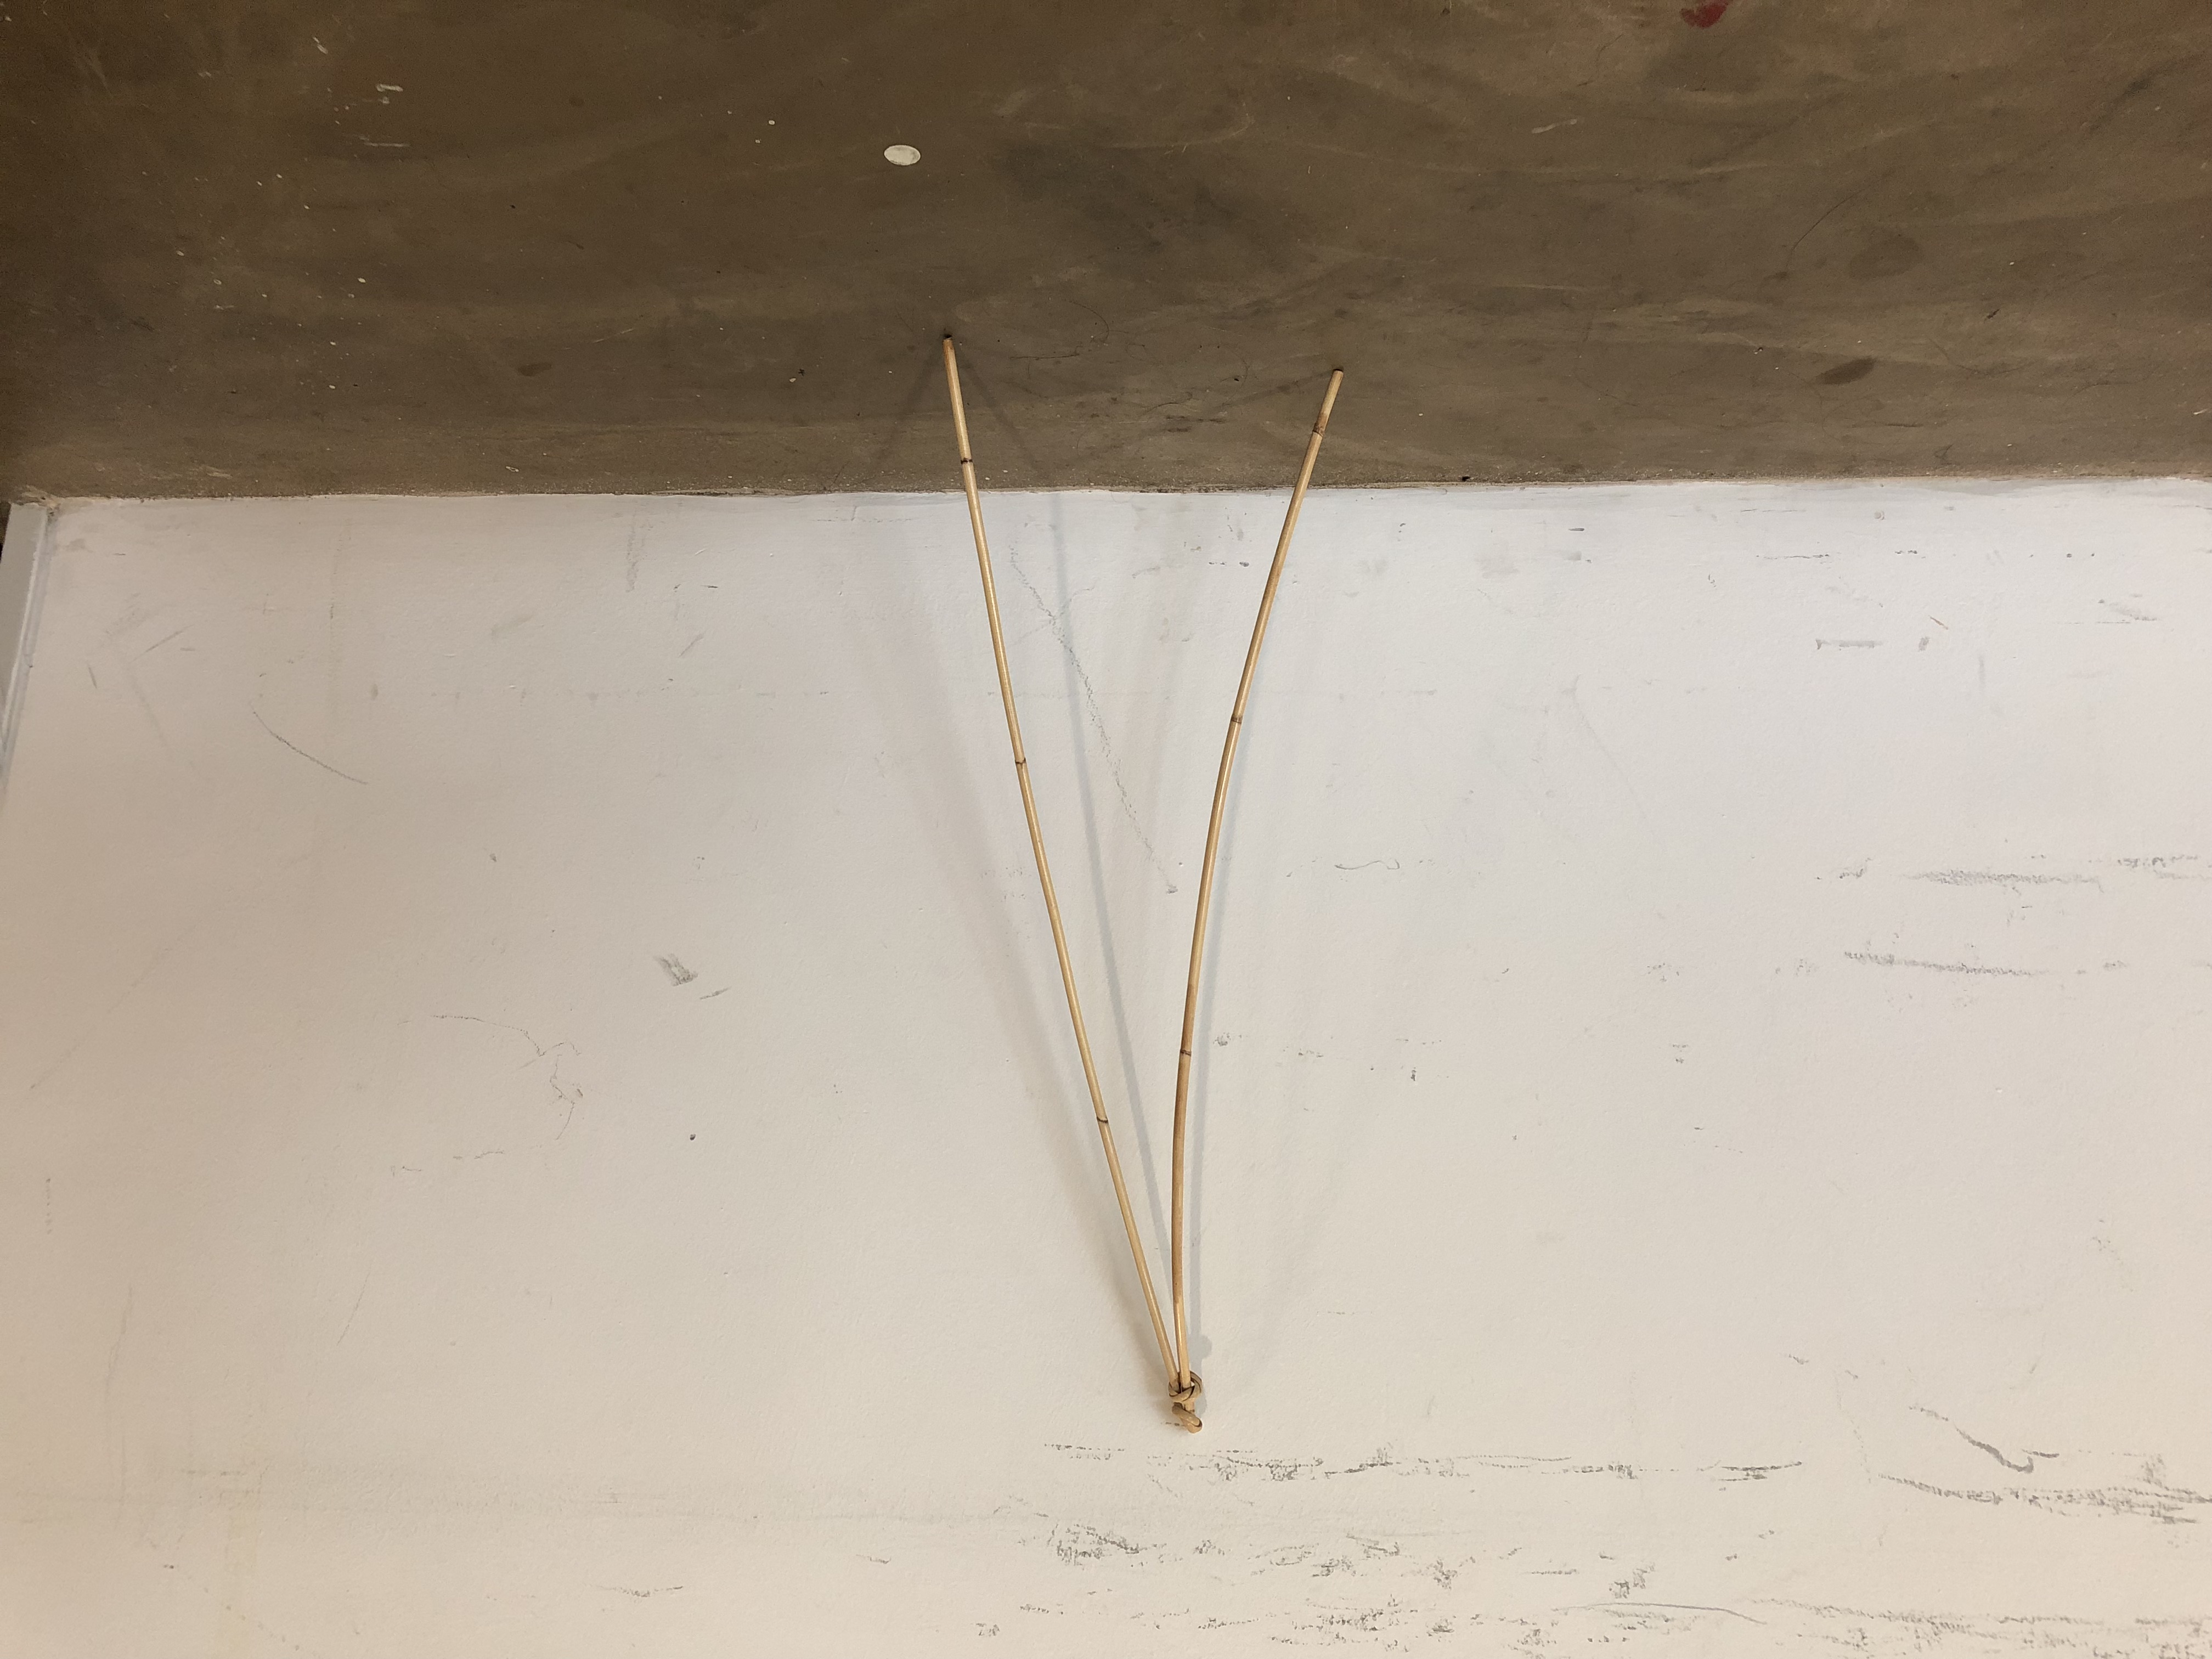
First and foremost, lets start the process journey shall we! Whats a cane project without any canes?
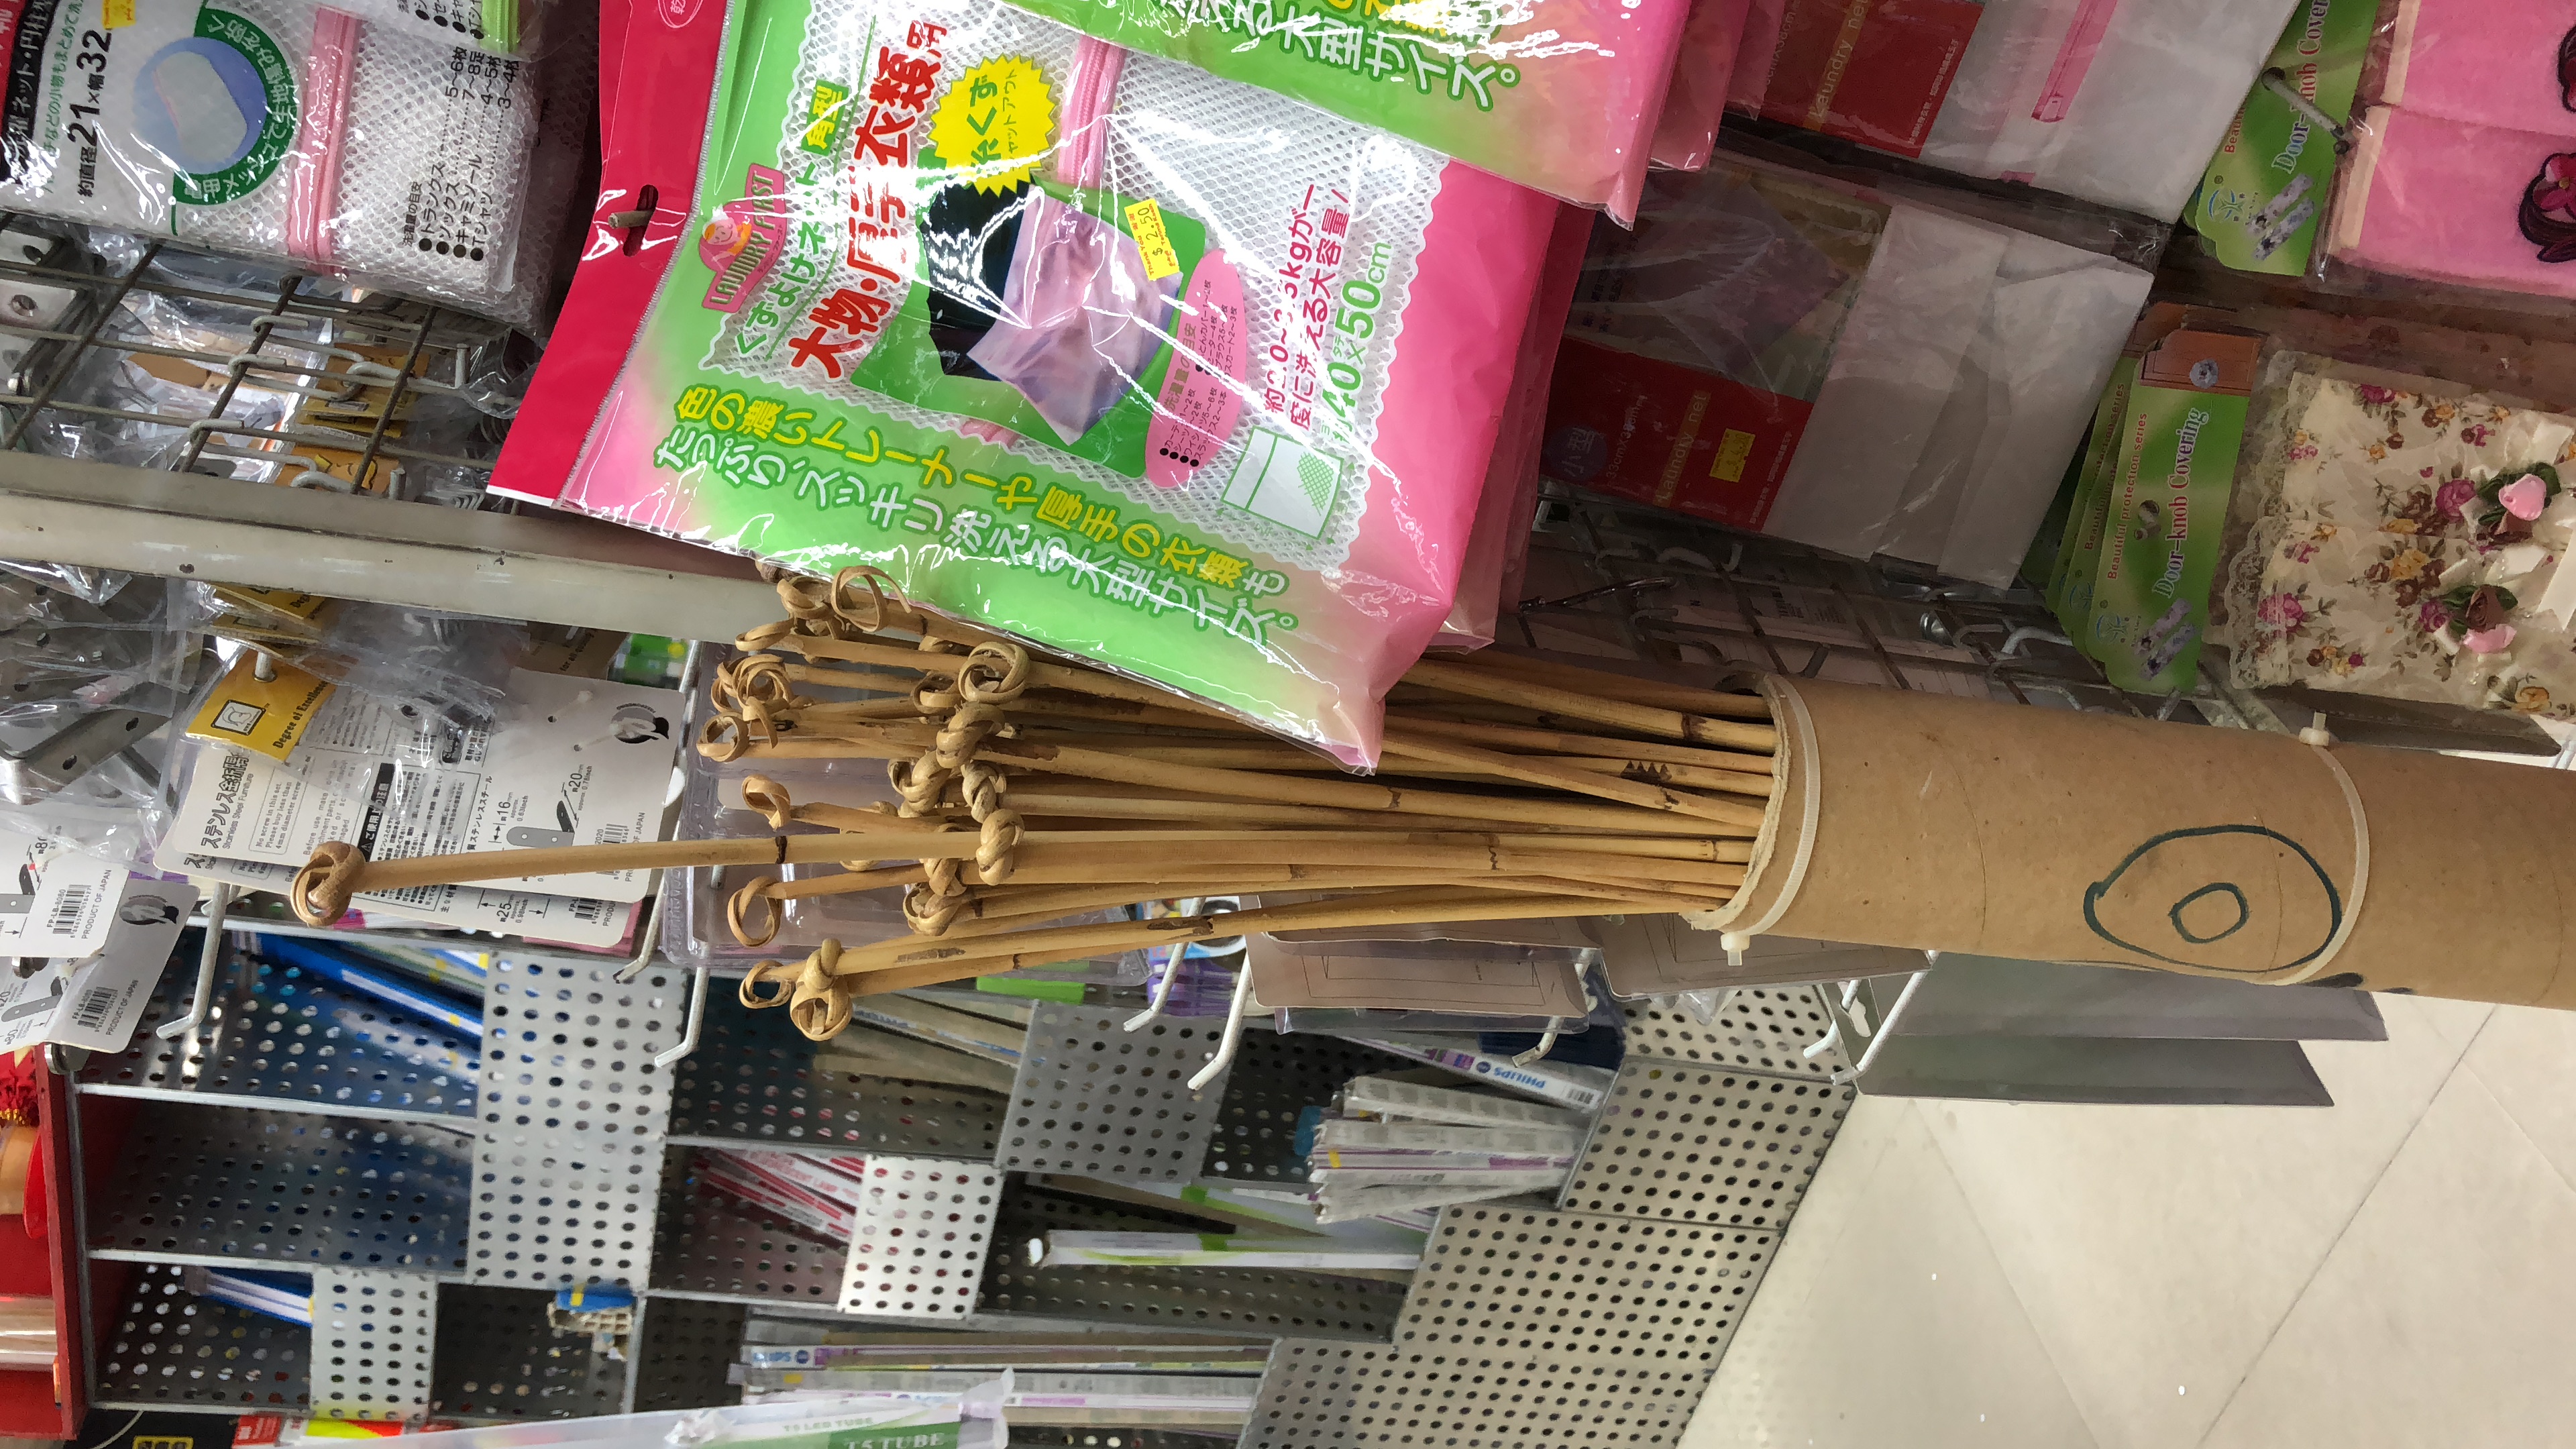
I found this bunch of canes (70 cents/each) at a provision shop near my area and sadly I couldn’t find the canes which has a coloured tip. When I asked the owner, she said that they weren’t producing the coloured tip canes anymore 🙁 But Tish and I are not giving it up just yet! We ares still on the hunt for the coloured canes.
Testing out how it will look like when the motors rotates it (180 degrees)
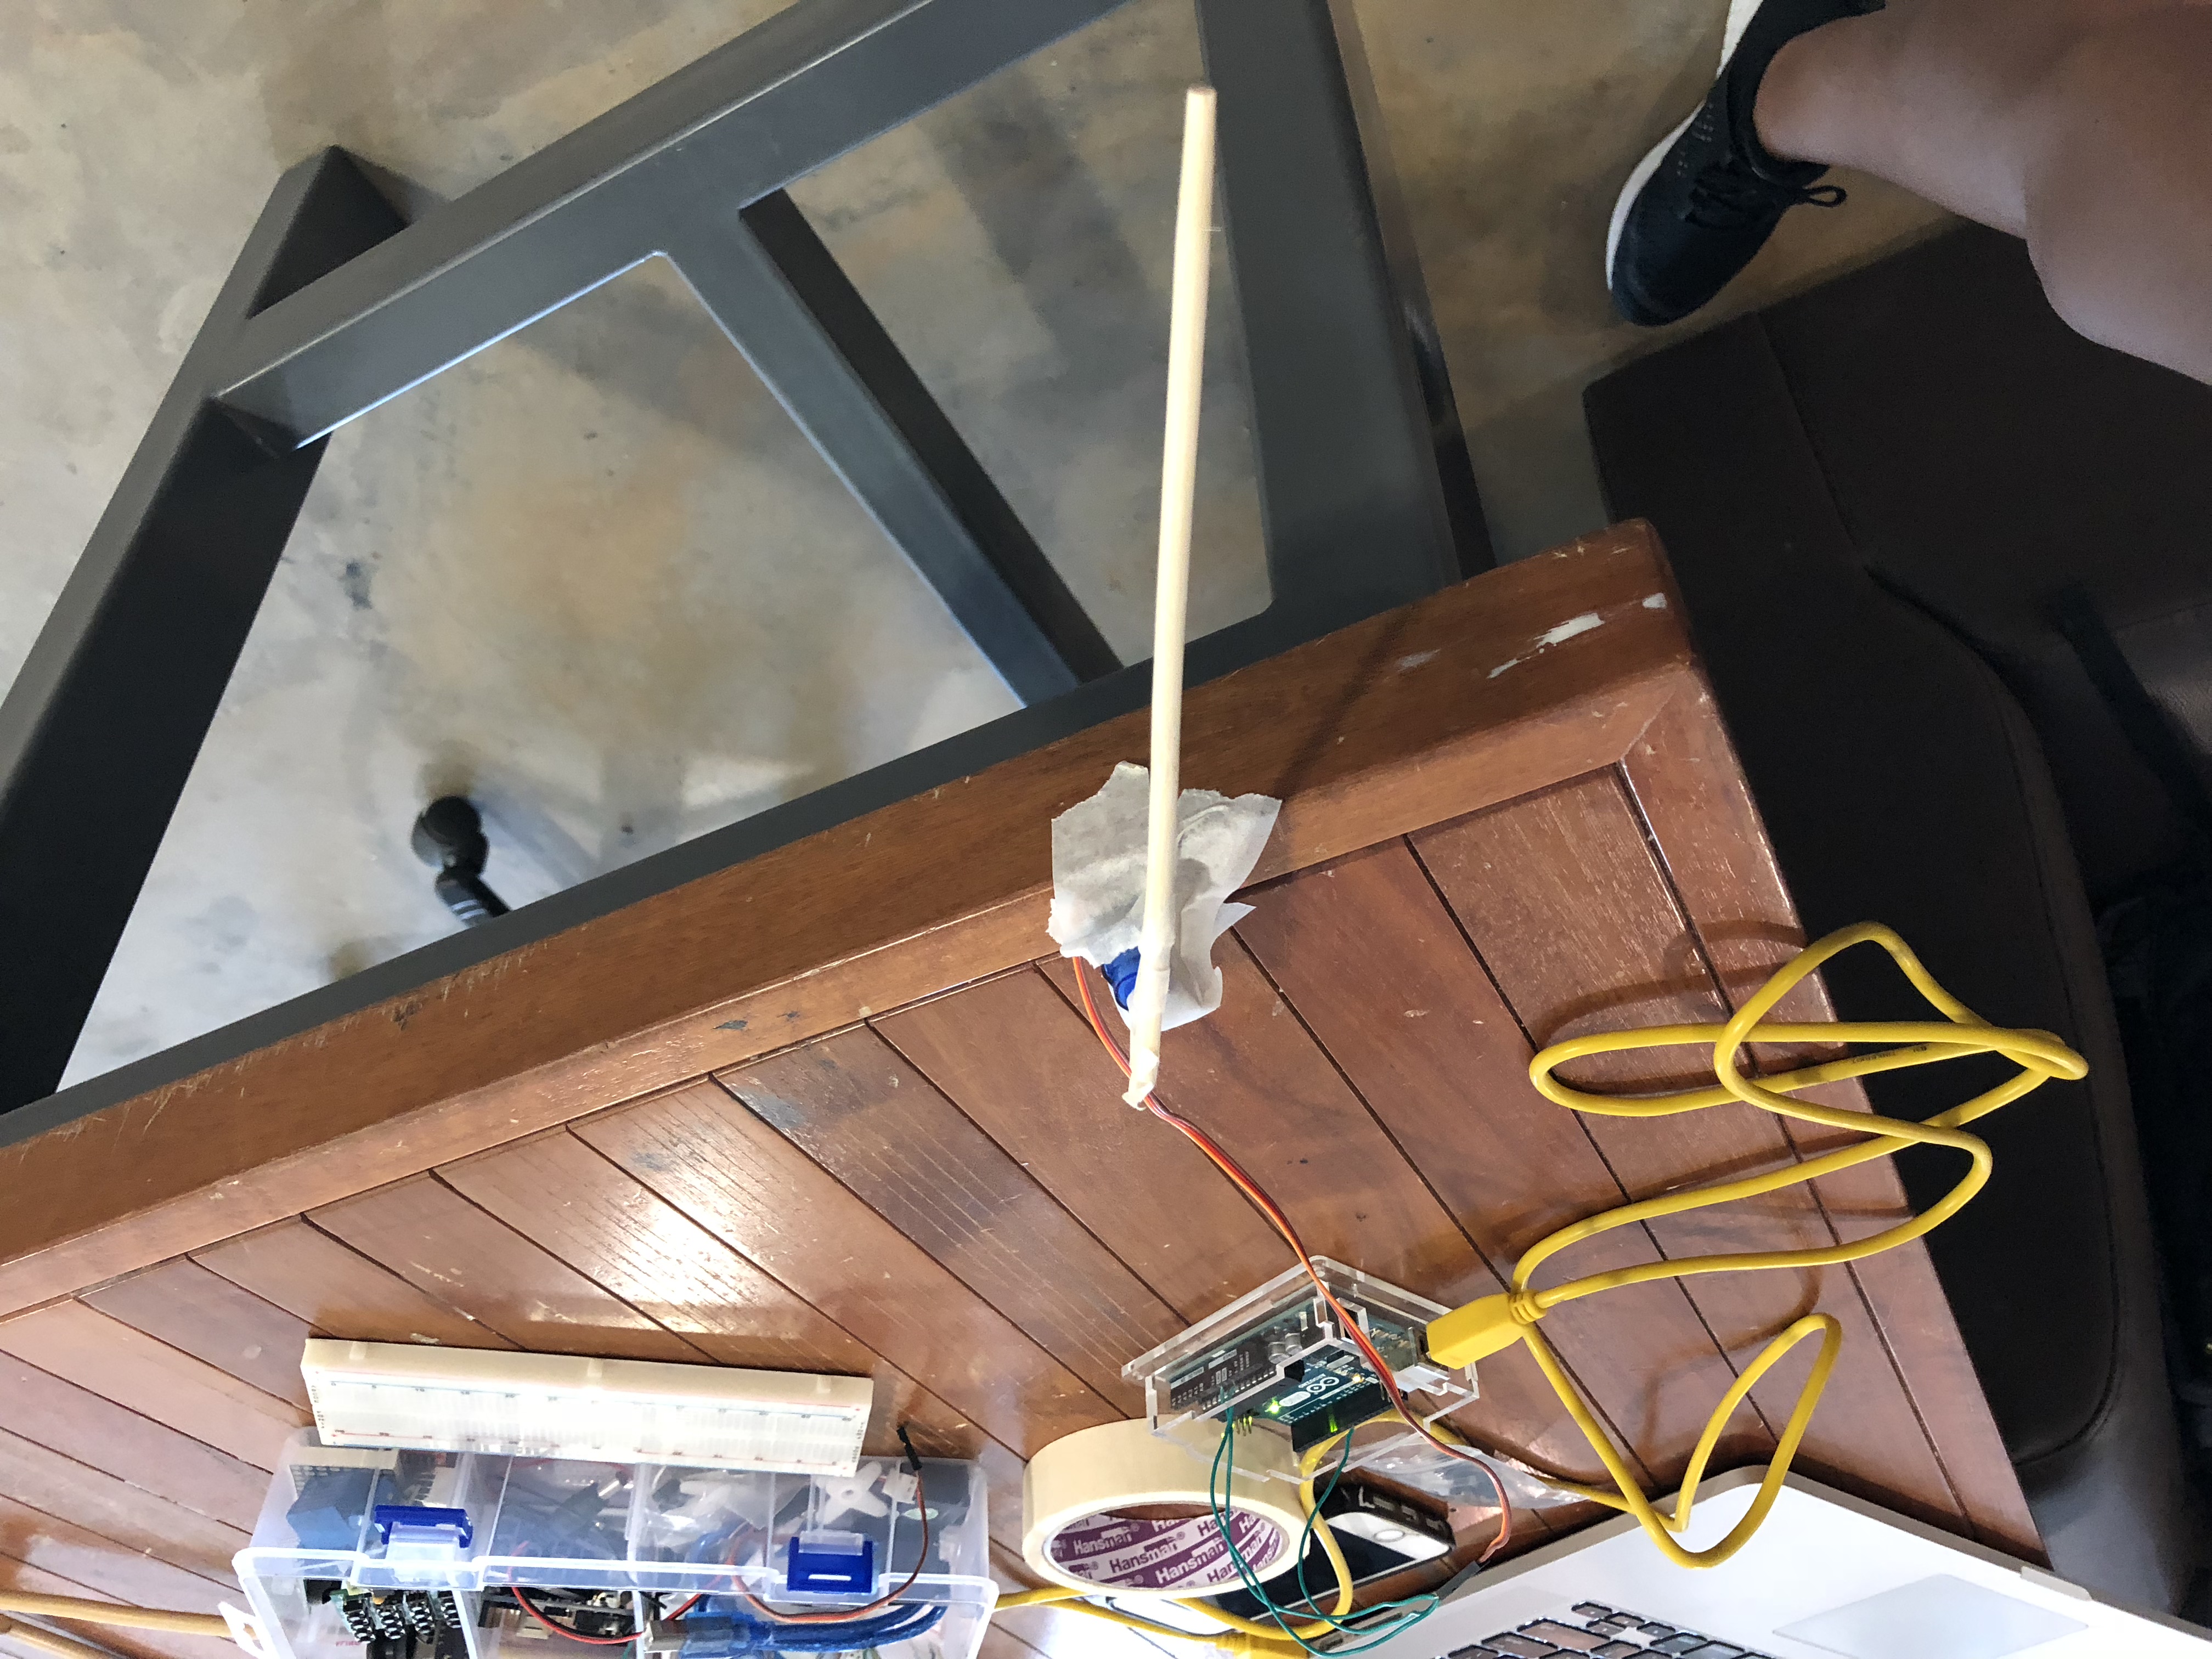
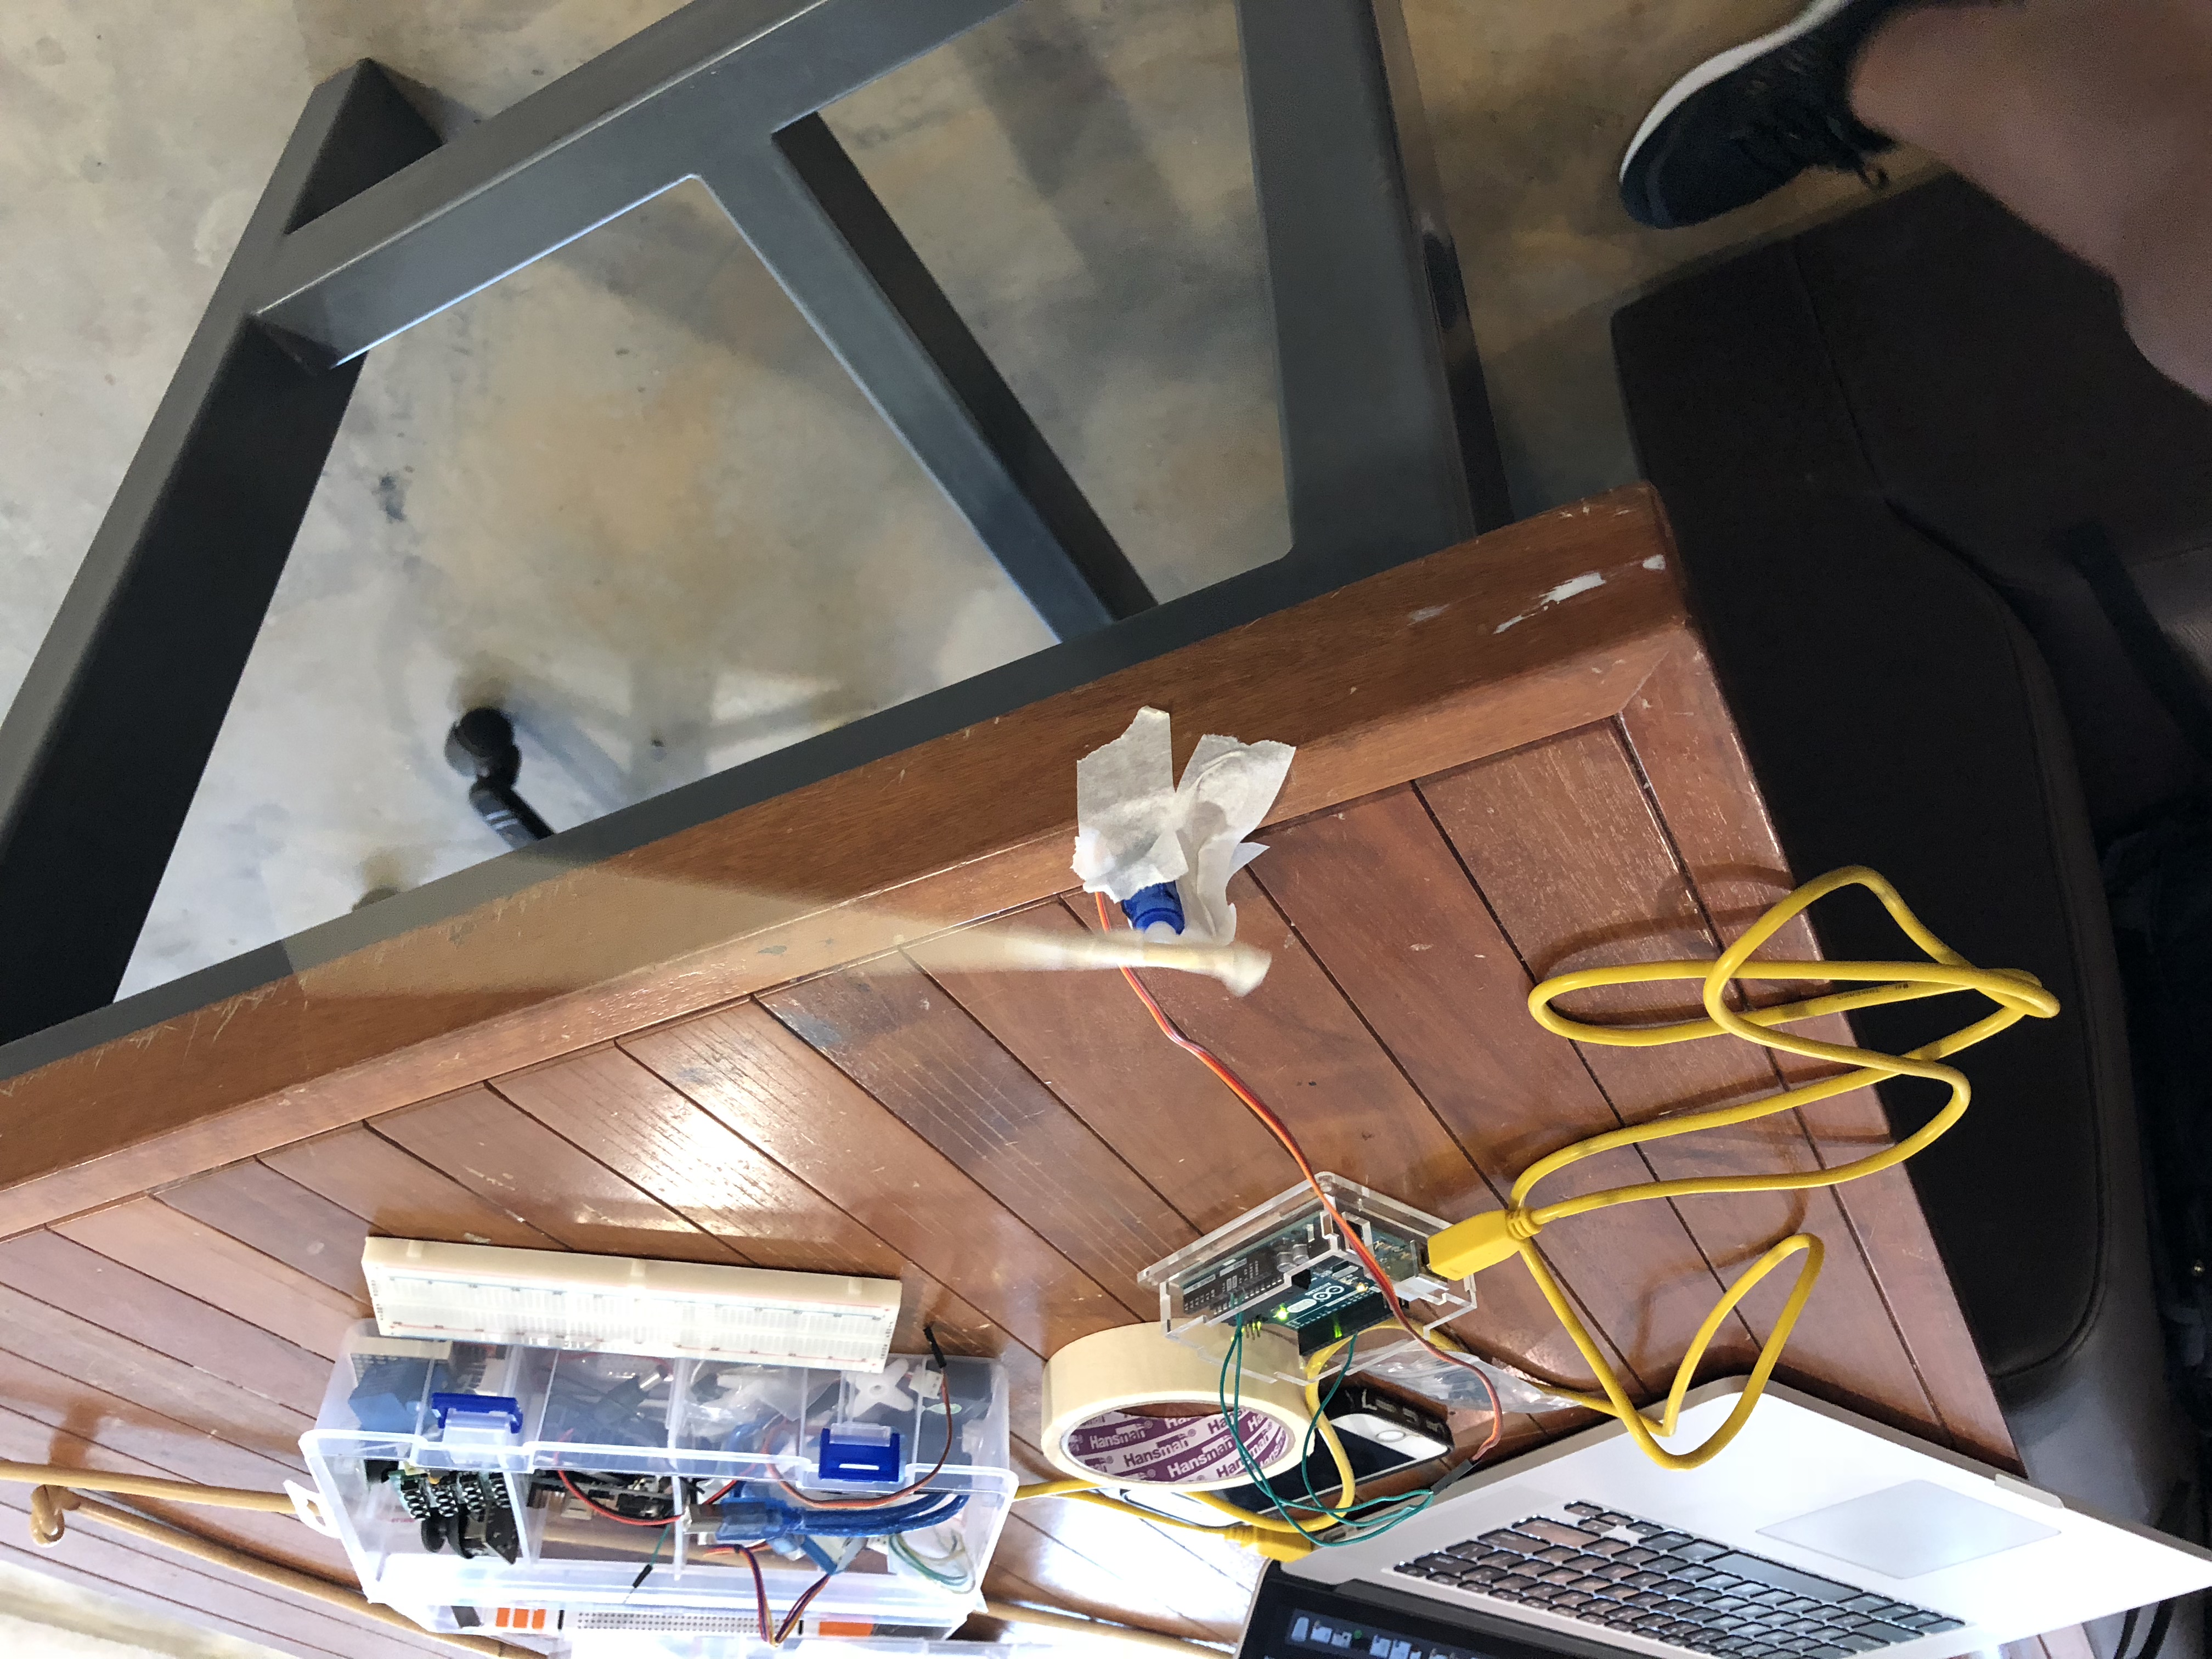

We used foamboard to create a support to attach the cane and the motor’s wing. By building the structure around the cane tightly, and taping the it to the motor, we are able to secure it!


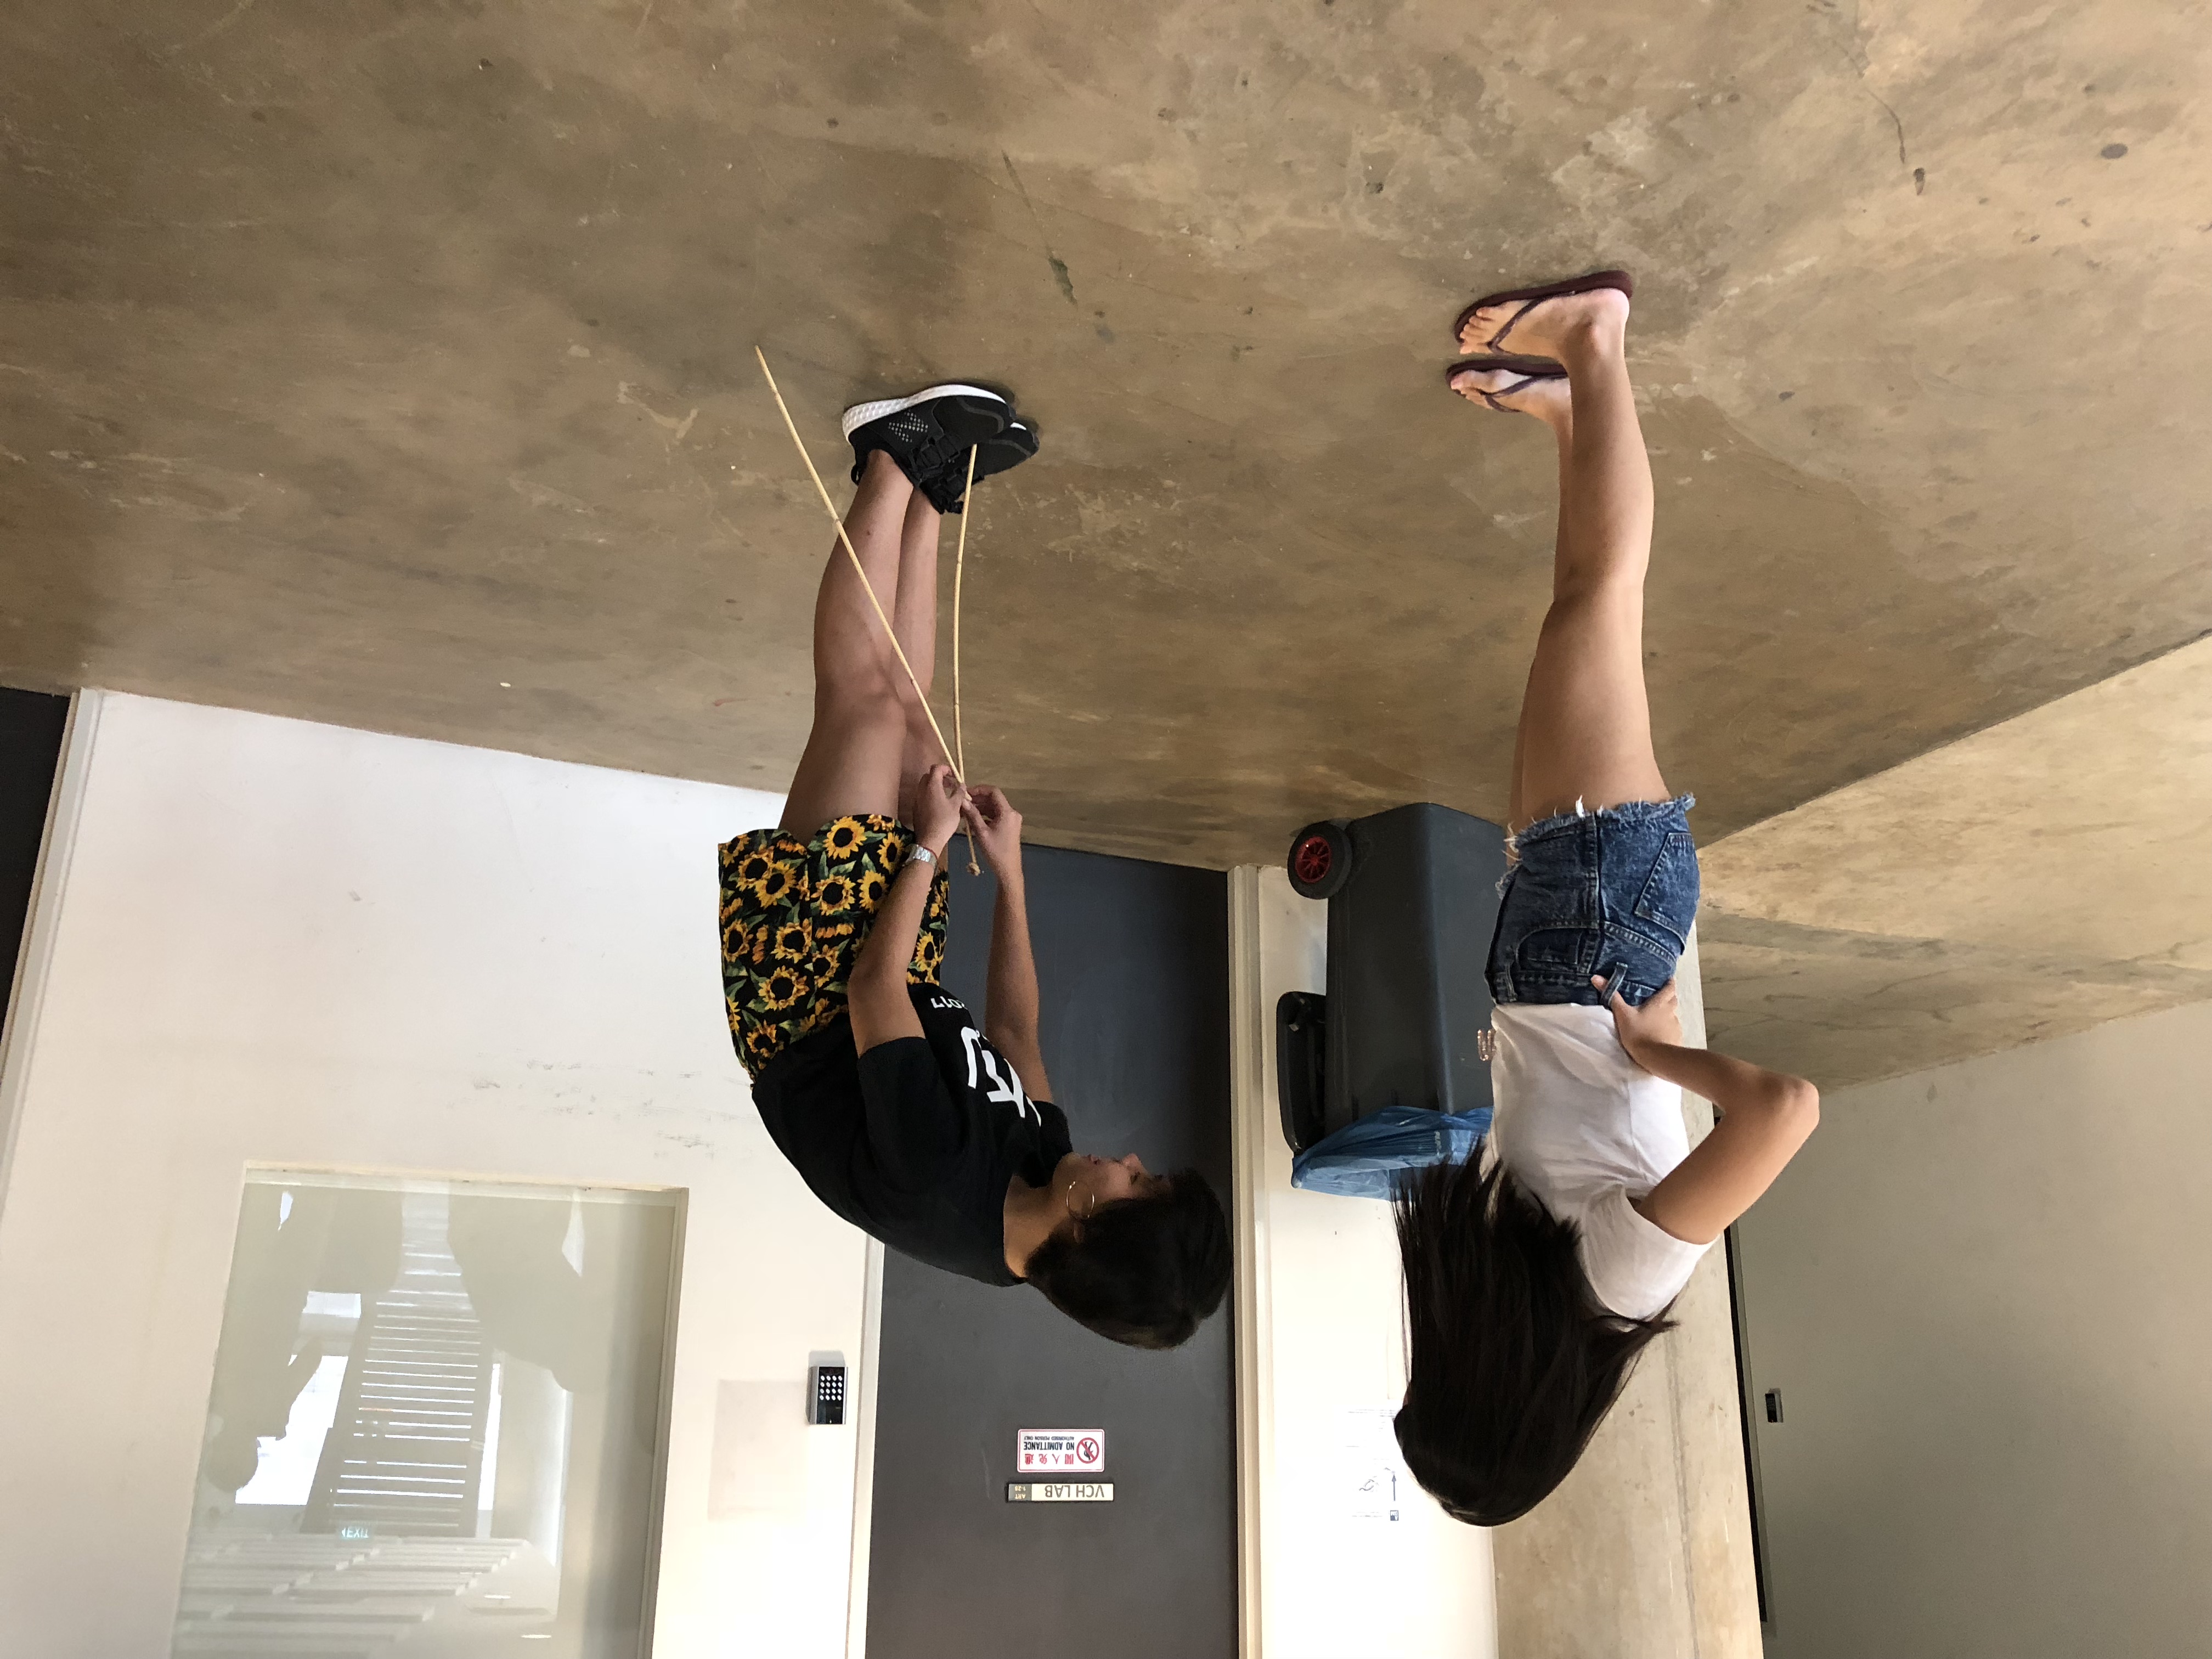
Tish getting hit by our cane hahahaha. But anyhow, here’s a compiled version of our video process for a better understanding on our journey!
Initially, we wanted to have two motors attached to the cane itself, so to create a X & Y-Axis. We tried the joint mechanism that LPD taught us but it wasn’t as secured 🙁 However, we will still continue working on the mechanism and try to experiment it with blobs!
Blobs detection are tough D: If anyone has figured it out, please teach Tish and I plssssss
M I L E S T O N E S :
Week 10 : Cane #1 Mechanism, & Blob System
Week 11 : Cane #2 Mechanism, Motion Region
Linking Phidget/Arduino to Max MSP
Week 12 : Prototype II Due
Week 13 : Cane #3 (Pinanta)
Week 14 : Final Presentation