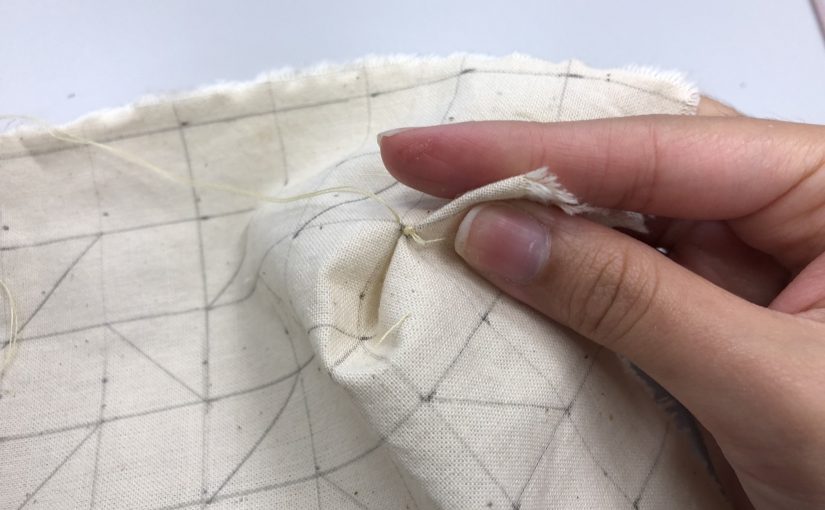
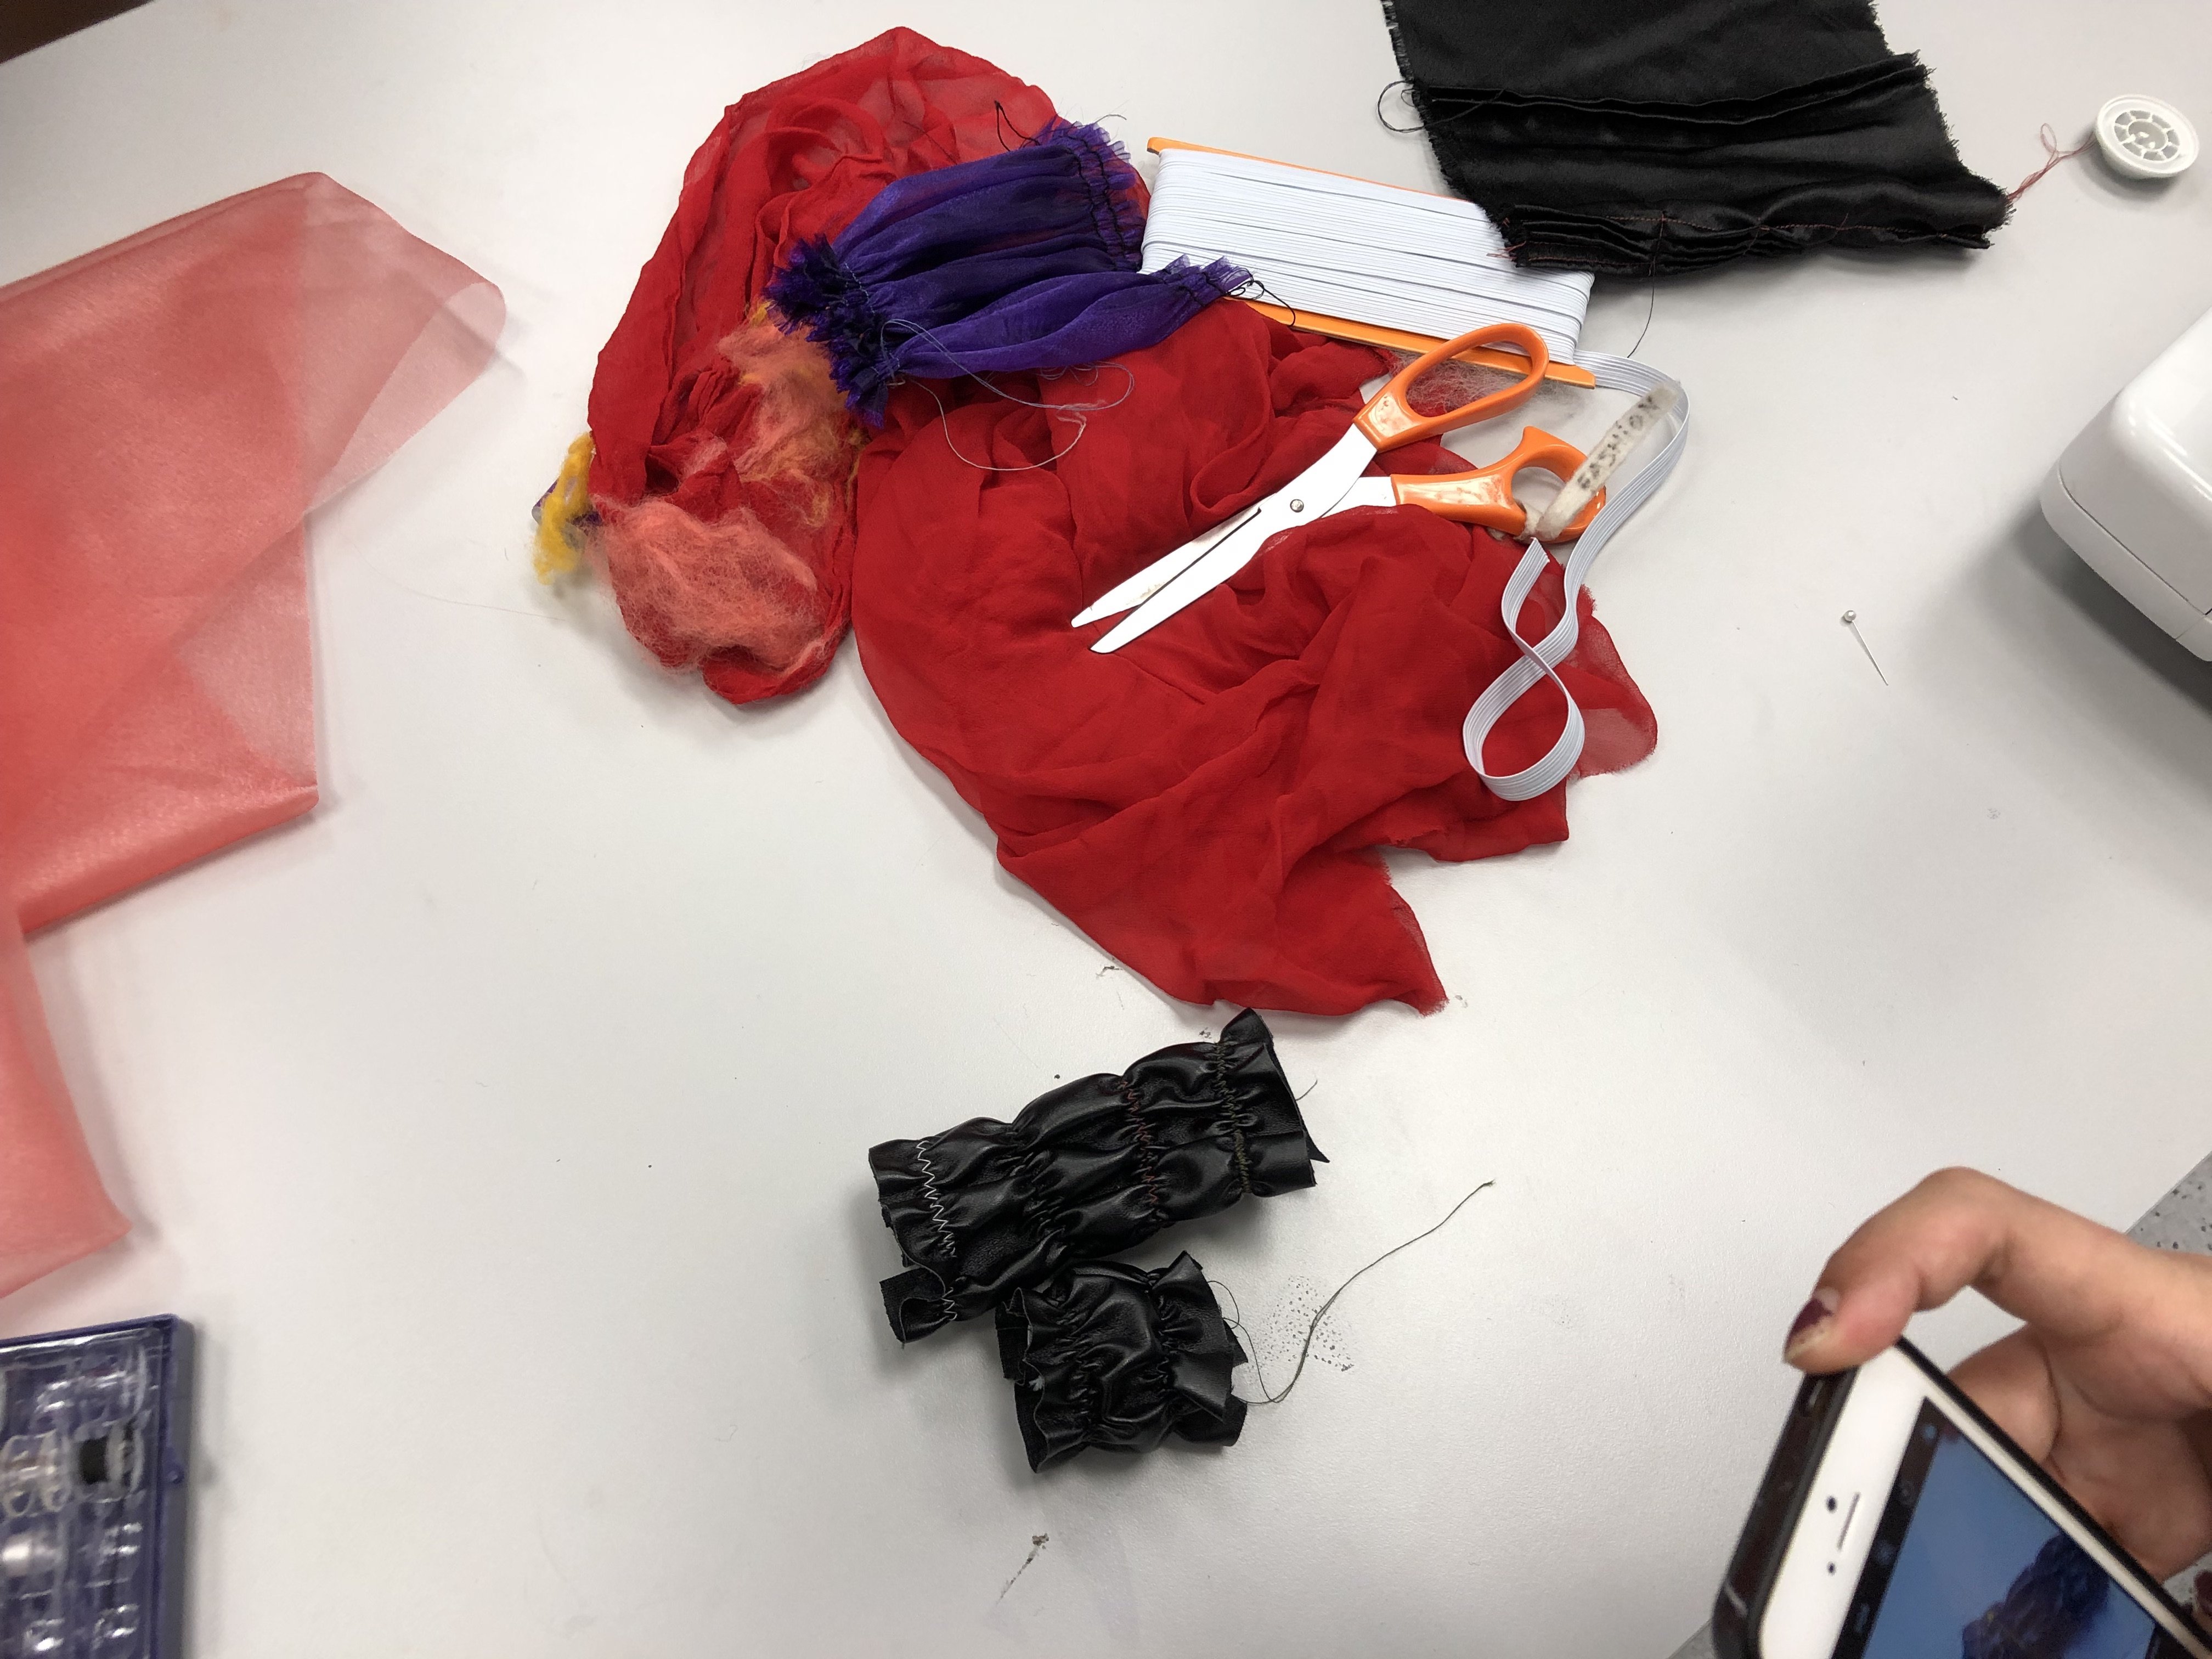
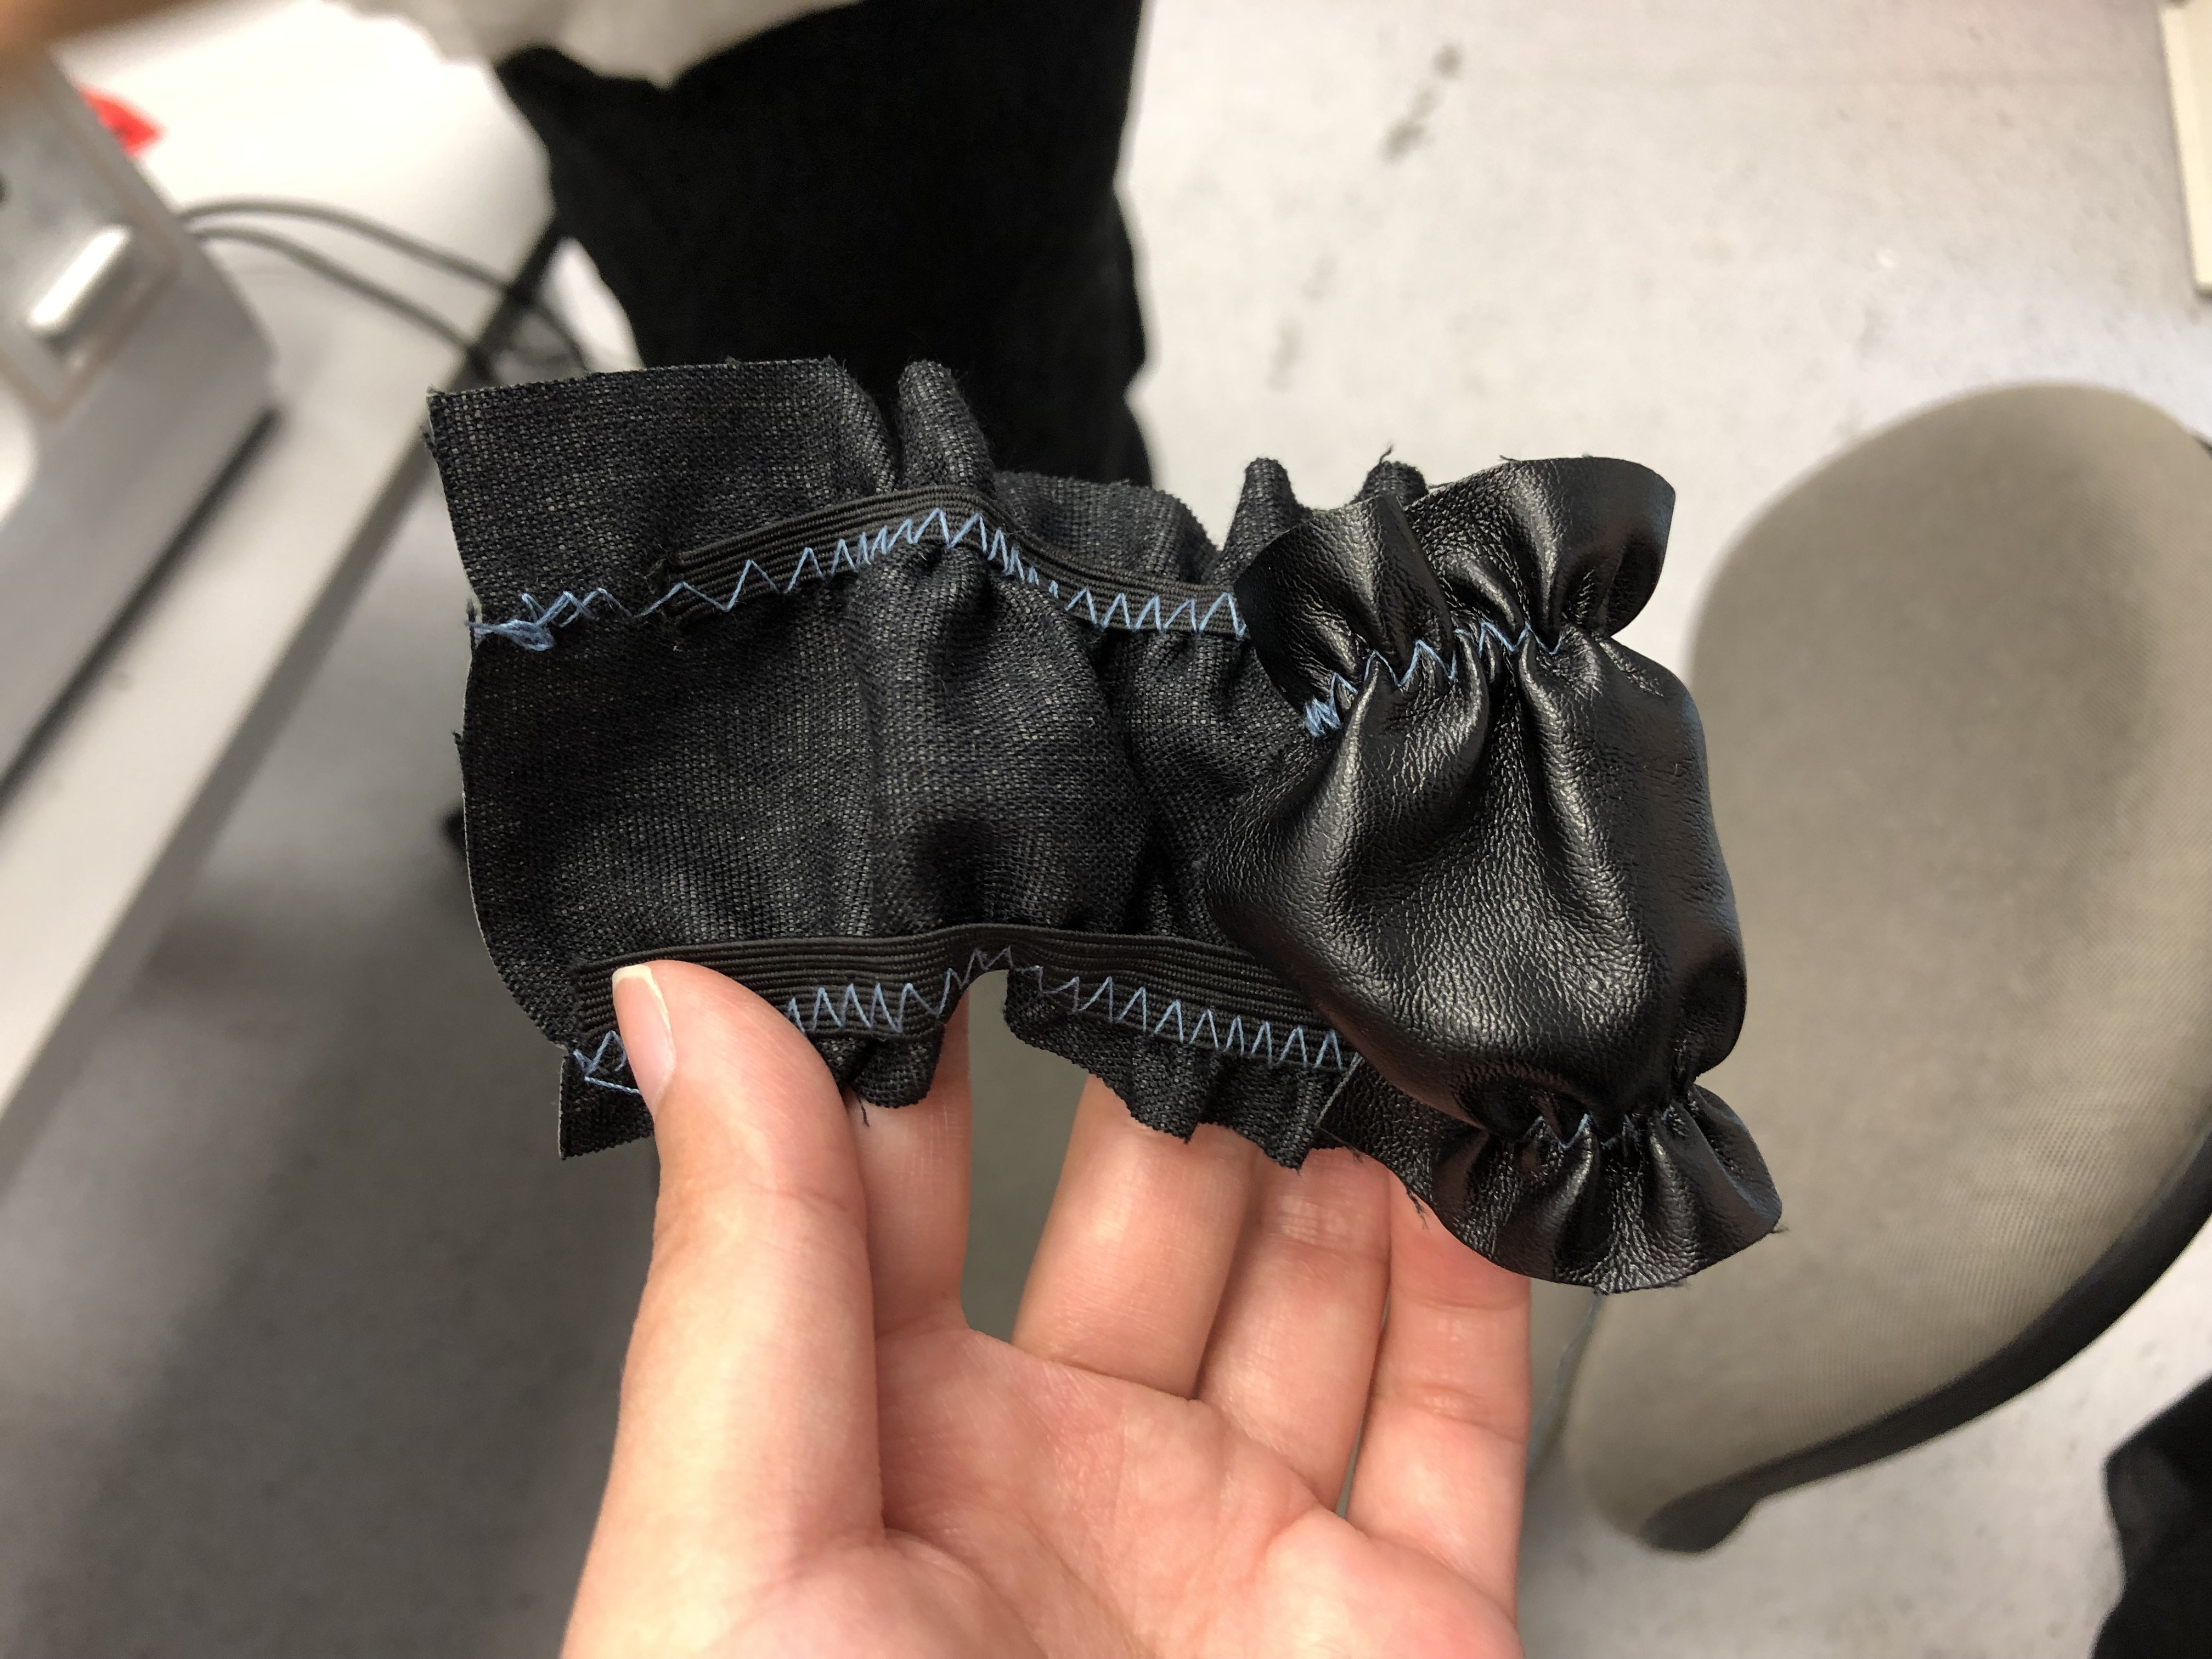
For this lesson, we will be playing with fabric manipulation and elastics. Firstly, Galina showed us on sewing with elastics.
When sewing with elastics, always put the stitch length to the longest that it will go (basting stitch). By increasing the stitch length, it allows a bigger chunk of elastic for each stitch below, giving the fabric more stretch and pull when it’s done.
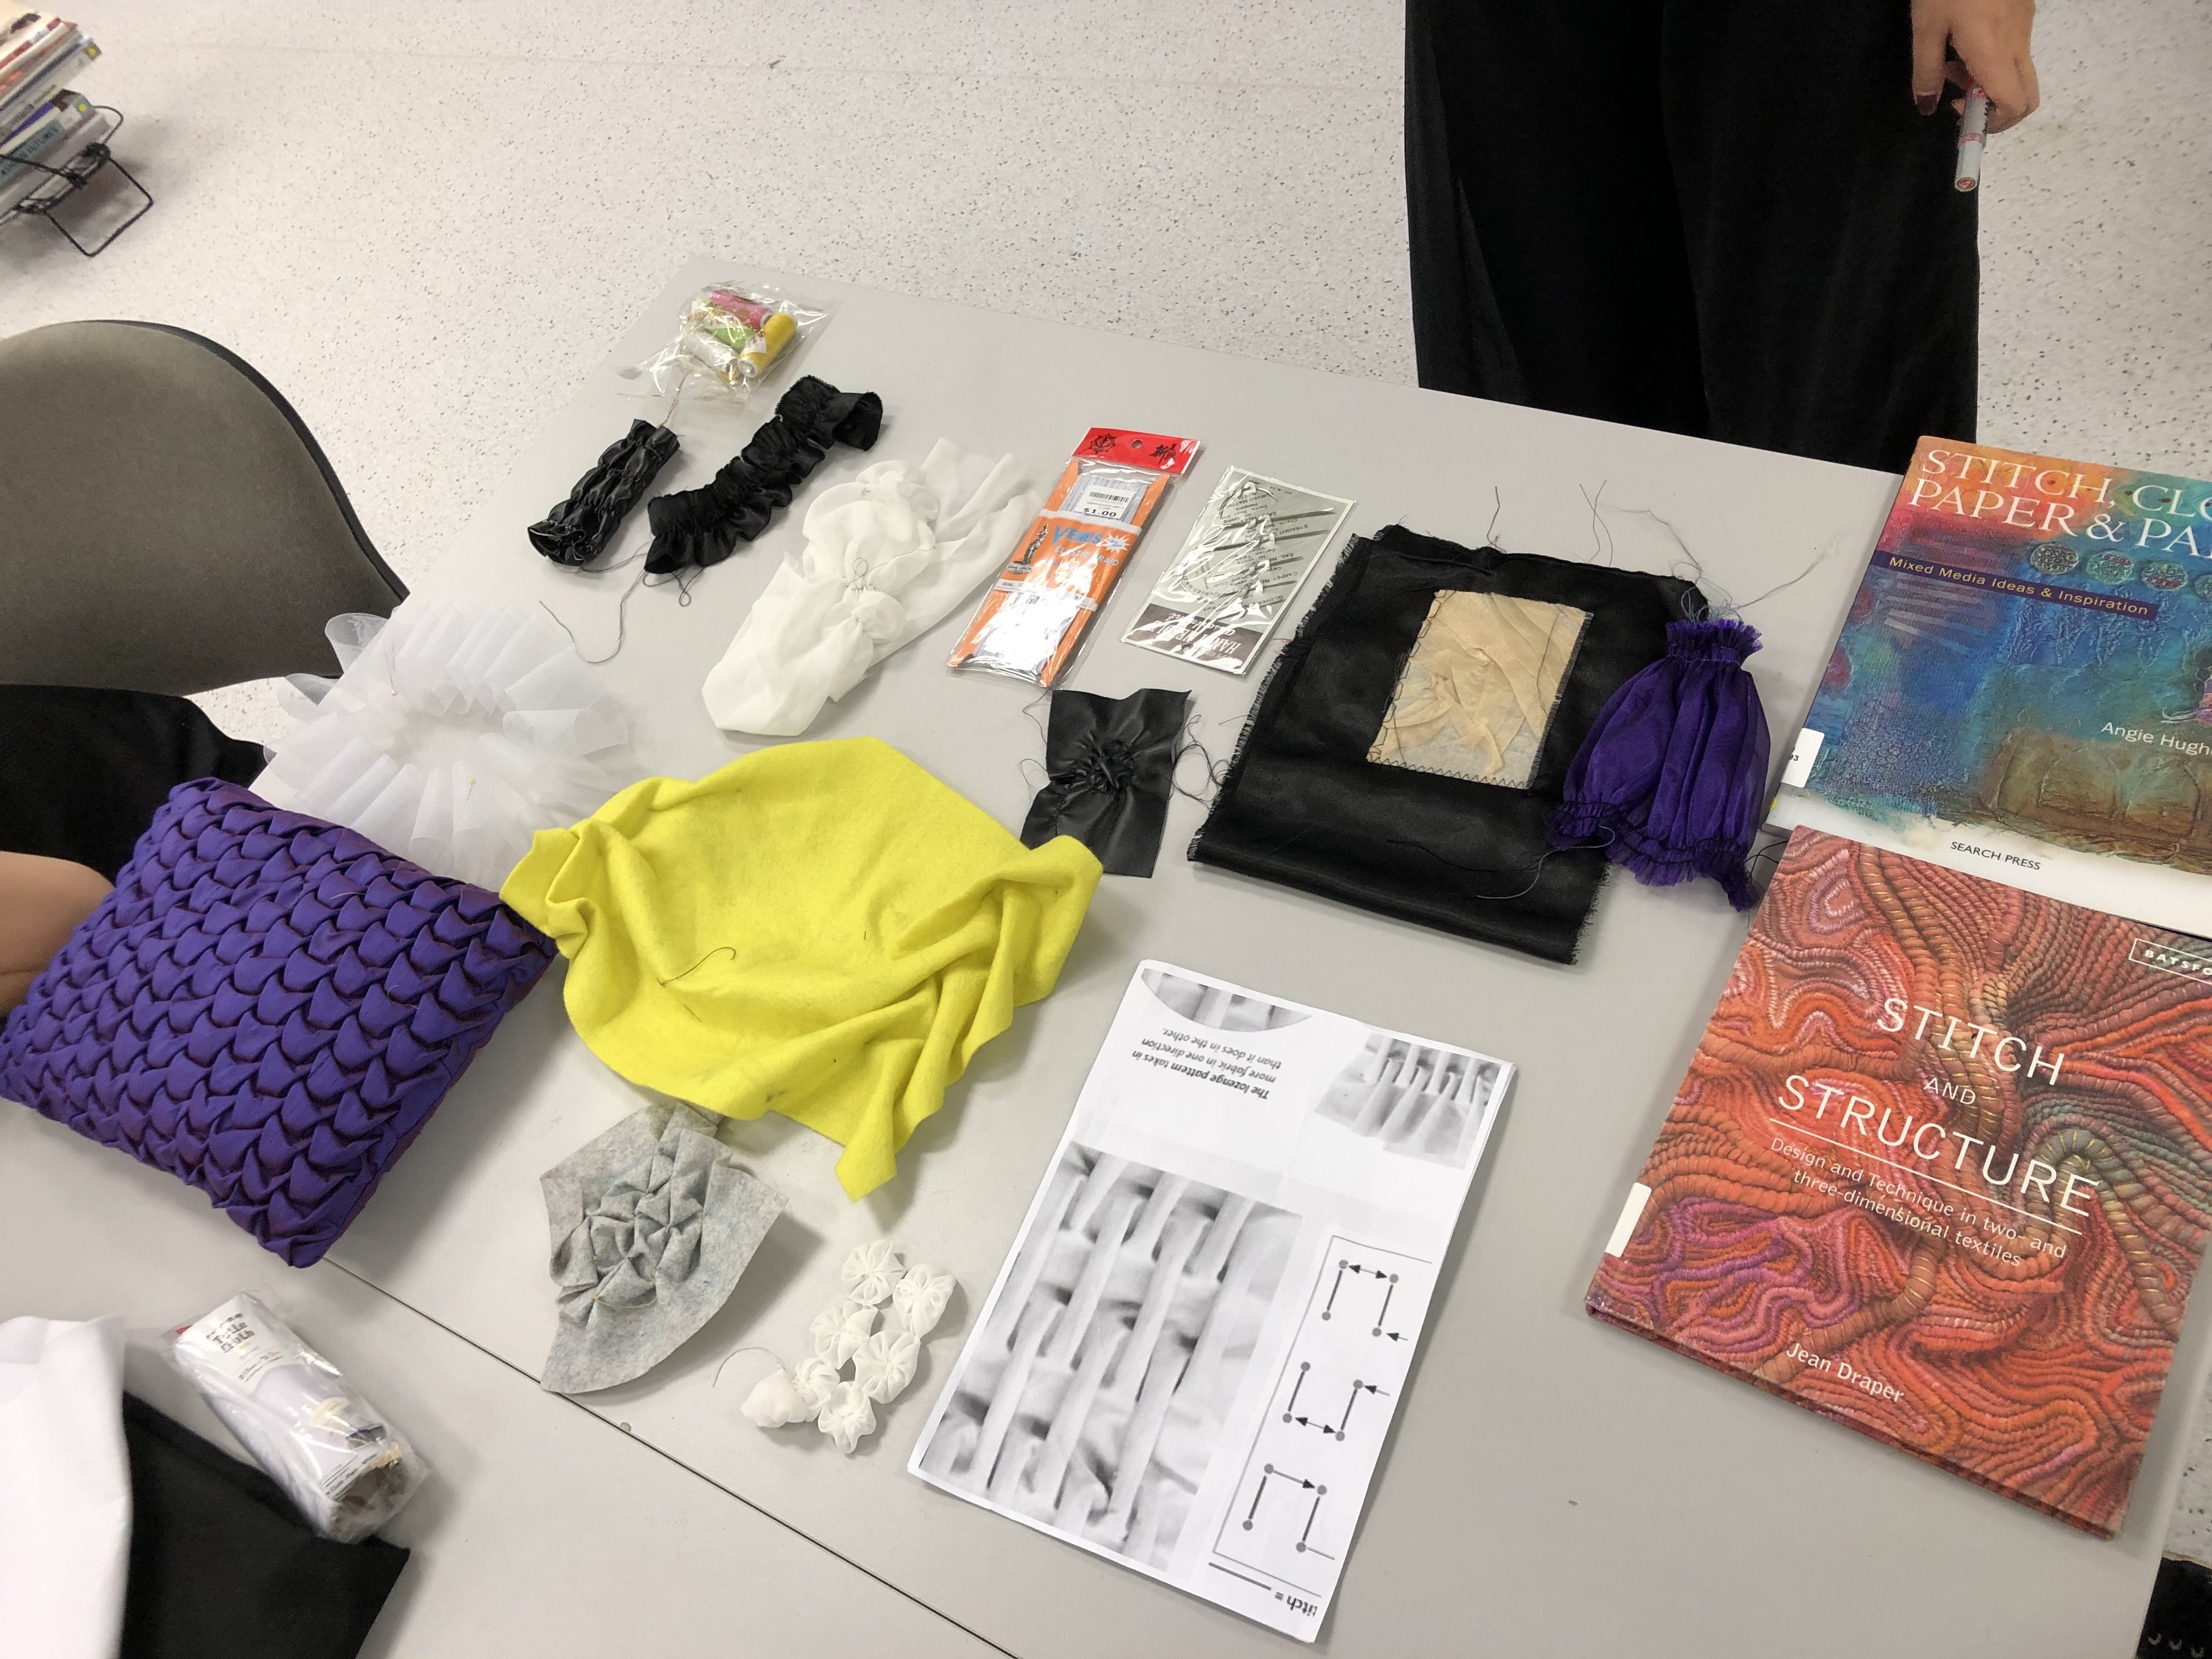
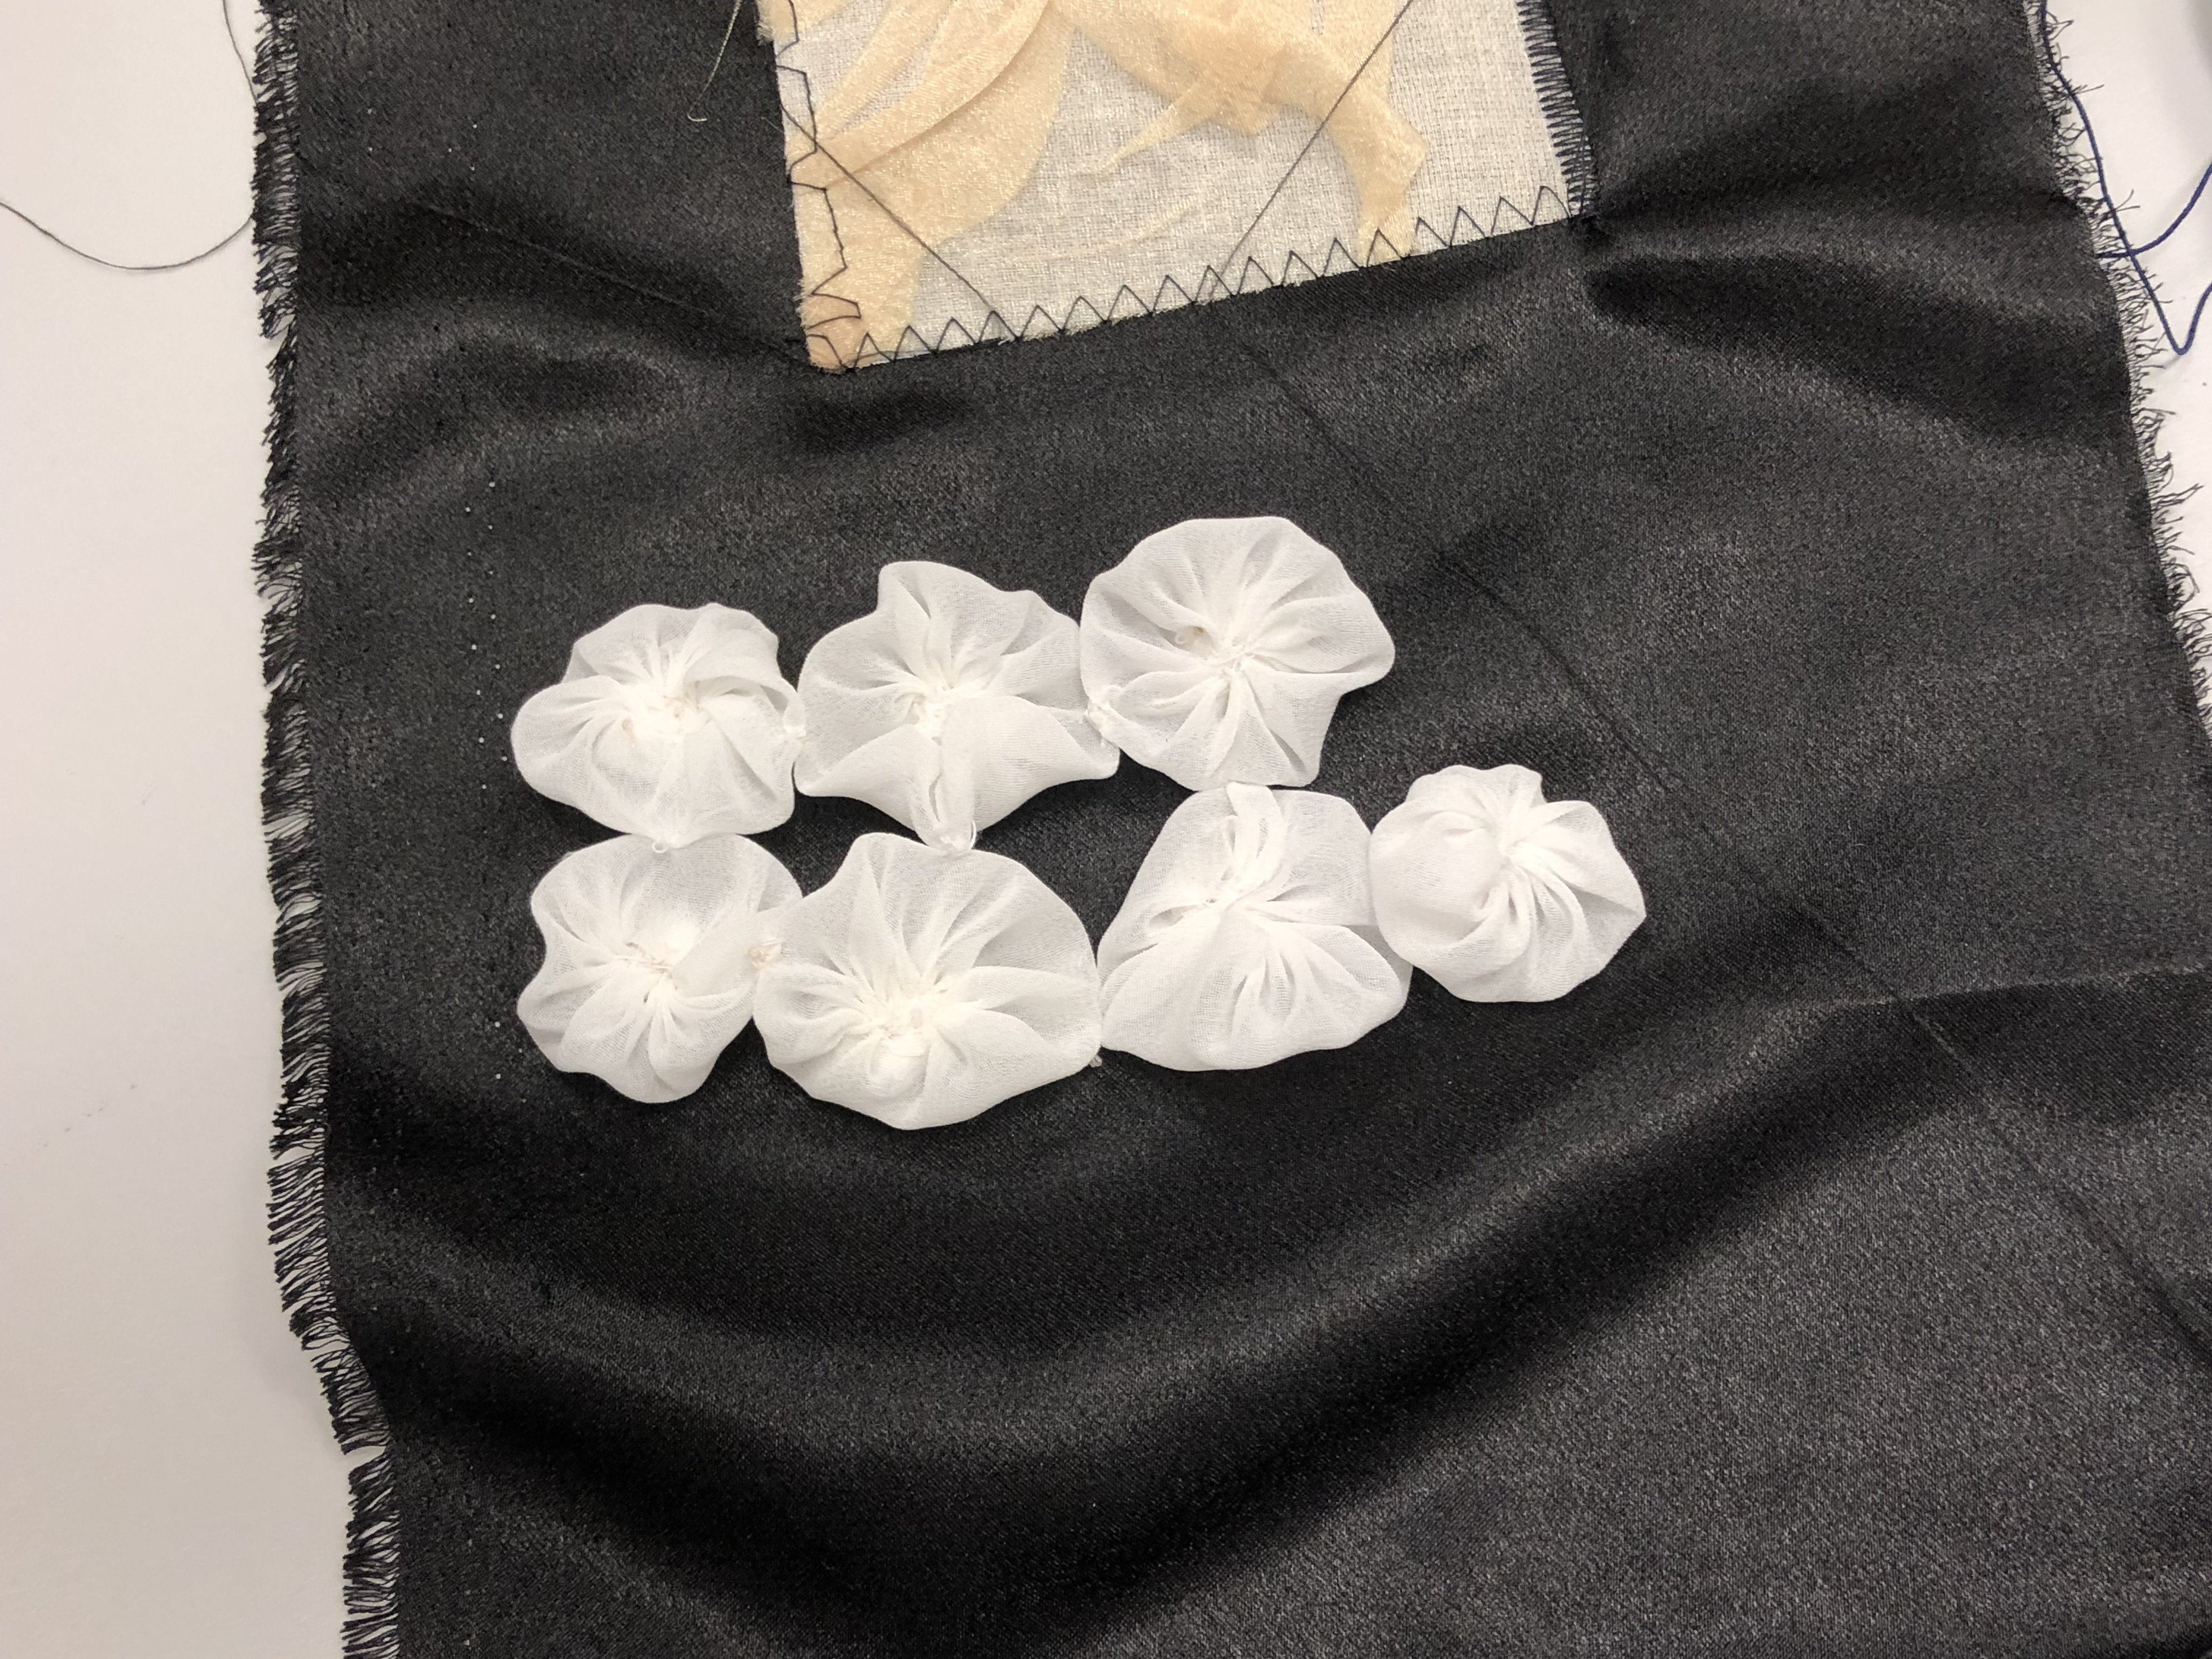
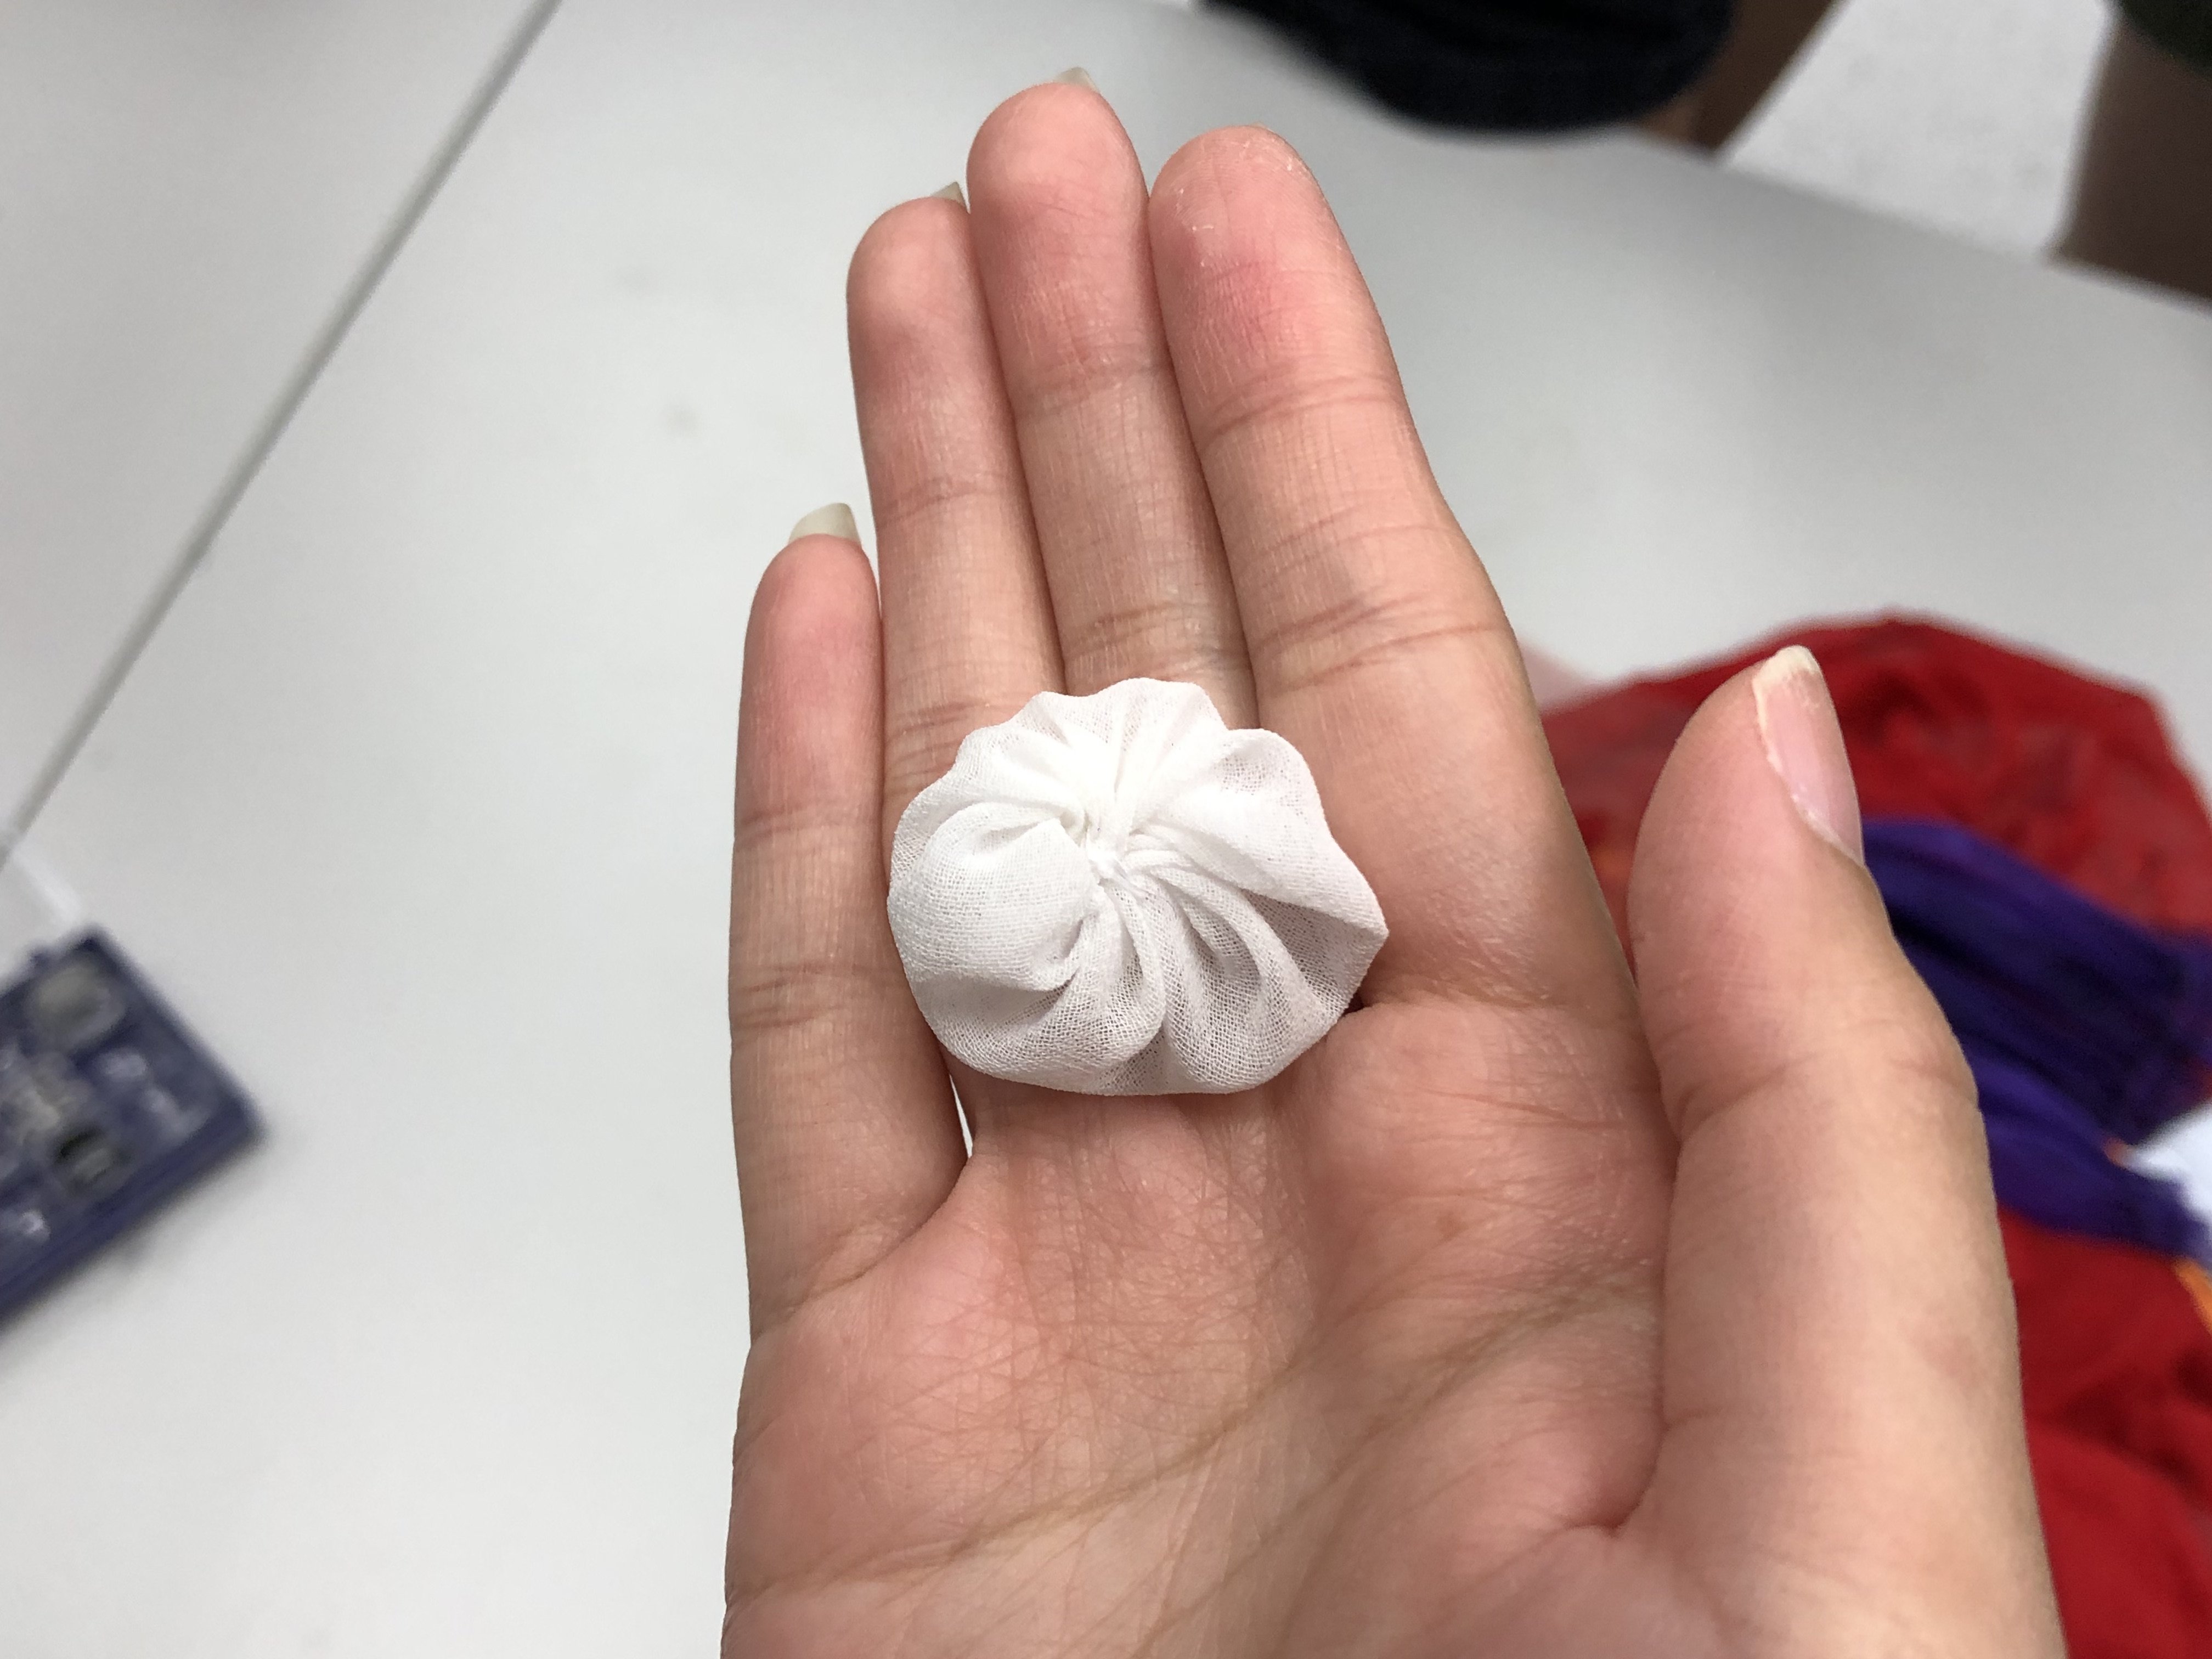
Here are some examples that Galina has done:
Some hand stitched stuff that looks like little dumplings.
It is important to know the full stretching capacity of the elastic so that it does not snap the stitches if it’s “overstretched”. When sewing, pull the elastic to the maximum and from there, you’ll know the amount of cloth you’ll need. This will allow sufficient fabric for the stretch of the elastic, making sure it’s not too loose or too tight.
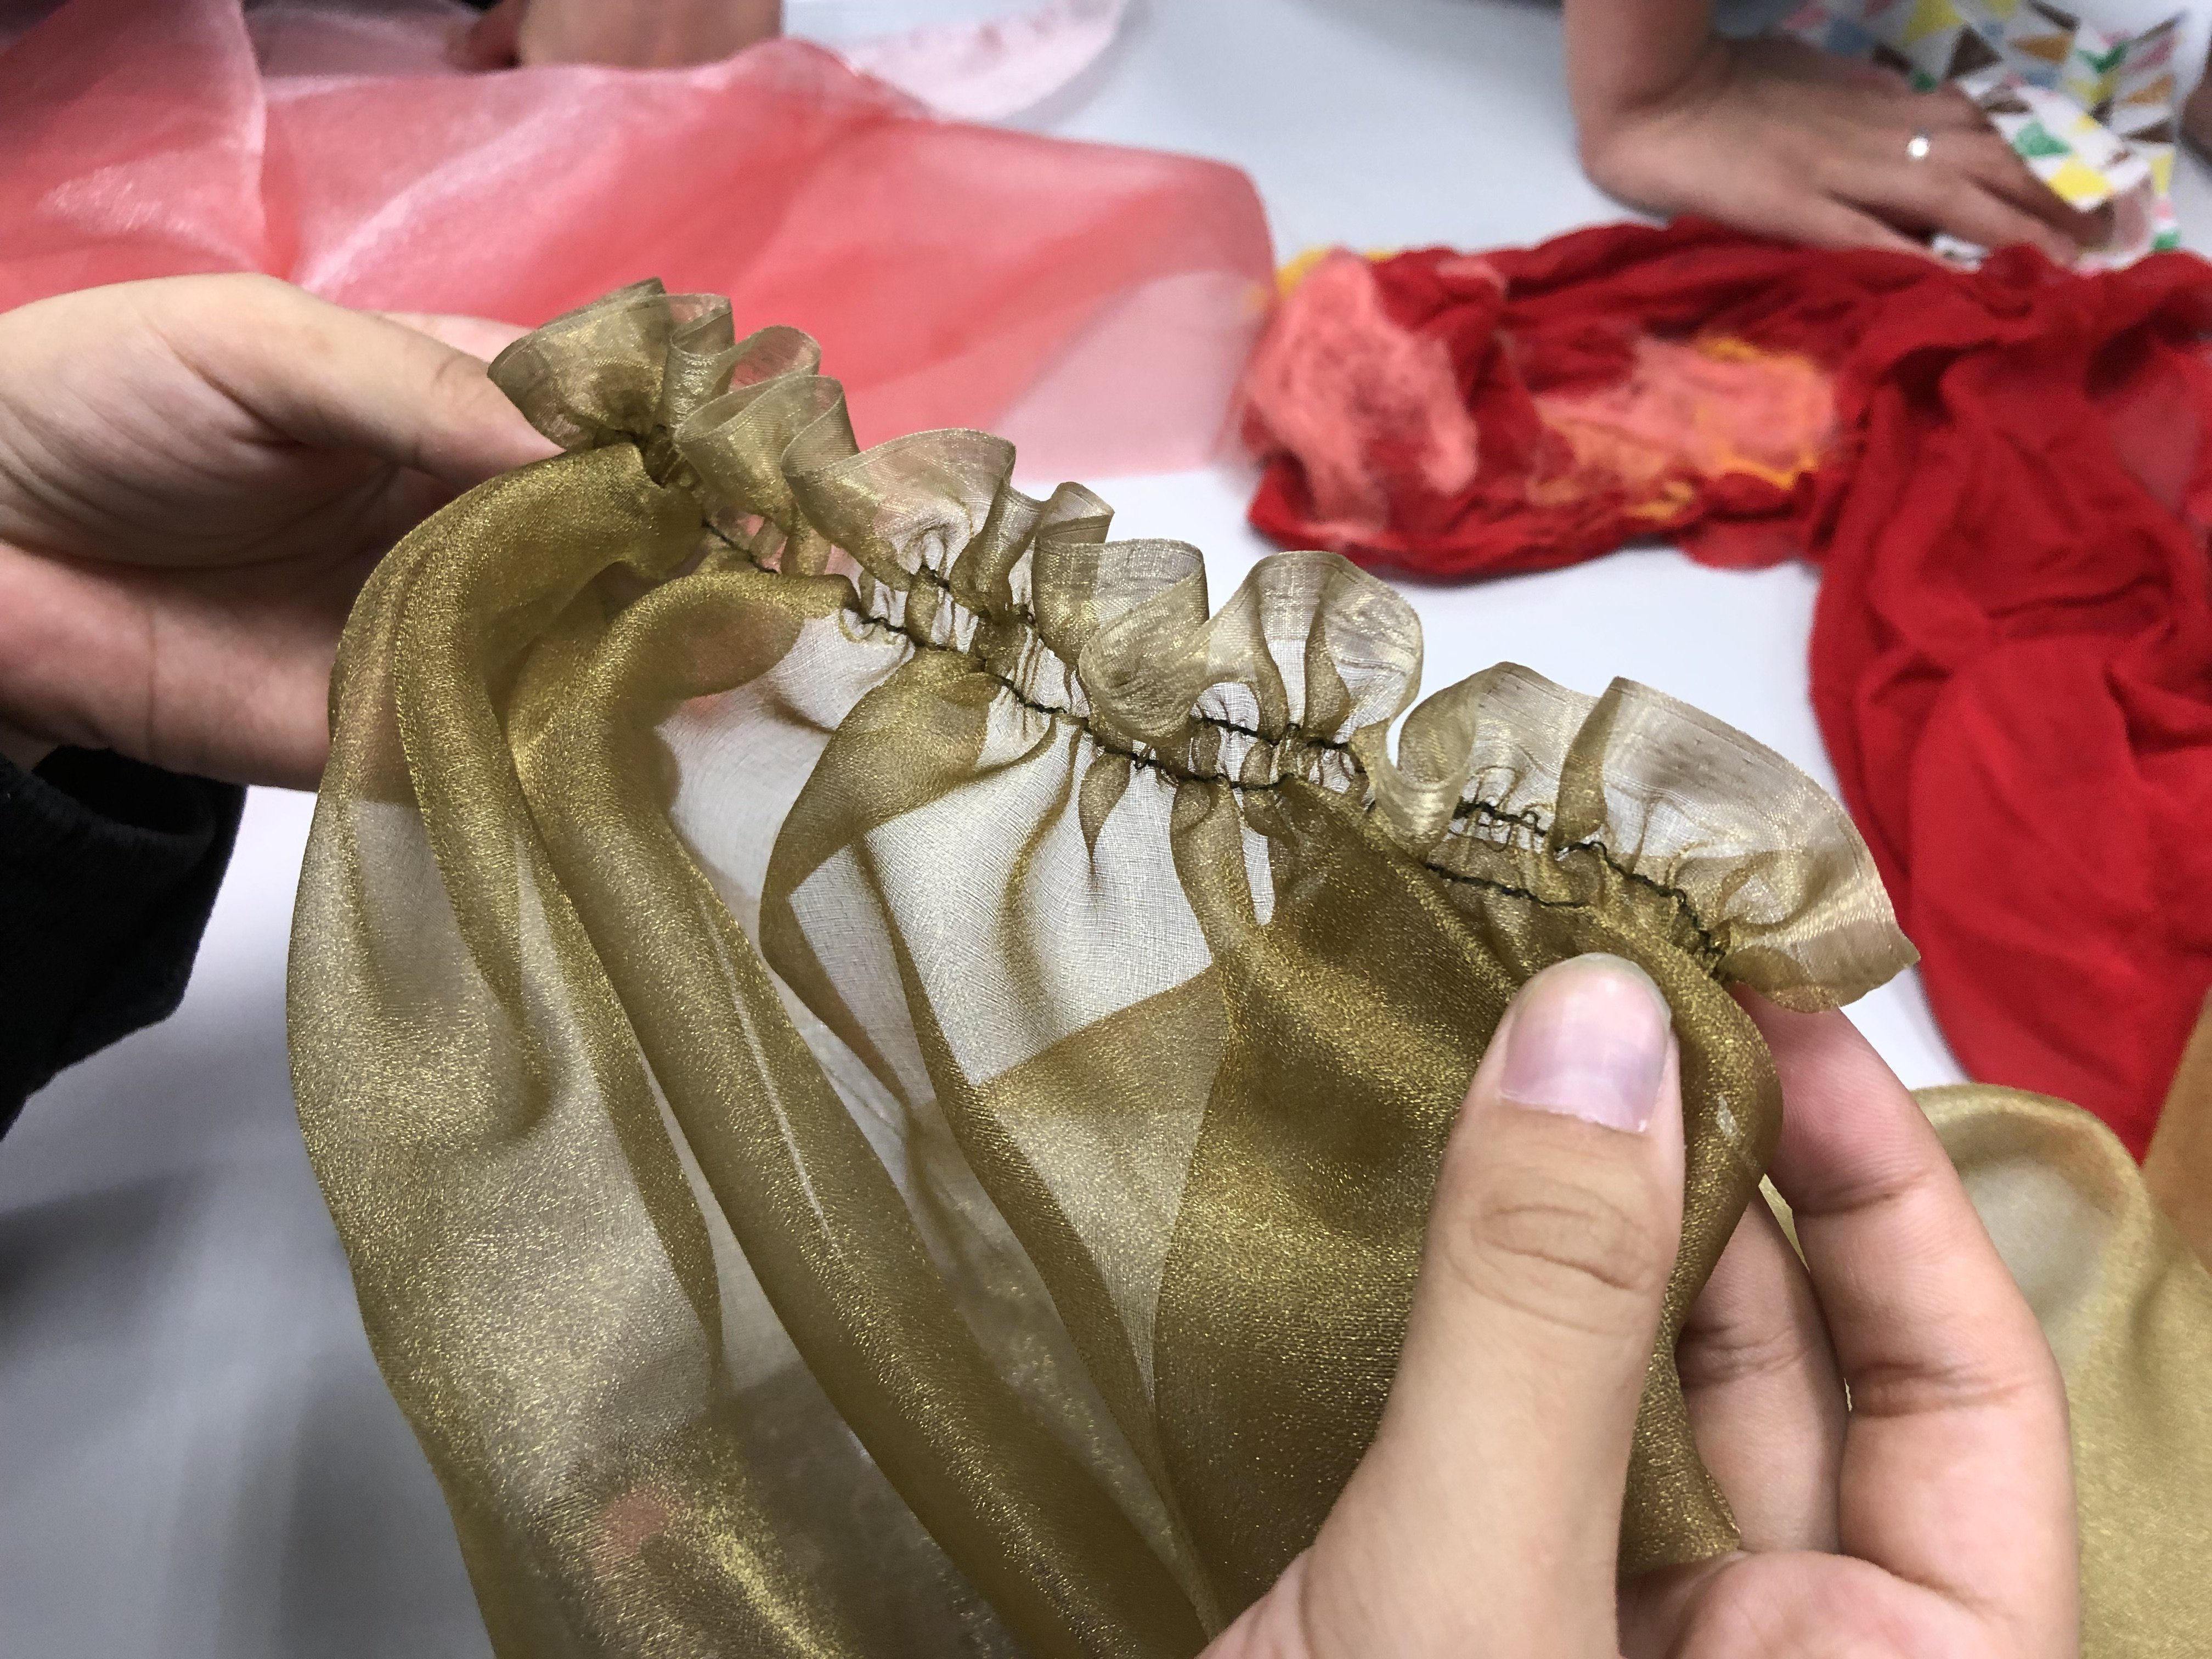
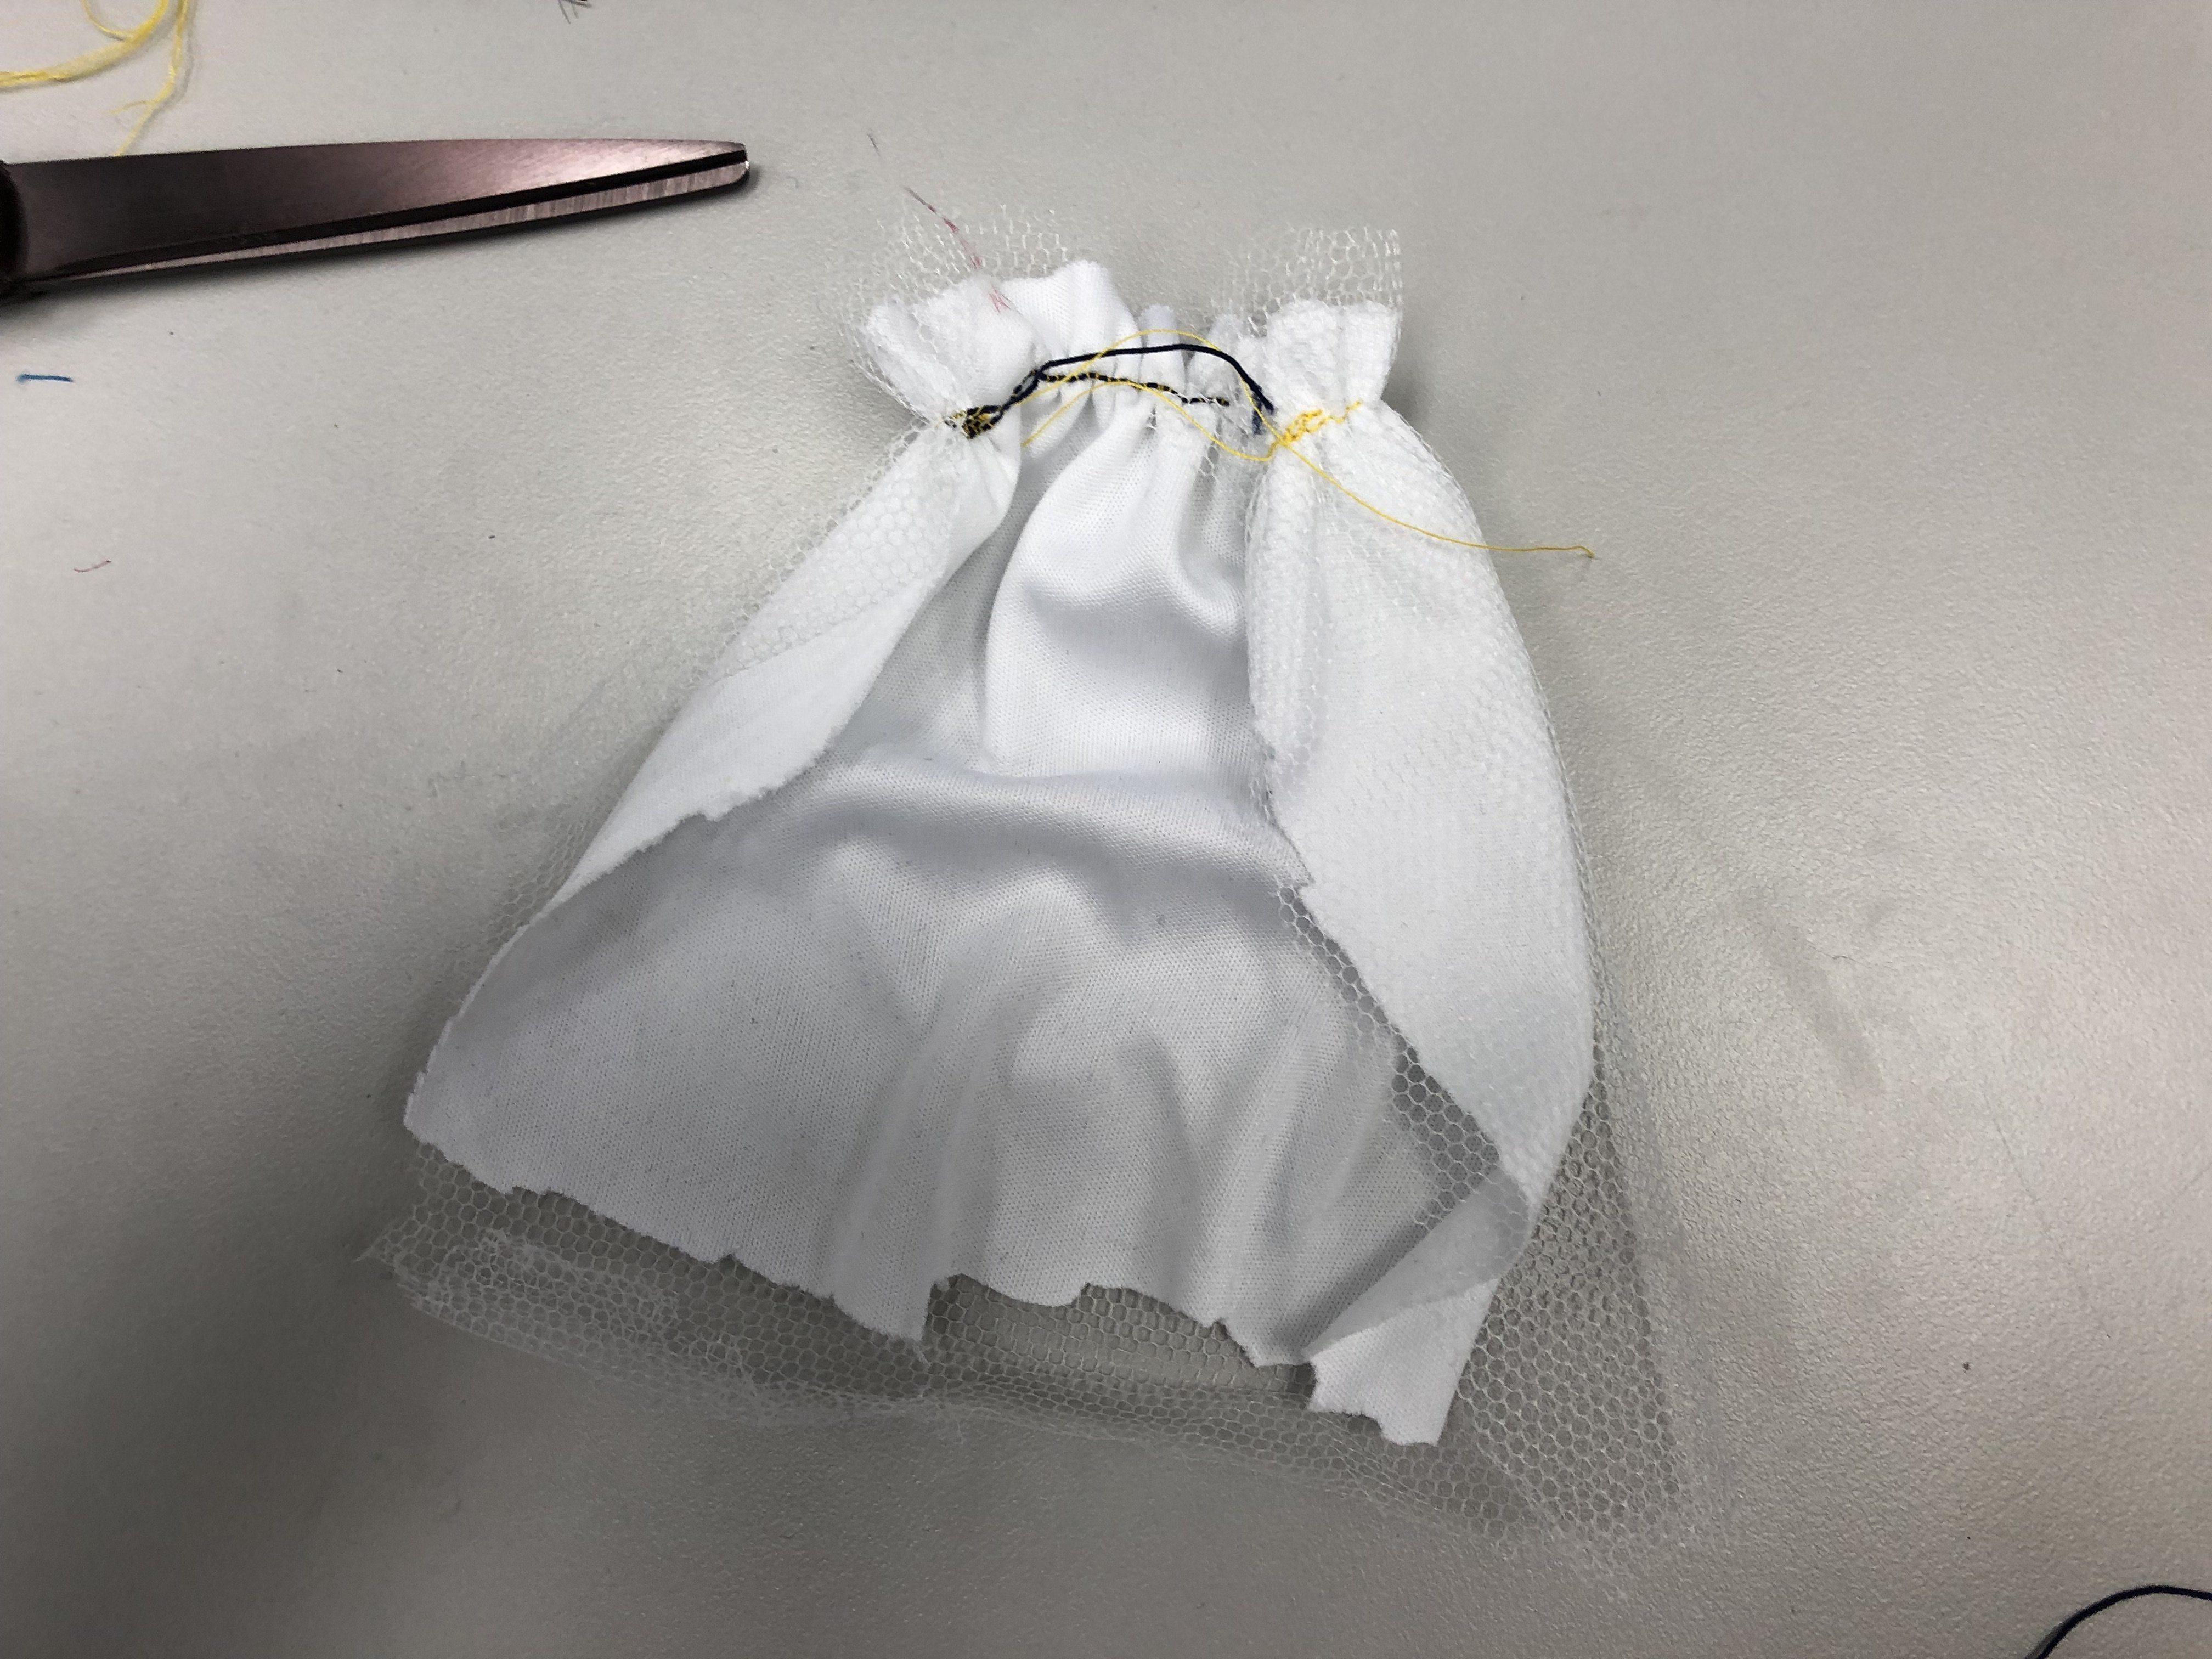
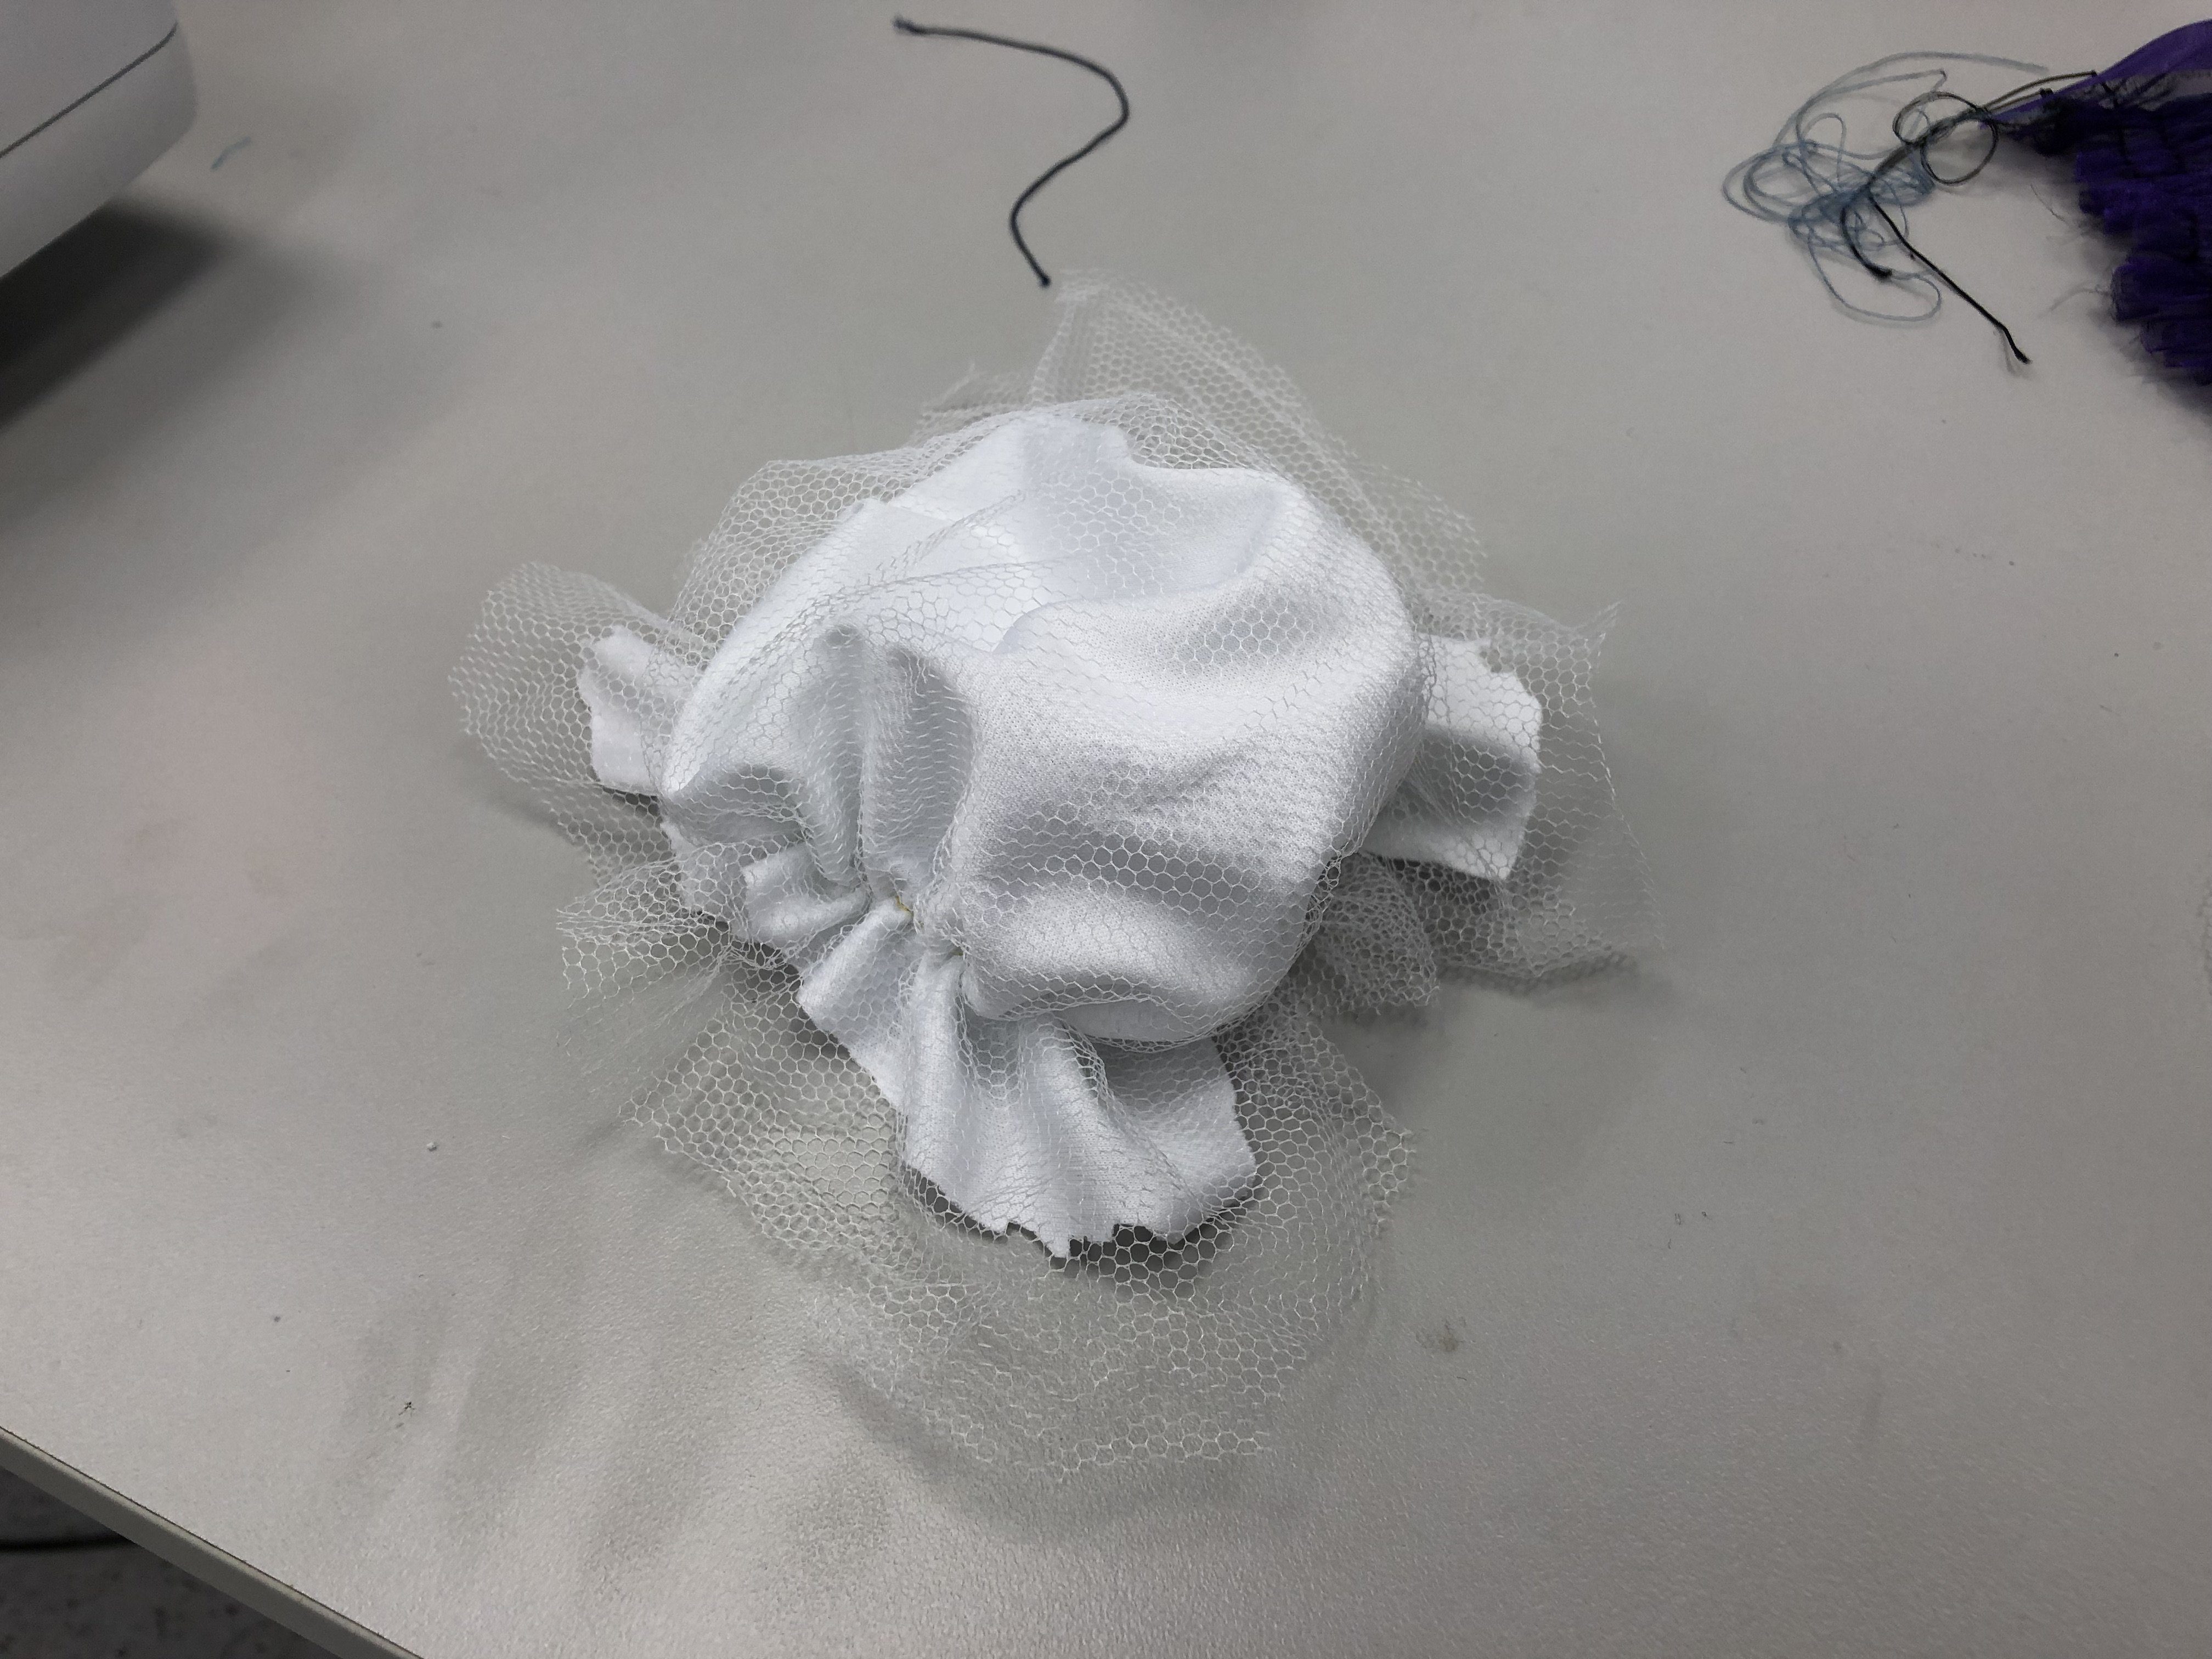
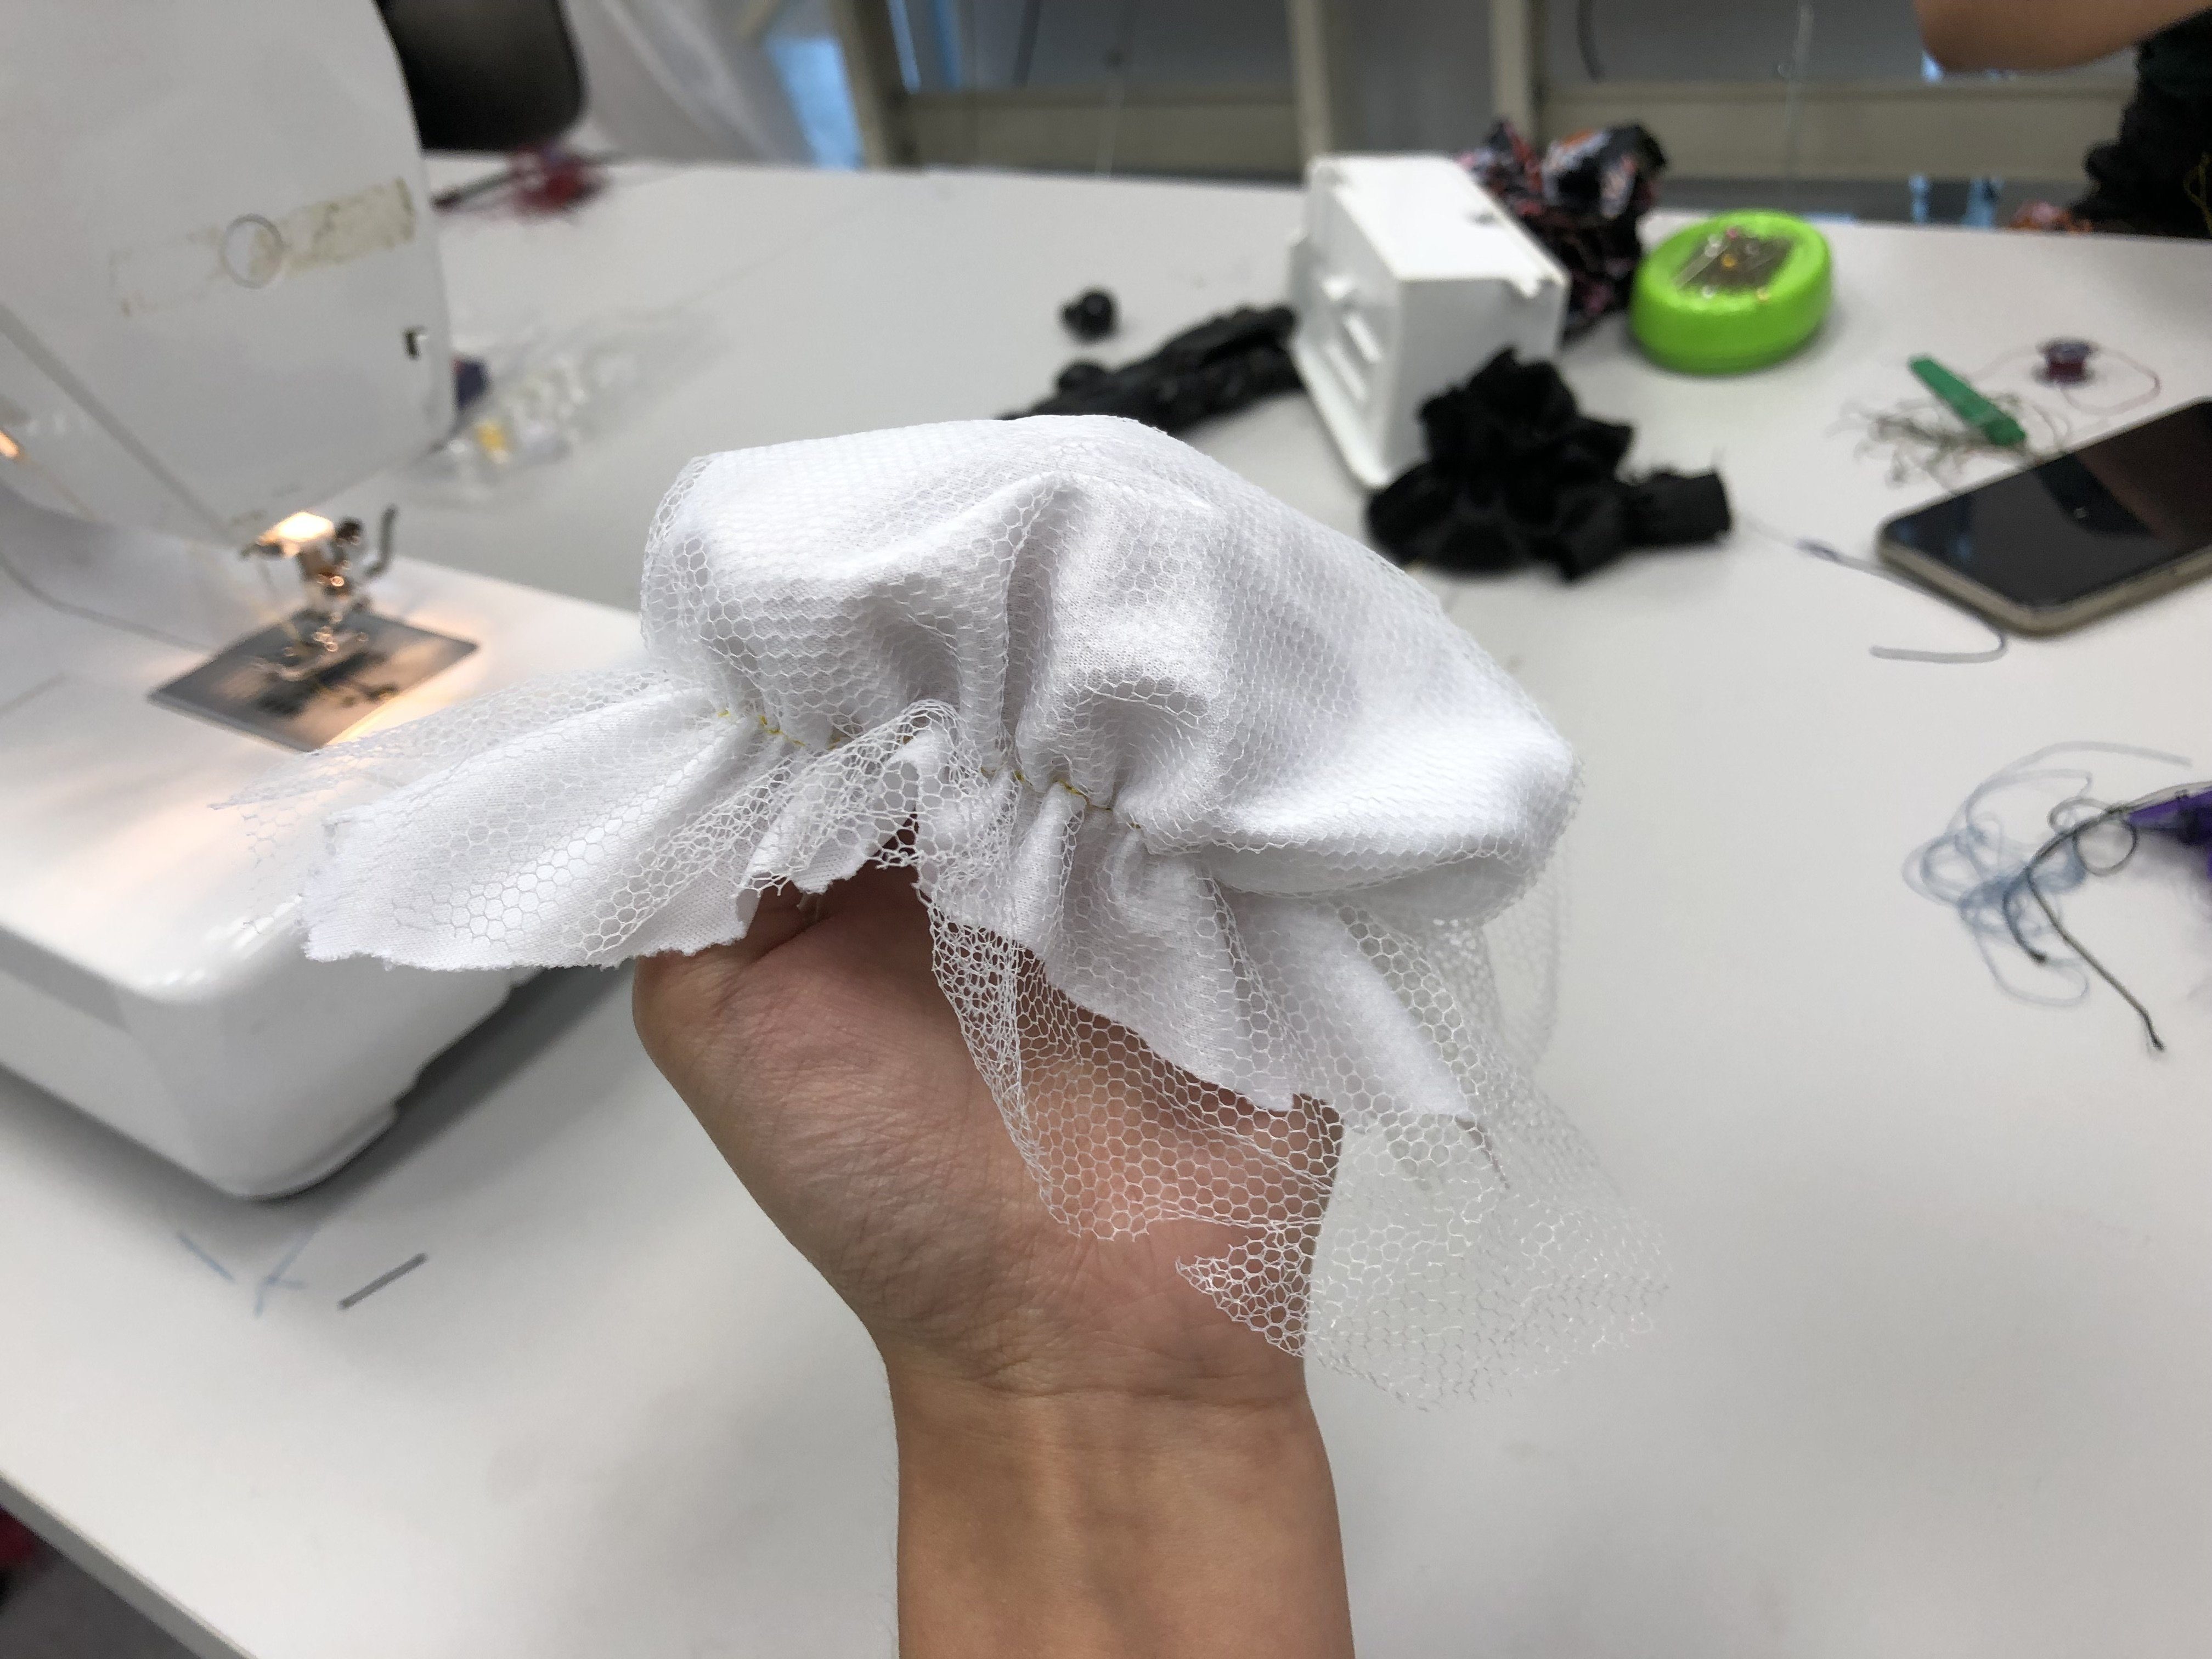
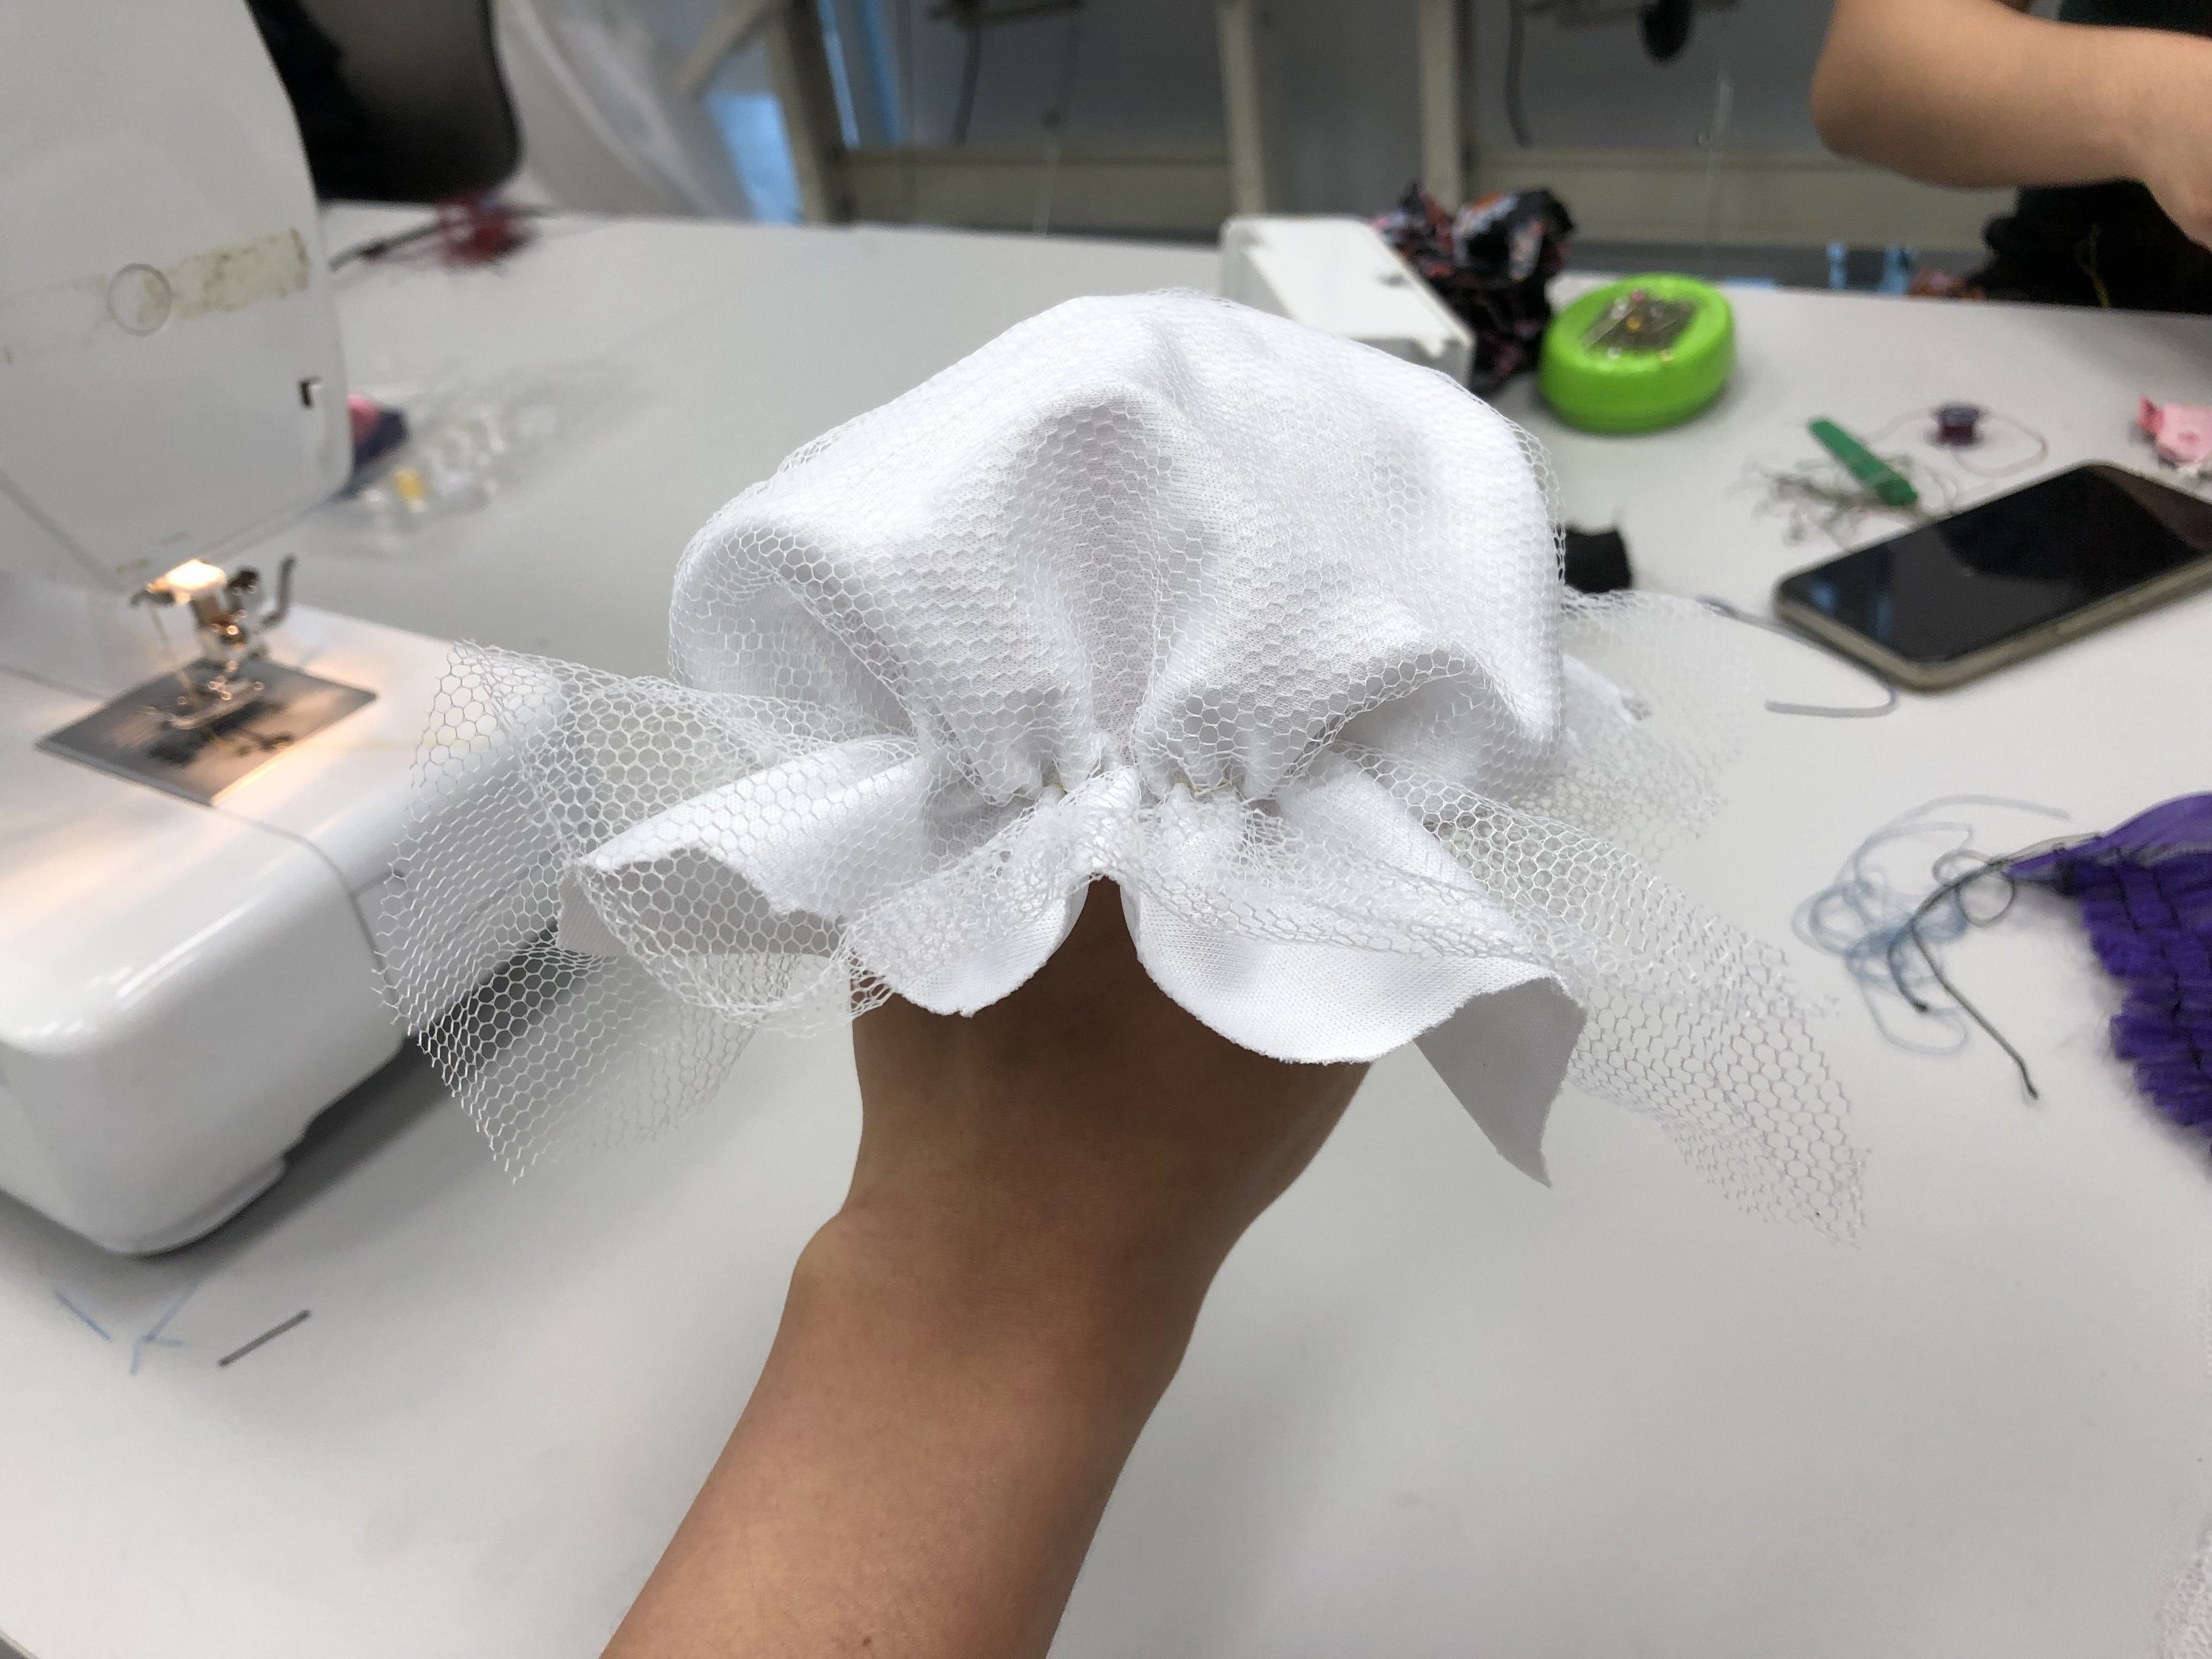
For my version, I decided to combine too fabrics, white polyester fabric as base and white tulle to give it some texture. As mentioned above, I made sure that my elastic was stretched to the maximum to gauge the amount of fabric I will need for it.
Tadah! I’ve stitched it together. It was quite tough to stitch the elastic onto the fabric as I couldn’t get it to stay in the beginning. The elastic kept moving. But after I managed to stitch the beginning, things were smooth afterwards!
Instead of just a straight stitch, I wanted to try something different. I call it an all around stitch haha, basically stitching a circle that will eventually create a little hat. So this is it! It’s a super mini shower cap.
Part II | Fabric Manipulation, Smocking
Moving on, smocking – the toughestttttt technique for me so far. It took me awhile for me to understand how it works! But really, after you truly understand the process and sequence, it gets easier over time.
Smocking is an embroidery technique used to gather fabric so that it can stretch. Before elastic, smocking was commonly used in cuffs, bodices, and necklines in garments where buttons were undesirable. Smocking can be done in several sophisticated patterns. Such as, cable stitch, stem stitch, honeycomb stitch, lattice stitch, wave stitch.
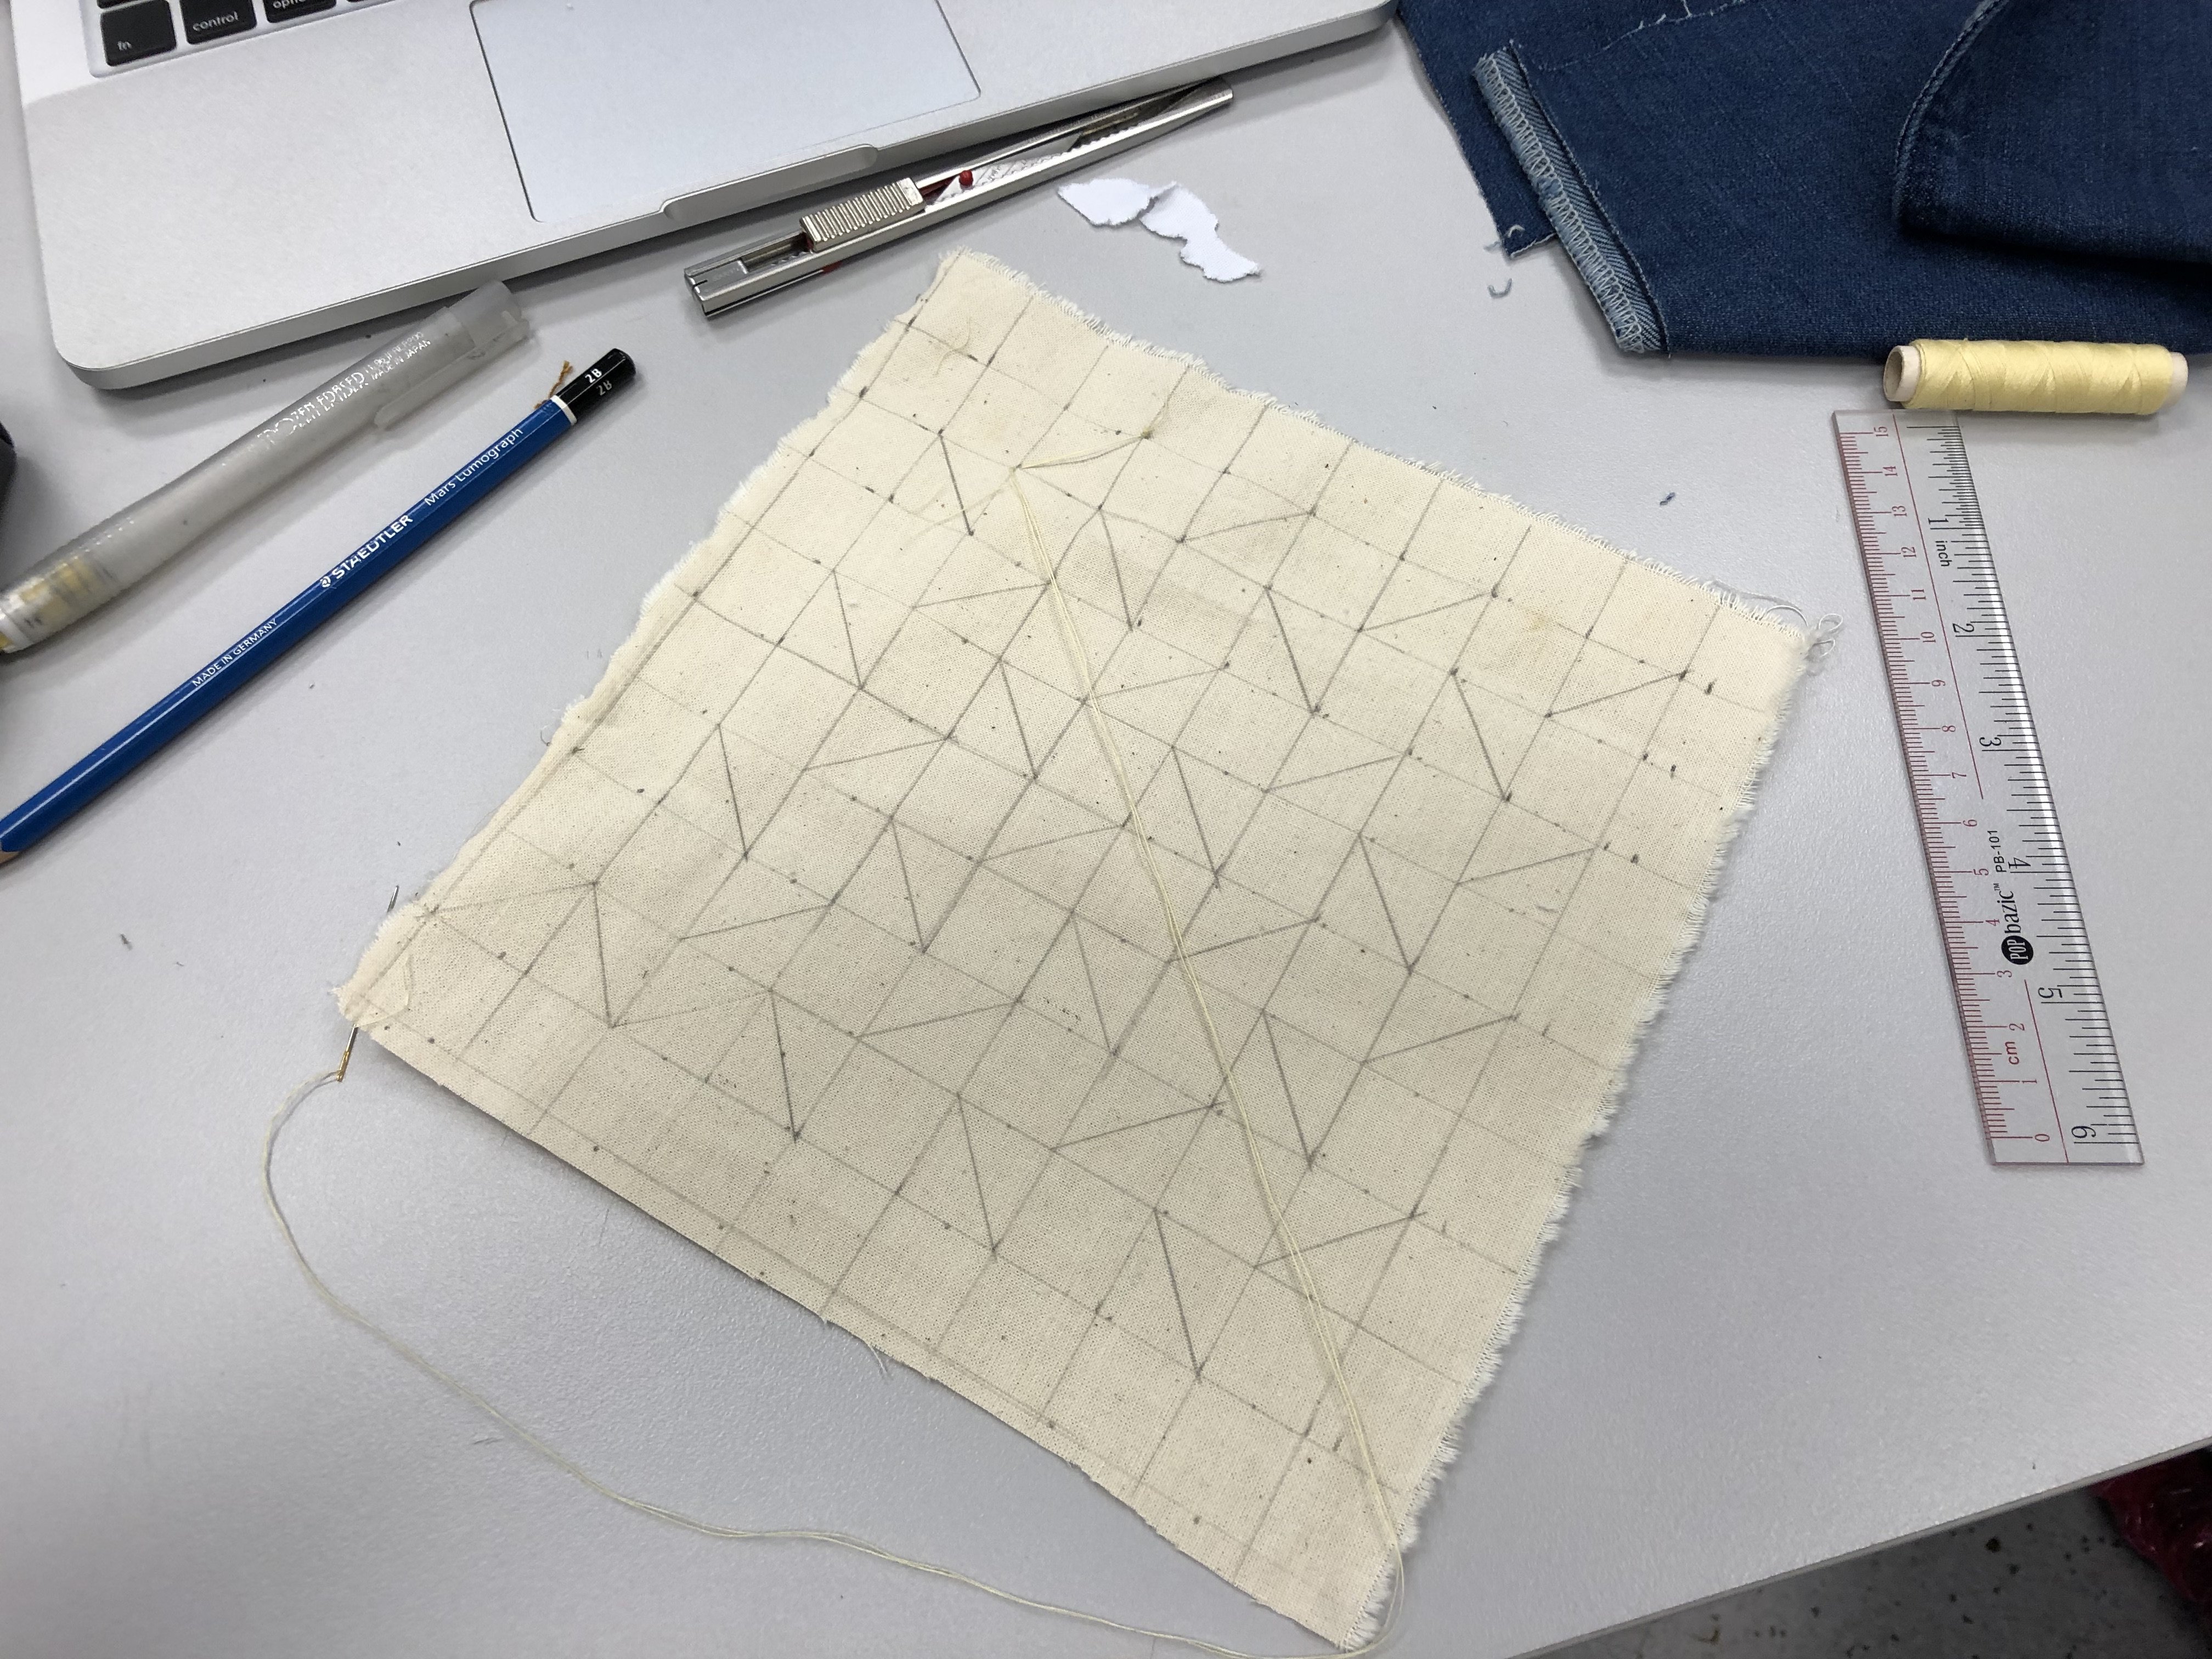
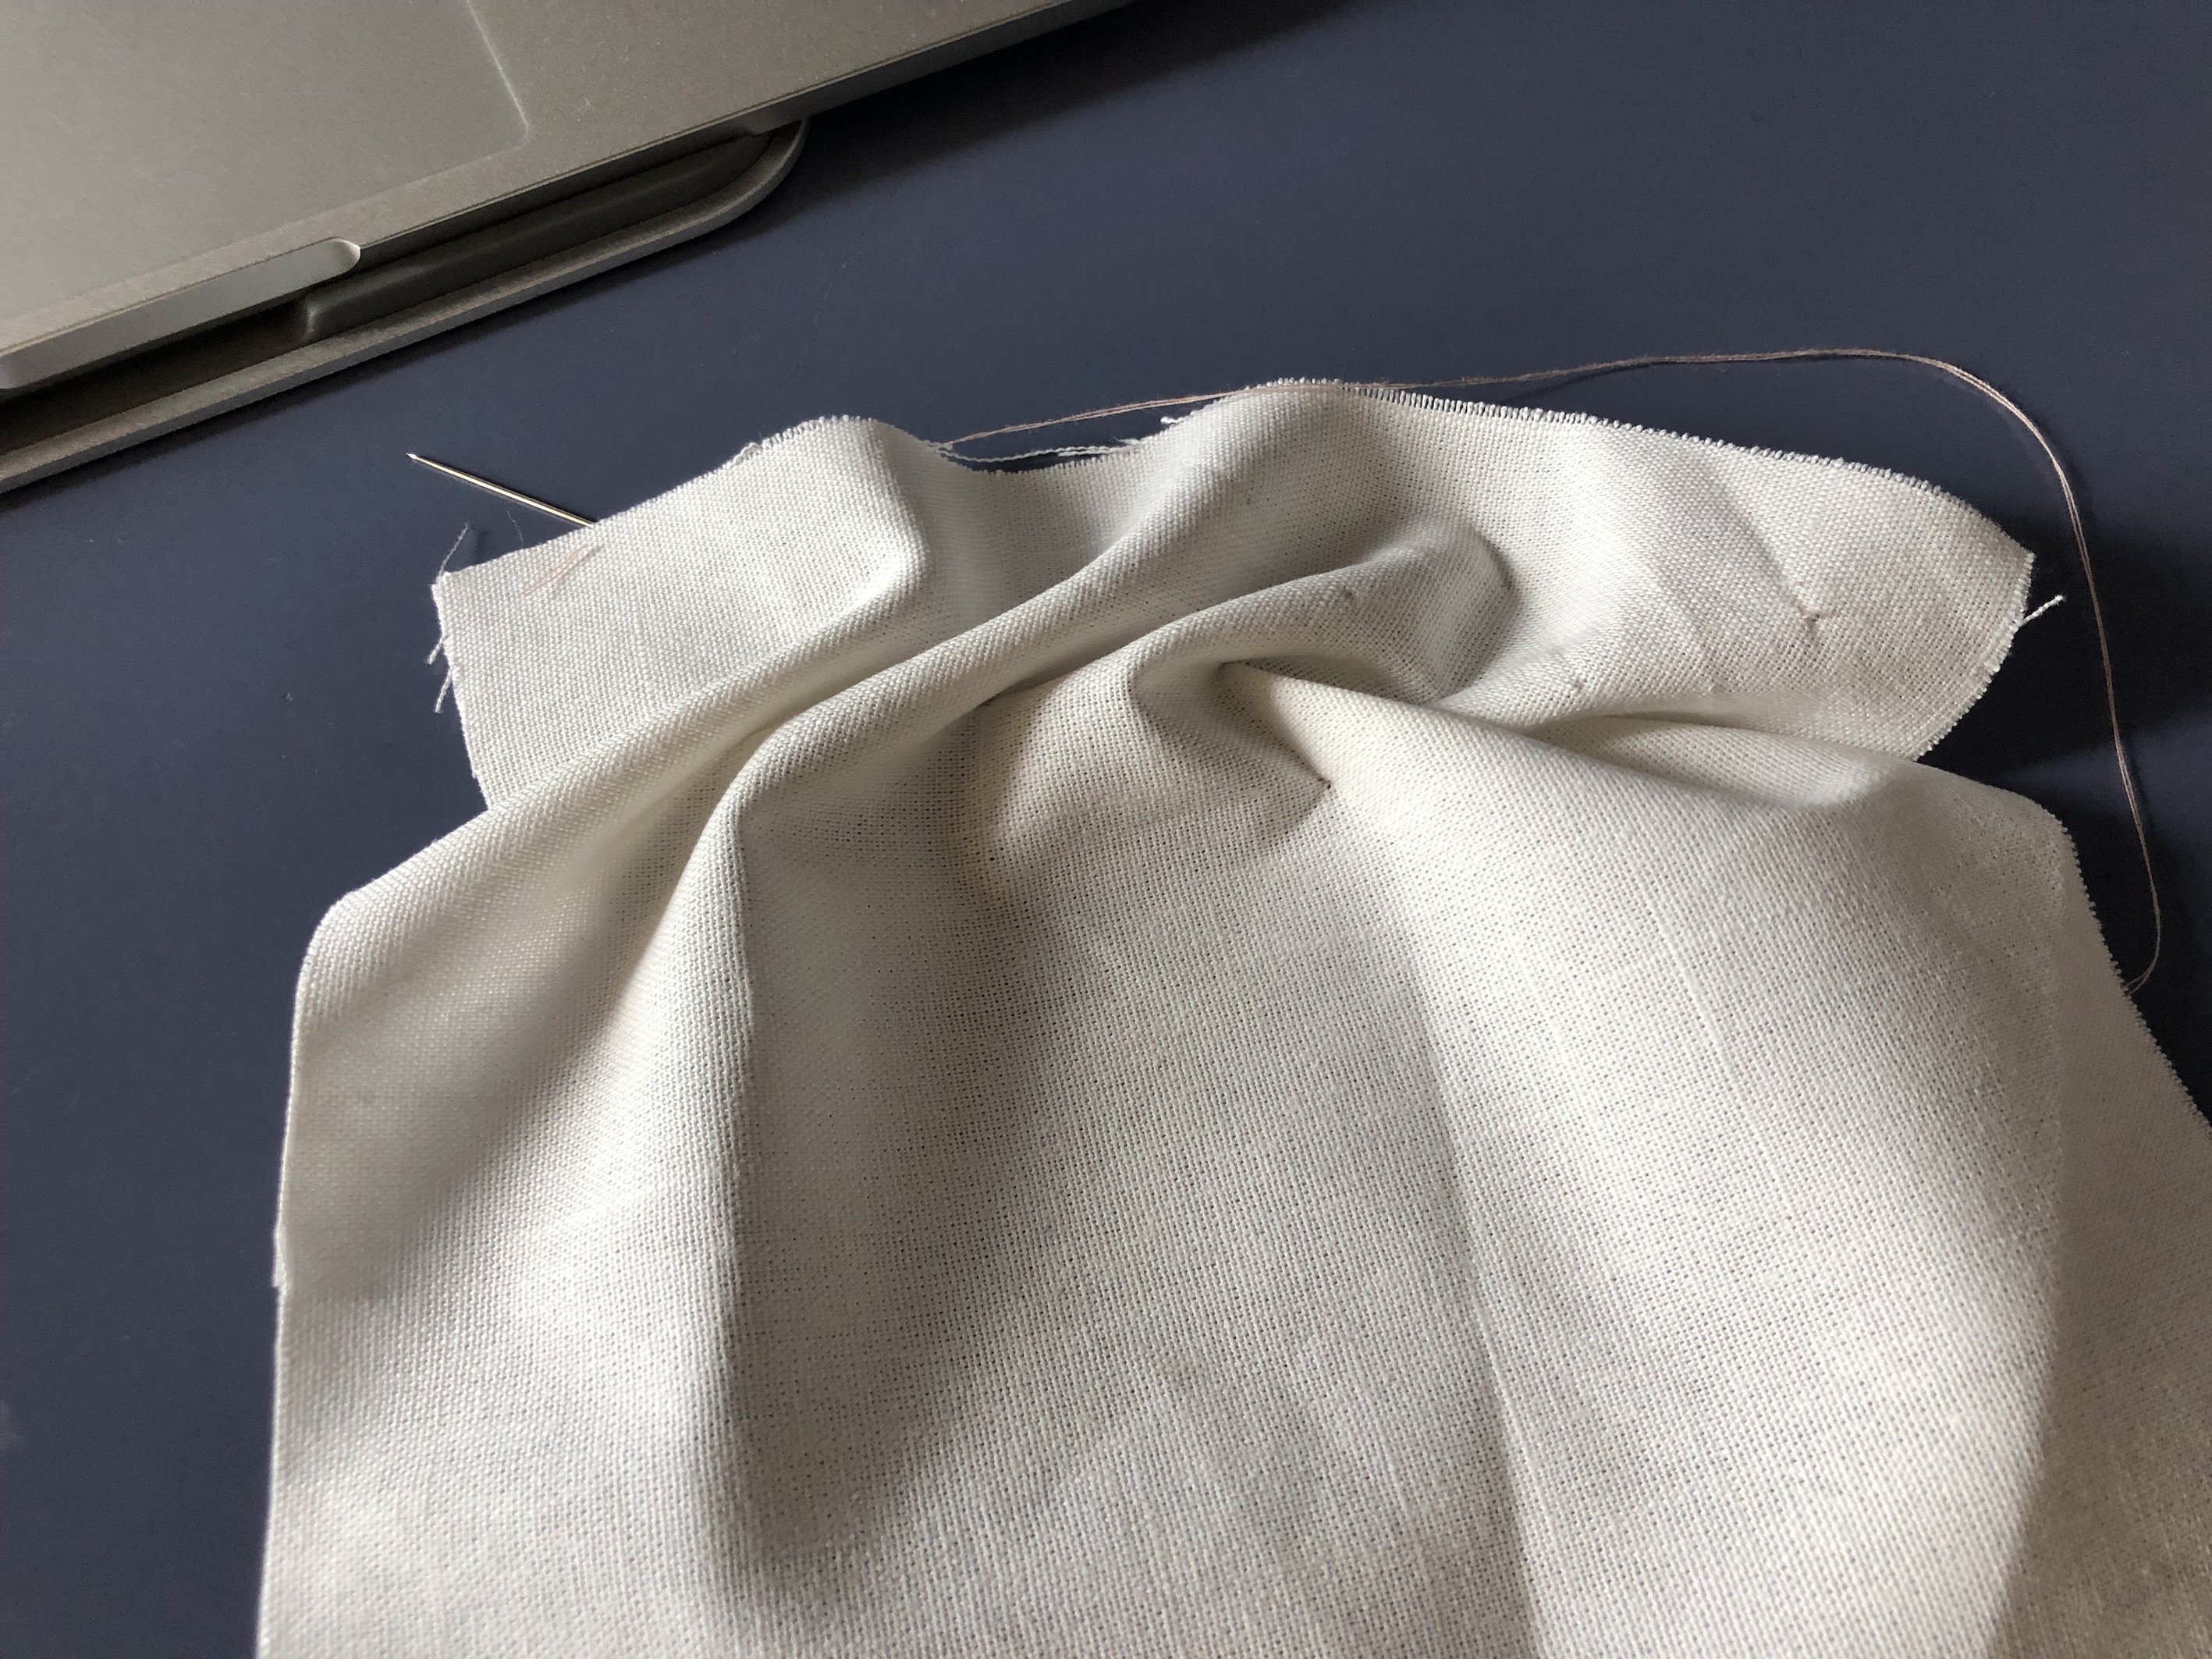
To start, you will need a grid and draw the desired pattern you’ll want. For mine, I will be doing a lattice stitch, thus the patterns are alternate diagonal lines drawn on the grids.
Next, this is the tricky part which took me awhile to figure it out. You’ll have to stitch along the lines. You can decide if you want to do a continuous stitch throughout the entire grid or basically start a new knot once you’ve complete a diagonal line stitch.
To put it in simple works, pull and stitch the ends of the diagonal line together and tie a knot to form a pattern.
Continue with the same technique throughout the diagonal lines you see on your grid.
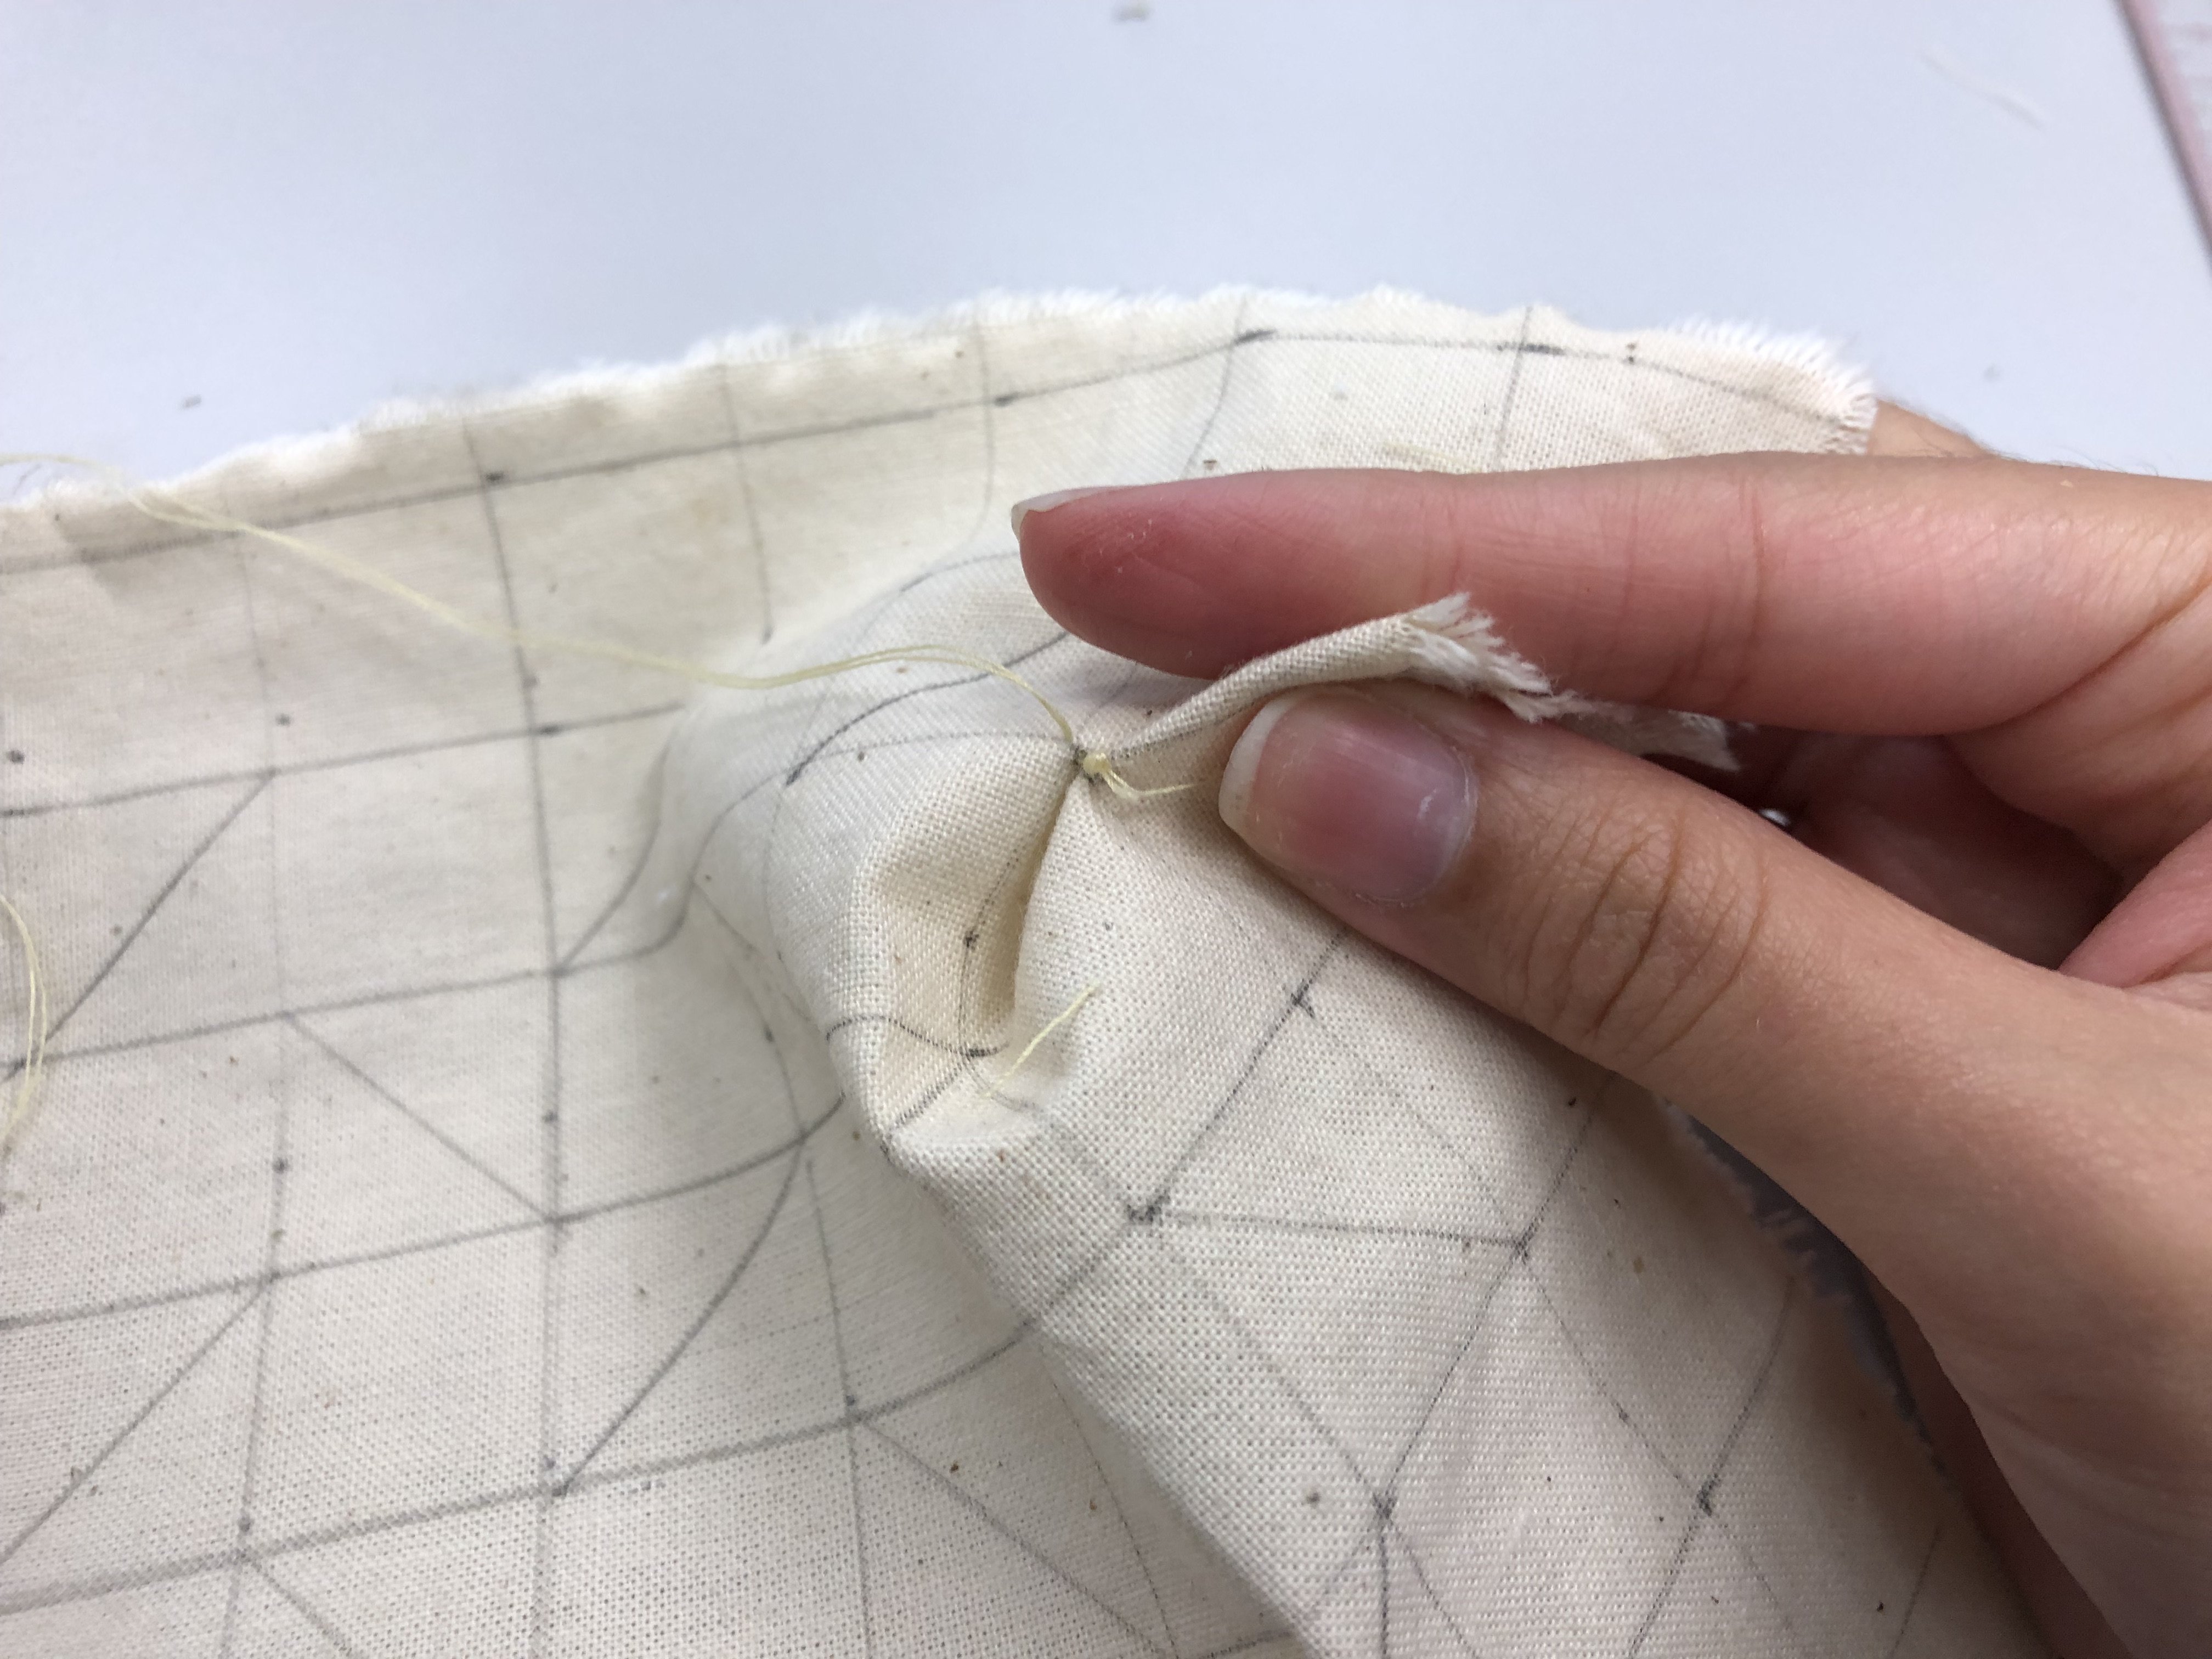
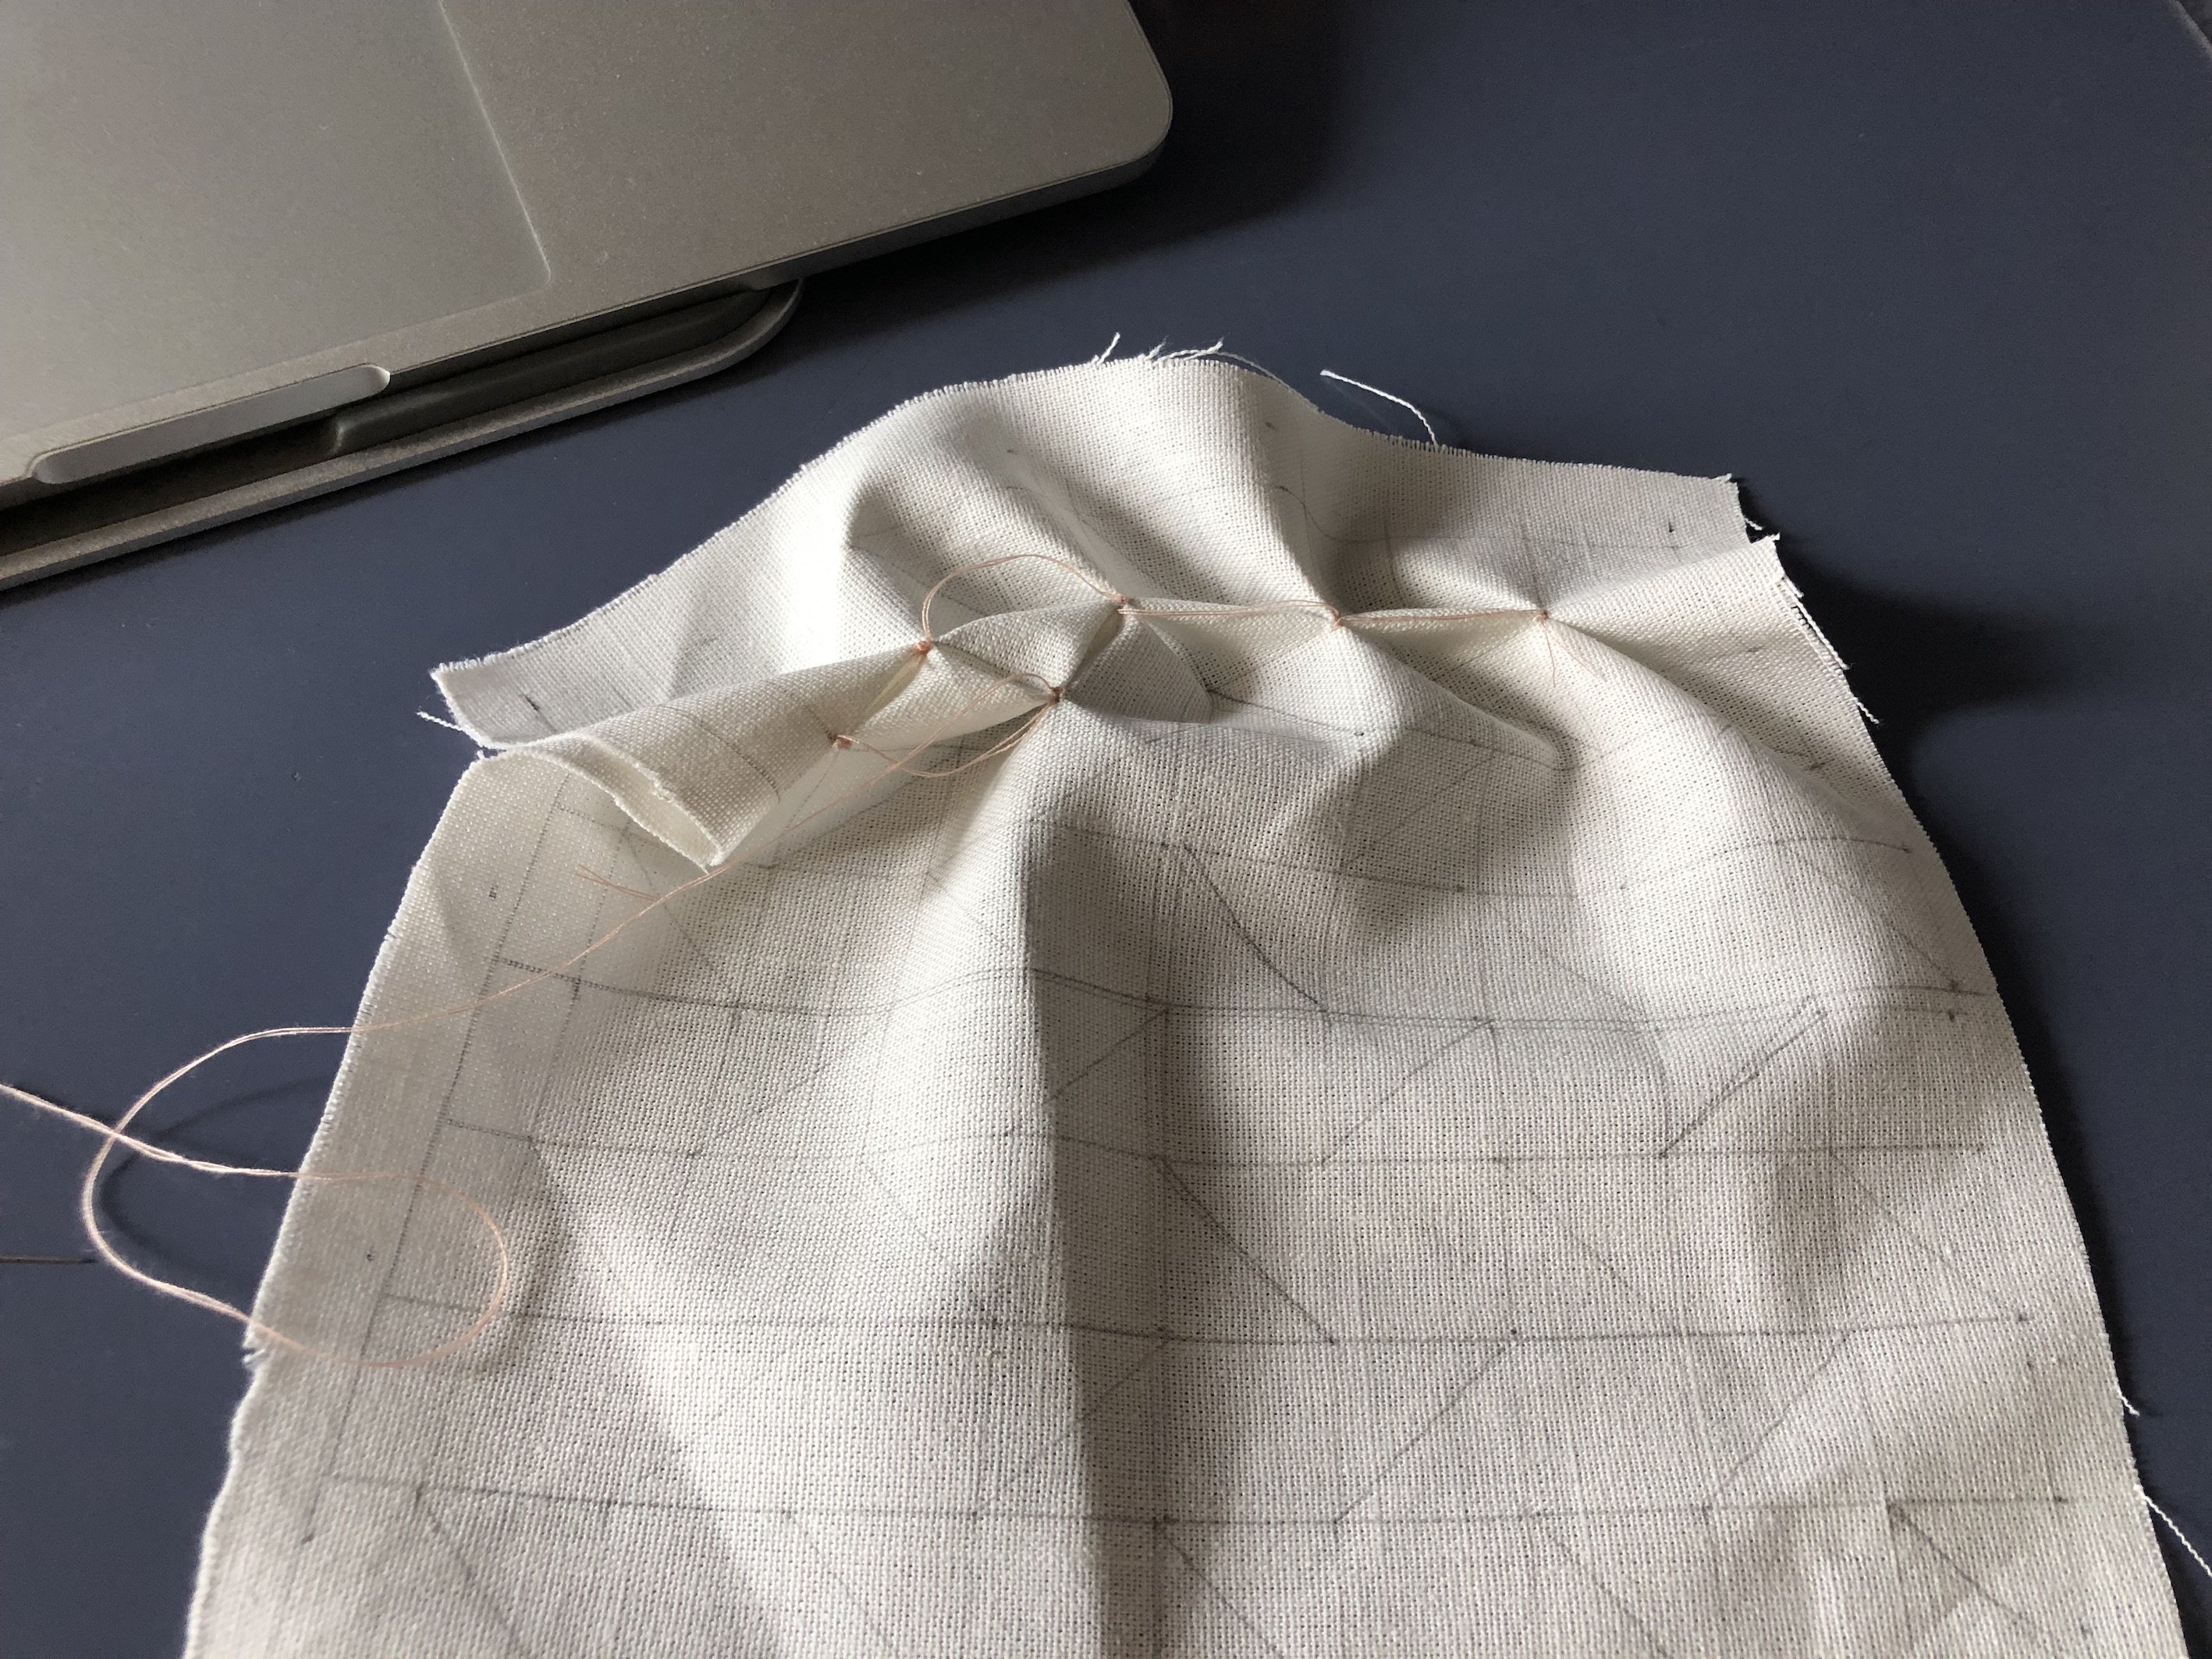
The first layer will roughly look like the pattern below. And this is the last you will see of this cloth as I’ve decided to restart on a new fabric. I was not 100% clear while I was sewing this and thus was a little confused…
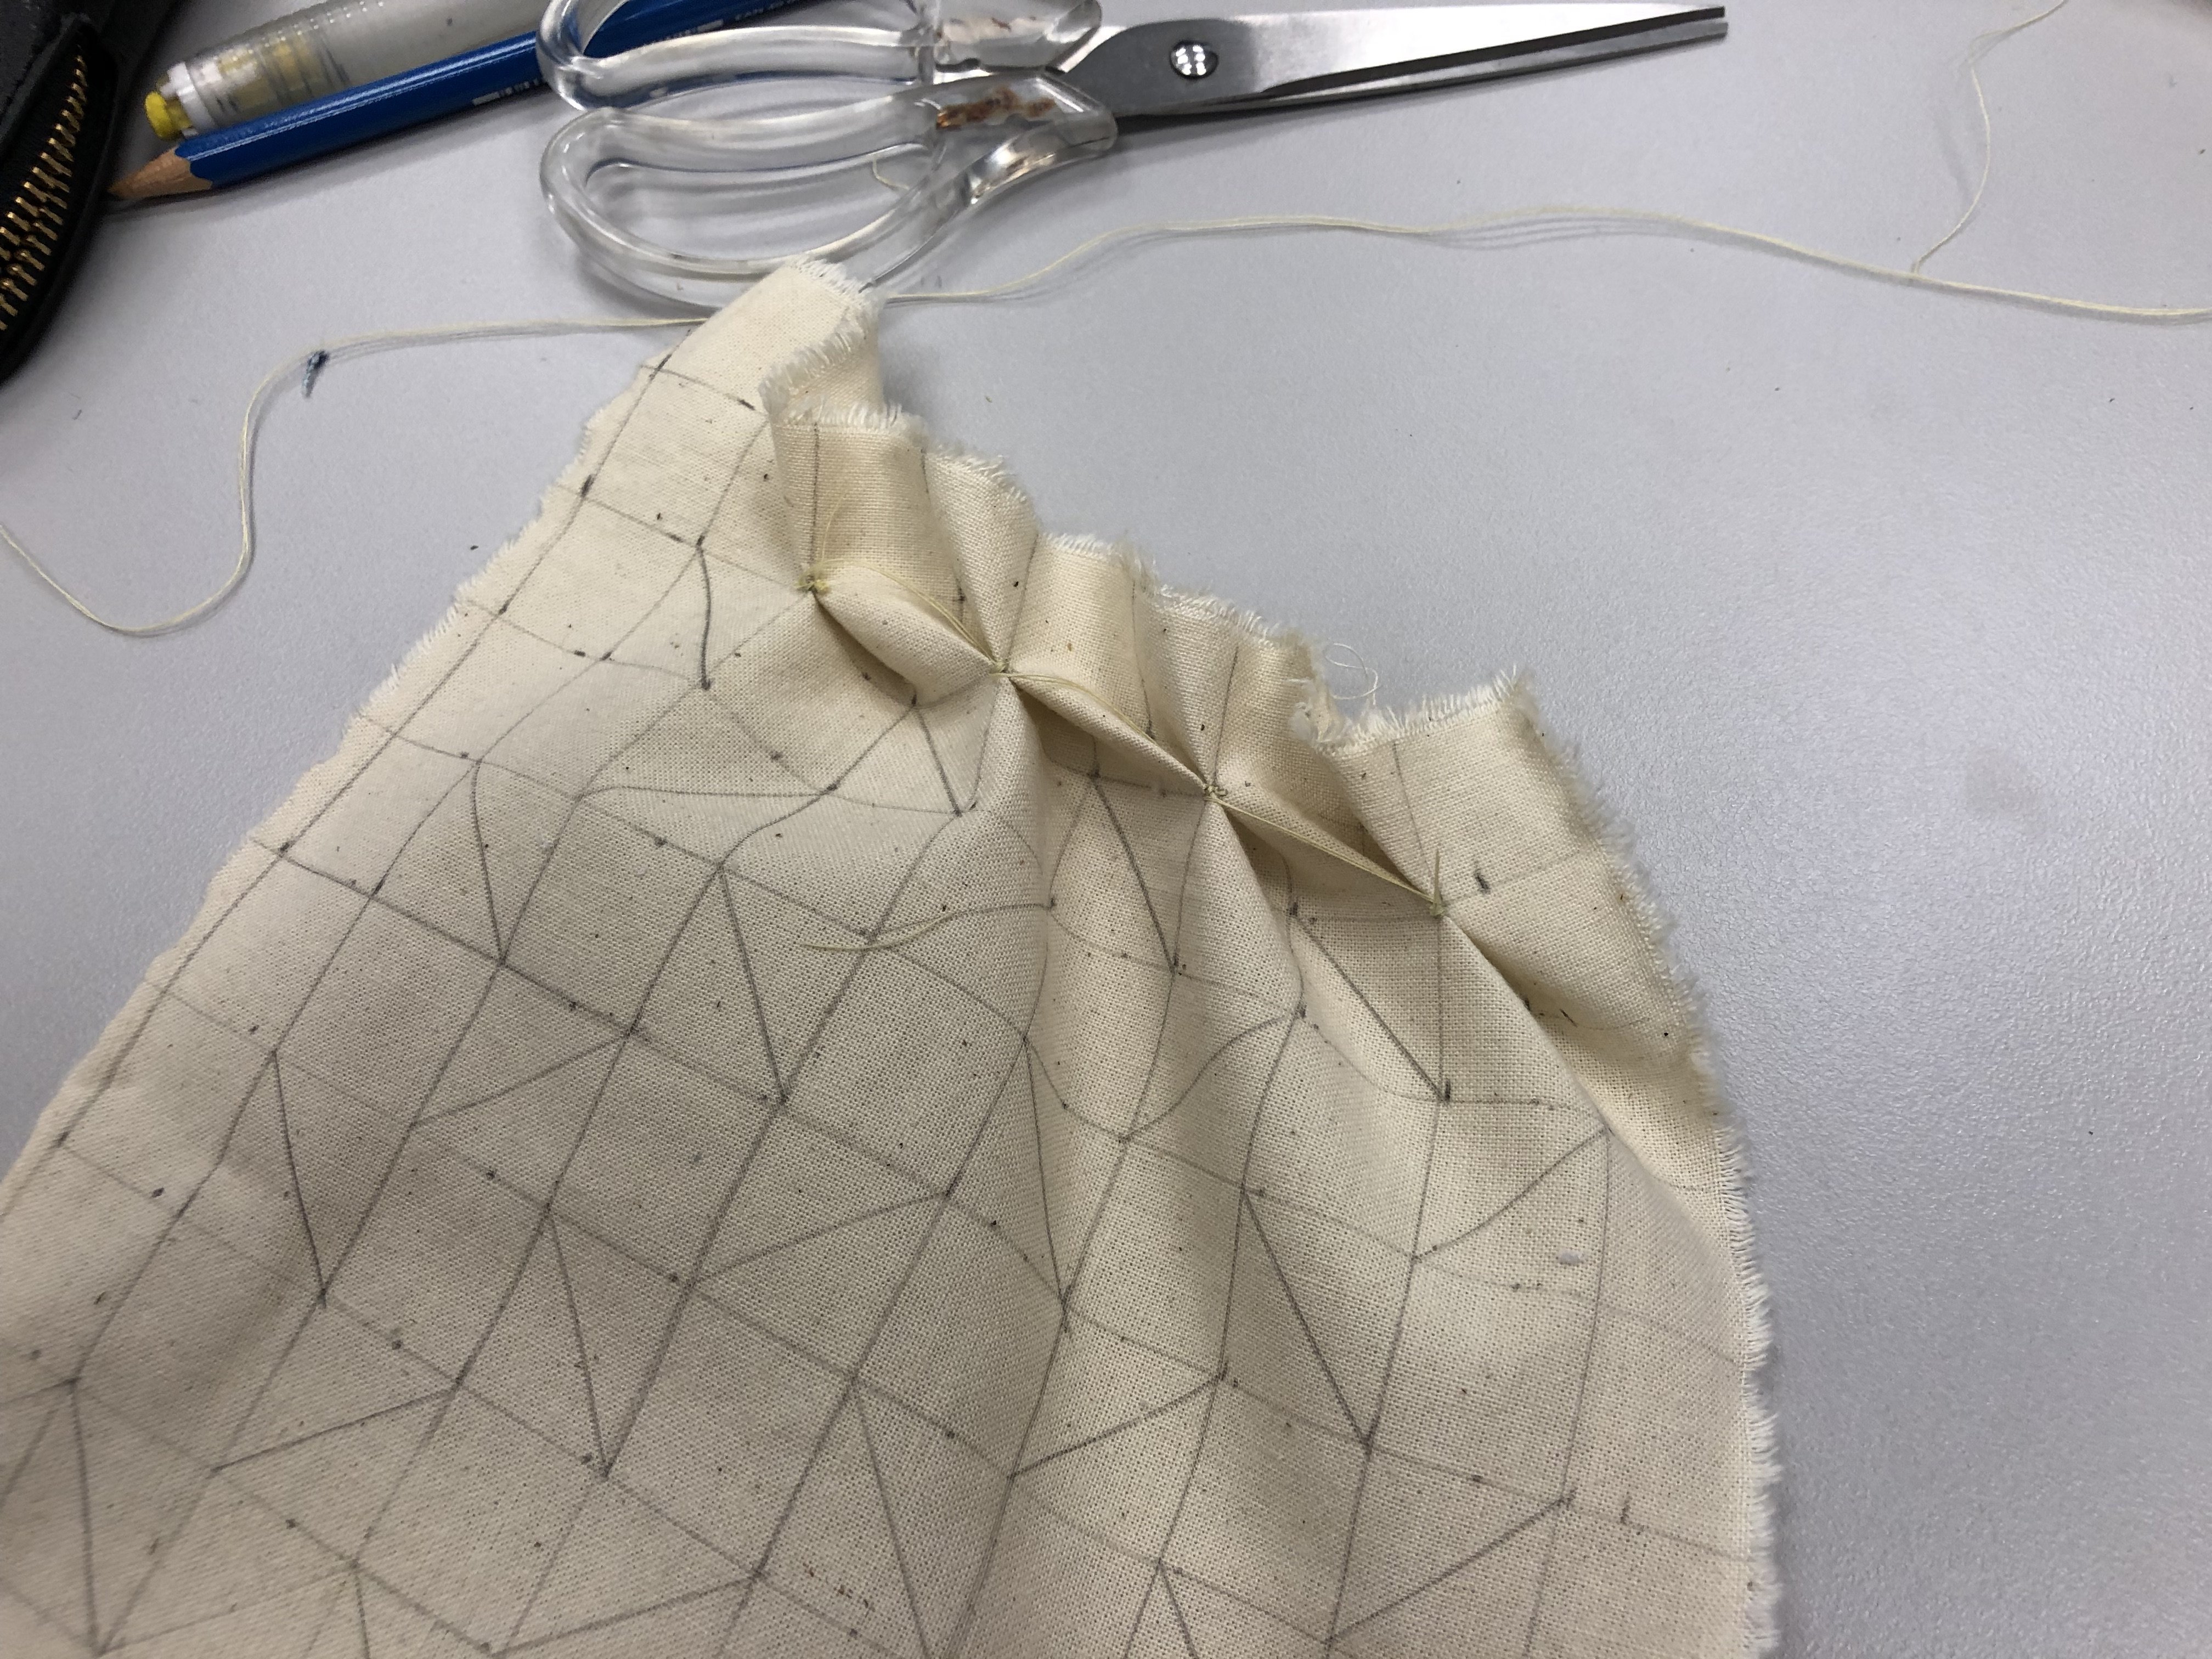
Alright! So restarting on a new cloth. This is muslin cloth by the way and I love how it feels against my skin. The texture that sort of resemble a canvas. But anyways, I’ve restarted on the lattice stitch! For this, i decided to do a continuous stitch throughout the grid.
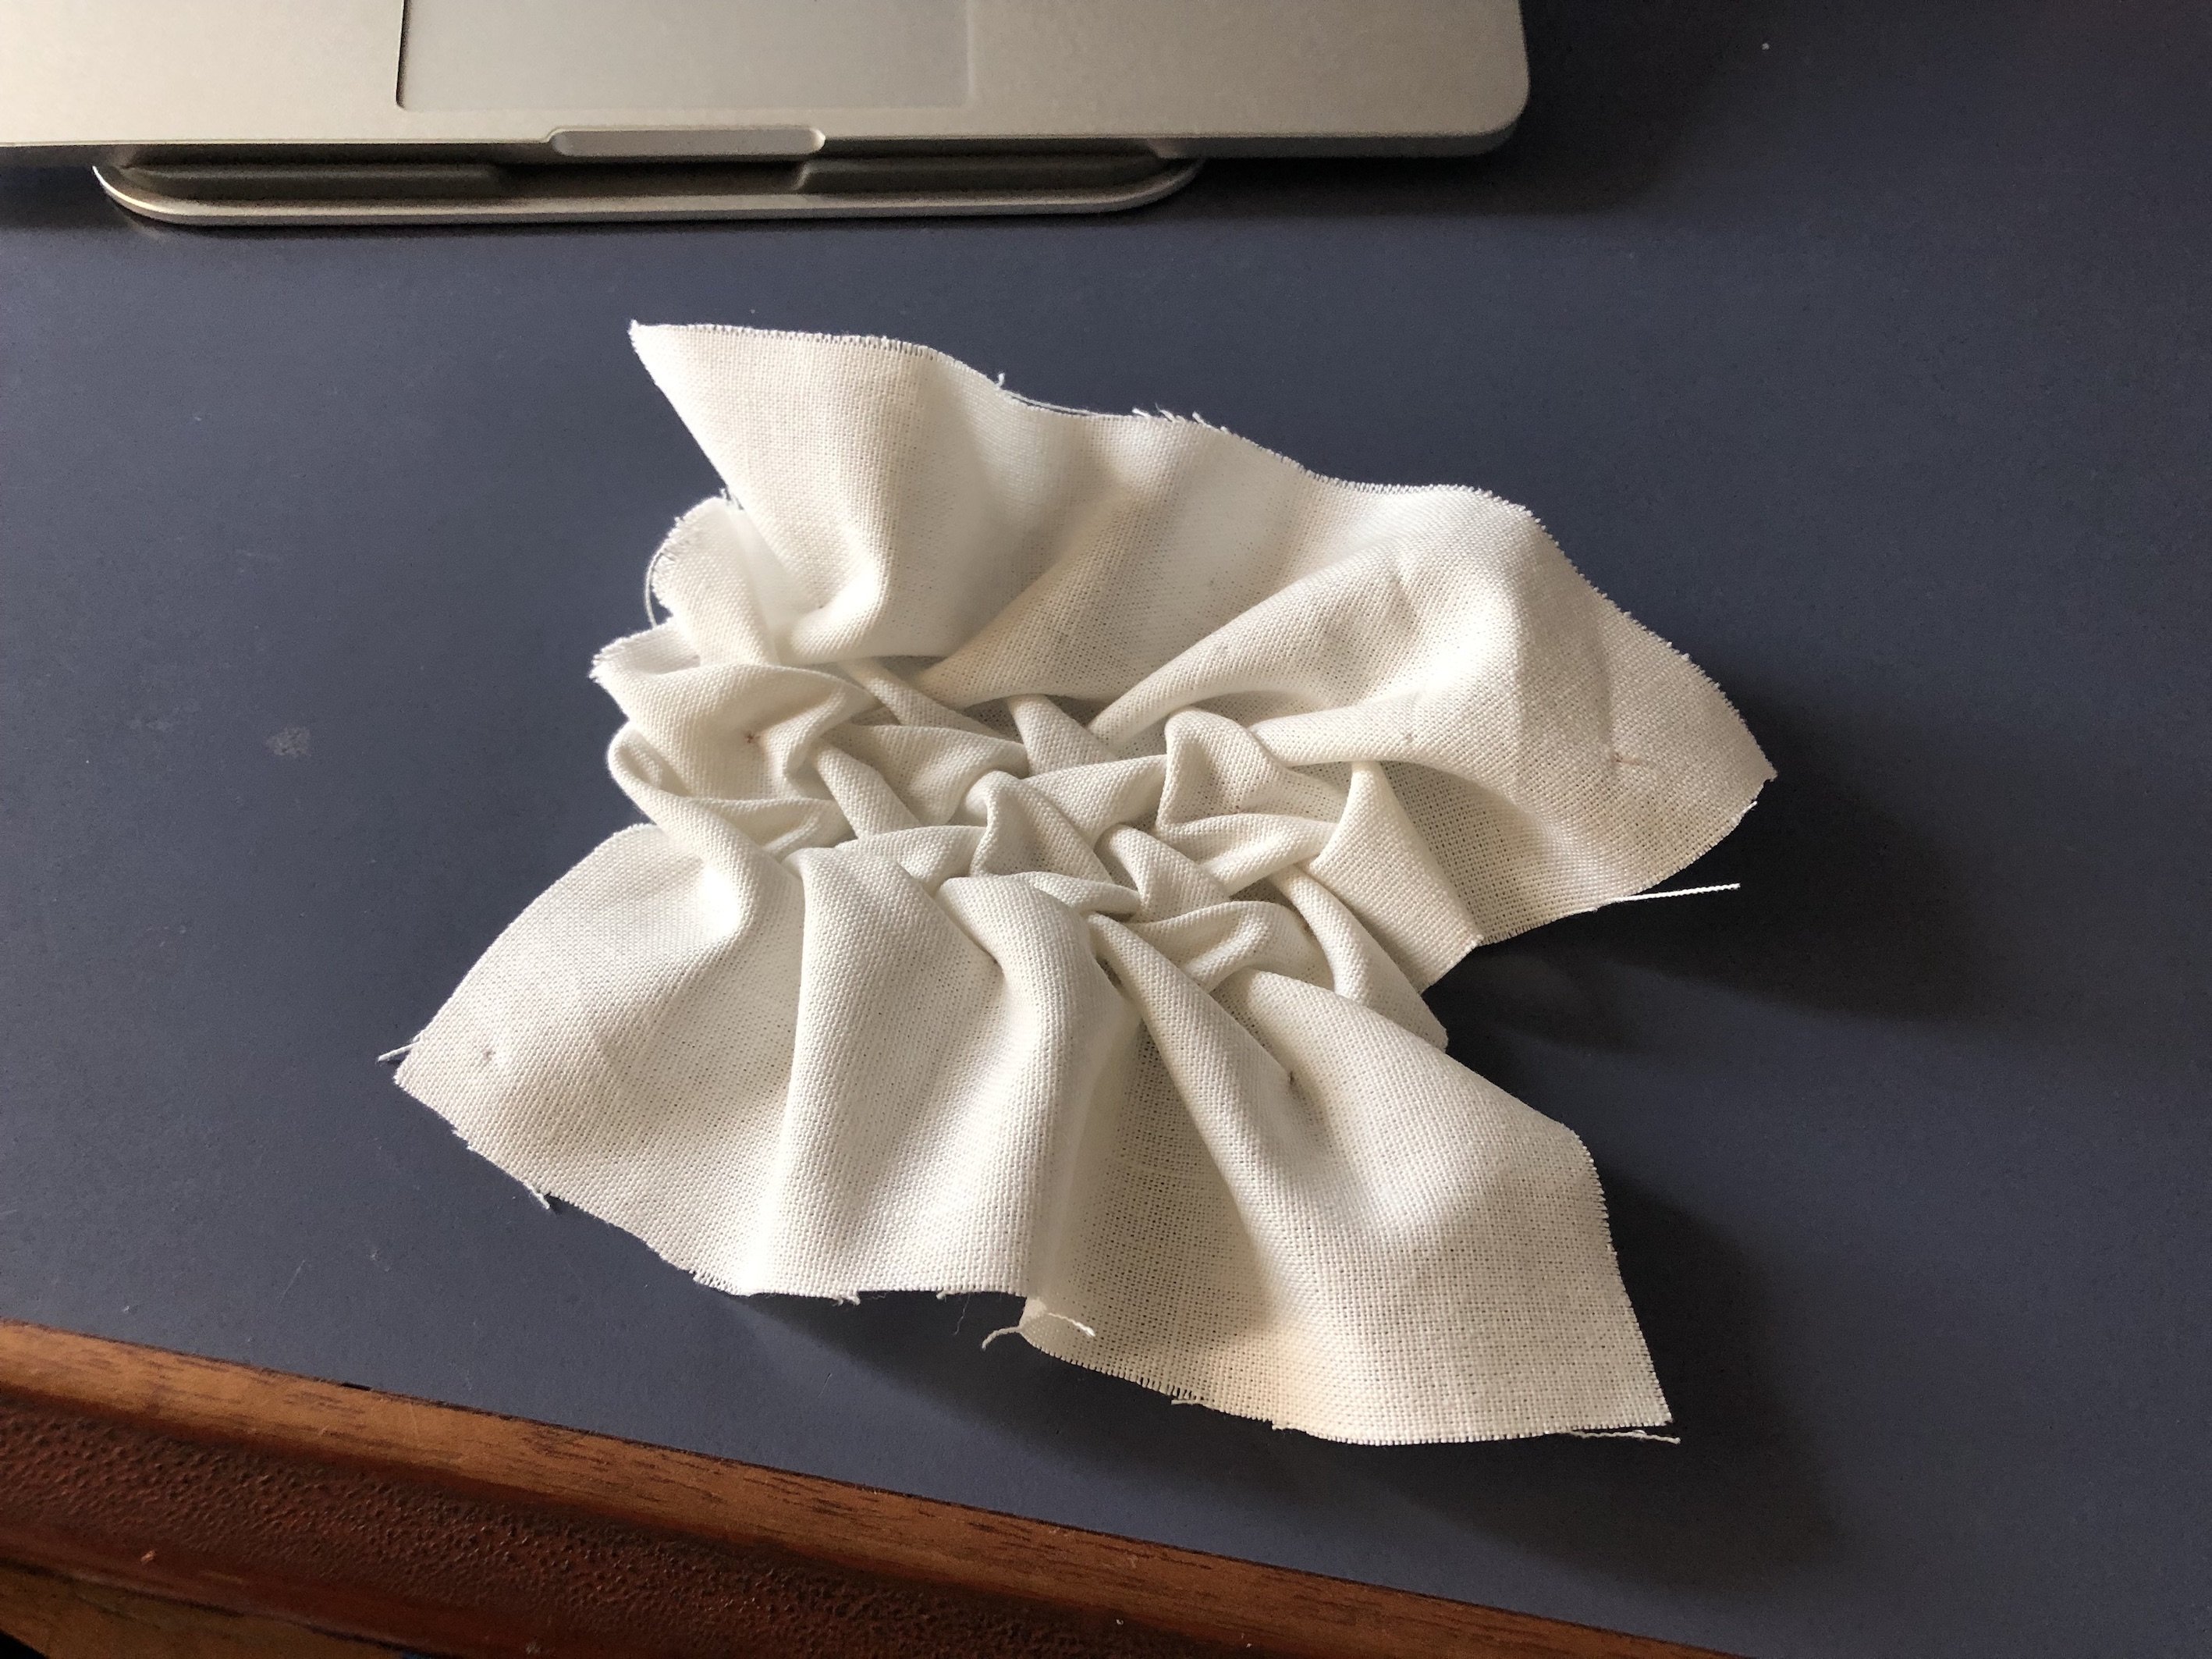
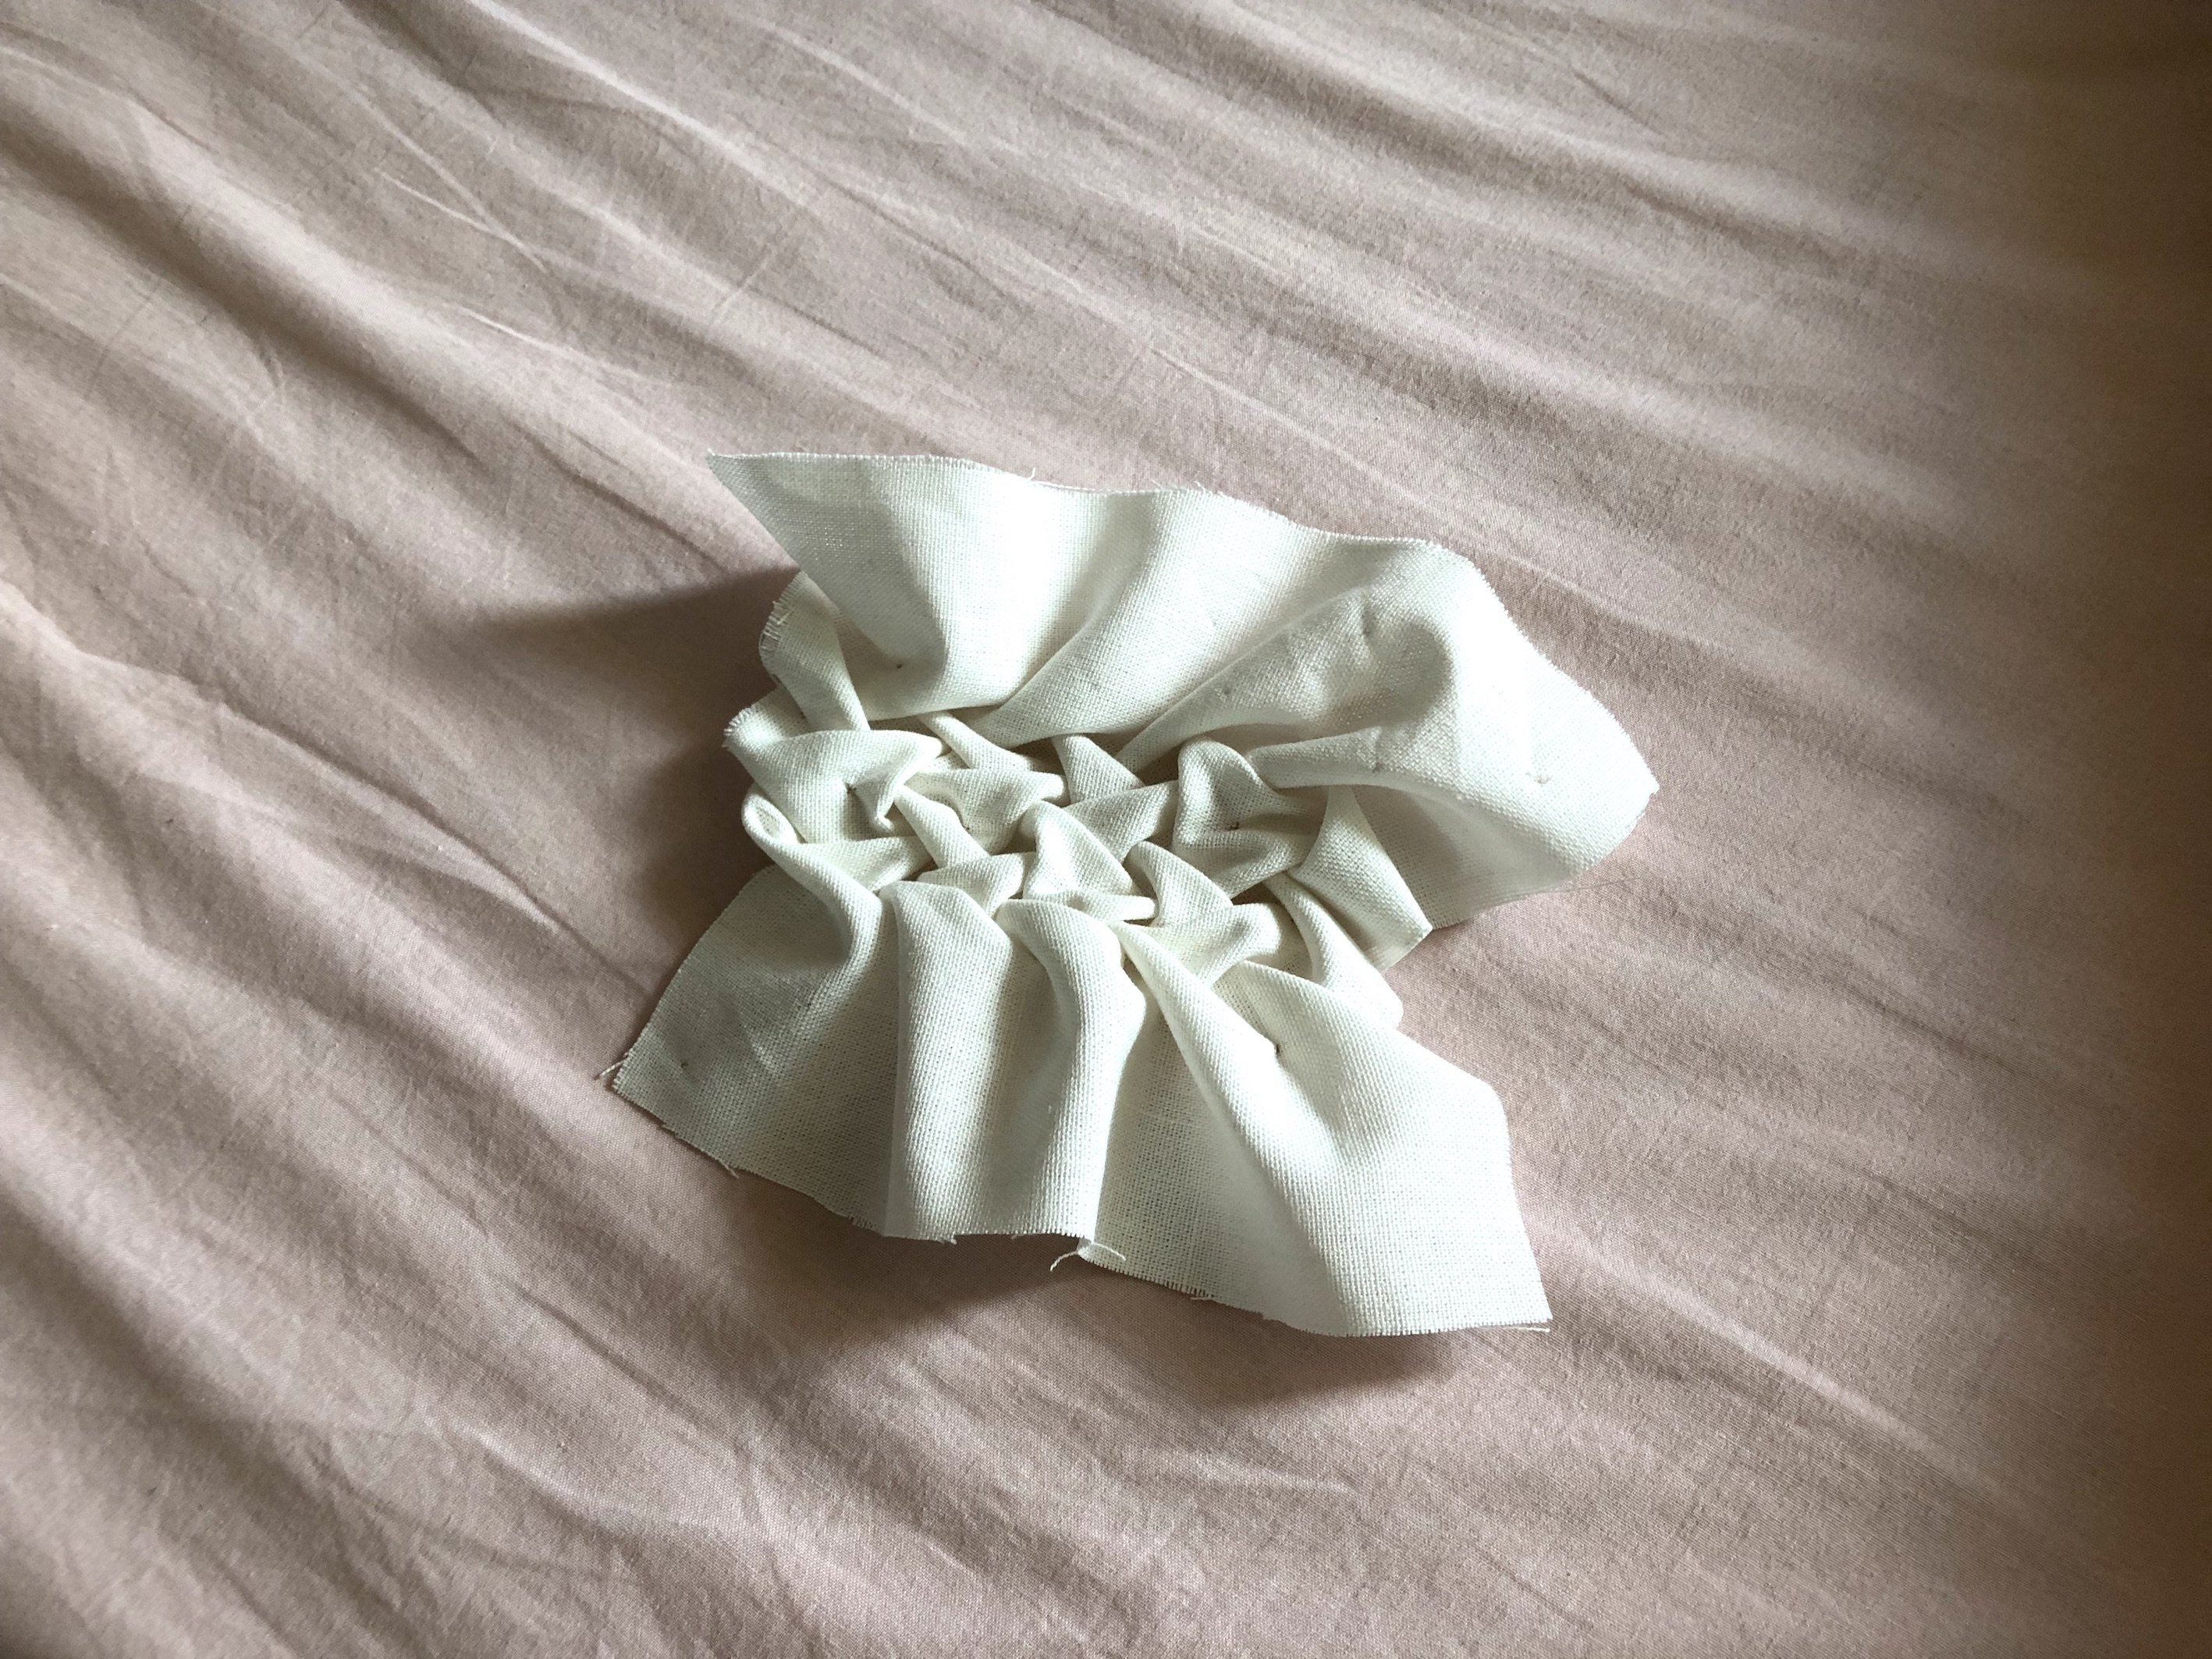
This is how it looks like behind, a tad messy but I tried my best to keep it tidy.
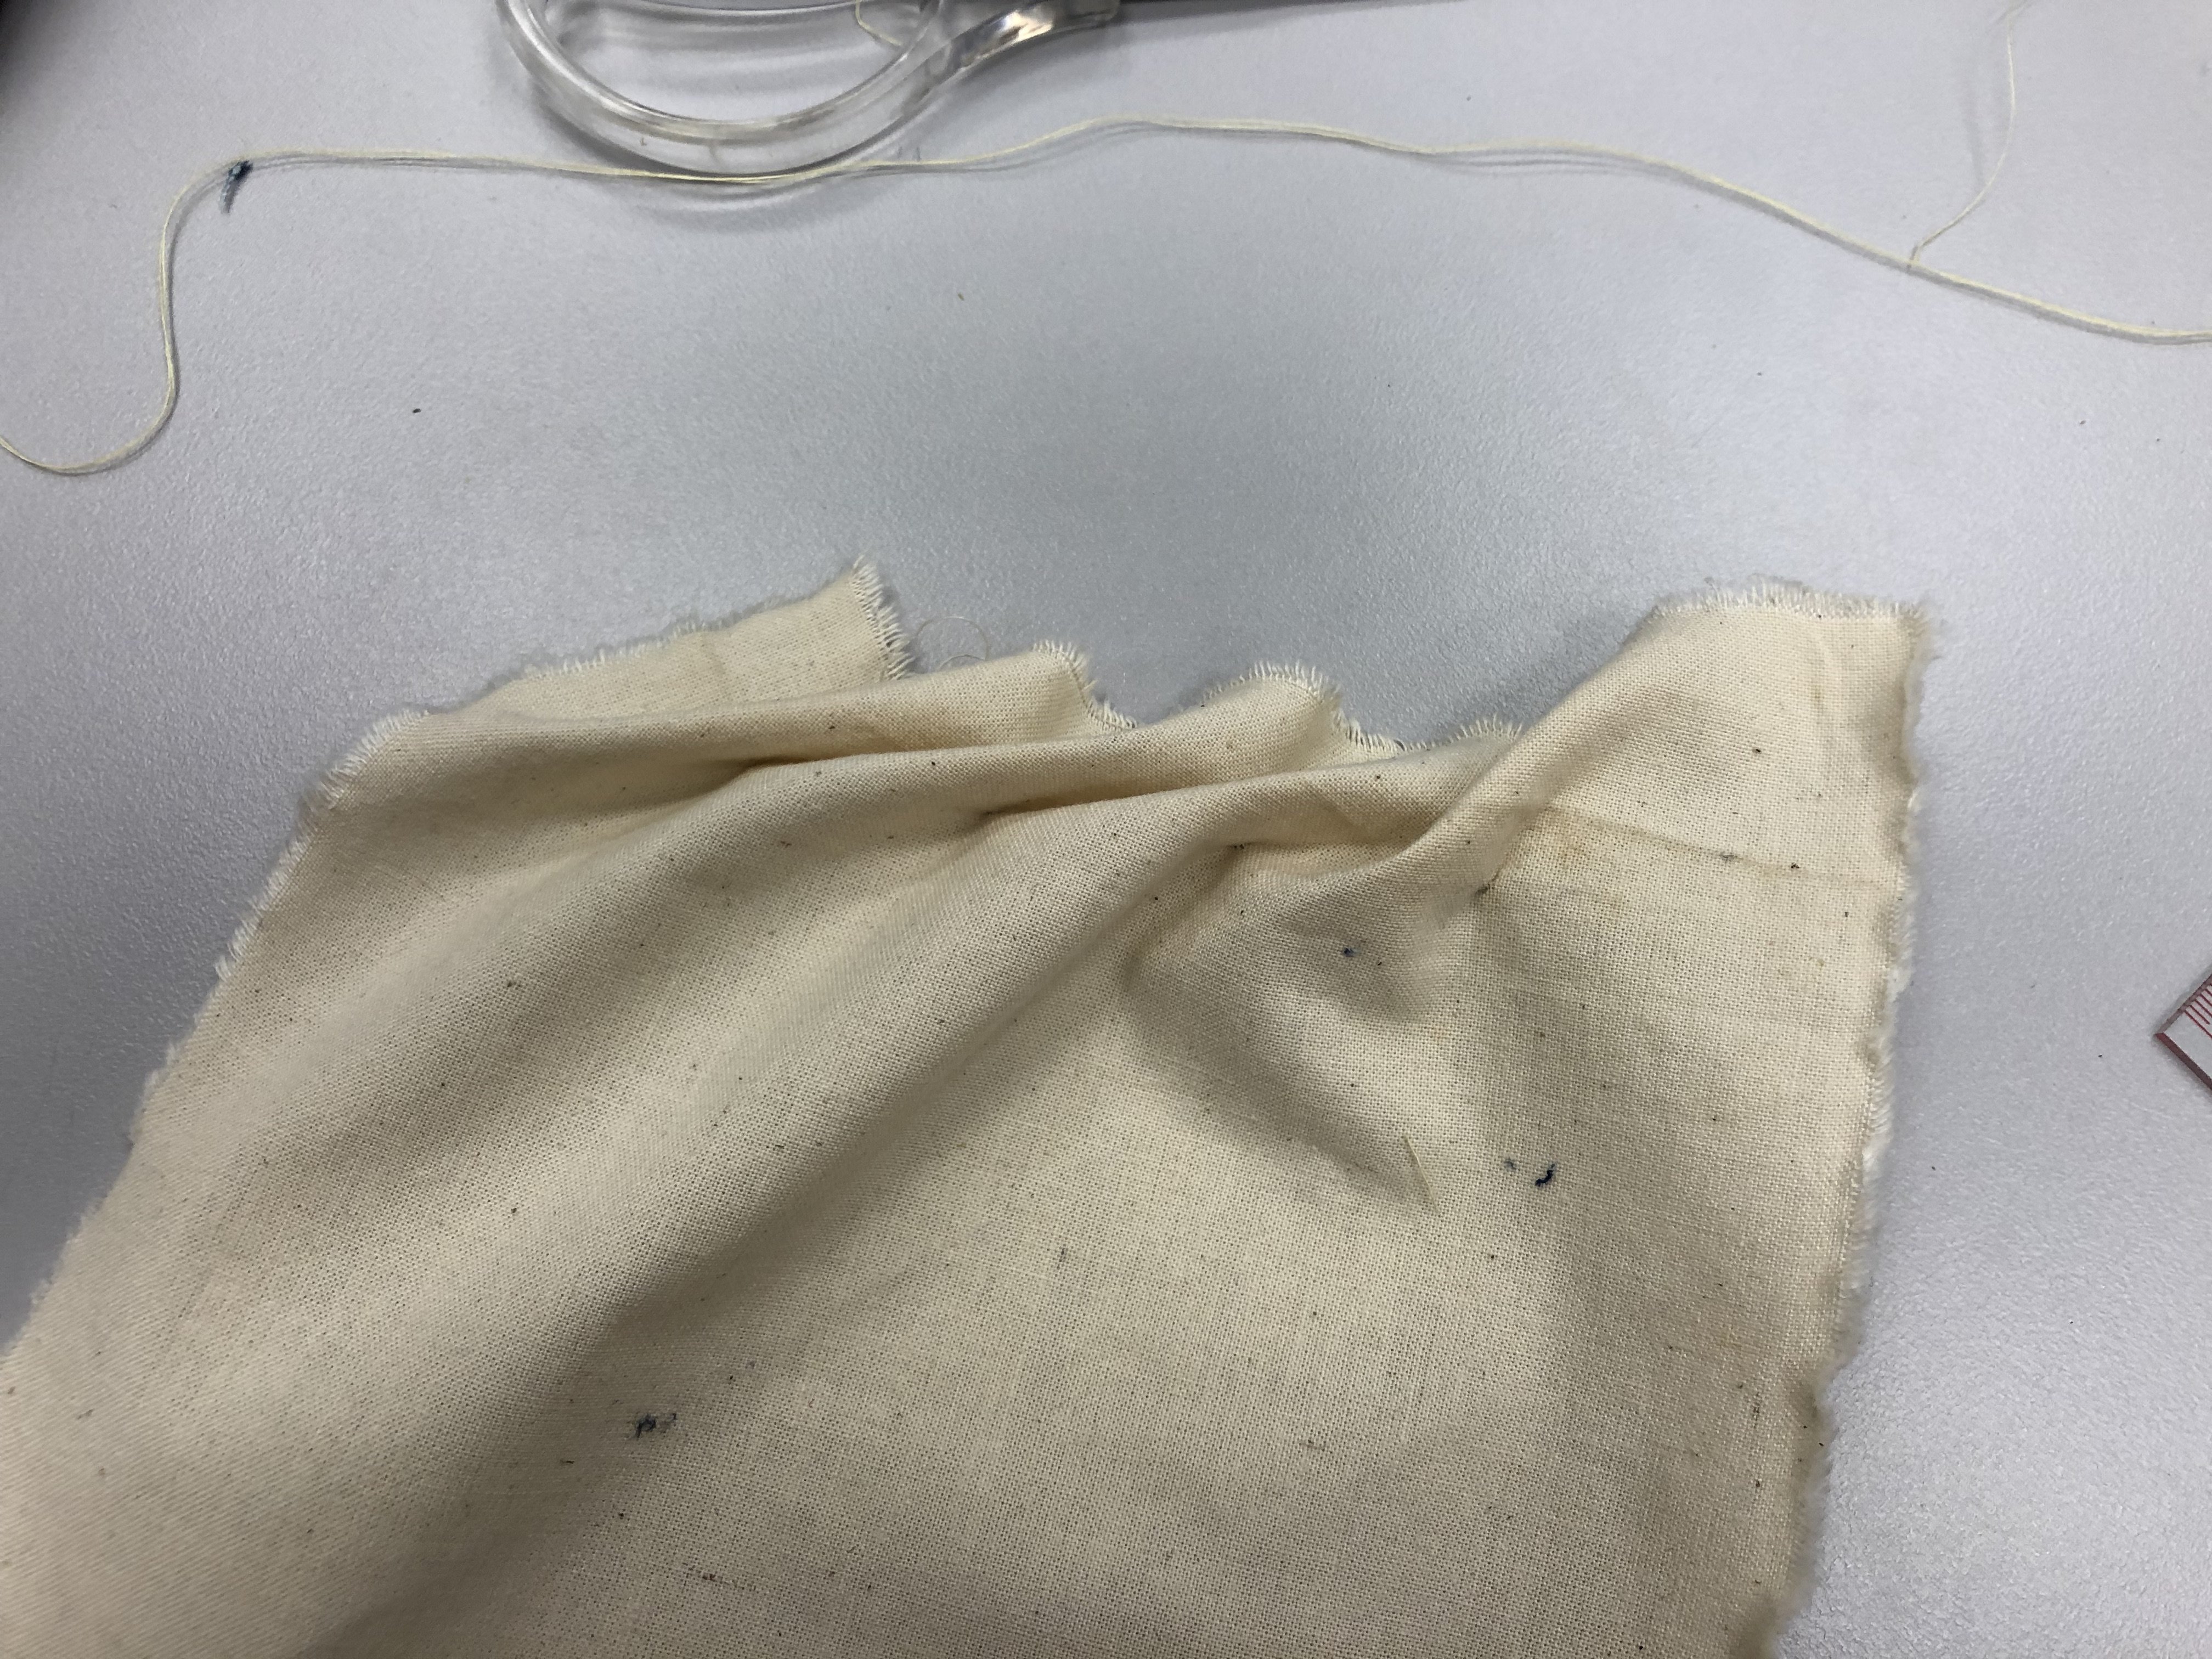
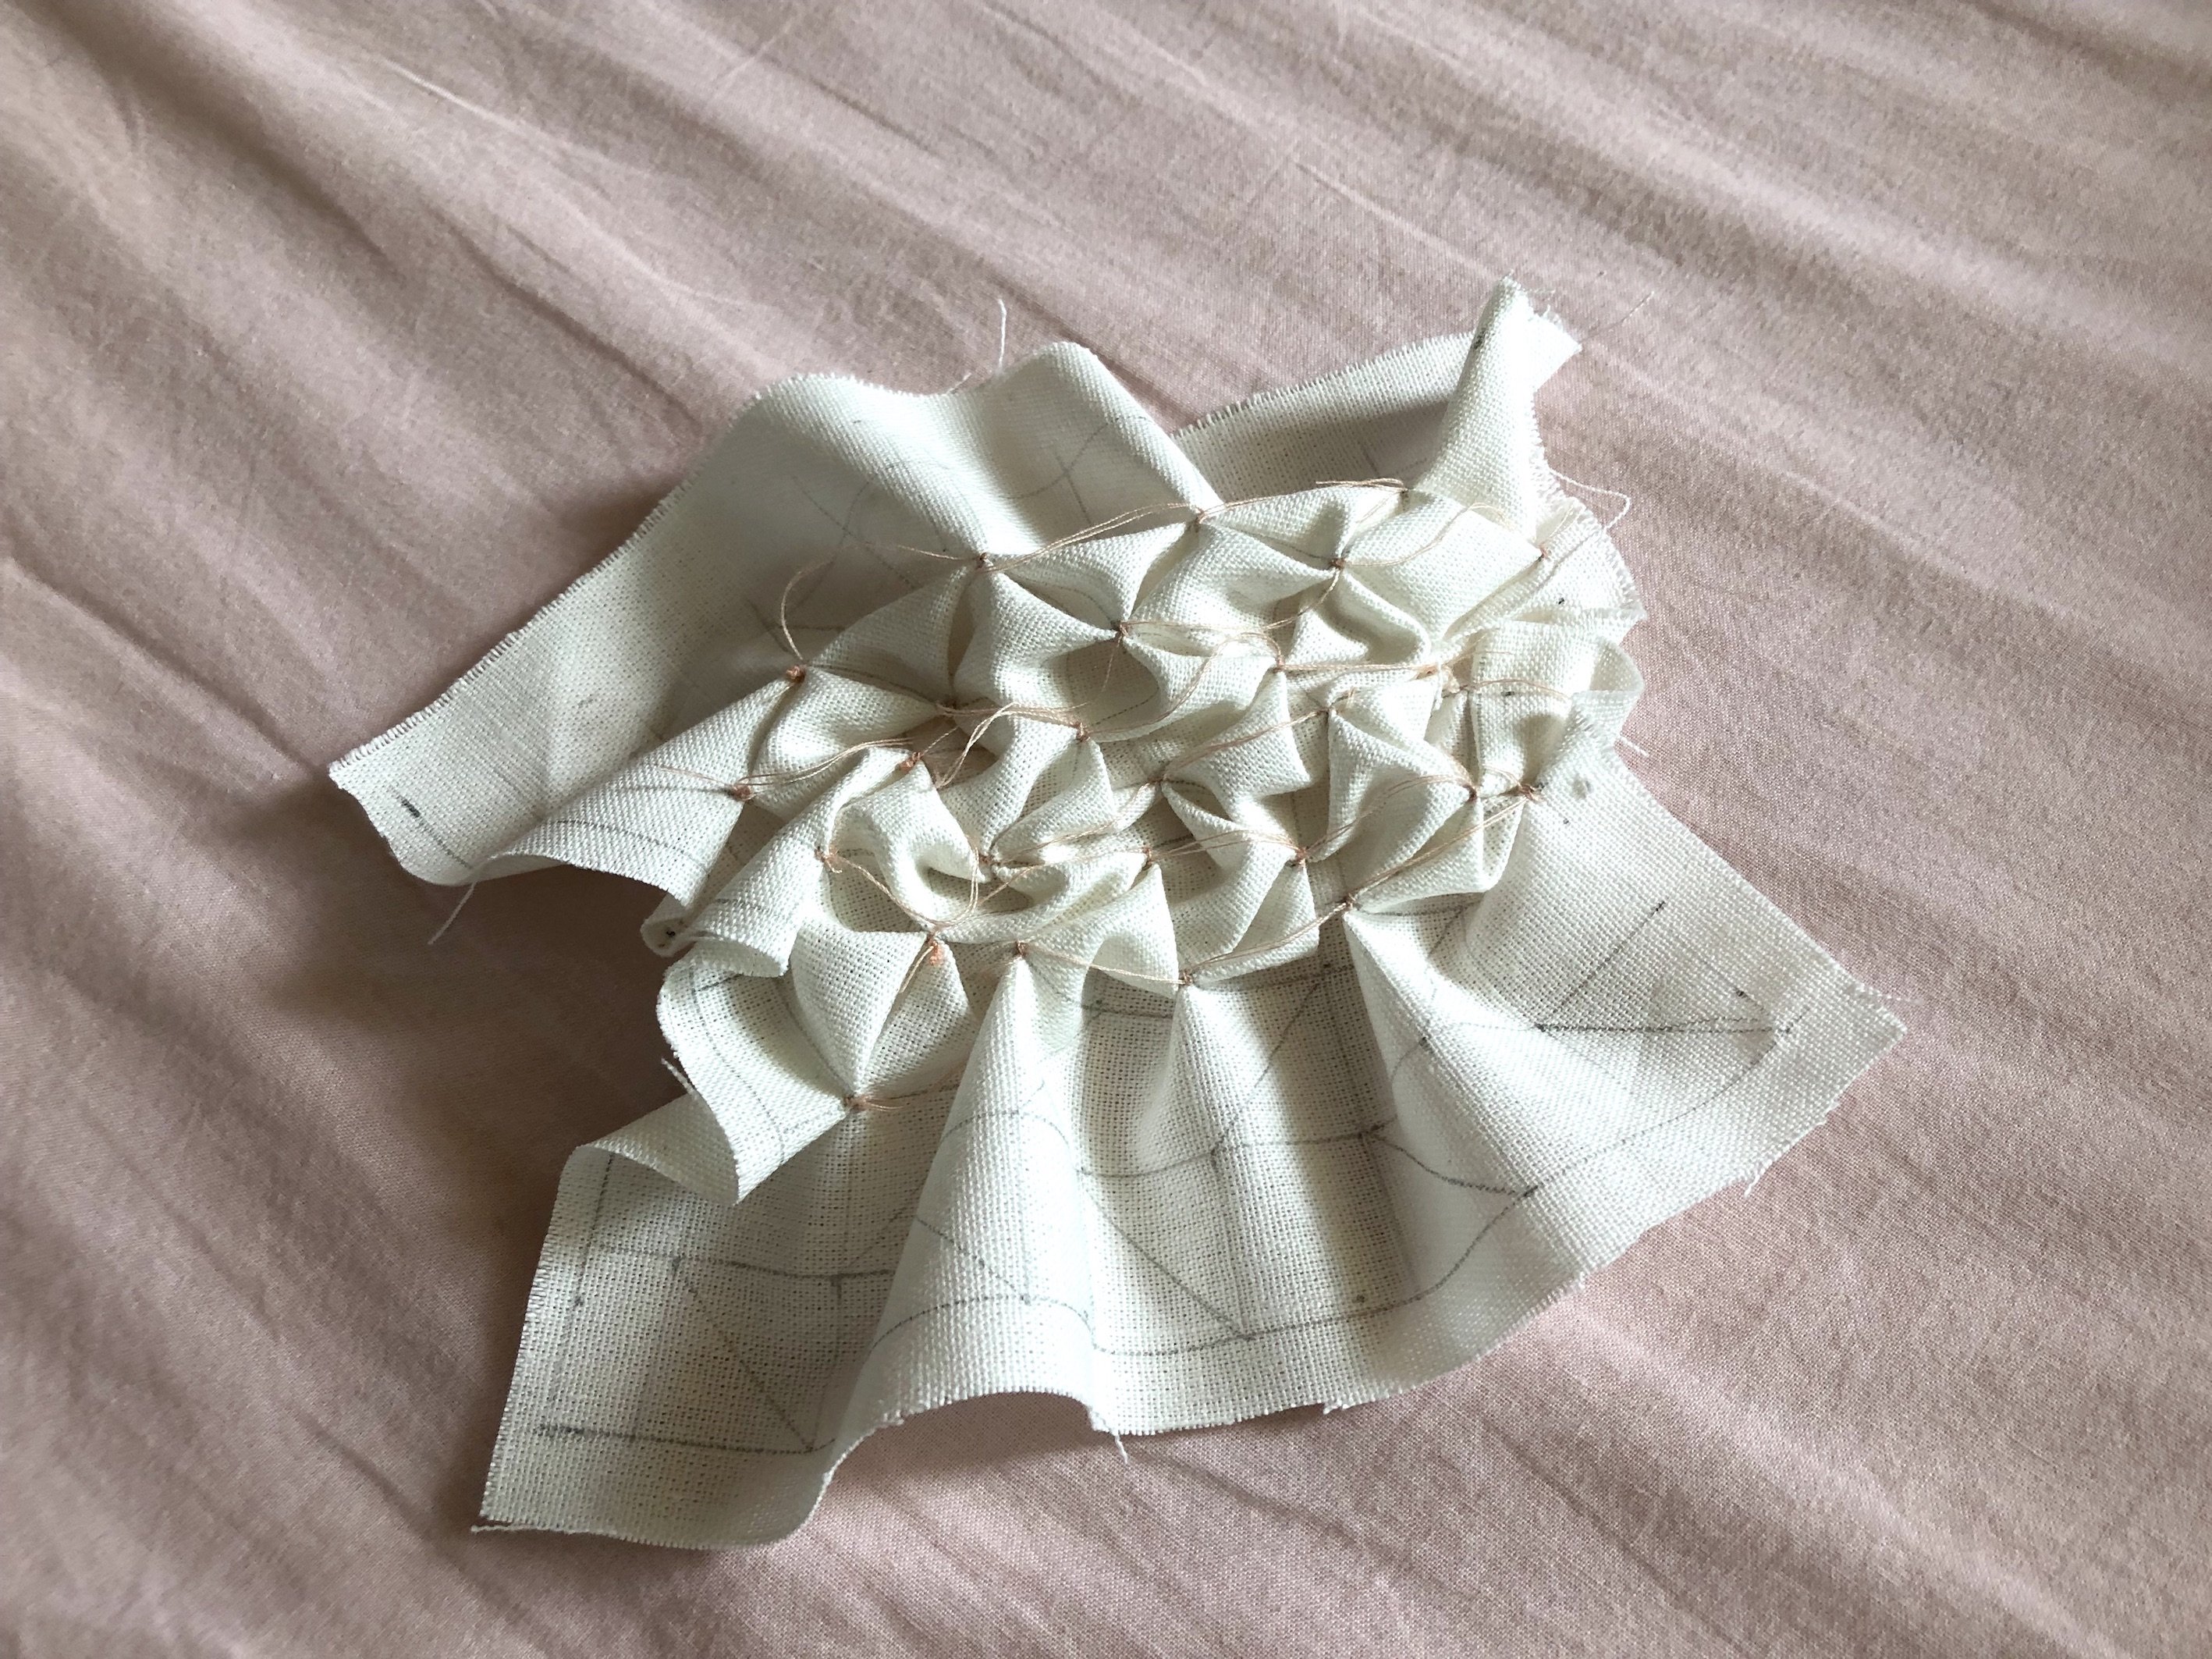
And finally!! It looks like how a lattice stitch is supposed to look! I did two rows and I realised I didn’t have enough cloth T_T I am so tired yet happy with the outcome. Personally, I feel it’s one of the most confusing sewing techniques I’ve learnt so far. Smocking… isn’t easy. I wonder how people can do it so easily! I would definitely love to try the honeycomb technique as it looks so pretty. But for now, I will settle with the lattice stitch that I’ve done 🙂
For the needle felting class, we were taught a few techniques of different feltings:
1. Wet Felting
Welt felting is where the natural wool fibres, stimulated by friction and lubricated by moisture (soap water), move at a 90 degree angle towards the friction source and in effect making little “tacking stitches. The wet felting process makes the felt tighter, locking them together to become a stiff and thick wool that resembles a blanket. Wet felting works by spraying some warm soapy water onto the felt, and you’ll have to “mix” or blend the soapy water with the felt together by rubbing it in. By rubbing the felt onto one another, it creates an effect that makes “tacking” stitches, which helps to tighten and lock the felt together. This will thus create a stiff, and thick wool.
2. Needle Felting
Needle felting is created dry, without the use of water. The needles are referred to as “barbed” needles which in fact have notches along the shaft of the needle that grab the top layer of fibres and tangle them with the inner layers of fibres as the needle enters the wool. Since the notches faces downwards on the needle, they do .not pull the fibres out as the needle exits the wool, but rather “stitch” the wool together when it’s pressed in. By using a single needle or a small group of needle, fine details can be achieved with this technique.
3. Nuno Felting
The Japanese word “Nuno” means cloth. The technique bonds loose fibre, usually wool into a sheer fabric such as silk gauze, creating a lightweight felt. The fibres can completely cover the background fabric, or they may be used as a decorative design that allows the backing fabric to show. Nuno felting often incorporates several layers of loose fibres combined to build up colour, texture, or design elements in the finished fabric. The nuno felting process is particularly suitable for creating lightweight fabrics used to make clothing. Fabrics such as nylon or muslin, or other open weaves can be used as the felting background, resulting in a wide range of textural effects and colours.
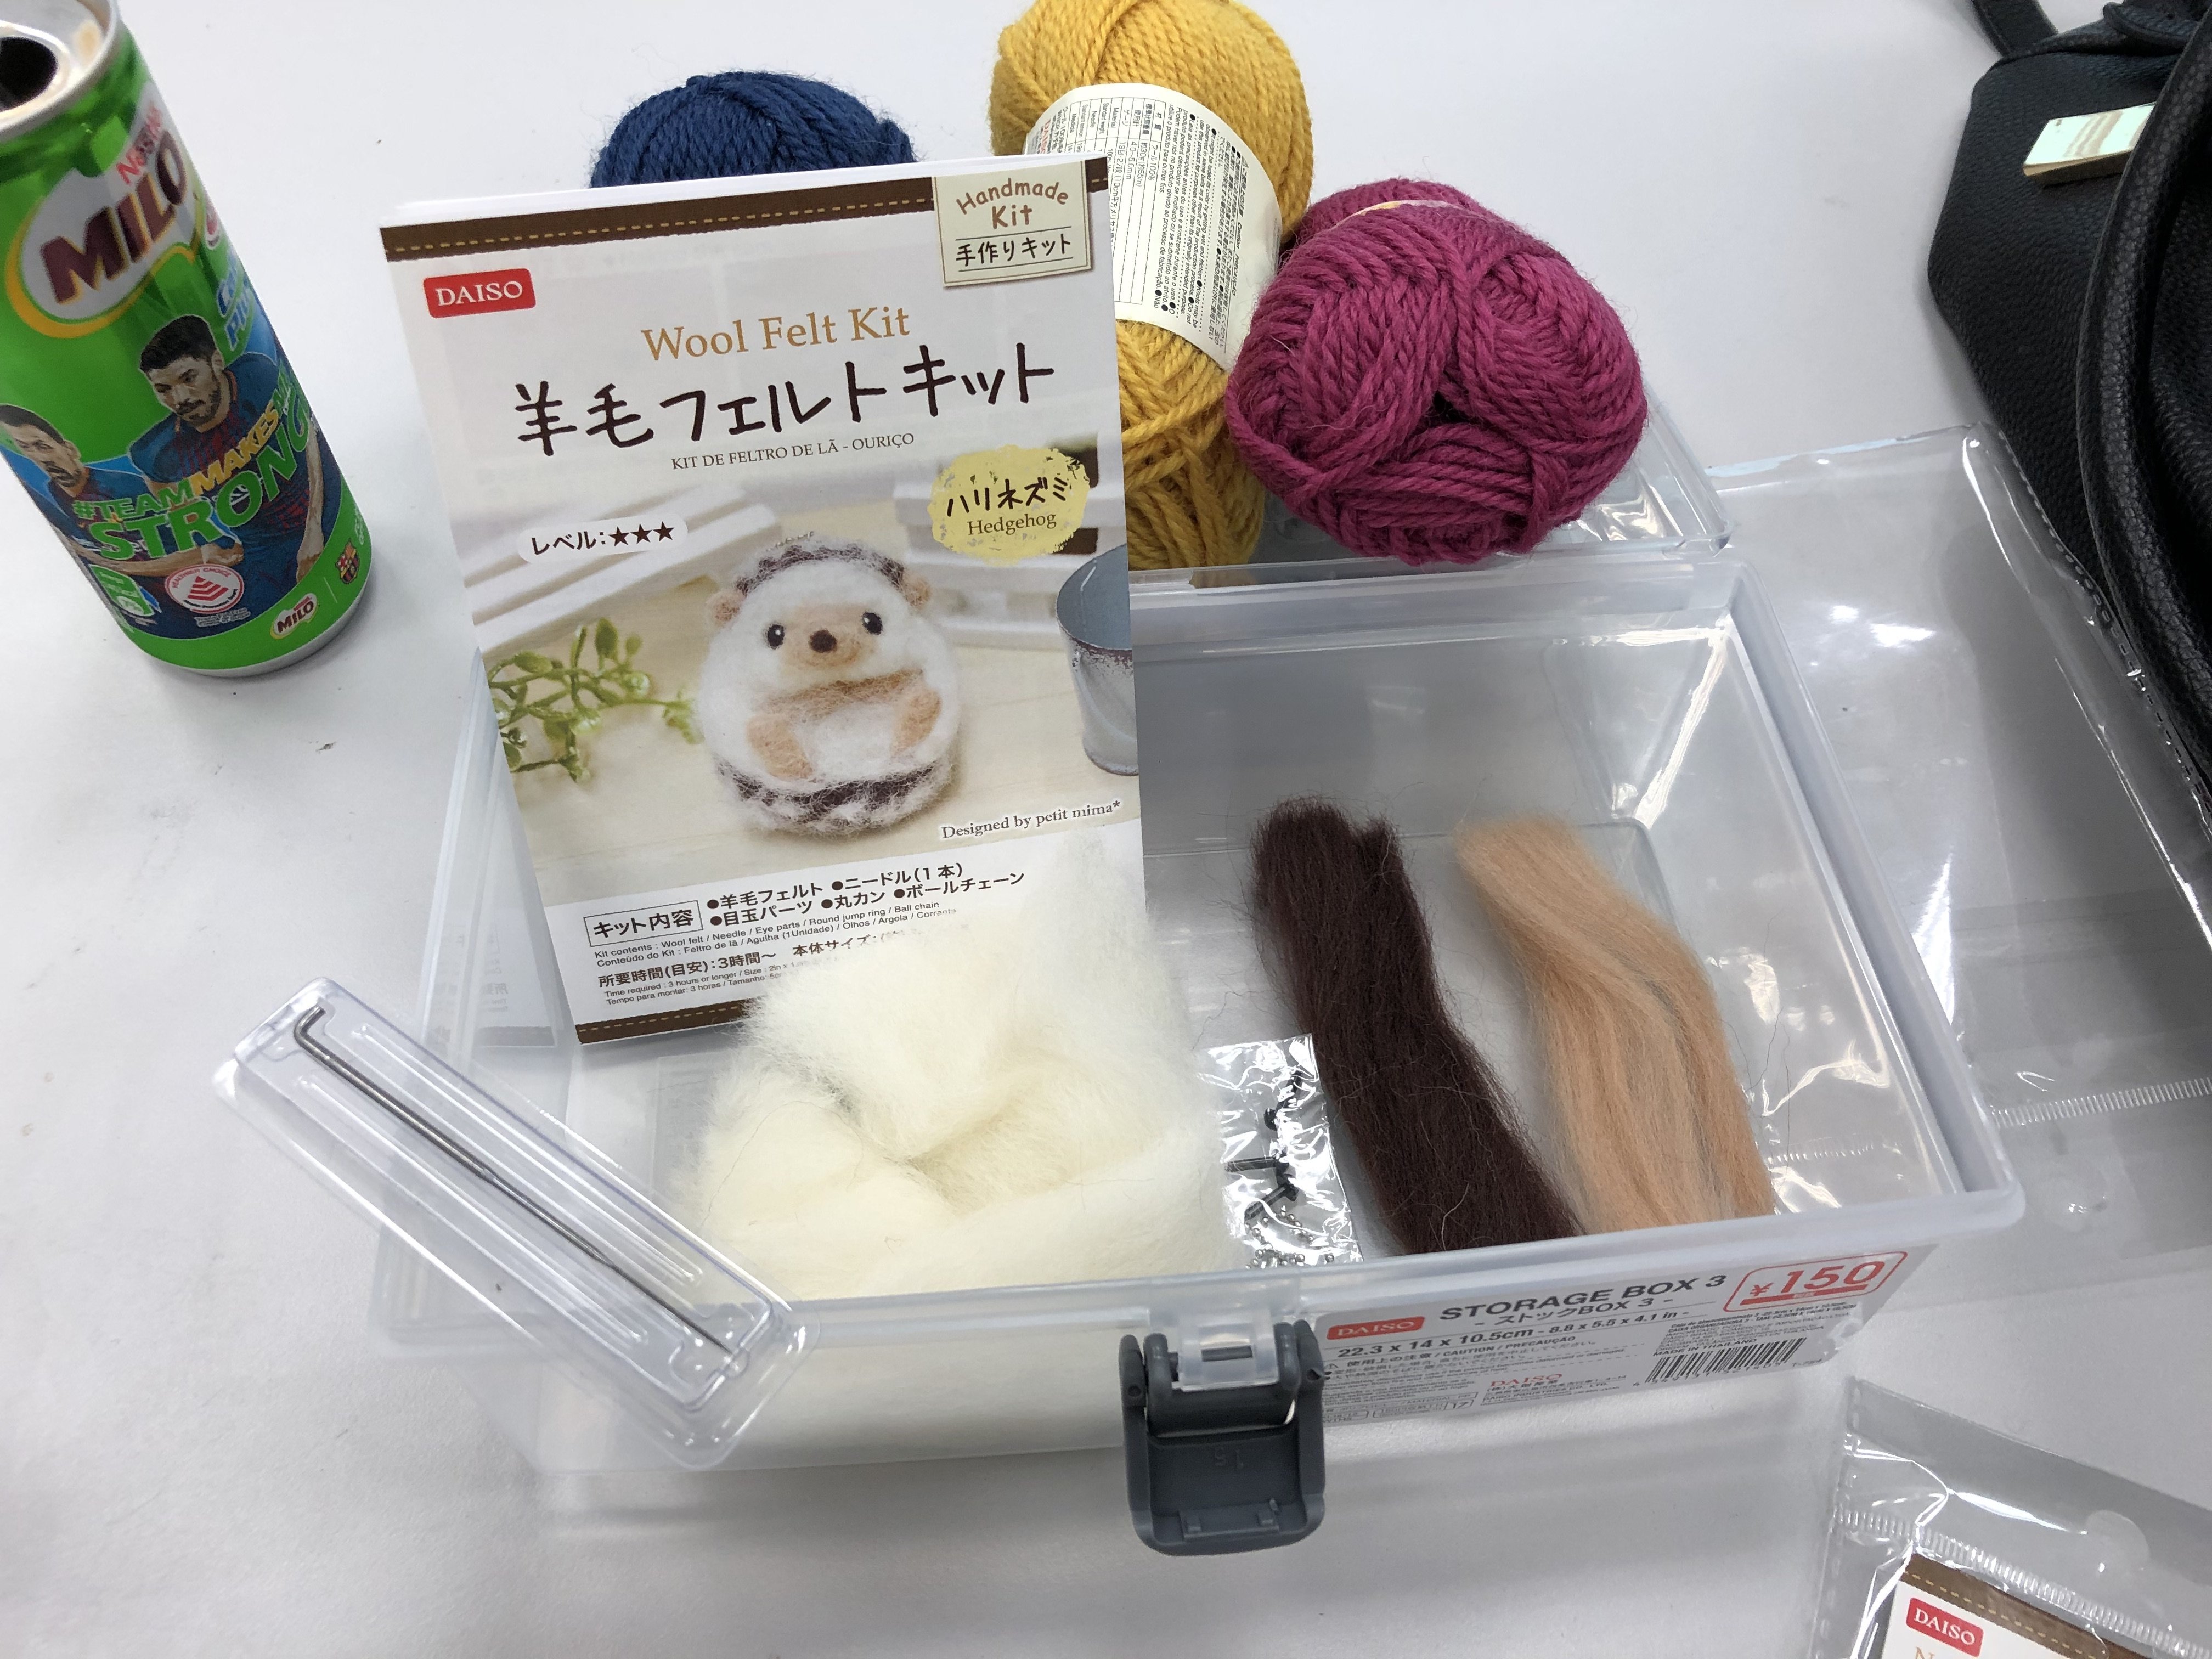
For now, this is the needle felt technique. I bought a really cute hedgehog felt kit from Daiso that I wanted to try! It’s my first time doing needle felting and I was clueless on how it is going to work. I only know that there’s alot of poking involved from all the videos that I’ve seen hahaha. So… lets start it now shall we!
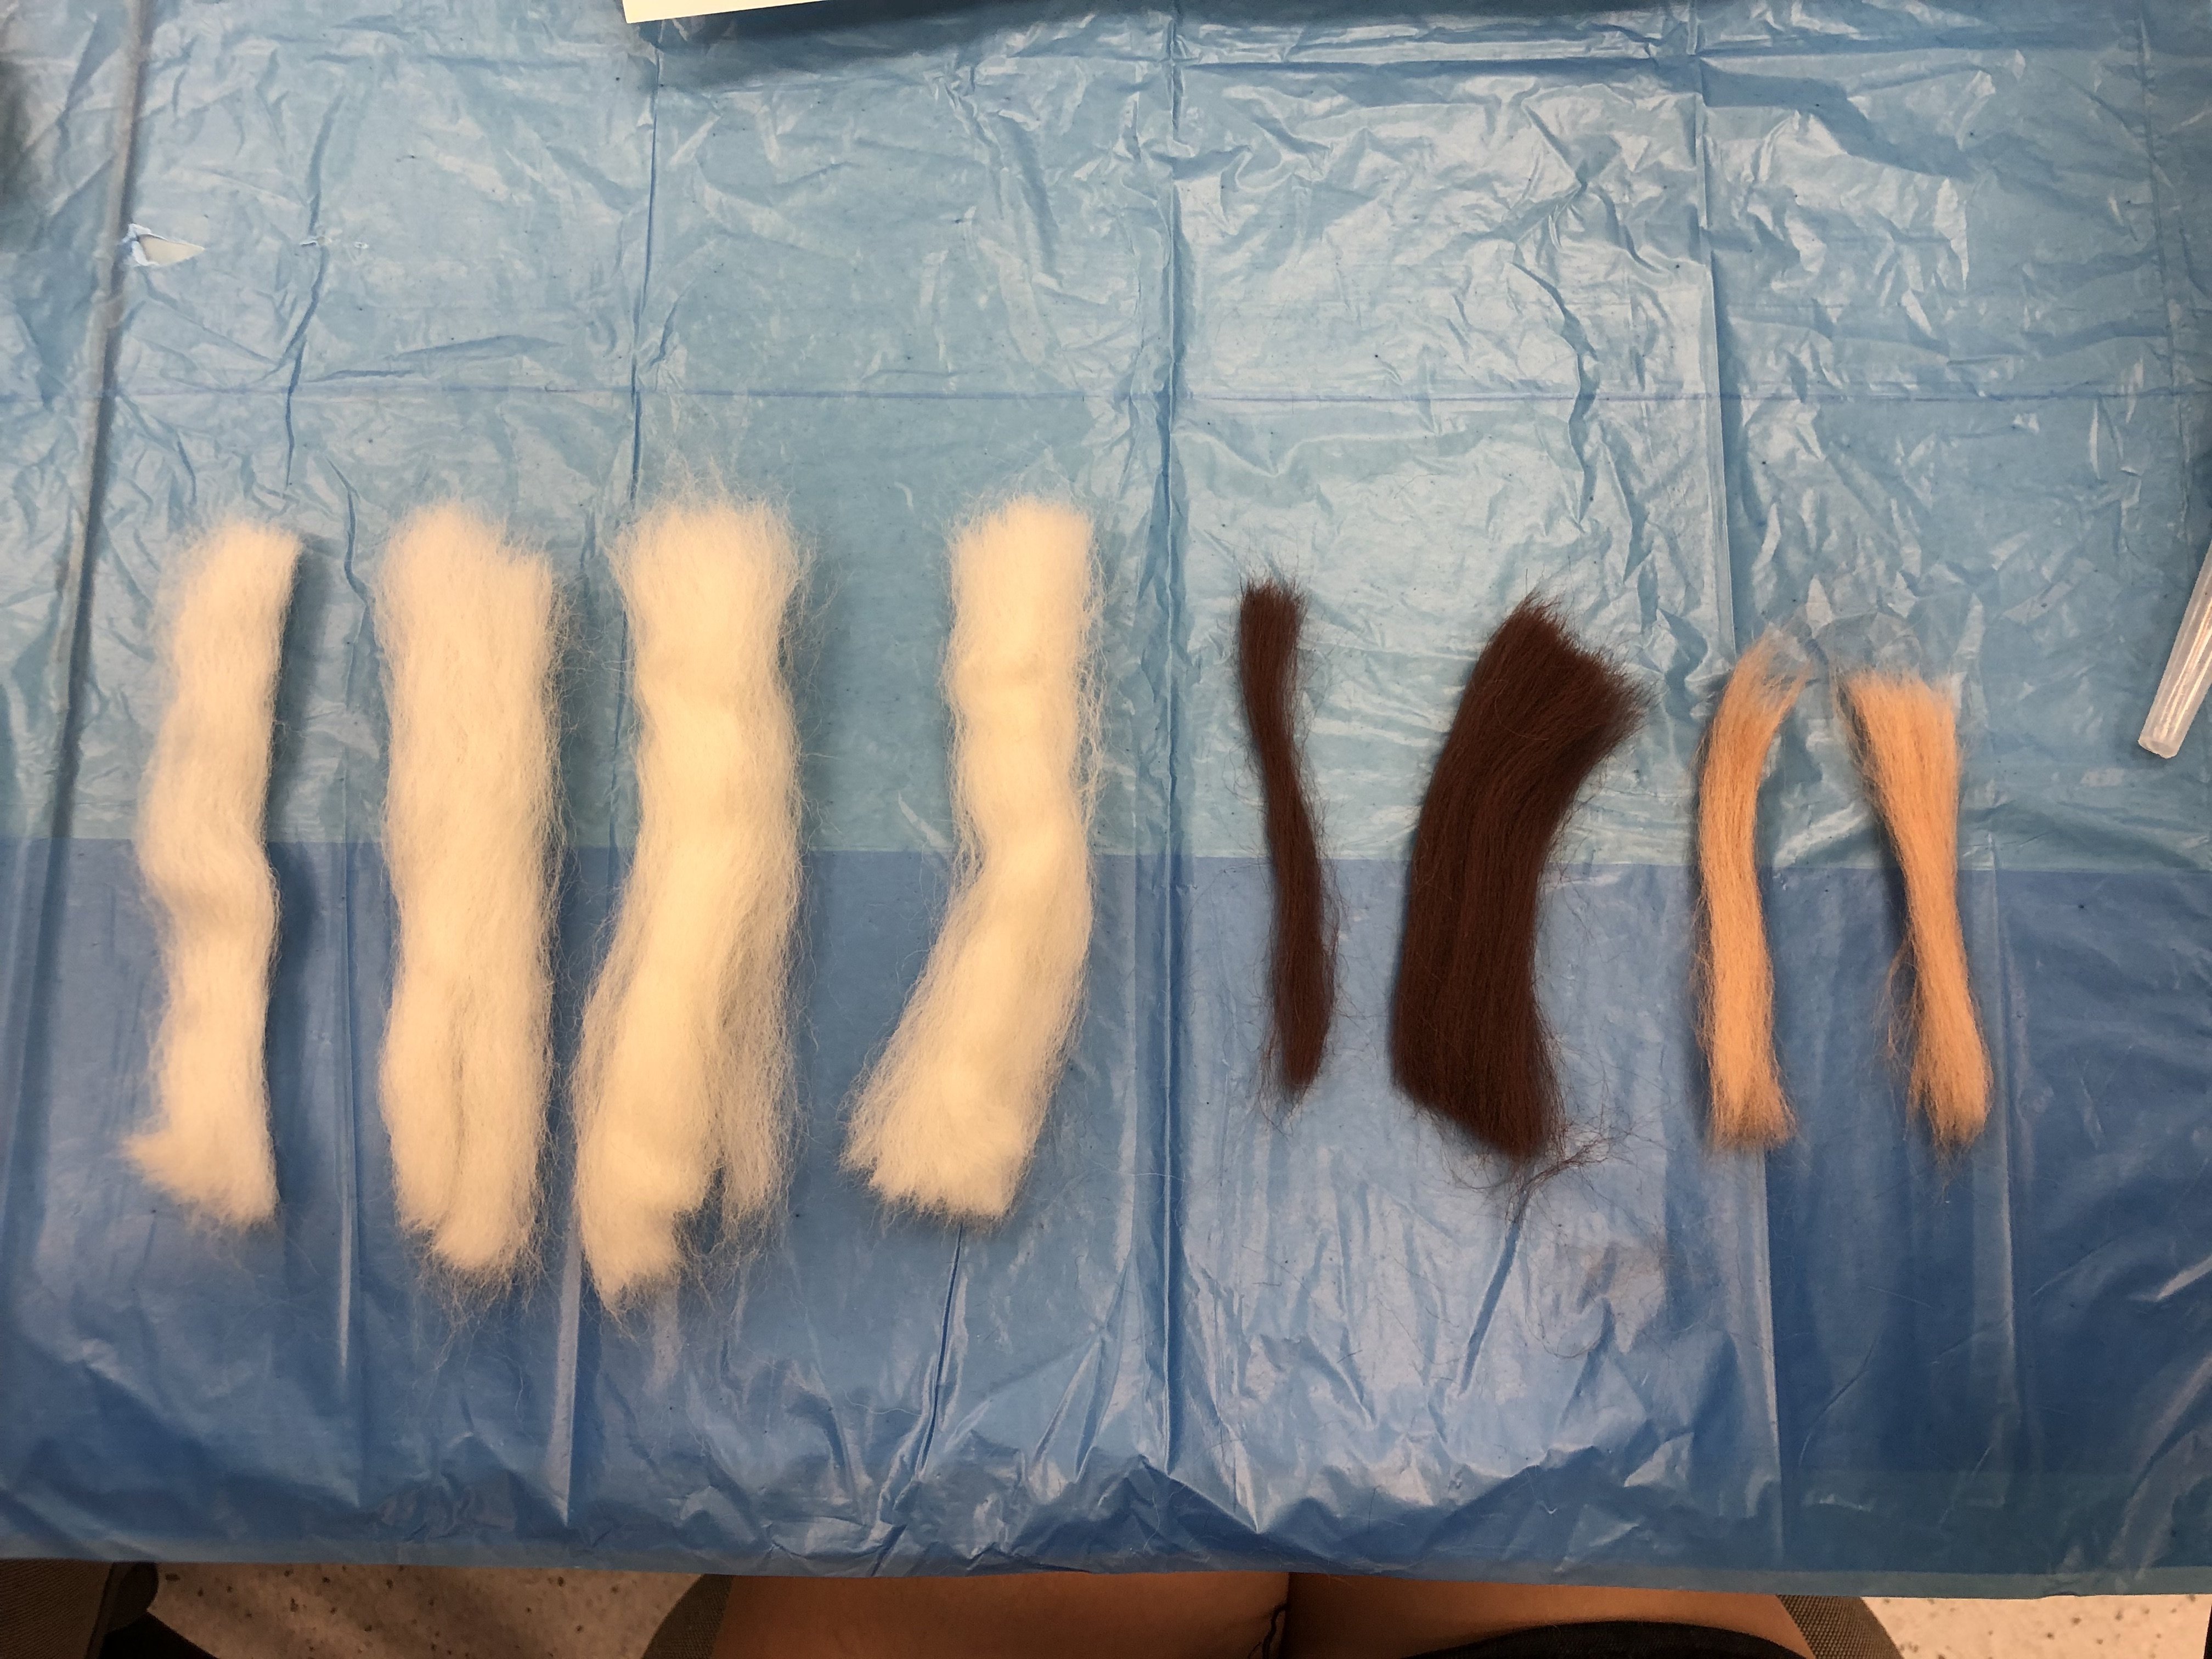
First of foremost, of course you’ll need some: Felt and Felting needle.
Apparently, felting needle comes in different quantity, there are those that comes in twin needles while the rest are individual needles. I guess for the twin needle, it makes the process faster?
Following the hedgehog guide, I was told to segment the pieces for the various body parts of the animal.
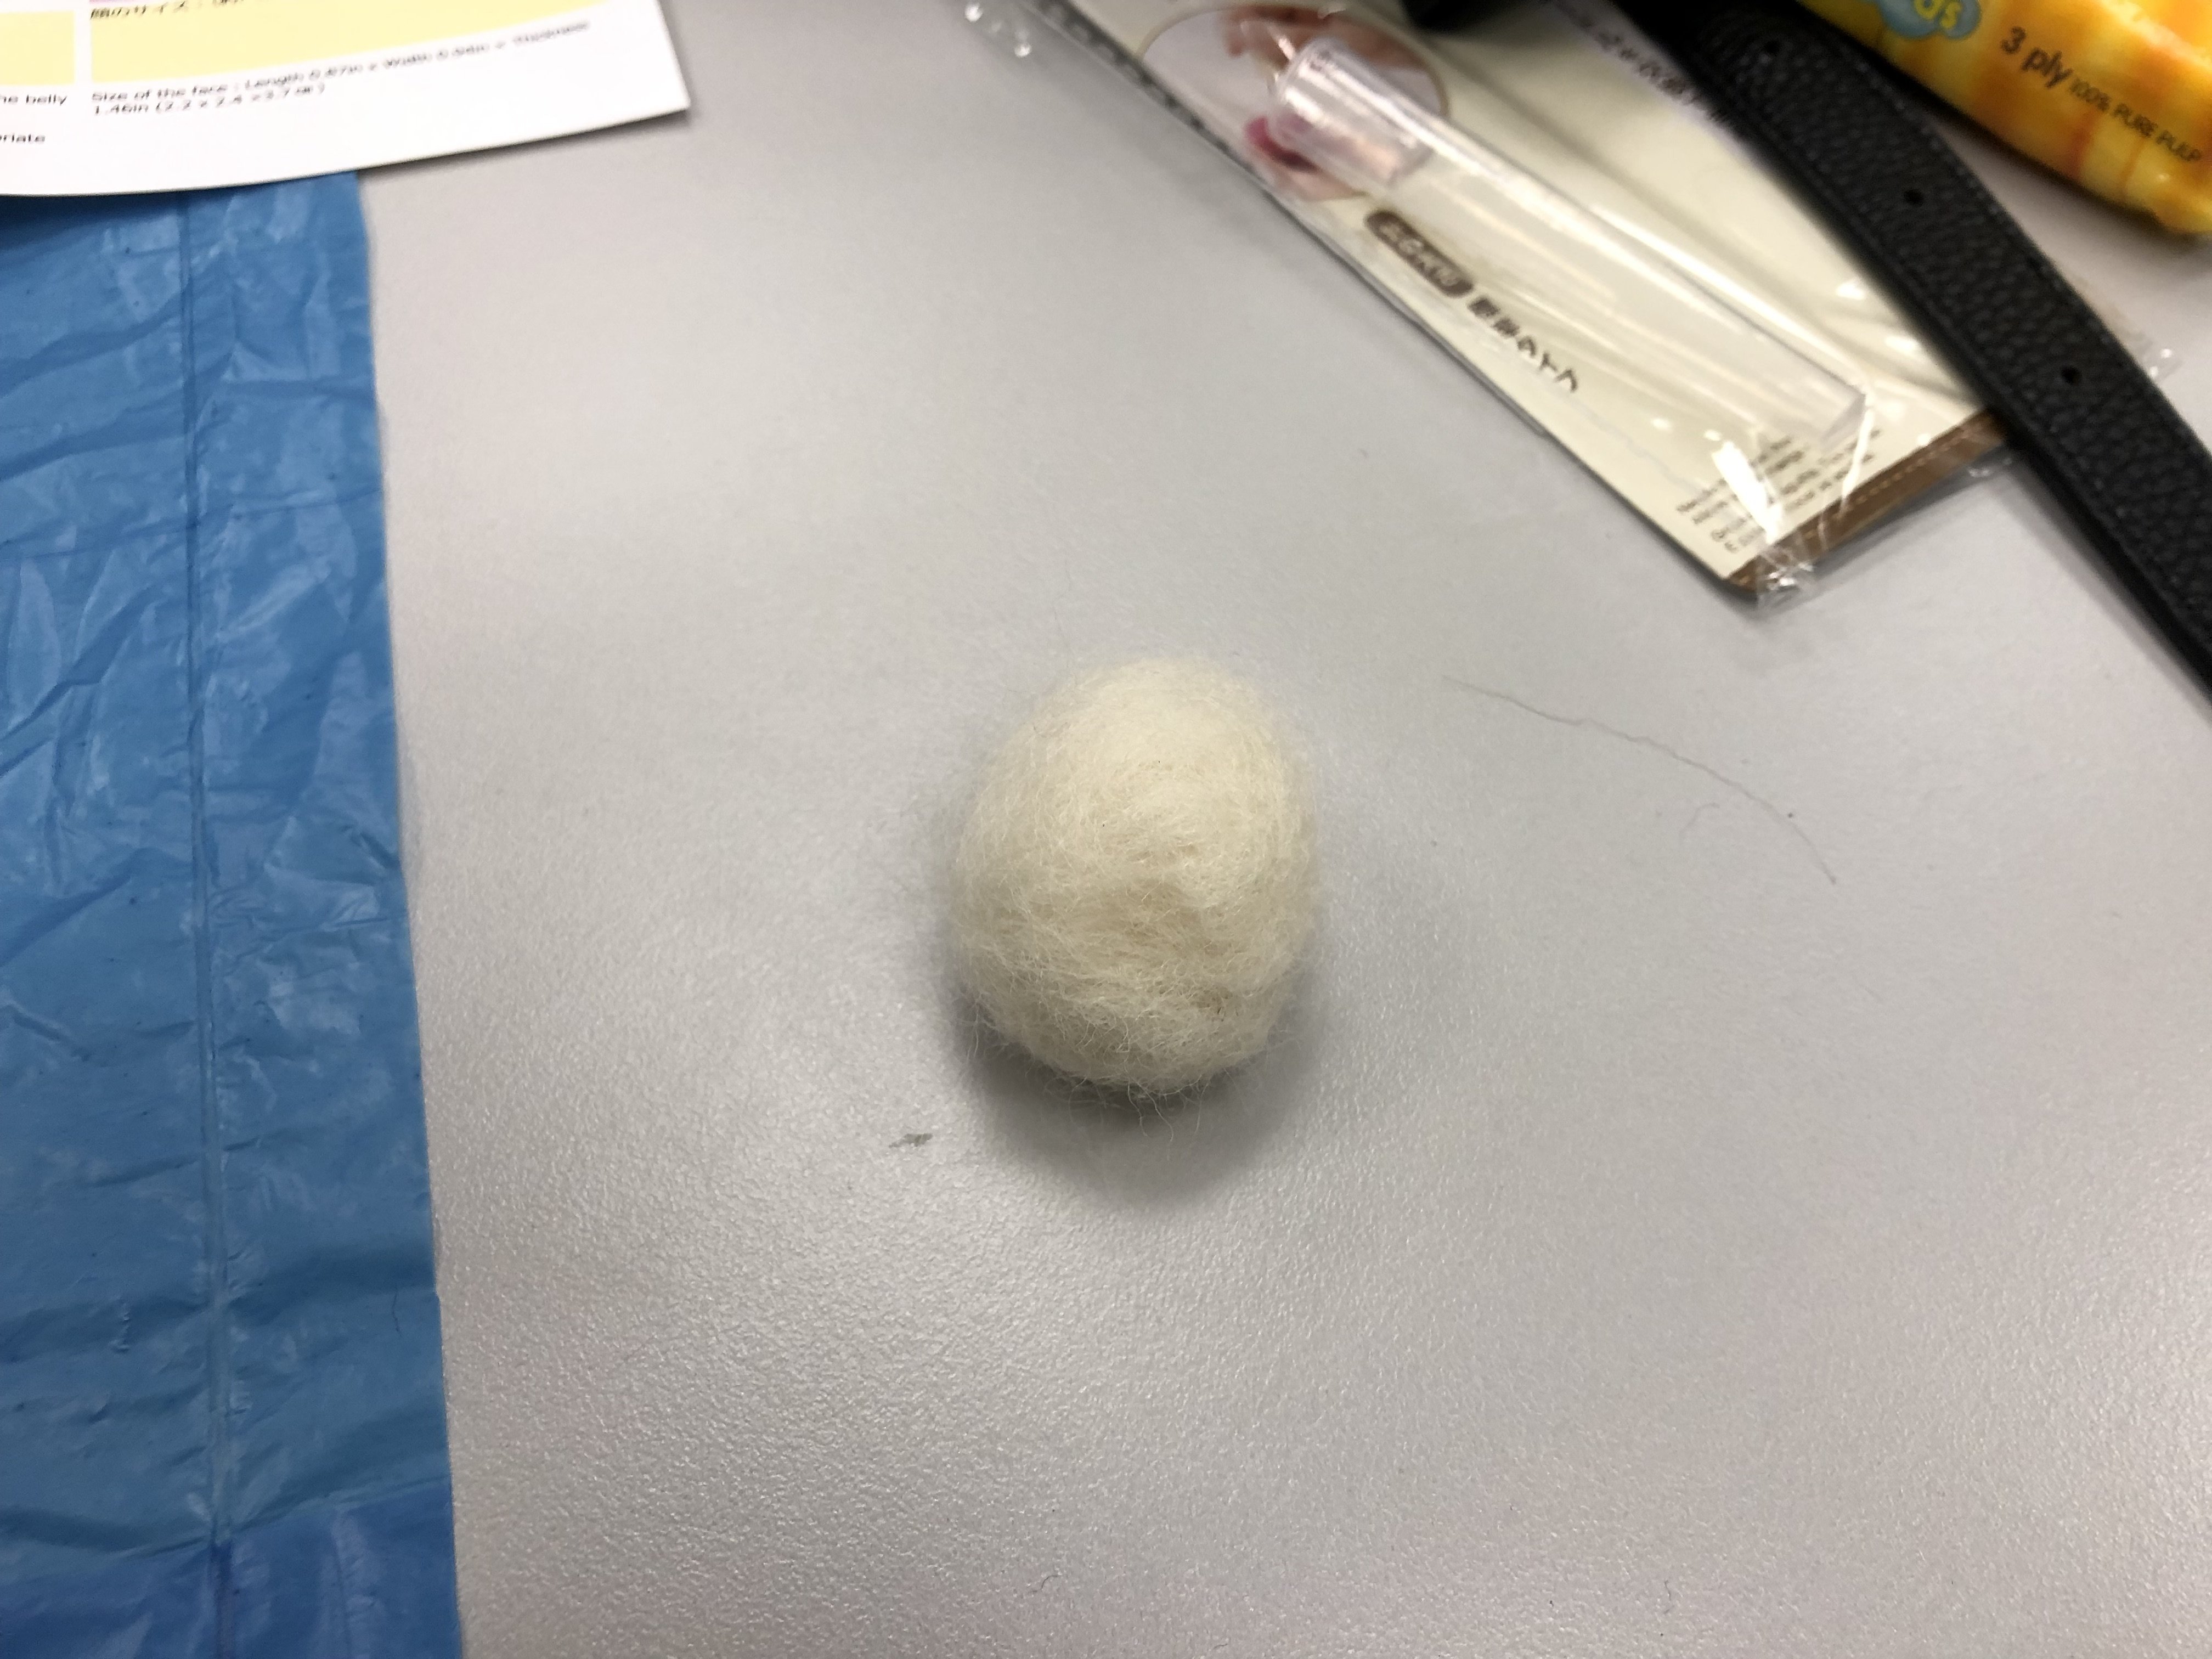
So lets start poking! It took me soooo long to form the ball below, which is the hedgehog body. I never knew it’s gonna take THAT long. Now I know why all the felt crafts are so expensive because it’s so labour extensive. And I kept poking the my finger sigh, and it’s the same exact spot that I kept hurting myself!
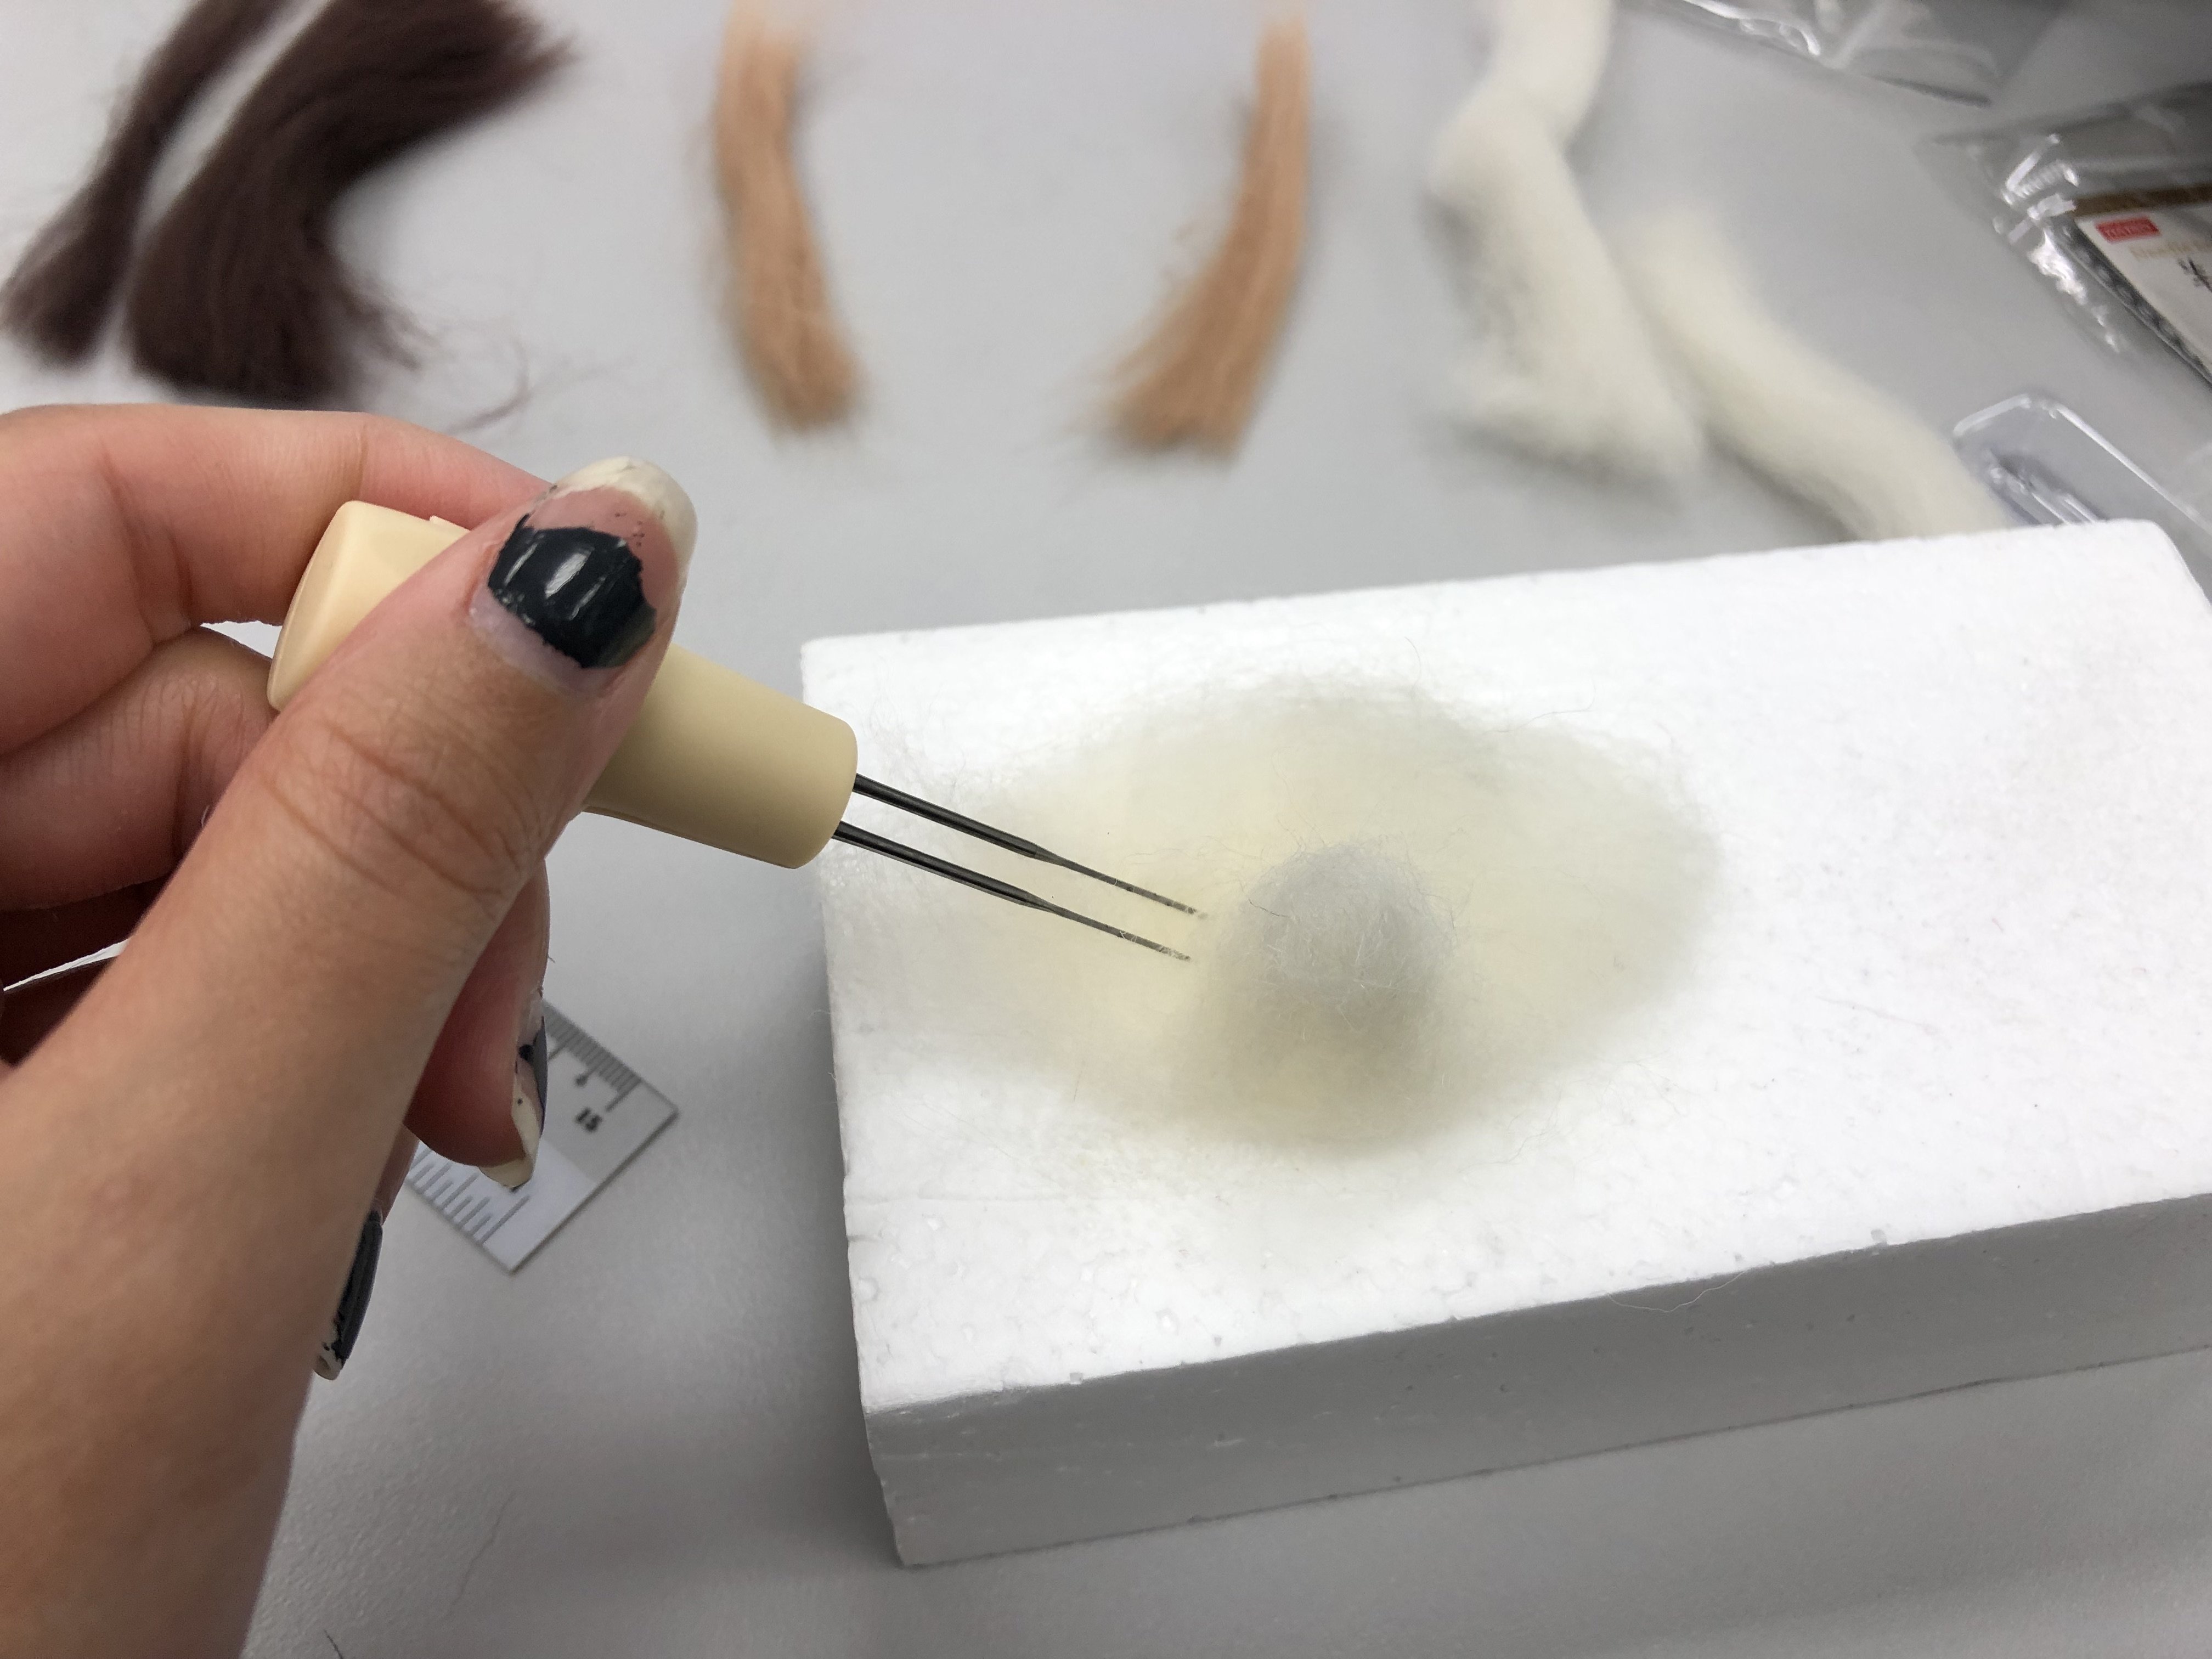
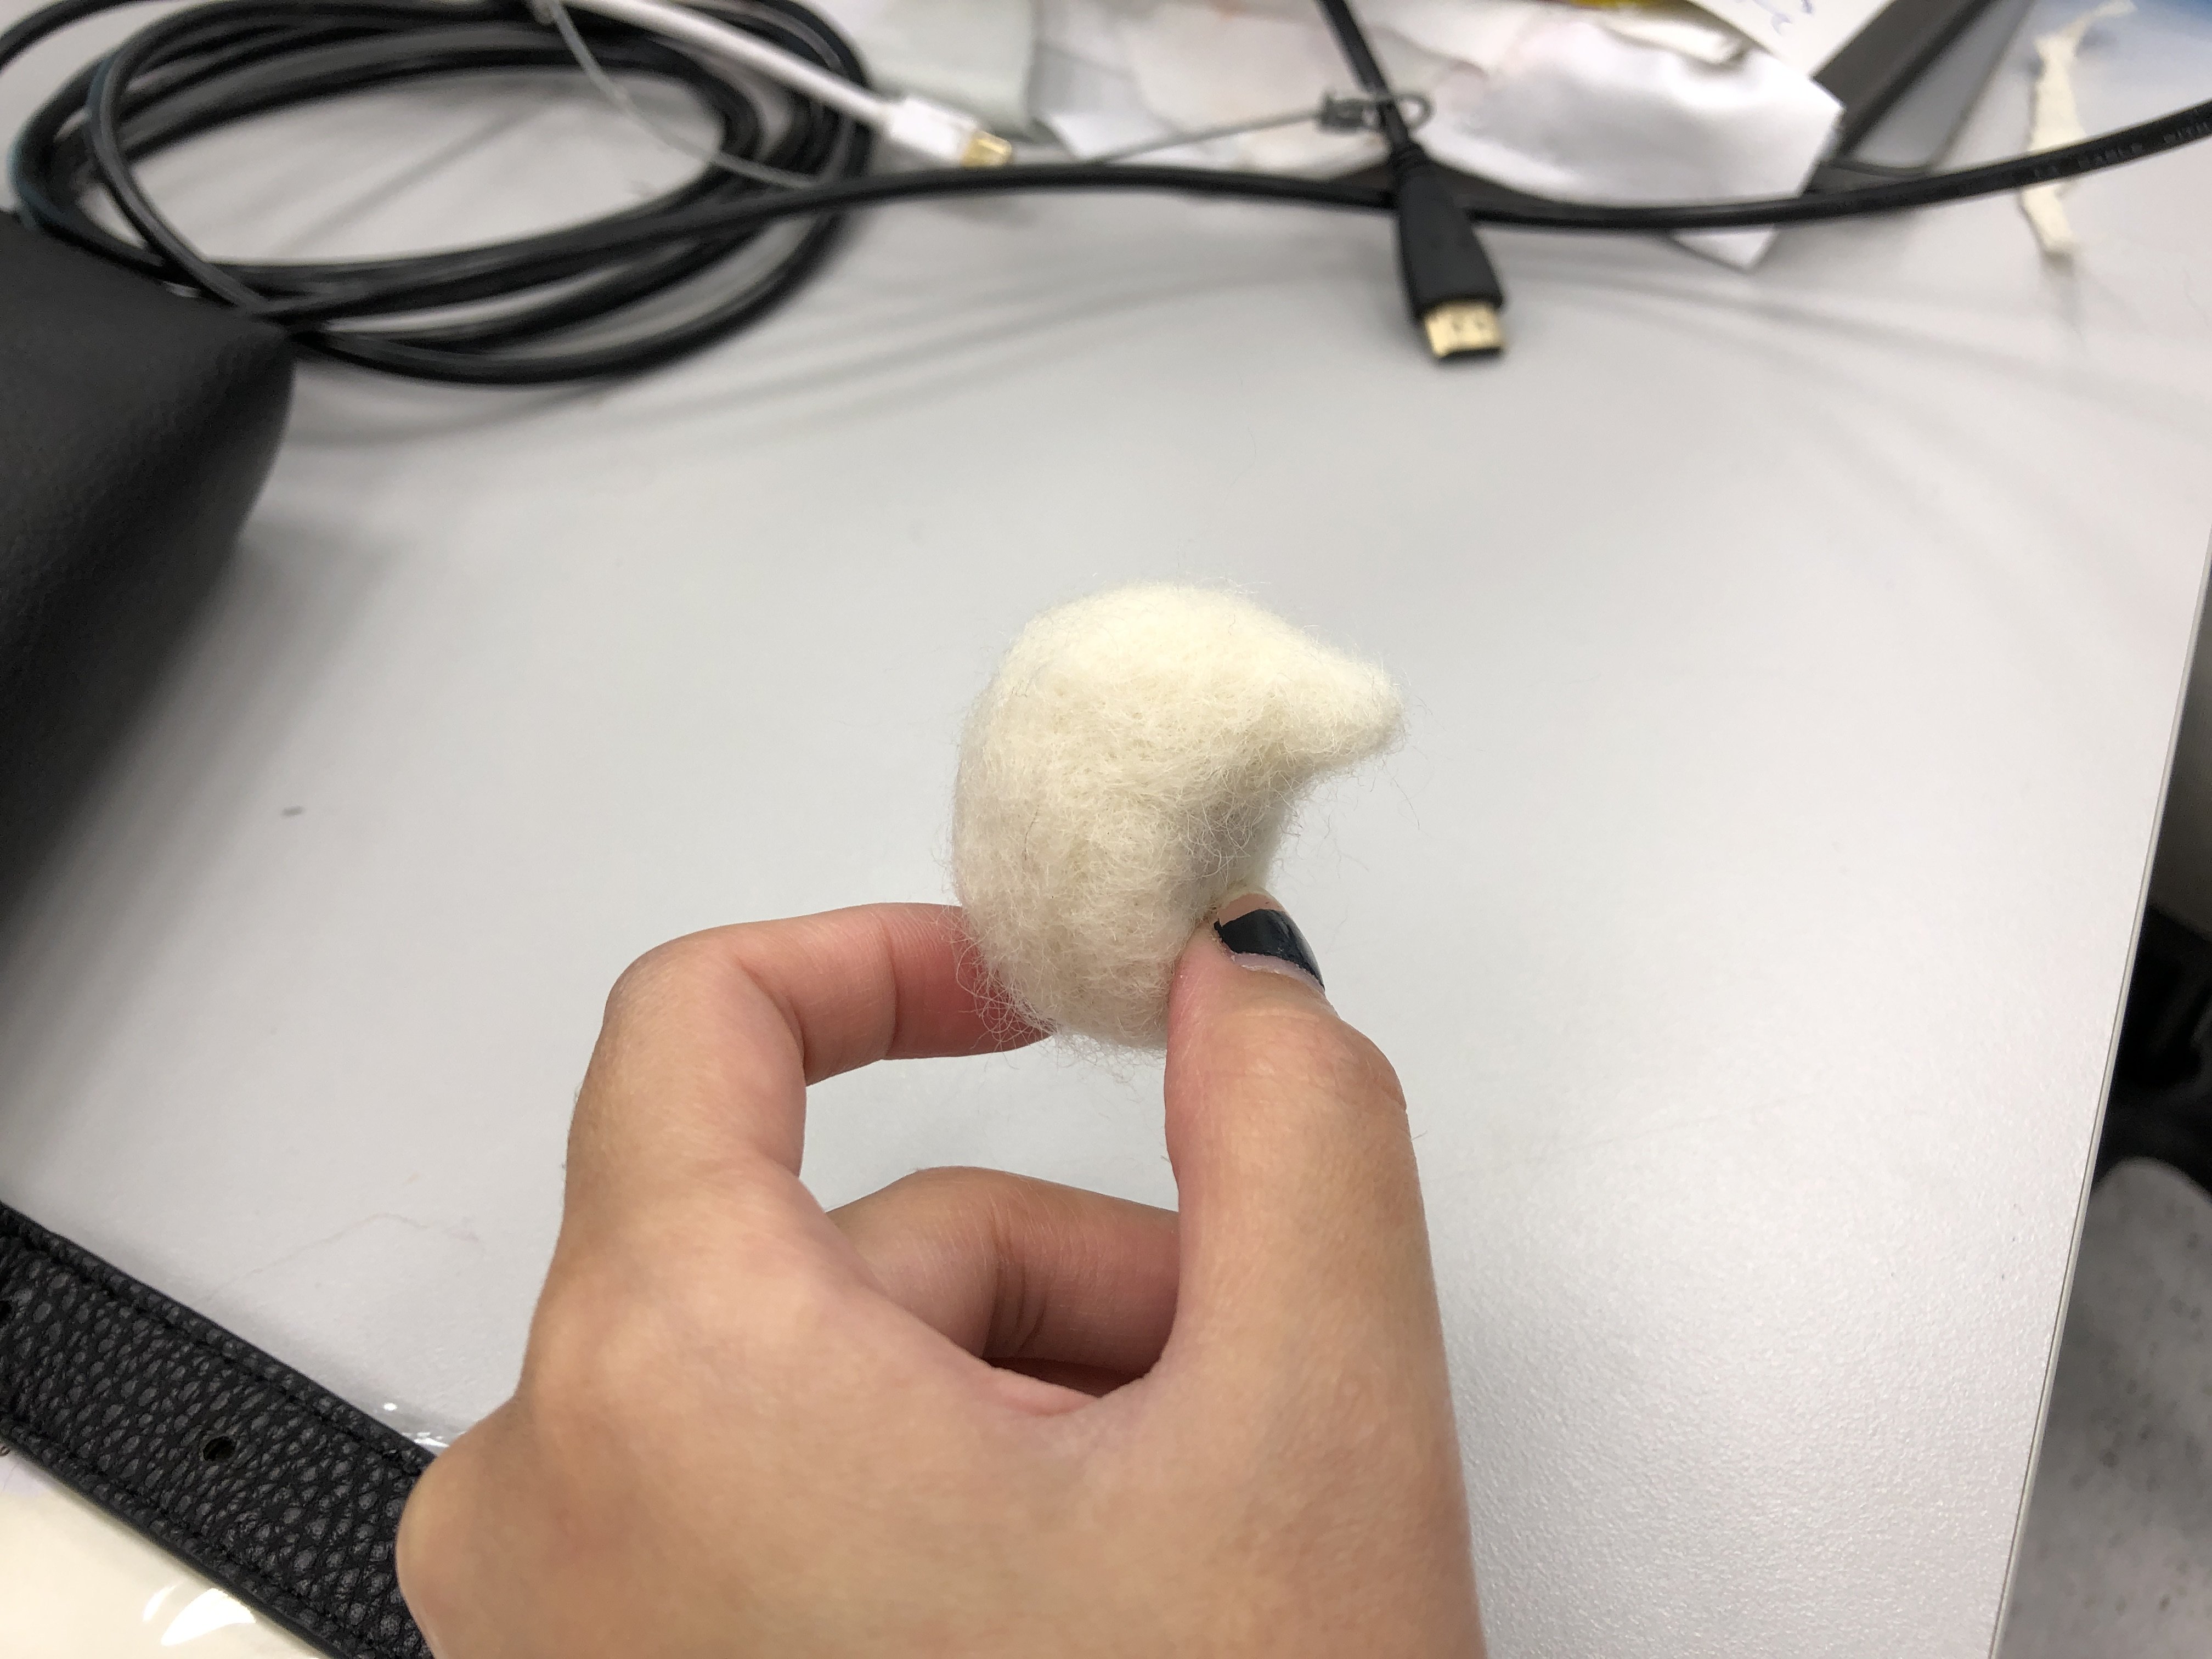
As you can see… I’m trying my very best to form the hedgehog nose. This was already 2 hours into our lesson and I’ve yet to complete a quarter of the hedgehog.
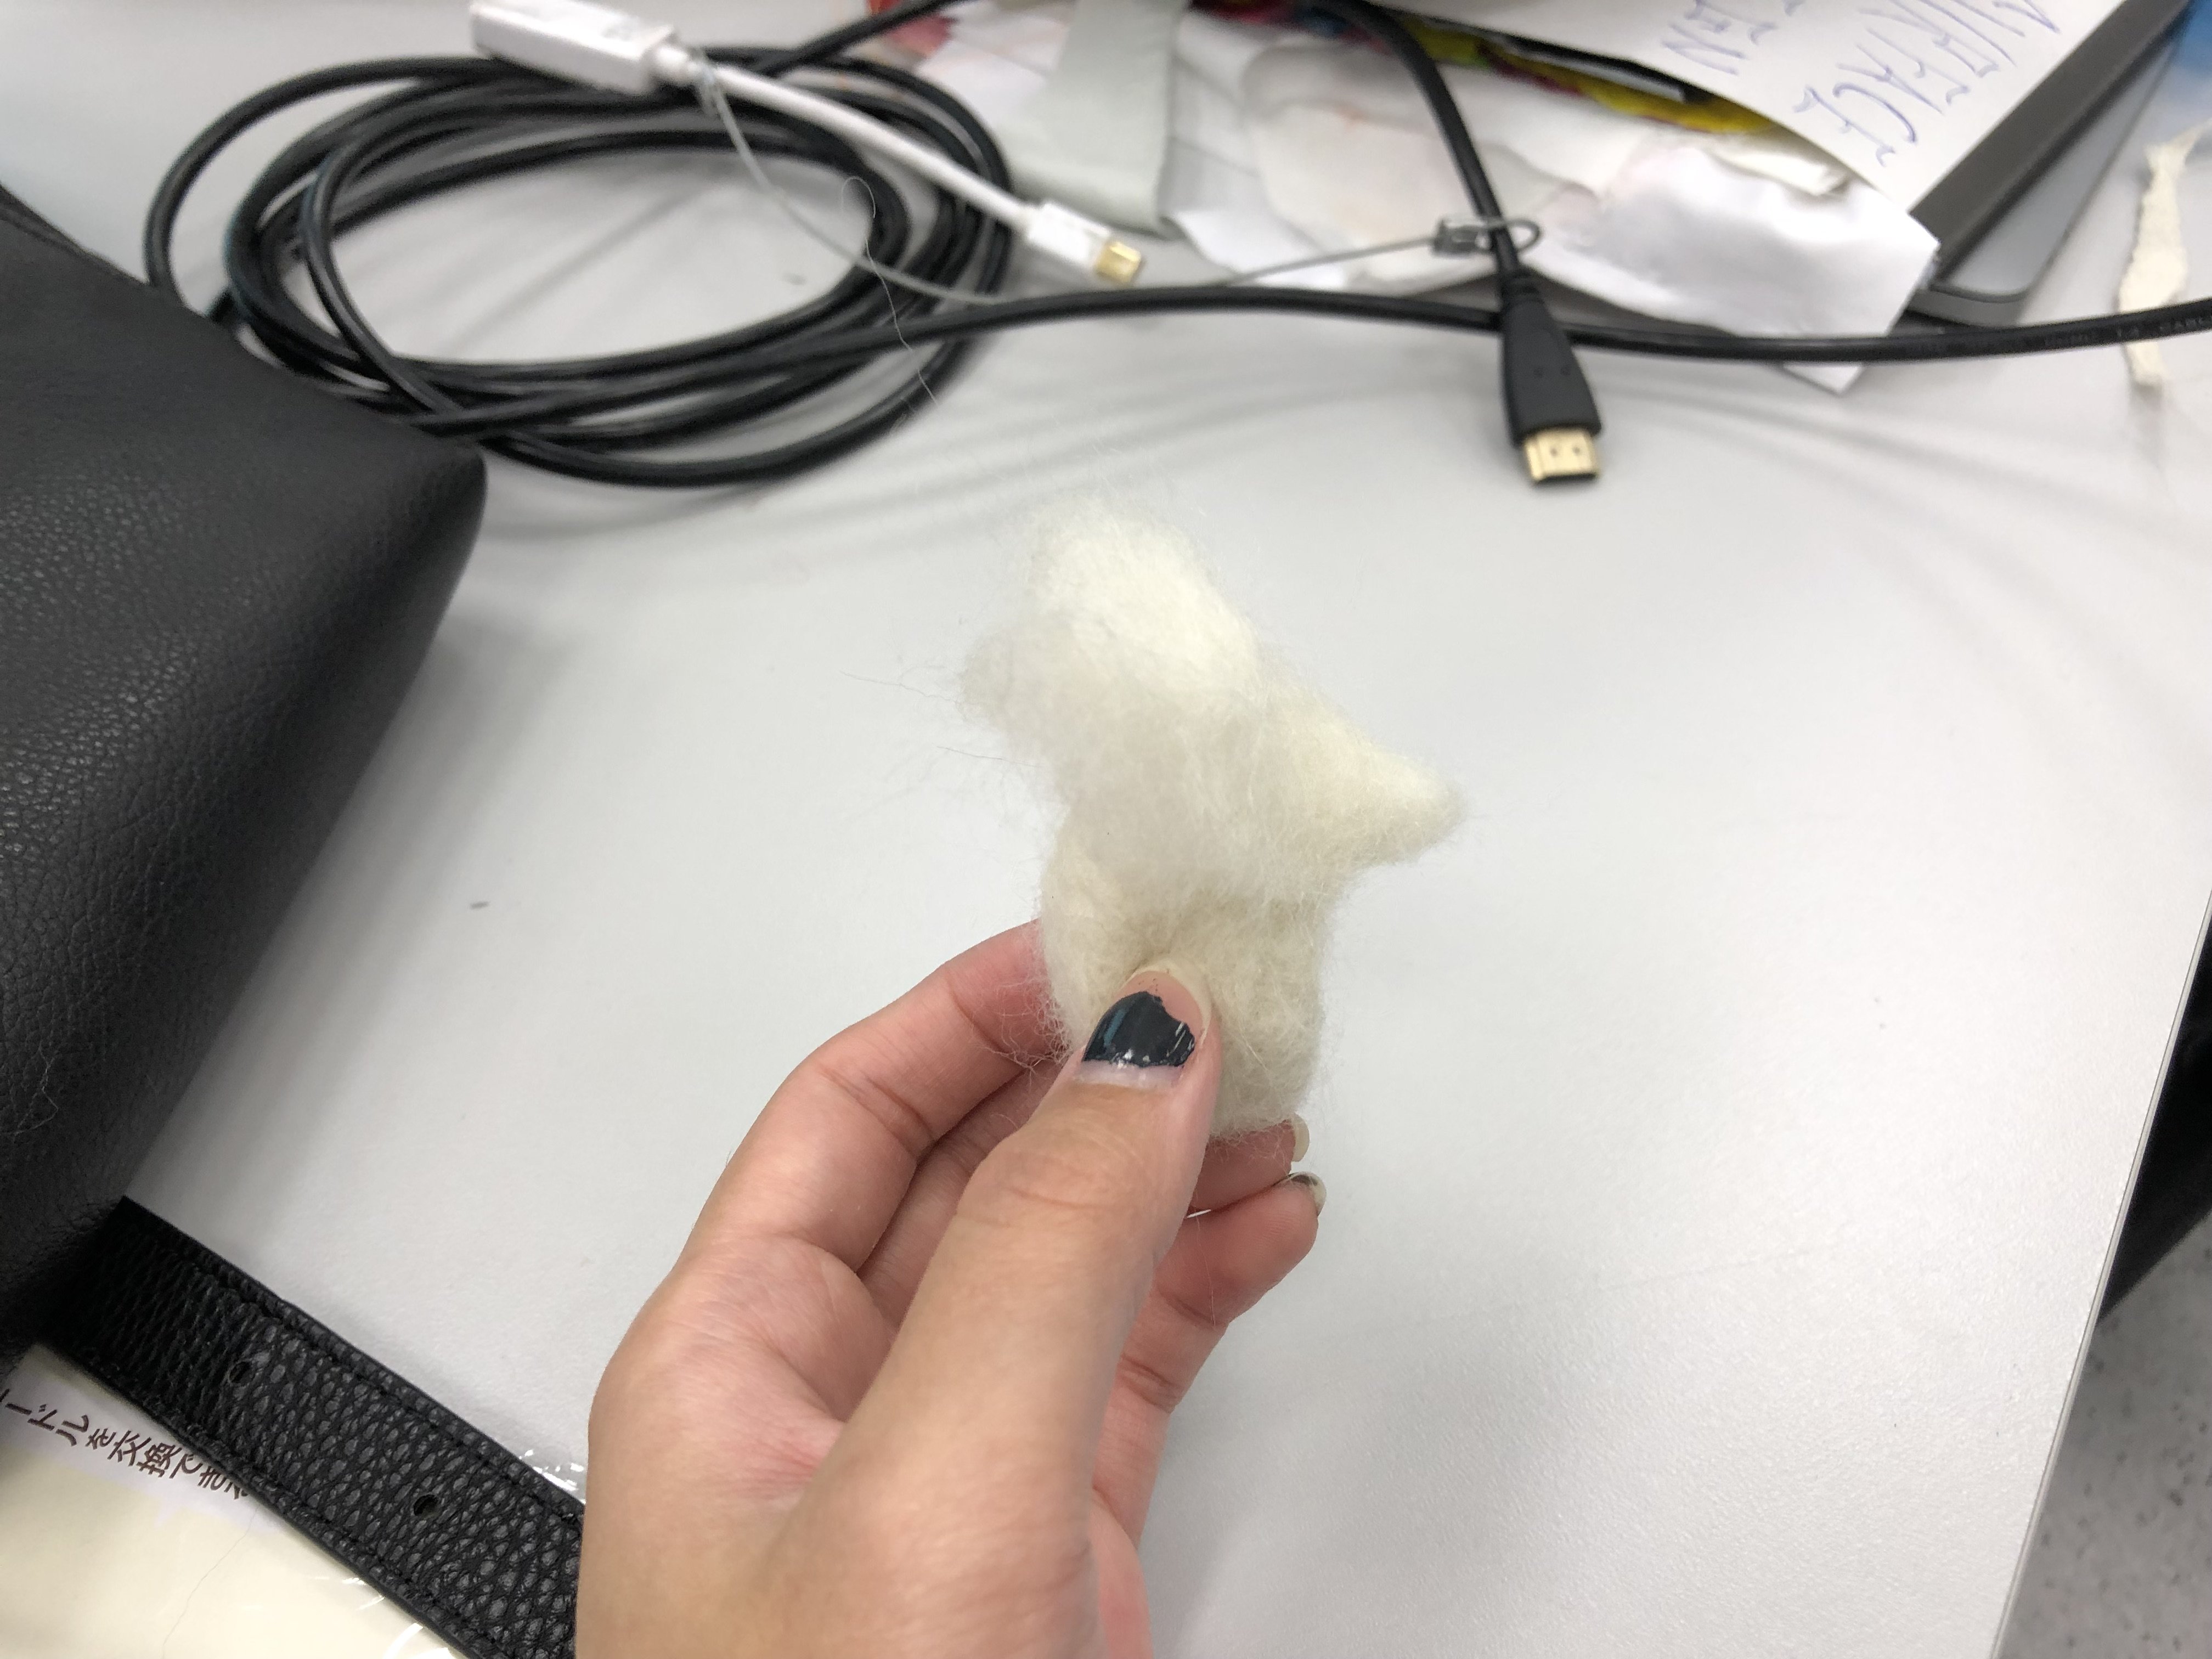
Now I’ll have to attach the nose onto the hedgehog body. Poke poke poke them in. It looks a little crazy now but please believe in me, it will be something.. that looks hedgehog-ish soon.
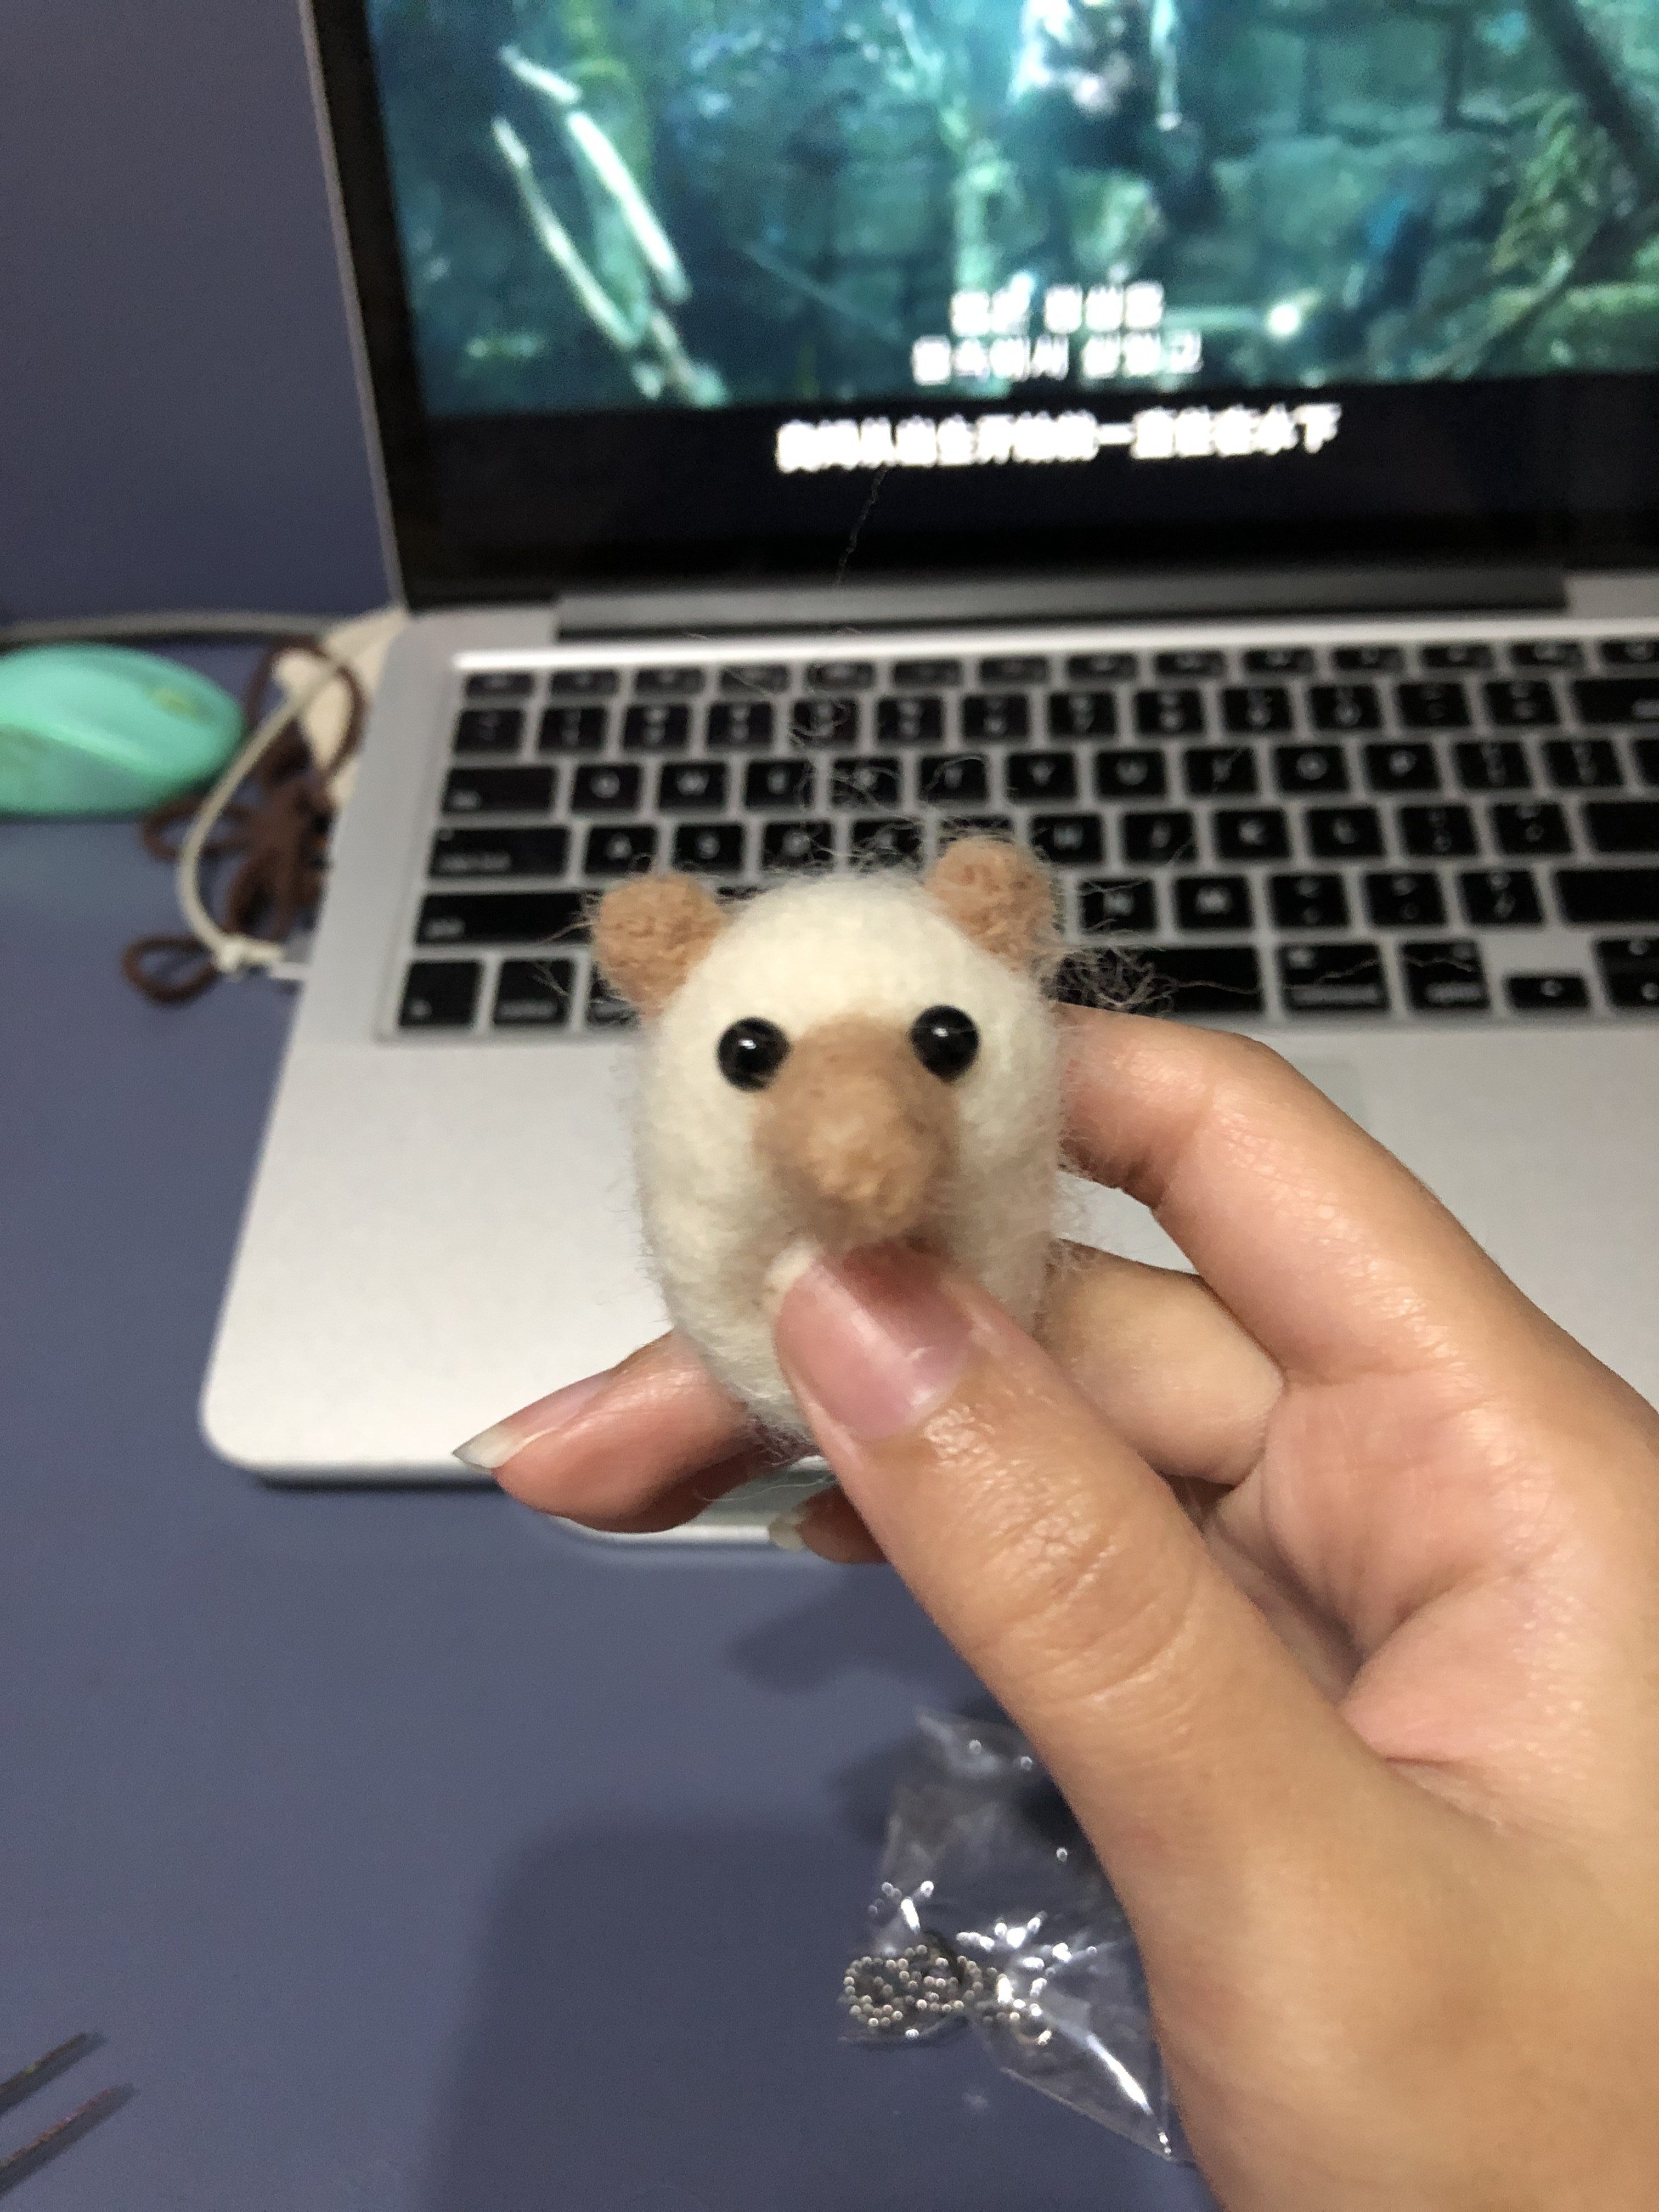
TADAH! And here, I present you the hedgehog body with da nose! Ok and this was taken at the end of the lesson. I took me 3 HOURS to make such a small part. I can’t imagine how long it’s gonna take me to complete the rest of the hedgehog.
DAY 02 of Felt Making.
As you can see in the background of my work, I was binge watching some show while aimlessly poking my felt. And now… I present you 3/4 of my hedgehog, with a pair of new ears and a nose that is a lil too big for him. But hey… everyone has their own imperfections right :’) so lets not put too much pressure on this little guy here shall we?
This is not the end of my hedgehog… I will check back again once I’ve finish giving him a cute little hairstyle 😉
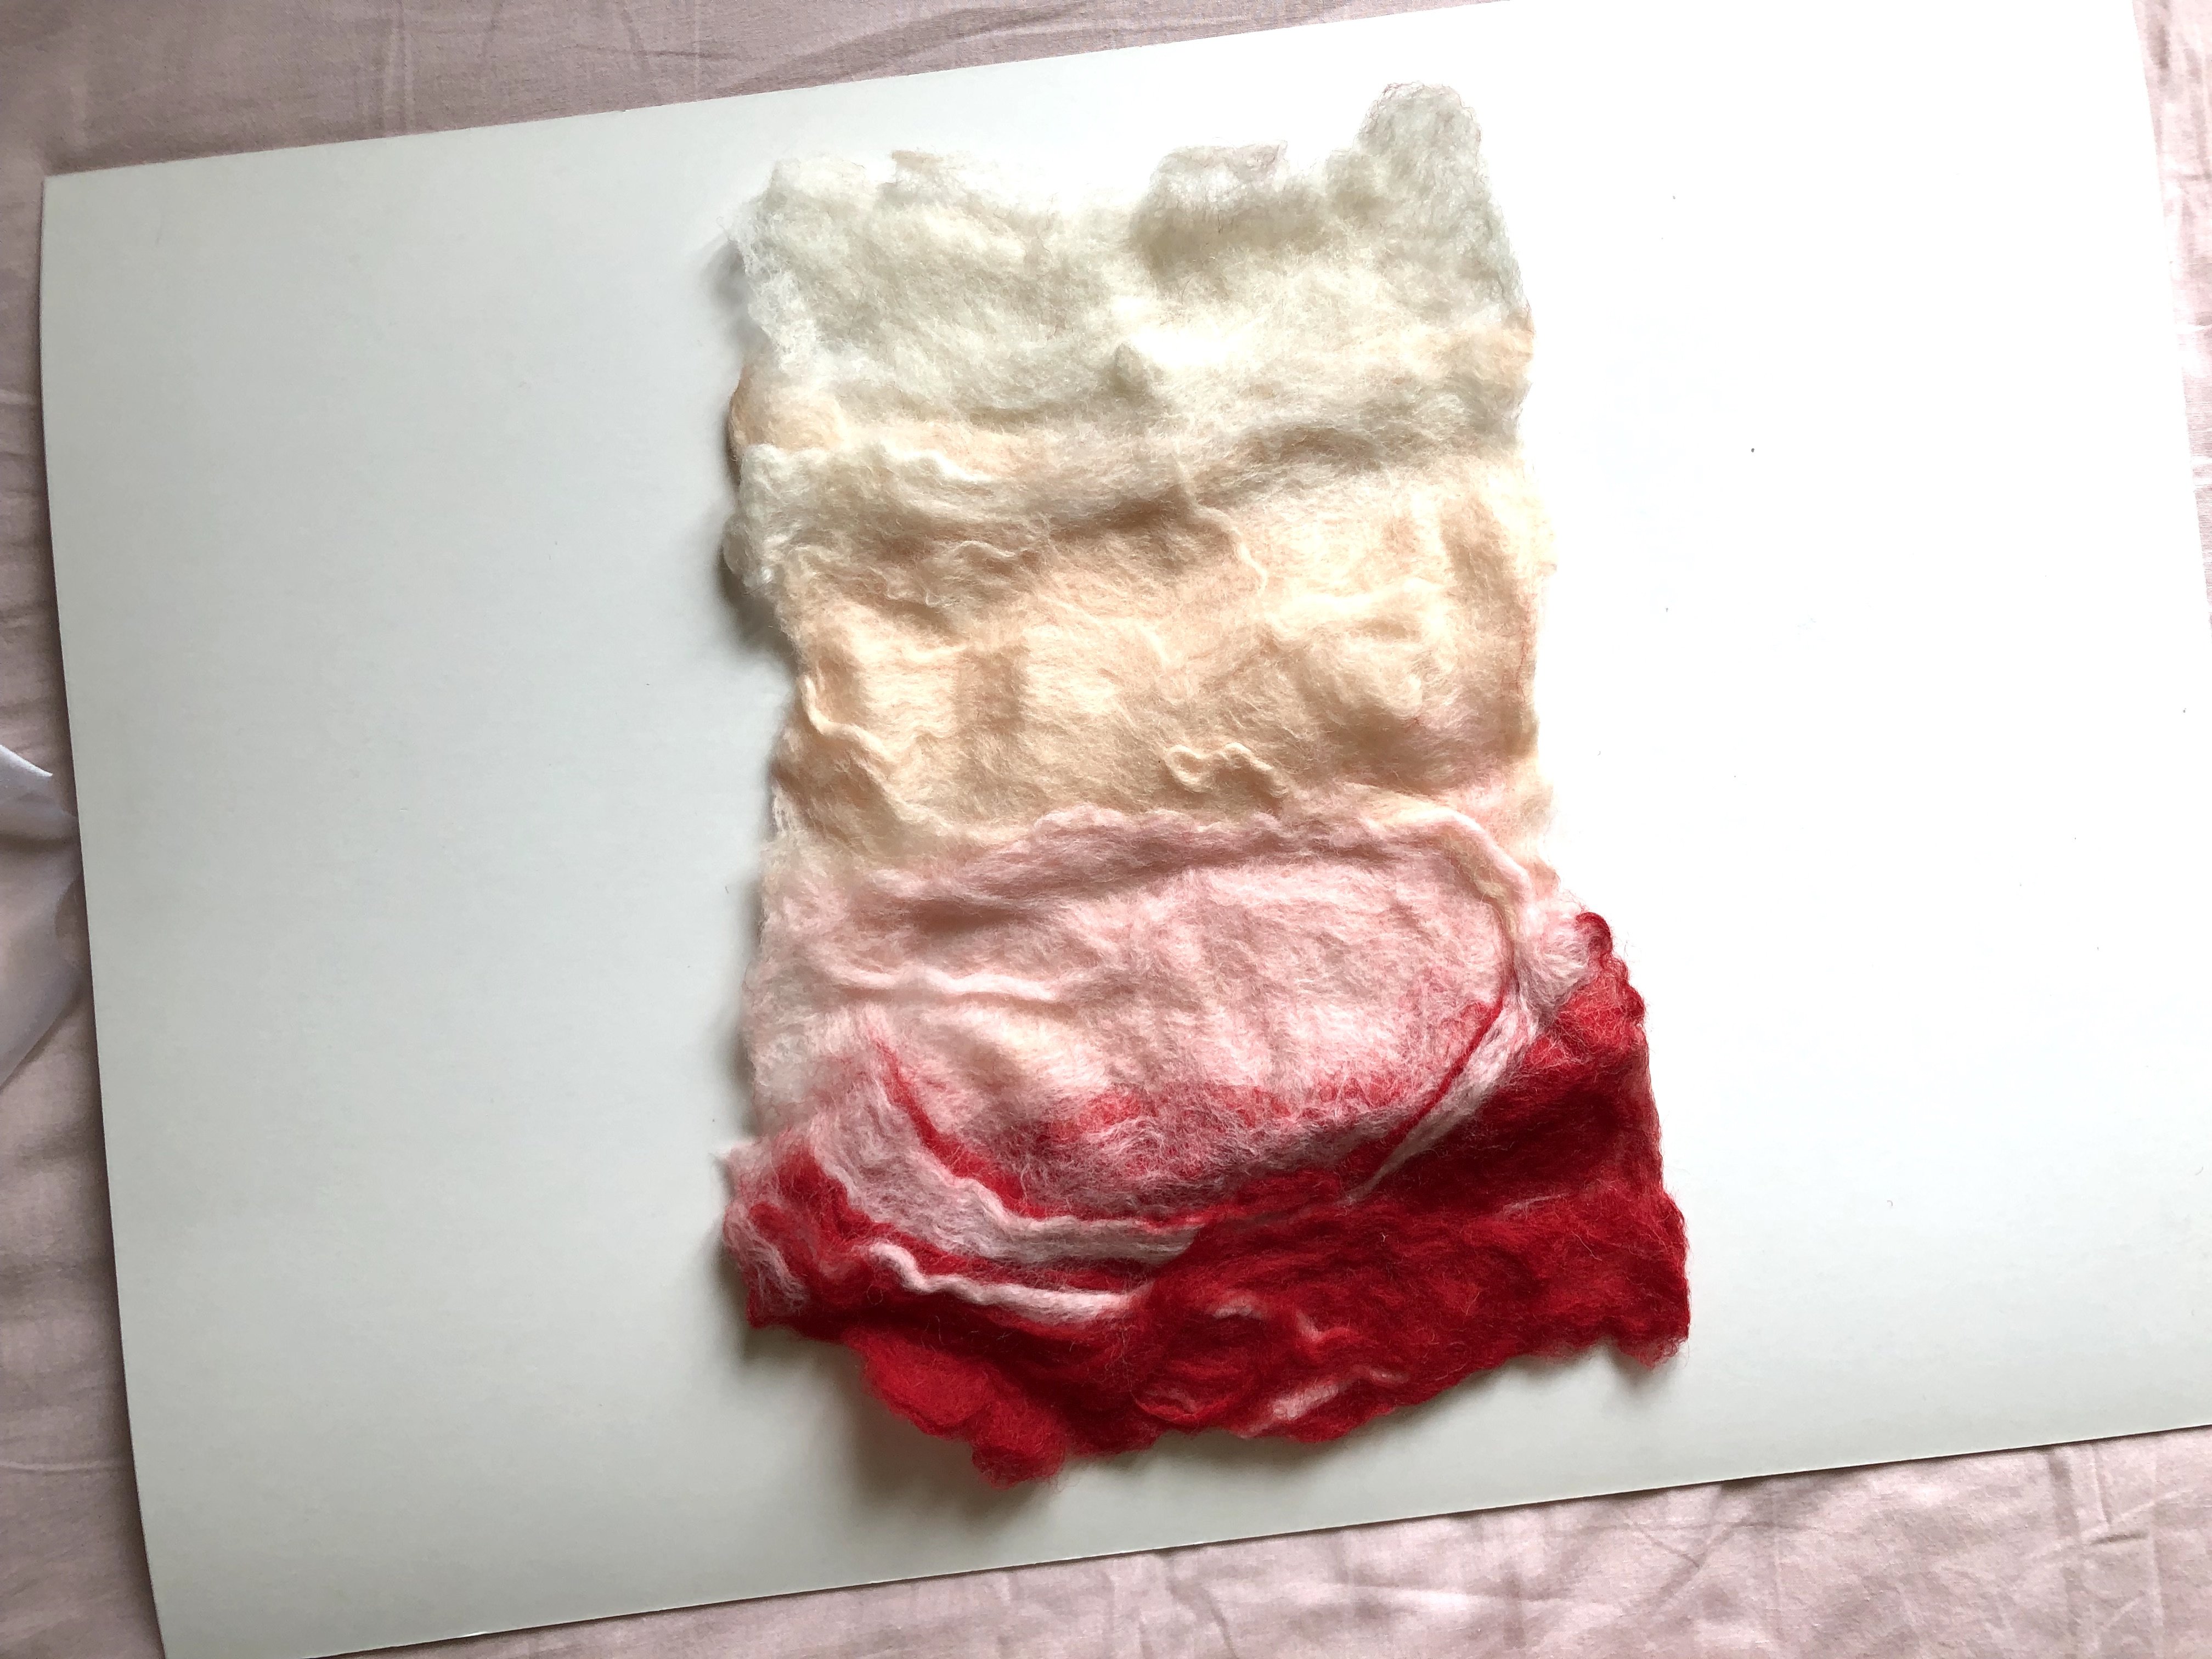
Wet Felting
Hi guys! I’m back again. Finally, I’ve the time to proceed with wet felting. I was looking through some wet felting inspiration and saw some of the designs which were really cool! And it made me regret not buying more colours as I could try to achieve the same look haha. So here are some inspos I found! Thought that I should share it here with you guys 🙂
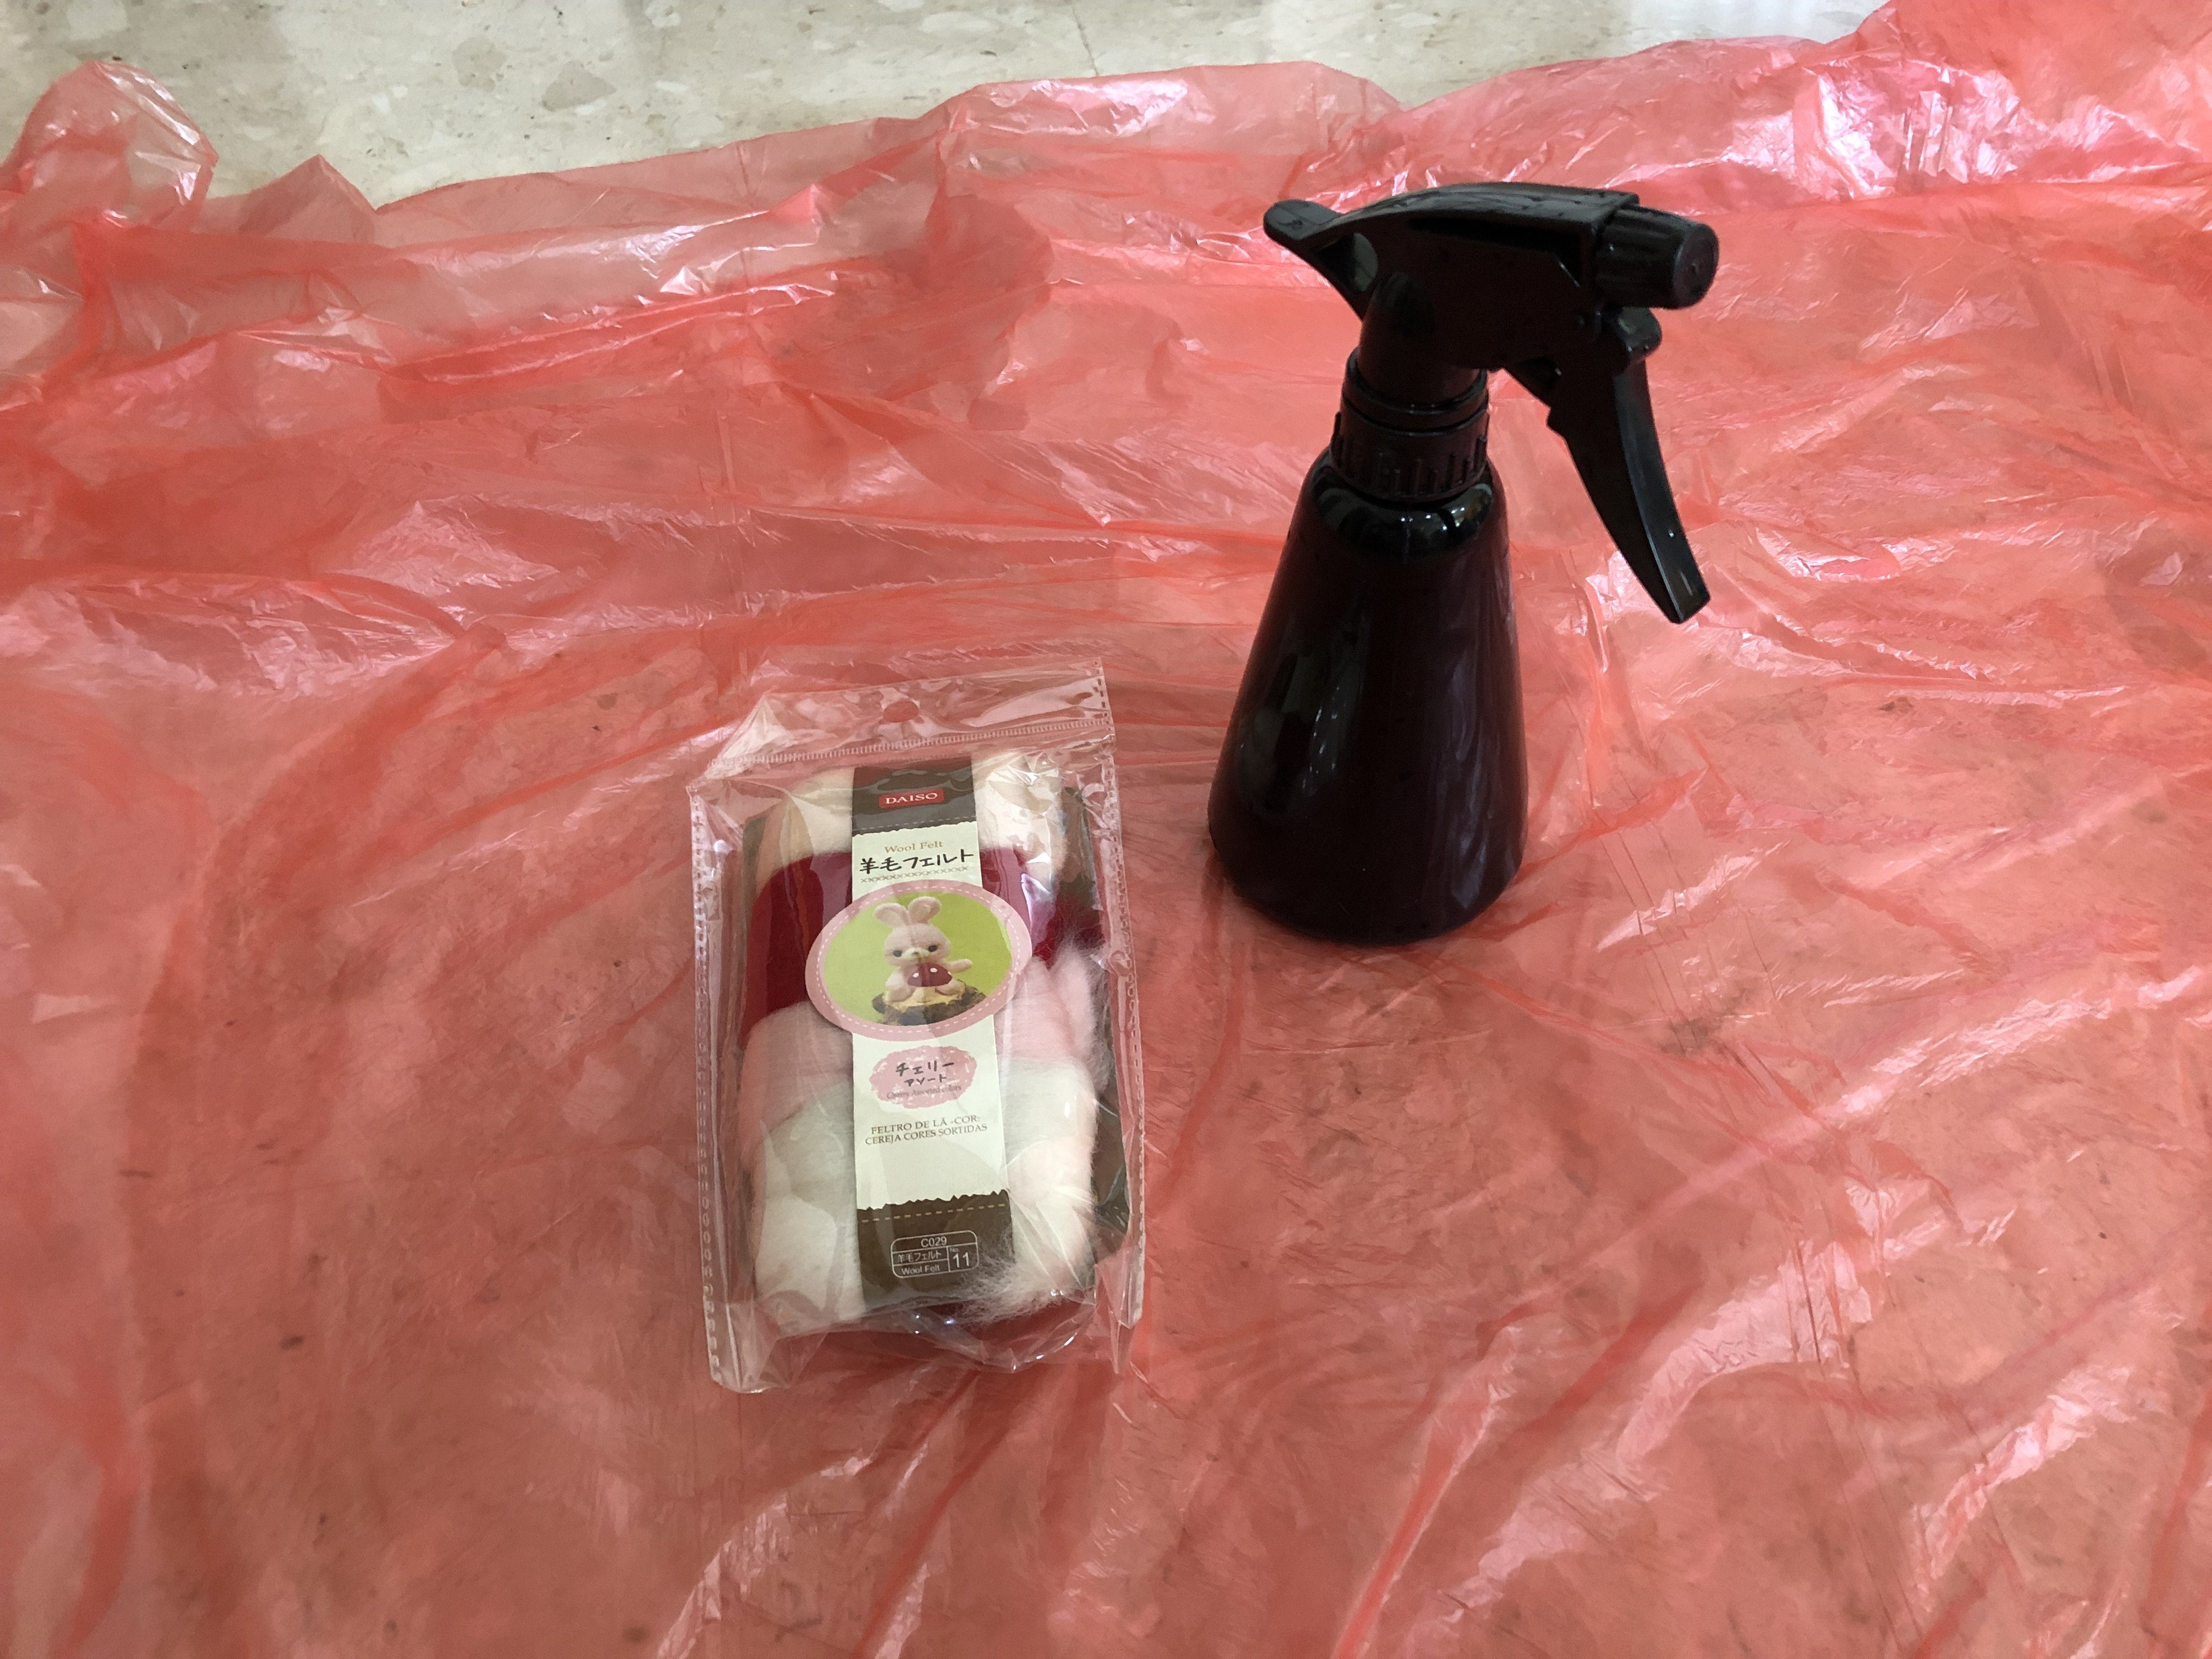
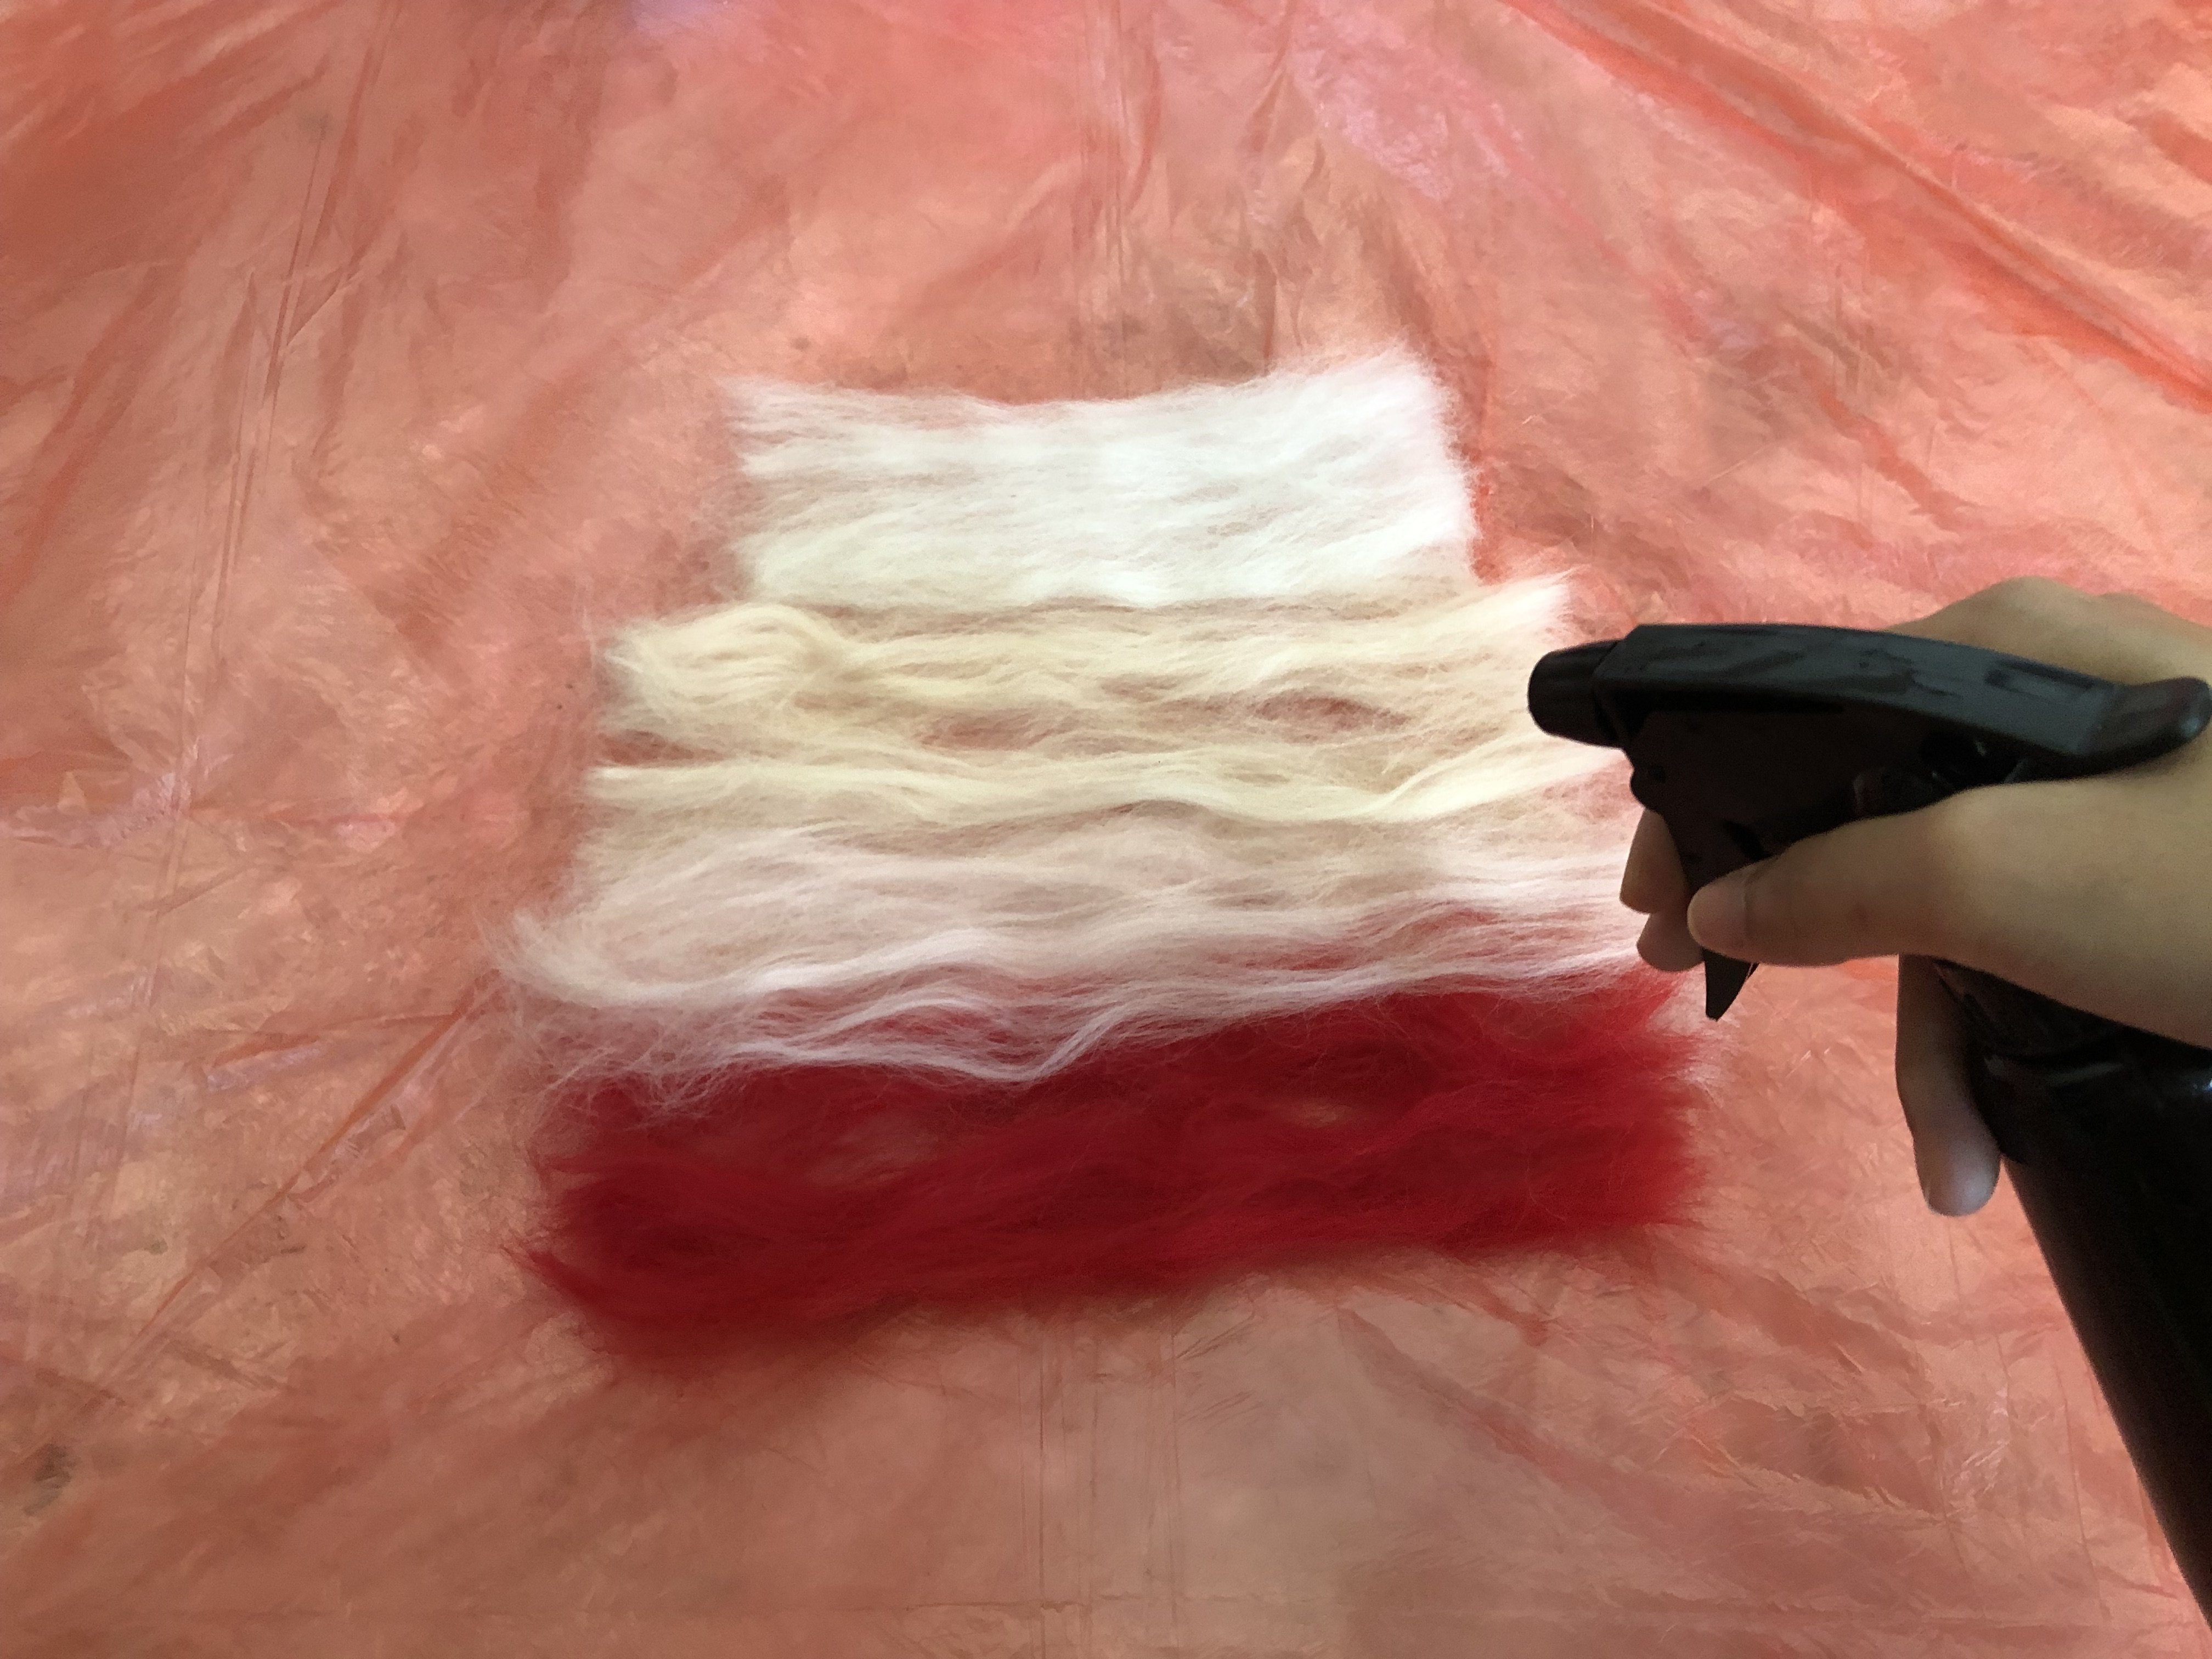
Materials you’ll need: Felt Liquid Soap + Warm water Spray Plastic covers (as base to rub your felt on)
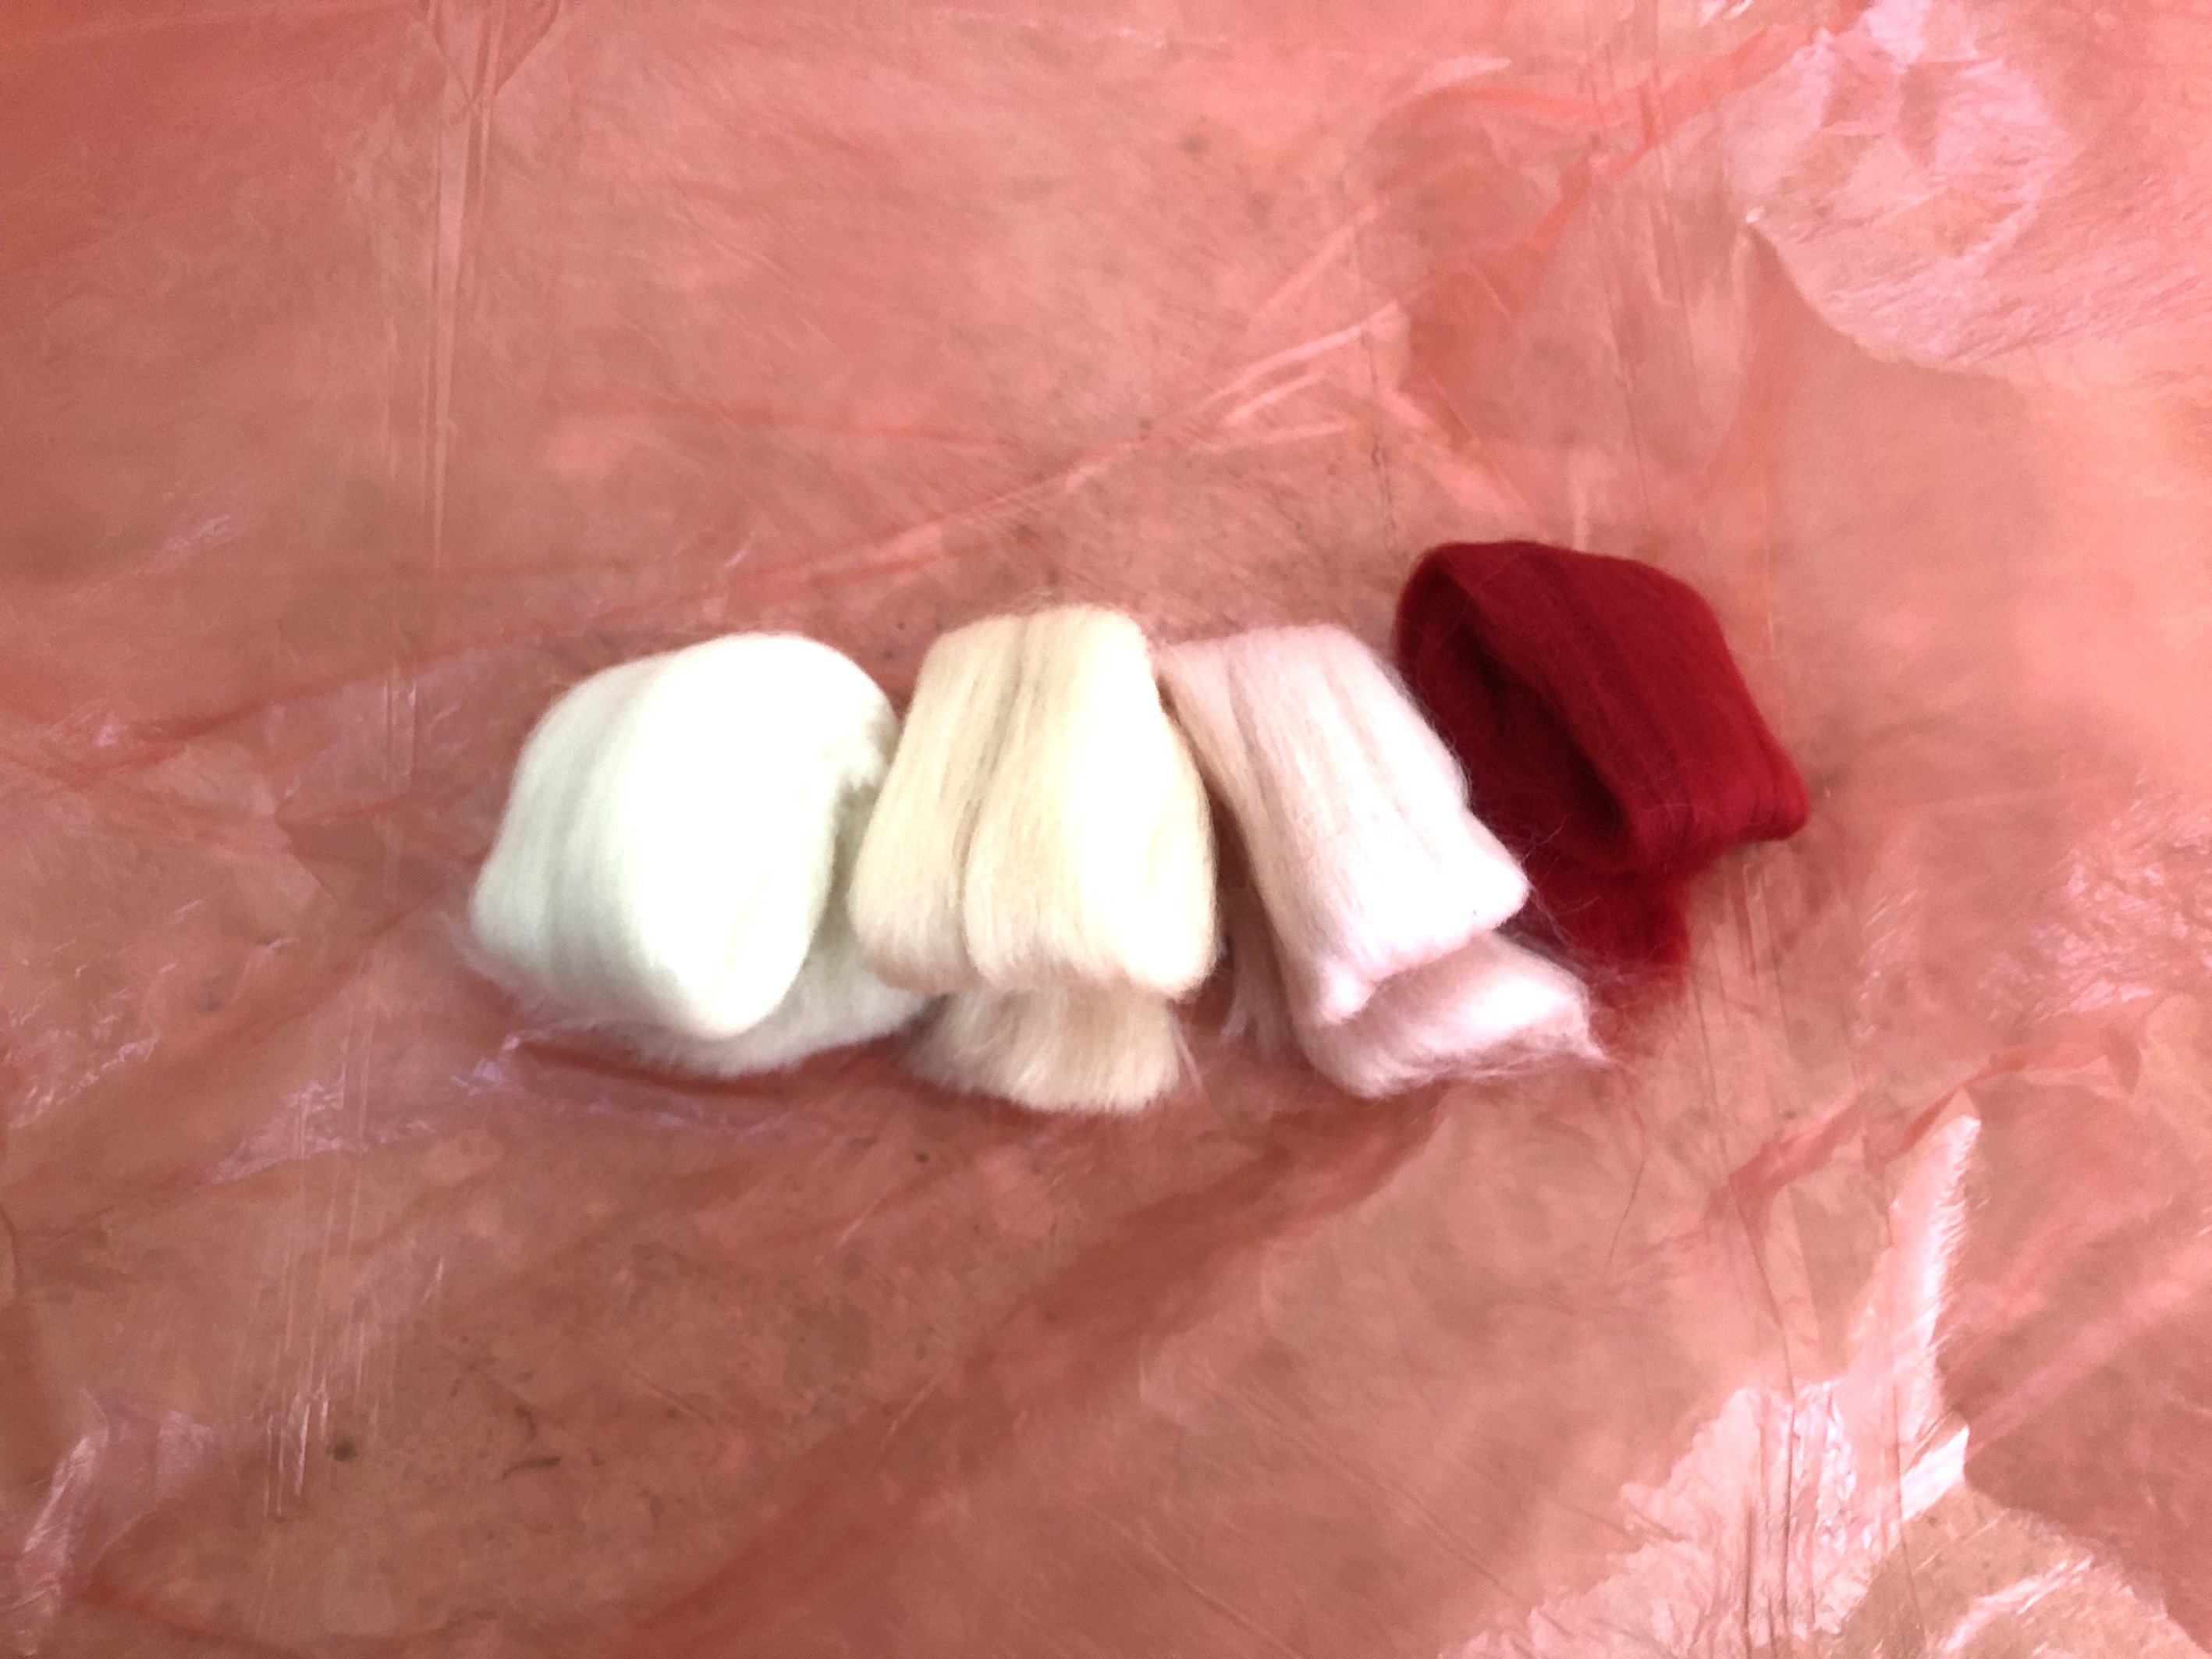
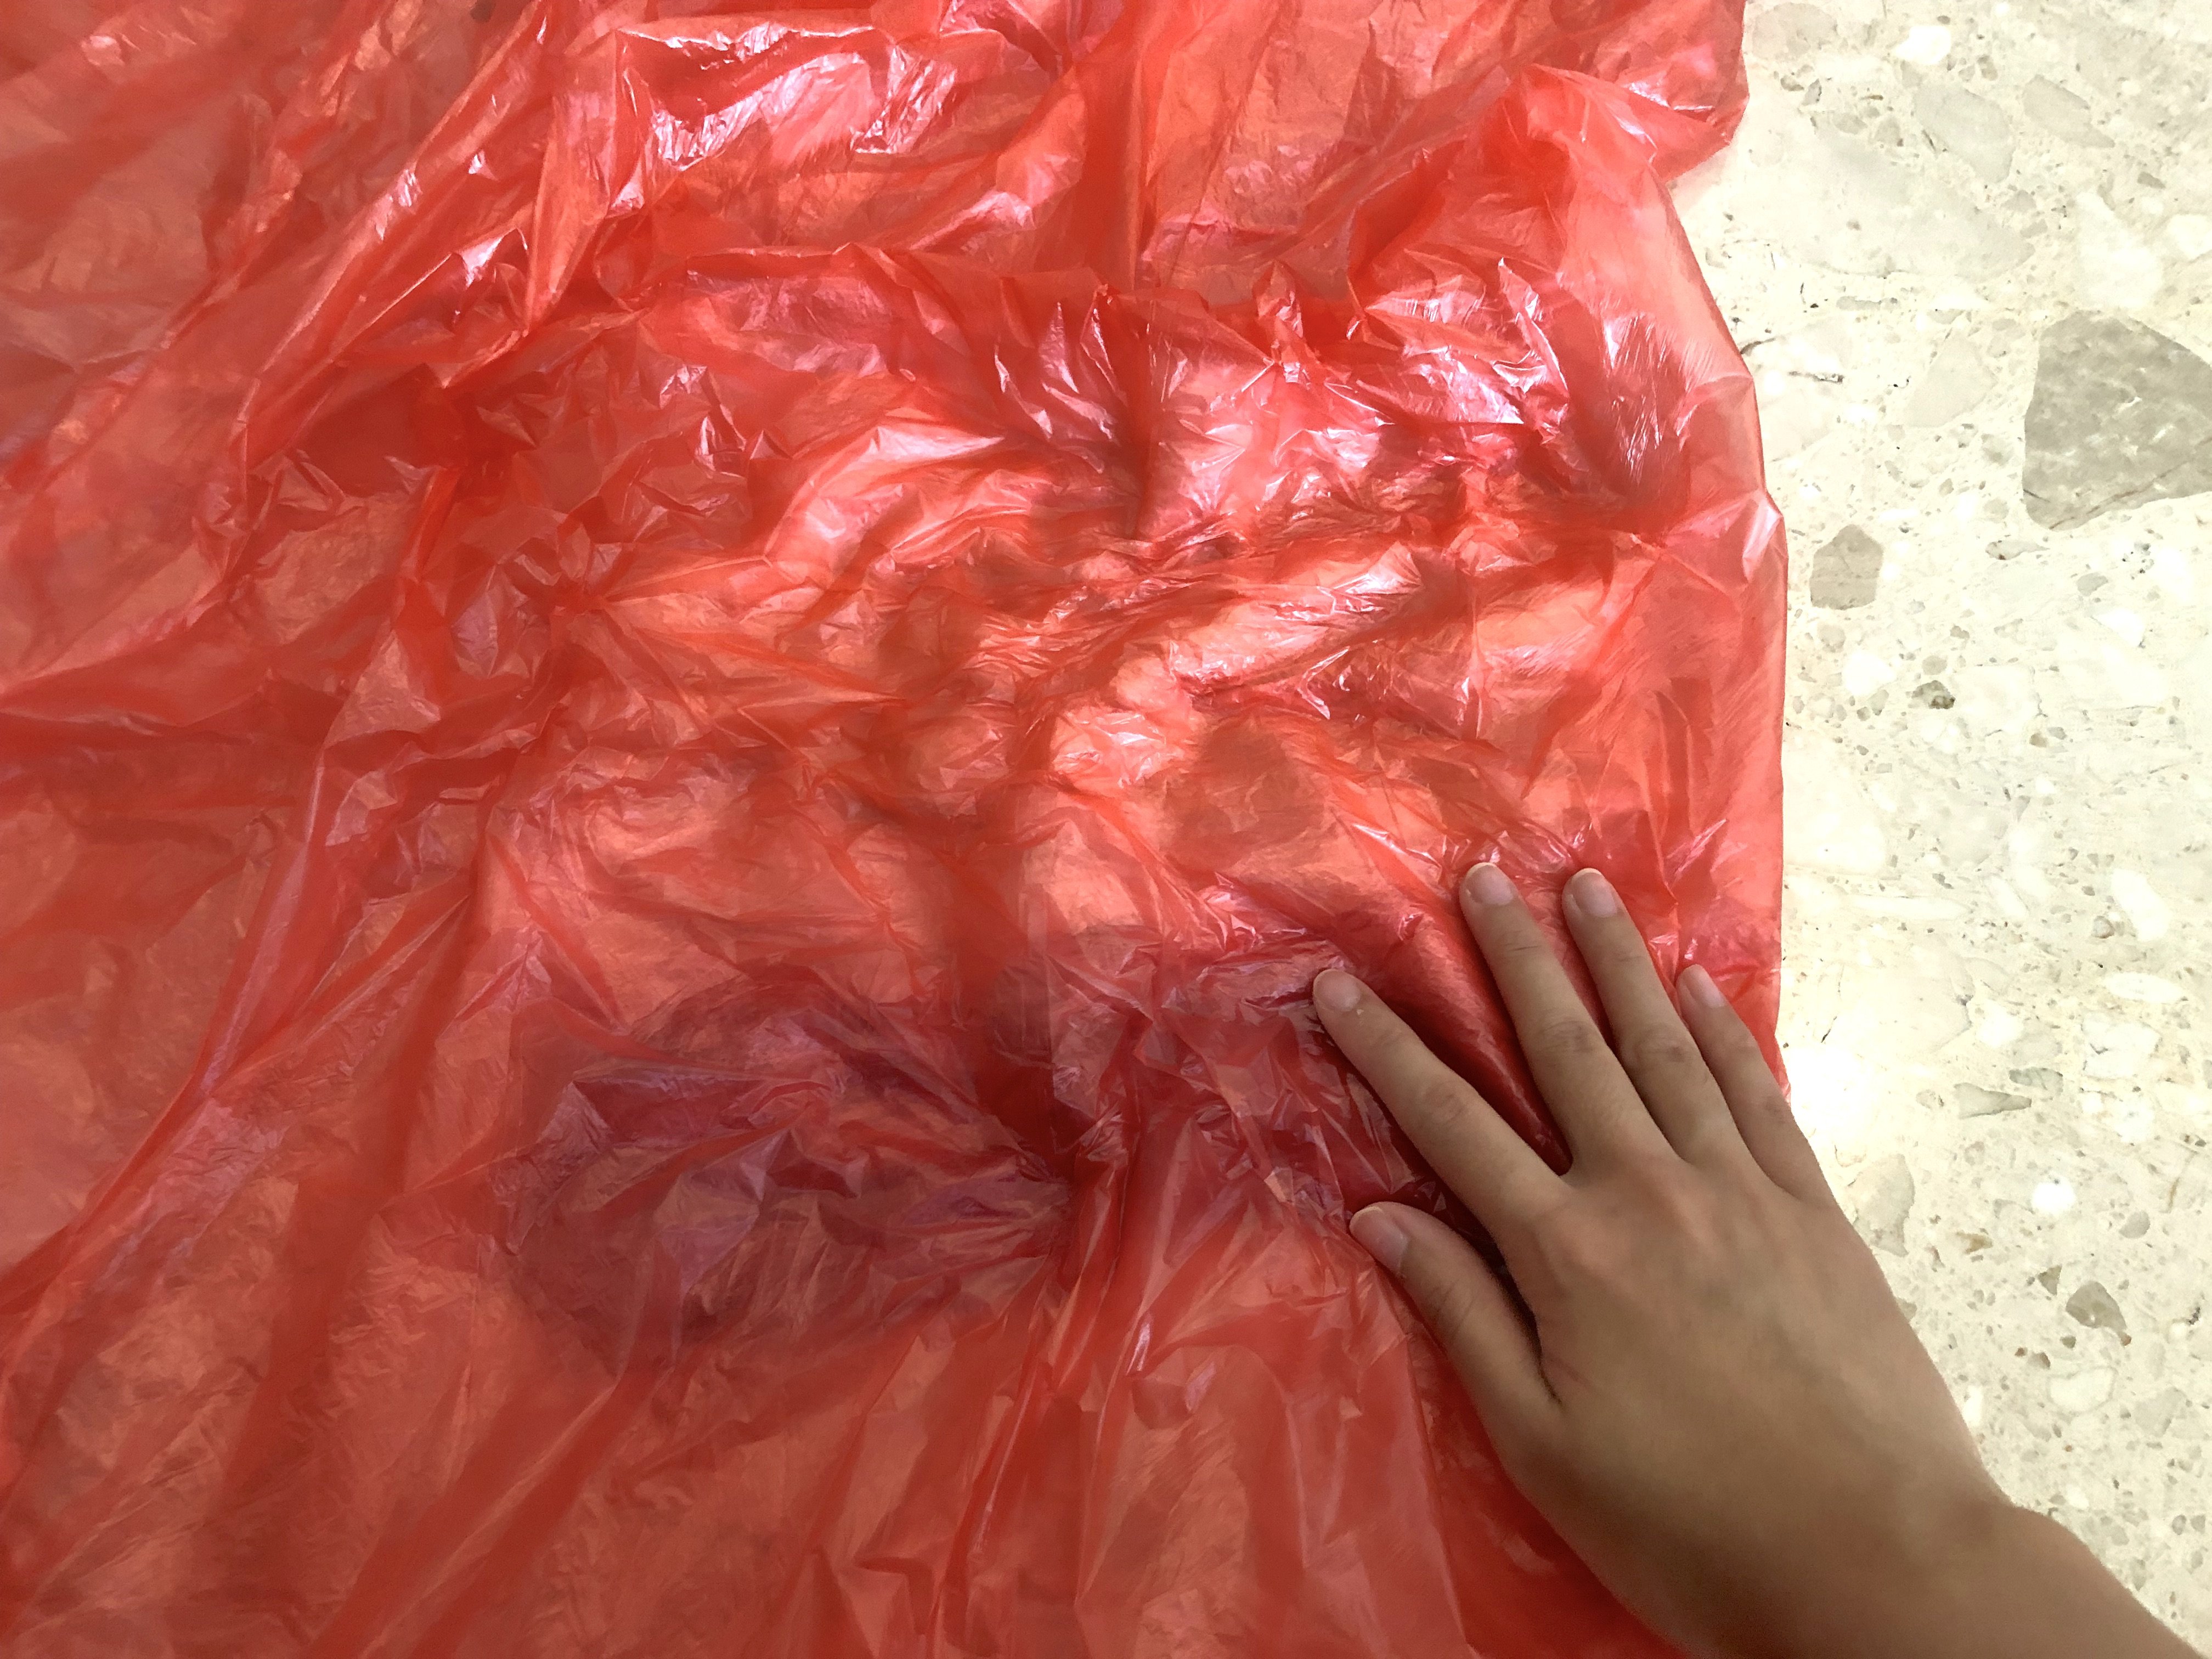
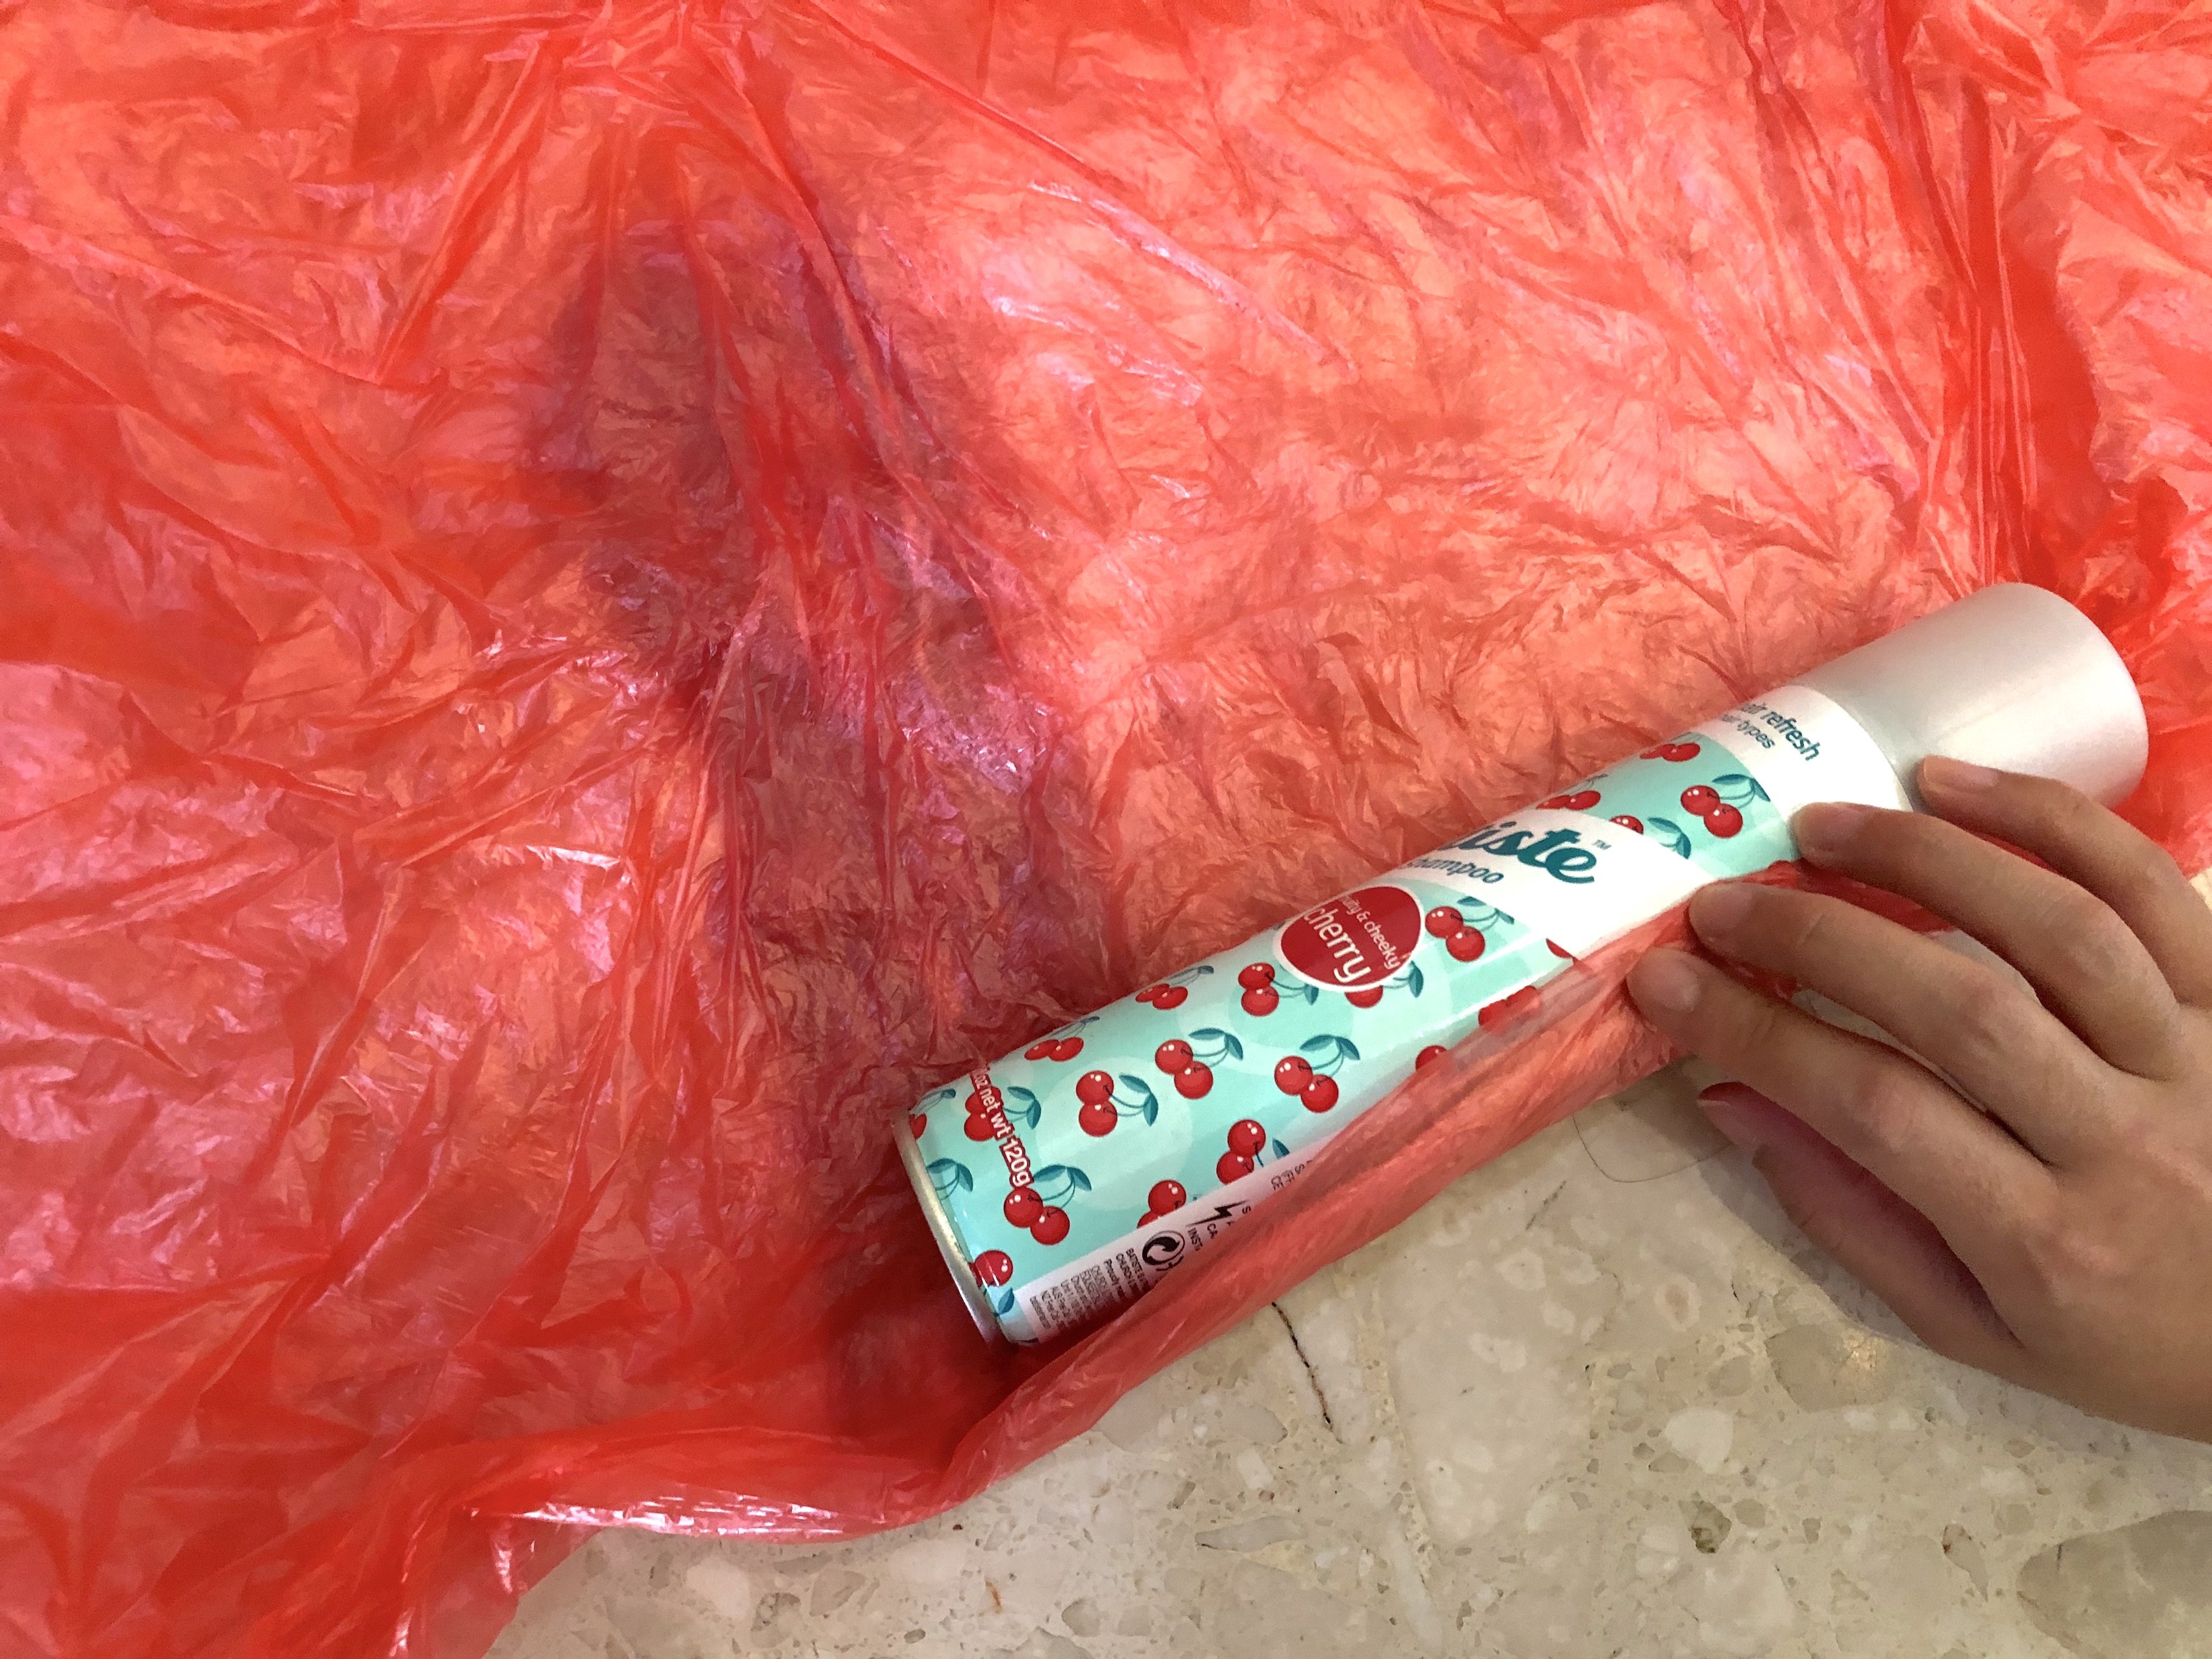
Steps for Wet Felting: 01 Prepare your work station, overlay a huge plastic bag 02 Lay your felt accordingly to the pattern you want to achieve 03 Spray the solution of water+soap onto your felt 04 Overlay the other end of your plastic onto the felt. Start rubbing the felt so as to intertwine the felt weaves together 05 Use a rolling pin and roll the felt to tighten it even more
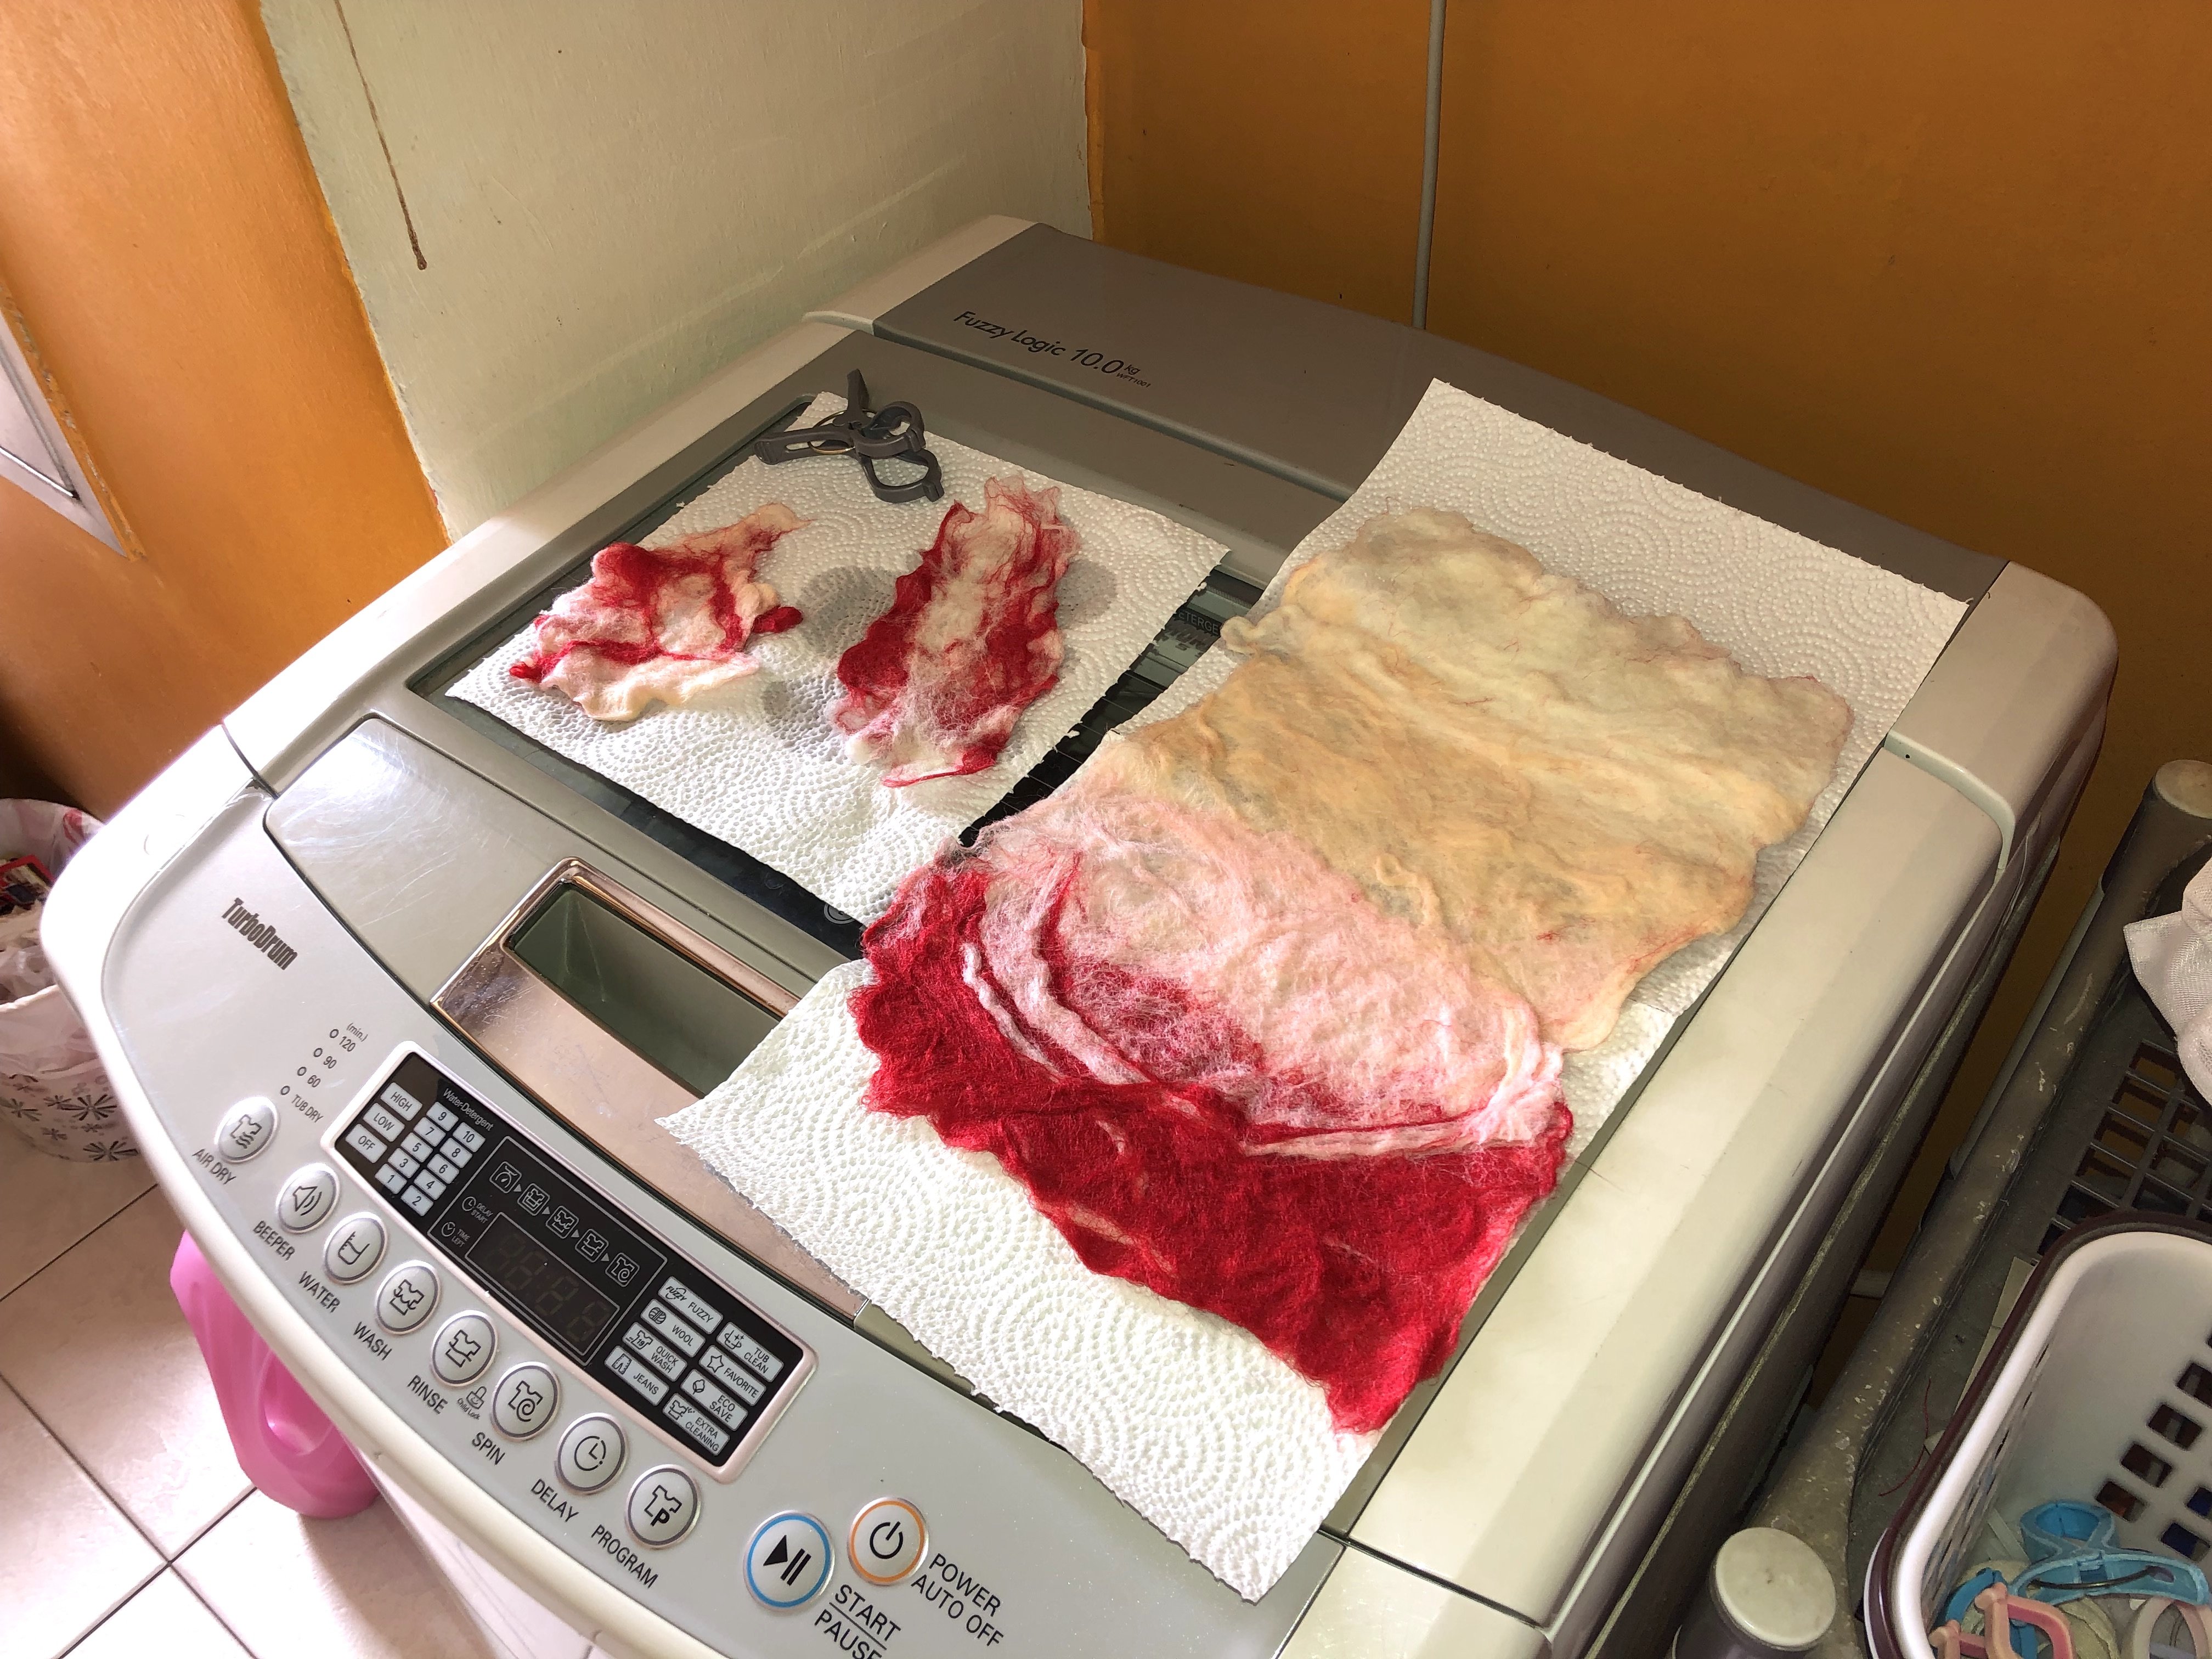
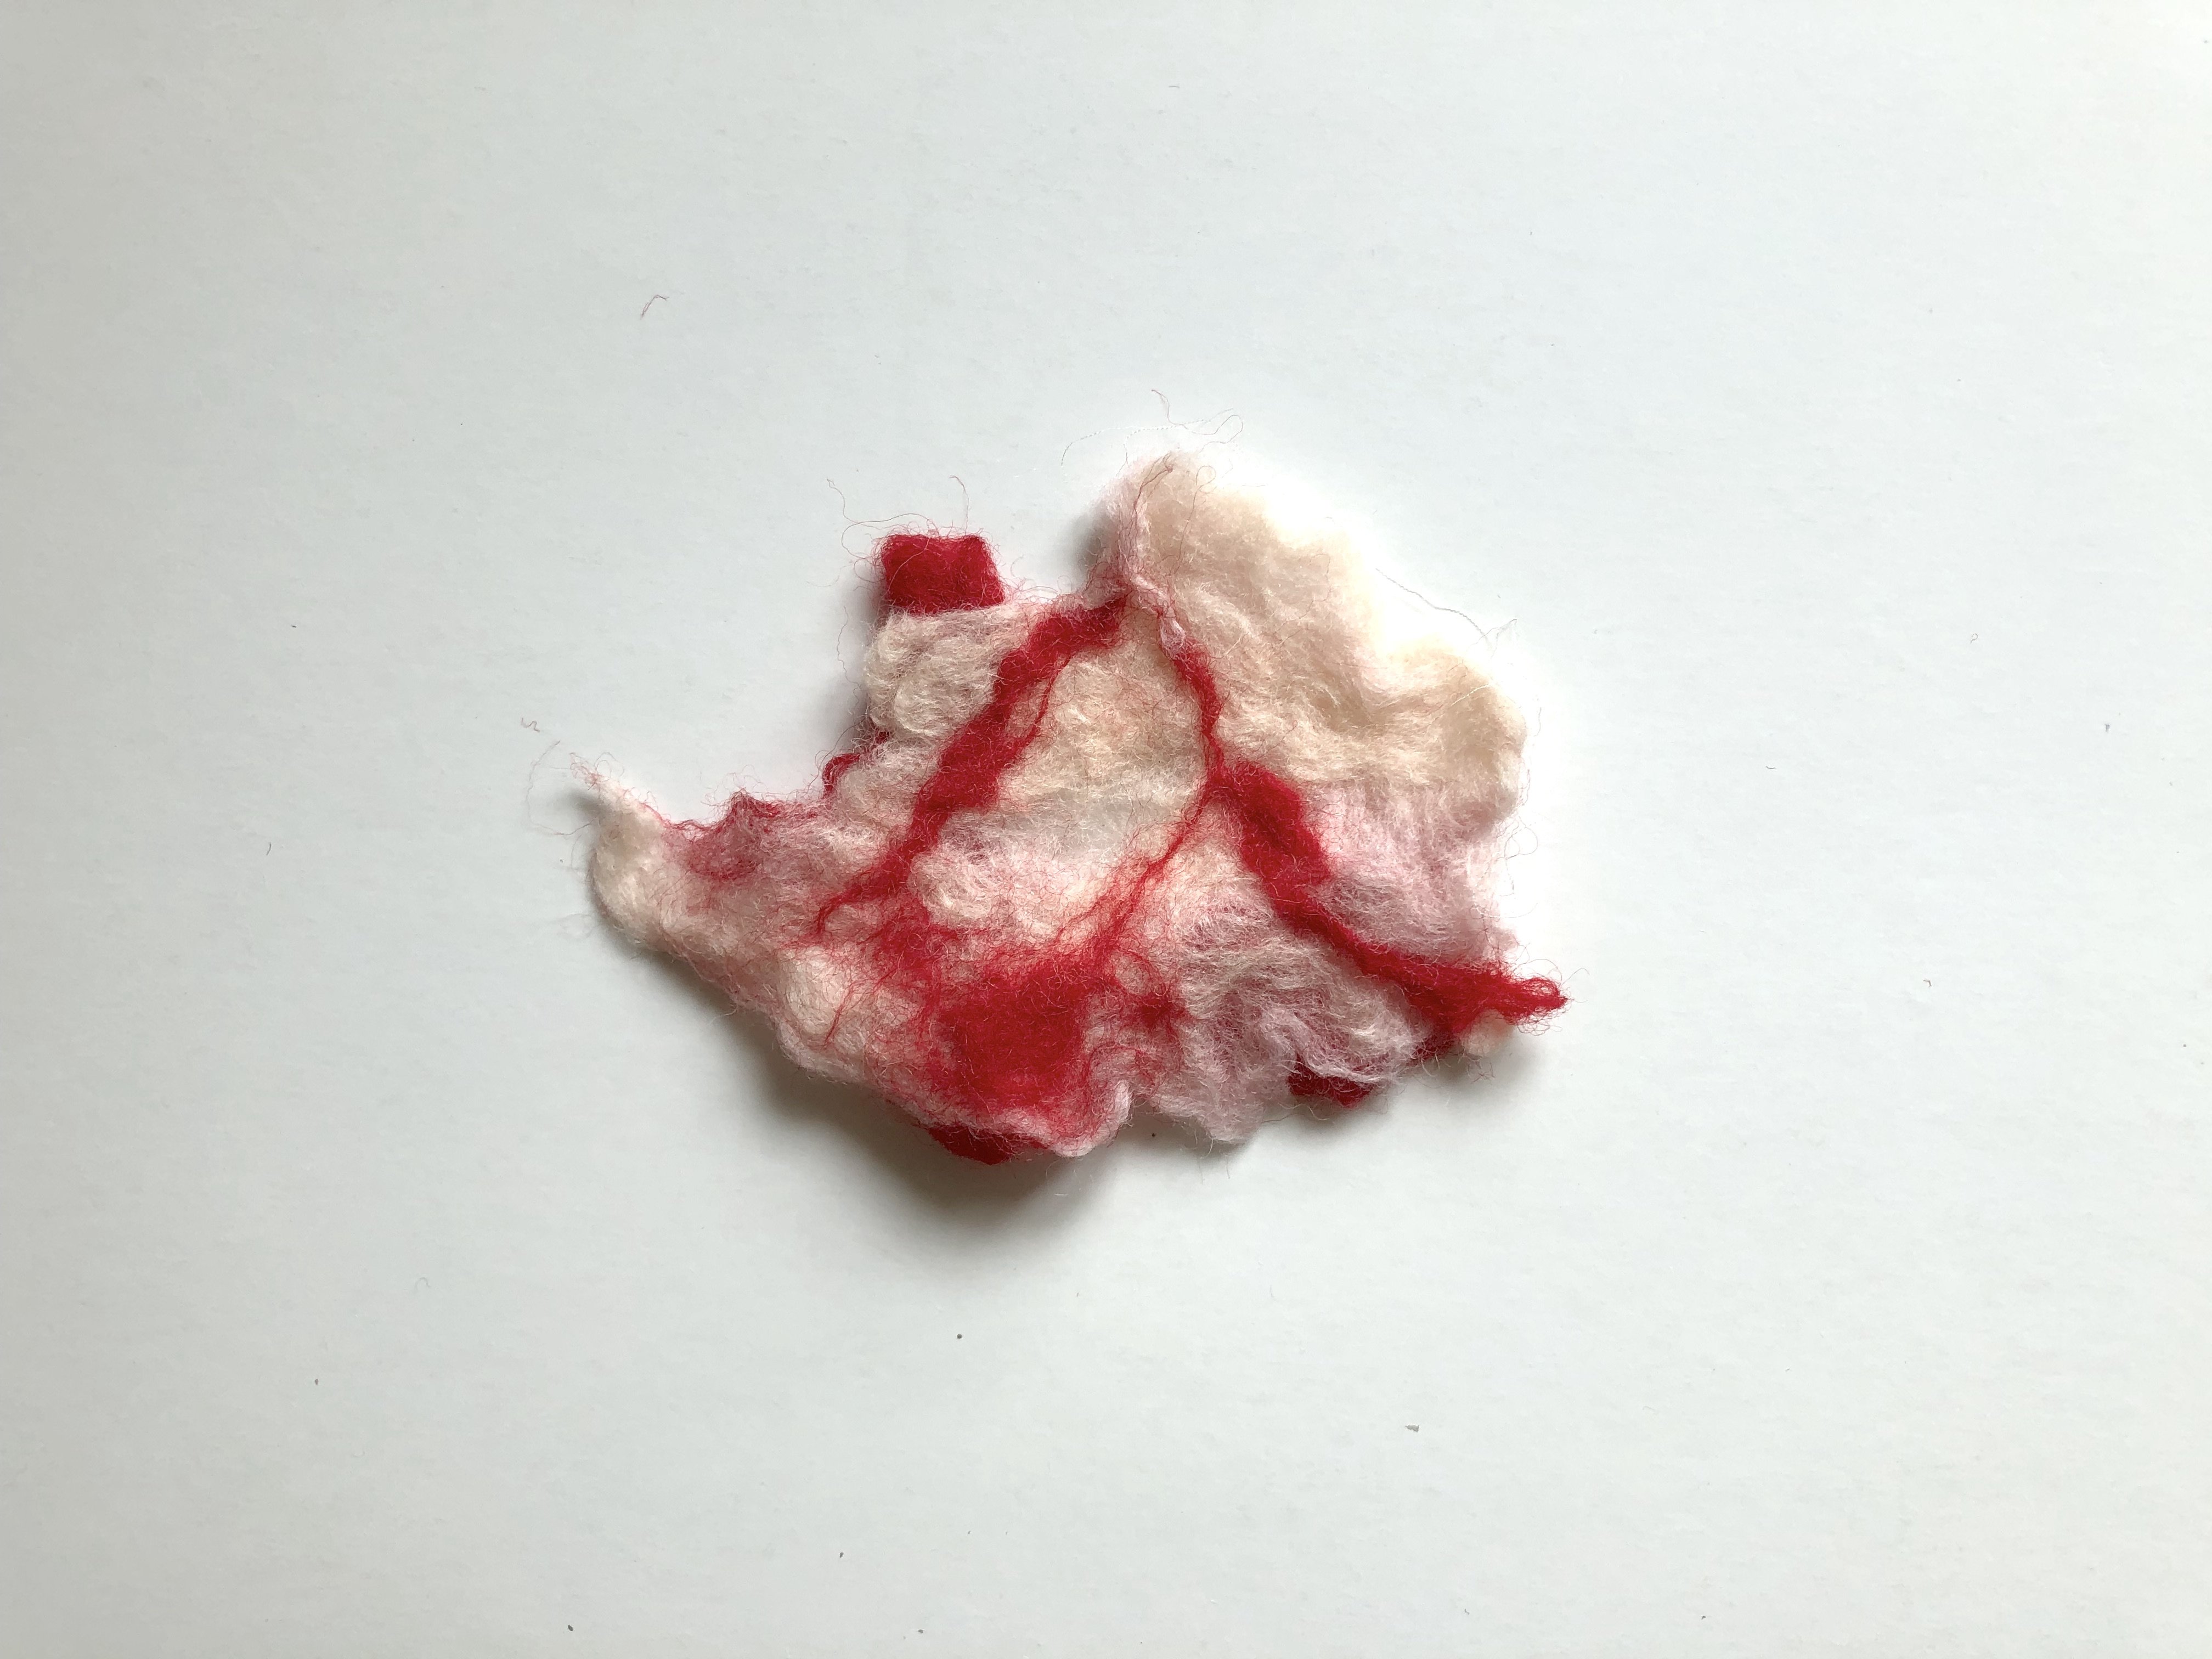
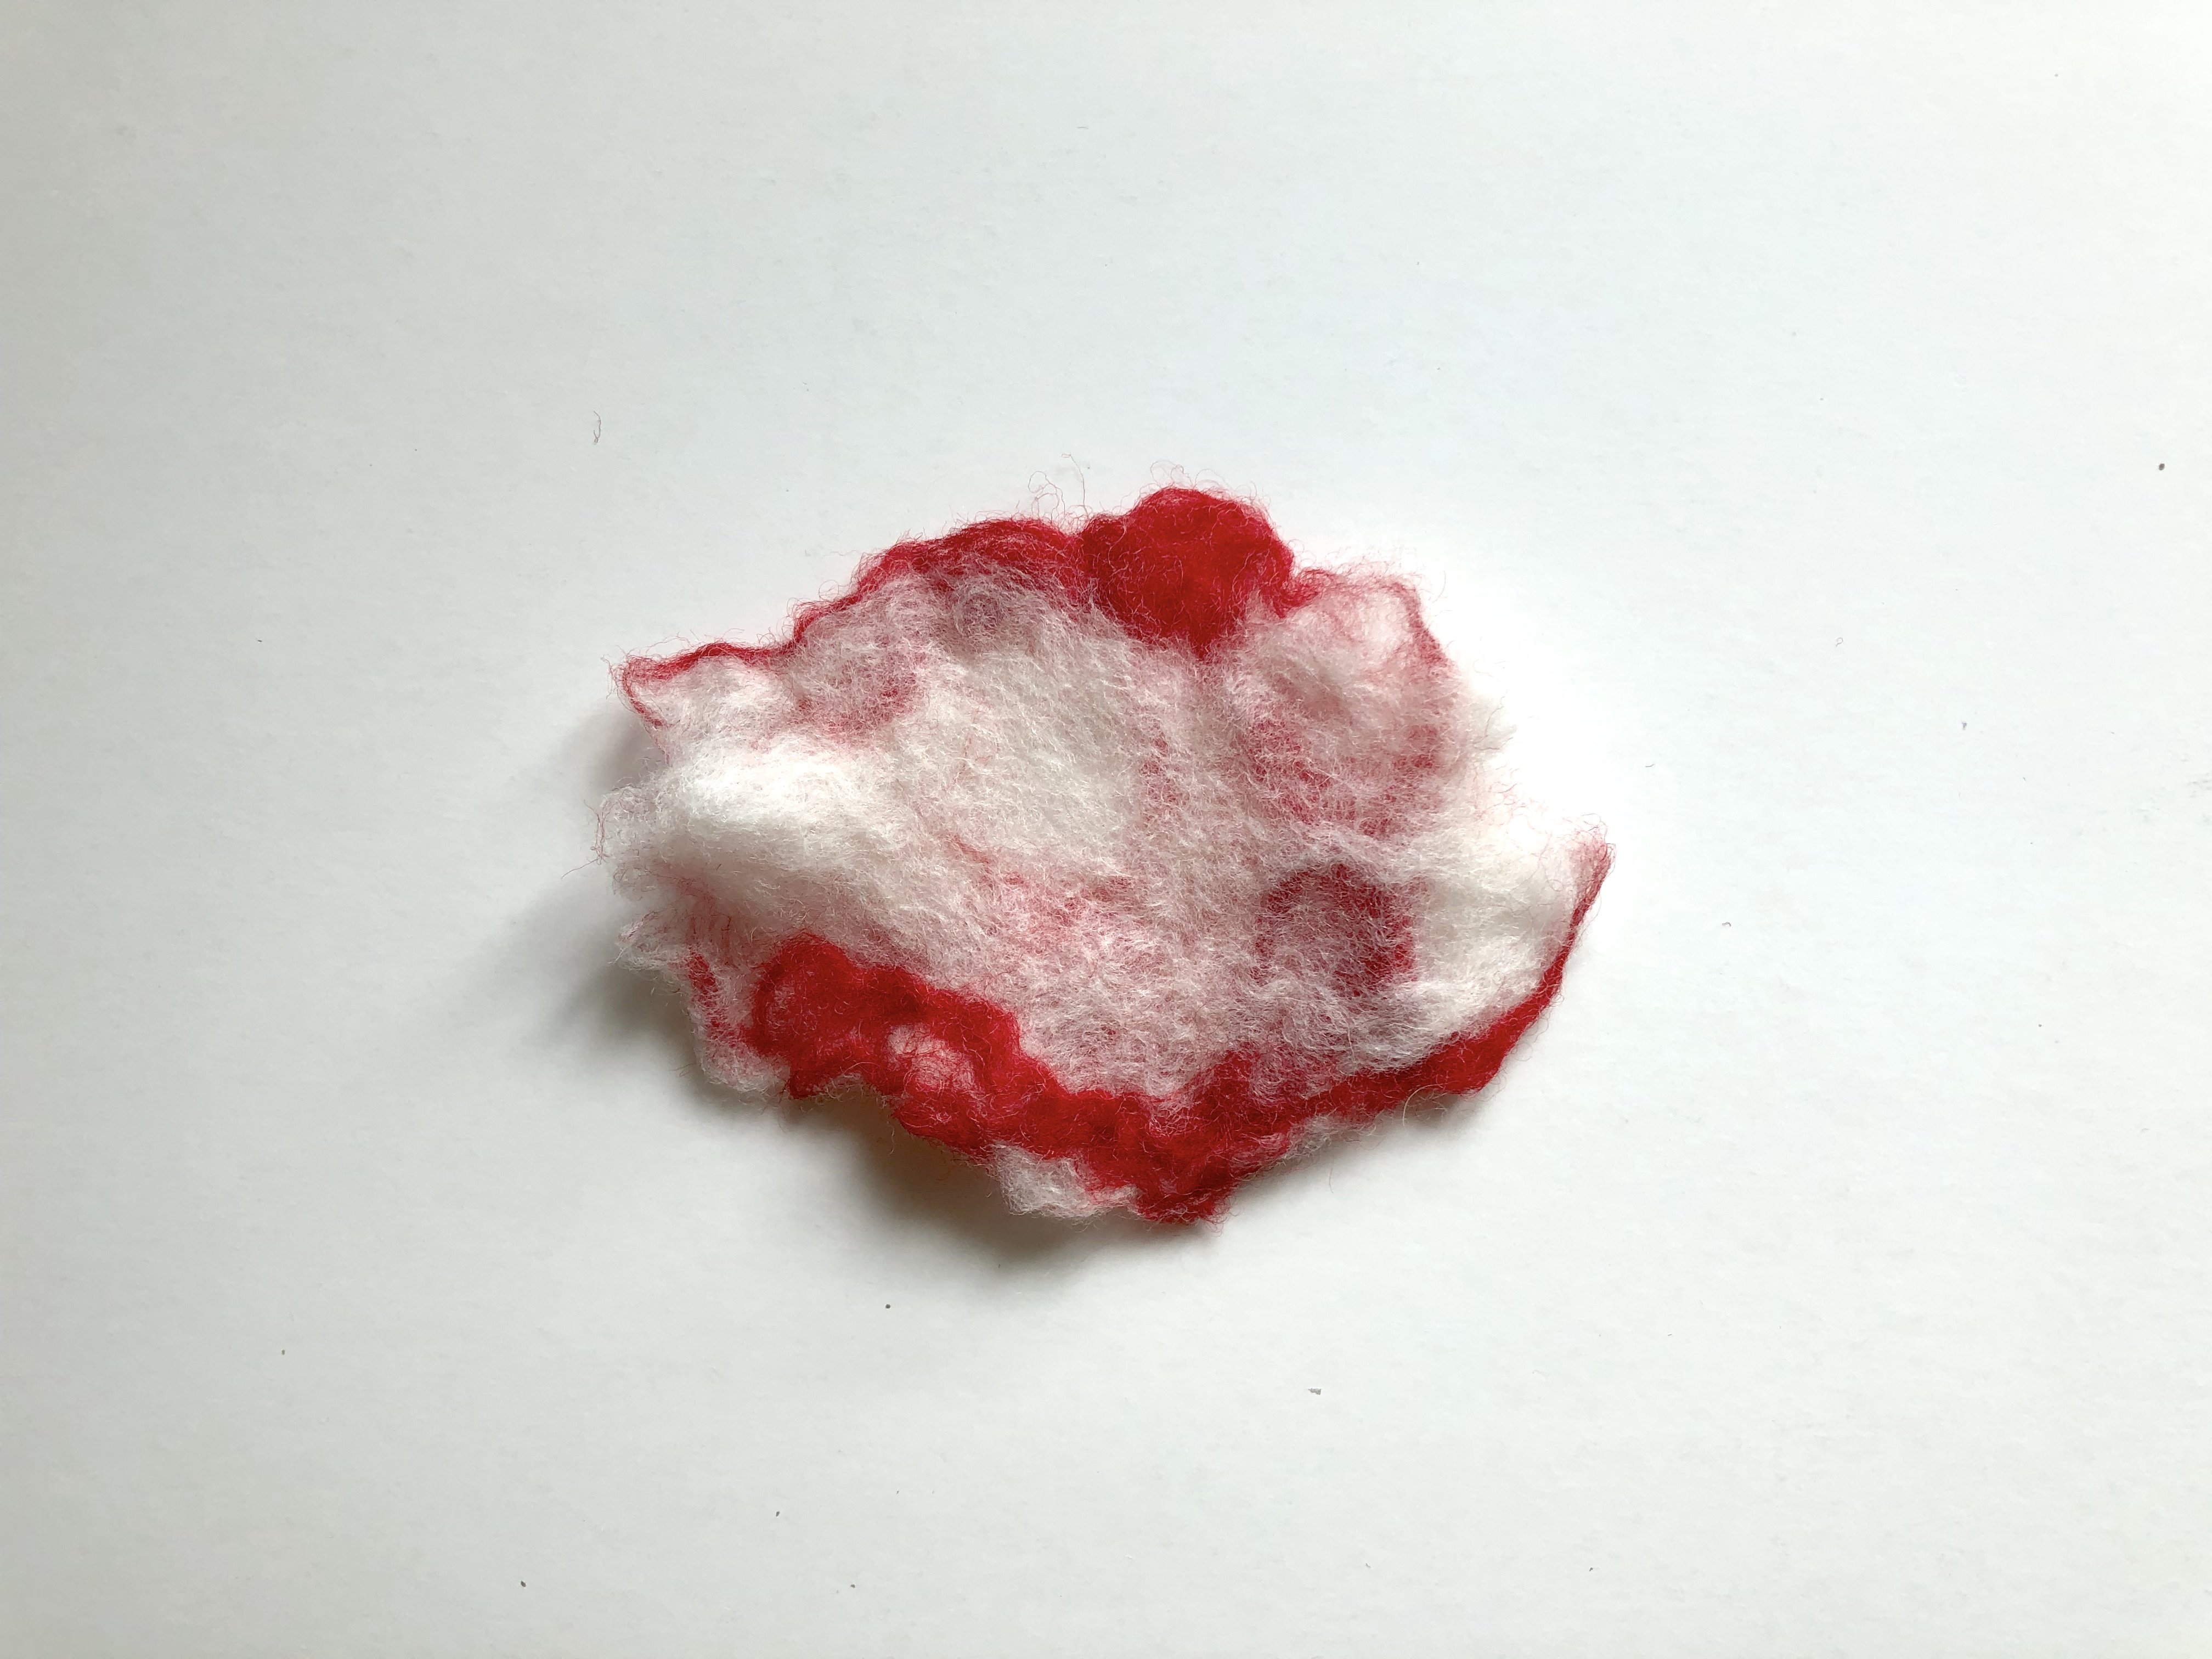
Leaving them to dry before taking a picture of the final product!
(so i got some mixed comments from my dad saying that the mini ones resemble something gross… lets just leave it here for you guys to think alright hahaha)
Overall, the making of wet felting is so different from needle felting. And of course, the achieved texture and results are so different as well. It’s interesting how one material such as felt could be made into various outcomes and products simply by differing the techniques used. In addition, what it’s amazing how we can control the density of the felt simply by rubbing them together. Felt, such a soft material could eventually become something tough and dense. That’s really cool!
A P P L I Q U É
Originates from the Latin applicō “I apply” and subsequently from the French appliquer “attach”
Appliqué is ornamental needlework in which pieces of fabric in different shapes and patterns are sewn or stuck onto a larger piece to form a picture or pattern. It is commonly used as decoration, especially on garments. The technique is accomplished either by hand or machine. Appliqué is commonly practised with textiles, but the term may be applied to similar techniques used on different materials. In the context of ceramics, for example, an appliqué is a separate piece of clay added to the primary work, generally for the purpose of decoration.
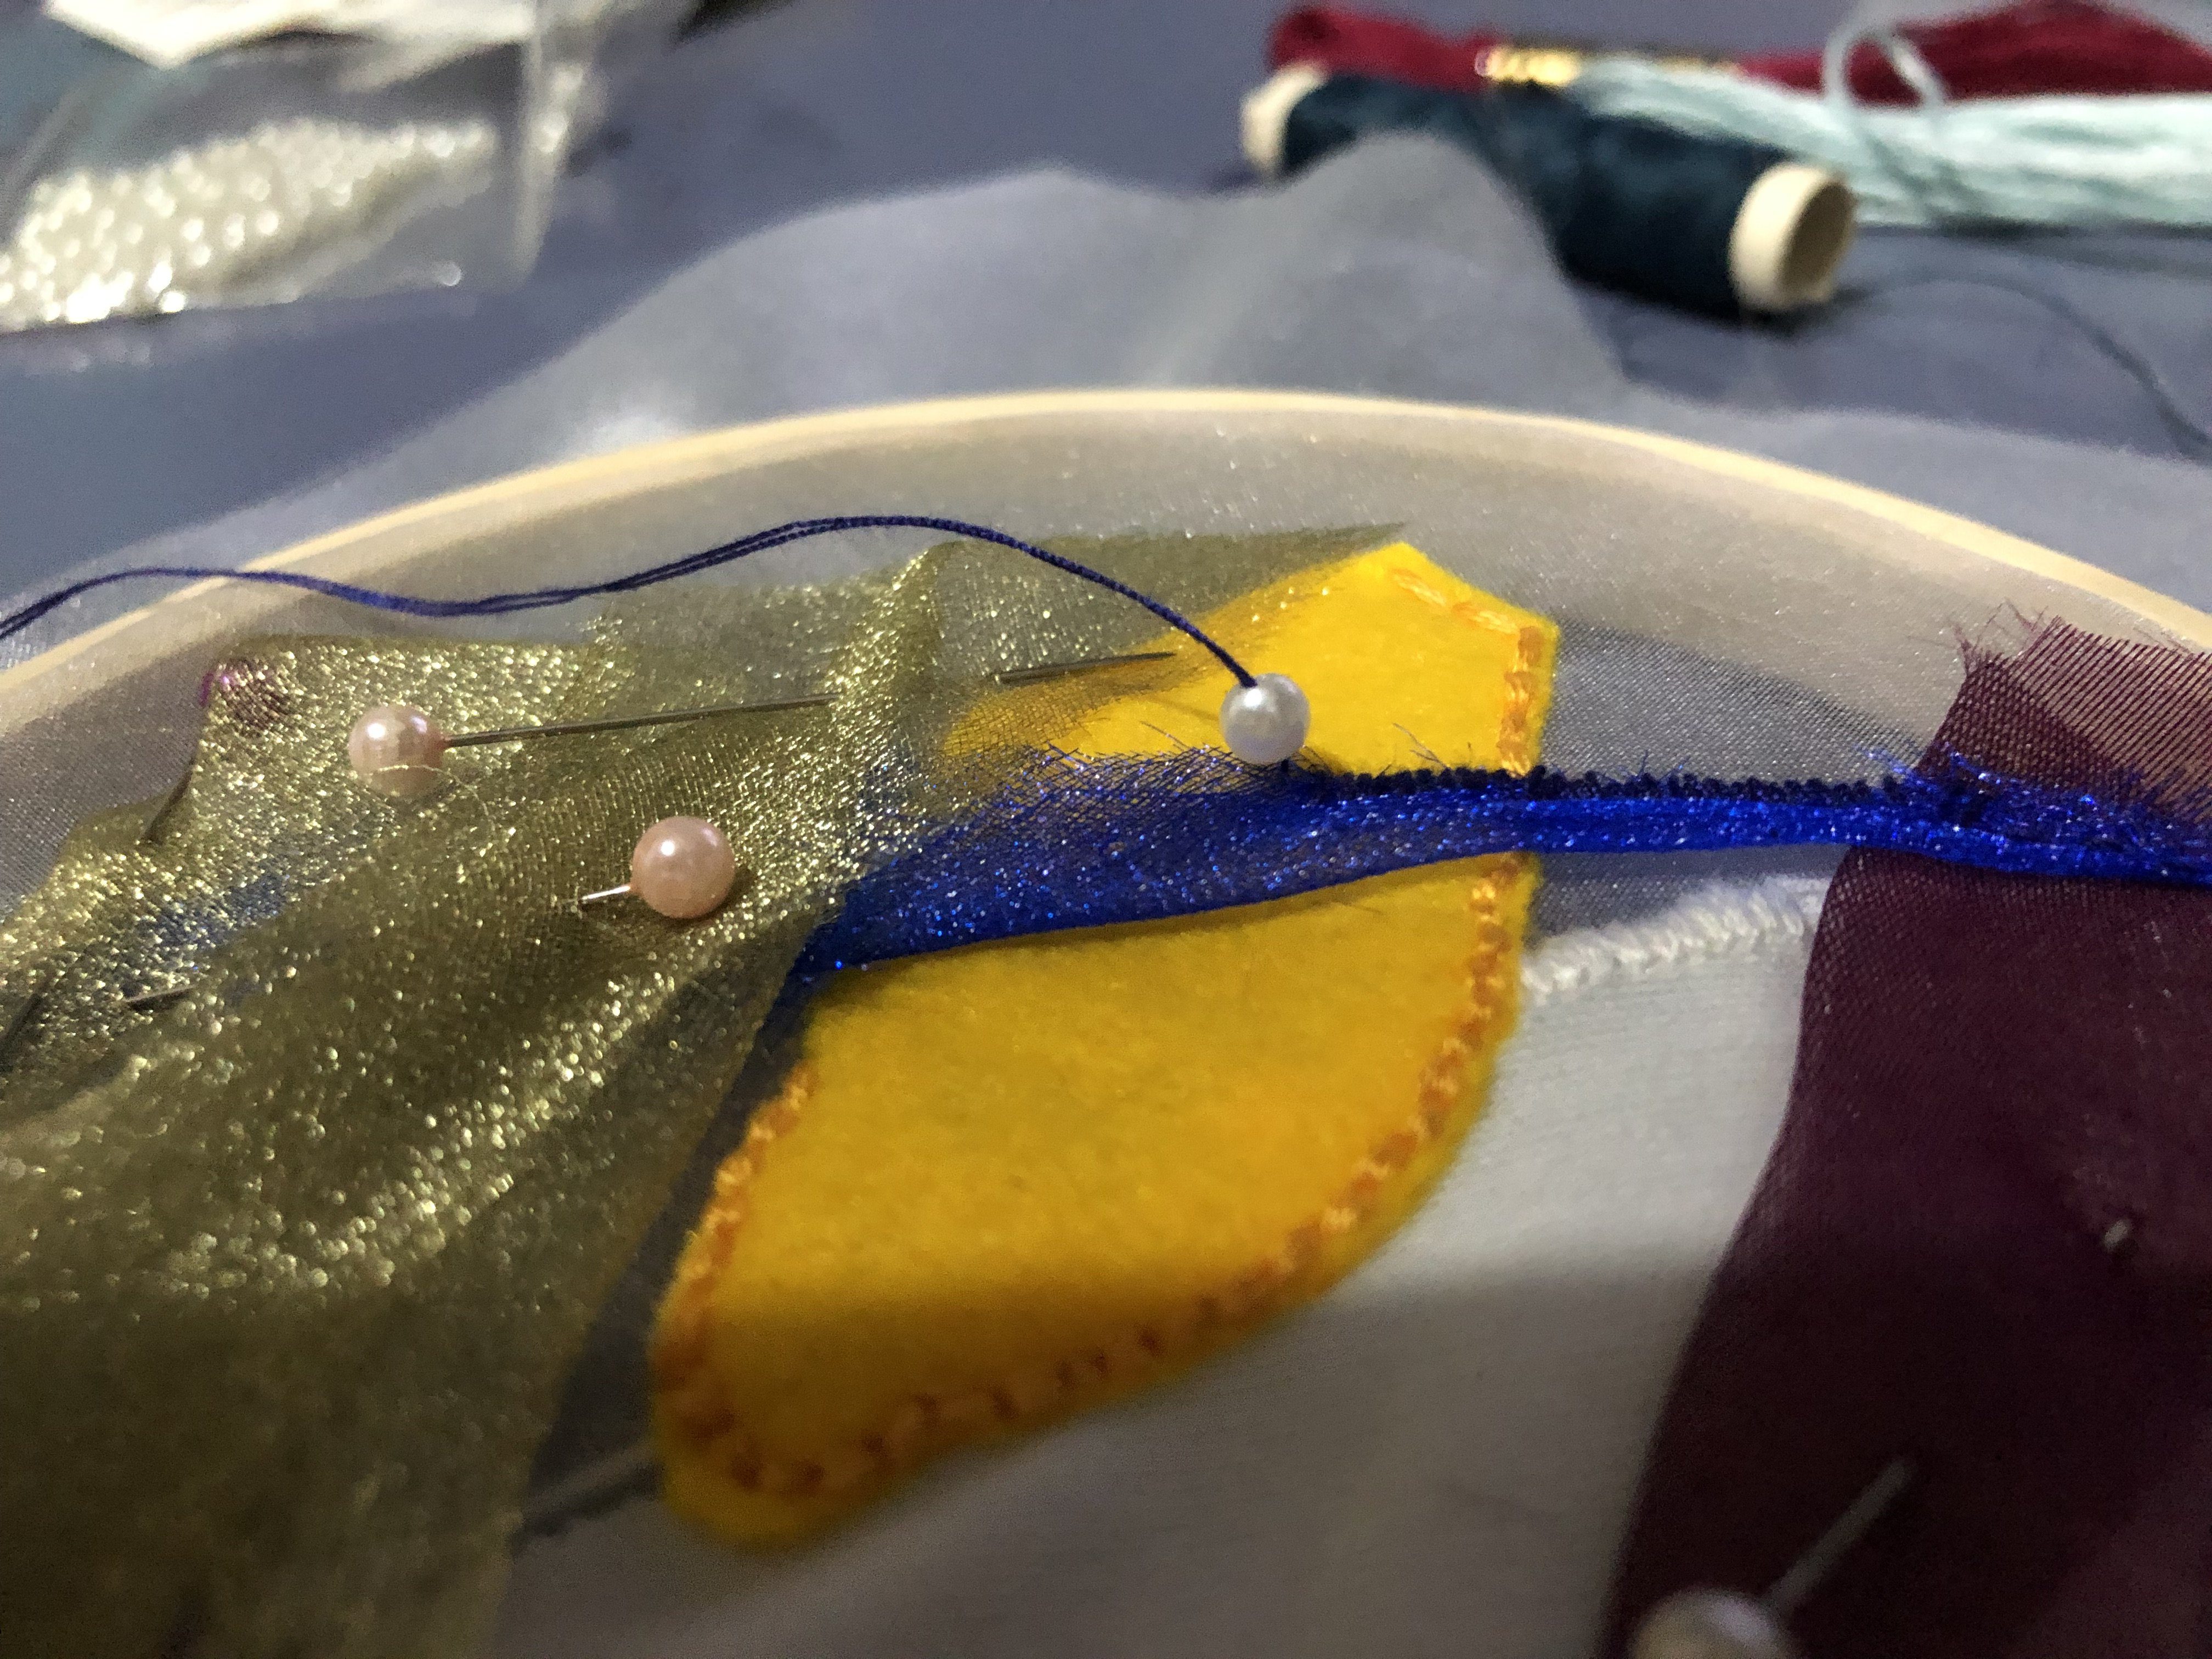
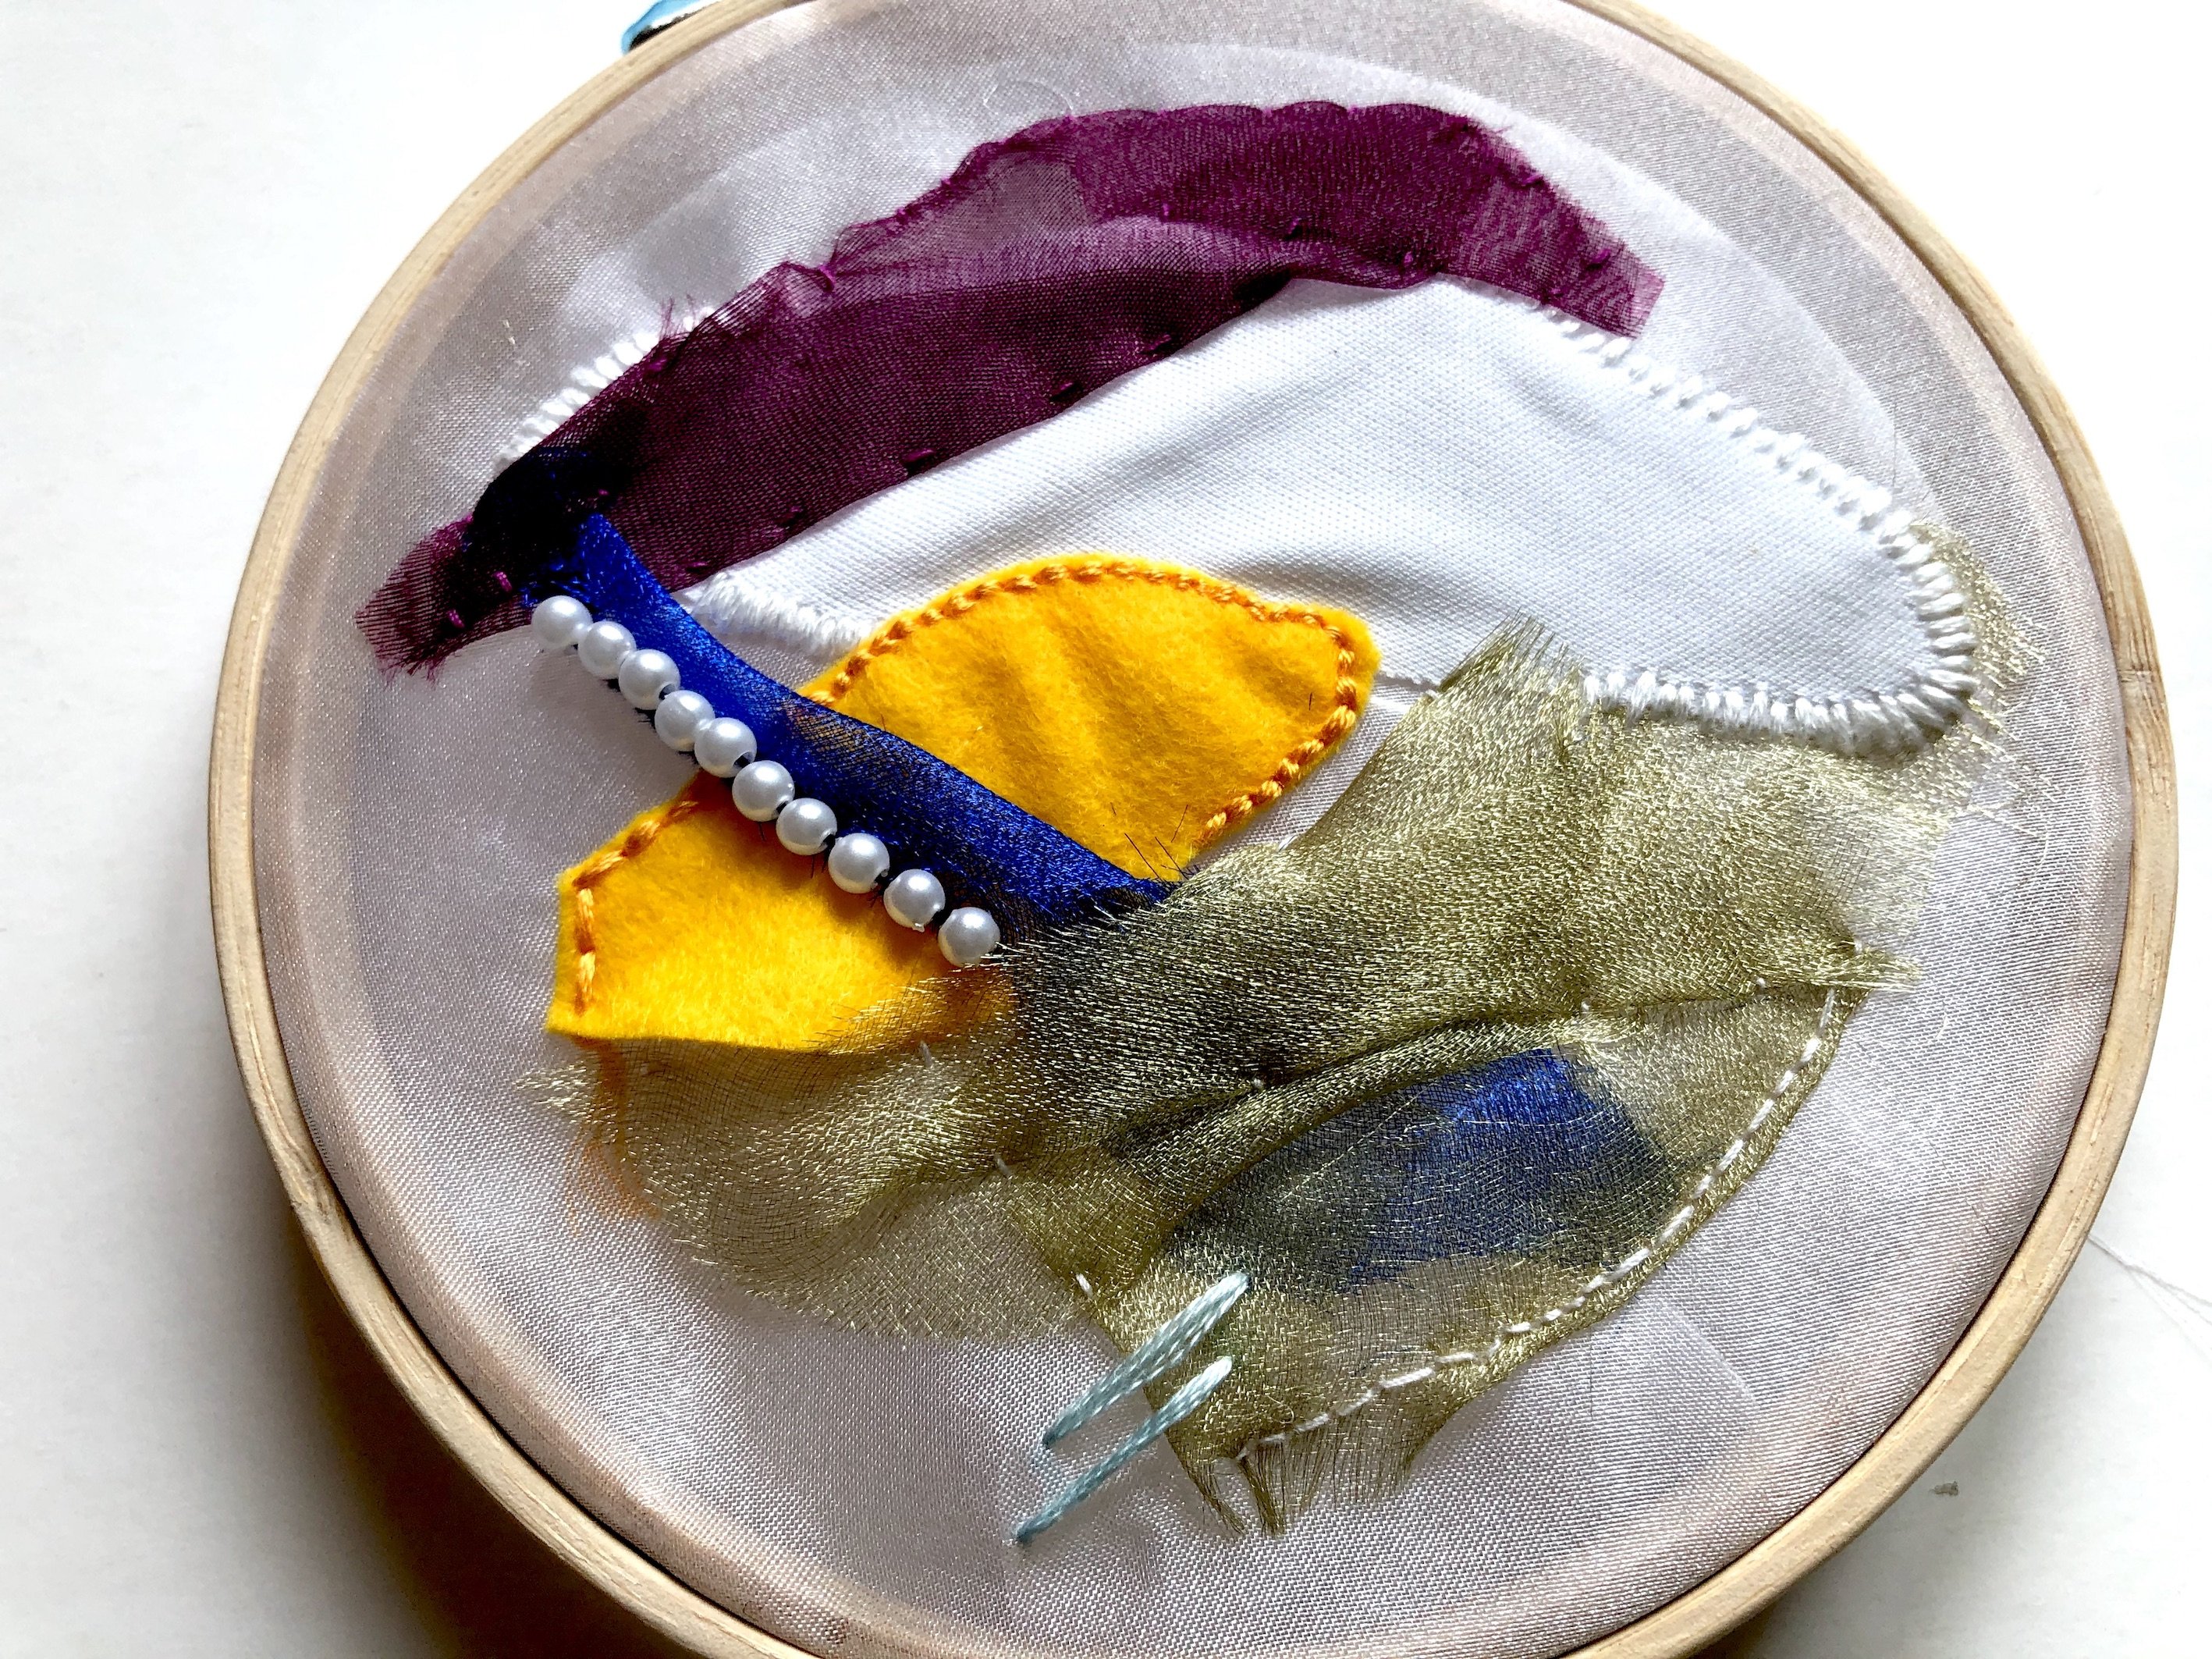
Basically, applique reminds me of those blankets that grandma used to make. Attaching various fabrics together and creating a blanket which looks like a collage of different images and patterns. I was quite stressed as I kept thinking that’s how applique is supposed to be, simply by attaching various fabrics together. Then I was thinking… how do I make it pretty? Hahaha. And then it crossed my mind, why don’t I mix embroidery with applique? That works as well right? As I’ve embroidered before for my past projects, I had tons of threads and thought that it would be really cool and pretty if I were to combine both.
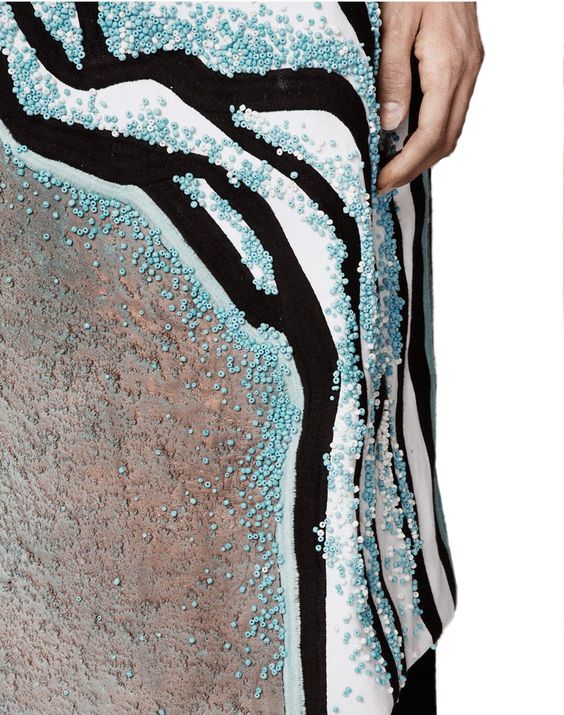
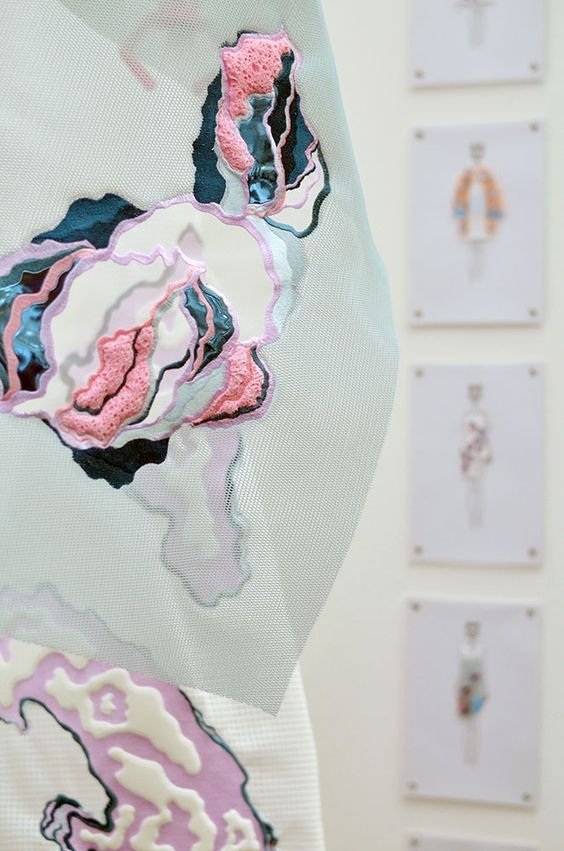
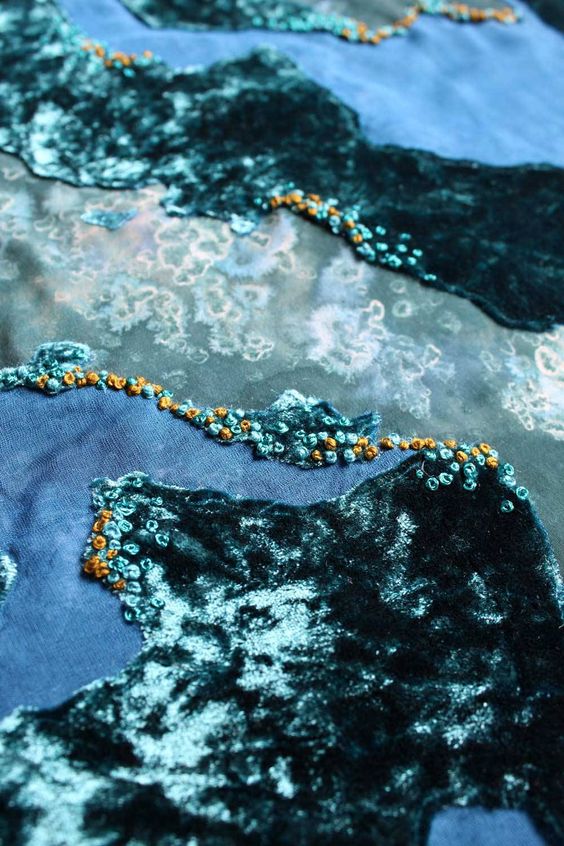
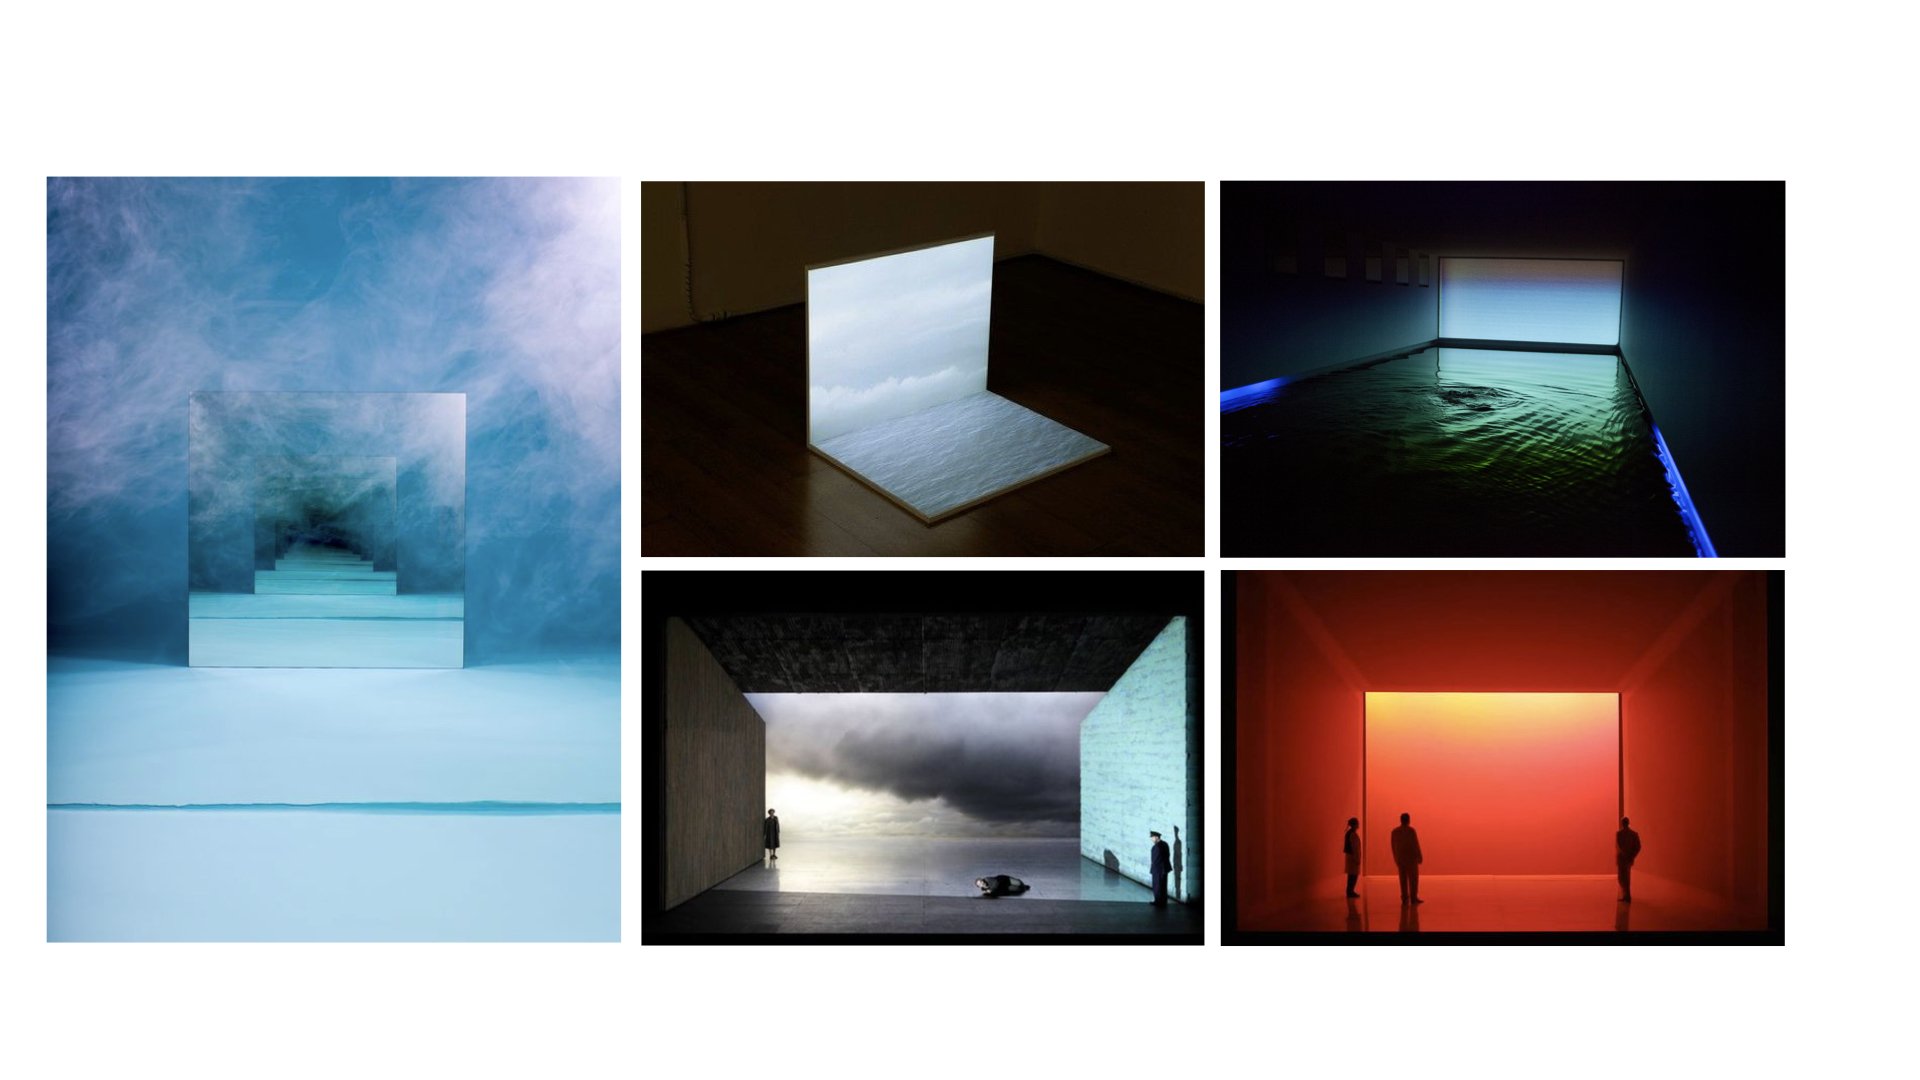
I was then inspired by garments that uses beadings and appliques, here are some examples.
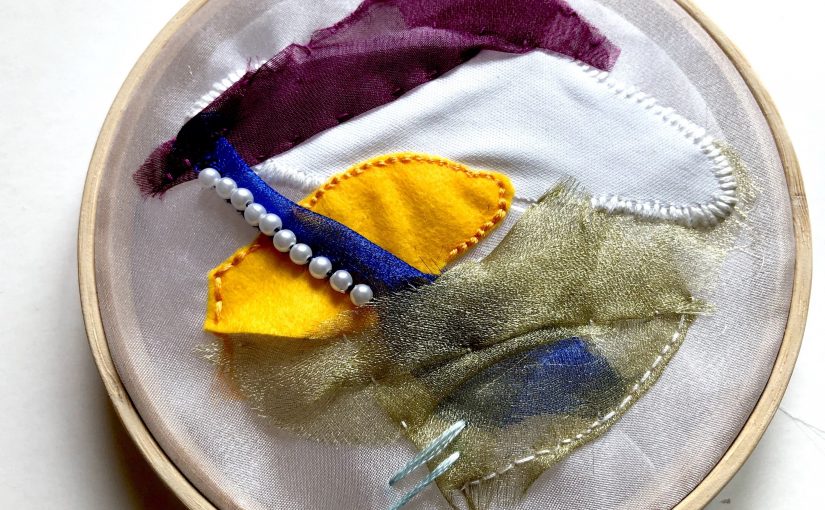
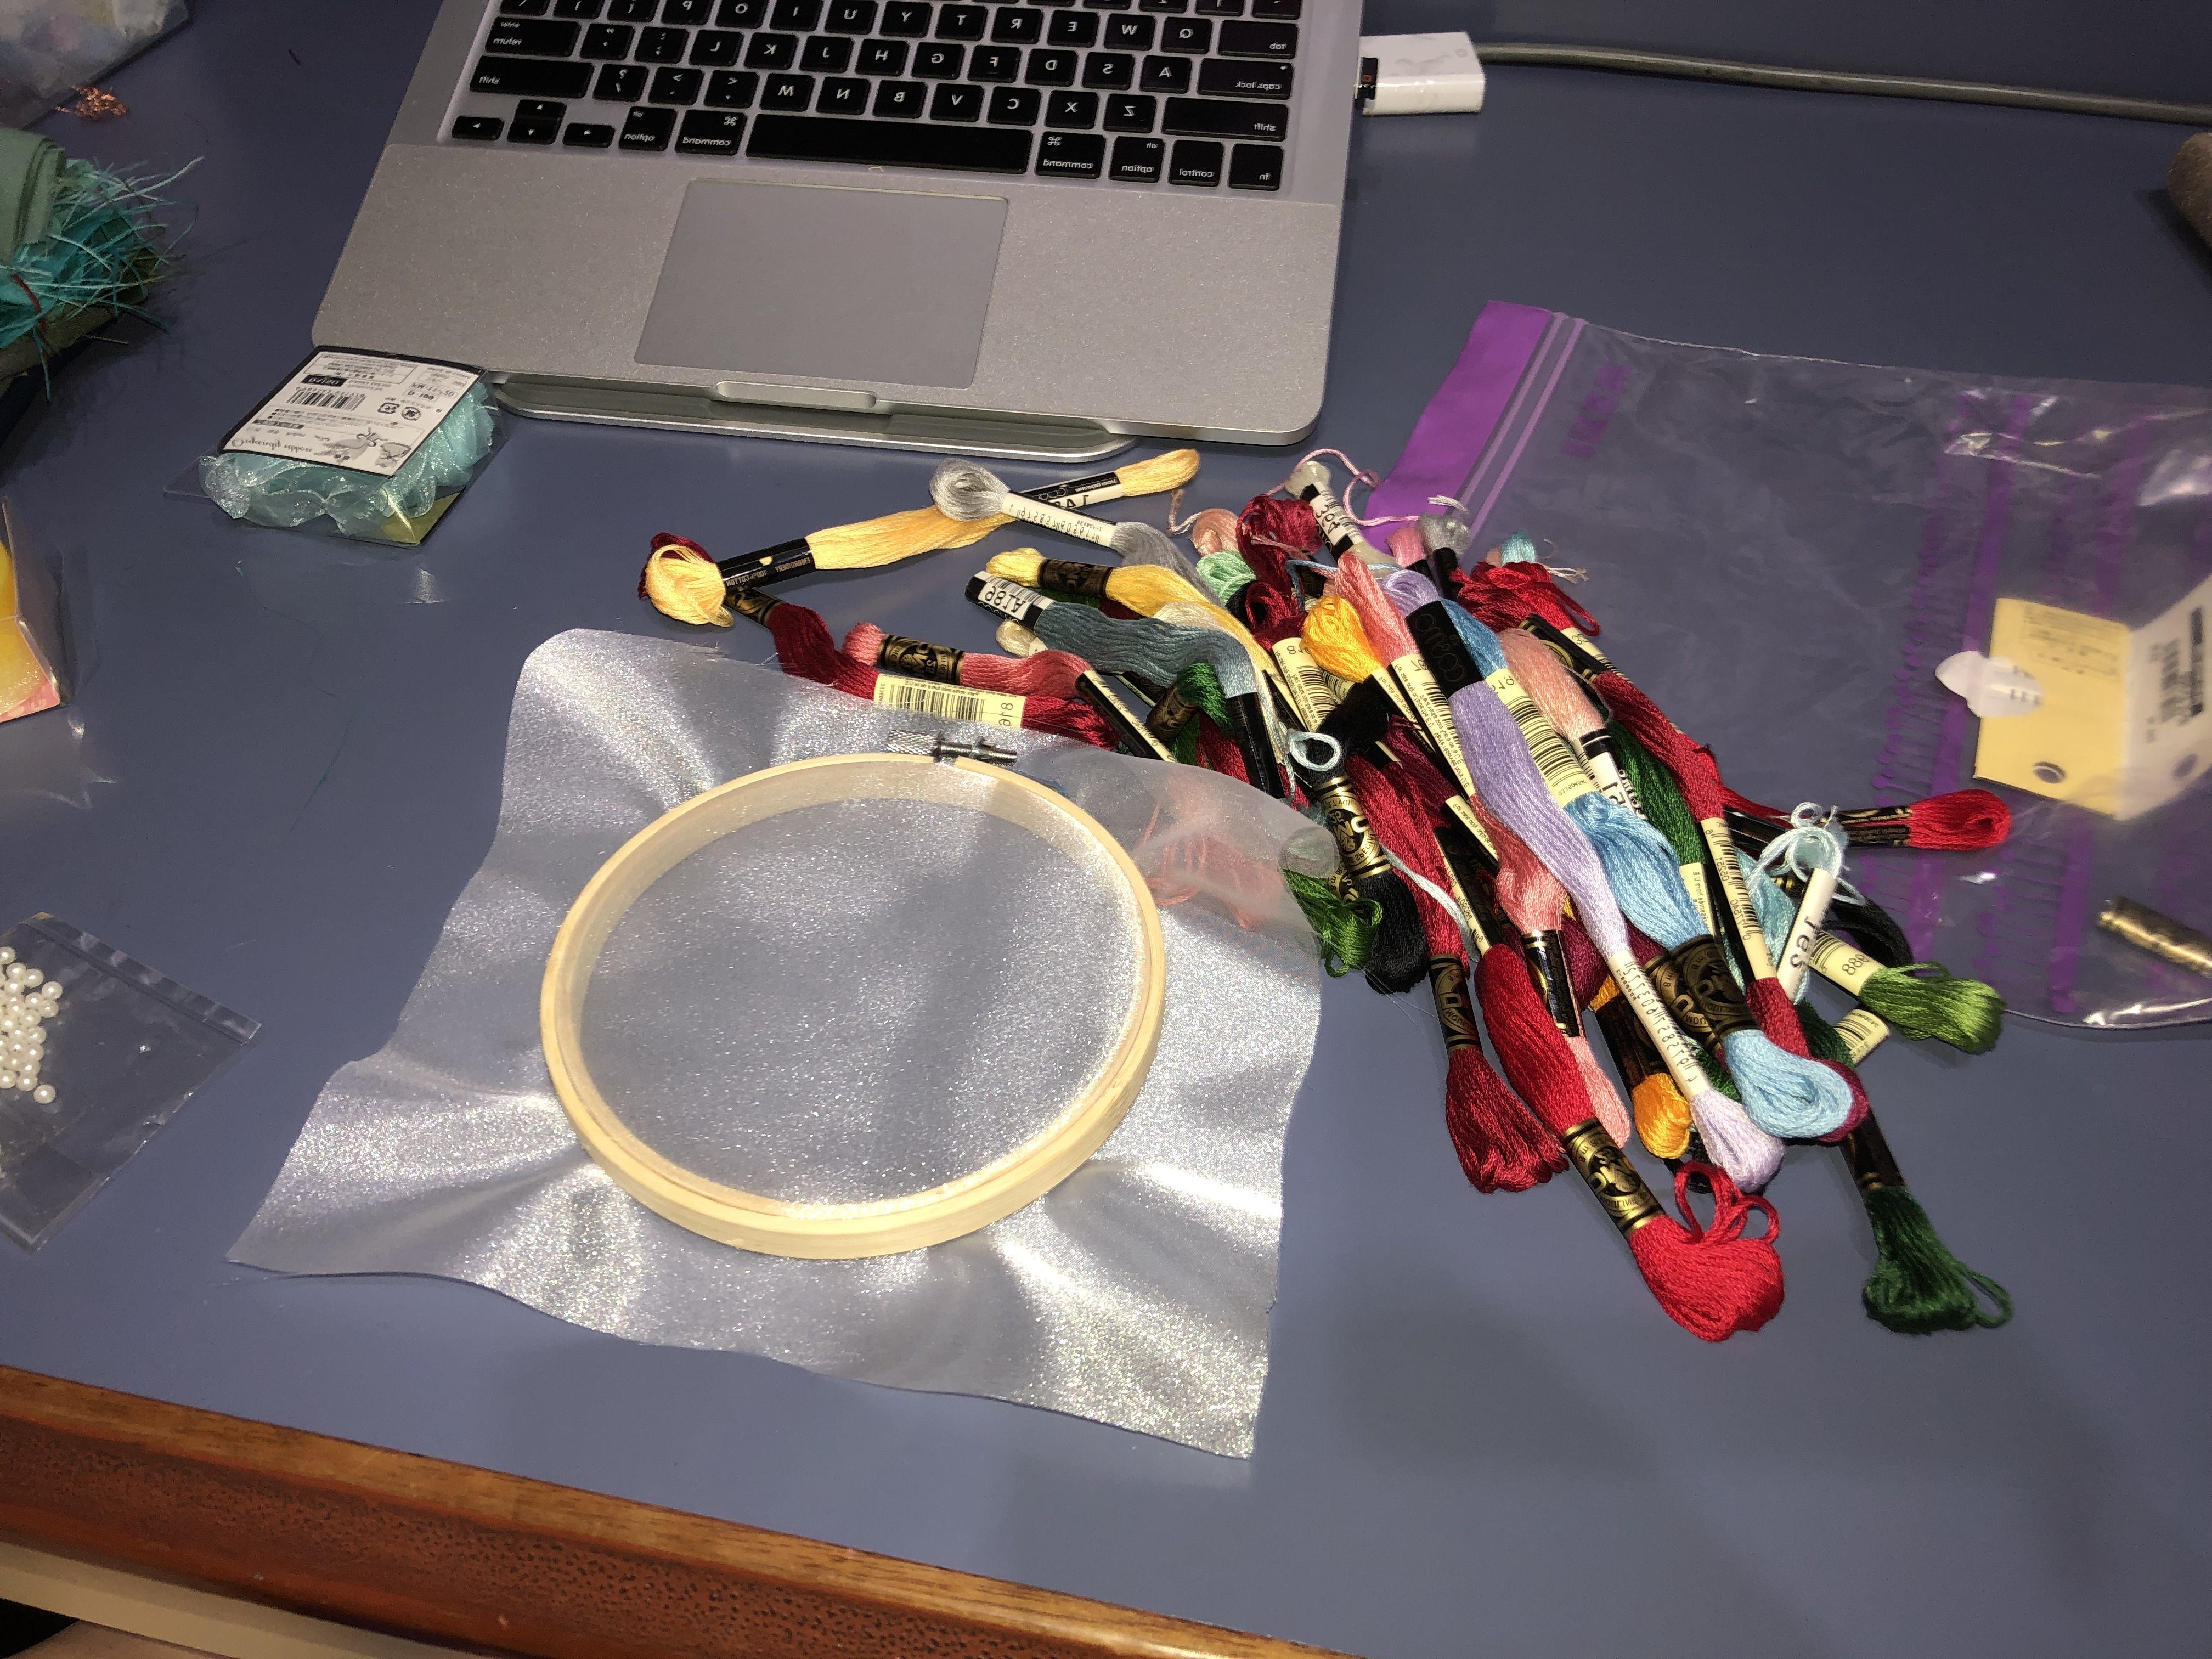
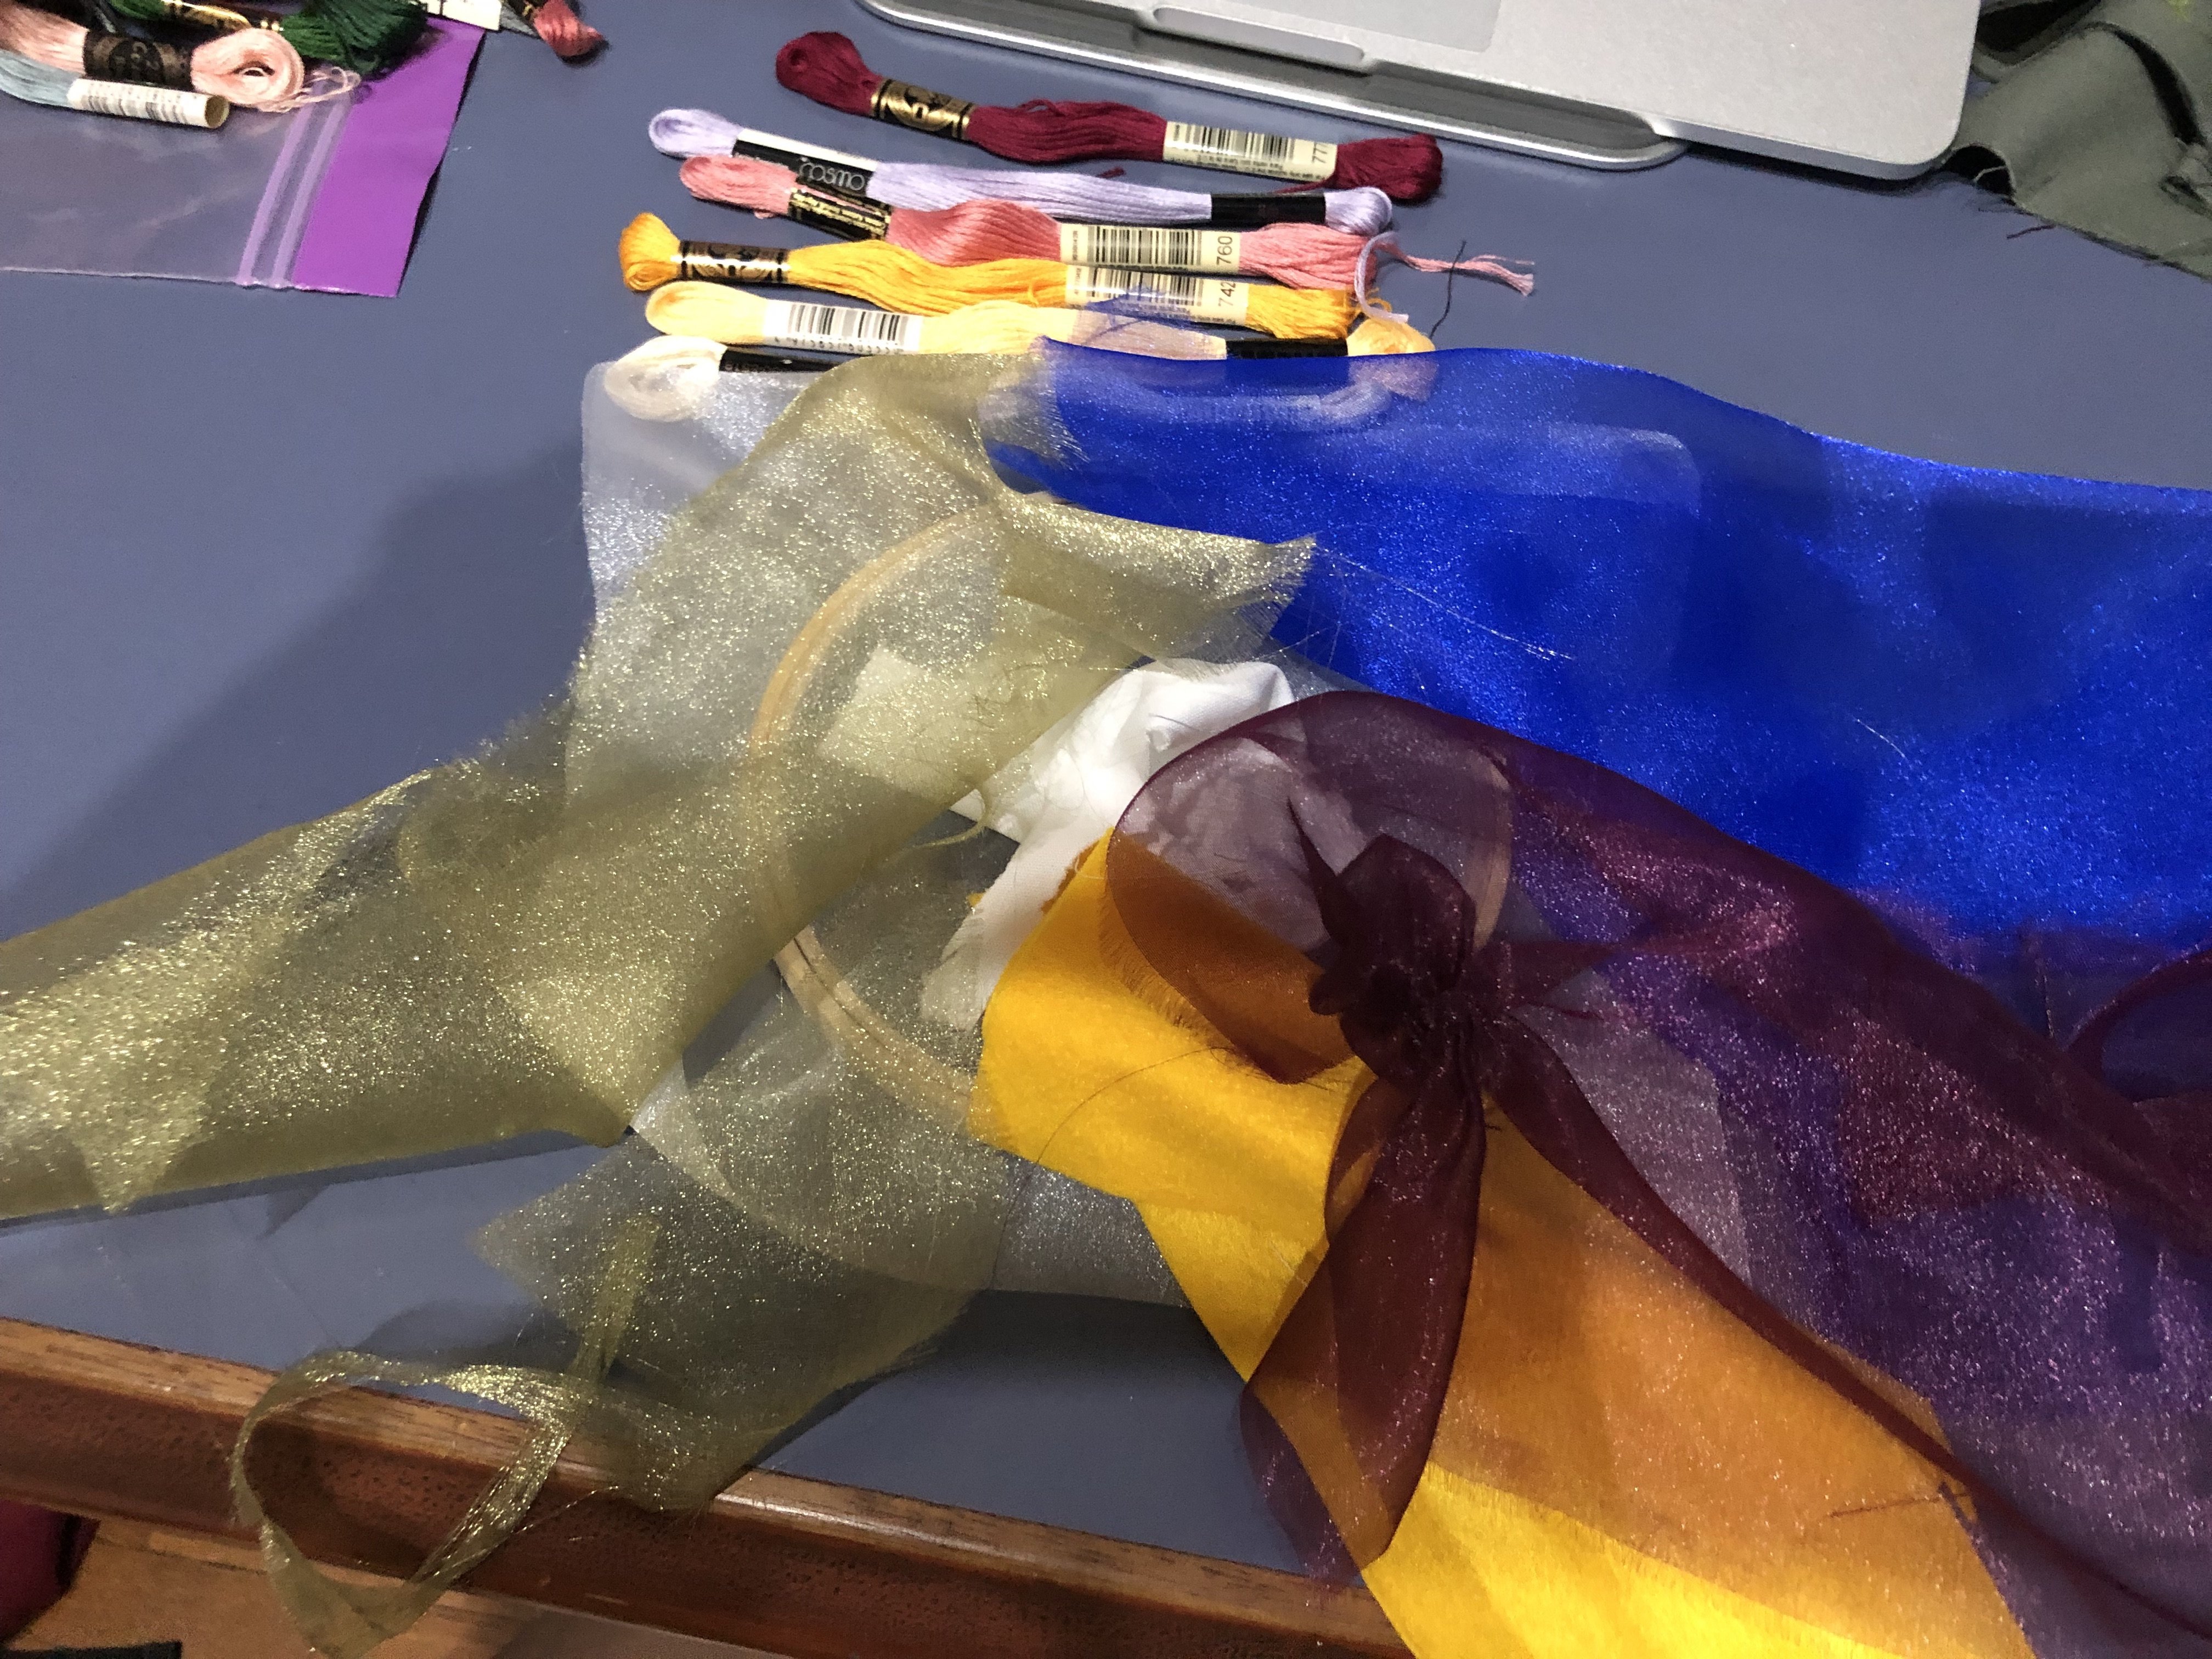
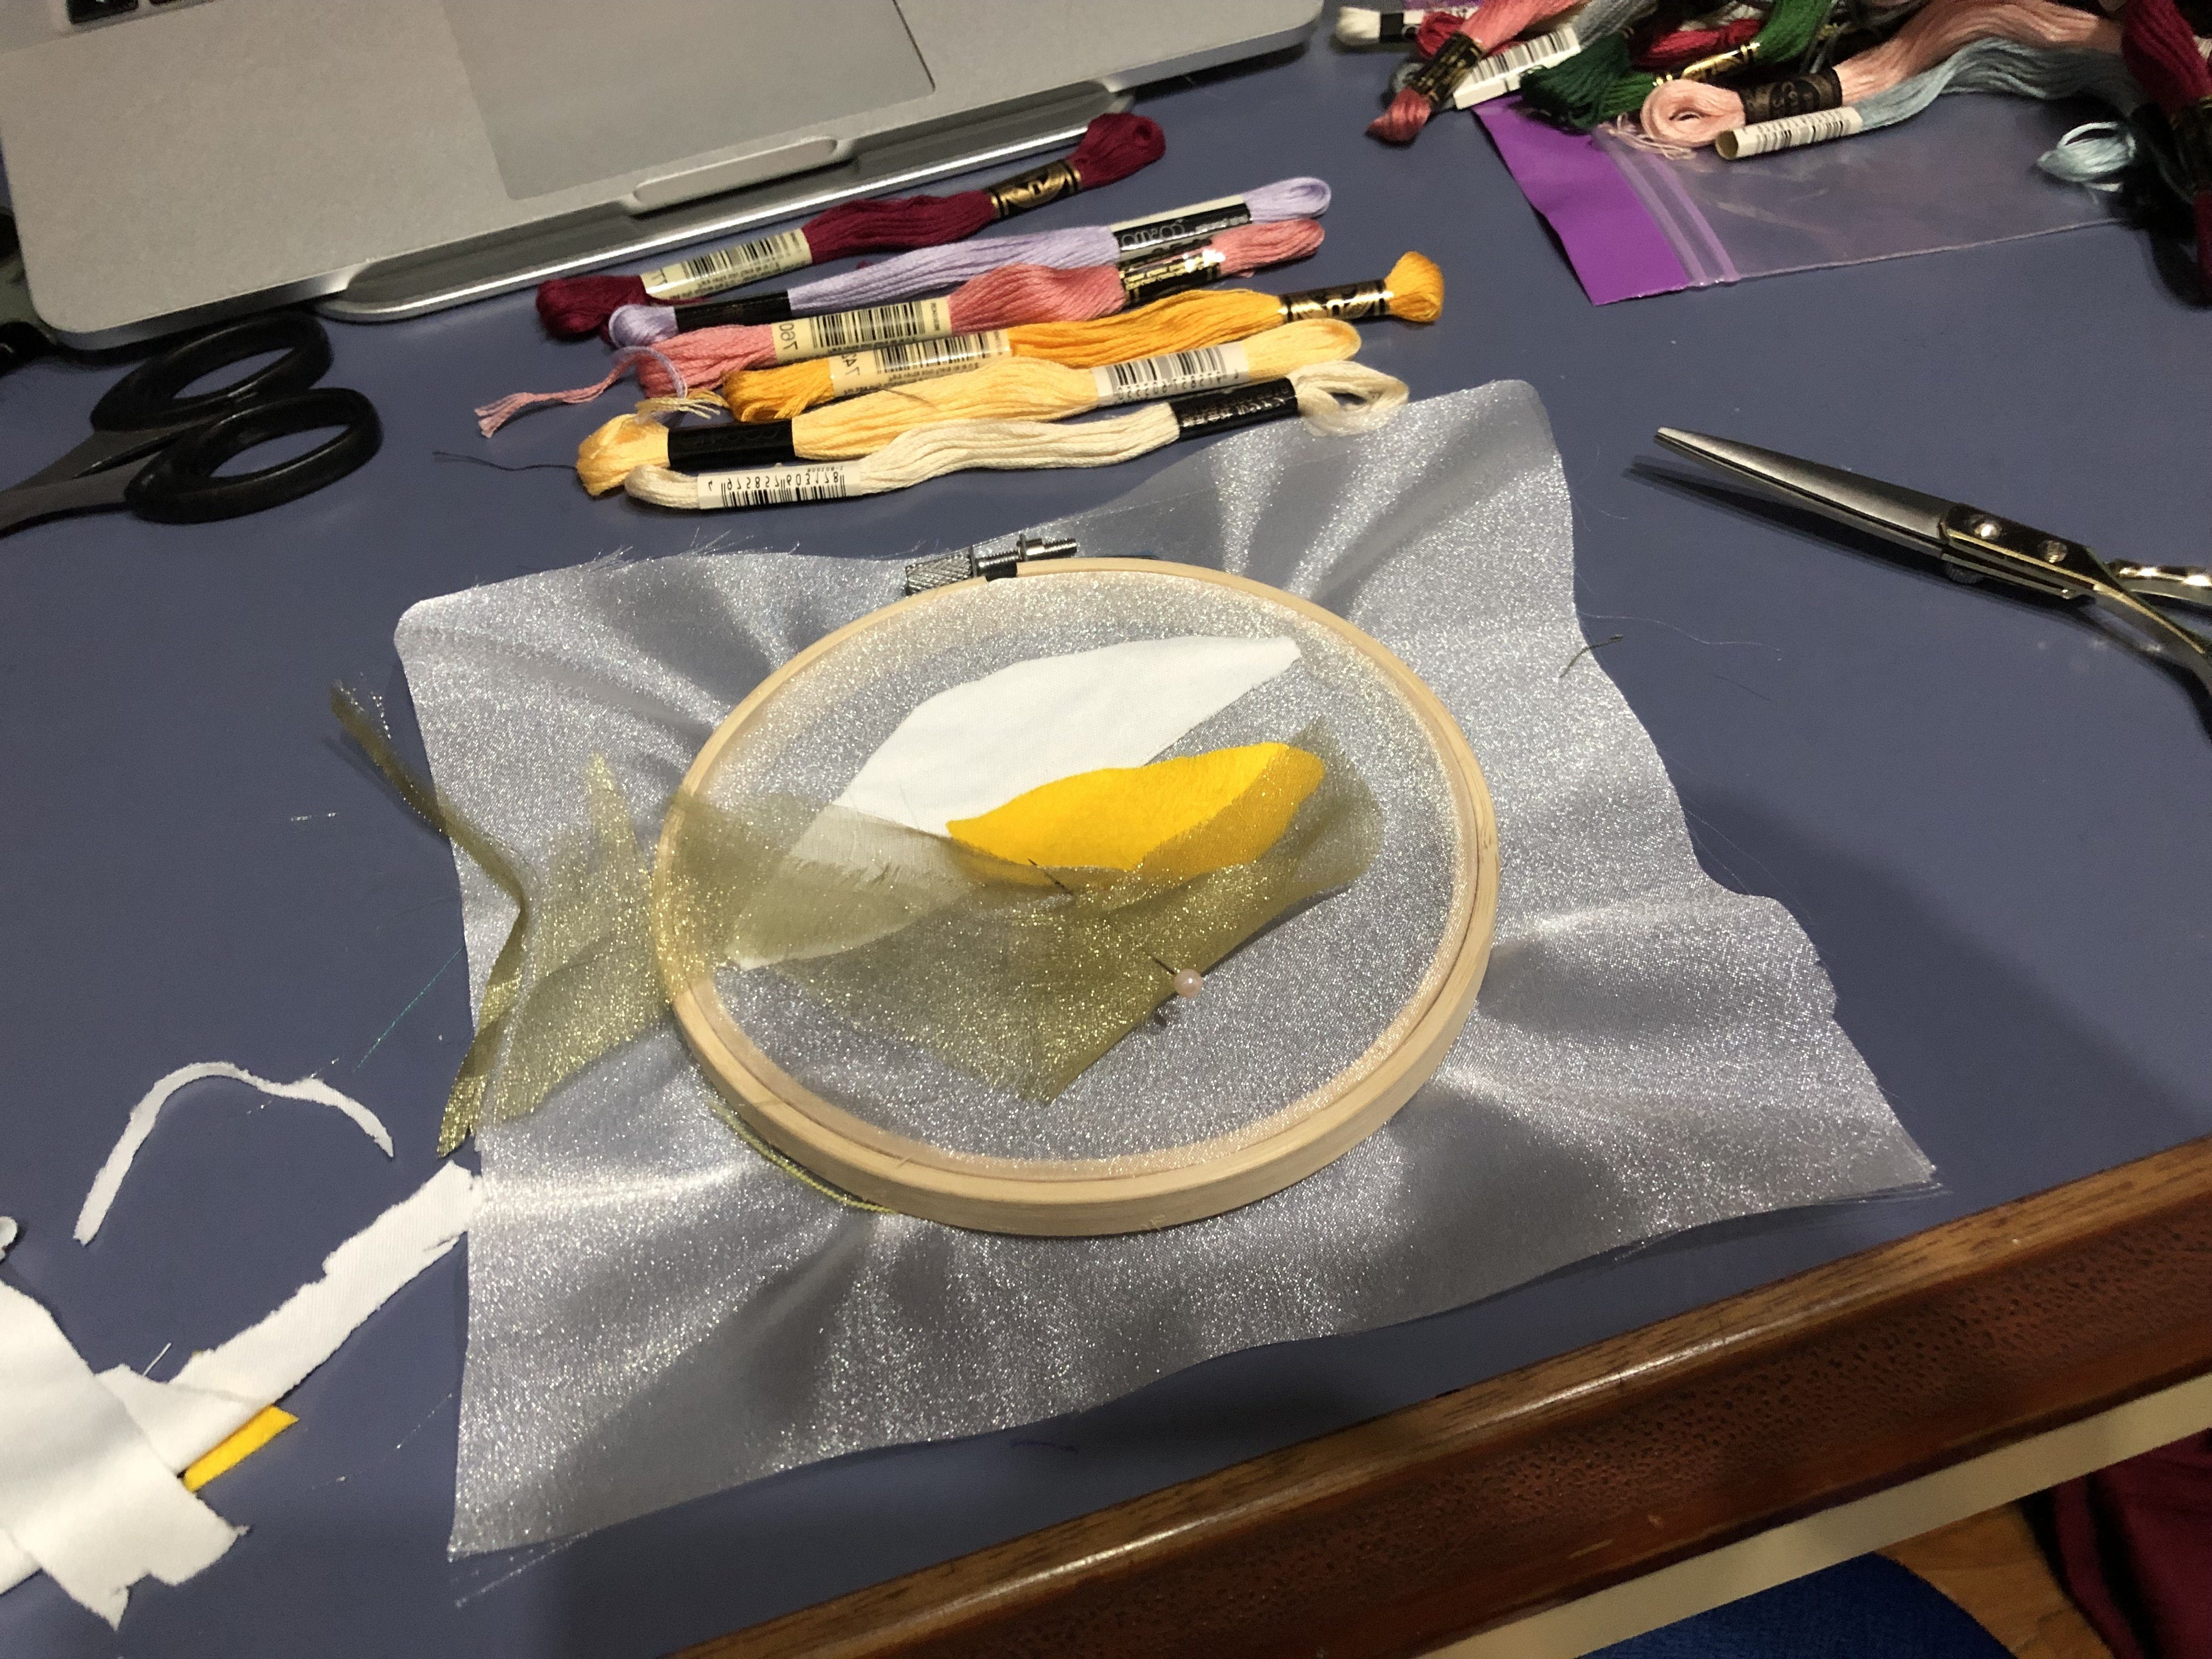
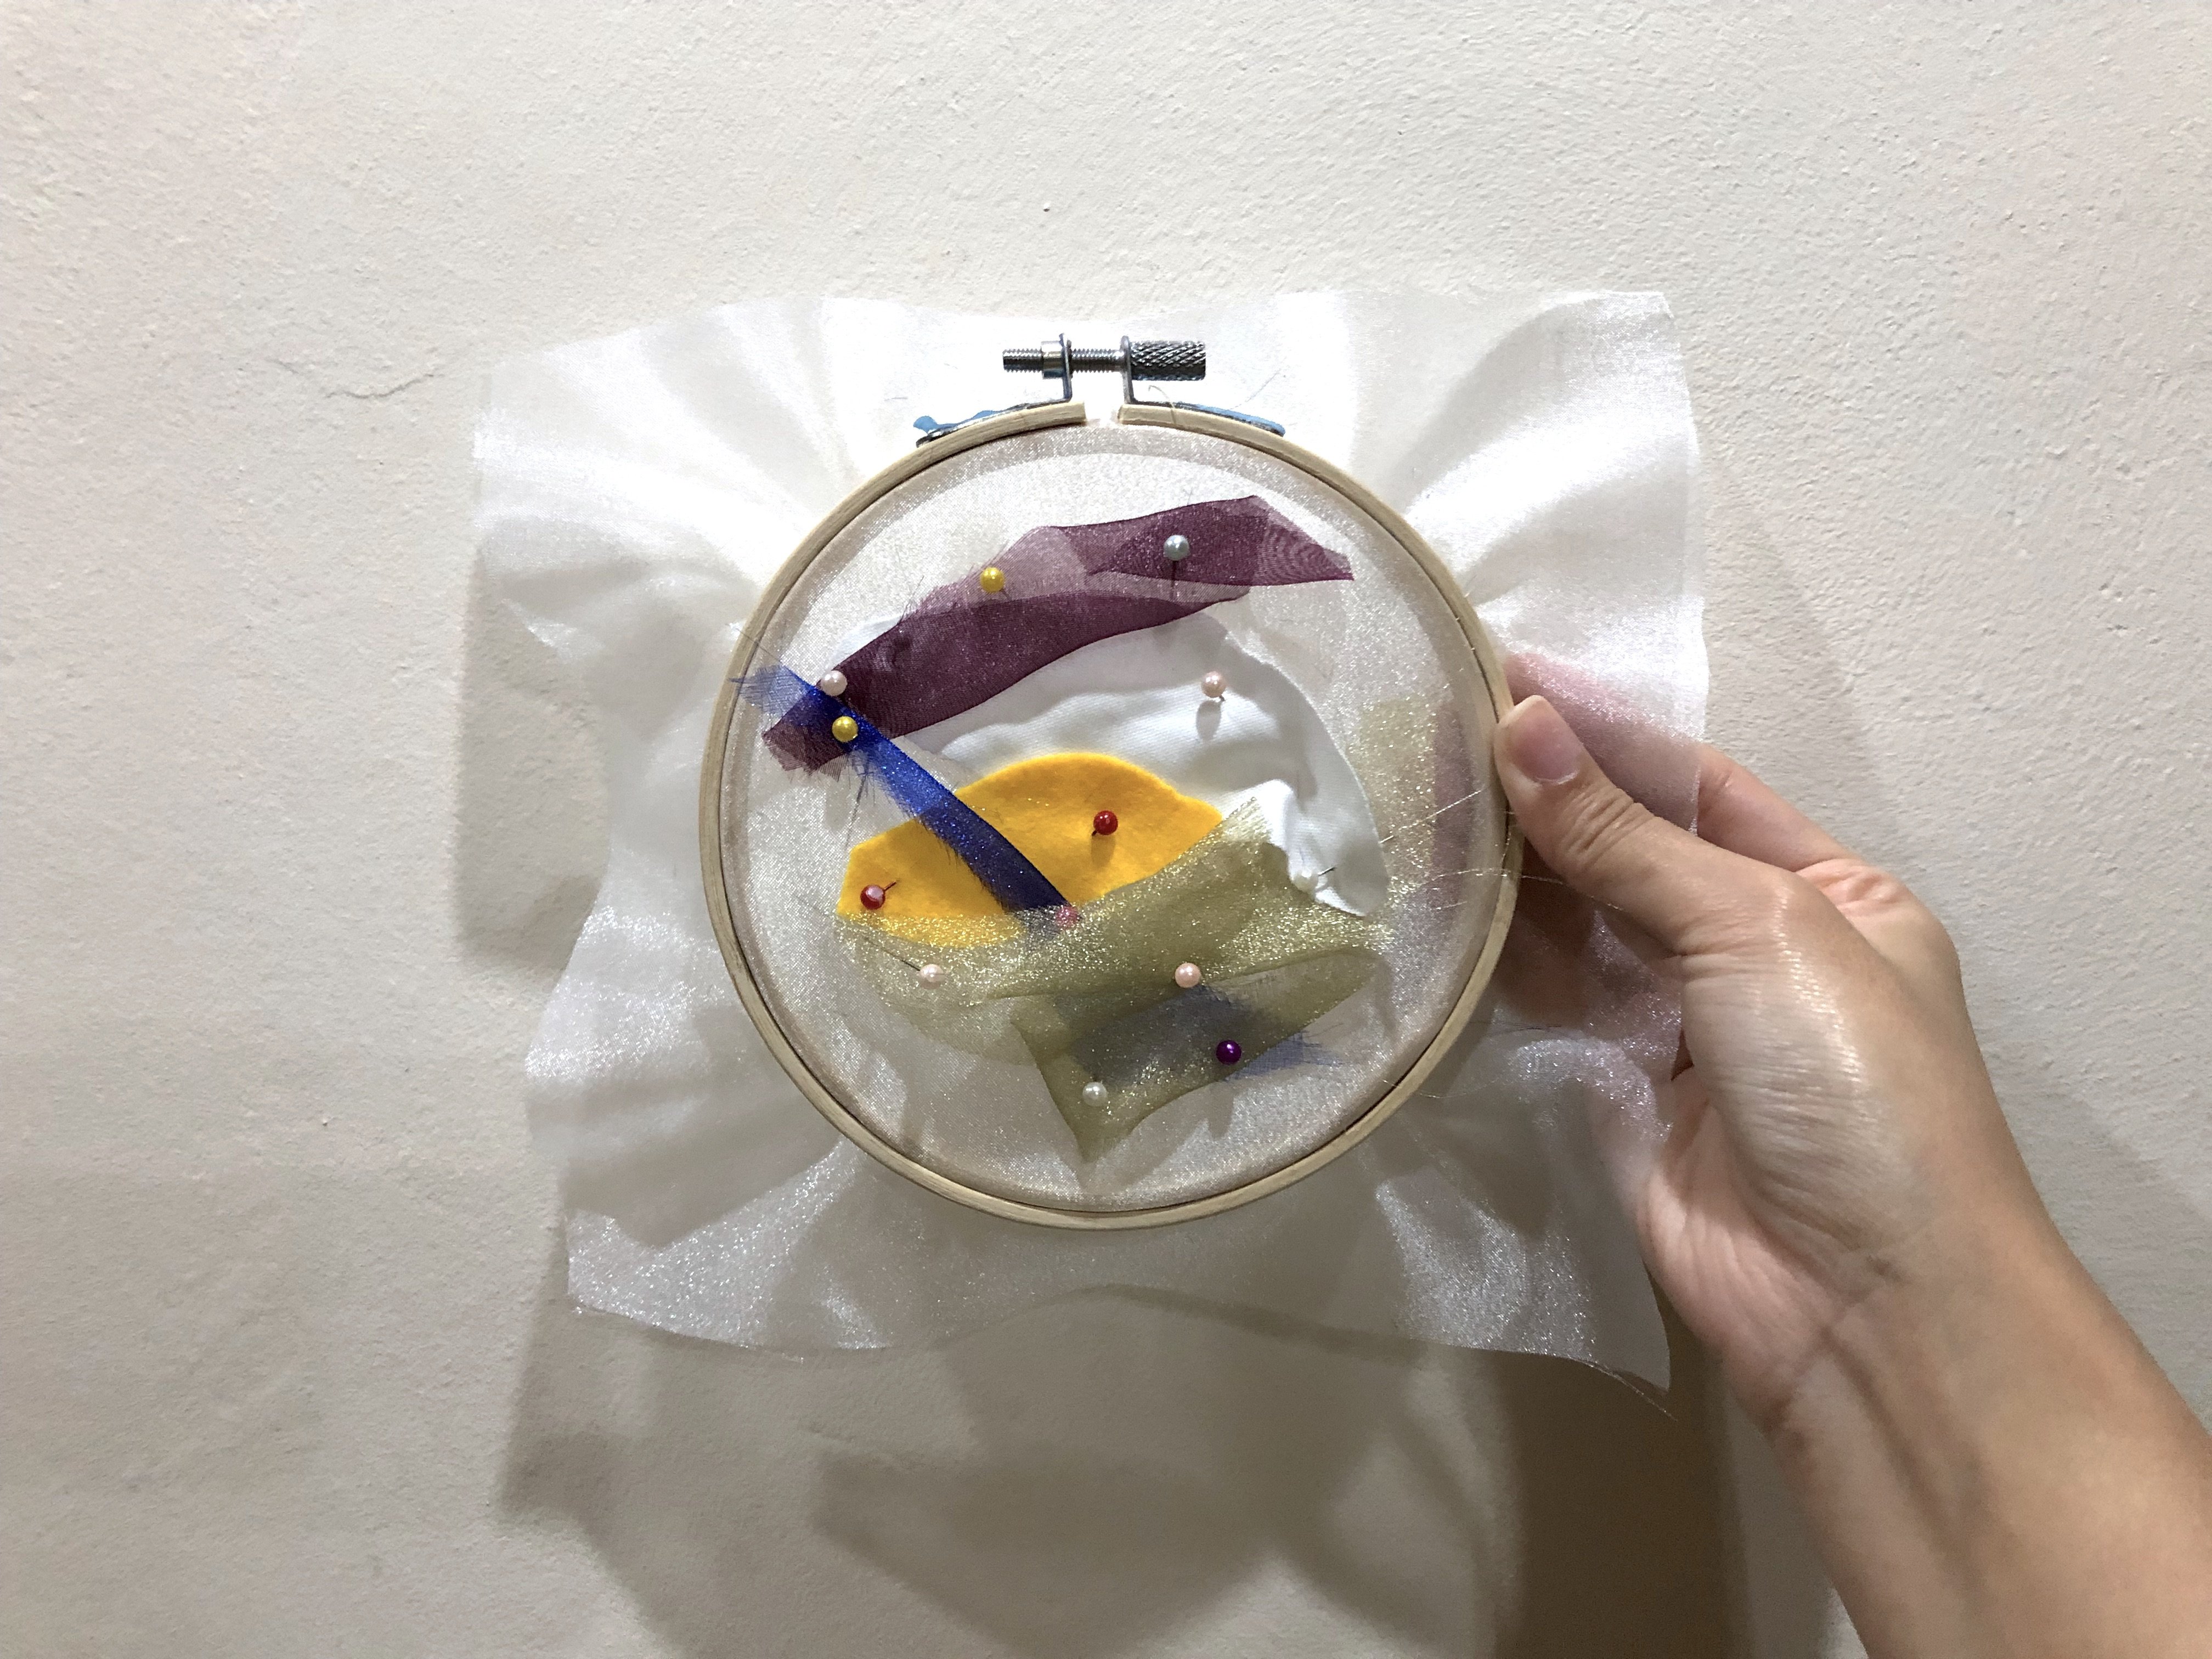
Laying out how I wanted my assemble to look like and pinning them in place before I start sewing!
Thought it would be cute if I were to add some white pearls that I had in hand.
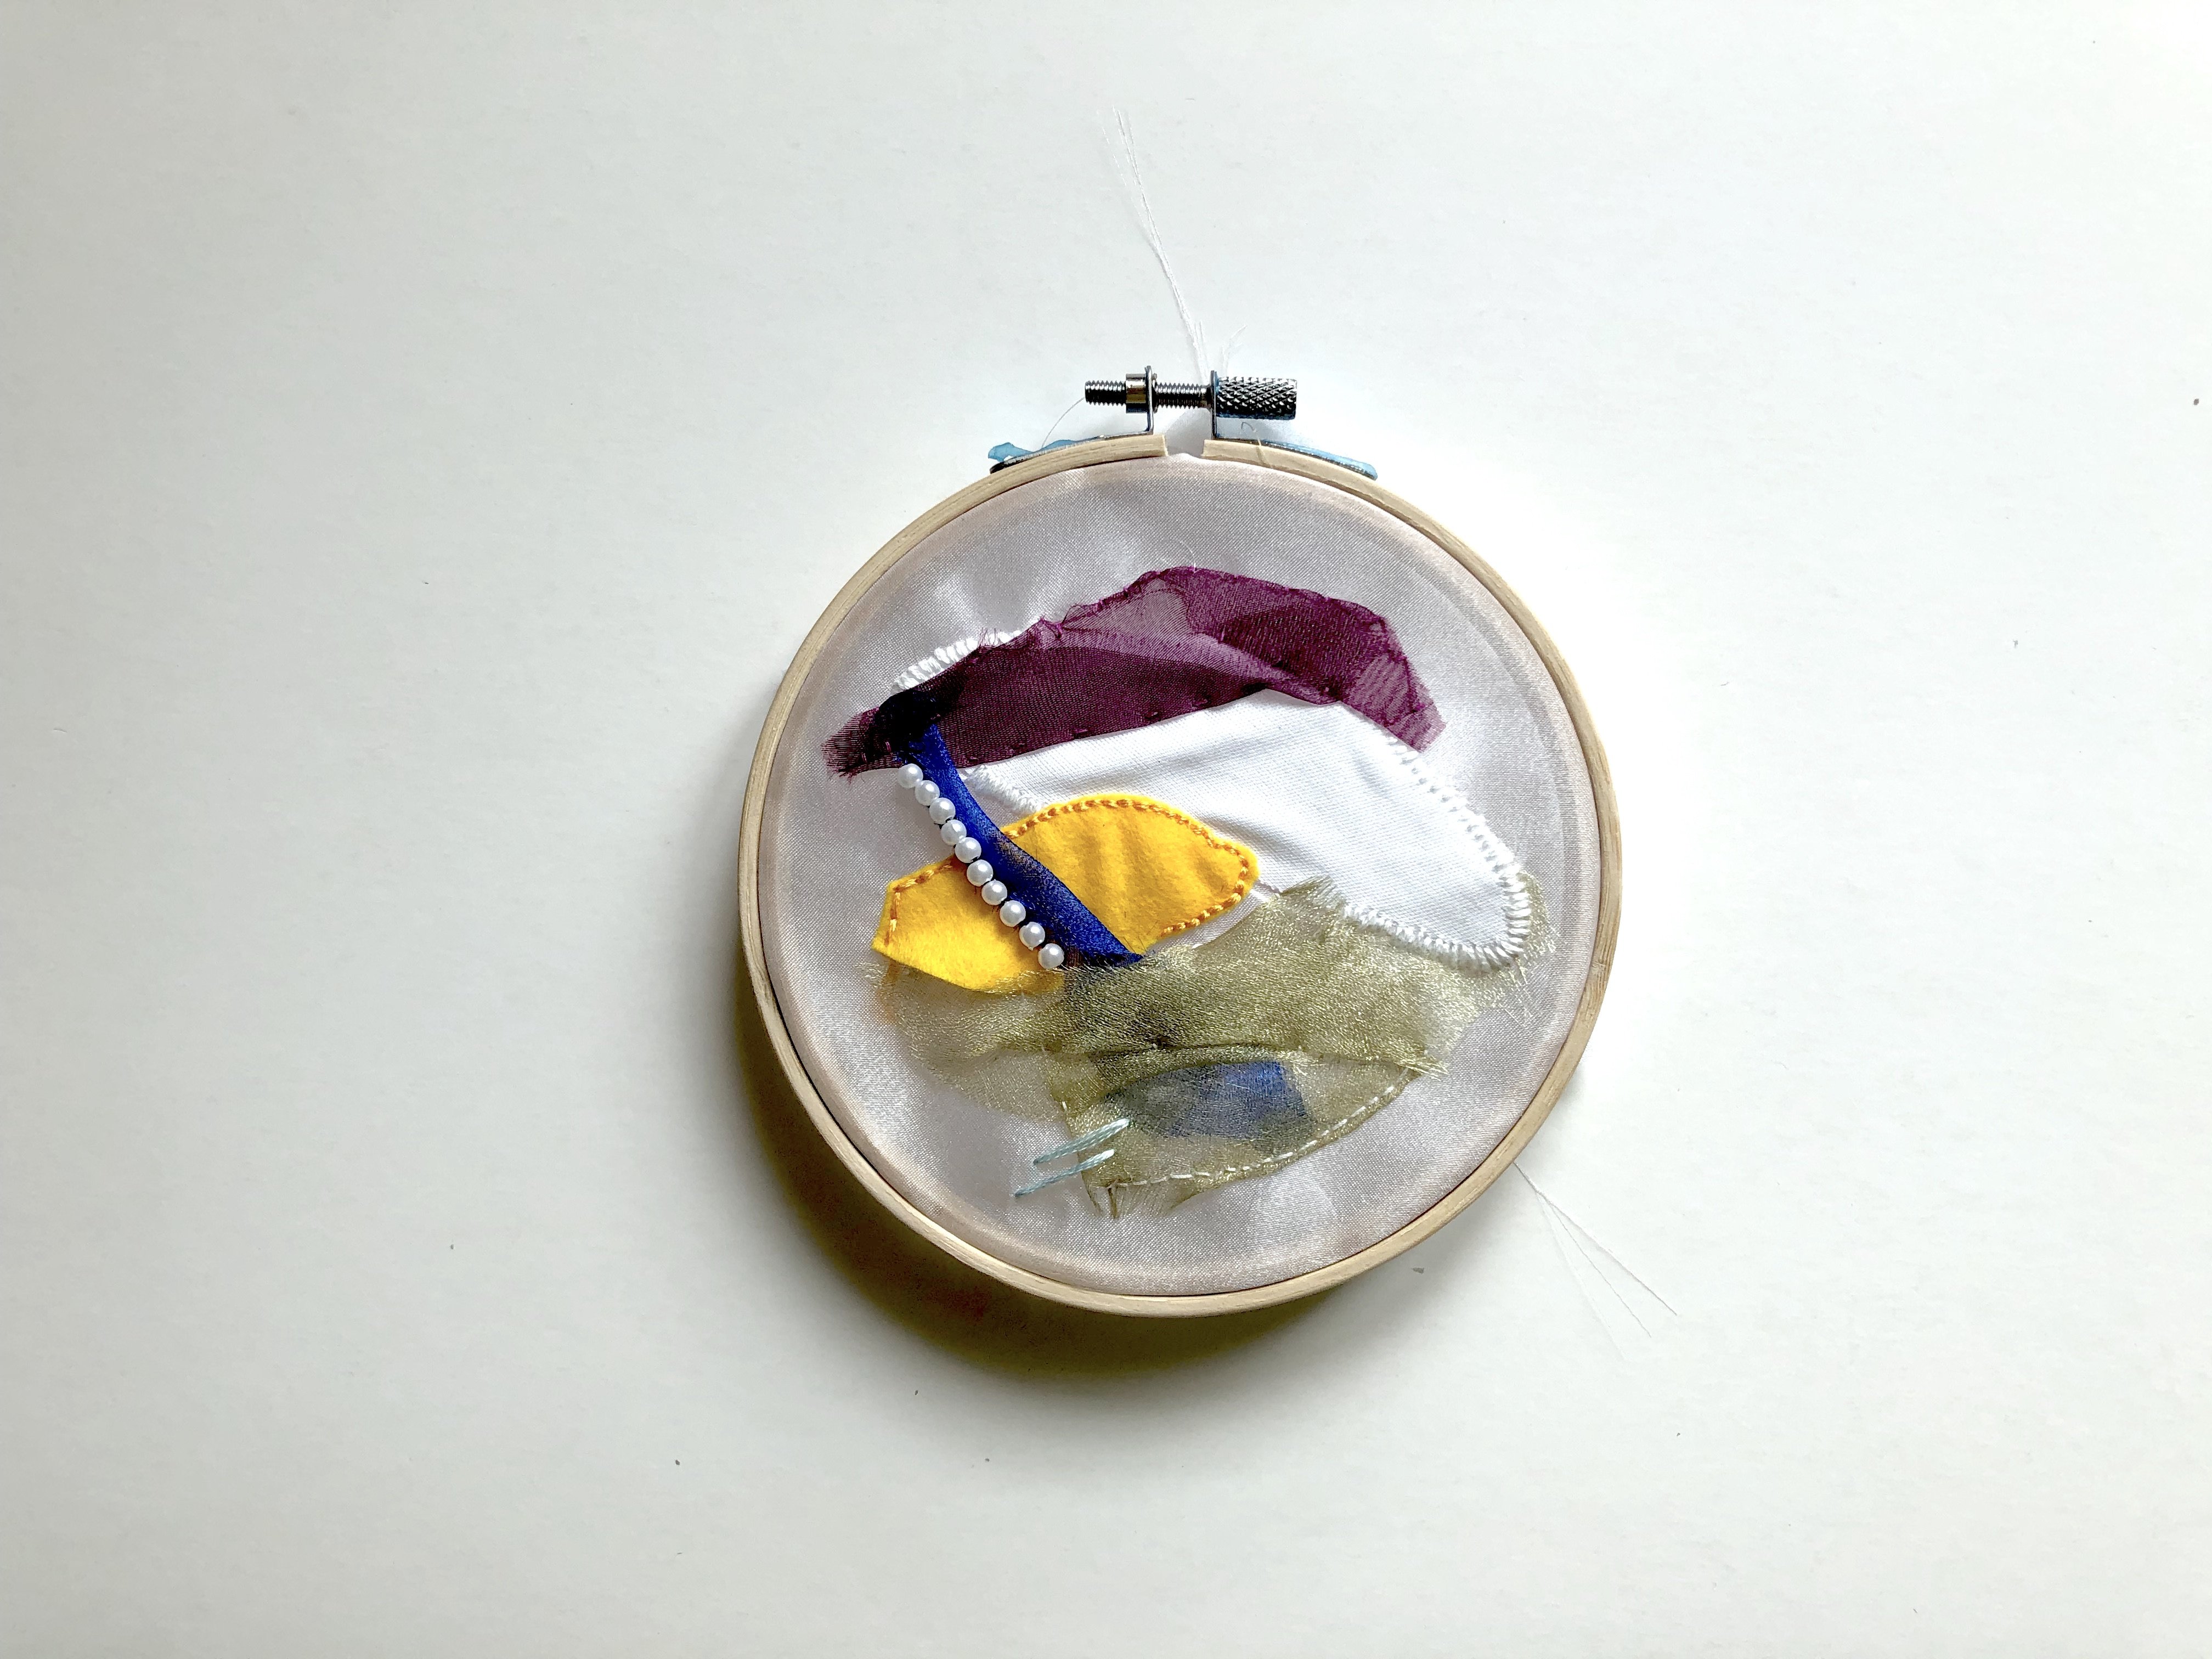
And tadah! Here is the final product of my applique + embroidery. I’m very happy with the outcome but I felt I could add more embroidery details and it would be really pretty if I had some sequins that I could add onto it. Between applique and felting, I definitely enjoyed applique more as I get to try out with different textures and materials. However, felting is still really cool as a simple material like felt could achieve various textures. I’m so glad to be able to try out such techniques that I’m sure would be applicable to me in the future.