10 Thermoplastics

thermoplastic, or thermosoftening plastic, is a plastic polymer material that becomes pliable or moldable at a certain elevated temperature and solidifies upon cooling. 

Thermoplastic refers to the quality of a fiber whose molecular structure breaks down and becomes fluid at a certain temperature, making it possible to reshape the fabric by pleating, moulding or crushing. Thermoplastics are typically used to produce parts by various polymer processing techniques such as injection molding, compression molding, calendering, and extrusion. The fabric is then “fixed” on cooling and cannot be altered unless heated to a temperature greater than the one at which it was reshaped.

Polyester belongs to the group of Synthetic Fibers. A synthetic fabric is thermoplastic, that is, it can be transformed through heat into new configurations, which on cooling are completely stable. 

Important* 
Fabric needs to be 100% polyester otherwise it won’t hold the moulded shape for long. 

Here are some examples that uses thermoplastics as garments. I find it really amazing that a polyester fabric could achieve so much results!

Moulding Thermoplastics:
01 Find objects that you want to create a mould of. Or you could use aluminium foil to sculpt the desired shape you want.
02 Wrap your 100% polyester organza fabric over the object and tie it tightly with a rubber band. 
03 Continue tying your objects under the the fabric until your desired pattern.
04 Wrap your fabric with aluminium foil
05 Place your work into pot of boiling water. Boil for 45 mins.
06 Remove the aluminium foil and objects carefully and tadah! Your organza is shaped to your objects and moulds. 

I used marbles and some bottle caps (sponsored by Tisya) for the moulds. I’m surprised that it really stayed its form. It’s so cool! I can’t wait to try out more patterns.

Here is how it looks! I used different shapes of marbles to give a variation in the appearance. It reminds me of corals hahaha and air bubbles.

Overall thermoplastic is really fun! It’s one of the technique that I was looking forward to the most when Surface Design started. I’m excited to try out various methods and techniques on my organza! Next step is to try to achieve some organic shapes from the examples that I’ve posted above. I’m low-key wanting to create a garment for the final project… But do I have the time hmmmm

08 Printing with Special Inks: Etching, Bleaching, Raster

We are now at Week 8! Surface design is almost coming to an end. Today, we are playing with special inks, such as fiber etch and bleaching. Below is an awesome example of how fiber etching looks like! Basically it’s placing an etching liquid onto a velvet fabric to achieve such results. 

Fiber Etching is commonly known as Devore. The technique works best on fabric blends that contain both cellulose and non-cellulose. The chemical in the etching liquid then “eats away” or “attacks” the cellulosic fibre, whereas the rest of the fabric which does not have the liquid applied will remain intact. The part of the cloth which is eaten away will thus create a pattern on the fabric. 

Materials you’ll need:
Velvet fabric
Fiber Etch Remover Gel
Silkscreen pattern

Steps for Fiber Etching:
01 Place your velvet fabric, velvet side up
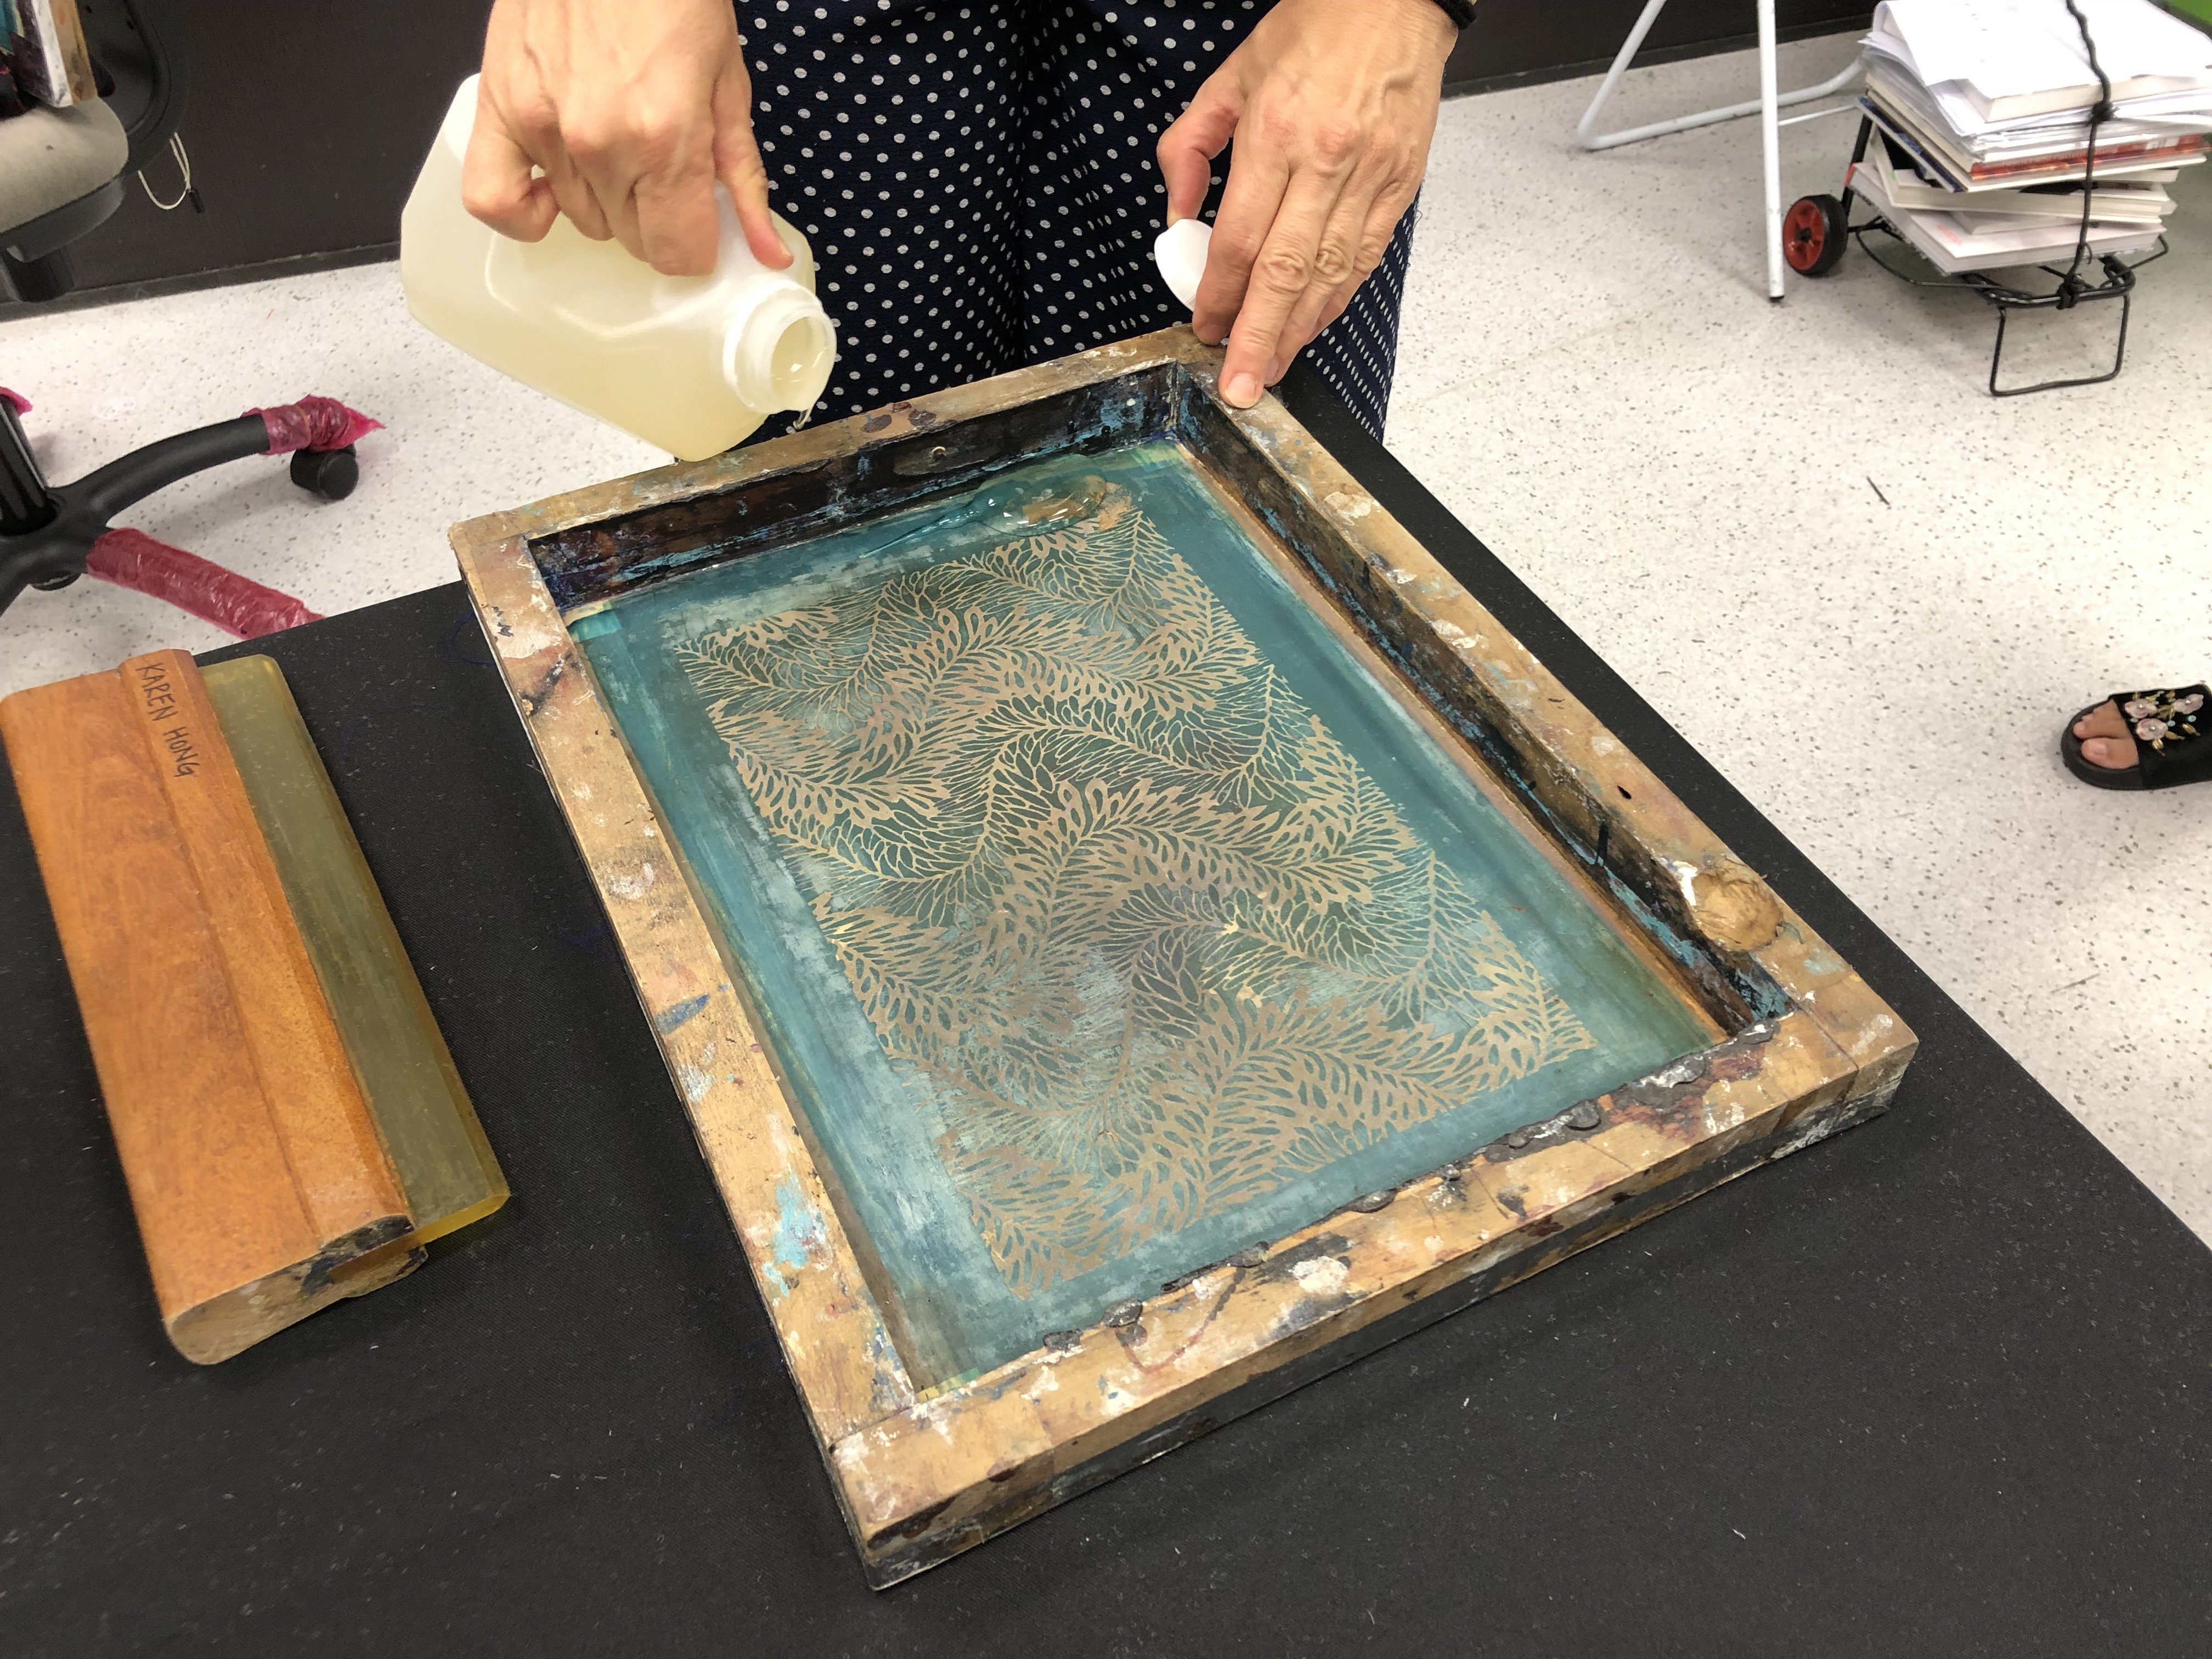
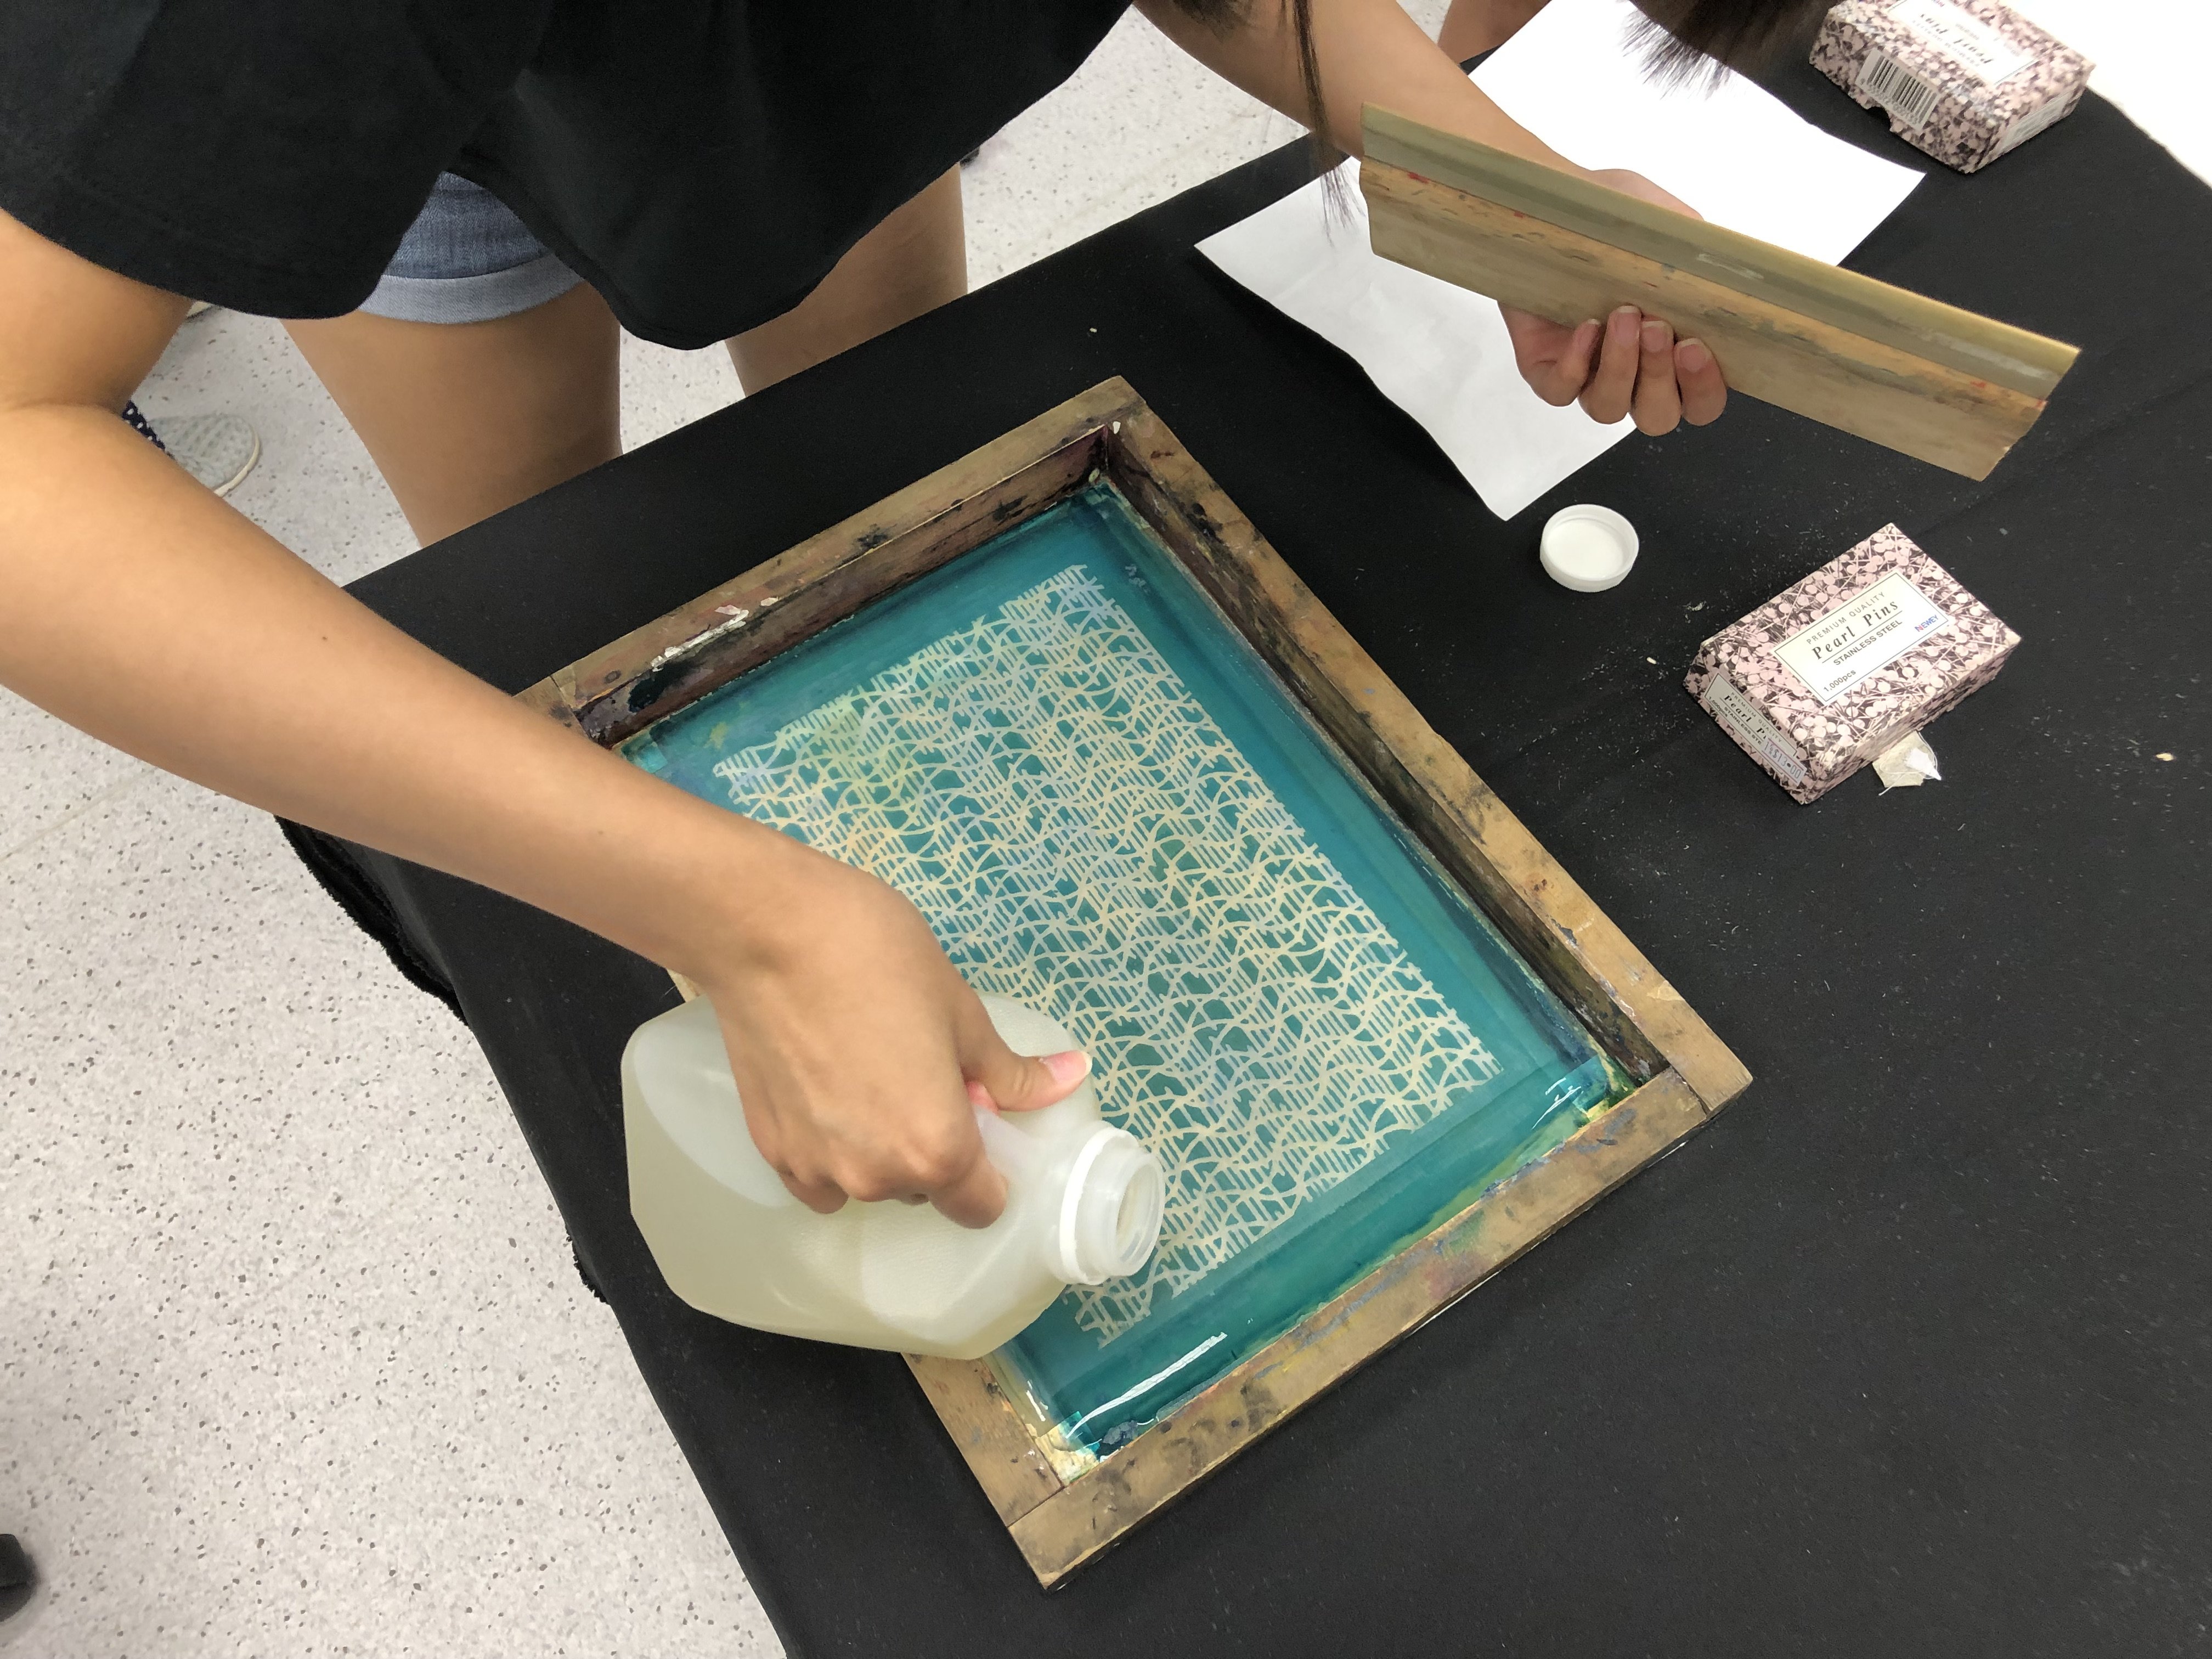
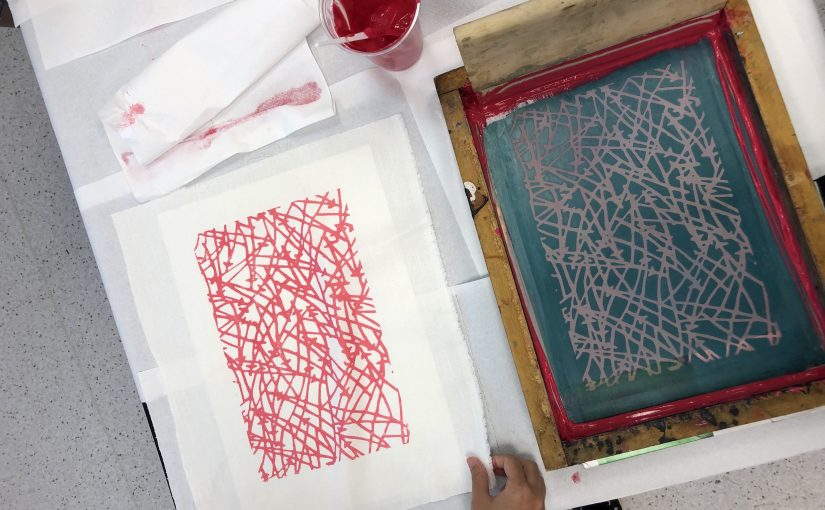
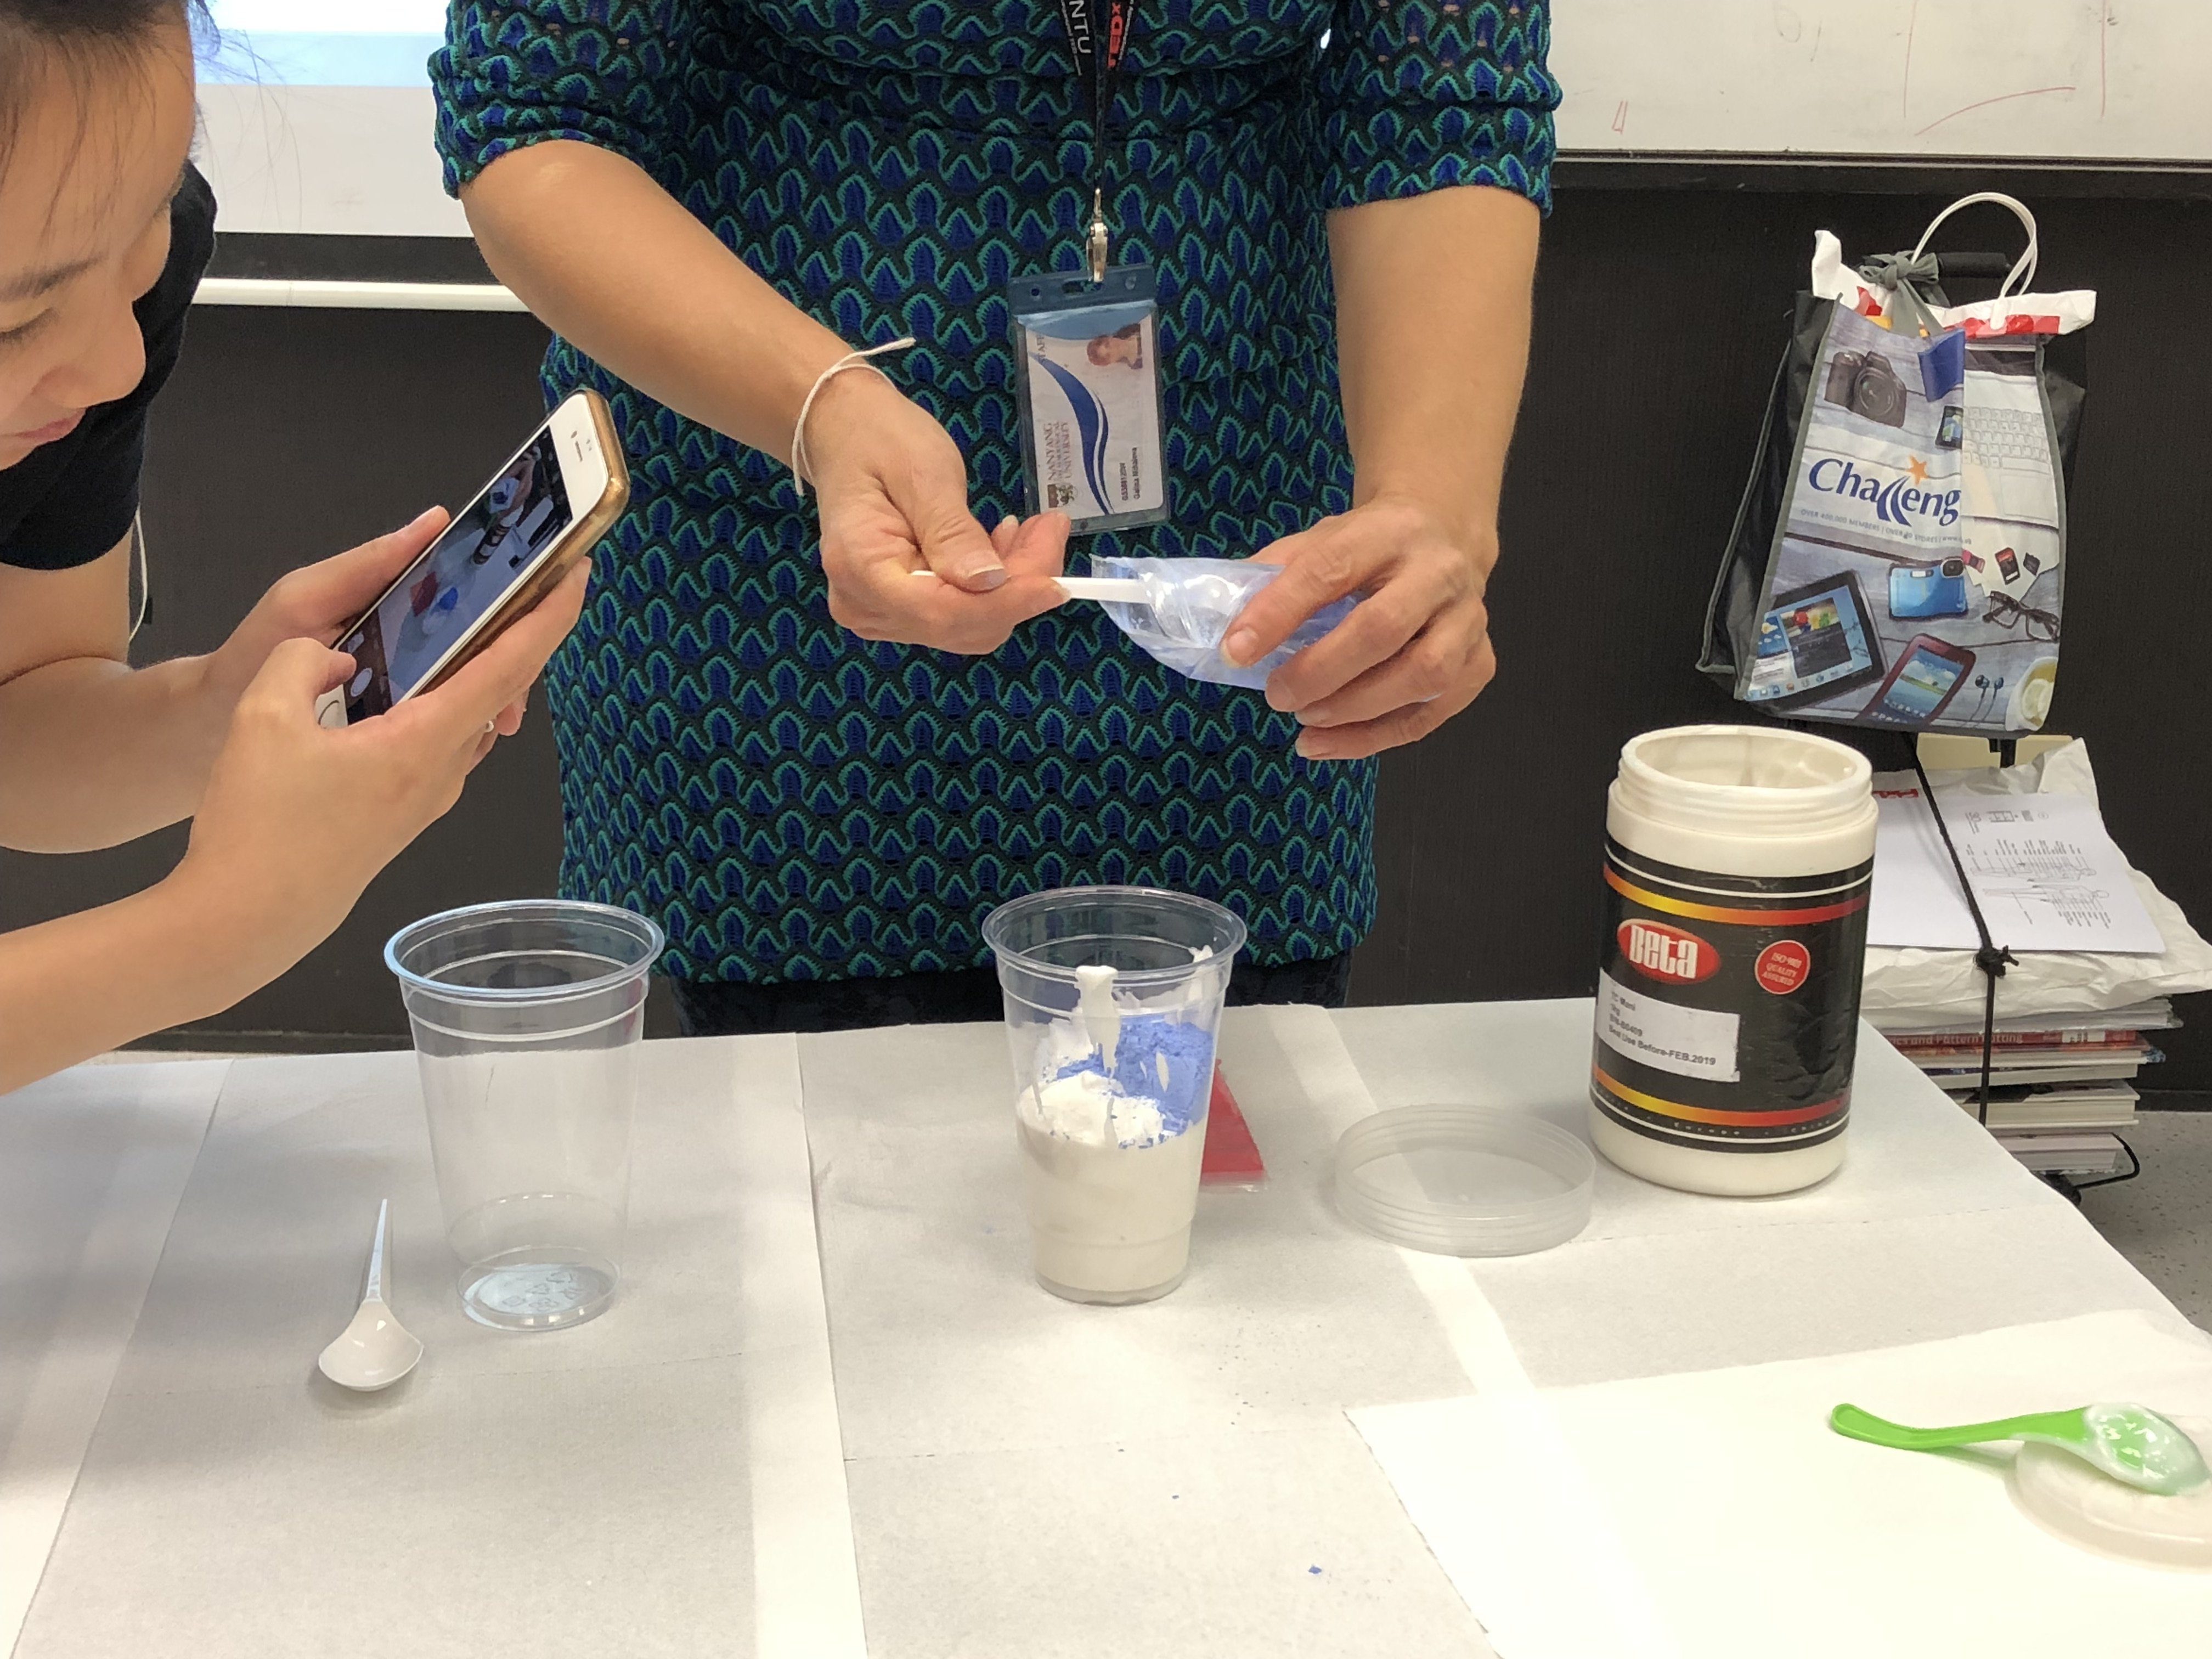
02 Prepare your silkscreen pattern and fiber etch gel
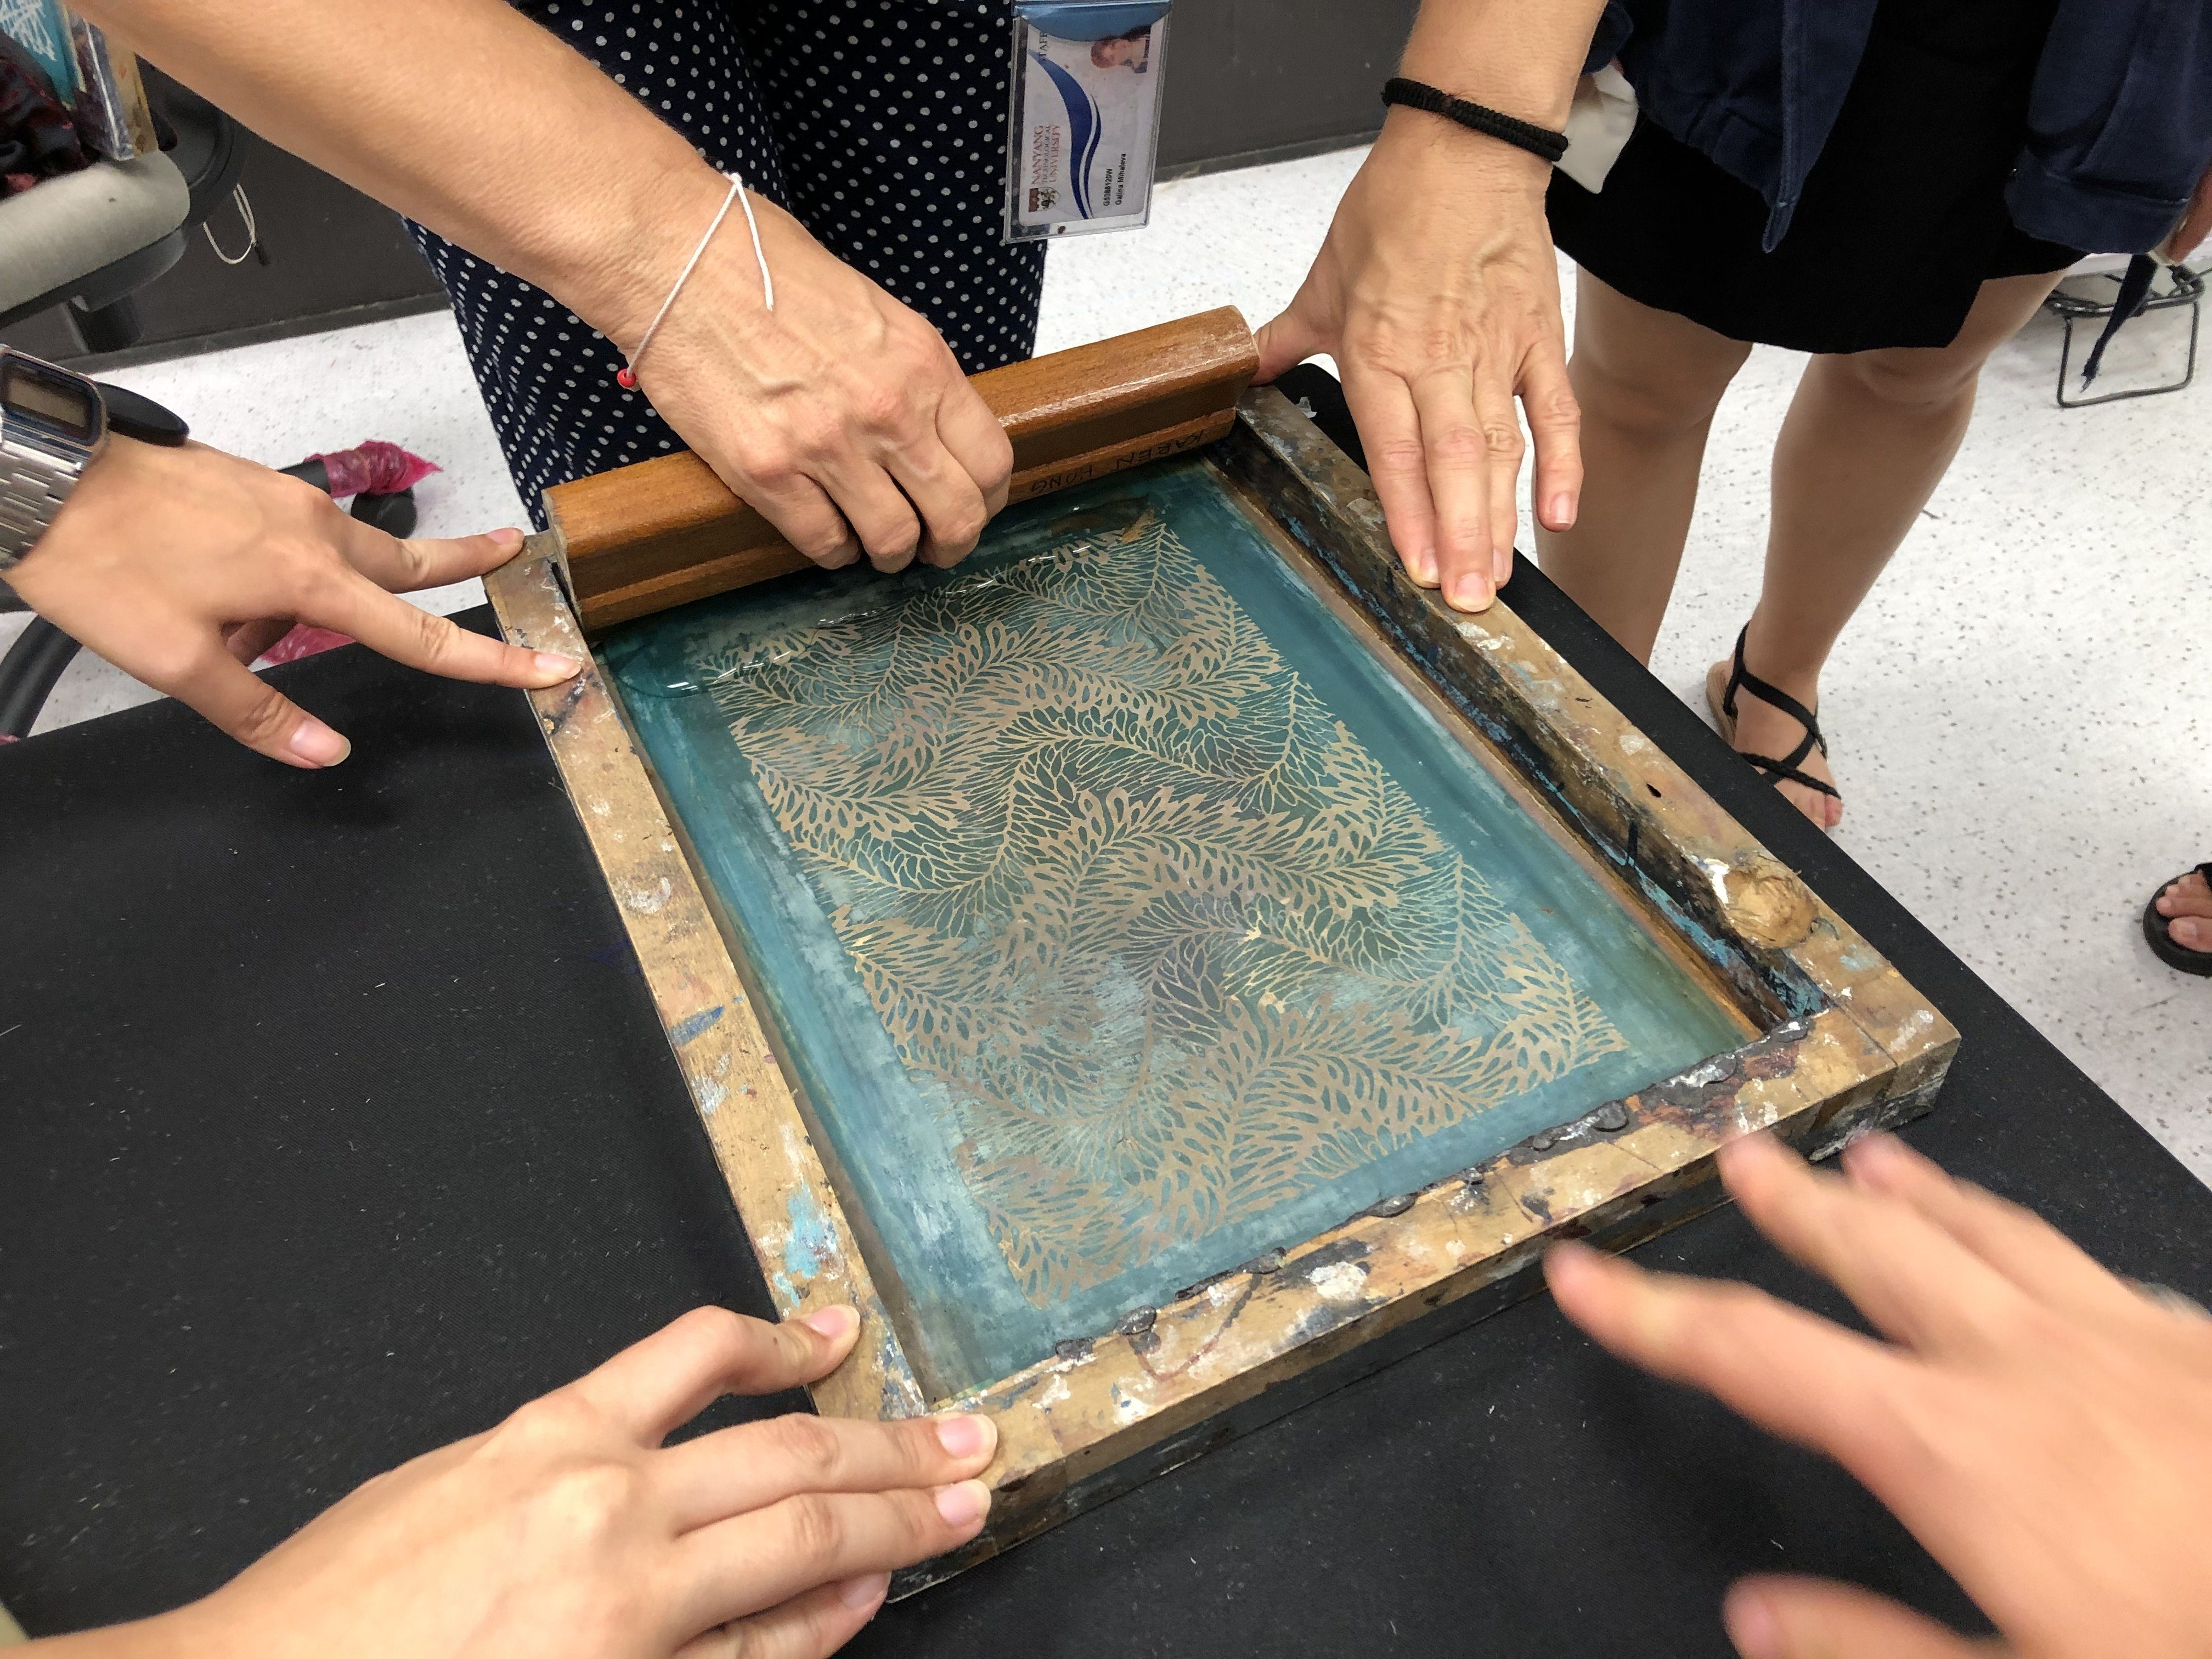
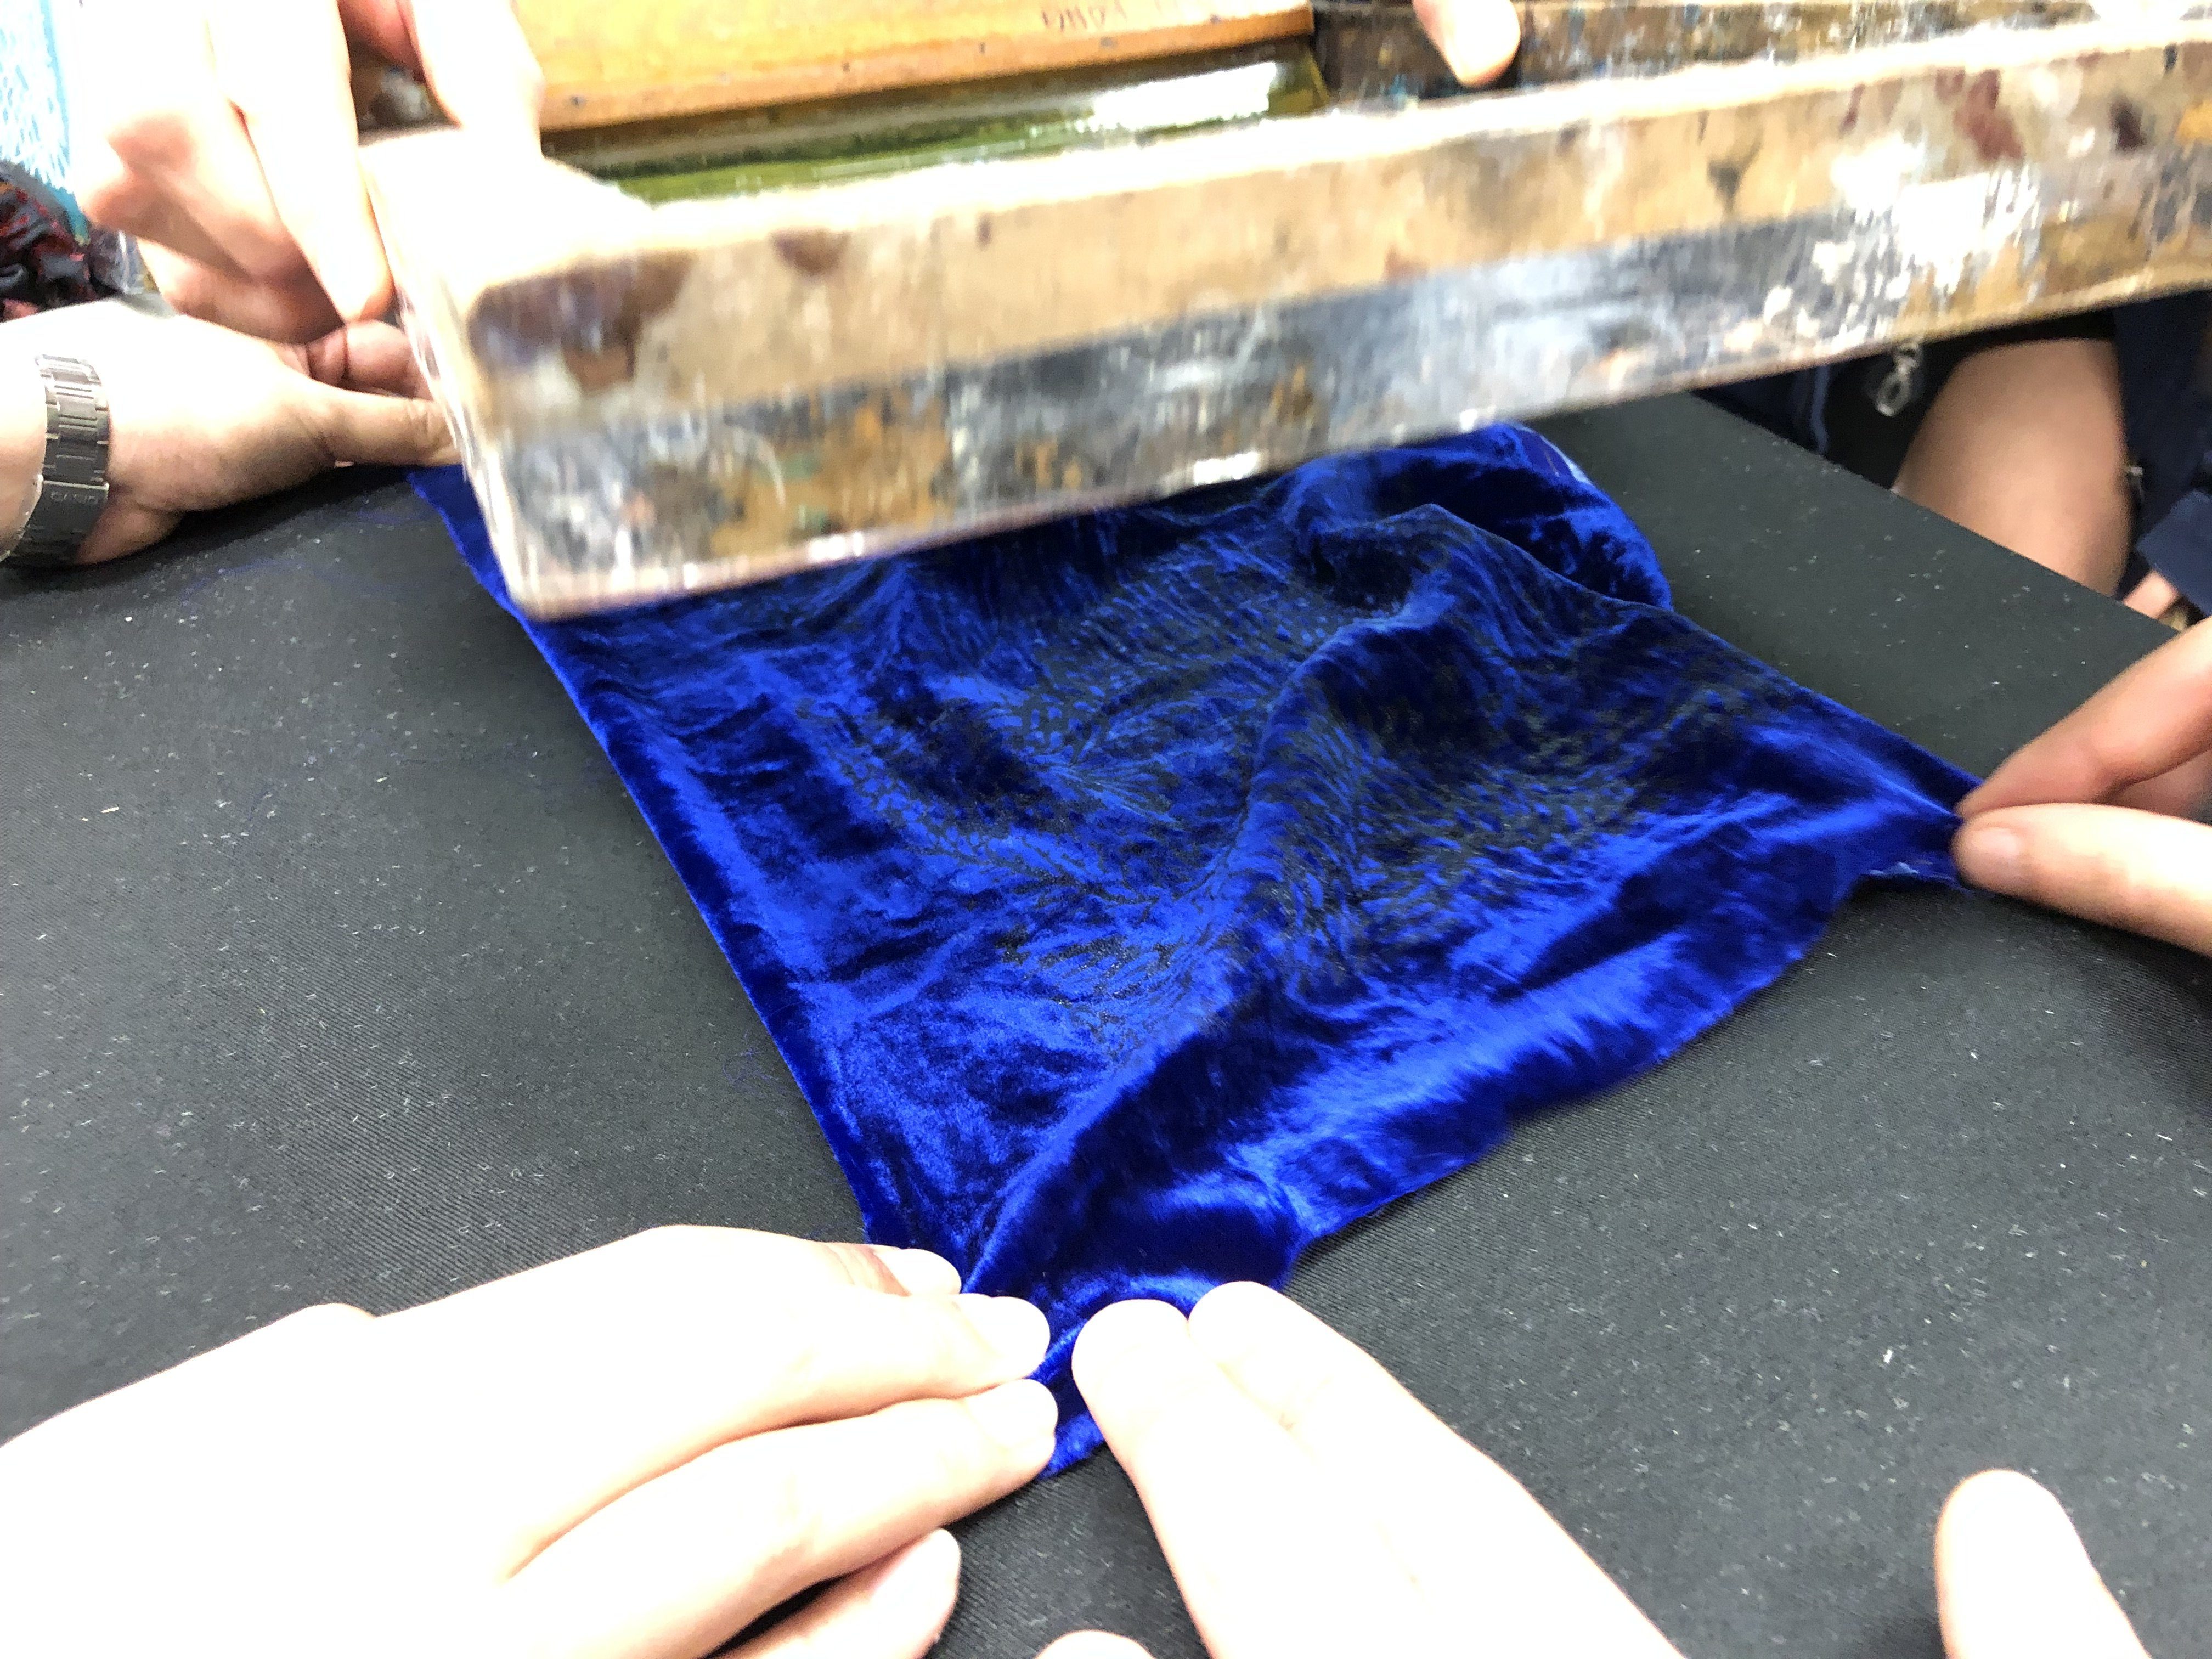
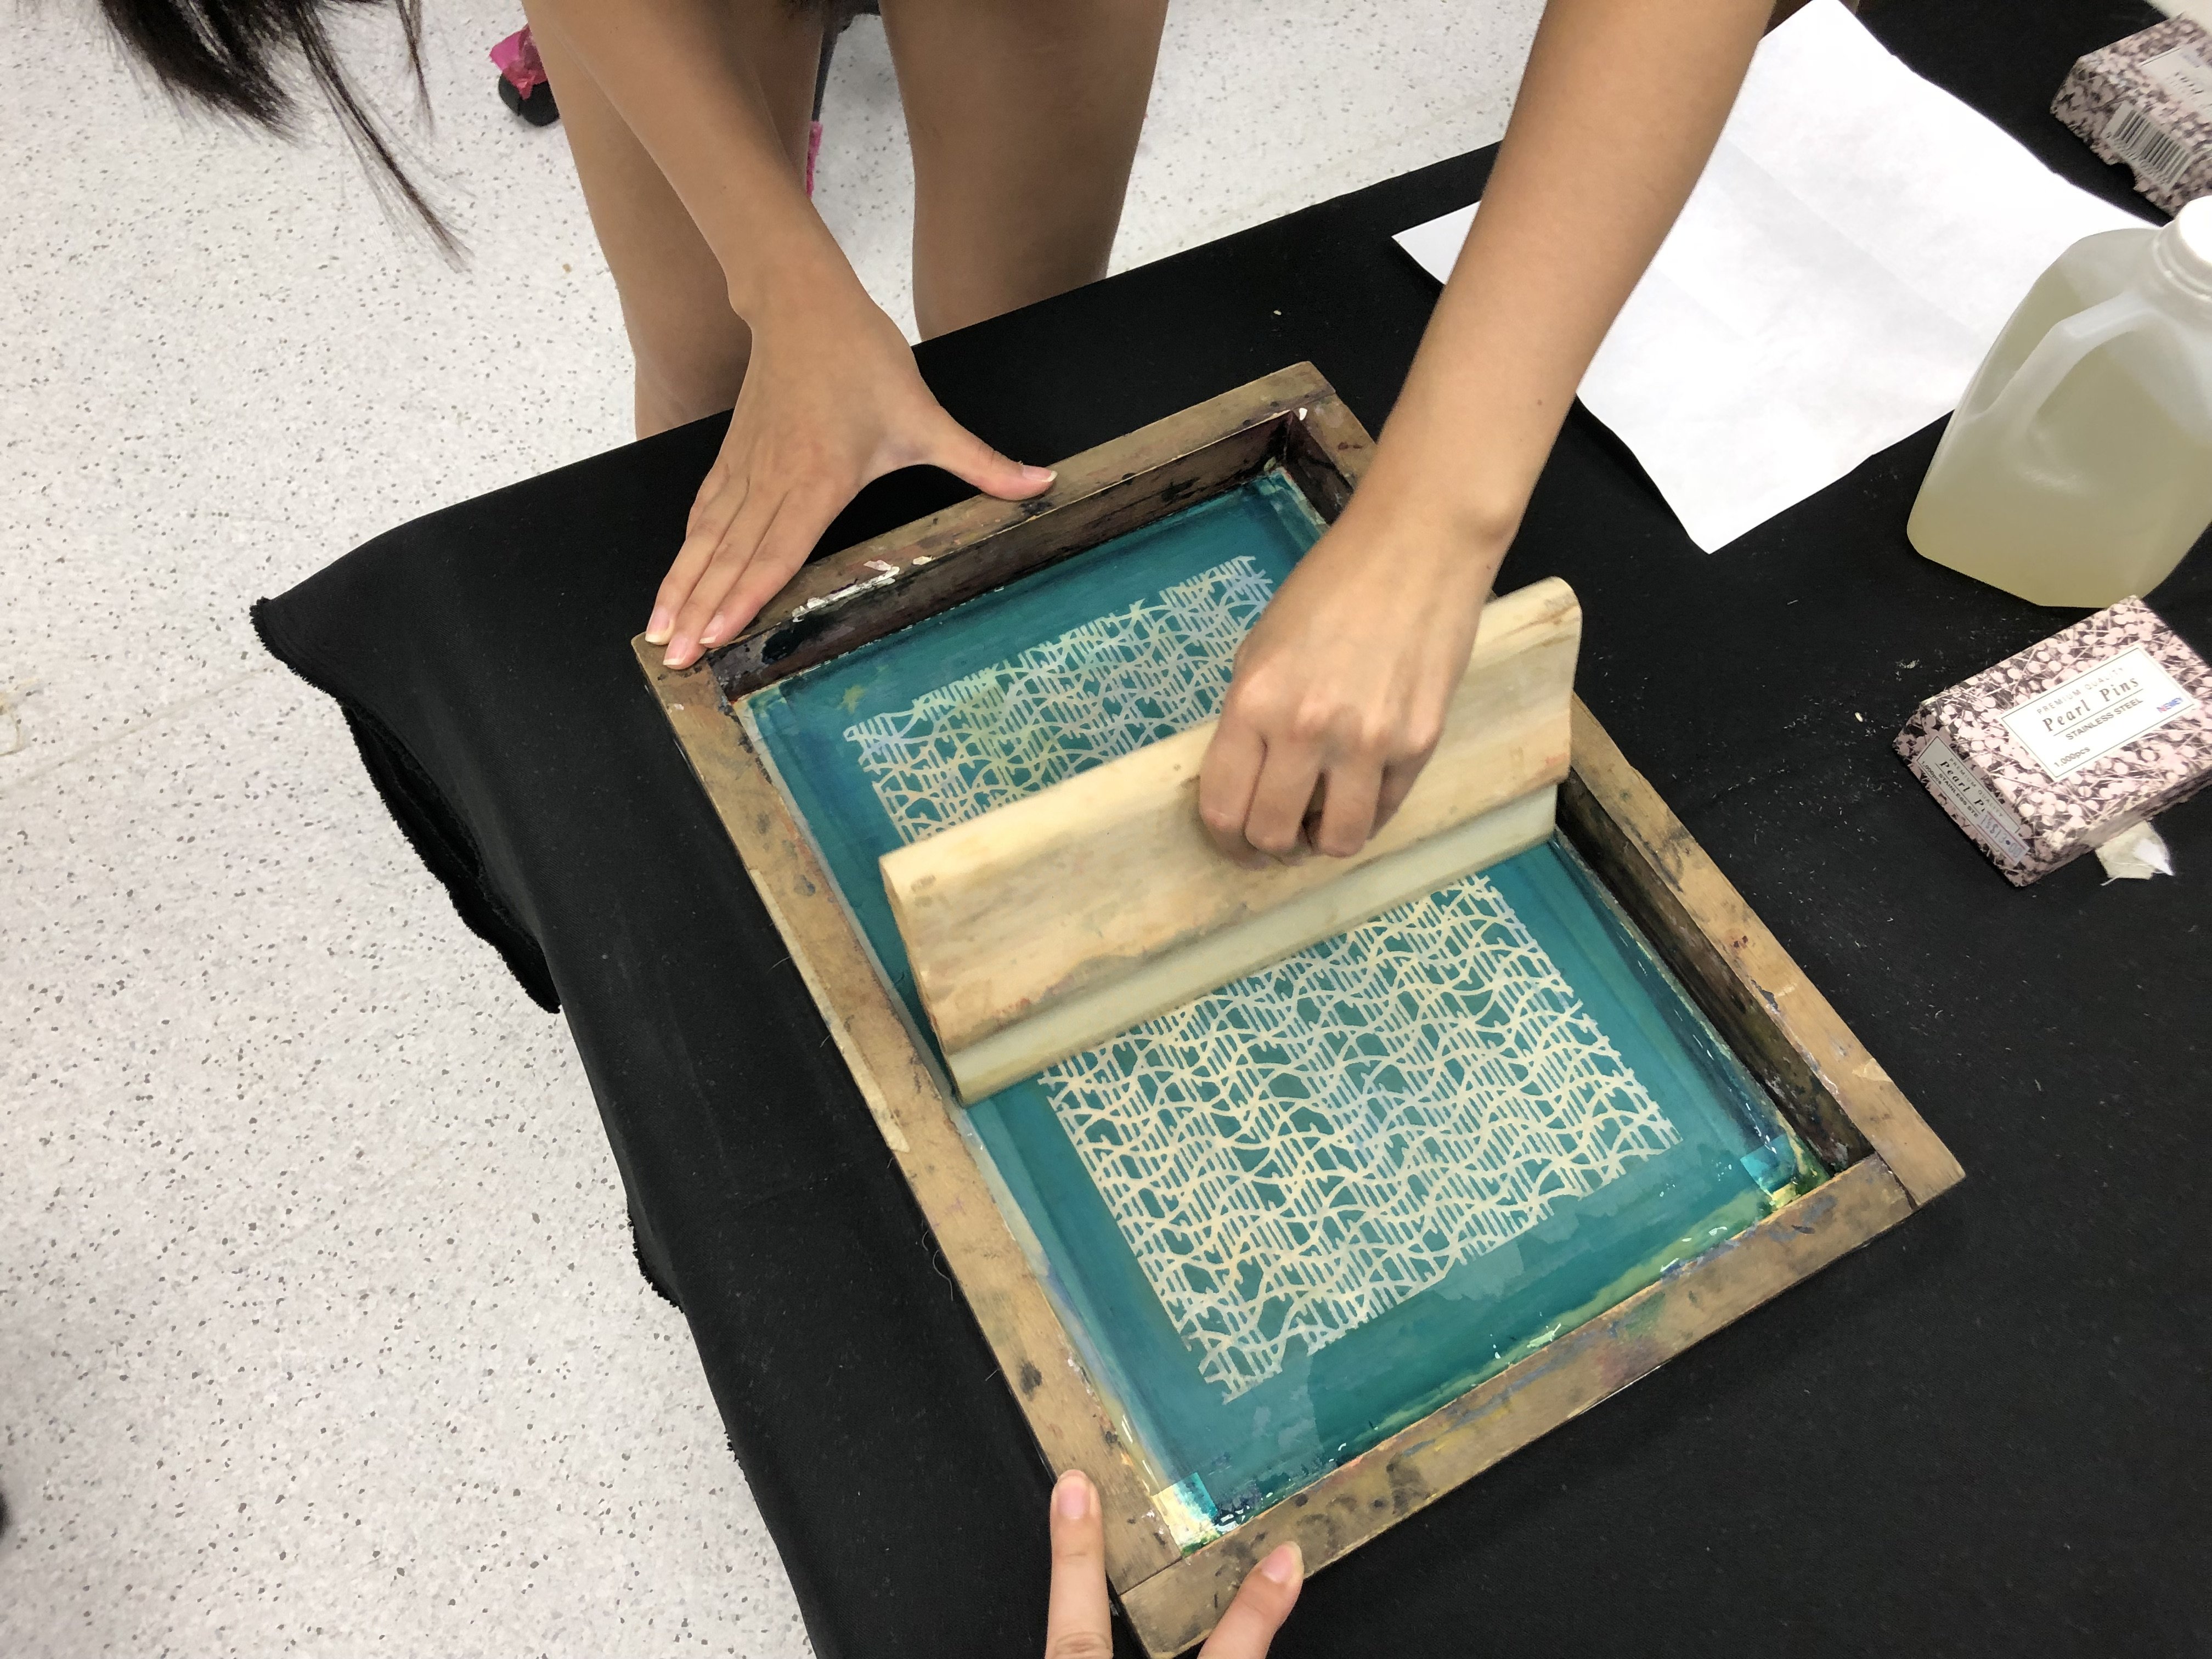
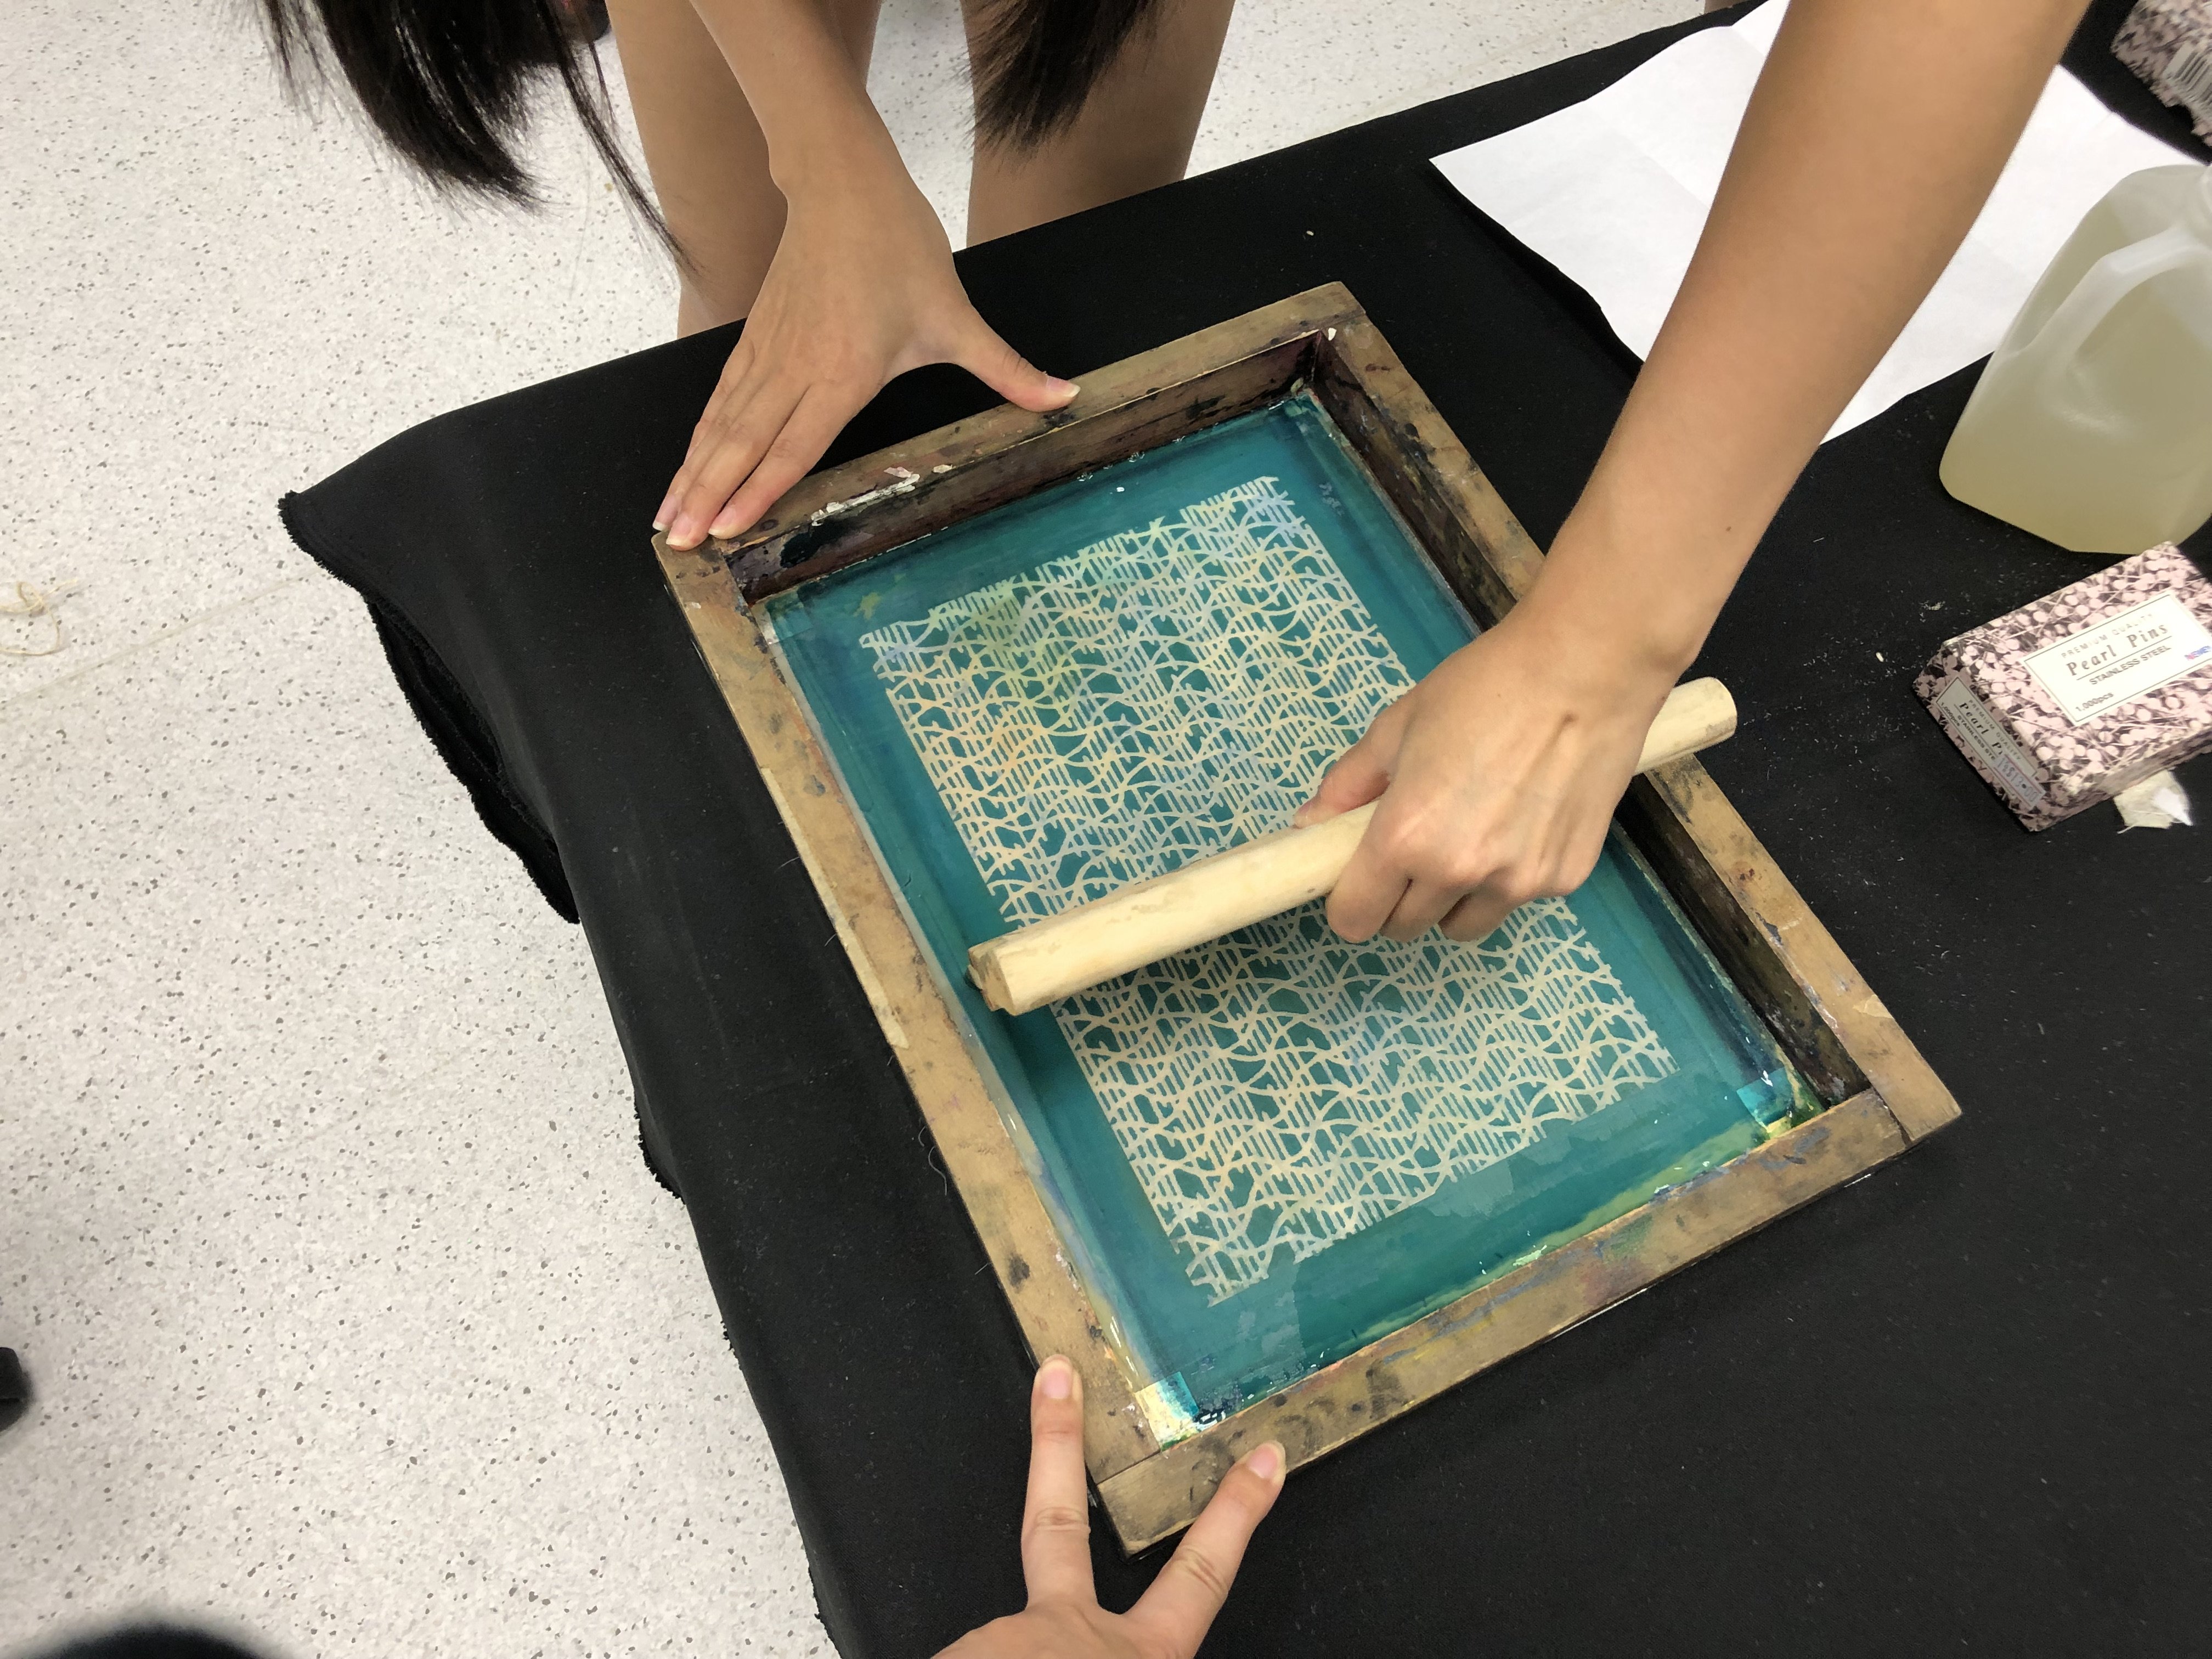
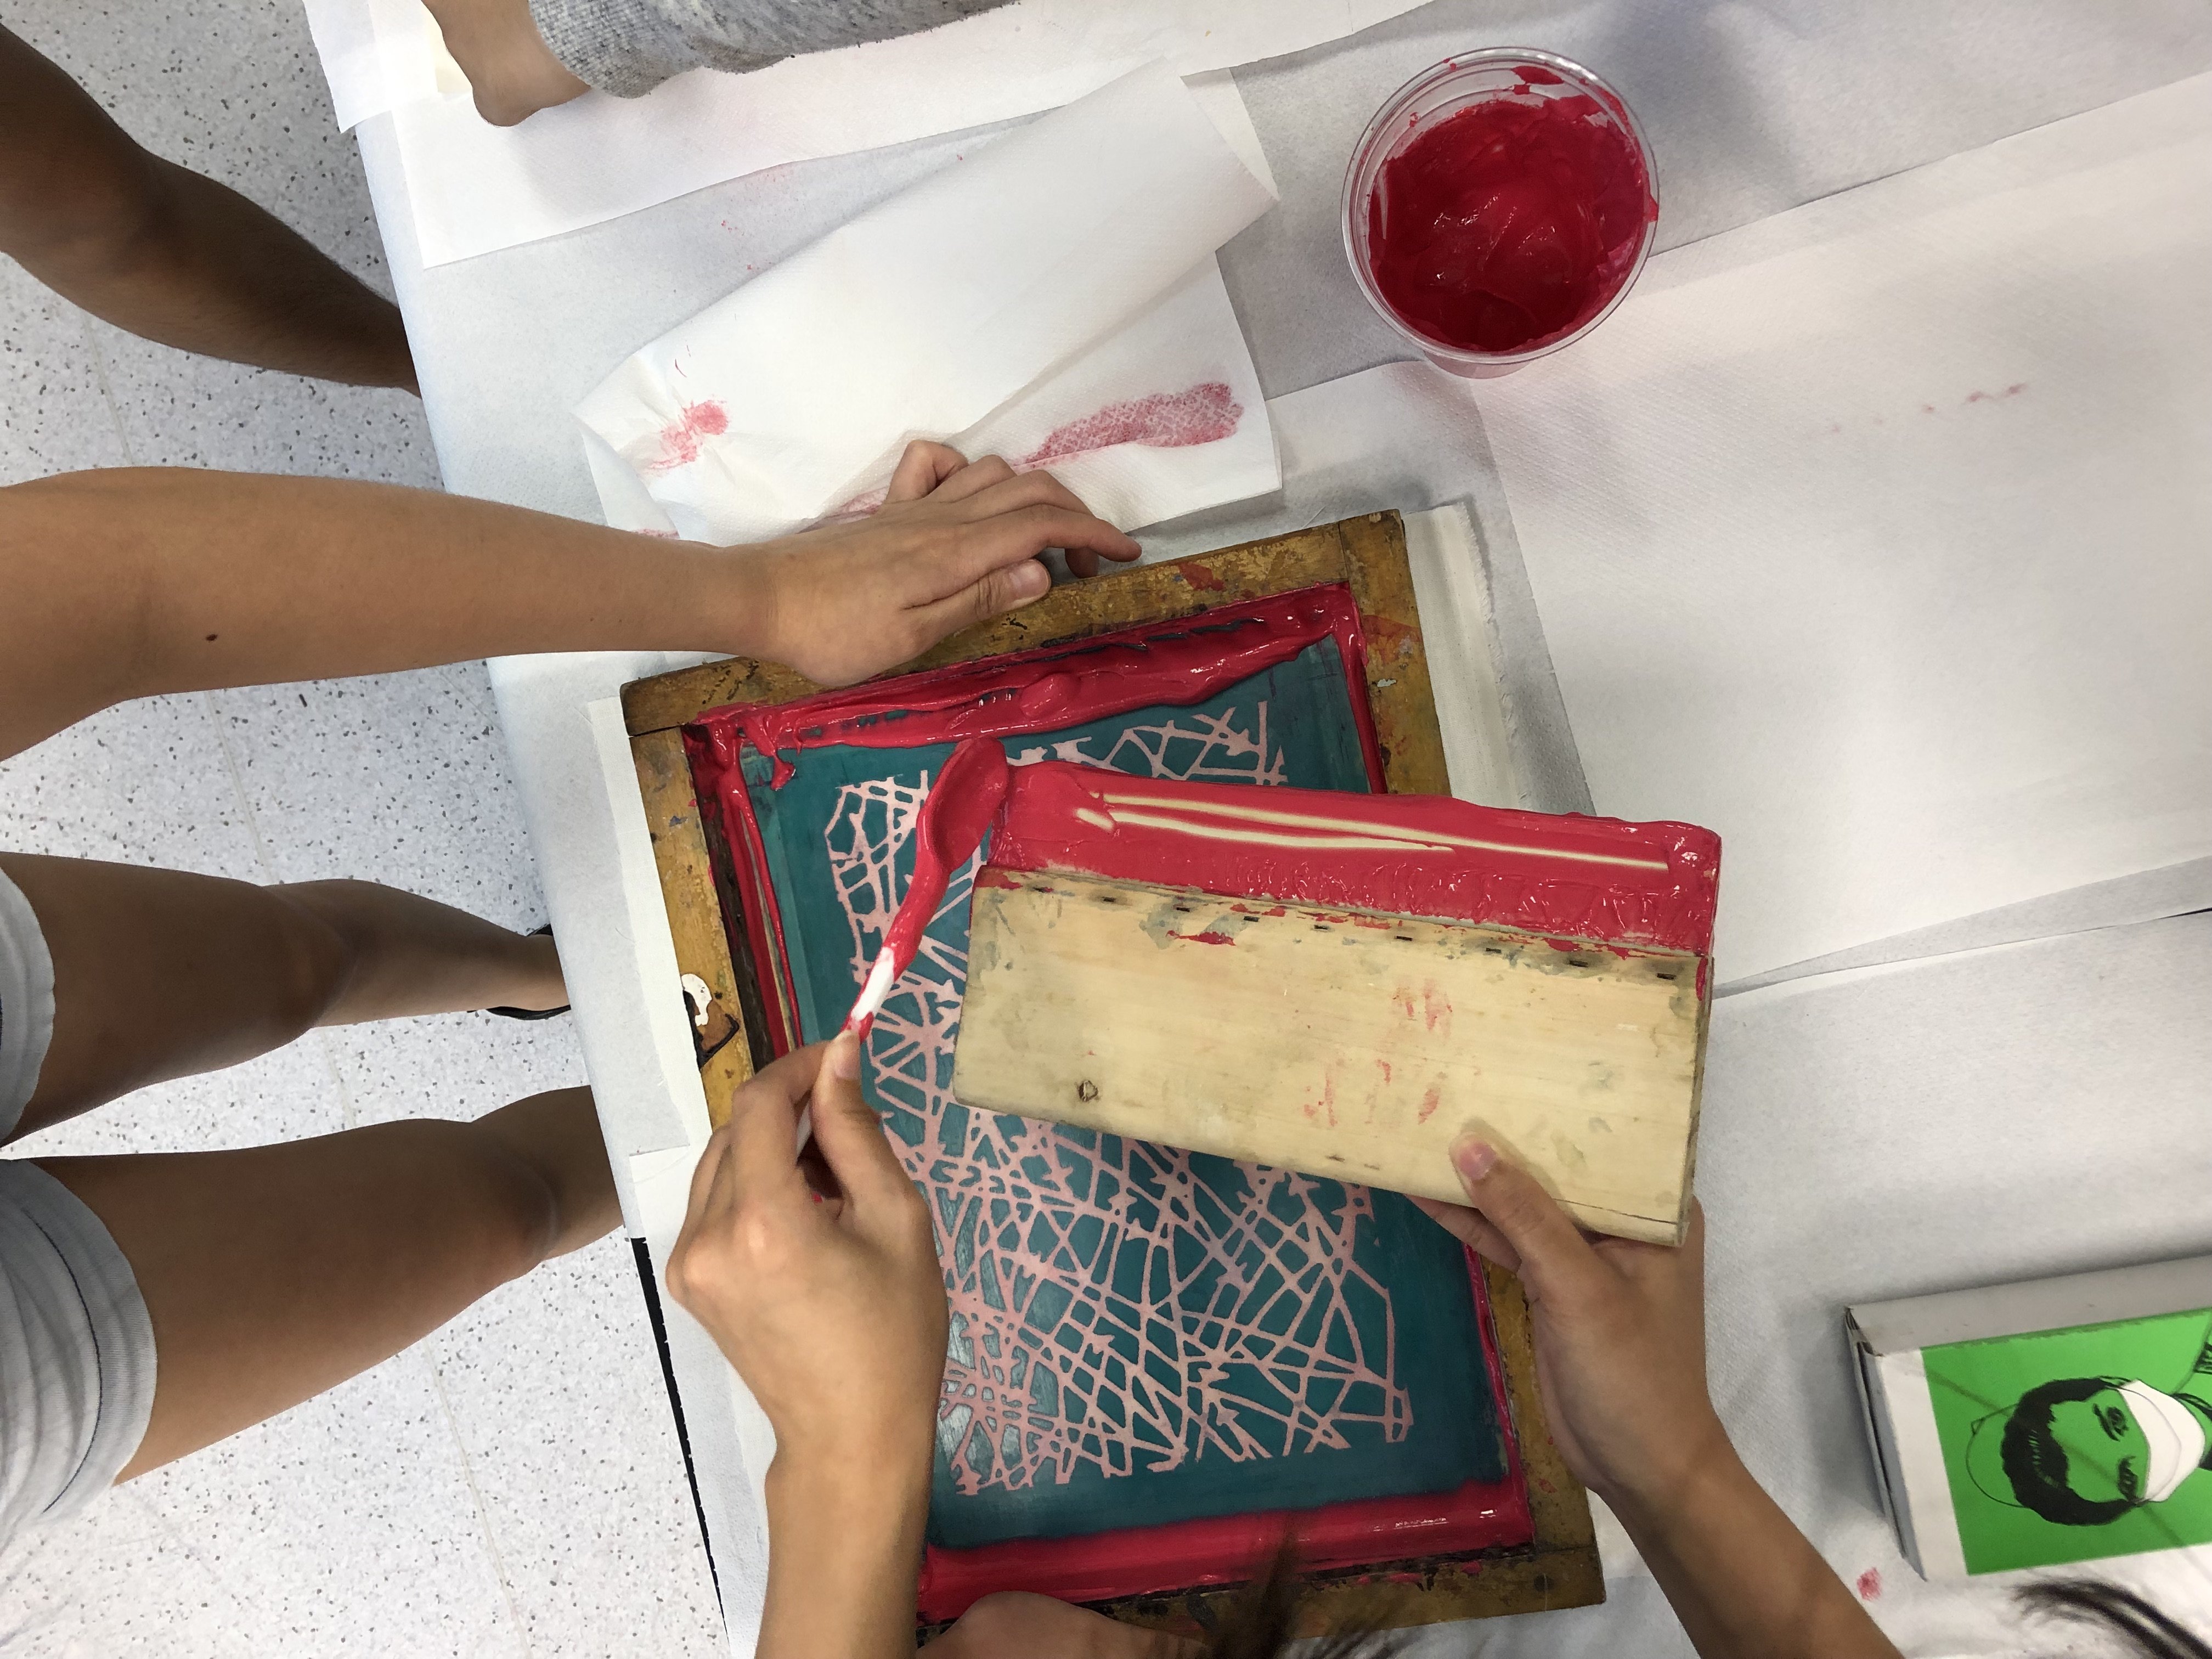
03 Place some of the gel onto the silkscreen and use a squeegee to apply the gel
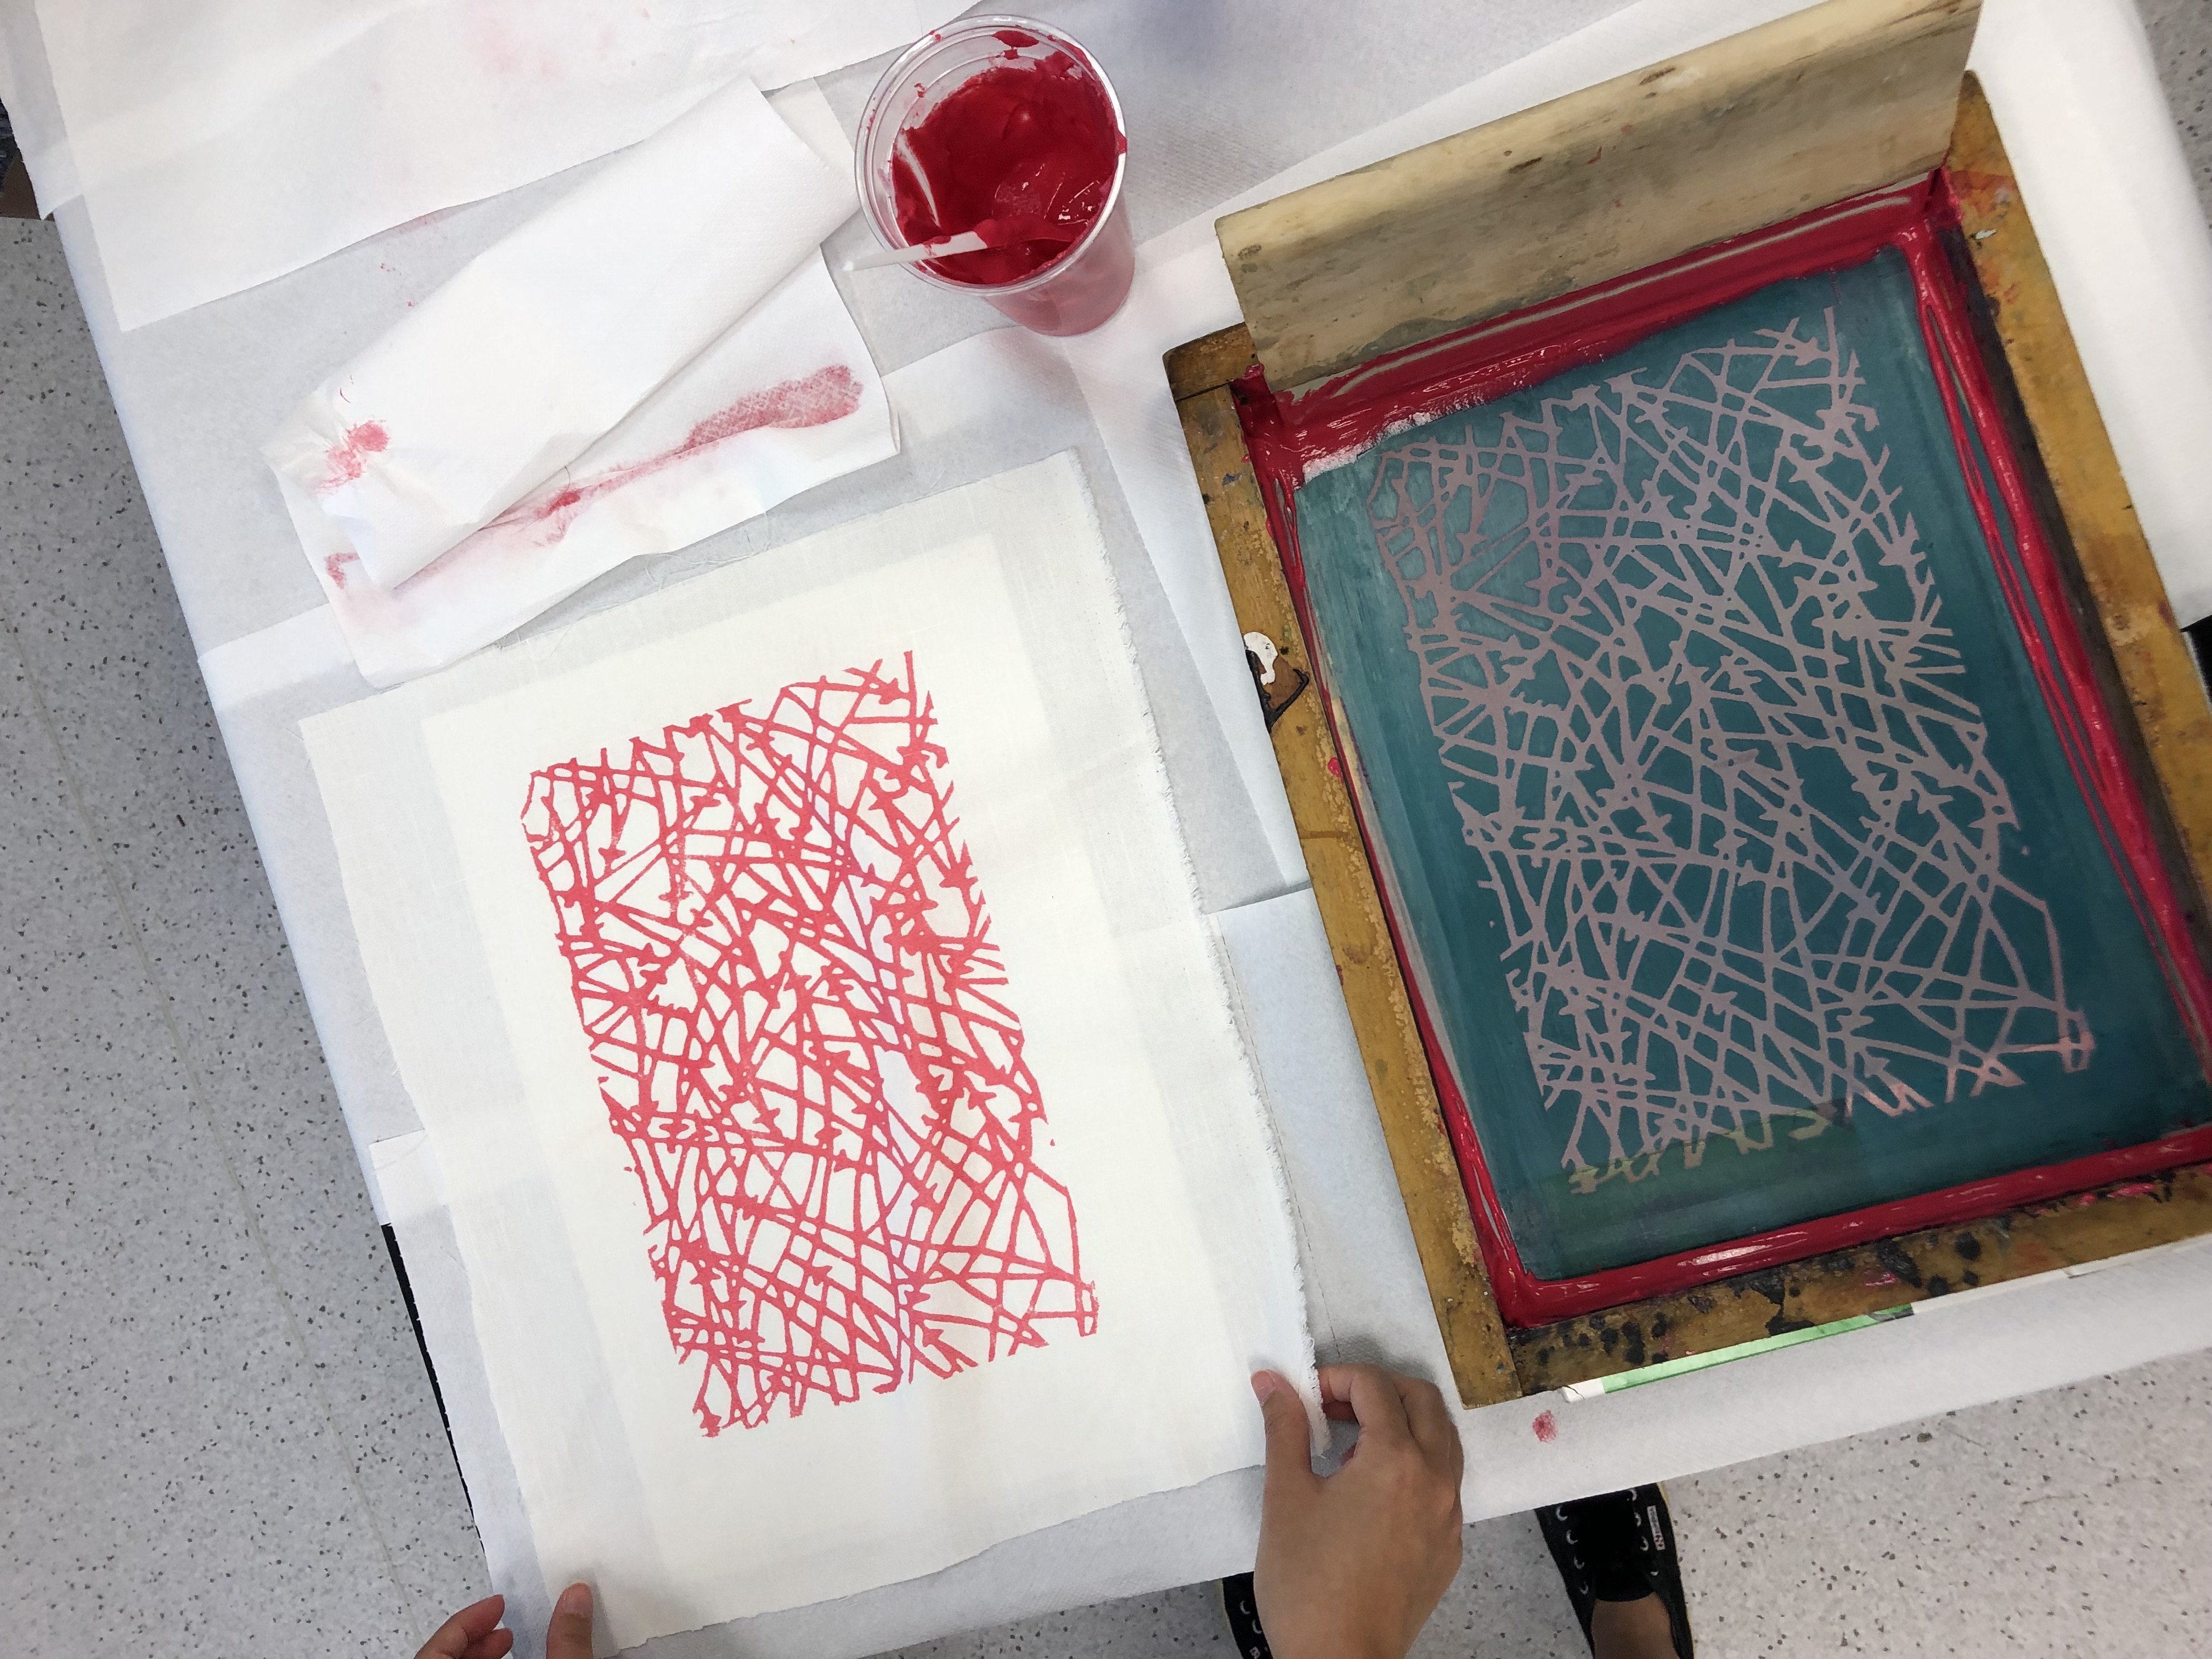
04 The pattern will now be etched onto the fabric itself
05 Allow the fabric to dry thoroughly for 24 hours
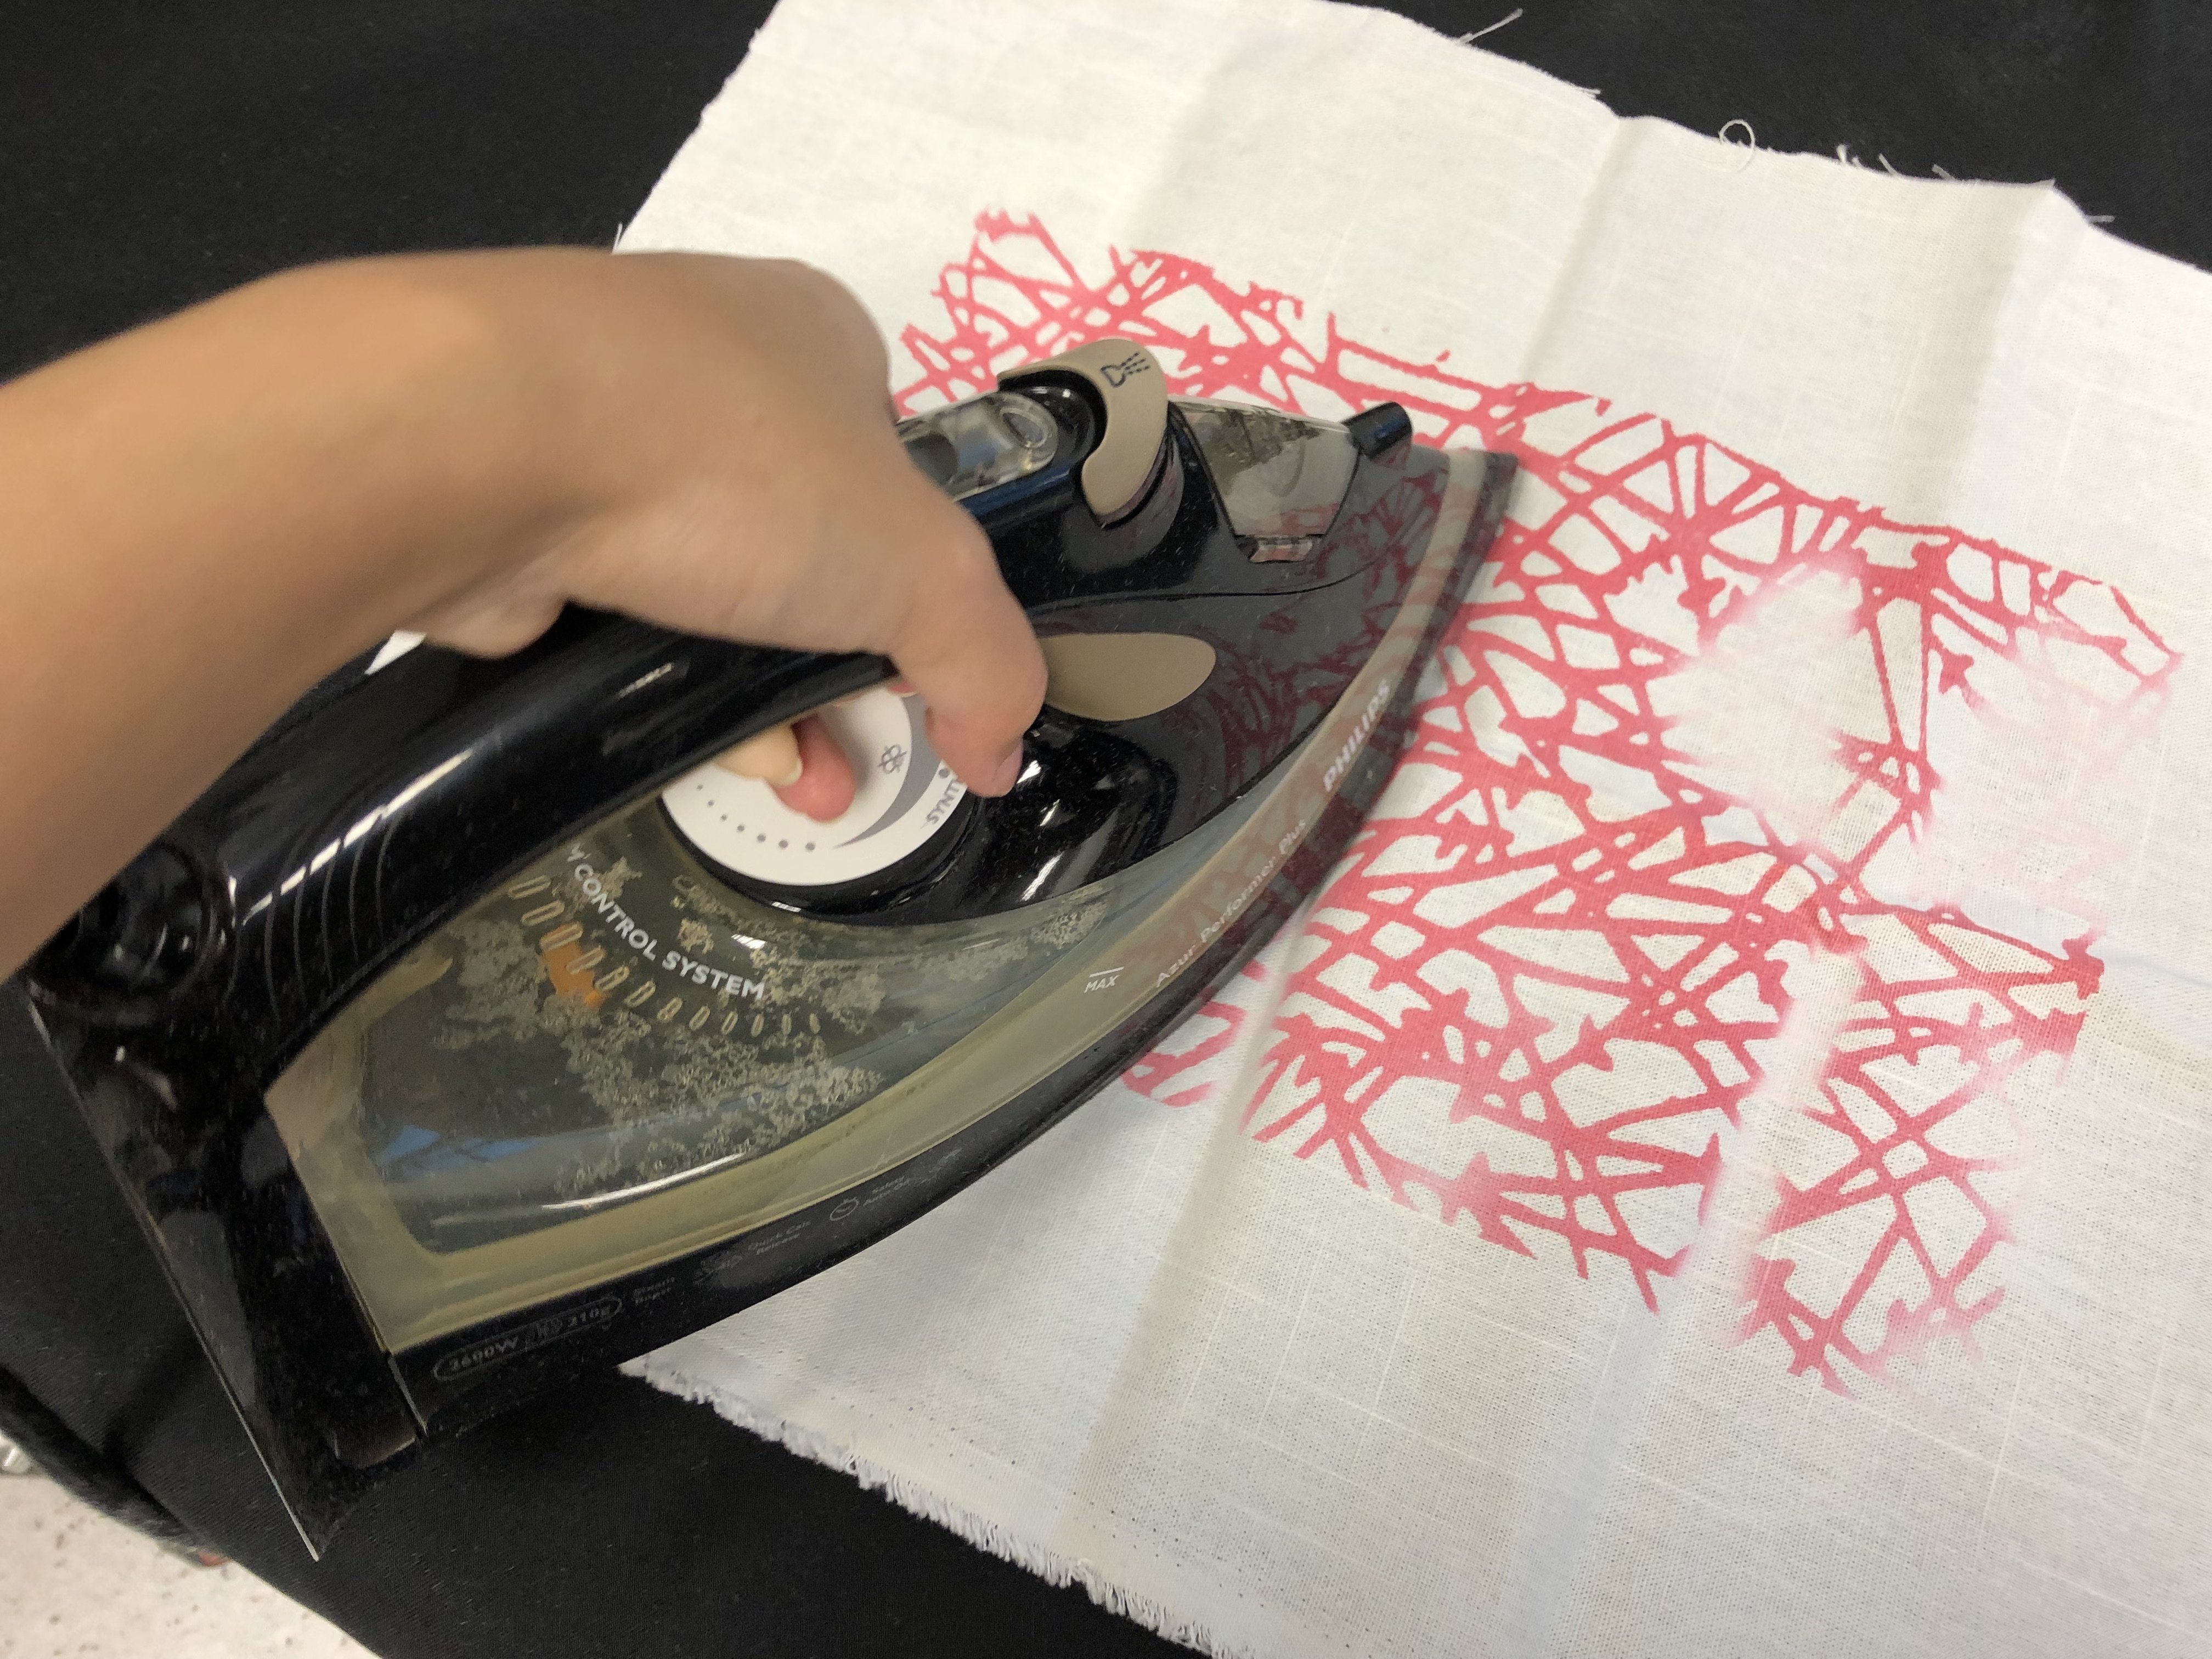
06 Iron it the fabric until it turns yellowish-brown, then it’s time to etch it!
07 Keep rubbing / etching until your desired pattern shows up
08 Wash the fabric and let it dry

Now it’s my turn to start etching on my fabric!

Ok I realise that there’s no point in me posting the photo below as you can’t really see the etch part cos it’s too faint. 

And also… it’s Saturday now and I actually forgot to collect my fabric…….. It has been sitting there since Tuesday…….. now I am very worried to see how my fabric has faired. *cries internally*


/ * U p d a t e 

Finally managed to collect my etching fabric on Monday! I am SO glad it didn’t disintegrate and turn into dust (i’m kidding) after leaving the liquid on for so many days. 

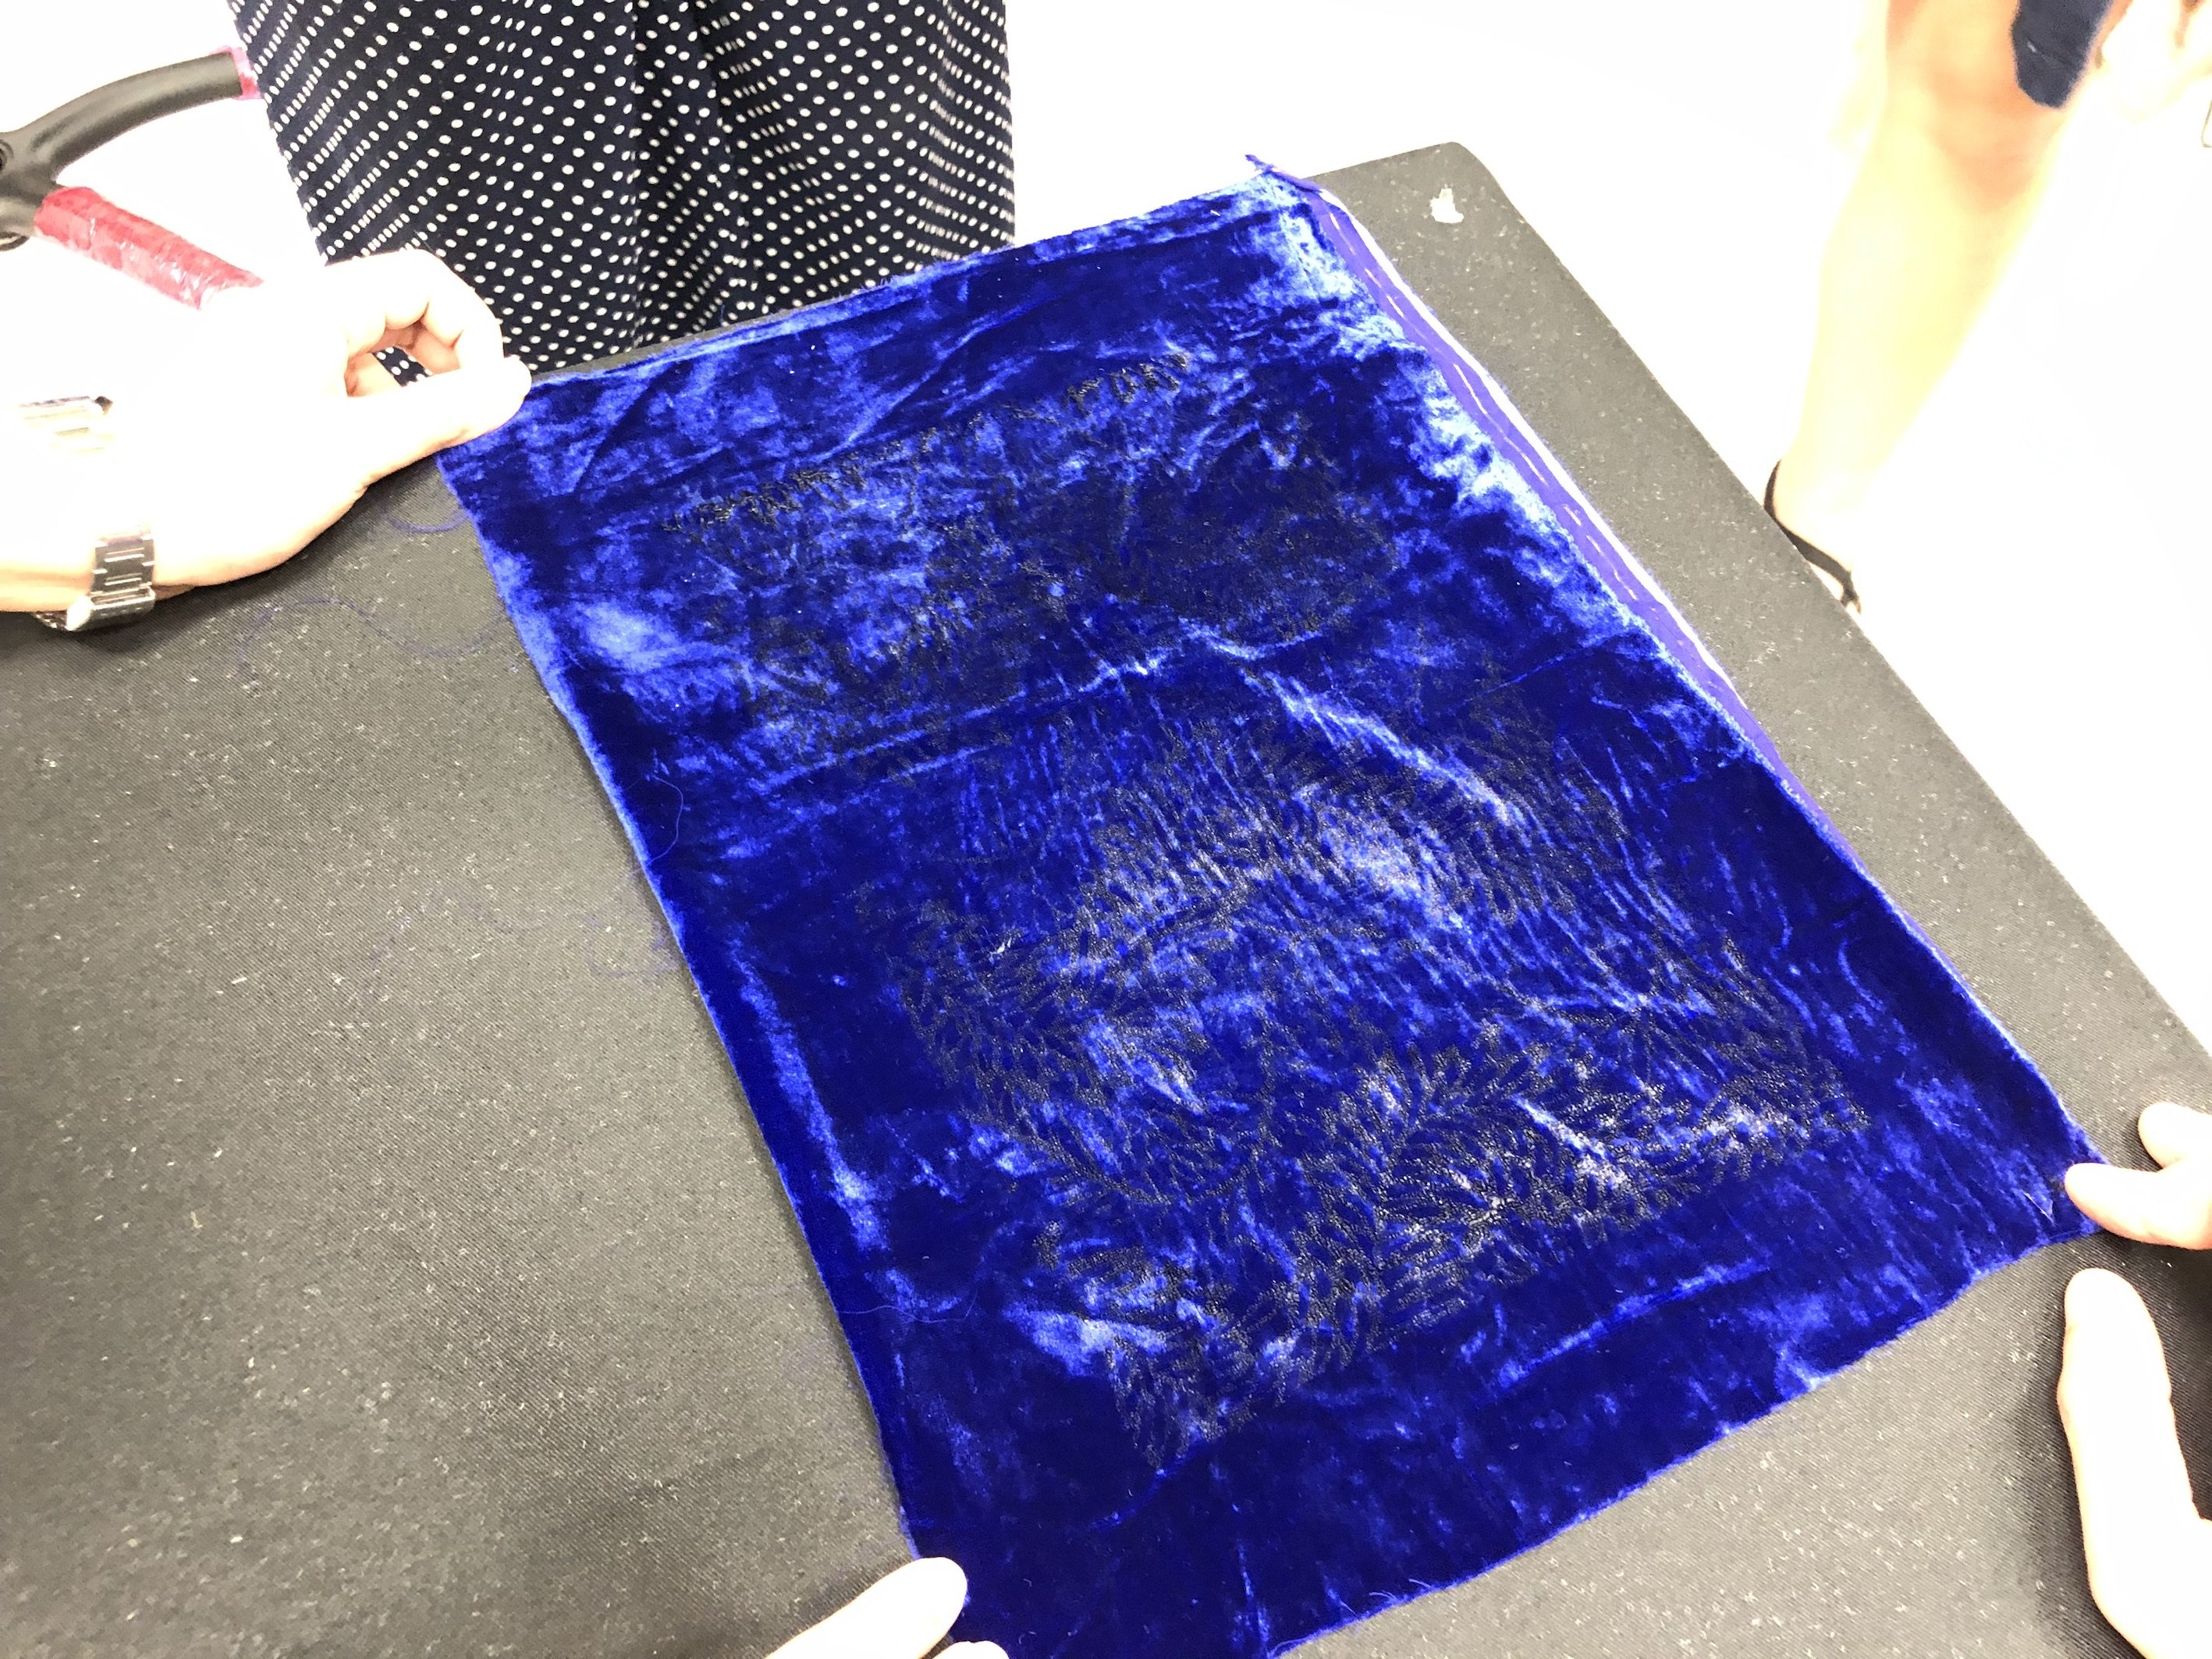
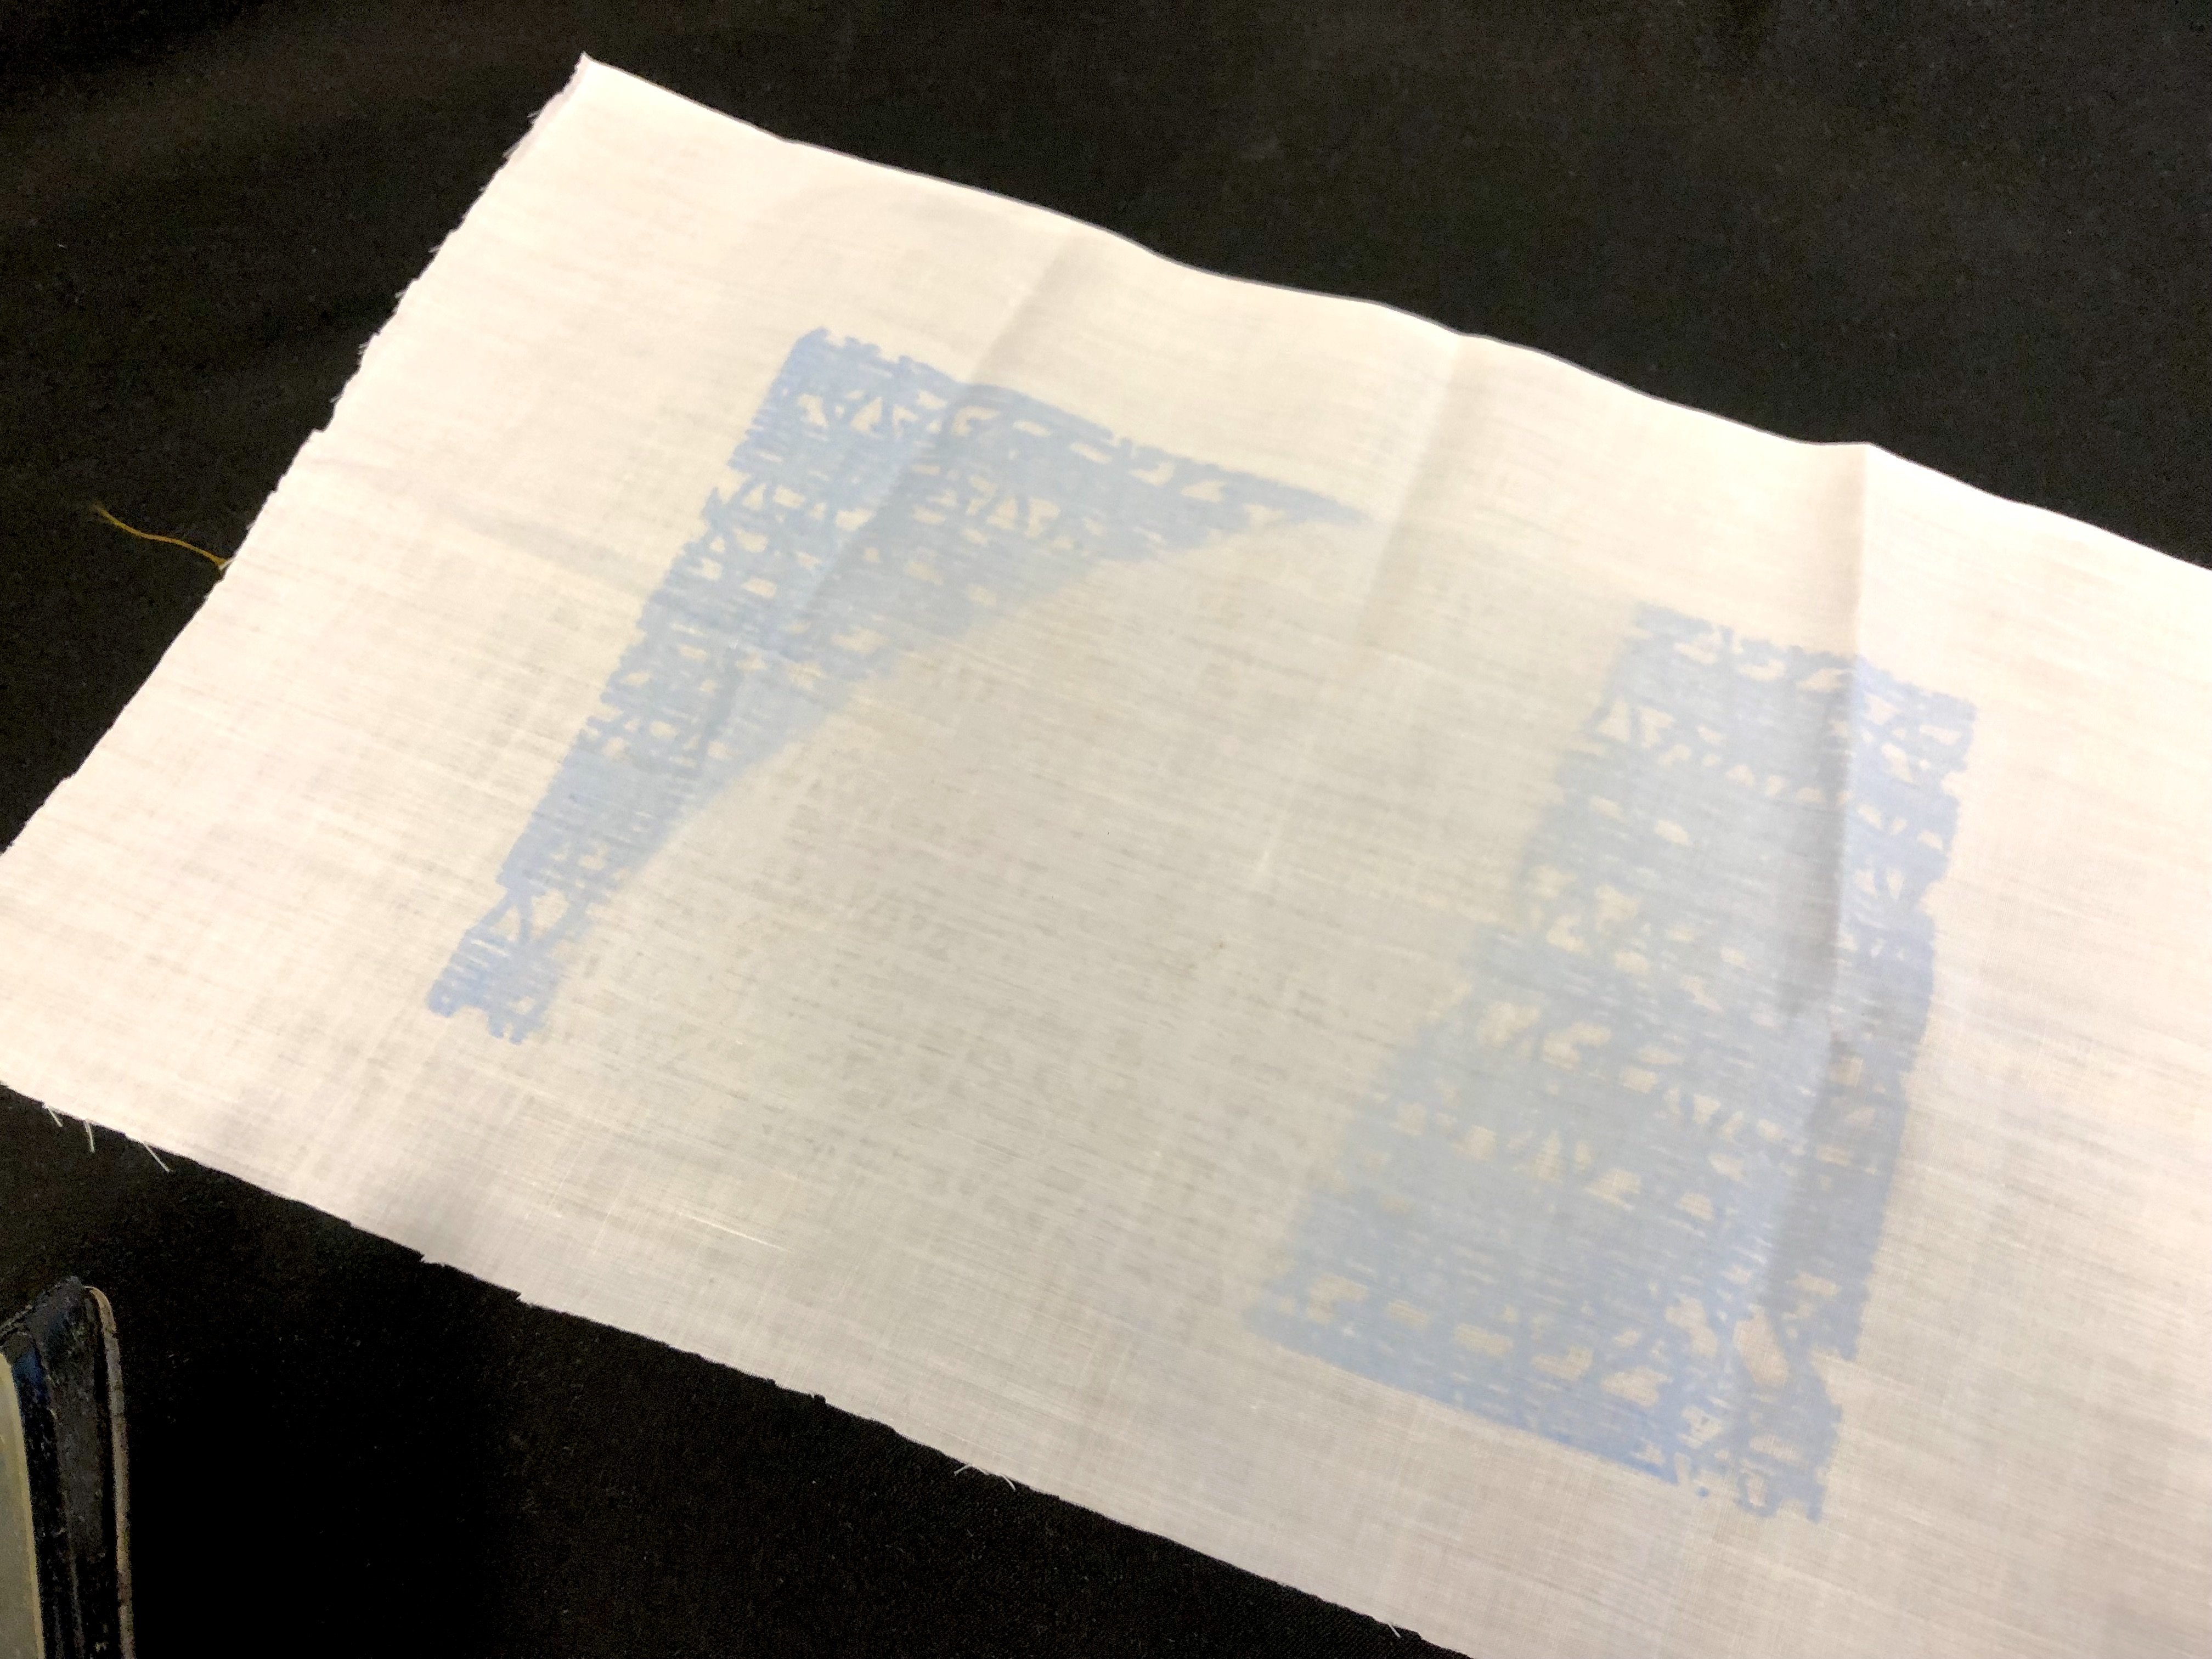
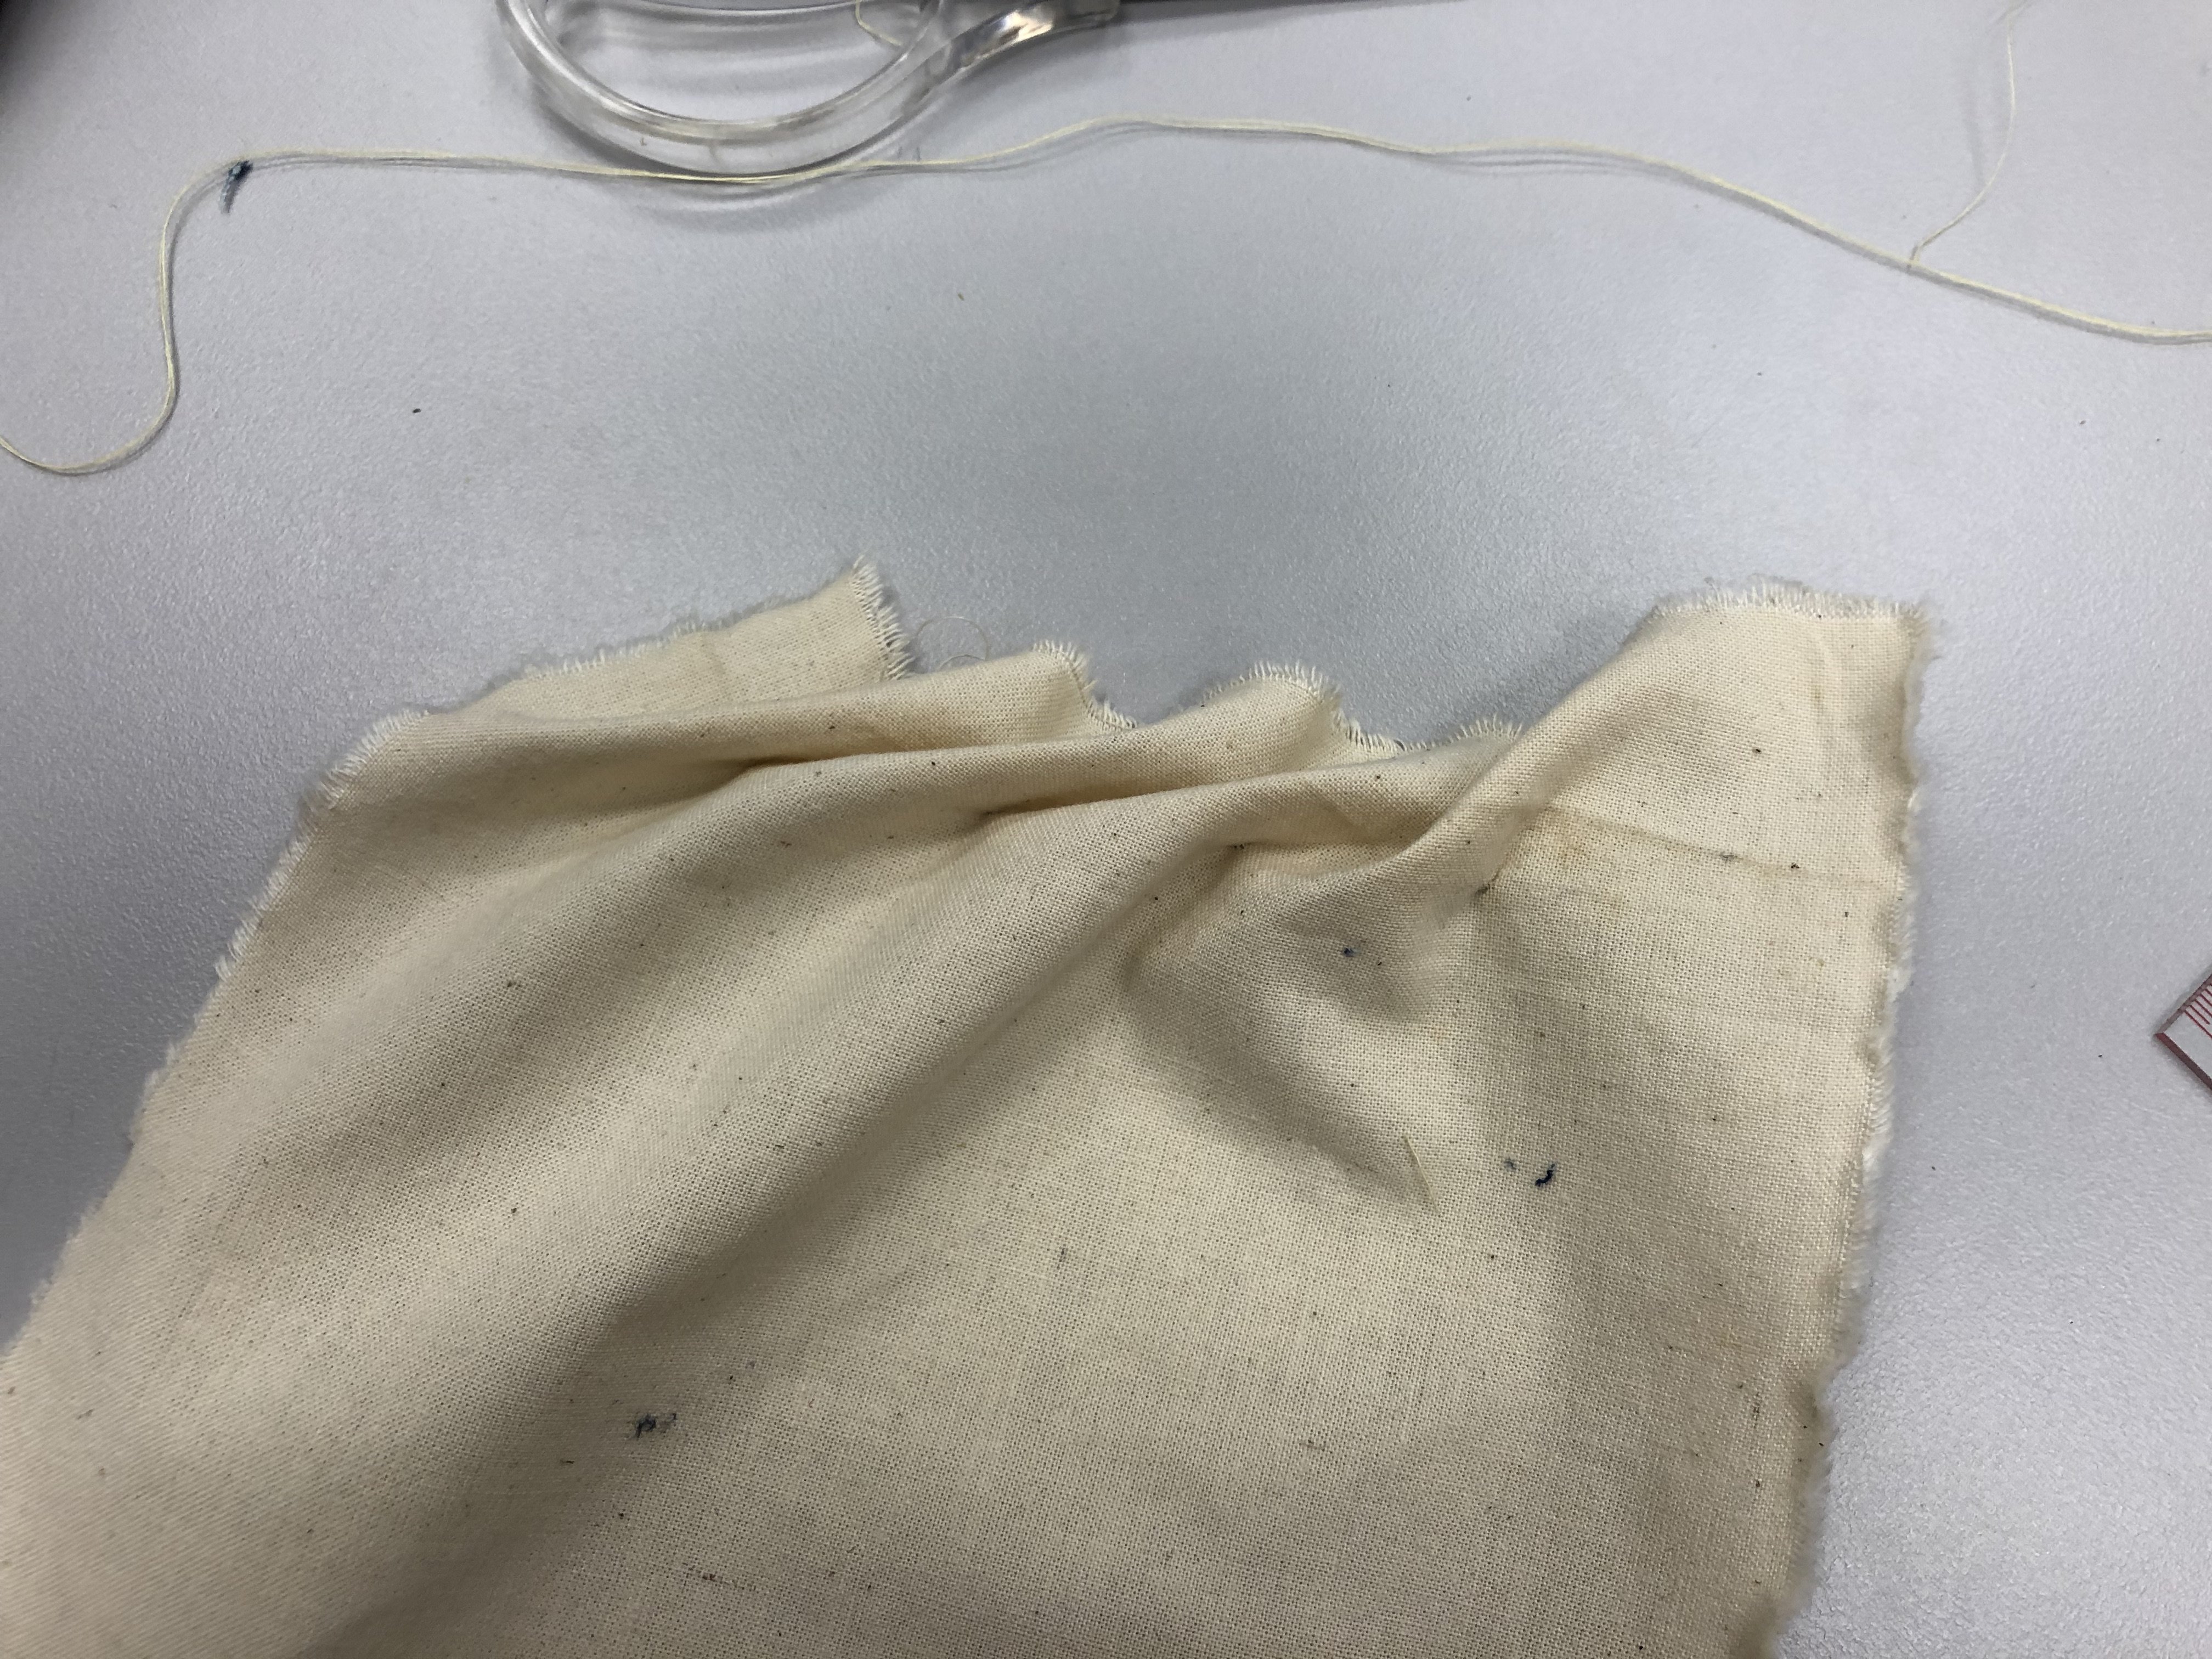
This is what it looks like originally. 

As stated in the steps, we have to iron it until the fabric turns yellowish-brown. Initially, I did not iron it till it turns yellowish as I was afraid it will destroy my fabric. However, it was so difficult for me to rub off the etched fabric and nothing much seems to be dropping. 

So, I finally tried to leave the iron on for awhile longer till one part of the fabric turns slightly yellowish. And indeed, it’s easier to remove the etched parts now. 

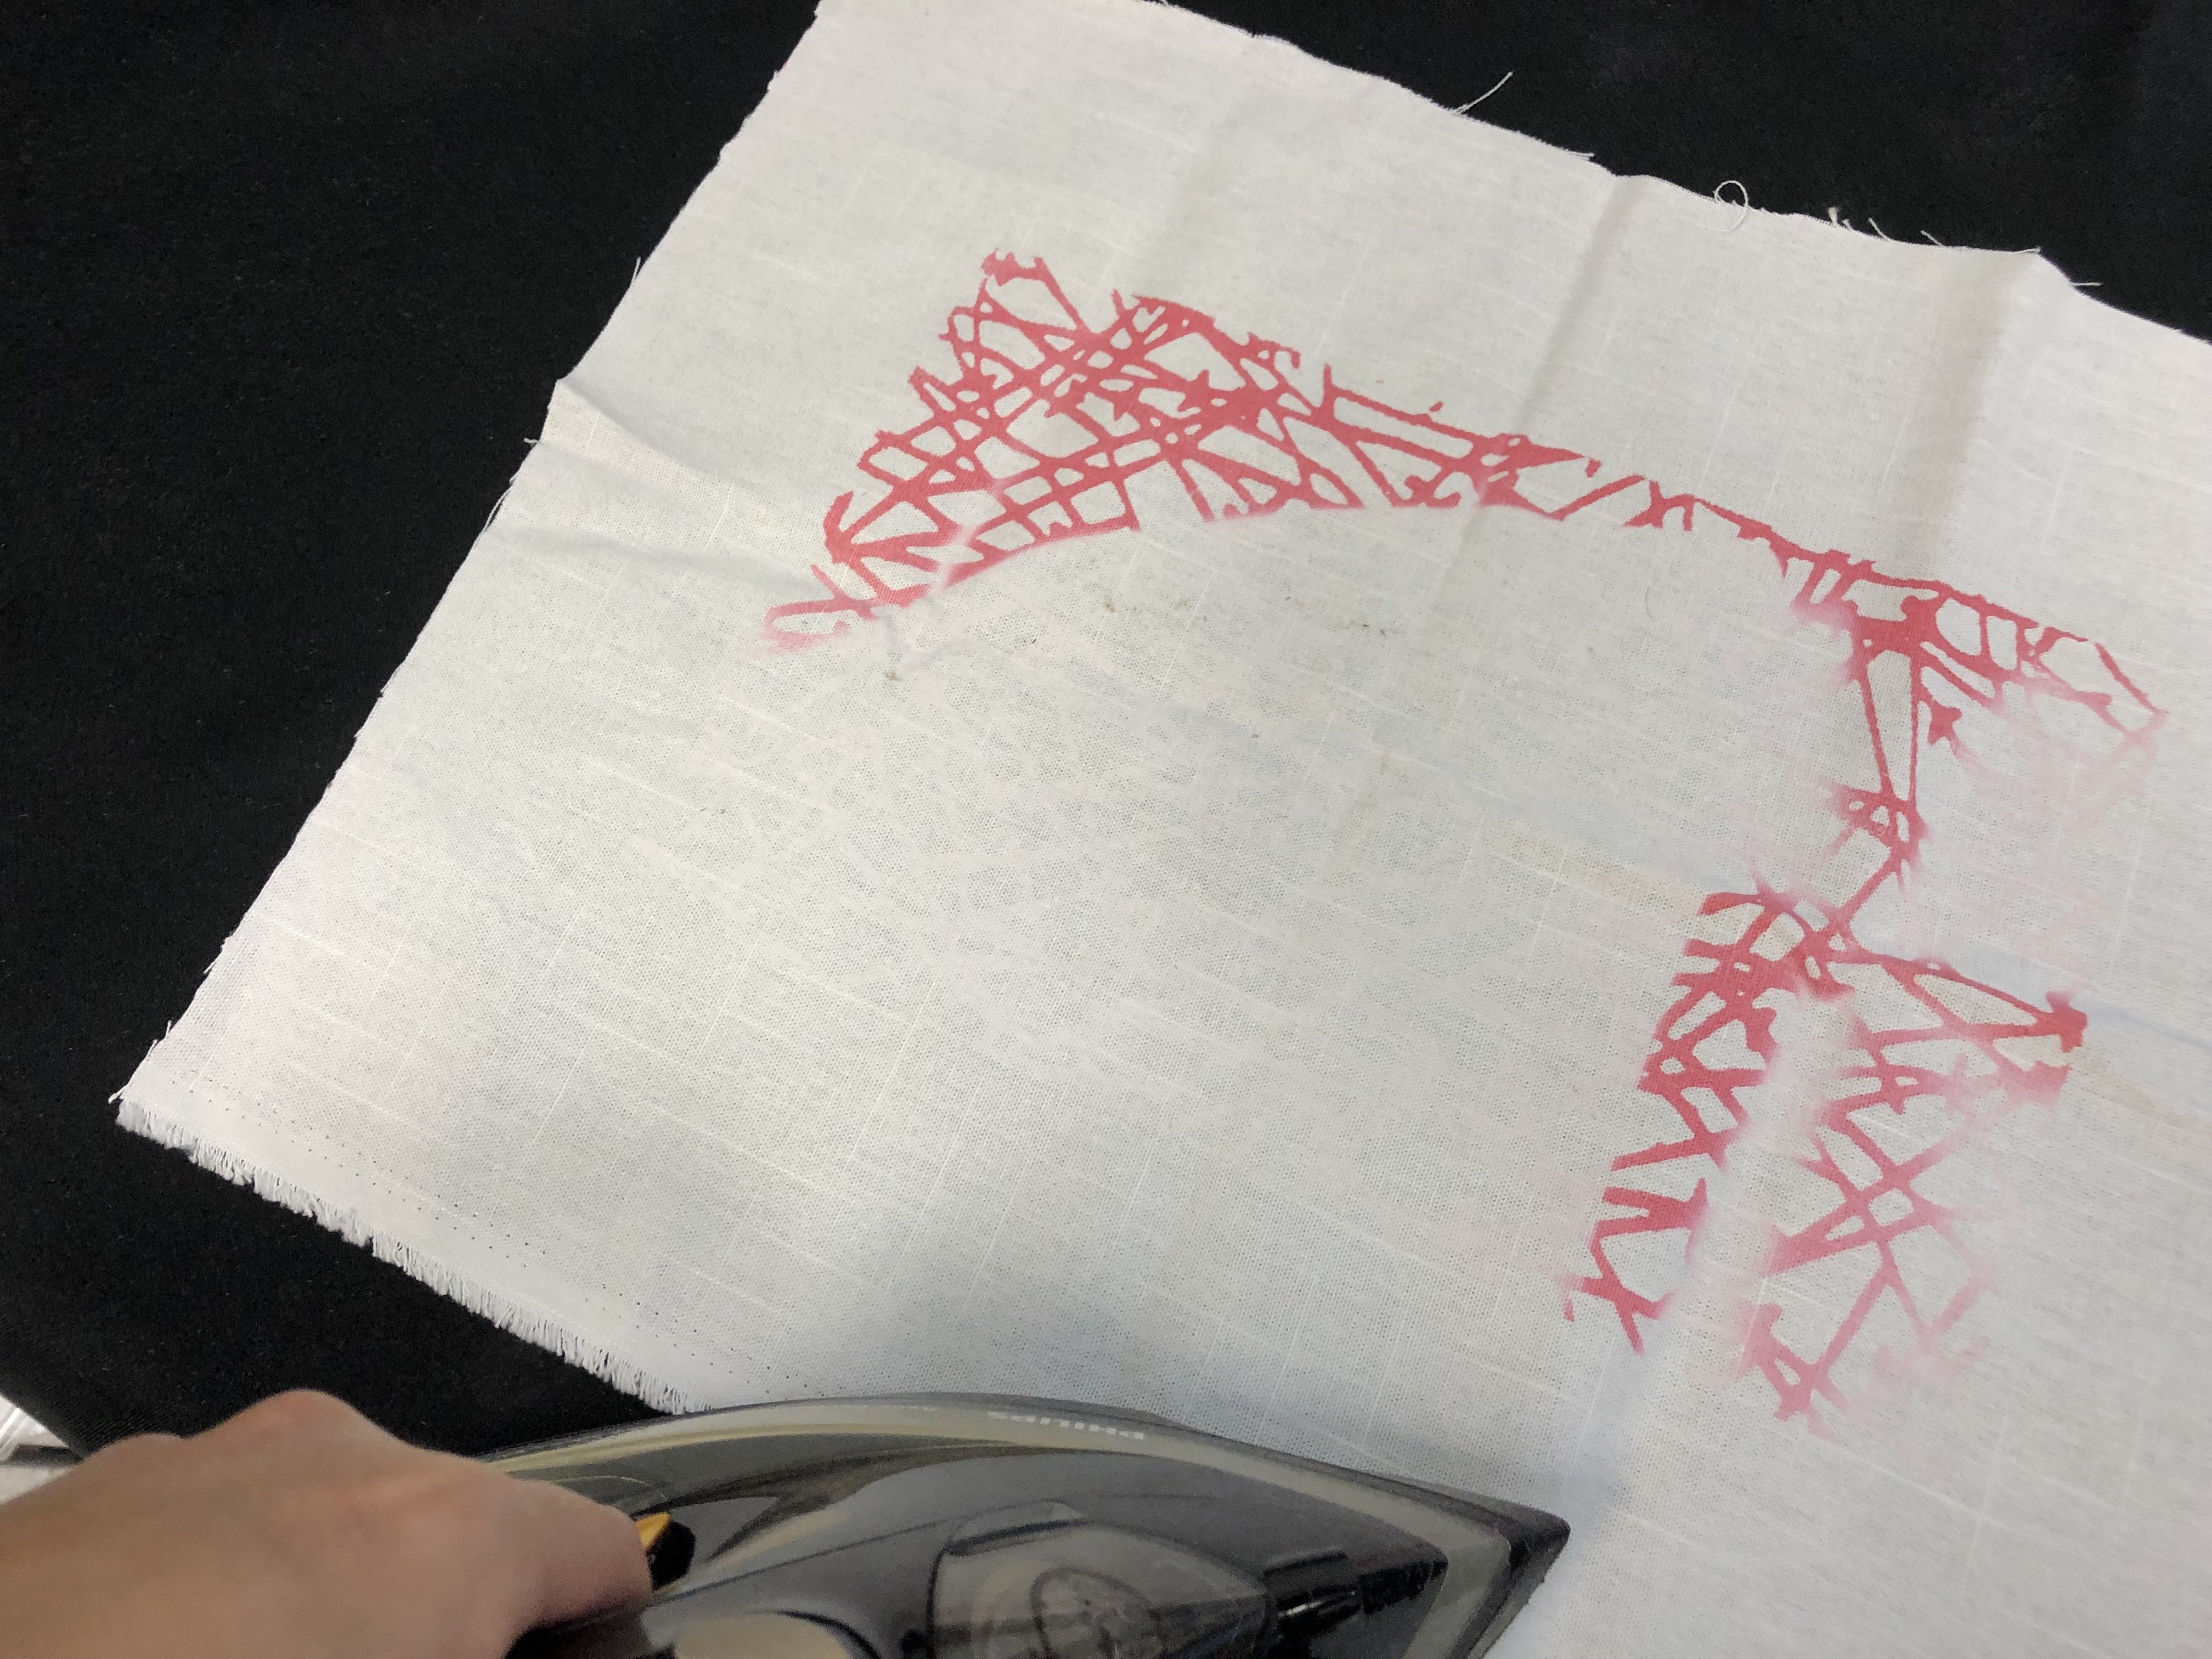
I think it took me about 45 mins to finally remove all of the etched parts… I was using my fingertips to rub it off and I think my fingerprints went off with it hahaha. 

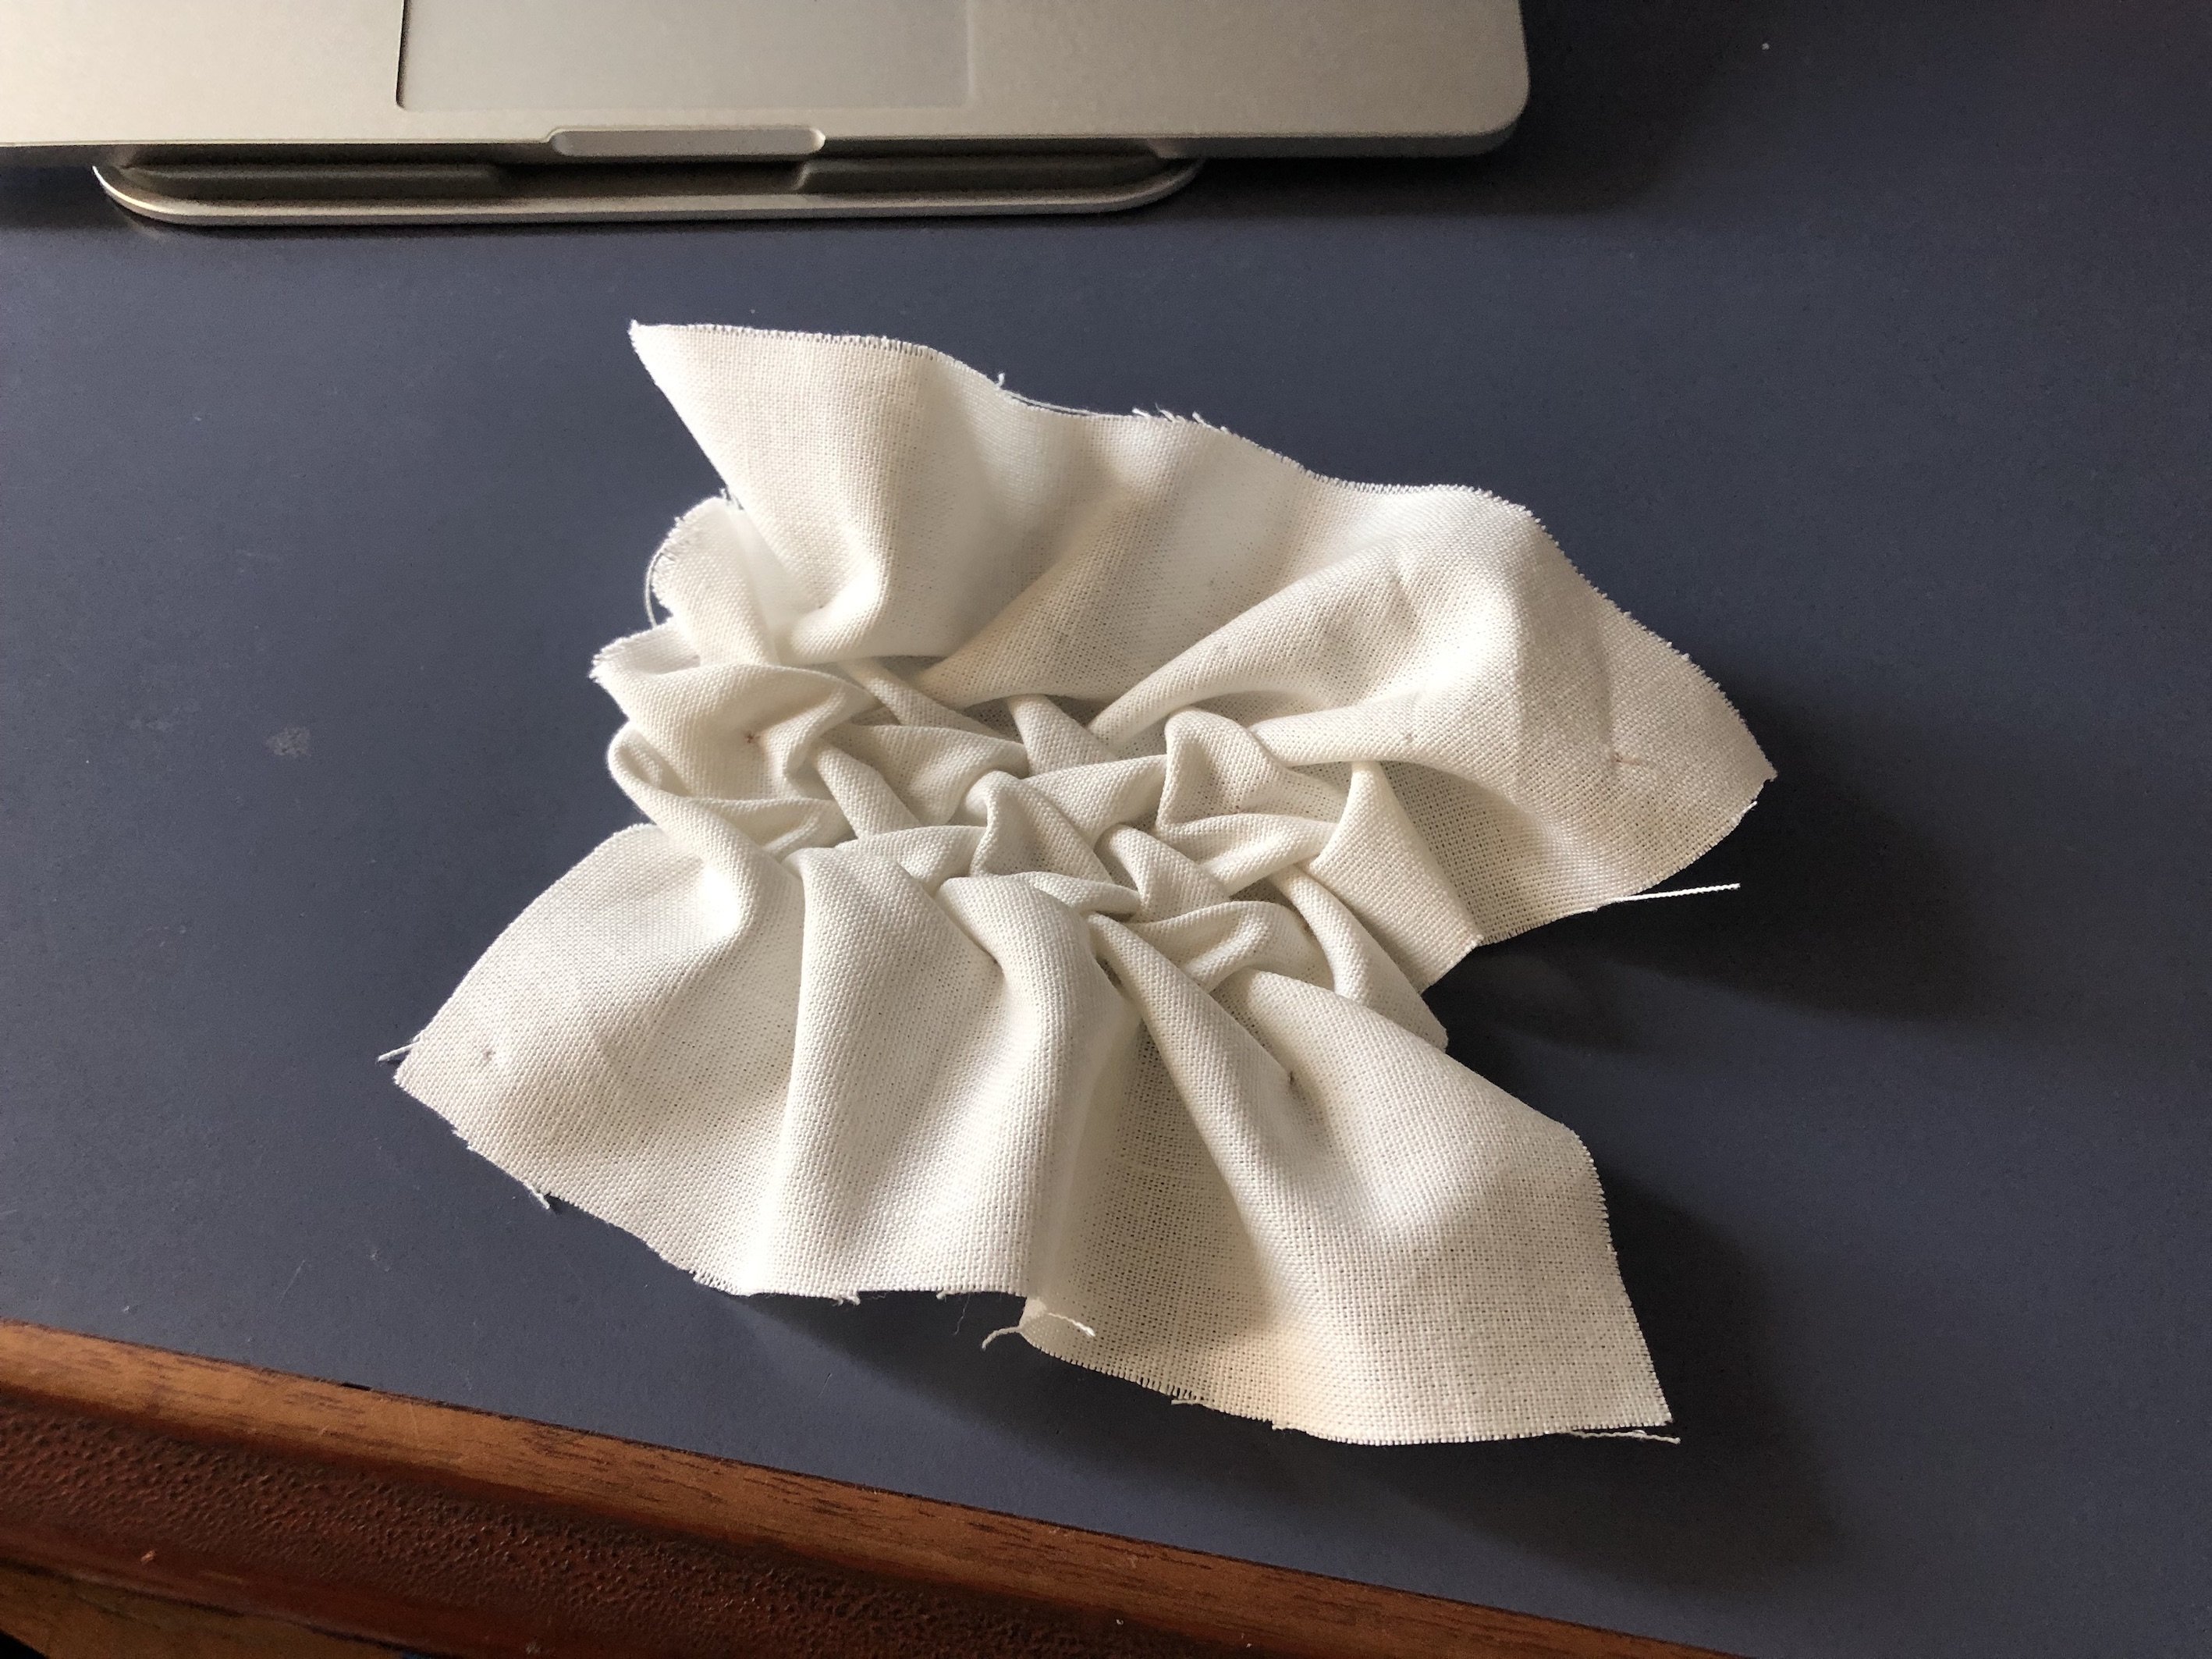
And here is the final product! 

The floral pattern fabric is much more clearer than the oriental one. 

This was so difficult to remove! And I realise that this oriental piece eats up more fabric than the floral one. I guess the reason behind was that I ran through it twice while I was silkscreening the liquid onto the fabric. Whereas for the floral one I only went through it once. Too much liquid = less details

Overall this was a very interesting technique as now I knew how some those etched velvet clothes are manufactured. However, it’s really tedious! Now I understand why such patterns are so expensive as it requires it to be thoroughly handmade. The important lesson that I’ve learnt is, first, do not run the liquid over twice as it would make the pattern look smudgy. Secondly, iron till the fabric turns yellowish for easy removal of etched patterns. 


Textile Bleaching

Bleaching is chemical treatment employed for the removal of natural coloring matter from the substrate. The source of natural color is organic compounds with conjugated double bonds , by doing chemical bleaching the discoloration takes place by the breaking the chromophore, most likely destroying the one or more double bonds with in this conjugated system. The material appears whiter after the bleaching.

Materials you’ll need:
Fibre-based fabric (eg. cotton)
Bleach
Water to dilute the bleach
Patterns if you need
Rubber bands

Steps for Bleaching:
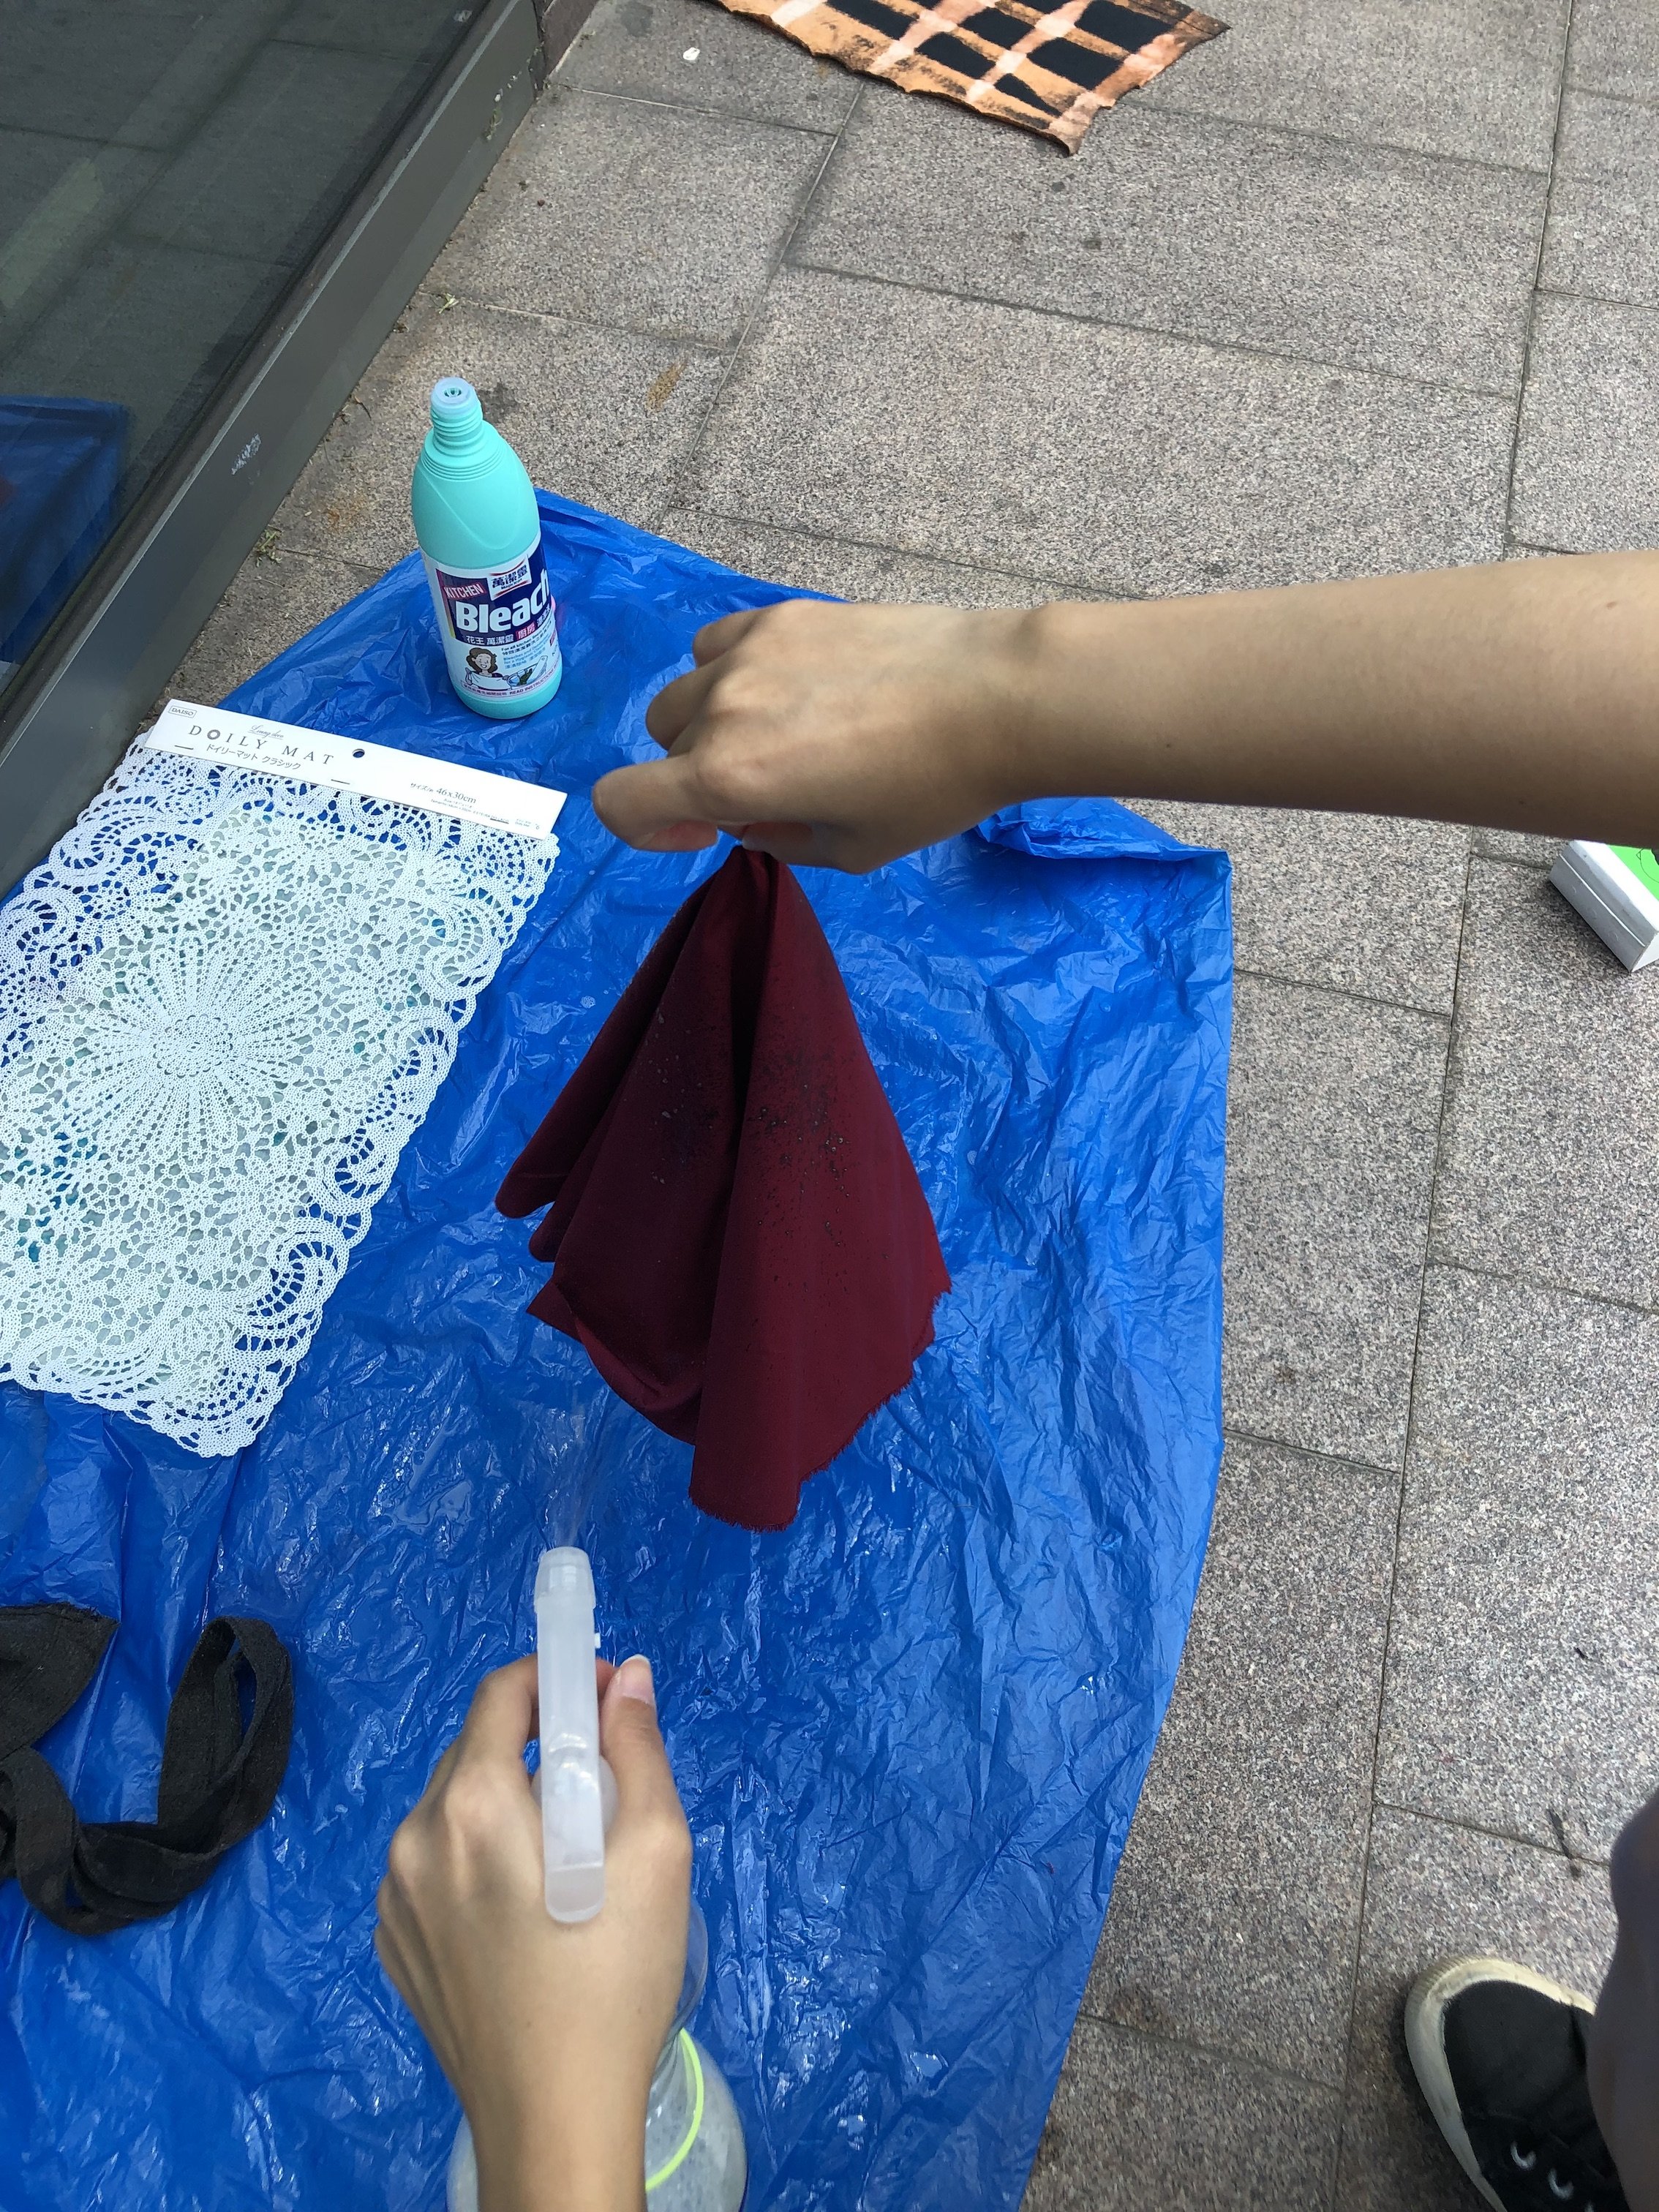
01 Mix water and bleach and place it into a spray bottle
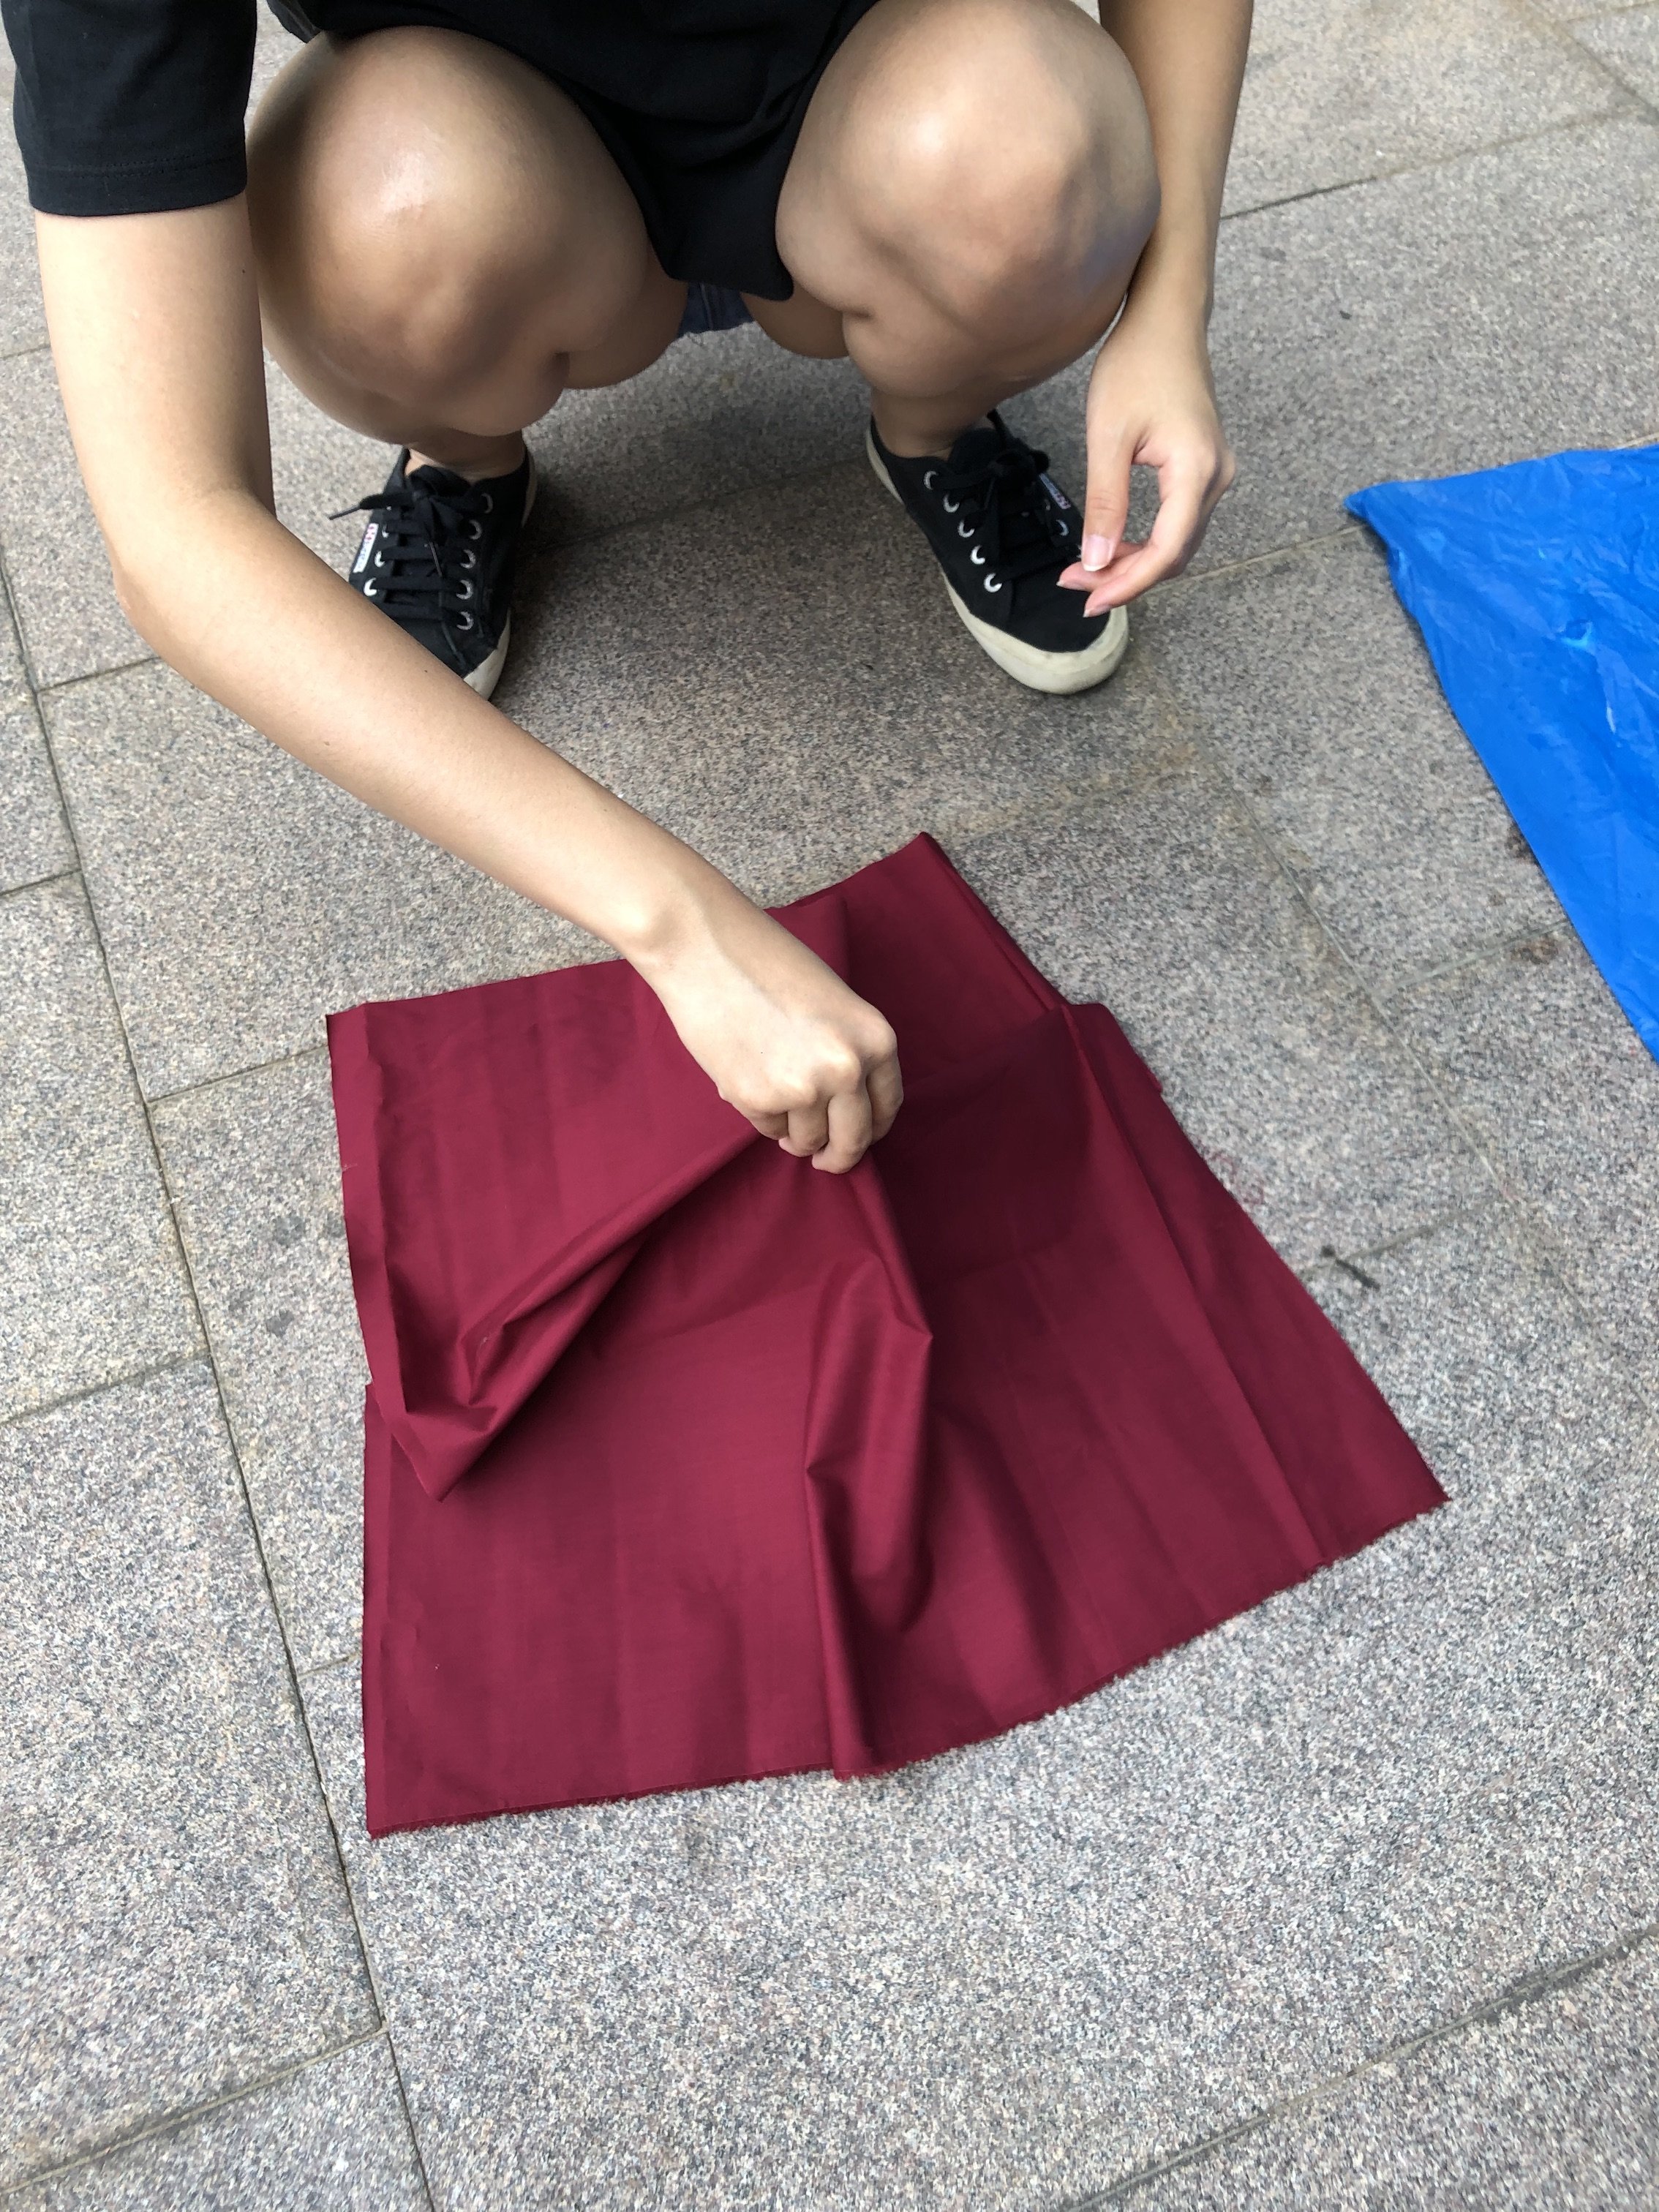
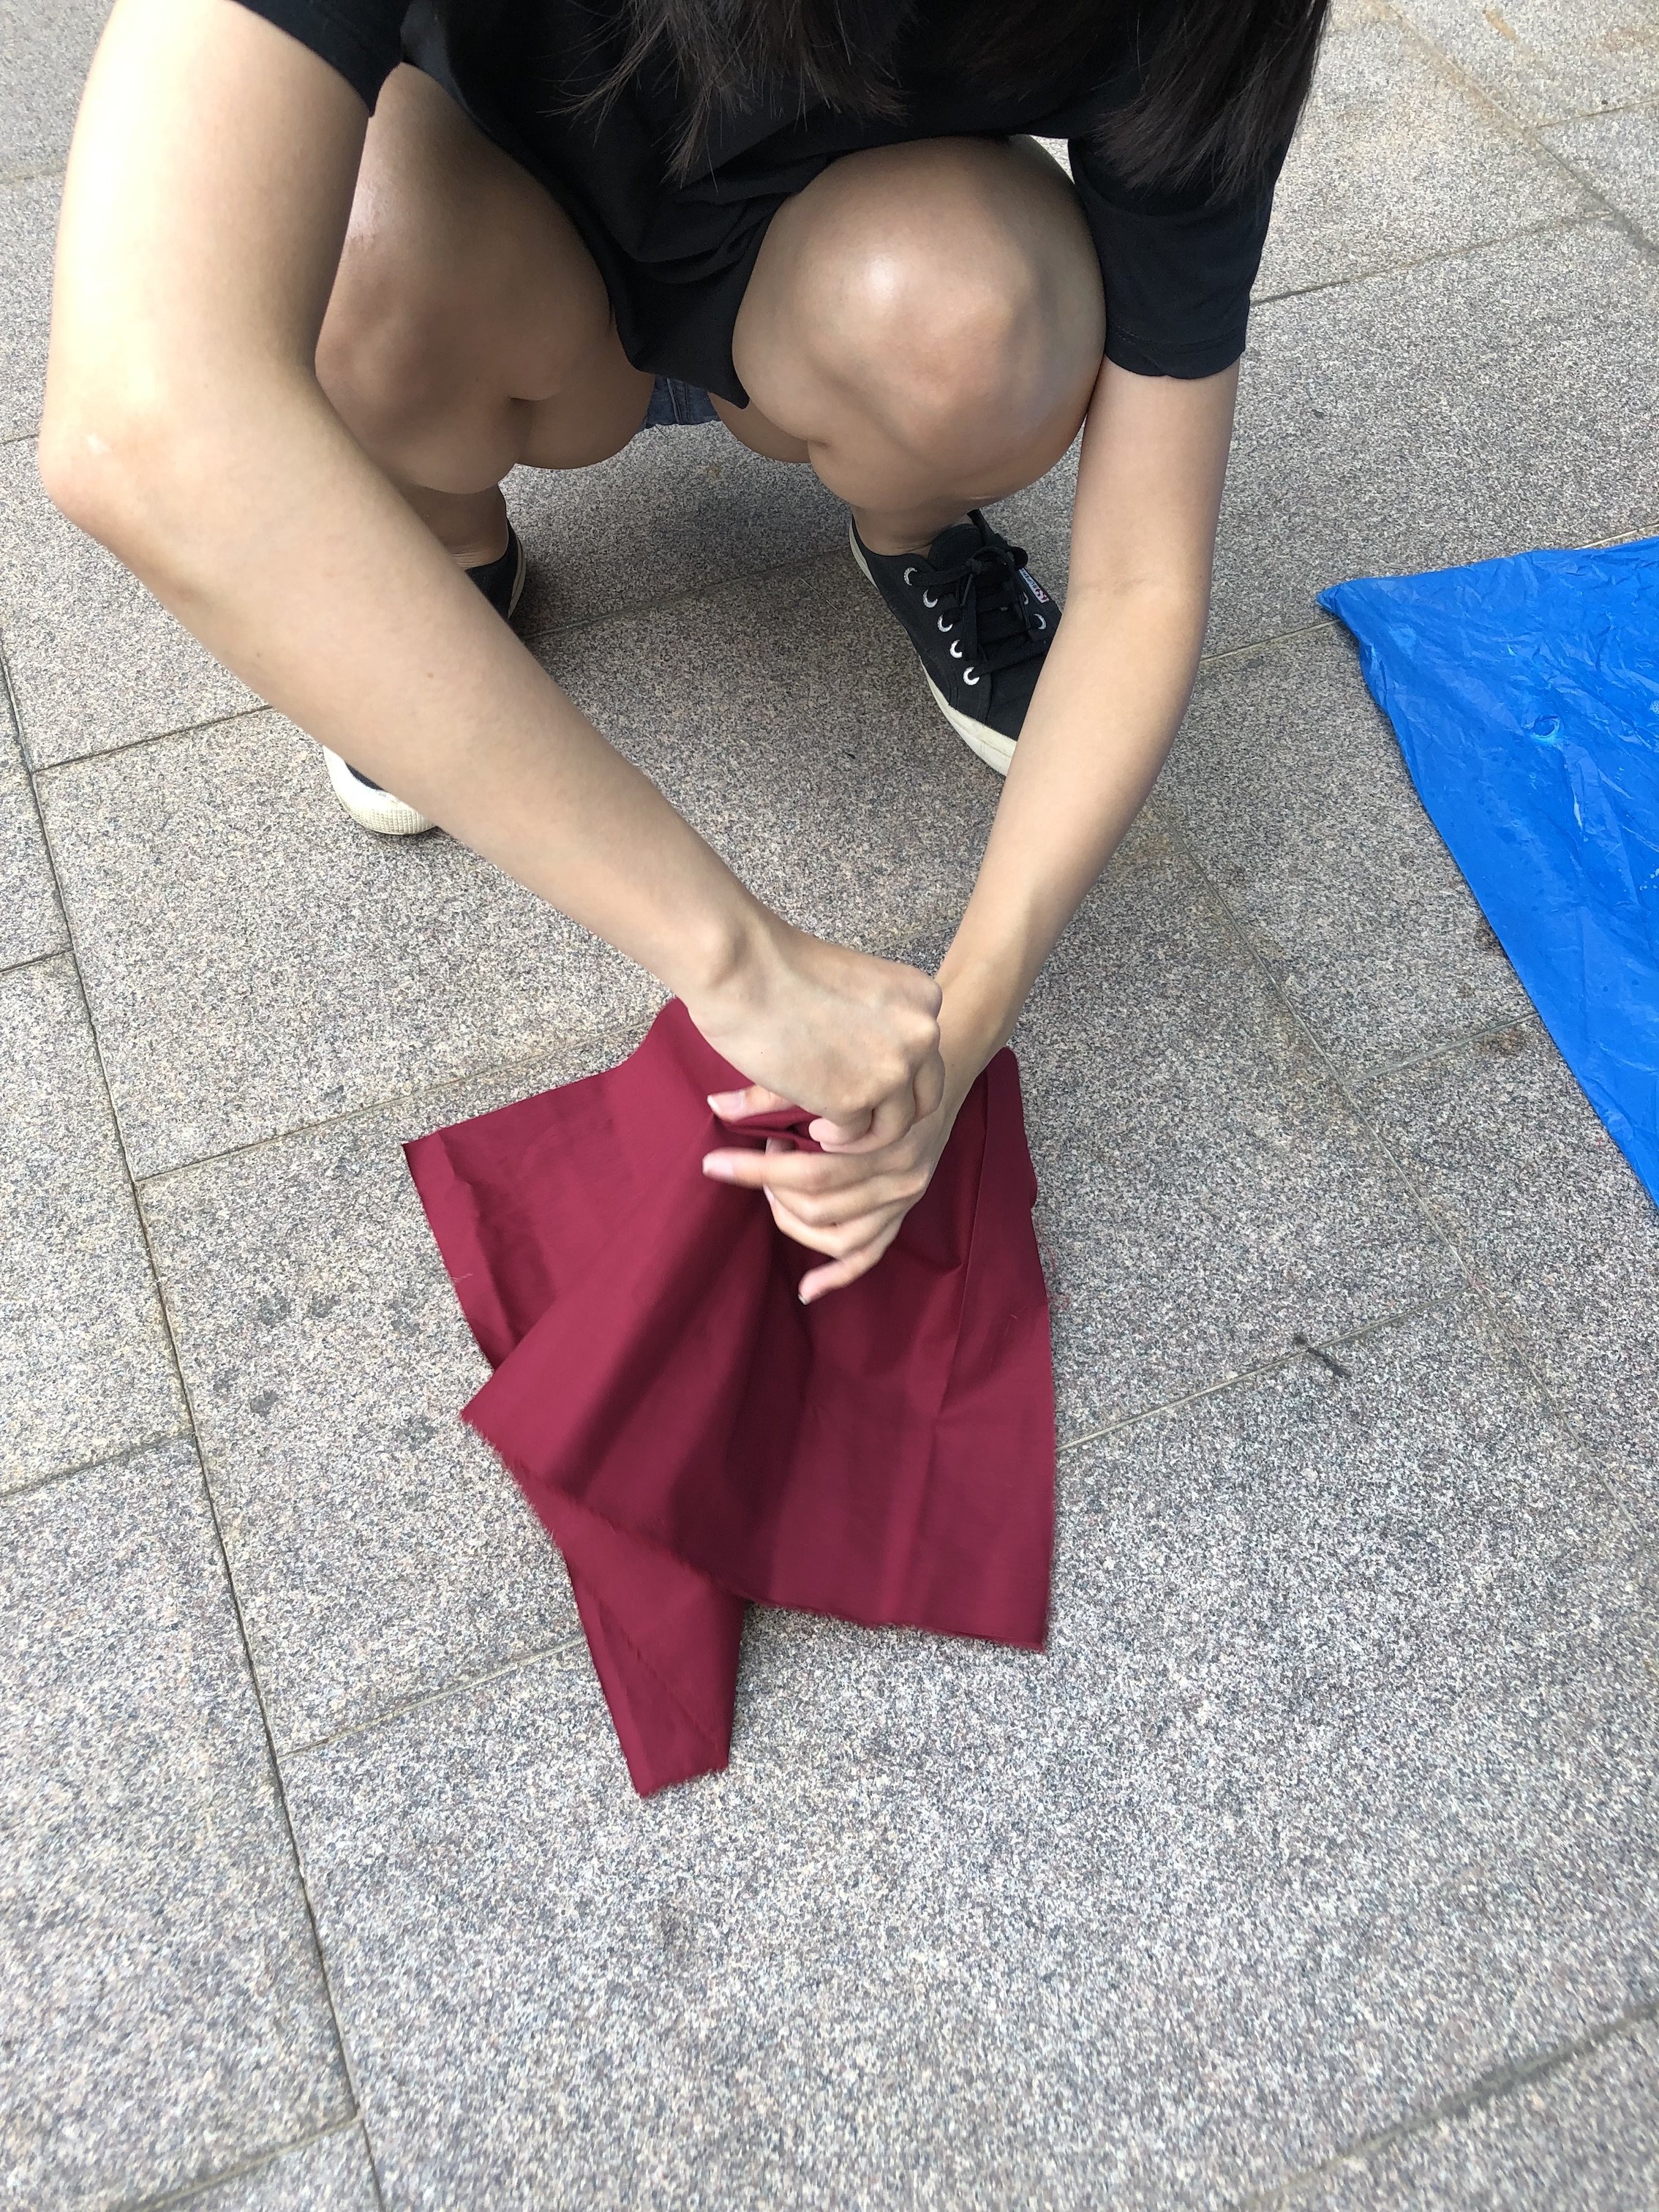
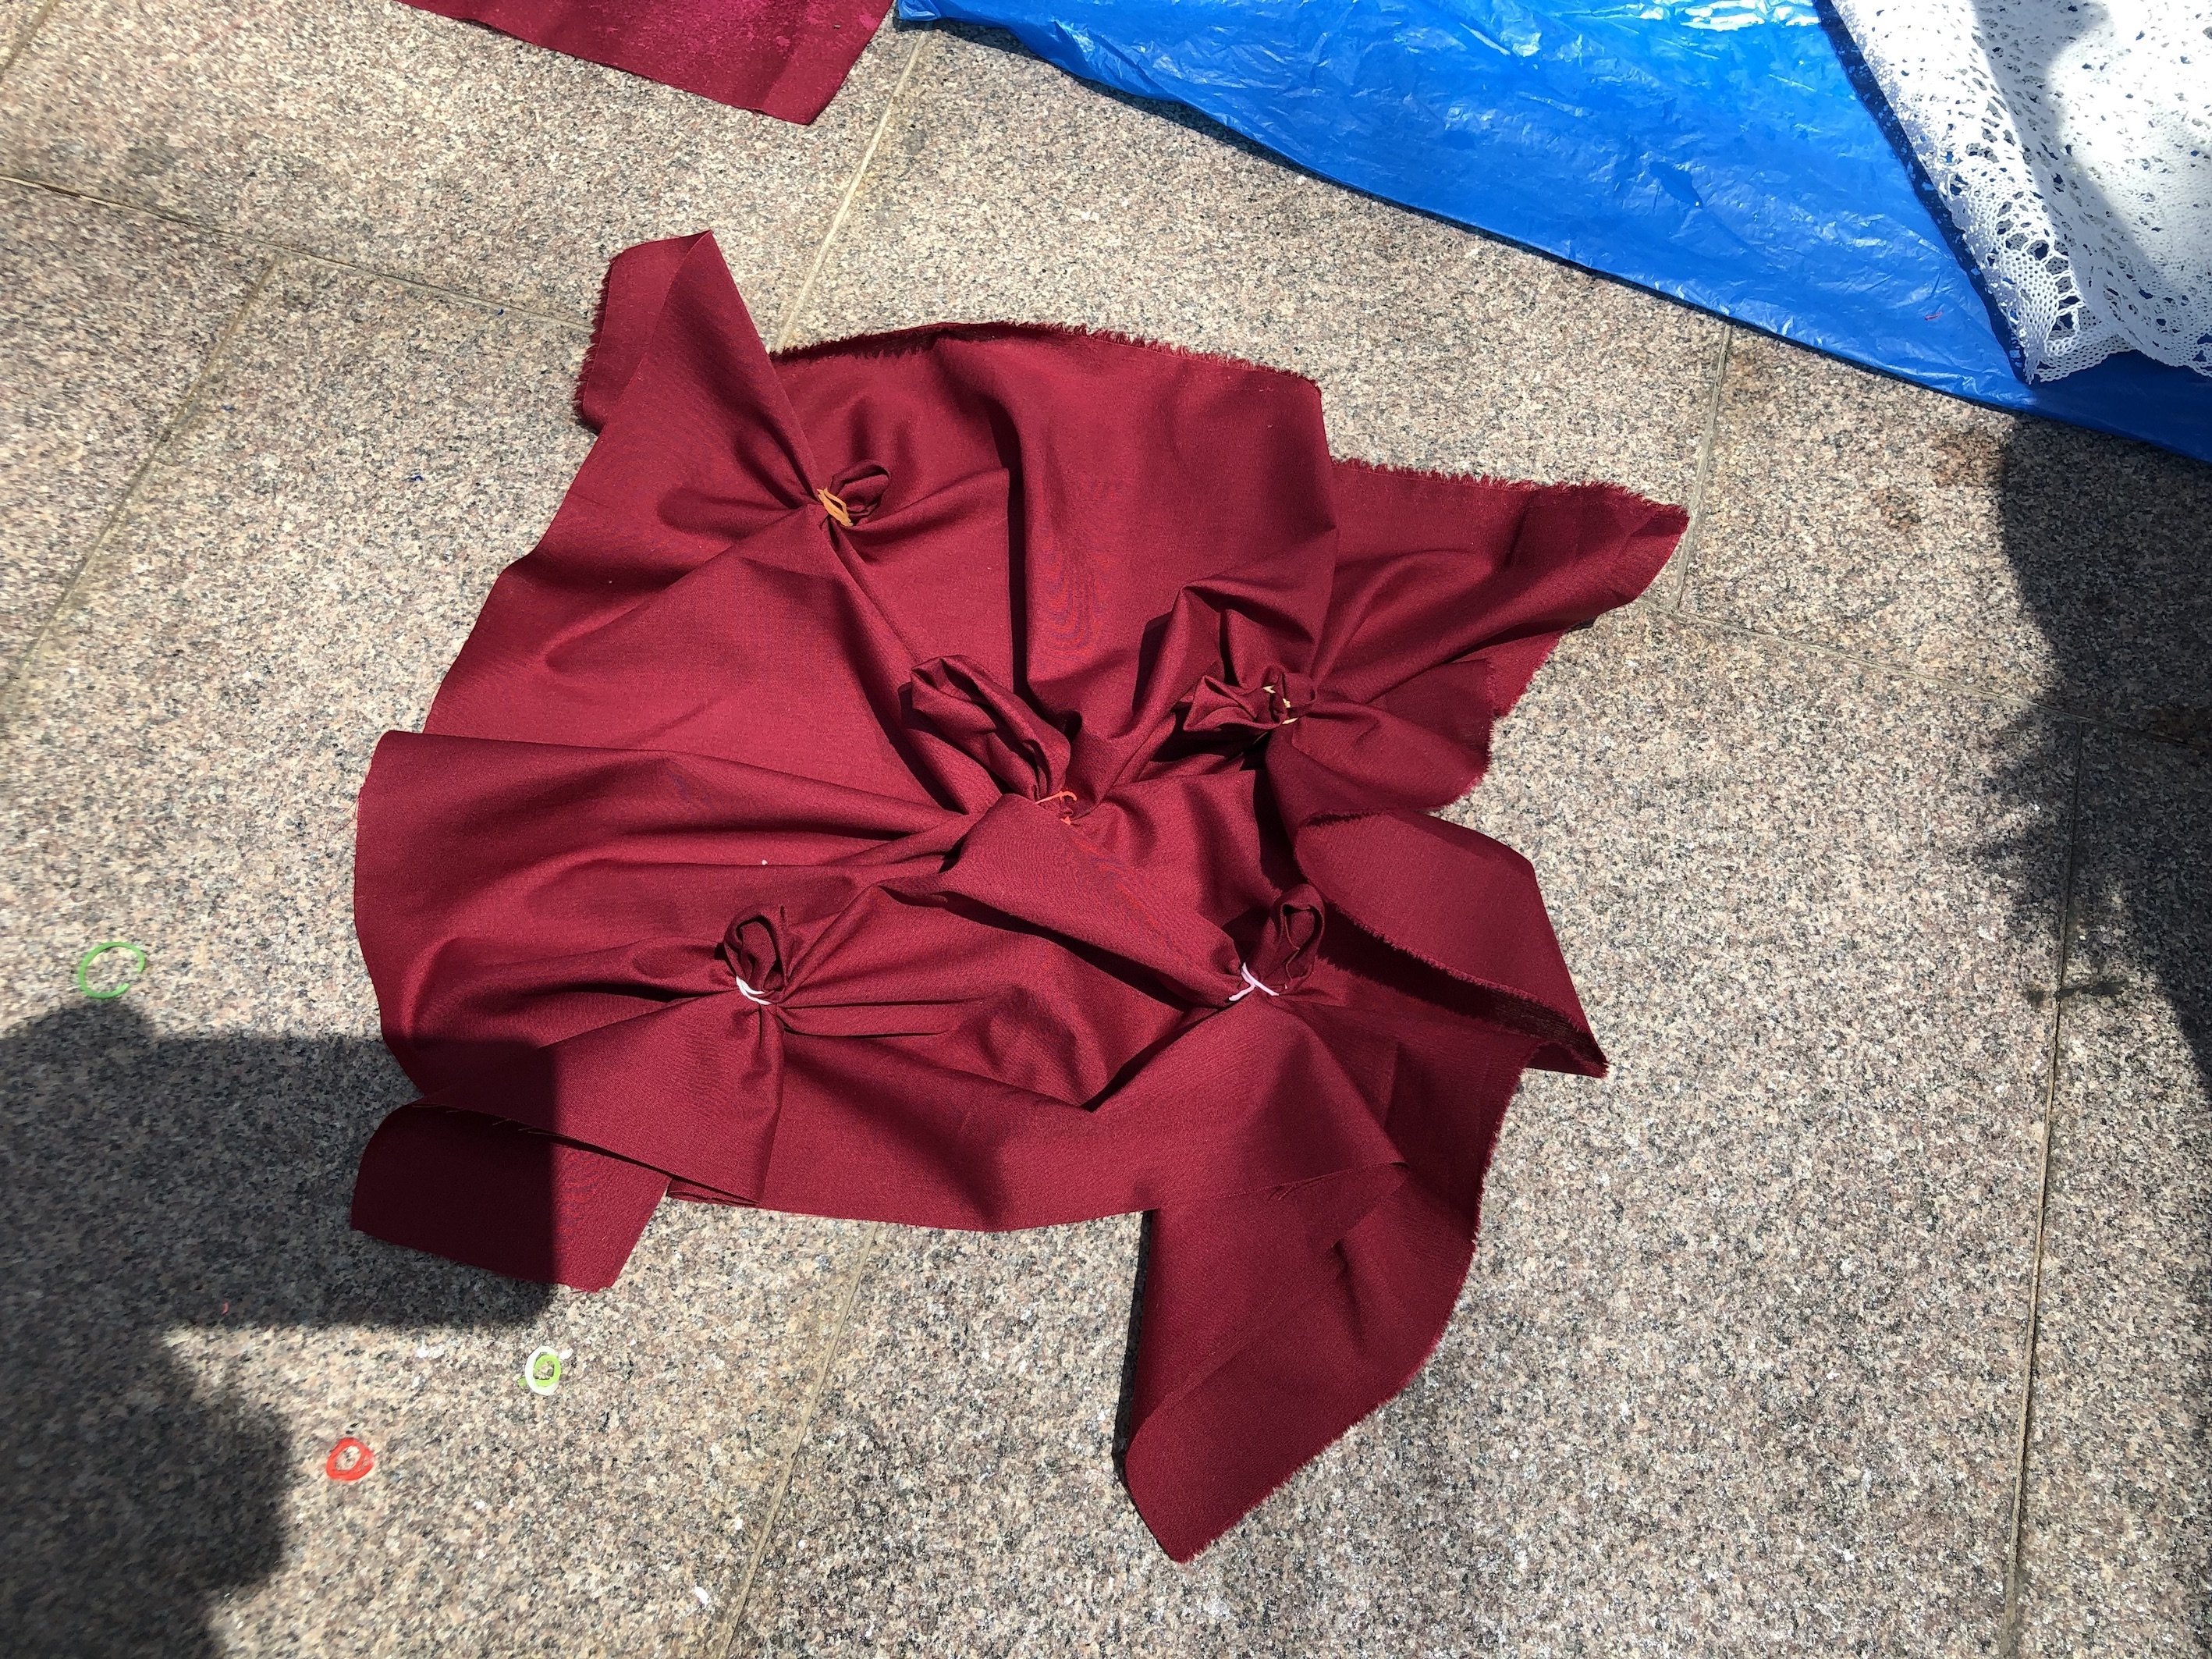
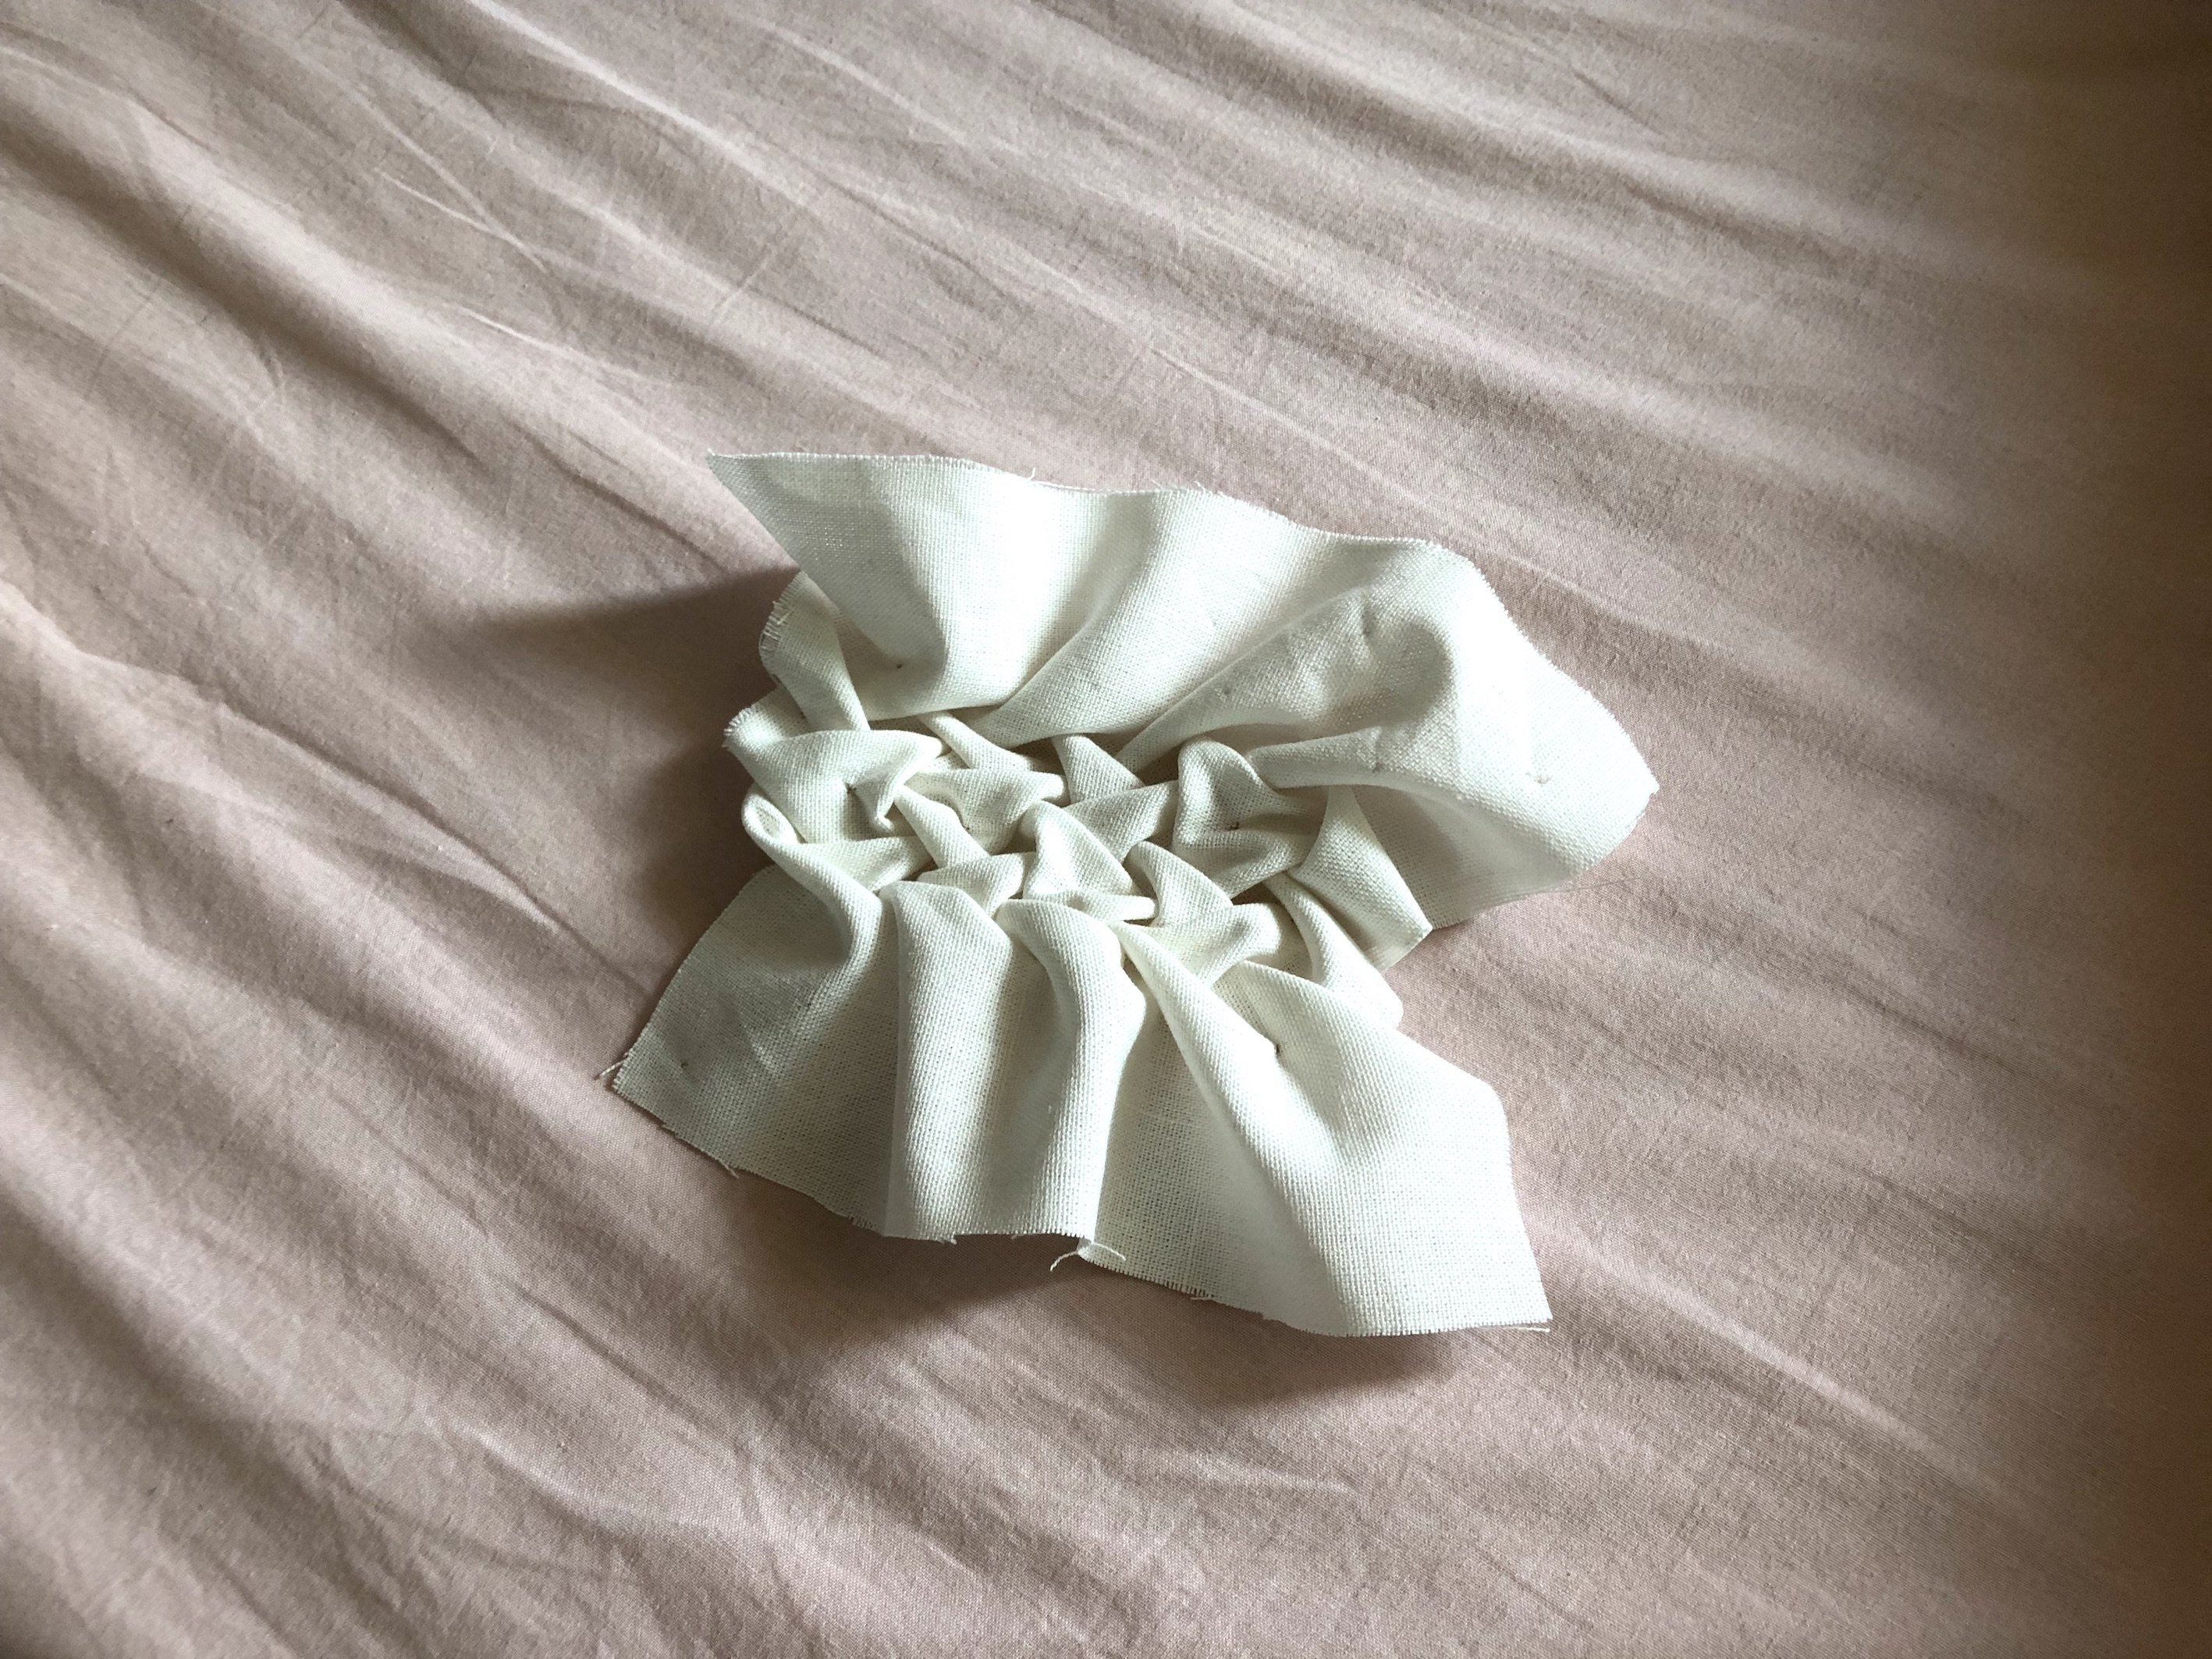
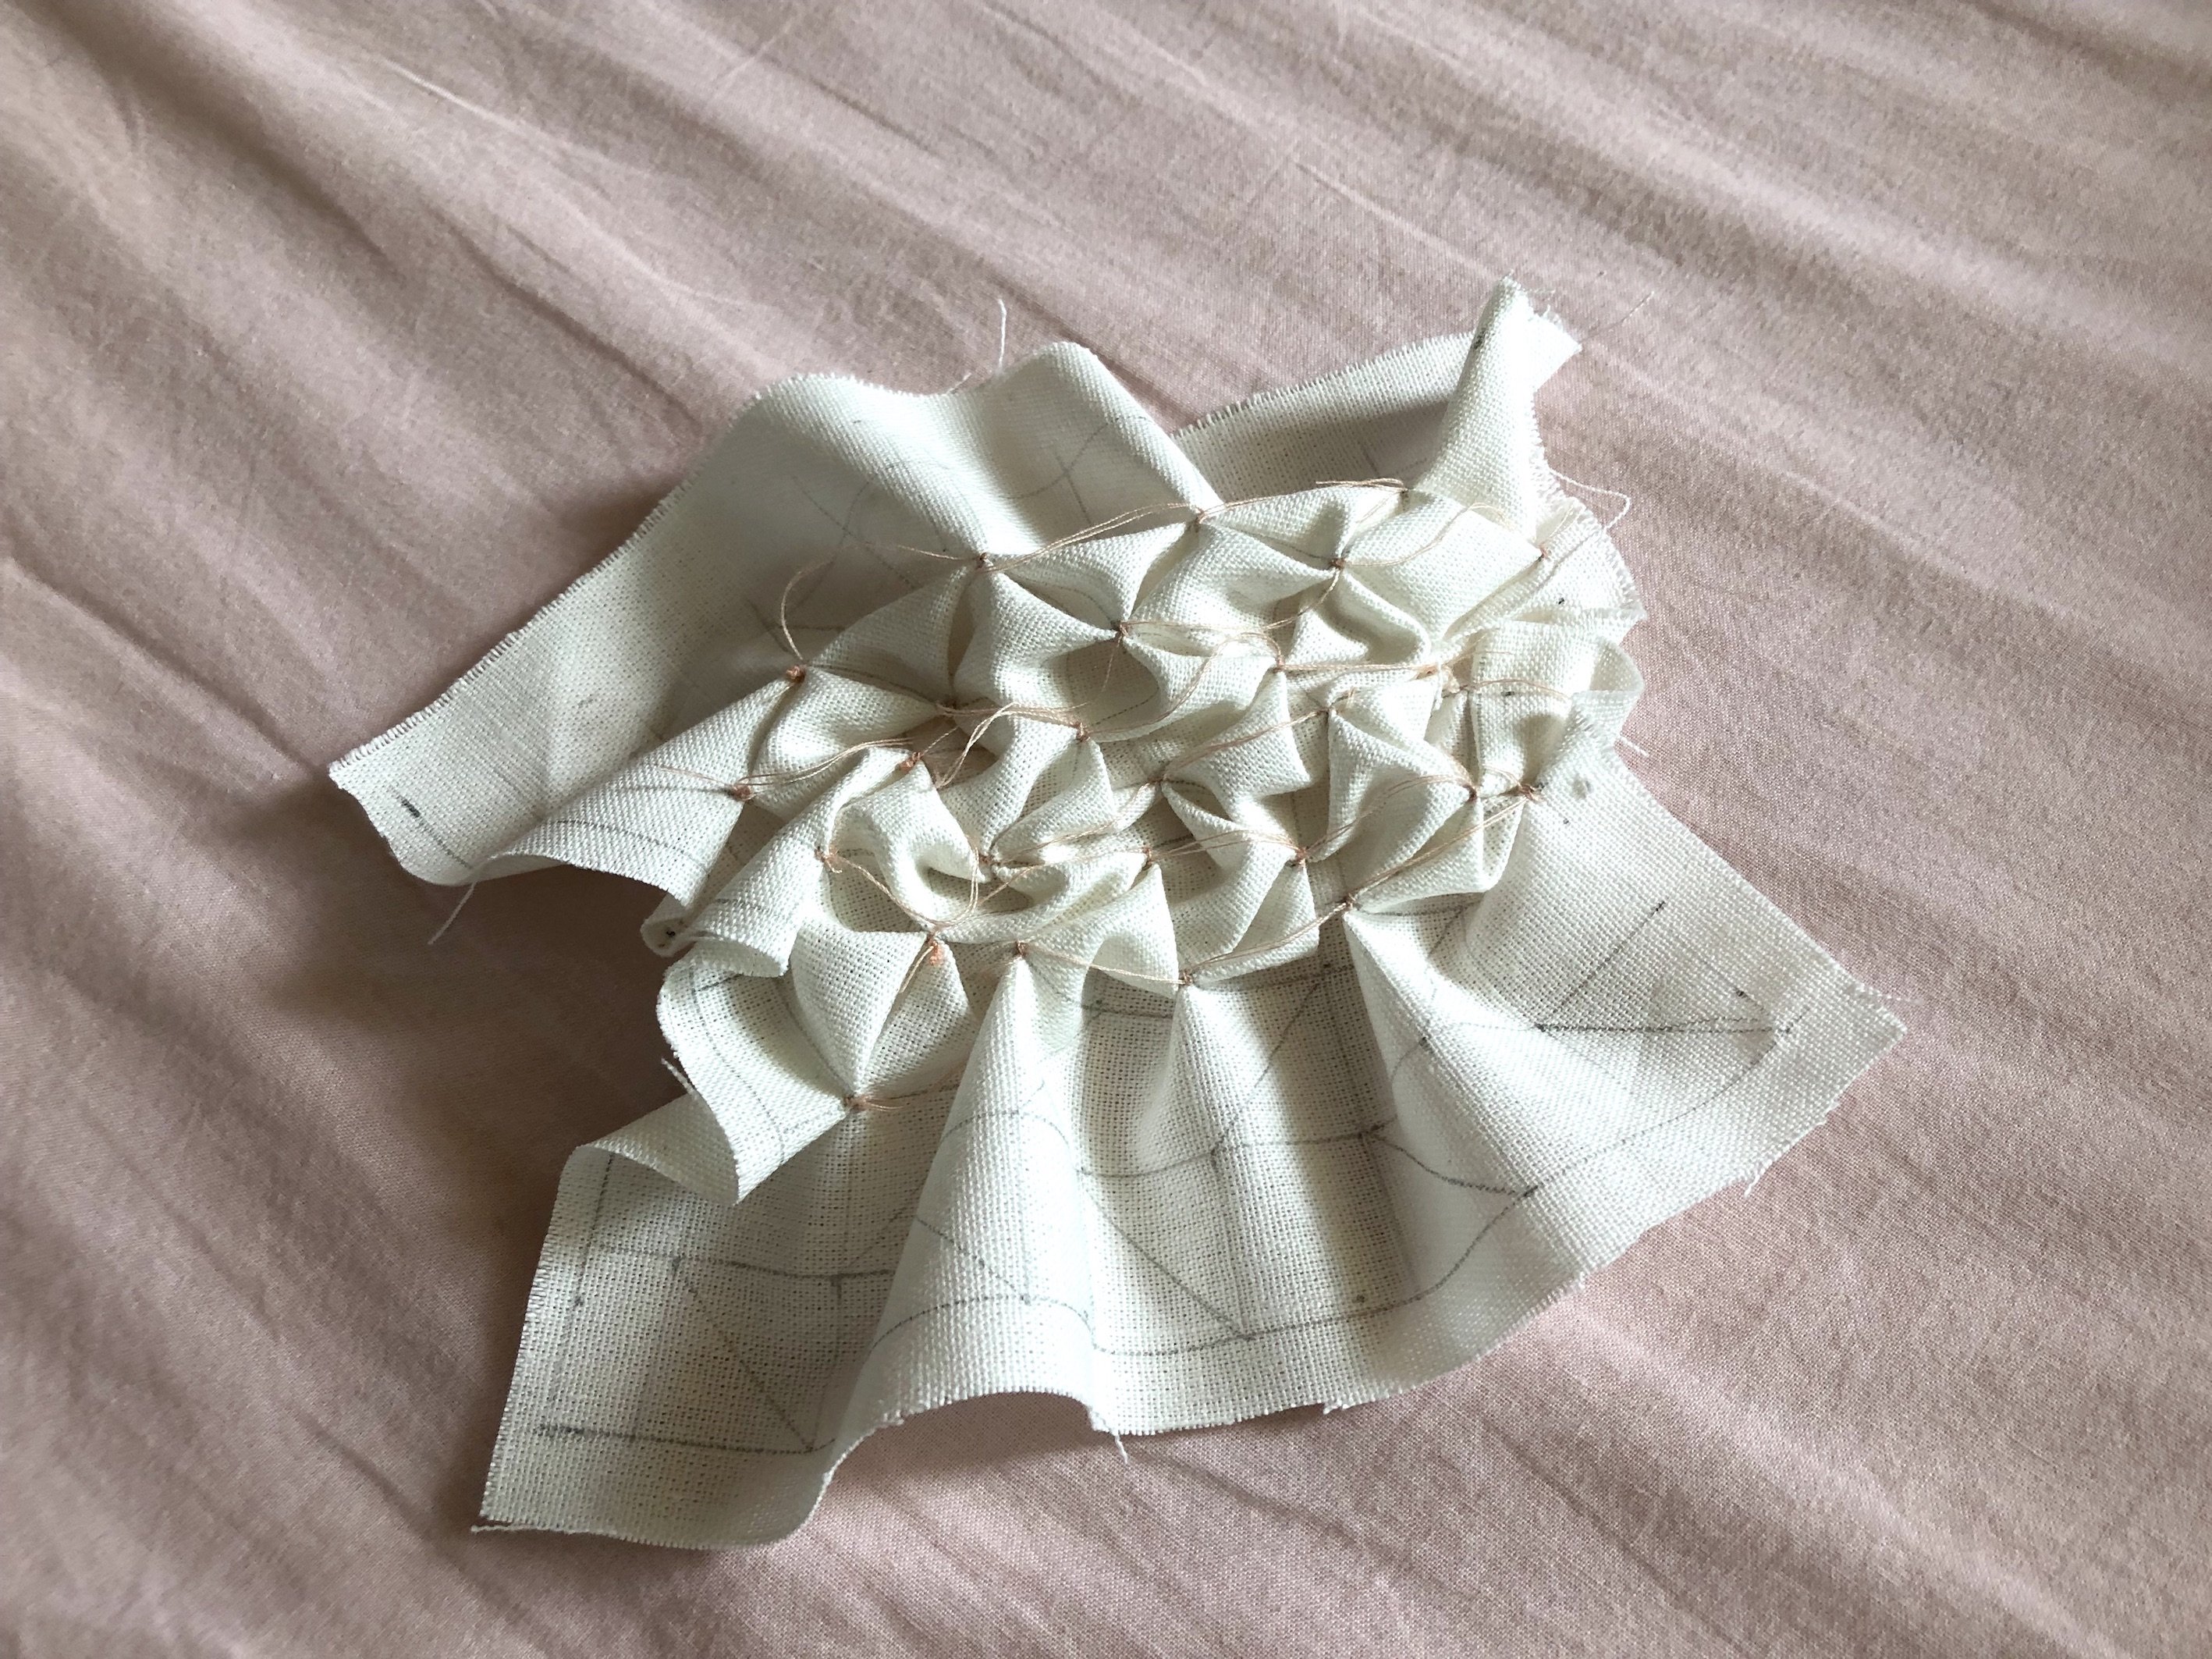
02 Tie/fold your fabric into a desired pattern that you want
03 I wanted to achieve a tie-dye effect, thus I used rubber bands and tied knots onto the fabric
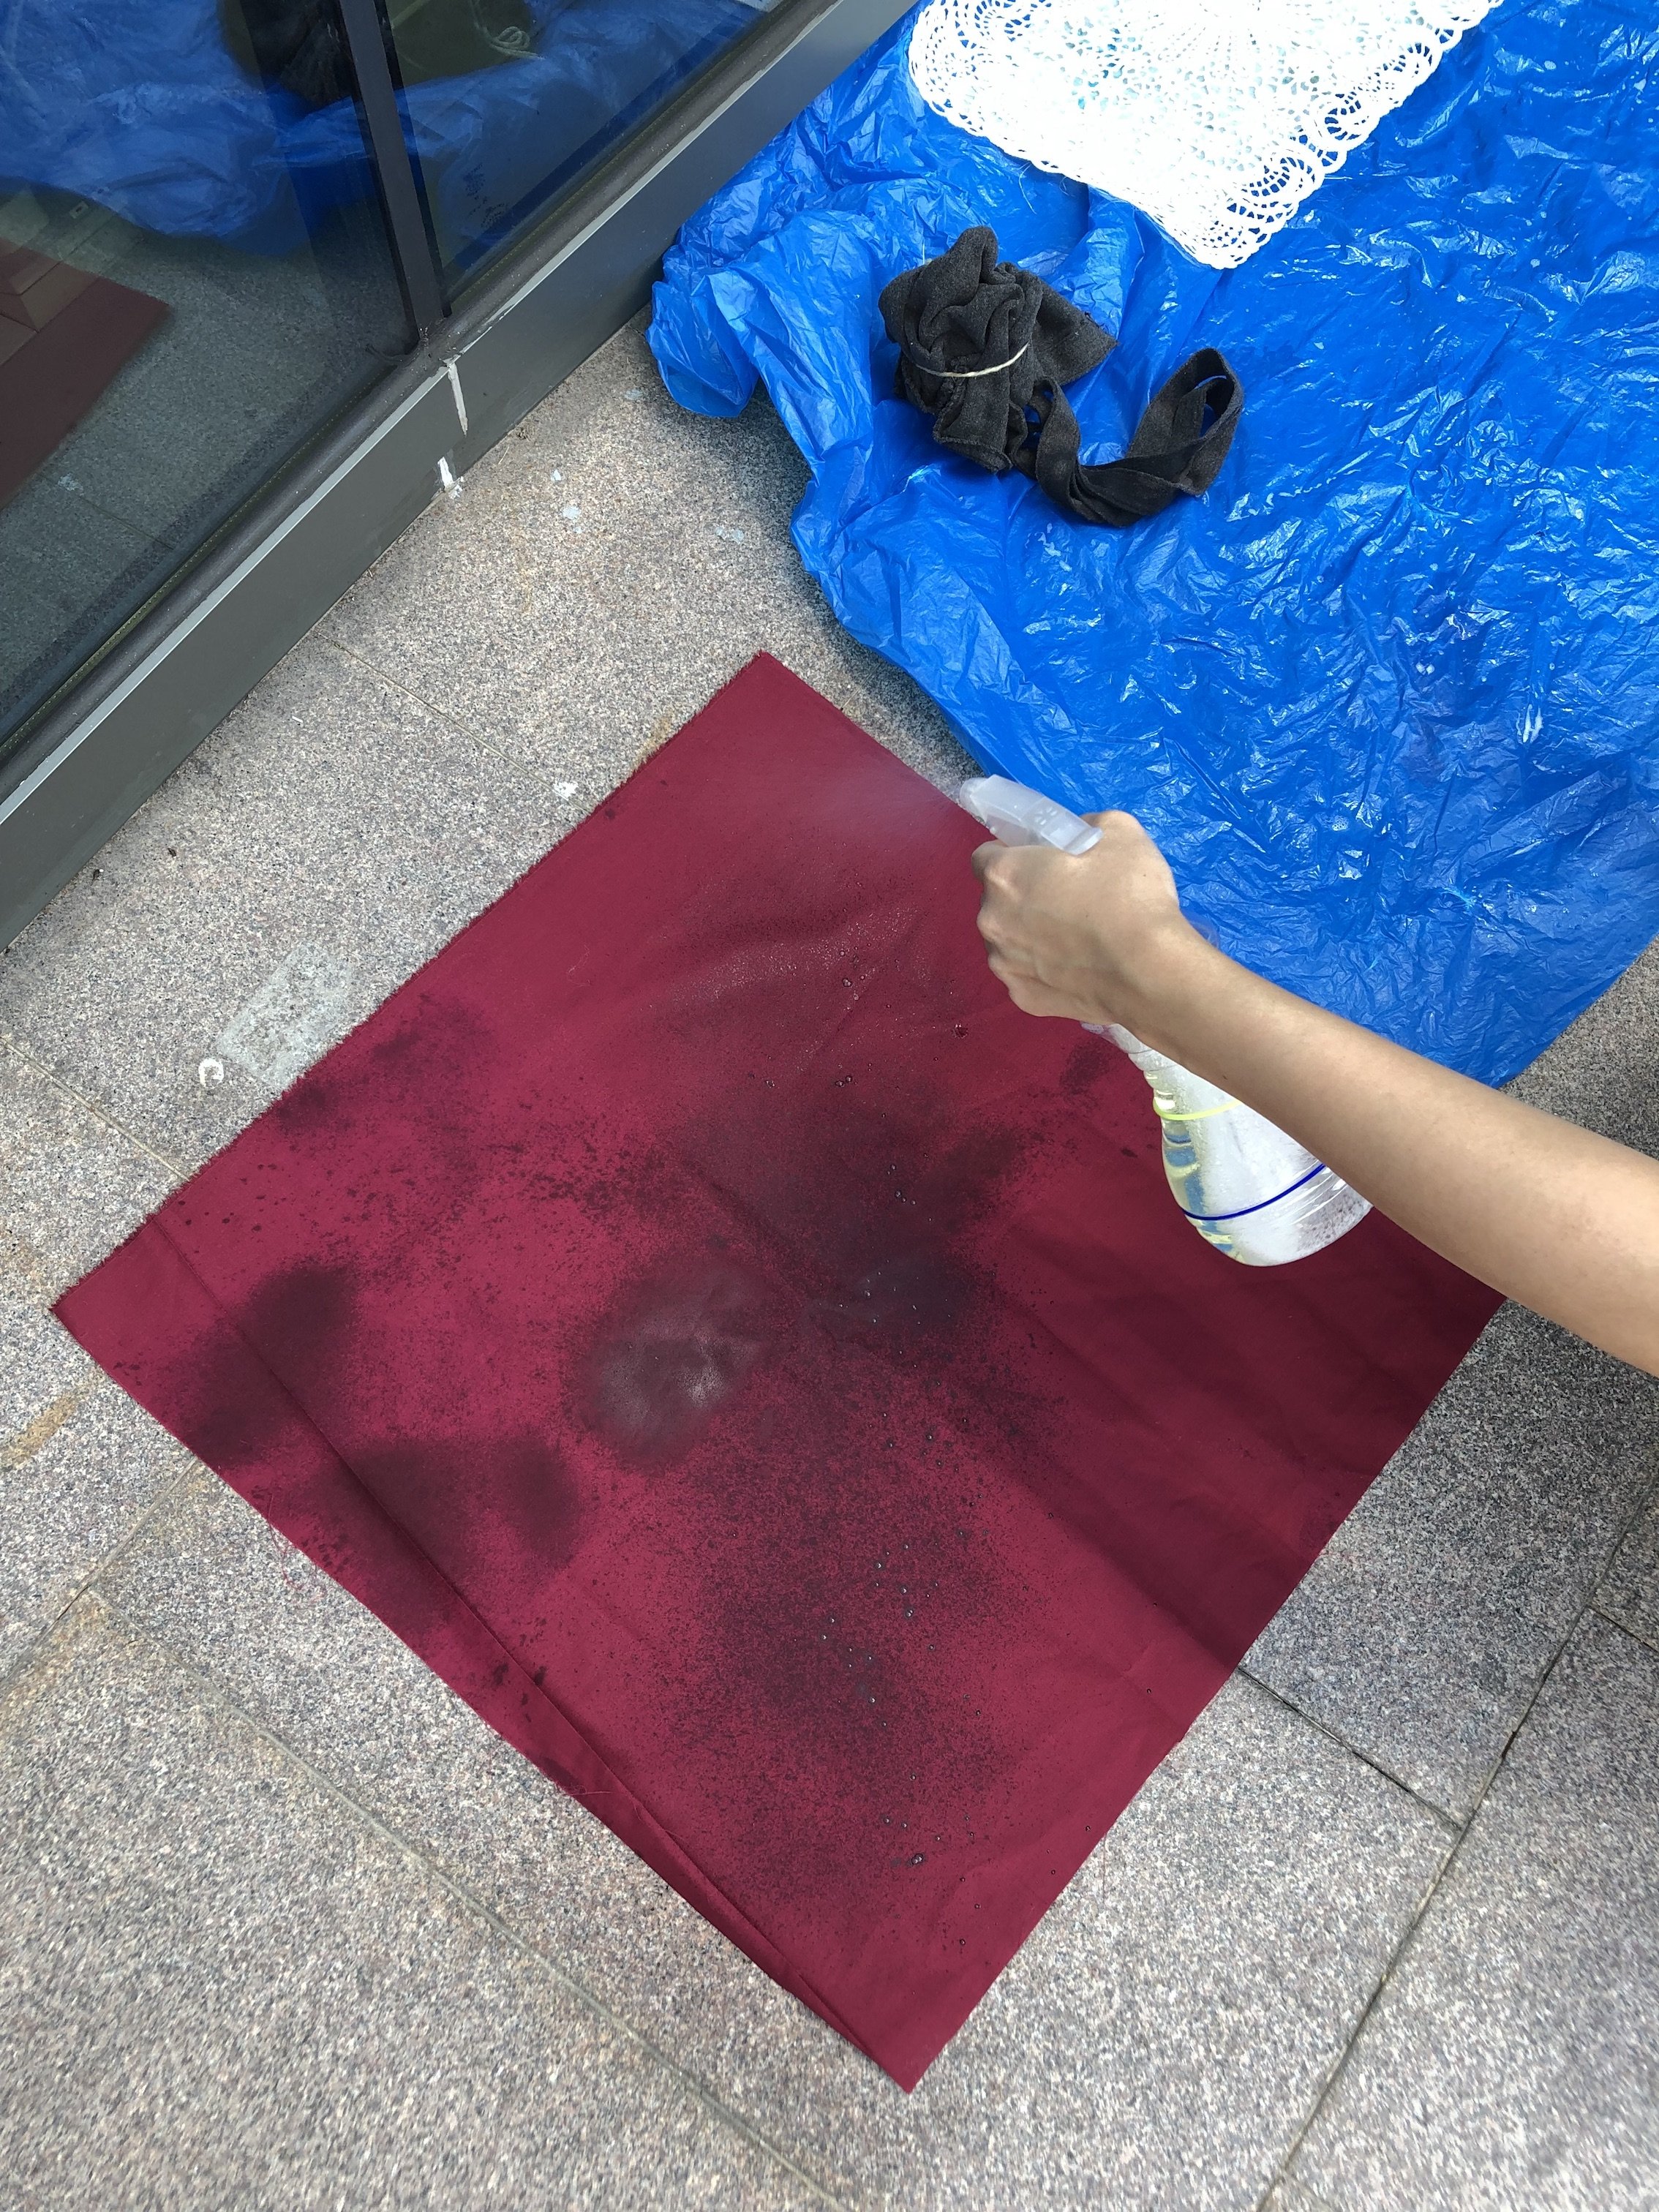
04 Spray the bleach onto your fabric to create your desired pattern
05 Leave the sprayed fabric to dry for awhile.
06 Before your fabric turns into white, wash the bleach residue off your fabric to prevent the bleach from eating into the cotton as it will remove all the colours overtime

I used rubber bands to tie knots onto the fabric as I wanted to achieve a tie-dye effect. The only issue that I had was the bleach was in a spray container. As for tie-dye, the fabric is normally soaked into the paint itself. I was wondering on how do I not make it look like “splotches” of paint. 

Leaving all of my fabrics to dry in the sun. 

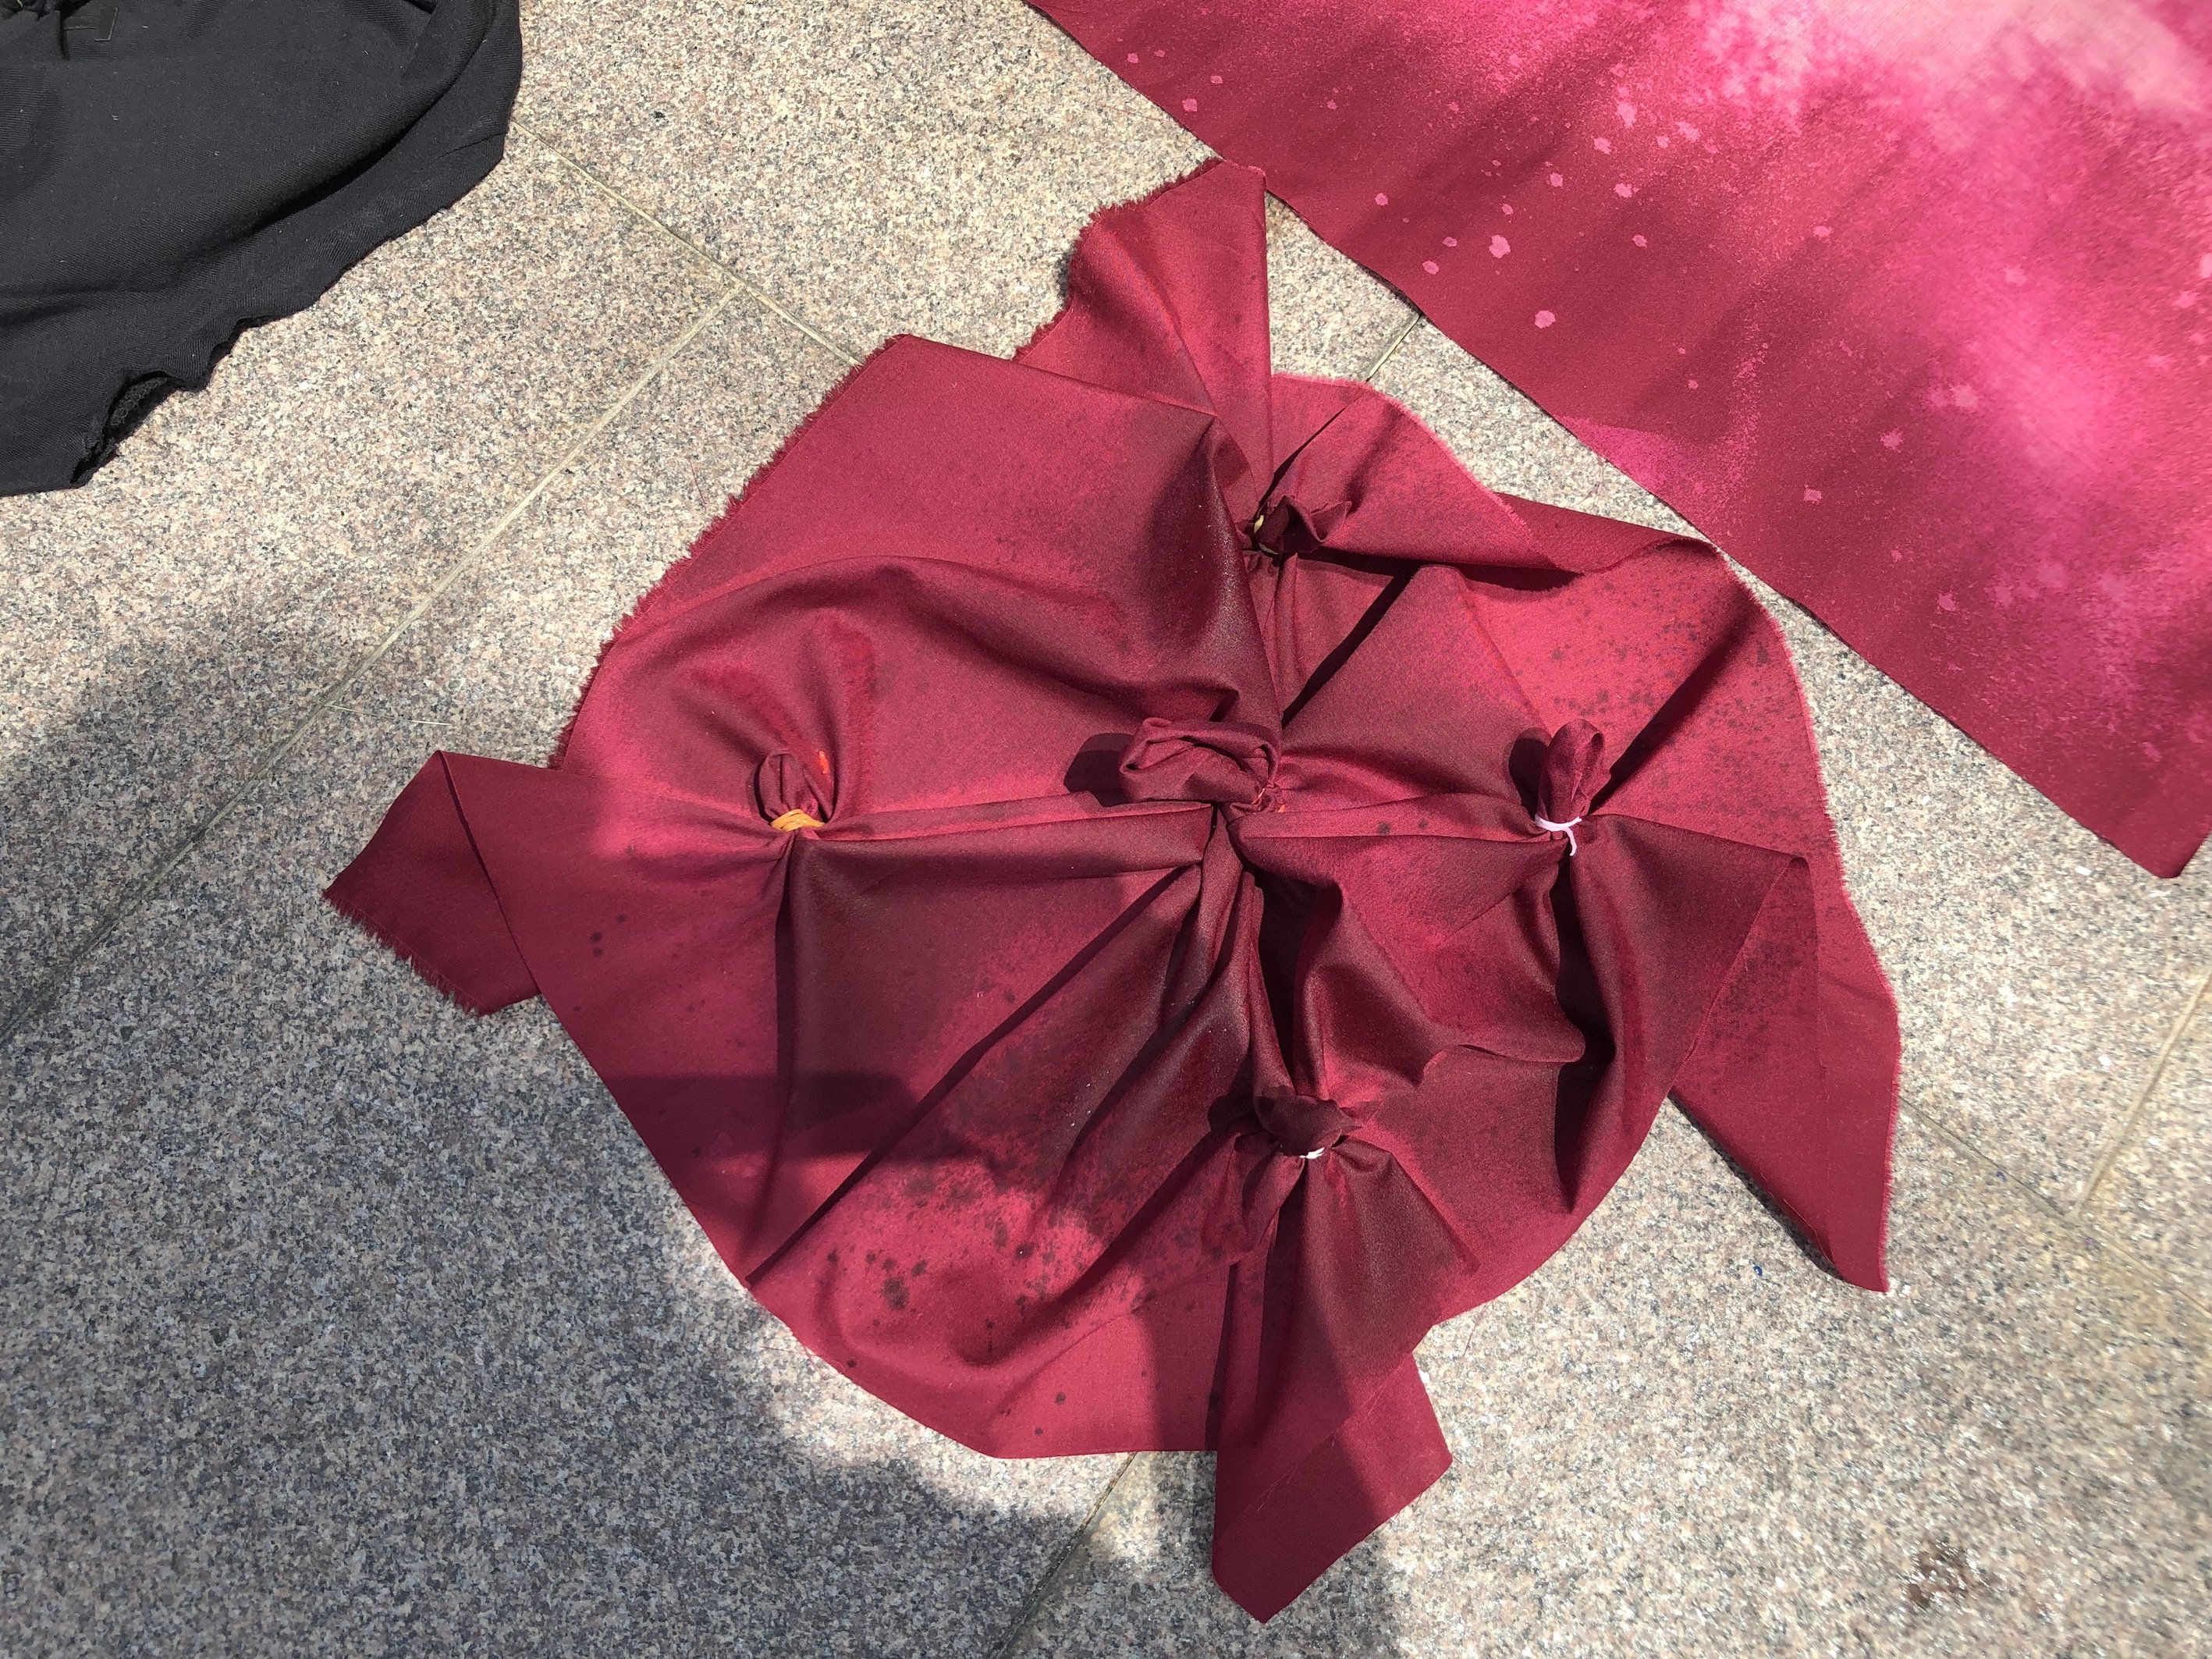
Here are the final results:

I guess I spray too much for this hehe.

This is my favourite among the 3 fabrics! I love the effect hehe

Overall, bleaching was really fun! It’s interesting how I could create similar tie-dye effect simply by using bleach, rather than paints. Such a simple household item could also be use to create art! Now I’m so tempted to make my own tie-dye bleached shirt, and not having to purchase those tees at overpriced prices :p


L a s e r  &  R a s t e r i n g

Raster is the standard process for engraving. It works like an inkject printer, where a file is printed line by line. Instead of printing, it engraves on the material. Laser cutting is basically cutting the wood accordingly to your vector file. 

Raster Engraving
01 Create your vector file. Note that outlines are for laser cutting and fill are for rastering
02 Place your file into Coreldraw
03 Set the suitable settings for your engraving / laser cutting. You are able to control the depth of the rastering according to the power set in the print settings
04 Place your material in the machine. It could be wood or acrylic
05 Start rastering!

I knew I wanted to make mini coasters with this process. Rather than using a circular shape, I tried an octagon shaped coaster and used geometrical shapes to stylize the minimalistic look. And below are the final outcome! I was very satisfied with the look hehe.

I wanted to add a different texture for the coaster below. It’s an image that mimics a sunset. It was interesting to see that the darker raster at the back has a grid-like texture as compared to the rest. 

Overall it was an interesting experience! I had previous experiences with laser-cutting but has never tried rastering. Now I finally have a chance to try it and it’s really cool! It opens up more doors of opportunities for me now hahaha. I’m excited to try this for my future projects. 

07 Thermochromic Ink

Thermochromic inks or dyes are temperature sensitive compounds, developed in the 1970s, that temporarily change color with exposure to heat. They come in two forms, liquid crystals and leuco dyes. Leuco dyes are easier to work with and allow for a greater range of applications. These applications include: flat thermometers, battery testers, clothing, and the indicator on bottles of maple syrup that change color when the syrup is warm. The thermometers are often used on the exterior of aquariums, or to obtain a body temperature via the forehead.

What you’ll need:
8 scoops of White Base
2 scoops of Thermochromatic Powder
Mask (to prevent inhaling of powder when mixing)
Silkscreen with desired pattern
Fabric for printing

Mix the clear base and powder well. Remember to wear your mask to prevent inhalation of the powder!

Steps for Thermochromatic Printing:

01 Apply desired colour paint onto the edge of the silkscreen
02 Place silkscreen board onto the fabric
03 Use a squeegee, apply pressure, spreading the paint from one end to the other
04 Lift the silkscreen board slowly, using one hand to hold the fabric to prevent any shifting
05 Your print is done!

This is the red thermochromatic paint.

This is the one with the blue thermochromatic paint.

So… I finally tried seeing how it looks under heat! I was honestly quite surprised with the outcome as I did not expect the print to be so sensitive. I realised that the blue ink is much more sensitive than the red one. Galina mentioned that the difference in sensitivity could possibly be due to the concentration of powder used in both mixtures. 

Isn’t it cool?! Now I know how simple it is to make those thermochromatic strips, shirt and mugs…. Time for me to make some $$$ hehe 

All in all, this technique was quite an eye opening experience as I never thought I would get a chance to try out thermochromatic powder. This powder itself btings endless possibilities that could be incorporated into future projects! It amazing how simple the process is – mix, print, heat. And tadah! Magic happens. This makes me really excited on what else I could learn from surface design.

06 Knitting

Finally, knitting! 

Honestly, I was quite excited to learn knitting as I’ve always wanted to try it but never have gotten a chance to, or rather a motivation and a reason to haha. So finally, I get to try it! 

First and foremost, I had a huge problem because I’m a left hander. And the knitting technique that Galina has taught us in class was a tad tricky for me as I believe it’s much easier for right-handers. And I thought knitting will be universal and wouldn’t have a problem for left handers. 

Thank you Galina for trying to save me in my situation and tried to do a left-hand knit! Haha. I tried but I guess I will have to resort to Youtube and learn it slowly. And I am so glad… there’s such thing called a left-hand knit. However some are a little tricky and the way the sticks are handled feels weird on me. But! I finally managed to find some tutorials that was useful for me and tweaked the technique a little to make it a little comfortable for me. 

What you’ll need:
Lots and lots of yarn and a pair of knitting needles

This was the first attempt of me knitting. As you can see… the weaves are a little messy as I was not entirely clear on how the technique works yet. But lets just continue knitting and see where it’s gonna go… 

This is the moment when I knew I screwed it up. When I was knitting, I was not careful and the other stick which was holding the other end of the yarn dropped out from the knots T_T I didn’t know how to fix it!!

/ Attempt 02

So I went home and decided to re-do another batch… Maybe trying another colour hoping my luck with knitting will be better. Tots feeling like a Grandma now hahaha, knitting while watching the news with my Dad. 

And again! I messed up. I was distracted while watching the news and I forgot which weaved / knot that I’ve transferred, or did not transfer. So… I had no idea on how to un-do my mistake and decided that I’ll just make a new one instead. 

/ Attempt 03

The third attempt is the best one yet! I wanted to make a little scarf for my soft toy thus it’s a little long. But after knitting, I realised it’s a little TOO long. But oh well lets just finish the yarn!

I bought some more yarns which I have yet to try it out. I will start knitting them once I’m done with this mini yellow scarf 🙂 

Overall, I feel knitting is quite therapeutic as you can simply zone out and knit, knit, knit. There was once where I did not realise I’ve been knitting for 3 hours straight and it was 3am haha. I am excited to try out my new yarns and am interested in how the wire is gonna turn out. Oh and of course, other knit stitches too! 

So do remember to check back for more updates on my knitting progress 😉


Acrylic Yarn

Heya I’m back again with more knitting! I took a trip to Daiso and bought more yarns and finally I found the T-shirt yarn that I’ve been looking for sooooOOO long. 

I decided to try a new knitting style which is the 2×1 Rib Knit. Here is my reference video below!

In the beginning it was going well… But it’s a little tough as the knitting has alternates of pearl and the normal knit. And after knitting for 1-2 hour+, my yarn betrayed my trust and broke :’) I guess I was pulling it a little too hard….

Time-check: 3.03am
Here as you can see, the broken part of me. I was devastated T___T

And here are the few little rib knits that survived :’) Thank you for staying with me. 


Copper Wire

SO I was fedup with that yarn and decided to move on to COPPER WIRE. Ok, first of all, I did not expect it to be SO difficult. I knew it was not gonna be easy, but I never knew it’s gonna be that tough. I almost died while doing the first layer. 

It took forever for me to do this copper wire. The beginning was a mess.. but I believed things will get better overtime. I did not give up, I persevered and finally completed it!!!

So this is the final look! I’m actually quite proud of myself as it turned out “neater” than I’ve expected hahaha. Overall I was satisfied with the outcome as I felt this was the toughest knitting material to work with! Never again, never again.


T-Shirt Yarn

My knitting journey continues! I’m so excited to try out the T-shirt yarn as I’ve alwayssss wanted to knit with it as the material is so soft, but most of the Daisos that I went to (Plaza Sing and IMM), its always oos! But finally Ion’s Daiso did not disappoint me and I finally got the yarn I wanted :’) And also a new 10mm knitting needle. 

As you can see the timestamp stated in my Instagram story. I was literally knitting at 4am in the morning hahahahaha. I can’t express the love I have for this yarn and my new knitting needle! I love it so much.

Here is the final outcome! This is my favourite piece among all my knits :’) It’s so softttt and squishy. And it would be safe to say it’s one of my neatest knits as well.


Ribbon Strings

Wanted to try out with new yarns and bought this ribbon string! I was using a 3mm needle and realised that it’s taking forever to knit this cos it’s so tiny :’) Will definitely check back with this process real soon. 


05 Fabric Manipulation, Stitching with Elastics

For this lesson, we will be playing with fabric manipulation and elastics. Firstly, Galina showed us on sewing with elastics.

When sewing with elastics, always put the stitch length to the longest that it will go (basting stitch). By increasing the stitch length, it allows a bigger chunk of elastic for each stitch below, giving the fabric more stretch and pull when it’s done.

Here are some examples that Galina has done:

Some hand stitched stuff that looks like little dumplings.

It is important to know the full stretching capacity of the elastic so that it does not snap the stitches if it’s “overstretched”. When sewing, pull the elastic to the maximum and from there, you’ll know the amount of cloth you’ll need. This will allow sufficient fabric for the stretch of the elastic, making sure it’s not too loose or too tight.

For my version, I decided to combine too fabrics, white polyester fabric as base and white tulle to give it some texture. As mentioned above, I made sure that my elastic was stretched to the maximum to gauge the amount of fabric I will need for it.

Tadah! I’ve stitched it together. It was quite tough to stitch the elastic onto the fabric as I couldn’t get it to stay in the beginning. The elastic kept moving. But after I managed to stitch the beginning, things were smooth afterwards!

Instead of just a straight stitch, I wanted to try something different. I call it an all around stitch haha, basically stitching a circle that will eventually create a little hat. So this is it! It’s a super mini shower cap.


Part II | Fabric Manipulation, Smocking

Moving on, smocking – the toughestttttt technique for me so far. It took me awhile for me to understand how it works! But really, after you truly understand the process and sequence, it gets easier over time. 

Smocking is an embroidery technique used to gather fabric so that it can stretch. Before elastic, smocking was commonly used in cuffs, bodices, and necklines in garments where buttons were undesirable. Smocking can be done in several sophisticated patterns. Such as, cable stitch, stem stitch, honeycomb stitch, lattice stitch, wave stitch. 
To start, you will need a grid and draw the desired pattern you’ll want. For mine, I will be doing a lattice stitch, thus the patterns are alternate diagonal lines drawn on the grids. 

Next, this is the tricky part which took me awhile to figure it out. You’ll have to stitch along the lines. You can decide if you want to do a continuous stitch throughout the entire grid or basically start a new knot once you’ve complete a diagonal line stitch. 

To put it in simple works, pull and stitch the ends of the diagonal line together and tie a knot to form a pattern. 

Continue with the same technique throughout the diagonal lines you see on your grid. 

The first layer will roughly look like the pattern below. And this is the last you will see of this cloth as I’ve decided to restart on a new fabric. I was not 100% clear while I was sewing this and thus was a little confused… 

Alright! So restarting on a new cloth. This is muslin cloth by the way and I love how it feels against my skin. The texture that sort of resemble a canvas. But anyways, I’ve restarted on the lattice stitch! For this, i decided to do a continuous stitch throughout the grid. 

This is how it looks like behind, a tad messy but I tried my best to keep it tidy.

And finally!! It looks like how a lattice stitch is supposed to look! I did two rows and I realised I didn’t have enough cloth T_T I am so tired yet happy with the outcome. Personally, I feel it’s one of the most confusing sewing techniques I’ve learnt so far. Smocking… isn’t easy. I wonder how people can do it so easily! I would definitely love to try the honeycomb technique as it looks so pretty. But for now, I will settle with the lattice stitch that I’ve done 🙂