
National Geographic Photographer
I was thrilled to explore this style as I enjoyed the aesthetics of it and I wanted to see how it would turn out. I was glad that Mimi agreed upon this concept as I am aware that it could come off as too pictorial.
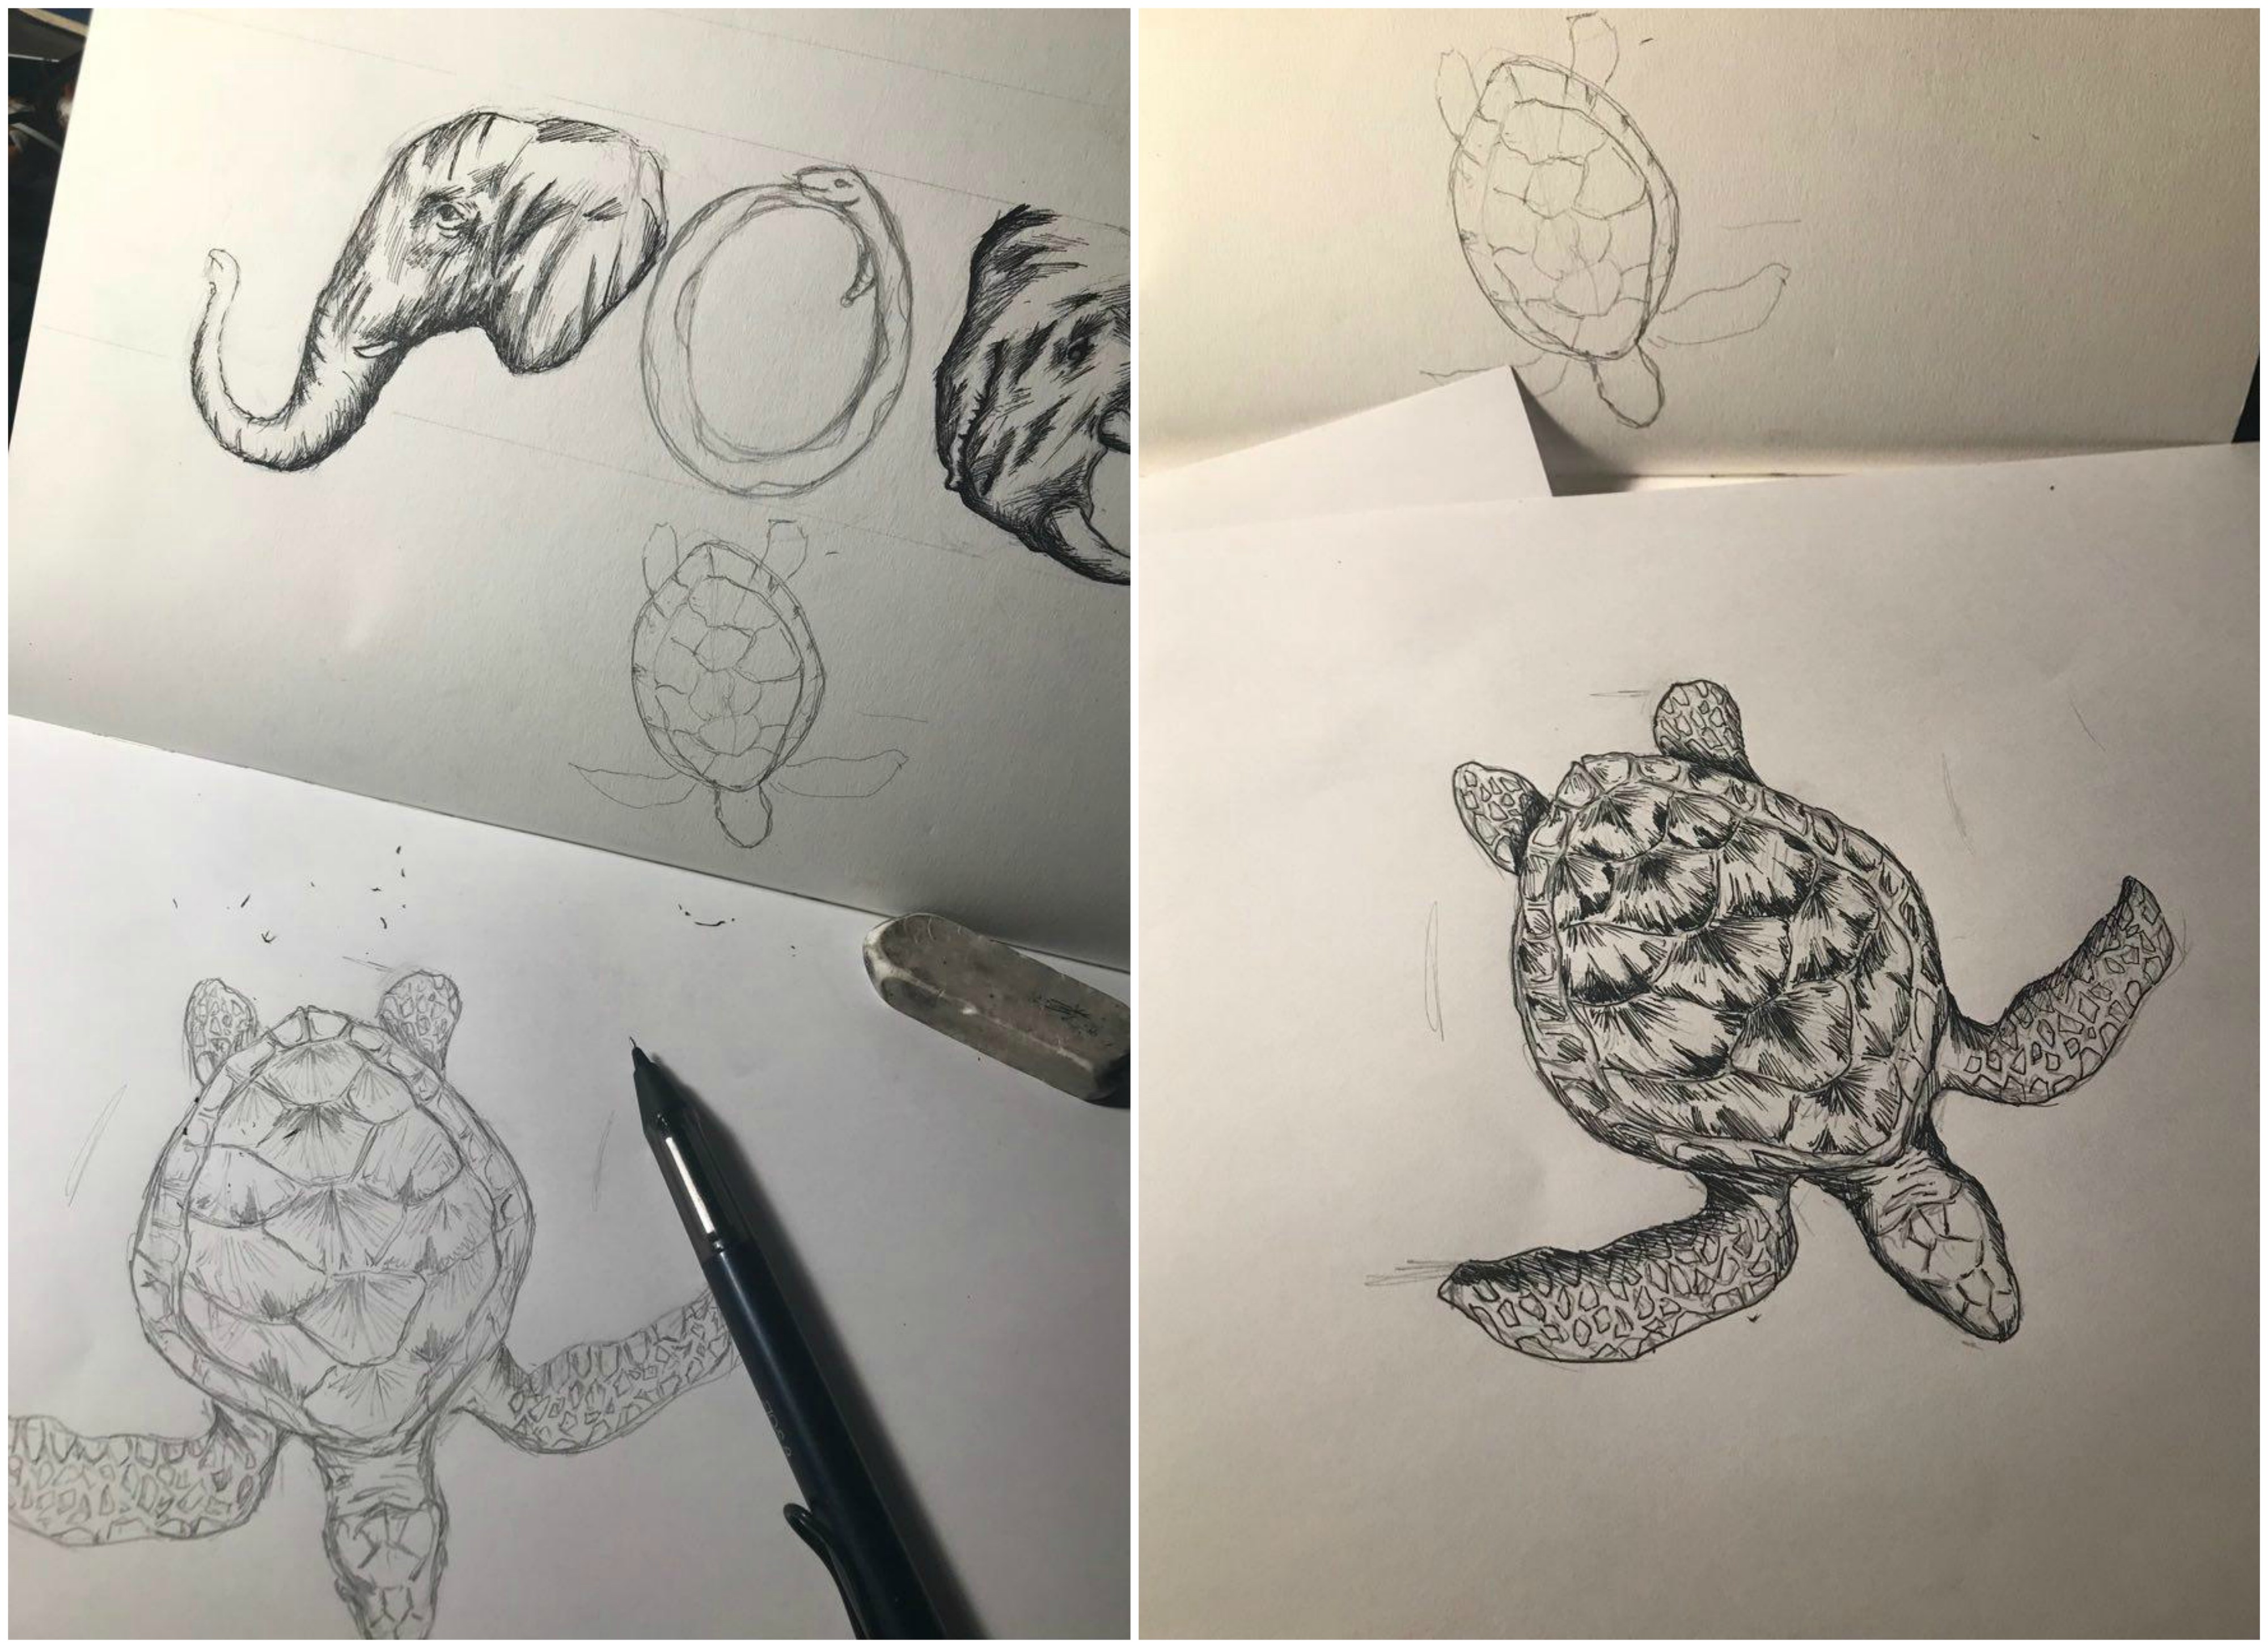
I wanted to have a message behind this piece, other than trying to convey my job. Instead of using any types of animals, I specifically chose animals which are endangered. This would create more meaning behind my work as it brings forward a very pressing issue we face.
I explored the idea of several different animals in my CPJ, but eventually boiled down to using an elephant, Sea Turtle, rhinoceros and an Orangutan.
I would first begin by sketching out the animals, followed by inking them using my pen.
After which, I would scan these drawings into Photoshop for colouring. This is a snippet of my colouring process.

After which, convey the idea of a wildlife photographer, I used the inside of a camera viewfinder to portray this. The viewfinder layout was also yellow which enabled the audience to draw the link to a National Geographic Photographer.
Handyman
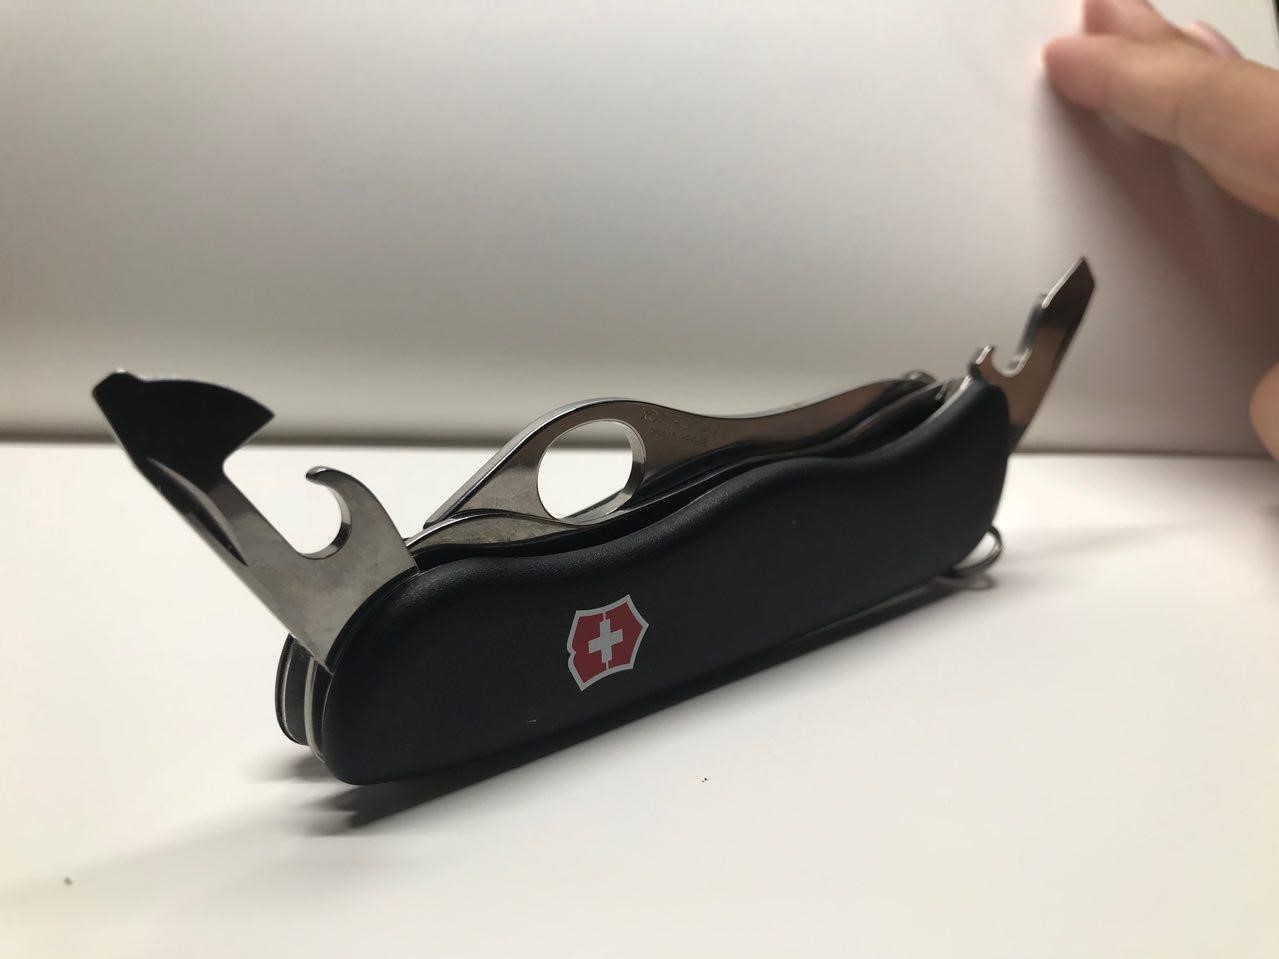
For this occupation, I explored many different perspectives, trying create a composition which would best represent my name using the tools of the Swiss Army Knife.
Thankfully, I had the help of my trusty Swiss Army Knife to help me get a good perspective and to help me visualise the arrangement of the tools.
I chose this perspective as it was much more dynamic than the flat lay which I did on my CPJ.
I then began by tracing the image on my iPad, which I then transferred onto illustrator to create a cleaner graphic.
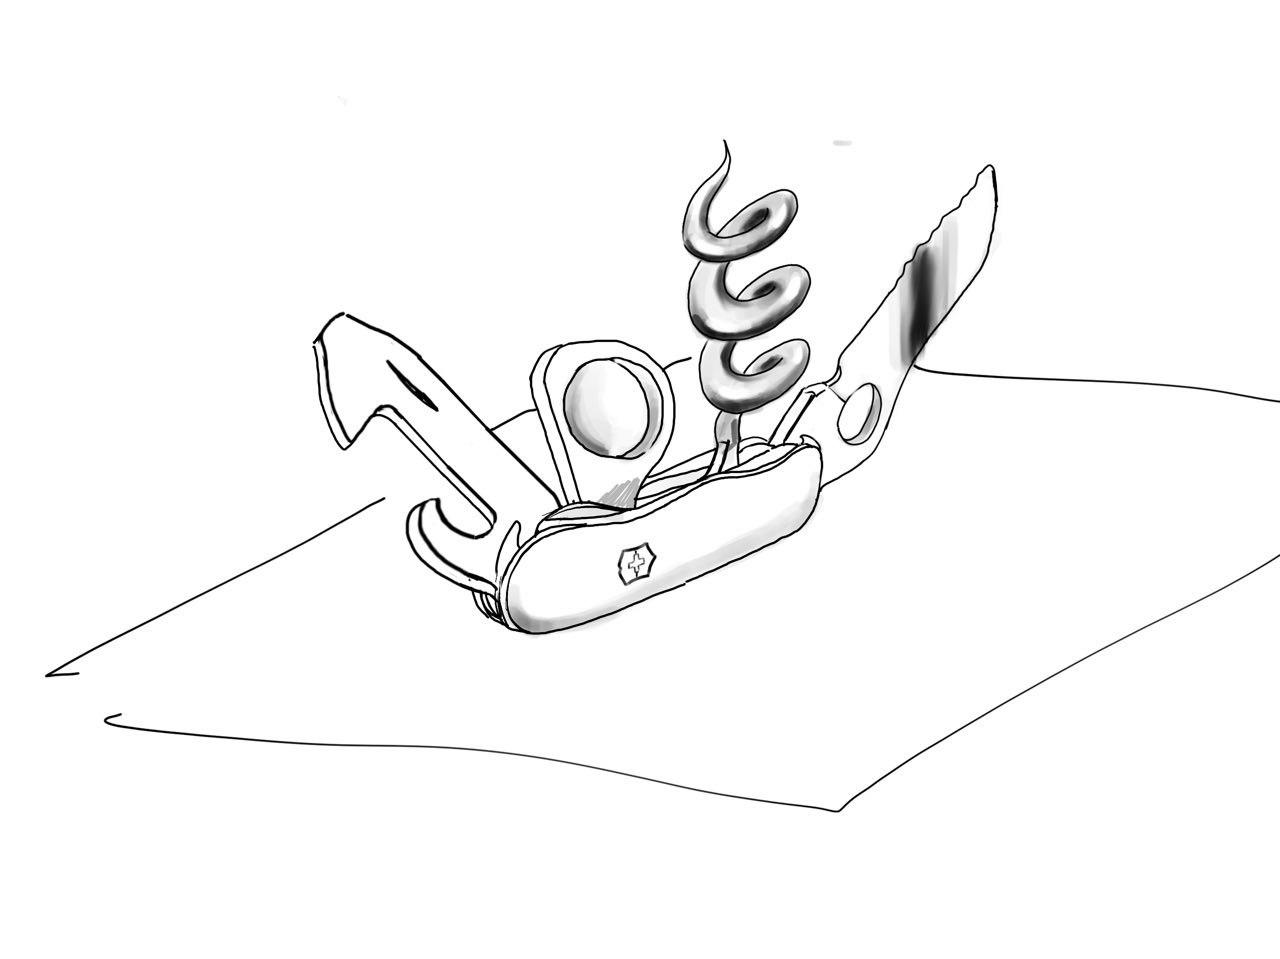
I used yellow for the backdrop because I wanted to convey the message of utility. I started to look for places which holds tools and I found something in common.

Thus, I felt that yellow tied in well with the theme of this piece and it also brought across my message well.
This is a process of me rendering the object. I added gradients to the blade as I did not want the image to look too flat and unrealistic.
Mimi also told me that some of the elements had to be edited as the composition was a little uncomfortable or out of place. I made the magnifying glass larger to fill in the negative spaces between the tools.

Bookworm
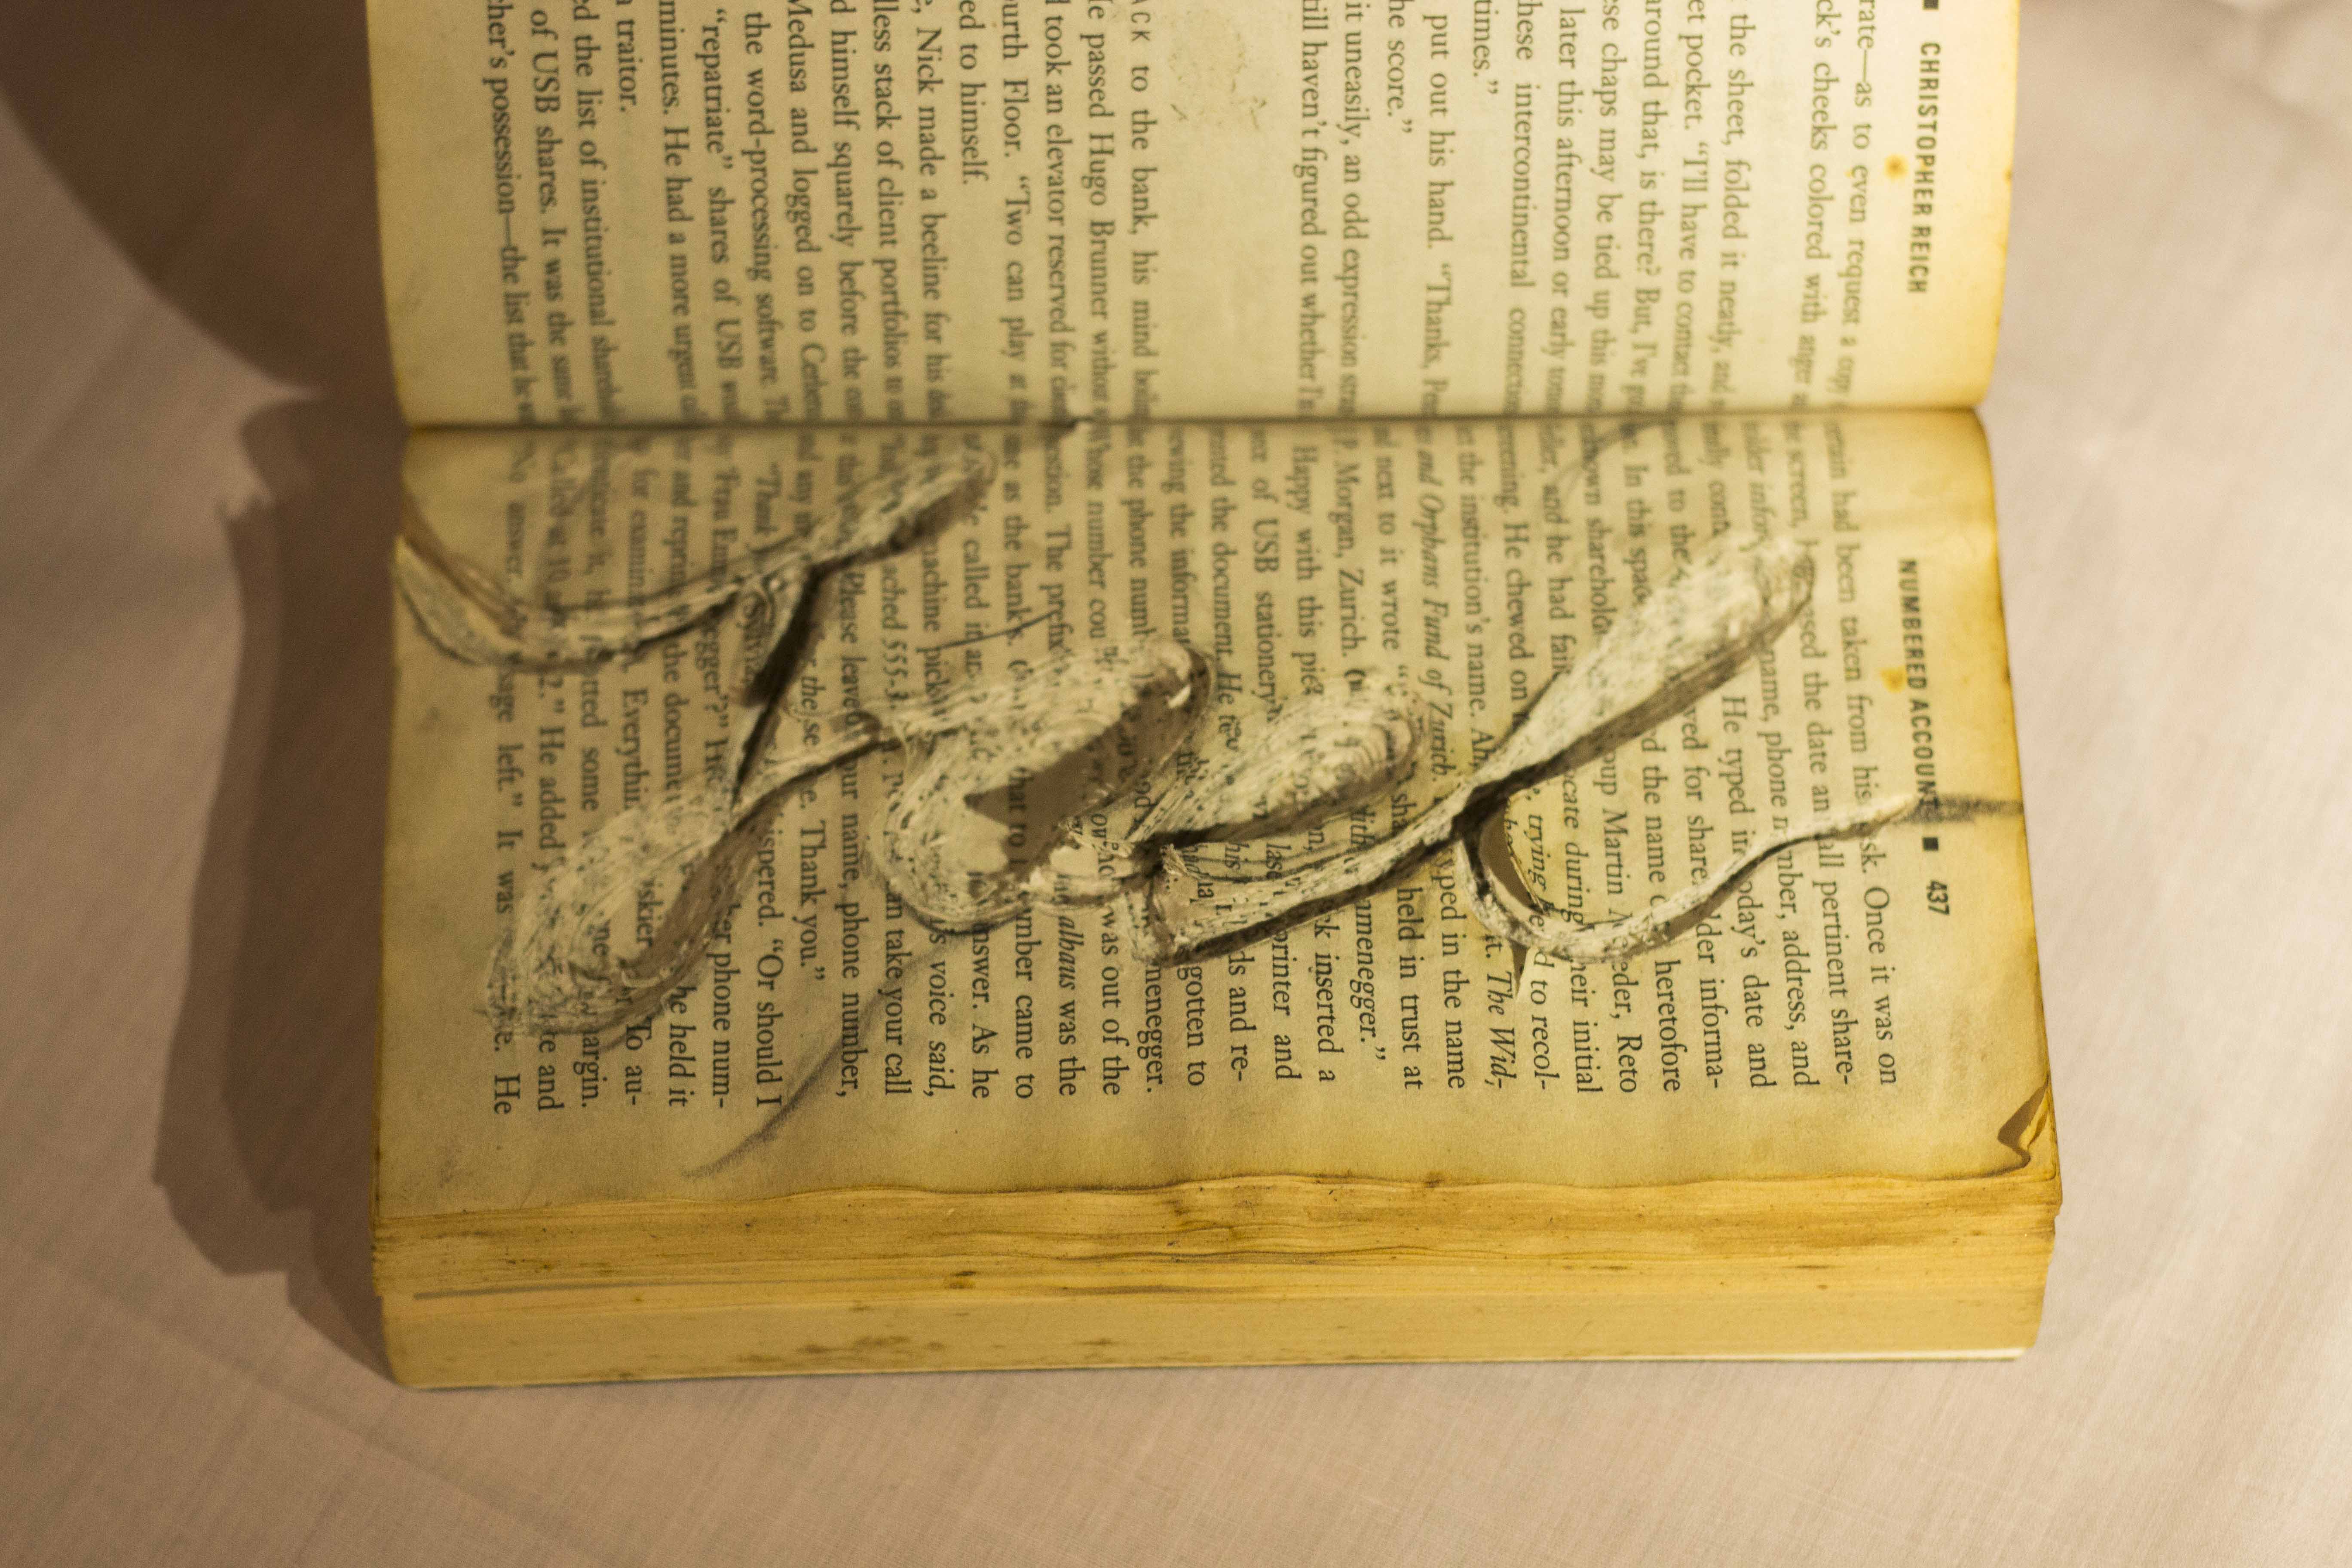
I felt like this was the piece which I had the most challenge making as there was just so much uncertainty surrounding the outcome. I experimented on several books before I managed to get the result i desired.
I first begin by sketching out my name onto the piece of paper. I had to create an illusion that a worm was burrowing through the book. Initially to create such a composition, I used a drill to create the holes in the book.
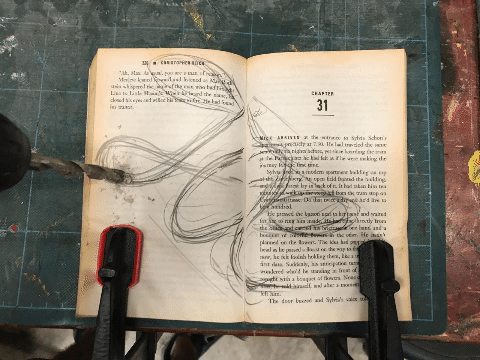
The result turned out to be very messy, as the swirling drill bit dislodged and frayed the paper in chunks, making it loose and haphazard. I experimented with different sizes of drill bits and i even had to use clamps to hold down the book.
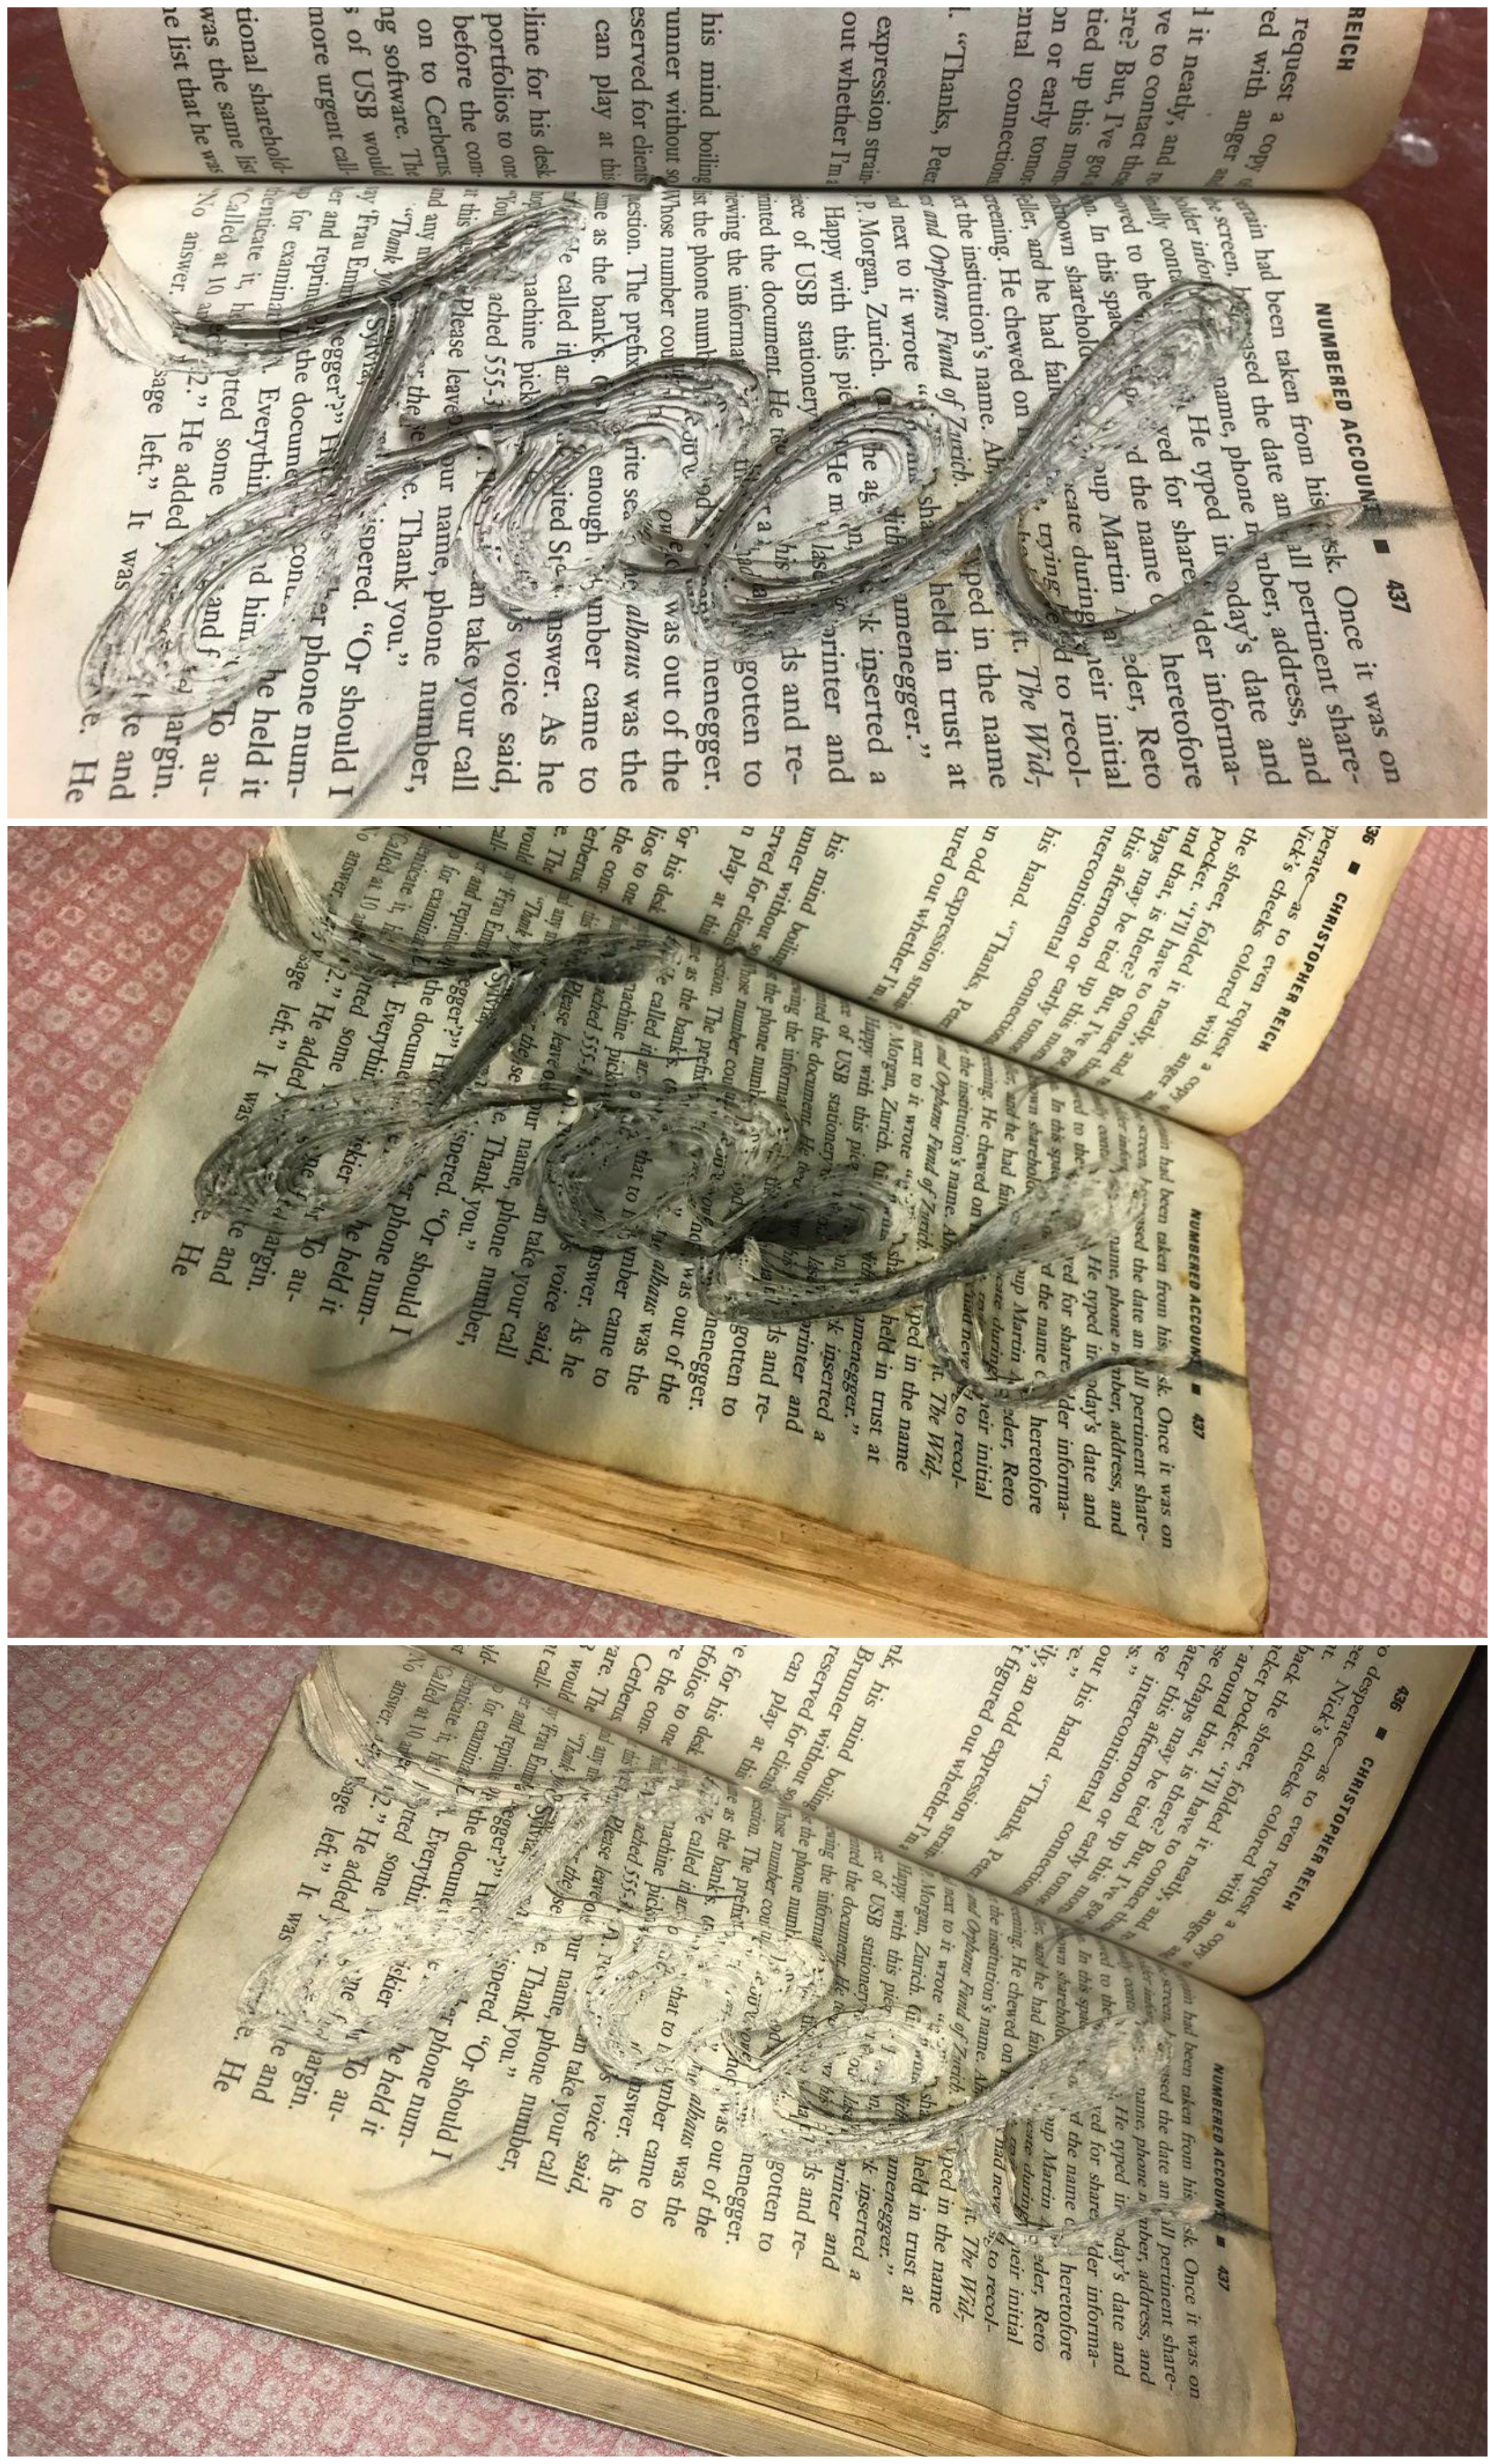
After that failed attempt, I decided to go with the slower and more tedious approach which was to slowly carve out the pages using a penknife. This method proved to be more controlled as well as precise, giving me more confidence in the outcome. I decided not to have my name spread across both sides of the book as the spine prevented the seamless transition I was looking for.
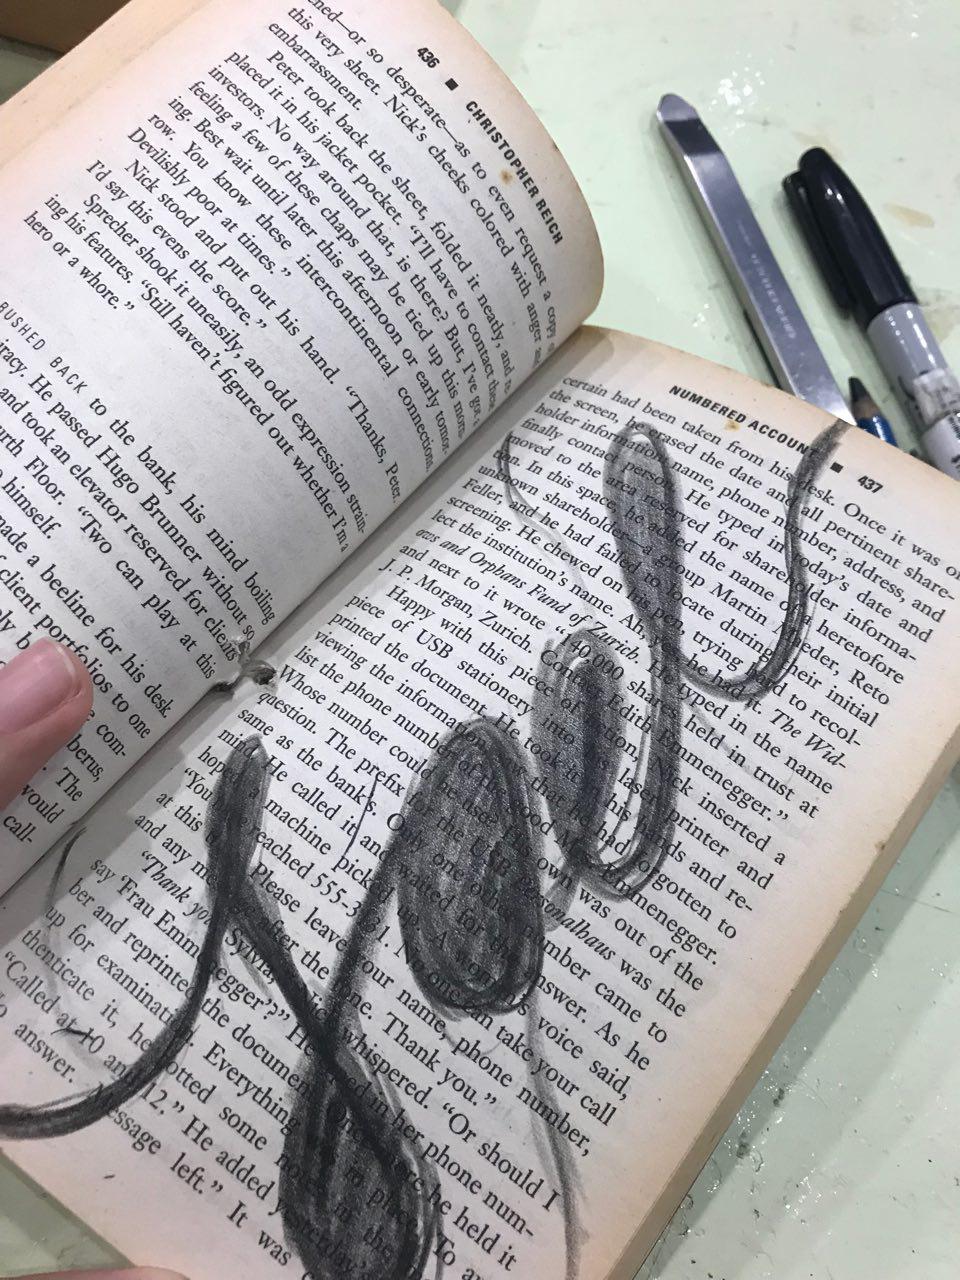
An issue I came across was the paper not staying in place as it was thin and it would shift whenever I attempted to cut it. To solve this, I glued the pages together using an old-school glue stick to ensure that the paper remains intact.
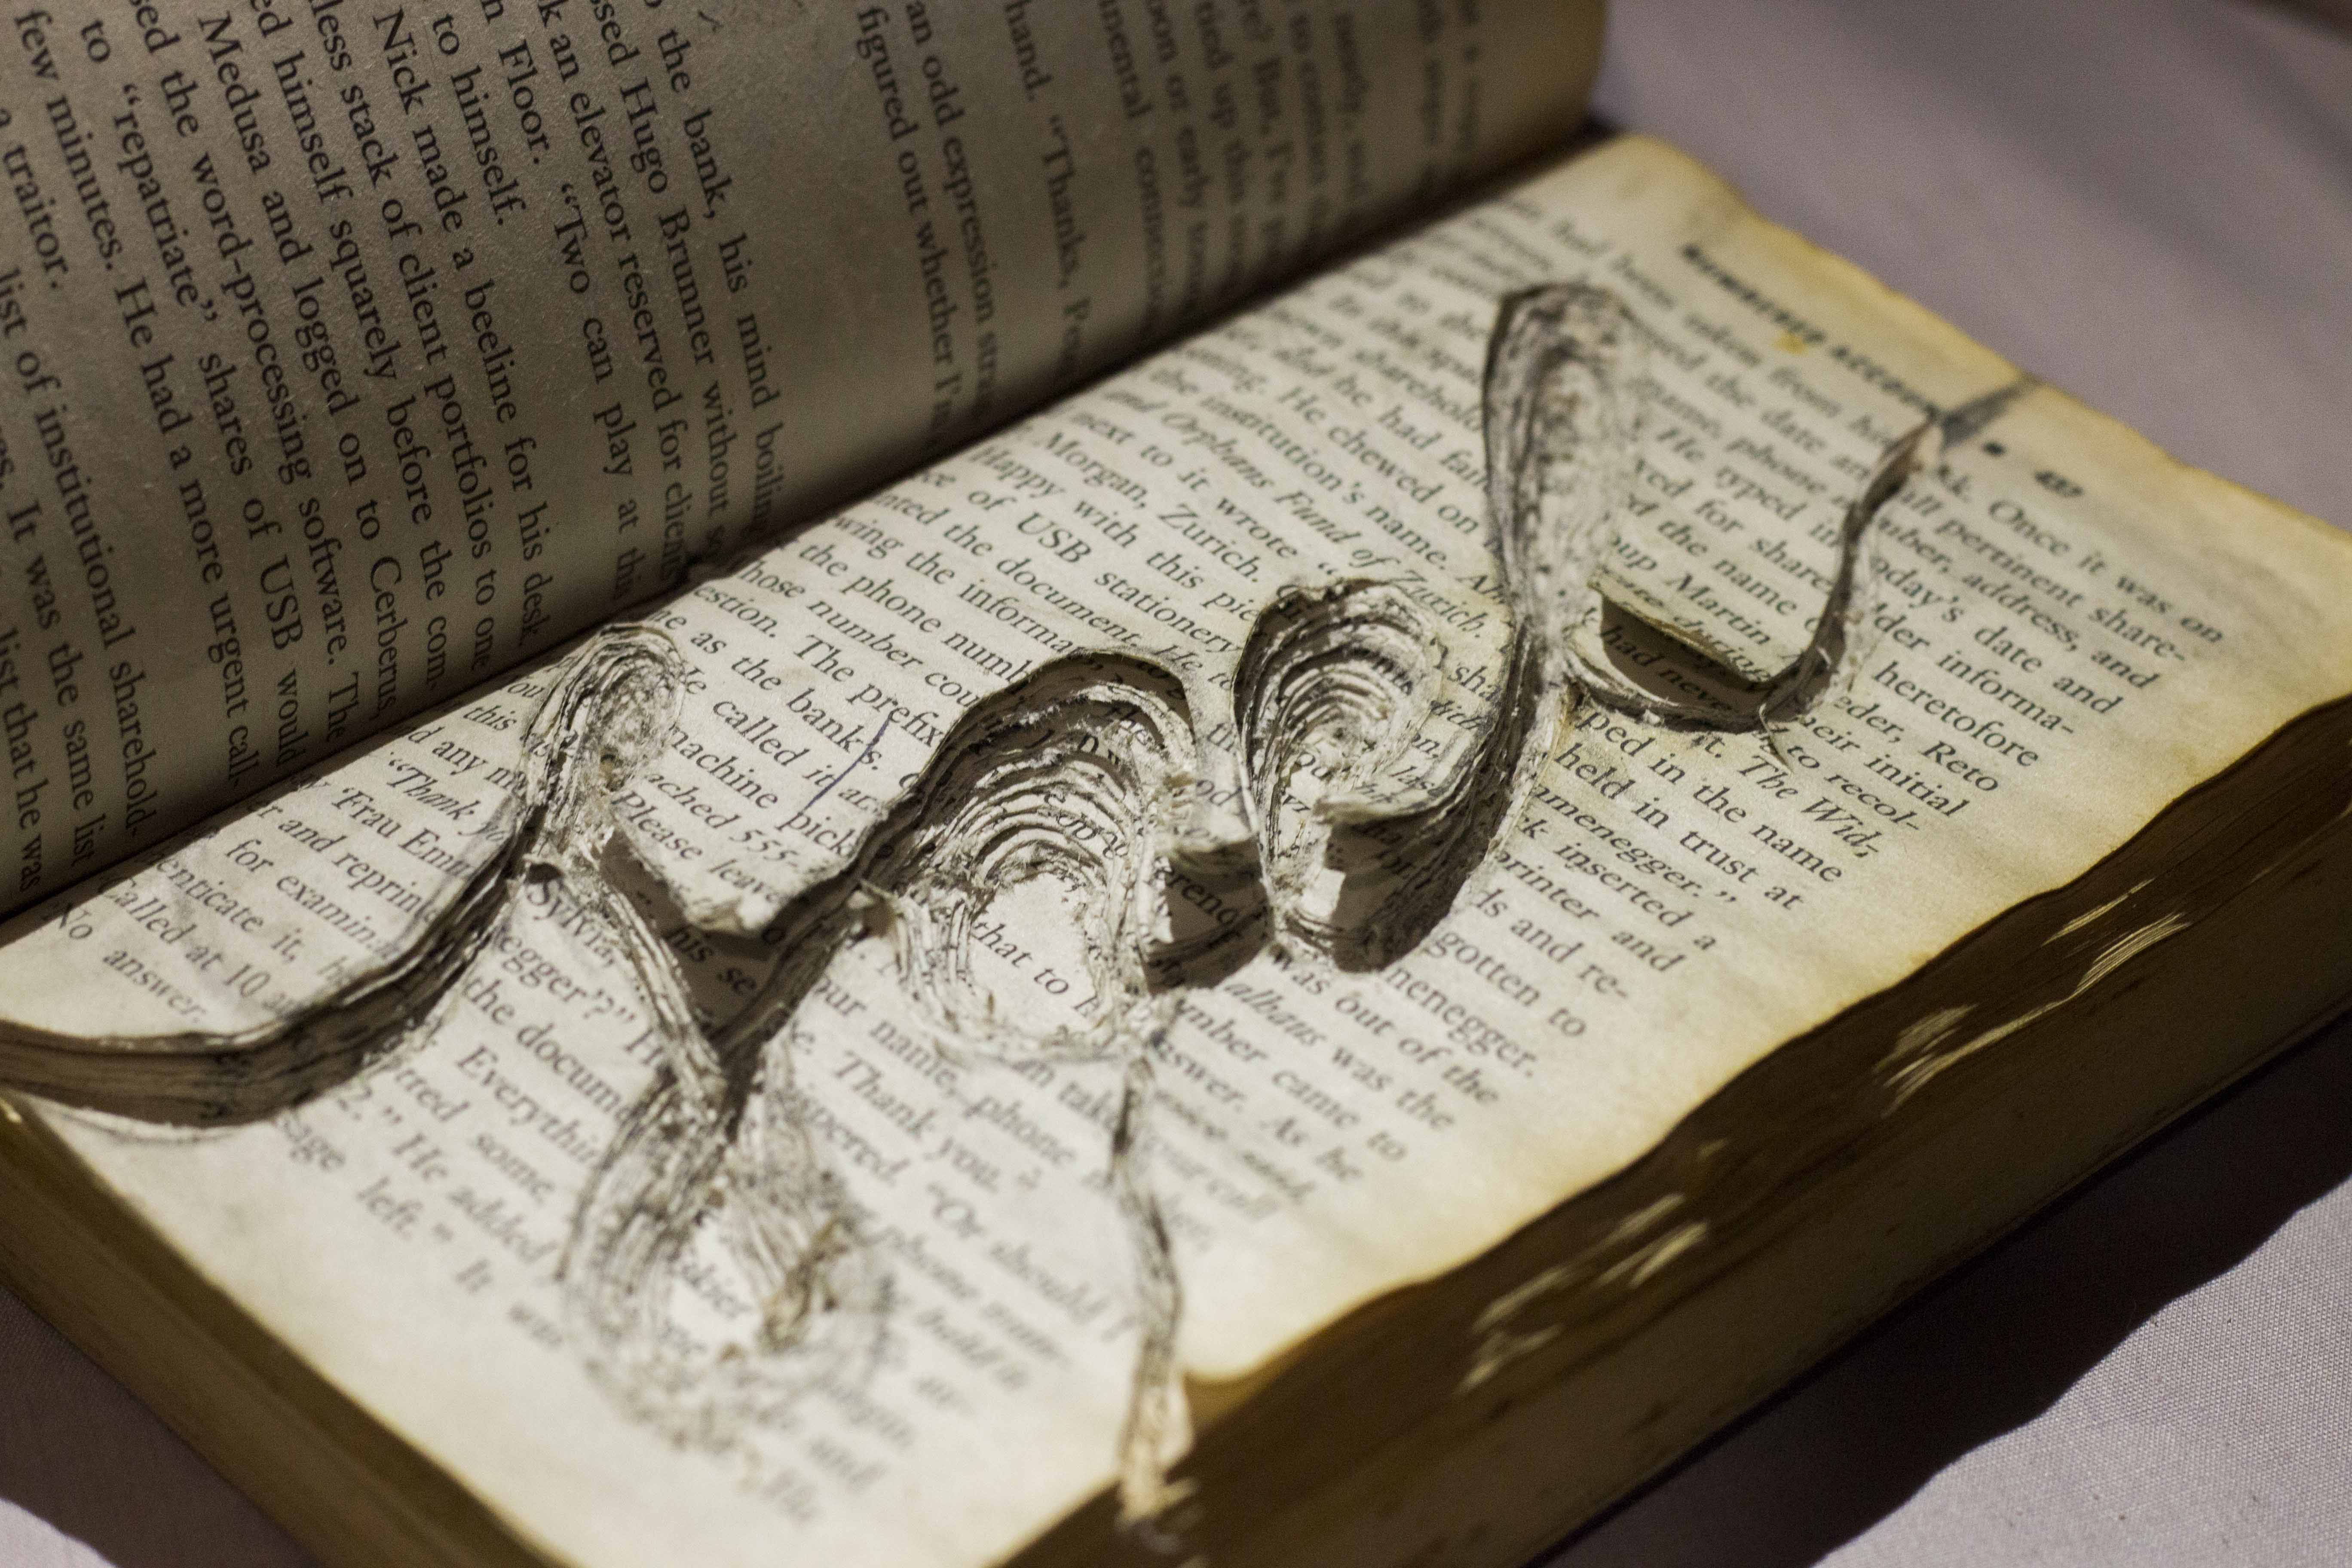
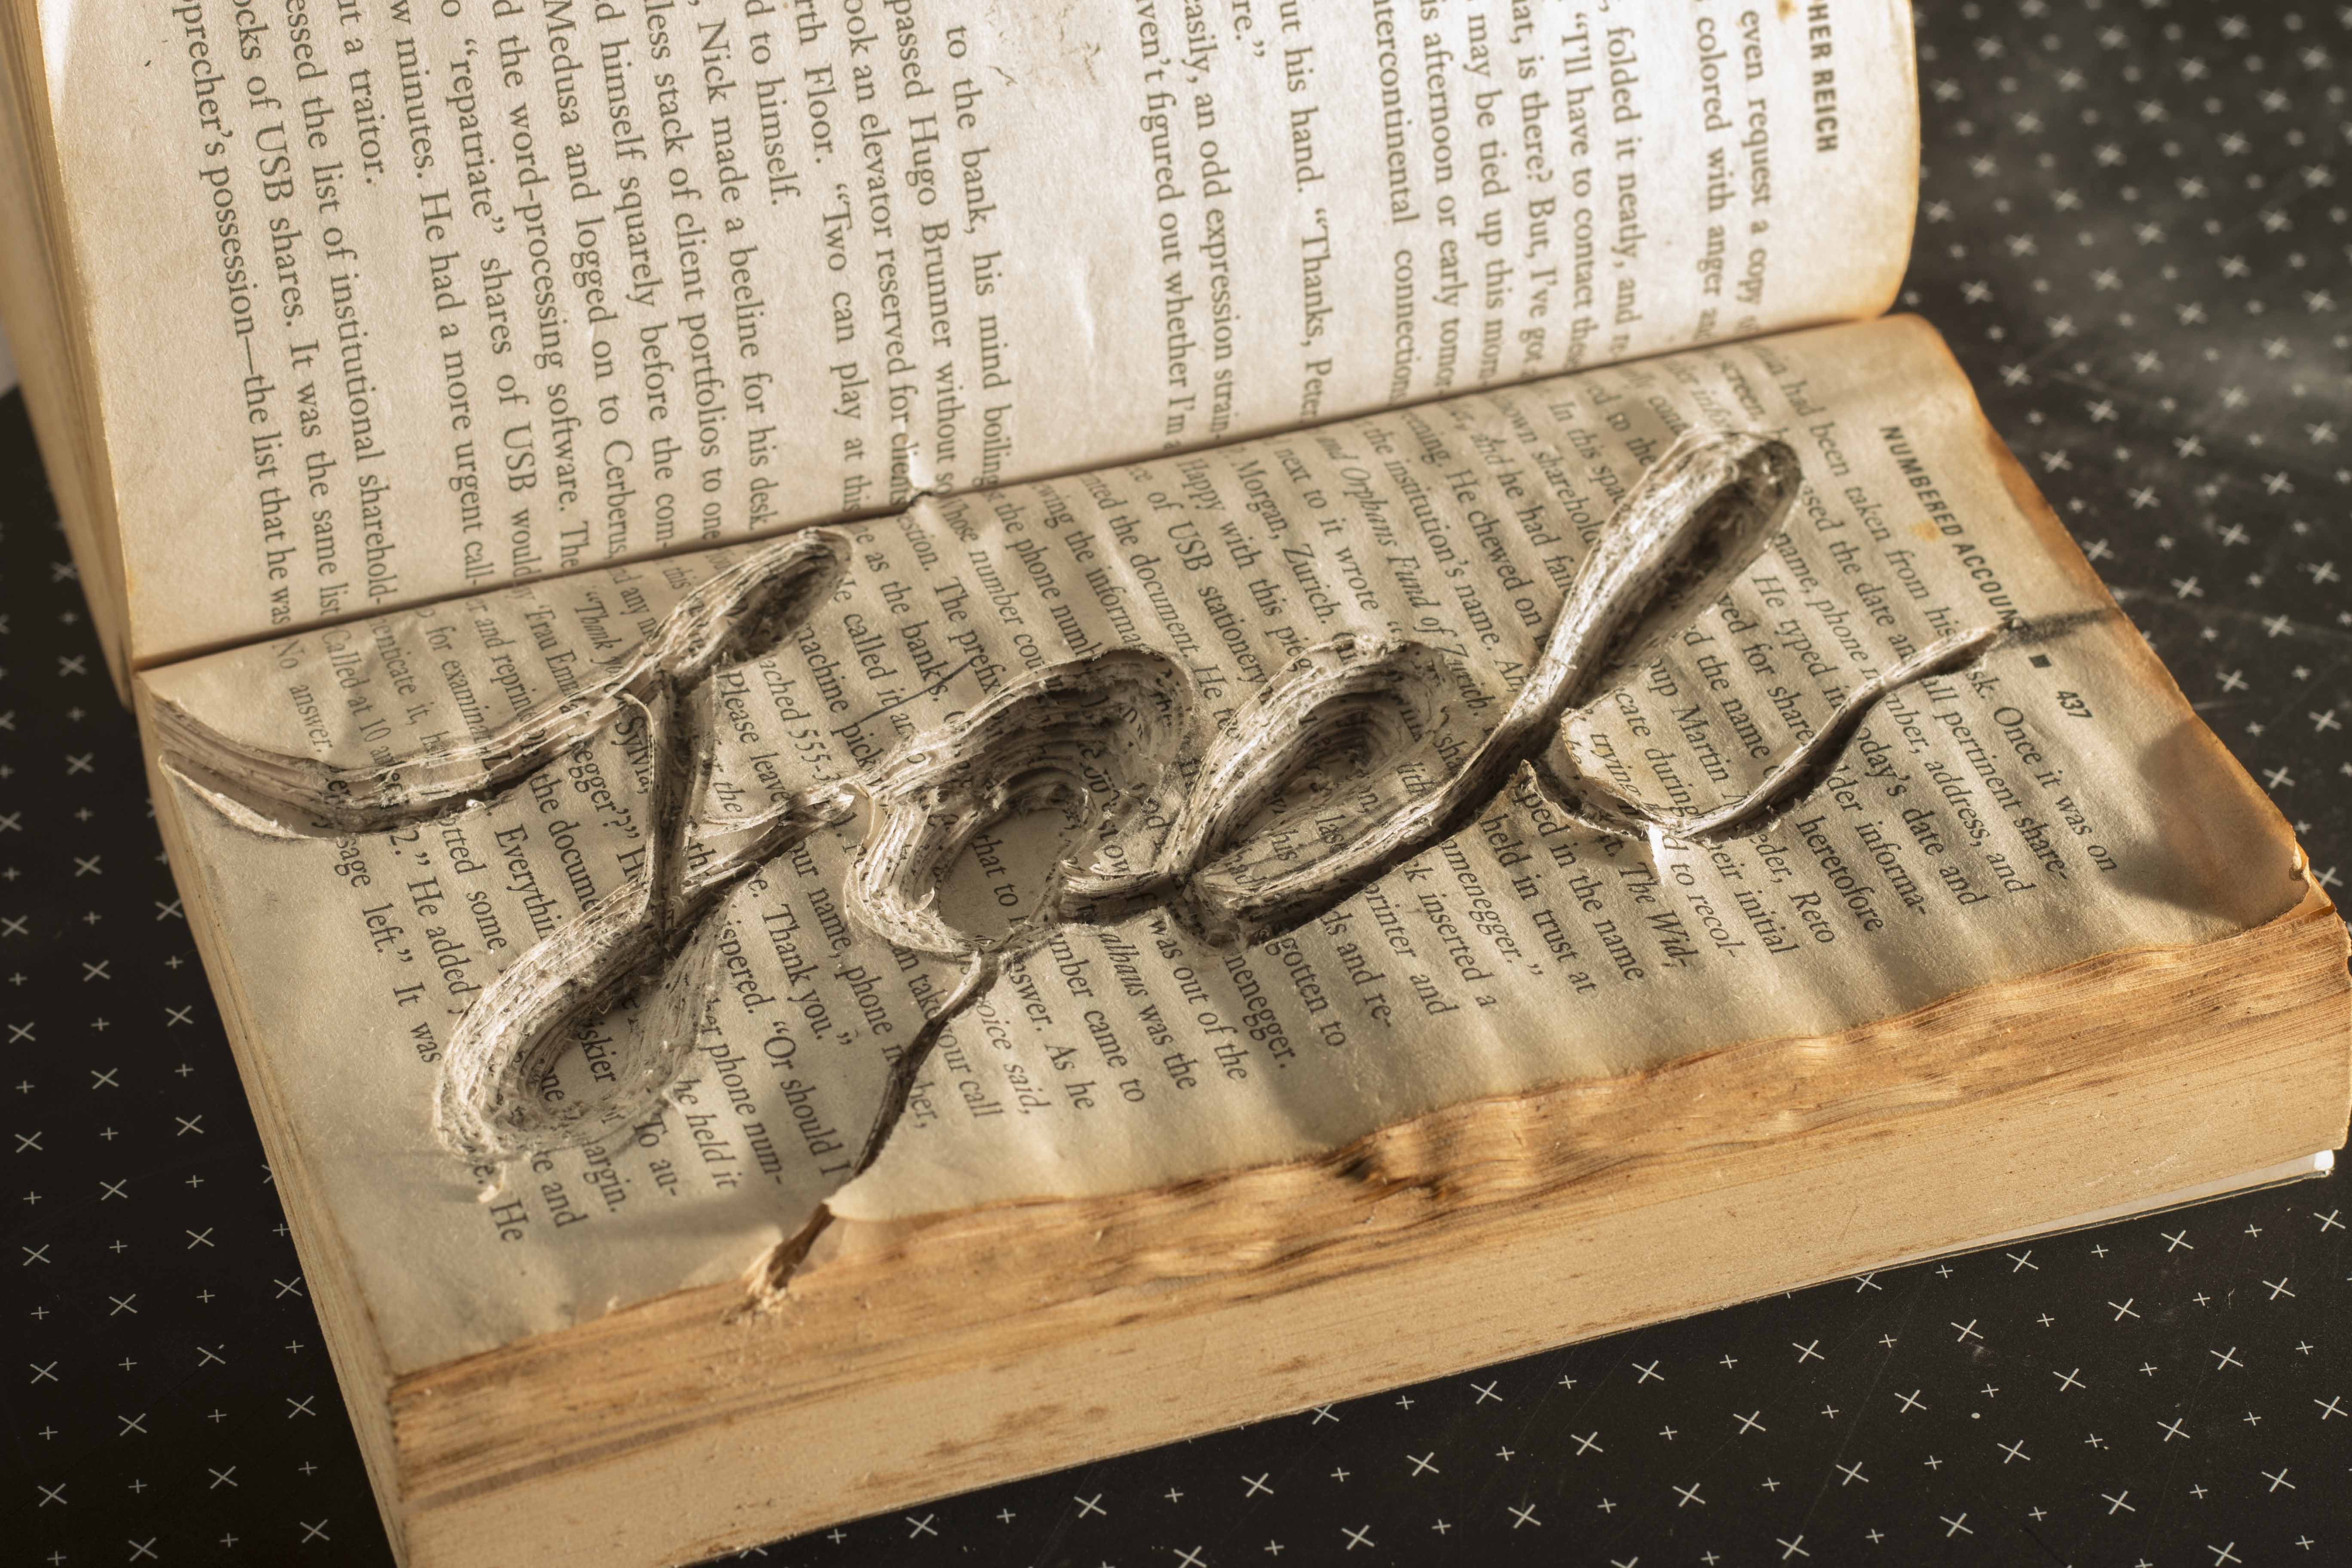
After several arduous of cutting through at least 50 pages, I was finally pleased at the depth and the outcome of the piece! These are some sample shots I took with my phone. I had to experiment with different camera angles as well as lighting angles due to the nature of the composition.
If taken from top down, the image would look too flat as you would not be able to see the layers of the book.
Here are more behind the scenes of my friends helping me to find the correct lighting and angle.

Some of the camera shots:
Sleeping enthusiast
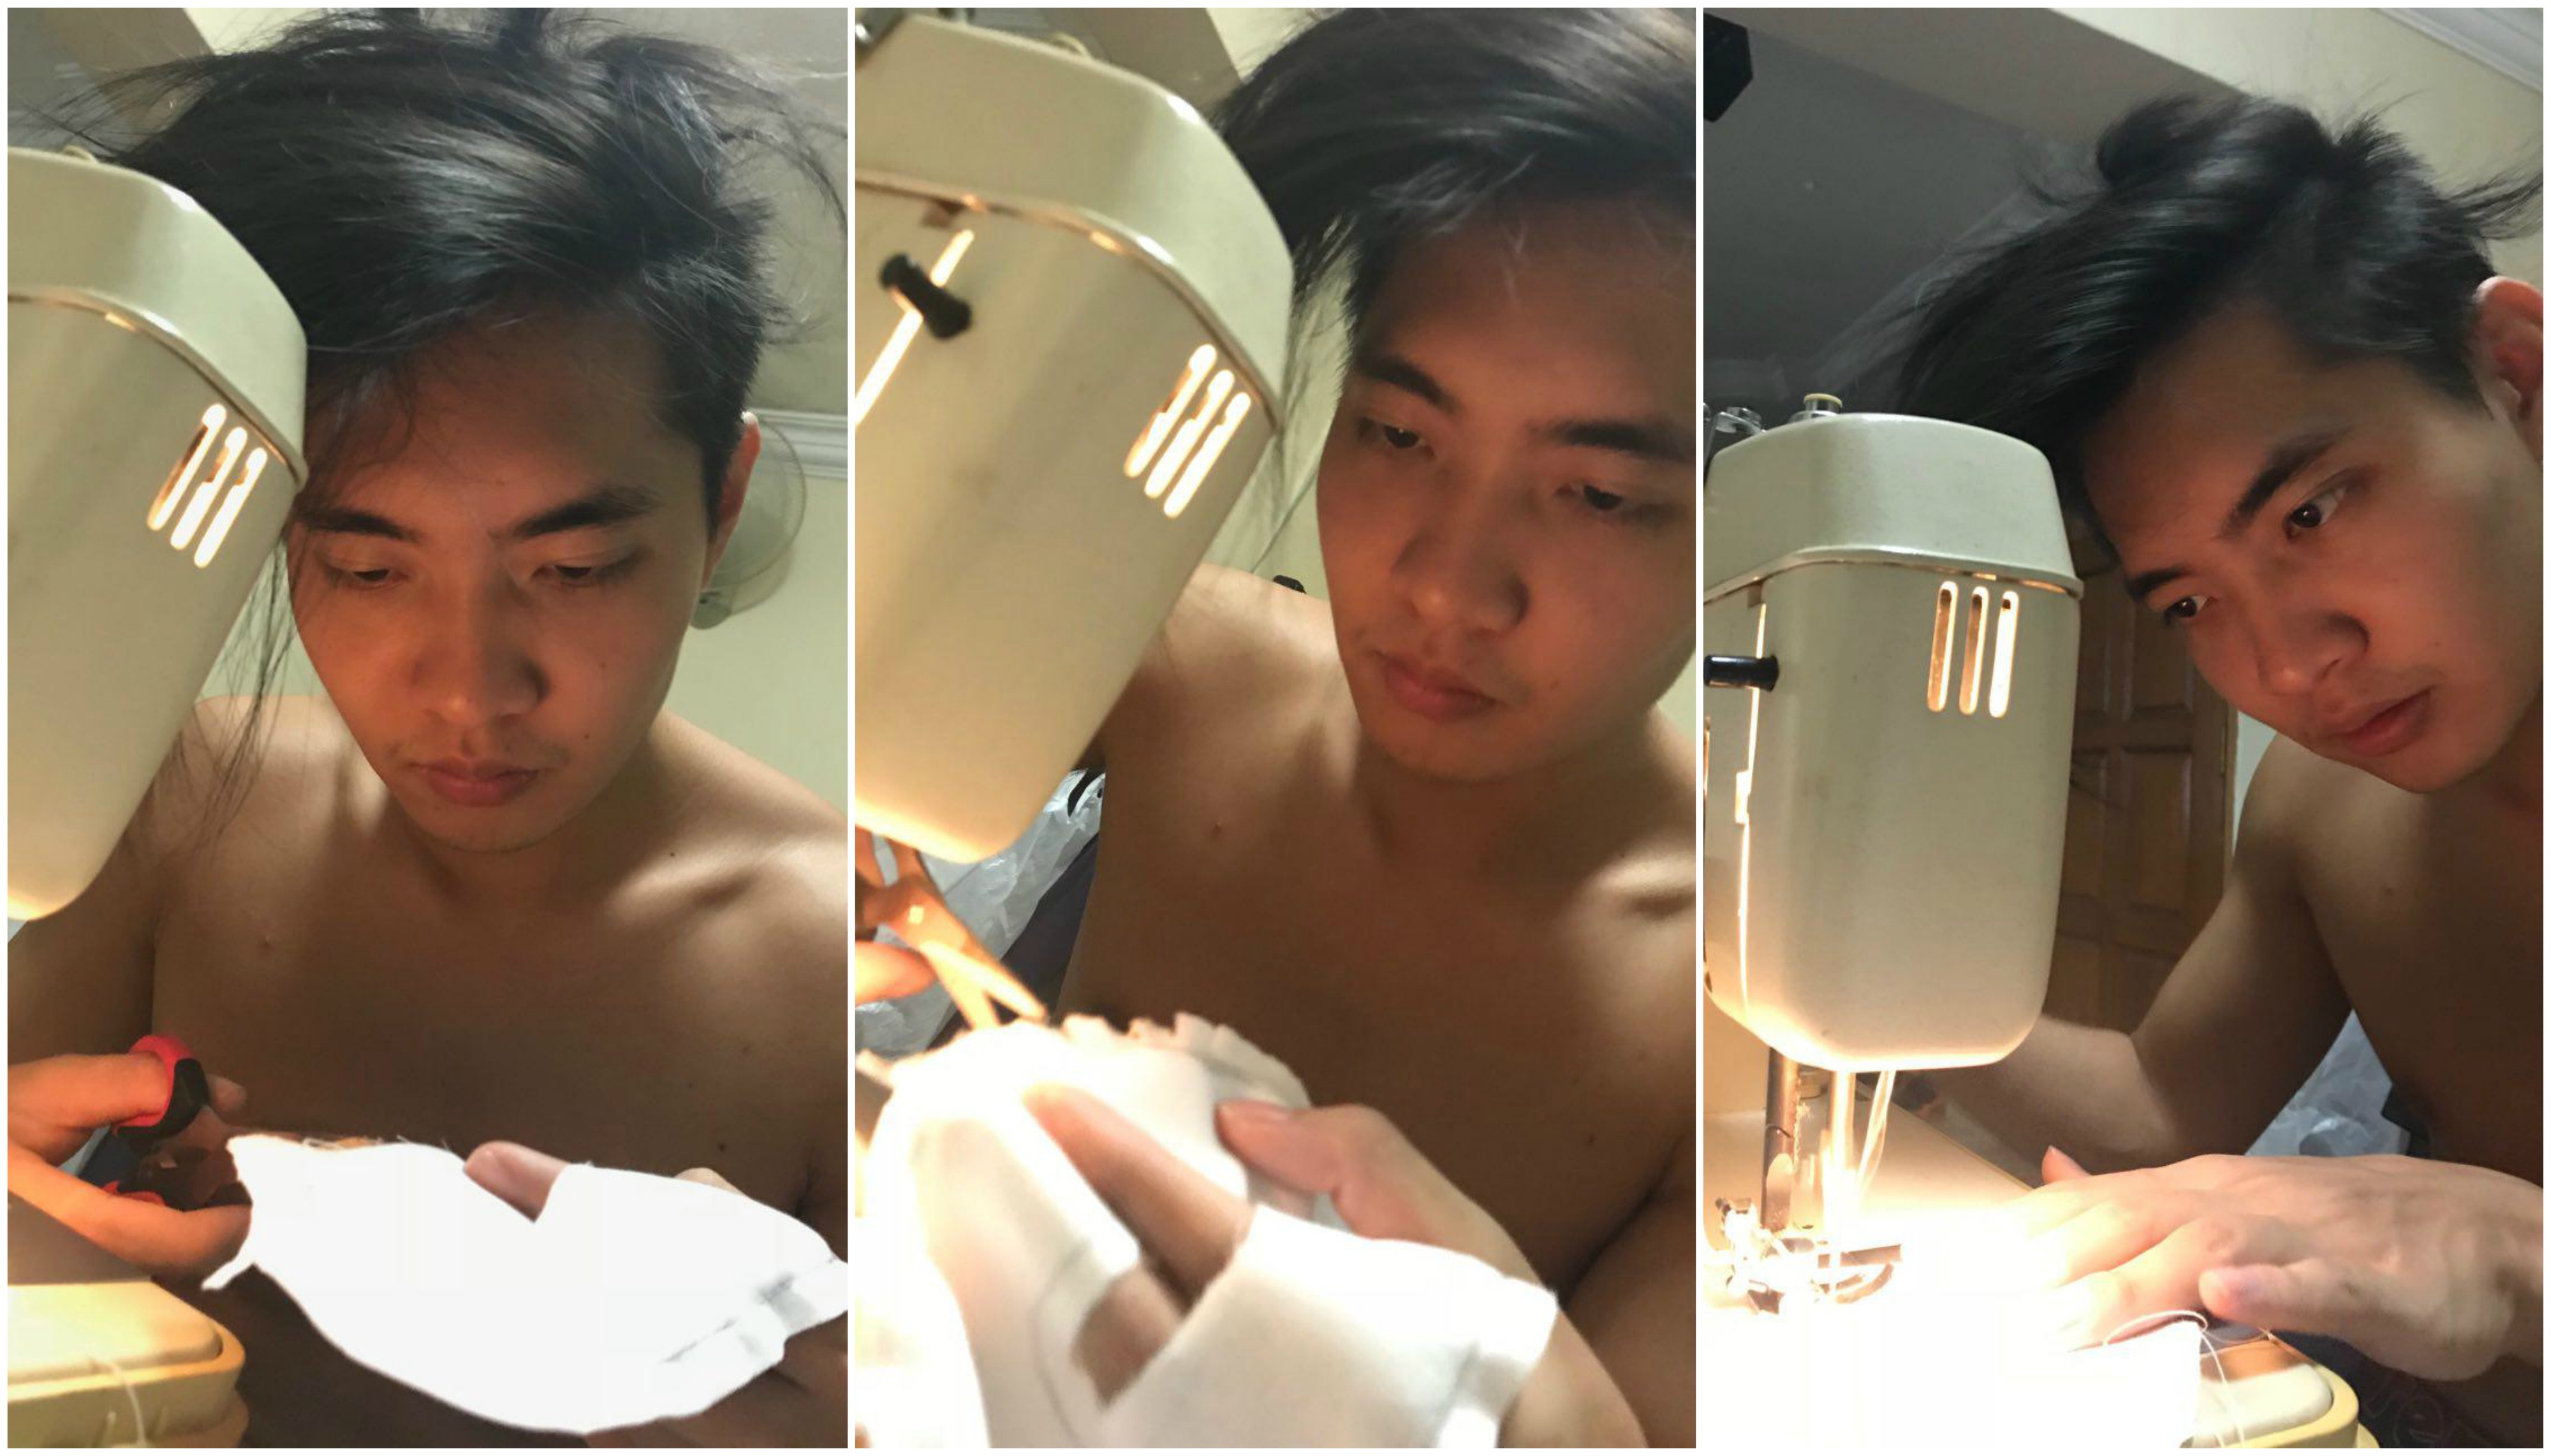
Sewing was a literal pain as I must’ve pricked myself more than 5 times when my mom was teaching me how to sew. It is an incredibly arduous process as I was really slow at the beginning (not any much faster now, but thankfully, I’ve improved)
I cut out paper letters to act as a guide for my cloth, after which I used a pencil to trace the image.
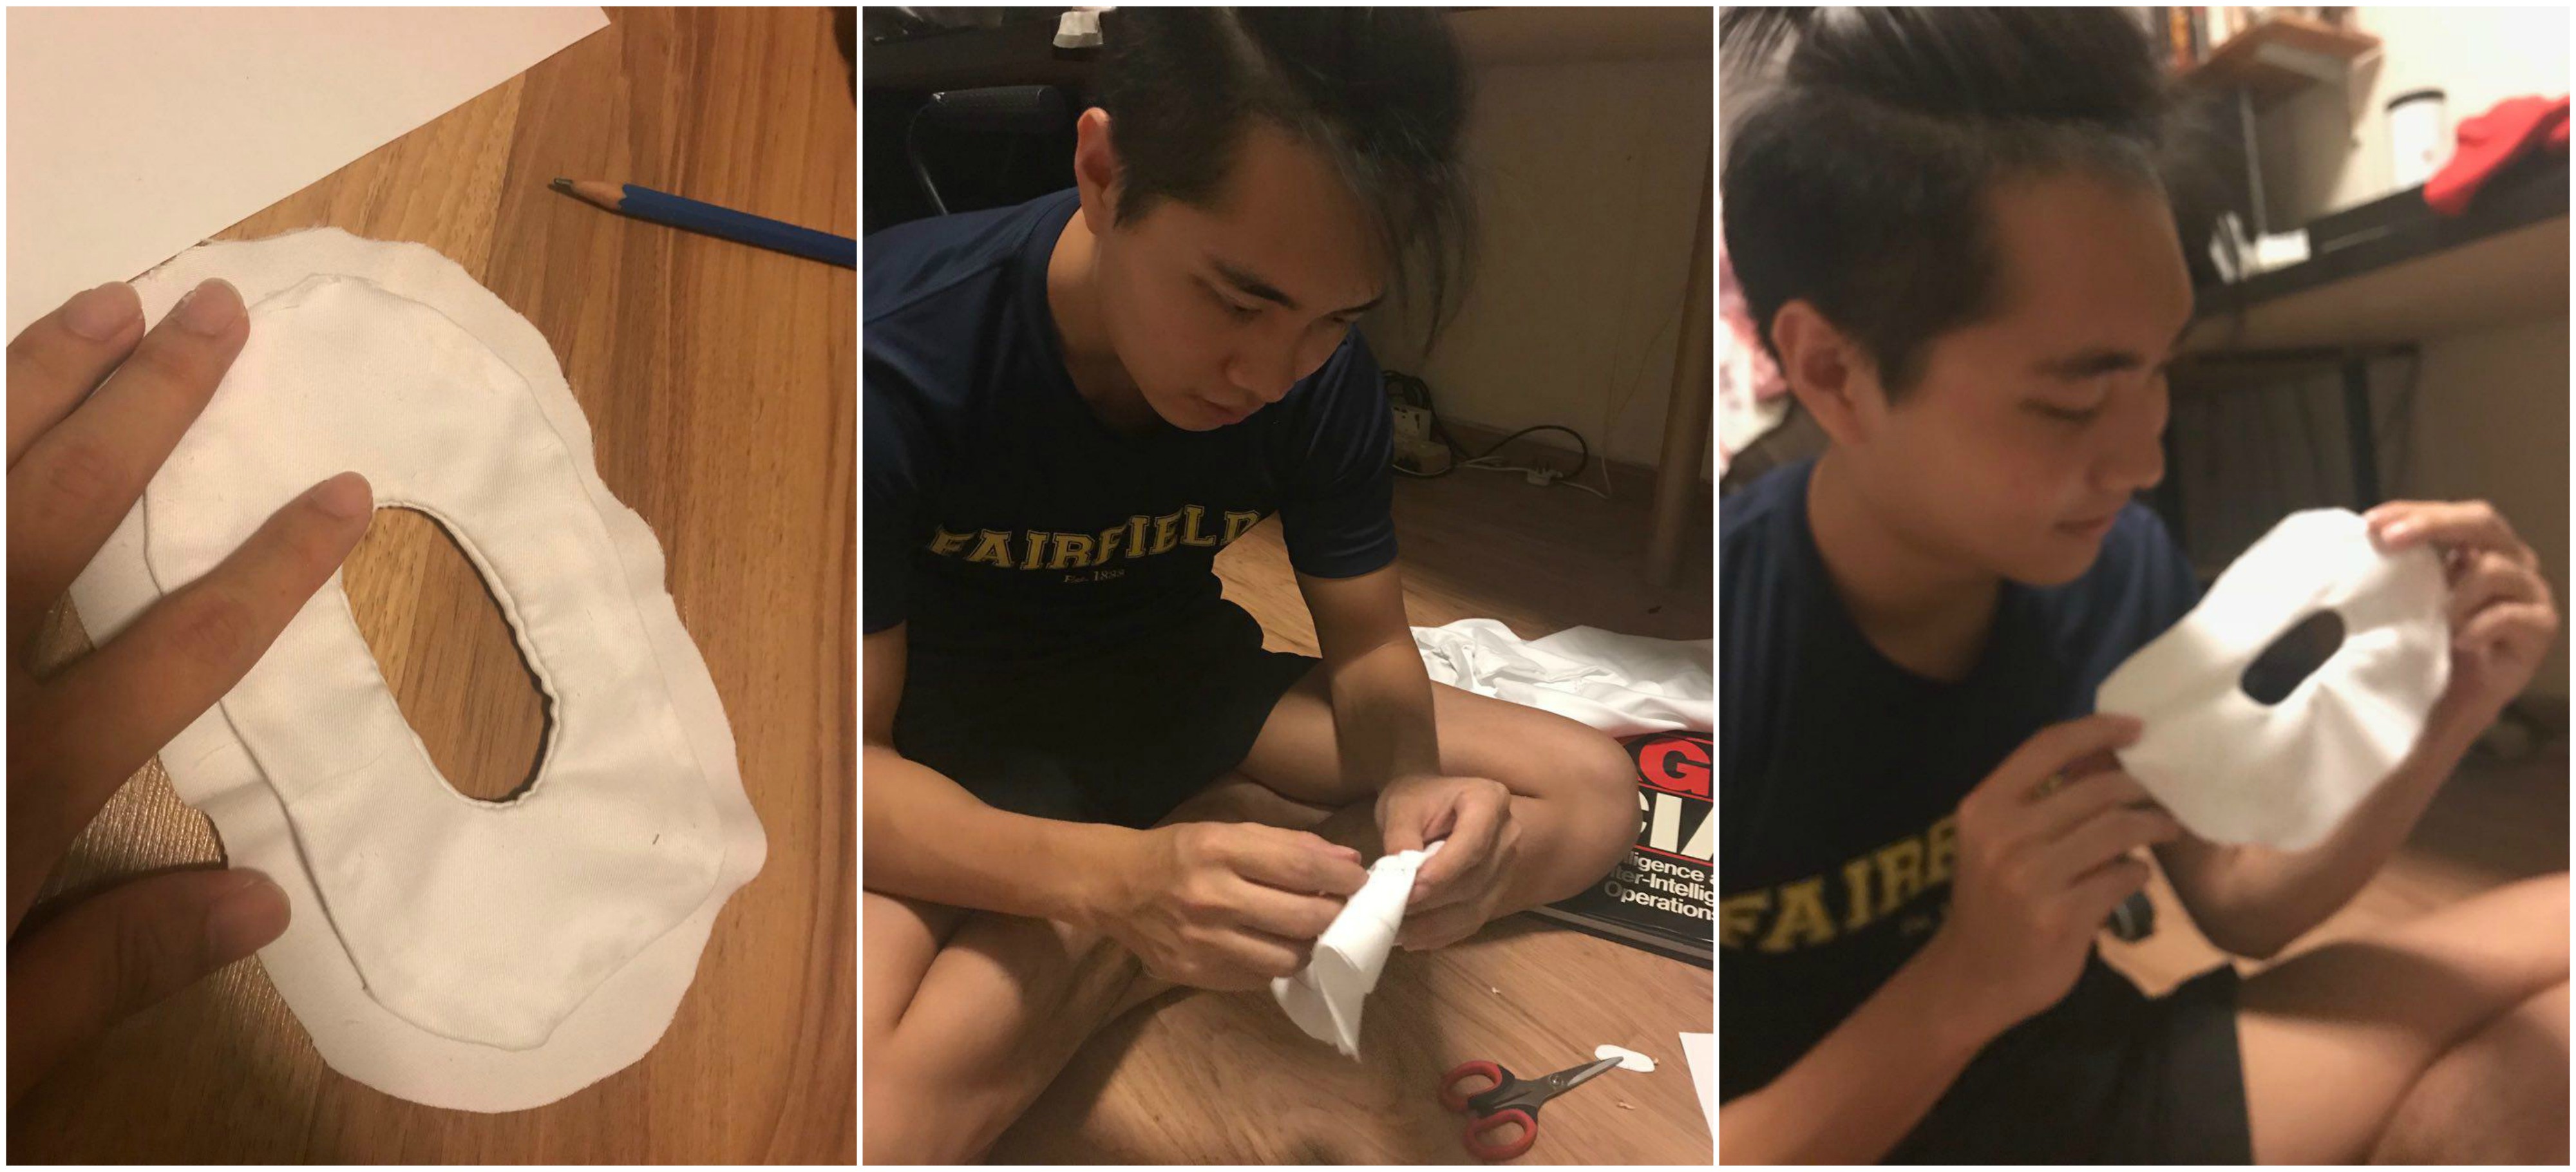
Initially when I sewed this O, I sewed it on the inside first. However, as I had to invert the cloth to stuff the cotton, I realised that it could not be done. Thus, reluctantly, I had to redo the entire O.
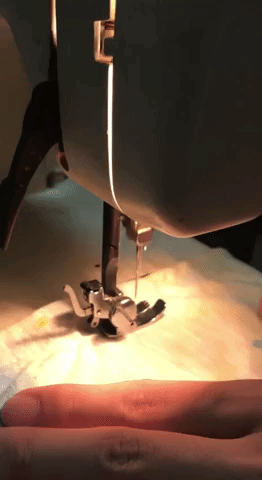
Seeing how it took me 2 hours to finish one alphabet, I pleaded with my mom to teach me how to use her sewing machine. As complicated as it is, once it was running, progress was much faster.
This was a test done on scrap cloth!
Here are some shots of me trying my best not to screw up the alphabets as well as my fingers!
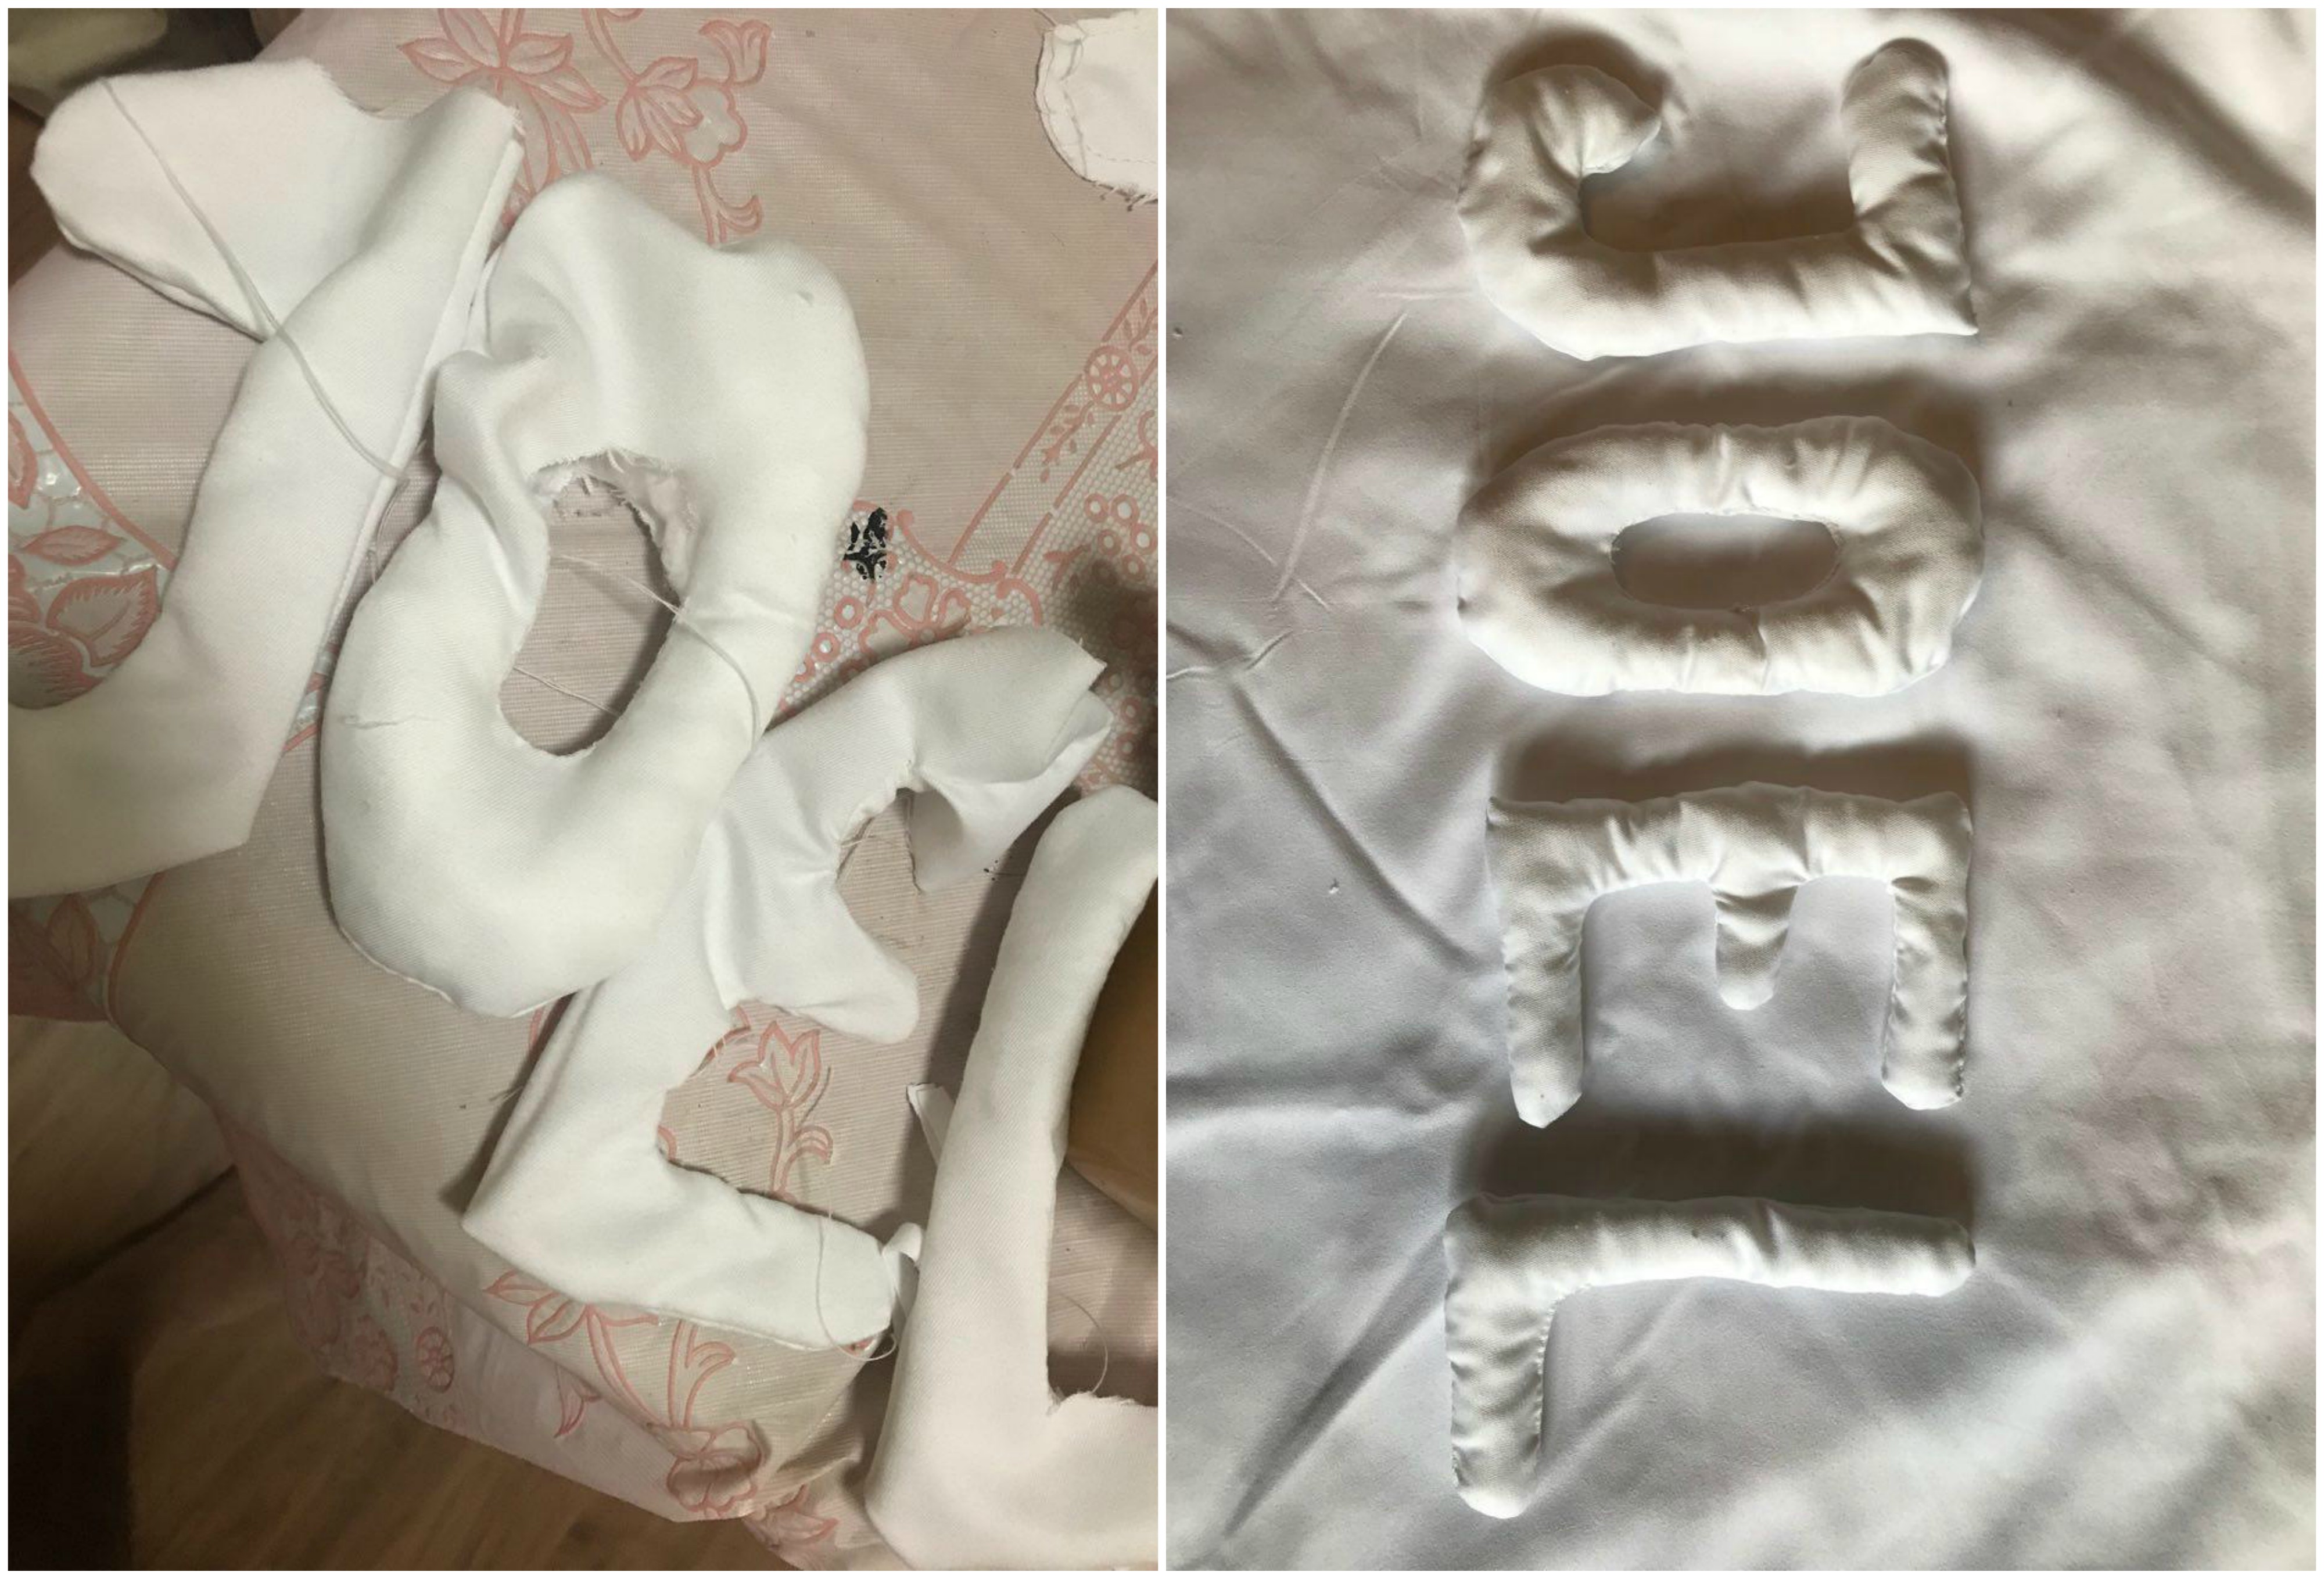
Before and after stuffing with cotton!
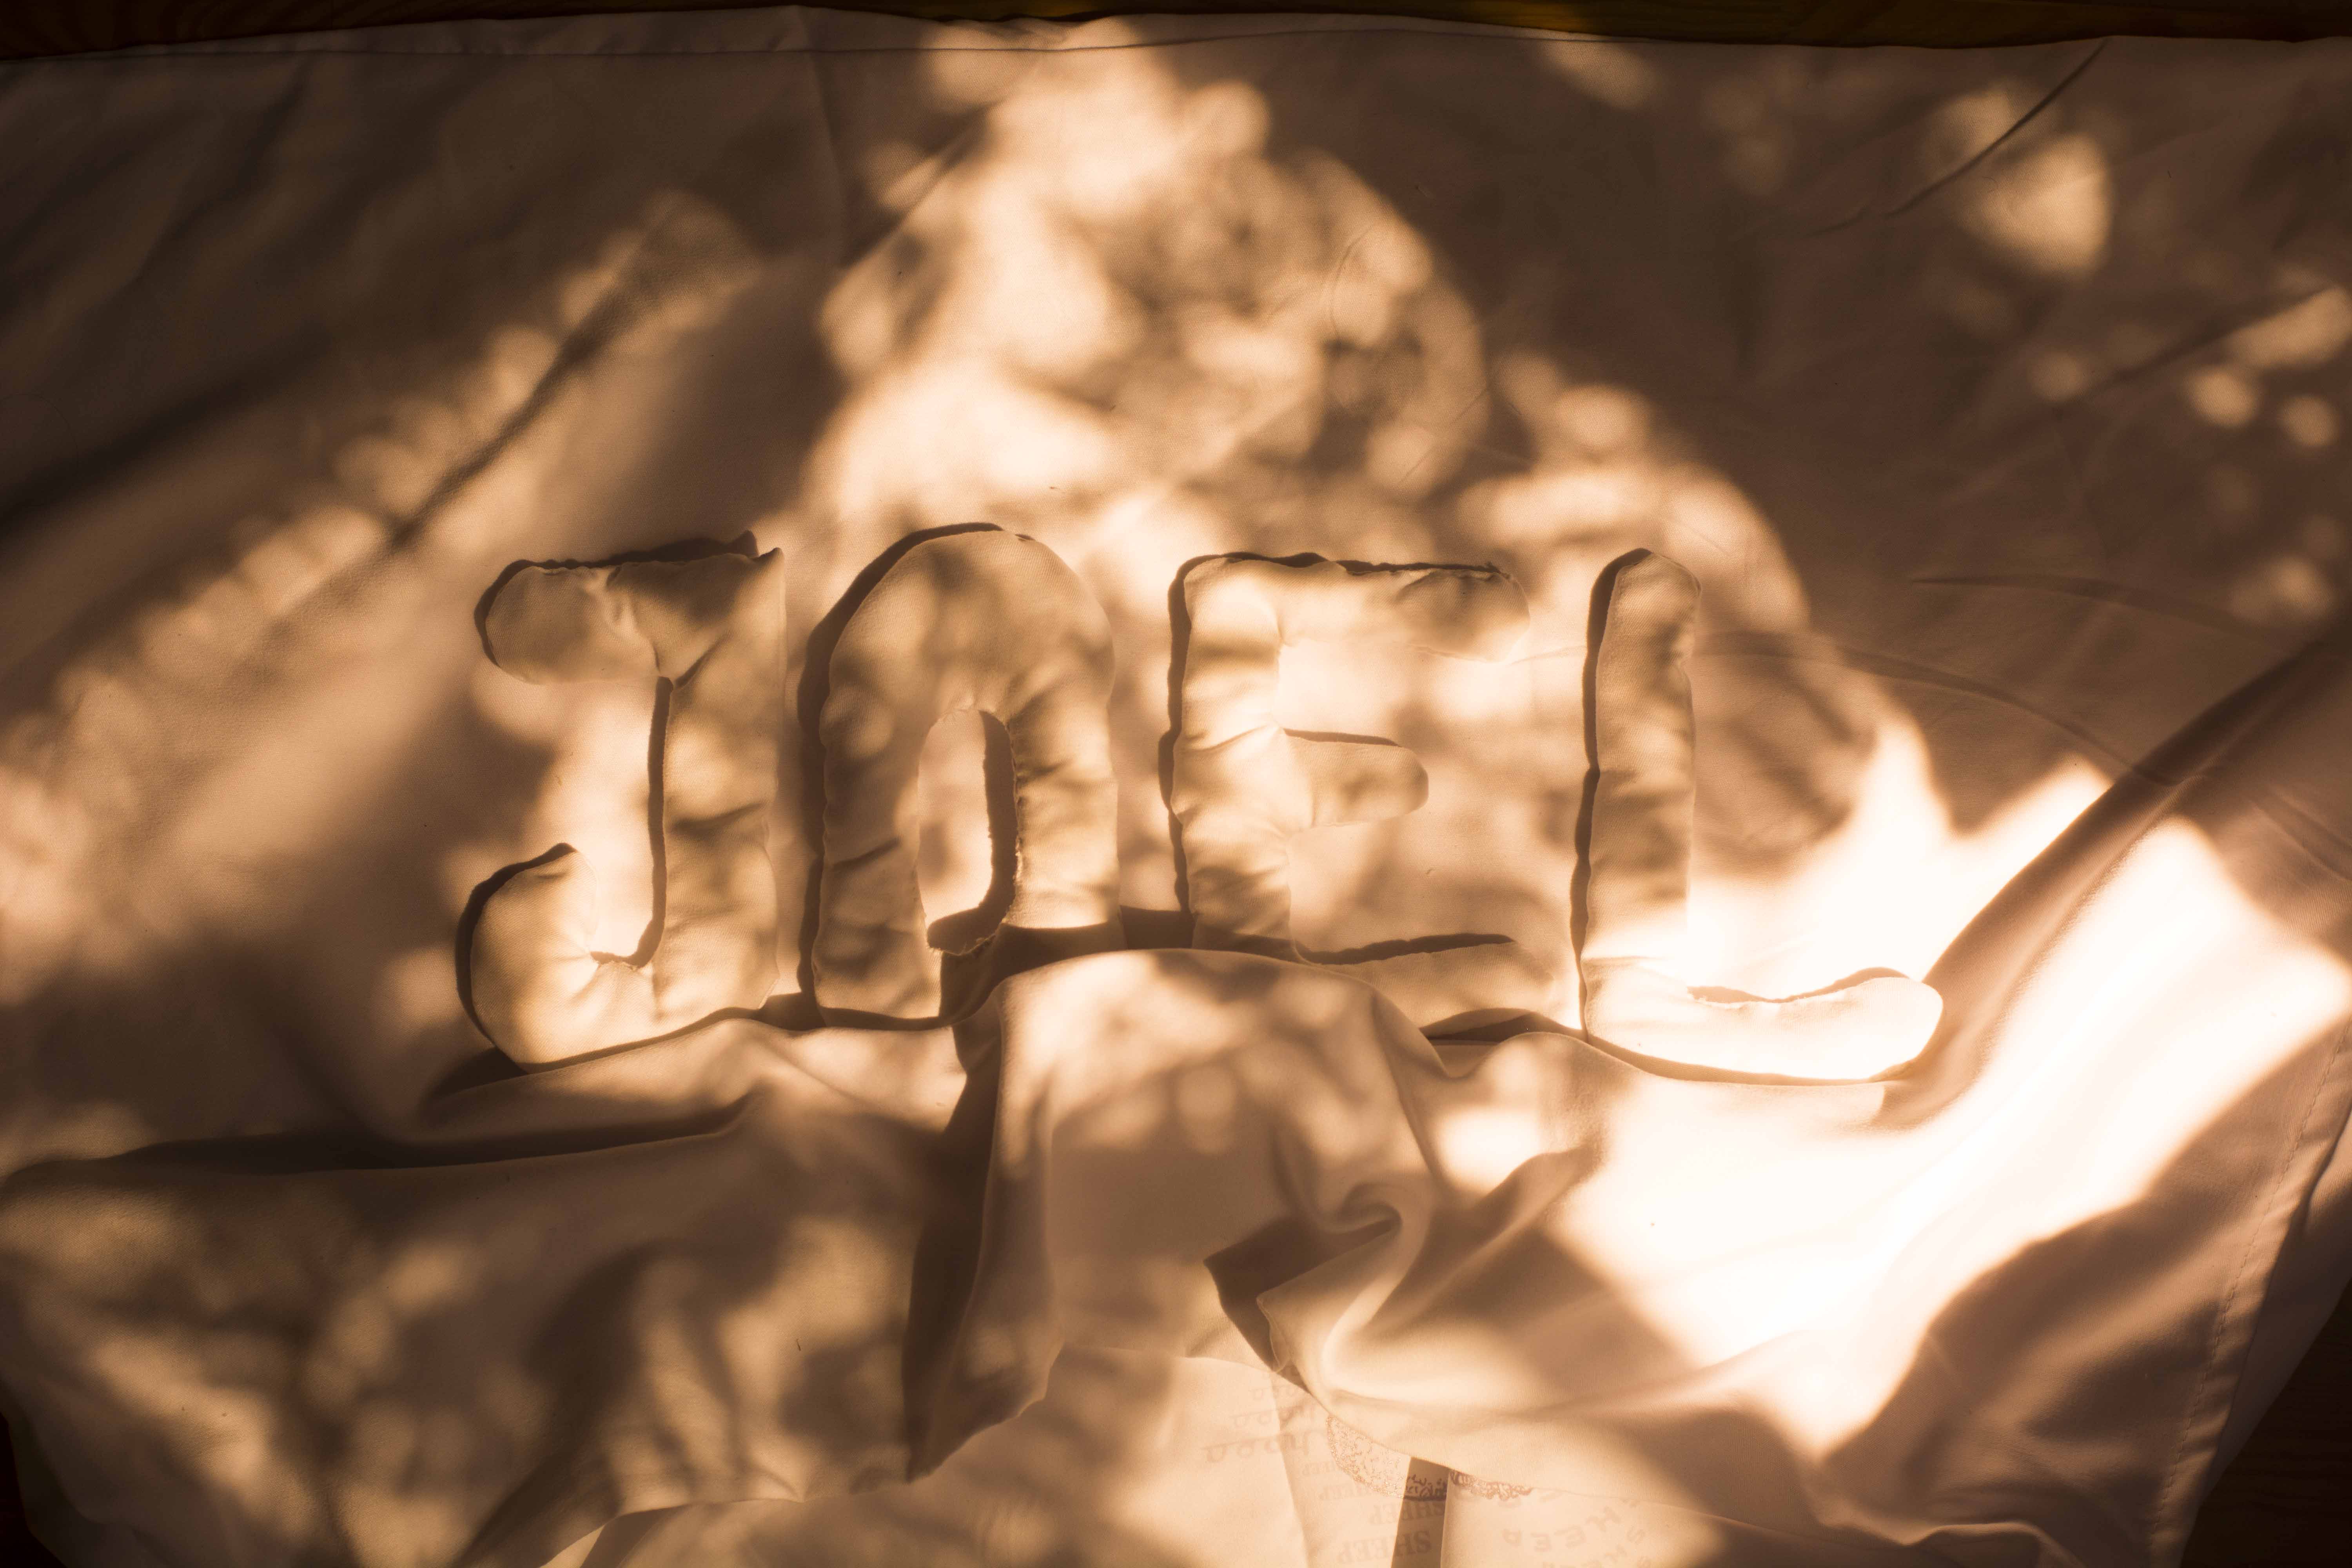
Next, I experimented with framing and lighting of the image. Initially, I wanted the letters to look like they were under the duvets.
However, Mimi commented that it made it difficult to see the my name. Thus, I went with a more minimal approach, only making use of lighting to create the mood.
I had several props used to try and recreate the look of a bed room.

I do not have an exact picture of the table cloth I used, but it was similar to this first picture where by it was embroiled with holes.
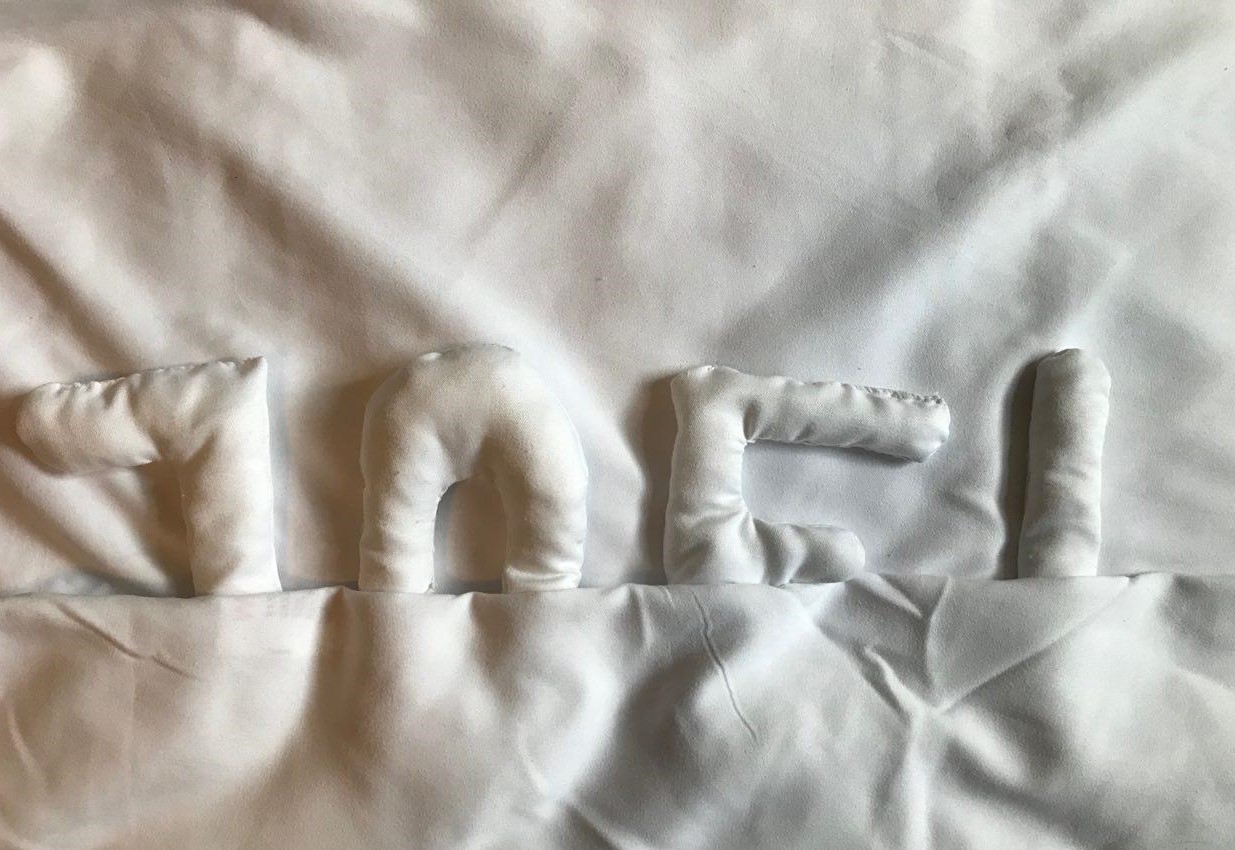
Here are some of the many experimental shots.


I played around with different camera angles as I wanted to get the feeling of the letters being ‘tucked’ into bed. I also moved the sheets around to try and see which position best captures the look.
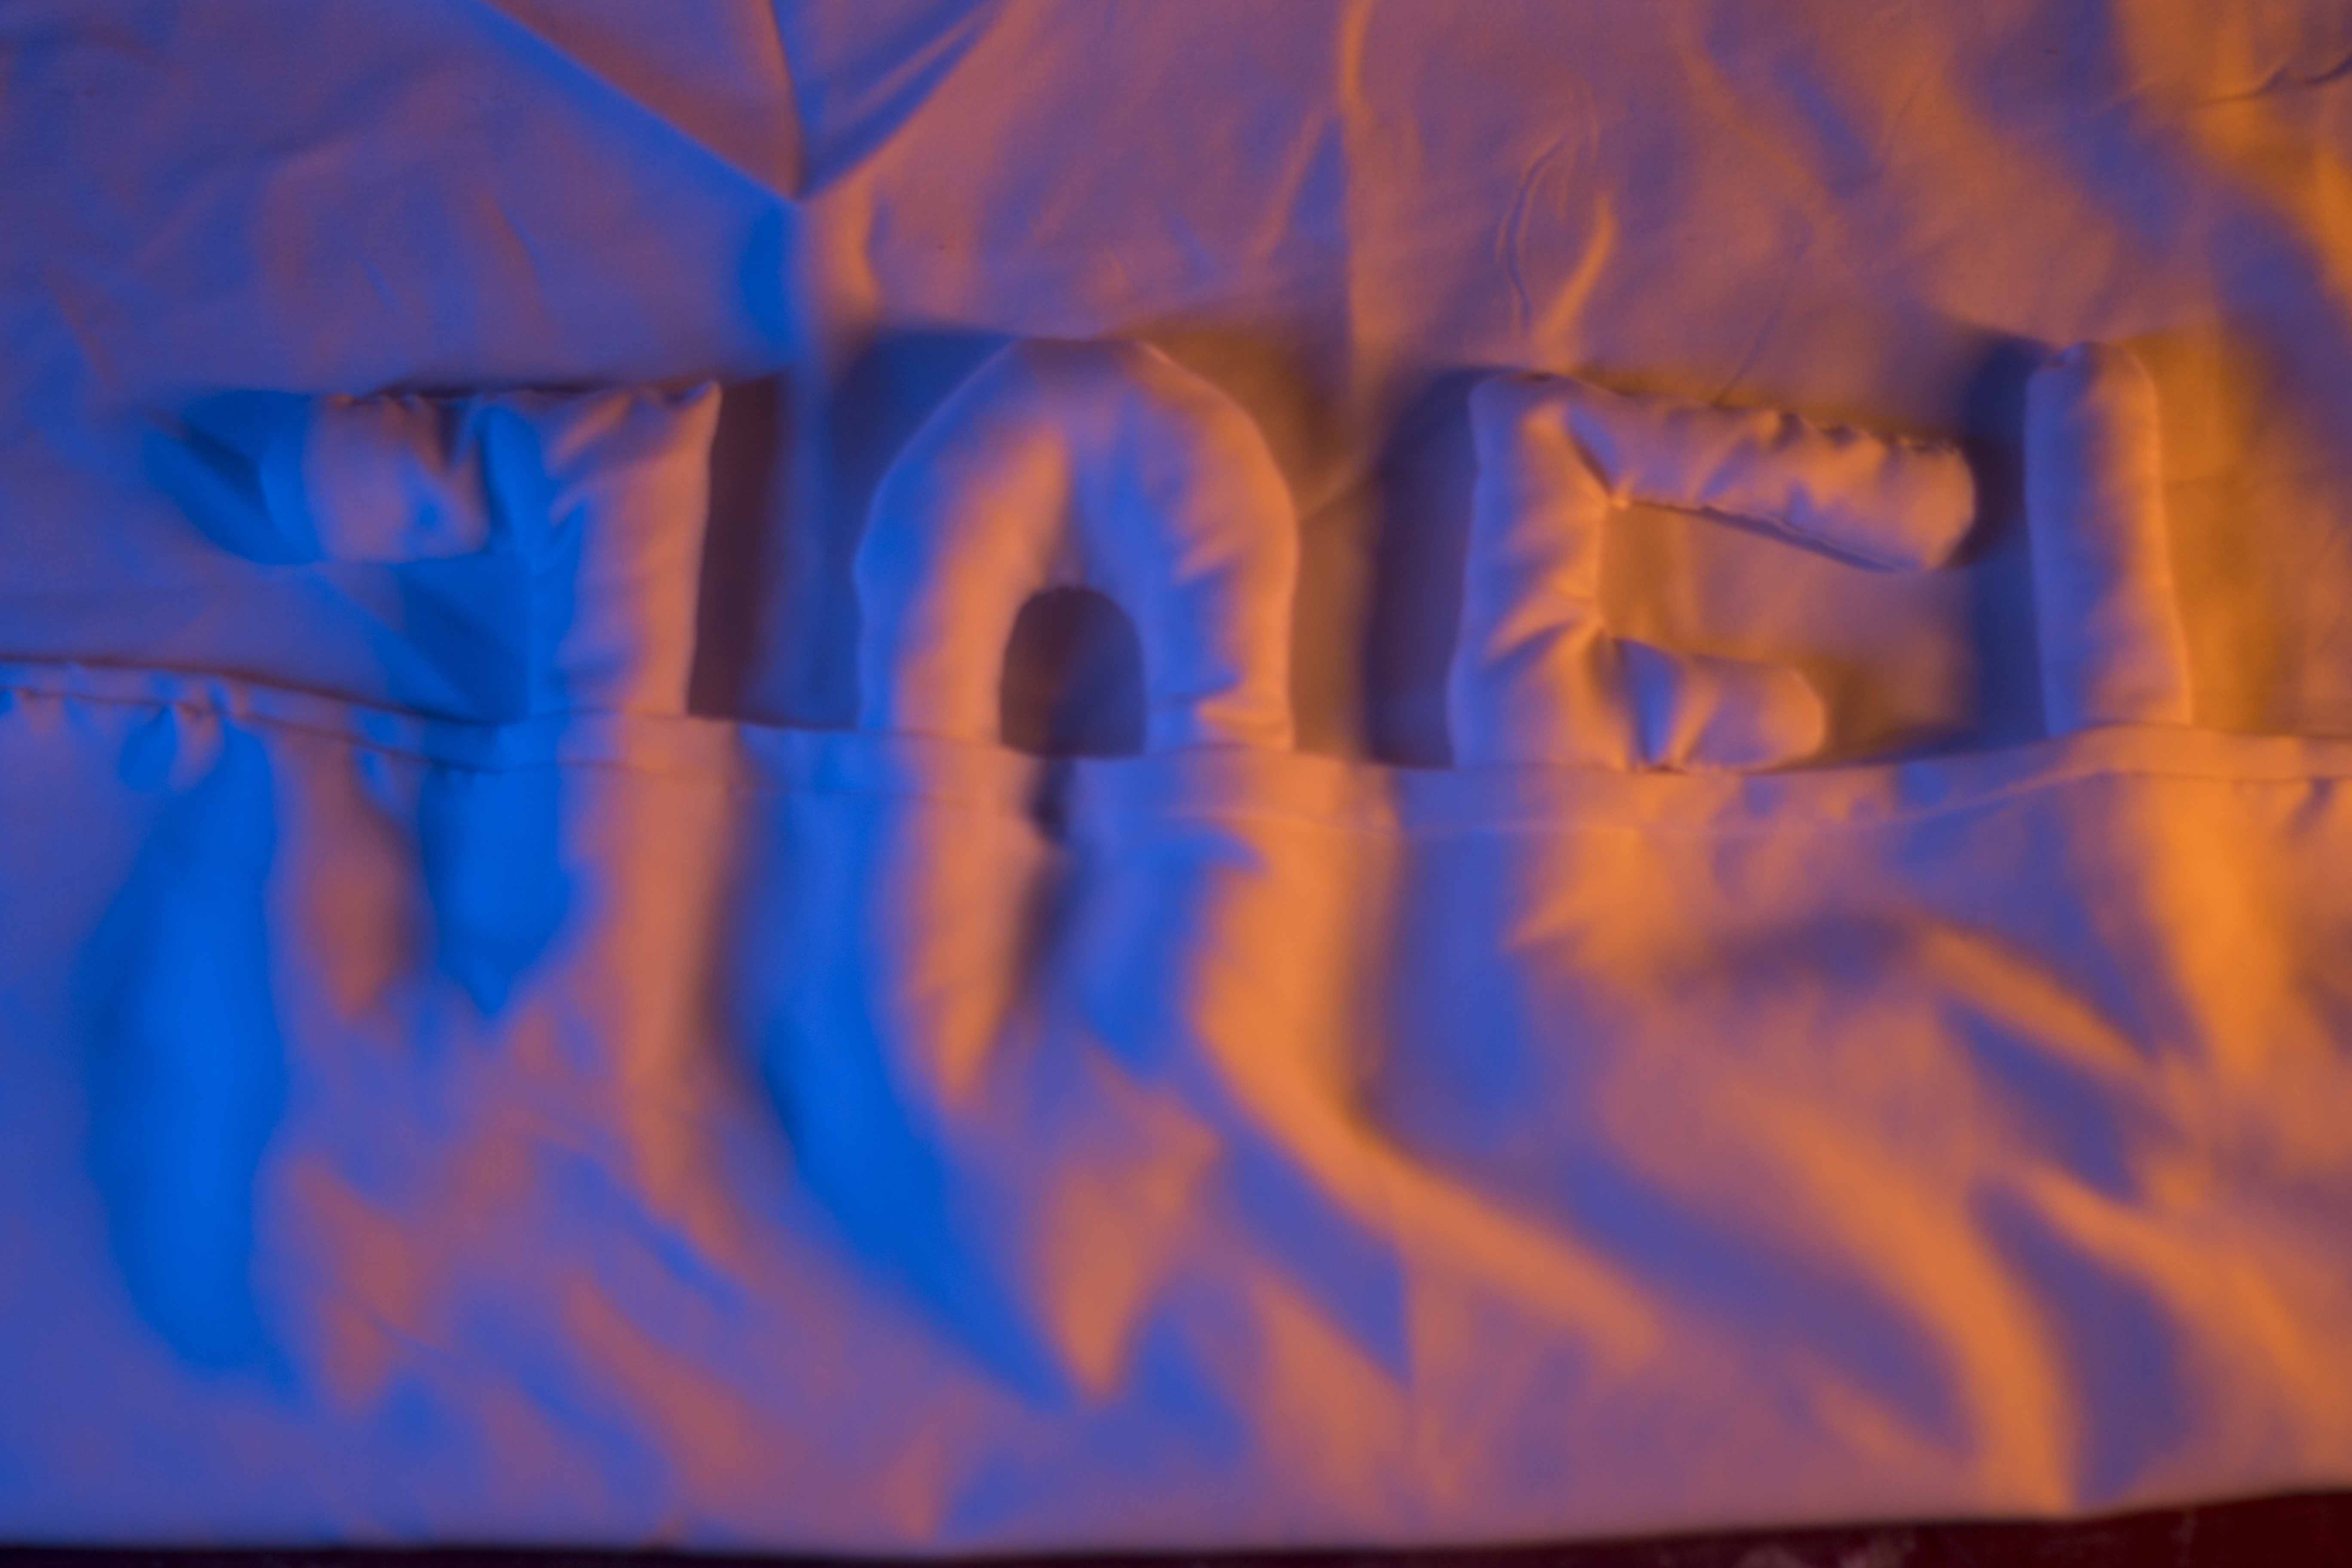
Lighting played a crucial part in this composition as it would ultimately set the mood and feeling of the piece. I experimented with warm and cool colours to create a contrast, however, I felt that it was too saturated and it drew attention and focus away from the pillows.
Stay Tuned for the final results!!