Category Archives: Form and Visualization – G6

Eyes of the Kinetic Beast – Part 2 (Final)

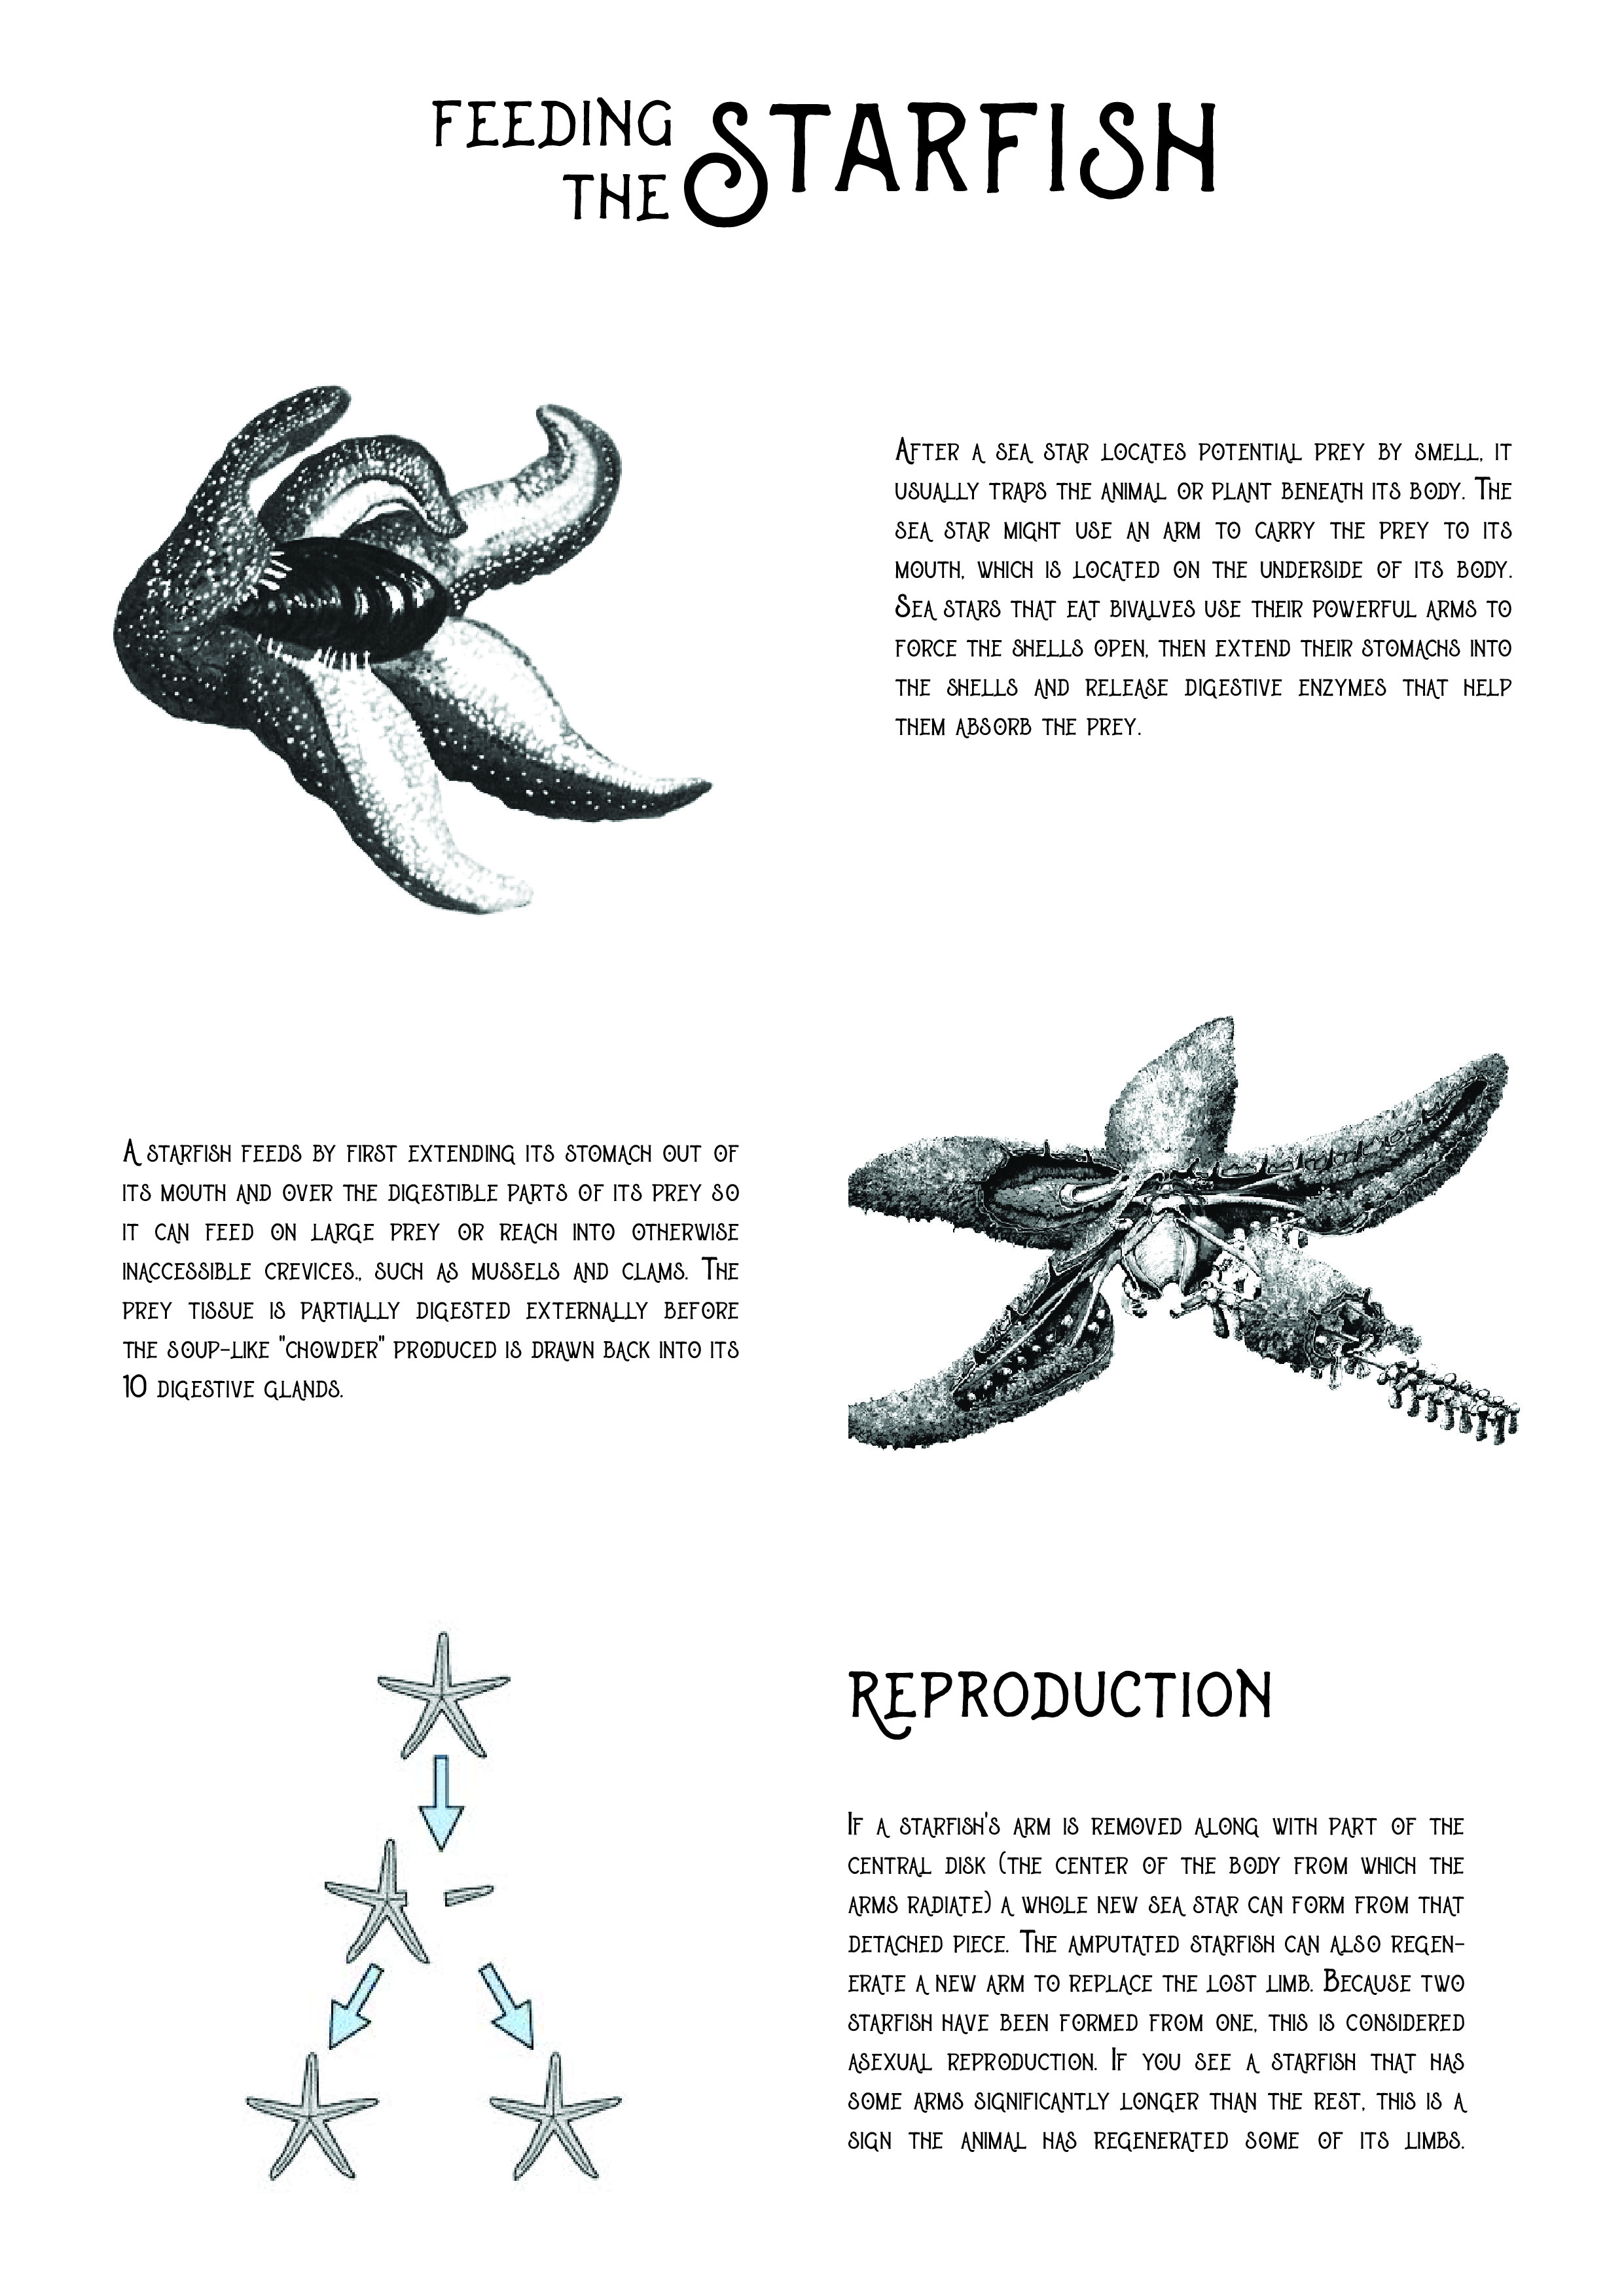
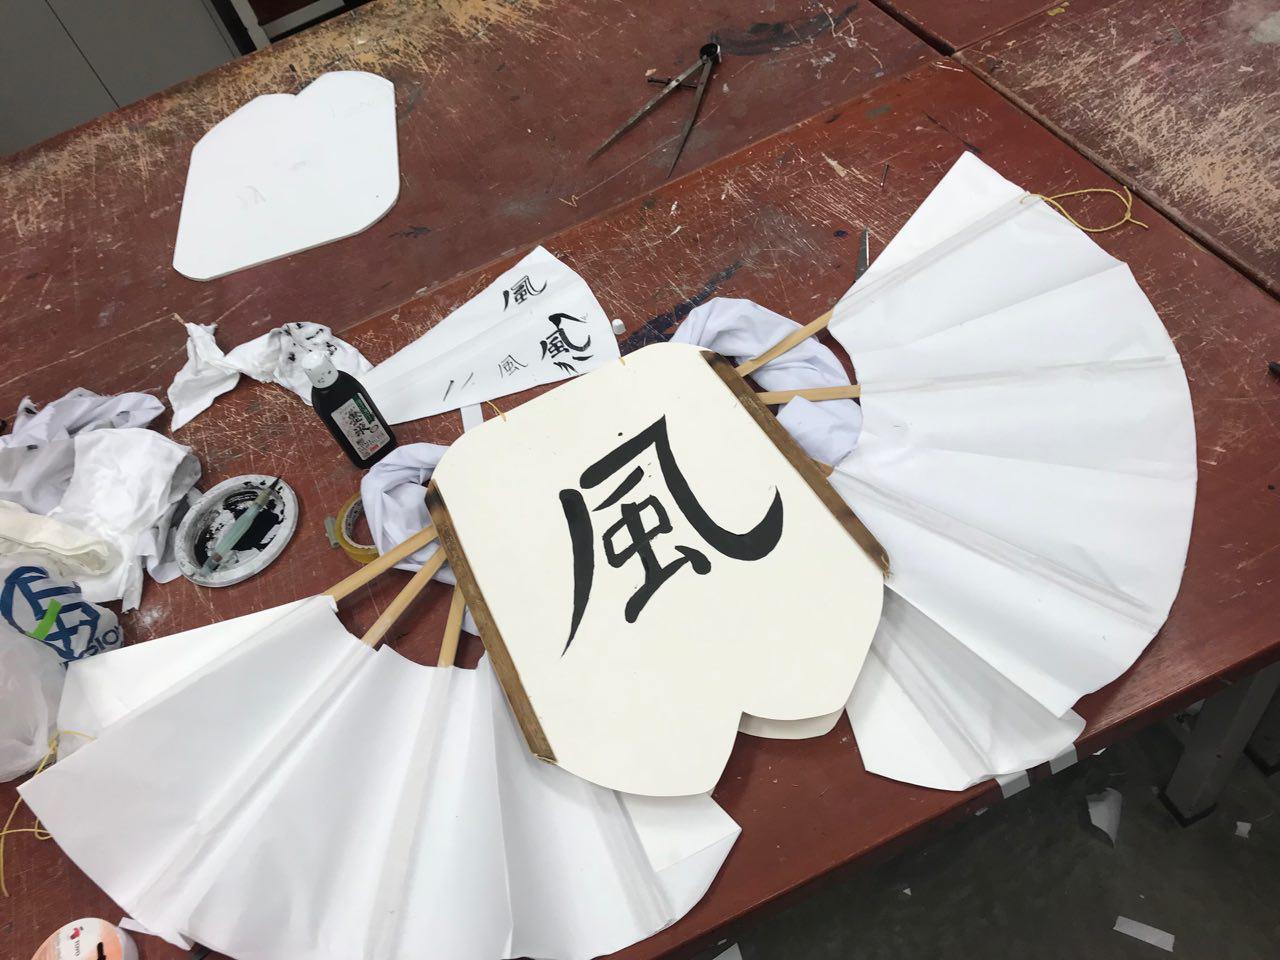
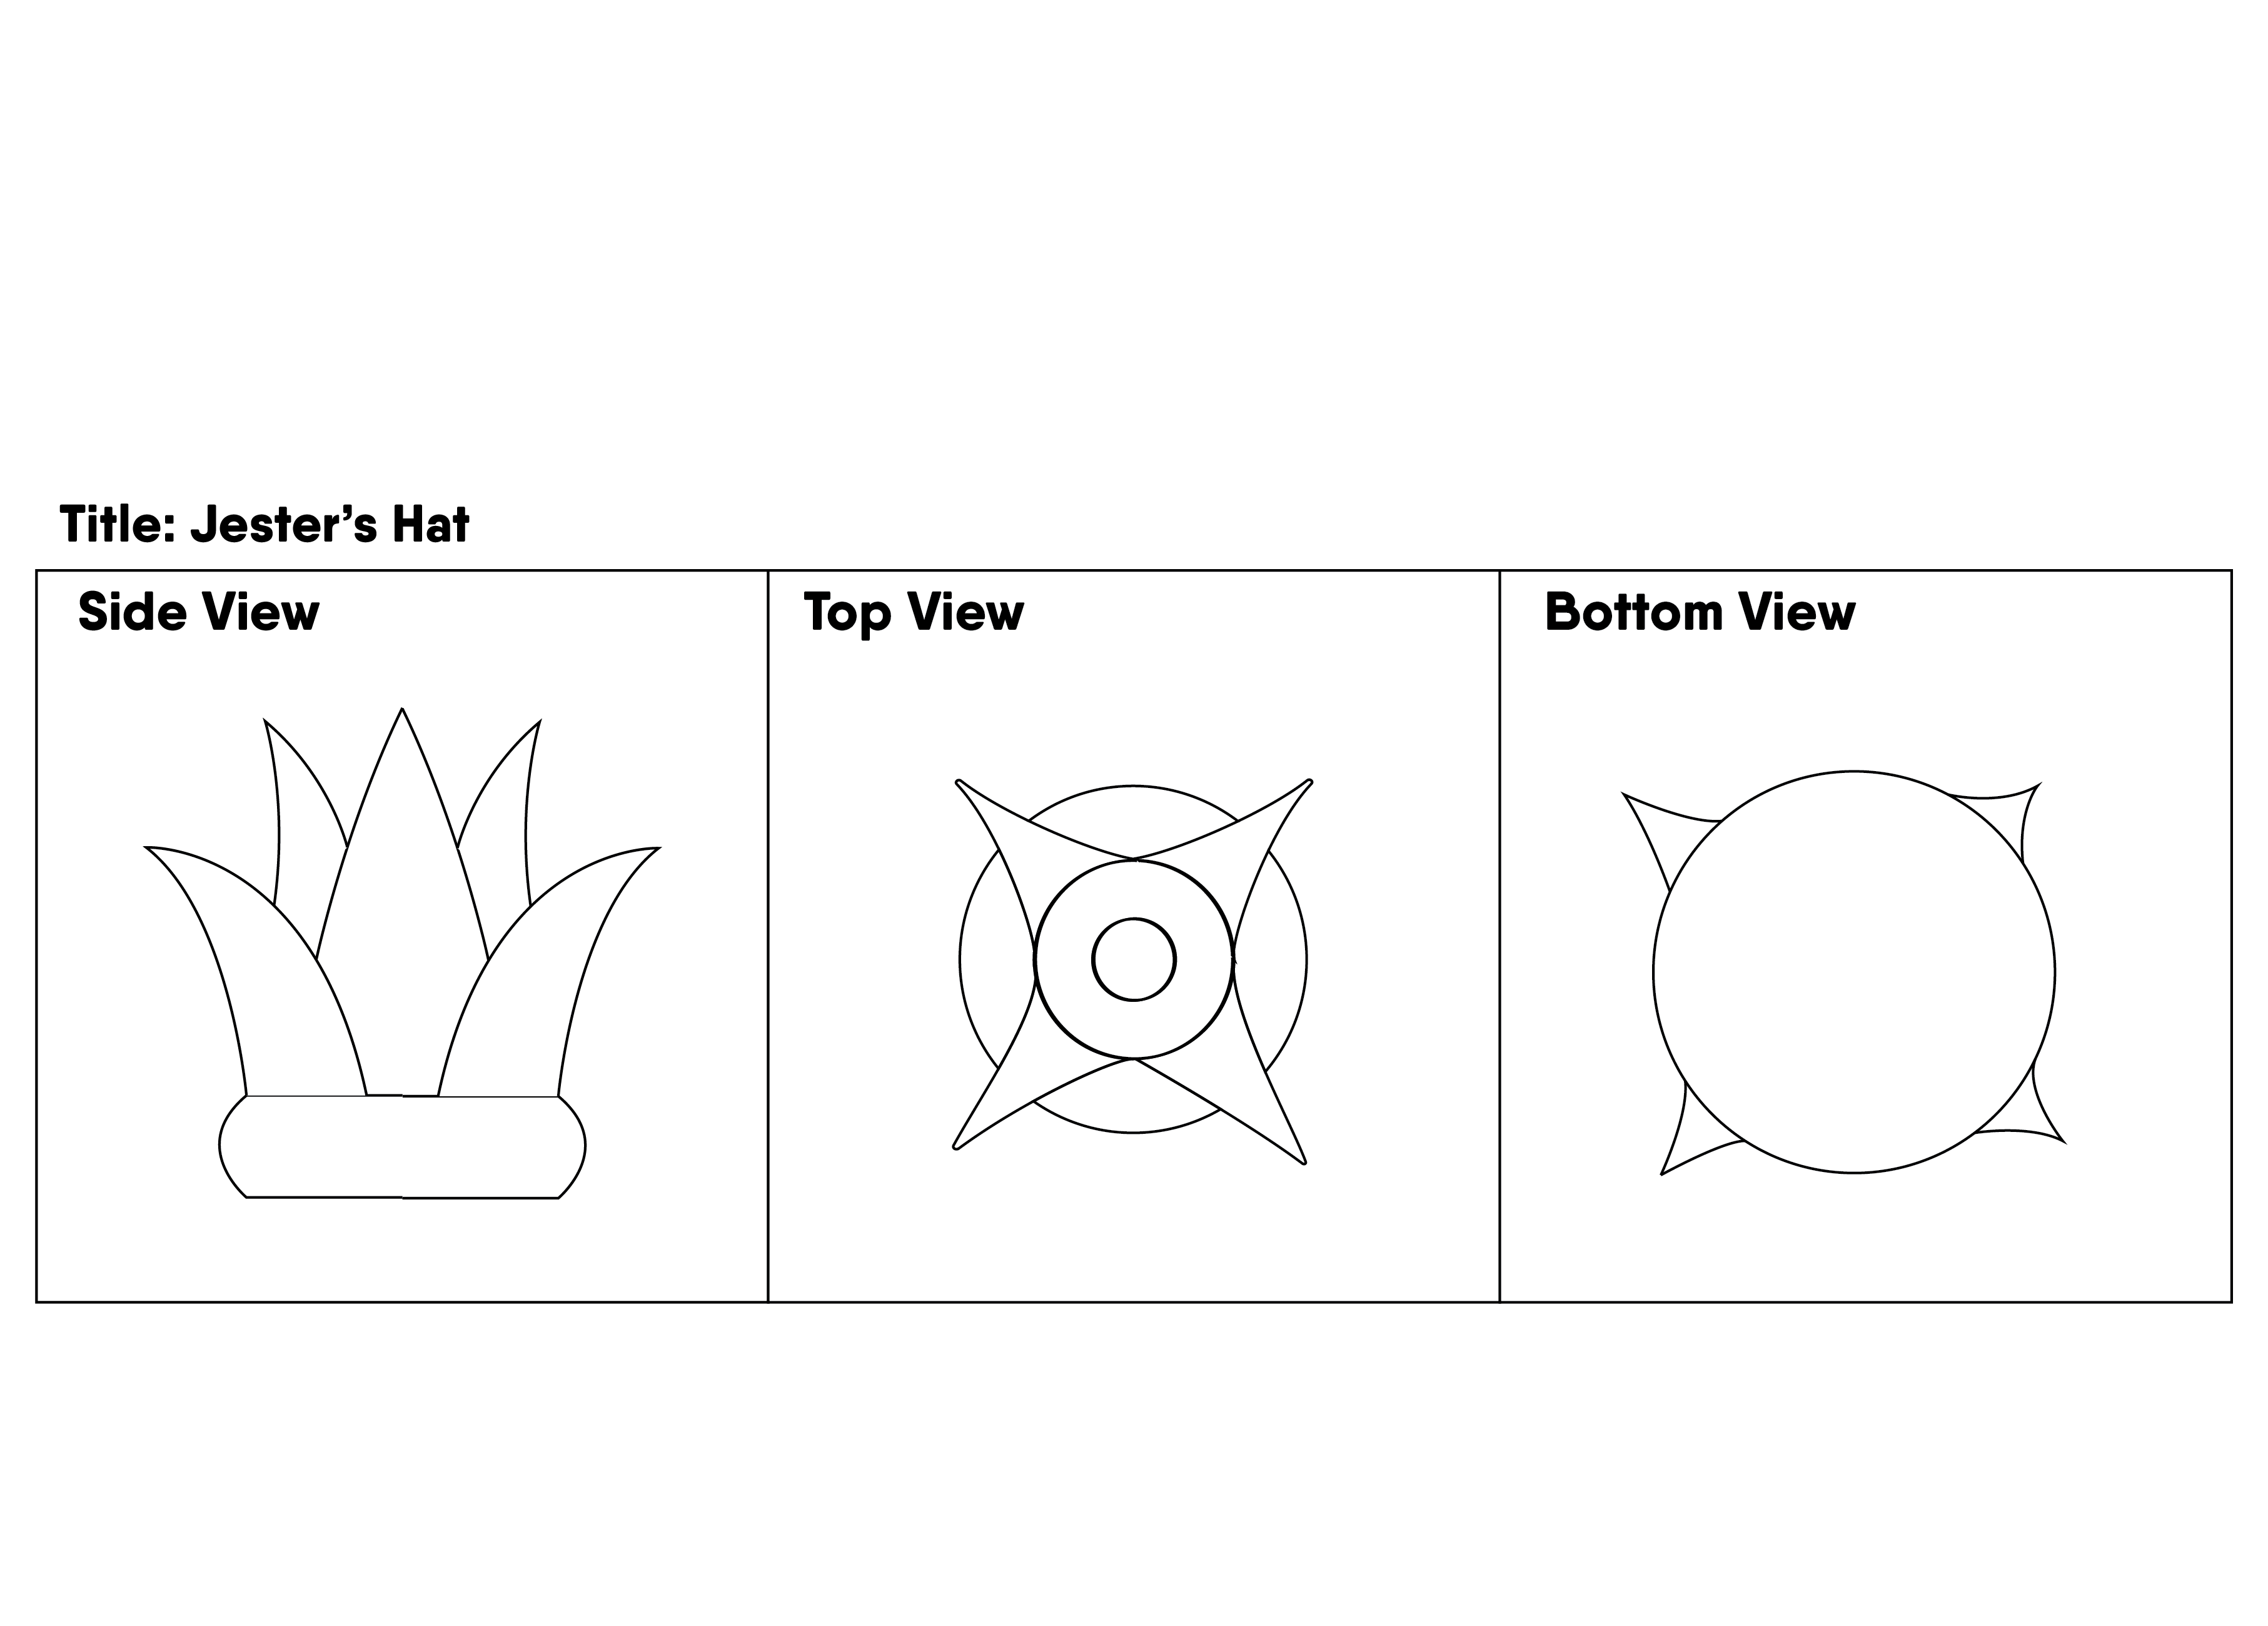
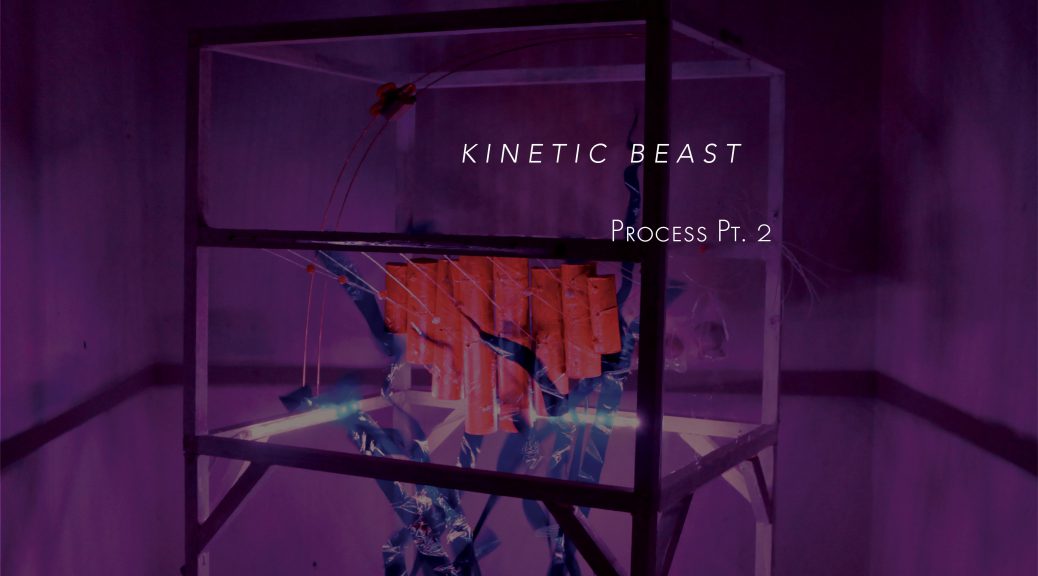
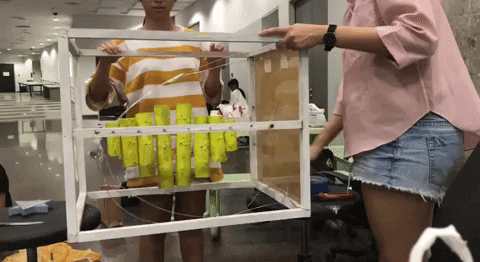
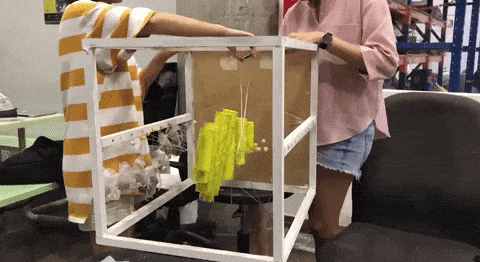
Alas! We’ve reached the final installation for our Kinetic Beast!

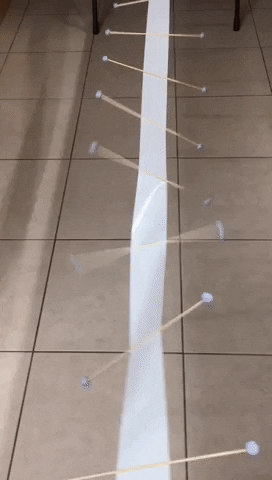
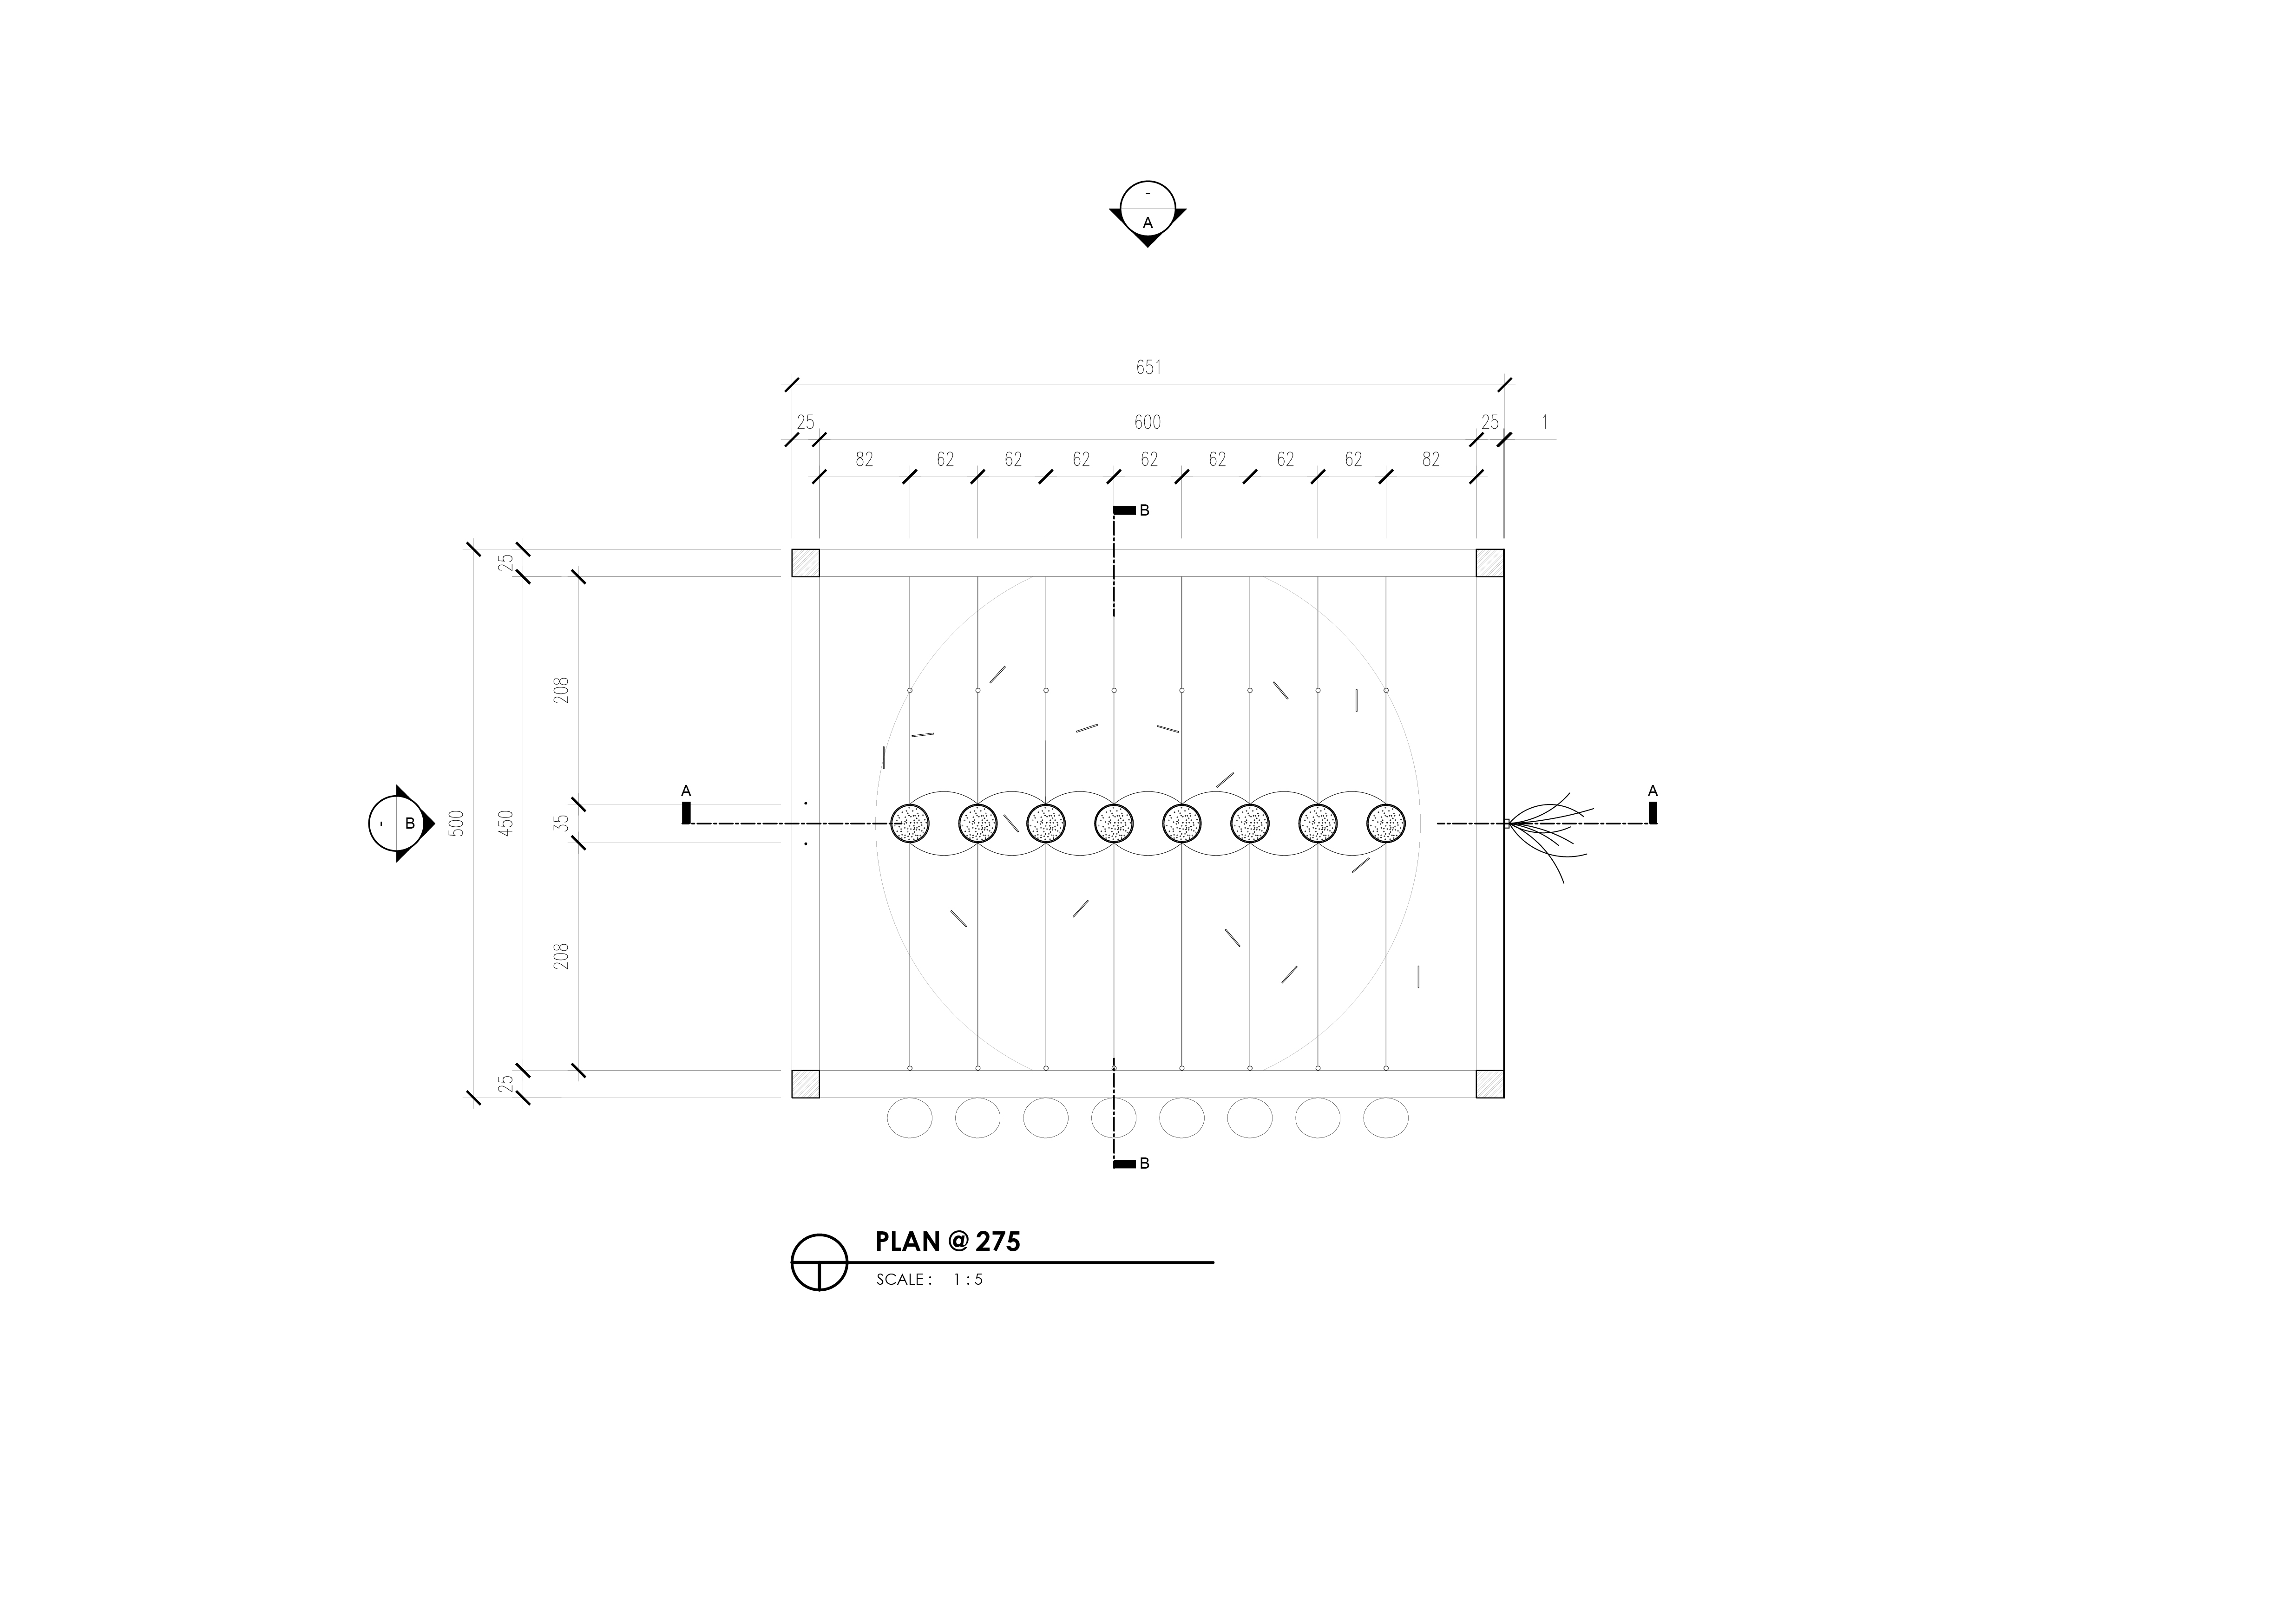
After the final consultation with Cheryl, we decided to scale up our installation to create more space in the enclosure to include the other elements into our composition.

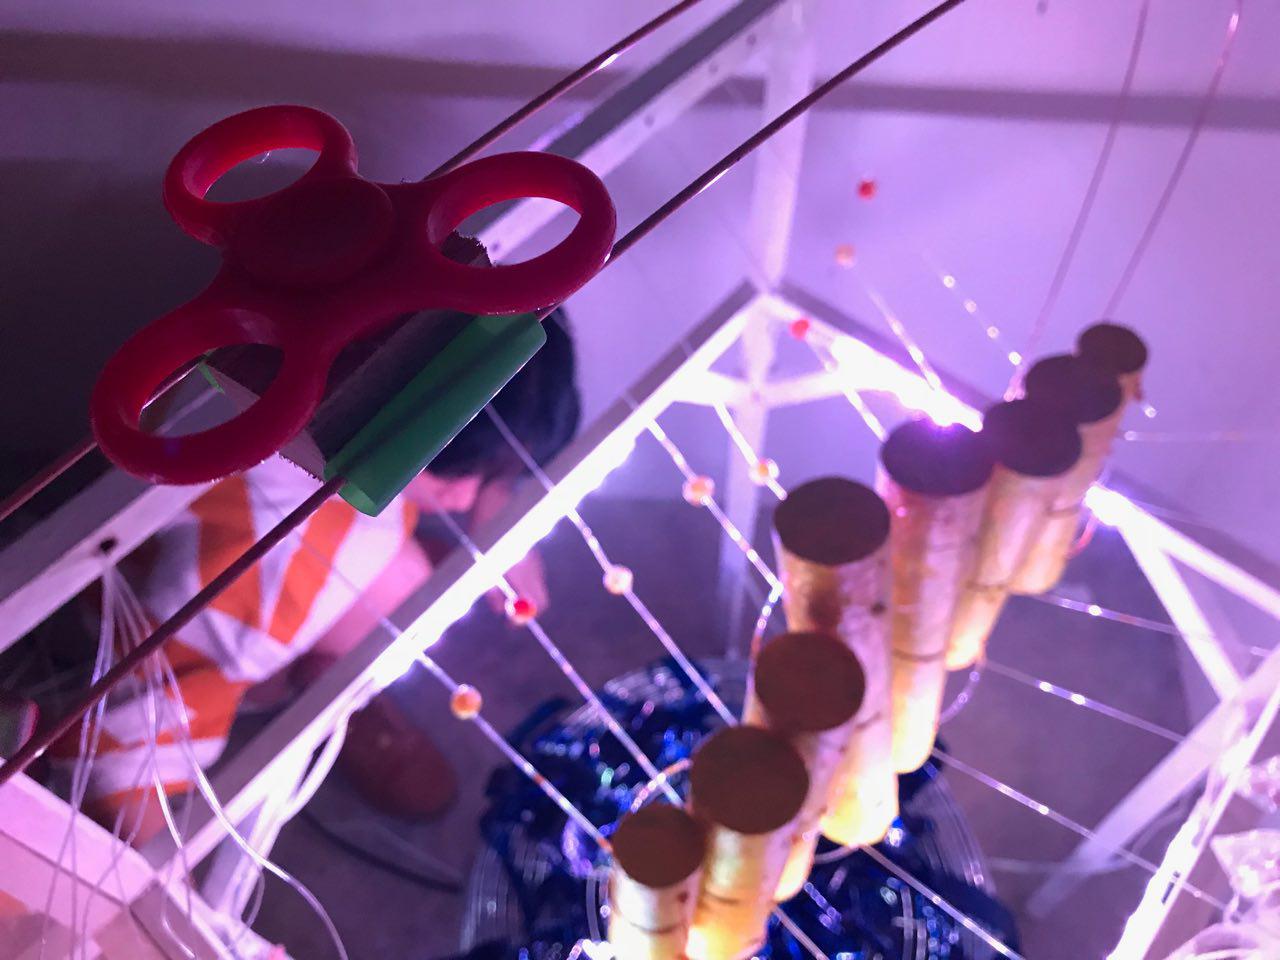
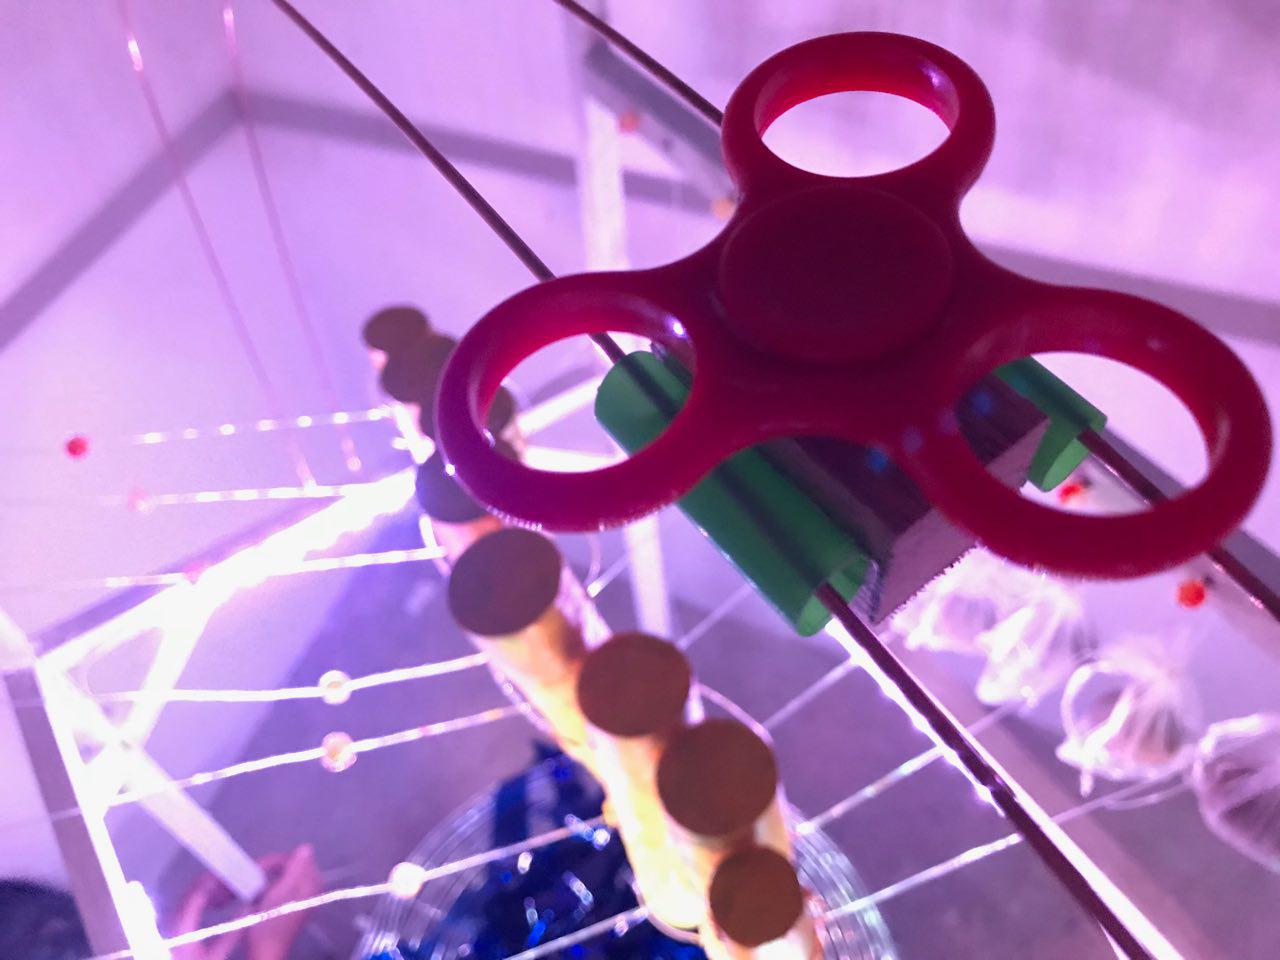
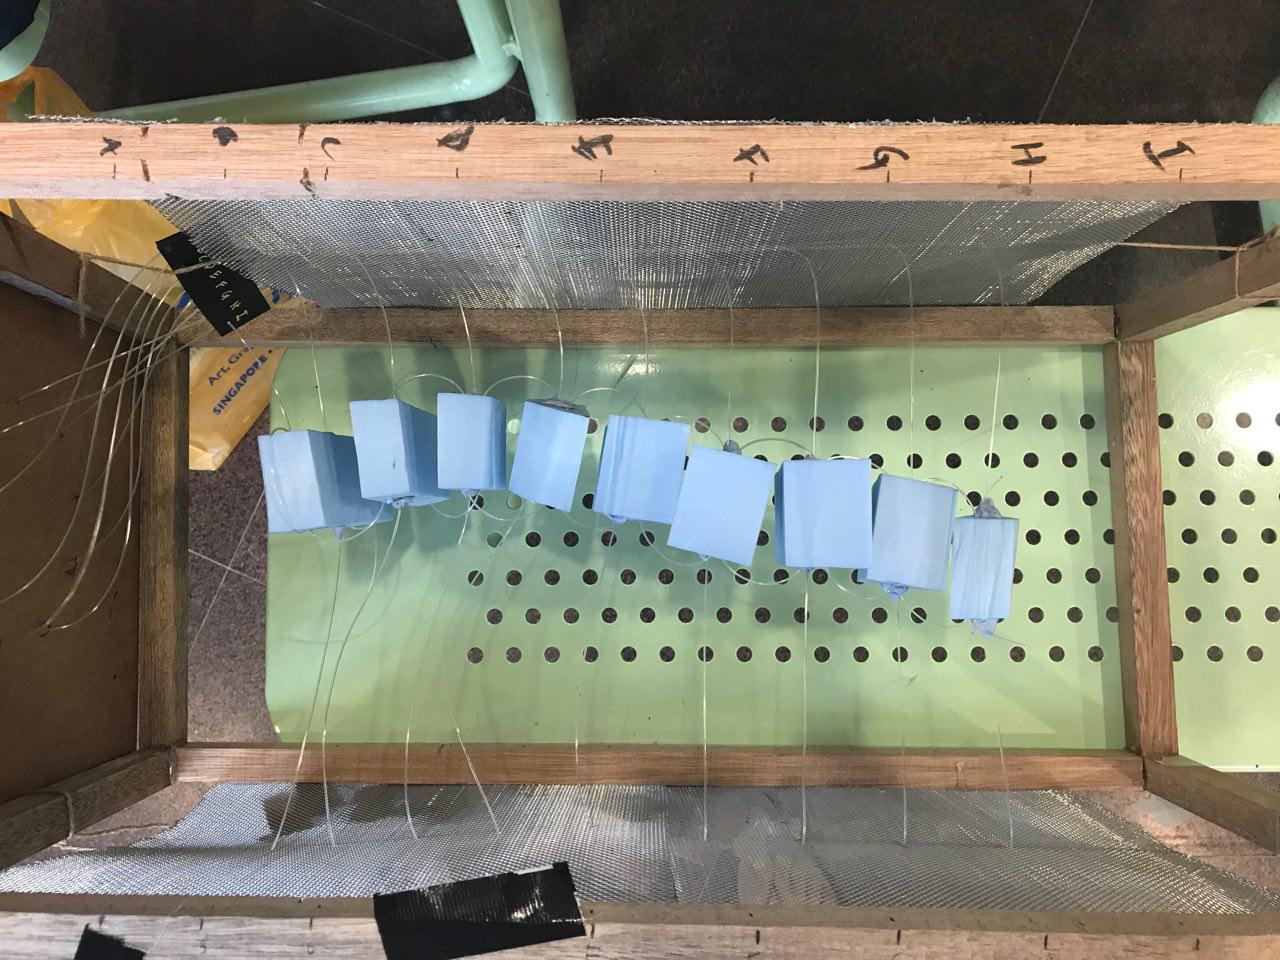
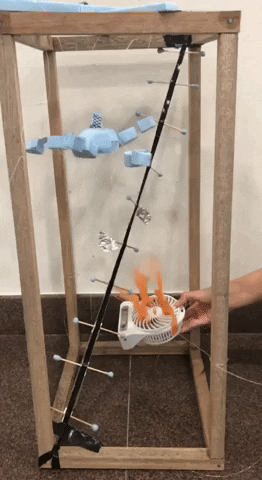
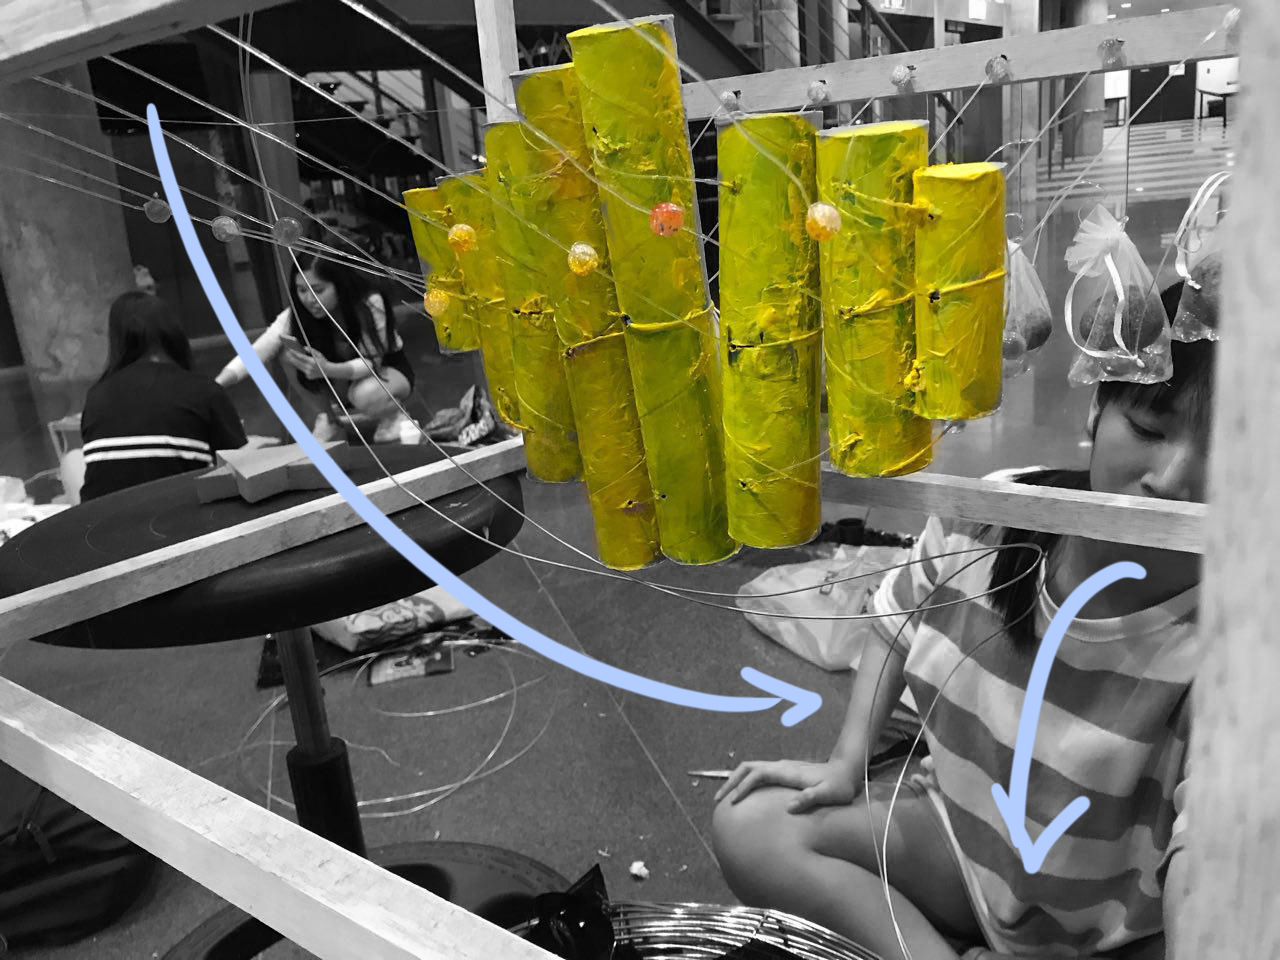
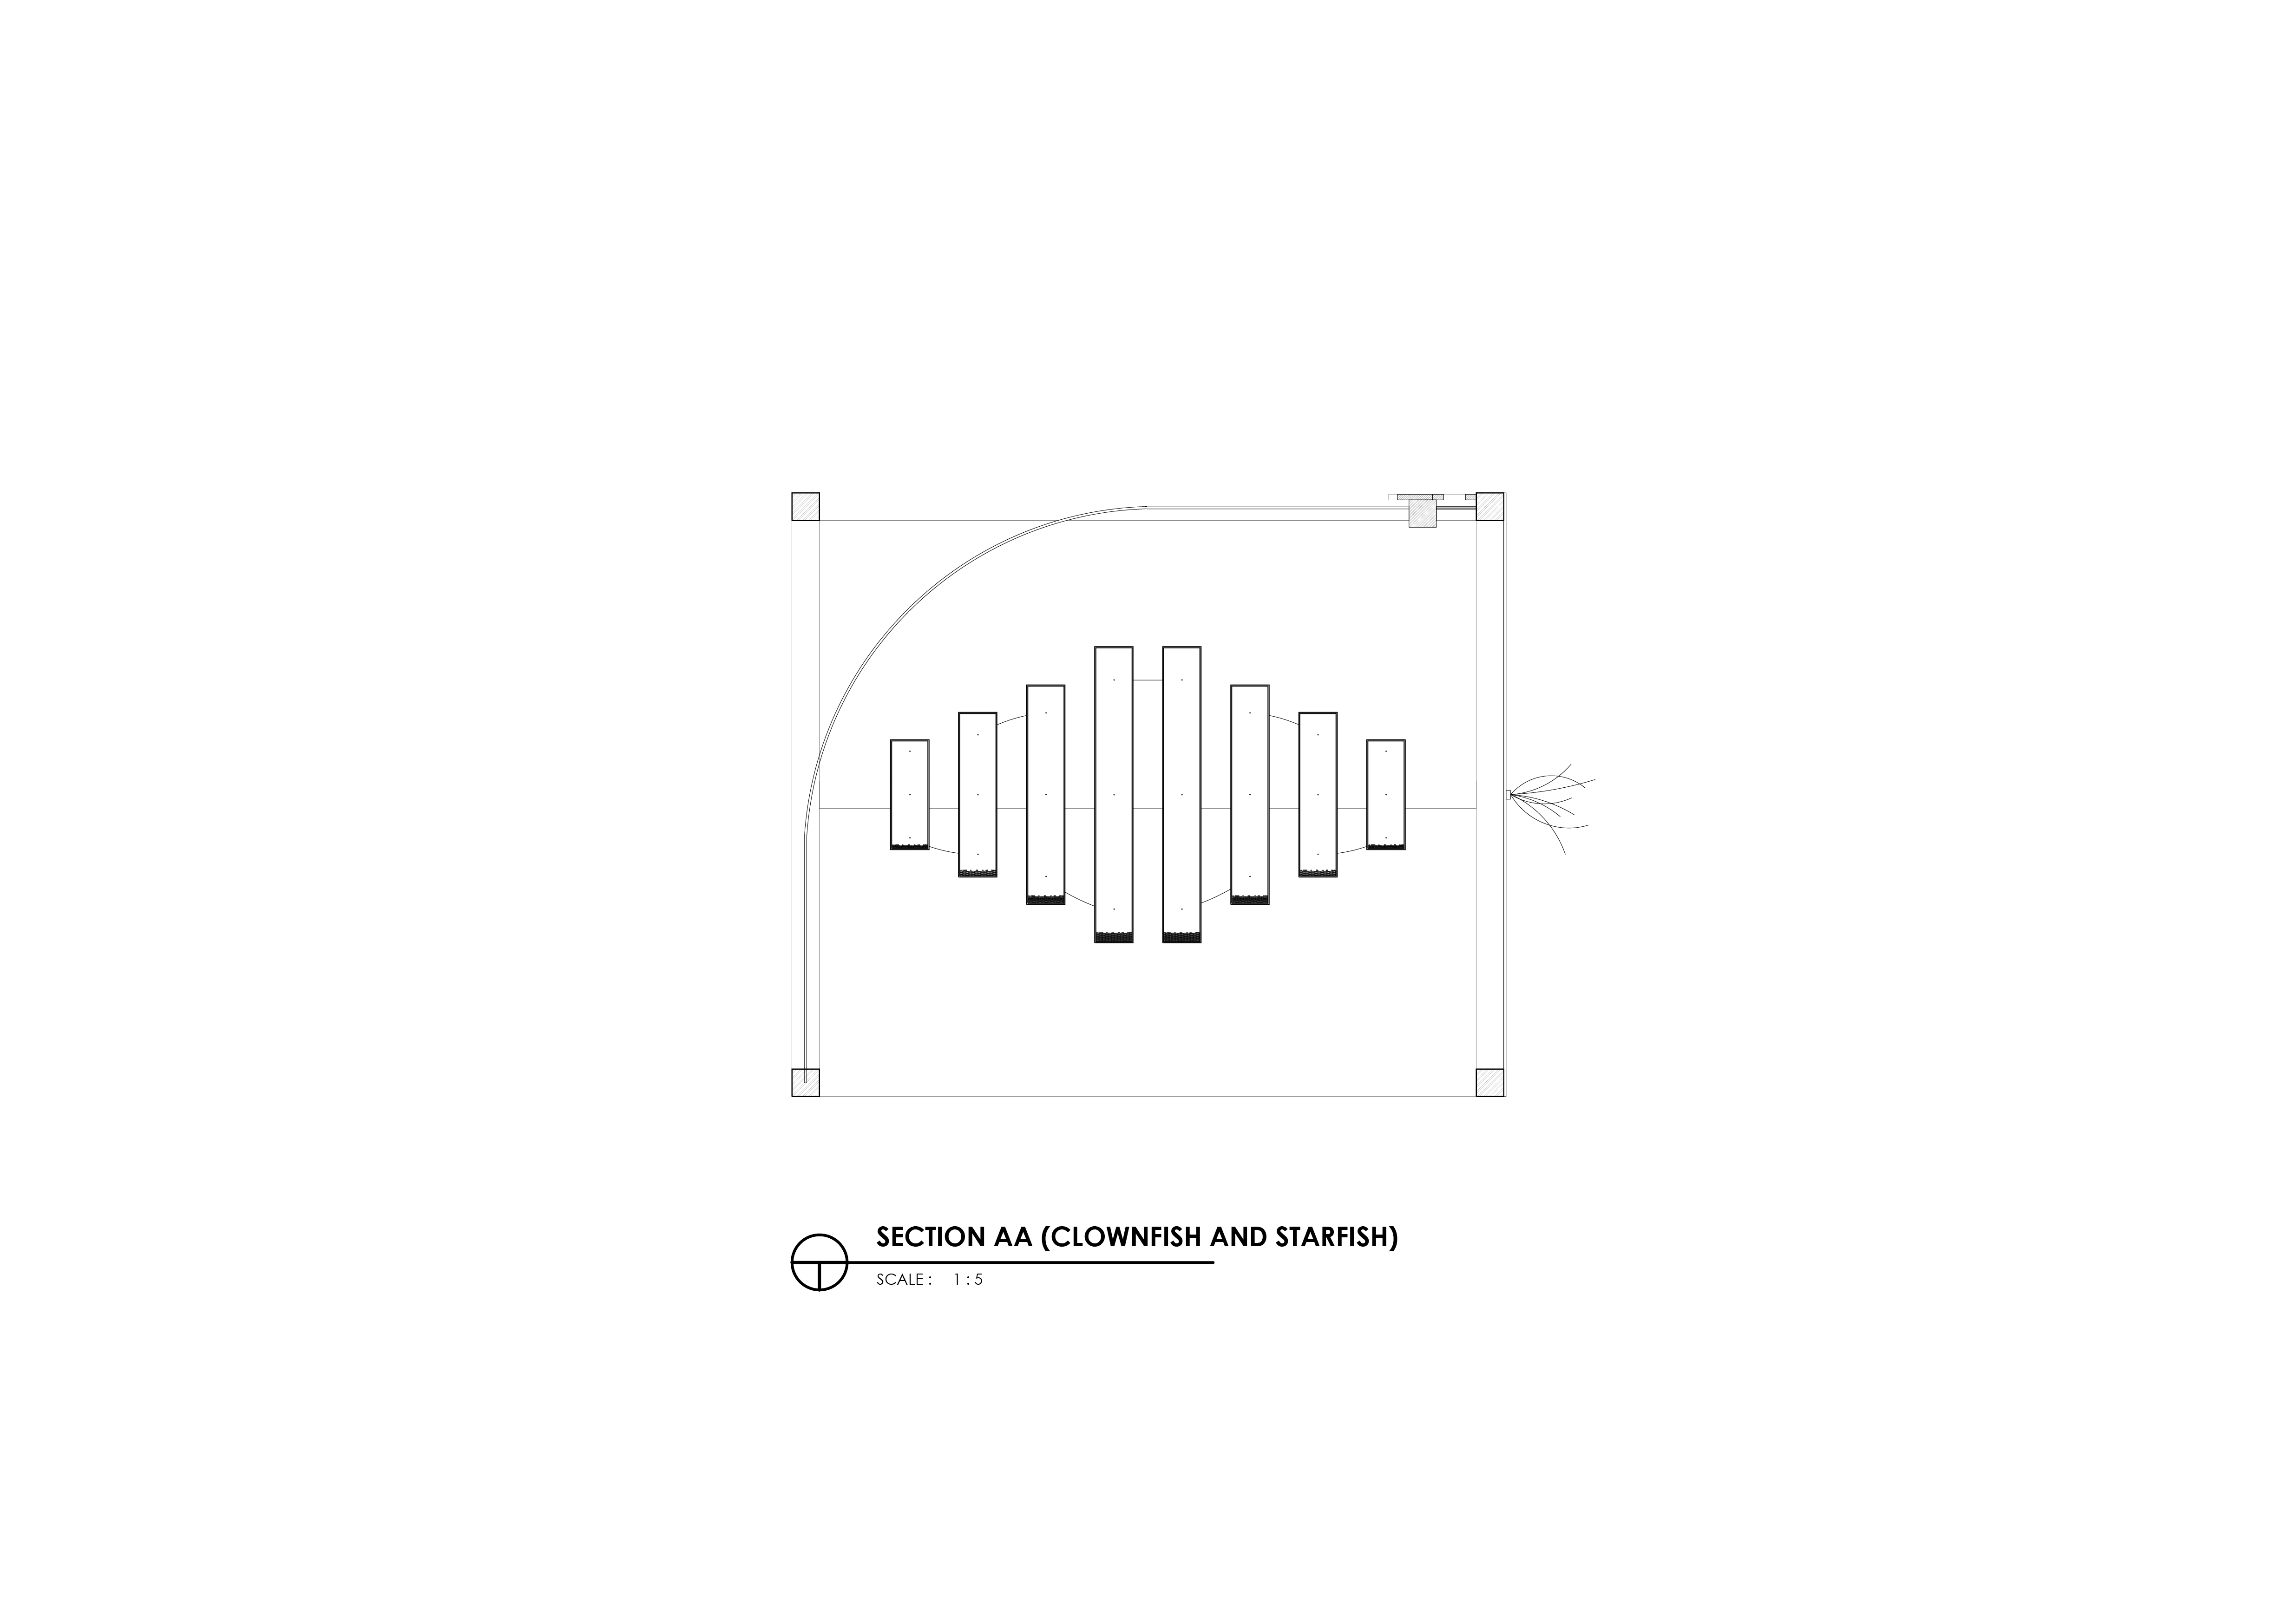
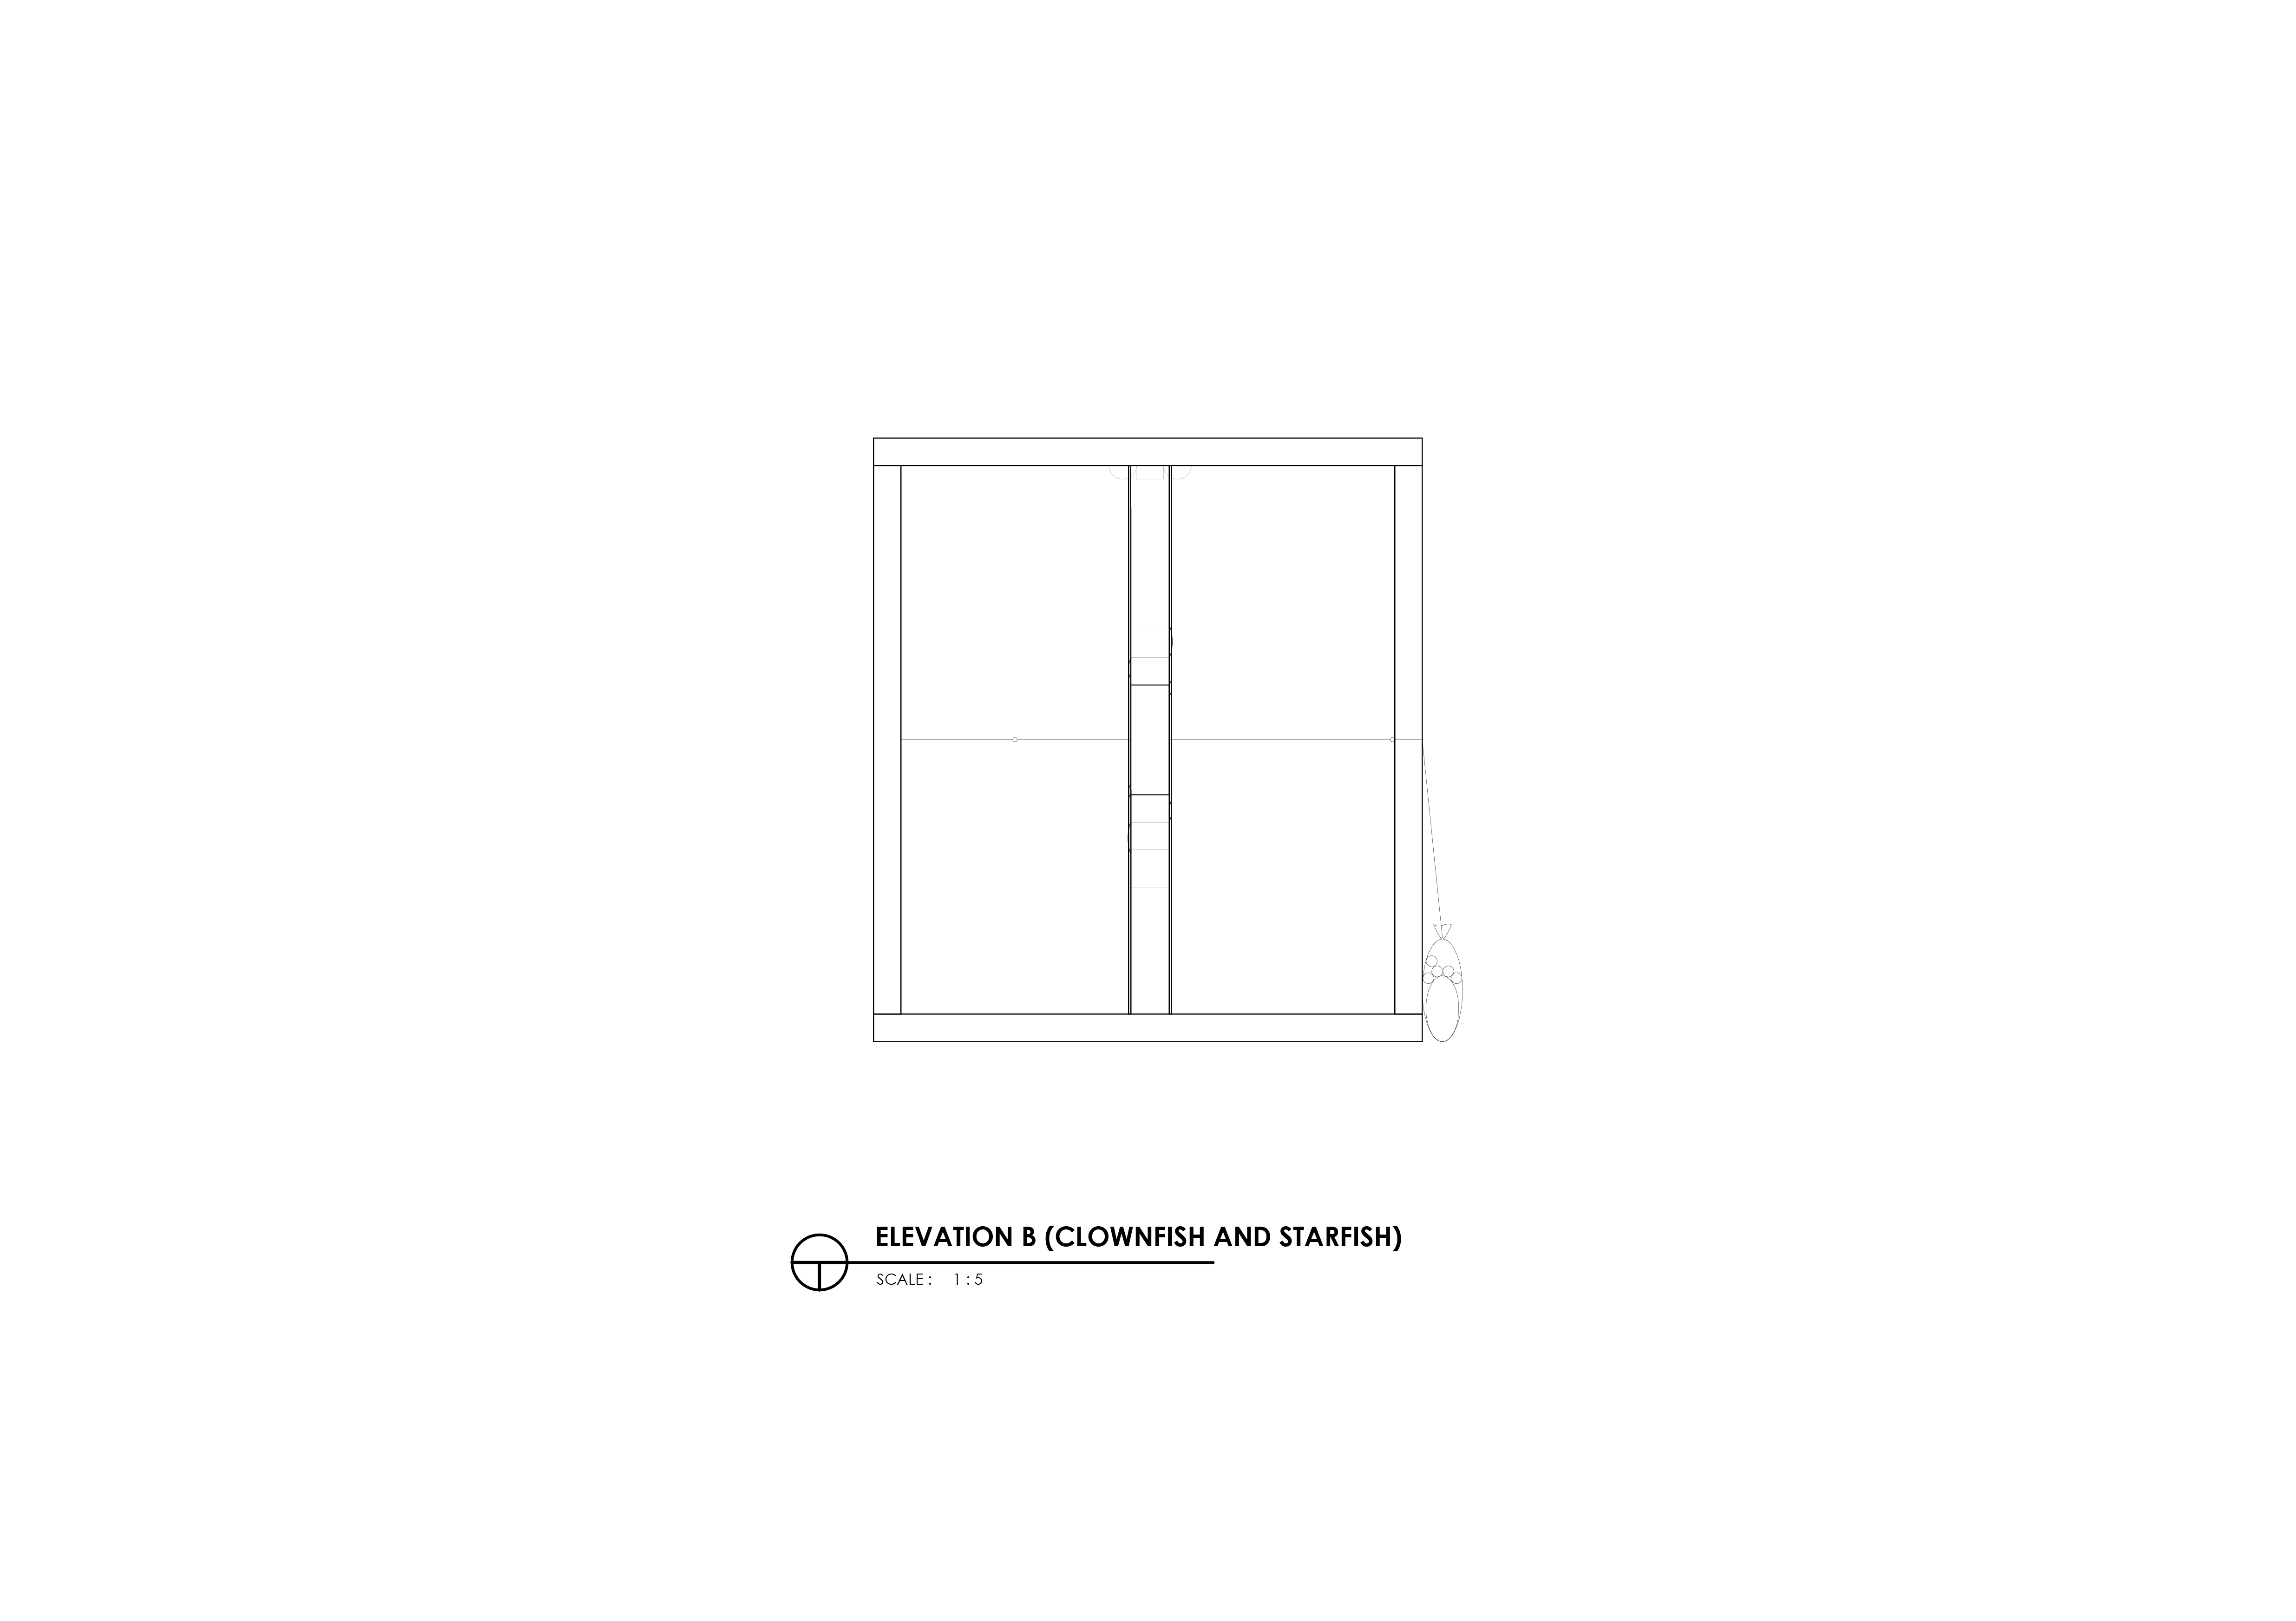
We also identified which were the unnecessary elements which we could shed in order to make the composition of the installation cleaner and more immersive. Instead of using wire mesh again, we opted for 2 wooden rods which would hold the fishing cords.

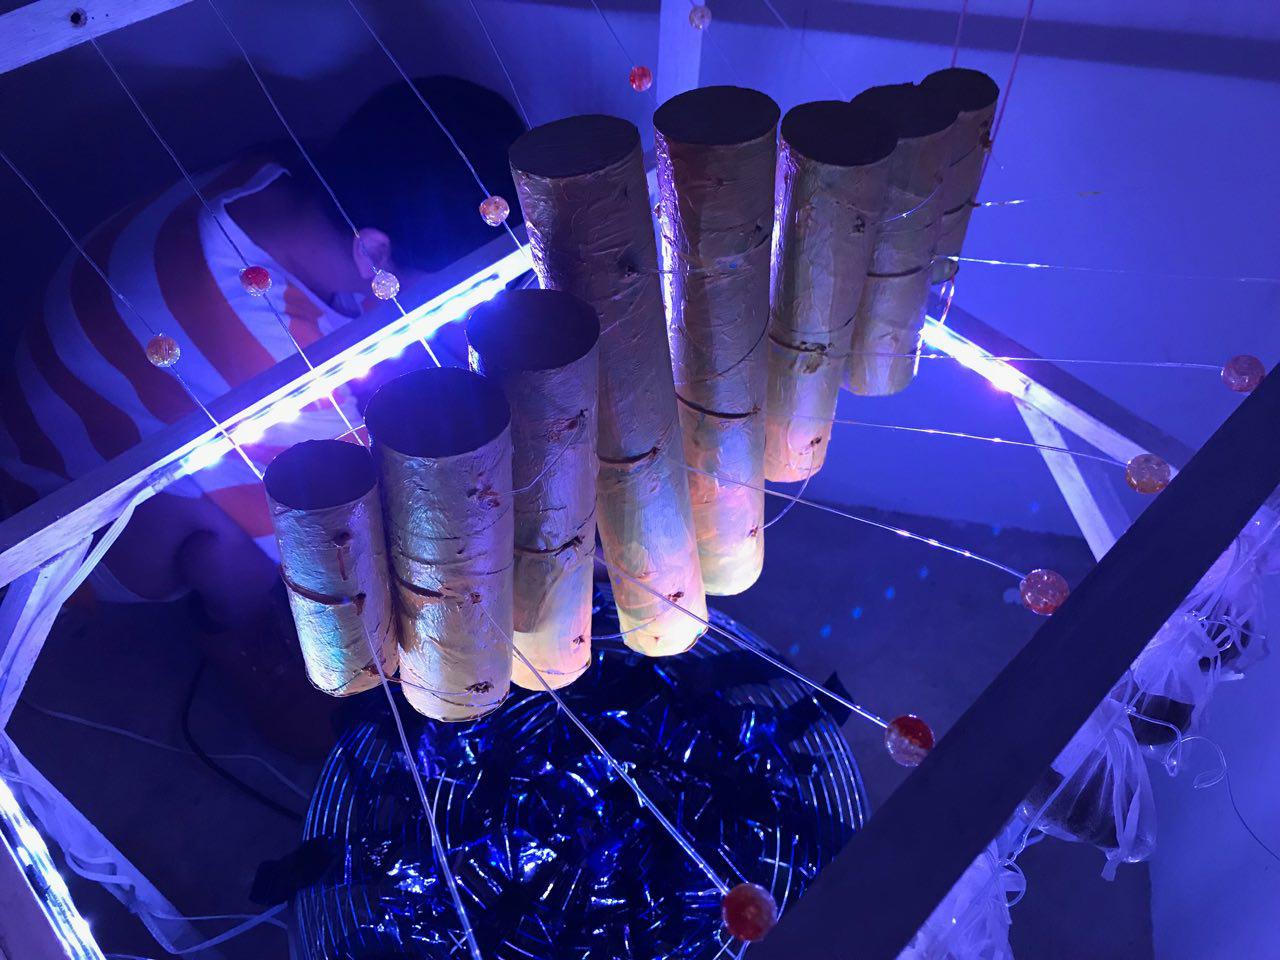
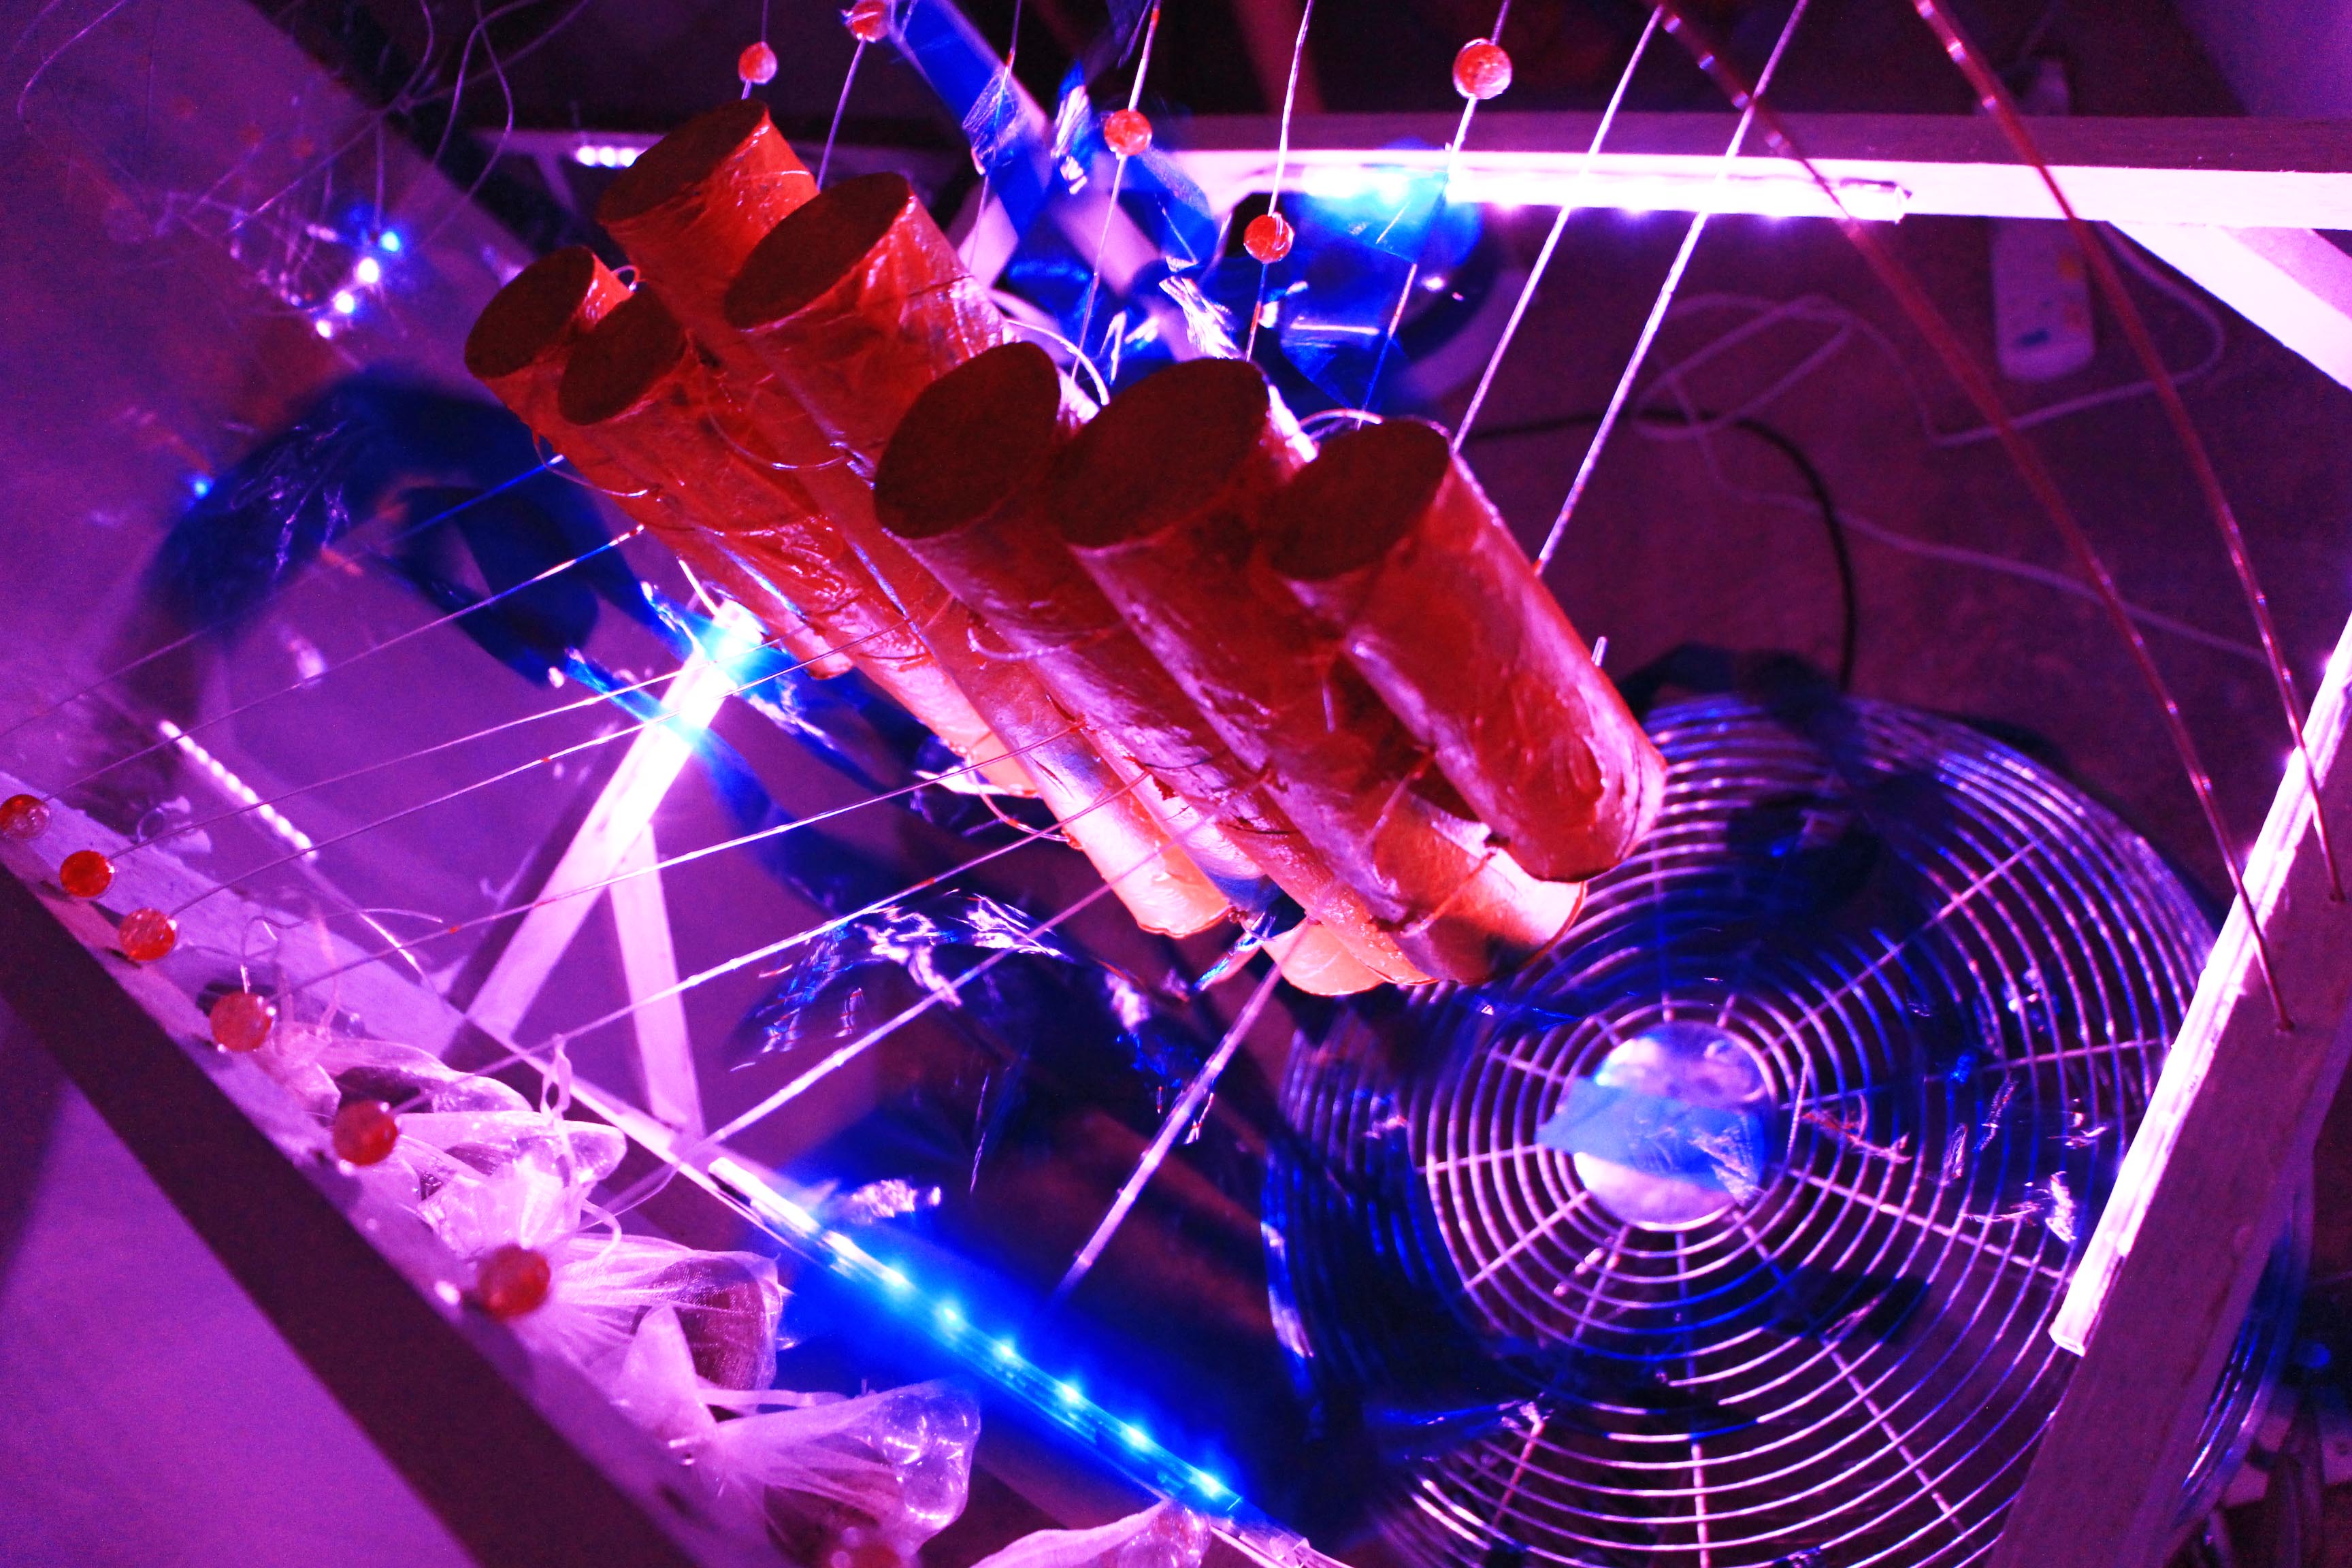
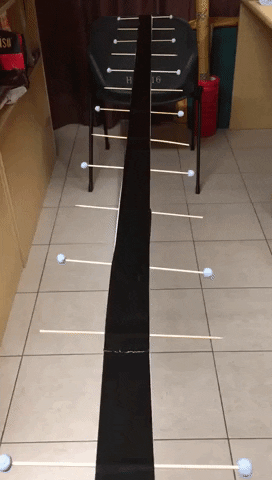
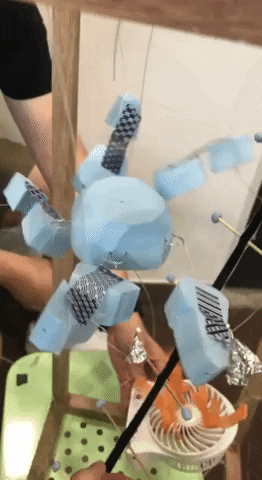
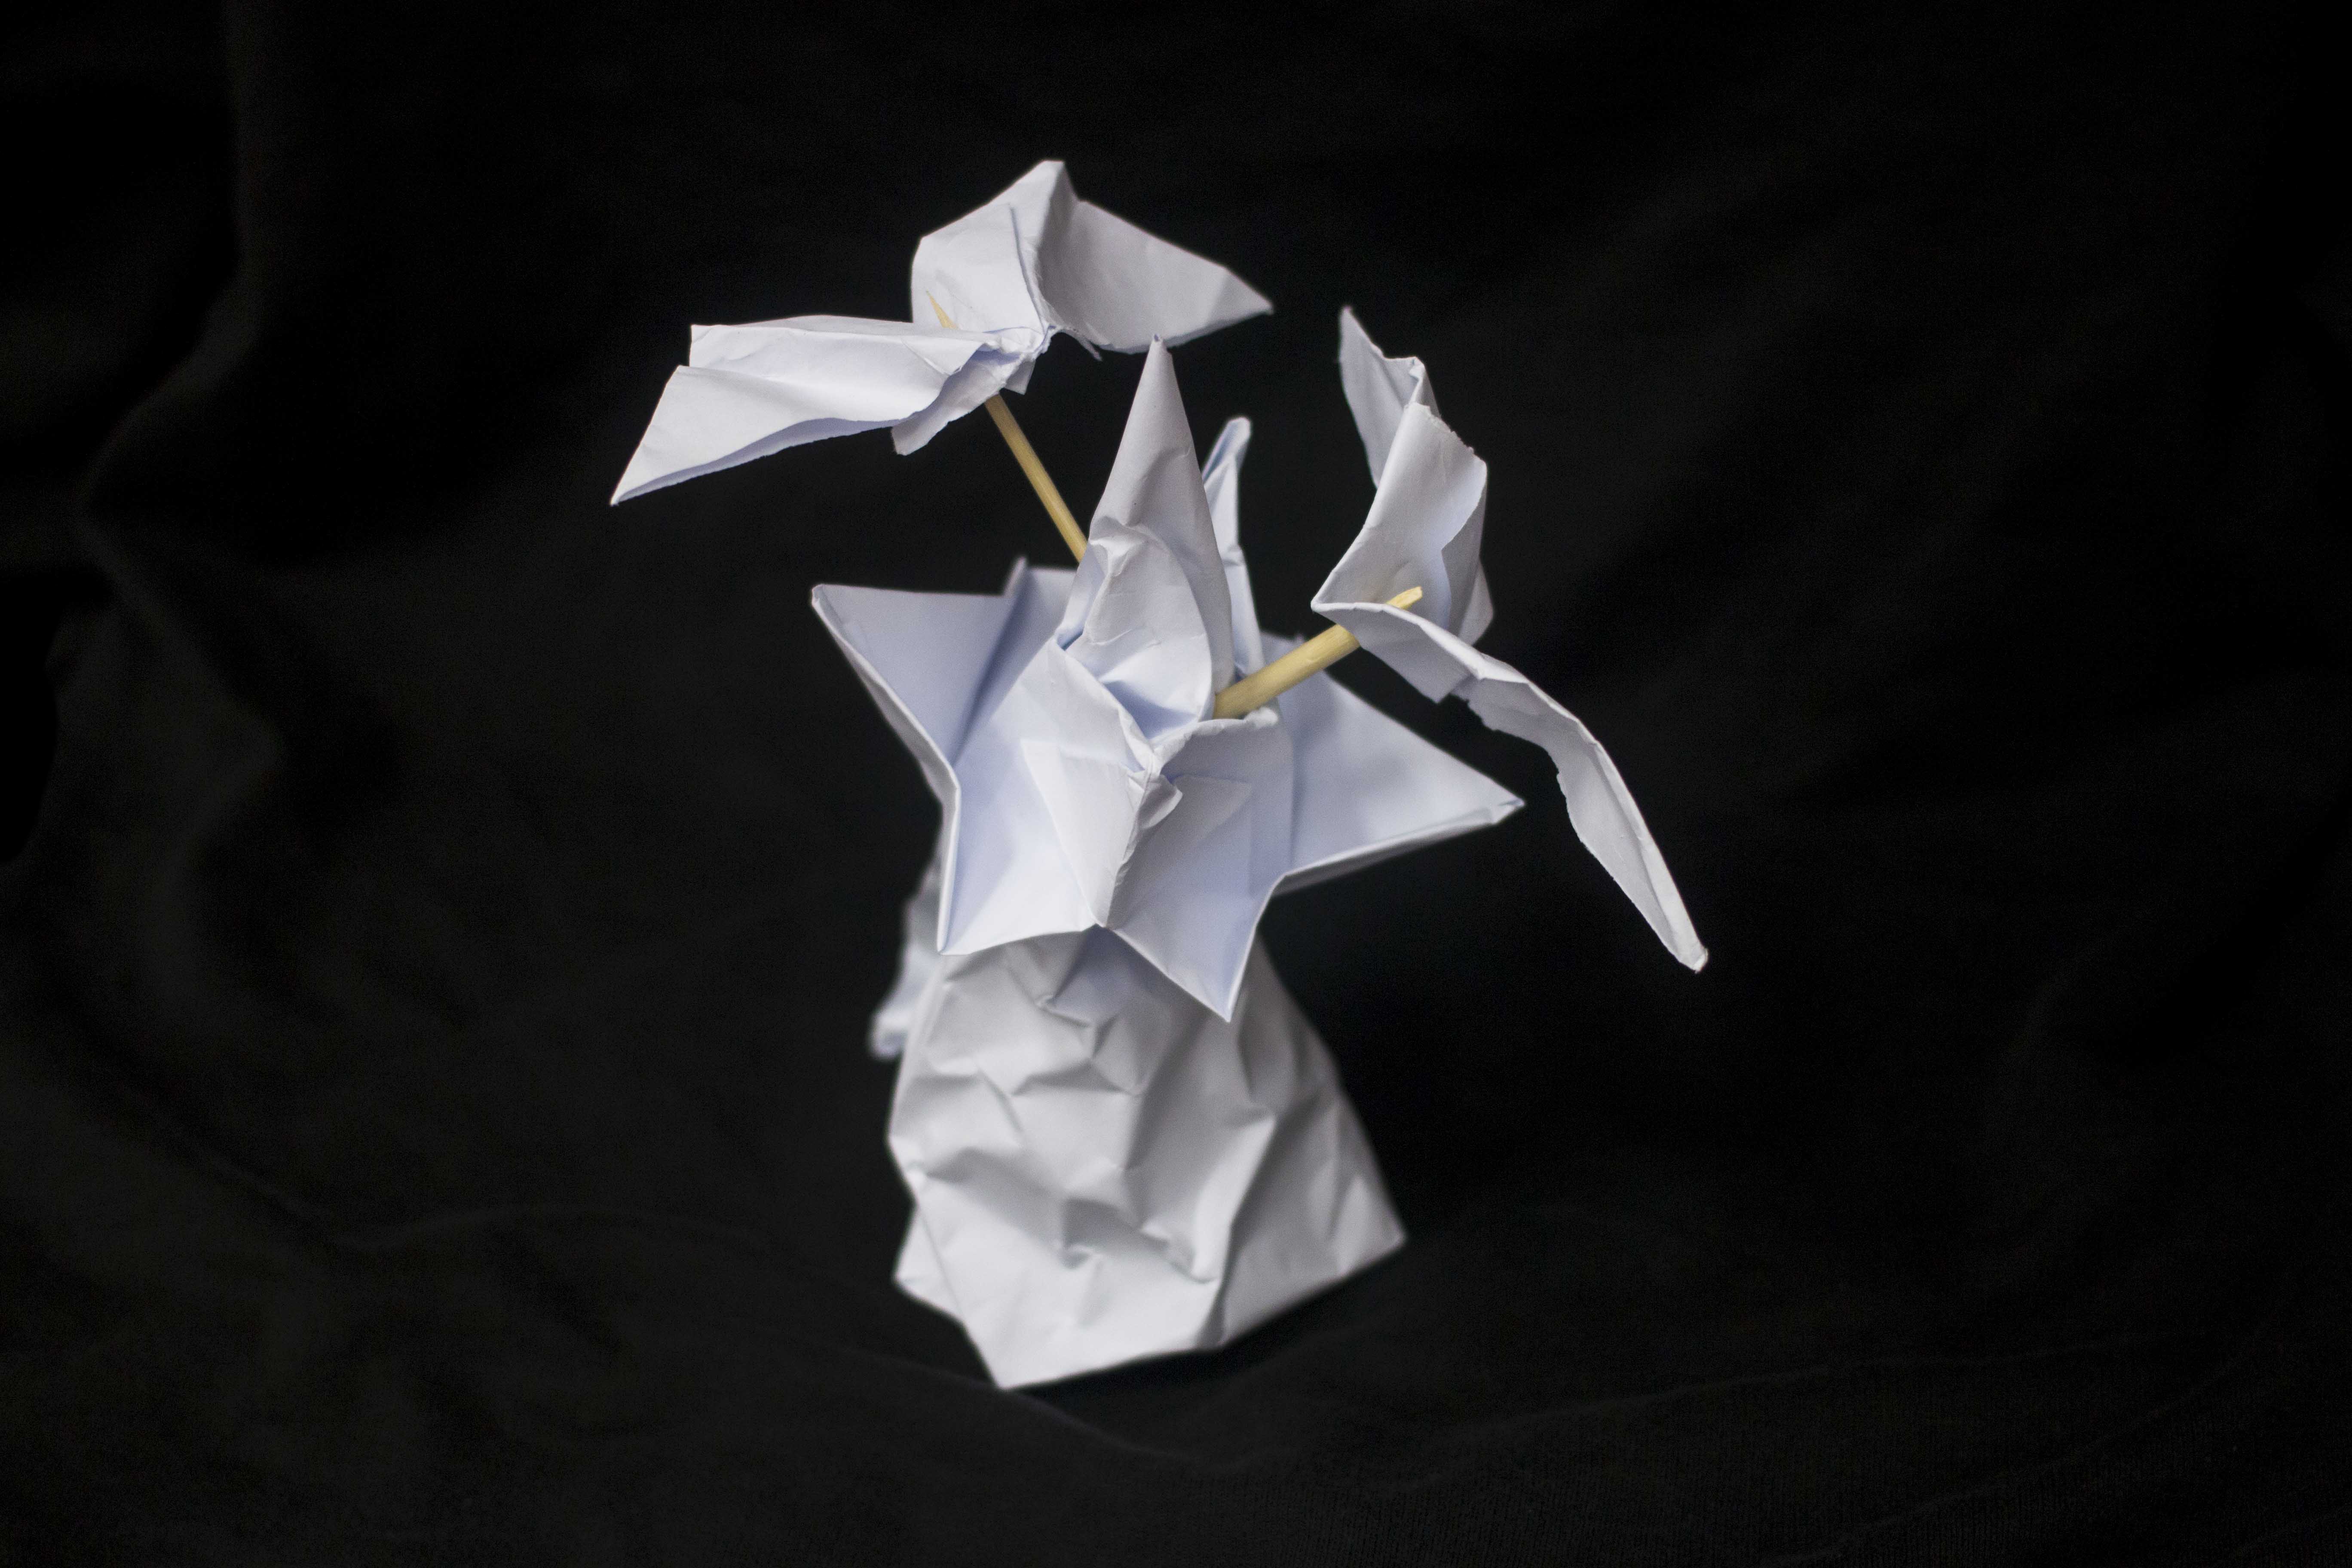
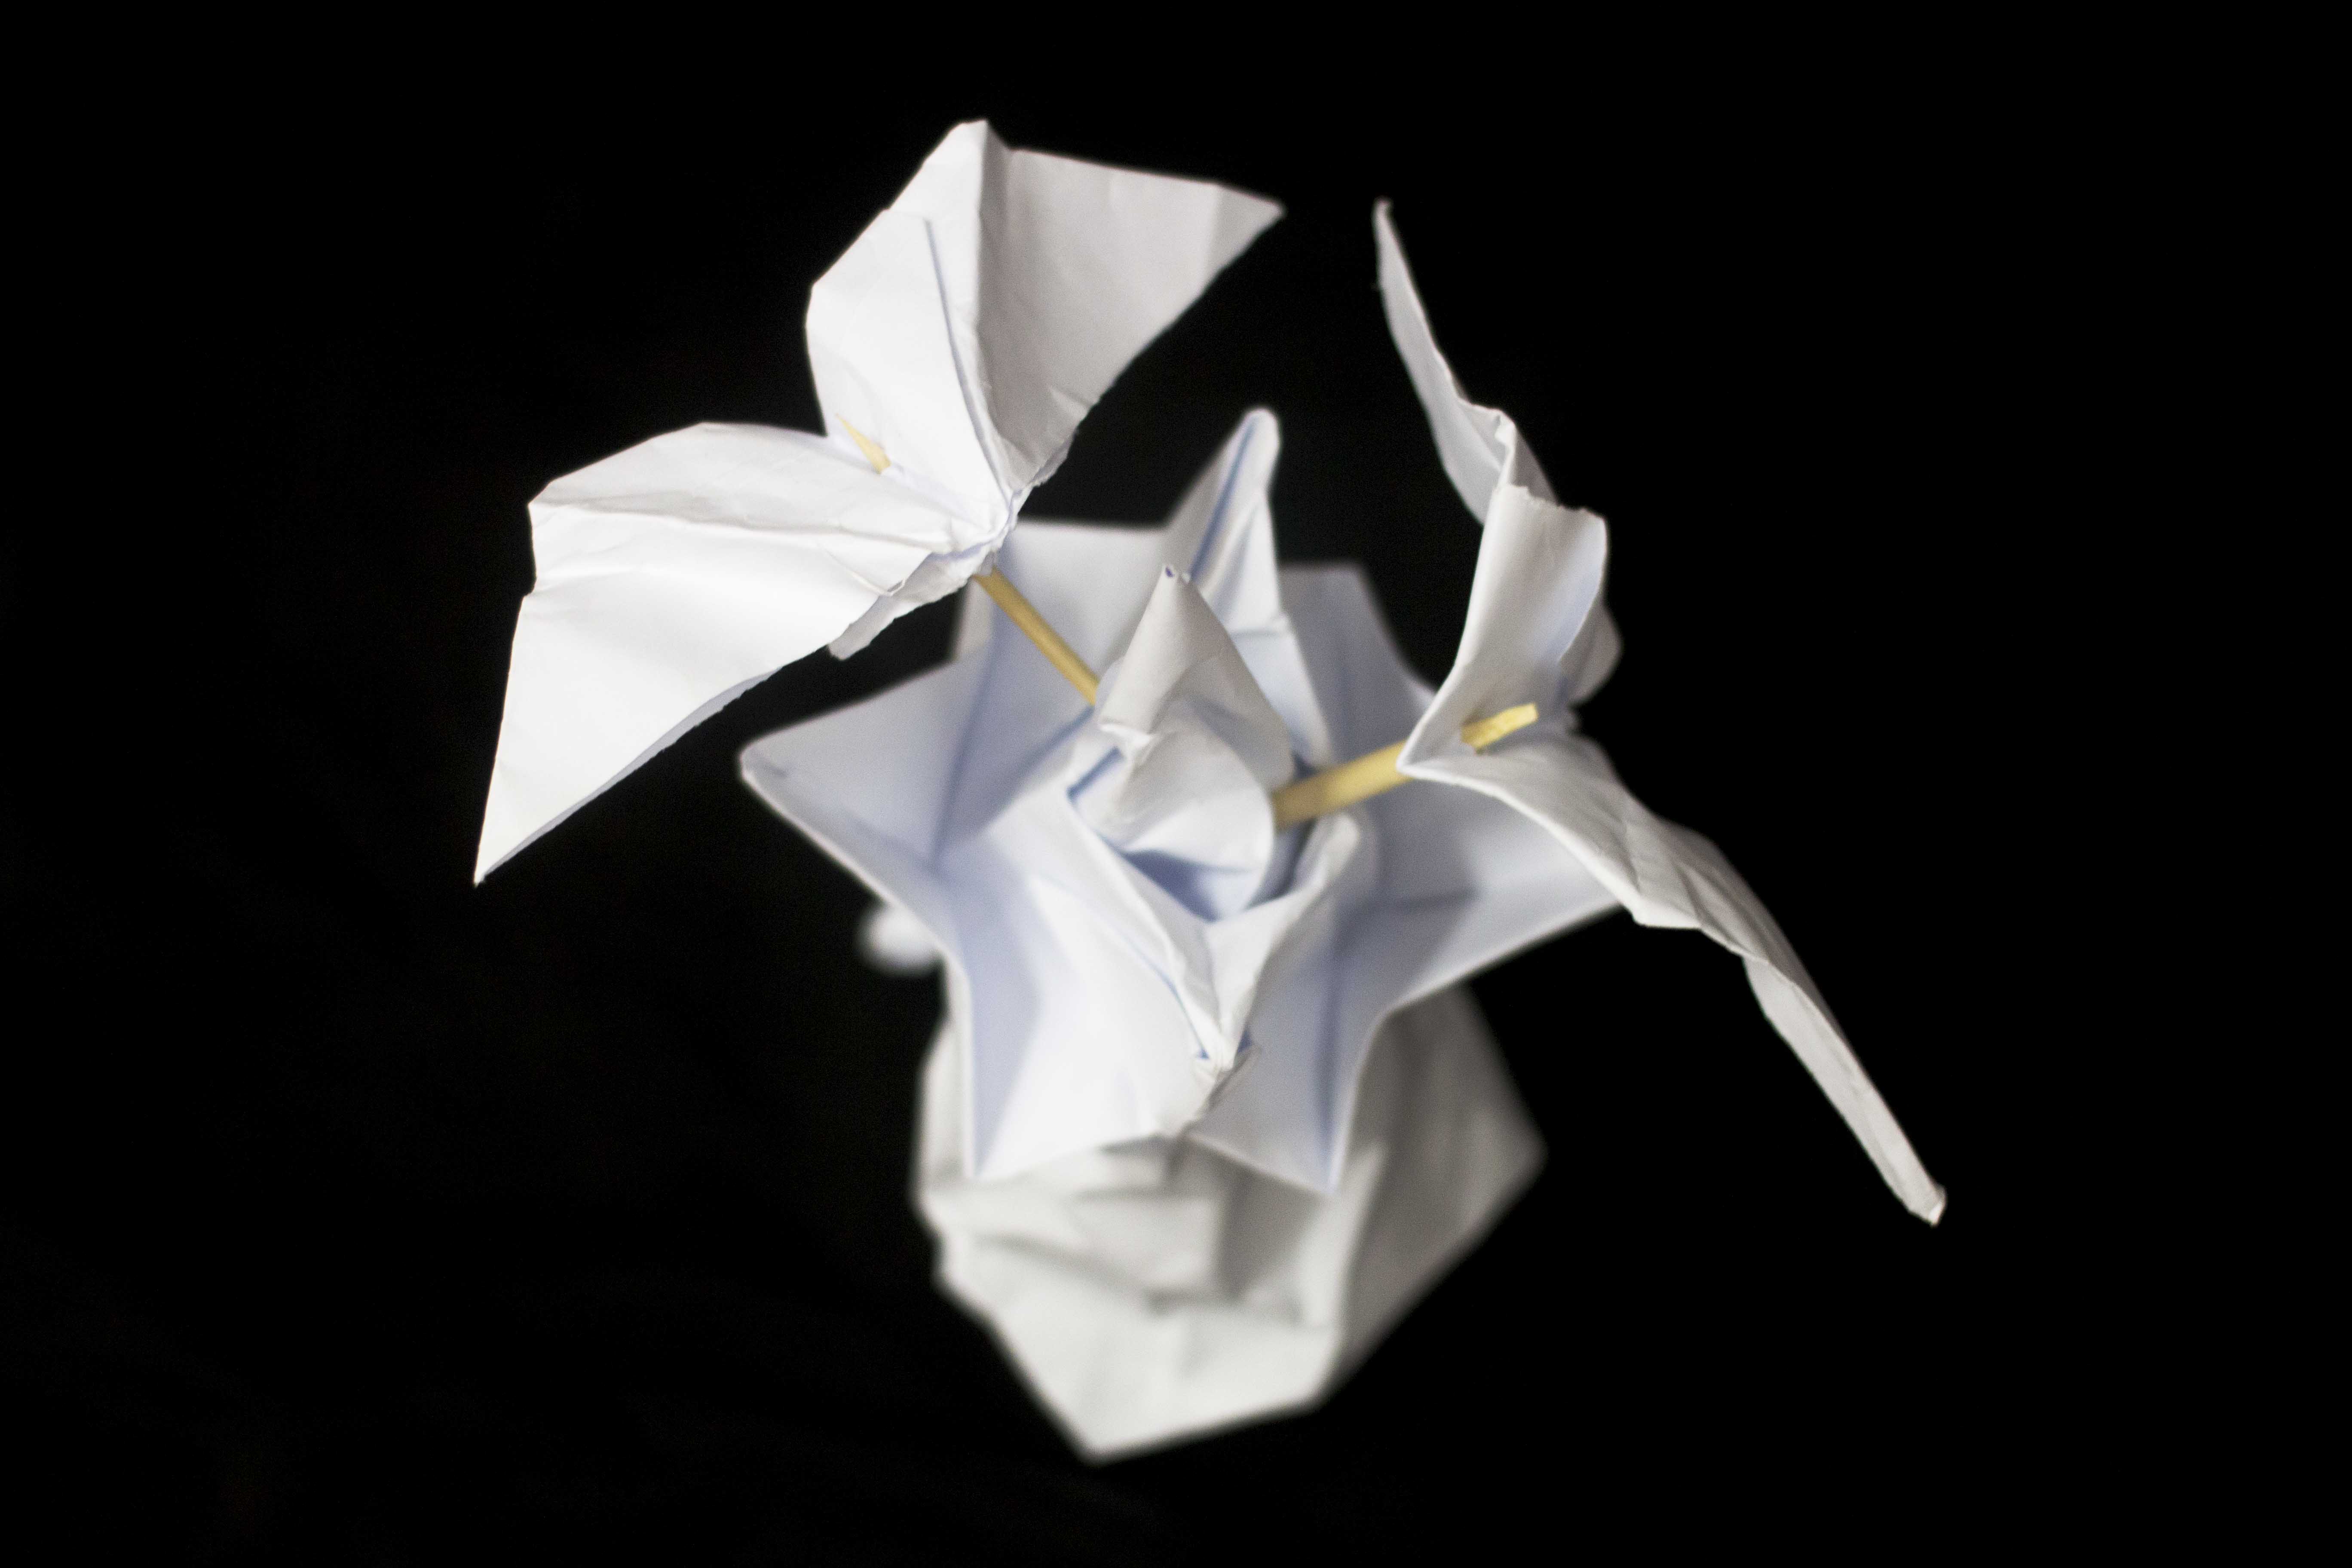
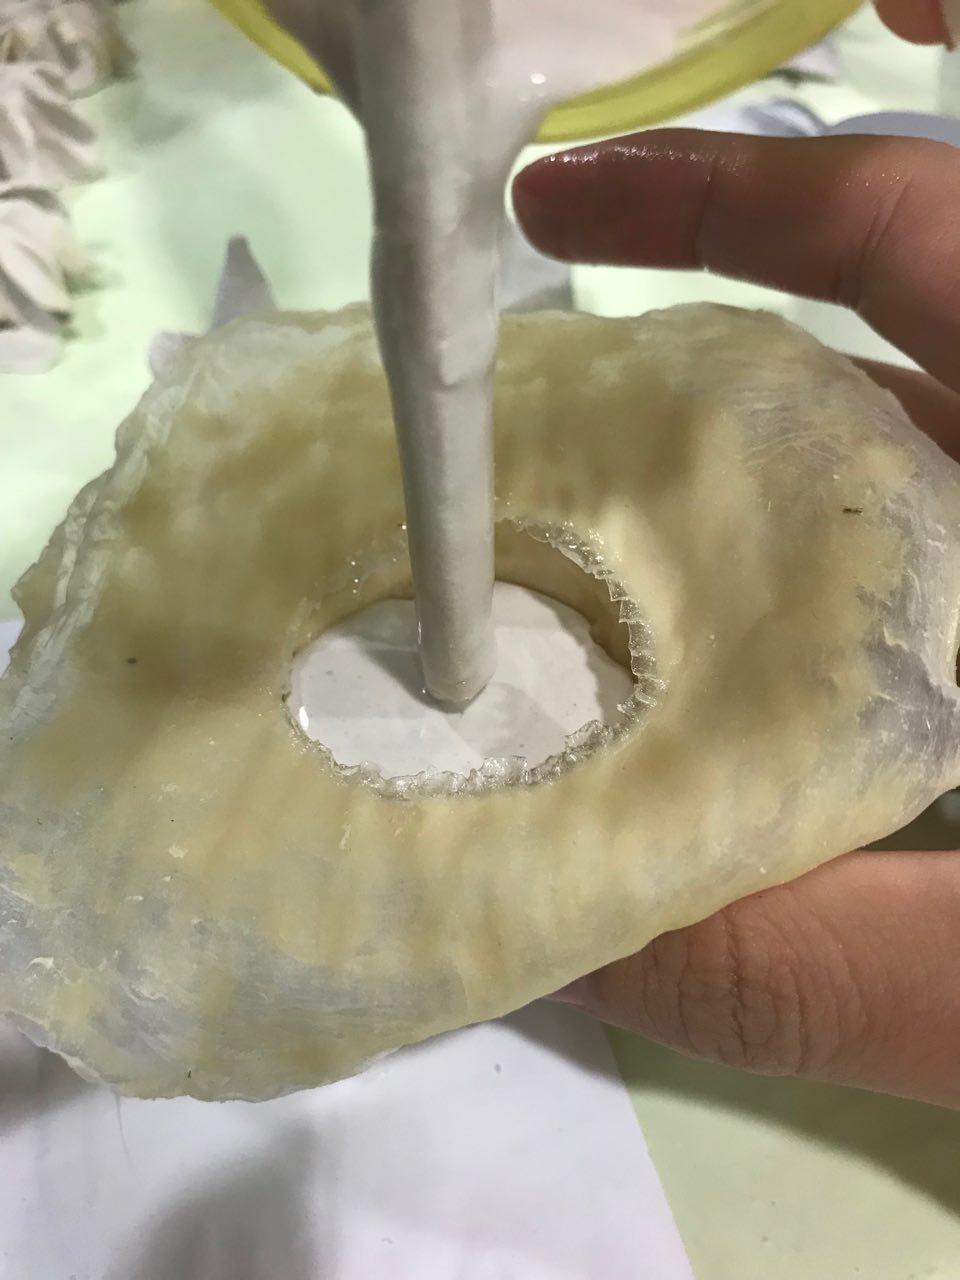
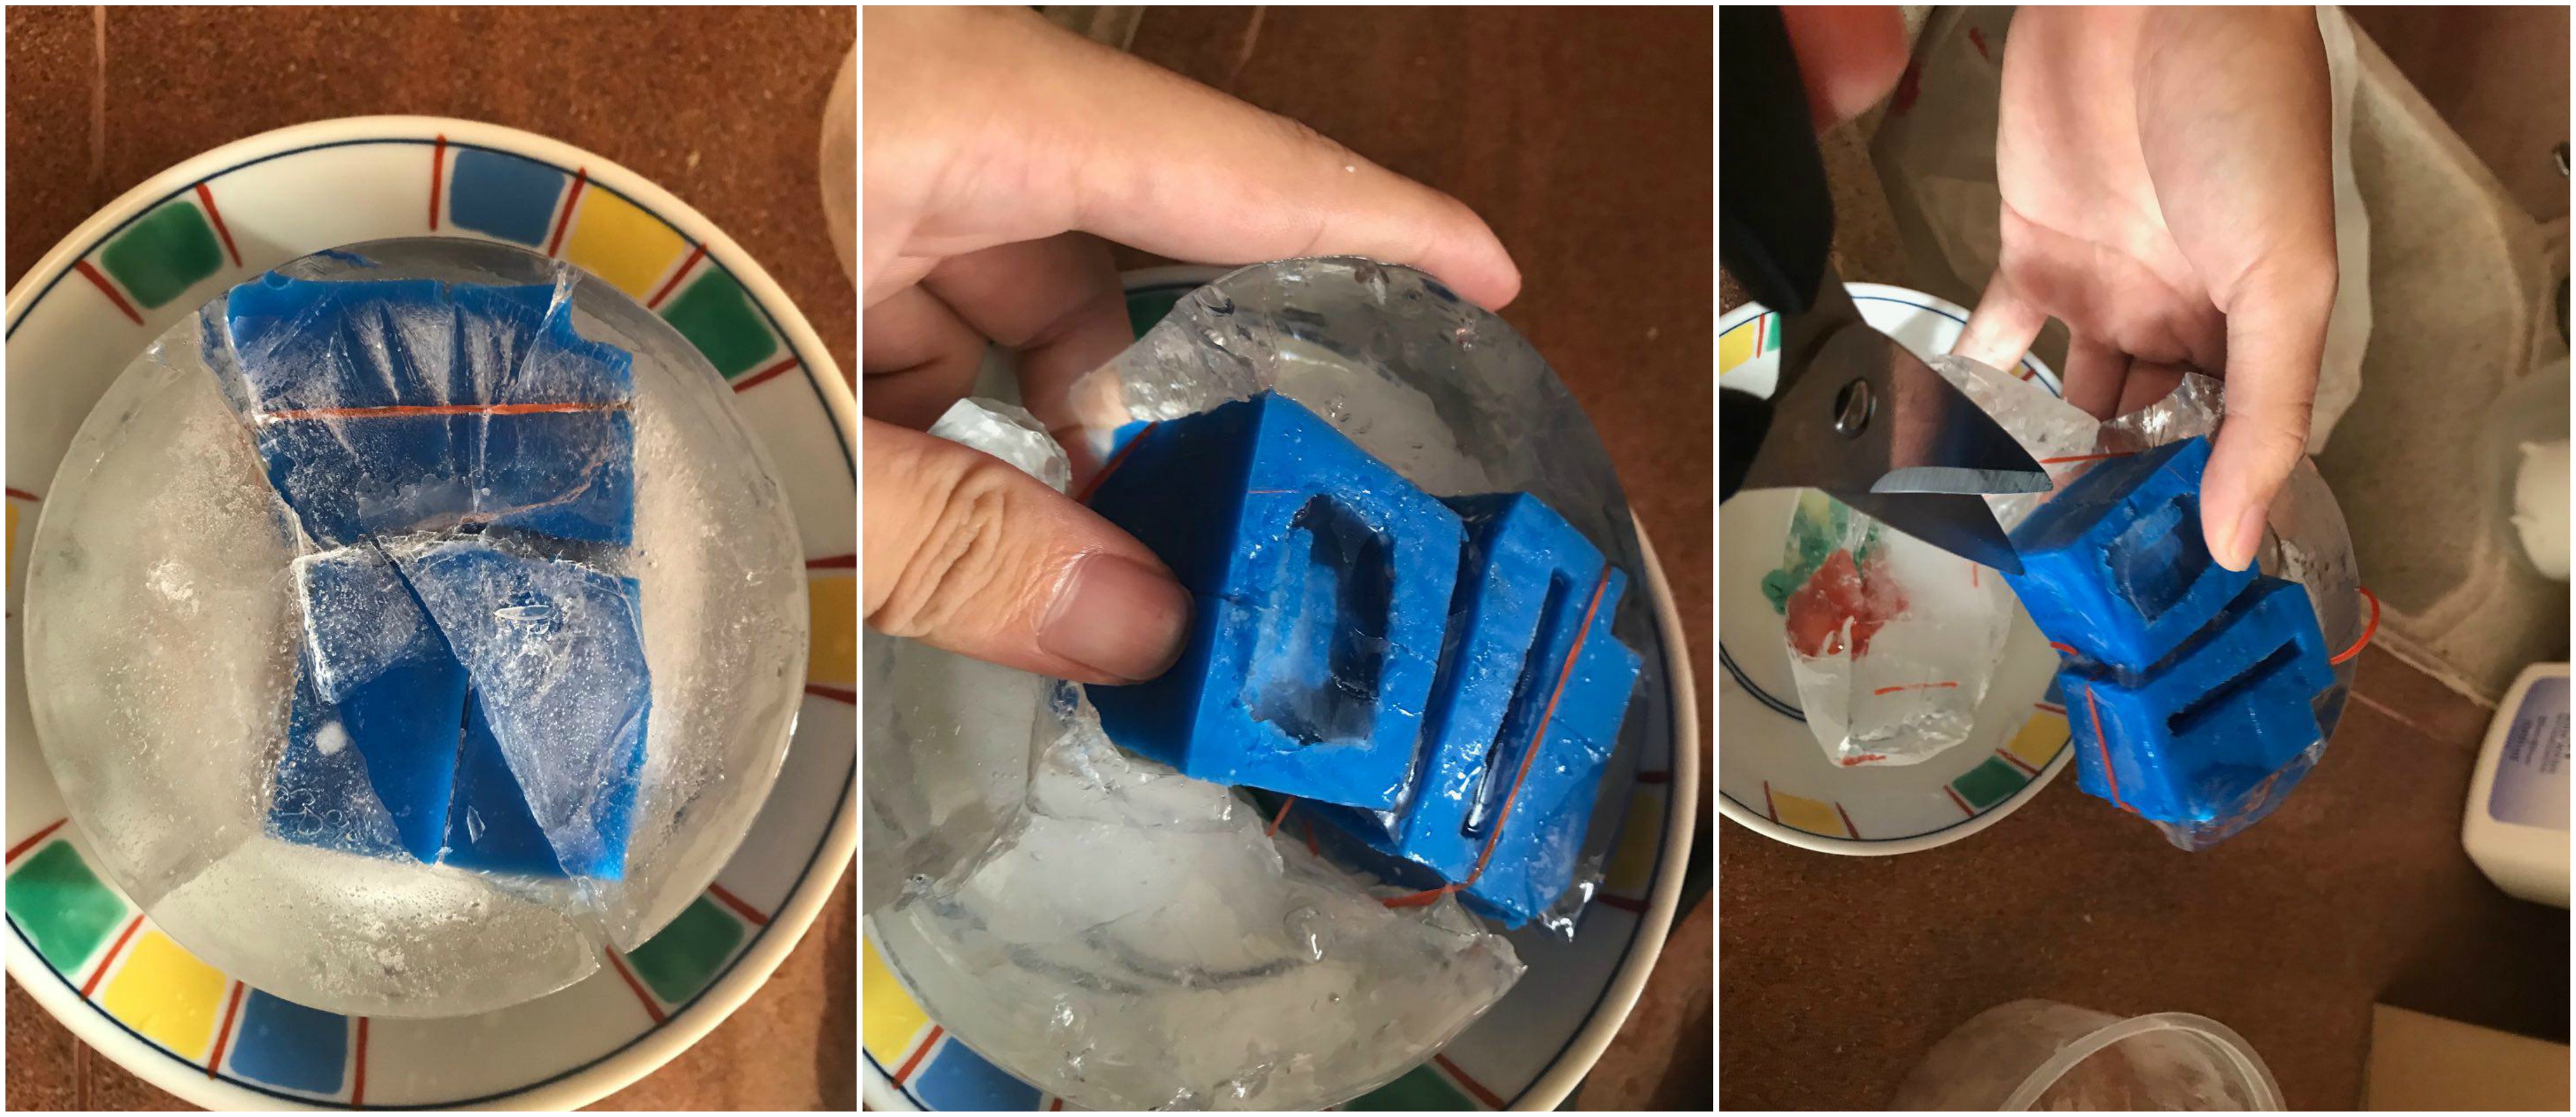
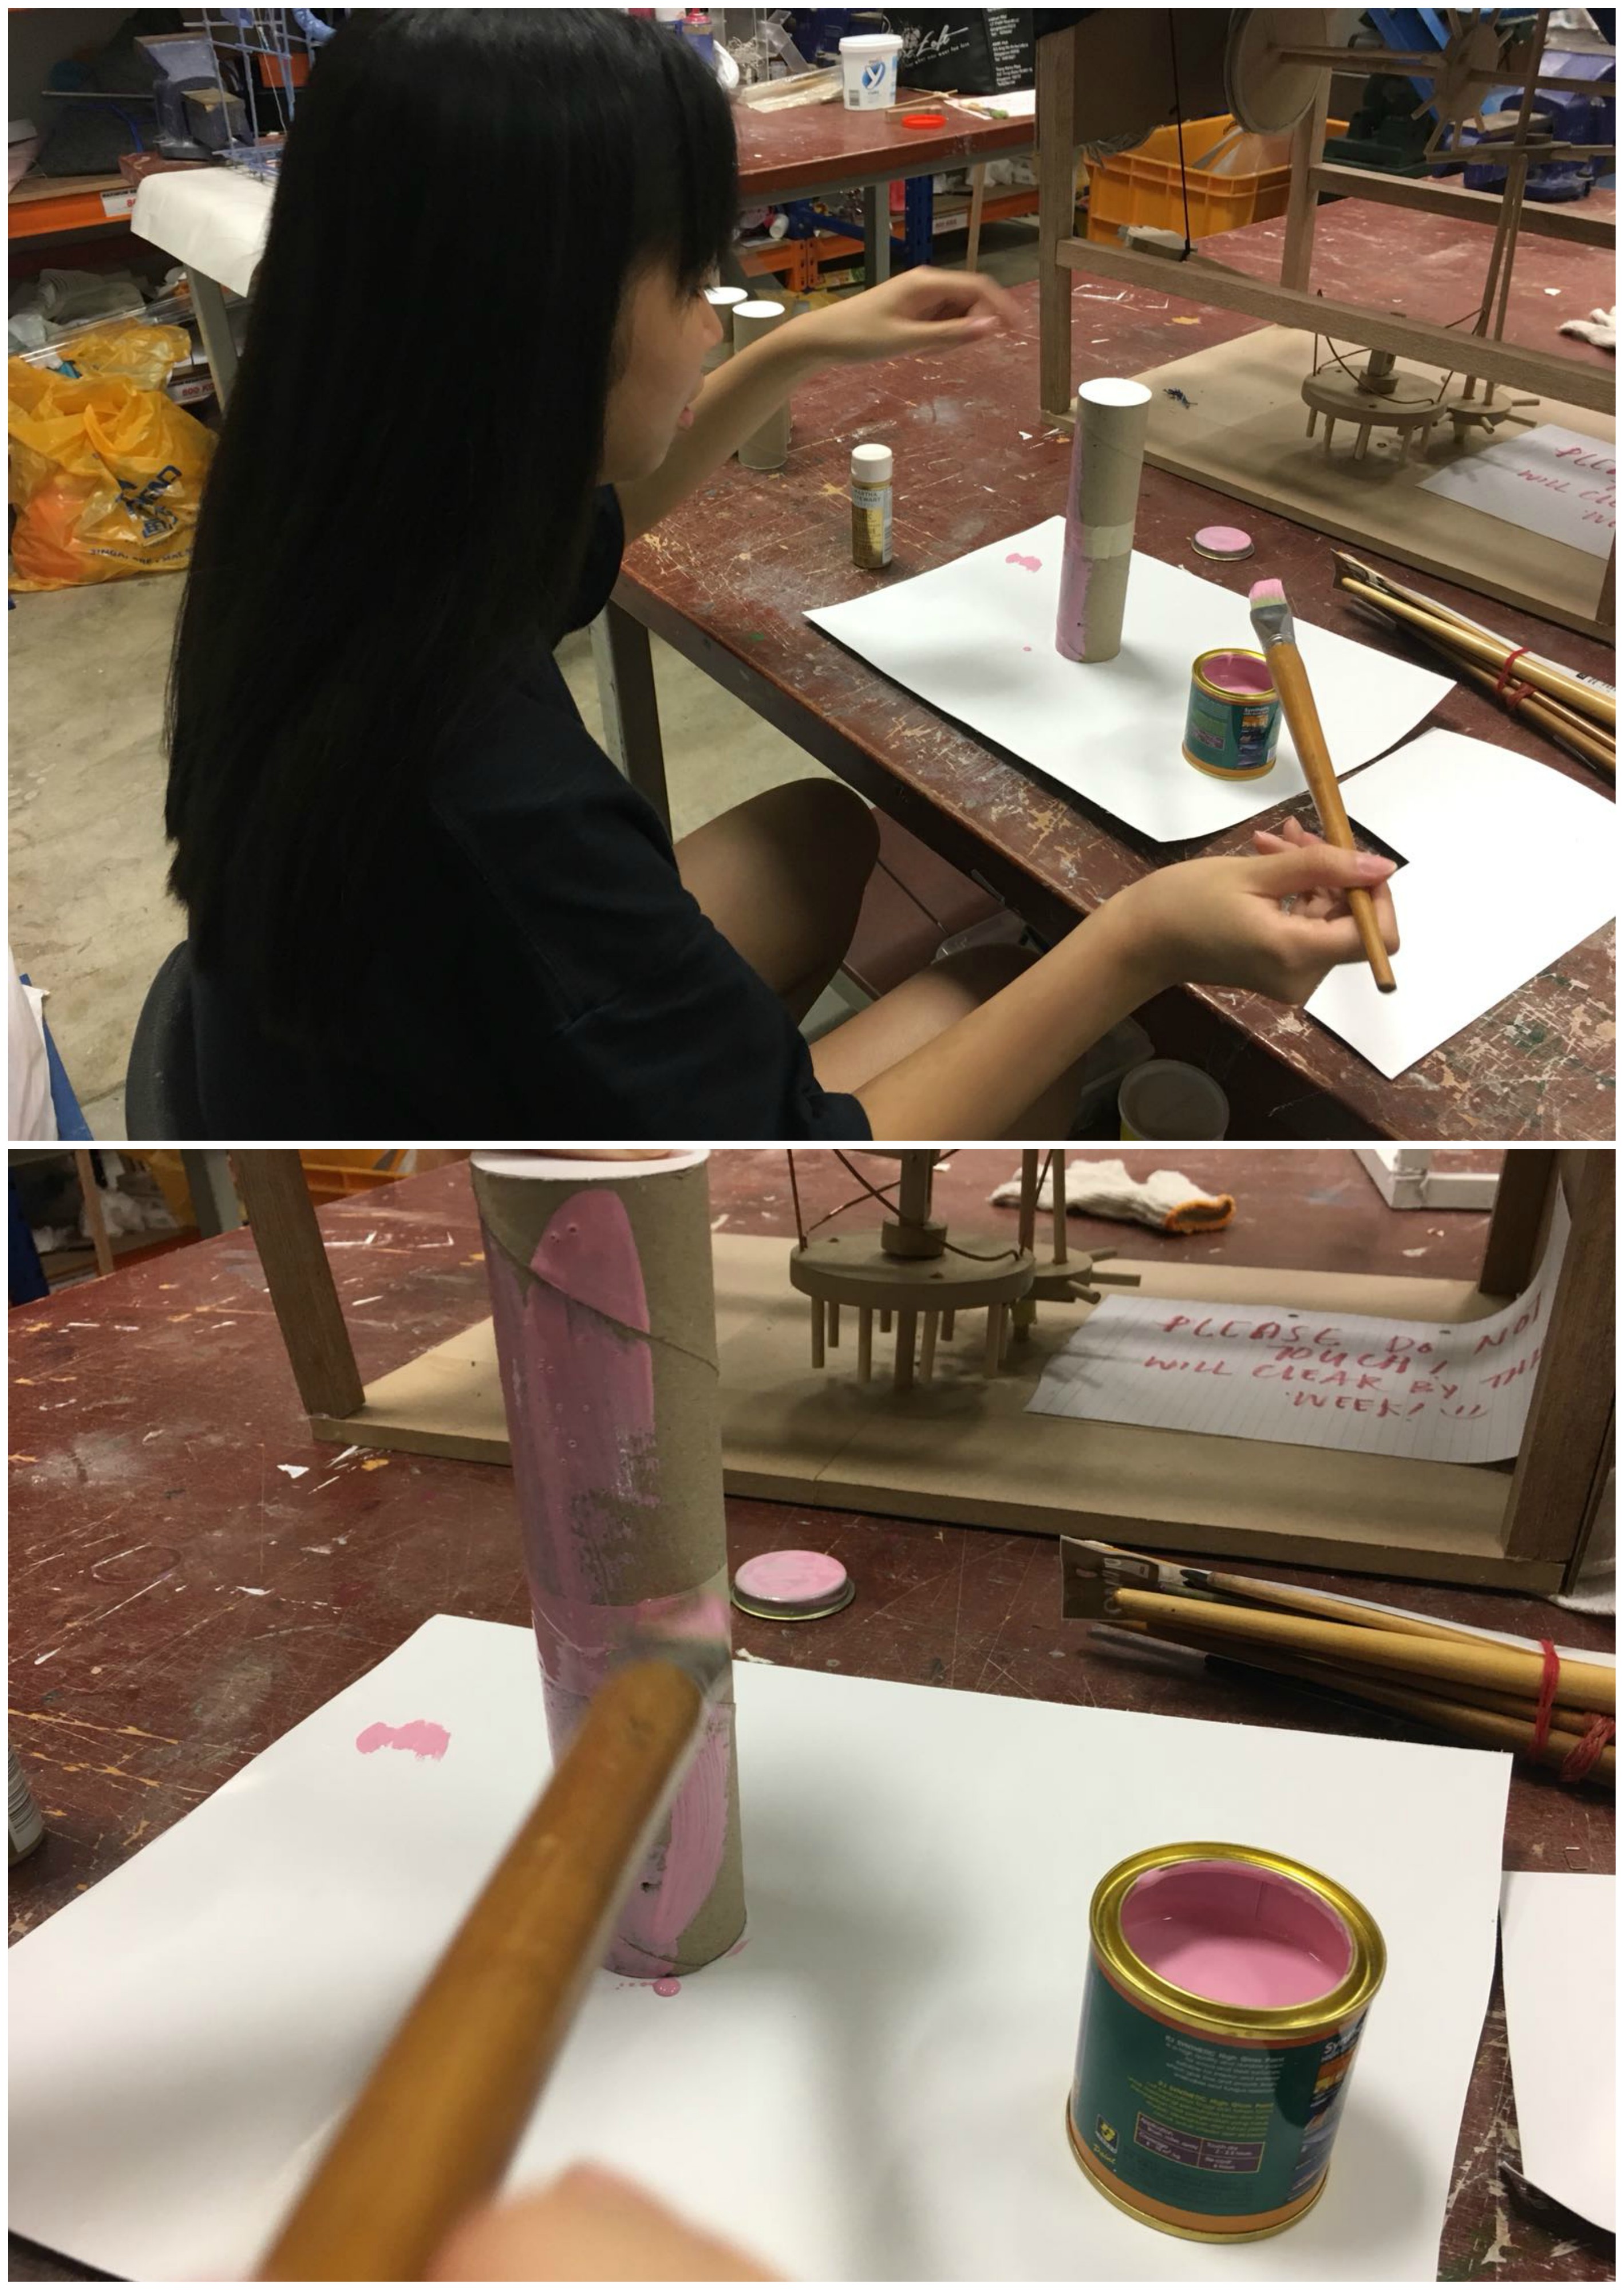
We also changed the materials used for the fish as we did not want it to be too literal, thus, we filled toilet rolls of varying length with sago seeds to include an element of sound into the movement when the strings were being tugged, similar to a musical instrument.

We decided to paint the tubes blue and pink (Pantone’s colour of the year in 2016) as we wanted it to resemble a children’s toy.

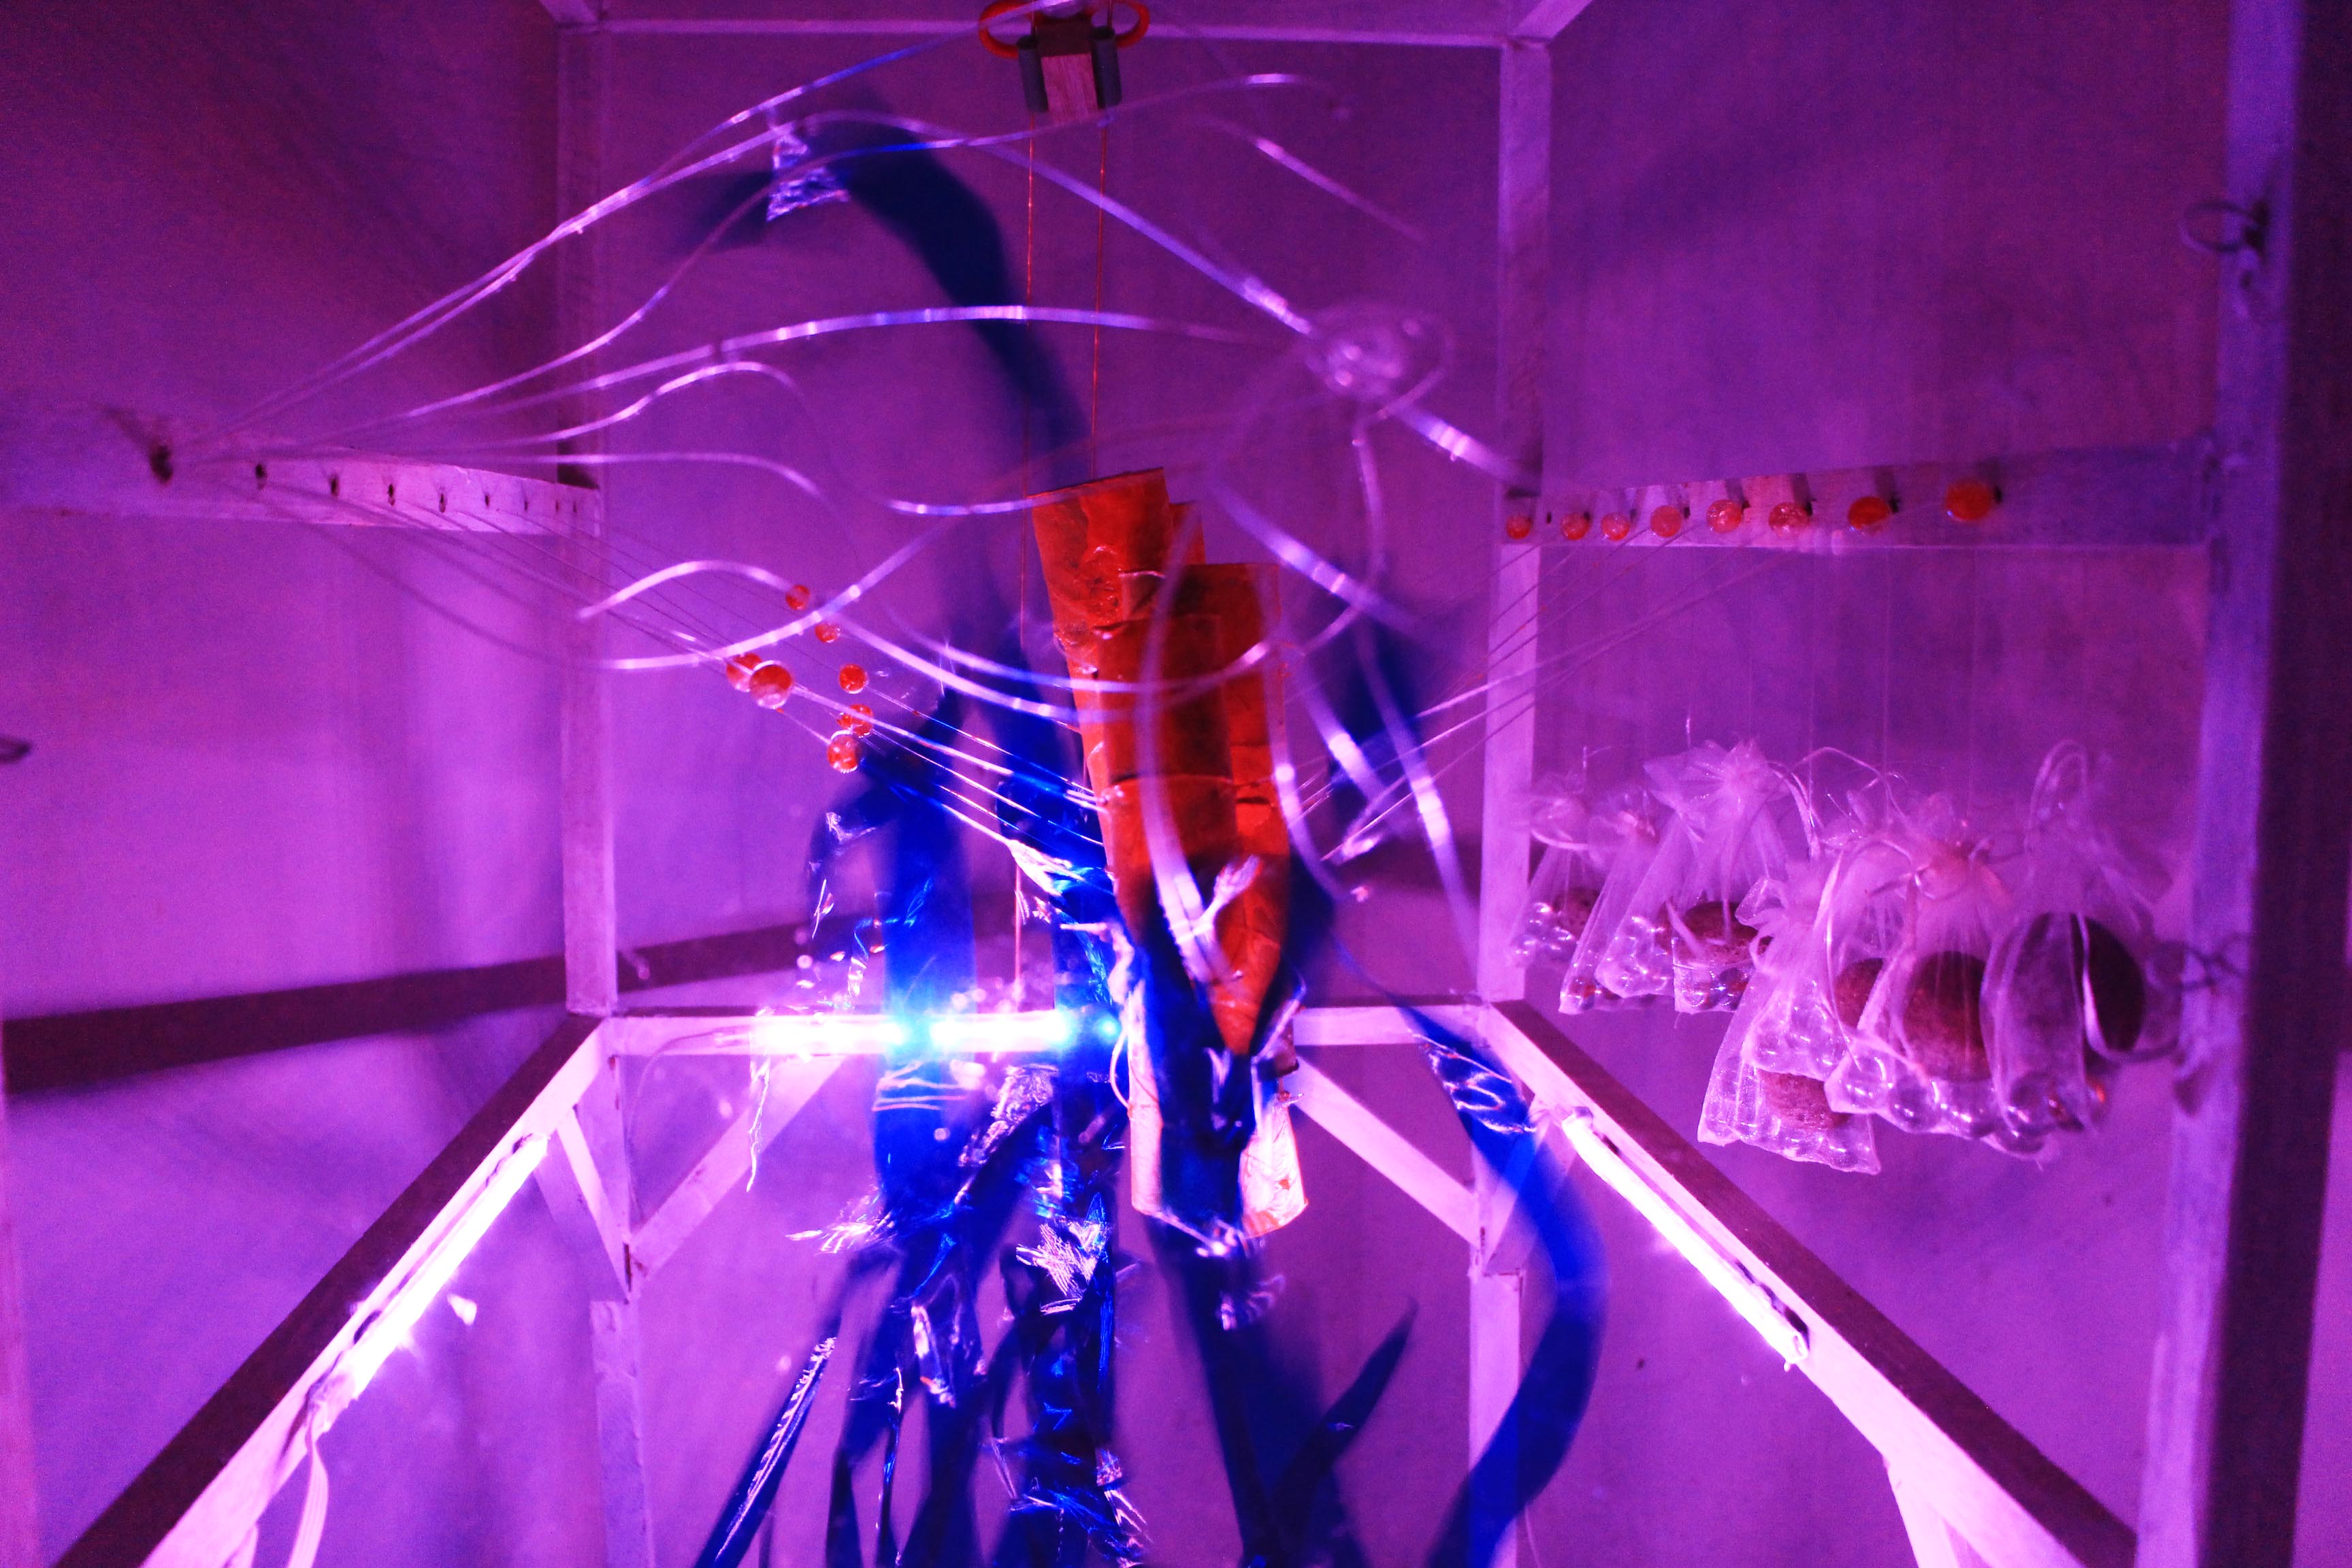
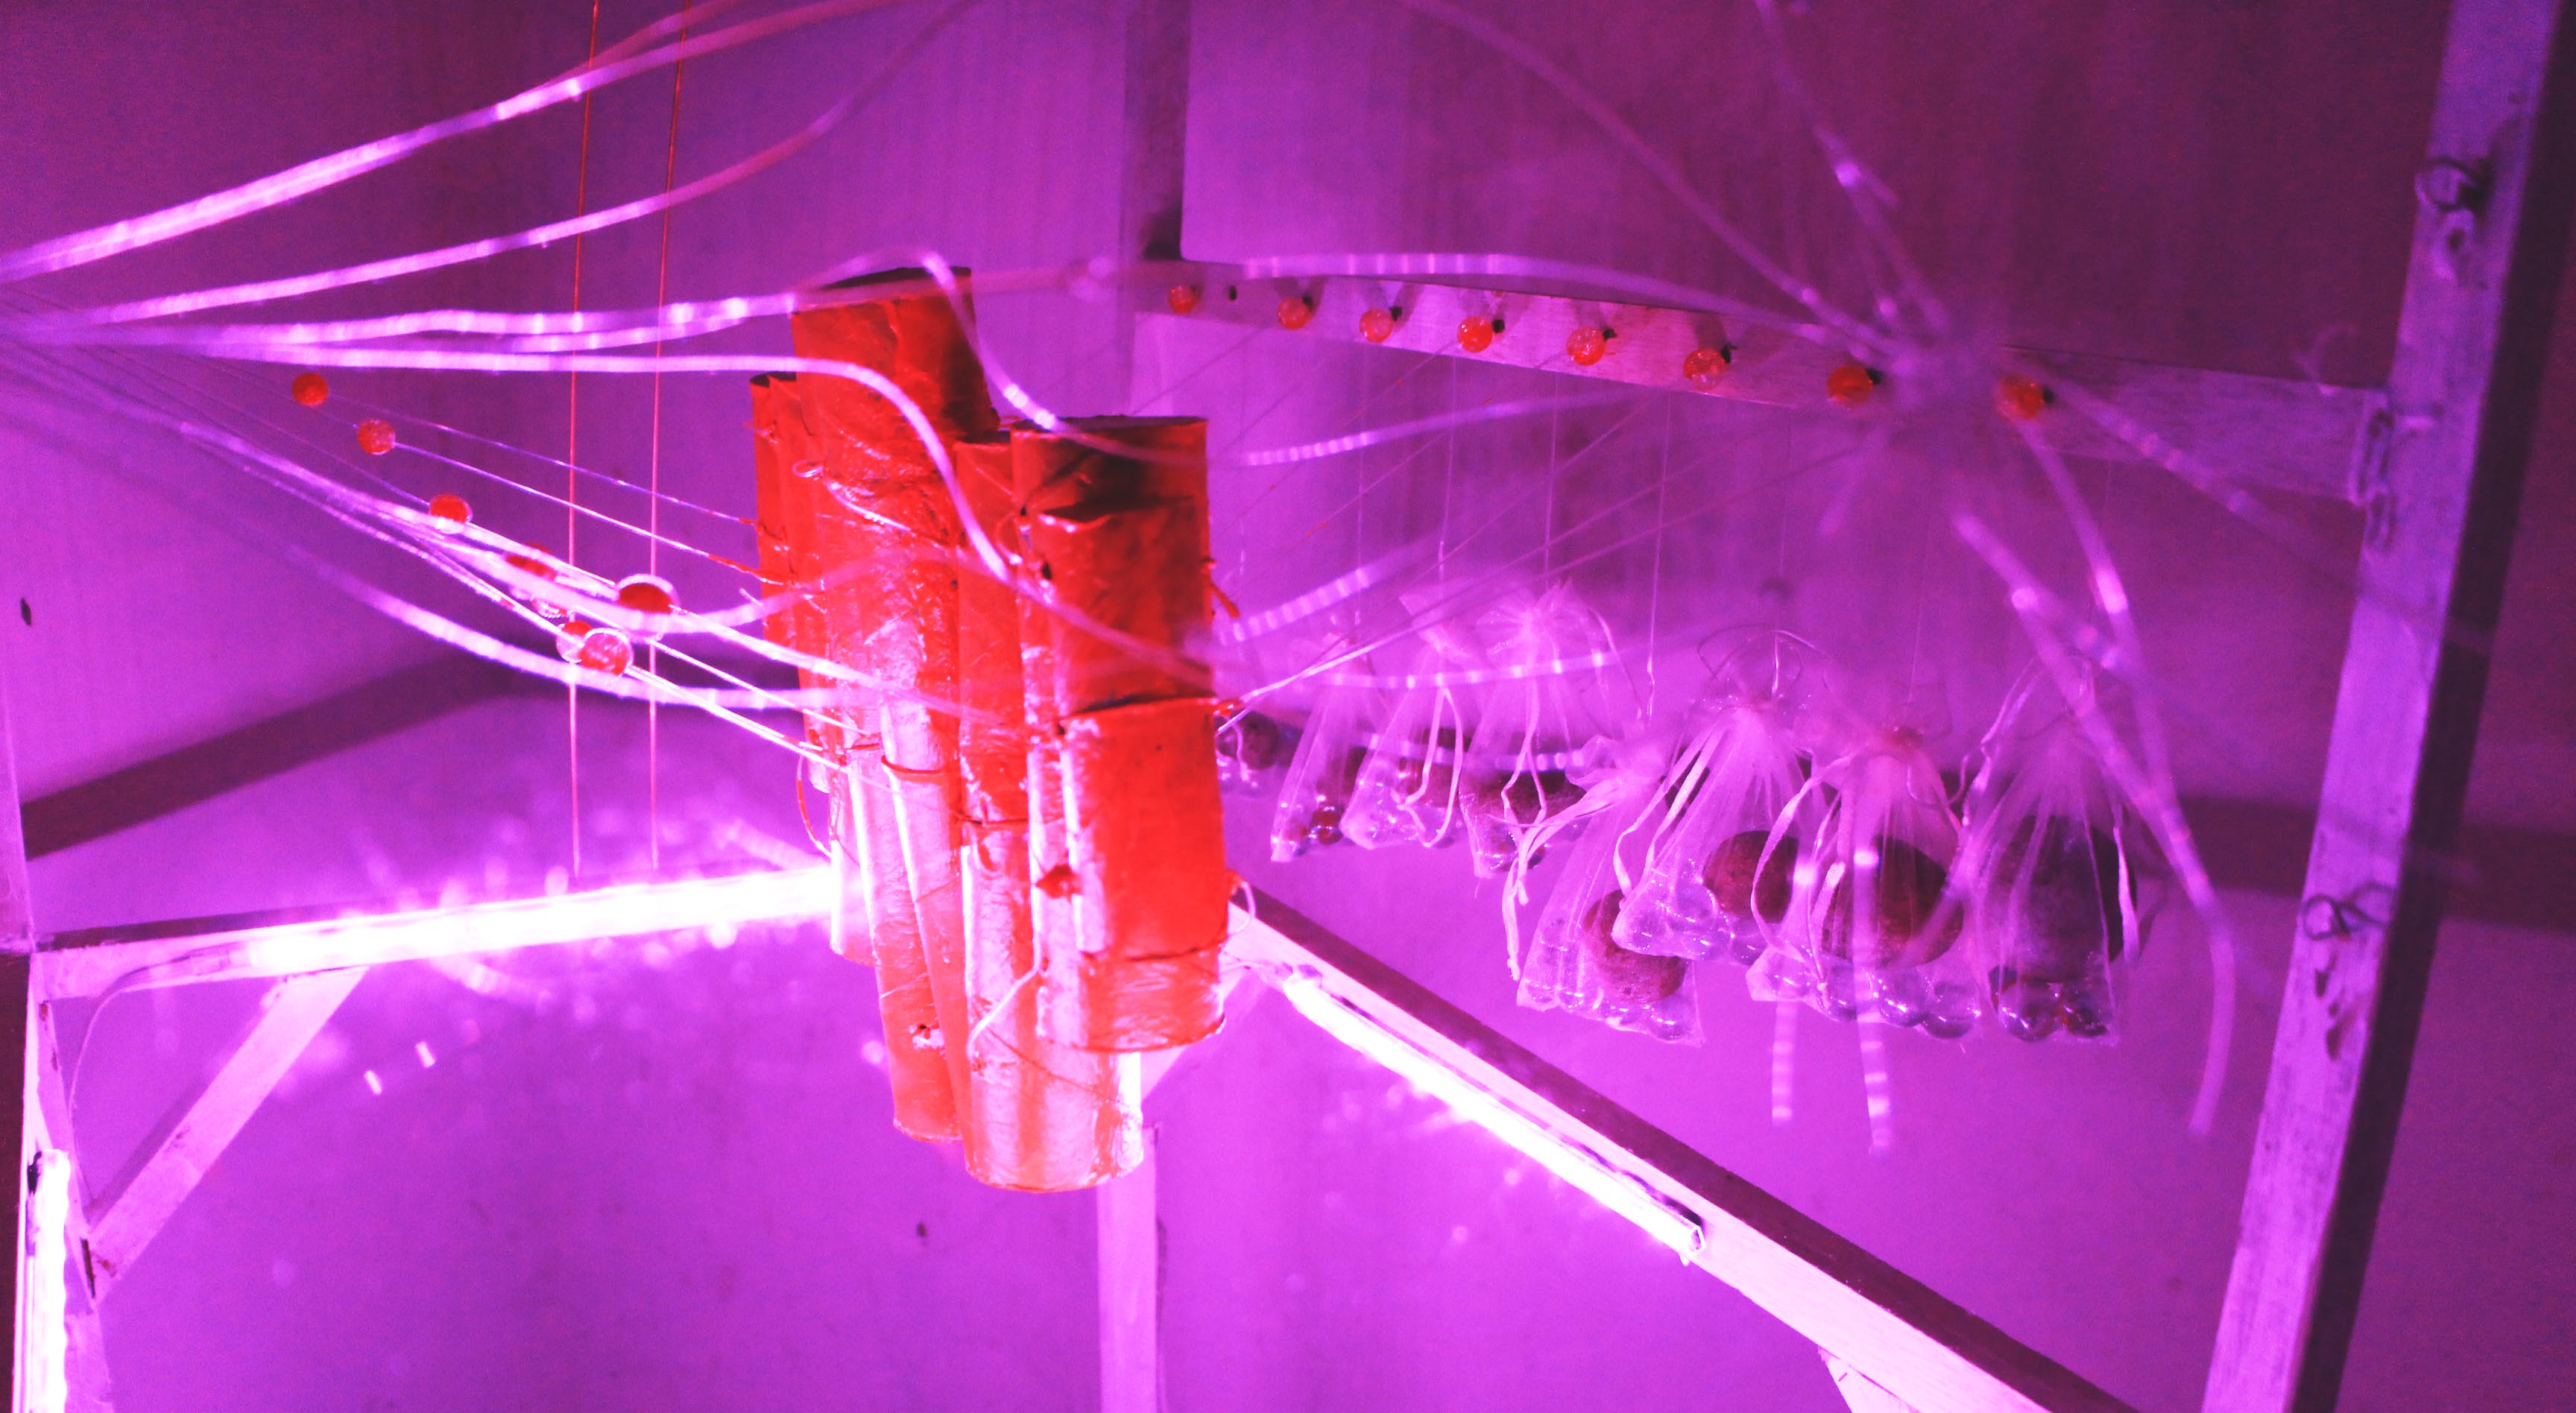
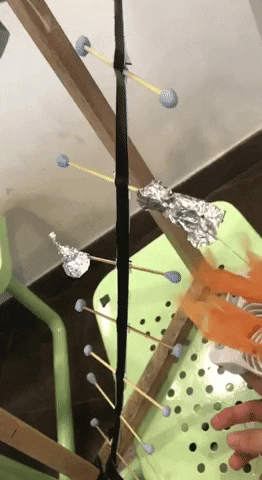
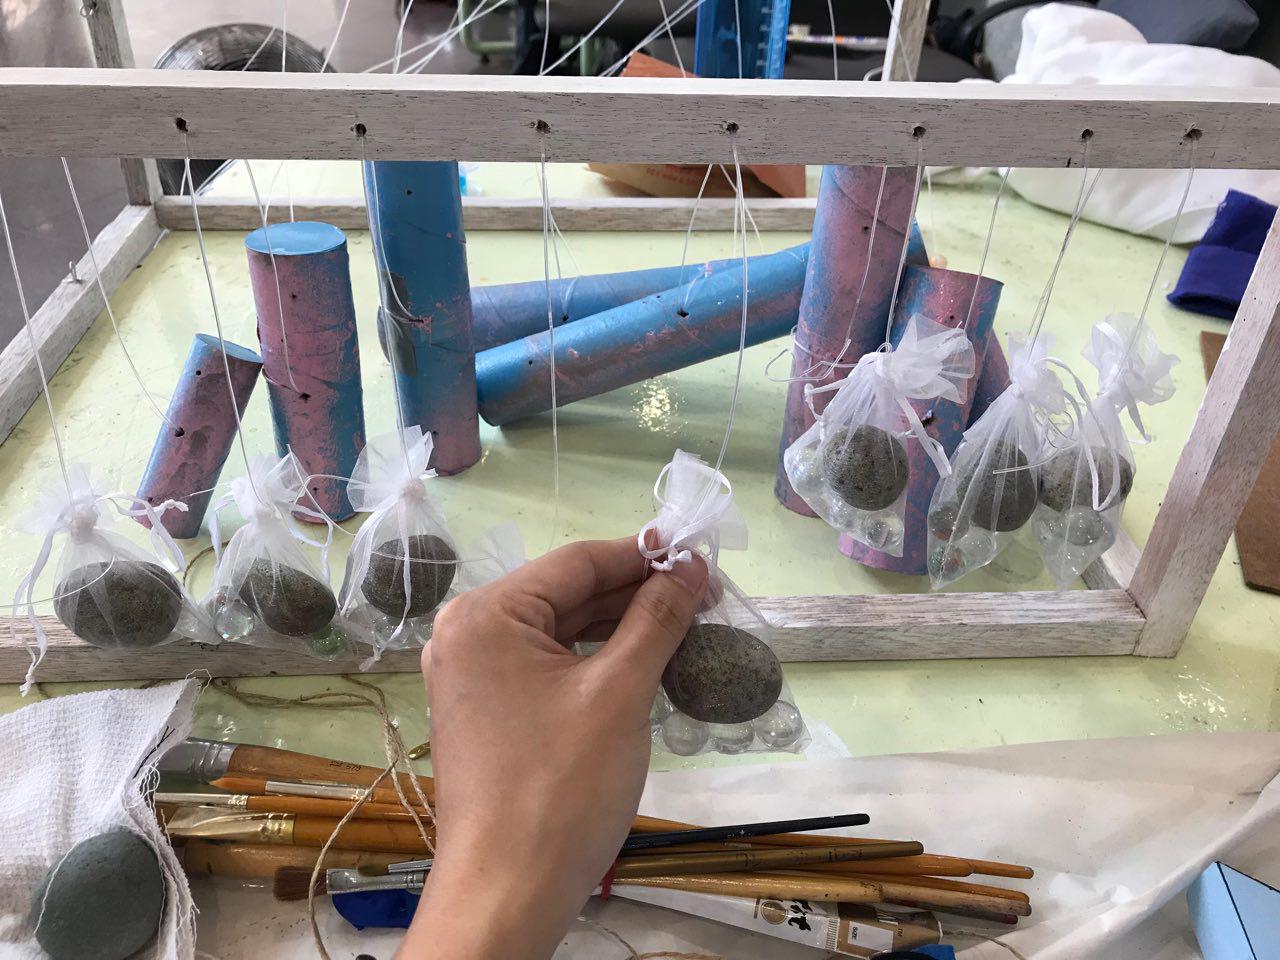
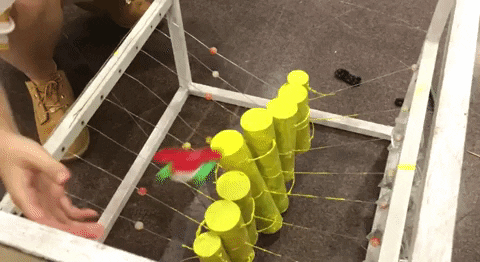
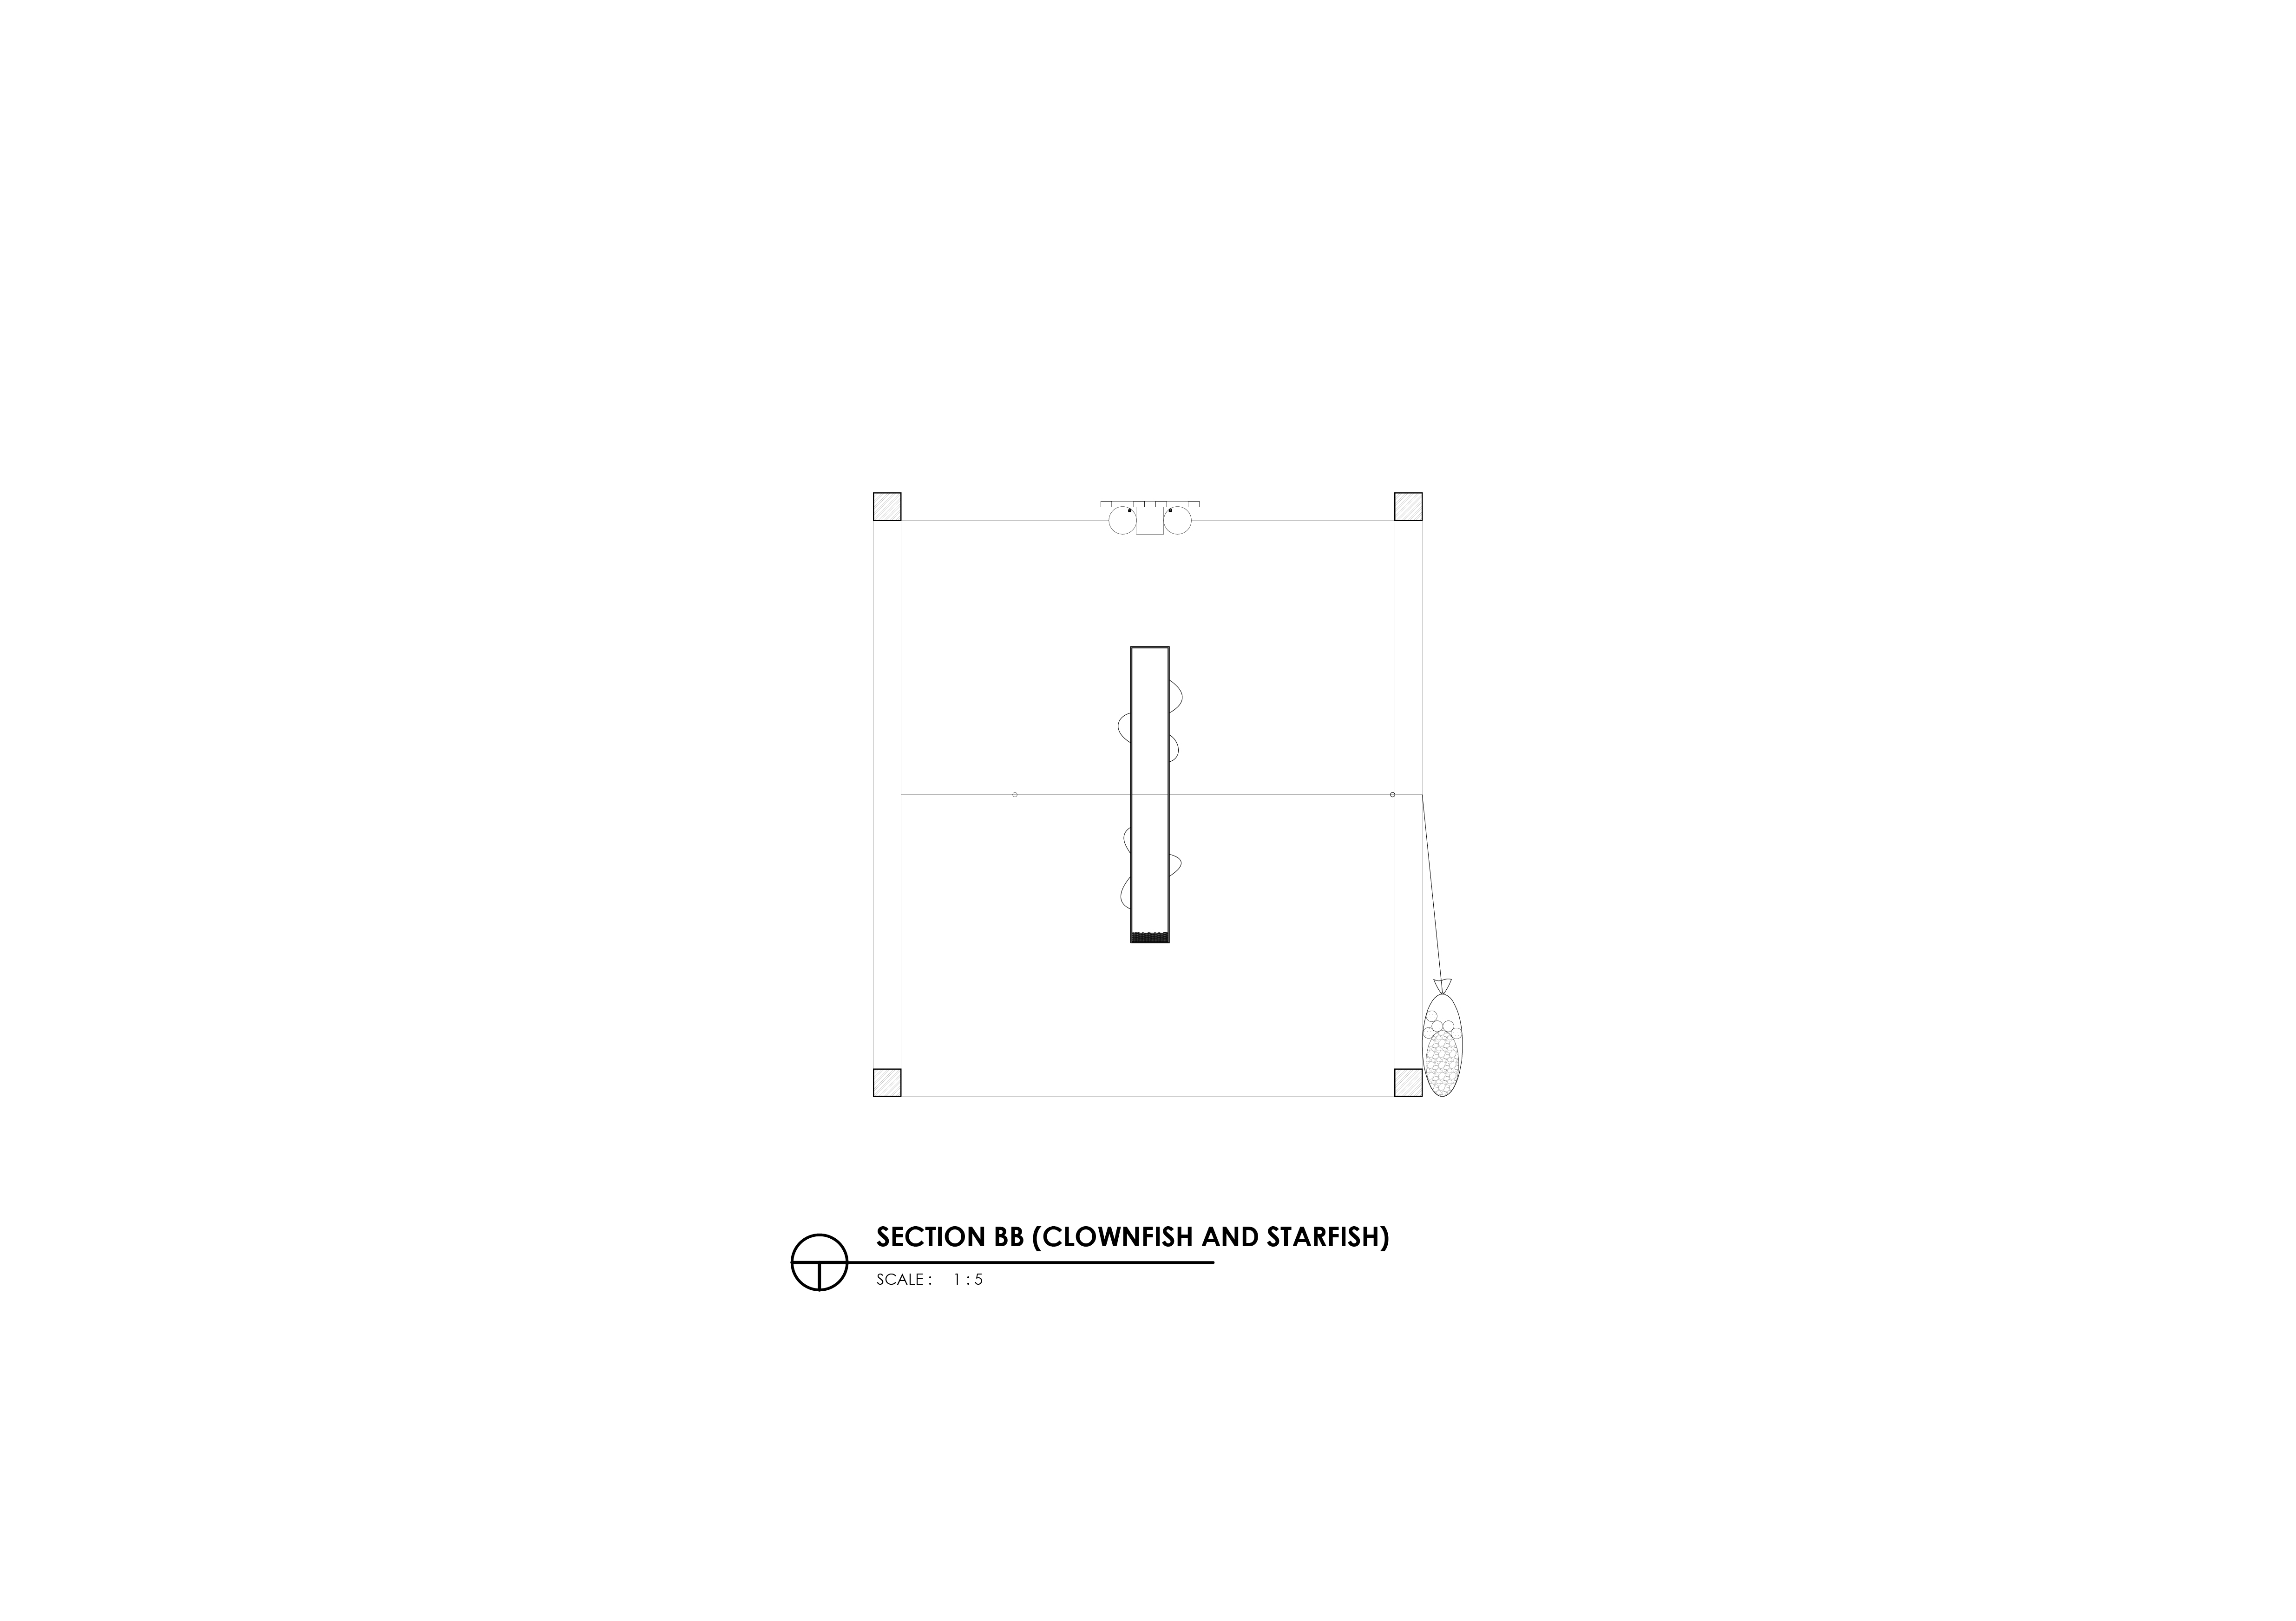
Learning from the previous prototypes, we were able to come up with measures to ensure that the strings have a limit to which they could be pulled! We attached beads to the strings to ensure that the ‘fish’ returns back to its original location after tension is released.

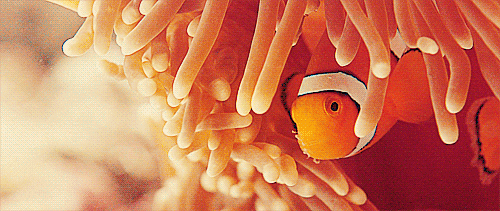
Our beads are yellow and orange because they represent Clown Fish Eggs.

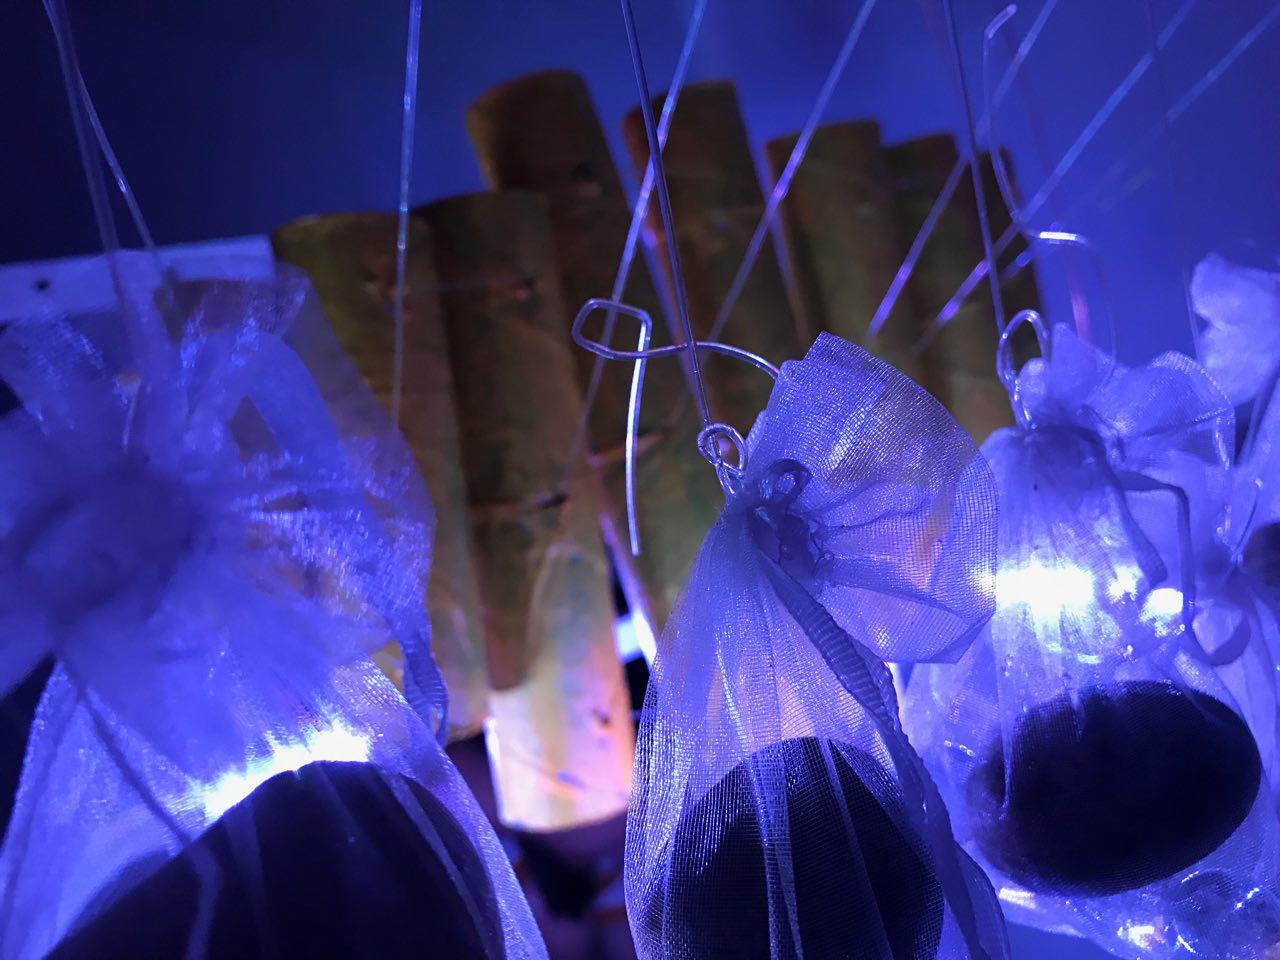
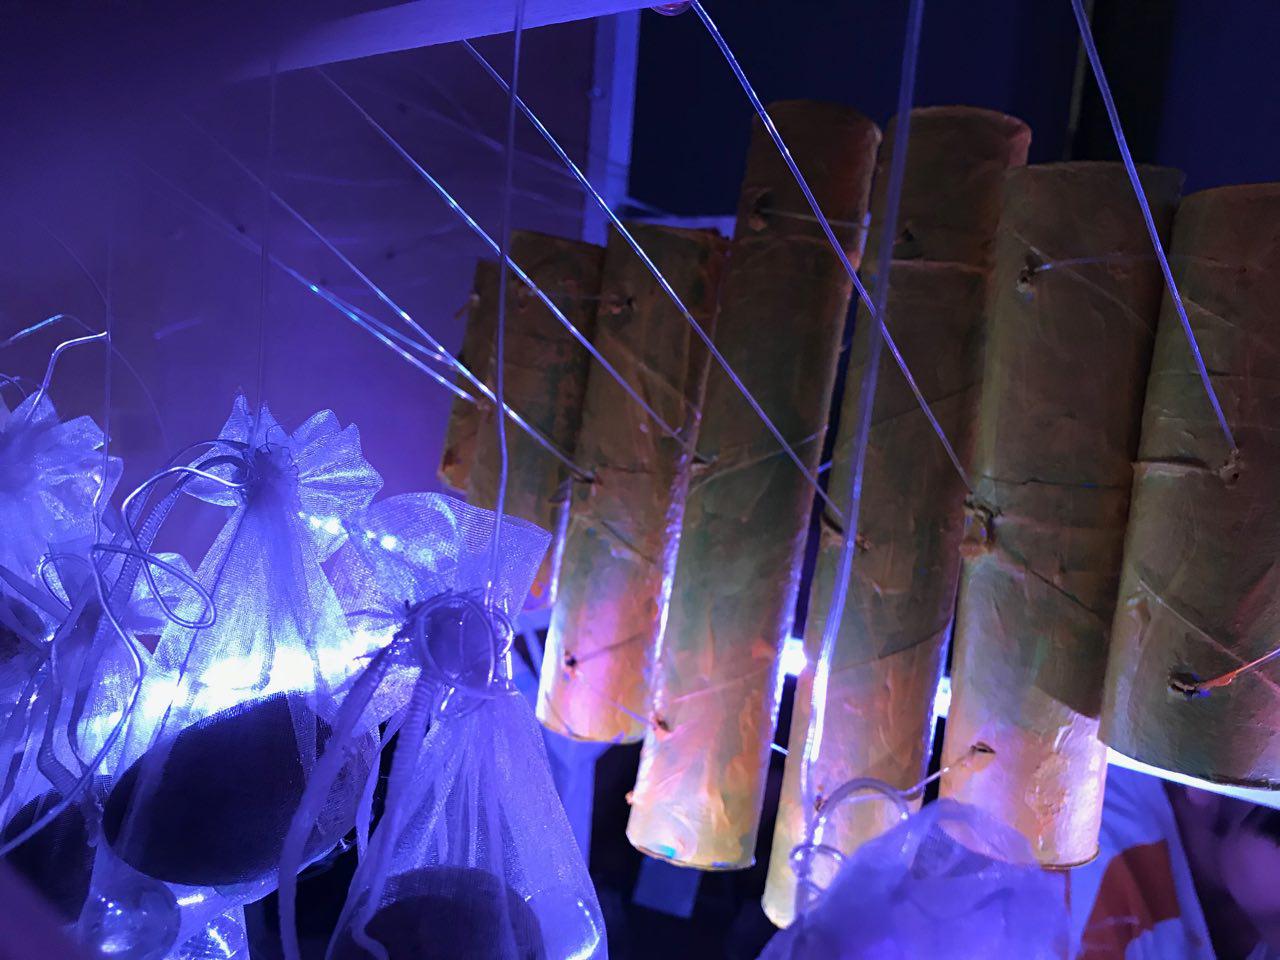
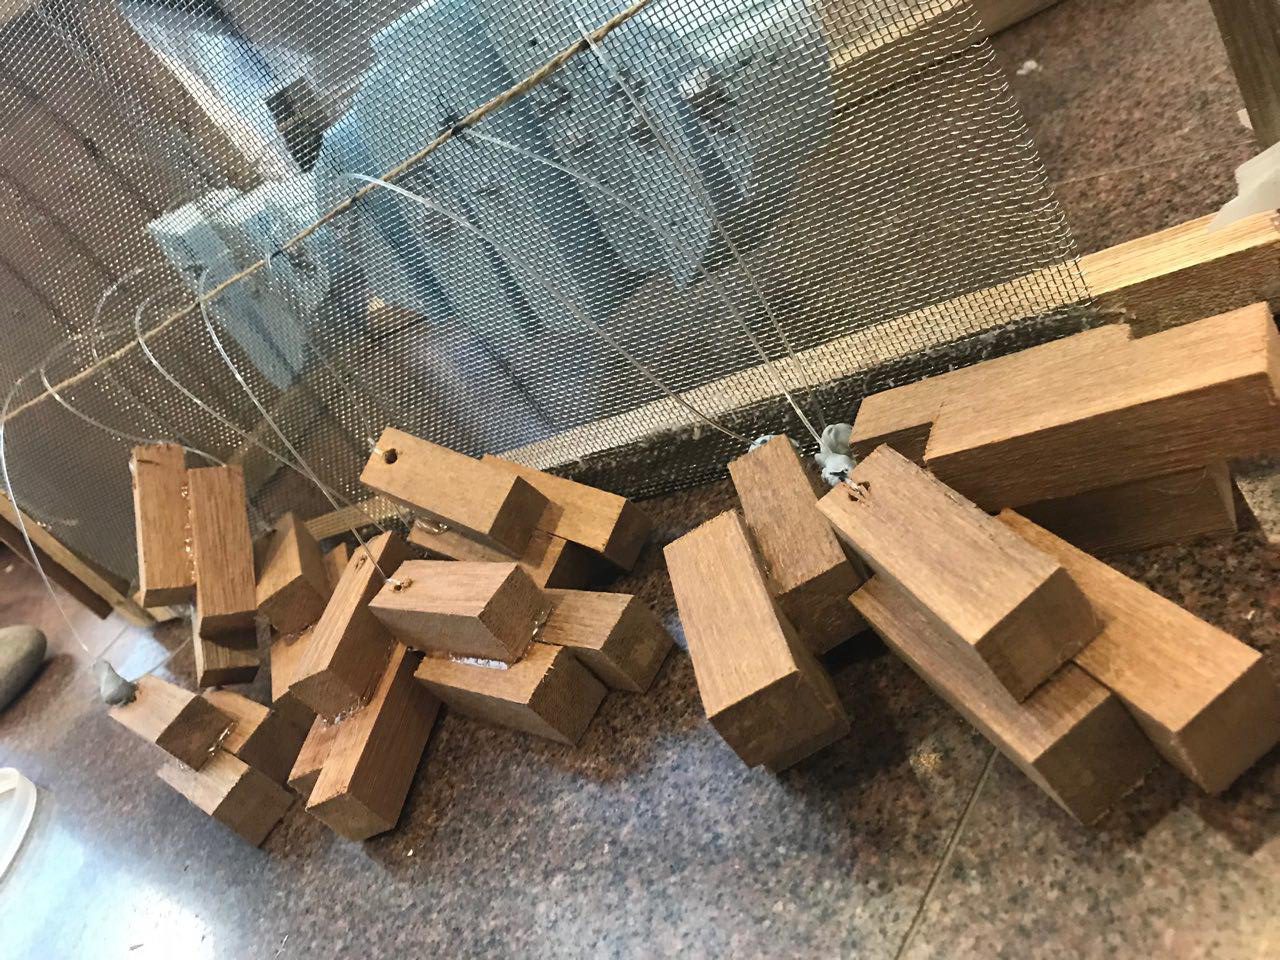
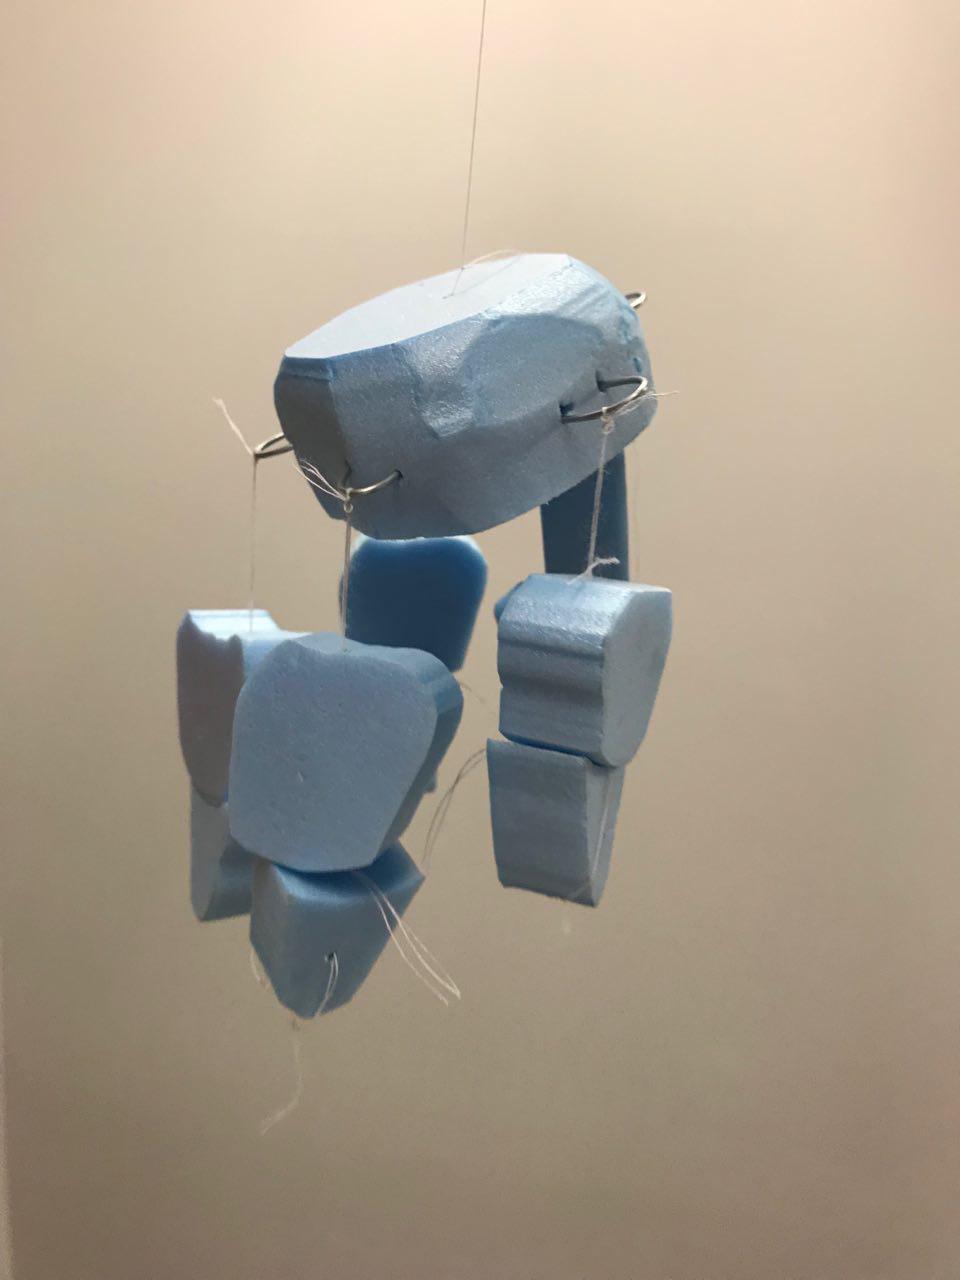
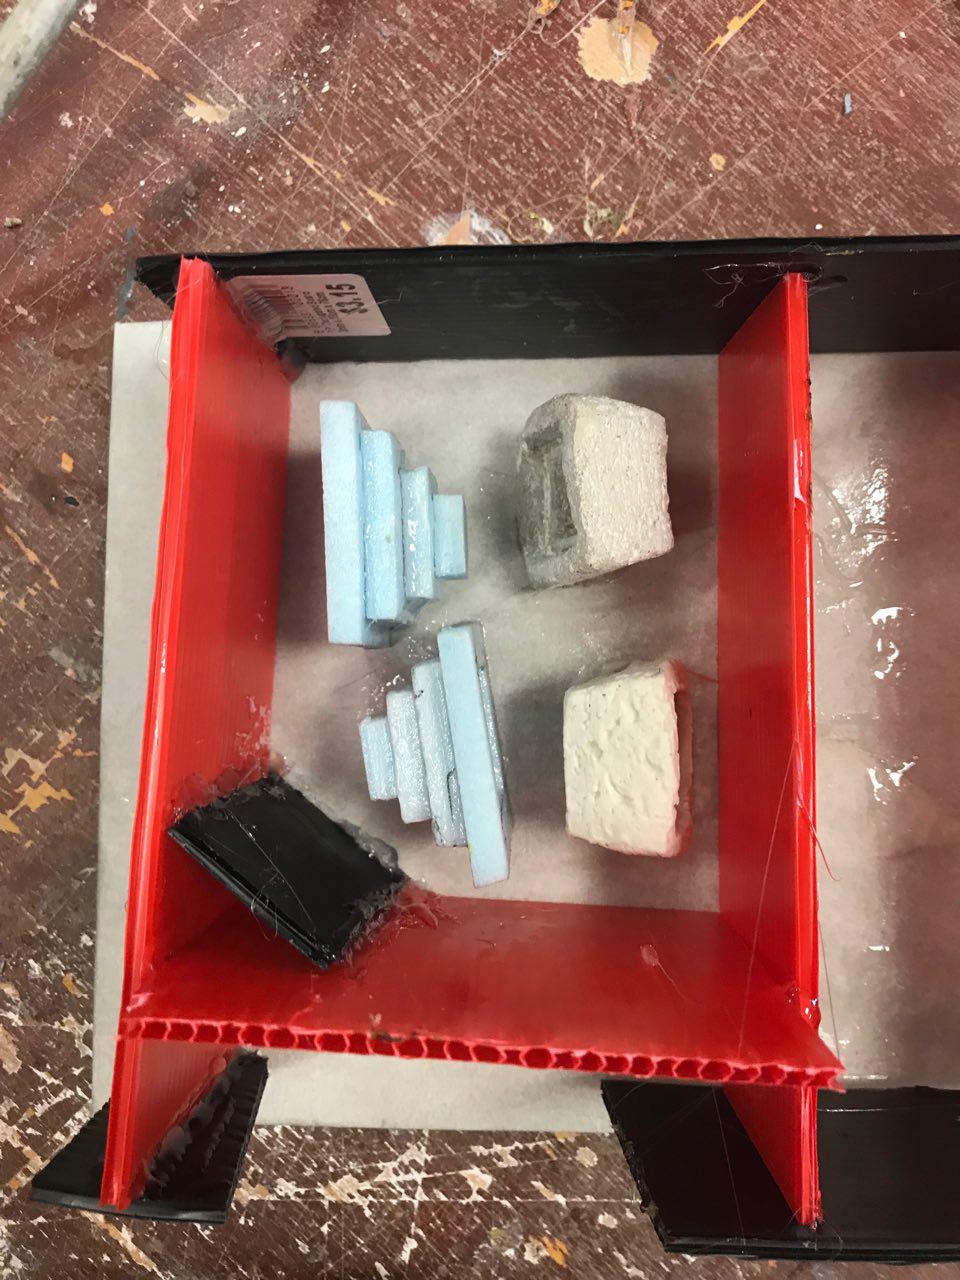
Instead of using wooden blocks as weights, we changed it for marbles and rocks to resemble bubbles underwater, similar to a fish tank. This ensures that the weights to not get caught up between one another, affecting the tension, and it also provides a cleaner composition.

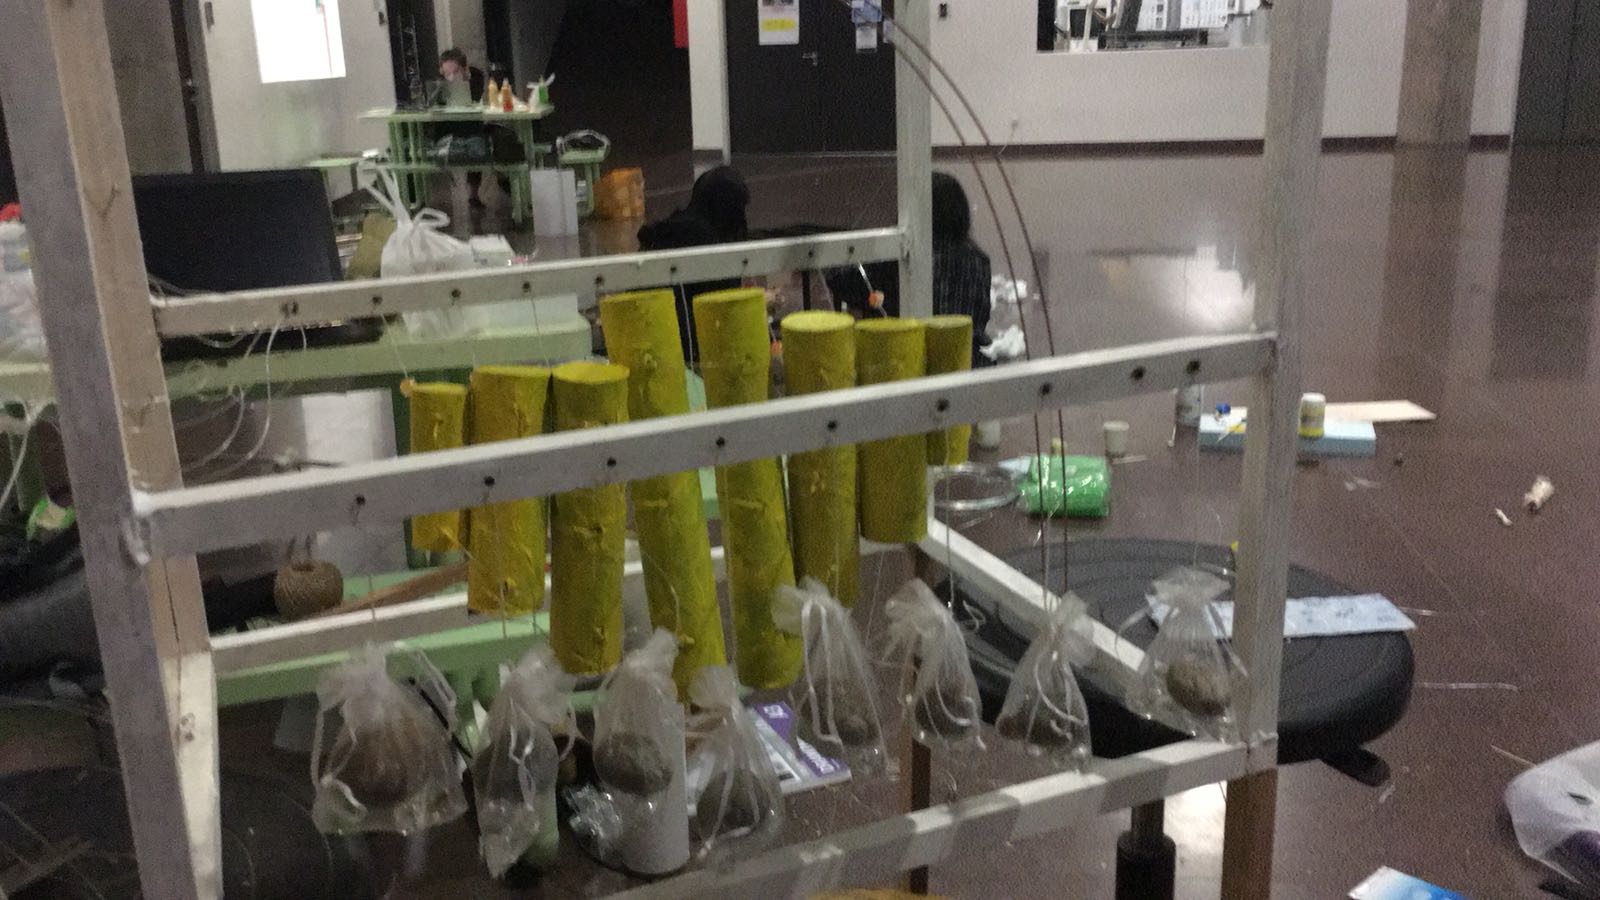
We also eventually changed the colour of the tubes because we felt that having too many different colours would be very distracting. This luminescent yellow was chosen as it worked very well with the colour palette we used, which is primarily yellow and orange. When shone with lights, it has the ability to change shades! (This can be seen later on) We also added Vasaline to the strings to smoothen and increase the effectiveness of our model!

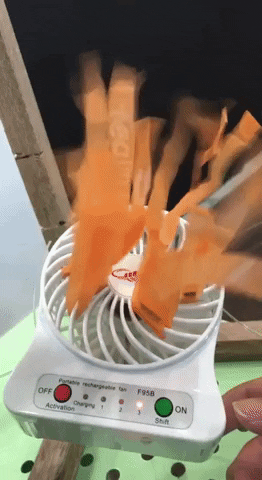
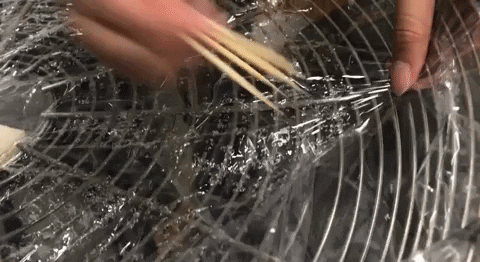
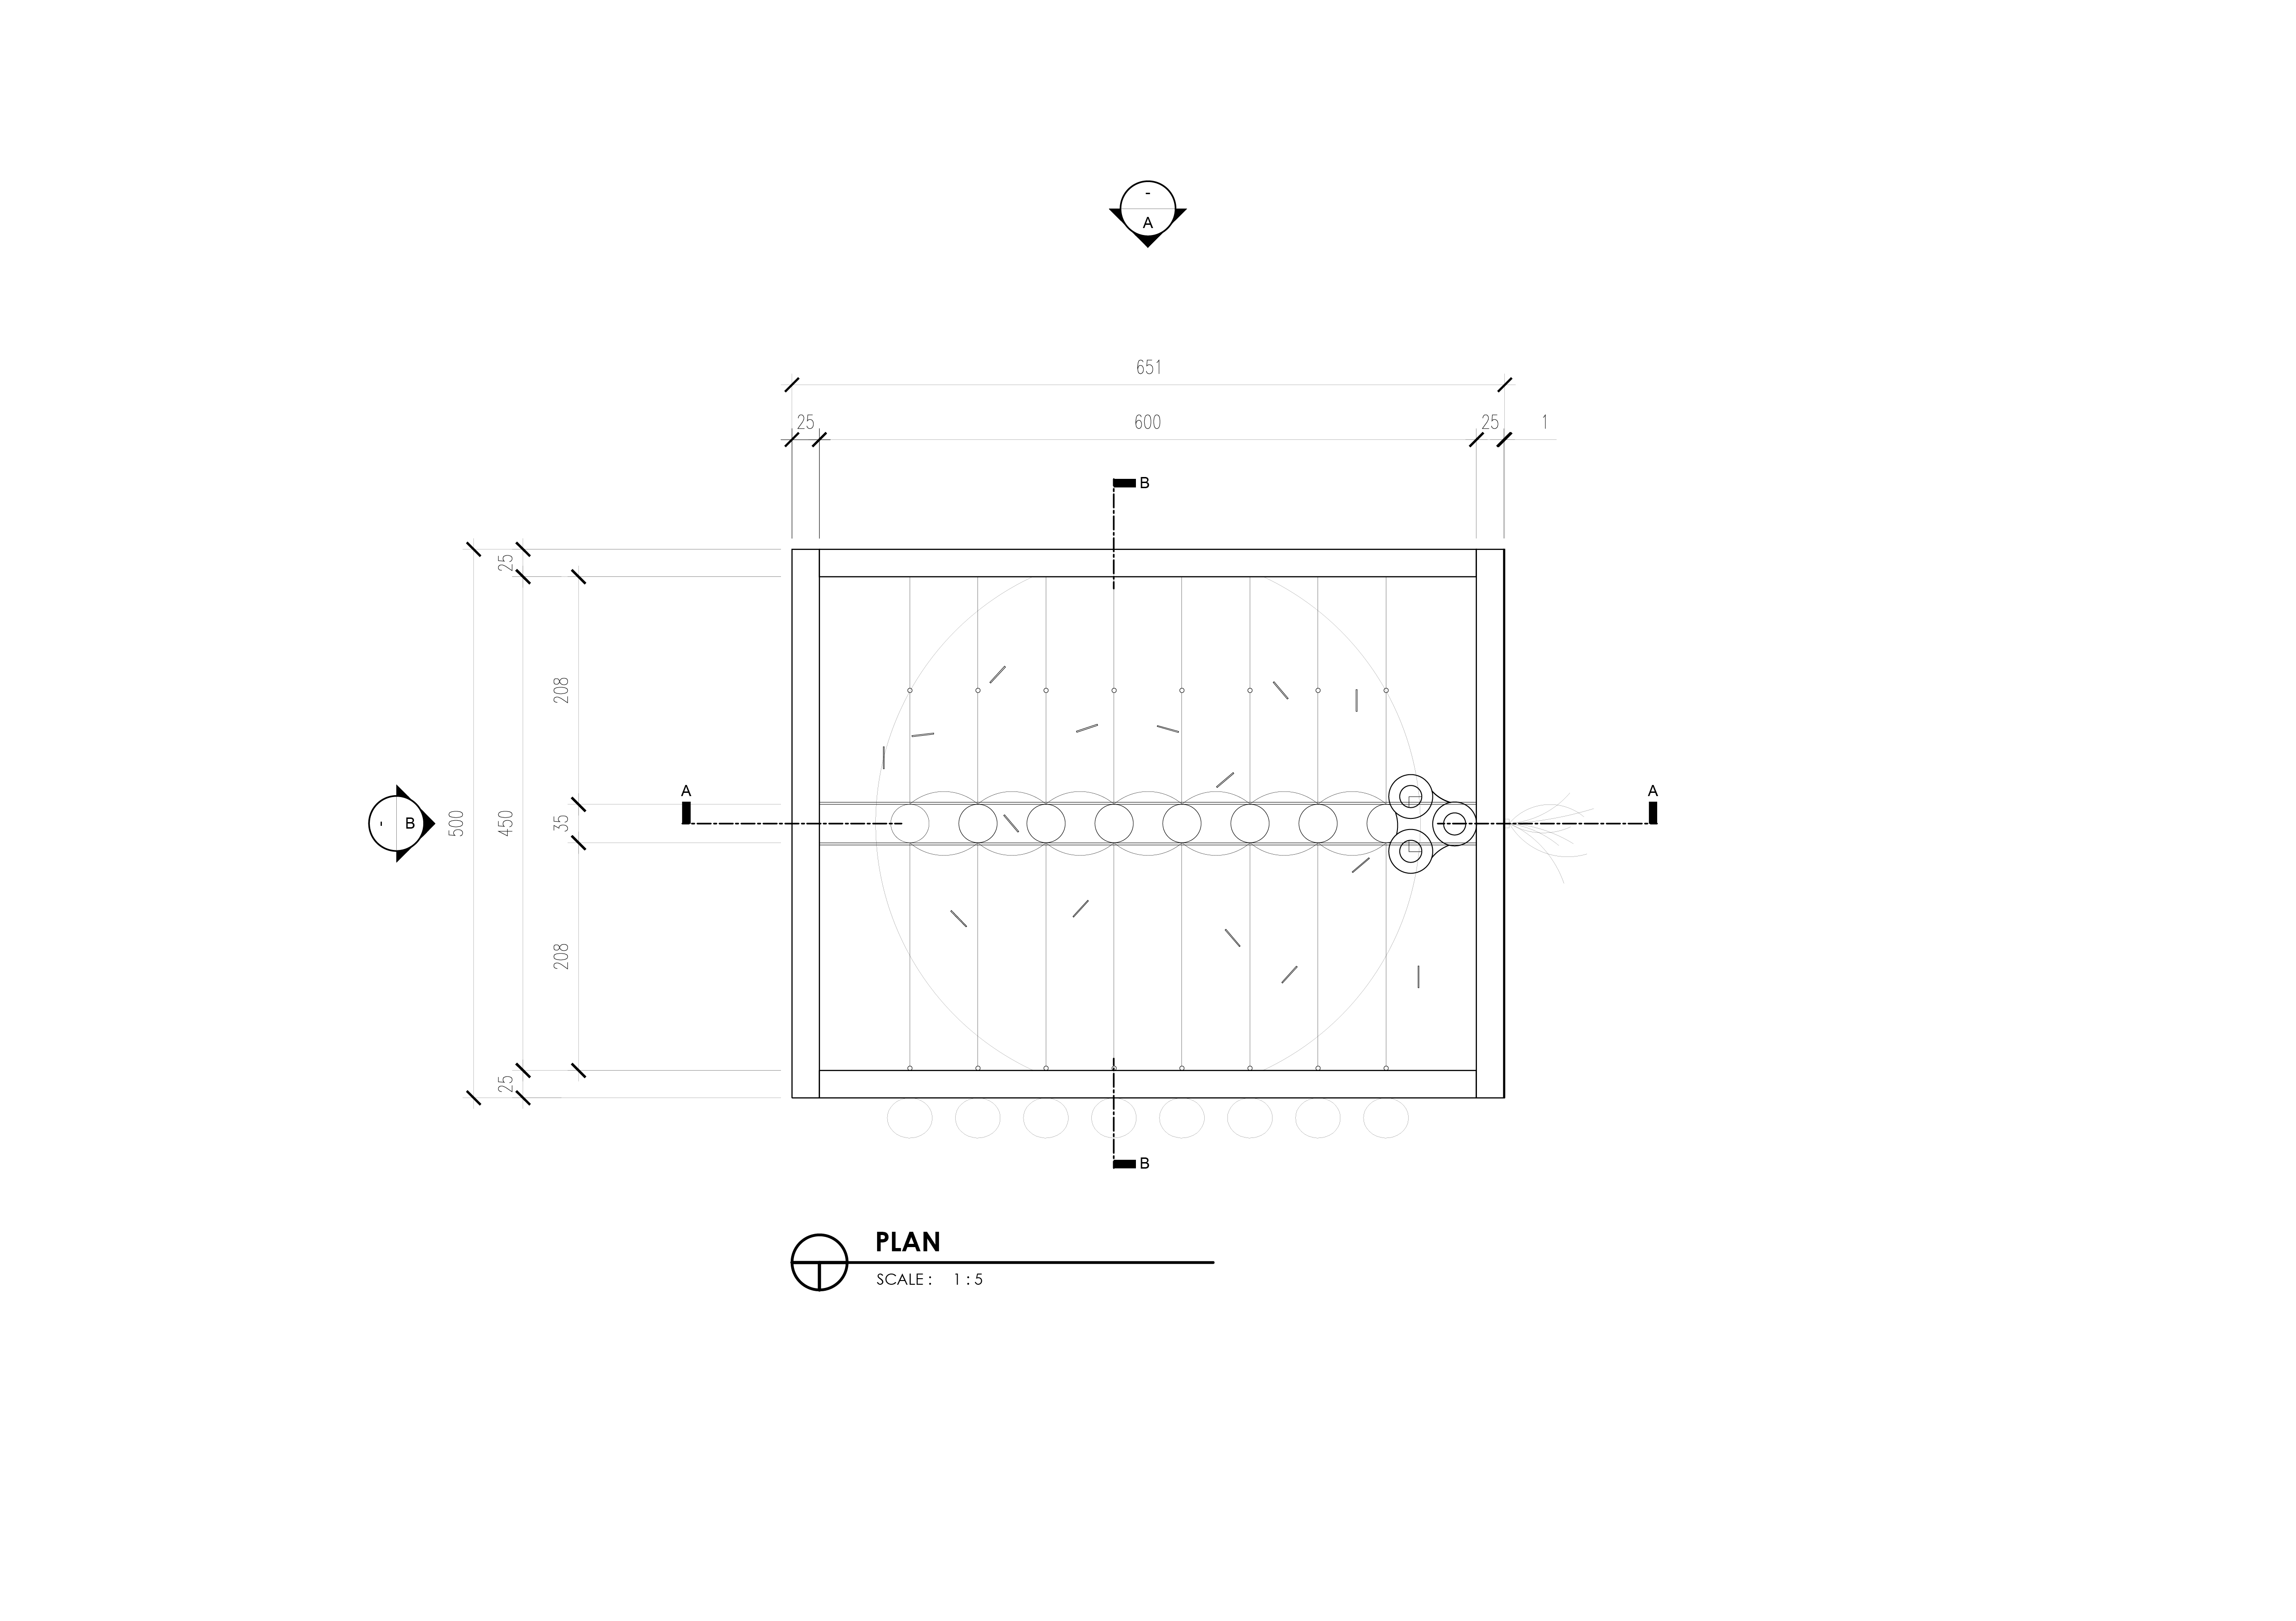
Next, we had to create the Sea Anemone. Due to some technical fault, the standing fan we borrowed only had a single speed, which proved to be too strong for our installation as the sound and power of the fan overshadowed the installation.

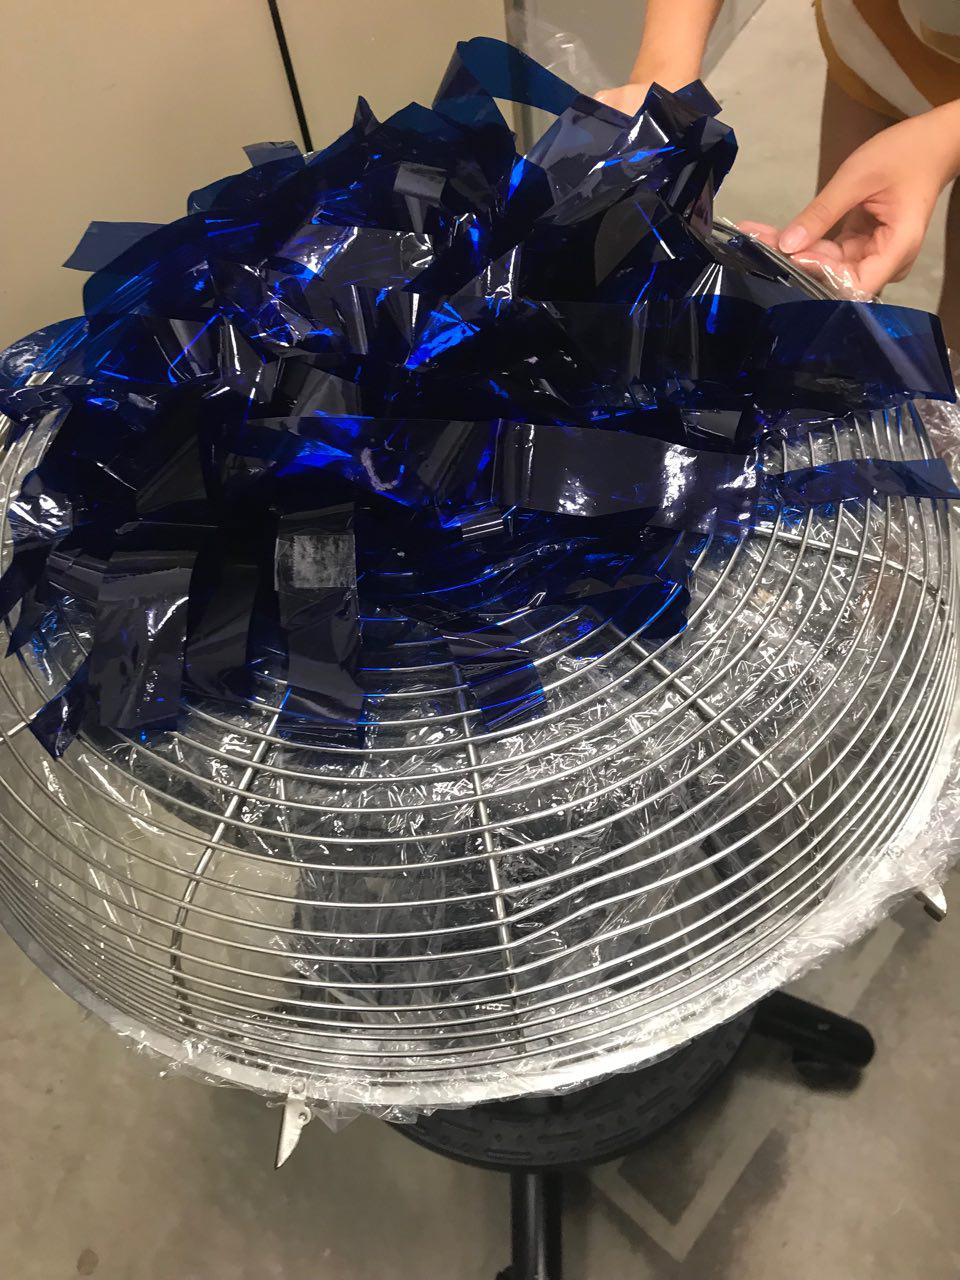
We placed cling wrap within the fan cage and poked holes to allow some air to escape, in hopes that it would be strong enough to lift the ‘tentacles’ of the sea anemone, while weak enough not to affect the ‘fish’.

Testing the fan:

The effectiveness of the cling wrap was debatable as it became too weak, despite the holes. We went with another approach, which was to manually switch the fan on and off.

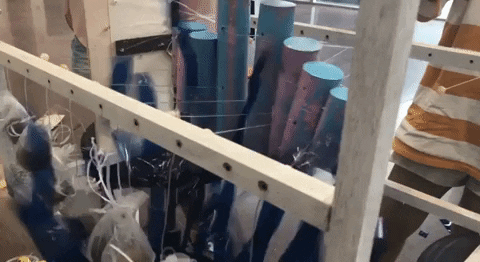
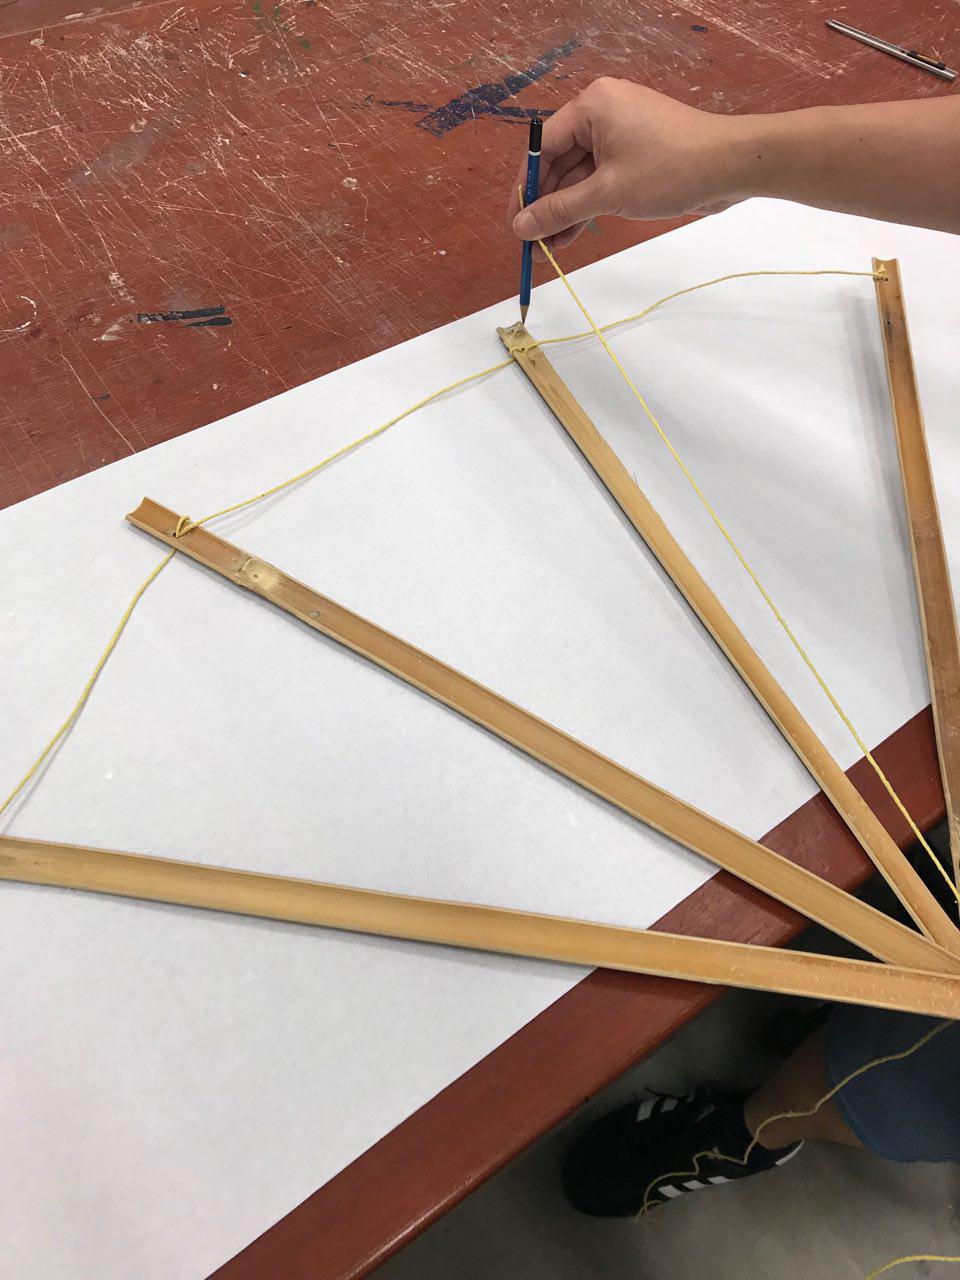
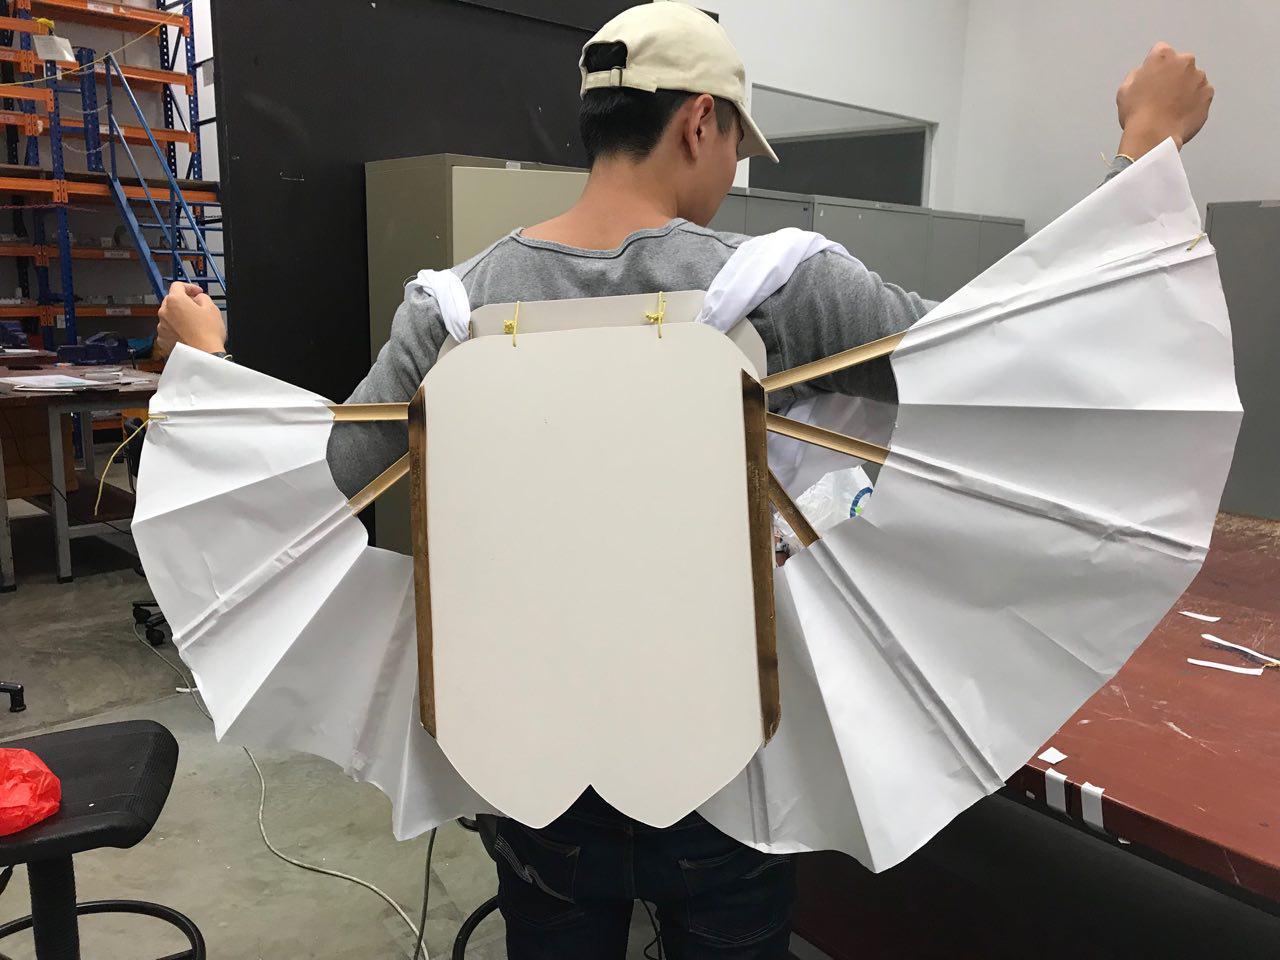
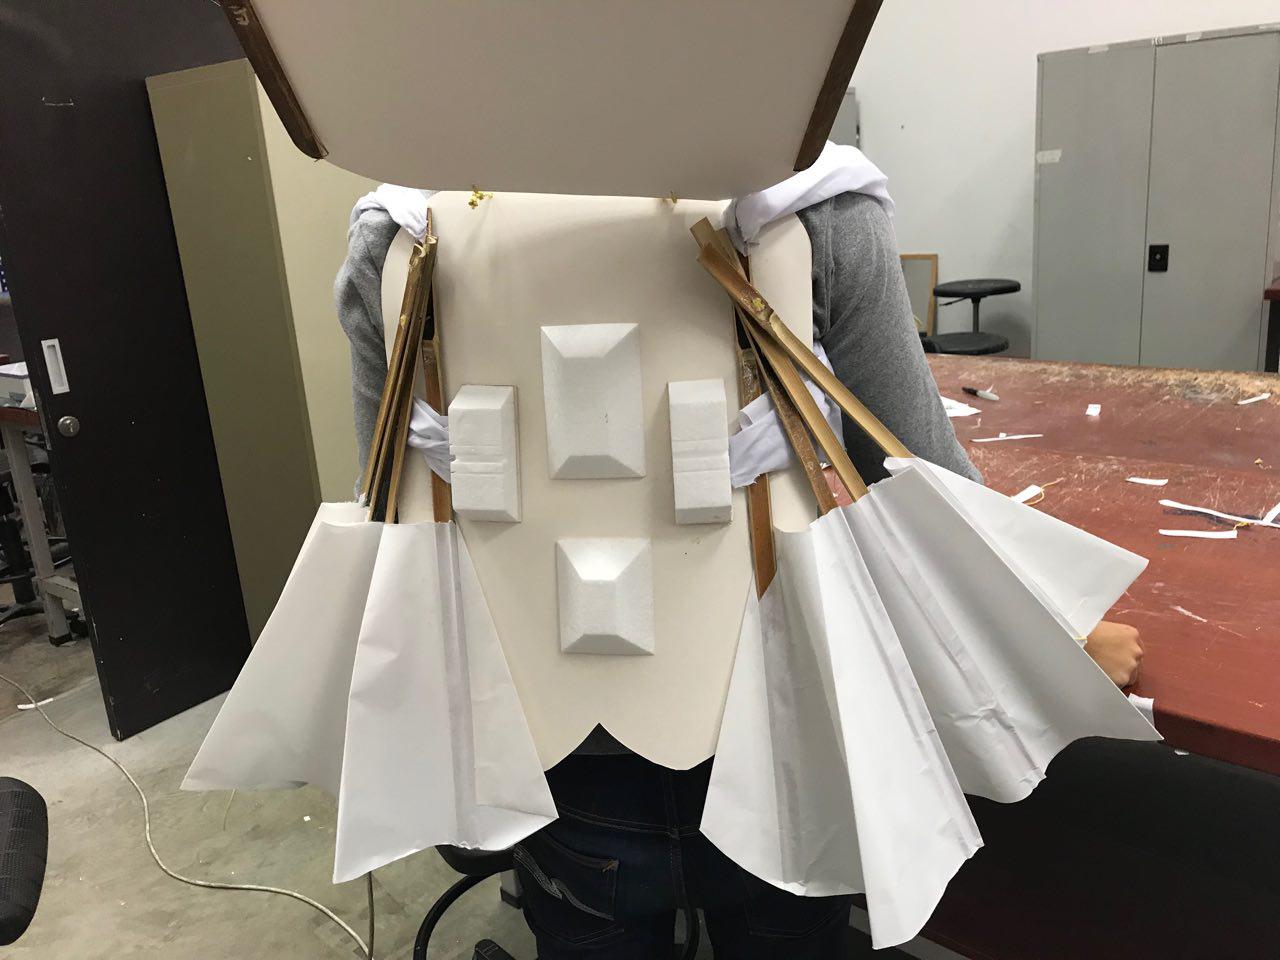
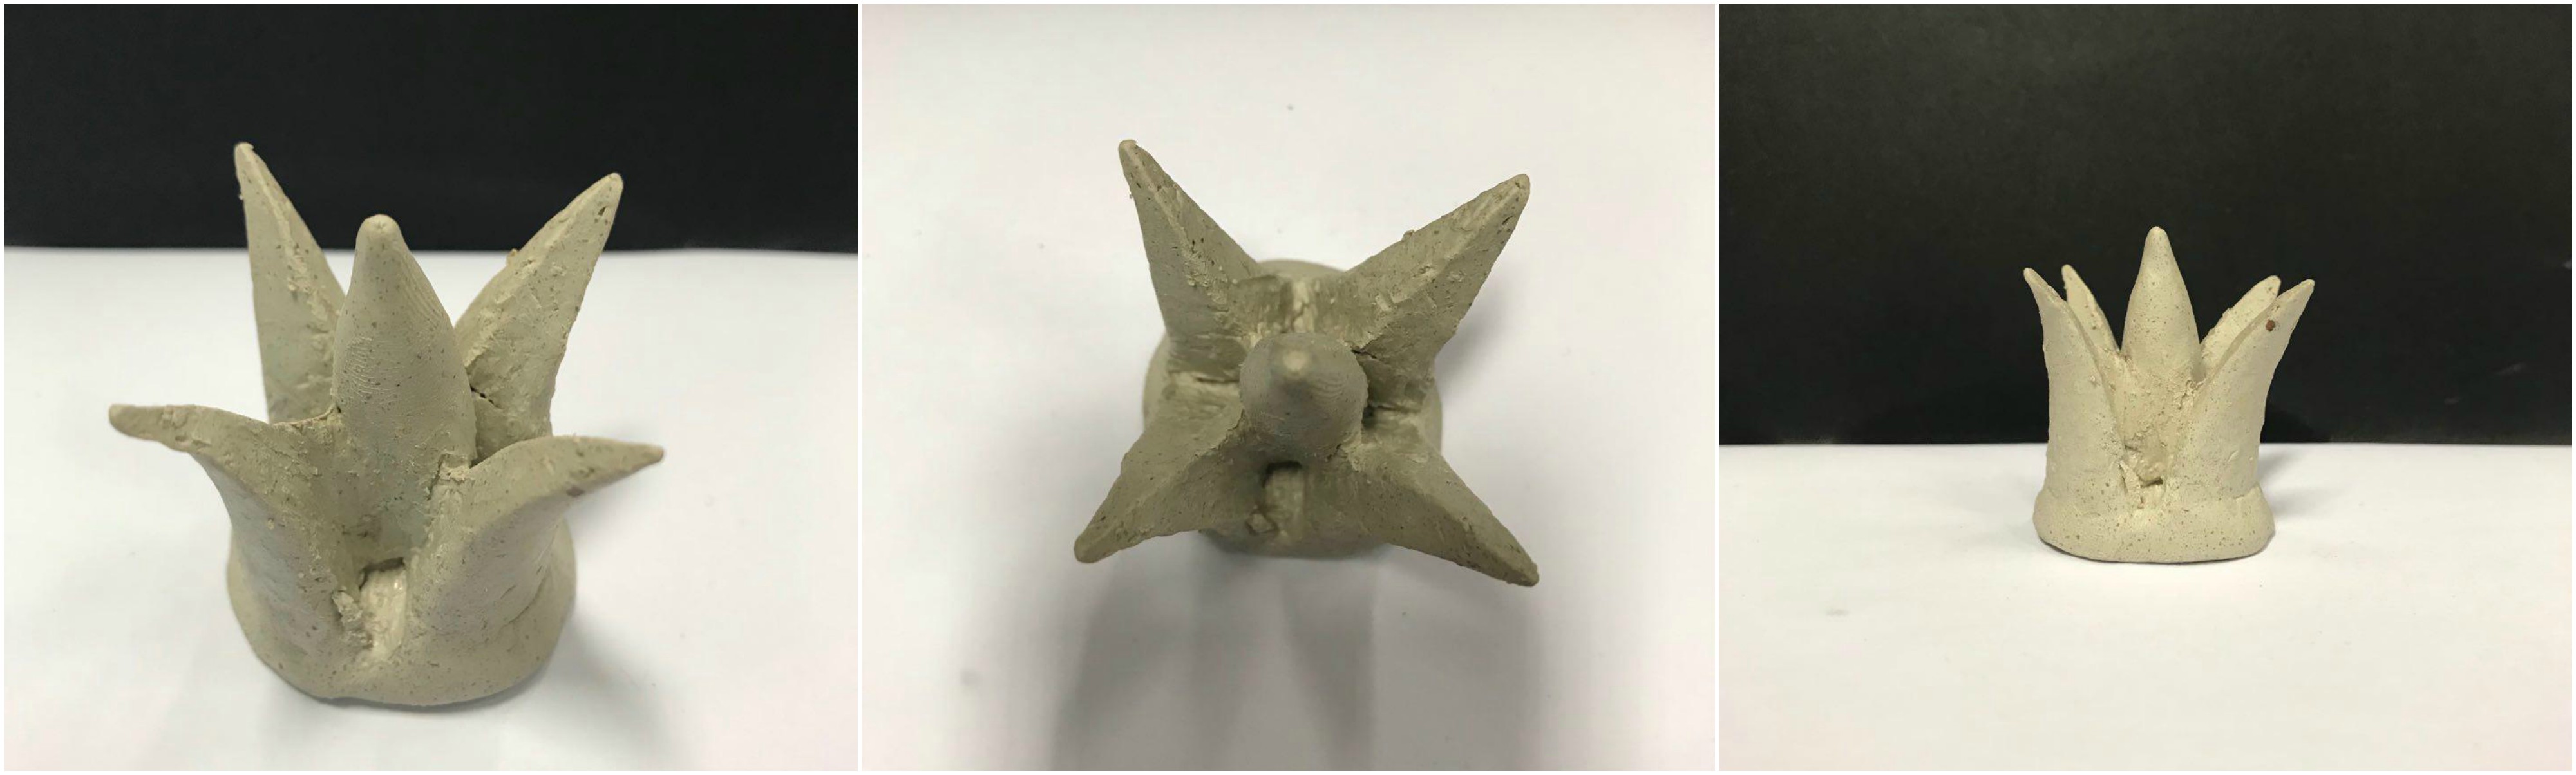
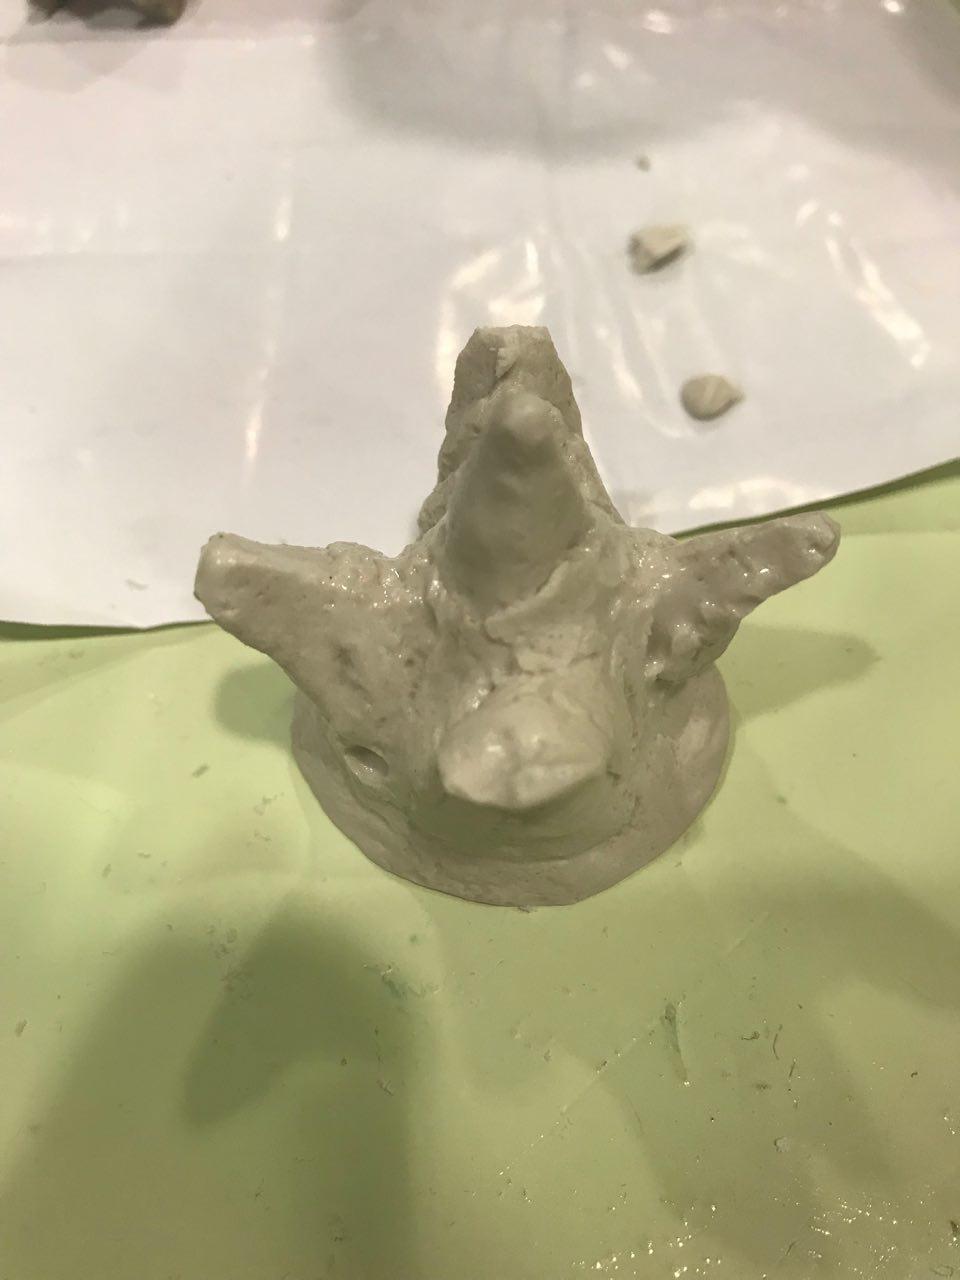
Working on the starfish proved to be the most challenging as we did not know where to place the animal, and how to make the starfish ‘glide’. One idea we explored was the use of tracks and a motor. Similar to a Tamiya car, the starfish would circle around the installation, like a predator hunting its prey.

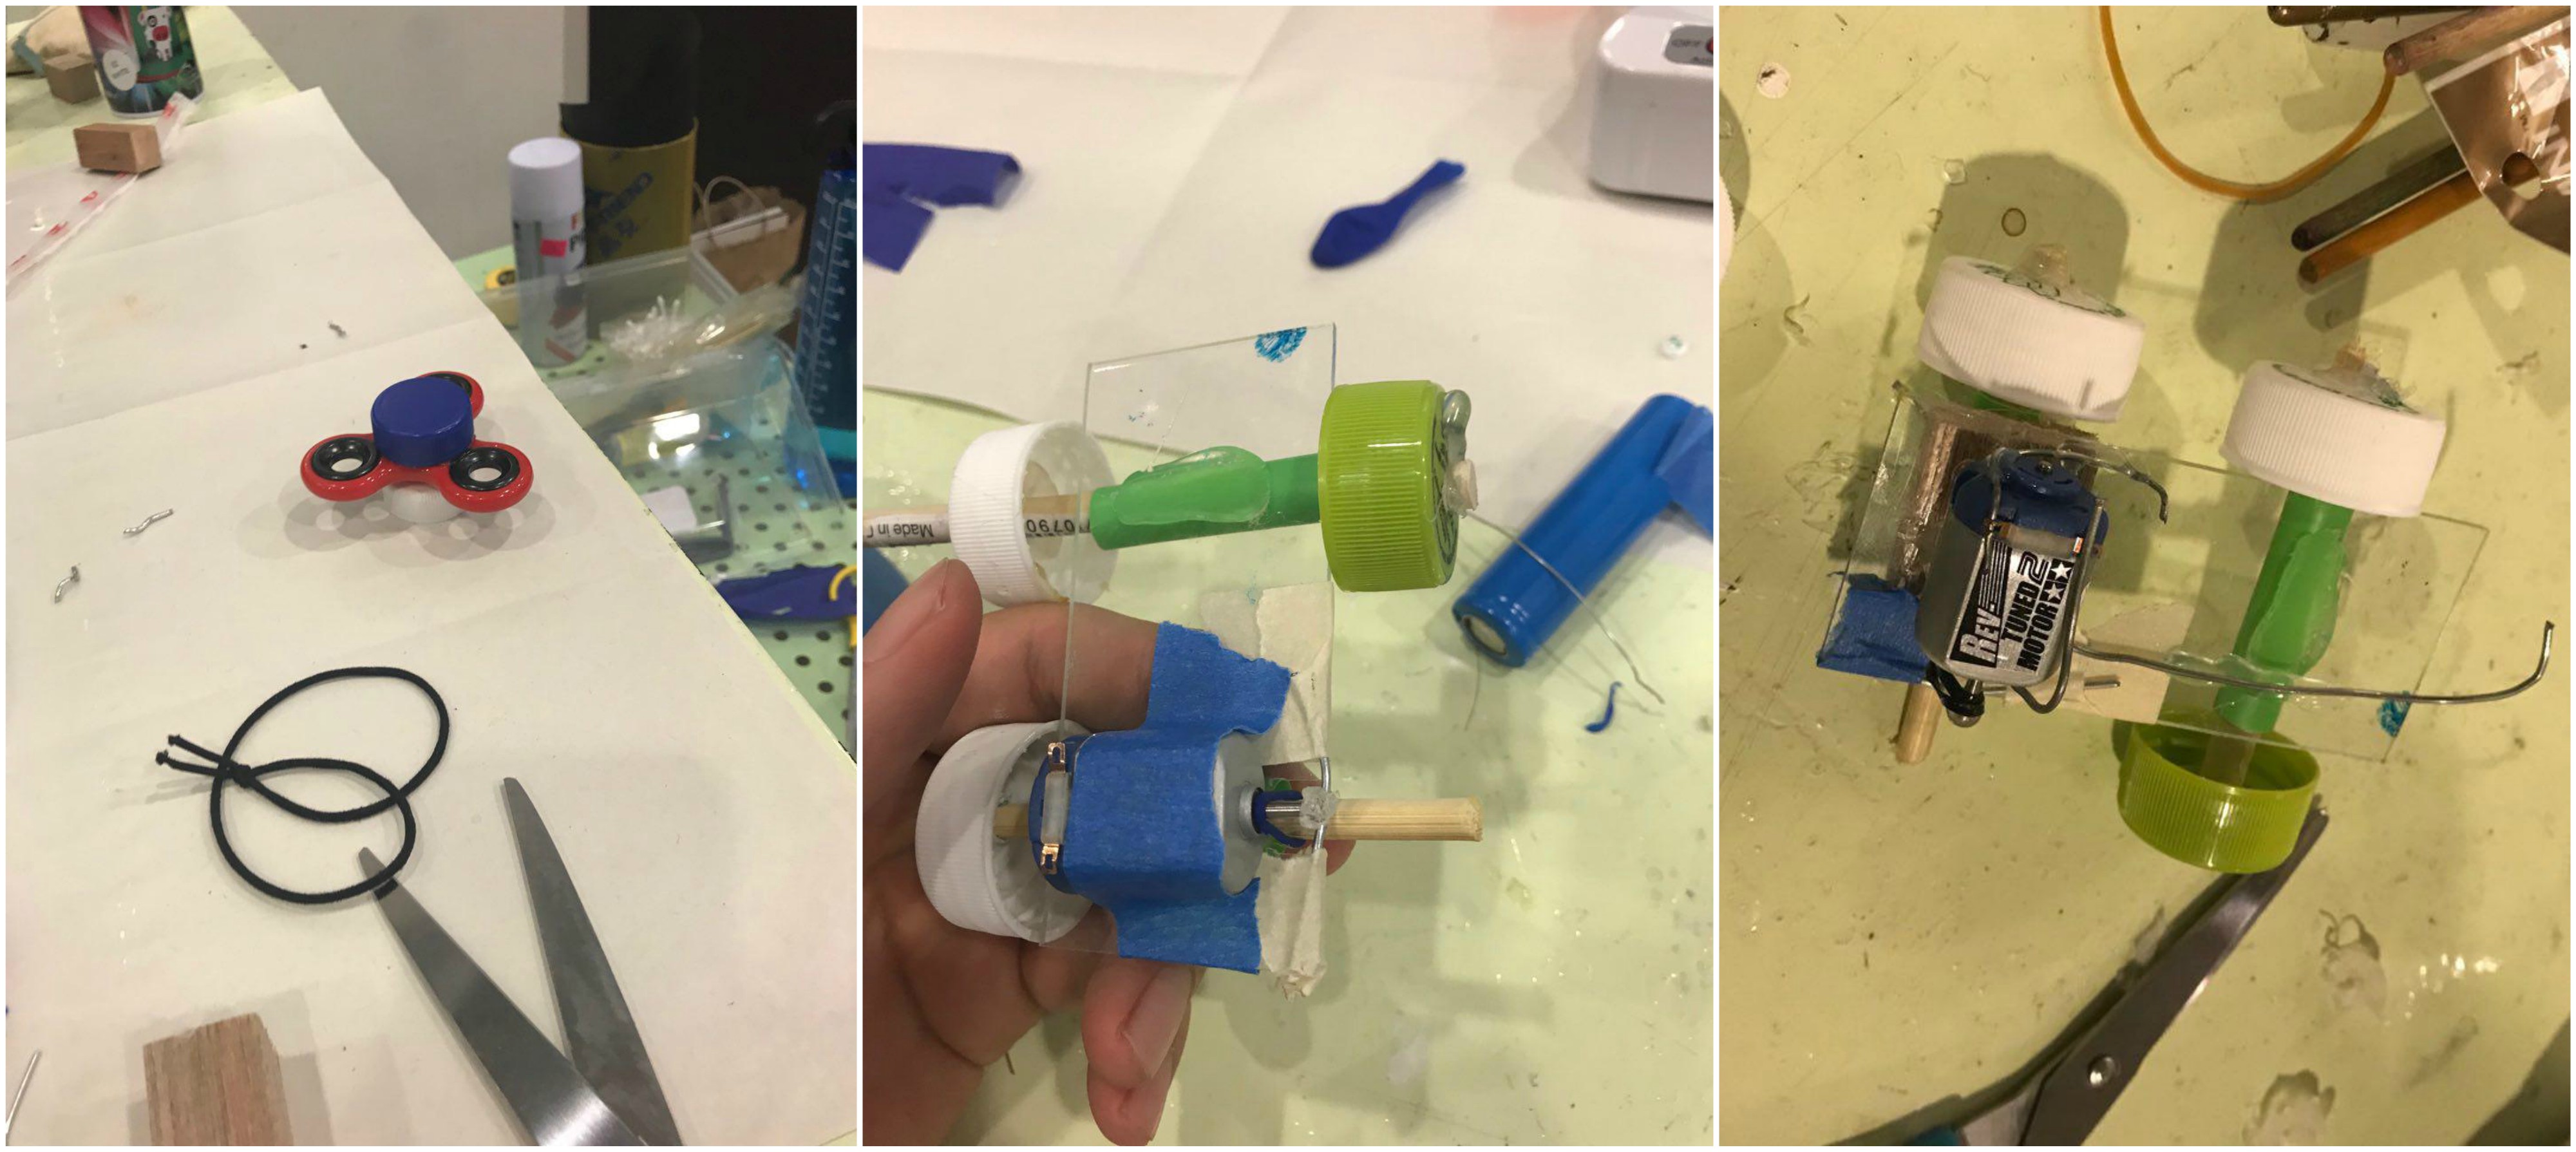
The car proved to be too much of a challenge to create because I did not have the required materials such as an elastic band small and strong enough to withstand the constant torque of the motor. The motor would also overheat after a certain amount of time, to which, the motor would stop running.

We then shifted our focus to creating something resembling a firefox for the starfish to glide across. This was an interesting direction as it would really begin to resemble a children’s toy or something which you would find at a playground!

We had several ideas for how we wanted our track to look like. A spiraling starfish around the ‘fish’ was something which we thought would look impressive.

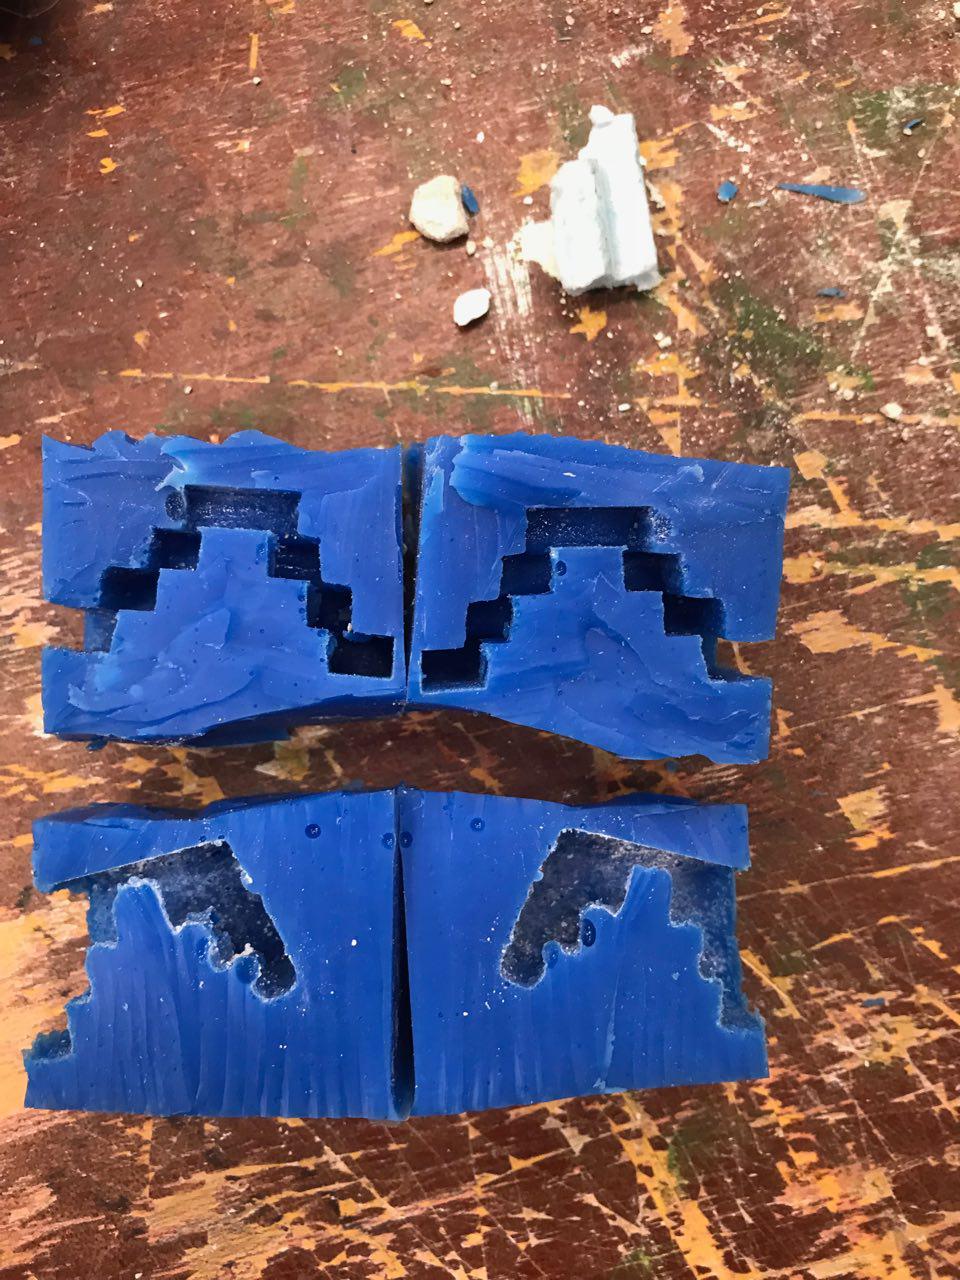
You can vaguely see the spiral of the track which we tried so hard to make work. However, the wire was not strong enough to withstand the weight of the starfish as it was passing through, thus we did not have the path spiraling. The path was also unreliable as it did not always yield the results we were looking for.

We decided to go with something less complex, while retaining the aspect of being interactive. We used copper wires instead, which were a lot more rigid and it held its form much better. (This can be seen in the final product!)


To enhance the immersiveness of the installation, we thought of using bubbles to create the illusion of being underwater. By harnessing the wind from the fan, we hoped that it would be strong enough to create bubbles when the bubble liquid is placed above.

We tried to make our own bubble liquid by mixing hand soap and detergent found in the 3D room! However, things were not in our favour as we did not have the correct fluids to make the perfect bubble water.


These are some of the preliminary shots taken after we set up the installation! We adjusted the lights to see which hue gave us the best results!


Eyes of the Kinetic Beast – Part 1

Welcome back! Herein begins the first part of our journey to the final product!

During our consultation with Cheryl, she pointed out that the hierarchy of our model was messy, thus distracting the viewers from the key elements of the piece.

She also noted that the movement of the fish skeleton did not reflect enough of the animal and also did not work well because of the scale.

So, it was back to the drawing board to come up with a new concept for our clownfish! We wanted it to be the dominant object in the installation because of its relation with the sea anemone and its movement could be further explored.

We started to research on ways which we could better recreate the movement of a fish.

( Start at 7 Minutes)

These were the kinetic sculptures which we were studying. These sculptures seem to easy to make initially, however, they did not represent the movement we wanted to capture as it only  moved vertically instead of horizontally (the movement of a fish).

As we better understood the mechanics, we were able to come up with a working prototype to have a horizontal movement.

This is a breakdown of how our mechanism works. Essentially, instead of the weights being the wooden/metal objects hanging (as seen from the video), the weights are now placed at the side, to provide tension for when the string is being pulled.

In the second image, as the strings are being pulled in a certain direction, some strings are being pulled more than the rest, thus, resulting in different displacements of the block as seen from image 3. This movement can be seen from image 4, when the block is being shifted.

Tension is always needed for the blocks to return back to its original position, so that the cycle can repeat itself again.

Thus, we begin the creation of our prototype!

First, we had to build a frame strong enough to contain the model as we would need heavy weights to act as a tension on the string.

We then attached wire mesh to the side of the frames so that we had something to thread the cords through, as well as suspending the fish structure in air.

As this is only a prototype, we used foam as a representation of the clown fish. We attached fishing line (how apt) to the foam and connected it with the frame.

If you look closely, you can see that the foam has 3 intersecting points where the fishing line has been threaded through. This is to ensure that the foam stays in place and does not flop.

It was also important to get the measurements correct as alignment is crucial in making the model smooth. This can be seen from all of the letters and markings on the wooden frame.

Next, we had to find weights capable of creating tension on the fishing line. We stuck pieces of wood together, incrementally adding blocks till the desired tension is reached.

When dealing with this many cords, it was easy for the cords to get mixed up, which would result in the wrong tension for different segments, or even the entire model not working. Thus, we practiced good cable management by threading the cords though a small segment of perforated board and we labeled each cord that passed. This ensures that when we are adjusting the tension for each of the segments, it would be a lot less hassle and guesswork.

Different materials were considered during the selection of the board to contain the string mechanism (the Brain, as I call it). We tried using thick art card, but the string kept cutting through the board, resulting in a lost of tension! Eventually we used a thick piece of corkboard to ensure that the string does not move about.

This is the result of all our careful planning!

However, the weights kept getting obstructed by the wooden frame, and after using the mechanism for awhile, the fish slowly started to lean towards the left side as there was no limit to how much string could be pulled.

Next, we embarked on the Starfish. This mechanism was a development of my initial idea, which was to have something similar to a puppet. We attached strings onto metal rings of different diameters and hung them above the fish.

This would emulate the ‘jellyfish’ movement, where by all of the limbs are moving and warping in sync.

We brought our new model to Cheryl to get more feedback on what were the things we could further improve. She liked the mechanism, however, she left that the representation was too literal.

The starfish was also a distraction for her as she felt that it could become an SO rather than an SD. She mentioned how the starfish could be gliding across the bottom or the top of the frame, which would make our model more interactive and immersive.

We will be building upon these comments in the next post!

Kinetic Beast Sketch Model OSS

Our animals are: Sea anemone, Starfish and the Clown fish.

To begin, we looked into the relationship between each of our animals to find a correlation between their existence.

The sea anemone shares a symbiotic relationship with the clown fish. The clown fish seeks protection within the sea anemone, while the clown fish protects the sea anemone from potential anemone-eating fishes, the clown fish also eats algae and cleans the sea anemone. The toxins within the tentacles of the sea anemone protects the clown fish from predators.

On the other hand, the Starfish has a  parasitic relationship with the sea anemone, as starfishes feed on sea anemones, among other shellfishes and creatures that live on the ocean floor.

Our initial exploration of our animals focused more on the minimal and incremental movements of the various animals.

From the start, we wanted to explore the ways in which our animals interacted with each other, finding key senses linking them to one another, even though the Starfish and clown fish does not share an immediate relationship.

The common senses each of our animals rely for survival is the sense of smell and touch. The Clown fish uses the sense of touch to develop an immunity towards the toxins produced by the tentacles of the sea anemone. Through our research we also found out that baby clown fishes relies on the sense of smell to find their way back to the sea anemone which they were born from!

Whereas the Starfish uses its sense of touch and smell to locate prey which may be hiding under the sand. We wanted to incorporate these two senses into our installation, which is why we built our sketch model together.

The first movement we explored was the clown fish. The movements of fishes are generally similar in a way which they are able to warp their body into waves, propelling them along with their fins.

We stripped this movement down to its bones (literally) and looked into the possible mechanics we could explore with this movement.

Jing Yi came up with this bone-like structure to represent the warping of the movement of the fish. For this sketch model, it requires an initial touch for the whole structure to come alive, moving like a swimming fish.

She explored different materials, weights as well as dimensions to see which would work best.

This initial prototype was too flimsy and the movement dissipated too quickly, unable to capture enough of an essence of a fish.

By alternating the weights and using a more rigid frame, the movement was sustained for awhile more, even cycling back down the spine. We decided to incorporate this version into our sketch model.

We started to brainstorm on the possible movements we could use to represent a sea anemone. Capturing the essence of the tentacles was the most important feature of the sea anemone.

We had to create something which had movement, and one which ties in with the entire installation.

Because the sea anemone is the common denomination among our animals, we wanted to make it the dominant element in the model, making it the origin of all of our movements.

Immediately, this was the direction we wanted to take when creating the sea anemone.

The eccentric and random movements of these tubes would be able to accurately encapsulate the movements of the tentacles underwater.

To build this, we needed a fan strong enough to push these tubes off whilst having them stay in the air. We also had to vary the length of the plastic strips to ensure that they were not too heavy.

The starfish was a tricky animal to represent due to the complexity of its limbs, telling of the extensive movements it is capable of!

As I wanted to allow each individual limb to move, I cut a piece of foam into many segments and tied them altogether to make them mobile. 

(This is a rather sad looking starfish)

I wanted to fashion something similar to a puppet, whereby each individual limb could be controlled. However, the strings kept getting tangled up among each other, so I discarded that idea.

To make the limbs more rigid and life-like, I attached strings on each end, also placing tape on each of the segments.

Because the sense of smell and touch is prevalent in our model, we wanted our animals to work in harmony, by using these senses to initiate the kinetic movement in our installation.

To achieve this, we suspended the sea anemone at the bottom of the model, as the fan would be able to propel the other elements in the installation. By touching the fan, it directs wind to different parts of the fish skeleton, triggering a movement.

As the wind blows against the starfish, its individual limbs would also be in motion, thus, making the sea anemone the focal element of this sketch model.

Kokopelli’s Sound Shaper Part 1 – Process

Brendan and I began to explore our sounds further and we looked into what the eyes and arms represented.

We incorporated the best elements from each of our sound models which was the representation of the eye as a shutter as well as the relation of my sound to a humming bird.

We also began to explore the macro movements of the arm, pivoting along the shoulders instead of the elbow to create greater movement.

Initially, we thought of creating an umbrella to represent the eyes. The opening of the umbrella would be parallel to a pupil letting light into the eyes.


Because we had to incorporate a form of fabric or paper into our mechanism, we decided to use rice paper!

To include the macro movement of the arm, we thought of creating a flute using the handle of the umbrella as it would be able to create sounds as the umbrella was swung.

We decided to do some research on the construction of a traditional Japanese umbrella but realised that we do not possess the skills and dexterity required to create such an intricate item.

Cheryl also commented that it should be more of a wearable object, rather than an accessory, otherwise it would simply become a musical instrument.

We went back to the drawing board and decided to revisit the idea of incorporating wings into our model, this time using elements from the umbrella.

We really liked the aesthetic of bamboo and paper and it made senses in the context of a bird as their bones are hollow. We got a 3m long bamboo pole and cut it down to my arm’s length as it was going to be attached to me.

The bamboo was a little hard so Brendan suggested that we submerge it in water to allow it to soften. We placed the bamboo into the ADM fountain overnight to see if the theory actually works.

However, despite our optimism, the bamboo just turned out to be a darker shade after taken out of the water and it was also filthy due to the buildup of slime and dirt.

I observed from the umbrella making video that they did not use whole bamboos for the spokes of the umbrella frame. Thus, decided to split the bamboo into quarters to make them more flexible as well as increase the amount of bamboo rods we had.

To do this, I took a wood carver and hammered it perpendicular to the bamboo pole, creating a crevice in the pole. After that, it was a matter of splitting the bamboo into two.

The next step would be attaching the bamboo to the back plate. We drilled holes into the bamboo and threaded a string through it.

The main issue we faced was attaching the paper to the bamboo poles. We experimented with variety of adhesives to stick the rice paper. Initially, we used white glue mixed with water to stick two sheets of paper, unfortunately the result was ugly as pockets of air was trapped within the sheets as it dried unevenly.

In the end, we found out that double sided tape works best for this case as it prevented the paper from crumpling, and it was neat as the tape was not visible after we pasted the paper.

Here are just some pictures of us measuring and ensuring that the paper is of the right dimensions. We used a string to make an outline of the path we had to cut along. We paste double sided tape onto the bamboo as we wanted to capture the structure, especially the curvature.

Prior to comments given to us by Cheryl, we thought it would be a good idea to cover up the back portion of the winged suit to make it more aesthetically pleasing and minimal, thus, we attached a second plate on the back.

We added Styrofoam blocks to ensure that the back plate does not completely fold onto the bamboo structure, crumpling the paper and also preventing the wings from fully closing.

The final touch would be adding the 風! Since our model is based on a bird, and Kokopelli’s instrument is a flute, we thought it would be apt to include it in the overall design!

(End of Part One)

Kokopelli’s Sound shaper Research and model

These were the two words Brendan and I picked. It was exciting because these two body parts are vastly different from each other in terms of how they move as well as the small intricacies between parts.


To begin, an eye is one of the most delicate and intricate organsof the body as it is solely responsible for a sense. The eye is made up of both the eye ball as well as the eyelids.

The eyeball itself has a more circular motion, whereas the eyelids has a linear motion, similar to a shutter.


The second body part is more straightforward being an arm. I would say that there are two ways in which we could breakdown the arm, one being pivoting about an axis which would be the elbow, or it could also rotate about the shoulder socket.


We then begin to source for our sounds. Brendan and I decided to work on separate sounds.

My good sound of choice was coins being dispensed from the vending machine.

As you can tell, the sound of coins dropping has a distinctive sound which has a pleasant connotation when we hear it. Whenever a coin drops, we immediately look to the ground in search for it.

Due to the nature of coins, they also end up escaping our grasp  as they tend to roll across the floor.

The sound is also piercing in nature, and has substantial reverb because the bouncing of coins when they were being dispensed.

My bad sound of choice was the sound of money being rejected from the vending machine, specifically the note dispenser. This is an especially annoying experience which many of us face when the machine refuses to accept our money.


This sound has a distinctive mechanical sound and it seems to mimic an extension and retraction of an arm. This sound would symbolise the pivoting of the arm about the elbow.

I wanted to incorporate the psychological aspects of the various sound samples I had. The psychological aspect of coins falling would be their fleeting presence as we struggle to chase after and reach for our money.

I wanted to capture the essence of movement for each of these sounds.

For a fleeting presence, I thought, what better way to represent something fleeting than birds? I thus began to blindly try and fold birds just by trial and error.

The similarities between a bird’s wing as well as batting of eyelids can also be drawn in the case of a hummingbird due to the quick repetition of the flapping of wings.

Because of this resemblance, I felt that it added another level of depth to the use of birds as it linked one of the body parts in as well.

The other keyword I wanted to portray was the reaching or the extension of an arm towards an object. It was difficult to create the illusion of movement with my paper models, however I made sure to have different layers in my paper model to show progress and action.

As you can see, the piercing action of the cone portrays the element of reaching, while the birds represent the money fleeting from the grasp. I did not want the cone to be smooth as the sounds created by the vending machines were sharp and piercing.

Pandora’s Box Revisited

We begin the semester right from where we left off – Seeing Pandora’s Box

For this assignment, we were tasked to create 3 objects adhering to words which were picked out from Pandora’s Box.

The objective of this assignment was to familiarize ourselves with the concept of making molds by exploring different types of casting techniques. We were also introduced to isometric drawing which provides a more accurate 3D representation of what our model would look like.

My 3 words were:

Taper, Pack, Offset

1st Module:

My first module was a literal representation of the words.

To breakdown the module, pack came from the arrangement of the balls at the top to give a representation of ‘packing’.

Taper would come from the sharpened tip which would form the cone. I shaped the cone in such a way where it formed a pentagon as well, similar to the ‘cup’ of the cone to represent Offset.

2nd Module:

My second module was a more dynamic and abstract piece. I made use of pointed edges to represent taper. How closely the shards were placed together would represent pack. The centre spike/shard would be the representation of Offset as it was placed in the middle.

3rd Module:

The process of this module was interesting to create. But first, I will explain how I derived at this composition. At one glance, you can tell that I managed to fit the 3 words: Taper, Pack and Offset just from the top view. The squares are packed closely together, overlapping each other, and the differing of sizes gives it the tapered look. Offset was created by the indentations into the clay.

To create this module, I carefully cut out a foam block which I had envisioned the ‘positive’ volume of the module to be.

Afterwards, I imprinted the shape into the soft clay, creating an Ancient Relic.

Casting Of Clay Molds Using Latex

We move onto the next segment of the assignment, which is the casting of the modules in latex to enable us to replicate the module.

I decided upon casting my Jester’s Hat as the module I would use for the ice tray.

Thus begins the arduous 10 hour journey of coating the module.

Eventually, after 10 coats of latex, my magnificent Jester’s Hat was ‘reduced’ to looking like something out of an 80’s Alien Sci-fi movie.

I then proceeded to cast the structure using plaster.

The outcome of my casting was far from optimal as it was difficult to take out the module due to the outward tapering of the shards. This meant that in order for me to remove them, I had to break the tips.

This was the result:


After seeing the outcome of the first few casts, and continuously being dissapointed by the outcome, I decided to cast Ancient Relic instead.

Casting Ancient Relic  a much more straightforward process, however, I wanted to change the variation of it to have a more uniform module which could be interlocked.

As a result, I made another version of Ancient Relic with foam this time, to be cast in silicon.

Silicon Casting

This is an isometric drawing of the initial layout of the mold to be cast.


The molding process was an interesting one as it required the efforts of multiple people for it to successfully cast! (A great bonding experience both literally and chemically I must say)

We had to plan how we would like our final products to turn out by adjusting its positions as for modules with notches would get trapped in the silicon.

Unfortunately, it was not all smooth sailing through the casting process as one of my foam models floated up, while the silicon around the clay Ancient Relic  did not sit well.

Thankfully, the other two modules were perfectly seated in the silicon.

I had trouble prying out the modules from the silicon as silicon tucked into the tapered squares, which resulted in a ‘hook’ of sorts and the only way for me to take out the module was to break it.

After consultation with Cheryl, I decided to cut out the modules from the silicon and slice them into half. This would make things easier when I would cast them in ice.

Isometric drawings of Desired Ice Tray!


I first started off with a rough sketch of what I wanted my desired module to look like. I had problems visualising what the inside of the module would look like due to its layered nature.

Afterward, I brought my sketch onto Illustrator to refine the dimensions and the angles of the Isometric Drawing.


ICE CASTING RESULTS!


I was very pleased with the result of the ice casting! The risk to cut the module into half paid off as the module was able to come out with much more ease without me having to break it.

I had to create a makeshift ‘studio’ in my freezer as the ice modules melted too quickly in my hands and in the kitchen!

I managed to make a couple more of the ice modules! These would definitely impress my guests if I served it during Chinese Reunion dinners… although they may get a stomach ache after consuming these…