


Category Archives: Pandora Revisited

Pandora’s Box Revisited
We begin the semester right from where we left off – Seeing Pandora’s Box
For this assignment, we were tasked to create 3 objects adhering to words which were picked out from Pandora’s Box.
The objective of this assignment was to familiarize ourselves with the concept of making molds by exploring different types of casting techniques. We were also introduced to isometric drawing which provides a more accurate 3D representation of what our model would look like.
My 3 words were:
Taper, Pack, Offset
1st Module:

My first module was a literal representation of the words.
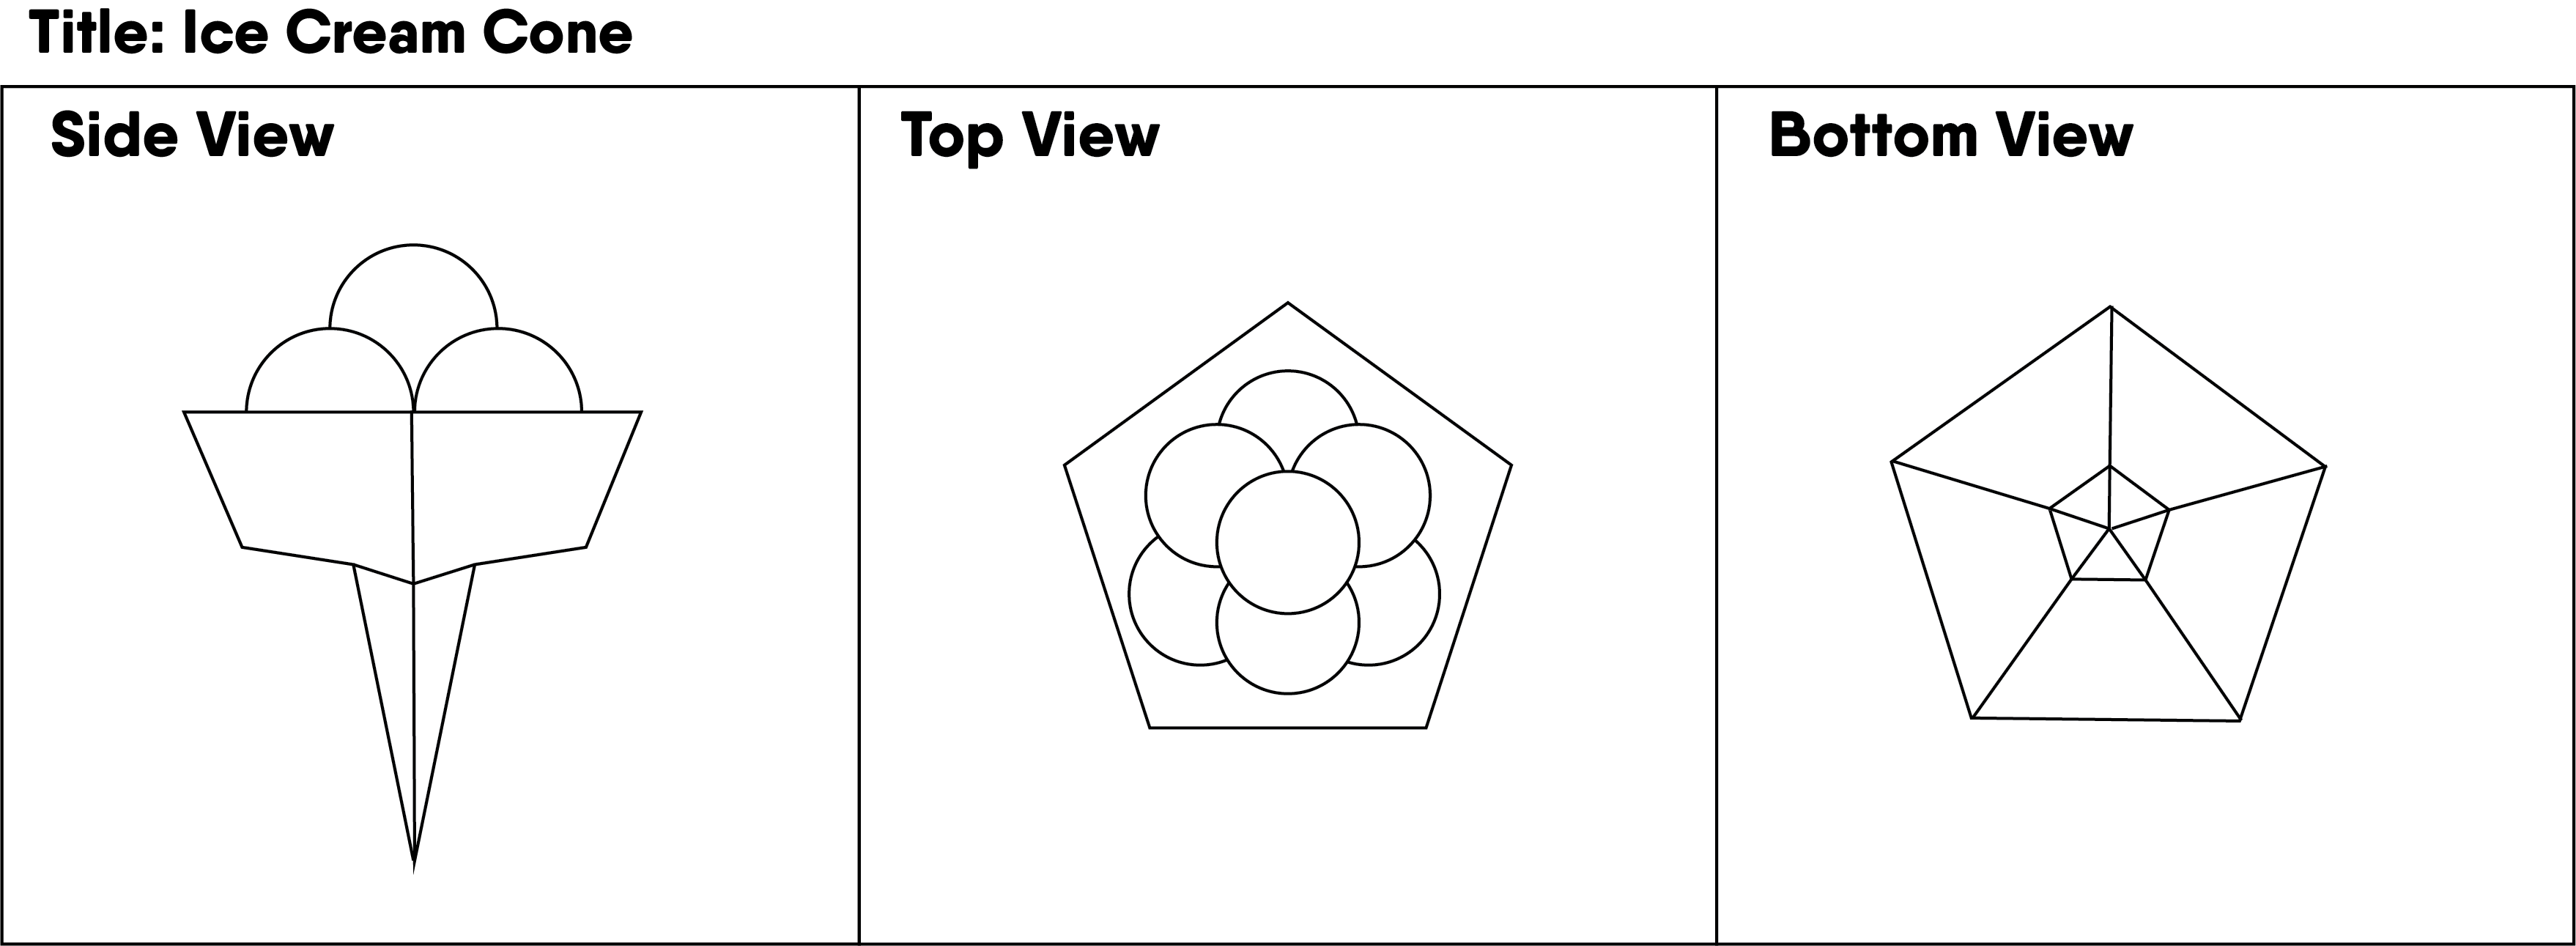
To breakdown the module, pack came from the arrangement of the balls at the top to give a representation of ‘packing’.
Taper would come from the sharpened tip which would form the cone. I shaped the cone in such a way where it formed a pentagon as well, similar to the ‘cup’ of the cone to represent Offset.
2nd Module:
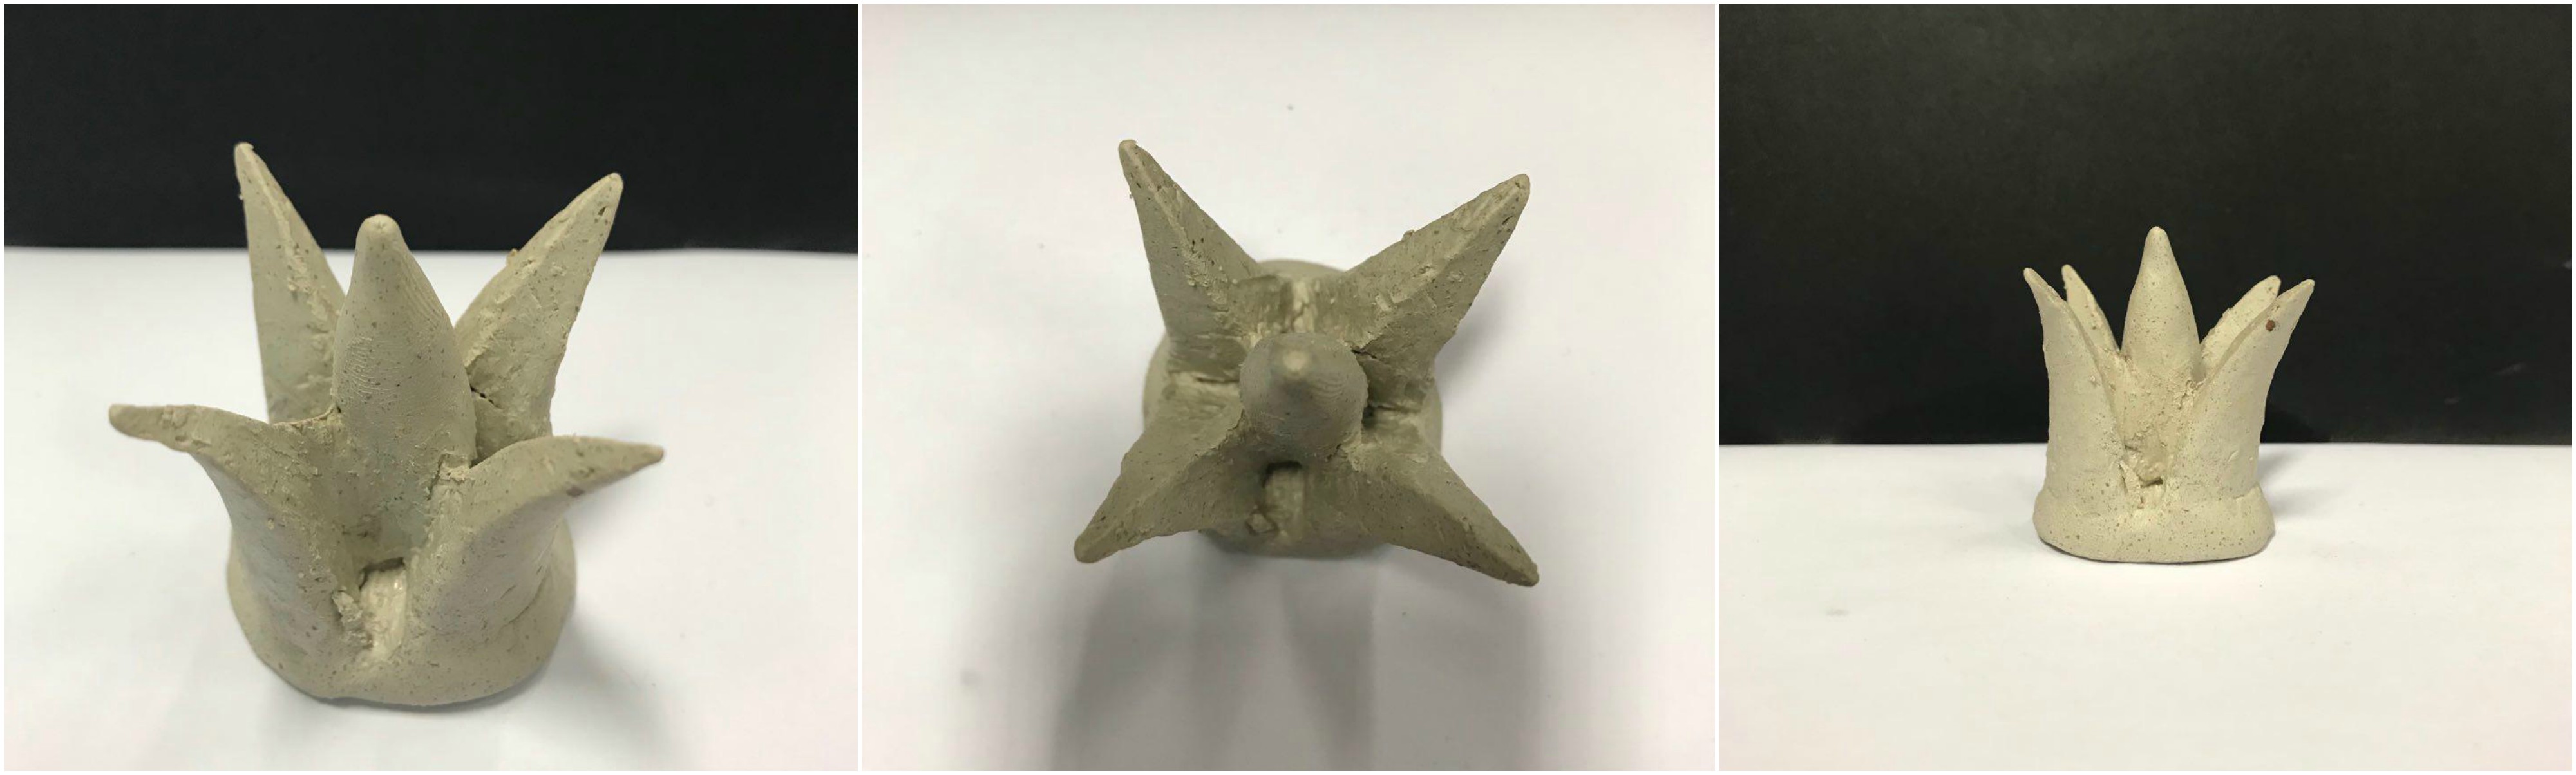
My second module was a more dynamic and abstract piece. I made use of pointed edges to represent taper. How closely the shards were placed together would represent pack. The centre spike/shard would be the representation of Offset as it was placed in the middle.
3rd Module:
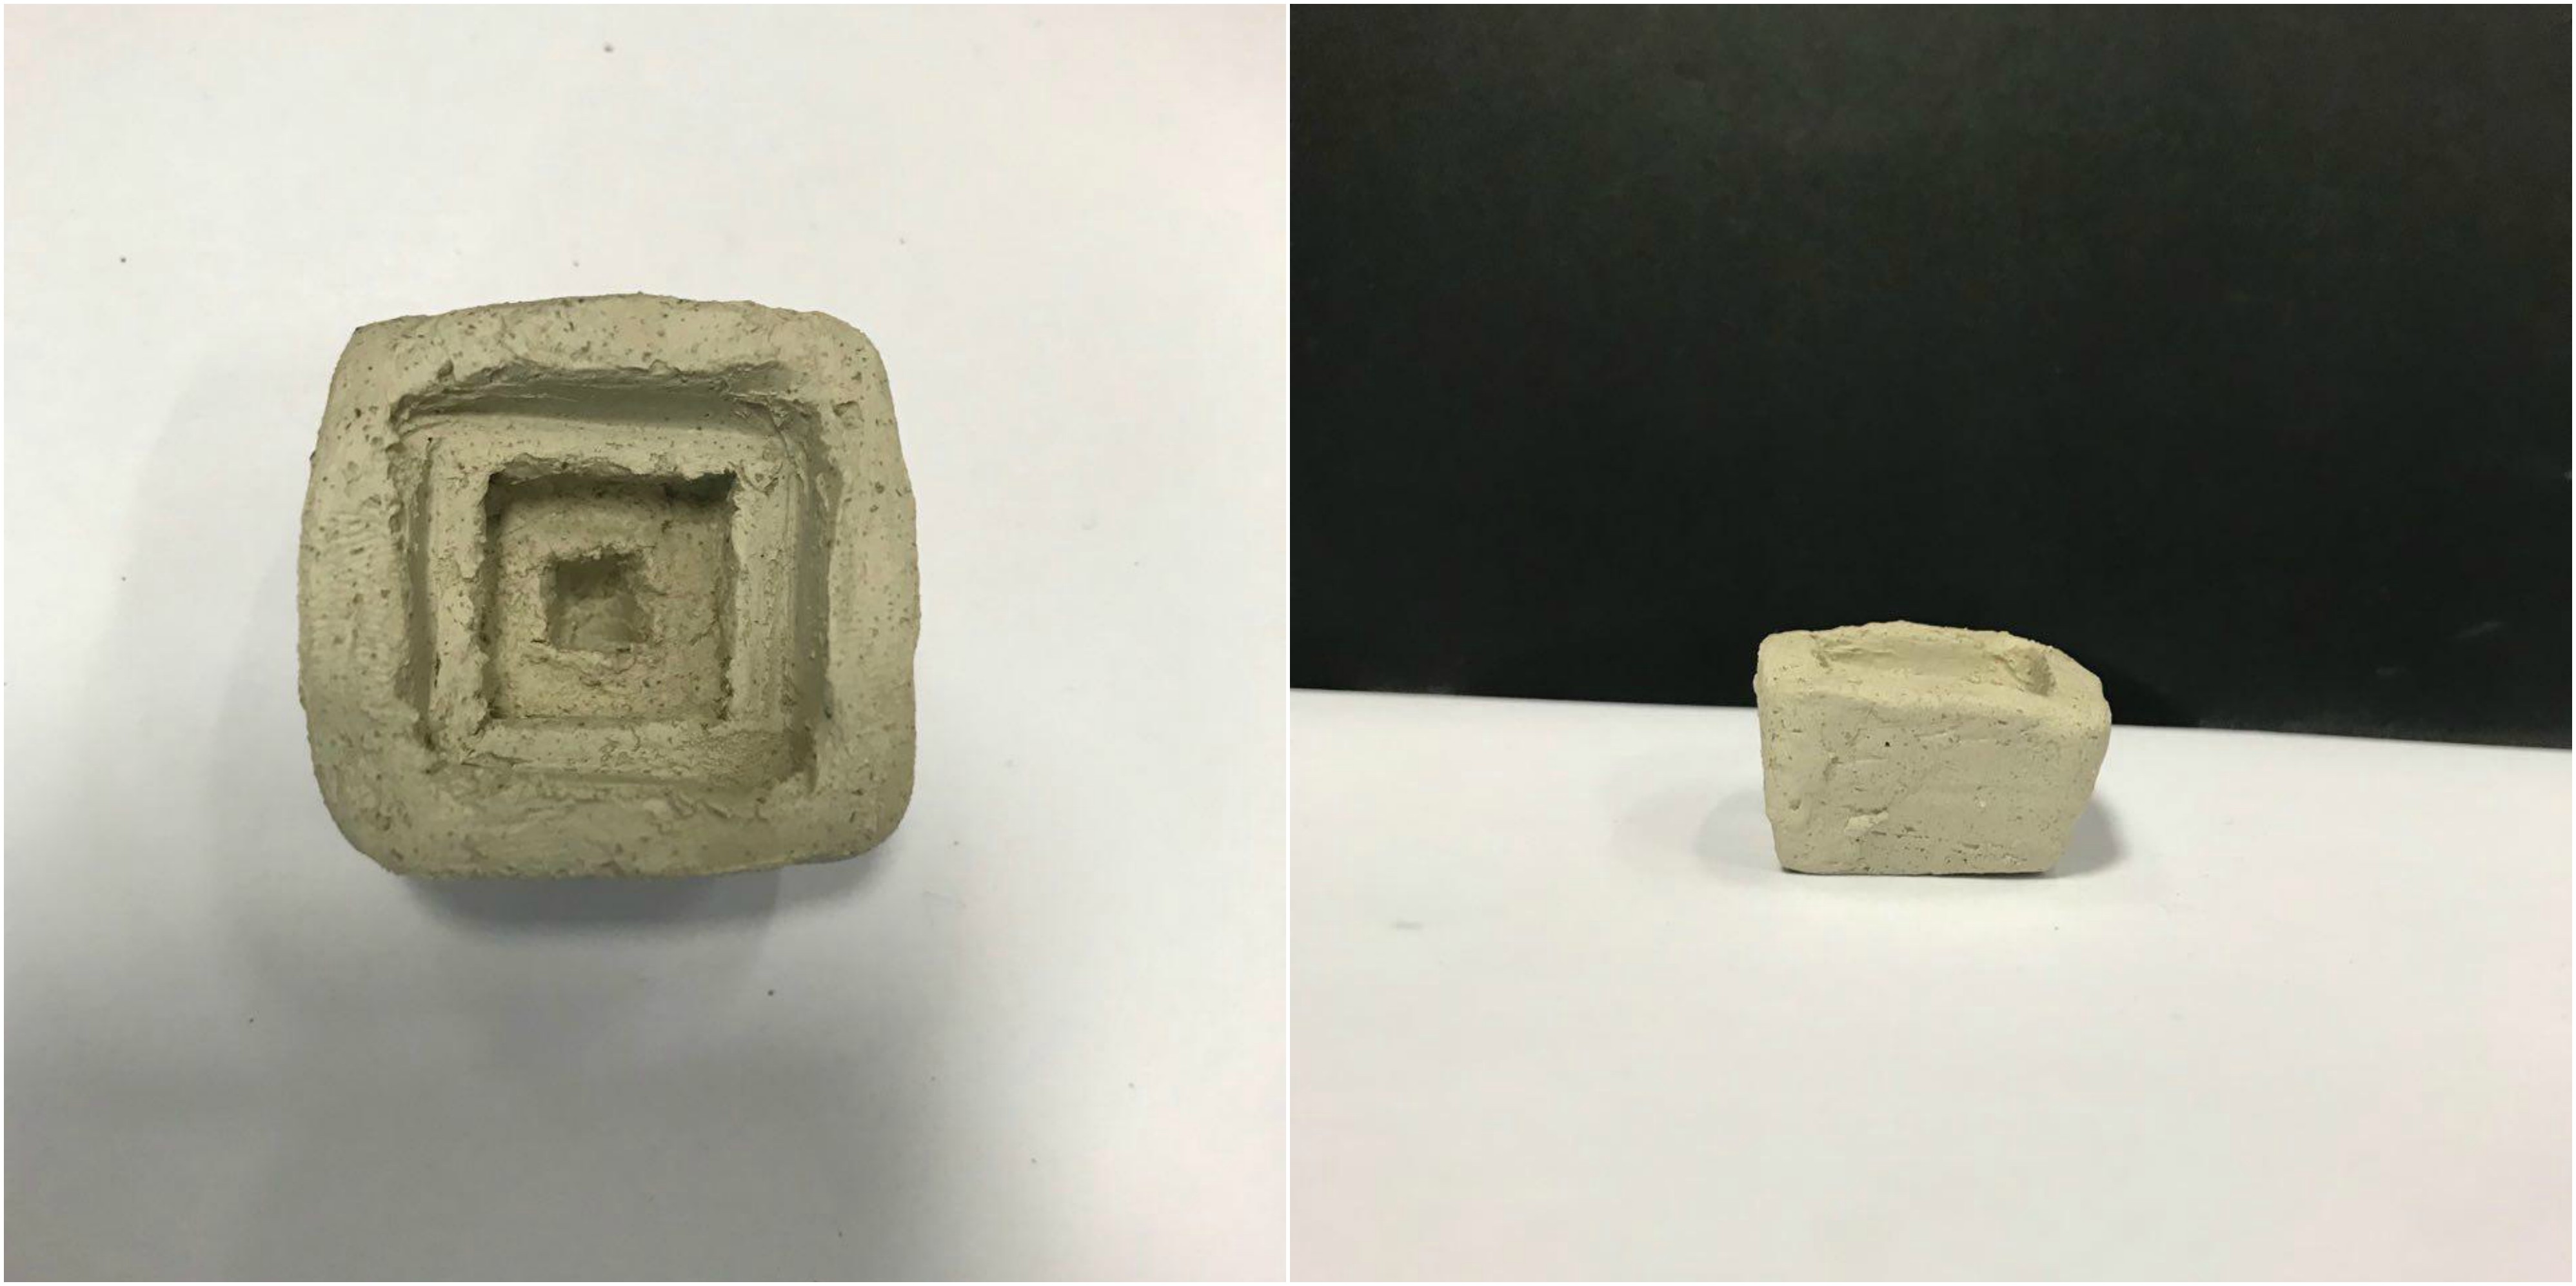
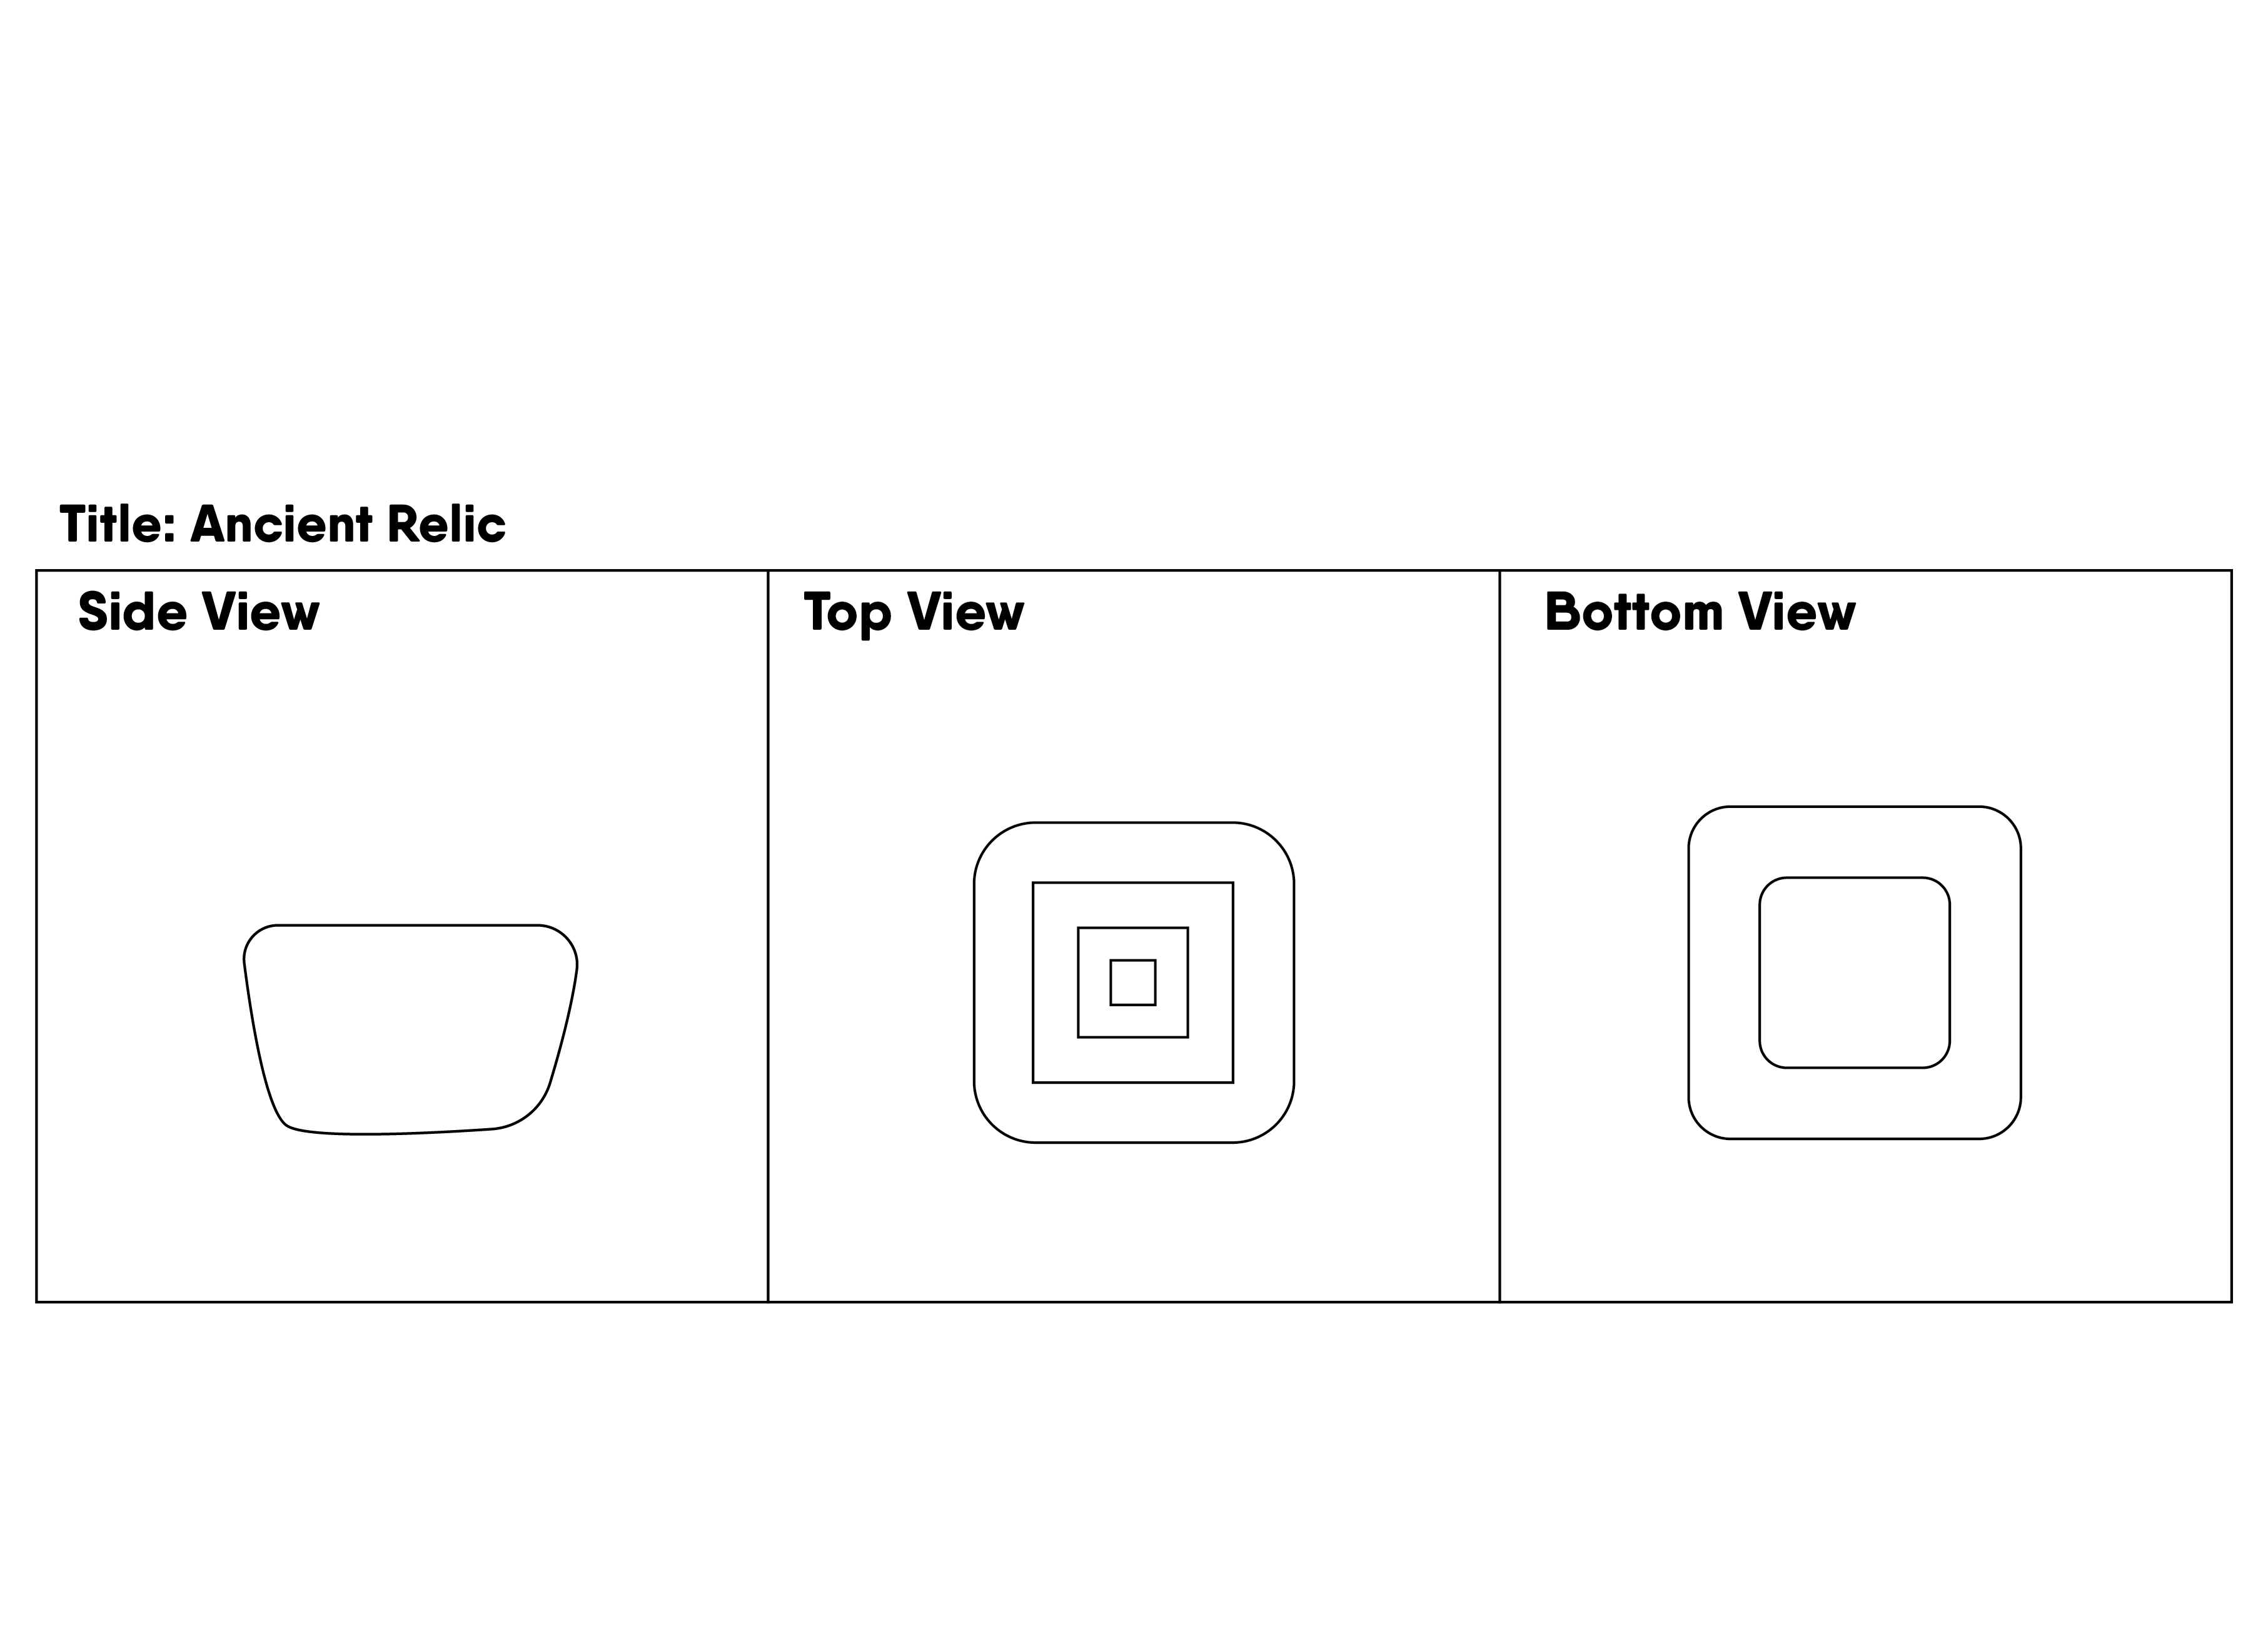
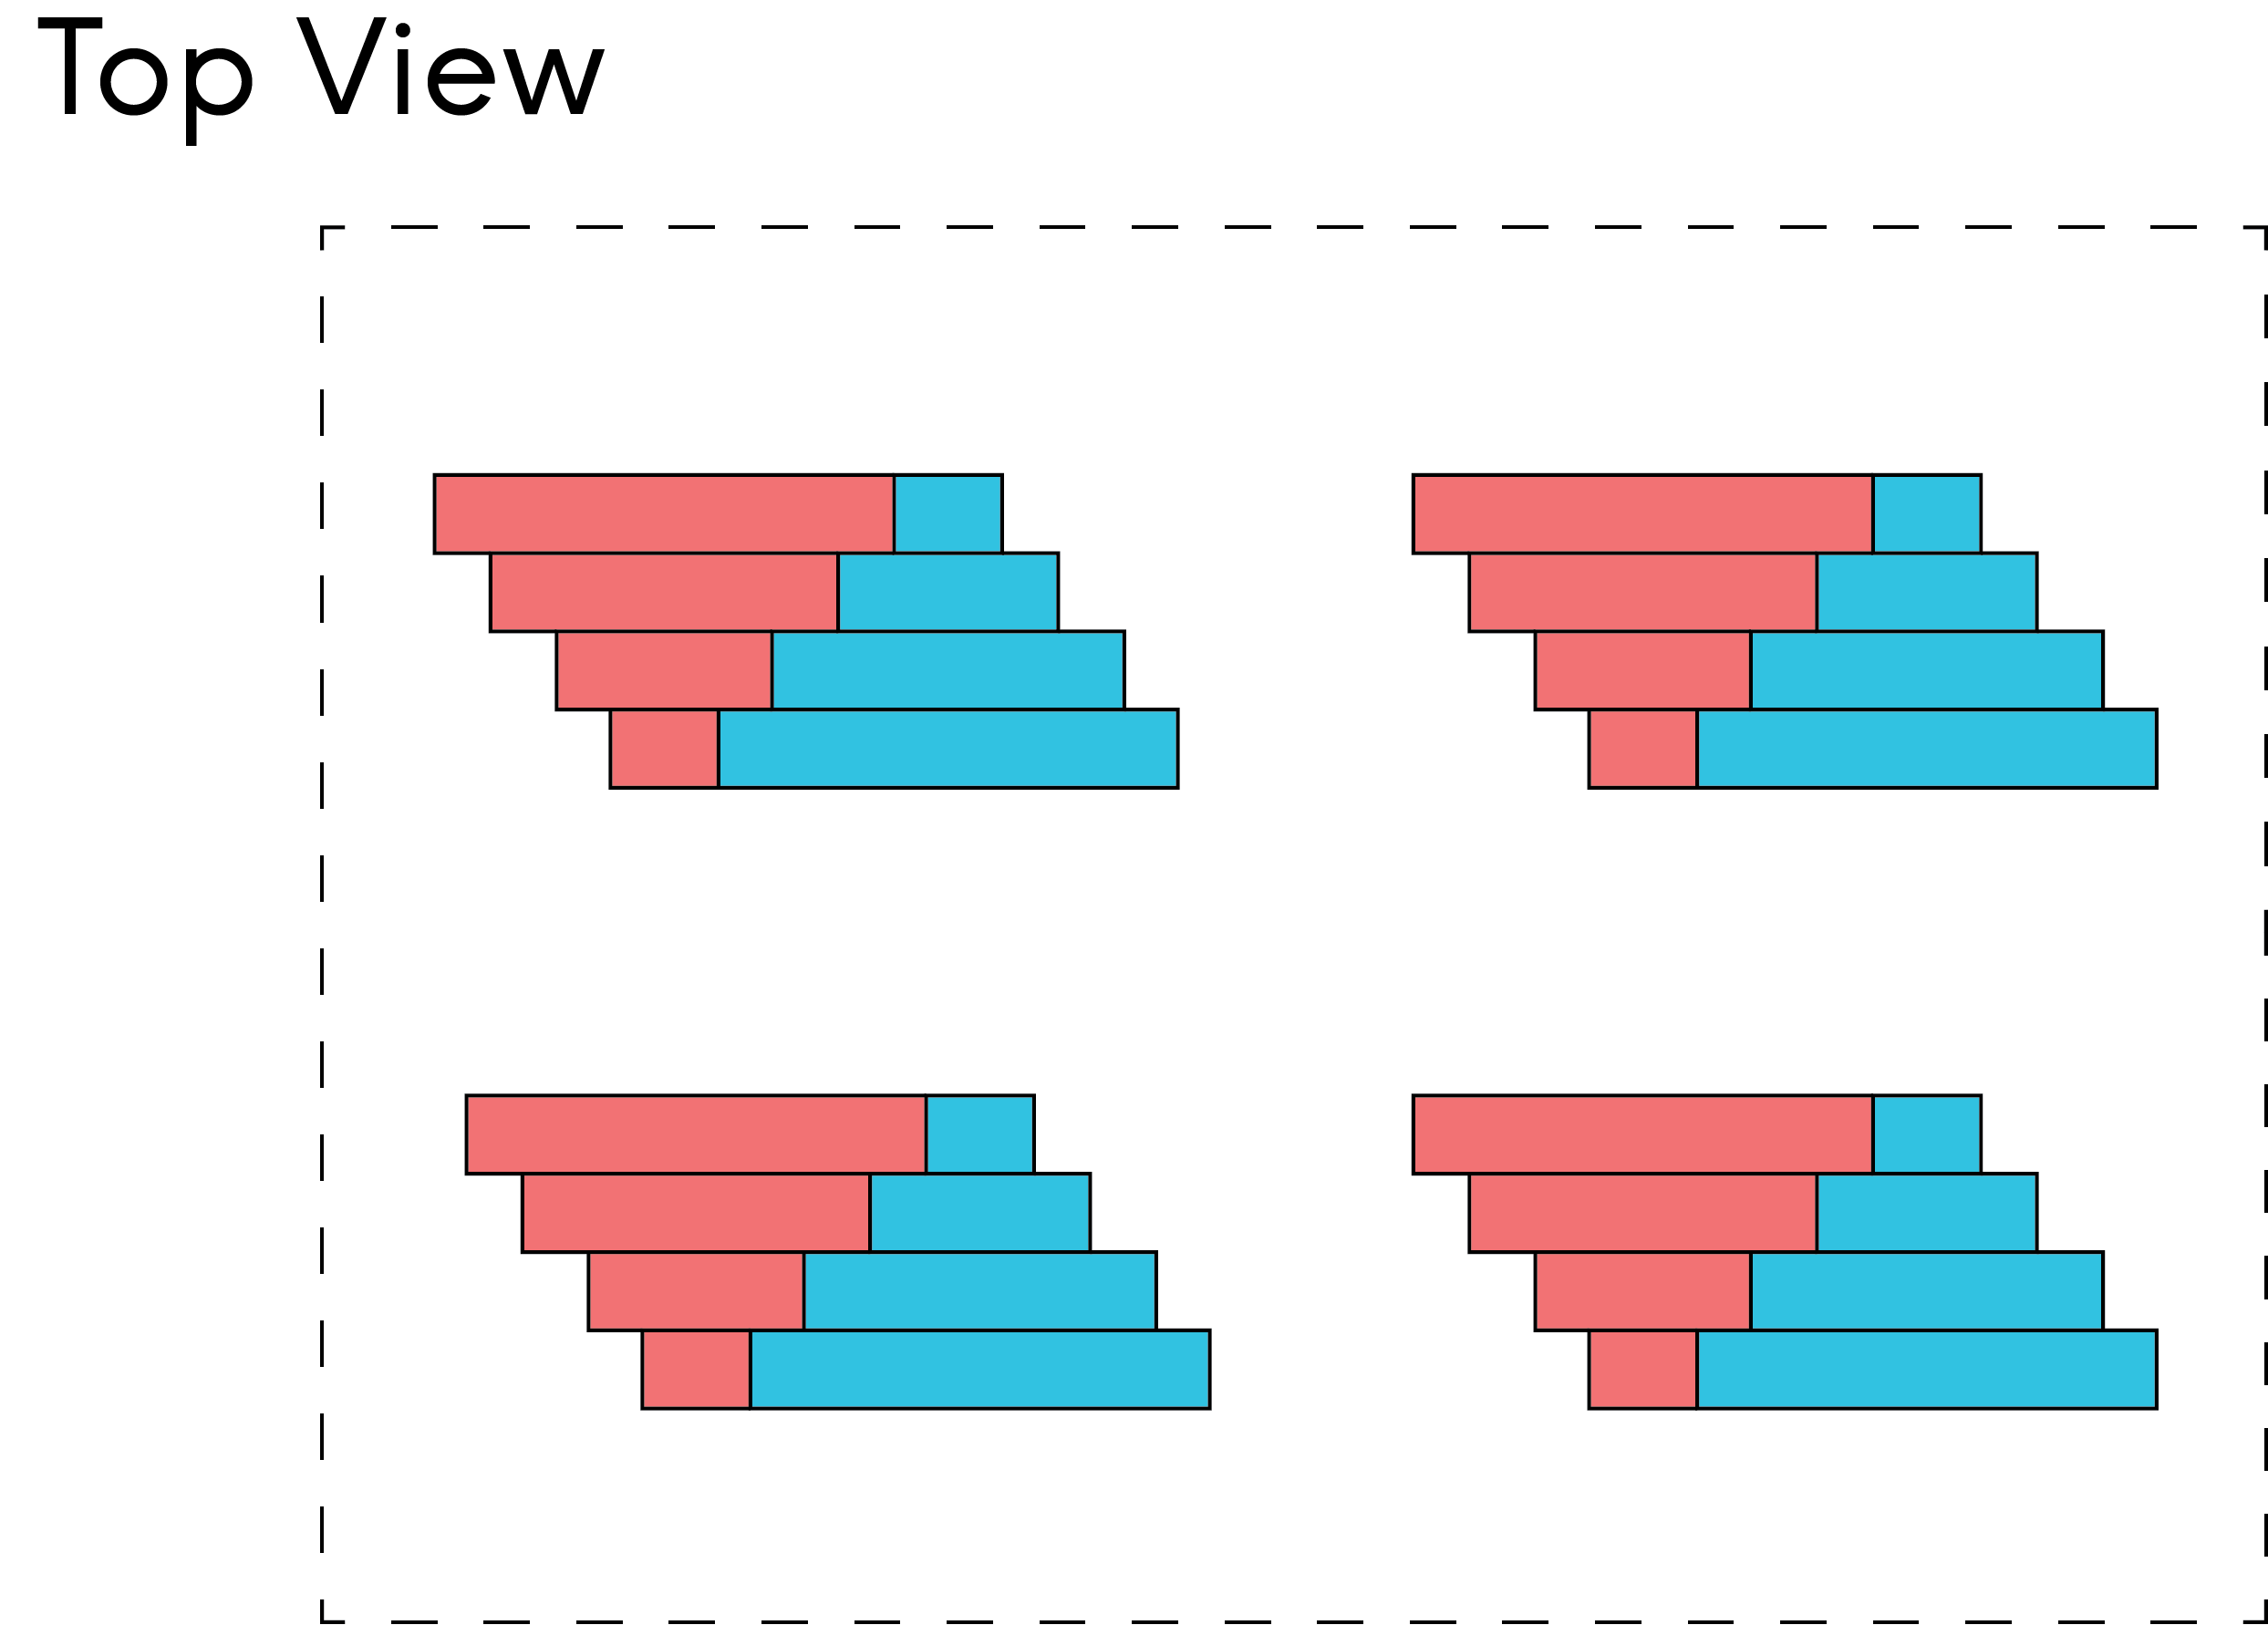
The process of this module was interesting to create. But first, I will explain how I derived at this composition. At one glance, you can tell that I managed to fit the 3 words: Taper, Pack and Offset just from the top view. The squares are packed closely together, overlapping each other, and the differing of sizes gives it the tapered look. Offset was created by the indentations into the clay.
To create this module, I carefully cut out a foam block which I had envisioned the ‘positive’ volume of the module to be.

Afterwards, I imprinted the shape into the soft clay, creating an Ancient Relic.
Casting Of Clay Molds Using Latex
We move onto the next segment of the assignment, which is the casting of the modules in latex to enable us to replicate the module.
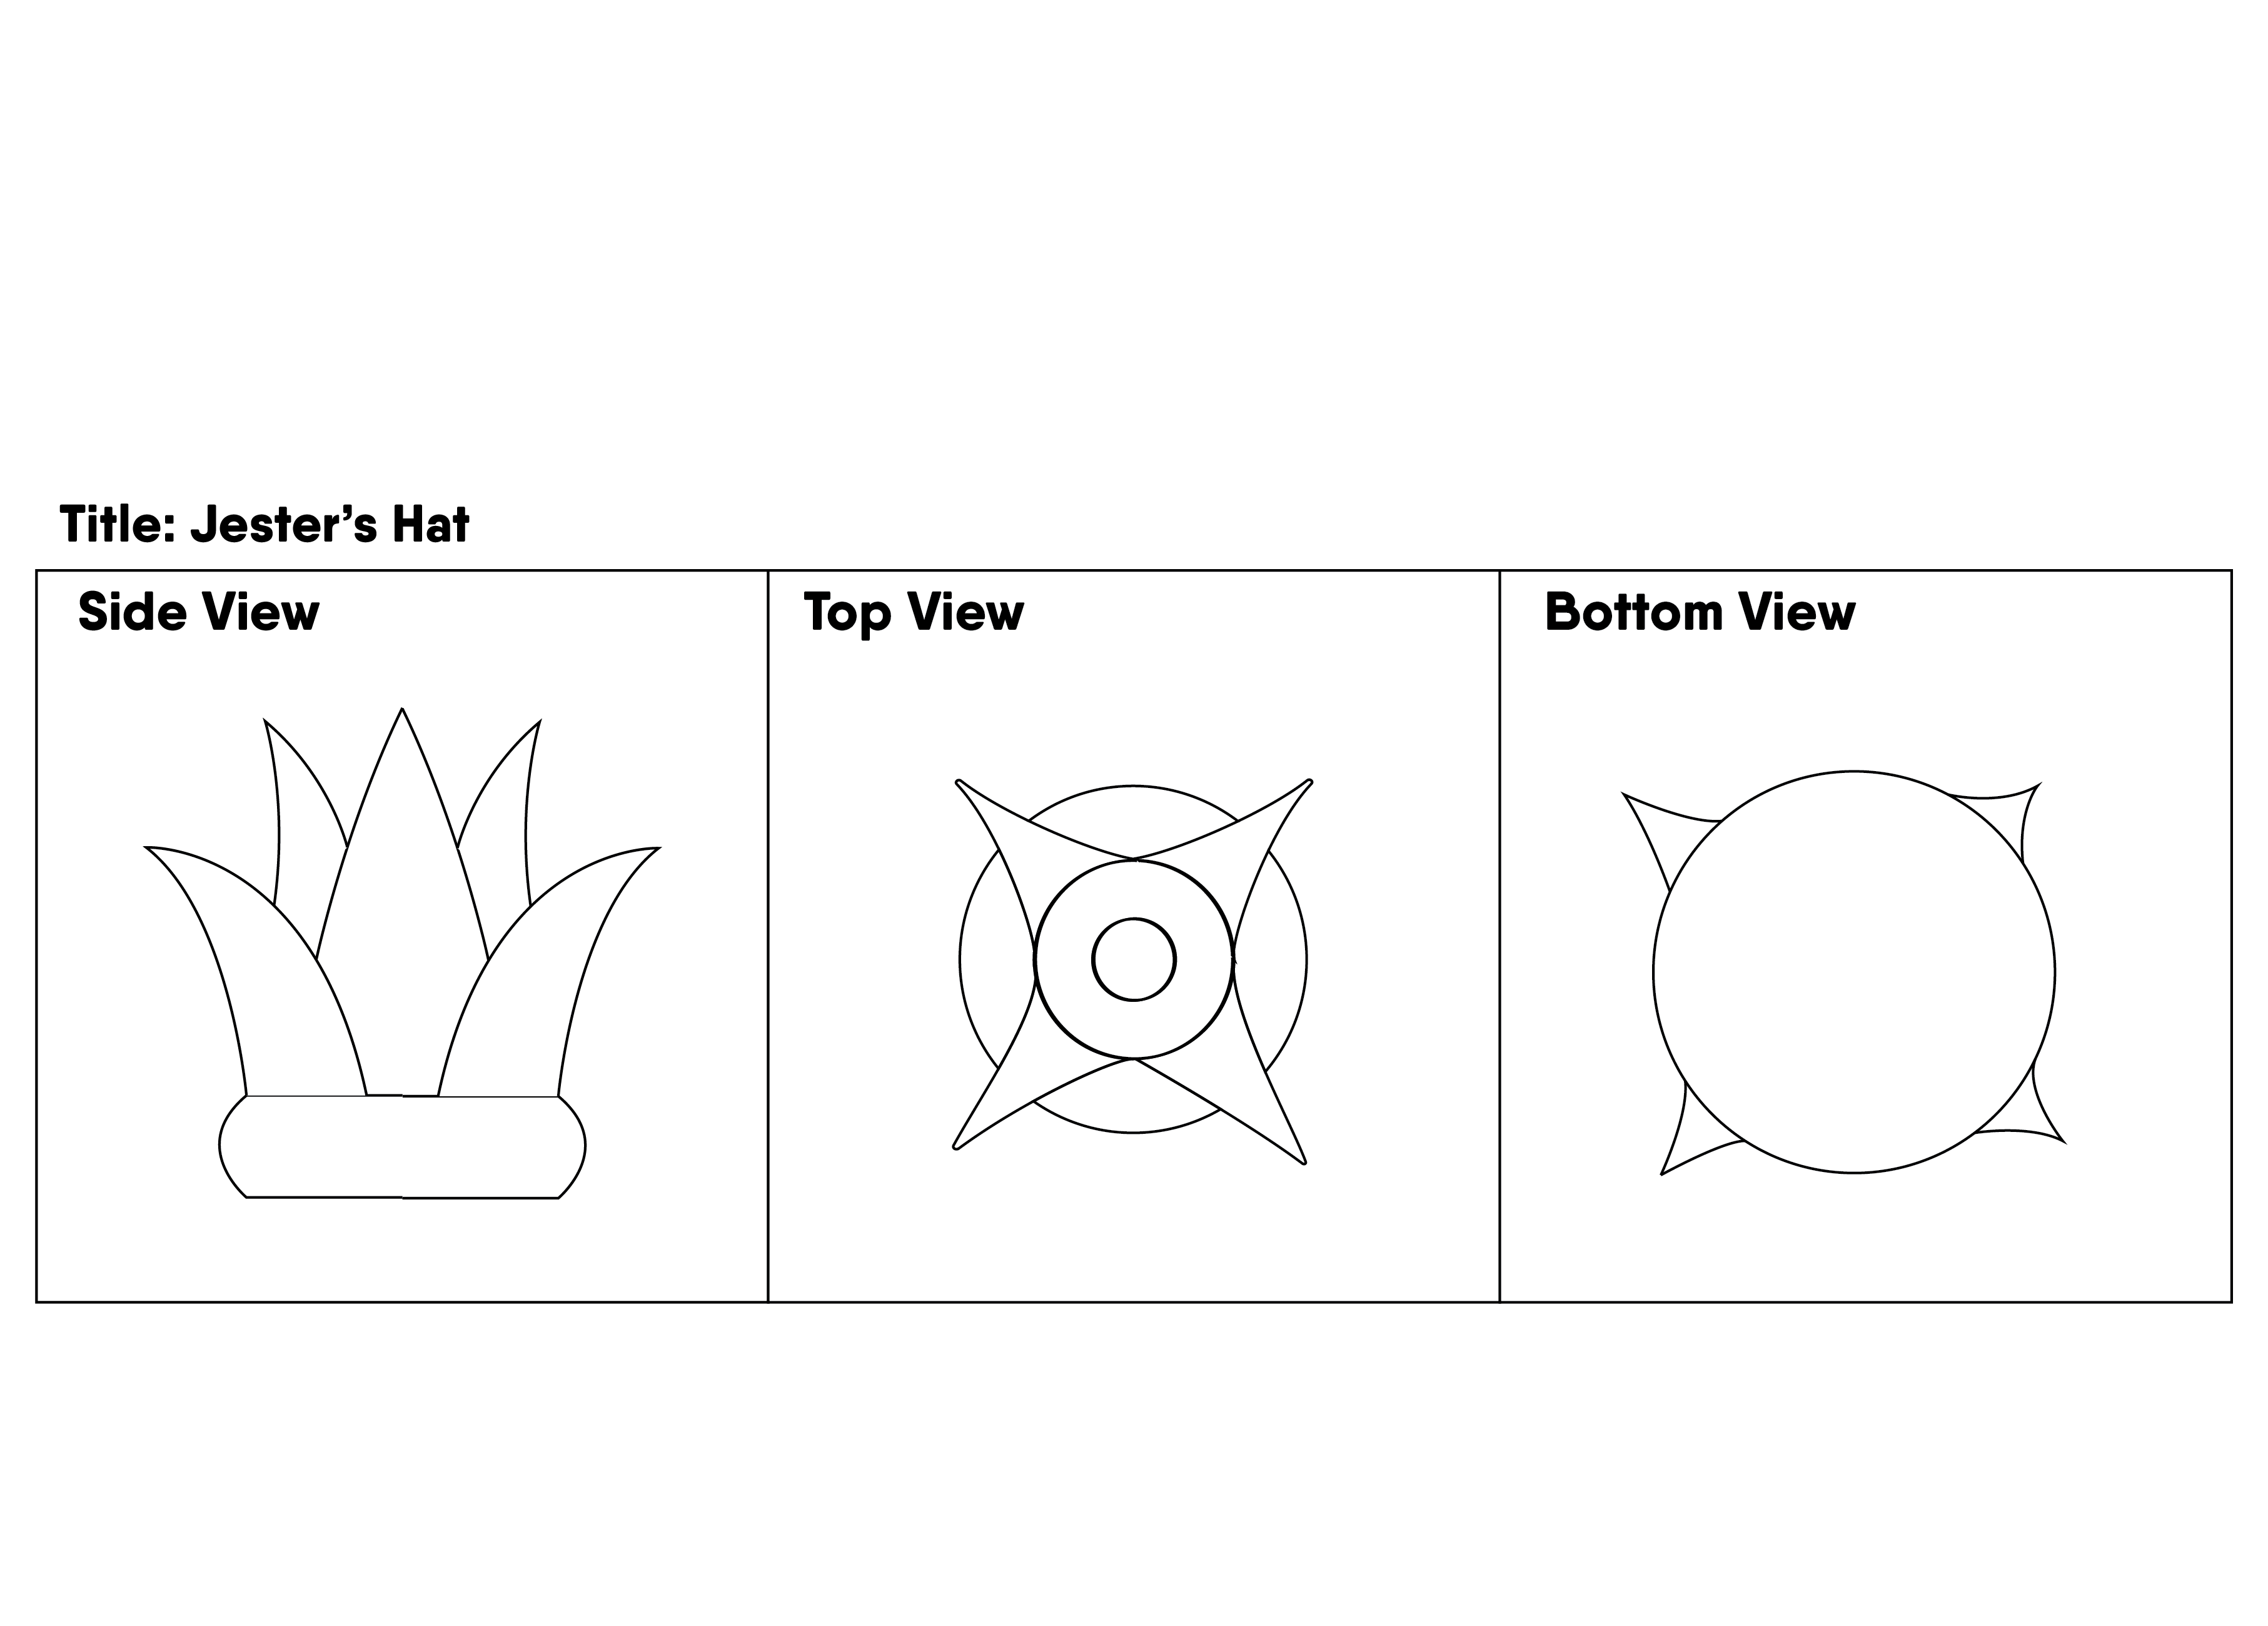
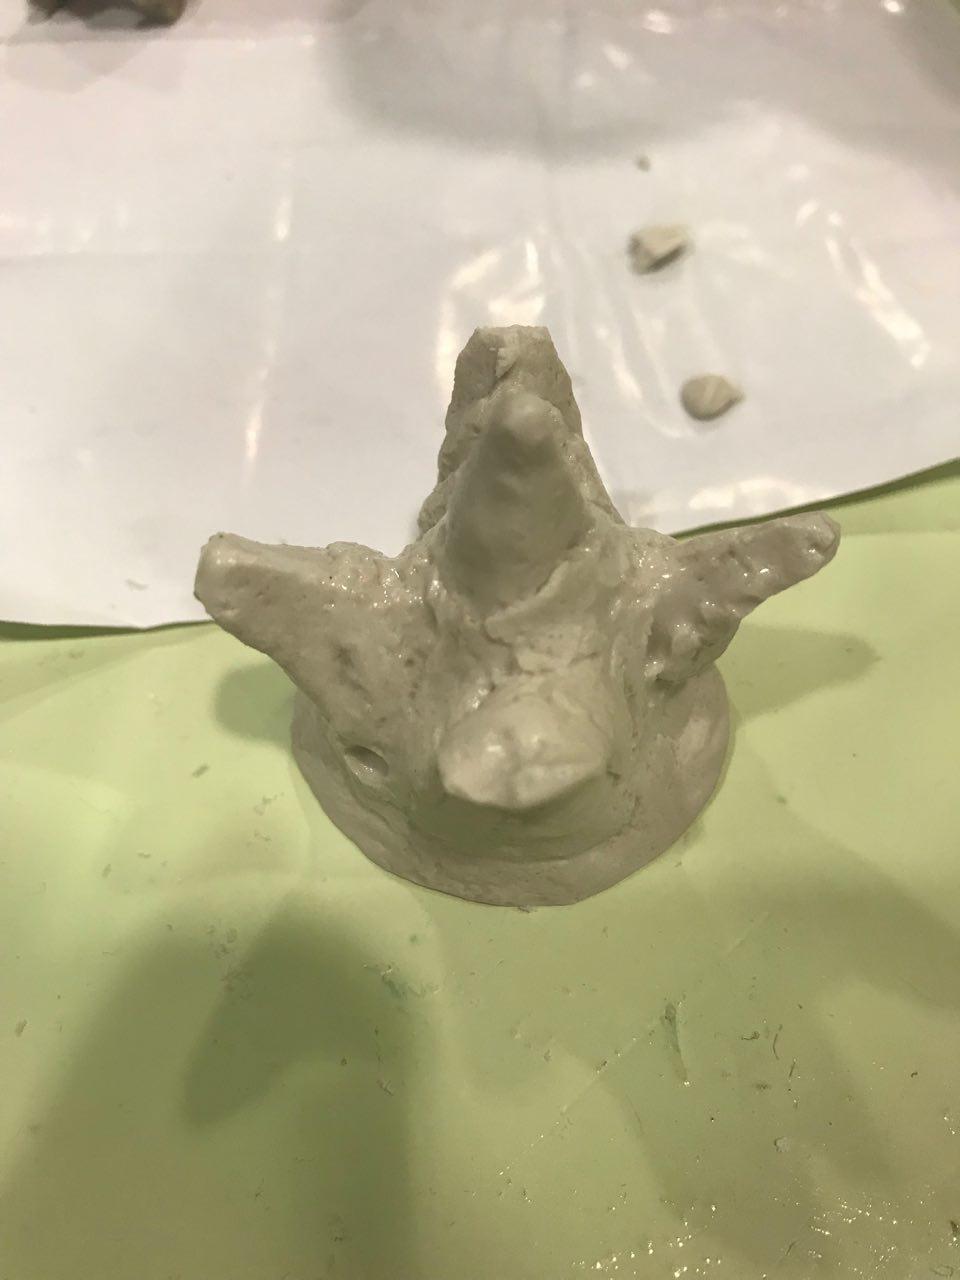
I decided upon casting my Jester’s Hat as the module I would use for the ice tray.
Thus begins the arduous 10 hour journey of coating the module.

Eventually, after 10 coats of latex, my magnificent Jester’s Hat was ‘reduced’ to looking like something out of an 80’s Alien Sci-fi movie.

I then proceeded to cast the structure using plaster.
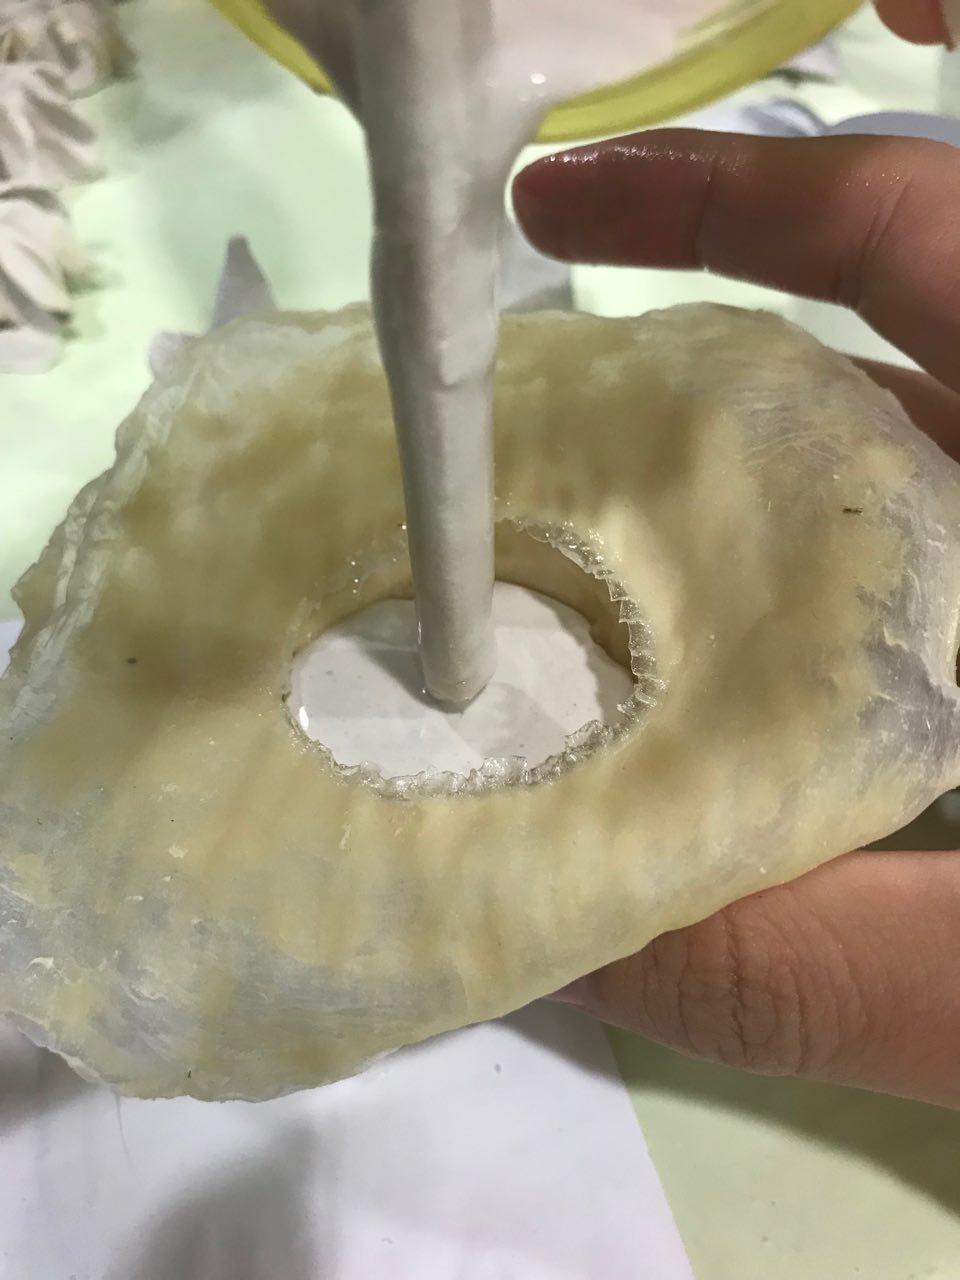
The outcome of my casting was far from optimal as it was difficult to take out the module due to the outward tapering of the shards. This meant that in order for me to remove them, I had to break the tips.
This was the result:
After seeing the outcome of the first few casts, and continuously being dissapointed by the outcome, I decided to cast Ancient Relic instead.
Casting Ancient Relic a much more straightforward process, however, I wanted to change the variation of it to have a more uniform module which could be interlocked.
As a result, I made another version of Ancient Relic with foam this time, to be cast in silicon.
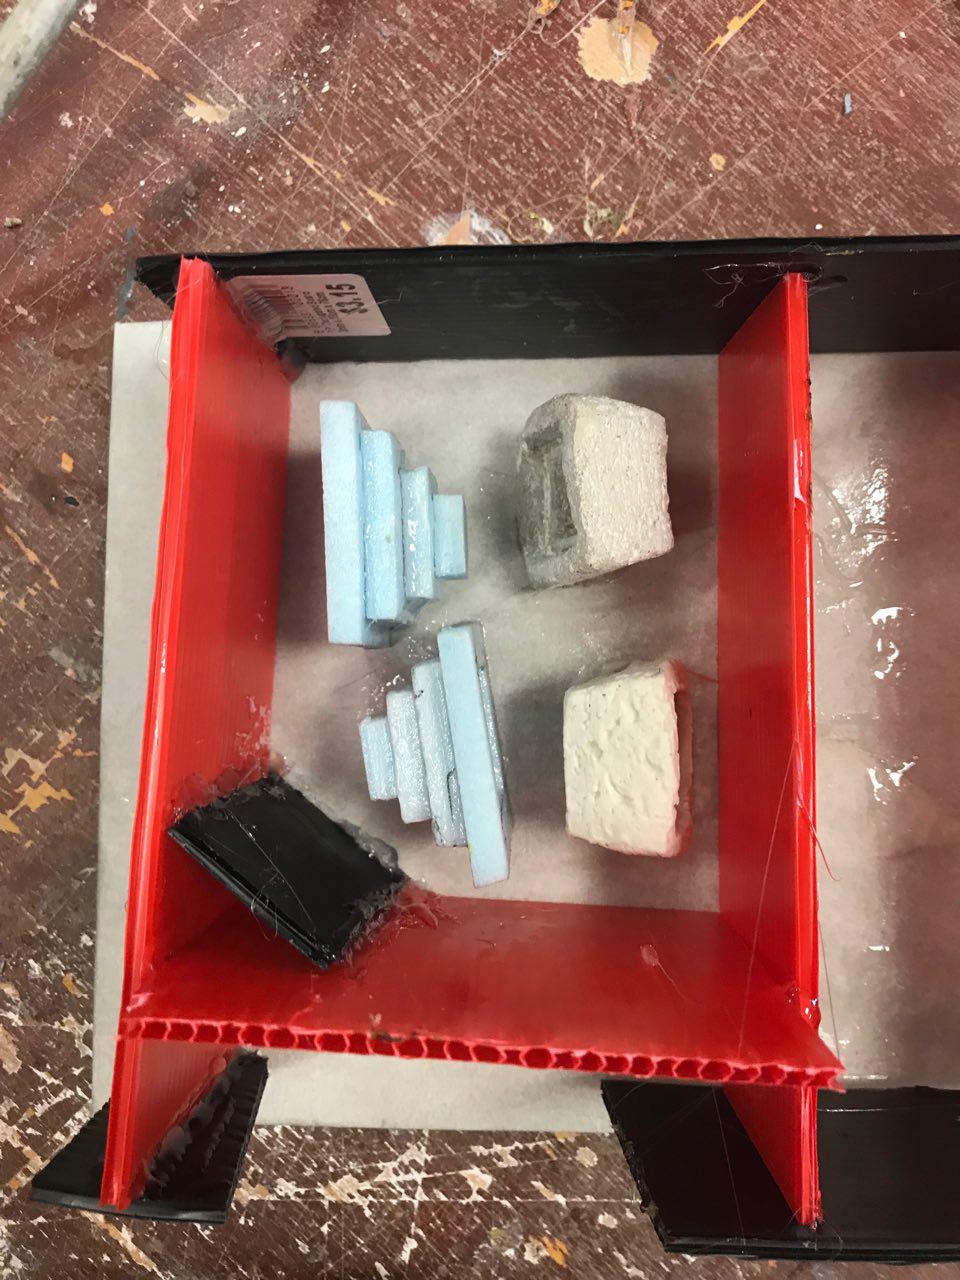
Silicon Casting
This is an isometric drawing of the initial layout of the mold to be cast.


The molding process was an interesting one as it required the efforts of multiple people for it to successfully cast! (A great bonding experience both literally and chemically I must say)
We had to plan how we would like our final products to turn out by adjusting its positions as for modules with notches would get trapped in the silicon.

Unfortunately, it was not all smooth sailing through the casting process as one of my foam models floated up, while the silicon around the clay Ancient Relic did not sit well.
Thankfully, the other two modules were perfectly seated in the silicon.
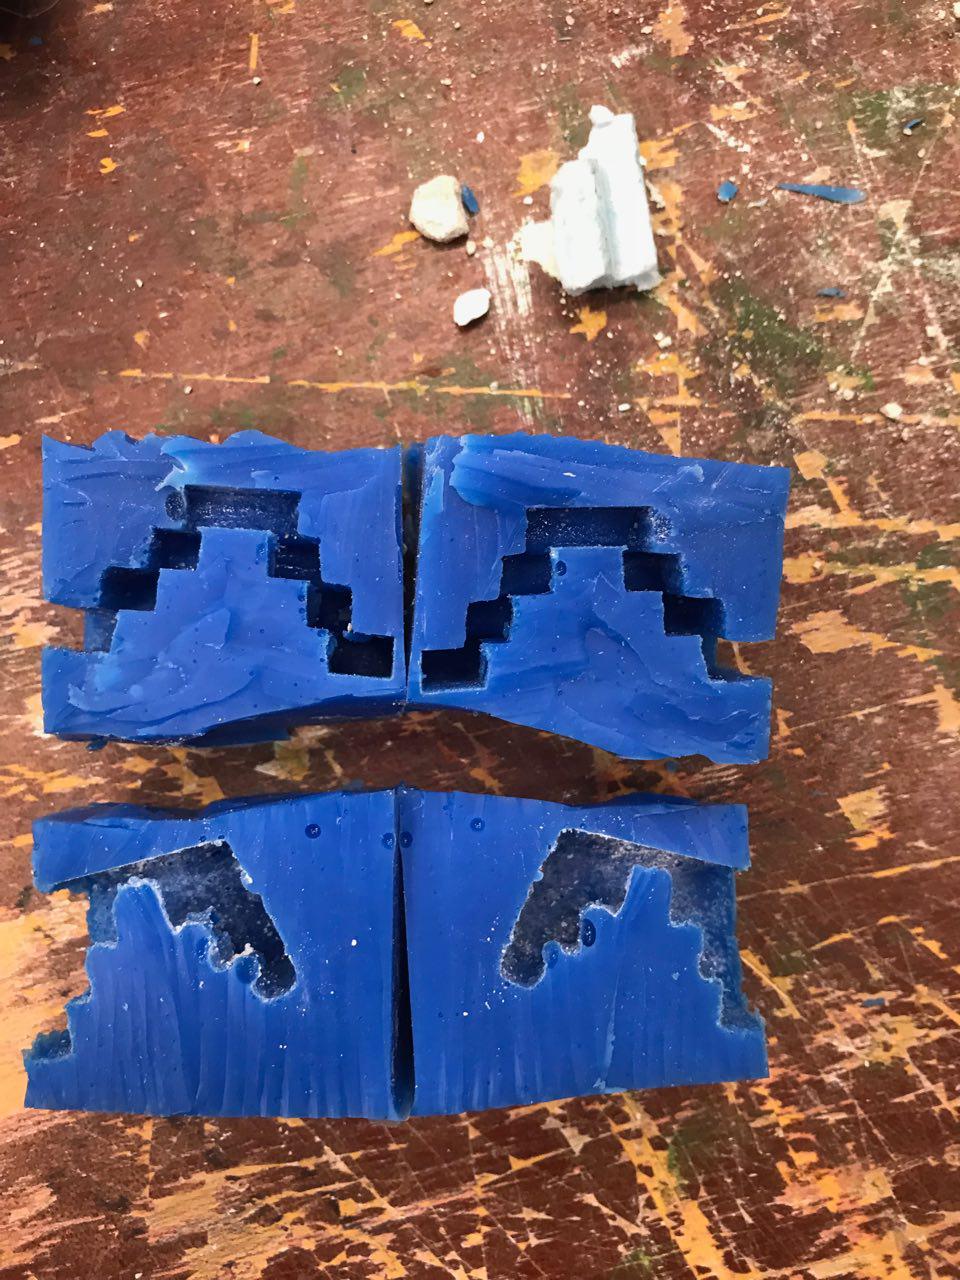
I had trouble prying out the modules from the silicon as silicon tucked into the tapered squares, which resulted in a ‘hook’ of sorts and the only way for me to take out the module was to break it.
After consultation with Cheryl, I decided to cut out the modules from the silicon and slice them into half. This would make things easier when I would cast them in ice.
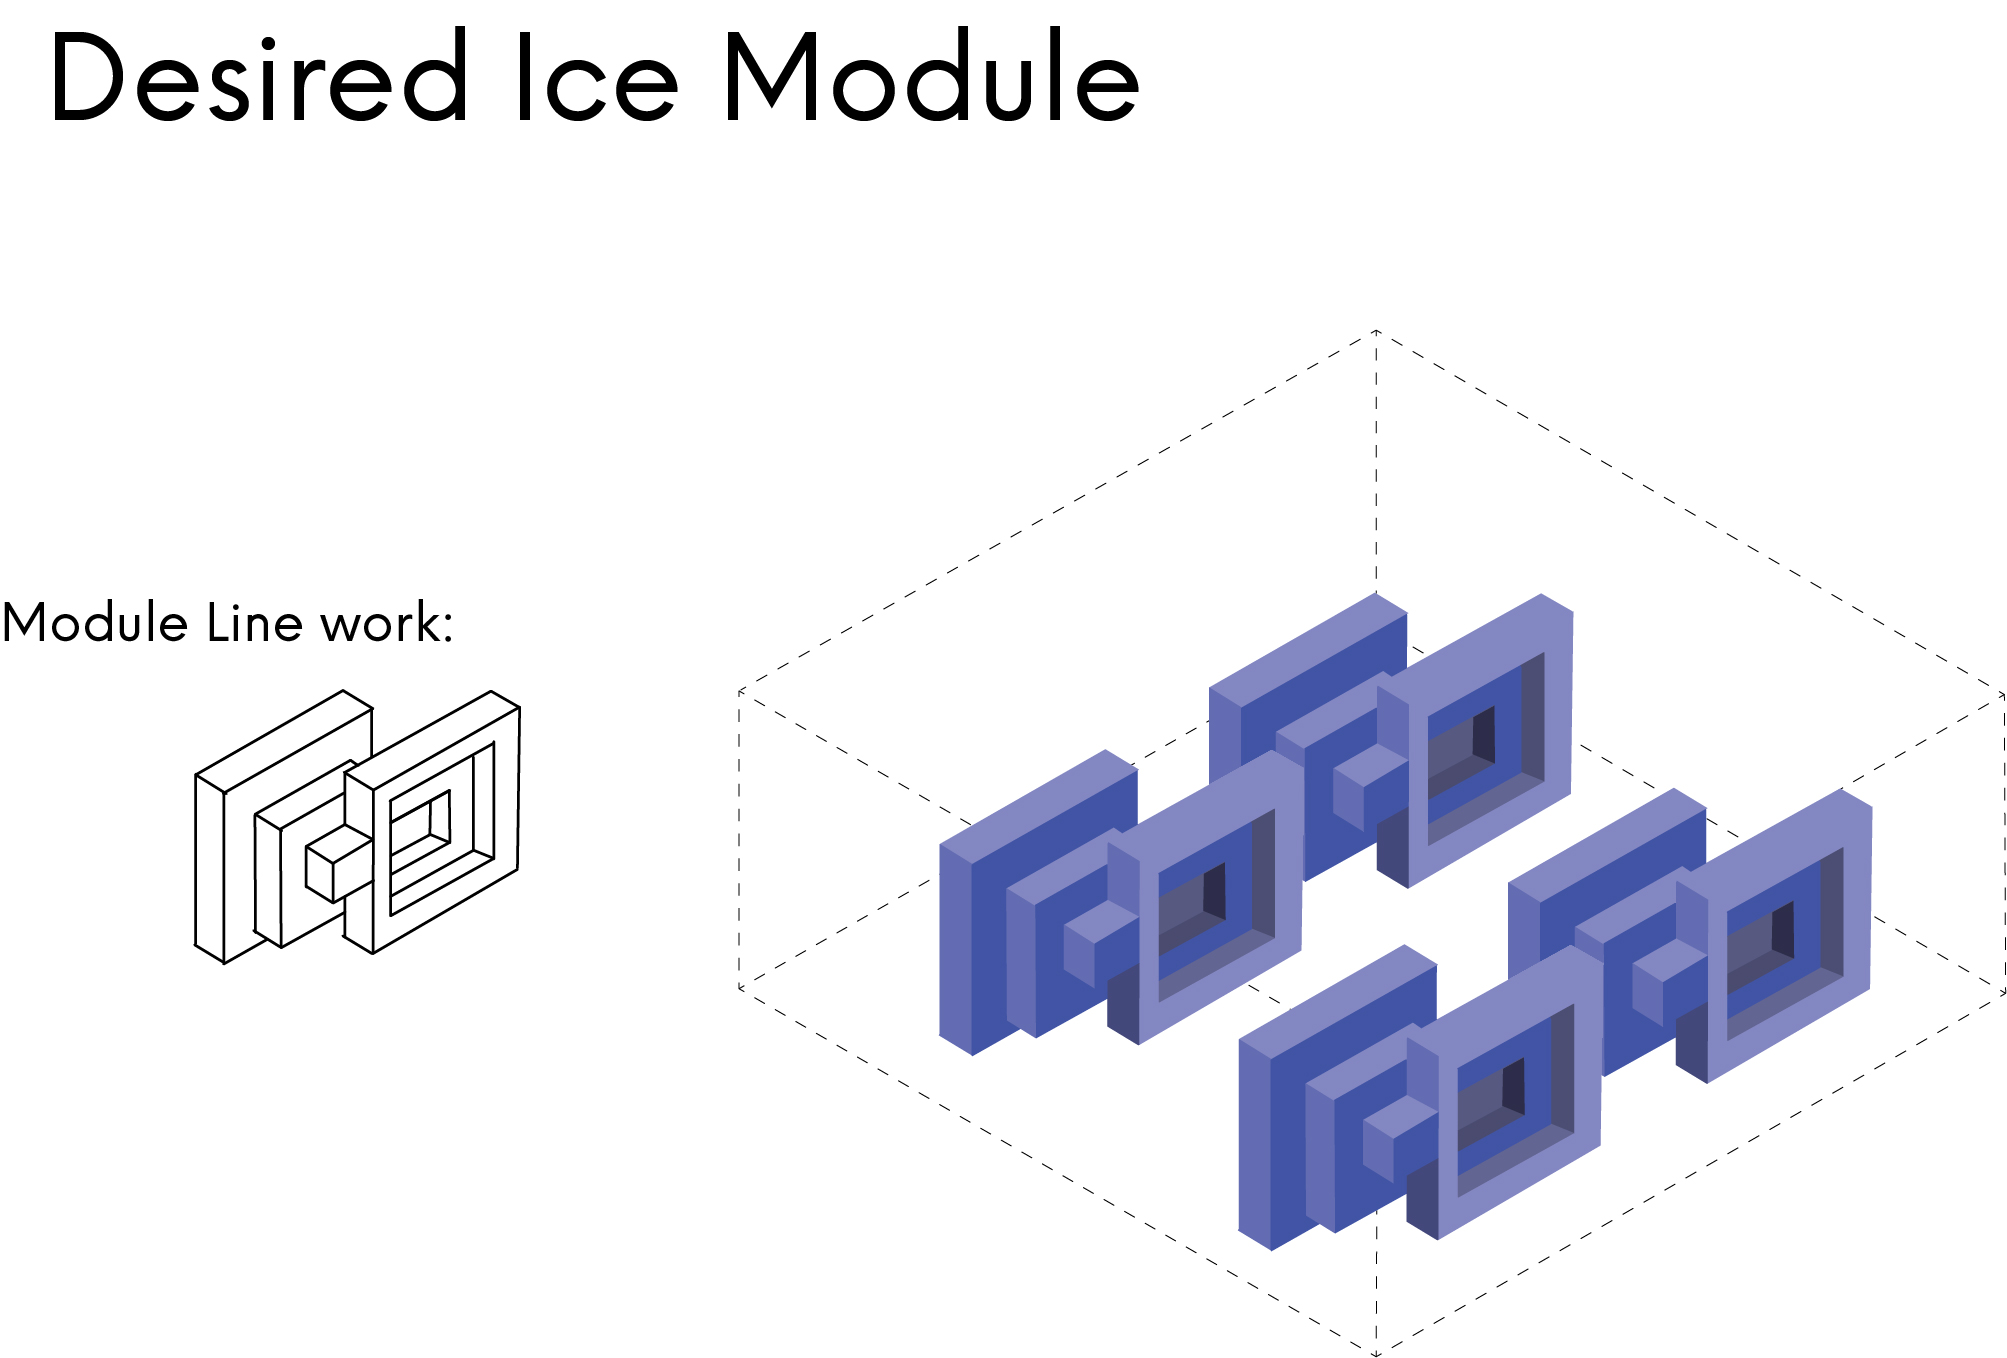
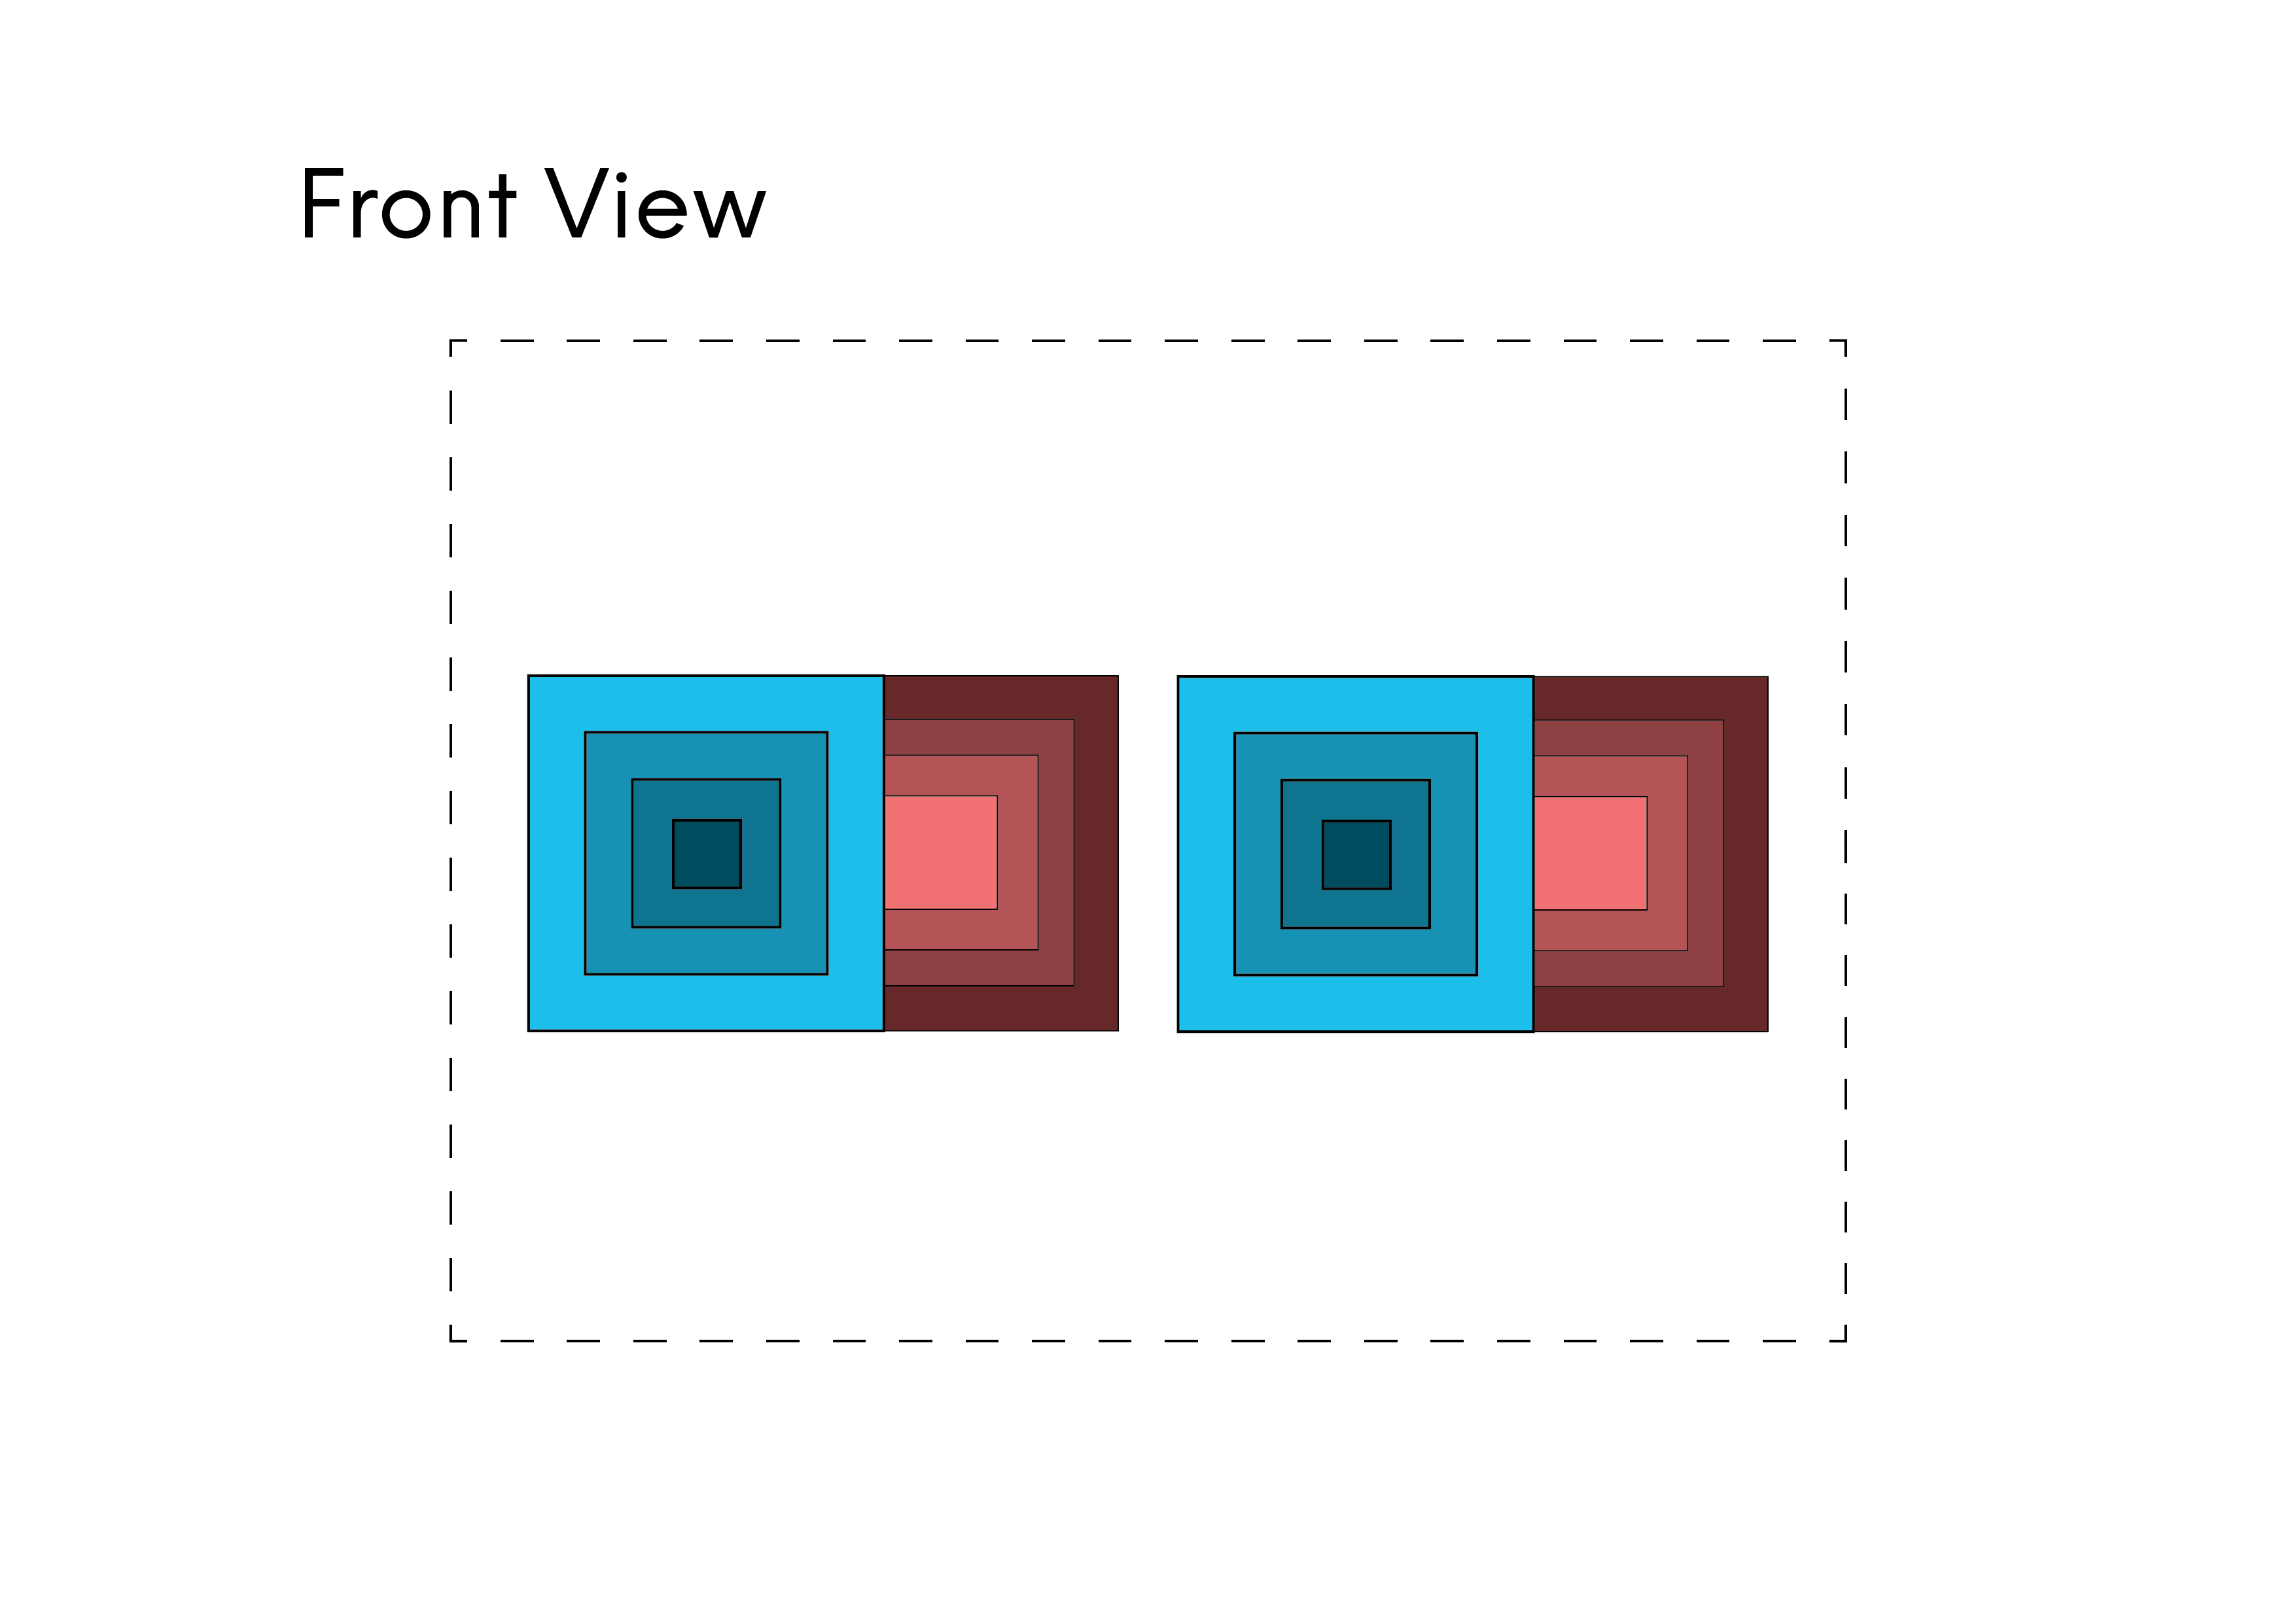
Isometric drawings of Desired Ice Tray!
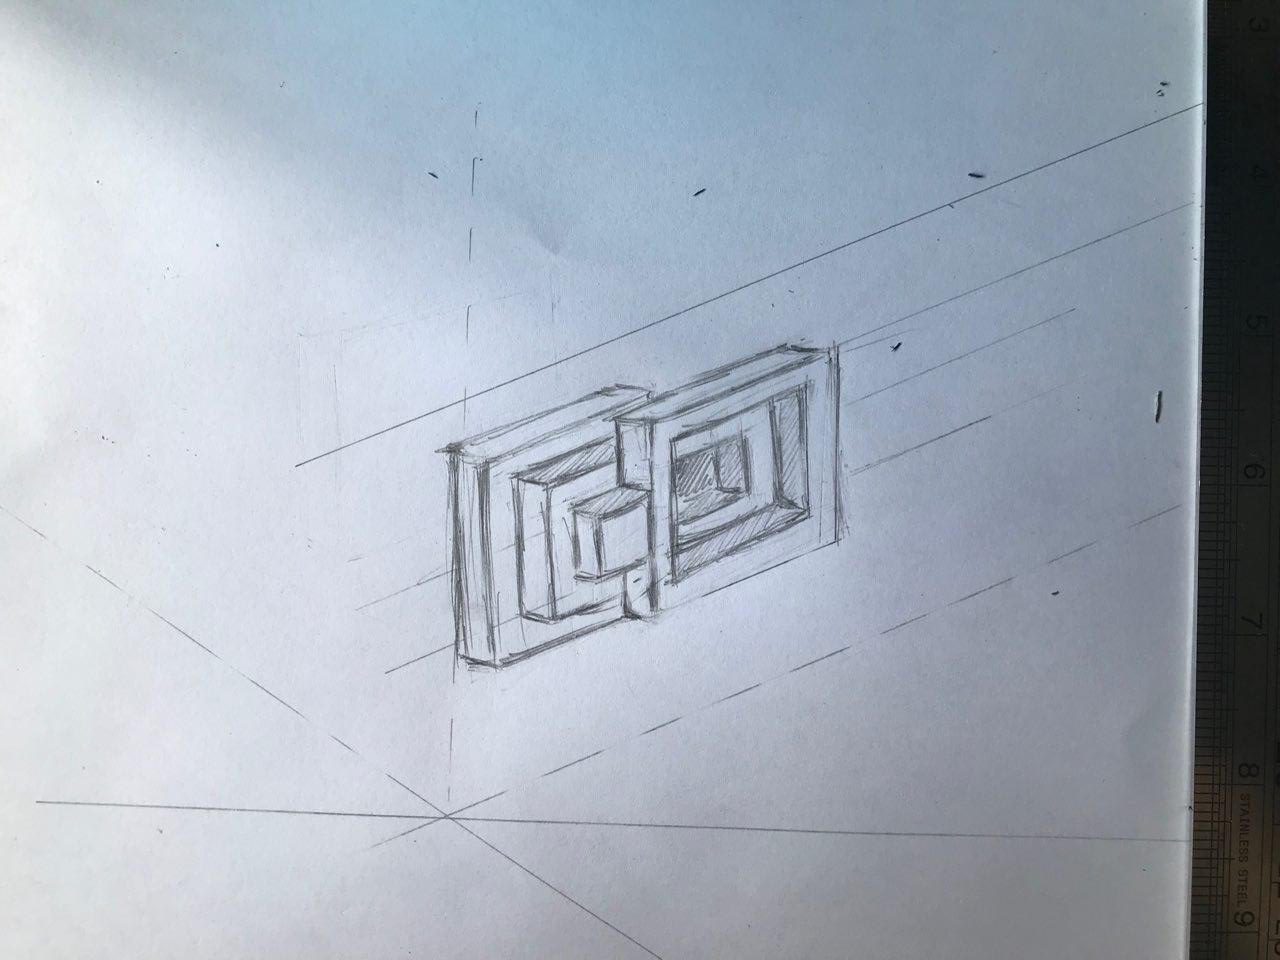
I first started off with a rough sketch of what I wanted my desired module to look like. I had problems visualising what the inside of the module would look like due to its layered nature.
Afterward, I brought my sketch onto Illustrator to refine the dimensions and the angles of the Isometric Drawing.
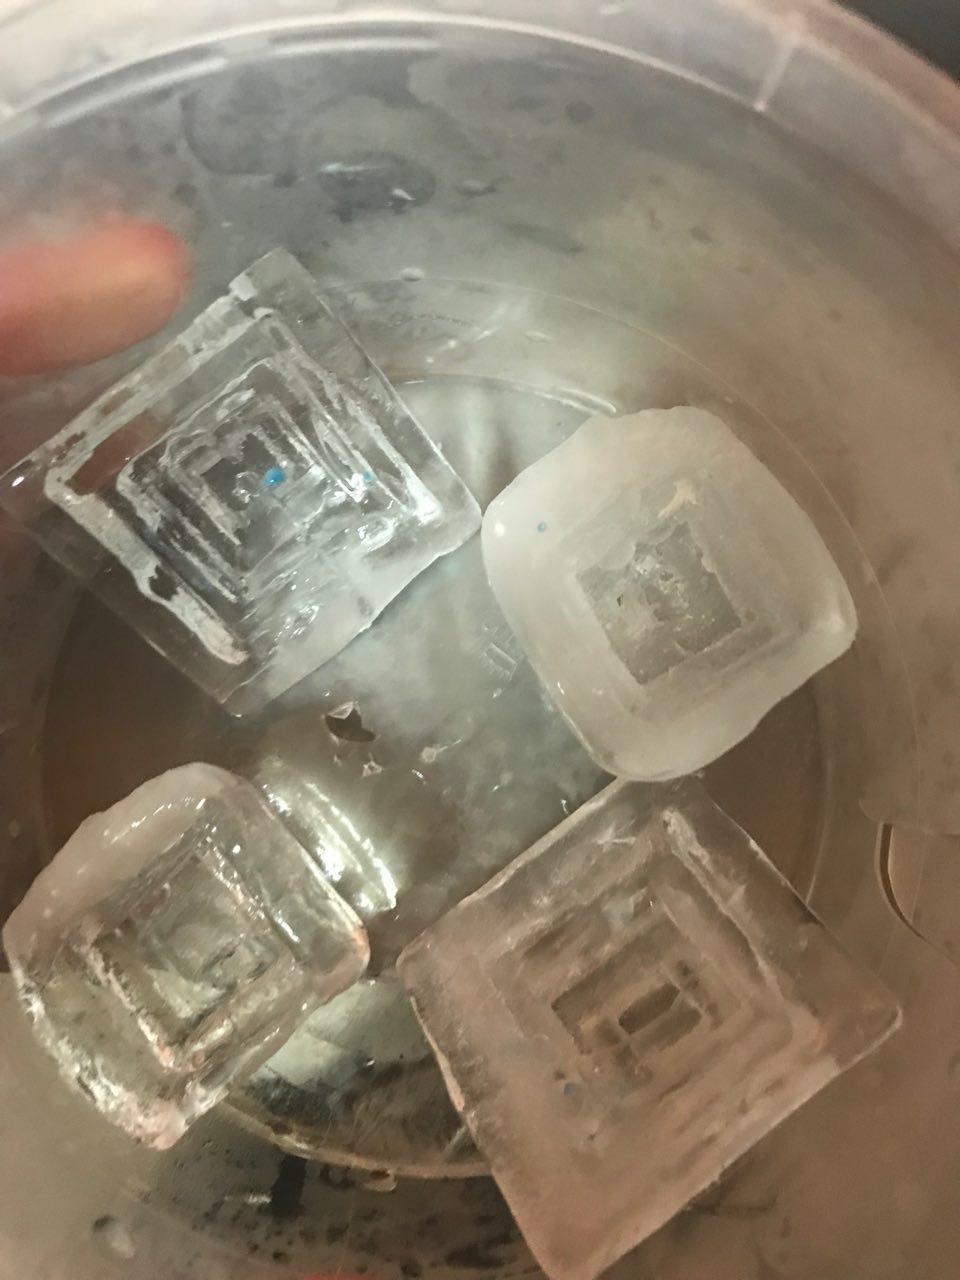
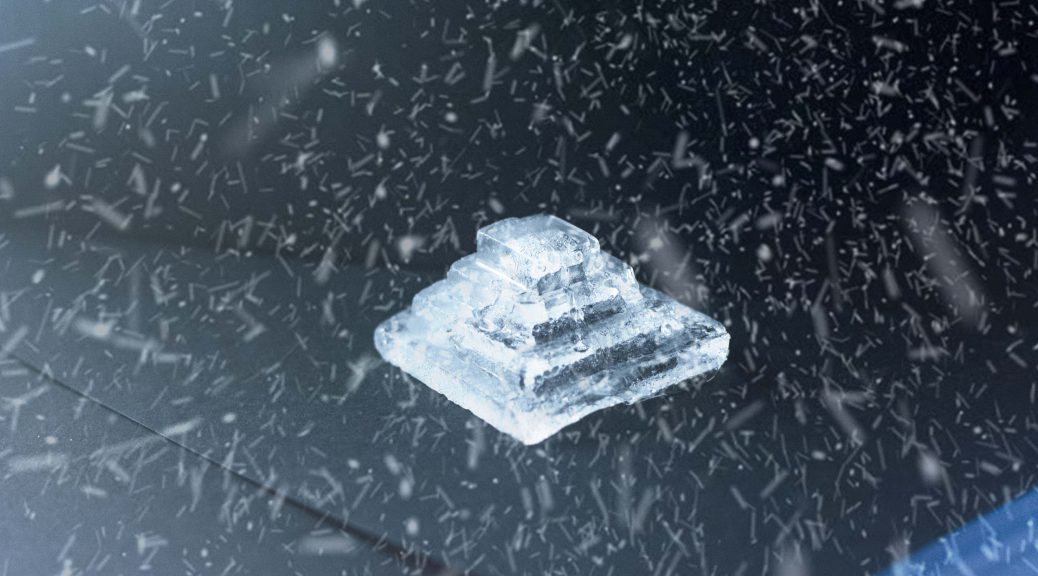
ICE CASTING RESULTS!
I was very pleased with the result of the ice casting! The risk to cut the module into half paid off as the module was able to come out with much more ease without me having to break it.
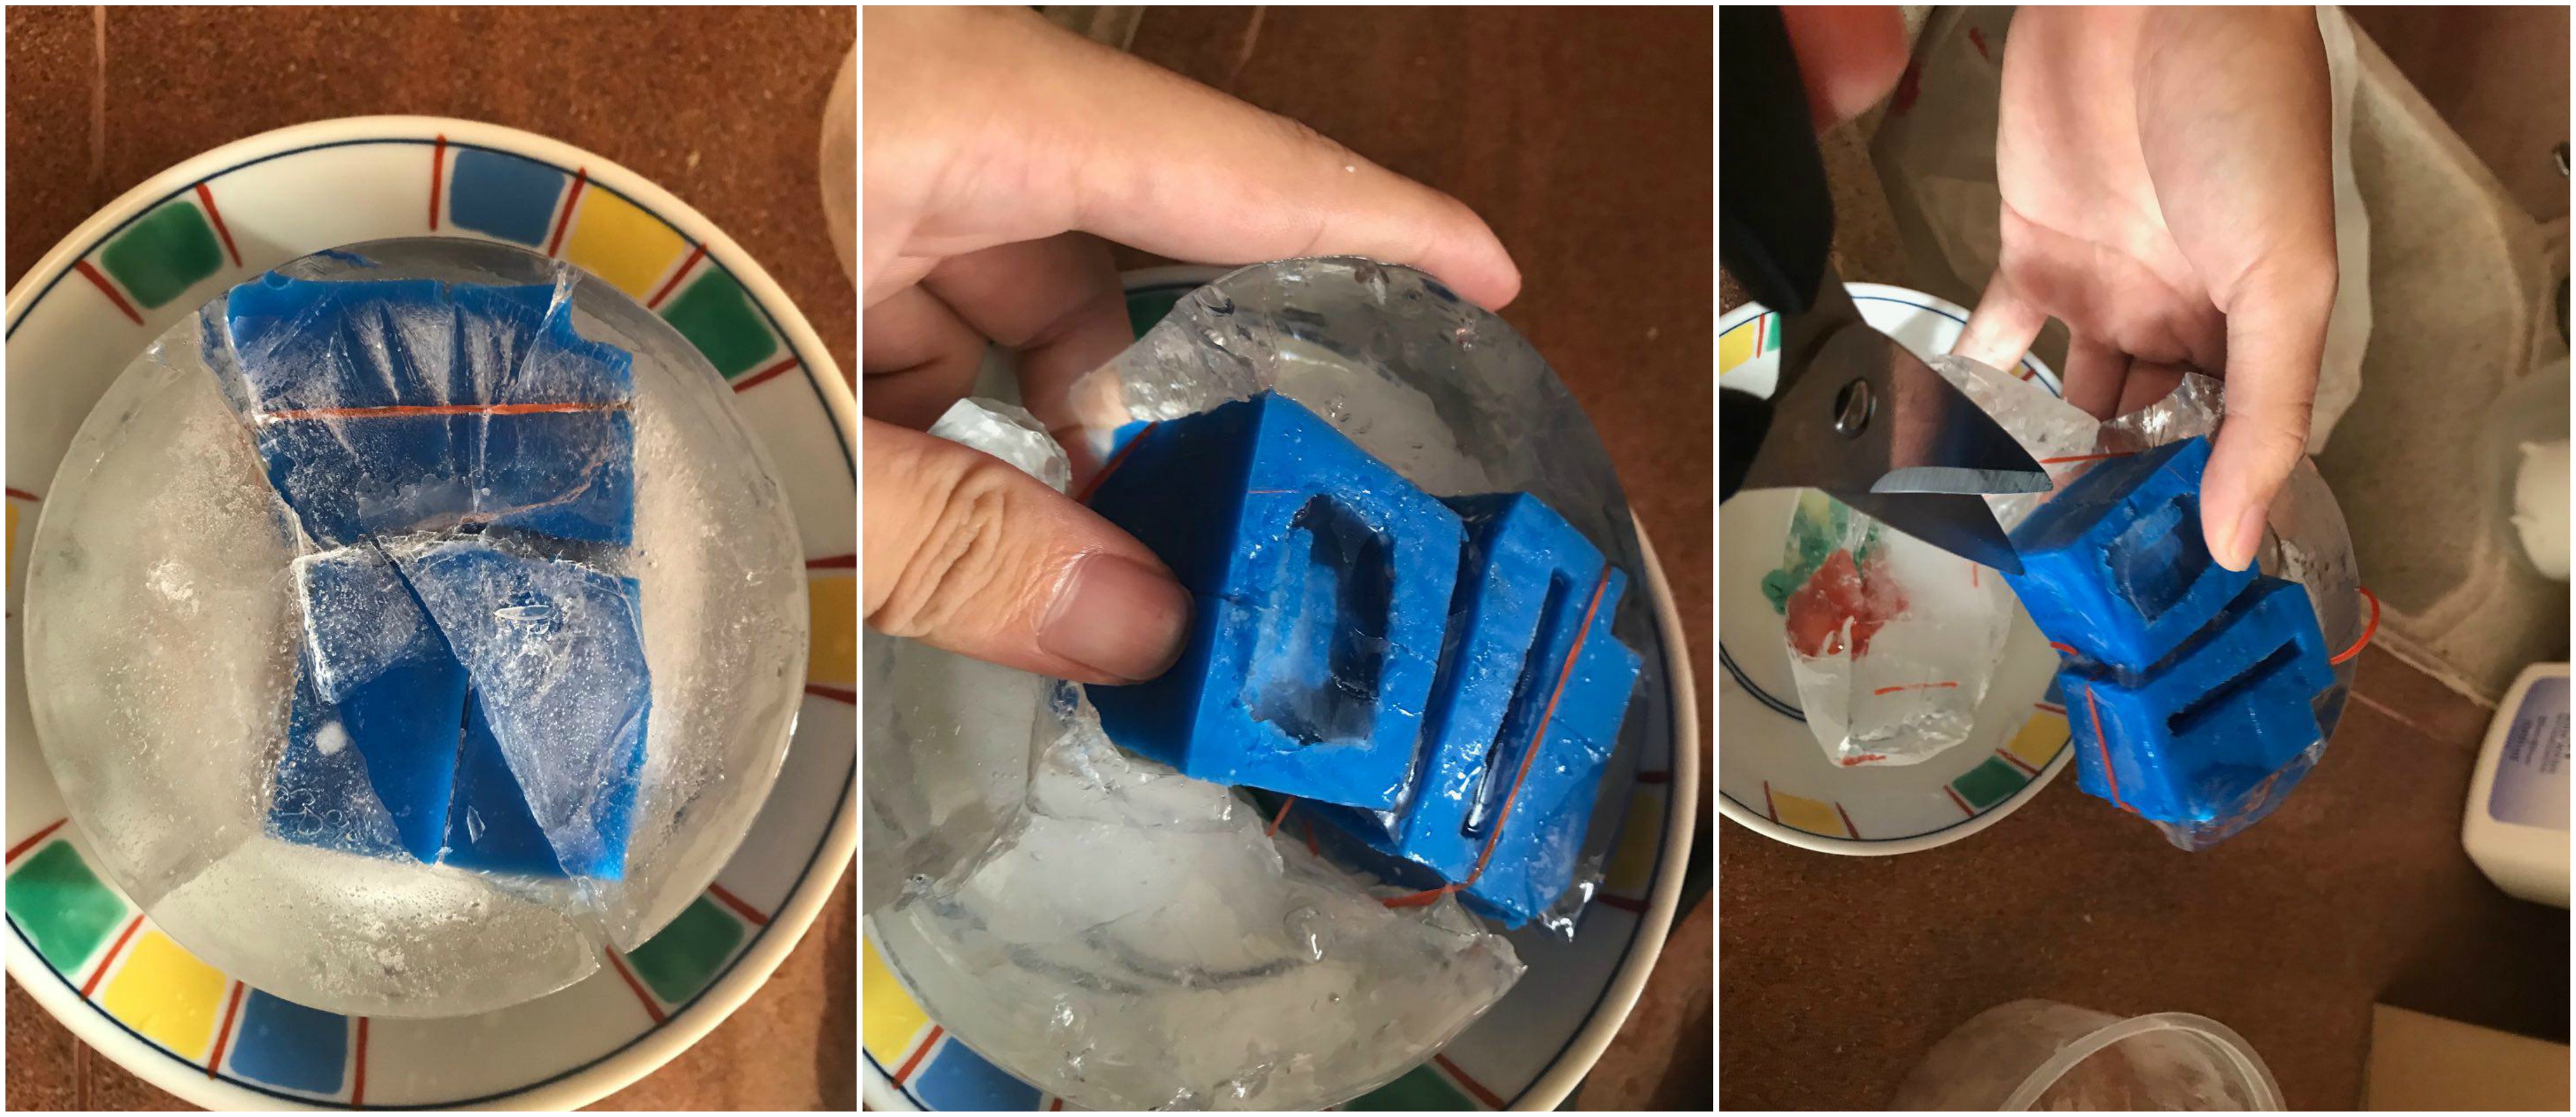

I had to create a makeshift ‘studio’ in my freezer as the ice modules melted too quickly in my hands and in the kitchen!

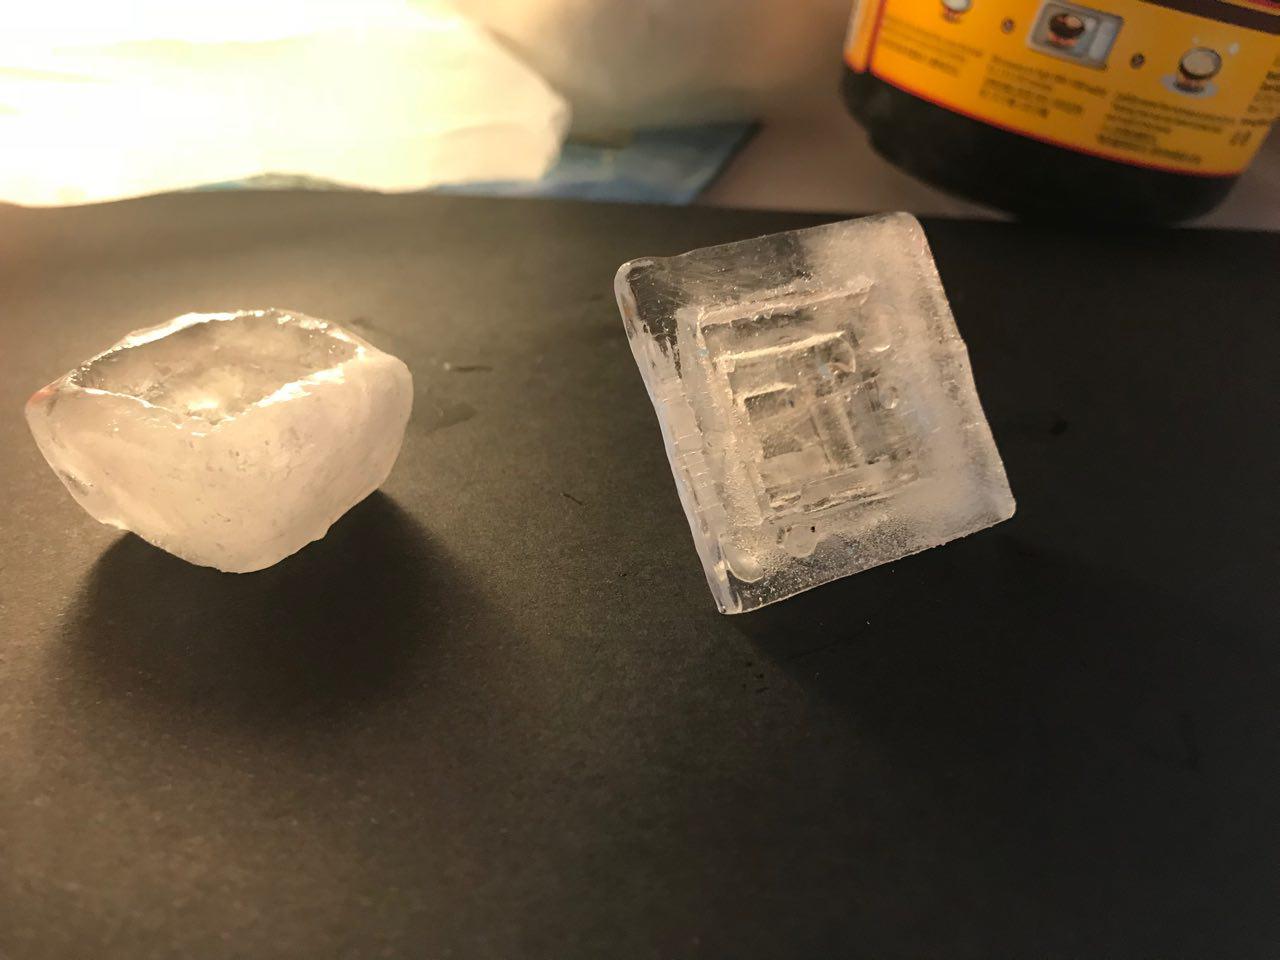
I managed to make a couple more of the ice modules! These would definitely impress my guests if I served it during Chinese Reunion dinners… although they may get a stomach ache after consuming these…