Week 2
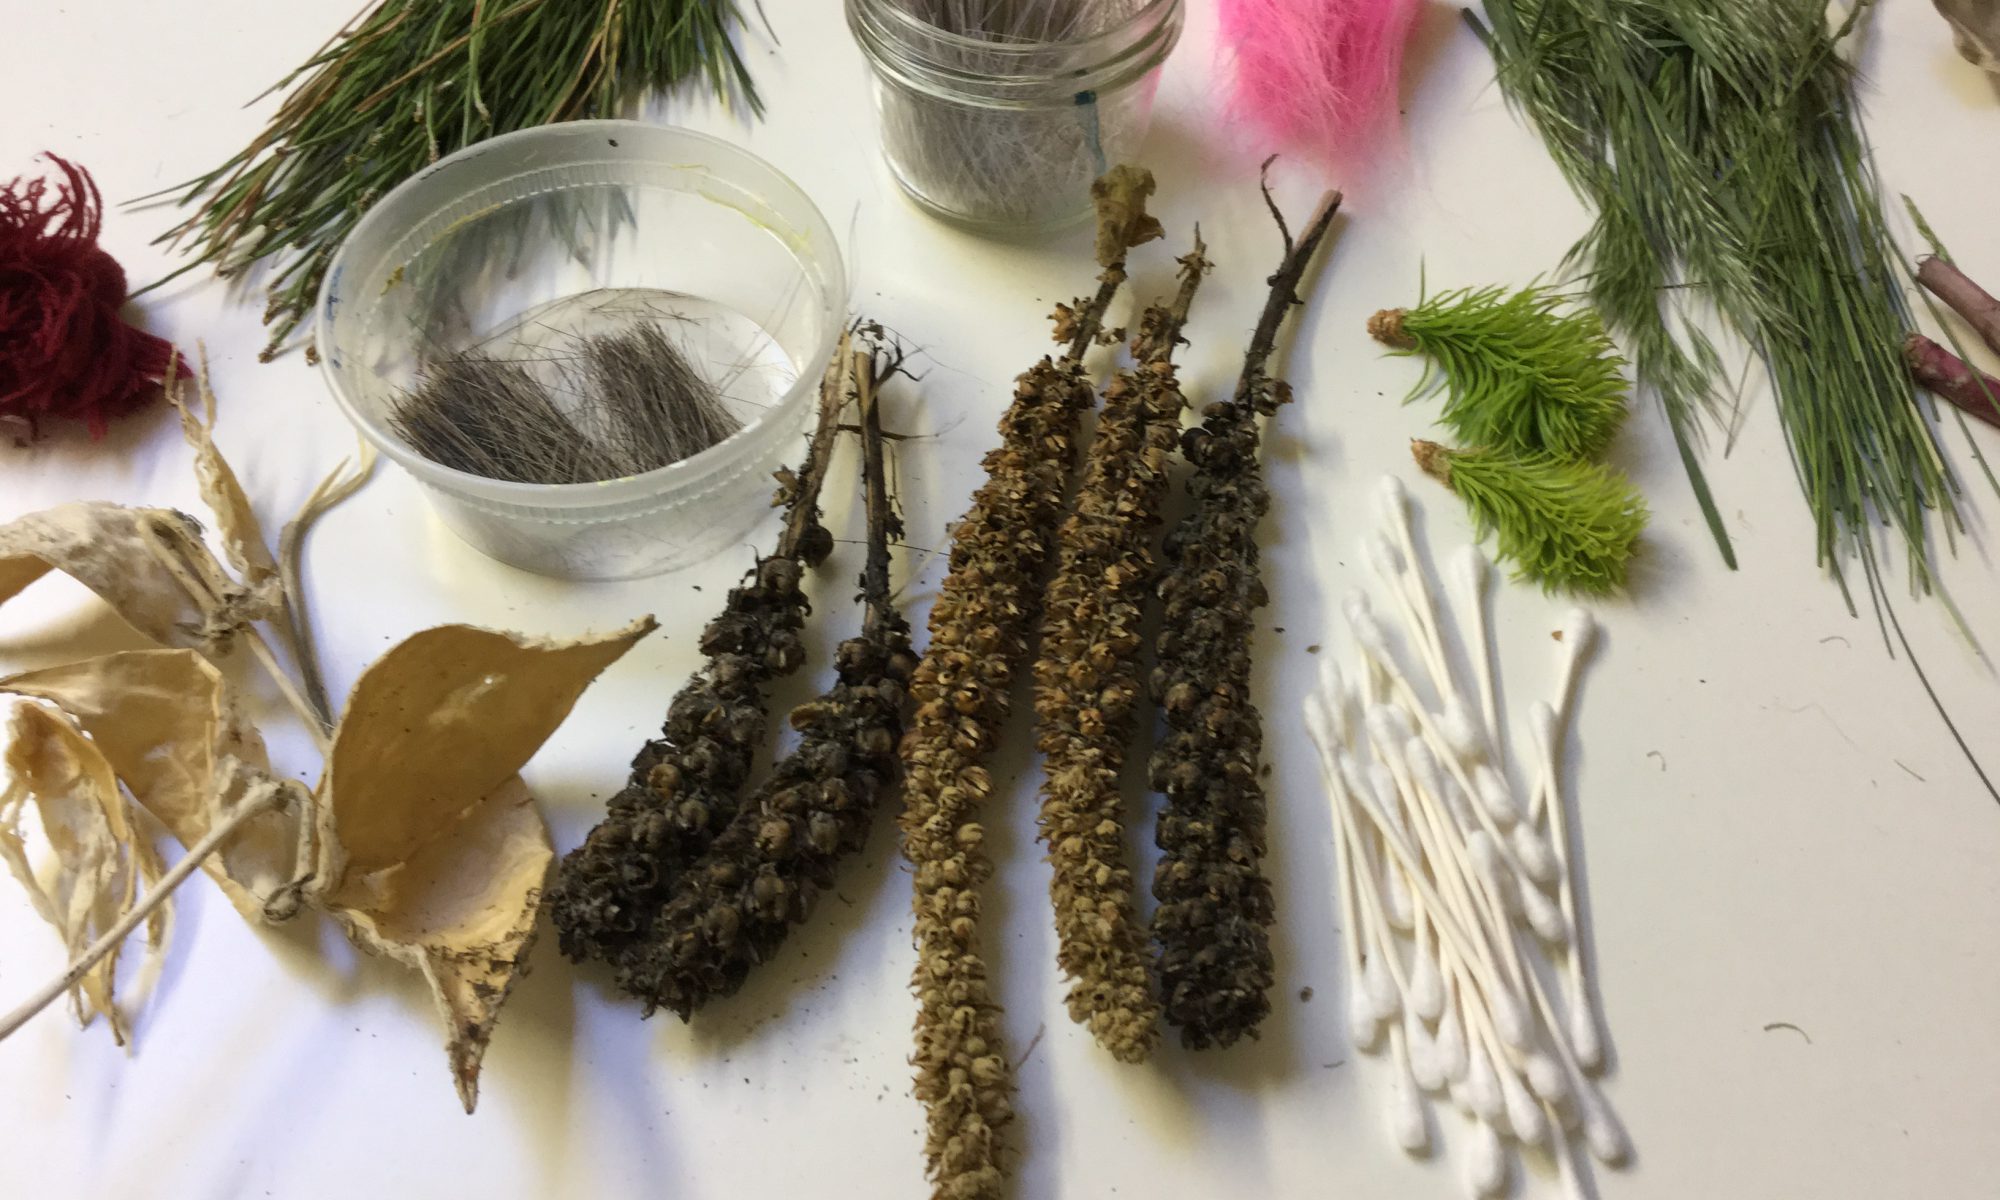
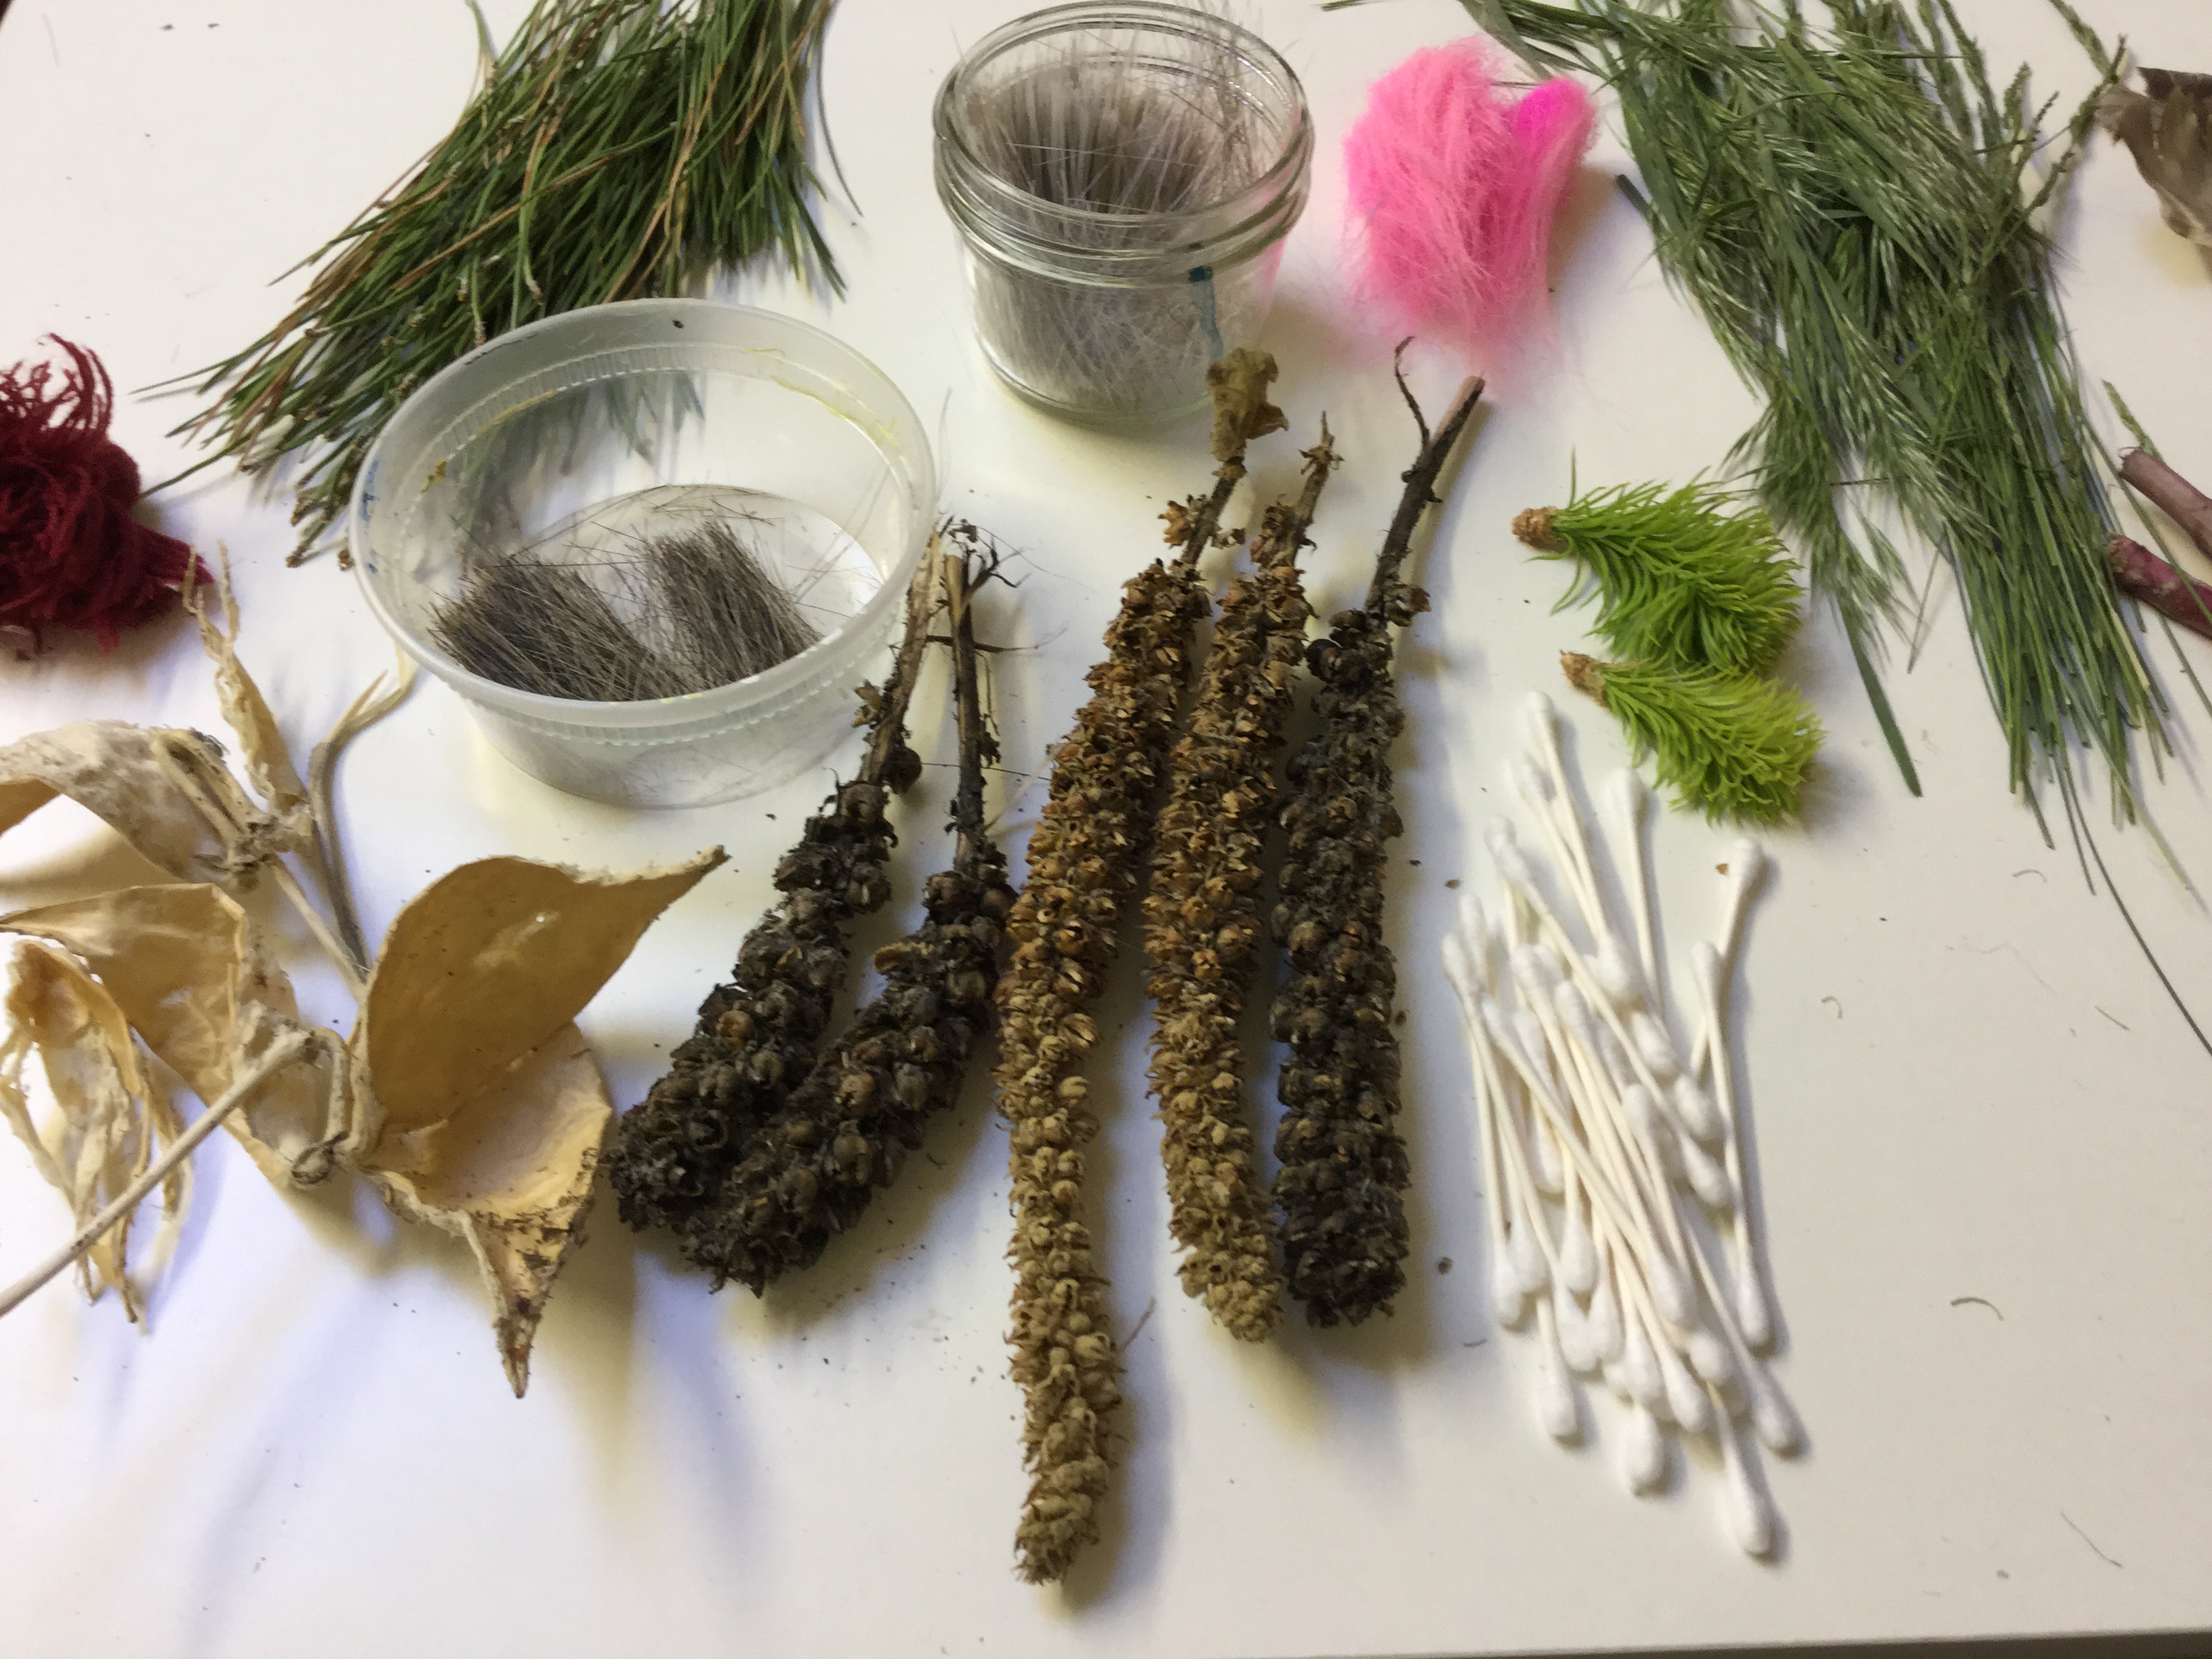
So for week2 I’ve brought some materials to class to try out ink mark making! Most of them I’ve taken them from home. While some things like the plants I’ve actually pluck them from some near by garden~ oops I’ve even went to the supermarket to get some food item too! Without further ado, LETS BEGIN!
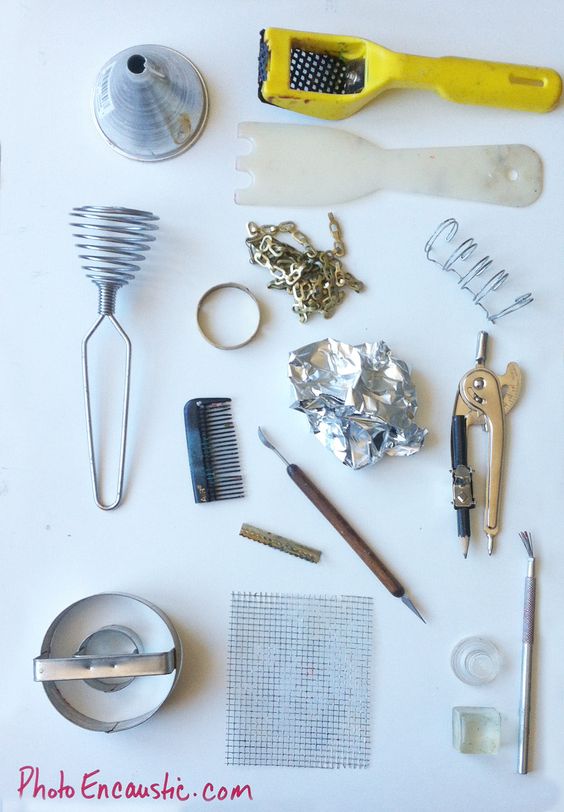
TOOLS
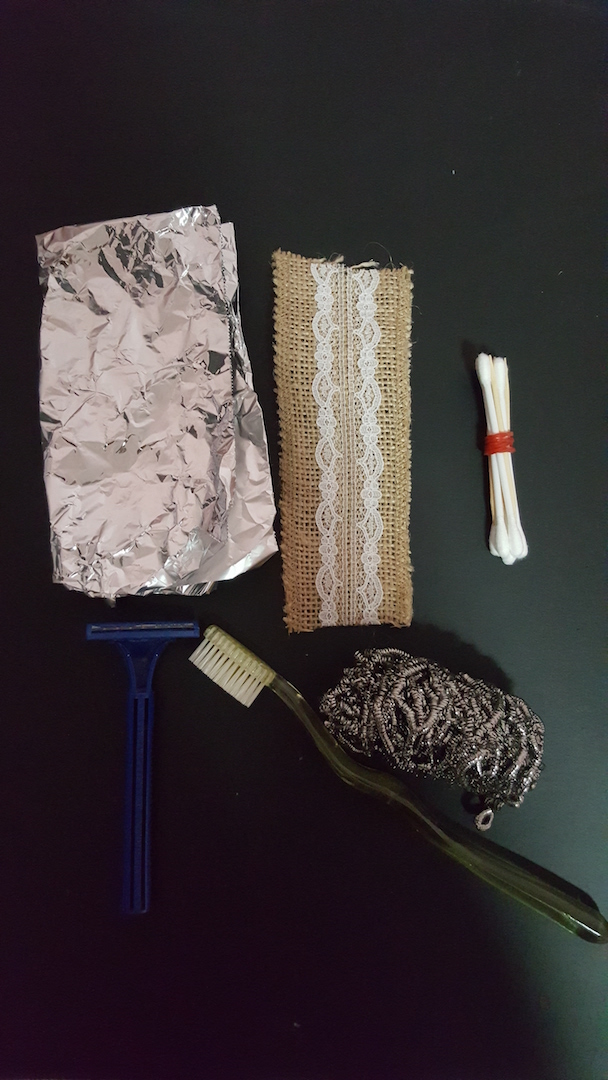
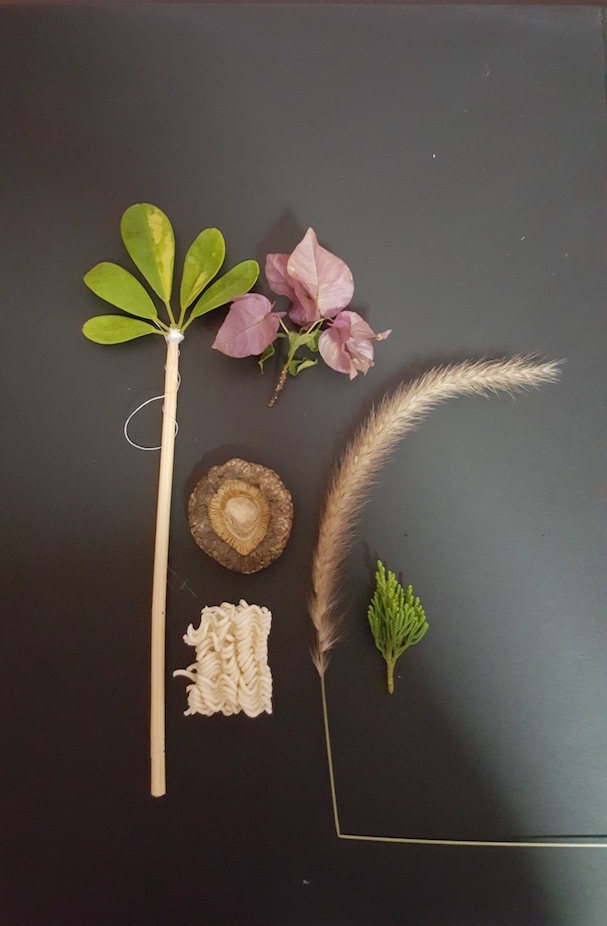
Here are some interesting tools that I’ve come up with that I want to experiment more with ink mark making in class!:D
THE PROCESS
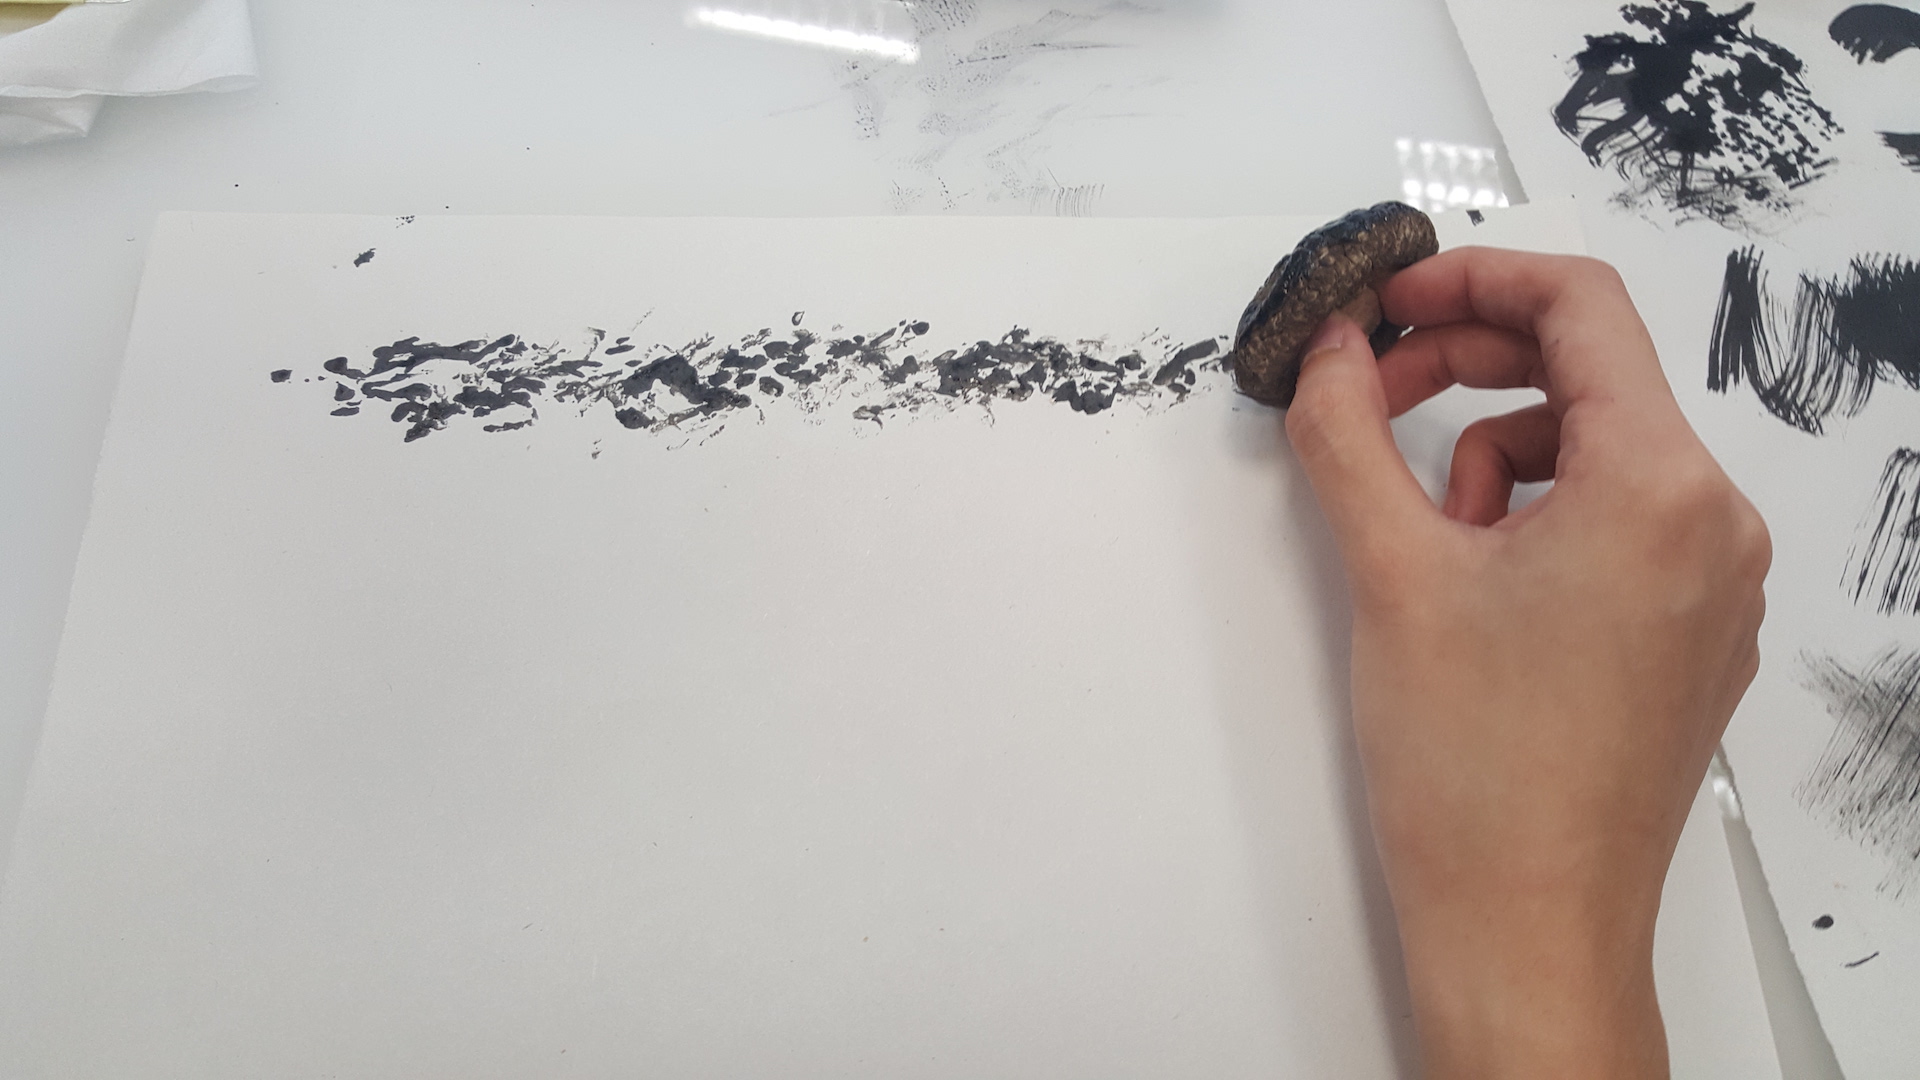
(using mushroom)
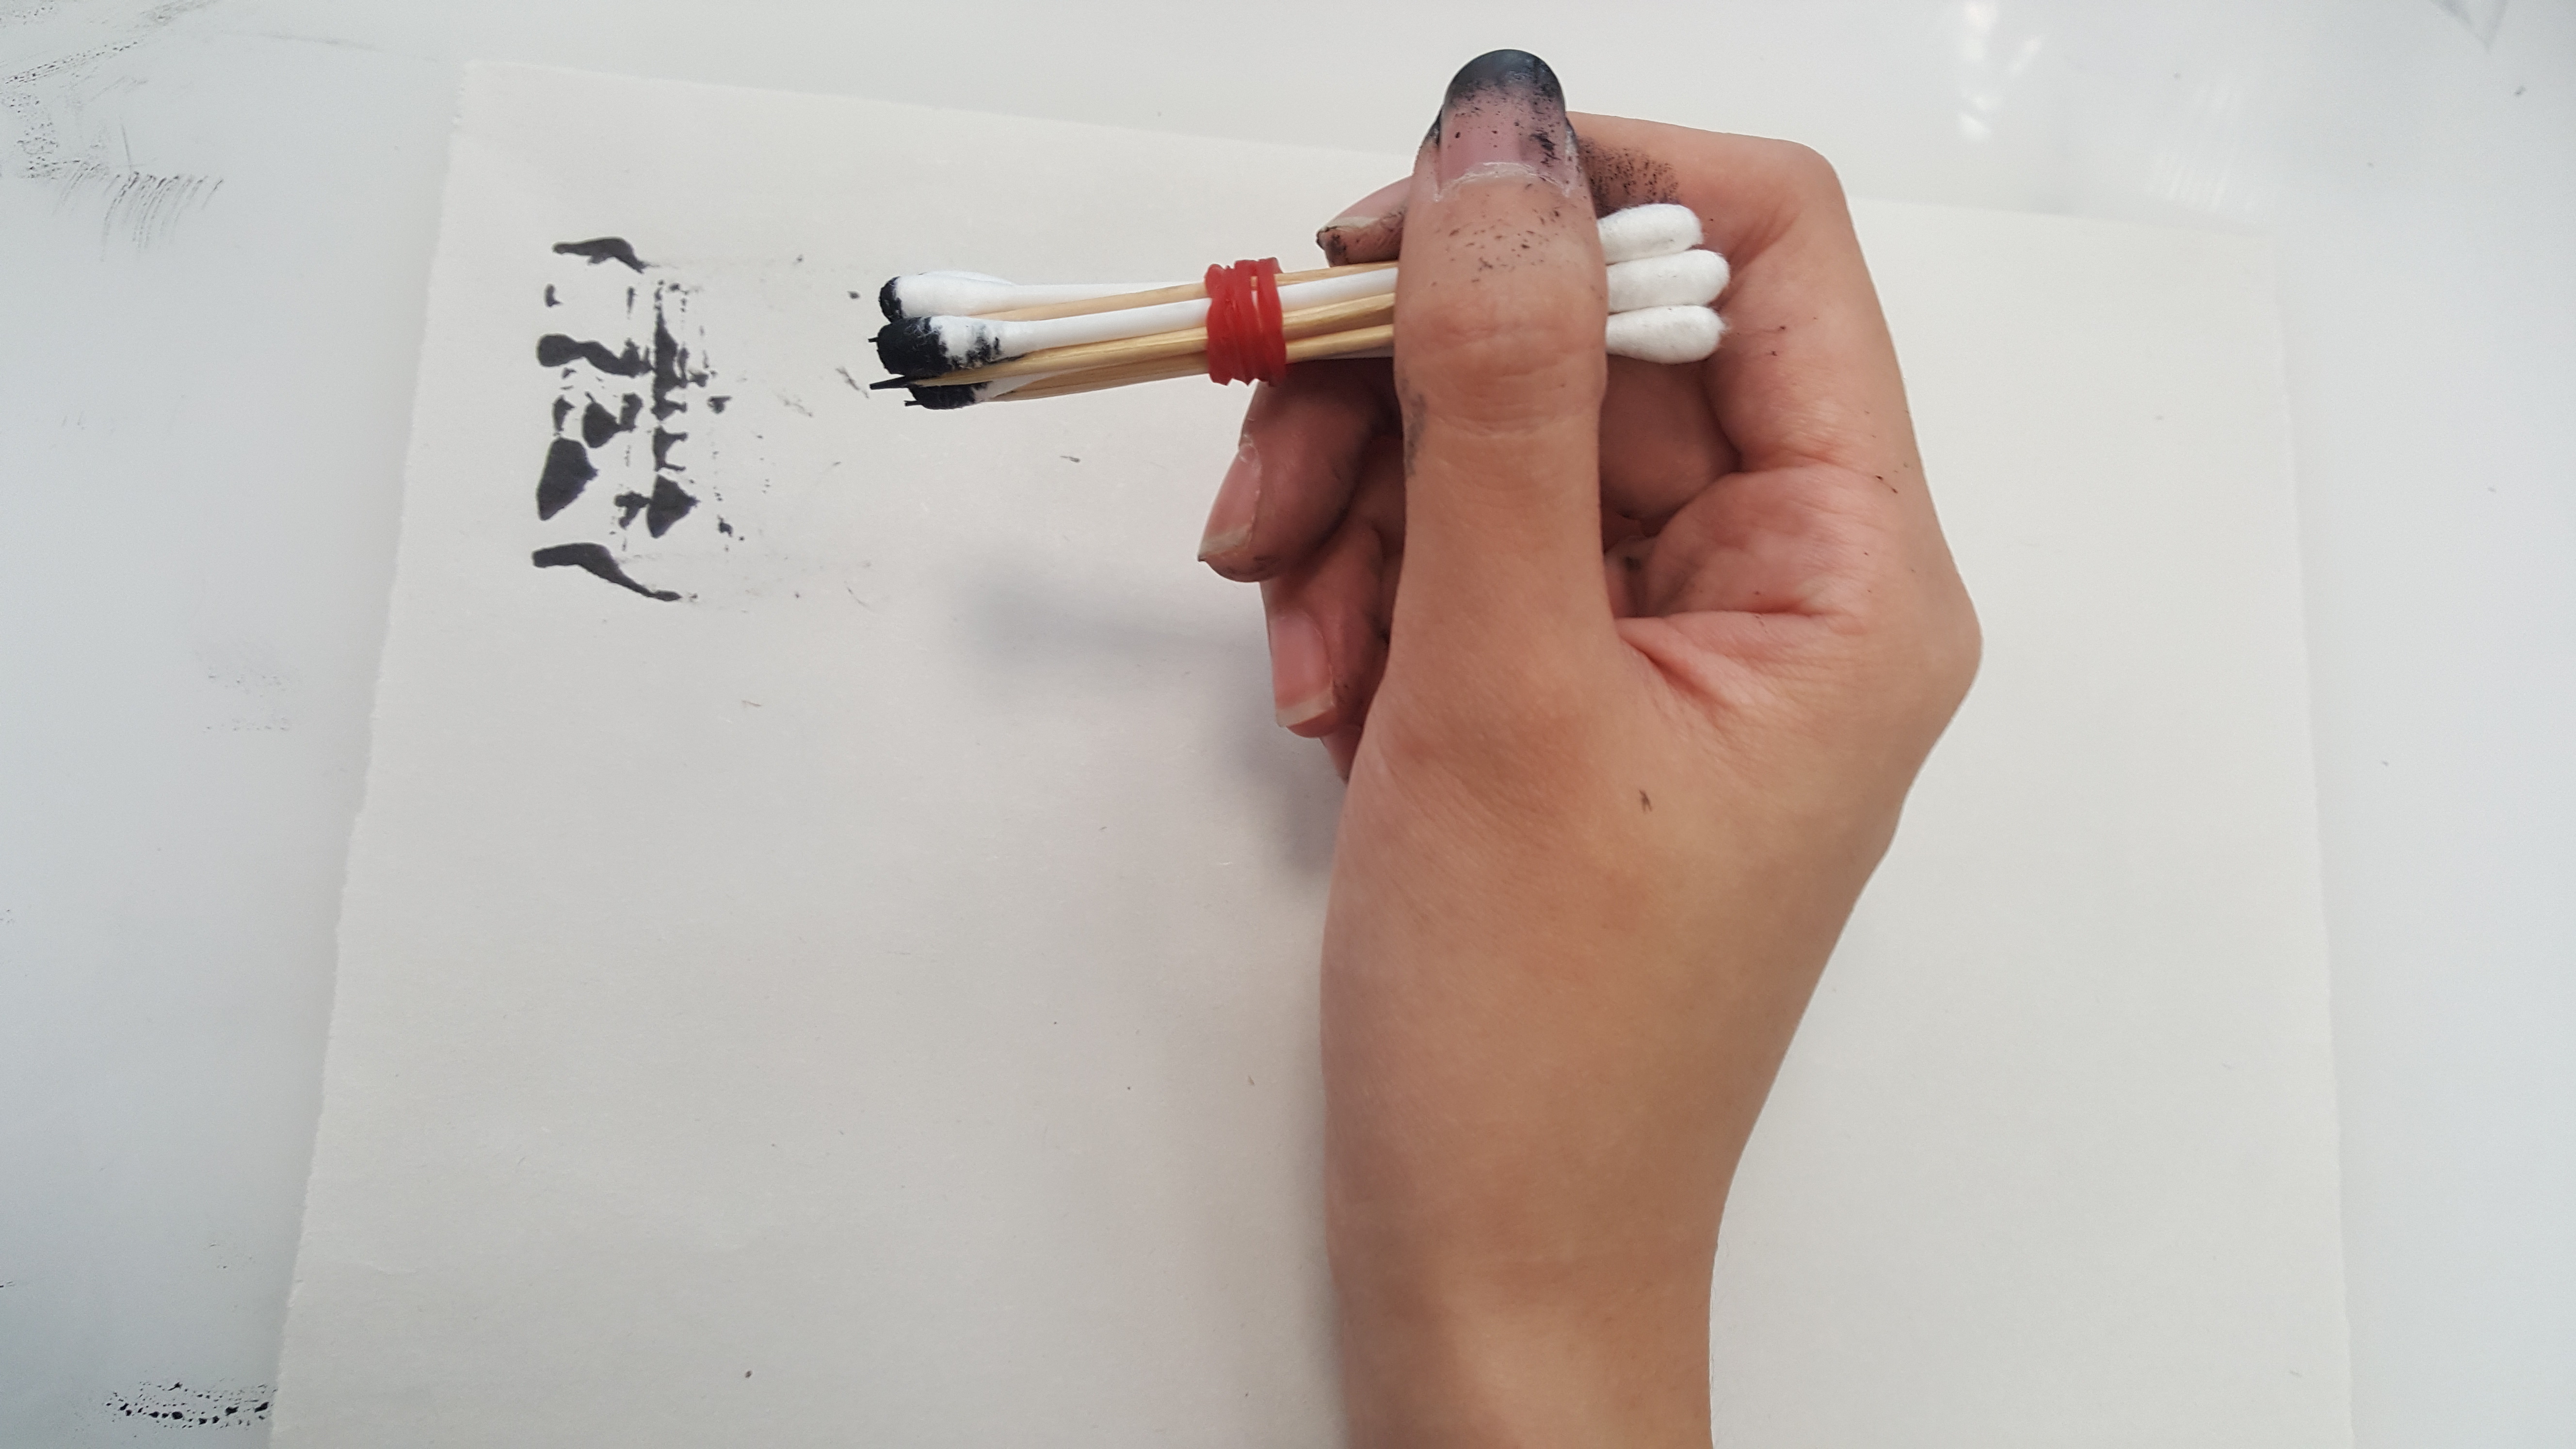
(Bundled toothpick & cotton bud)
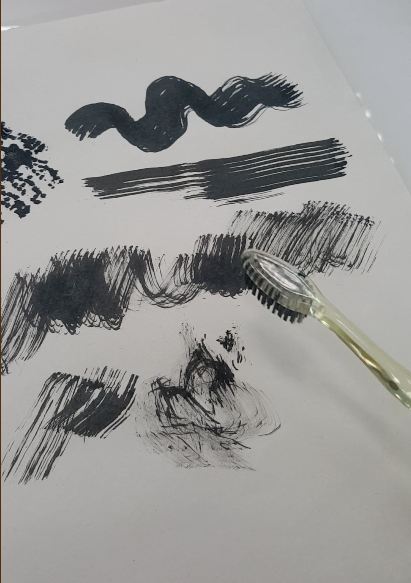
(toothbrush)
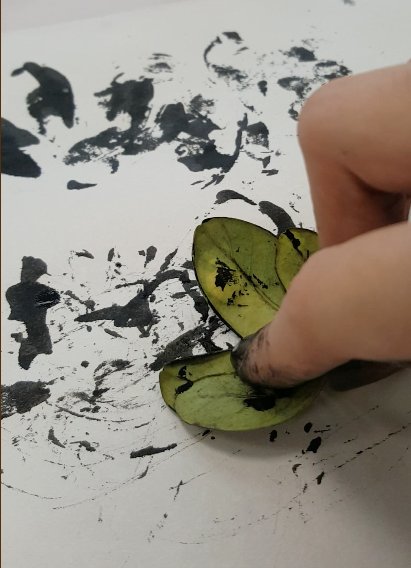
(leaves)
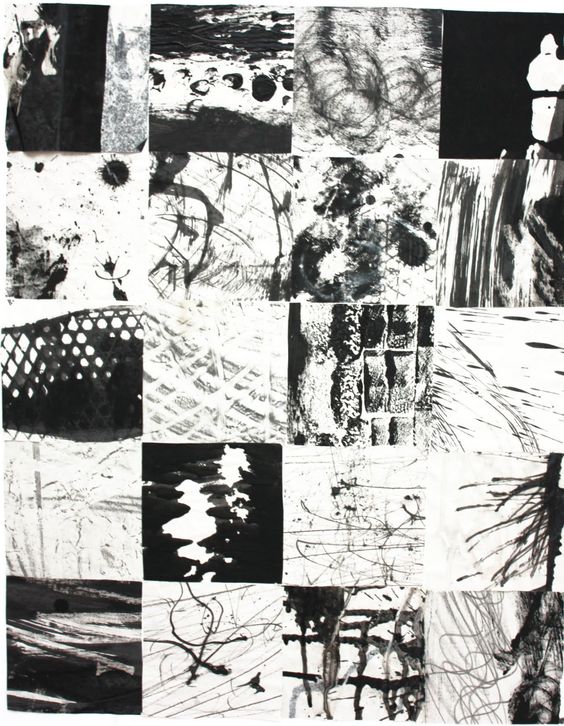
RESULTS!
Tools that worked! 😀 – leaves,mushroom,cloth,aluminium foil,steel wool
- Leaves
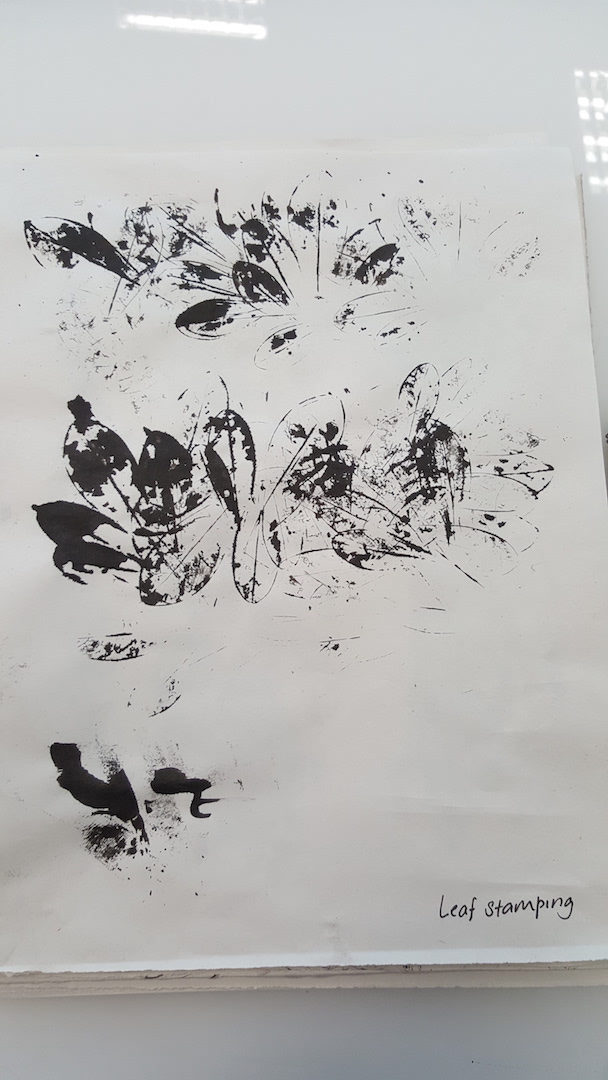
Leaves mark making part 1, I have used stamping method for the leaves. I have dab the leaves with ink on both sides, paste it on a flat tool with handle on top that I’ve found in the studio~ and i started stamping~ the results of the curves in different directions coming out from the centre just gives me the feeling of joy and happiness. It gives me a rather soft look and feel!
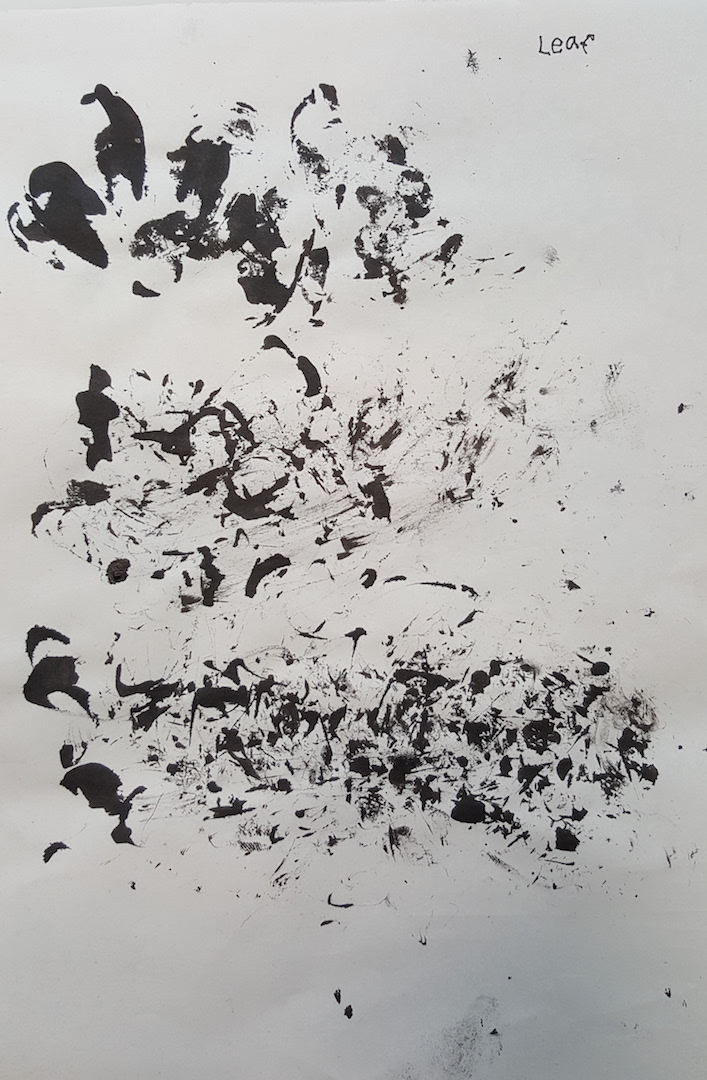
For leaves mark making part 2, I have used dragging and dabbing method on the newsprint~ and it totally gives a different effect! With the combination of bold and tiny dots designs and the unpredictable directions, It gives the splattered effect which makes me easily relates to surprises~
- Dried mushroom
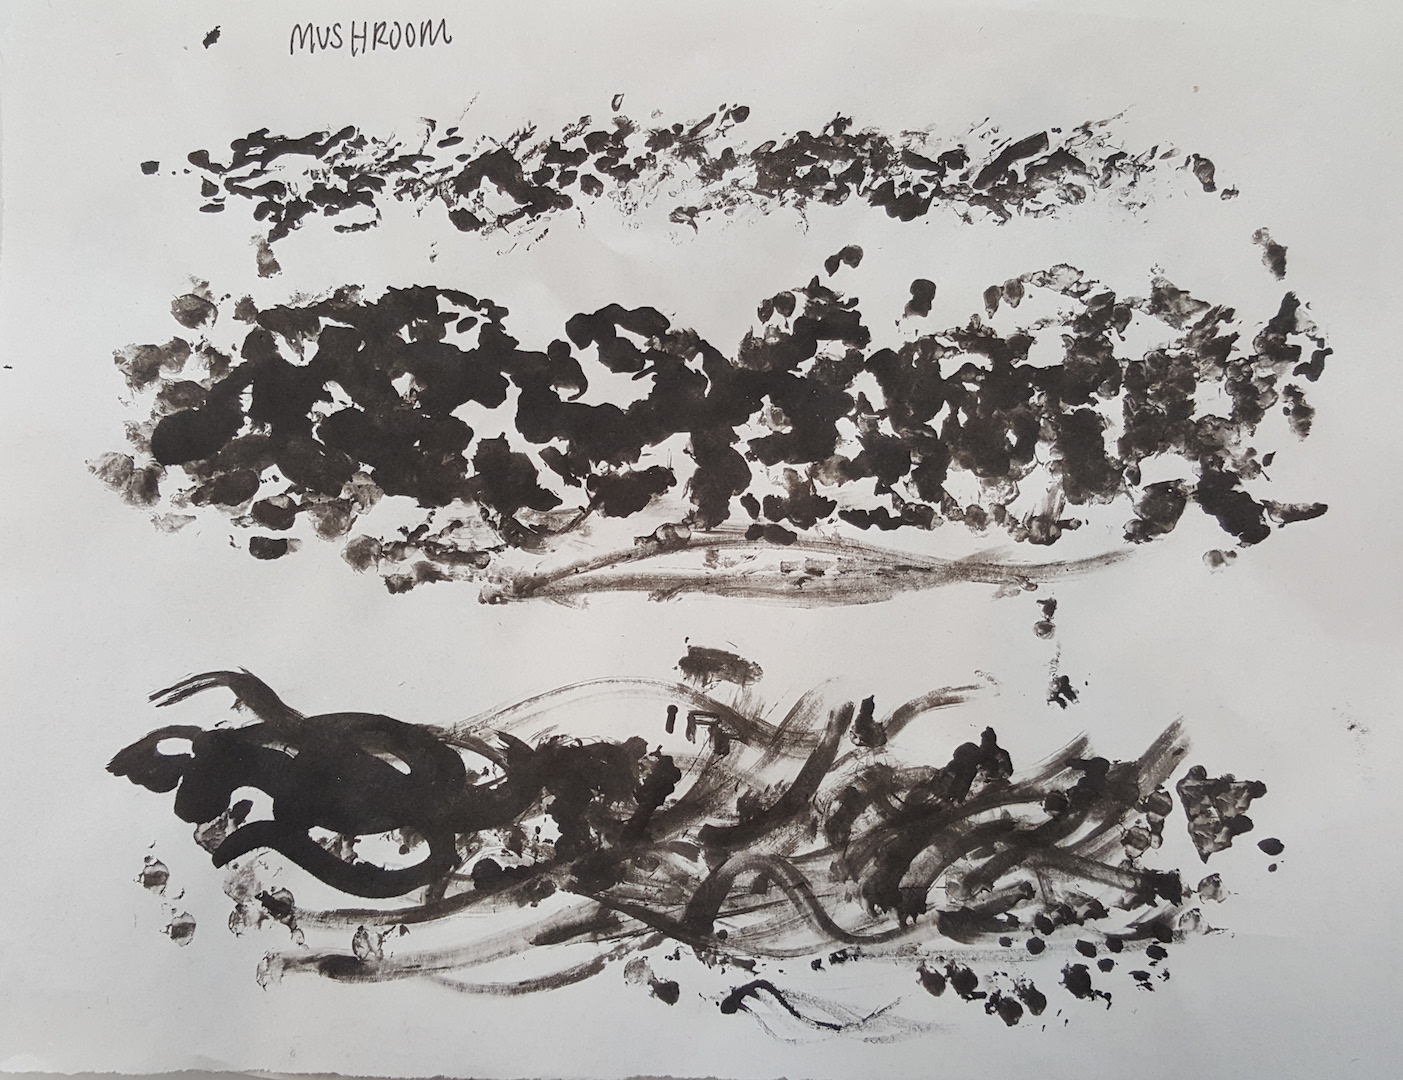
For mushroom it is quite a fun one, I have use both the top and side part of the mushroom to dab and roll on to the newsprint. The result produced seems okay but the patterns is a little repetitive~ can’t really draw out any emotion from it yet~ shall see~
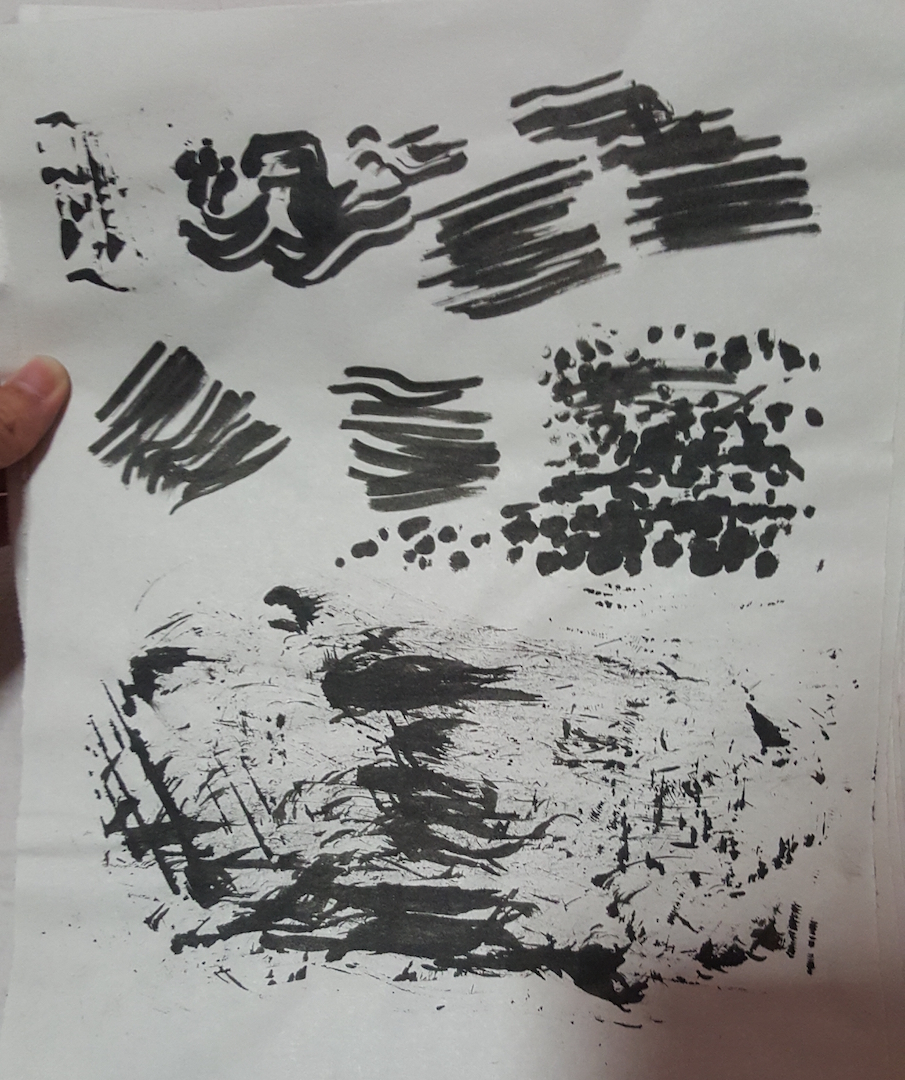
- Steel wool
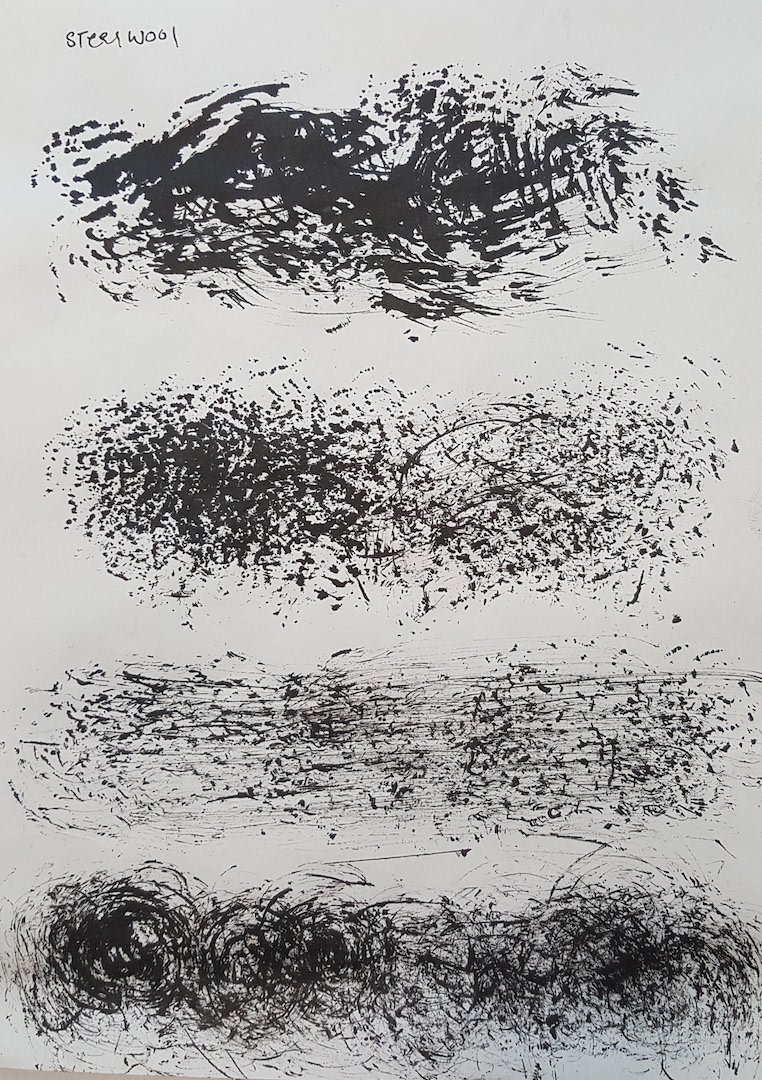
This one was really interesting! I’ve tried methods like slashing the steel wool on the news print in different directions, dabbing down that creates many little dots, slashing it on one horizontal direction and finally making mark with the steel wool in a circular motion~ I think all of these thin lines and tiny dots going in different directions in general gives me a feeling of confusion to it~
- Aluminium foil
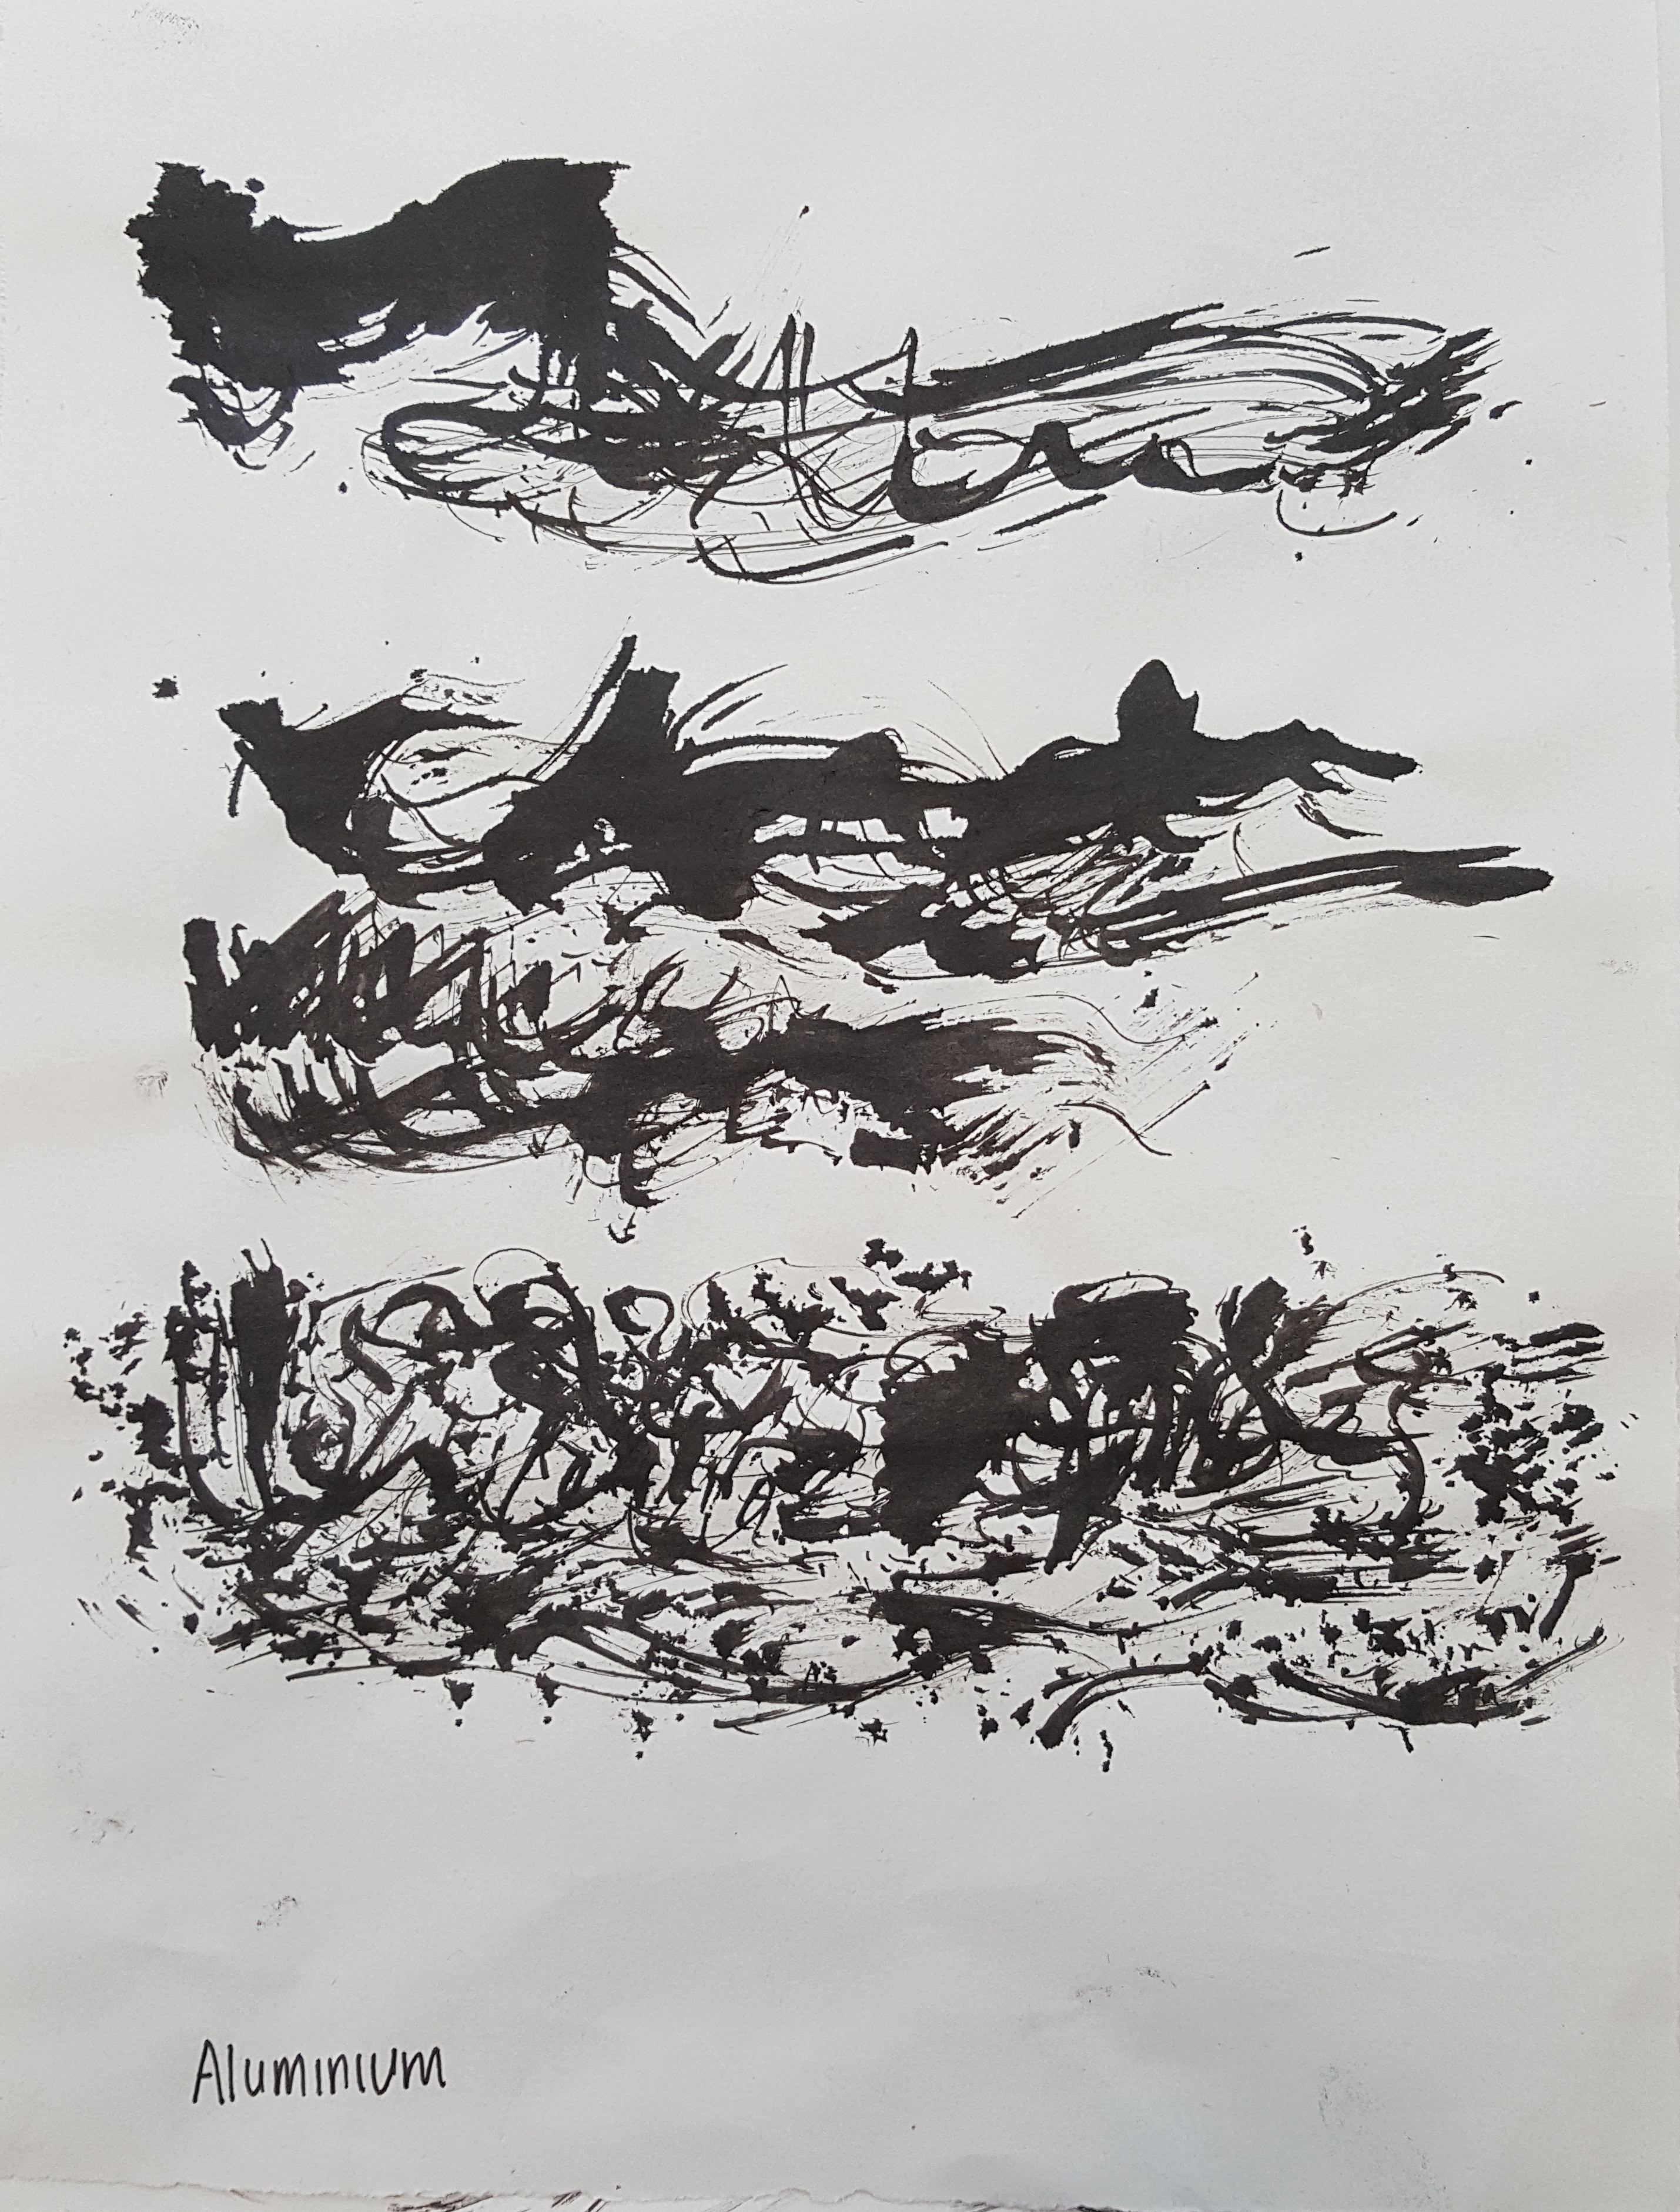
I’m most satisfied with the result of this!! Especially the third one!! Because it just makes me feel very relatable! HAHA! The line has spoken to me! HAHAHA The thick and thin wavy fluctuating deep curves with many splatters just makes me feel and relate to anxiety~ Probably gonna pick this as one of my option and further work on this~
- Cloth
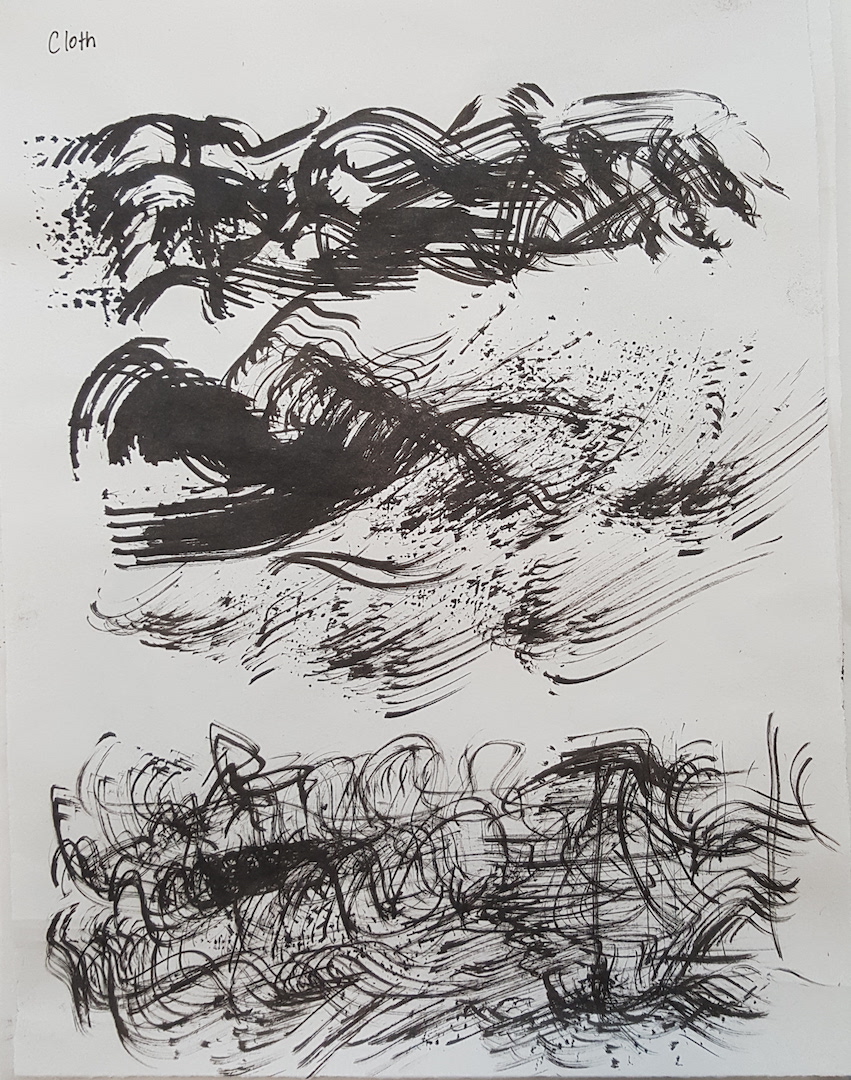
The cloth one also convey to me confusion and a little bit of panic~
Tools that did not worked! 🙁 – shaver, toothbrush, bundled toothpicks & cotton bud
- Toothbrush
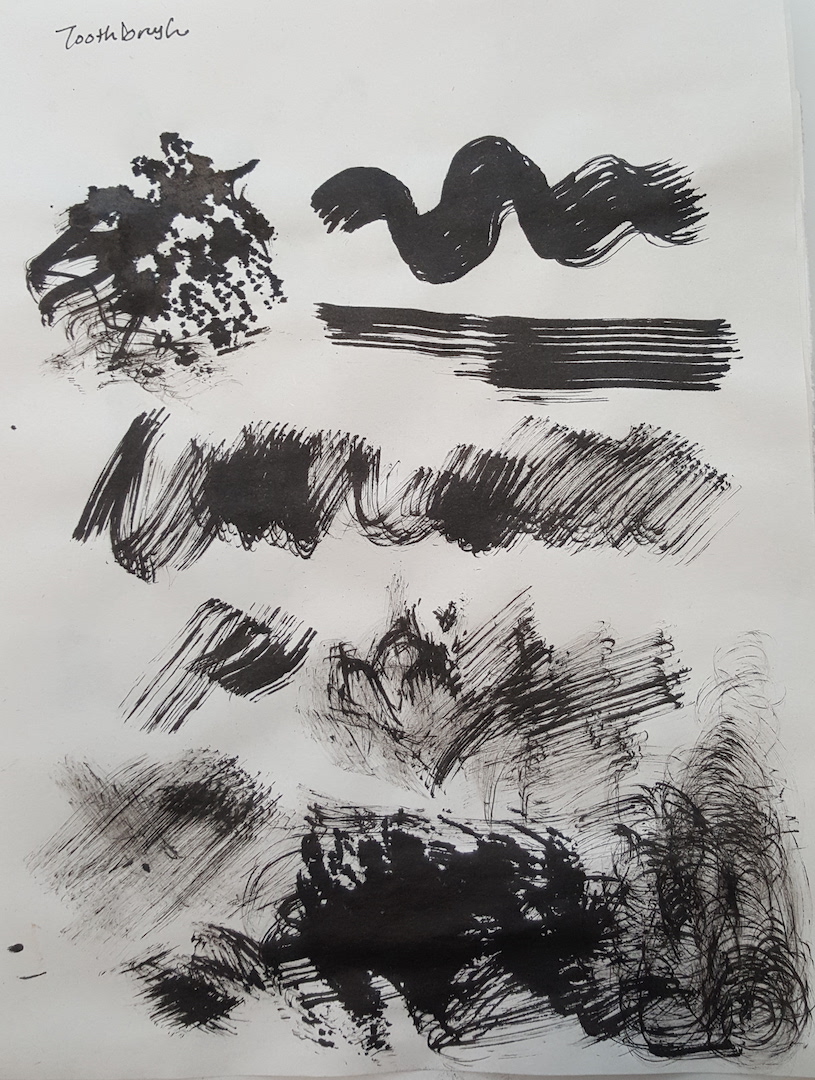
I felt that the toothbrush one didn’t ended up well because the brush stroke/lines are too consistent which doesn’t have any dynamic/variety/asymmetrical/contrast element going on no matter what different method or directions I try. Which makes me felt rather boring when I look at it and it doesn’t really convey any feelings to me. Probably just the feeling of stability and safeness when it is all horizontal and almost equal spacing~ which is not what I’m looking for.
- Bundled toothpicks and cotton buds
This one is even worse then the toothbrush one HAHA. Basically a failed experiment as only the cotton bud’s ink showed on the paper but not the toothpick ones. Result was different from what I’ve imagined but it’s okay, it’s something I’ve learnt from my mistake~ In addition, all of it is too uniform, constant in design which I don’t really like it haha~
- Shaver
As for shaver I couldn’t even make a mark out of it due to the blade is rather flatten and not protruded thus there isn’t any documentation of it 🙁 A BIG BIG FAIL on this one! D:
Week 3
So in the end I decided for my final mark making art work, I want to experiment with more variety of materials for mark making instead of just using ink and newsprint!
Manage to pen down some ideas and gotten some of the materials from art friend and daiso!~ Bought thread, monochromatic rubber bands, wire, nails, candle and wooden board 😀
EXPERIMENT DOCUMENTATION
– FAILED EXPERIMENT –
1 )
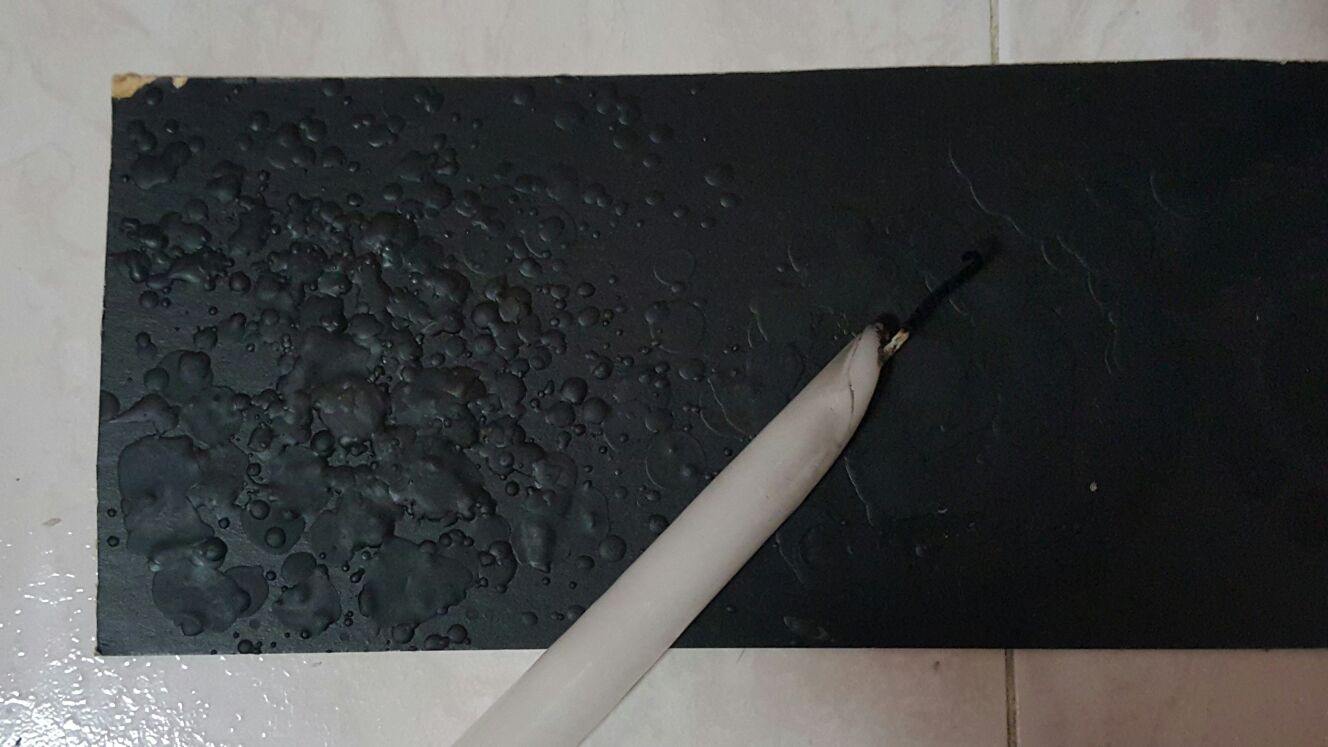
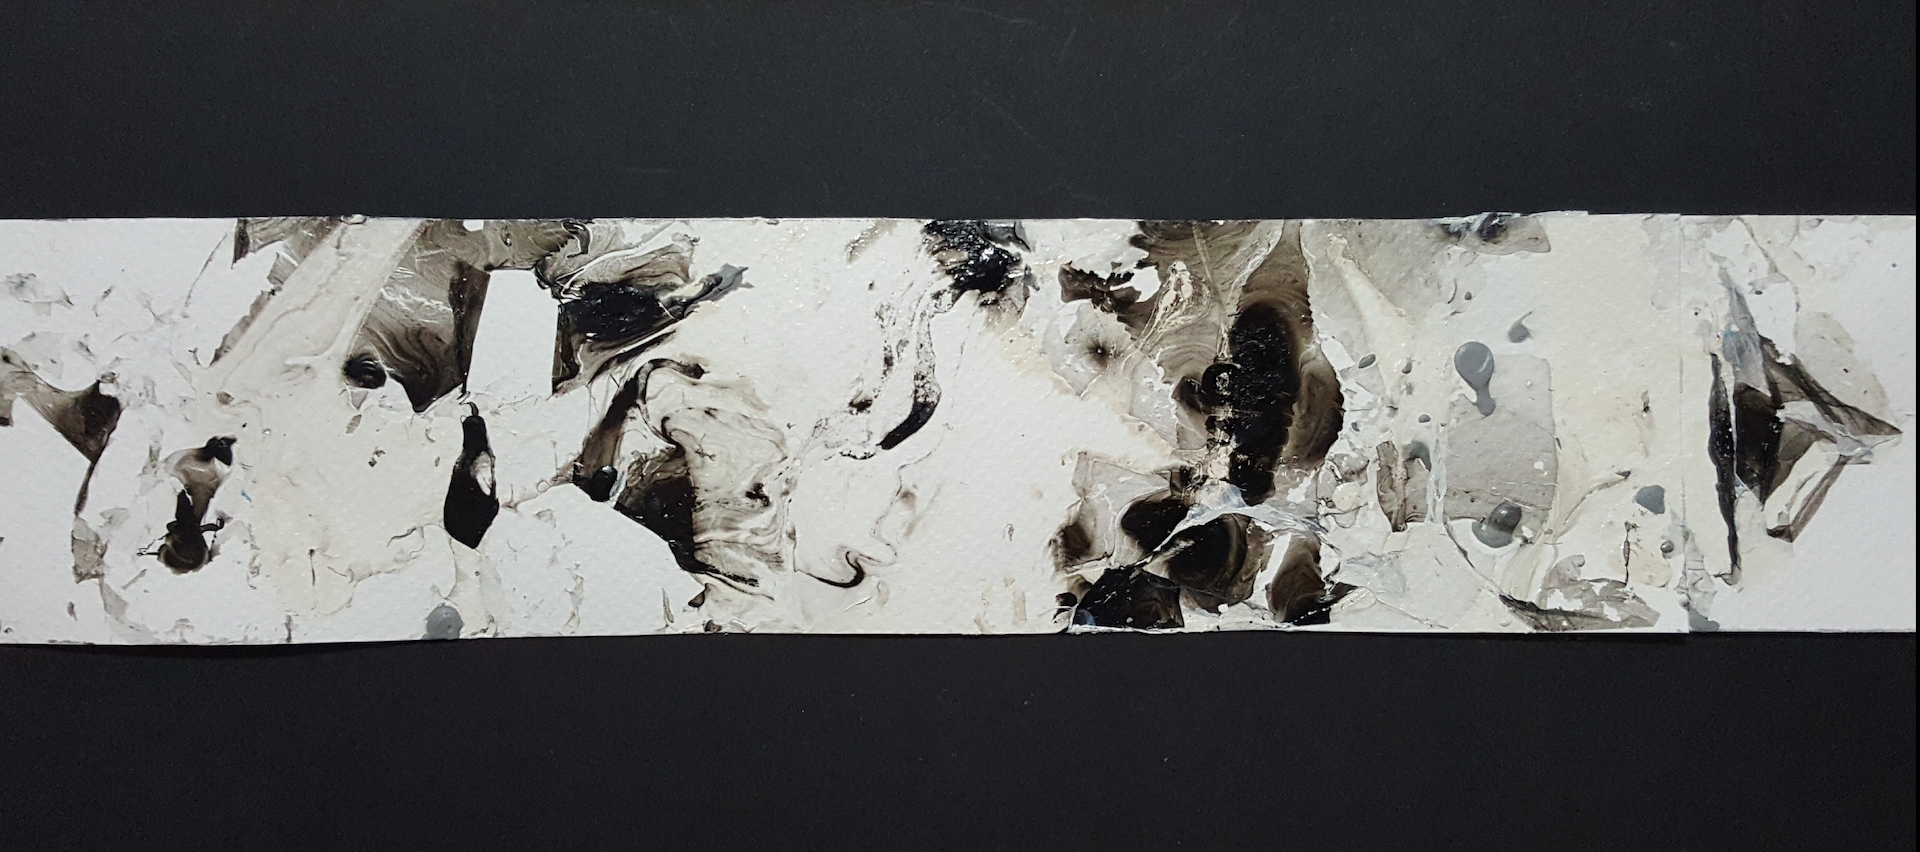
First up, I have experiment with wax. So I burn and drip it on to my mounting board randomly hoping that it could have that WHITE wax dripping/splatter effect maybe for emotions like lust or something. BUT! I was wrong. IT DID NOT TURN OUT AS WHAT I EXPECTED. The wax is not white at all, it is rather translucent looking and if there is no tilting of angle and lighting, the wax effect is not even visible…..
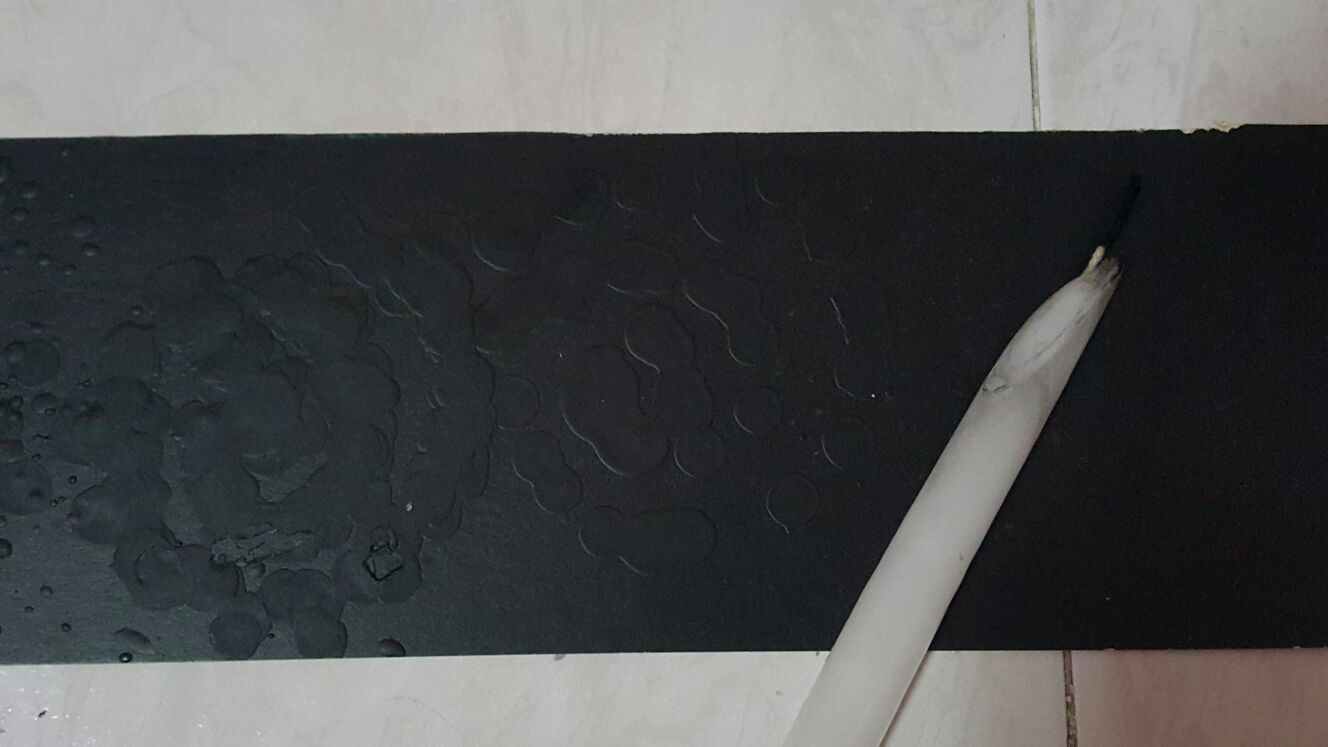
For this I’ve tried to drip in a spiral manner. Ended up even more fail LOL!
CONCLUSION– for wax it isn’t working for me, at least for the colour, its not even visible to begin with.
2 )
SO, since I’ve researched about nail polish marbling technique previously, I thought that the soft spiral effect of the marbling technique could work for my chosen emotion for love–tenderness. So I gave it a shot, at first i started off testing out with coloured nail polish first and it turn out quite okay with the effect I wanted. Even though the process is not a smooth sailing one as the nail polishes kinda dries up a little fast.
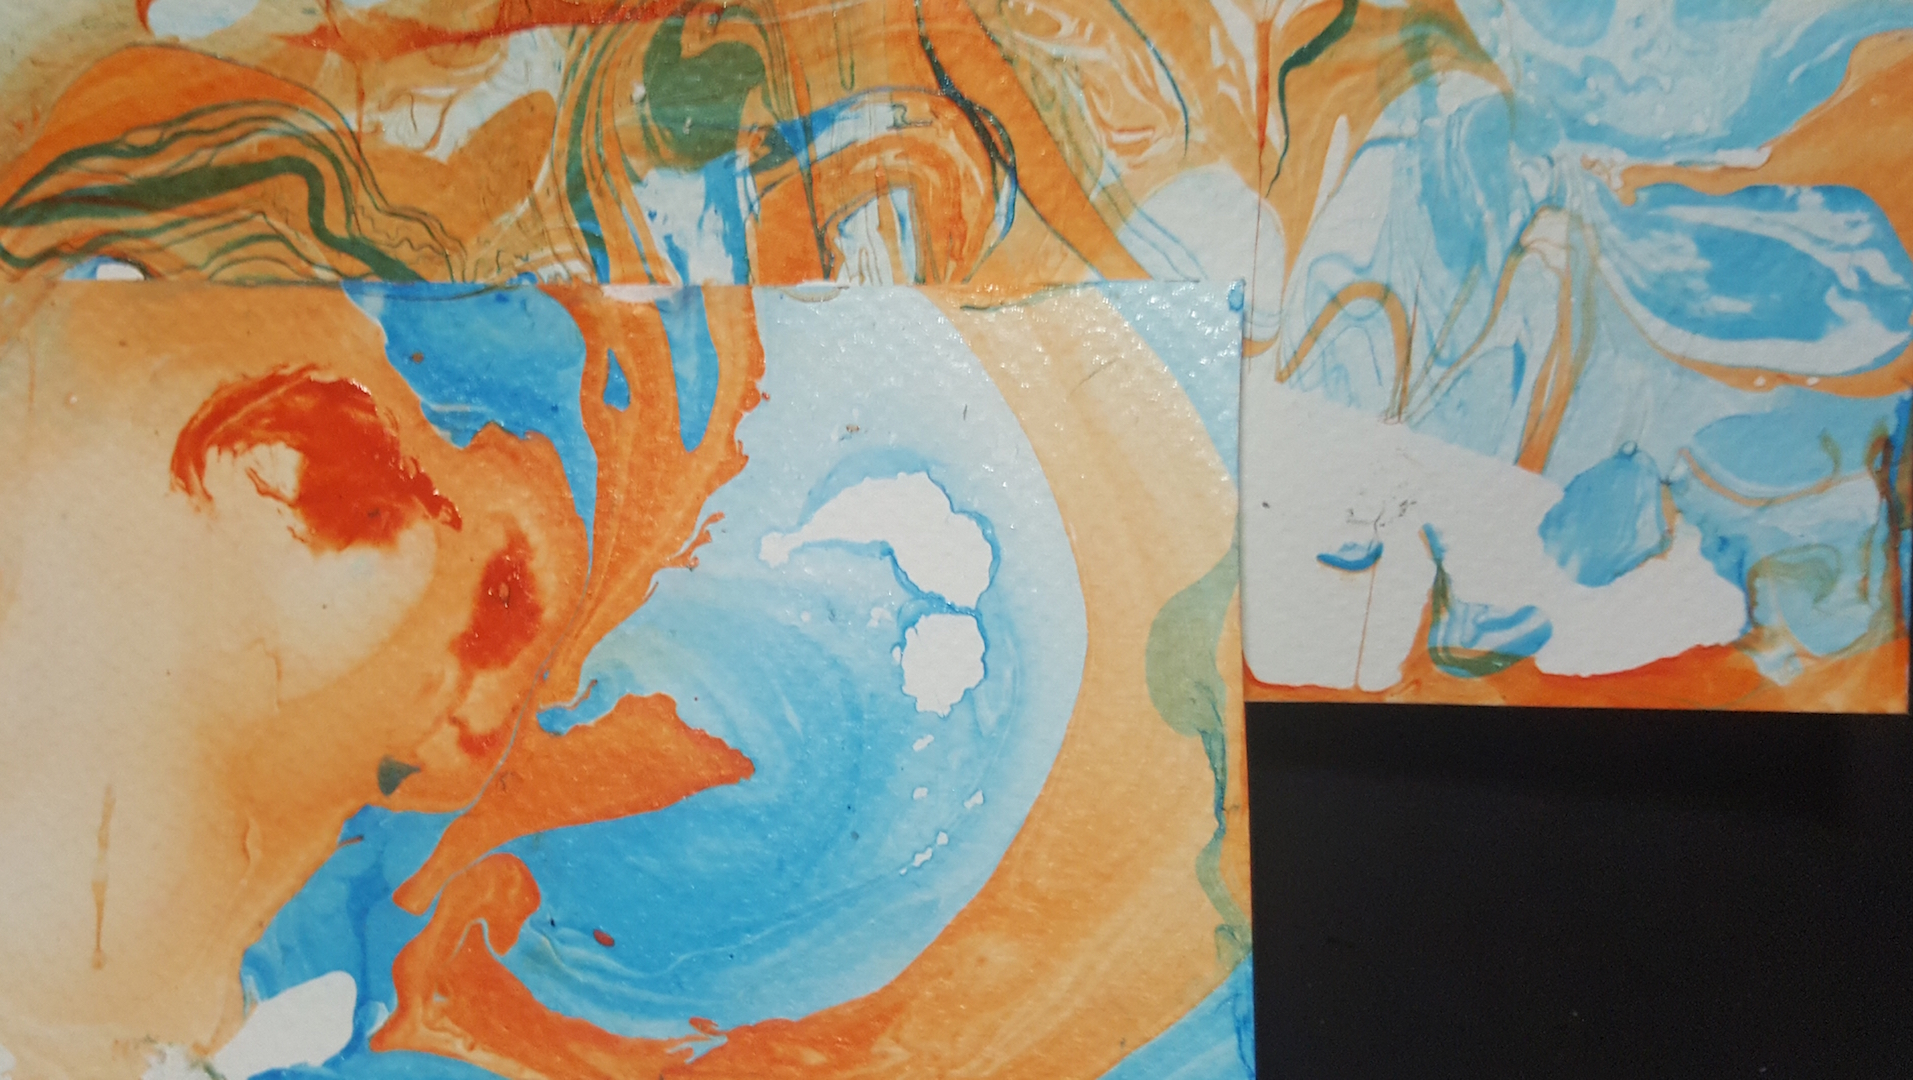
So, I proceeded with using monochromatic colours hoping it could turn out like how I expected. However it did not. The monochromatic nail polish I have try out with isn’t producing the spiral effect at all. It looks more like patches here and there.
Even though it looks quite nice but it isn’t the effect I want at all and also it doesn’t really communicate to me of any emotions at all, thus ended up changing to another idea instead.
REFLECTION: I believe its either my nail polish’s quality is bad or it is the fast drying kind, so fast drying that I couldn’t even get to stir to create spiral effect and it all ended up blotchy here and there. I also believe that one of the factor is because of my inexperience in doing marbling technique. I probably poured the nail polish too fast causing some of them sinking instead of floating too.
3 )
I bought ink from art friend and wanted to further experiment with more ink mark making material as I felt the materials I have experiment with in school isn’t sufficient. So i decided to try and use strawberries.
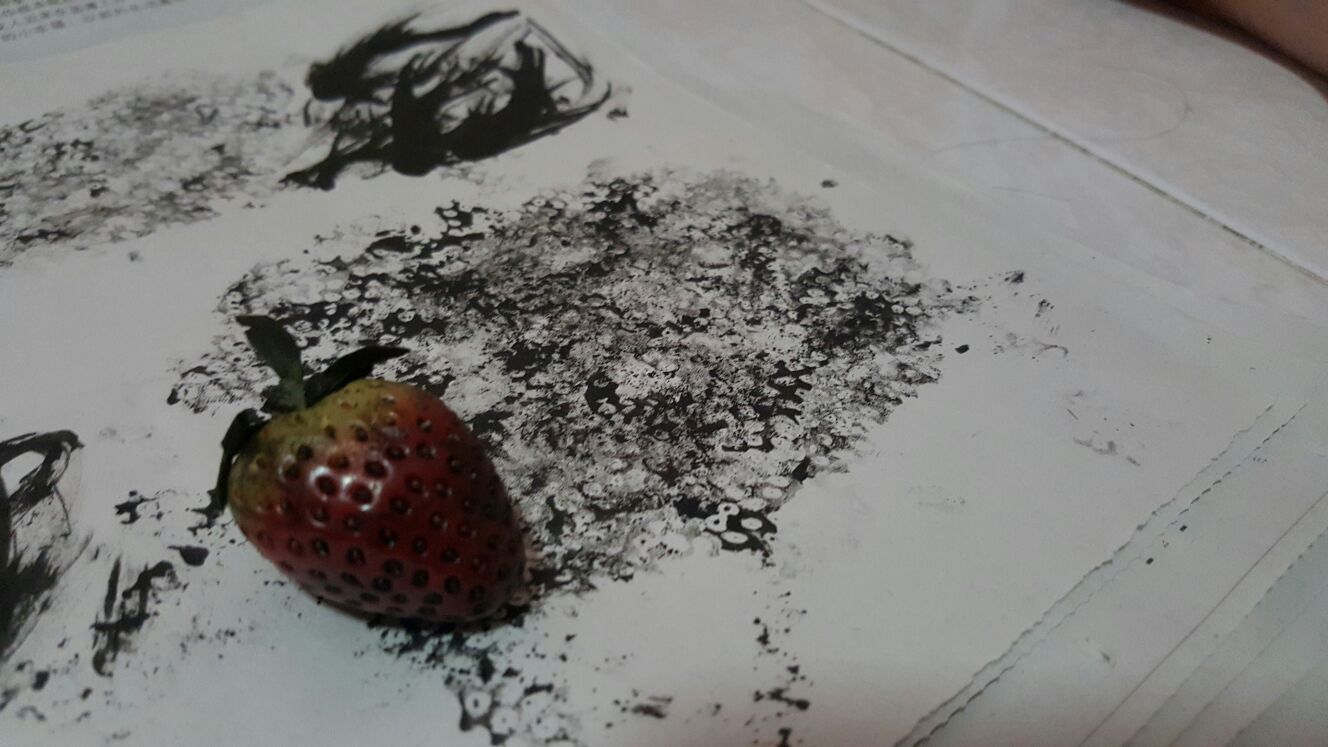
As you can see even though the strawberry is creating interesting mark and texture but it is super repetitive. To me it also doesn’t speak to me of any emotions. Hence, this is another failed experiment too.
– SUCESSFUL EXPERIMENT –
1 ) LOVE – Tenderness
So, what I’ve chosen to replace the failed marbling technique into represent love is by using thread.
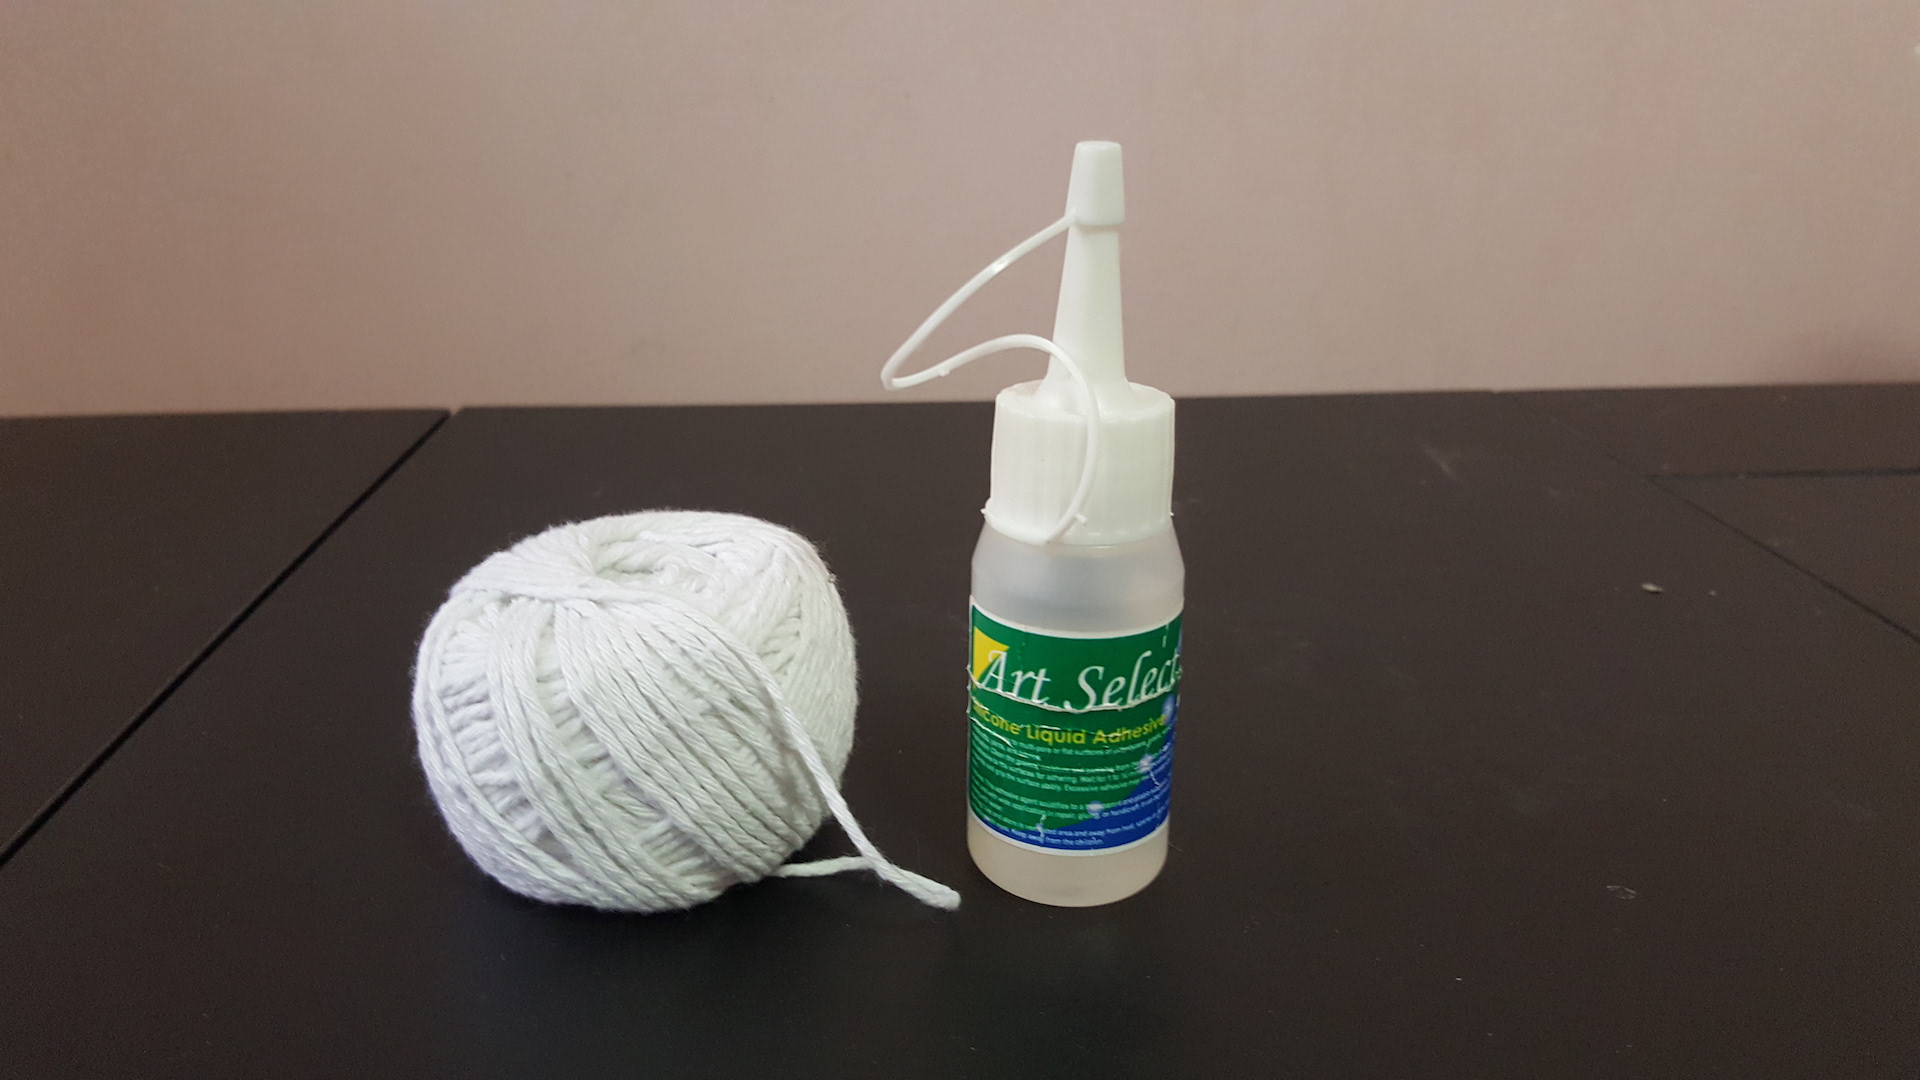
I tested out the design I want, and also tried out the different texture/feel the thread can provide by pulling the thread to a more lose form.

Afterwards, I brainstorm and sketch out the design I want on my sketchbook. After the research I’ve done for lines and emotion, in my opinion for love–tenderness should have a more wavy, soft curve spiral look to it to create a more calm, gentle, long lasting feel to it. I transferred my thumbnail idea on to a black paper of the required size and start putting glue along the drafted lines. Cutting out the thread and paste them on strand by strand.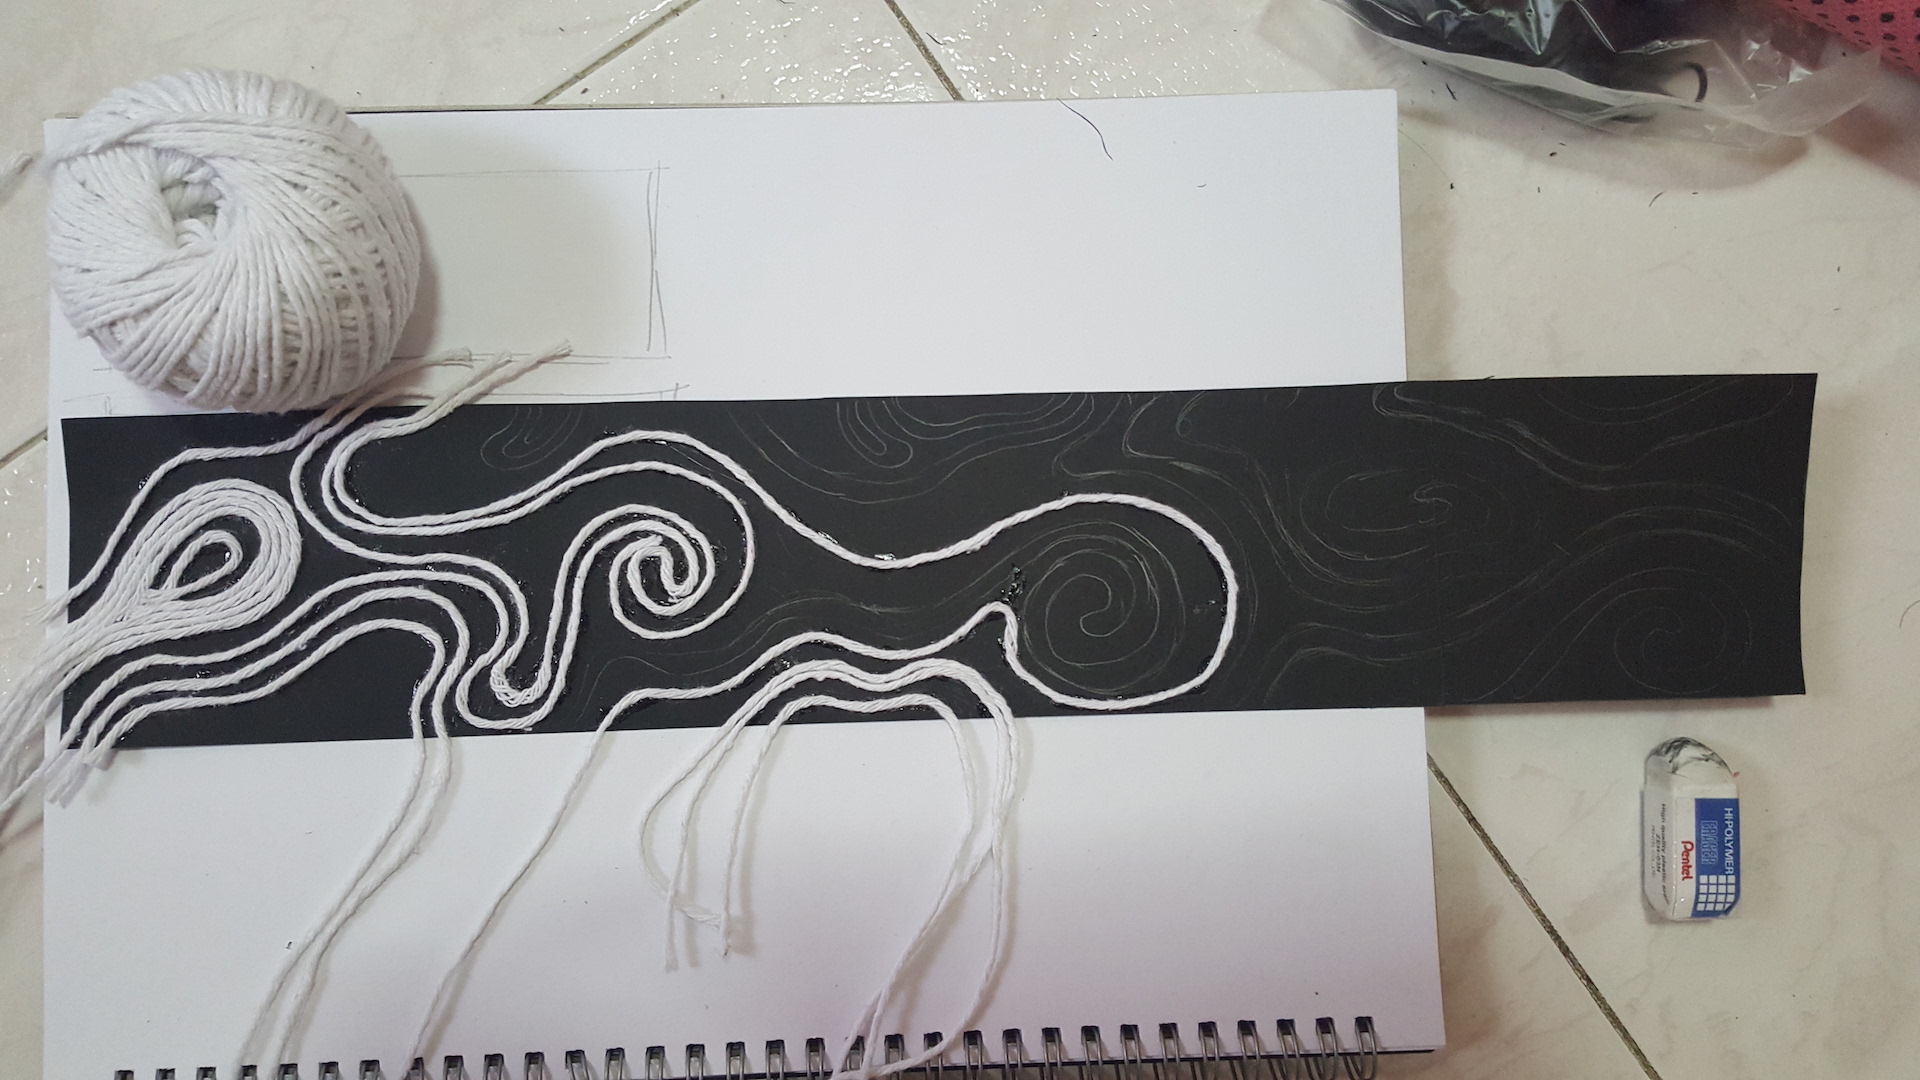
AND TADAH!
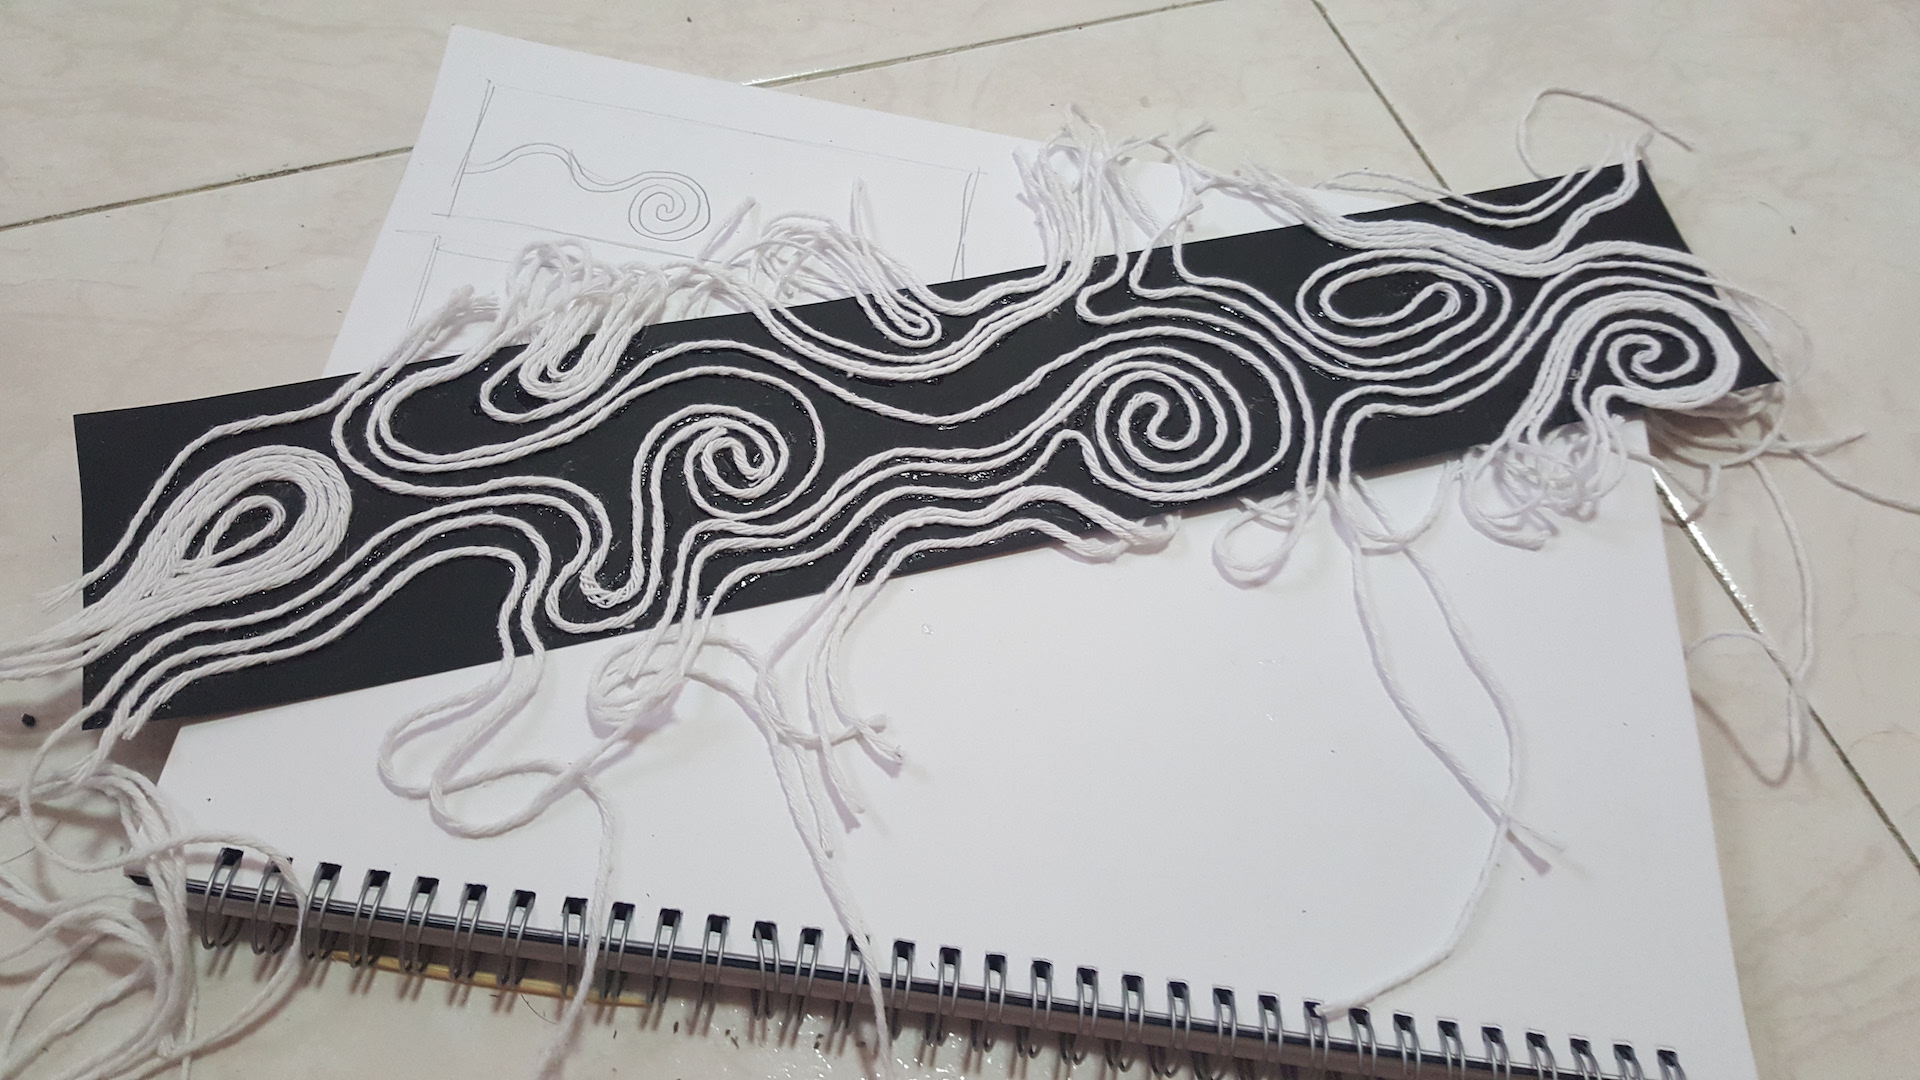
Of course, for the final one I’m gonna cut off all the loose end of the thread. The thread method turned out to my liking! 😀
2 ) SURPRISE – surprise
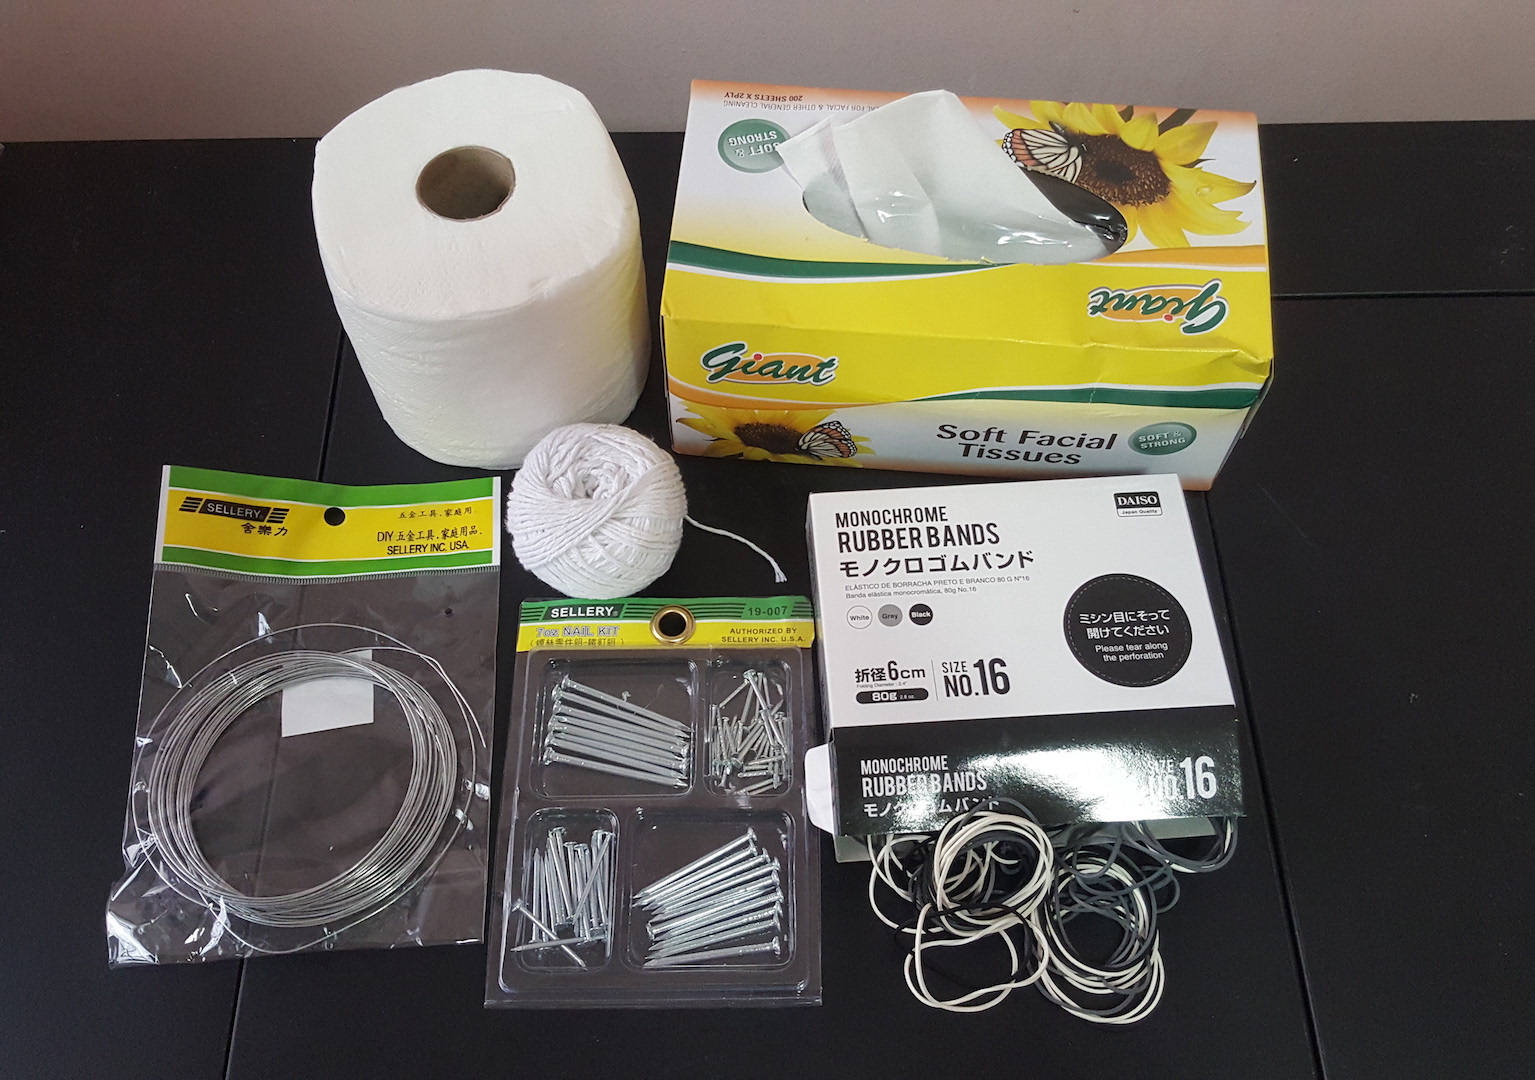
For the emotion–surprise, I have thought of making the toilet/tissue paper wet making it into ball like and throwing it on to mounting board to show the feeling of sudden bursting of surprised emotion!
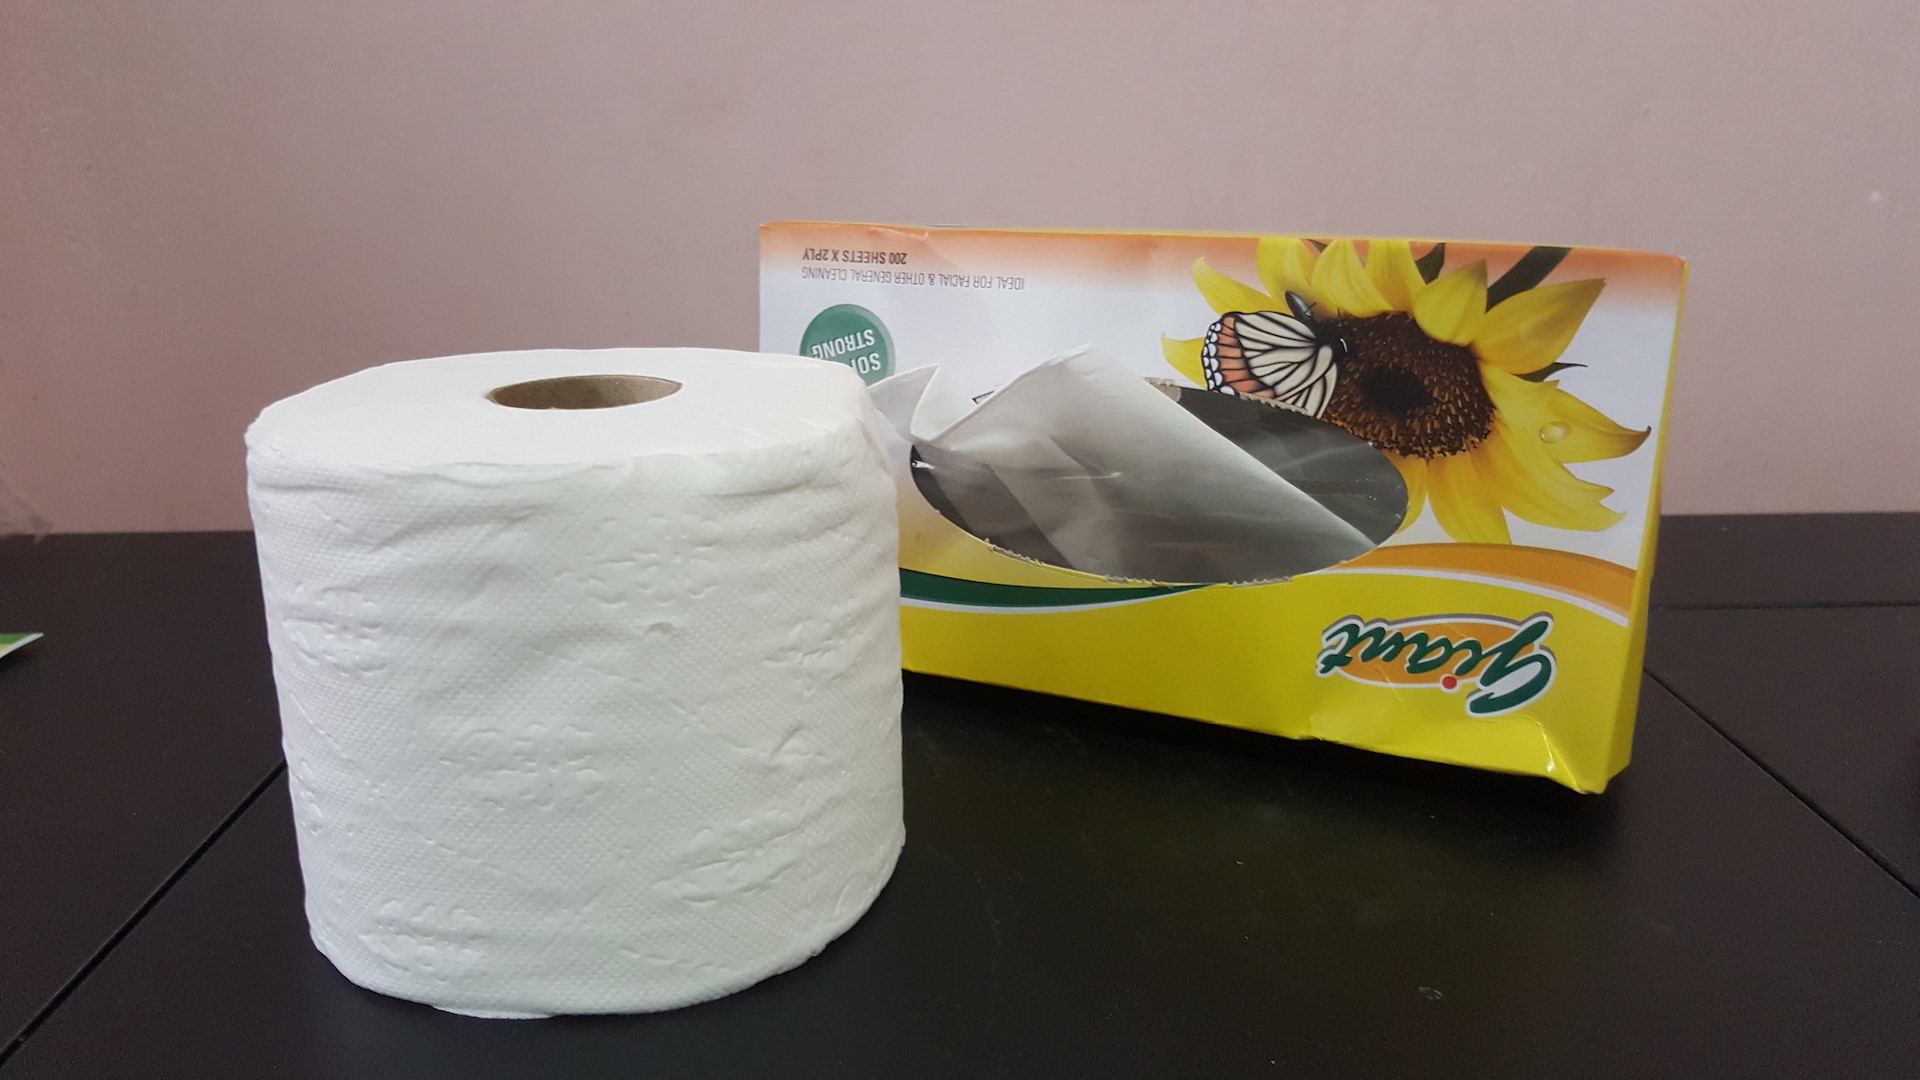
Testing the different of effect the toilet and tissue paper can give! And turns out that toilet paper is a better choice because it splatters more and gives more bursting effect as compared to tissue paper. The tissue paper doesn’t really splatter much!
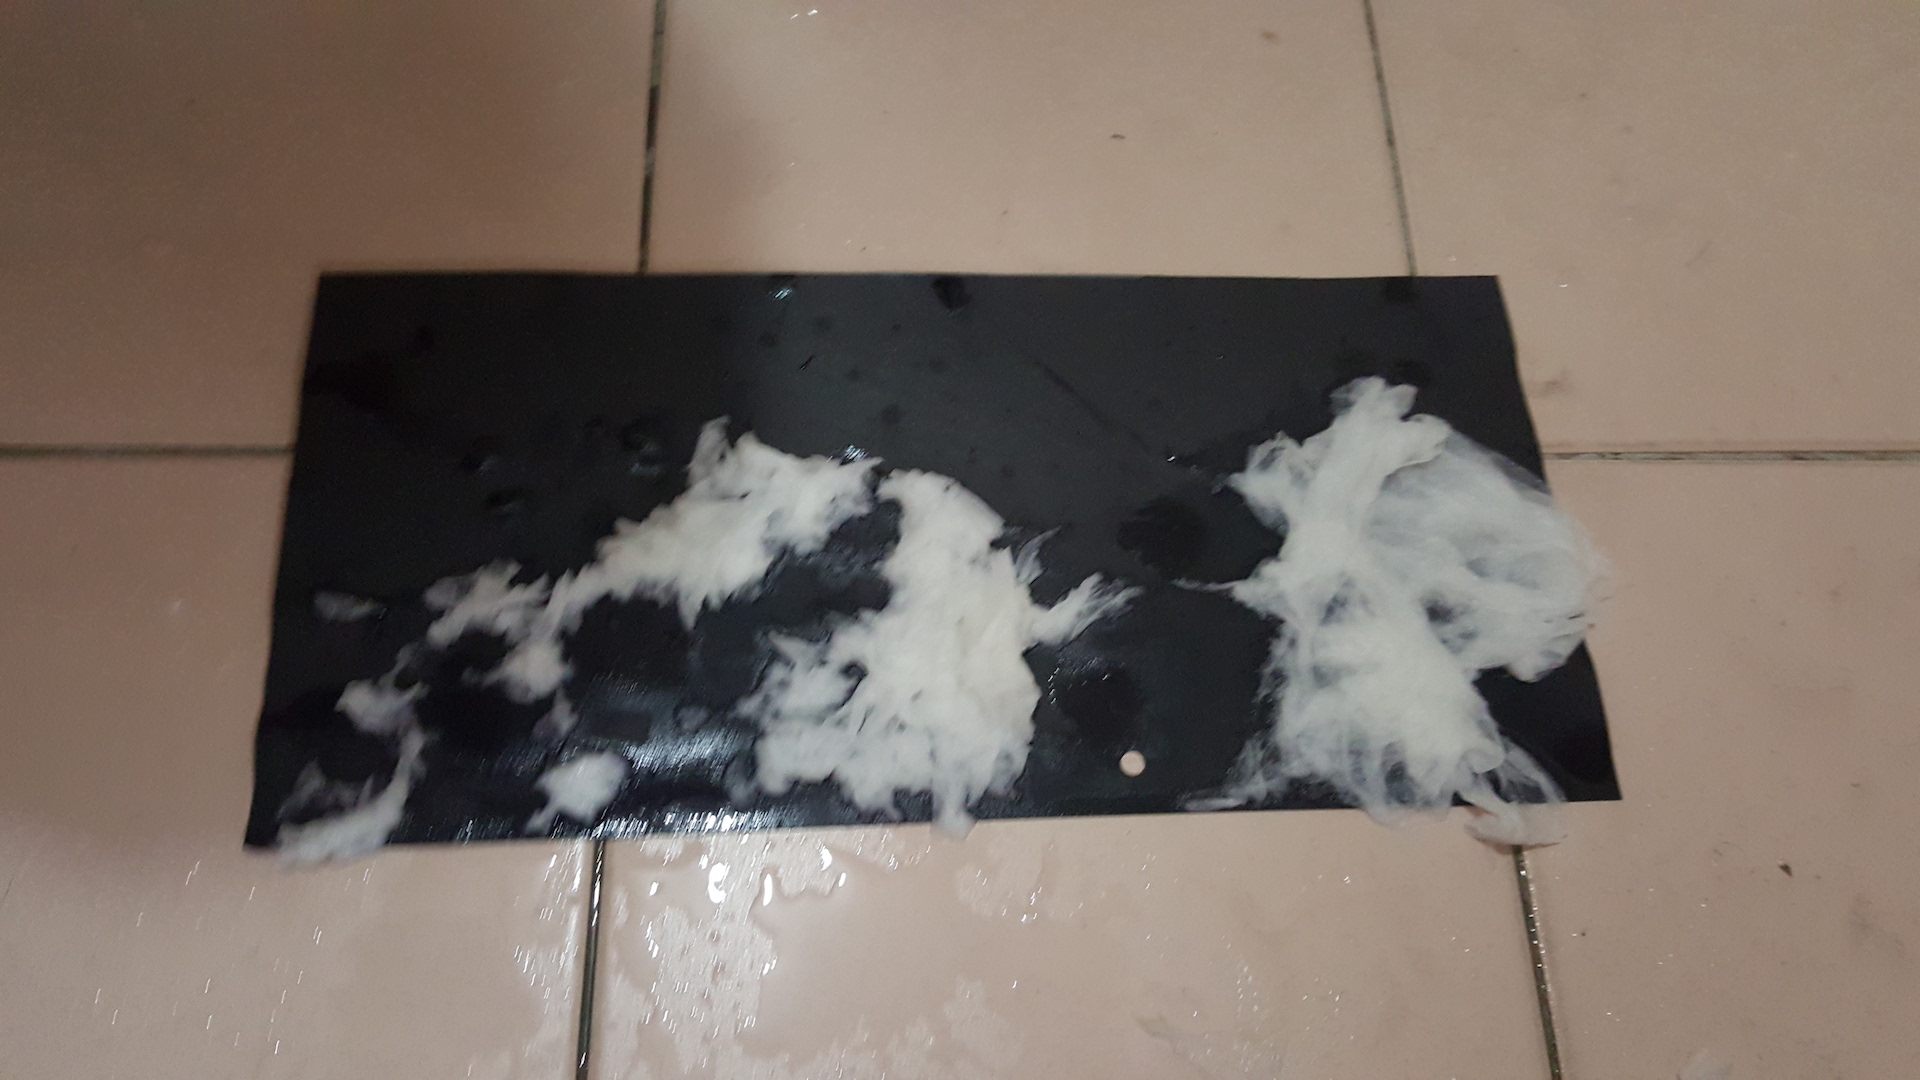
Right- tissue paper
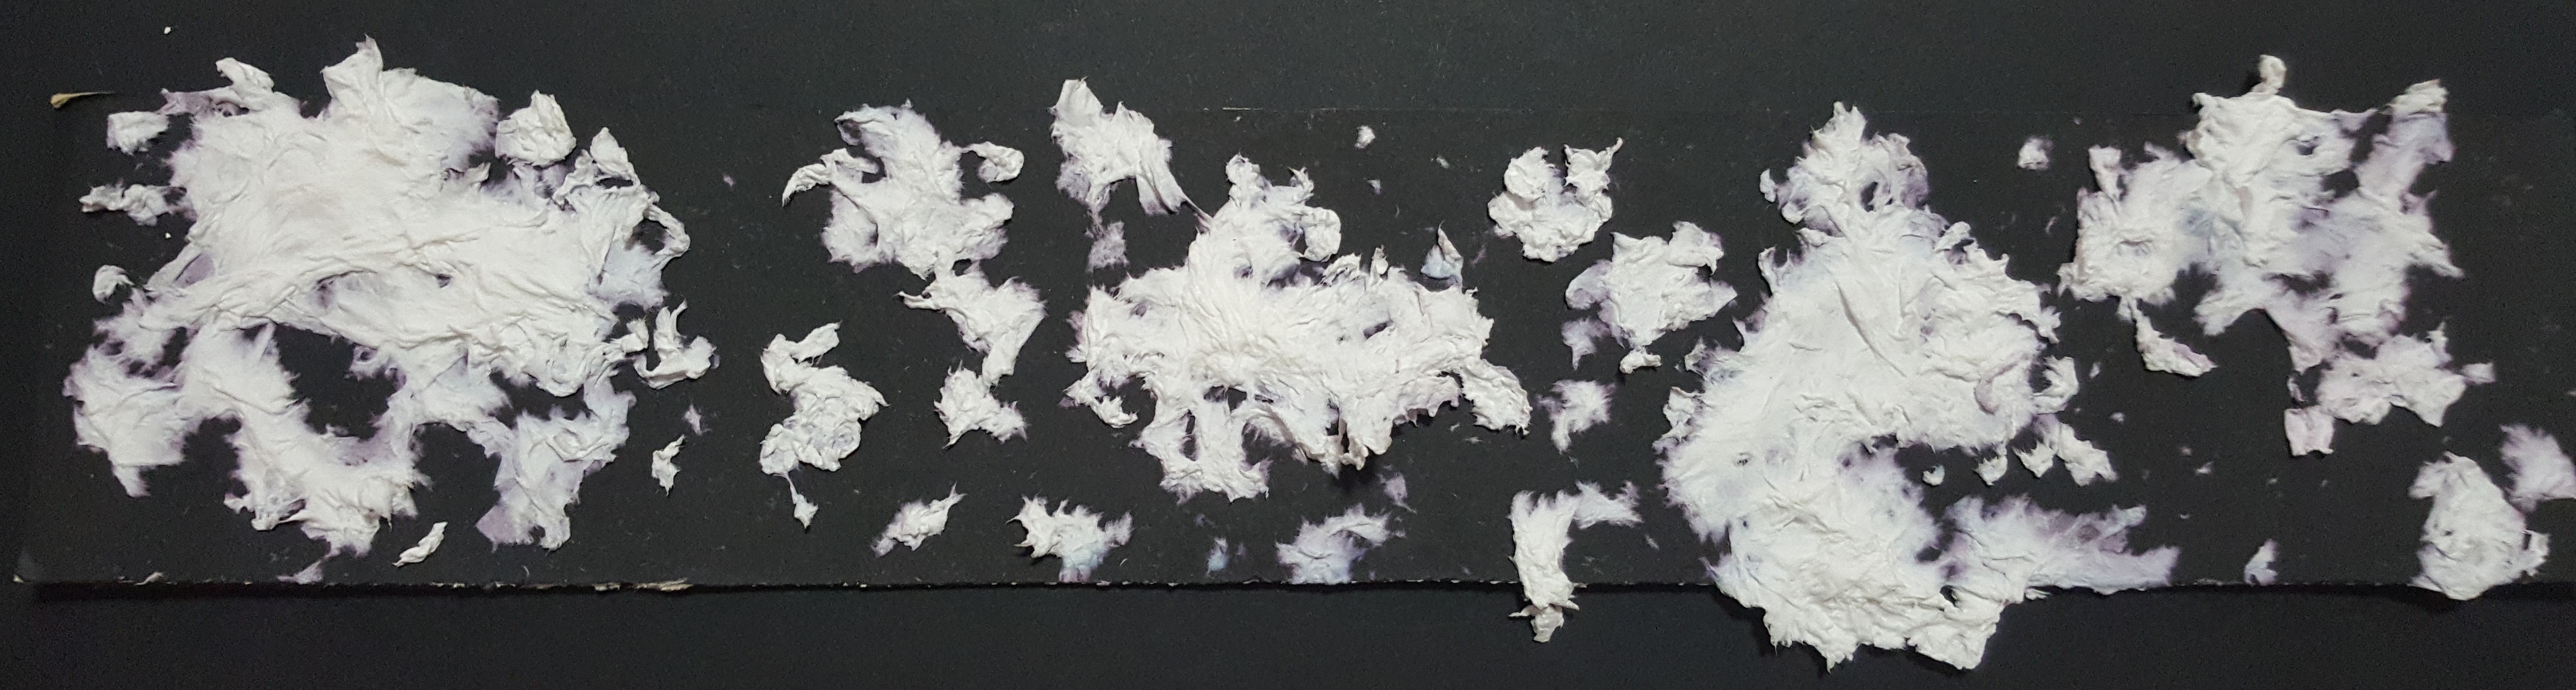
And the end product after much splattering~
3 ) ANGER – Hostile
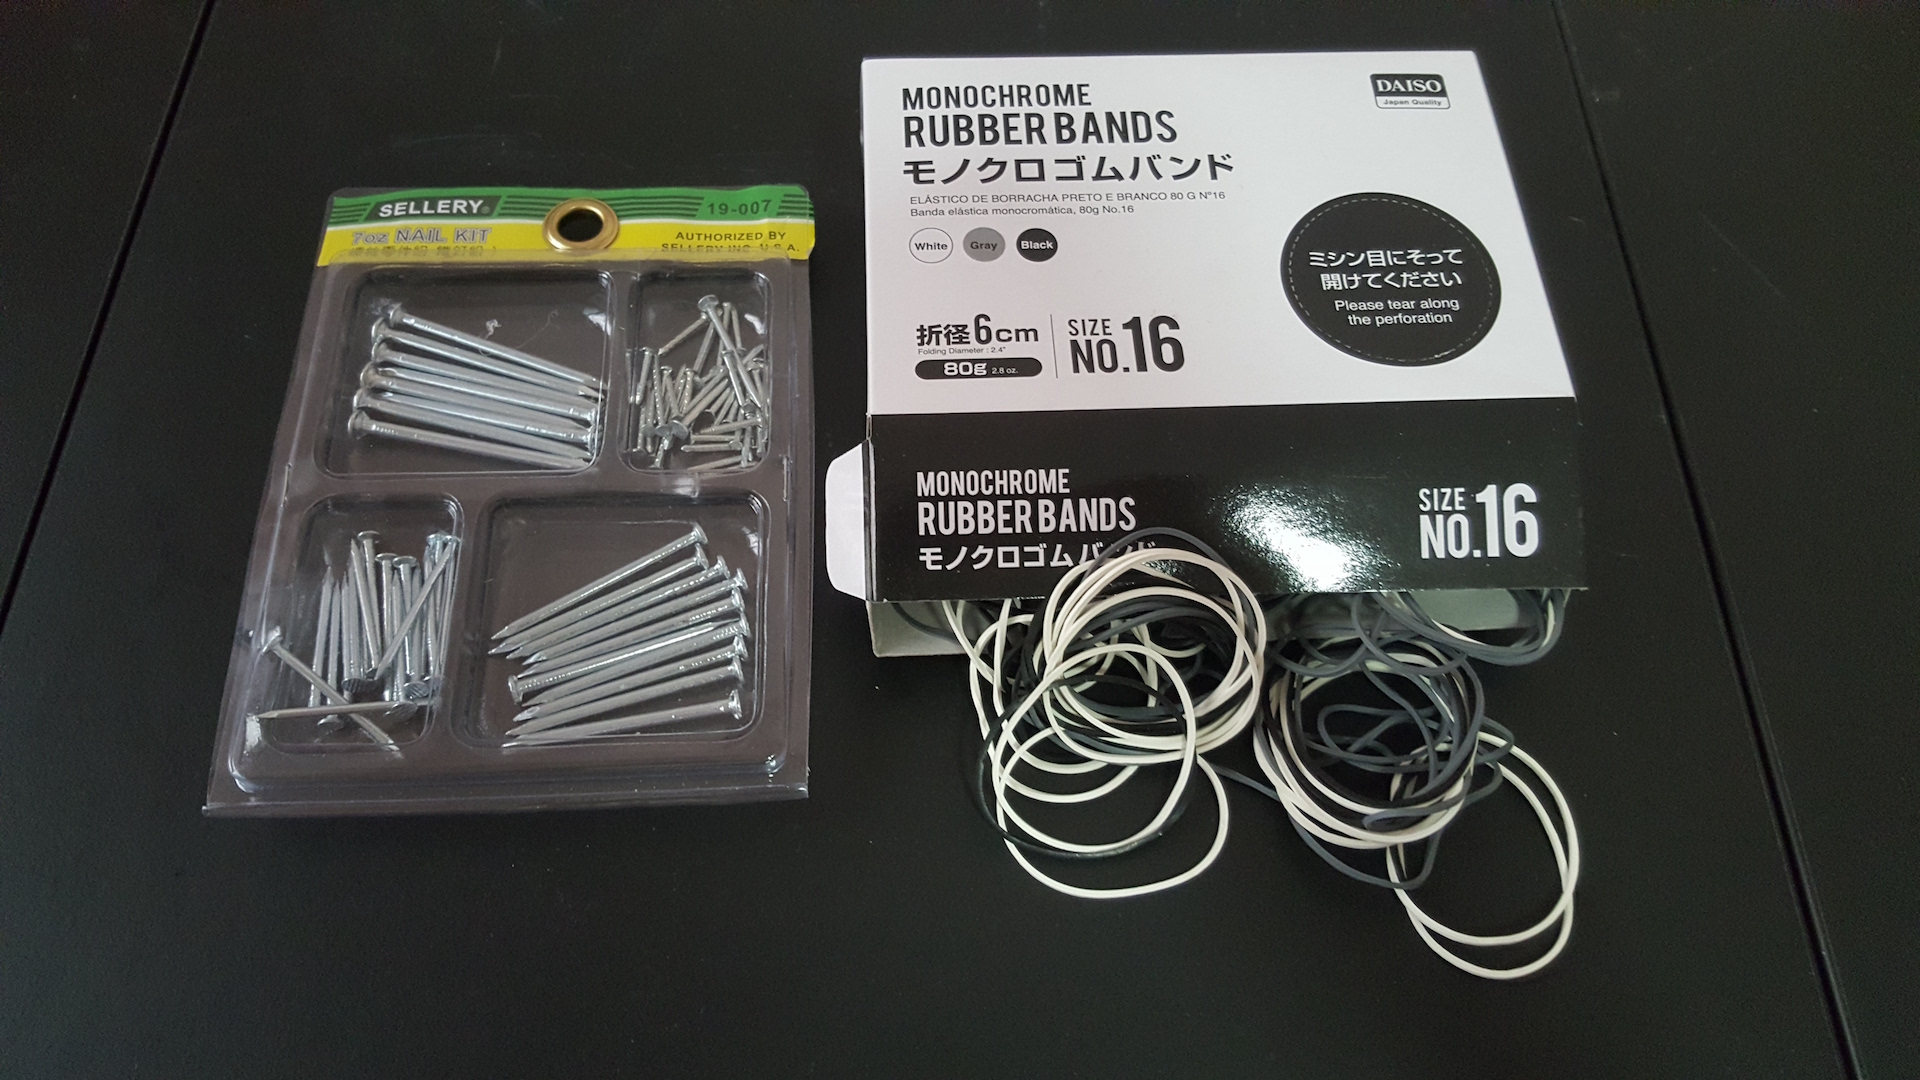
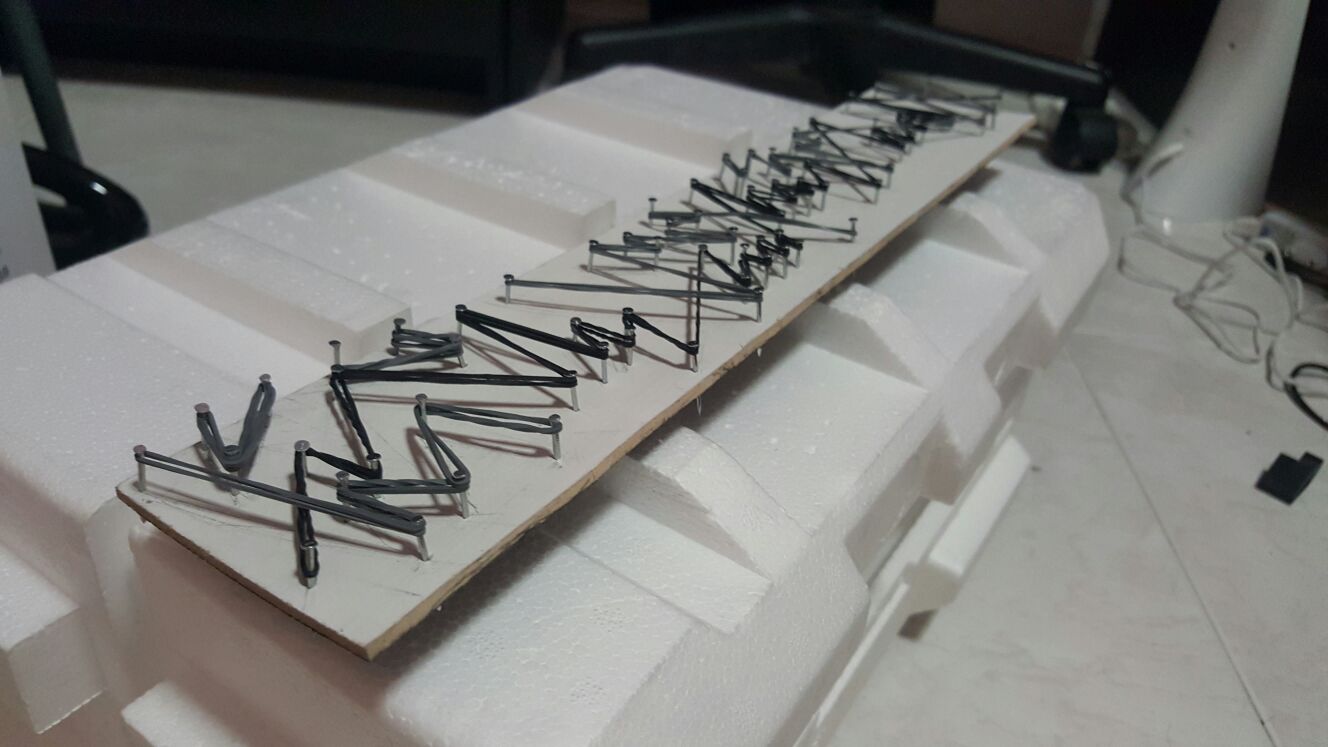
Some materials for hostile~ nails and monochromatic rubber bands! So lucky to be able to find monochromatic rubber bands! God bless Daiso HAHAHAHAH! Also there is a piece of wood for material that is missing in the picture~ oops haha. Anyway my idea of hostile is the tension between oppositions so I used rubber bands. Nails in my opinion also symbolise aggression. Imagine the energy you channel to your art work when you hammer the nails into the piece of wood haha!
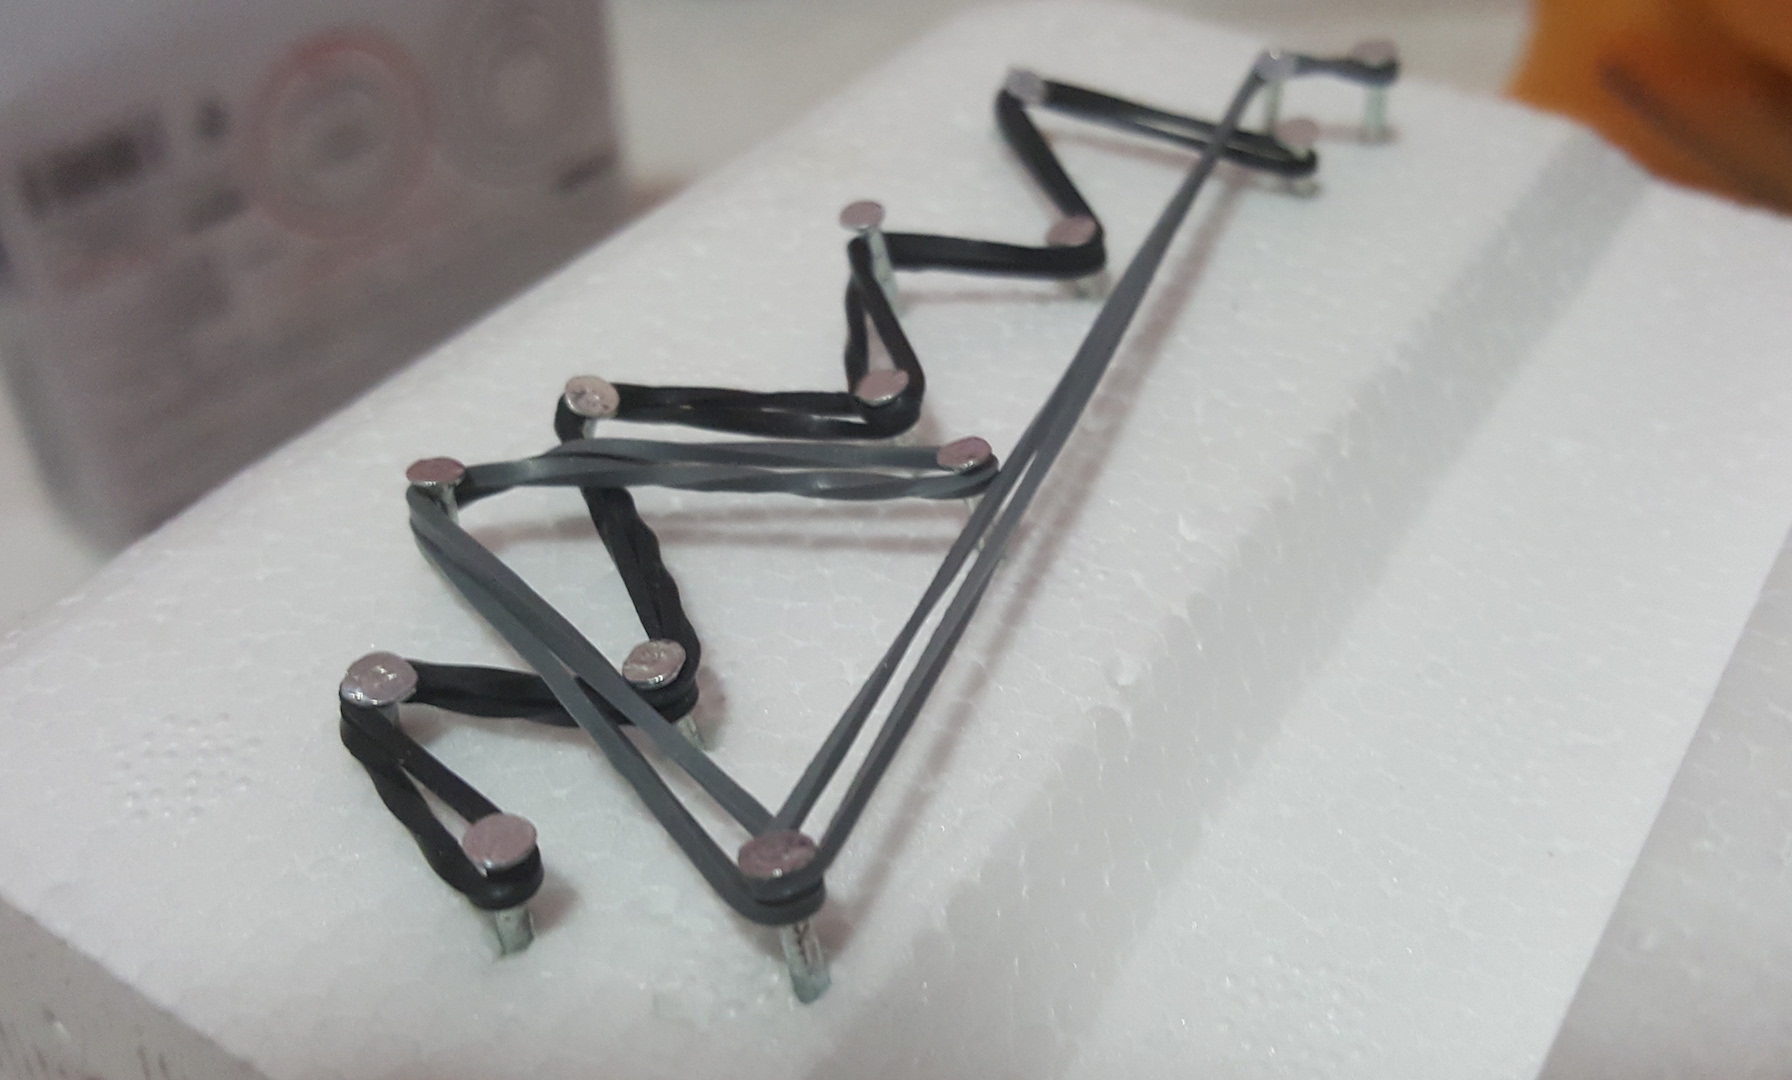
Some little test out on styrofoam first before i hammer the nails into the actual wooden piece~
Firstly, I painted the piece of wood one side black and the other side white because I was unsure of what colour to use as the background colour and not sure what band colour to use too. In the end i decided to go with white background with grey and black bands~
Secondly, I have draft out the sharp edges design that I’ve wanted on the piece of wood that has already dry from the paint. Then I hammered the nails at all the sharp turning point.
Finally, I loop, pull and turn the bands from one point to another. I started off with the black bands first, followed by the grey band(that represent the opposition force). For the finishing, I just stuck the piece of wood on to a piece of styrofoam.
Reflection: Used wood instead of directly using styrofoam as my base because wood are better at withstanding the tension of the rubber bands and nails.
4 ) FEAR – Anxiety
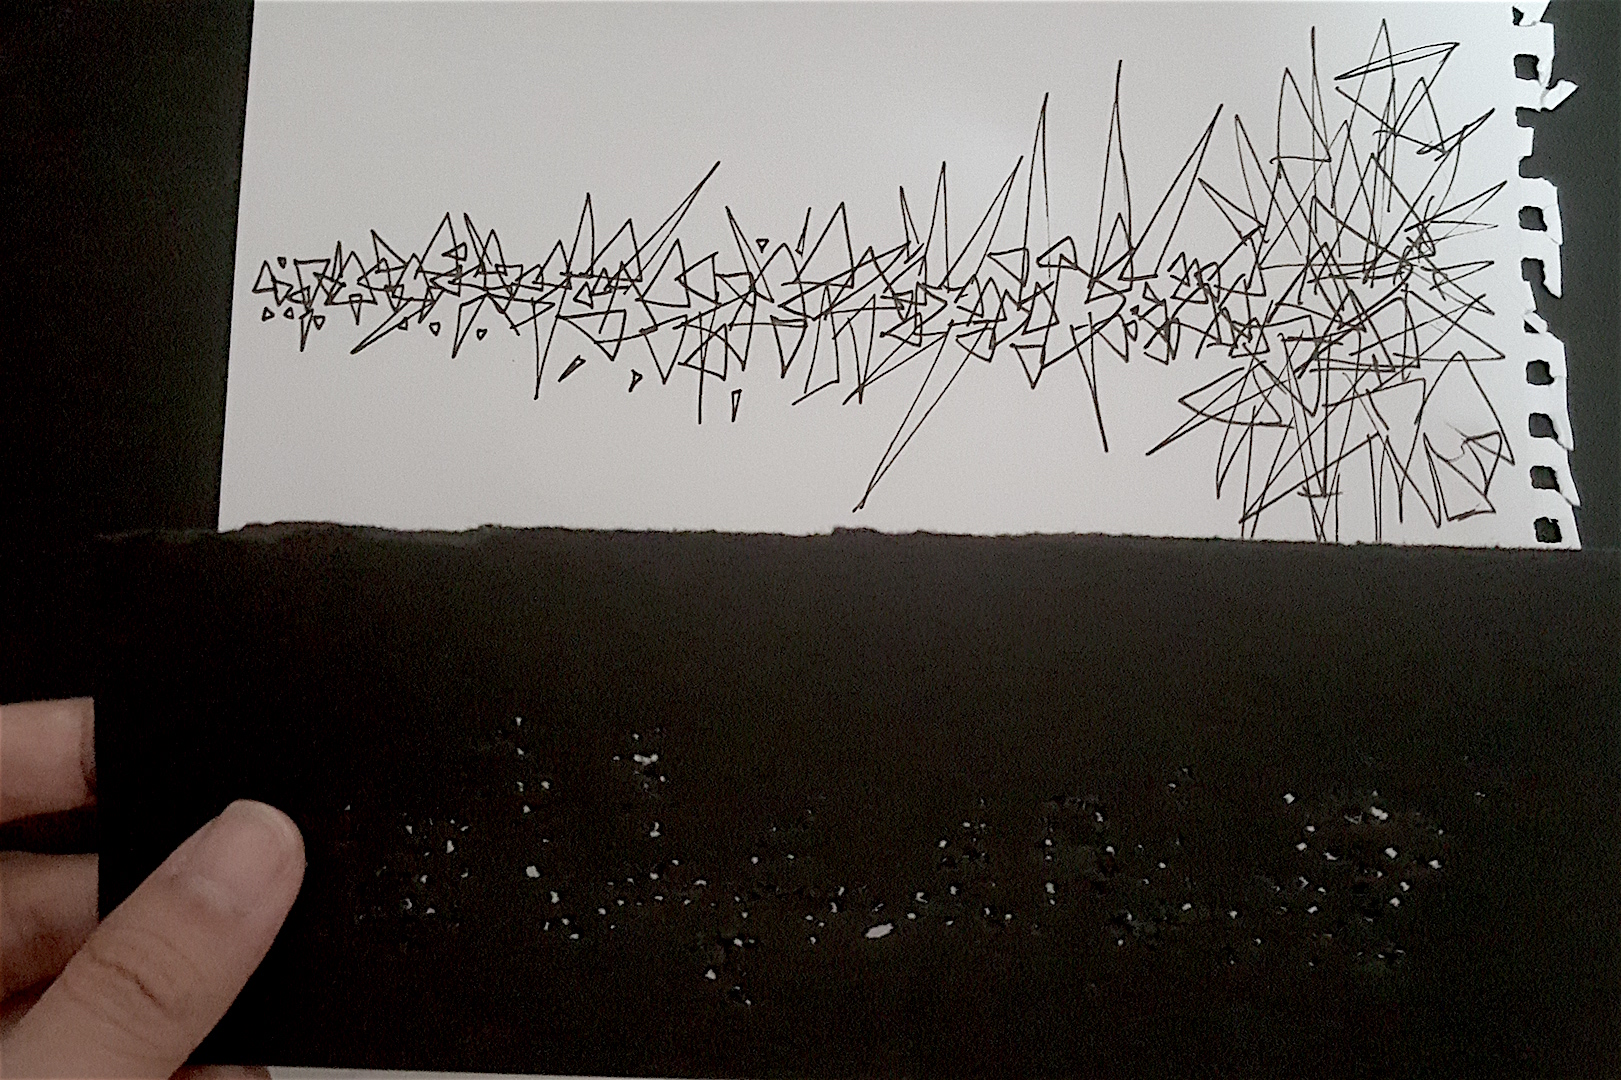
Tested out different methods to show anxiety such as using triangular shape make mark and poking of holes using nails to show the energy of anxiety.
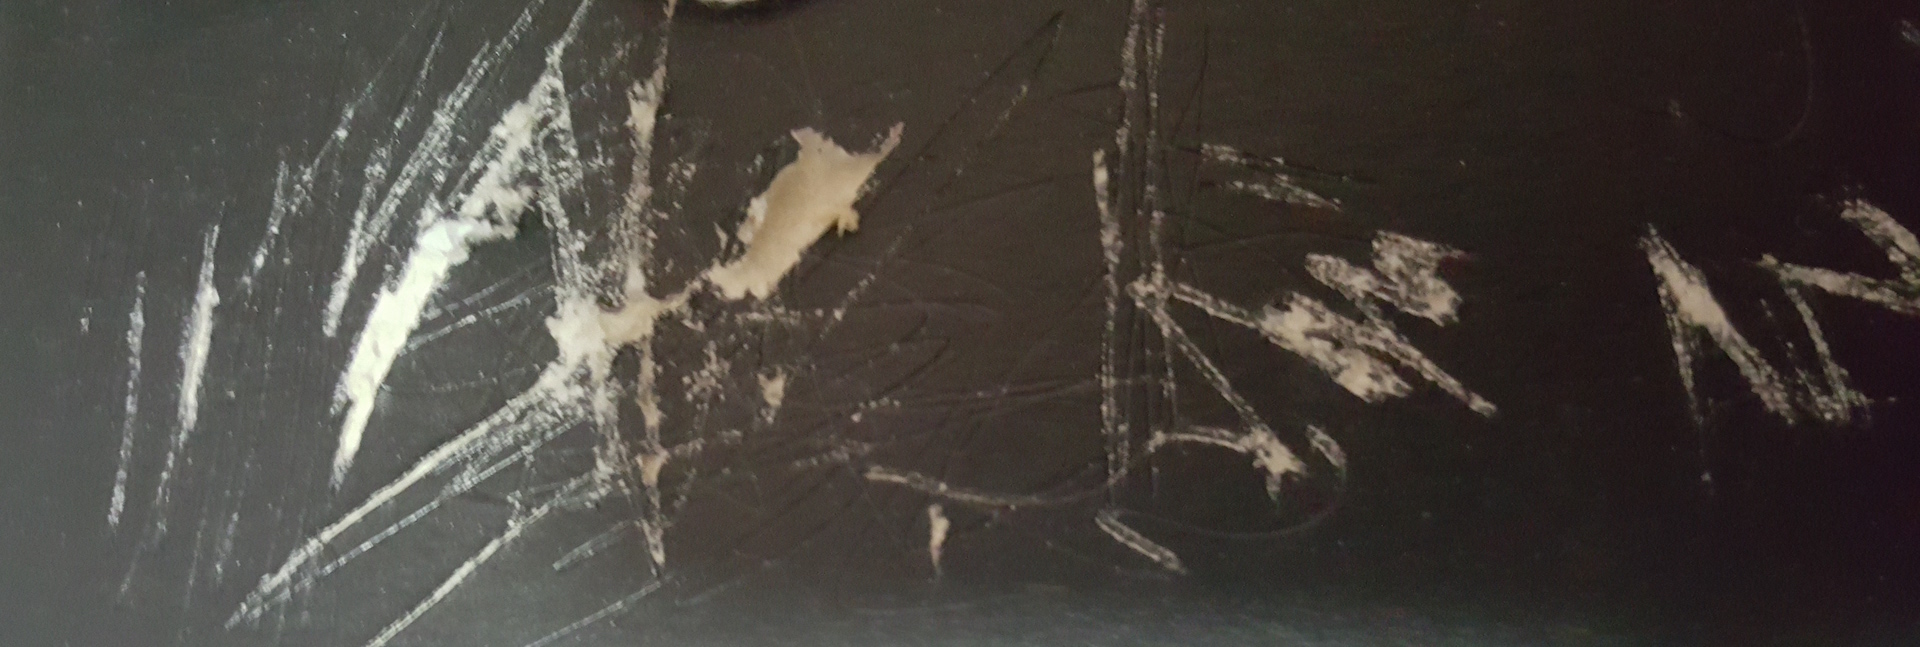
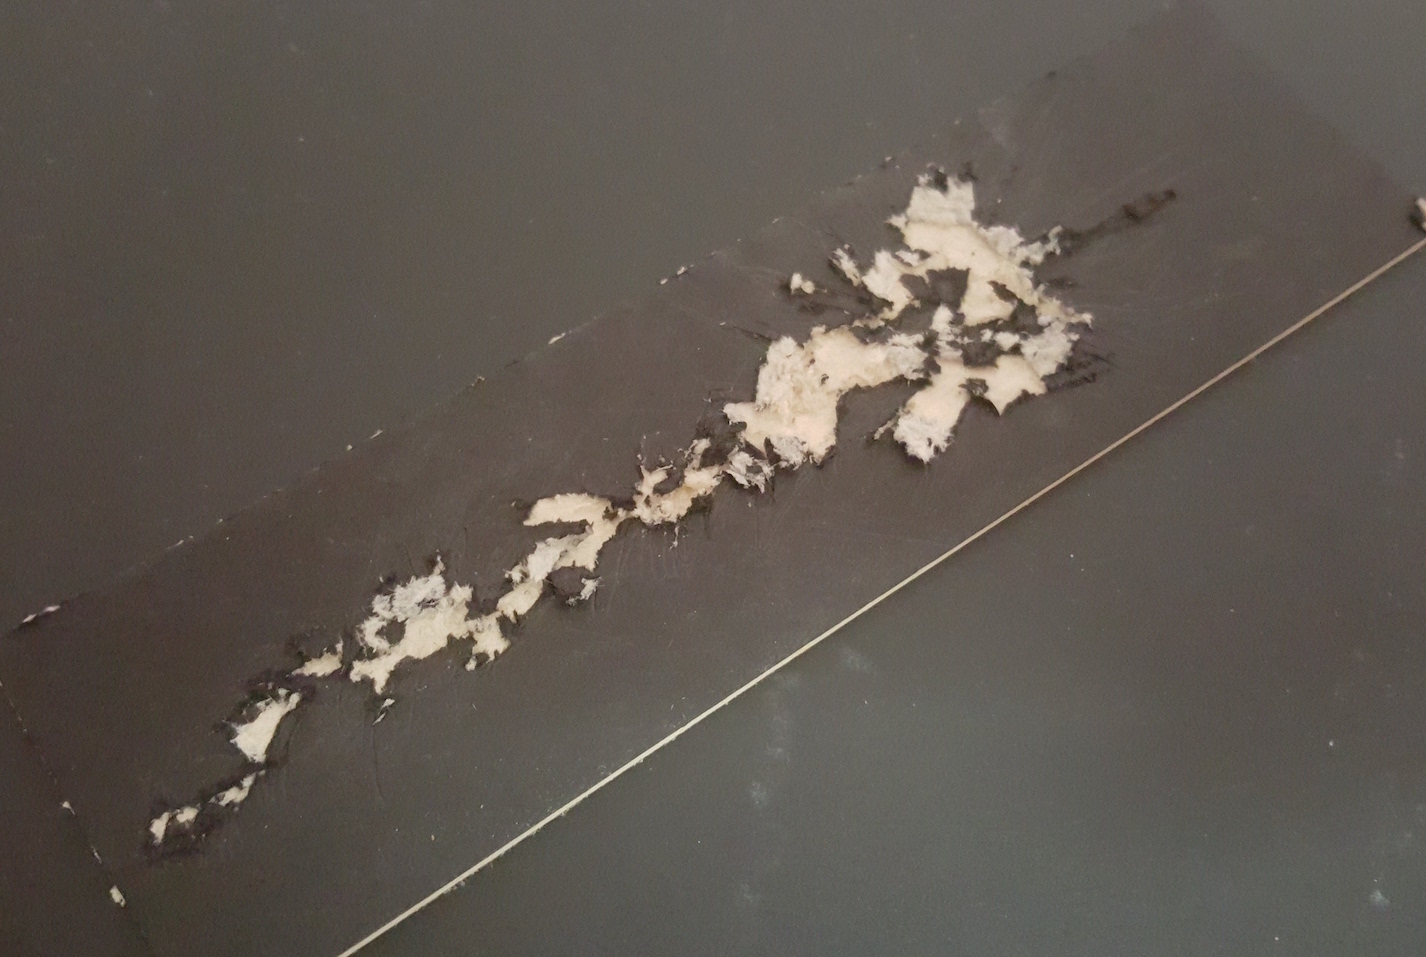
Played around with 2 kinds of nails scratching methods. Effect 1 looks more like anger/rage. Effect 2 looks more unsettling/nervous. After consultation, out of all the test, scratching effect 2 is the most relatable piece.
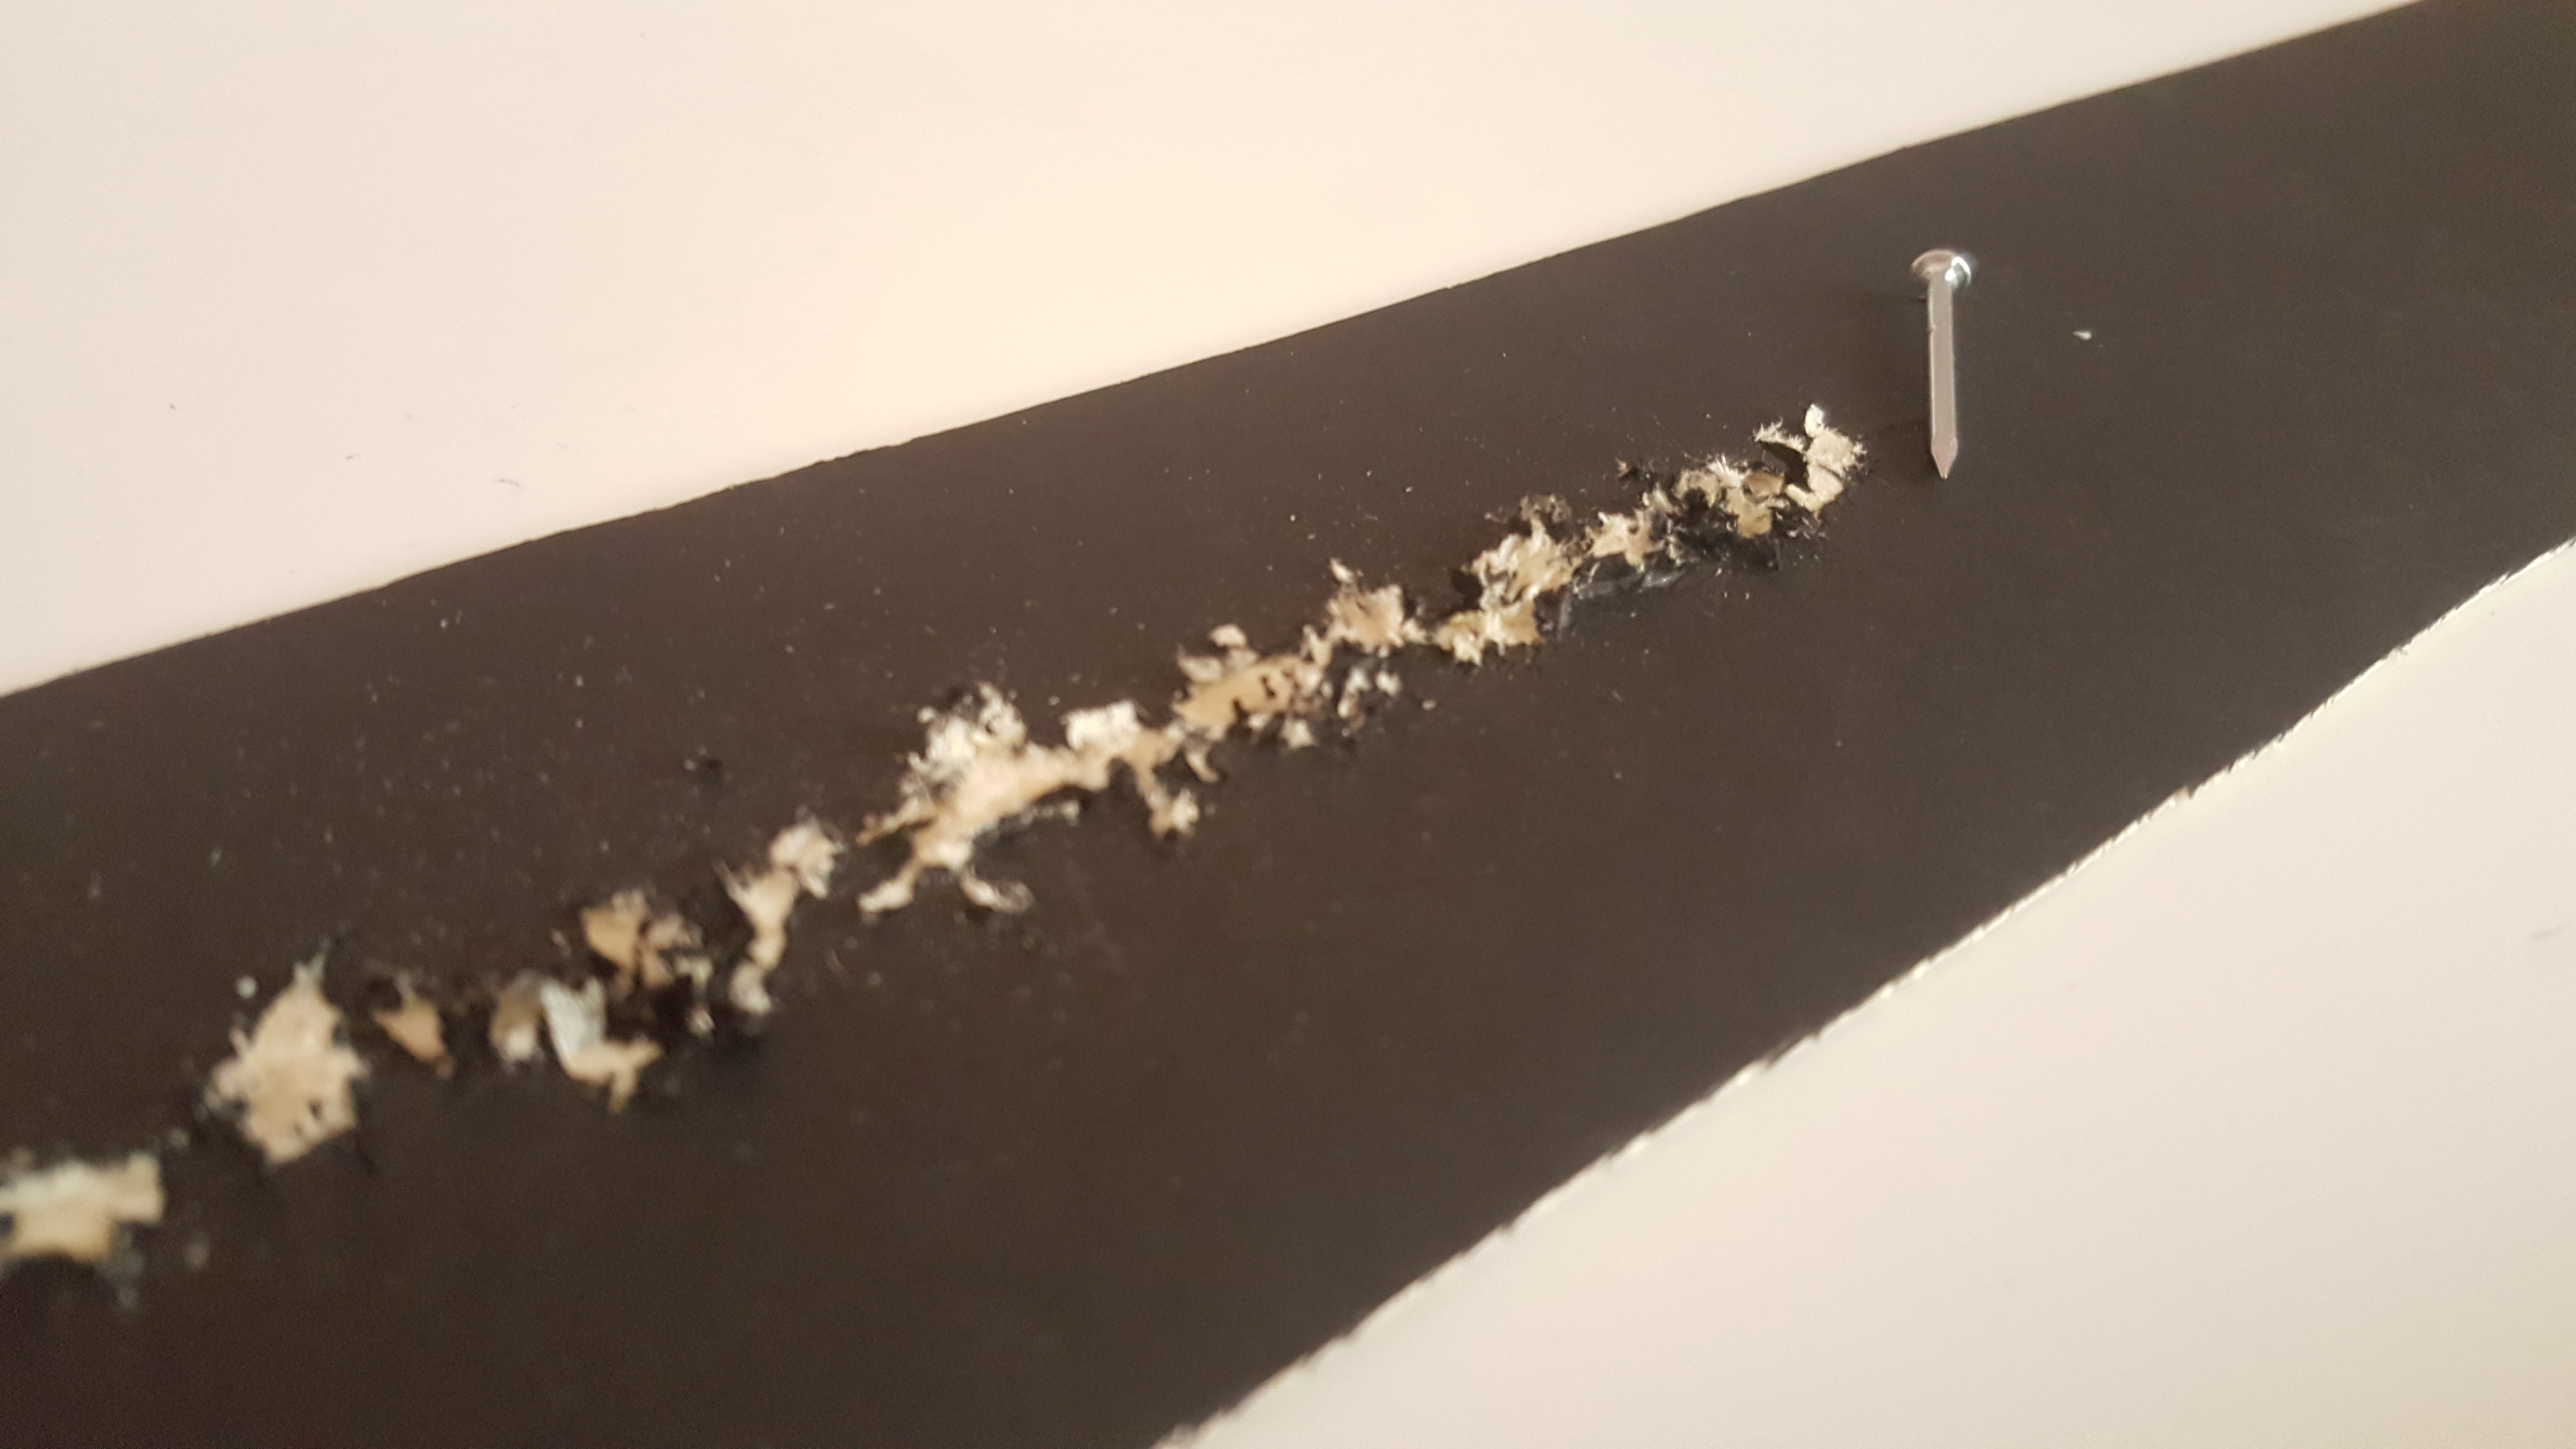
Scratching with nails halfway through~~

End product! Showing anxiety starting from small erratic unsettling emotions leading to being more and more nervous and finally the outburst of uncontrollable negative emotions.
5 ) SADNESS – Loneliness
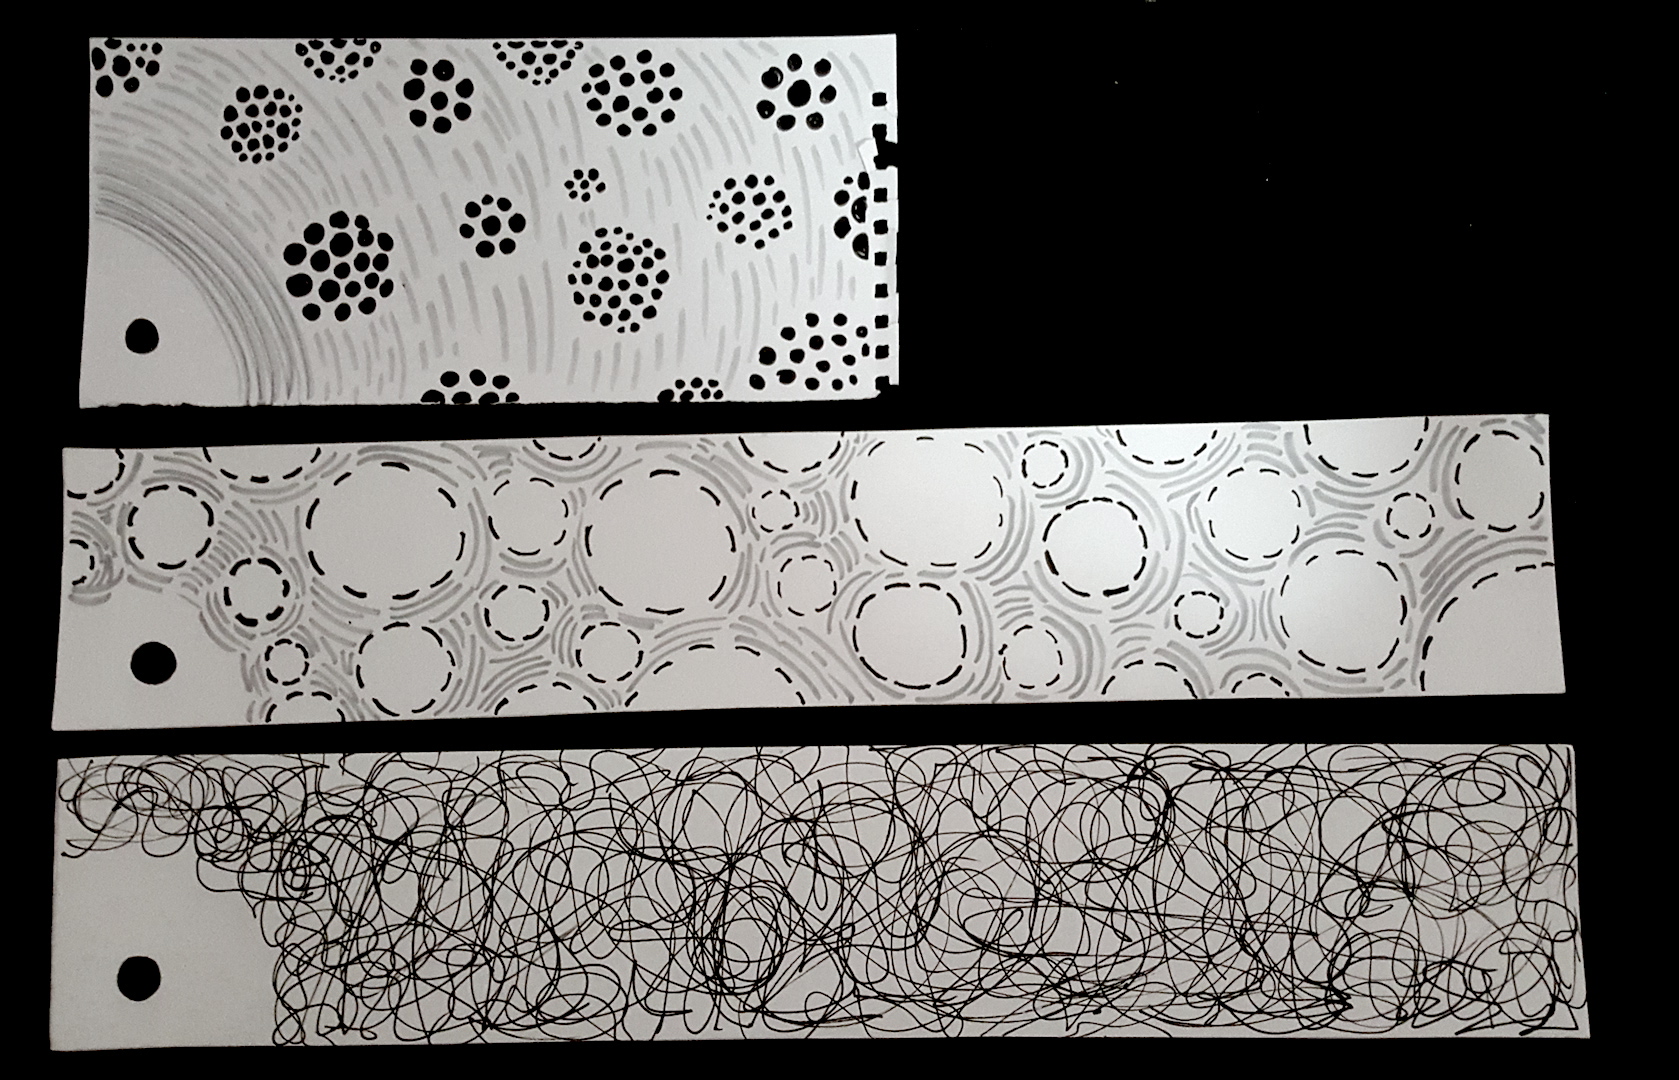
The first and 2nd design shows how loneliness to me means being isolated by others whom have already form cliques. The 3rd design shows how I perceive loneliness — being overwhelmed by cluttered, noisy and messy surroundings when you are by yourself at a corner. After consultation the first one was picked as it shows much more obvious of being left out. Its like the dots they are all of the same kind yet all the dots clique together by themselves while leaving out this specific dot by the corner.
6 ) JOY – Exhilaration
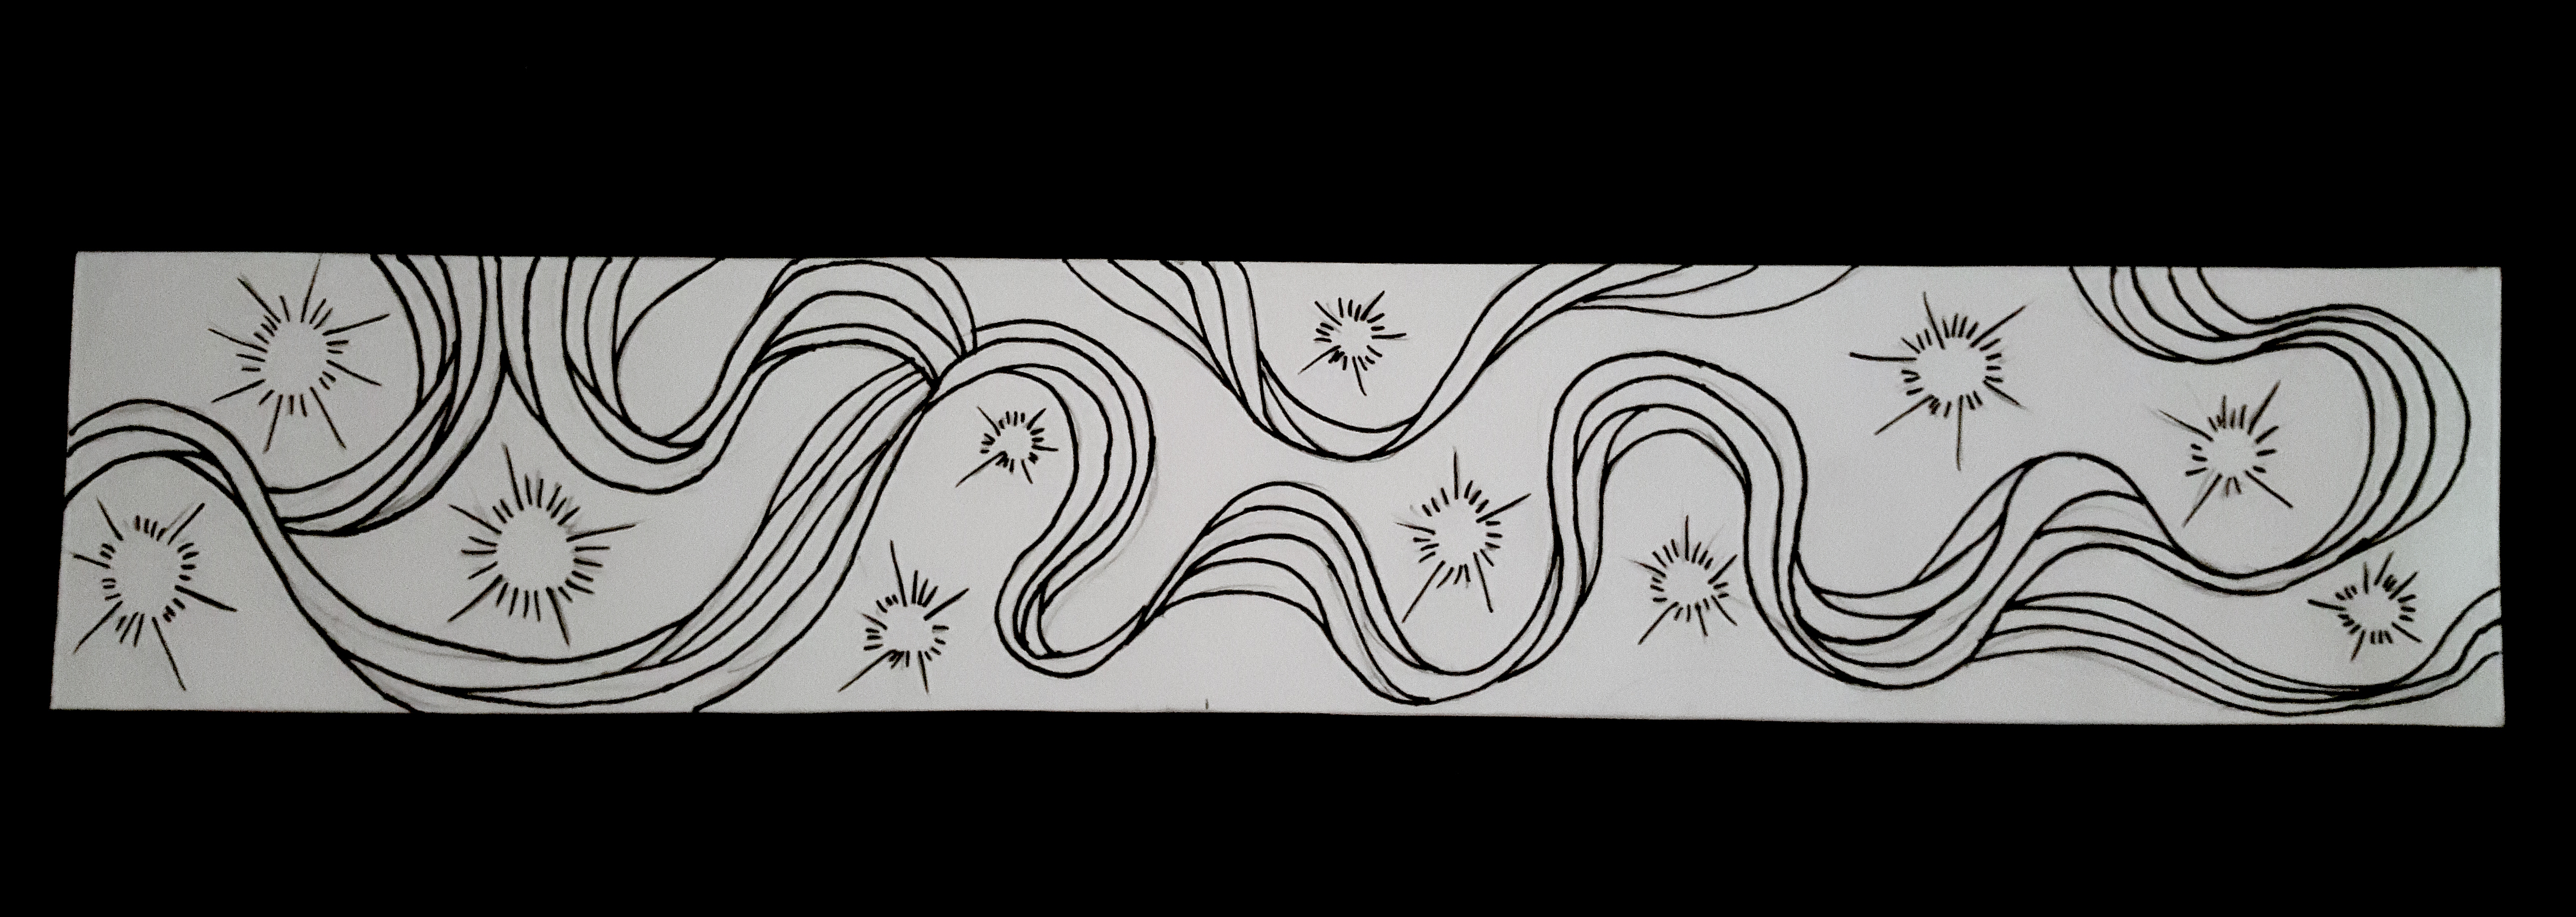
After consultation, this piece can be further improved by having more values with different tones and creating emphasis by using just one spark in the middle for example. Thus I revamped it and came out with the version below 😀
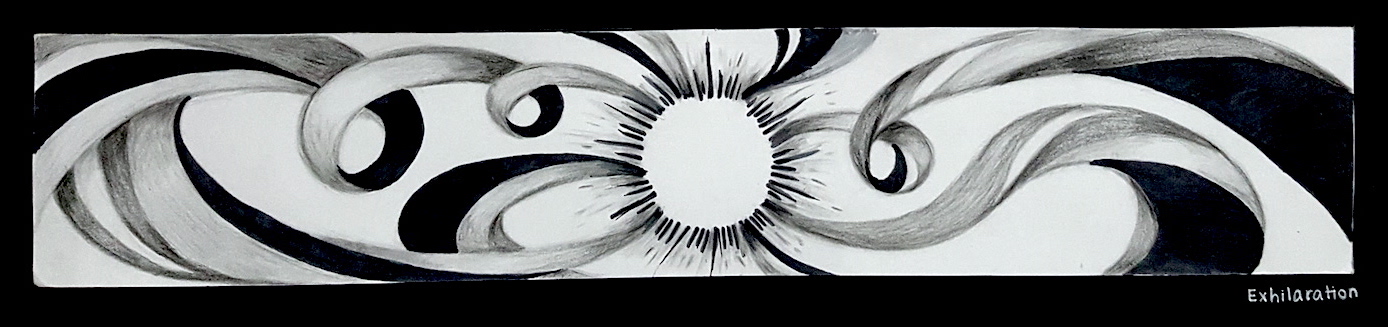
I’m more satisfied with the piece that is revamped !!:D As it kinda have a better composition now in a sense my as a viewer we know what to focus on first and slowly moving our eyes outwards as compared to the first version it is confusing and not sure of where to look at!