Week 3
For week 3, we prepared the rough idea of the mark making we are going to do for our emotions and experimented it in class.
The emotions that I had in mind was regret, peacefulness, lost, playfulness and worry.
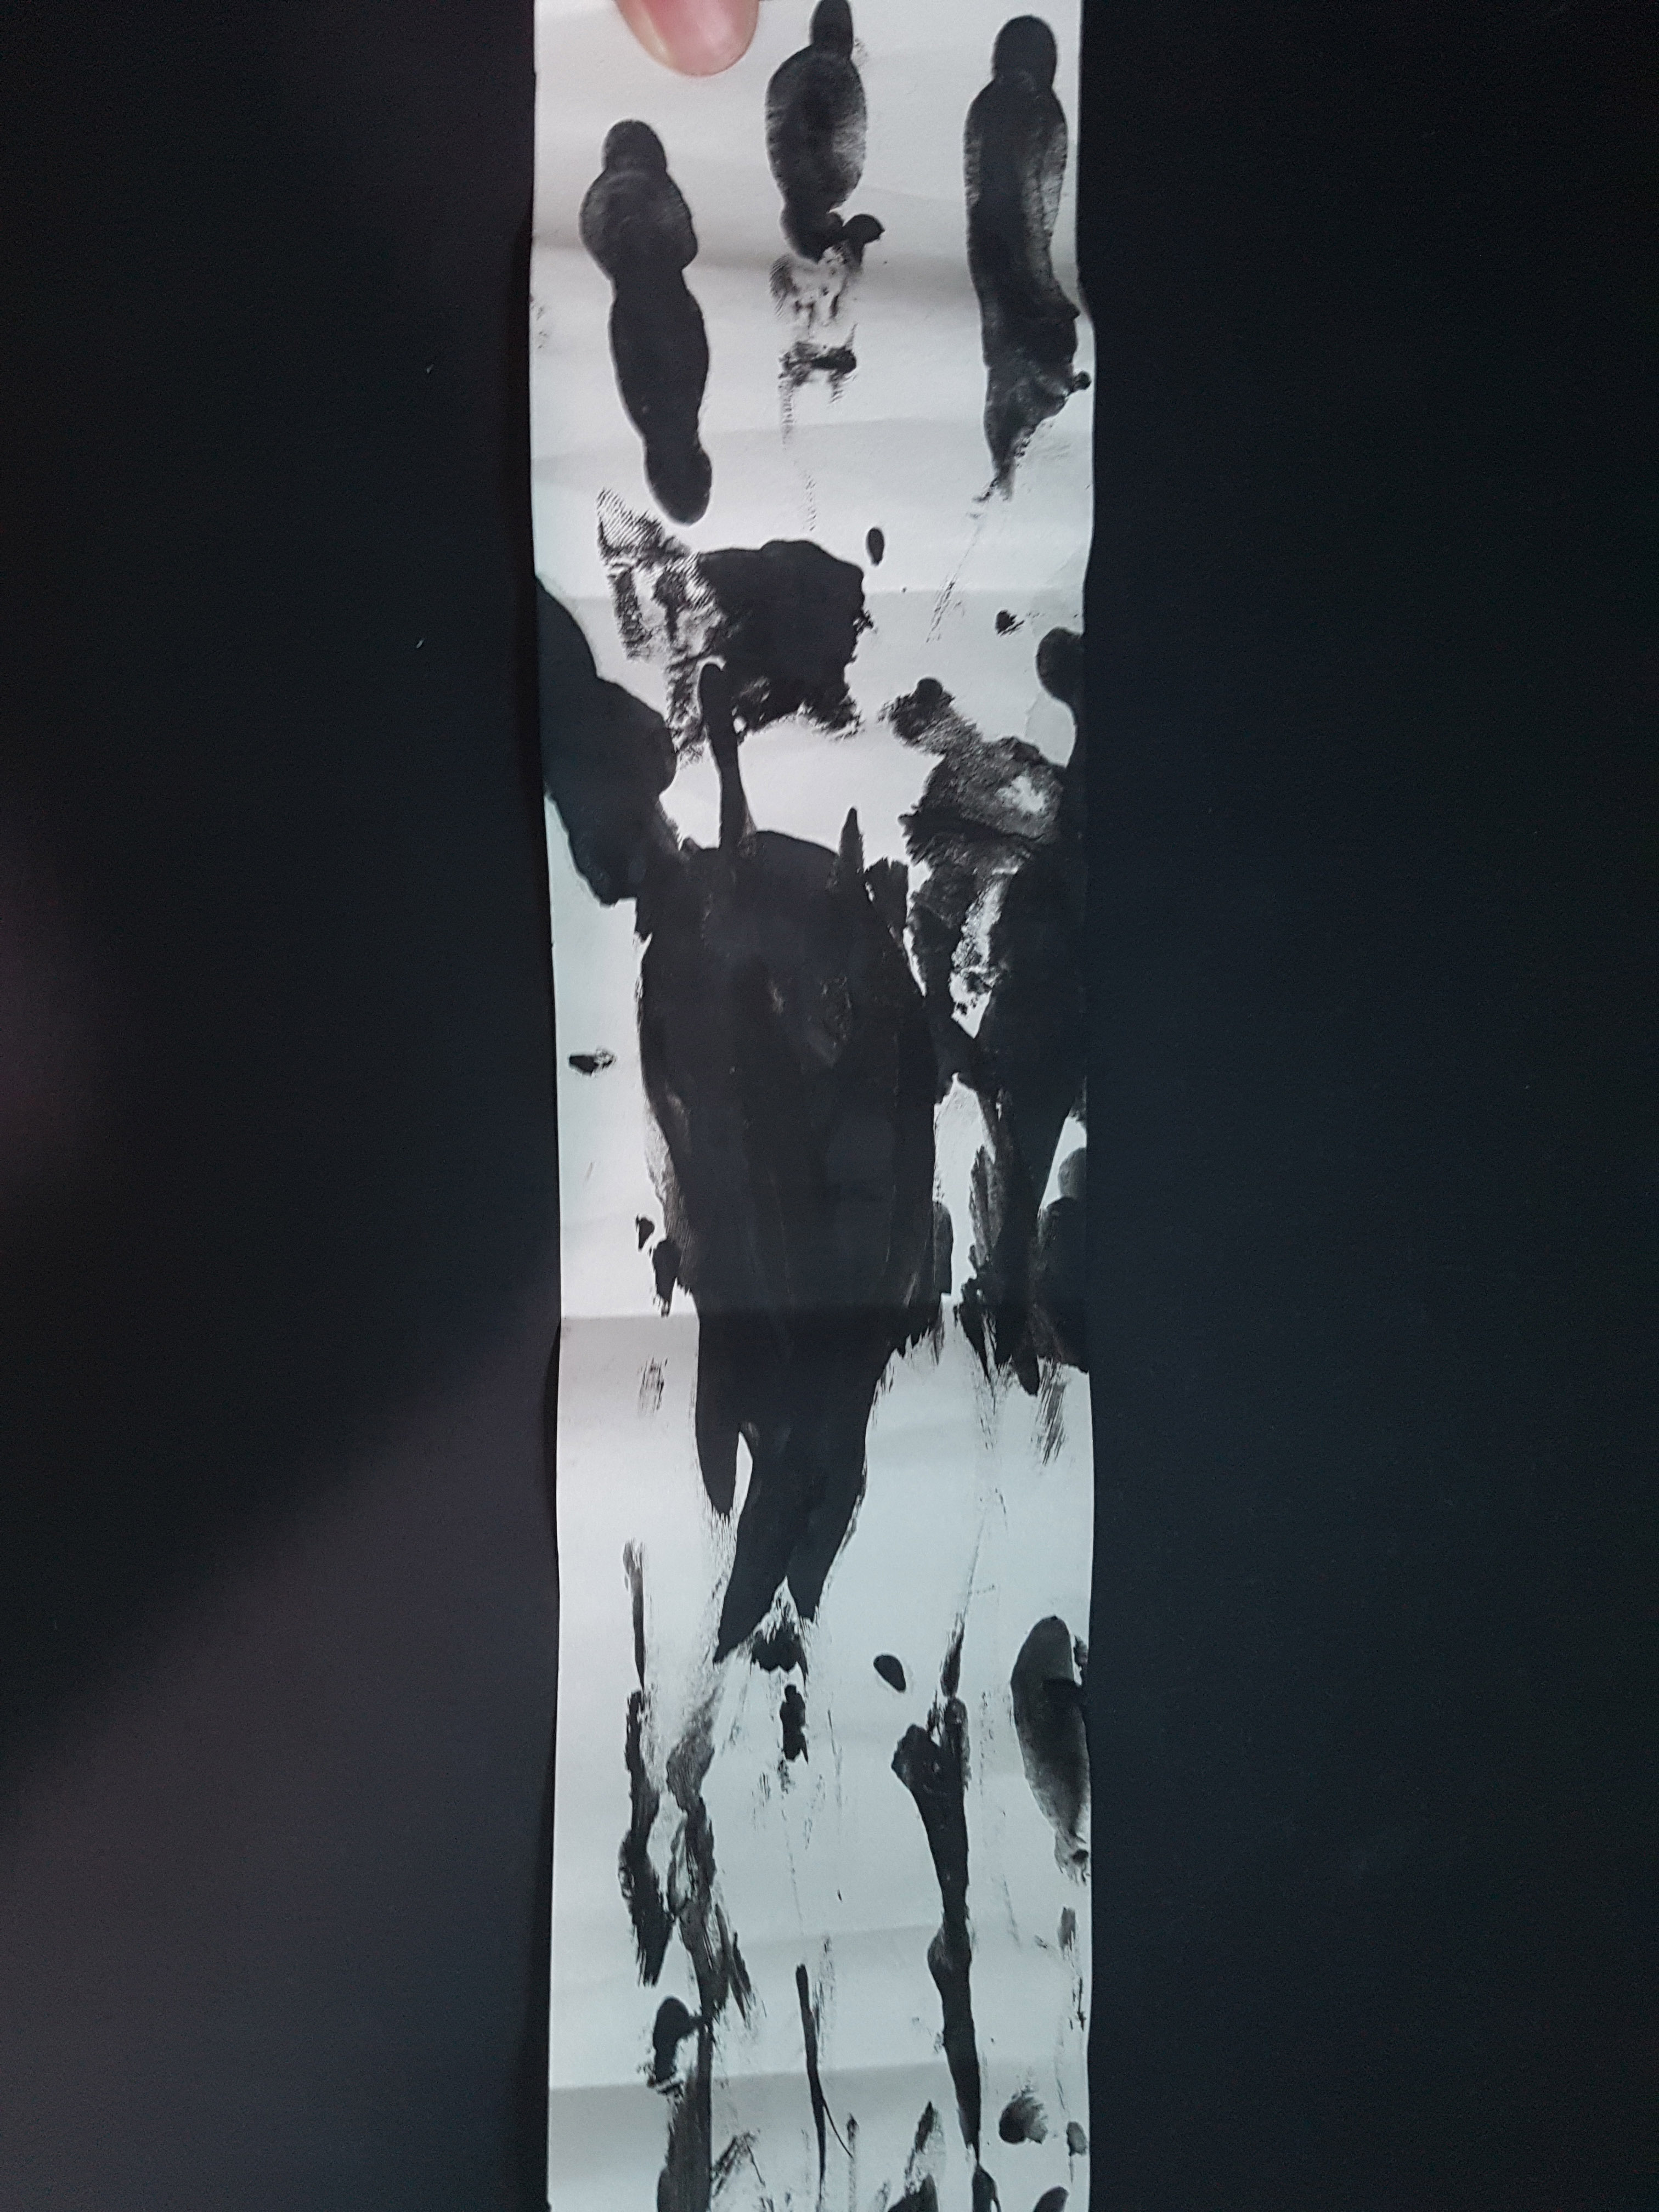
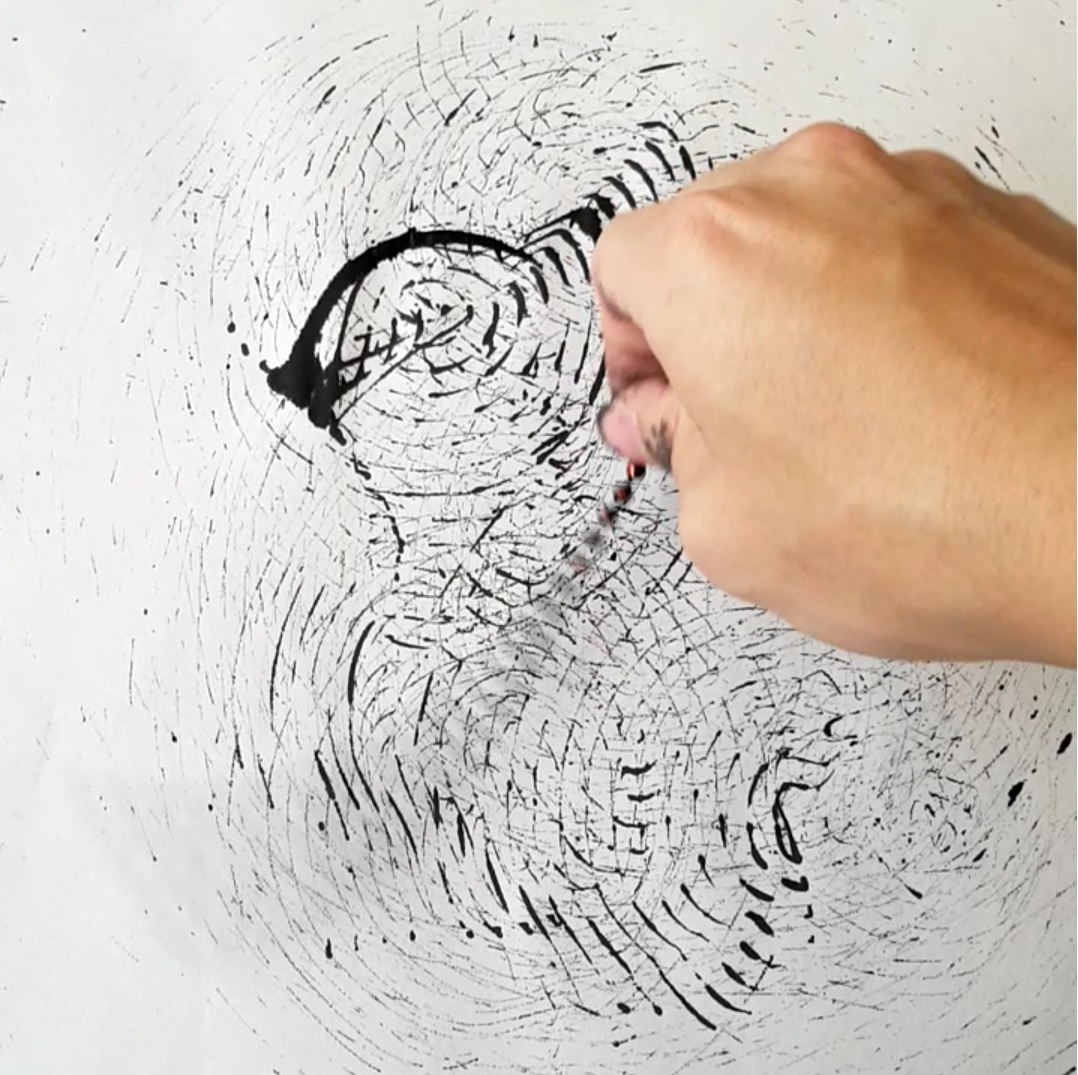
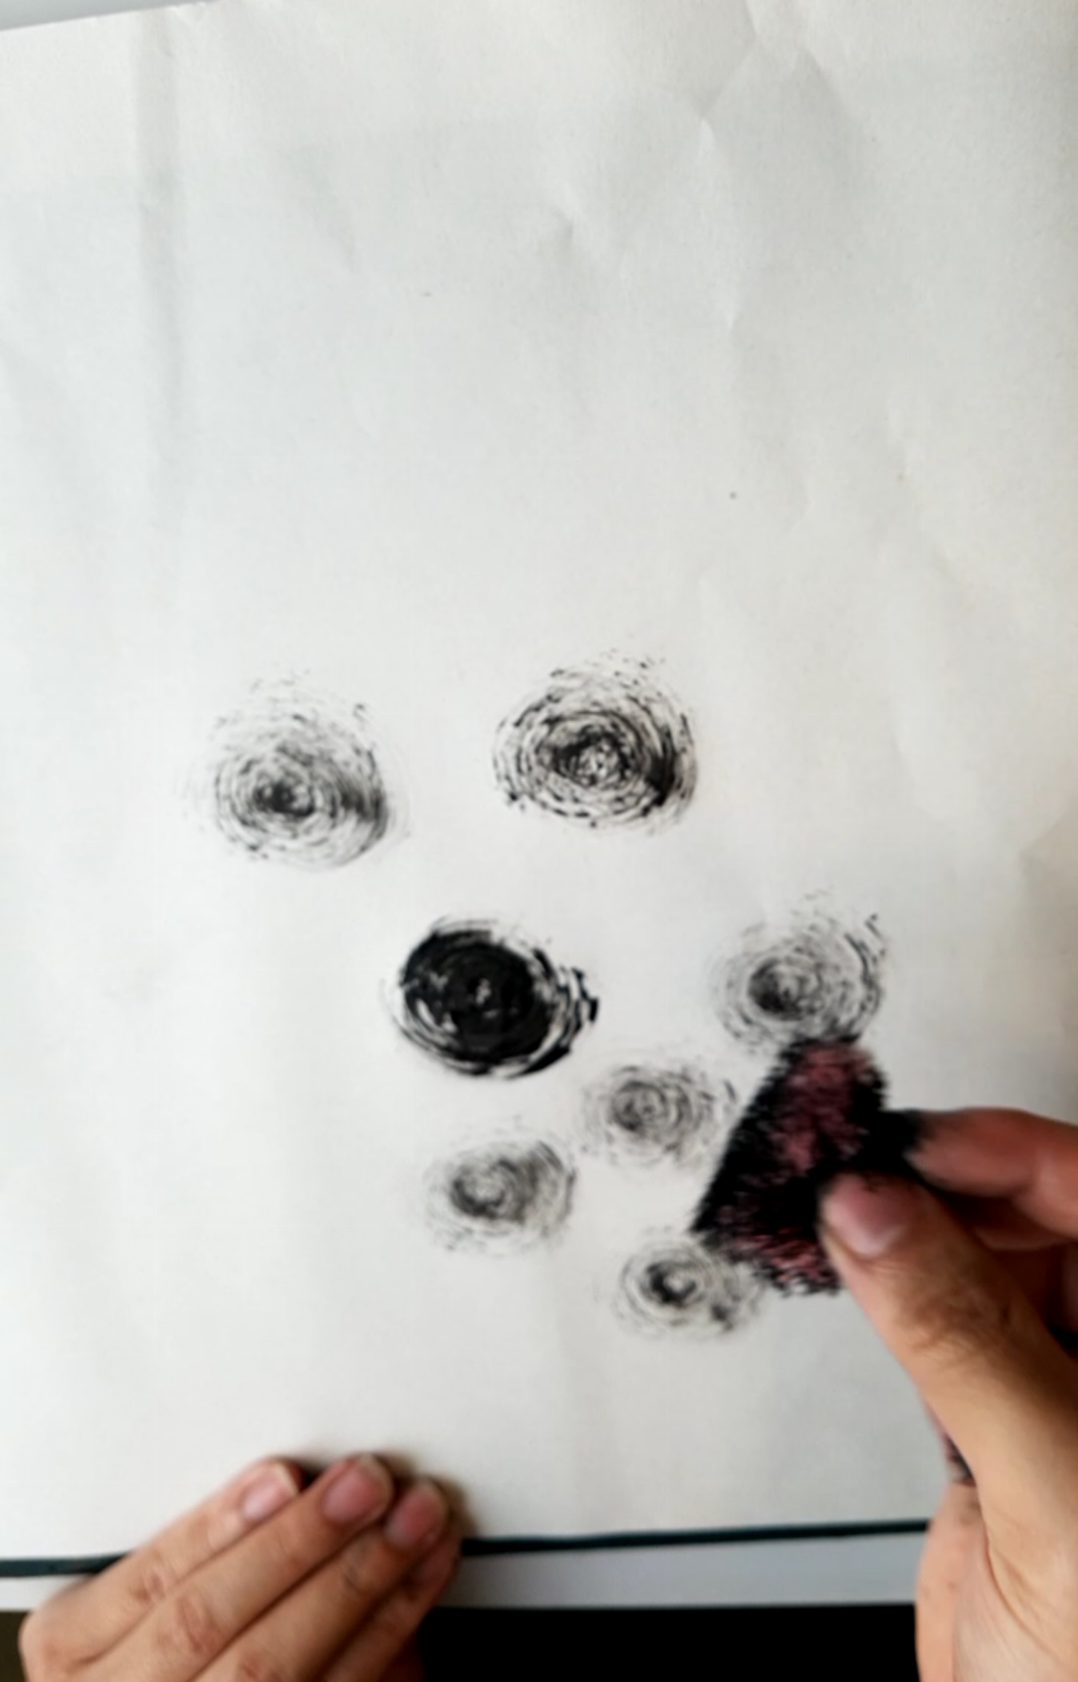
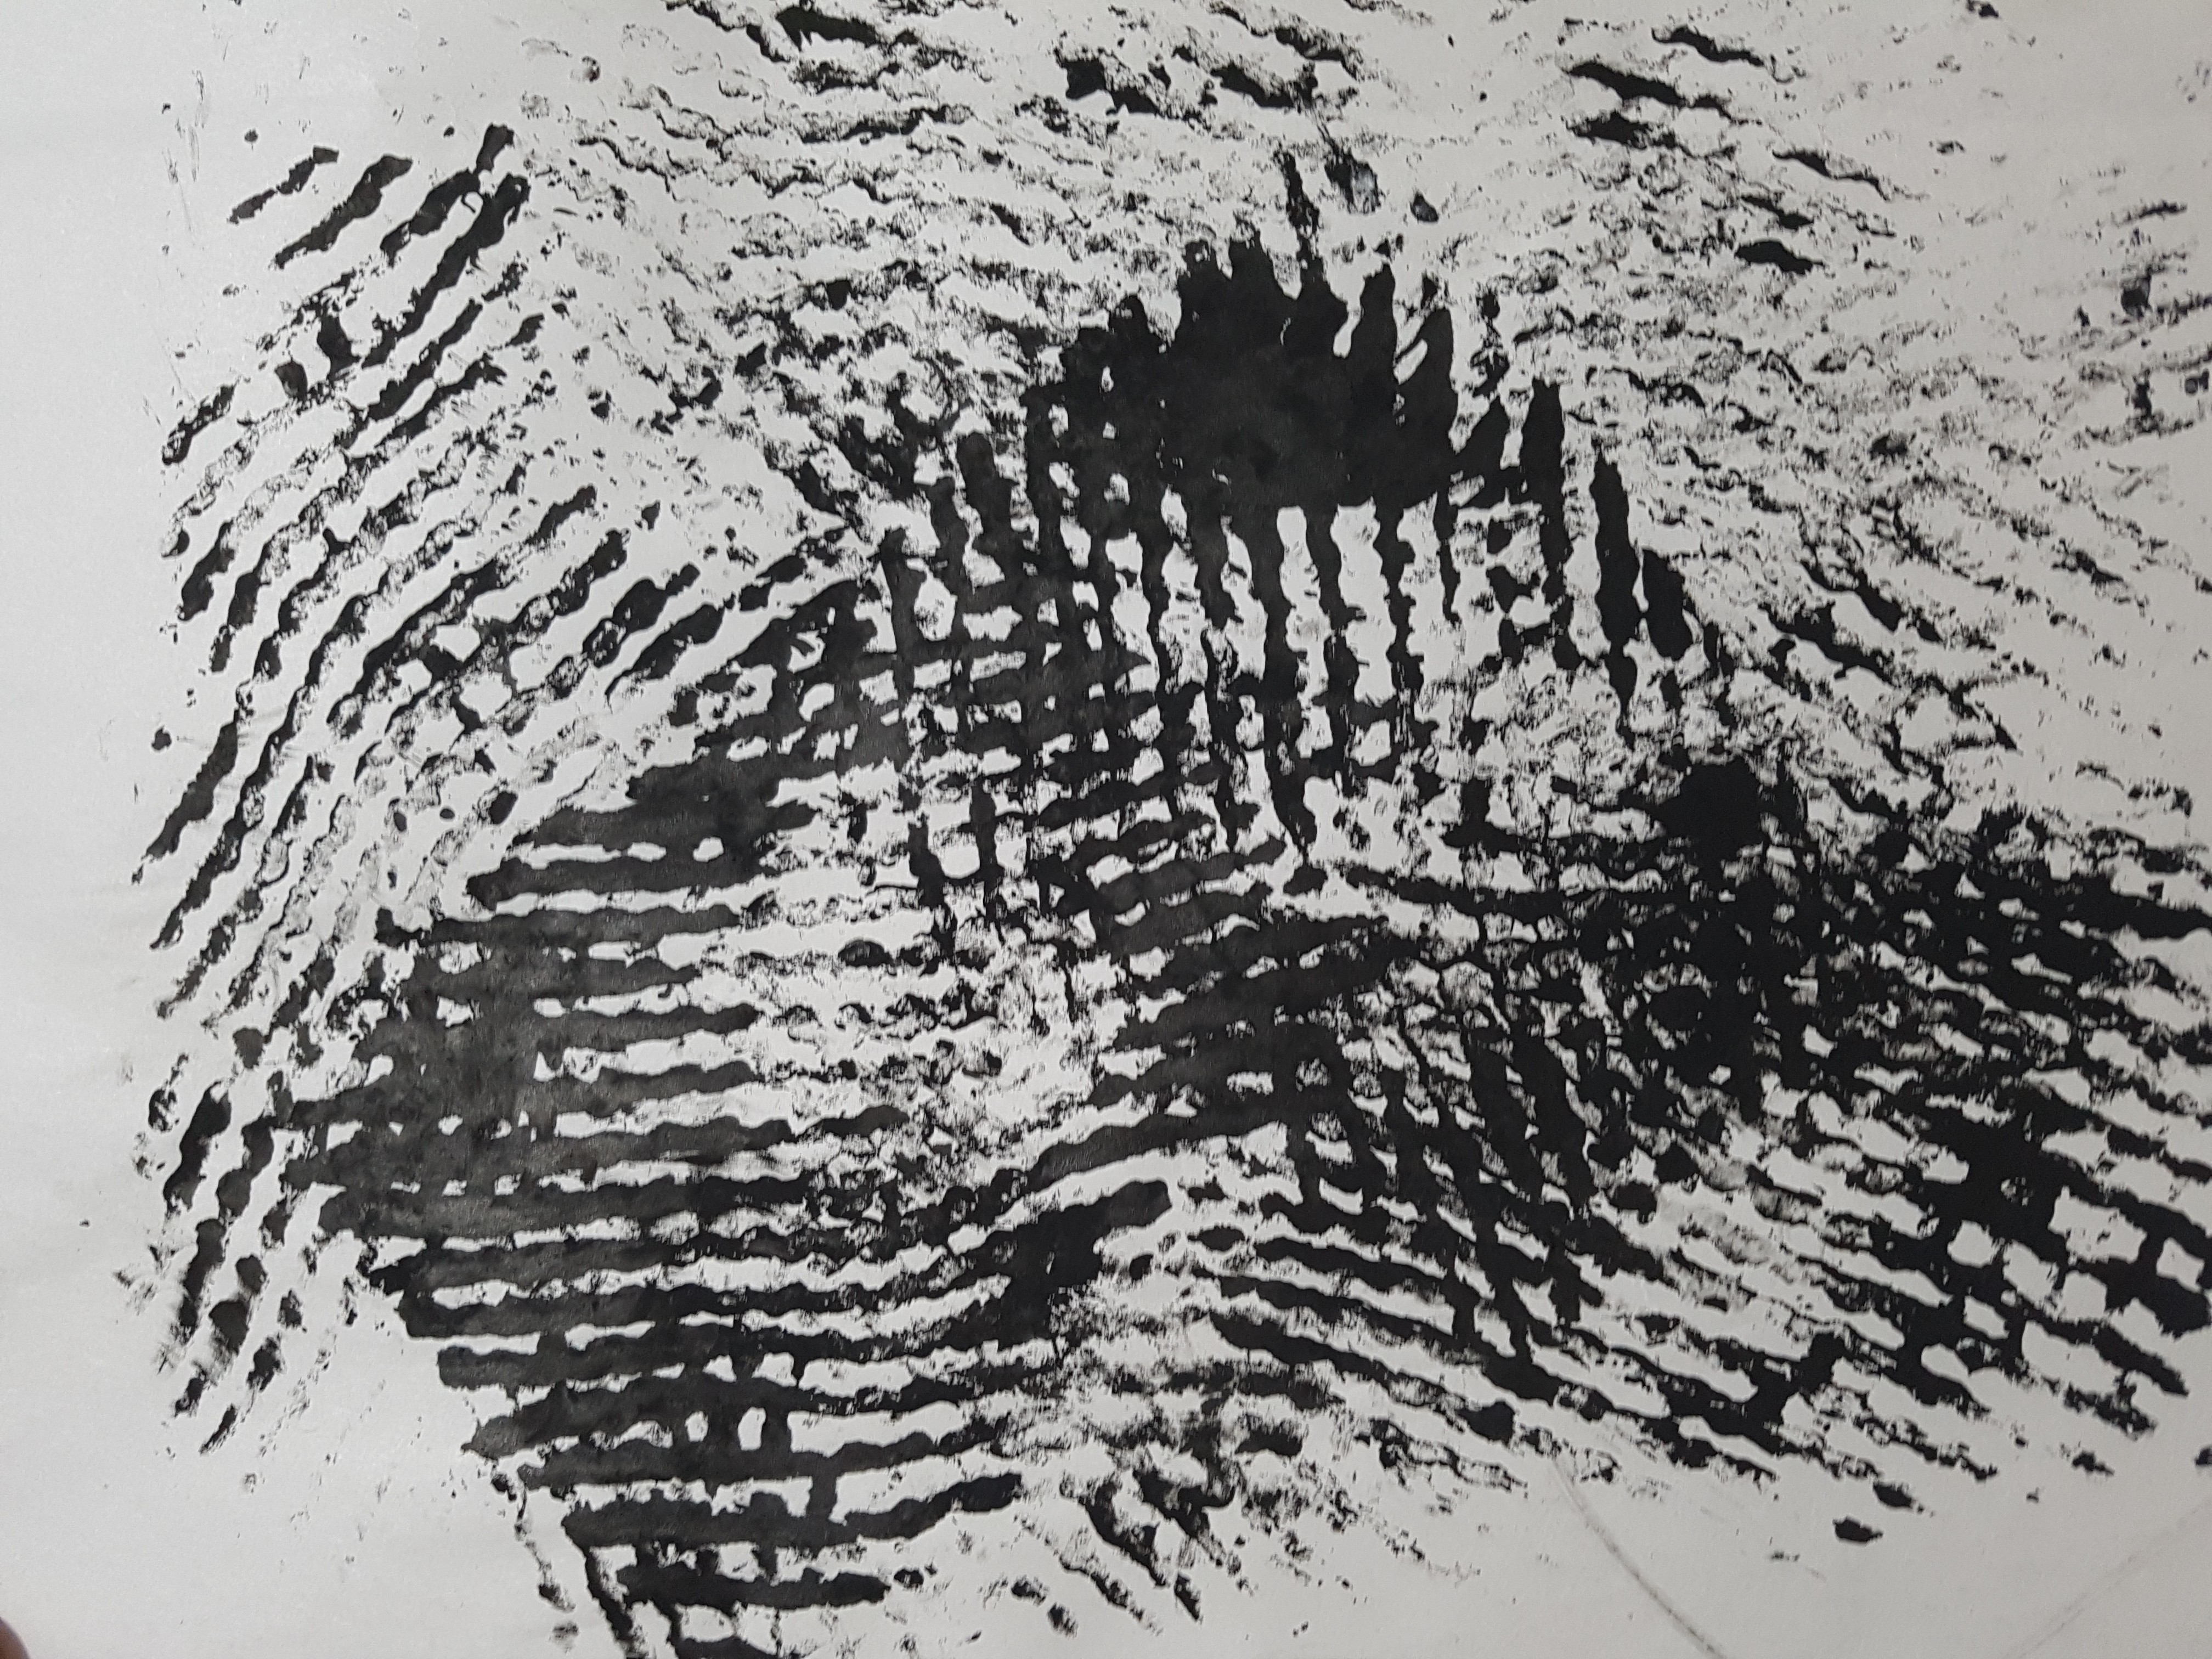
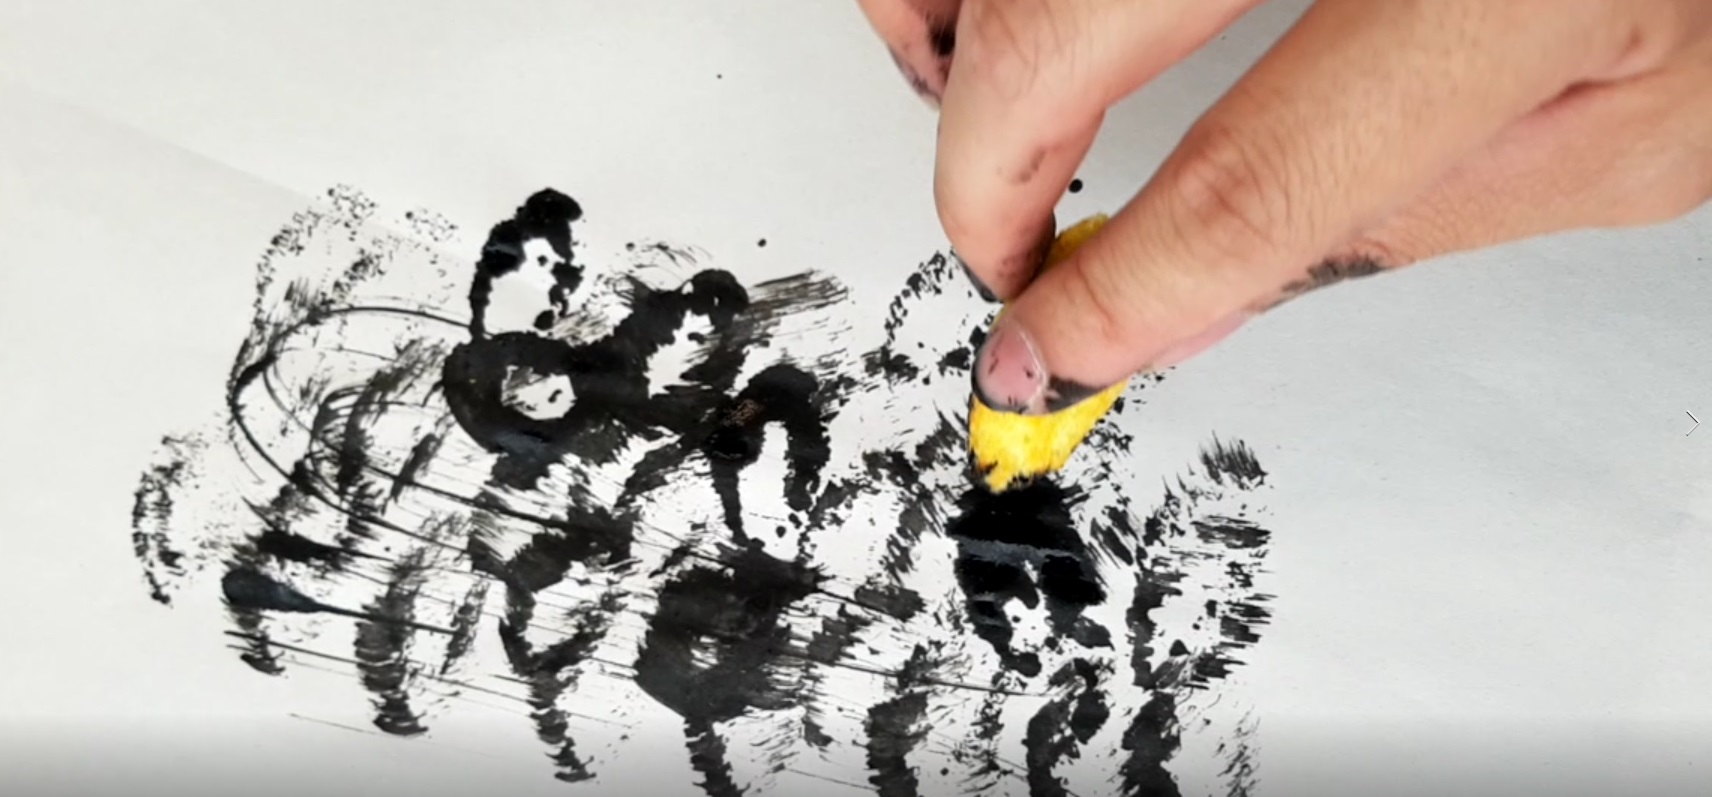
For regret, I wanted to create a mark making using my finger prints. I used finger prints to signify the things that we do that we regret on are pulling us back in life. I wanted to have my finger prints swirl on it, but the ink was either too thick or too wet hence I was unable to create the product I wanted.

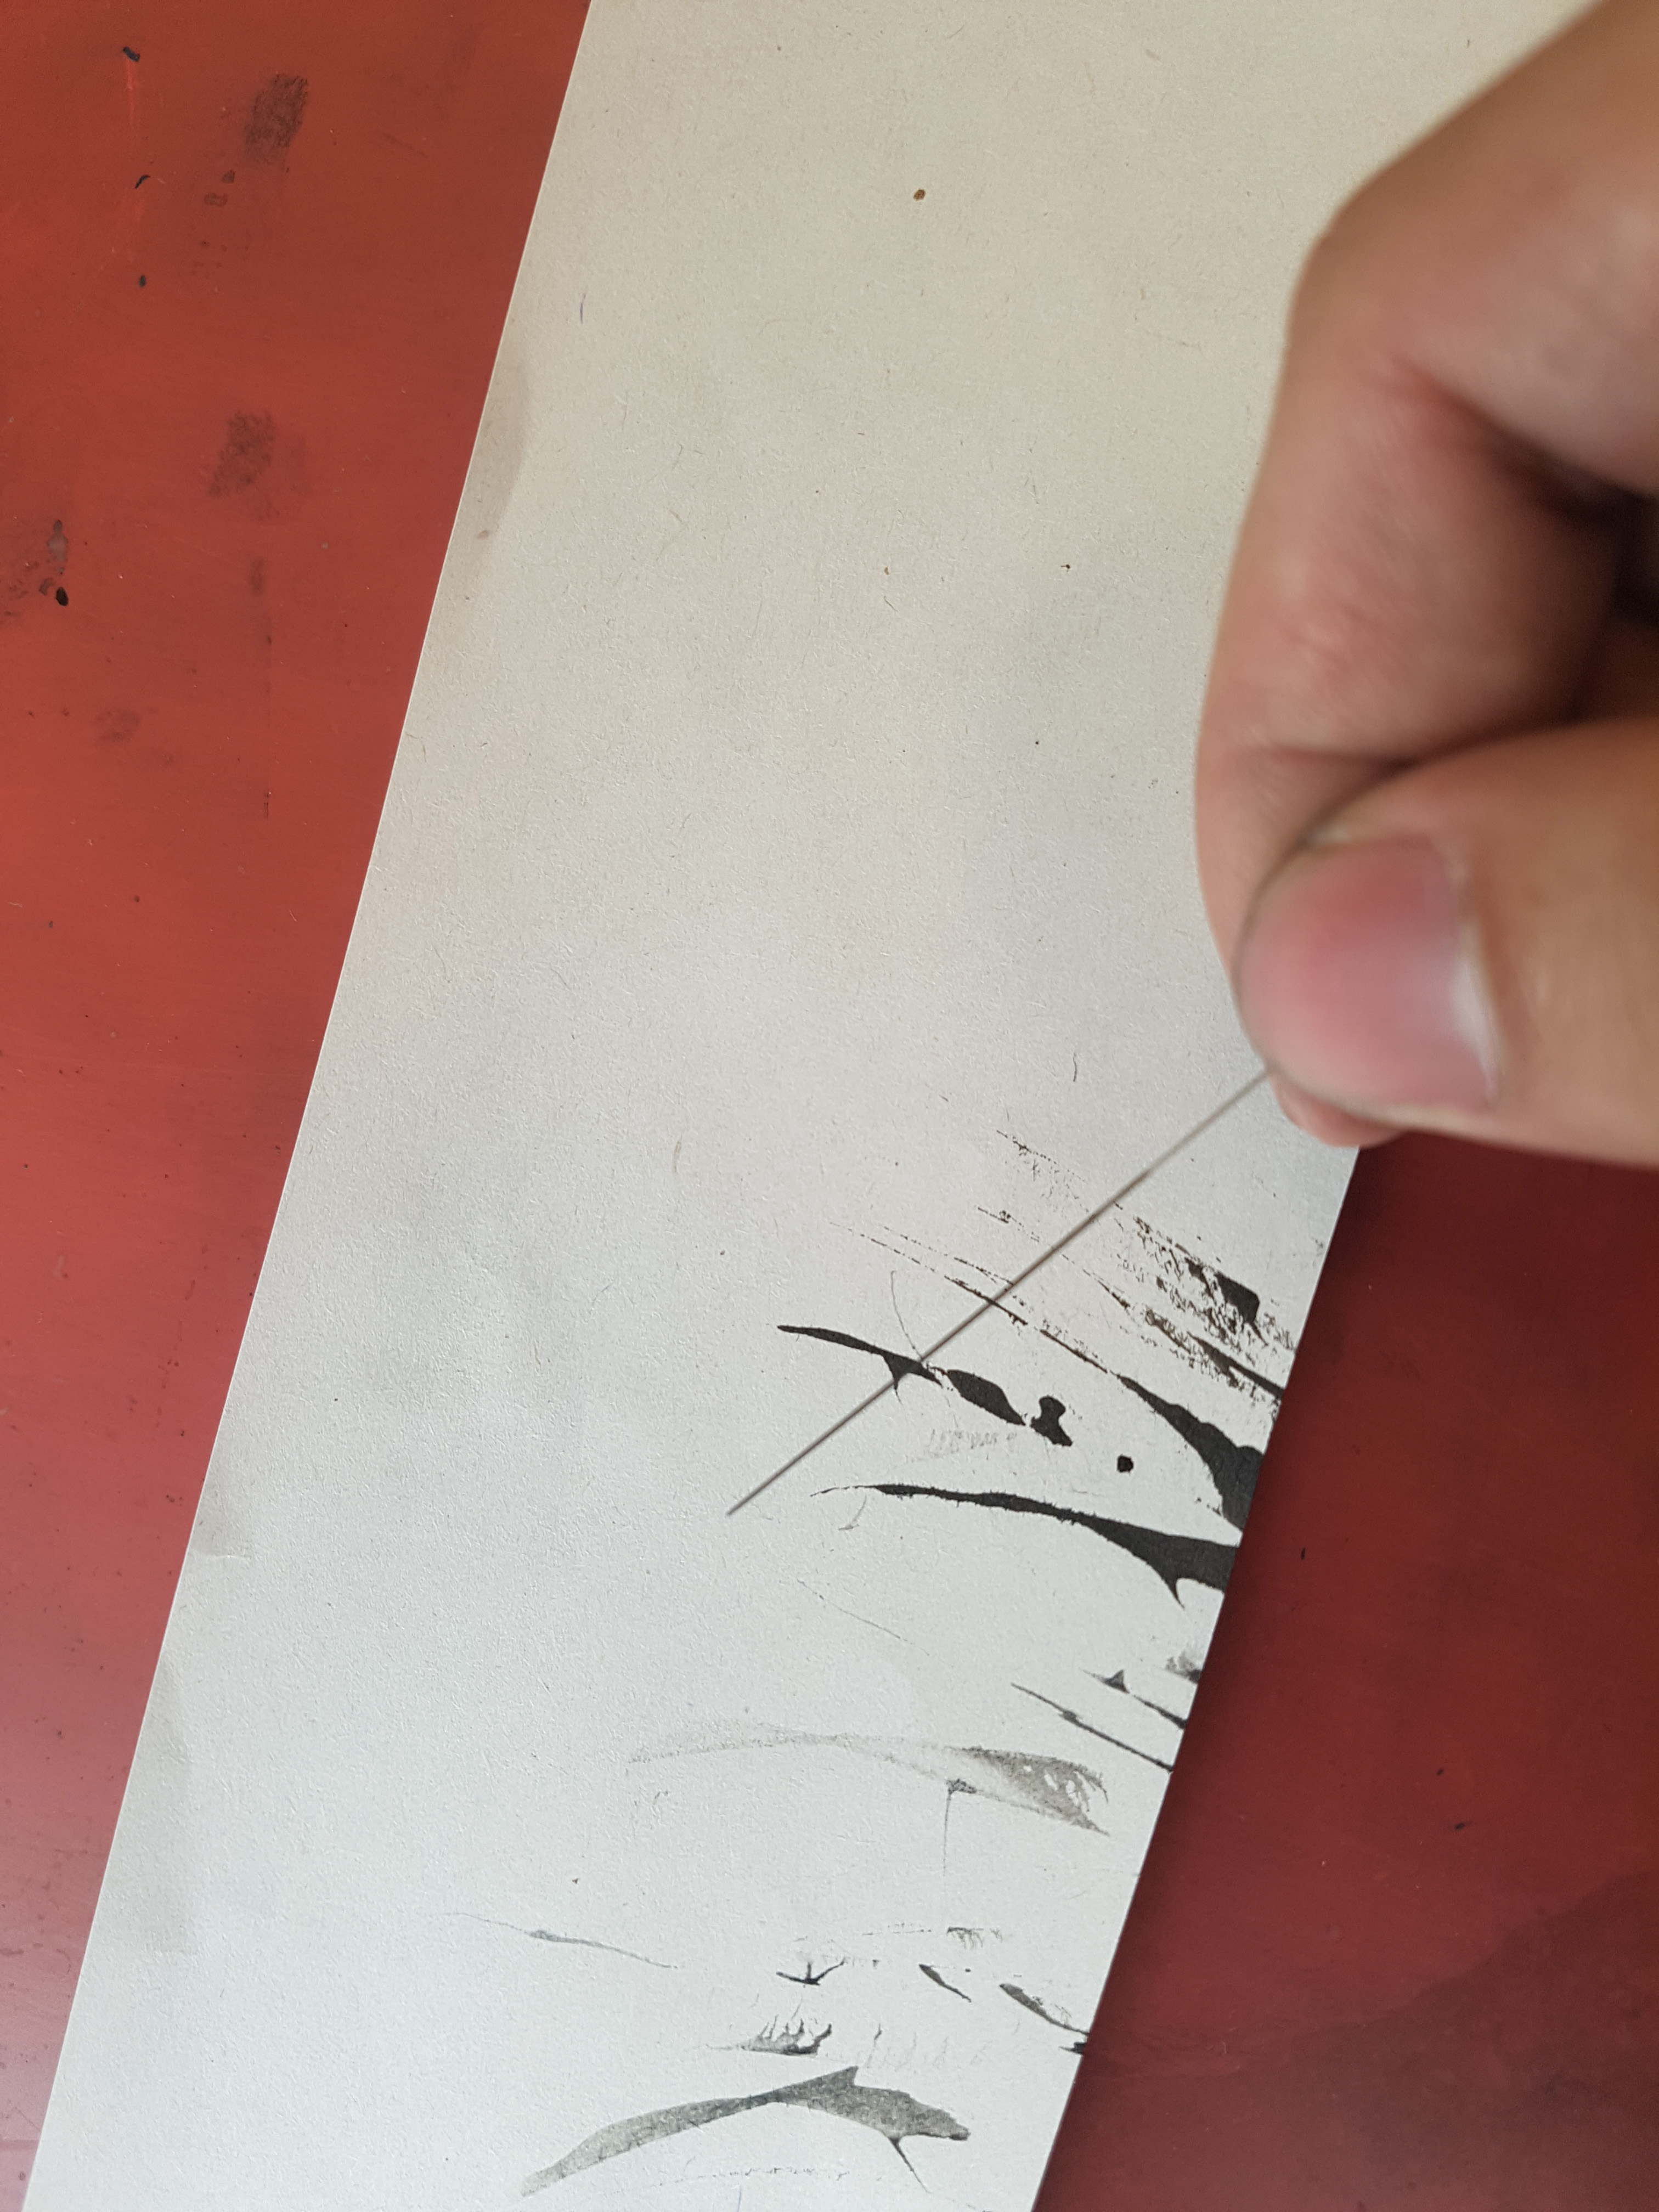
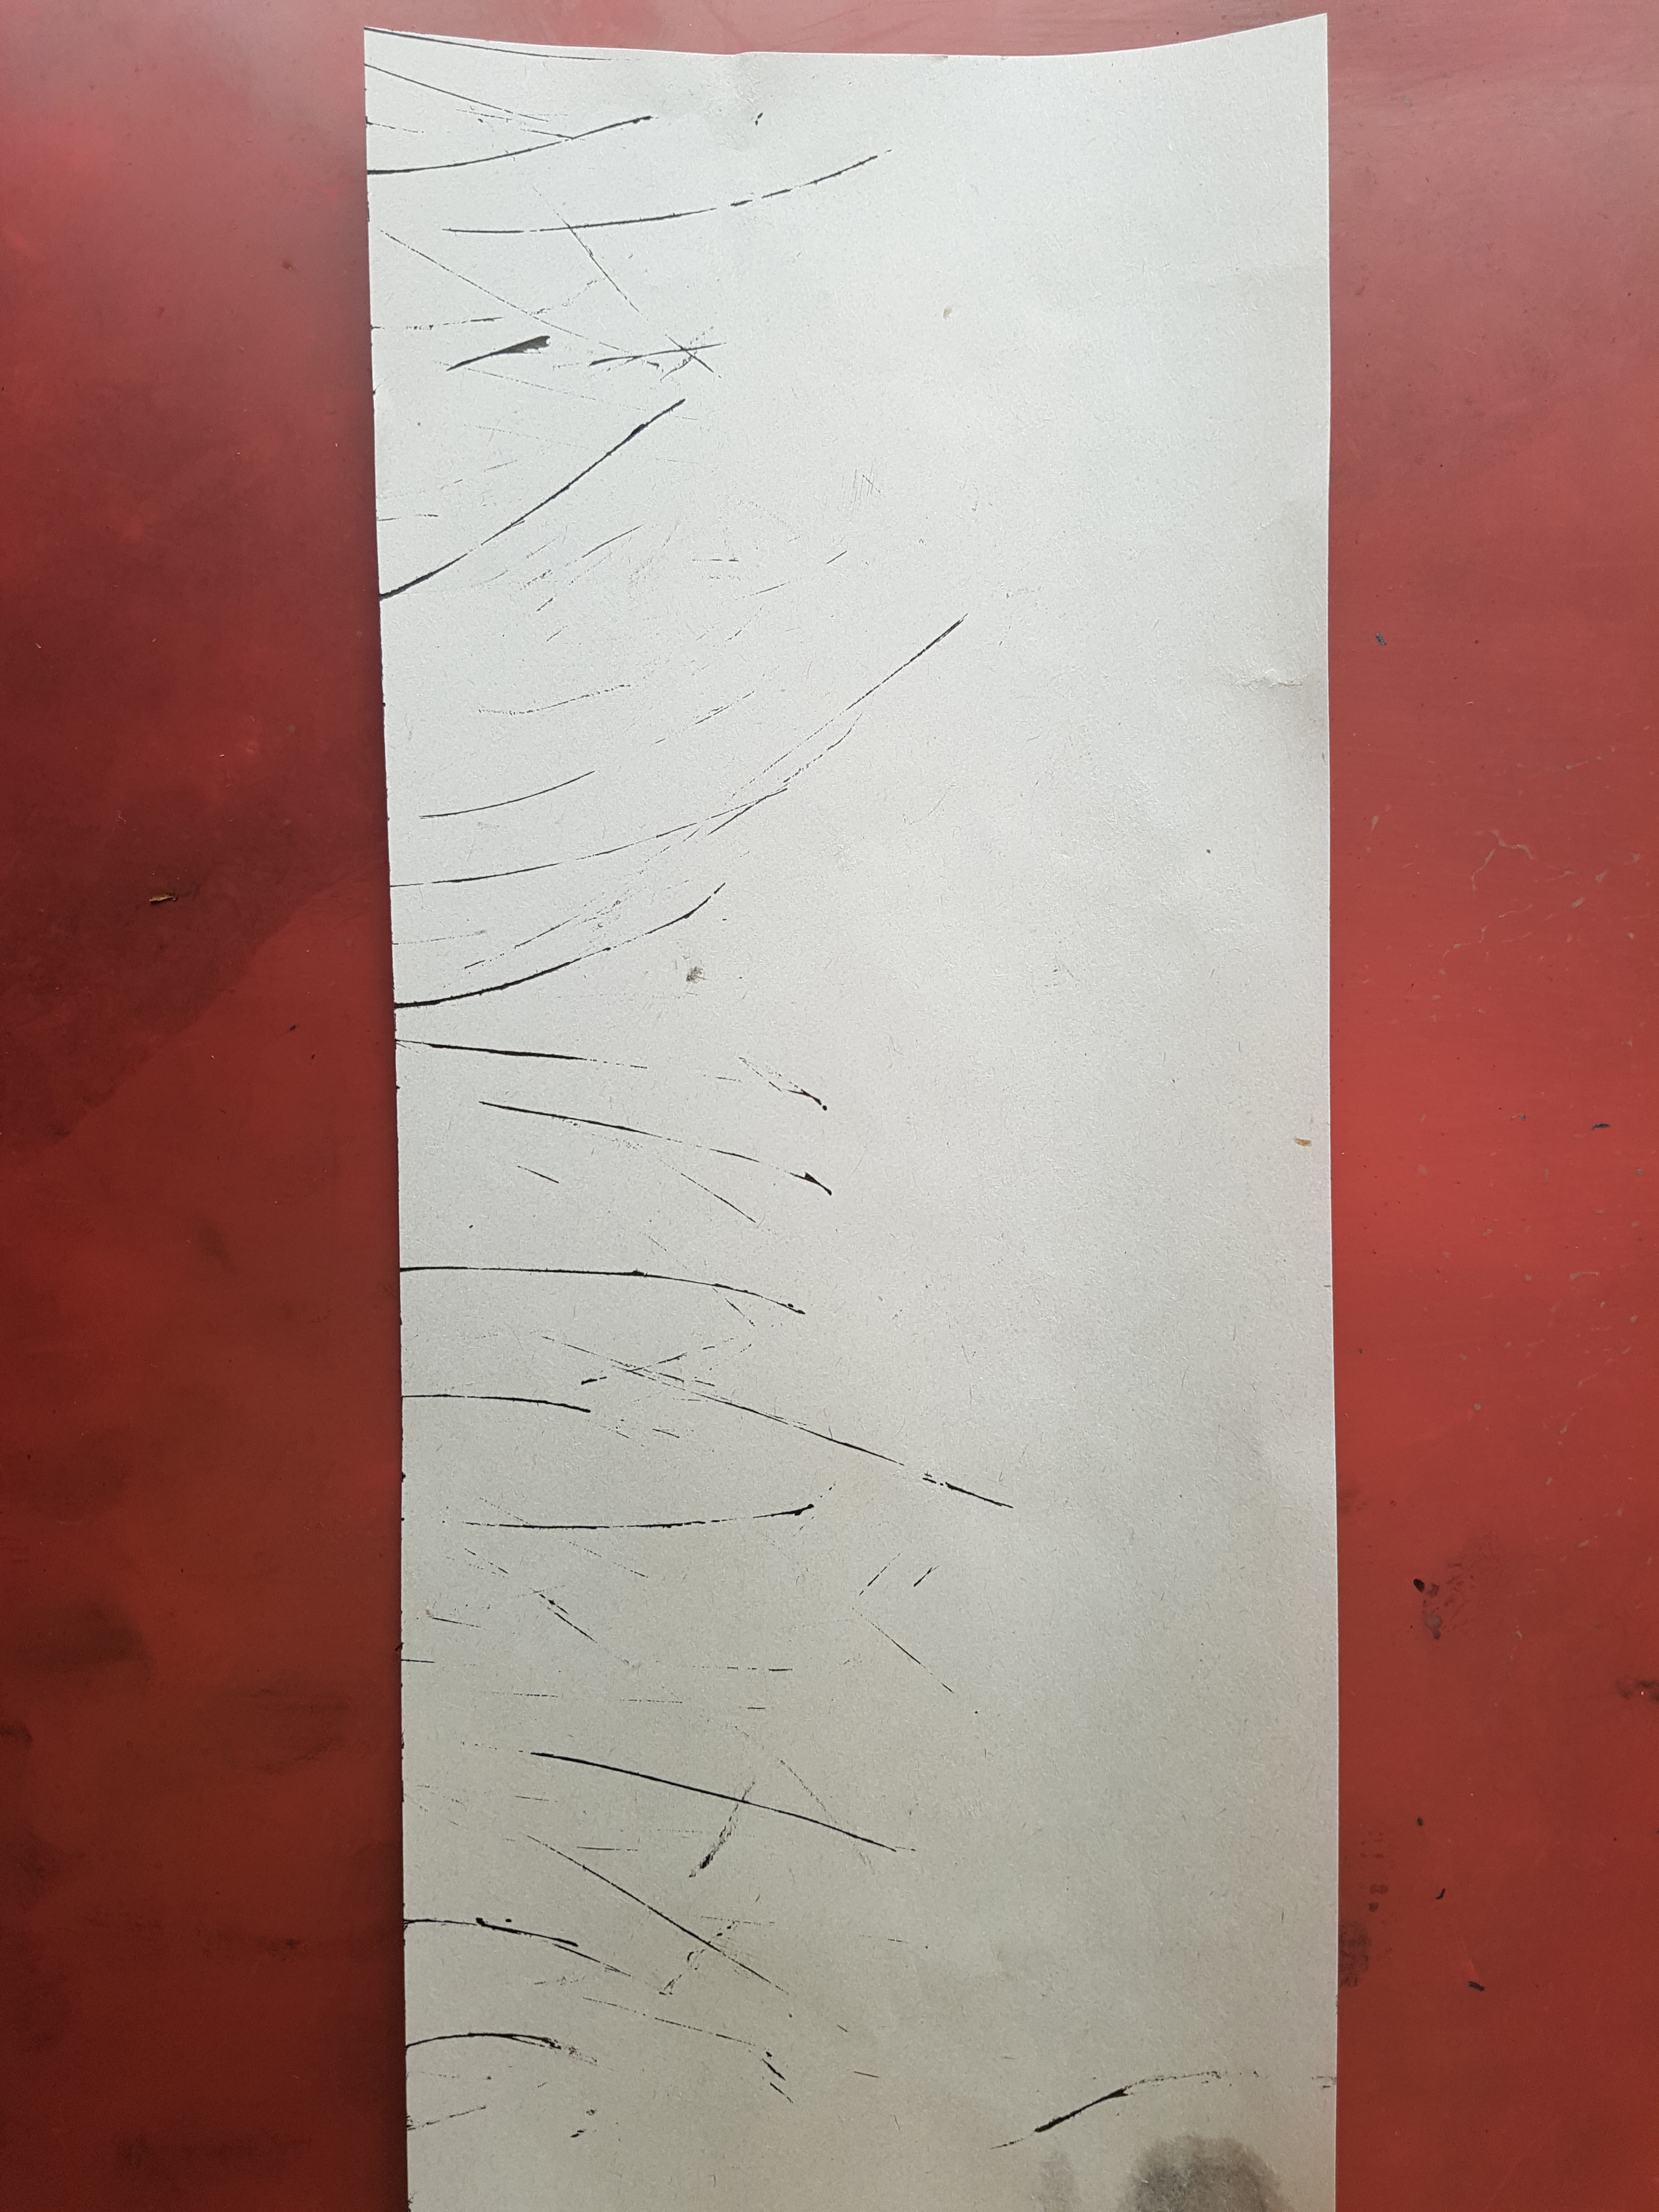
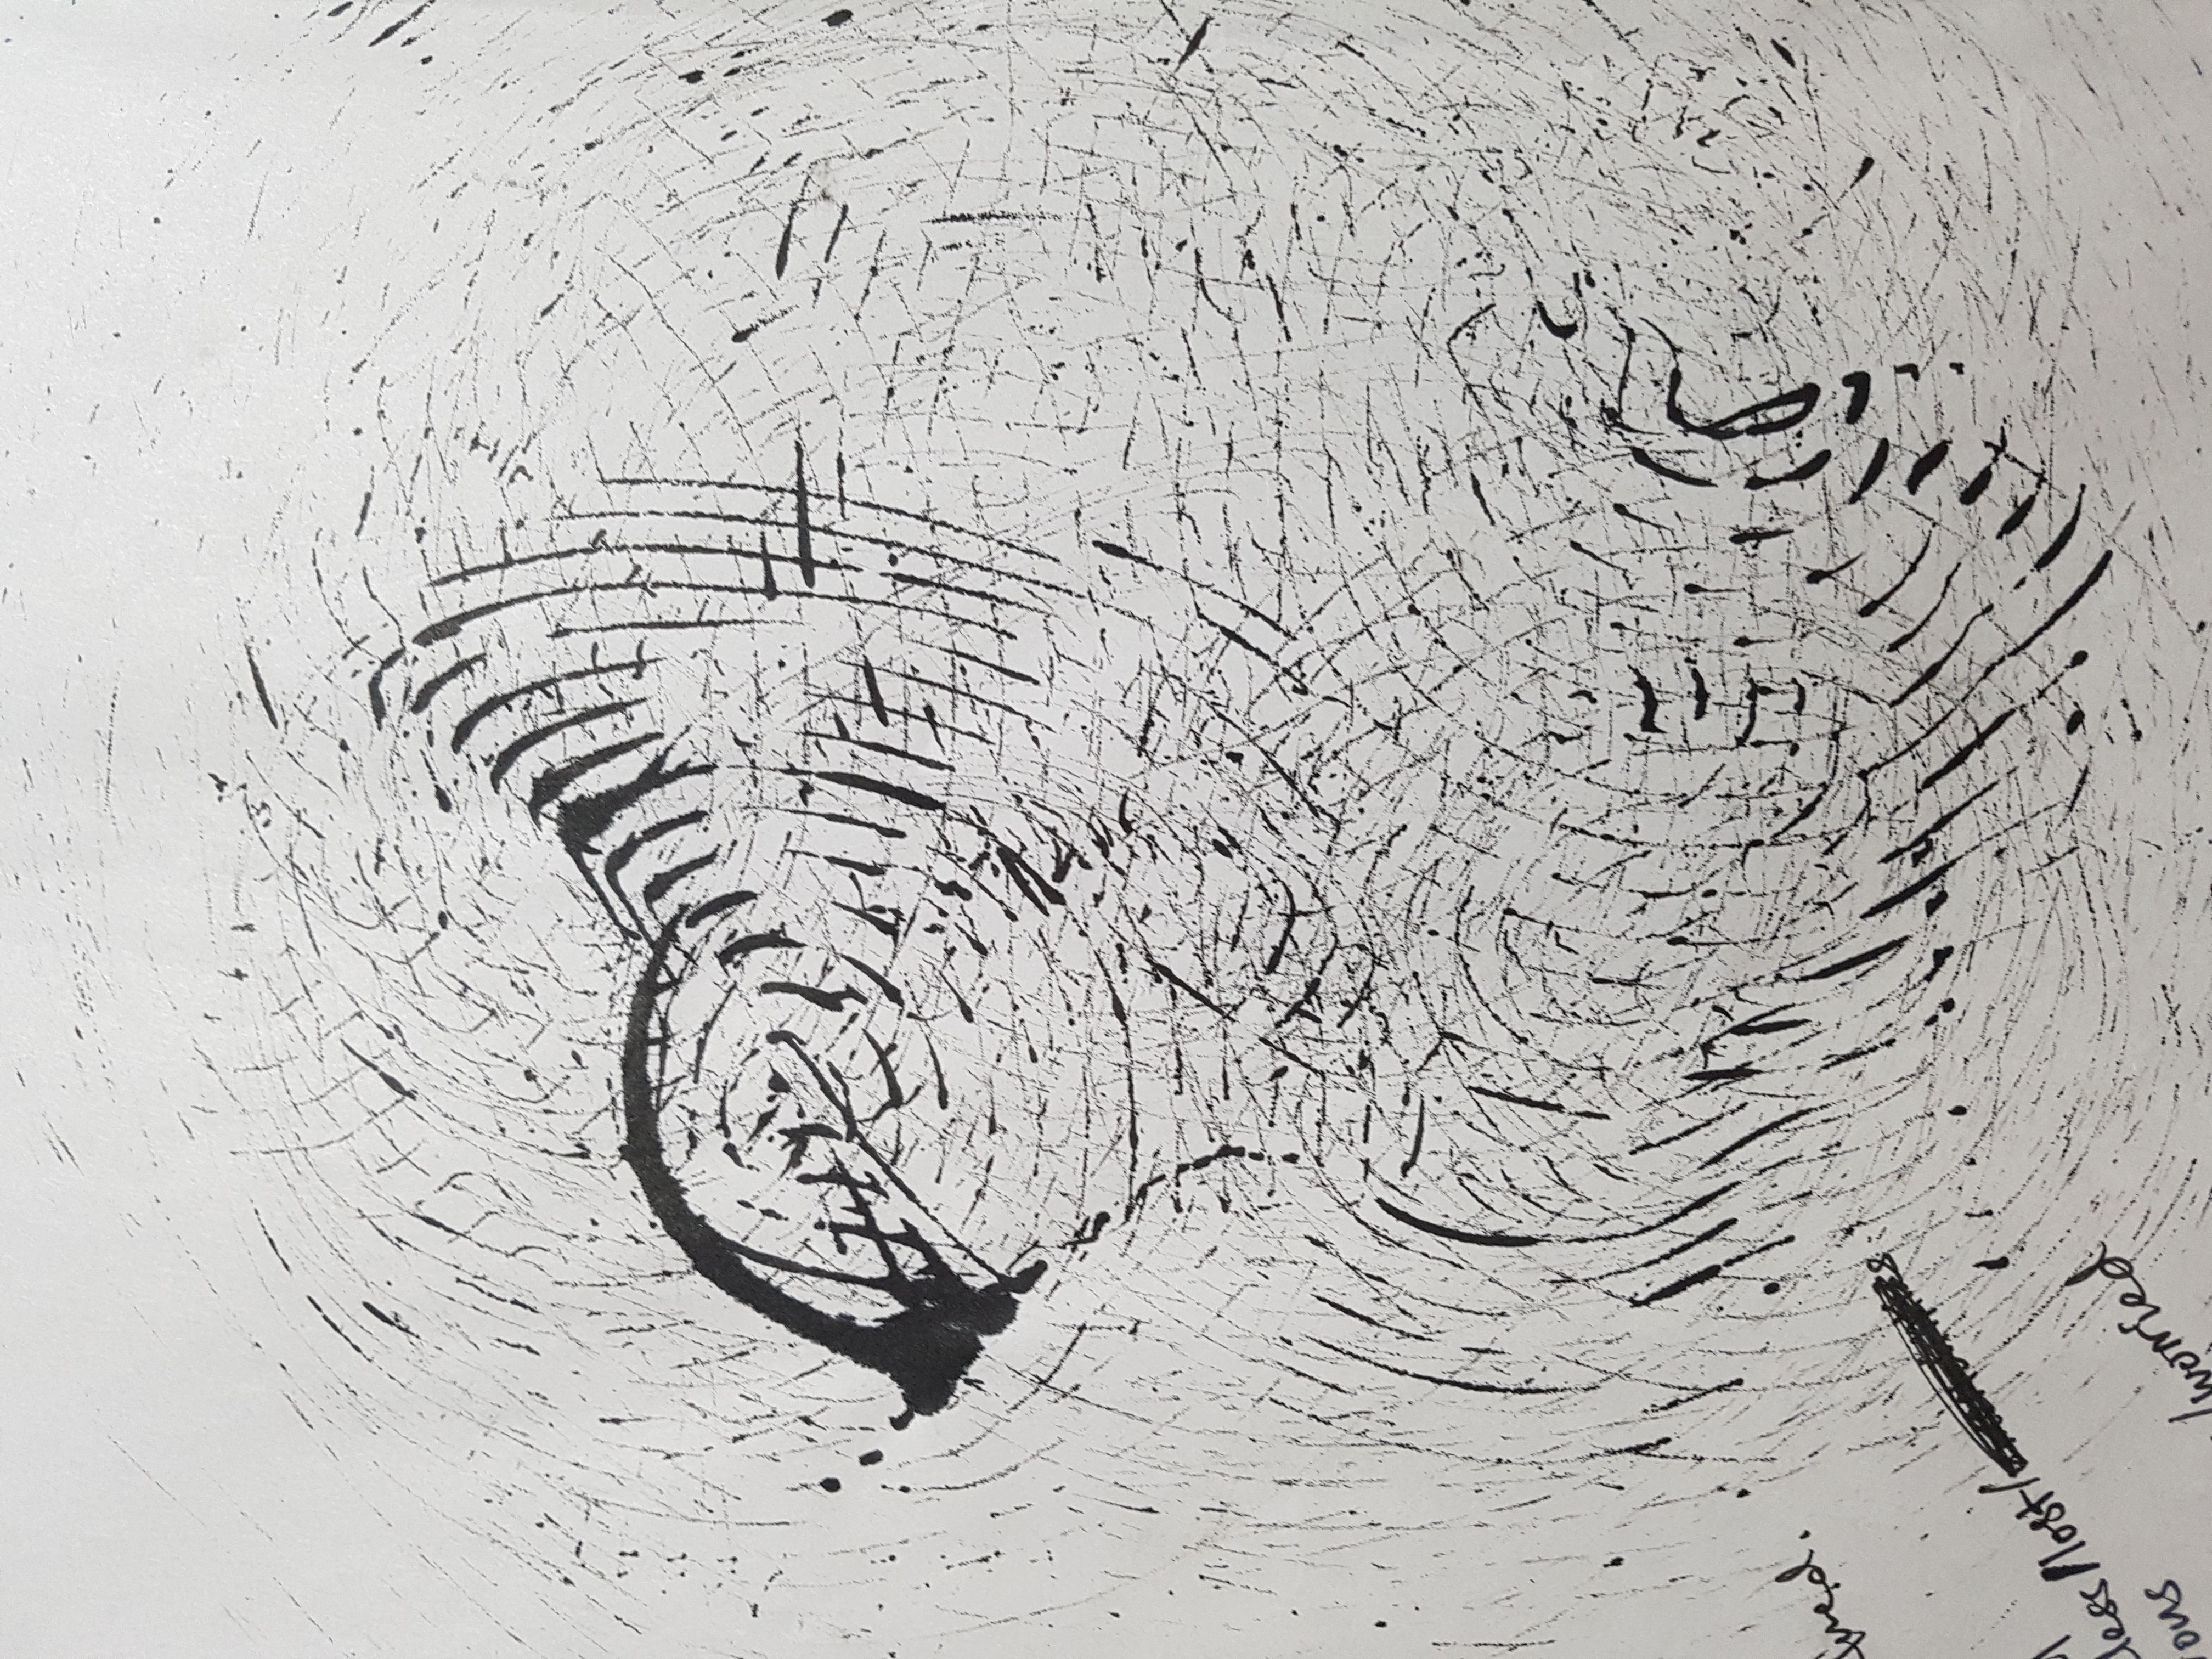
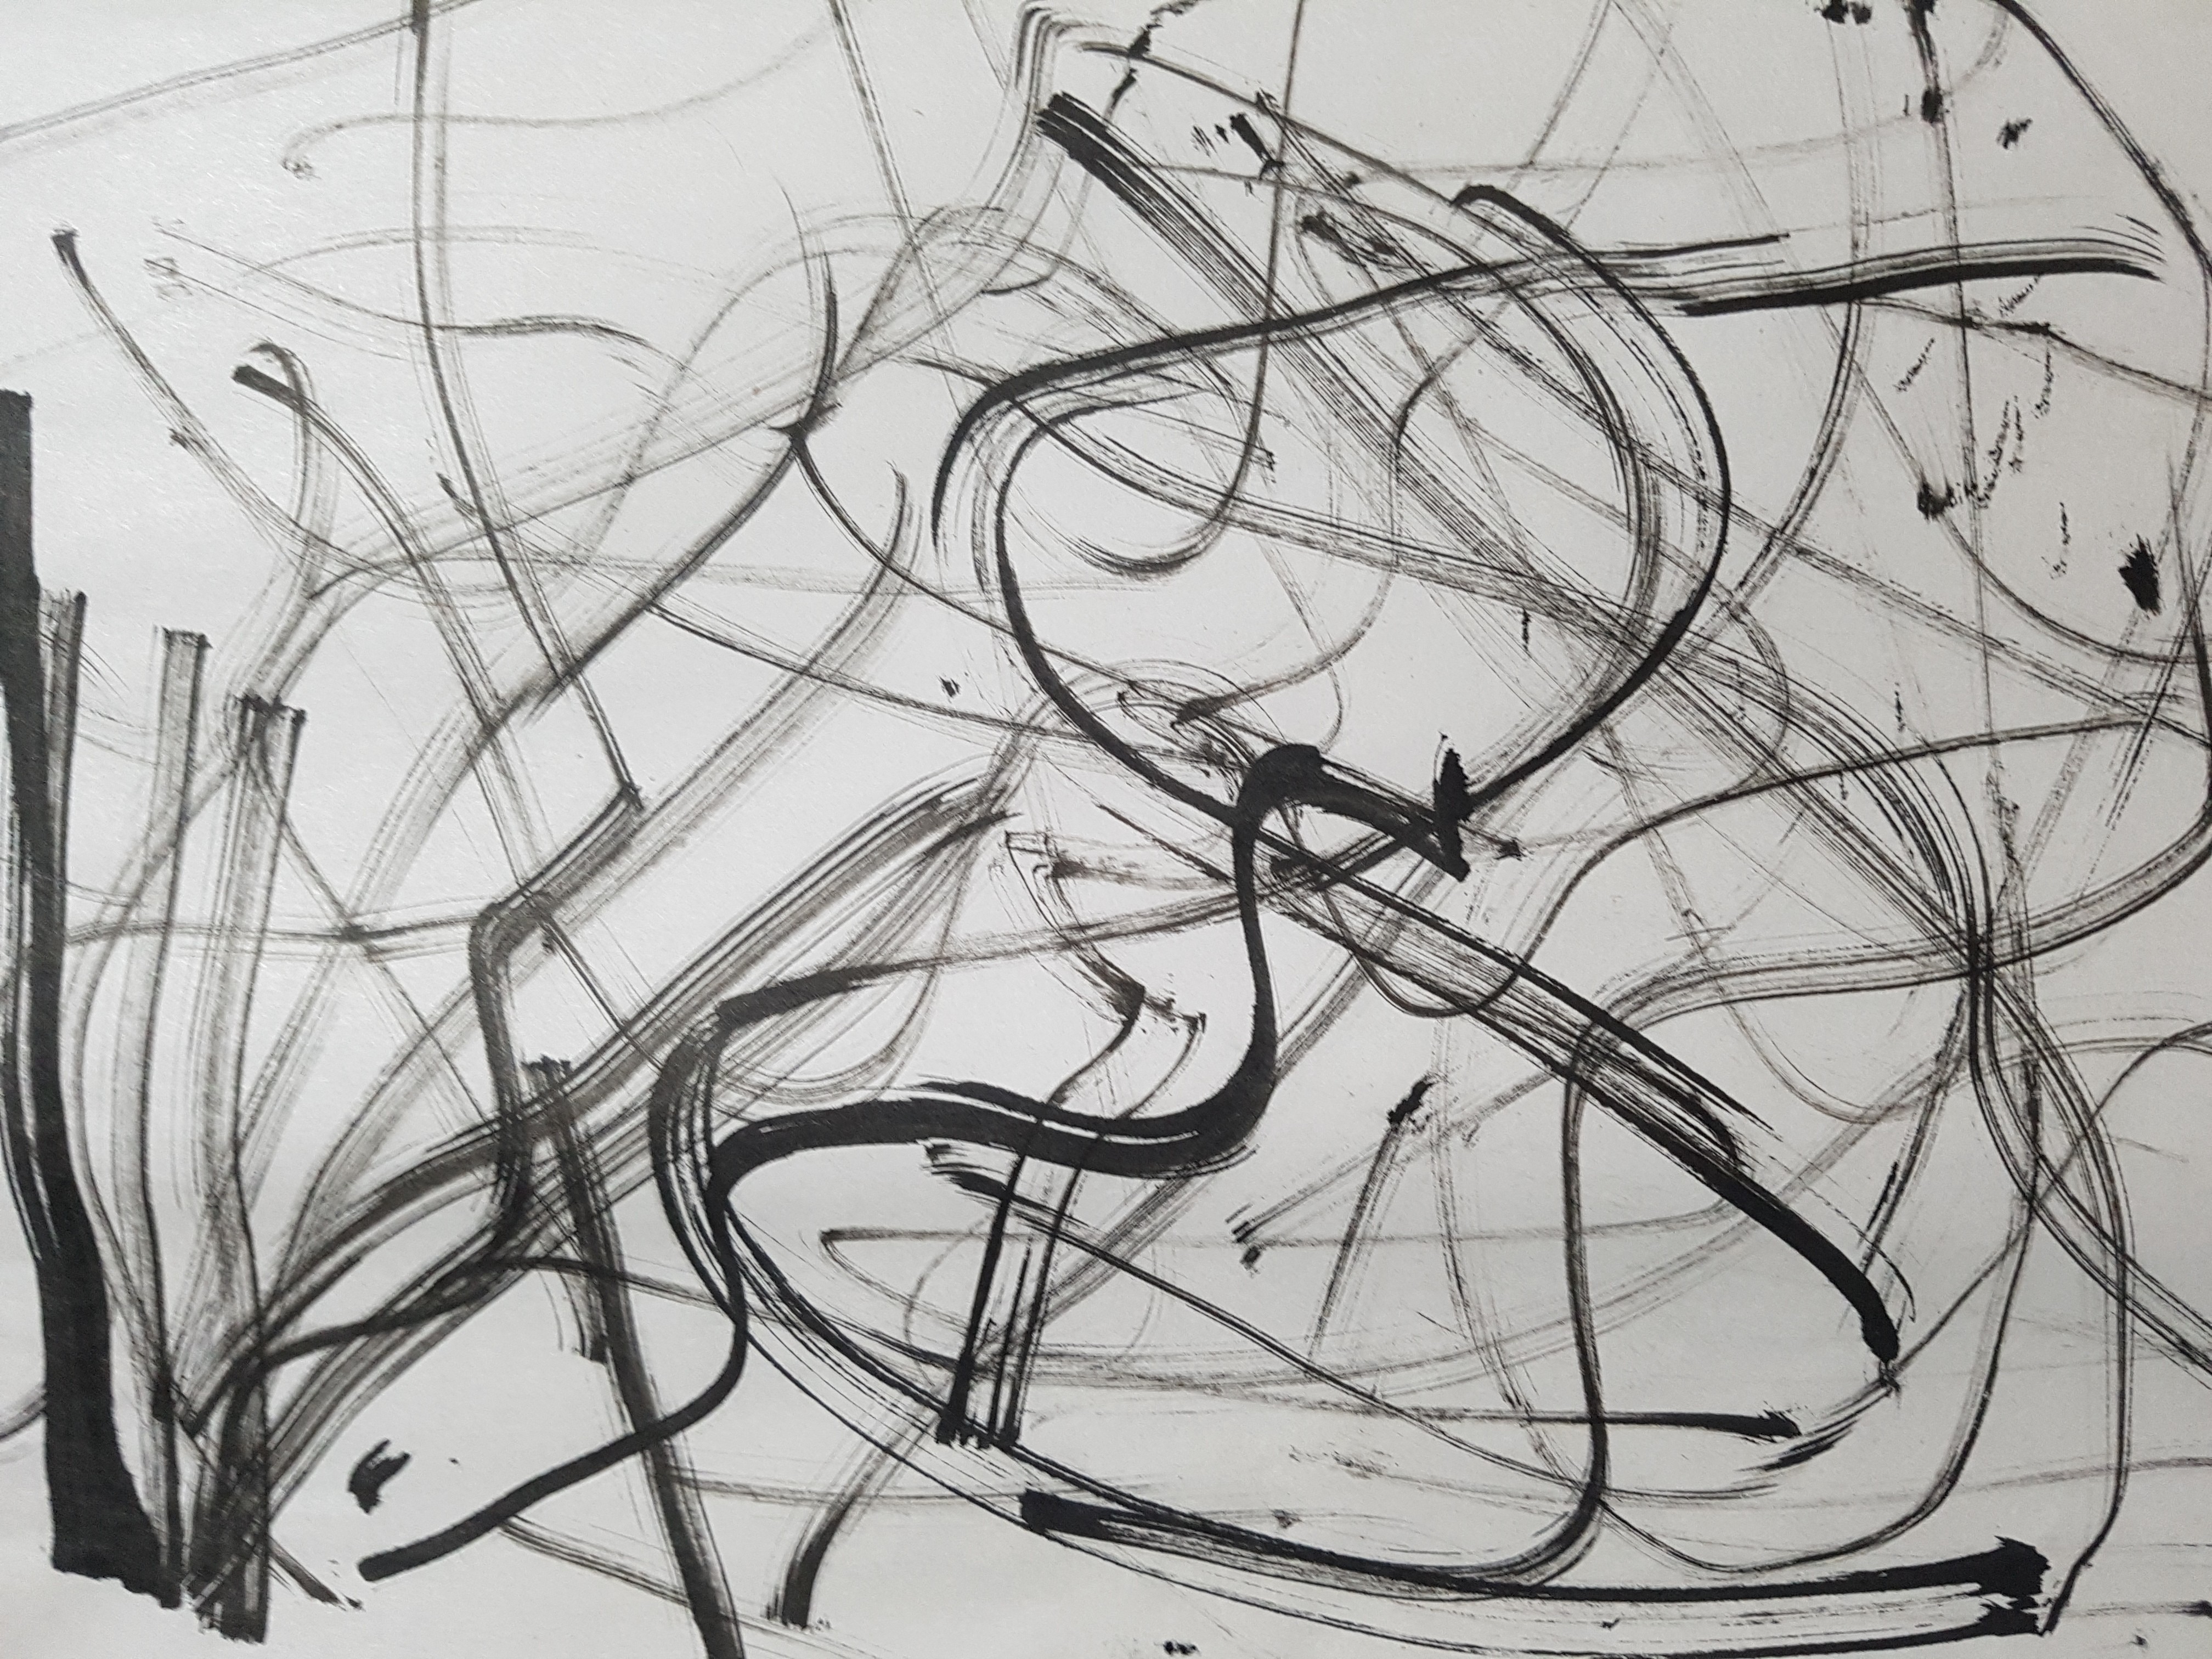
For peacefulness, I wanted to create the idea of flowy gentle tall grass by using thin brush or thin tools. To me when I think of peacefulness, peaceful the image of standing in a field of tall grass field popped up my mind instantly. Standing in the field as the breeze caressing your gentle cheeks as you stand there looking towards the endless horizon without worrying about anything at all. I cut out some bristles of the bottom of the broom to do the mark making.

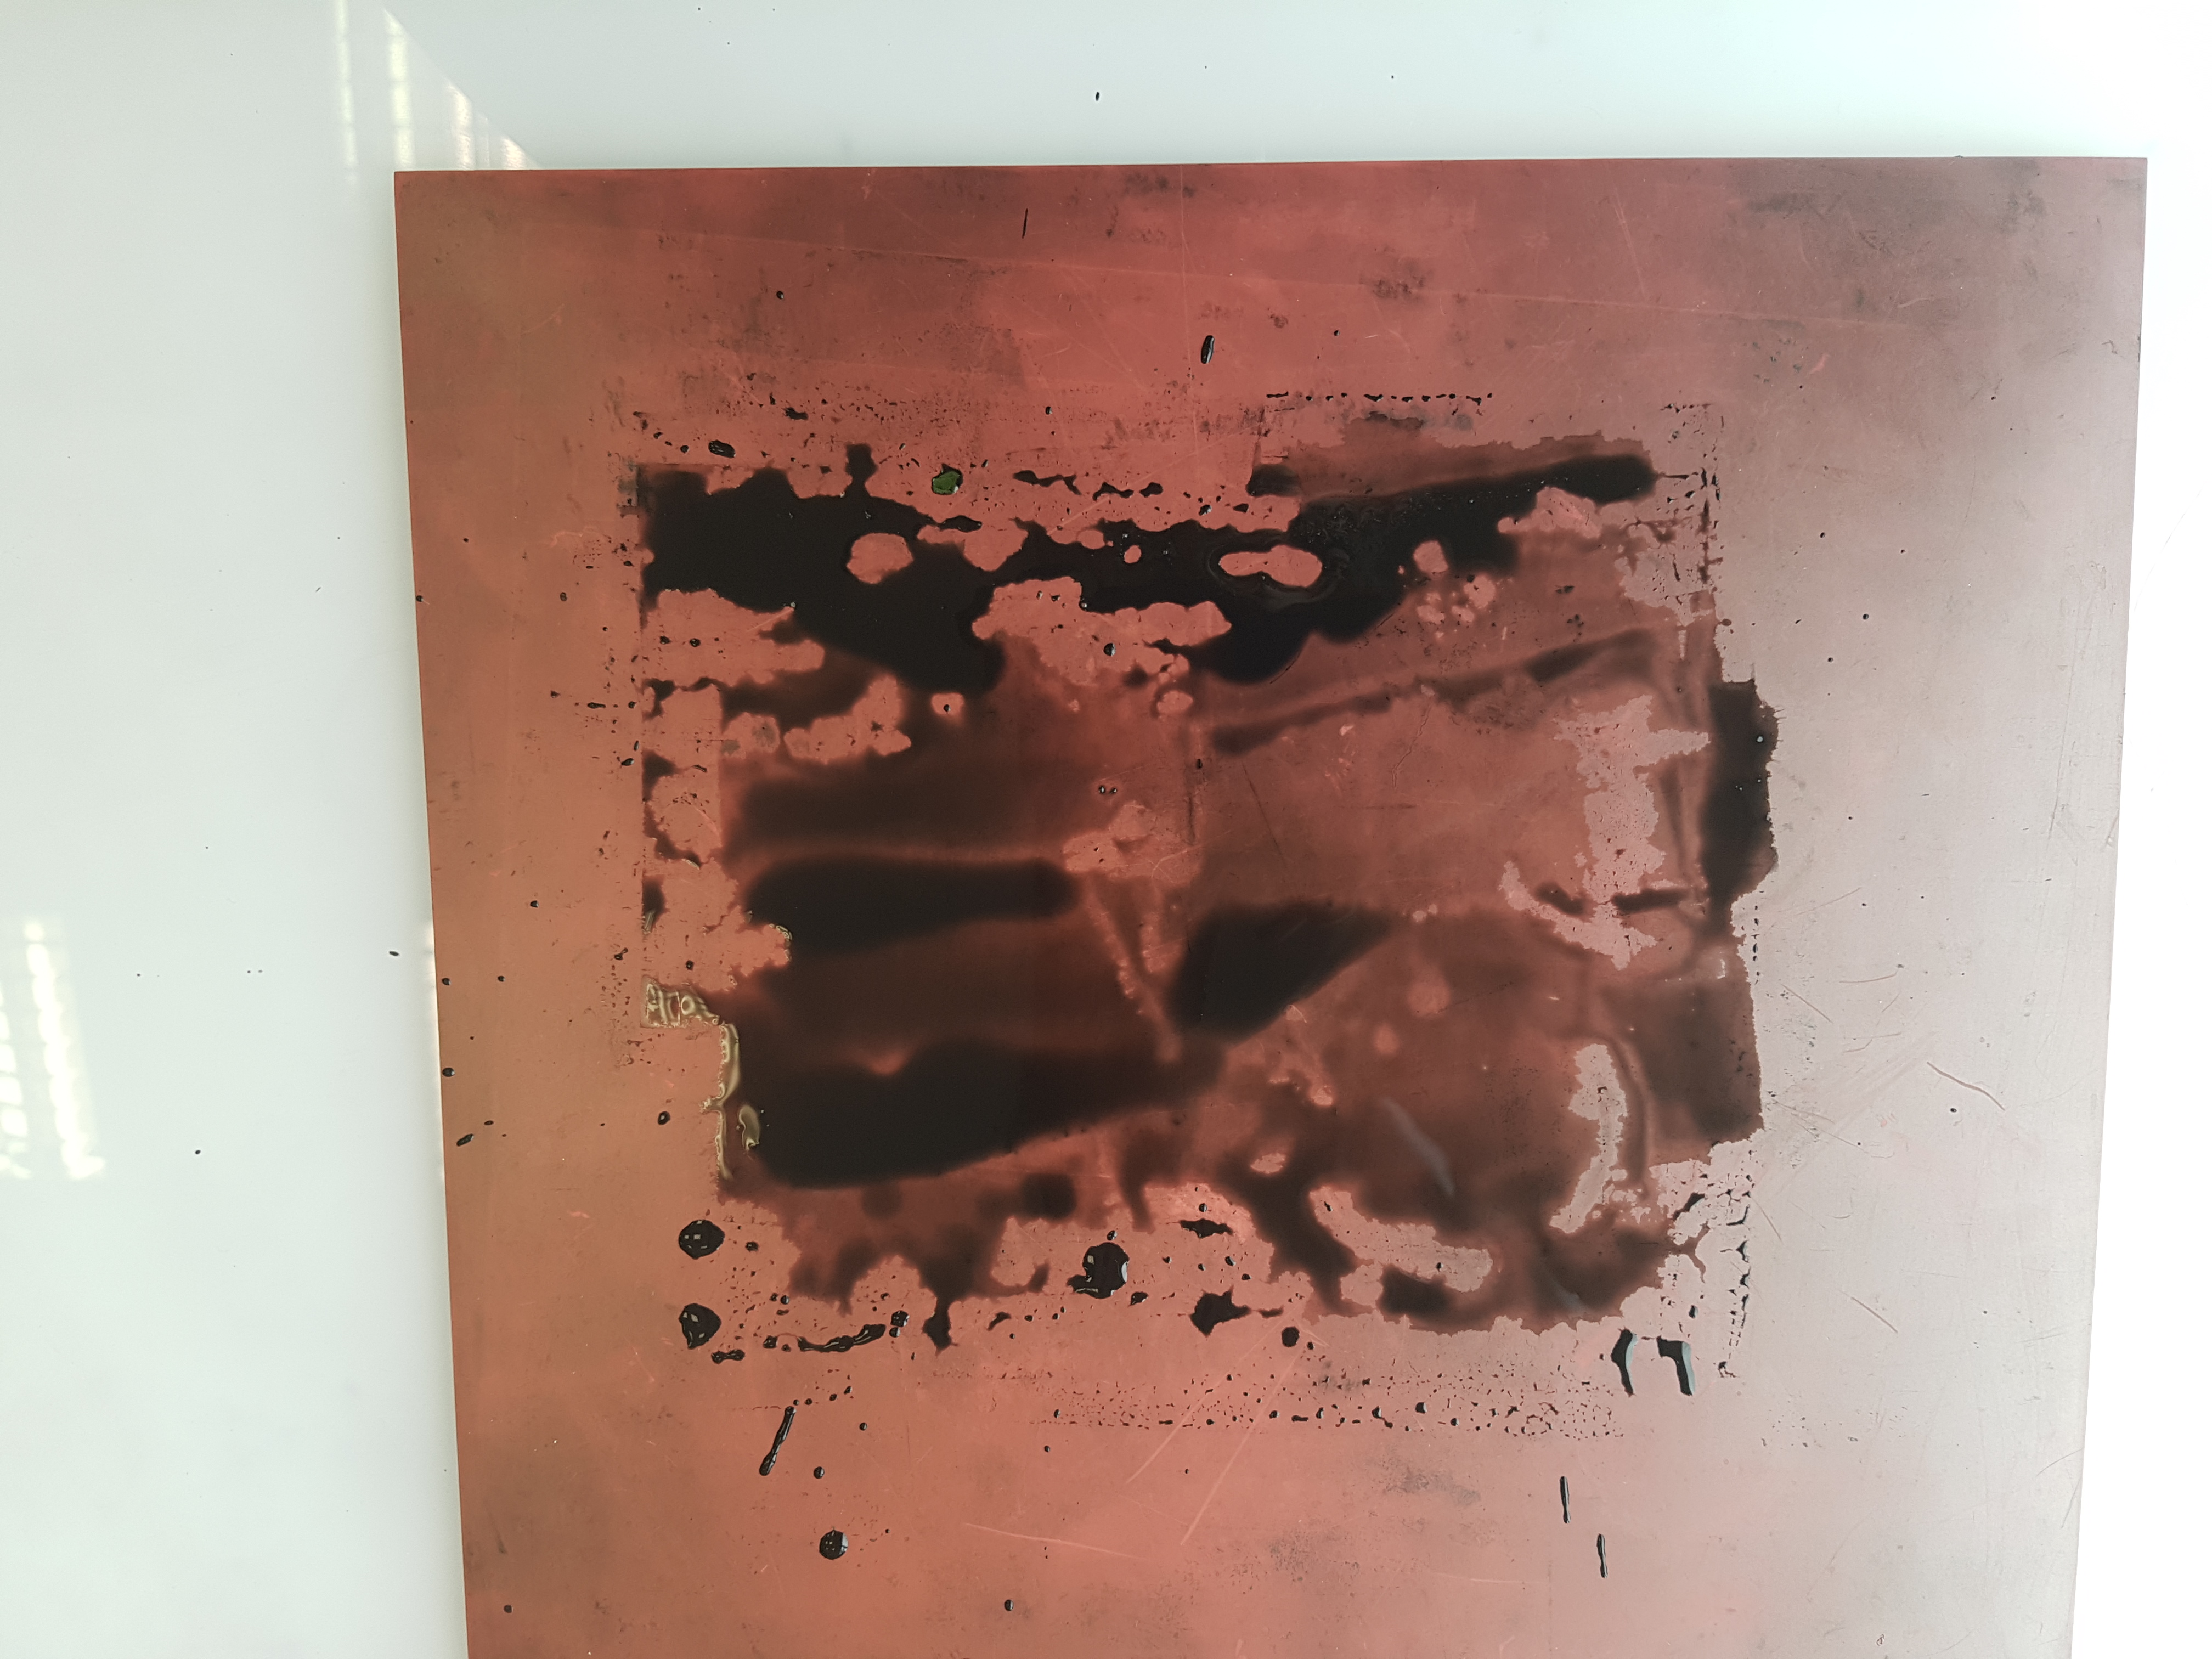
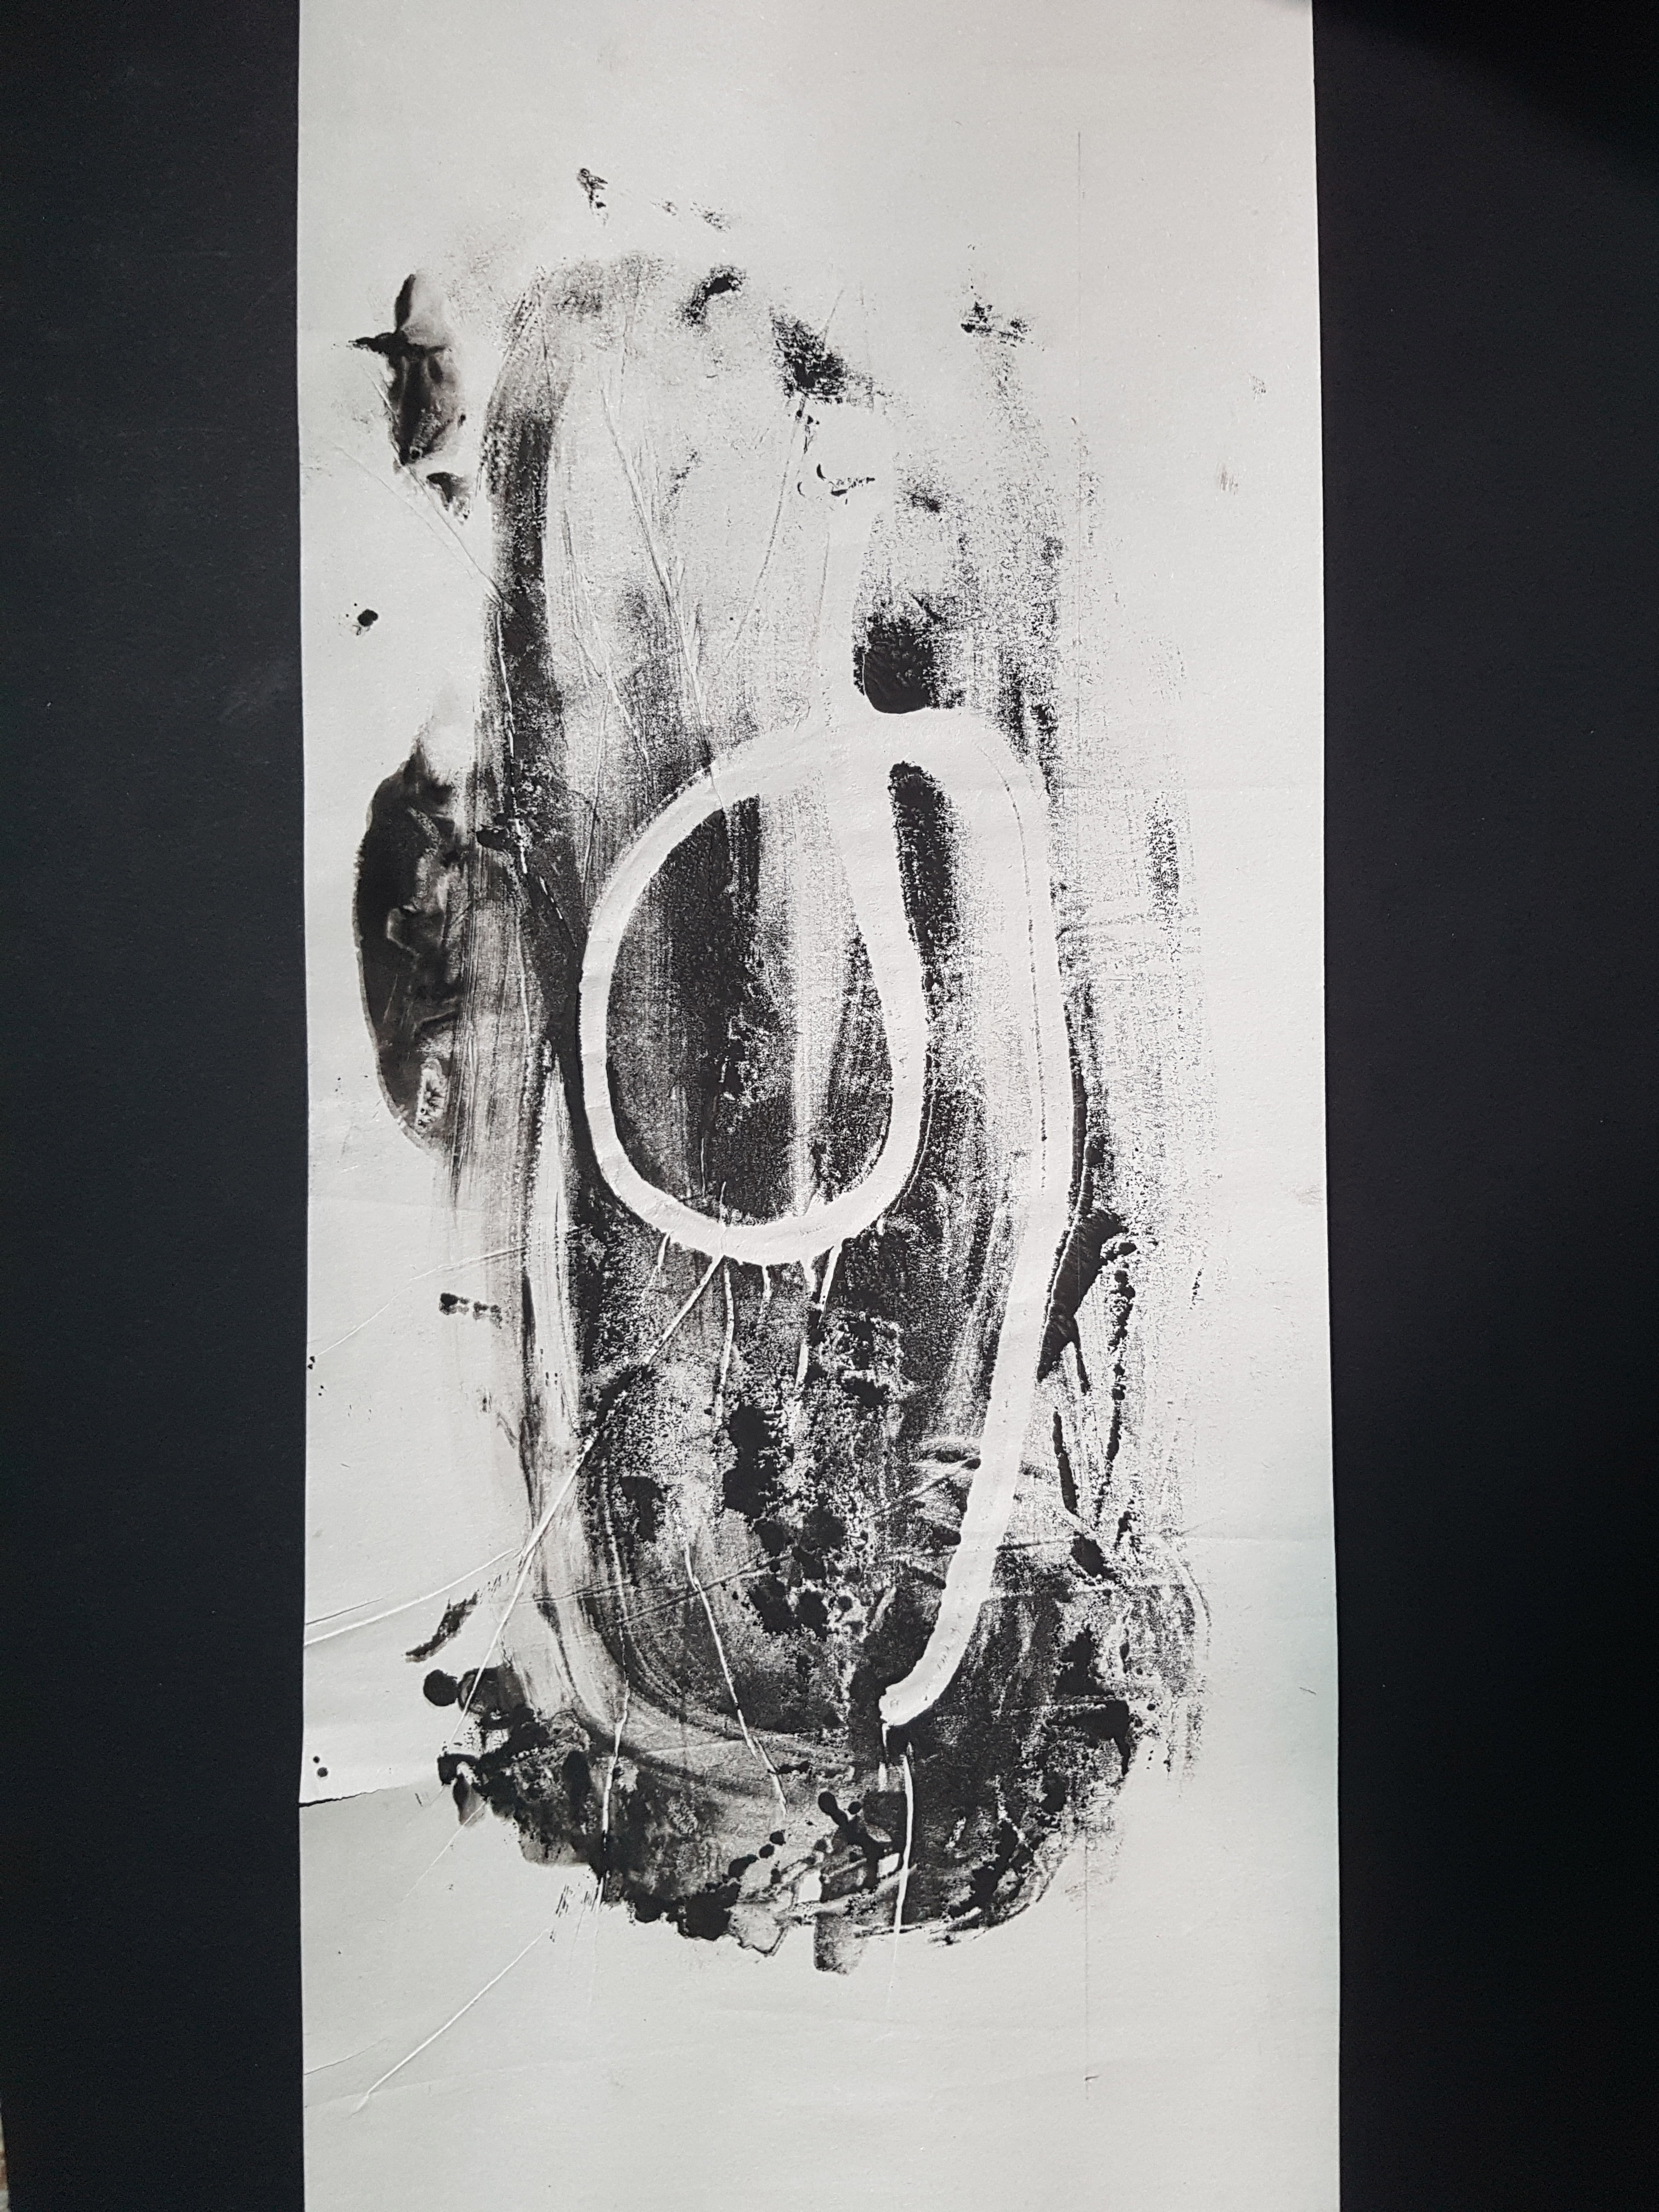
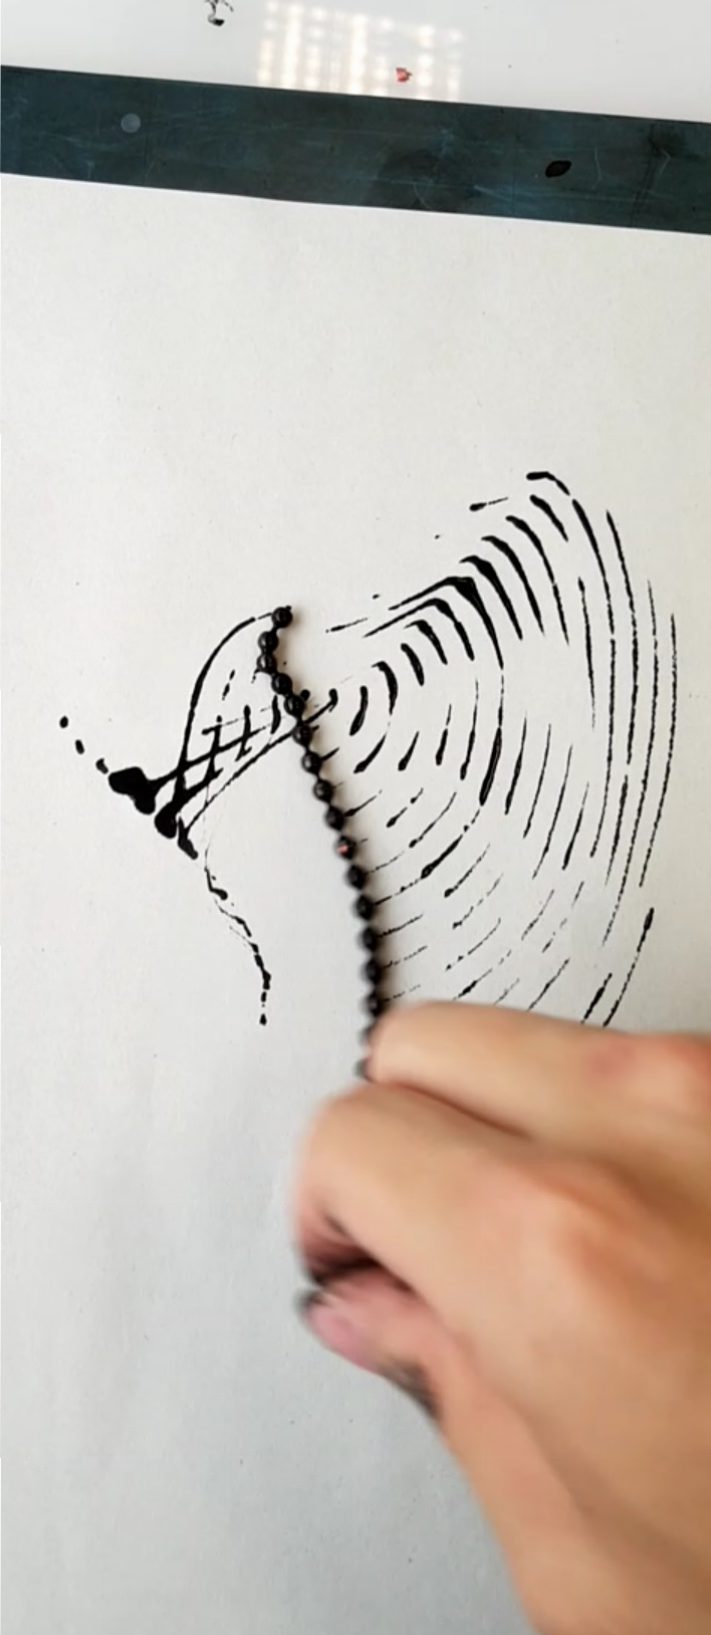
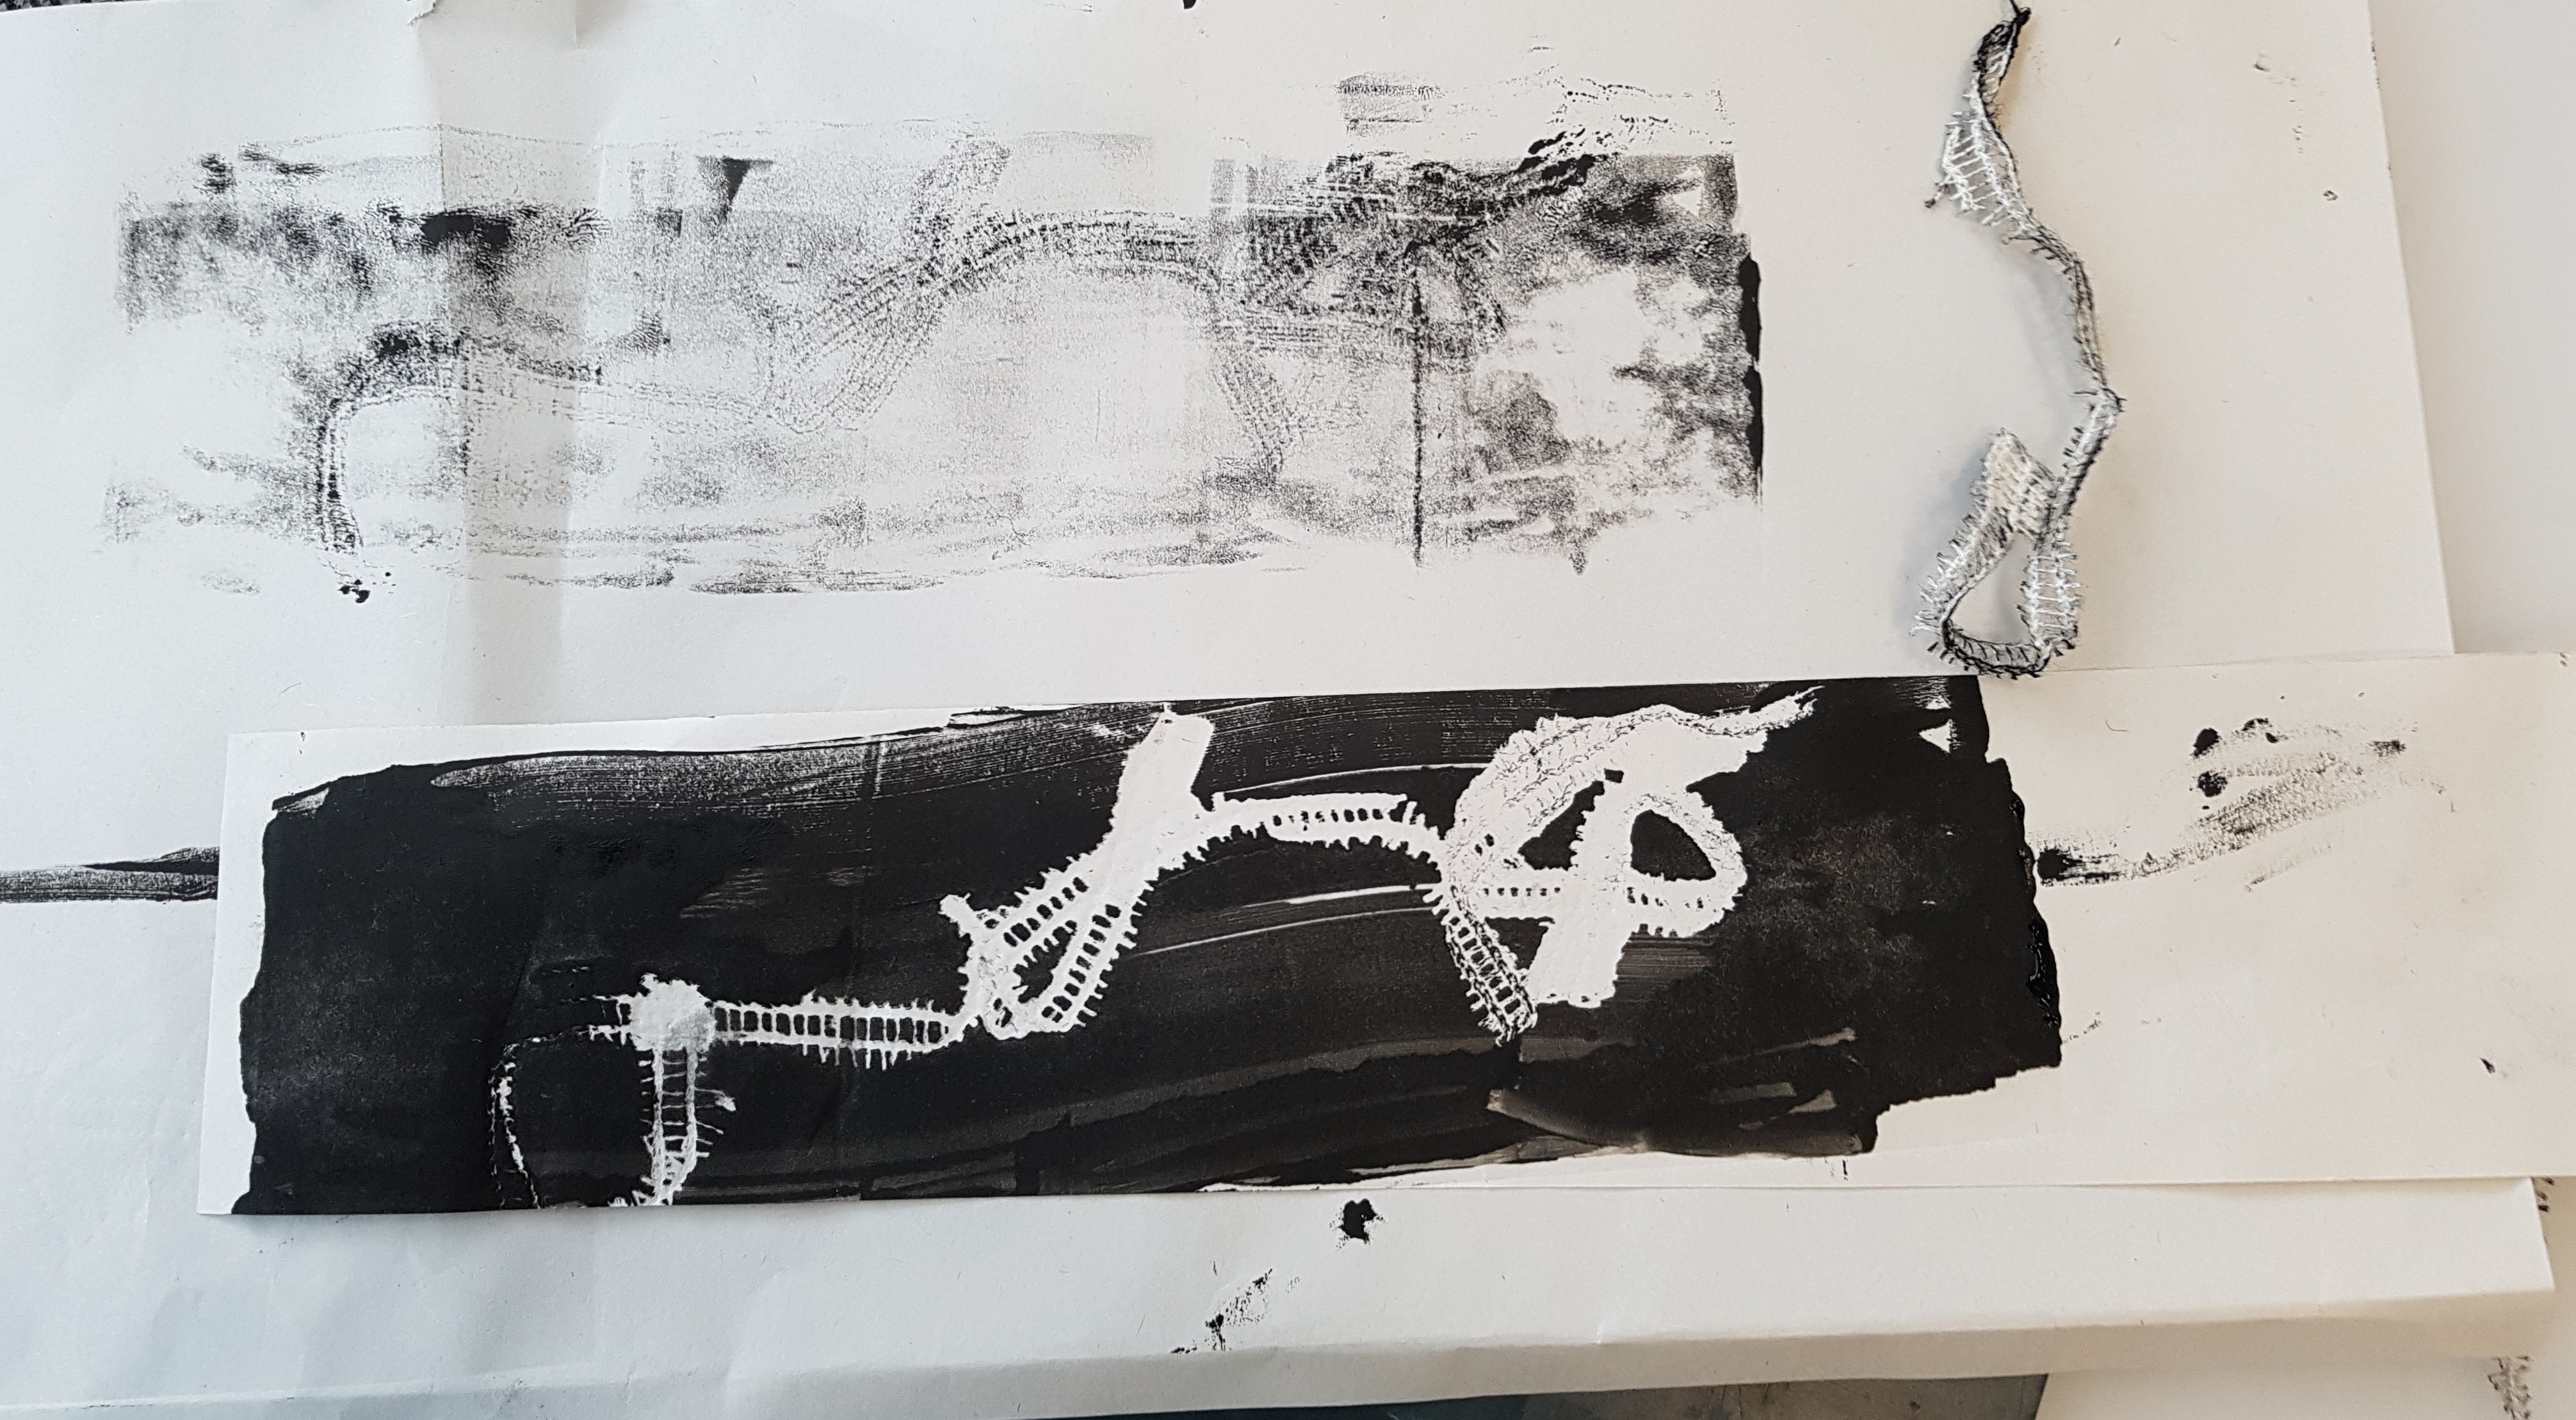
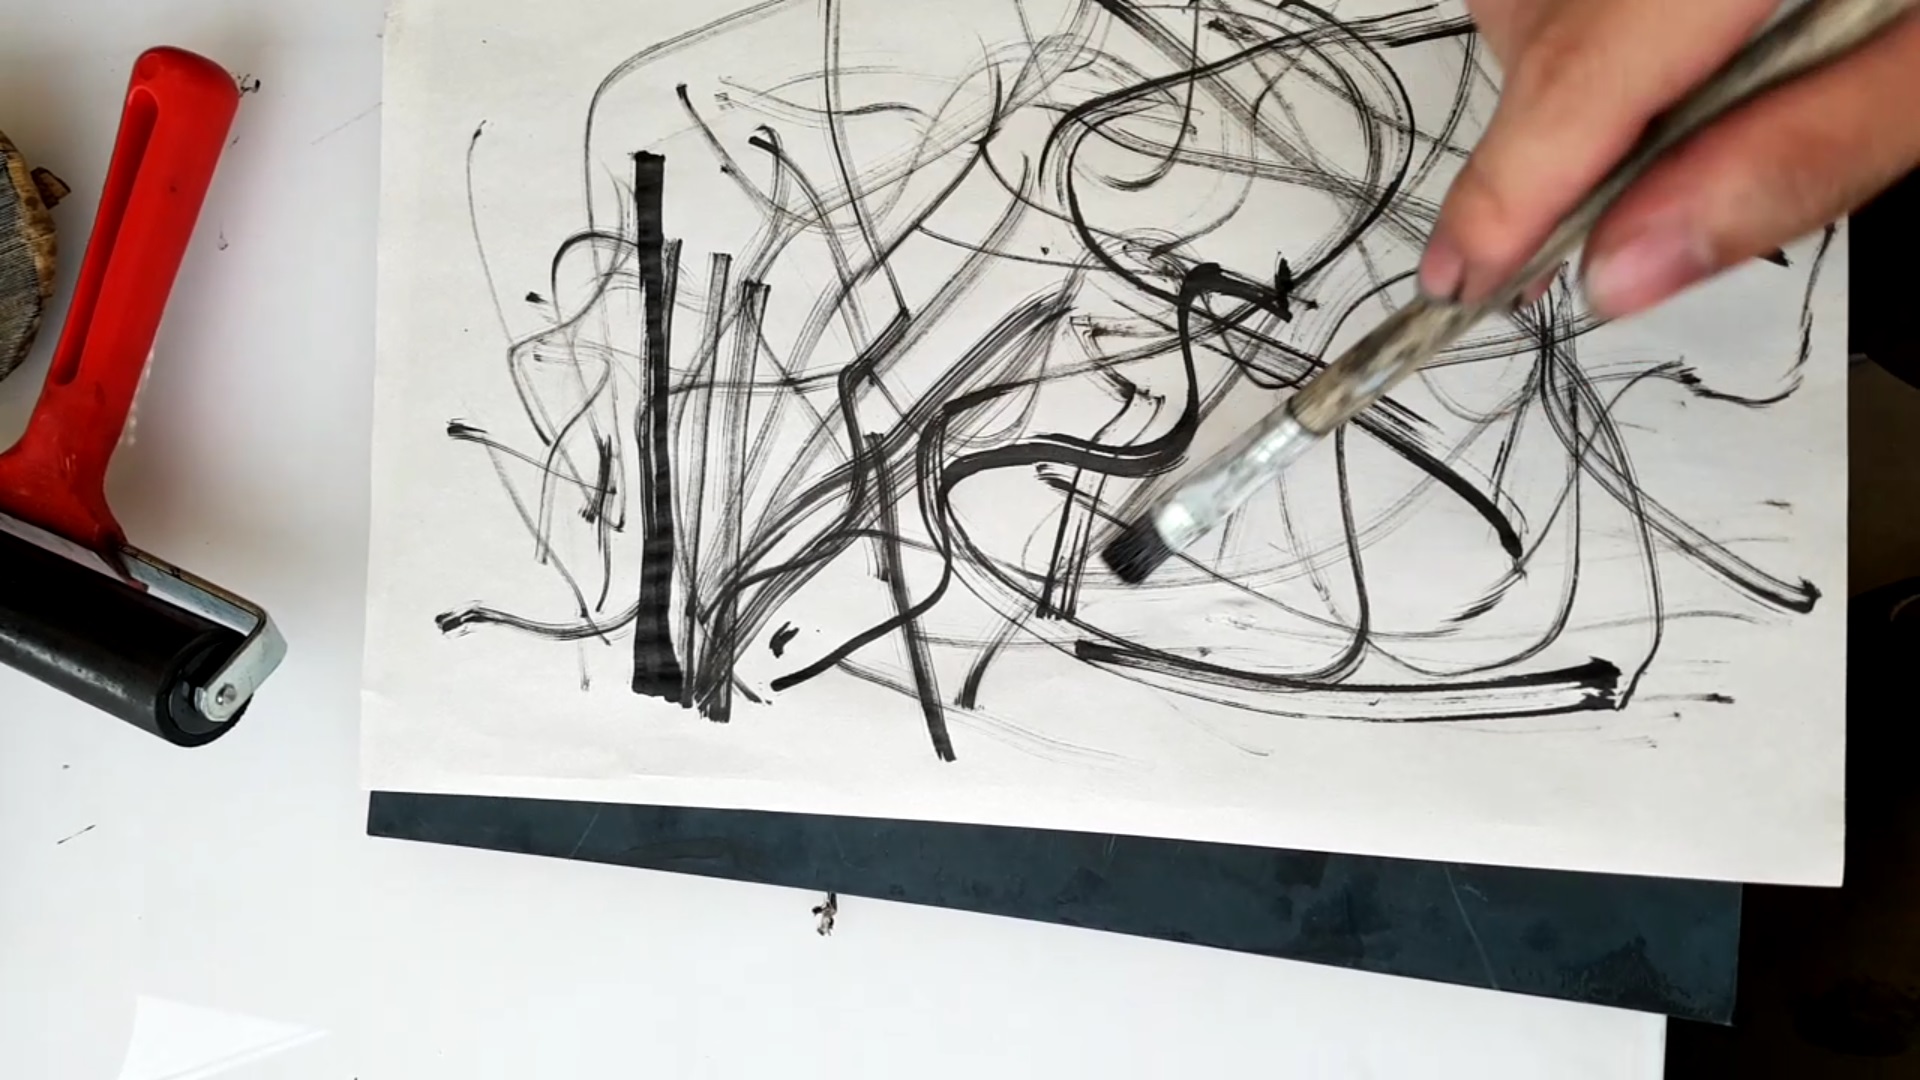
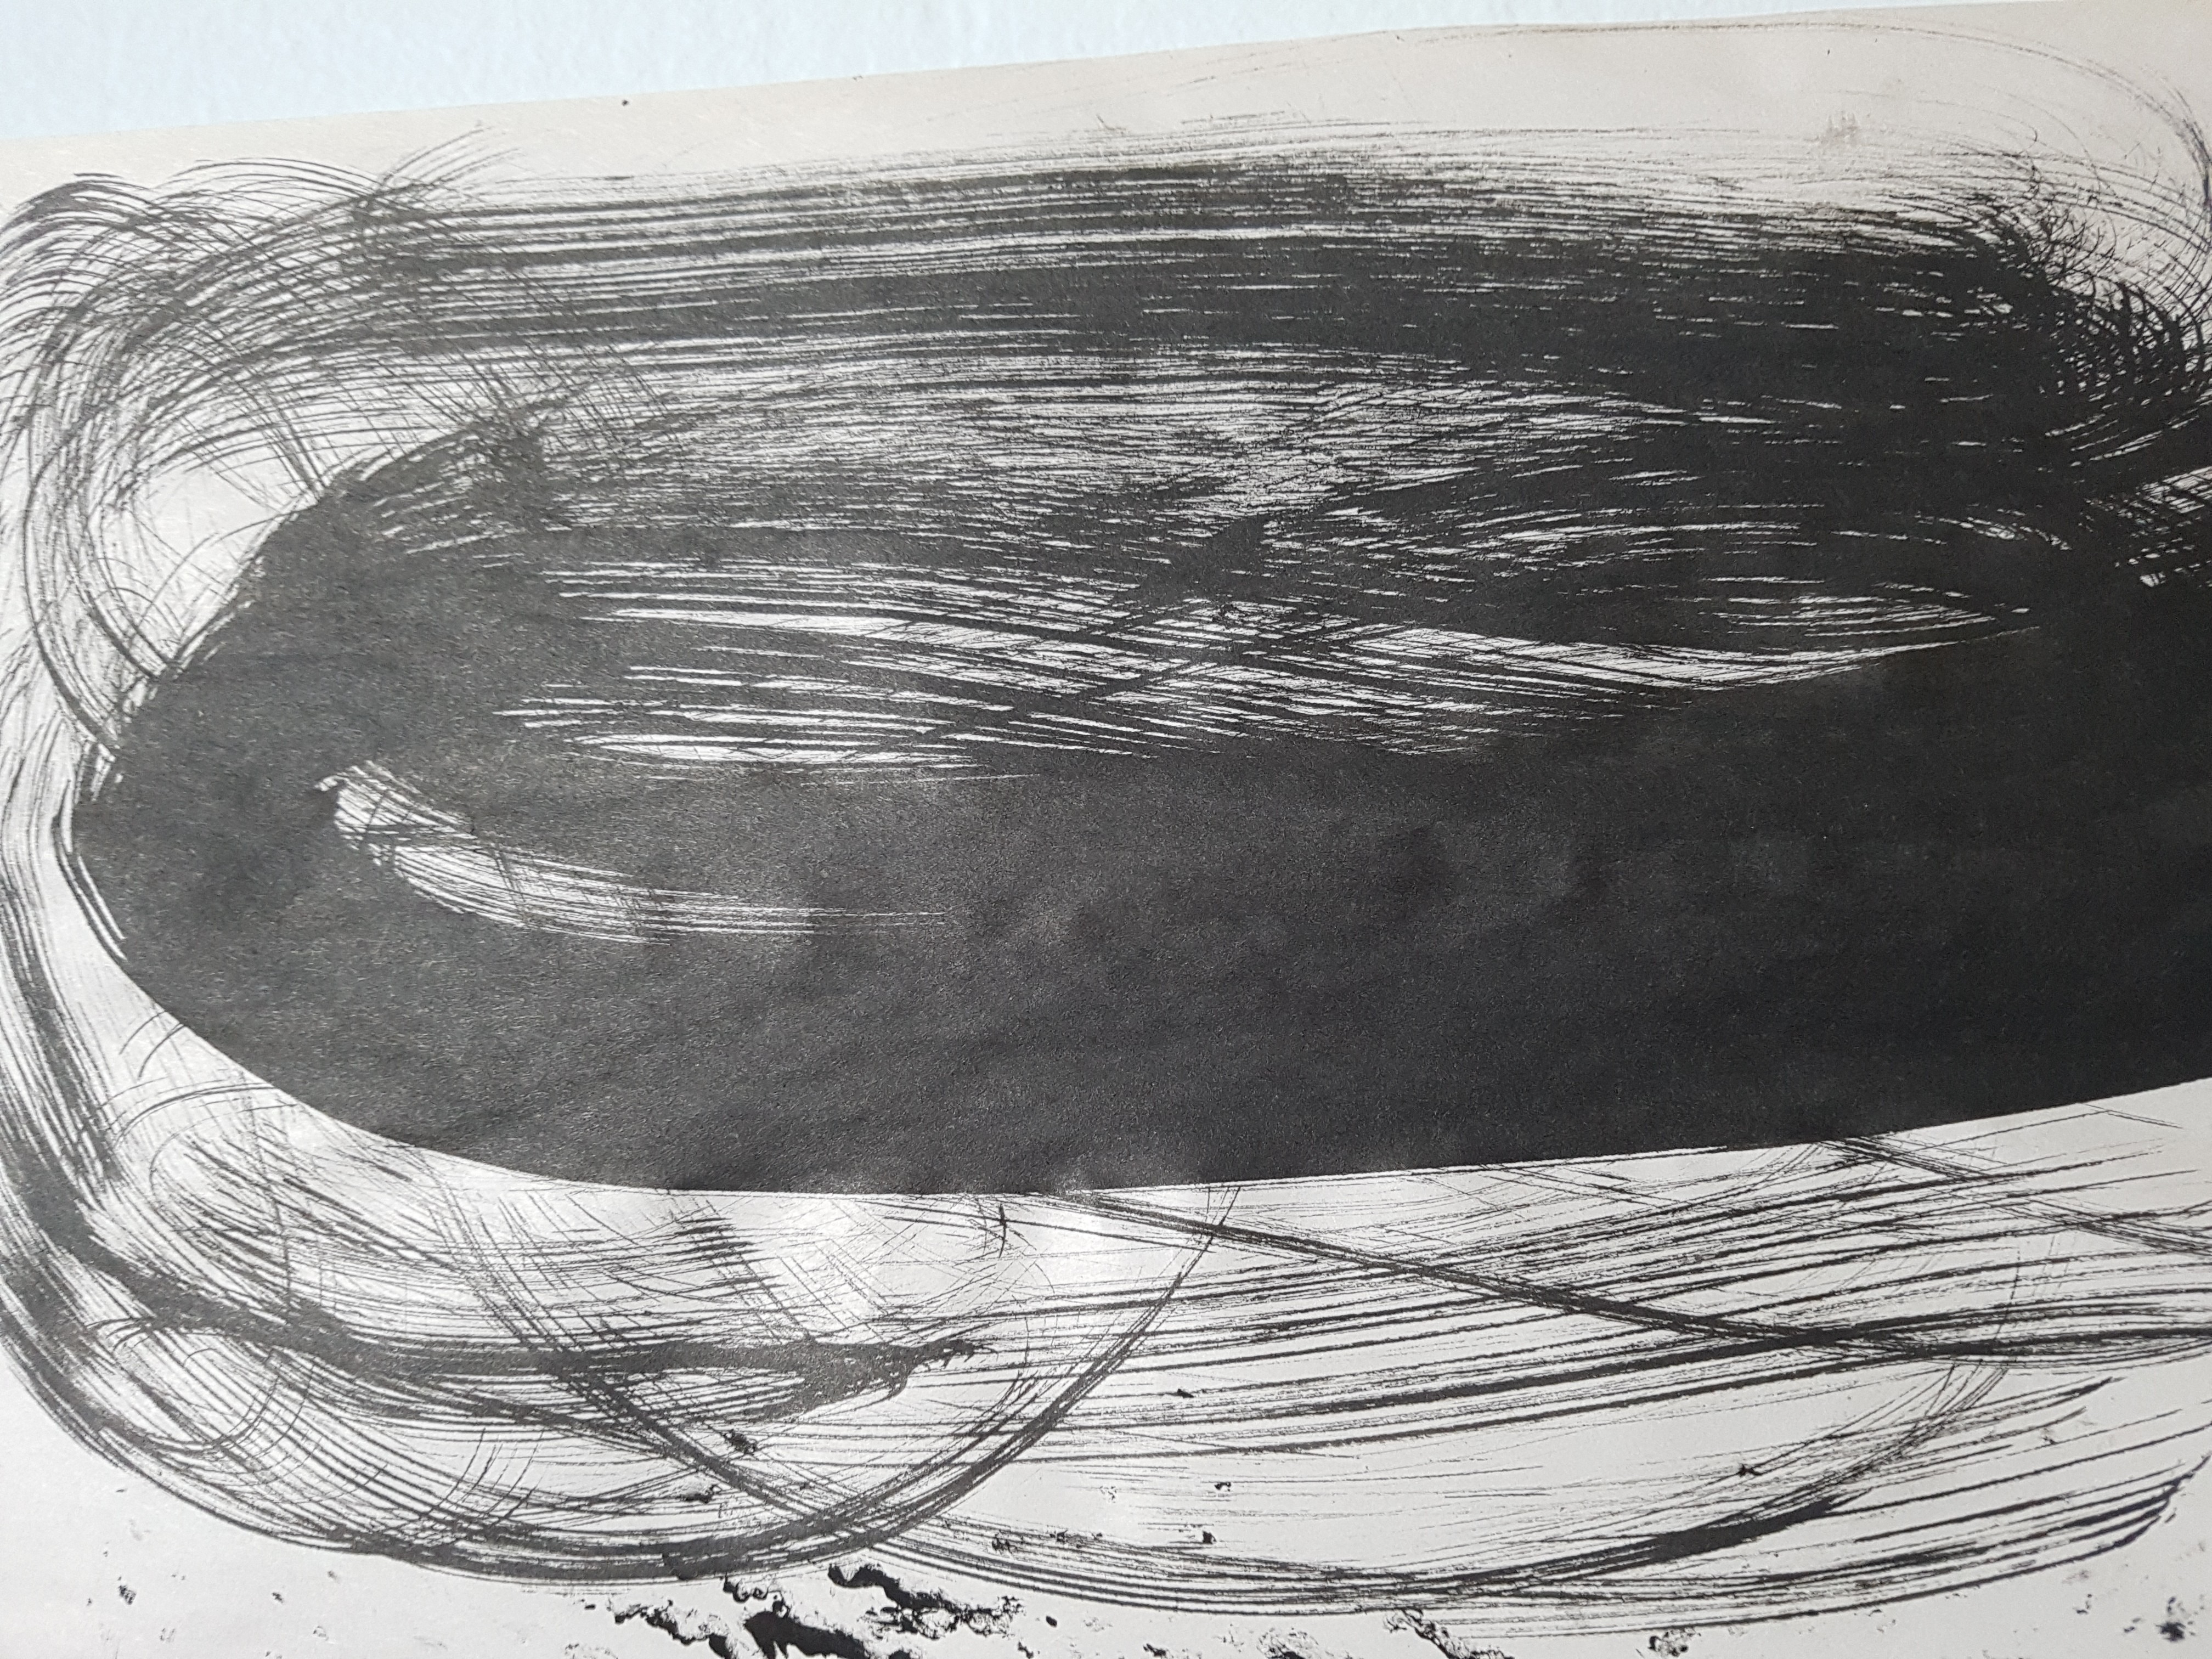
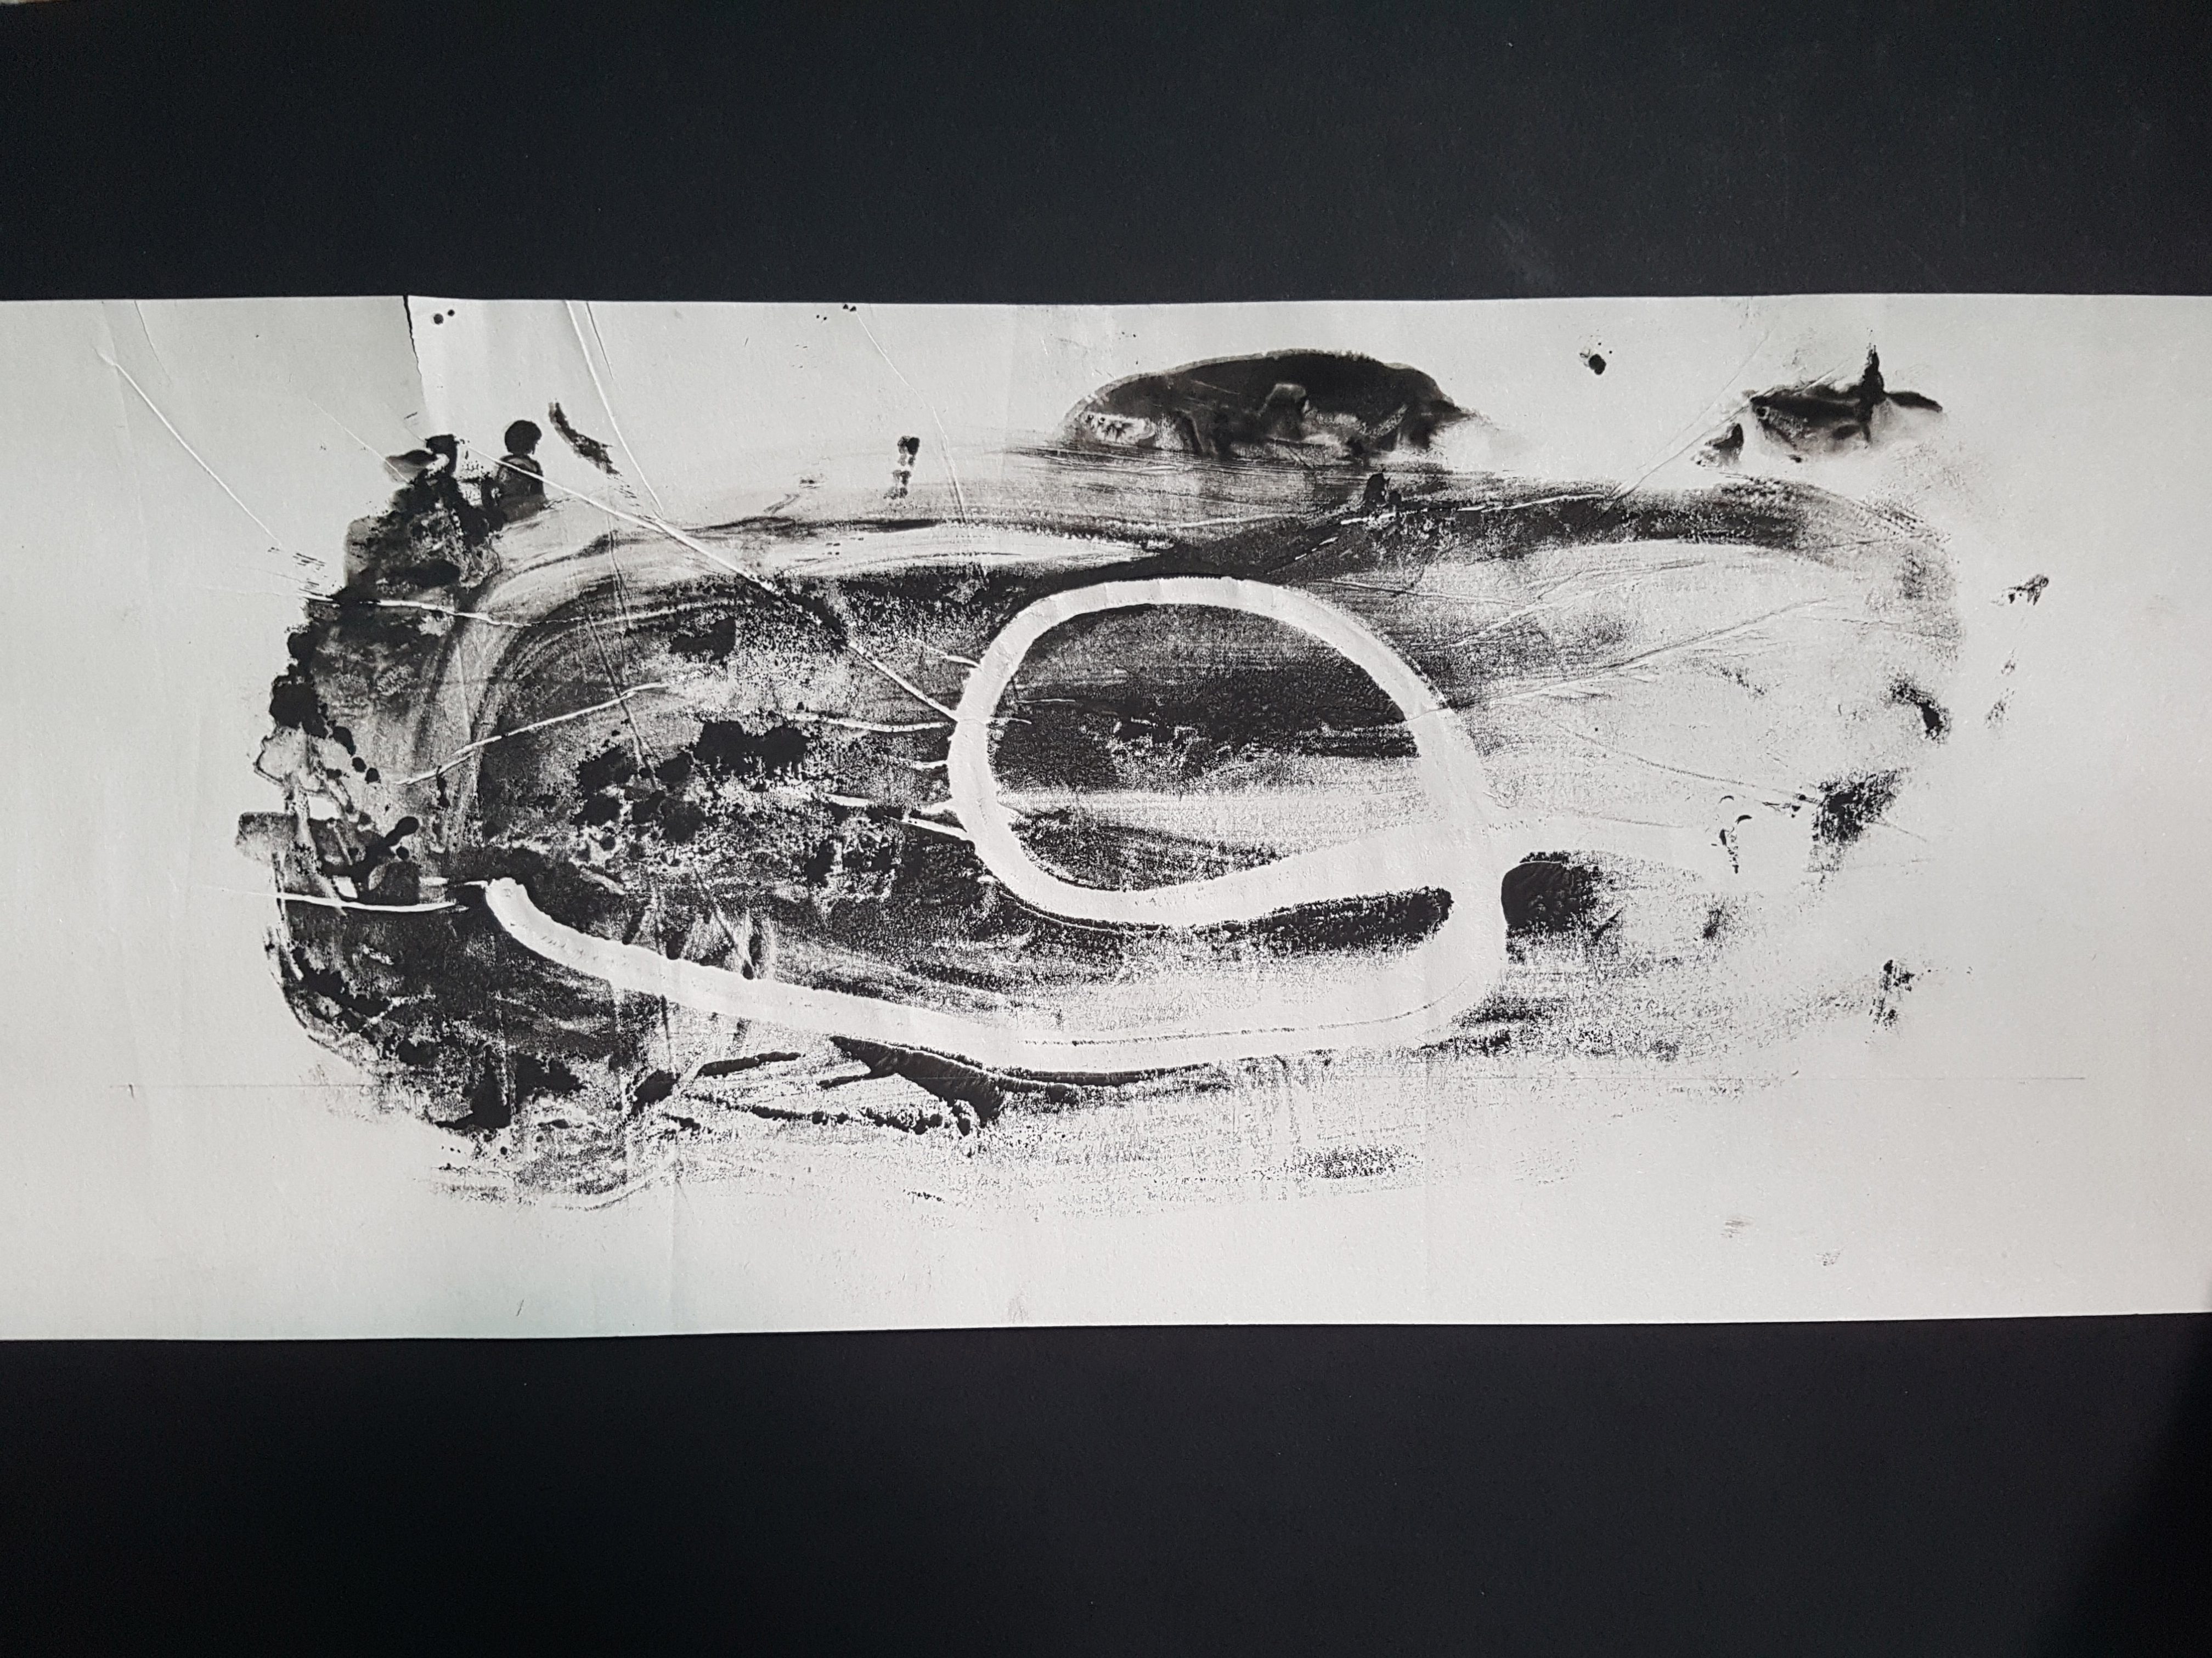
For lost, I decided to use mono printing to create the work. I wanted to recreate something like what I had last week but using a a string or rope that is much thinner in dimension. I wanted to also create a rather dreamy landscape that looks like a limbo hence I used a wetter ink. The problem I faced when doing this was the control of the ink, I was not really sure how wet it must be and some of my pieces came out totally black as well. But I was quite satisfied with the result using the rope creating an abstract piece of a man trapped inside a world.

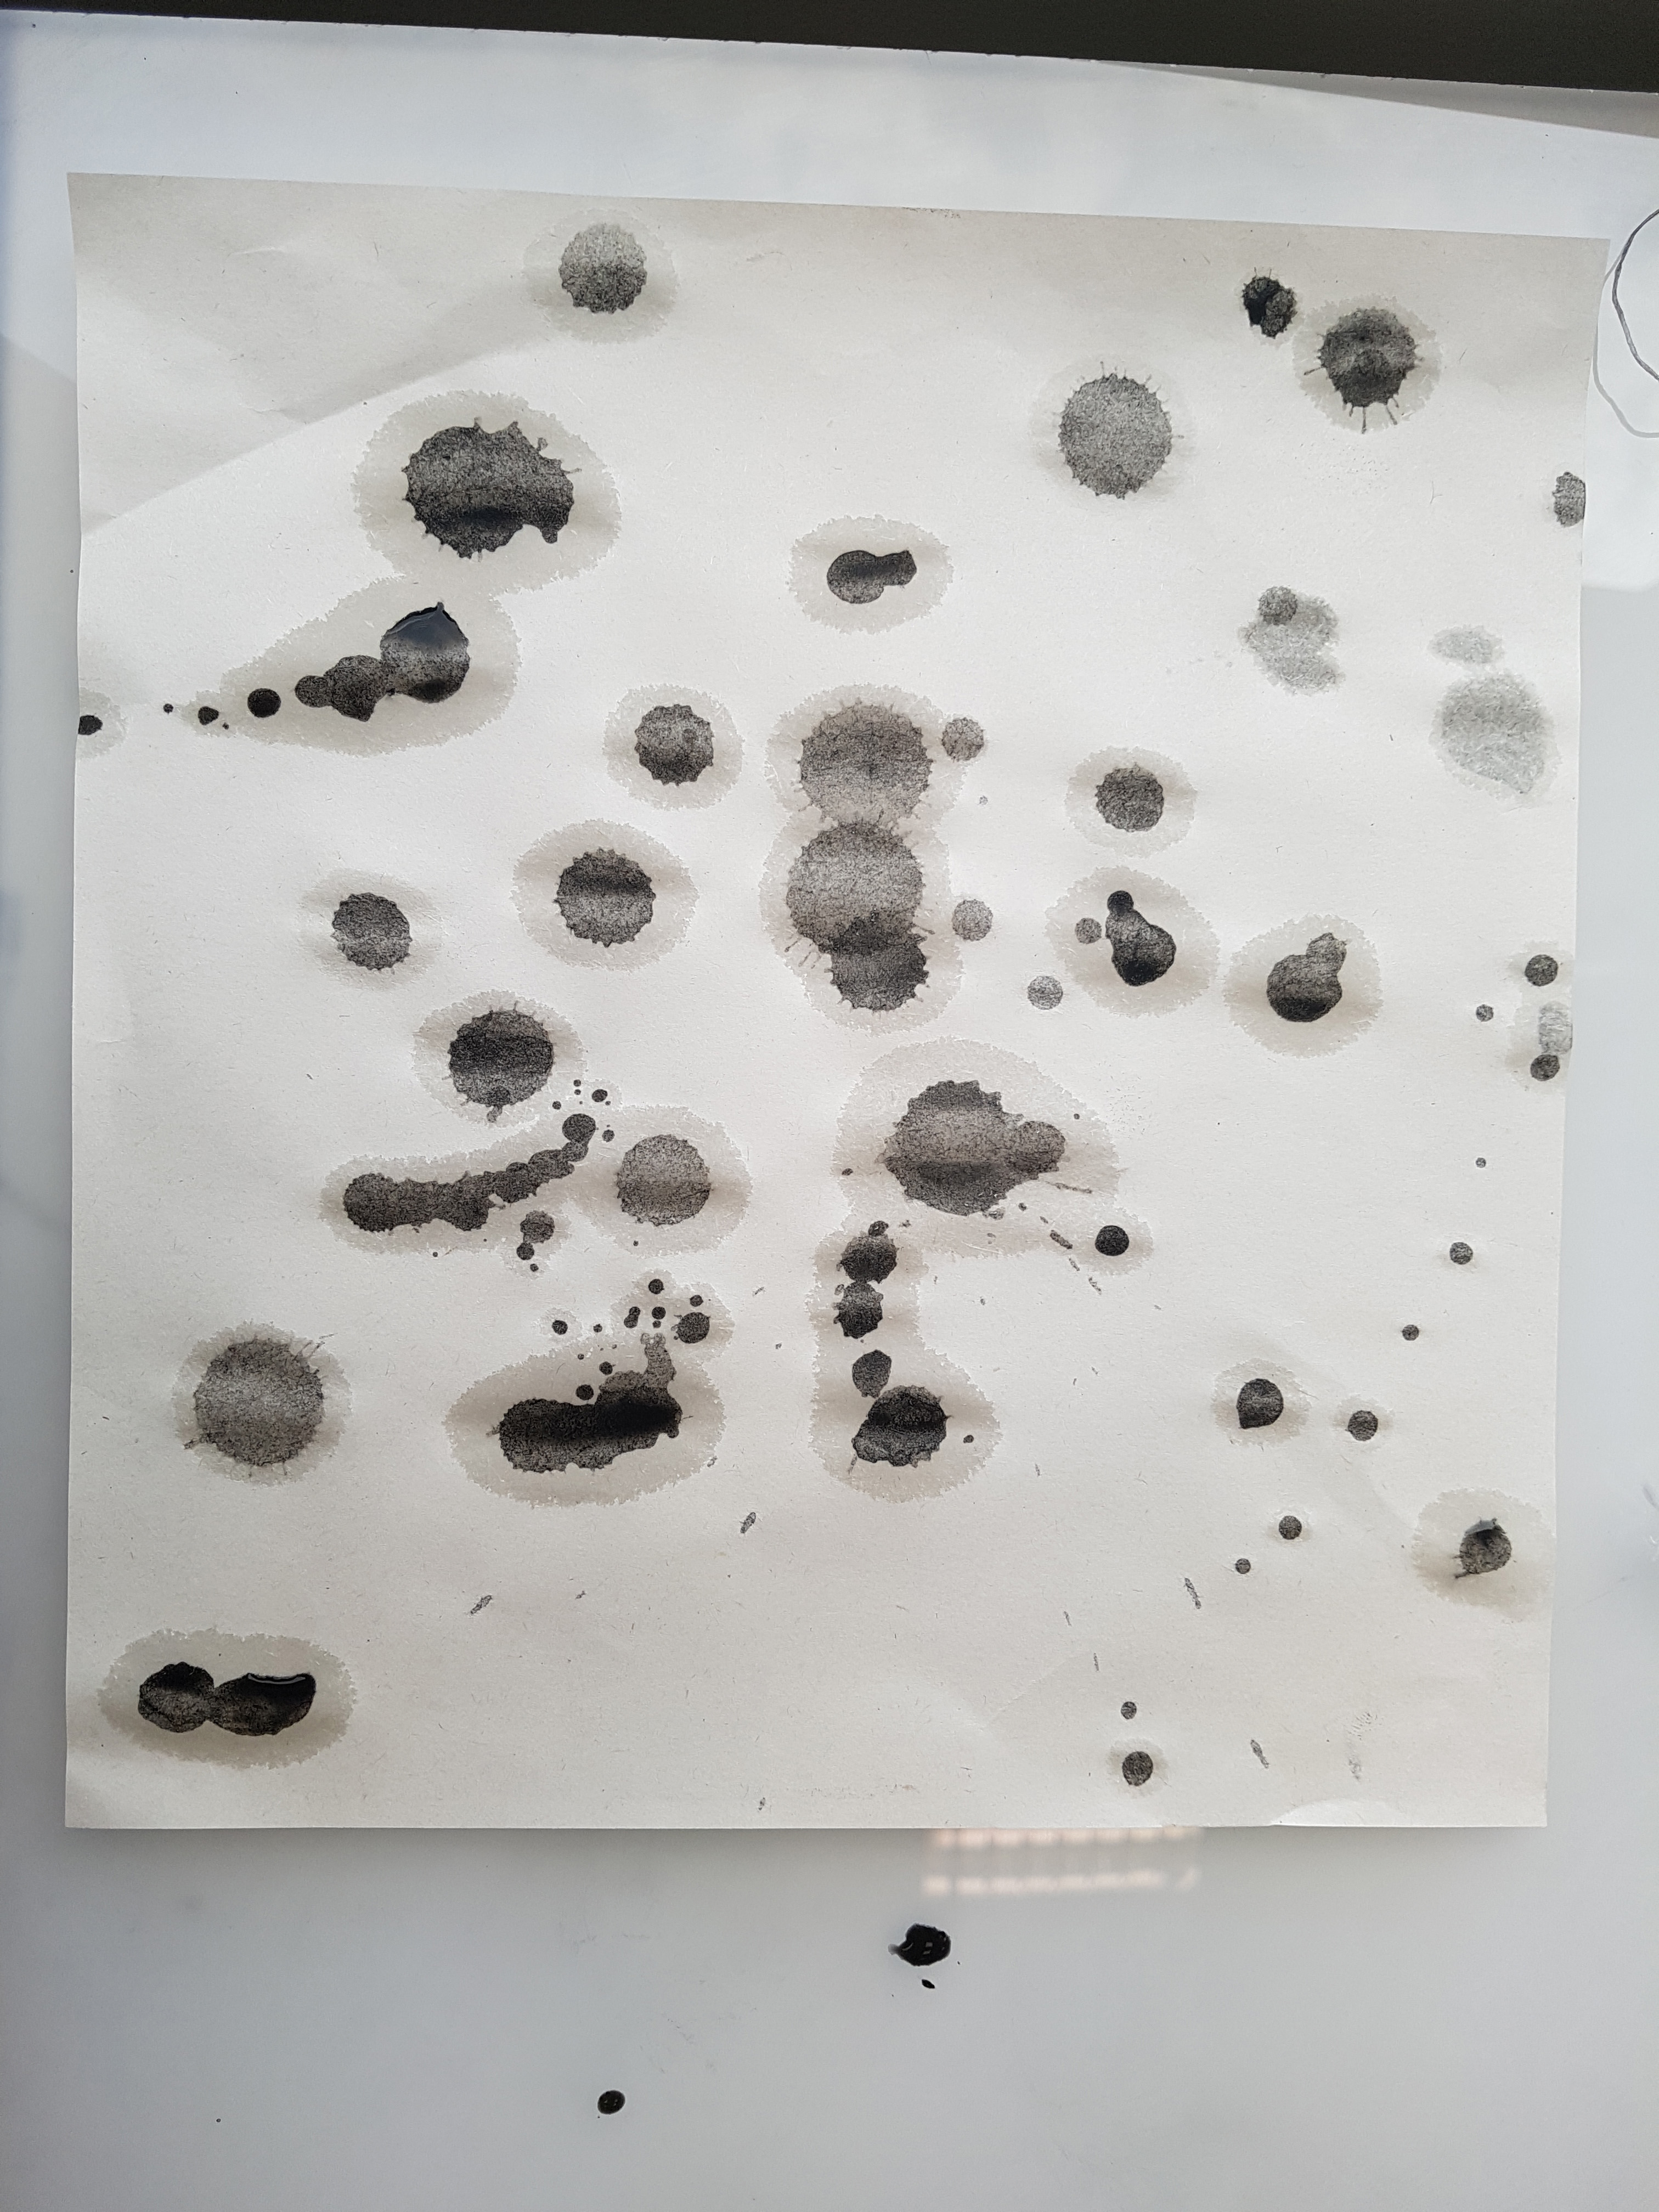
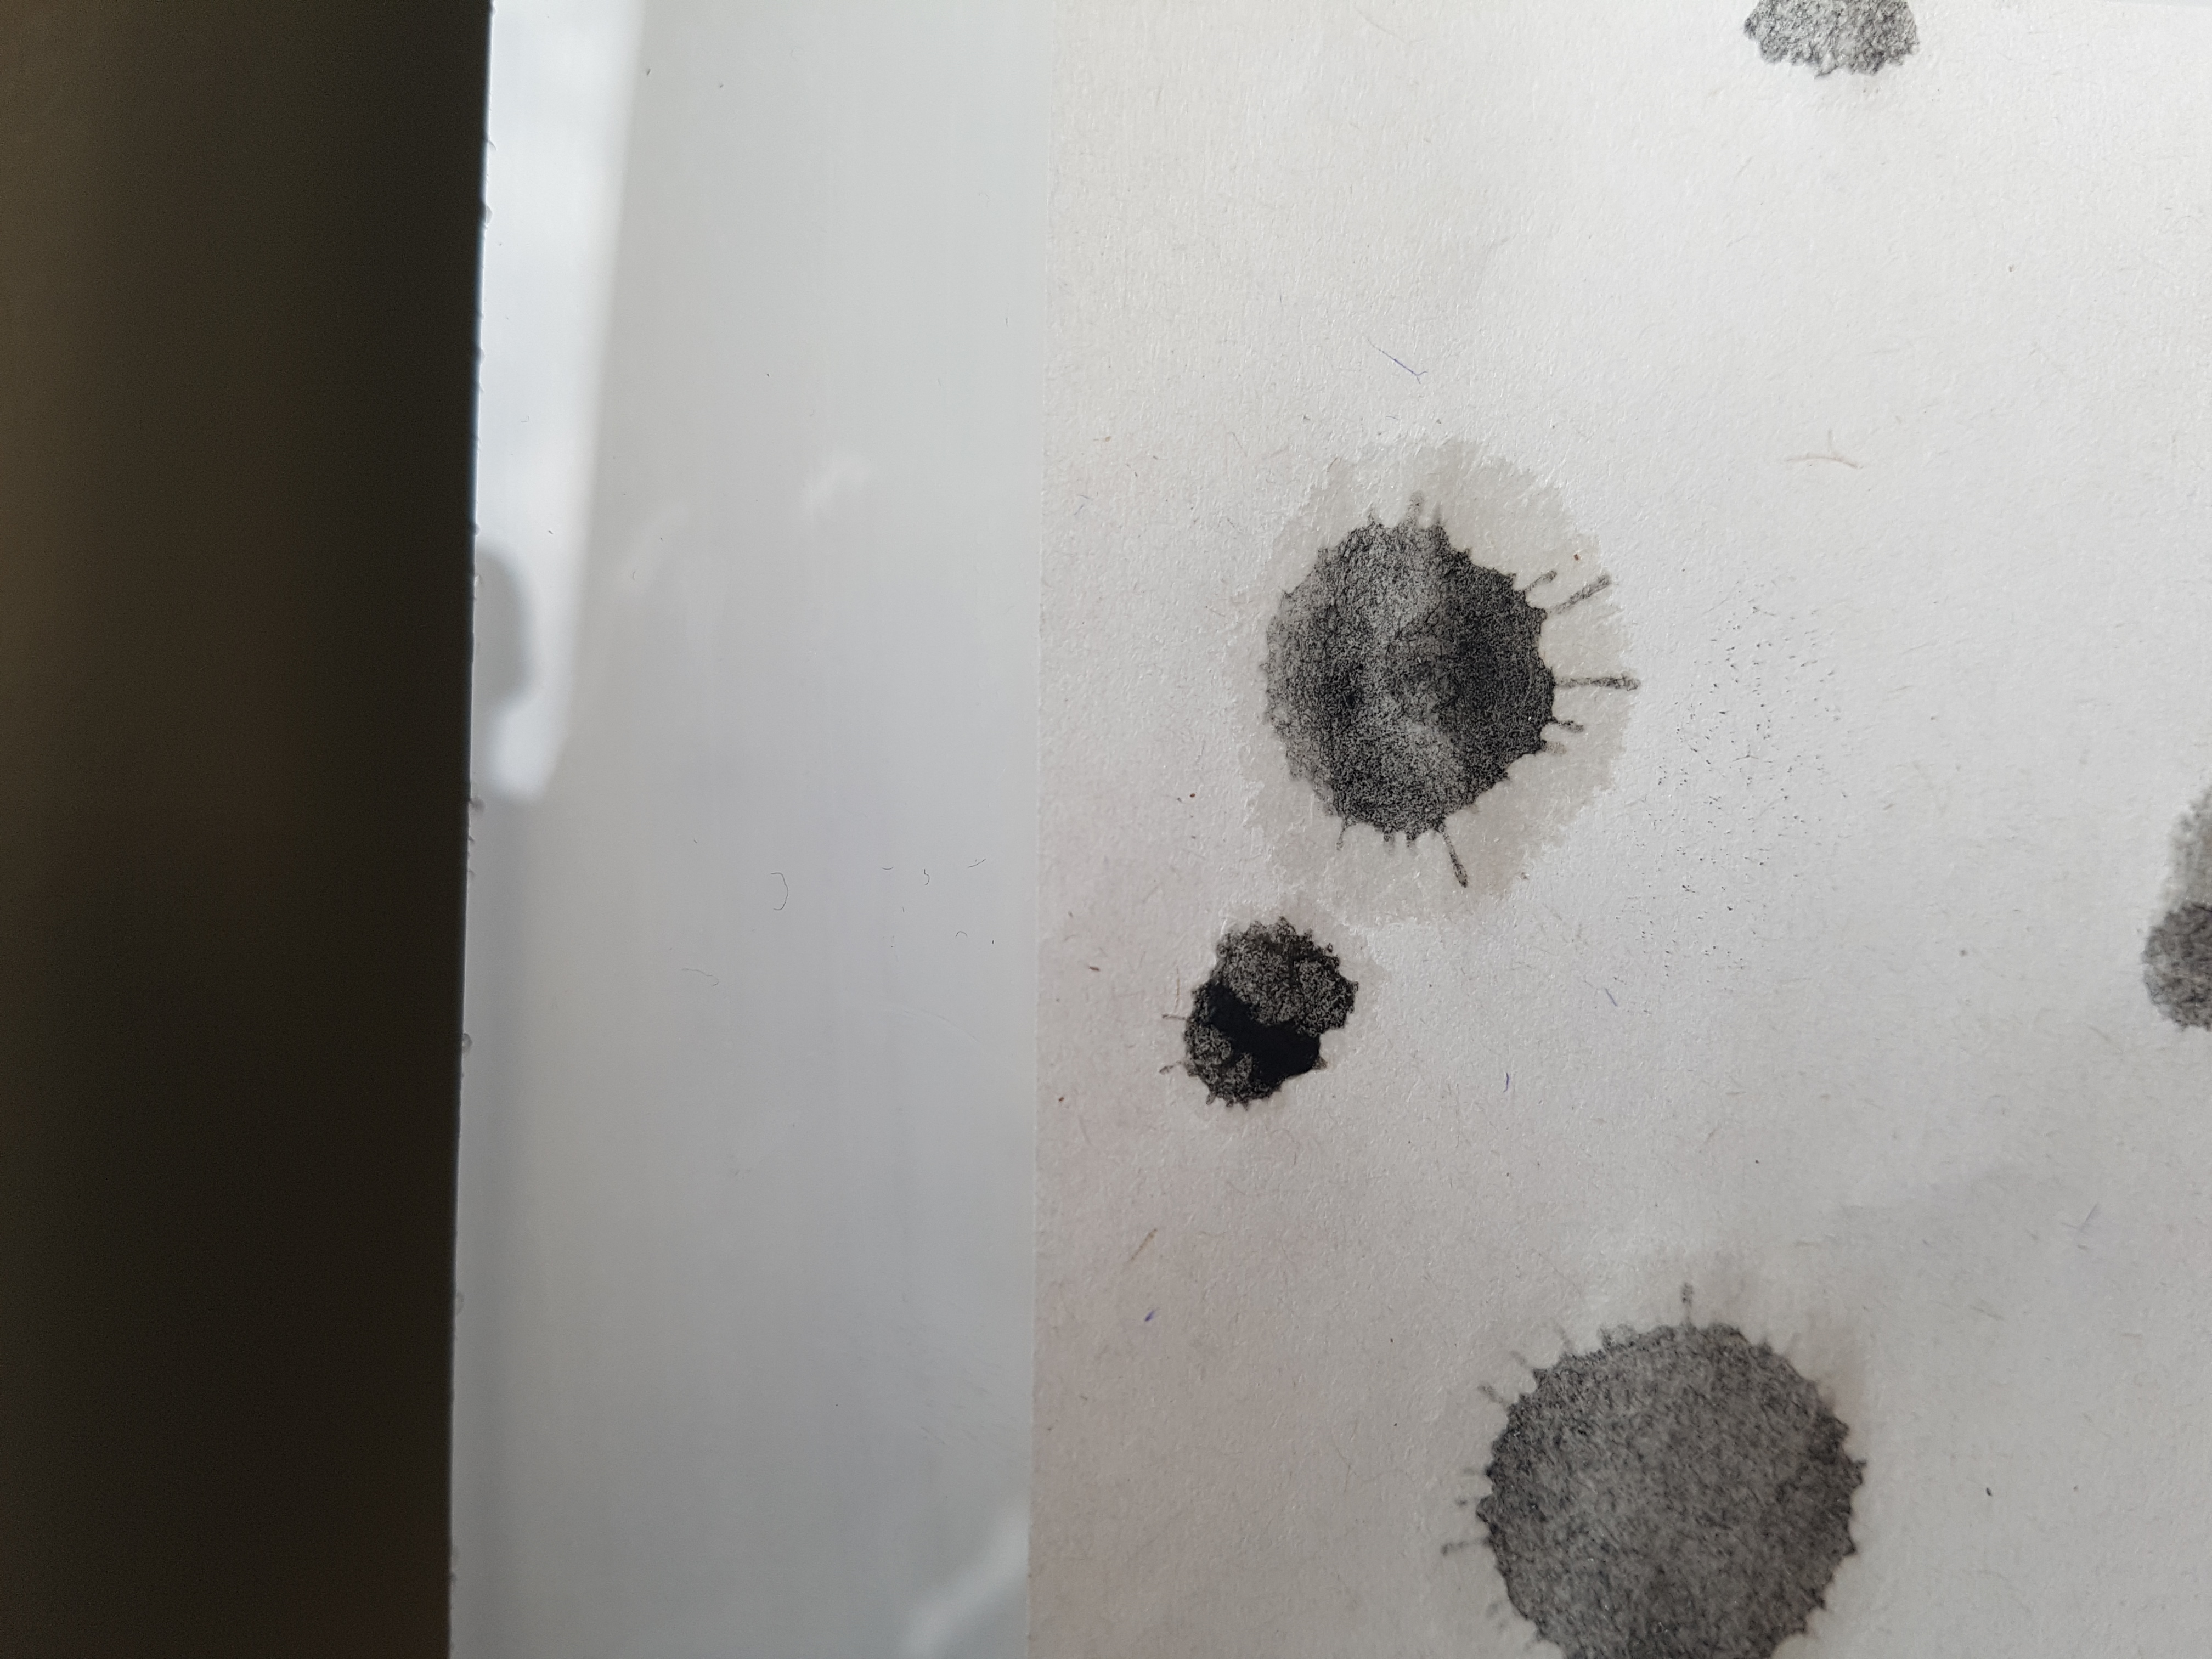
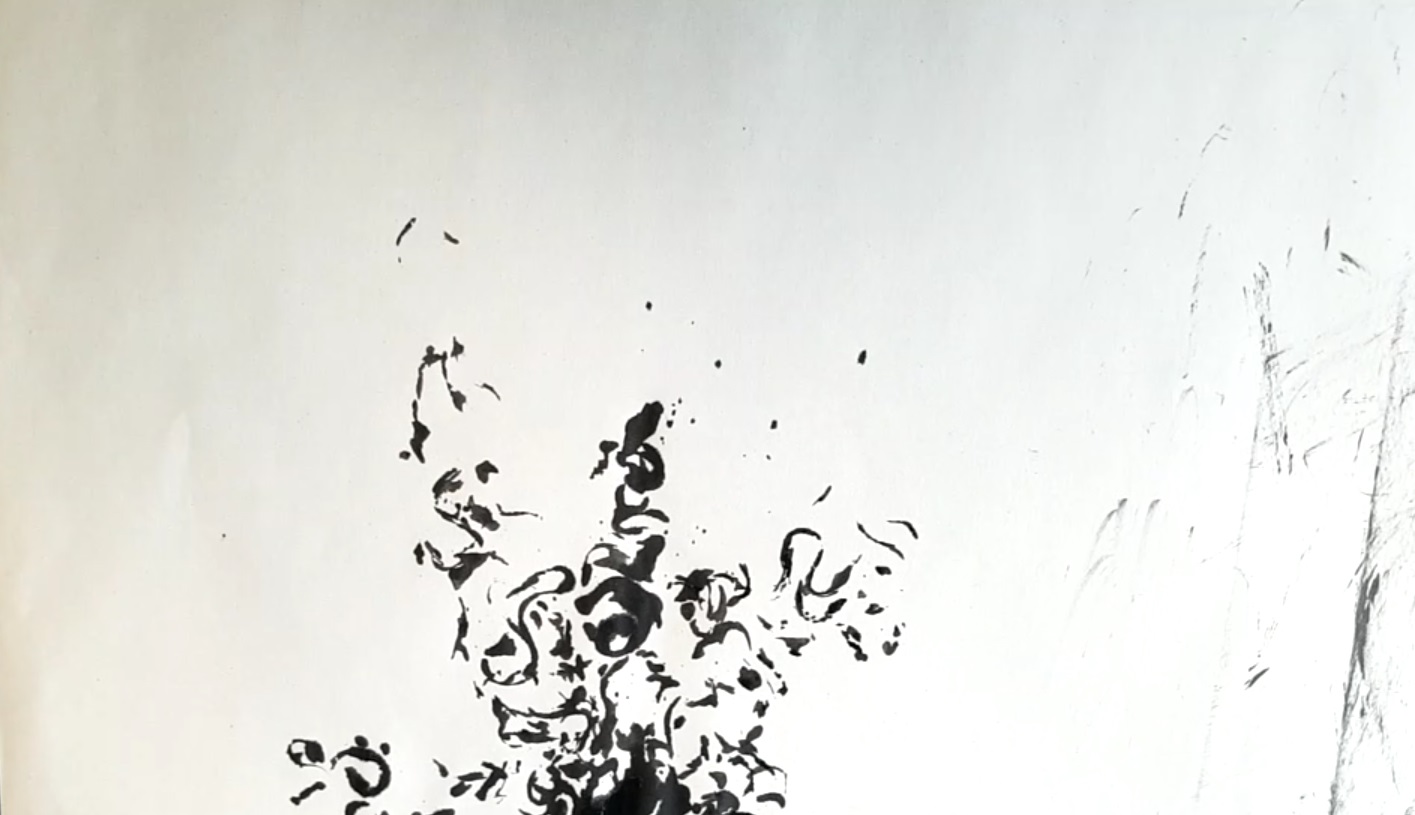
For playfulness, I tried dripping paint to create a bubbly and cheerful piece. I played around with different tools for me to drip the paint from using a brush to using a scoop. In the end I found out the best tool to drip paint is by using straws. Next I also played around with the mixture of paint by adjusting the ratio and paint accordingly to create different tones. However, I was unable to created splashes that are bigger. Need to experiment more.
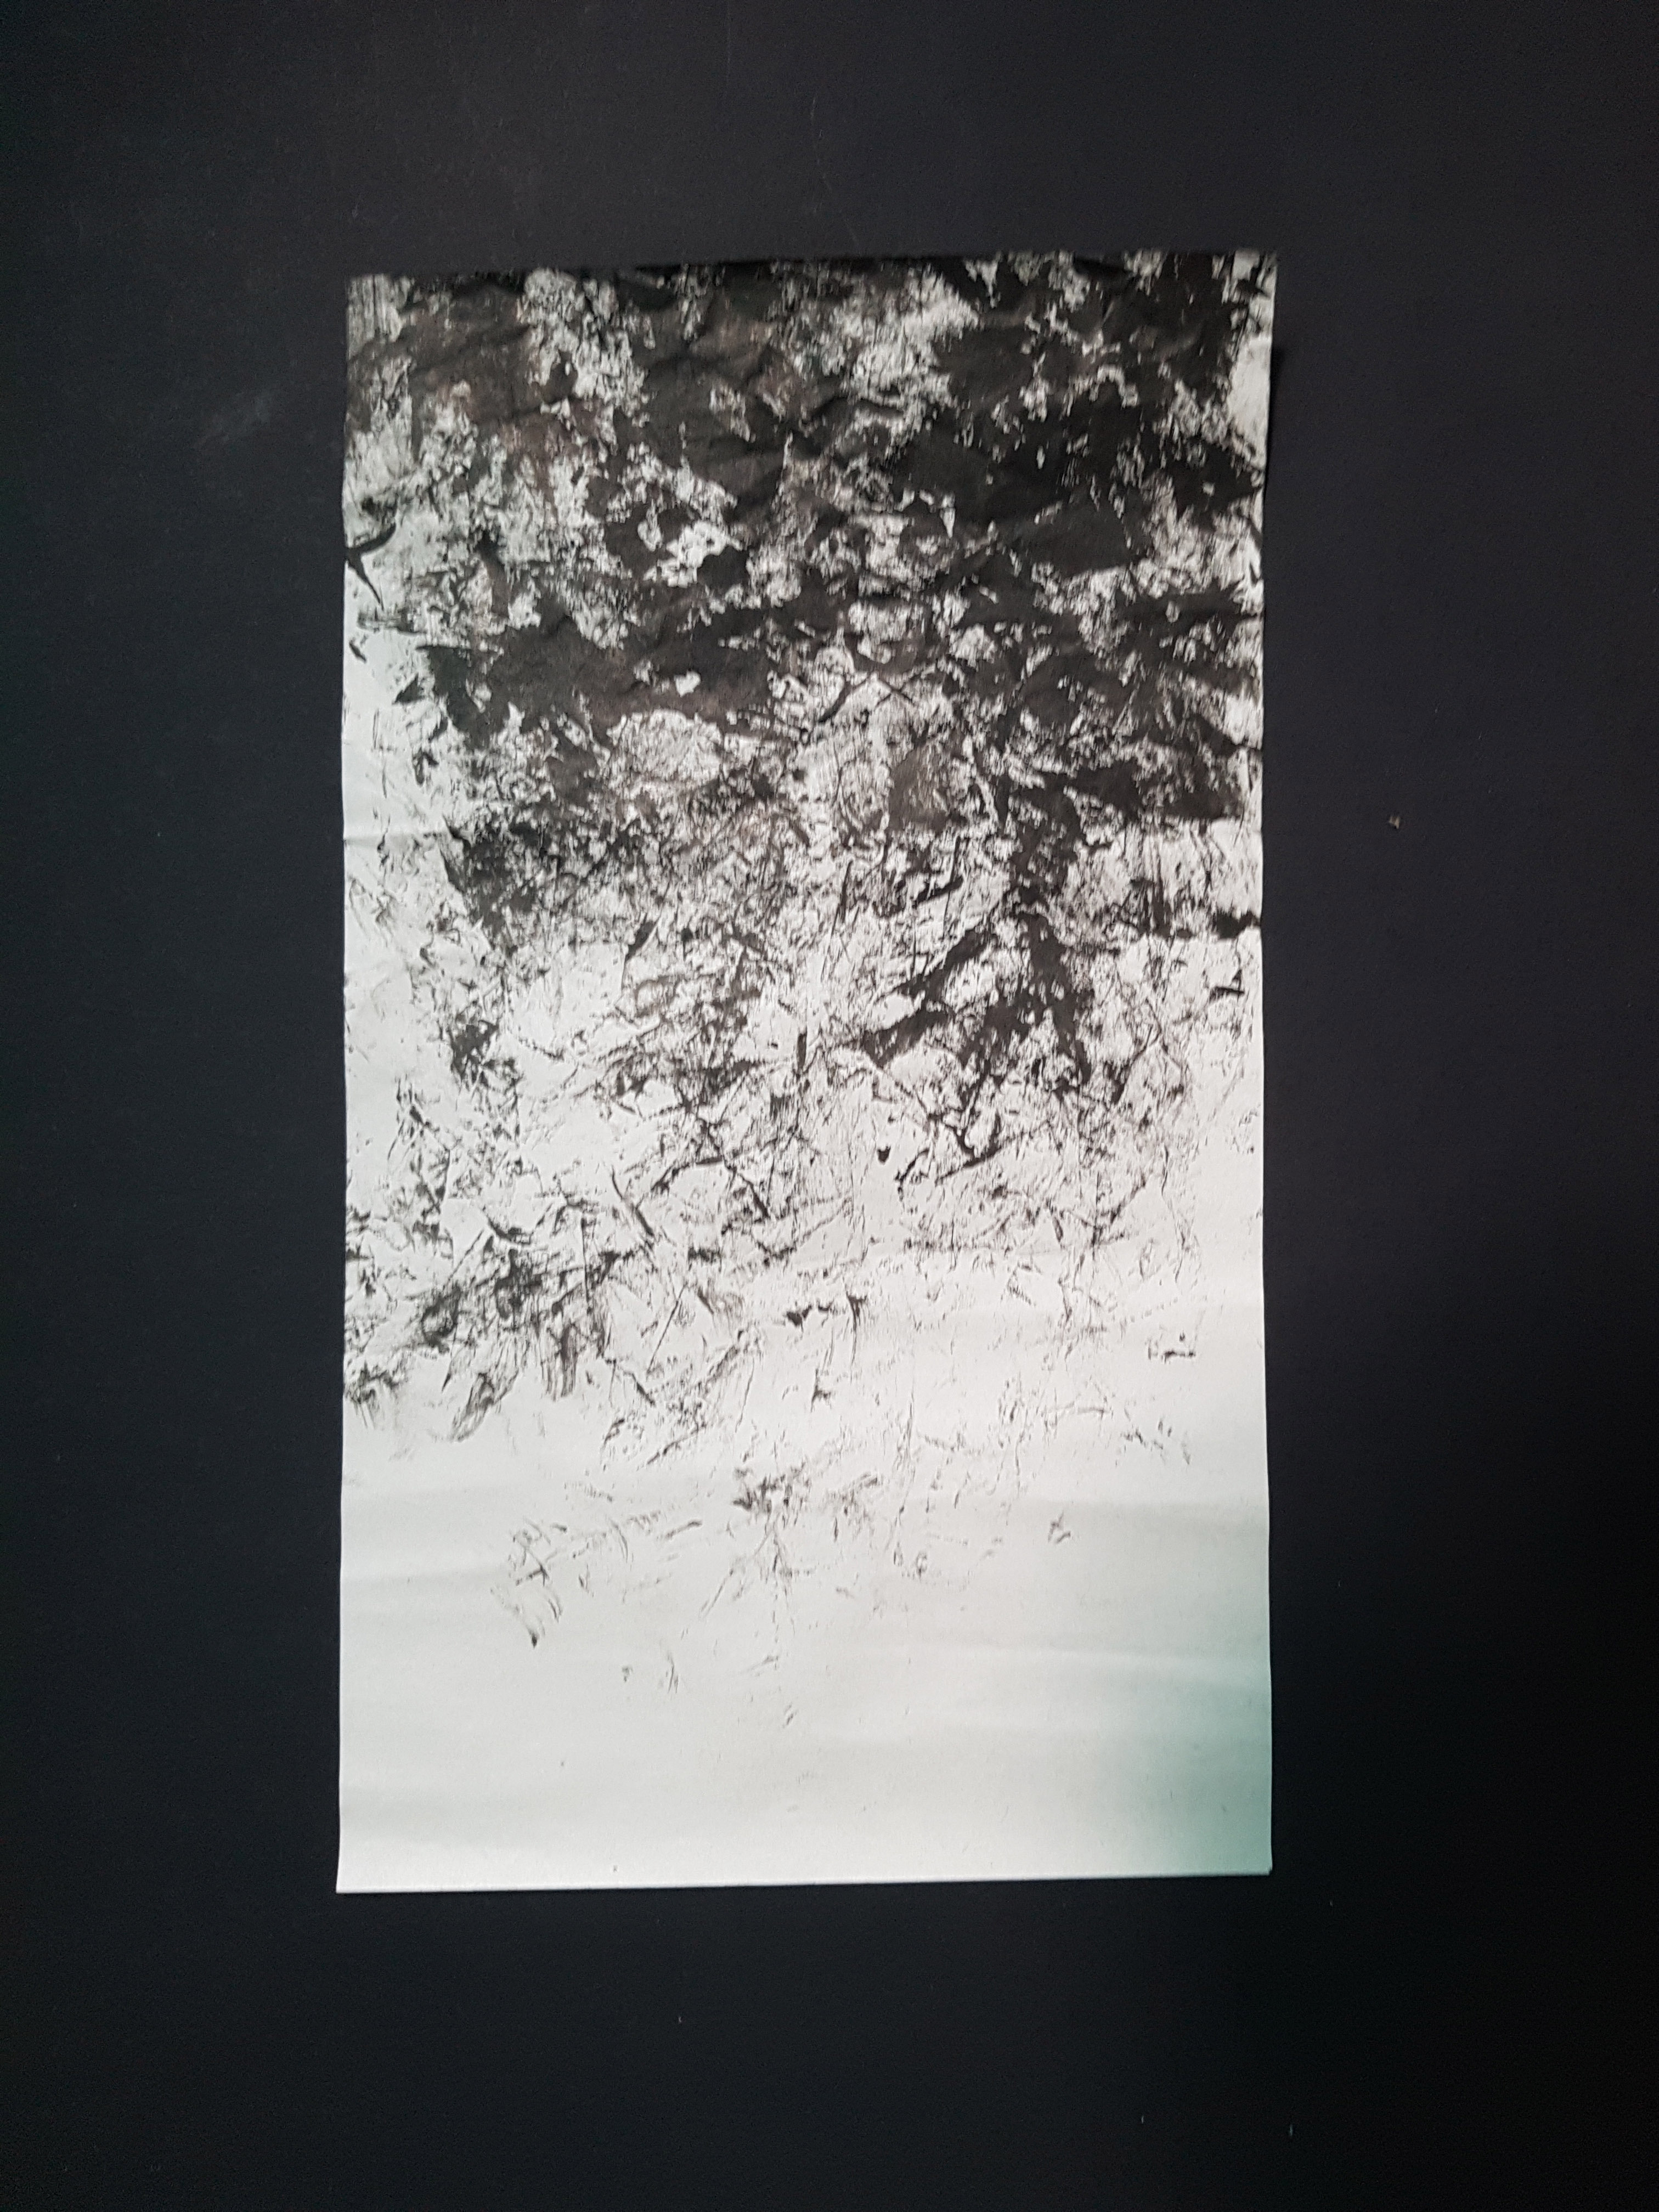
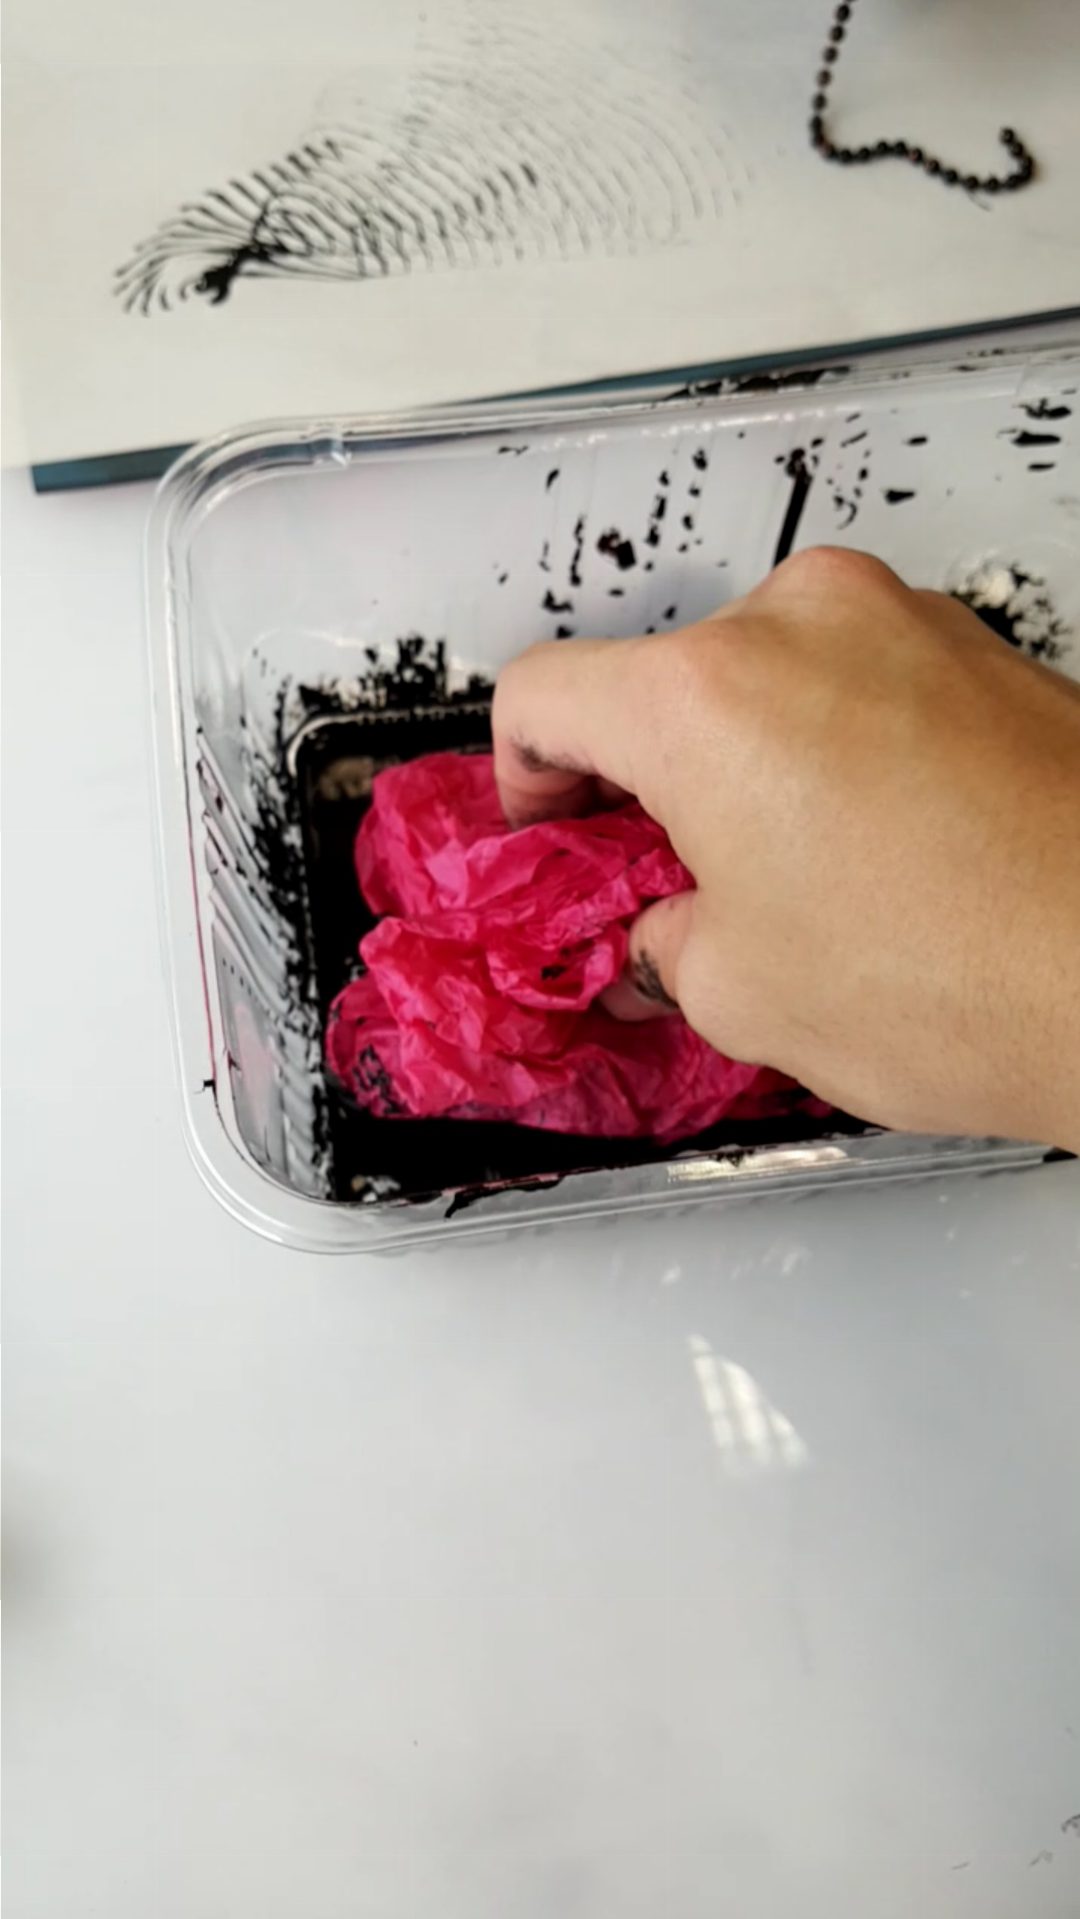
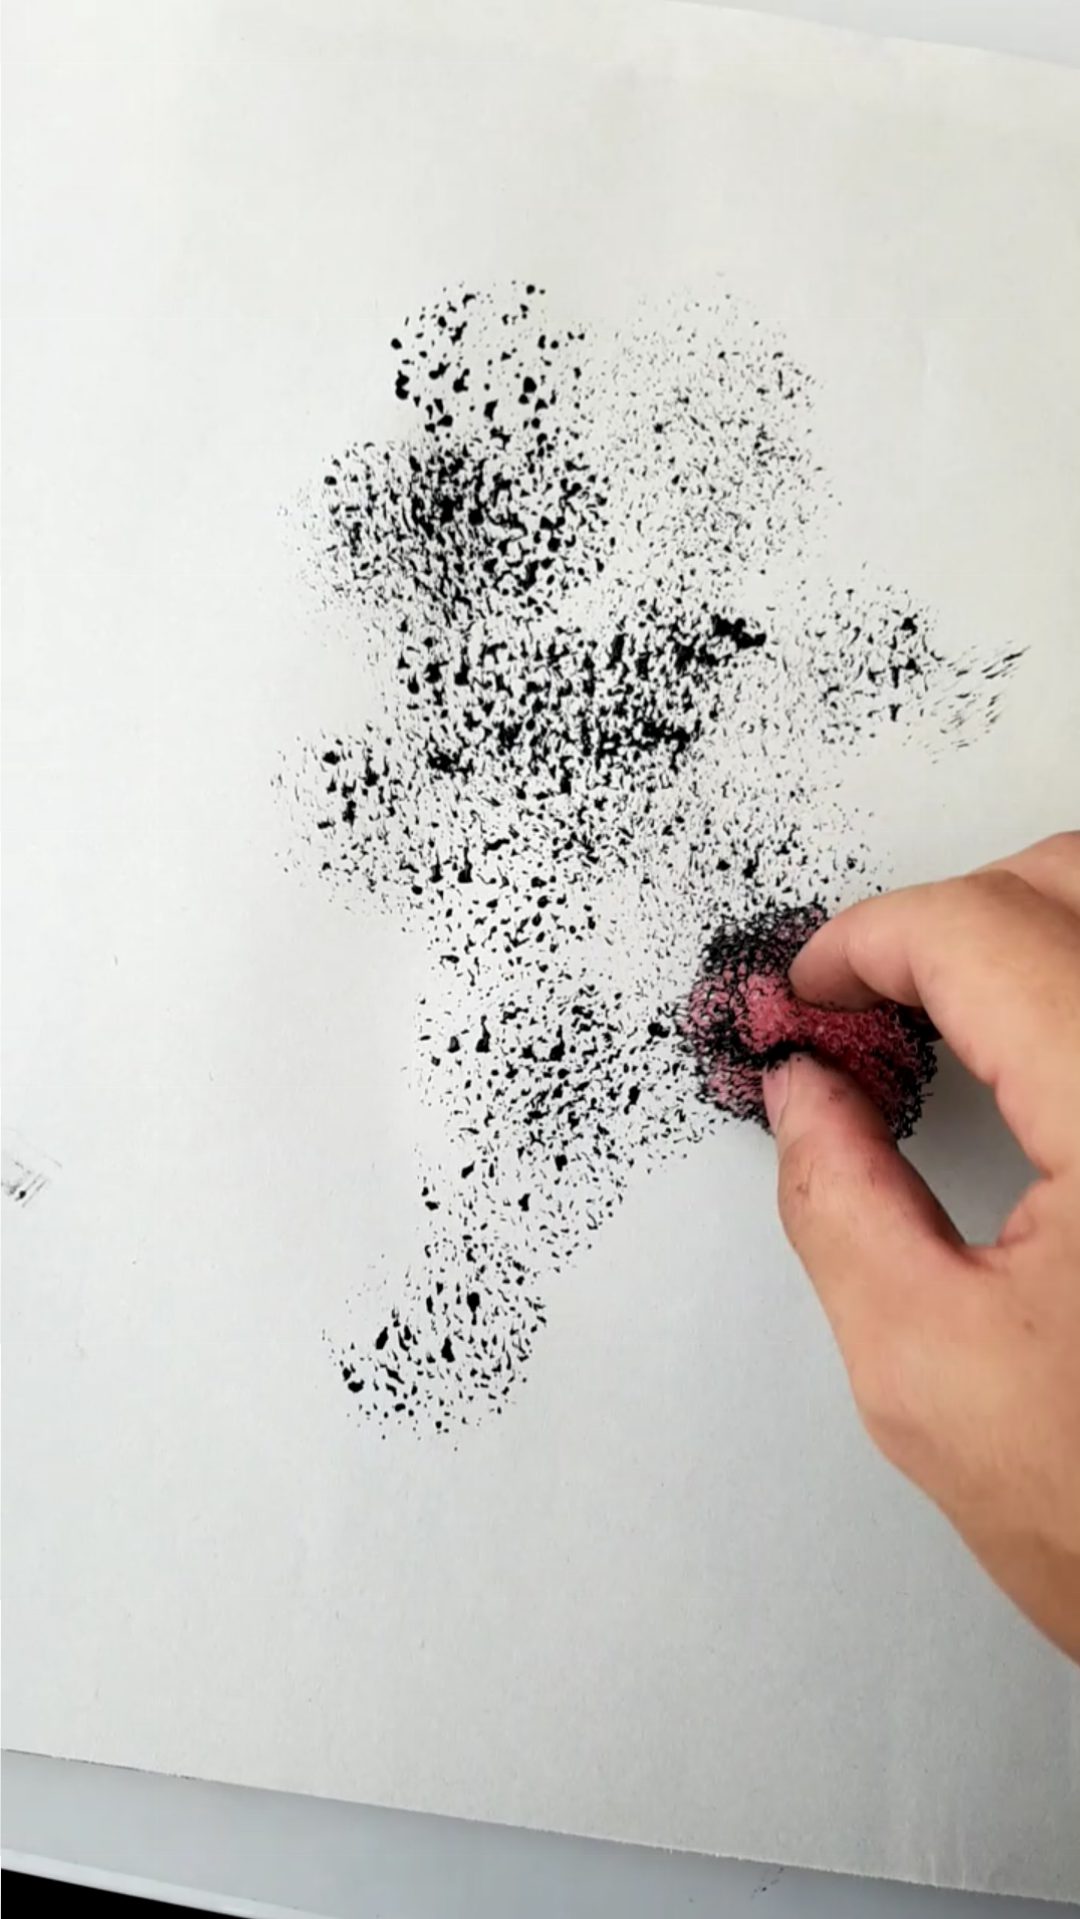
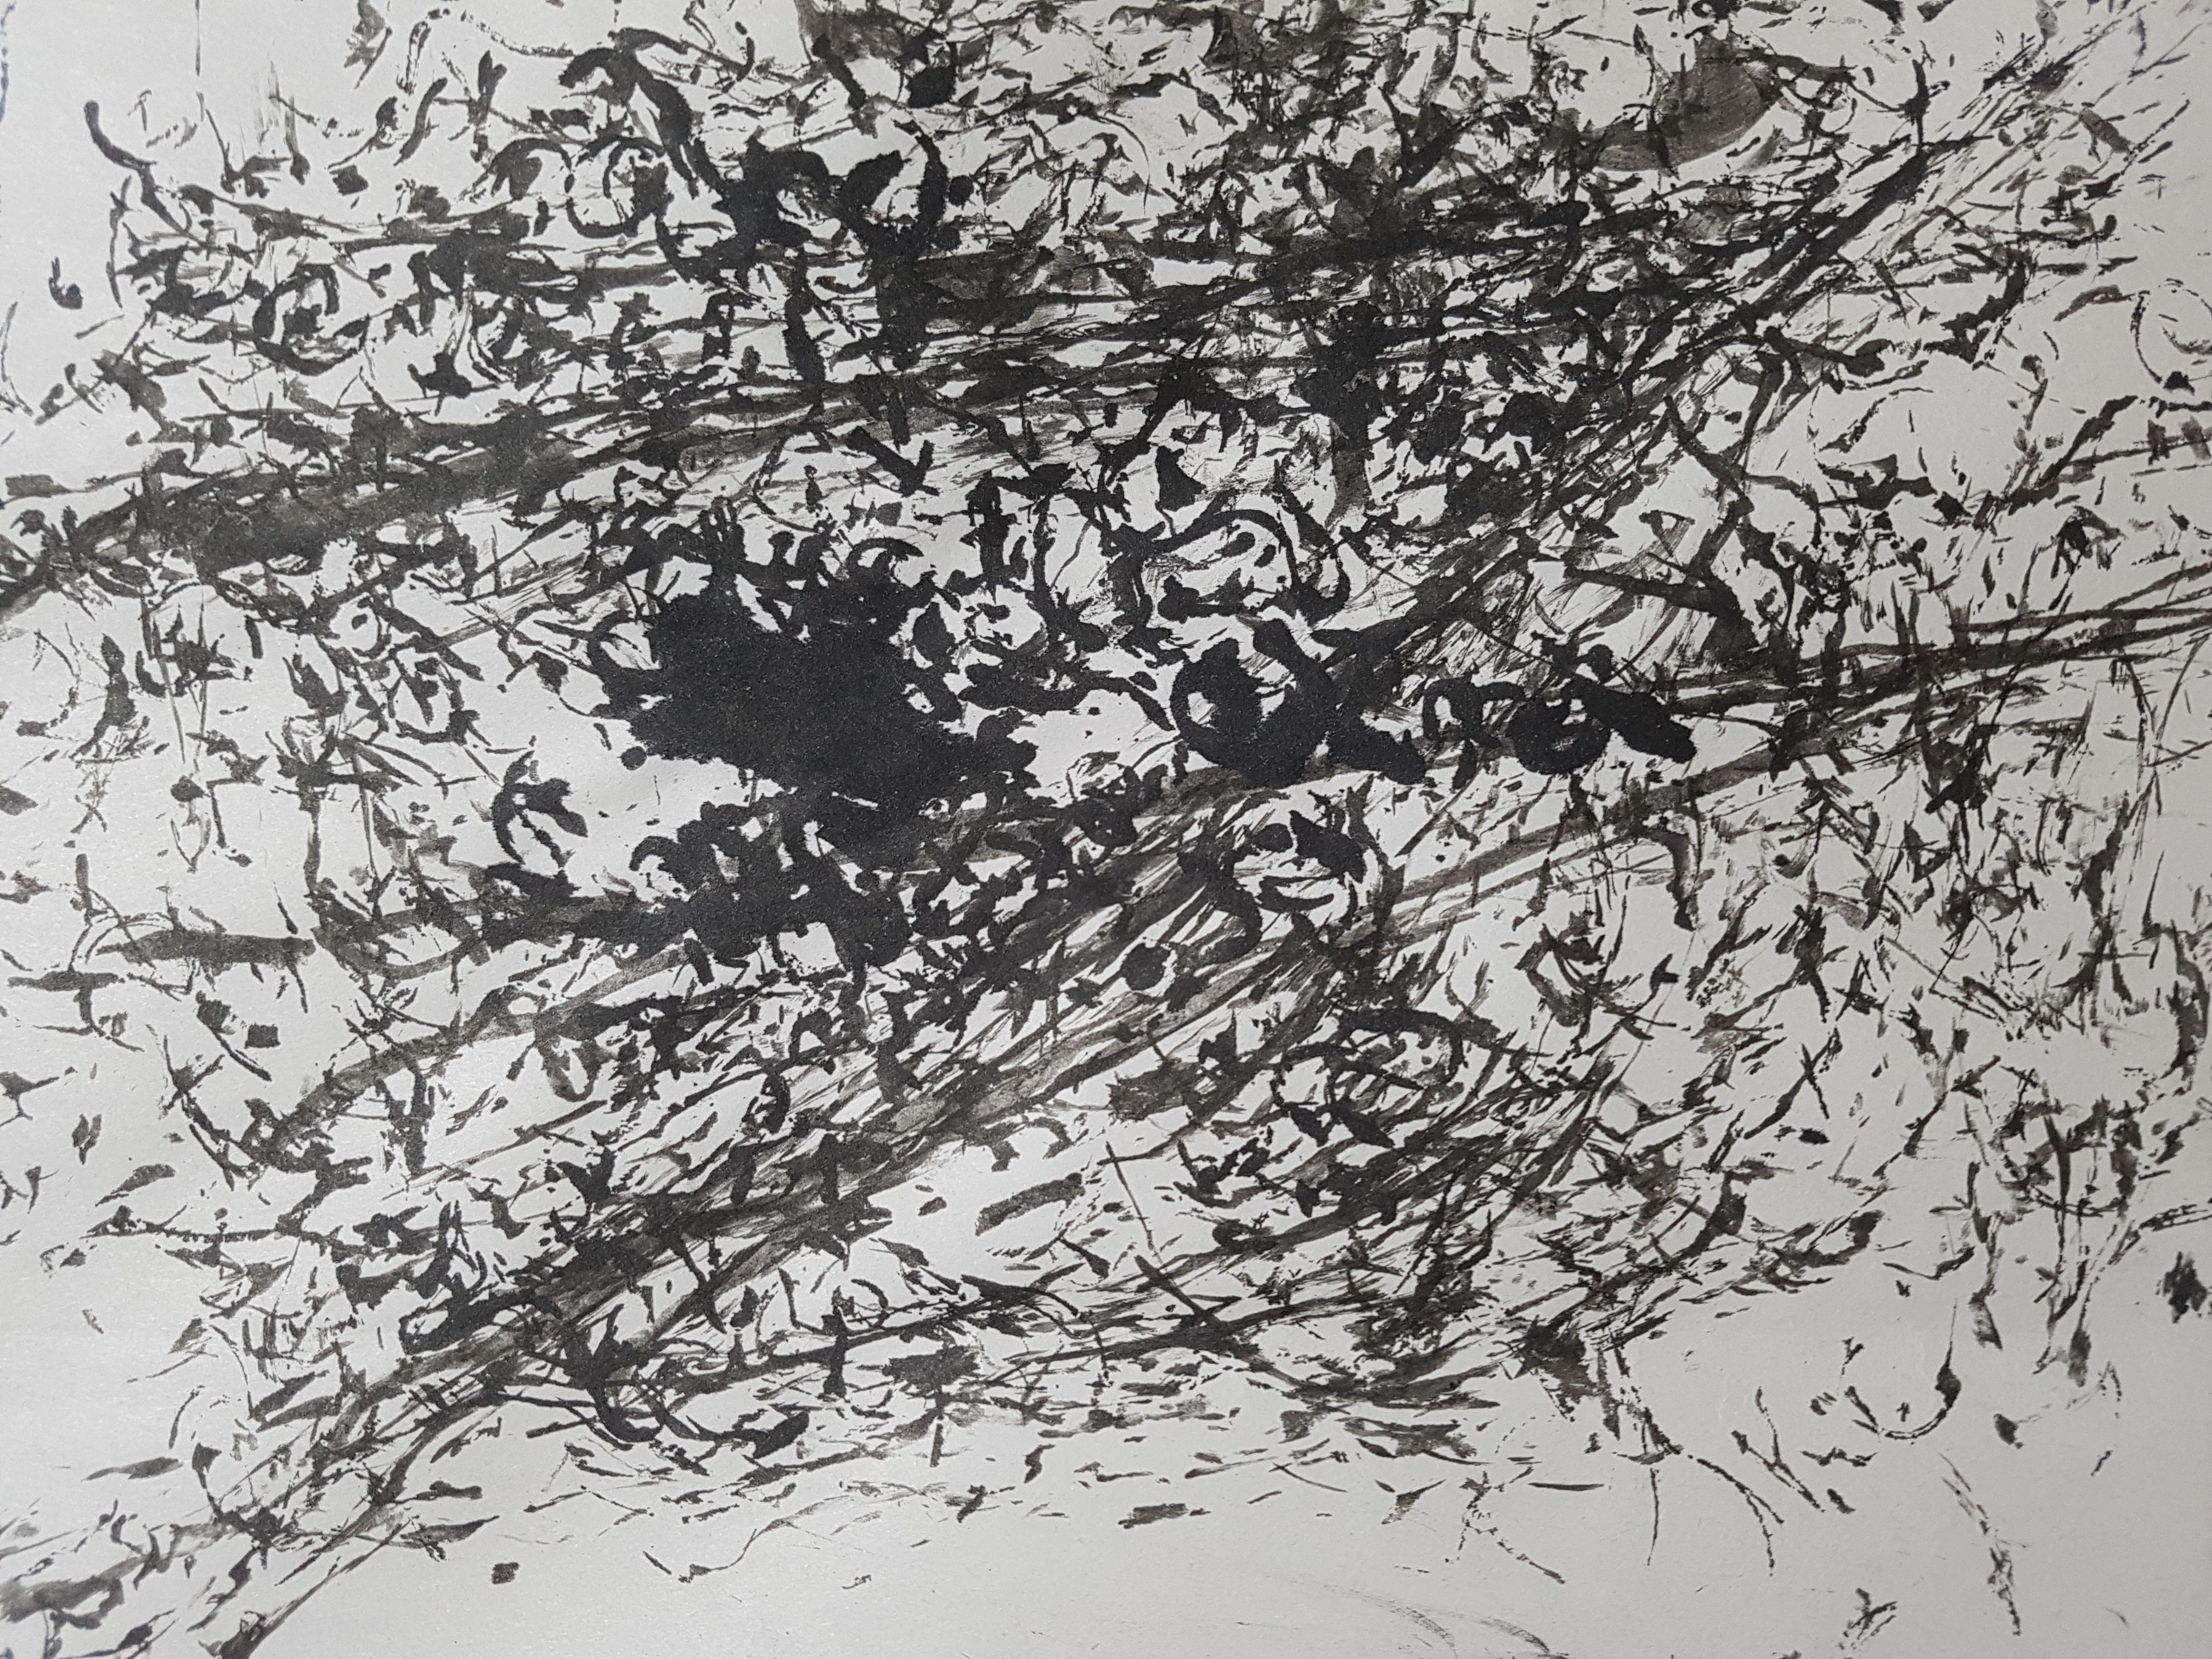
For worry, I decided to use last weeks experimentation with crushed paper. I crushed the paper and mixed it with ink and dabbed it on paper creating a very messy look. Satisfied!
Week 3.5
Before confirming my 6 emotions, I realized that my works are mostly using inks and 2D stuff hence I need to experiment with the use of more materials and techniques maybe play around with 3Ds and textures.
Further improvements on current works:
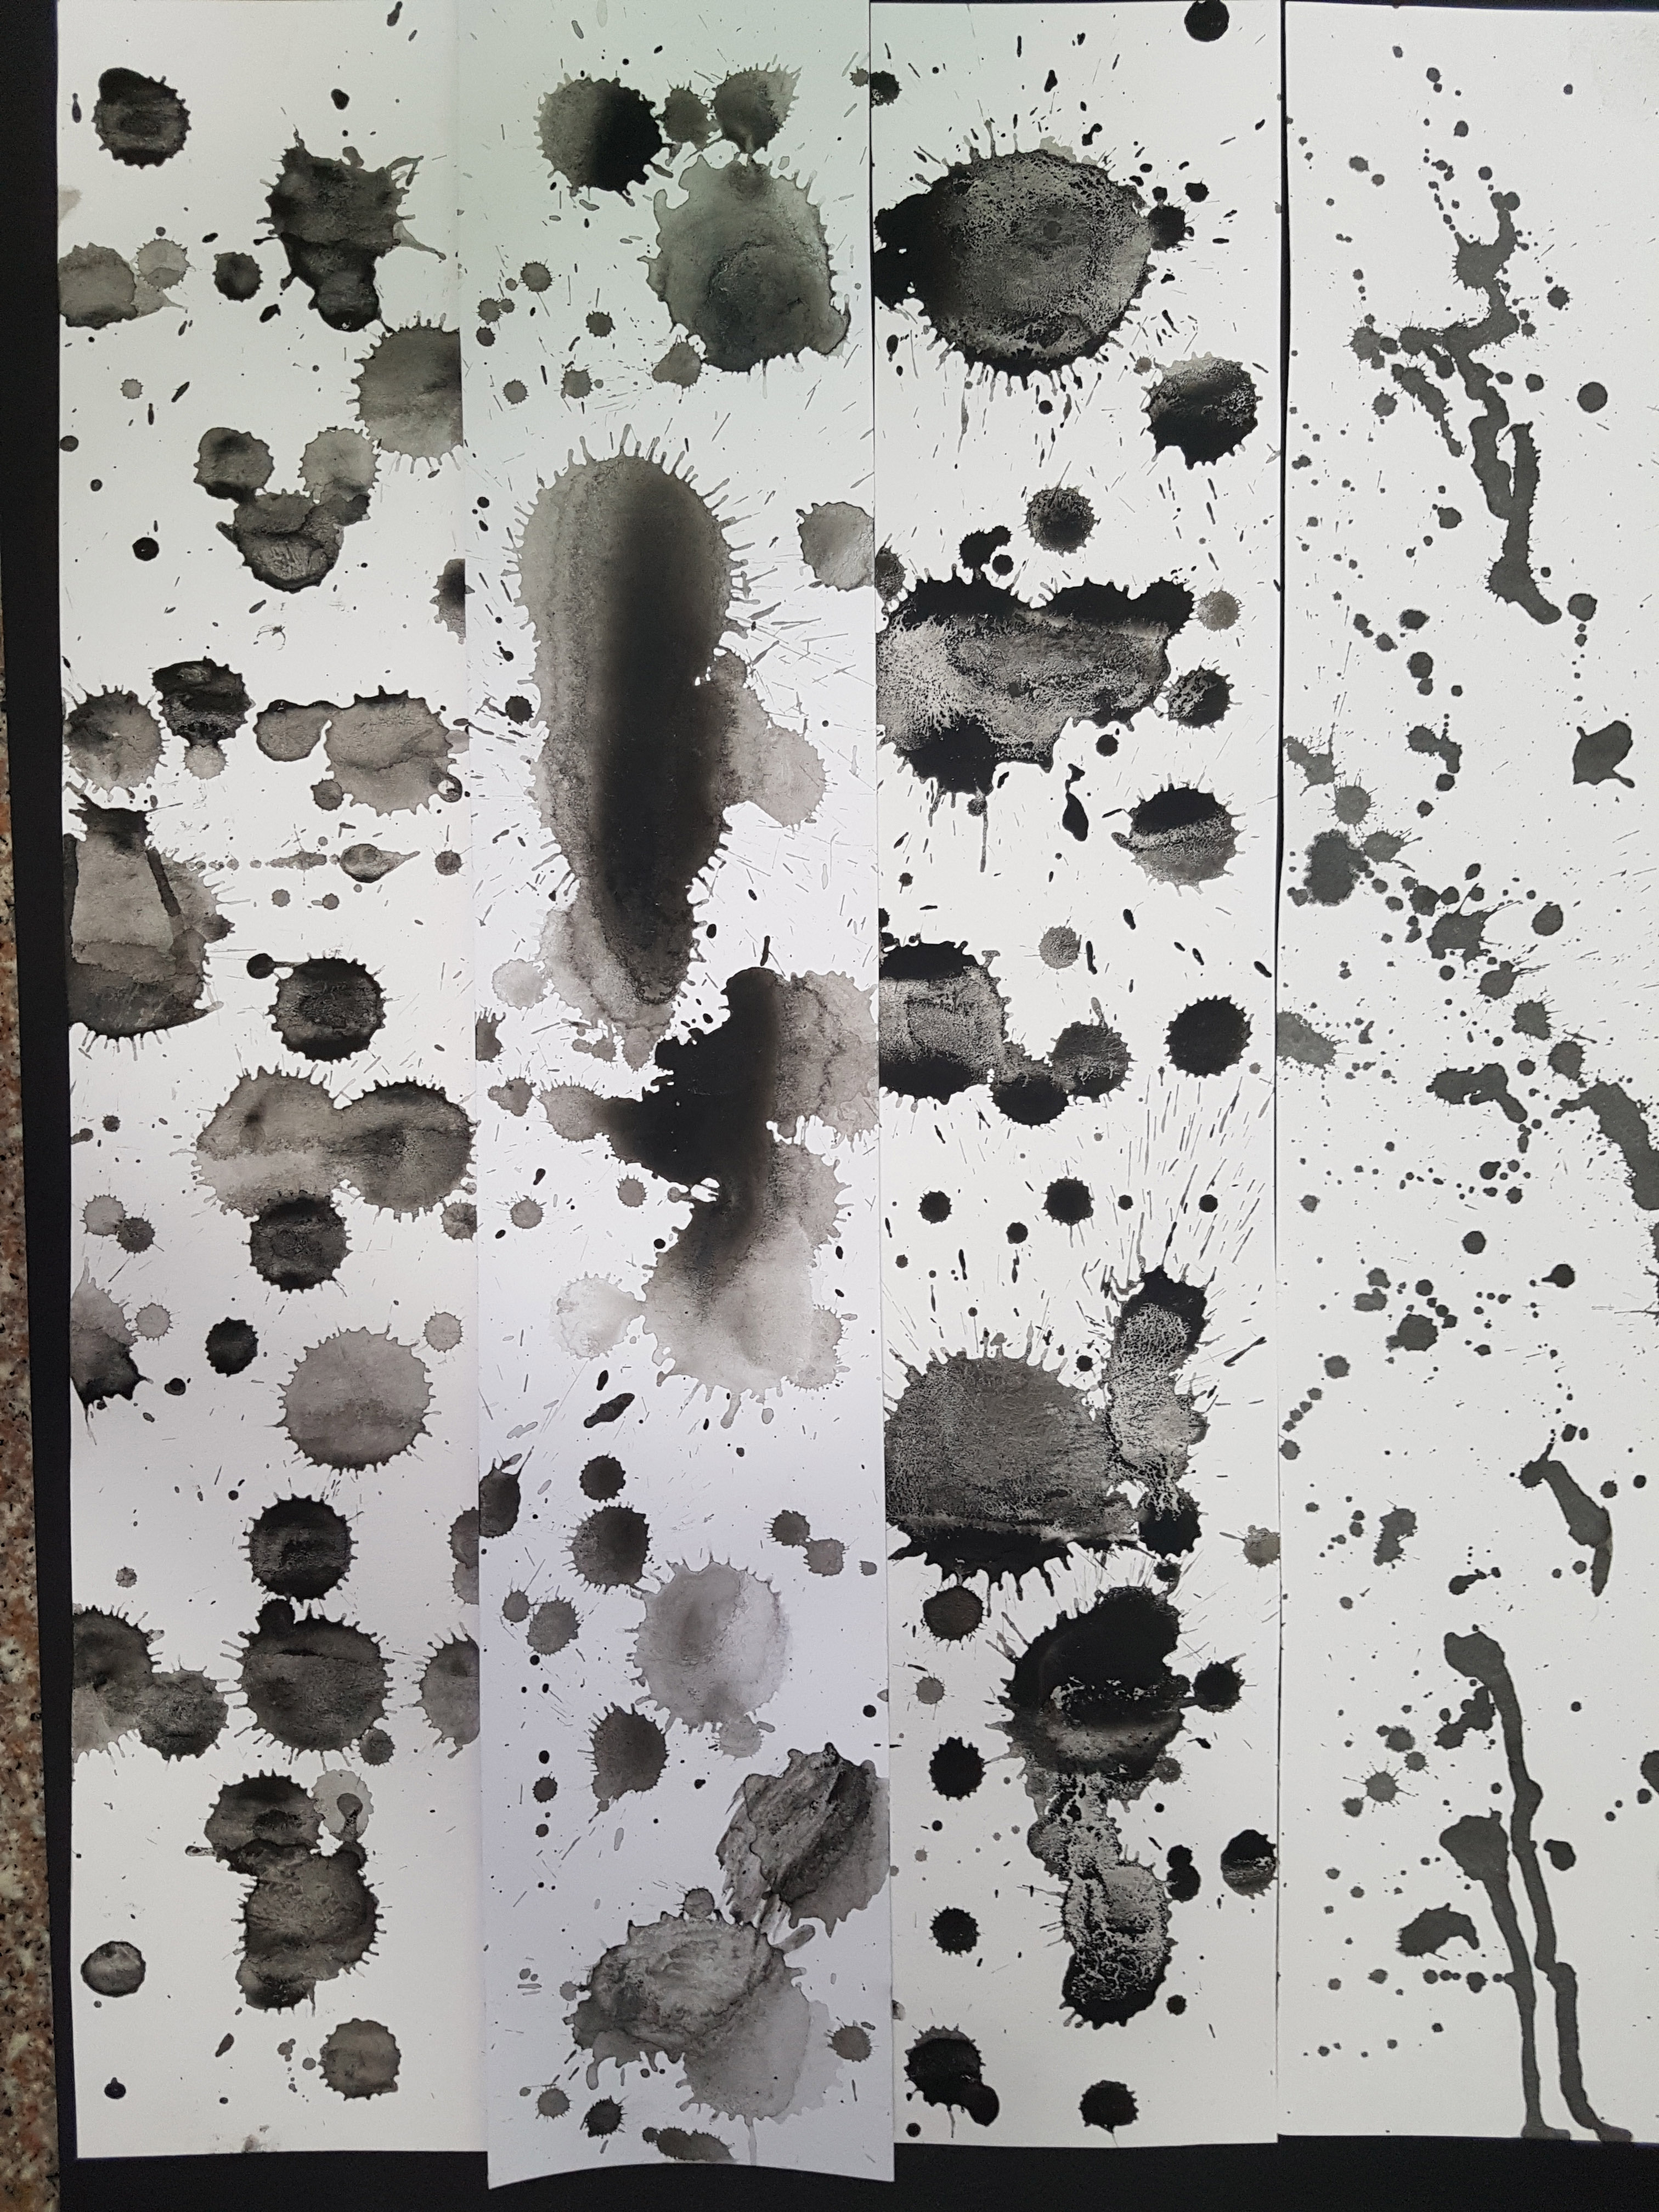
For playfulness, I am sticking with the same concept but to further improve my work, I made some adjustments like changing my tool to straw, adjusted the ratio of water and paint accordingly to achieve different tones and adjusting the height where I drip the paint to get splashes of different sizes.
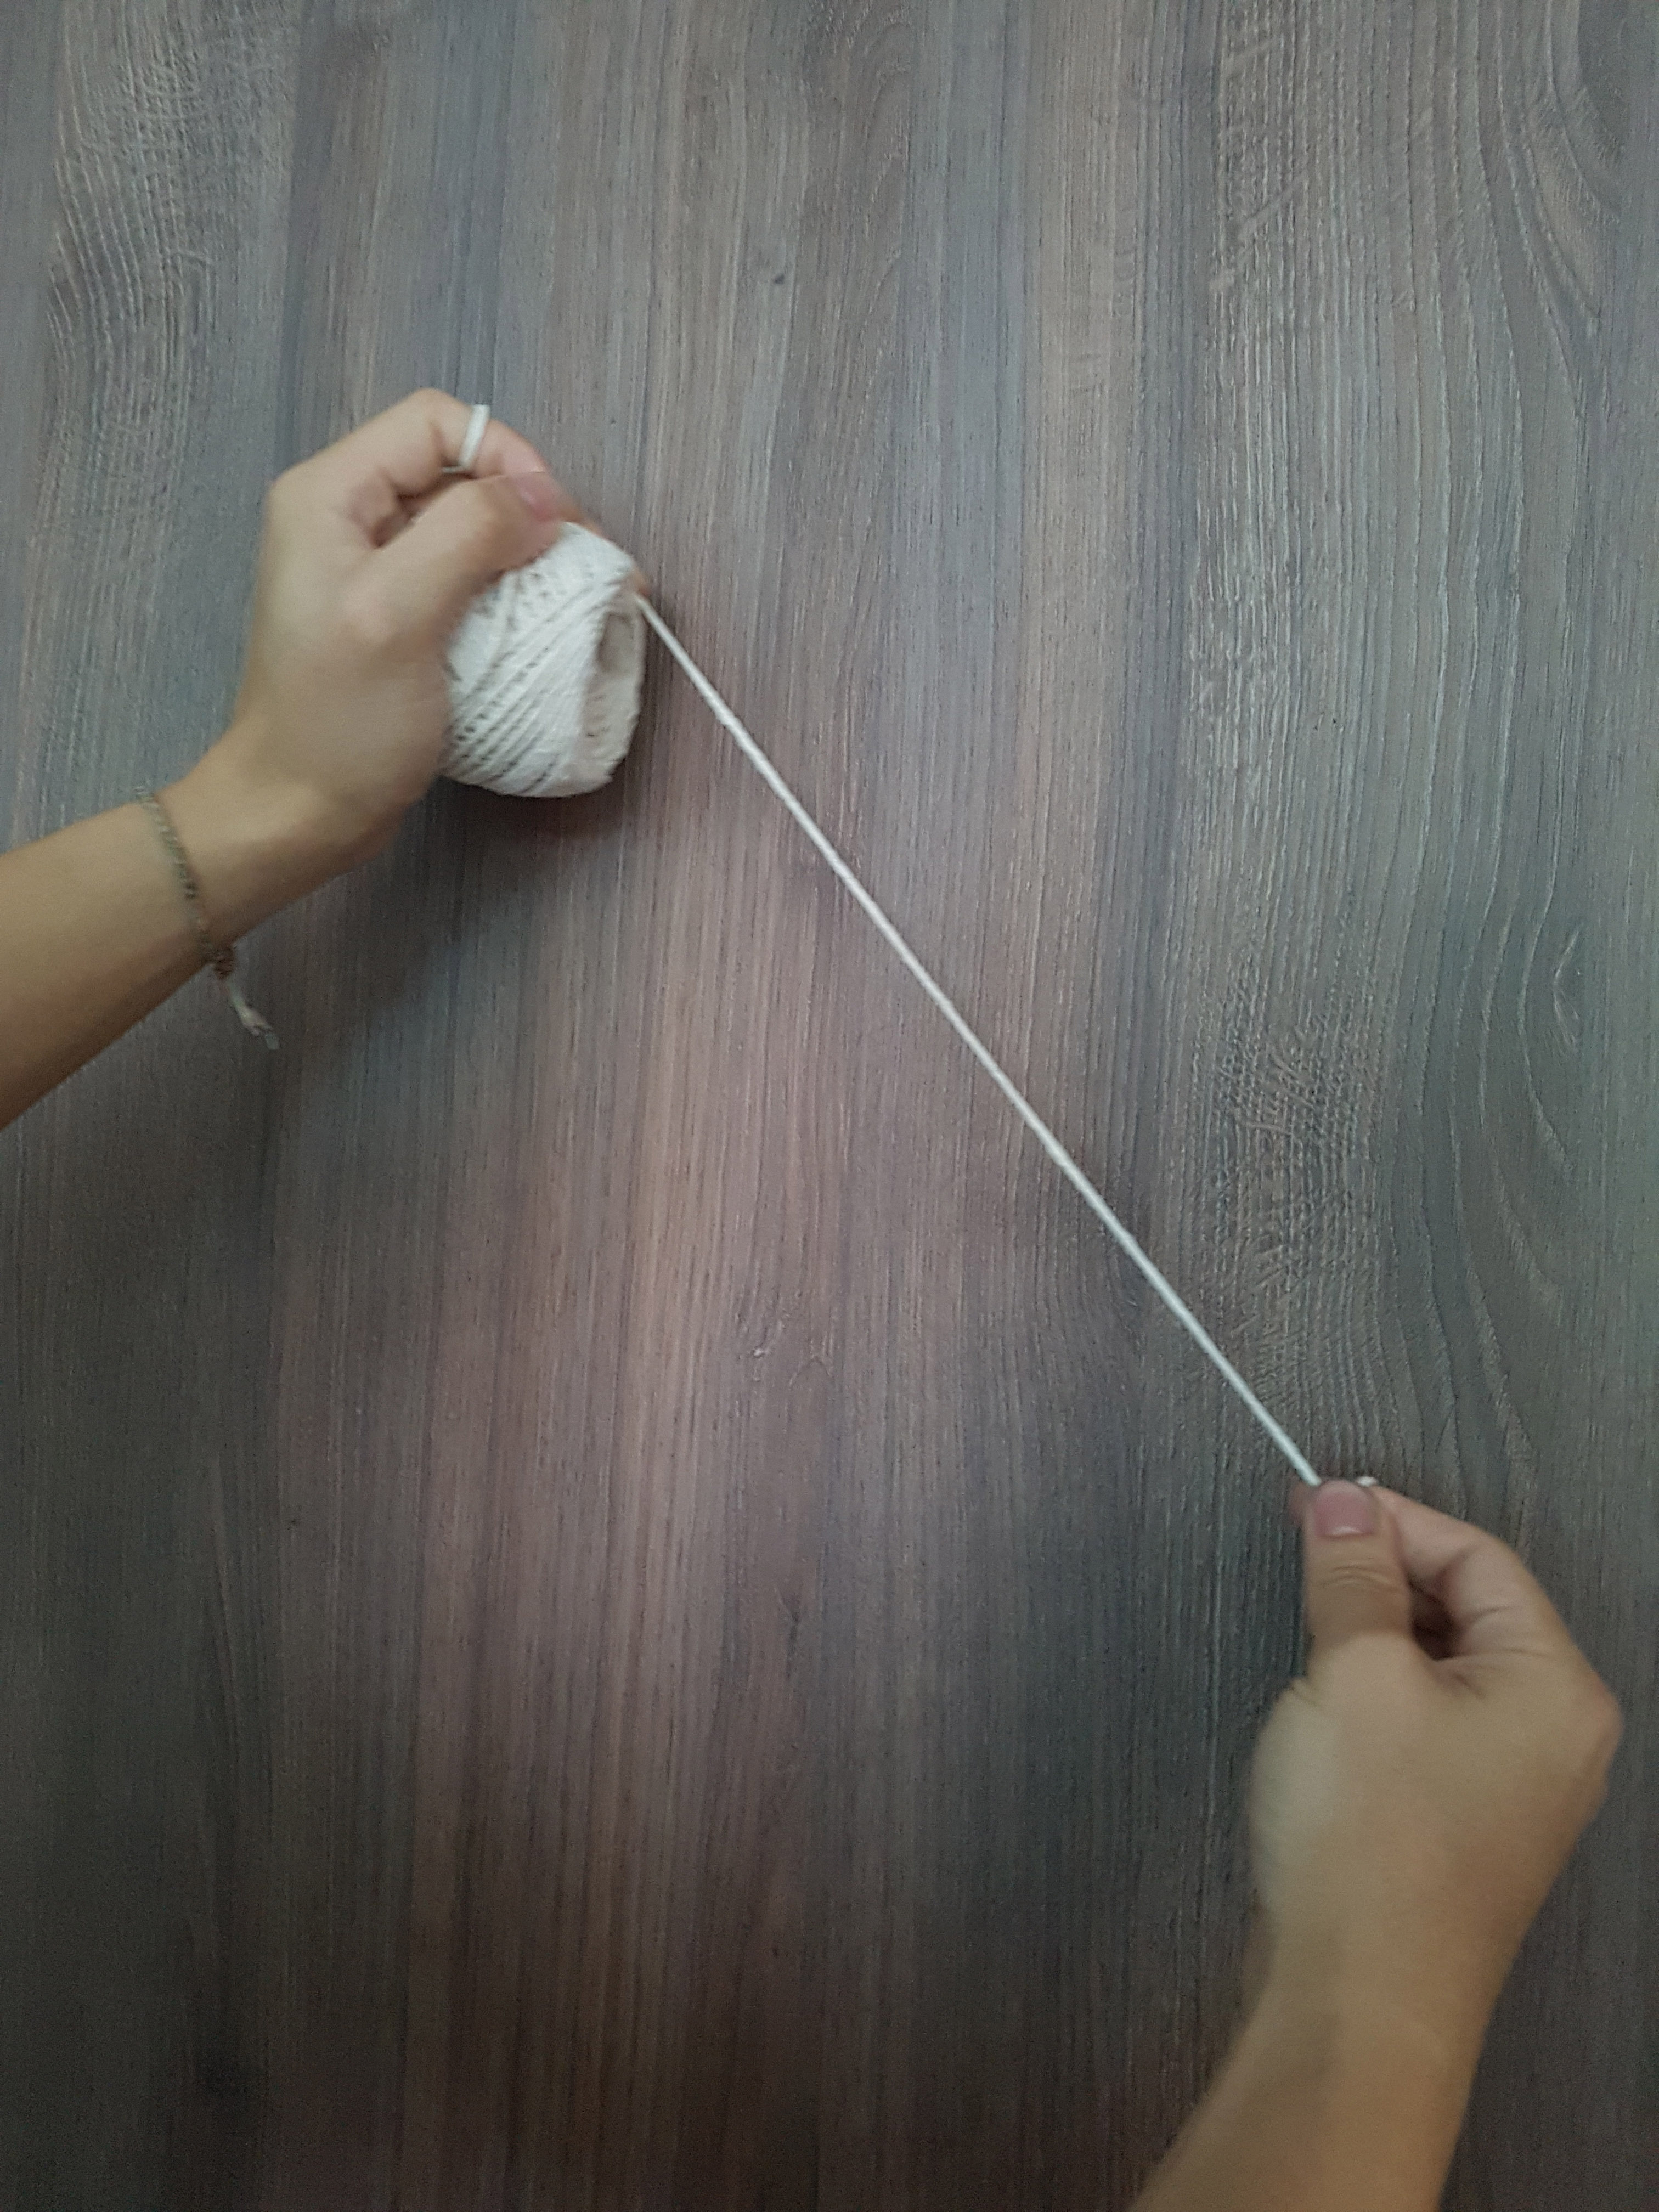
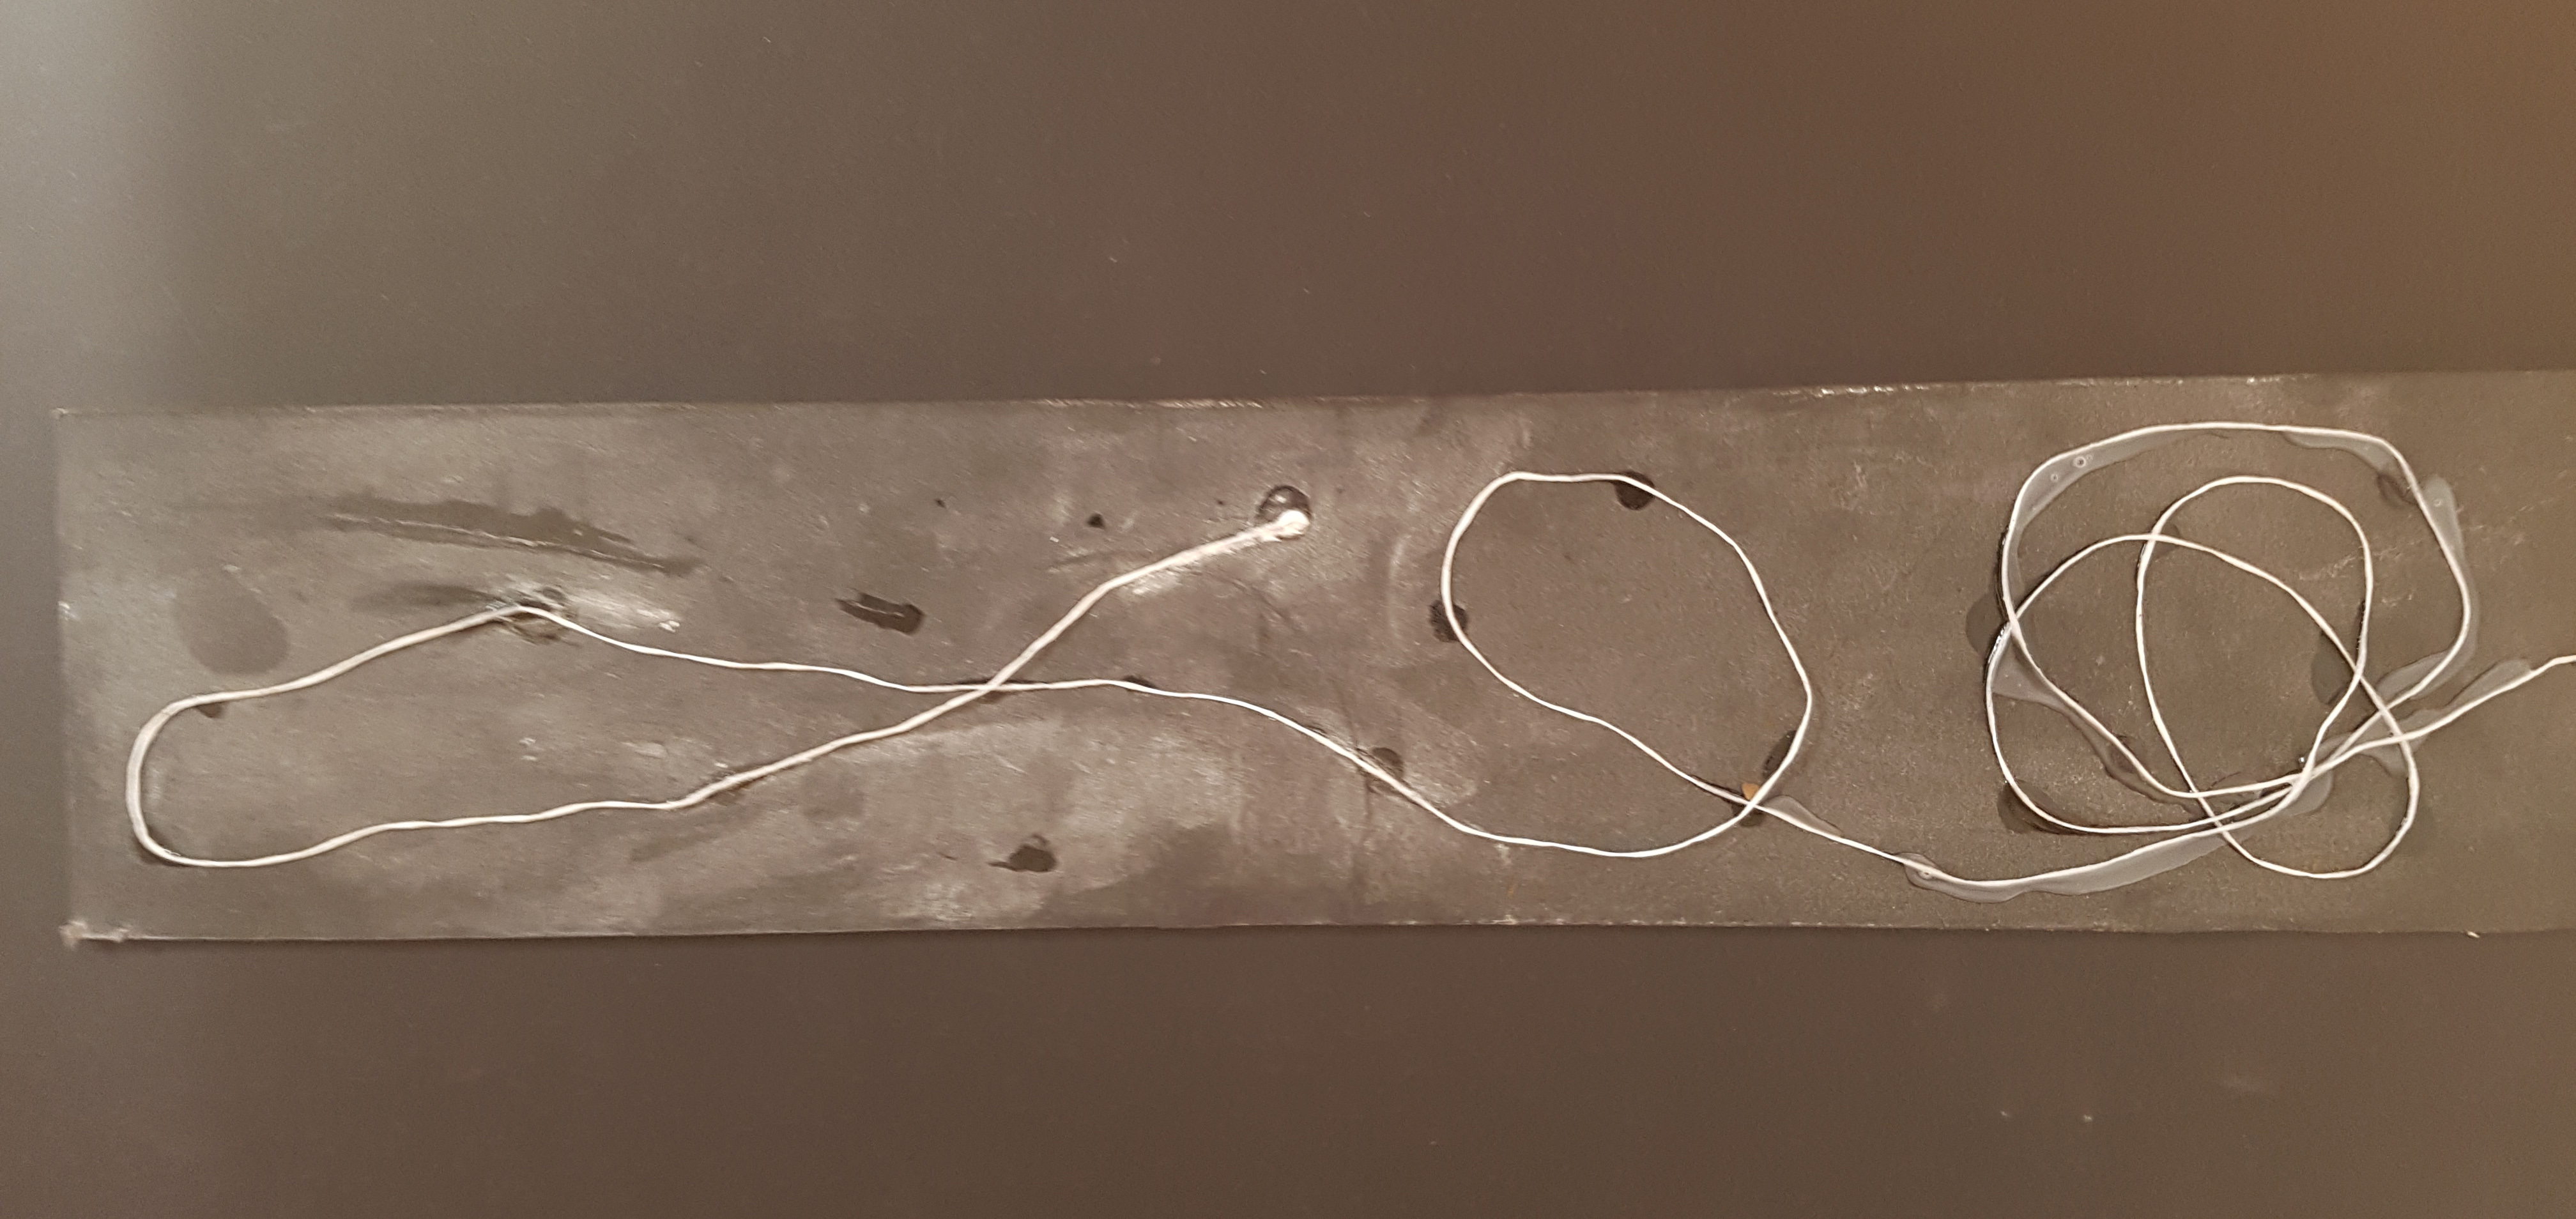
For lost, I wanted to recreate it but by using different materials instead of ink. Hence, I thought of using my dental floss and place it on a black background.
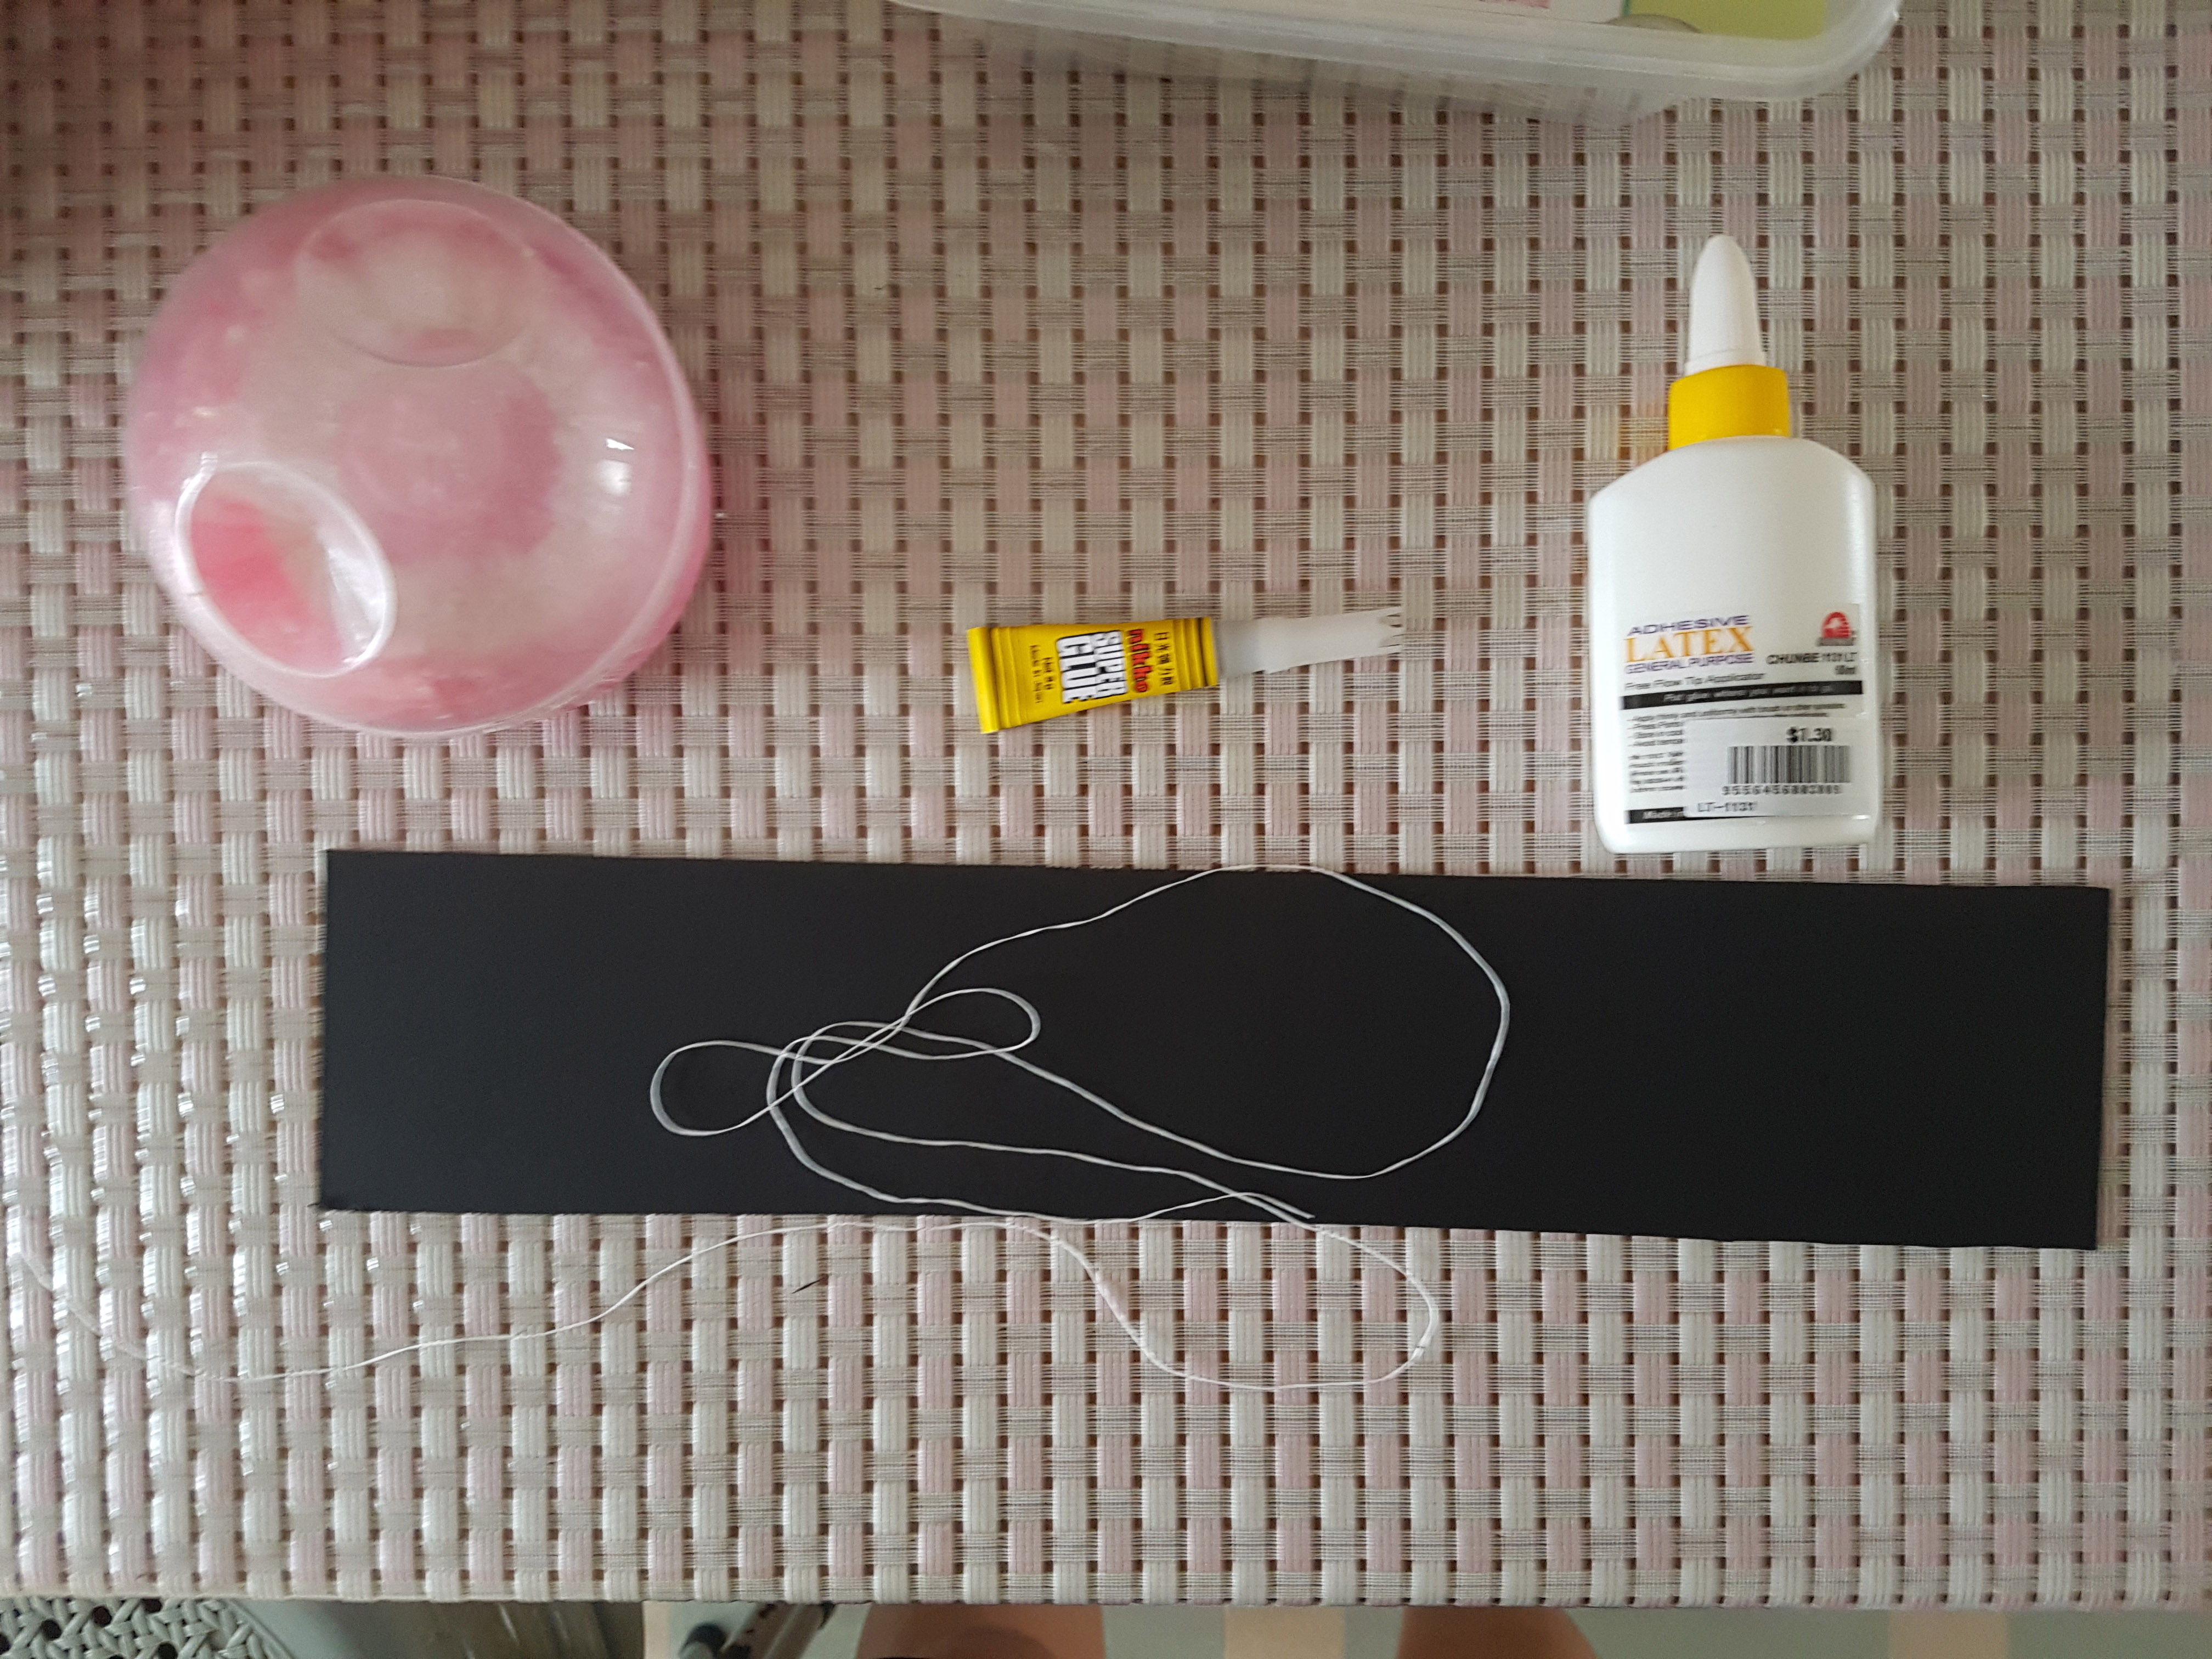
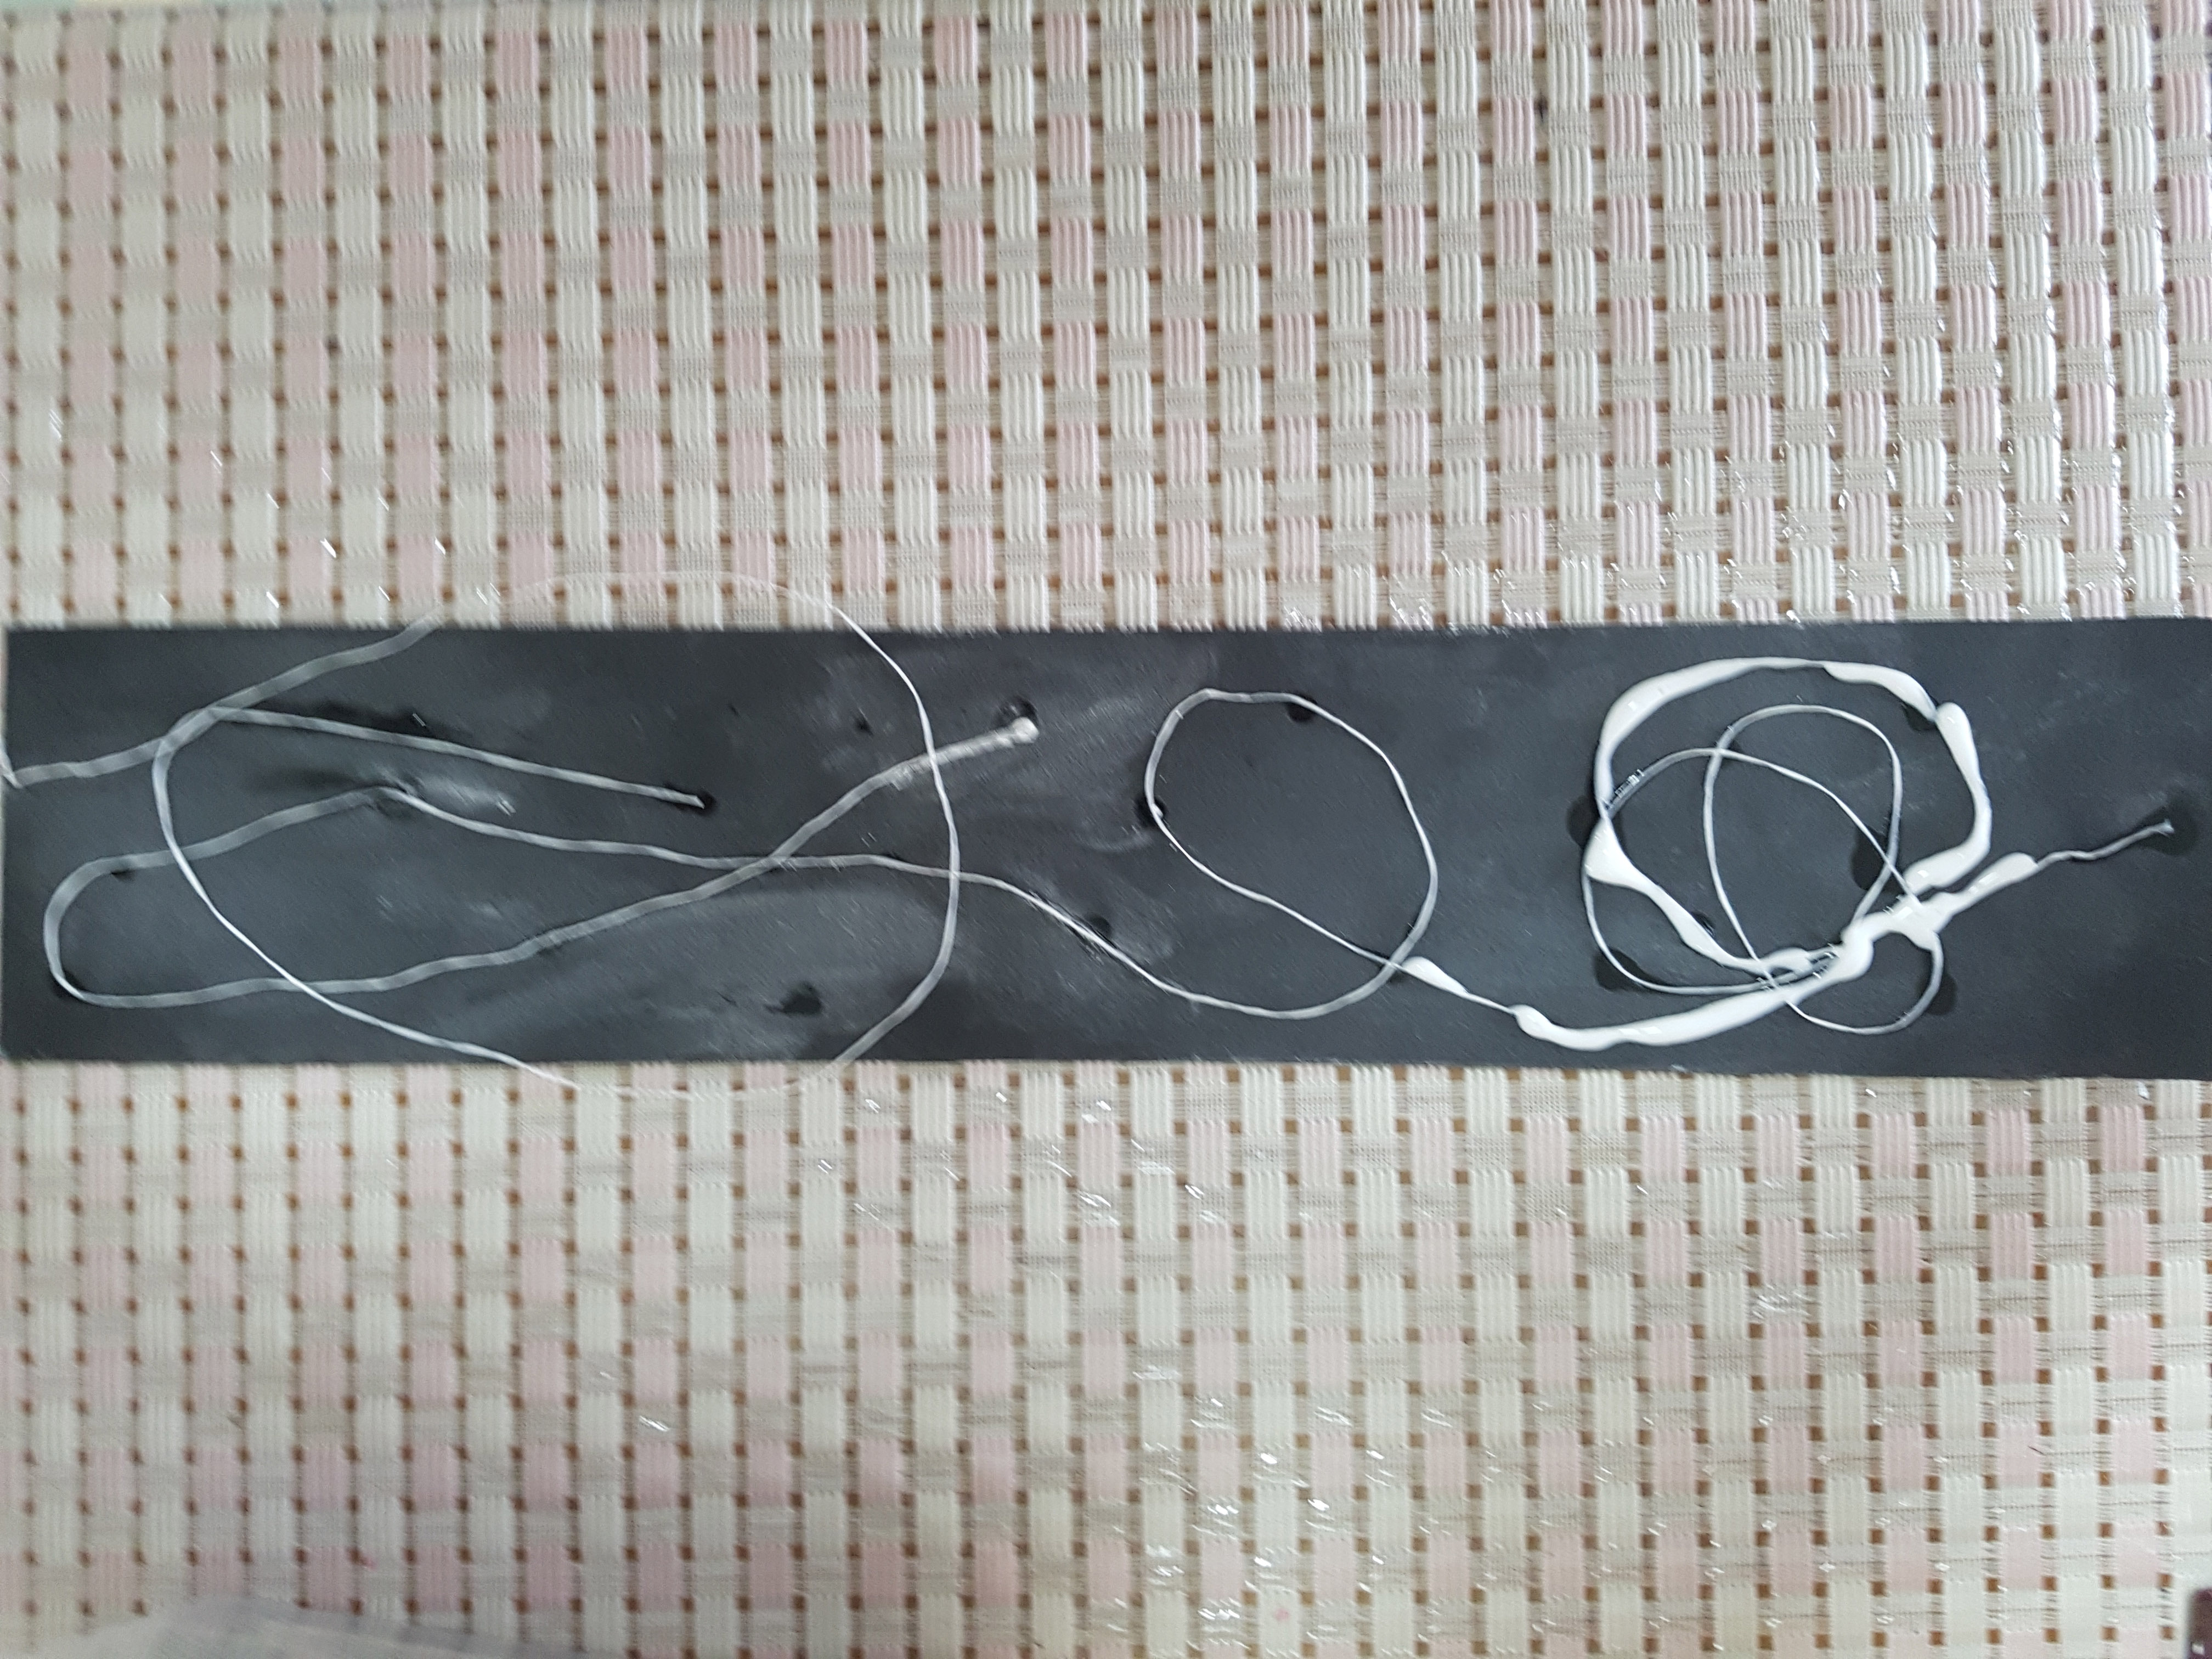
The hard part was trying to stick the string on the black board as I do not want to use too much glue because the glue stands out after it dries. Hence I have to use toothpick to slowly glue the string on the black board.
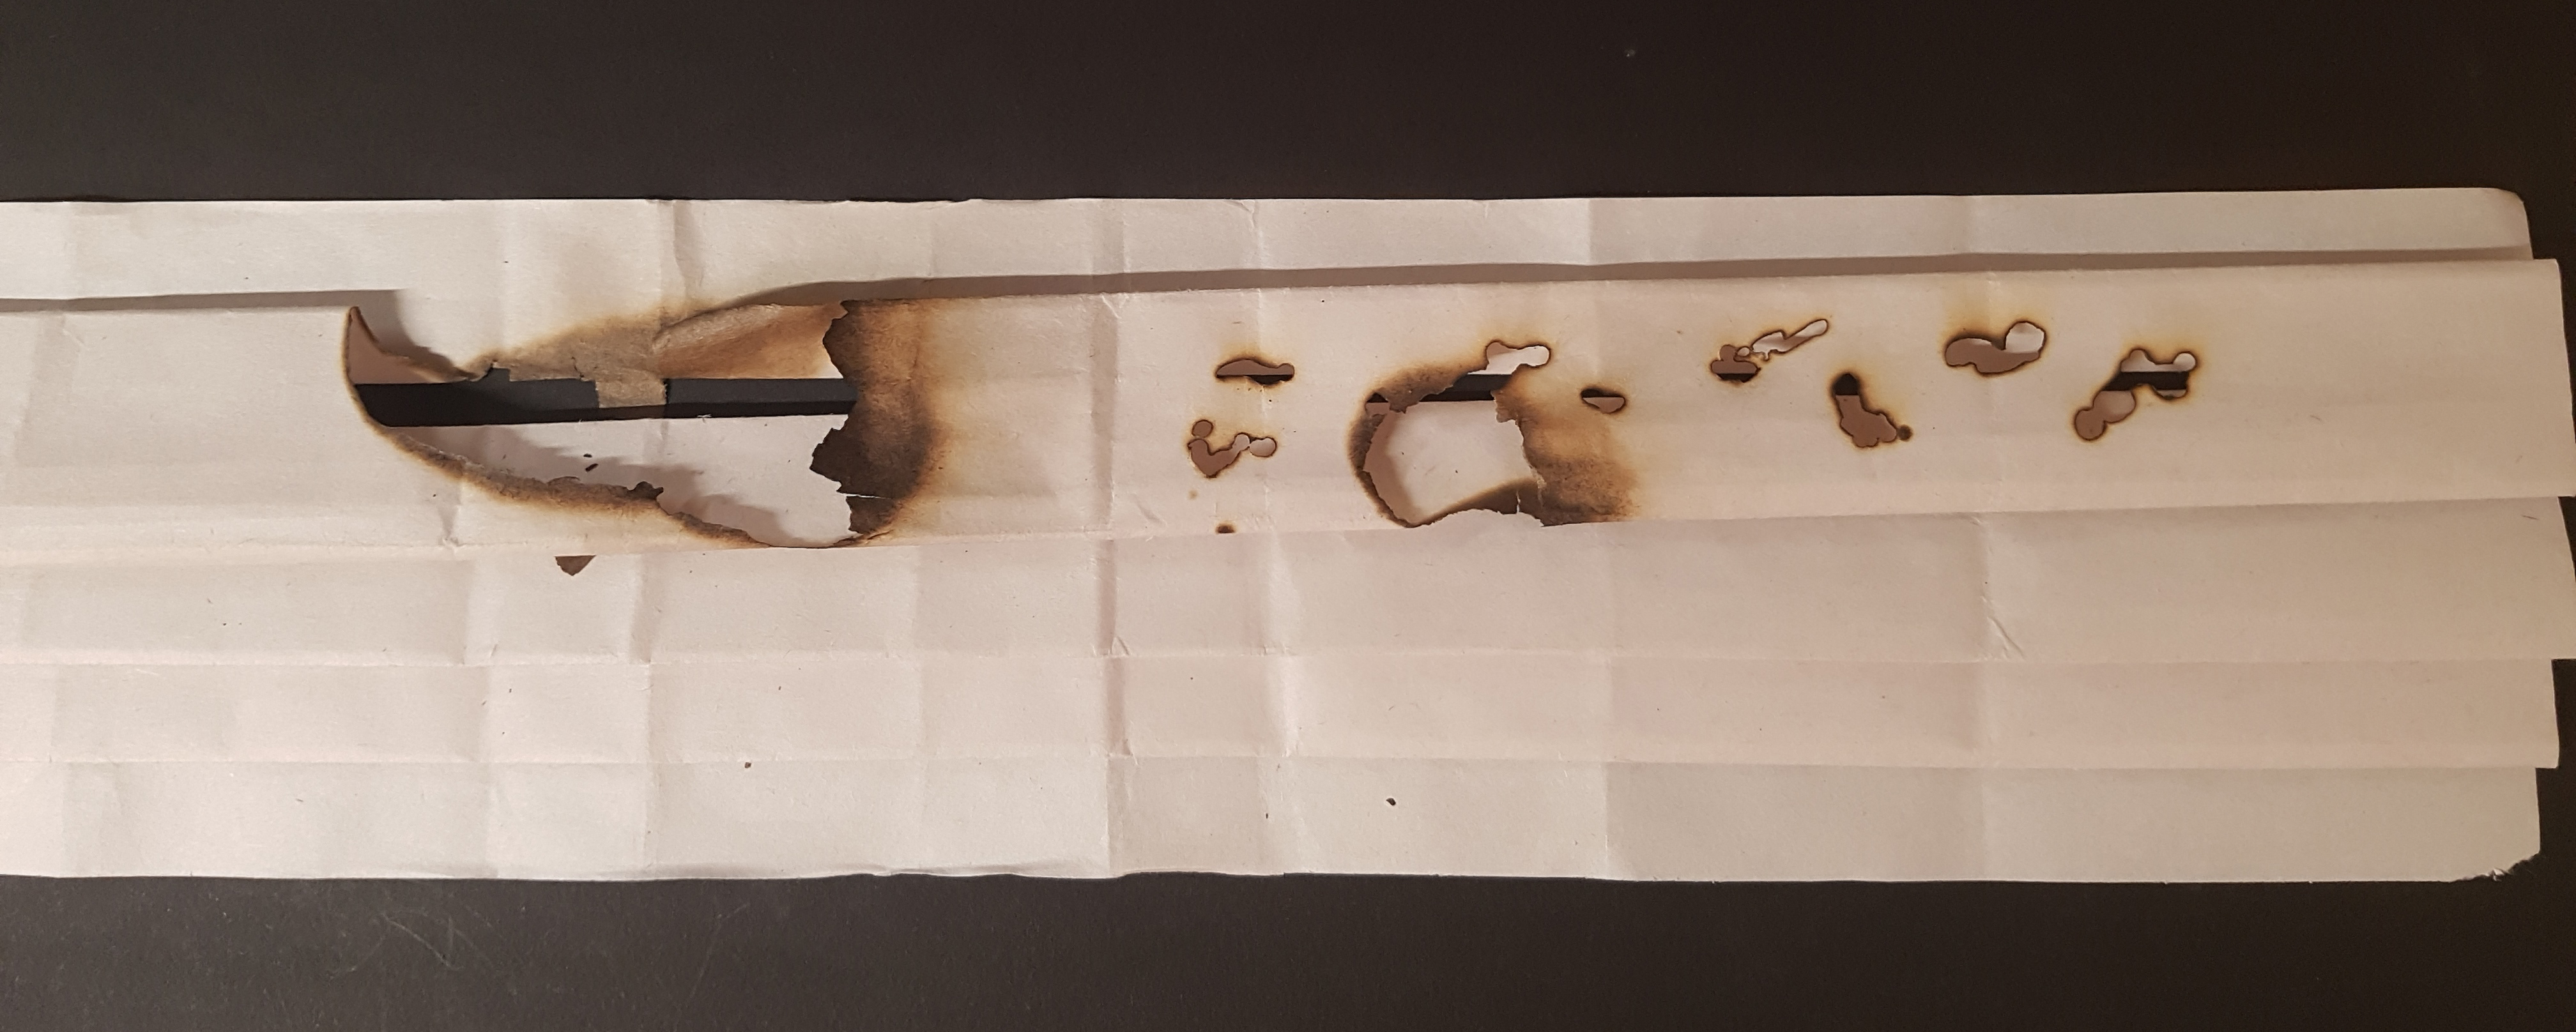
Other interesting methods that I tried out was to create burn holes. I was looking through interesting patterns and I stumbled across this method.
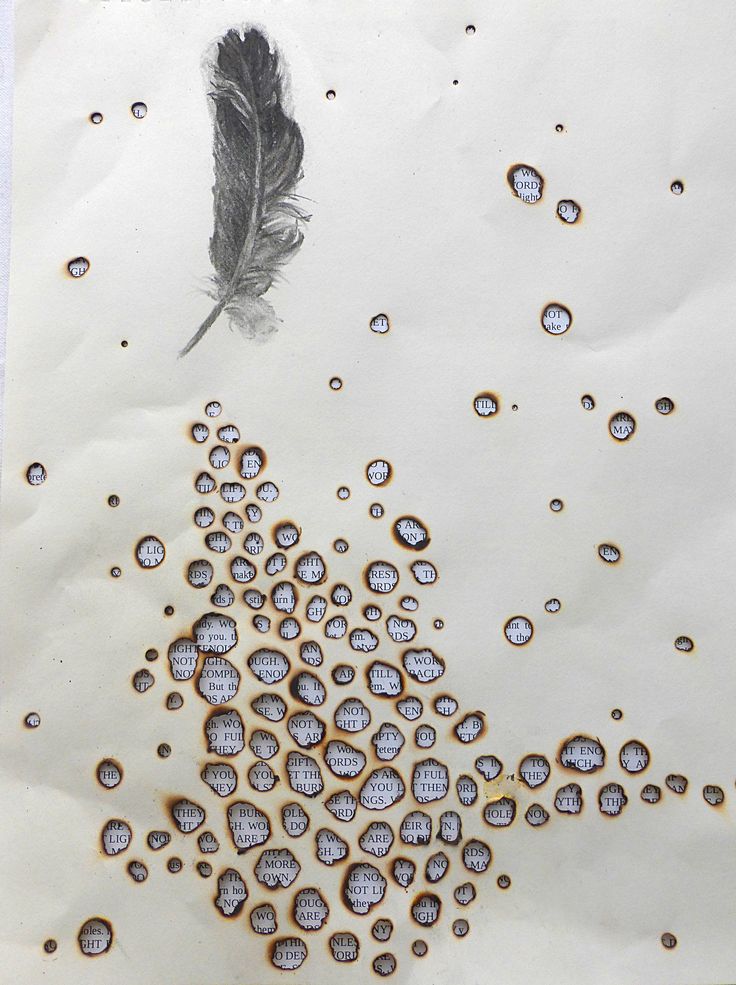
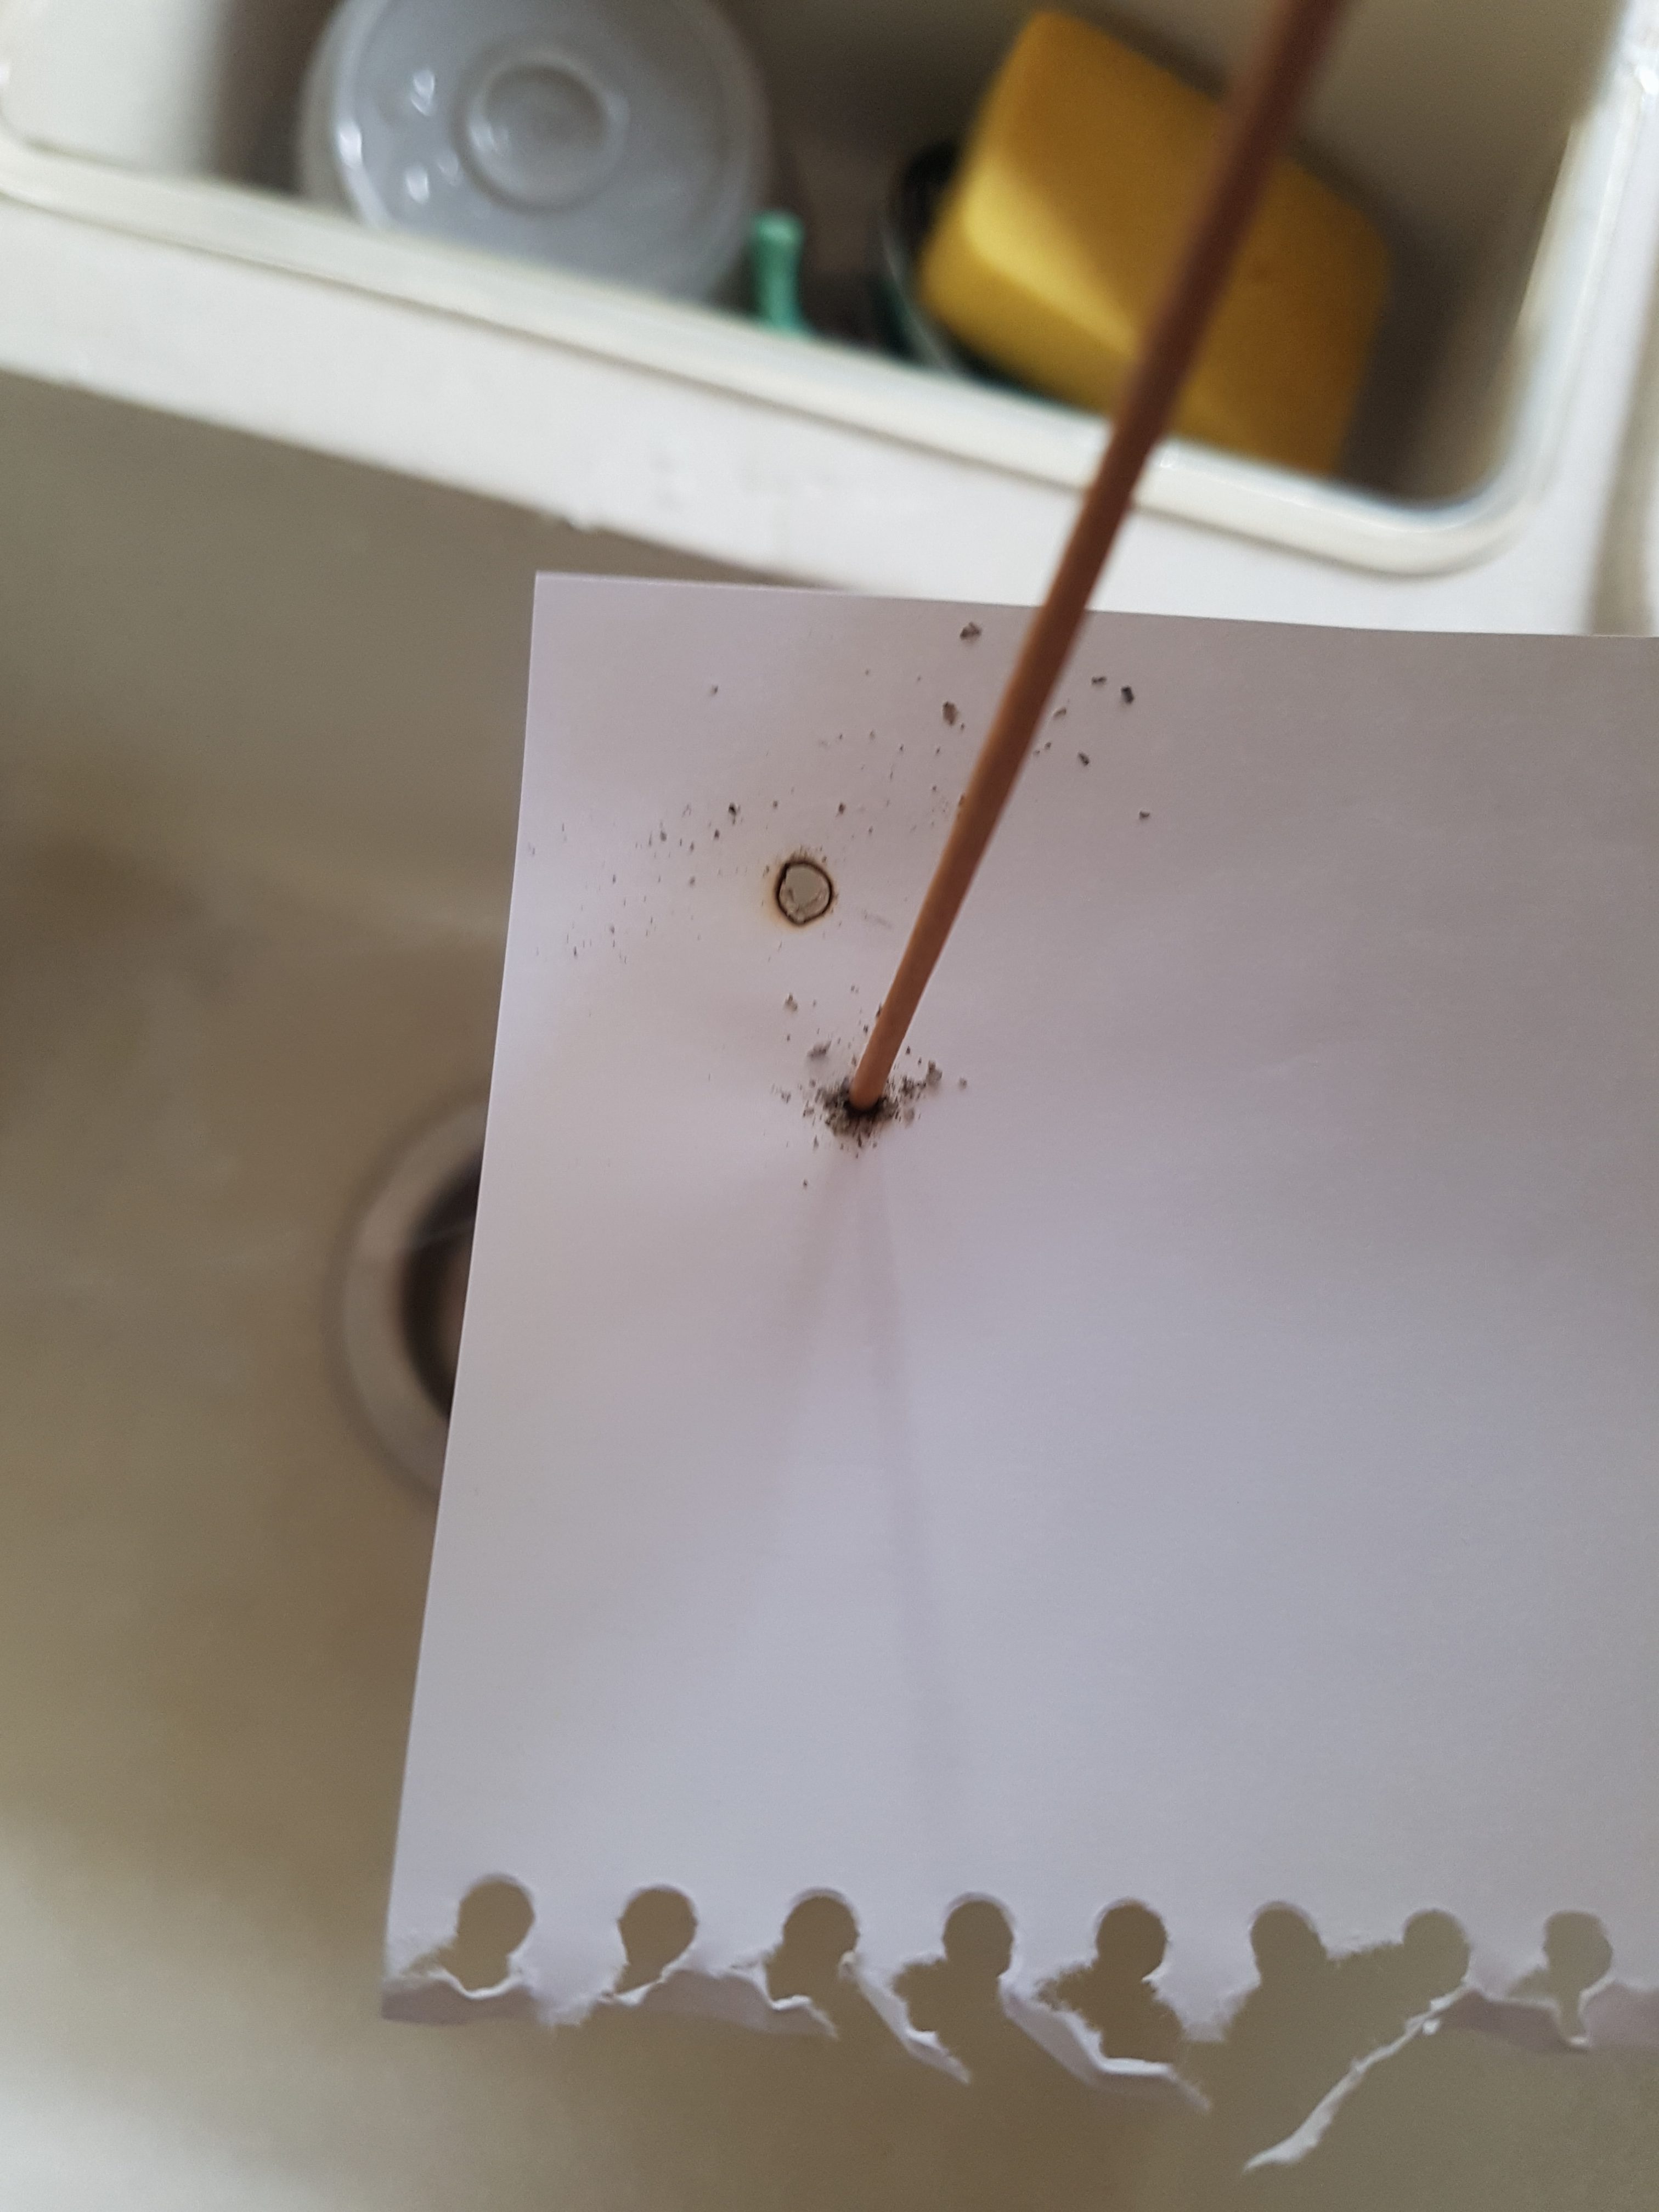
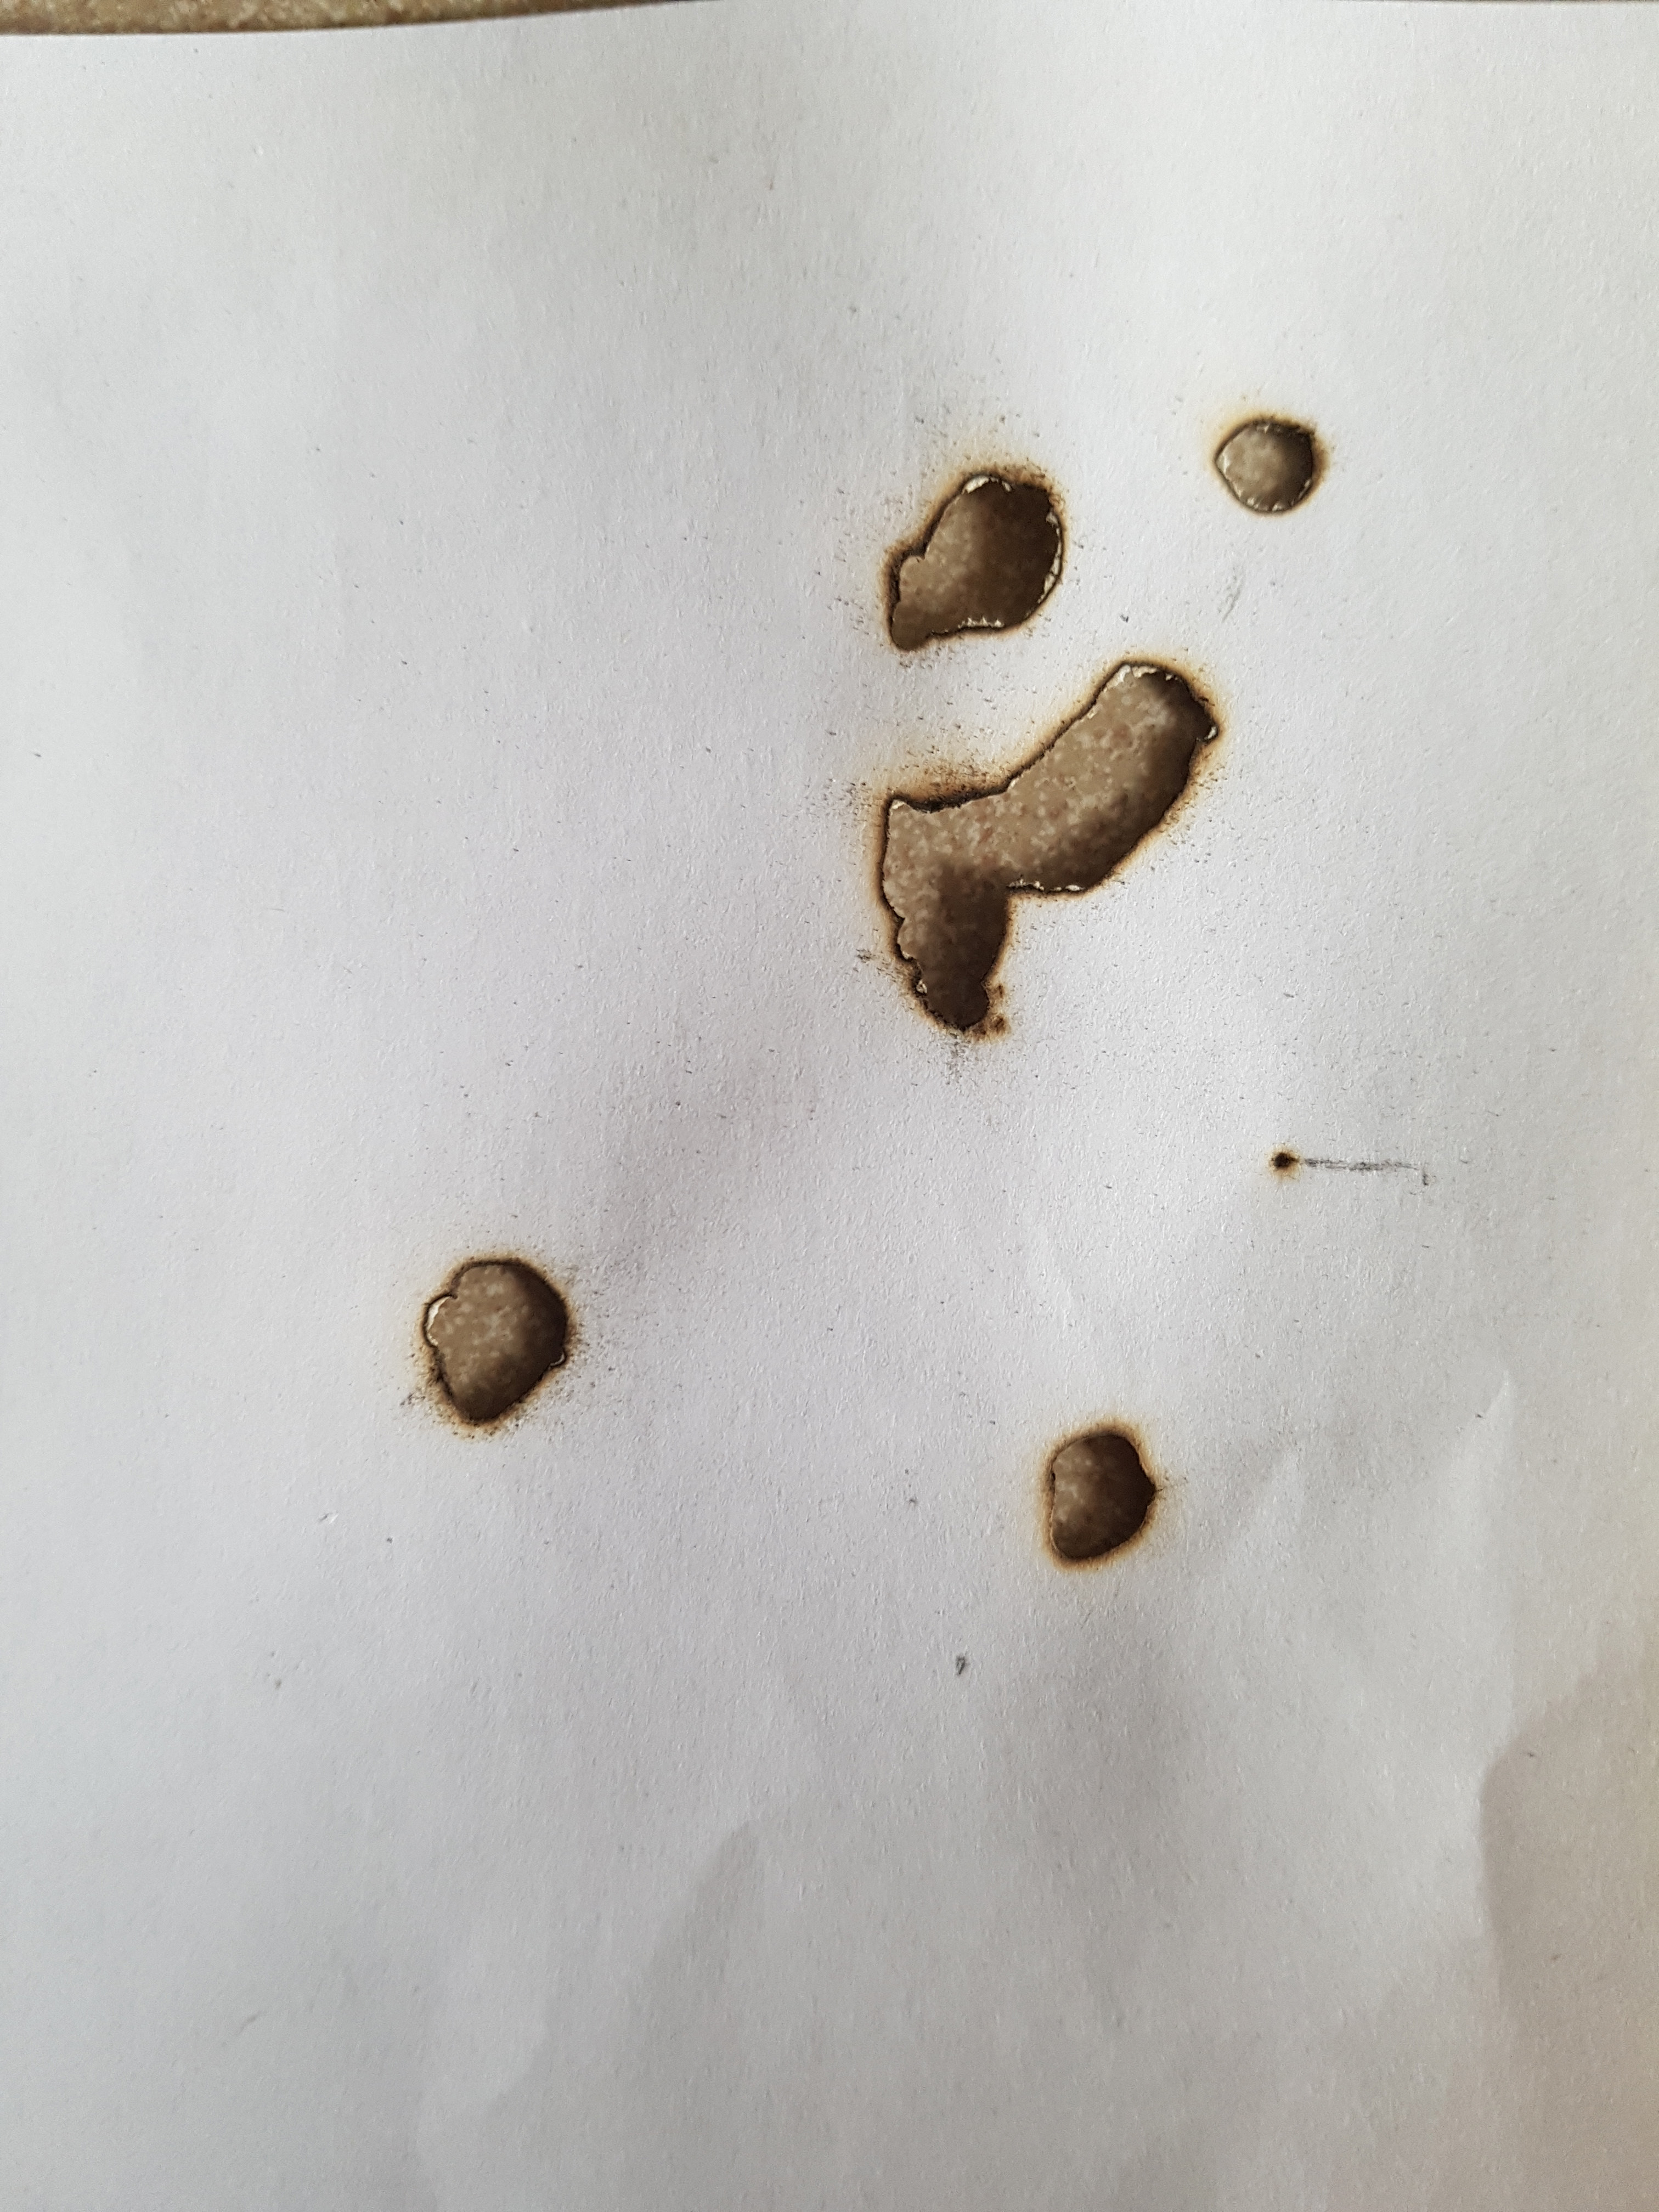
At first I used a lighter to create the holes, but the whole paper caught fire and it failed. I tried it out using a joss stick and paper and holes came out looking similar.
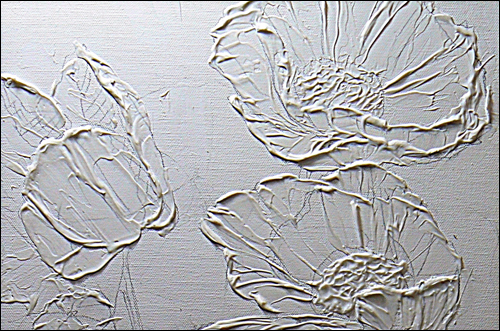
I was interested in creating layering in my work piece after doing some research on layering art as it can help add the 3D element into my works.
Texture art paste on canvas:
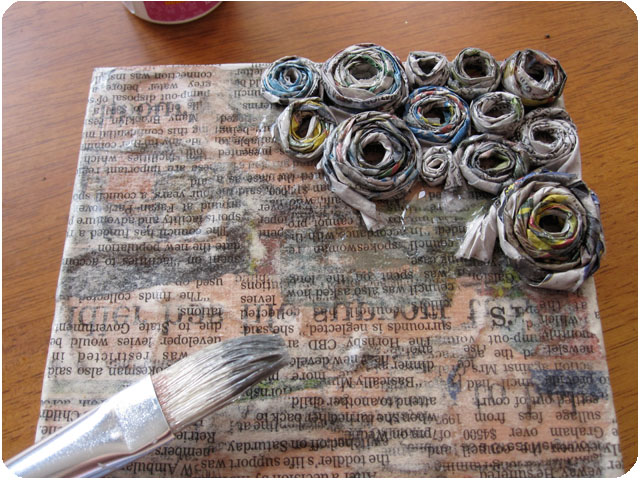
Paper Mache:
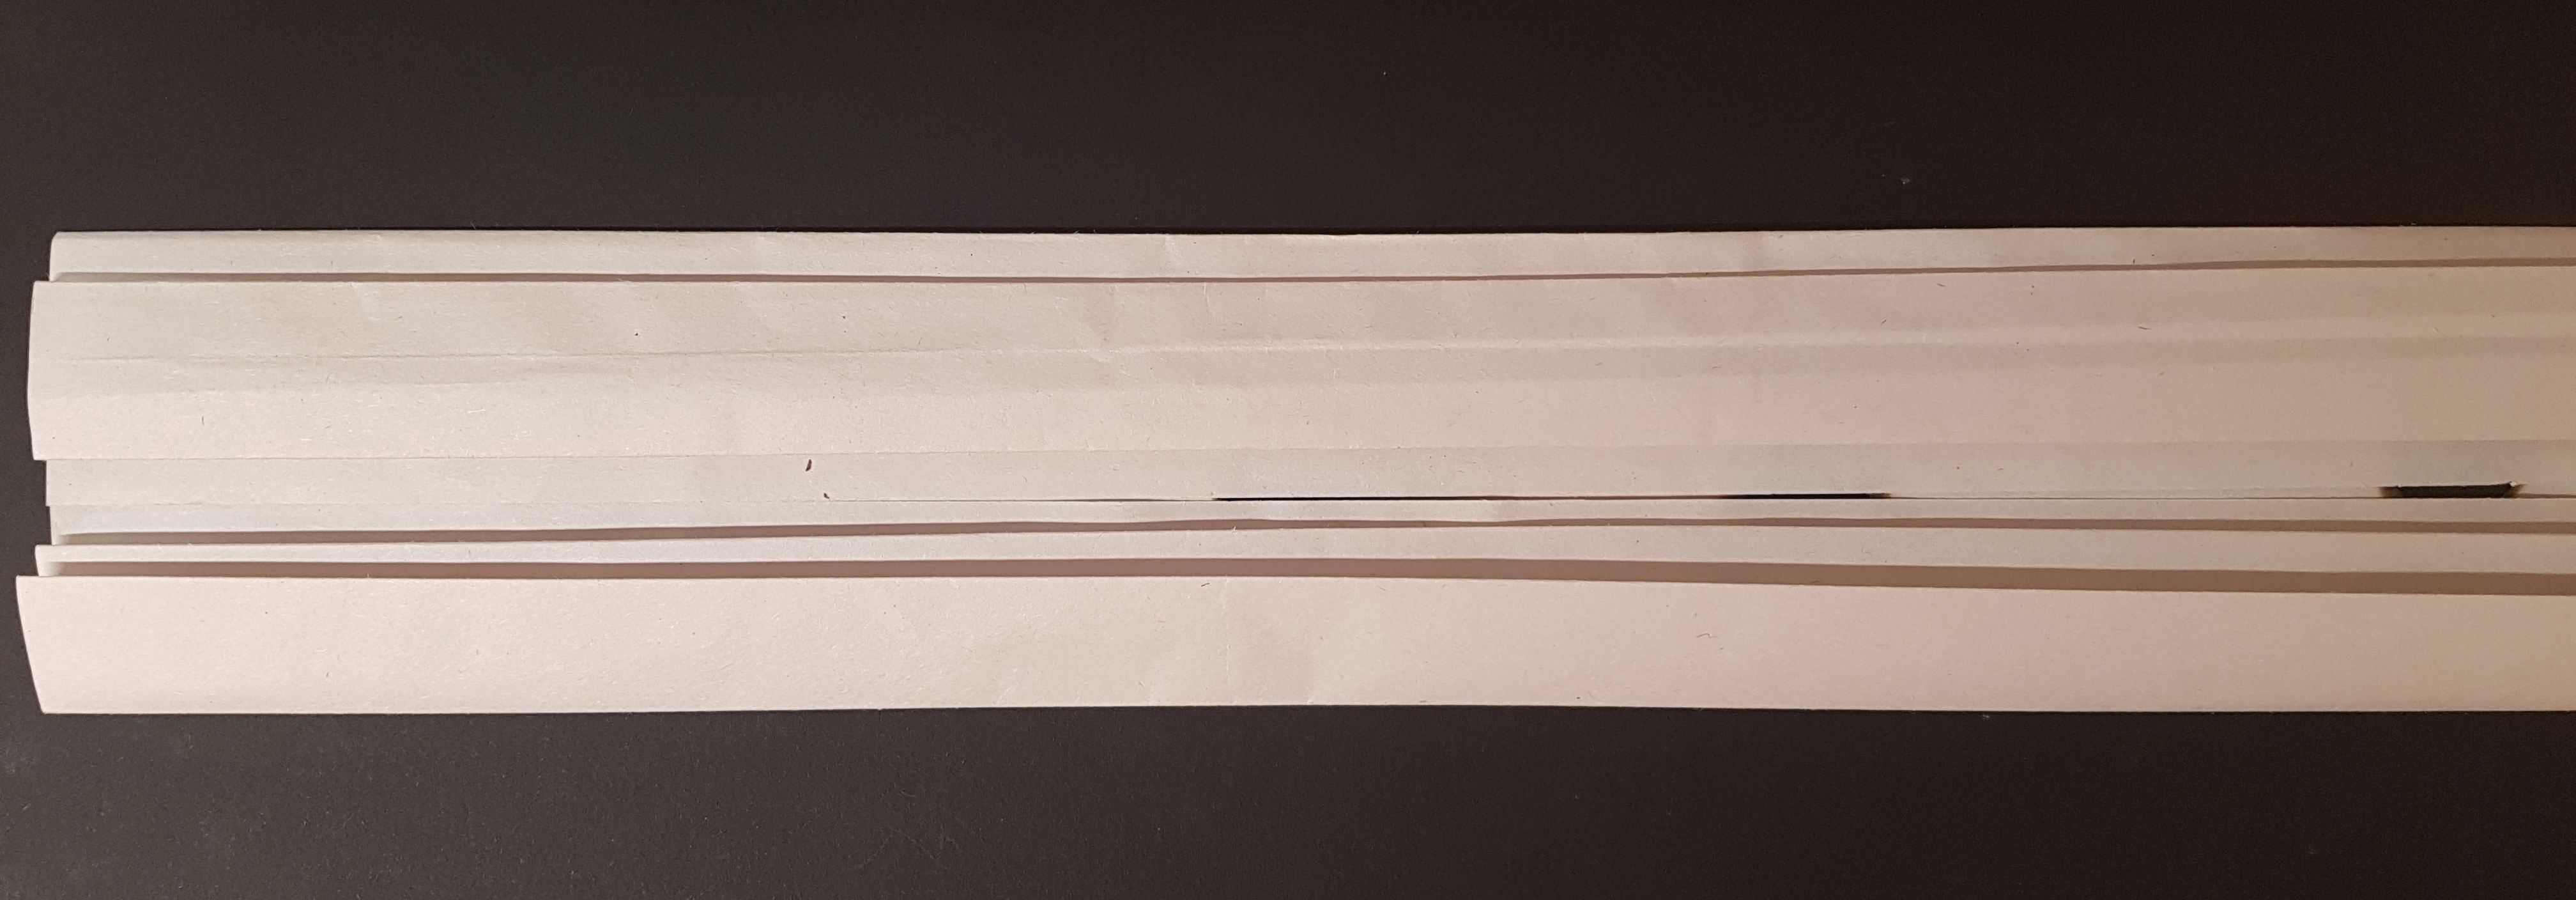
Folding art:
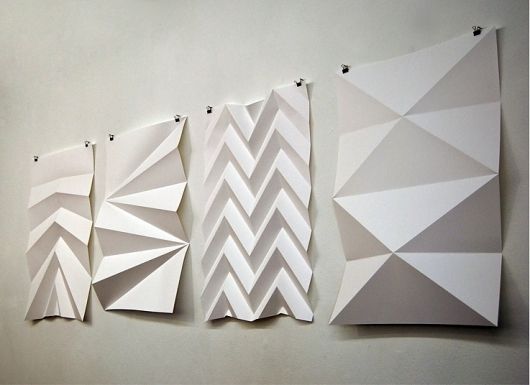
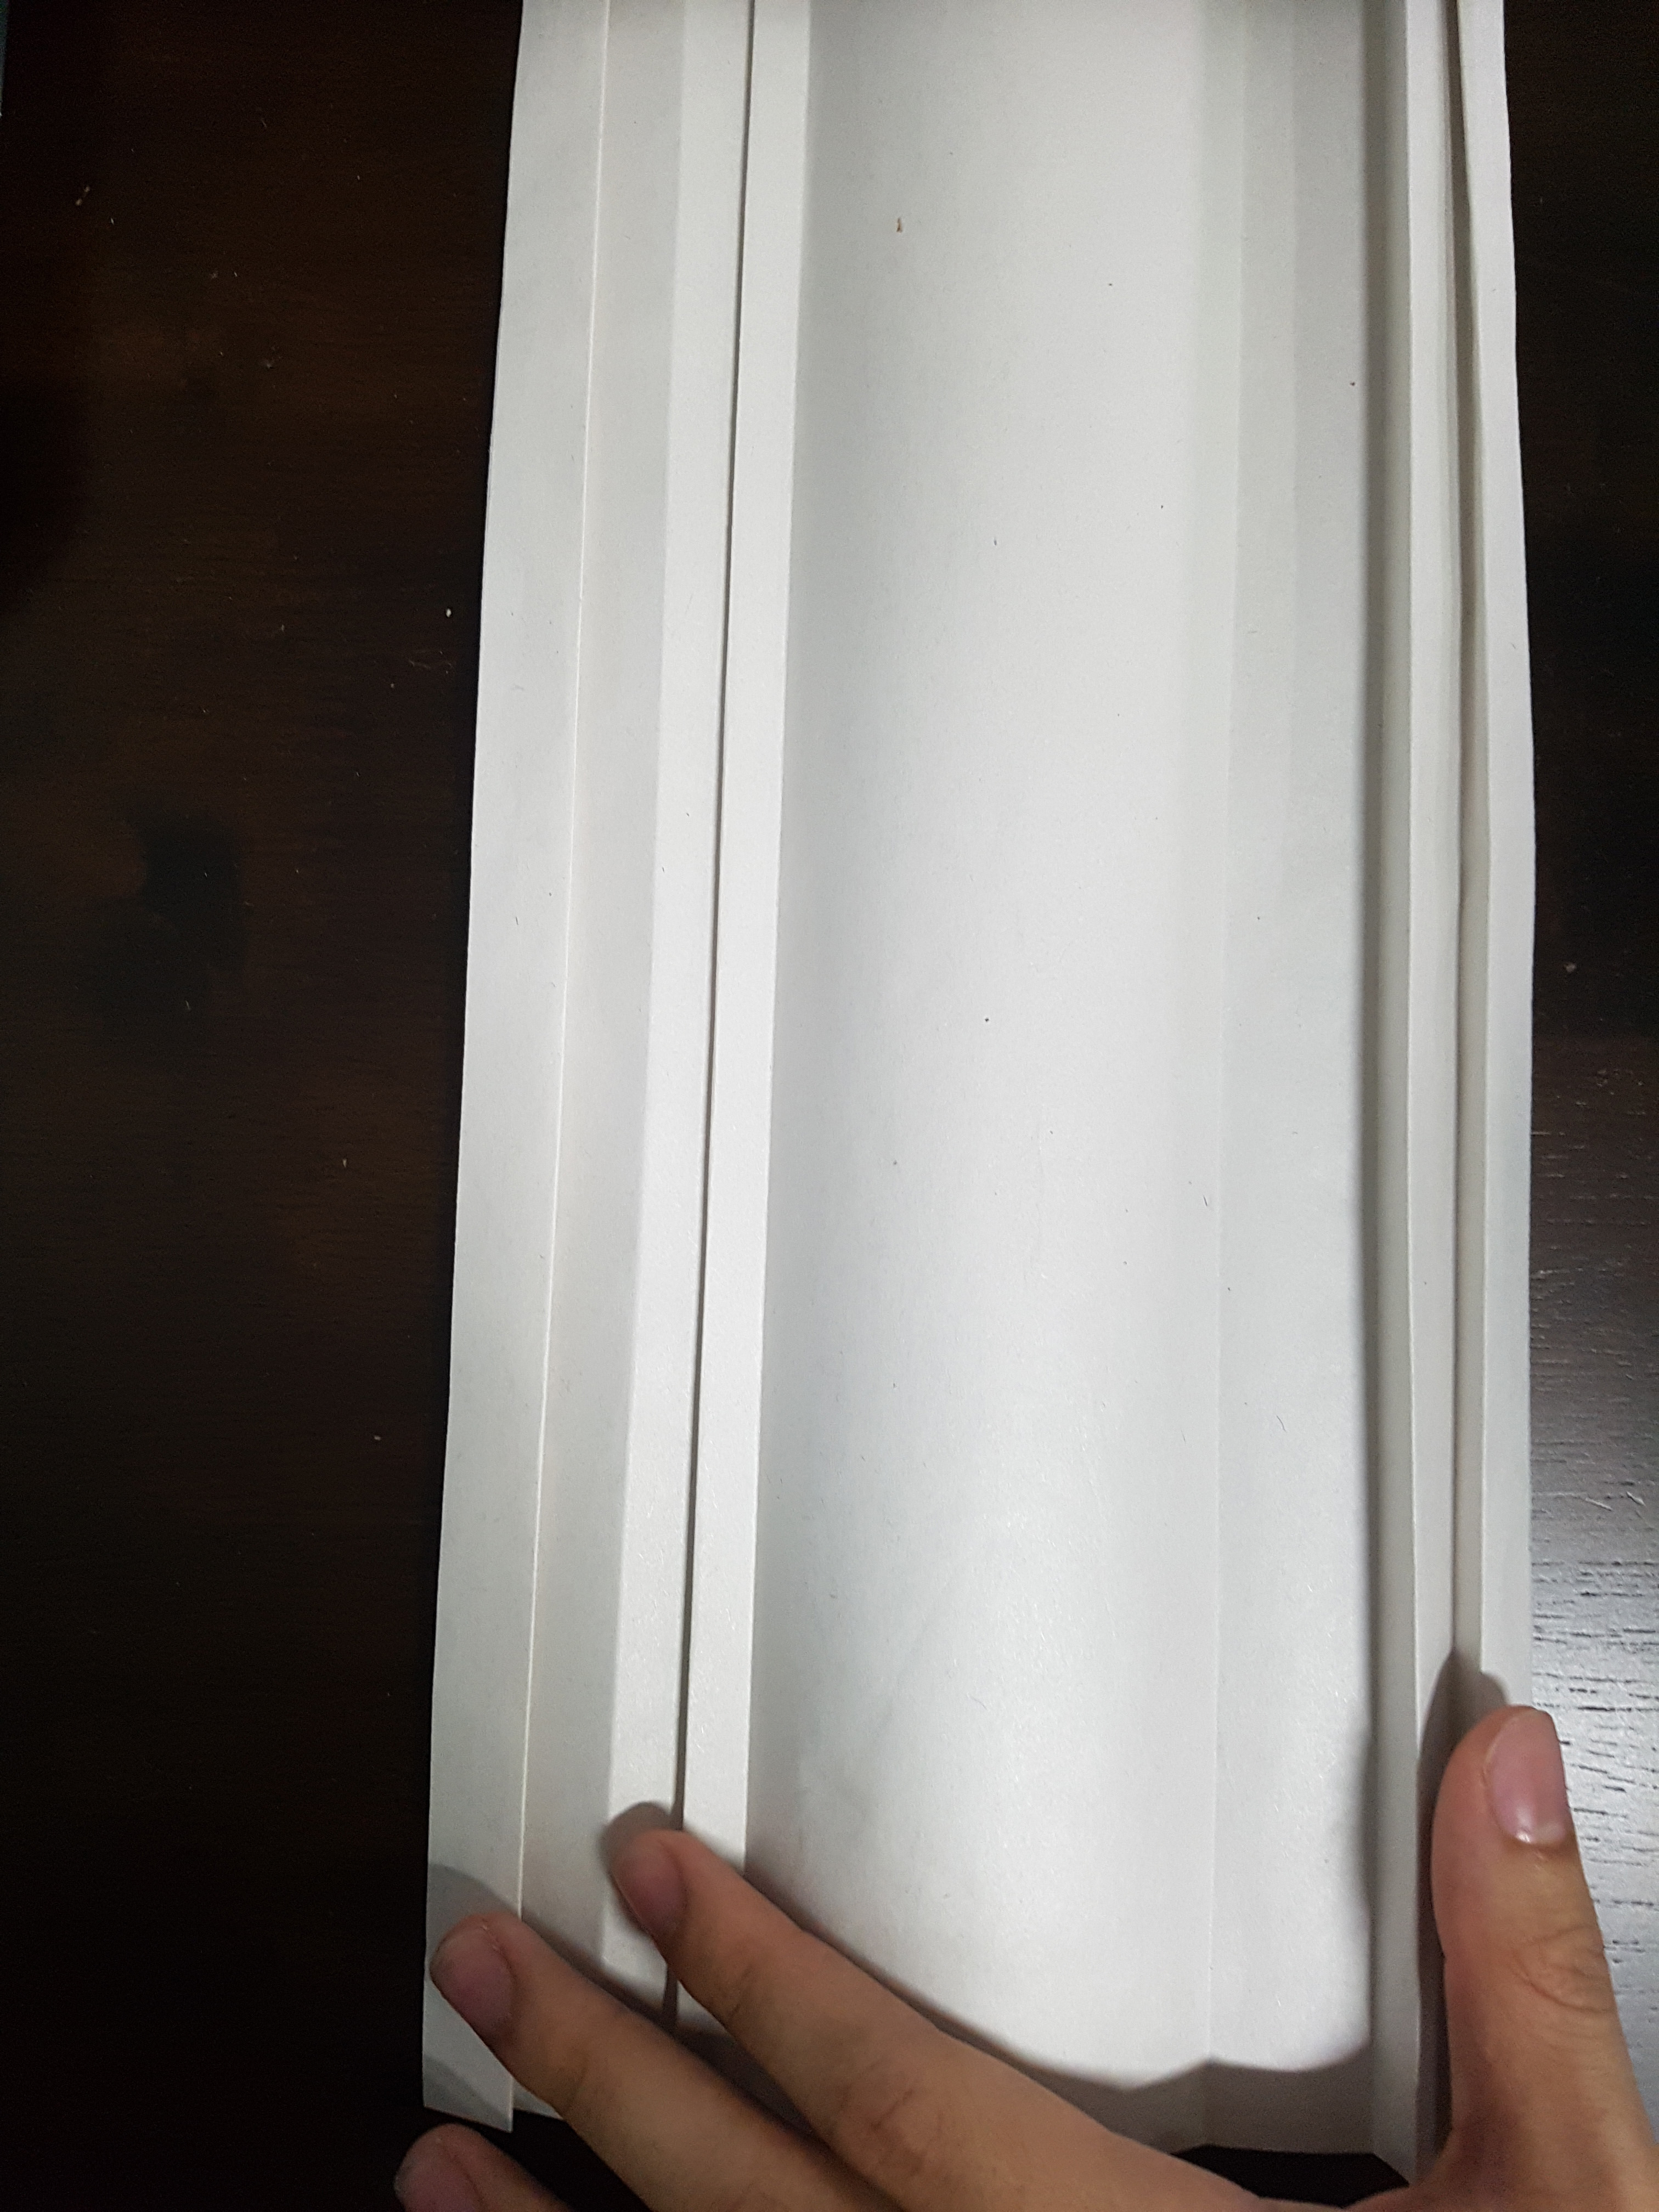
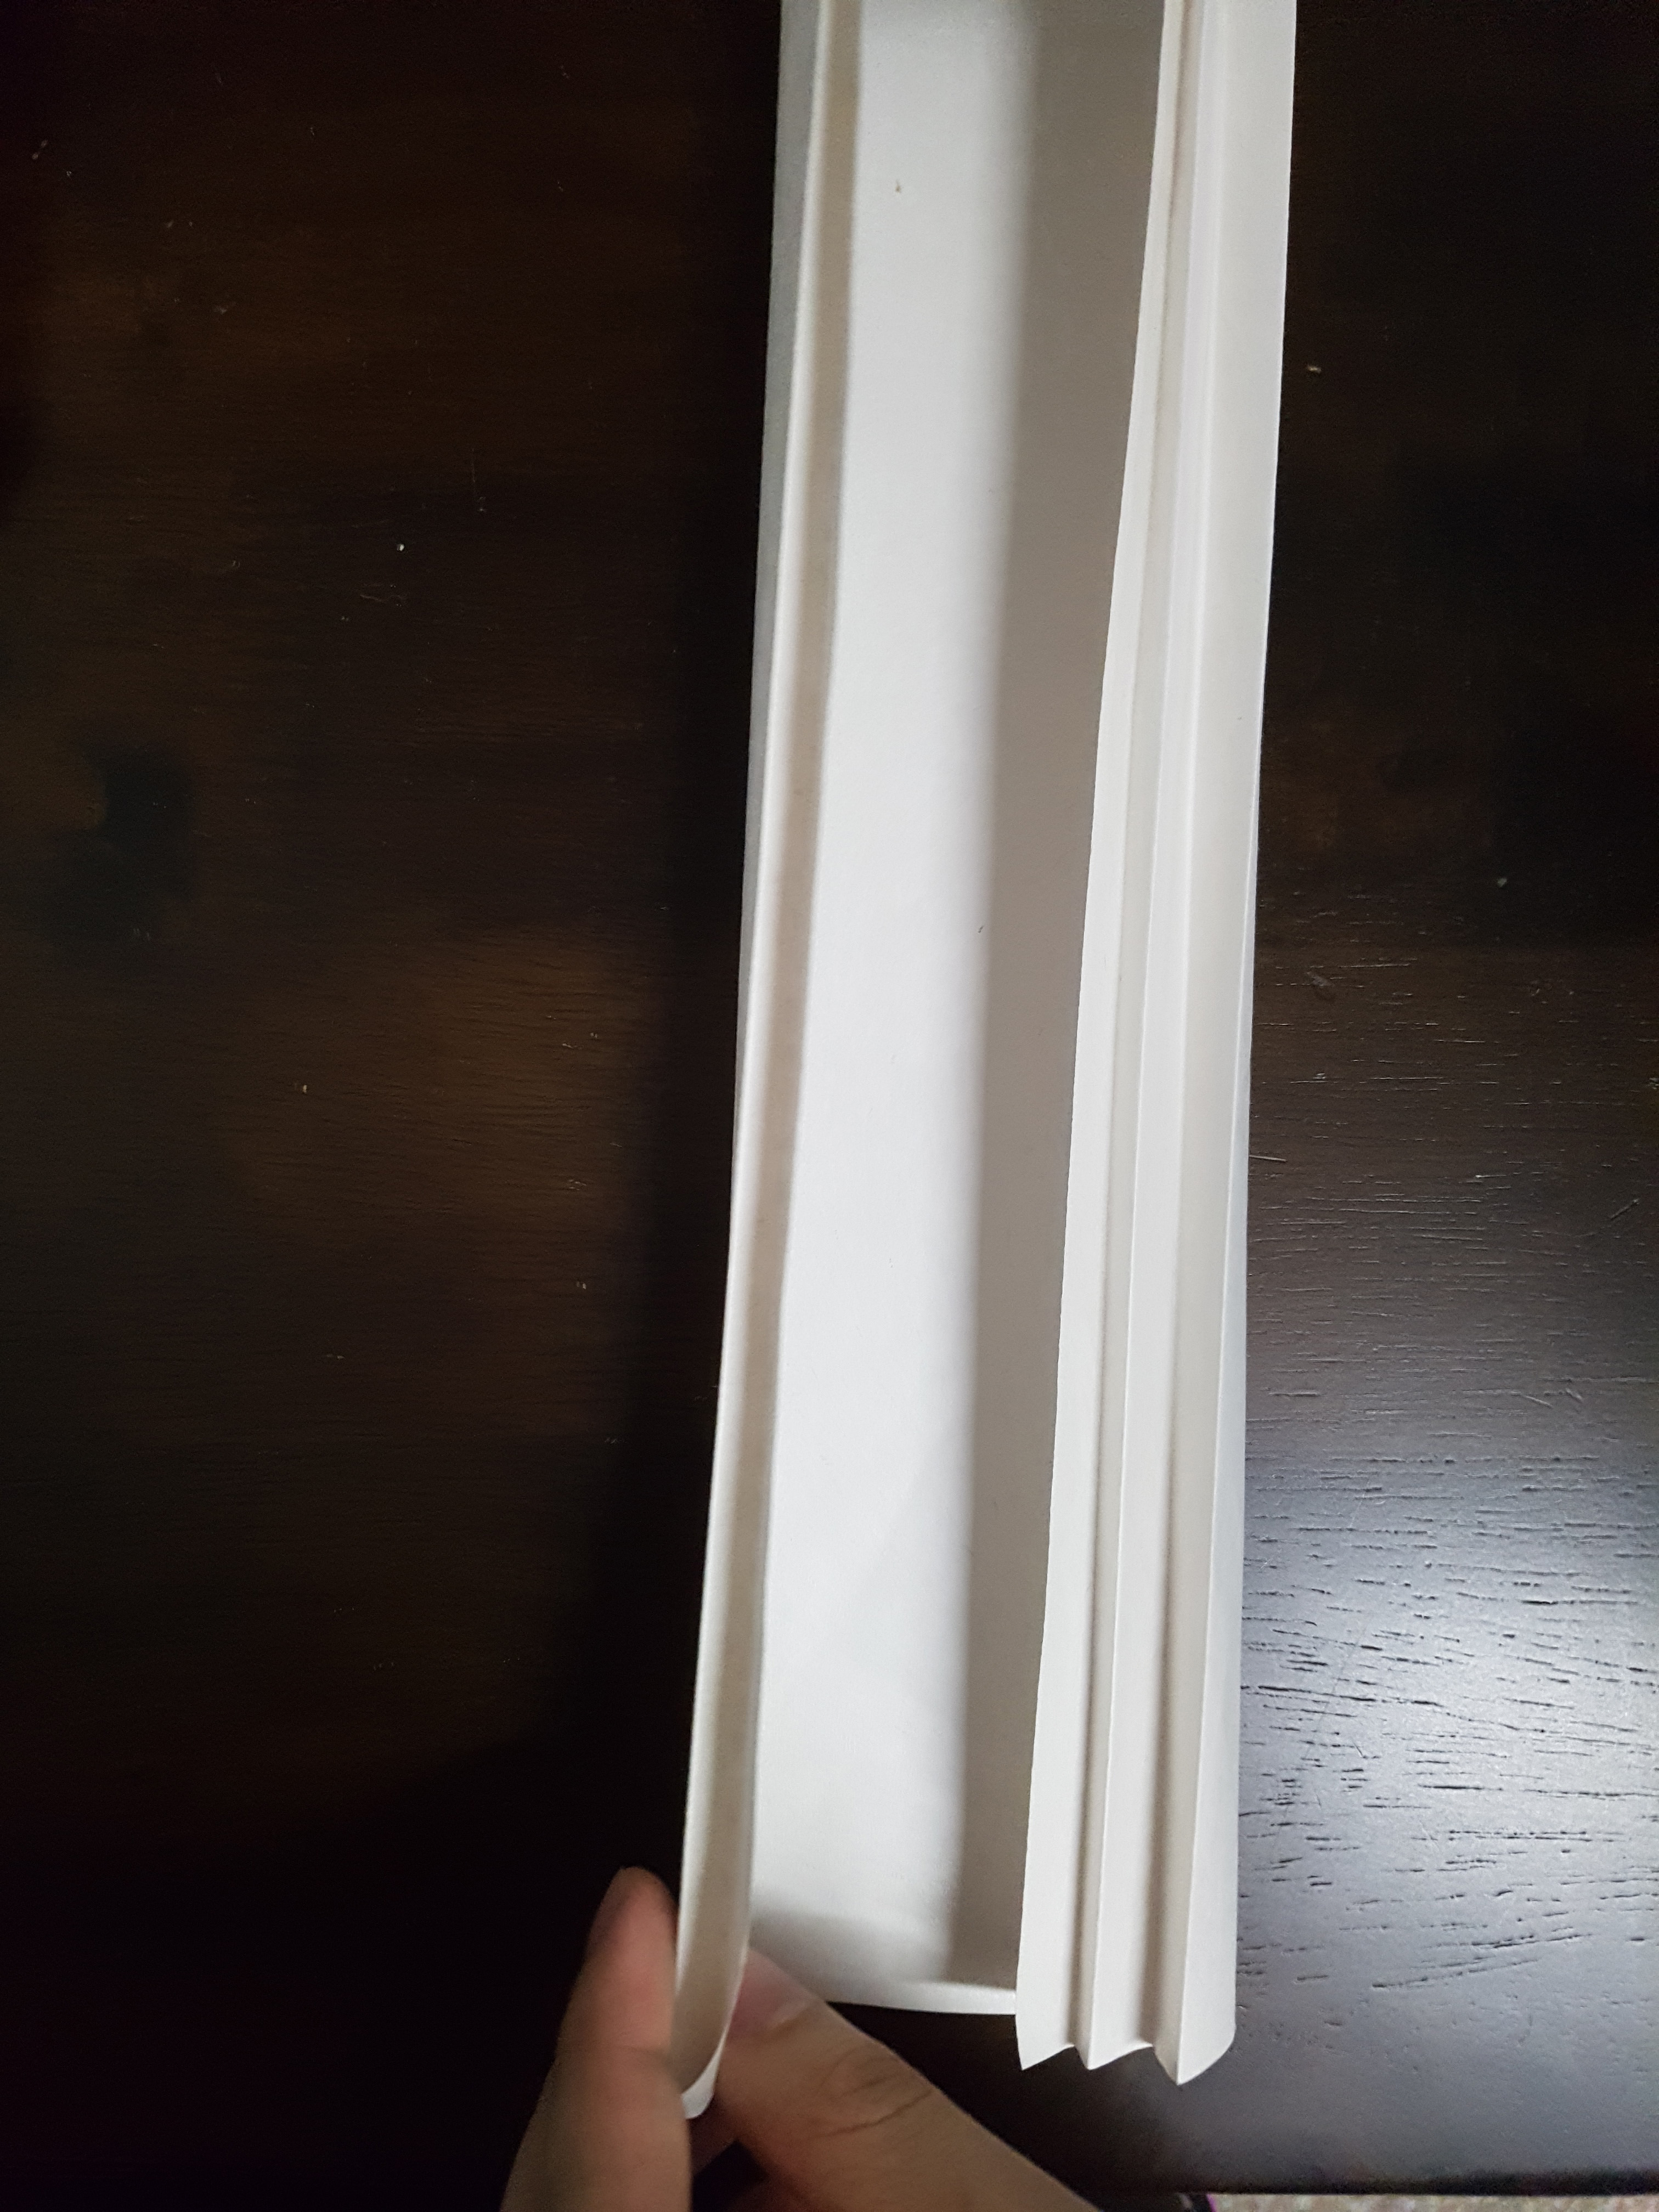
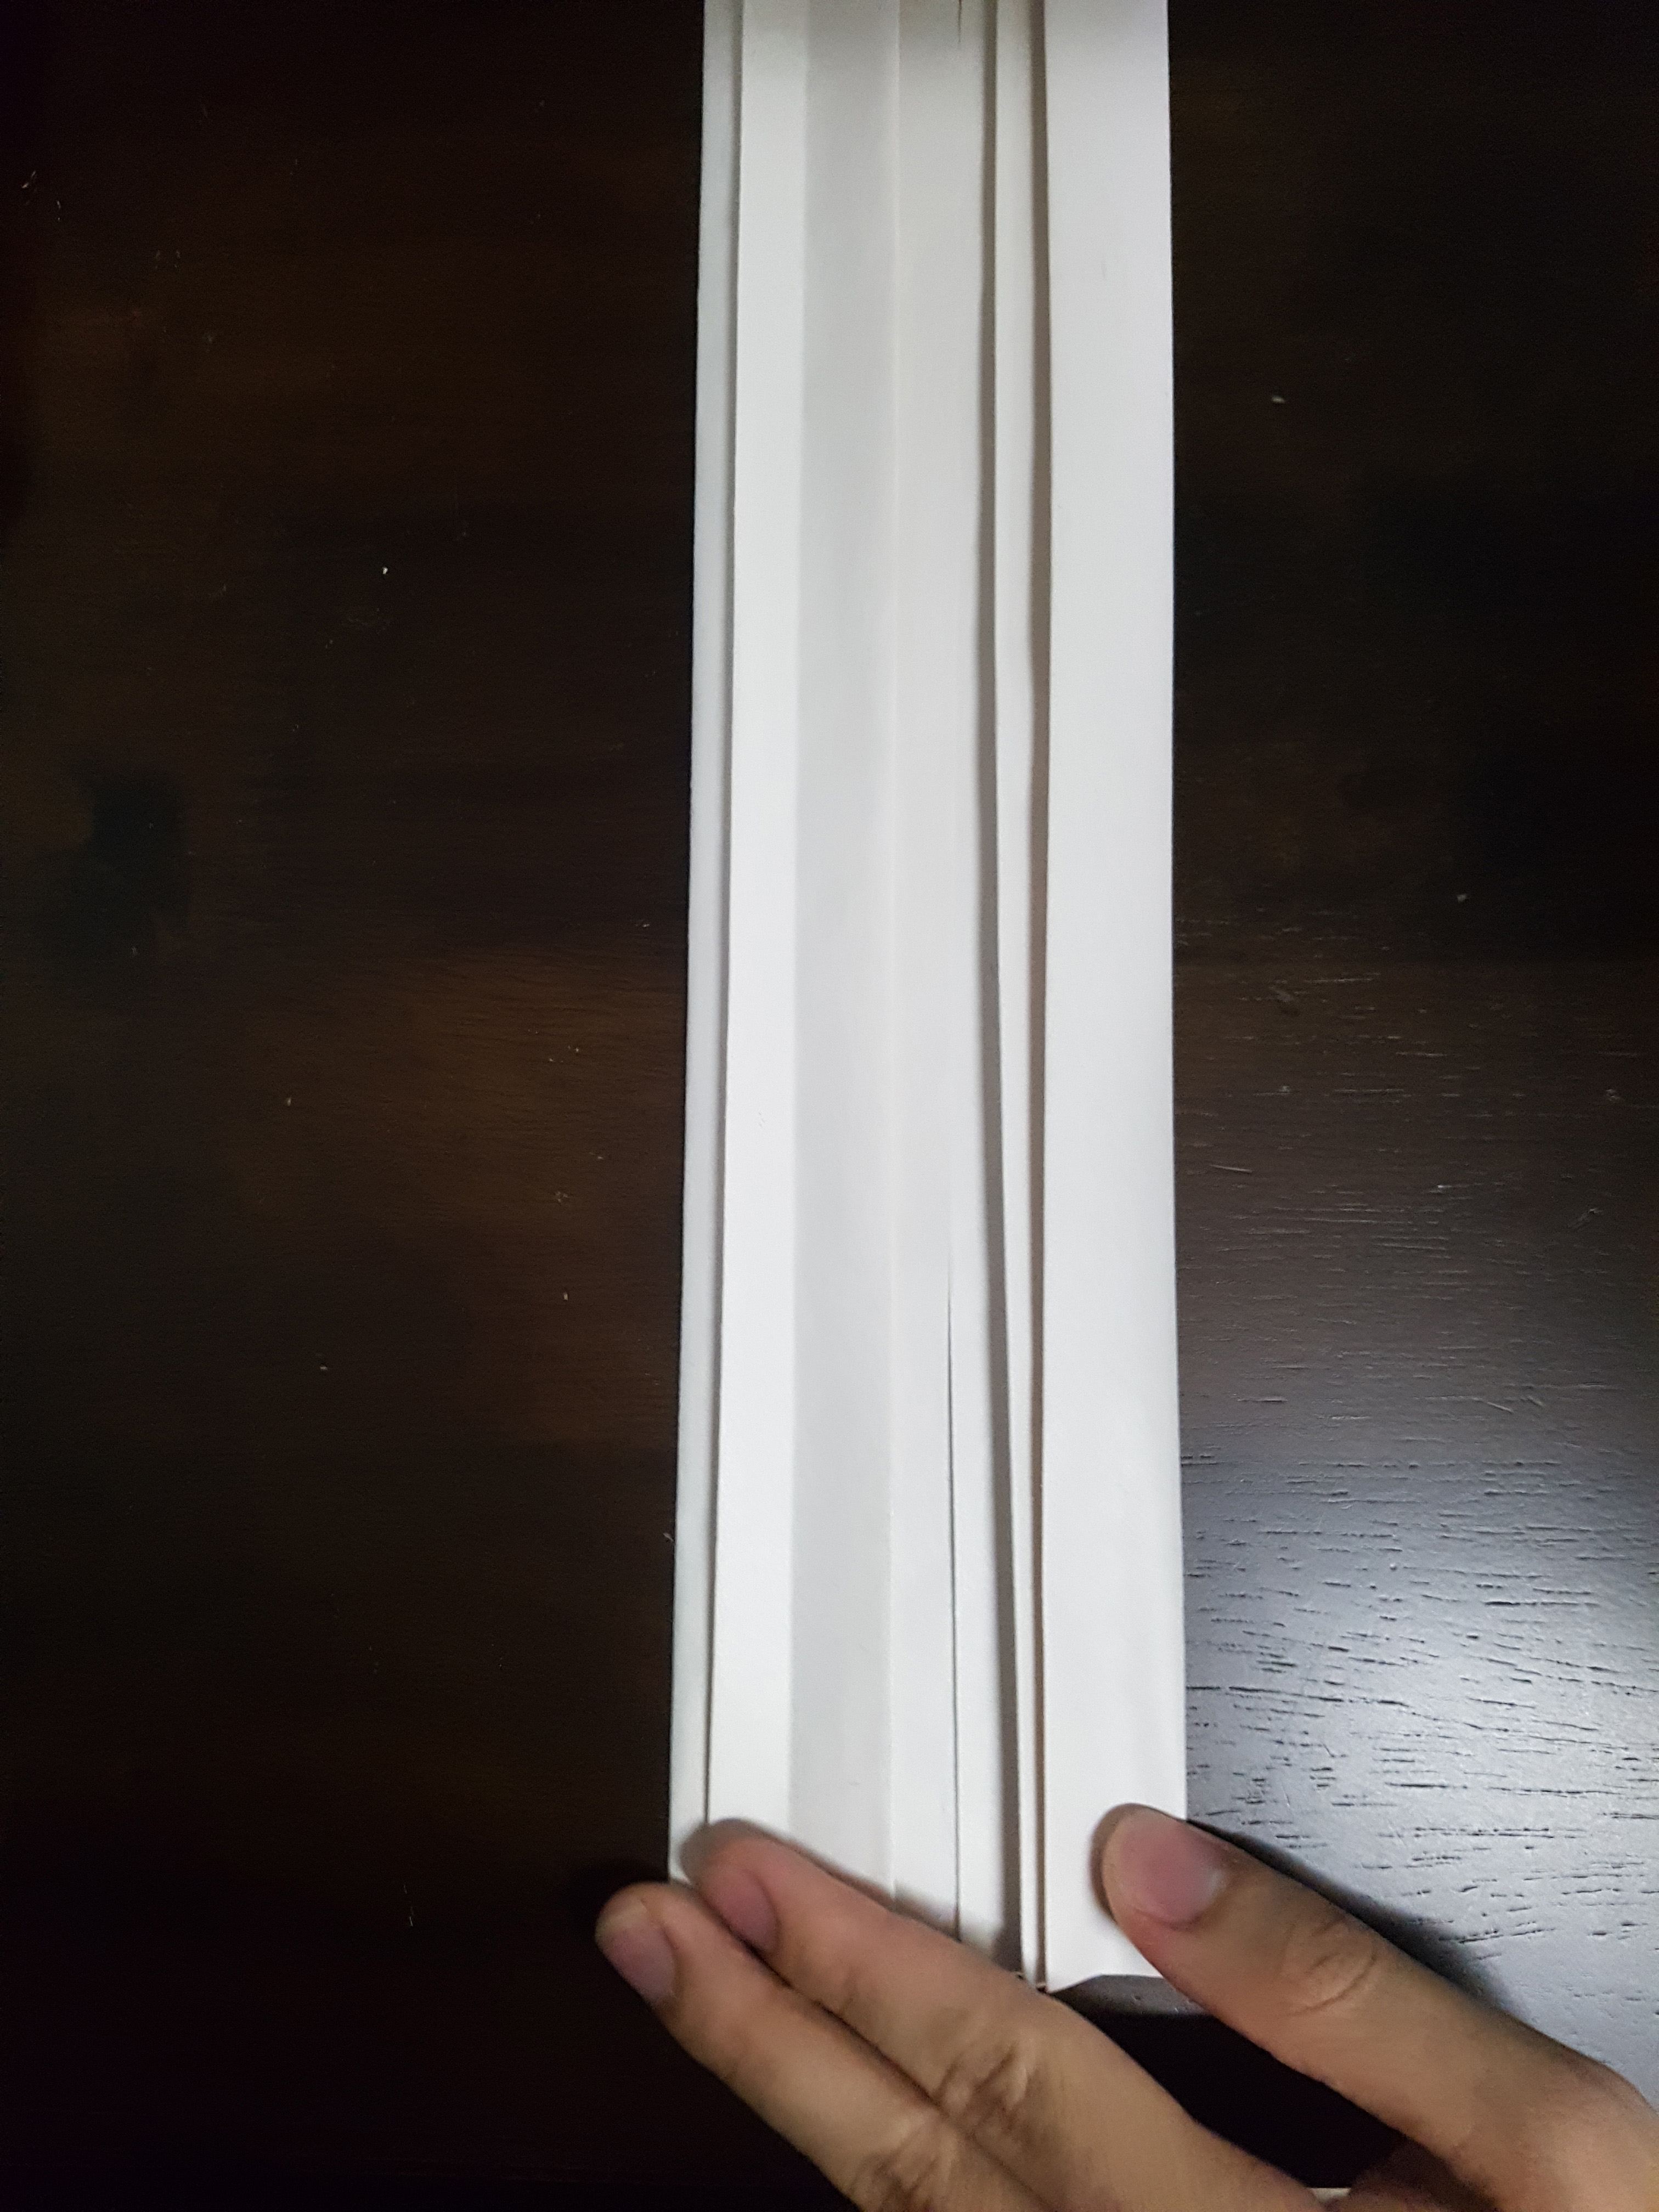
All 3 are creative ideas and I feel like the folding art idea can help to create layering effect on the background hence helping to accentuate the emotion even more.
Other interesting method I tried was using string and on wood.

Failed experimentation:


These are the more interesting methods that I tried out with. After some experimentation and research, I feel that mark making is actually very fun as it enables you to express your ideas through creative and artistic means. Its cool… but super messy 😀


 I thought it would be interesting to twist the toilet paper to create more sophisticated patterns. However it was a complete disaster as the toilet paper got stuck with the roller as I rolled over it. Worst thing was that the ink turned the toilet paper into a soggy mess. Failed experimentation.