
Process
The second week of Foundation 2D was filled with fun. We had the chance to experiment mark making with different tools and techniques. For me I kept to my word and brought the garlic bread snack that I had back in hall and also brought a roll of toilet paper that had nice patterns on it.

Garlic bread:

I dipped the garlic bread into chinese ink and started sliding it across the paper and also started dabbing it on the paper.
Toilet paper:

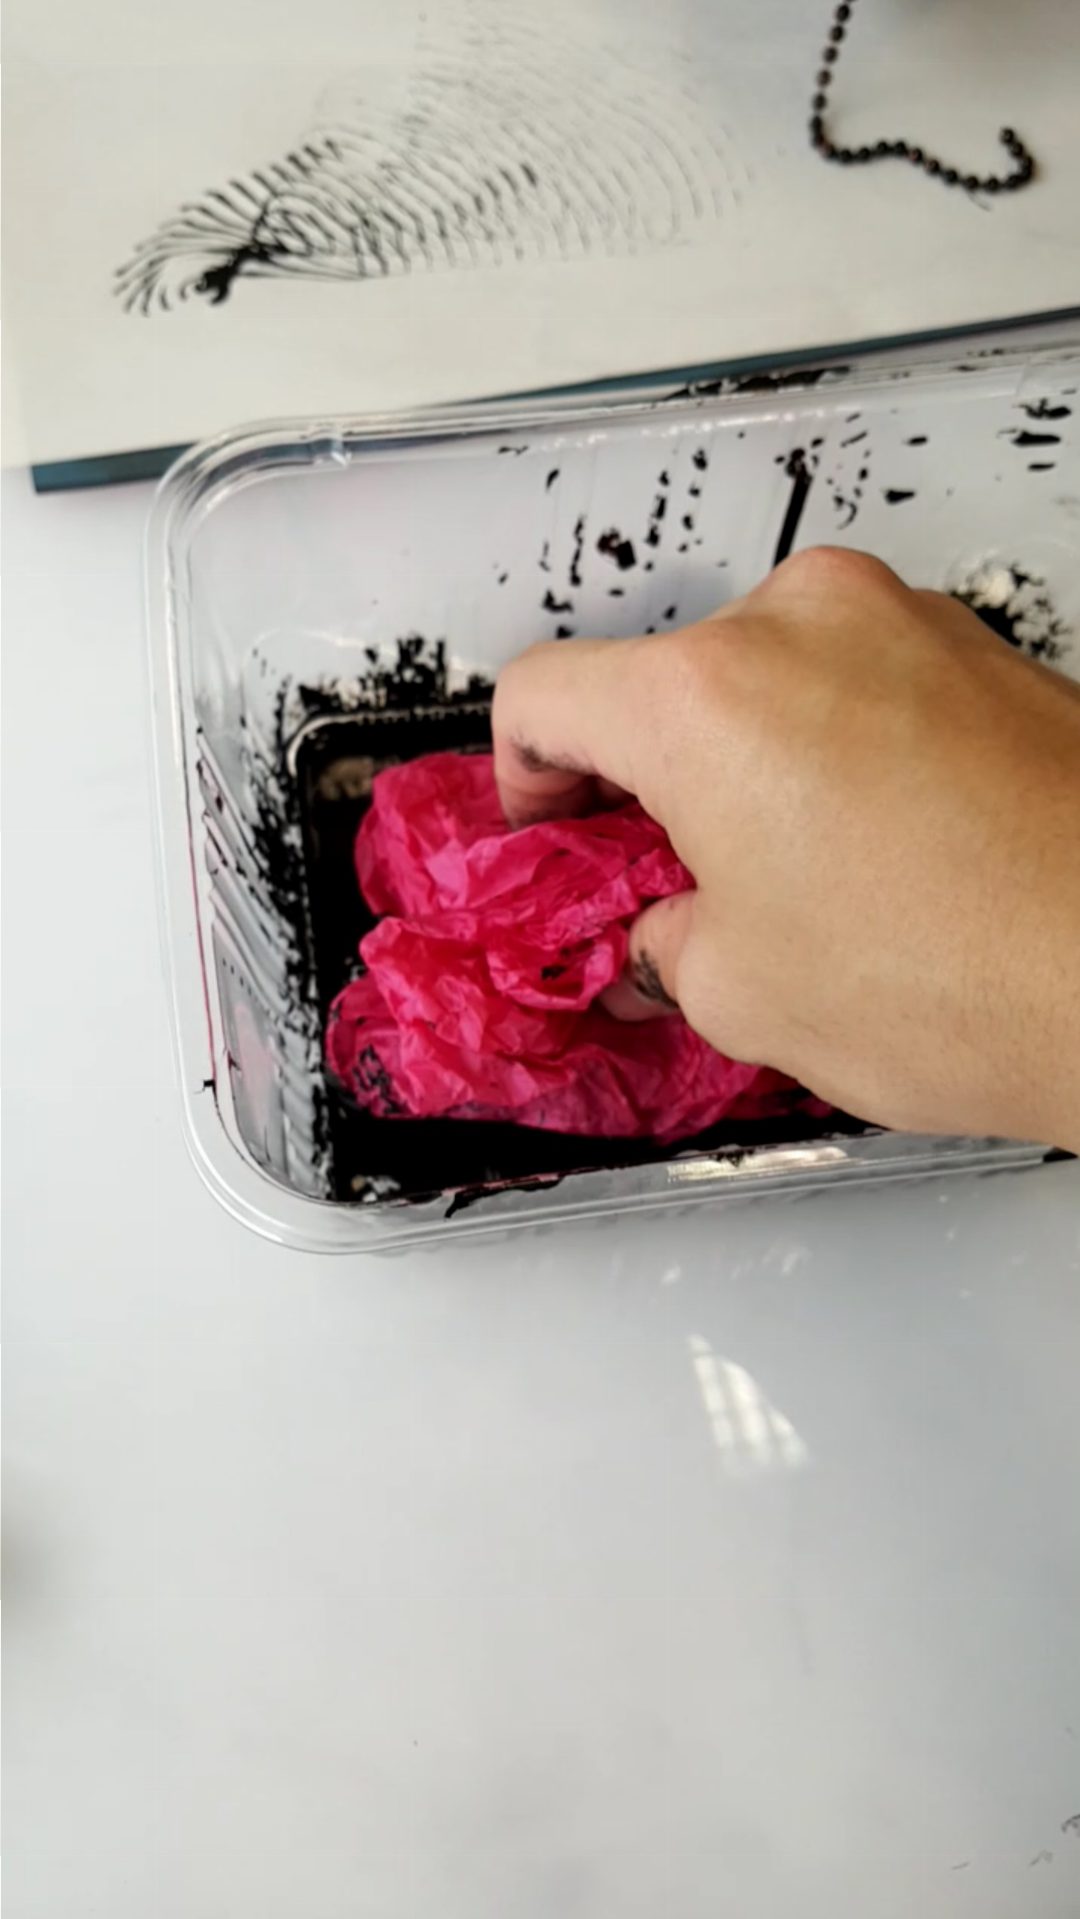
 I thought it would be interesting to twist the toilet paper to create more sophisticated patterns. However it was a complete disaster as the toilet paper got stuck with the roller as I rolled over it. Worst thing was that the ink turned the toilet paper into a soggy mess. Failed experimentation.
Noodles:

Initially when I first saw the Syam bringing in the noodle I was literally laughing about using noodle as a mark making tool as I thought my garlic bread was already outrageous. However, when I started to experiment with it, I was surprised by the beautiful patterns it created on the paper. By dragging the noodle across the surface, you can create long wave-like lines and by dabbing it on the surface, you can create short curvy patterns. Both of which looks really amazing.
Crushed paper:

One of my favorite tool that I experimented on was crushed paper. It created a messy yet interesting pattern and when the patterns overlap each other it did not look too overwhelming. Might be using this for my project 1.
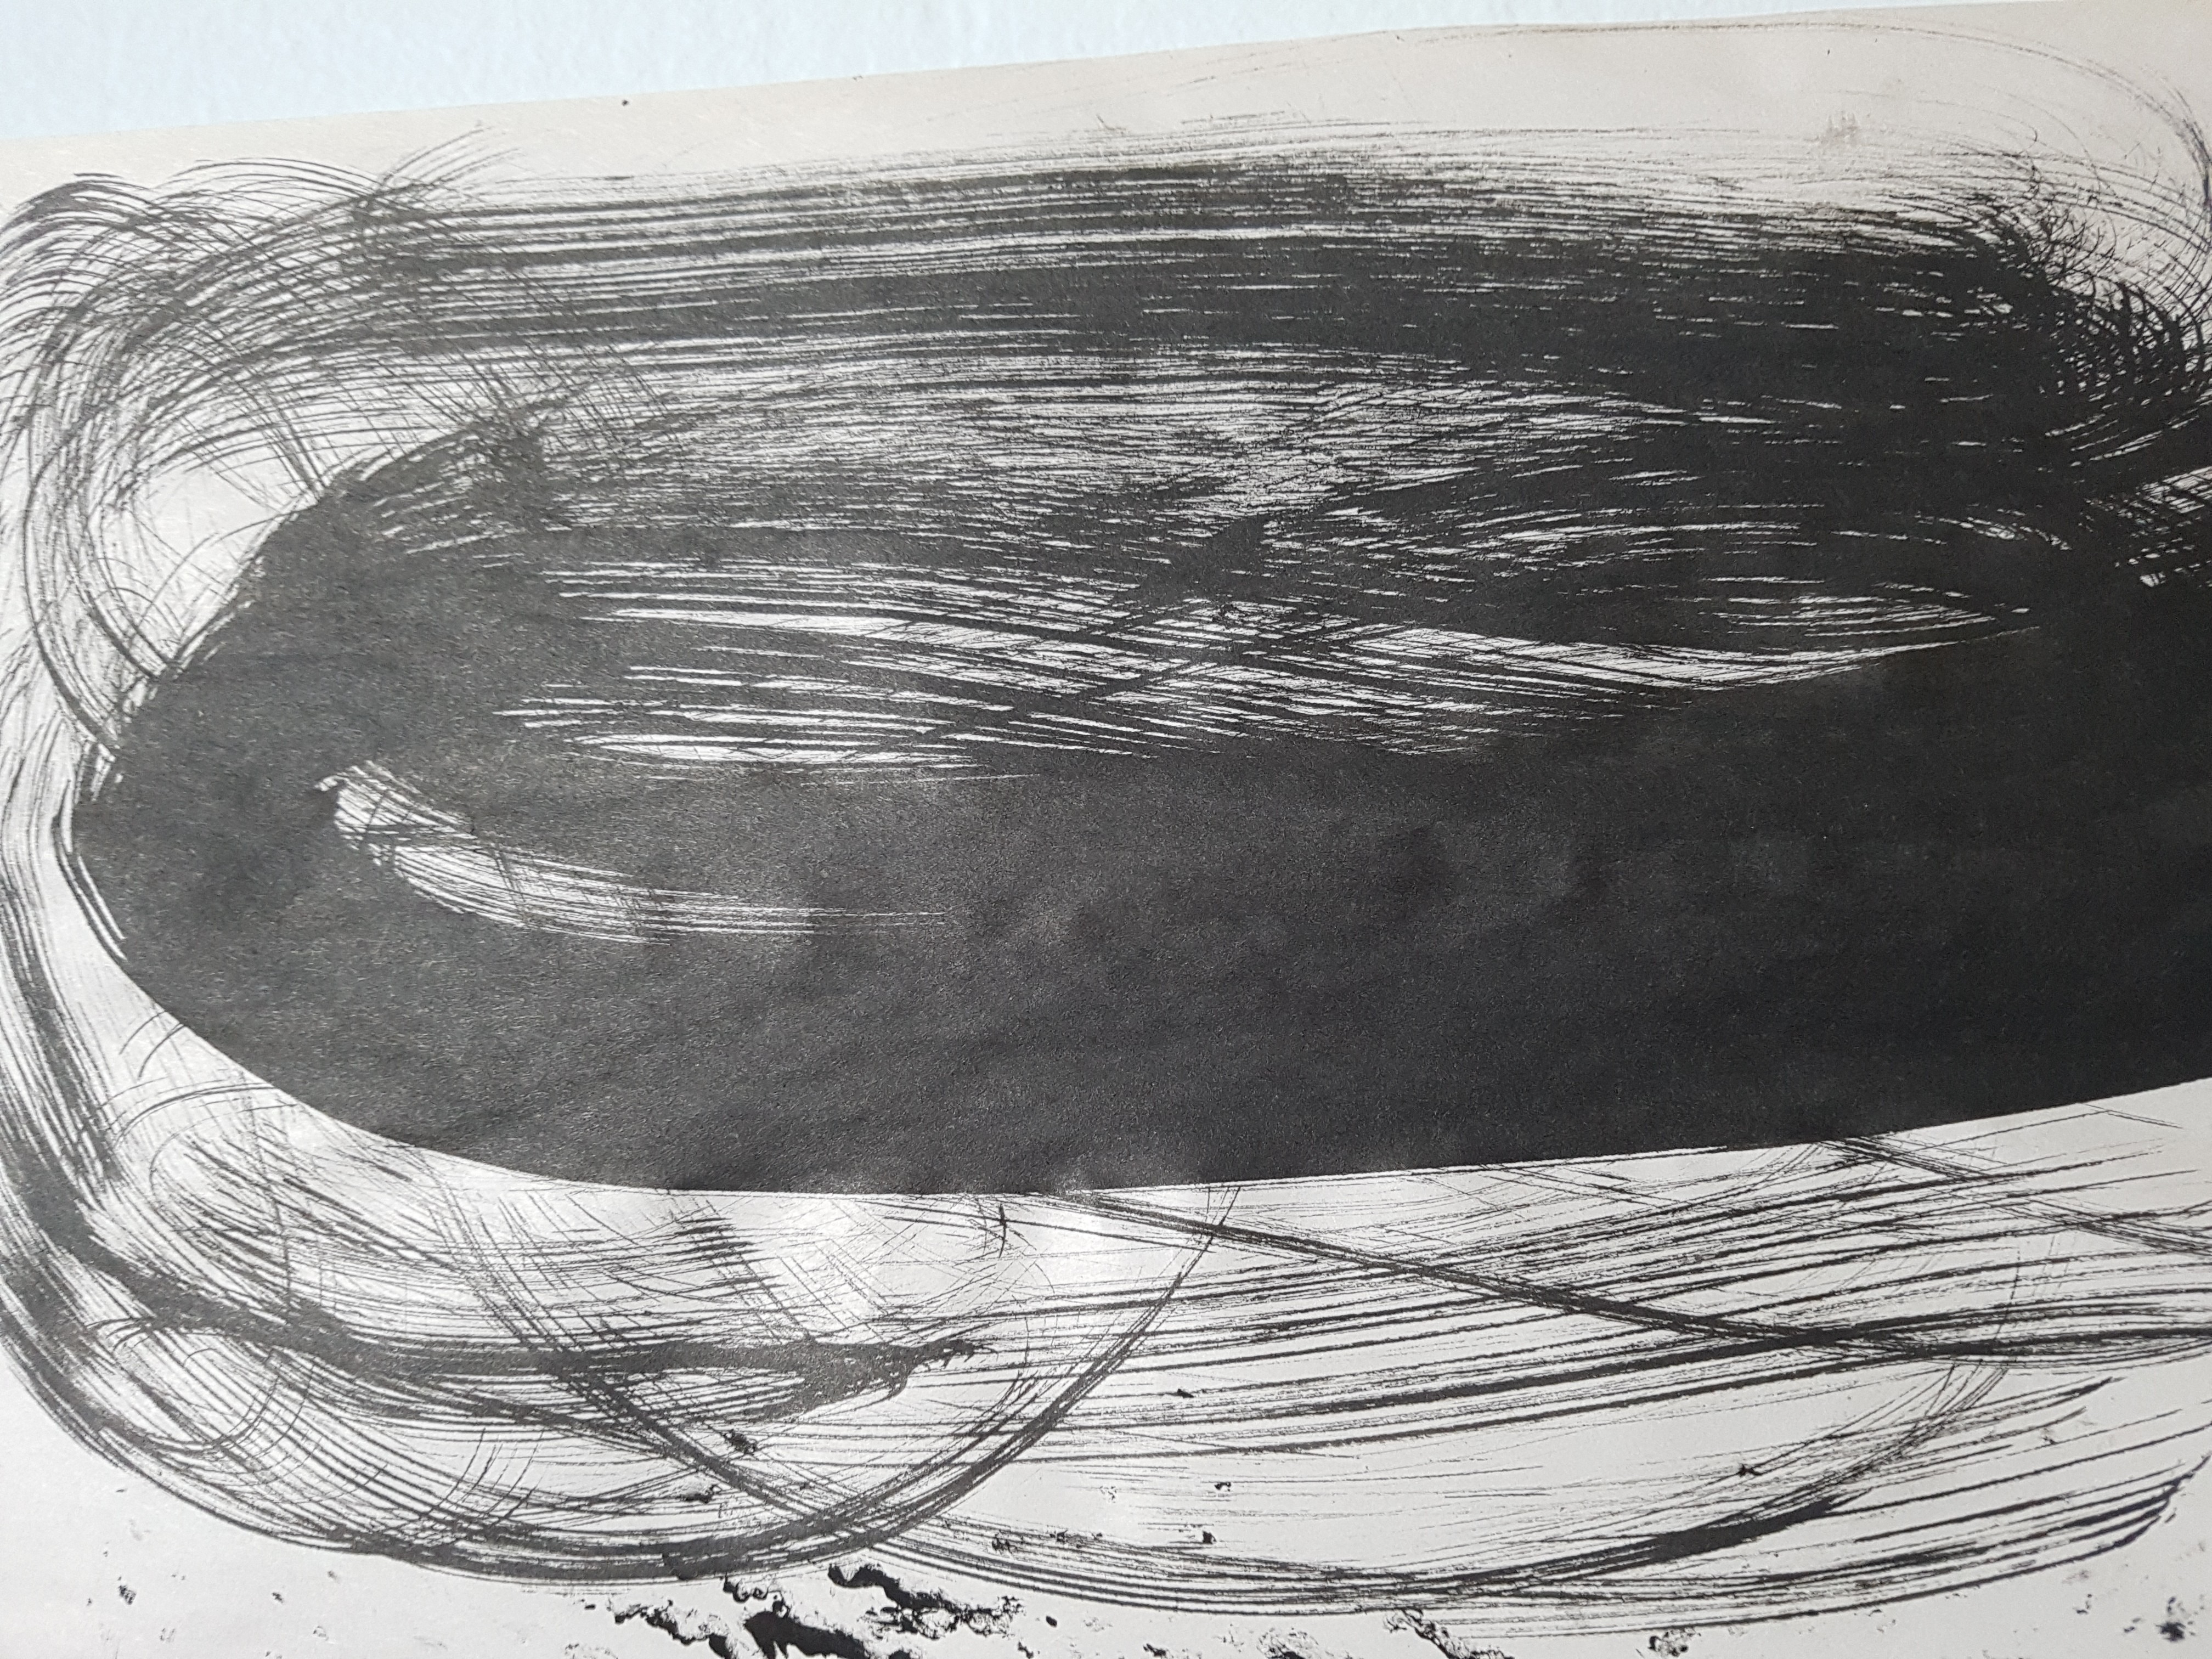
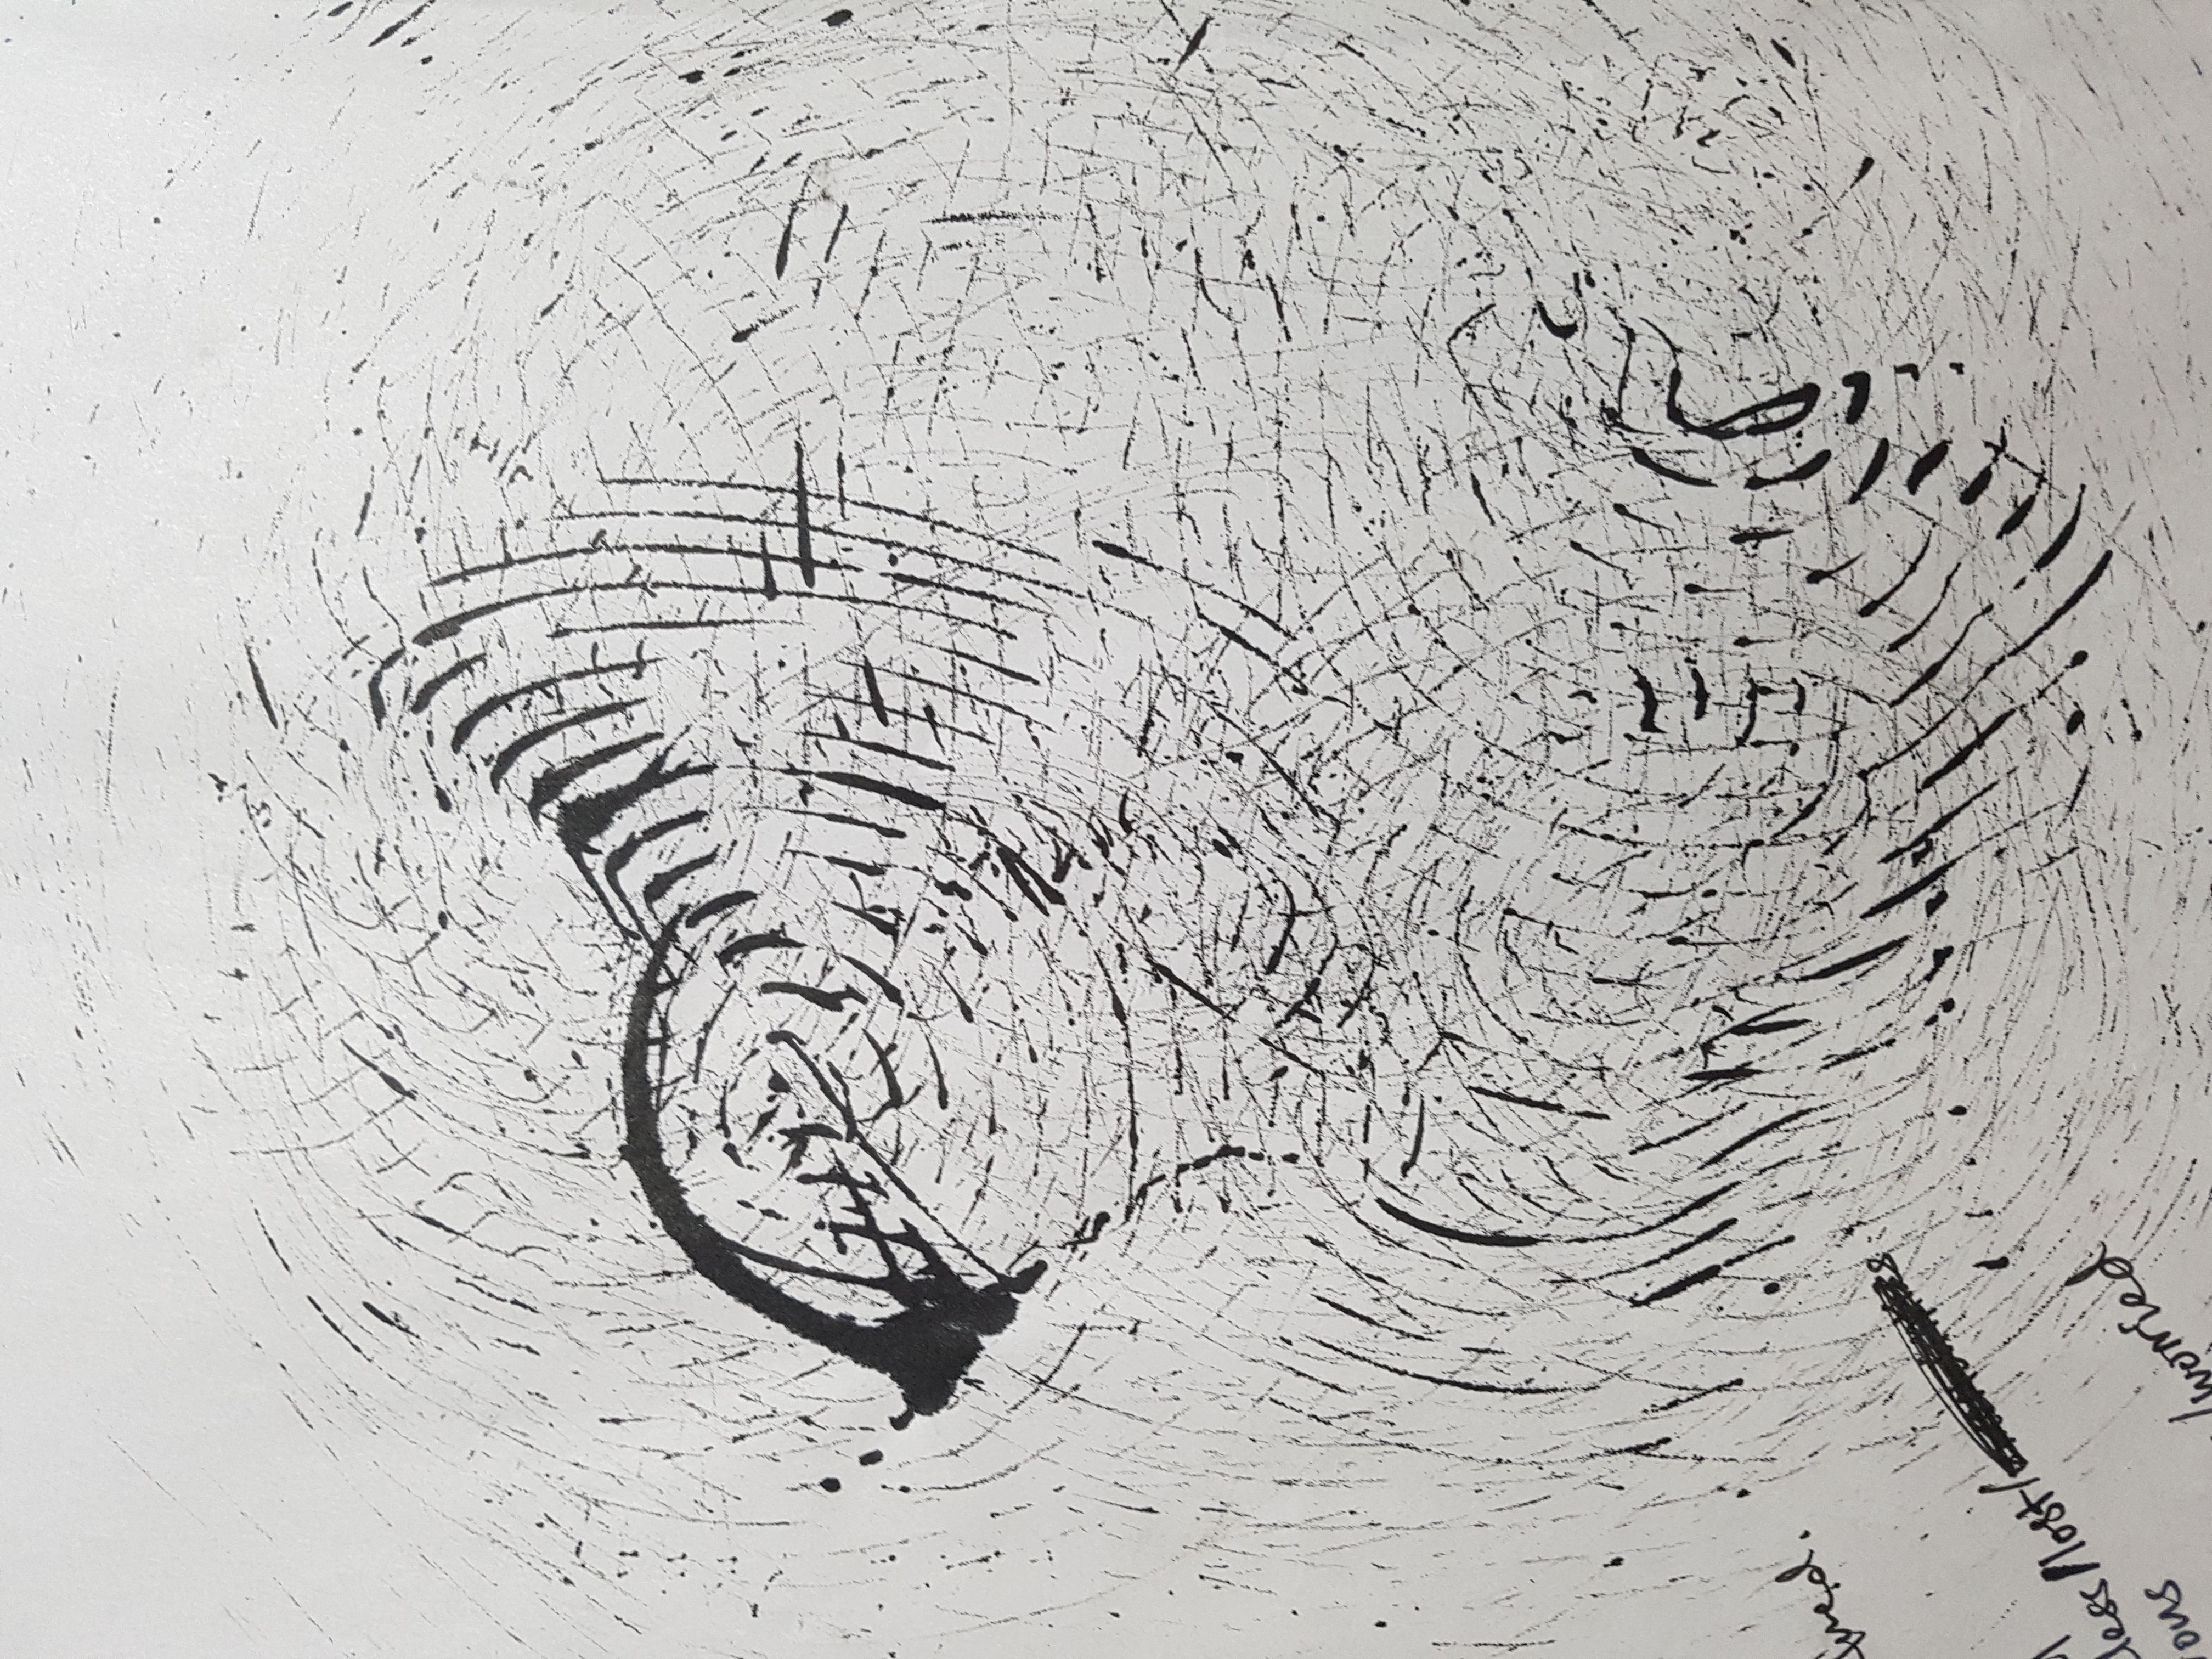
Chain with metal beads:
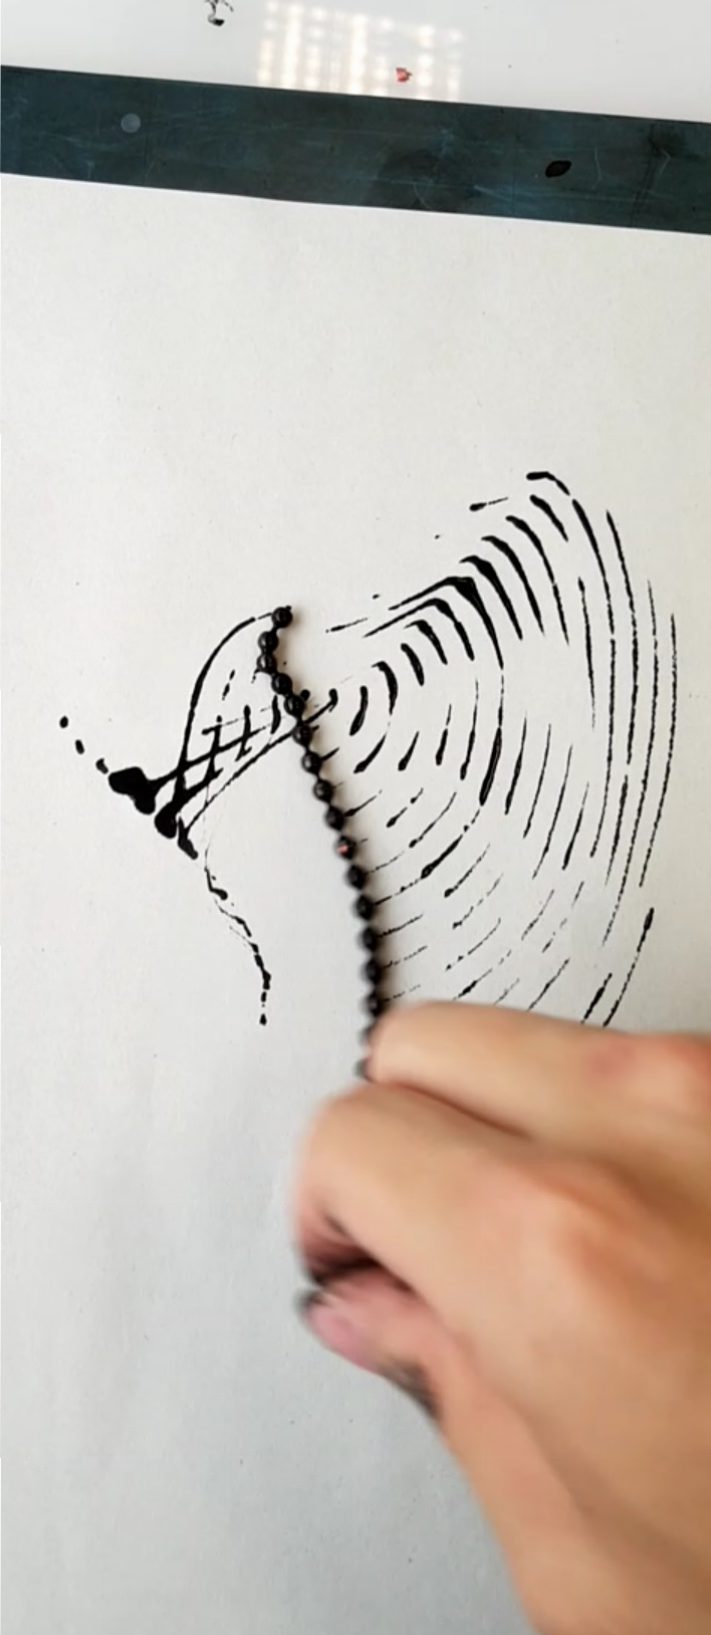
Another interesting mark making design was produced by a chain that has tiny metal beads attached on it. I dipped it in ink and started spinning it on the surface. It created symmetrical circular patterns that reminded me of the growth rings of trees or space galaxies. Besides spinning, you can also drag it across the surface created layers of wavy patterns that are spaced consistently from one another. Great tool!
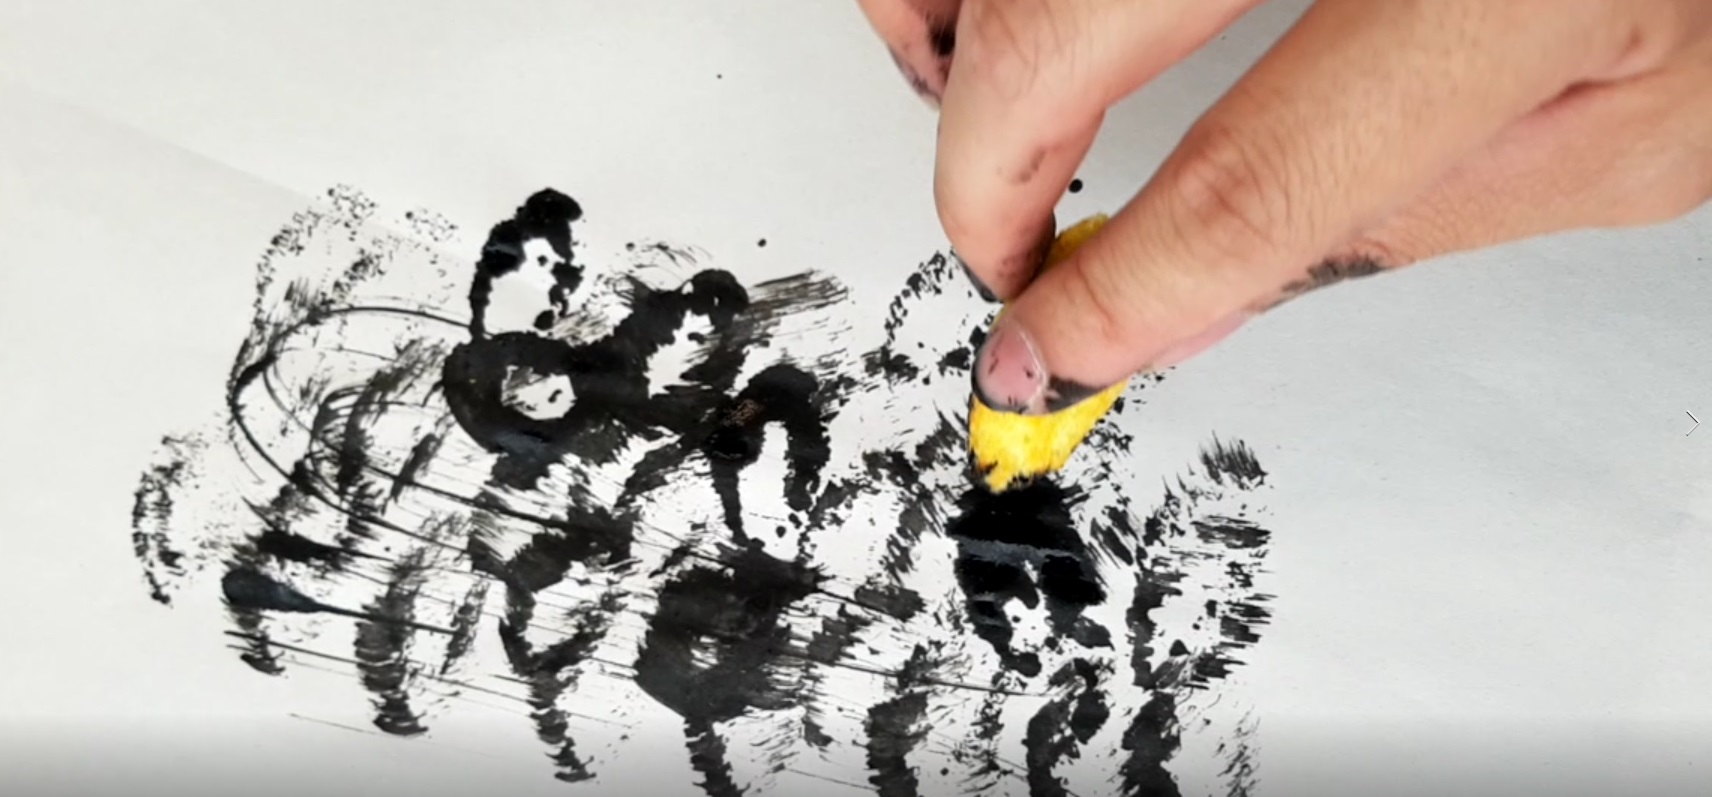
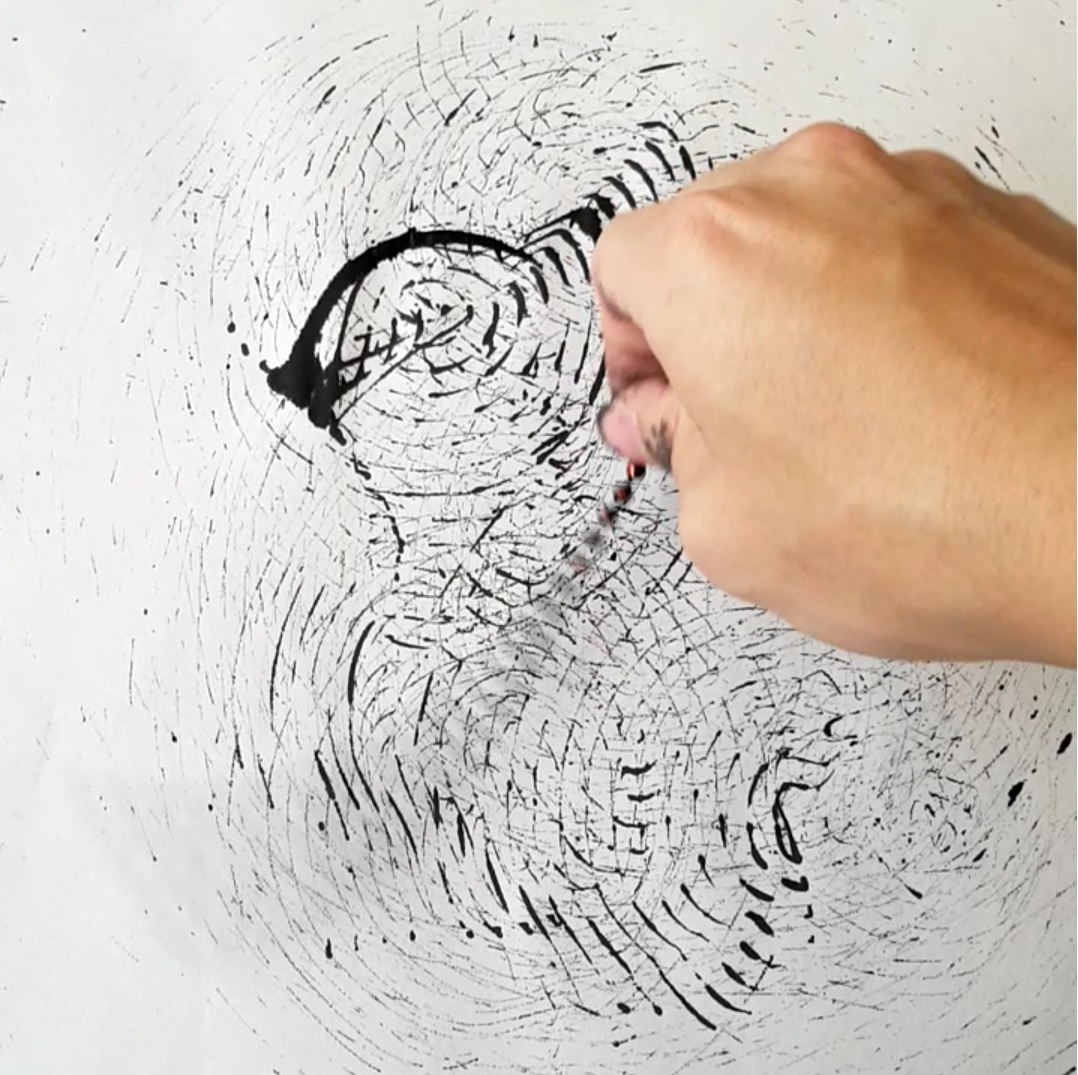
Dish washing scrub:

The scrub when dipped with black ink looks like a sea urchin. The spiky scrub created a rough looking texture on the surface. Maybe this tool can be used for emotions representing anger. However this tool is tricky to use as you have to apply the correct pressure when sliding it across the surface – when too much pressure is applied, too much ink will be produced.
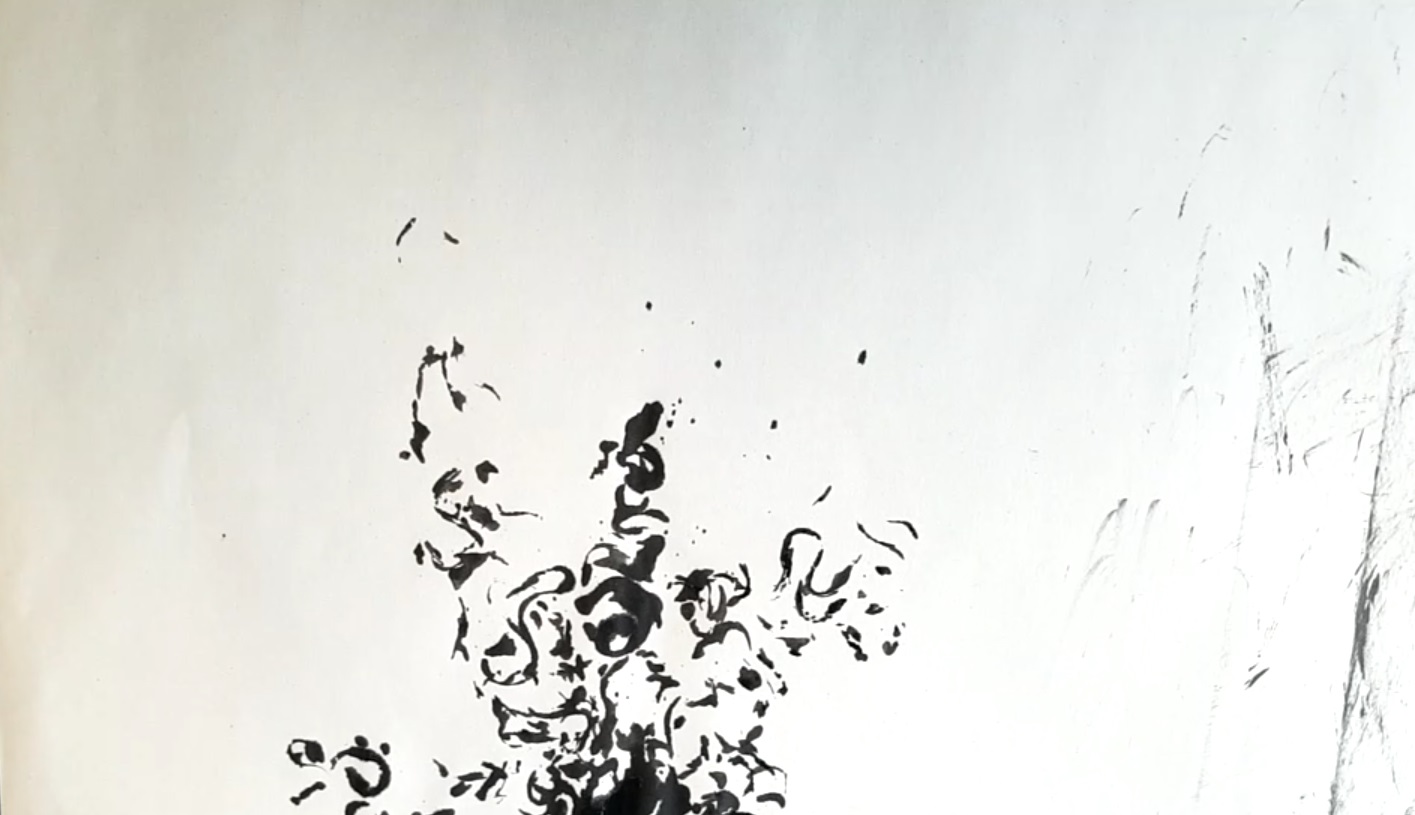
Cut out sponge/foam:
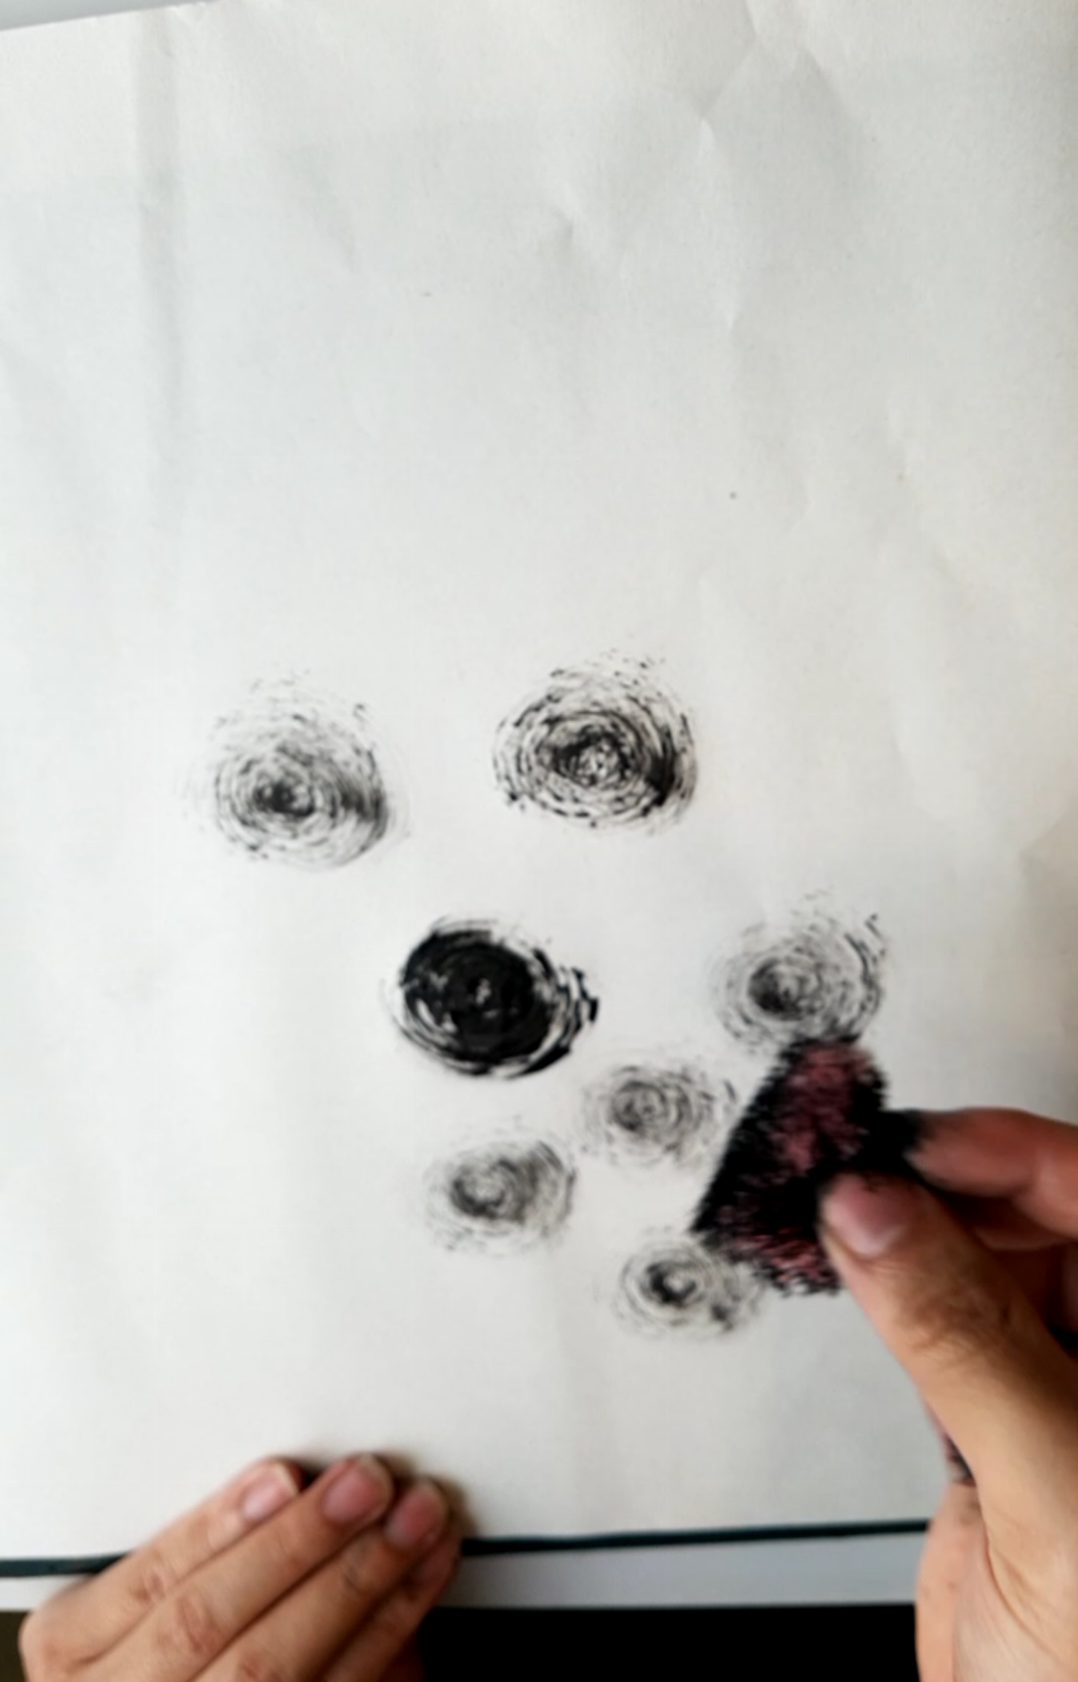
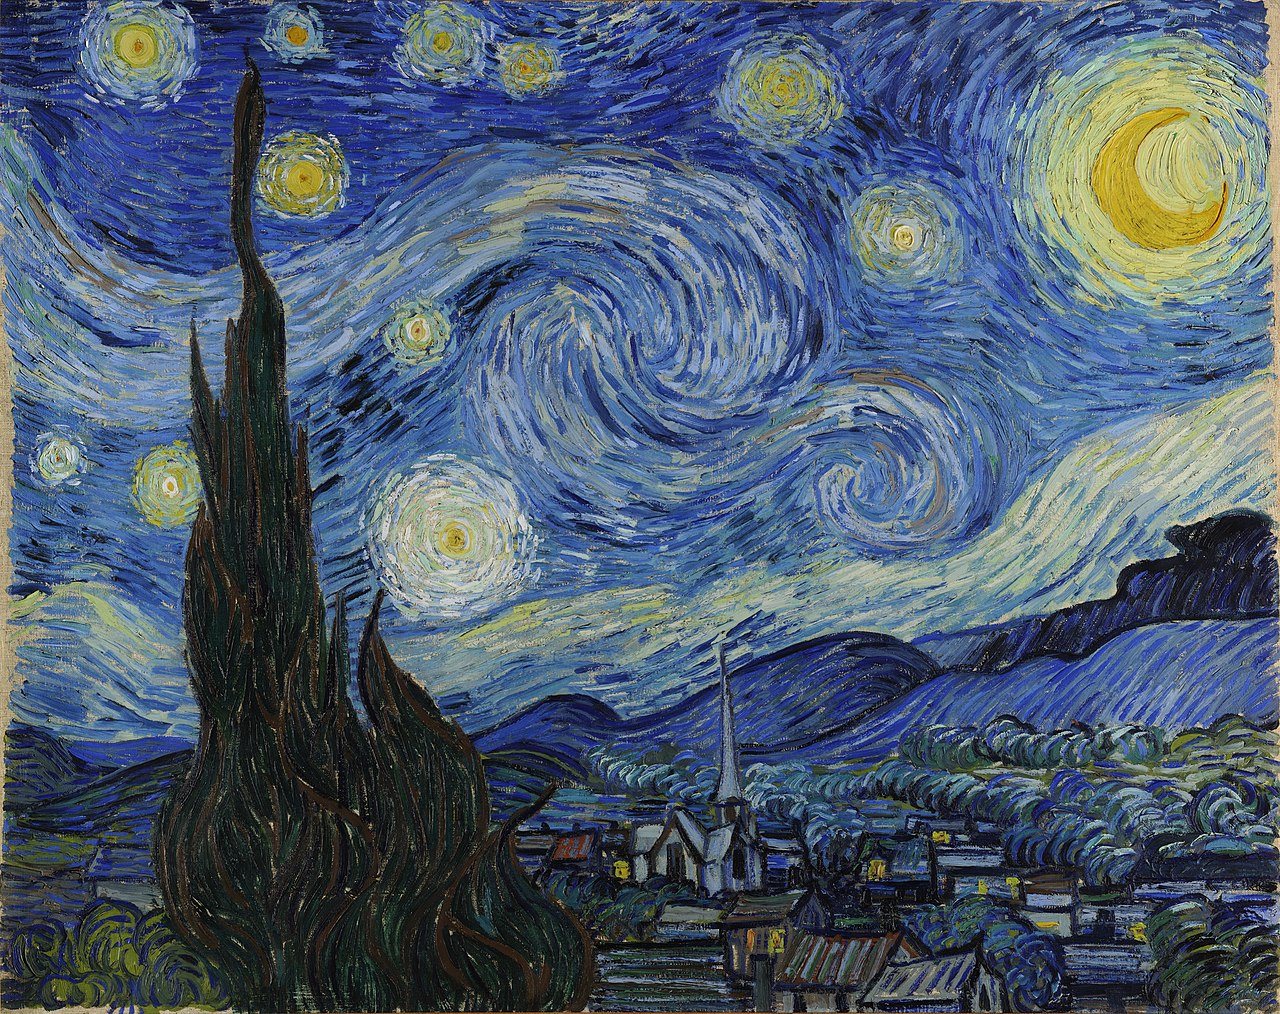
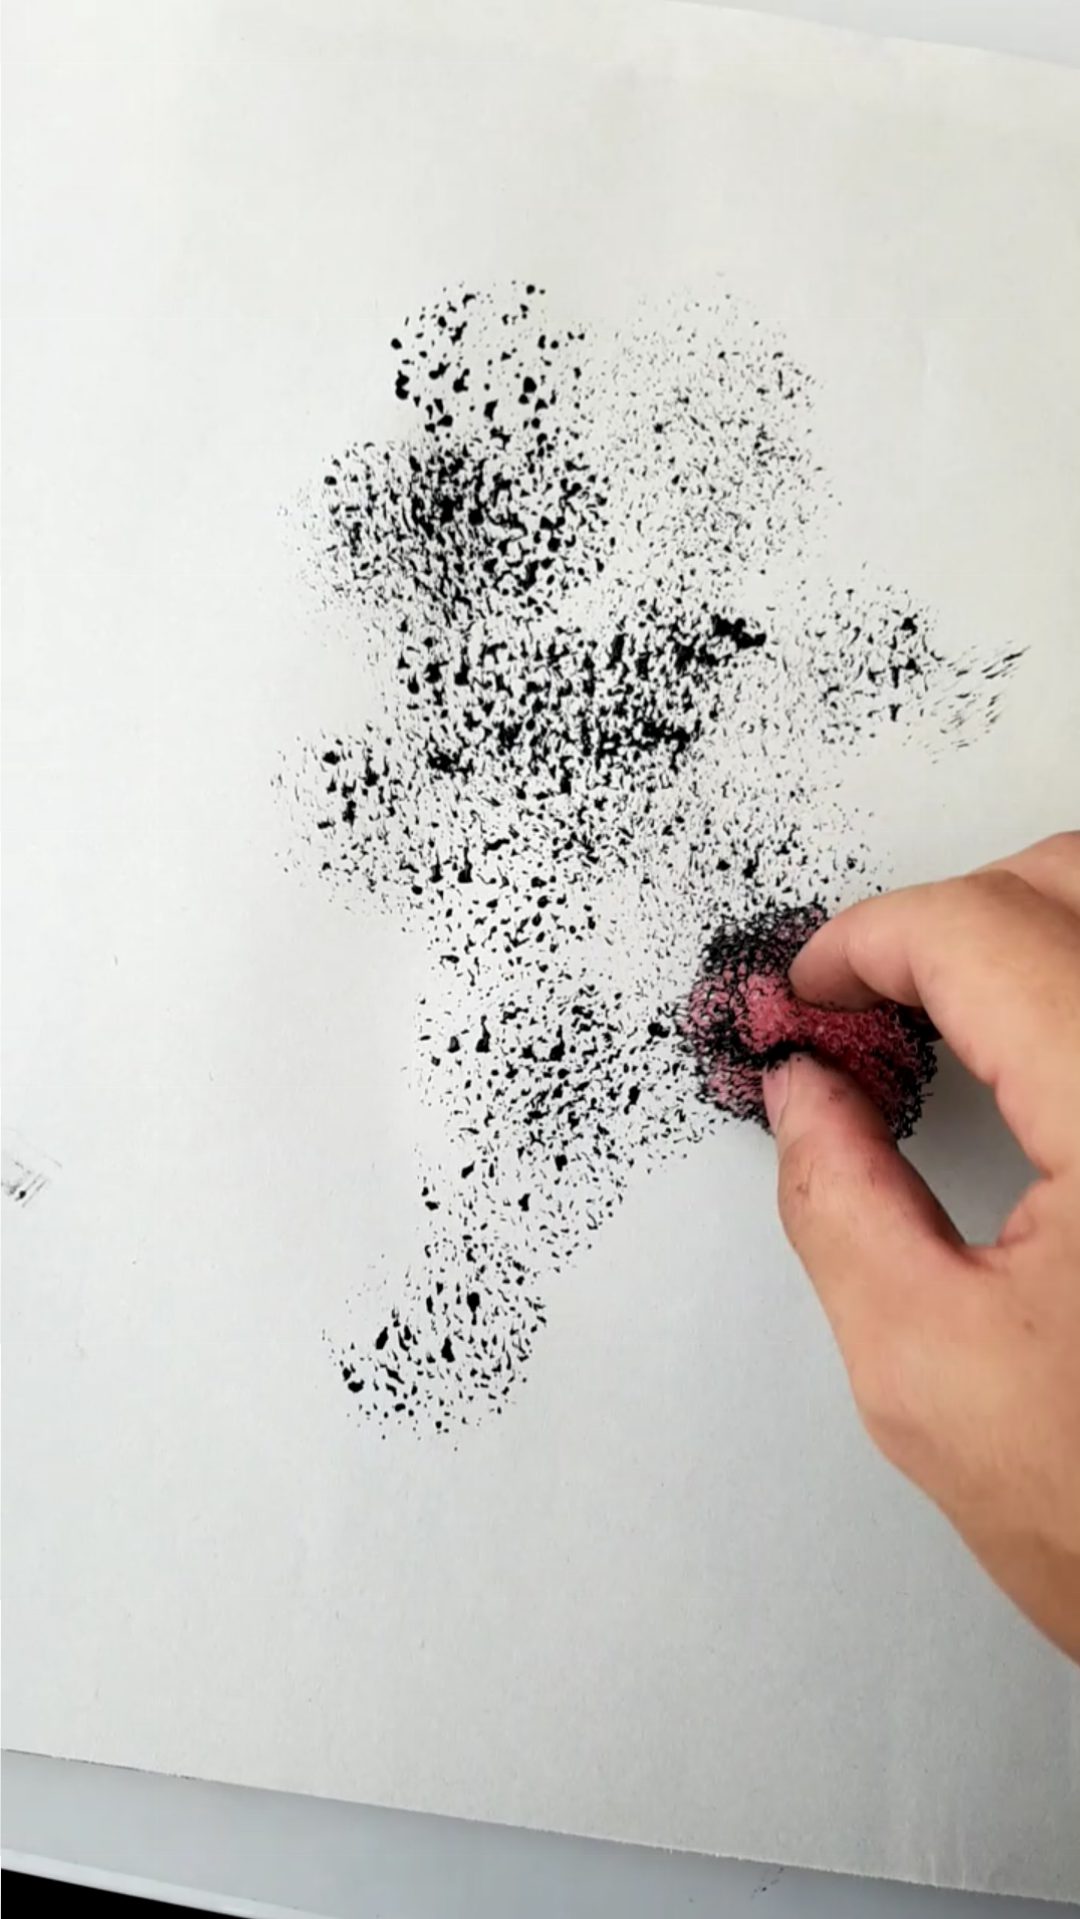 Another cool tool was a cut out sponge/foam that has a flower shape to it. The holes from the sponge/foam created small dots of different tone when pressed against the surface. I also tried to spin the tool creating swirly circular patterns that looks like the stars in the painting “The Starry Night”.
Mono-printing:
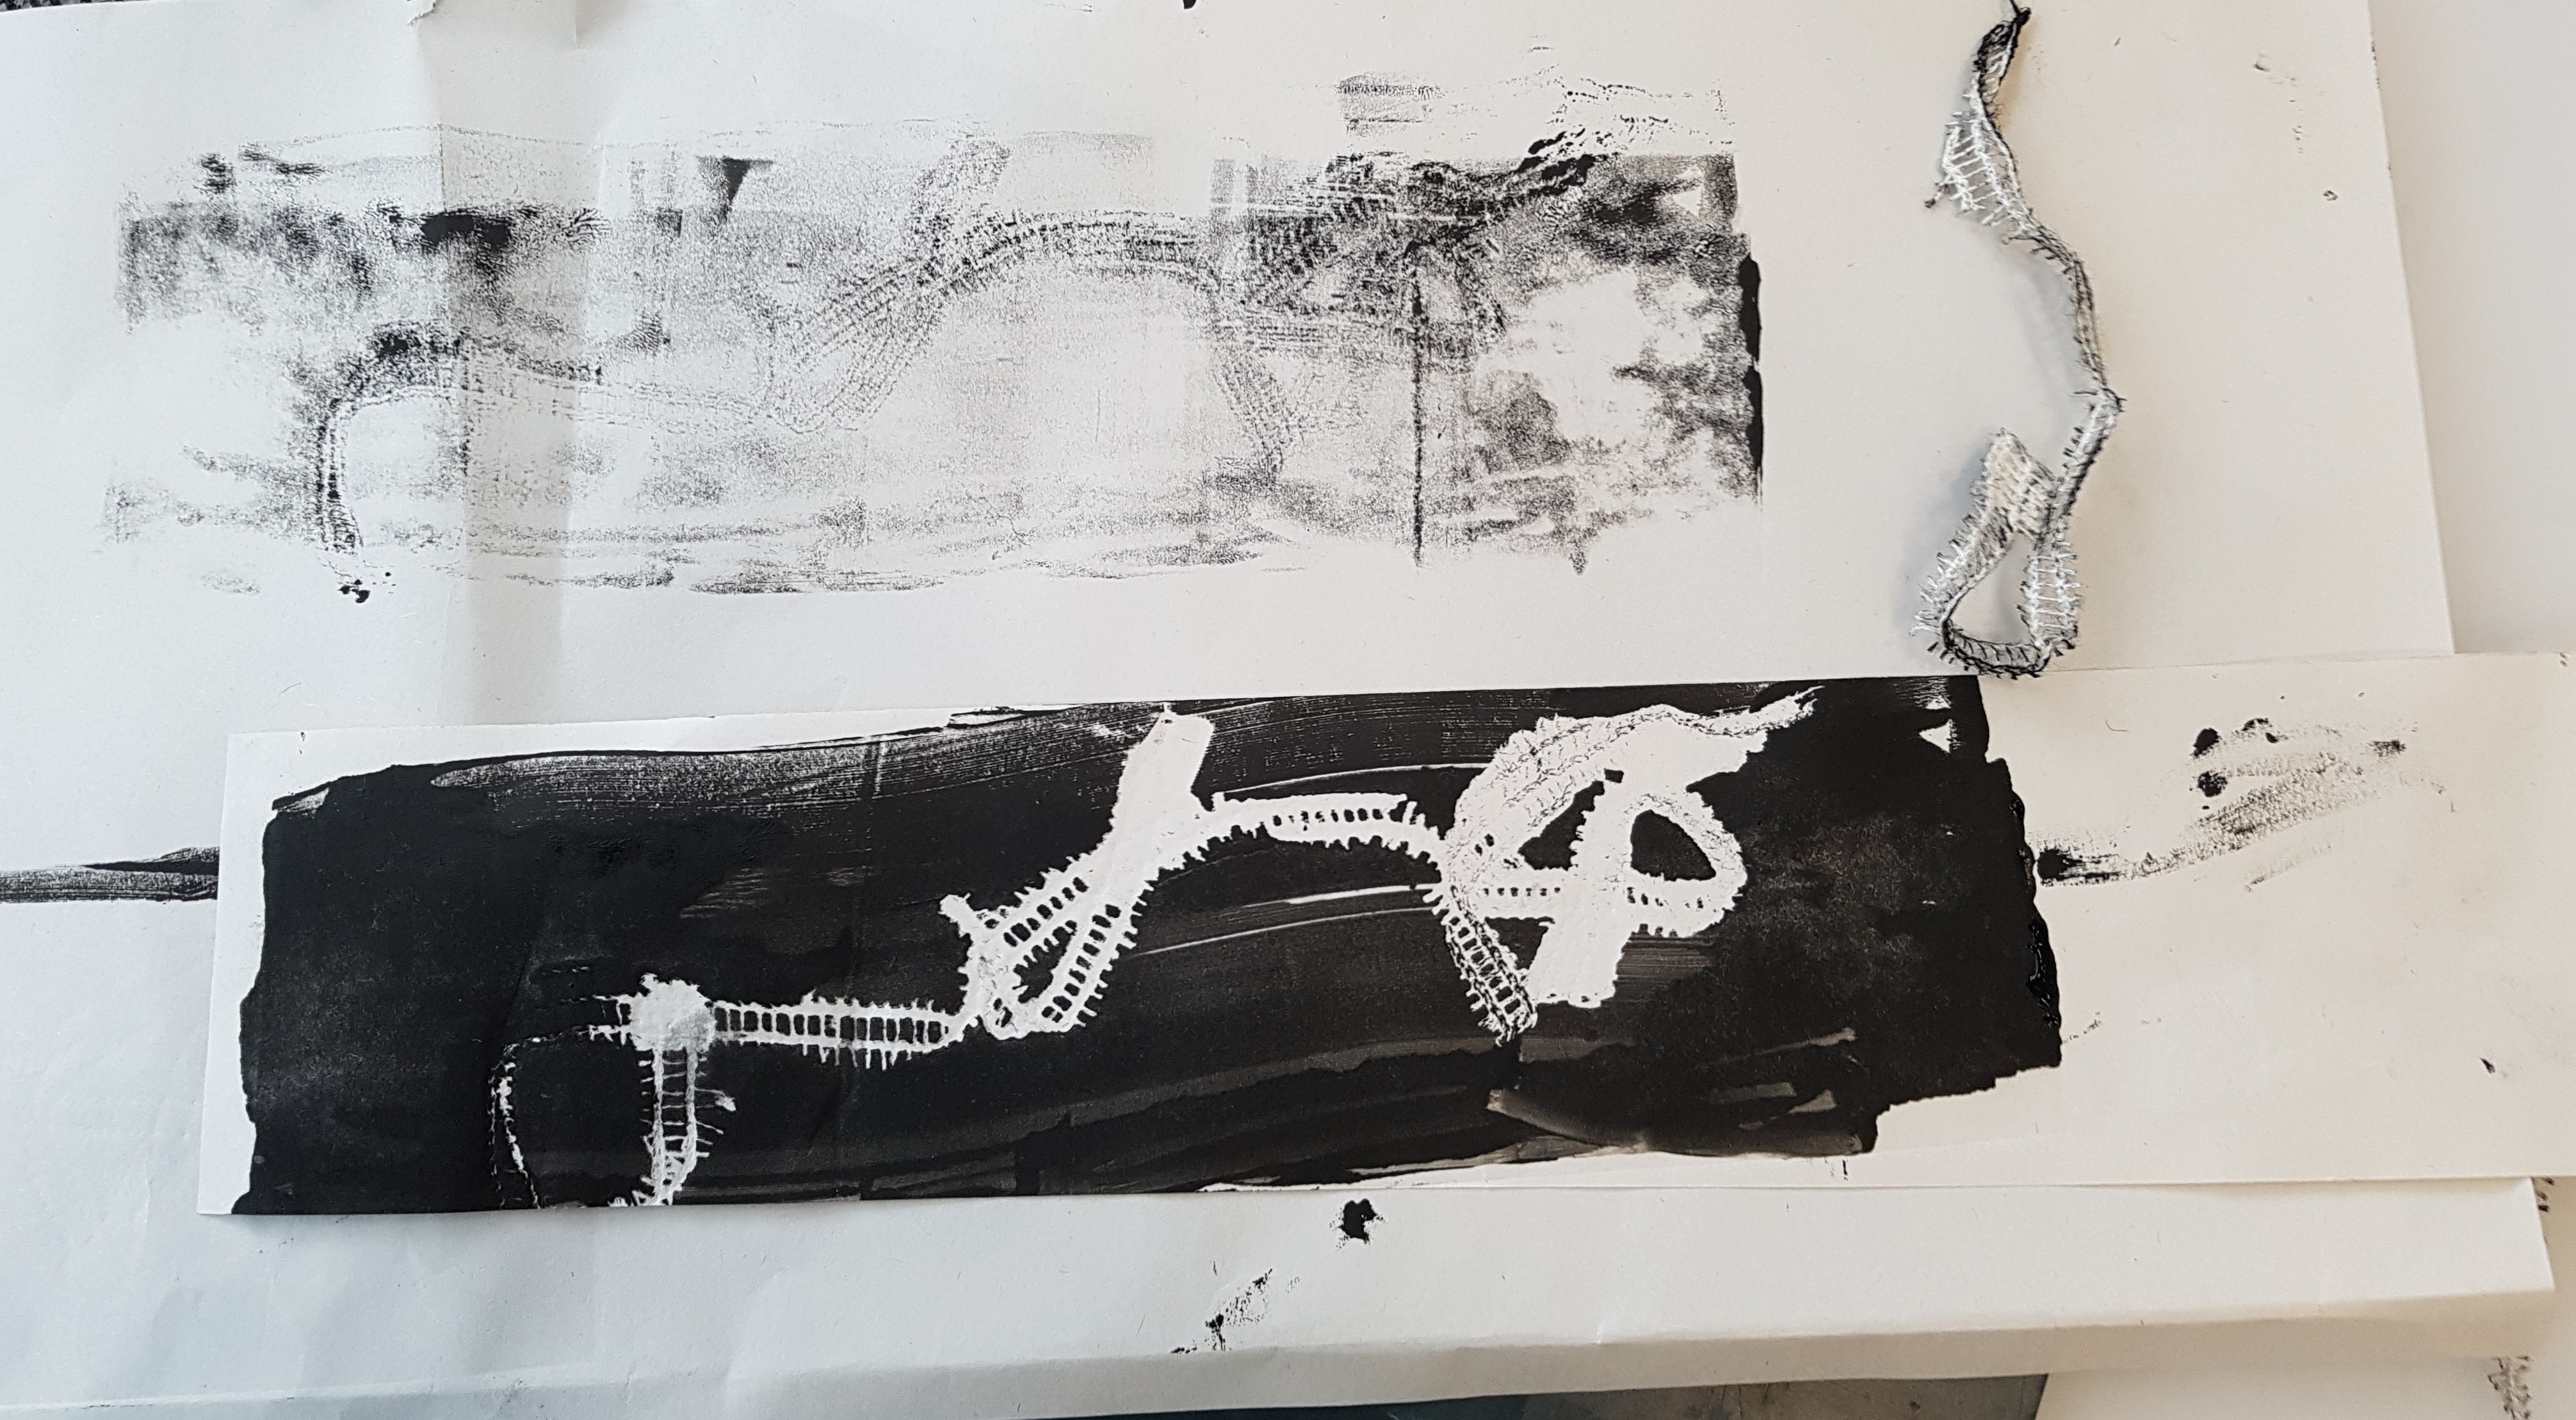 I also tried to do mark marking using the mono printing technique. I think this technique is cool for tools that have really interesting patterns.
Other cool experiments:
Socks + Rubbing:
Paint brush + Random Stroke: 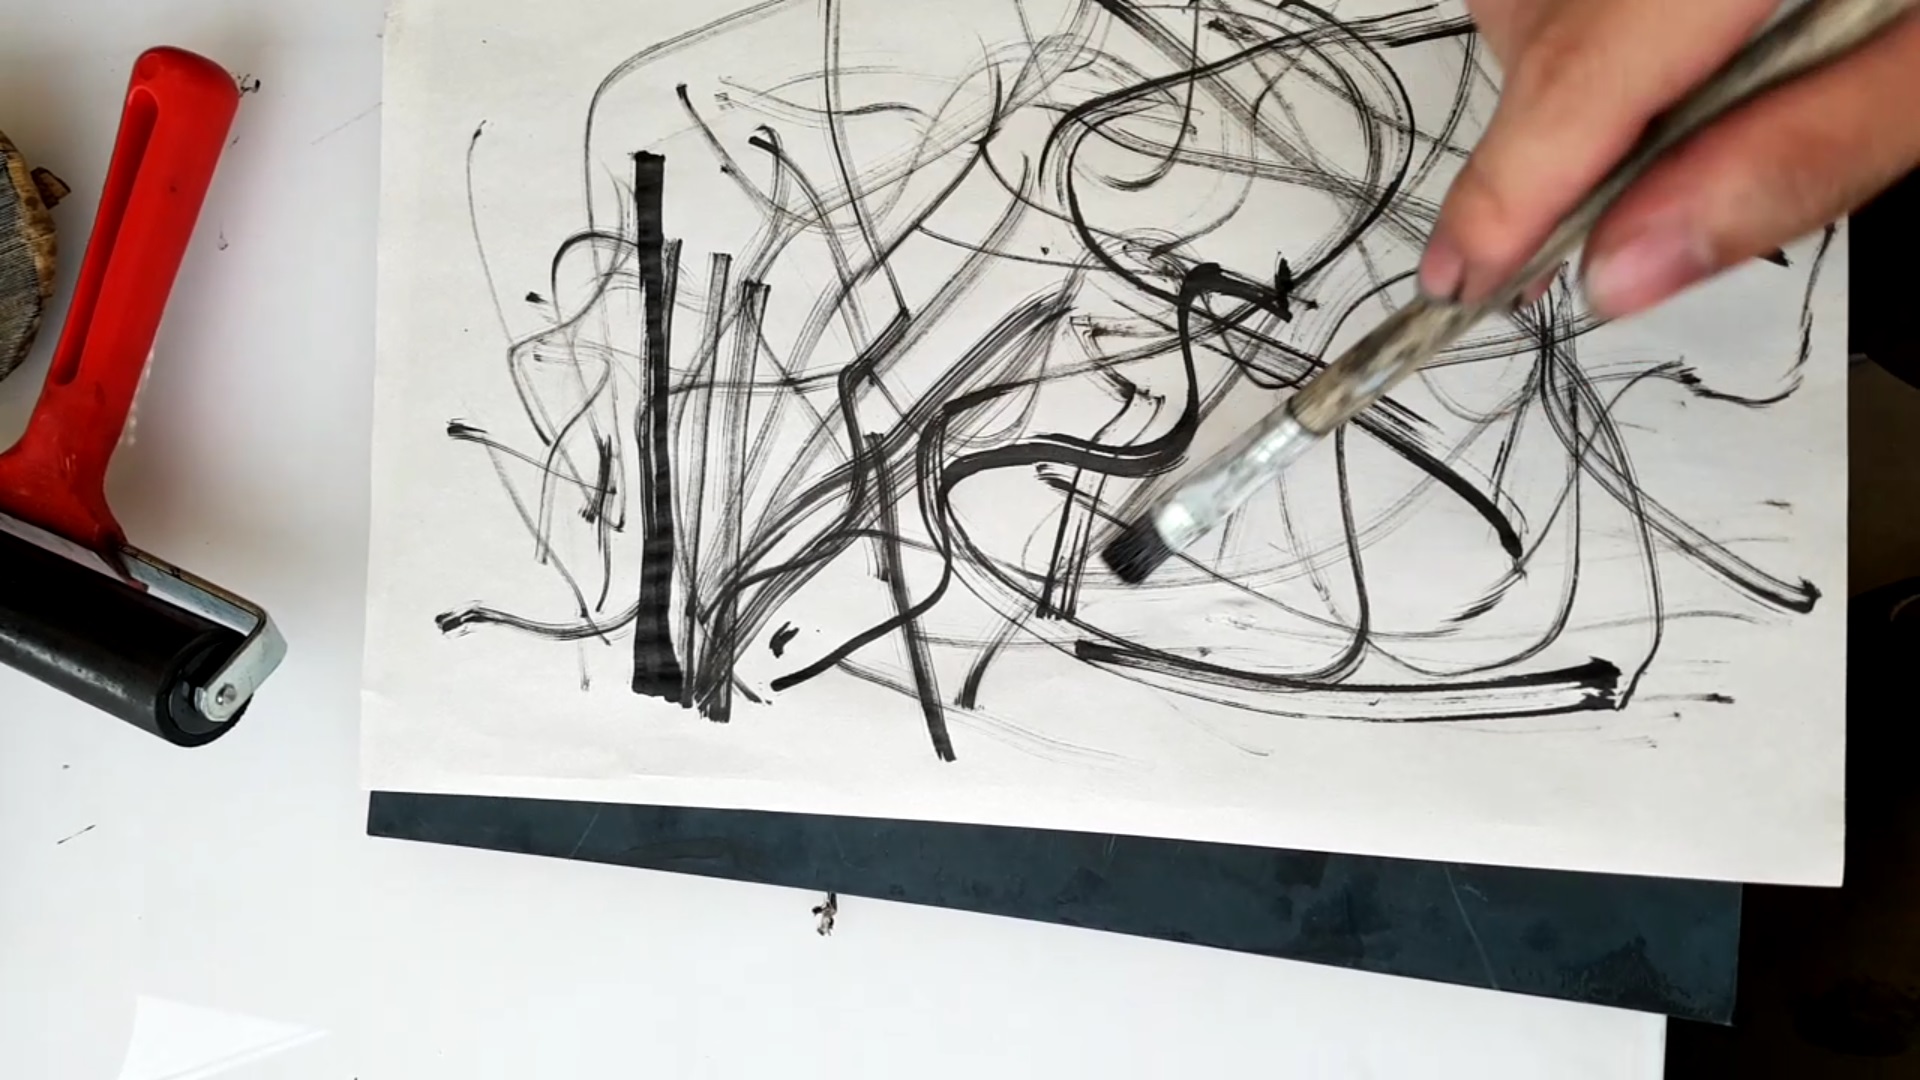
Fruit Wrap + Punching: Look like Criss Cut (Waffle) Fries
End Results:
Dish washing scrub

Chain with metal beads
Cut out sponge/foam
 Noodles
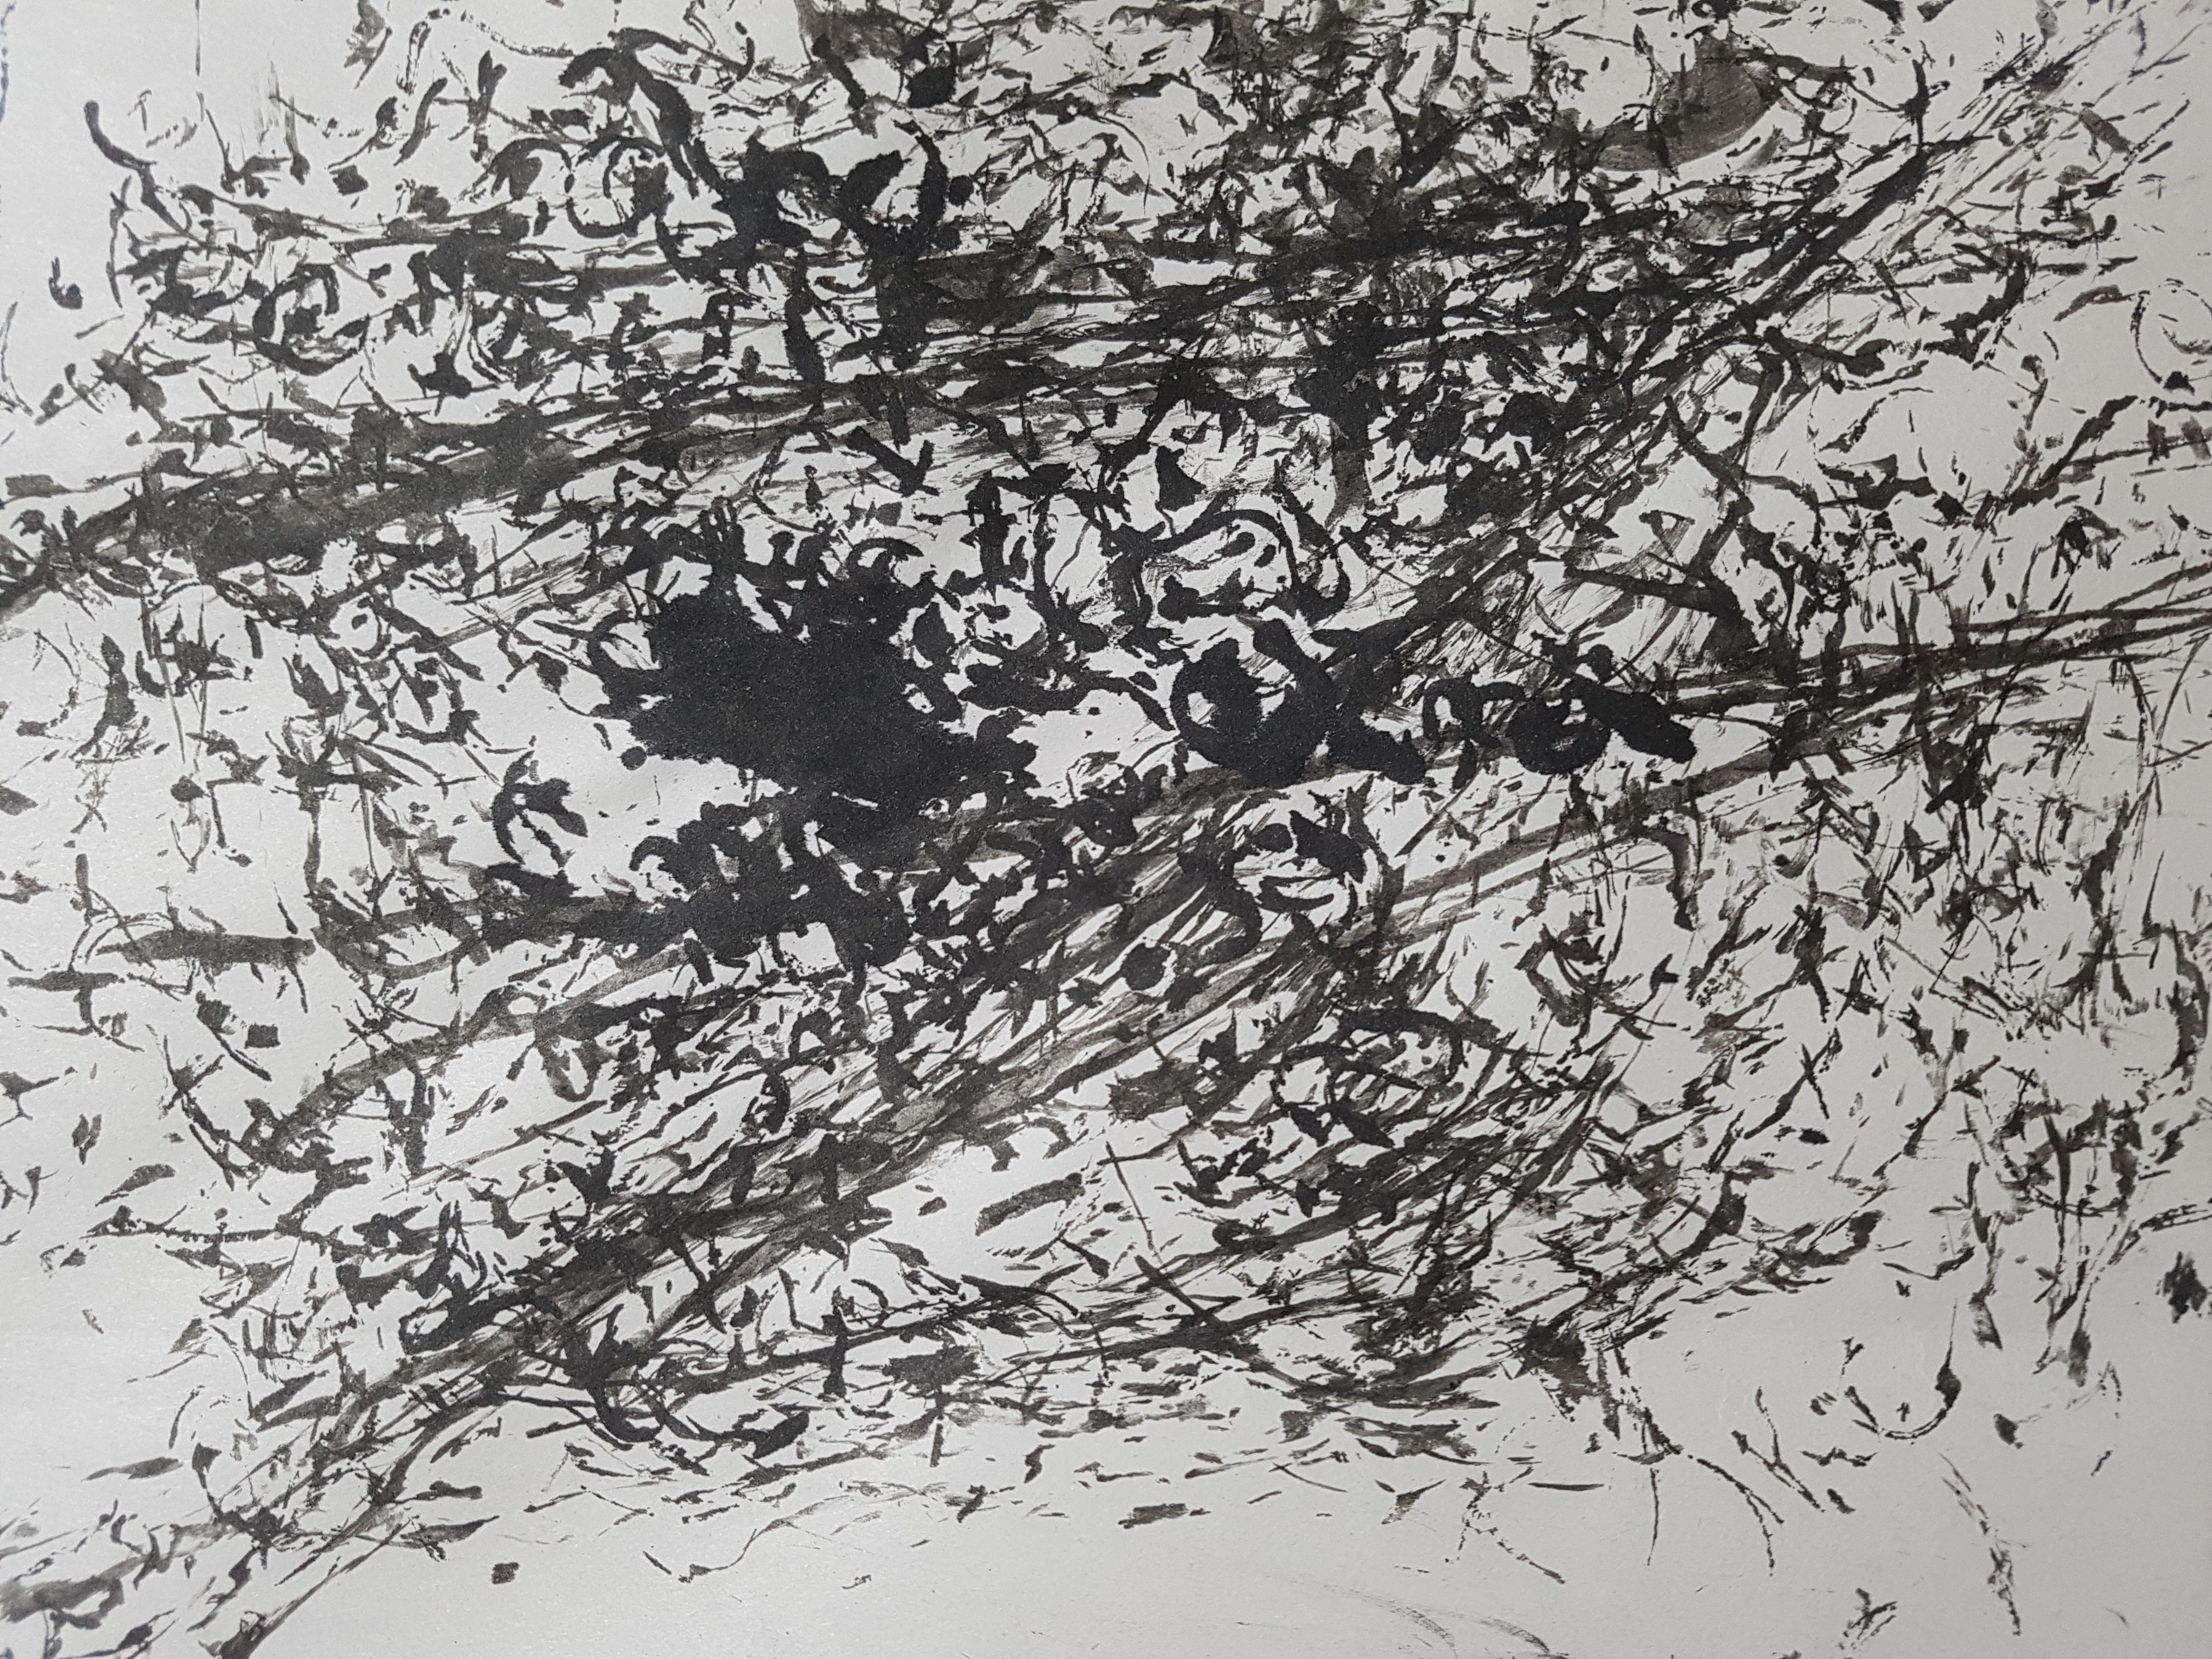 Fruit Wrap
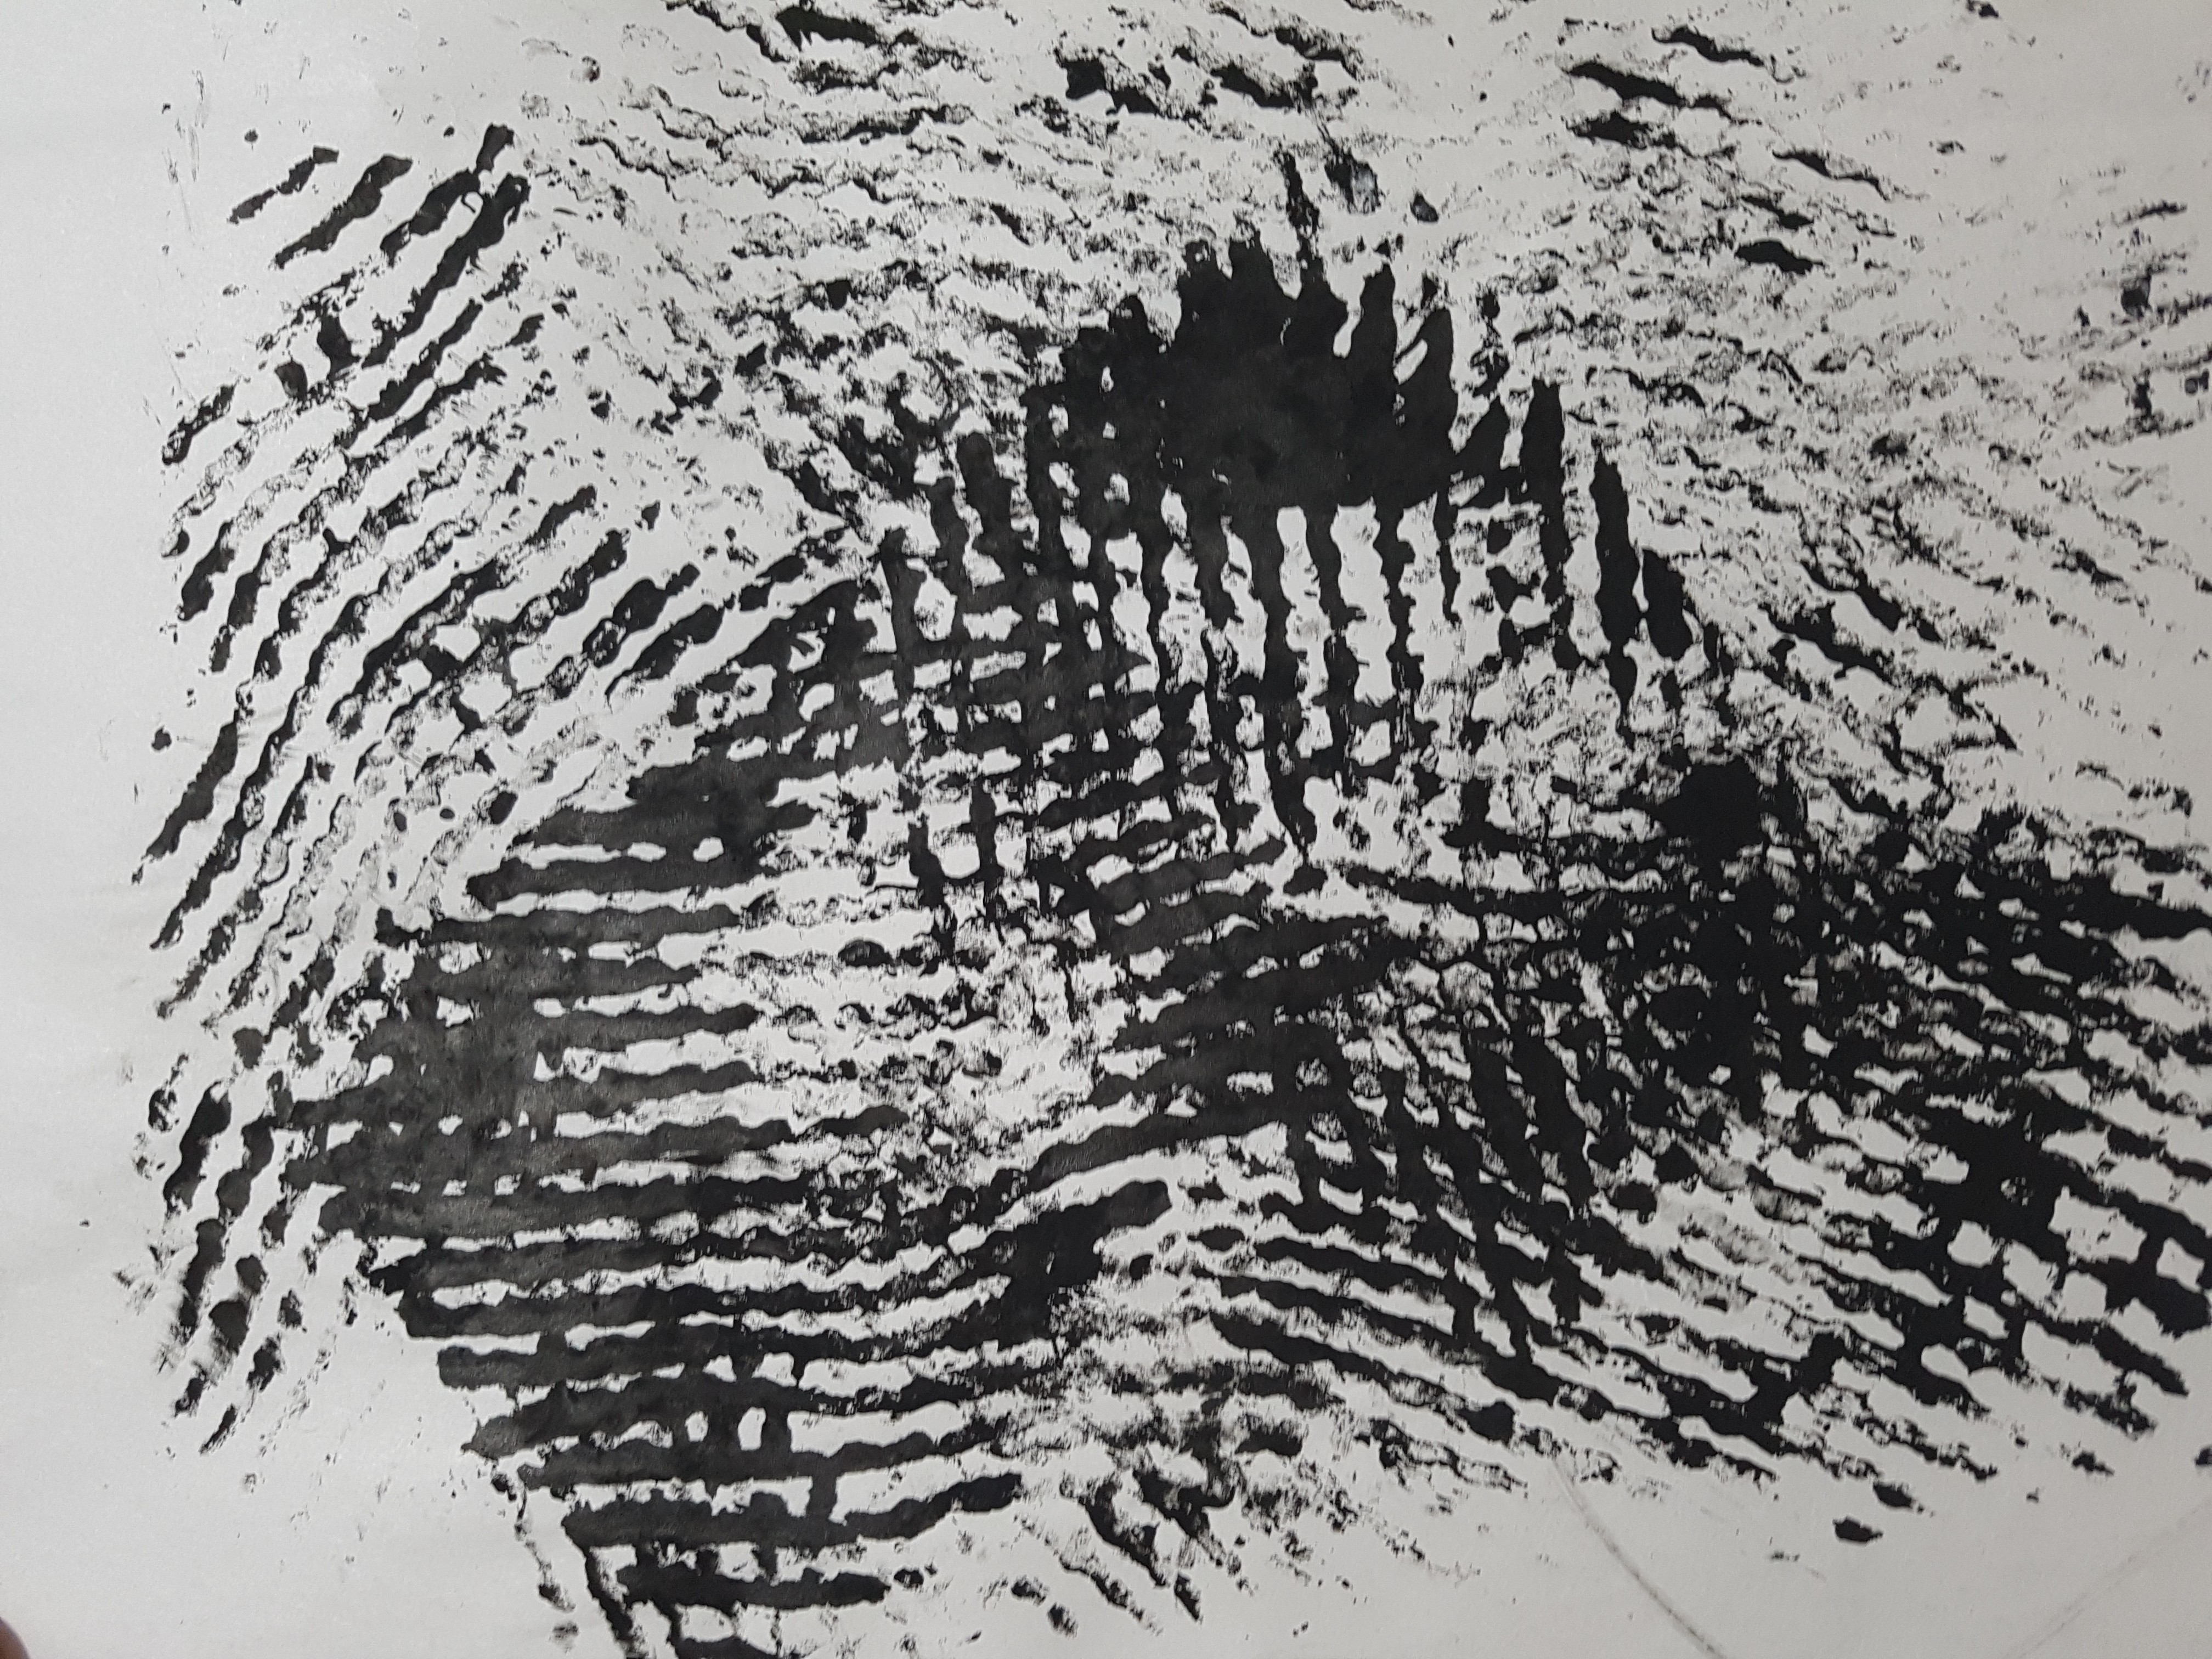
Paint Brush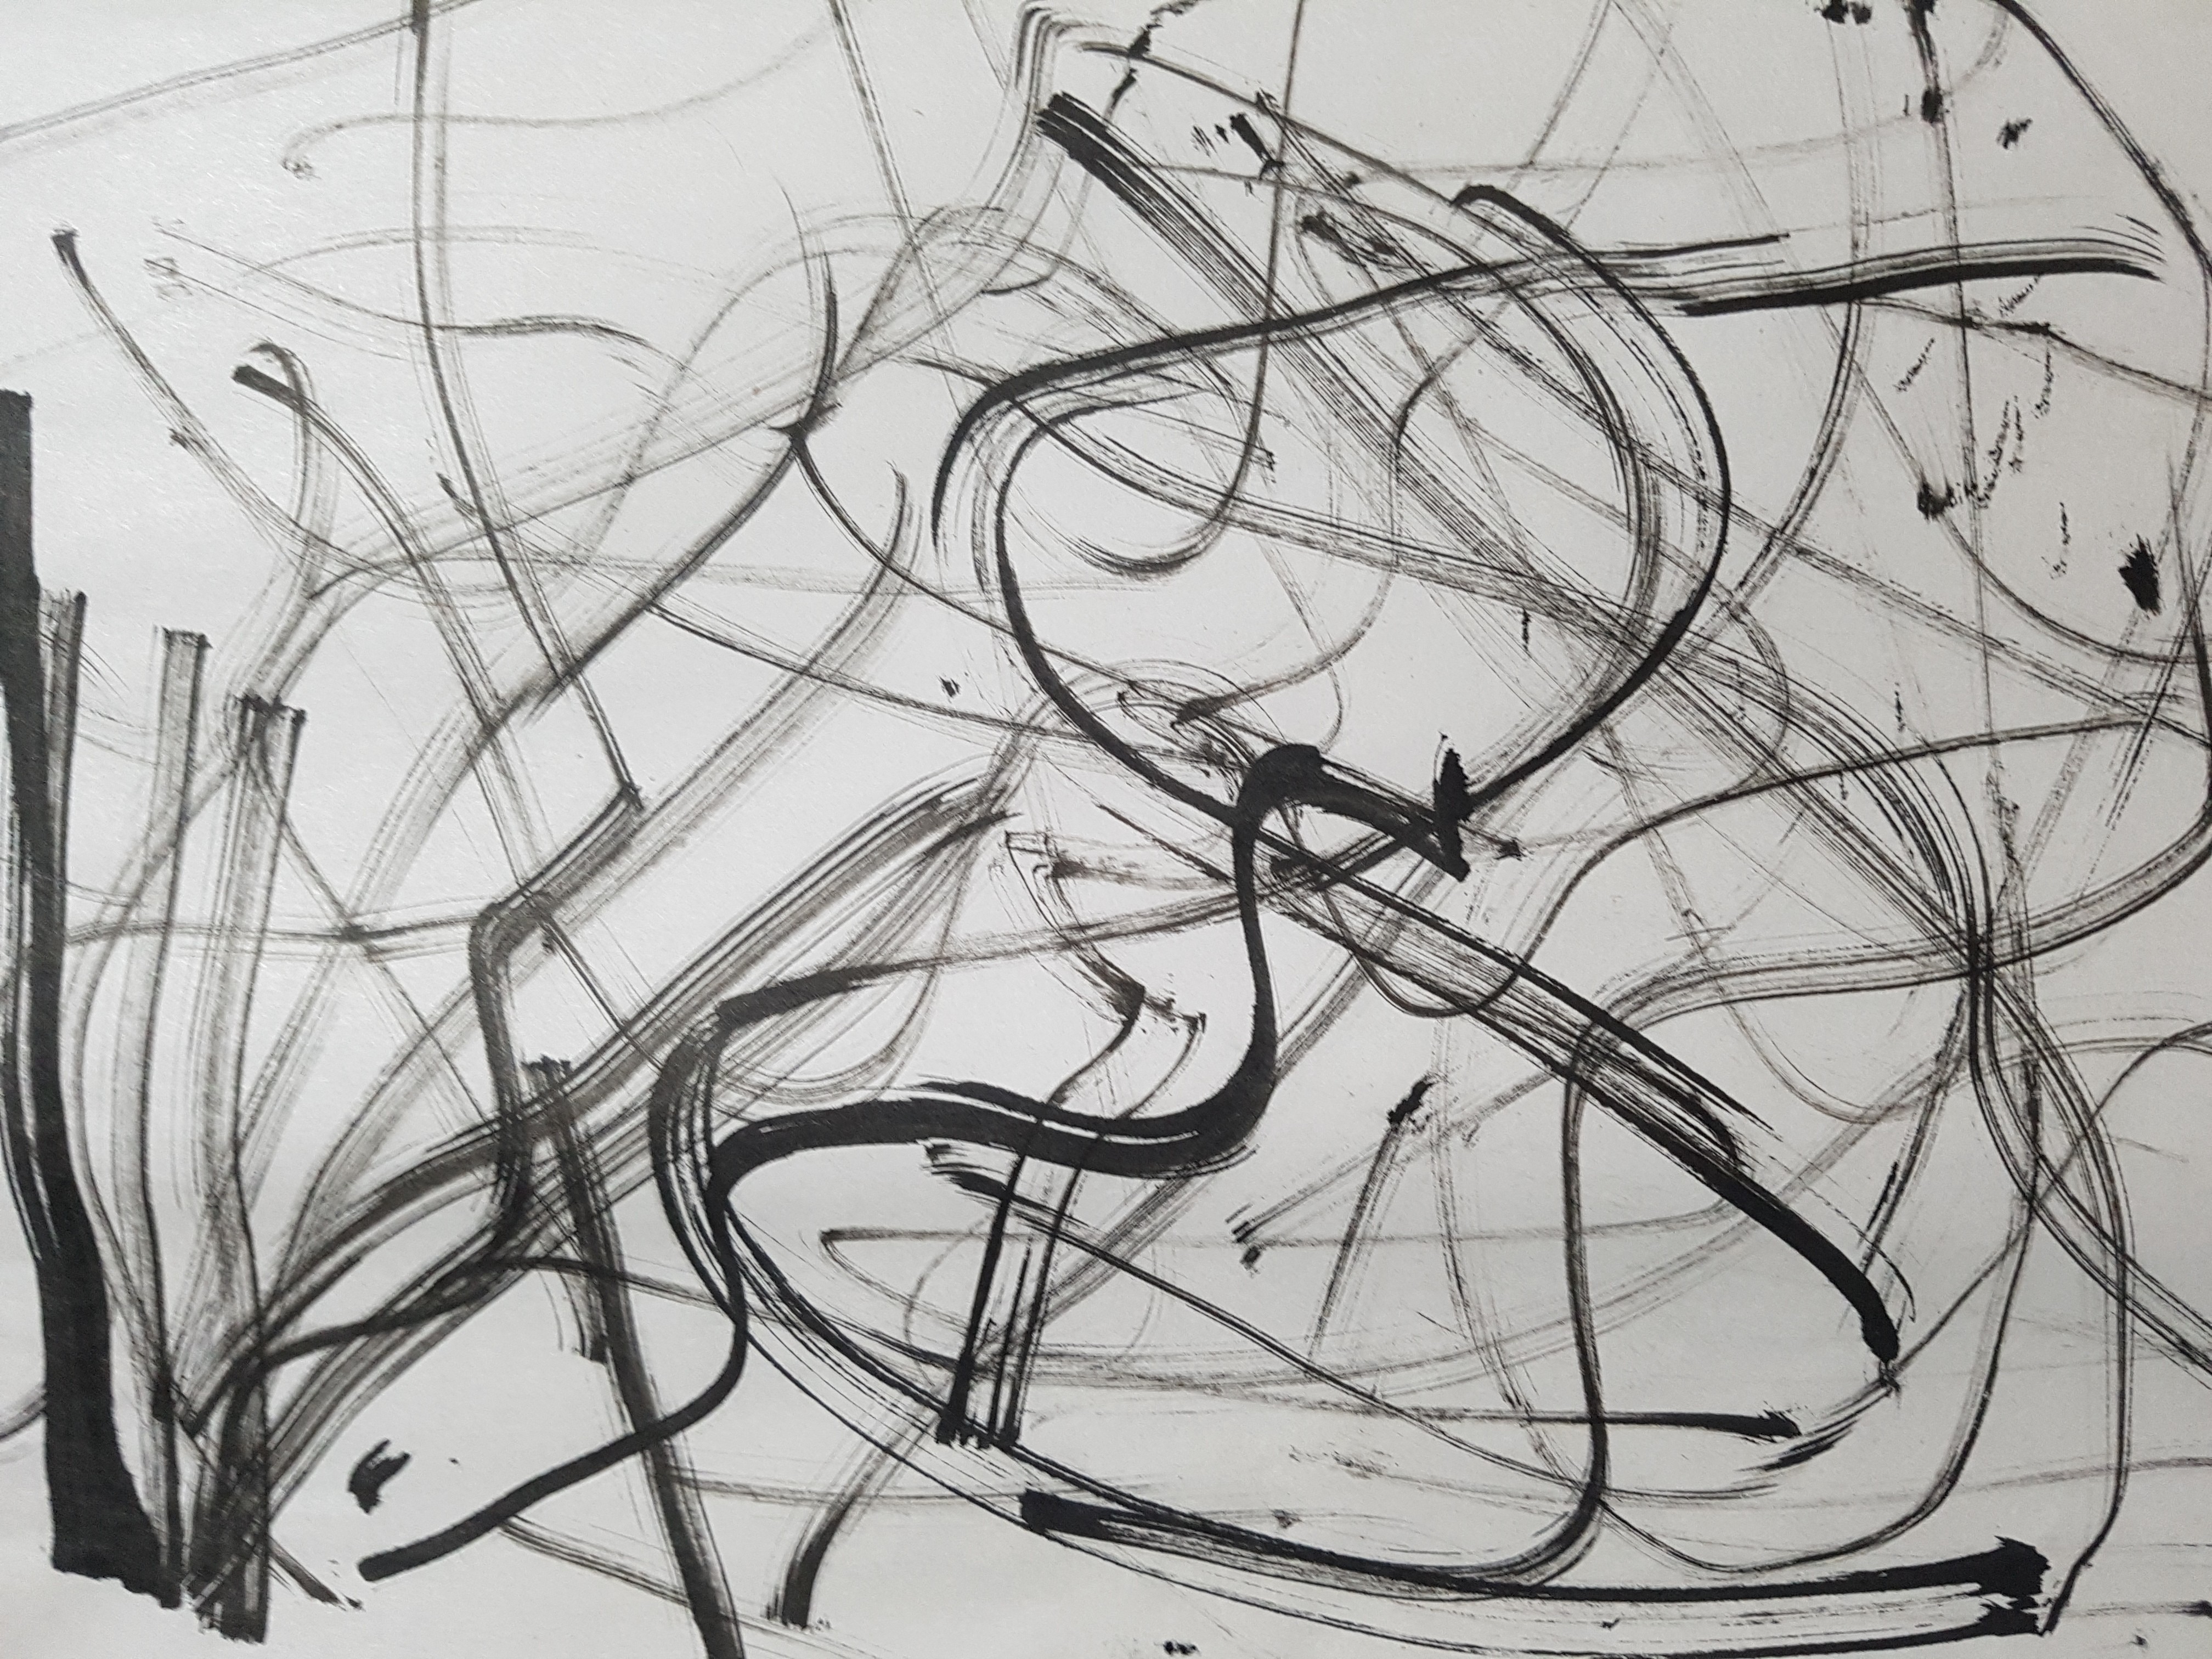
Garlic Bread
 Sock
Sock