FOUNDATION 3D // DN1003 // PROJECT 3 – FOR EMIKO’S KIND // MORPHOGENIC STUDIES
Close-up reference photograph of Atlantic Tarpon scales:


Initial experiments with koko crunch (I thought the koko crunch I bought was the original shape and not ‘koko’ koala shaped). This was not in reference to the tarpon scales but instead a SEM photo of a scaly plant.


Despite enjoying the final forms to the koko crunch webs, they did not resemble the original image clearly as the koko crunch pieces themselves had texture that distracted from the form.
I then proceeded to use thumbtacks instead as they had a smooth surface to form scales.
Different overlapping styles.


Upon closer study of the tarpon fish scales, I realised that the scales only overlap in rows and not adjacently.

With this in mind, I experimented with different materials as the base for the thumbtacks to attach to. I wanted the ‘skin’ to be a tactile form that could mould around something – so, I mostly used different types of fabrics.
Steps to secure thumbtacks to fabric:
- Pierce tacks through – one row at a time
- Use hammer to bend points until flat
- Glue the backs of thumbtacks to the material with UHU glue
(my little sister’s) DENIM (skirt) The denim material is thick and holds the tacks in place well.
Dishcloth made of a woven fibre. This dishcloth was thicker and the fibres were very closely packed. This made it easy to secure the tacks to the material, even without the glue . However, the cloth was stiff and did not convey the fluidity and “flexibility” of the skin that I wanted.
(an old) COTTON (t-shirt) Thought it was harder to arrange and secure the thumbtacks, the soft material offered the fluidity I intended for the ‘skin’.
A piece of thin foam covering. Good for securing tacks but bad for mimicking fluid cloth.
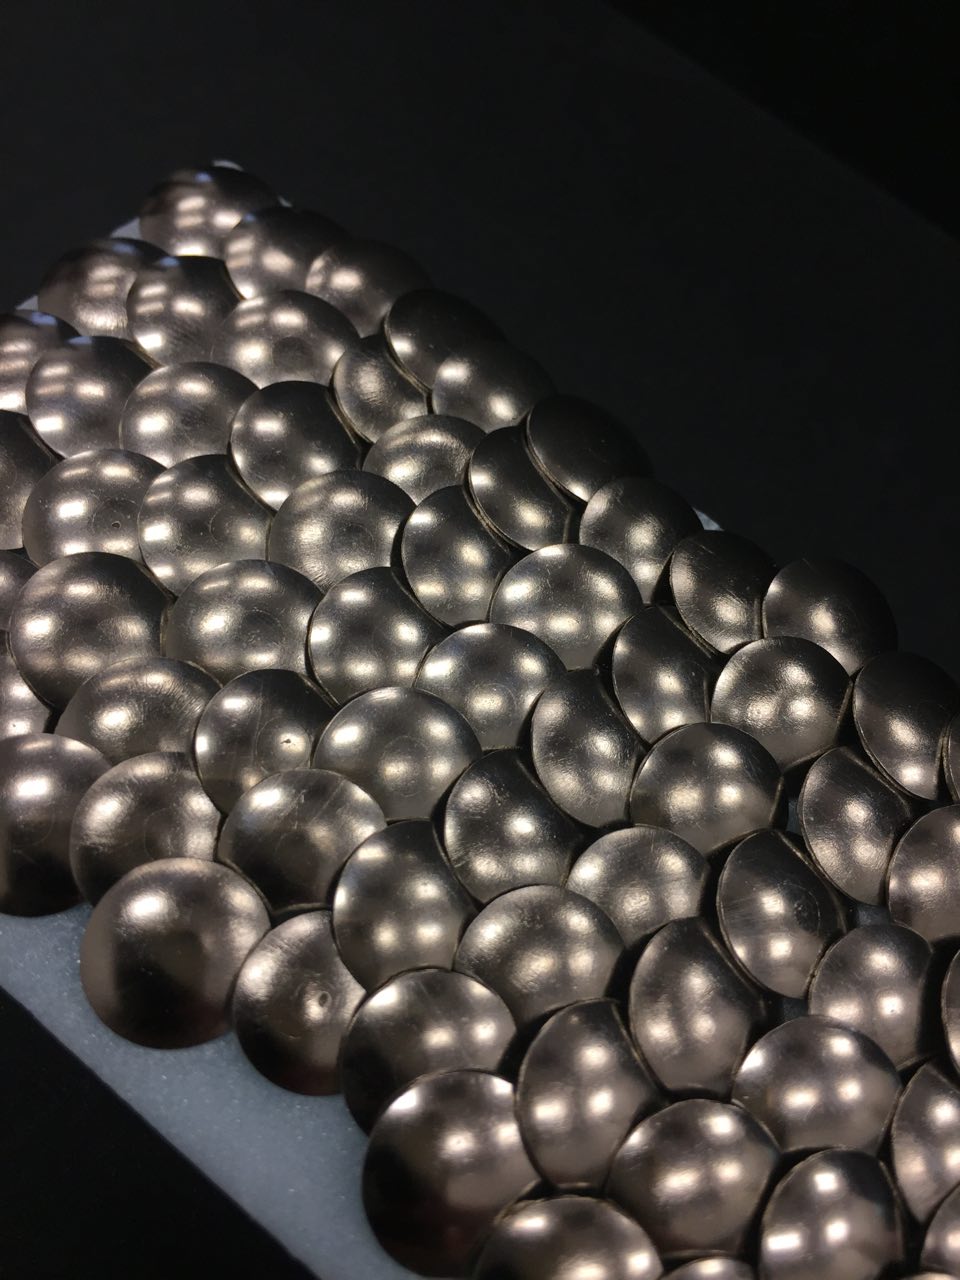
FINAL
Spare black poplin from my mum’s scrap fabric box.
I made an approximately 20cm square of thumbtacks. It took around 18 tacks and 17 tacks for alternate rows. For the first few rows, I marked out the lines where the rows of tacks would go but because of inaccuracies, from the third row on I stopped marking out lines. The thumbtacks also varied in diameter which disrupted the pattern and created more mess further down the rows.


Securing the tacks was a difficult task as the impact of the hammer would break of the actual pin part of the thumbtack. An average of one broken thumbtack per row. Consequently, I tried to hammer the thumbtacks as little as possible to achieve the clamp on to the fabric. However, this resulted in a lot of loose tacks that needed more and more glue.
UHU glue also may not have been the best choice of adhesive as it is flexible and thus the pins of the thumbtacks managed to wiggle out of the glue hold. Despite this disadvantage, the glue’s flexibility allowed to fabric and thumbtacks to move and flow as I wanted, so I need to do more experimenting for the next part of this assignment.
