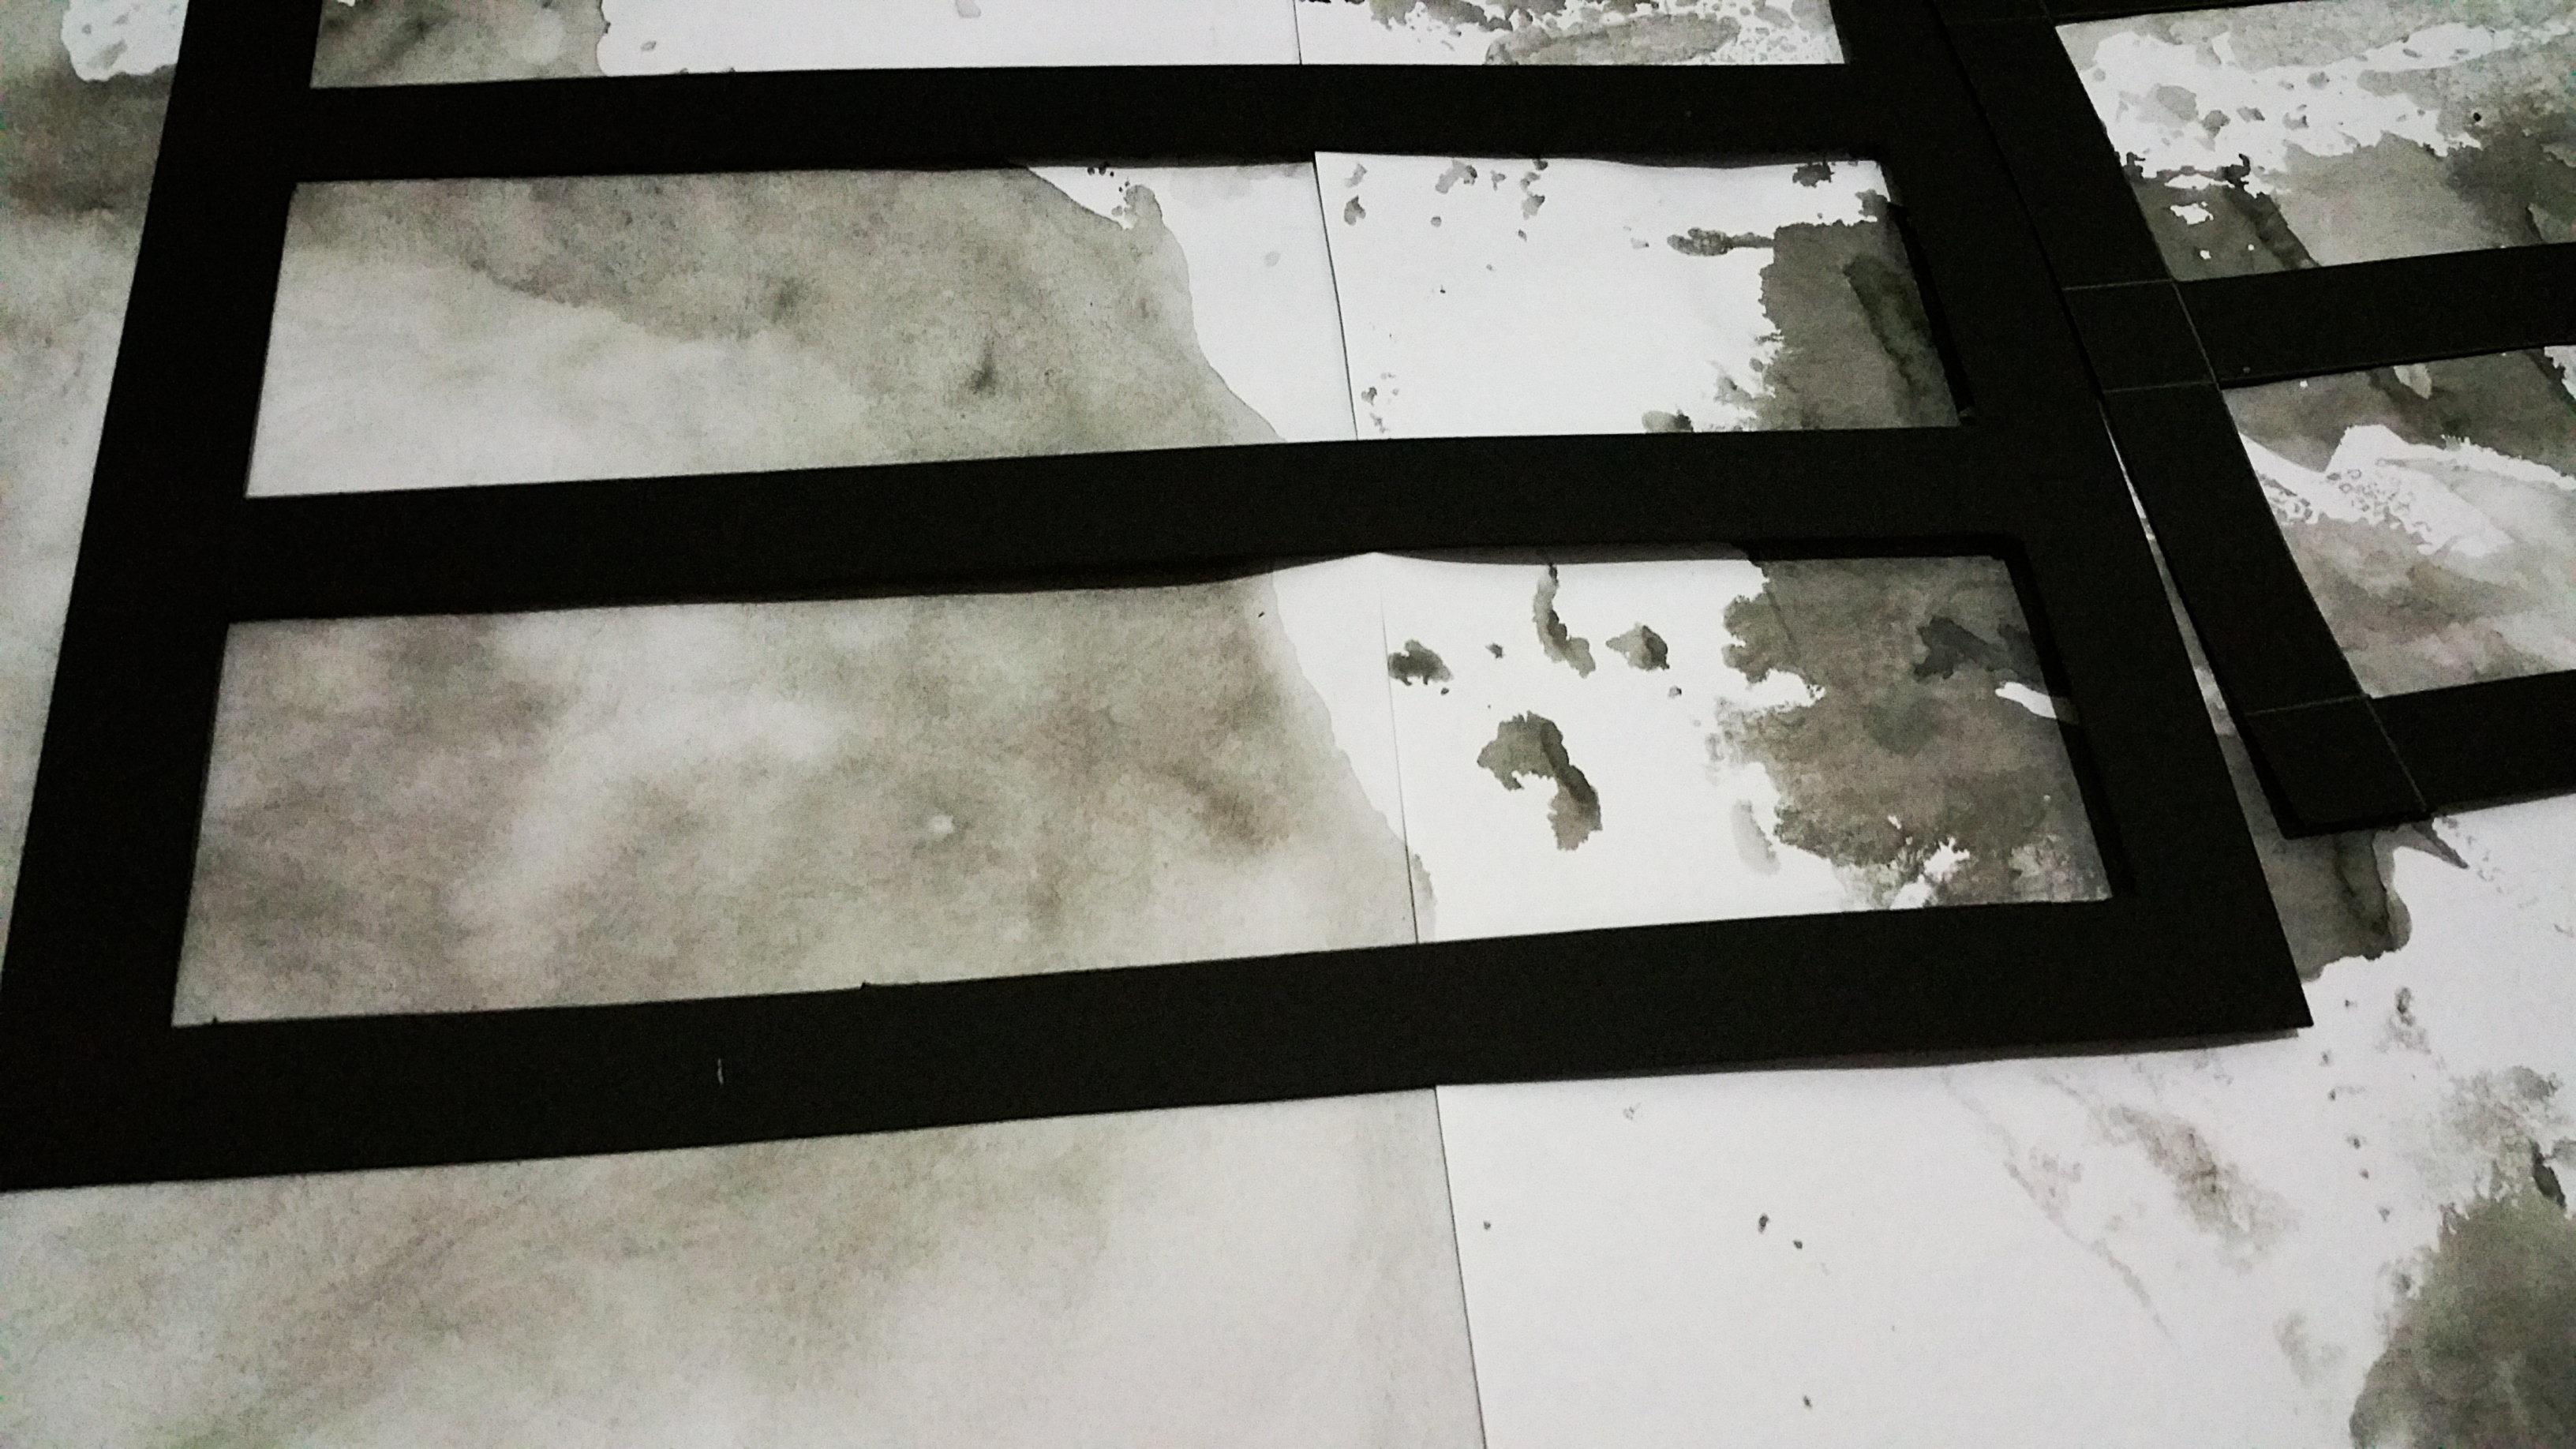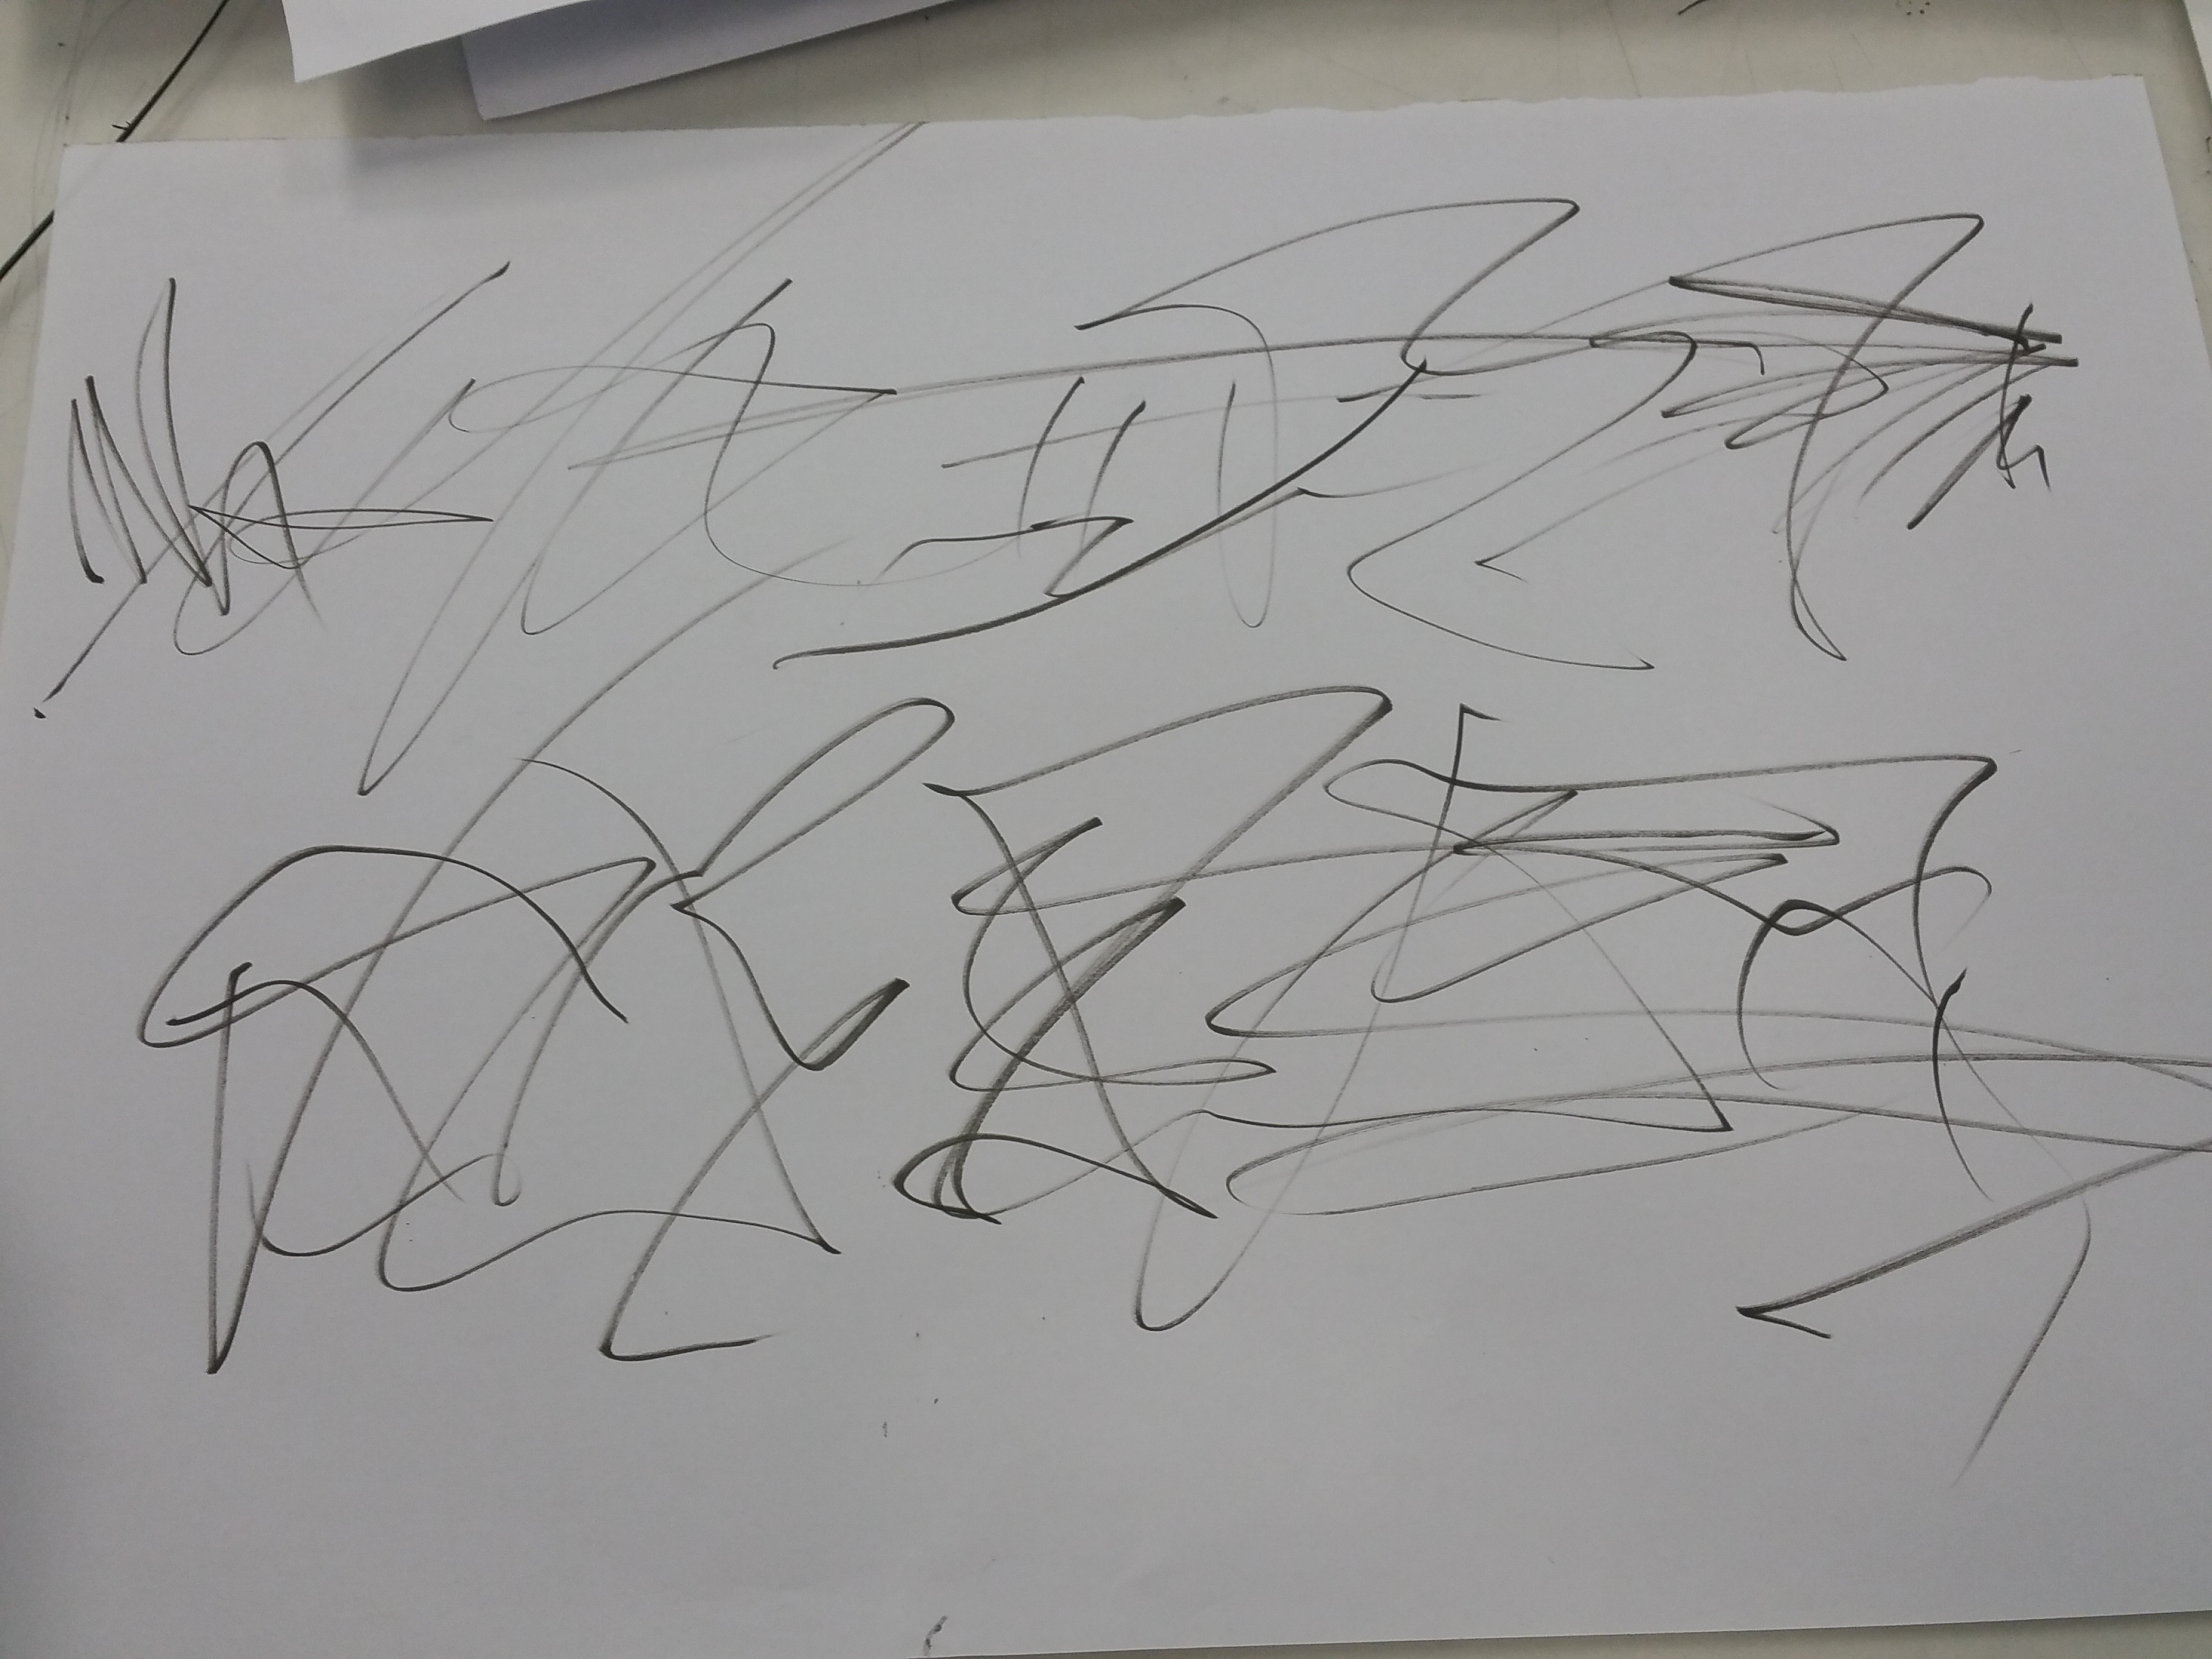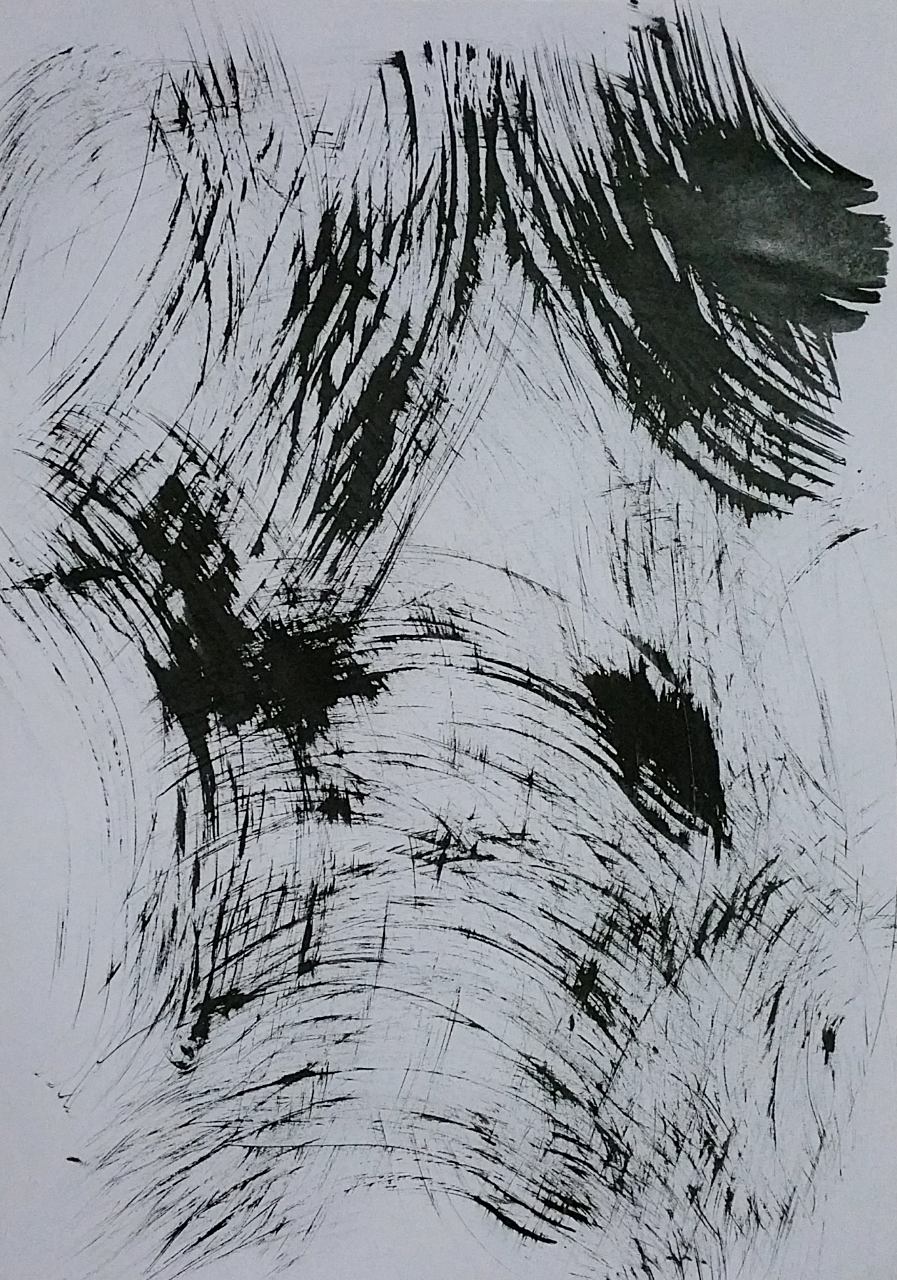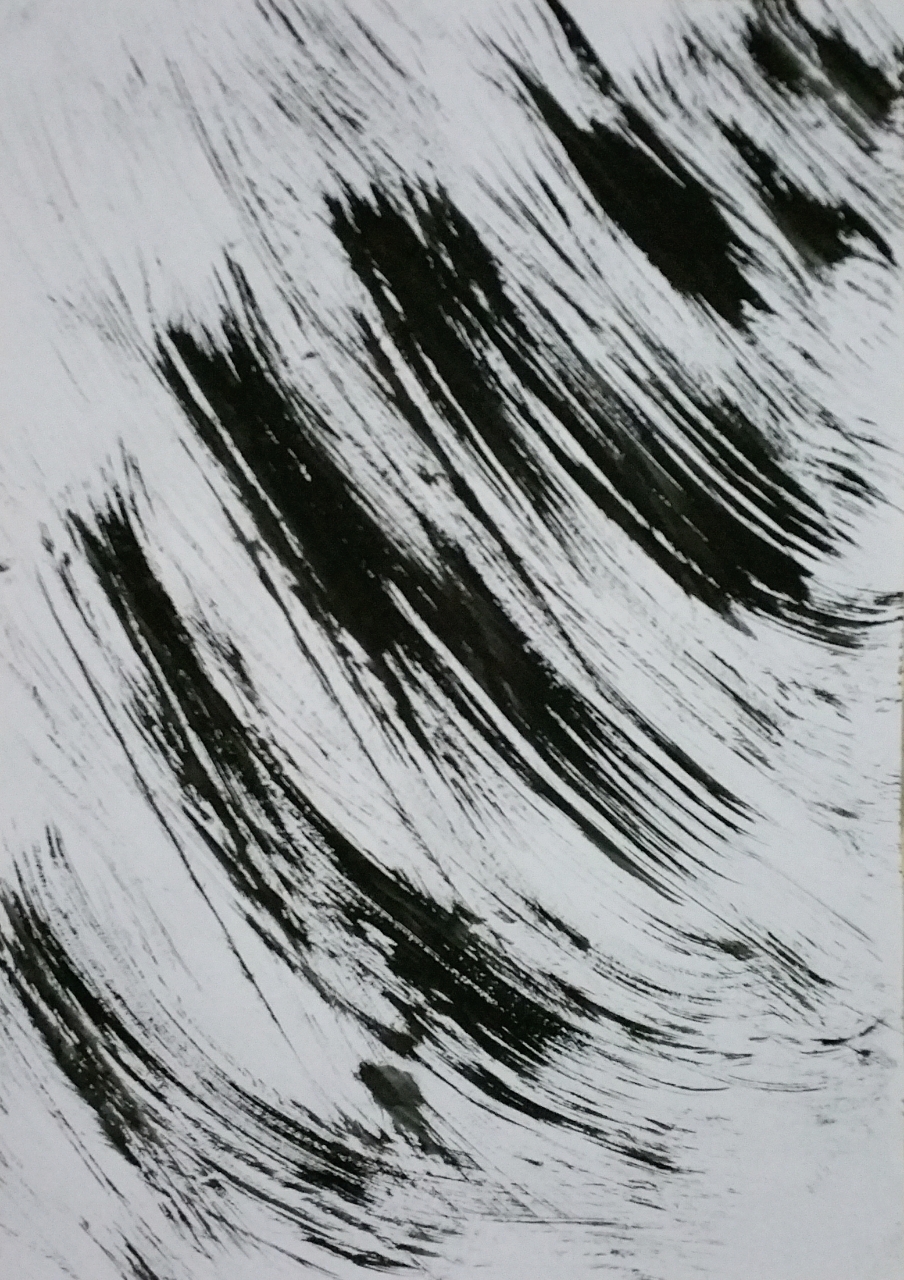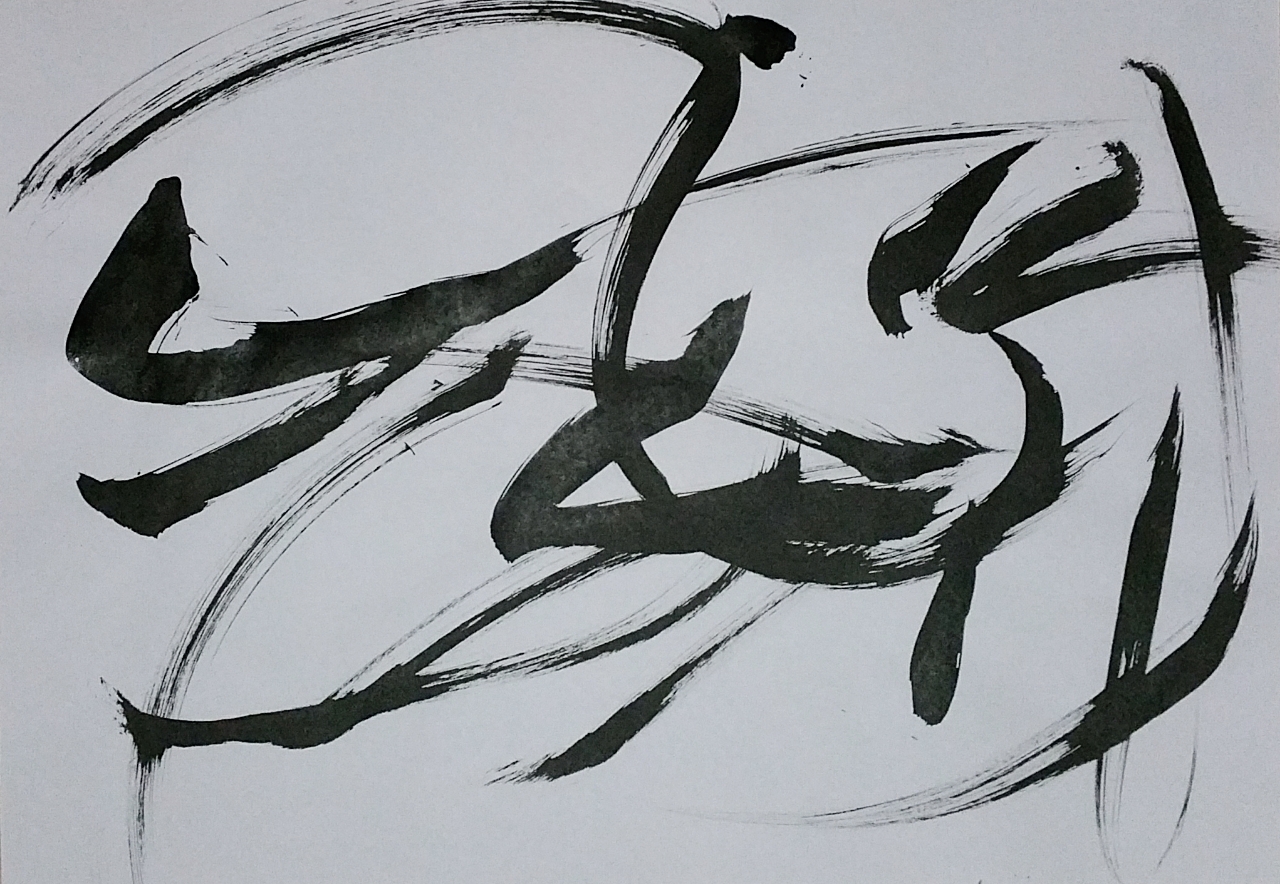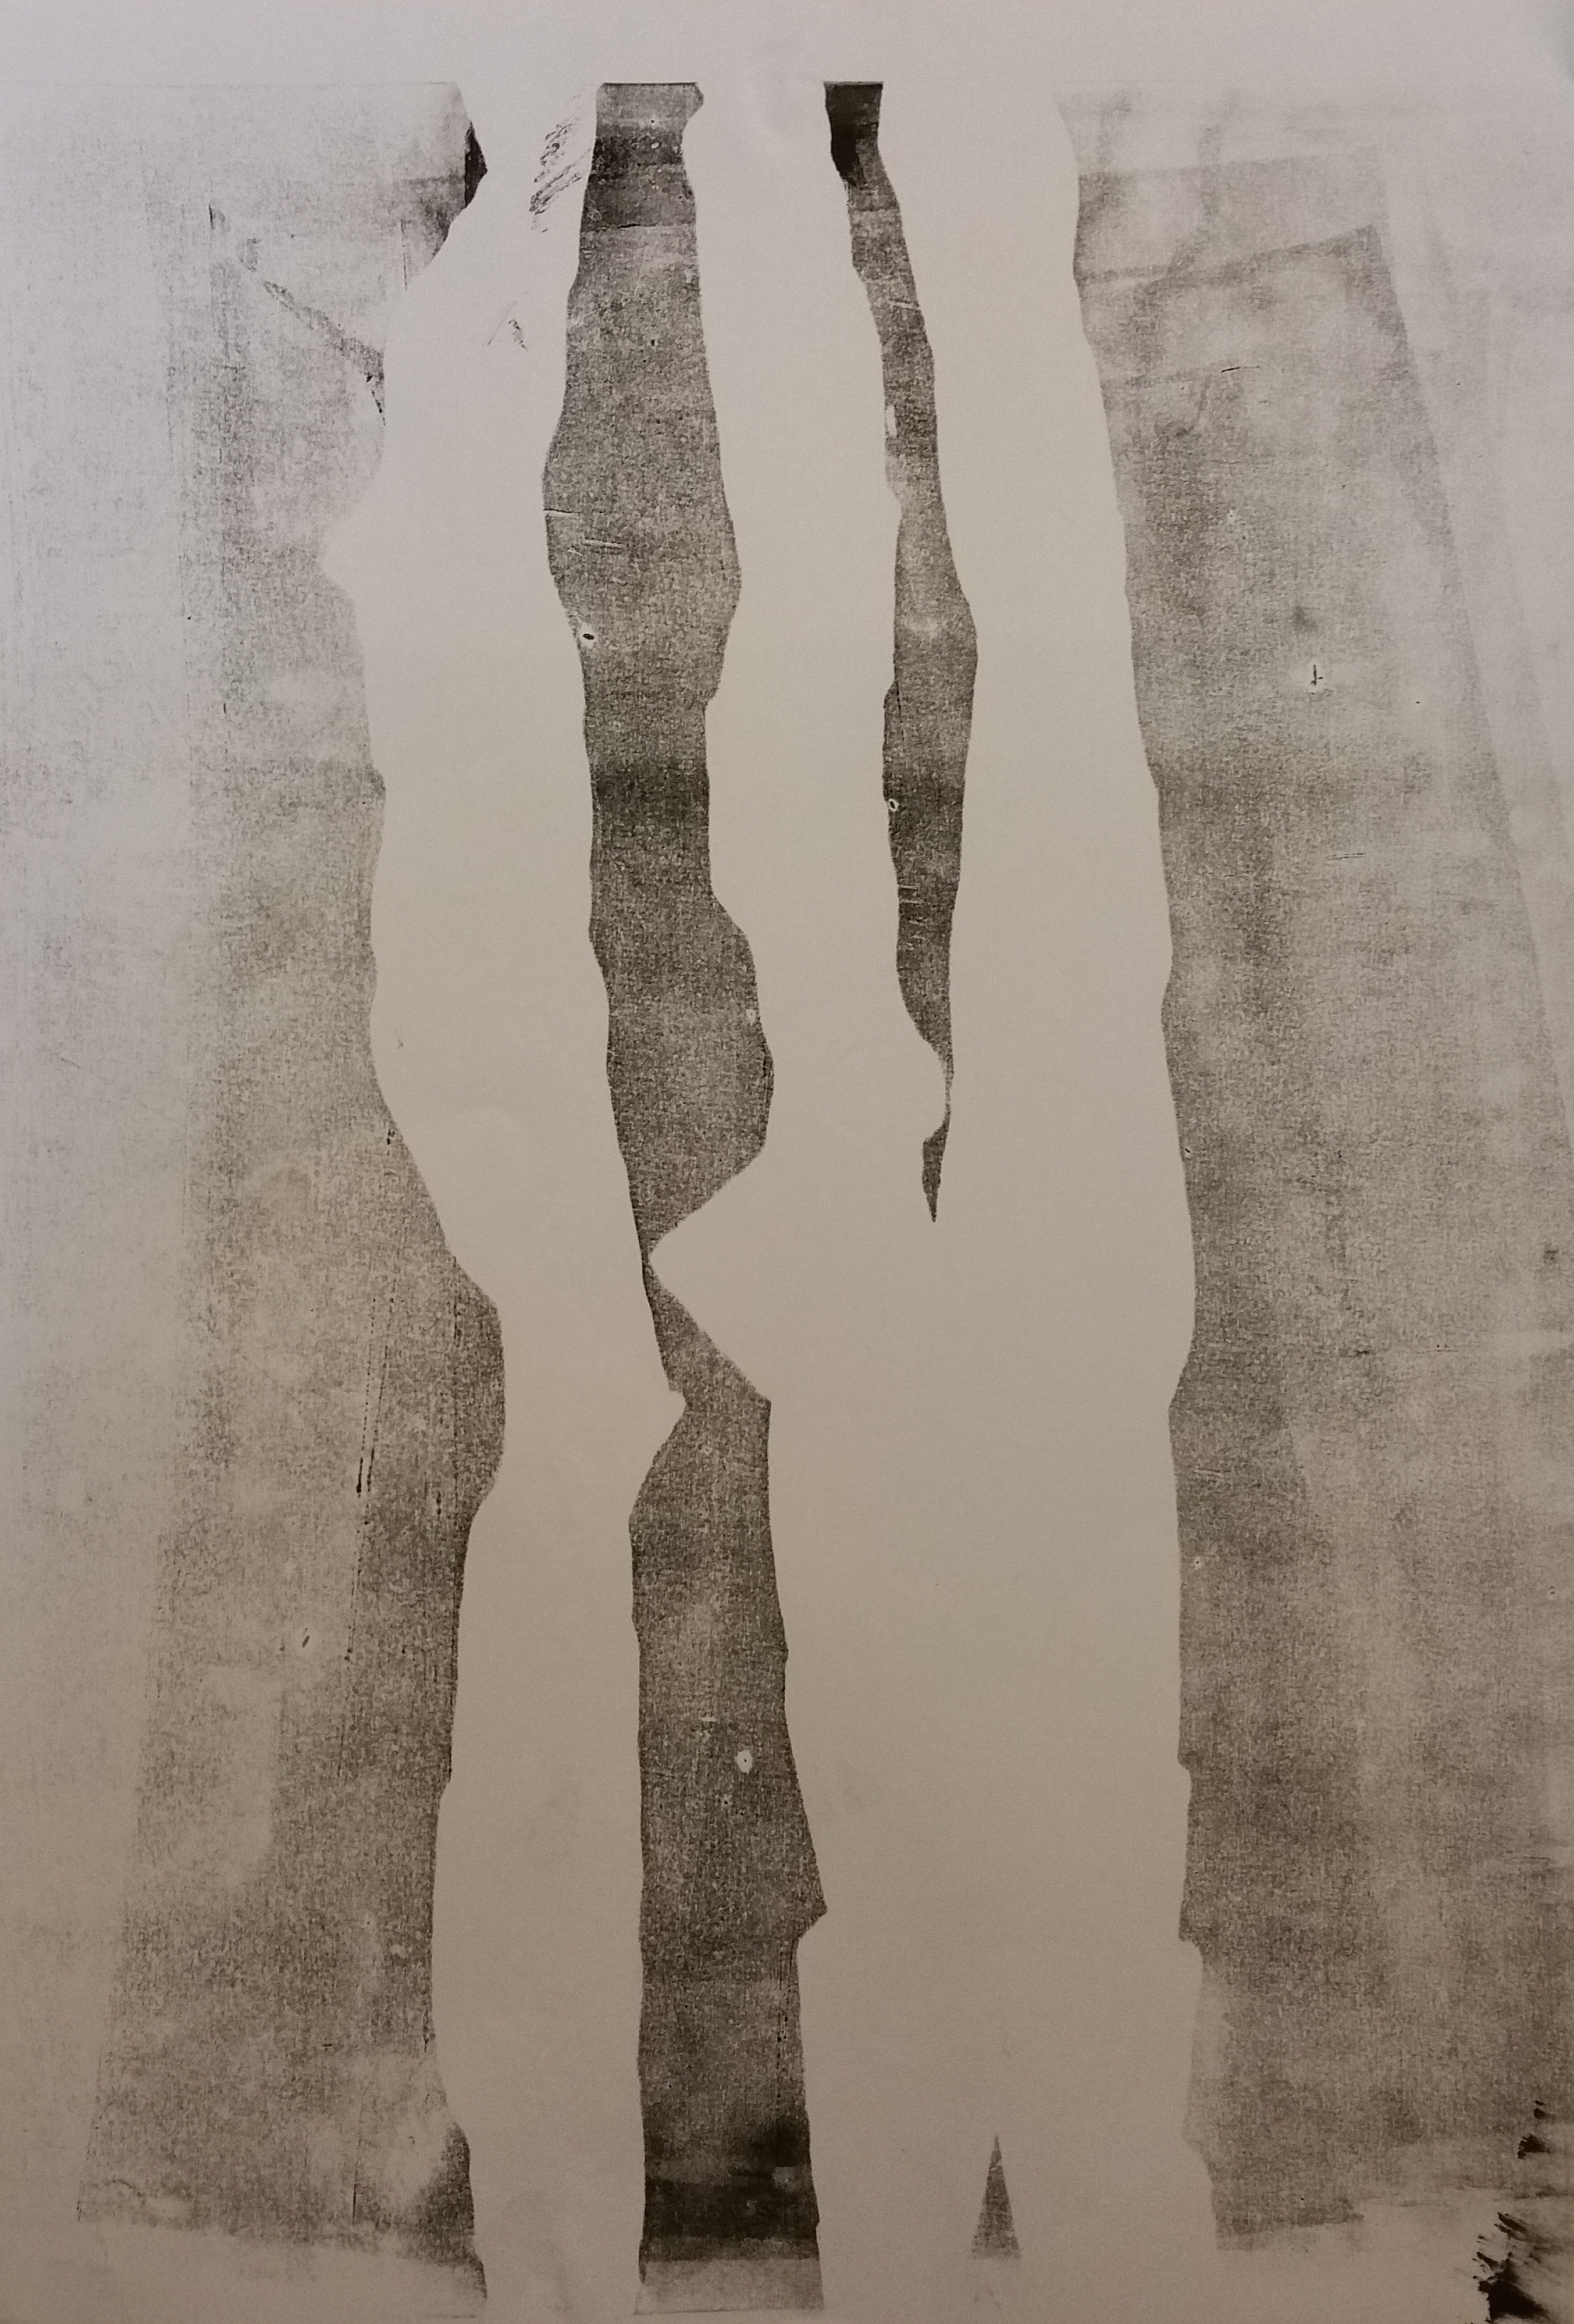
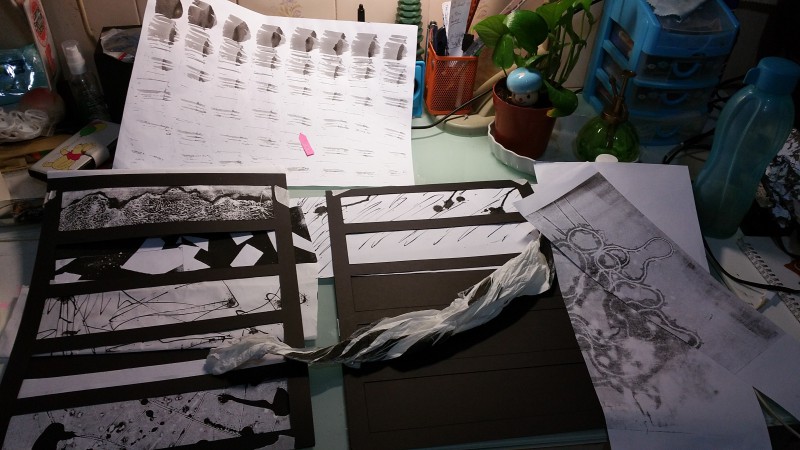
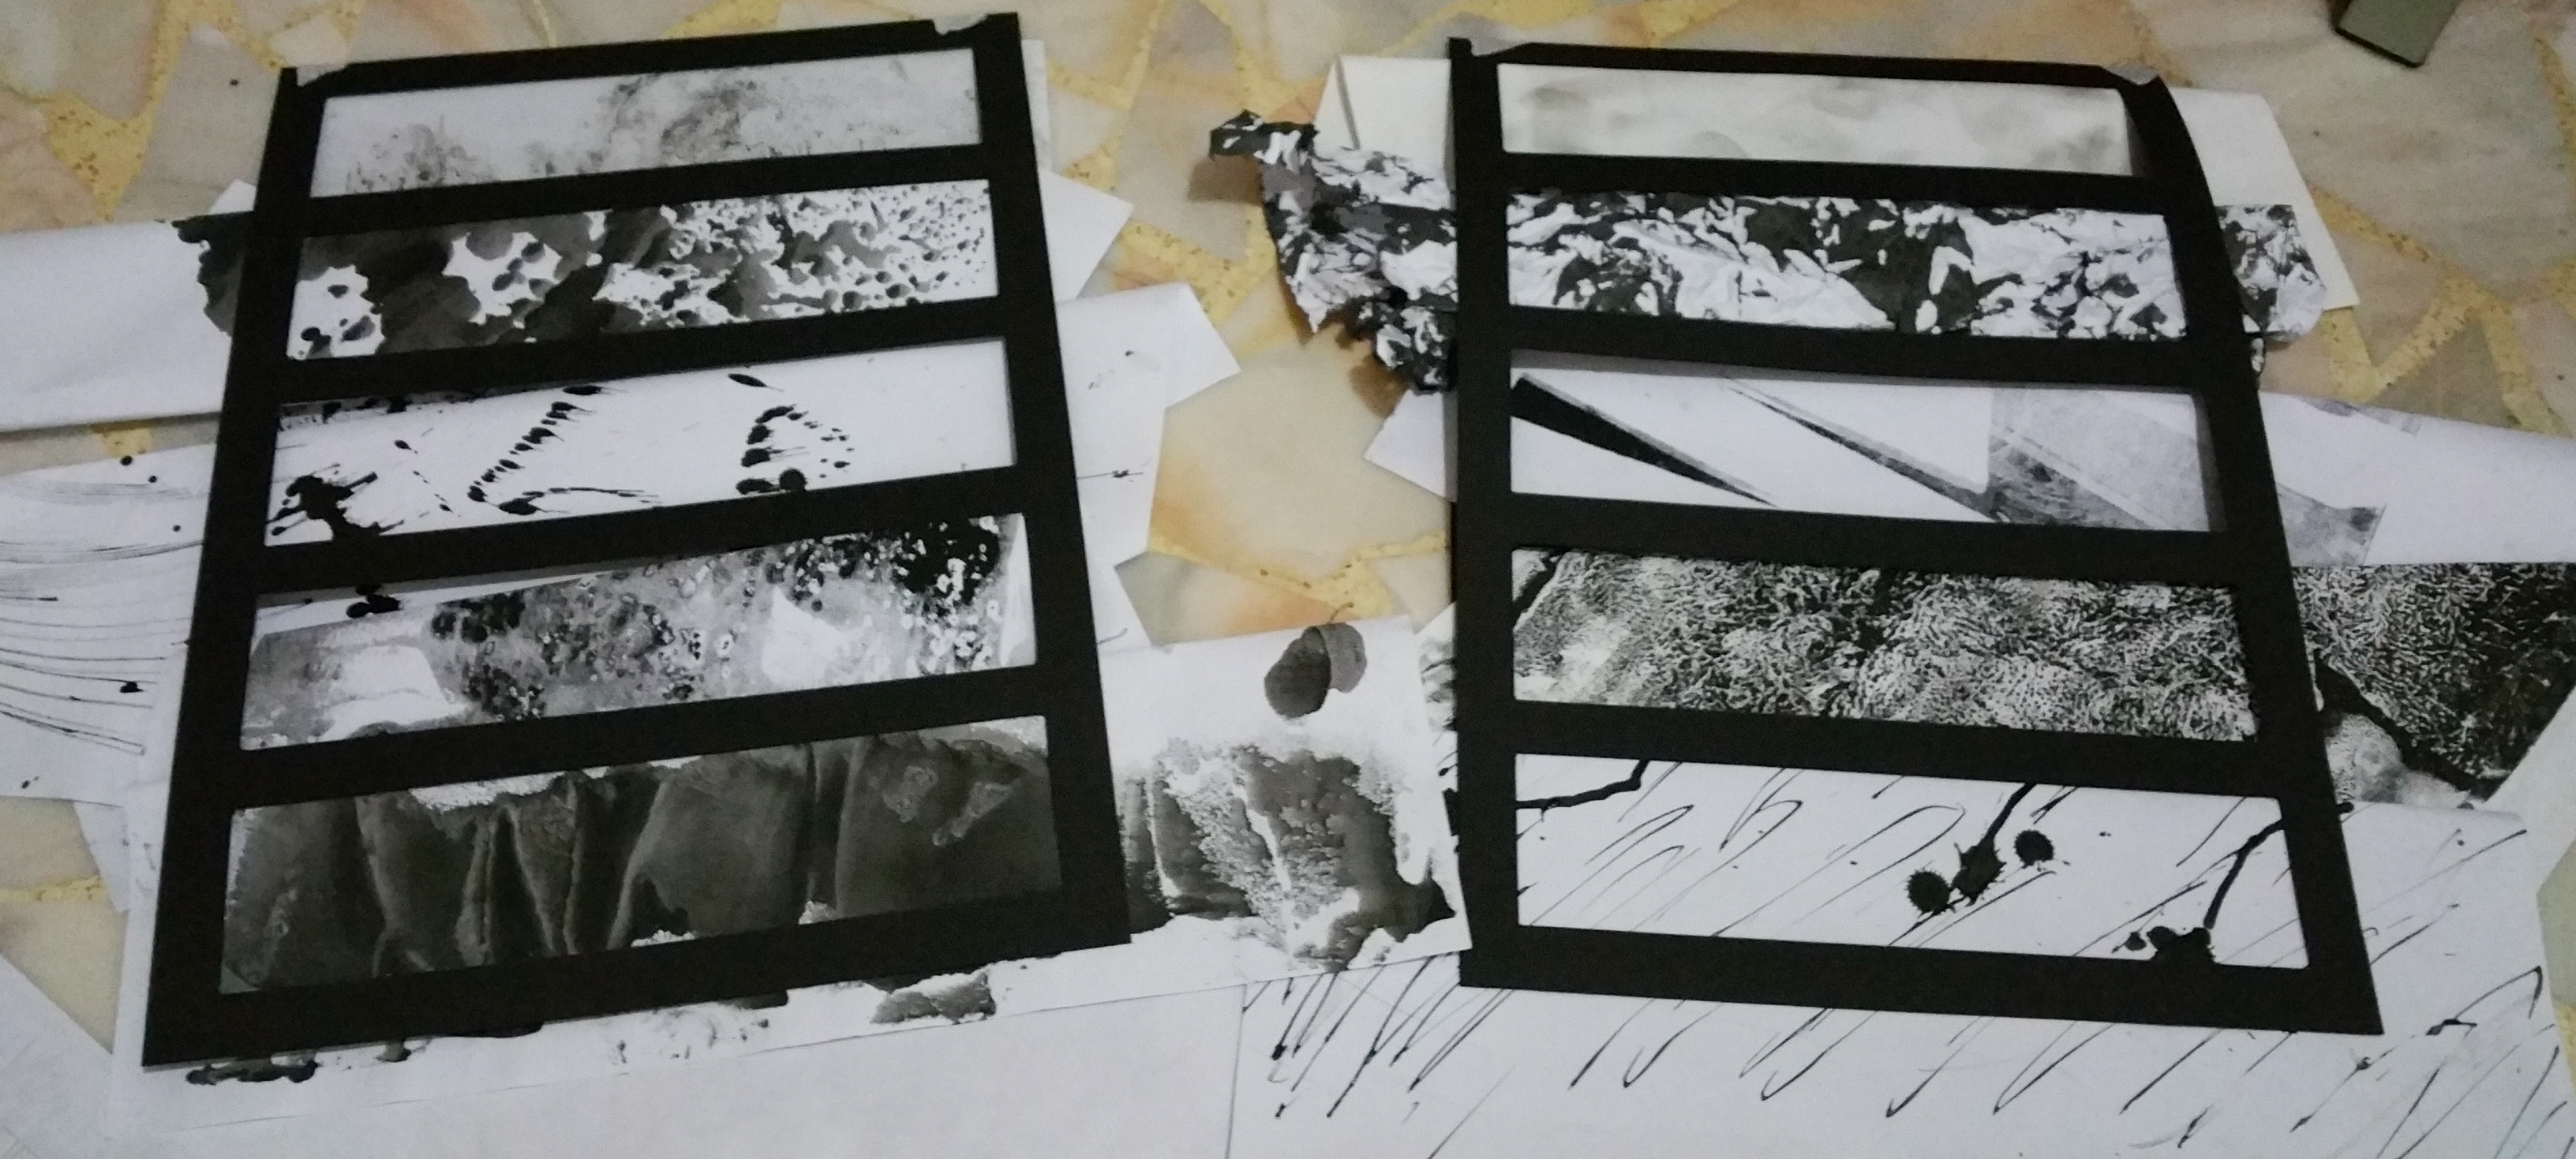
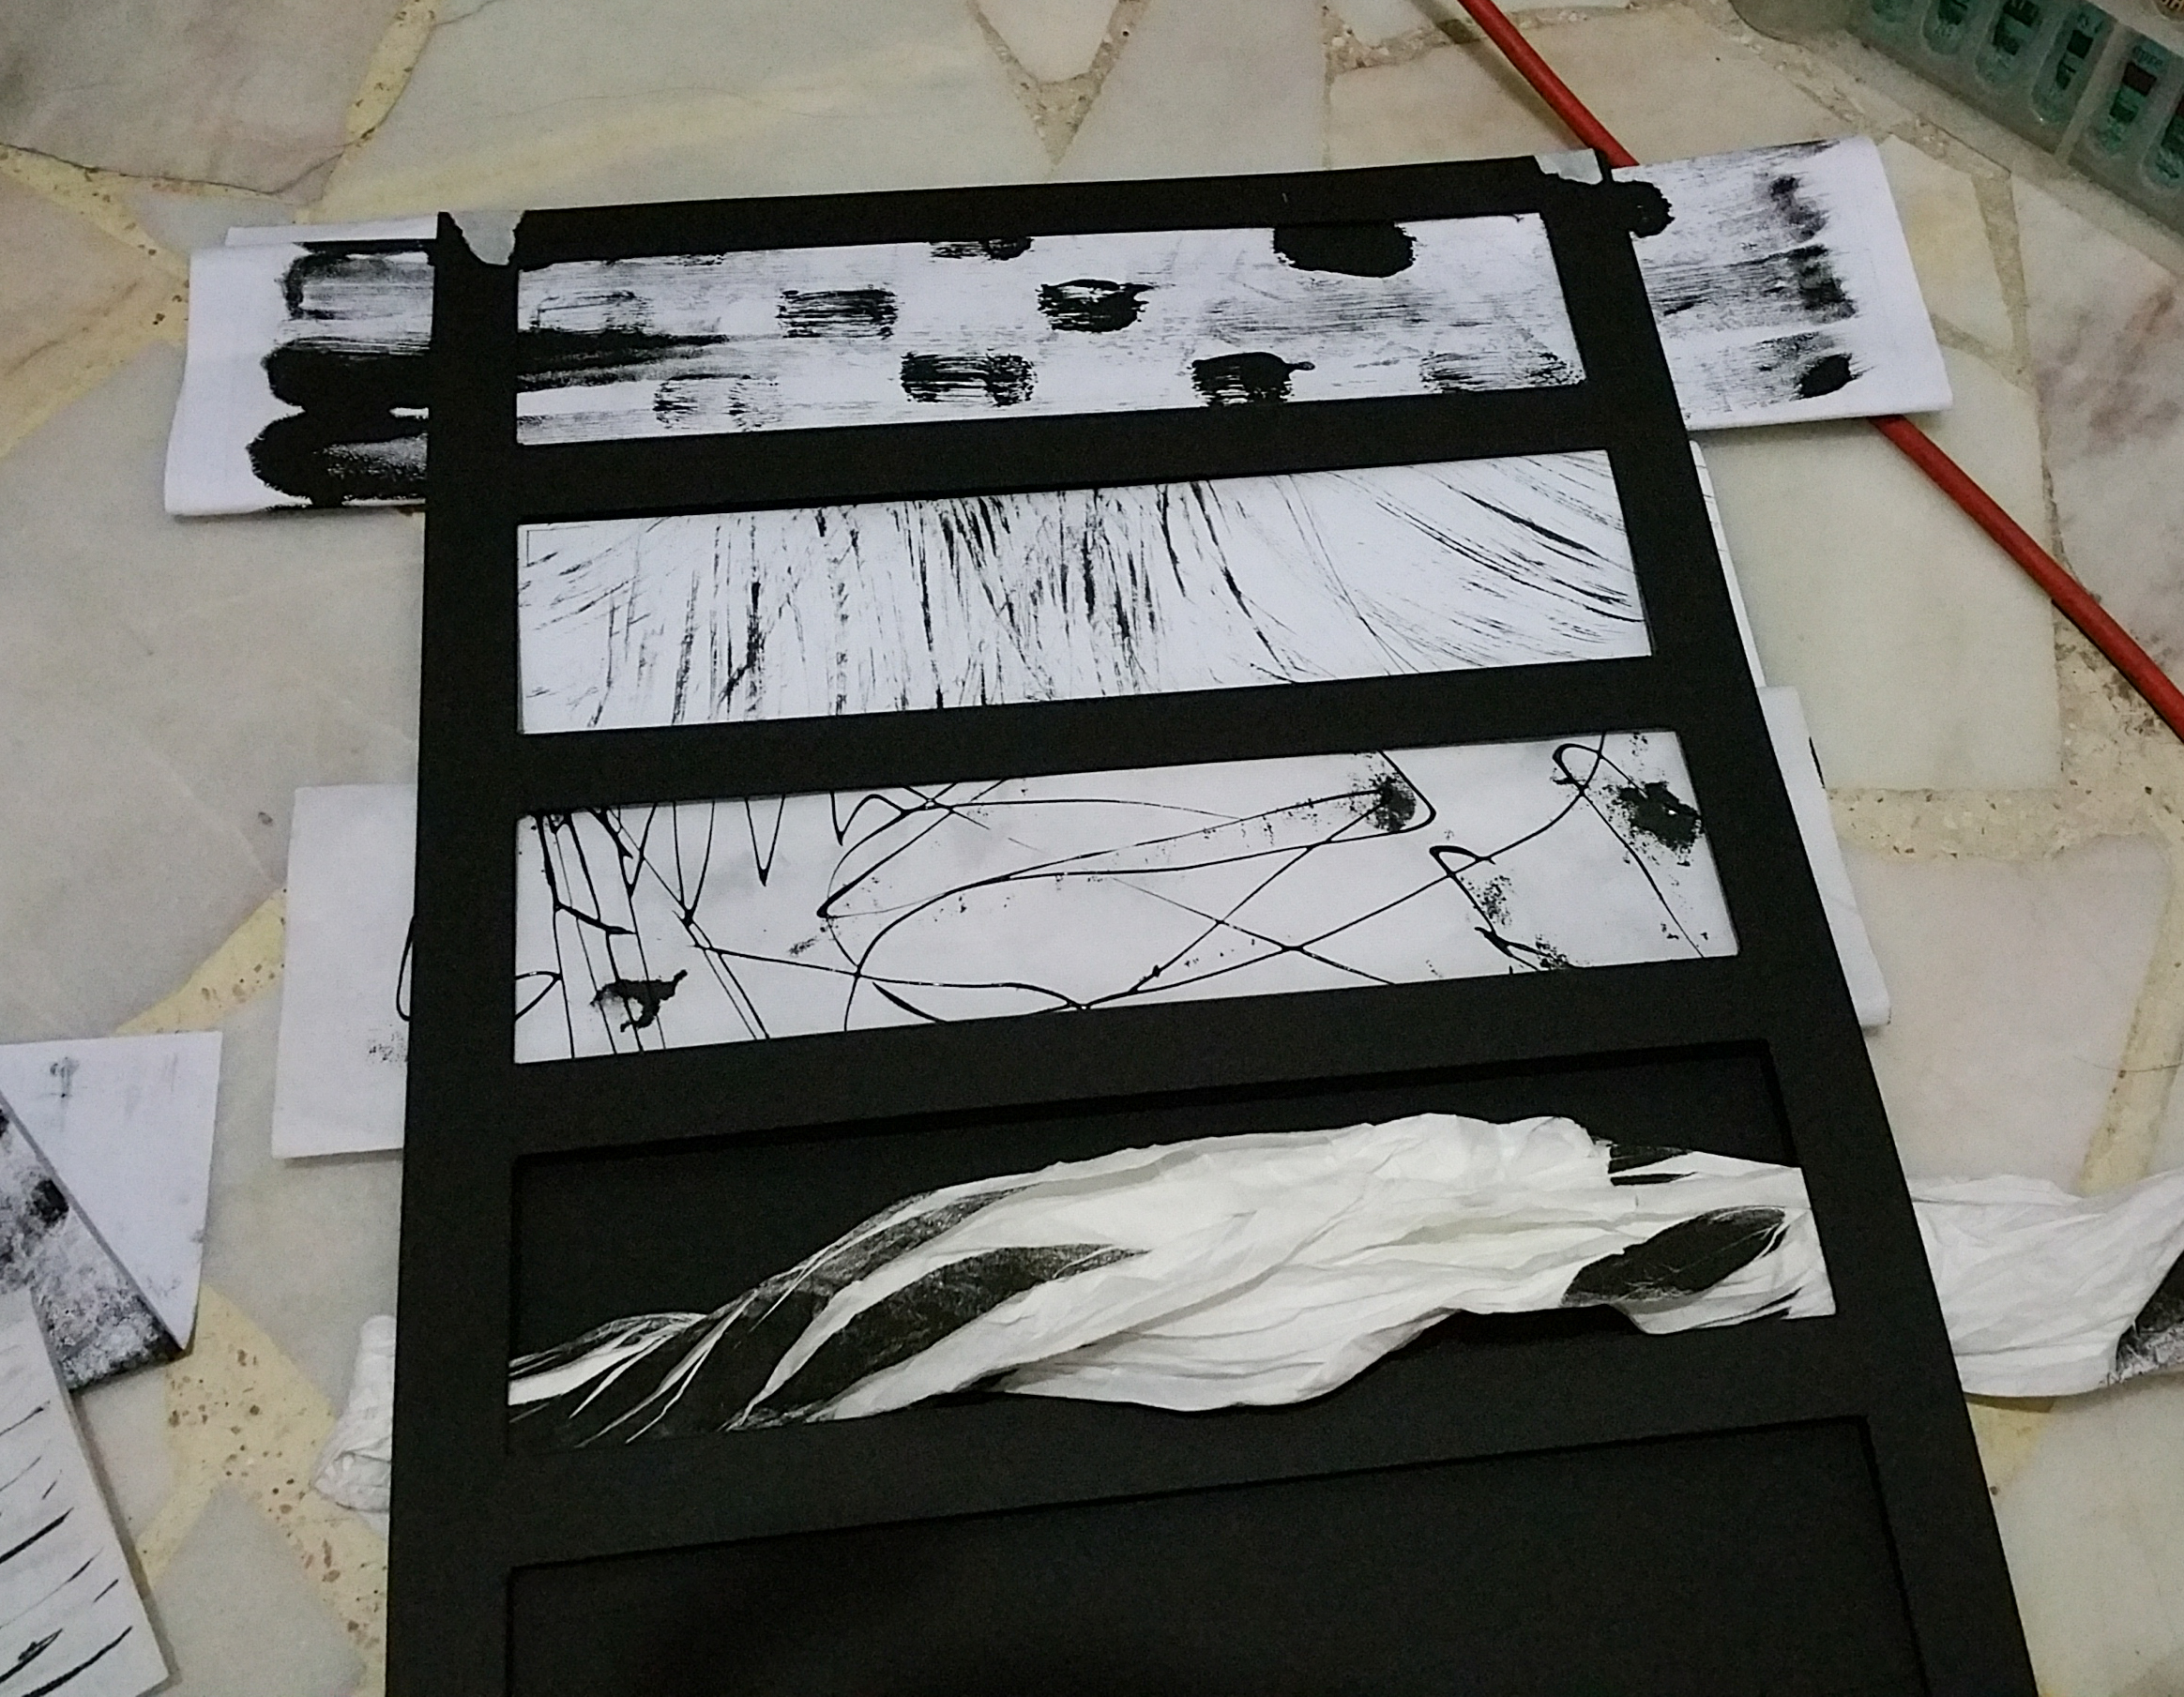
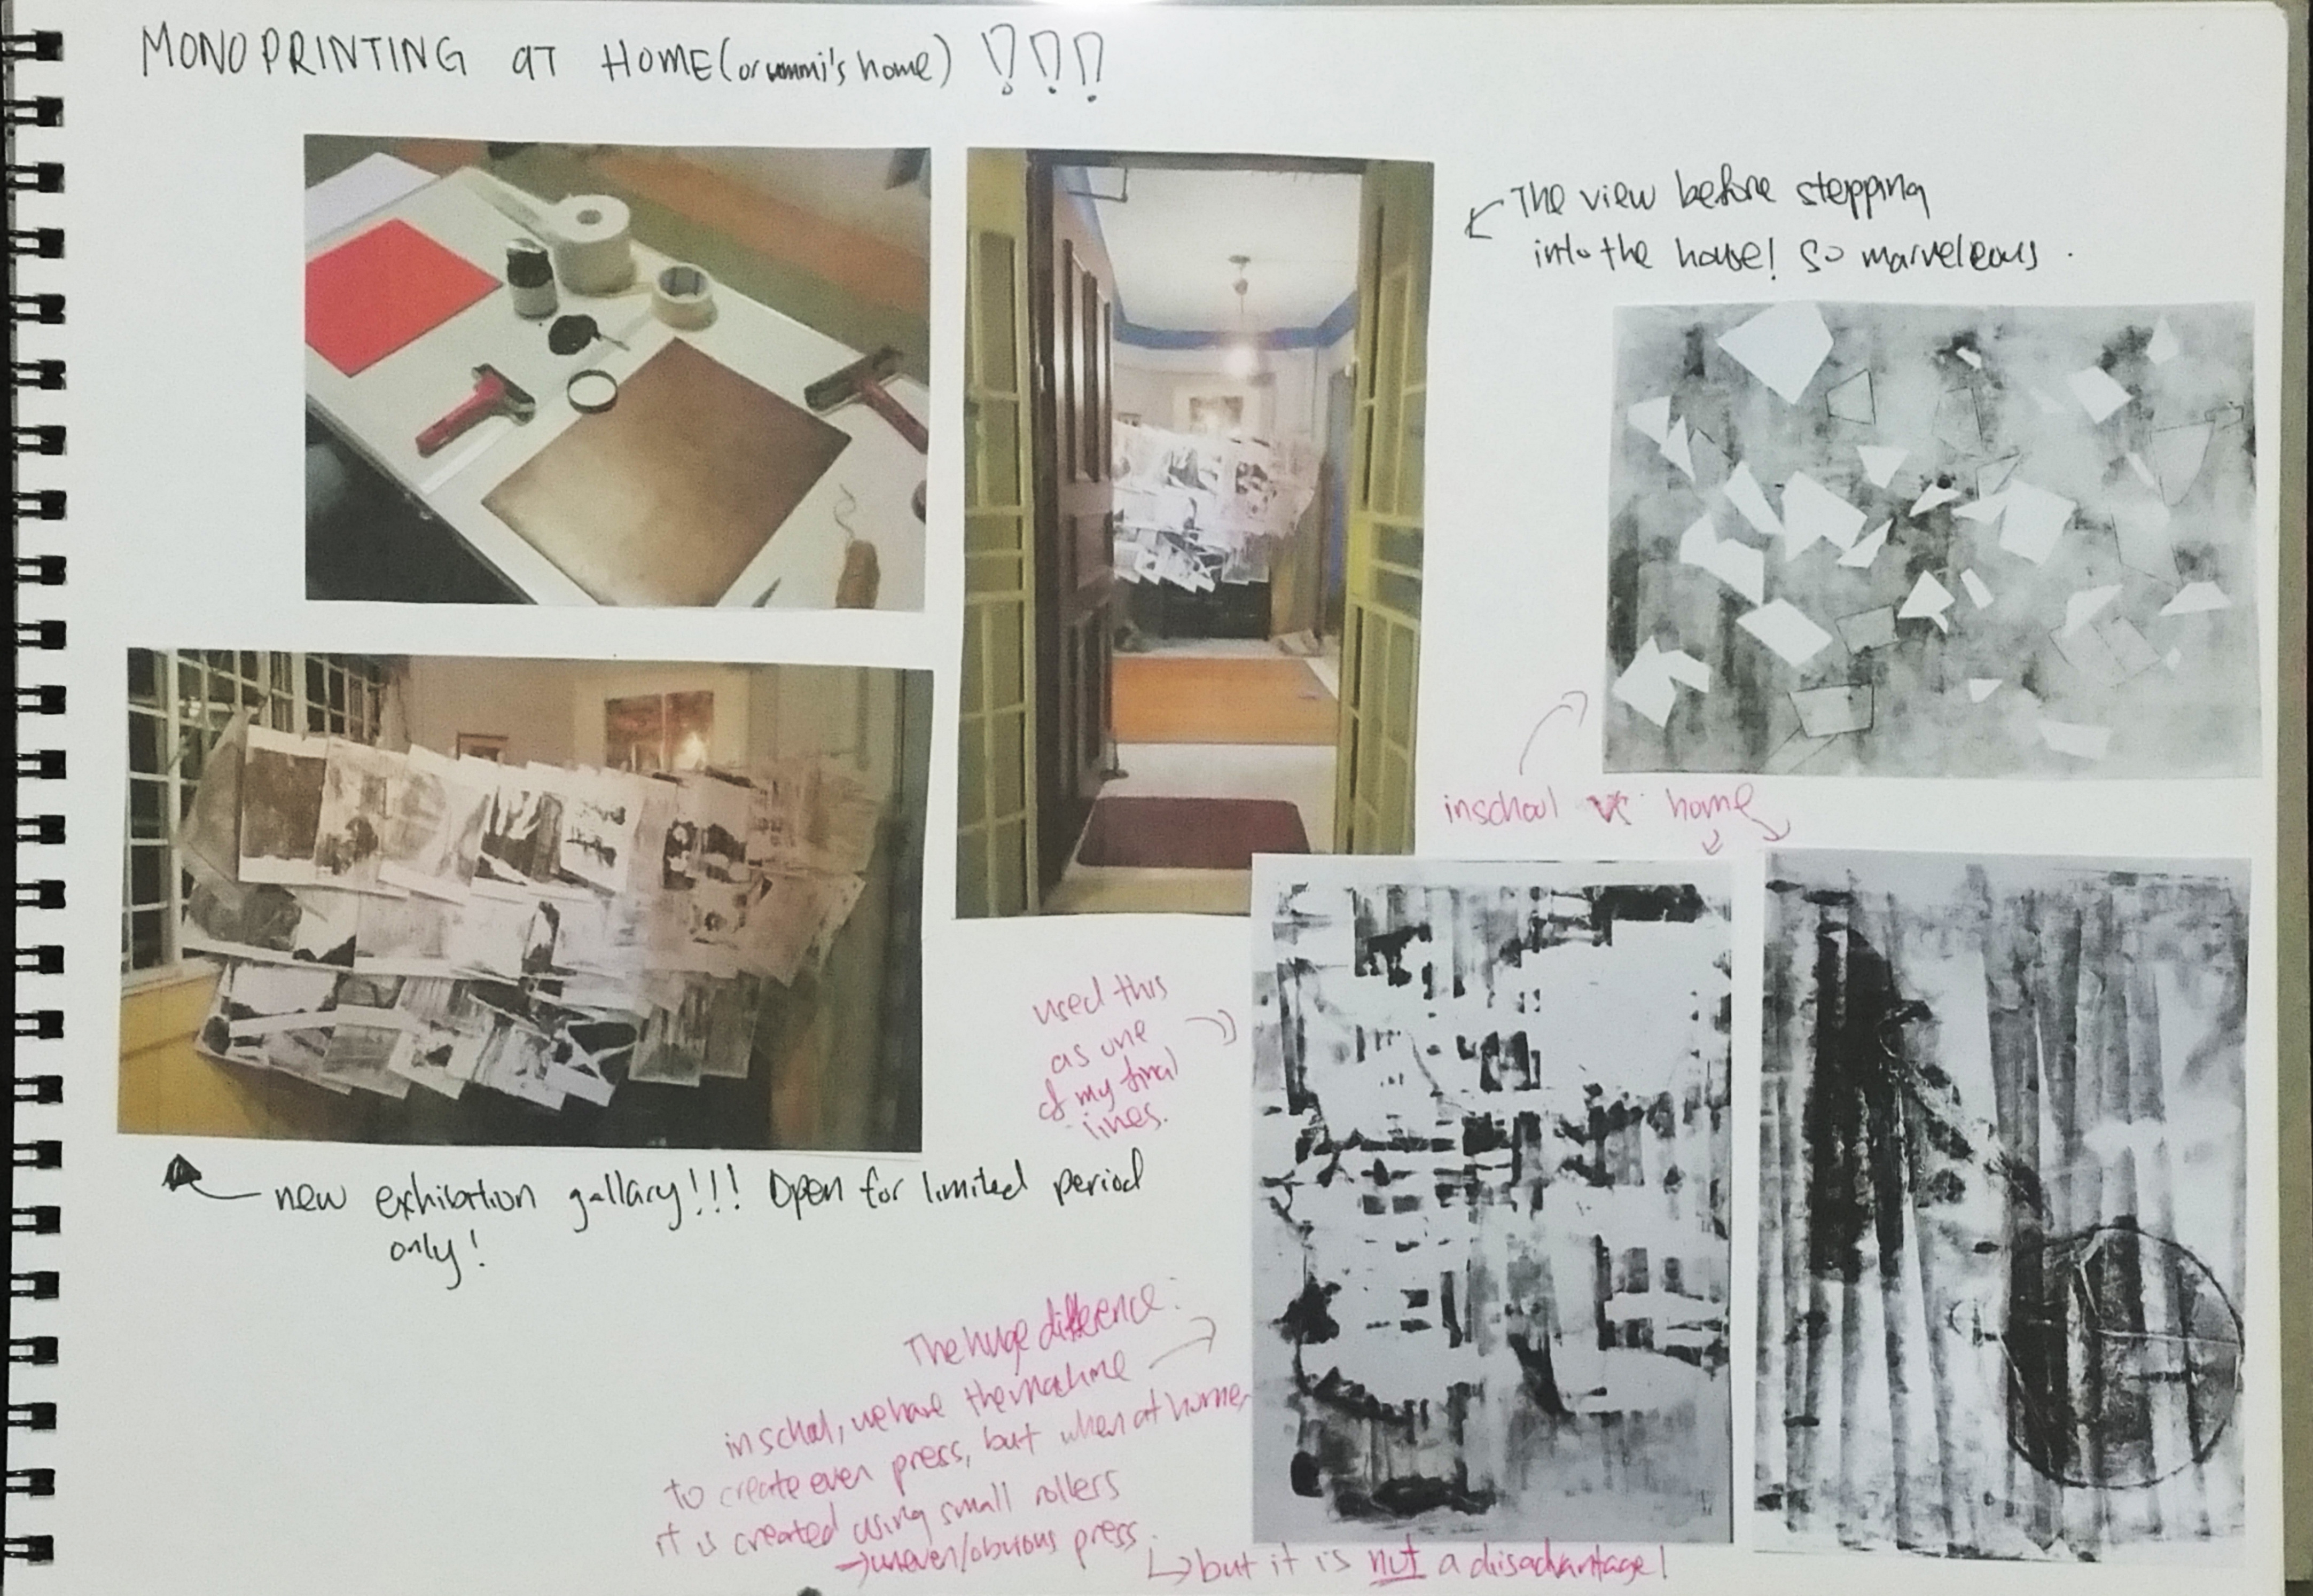
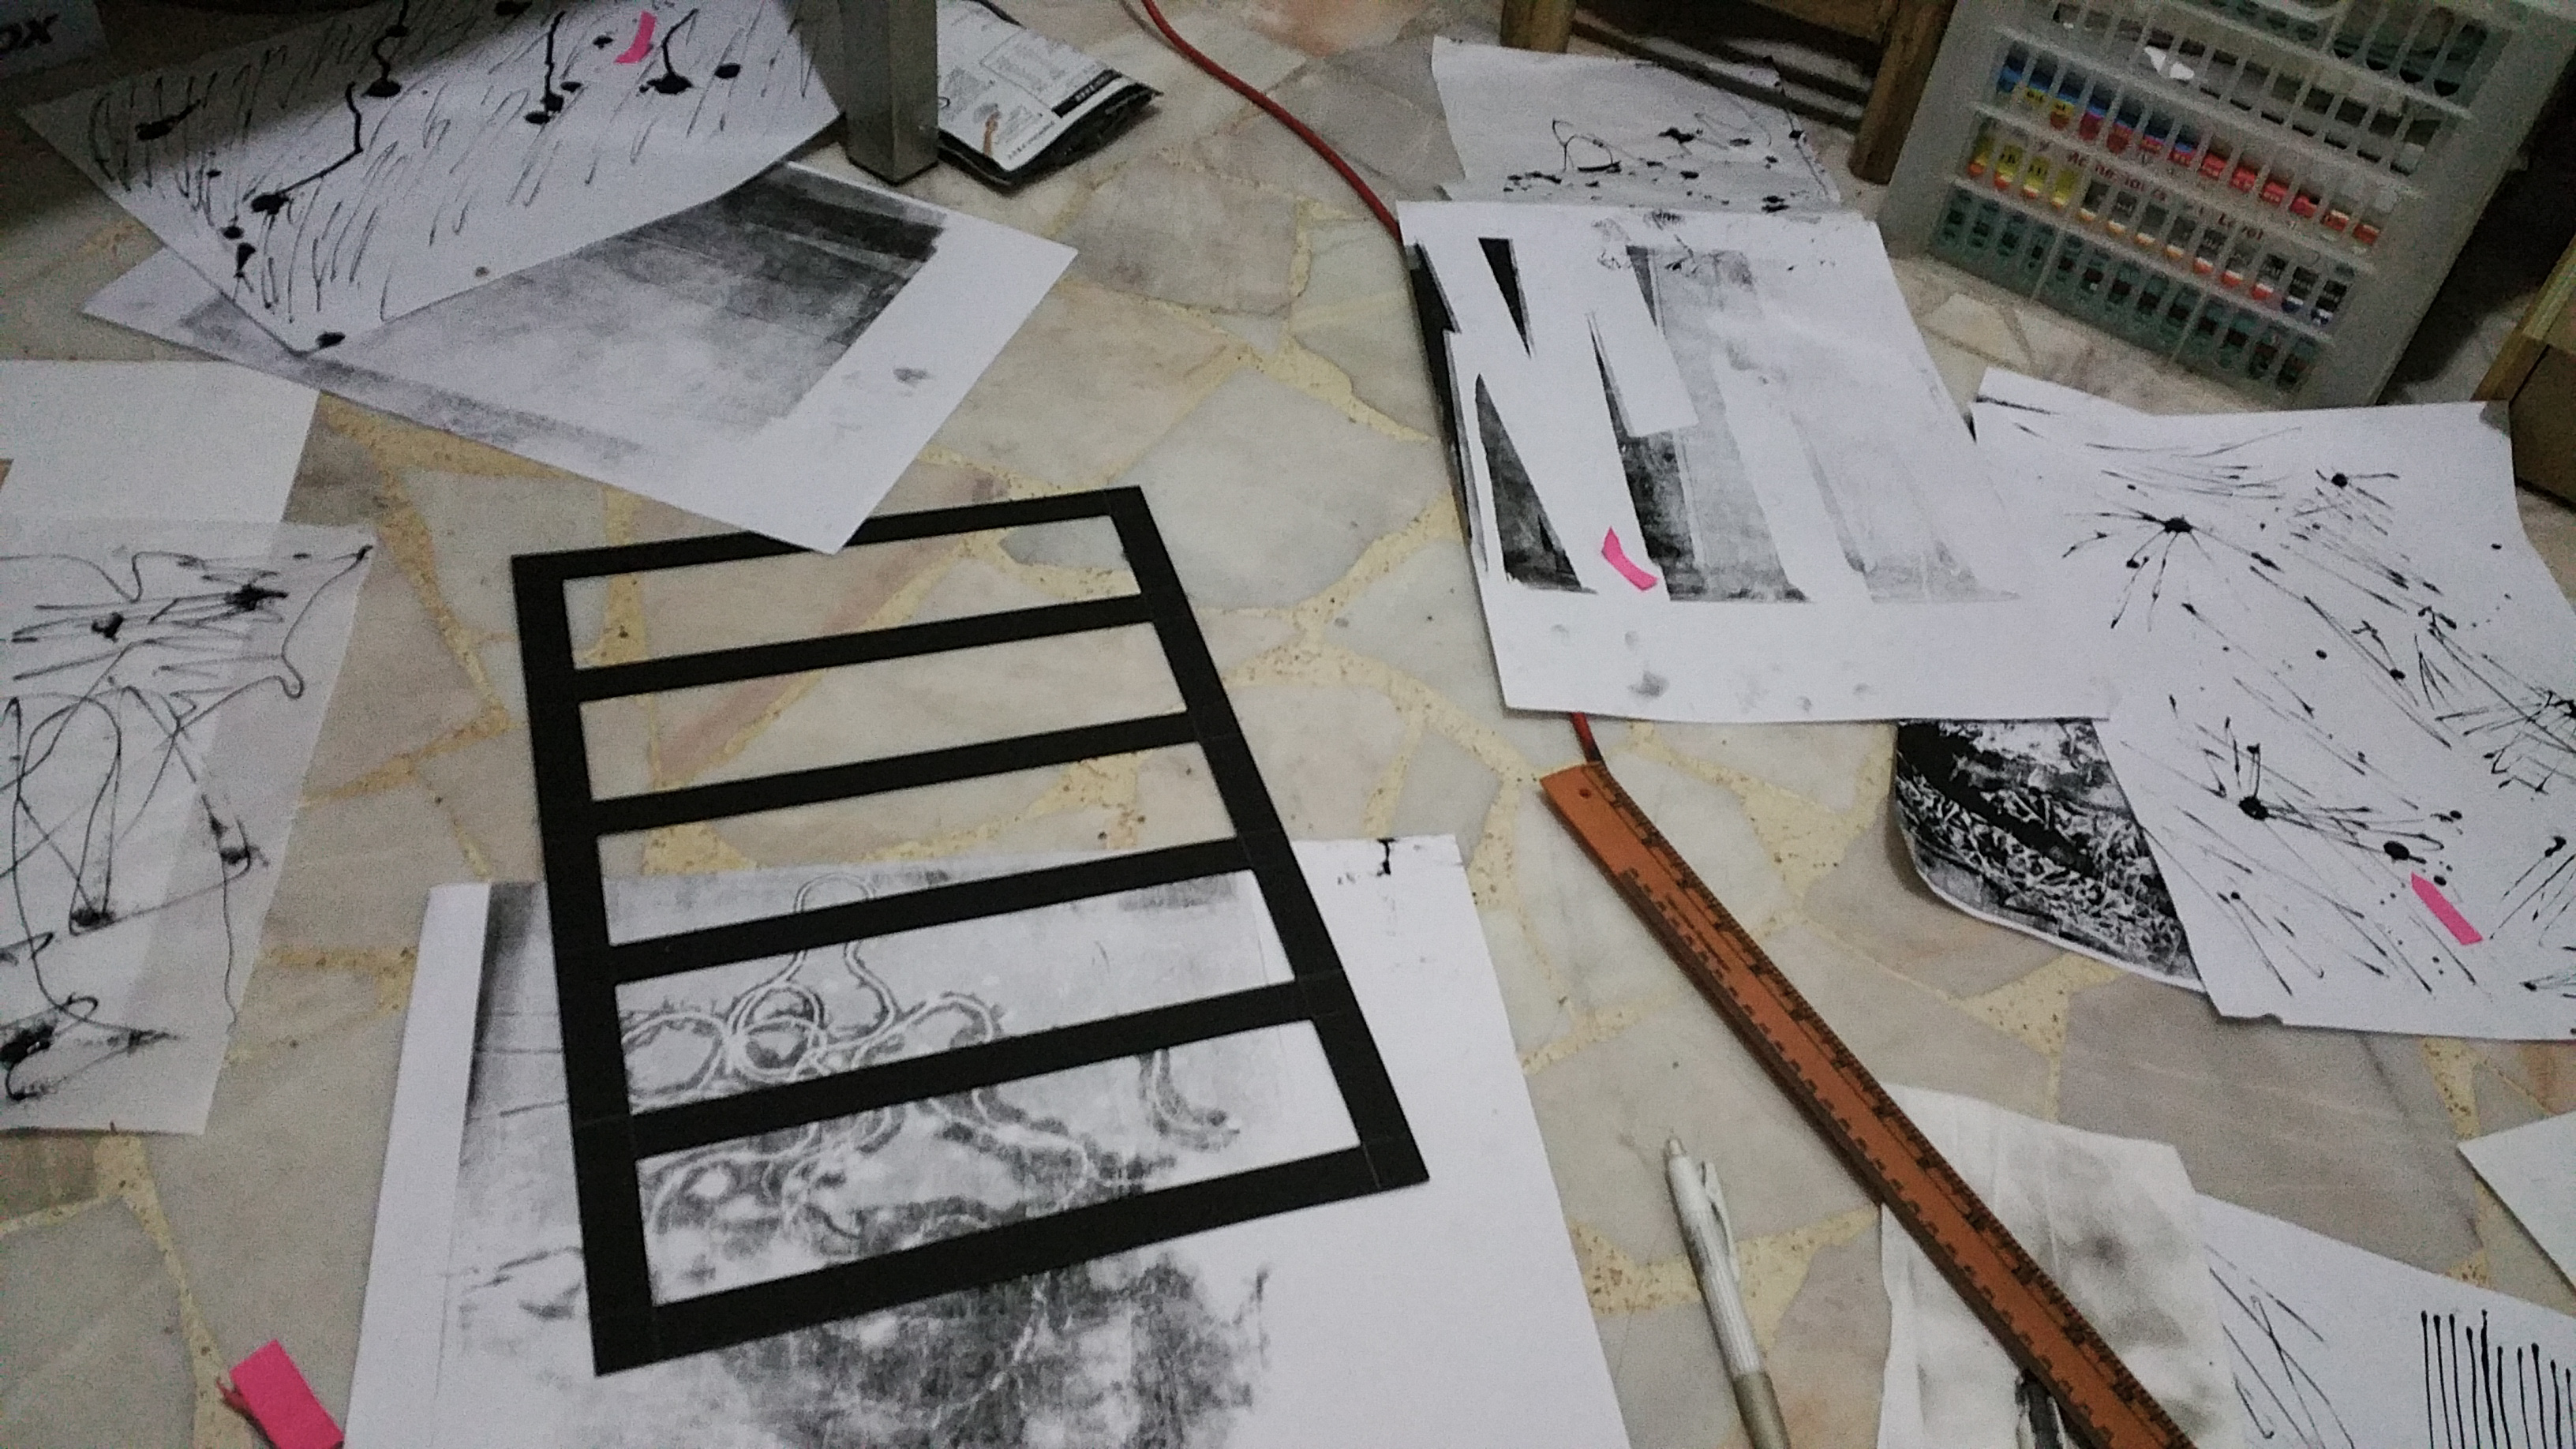
FINALLLLYYY i am almost there! After i got most of my lines settled, i worked to confirm the emotions once again. I felt that this was a better way for me as I didn’t only want to see the lines as a single thing. I wanted all of the 4 panels to flow like how emotions are all related to each other and turn into one another.
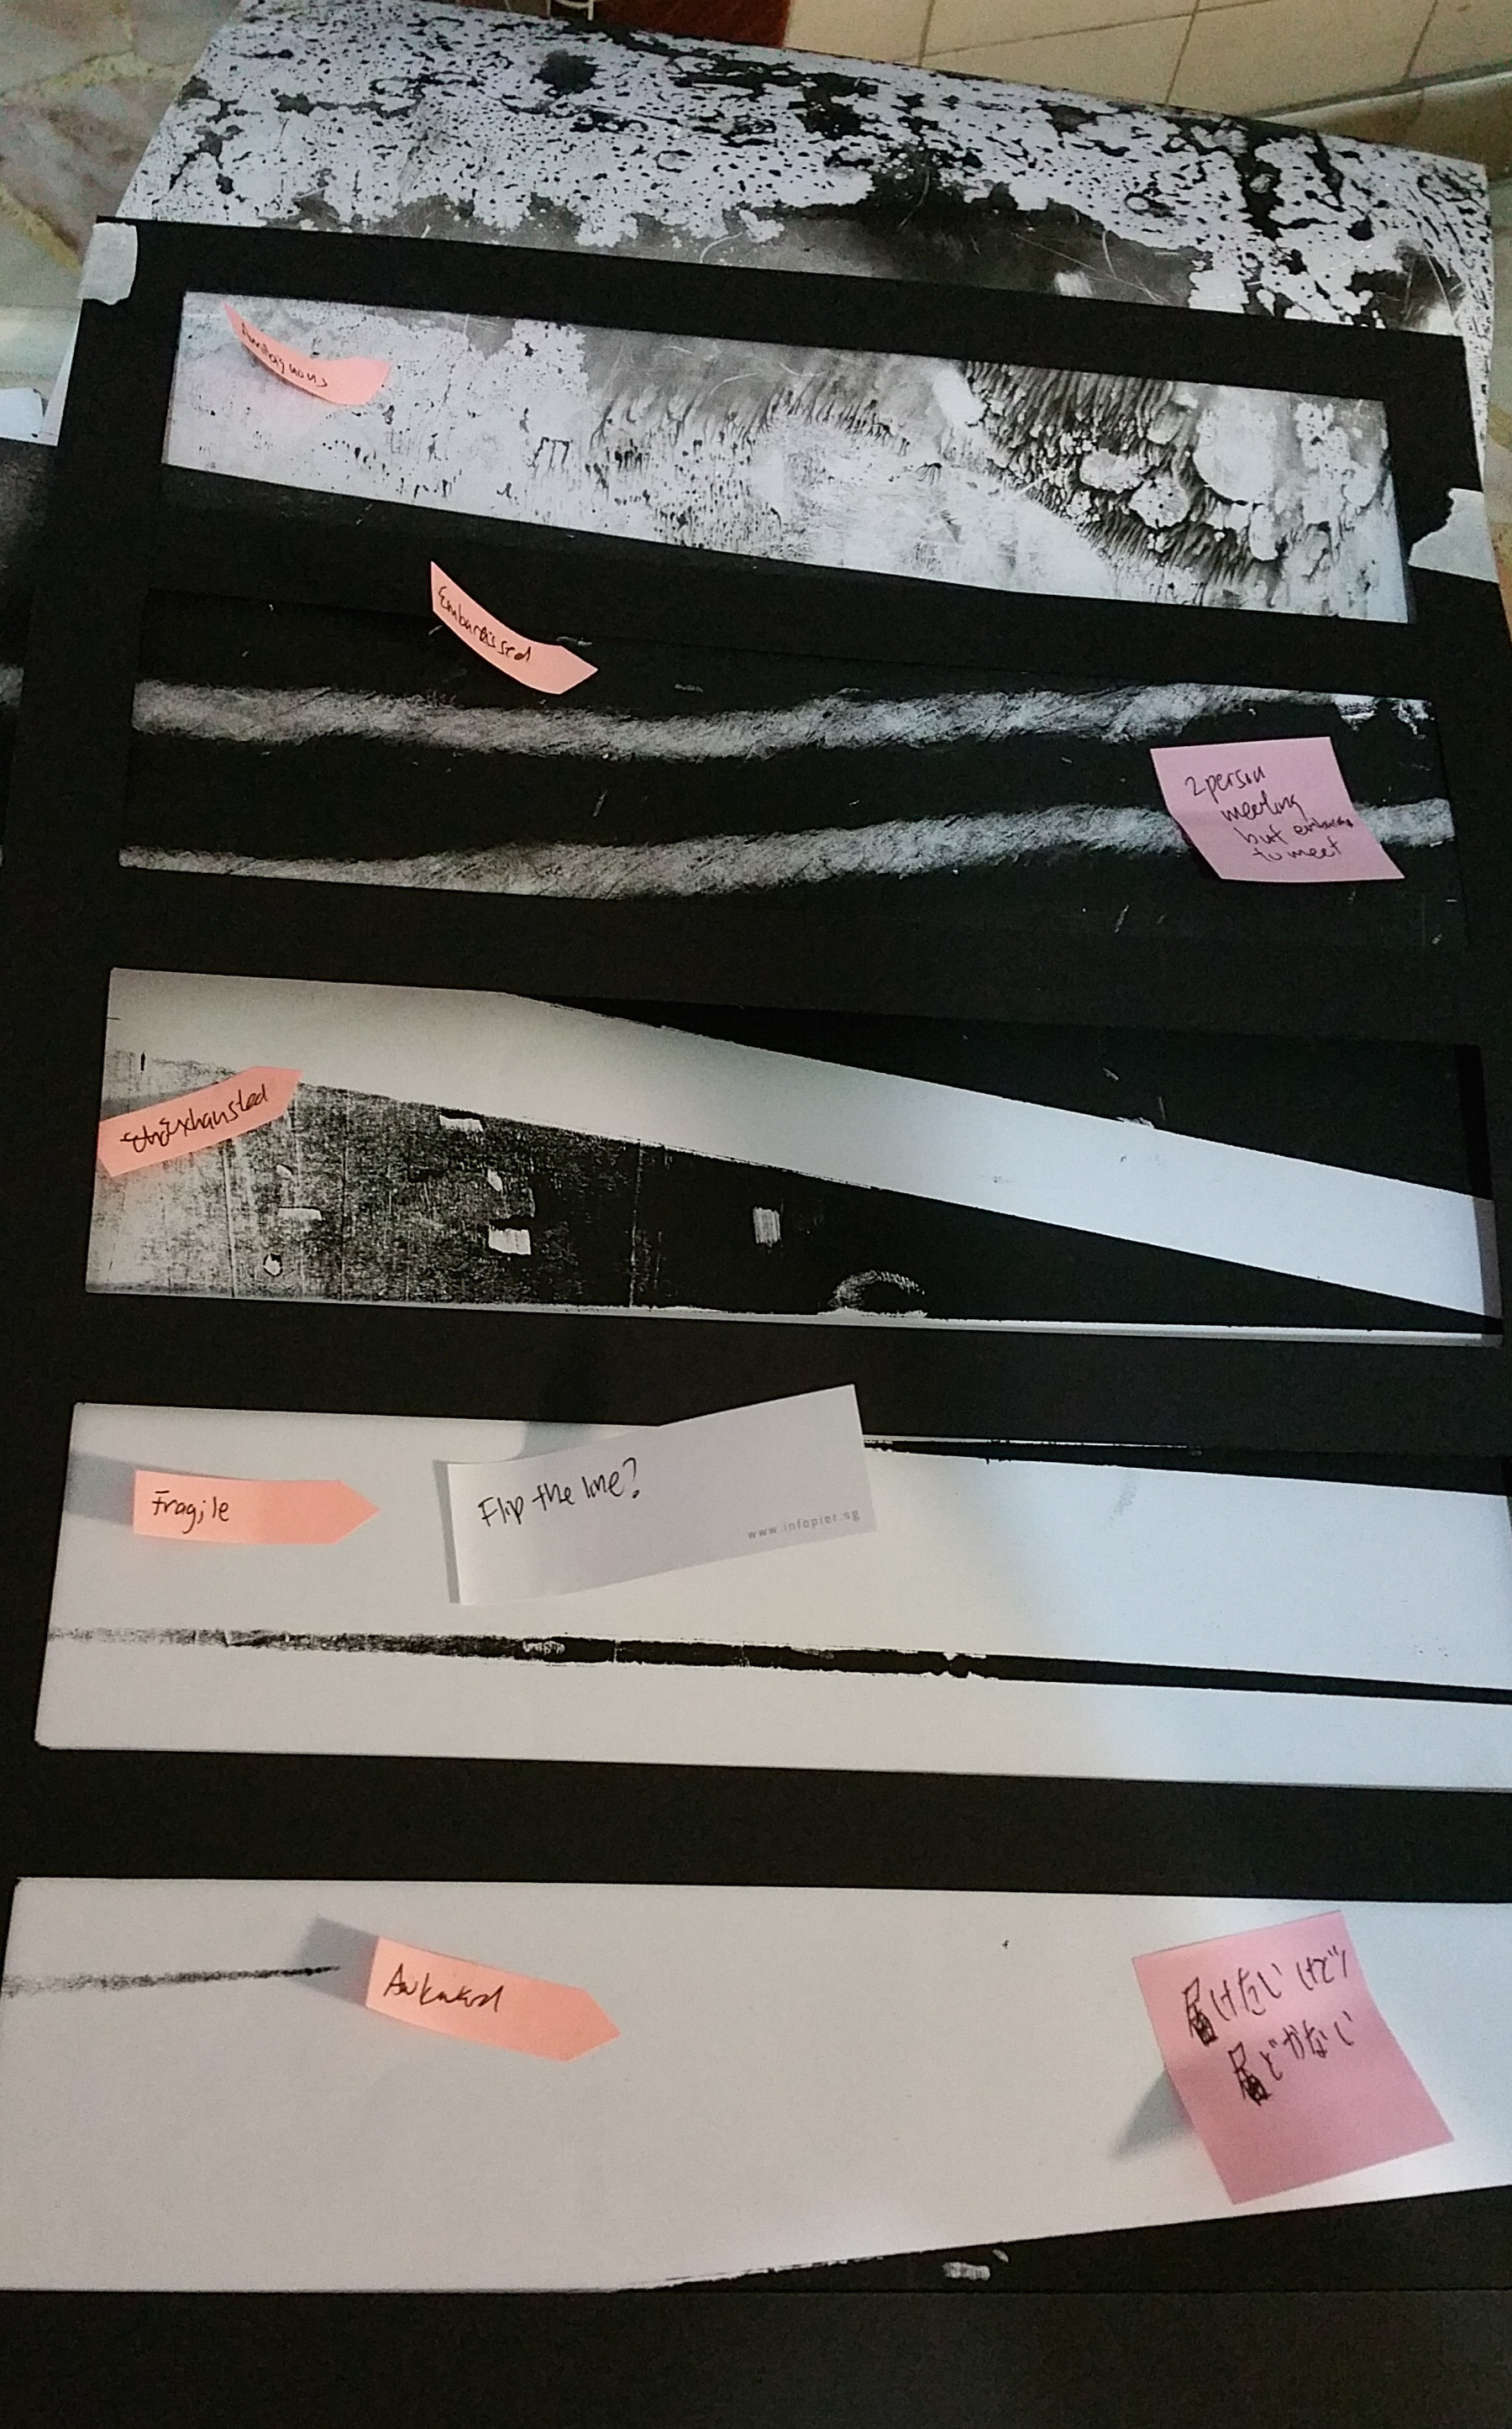
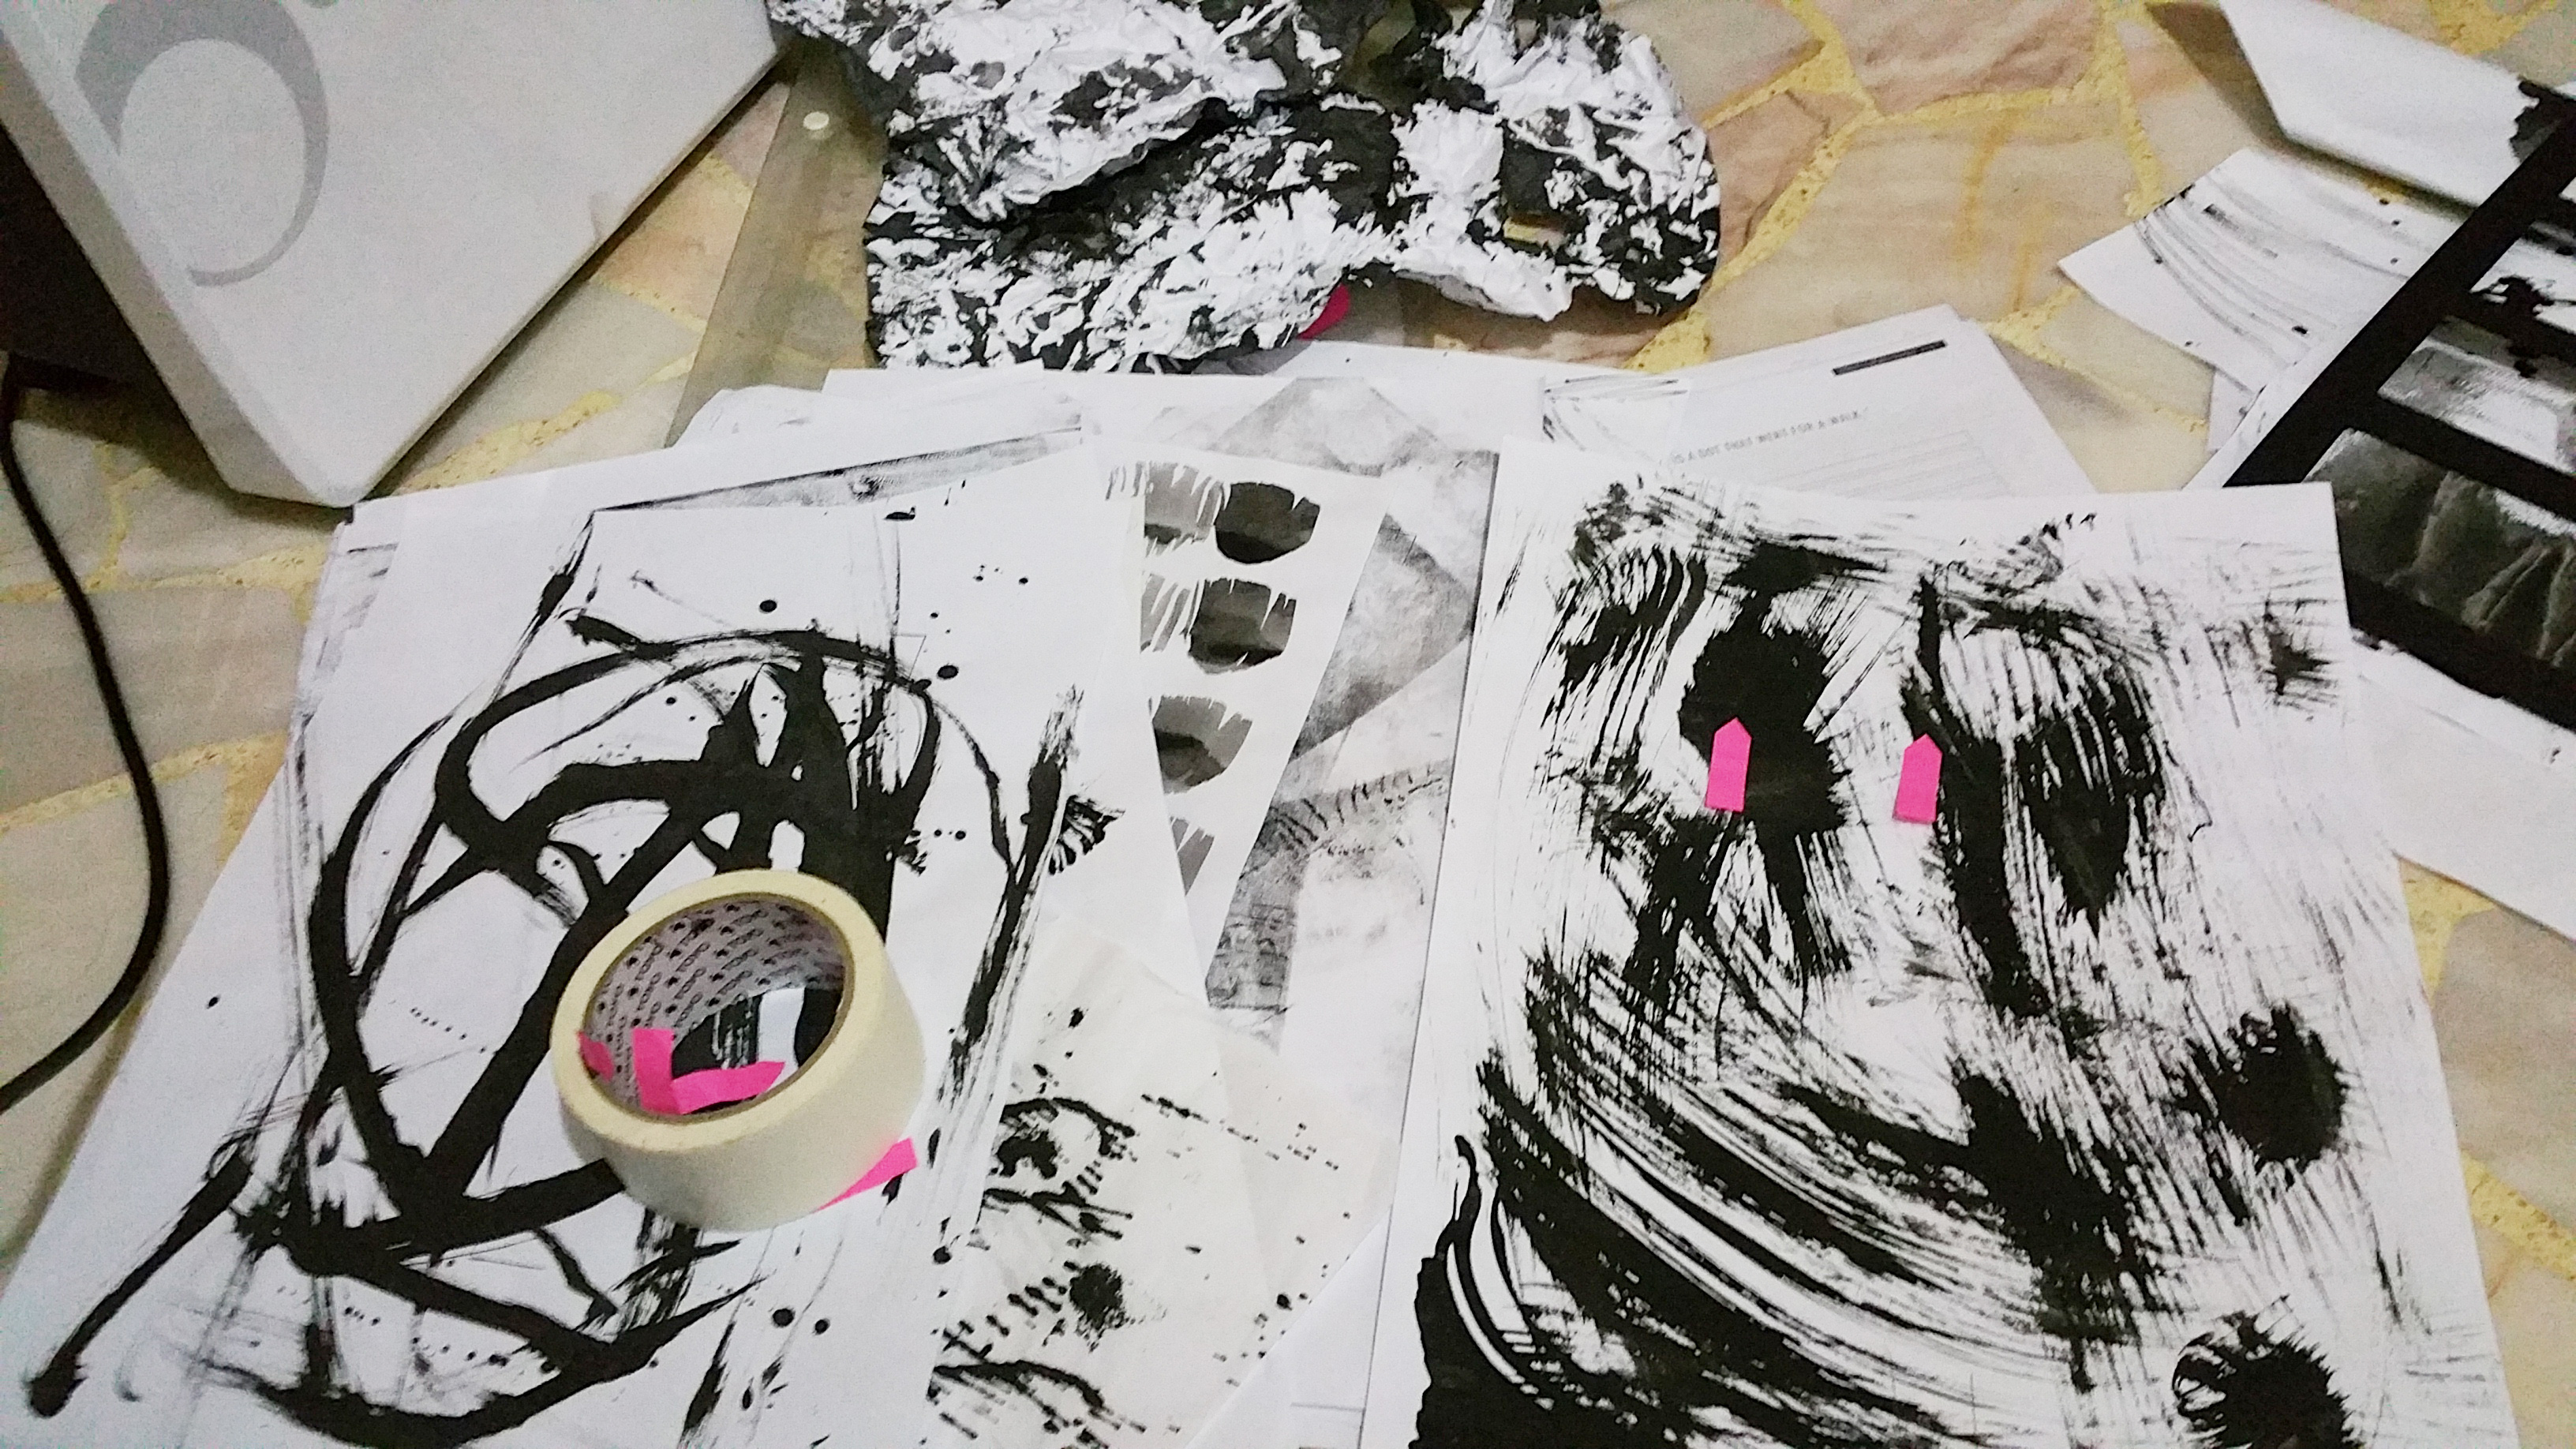
I tagged each lines to the emotions, by feeling how it comes across to me and also little notes to why this particular line suits this emotion
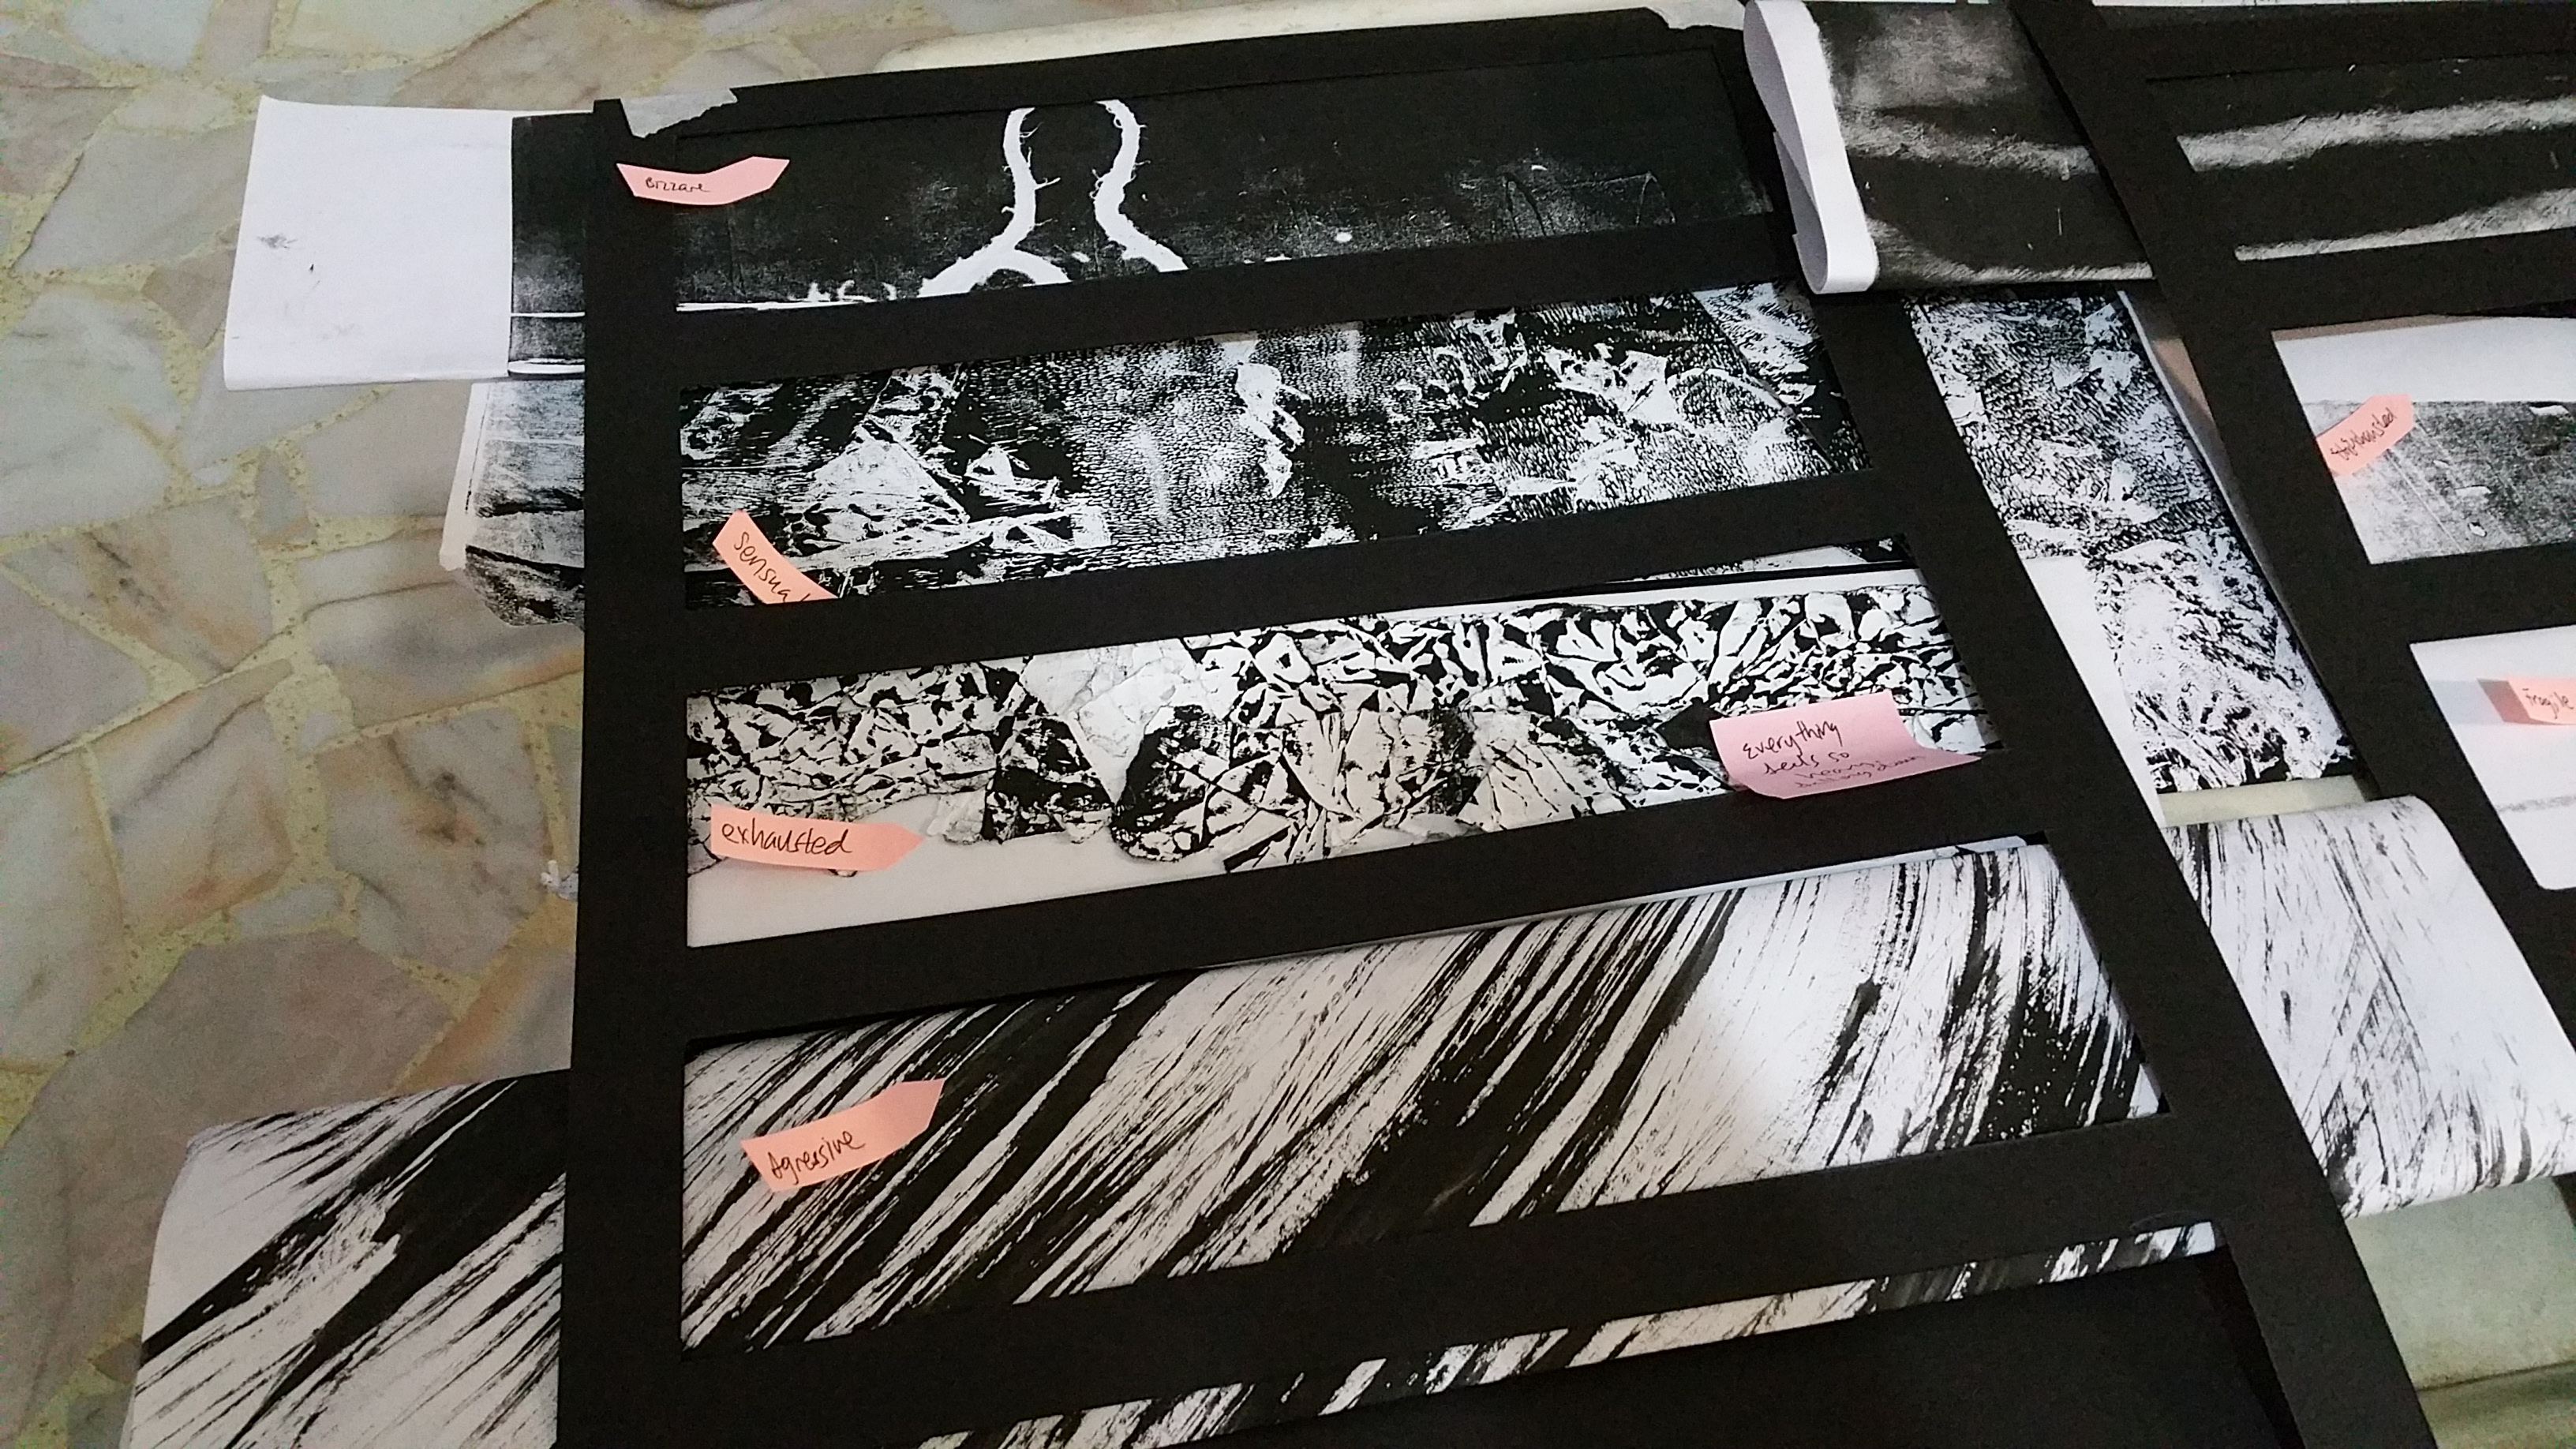
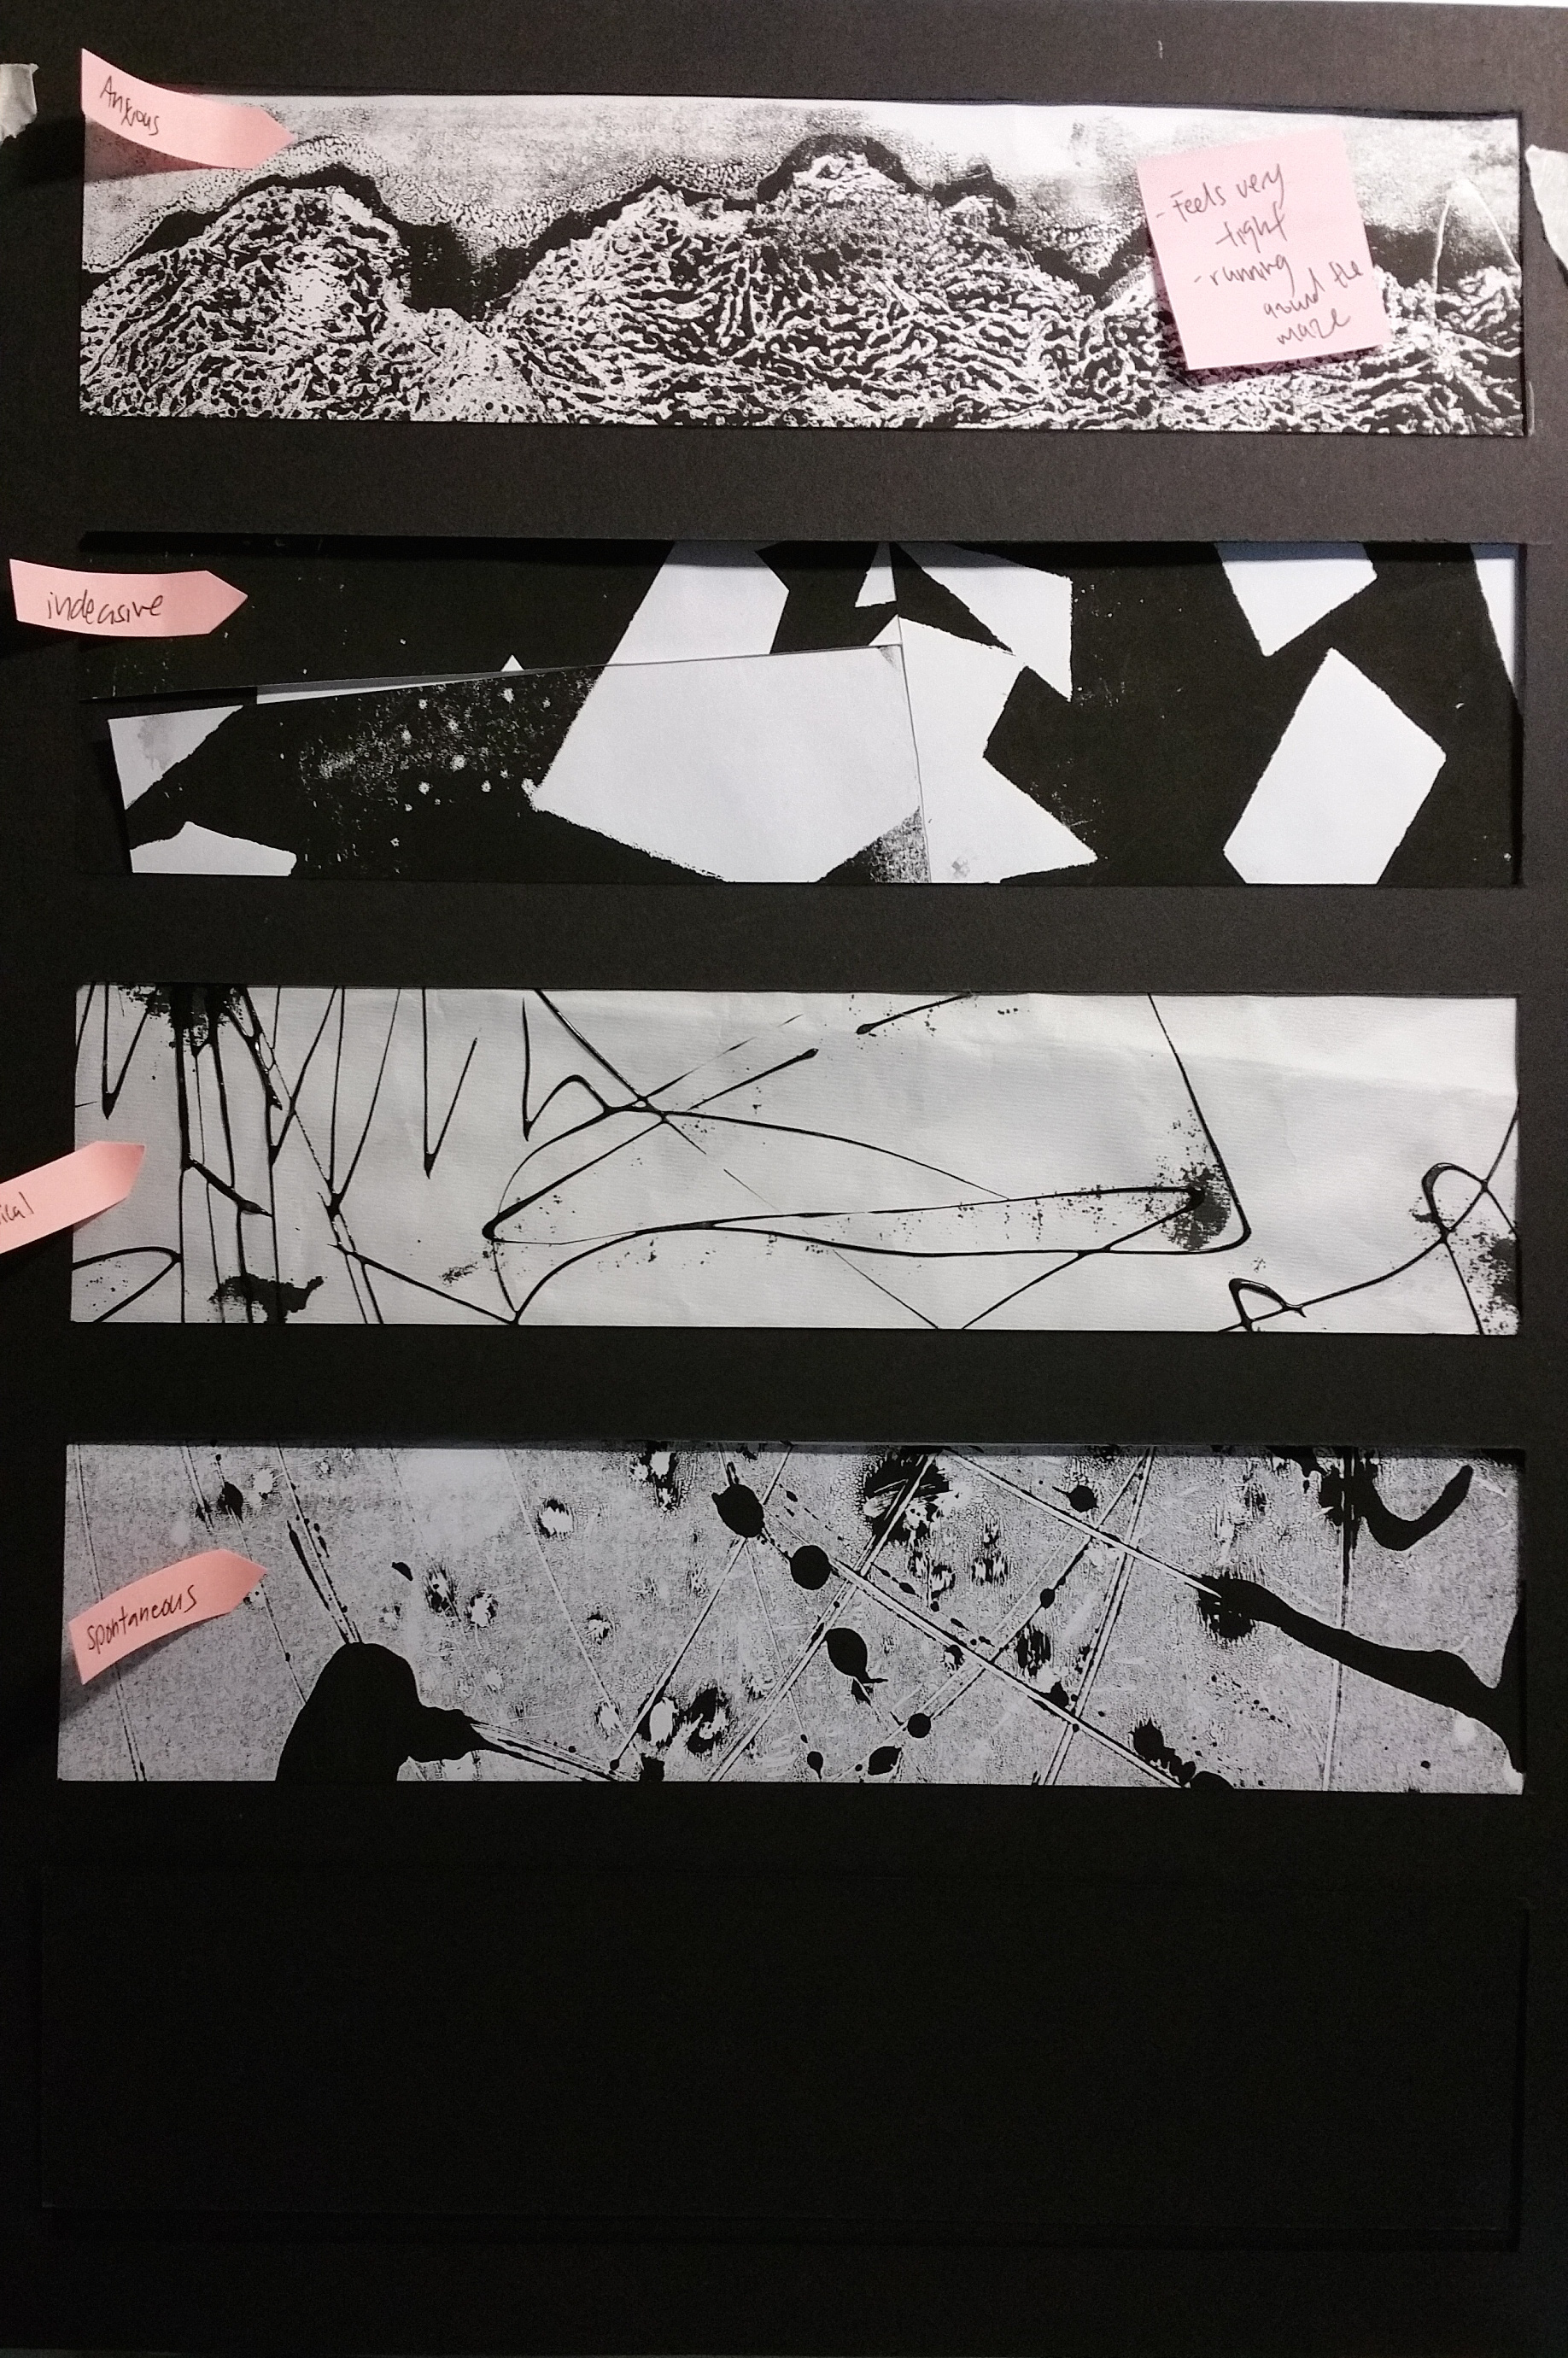

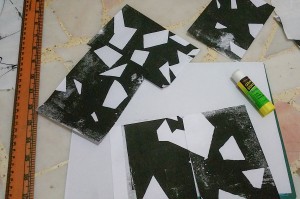
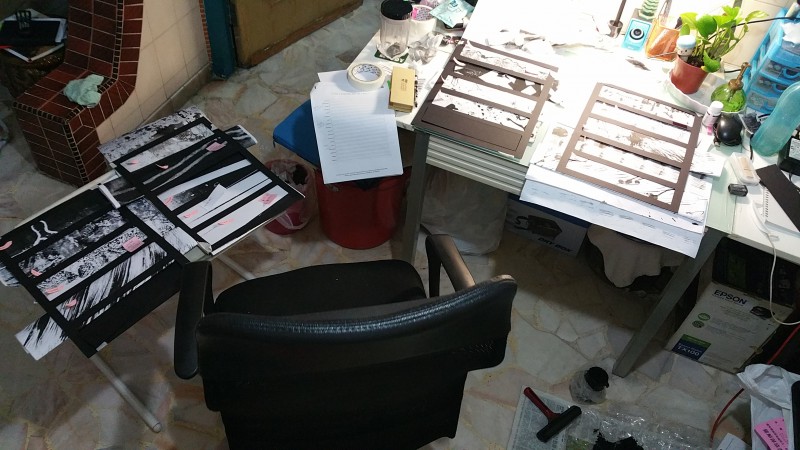
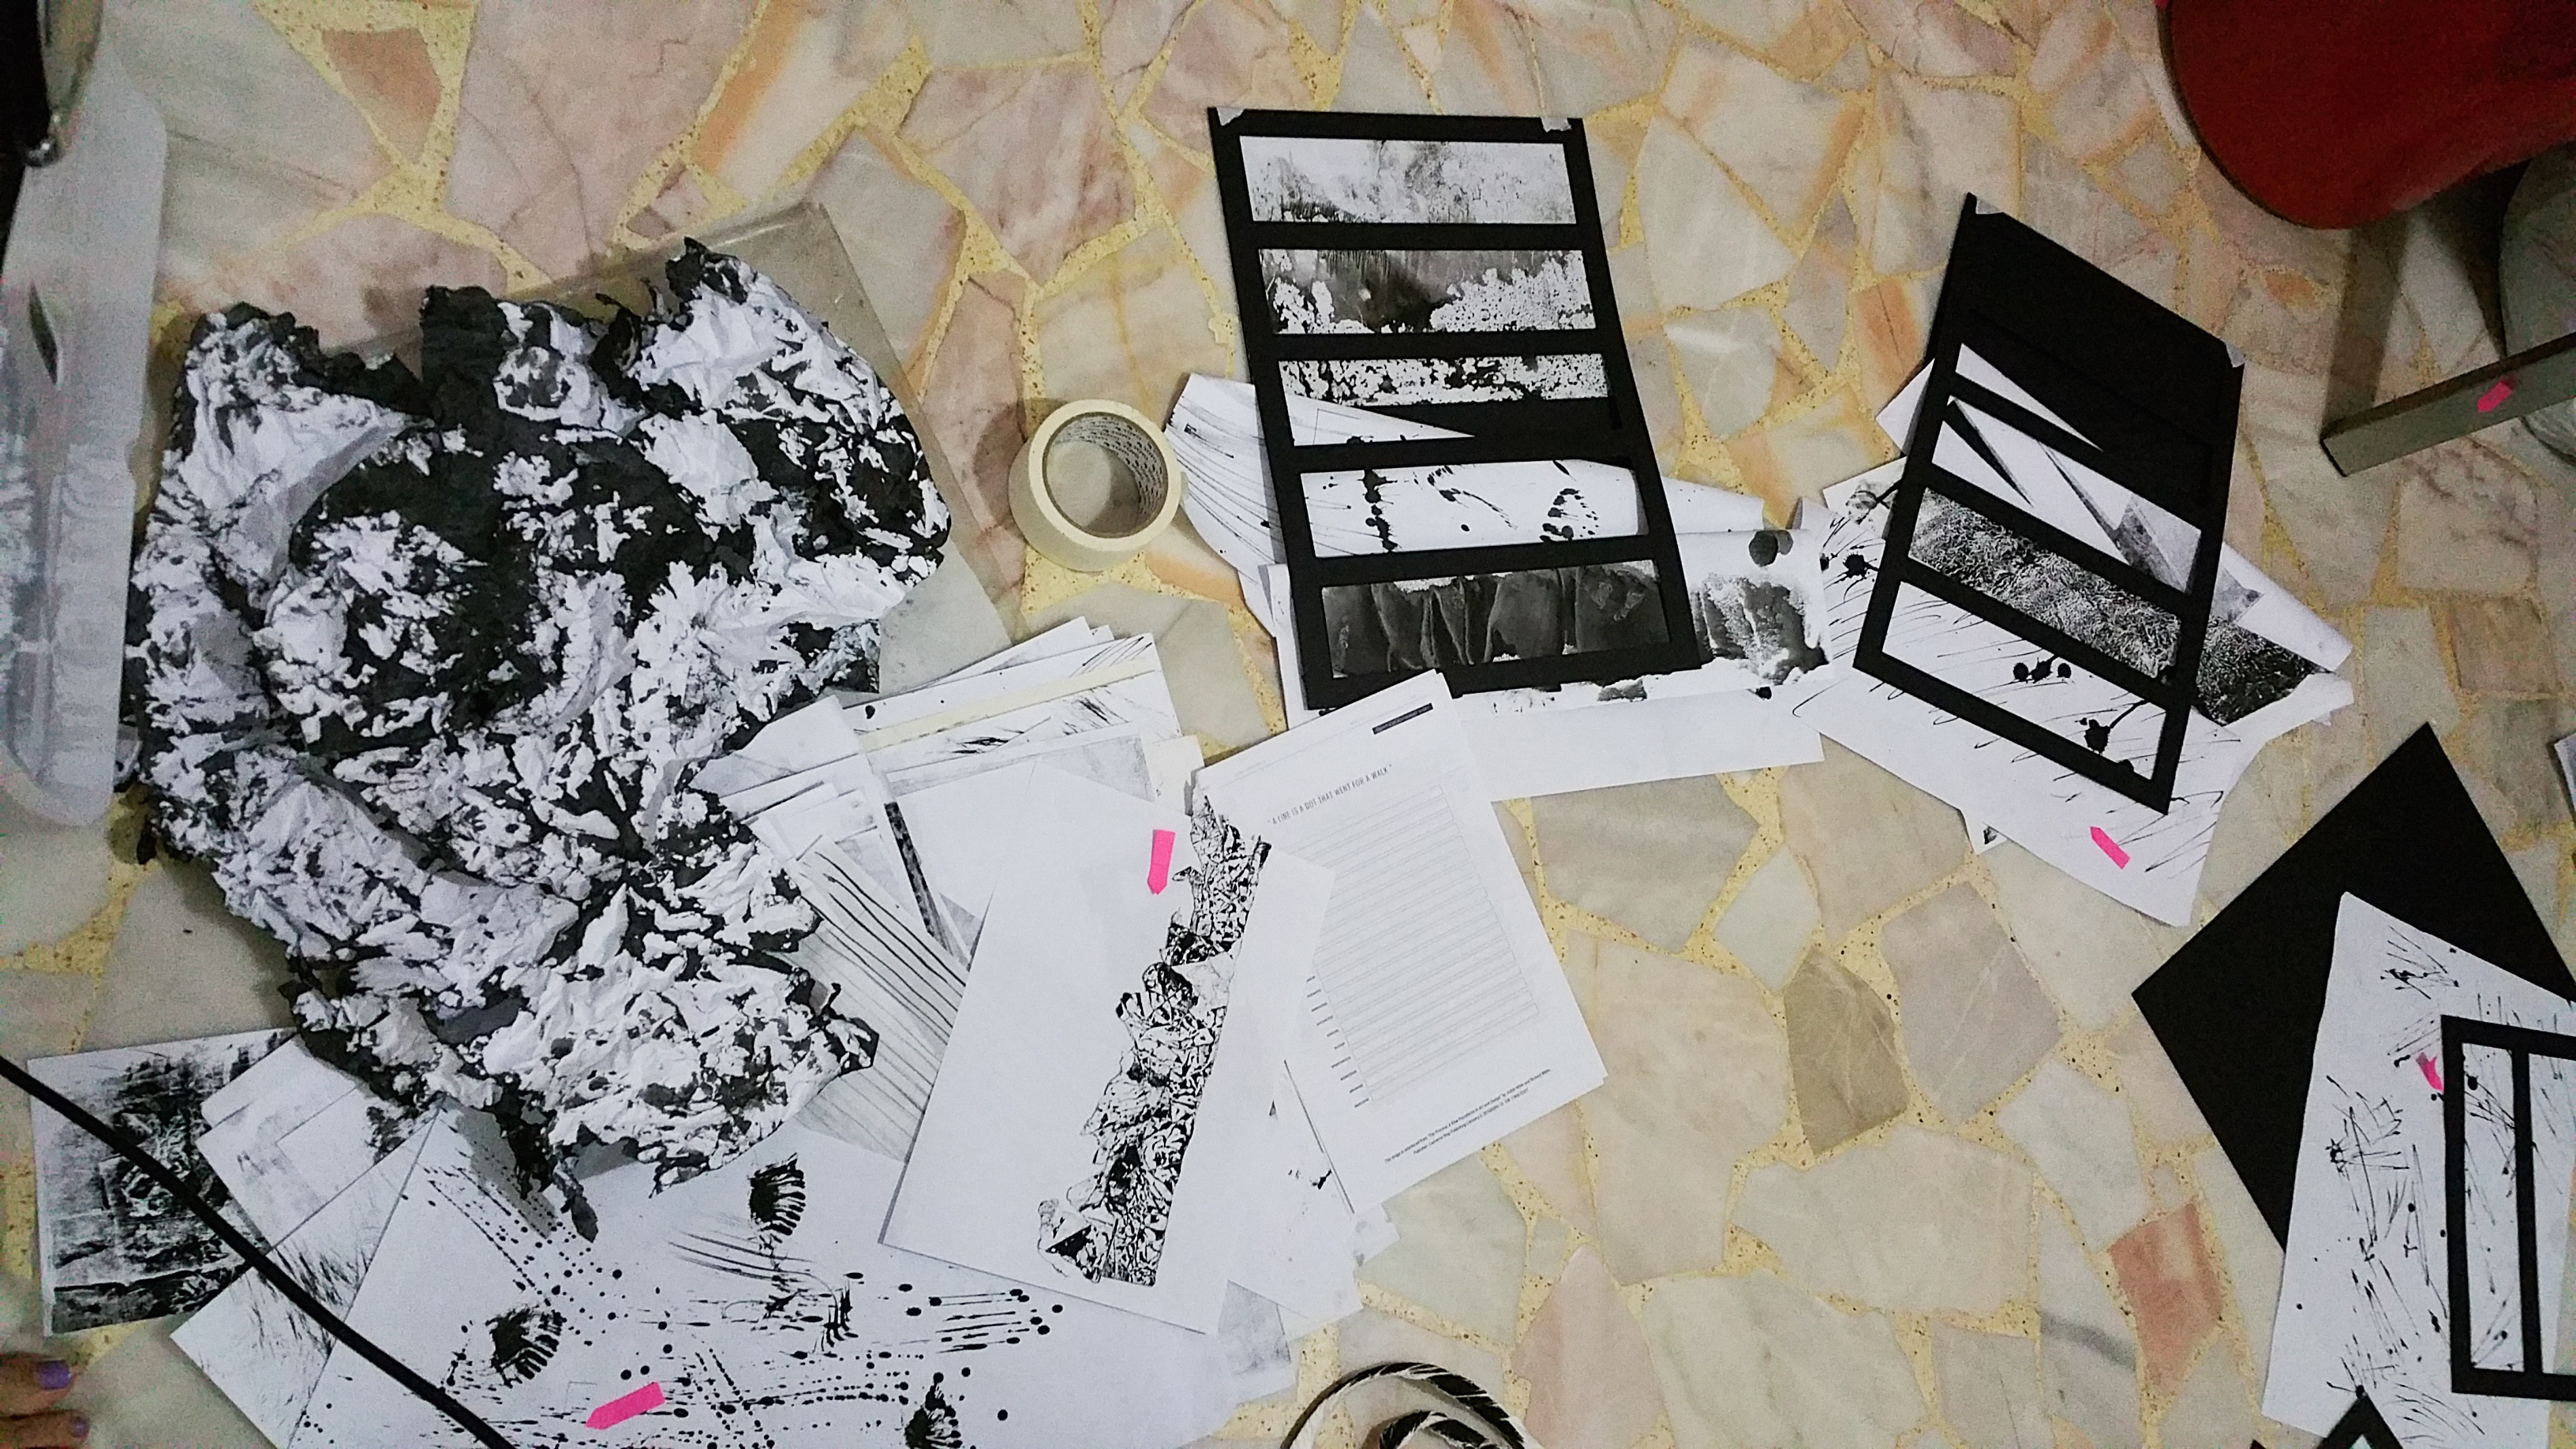
I purposely didnt want to cut the lines into the correct size or stick them down to the frames until i am completely sure that that is what i wanted. I wanted to have the freedom to keep changing and finding the arrangement that i like.
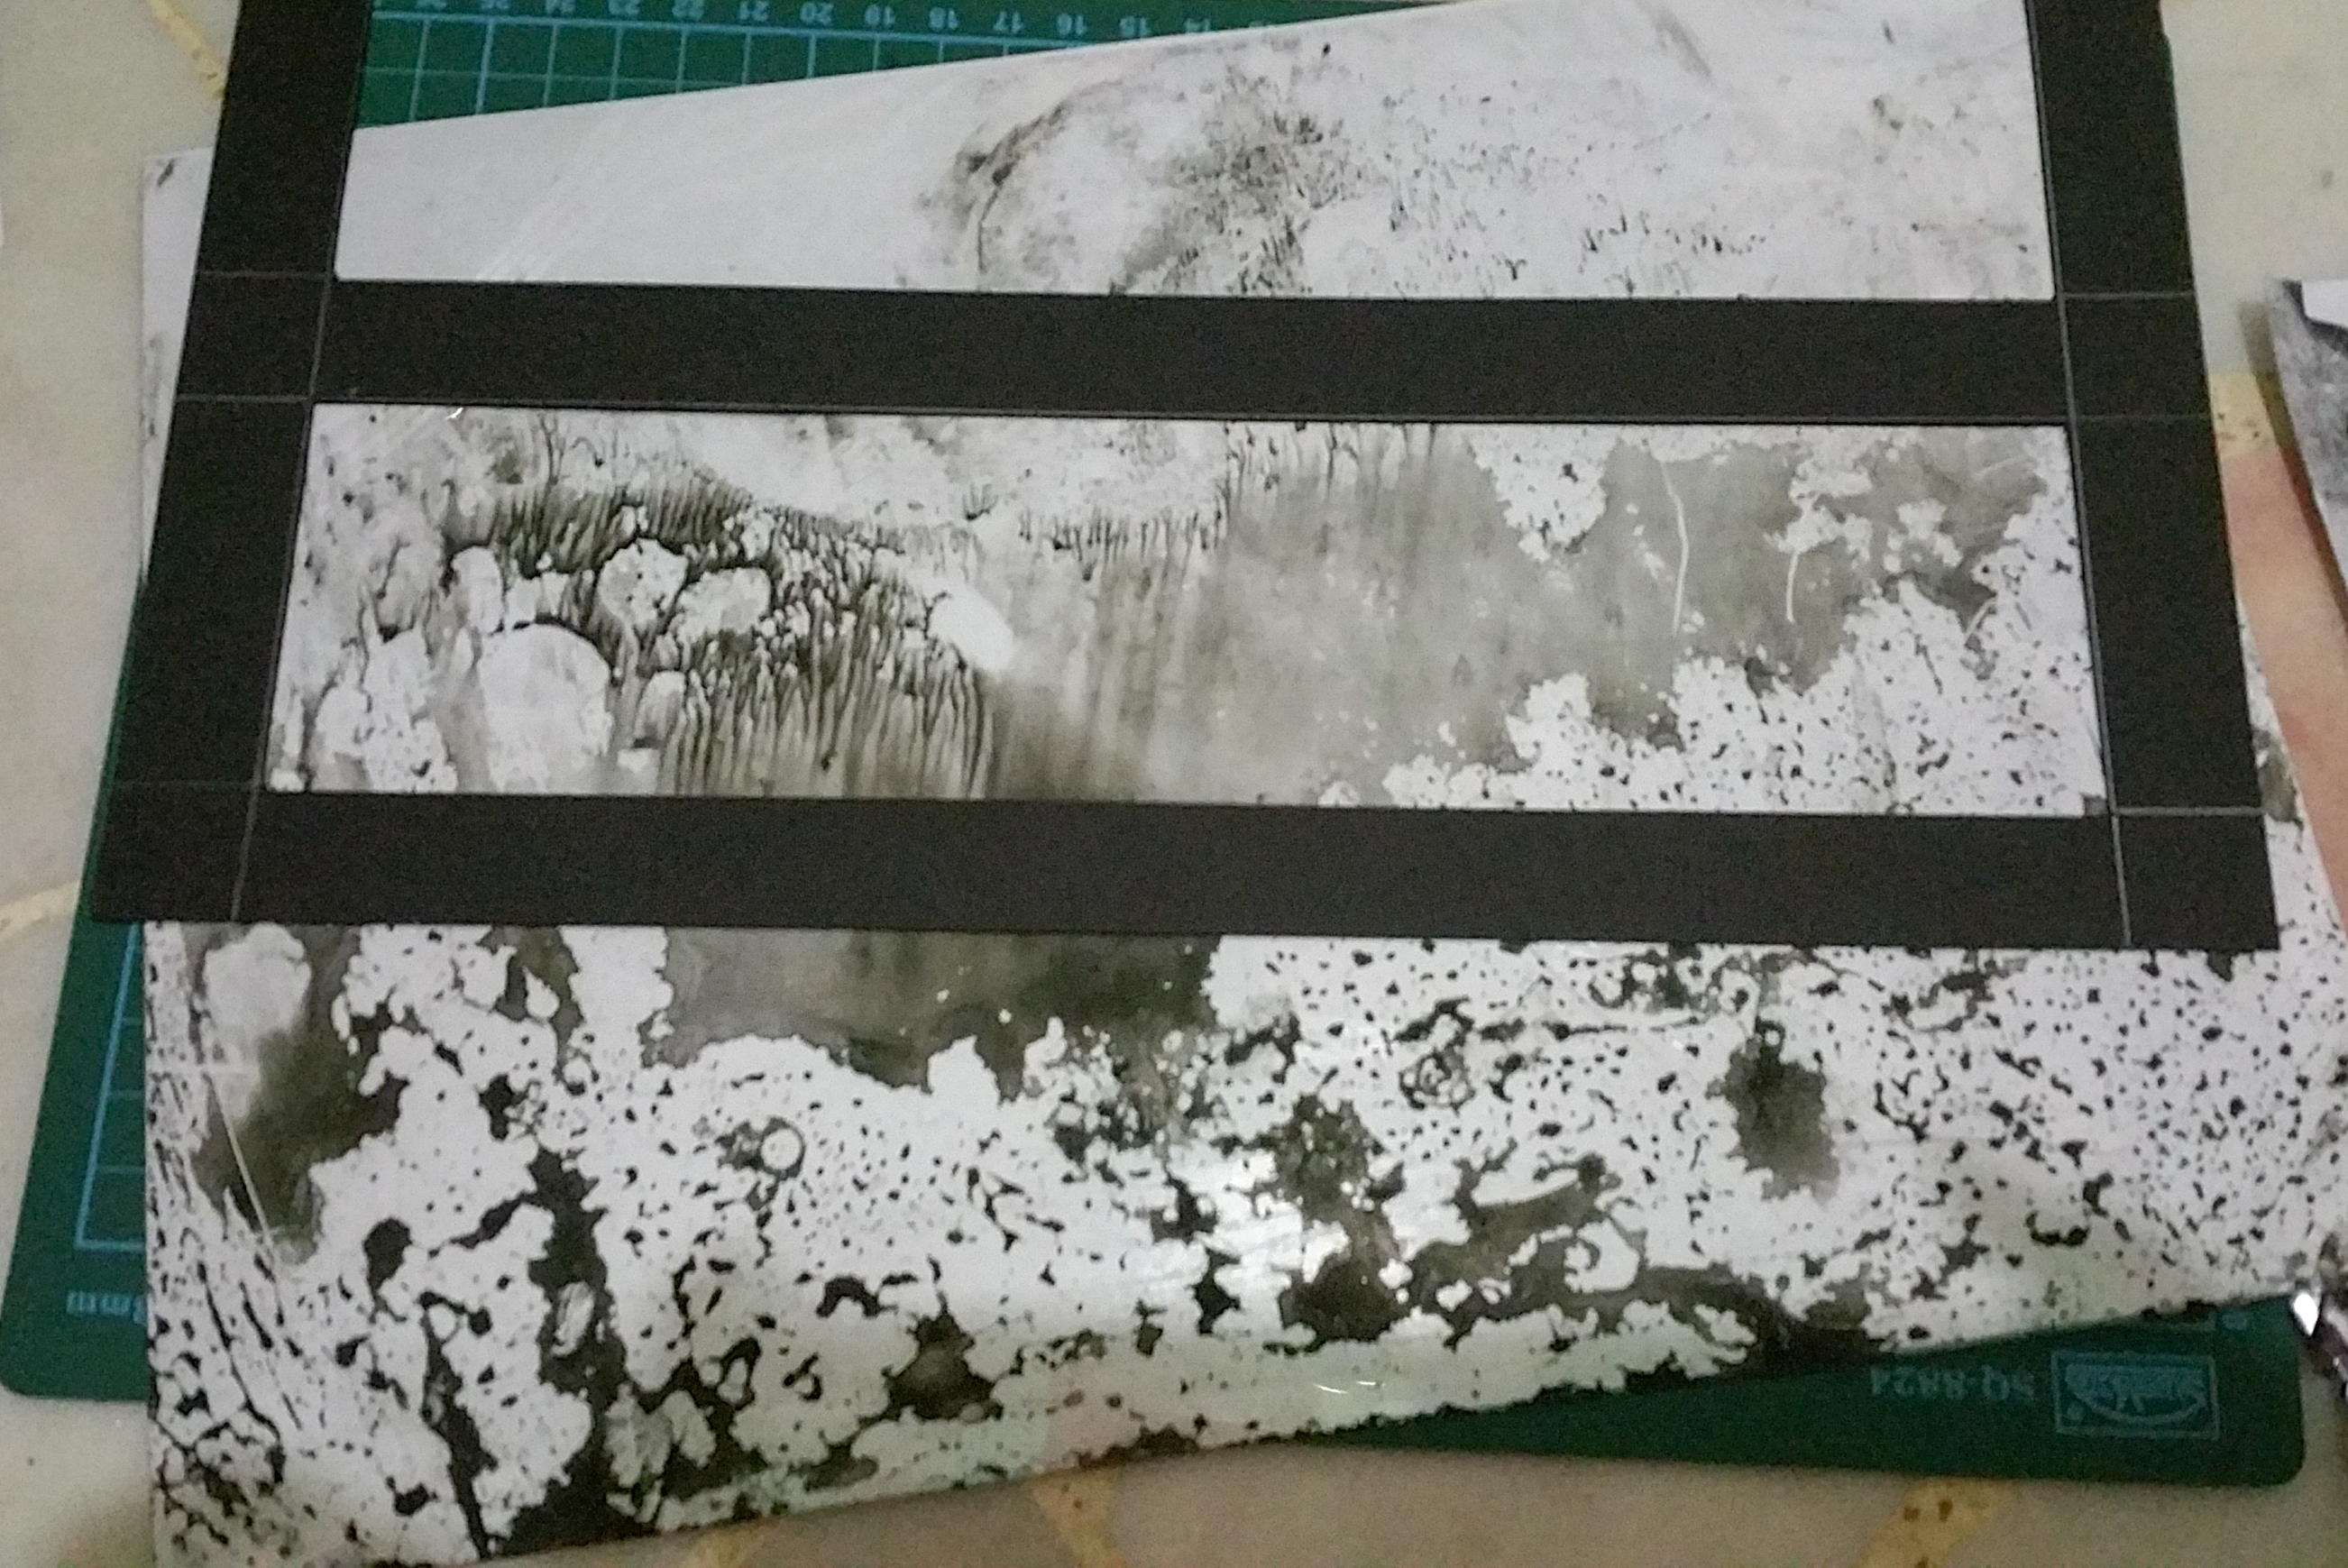
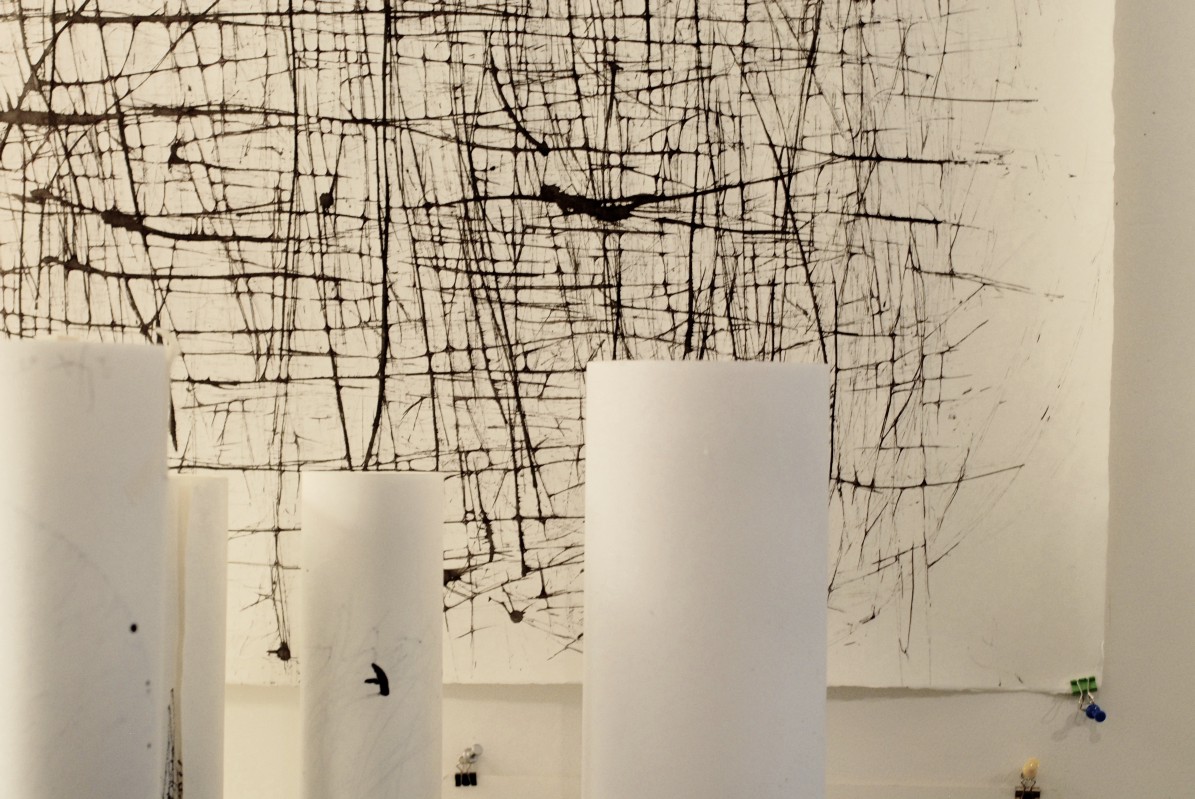
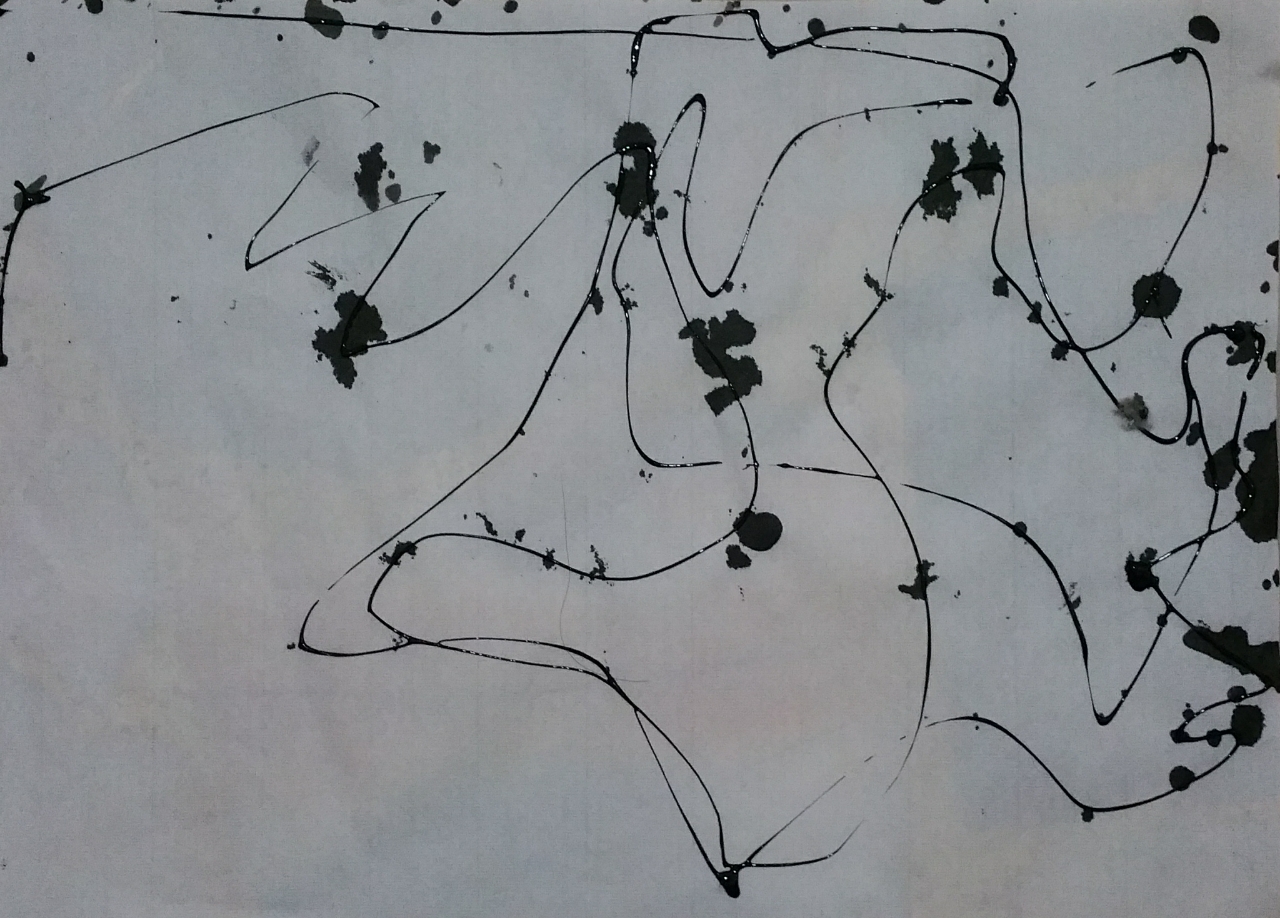
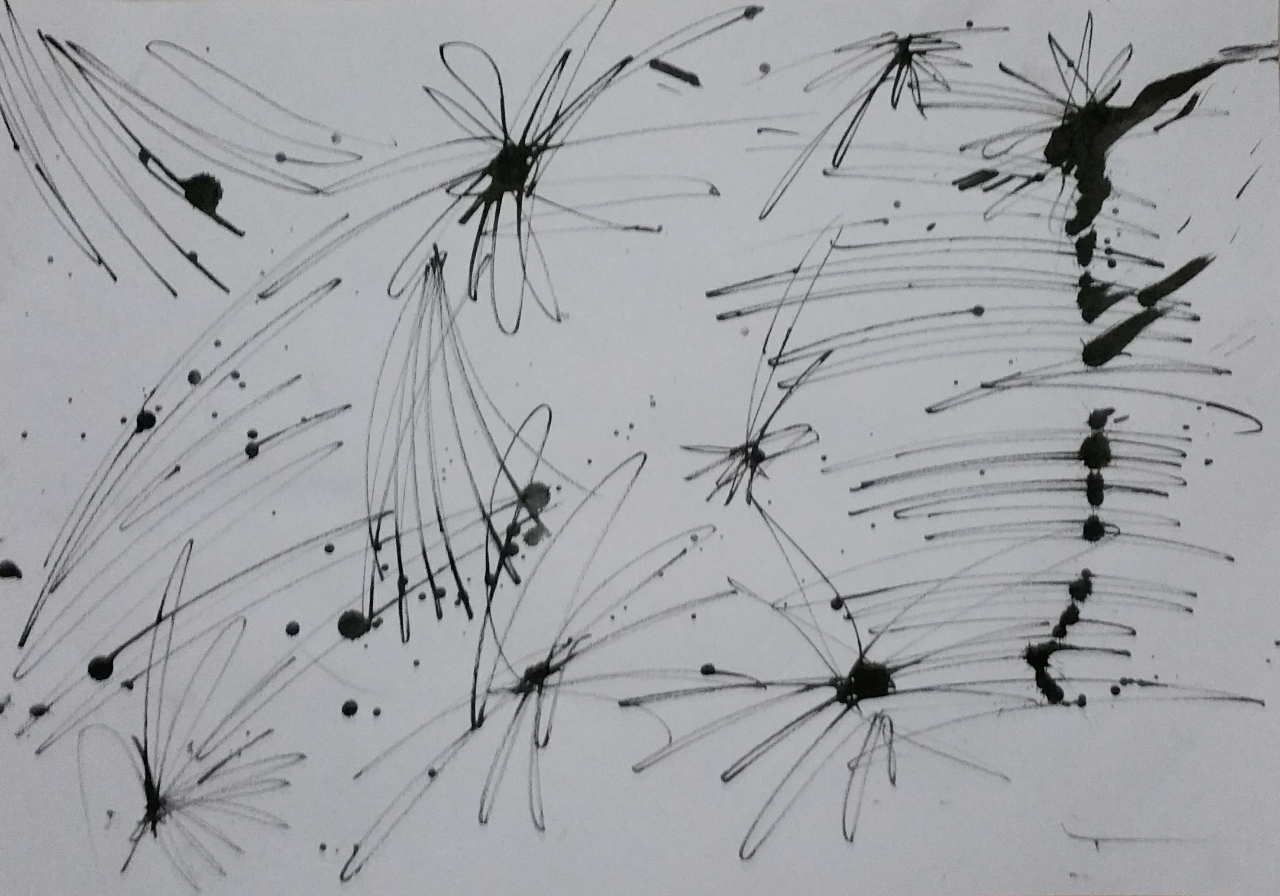
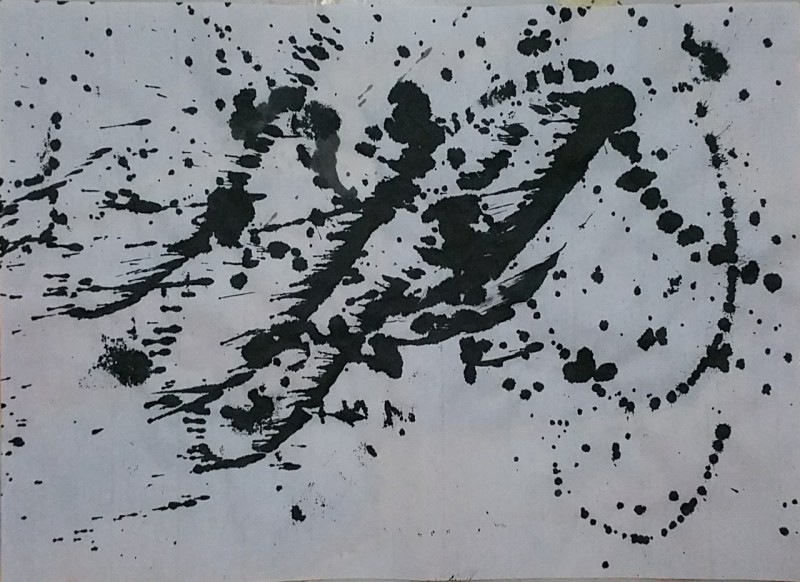
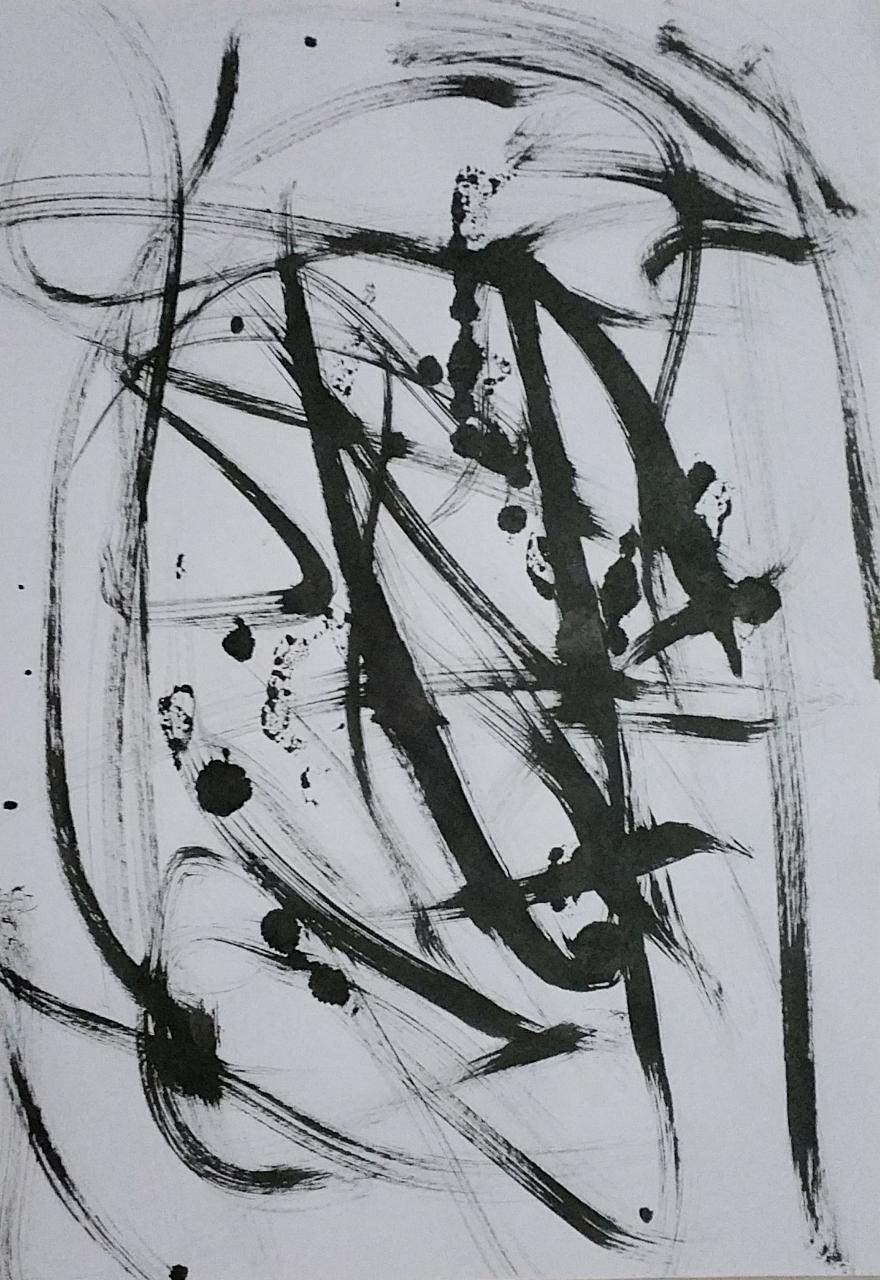
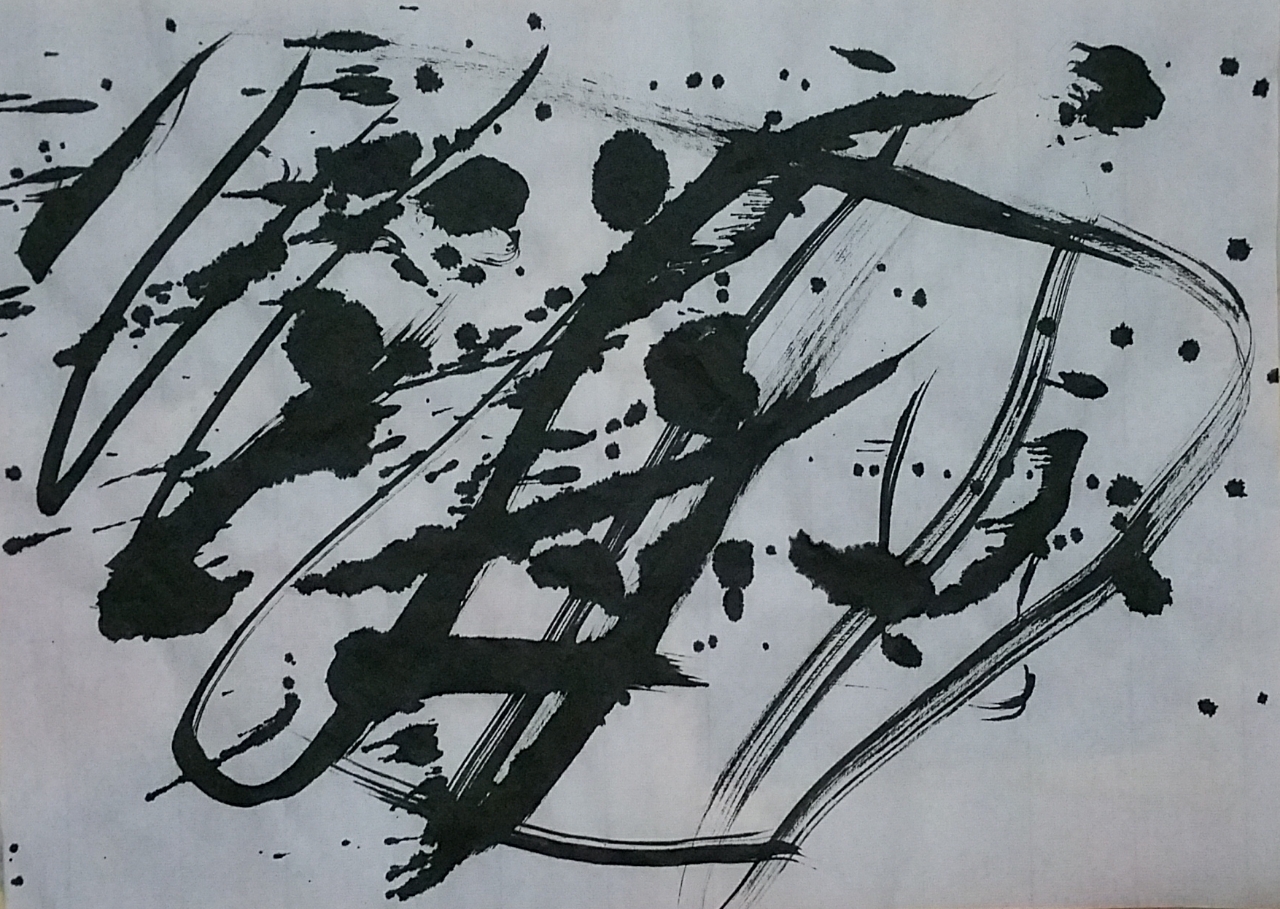
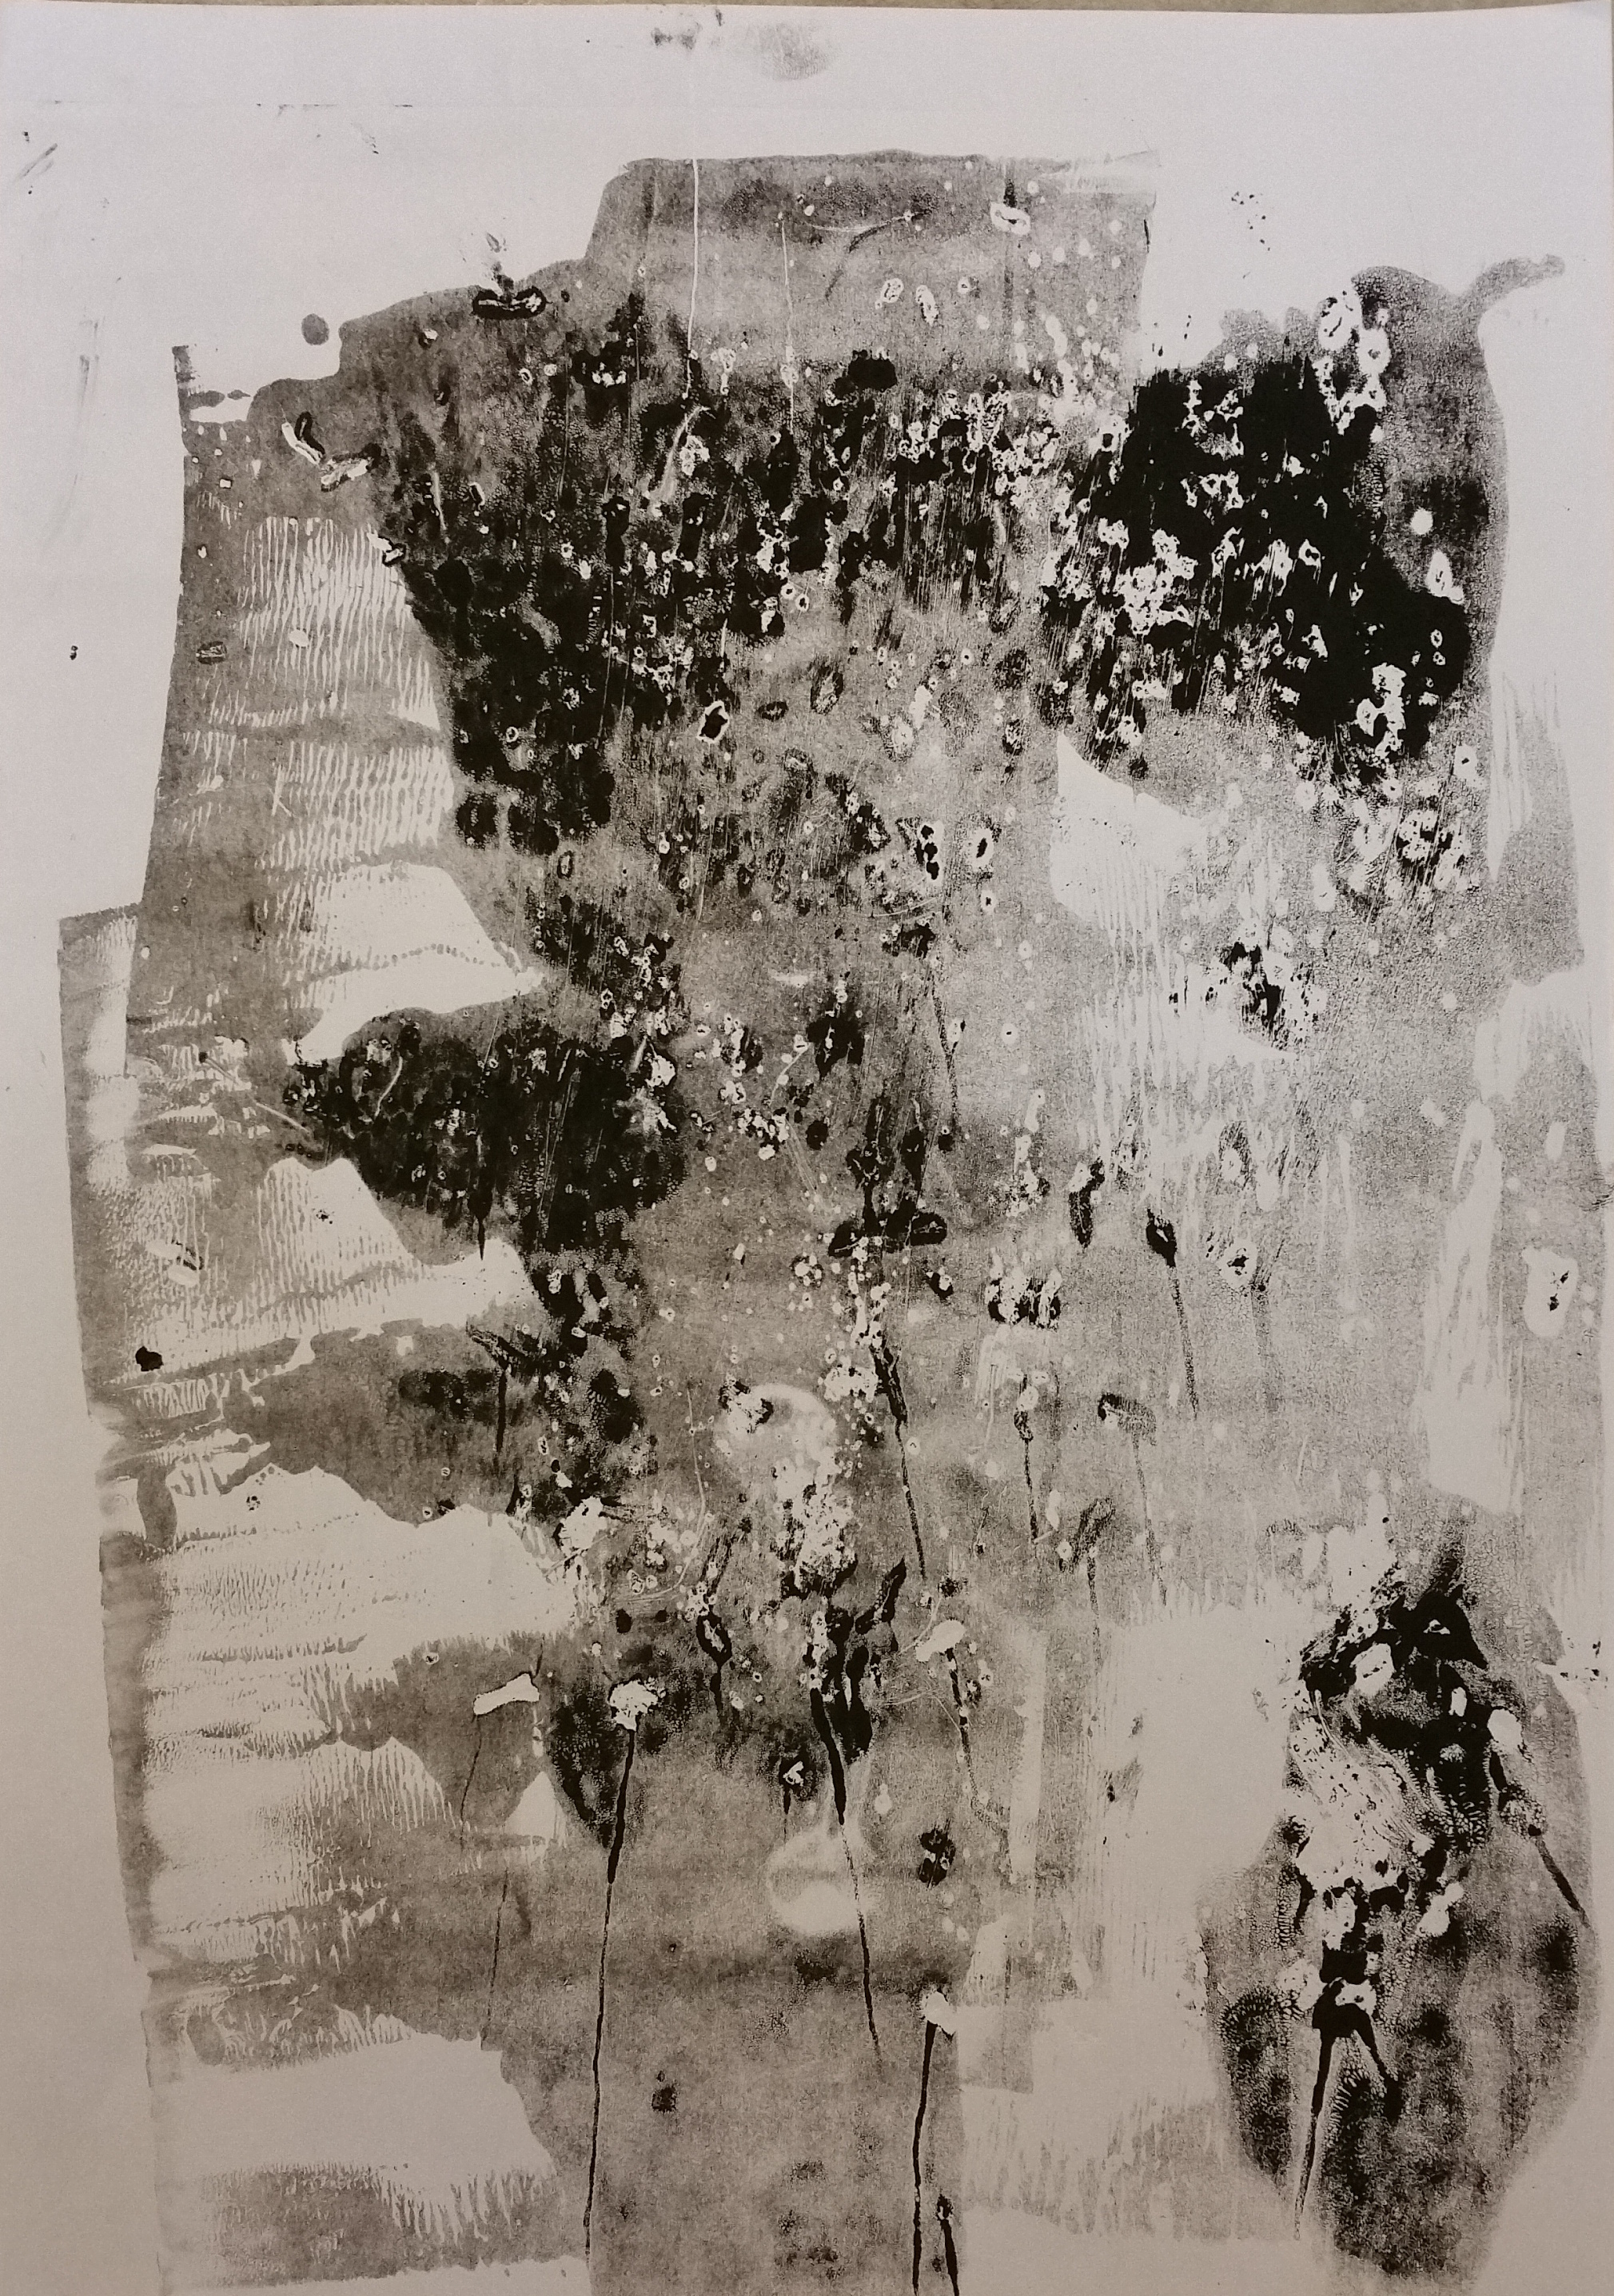
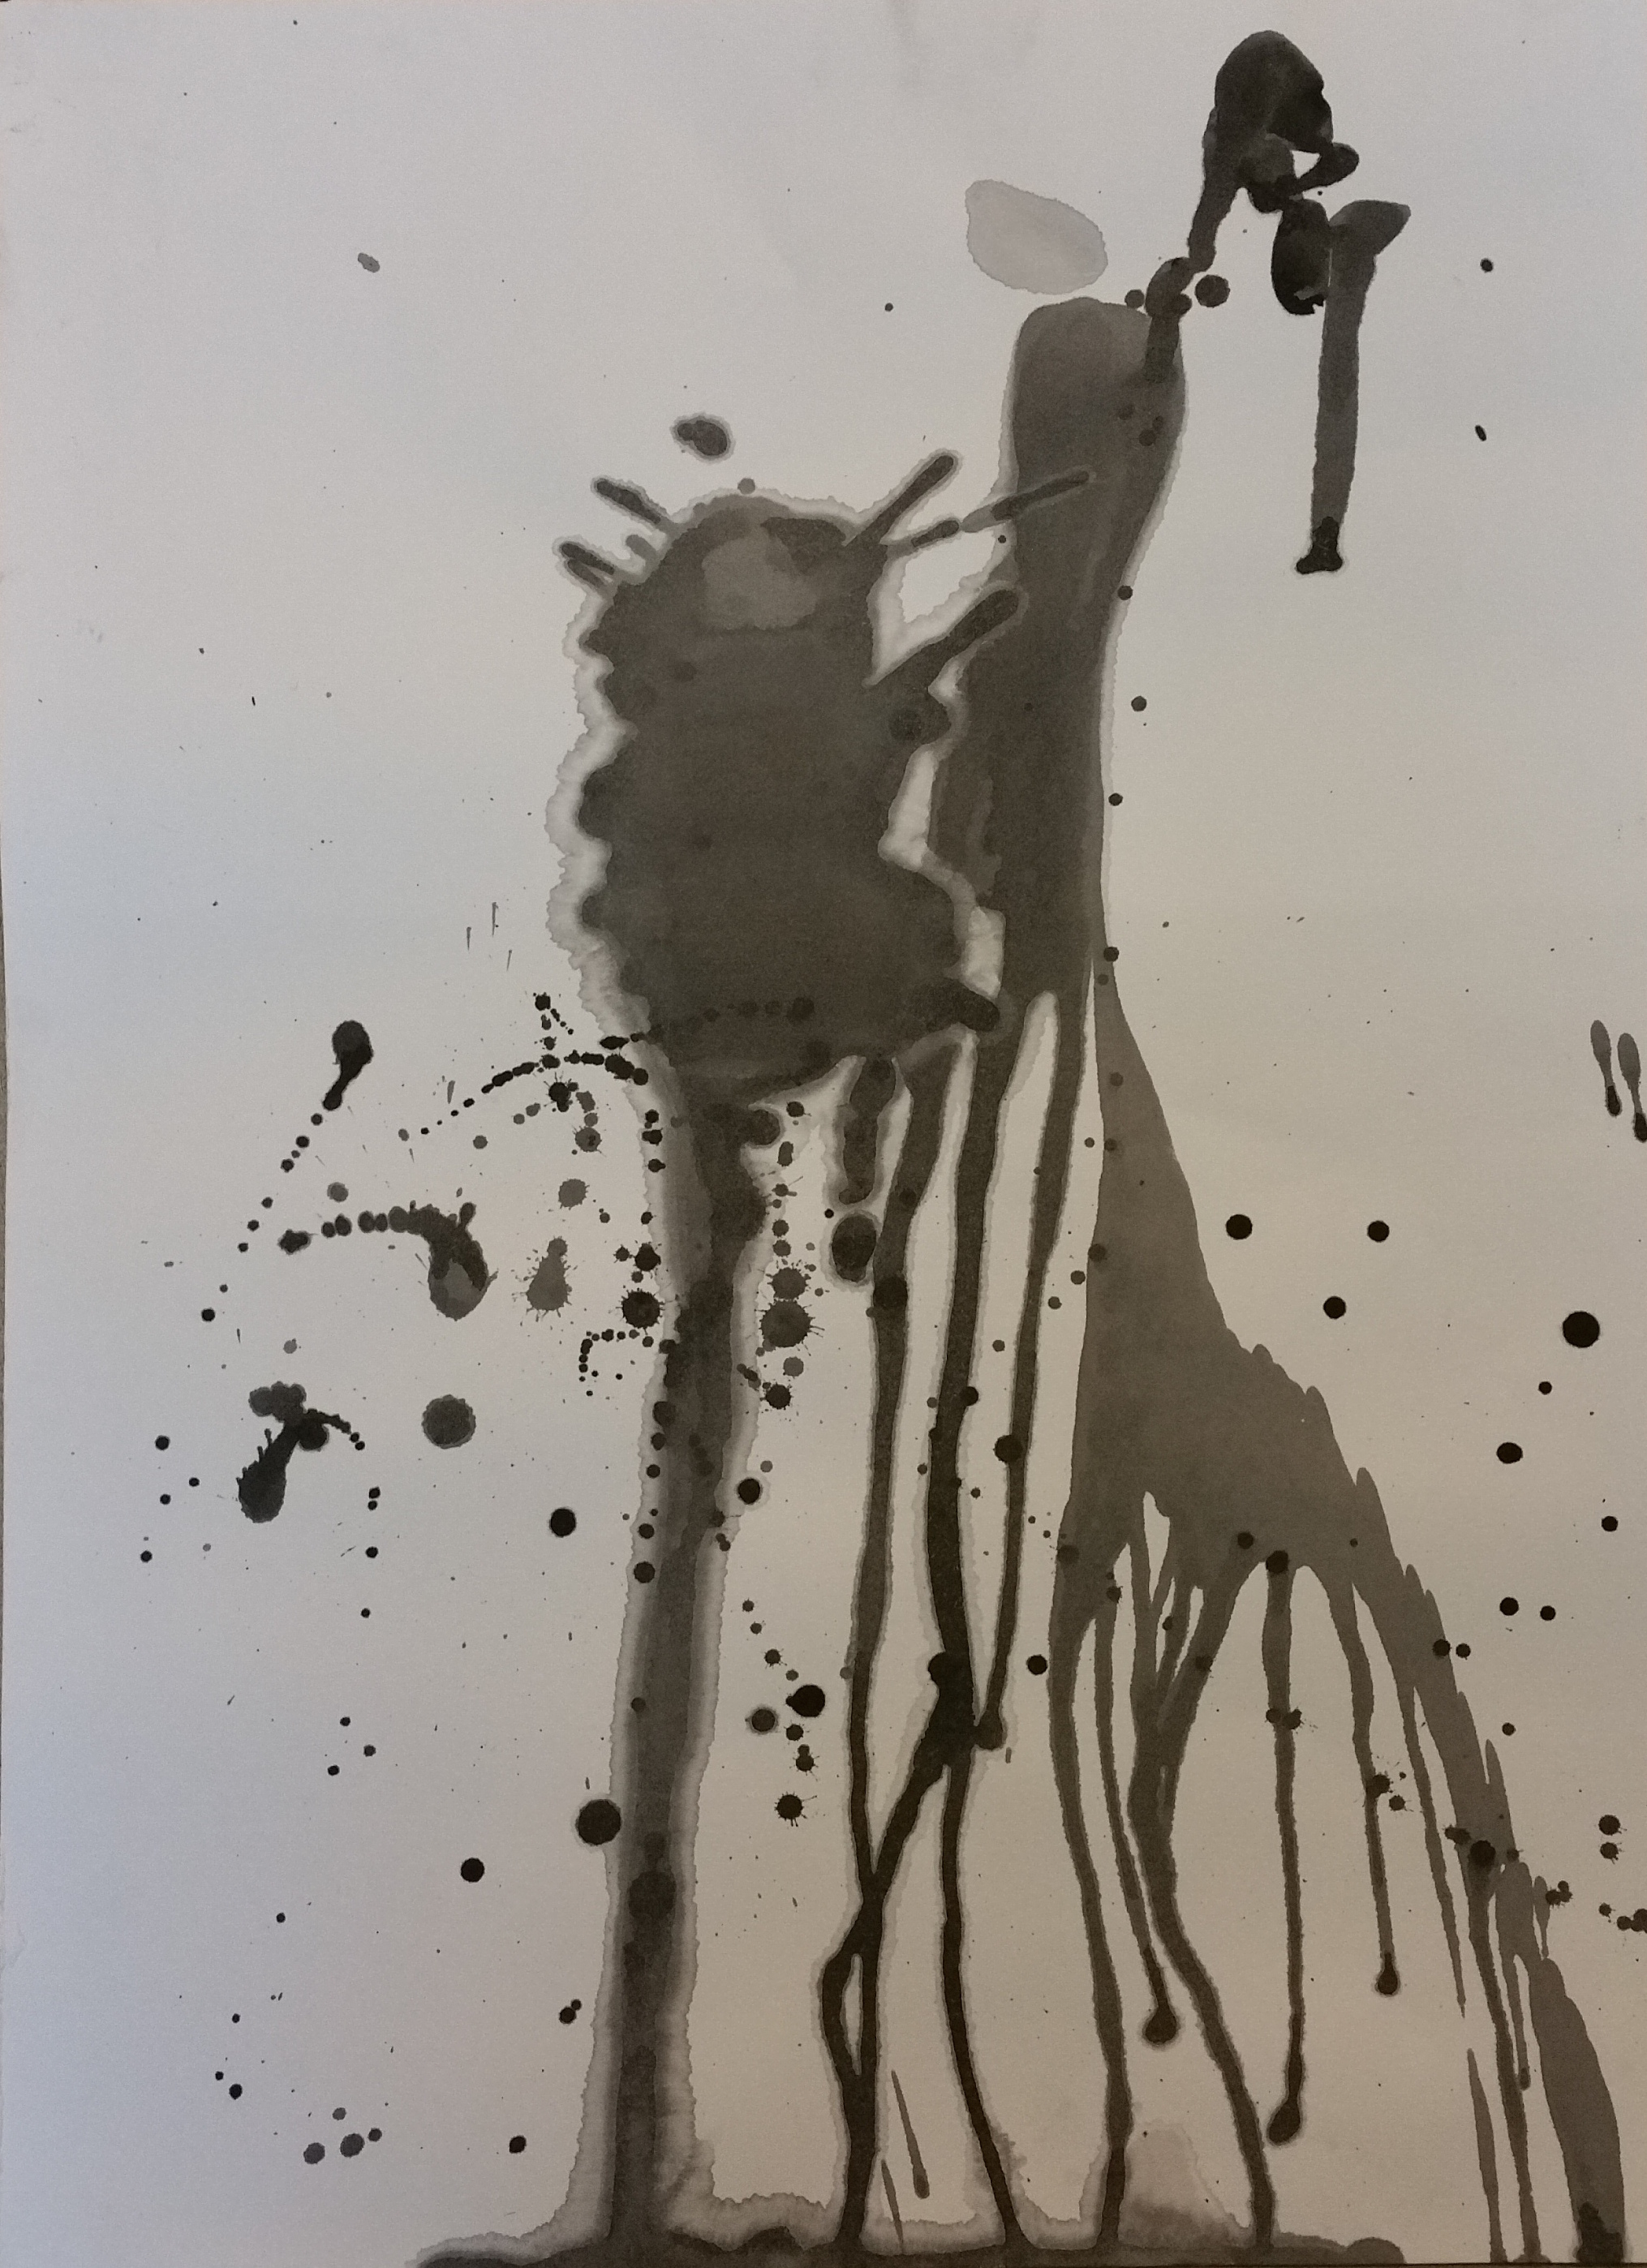
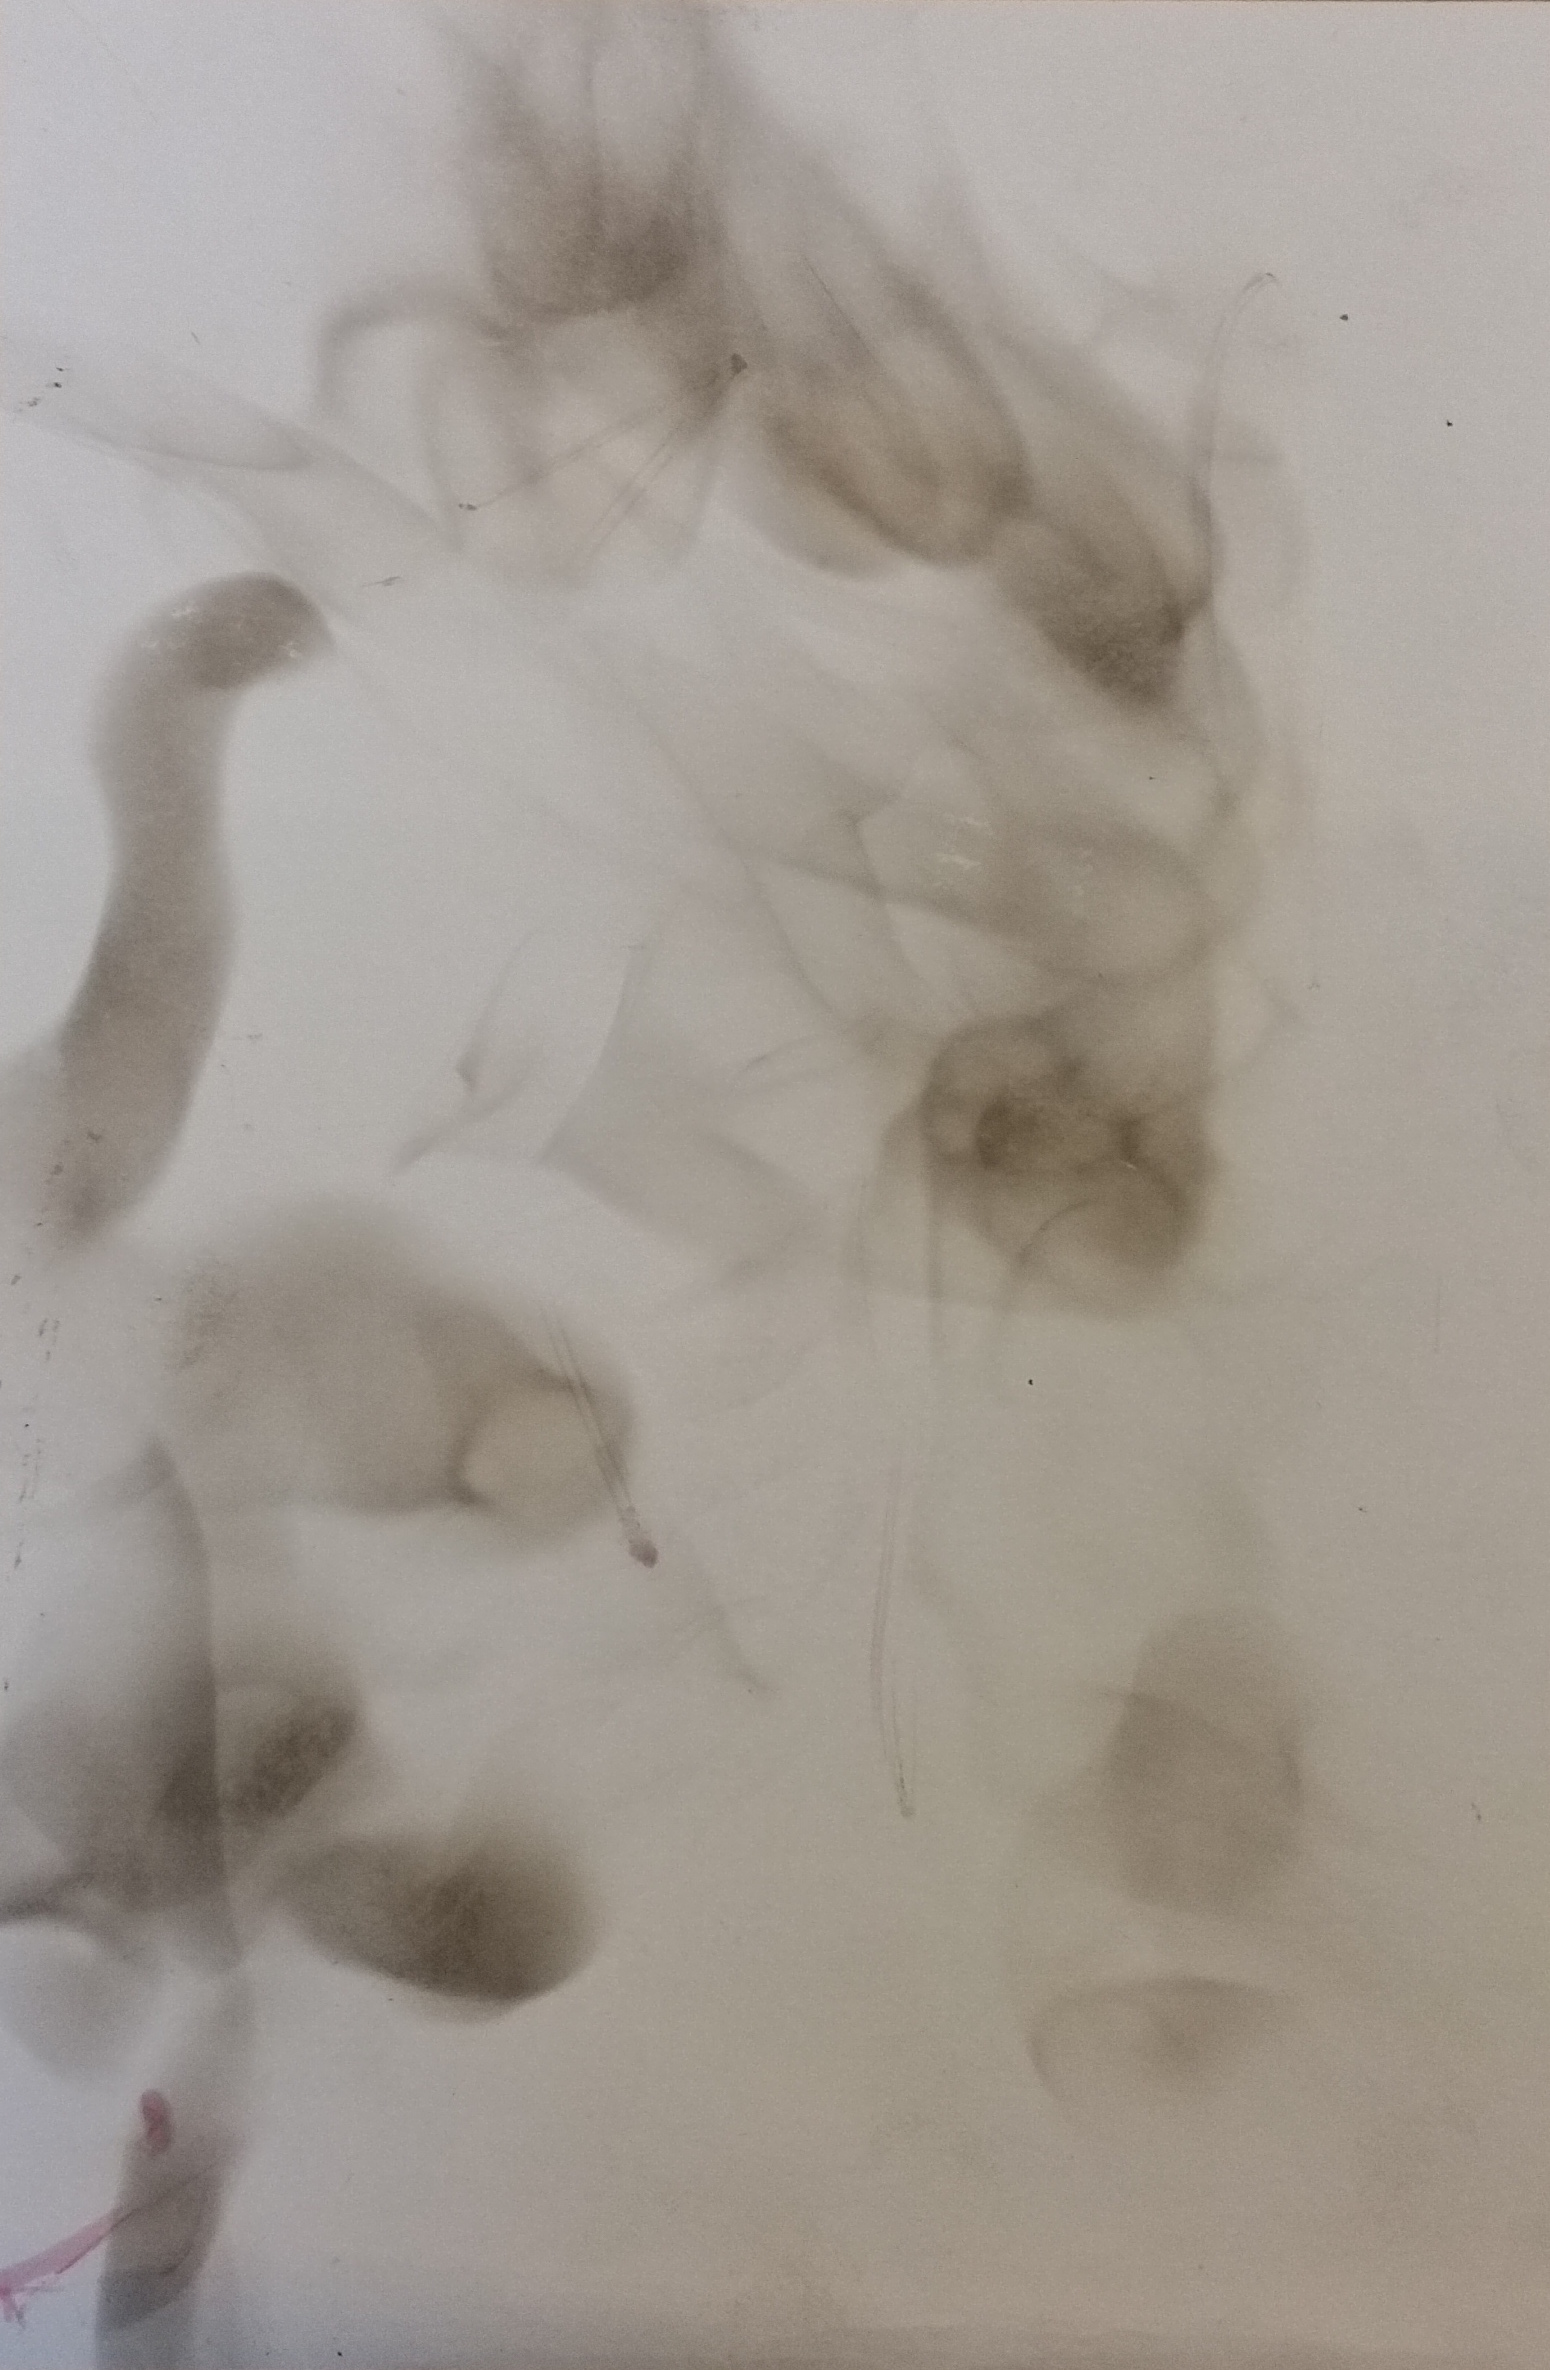
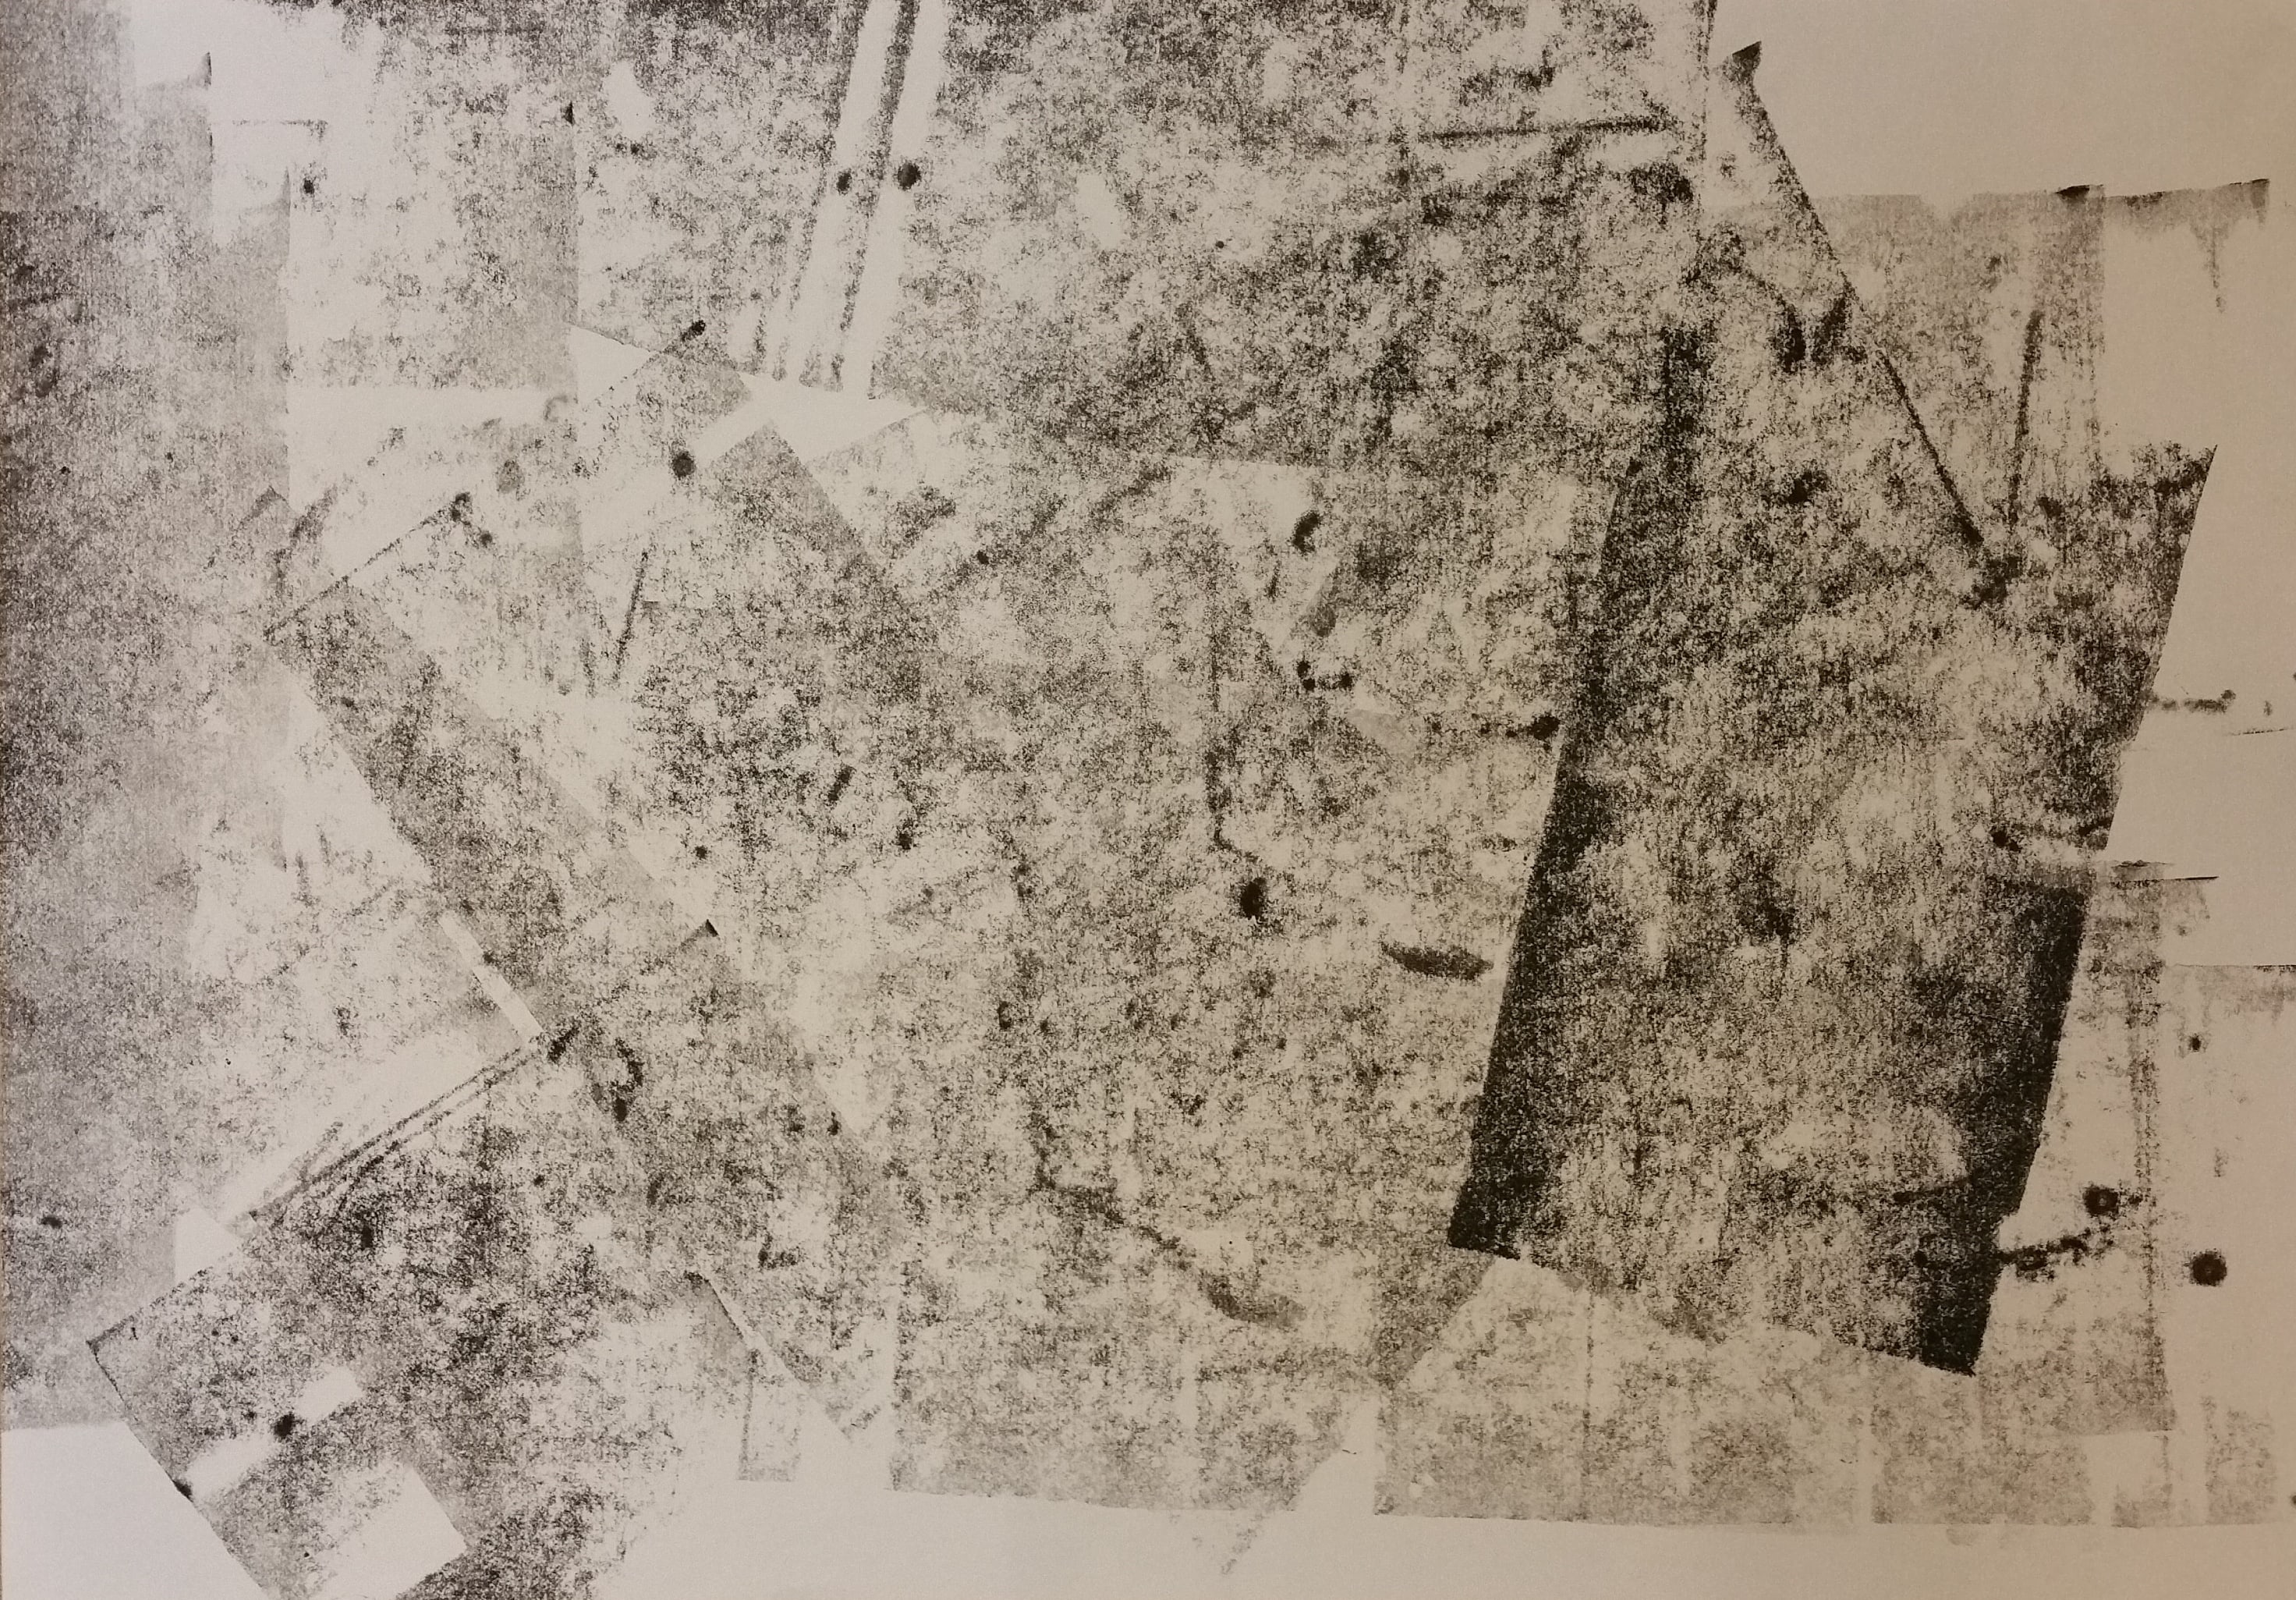
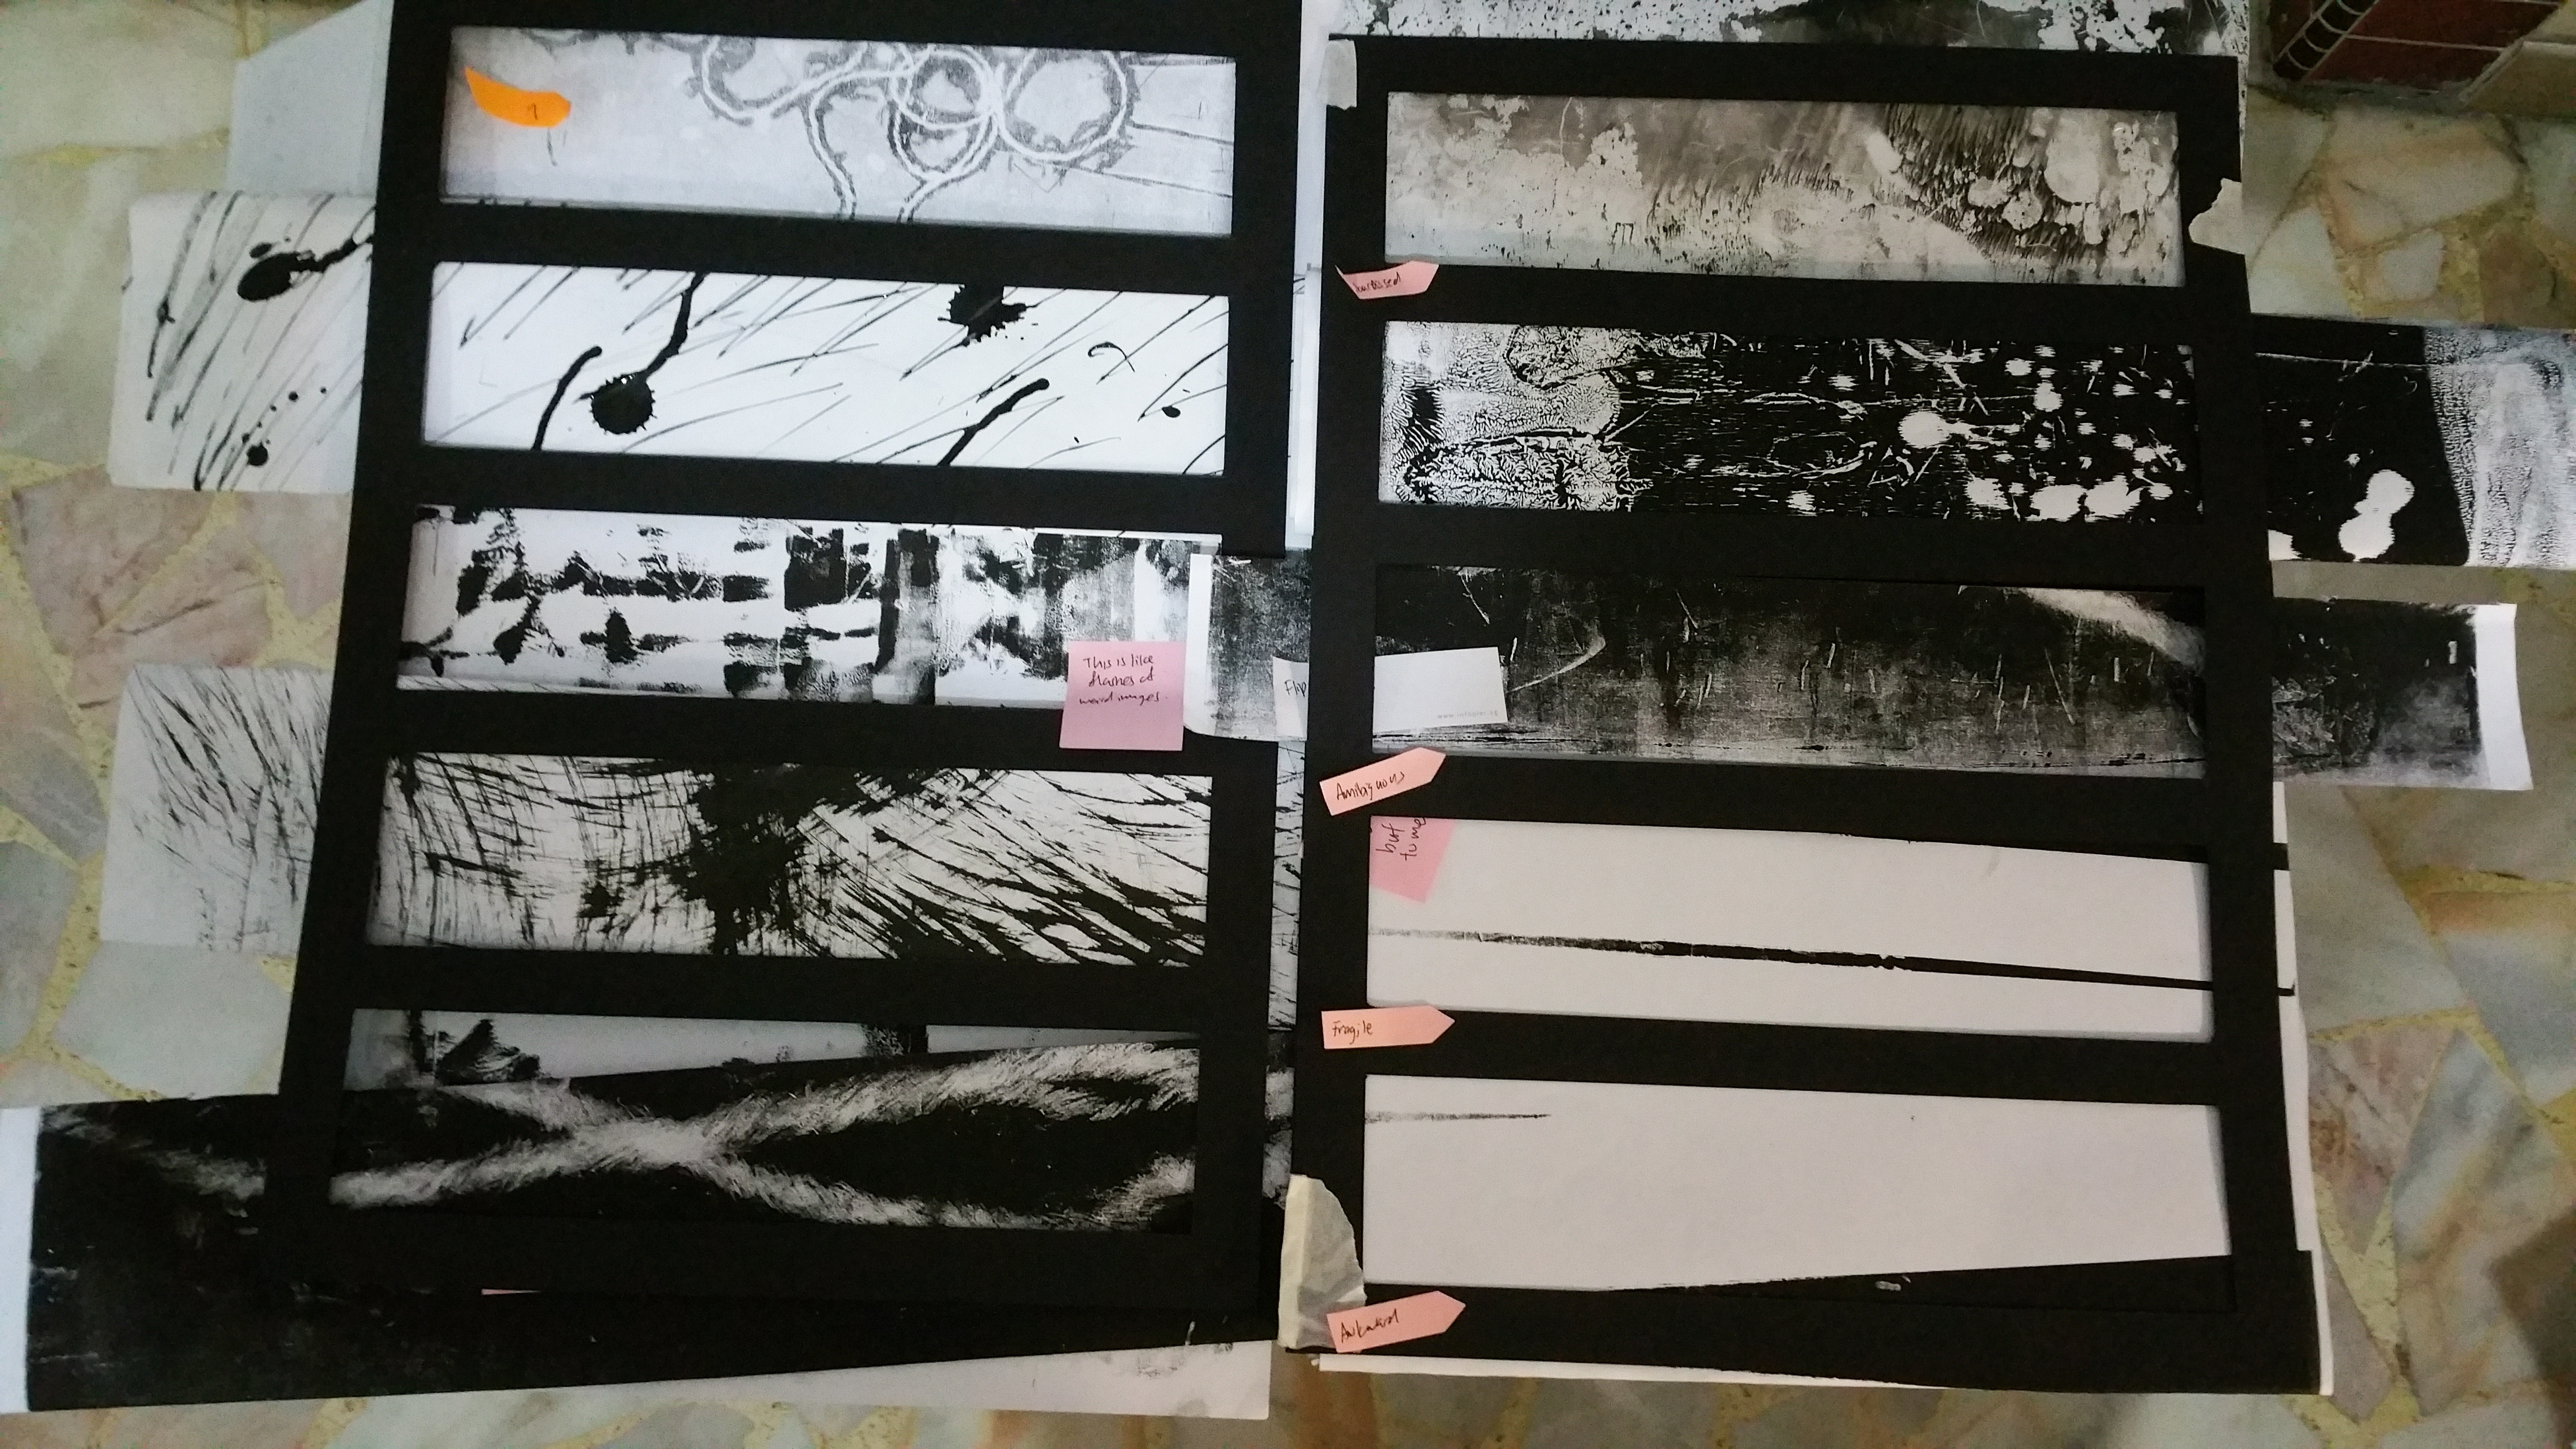
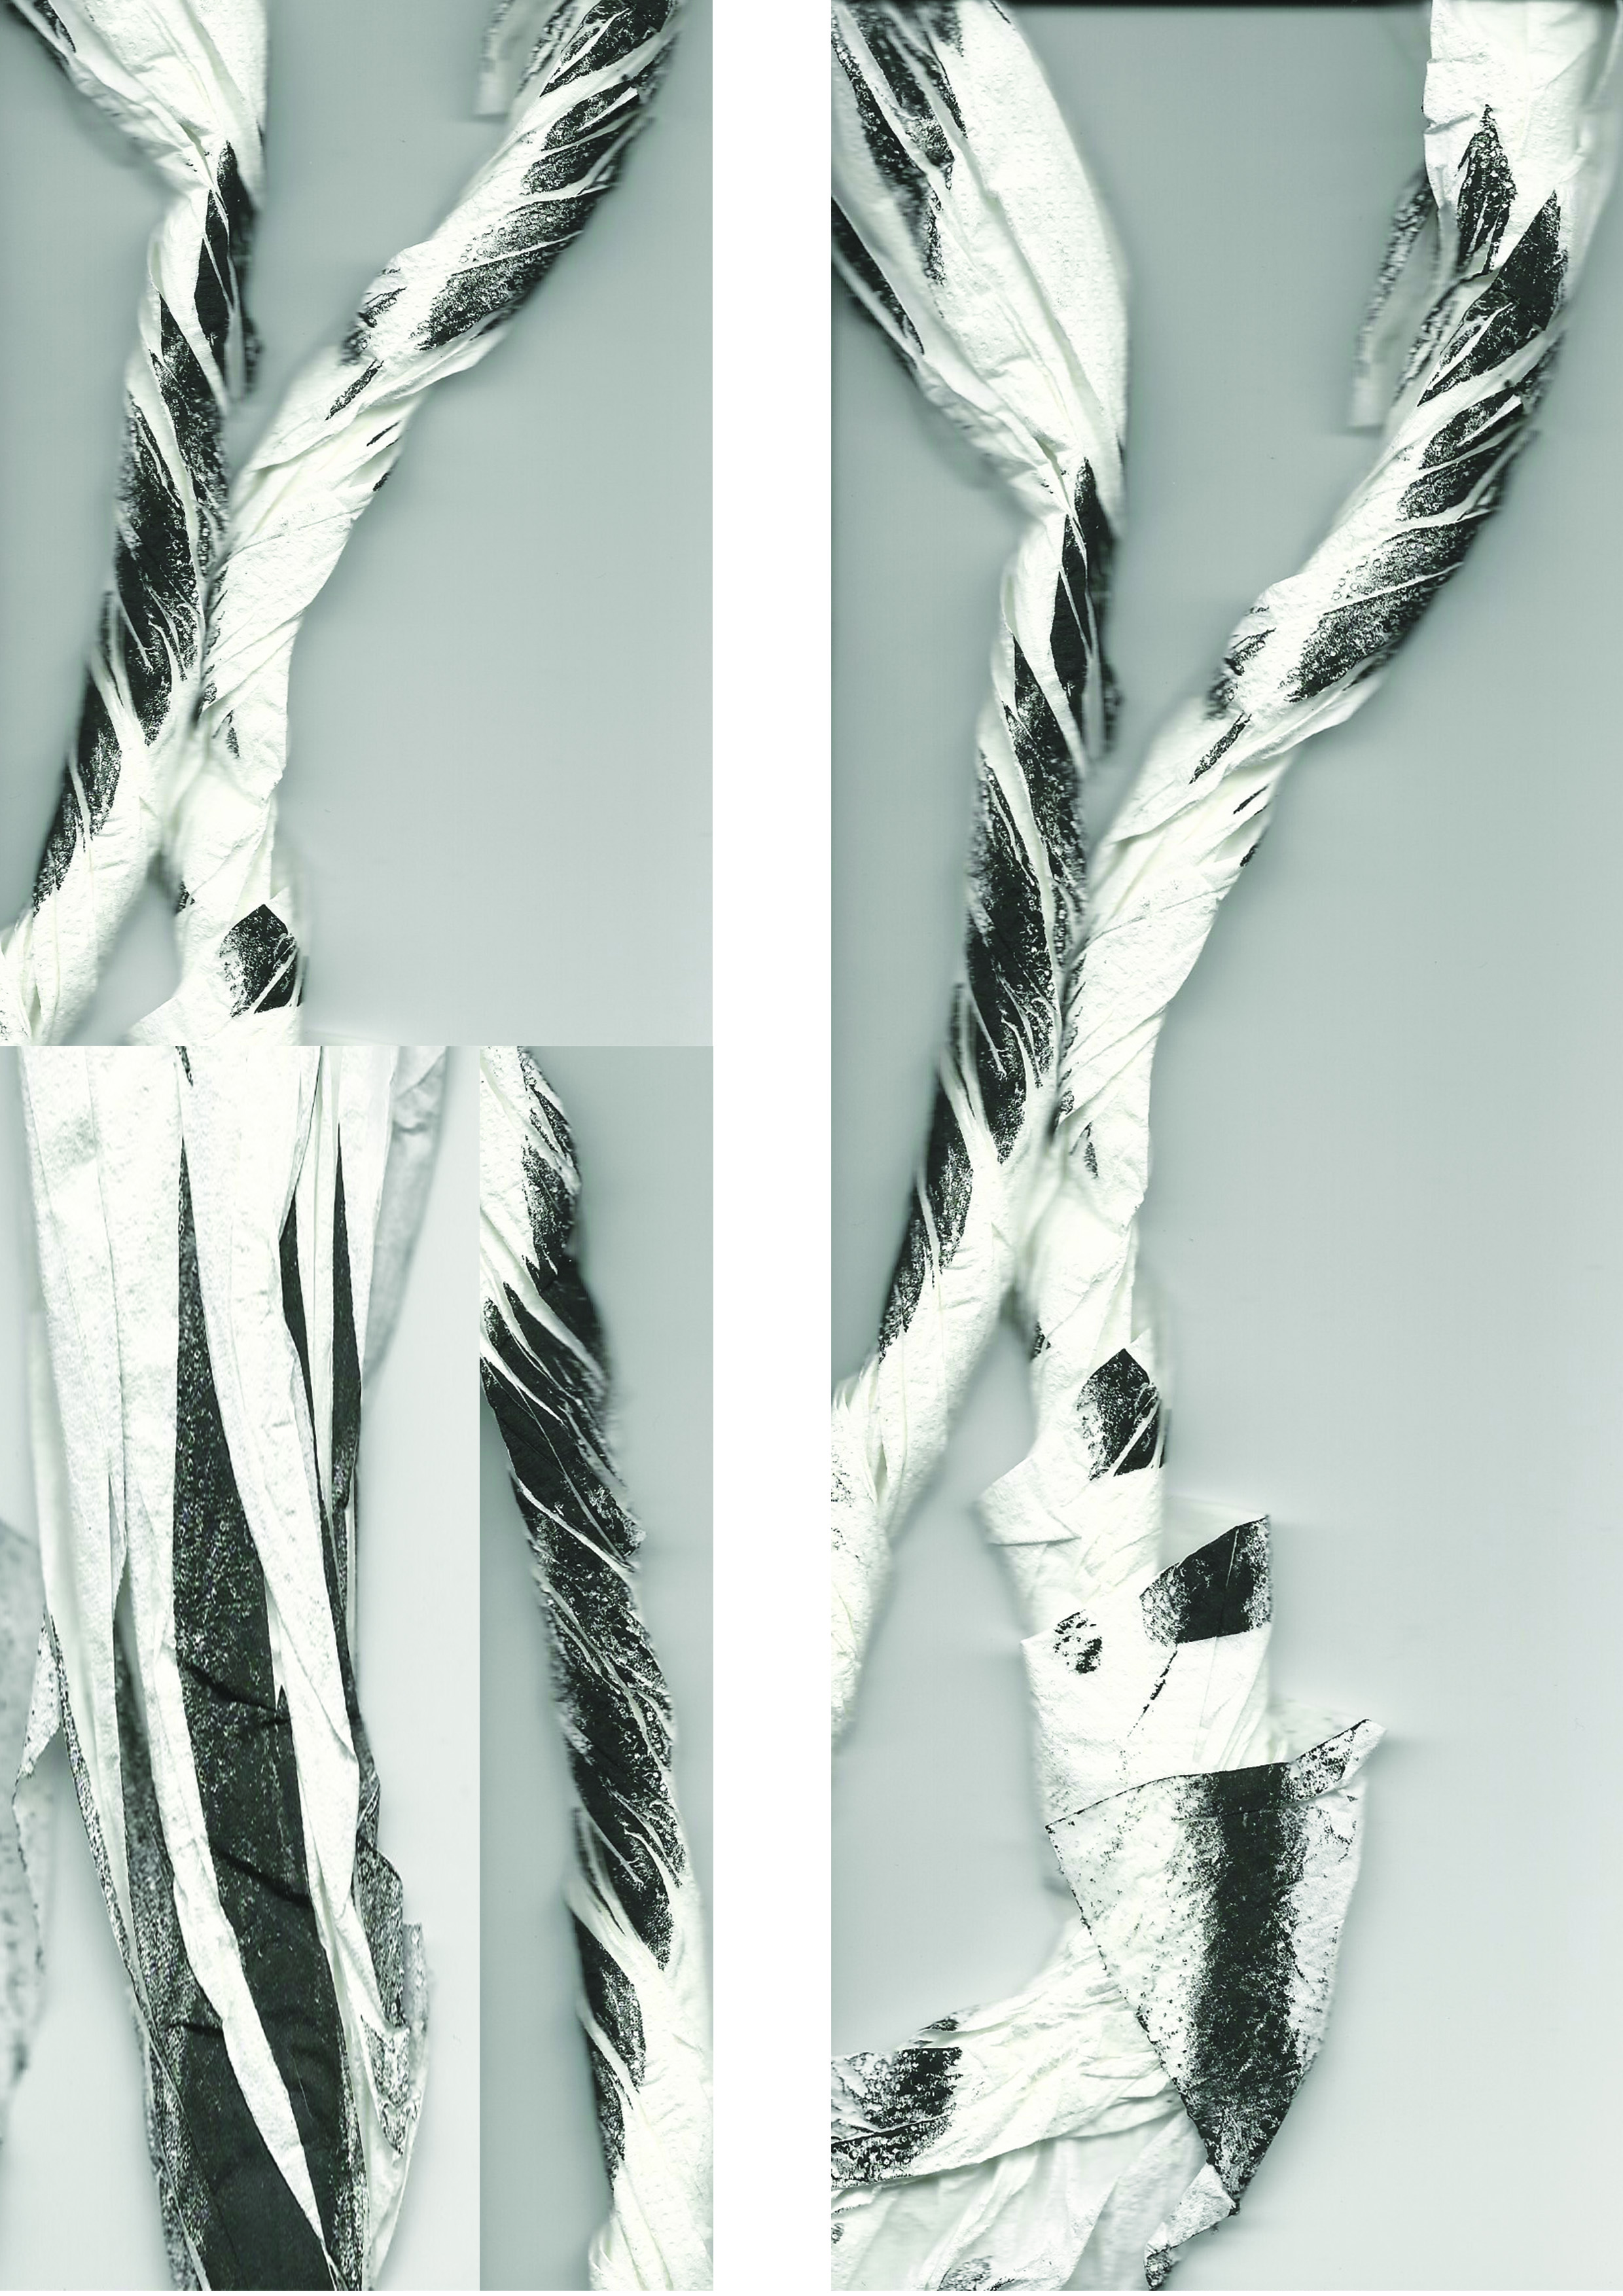
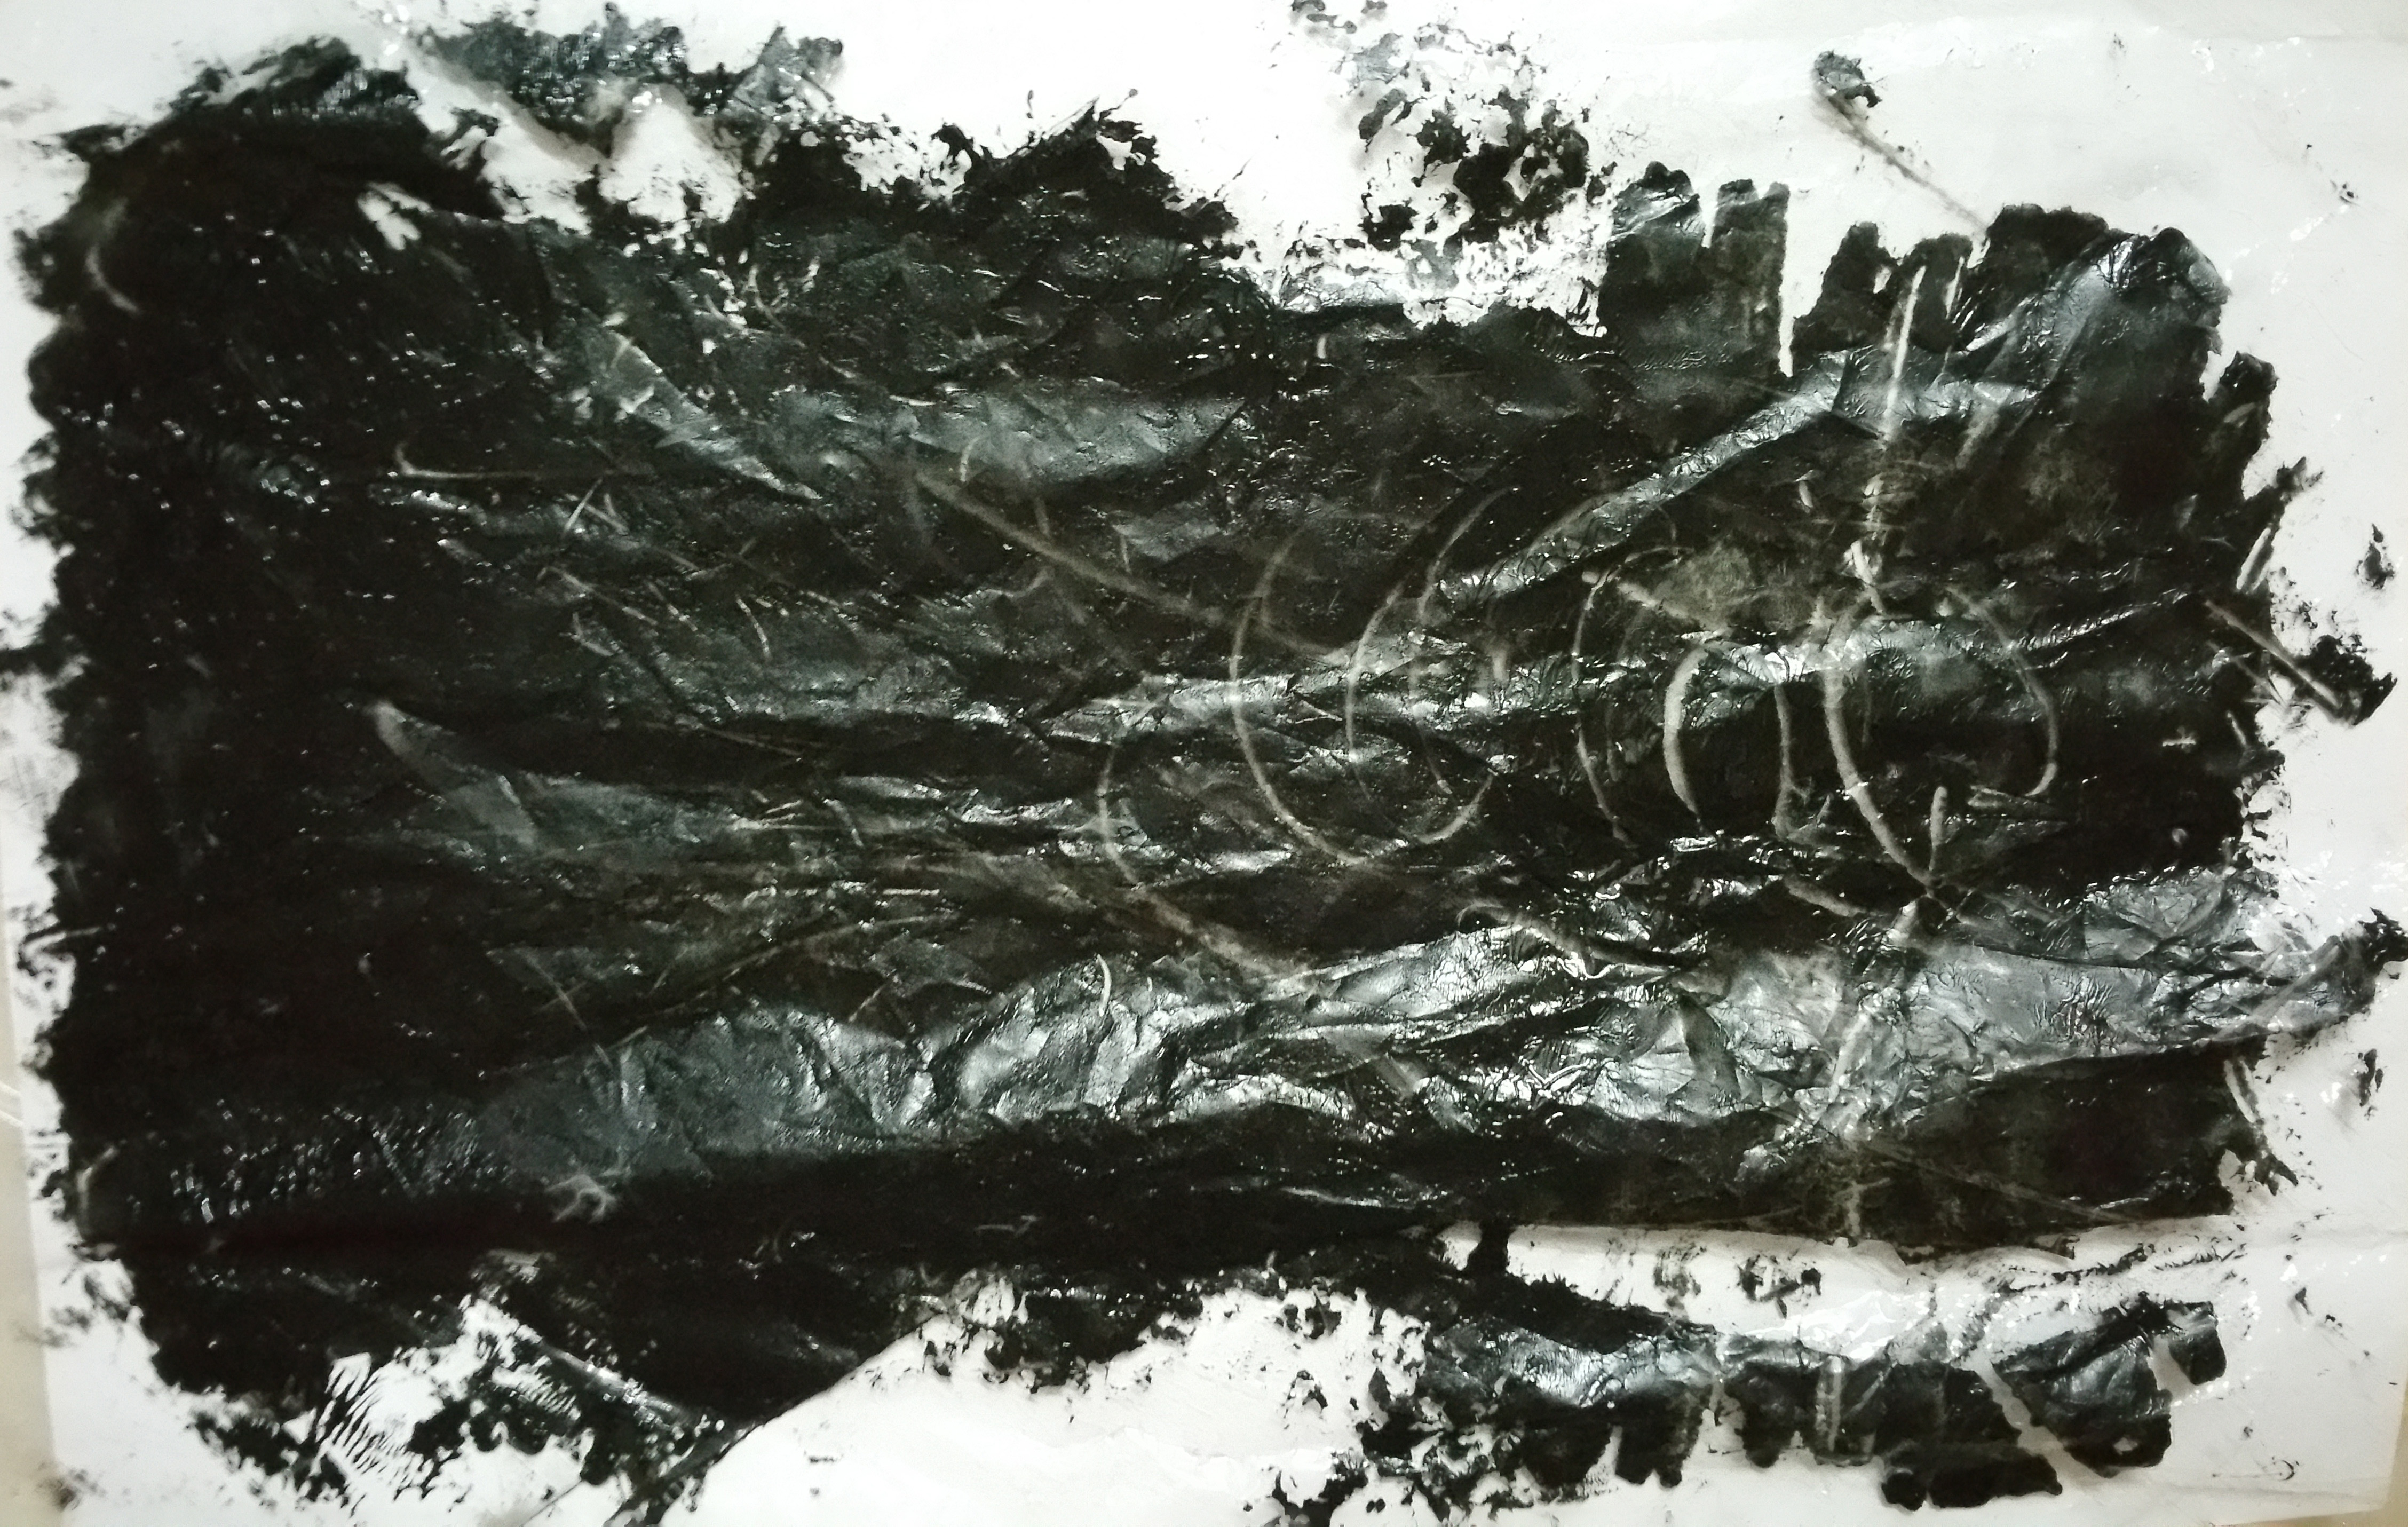
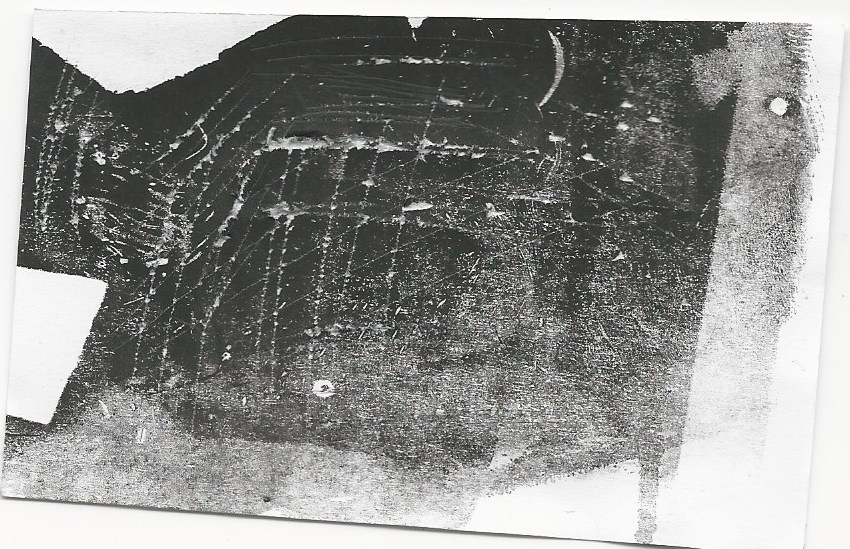
With the bird’s eye view of everything,i will know what worked and what didn’t. I didn’t like the current lyrical, but i like the medium (glass deco ink) but the lines made here didn’t resound to me as lyrical, hence i went to make a new one.
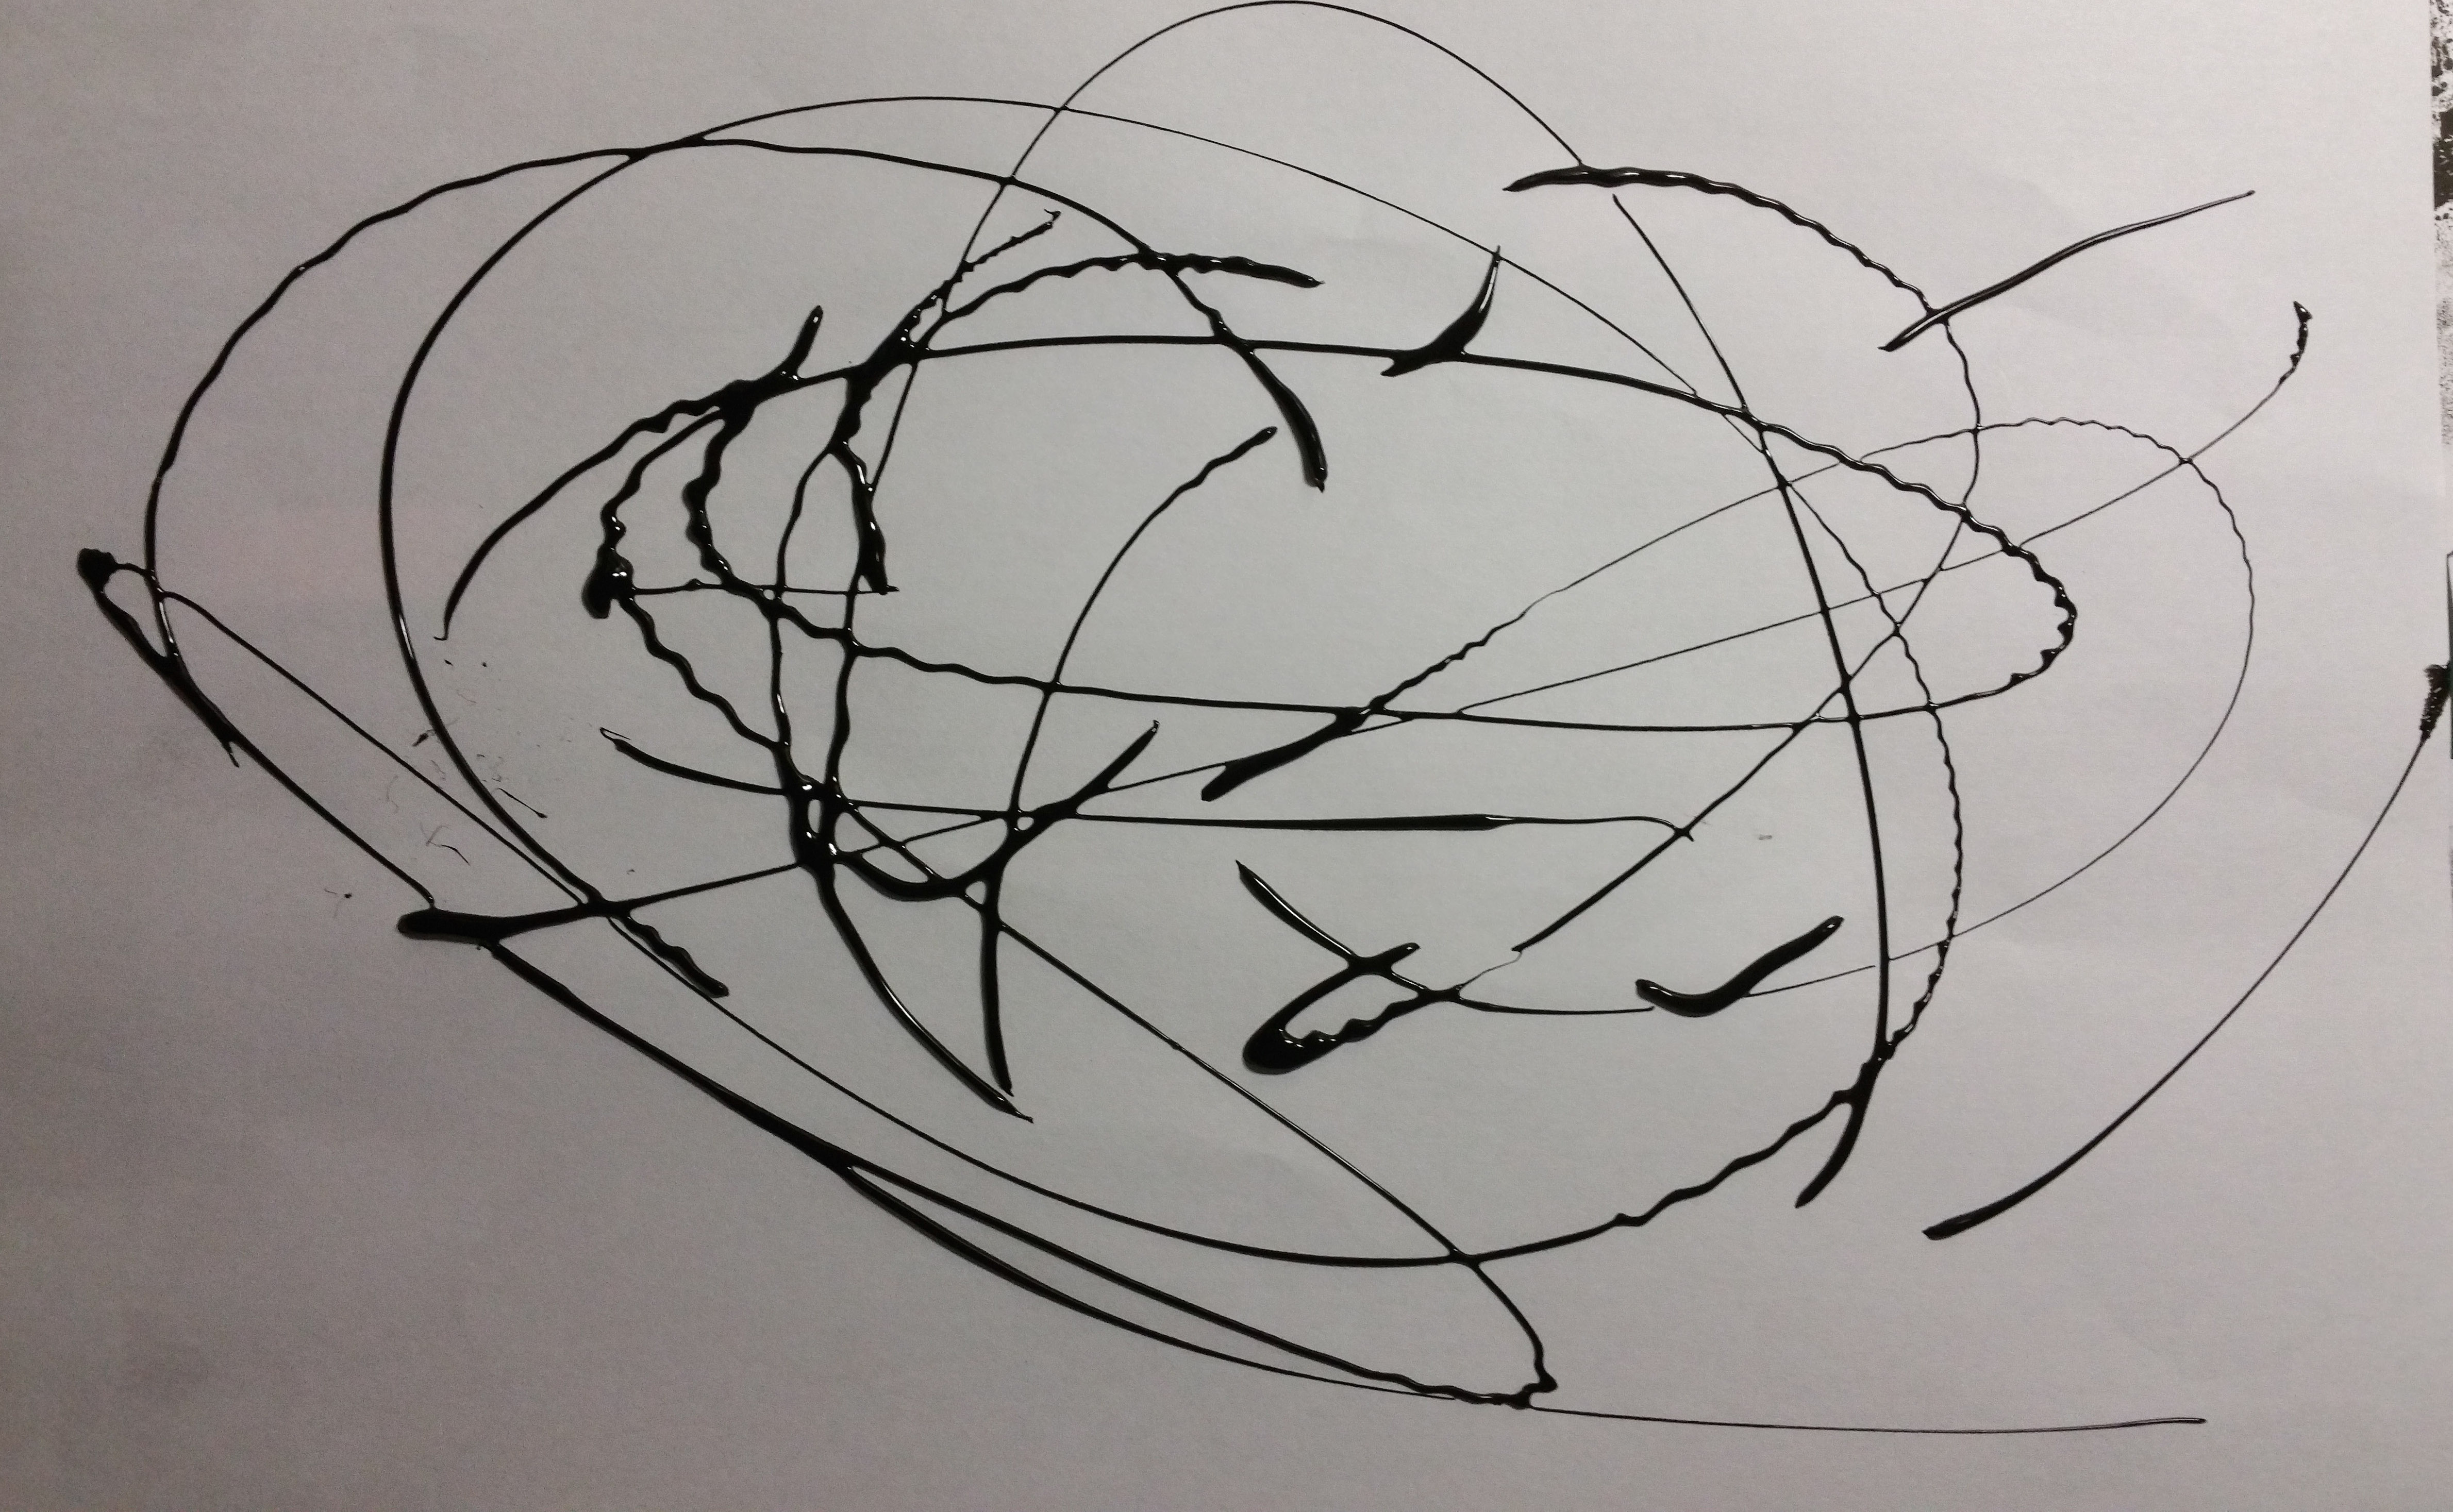
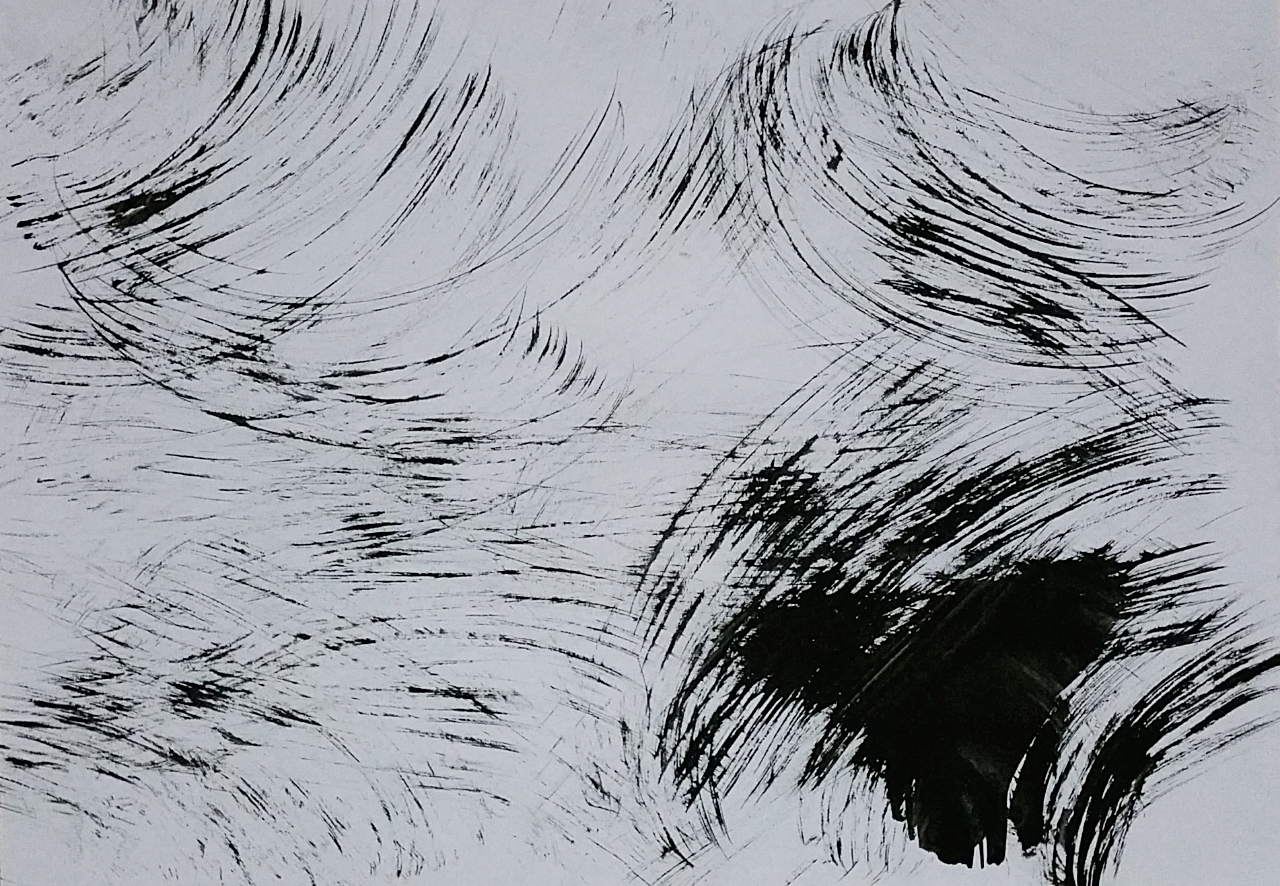
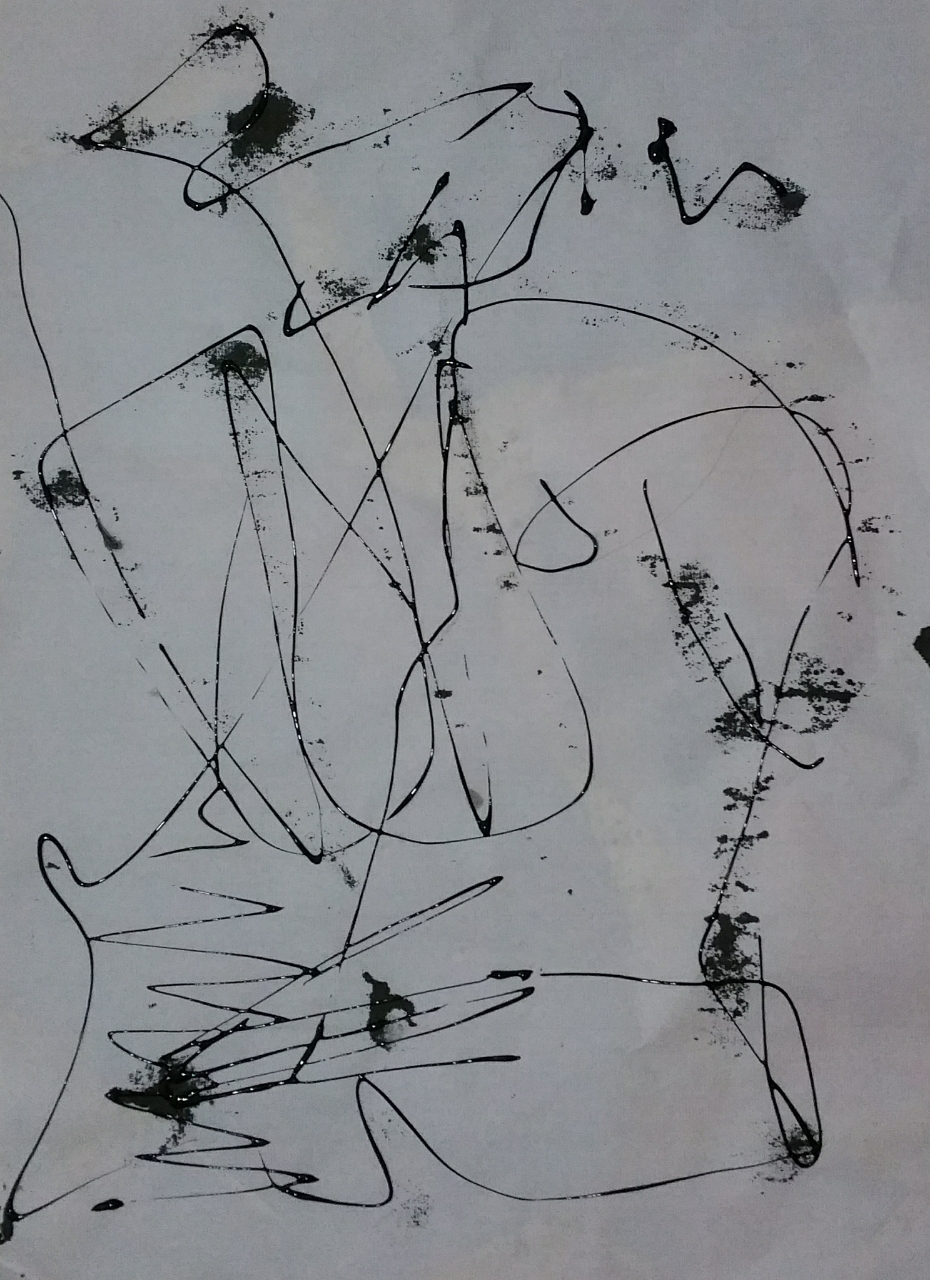
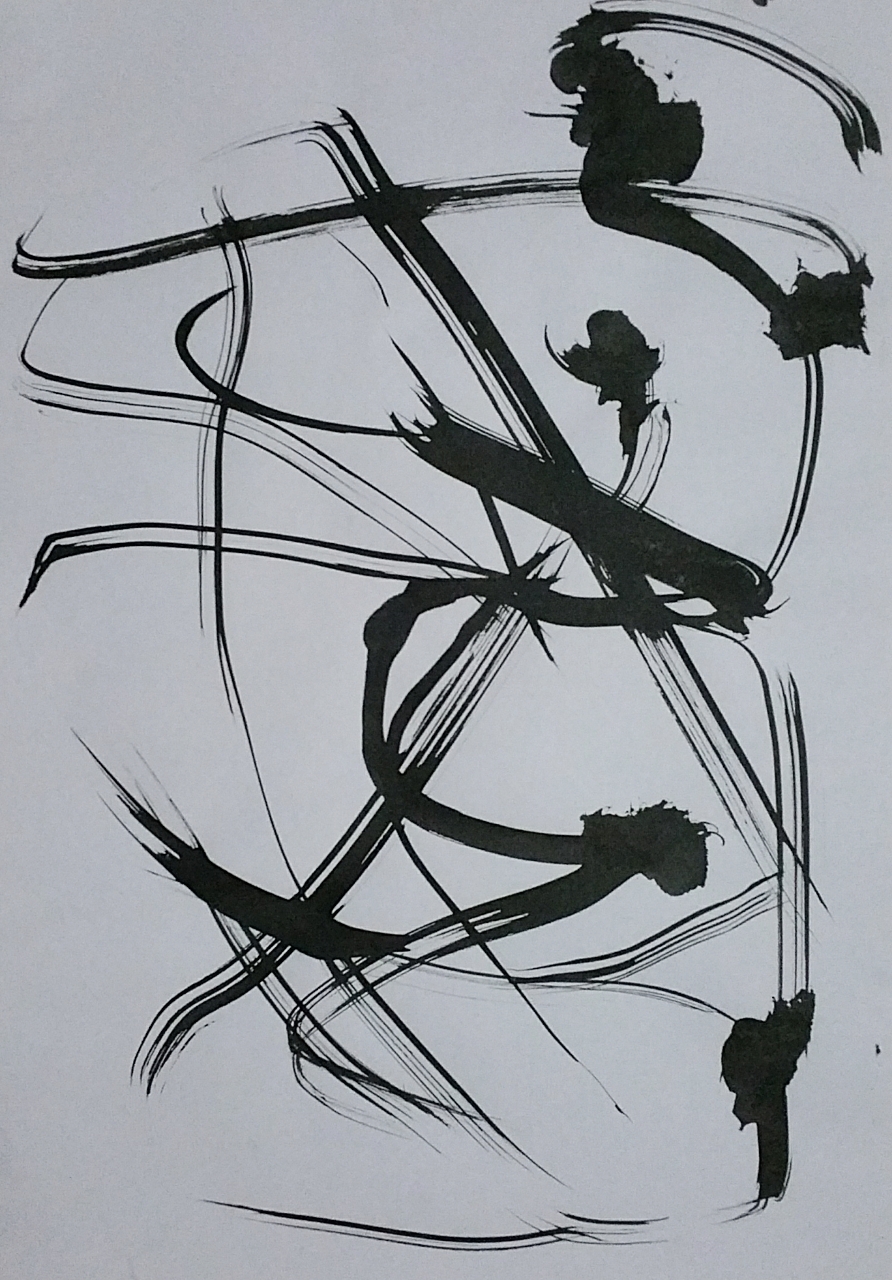
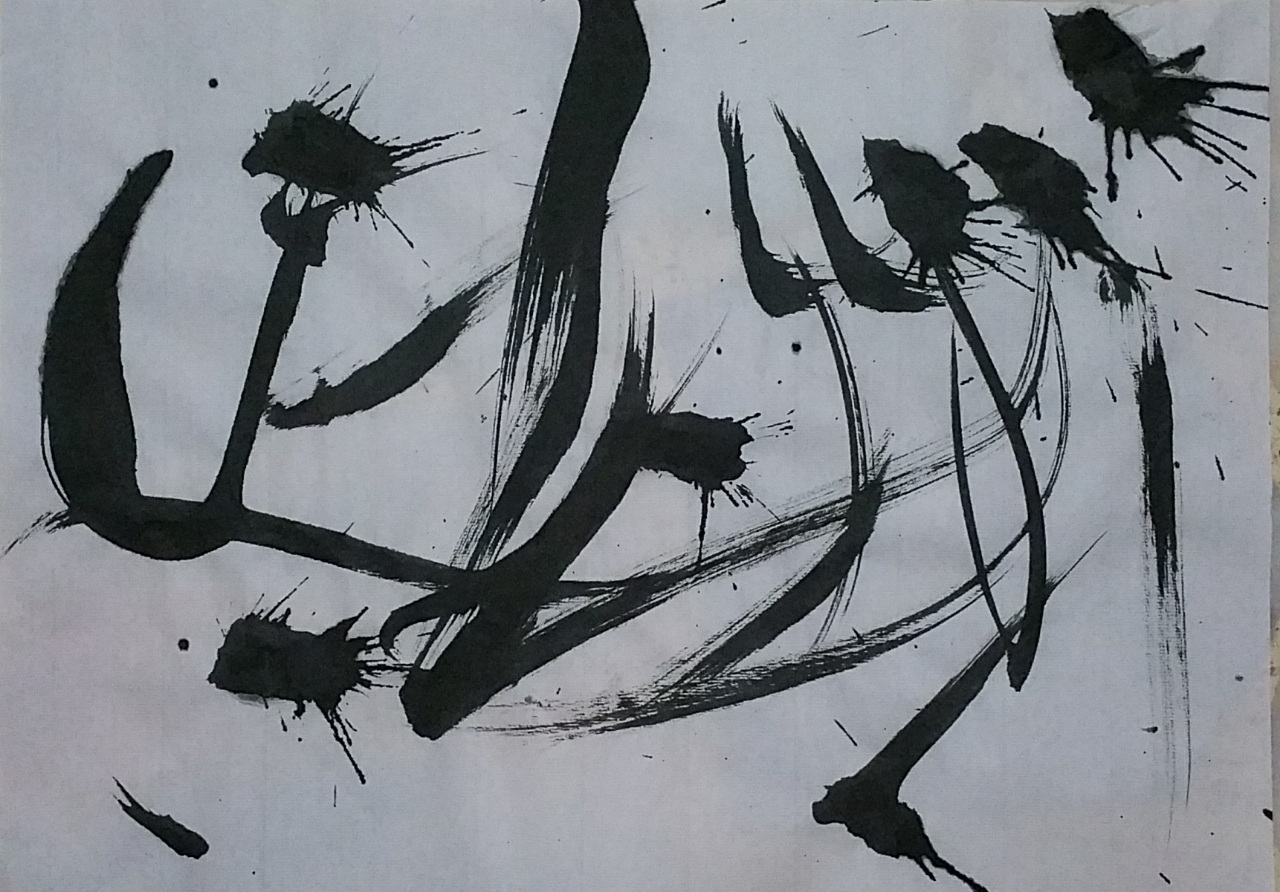
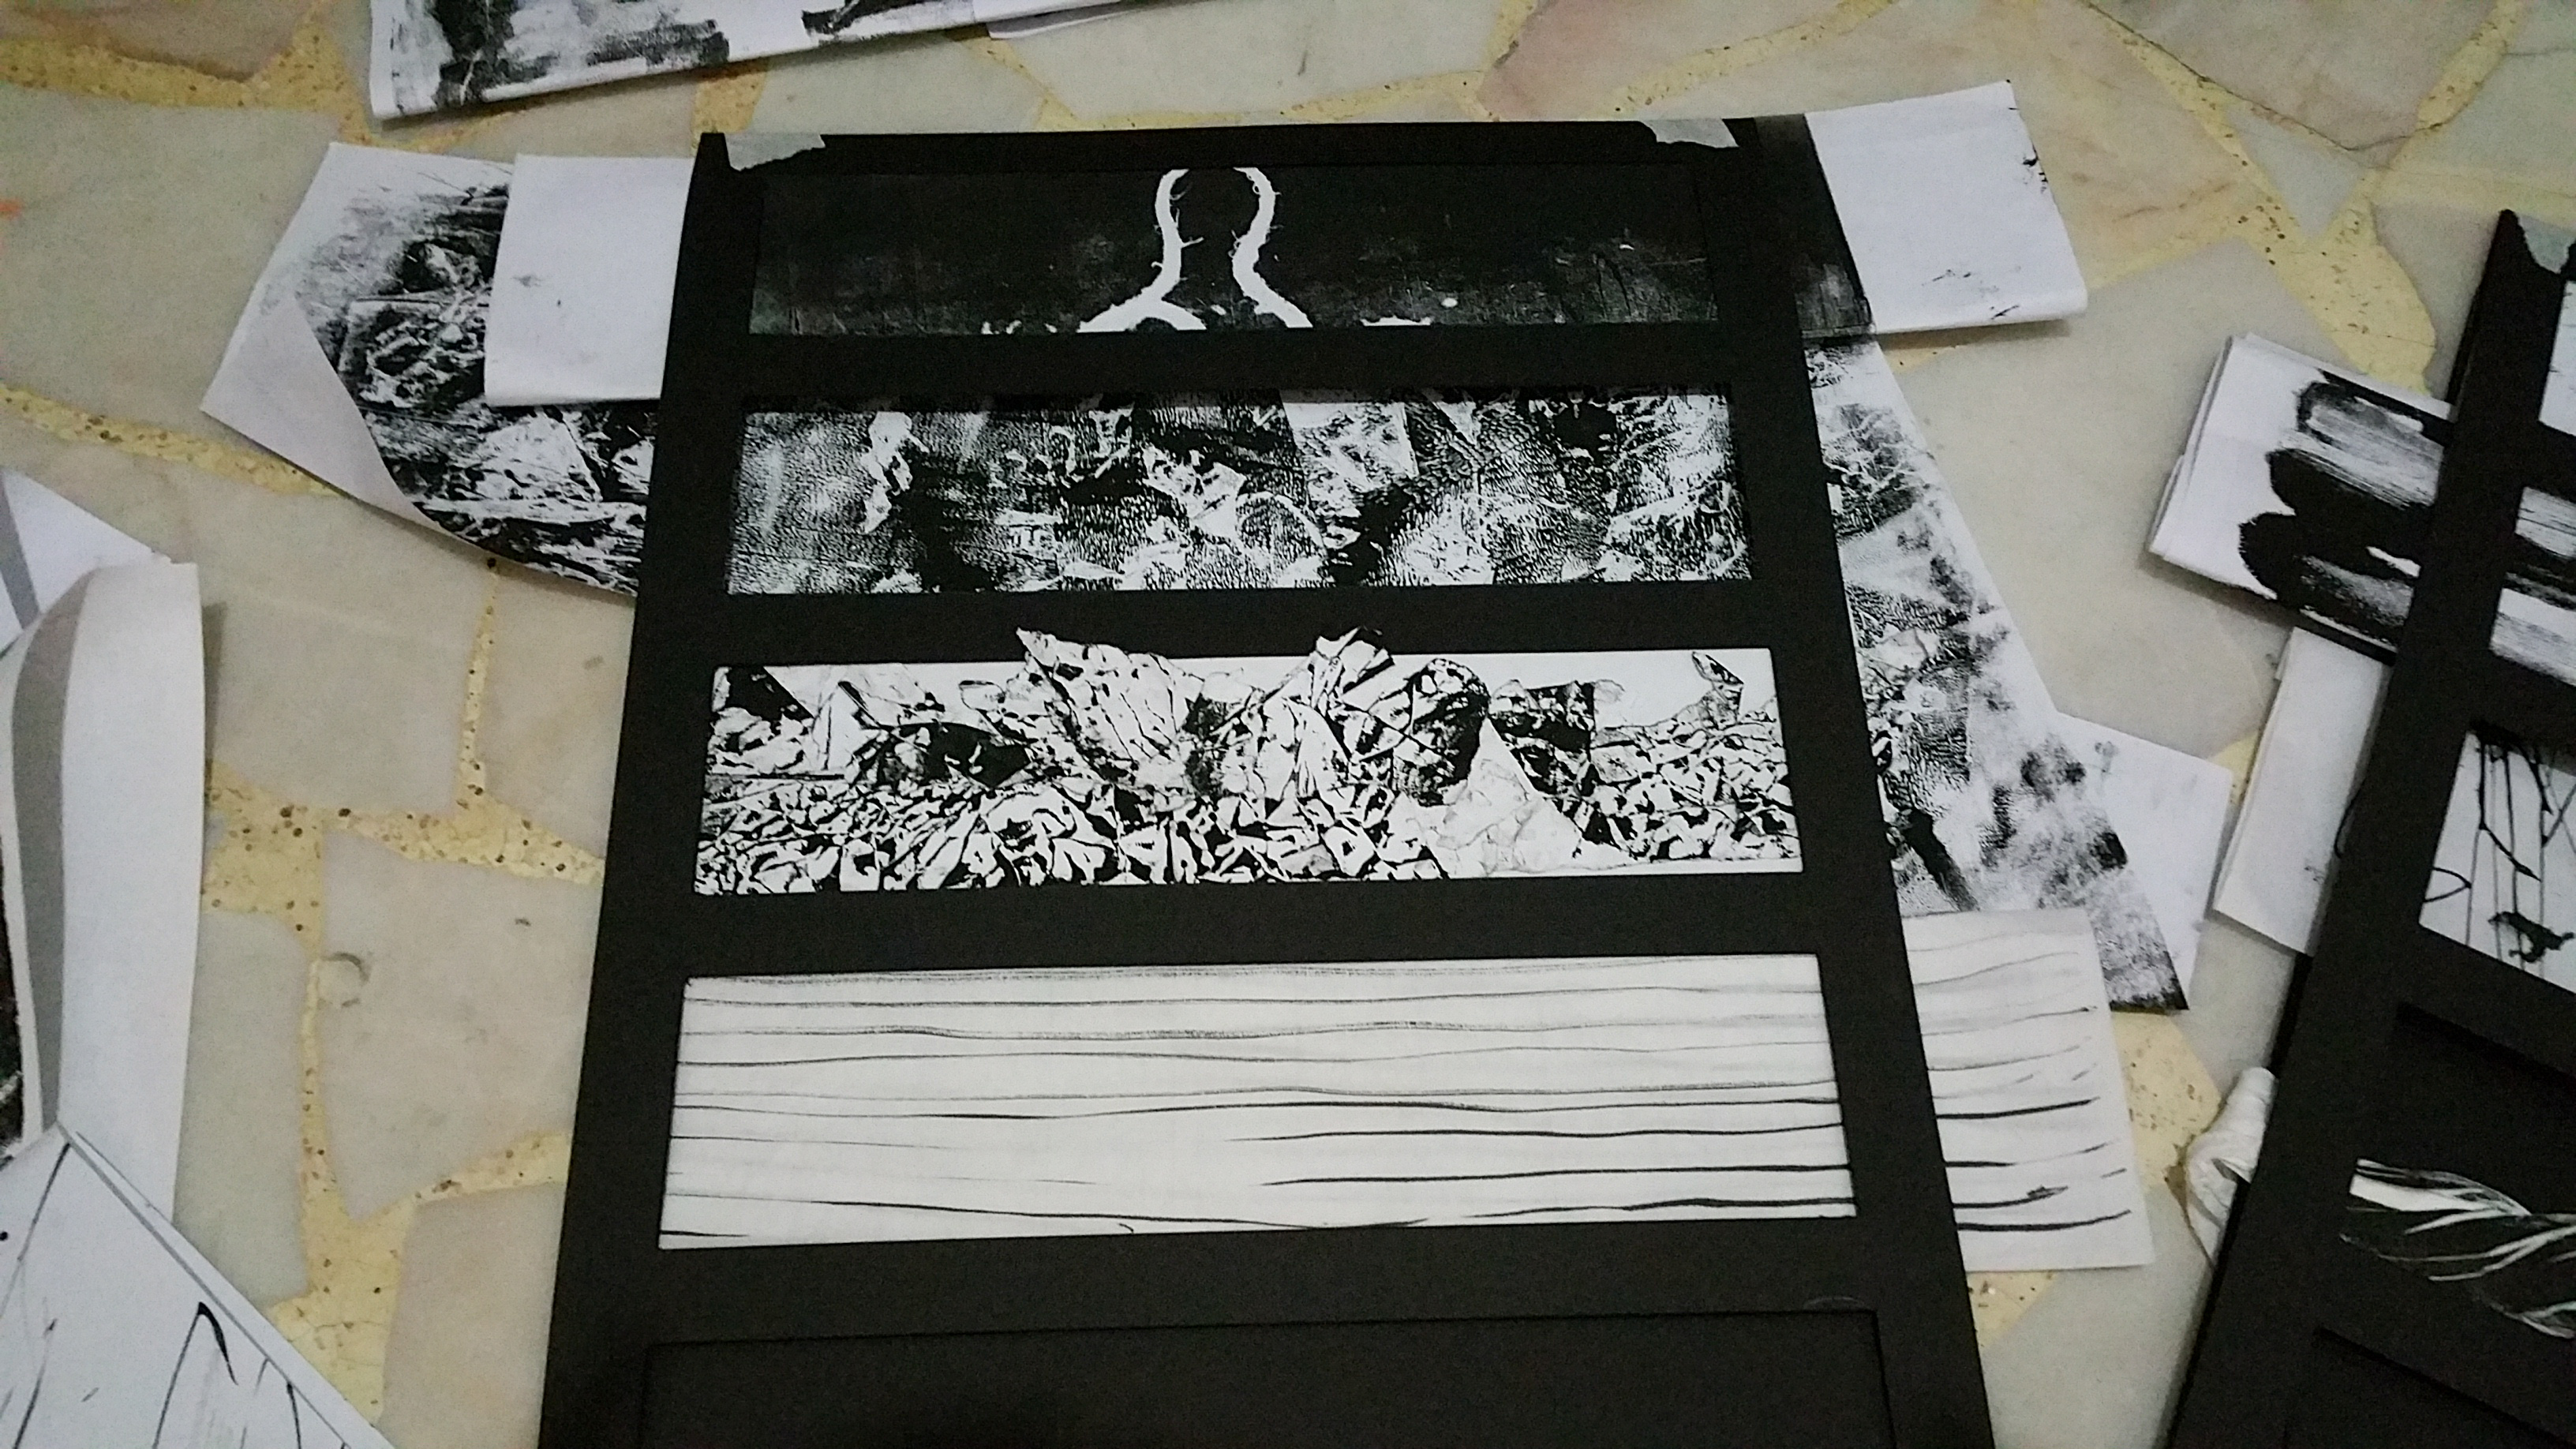
Feels more lyrical now, isnt it?
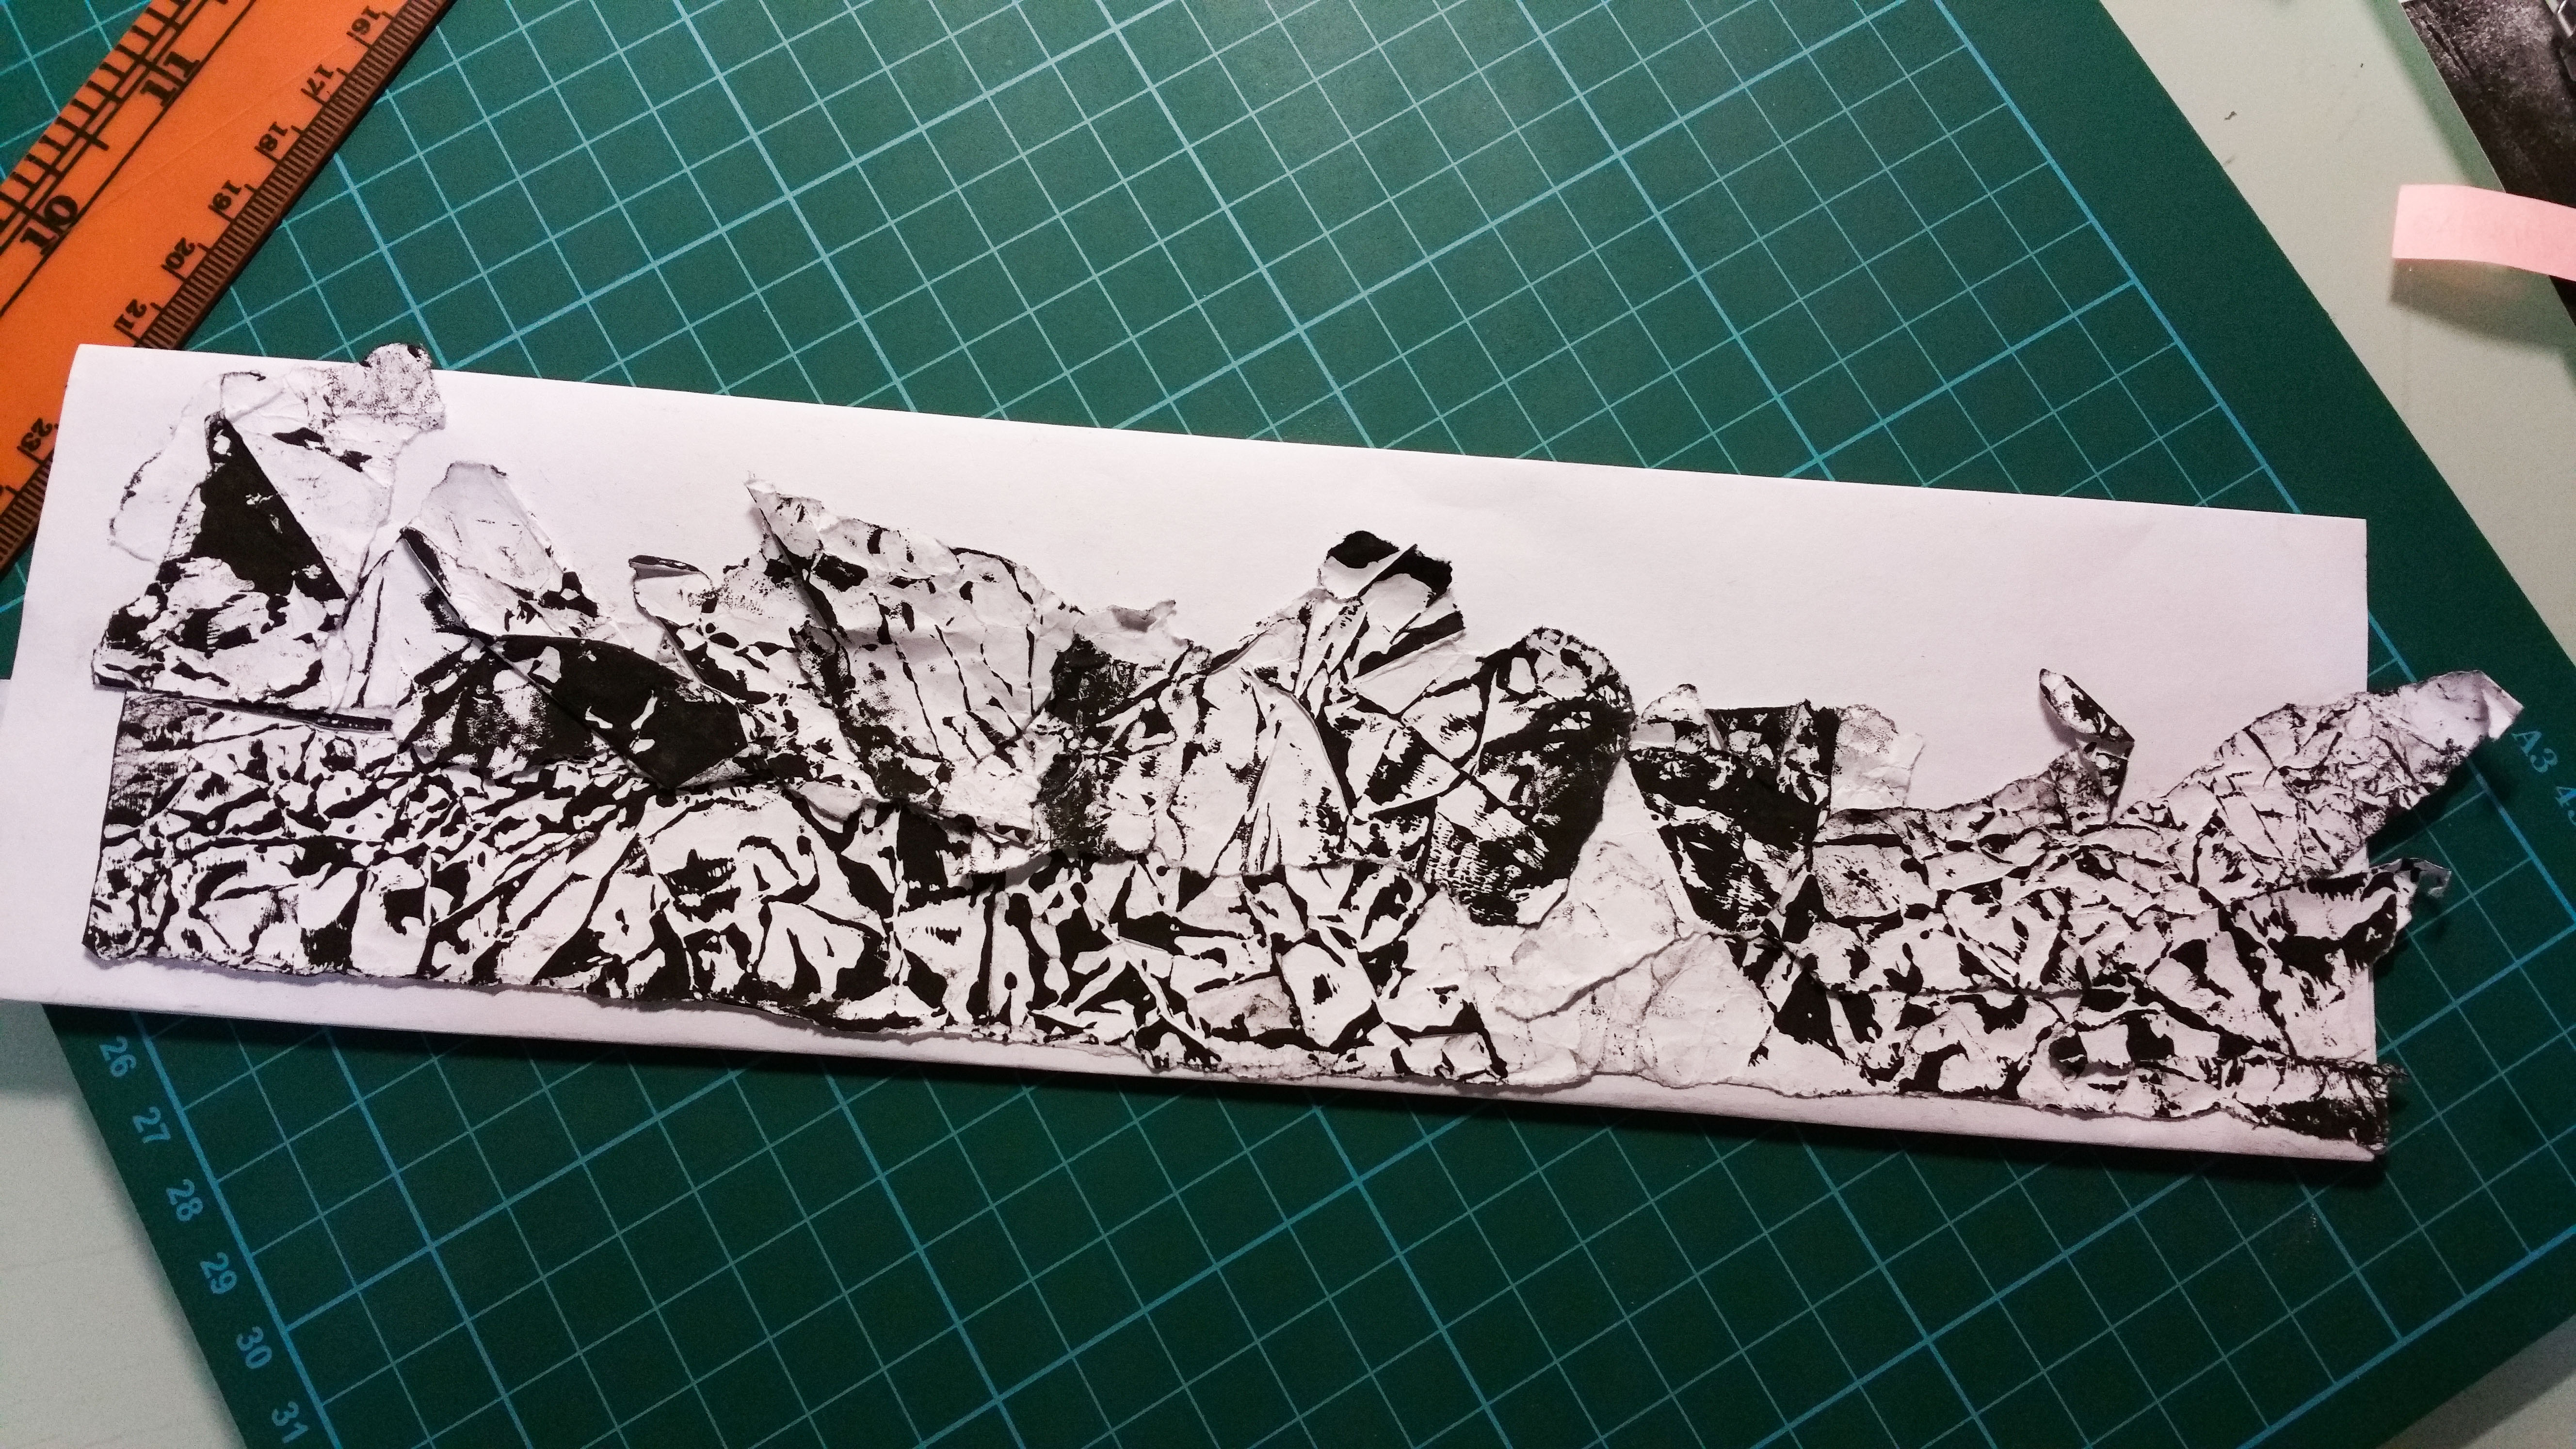
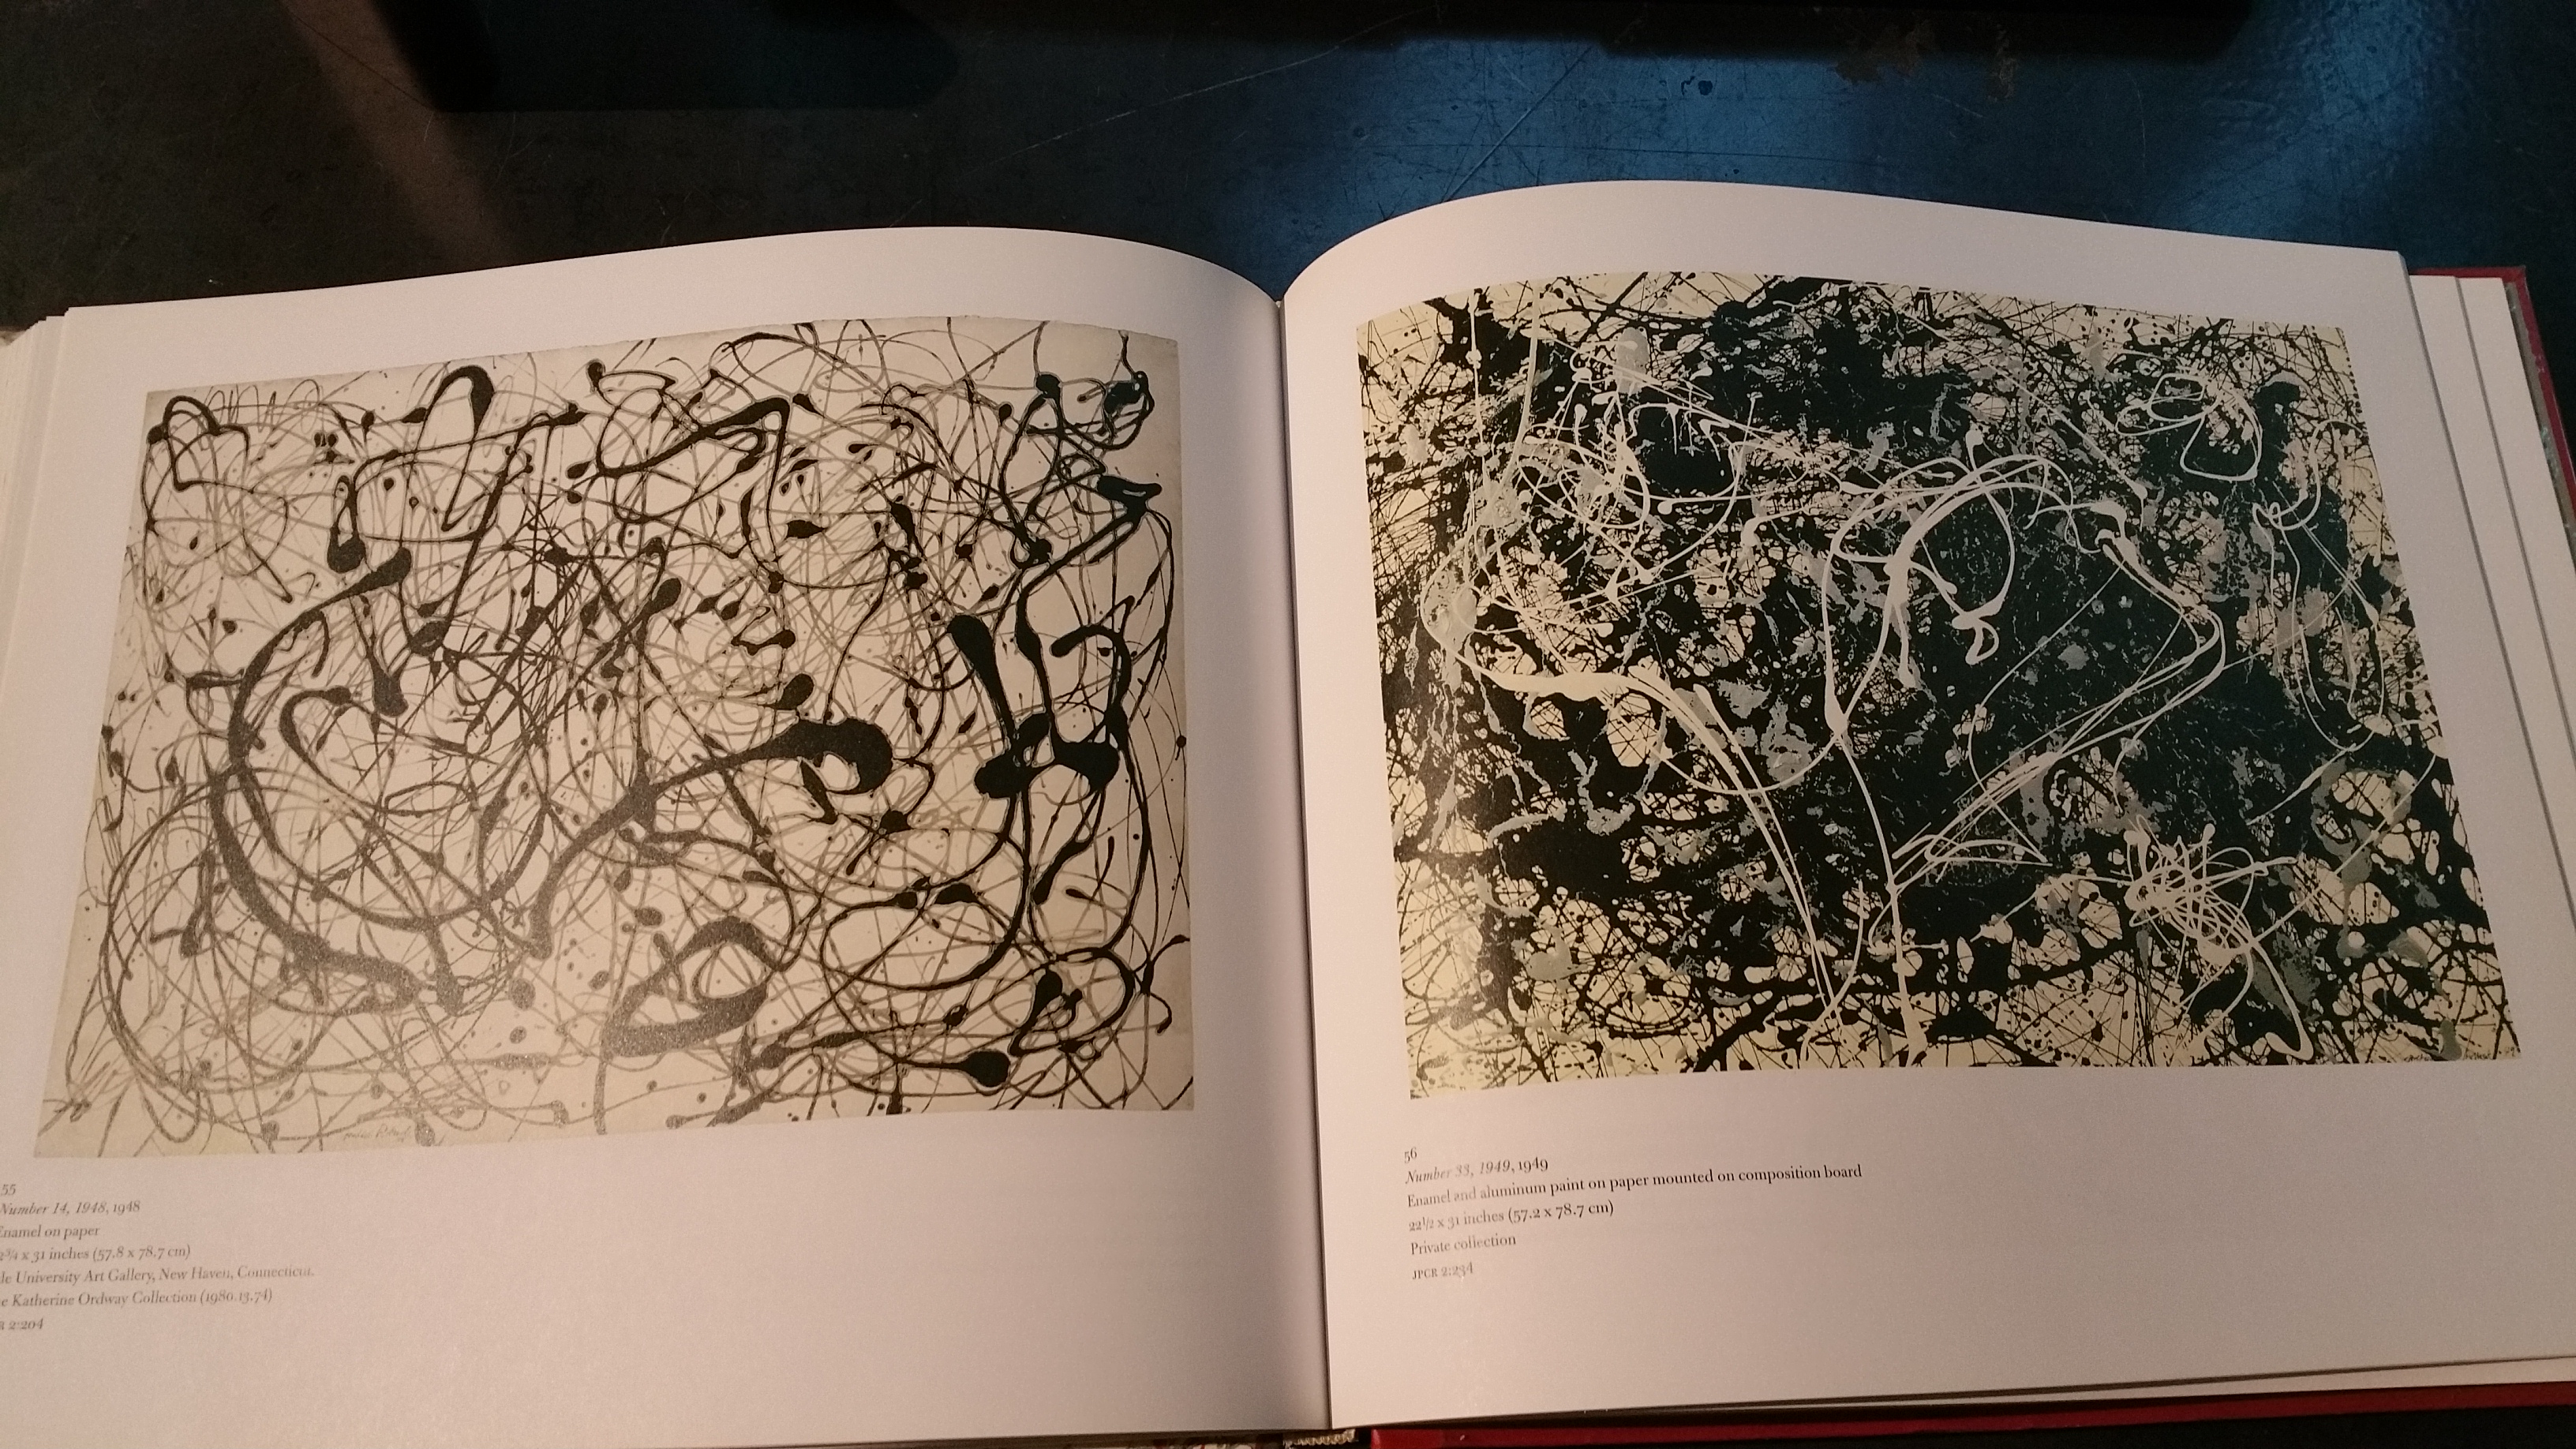
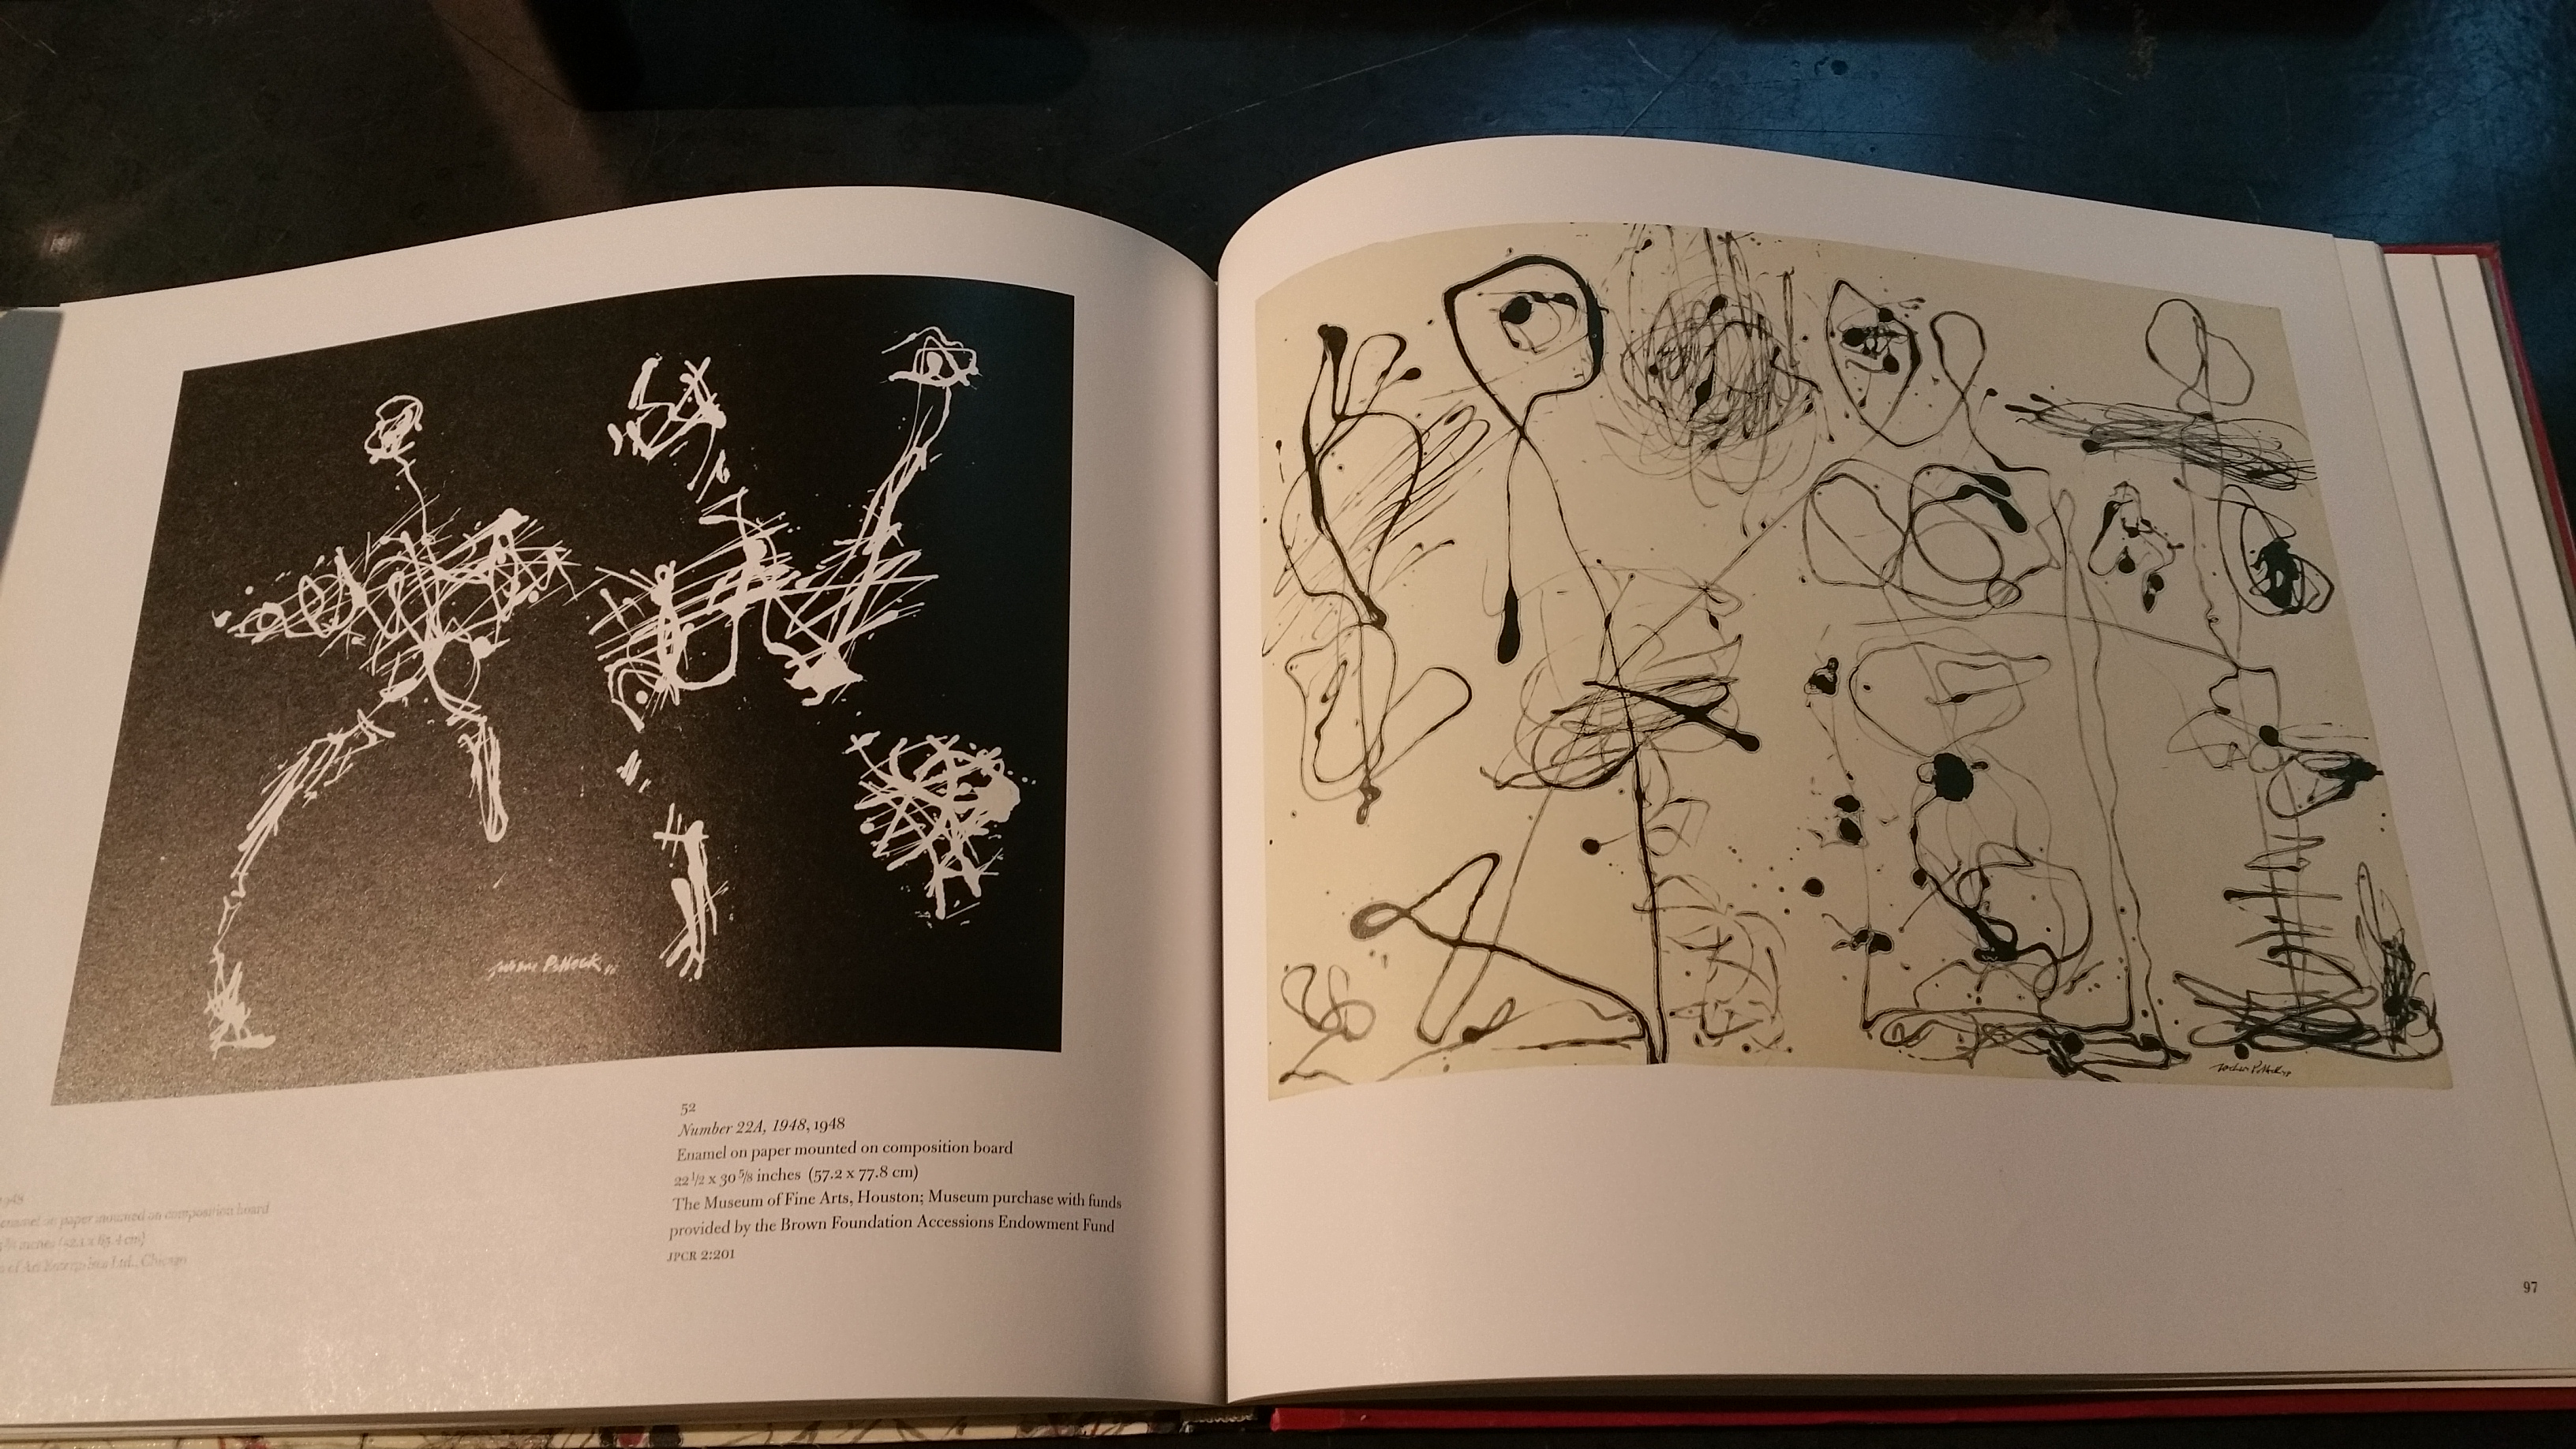
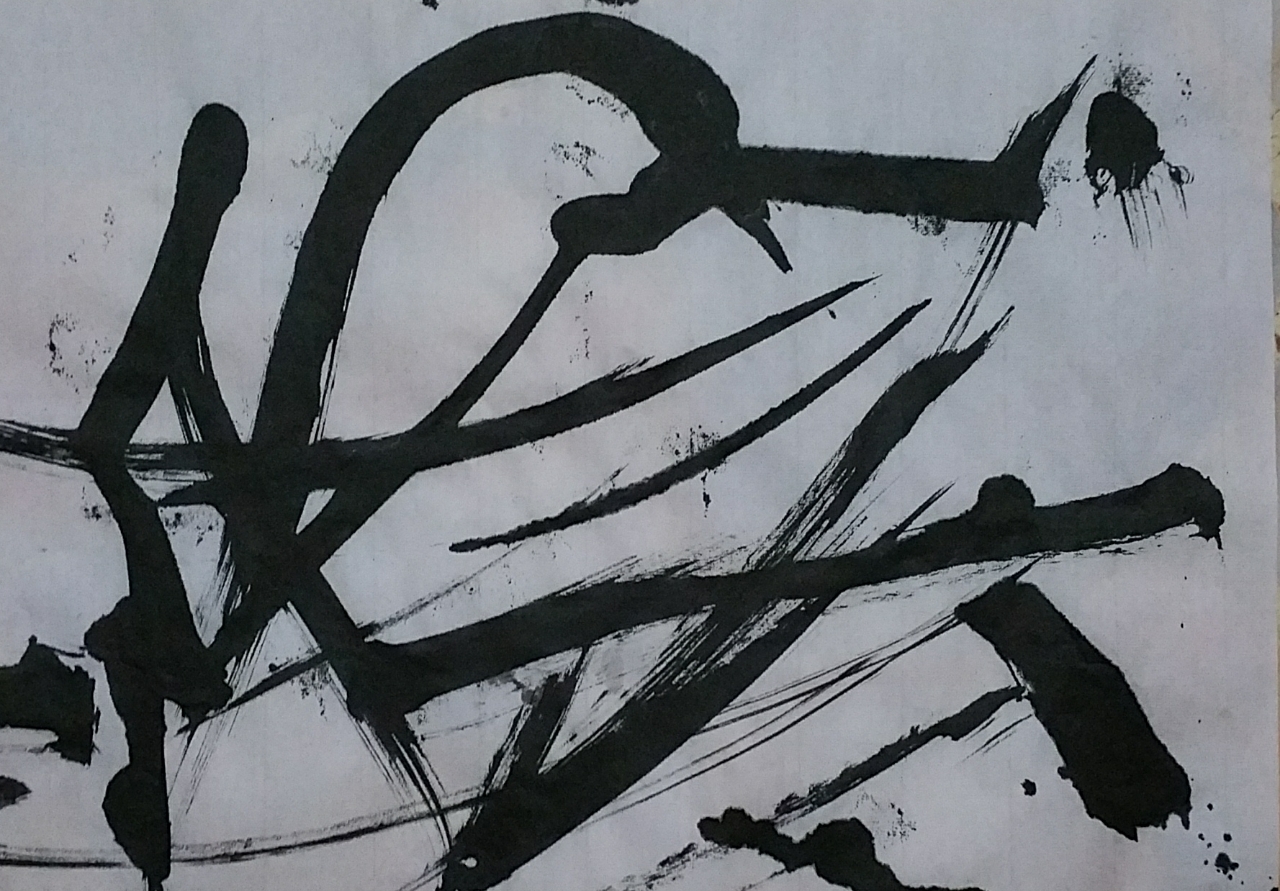
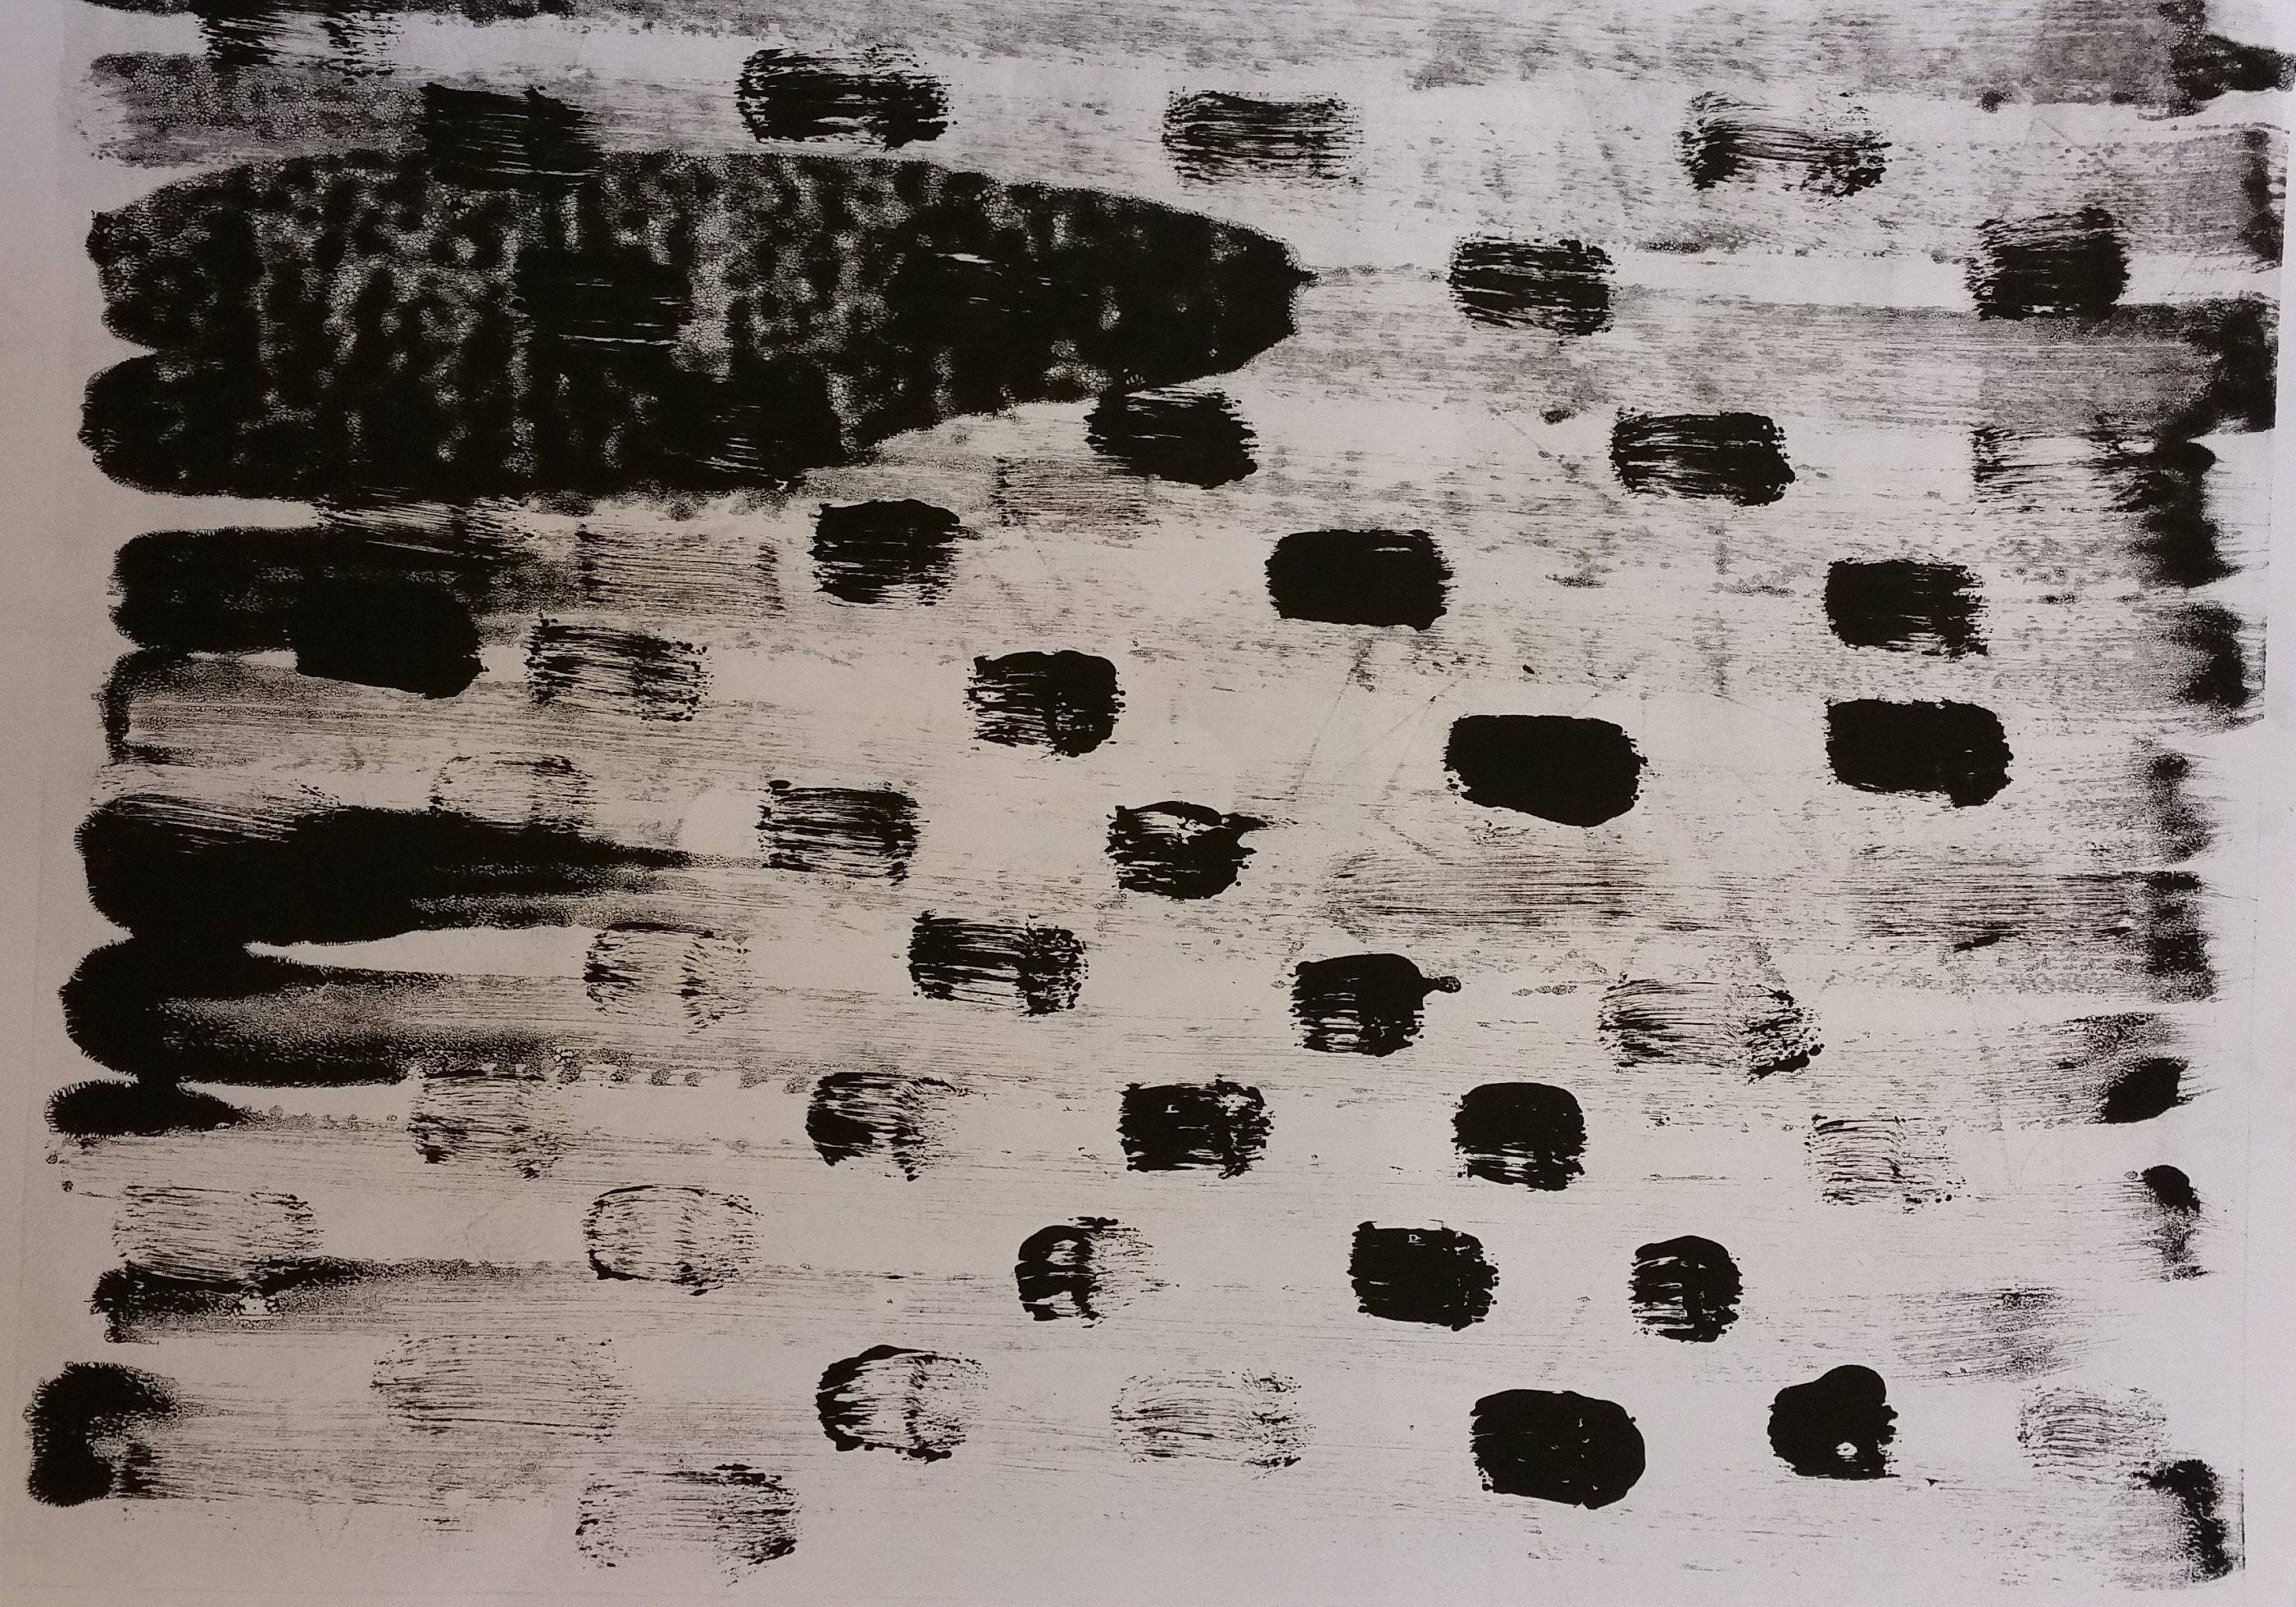
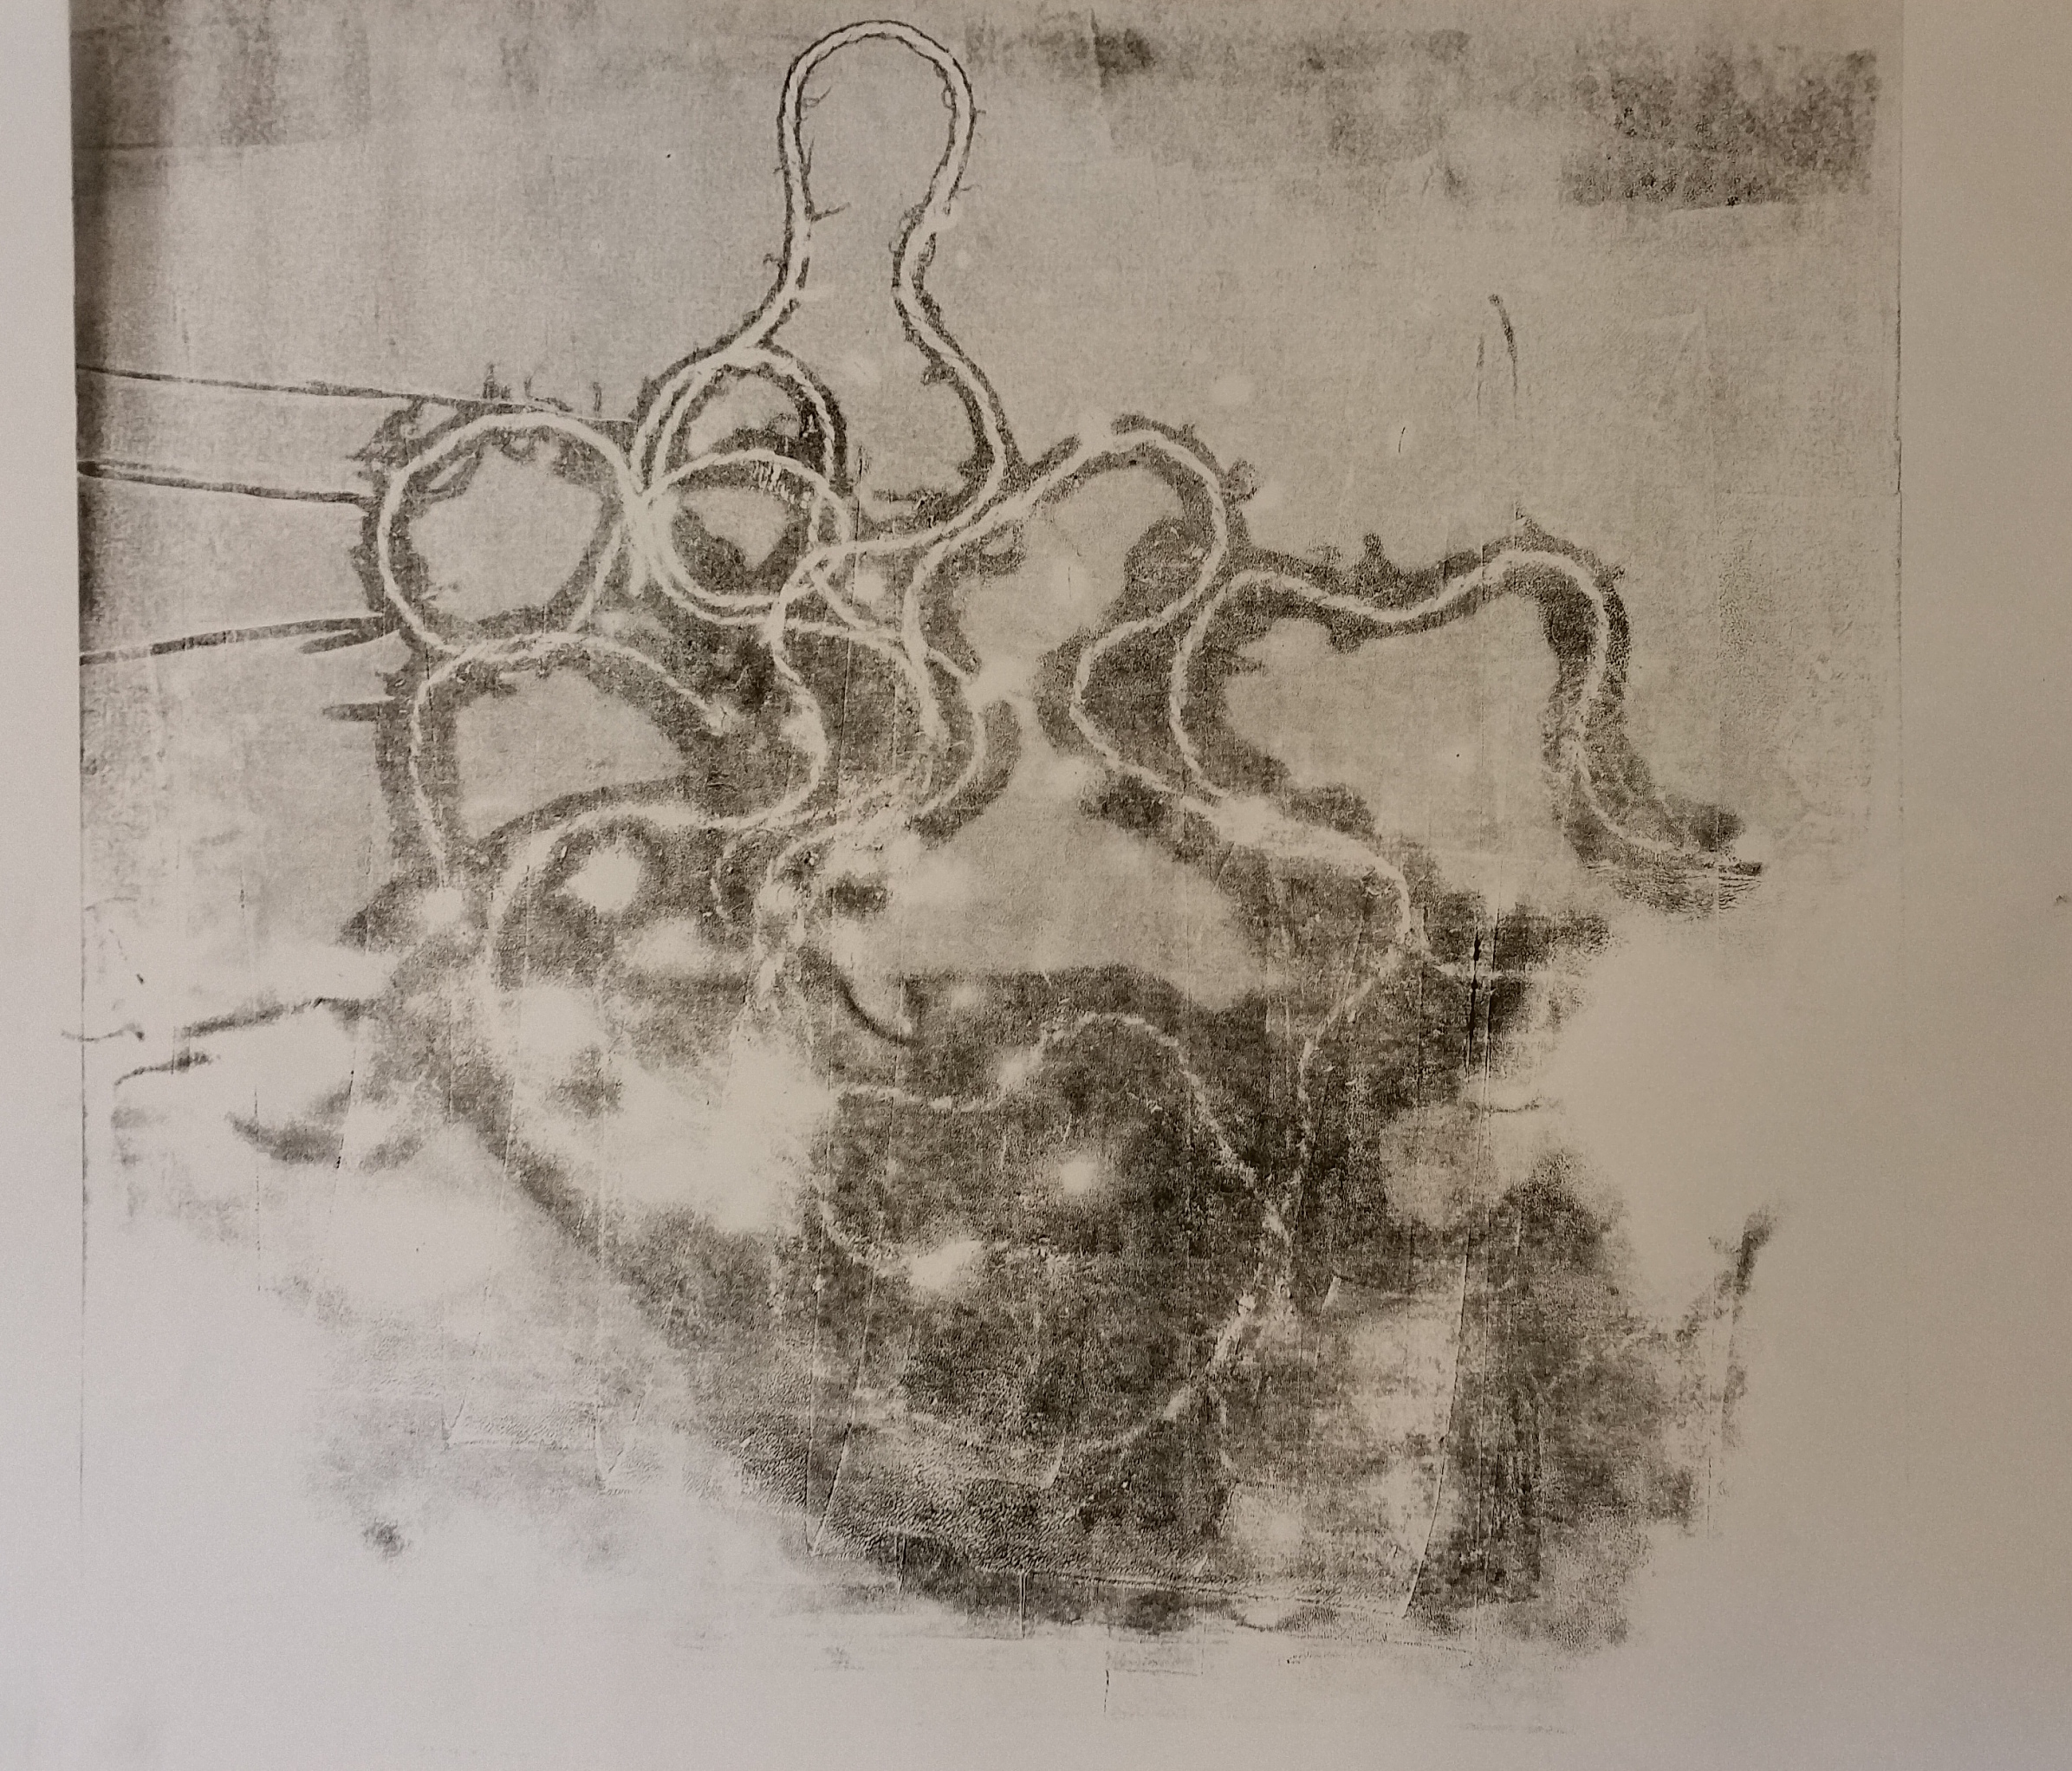
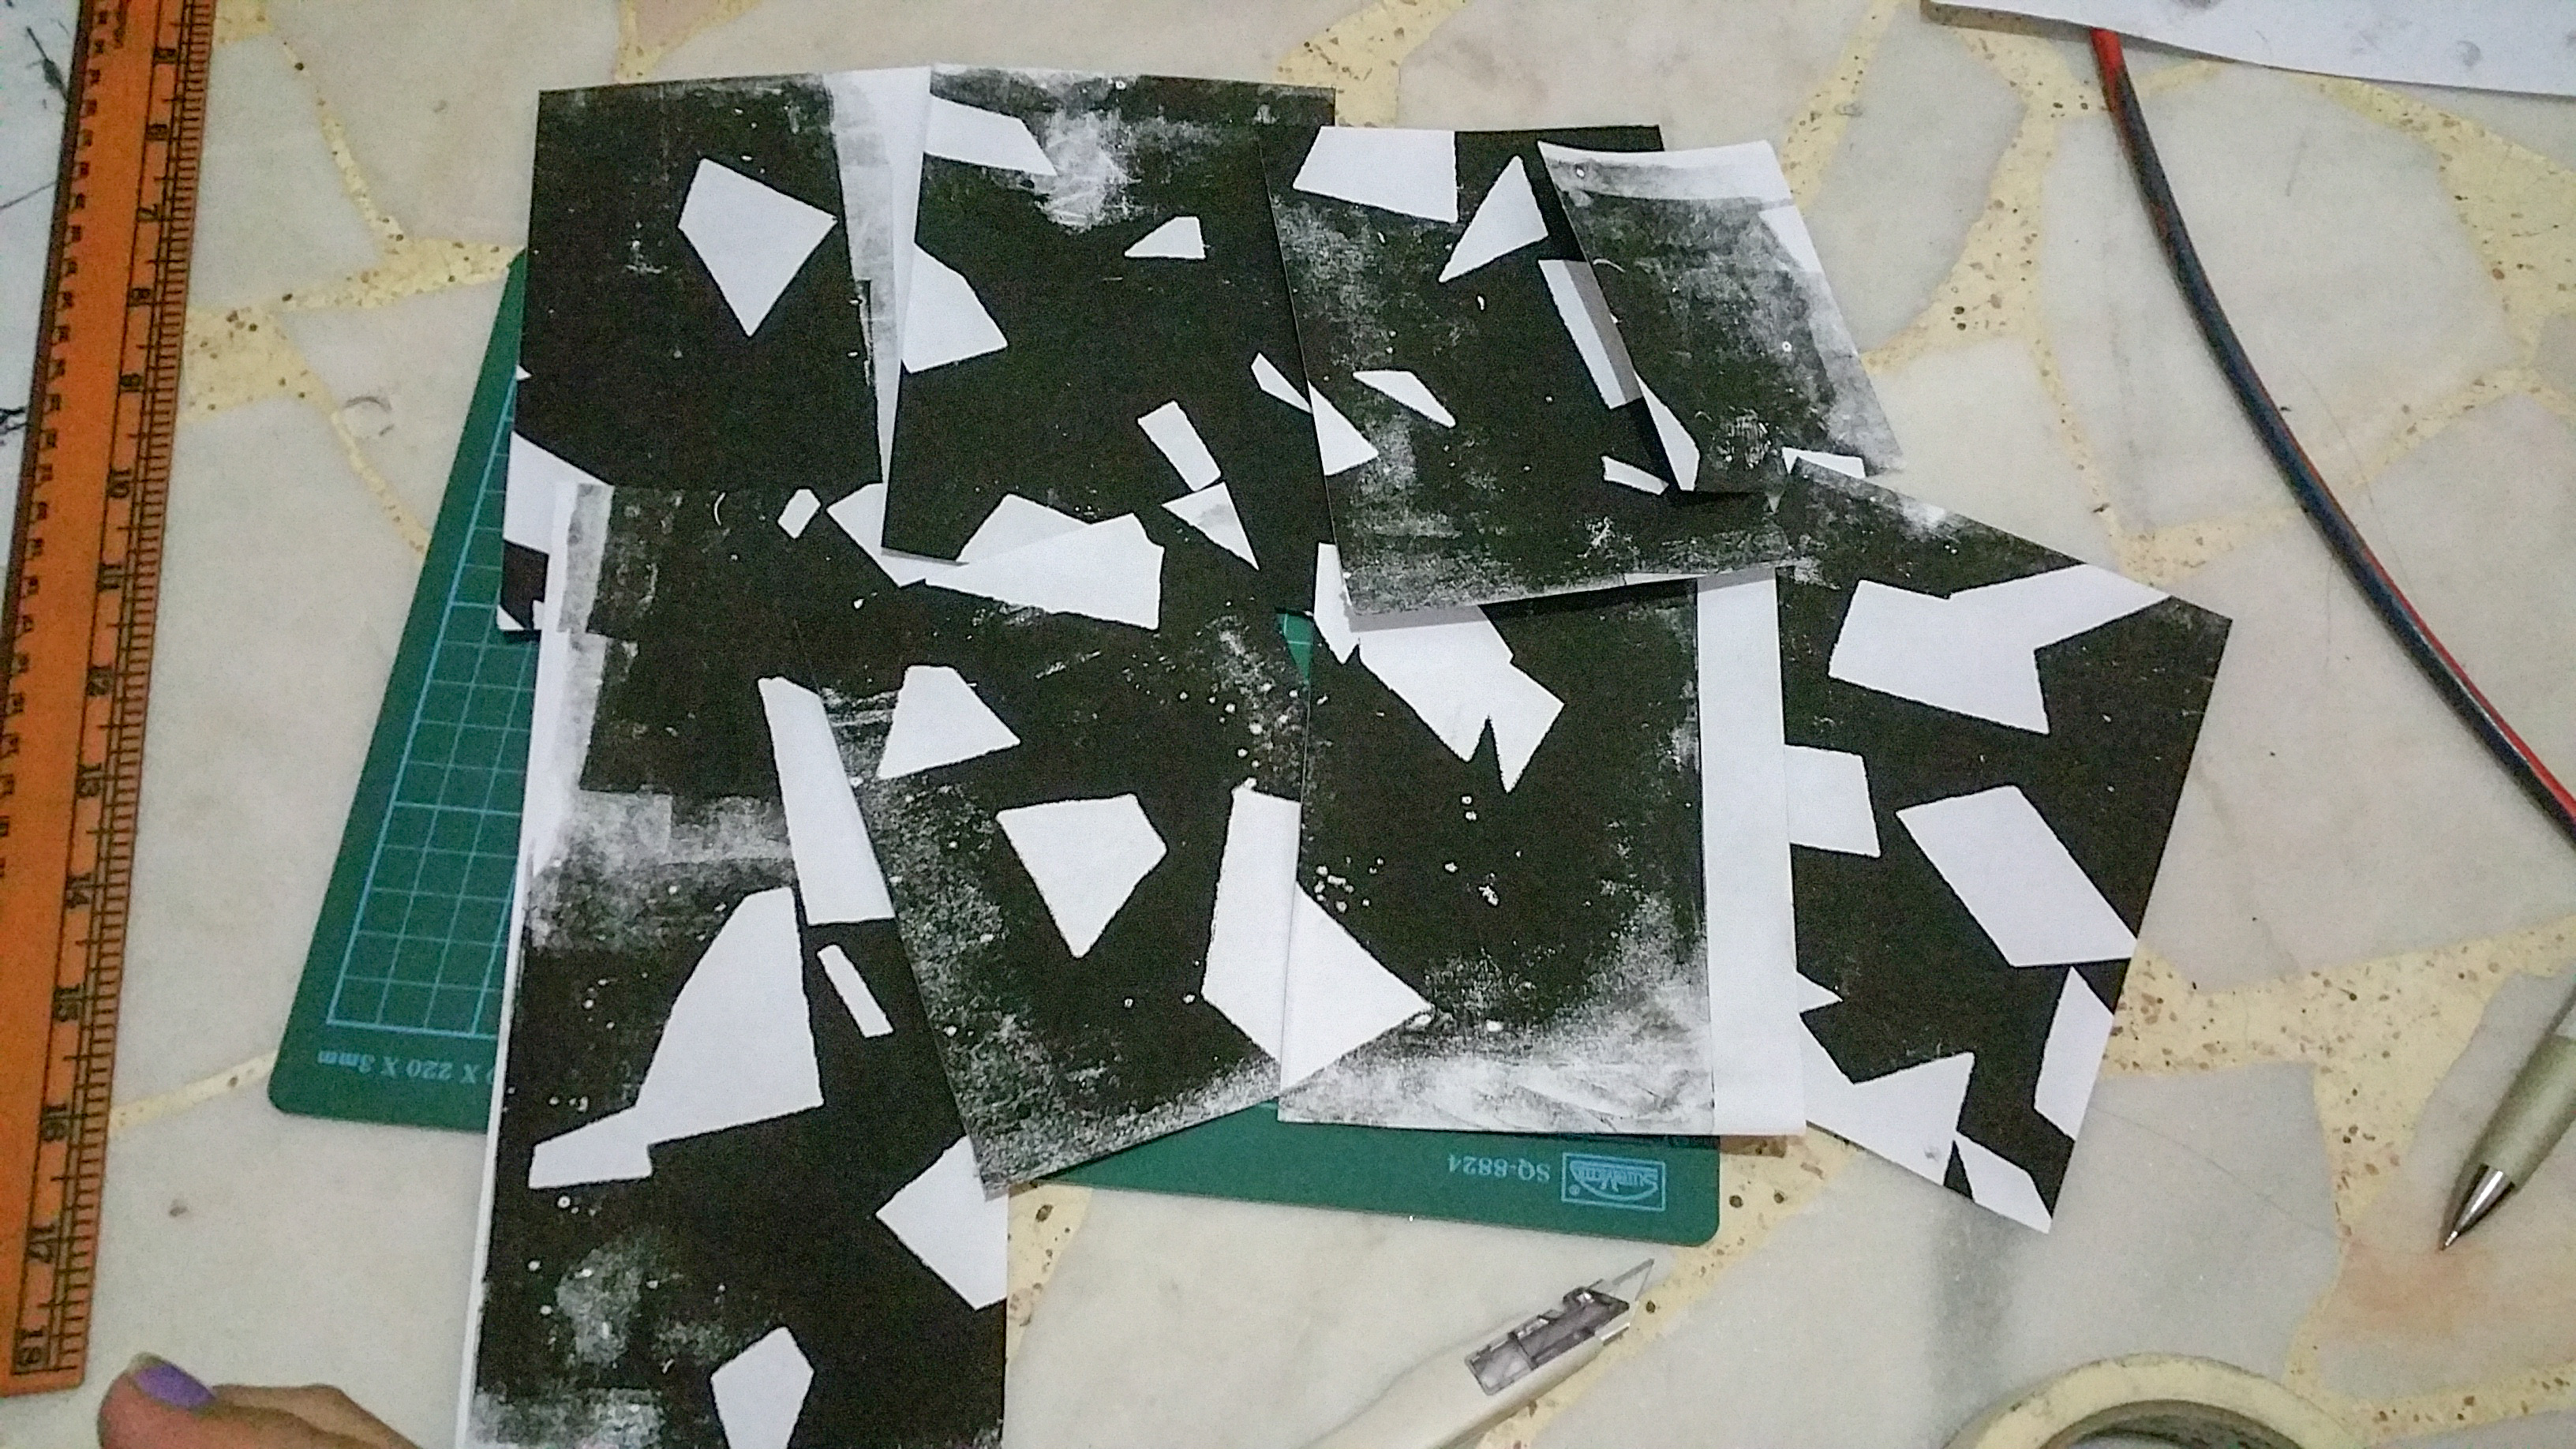
One collage that i really like ^^

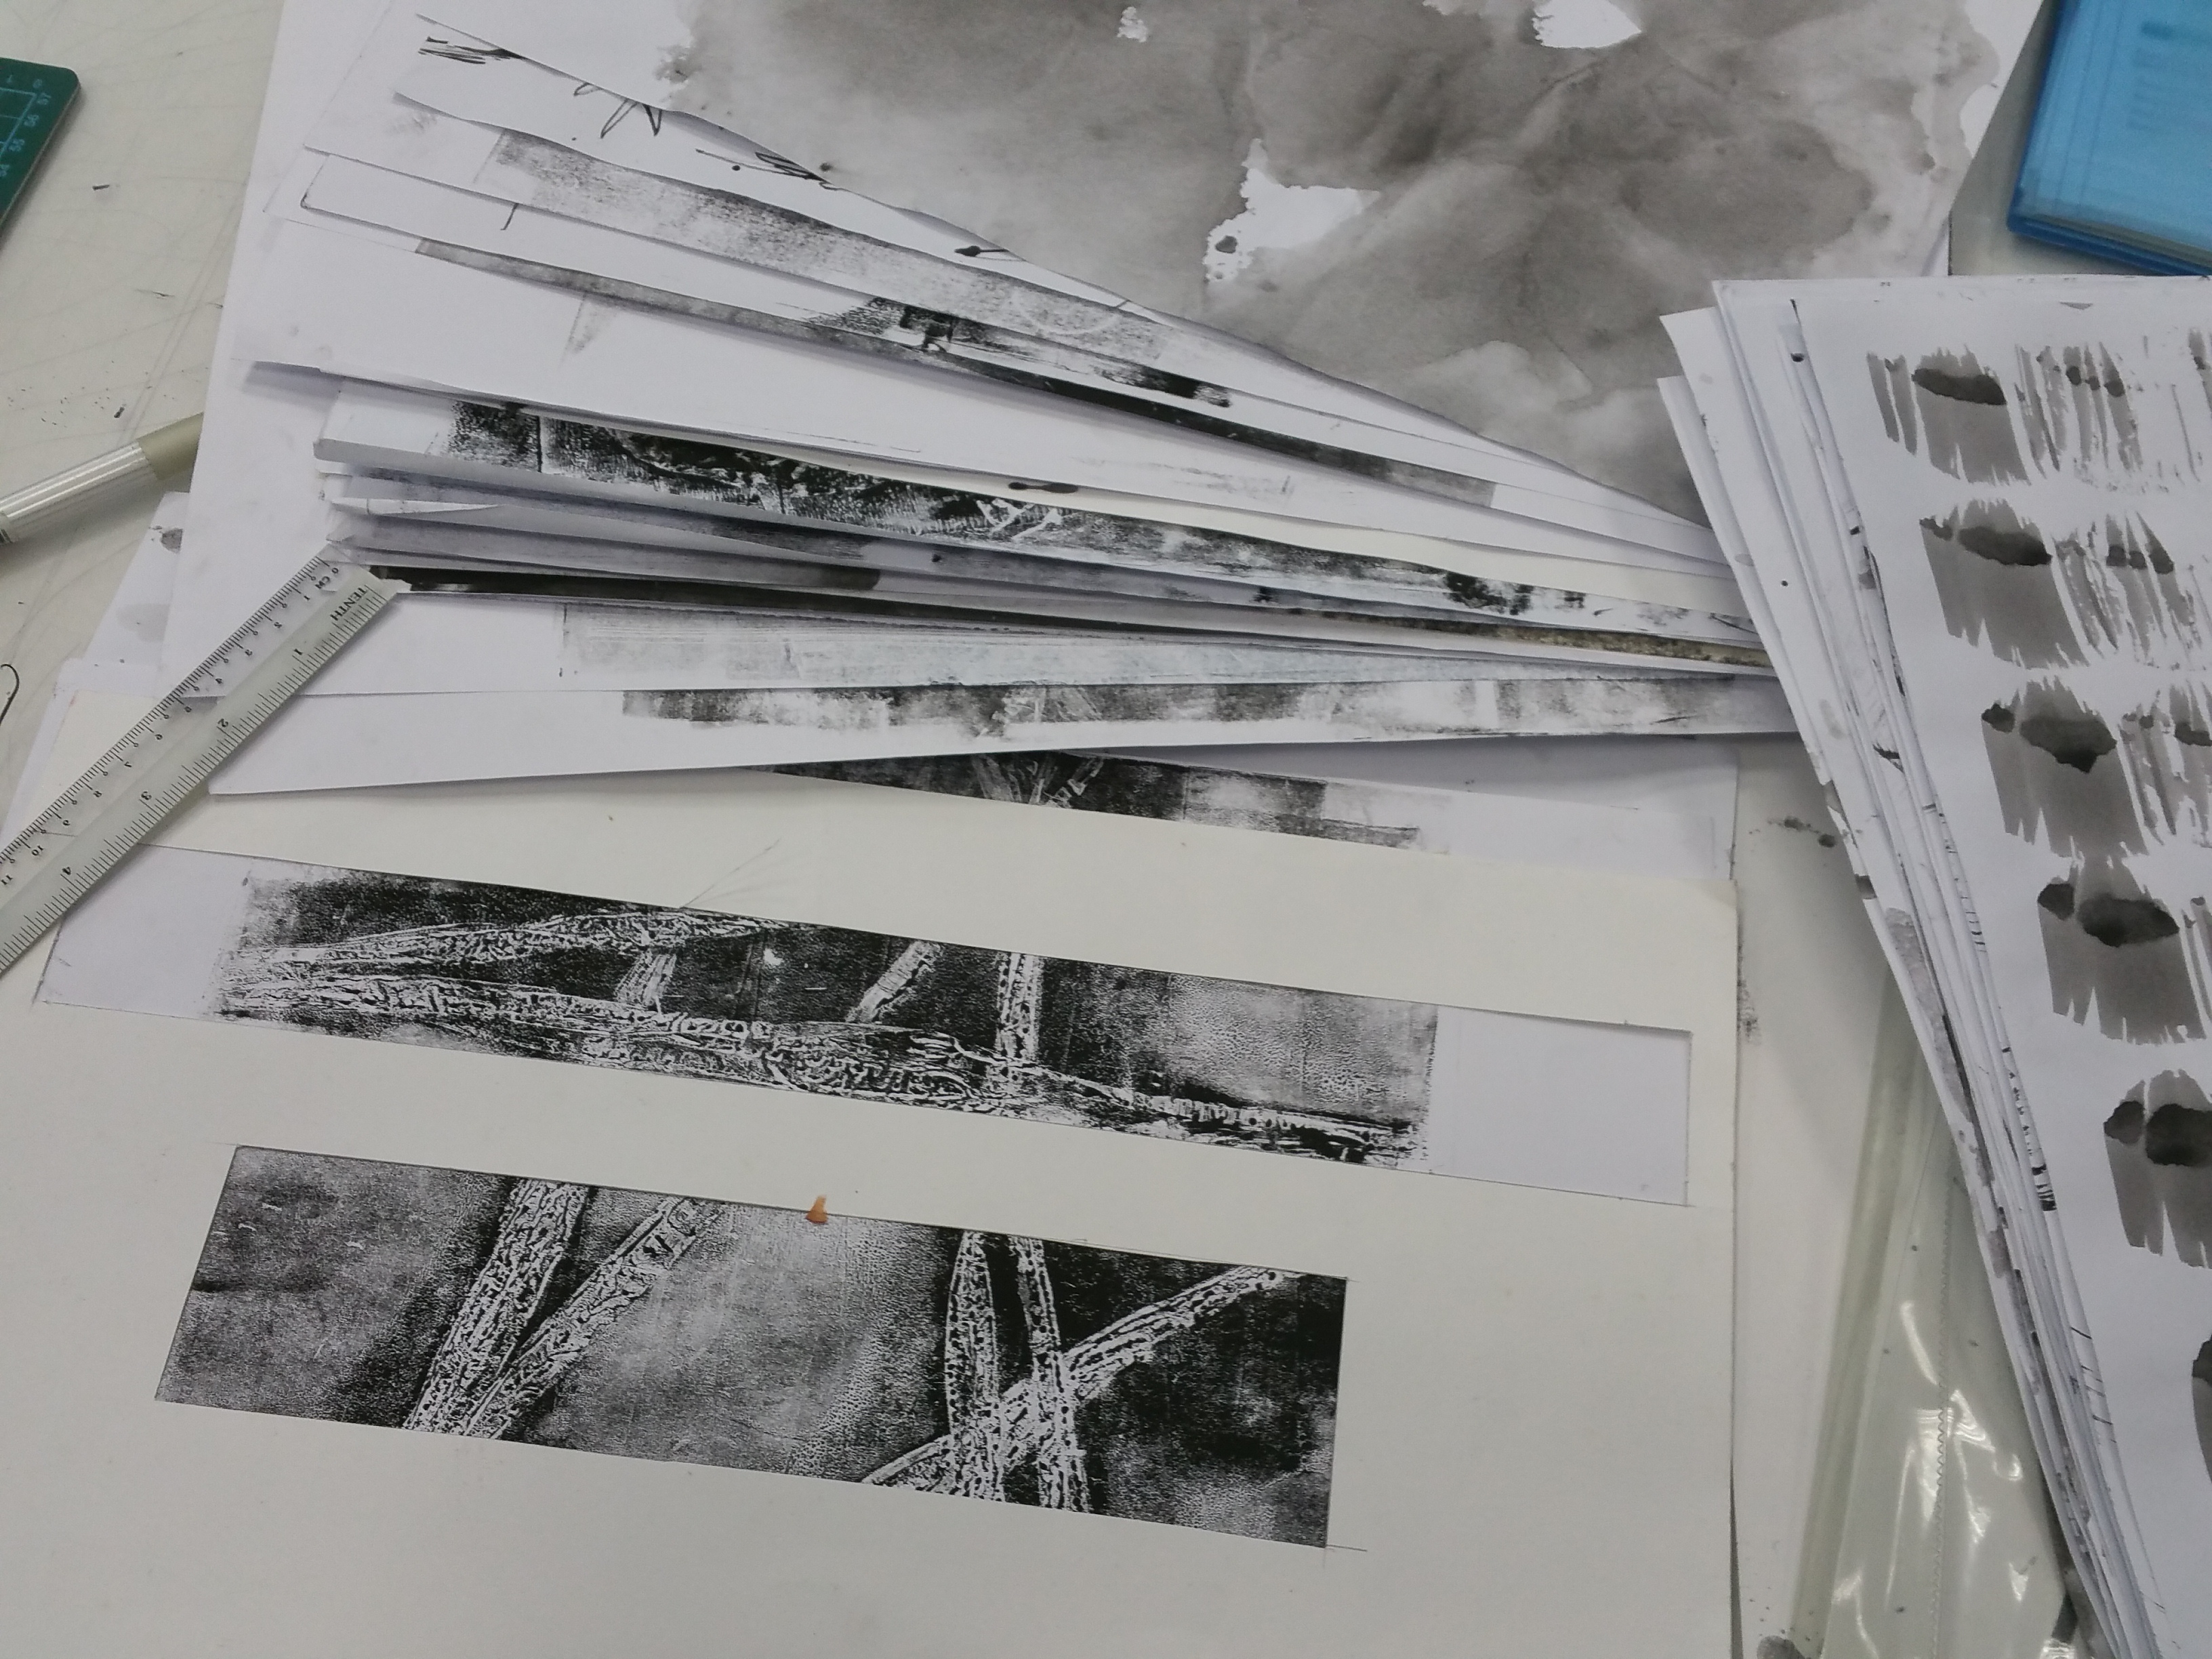
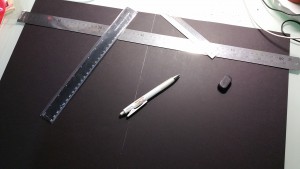
Once i have more or less confirm the postions of the lines in each panel, its cutting time! (It was such a challenge to cut them as I was afraid that there would be something wrong or i might see something better after i cut) However, i guess this is also part of the process, learning to accept what I have done and also be brave.
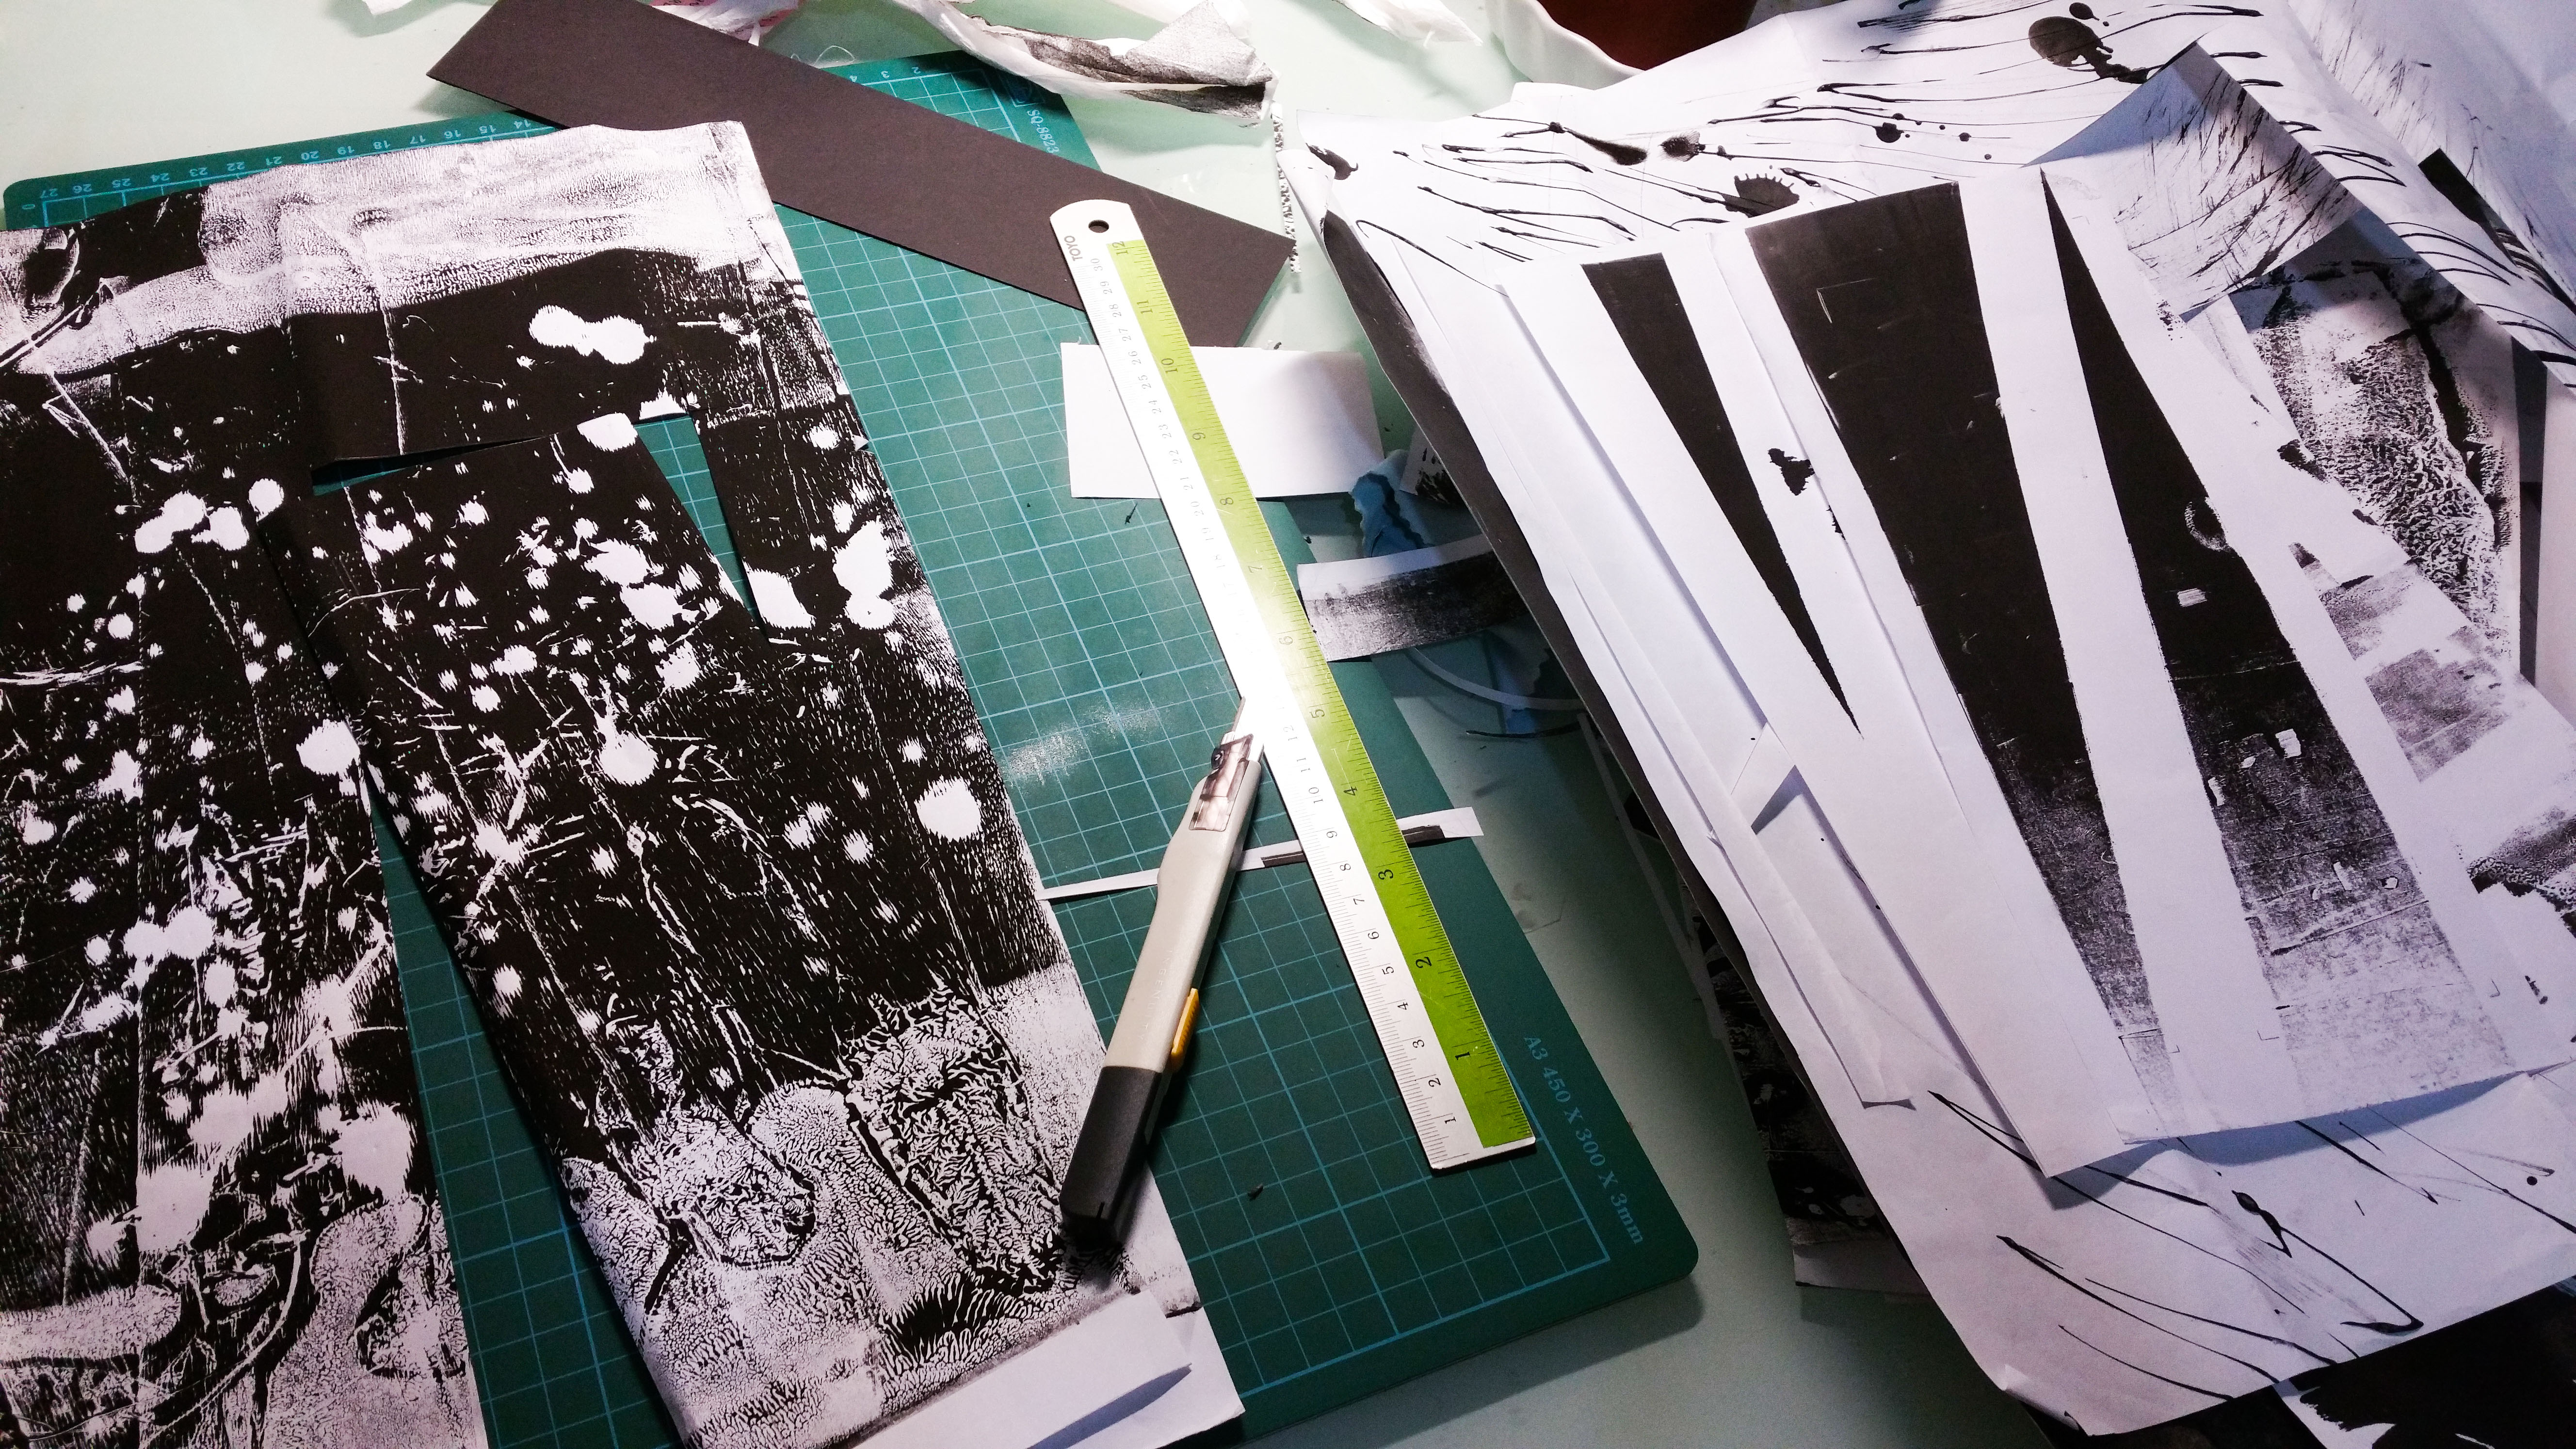
My first cut.
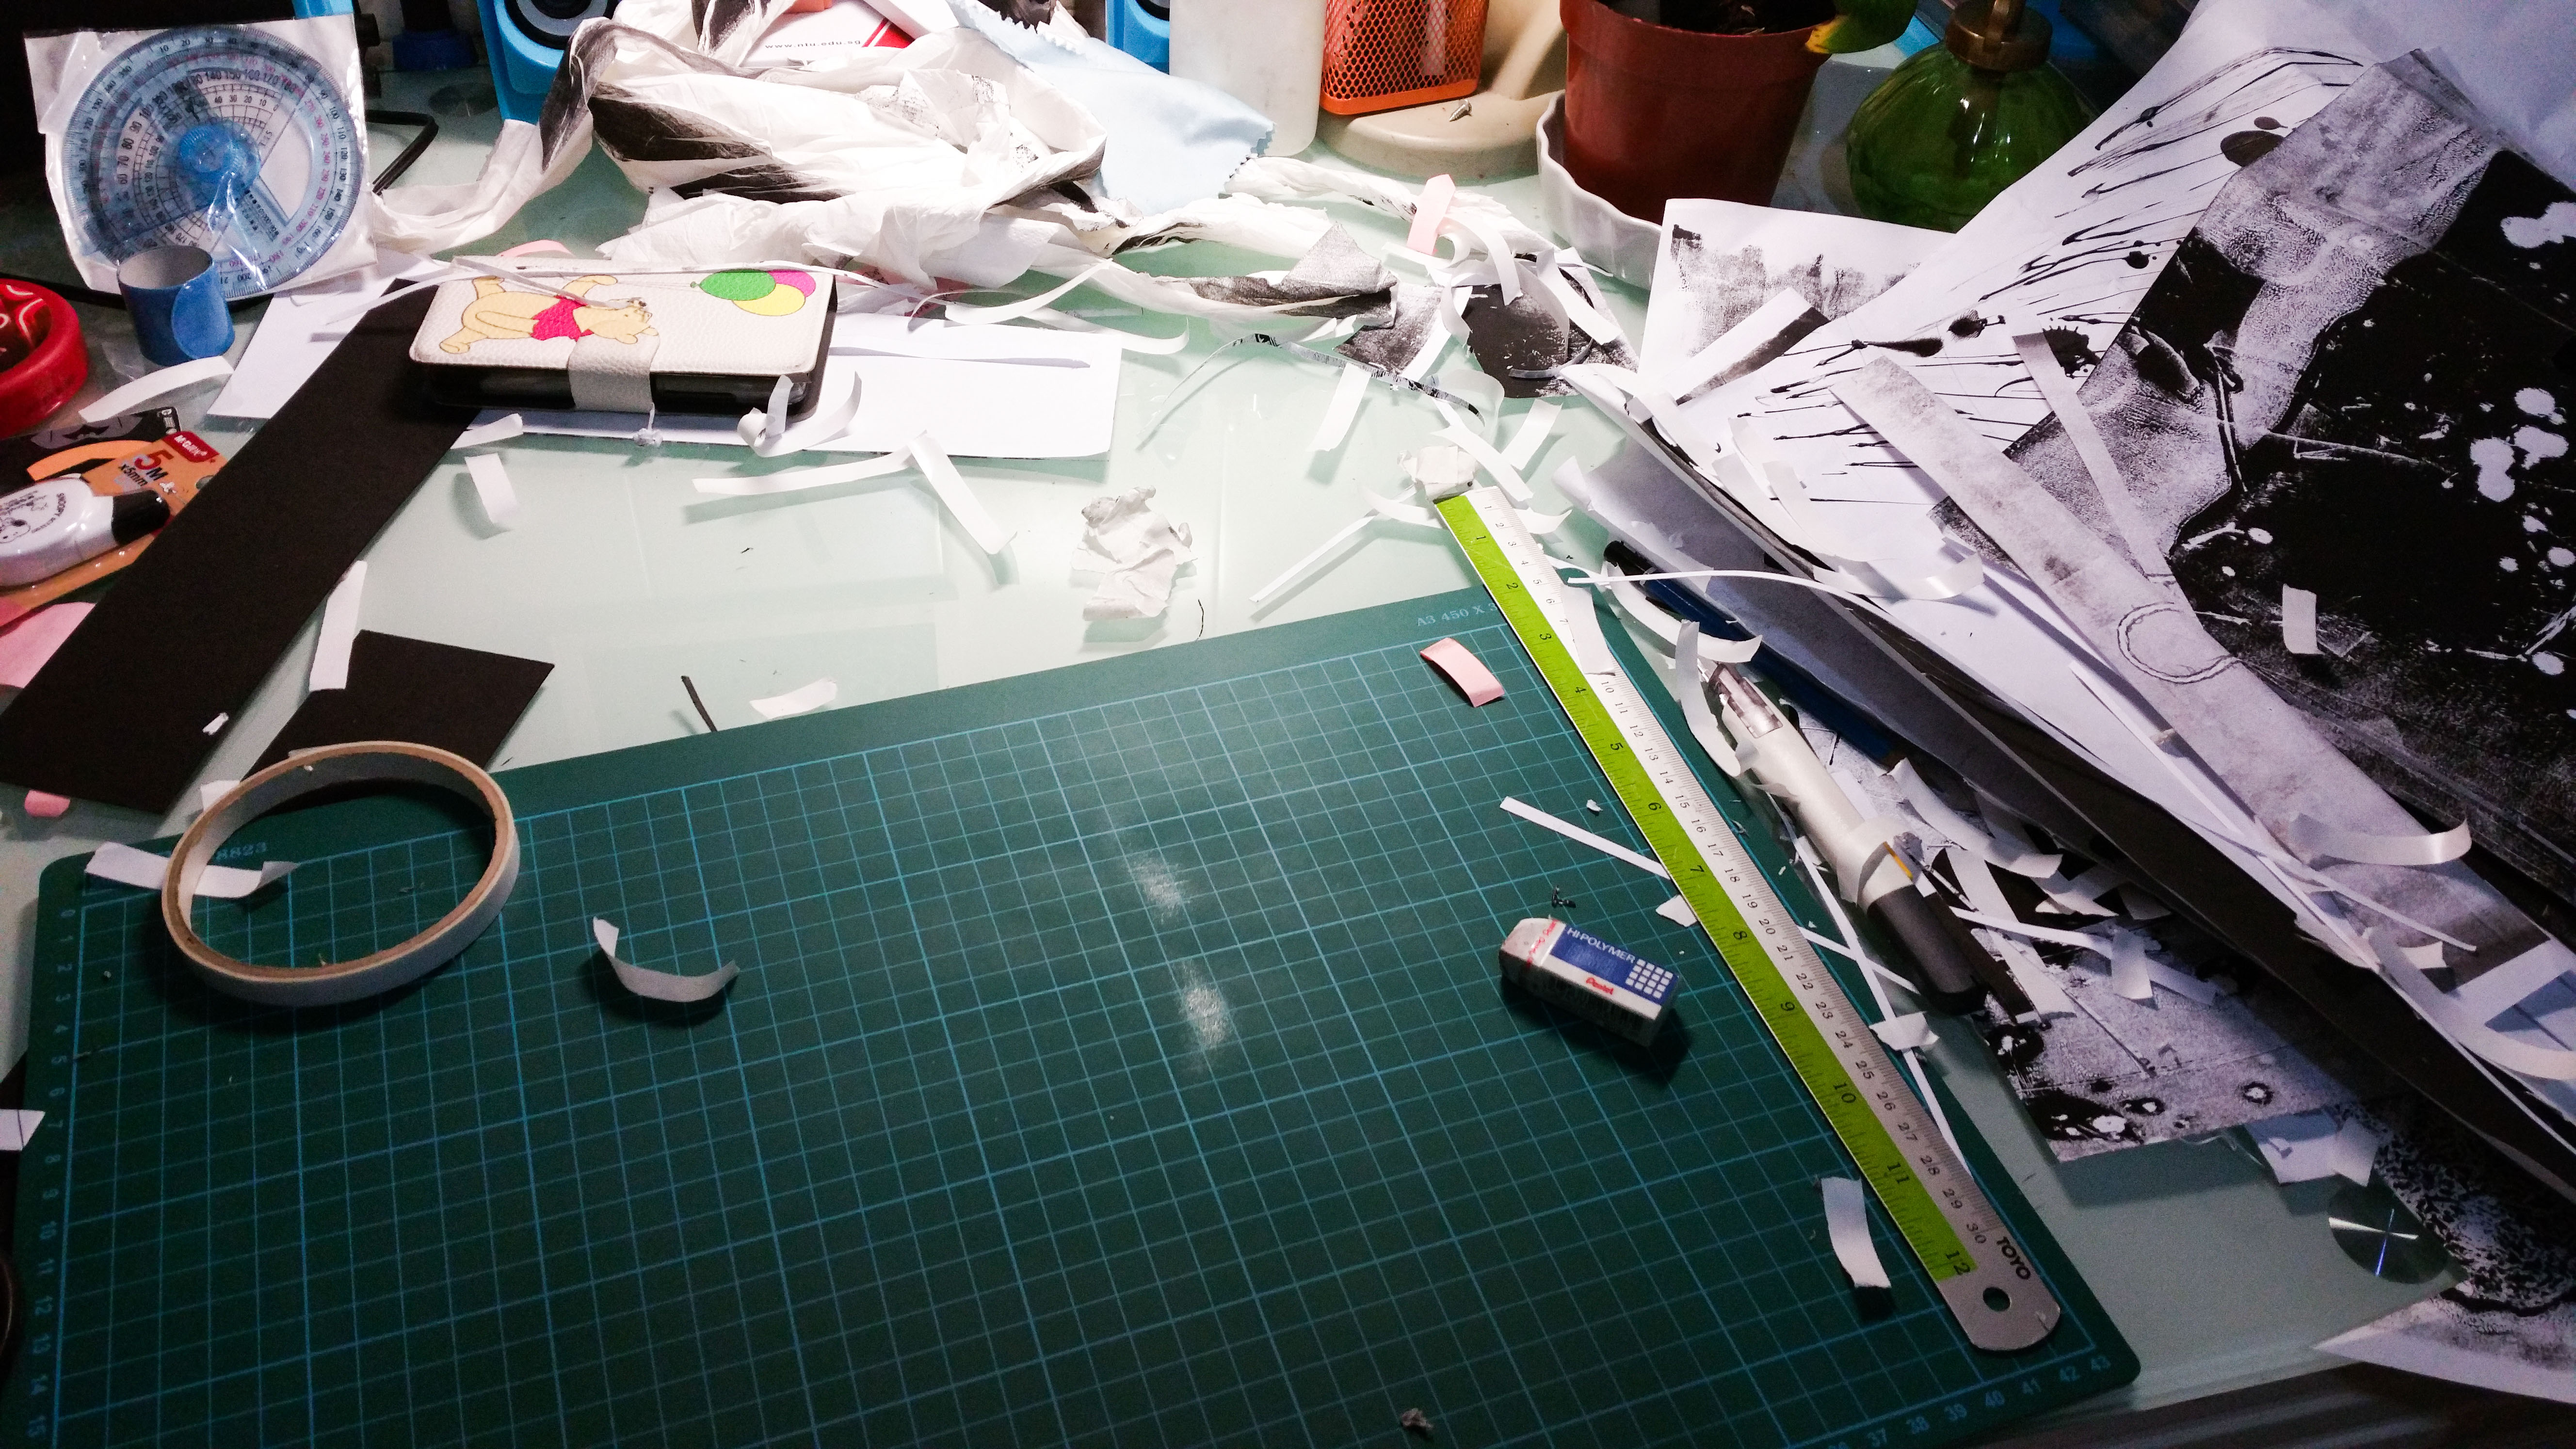
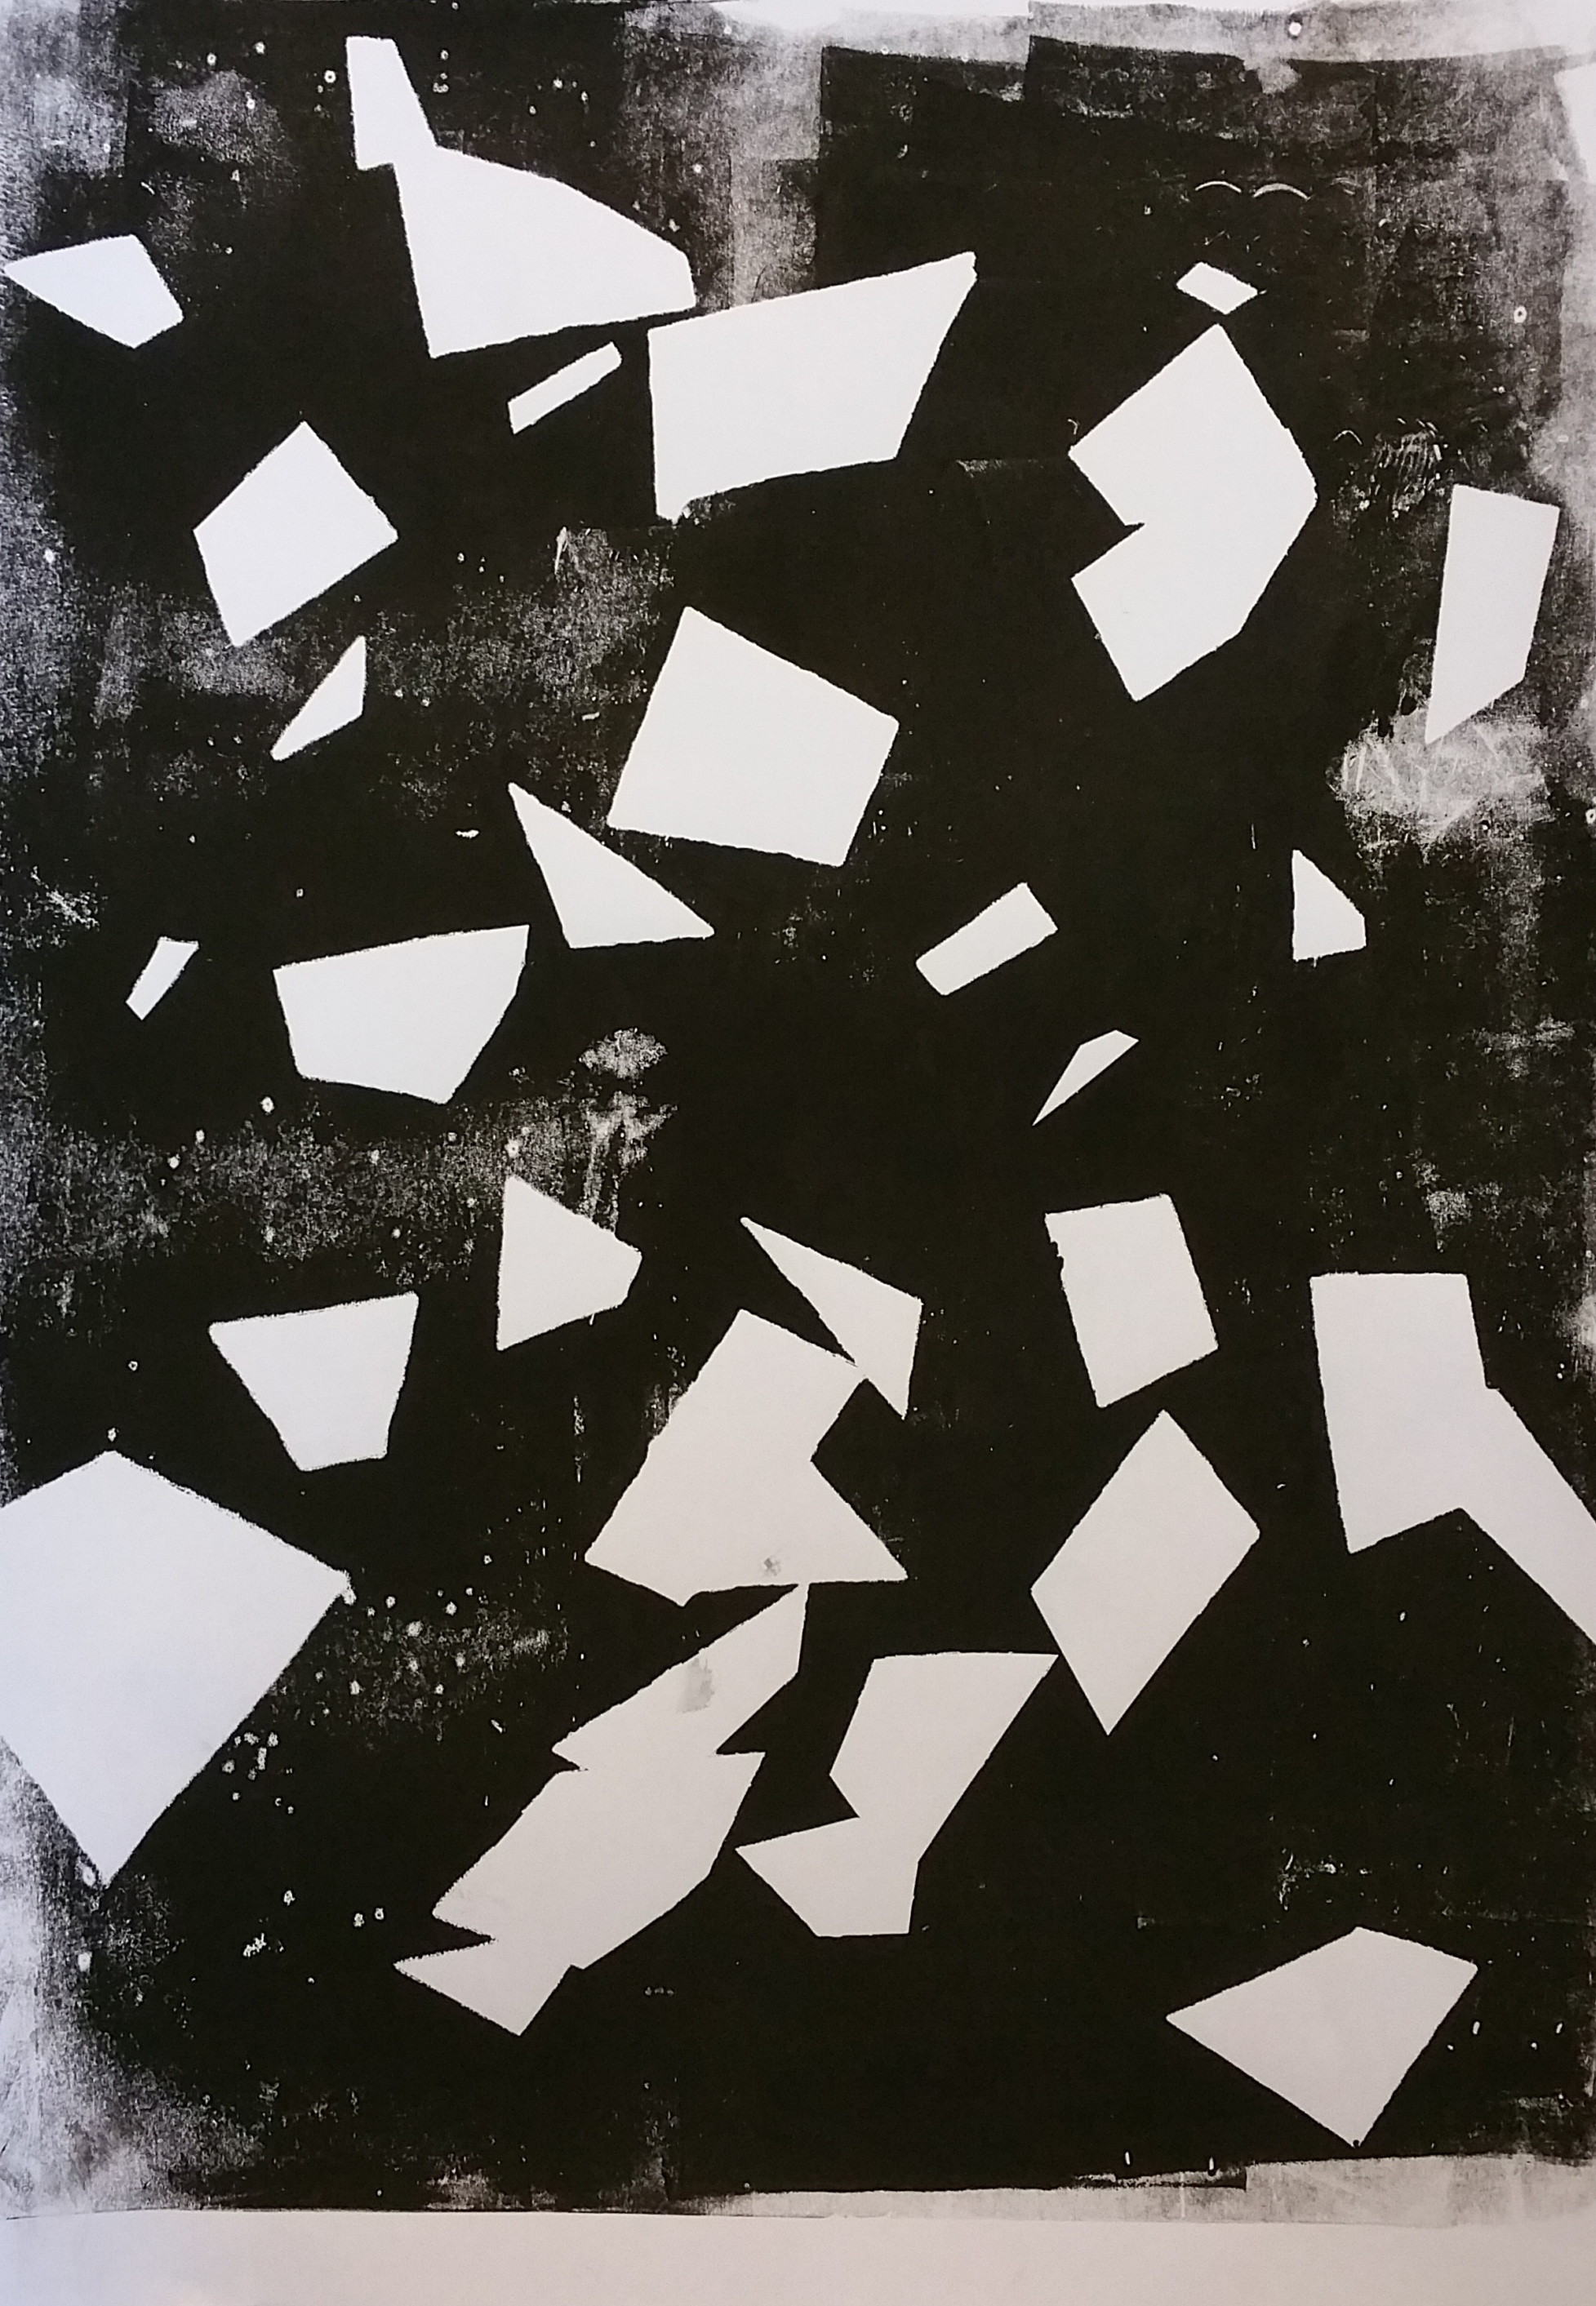
AND ITS DONE!!!! it may look like a simple process but the cutting and placing them at the correct position took me so long ;A;
And next post will finally be the long awaited final work!!!!!! YAY /o/

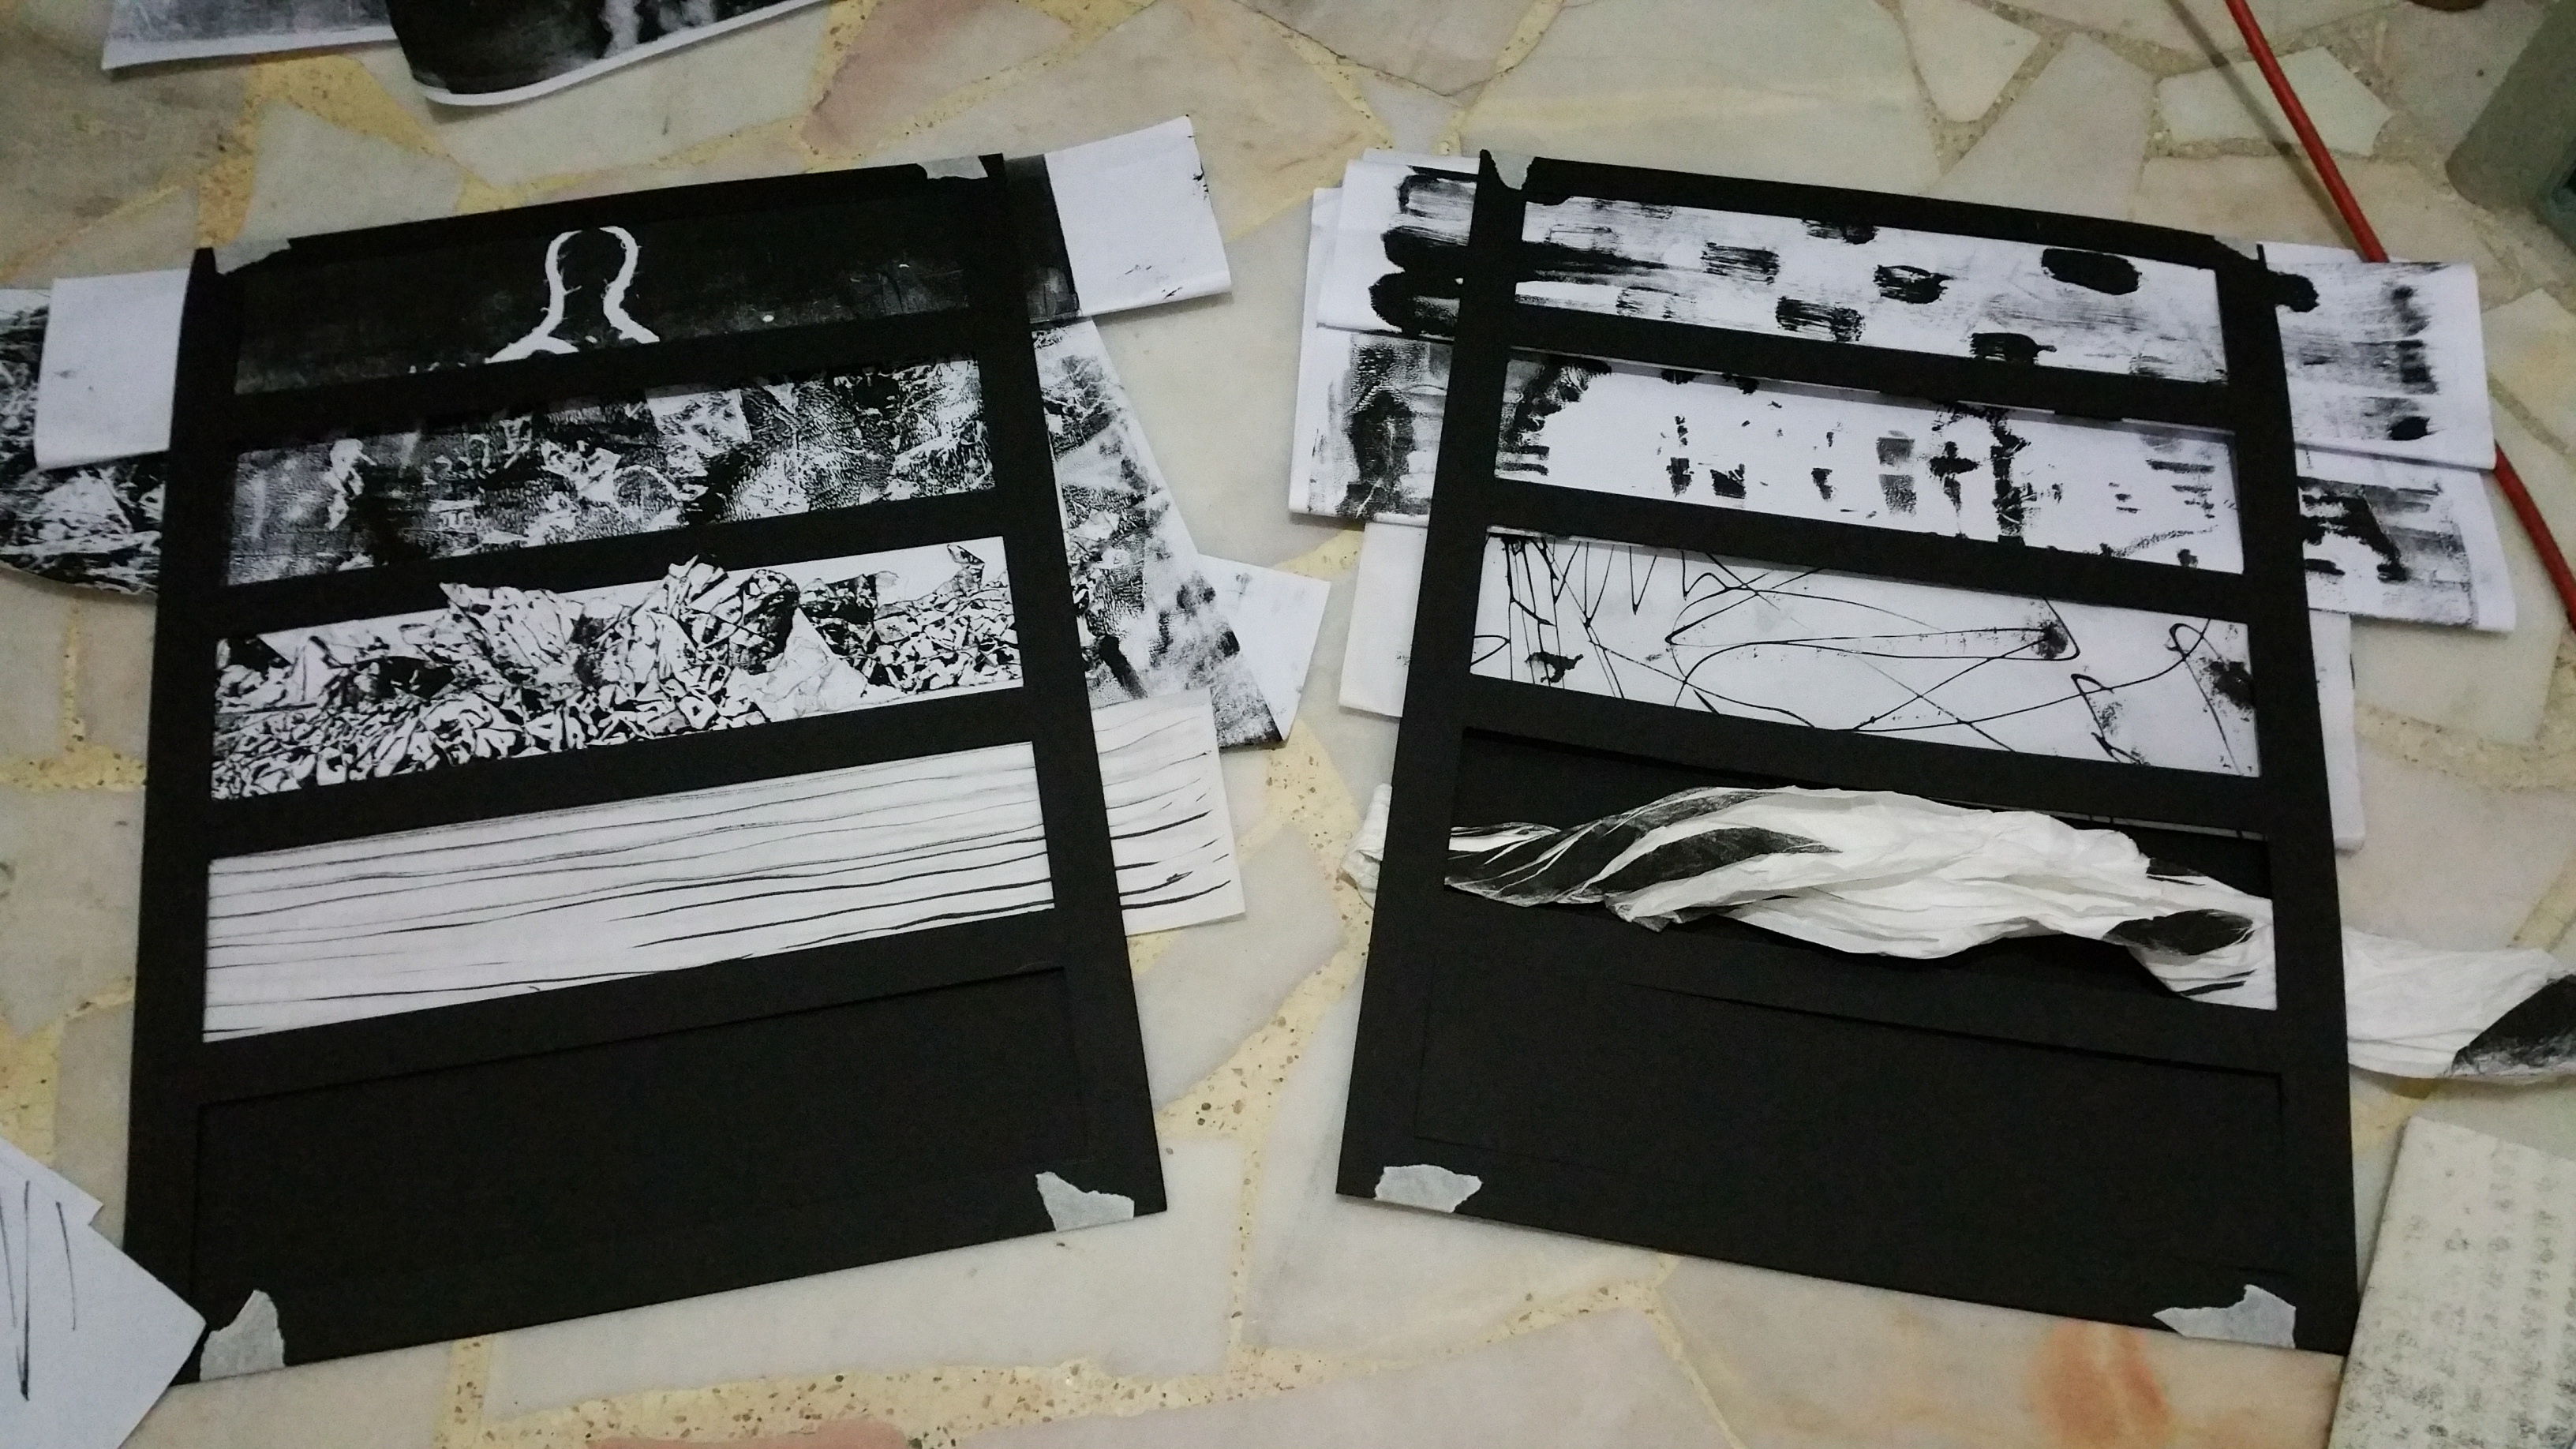


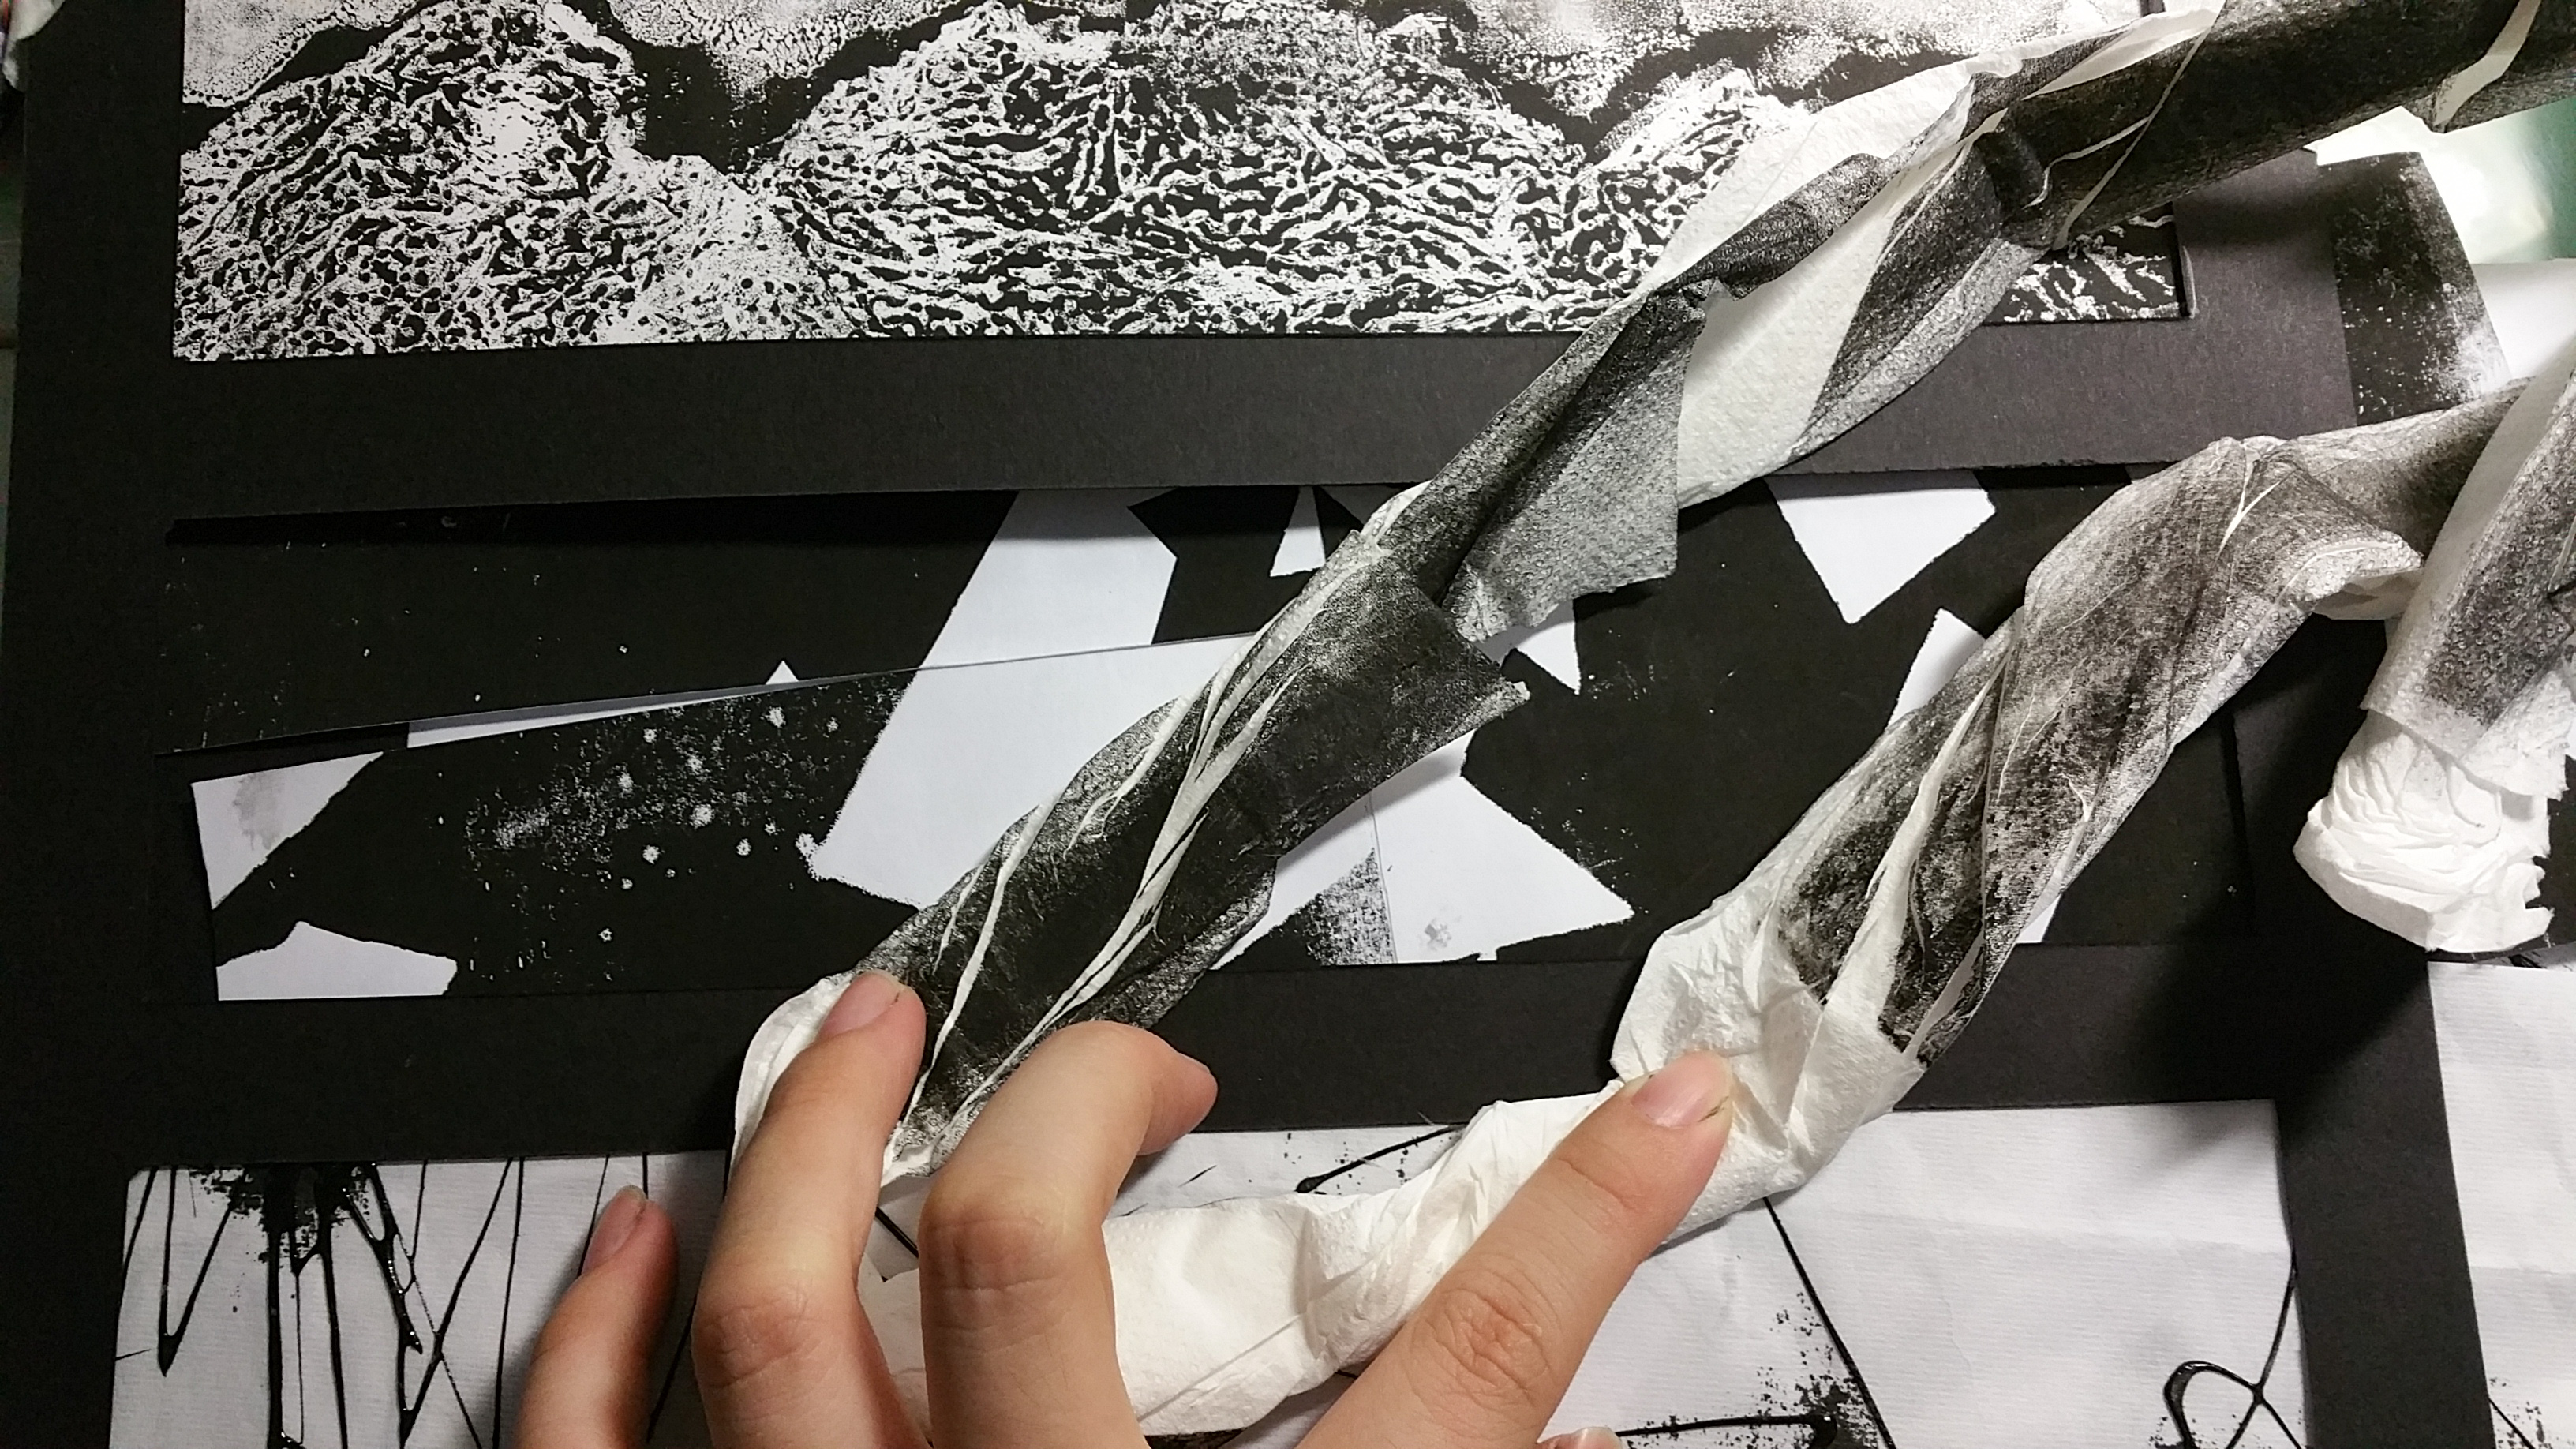
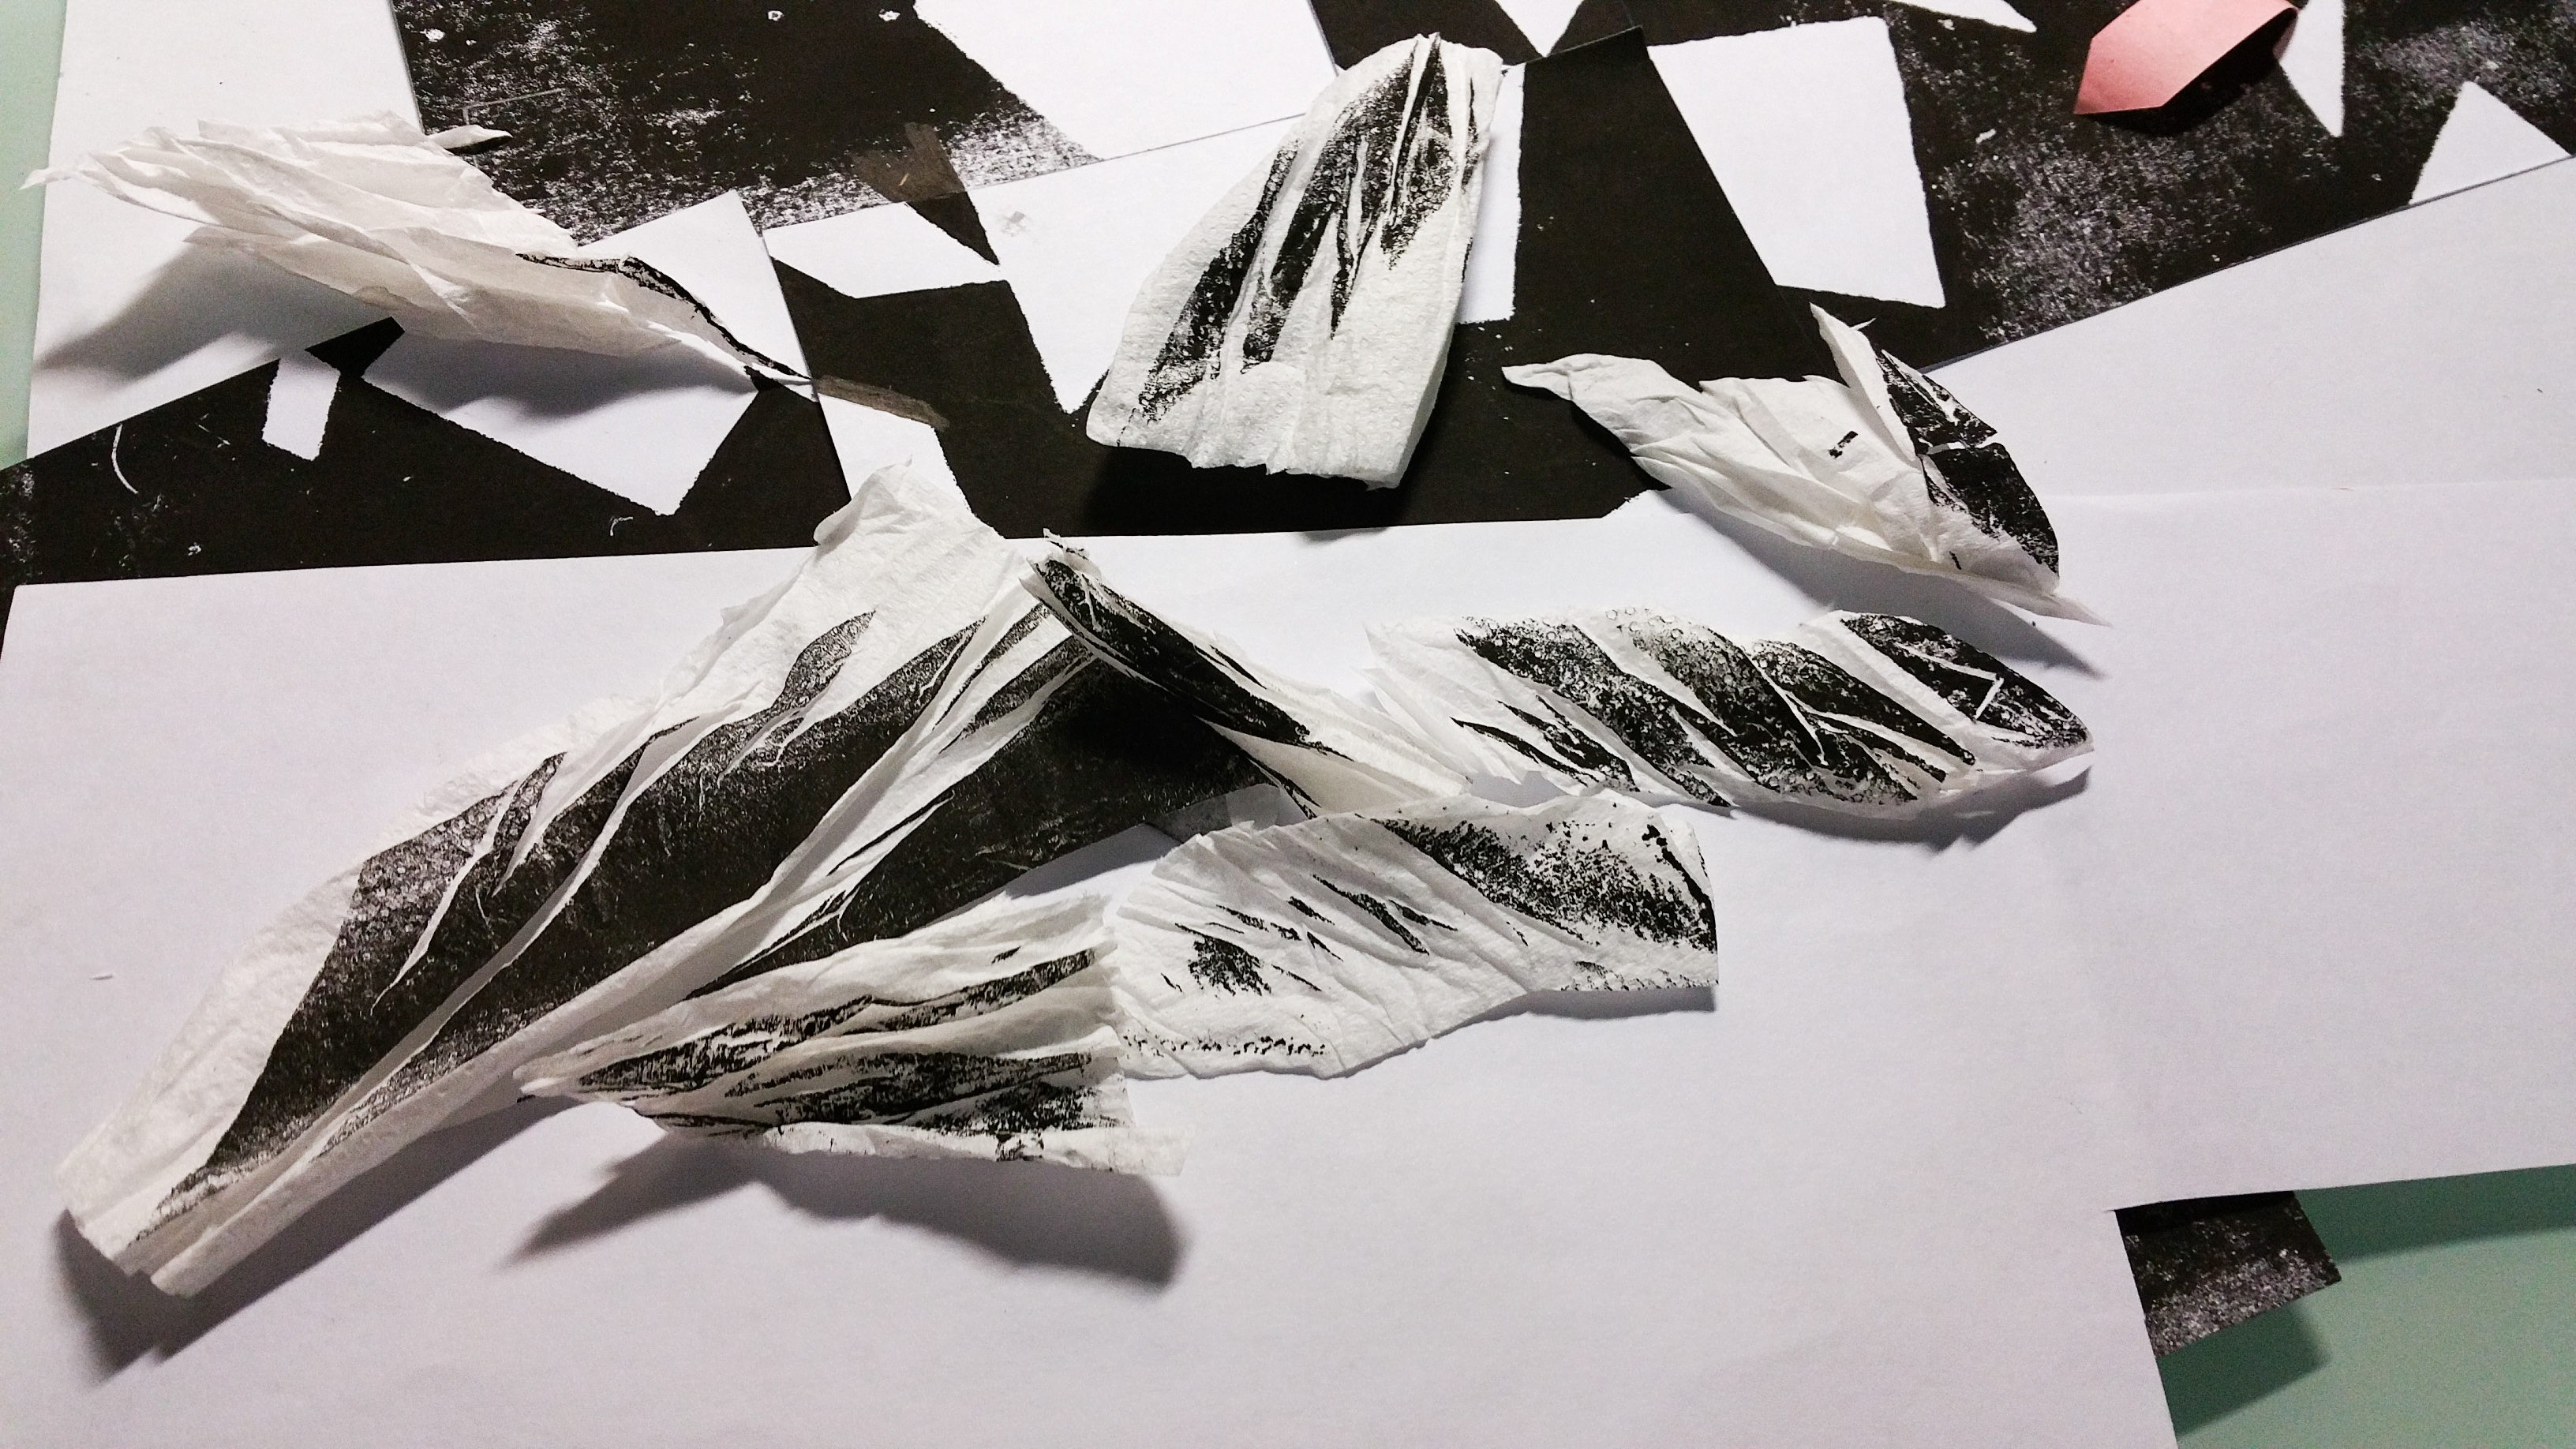


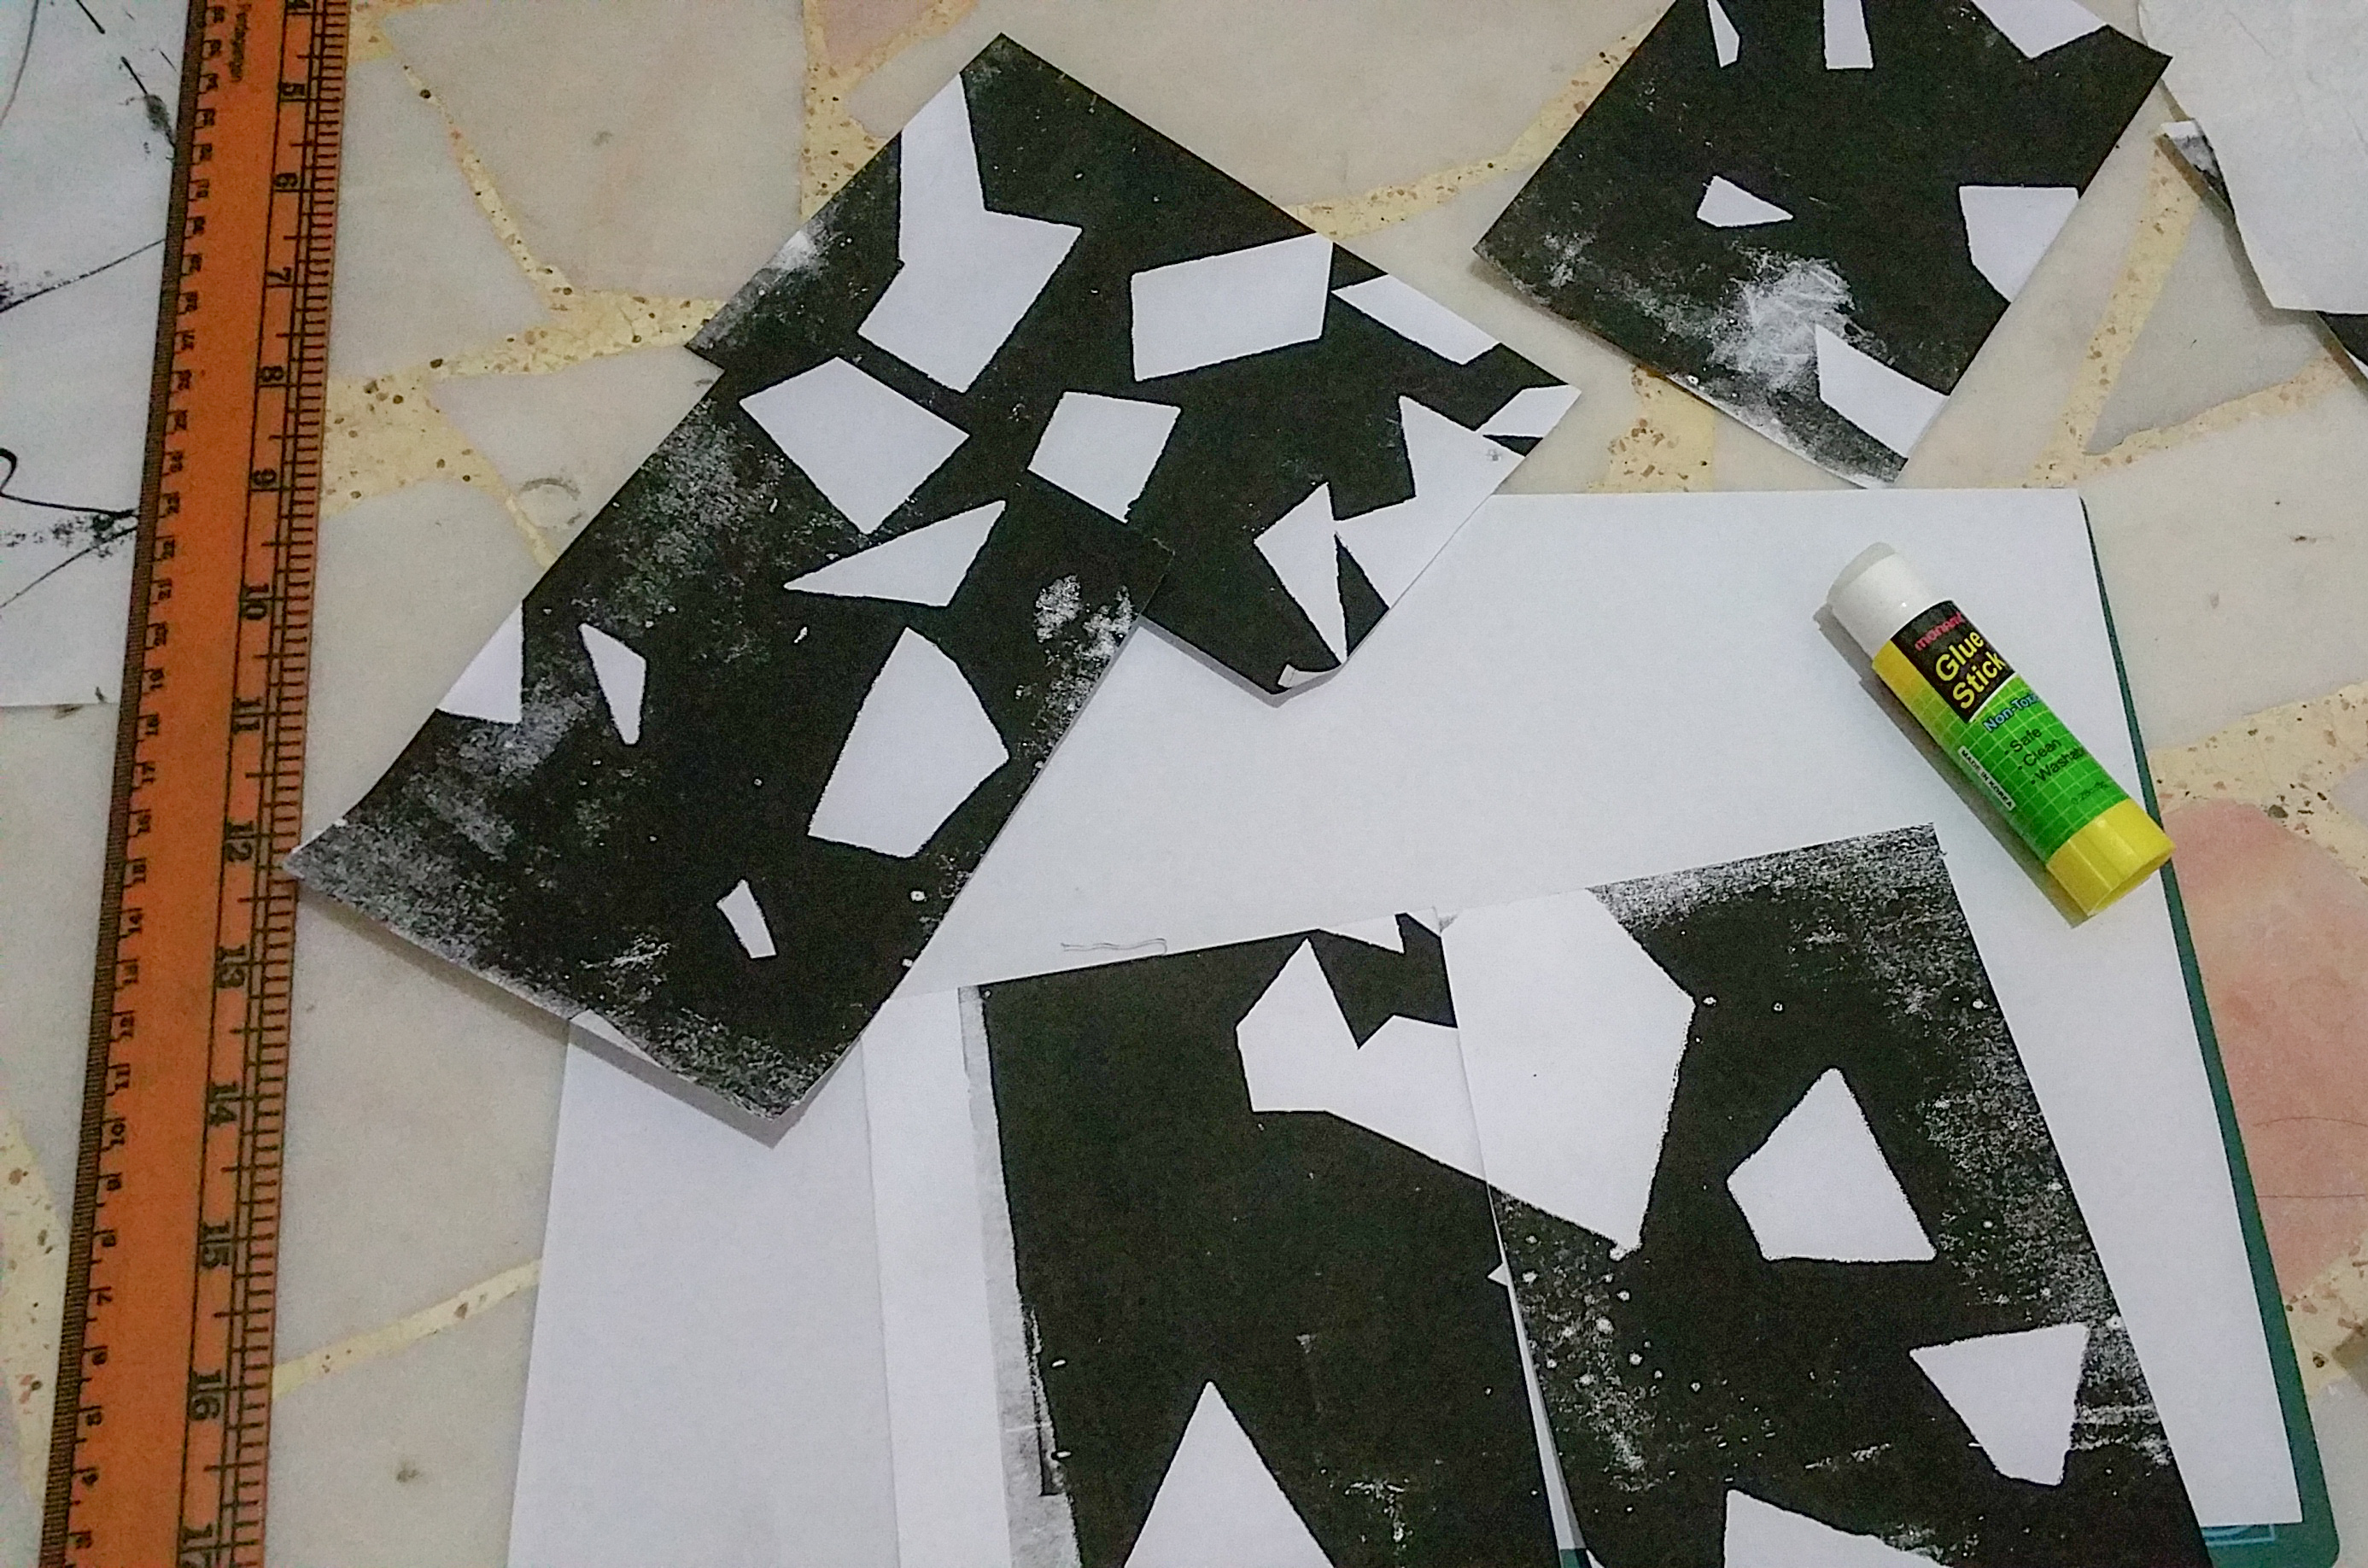
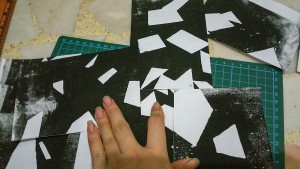 I combined them by joining the edges of the different shapes! and they fit!