Fabric Etching: (Silk Viscose Velvet)
It is the process of removing the velvet fabric fibers off the silk with chemical means.
Materials:
- Silk Viscose Velvet fabric
- Fiber remover
- Silkscreen set
- Iron
- Brush
Steps:
- Prepare the silkscreen set with the squeegee.
- Layer tissue on the table.
- Place your velvet cloth on top of the tissue.
- Place the silkscreen on top of your fabric and pour some fiber remover liquid along the edge of the silkscreen (blue part).
- Hold the squeegee at 30 degrees and swipe the fiber remover from one end to the other. Make sure the coat is even.
- Leave the cloth to dry for some time.
- Once it is dried, iron over with another piece of cloth on top of the velvet.
- Make sure the area with fiber remover turns dark brown.
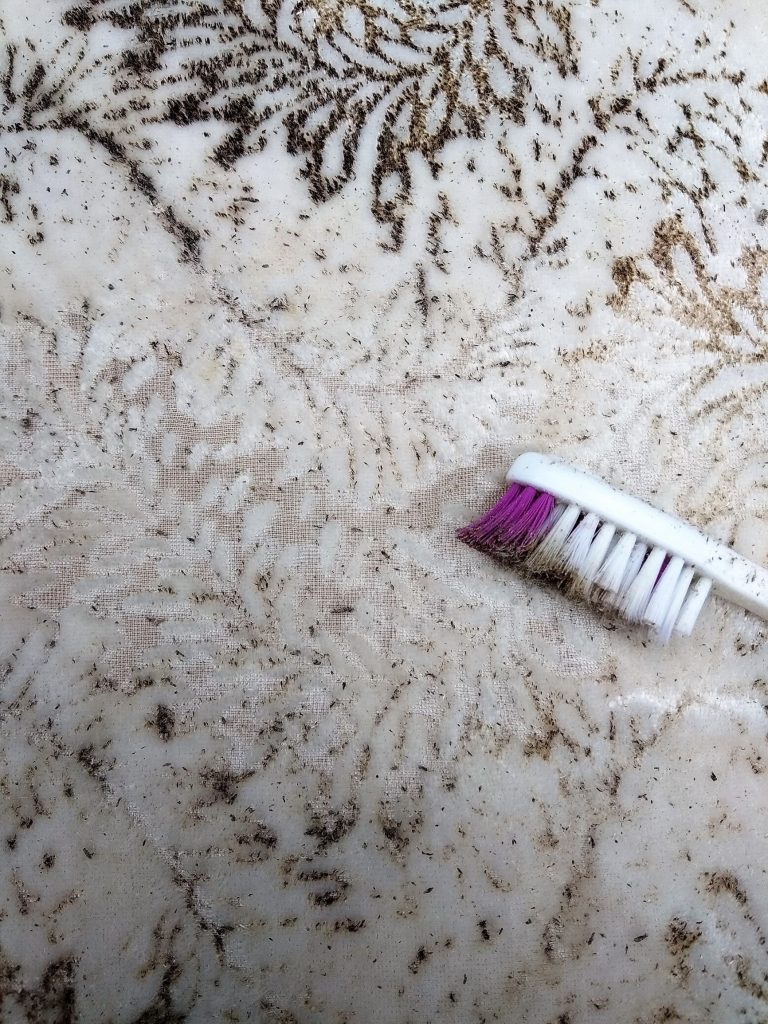
- Leave the velvet to cool down and proceed to brush away the dark brown areas with a brush.
- Wash and leave it to dry.
Process and Trials:
![]()
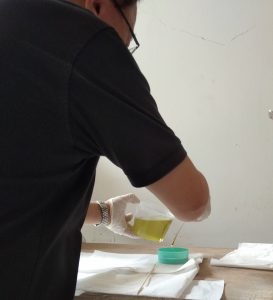
This is the fiber remover we used to apply onto the silkscreen shown at the top right corner of the picture.
Trial #1:
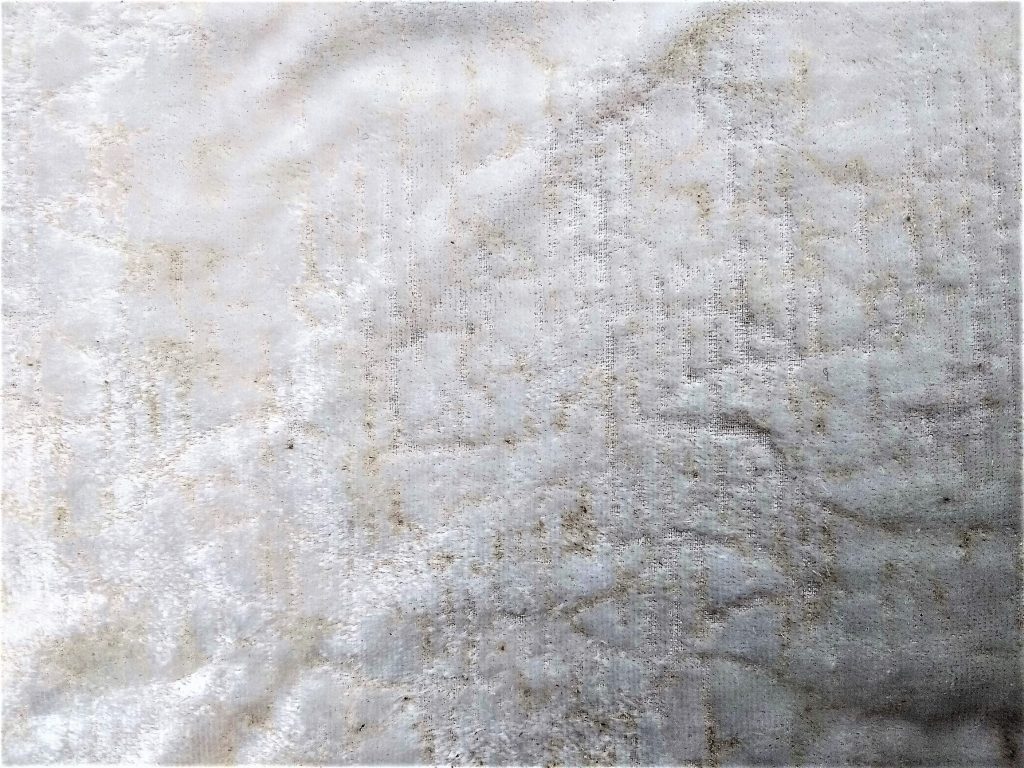
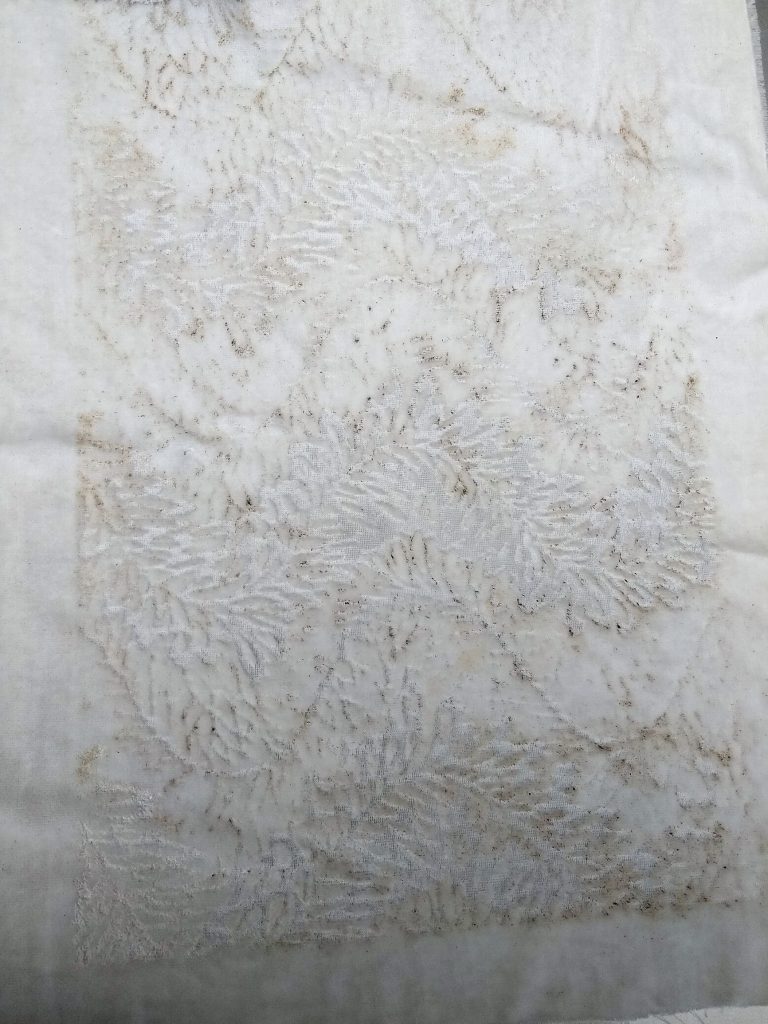
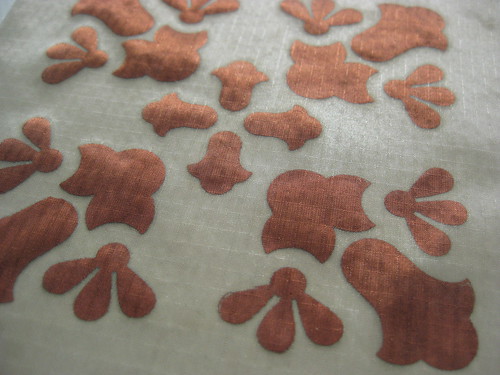
This was the result I got for trial #1. It seems that the fiber remover was not evenly spread out on the fabric and even after ironing for quite long, the dark brown charred fibers were not very apparent.
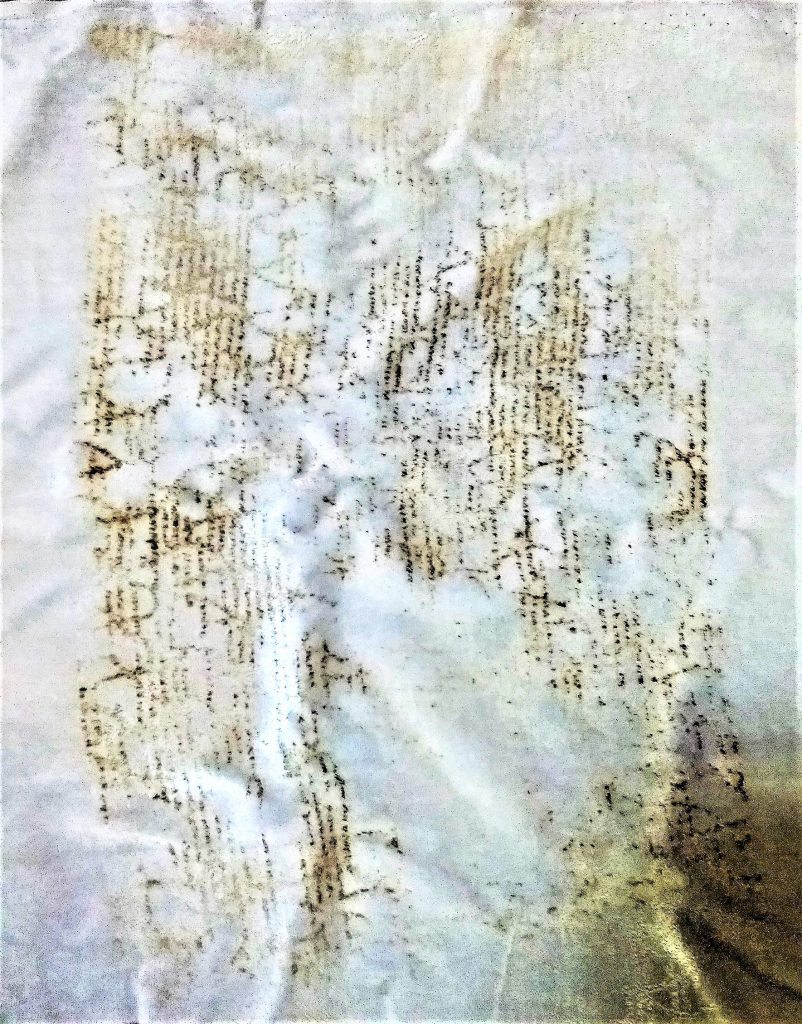
After brushing the charred bits off the velvet, there were slight patterns showing on the fabric even though the effect was not very apparent as well.
Trial #2:
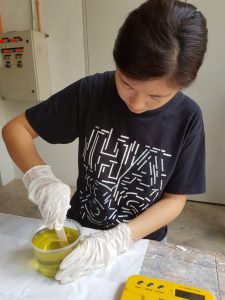
Moving onto trial #2, I made it a point to take more photos to have more detailed documentation.
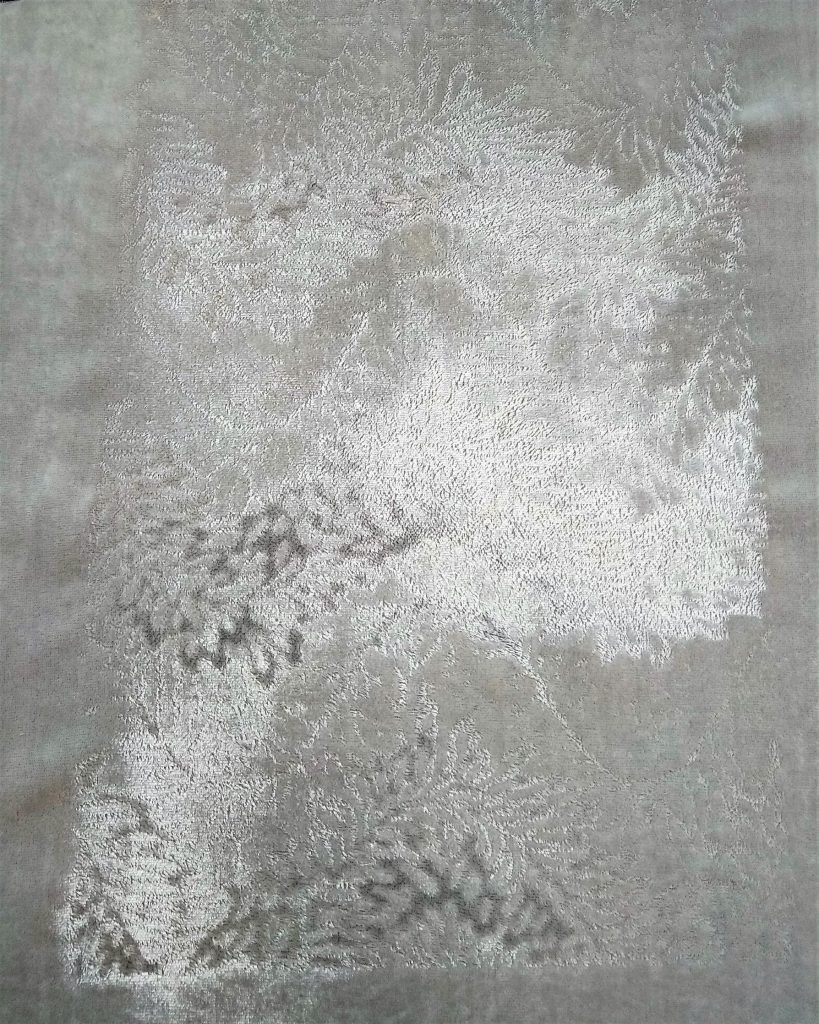
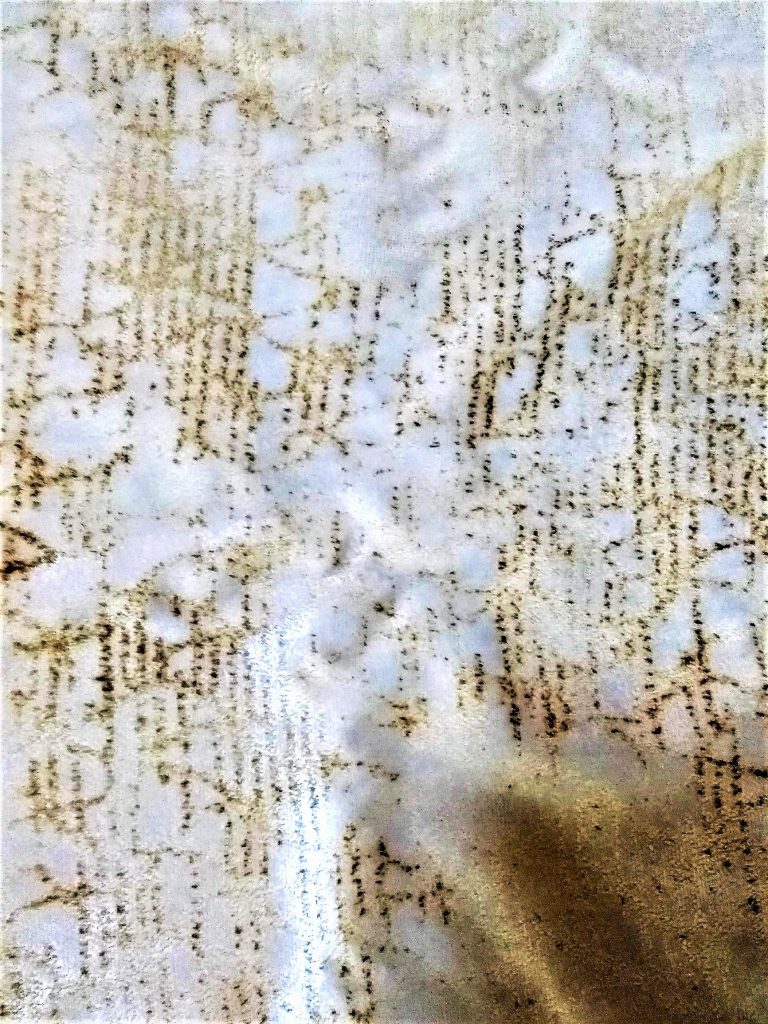
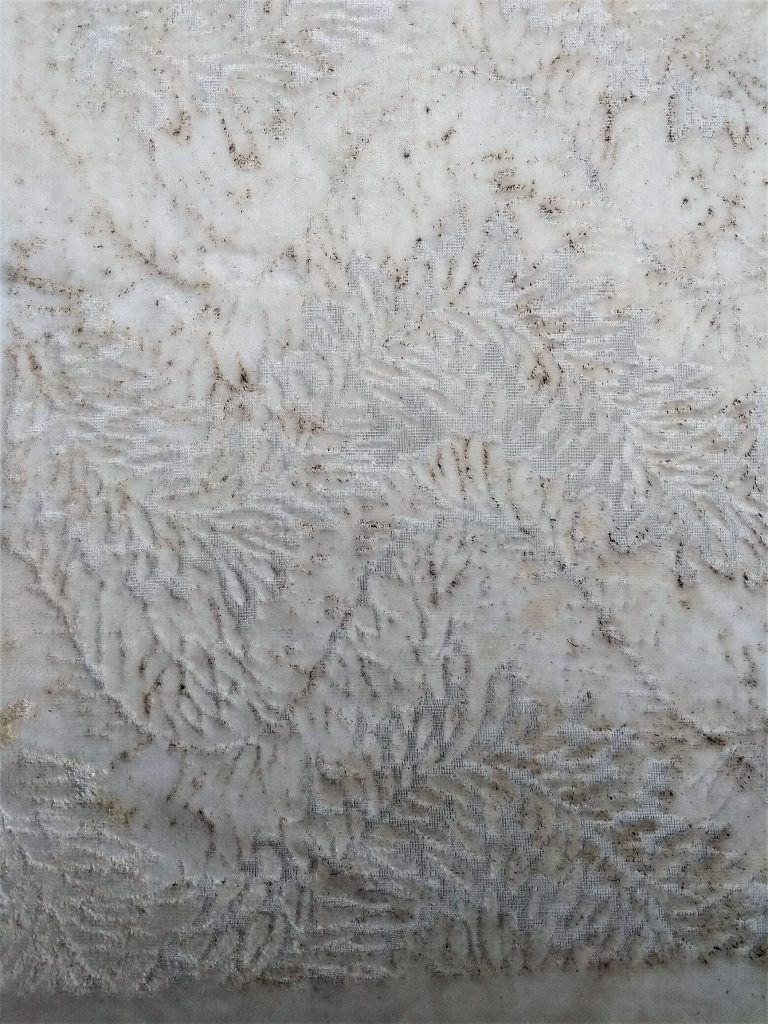
This is the result I have gotten after applying fiber remover and letting it dry for some time with a brief 1-2 irons.

After ironing for quite a long while, I am starting to see the charred bits becoming more prominent.
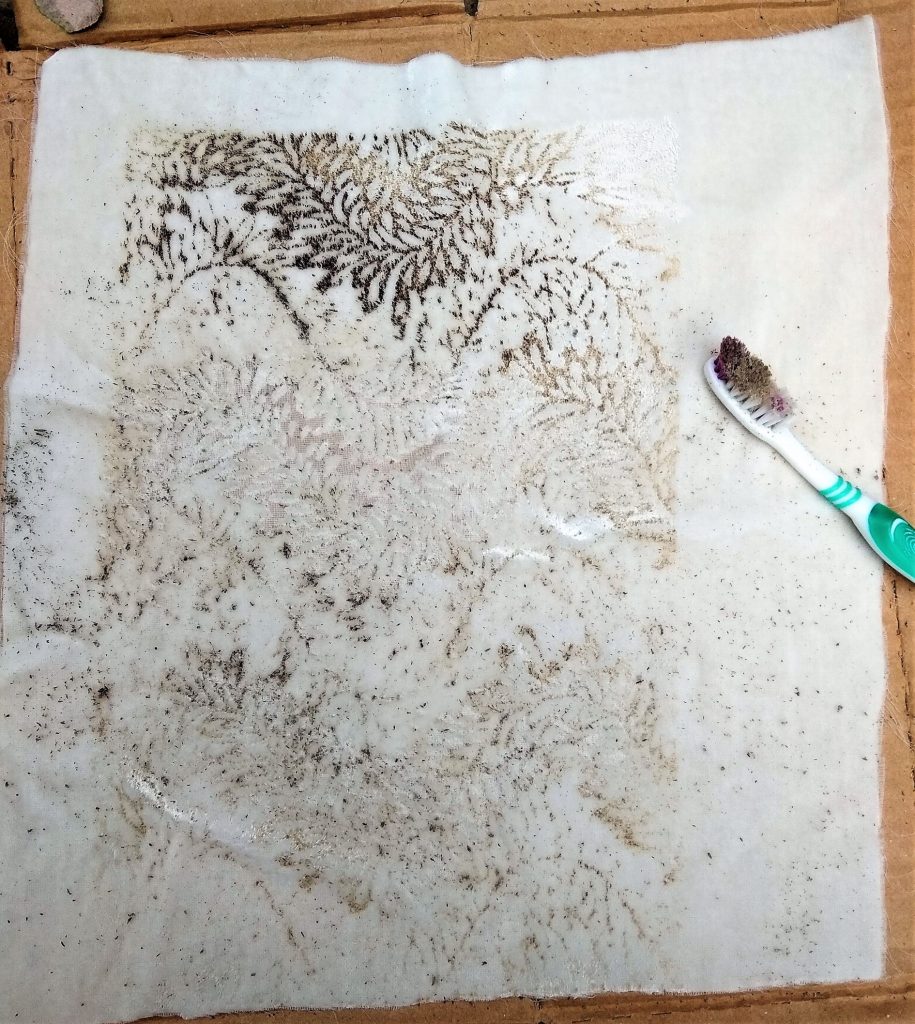
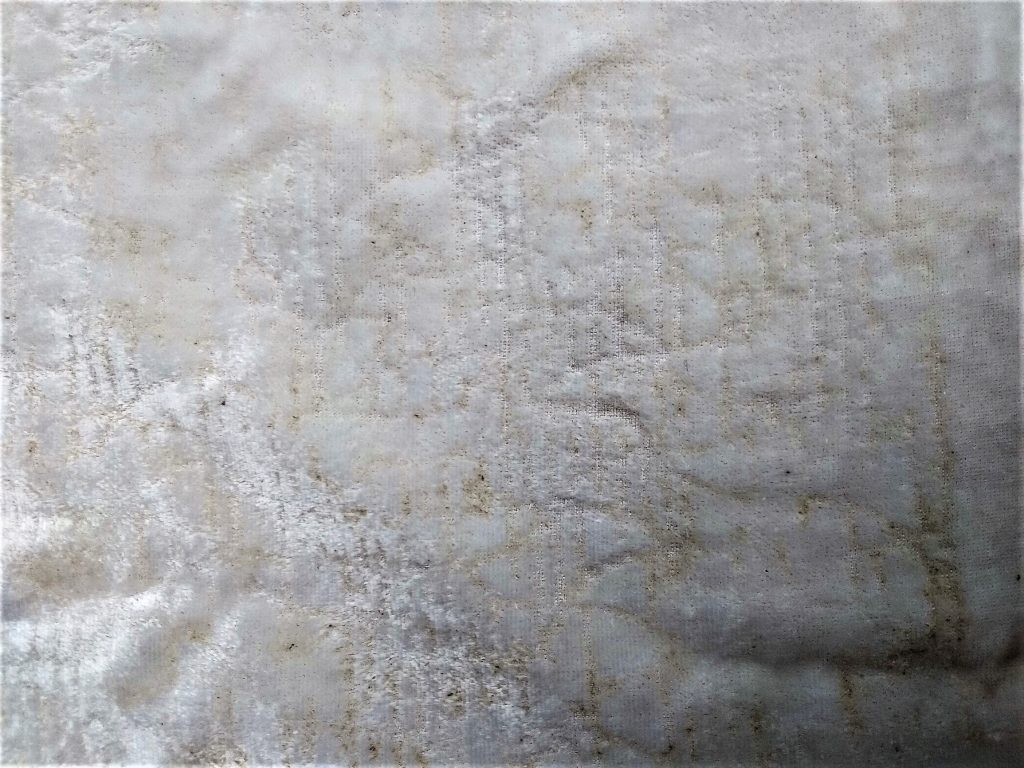
After ironing and letting the piece cool down, I brushed the charred bits off carefully.
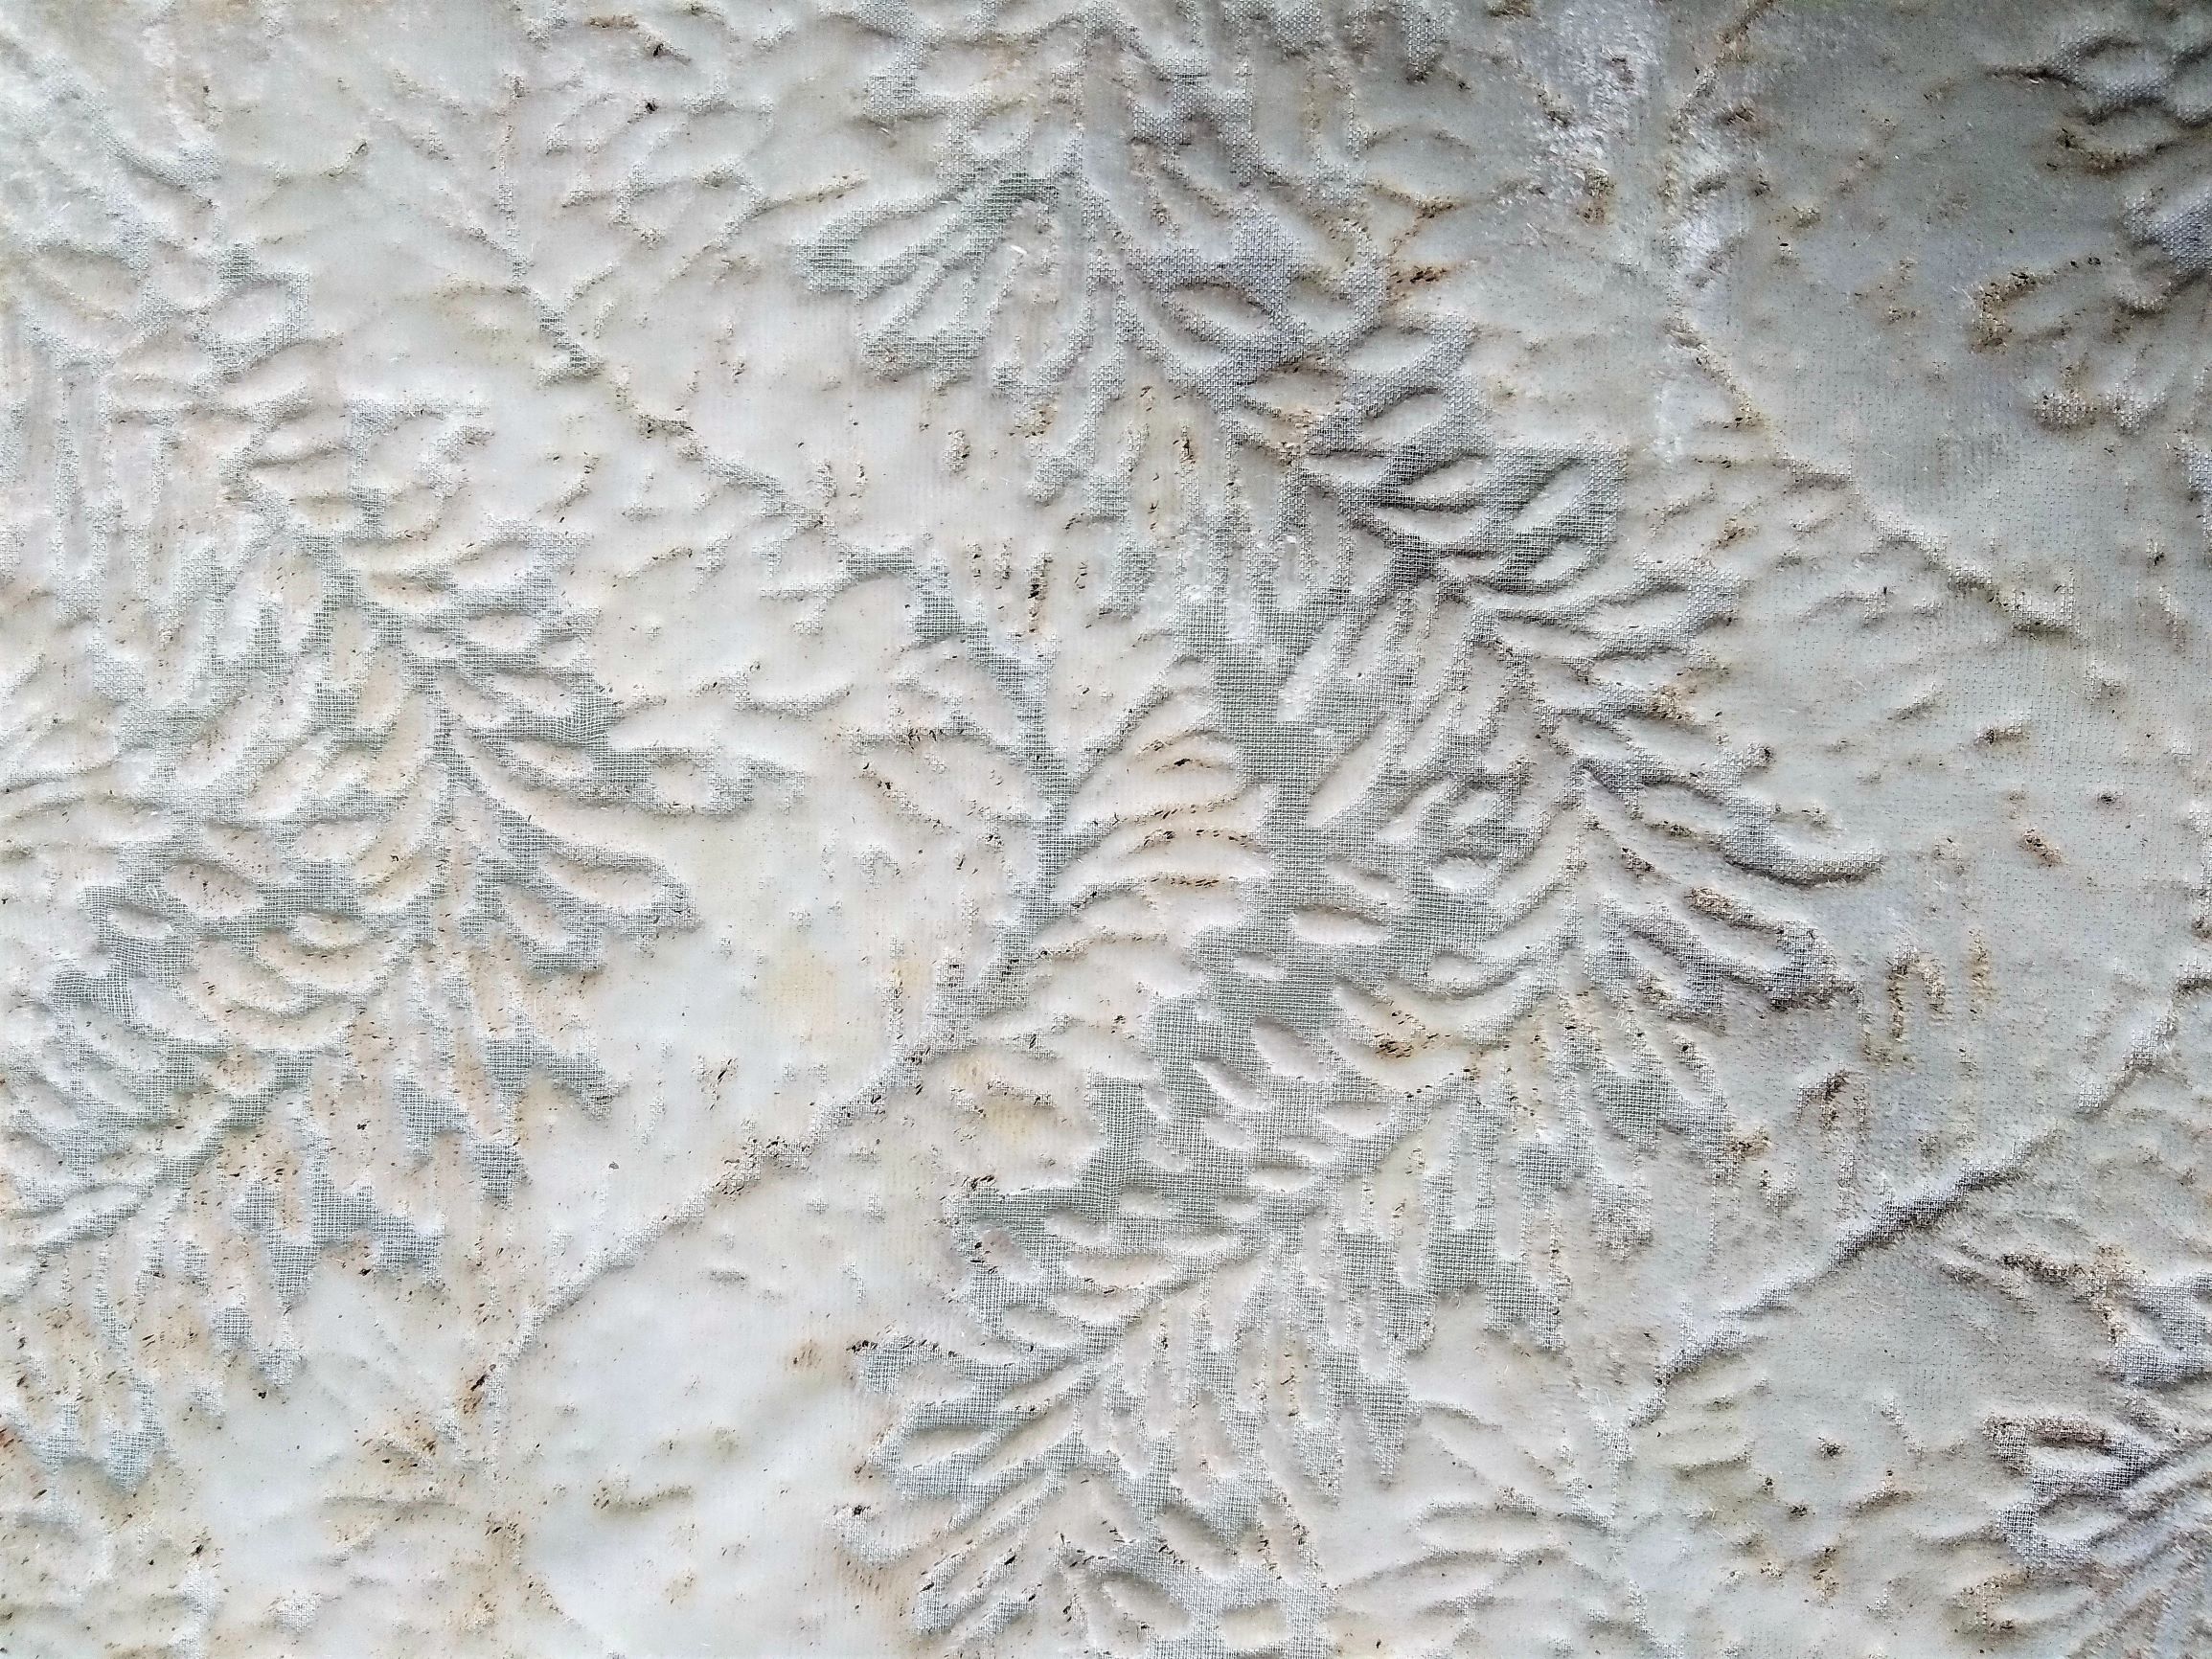
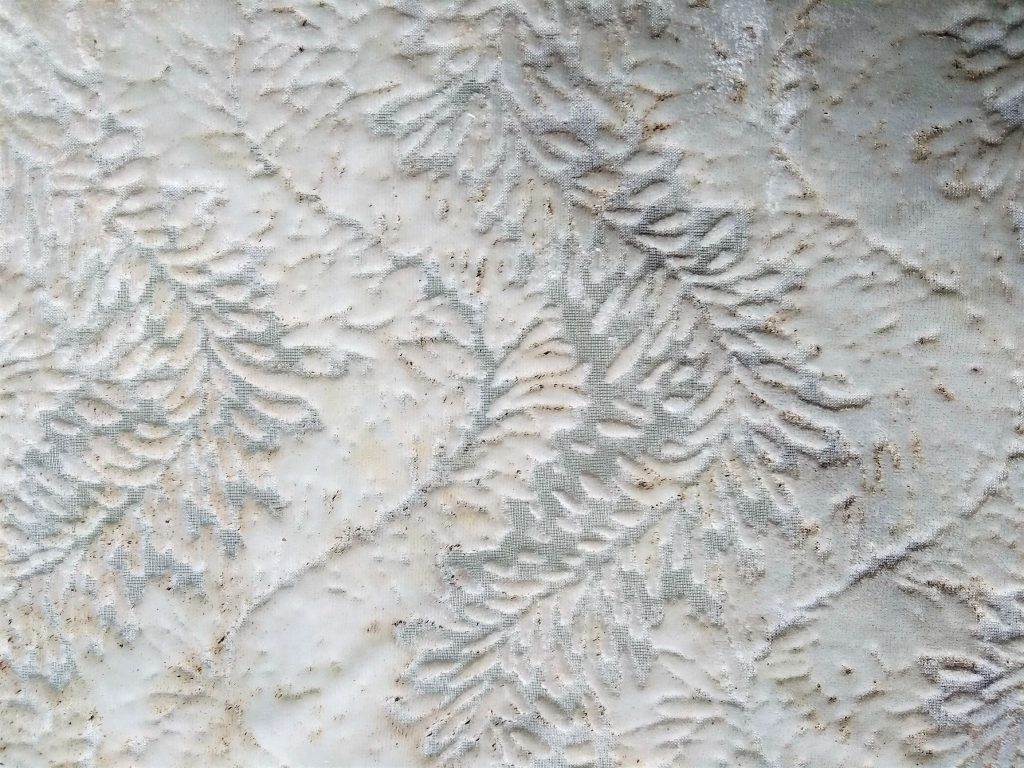
The silk is surfacing with each brush, leaving the velvet on top. This is the end result of the brushed velvet.
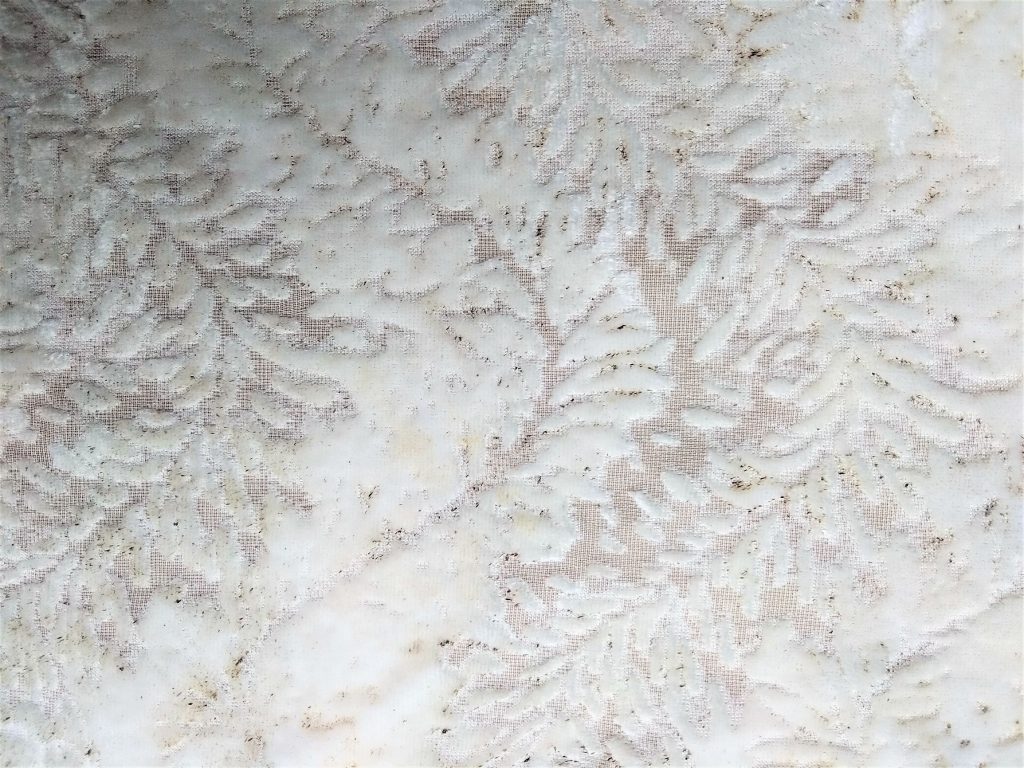


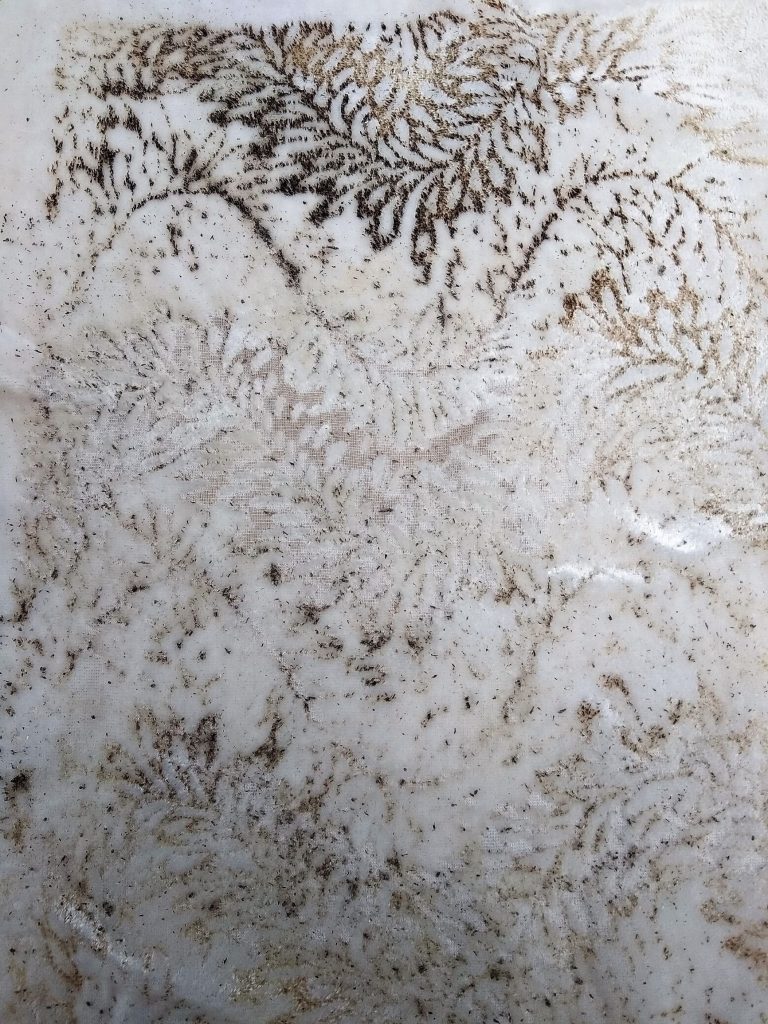
A close up view of the more successful attempt.
Applications:


Resin Casting:
Resin is a solid or highly viscous substance of plant or synthetic origin that is typically convertible into polymers. Resins are usually mixtures of organic compounds.
Materials:
- Moulds – vacuum forming PVC sheet mould
- Objects or things to be embedded into the resin mould
- Resin
- Resin hardener
- Ice cream sticks (resin mixer)
- Weighing Scale
- Safety Gloves
- Tissue Paper
Steps:
- Prepare the table with at least one layer of tissue paper.
- Measure the empty mixing bowl on the weighing scale.
- Pour a desired amount of resin into the mixing bowl.
- Calculate the amount of hardener needed (3% of the amount of resin in the bowl)
- Use the thick ice cream stick to mix it evenly until you do not see any swirls inside the bowl.
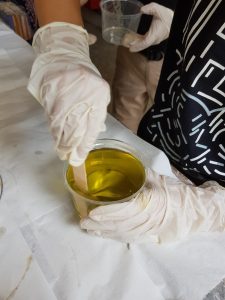
- Resin is ready to be used.
- Spray the “resin release liquid” into the mould and spread evenly before pouring resin into the mould.
- Add desired objects into the resin and leave it to dry.
Attempts:
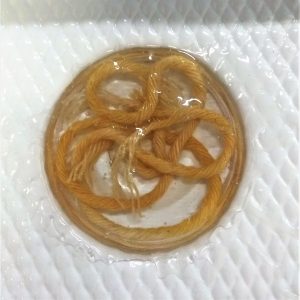
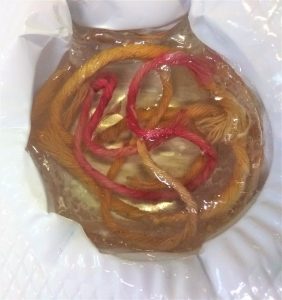
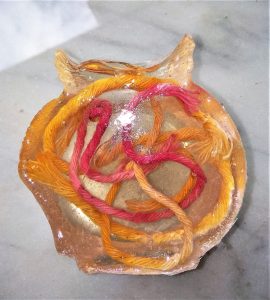
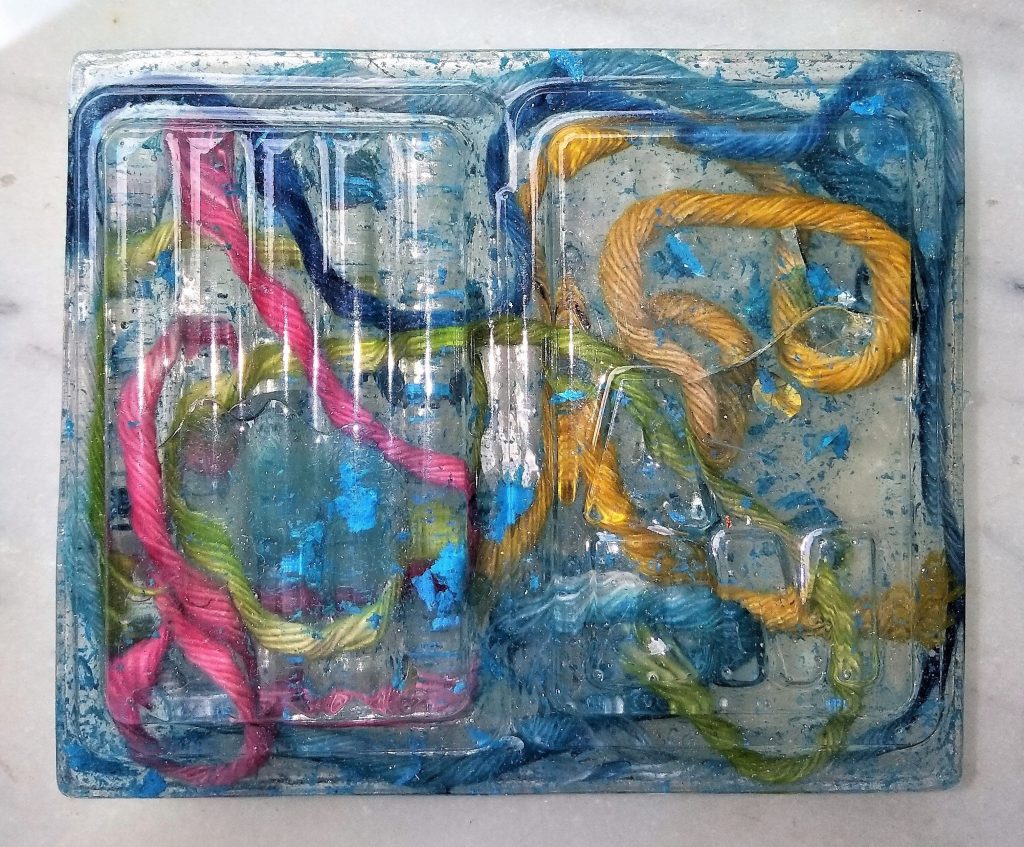
Added yellow yarn into resin button.

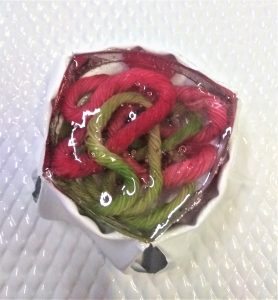
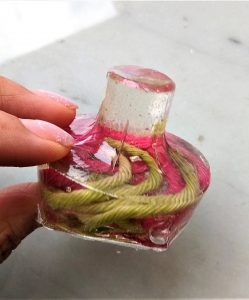
Added pink and green yarn into the pointy top mould.
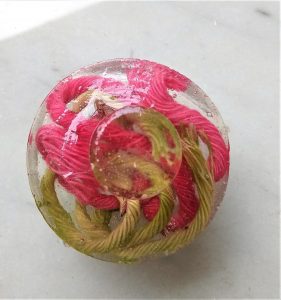
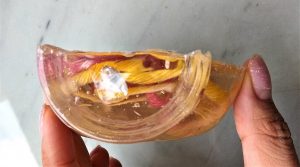
Added pink and yellow yarn into the half jar mould.

Added acrylic paint (blue) into the resin and stirred it to have the speckle effects.
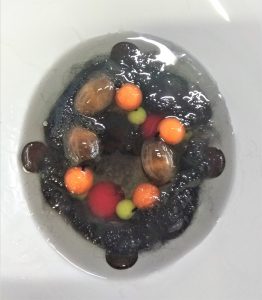
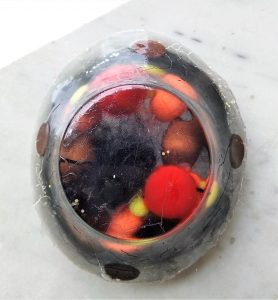
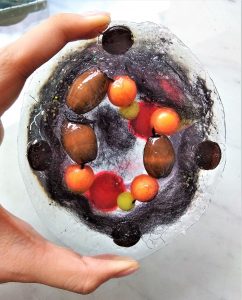
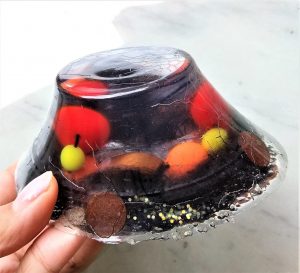
In my final attempt, I added plastic and wooden beads, black felt as well as some glitters and wooden chips inside.
Applications:
Resin casting art.

Resin-wood casted furniture.


Overall, I think that velvet etching is fun but slightly tedious and that the effect may not be as rewarding if not done properly with patience. For instance, ironing without waiting for it to be dried properly or not brushing out all the charred bits carefully. On the other hand, resin requires one to work fast as there is only a short pocket of time (about 10 minutes) for us to design the resin product we want before the resin eventually hardens in the container.