Inspiration for my sculpture:


Description of concept development and inspiration:

My inspiration for my sculpture comes from the following two images, namely one depicting world hunger and the other depicting food wastage, a common sight at the hawker centers in Singapore. Having witnessed many people leaving their seats with leftover food on the tables over the years, this issue has been troubling me deep down all along. Other than giving constant gentle reminders to family and friends, this provided me with a good opportunity to express my concern and my power as an individual to allow people to be more conscious of their behaviour.


Process and Development of Sculpture:

Initially, I tried using the ice creams sticks I painstakingly cut up to create the bowl I wanted through soaking them in boiling water. However, it did not work out as expected as the wood was too thick. Then, I went to acquire some balsa wood (a more ideal choice) for my project.


I wrapped a bowl with non stick cooking parchment paper before cutting up the balsa wood into small pieces so that I can glue them together against the bowl to form the shape needed.


However, this method did not work out as it was extremely difficult to hold the pieces there without any support other than the glue. It resulted in the picture below as one of the joins broke, causing the piece to fall apart.

The picture below shows my second attempt at making this work. However this still proves to be rather difficult, hence I have decided to change my approach.

Part of the curvature achieved.


This is my third attempt with a different approach. I did the opposite and lined the parchment paper on the inner surface of the bowl instead and started to glue the balsa pieces together. Due to the support given by the bowl, it was much easier this time.

Two layers of the bowl completed.


Balsa bowl taken out from the “mould”, aerial view.

Side view.

Notice the two layers mentioned.

Back view.

I cut up some ice cream sticks into 4 short sections and glued them together to form a square before attaching it to eh base of the bowl to create the mini “stand”. Subsequently, I cut up 4 pieces of (almost) identical strips of balsa wood and attached it, bent, to the ice cream sticks at each junction to create the curvature I wanted.

After I am done with the bowl, I proceeded on to fold my hands using copper wires.


Fast forward the process many times with some variation (some thicker wires, some thinner, some bigger hands, some smaller etc), I get a small pile of hands.


Creating a comfortable layout on the foam which acts as a base, simulating the ground. I have also placed some steel wire mesh in the bowl to simulate food.

After glueing the bowl to the base,  I began attaching the hands by stabbing the foam with a sharp knife followed by opening the silt to a suitable size by a tweezer.


Attaching in progress.

Final draft model done.


However, after the review in class, Prof Peter mentioned that the blue foam base for mine was not ideal and suggested that I paint the foam instead. Besides, the hands looks a little too scattered. Probably I can move then closer to each other to have a cluster feel to have a more sense of urgency.

This leads to my next post on my final model.


Link to my Final Model: https://oss.adm.ntu.edu.sg/liml0074/3dii-final-project-zer0-waste-final-model/


Inspiration Image References:

http://www.todayonline.com/sites/default/files/styles/photo_gallery_image_lightbox/public/22396714.JPG?itok=Nu6Ox804

https://userscontent2.emaze.com/images/19fb99cb-c03a-4938-bc6e-a4e52279491f/f9dbaf1e10e2b0bb888004cd88d24e65.jpg

ZER0 WASTE SCULPTURE IDEATION: 


Background Research: 

Waste Statistics In Singapore 

At first, construction debris caught my attention but I decided to look further.


Then I realised that food waste contributes quite a significant percentage of it.


Right here, I noticed that the percentage of food waste recycled is actually very low given the perishability of the products.

I felt that amongst the different types of waste, food waste is something that is close to

heart for most of us, if not, all of us. Since everyone can definitely play a part in reducing

food waste,  there is a need to bring heightened awareness to this topic and that people should

be constantly reminded that they are in total control of the amount of food they order

in order to reduce food waste.

Hence, this led to a few of my sculpture ideations.

1) The Screaming Cabbage (First Sketch Box)

Initially, my idea is to have a huge screaming cabbage seated in the middle of the bowl. The bowl the cabbage is sitting in will be made from pieces of balsa wood joined together while the screaming cabbage will be made from copper wires. However, I feel that it lacks the significant impact that shouts out the audience about the dire consequences of food wastage.

This led to my second ideation sketch.


2) The Scale (Second Sketch)

My second sketch involves many human figurines (made from copper wires) climbing up a wired steel mesh with morsels of food attached to it, fighting for food. However, the height and scale of it may be a little difficult for the target audience, in this case, the general public to appreciate. This is also similar to rock climbing which may cause the public to misinterpret the sculpture. Hence, I went on to develop my third idea.

3) The Enwreathed

My third idea involves this sculpture with many hands reaching out for the bowl  containing food. I find that this sculpture has the strongest impact and shouts out to the audience, relaying the message relatively well. Hence, I have decided to take this idea through.

(Refer to my next post for the development of the third idea)


Reference Statistics: http://www.zerowastesg.com/2015/03/18/singapore-waste-statistics-2014/


Link to Final Project Progress Documentation:

https://oss.adm.ntu.edu.sg/liml0074/3dii-final-project-zer0-waste-process-documentation/

EXPERIMENT 3:

Number 7: Jewellery set made from food

HOW DID I GO ABOUT DOING IT?

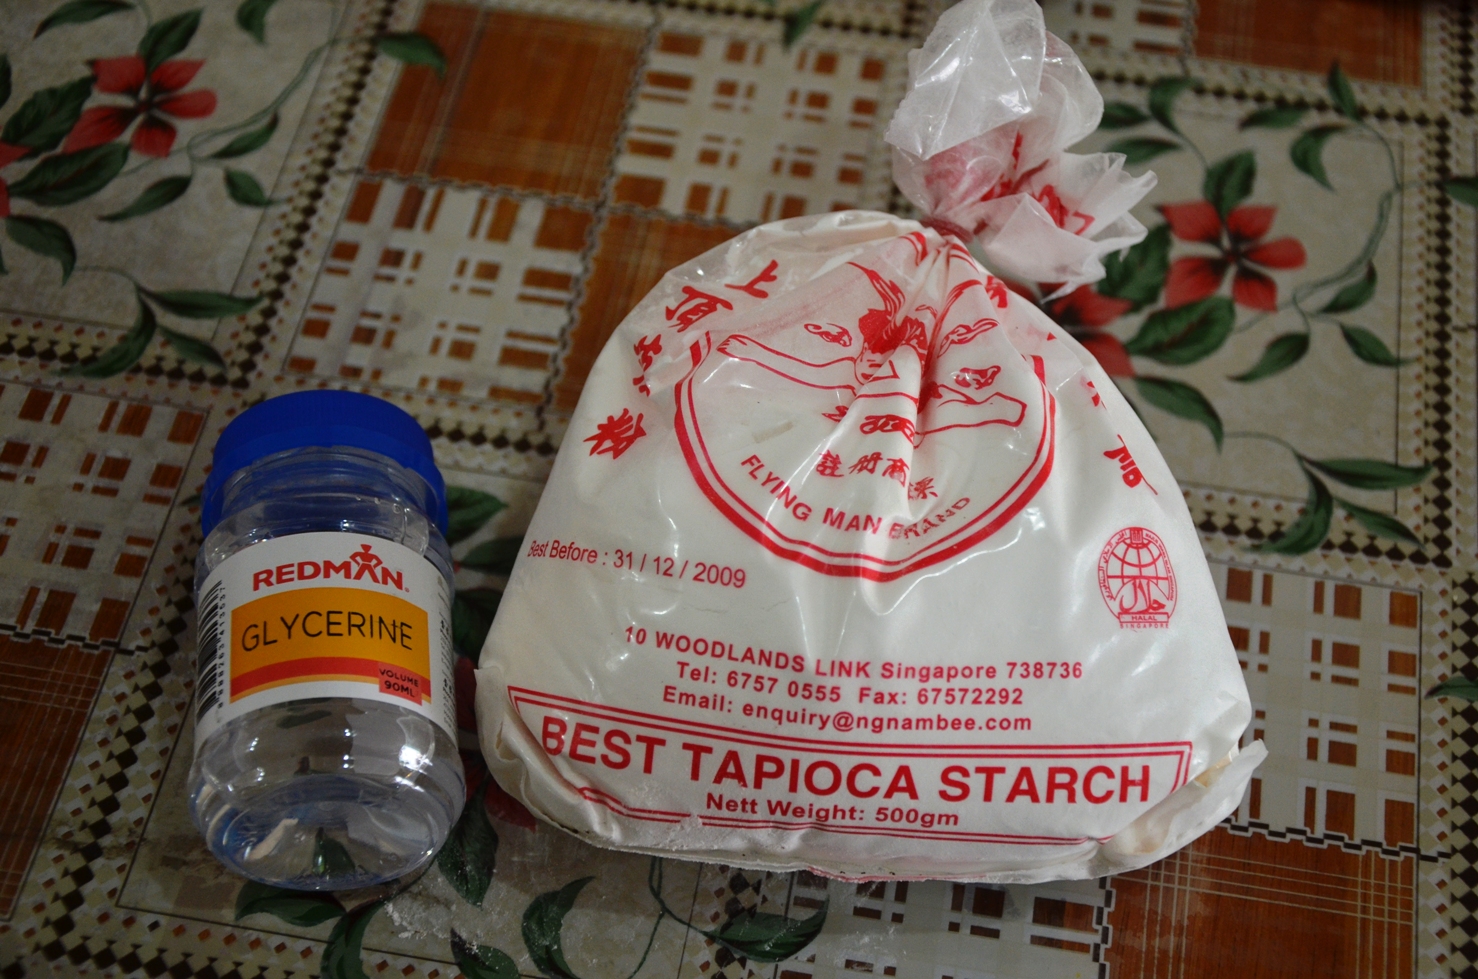
Originally, i thought of using varnish/ shellac to coat the materials to have a shiny furnish. However, the smell was so bad that it did not go away even after a few days of sun drying. Hence I decided to change my approach and tried to use resin instead. However, the resin sold outside was quite expensive (about 150ml for $30) and I could not obtain transparent resin from the school. So, I went to research and found a plausible solution instead. BIOPLASTIC. I then proceeded to make my own bioplastic using these materials below.

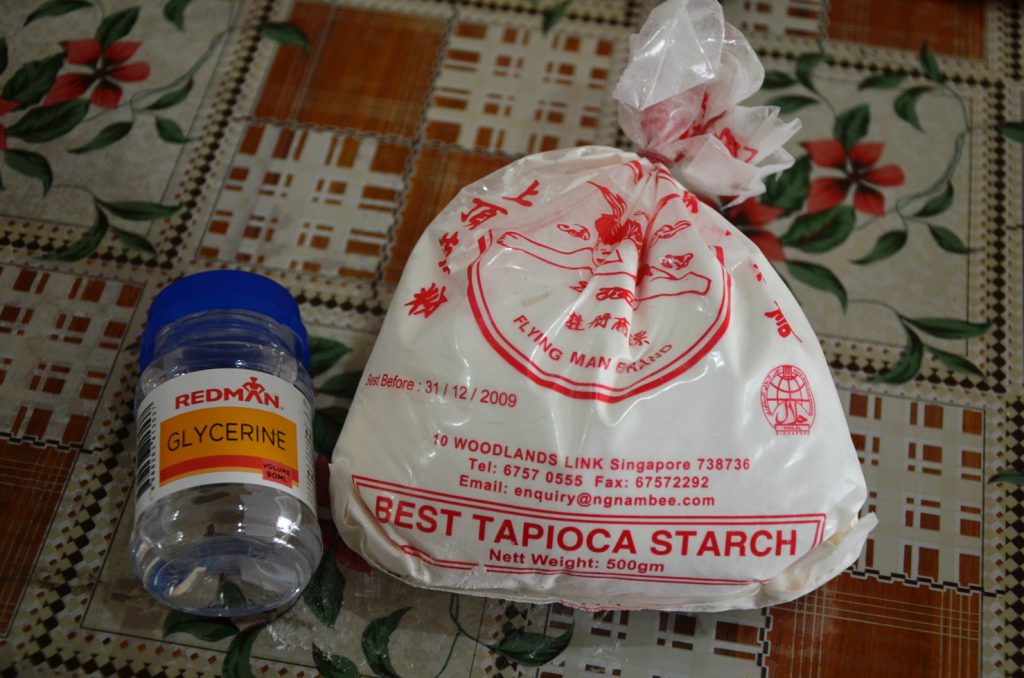
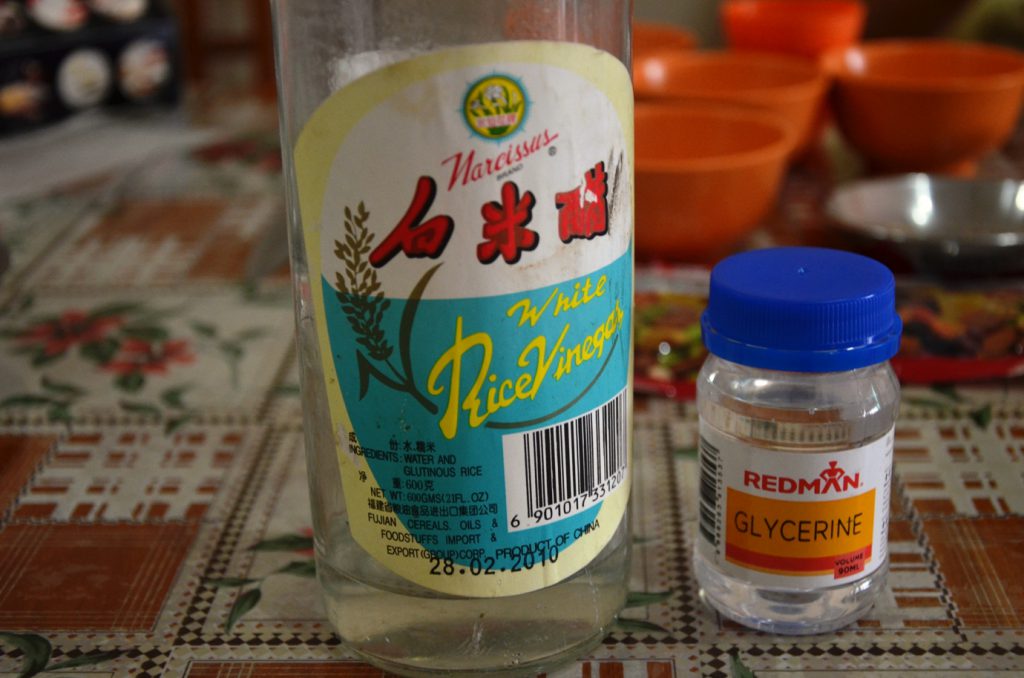
Basically, mix 1 tablespoon of tapioca starch with 4 tablespoons of water and add in 1 teaspoon of glycerine as well as 1 teaspoon of white vinegar. Mix well. According to the portion you need, increase the dosage x2 , x3, x4 etc. After trying out a few types of starch, I realised that tapioca starch works the best. Corn starch and potato starch produced lumpy and gooey mixture.

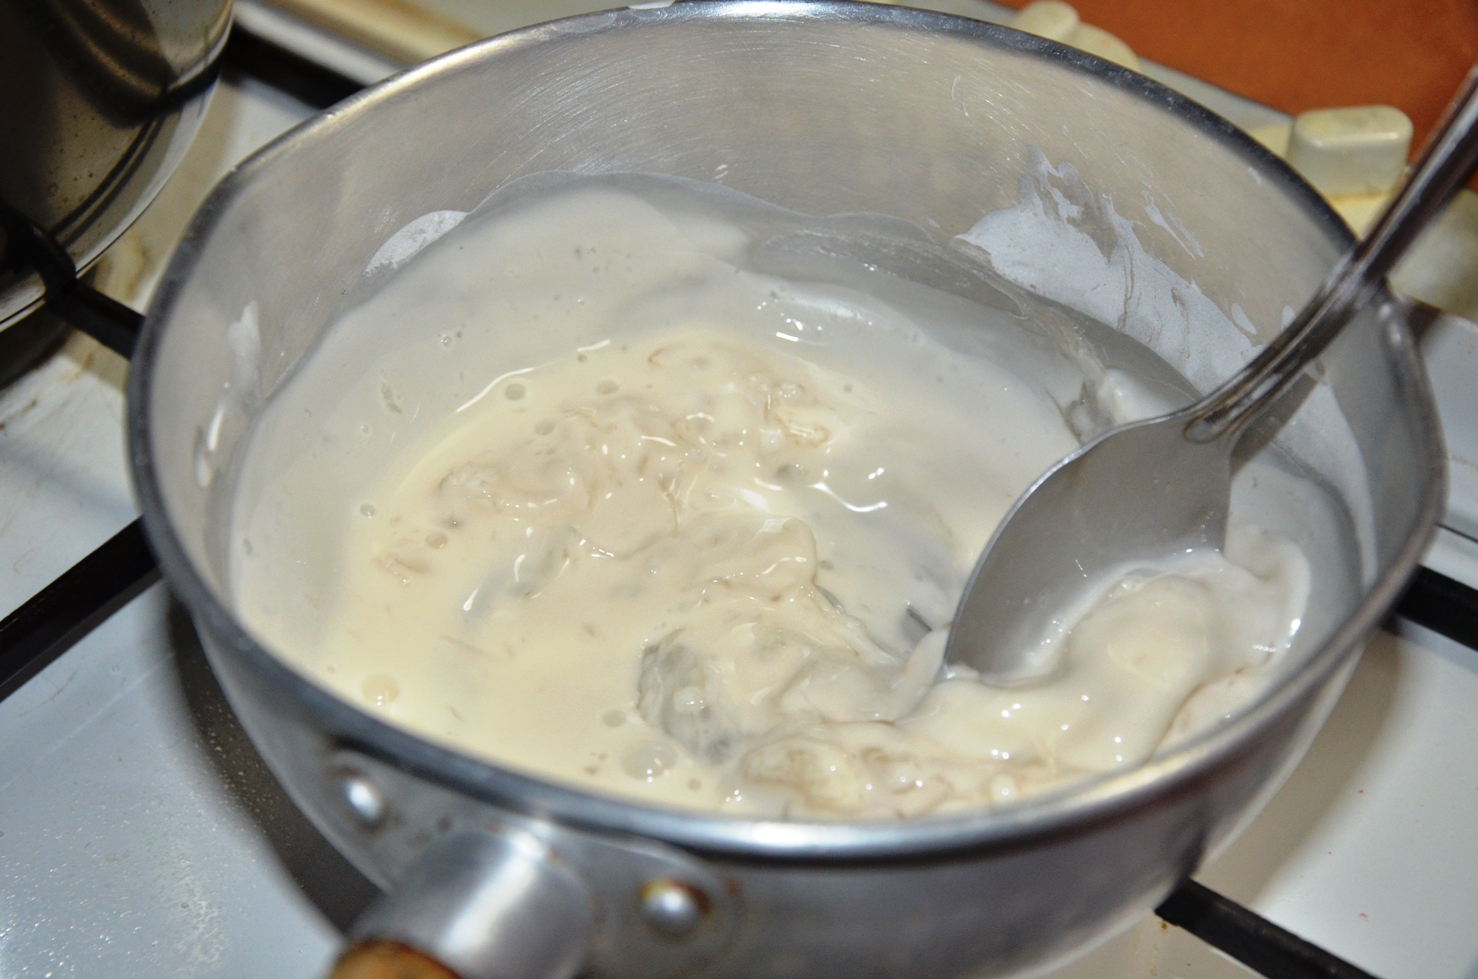
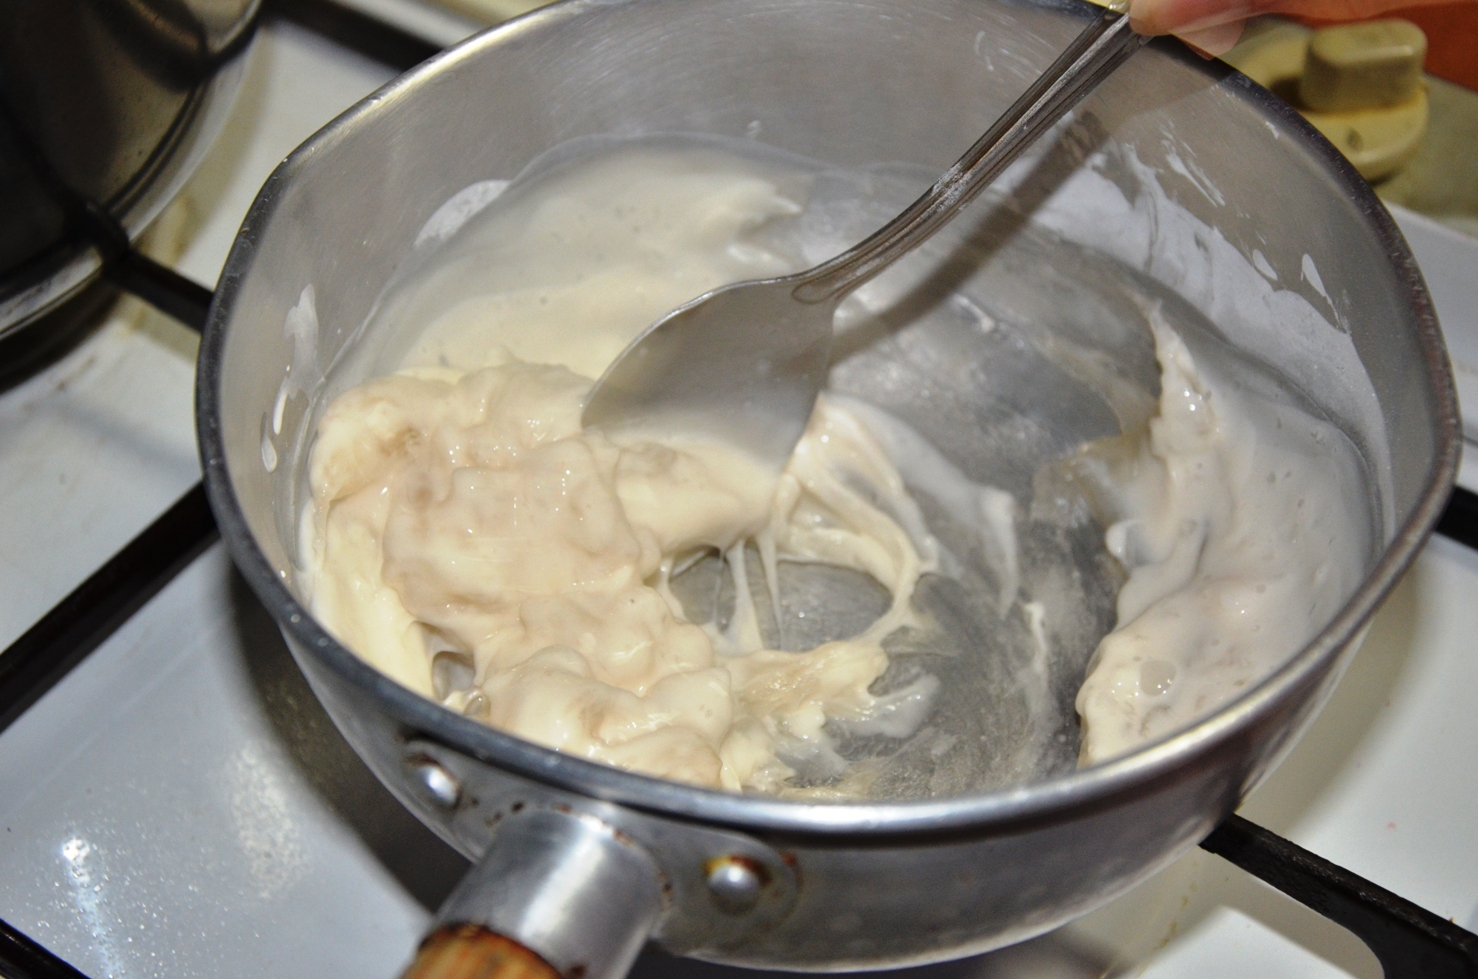
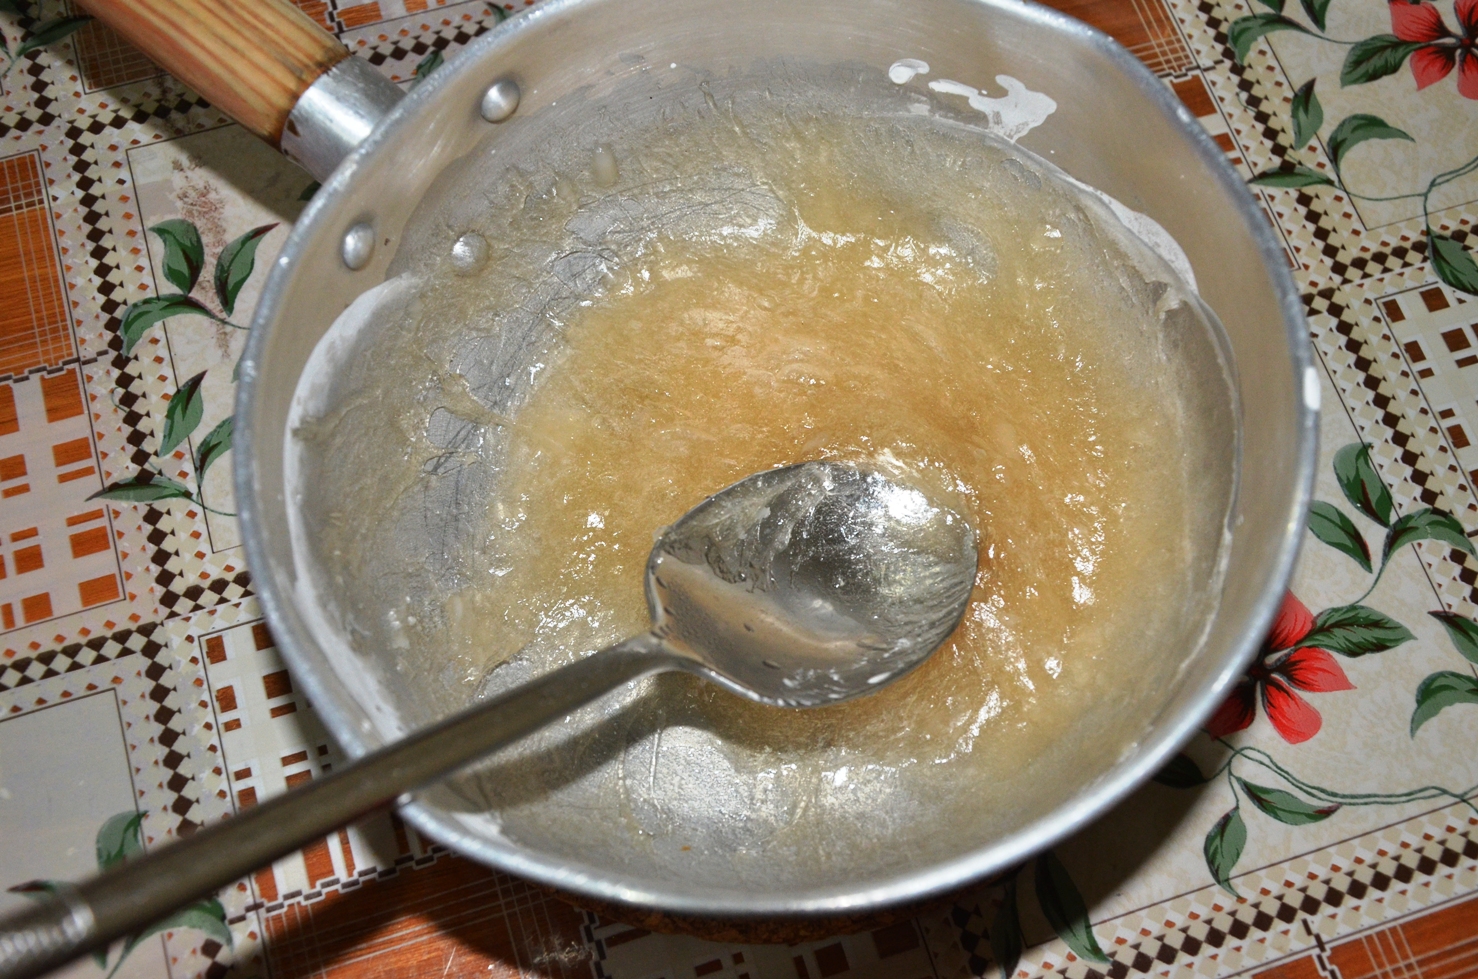
The following were the stages of the mixture produced with photos taken per few seconds interval since they were cooked quite fast:

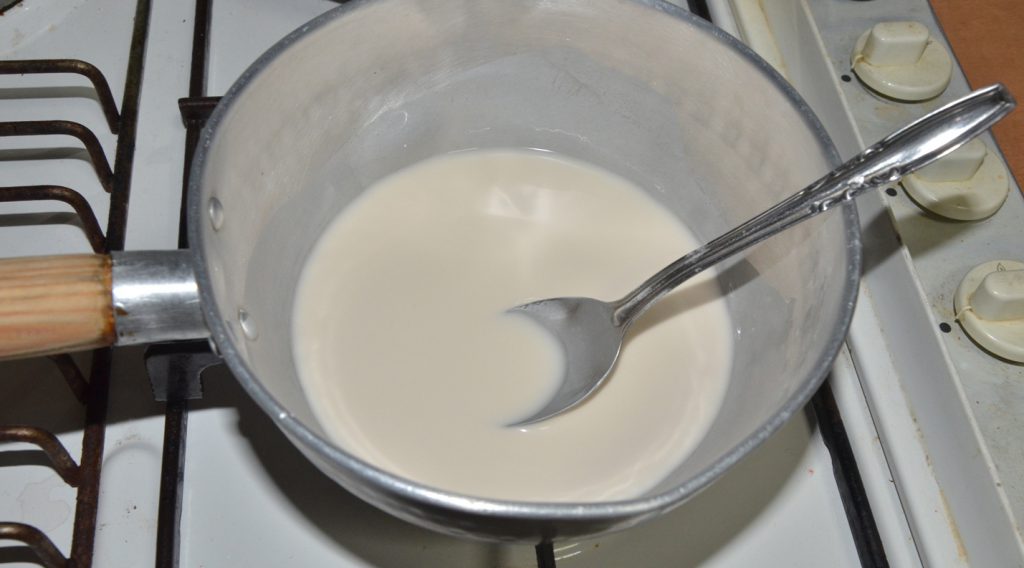
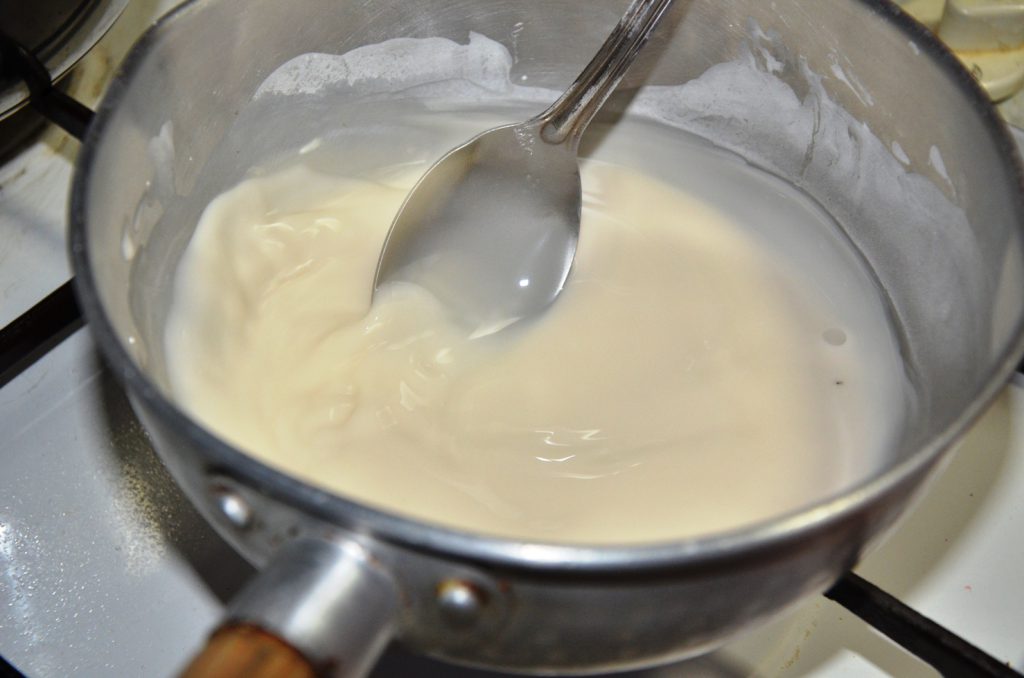
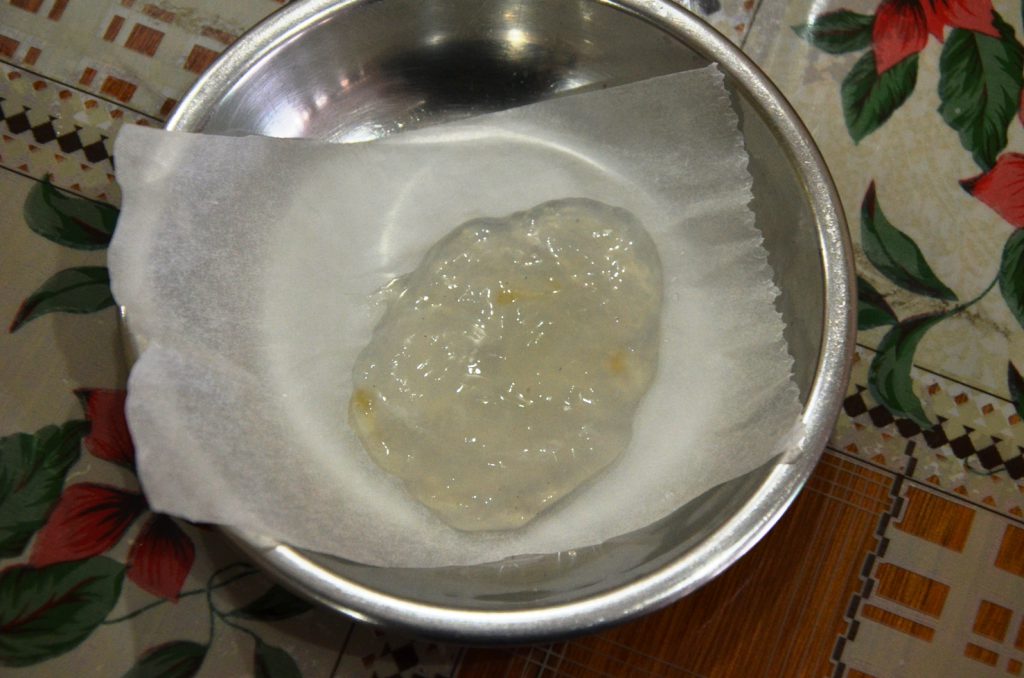
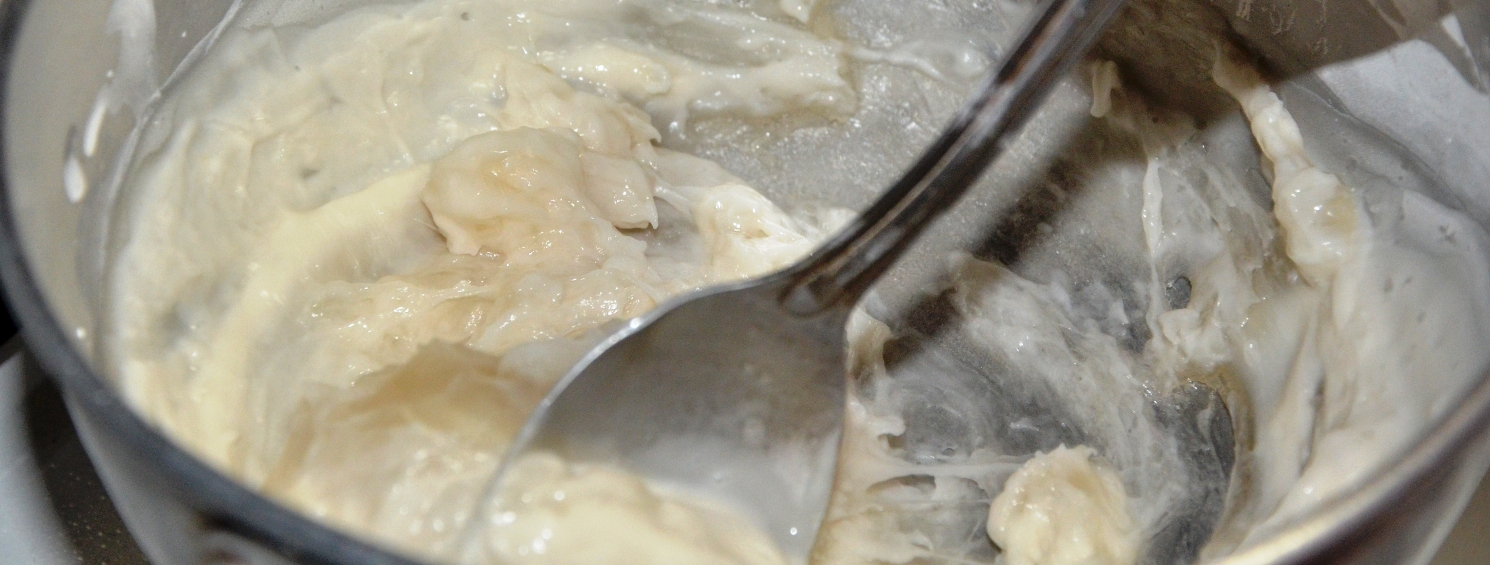
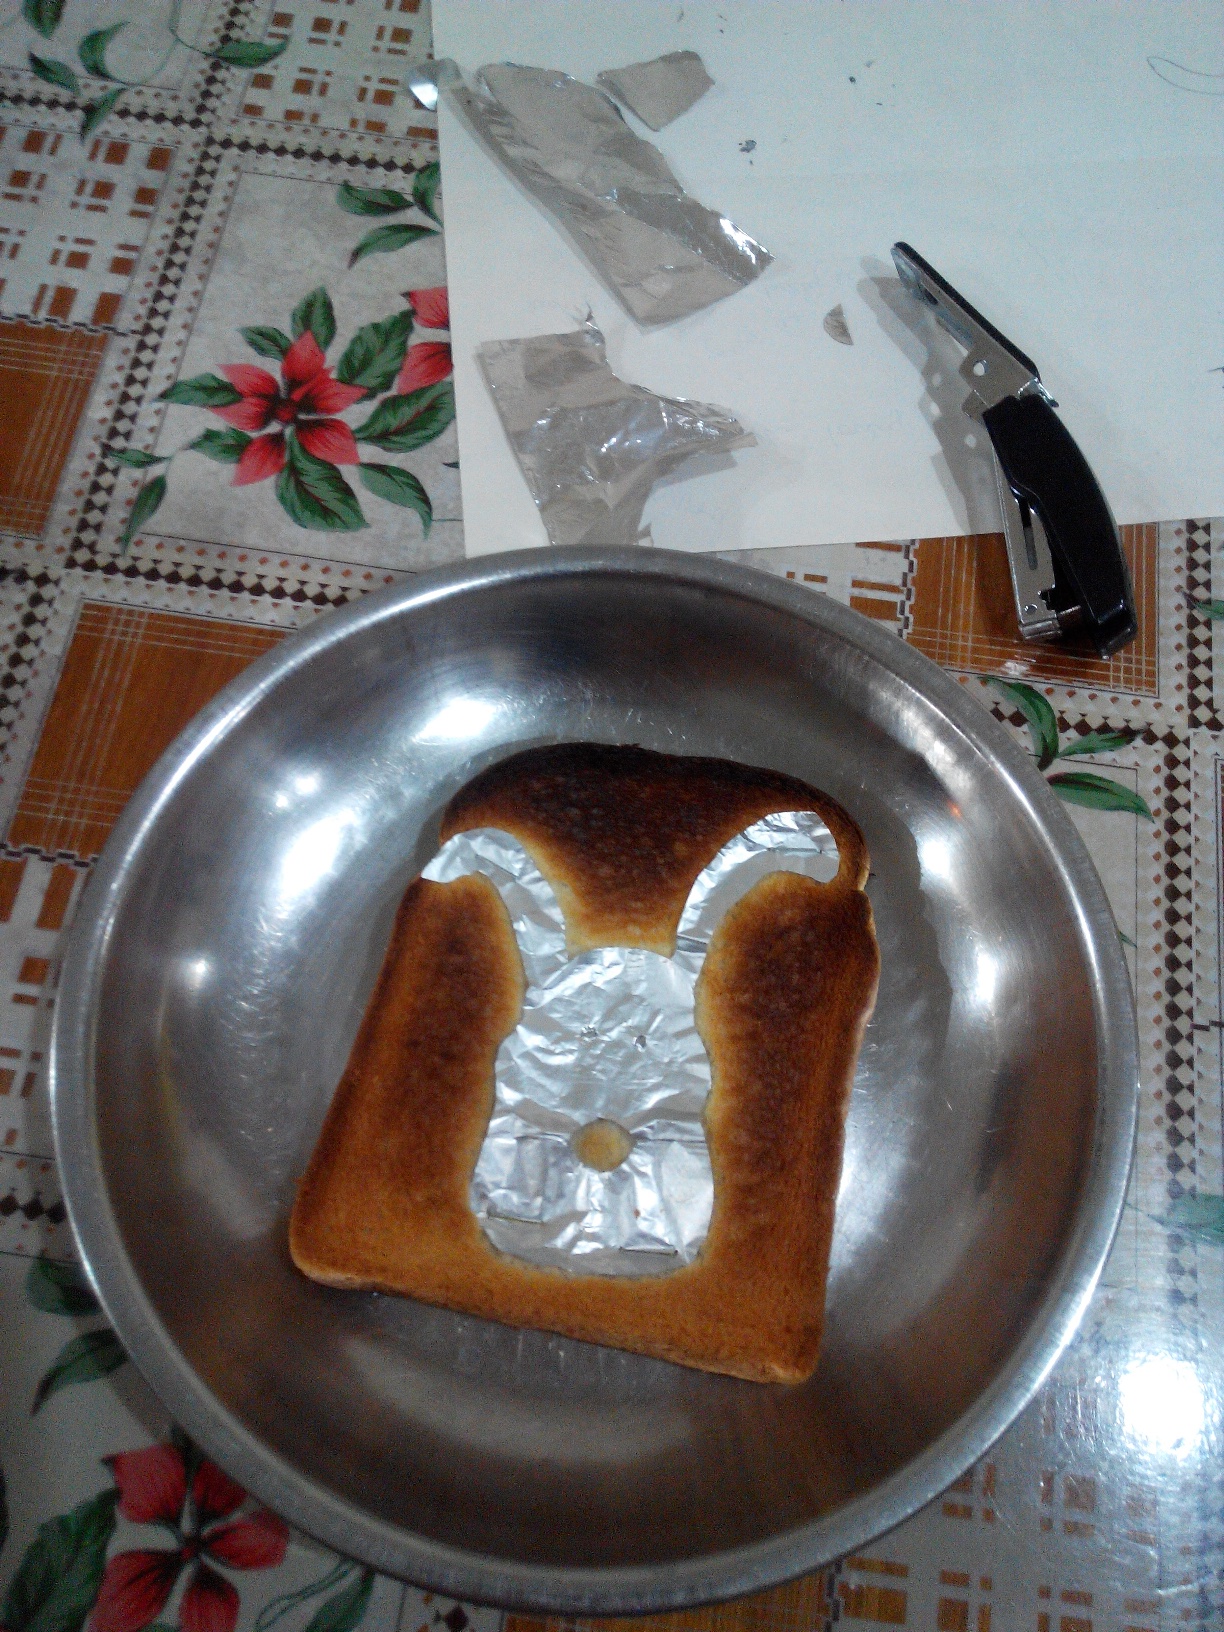
Eventually, they will form this sticky, translucent  and rubbery paste. I let it cool for a while before letting trying on something small. I placed a small amount on parchment cooking paper and stick a dried piece of fir tree leave inside.

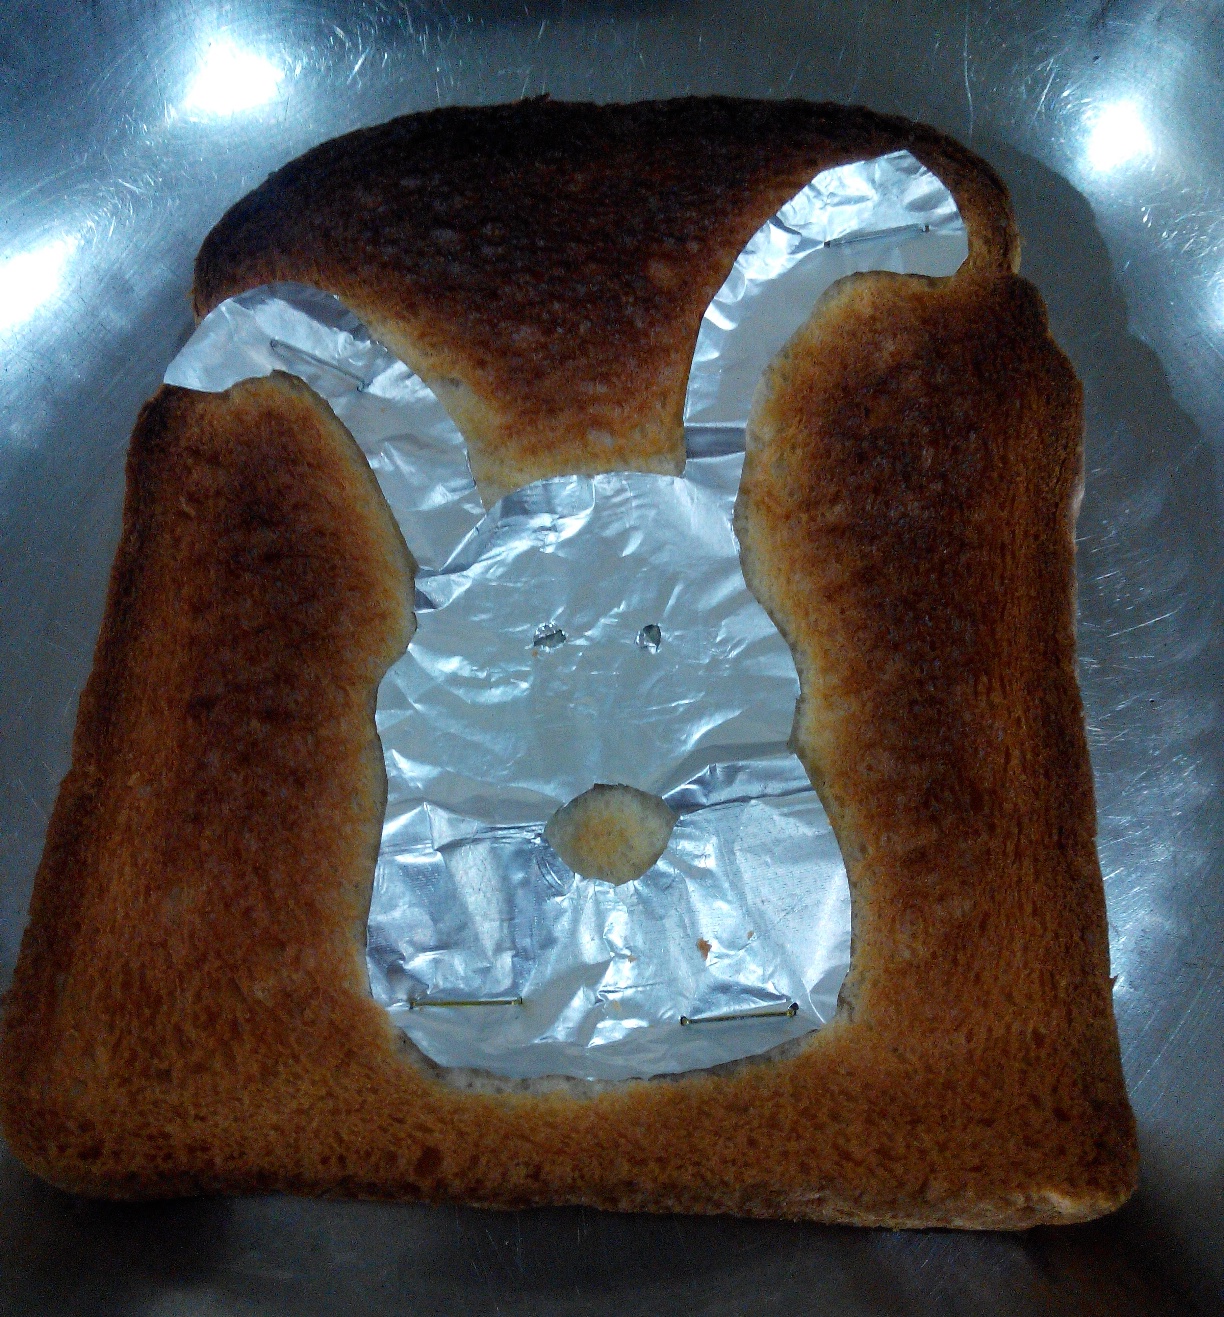
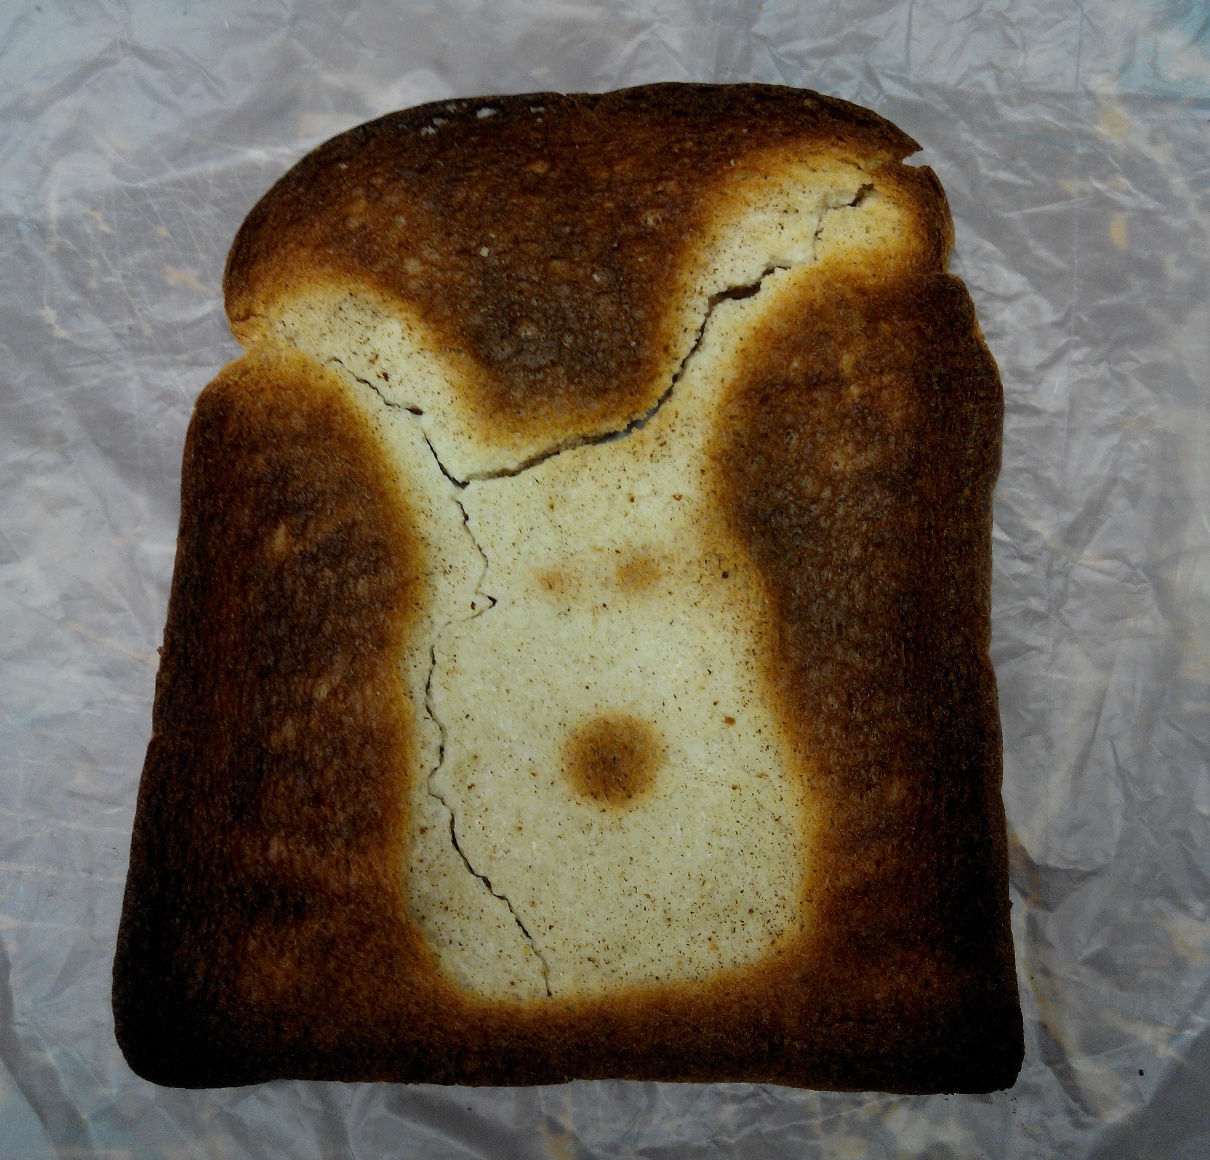
After realising that it was not going to dry quickly, I put it into the oven to toast a few times. Eventually it produced this effect.

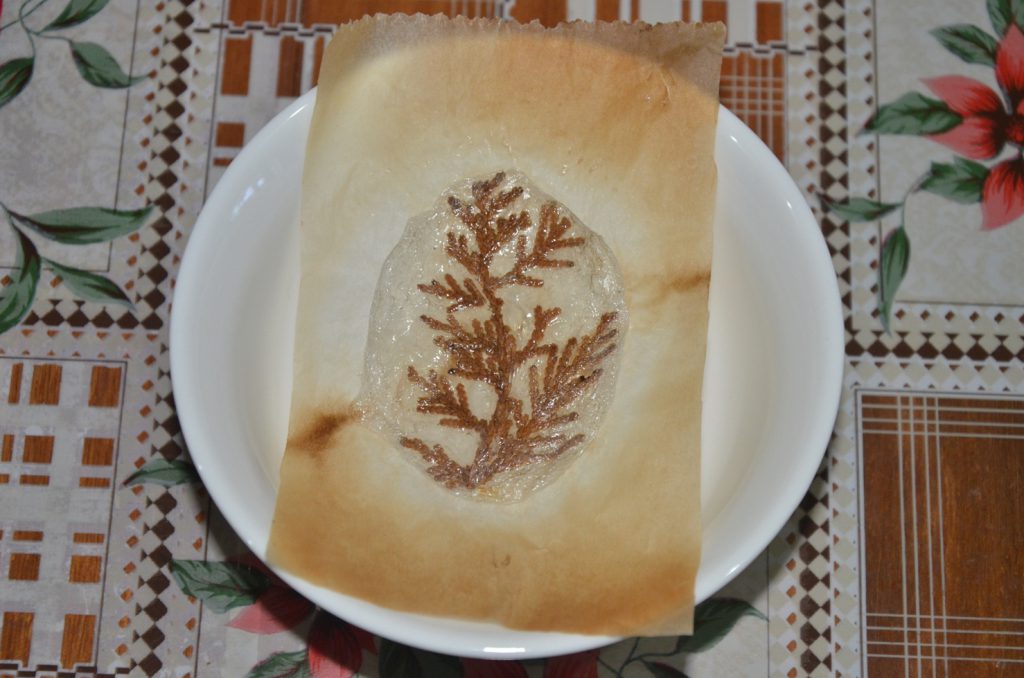
Even after doing so for a few times, although the surface was dry, the moisture of the material was trapped within, making it very difficult to dry. I then tried to heat it over a pan. It bubbled profusely and created many bubble like cavities within the small piece. Hence, I decided that perhaps sun drying will be the best option, albeit being a slow process.

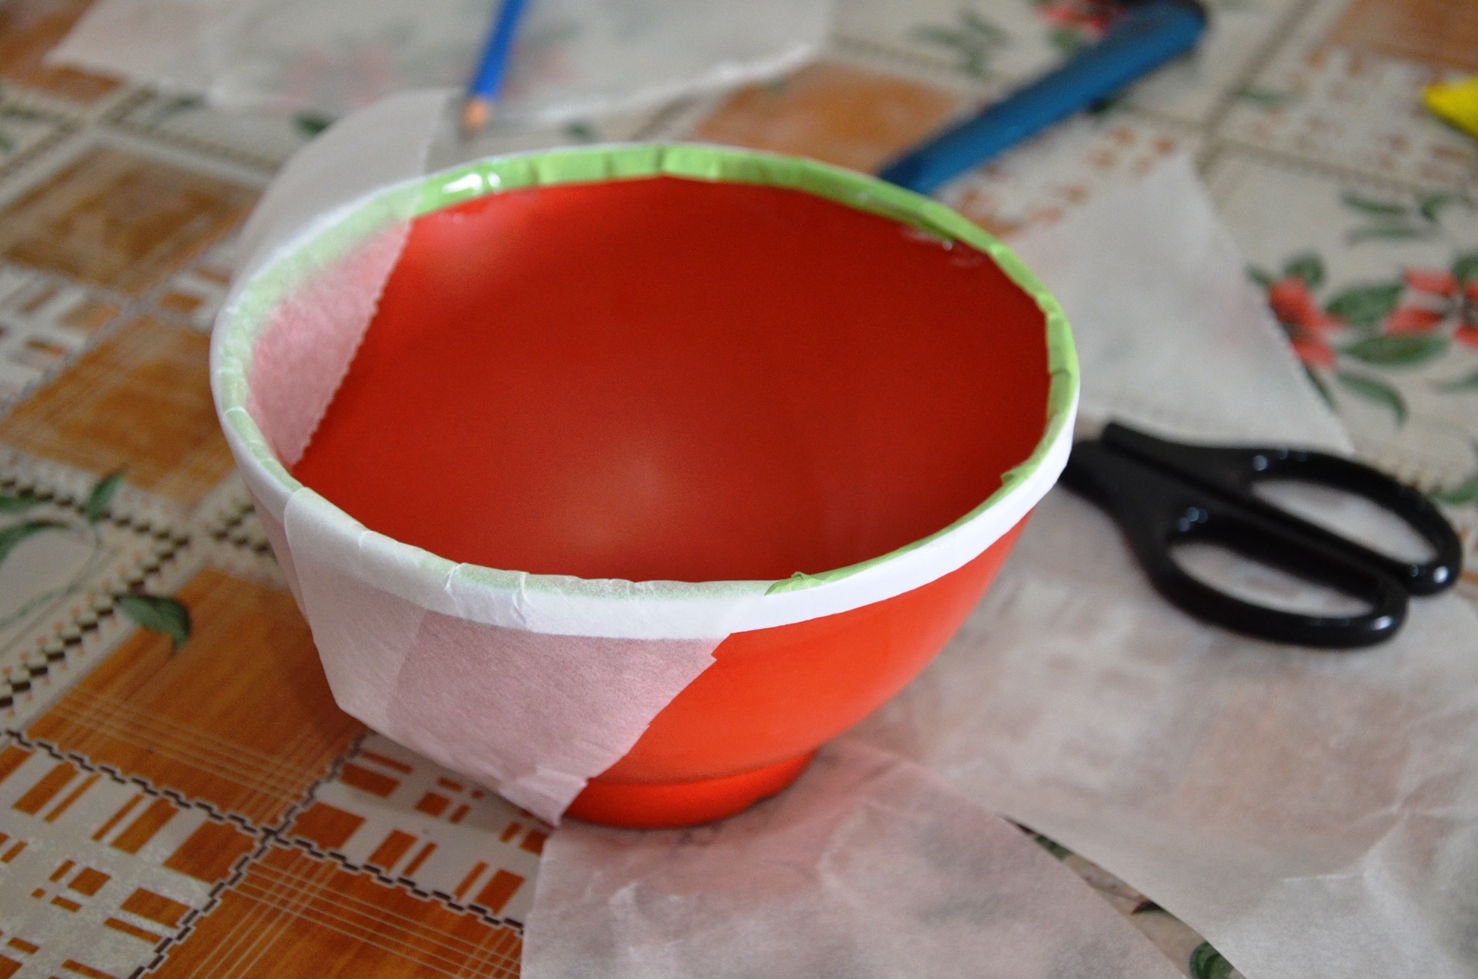
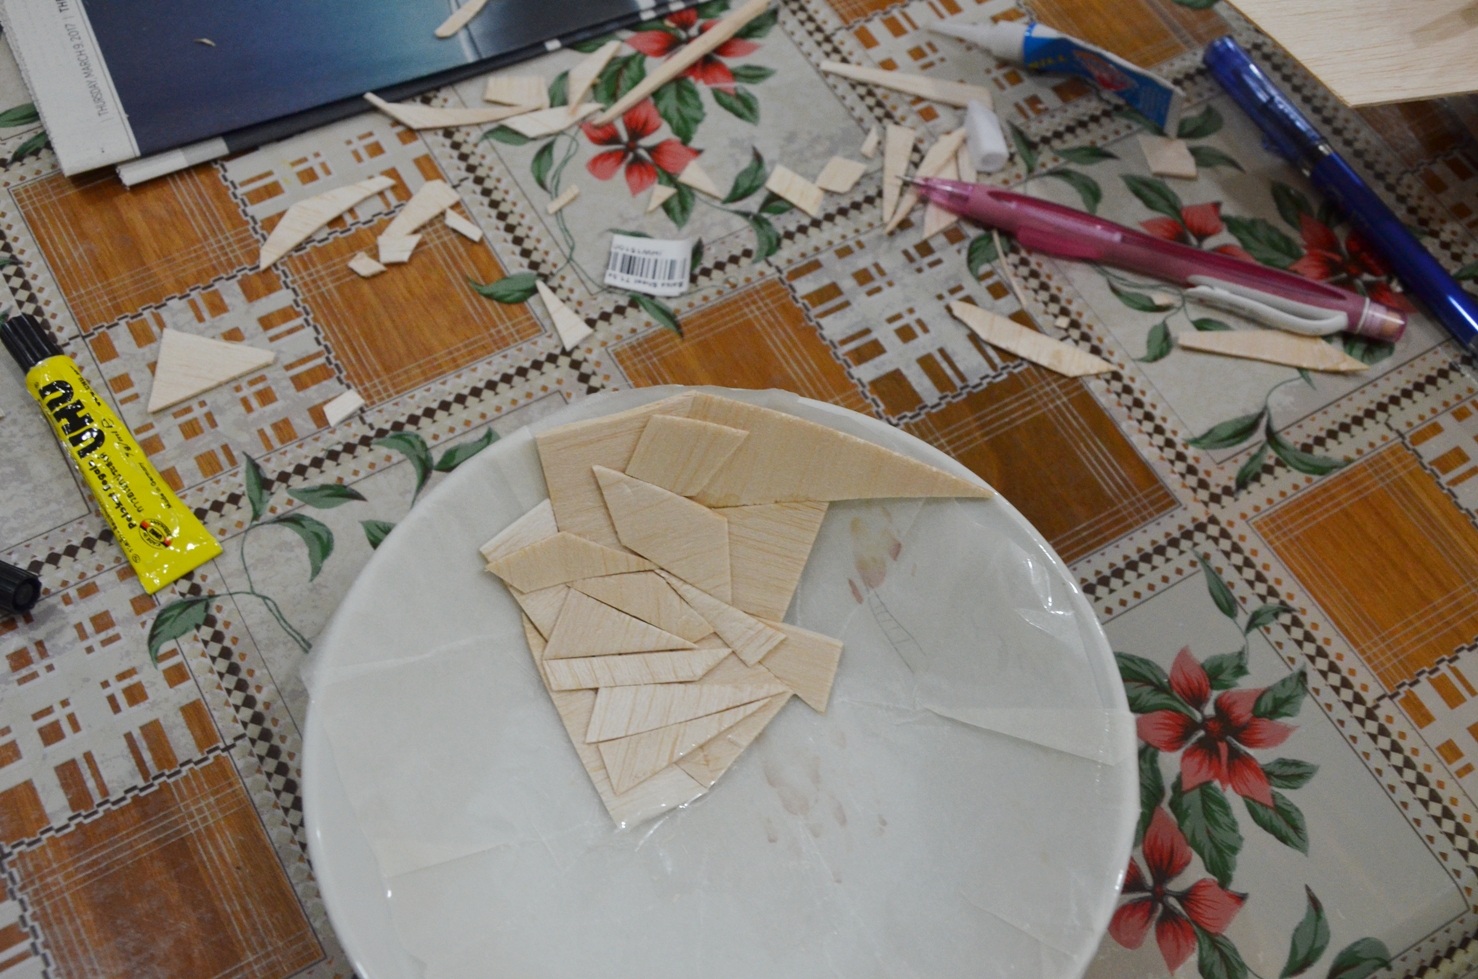
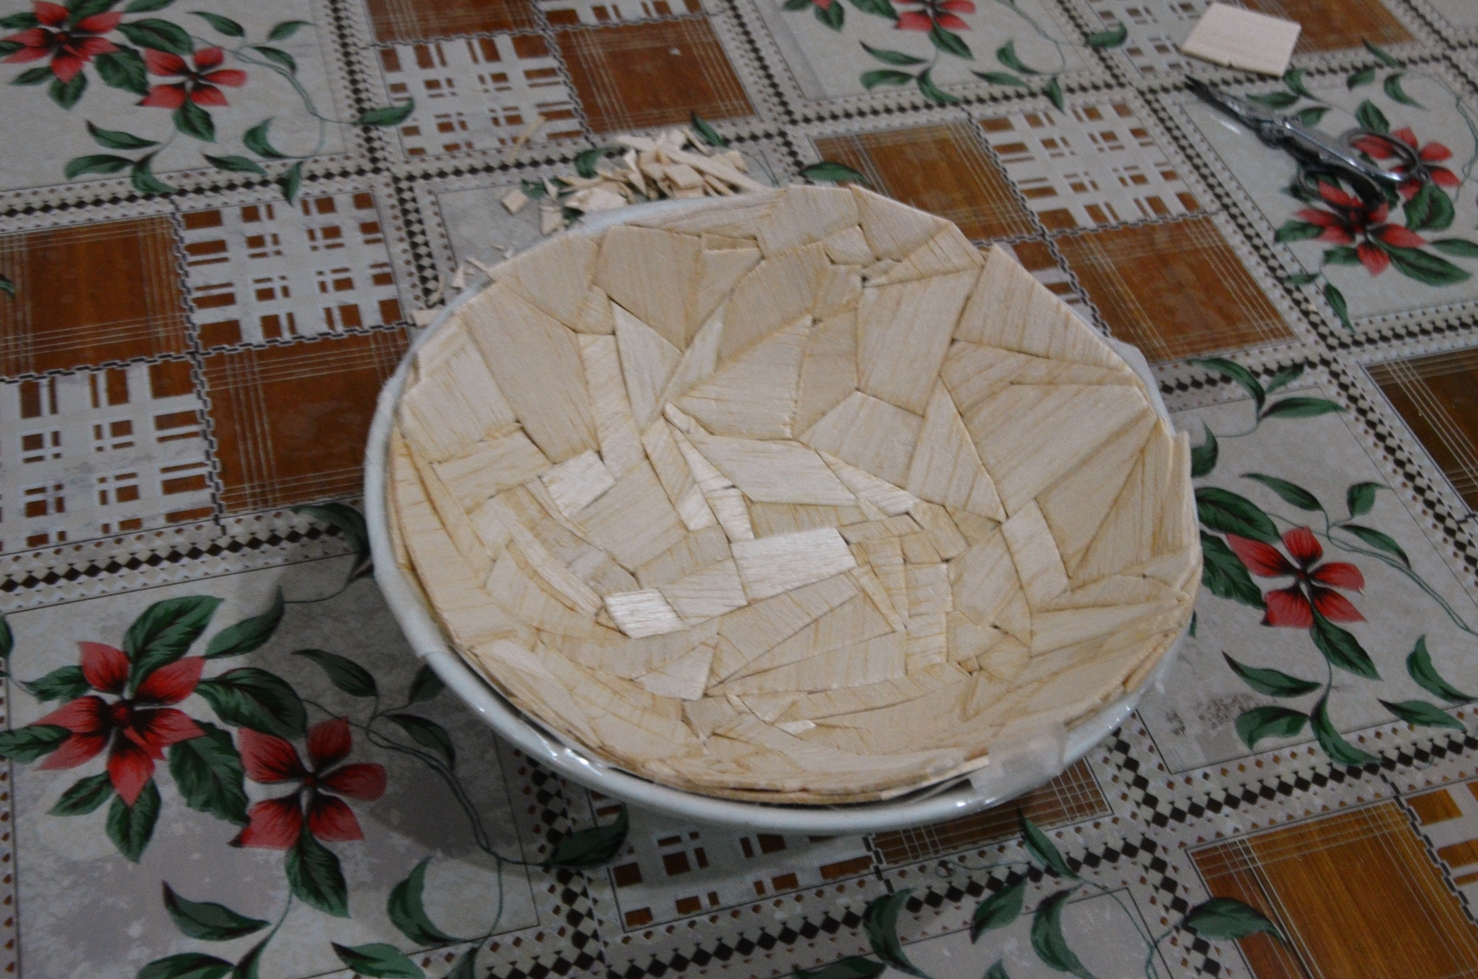
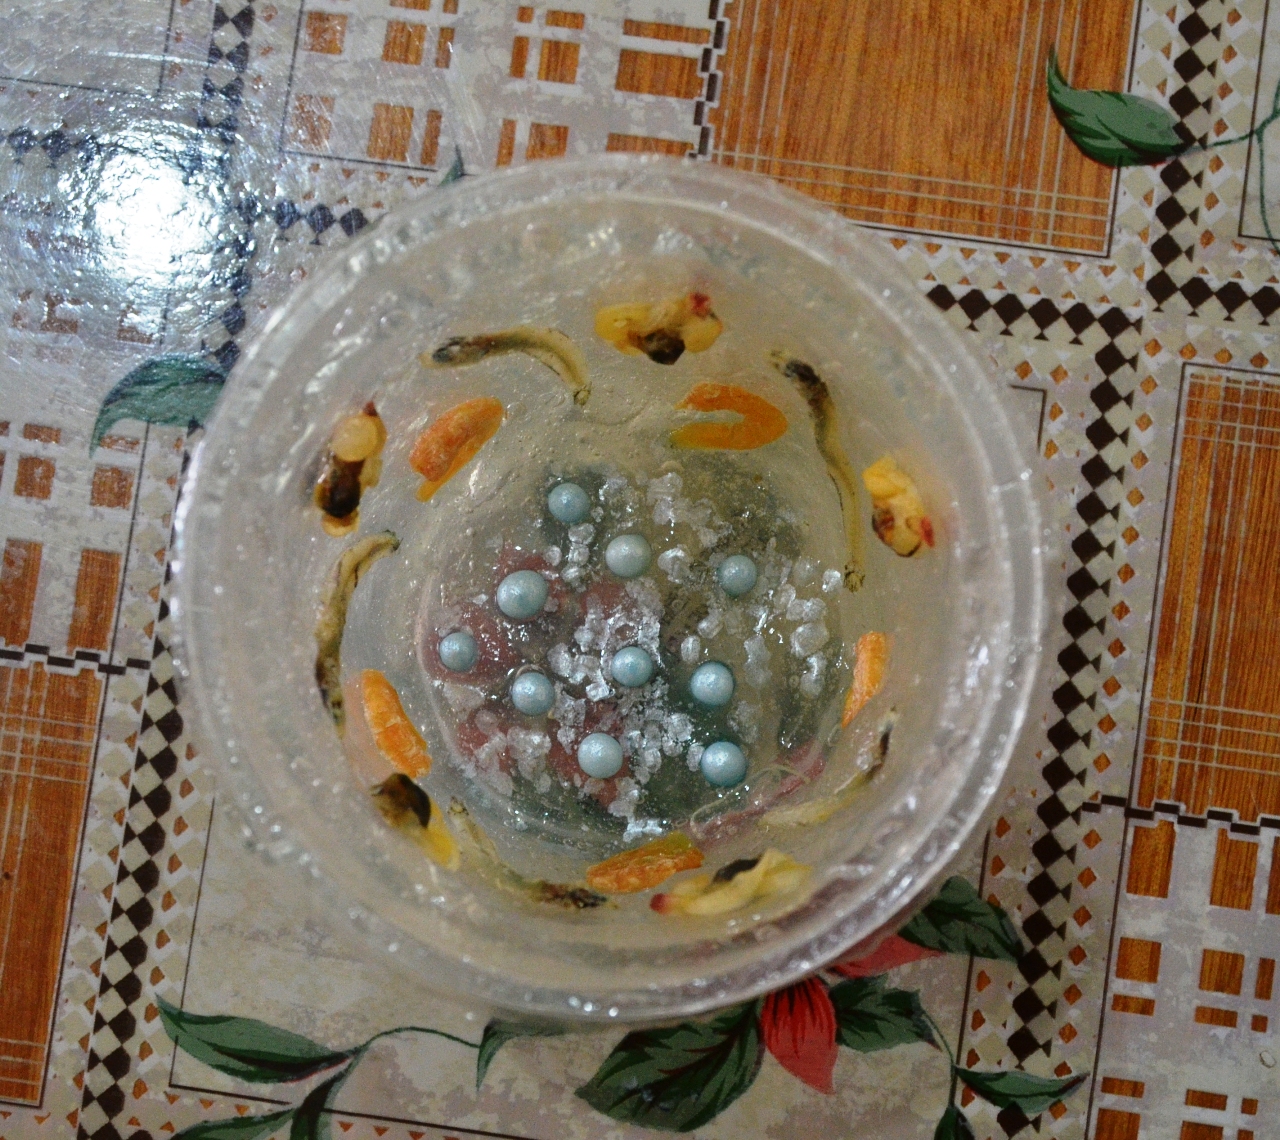
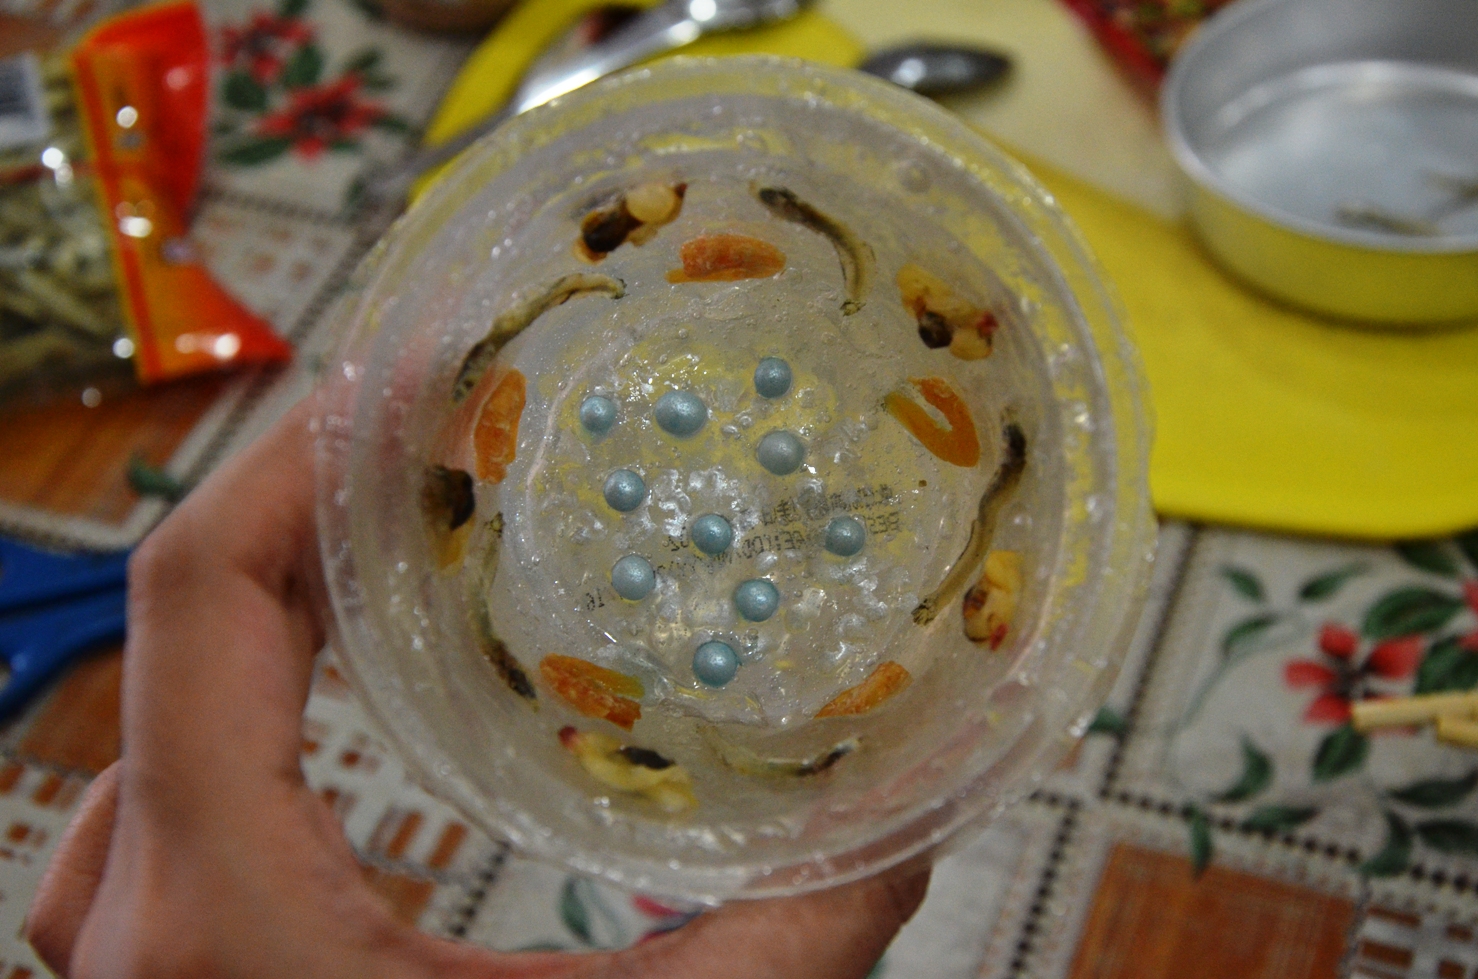
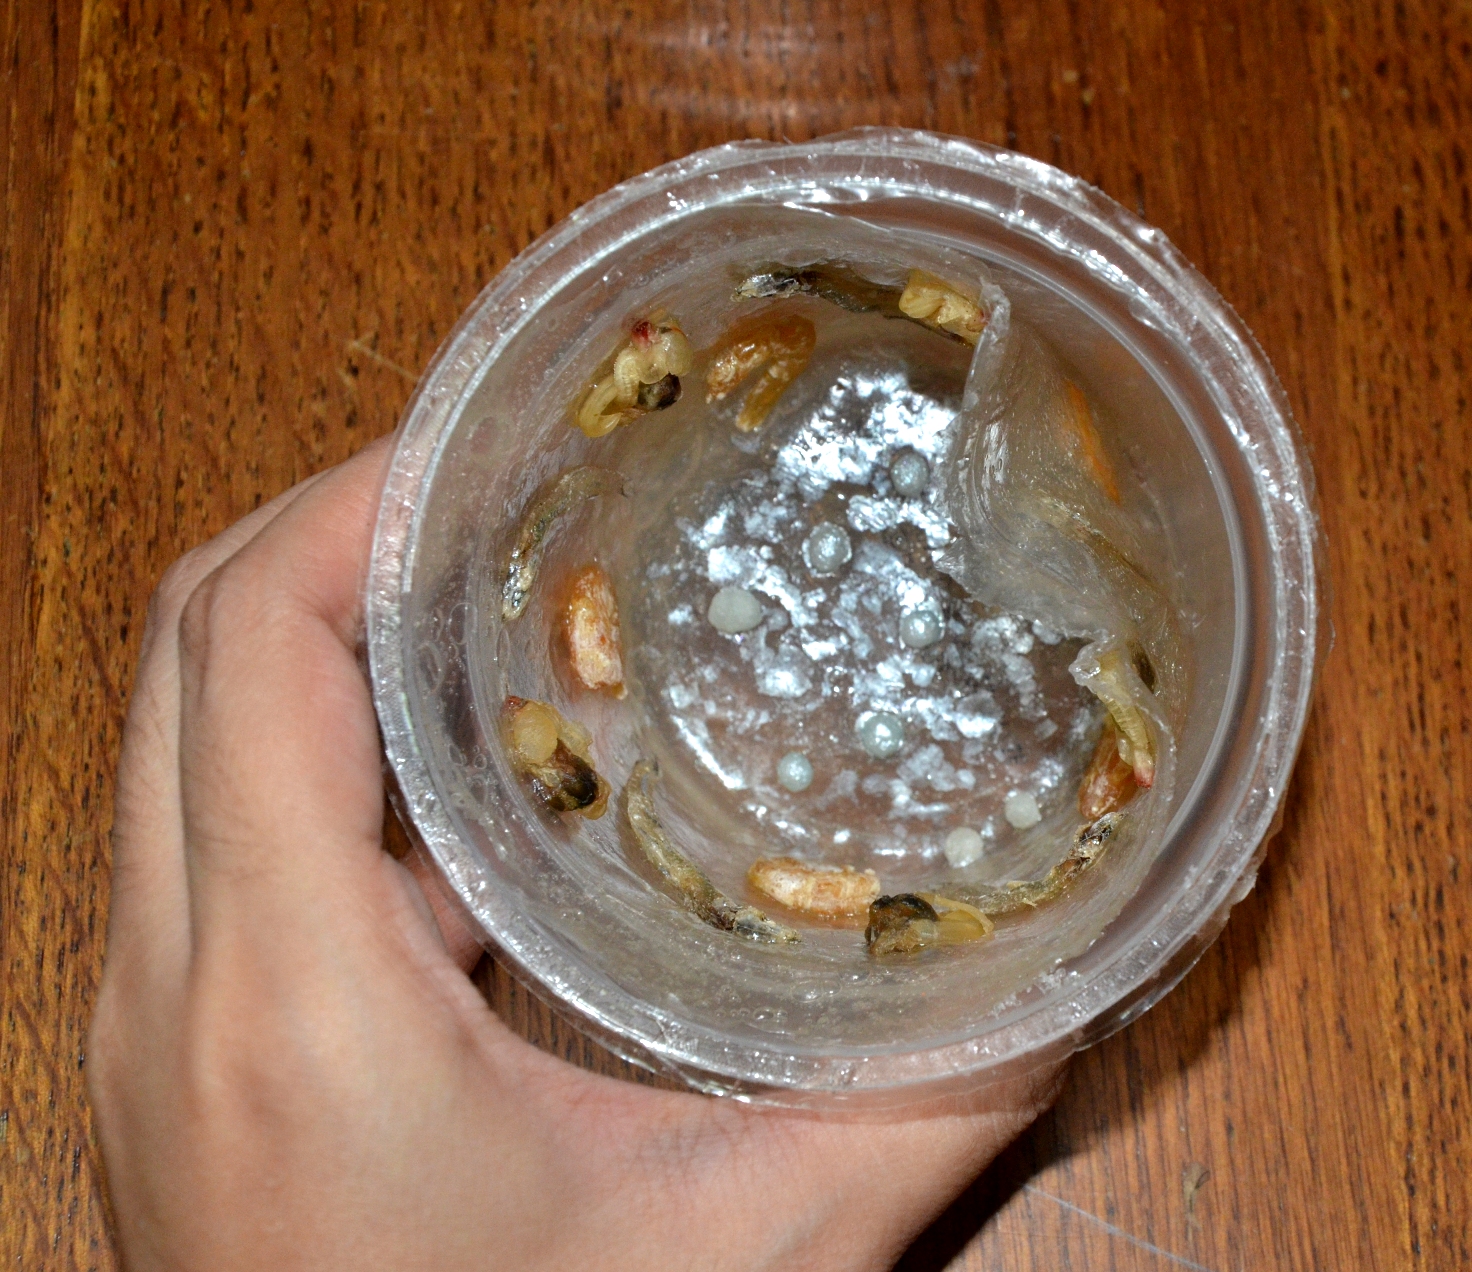
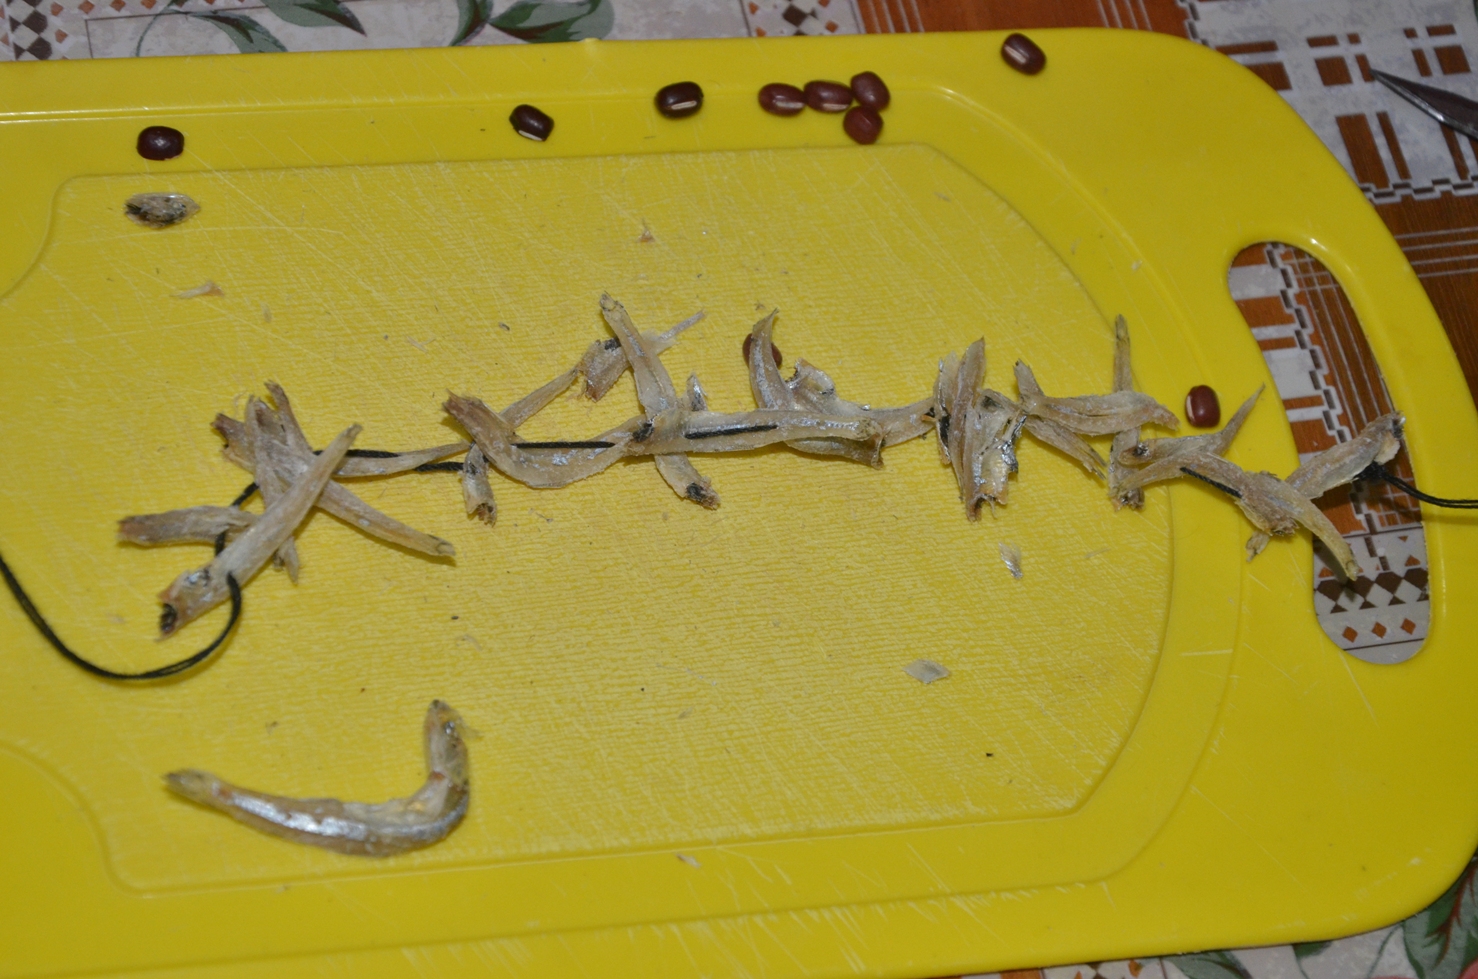
I carried on and used the material made for another experiment. Since my topic was about kitsch and with the intention of making a small bowl for trial, I intentionally used dried seafood such as ikan bilis. dried calms and dried shrimps to line up around the circumference of the bowl.

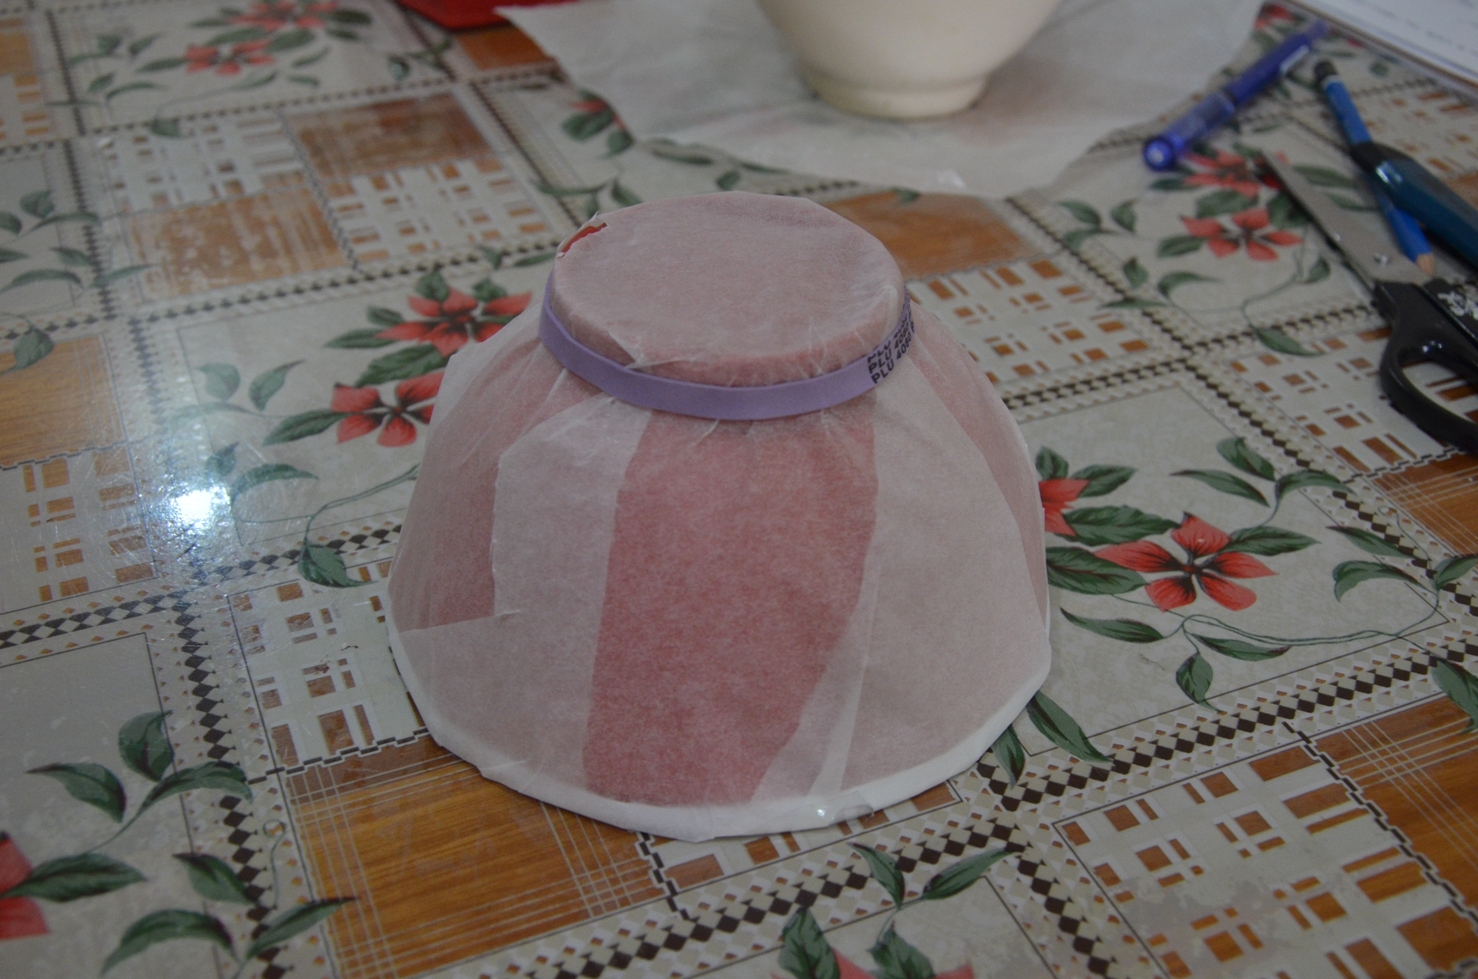
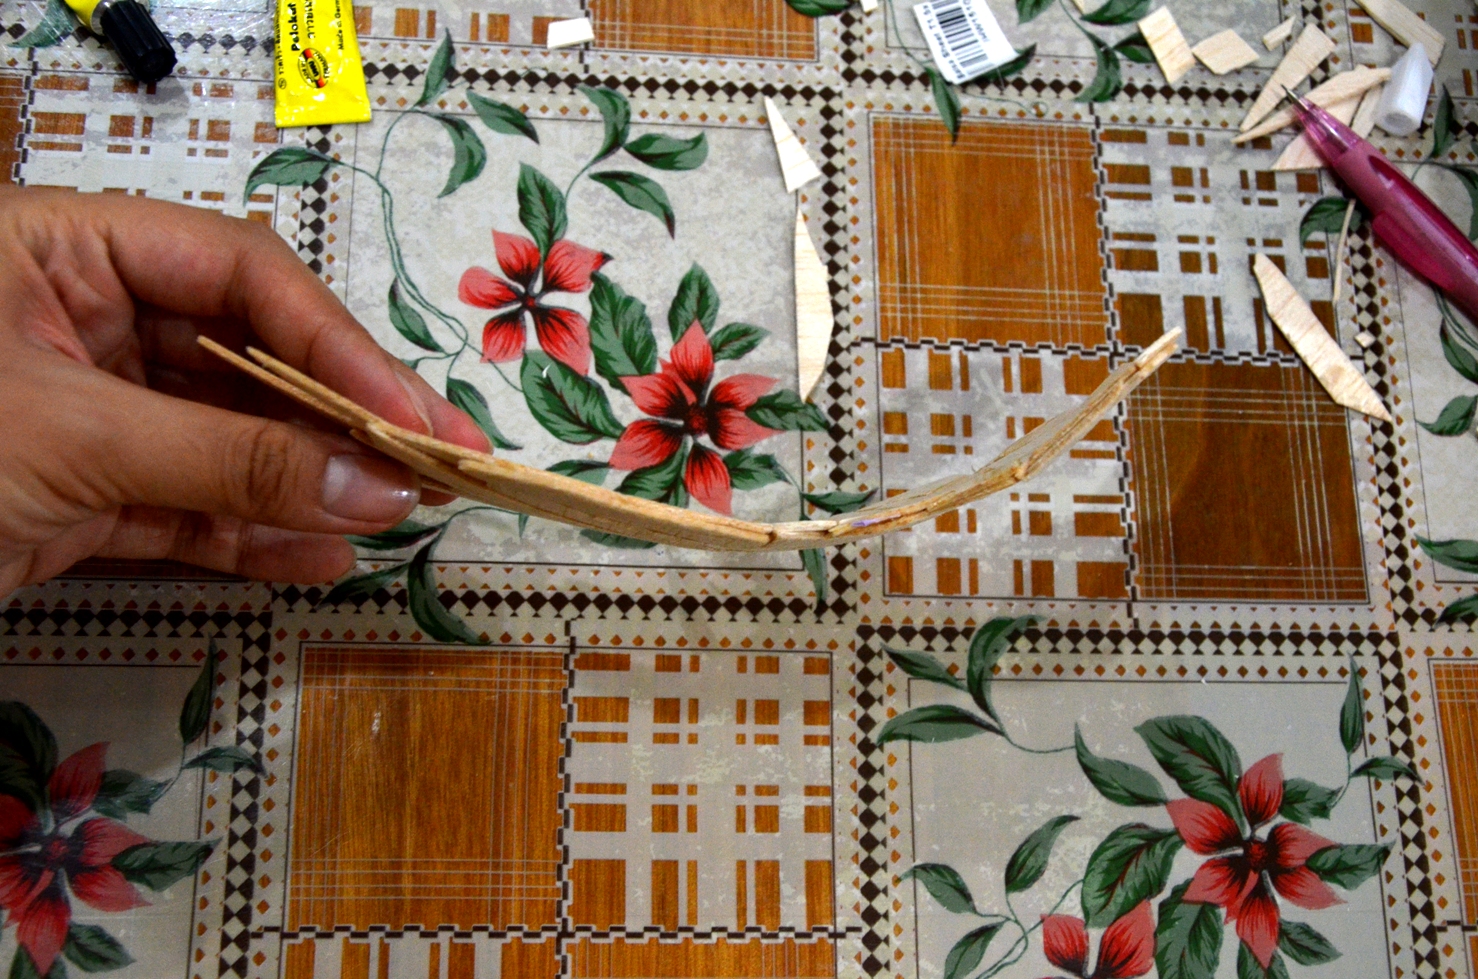
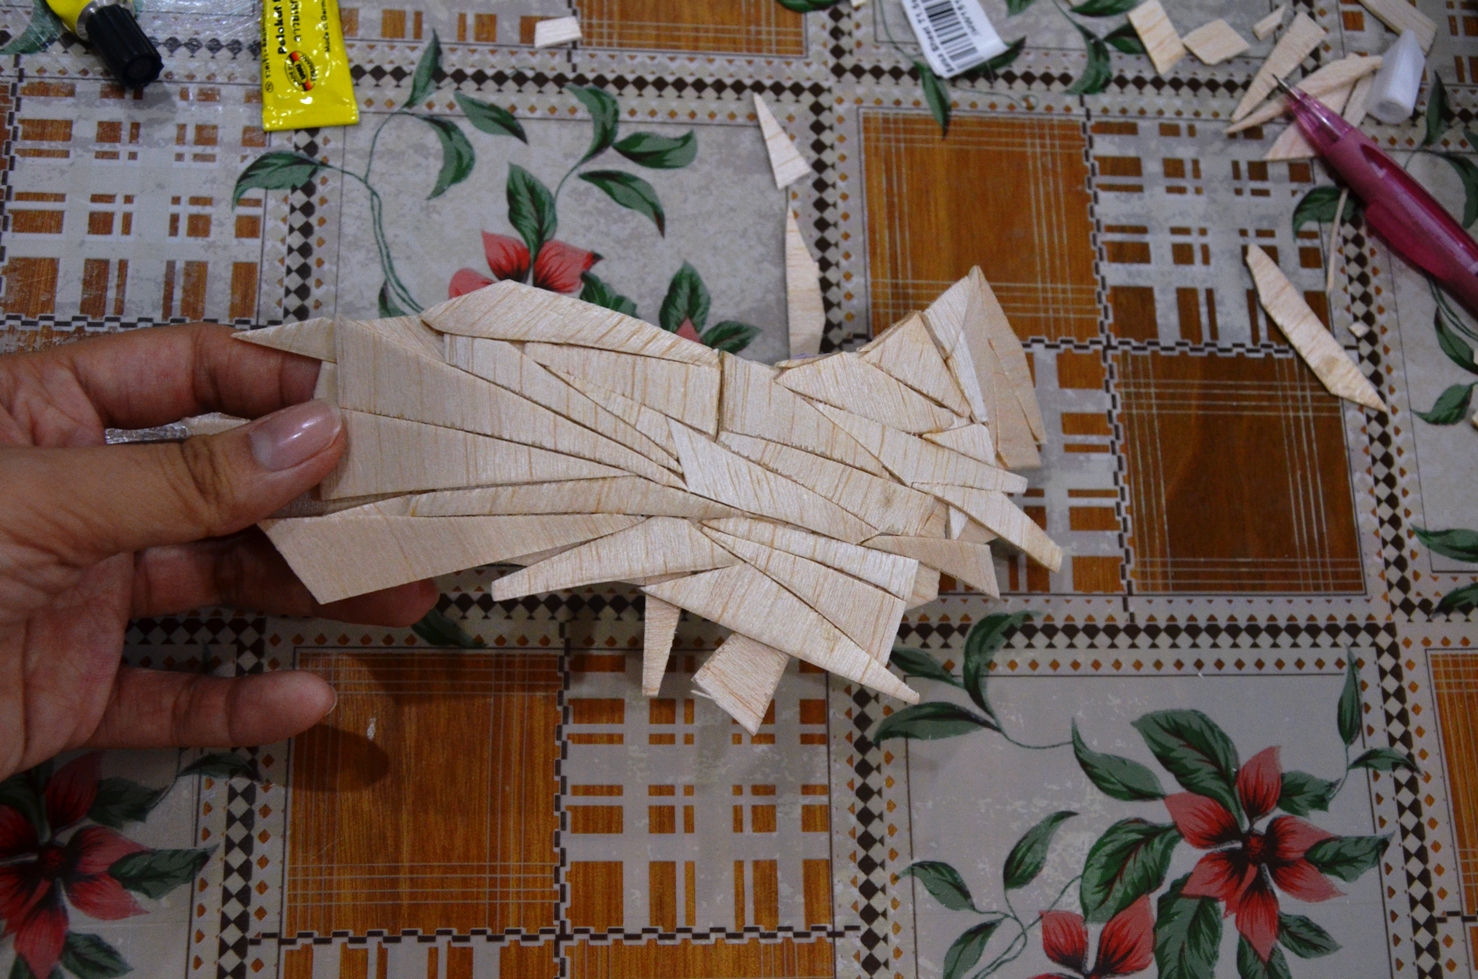
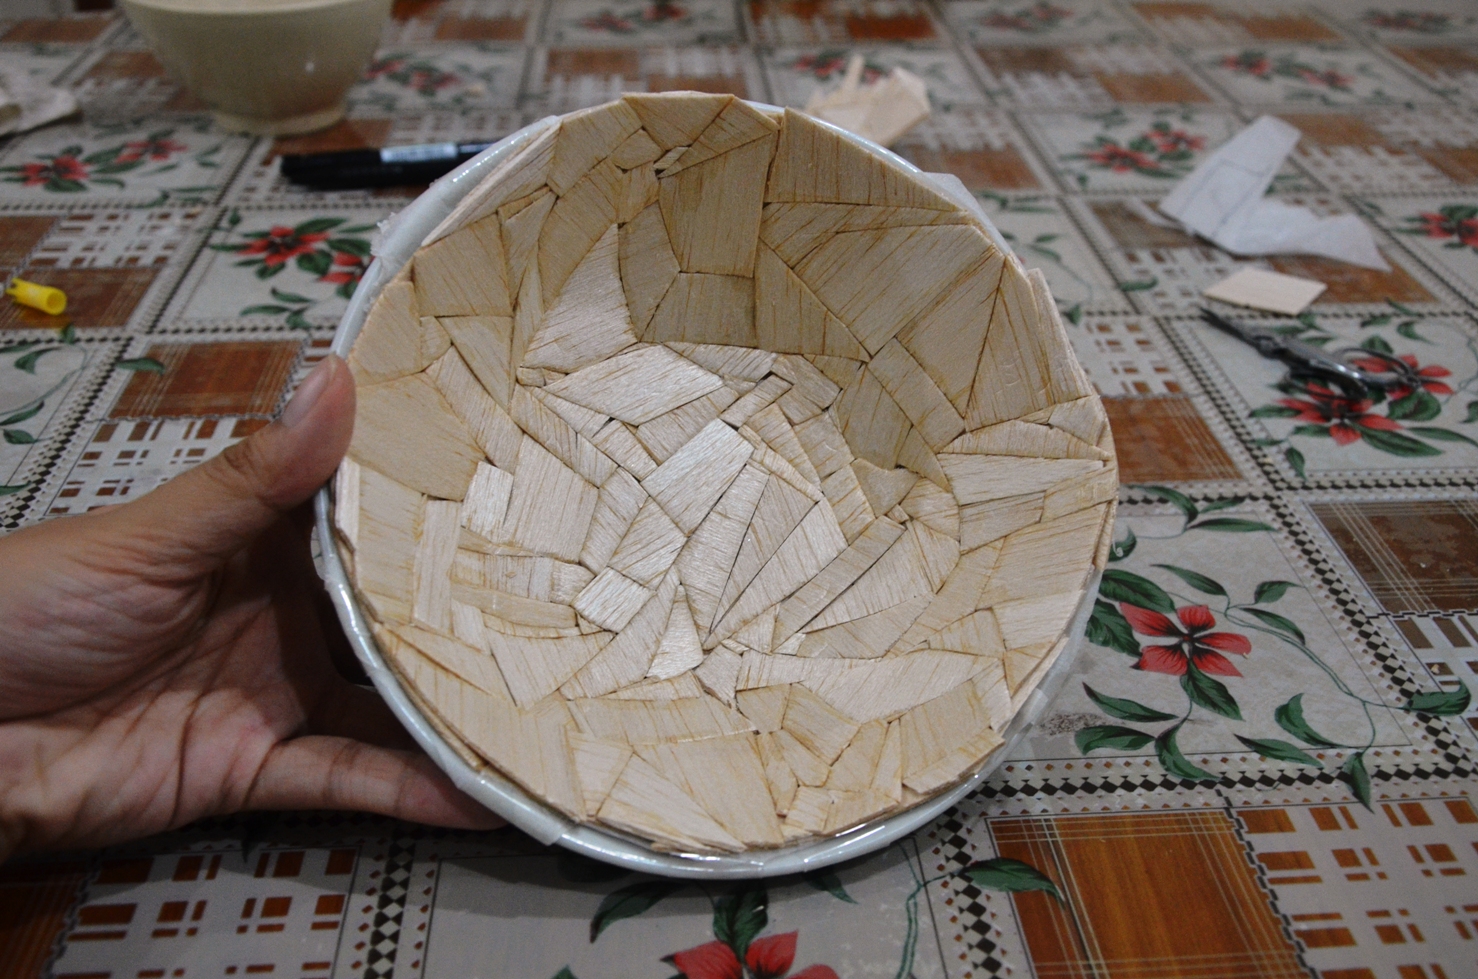
After quite a few days of sun drying, I managed to pull the layer off as shown below and the shape of a bowl was formed.

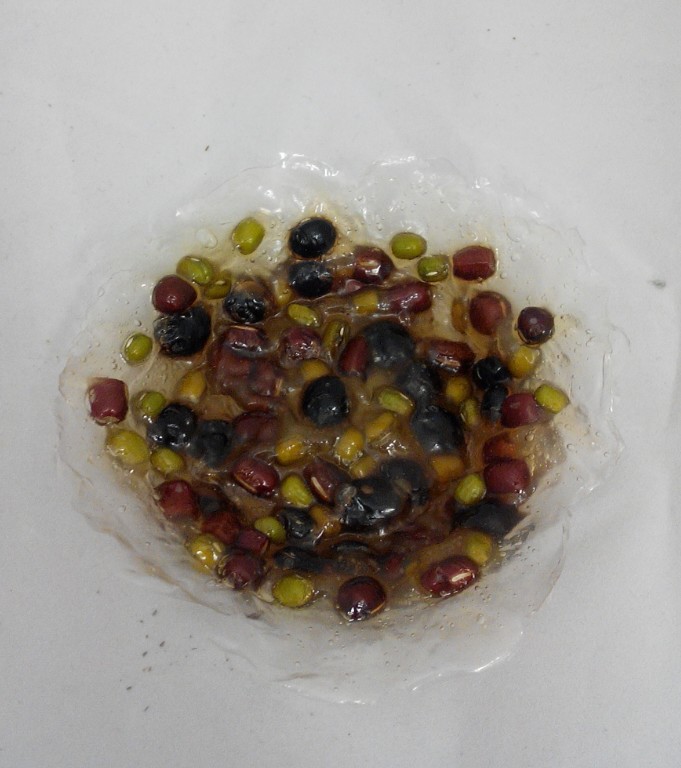
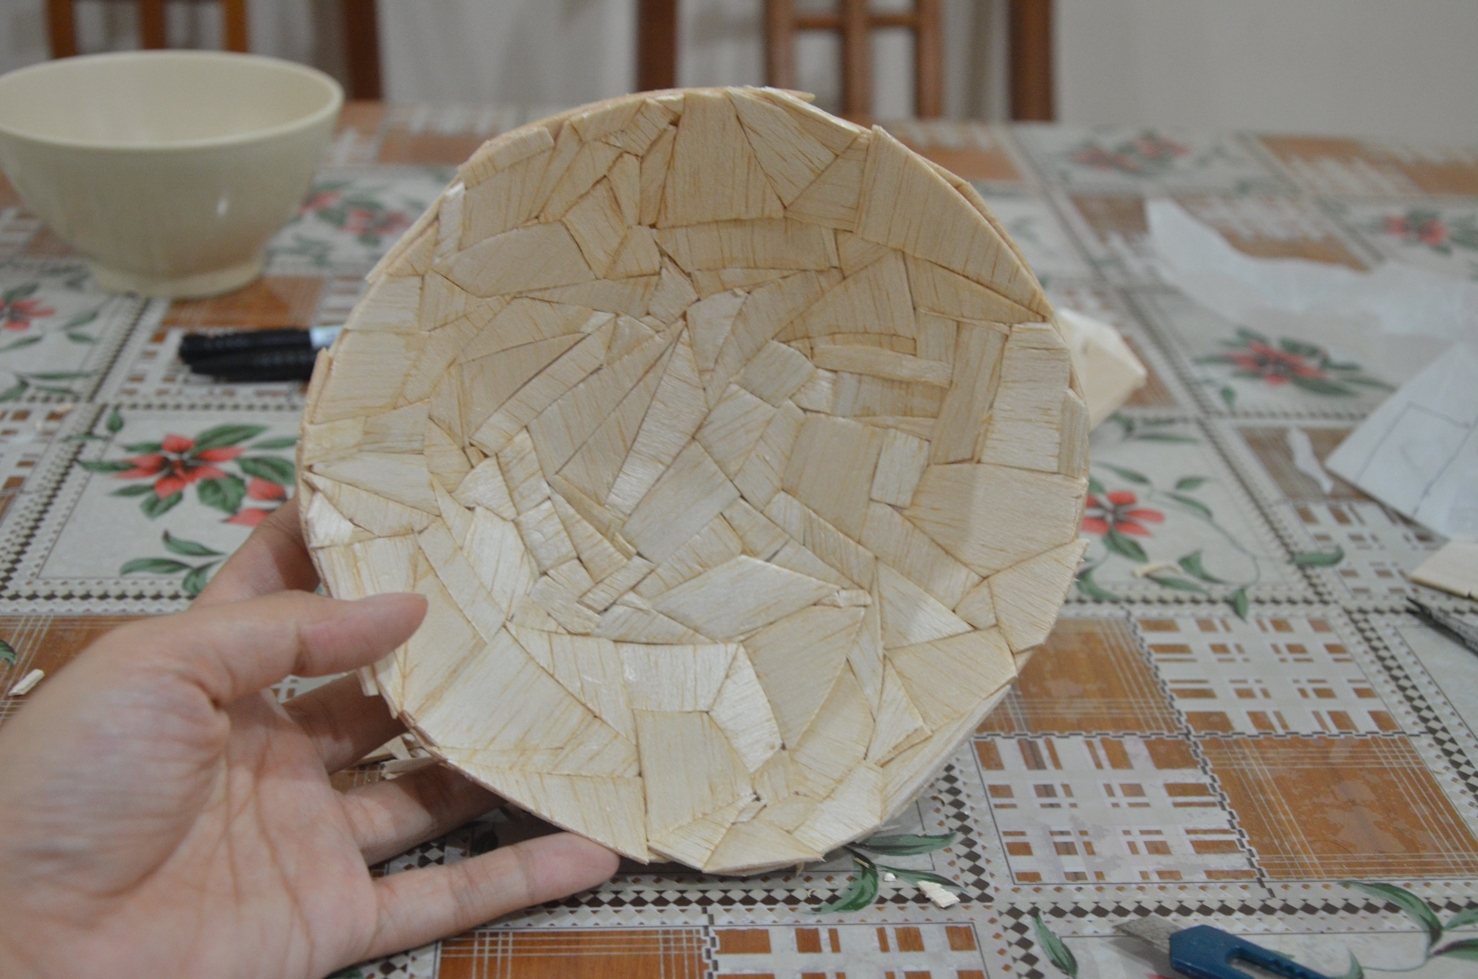
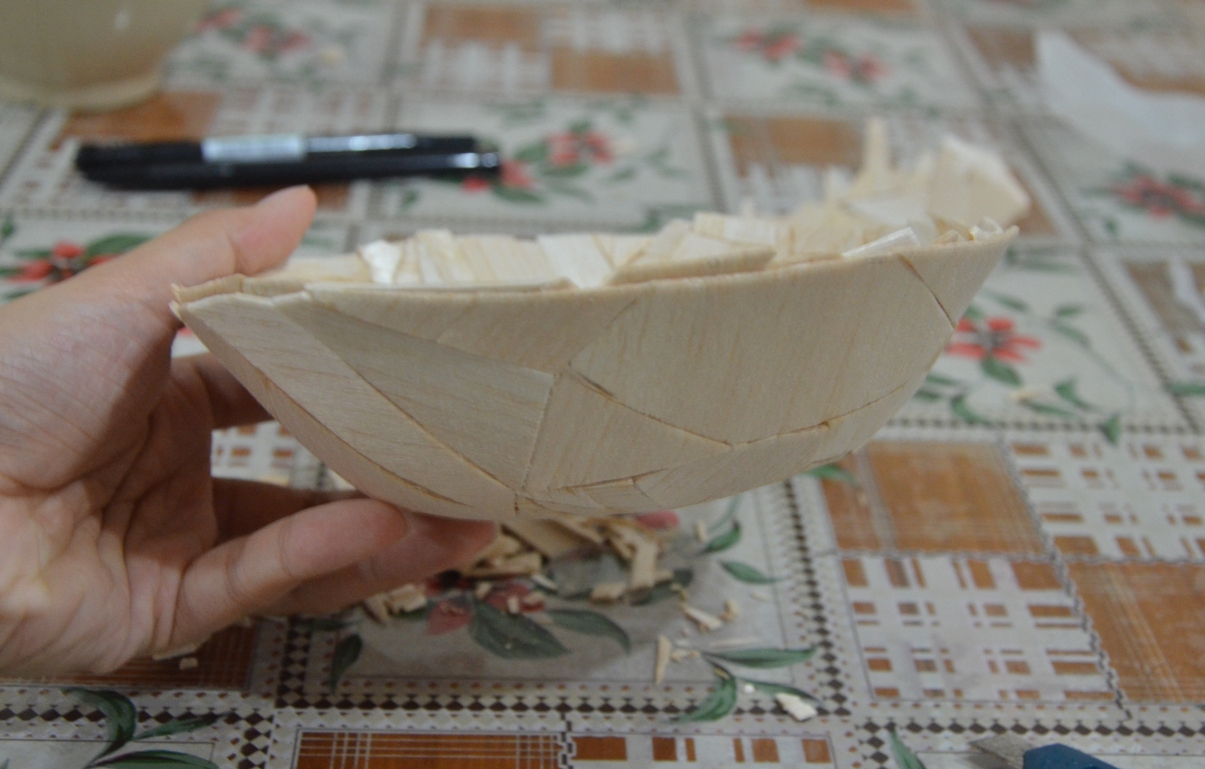
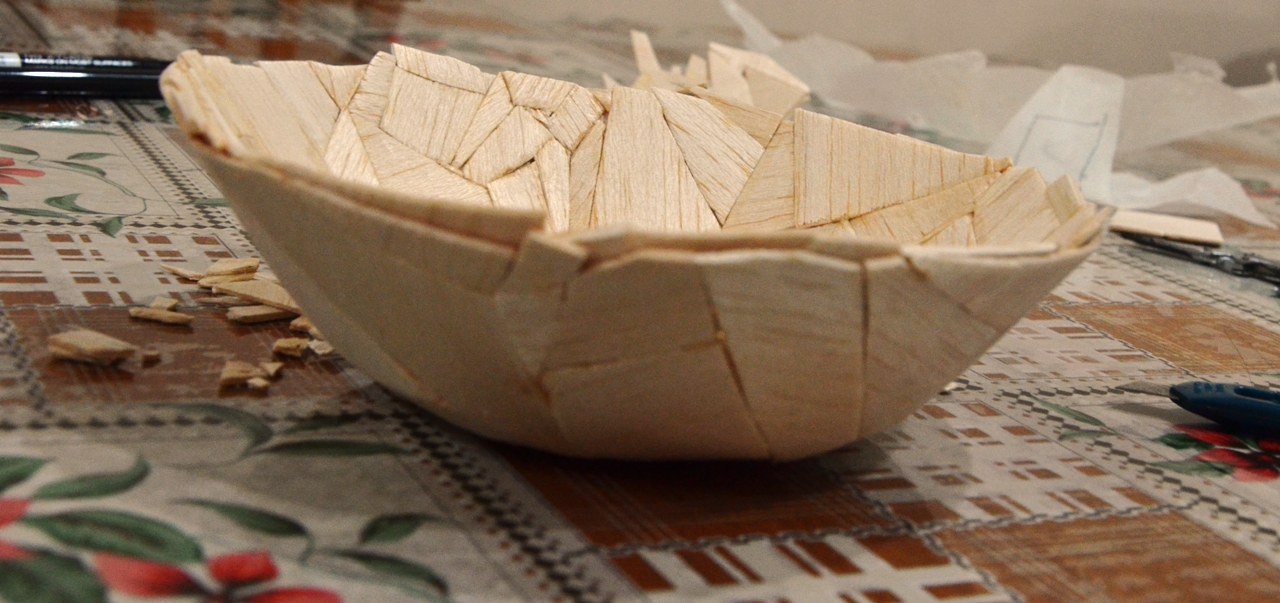
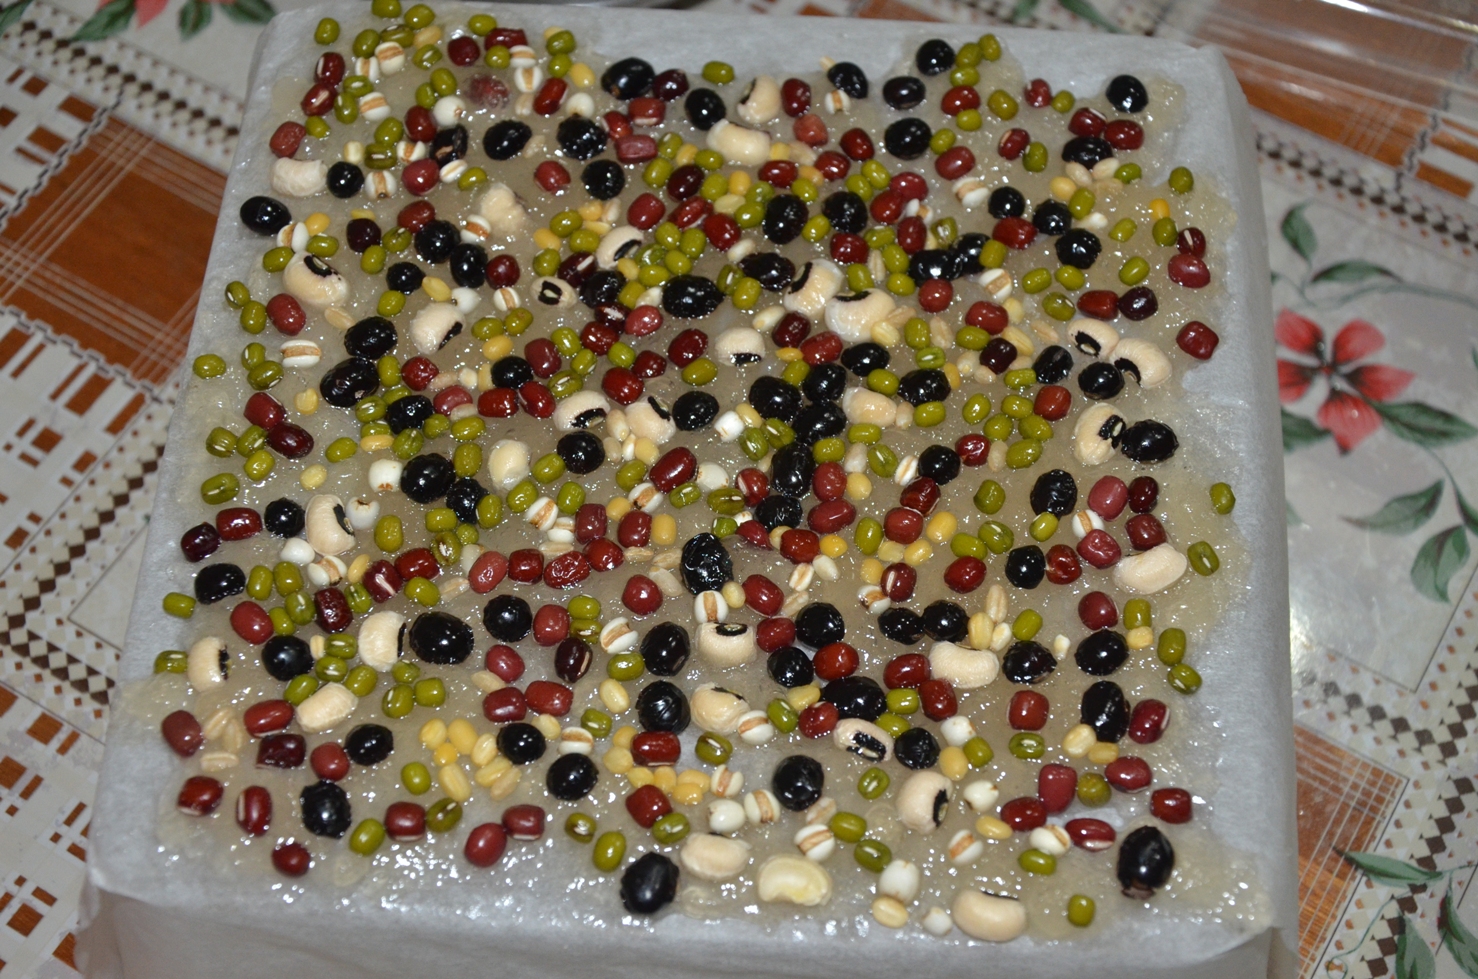
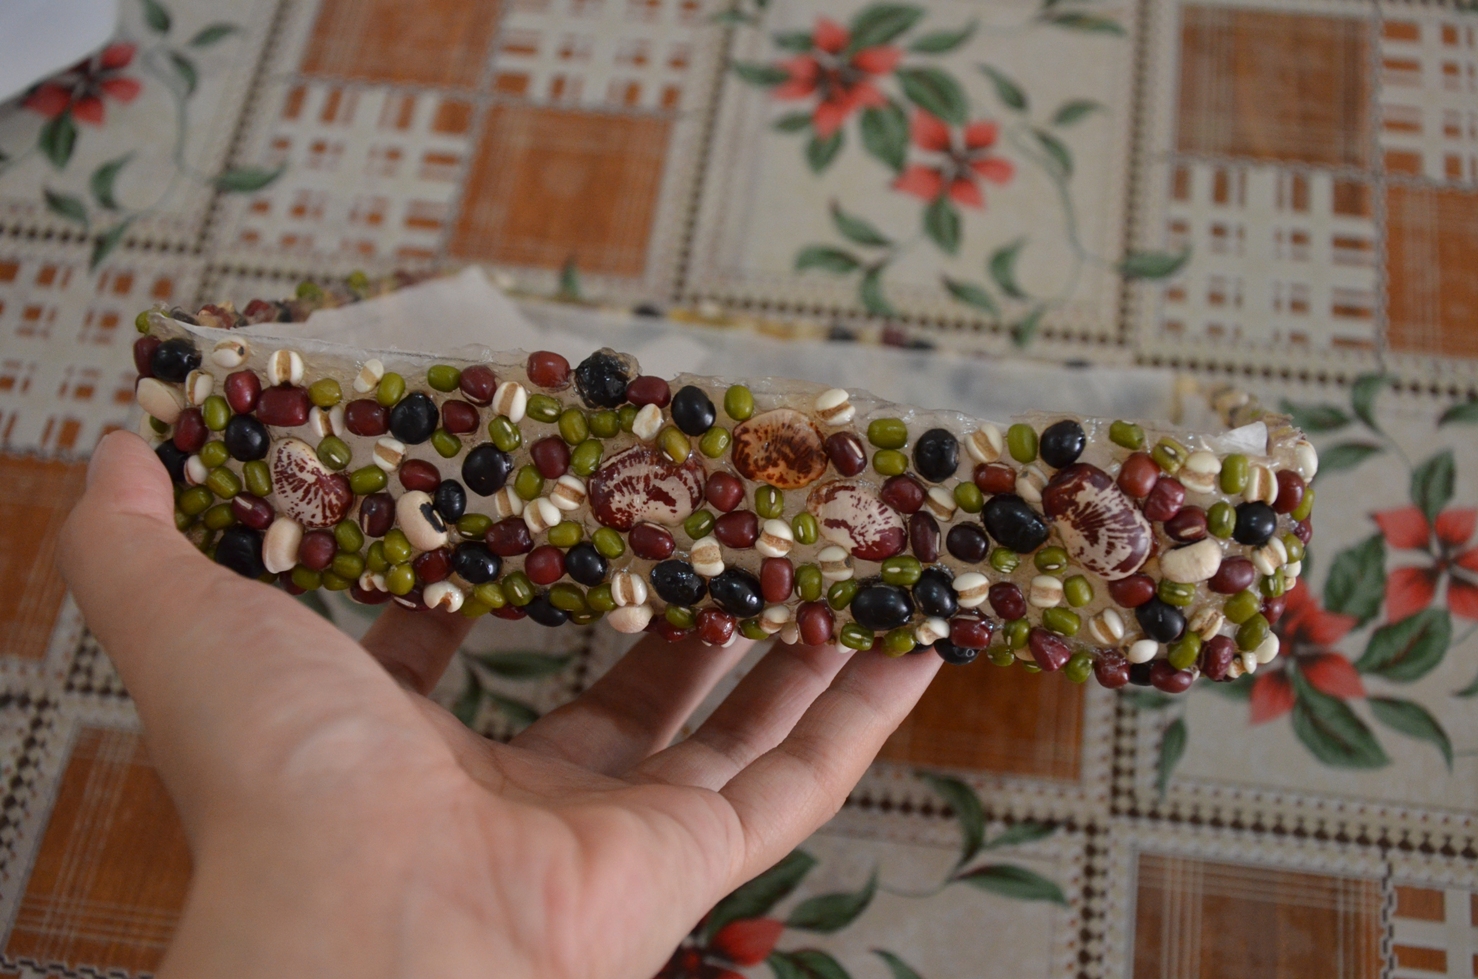
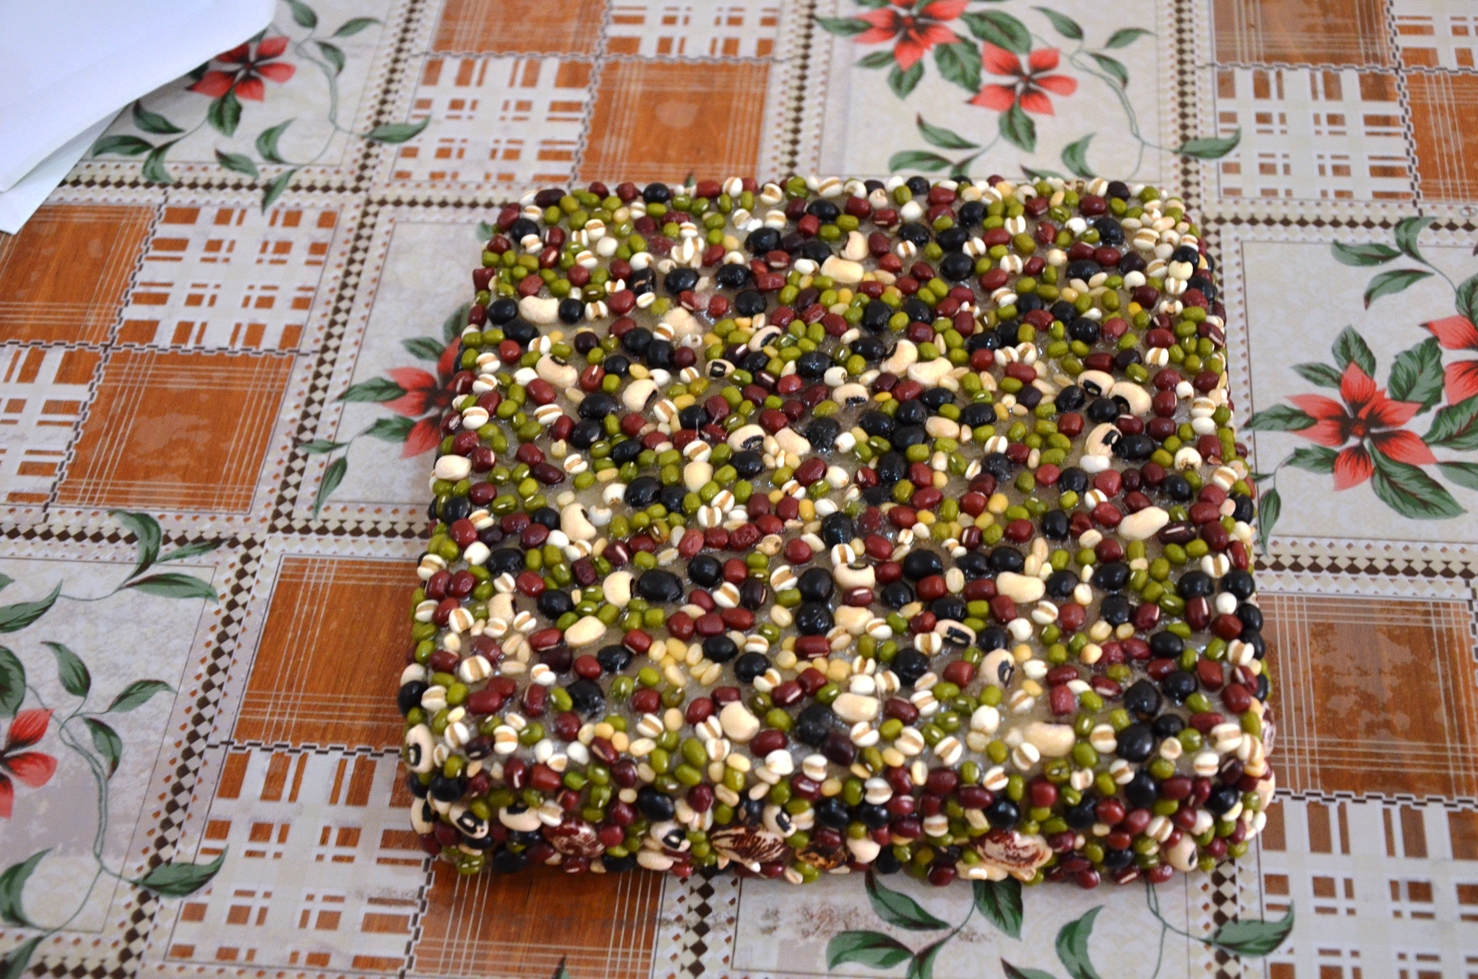
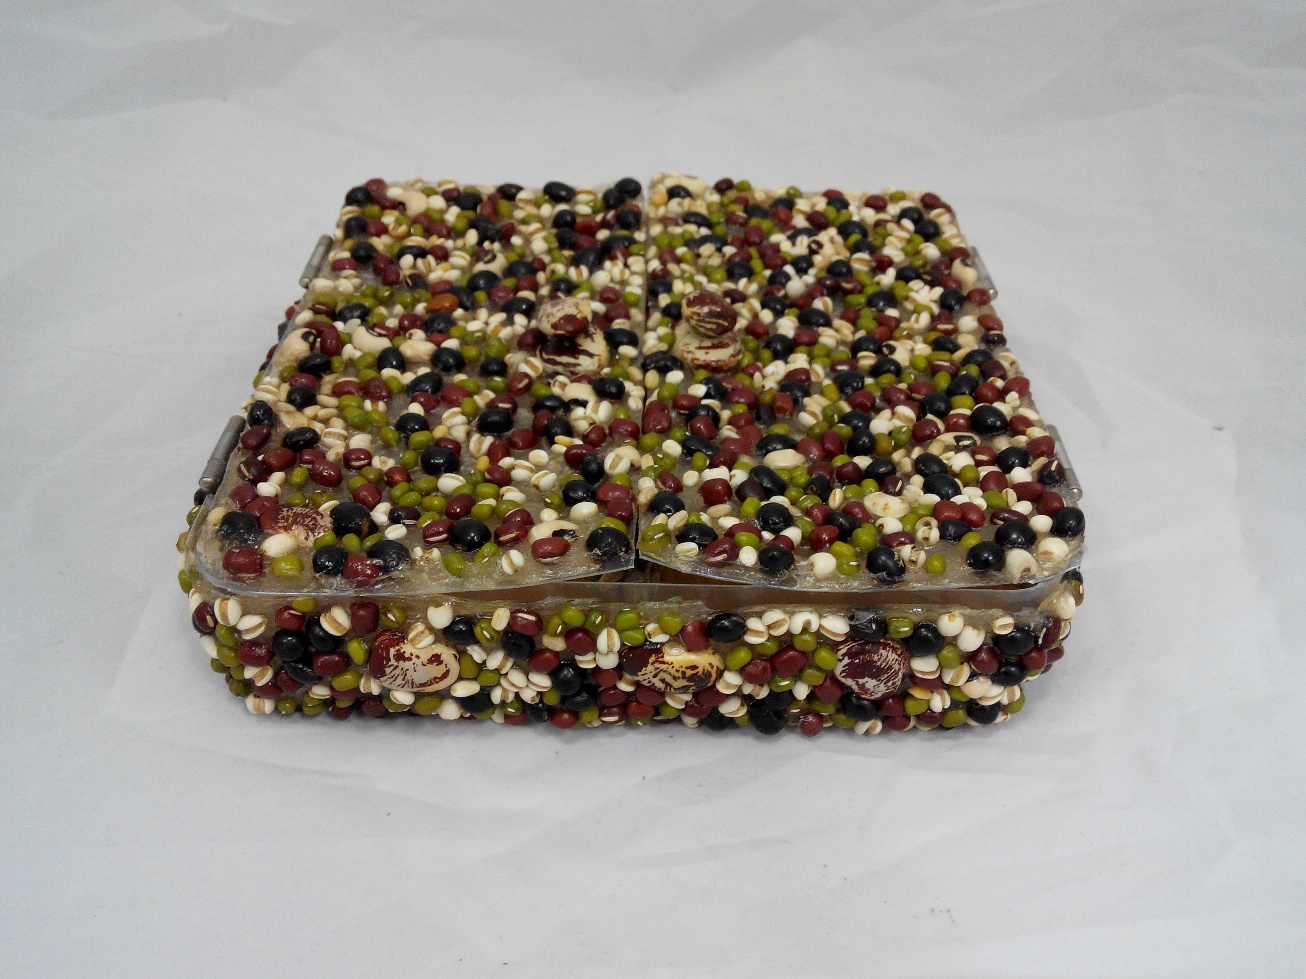
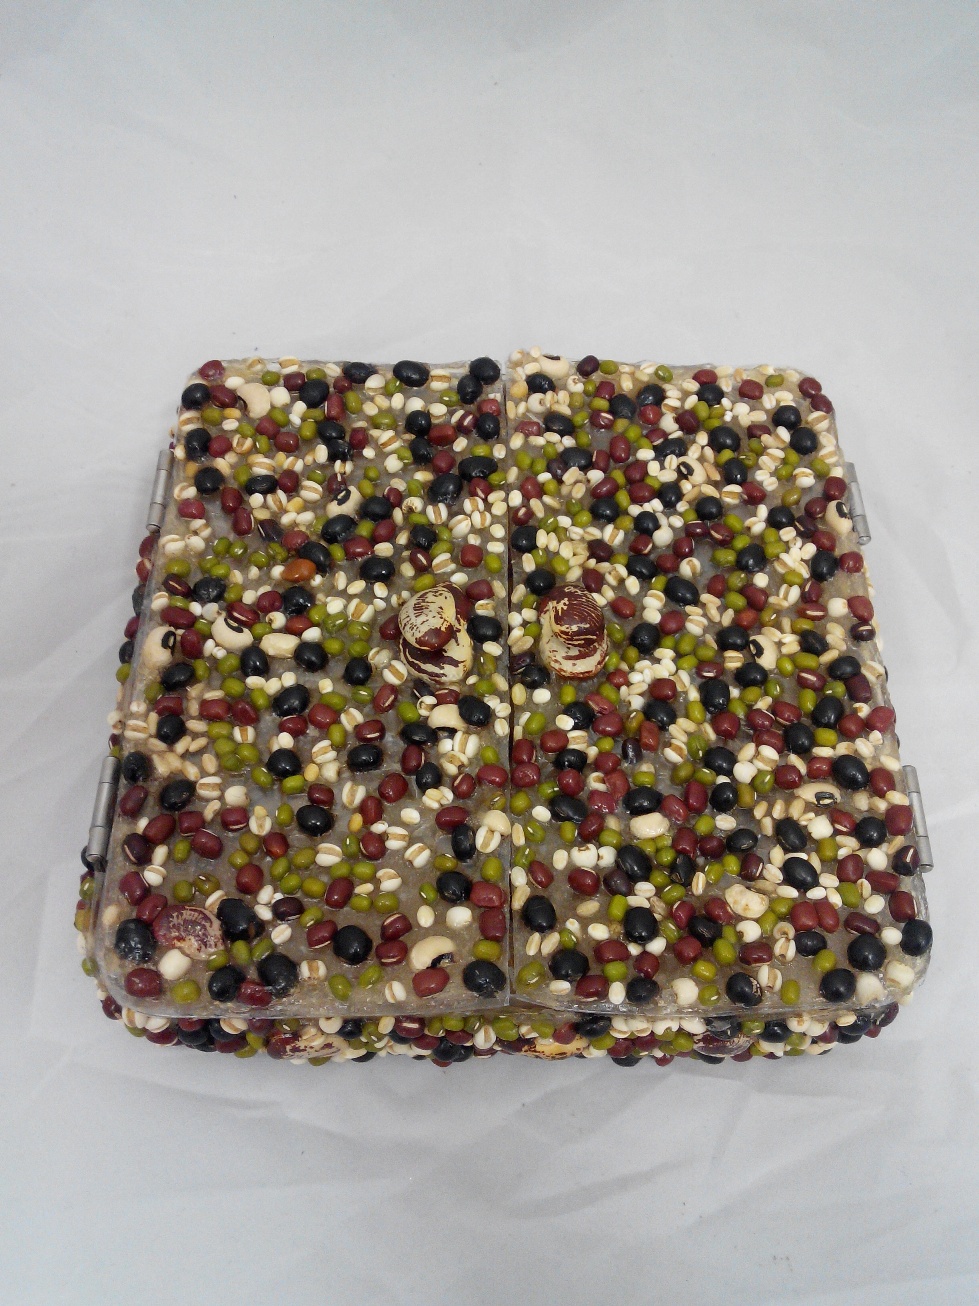
However, after doing this at home, my family members began to complain how stinky it was and so I decided to cook another pot of paste to do another experiment that was “less stinky” – BEANS.  The trial bean bowl is as shown below.


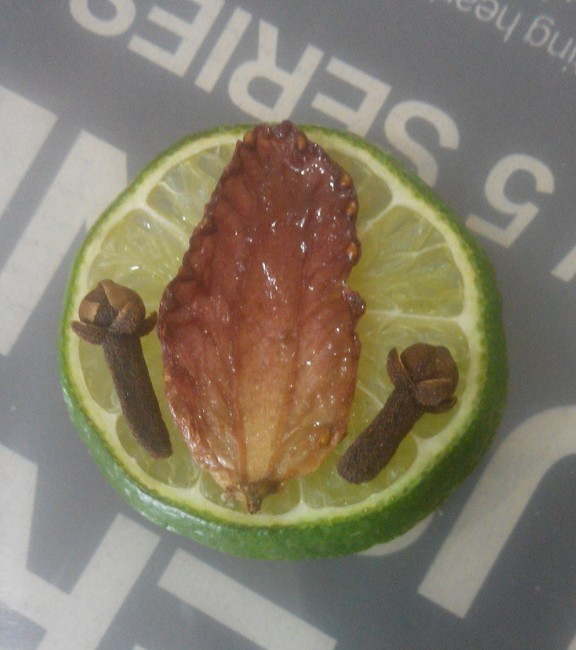
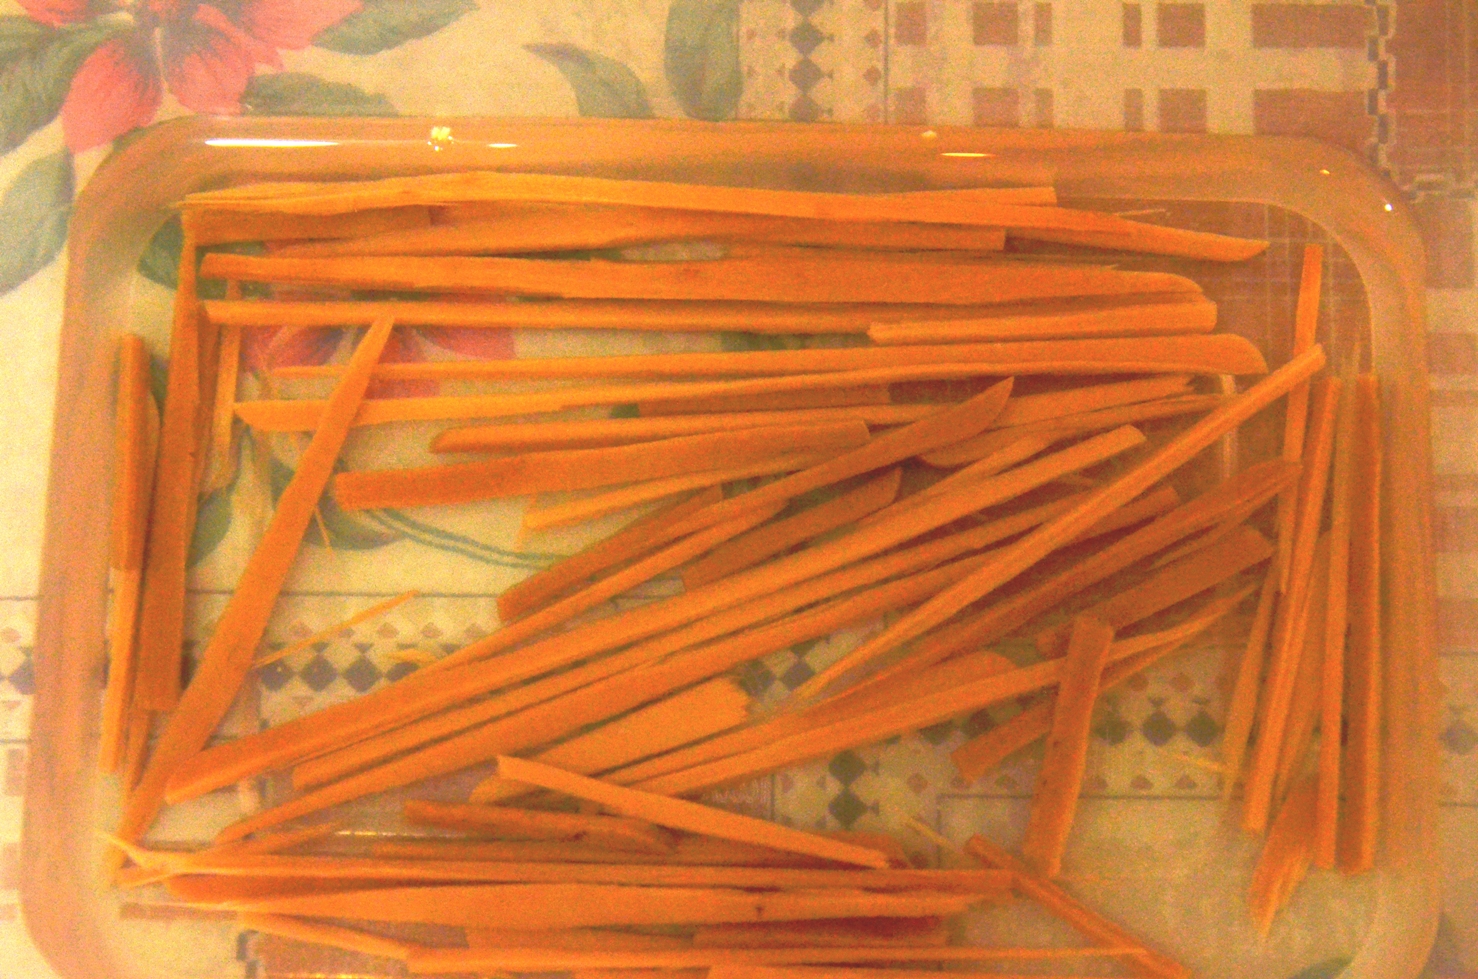
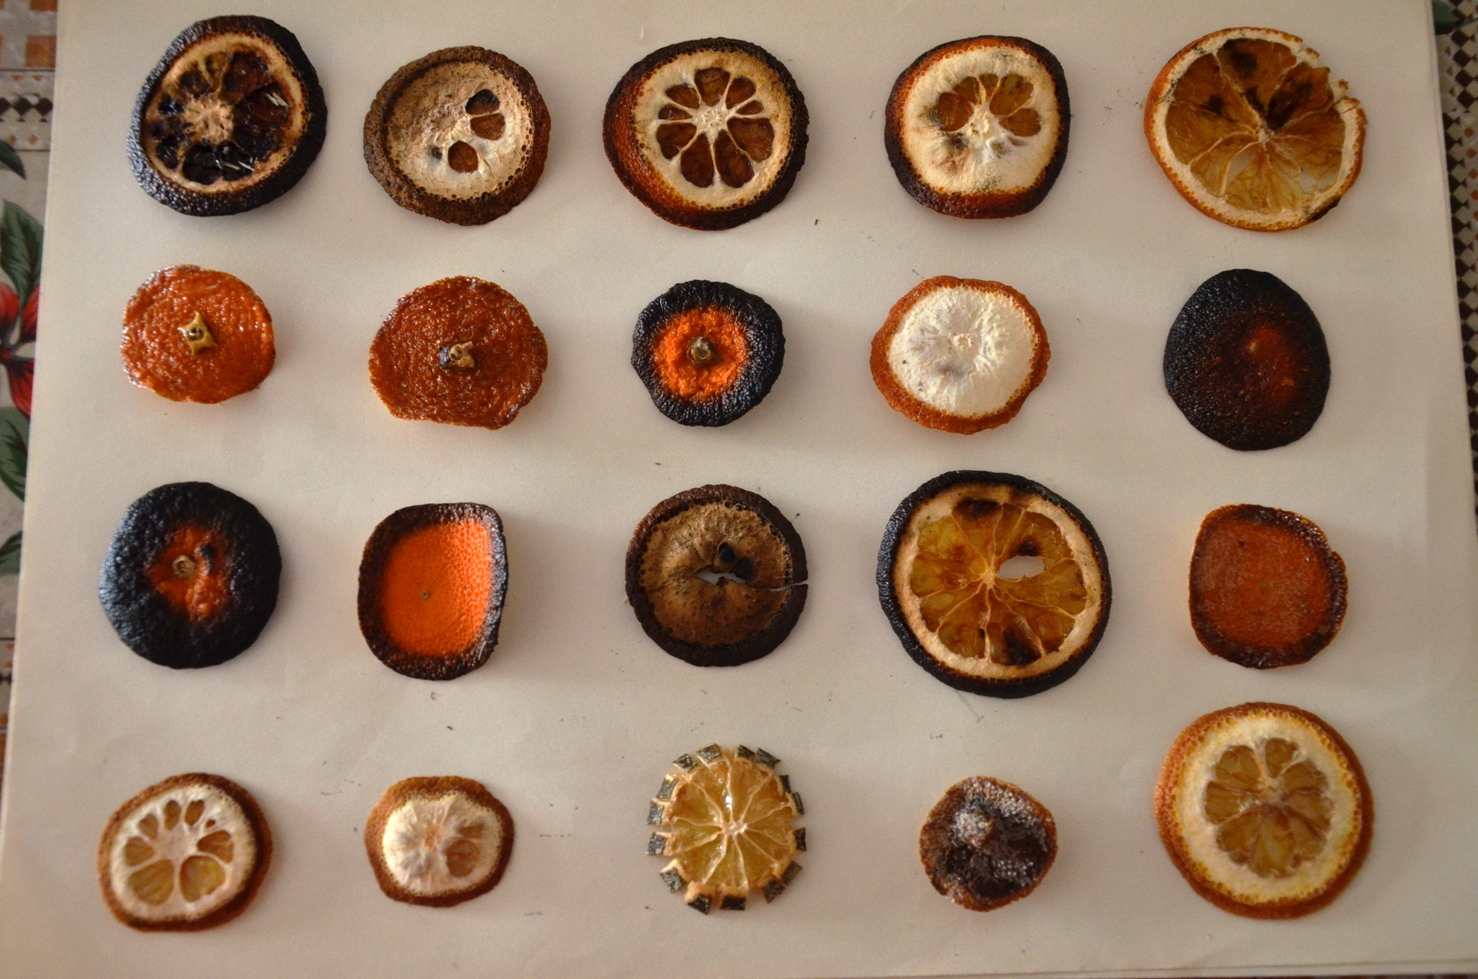
After that I started looking for possible materials for my food jewellery other than seafood. I tried to use oranges and lime after either sun drying them or baking them.

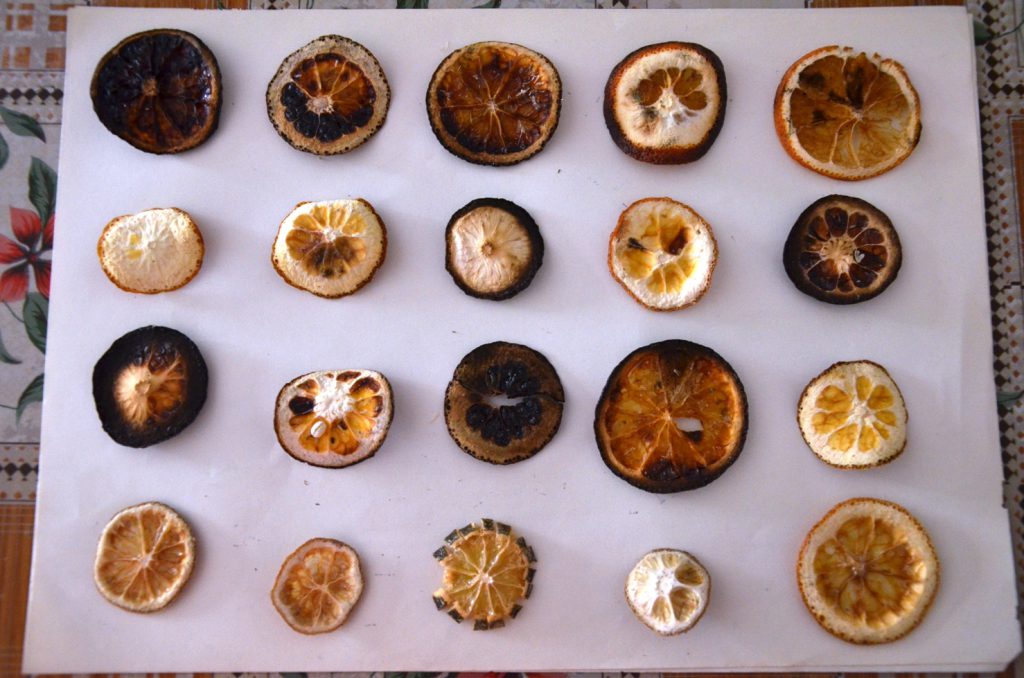
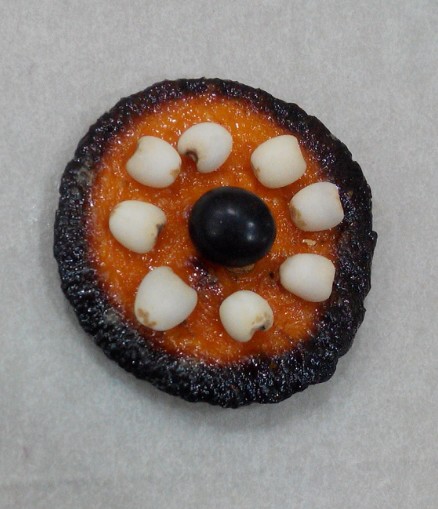
I really like the uniform effect of the charred ring around the circumference. E.g. the 2nd one at the 3rd row.

I also attempted to create patterns around the lime slice. E.g. the 3rd one at the last row.

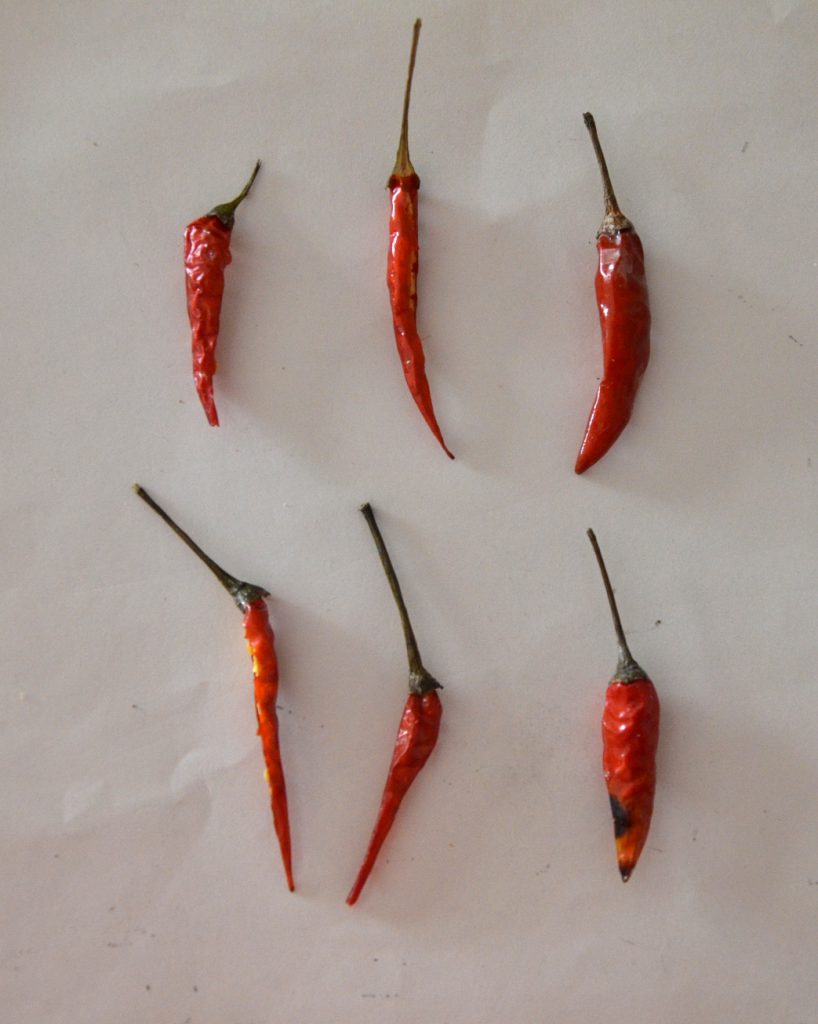
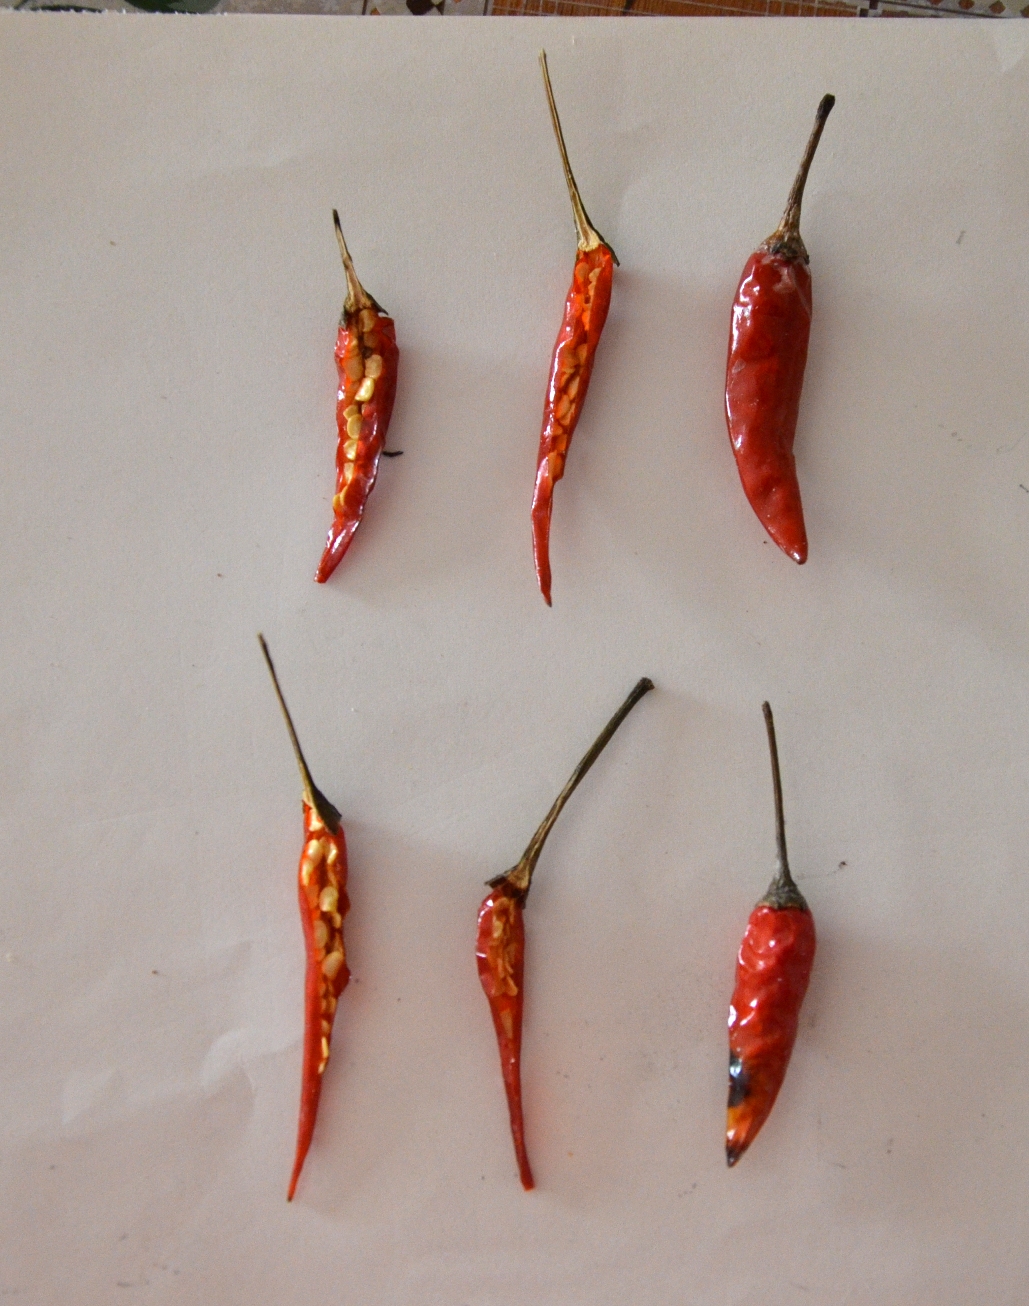
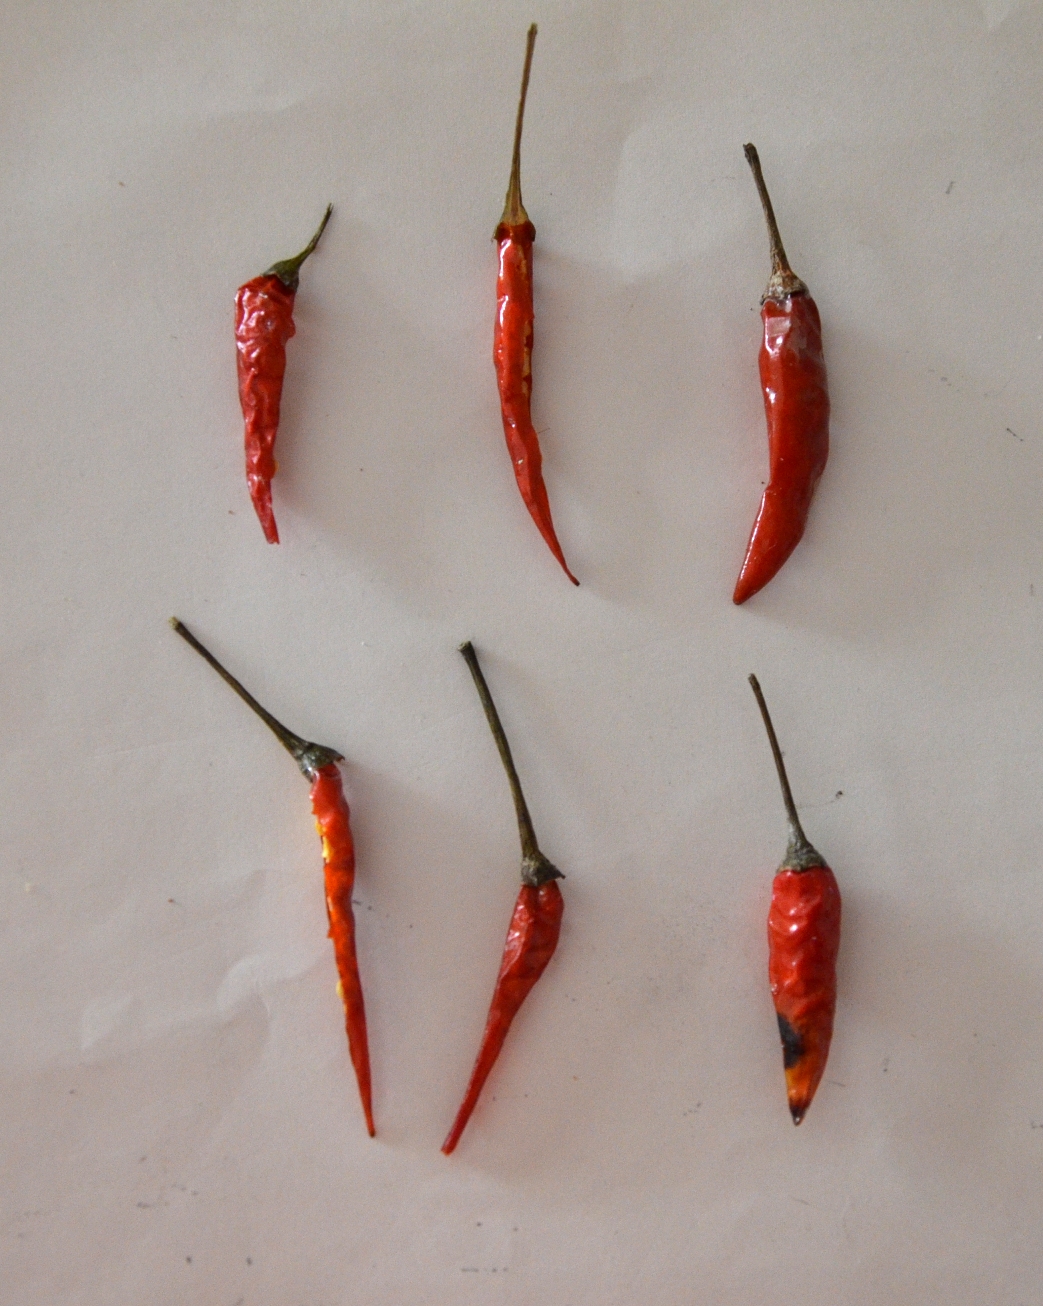
I also experimented with fresh chilli. I did not want to use the already dried ones as the colour was not nice and they were too dried. I kept some whole while I cut some into almost symmetrical halves.

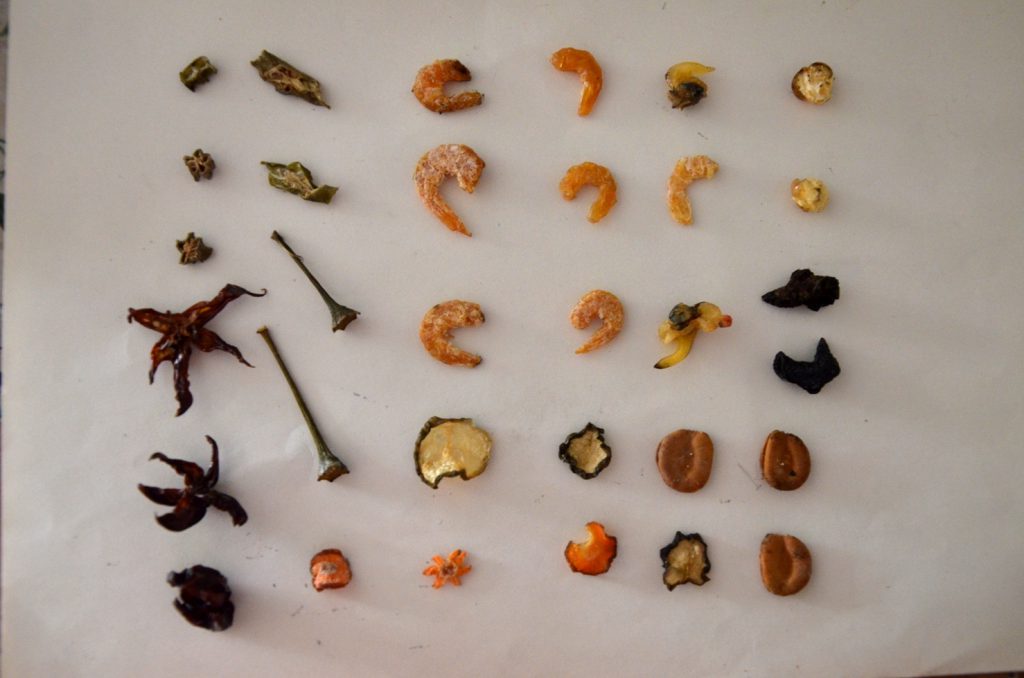
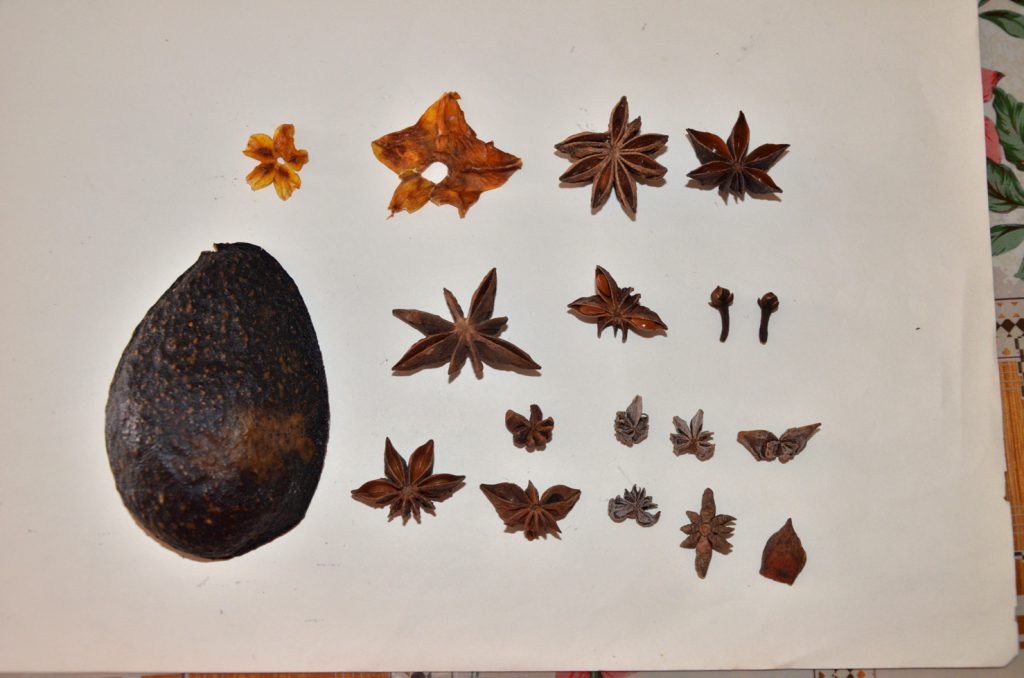
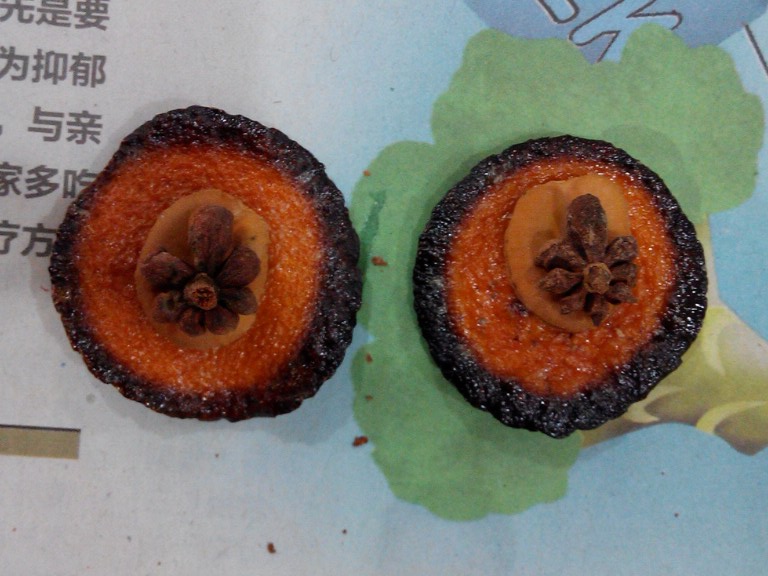
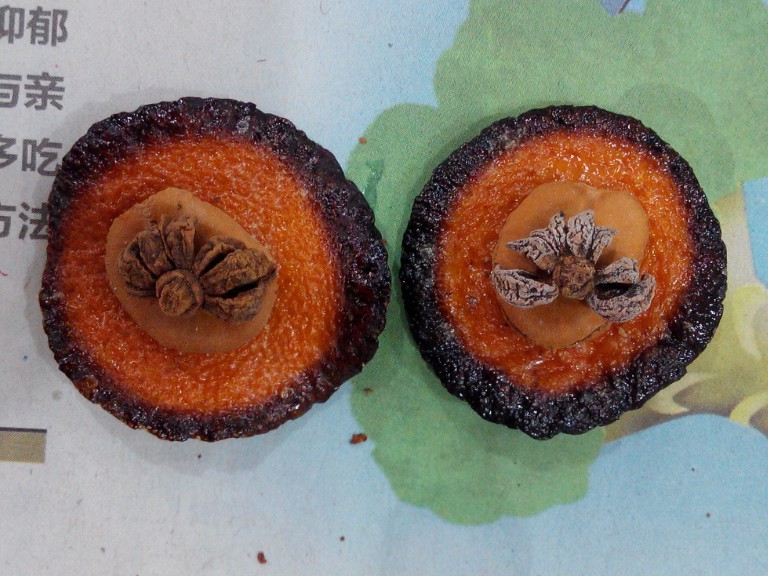
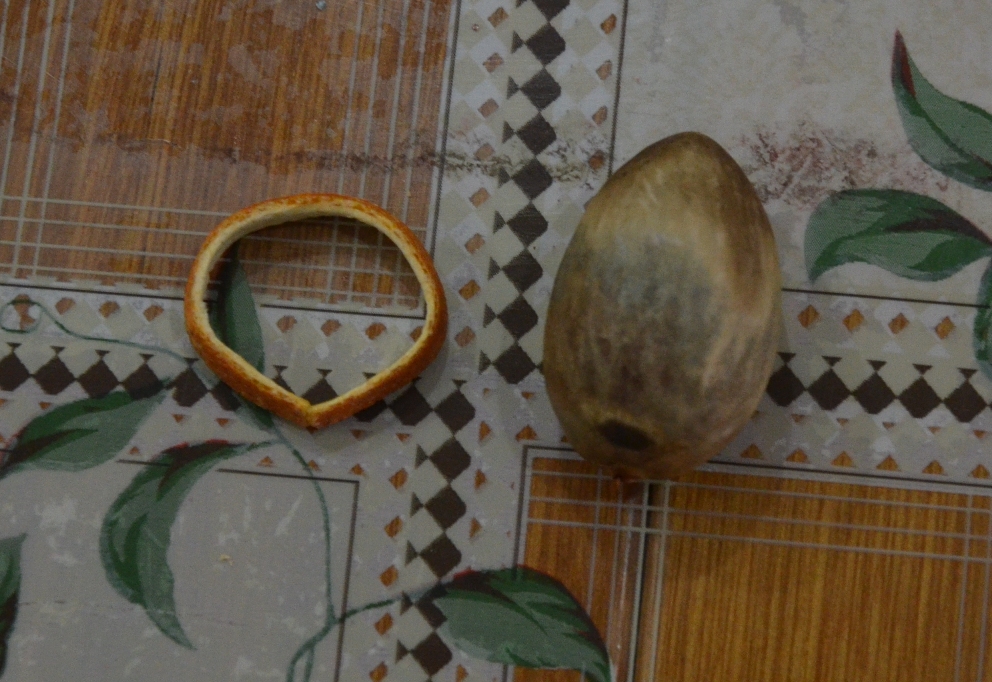
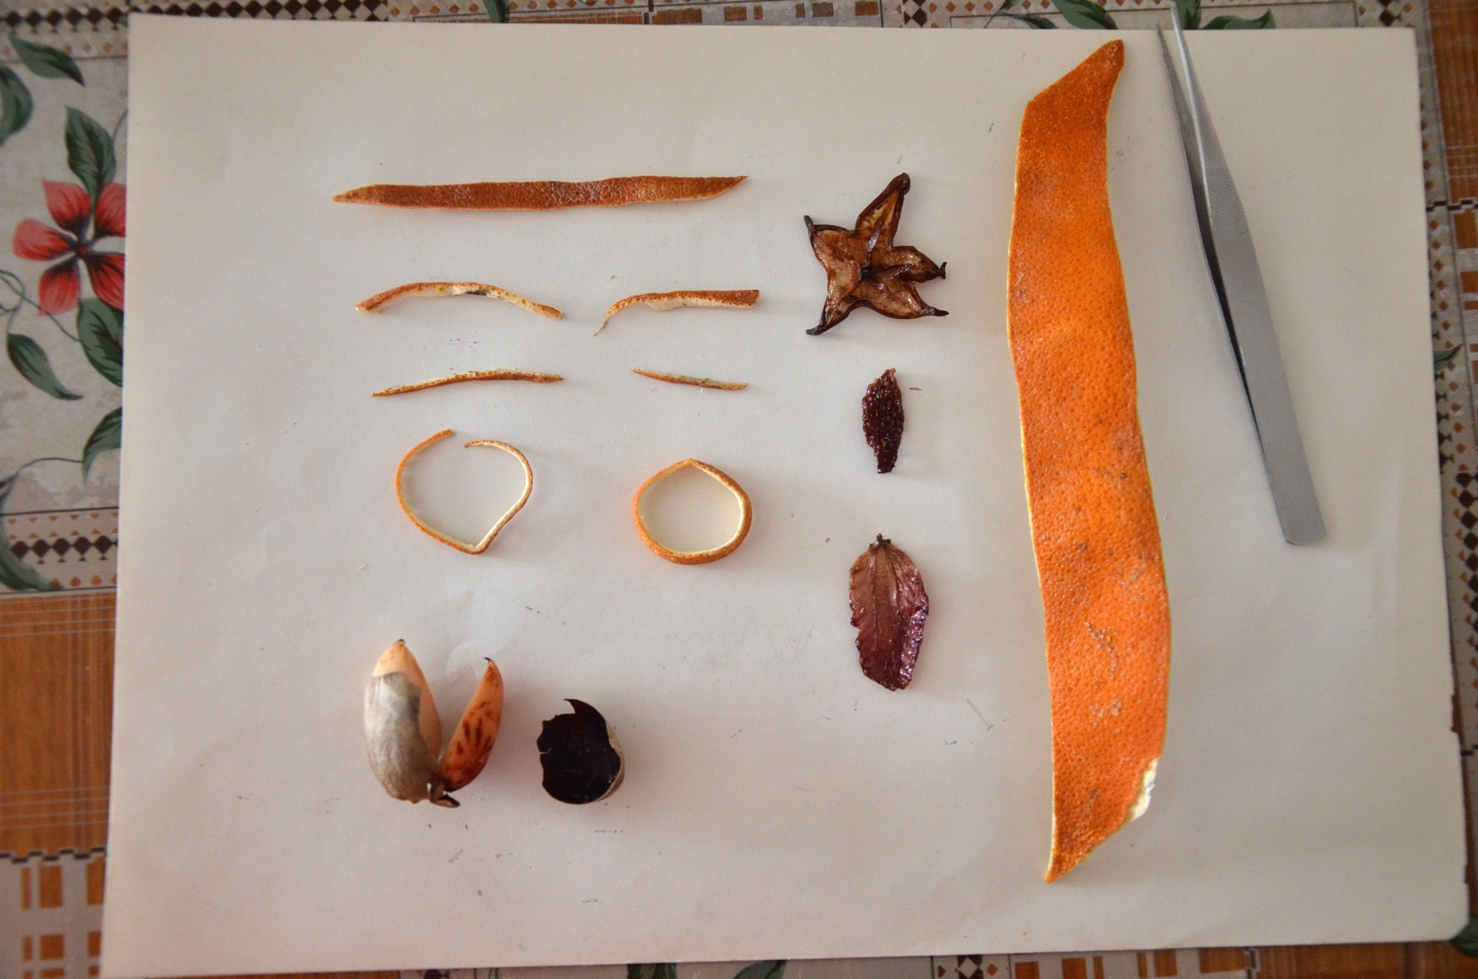
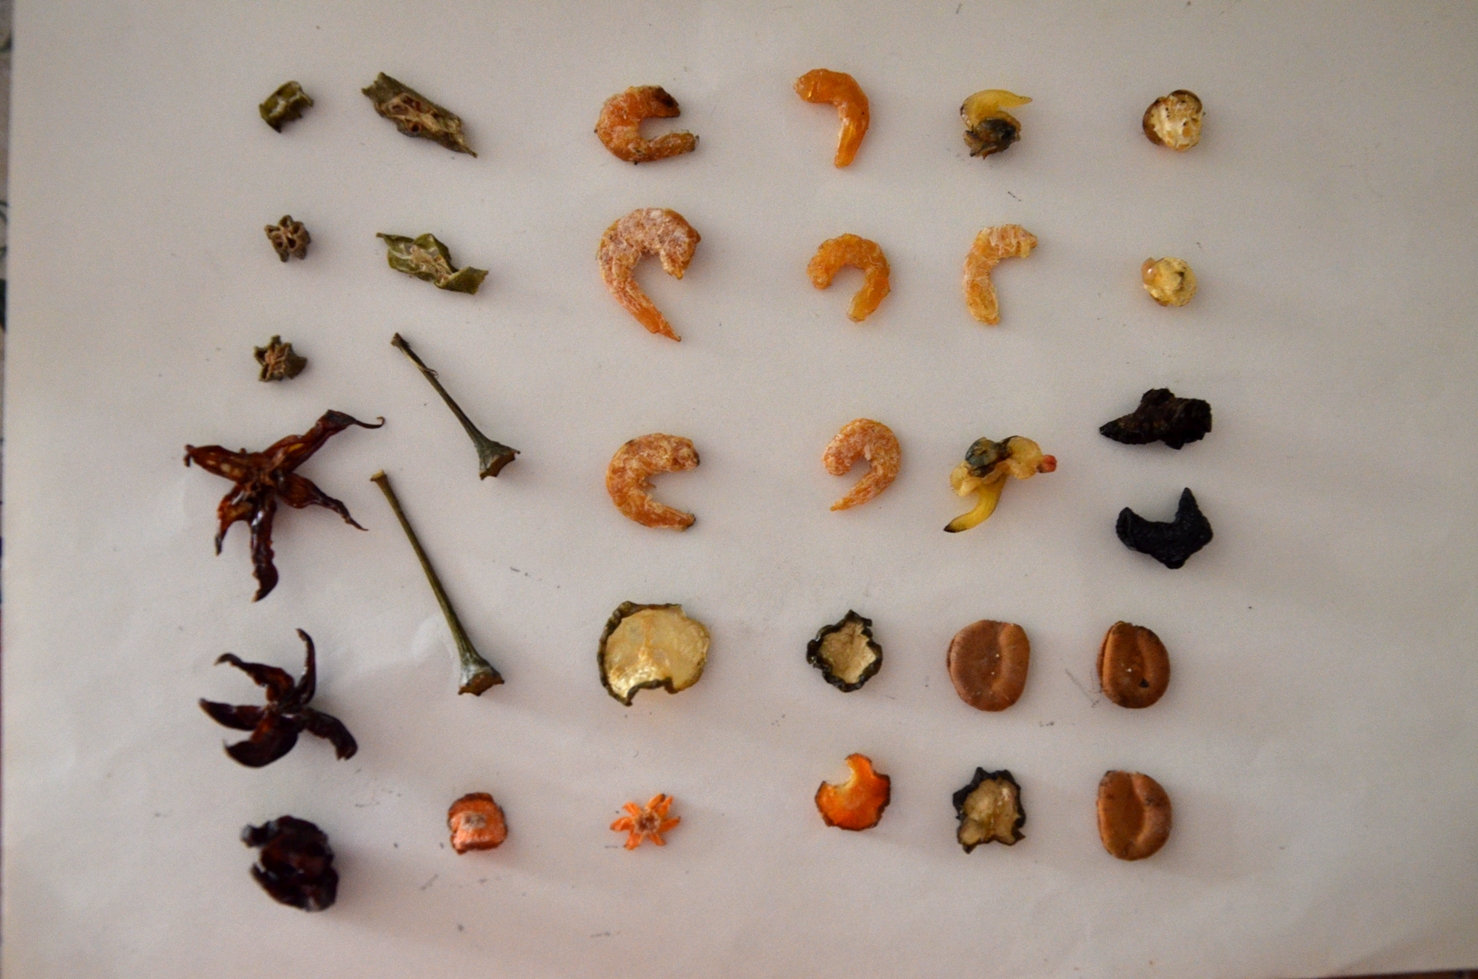
Some of the other food options included orange peel, sun dried starfruit, sun dried strawberry sections as well as avocado seed.

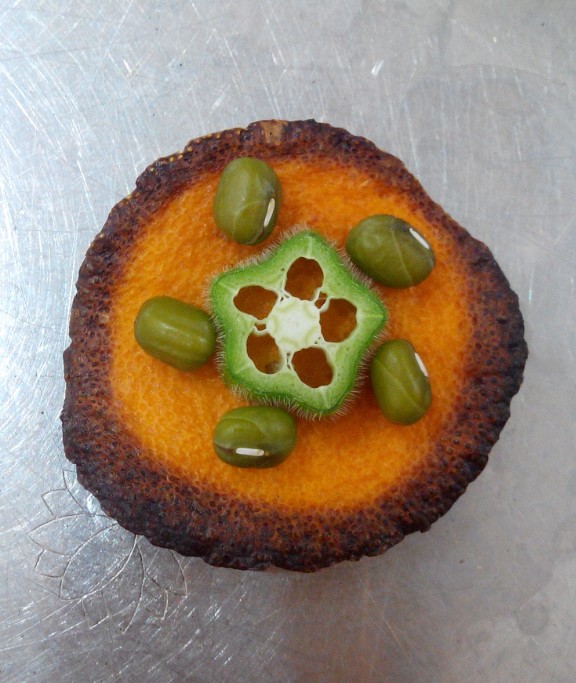
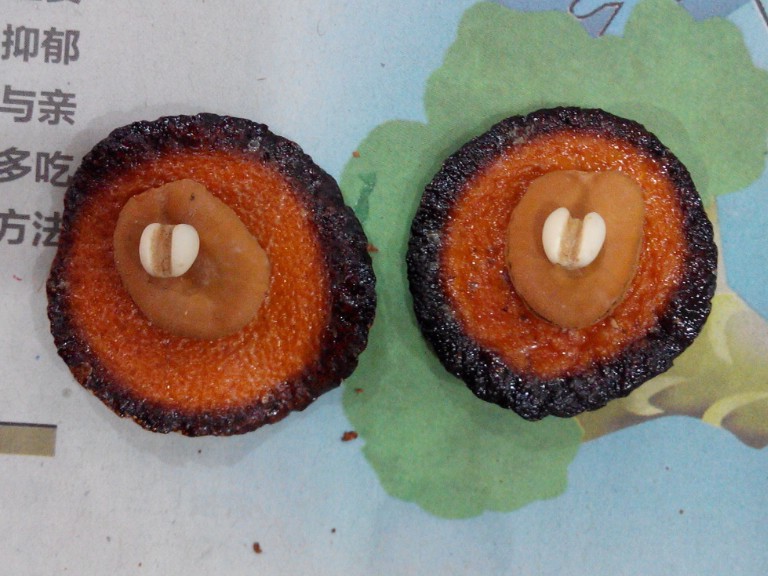
Dried lady finger cross sections, shrimps, clams, cucumber, carrot, persimmon seed, popcorn and purple carrot (3rd and 4th in the last column.

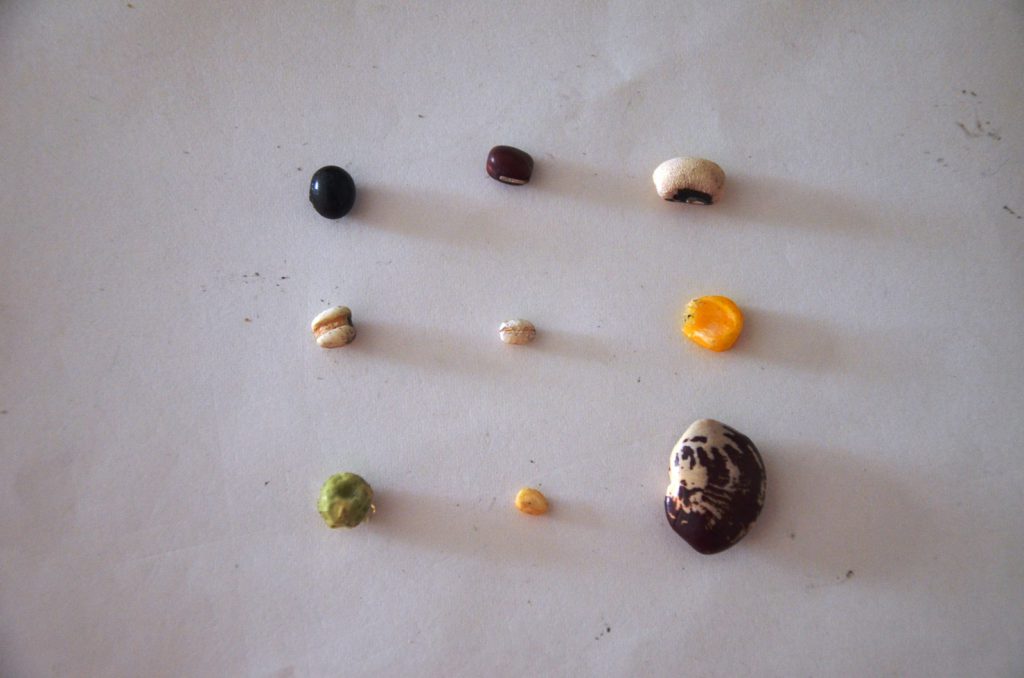
Different types of beans used.

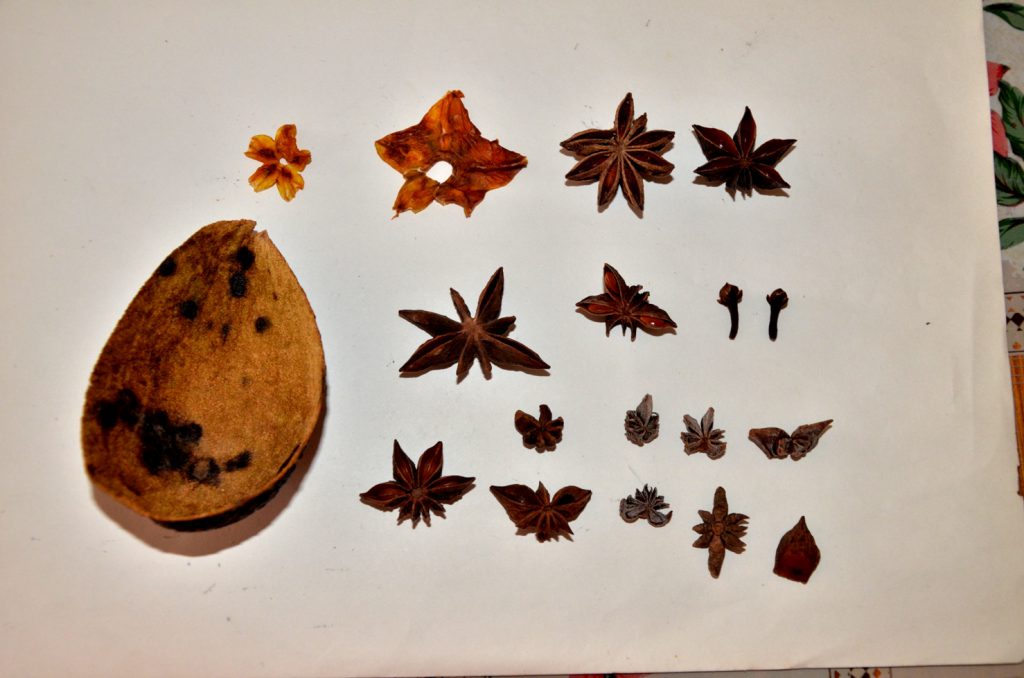
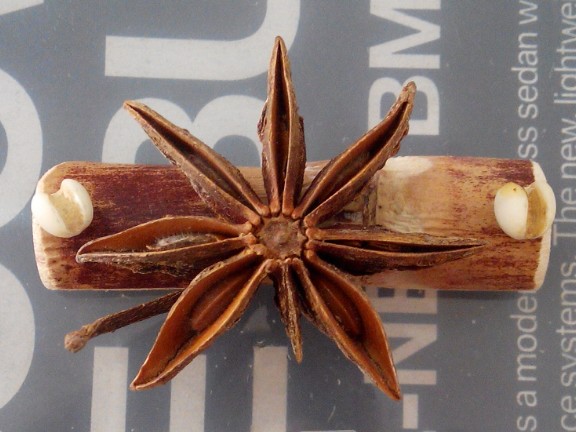
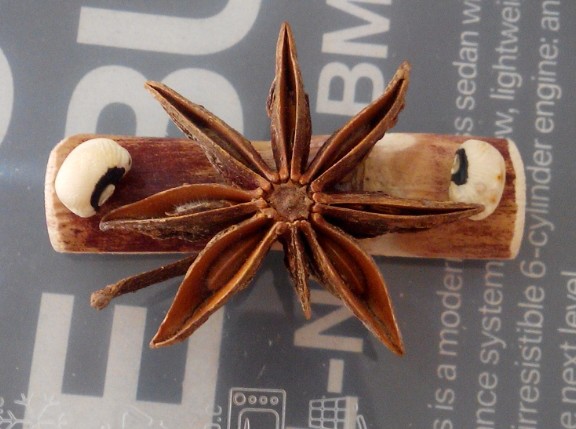
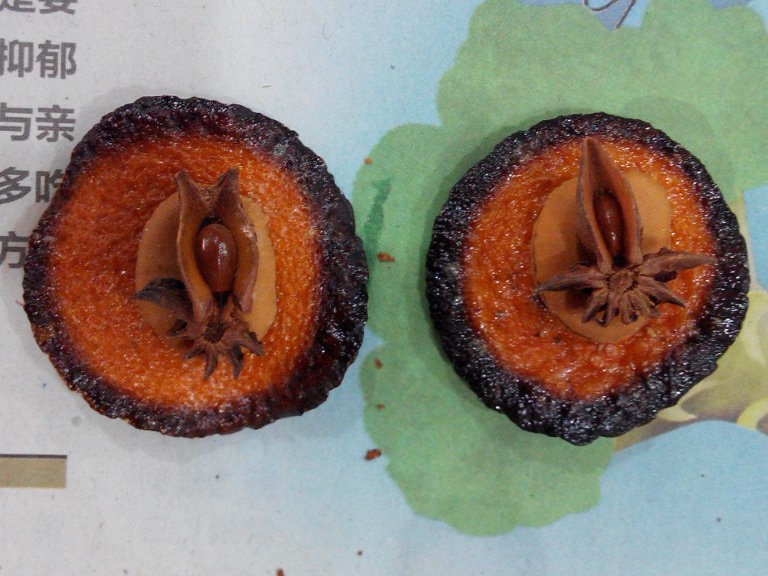
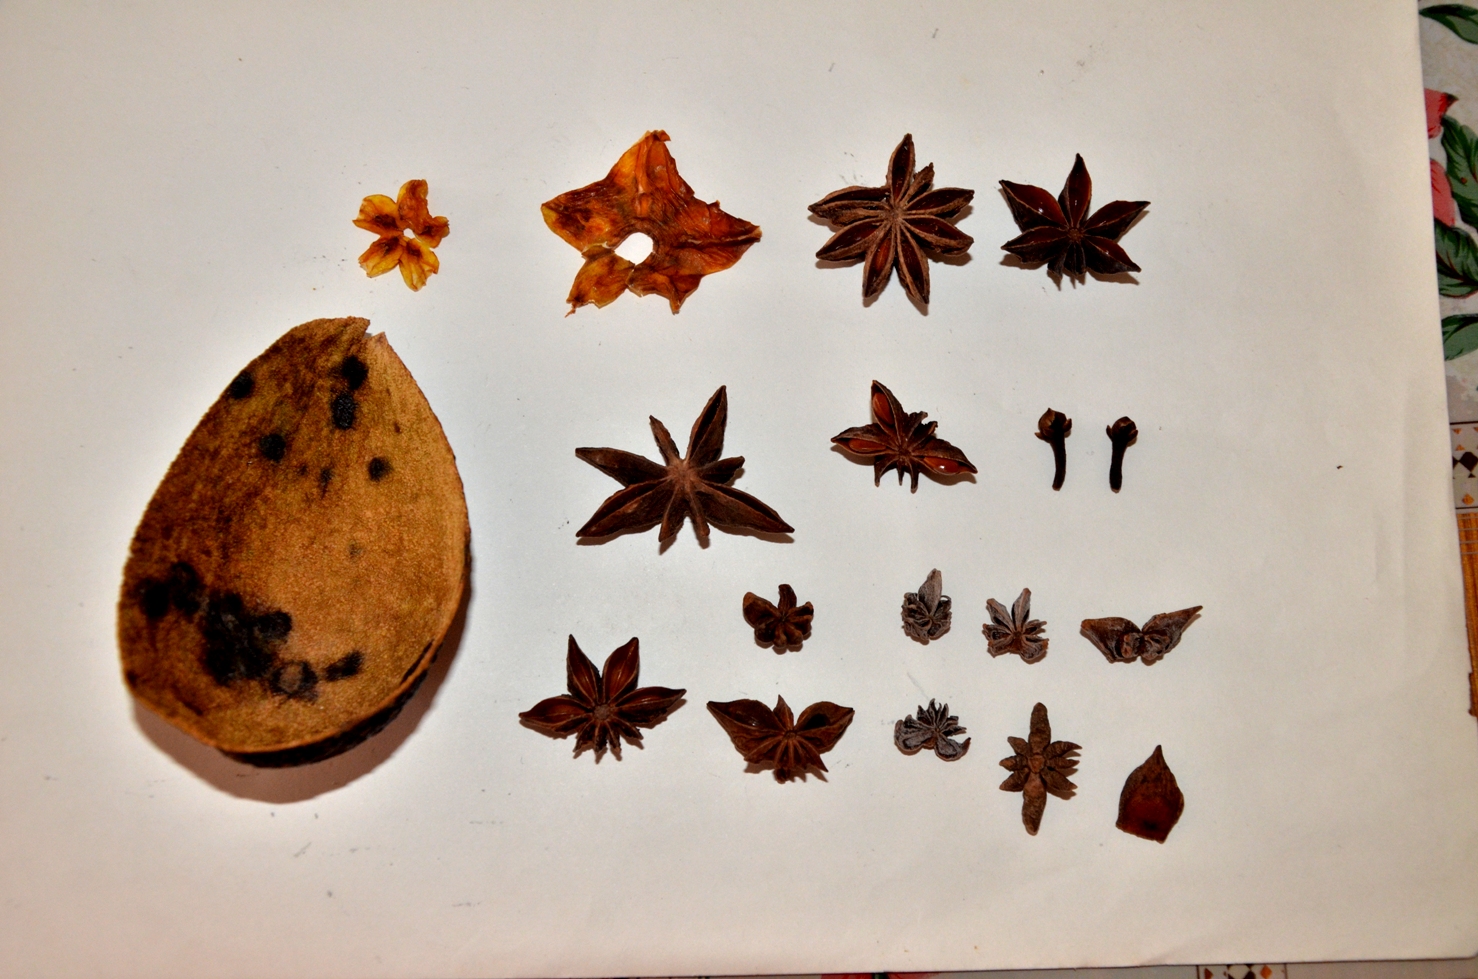
Dried avocado skin,  starfruit and star anise.

Flip side of the avocado skin.

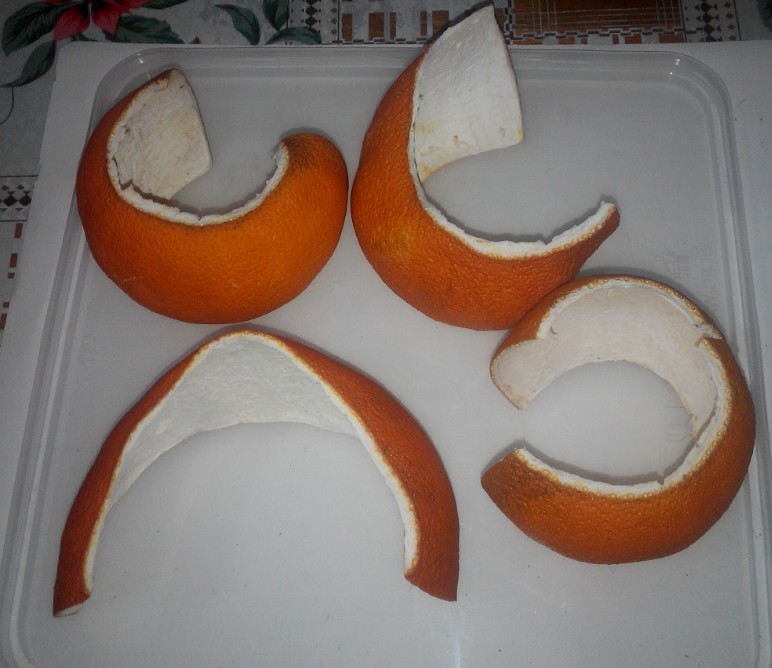
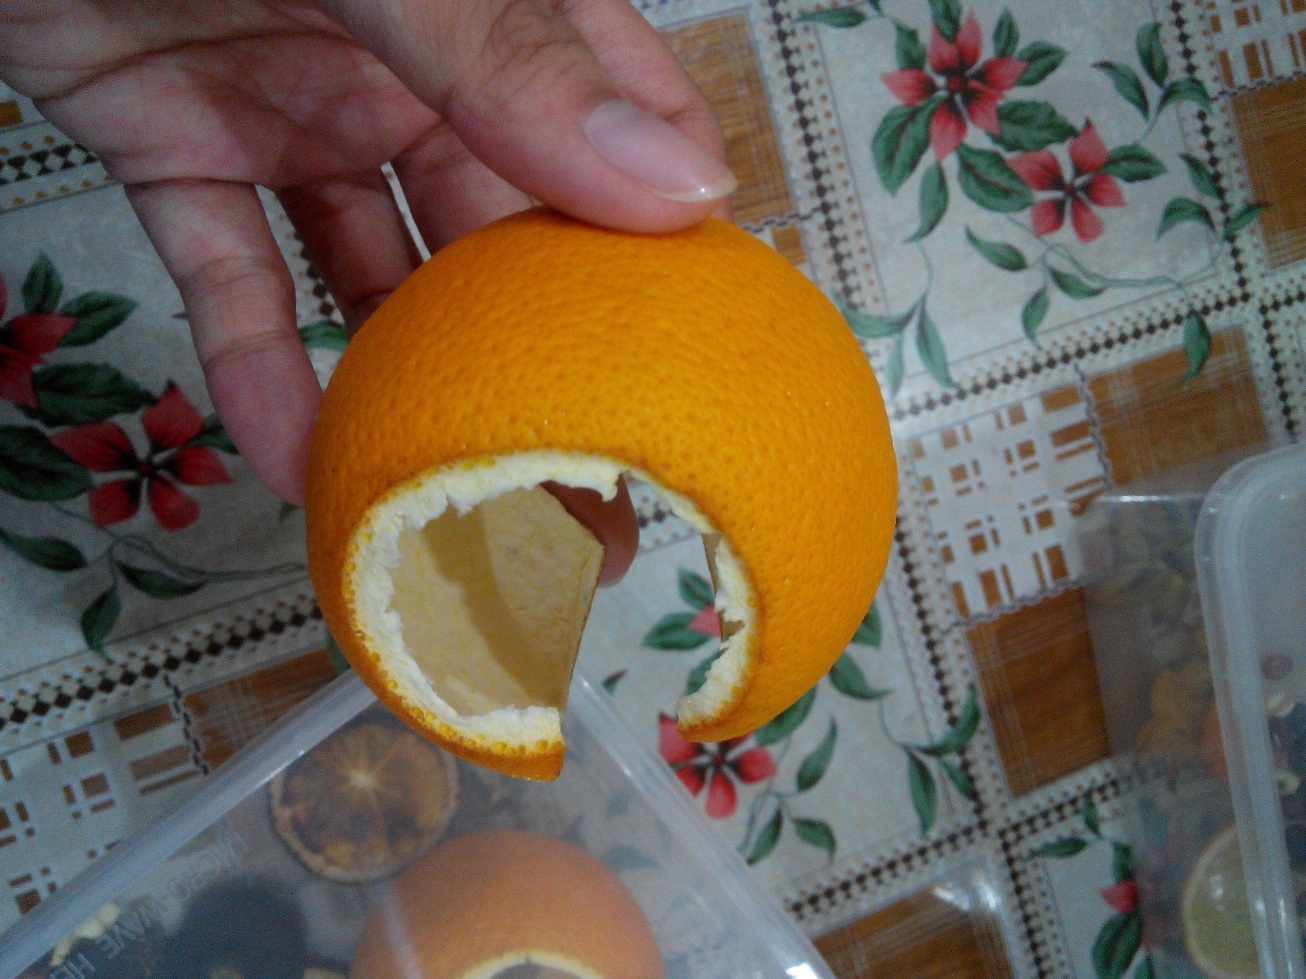
Fresh orange peels with the intention of making it into a bangle.

Dried orange peels.

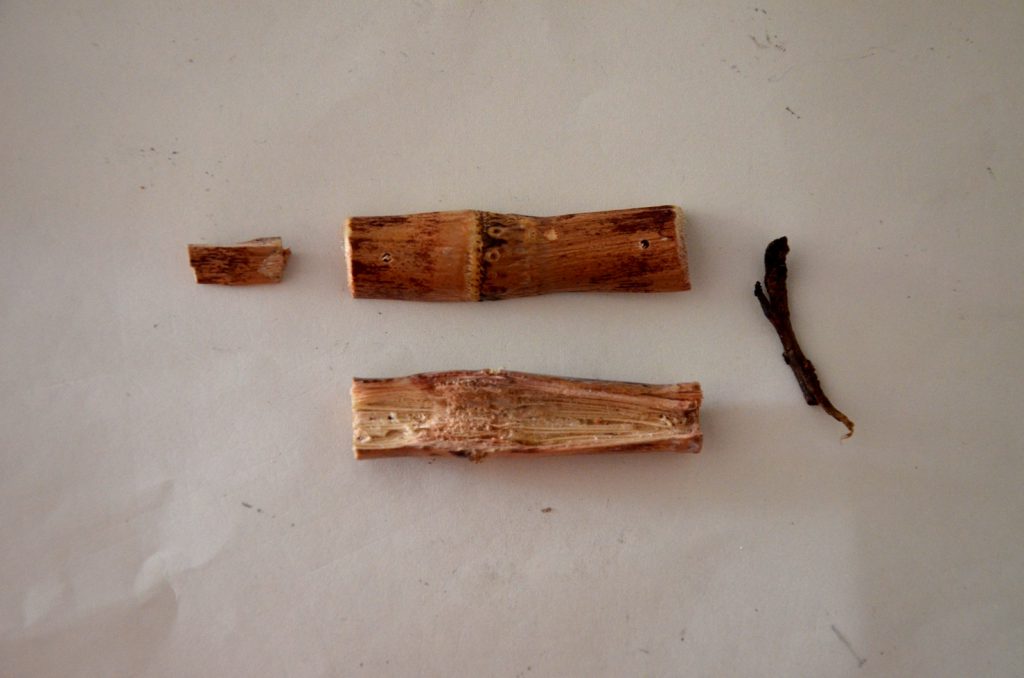
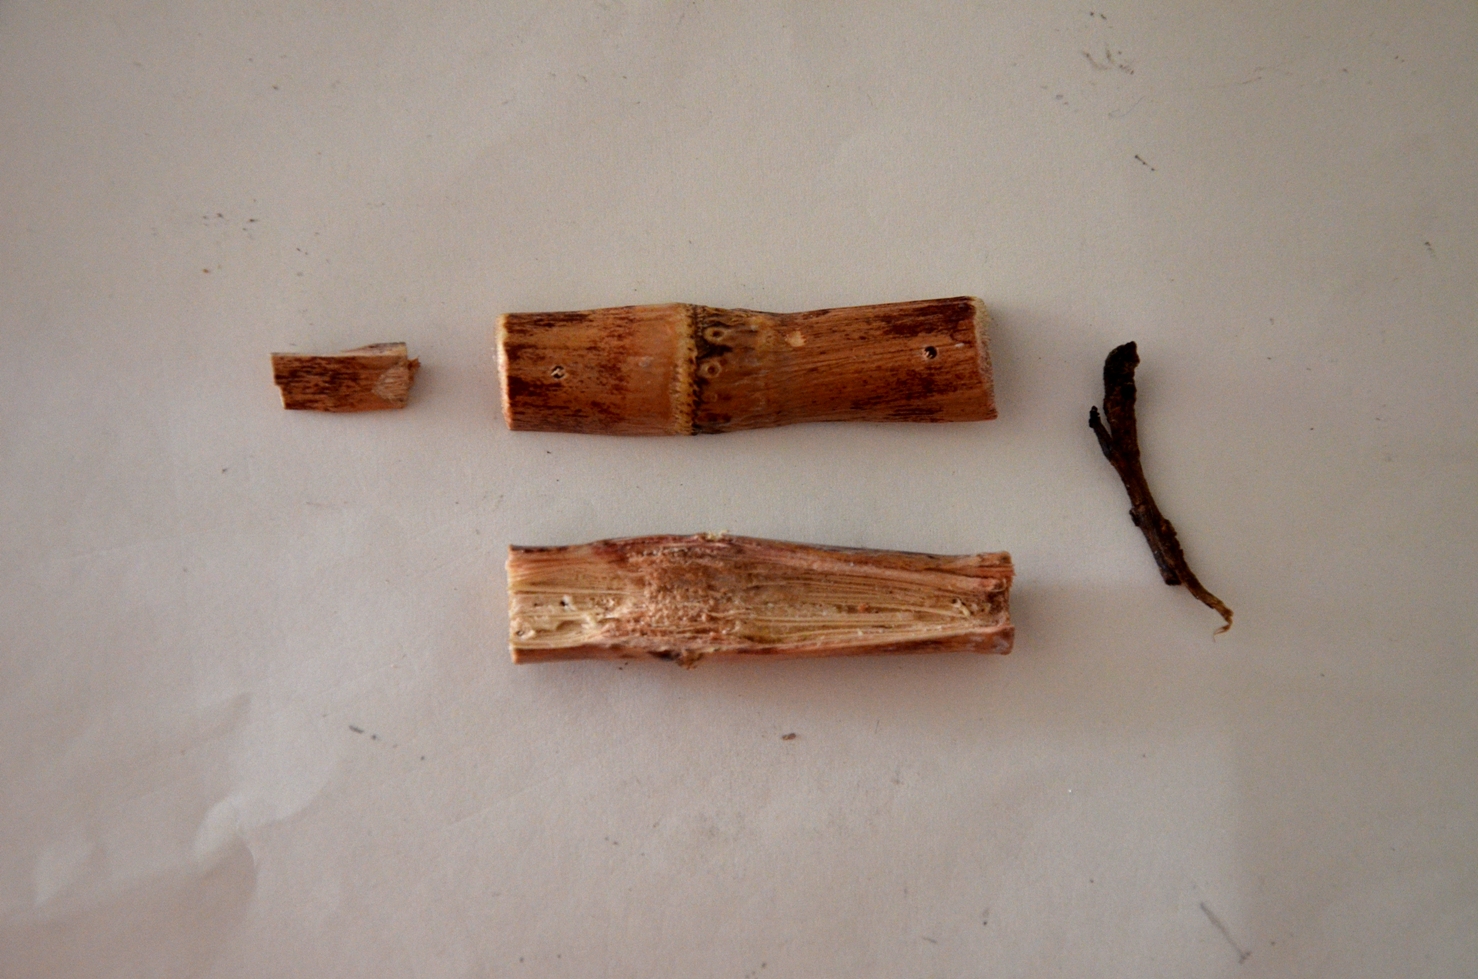
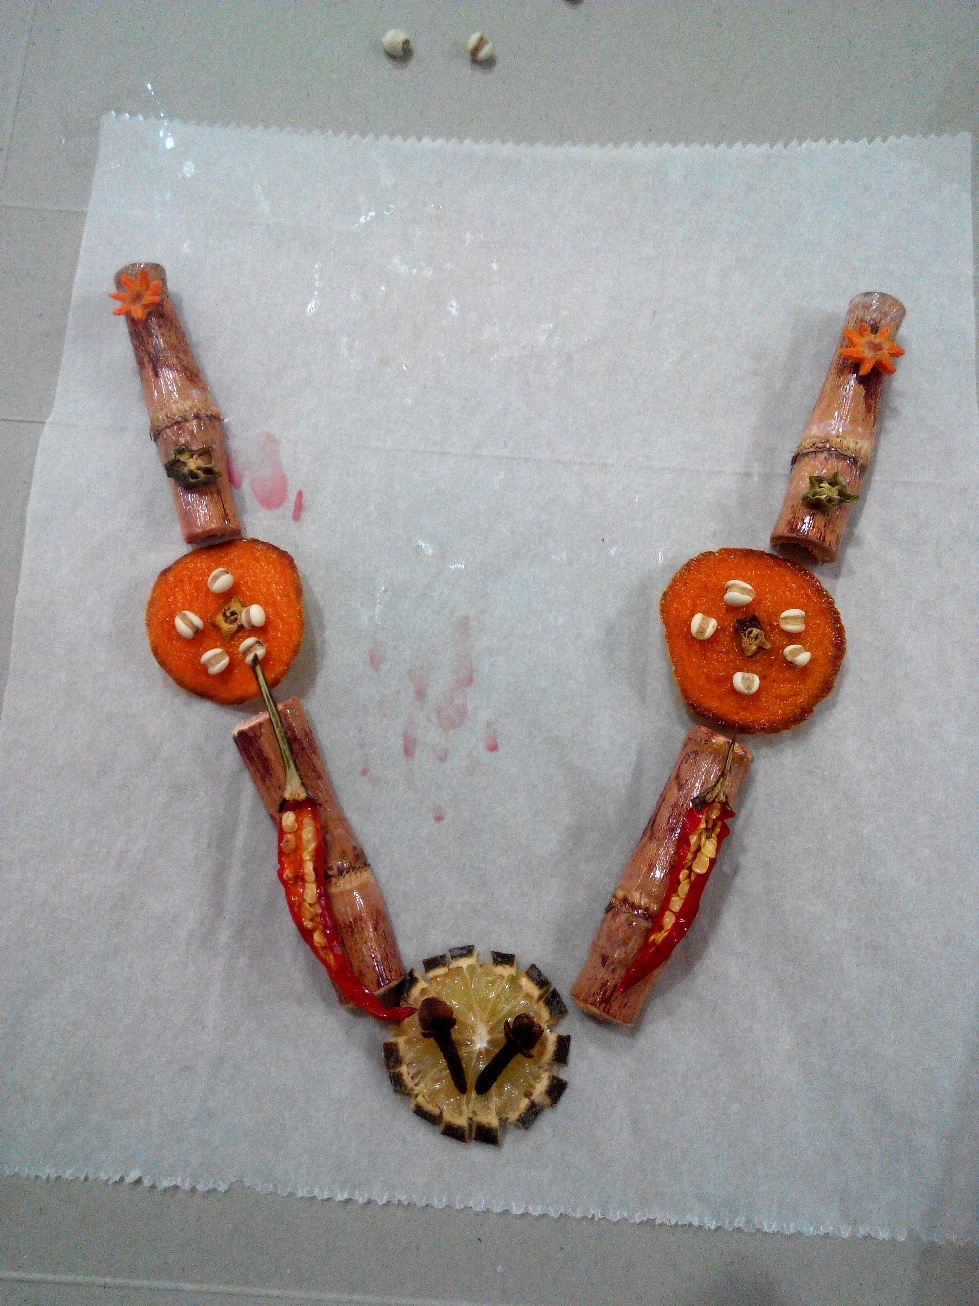
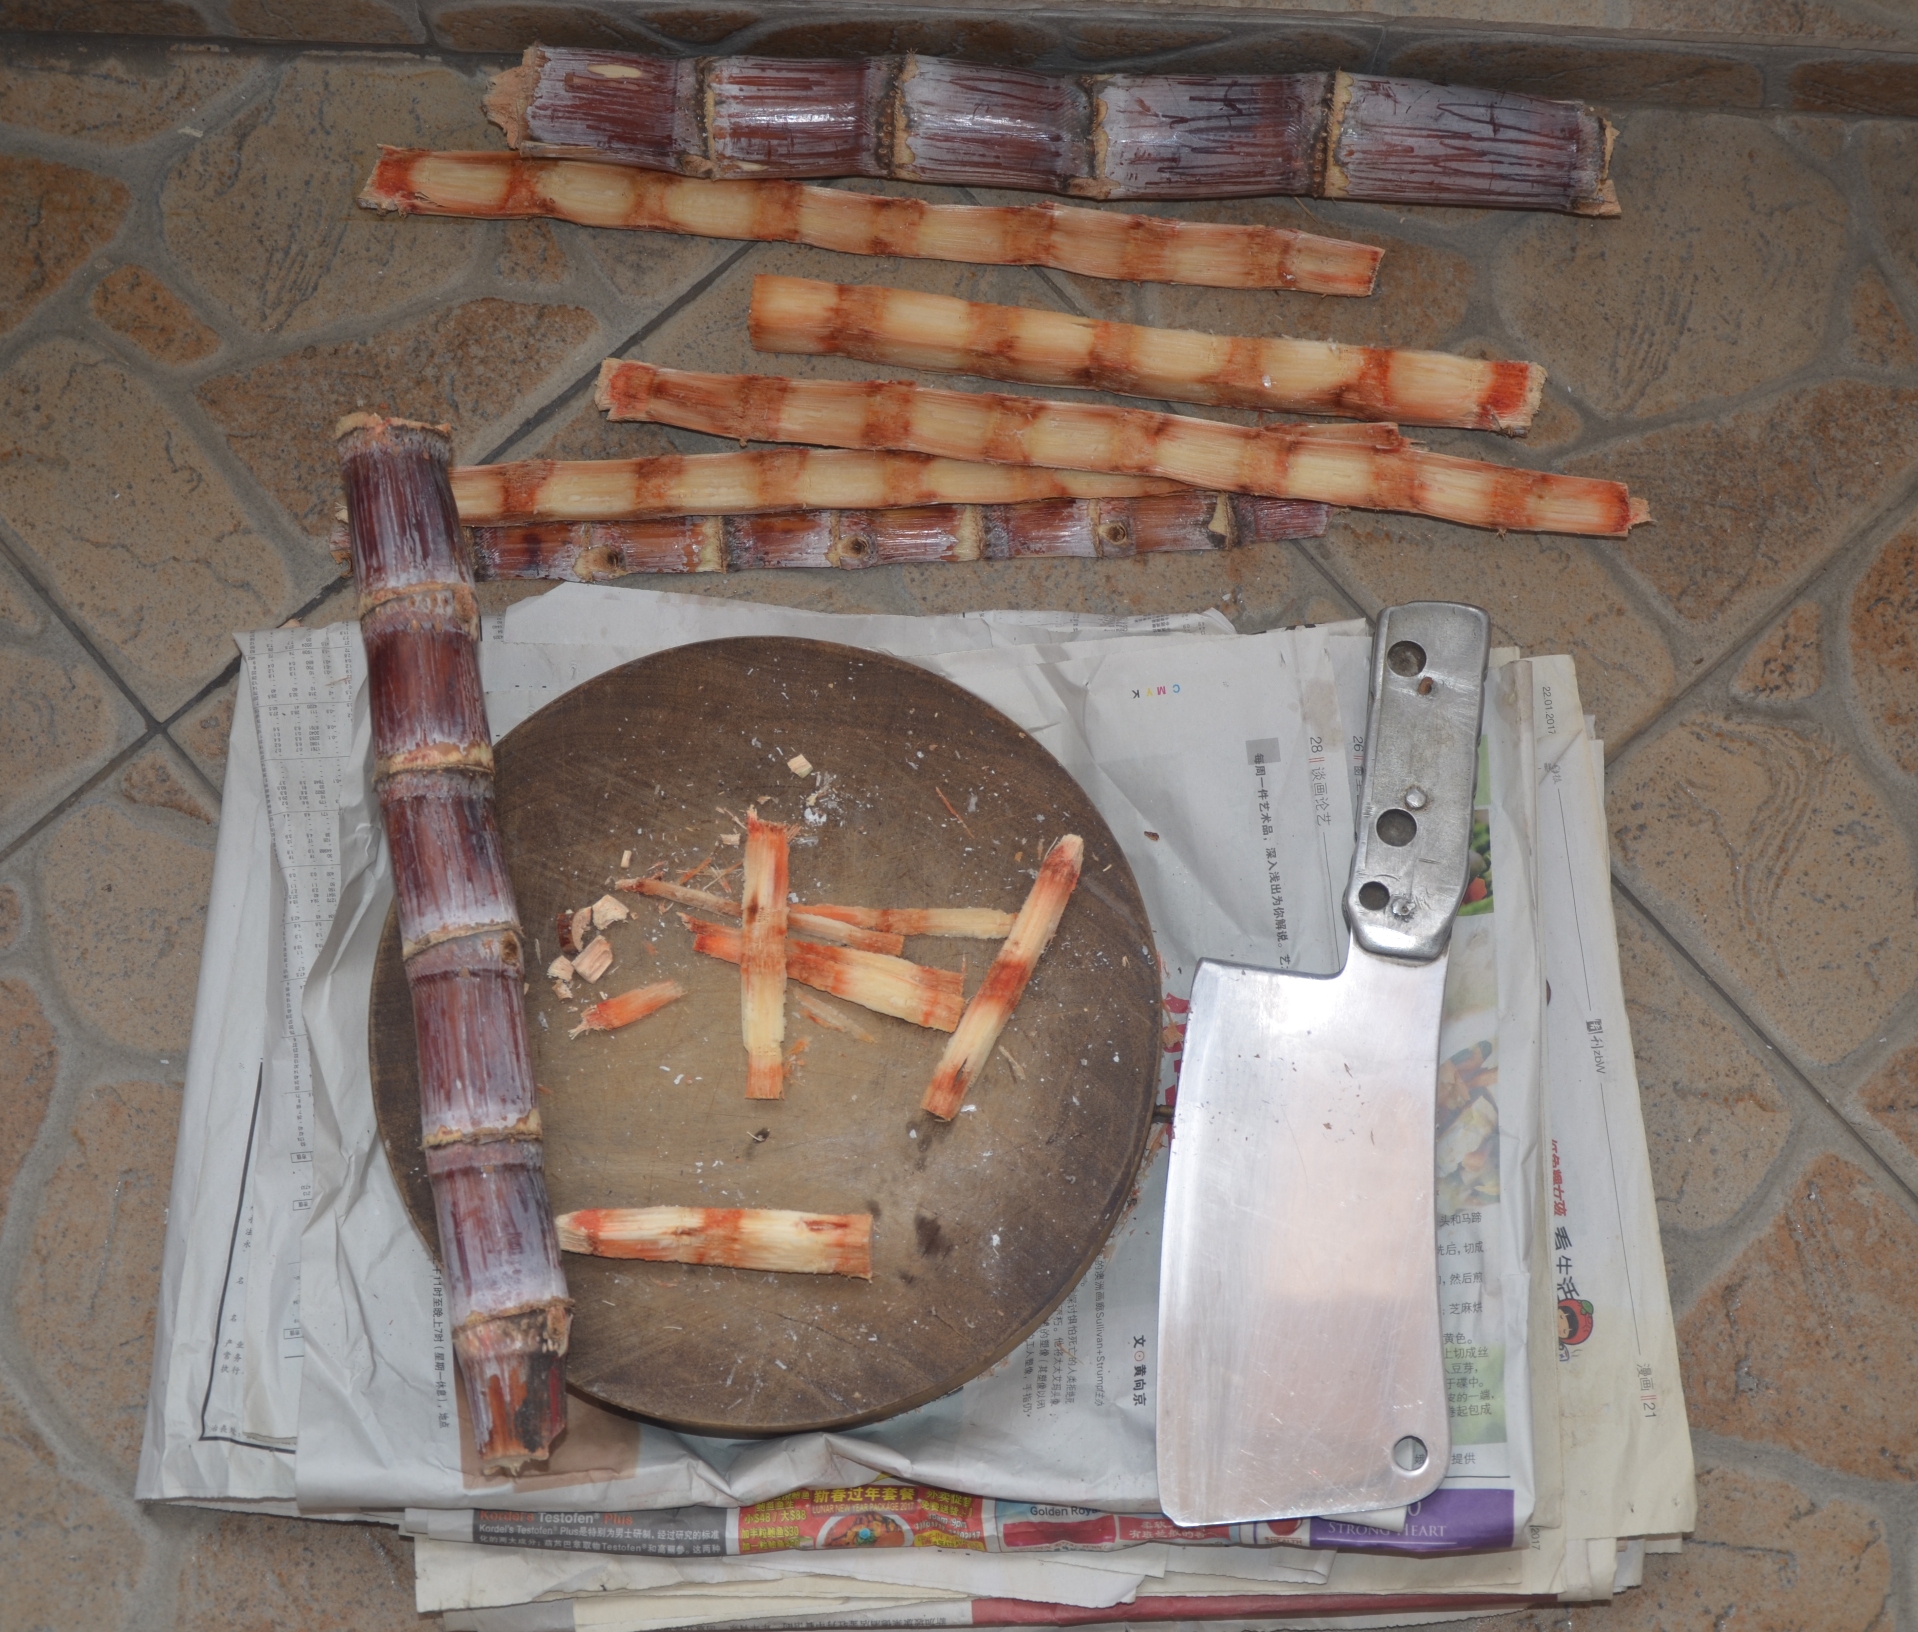
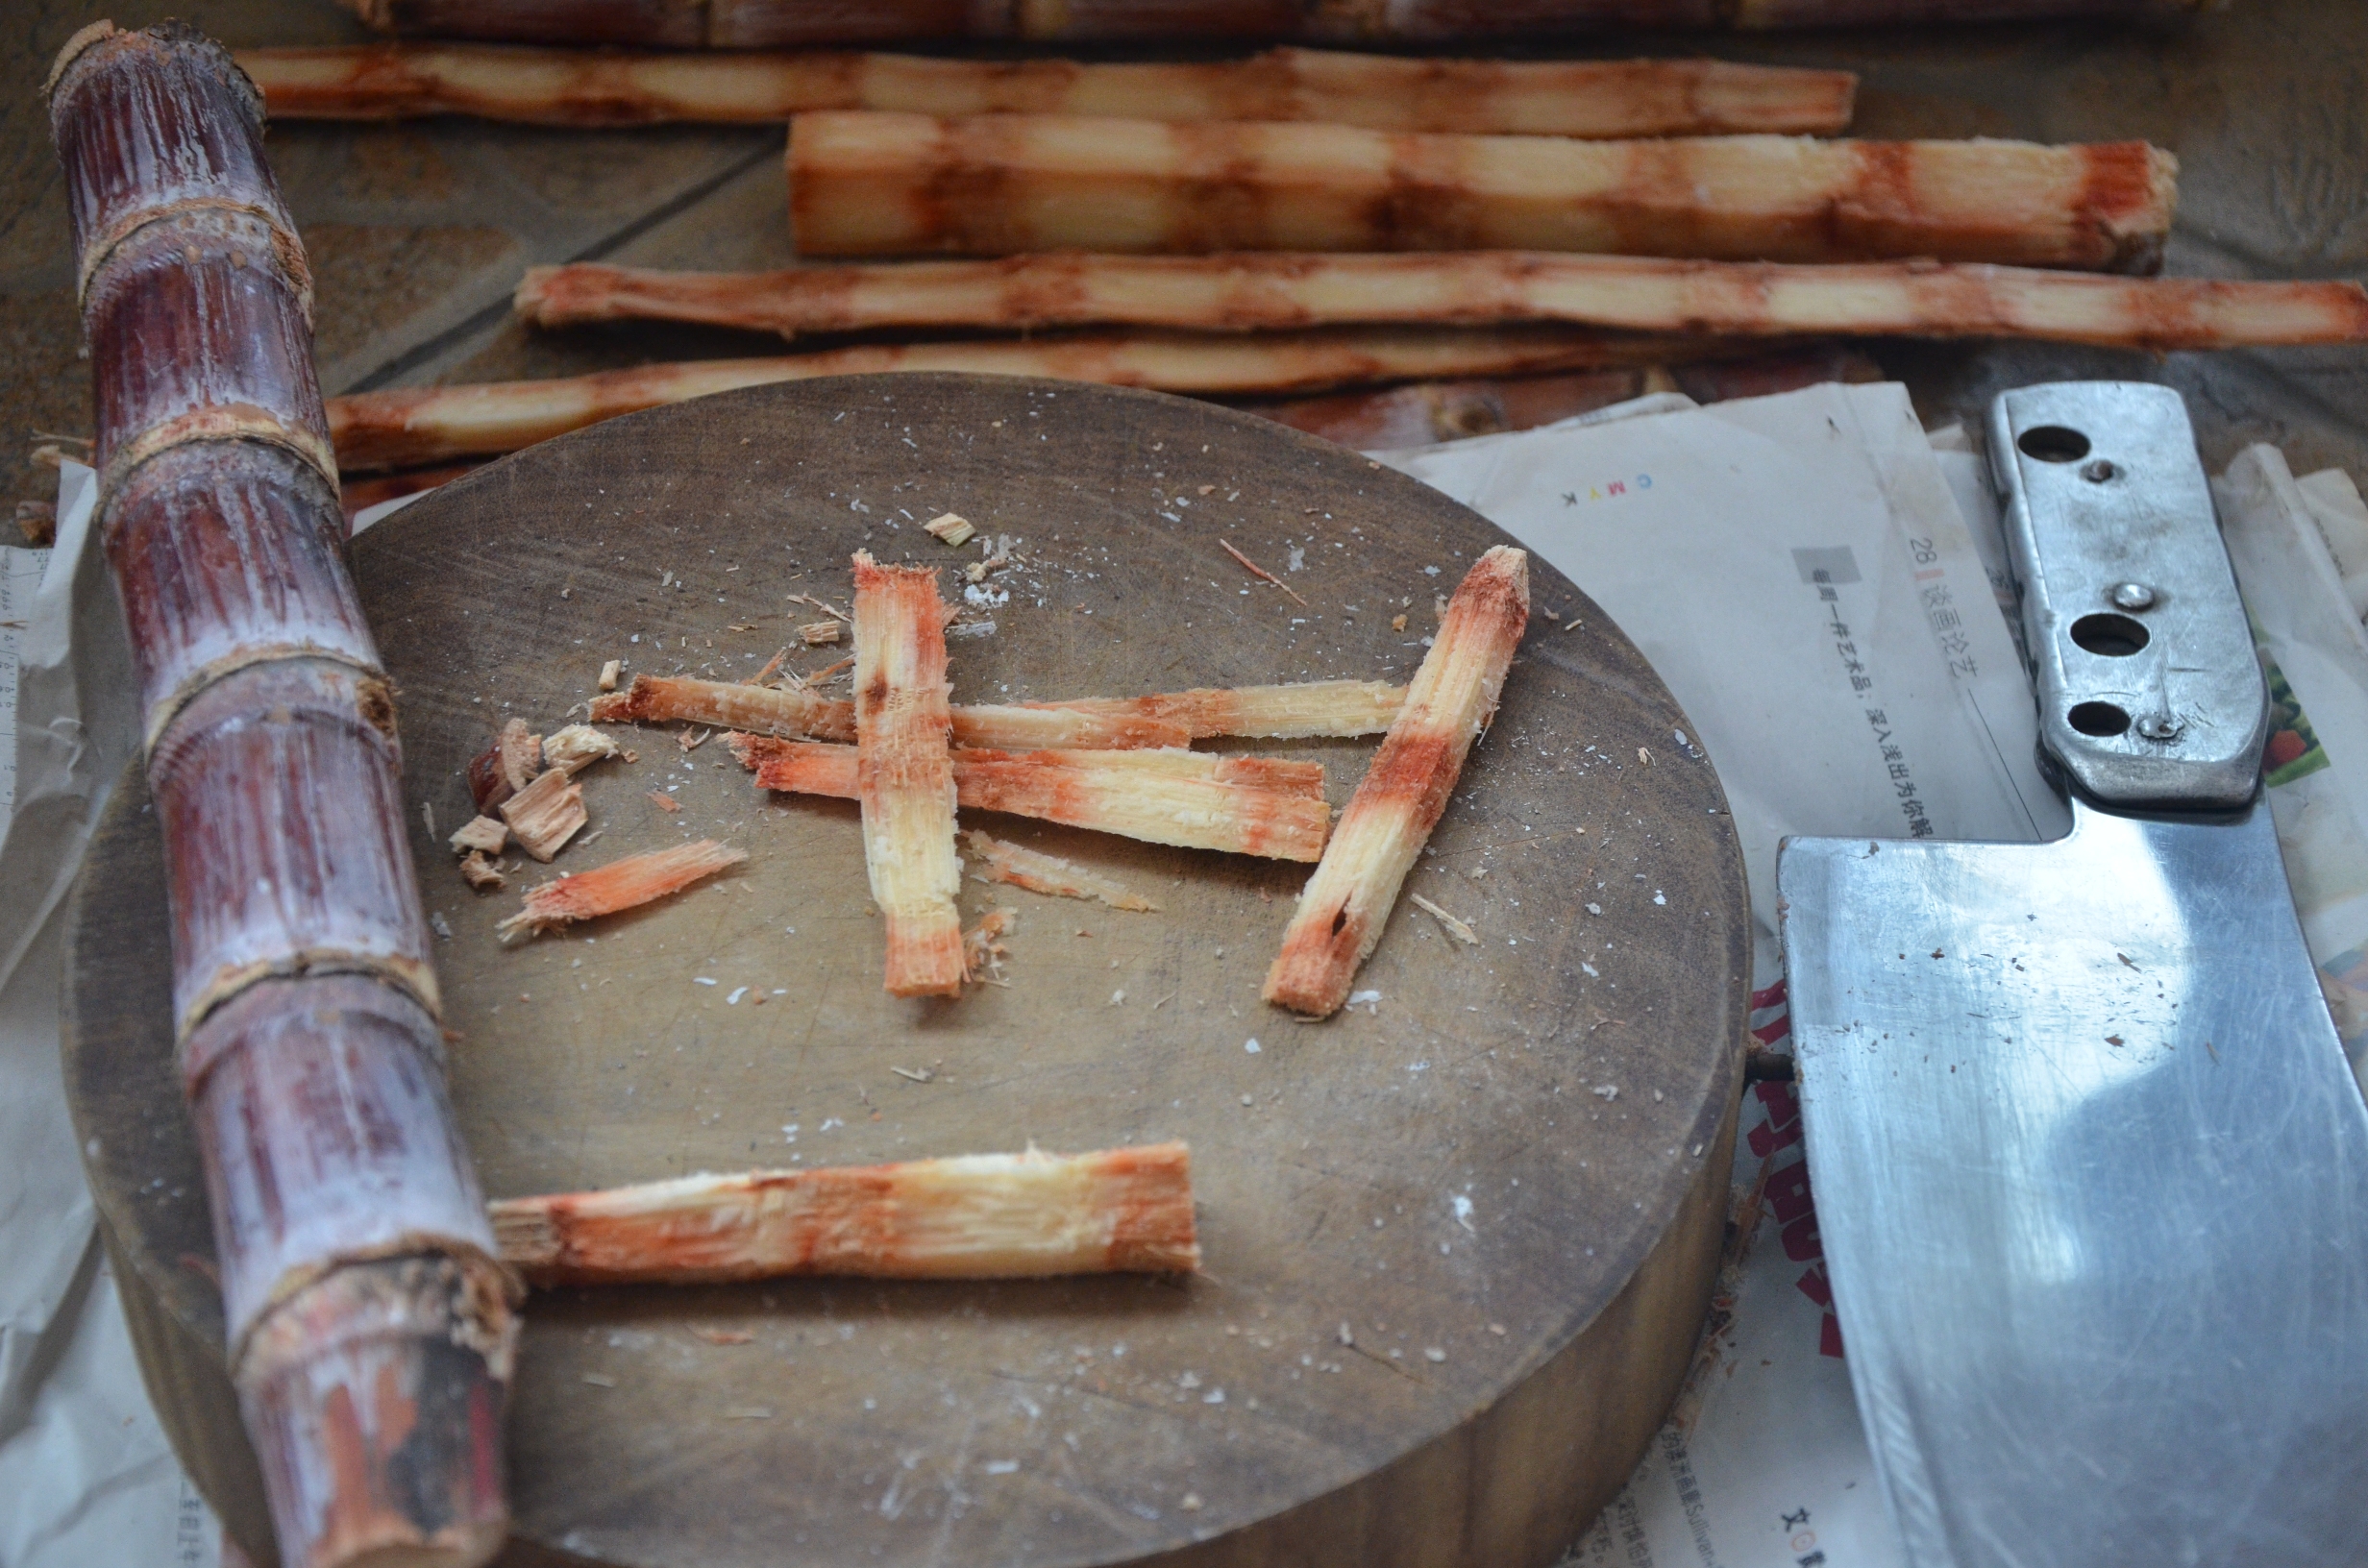
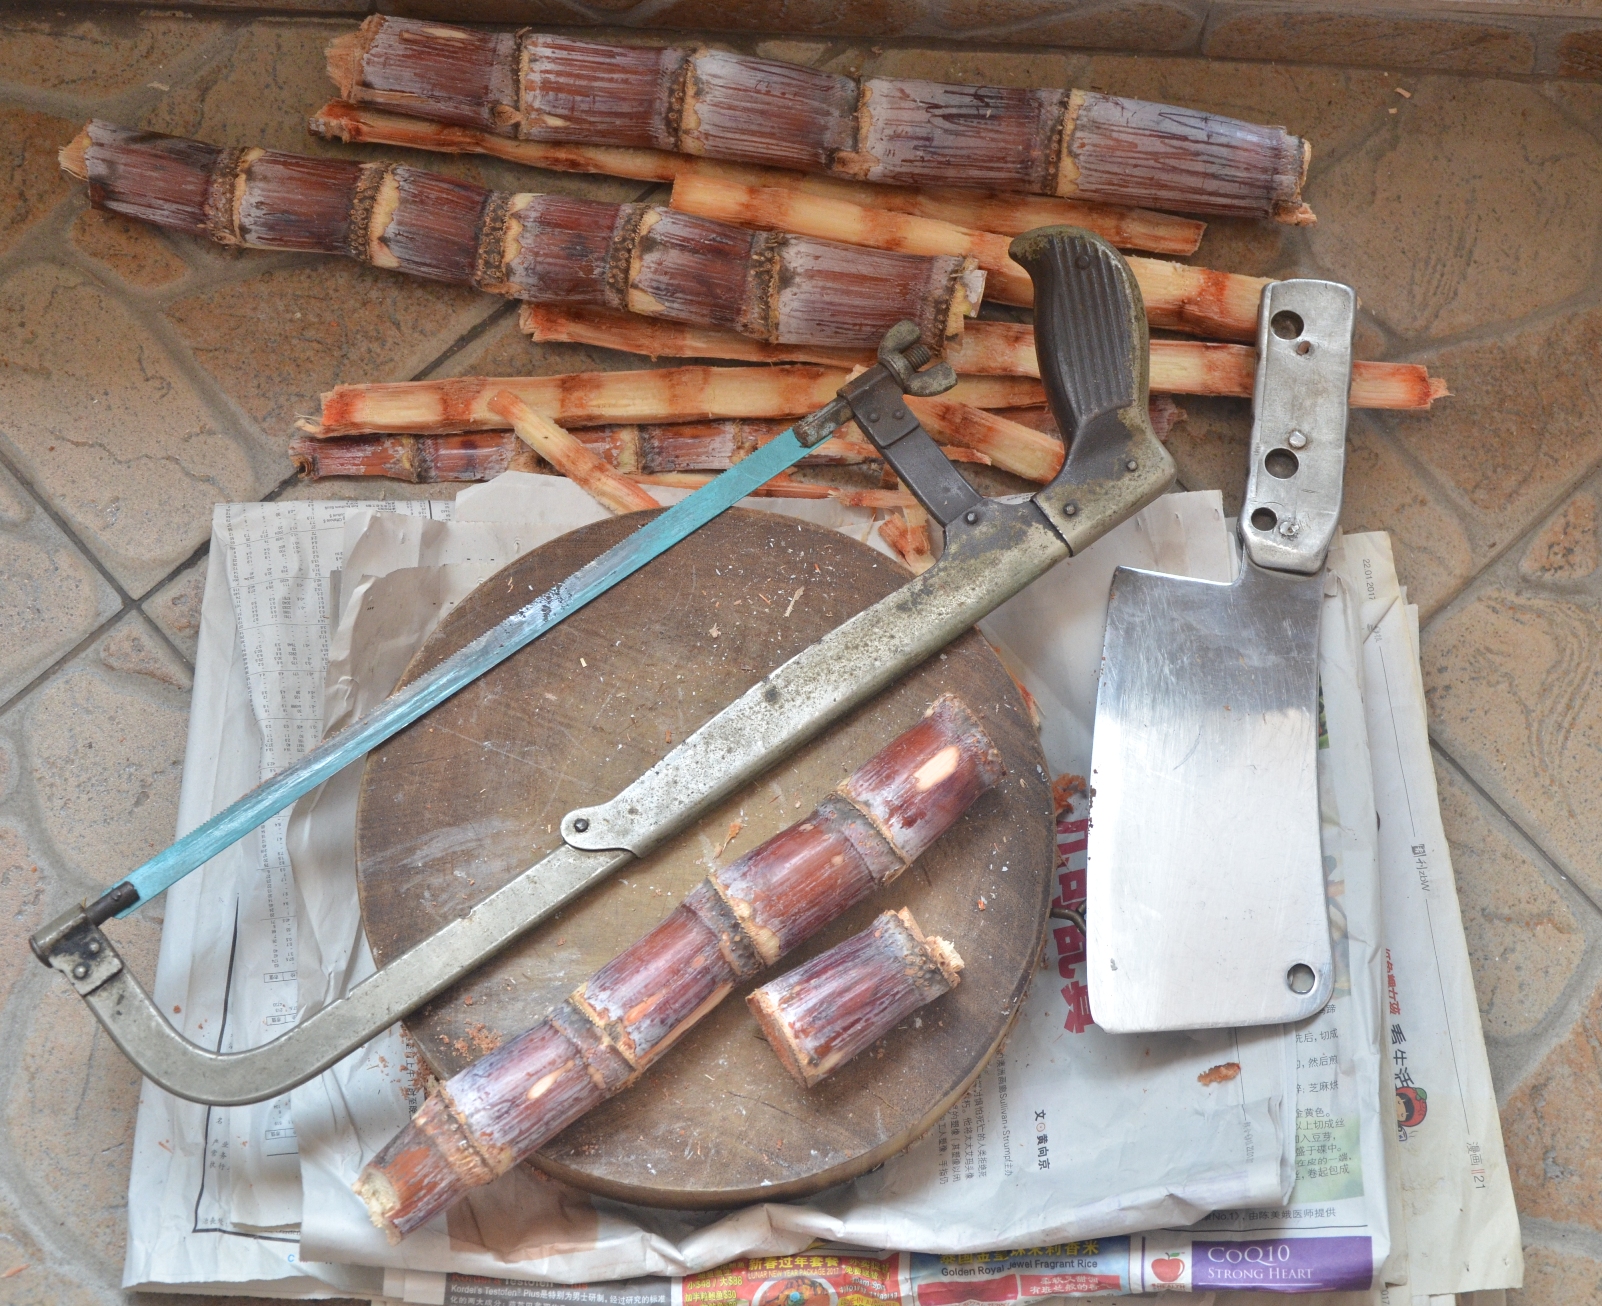
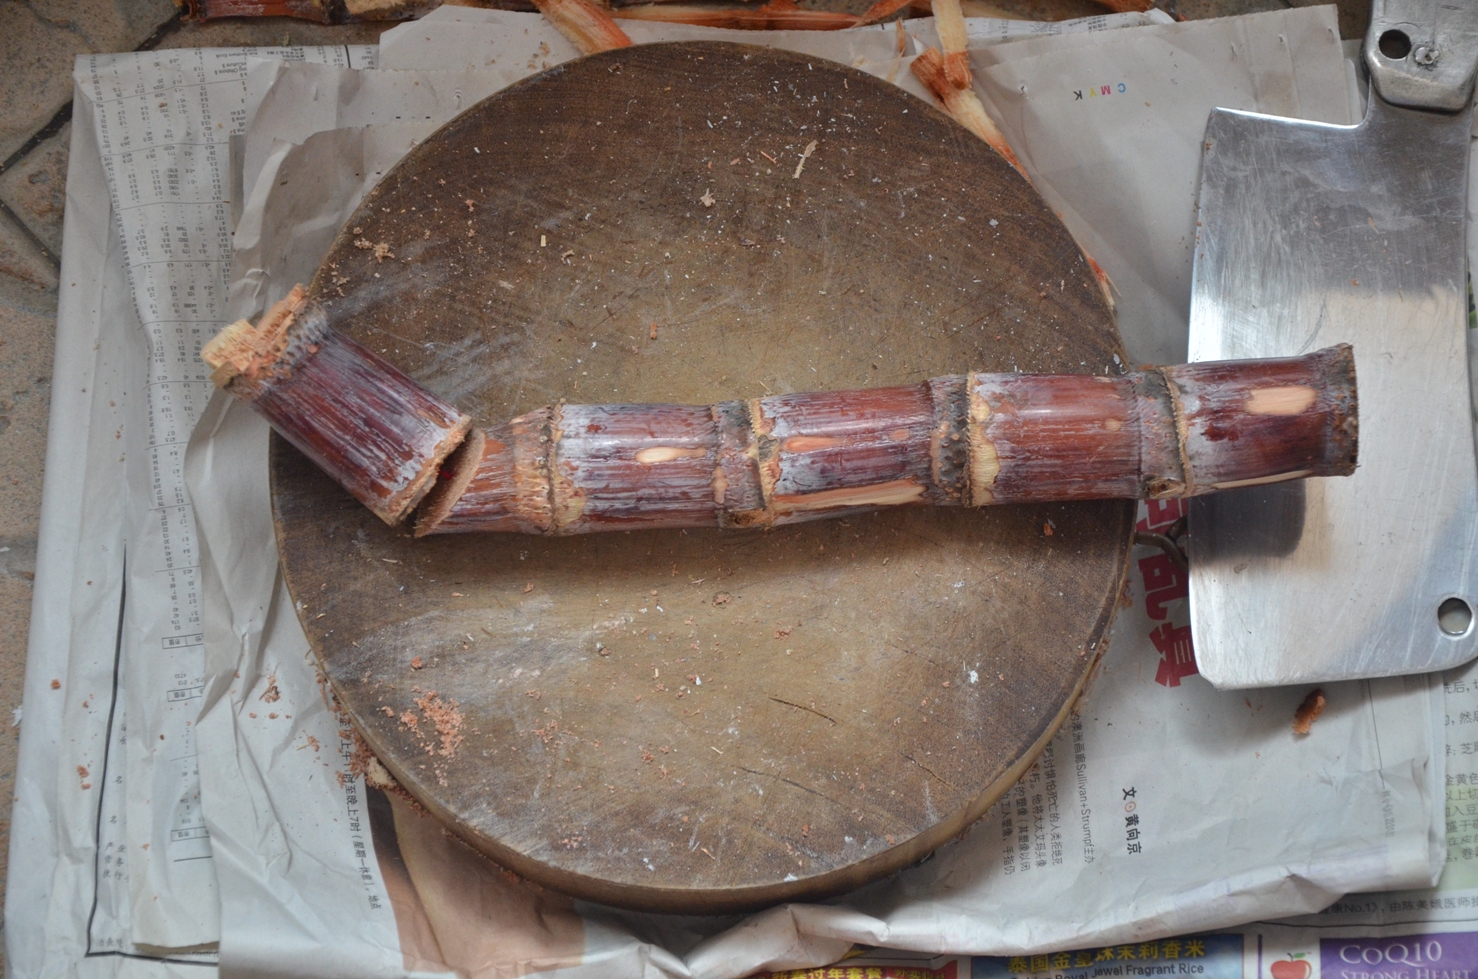
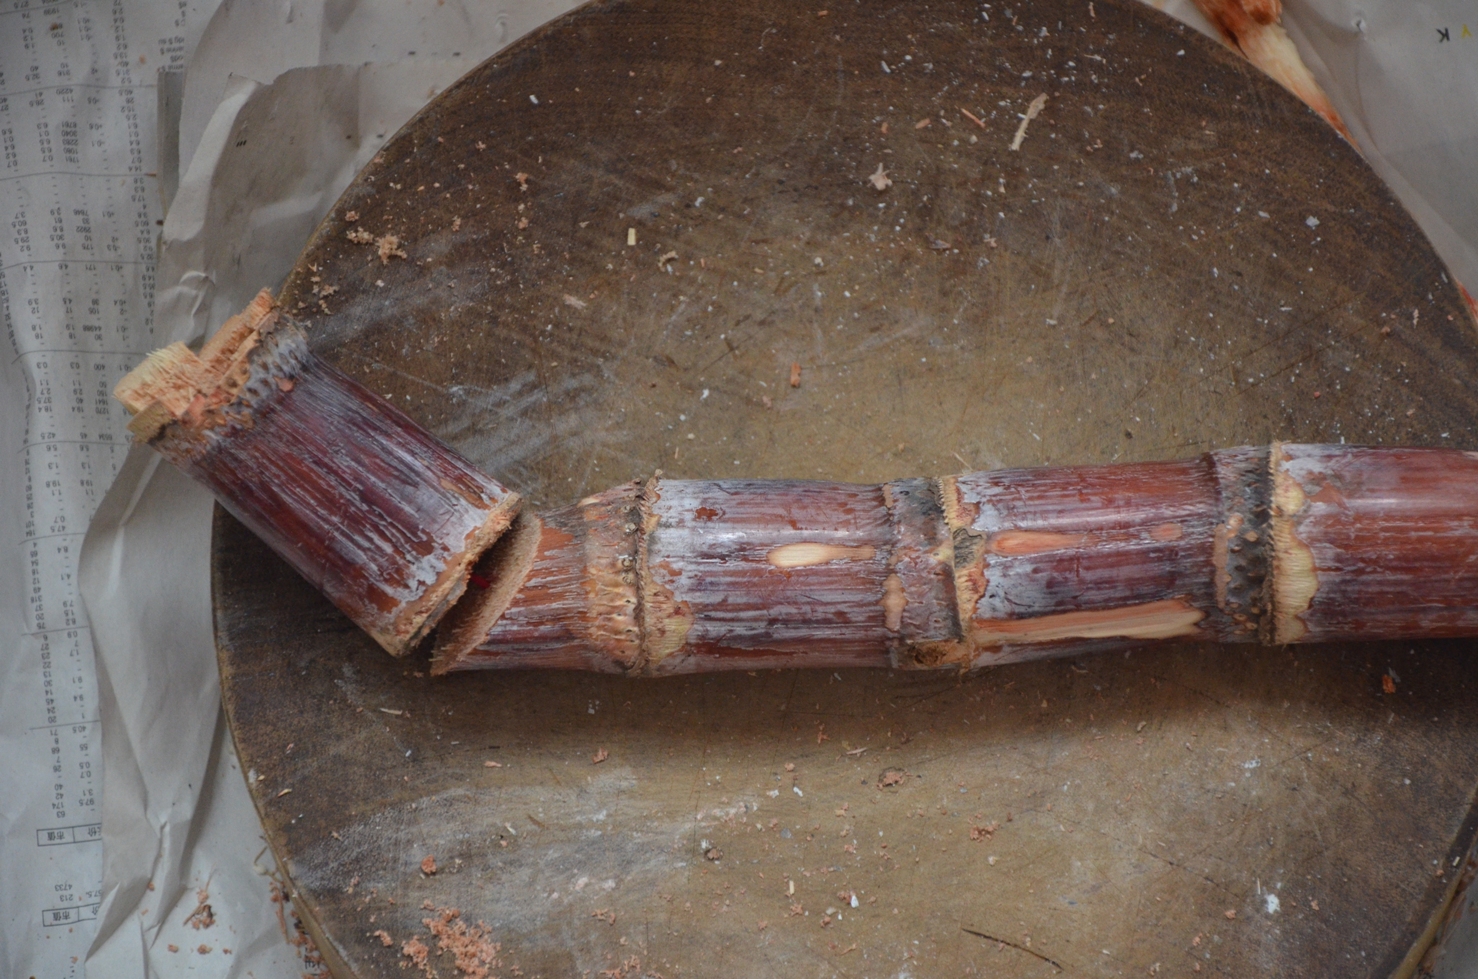
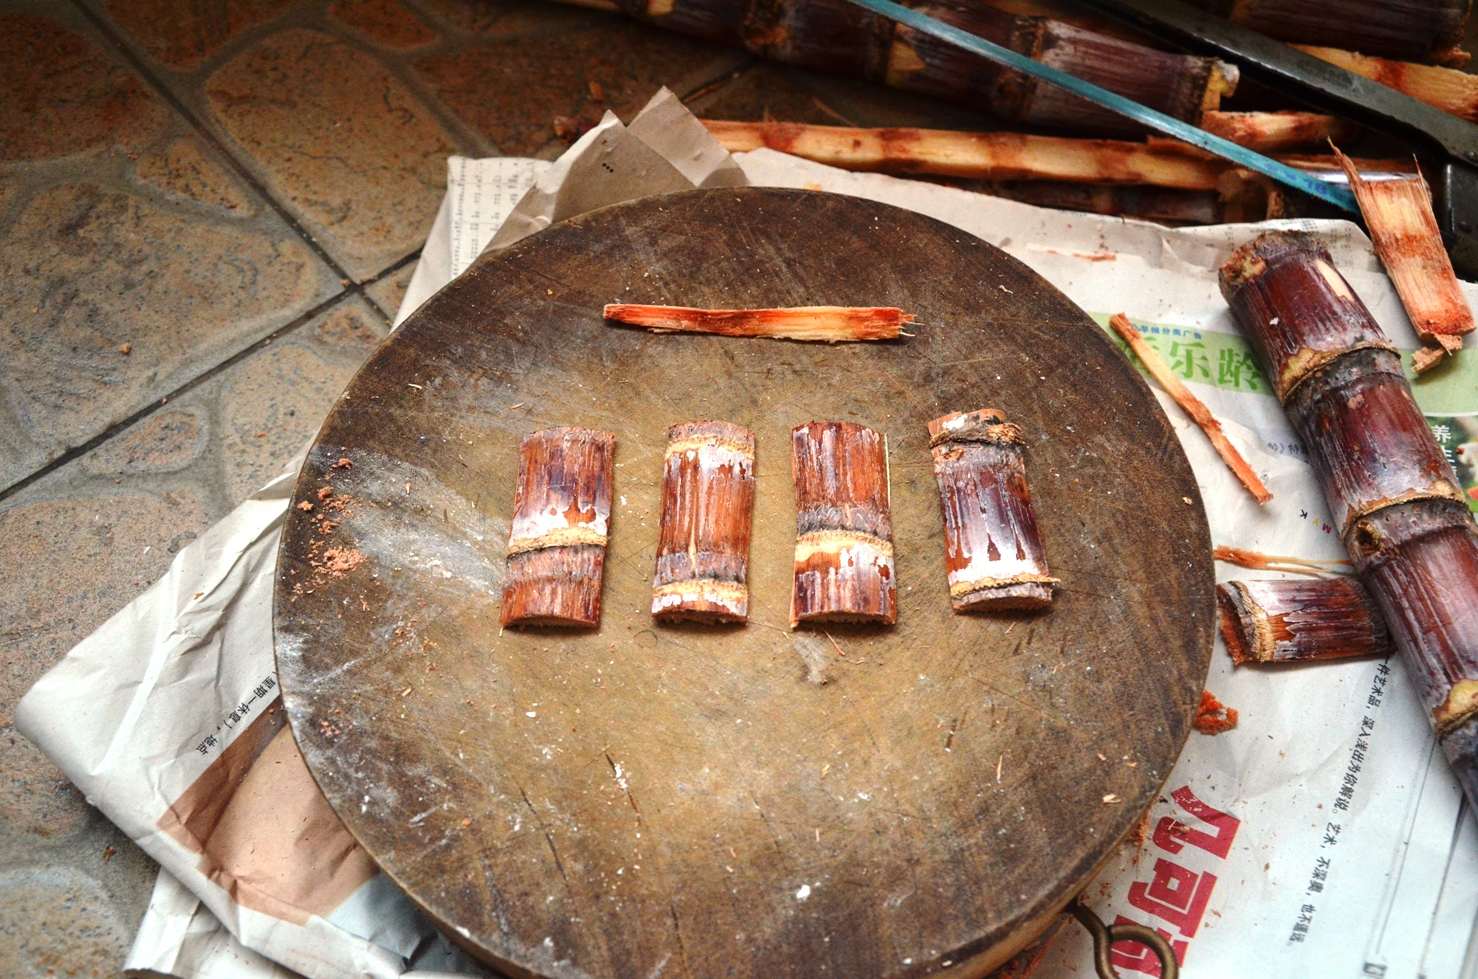
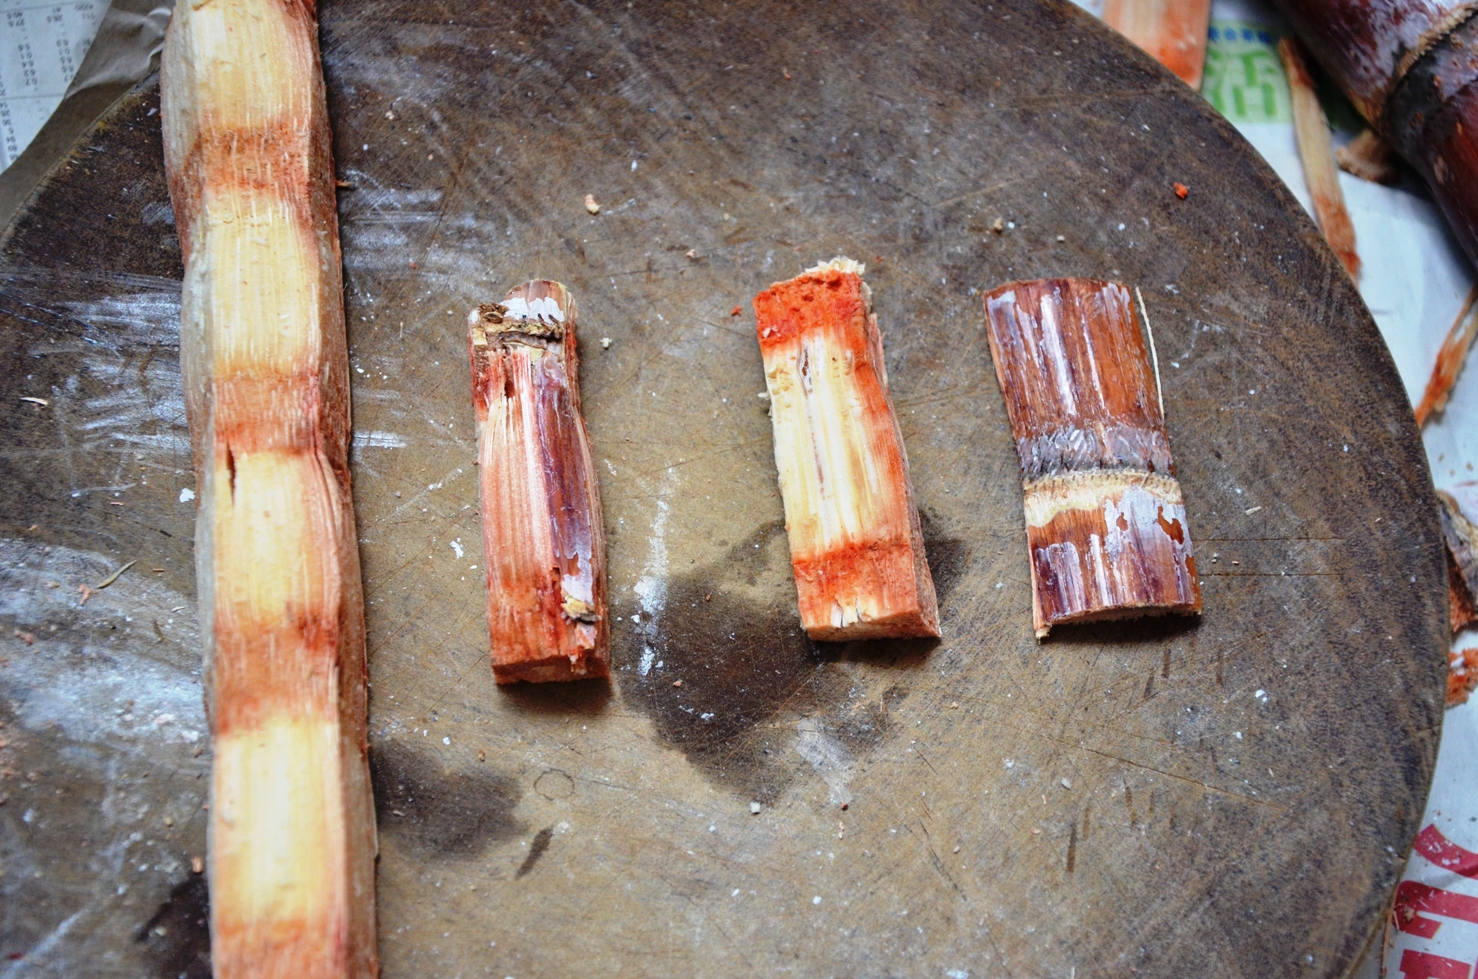
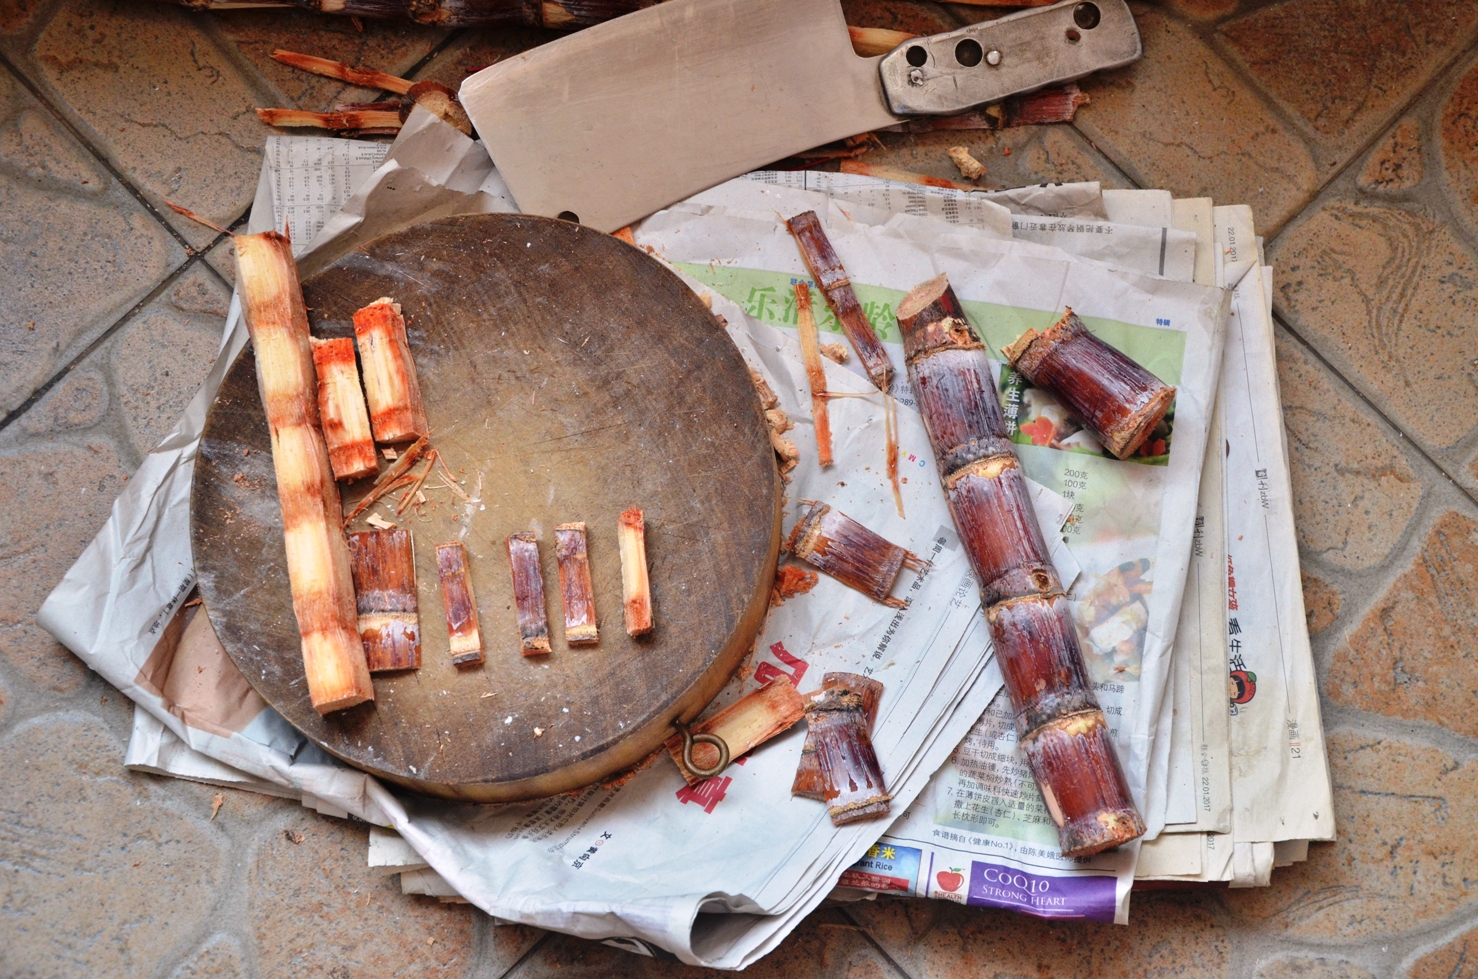
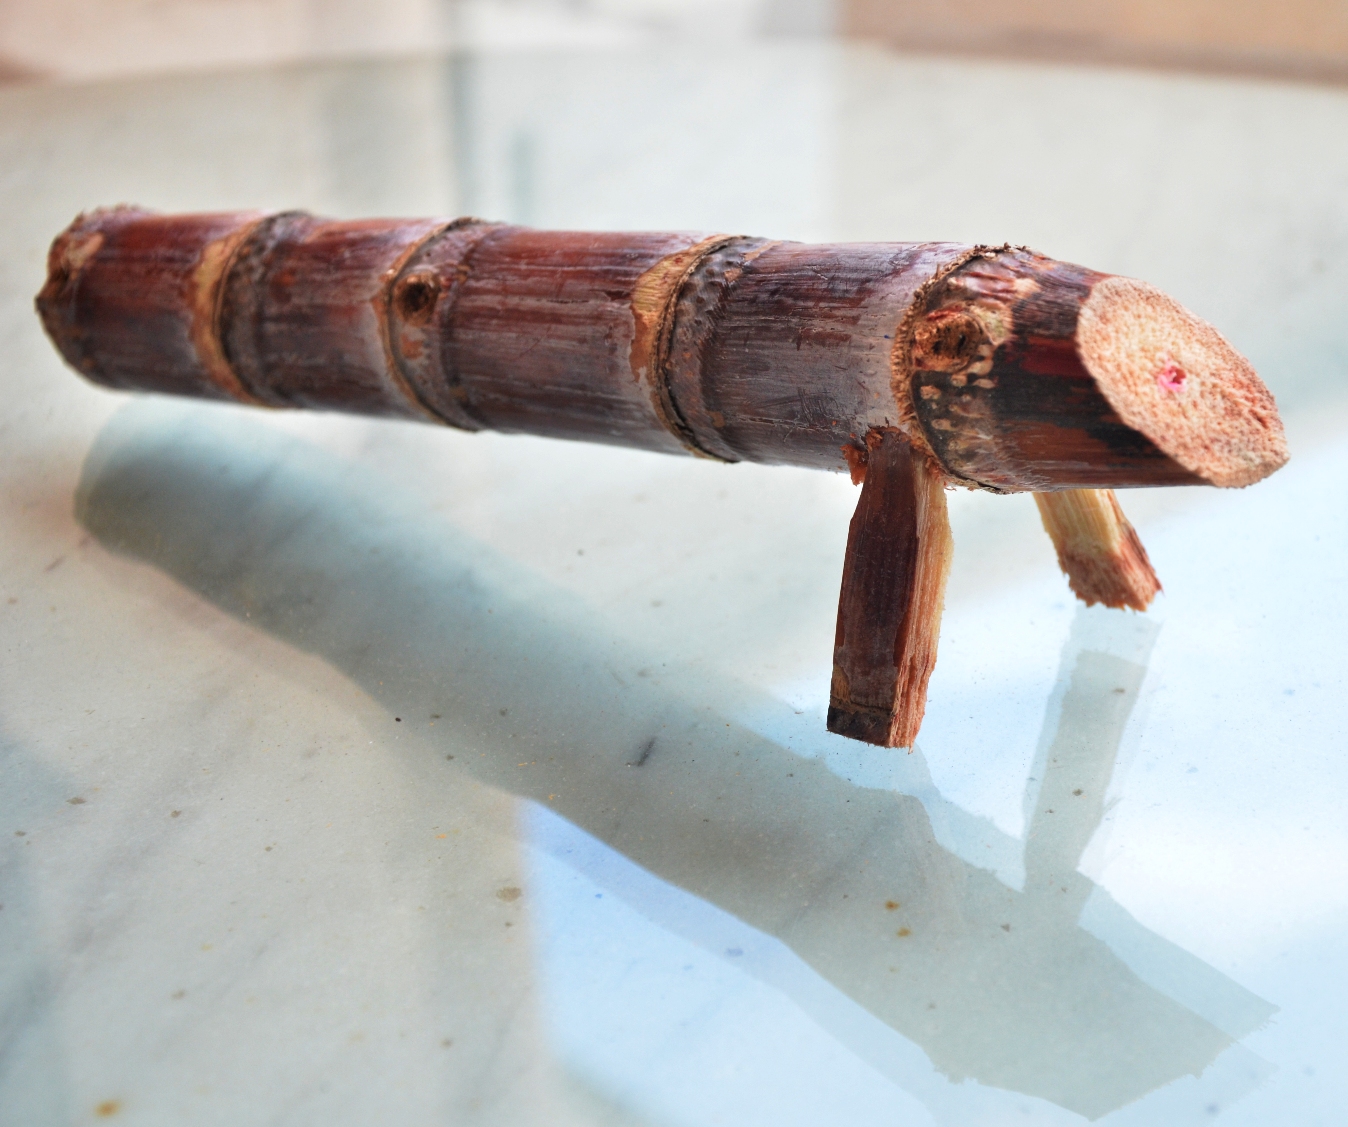
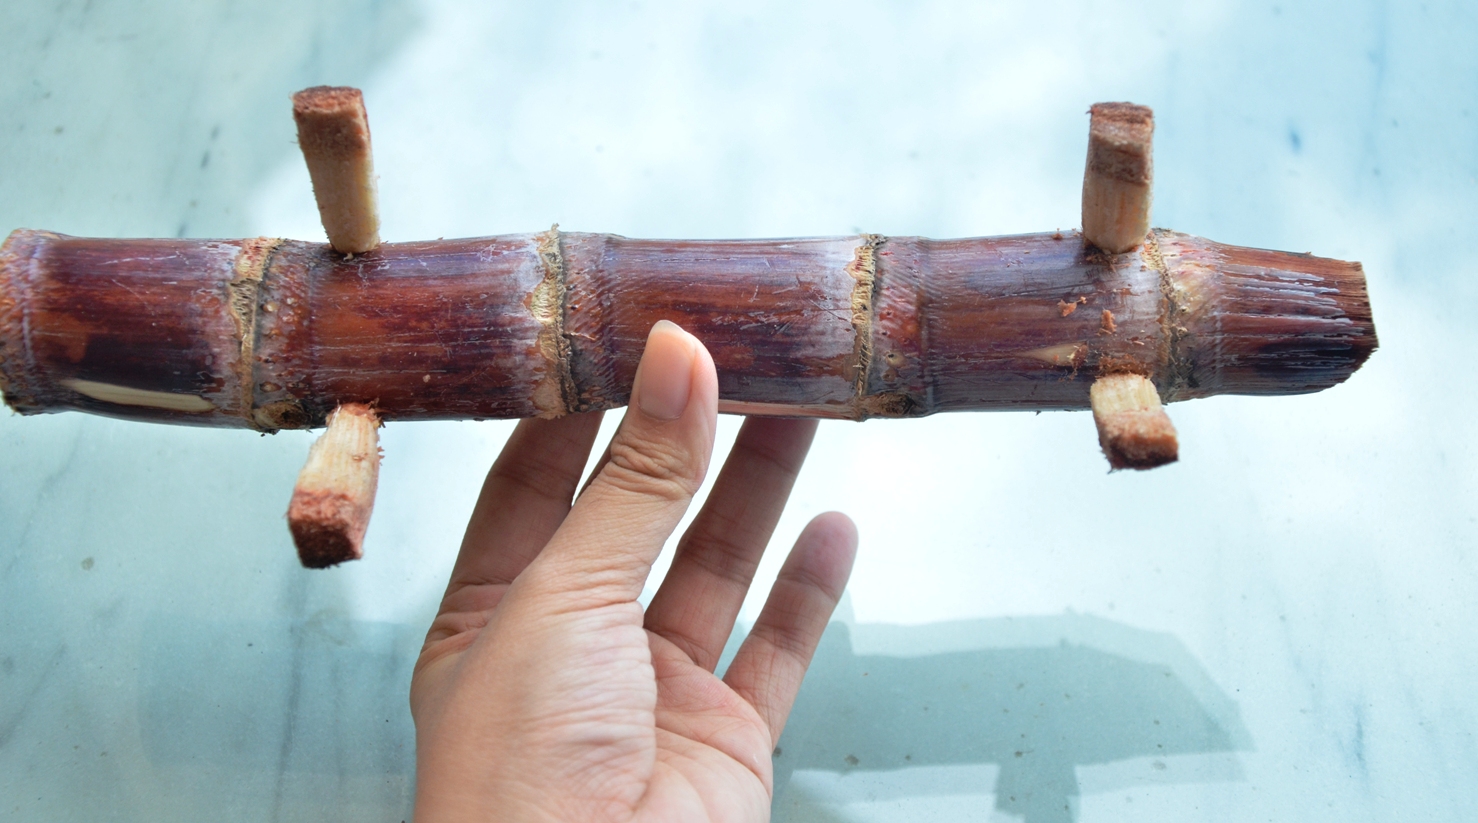
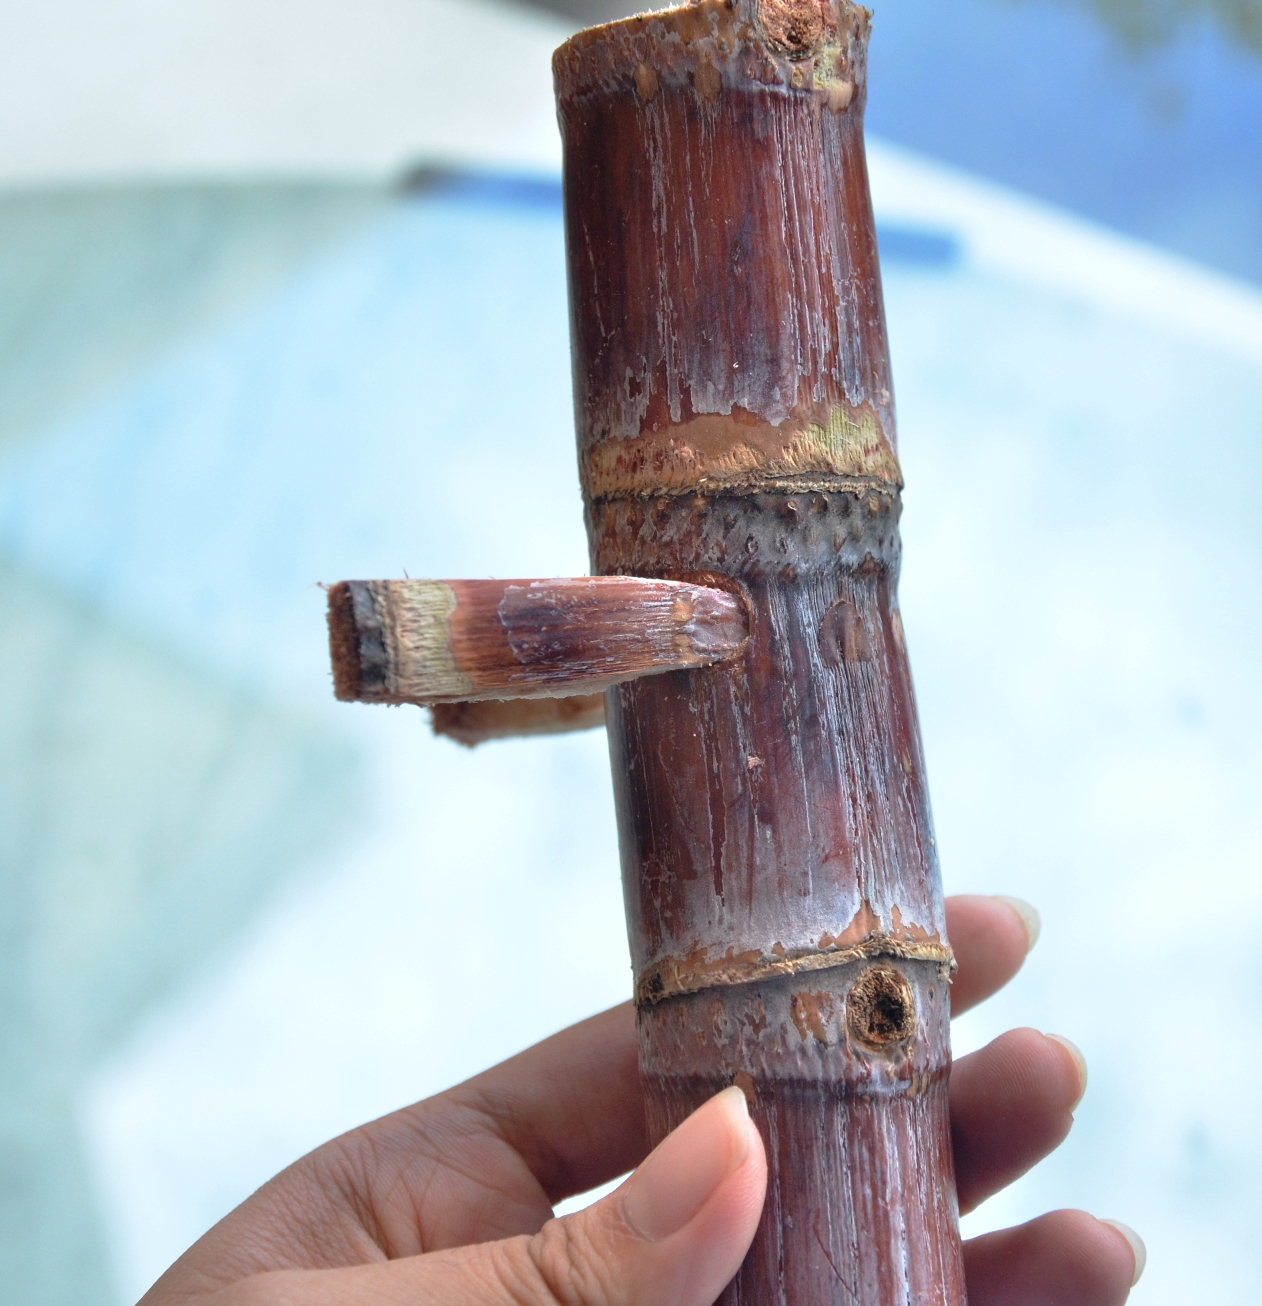
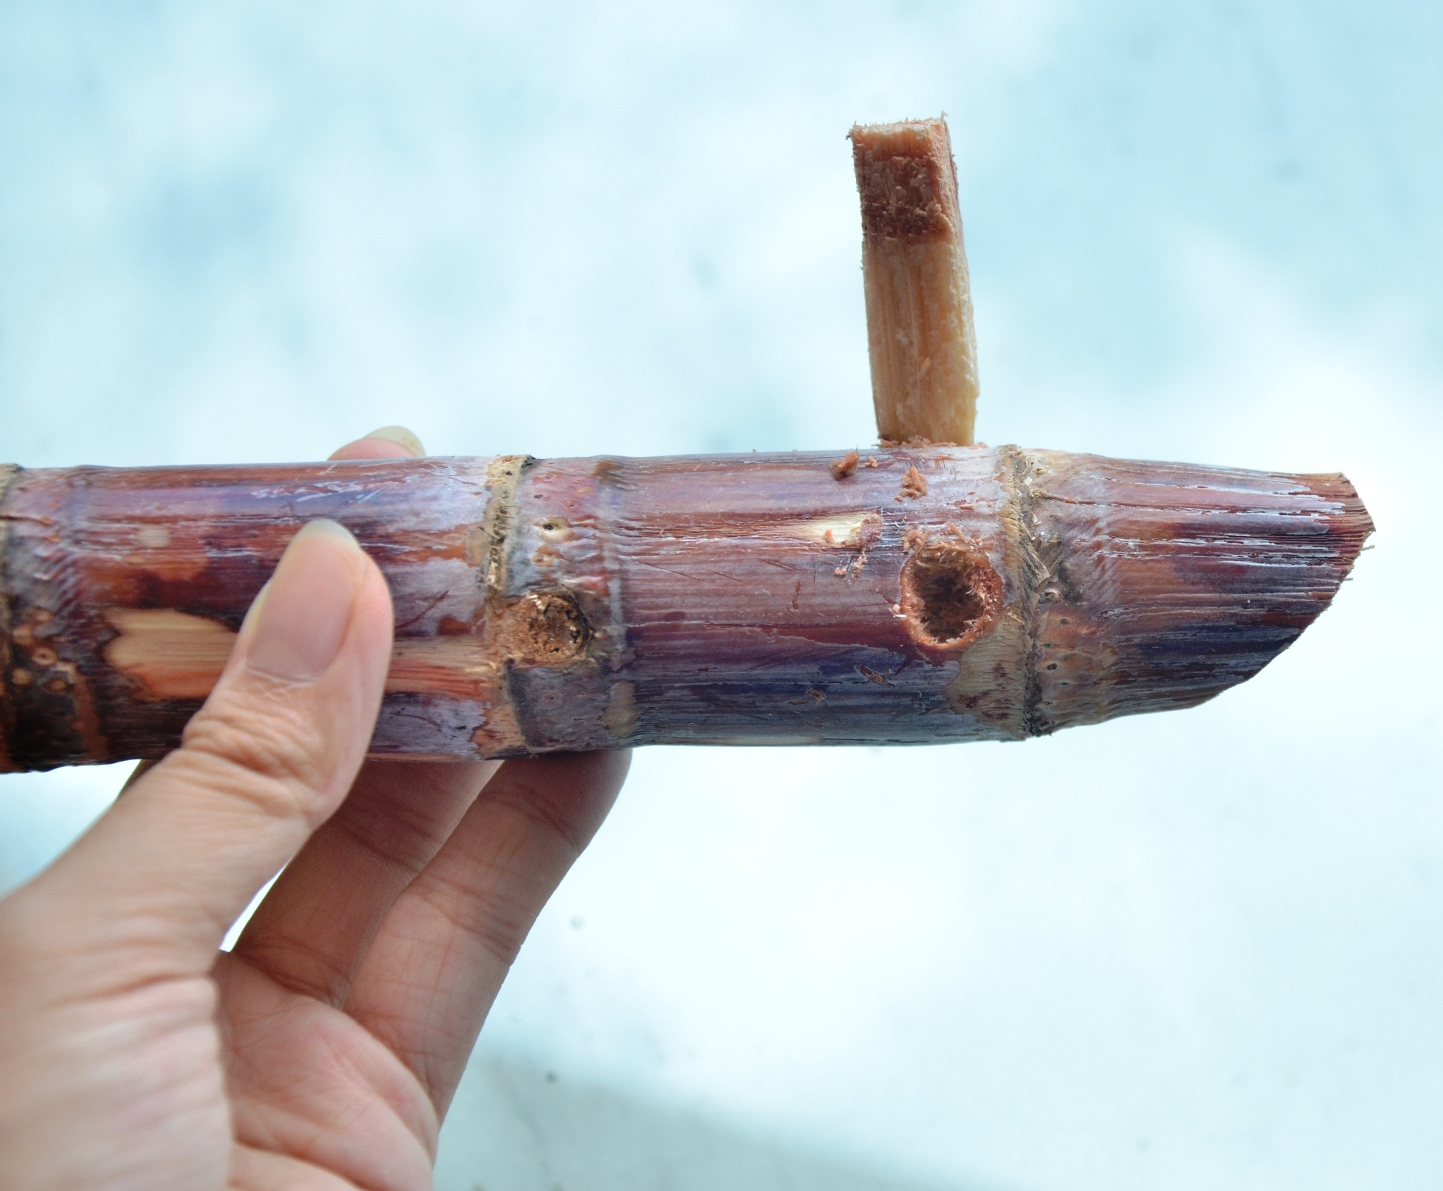
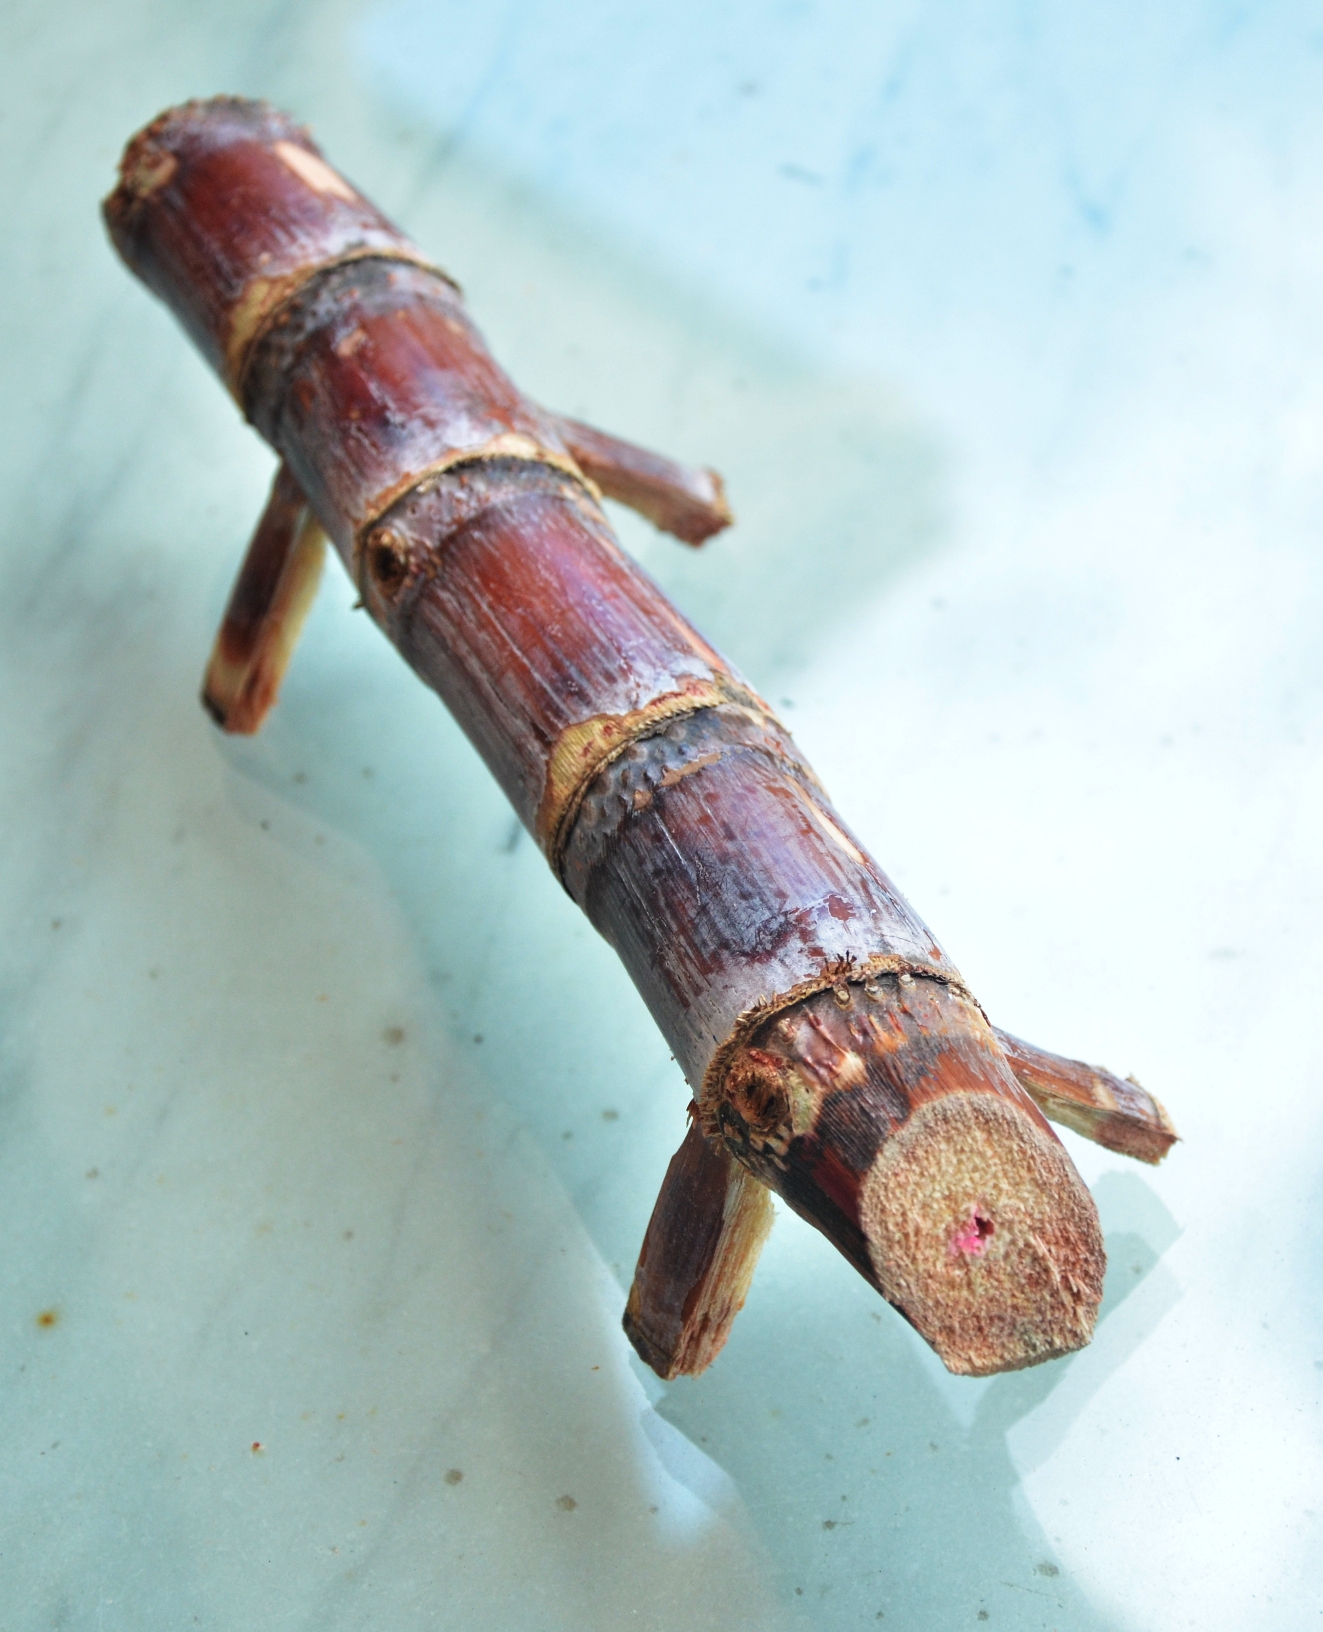
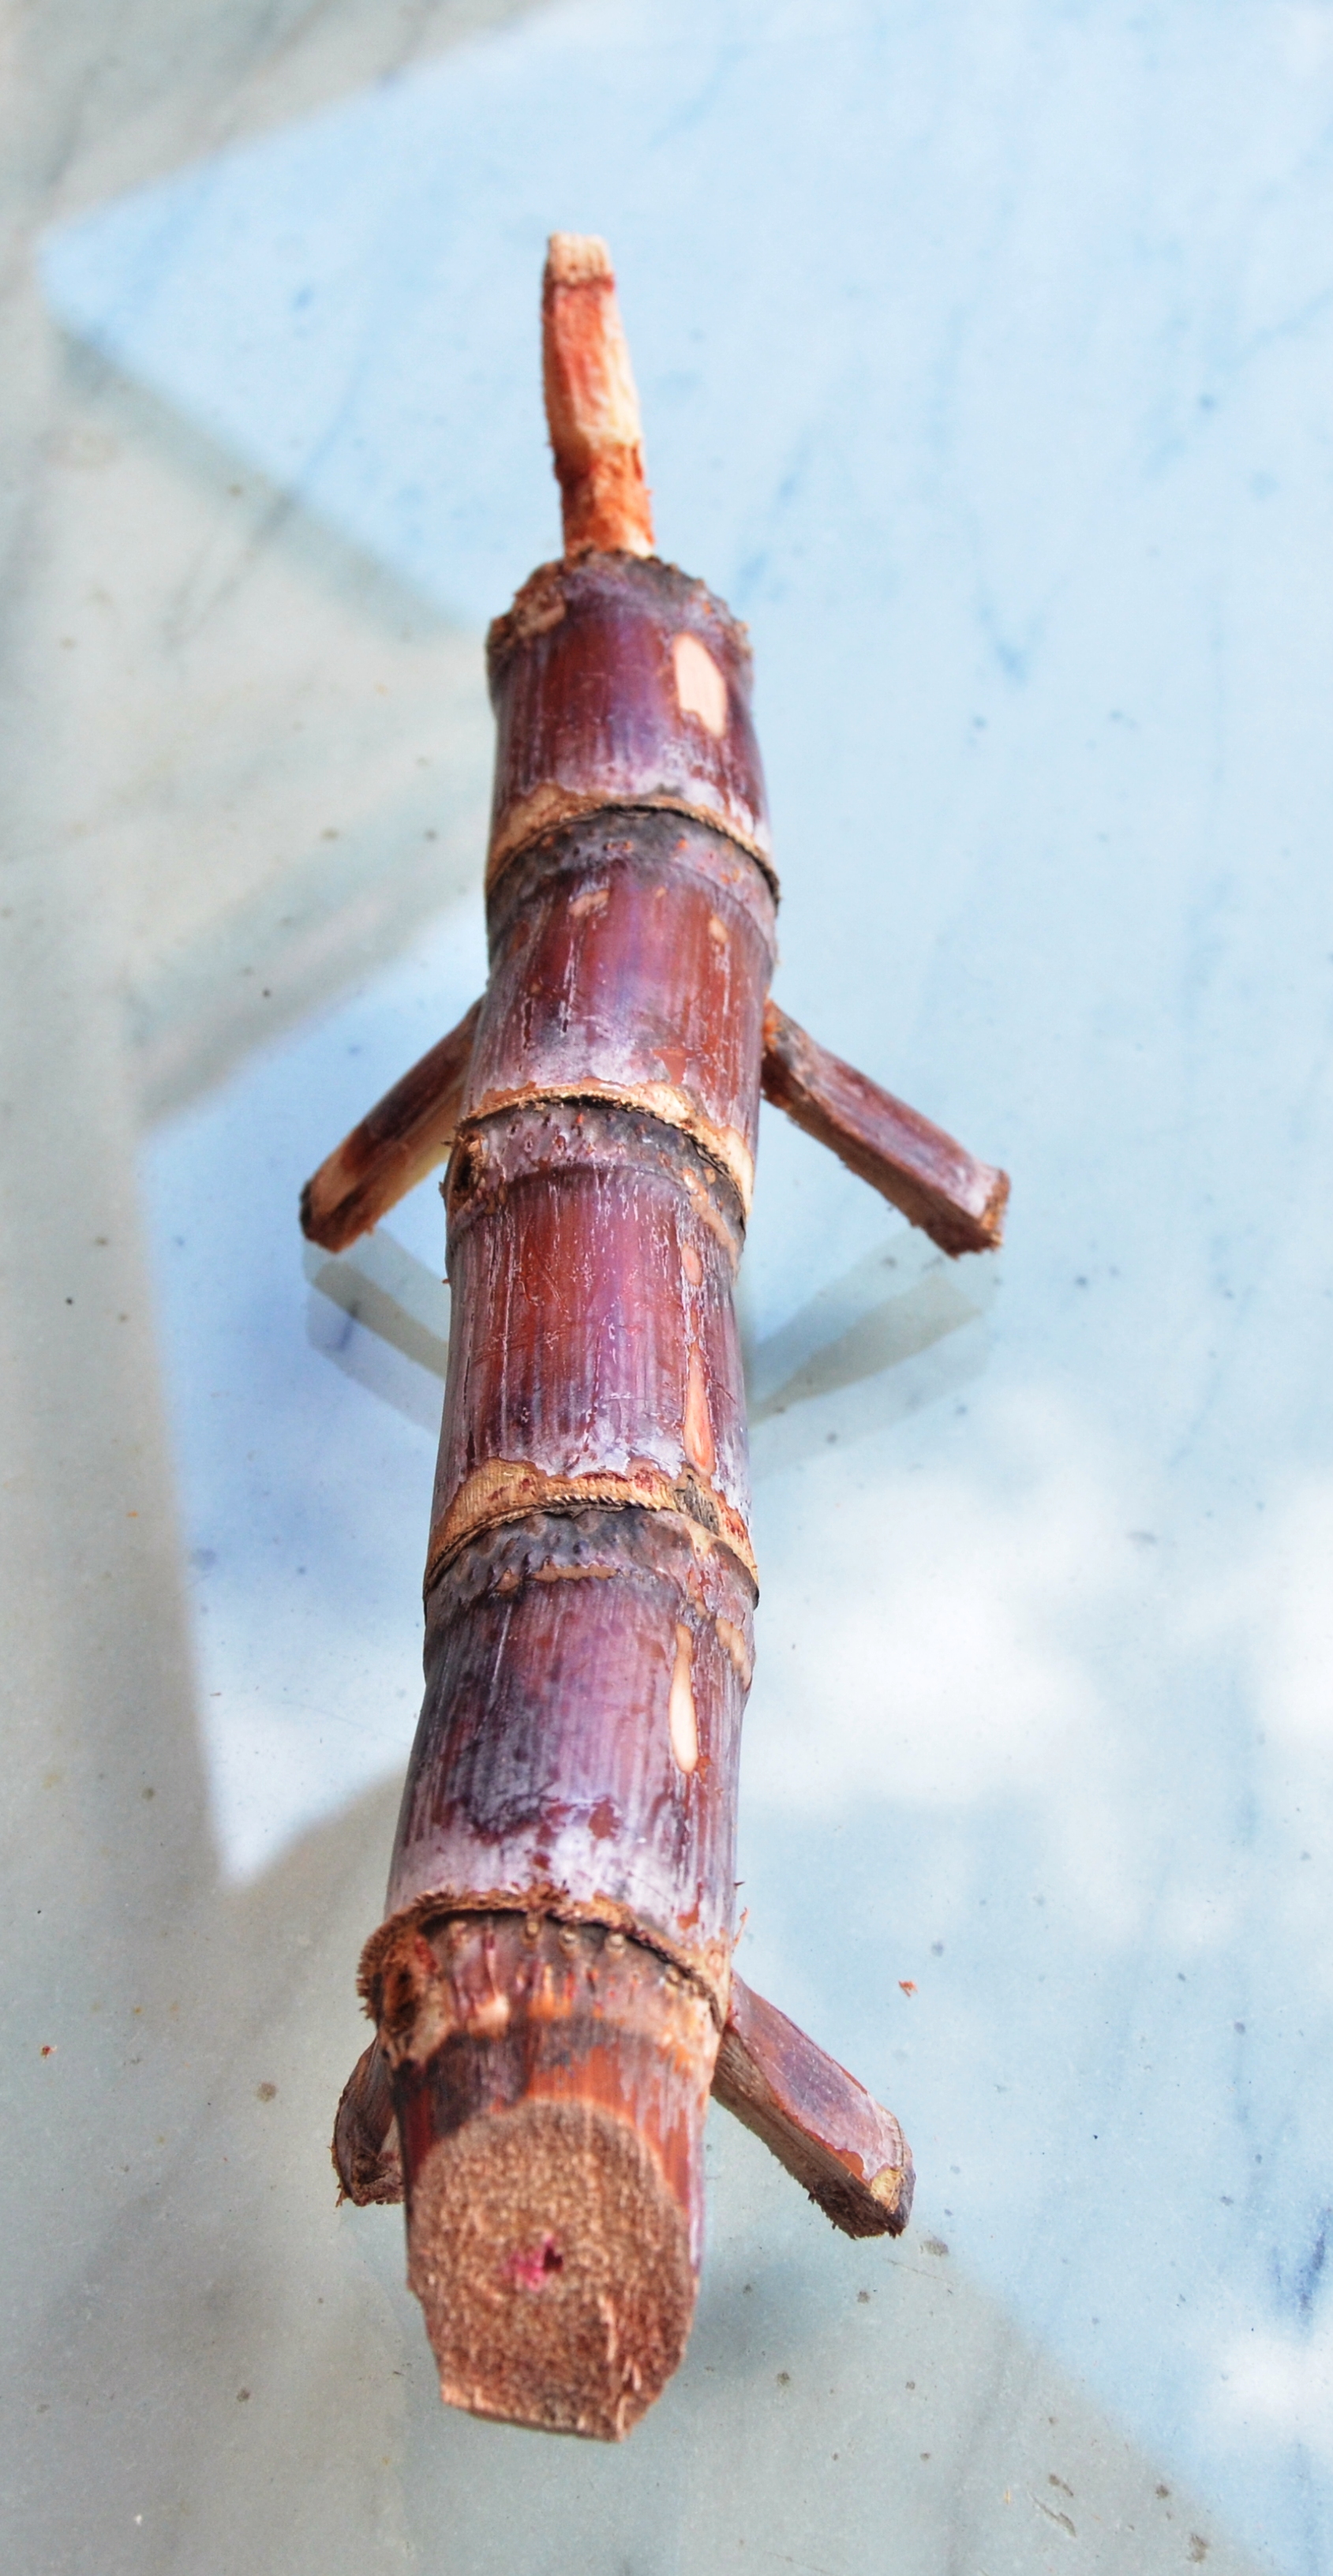
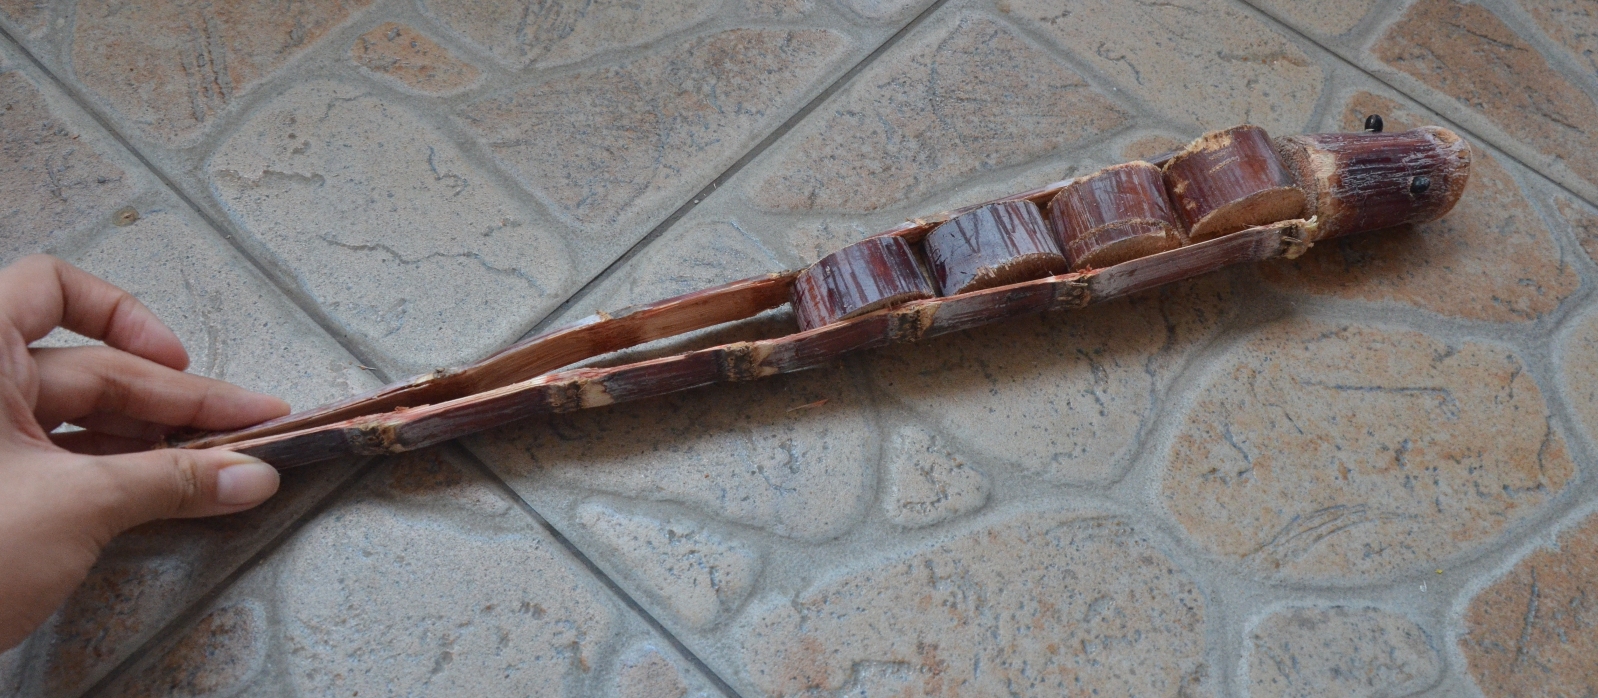
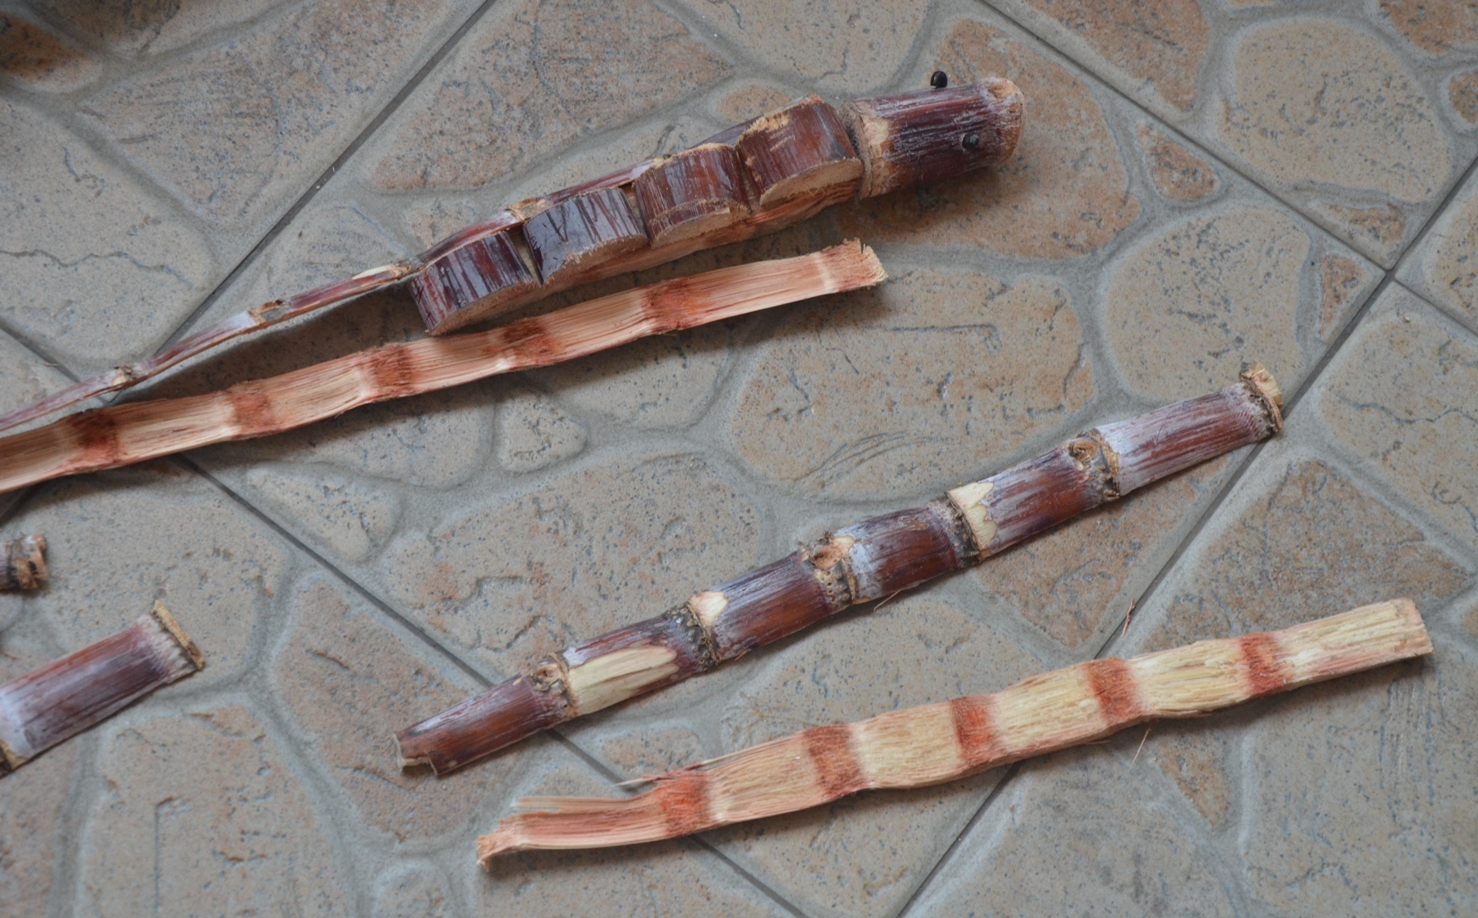
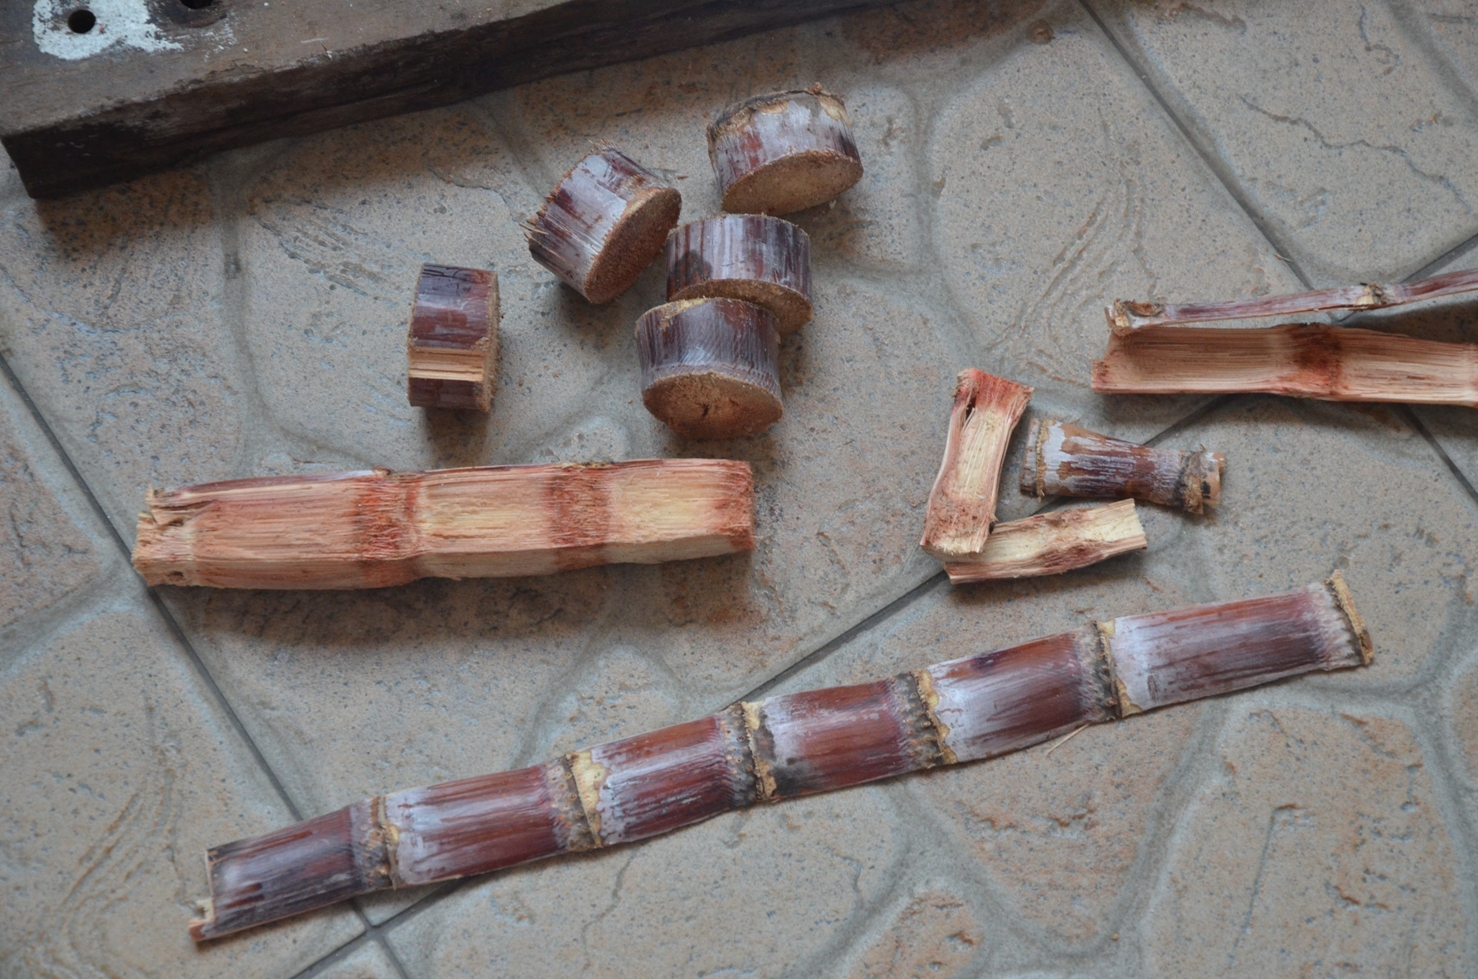
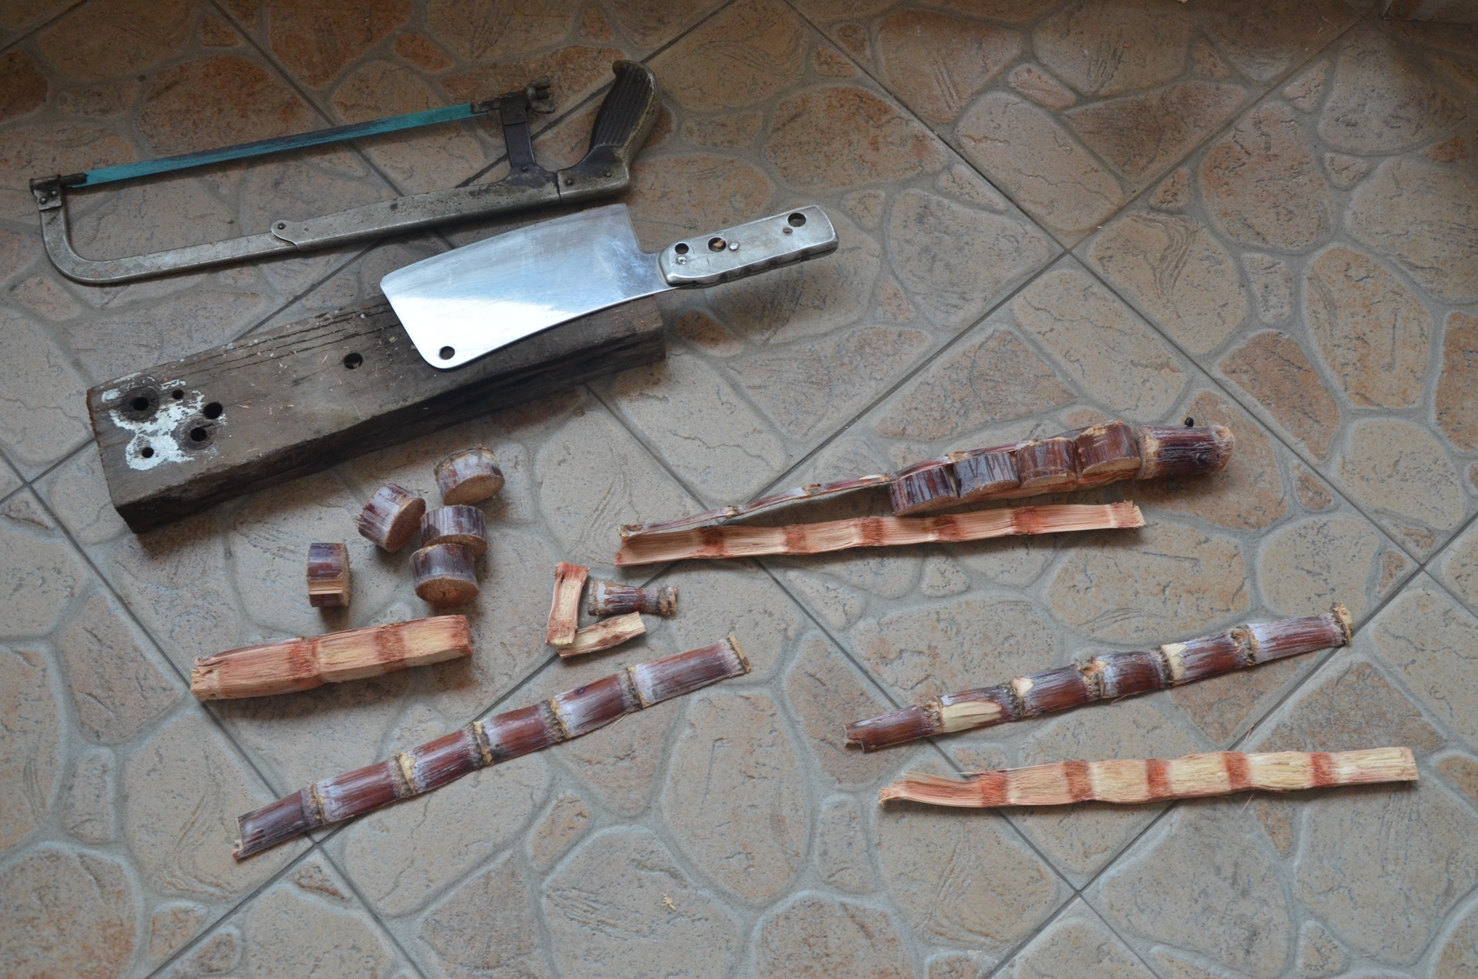
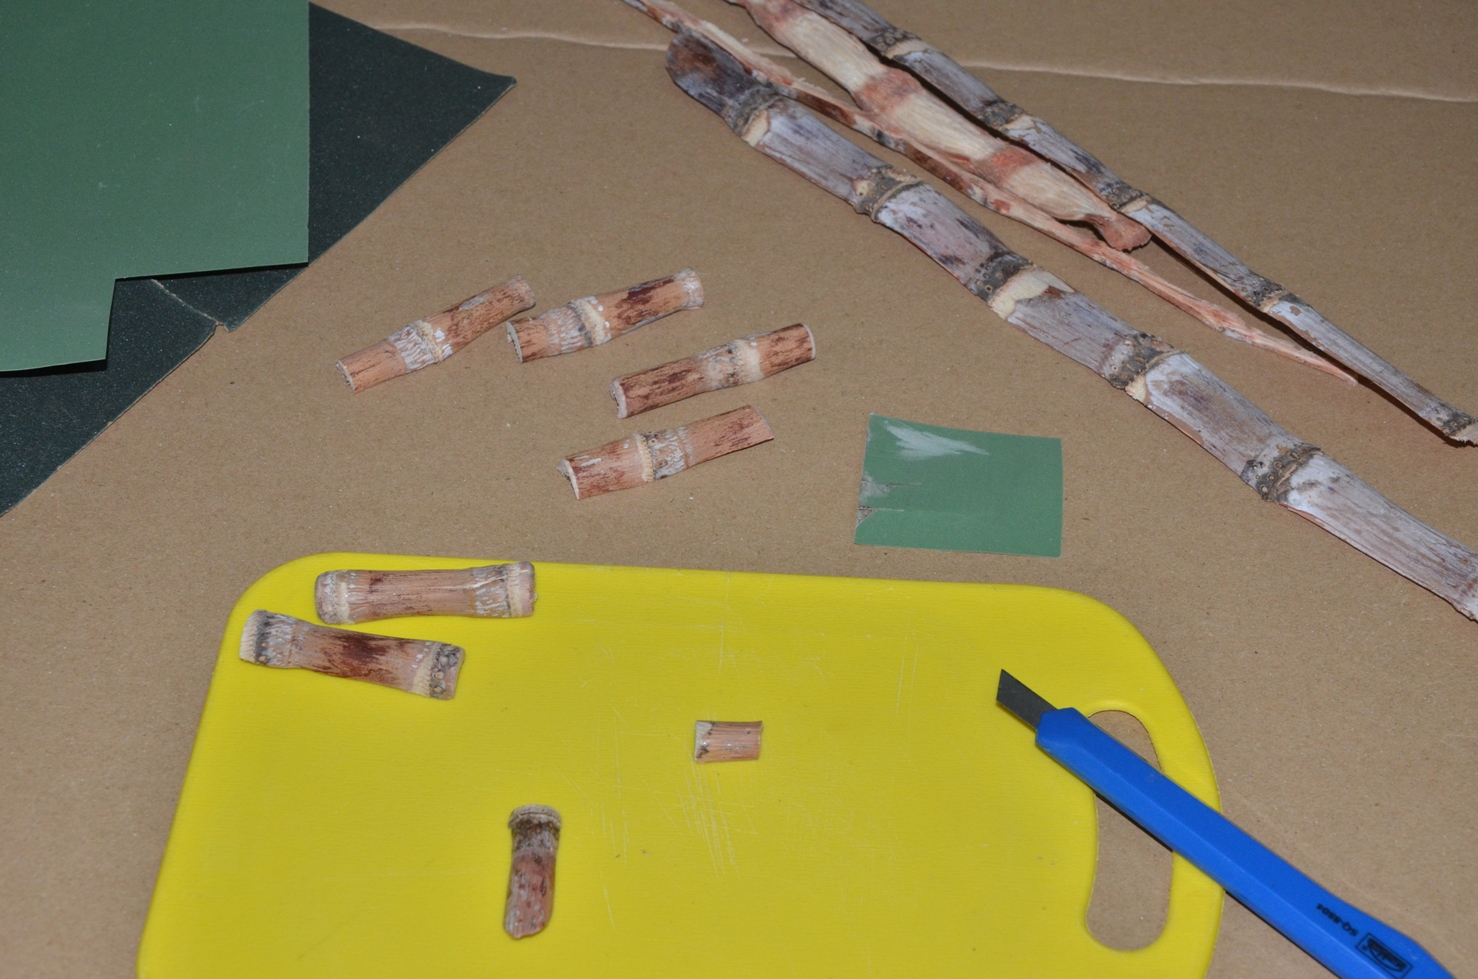
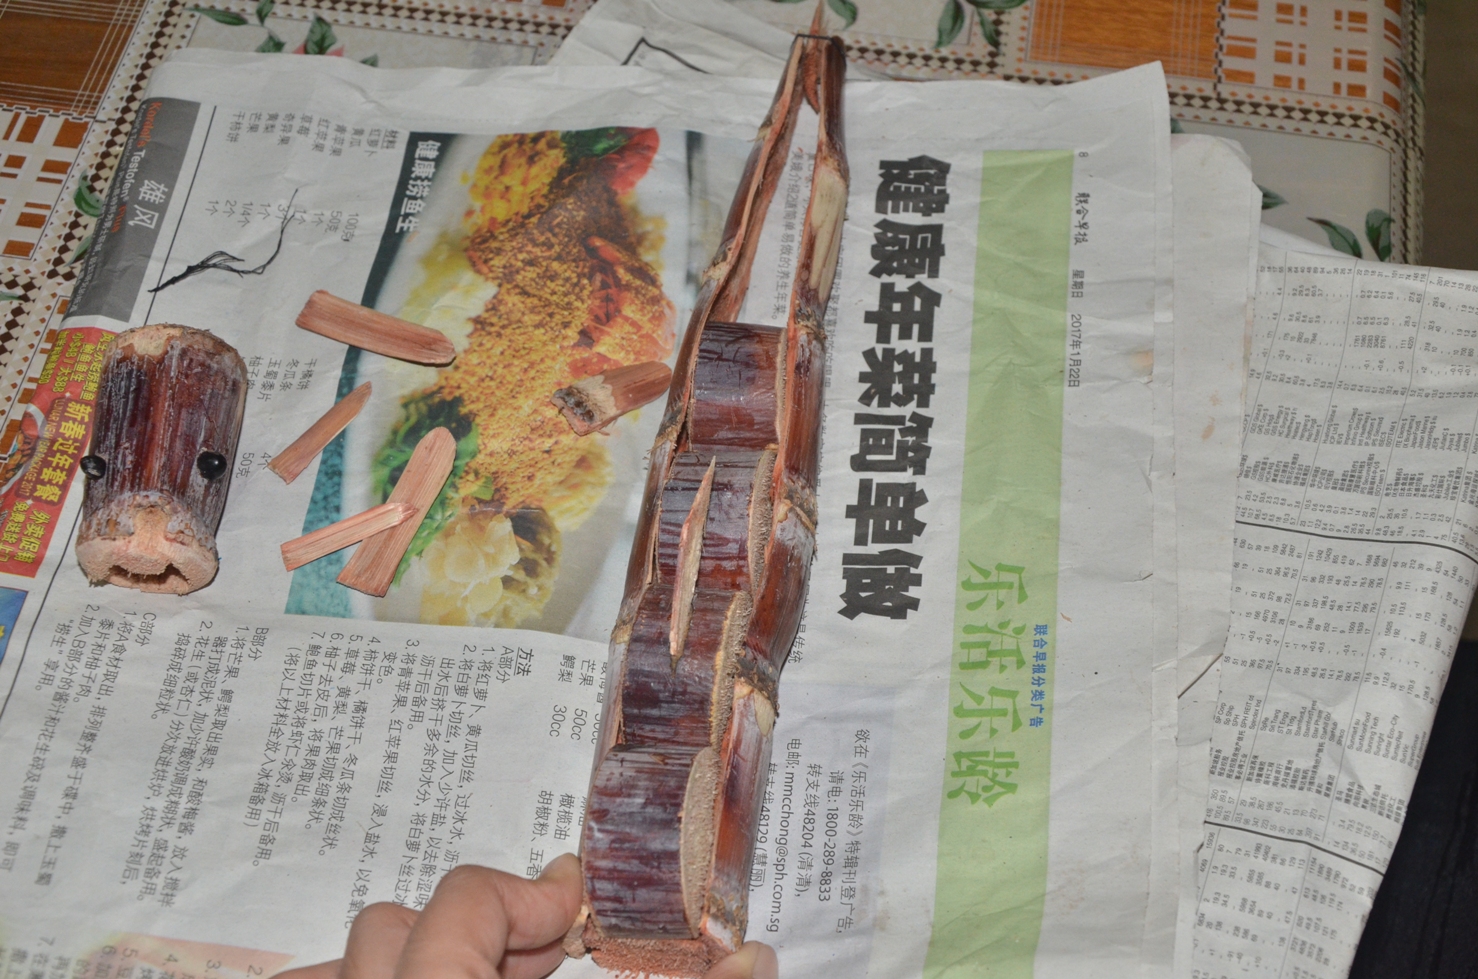
Dried sugarcane sections.

After trying out with so many materials, I felt that there should be 4 items in my jewellery set, namely : Necklace, Bracelet, Earrings and Brooch.

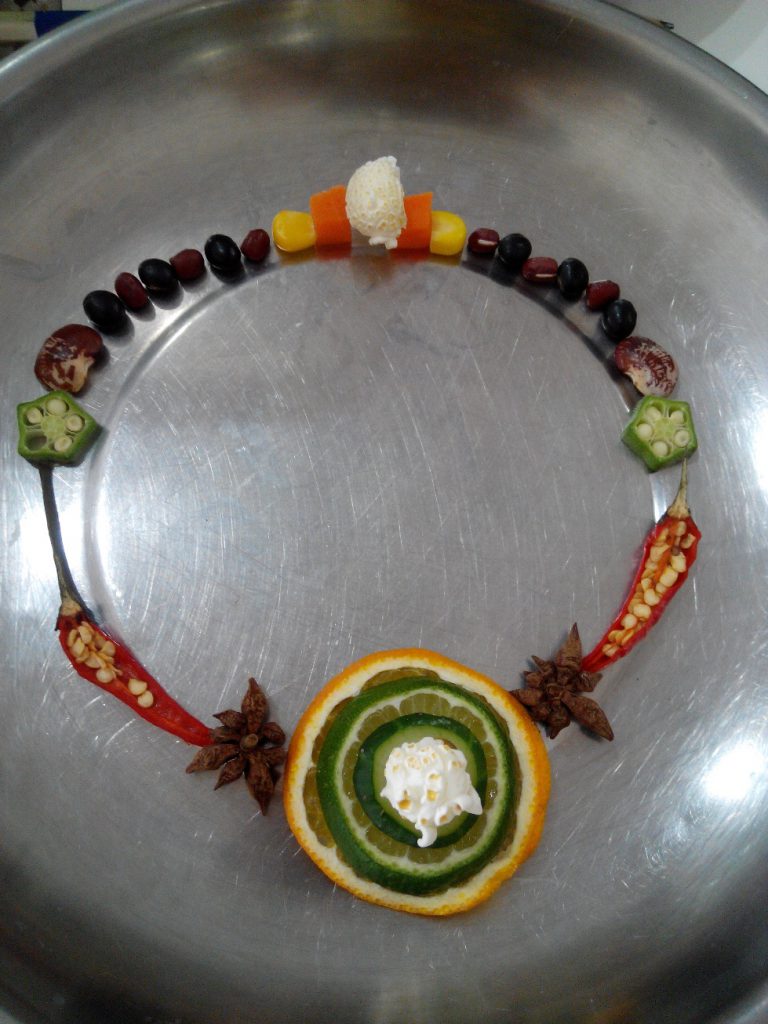
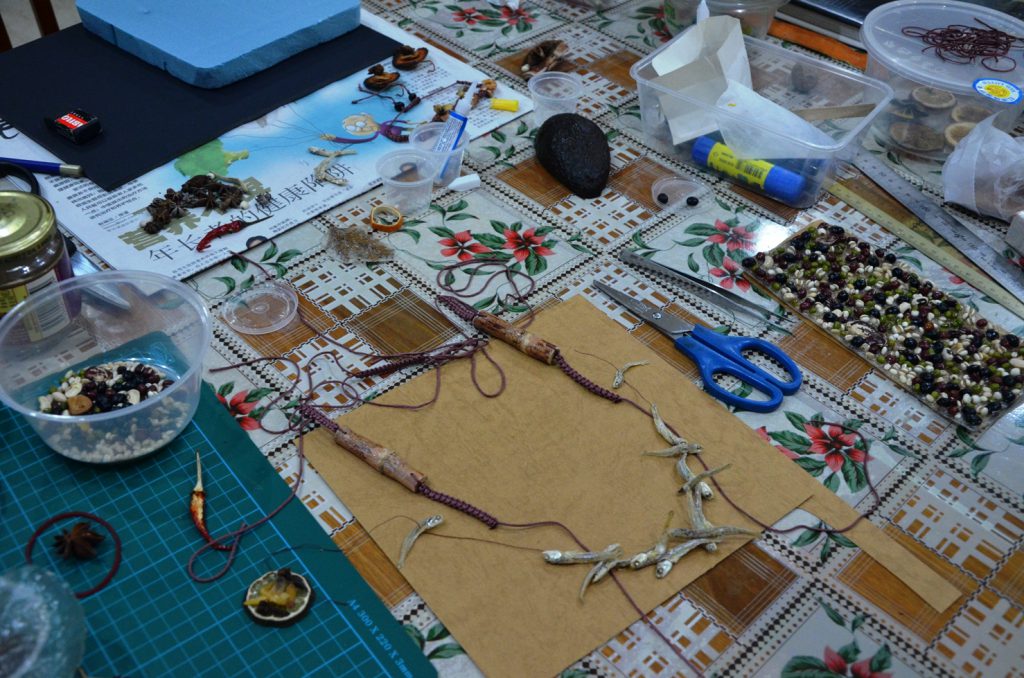
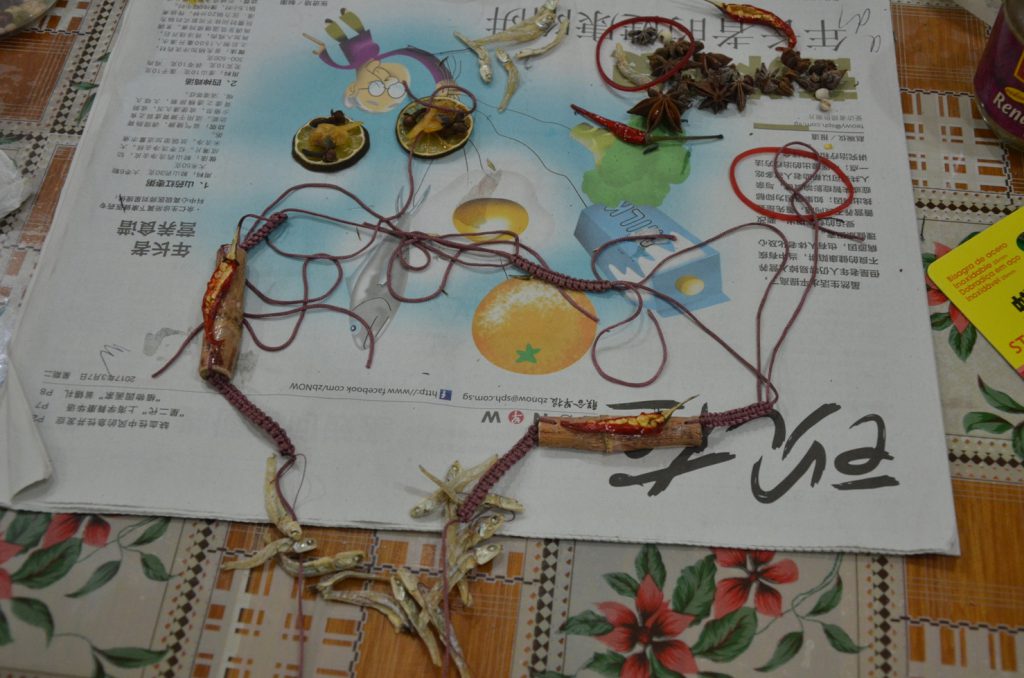
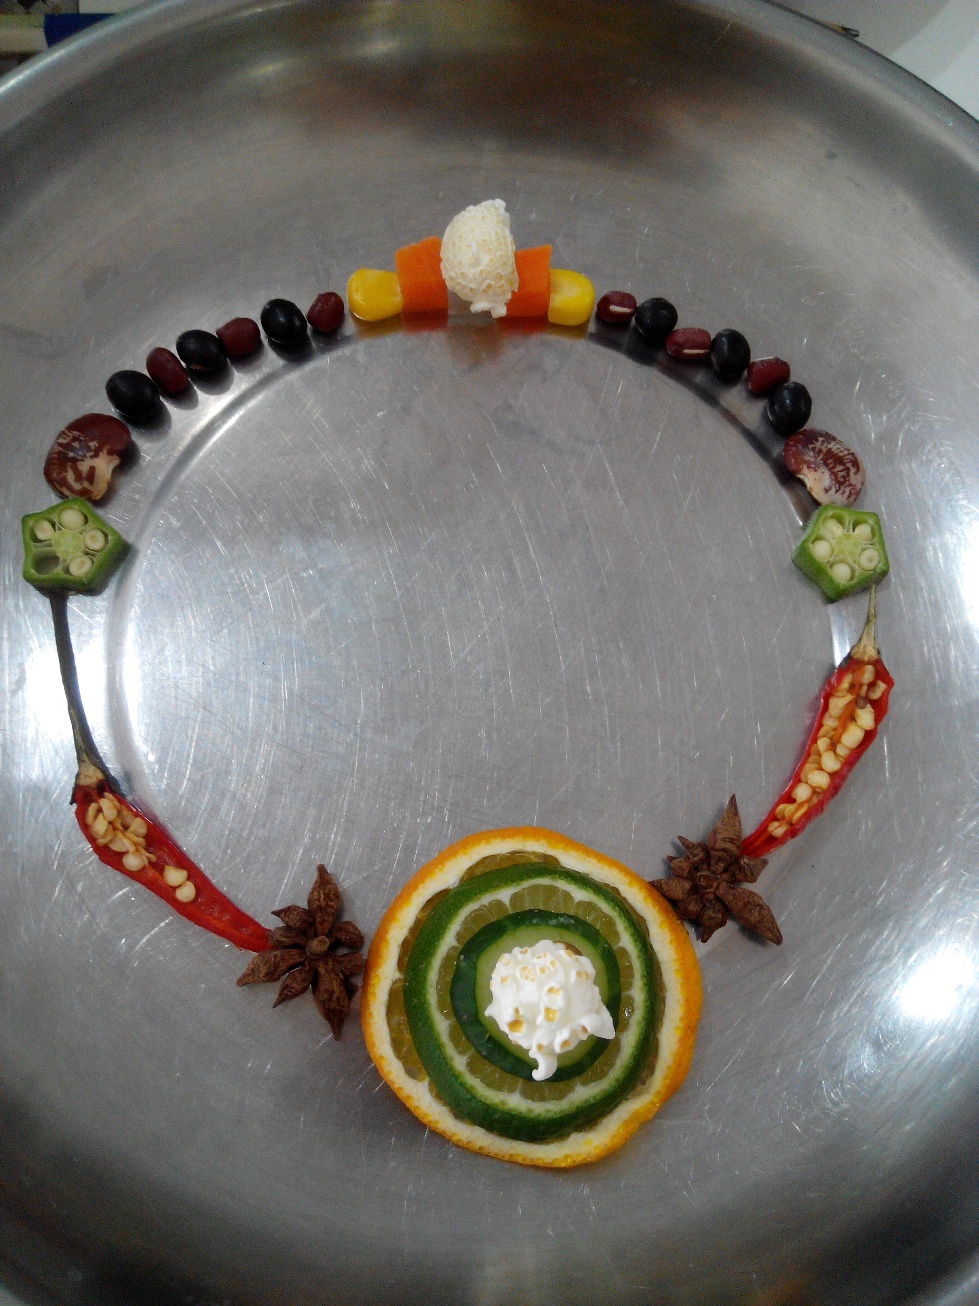
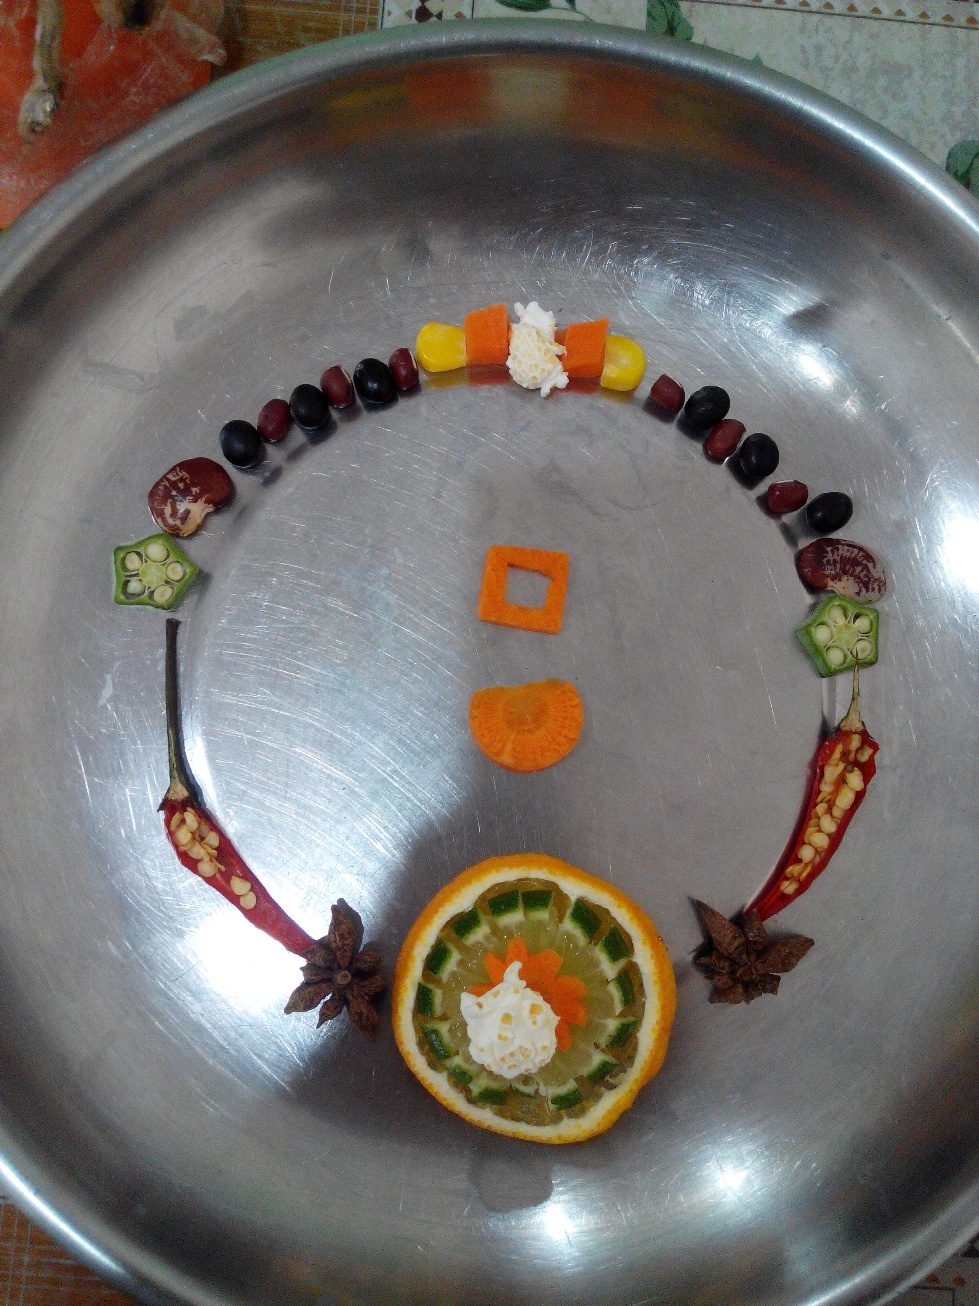
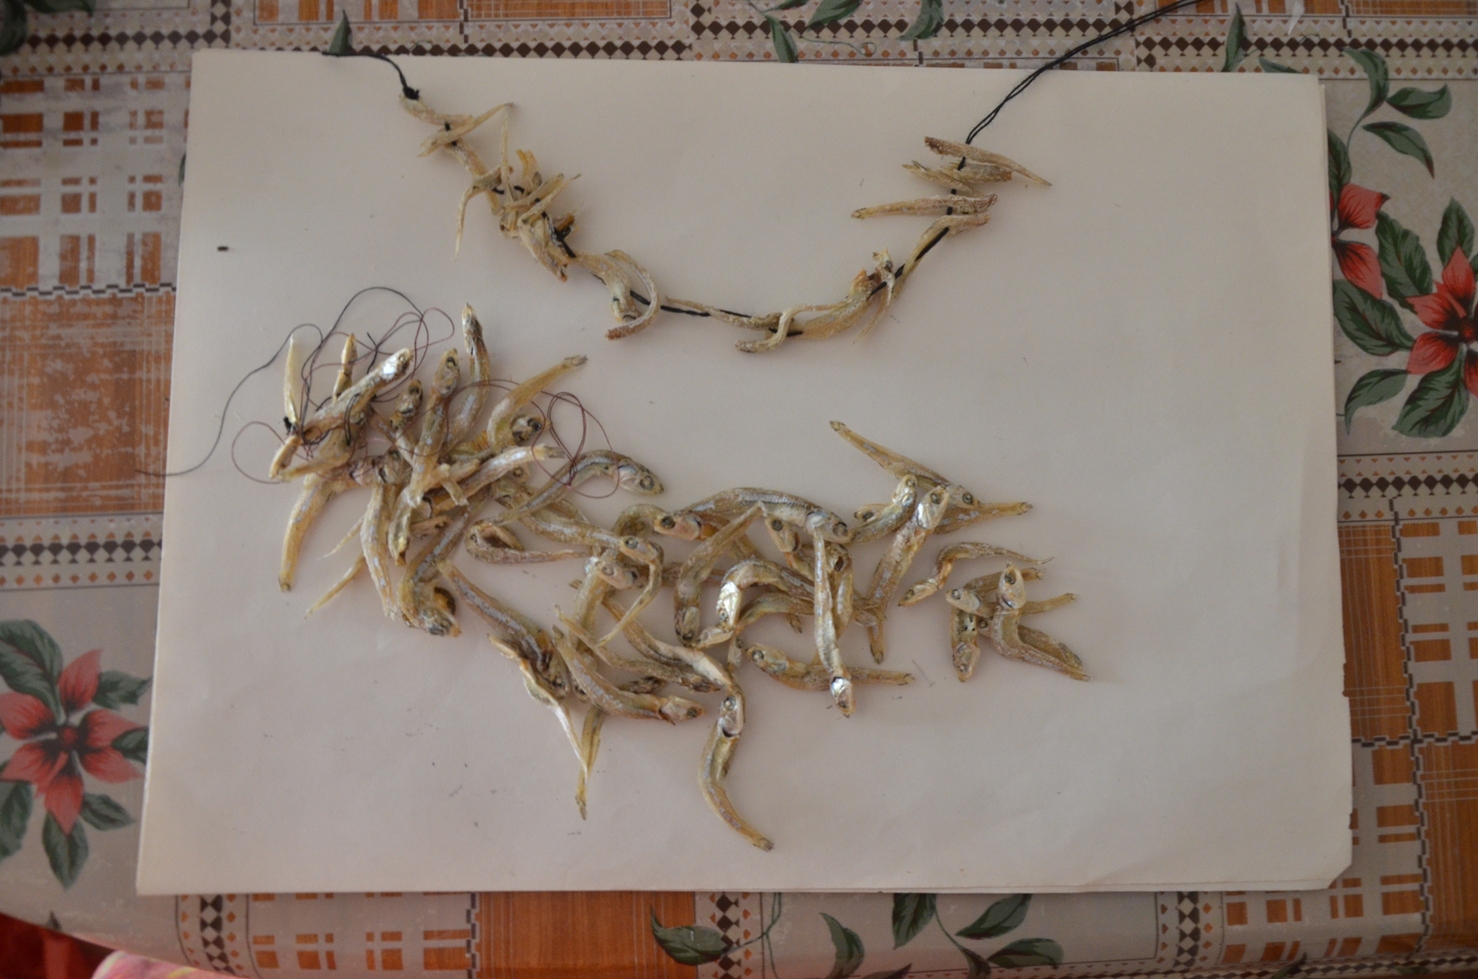
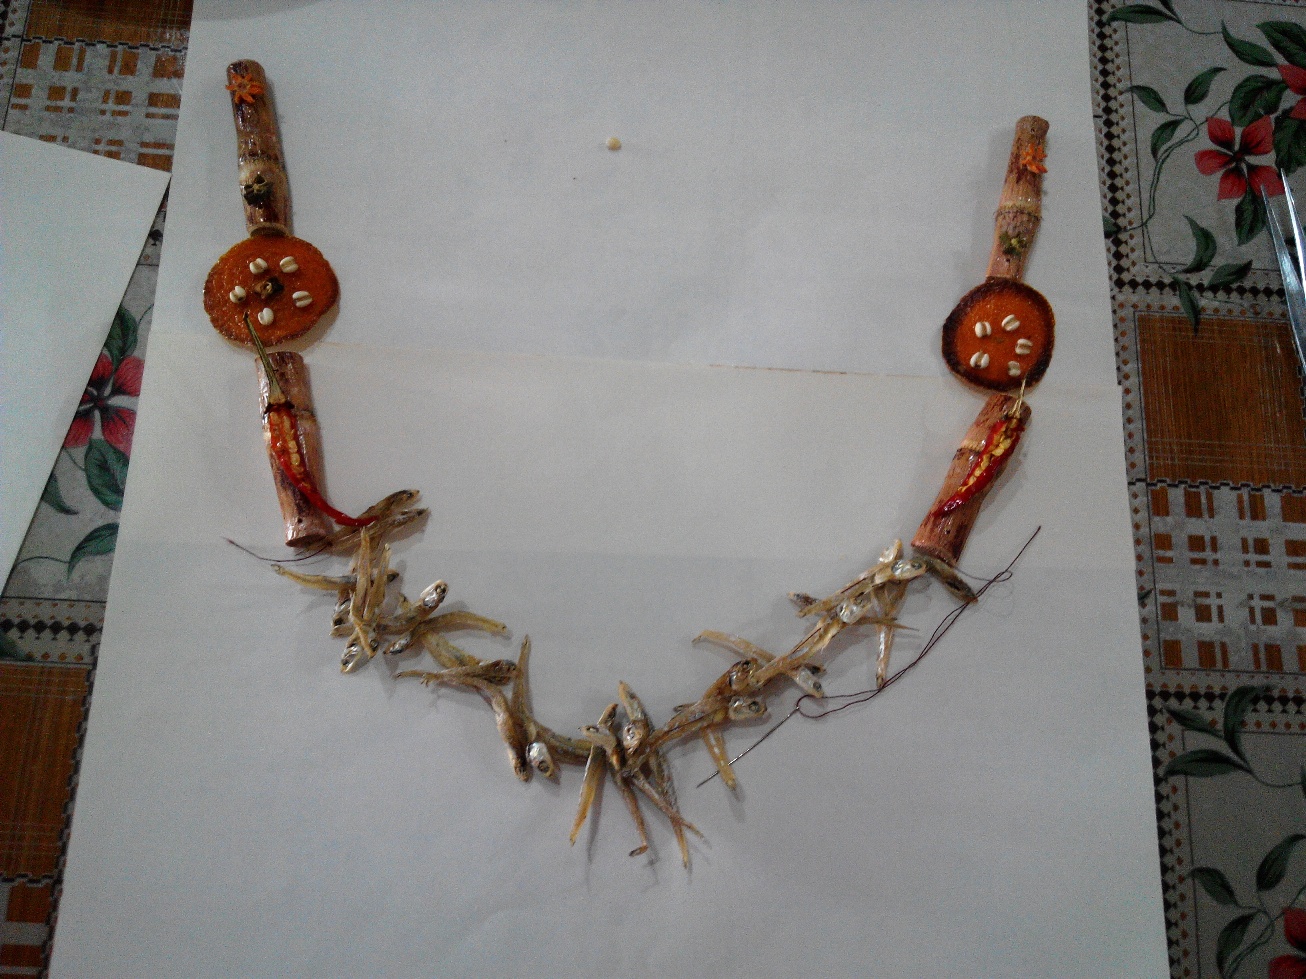
Looking at the range of materials, I have decided to use them to form some possible necklace patterns.


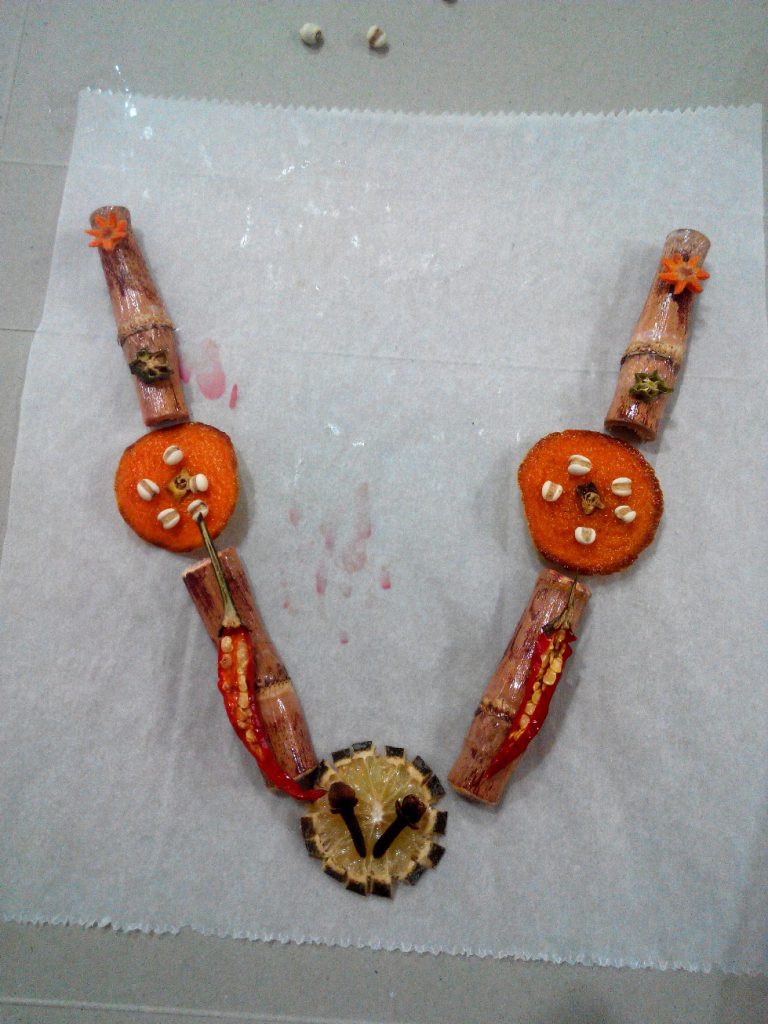
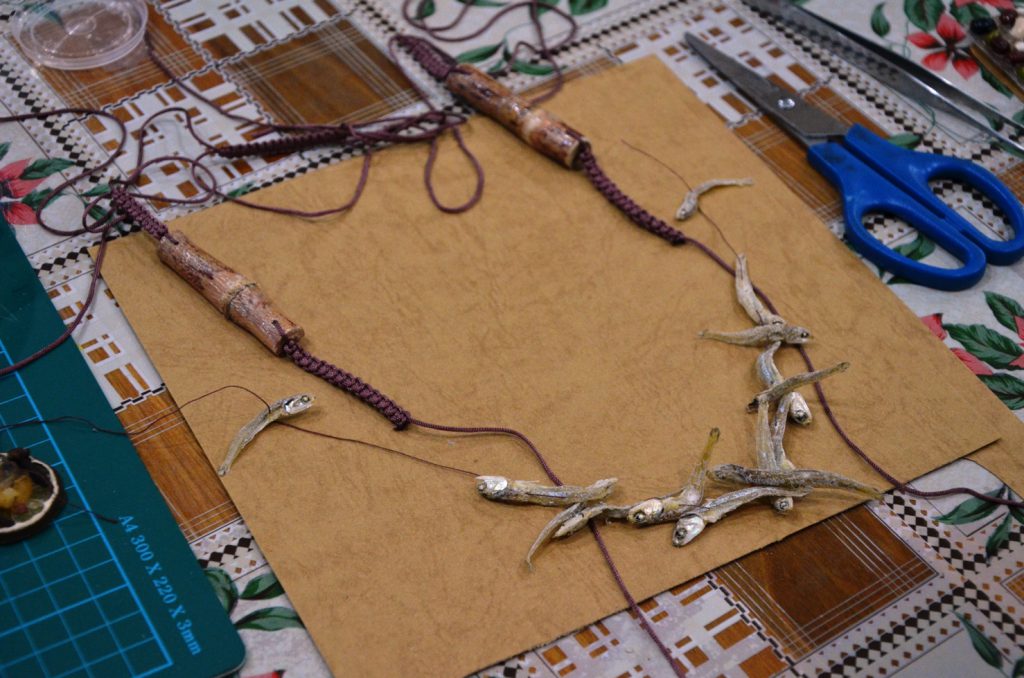
After a while of trying, I have decided to use ikan bilis to form part of the necklace to give people a sense of aversion when they see it.

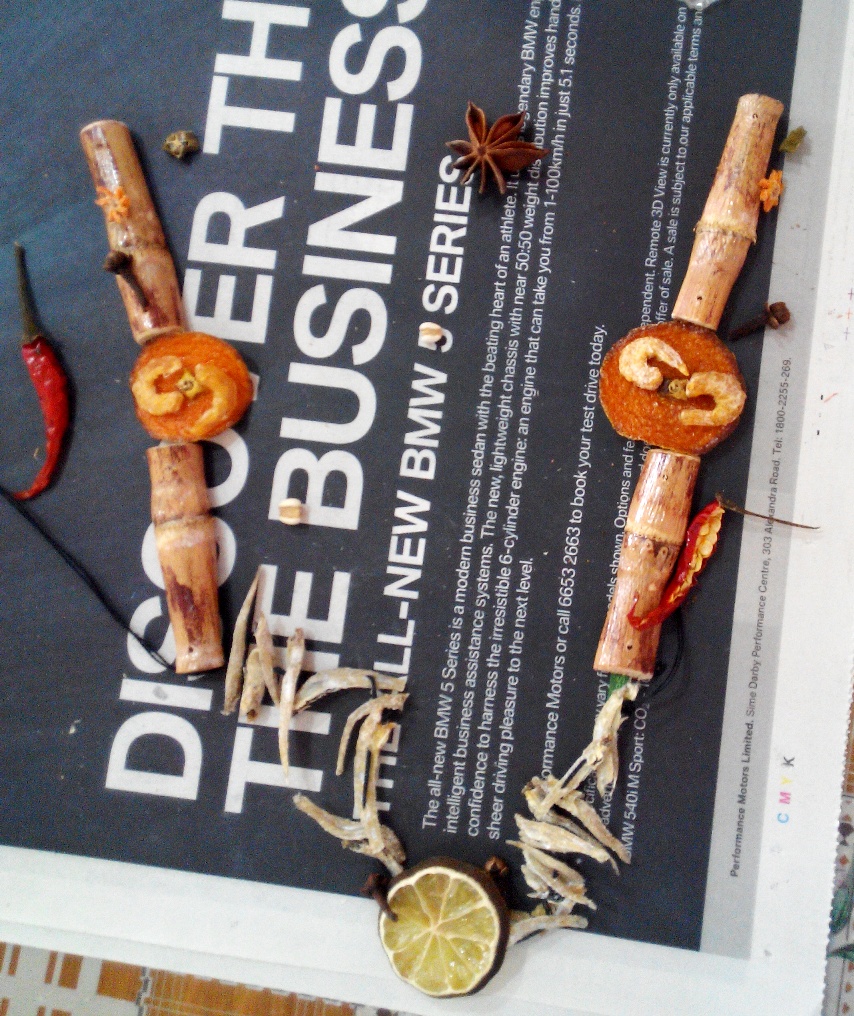
I also attempted to come up with different designs on the orange peel and lime section.

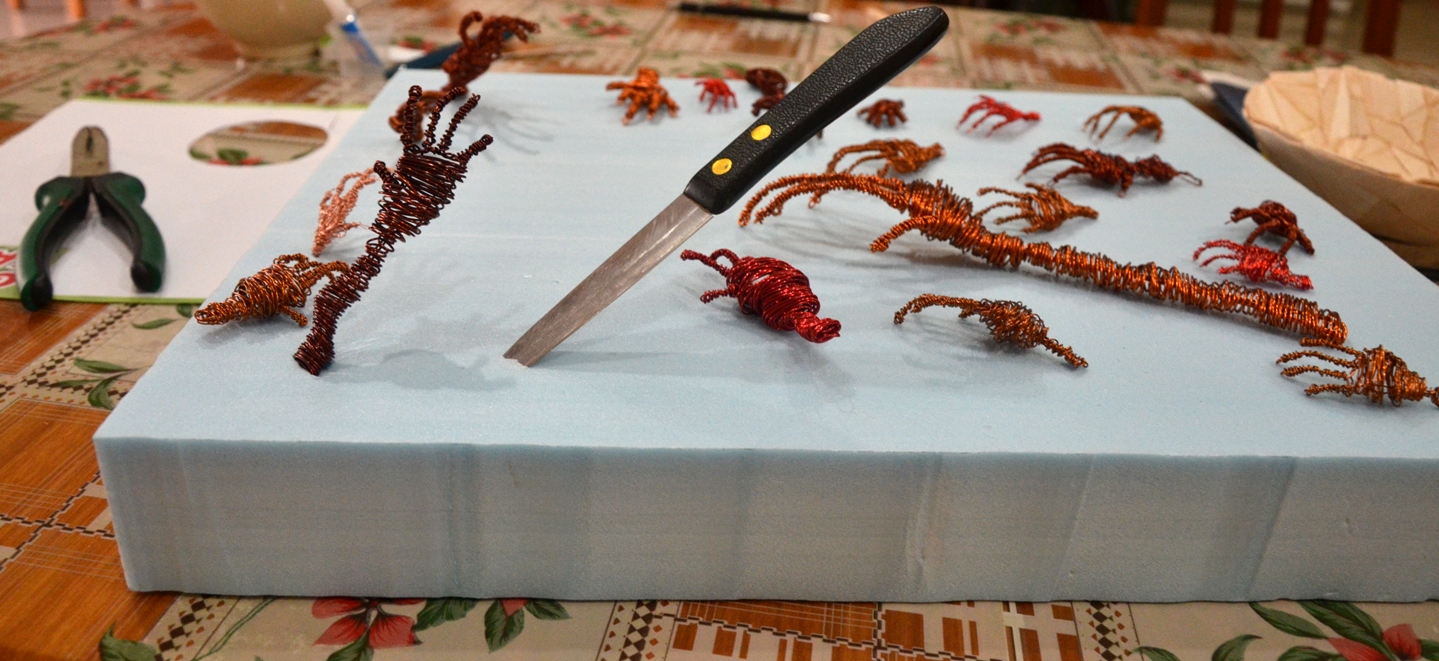
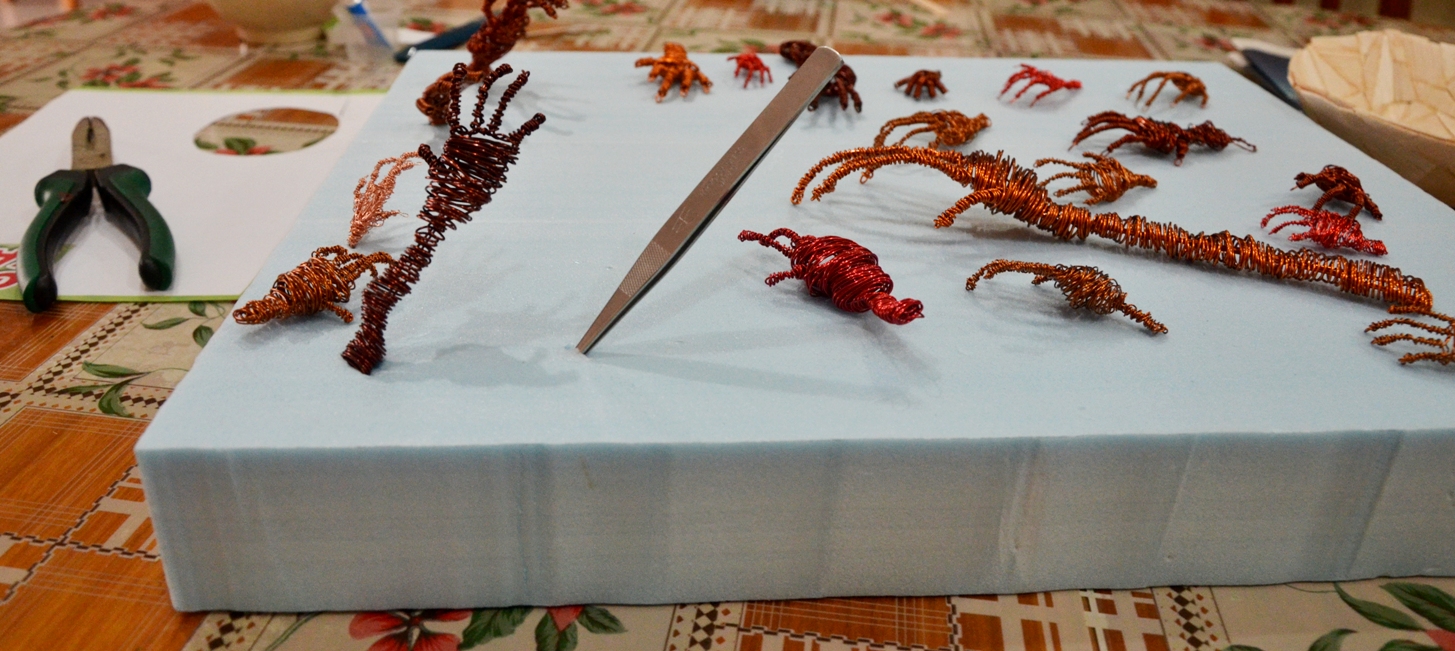
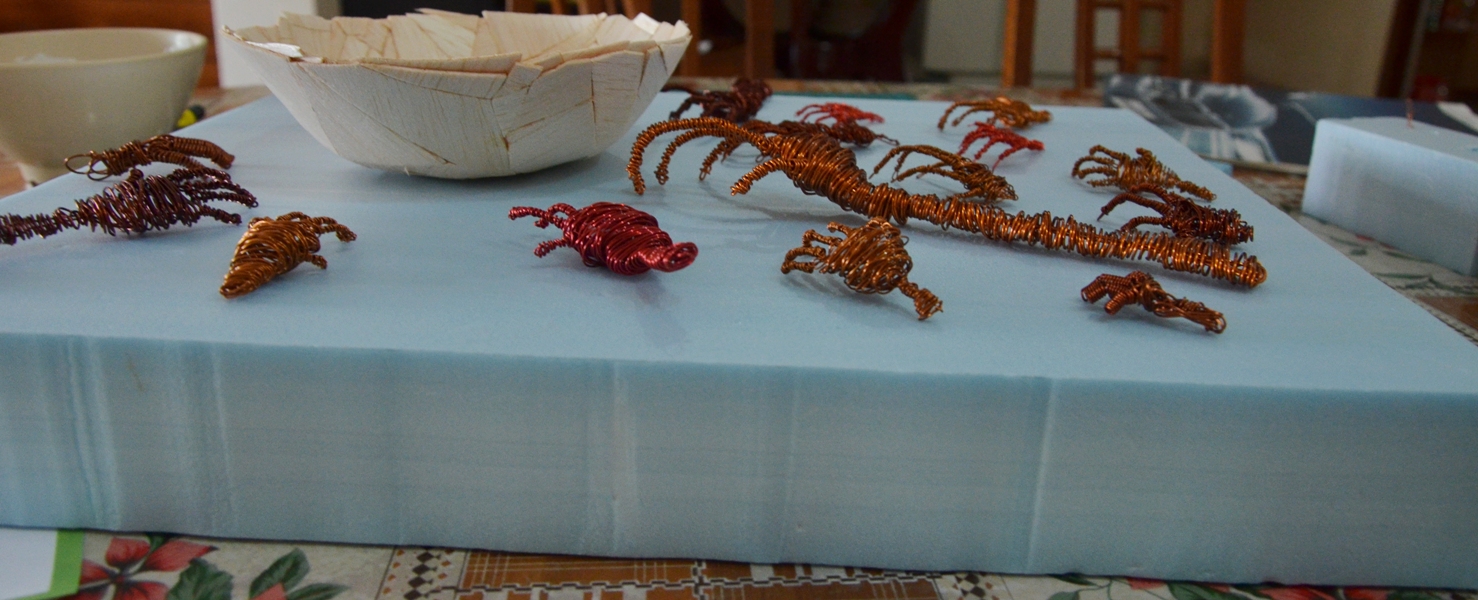
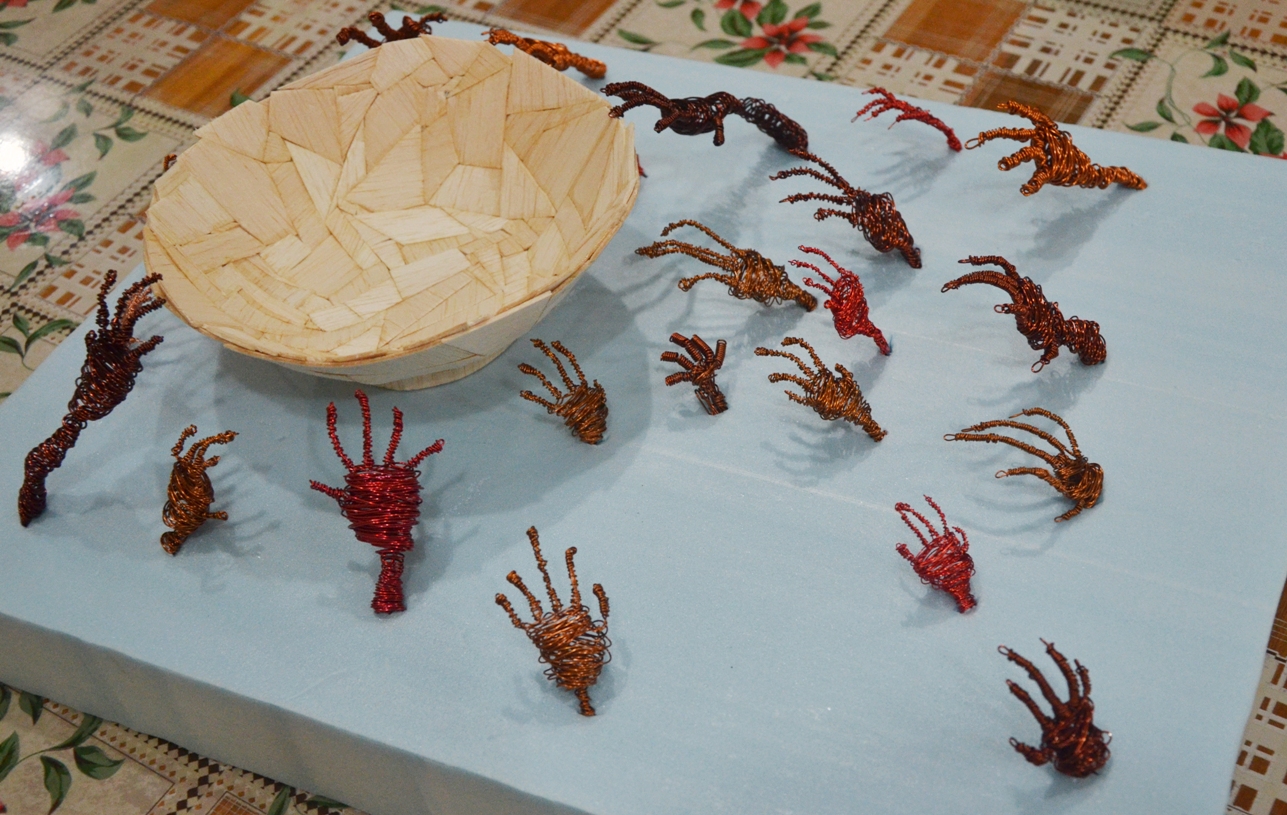
After that, I moved on to the design for my brooch.

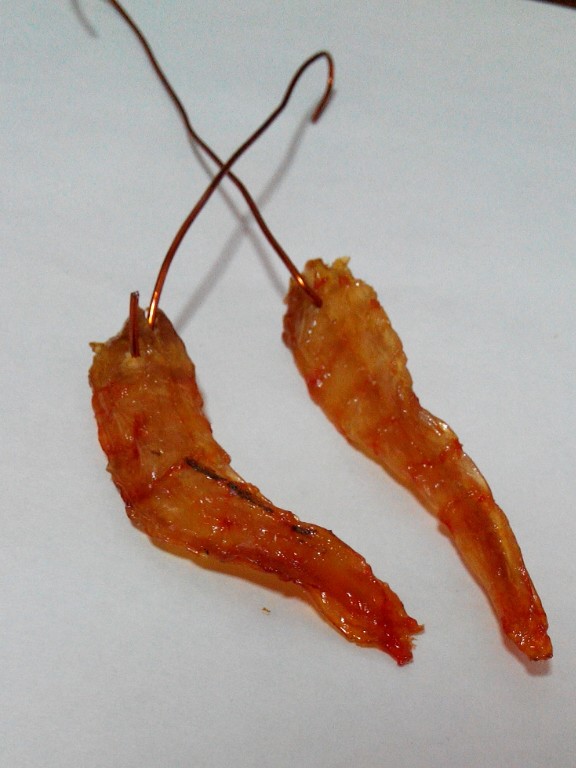
After that, I moved on to the design for my earrings. Initially I wanted to use dried prawns but decided to change to orange peels later.

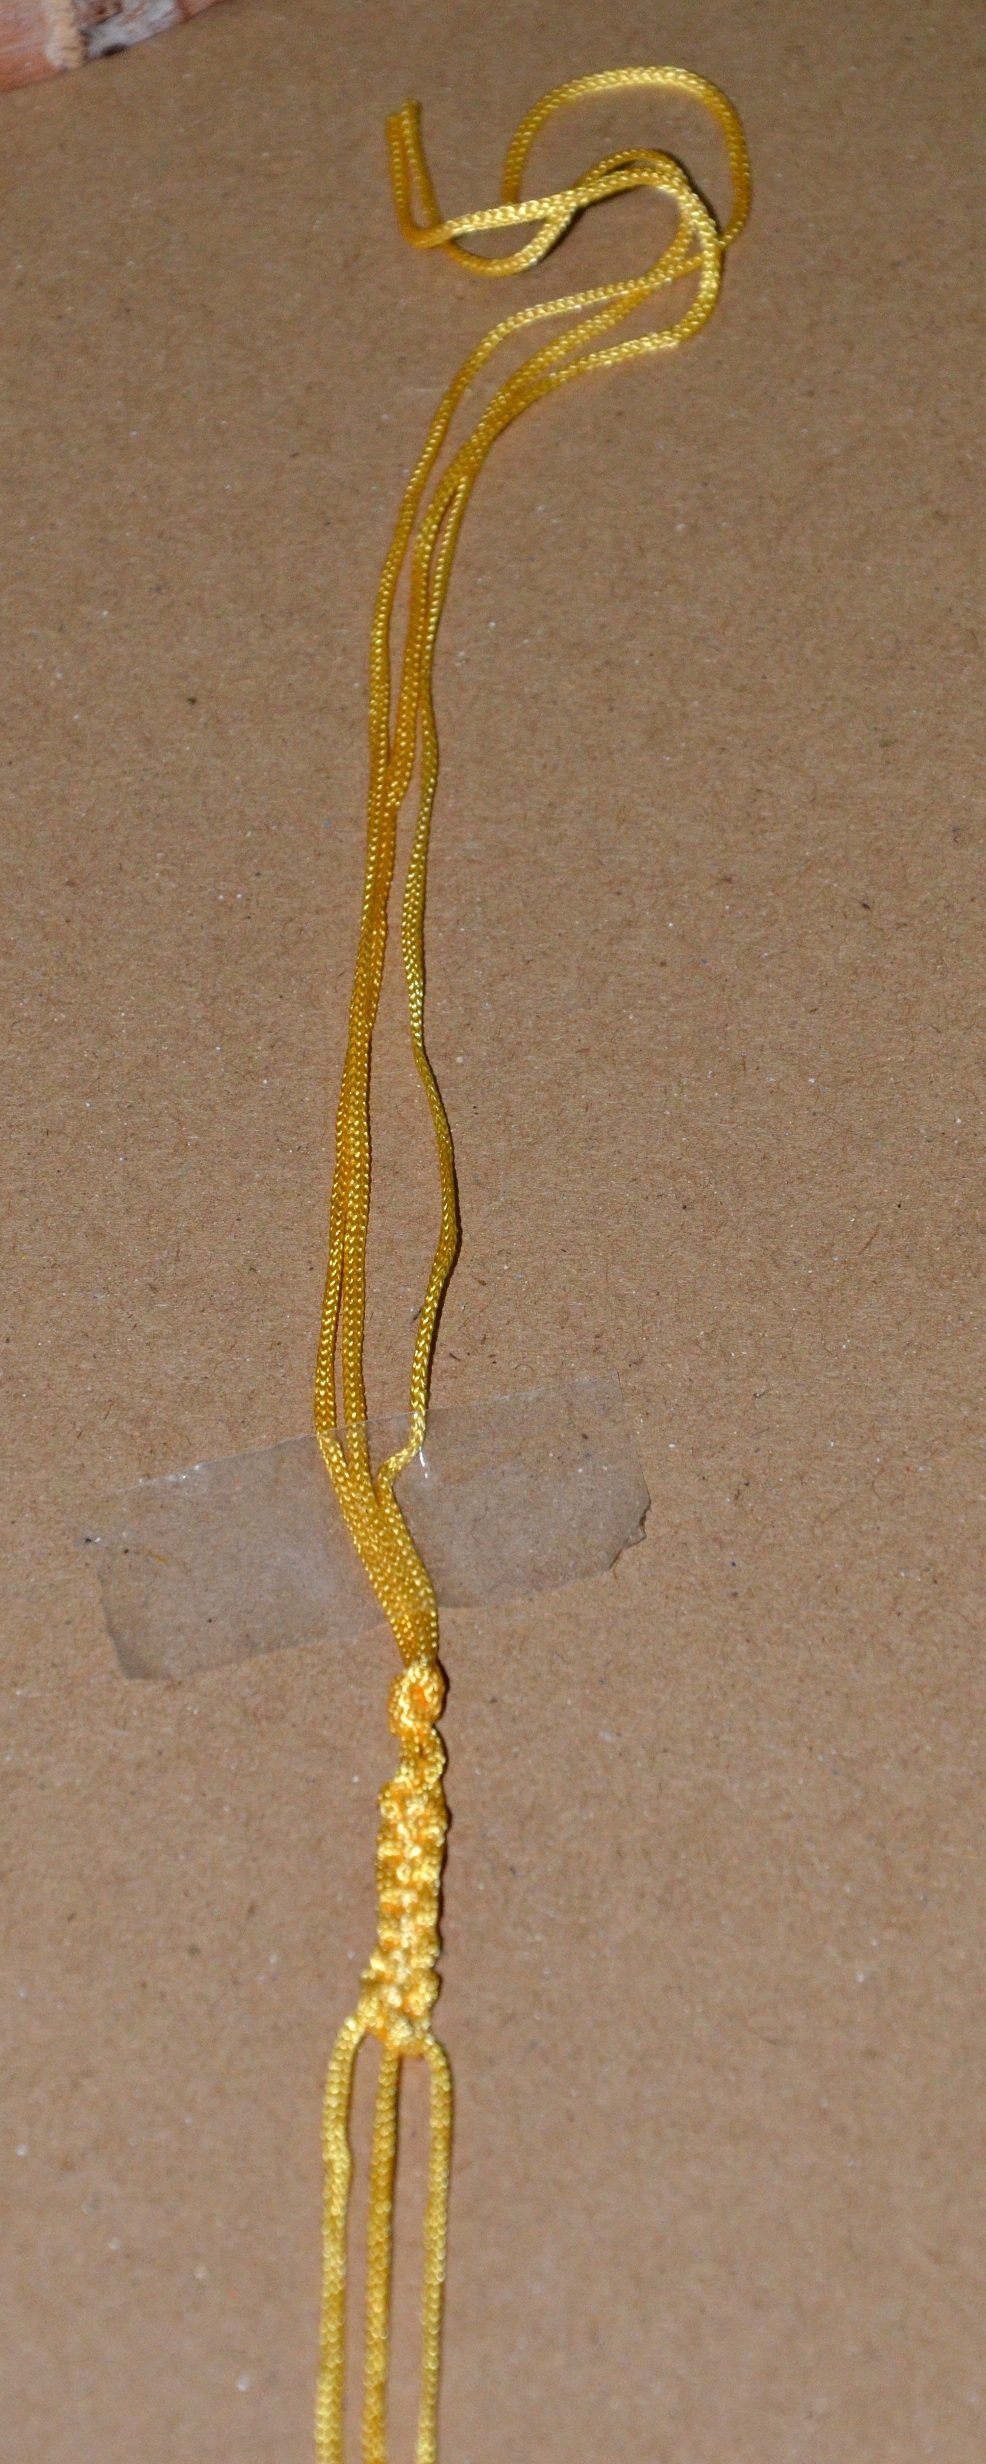
Using strings for the my items, I started to knot them proper with the shamballa knots.

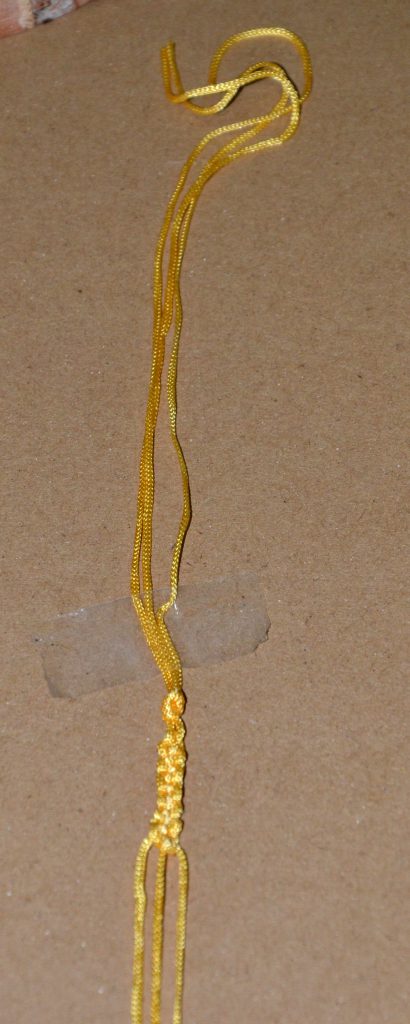
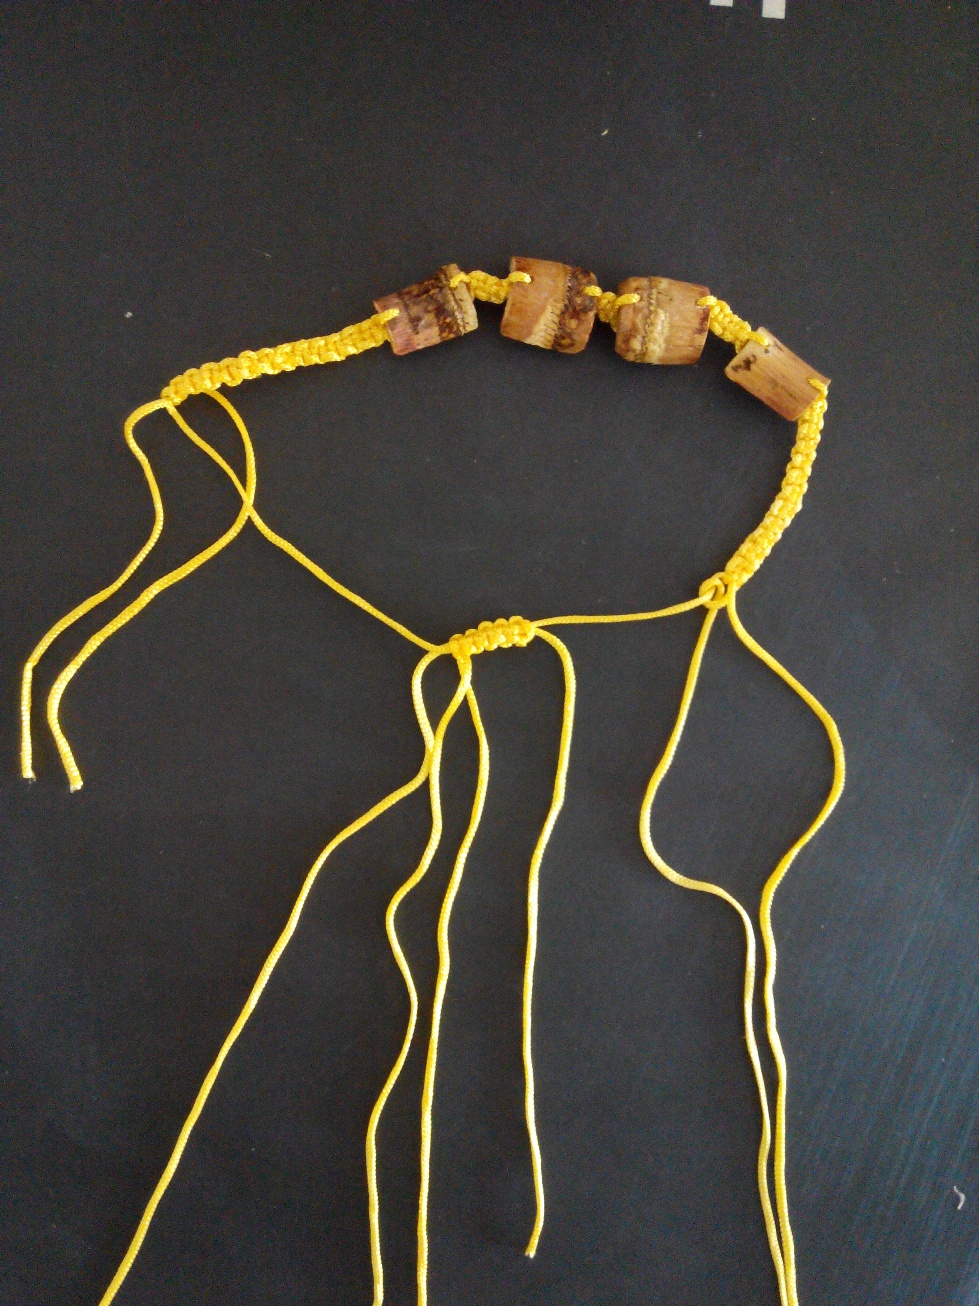
The bracelet for example should look something like this. The middle section with single strings coming out from the 2 sides are the adjustable lengths for the bracelets.

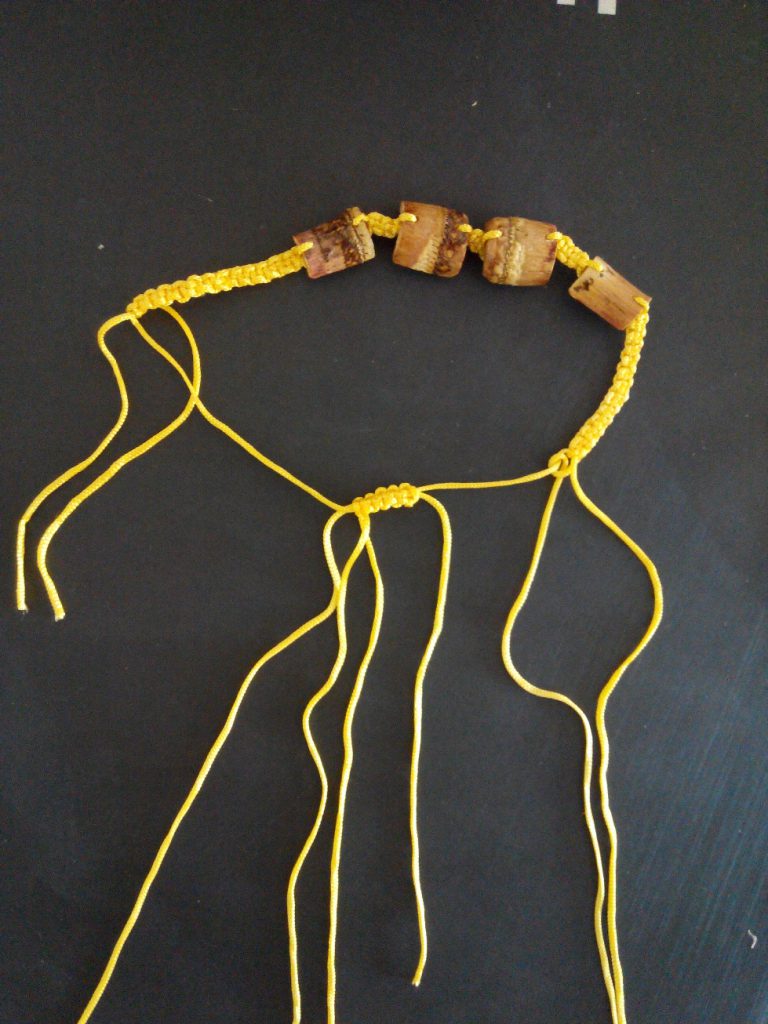
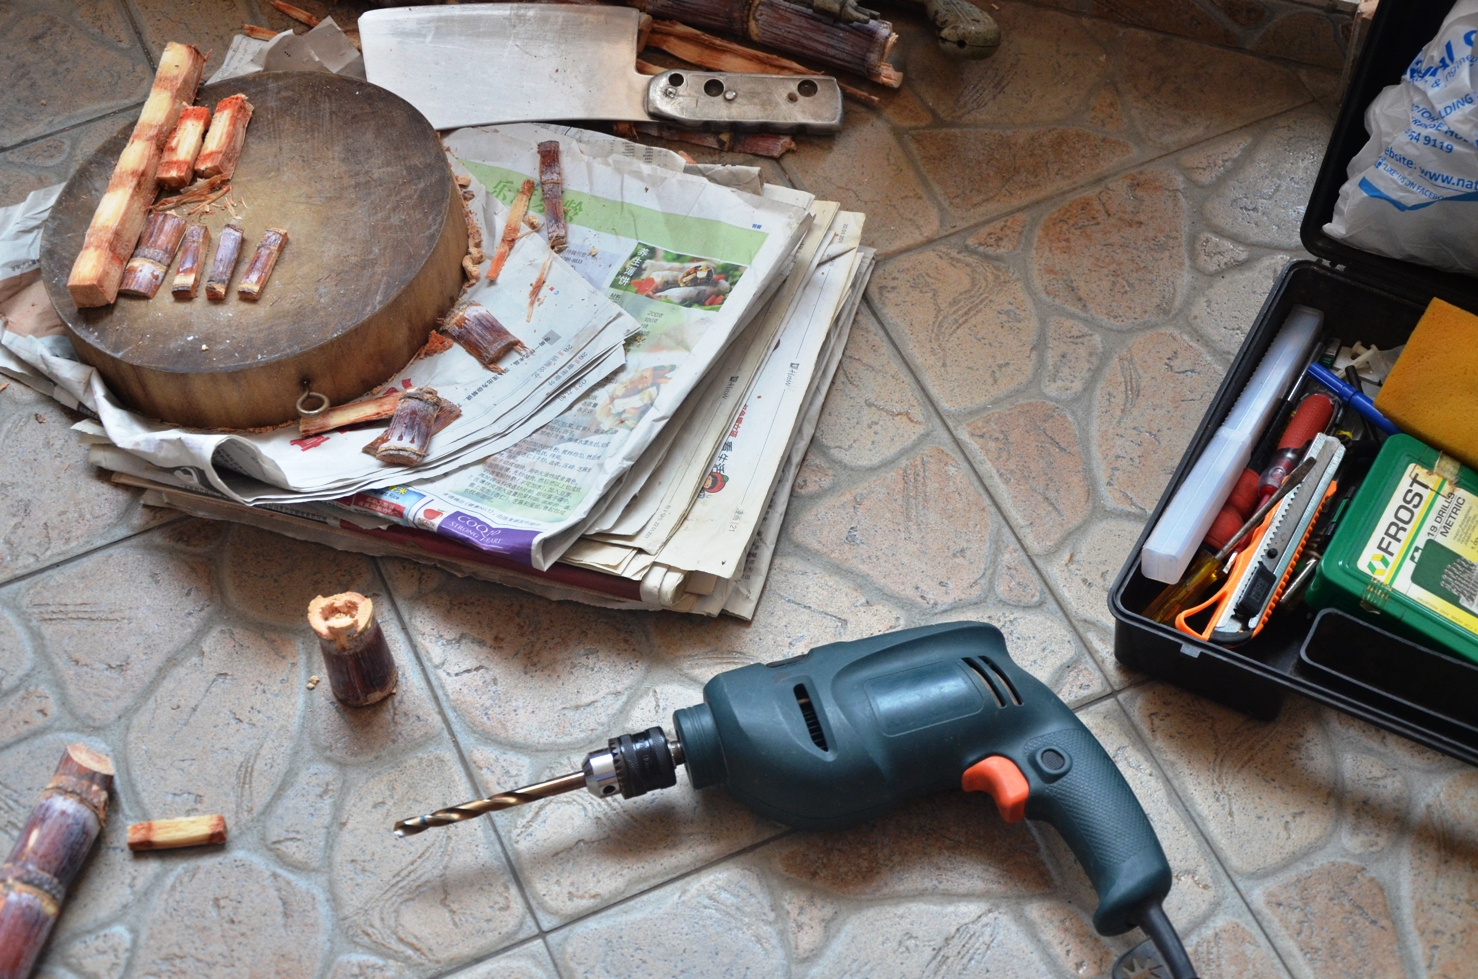
However, after consulting Prof Peter, he commented that the yellow / goldish strings are not very kitschy since the contrast was too high. So, I switched it to a dirty brown instead and redid the knots. Pull the 2 ends to adjust the length. I have also use a black bean with a tiny drilled hole to act as a “bead” at the end.

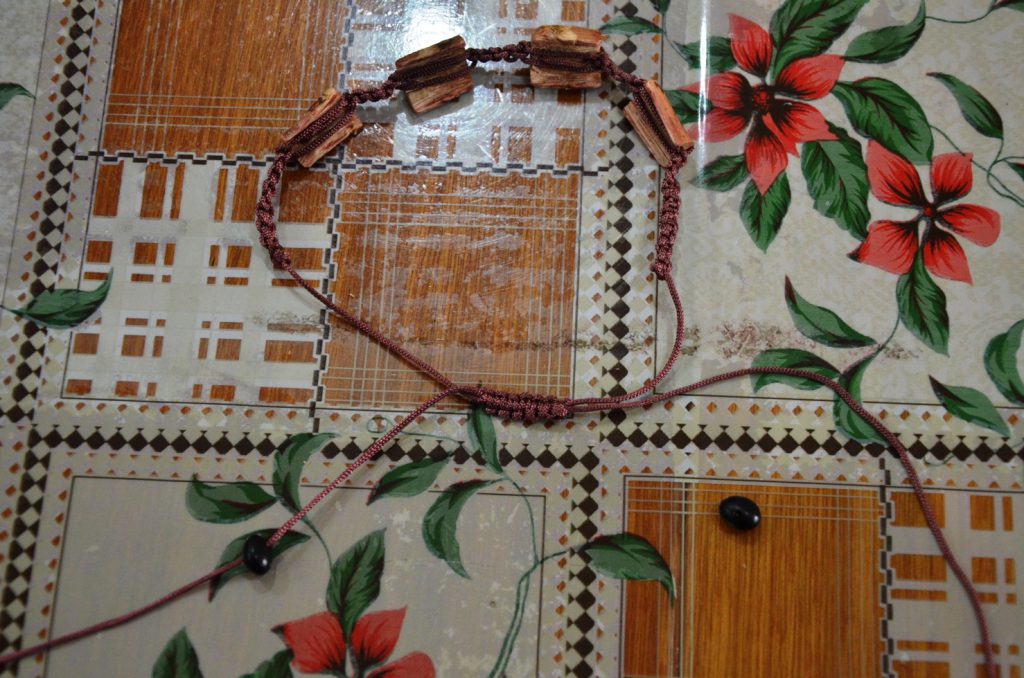
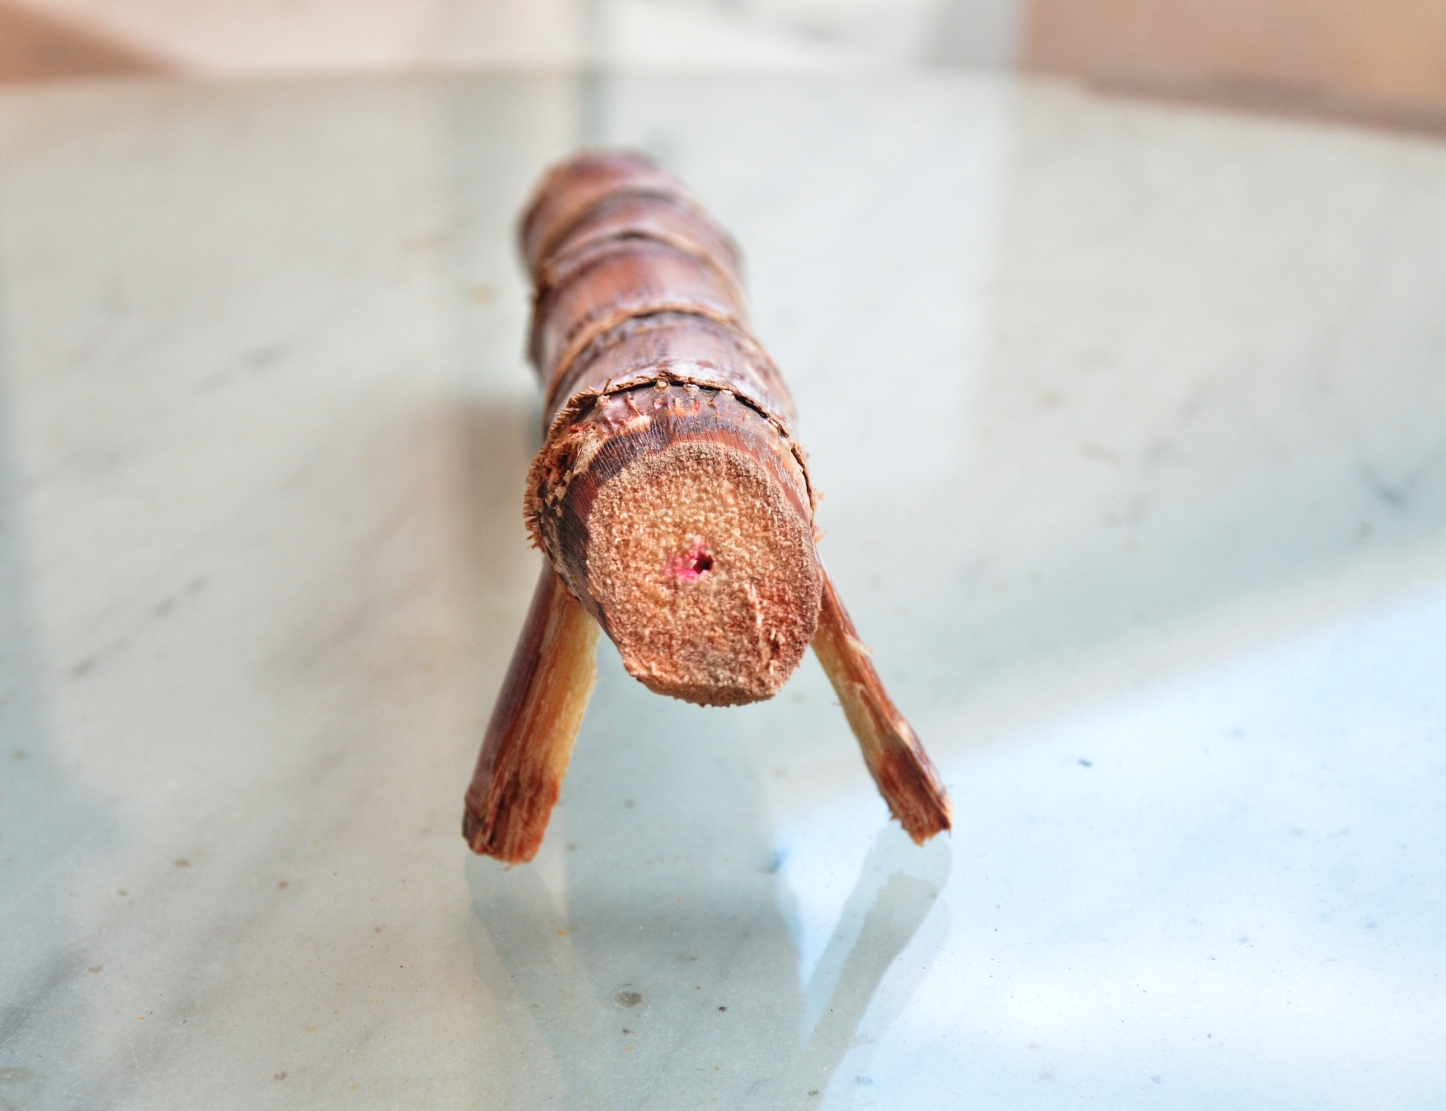
The sugarcane sections for the necklace should be longer.

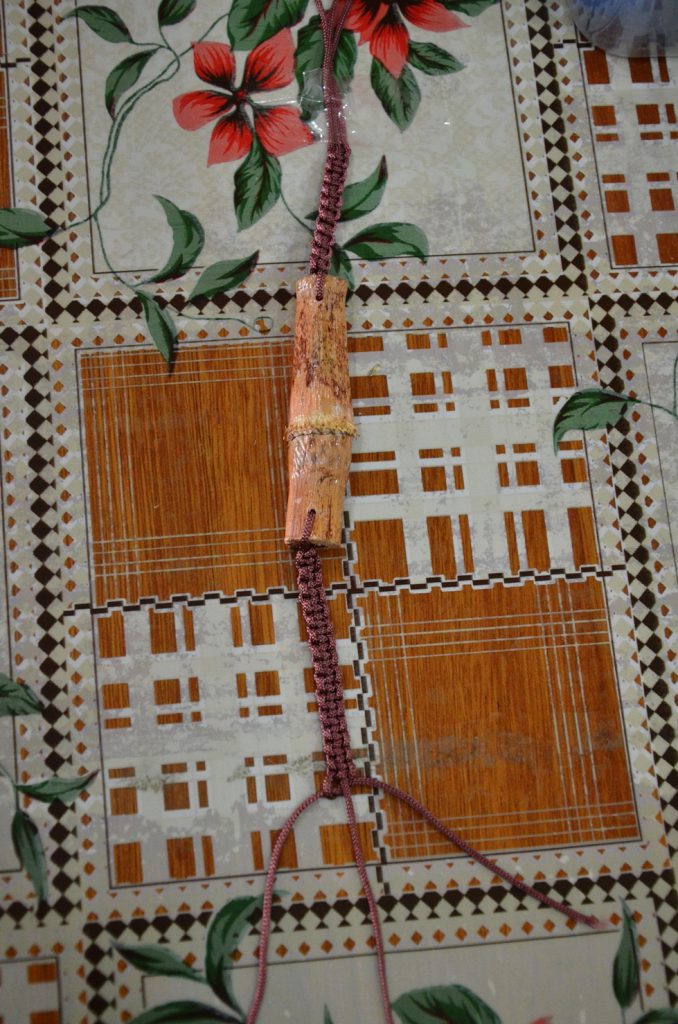
I started stringing things up.

After that, I also thought that maybe adding a 5th item, perhaps a ring, will be good. However, the avocado seed proves to be too big and bulky on the strip of orange peel. Hence I called off the idea since it clashes with a space I have within the jewellery box shown below.

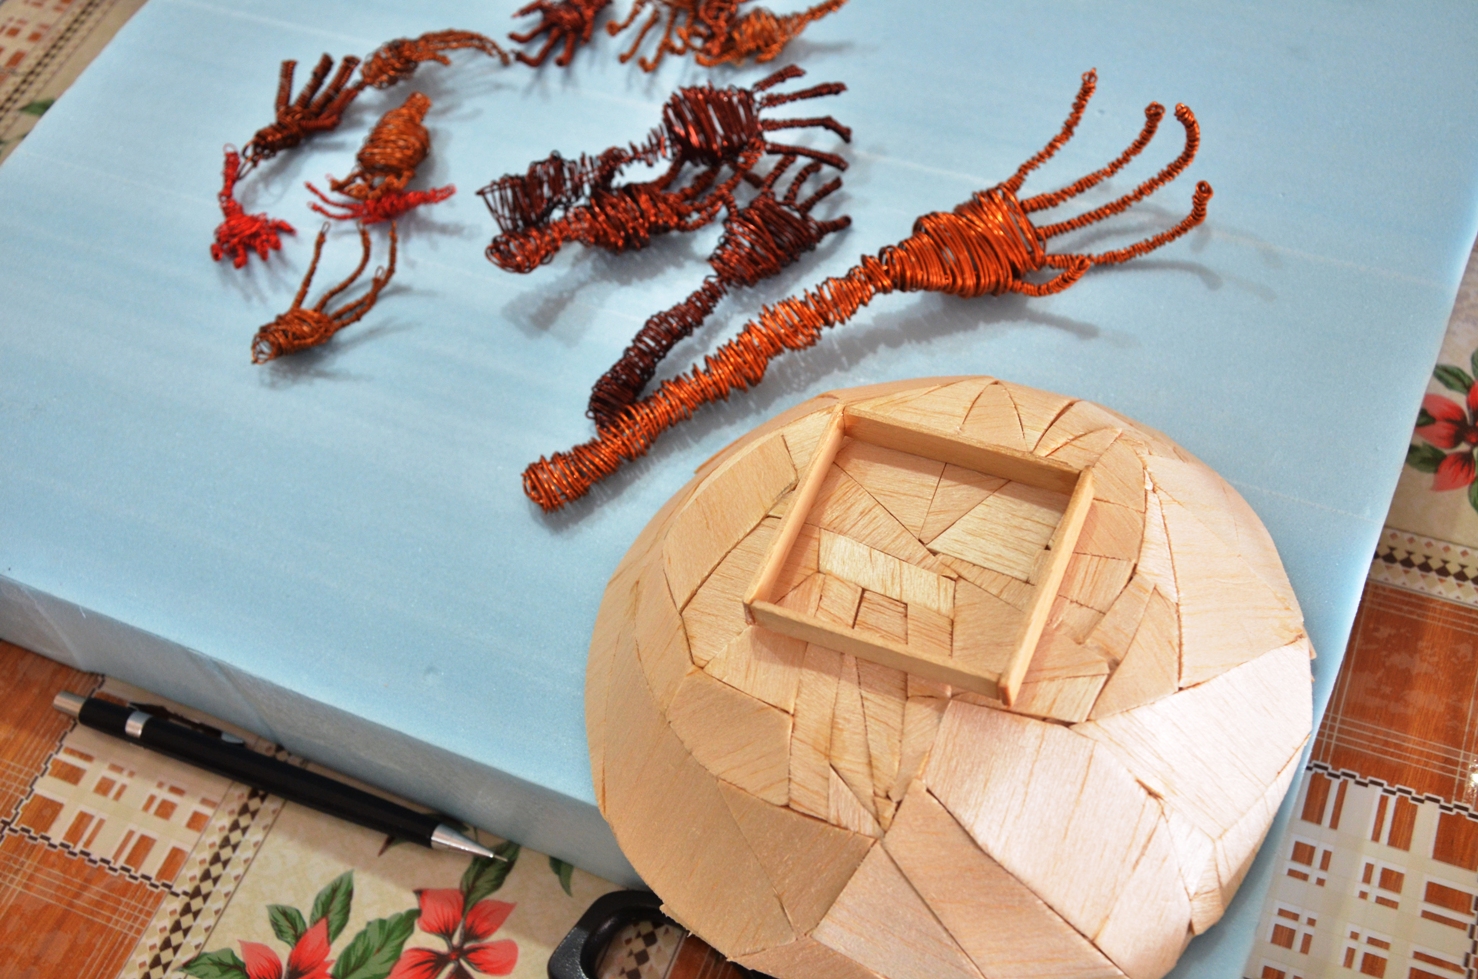
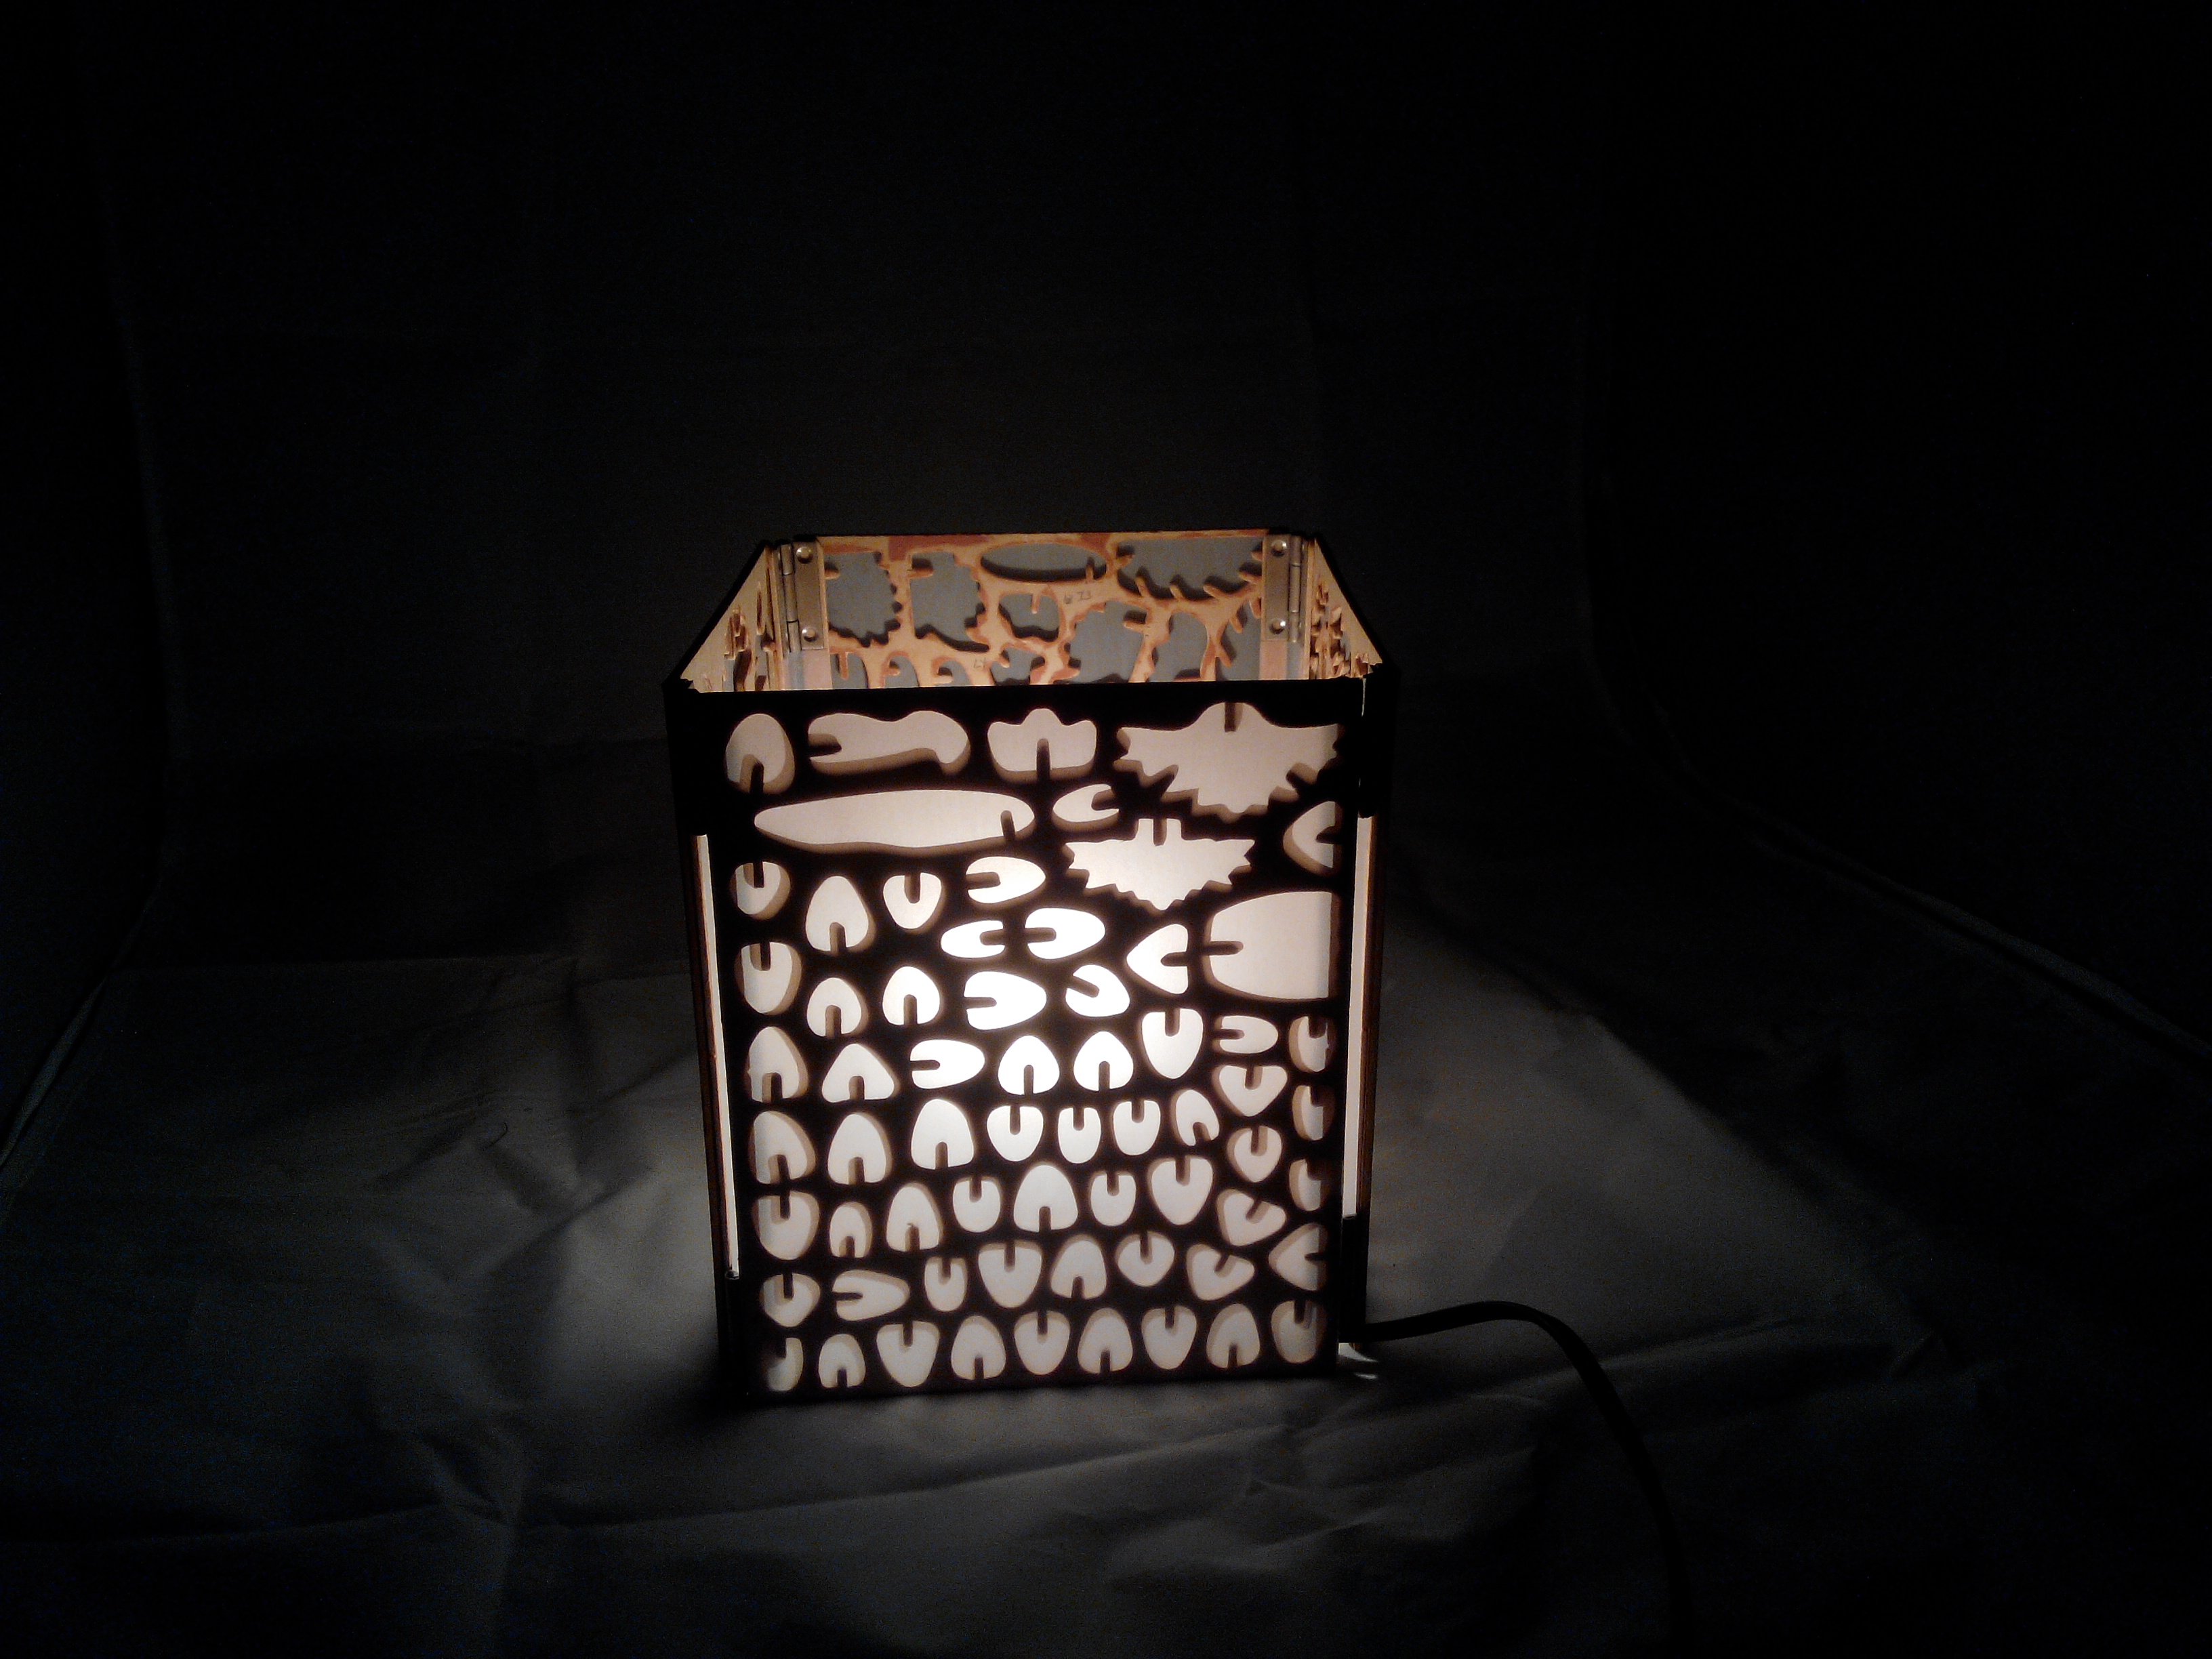
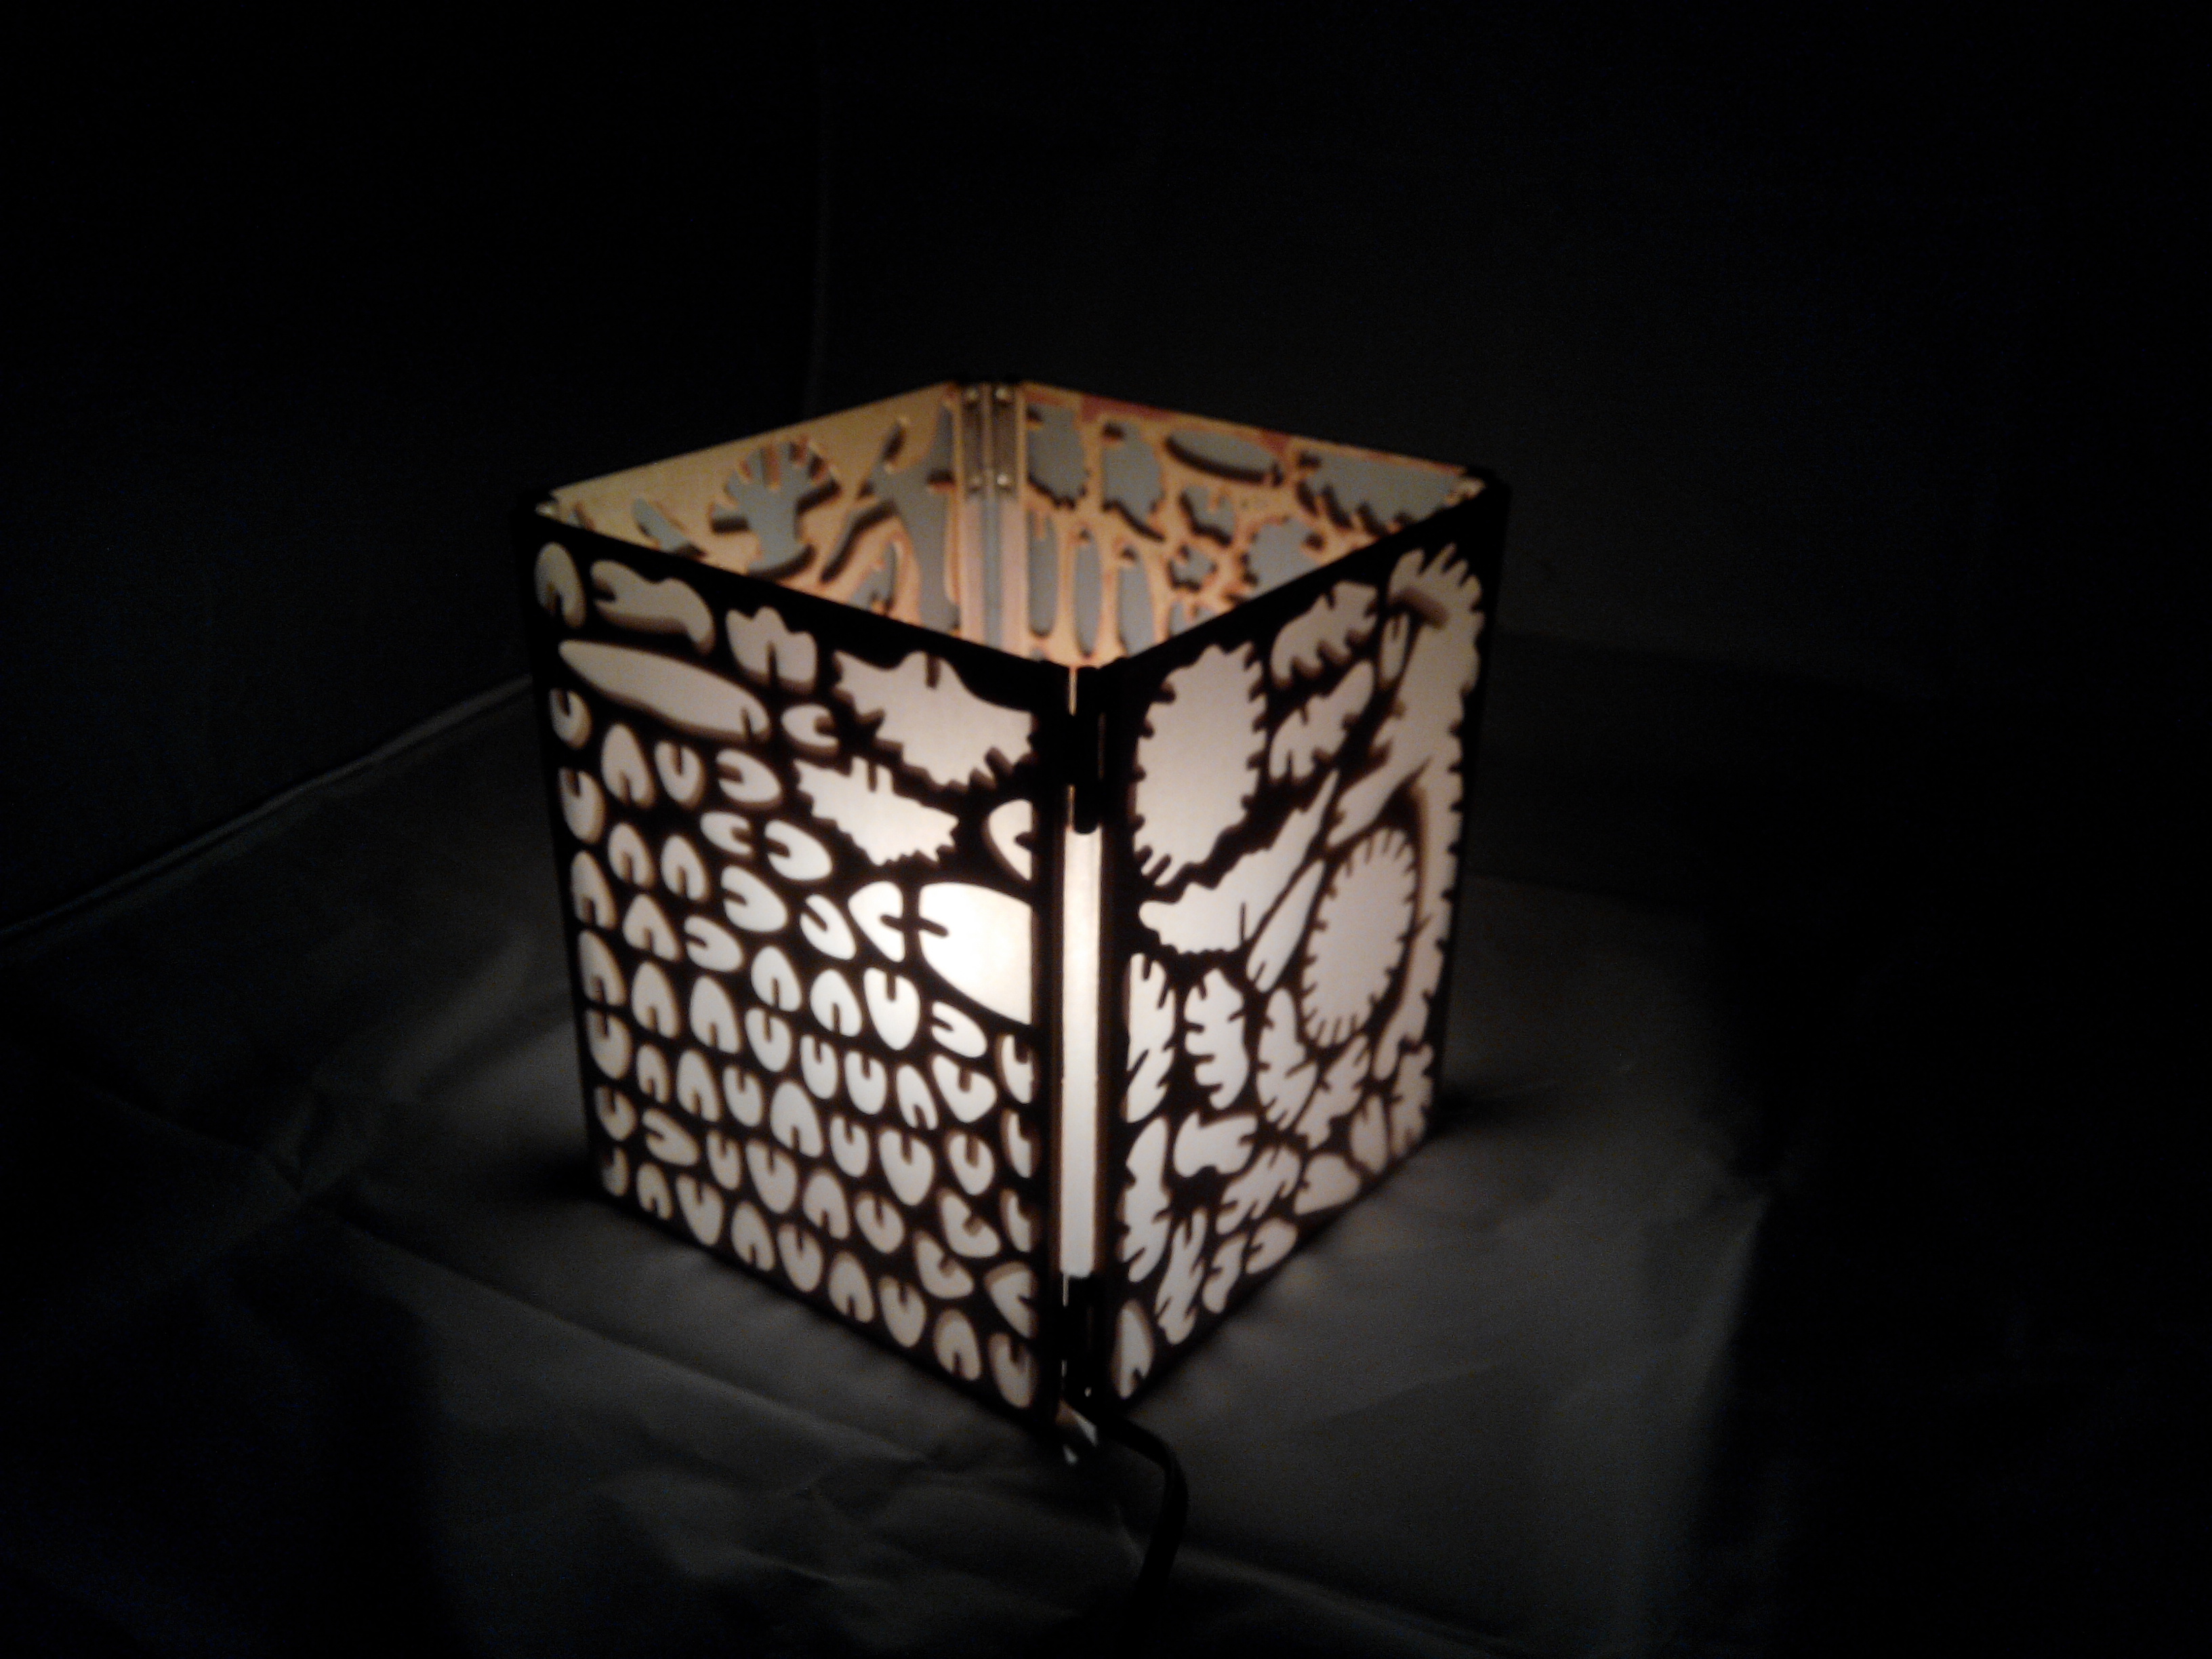
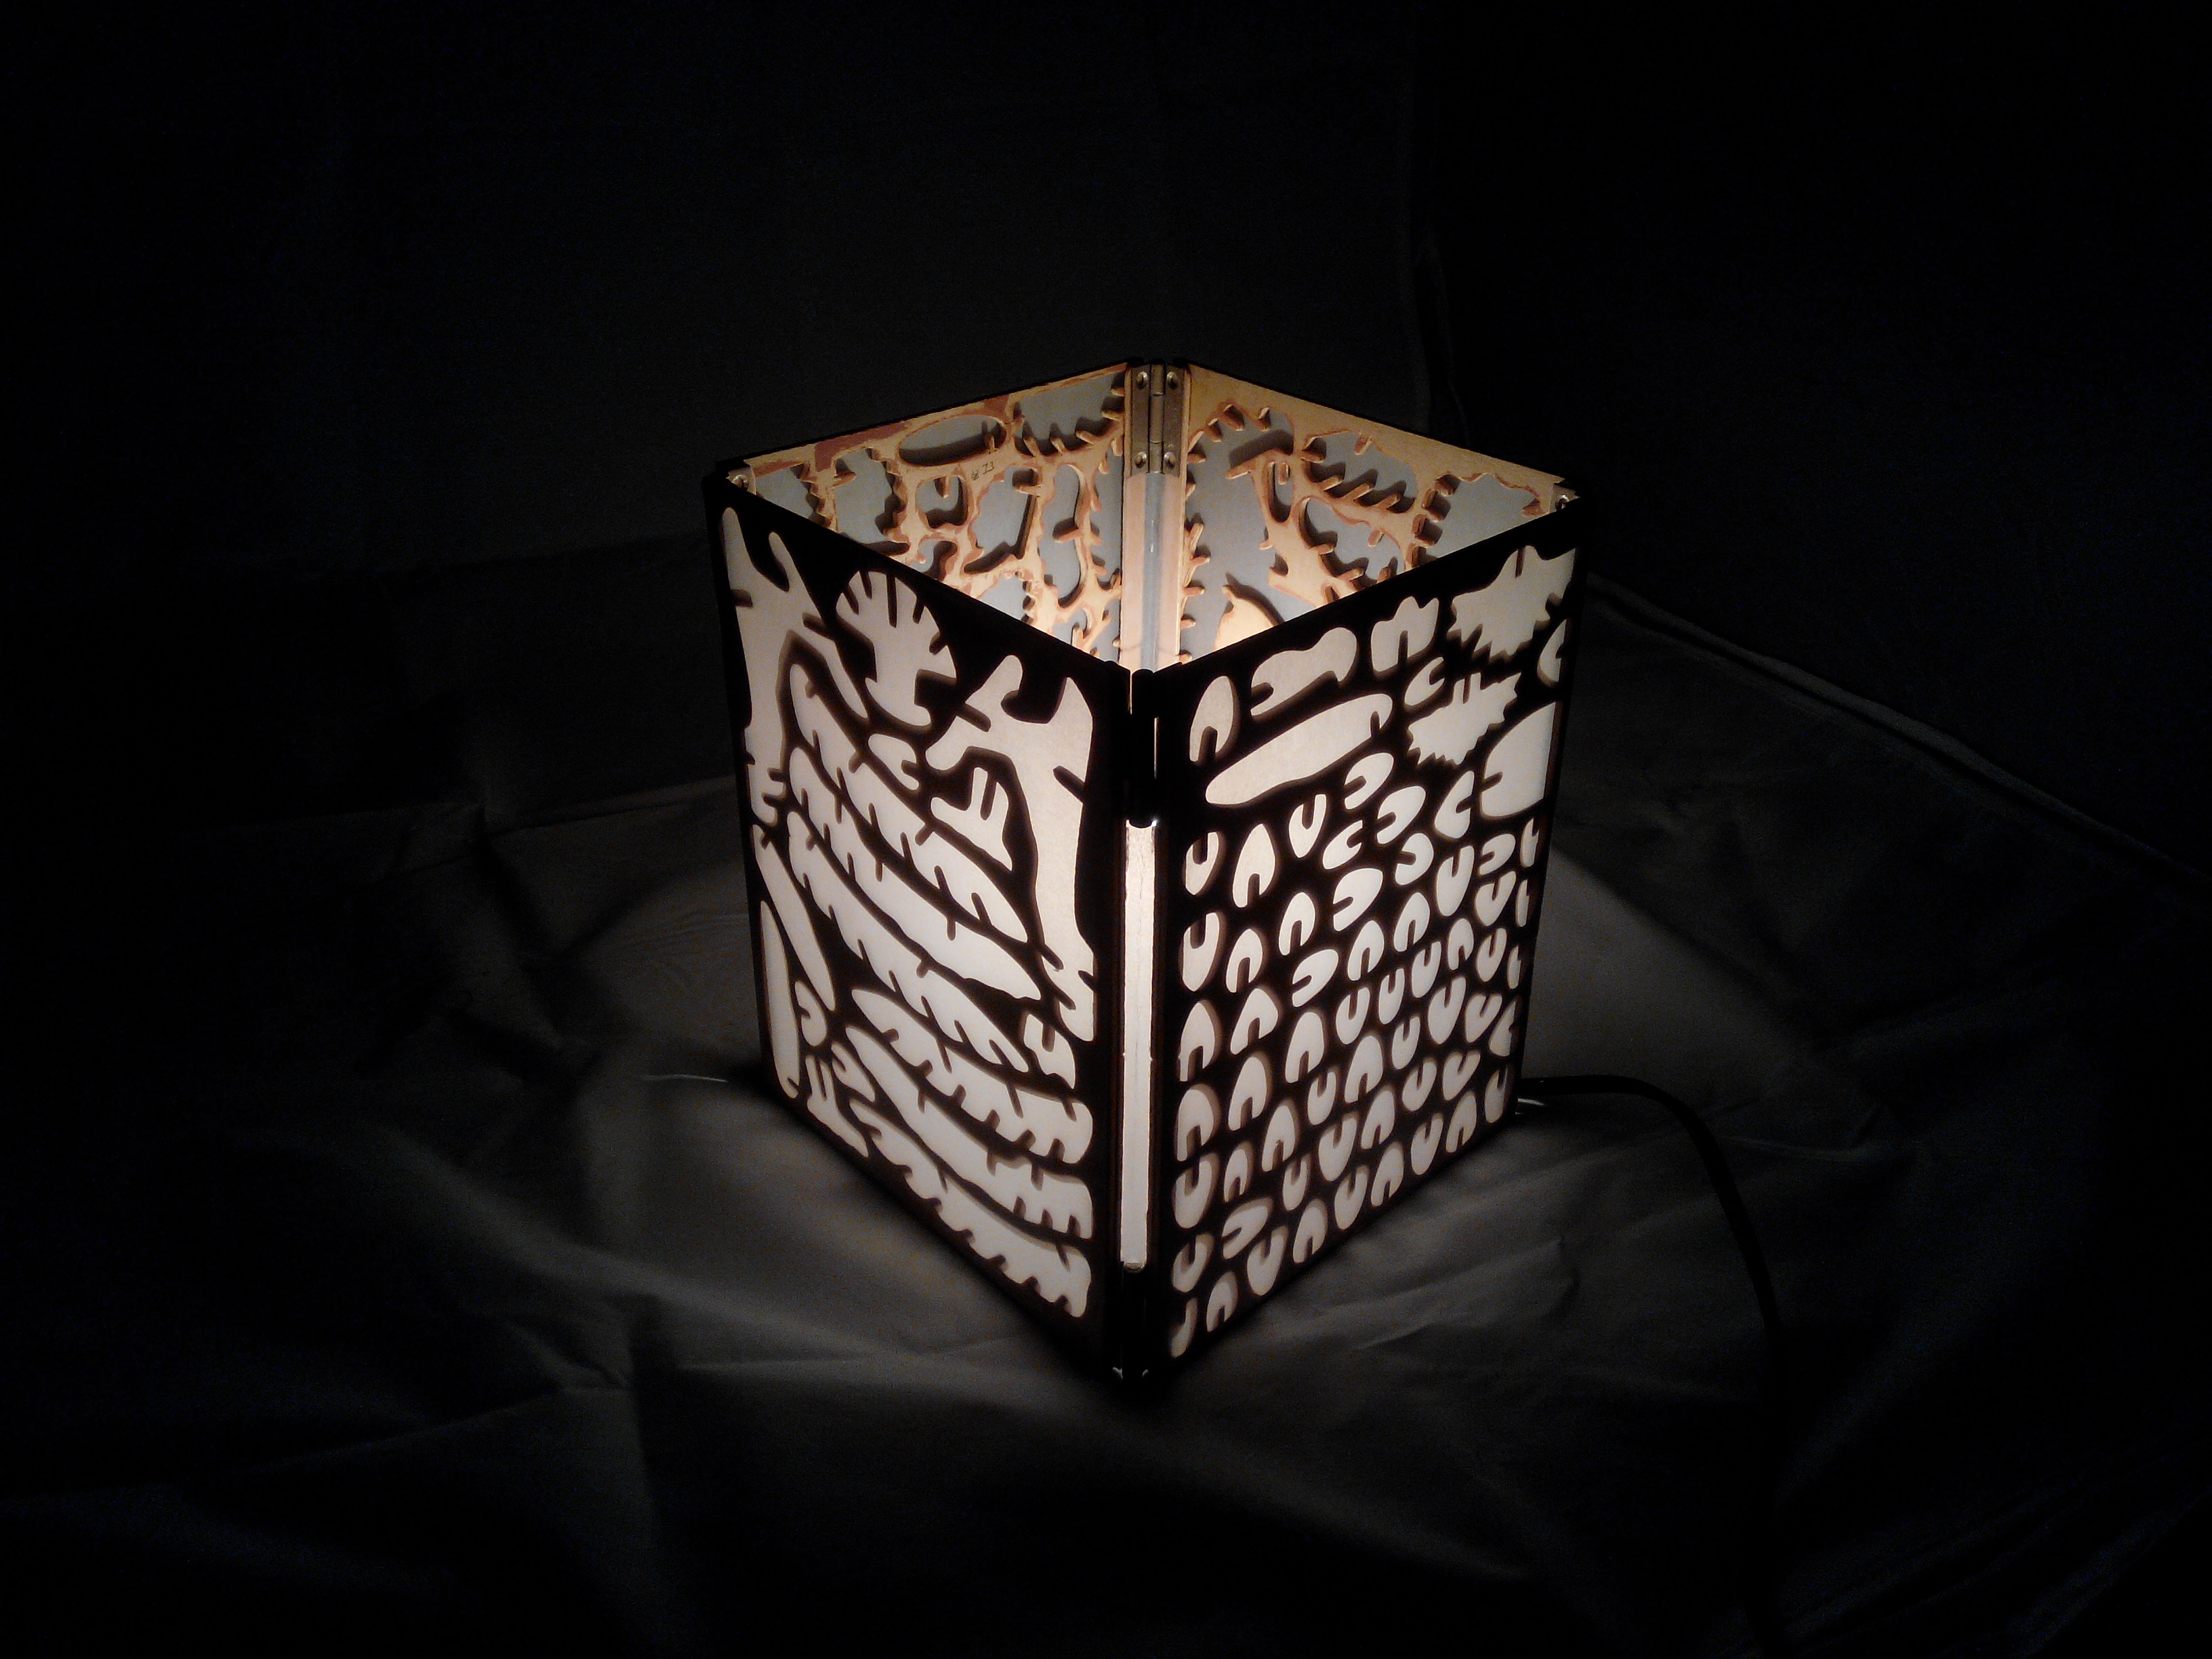
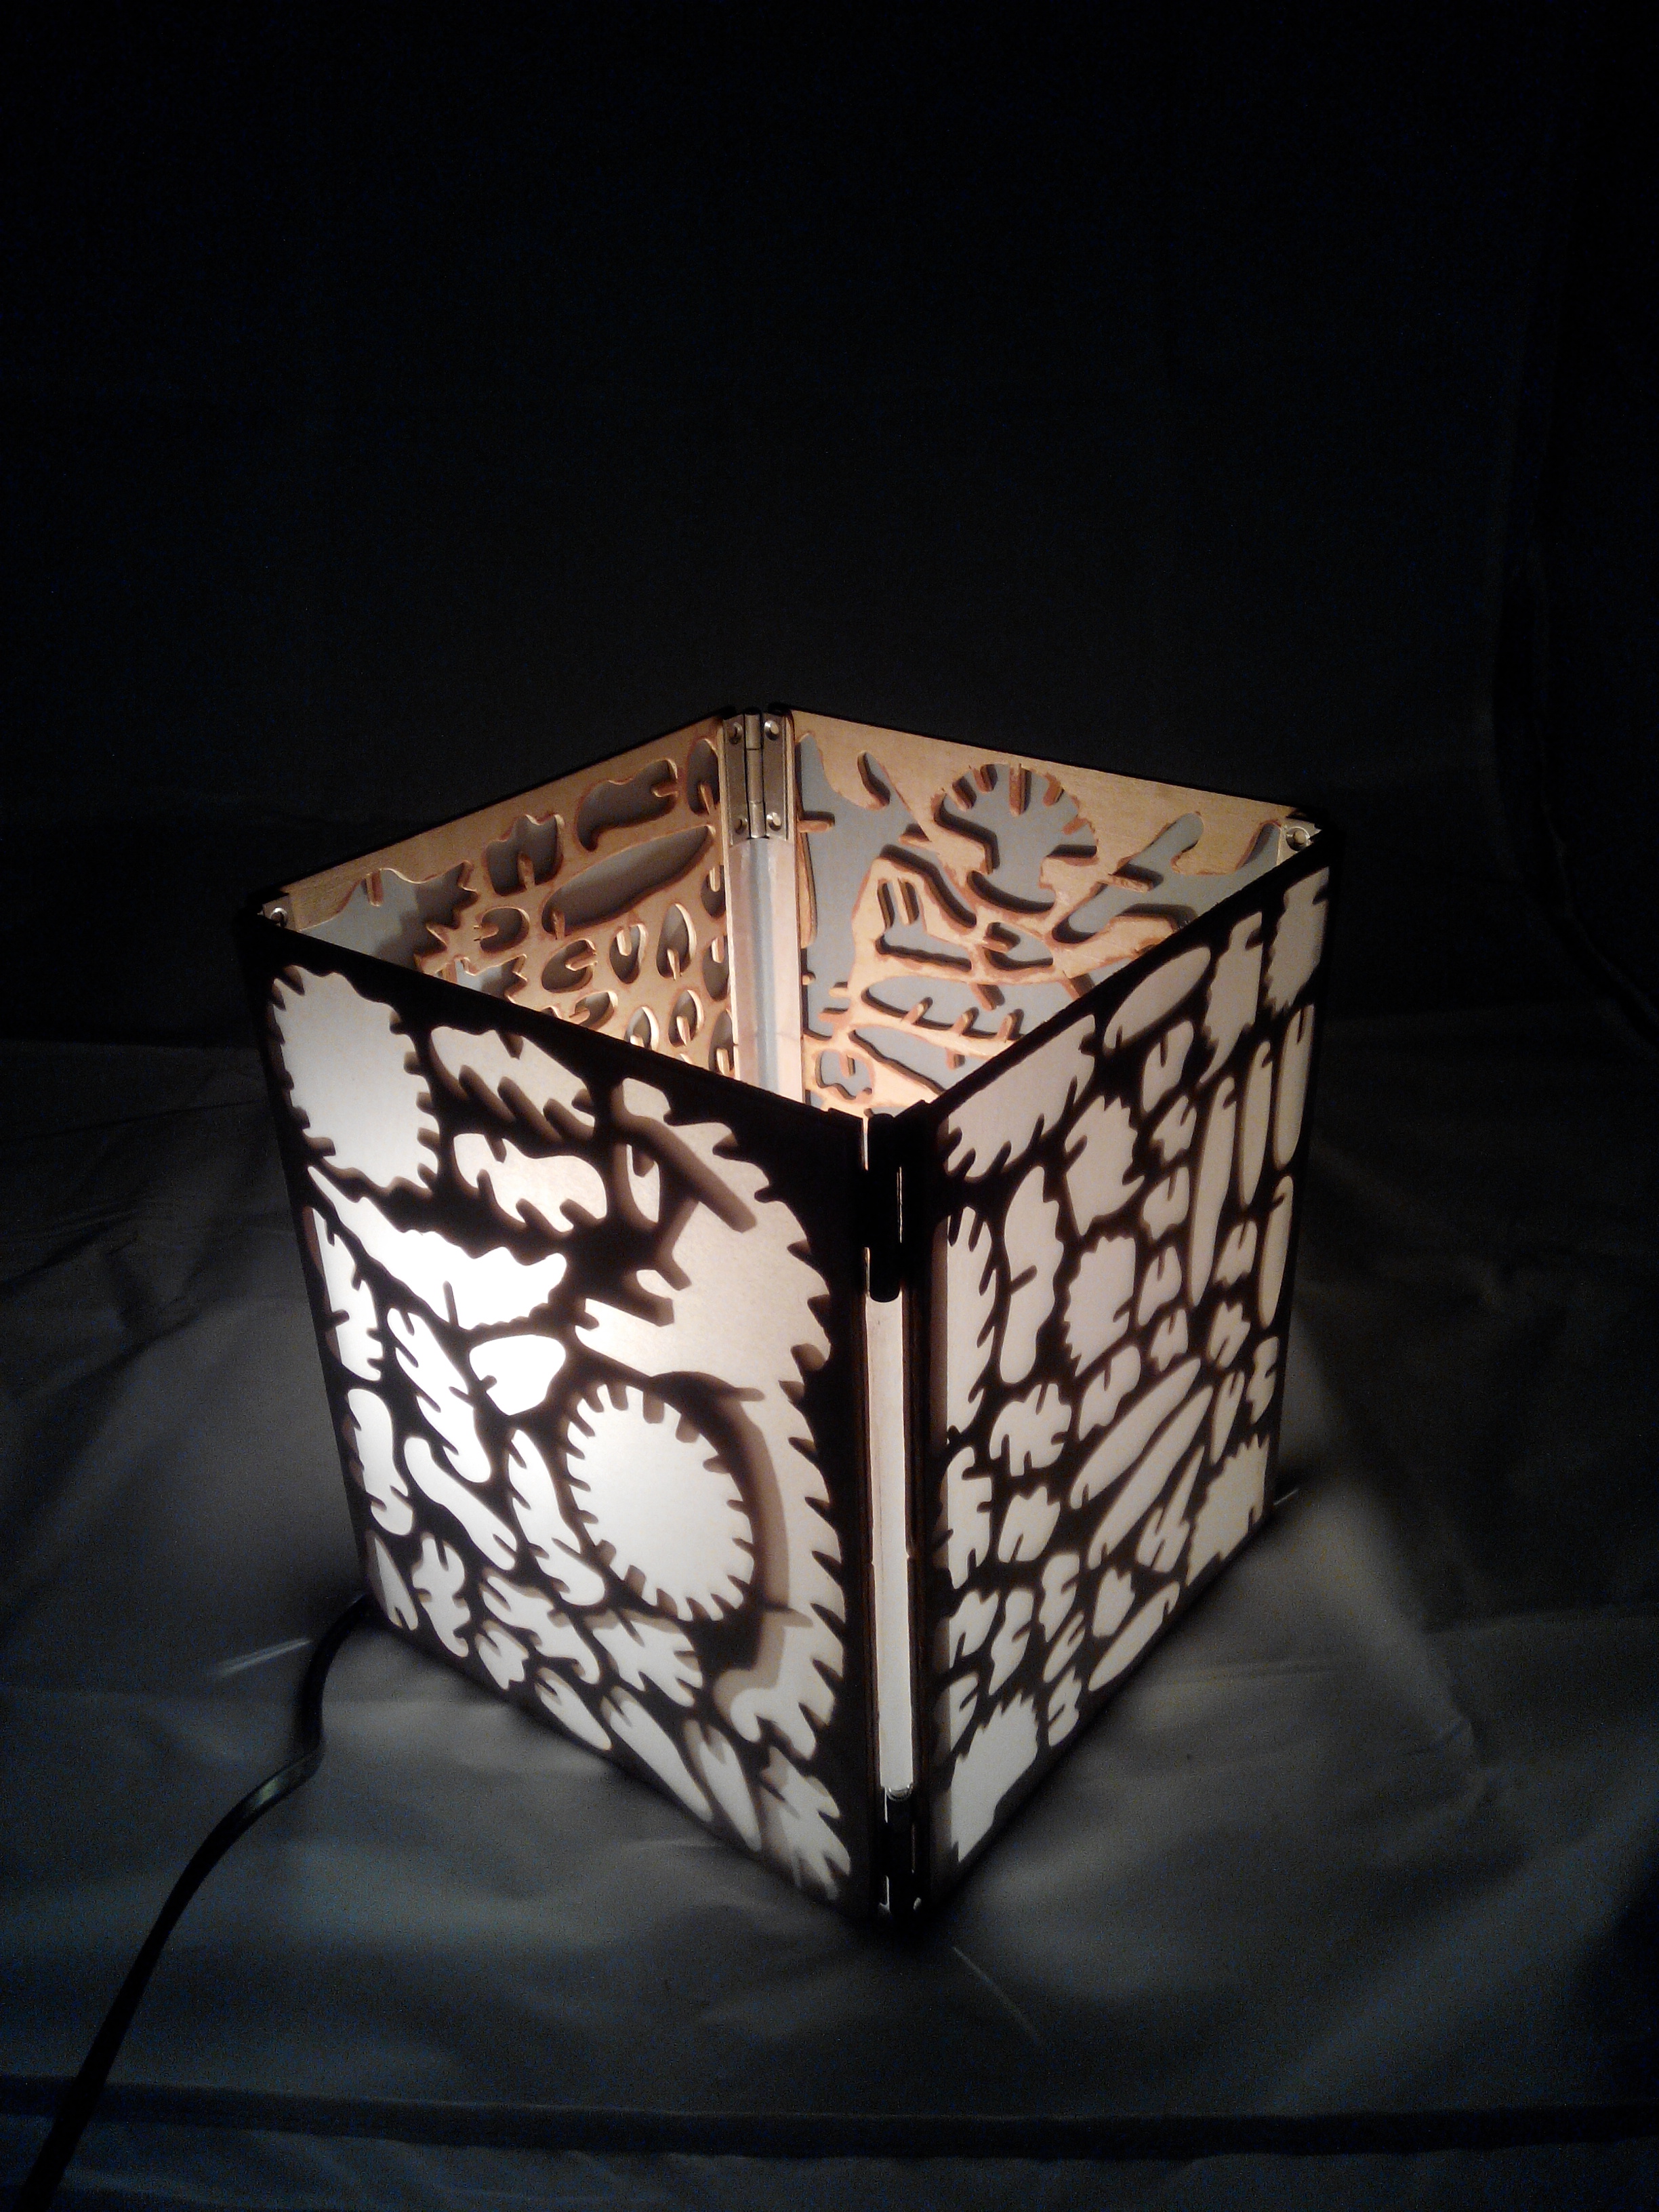
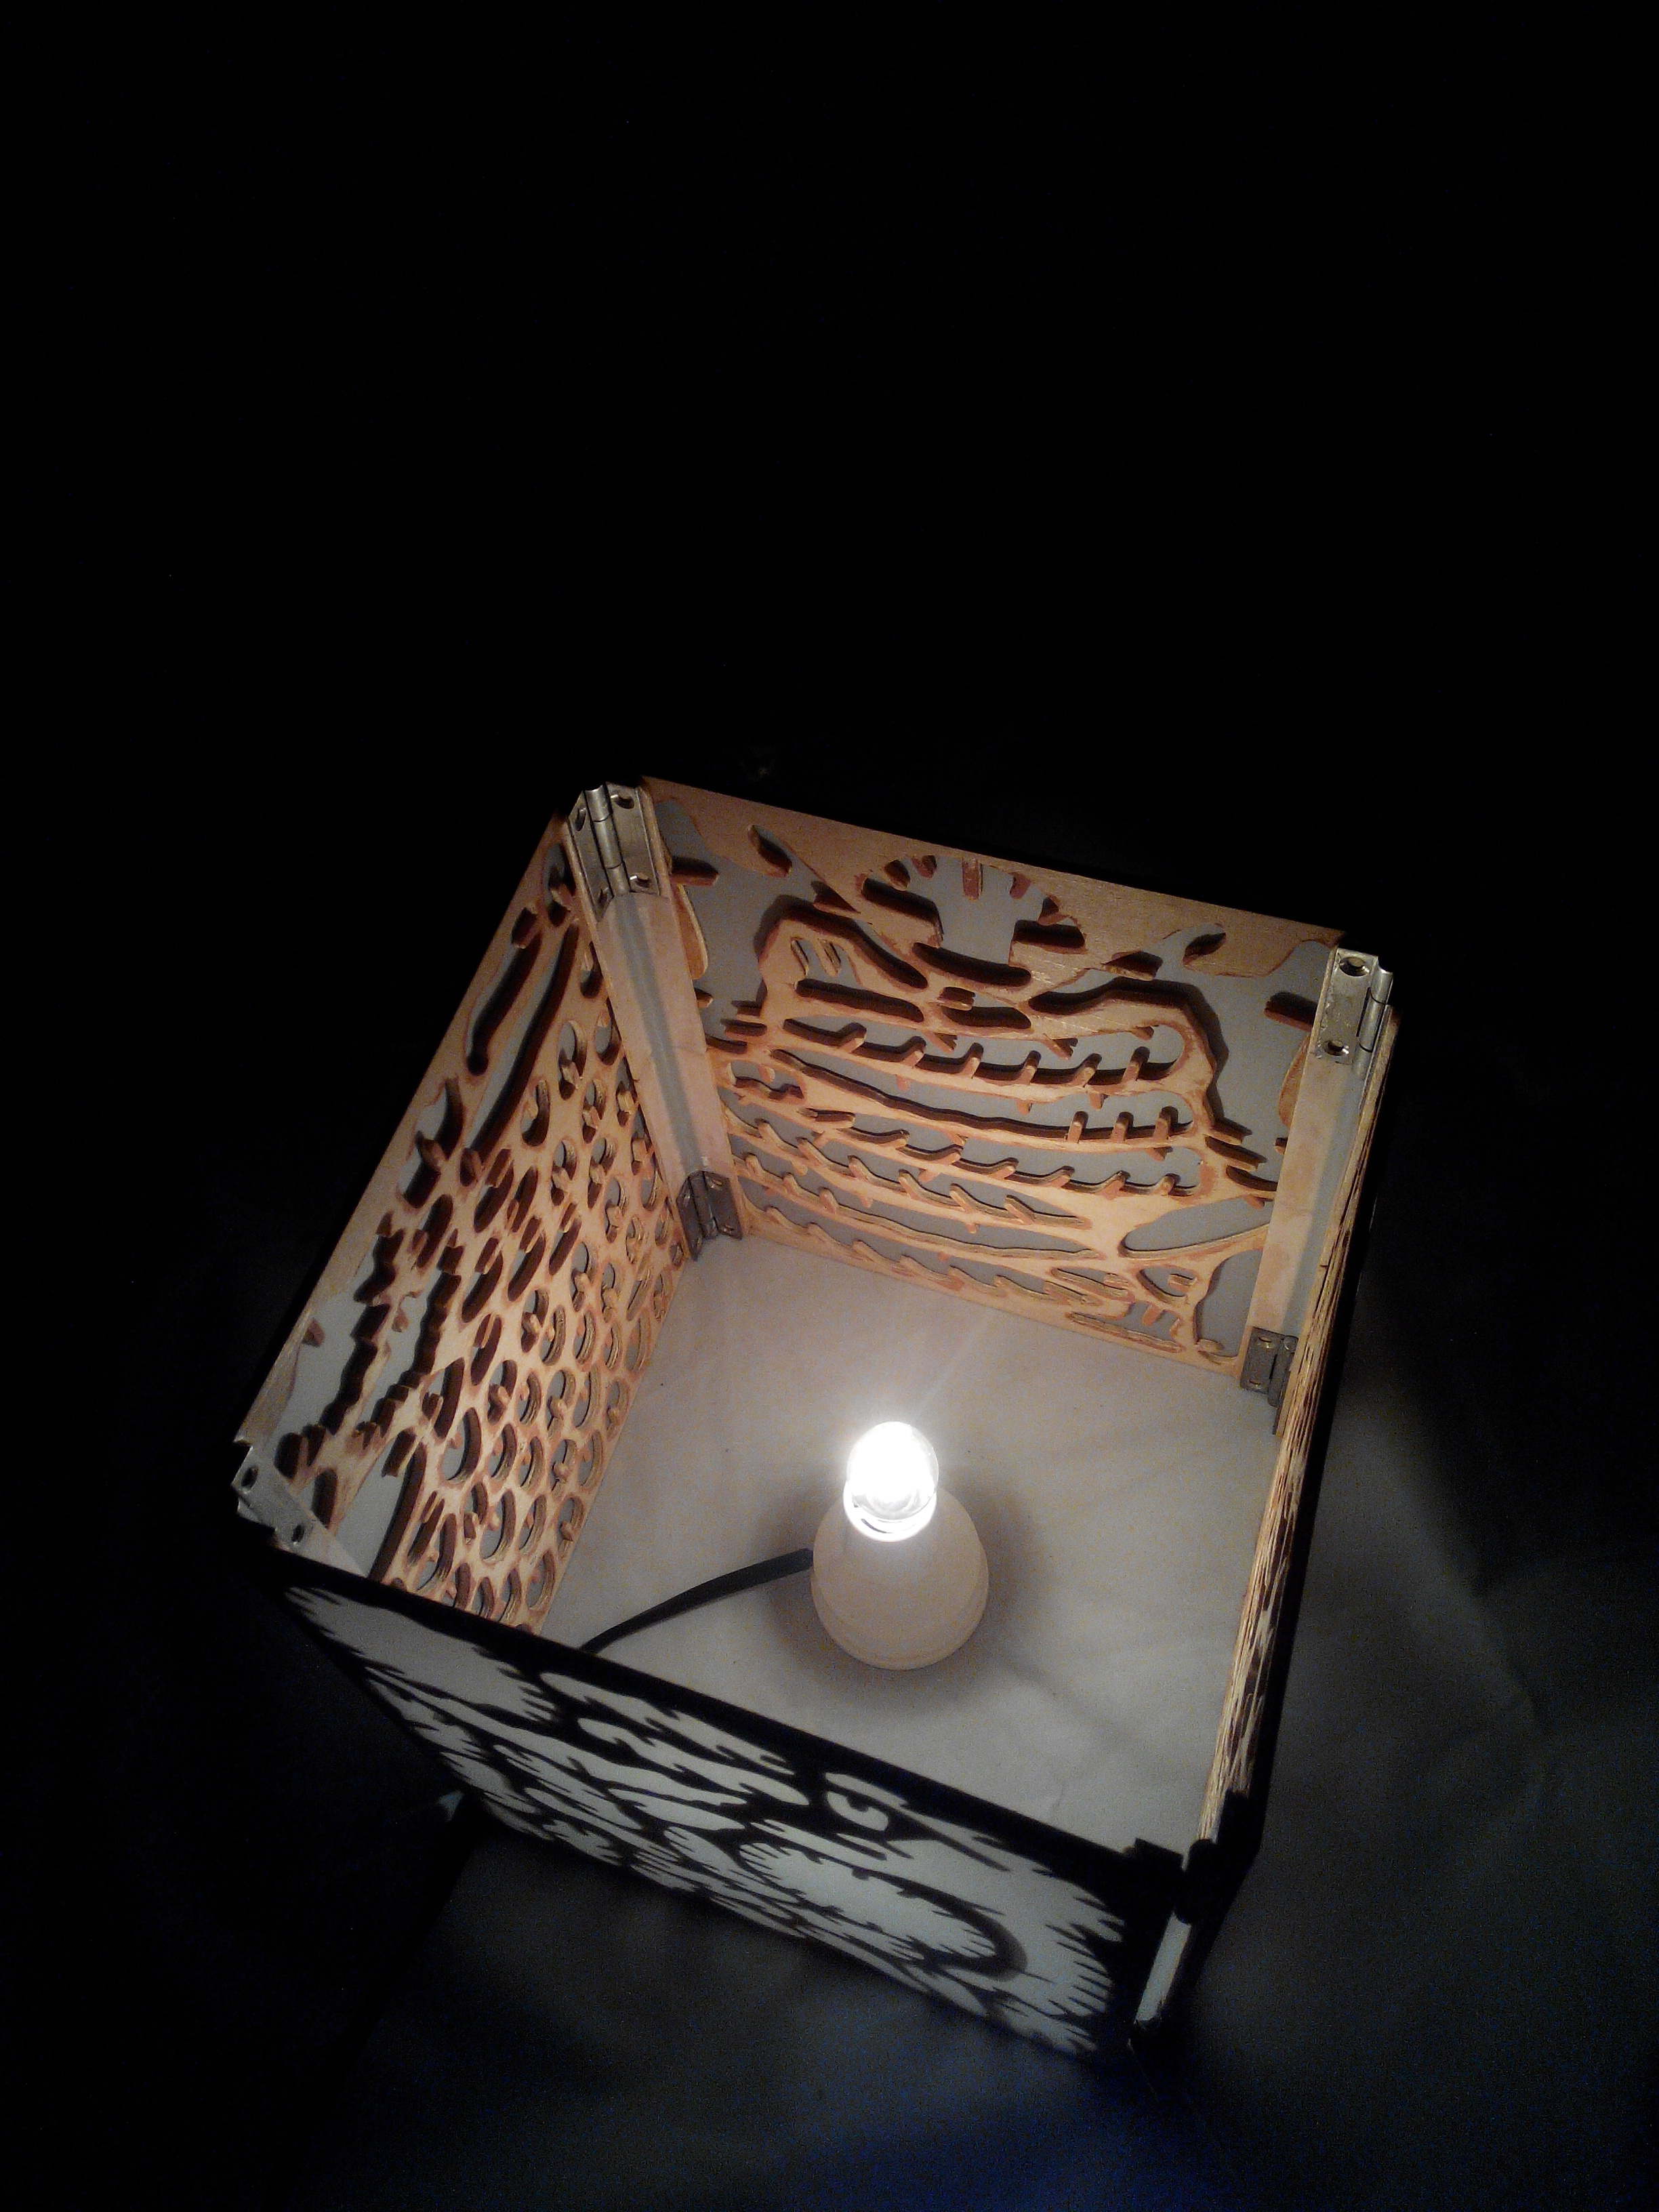
MAKING THE JEWELLERY BOX:

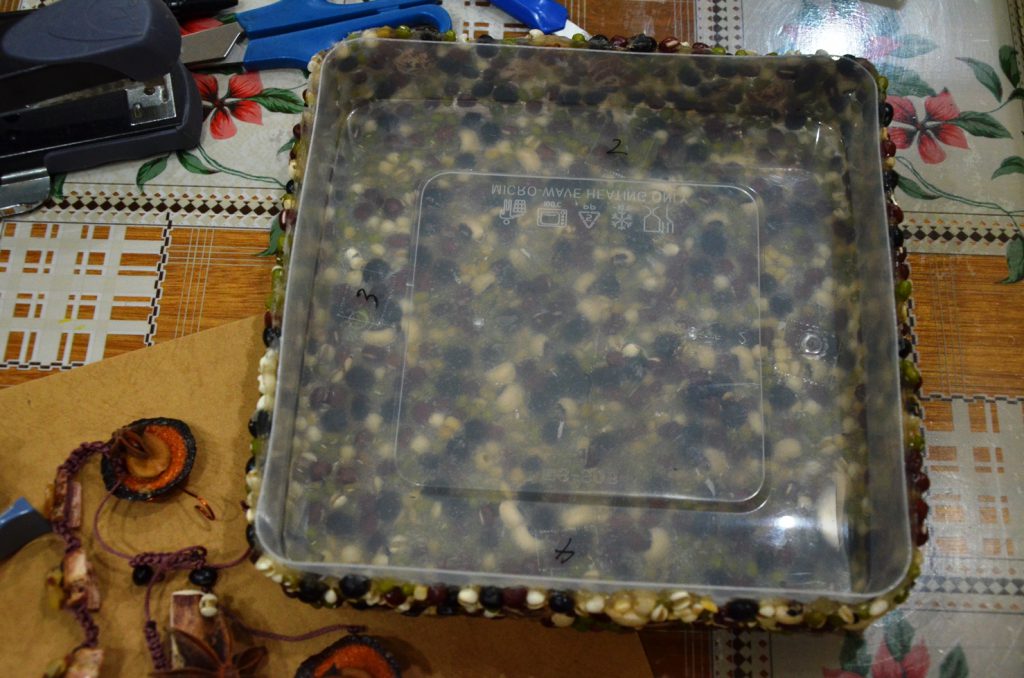
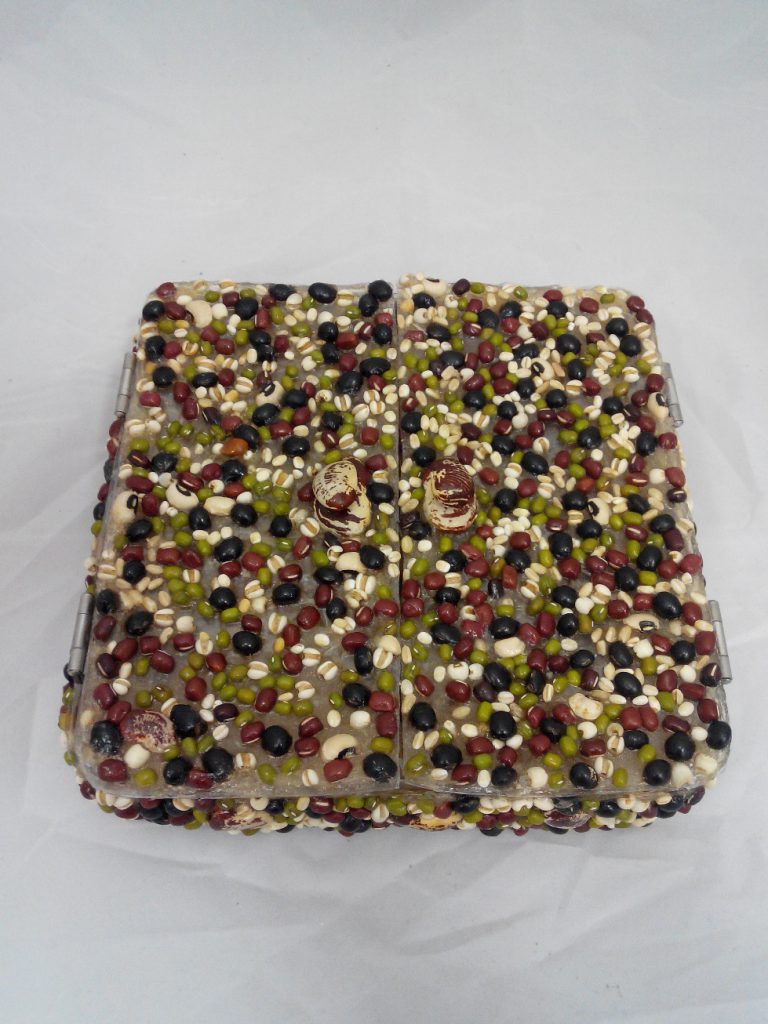
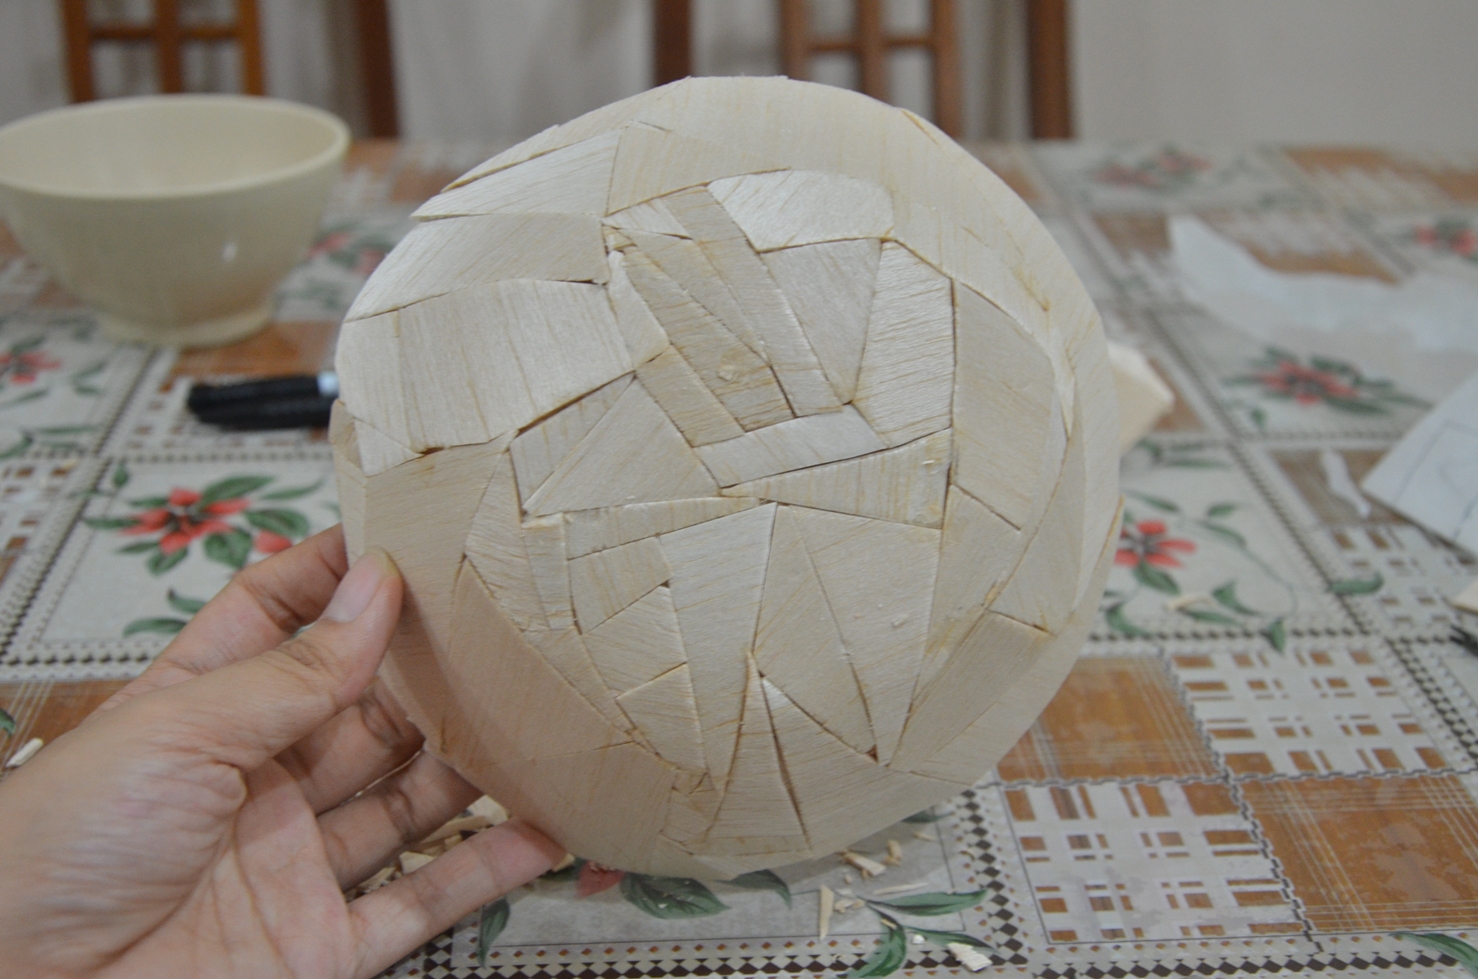
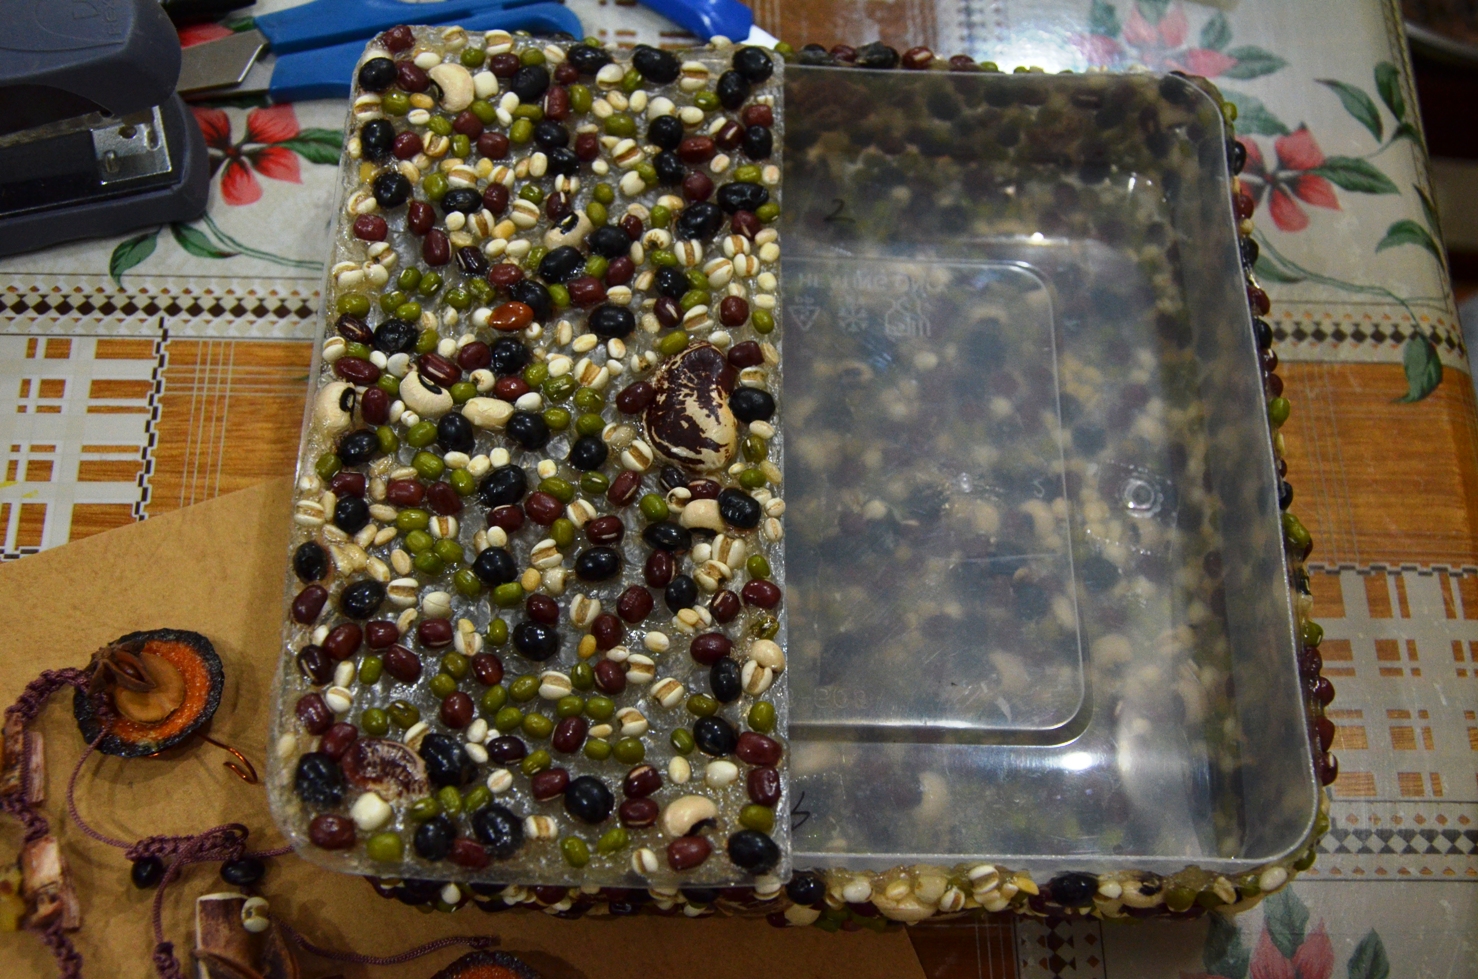
Cooking more pots of bioplastic before sticking on a plastic box for shape.

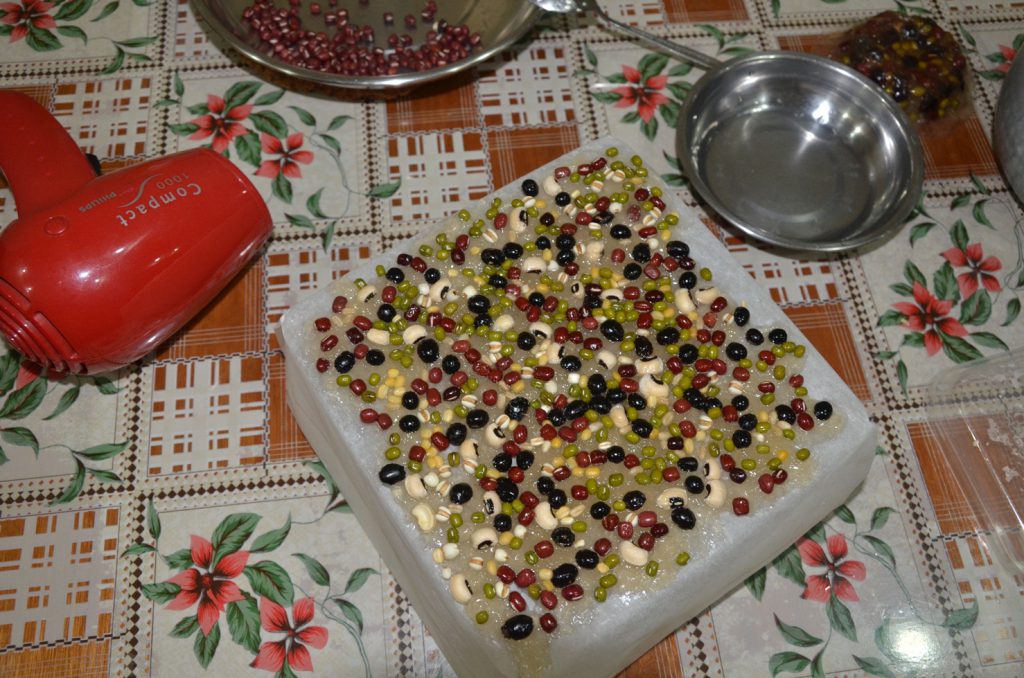
Stick the beans manually one by one on the paste.

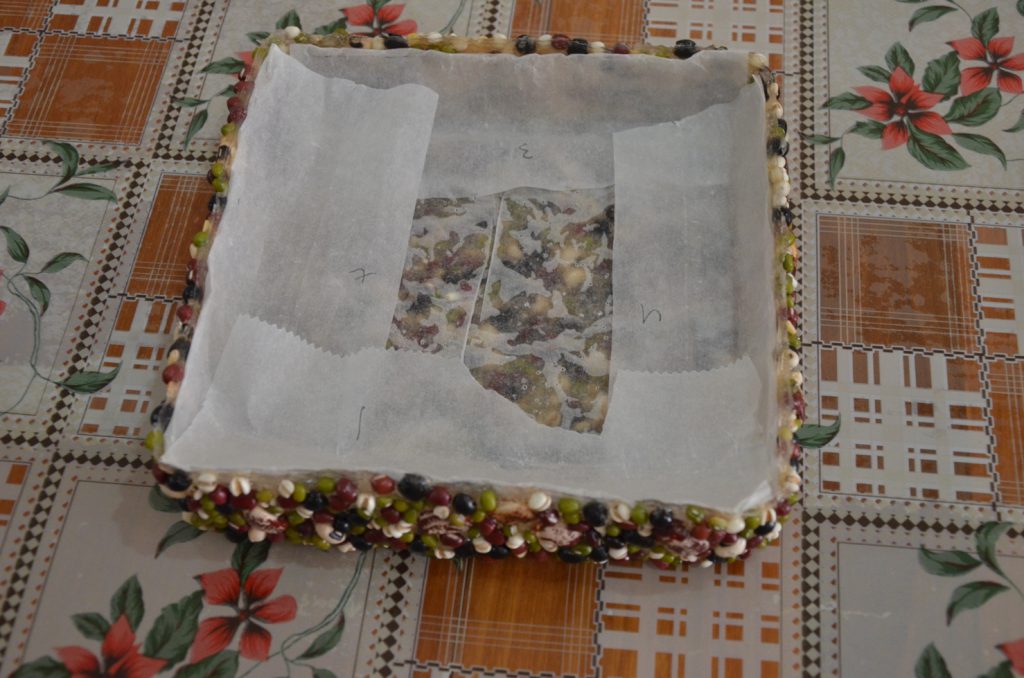
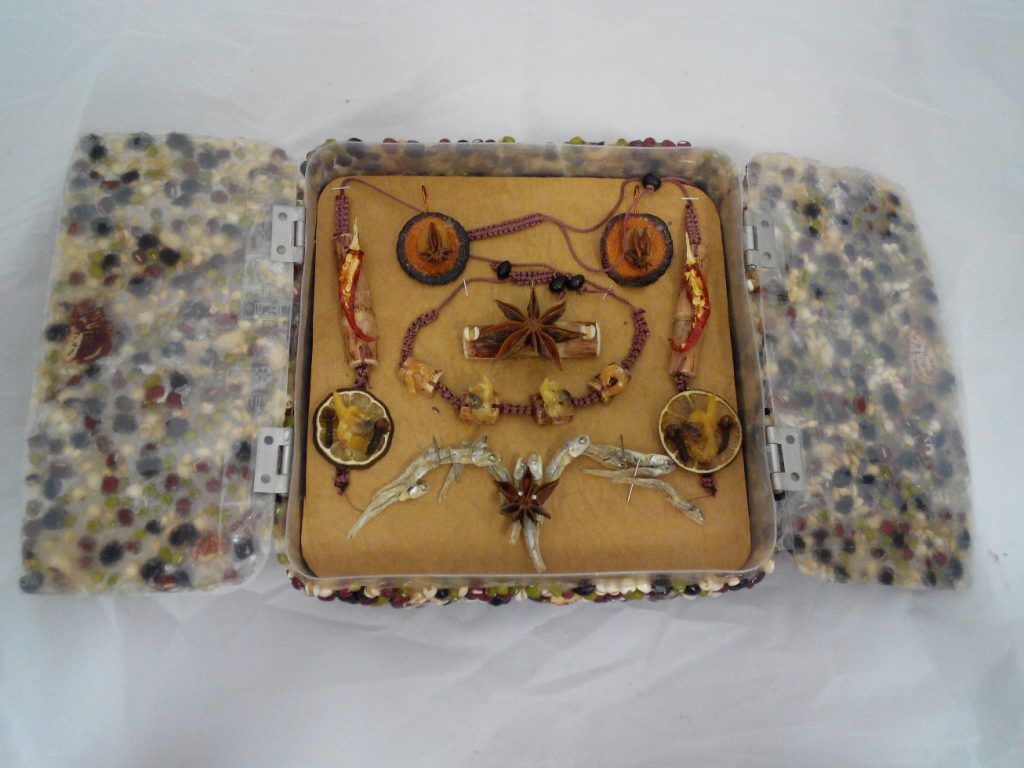
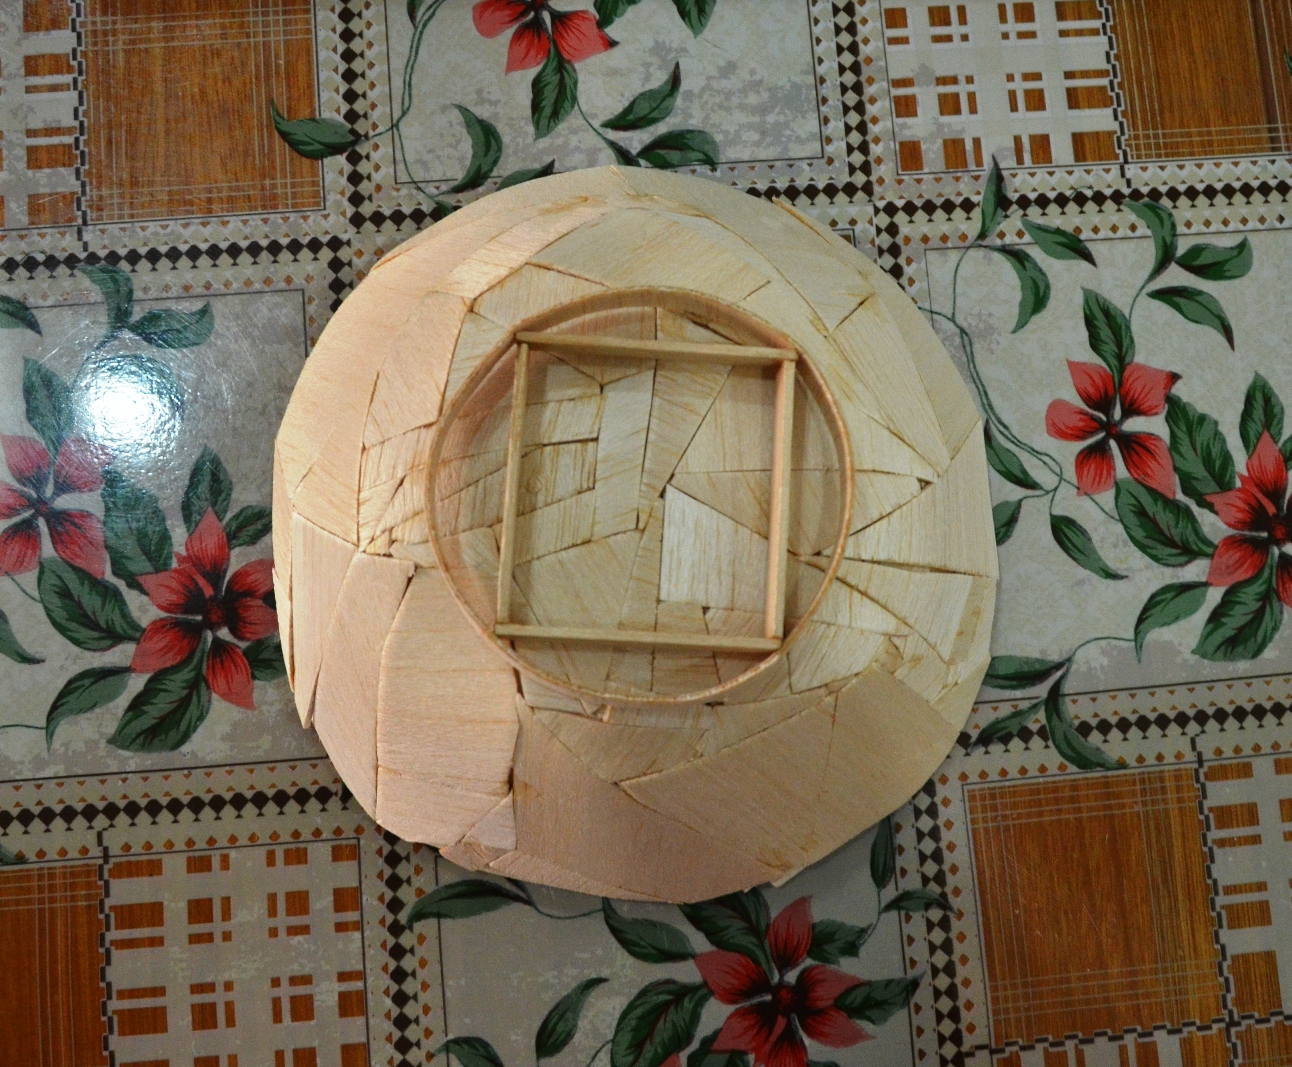
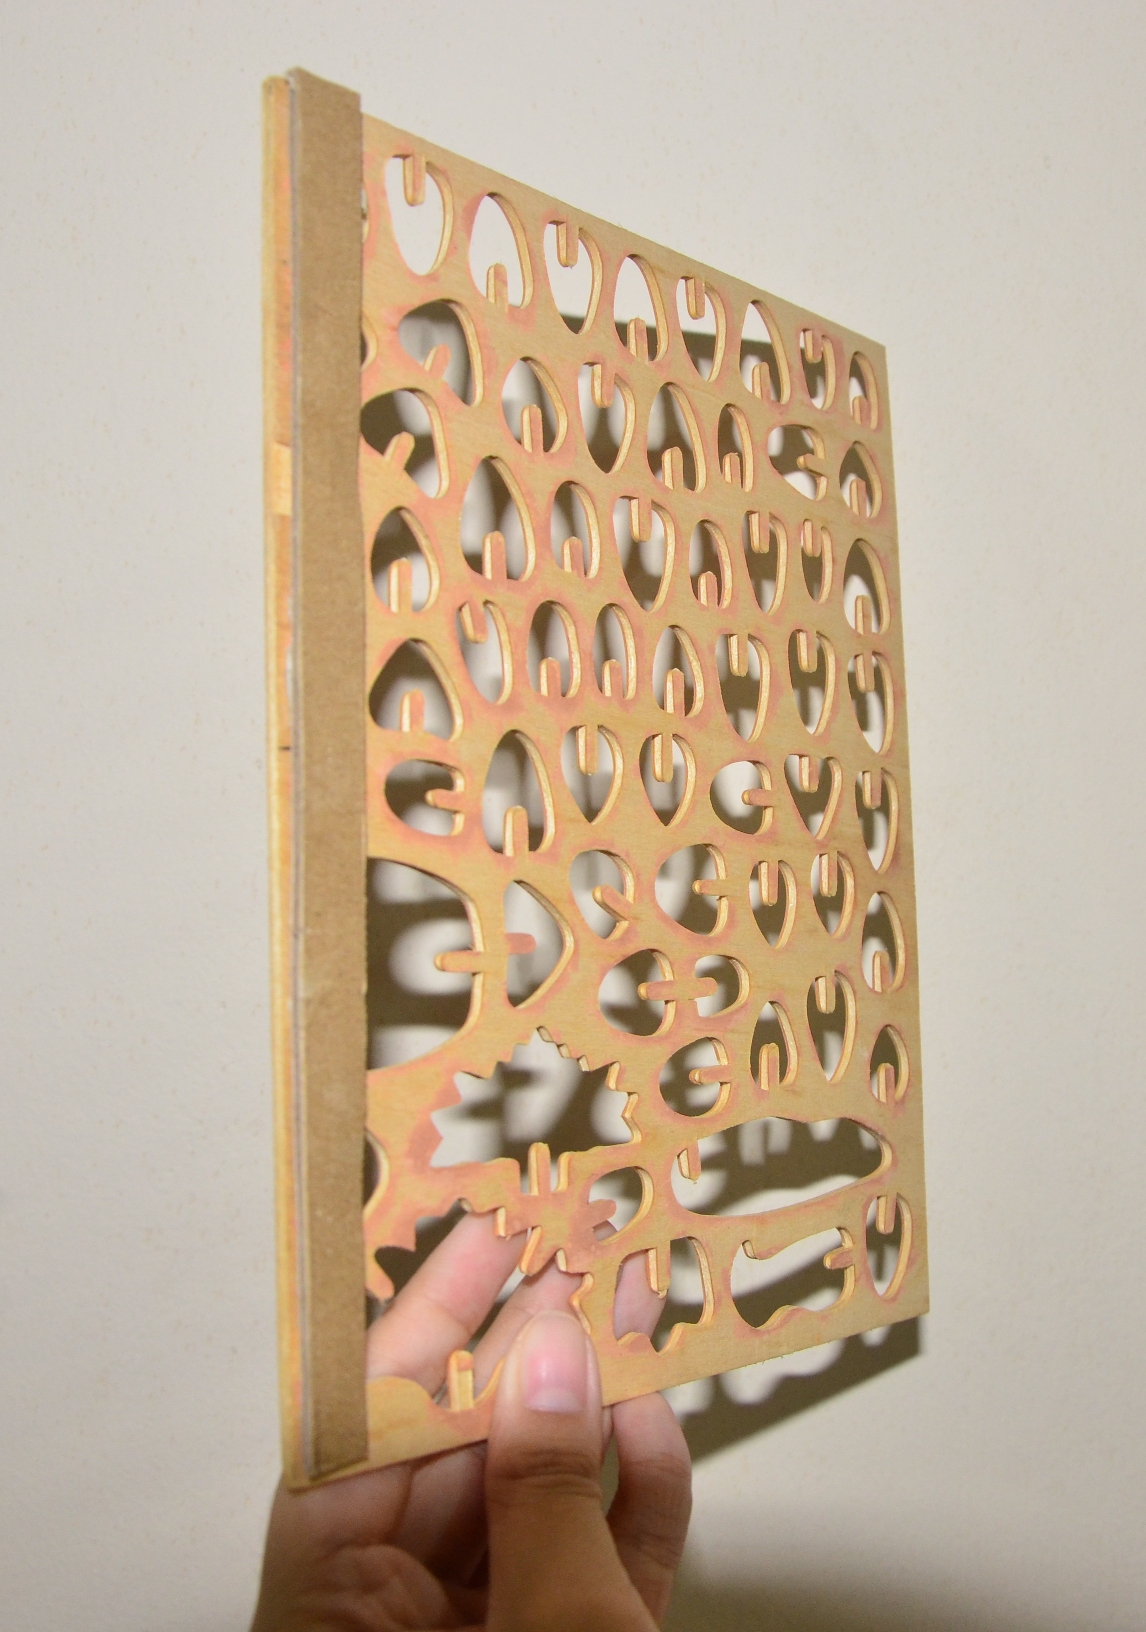
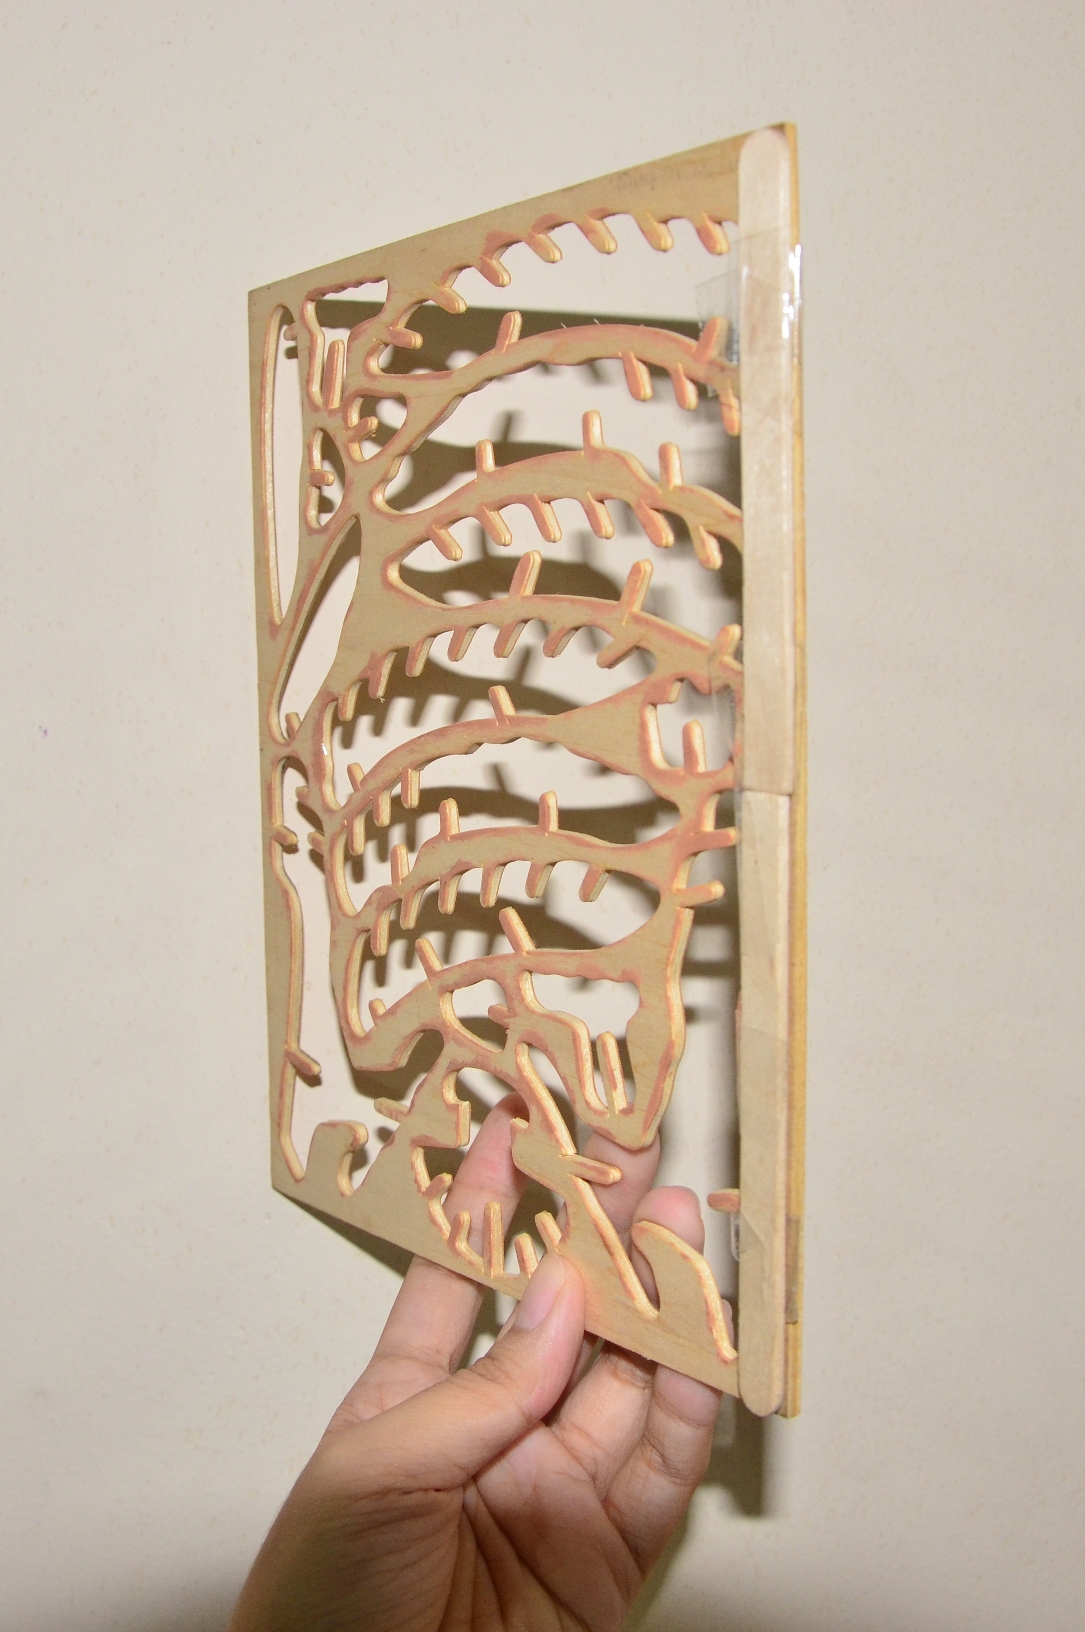
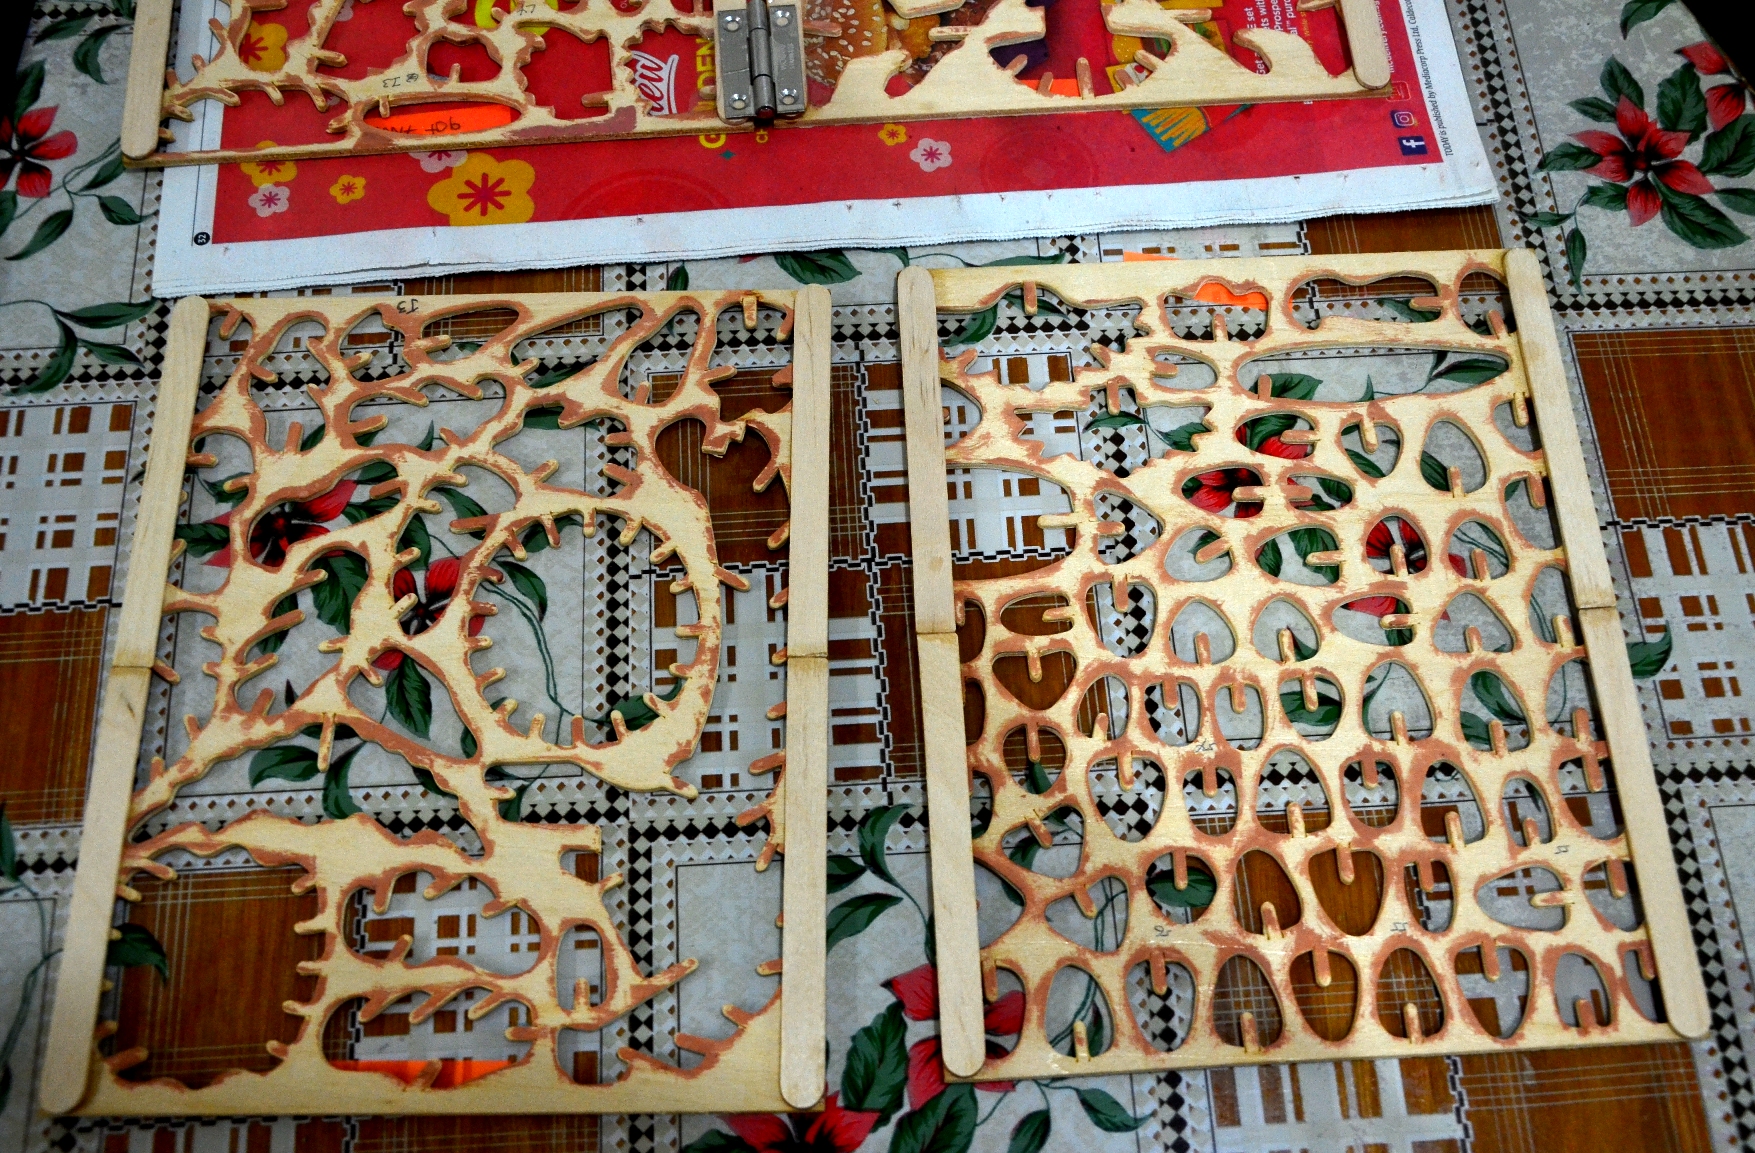
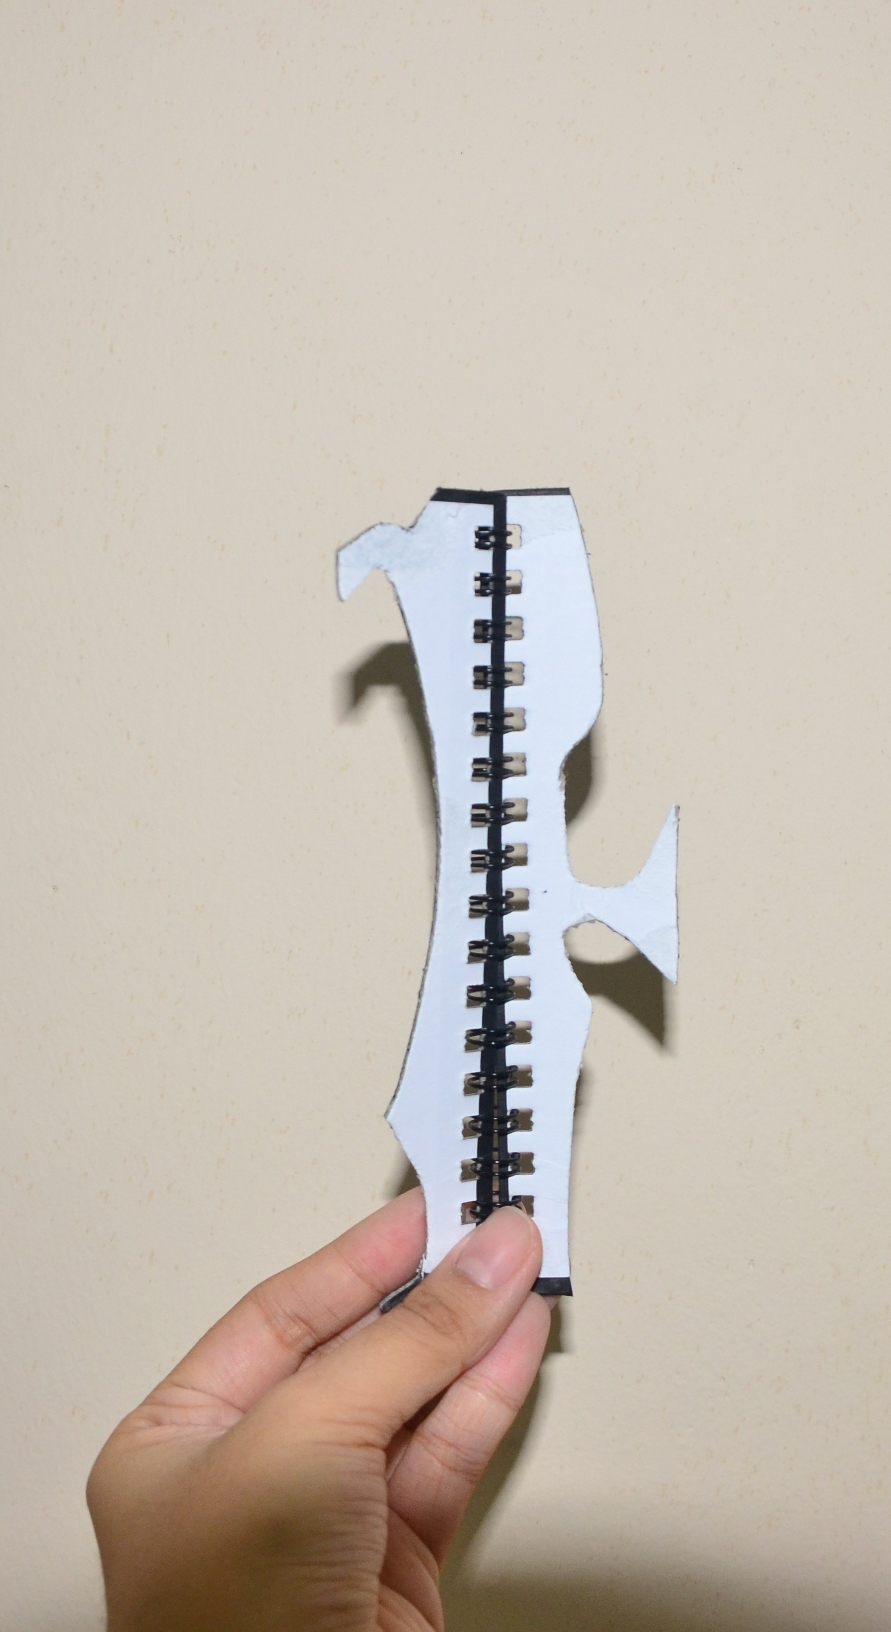
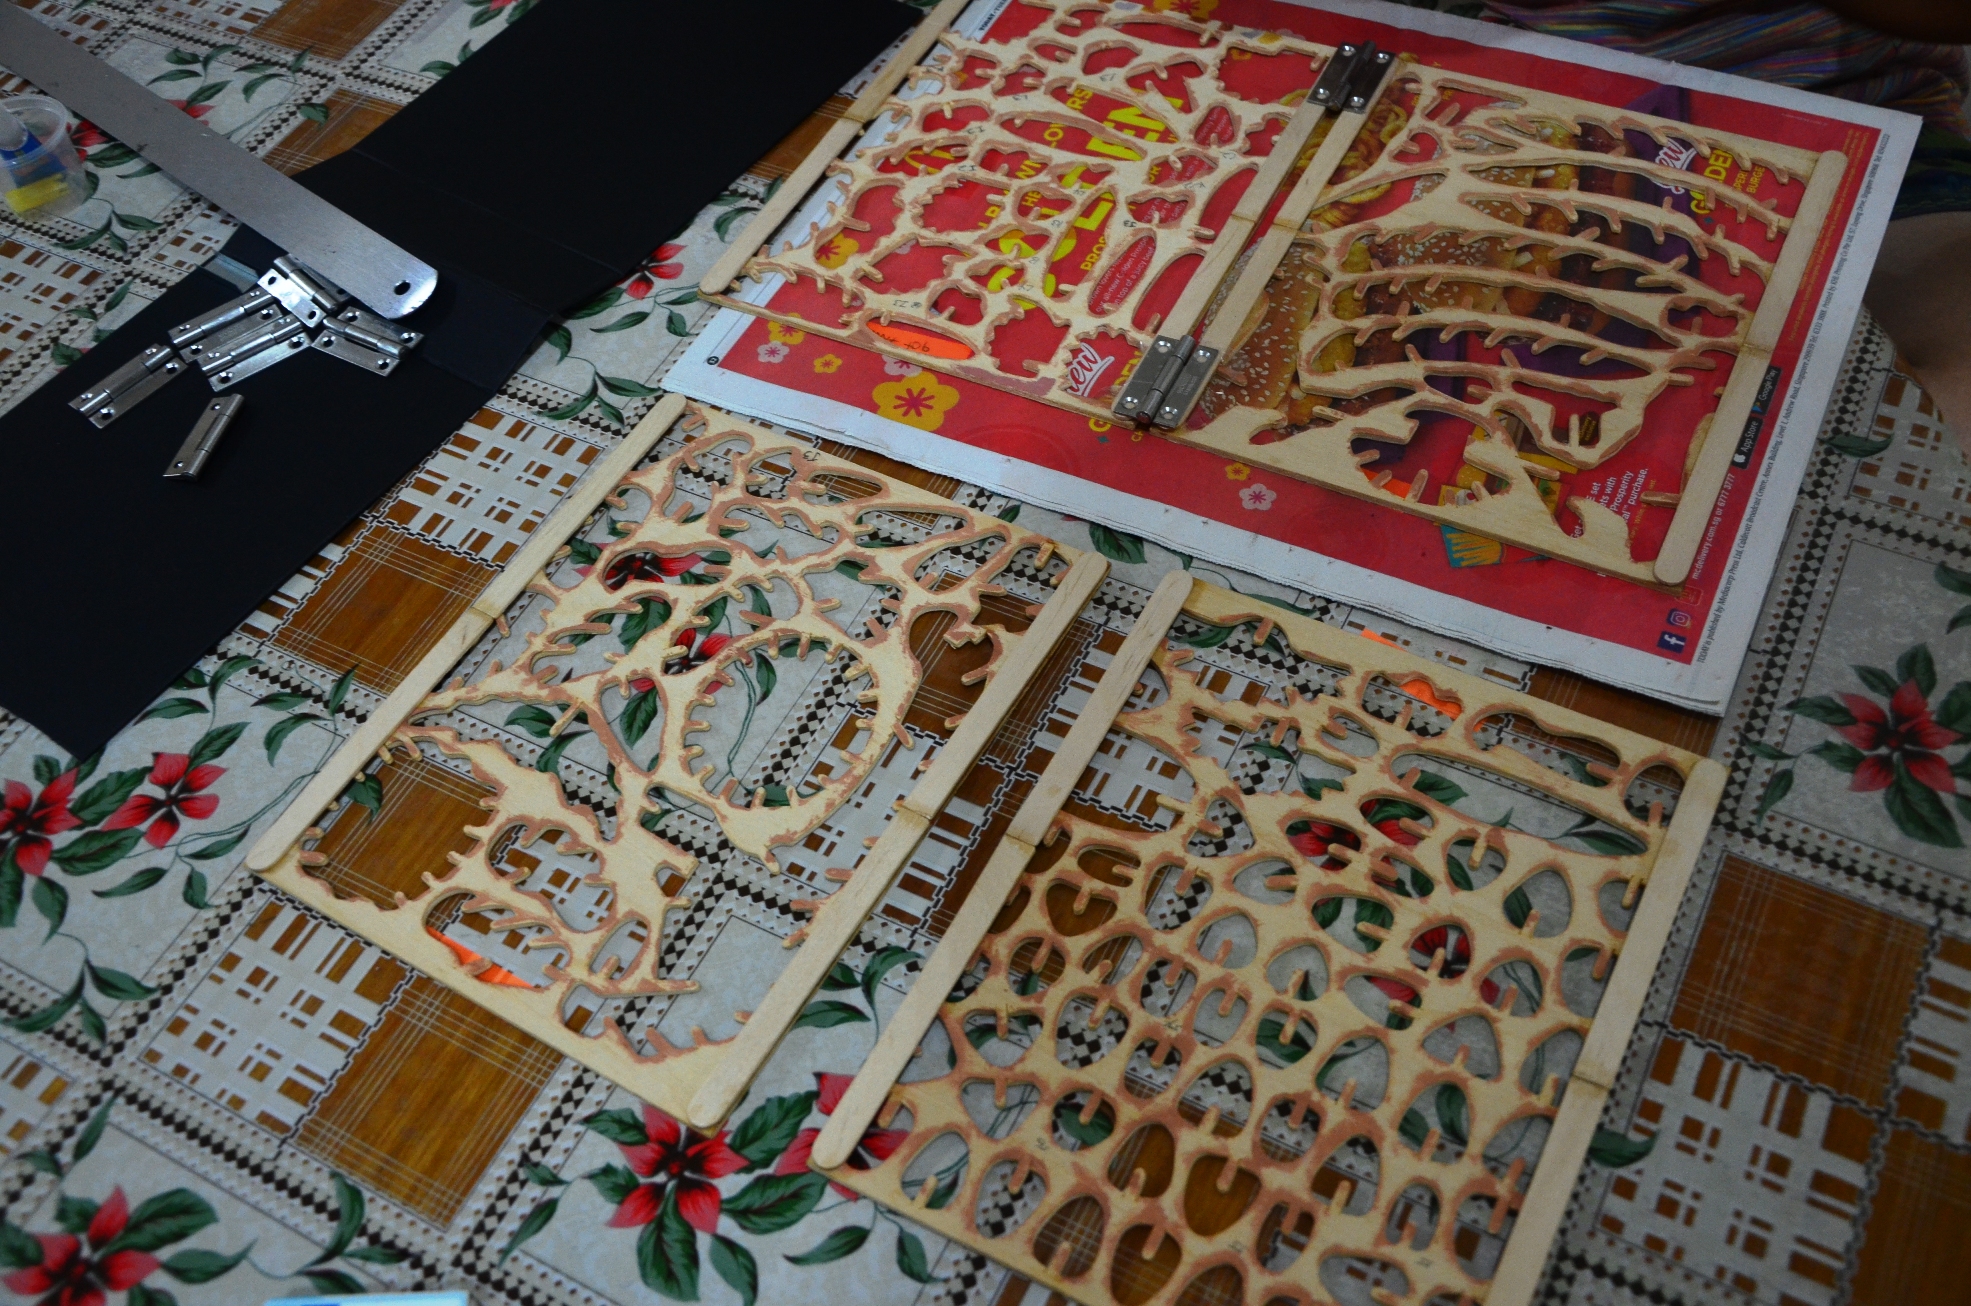
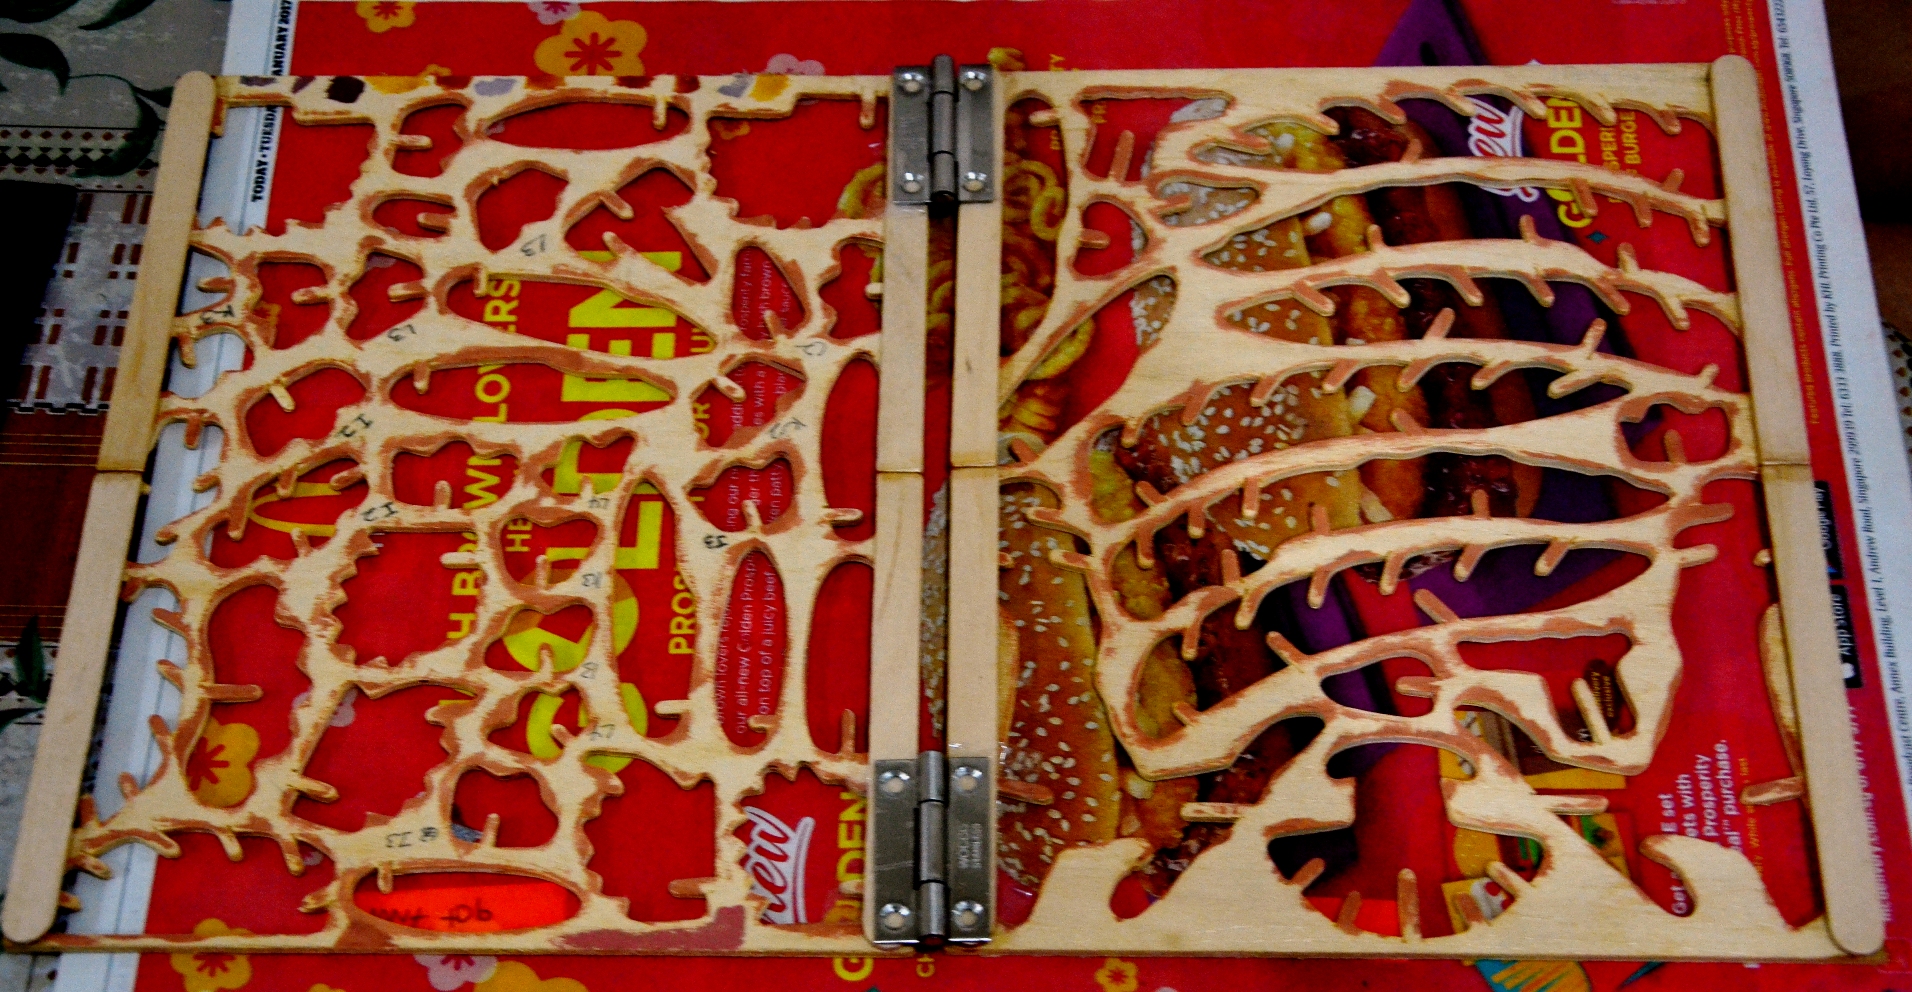
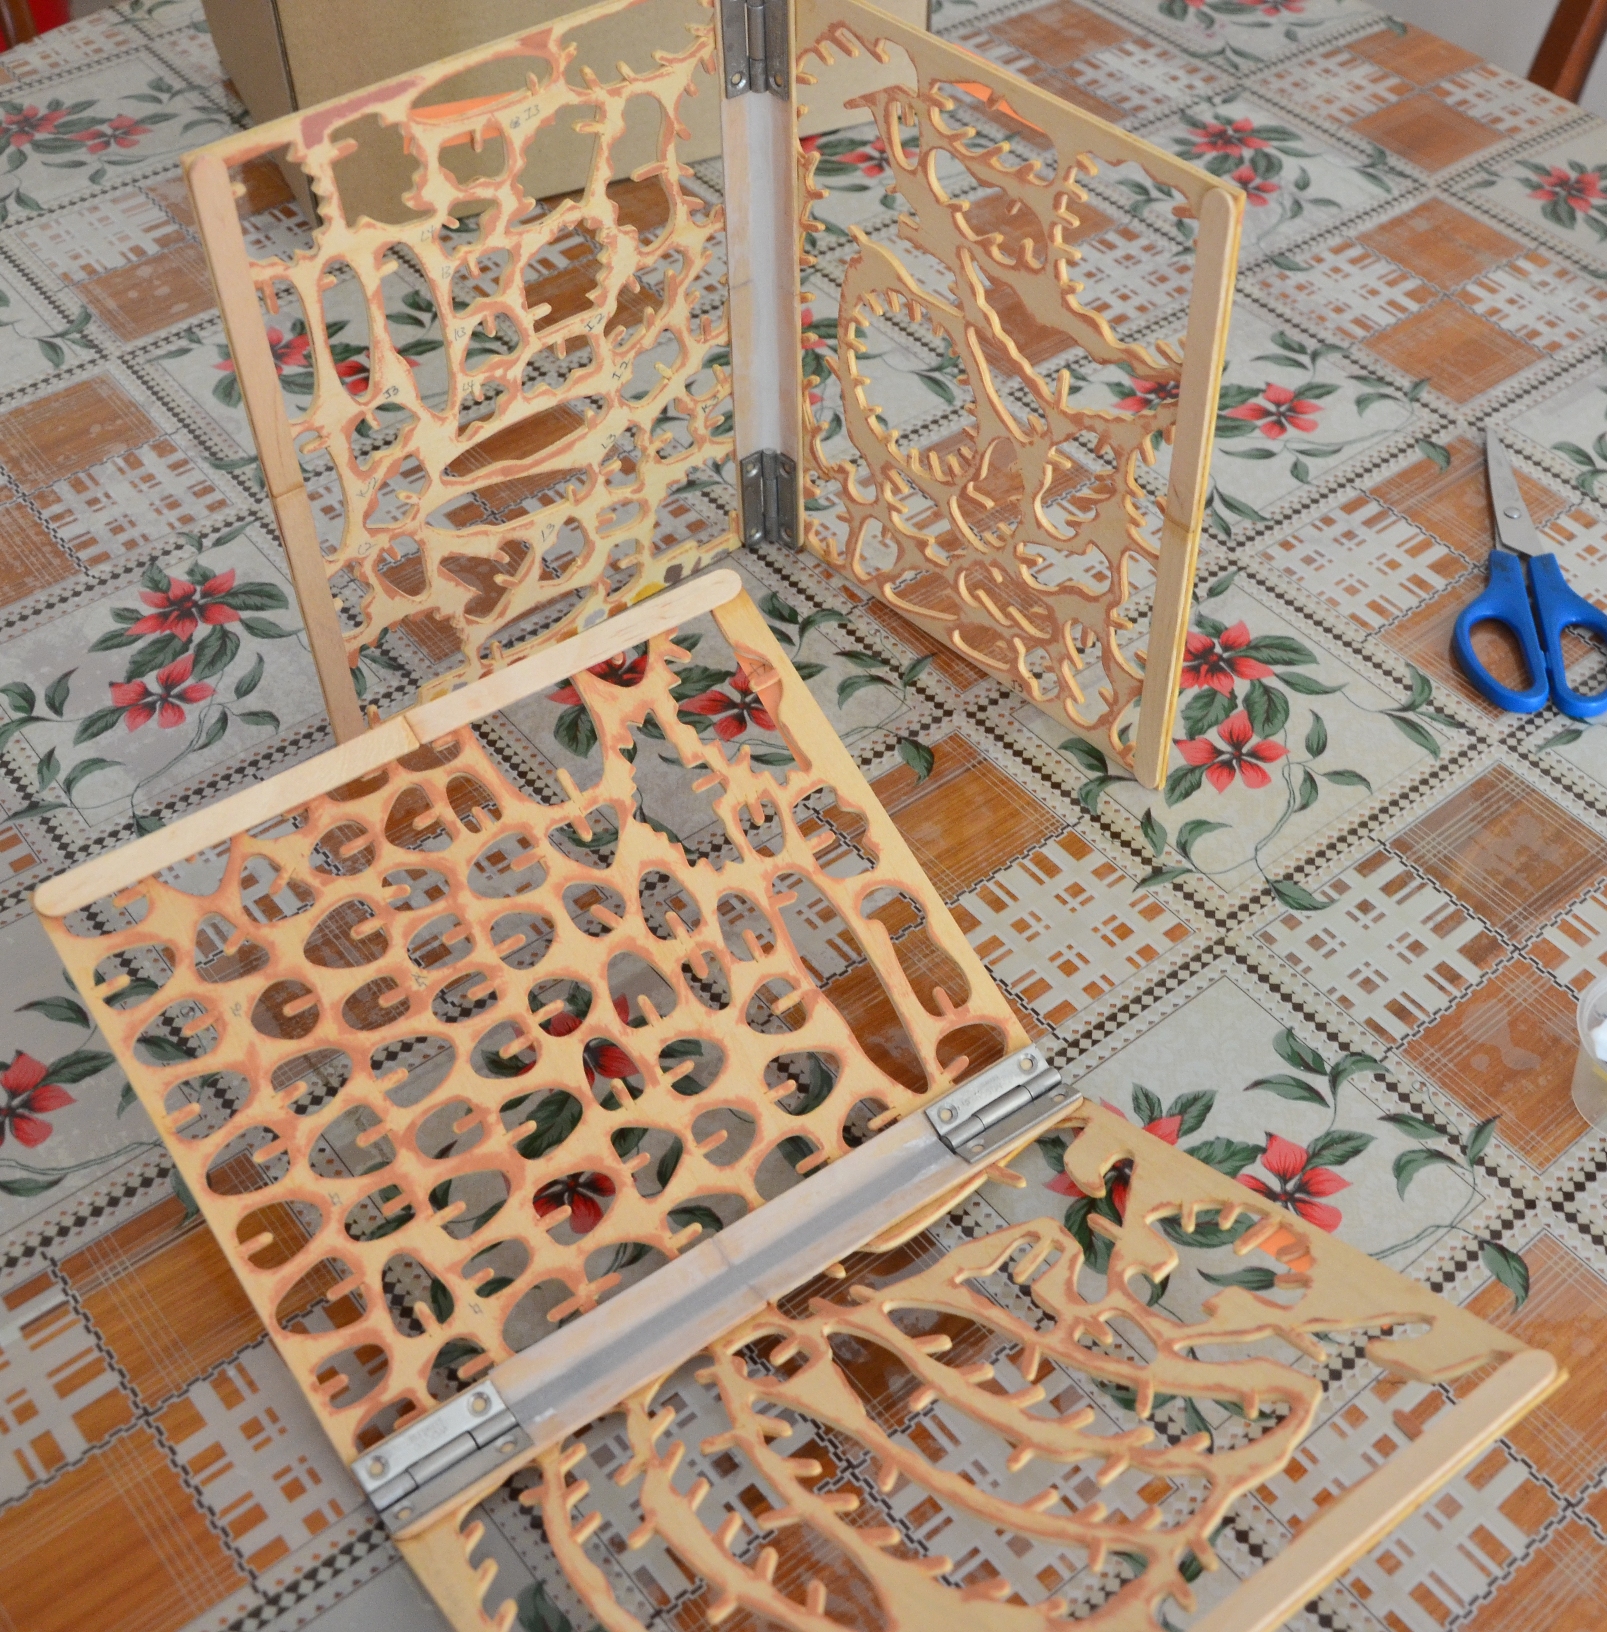
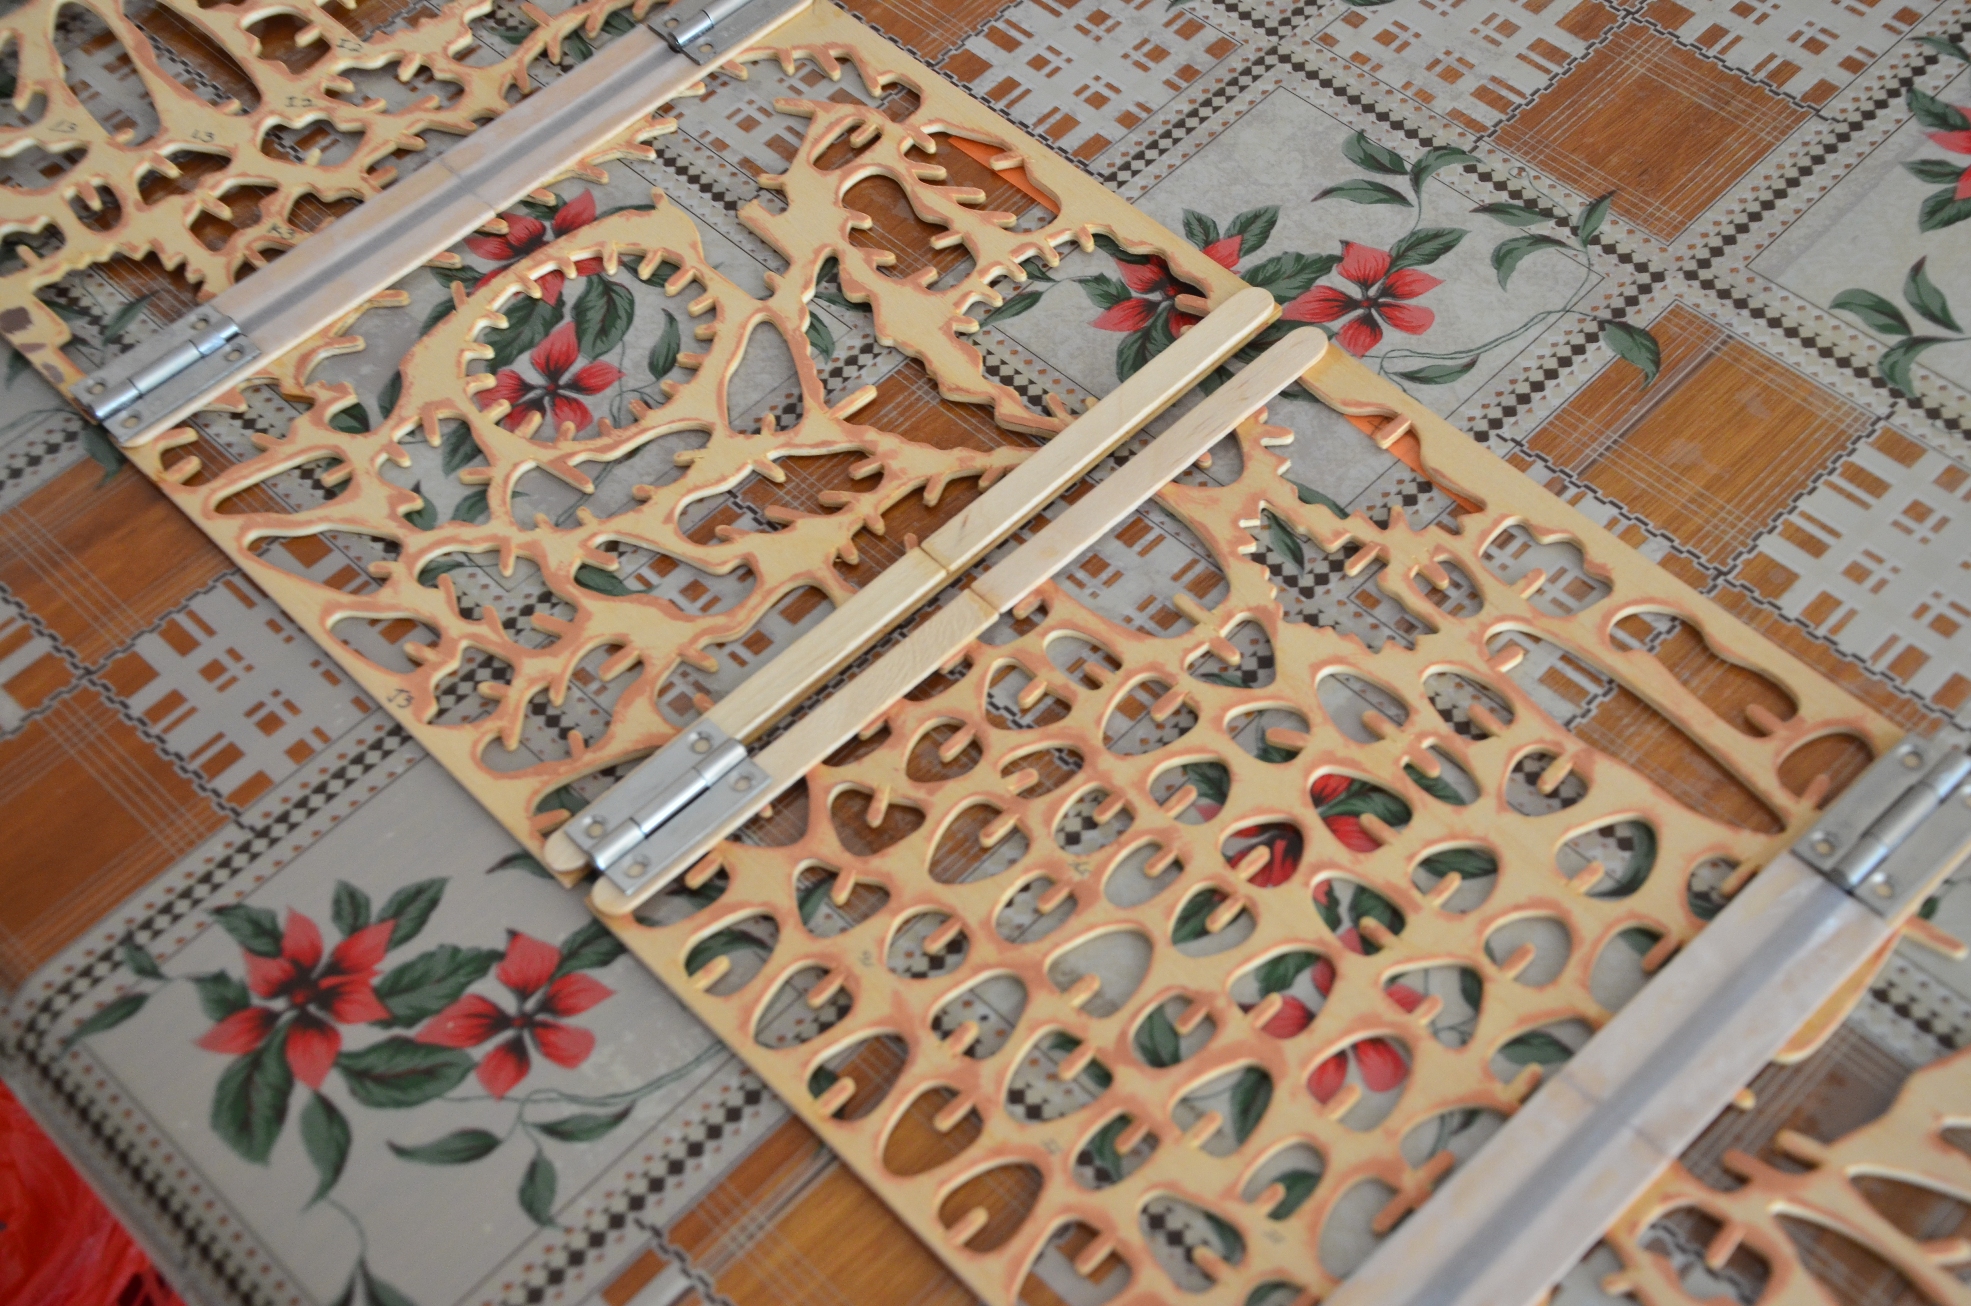
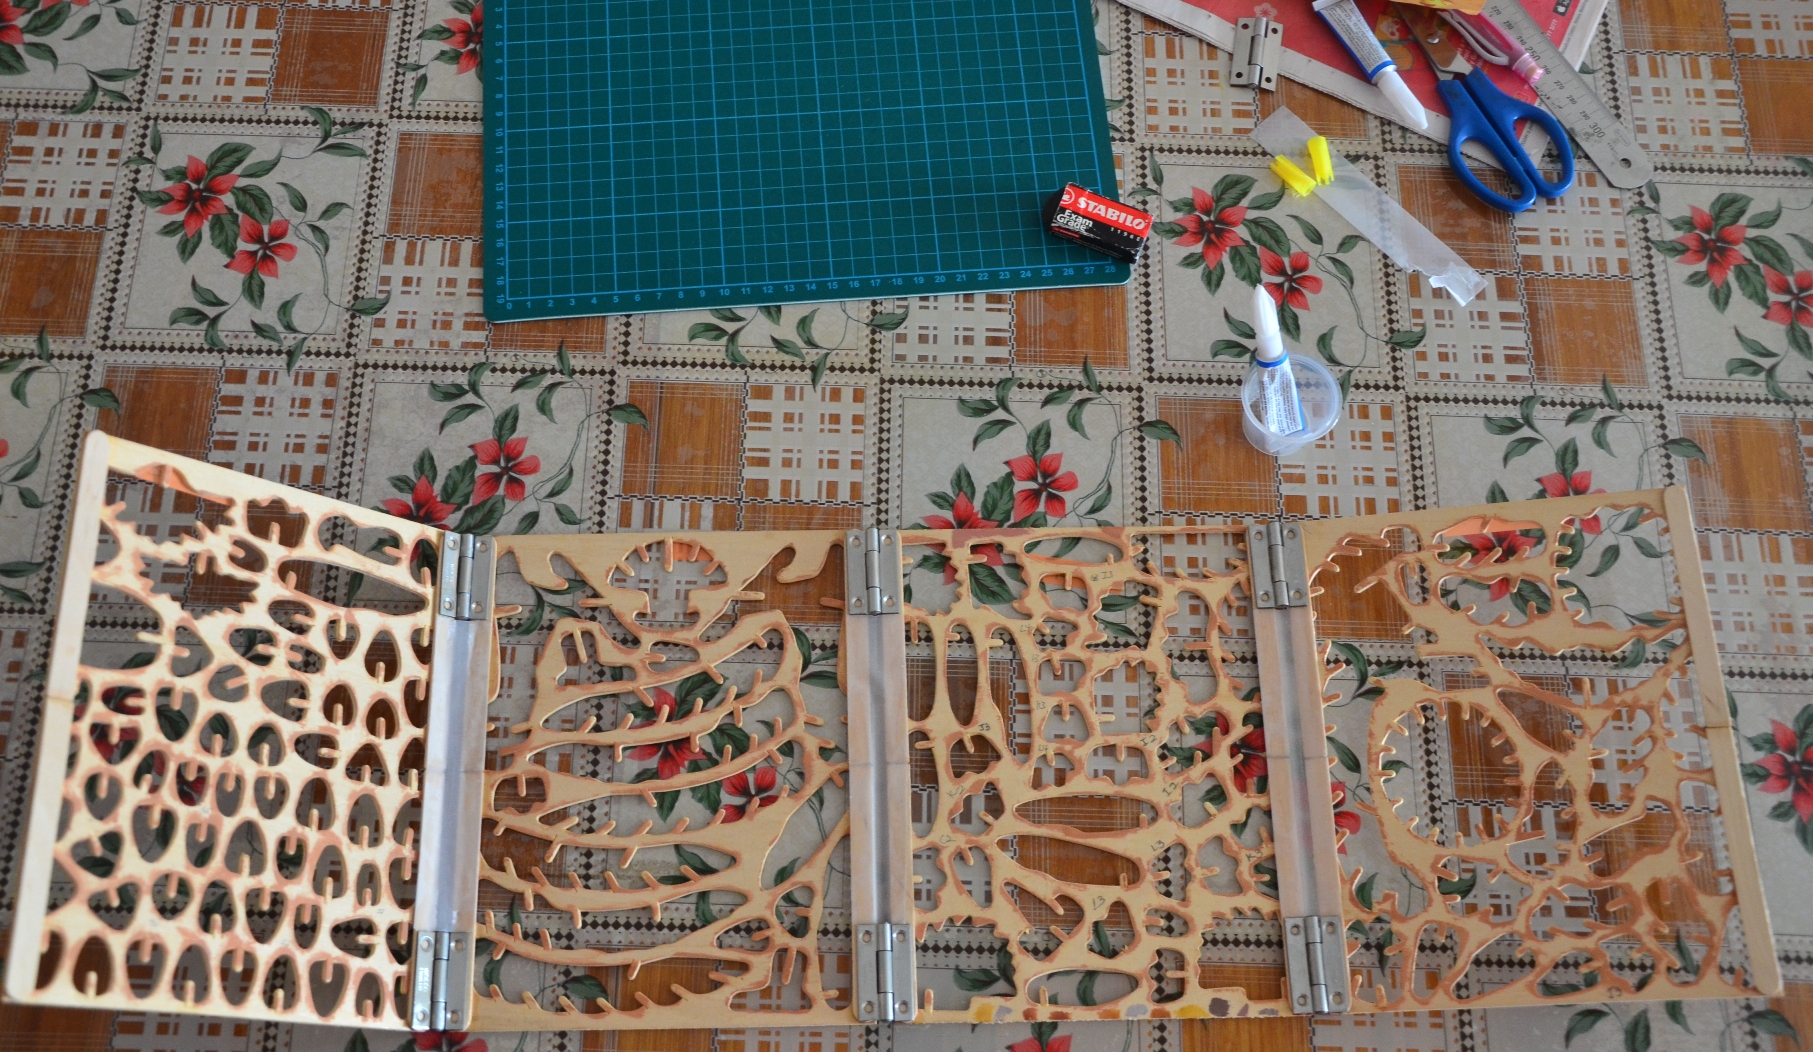
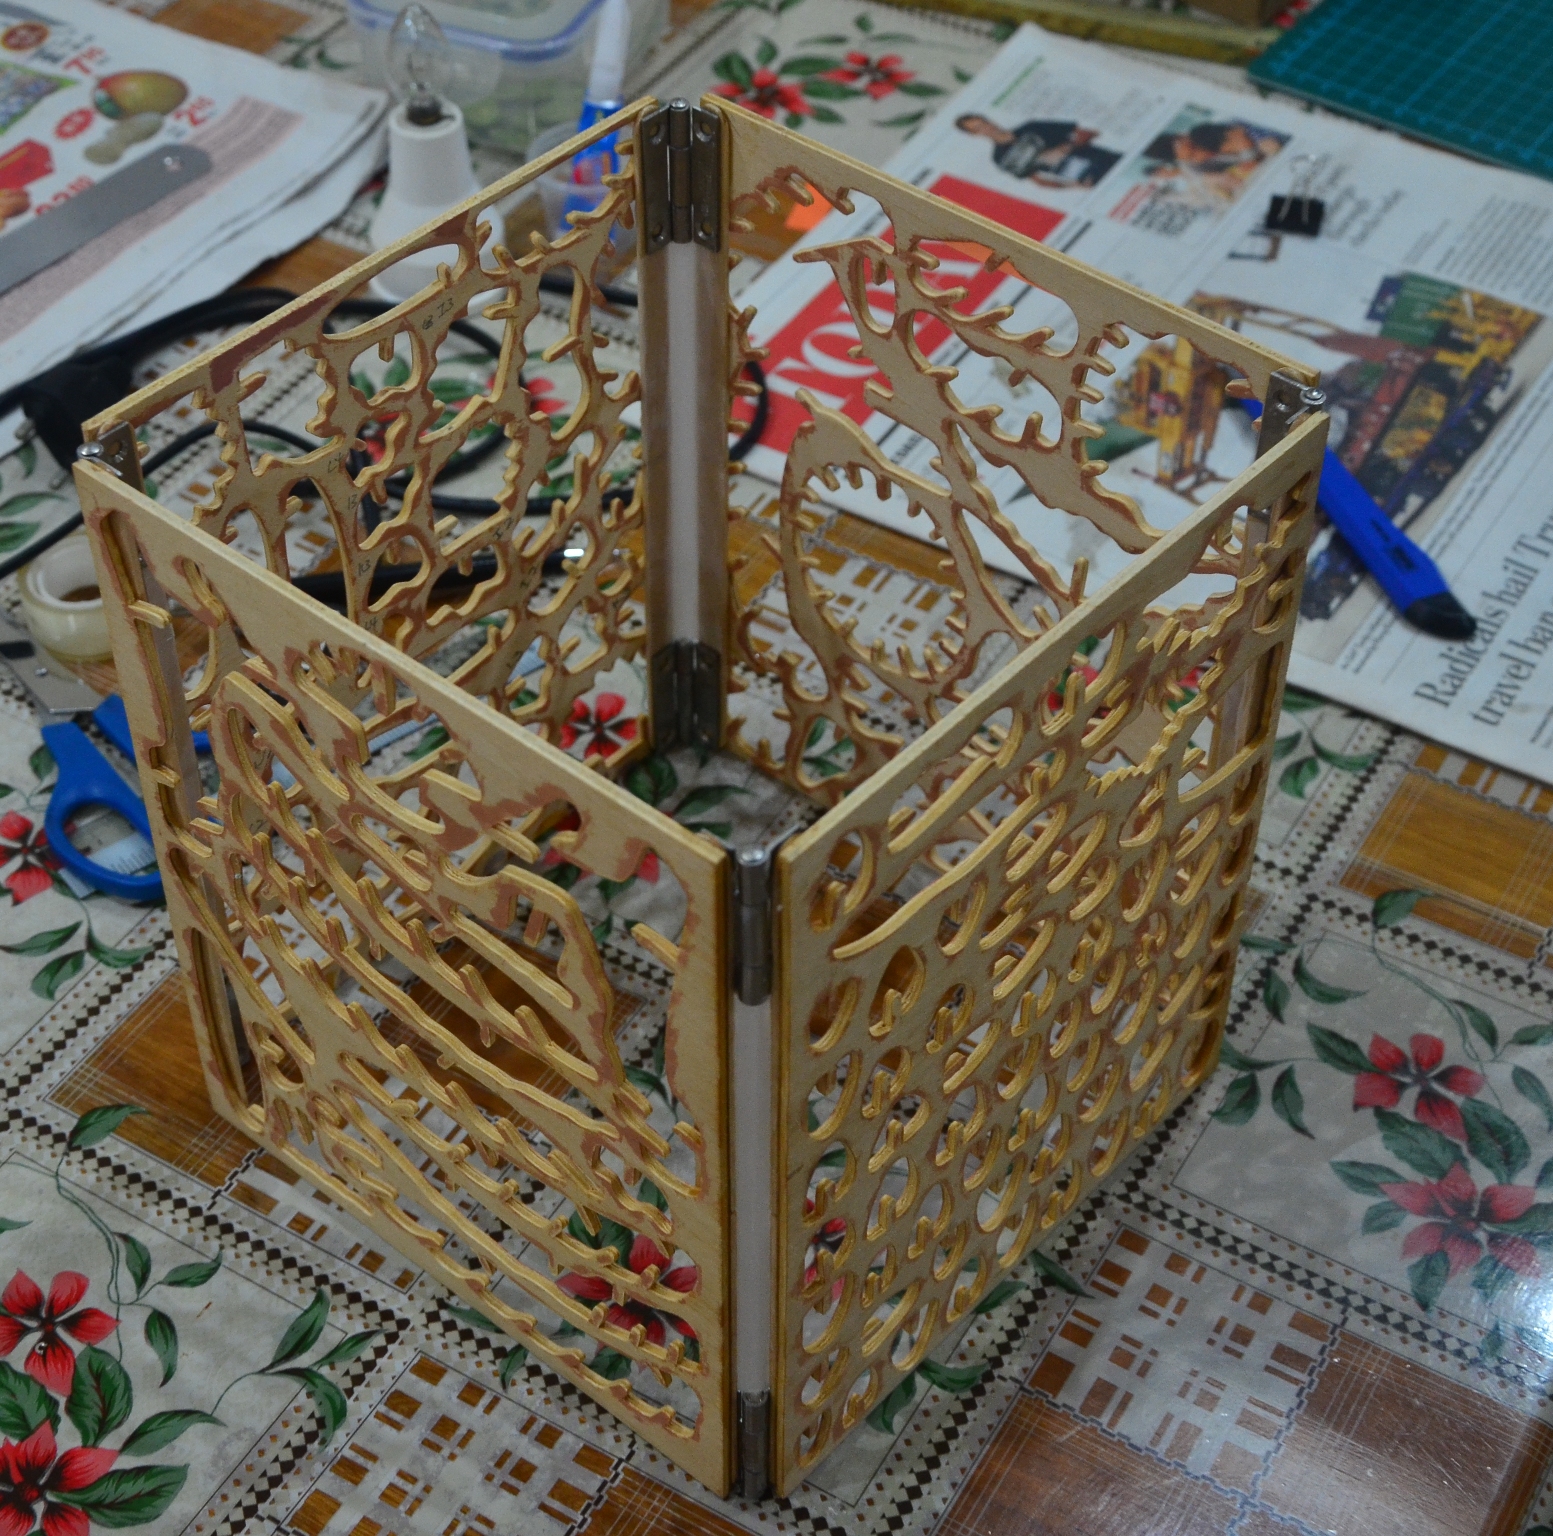
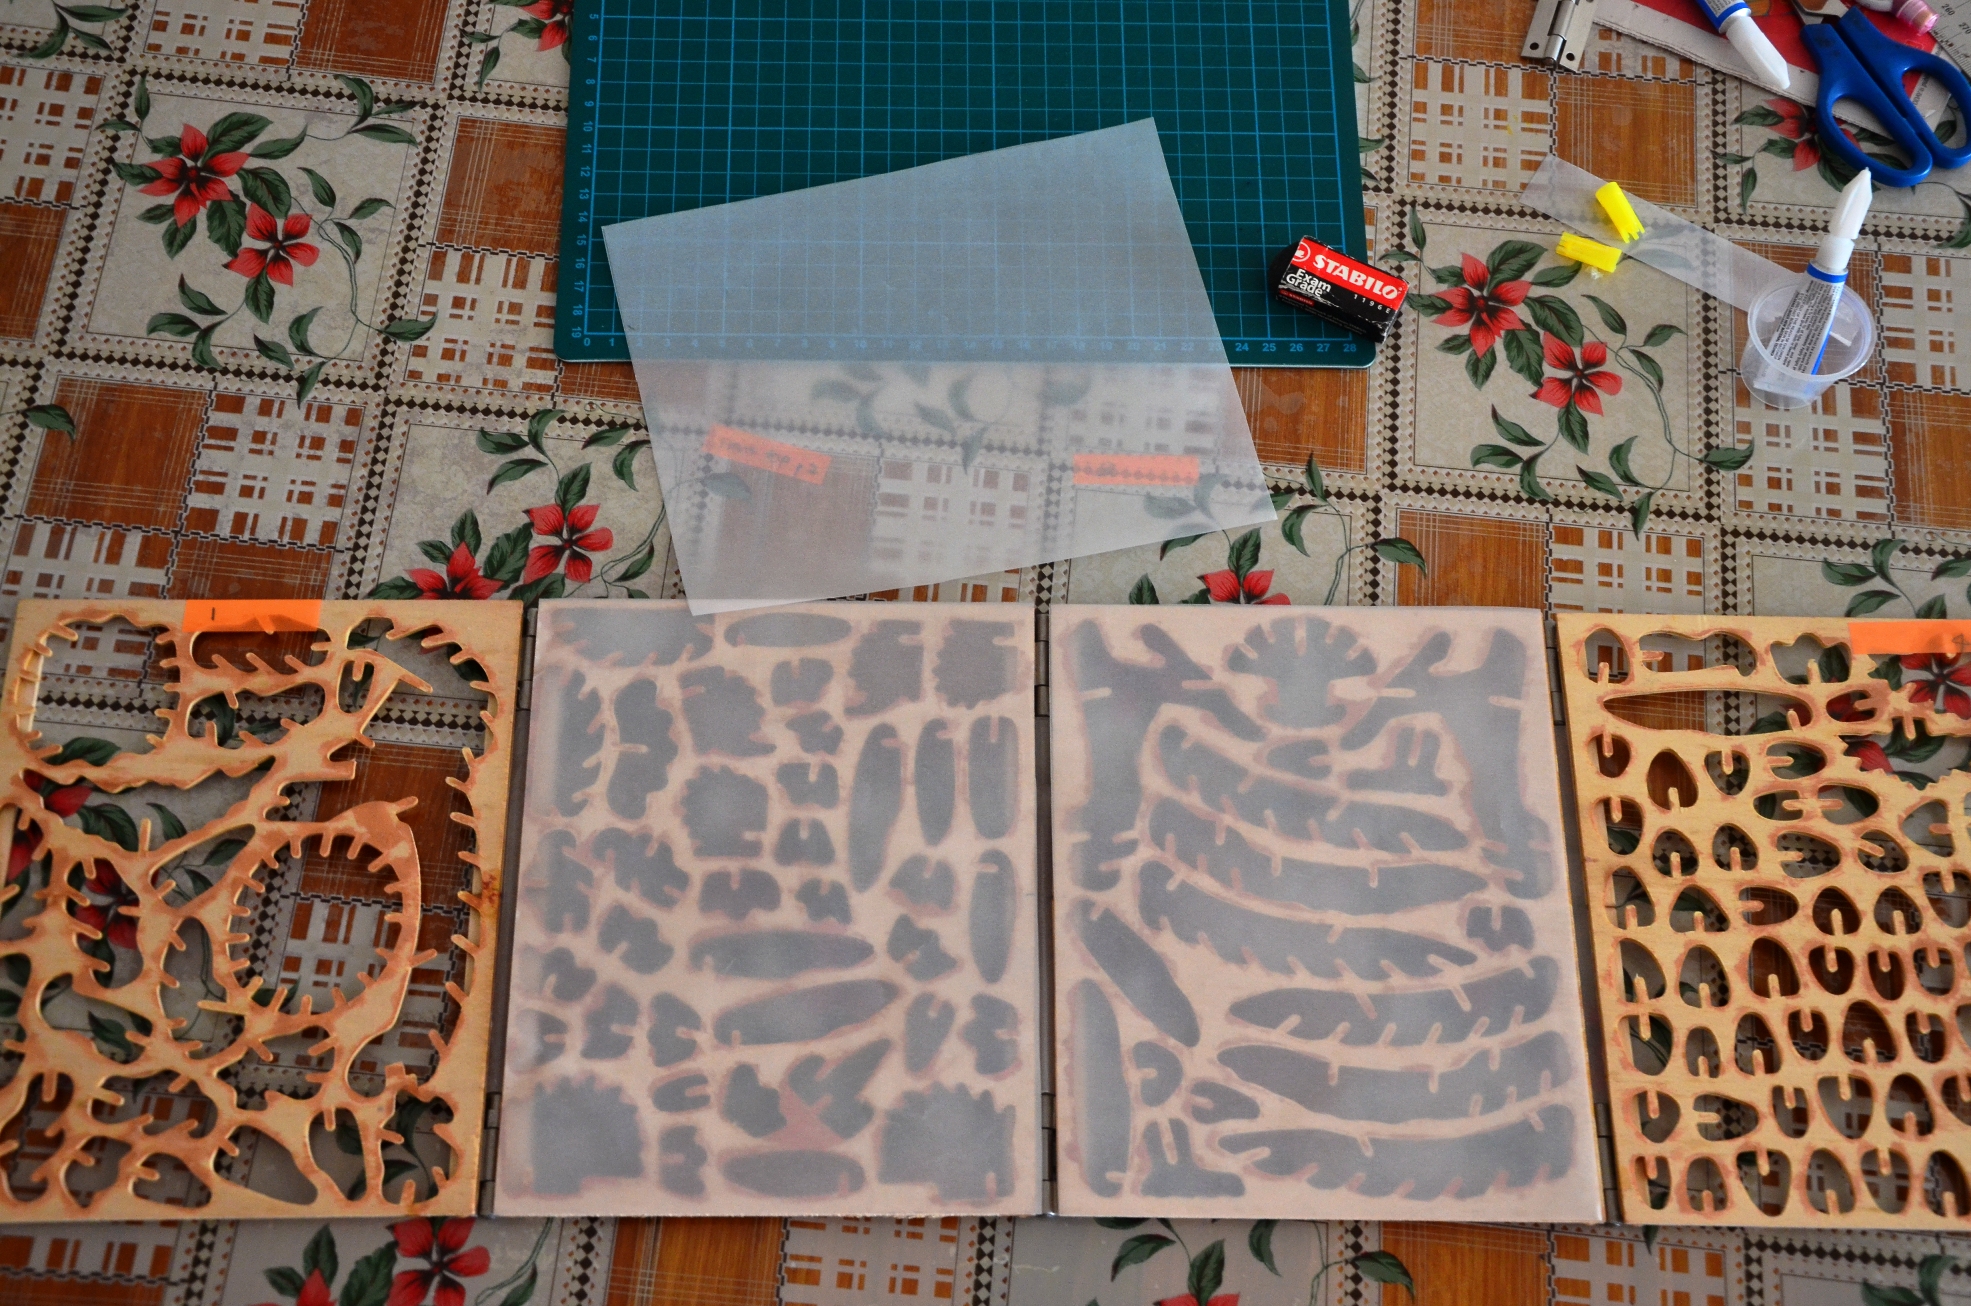
Creating the “doors” / lid for the jewellery box.

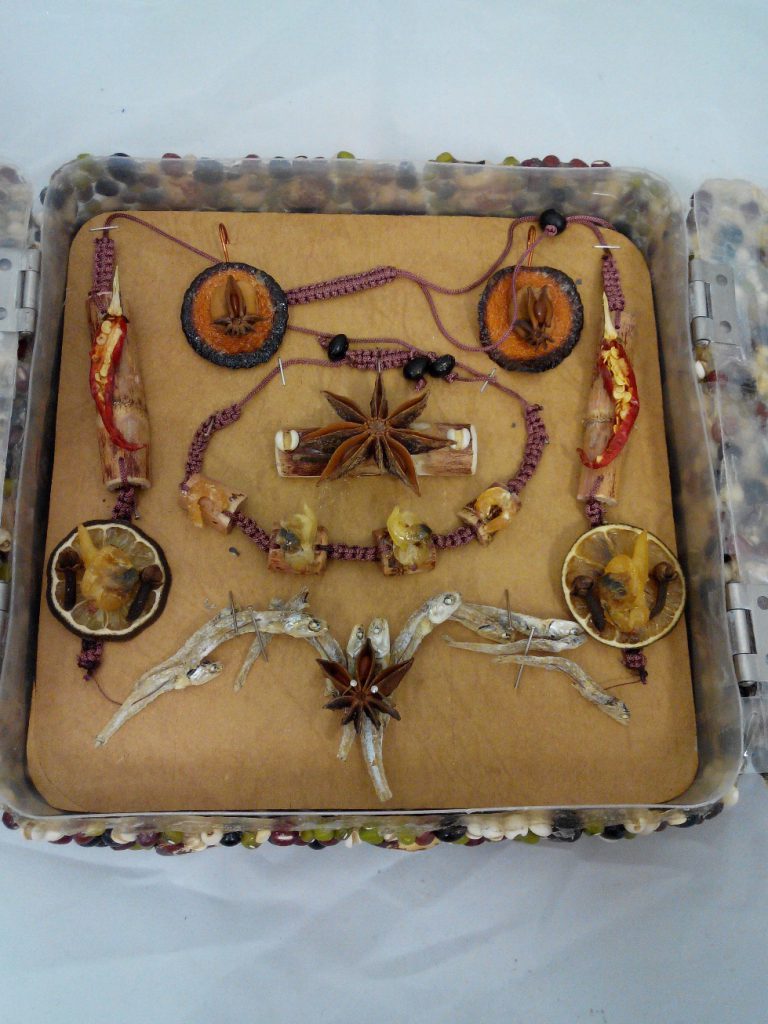
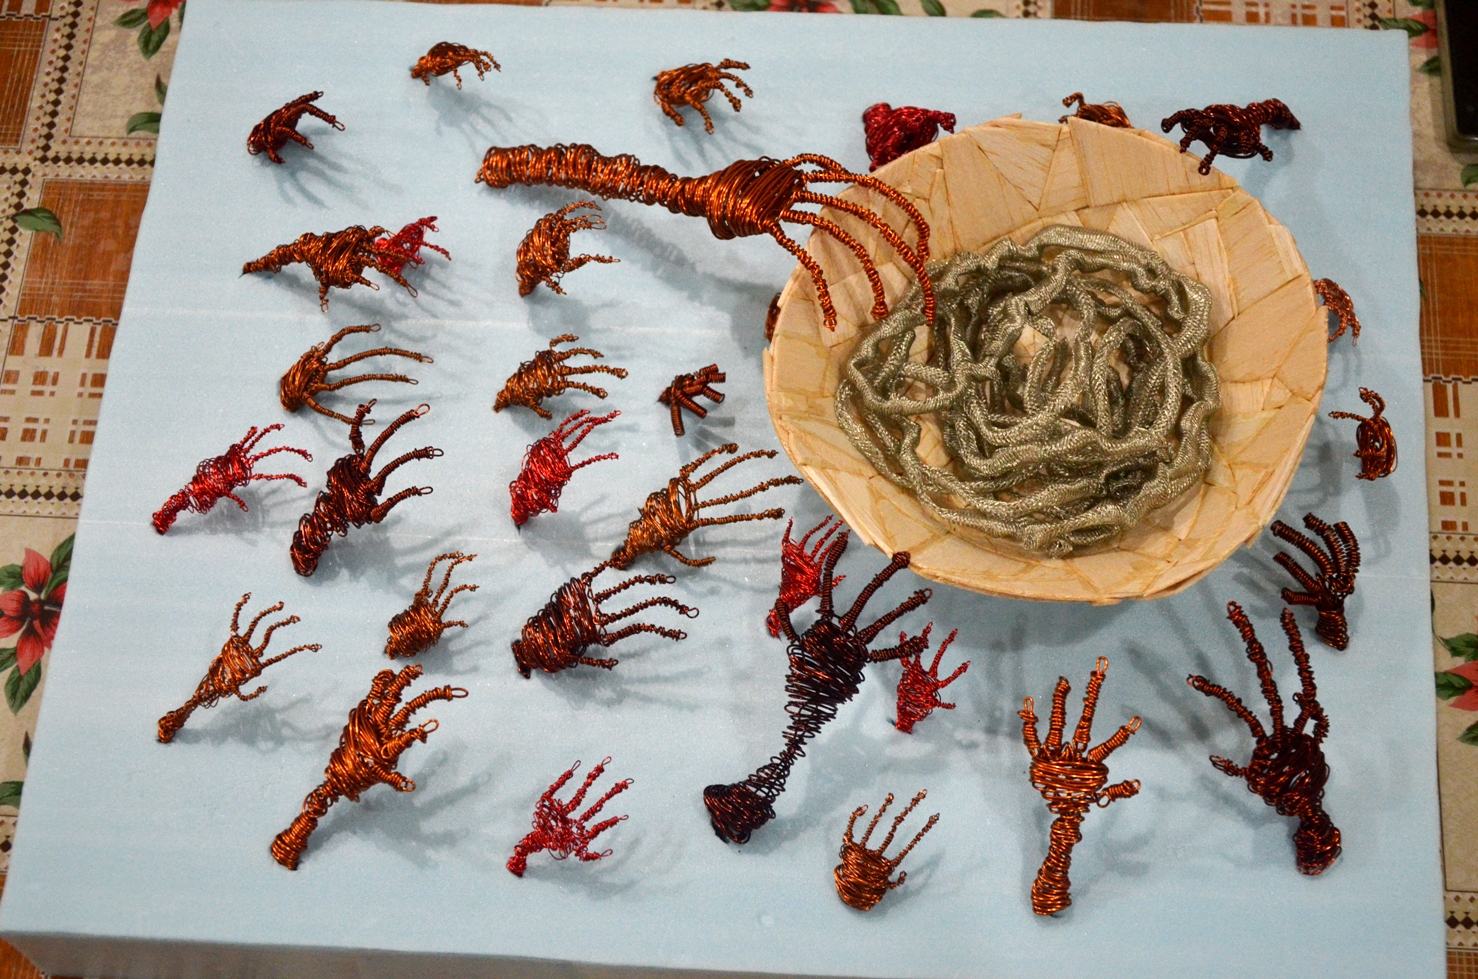
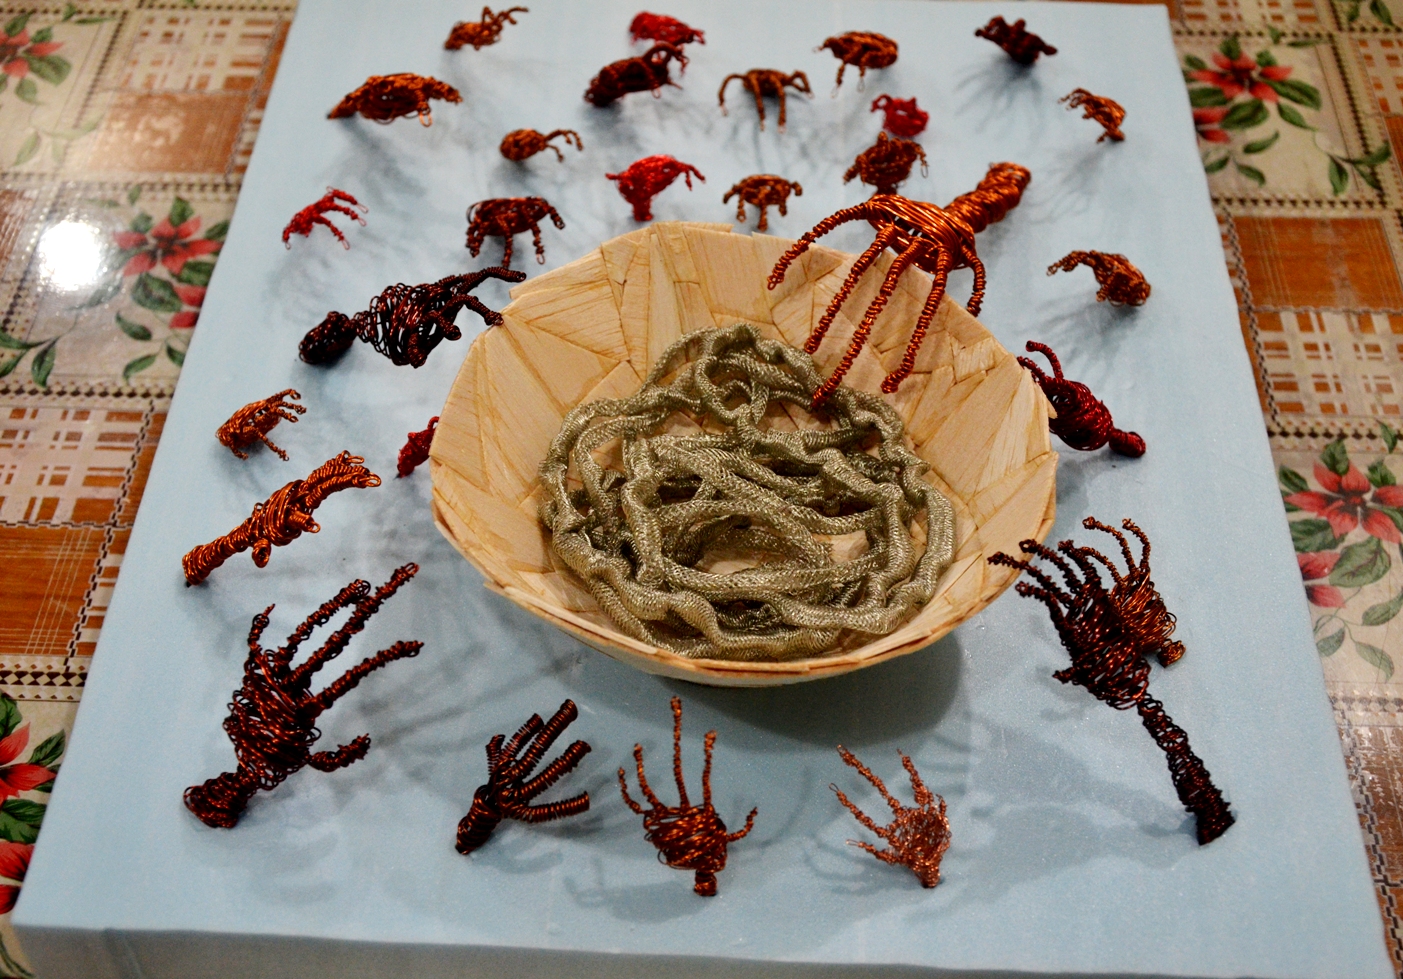
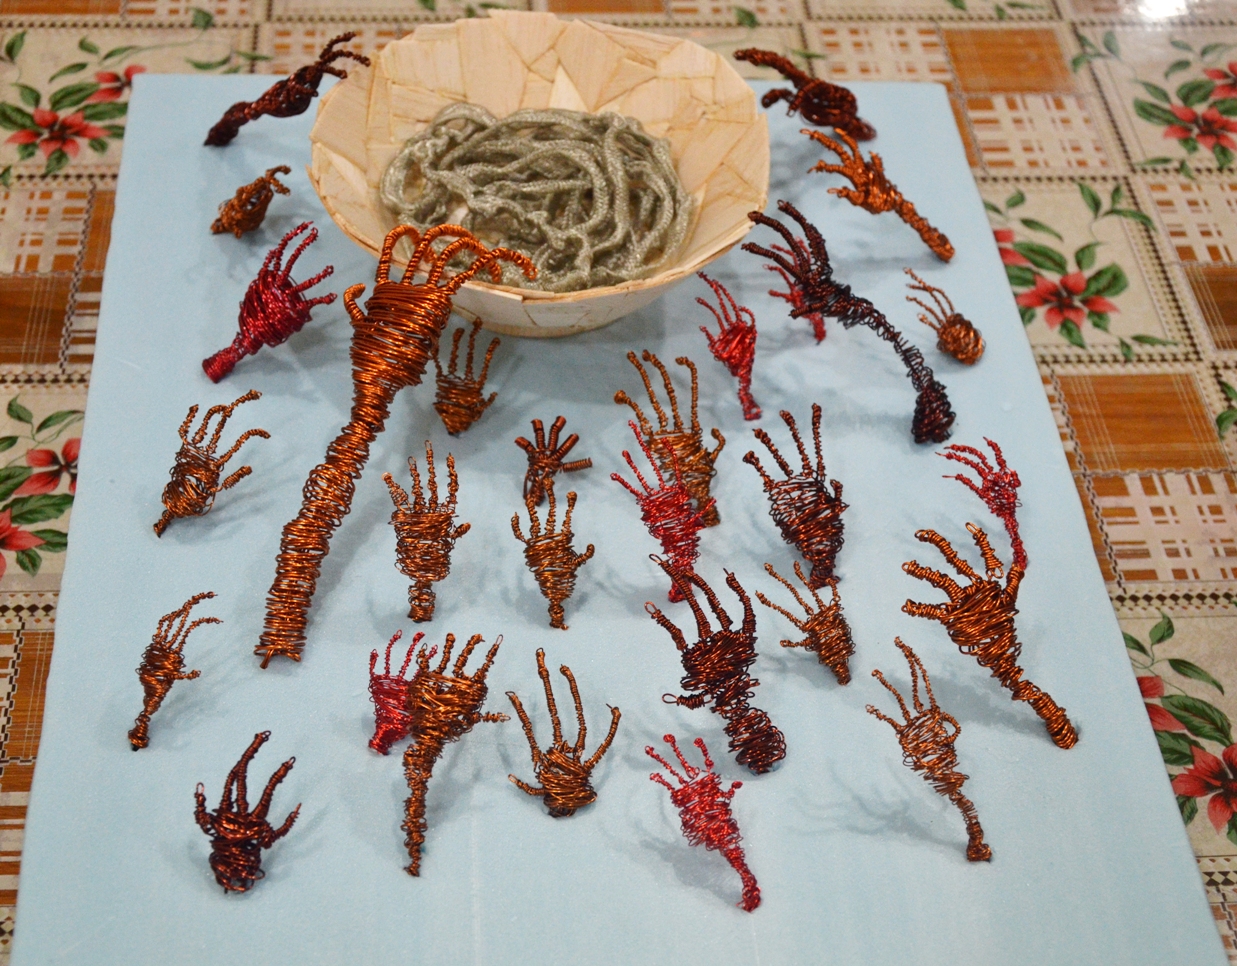
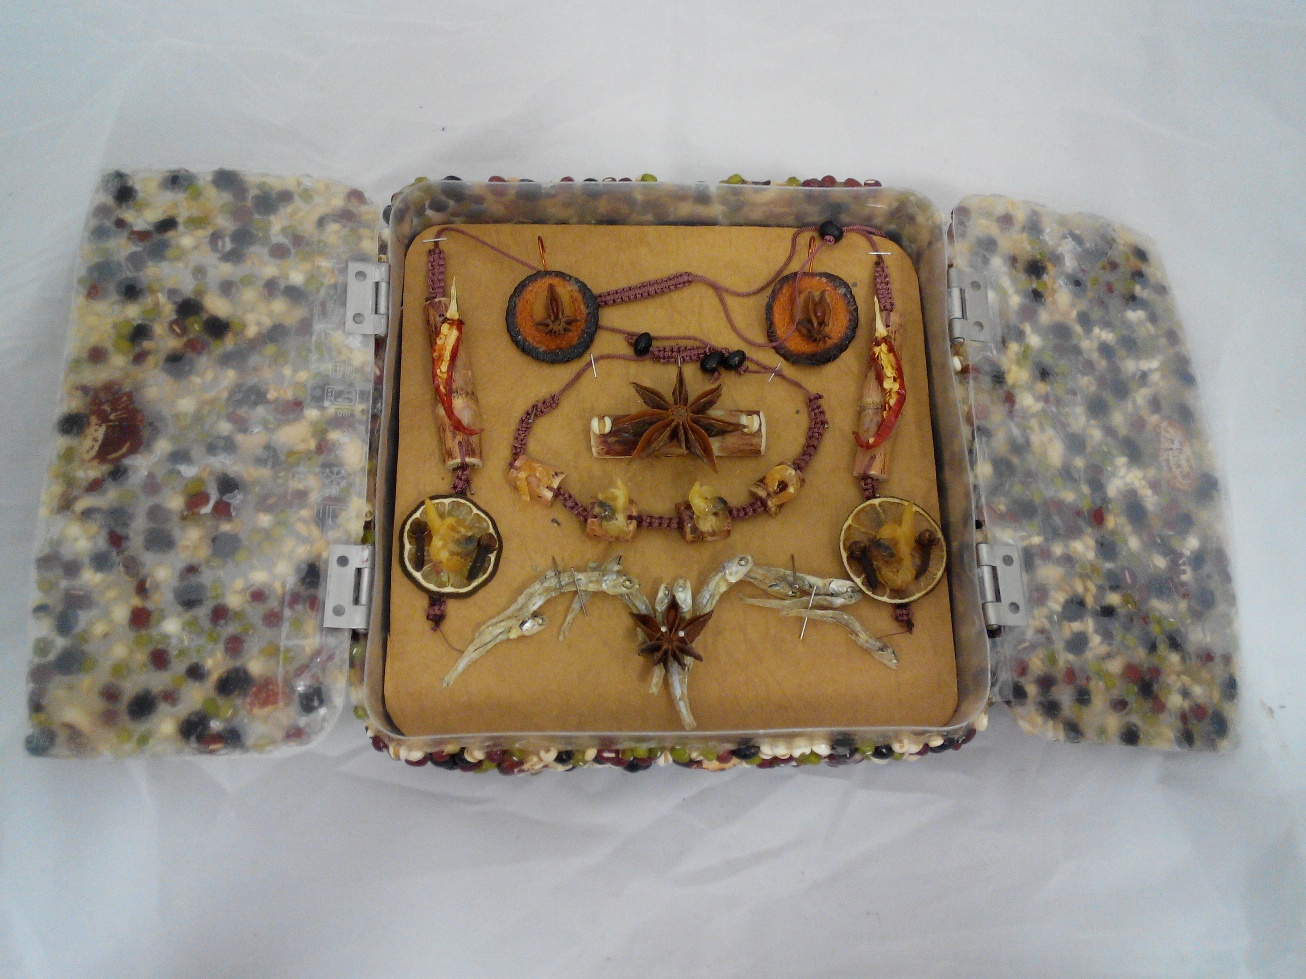
Final content of the box. I used sewing pins to hold the jewellery into place with a foam board behind.

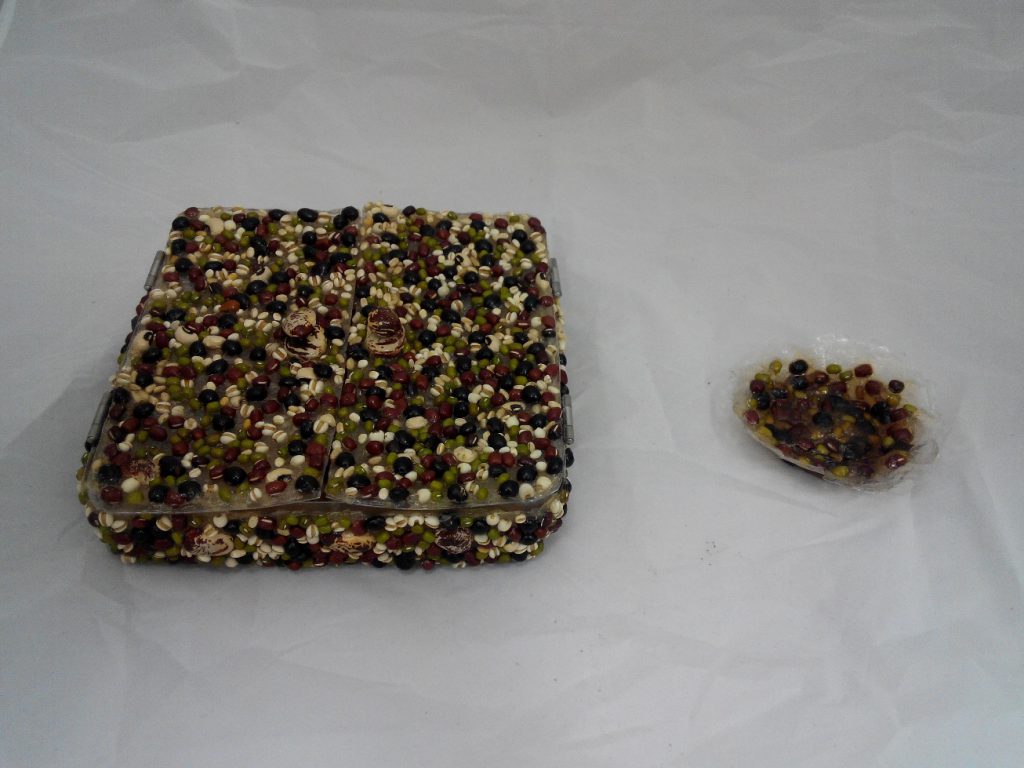
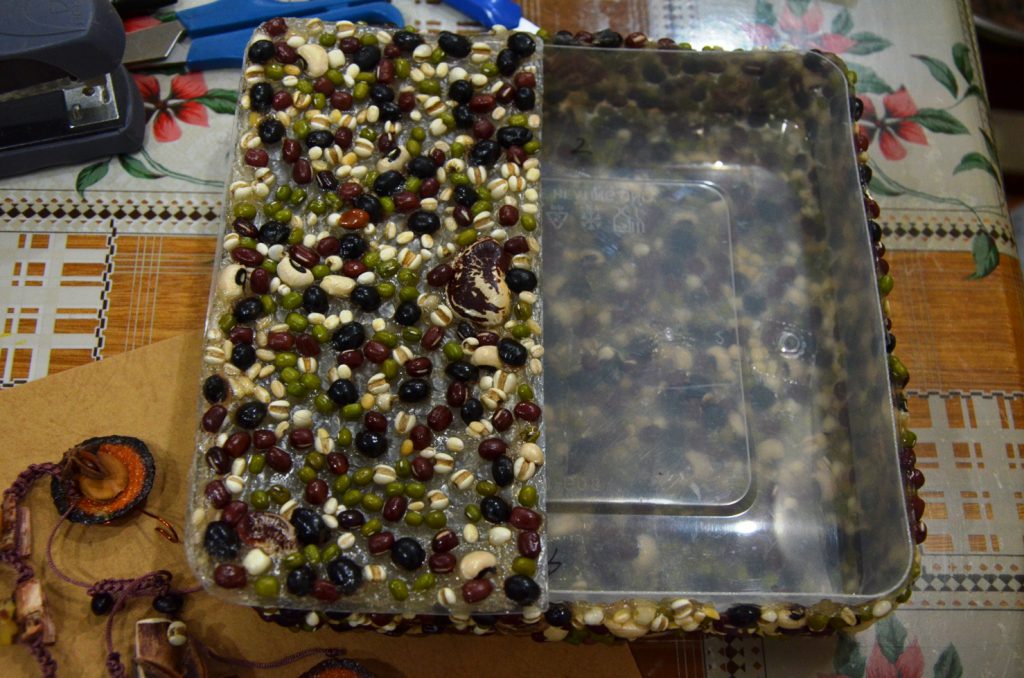
For the final product, the plastic box should not be intact. They were intact for the submission was because the layer of bioplastic takes an awfully long time to be fully dried, approximately 1.5 weeks of sun drying with strong sunlight. It should look something like the bean bowl at the side without any form of artificial plastic.

Reflections:

Initially, when I first received my word “Kitsch”, I felt puzzled because it was my first time hearing this word.

Researching on “Kitsch”:

Meaning of Kitsch: Art, objects, or design considered to be in poor taste because of excessive garishness or sentimentality, but sometimes appreciated in an ironic or knowing way. Kitsch in the verb form as “to render worthless,” classifying kitsch objects by worthless pretentiousness.”  Despite its status as a source of pleasure for a mass audience, kitsch is typically considered a negative product and used as a pejorative statement.

Origin of Kitsch: The word “kitsch” entered the German language in the mid-nineteenth century. Kitsch may be derived from the German word kitschen, meaning den Strassenschlamm ausammenscharren (to collect rubbish from the street). “kitsch” first gained common usage in the jargon of Munich art dealers to designate “cheap artistic stuff” in the 1860s and 70s.   By the first decades of the twentieth century, the term had caught on internationally.  It was utilised to describe both objects and a way of life brought on by the urbanisation and mass-production of the industrial revolution. Kitsch possessed aesthetic as well as political implications, informing debates about mass culture and the growing commercialization of society.

Kitsch Movement: The Kitsch Movement began 15 years ago when Odd Nerdrum declared himself a Kitsch Painter. The movement incorporates the techniques of the Old Masters with narrative, romanticism and emotionally charged imagery. Kitsch painters assert that Kitsch is not an art movement, but a philosophical movement separate from art. According to the Kitsch Movement , Kitsch painters embrace it as a positive term: not in opposition to art, but as its own independent superstructure of values and philosophy which are separate from art.

Examples of Kitsch Paintings:

1) Dawn (1990) by Odd Nerdrum

2) The Singers by Odd Nerdrum

3) “Chinese Girl,” by Vladimir Tretchikoff

4) Zarathustra – the obese cat with Mona Lisa by Svetlana Petrova

Kitsch Movement Philosophy: Kitsch is about humanism, the universal human experience. E.G: Kitsch causes two tears to flow in quick succession. The first tear says: how nice to see children running on the grass! The second tear says: How nice to be moved, together with all mankind, by children running on the grass! The second tear makes kitsch kitsch. -Milan Kundera

Bitter Kitsch or Sweet Kitsch? :

Bitter Kitsch: The depiction of the forbidden, the blasphemous, the vulgar expression of the inexpressible, the provocation of the improper and cruelty.

Sweet Kitsch: It is art that appeals unsubtly and unapologetically to the softer, “sweeter” sentiment.


Kitsch tends to mimic the effects produced by real sensory experiences [compare simulation/simulacra , presenting highly charged imagery, language, or music that triggers an automatic, and therefore unreflective, emotional reaction.

E.G. A bar stool whose legs are actual, stuffed DEER legs.) These are deemed as morally unacceptable subject matter, evoking the wrong emotions and provoking the wrong reactions (e.g disgust and nausea)

Hence, ‘kitsch art’ is closely associated with ‘sentimental art’ and melodrama.

What is common for kitsch? :

The fact that to brand visual art as “kitsch” is generally pejorative.

According to this famous the cultural critic and philosopher, Walter Benjamin : kitsch is, unlike art, a utilitarian object lacking all critical distance between object and observer; it offers instantaneous emotional gratification without intellectual effort, without the requirement of distance, without sublimation.

Modern Day Context:    In Reality, although kitsch has several meanings and it may be ambiguous at times, it is still commonly used to label anything seen being in poor taste.

Initial ideas:

After consulting Prof Peter, I feel that perhaps I can focus on sweet kitsch. I thought of making soft toys made from old clothes with reference to cartoons that had already faced out. (E.G. popular cartoons in the 1950- 1970s).

Here is a printscreen from my word document:


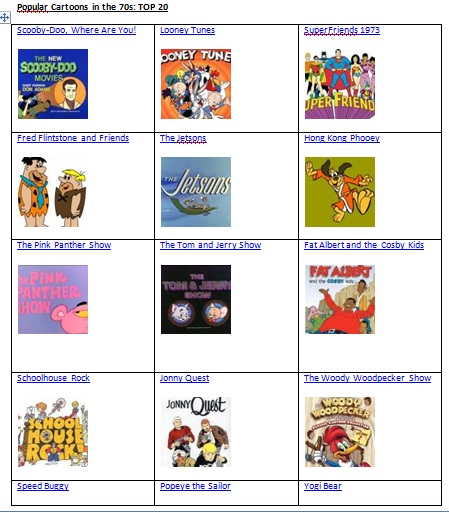
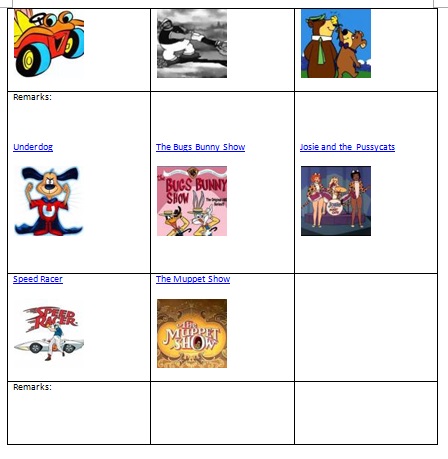
Top Ten TV Cartoon Characters from the 1950s and 1960s

Top Cat      Snagglepuss      Deputy Dawg     Huckleberry Hound     Fred Flintstone

Tom & Jerry    Yogi Bear     The Jetsons    Mr. Magoo     Bullwinkle

However, I still feel that it may be a common approach to the project. Hence, I went to research further and come up with the idea of making jewellery using food. The critique of kitsch in this sense is that kitsch is a mimicry and a representation of something common using common items to make it uncommon.

The overall experience with this project was very good as I got to experiment was a lot of materials and things I have not previously thought about!


References for the kitsch information above:

http://artbabel.blogspot.sg/2010/04/philosophy-of-kitsch-kant-kunst-and.htmlhttp://www.jstor.org.ezlibproxy1.ntu.edu.sg/stable/pdf/431644.pdfhttp://petasvintageboutique.weebly.com/where-the-heart-is/kitsch-arthttp://wilburwhateley.tumblr.com/post/118823047423/dustlickers-2000-and-dawn-1990-by-odd-nerdrumhttps://www.demilked.com/fat-cat-zarathustra-classical-paintings-svetlana-petrova/https://www.theguardian.com/artanddesign/jonathanjonesblog/2013/jan/28/kitsch-art-love-loathe-jonathan-joneshttp://www.thefreedictionary.com/kitschyhttps://en.oxforddictionaries.com/definition/kitschhttp://csmt.uchicago.edu/glossary2004/kitsch.htmhttp://www.huffingtonpost.com/brandon-kralik/the-dawn-of-the-kitsch-mo_b_4013483.htmlhttp://www.widewalls.ch/kitsch-art/http://edition.cnn.com/2013/03/19/world/europe/kitsch-mona-lisa-auction-tretchikoff/


IDEATION brainstorm:

  1. Making a horror doll wire sculpture
  2. Make old rusty nails and nuts to form a sculpture
  3. Chendol with noodles made from polymer clay / jumping clay
  4. Fish head with a thumb drive in it
  5. Chicken nuggets / food on a phone cover
  6. Making a dog or fish  (toy animal) made out of sugar cane
  7. Making a jewellery set with food / edible items. (e.g. pepperoni ear rings)
  8. Wrapping fruits in glitter
  9. Using clay to make kitschy figurines / human head / doll head etc
  10. Attach a half head made from suitable materials (like 5) and stick it on a photo frame so that it will stick out and form a 3D effect
  11. Making faced out cartoon figures (from the 1960s/ 1970s/ 1980s) onto toast bread by making charred patterns


Ideas I experimented with:

EXPERIMENT 1:

Number 11: Toast Bread

 HOW DID I GO ABOUT DOING IT?

I drew a trial cartoon dog’s face on a plain piece of paper and then attempted to duplicate the drawing on a piece of aluminum foil. This was followed by cutting out the shape drawn, including the eyes and the nose. Placed the cut out shape of the aluminum onto the piece of bread and sent it to the oven.

WHAT MISTAKE DID I MAKE?

Halfway through baking, I realised that the aluminum foil kept on curling and popping up from the bread. If this occurs, the charred shape will not be formed properly and the whole piece of bread will be charred. (The correct result should be: Besides from the aluminum shaped dog which remains white or brown (negative) , the surrounding bread should be charred (positive))

WHAT DID I DO TO RECTIFY THE MISTAKE?

I used individual staple bullet to punch it into the bread along the circumference of the aluminum foil to hold it in. After which, the bread went into the oven again.

RESULT:


WHAT COULD I HAVE DONE BETTER?

I realised I did not monitor the degree of charred-ness properly and closely. The colour of the bread became too dark, not the ideal shade of charred I need. Hence, I had to scrape the top layer off carefully since the overly baked toast was very fragile and brittle.

WHAT DID I NOT MANAGE TO ACHIEVE?

I also realised that the eyes and nose (small circles cut out) were not very prominent and it was difficult for it to appear without the surrounding bread getting more and more charred.


MOVING ON TO MY NEXT IDEA:

After a brief consultation with Prof Peter, he advised that some of the initial ideas listed were not considered kitschy and hence I shortlisted 4 plausible options to go about approaching the subject, namely 6, 7, 8, and 11.

WHY I DECIDED TO CHANGE MY IDEA NO. 11 (charred toast bread)?

I realised that the toast bread was too brittle and may not be exactly practical to bring around / travel to and fro NTU. Besides, the technical difficulties were rather challenging, the images produced were not very nice or accurate to my expected ones. Also, it did not reflect a strong kitsch quality.

WHY RULING OUT NO.8 (wrapping fruits in glitter)?

Stated in the brief that the eventual product / installation should look like something 4 weeks’ worth of work. Wrapping fruits in glitter may not be exactly reflective of the time spent, unless it is of a massive scale, e.g. an obsessive compulsive project, taking for instance 100 different kinds of fruits and wrap them in glitter and juxtapose the before and after side by side in an installation. However, I find that this lacks creativity and may be a too literal approach for this subject matter. Besides, I would like to steer away from the repetitive massive kind of scale if possible. I prefer something individual and impactful as one.


EXPERIMENT 2:

Number 6: Sugarcane Toy

HOW DID I GO ABOUT DOING IT?

As I have some sugarcane plants in my garden, obtaining the main material for this was not hard.  So I went to chop down some sugarcane sections for my experiments. After doing a brief sketch, I then proceed to saw them into the lengths I wanted, especially for the body.

  1. Body length: Chop out the edge (aka skin) of the entire length for the sides. X2
  2. “Fillings of the body”: Lay the sugarcane flat and just chop it into roundish blocks. X6 with varying thickness and height (thick to thin)
  3. Fins / Legs: Chop the skin of the sugarcane and file then with sandpaper into the desired shape. X6 (2 big 2 medium 2 small)
  4. Head: one section of sugarcane, file one end of it to look roundish
  5. Drill 2 holes on the head, big enough to stuff 2 black beans inside for the eyes.
  6. Saw one of the body roundish block to insert the upper fin.
  7. Use rubber bands to secure the position of the pieces before using super glue to attach them all together.

PROCESS:


DIFFICULTIES I FACED DURING THE PROCESS:

I realised that as a newbie with sawing, things were not as easy as it looks. I actually had quite a hard time sawing the sugarcane blocks. Without enough strength, it was extremely difficult to go forth and back again. My saw got literally stuck in the sugarcane when I did that and I also had difficulties trying to detach it from the sugarcane. What I came up with was ONLY TO REVERSE SAW. Put the saw furthest away from you at an arm’s length and rest on the position you want to saw and pull it all the way back while exerting force. It works and it reduces the problem I faced earlier.

WHAT DID I NOT MANAGE TO ACHIEVE?

At first my idea was to create a dog figure out of sugarcane, but as I progress forward, I realised that my composition does not really look like a dog. So I came up with the idea of a partial dog wrapped in HOTDOG BREAD = SAUSAGE DOG. Although the idea seems funny and no harm trying it, it was not quite possible in the end. Hence, I decided to alter my focus and made it into a fish instead.

WHY DID I NOT GO WITH THIS IDEA AGAIN?

Once again, I felt that this although kitschy, does not exhibit enough “kitschy-ness” and I guess it is in me to produce something kitschy yet ironically functional at the same time. (Whether the audience chooses to use it or not is another thing) Since it lacks functionality, I decided to move on and experiment with my last idea before deciding which is better.


MOVING ON TO EXPERIMENT 3: (MY FINAL IDEA AND EVENTUAL SUBMISSION) 

Number 7: Jewellery set made from food    (Click on this link: https://oss.adm.ntu.edu.sg/liml0074/3dii-final-idea-and-process/)


Client: Chia Te

Ideation: Initially, I thought of making a cup holder for her. (A set of 7 made from different materials with different sizes. Rationale: She can use and change 1 per day or use the one most suitable for the type of mug/cup she is using) However, after knowing more about her, I realised that a cup holder does not suit her personality. I had decided to do a gift based on the vibes she gave me. I felt that she is a pretty cheerful, positive and easy going person. She is also a nature lover. I wanted my gift to revolve around the idea of a sustainable design, something to do with recycling and reusing as well.

Process: I have decided to make a handmade lamp for her using 4 pieces of wood I found. Initially, I thought of attaching the 4 pieces of wood together. However, it lacks novelty which does not makes it different from just a normal wooden lamp. Hence, I have decided to include a slight tinge of interactive element to it, making it a portable and foldable lamp.

My initial idea was to cut strips of wood and attach it on the back side of the piece of wood. My trials as shown below included strips of cardboard. Subsequently, due to the unavailability of suitable wood strips, I used ice cream sticks instead. I had to cut the 2 ice creams at a certain length. (measure) and attach them together at the back. I also sandpapered the ice cream sticks as well as all jagged edges on the pieces, including the borders of the holes.

1        2

6

To make the lamp foldable, I had to find possible hinges for it. At first, I thought of using the metal bindings found in calendars. I measured and cut out the shape of the holes in the wood and attached it. However, it did not turn out well because the protruding part of the binding looked odd and the colour combination was also off.

3          4

I then made a trip to the hardware store and bought the smallest available metal hinges. Although there are plastic hinges on sales, I wanted the lamp to be stable and sturdy, something which plastic hinges lacked.

6    5

7

8


After which I attached appropriately sized diamond quality tracing paper along the gaps between each piece of wood to ensure that certain angles, the light will not shine directly into the eye. User friendly and comfort was also one of my key considerations.    10

9

11


13

15

Then I attached the tracing paper on the outer surface of the wood pieces.

14

Final Product:

img_20170208_124515 img_20170208_124524 img_20170208_124537 img_20170208_124558 img_20170208_124624