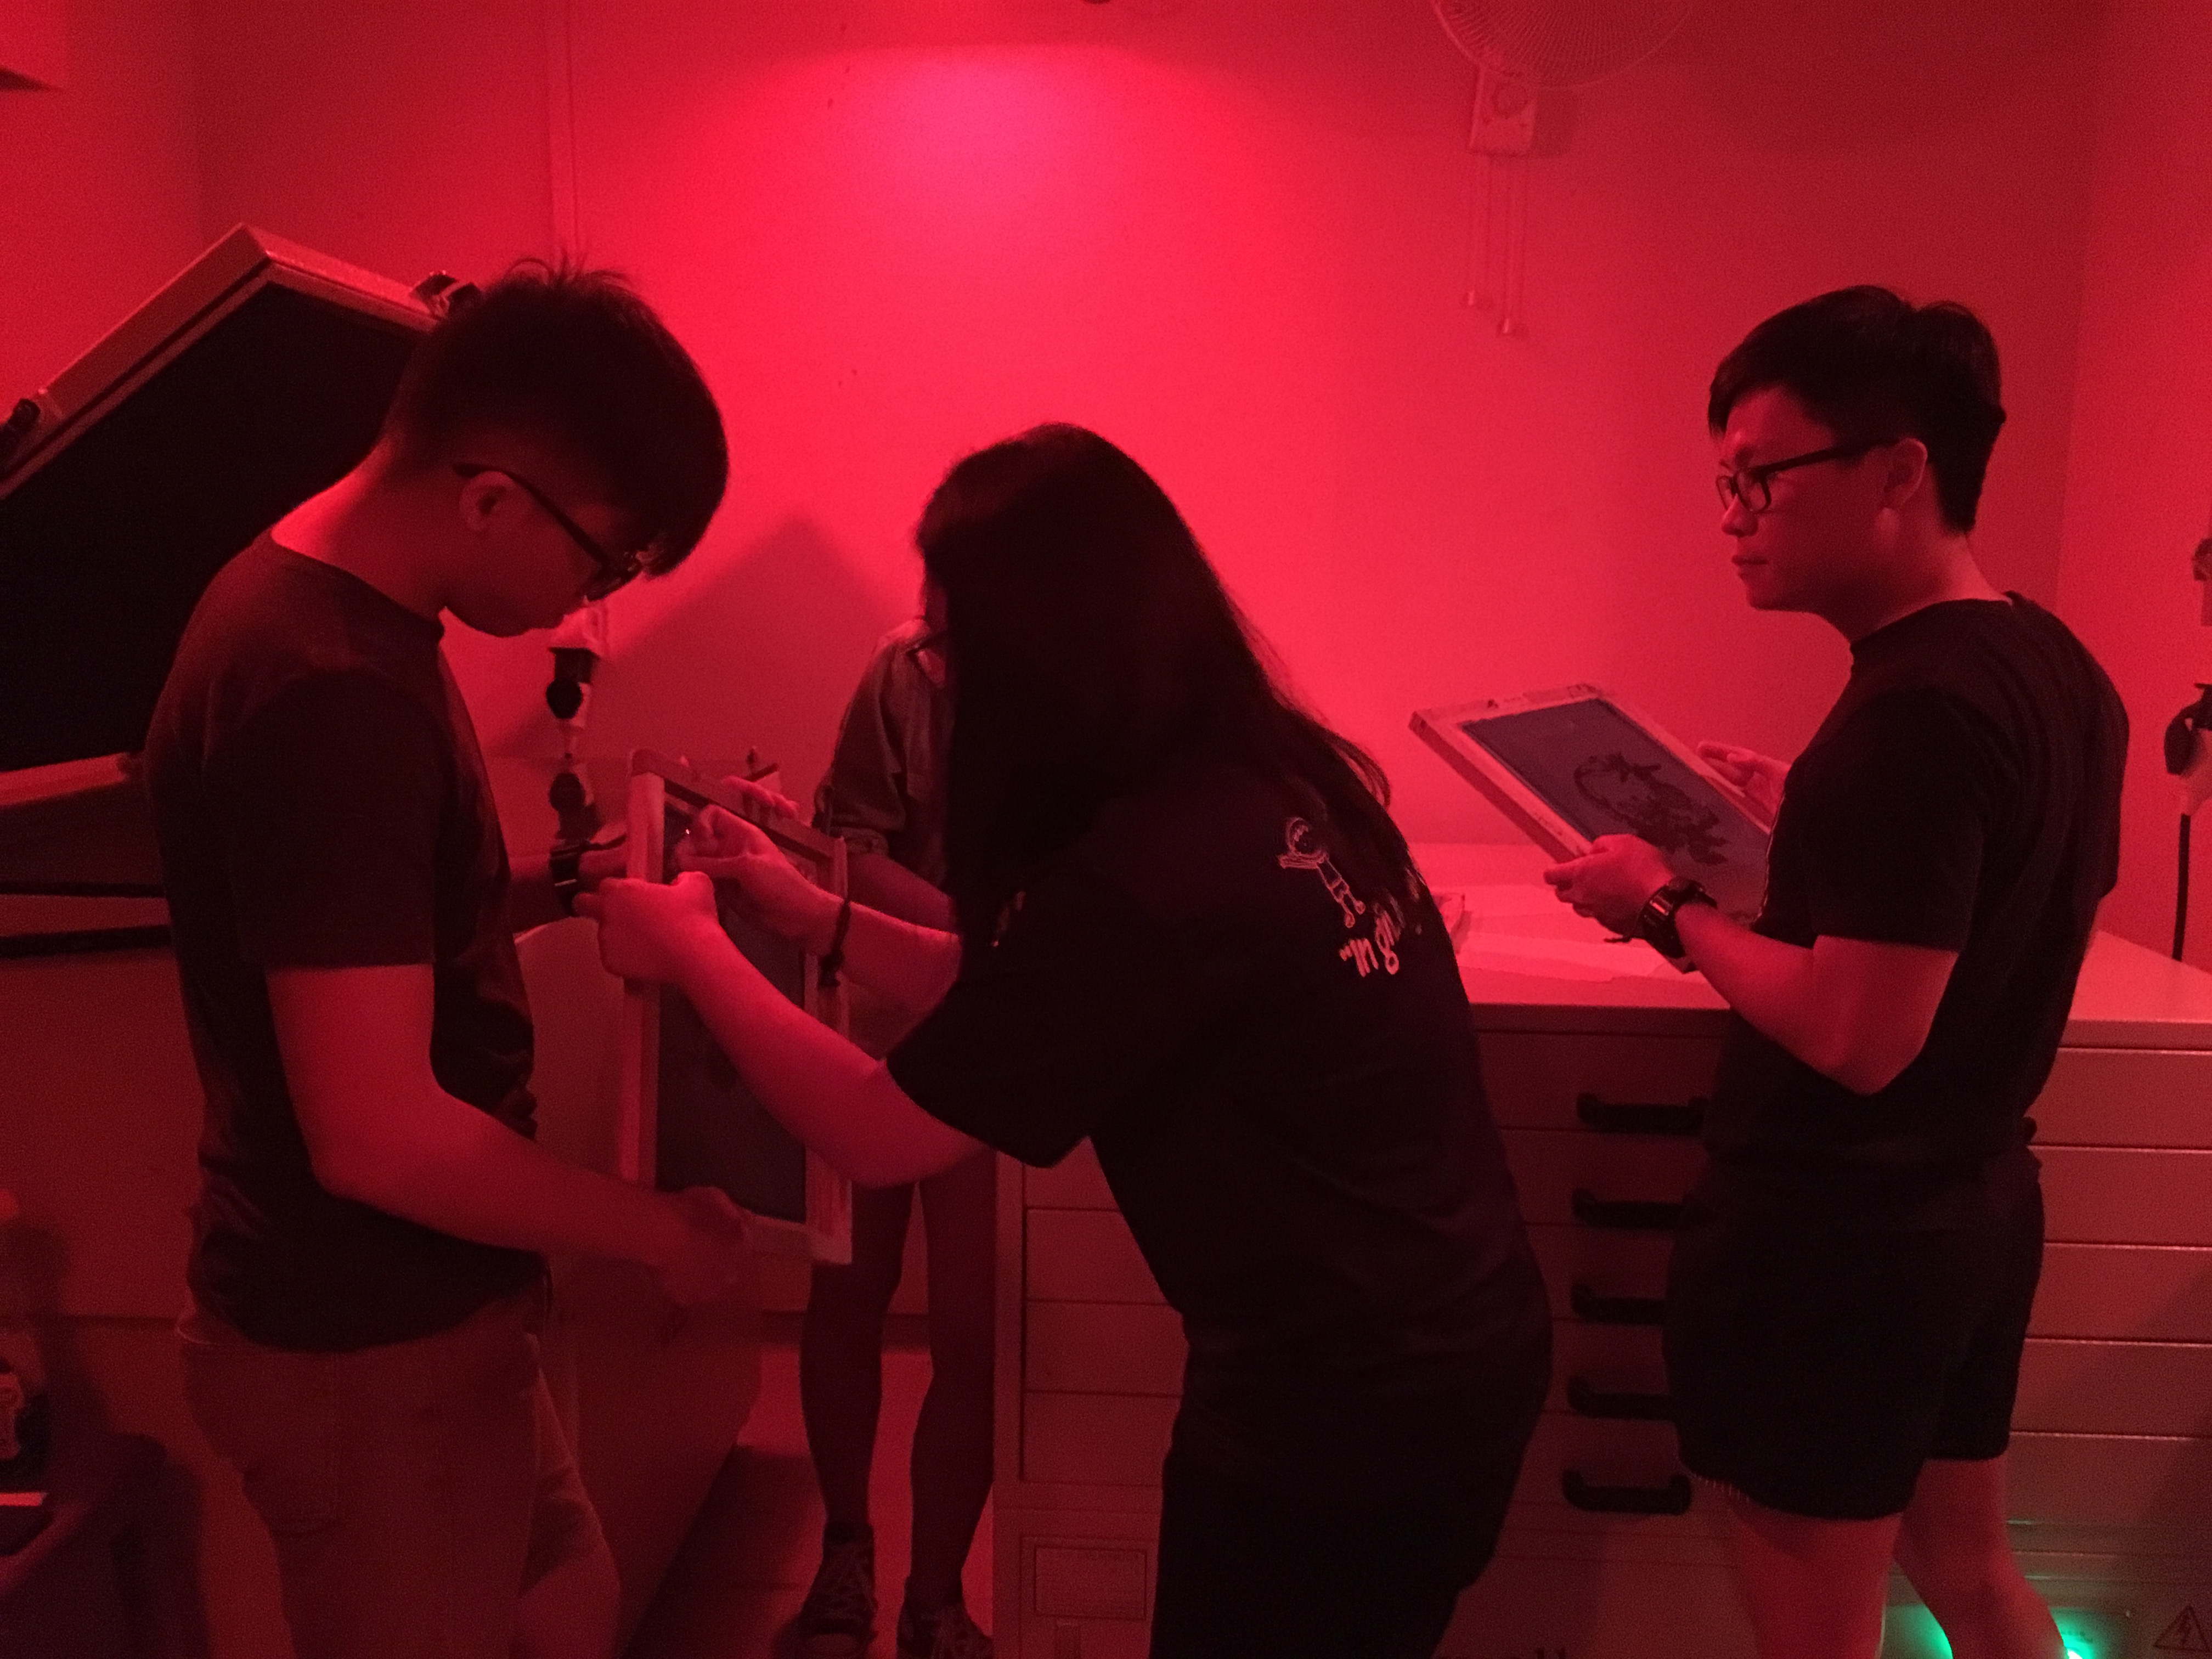
The silk screen process was pretty interesting, yet stressful as we were worried about how the screen would turn out.
We started off by coating the screen with two layers of photo sensitive emulsion and let it dry in the oven. This was done in the dark room. We were asked to return 20 minutes later.
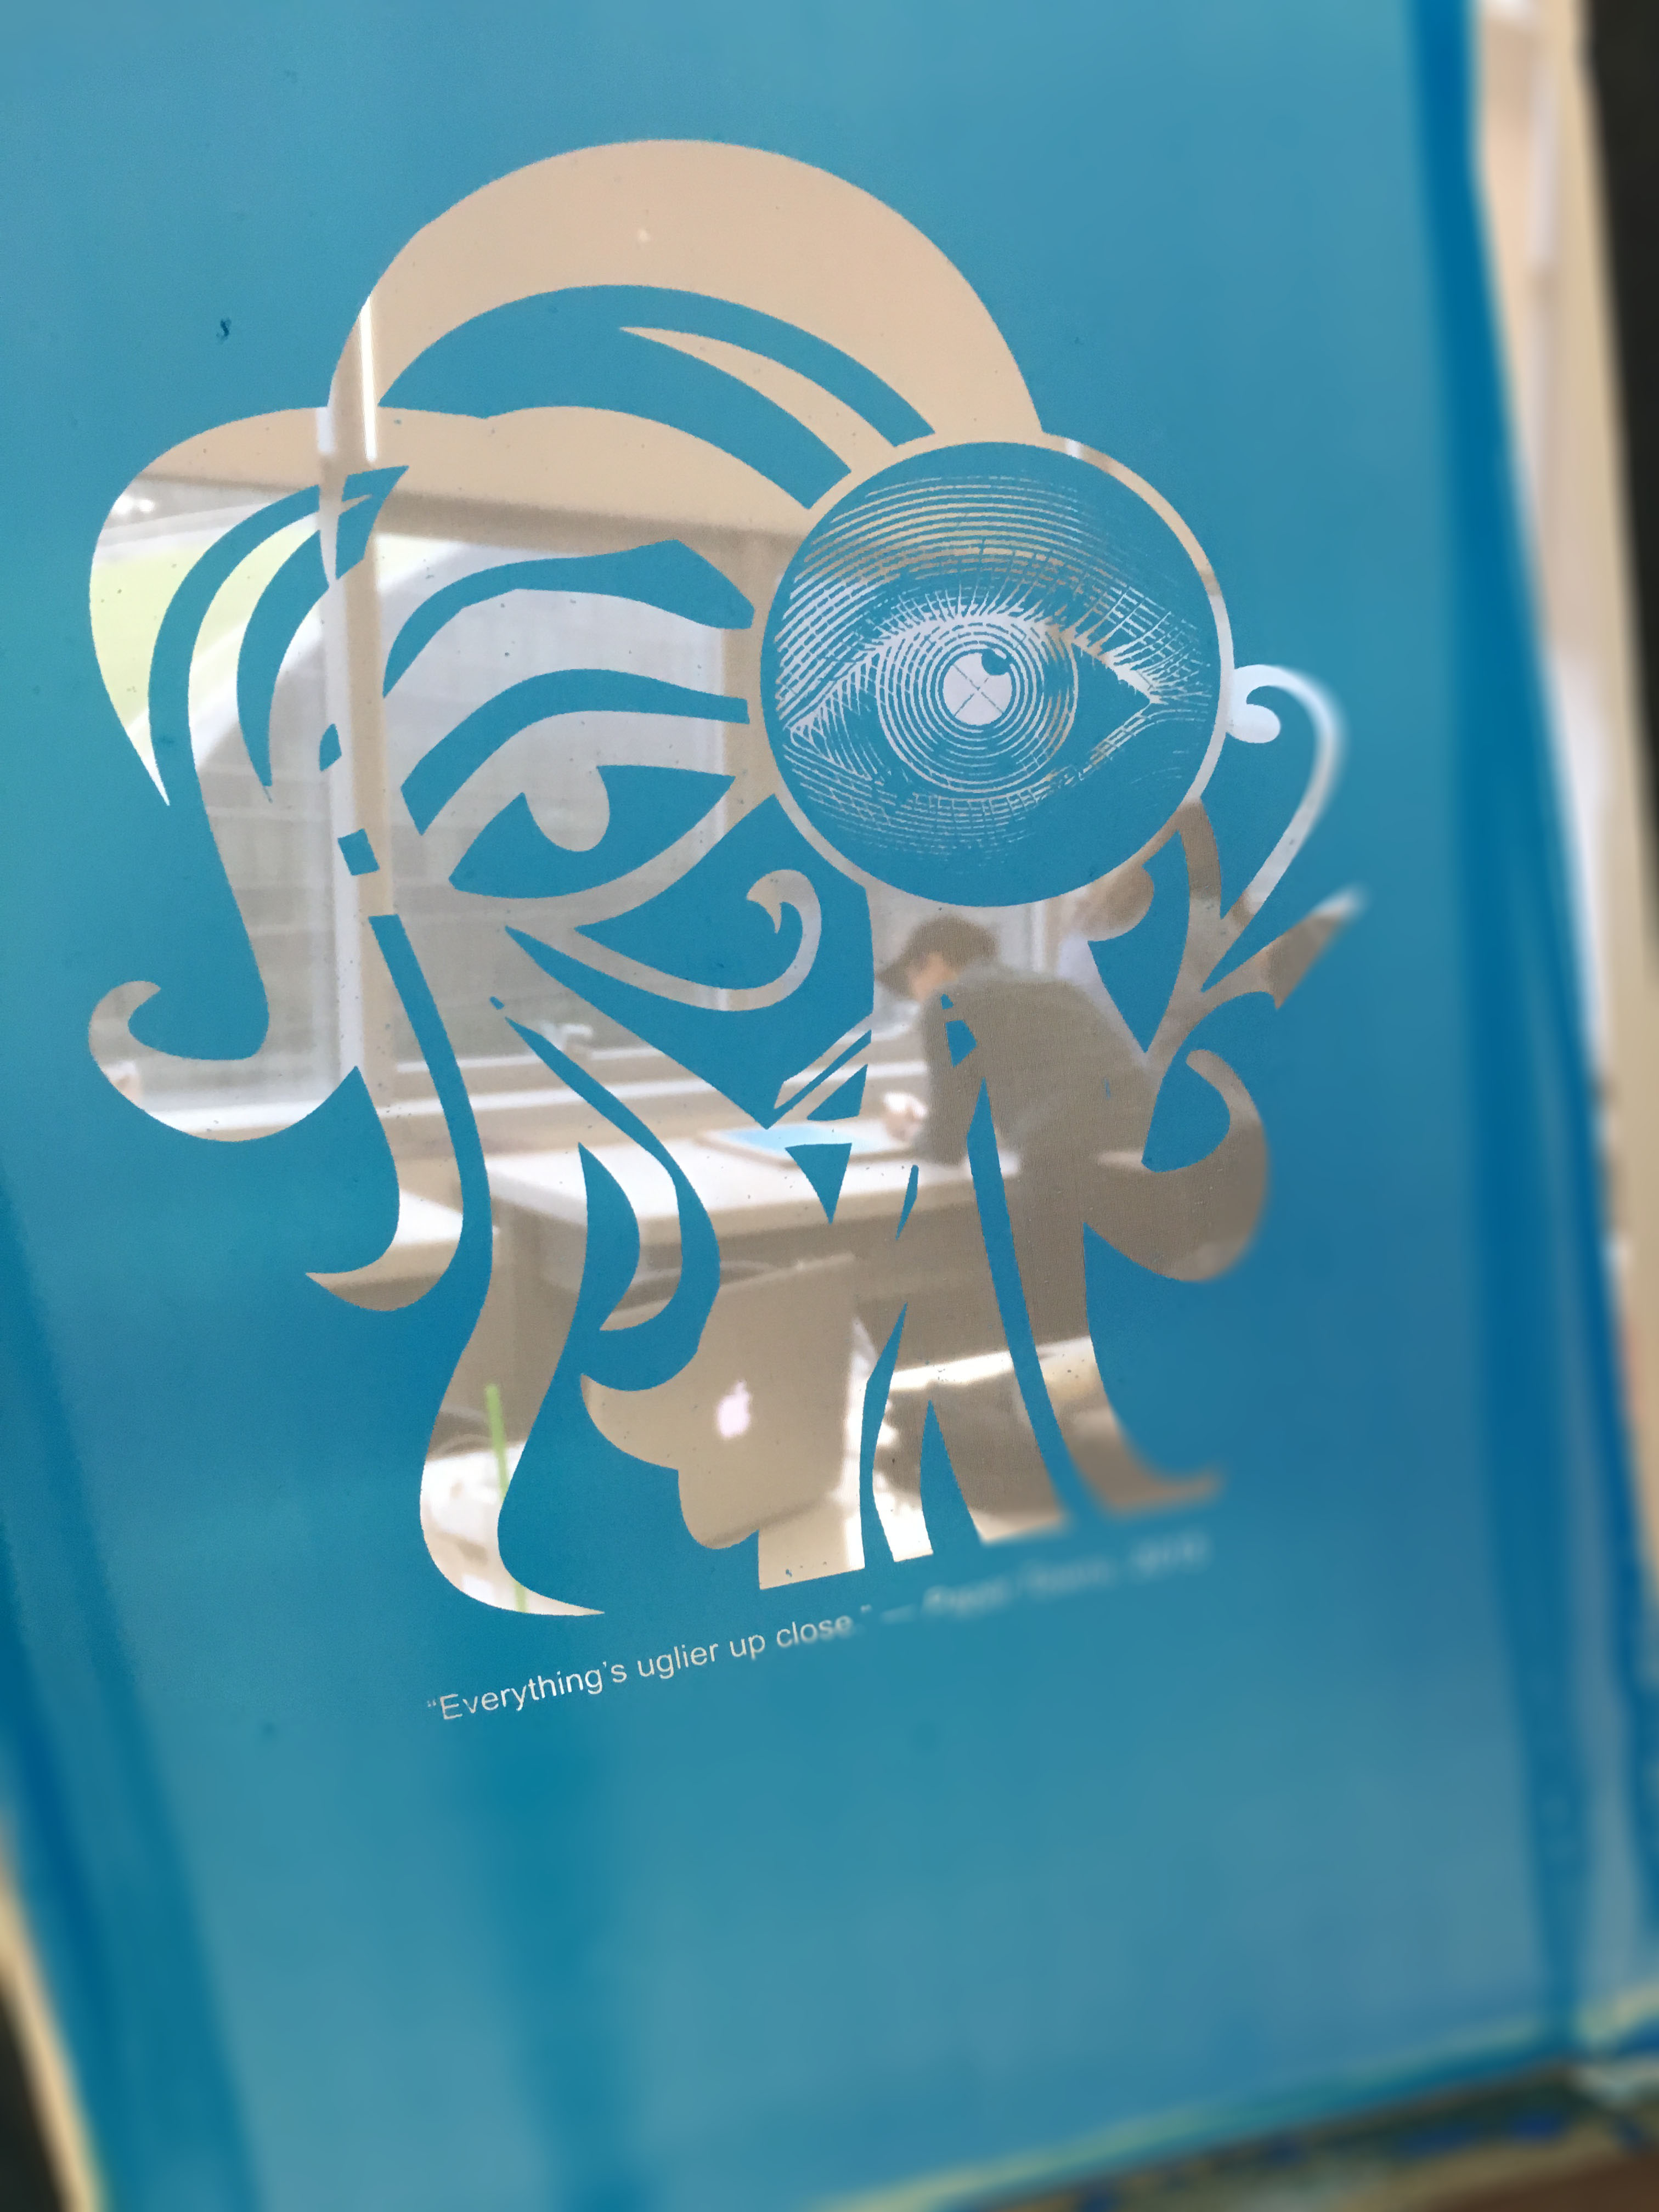
Next, we had our images printed in black on transparencies. We taped down the textured side of the transparency onto the screen and placed it in the exposure unit for 18 seconds to expose the emulsion.
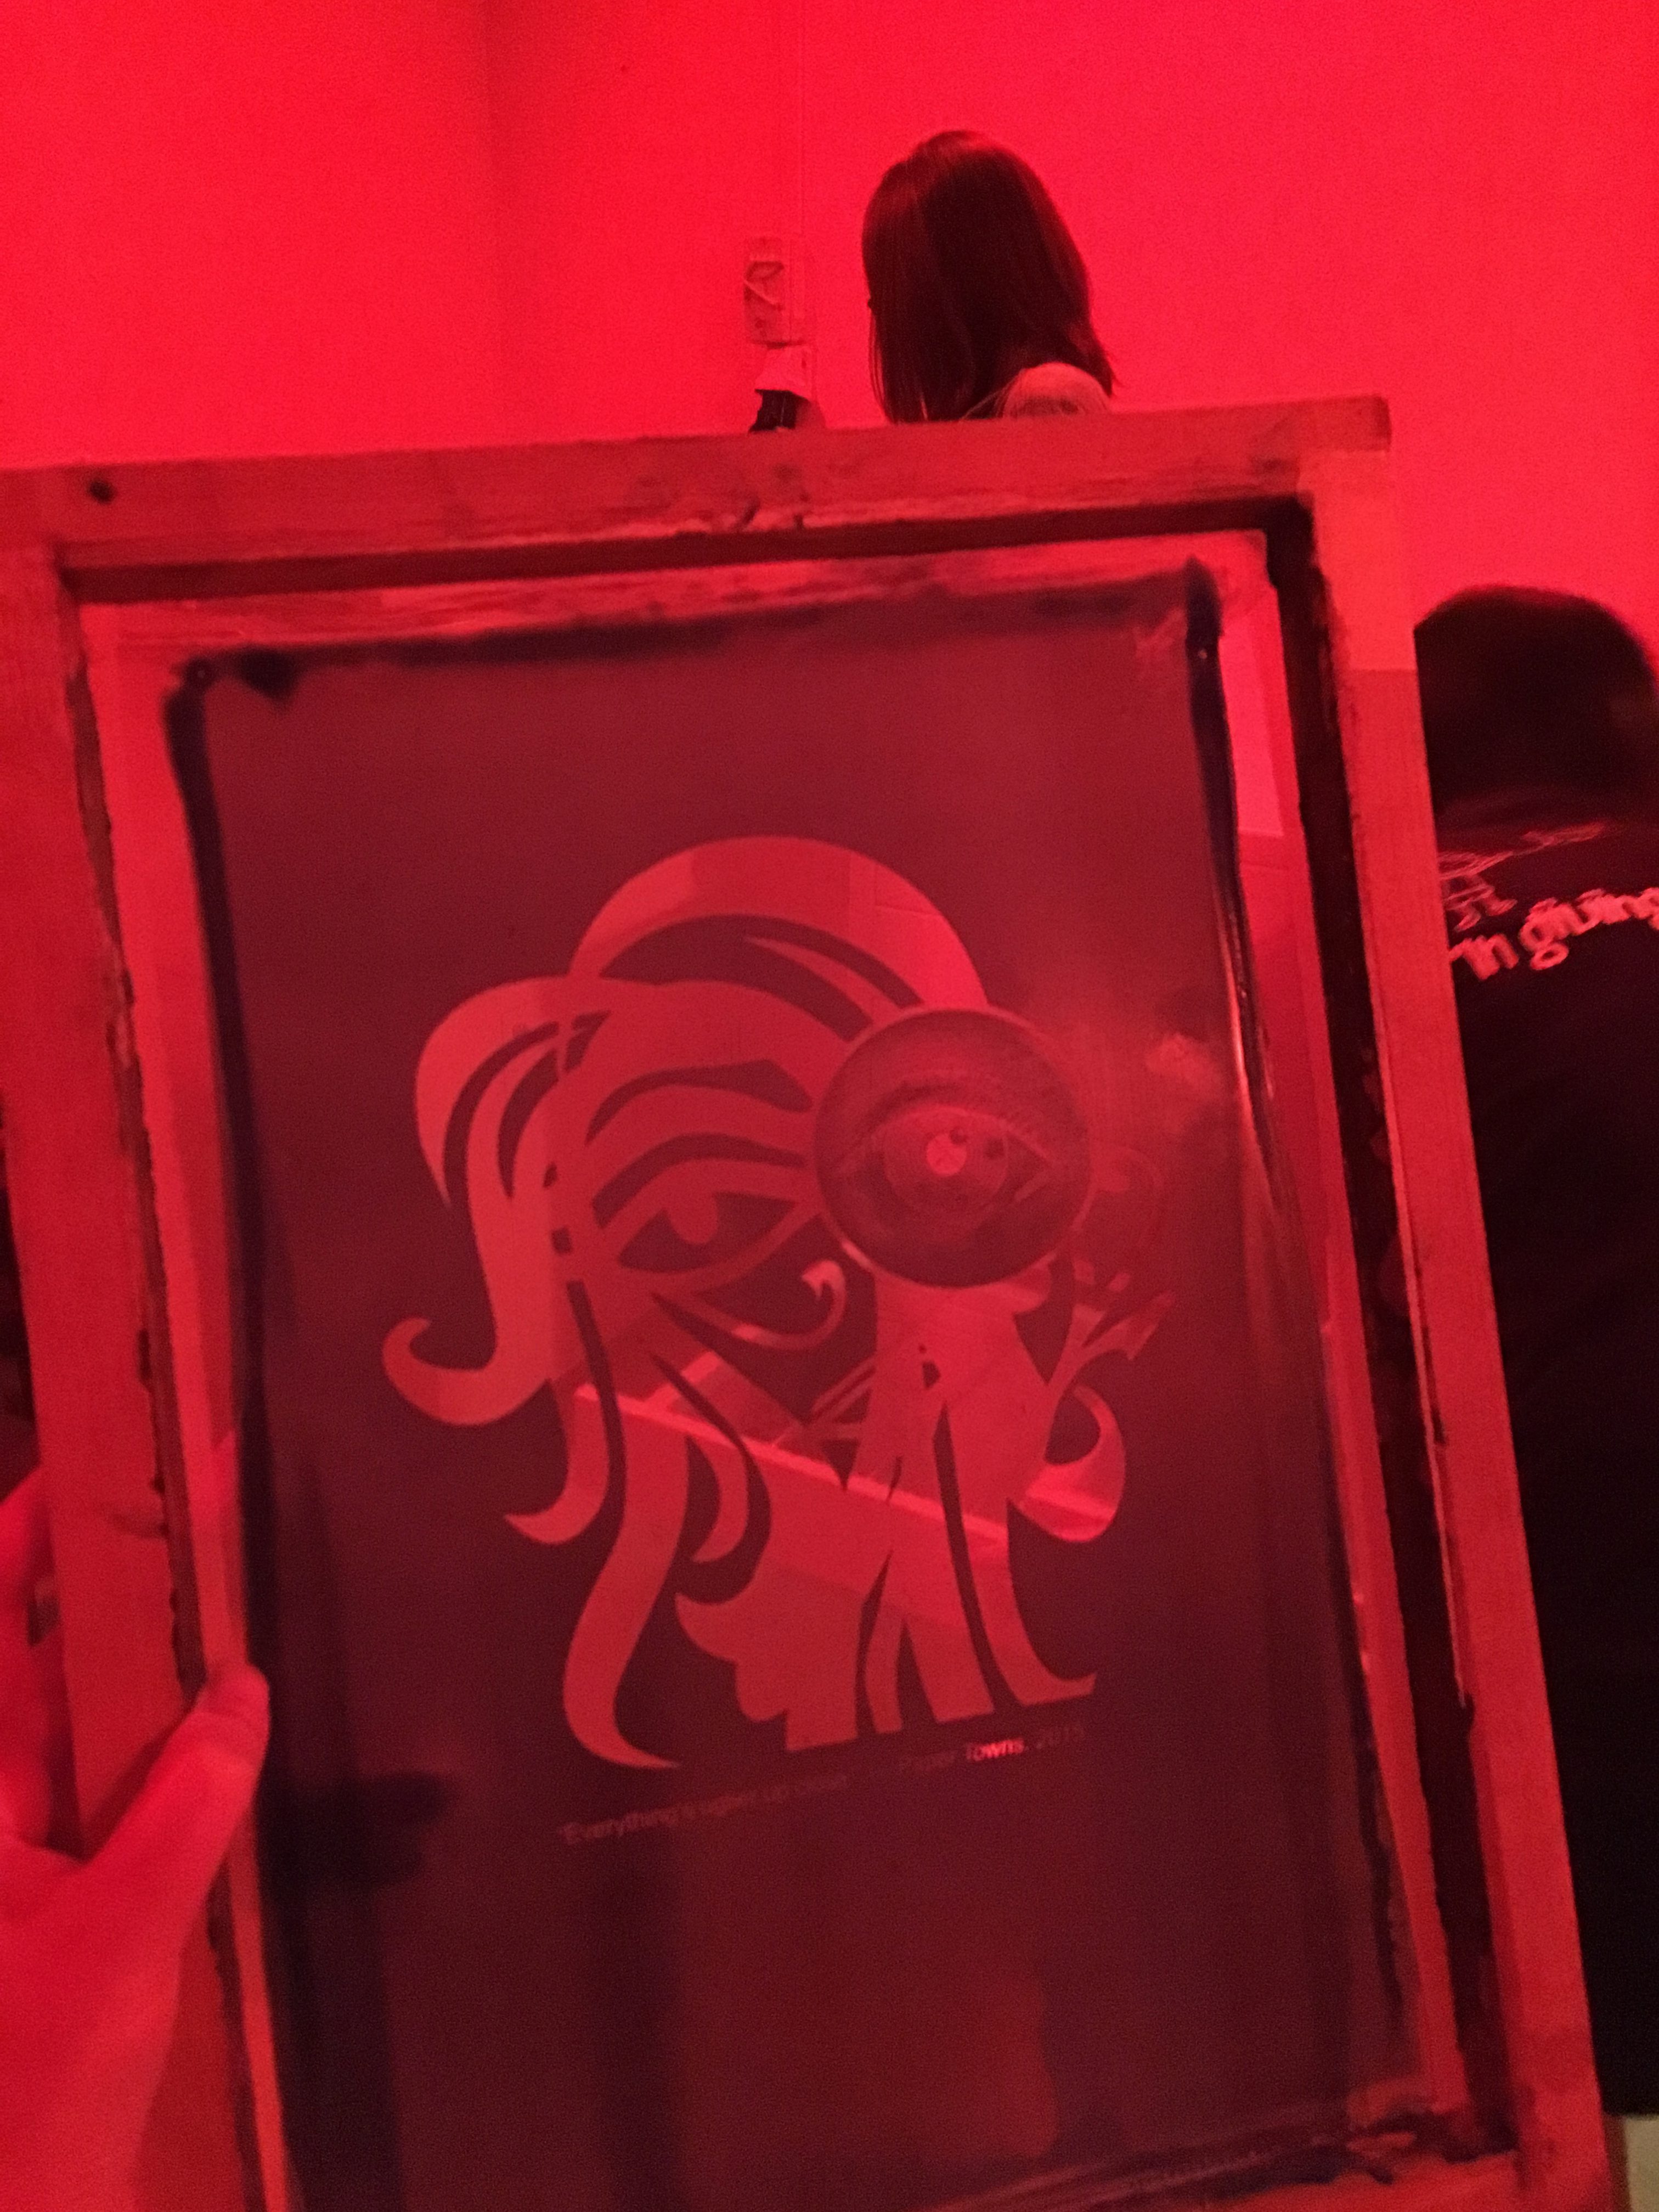
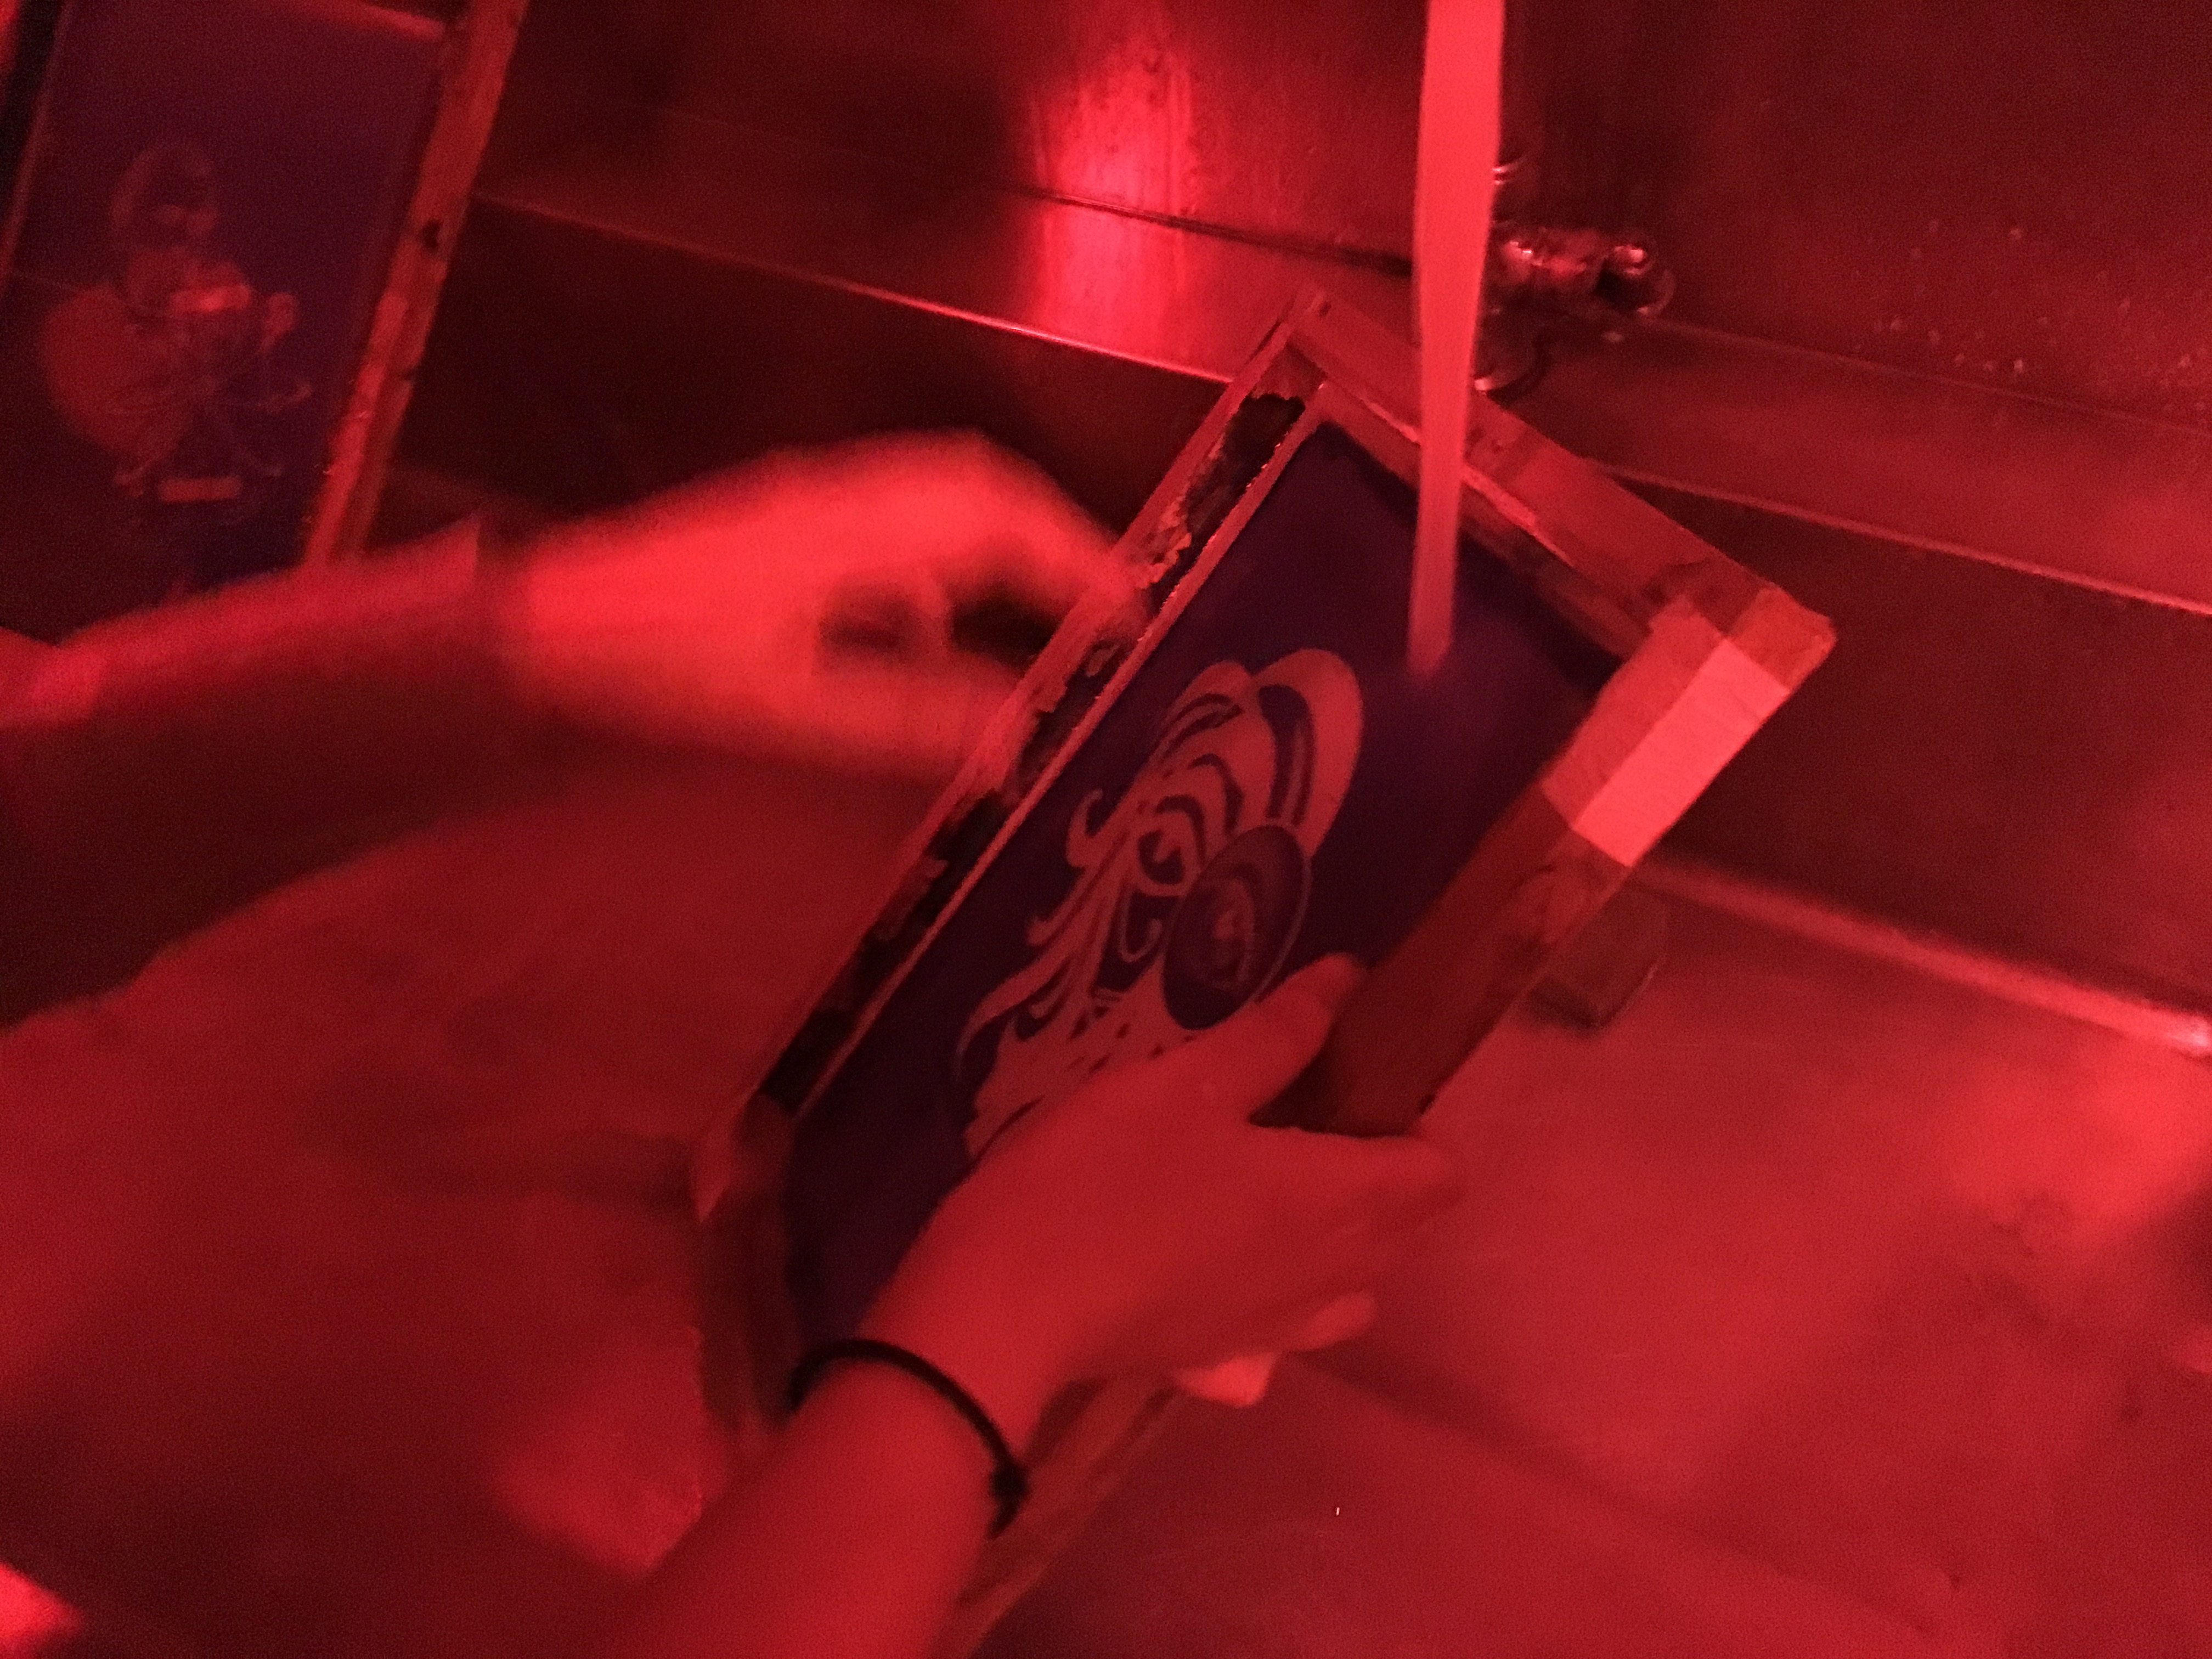
After the emulsion has been exposed, it was time to wash it out. The transparency was removed and we brought the screen to another area for rinsing. Using water jet hose, we washed away the emulsion covering the image.
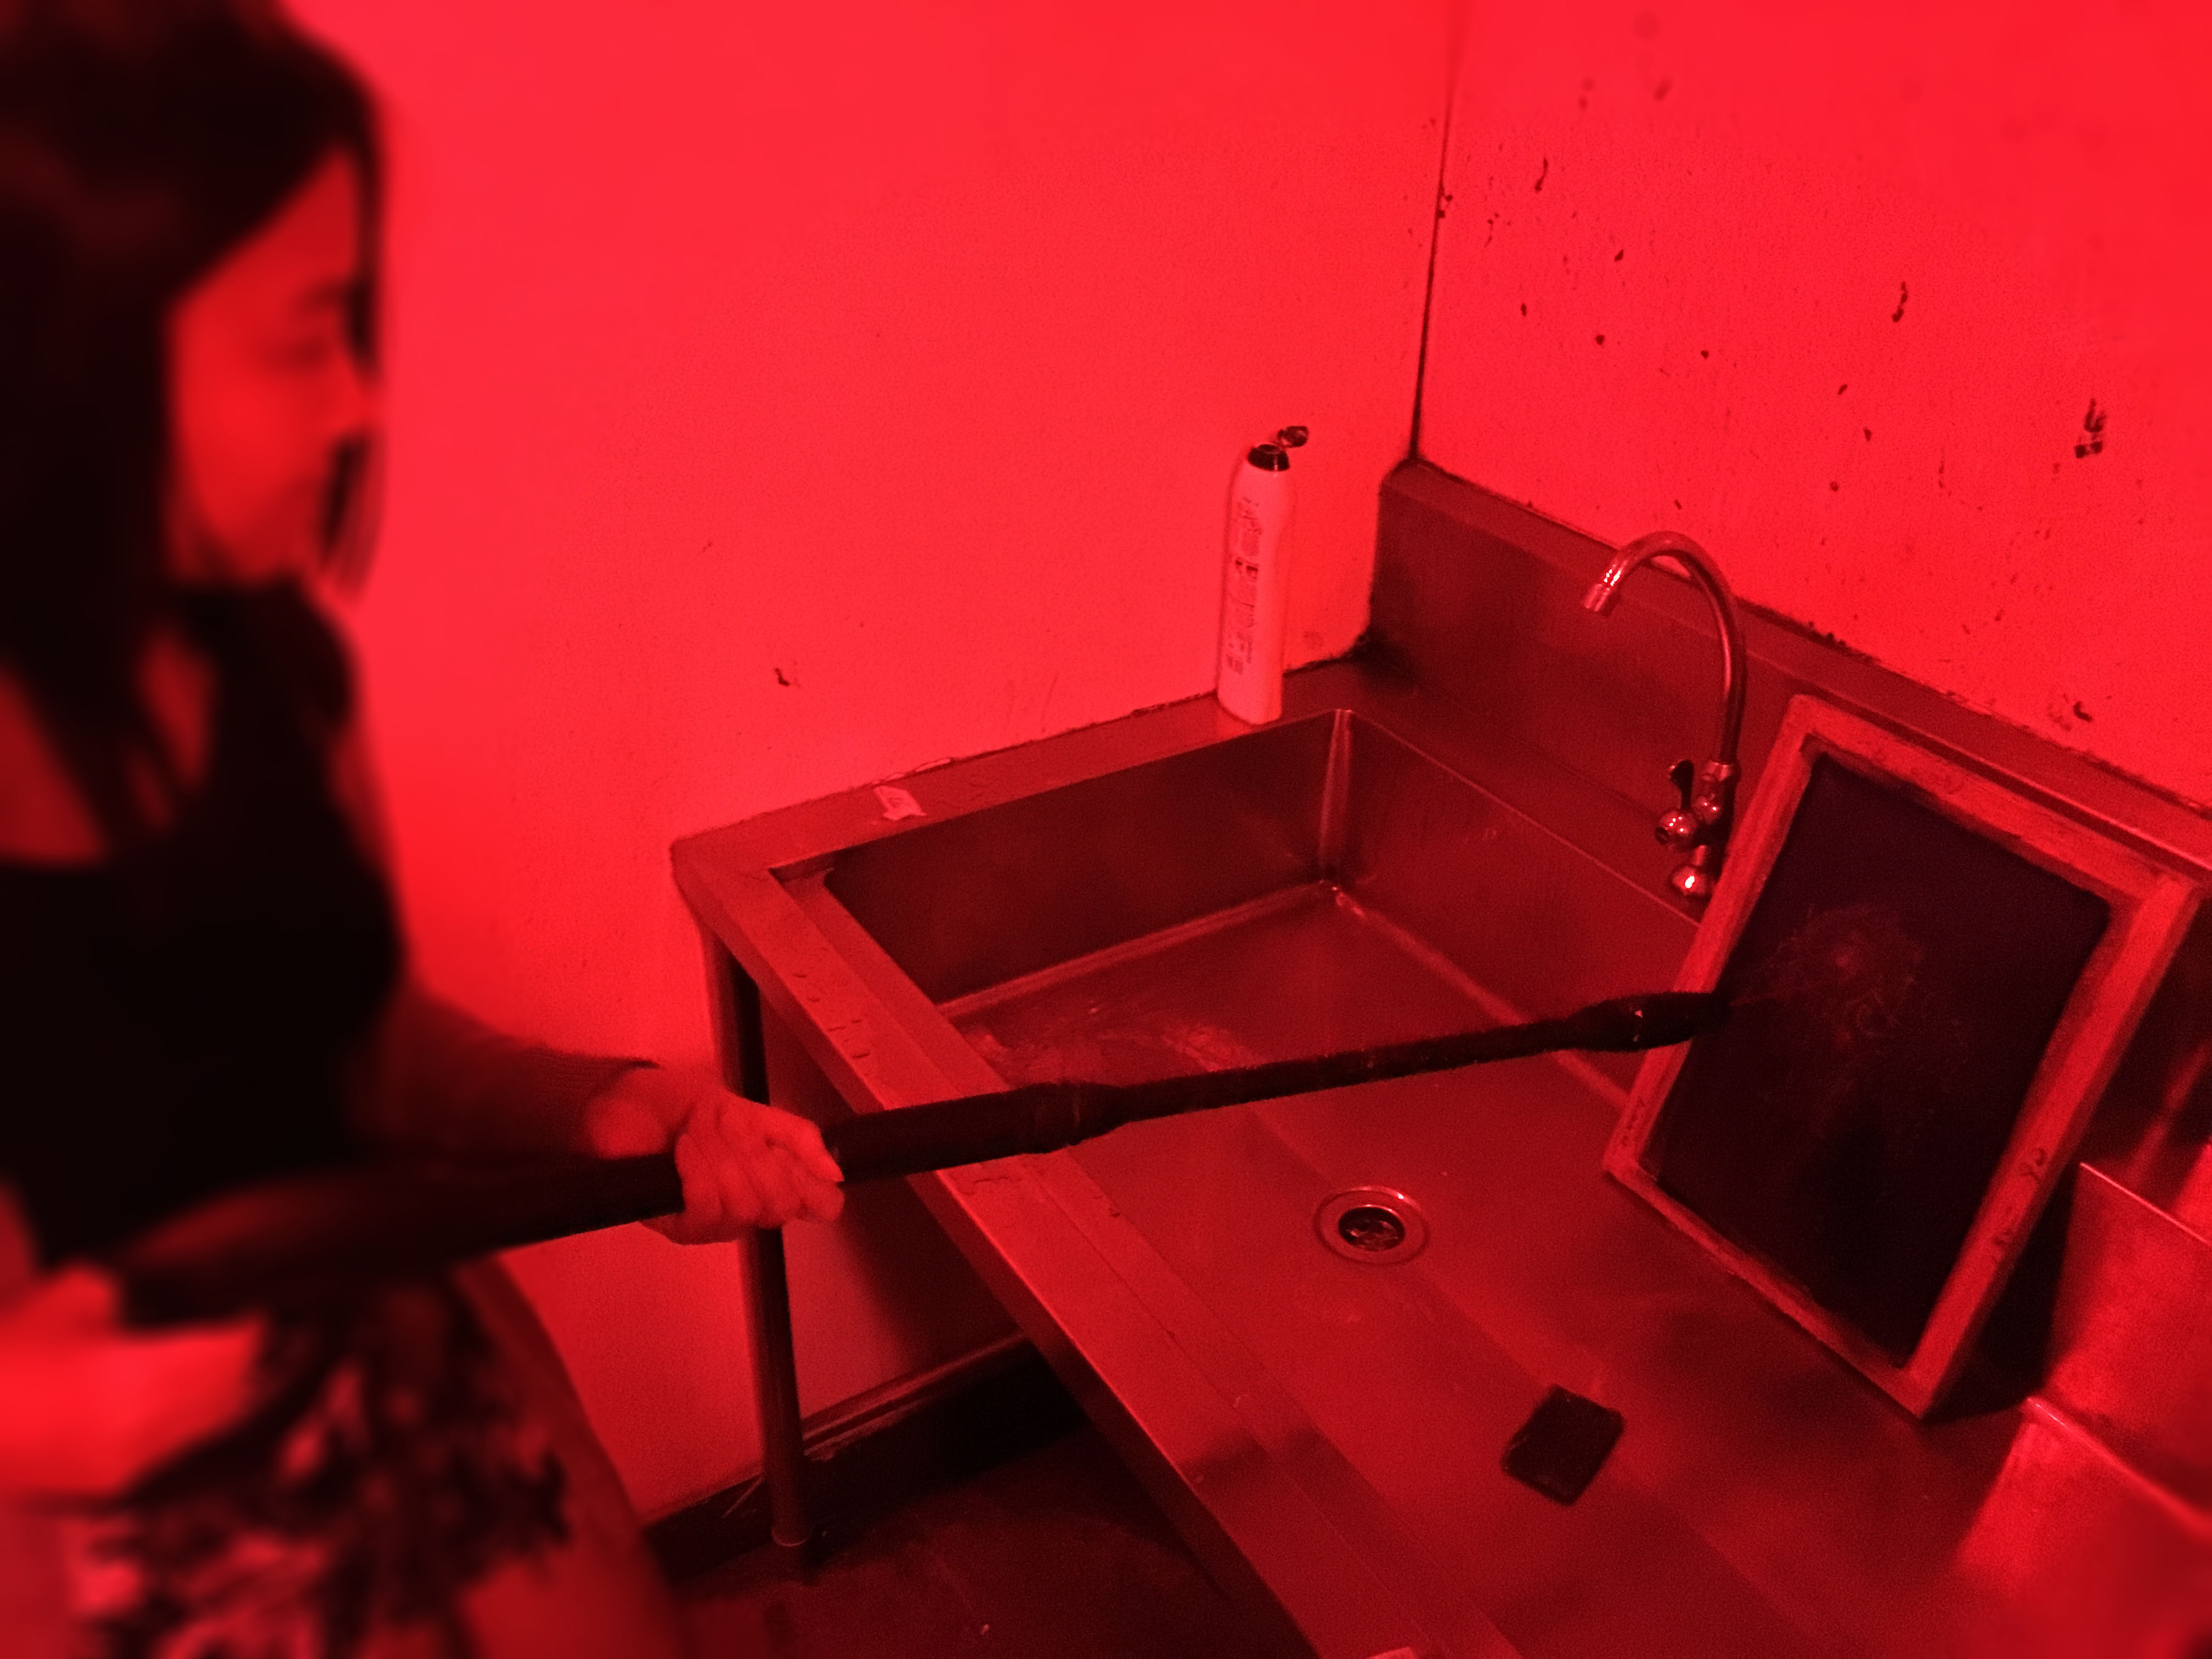
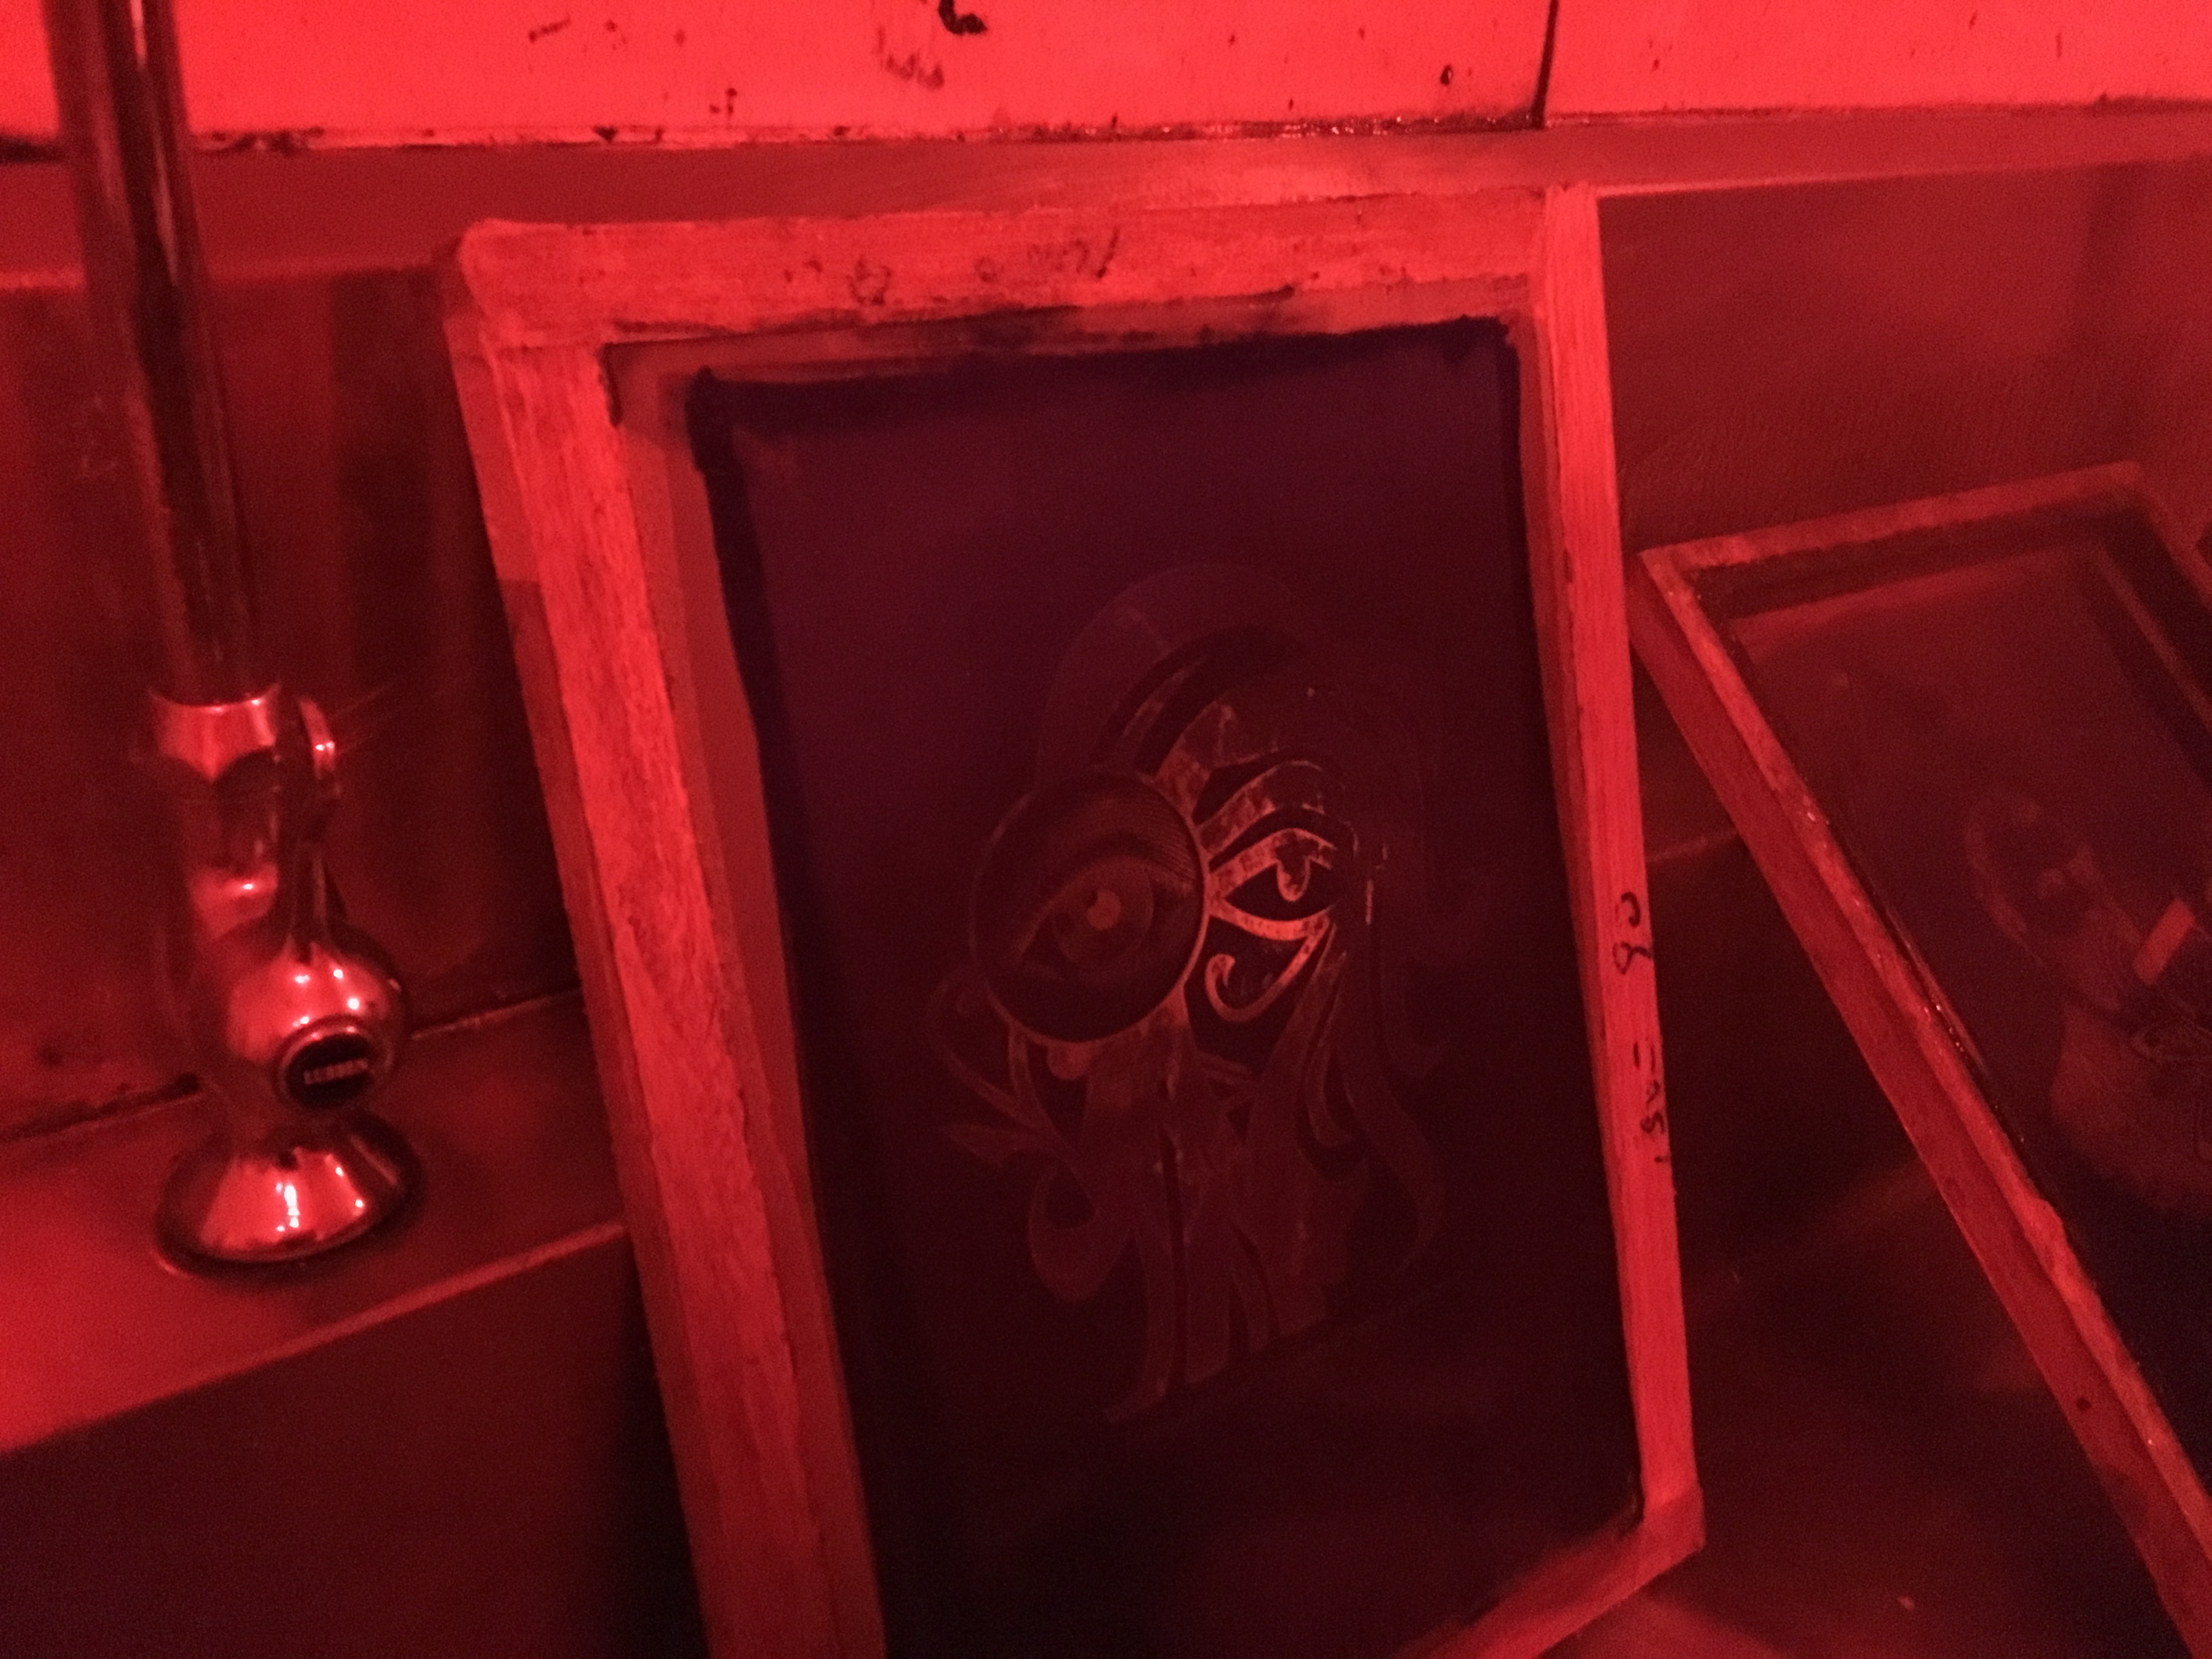
We also scrubbed/rinsed out any excess emulsion afterwards and the screen was once placed in the oven again to dry.
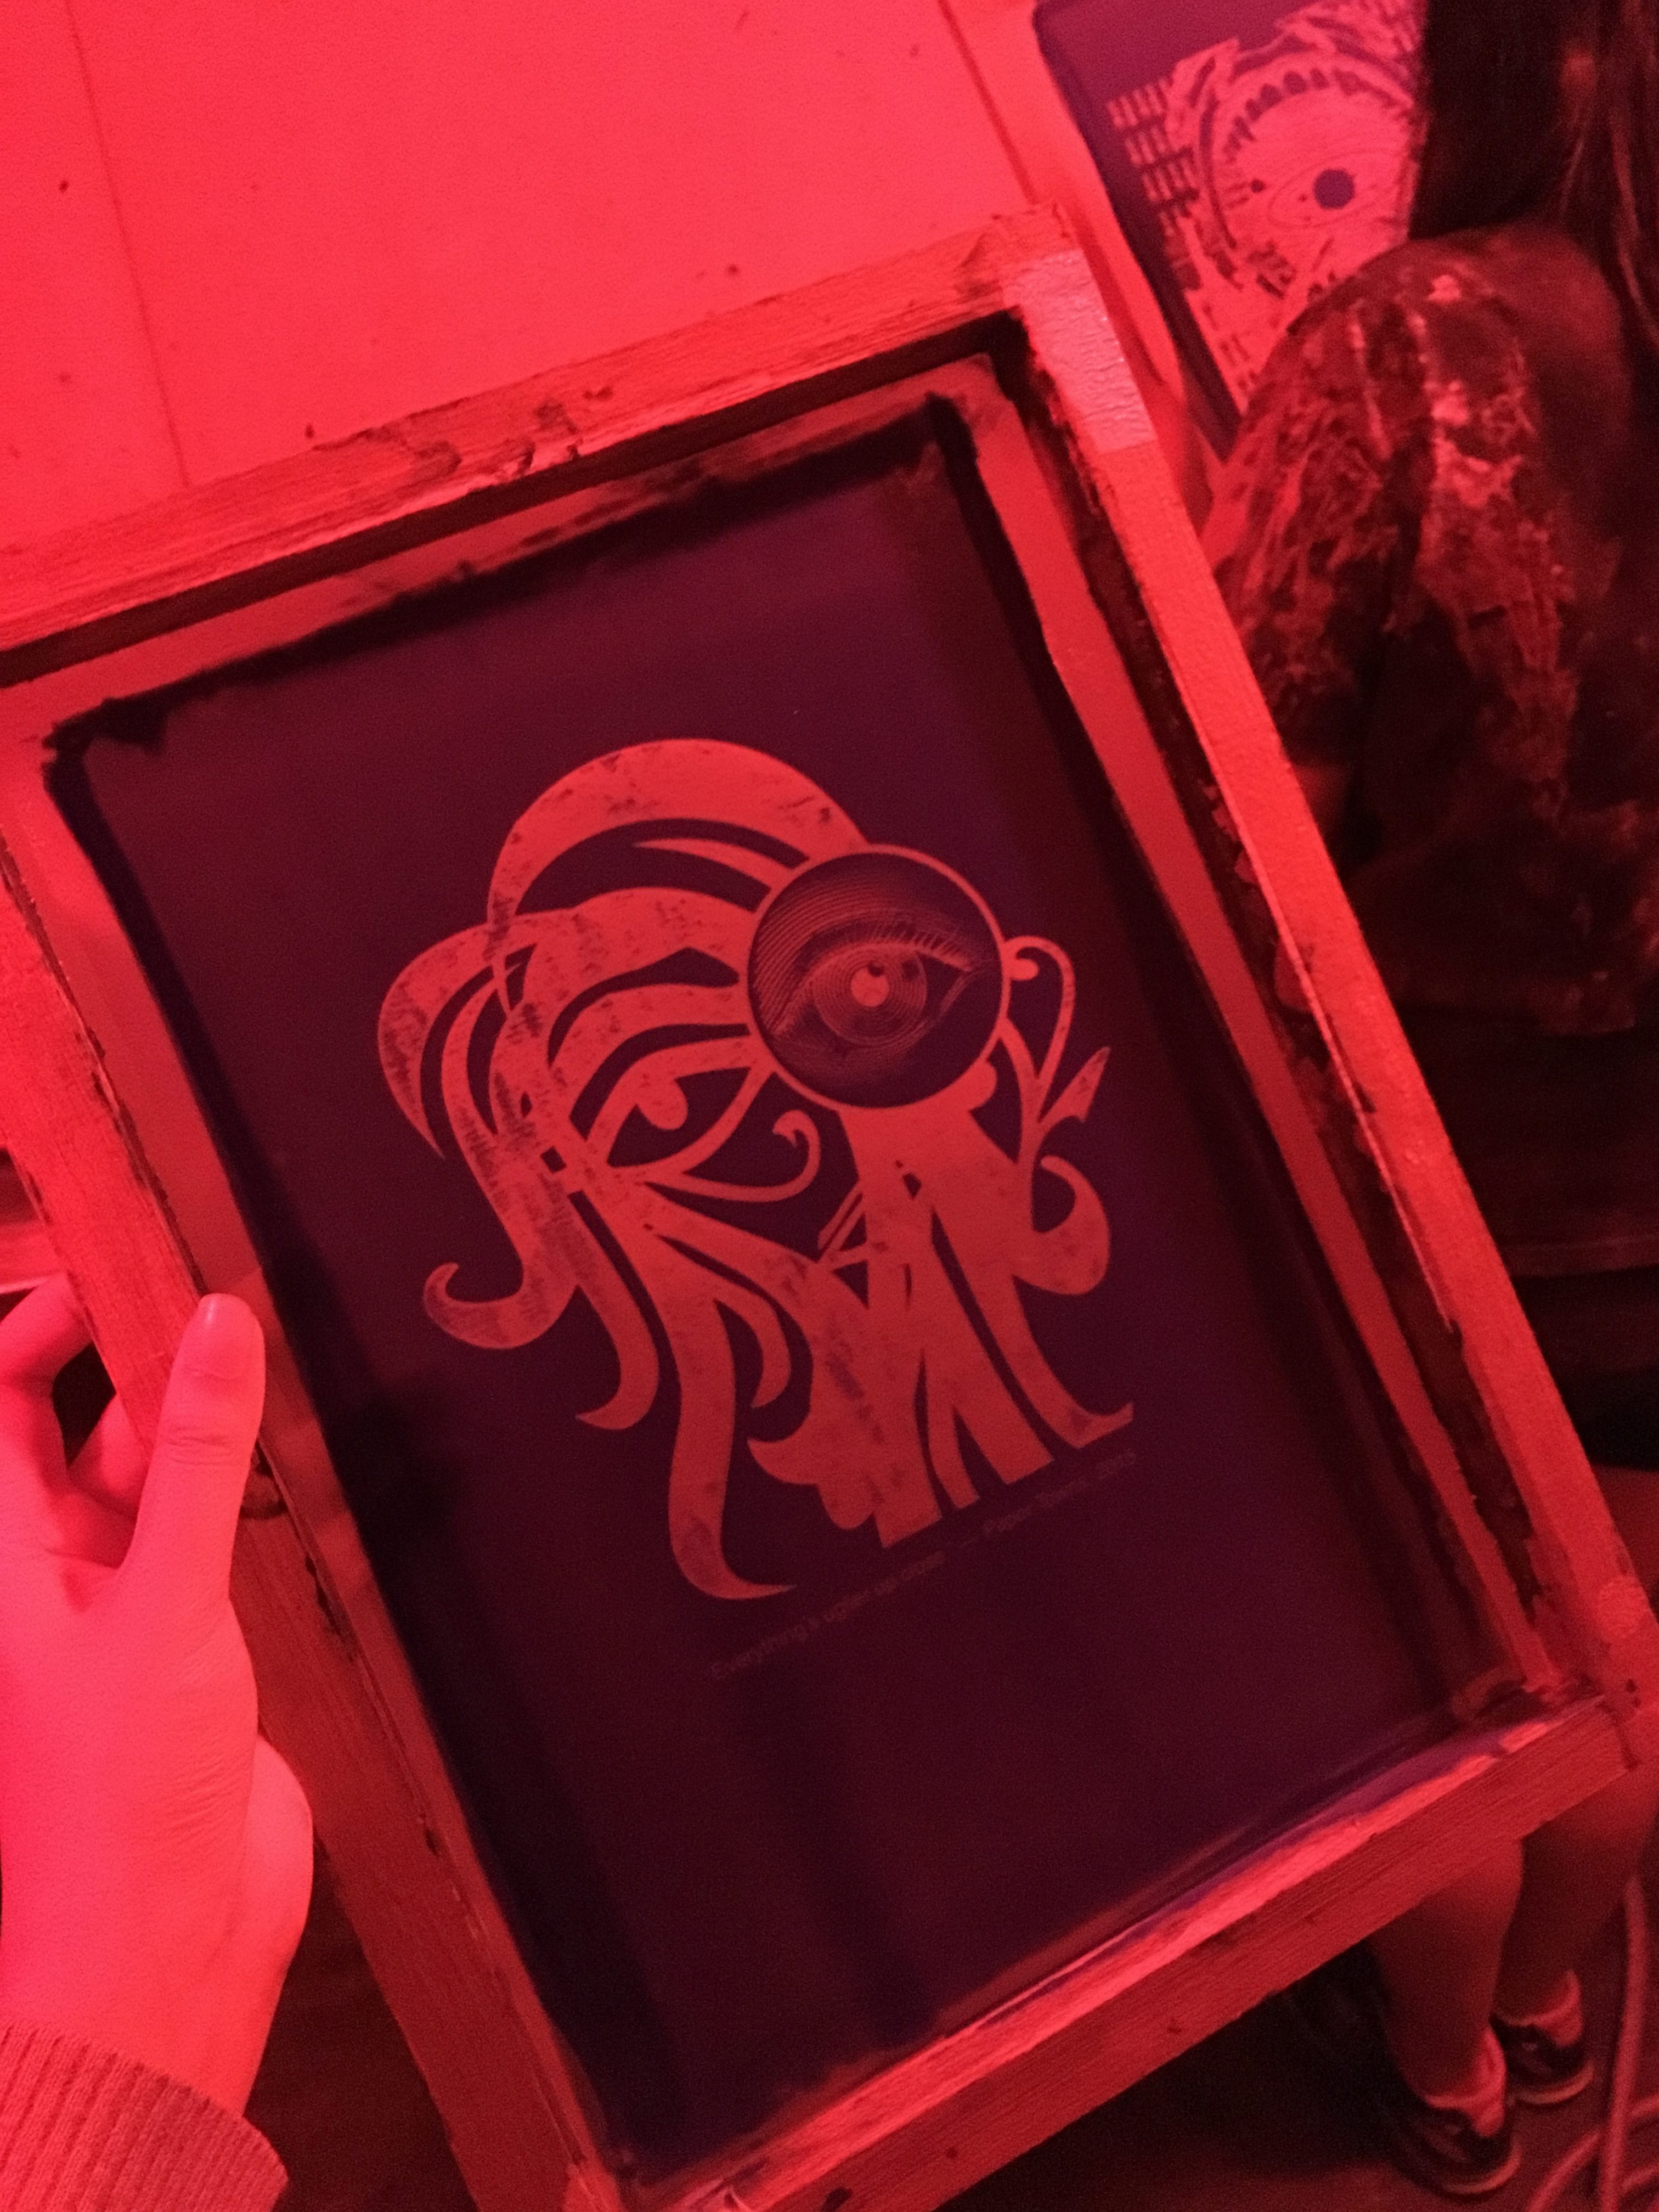
10 minutes later, we went back to collect our screen! It was a huge relief that it turned out pretty well, even though some of the fine lines were not showing up but overall it looked alright!