
It’s tote bag printing week!!!

We began the session with demonstration by JiaHui. Firstly, we had to place four coins on each corner of the screen and tape them all up! The same goes to the inside of the screen, but minus the coins. It was an important step to prevent the ink from seeping through the screen, where there was no emulsion. We were told that the coins will help to achieve an “off contact”, preventing the screen from laying flat on the tote bag.

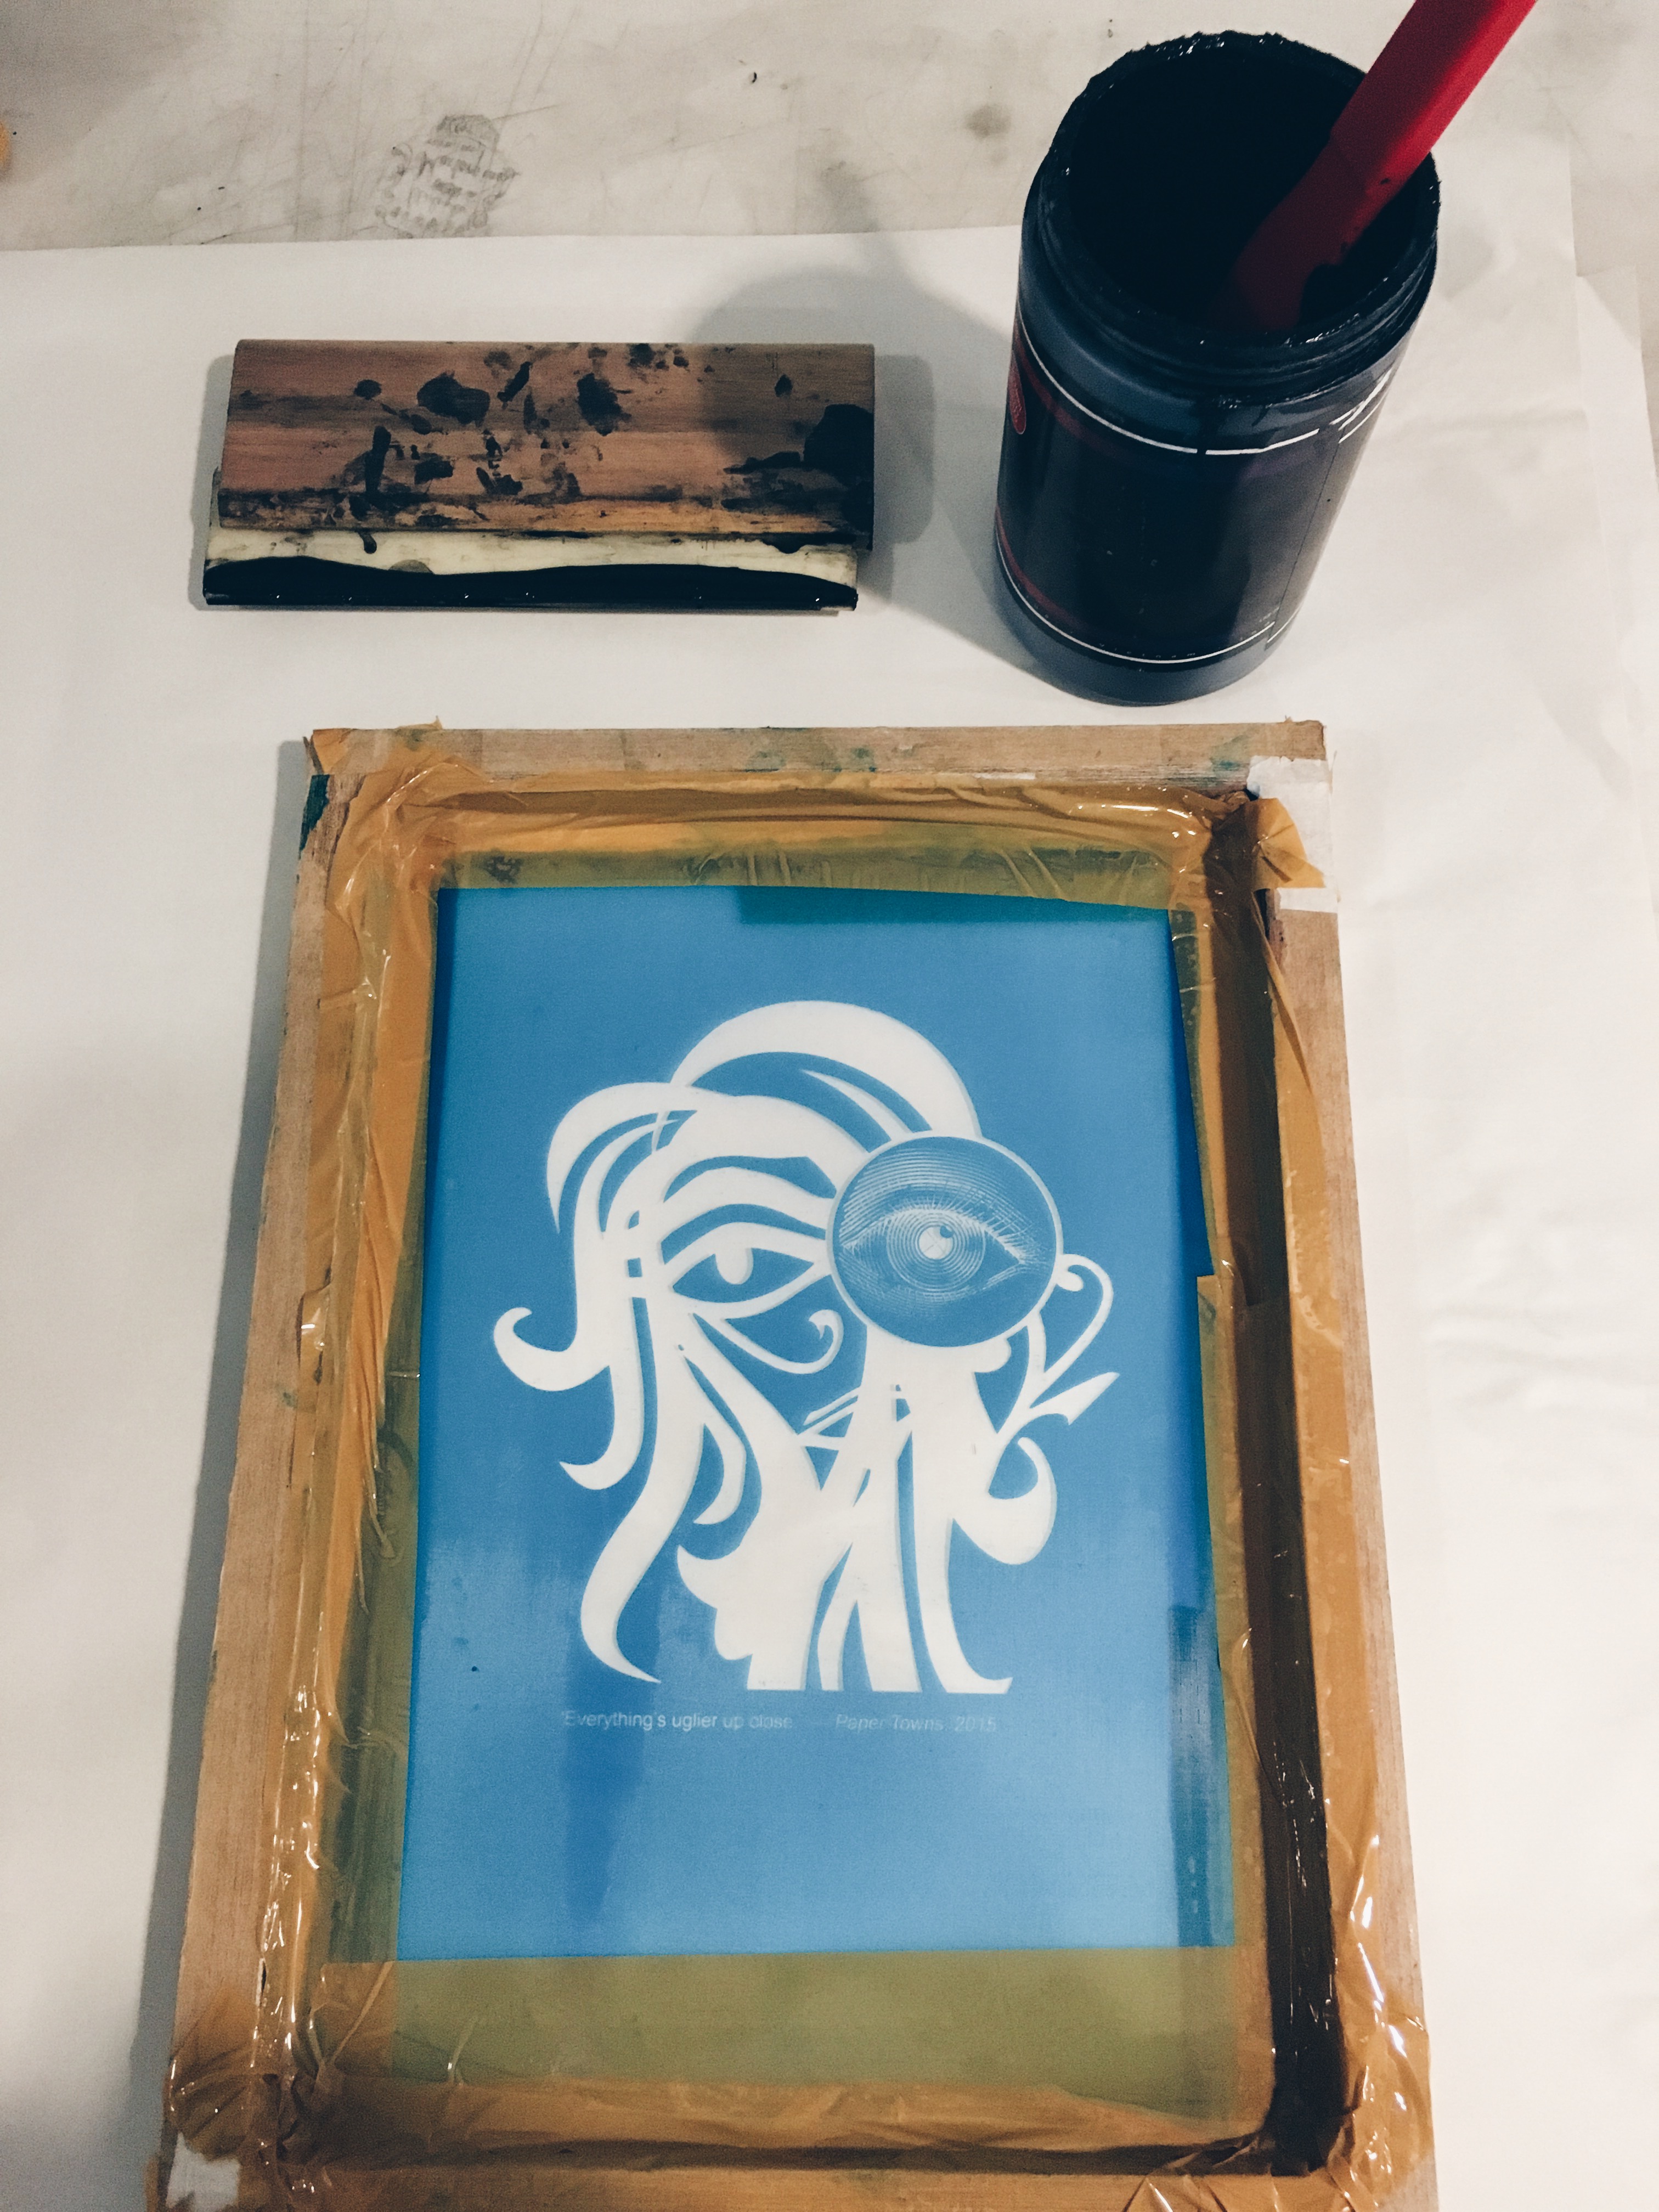
Next, we put a desired amount of ink on the top of the screen and spread it across using a wooden squeegee. Also, it is essential to place the ink so that it could cover the width of the image.

Before printing on the actual tote bag, we tried on newsprints to check for any discrepancies as well as the amount of force needed.

Since the ink would clog up after printing, the whole session was a series of
SPREAD PRINT WASH REPEAT.
At the end of the session, it was time to dissolve the photo emulsion from the screen. Prior to that, we washed off any excess ink. Using a paint brush, we coated both sides of the screen with remover. Then we allowed some time for the remover to soak in before rinsing it with water.
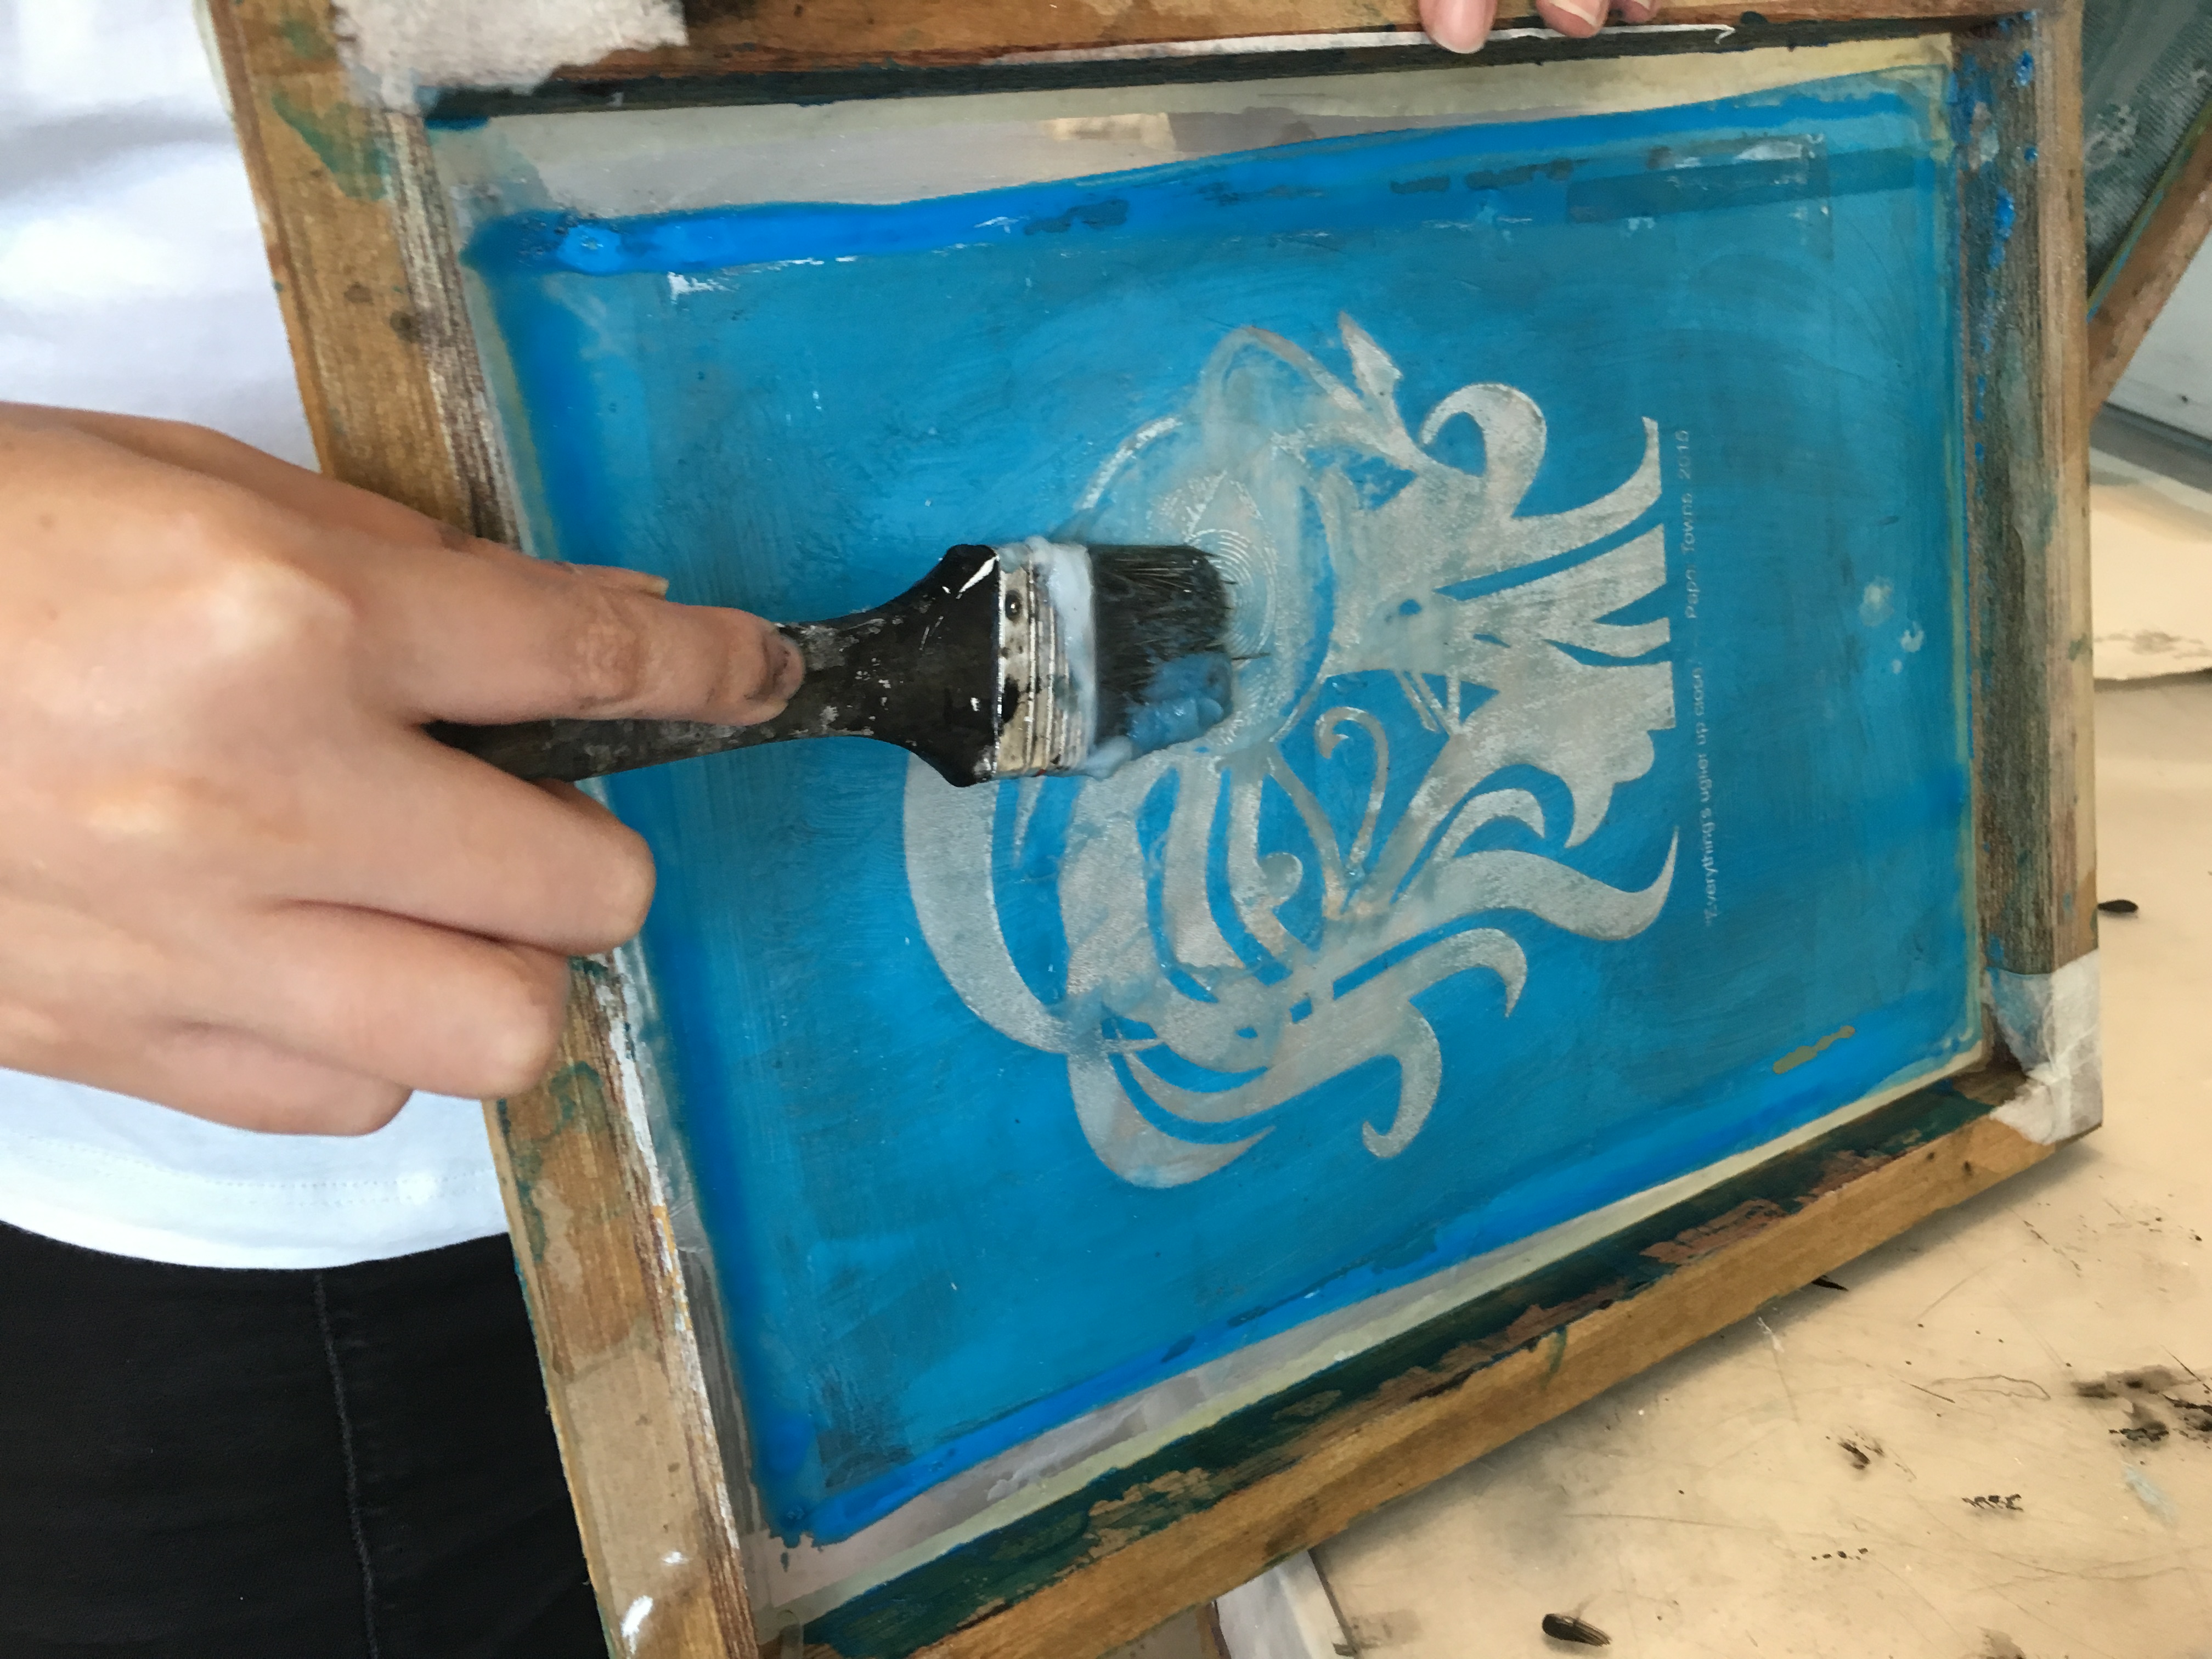

EW GROSS BUT IT WAS SUPER FUN
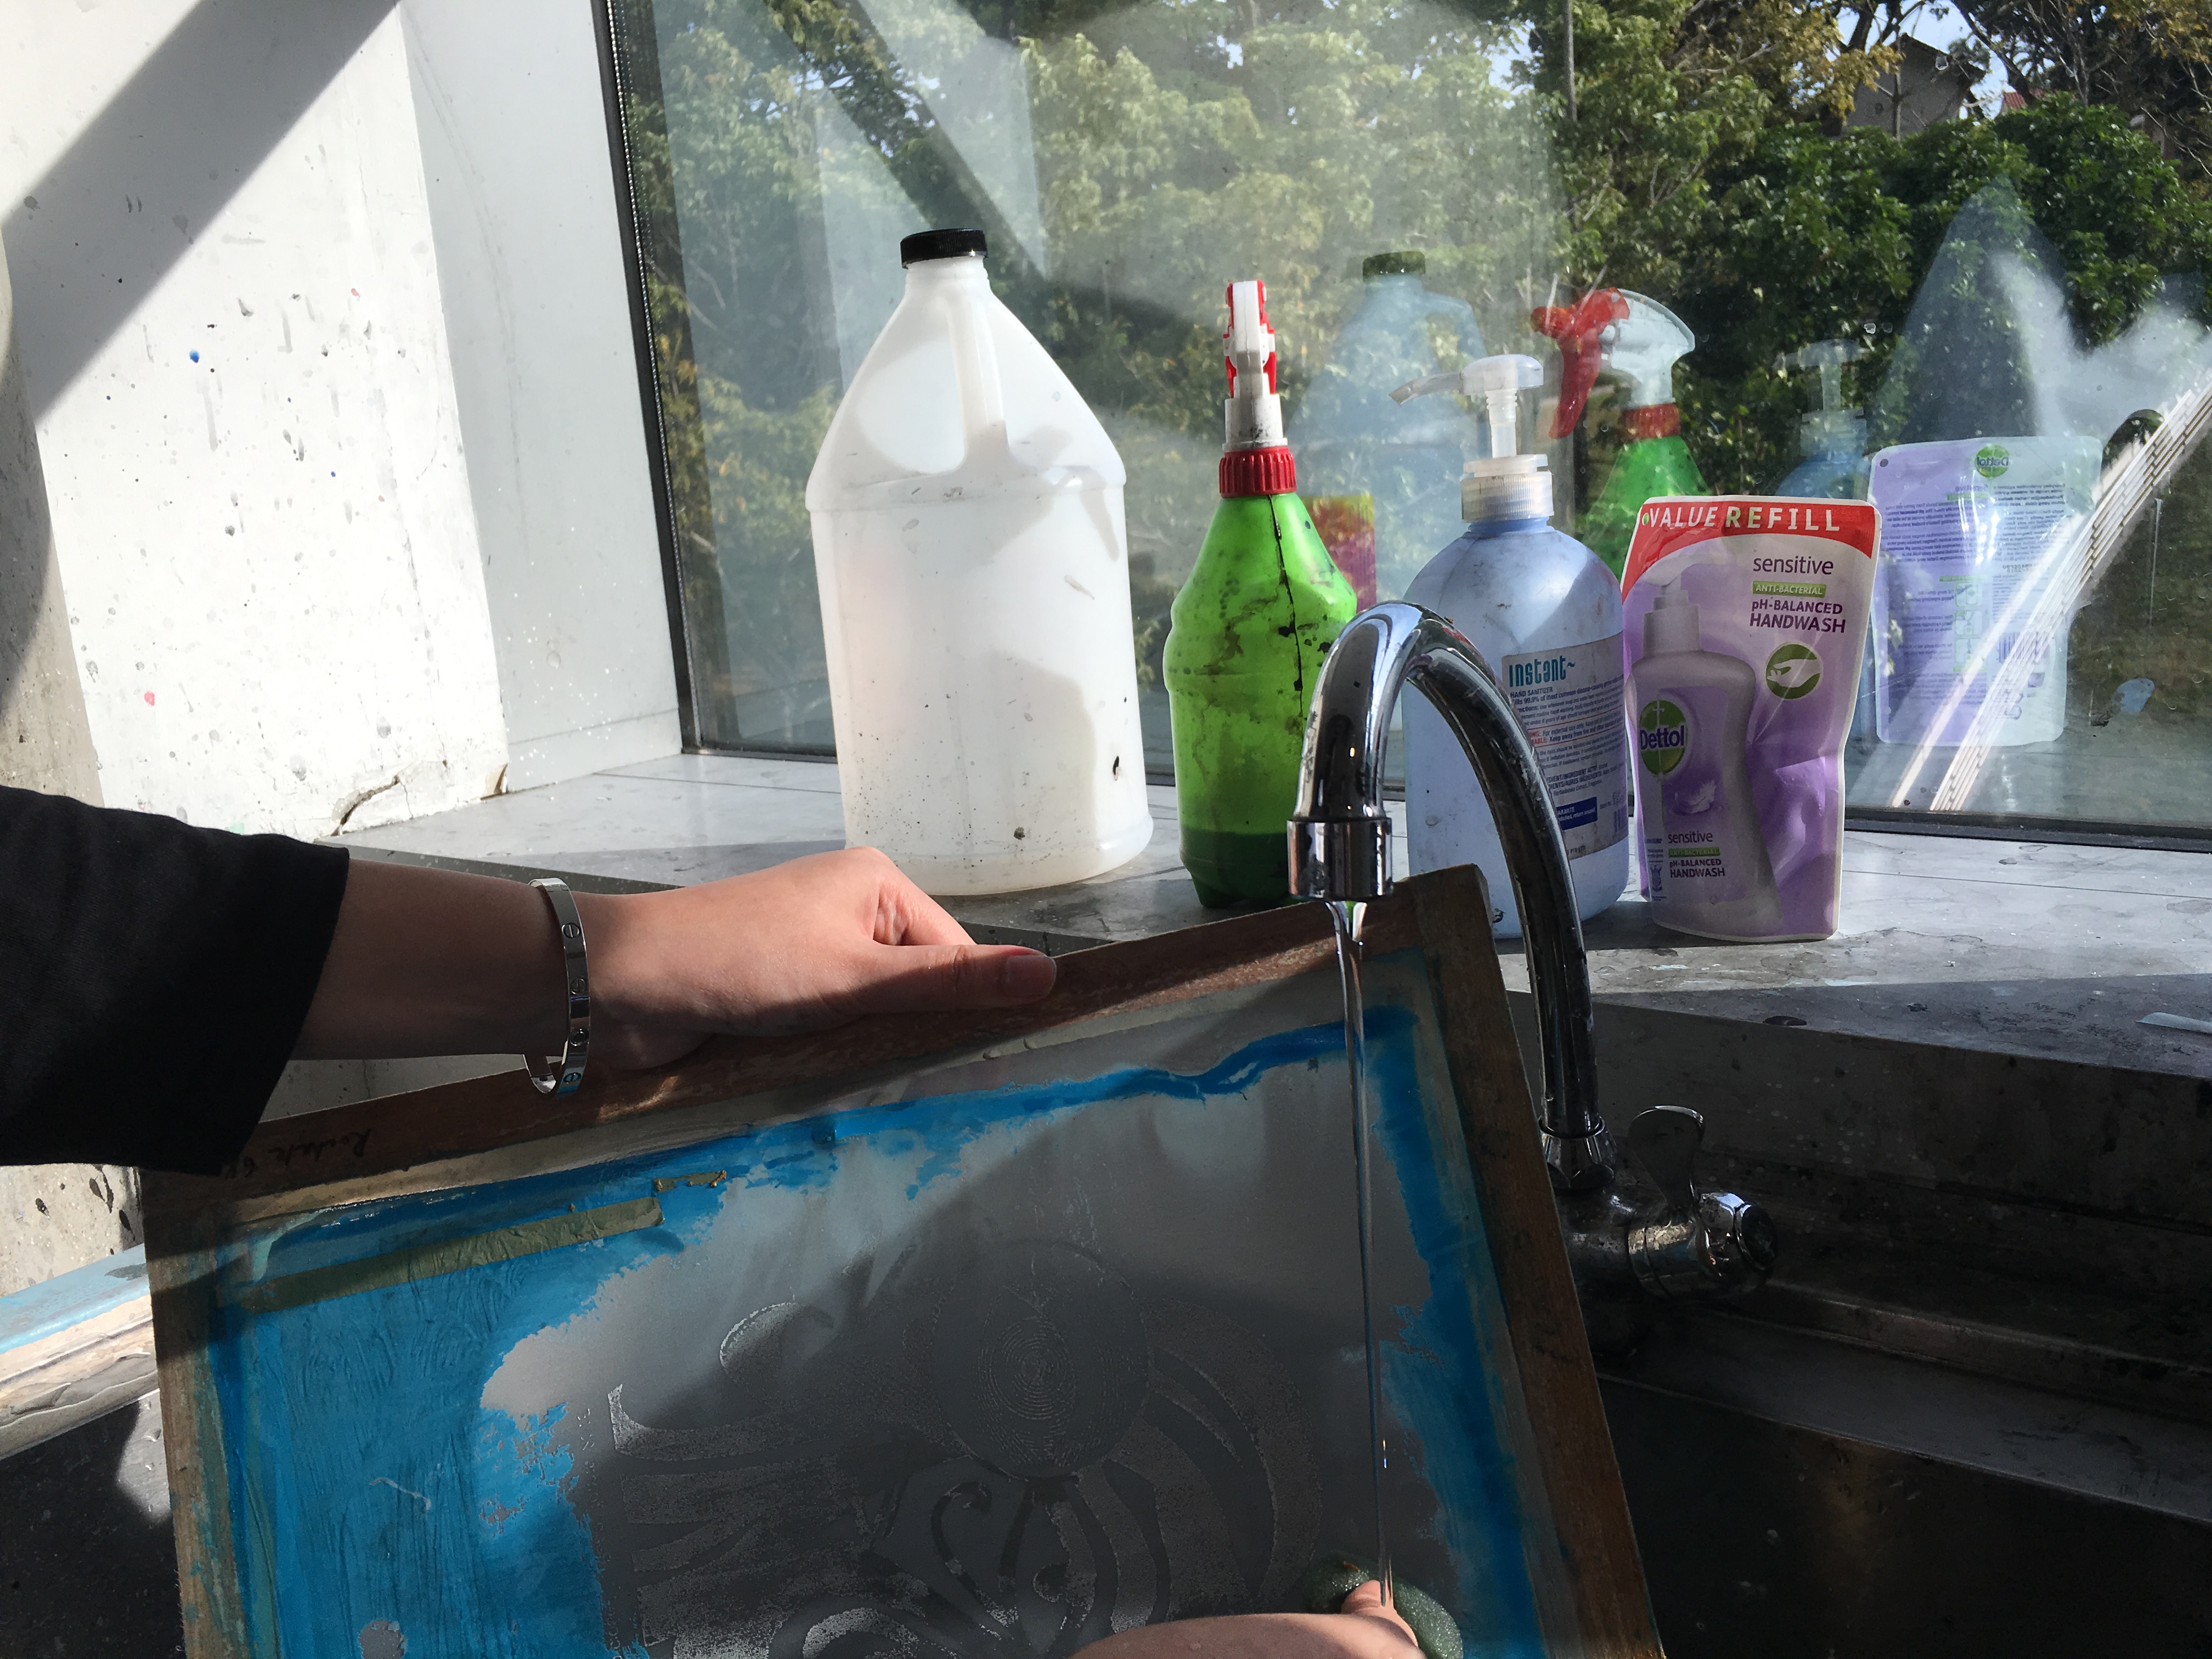
FINALLY the screen is completely clean for new designs!

Final product:

Kinda disappointed as the quotes didn’t come out completely, but overall it was a great experience!
P.S the drawstring bags turned out pretty well. (Is that some kind of Murphy’s Law?? You always screwed up the most important thing aka the TOTE BAG)
Thanks Alicia for all the help! And all the laughter during our screwed-up moments LOL