Framing

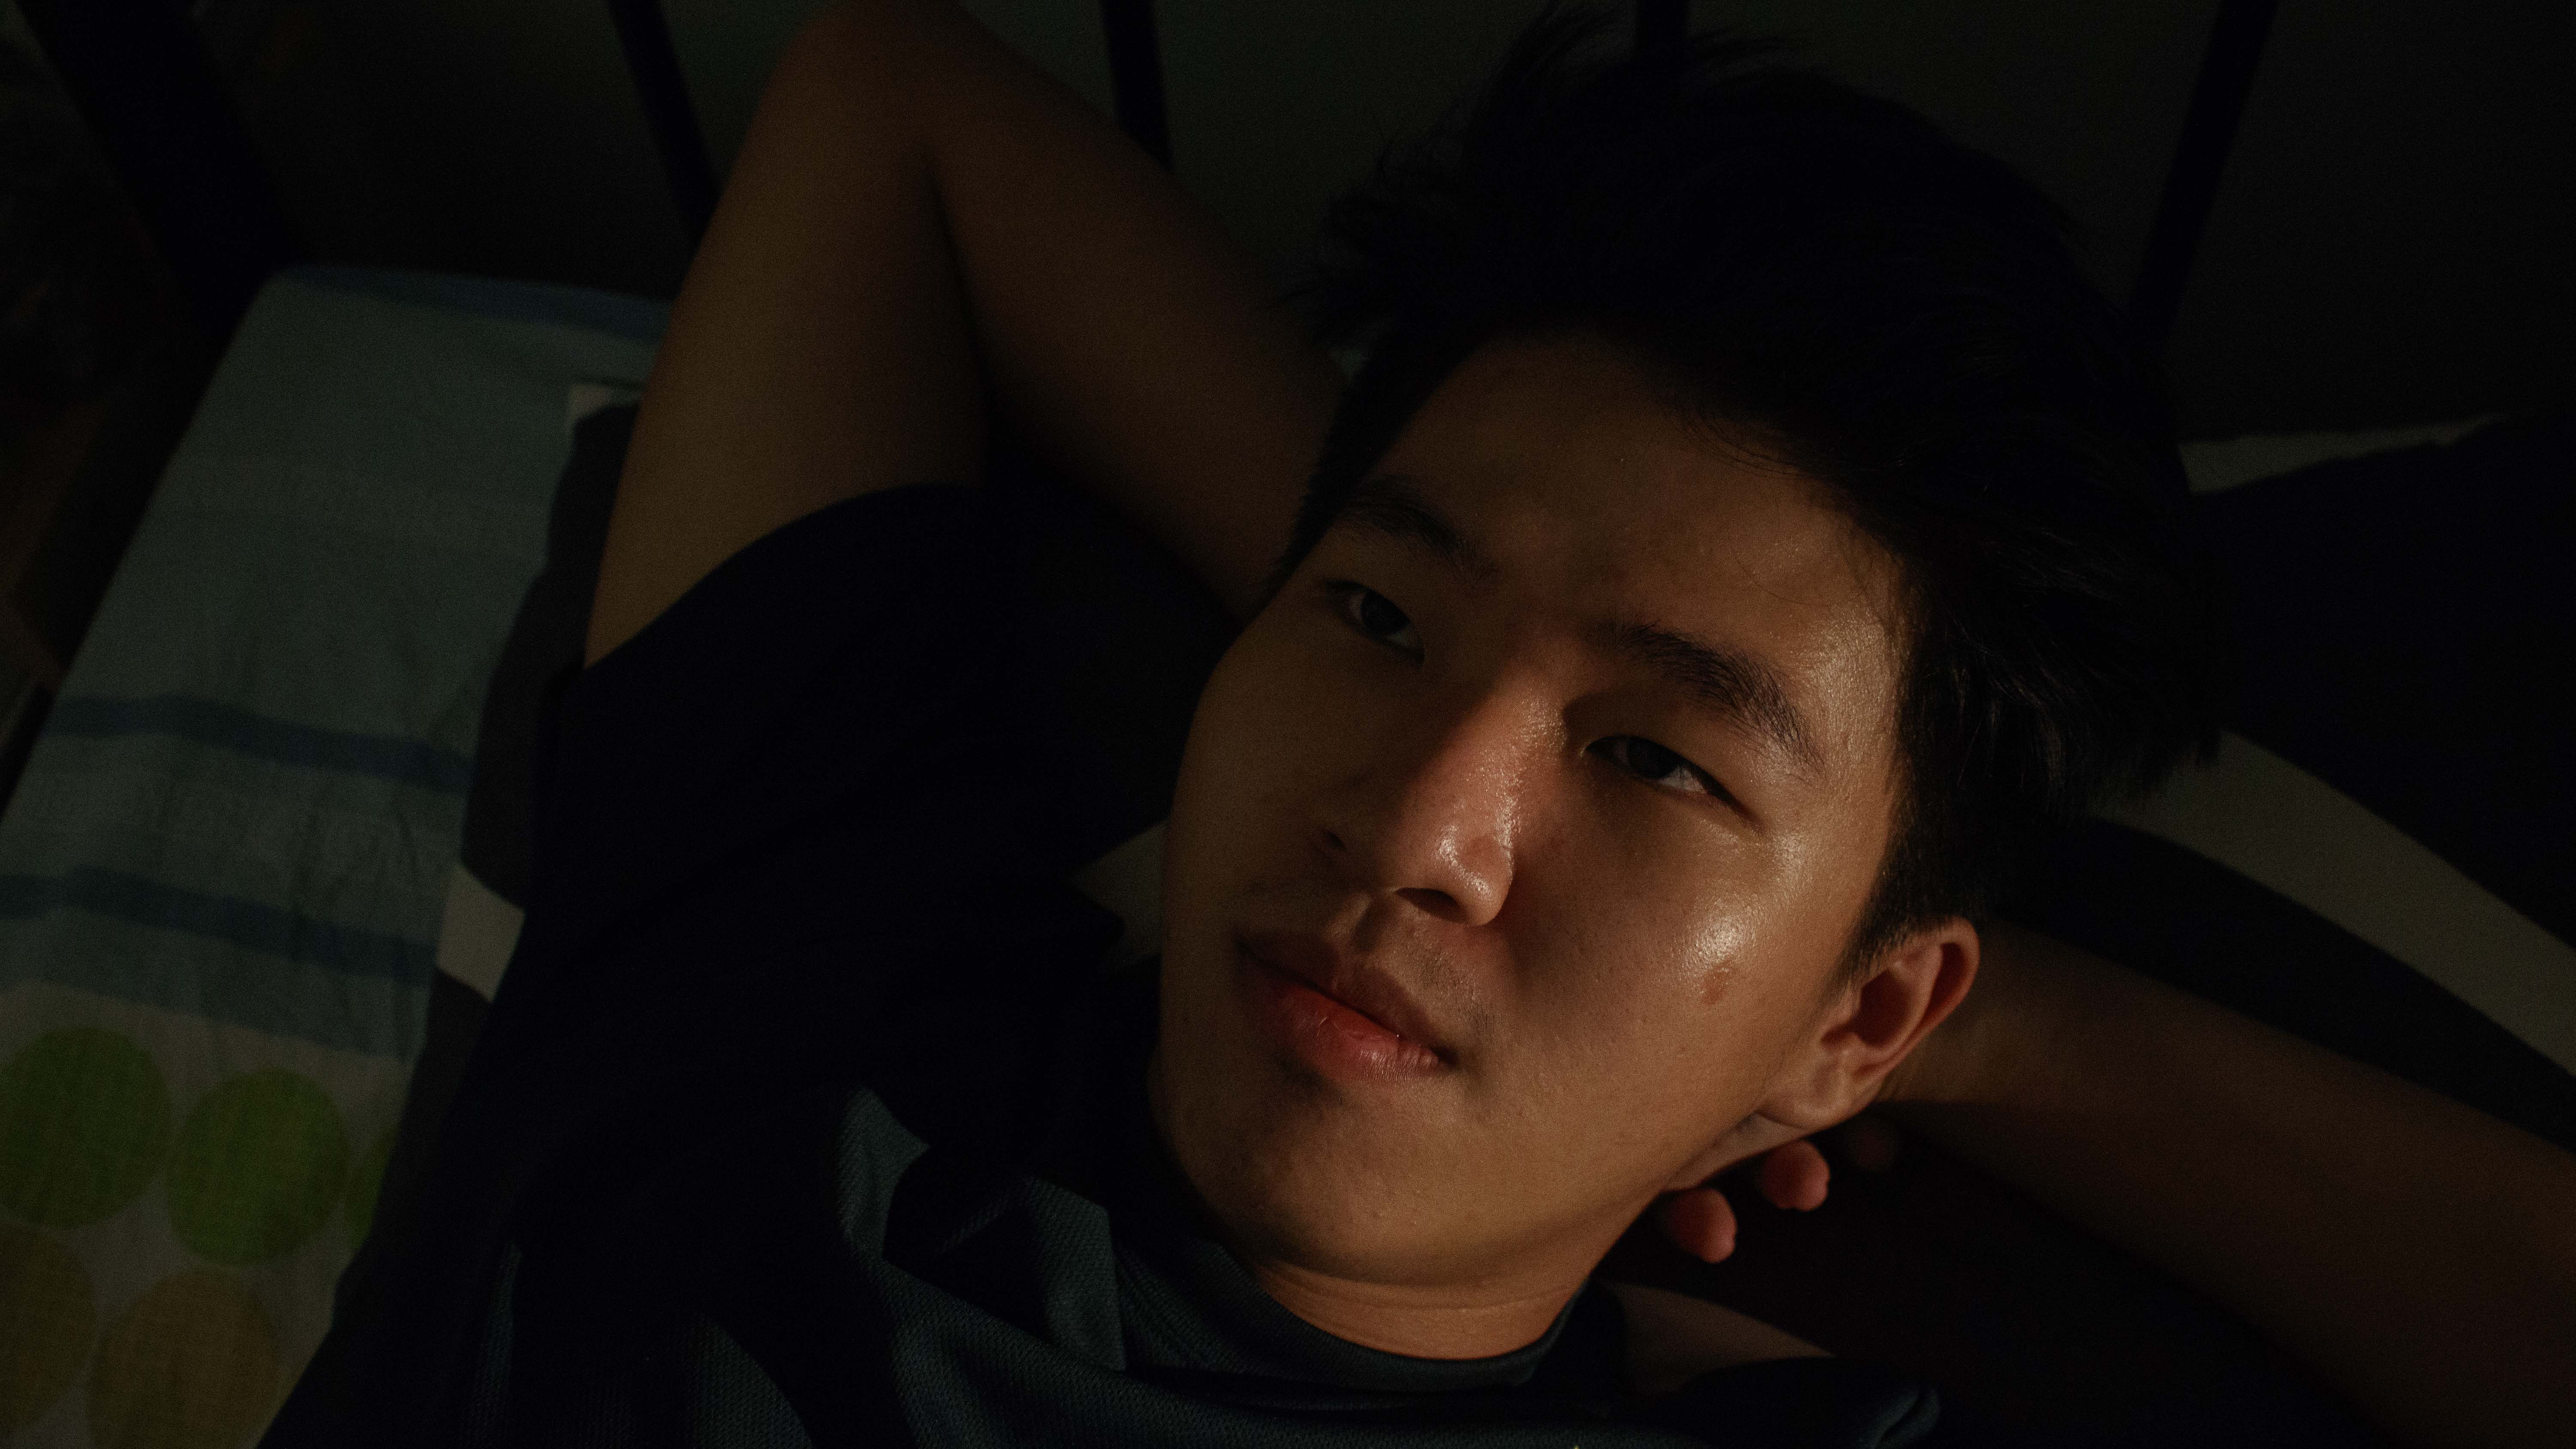
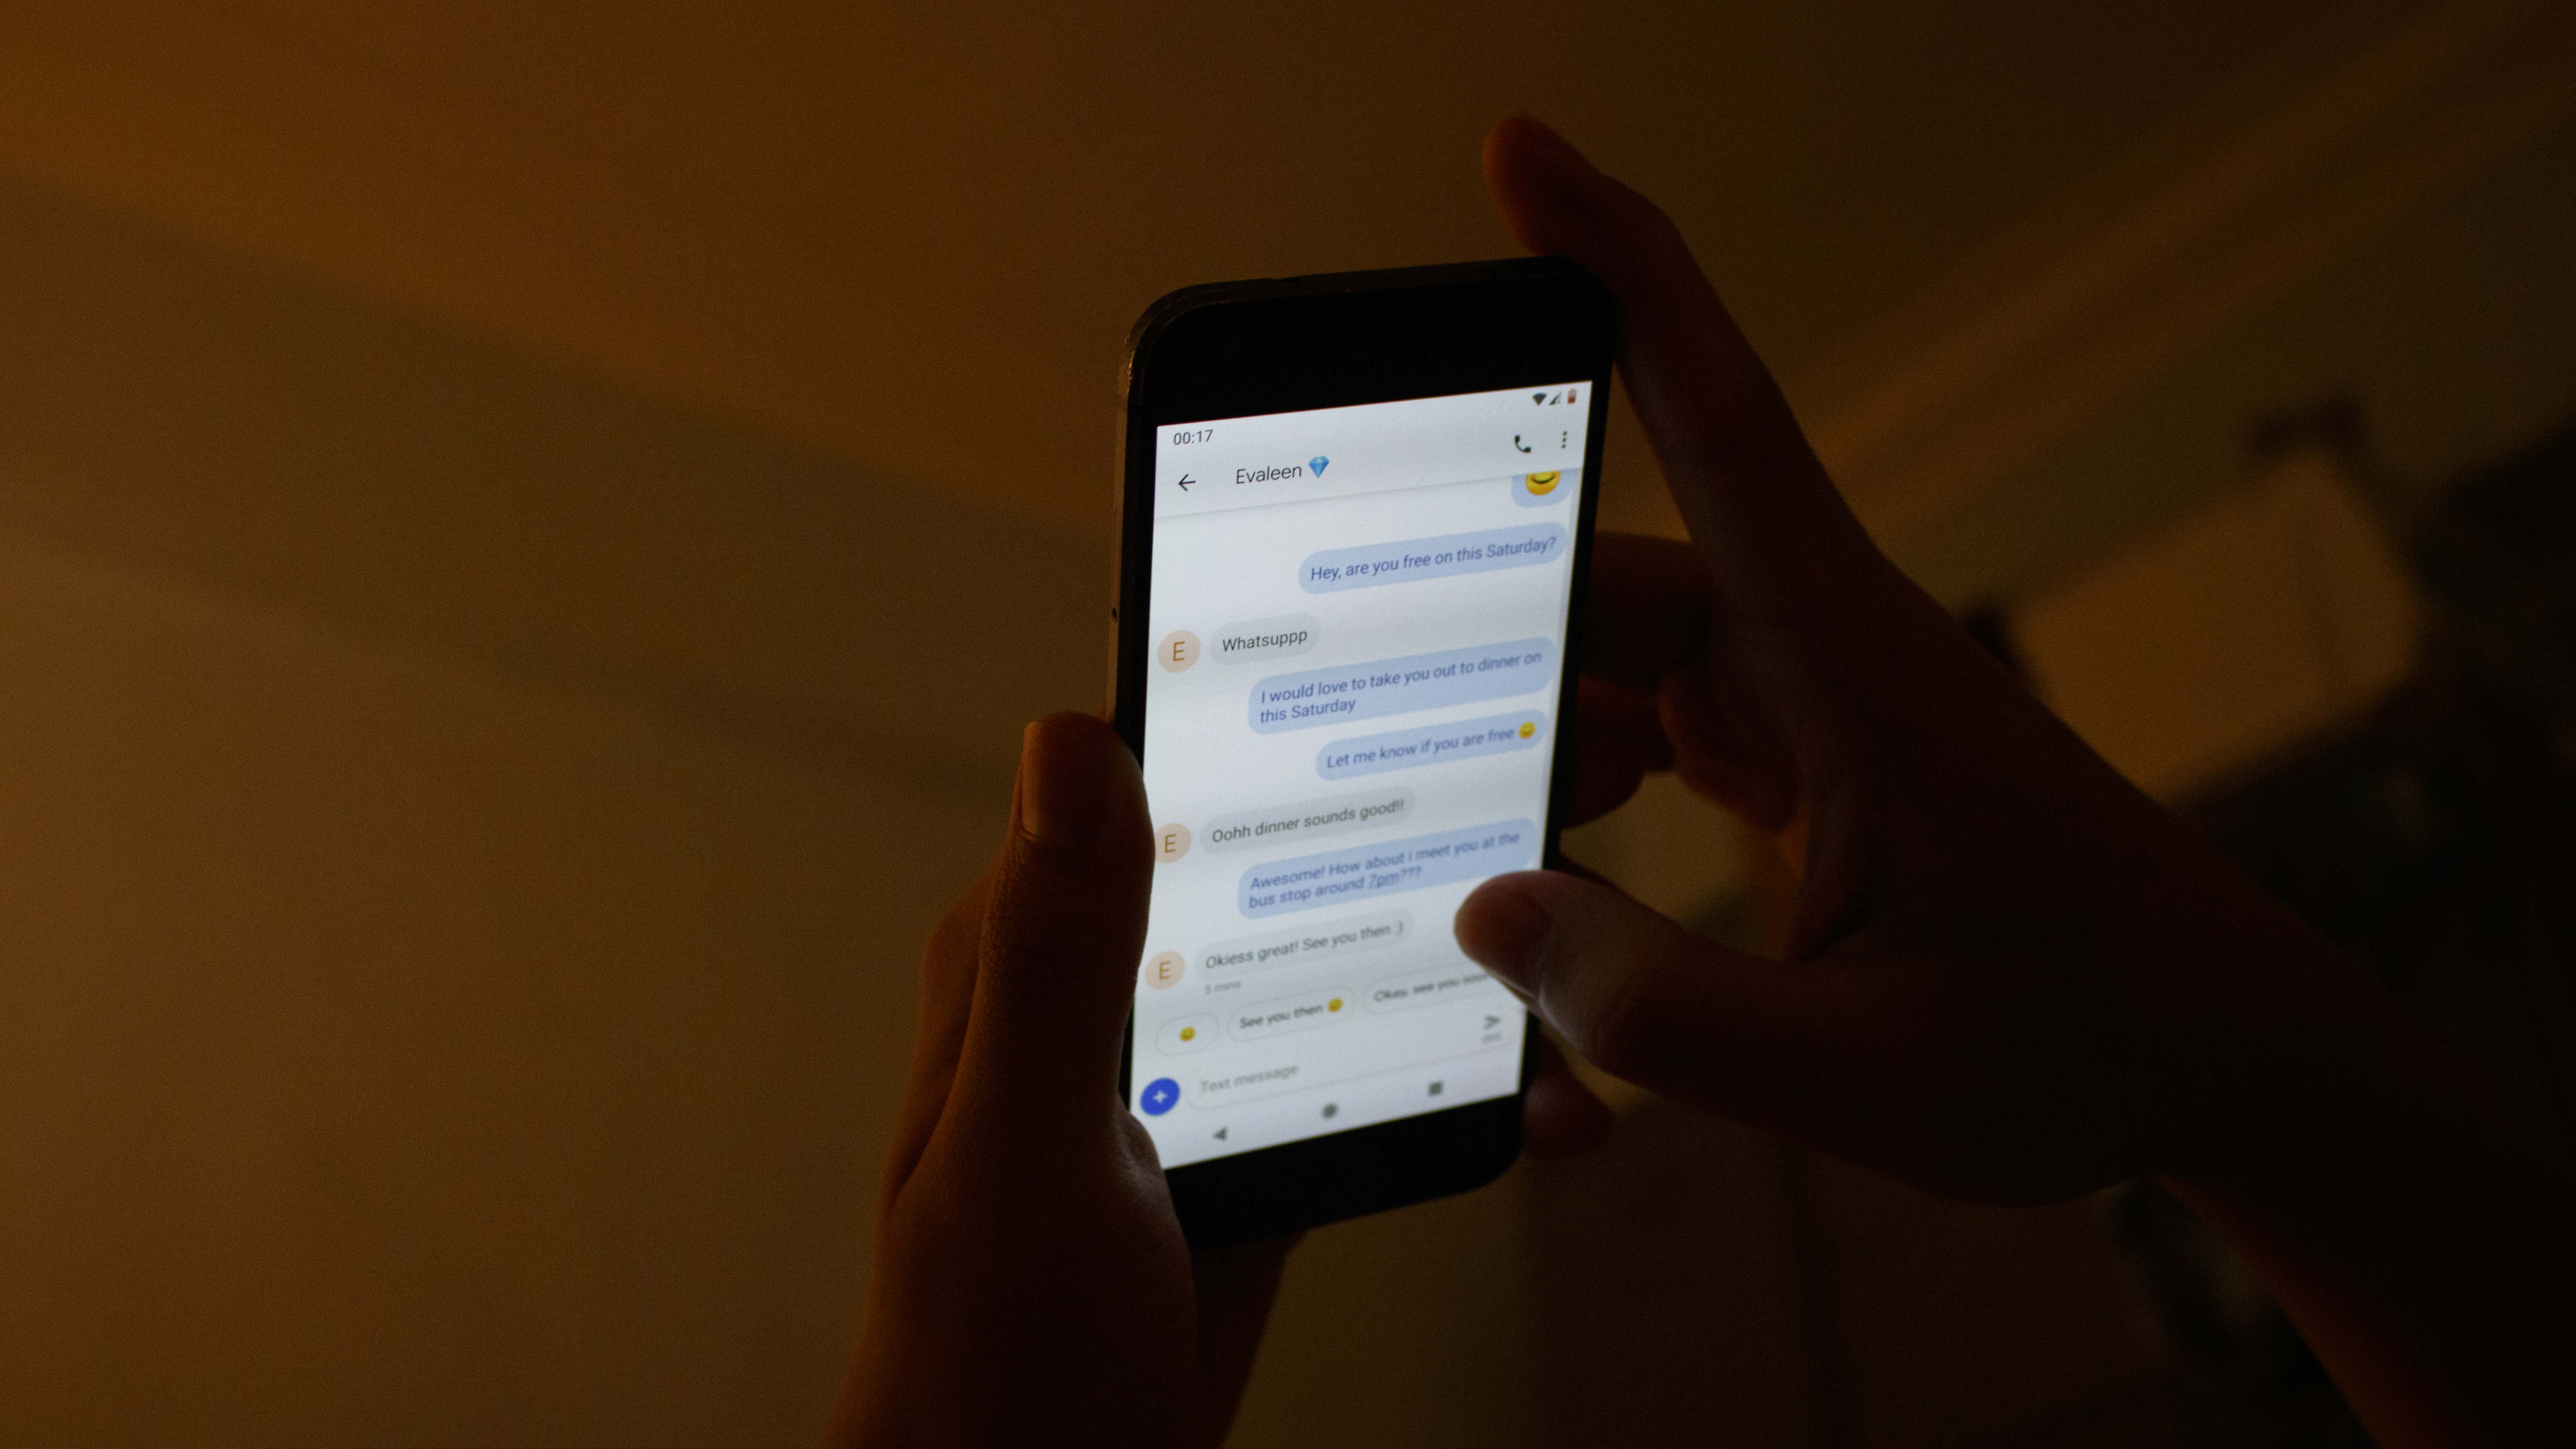
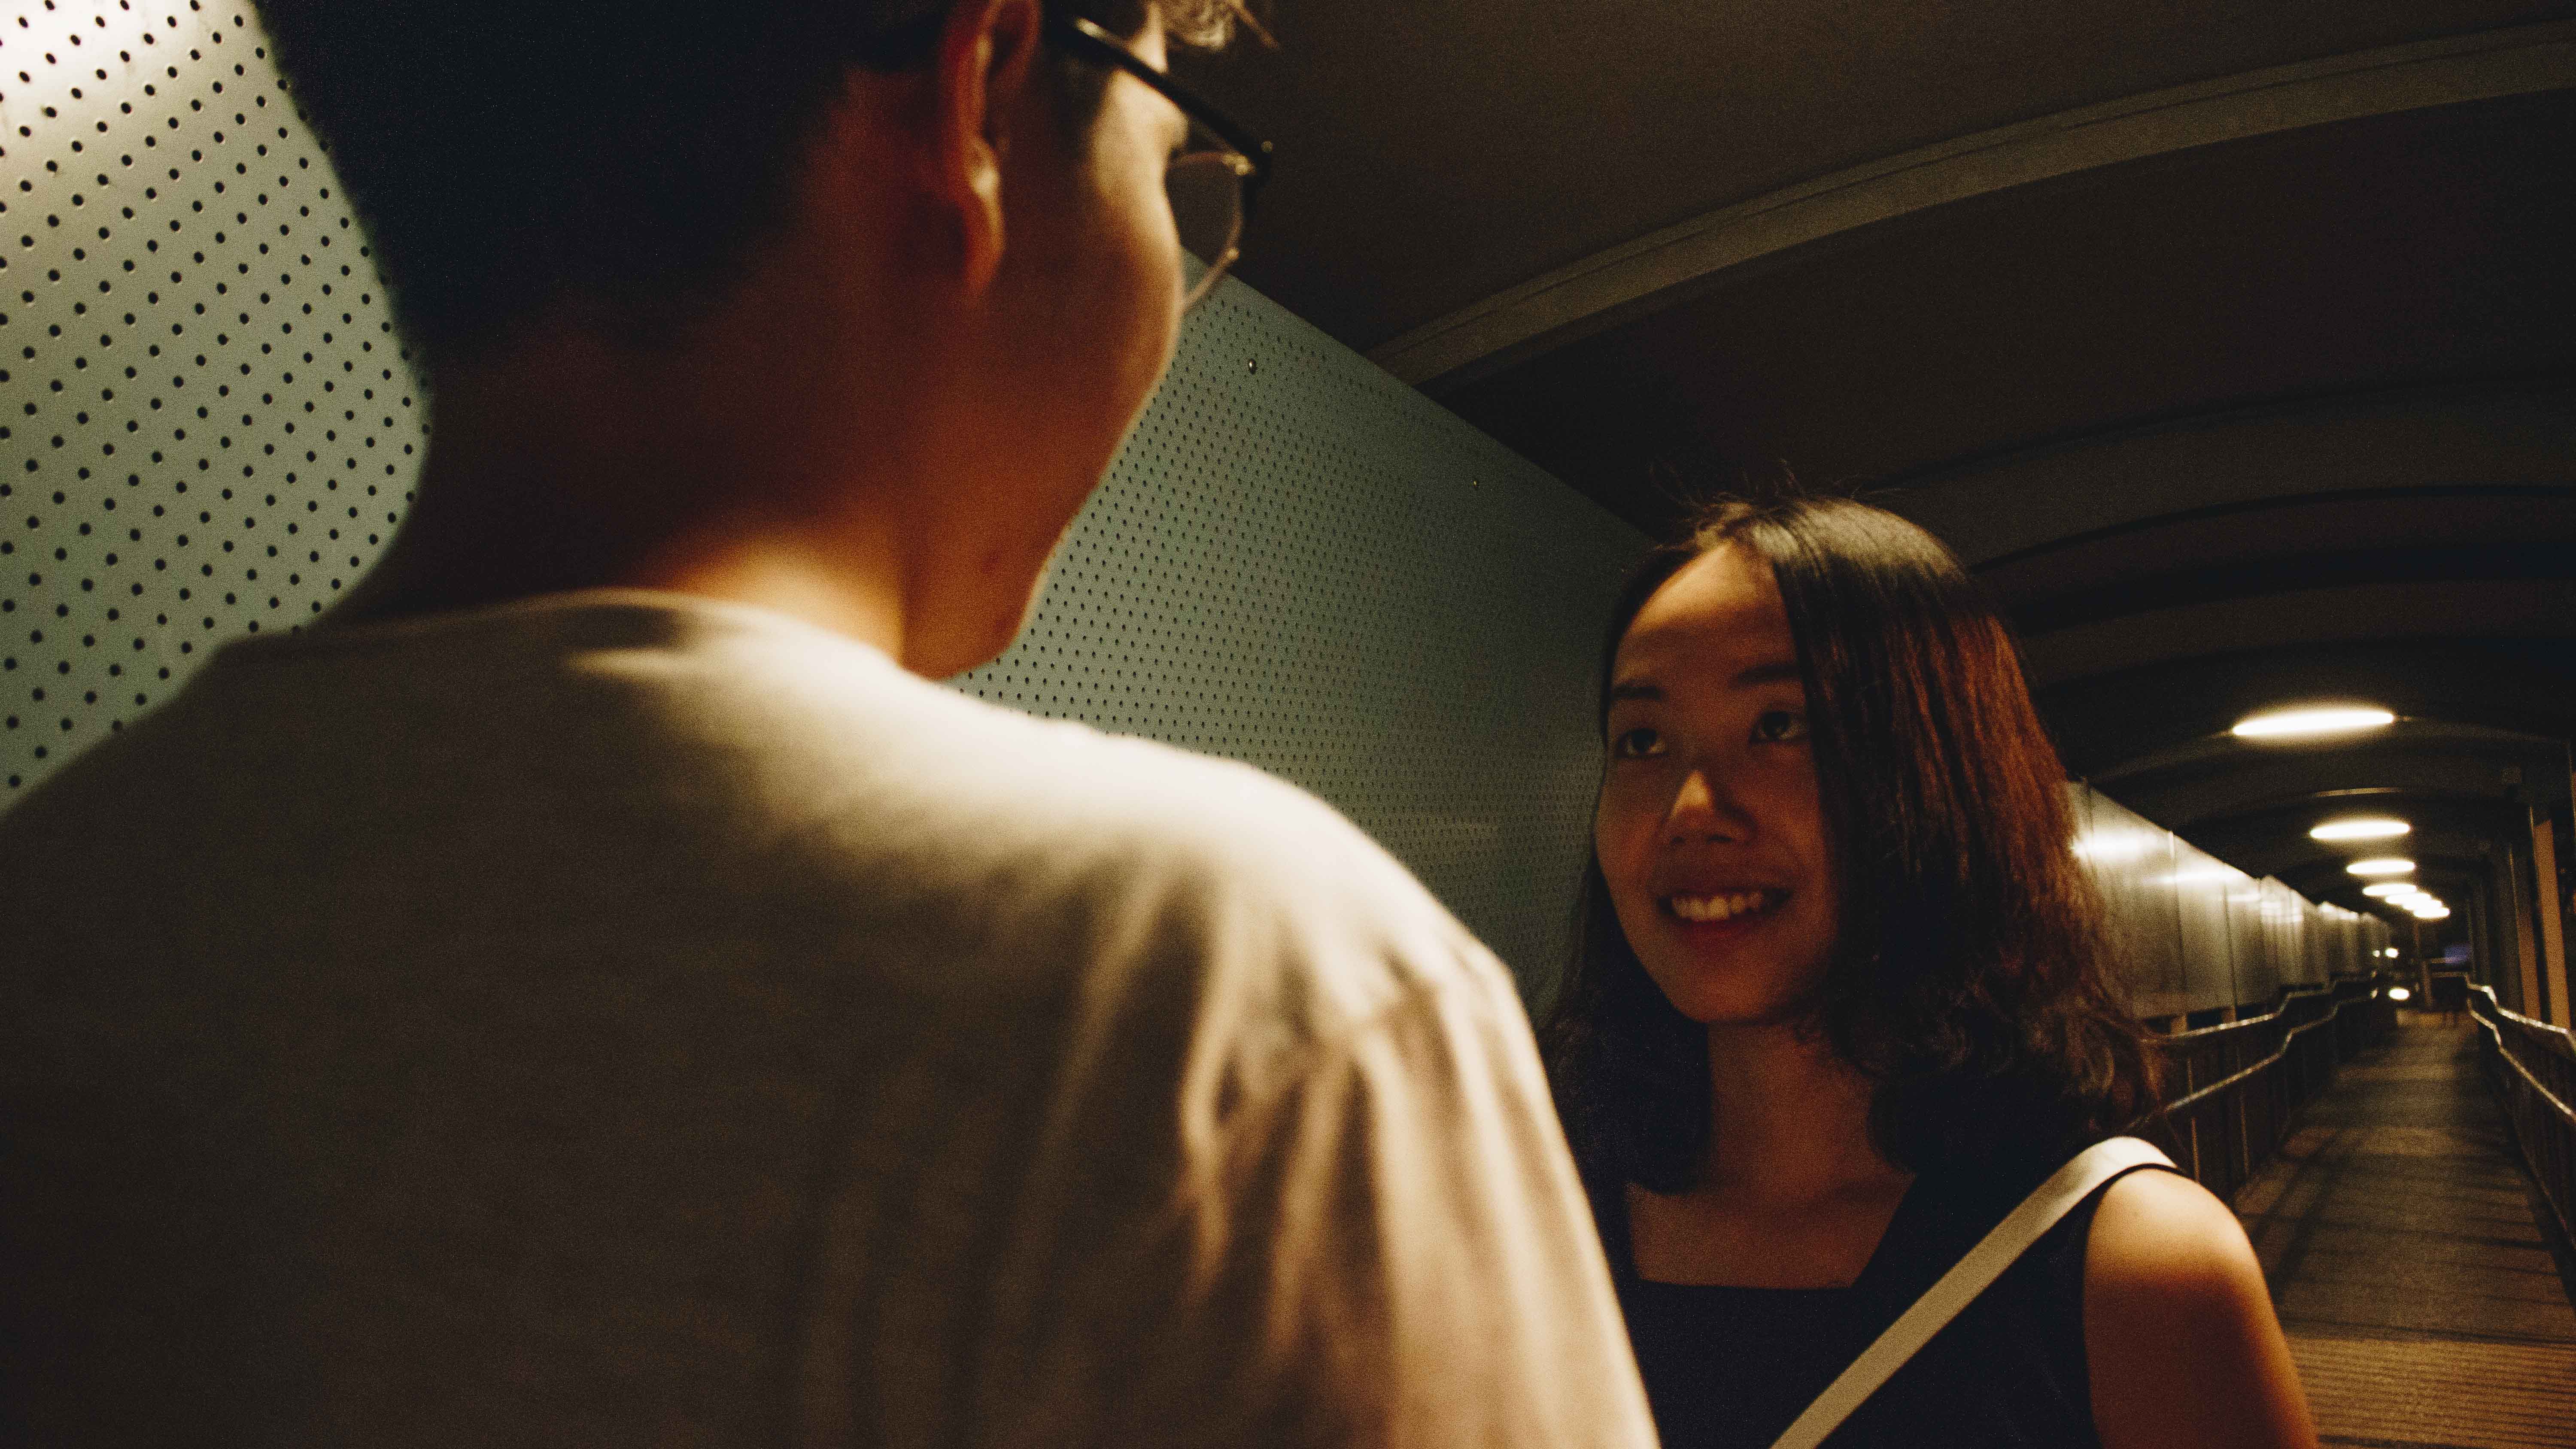
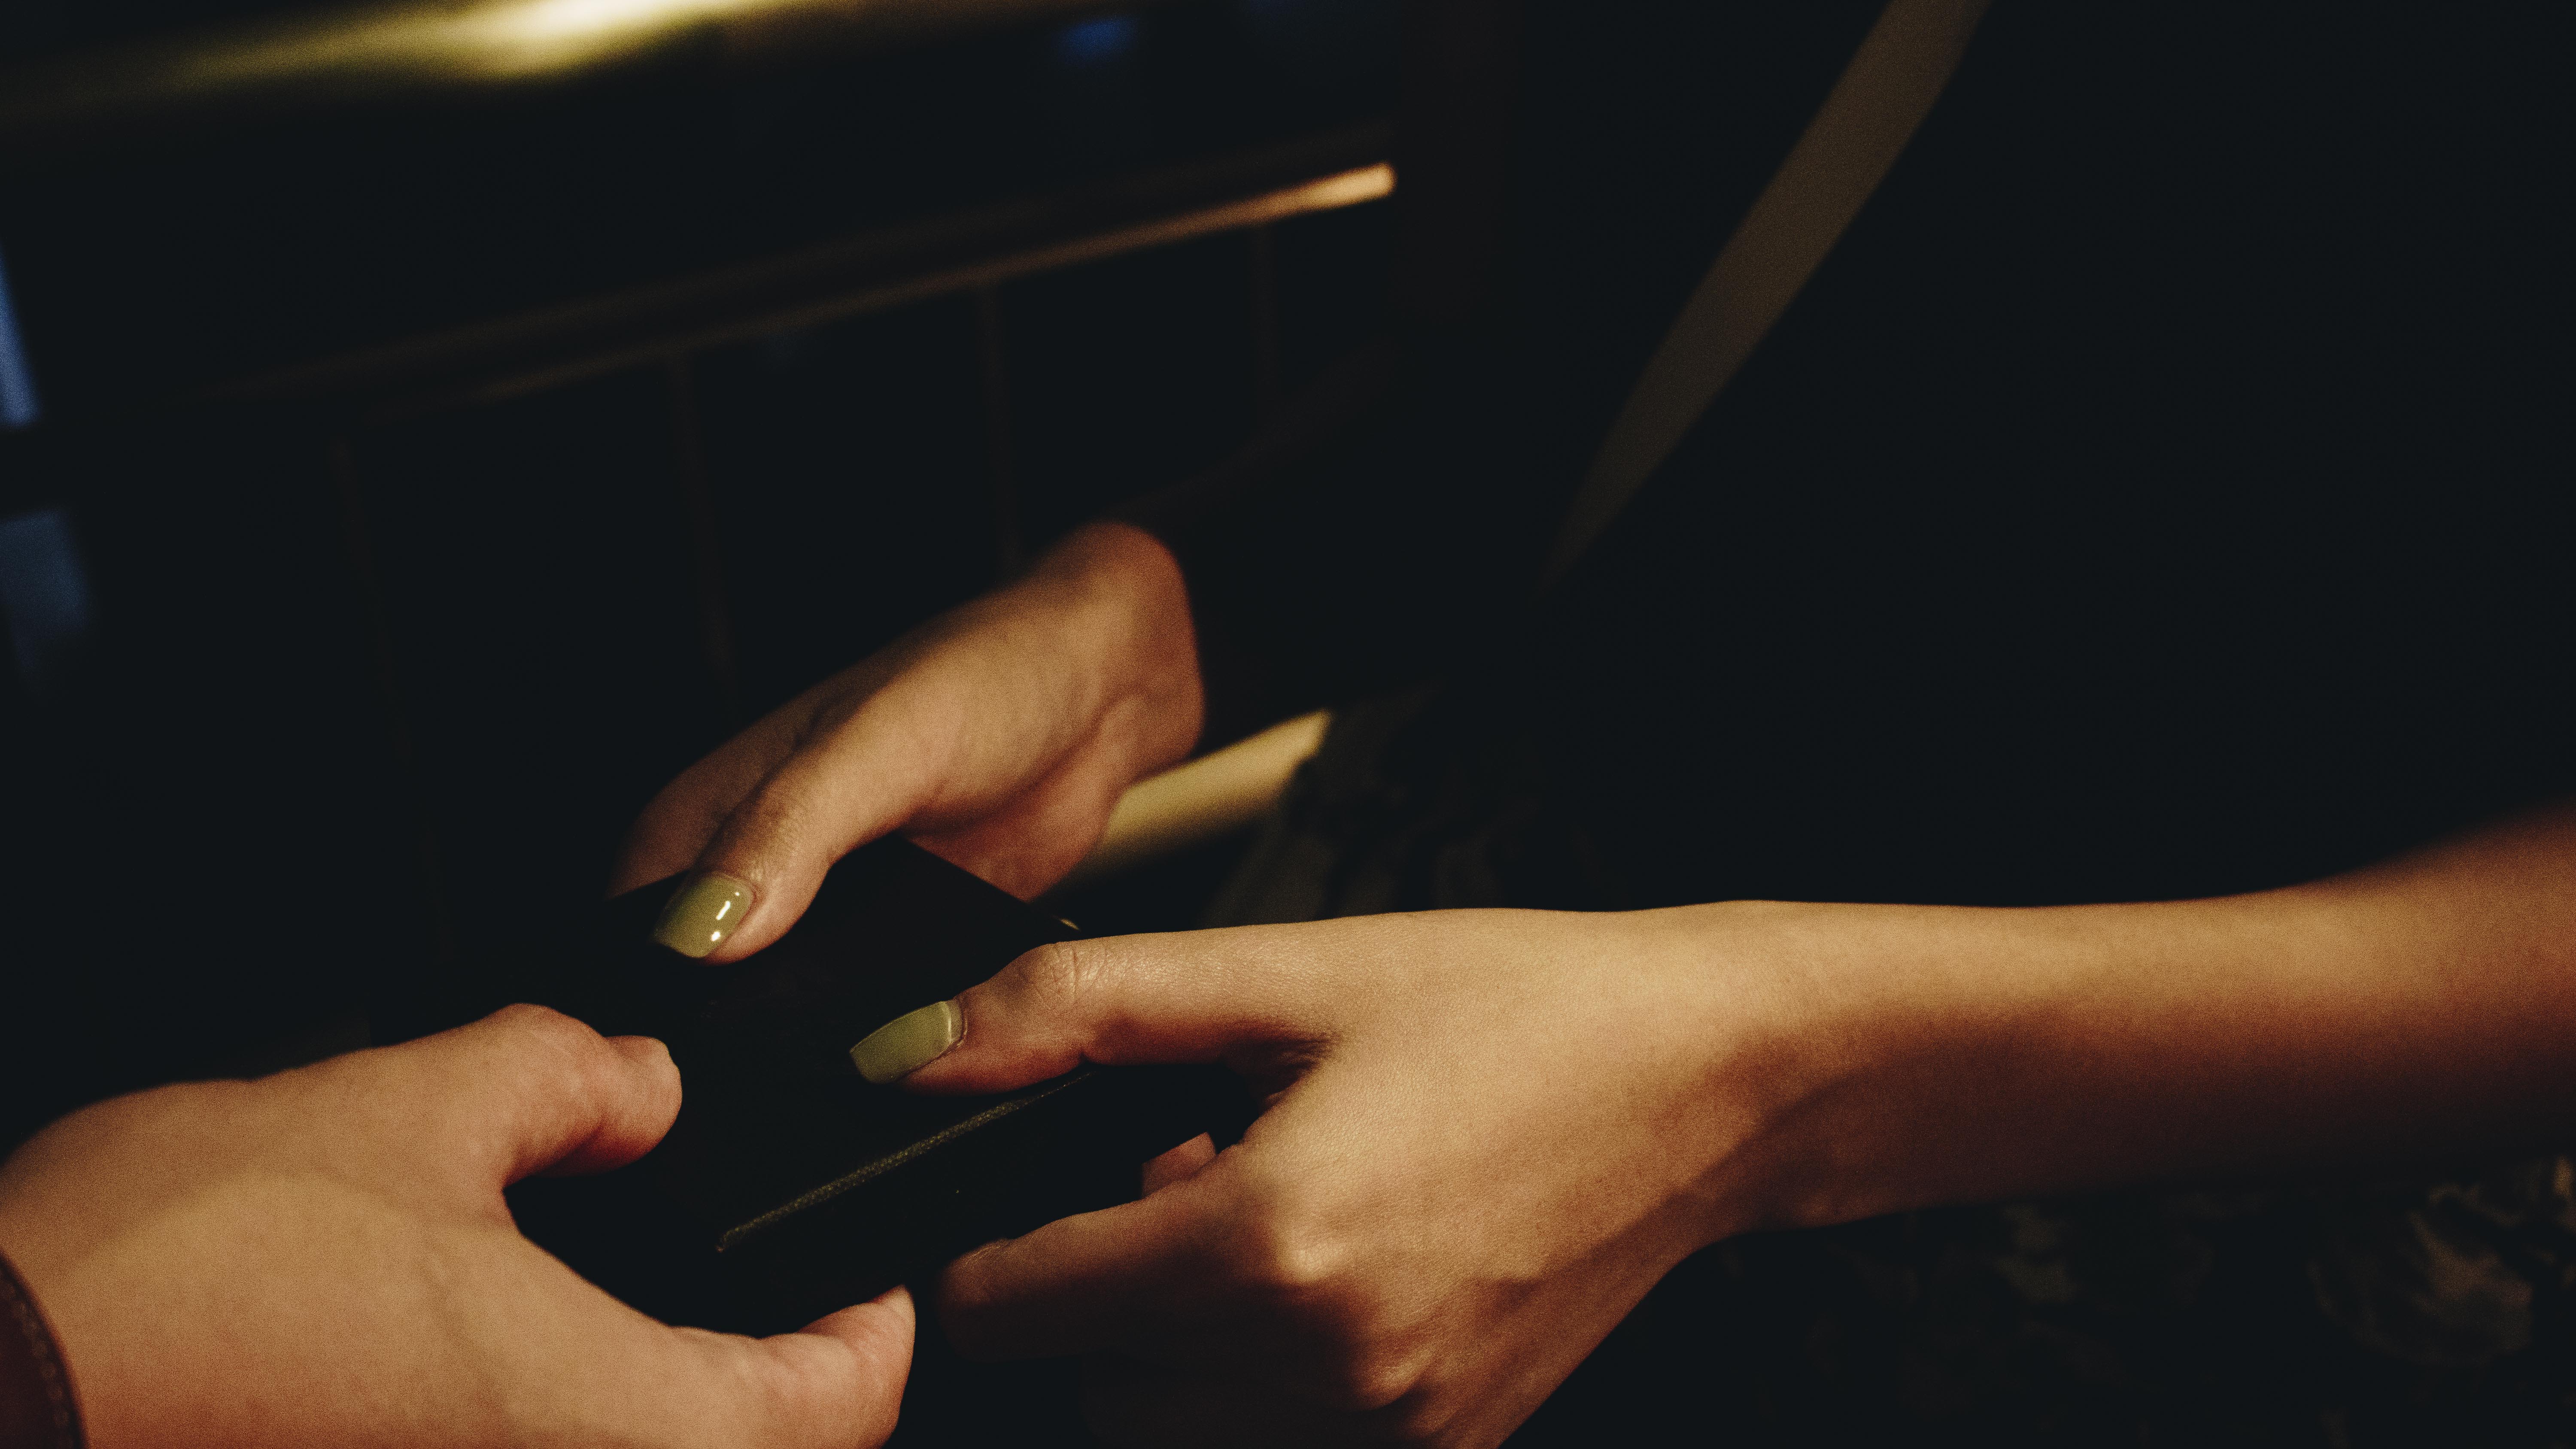
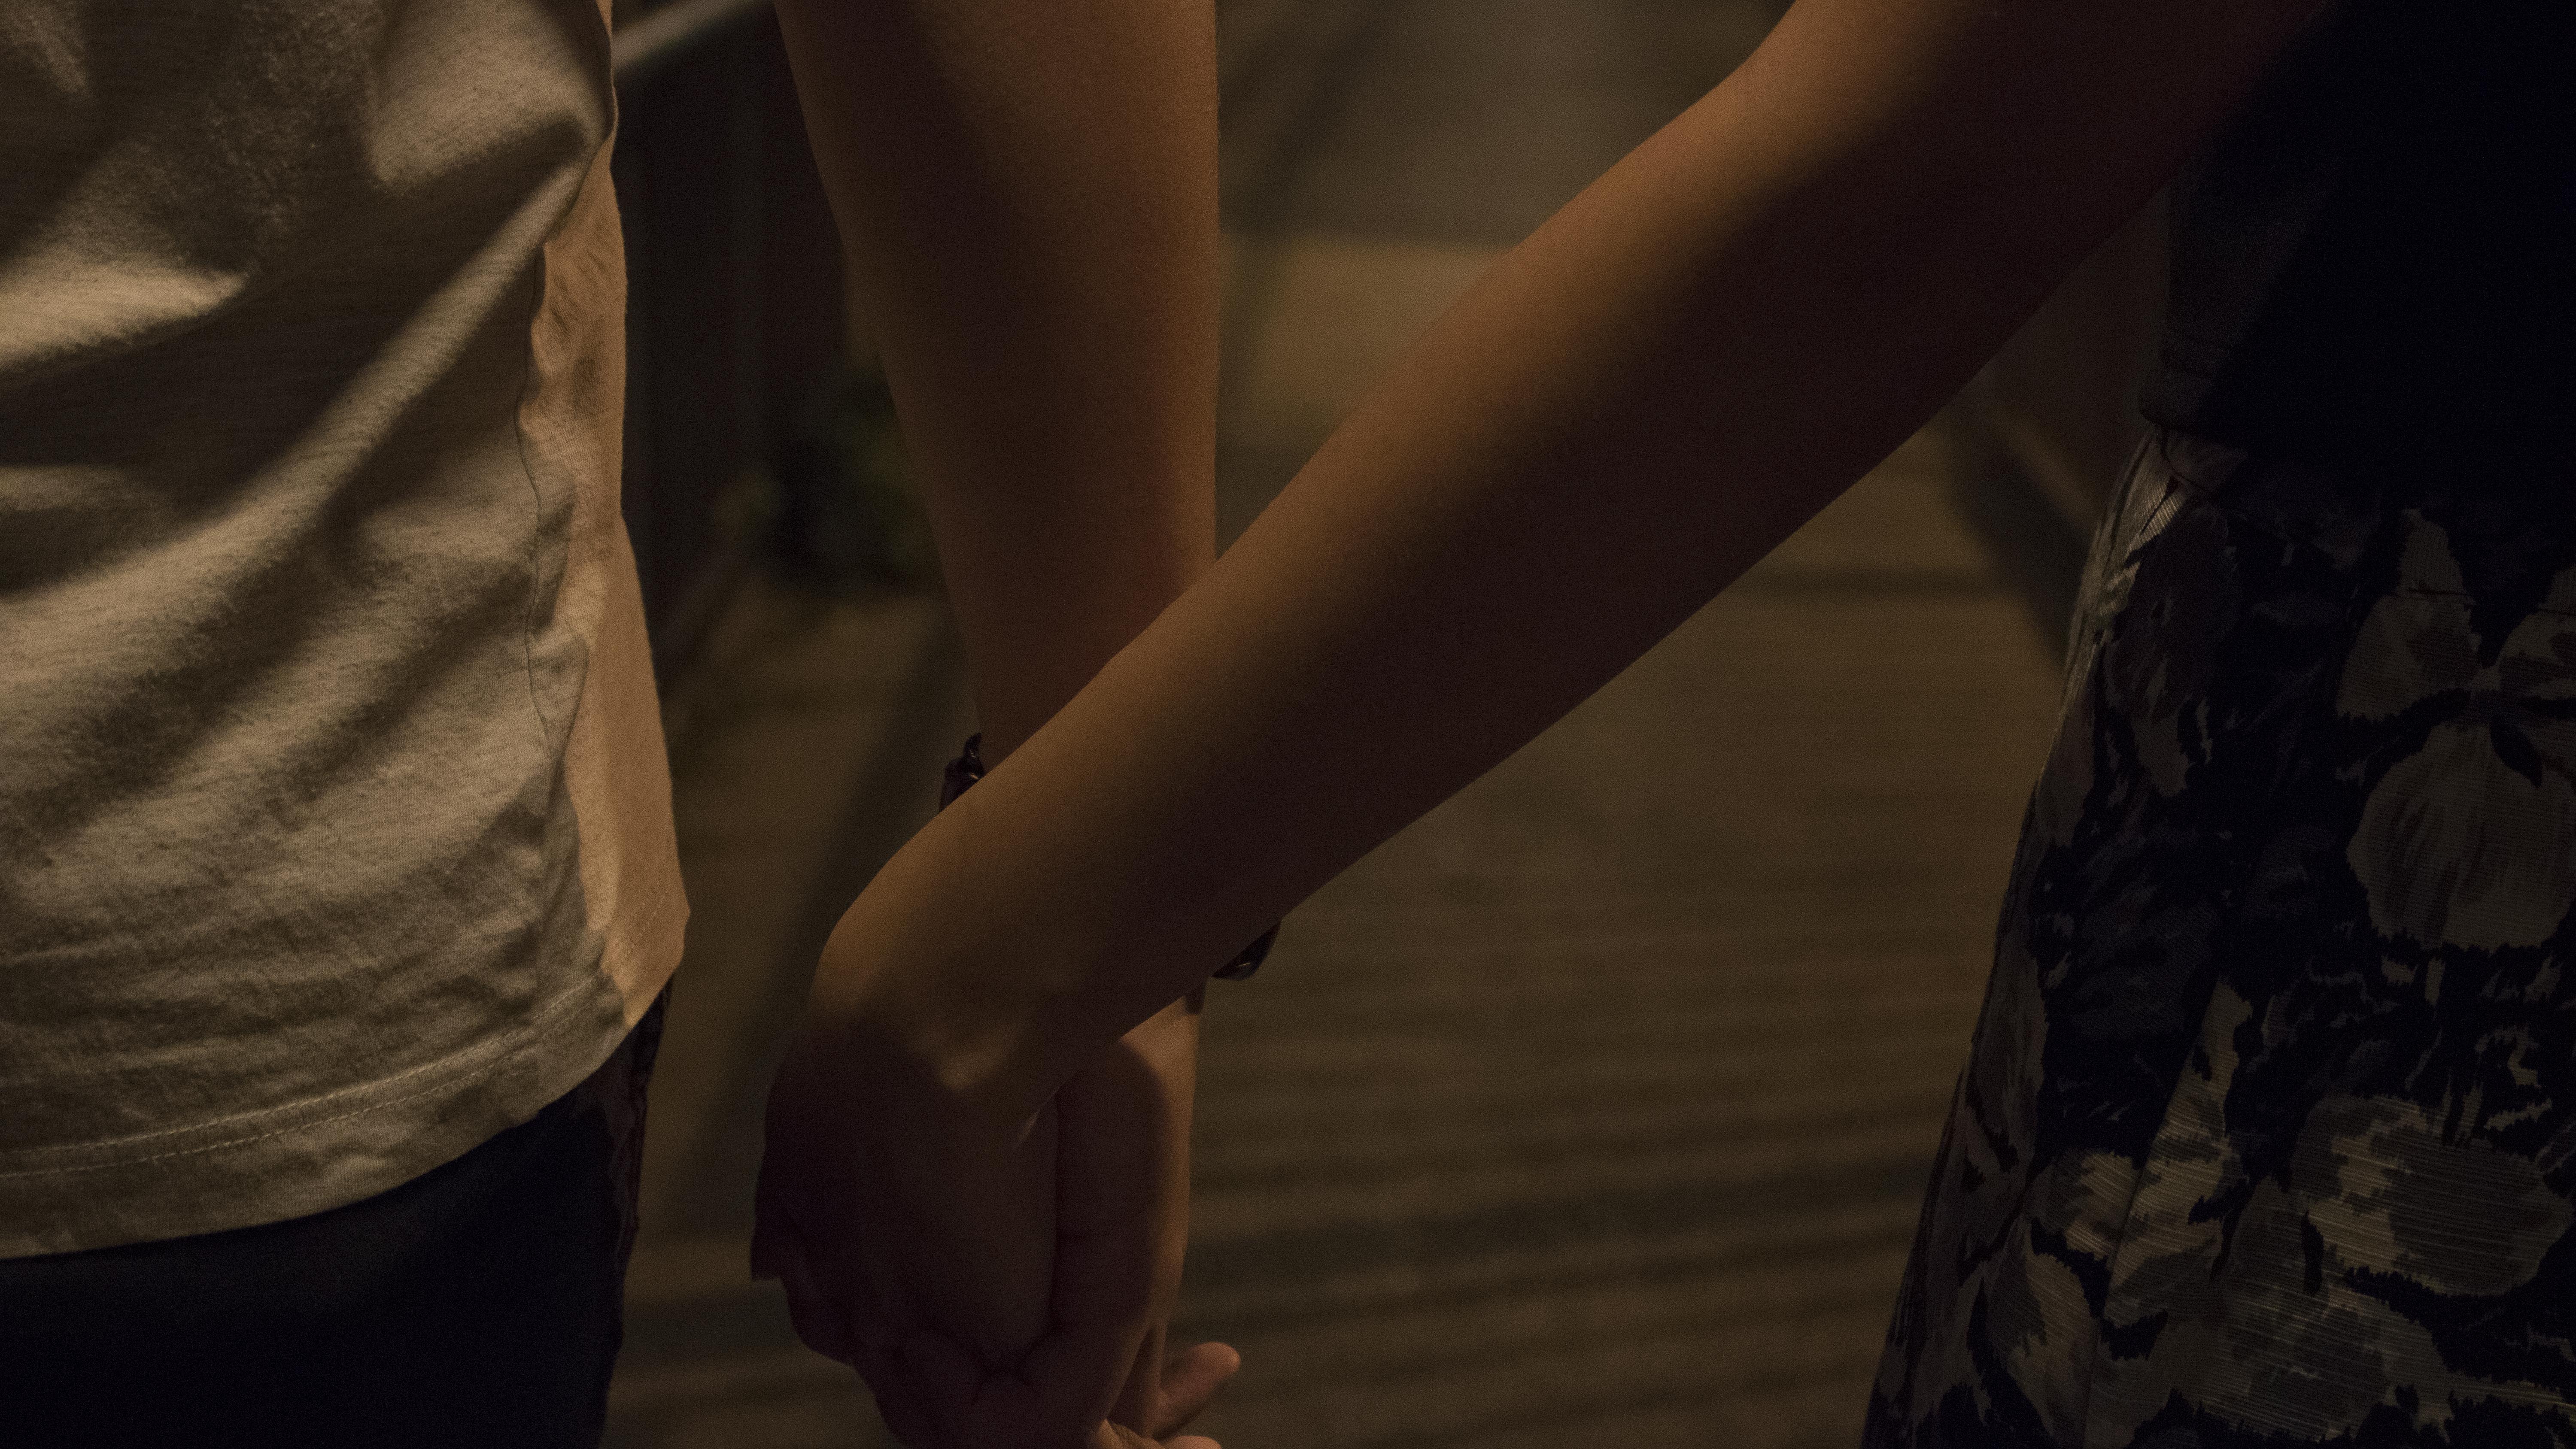
In this third assignment, I created a short narrative about having a crush on your best friend. Initially I kind of struggle with this because having a storyline in mind is not my forte. Later on I decided that I should probably do a storyboard and just proceed with my shoot.  I tried exploring different shot scales and relating them to what I usually observe in videos. I find it hard to separate my vision of how the story should be progressing in a video into a sequence of still images.  When it comes to still image, I have to select the keyframe that can communicate a point, leaving out the fillers.

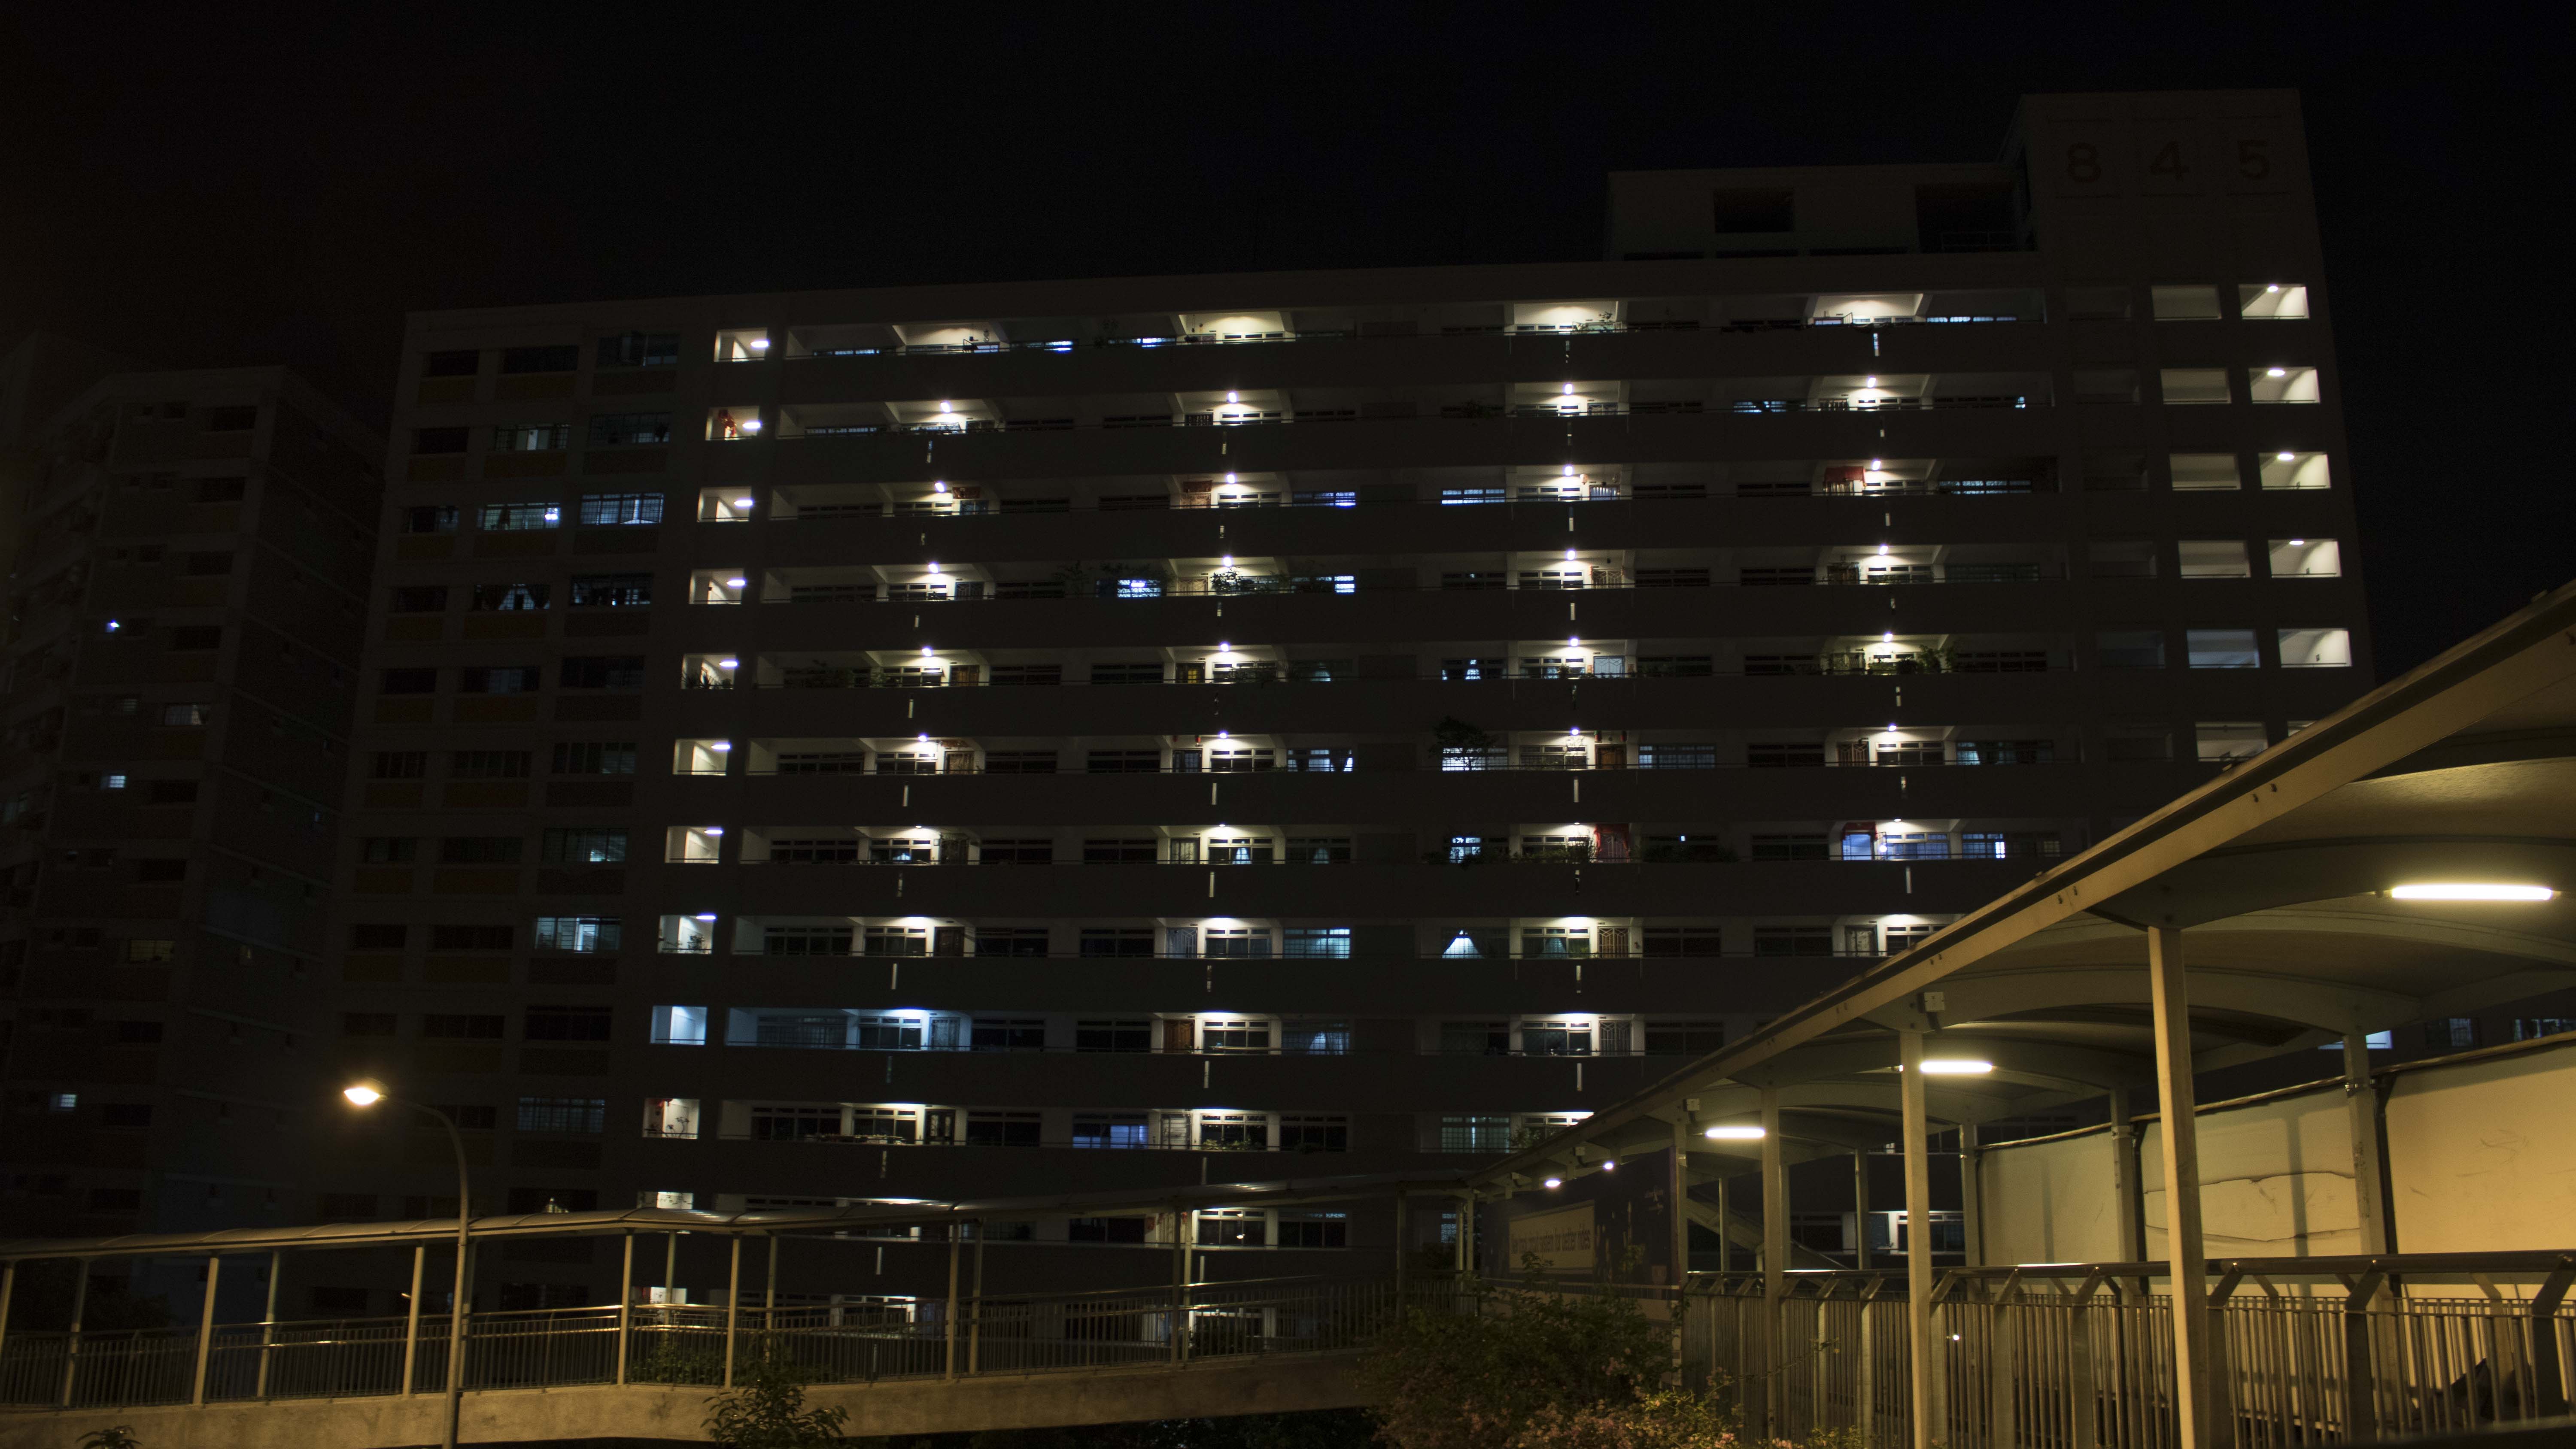
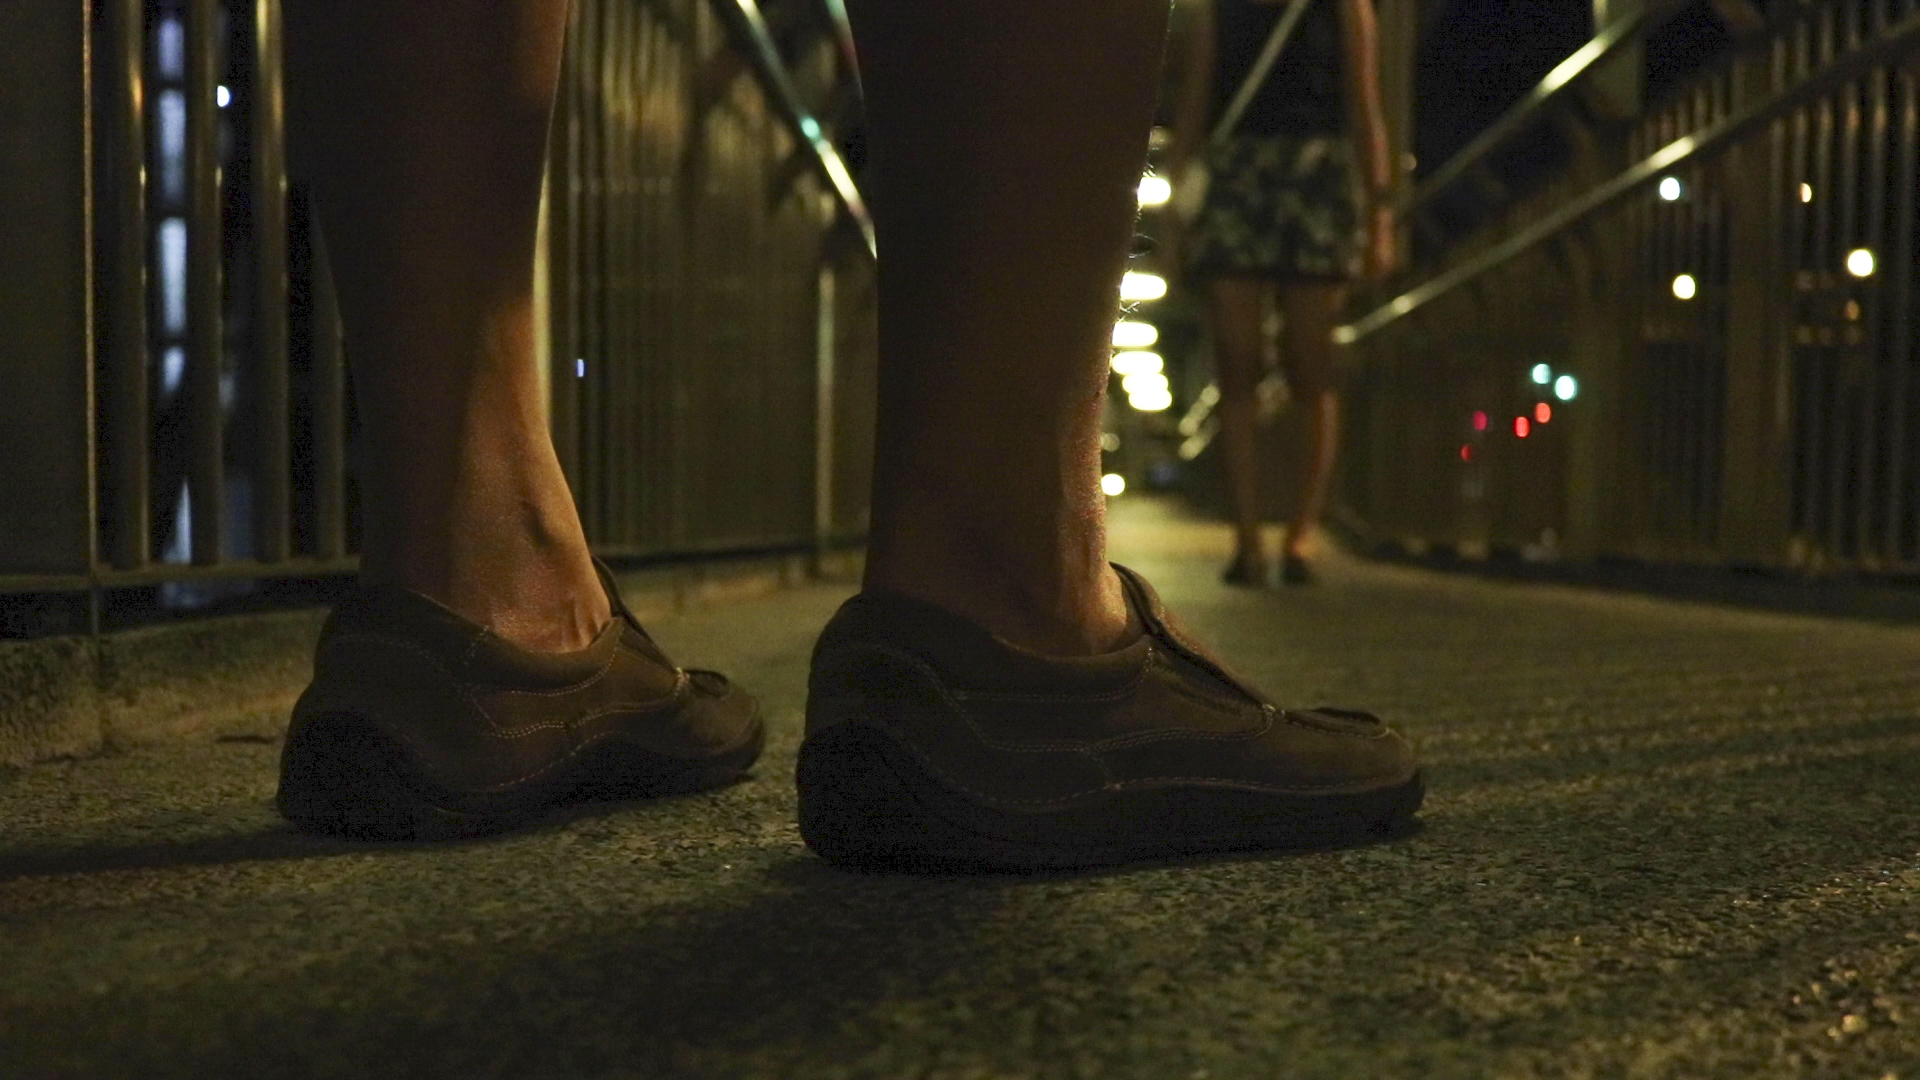
What I did to show that there is a change of settings was to have the characters wear a different set of outfit. But it seems a little confusing to viewers as mentioned in feedback. In addition, I need to be selective when it comes to the props as well. 

All in all, it was a fun experience to be able to create a mini series in this short window of time!

Exploring Time

For the second project, we were tasked to explore different time settings while capturing and also on timeline during editing. Hence I headed out with different gears e.g. DSLR, Mokacam and iPhone to capture different scenes and hopefully be able to put them together! There wasn’t any storyboard planning – all the video clips were filmed randomly. Since I brought my action camera along, I decided to try capturing the water scene. The camera was tied at one end using dental floss (the only *string* I found with me) and dipped it into the pond for the green tint effect. I also did some simple color grading in Premiere Pro- mainly dealing with exposure and added an adjustment layer on top for LUT.

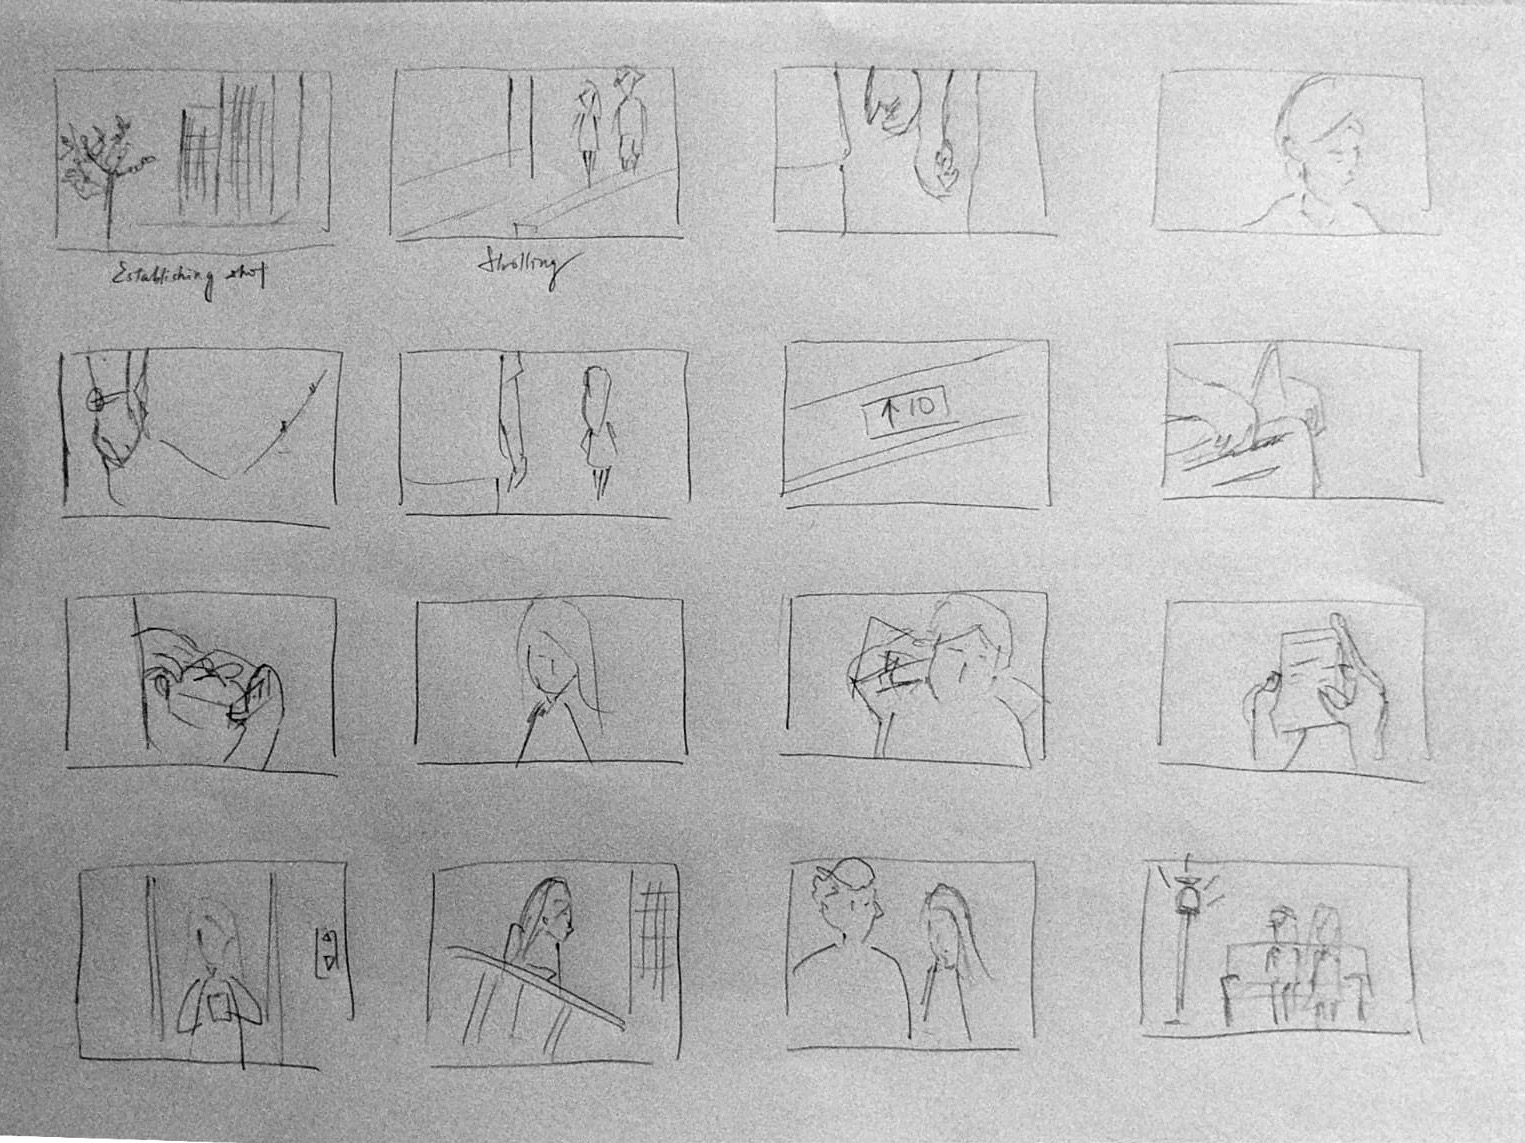
I am quite satisfied with how the water scene turned out as it looks like someone is drowning but it doesn’t really connect with the rest of my city shots. Therefore, I decided to overlay an eye shot (using close-up+10 filter) at the very end of the video to sort of link them together.

A brief pause is also added after the water scene to give the illusion that it could be something that happened in a different time period. The contrasting clips in this video feel like it can be a trailer of something else. 

For the last scene, I sped up the 11-minute long footage in Premiere Pro to 3000% while the rest of the timelapse in this video was taken with interval timelapse feature in camera (1 frame/second).

Image with Movement

Cinemagraph

Results 1

In the original video for the above cinemagraph, the kids were walking around at the side. Initially I wanted to keep their movement and freeze everything else, however due to the moving sea background, it was just too complicated to mask the movement without having to interfere with the sea. To makes things easier, I masked parts of the shoreline so that the movement is still considered subtle, leaving out all the incoming wave. As for the sky, I had to mask the part where the bird flies and not the whole area to avoid the moving clouds. I also adjusted the opacity of the mask at the right side to create an illusion that the bird was at a further distance.

Mask 1

Animated GIF- From Still to Moving Image

Shot on Nikon FM2 (ISO400)
Results 2

For the second set, I tried to convert a still to moving image instead of capturing a video. I masked the smoke area using different opacity and then cropped it out as a new layer. In the timeline tab, I added keyframes and adjusted the size of the smoke (Command + T) accordingly. Additionally, I also added Fade effect into my smoke layers to smoothen the transitions. 

Mask 2
Layers