BLK 30 Kelantan Road + Project 01

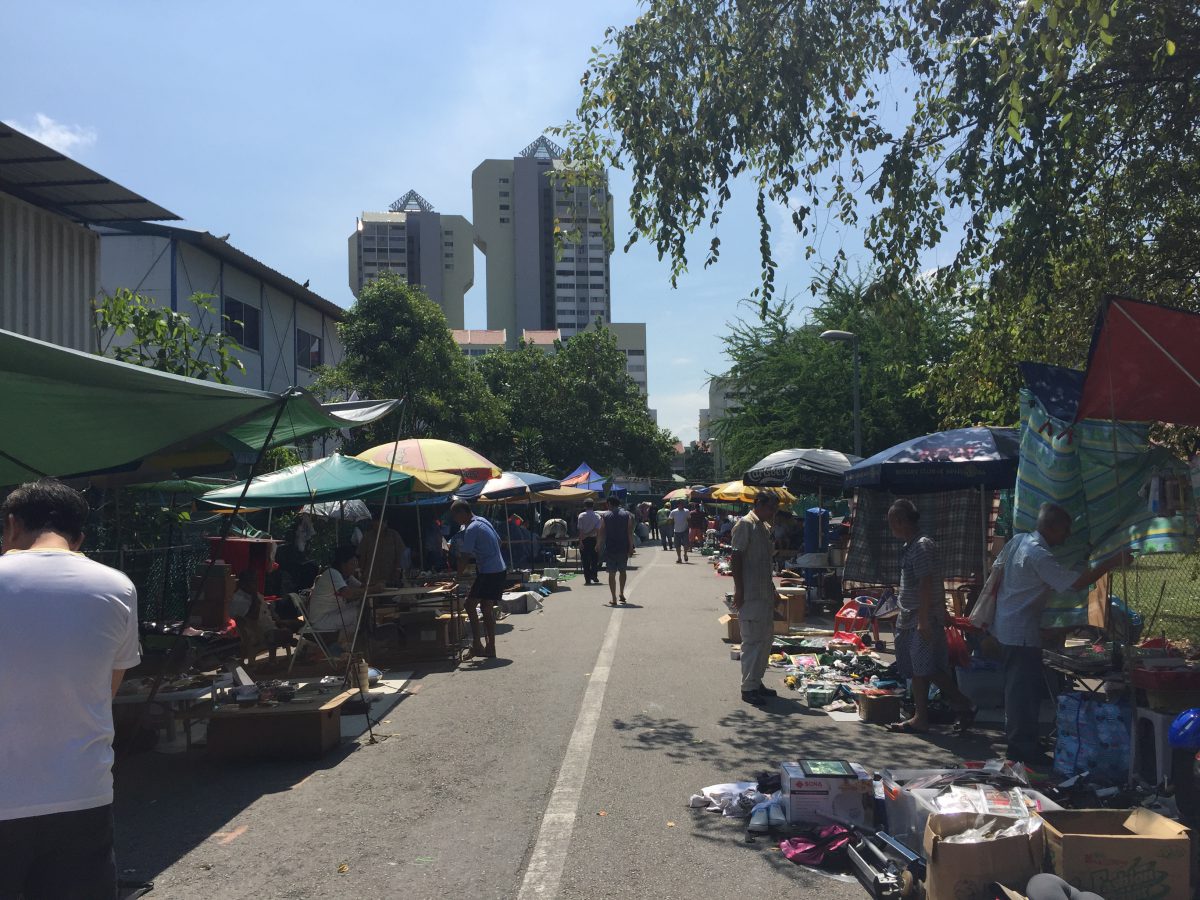
Day trip to Kelantan Road! I caught a 800CP Golduck and 700+CP Electabuzz there but more importantly, I got some good stuff from the Thieves’ Market and the provision shop.

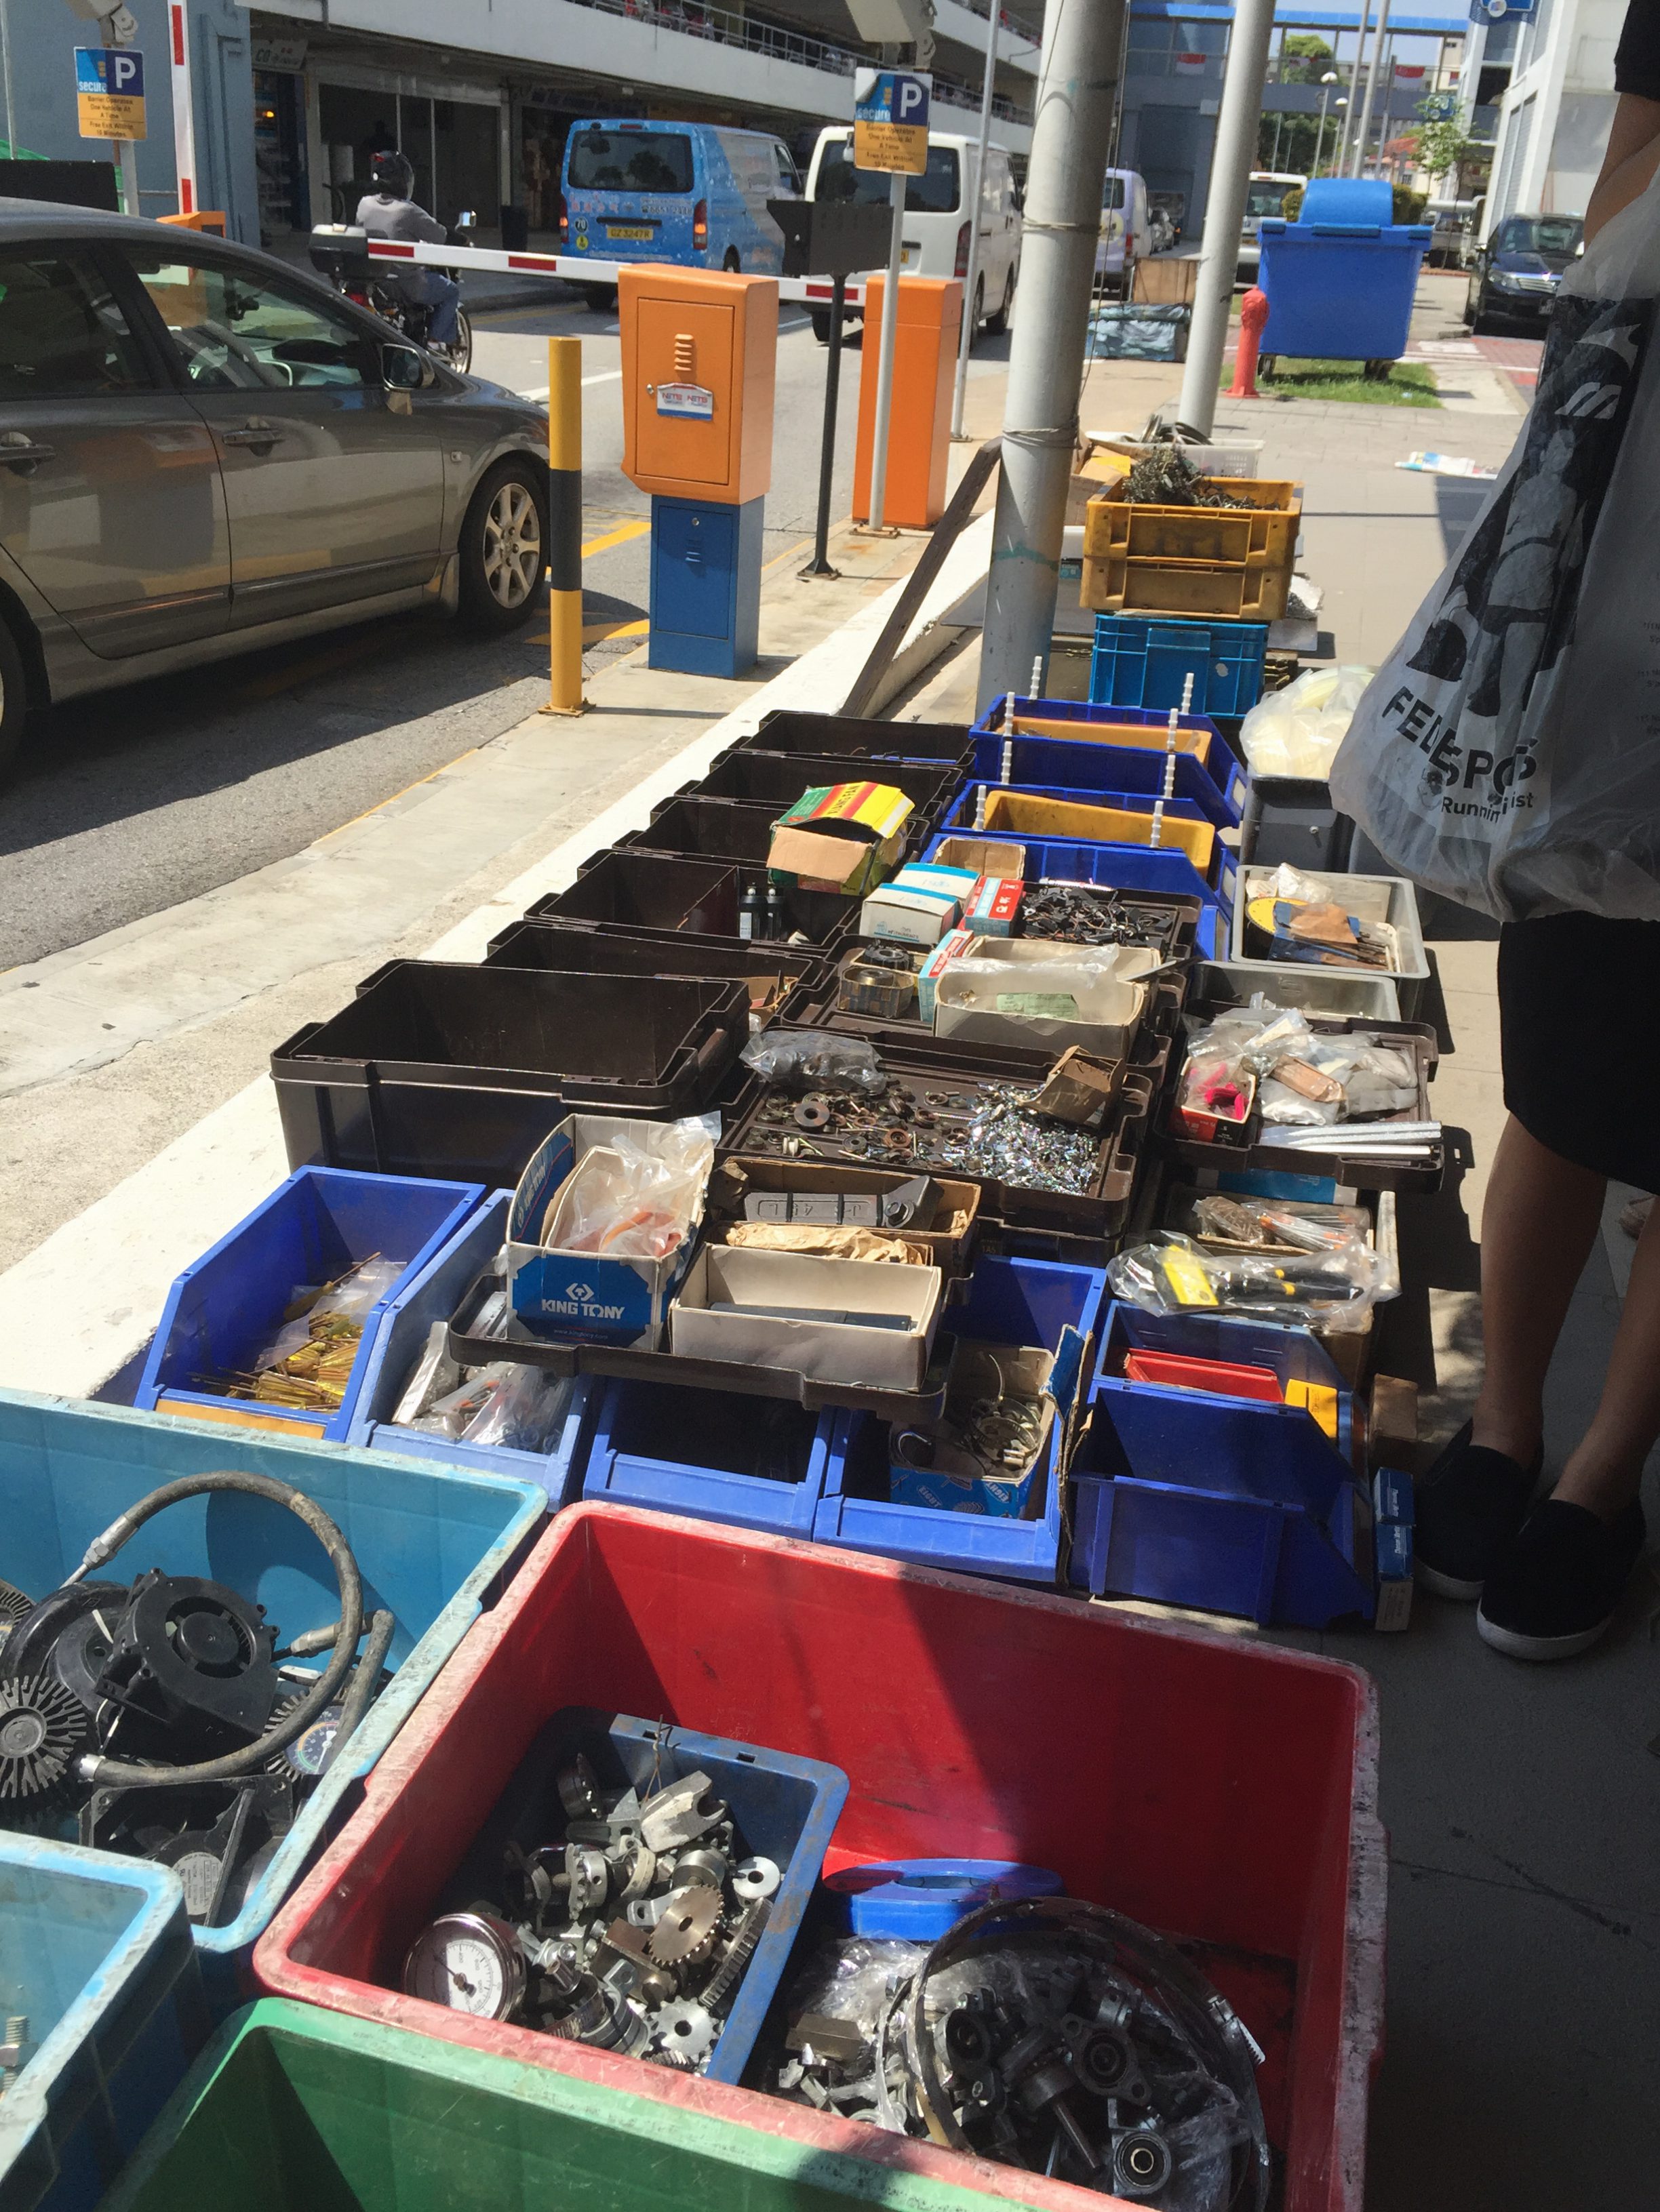
PROVISION SHOP ENG GUAN & CO.

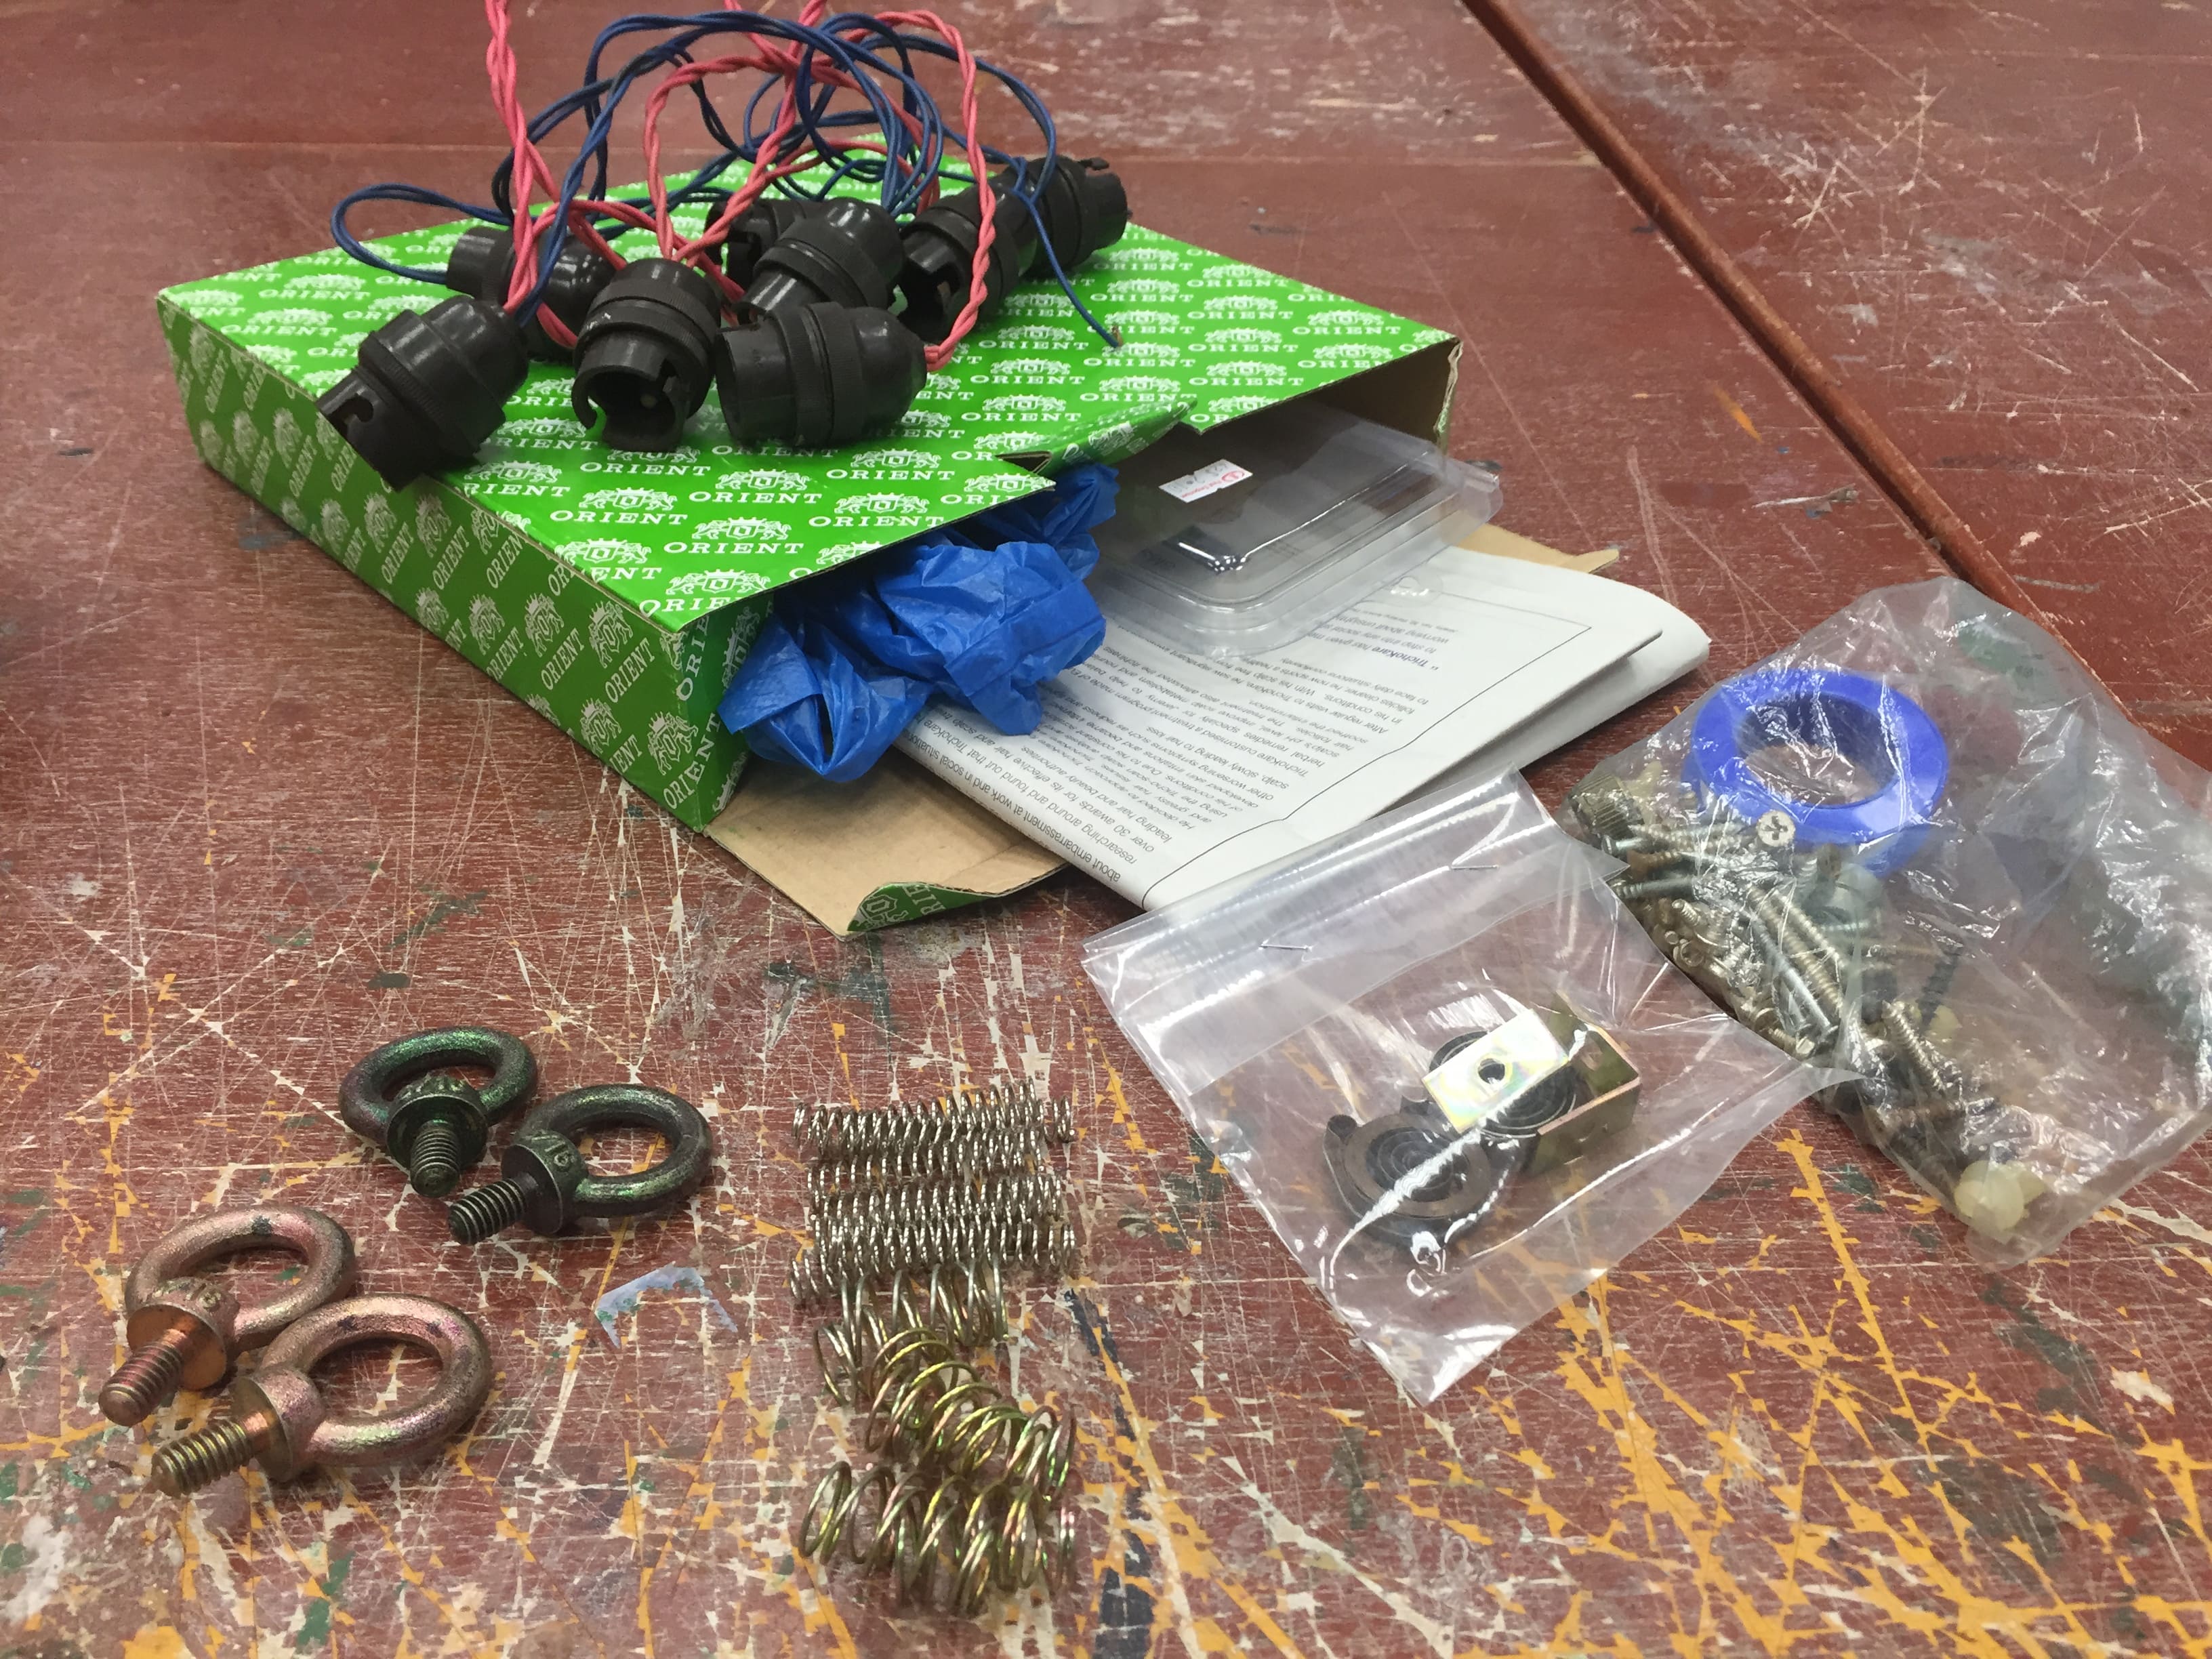
I got some springs, screws and a bunch of random stuff from the provision shop.

2016-08-18 14.48.49

2016-08-18 14.48.41


KELANTAN ROAD

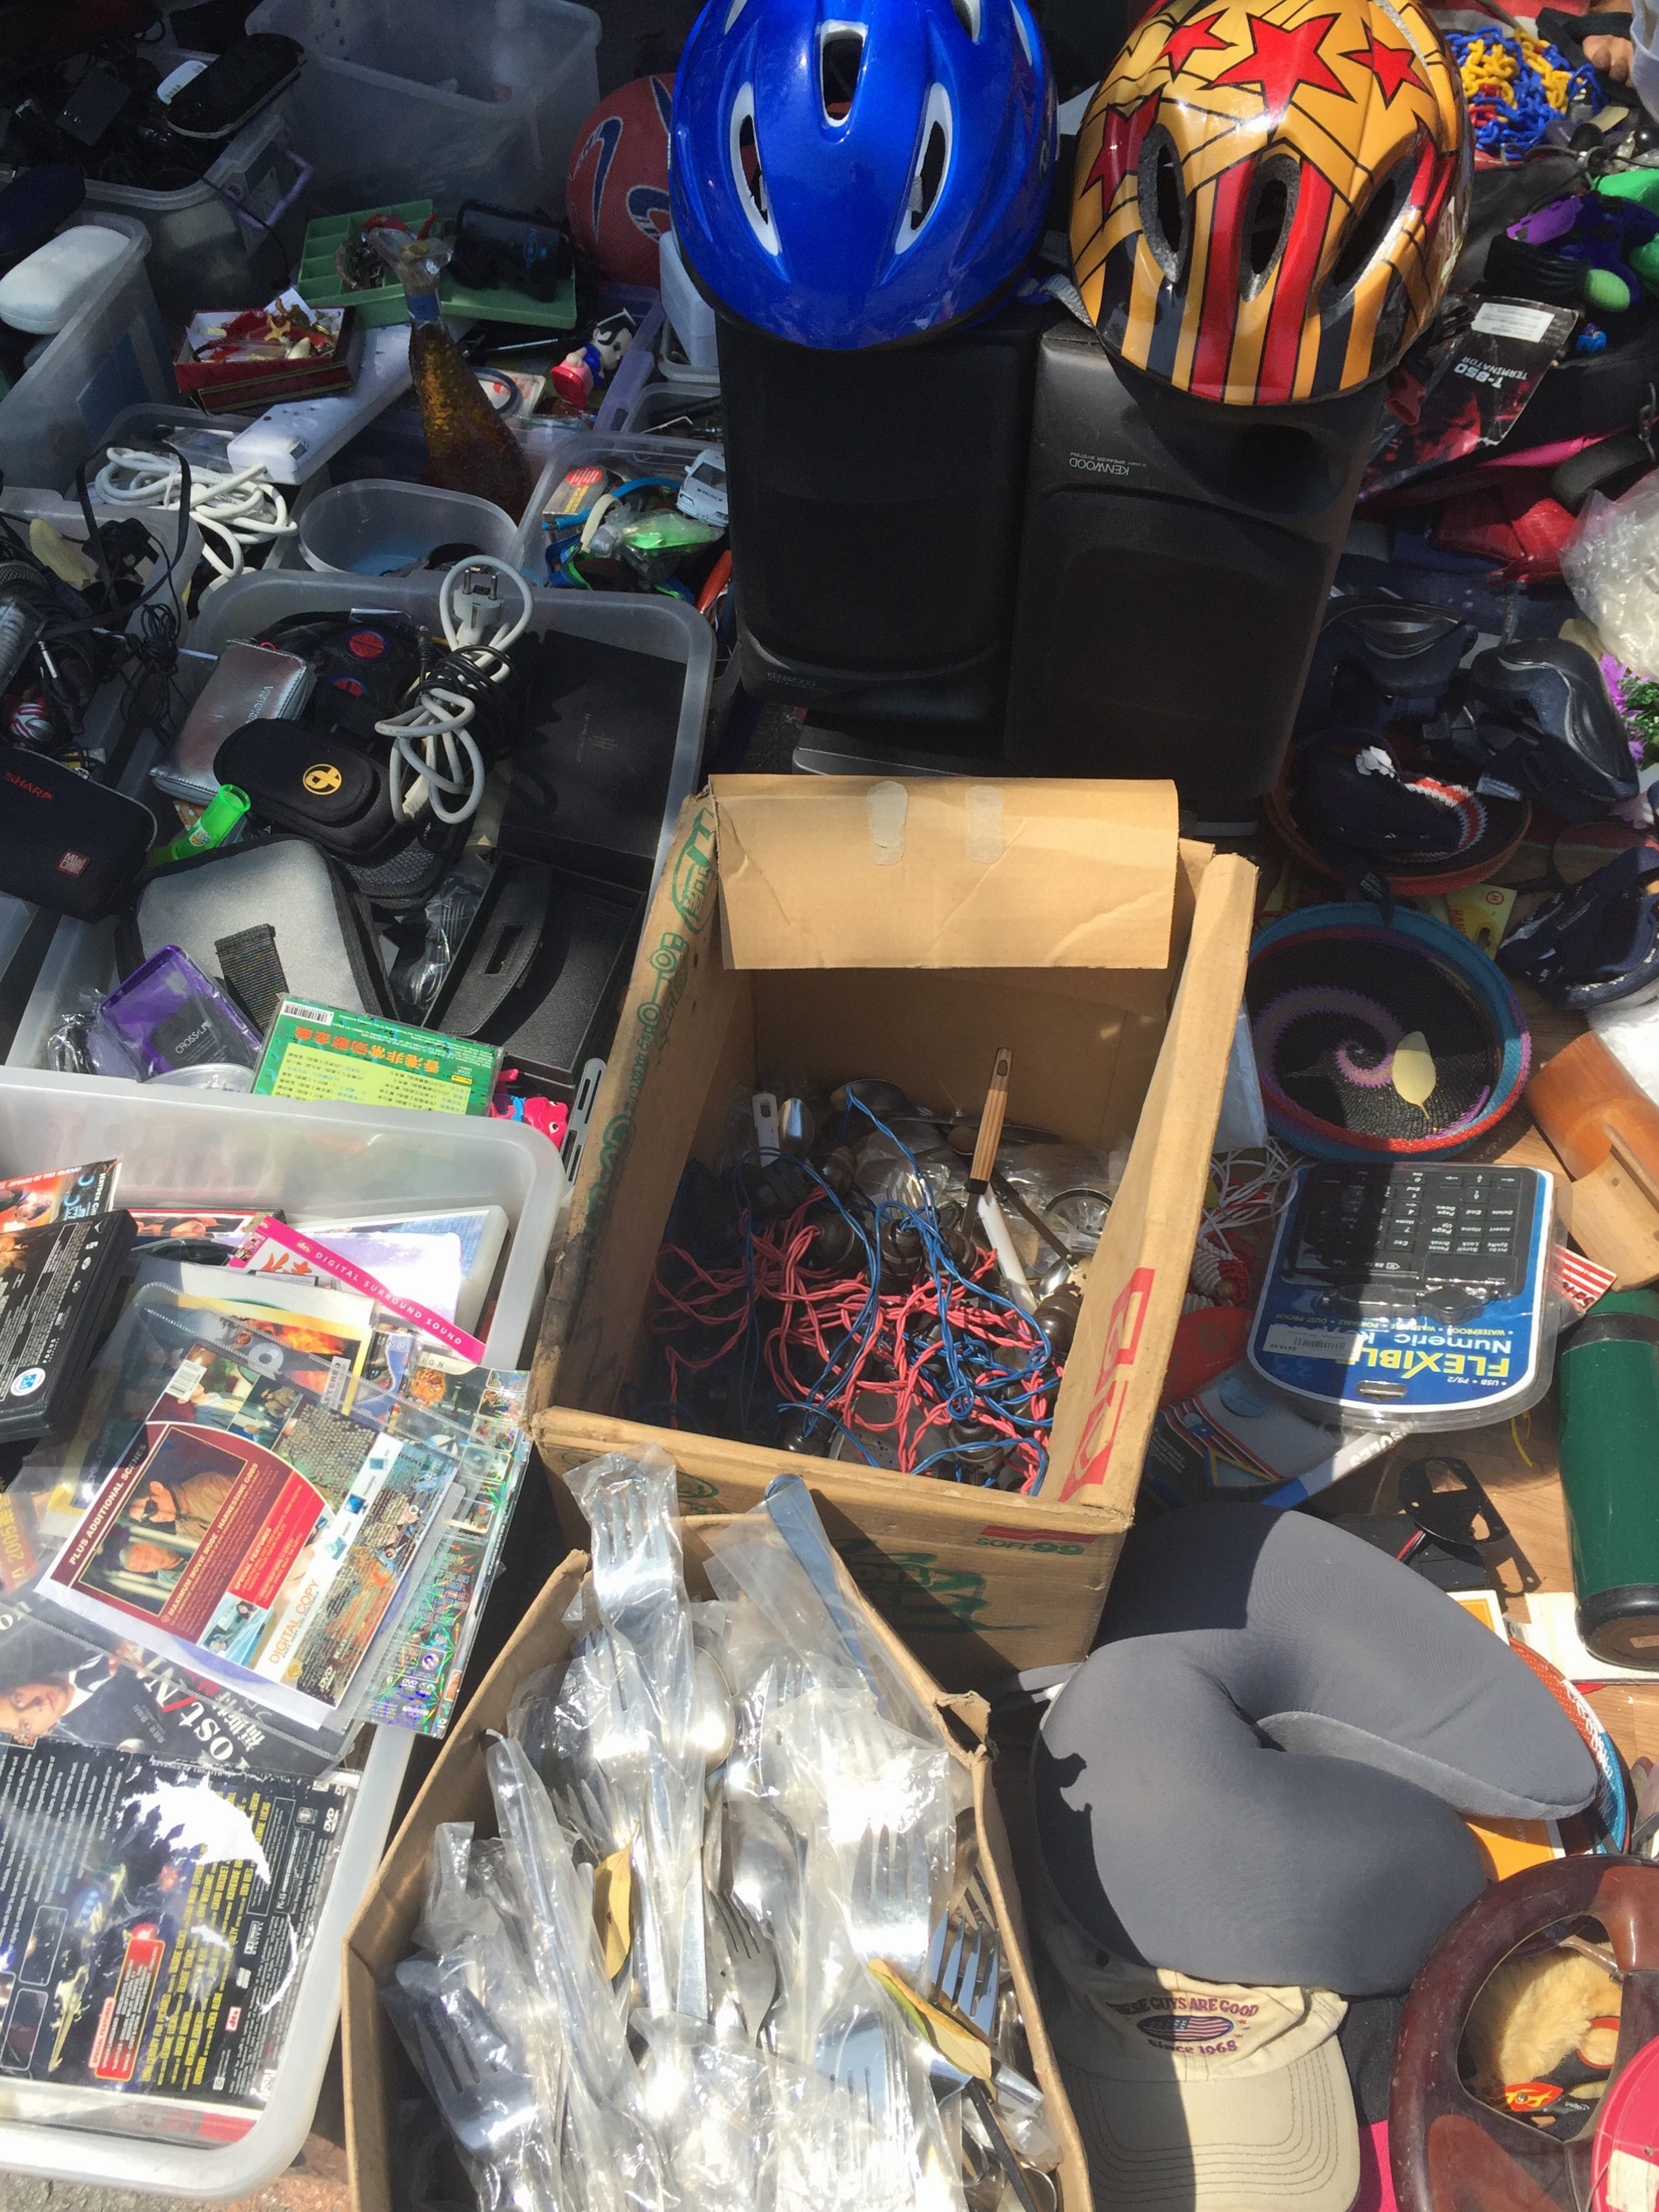
Here, I got some more stuff.

2016-08-18 14.42.30

I bought those blue and pink wire stuff in the cardboard box. They’re supposed to be those miniature light bulbs that’s used to decorated pasar malams, but here I got them with the metal piece without the light bulbs.
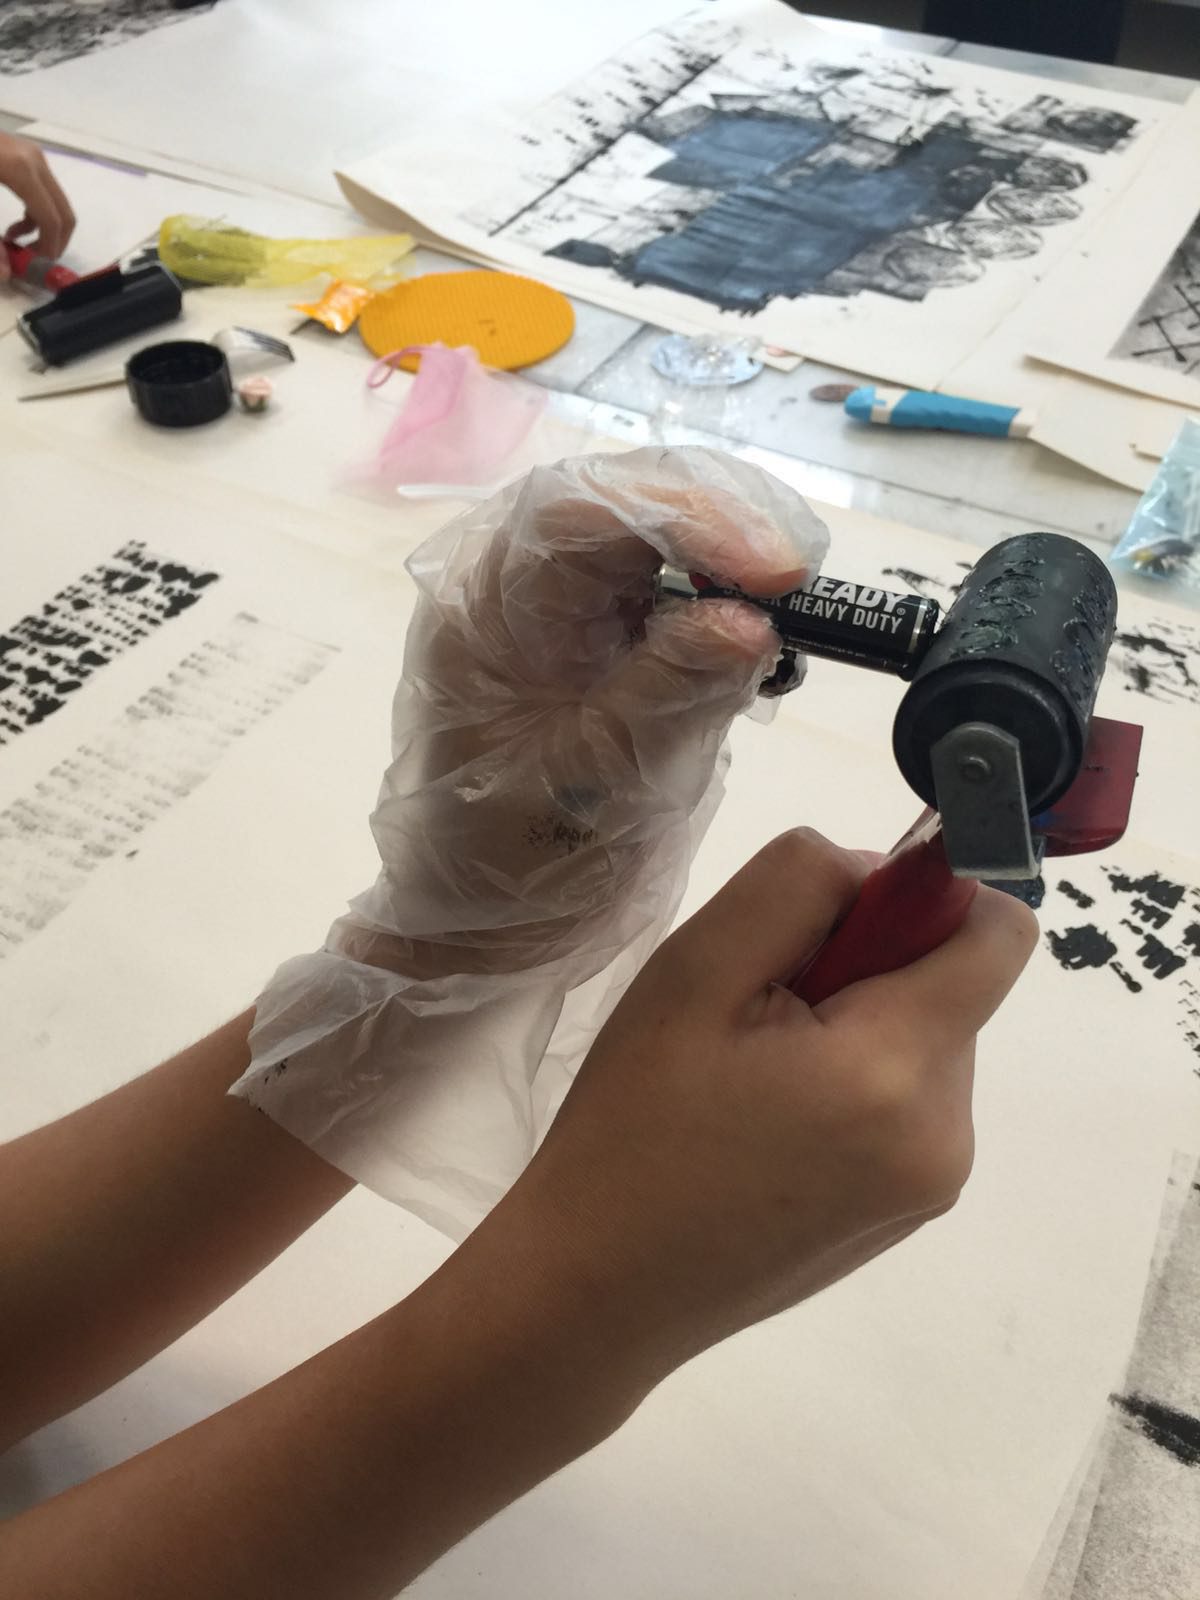
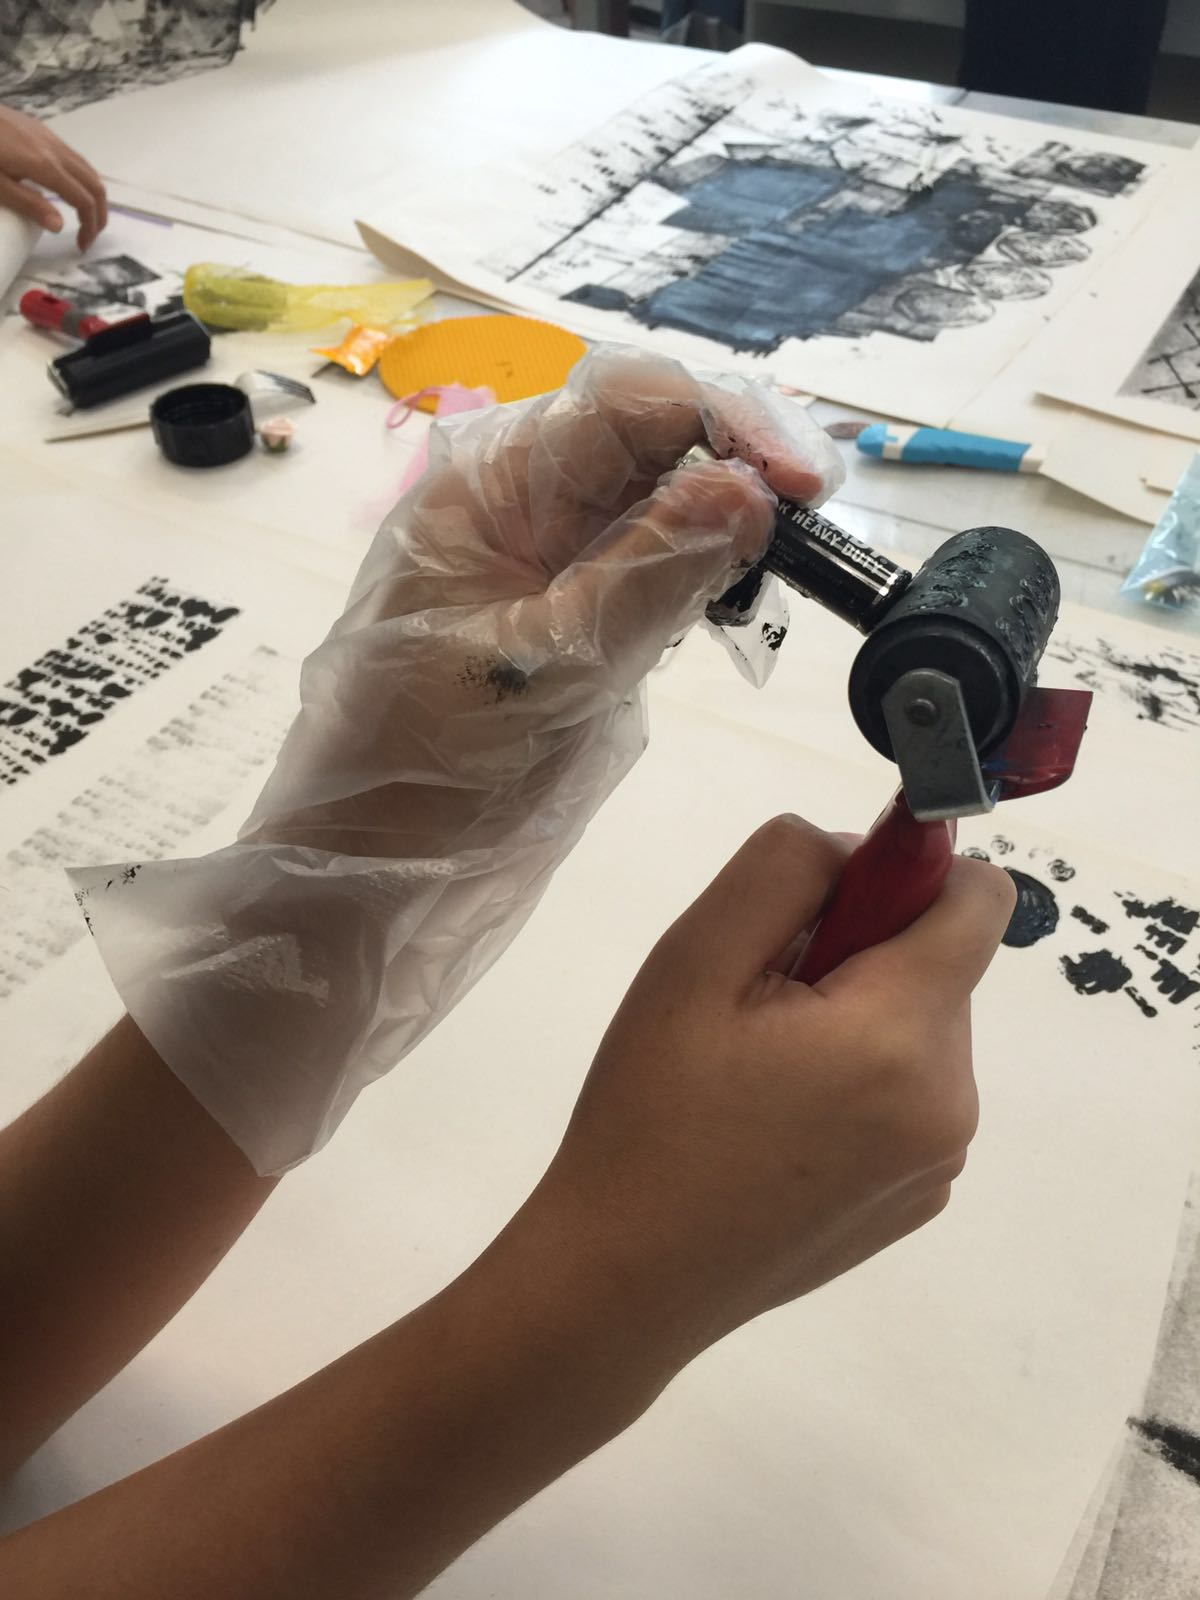
2016-08-18 14.42.44


PROJECT EXECUTION

My original intention was to make two bull figures fight each other on a platform (thus the green box), but the finished product turned out rather differently…

TOOLS USED: hot glue gun, and the items below.

2016-08-25 13.45.12-min

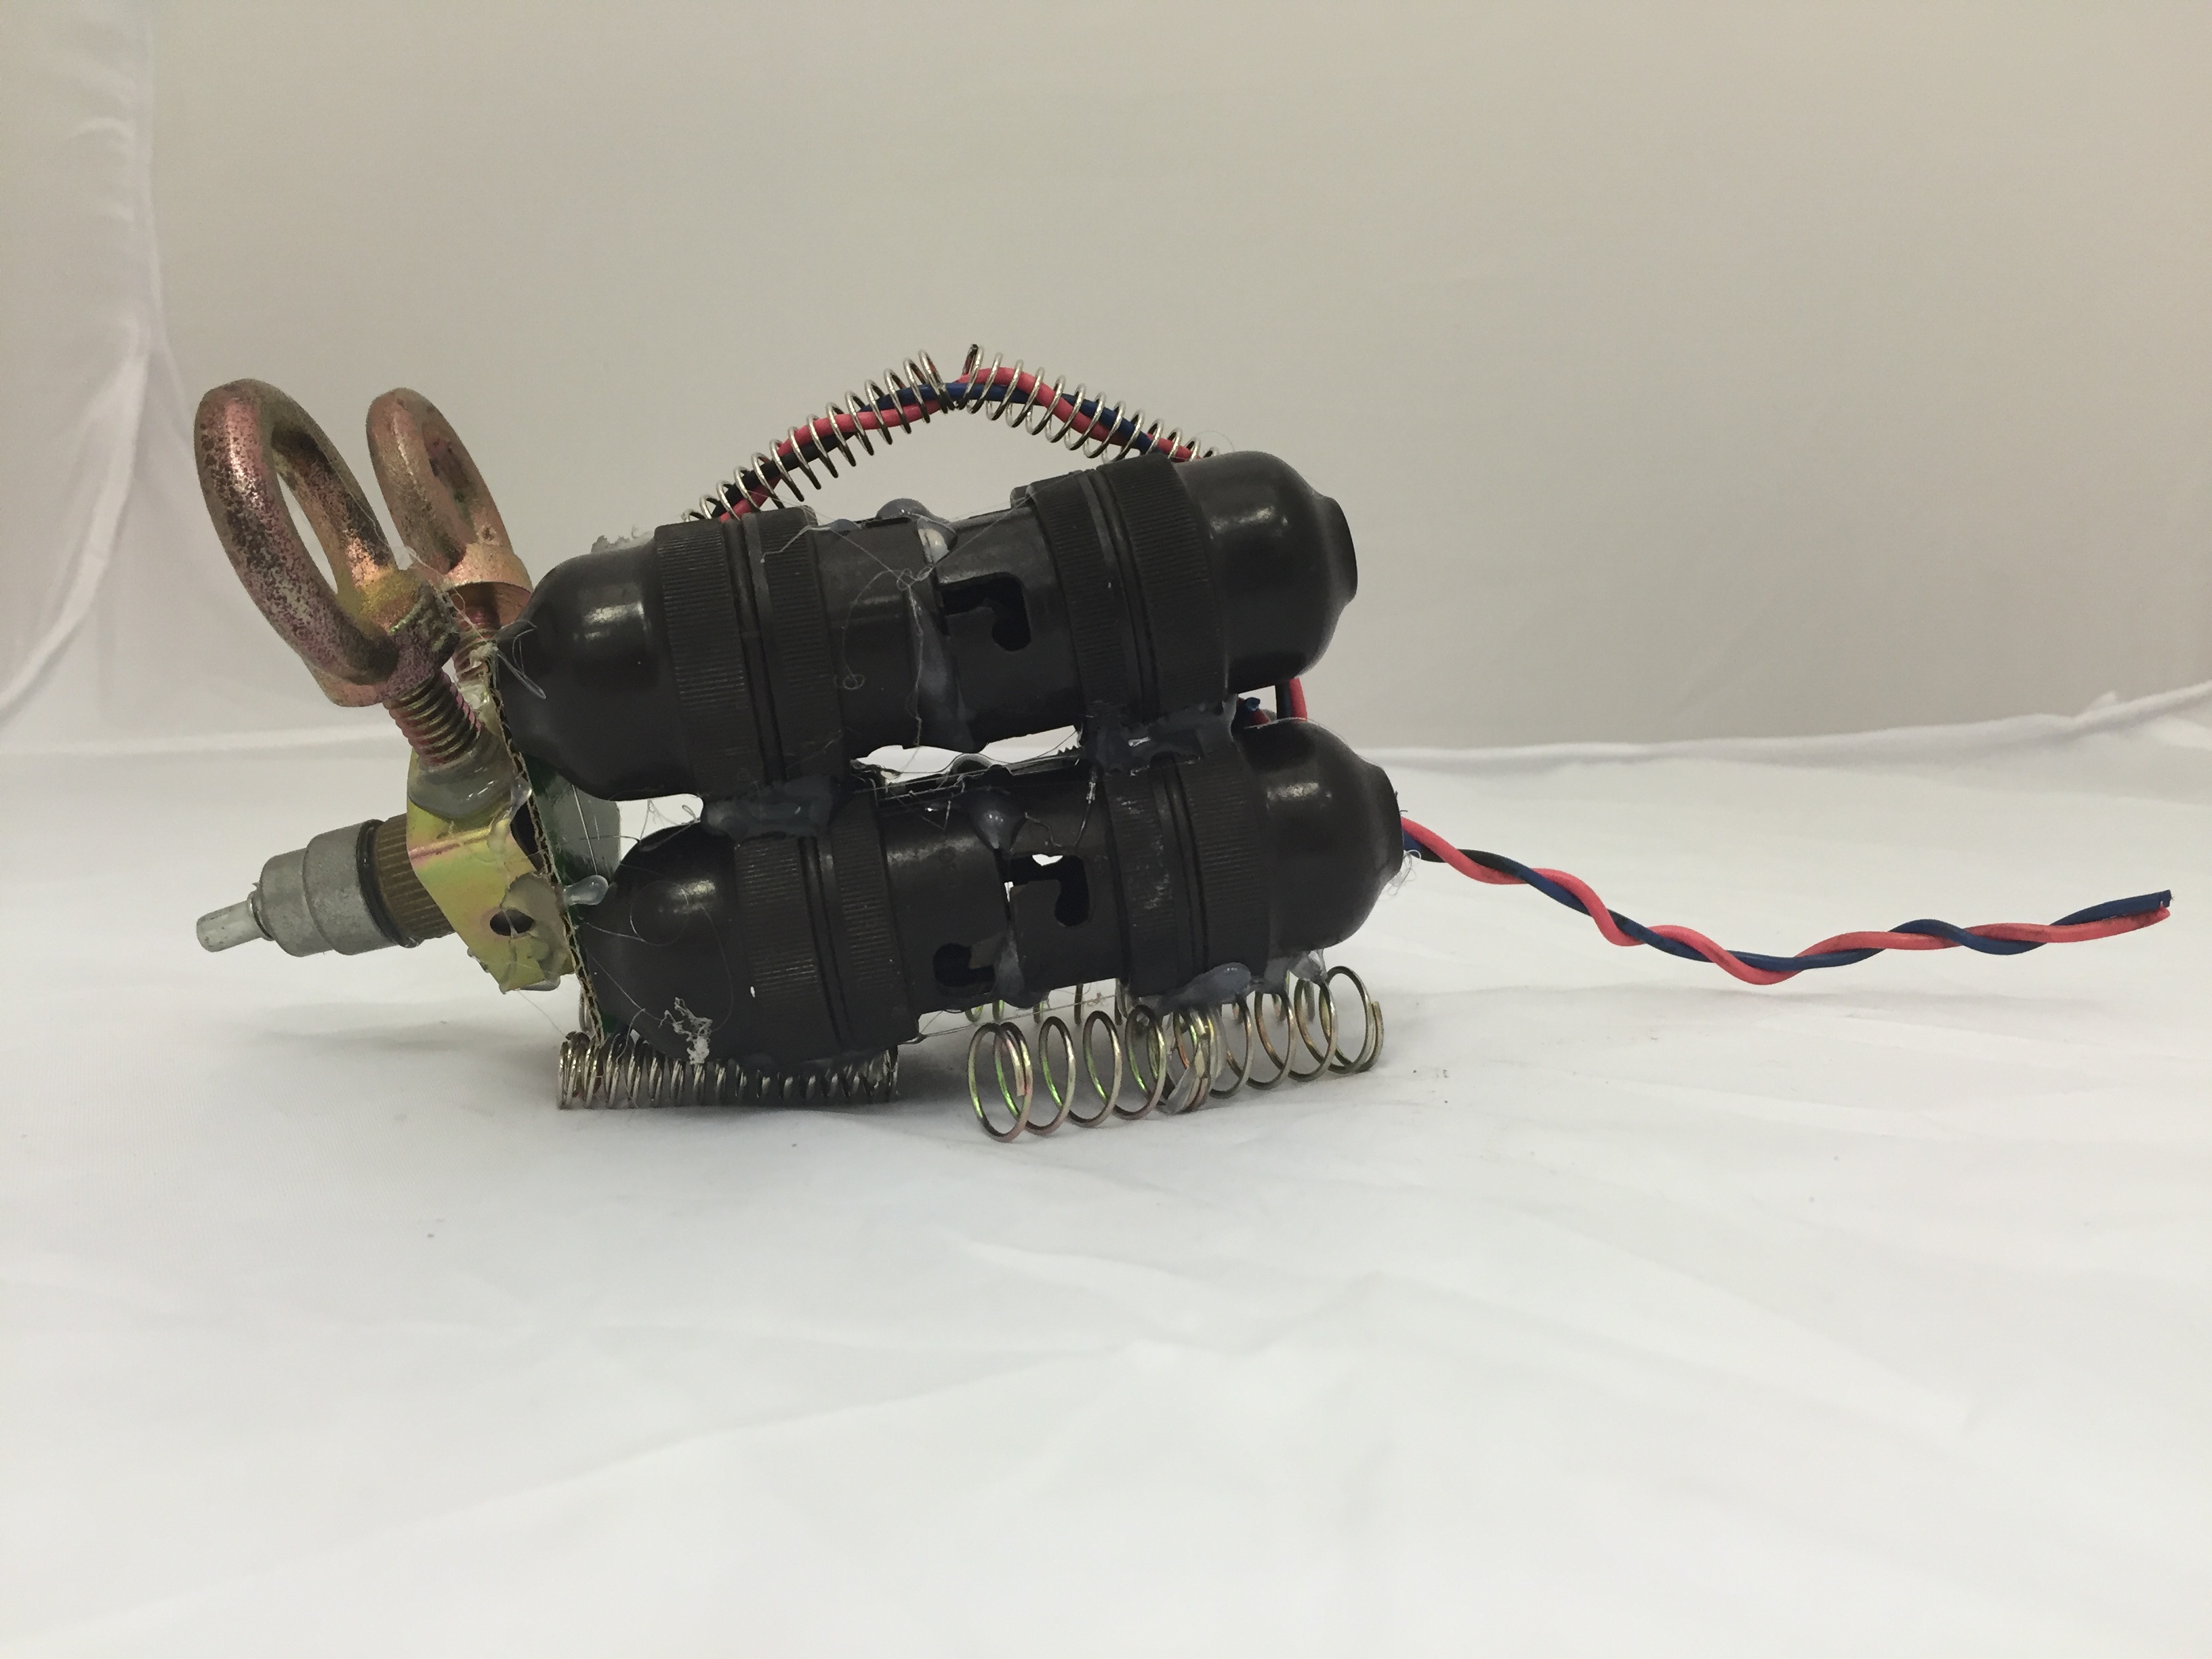
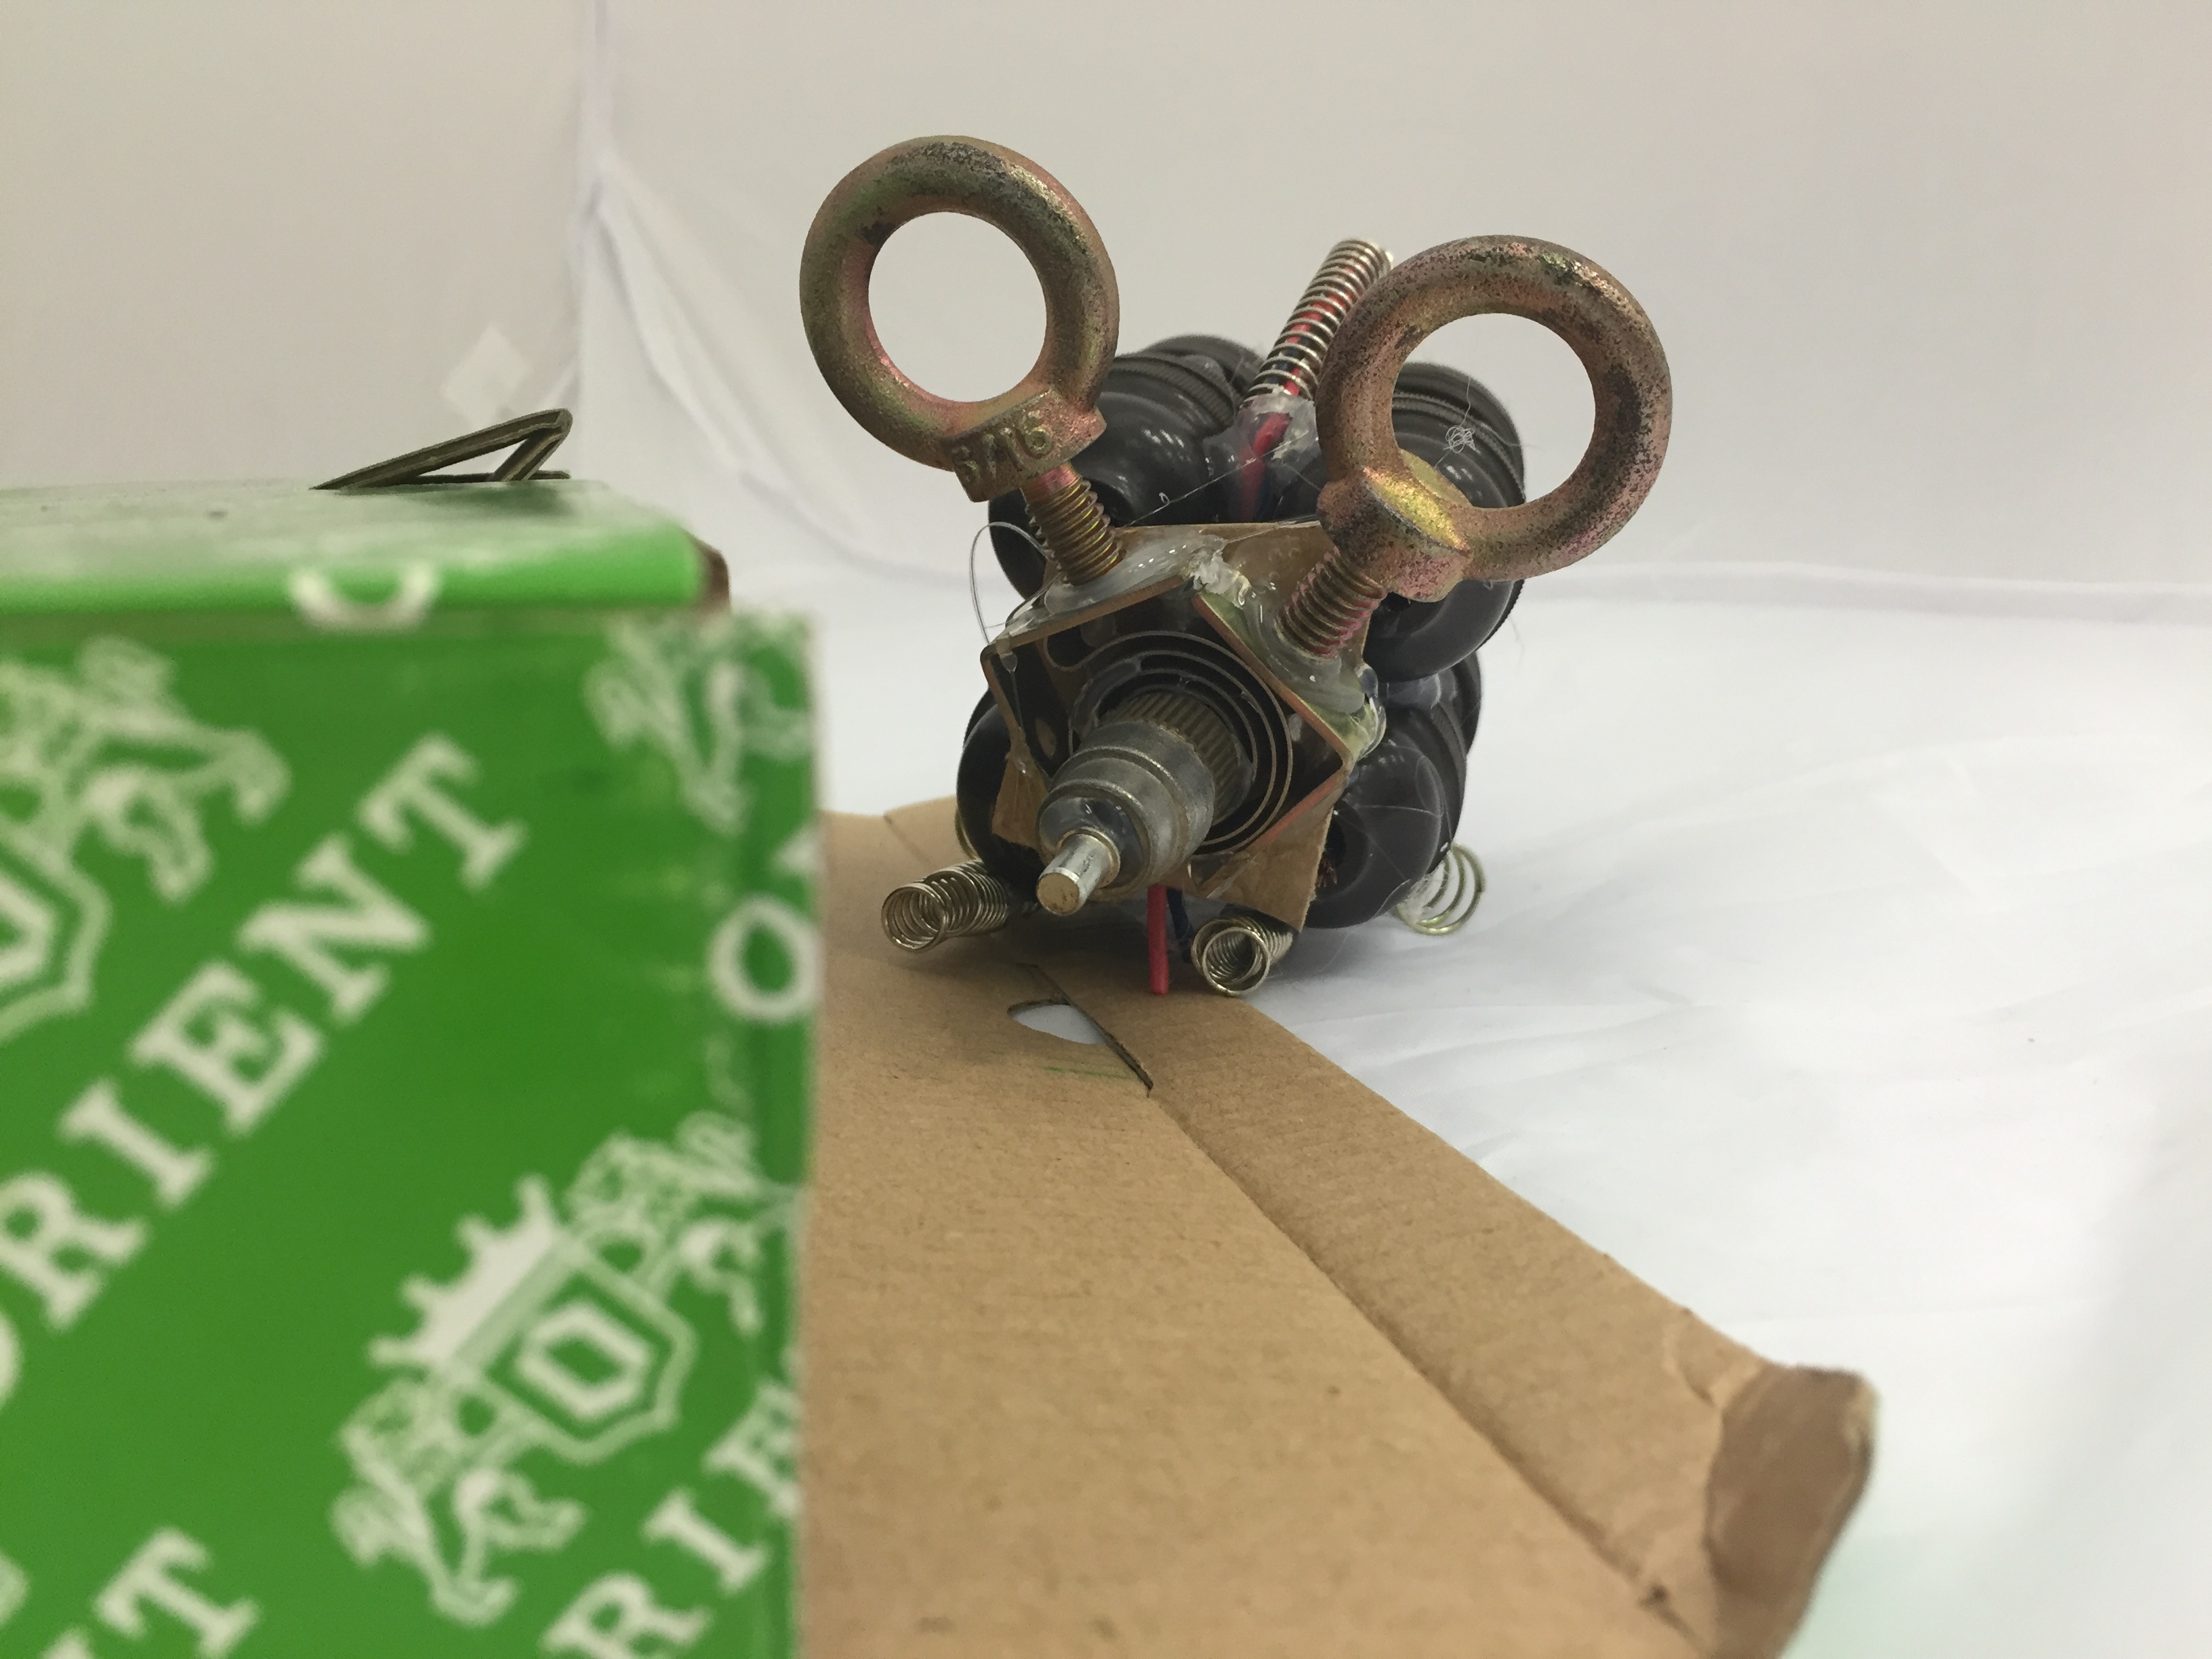
After creating the body of the bull, I realized that it was very difficult to attach the head piece to the body. So I dismantled it after this picture.

2016-08-25 15.03.56

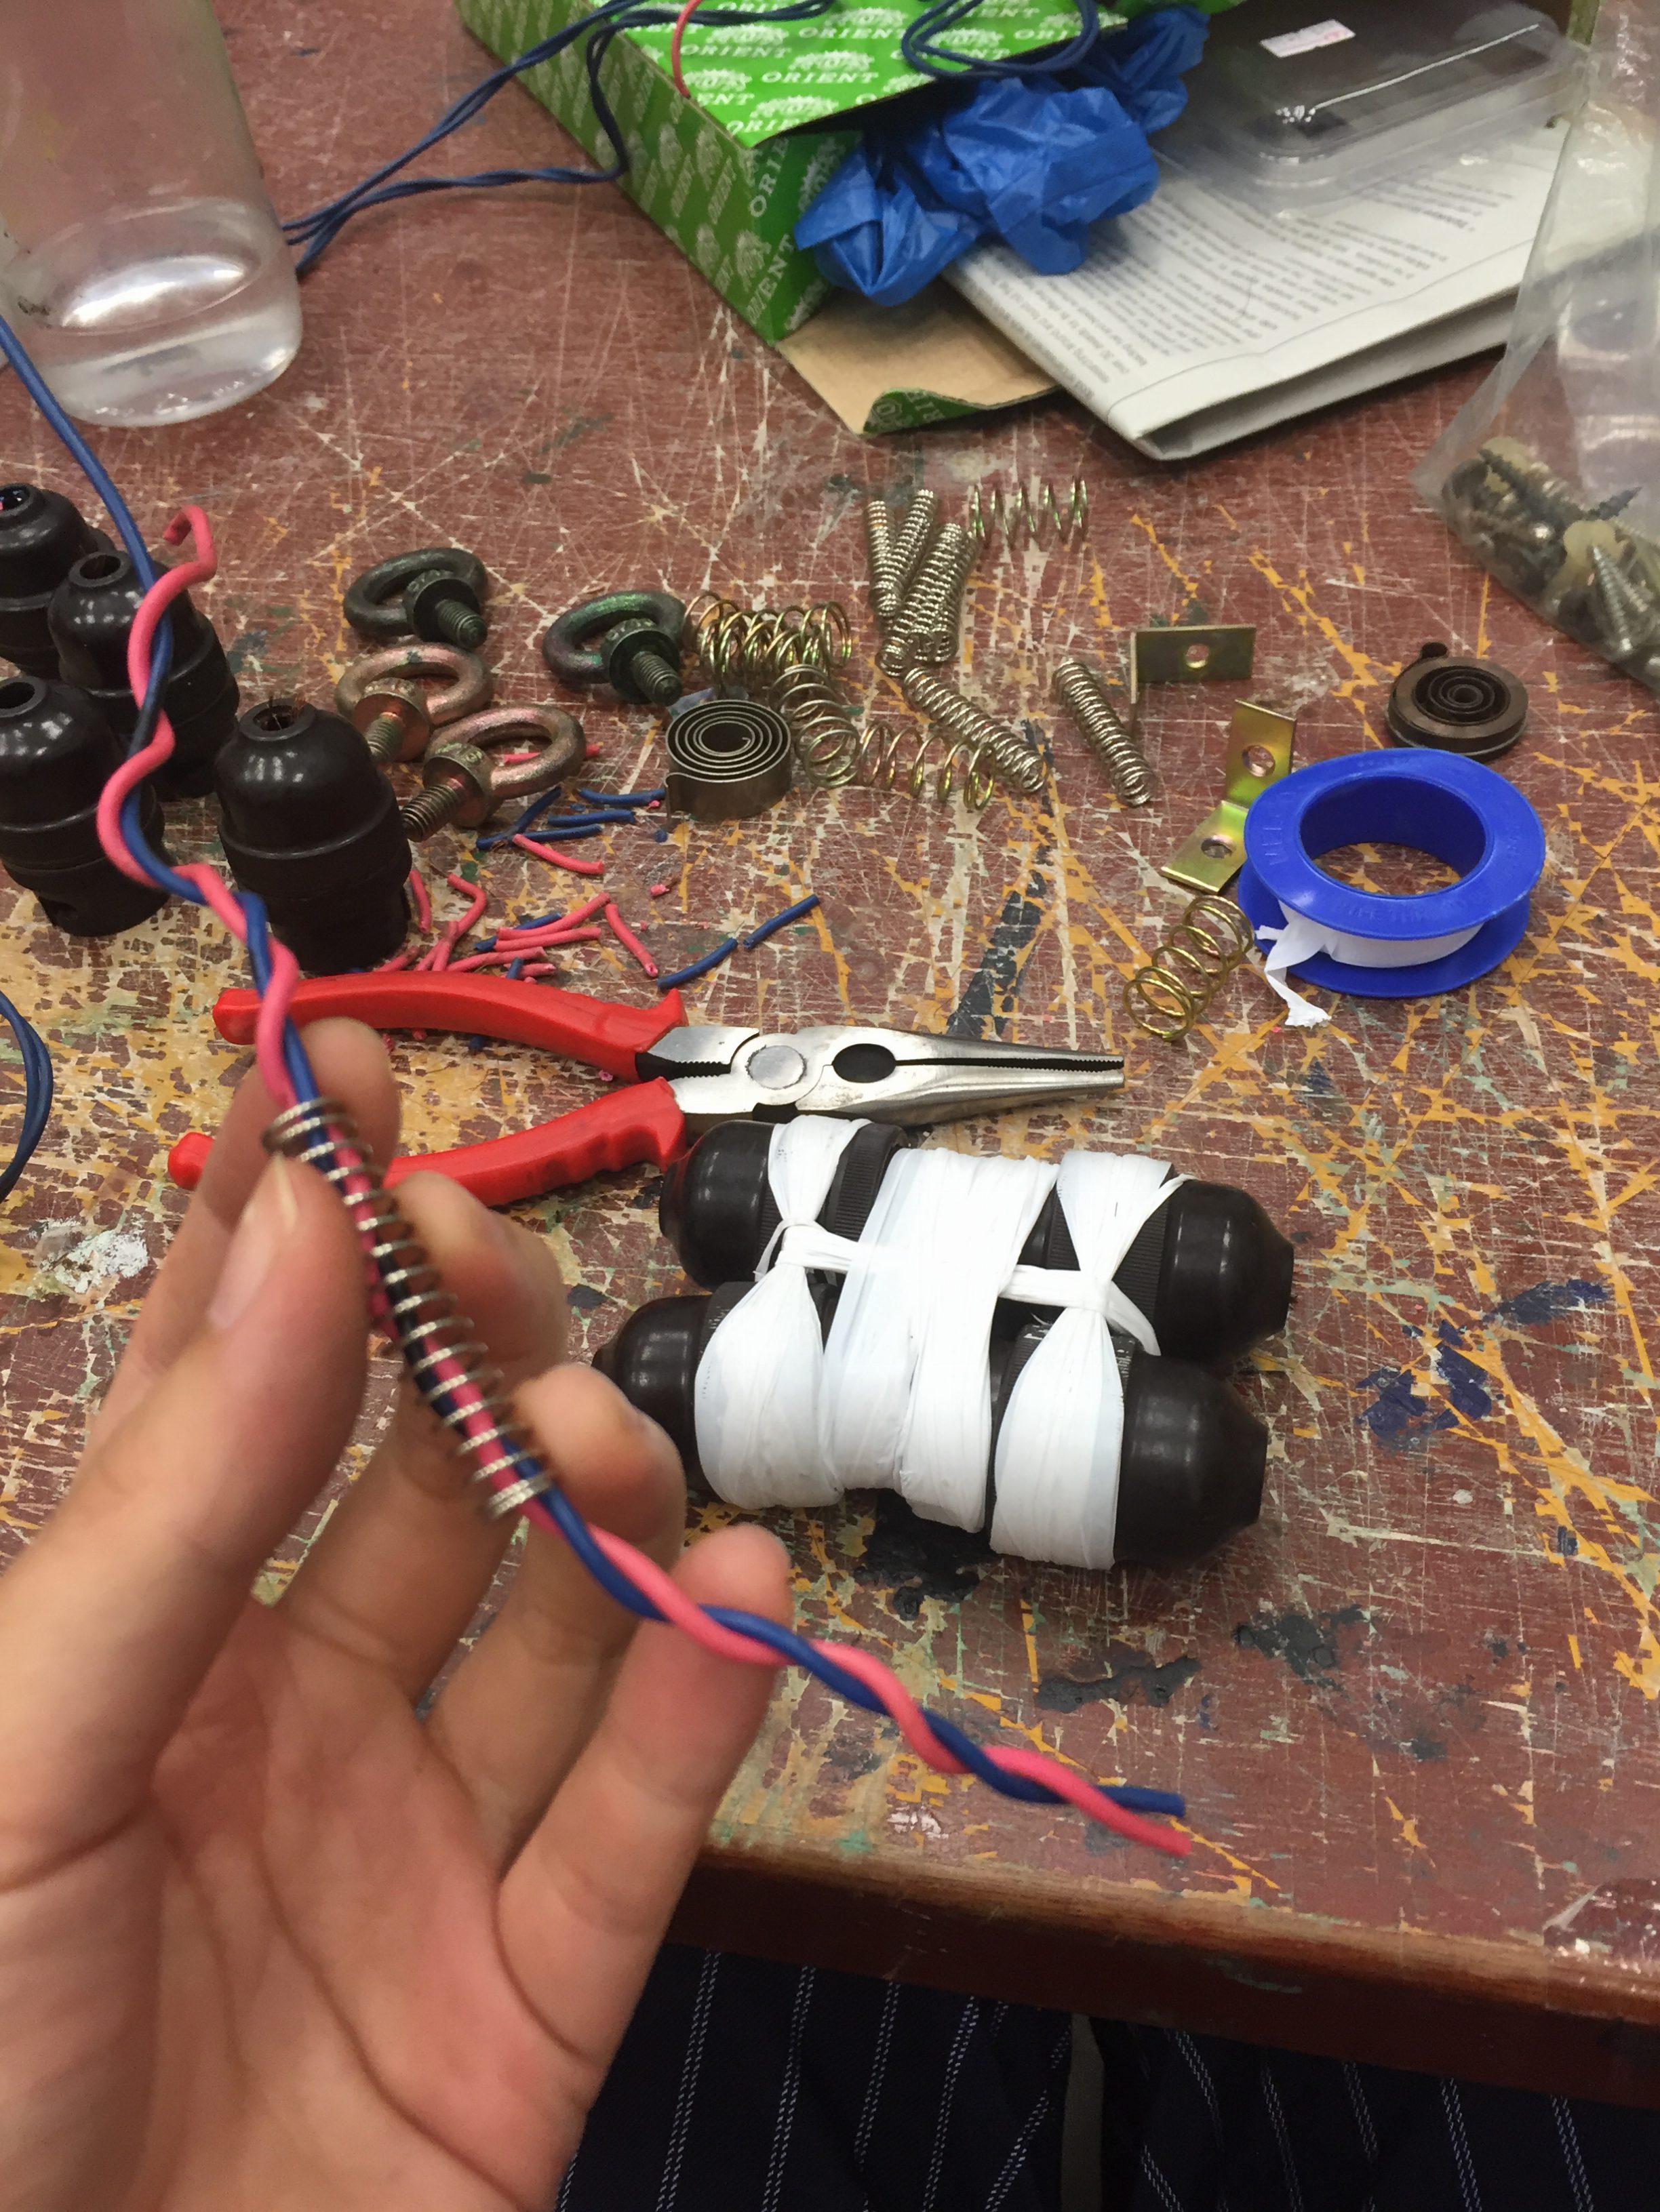
Afterwhich I combined the rest of the metal pieces (from the miniature lightbulb wires) to form a more compact body. I didn’t know what do to at this point, but simply put the metal rings to other pieces and eventually formed a mouse-like head piece. Then, I attached it to the body and produced a mouse! The coiled tail piece were the blue and pink wires which I removed from the miniature light bulbs.


2016-08-25 16.39.25

2016-08-25 17.11.00

2016-08-25 17.11.42

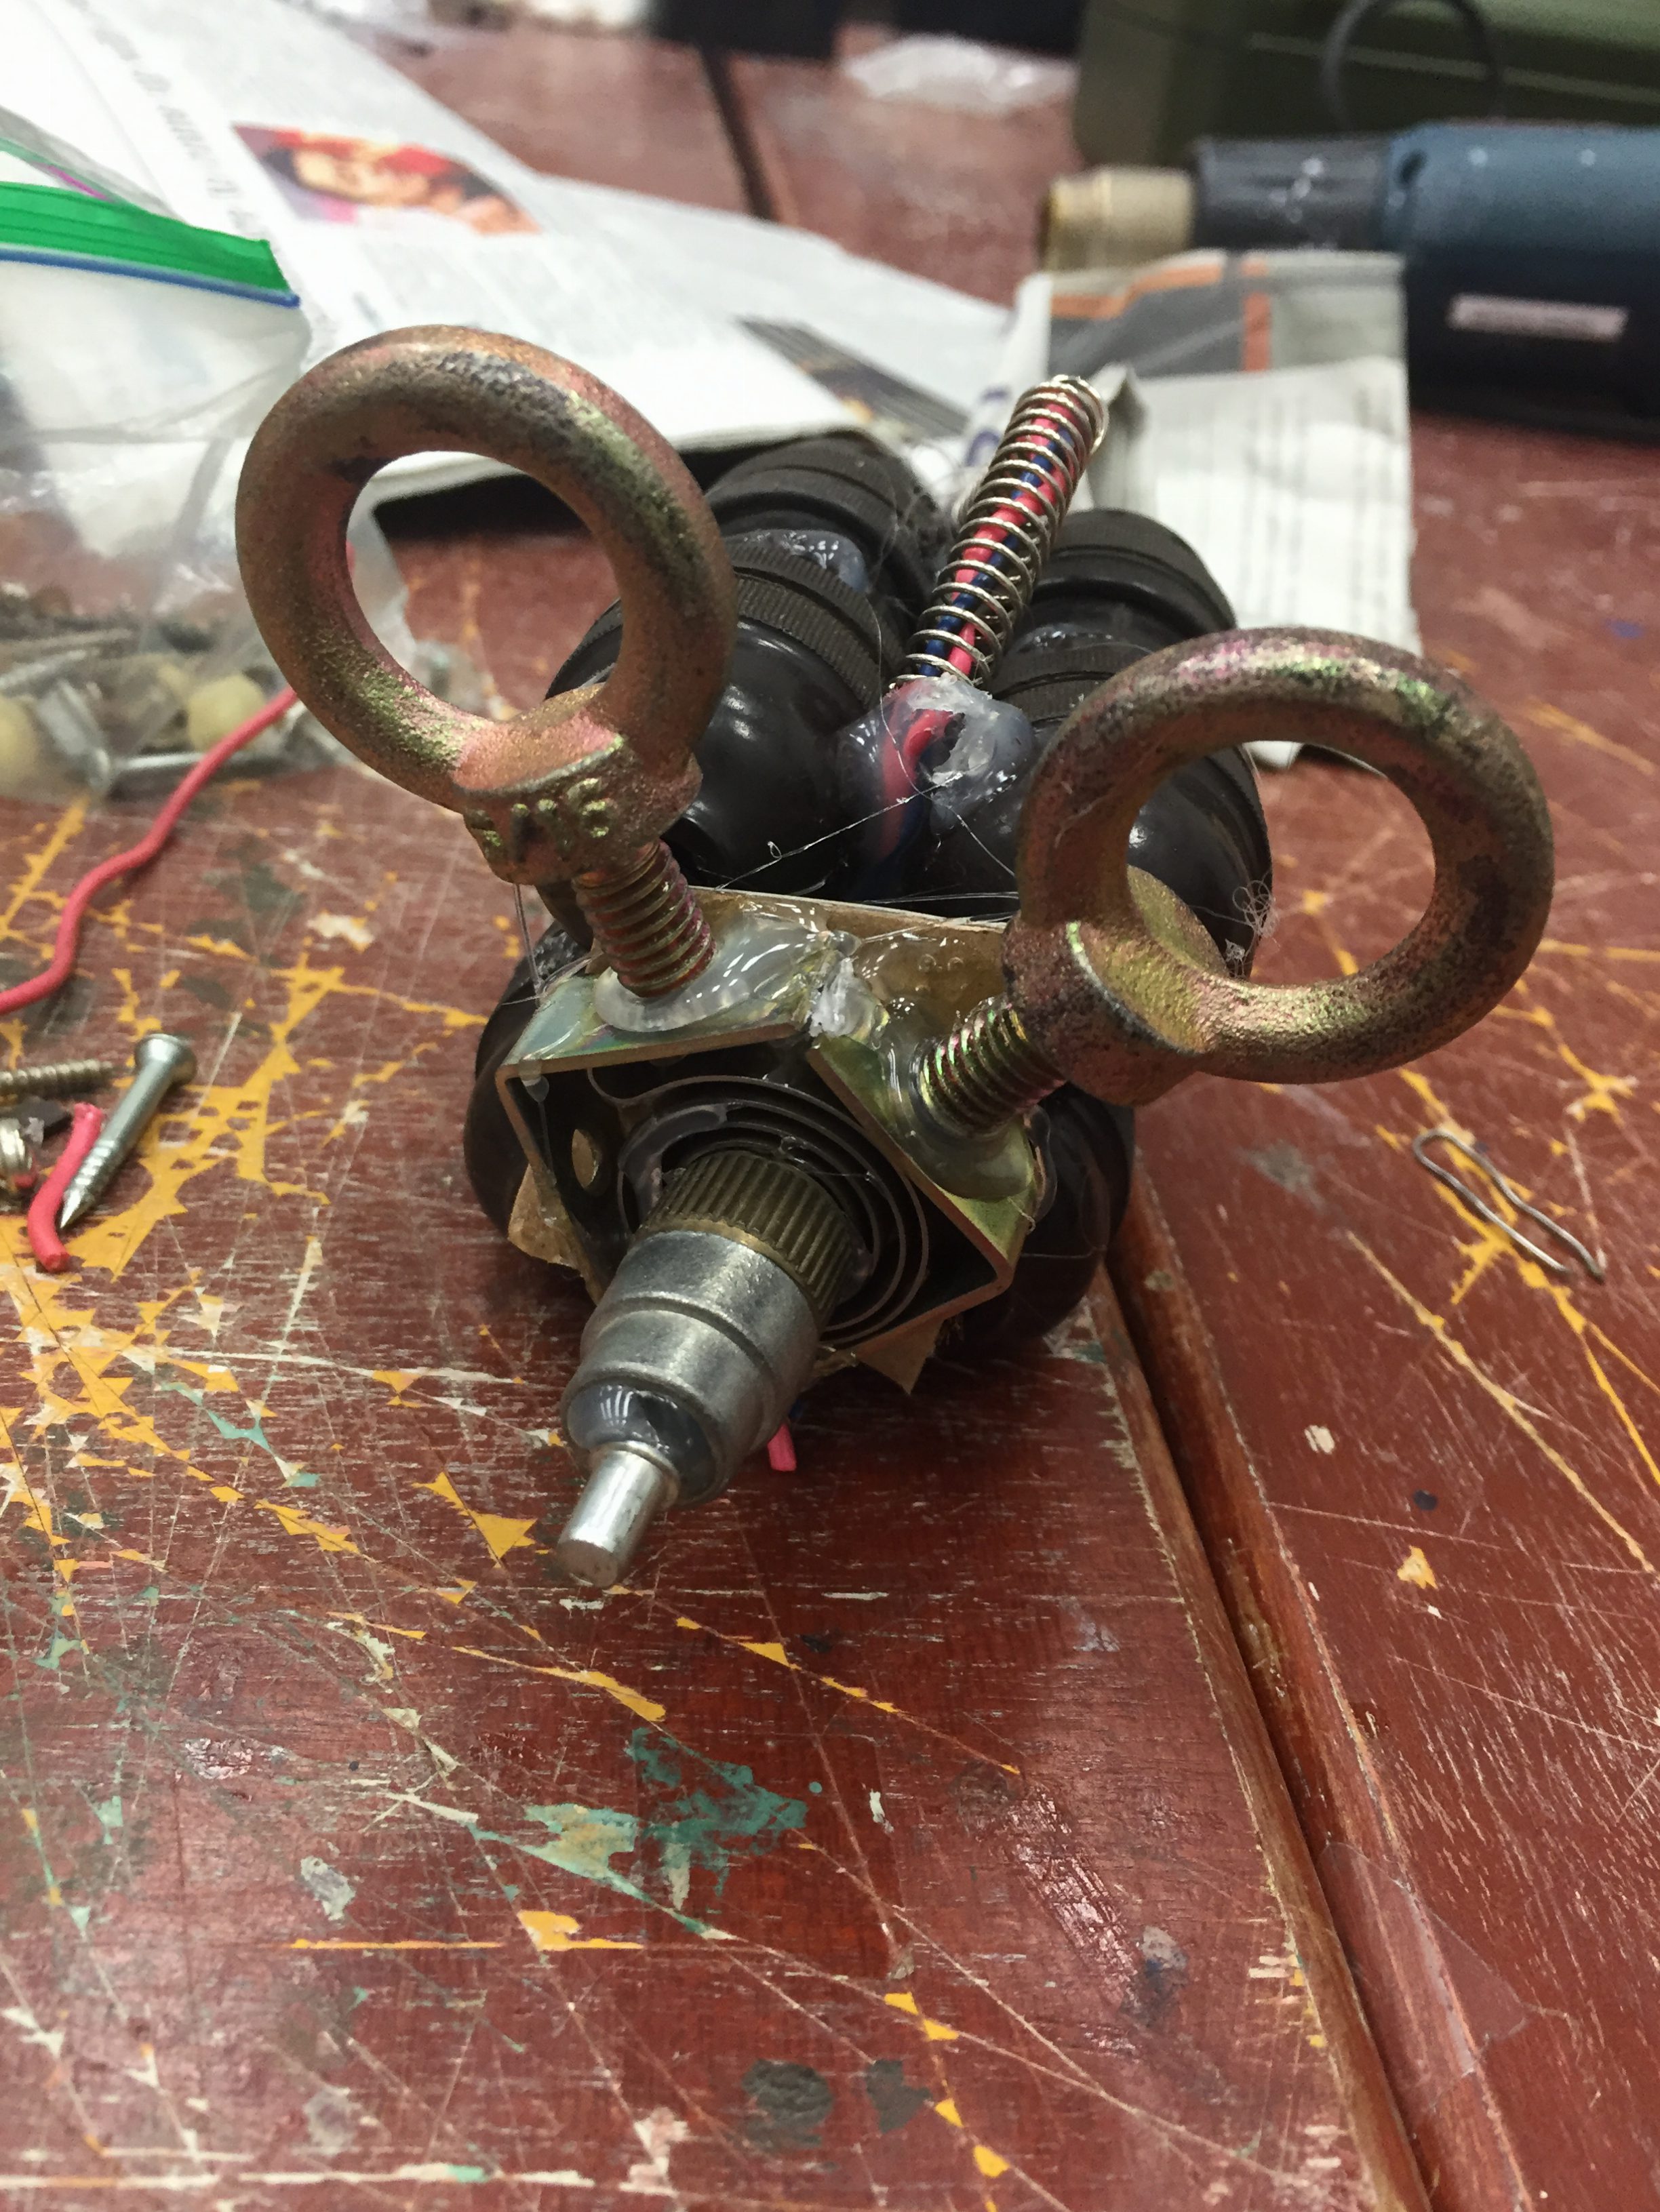
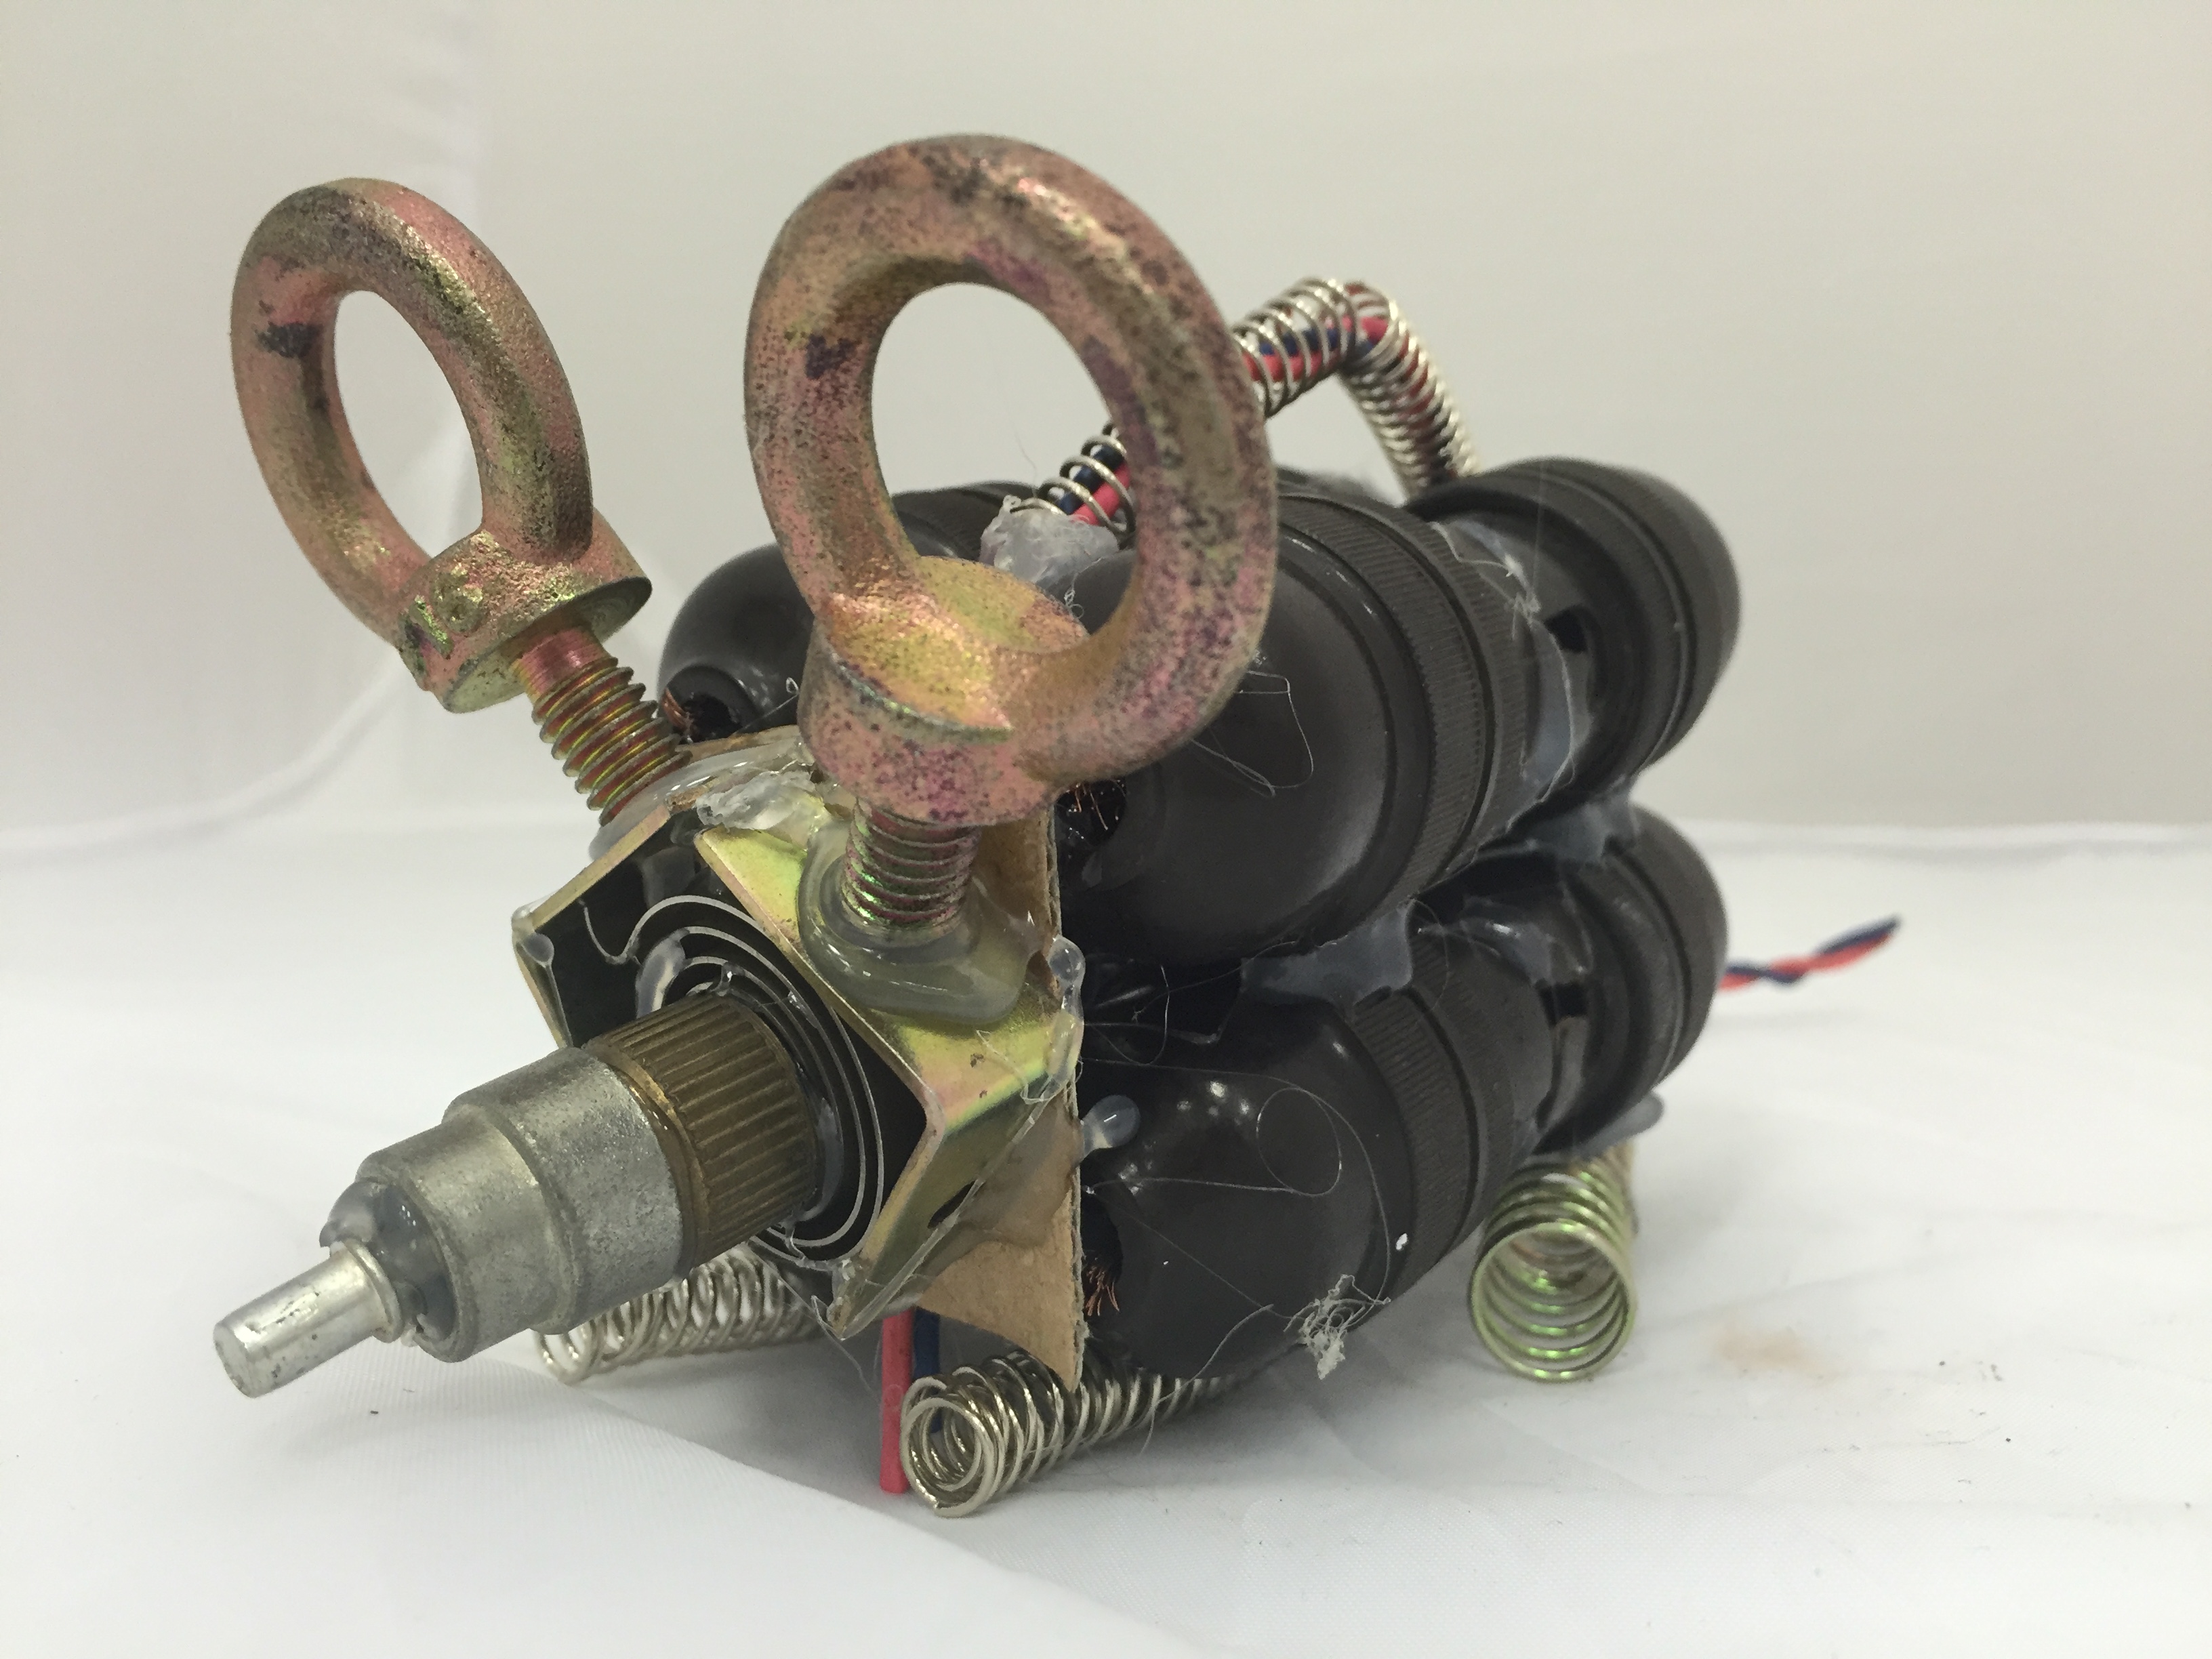
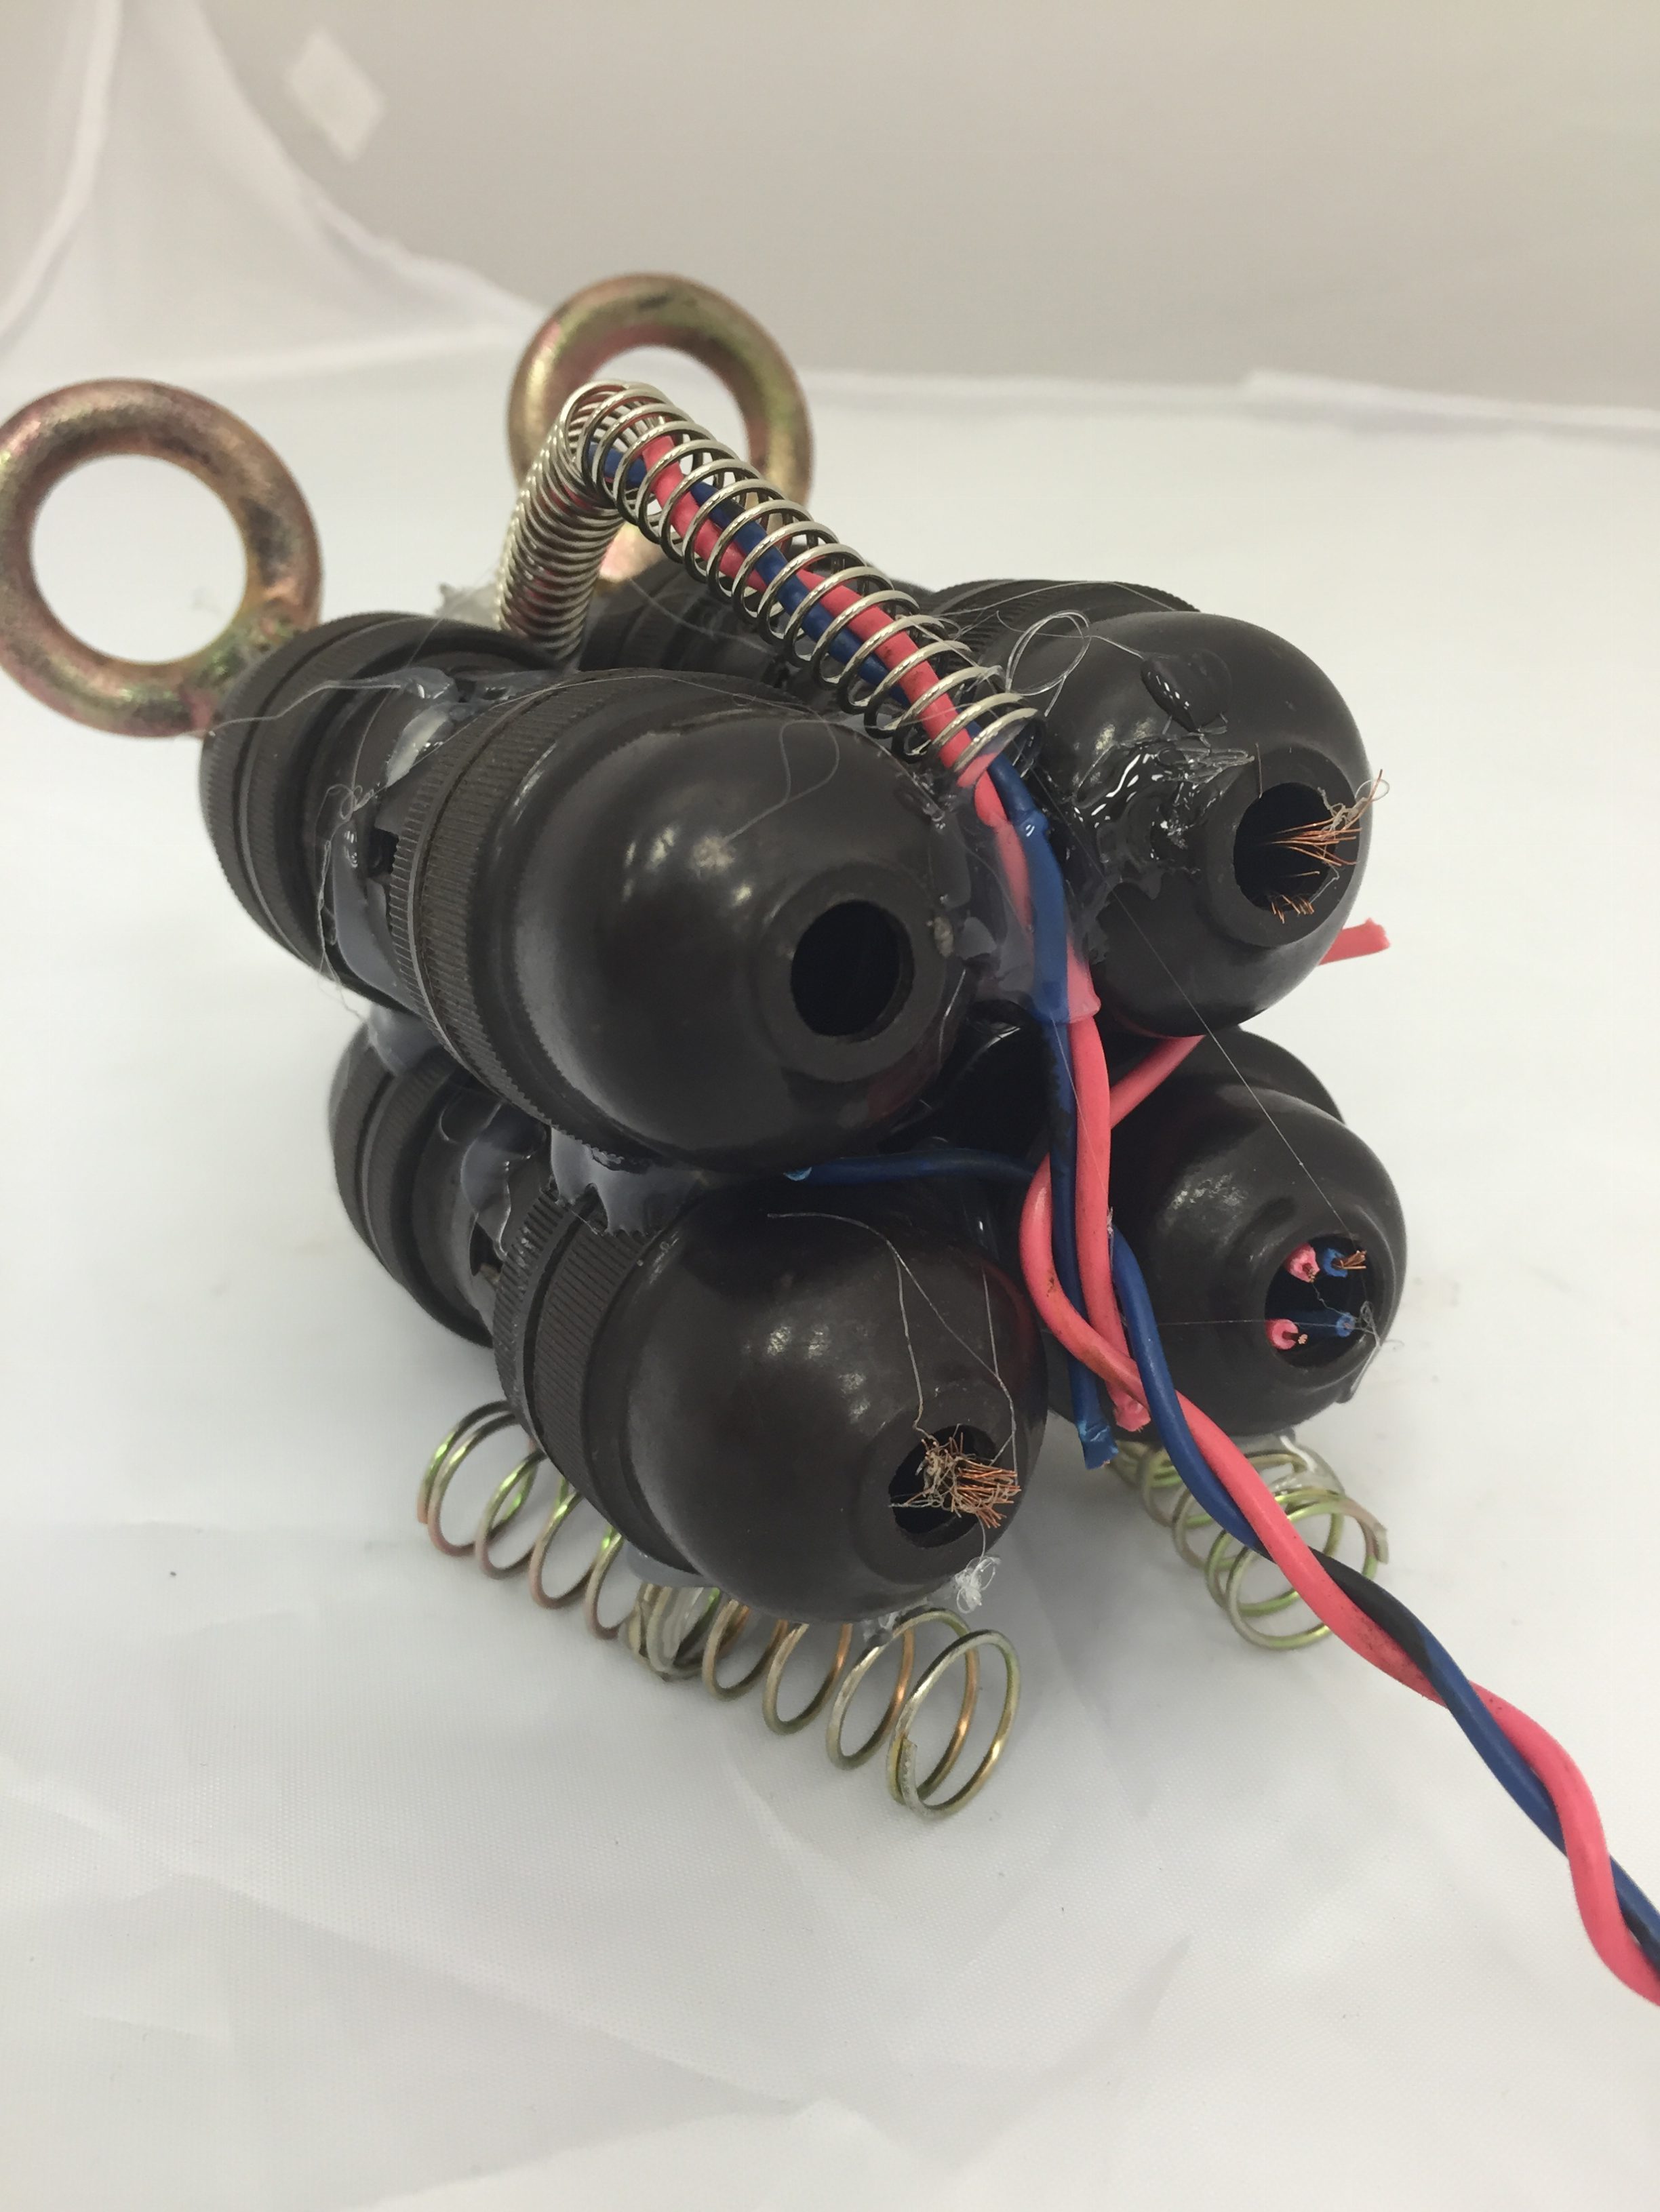
There are springs with wire through them to form a backbone, and also to give the mouse a curved back for realism. I used two thicker springs (compacted together) for each hind leg and 3 thinner springs (also compacted together) to form each rear leg.

2016-08-25 17.11.10

Rather unexpected finished product but I’m very happy with it!

2016-08-25 17.13.25

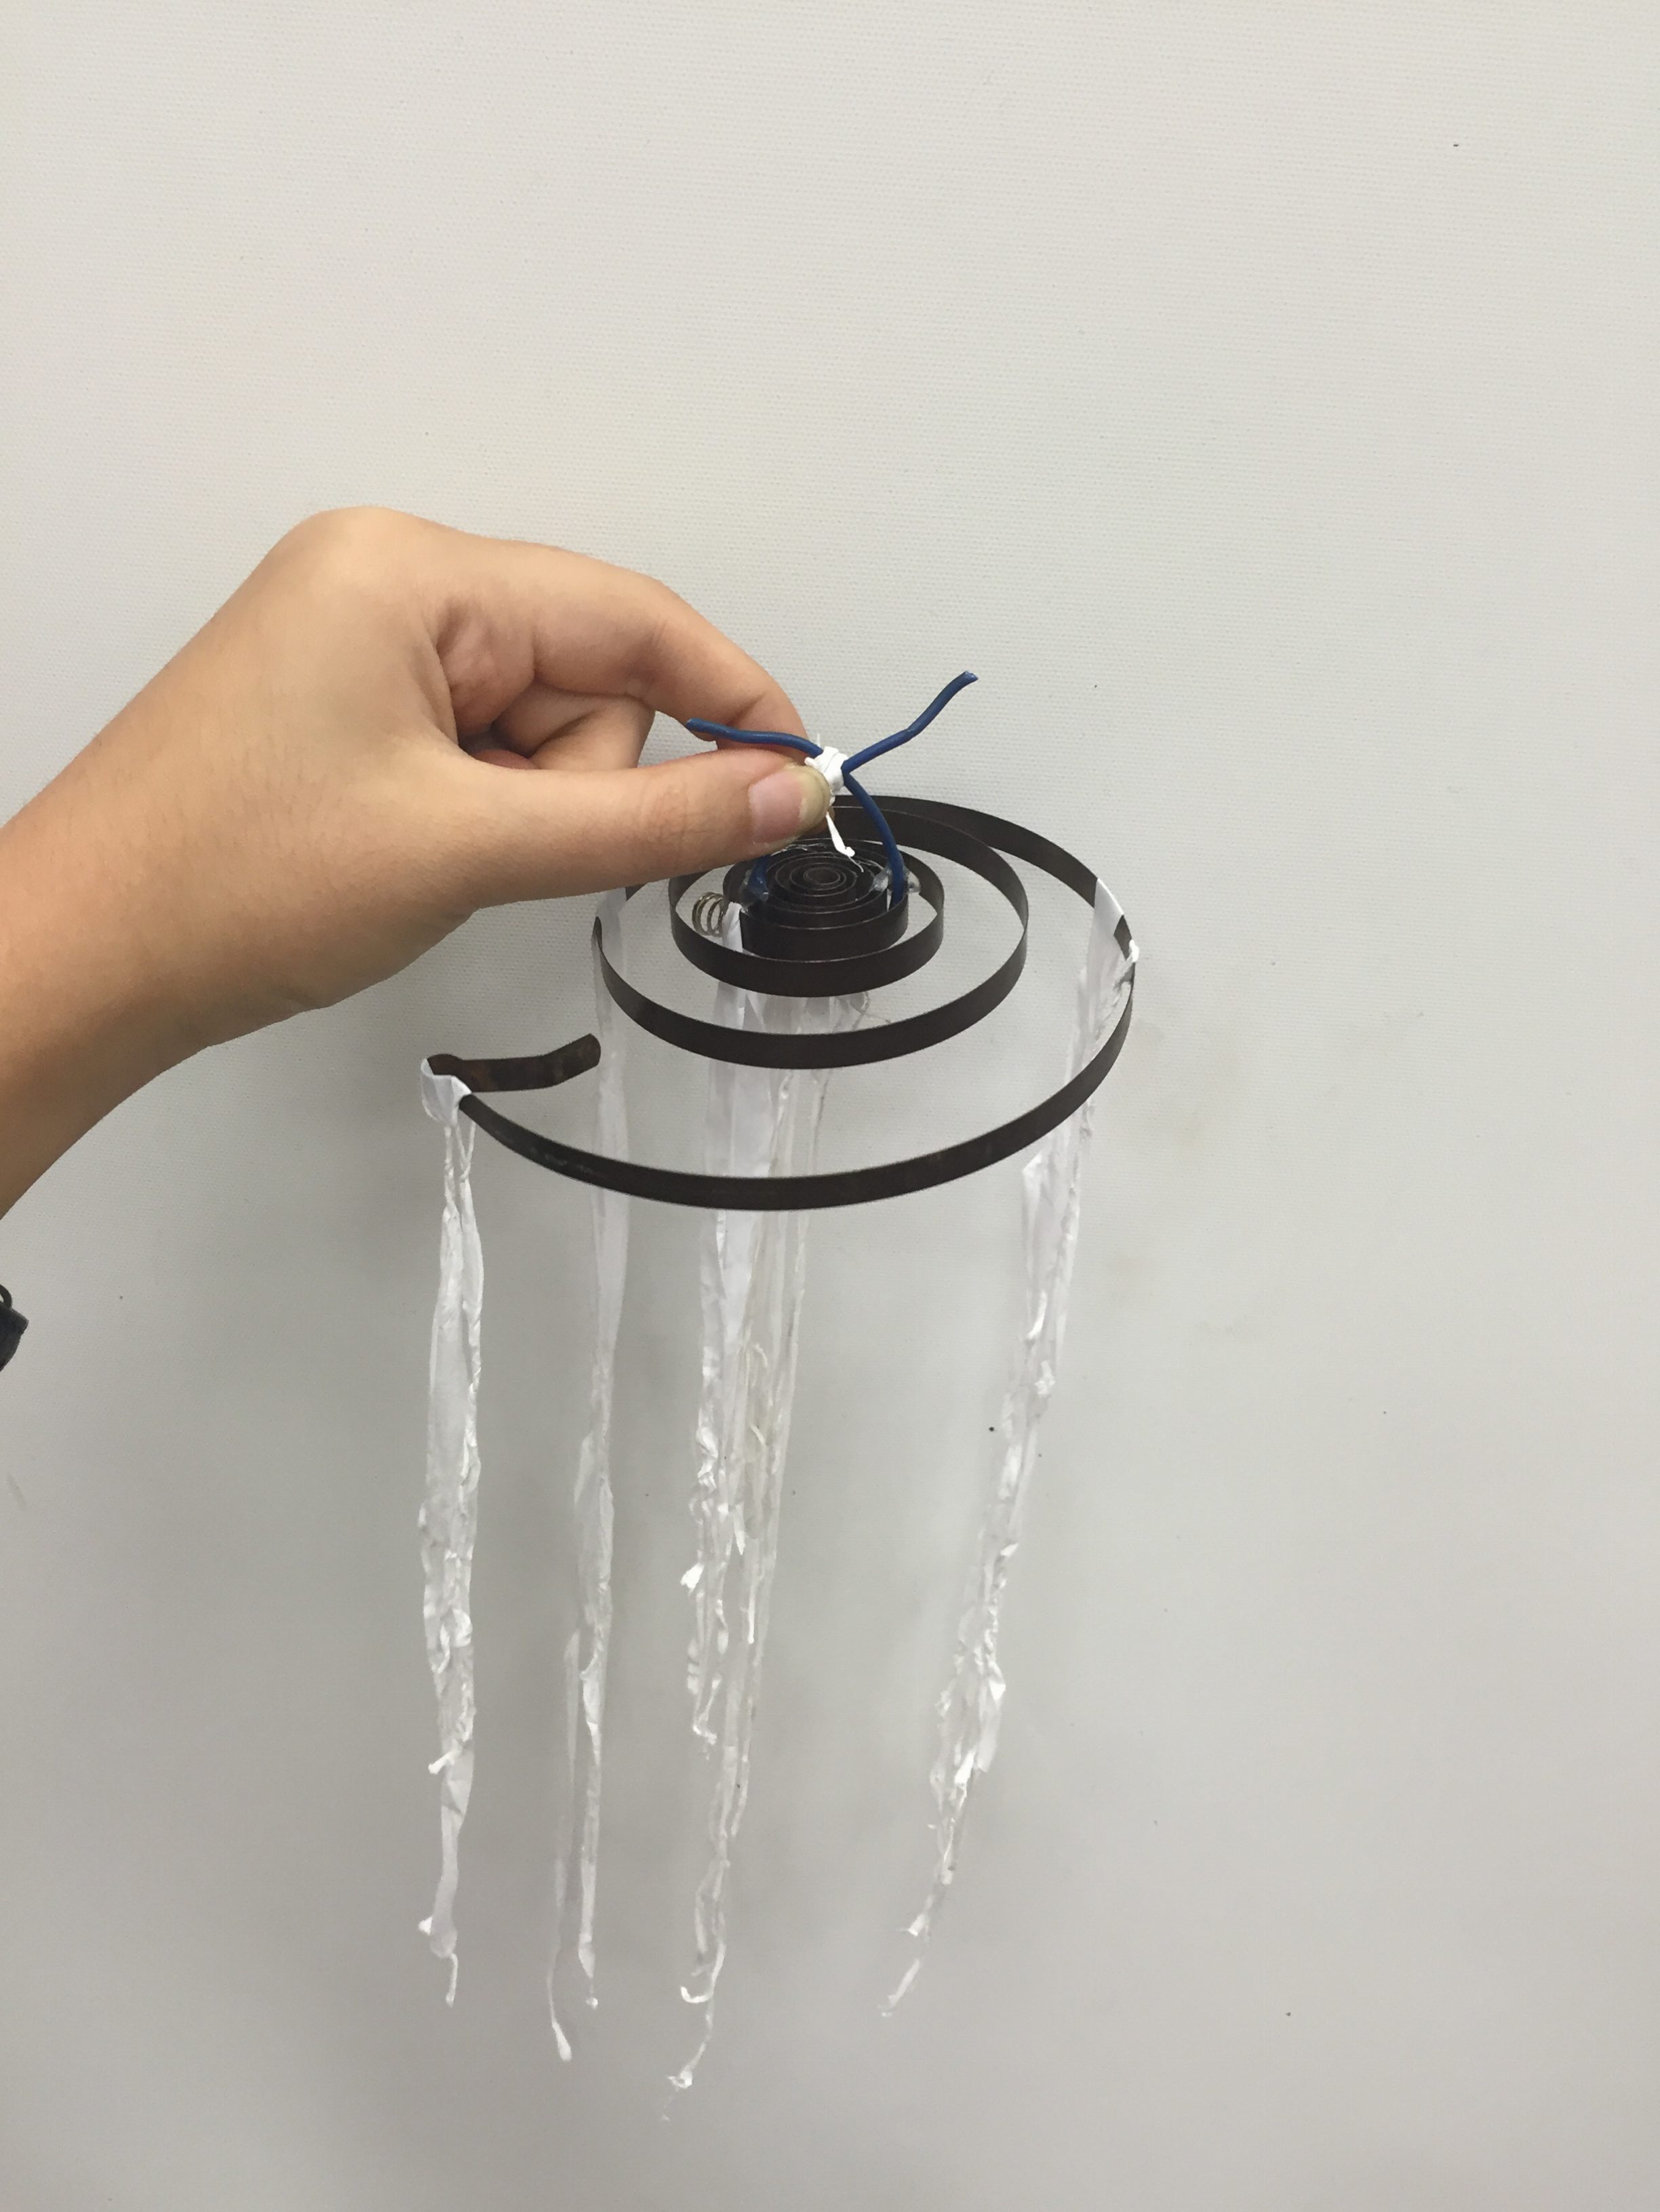
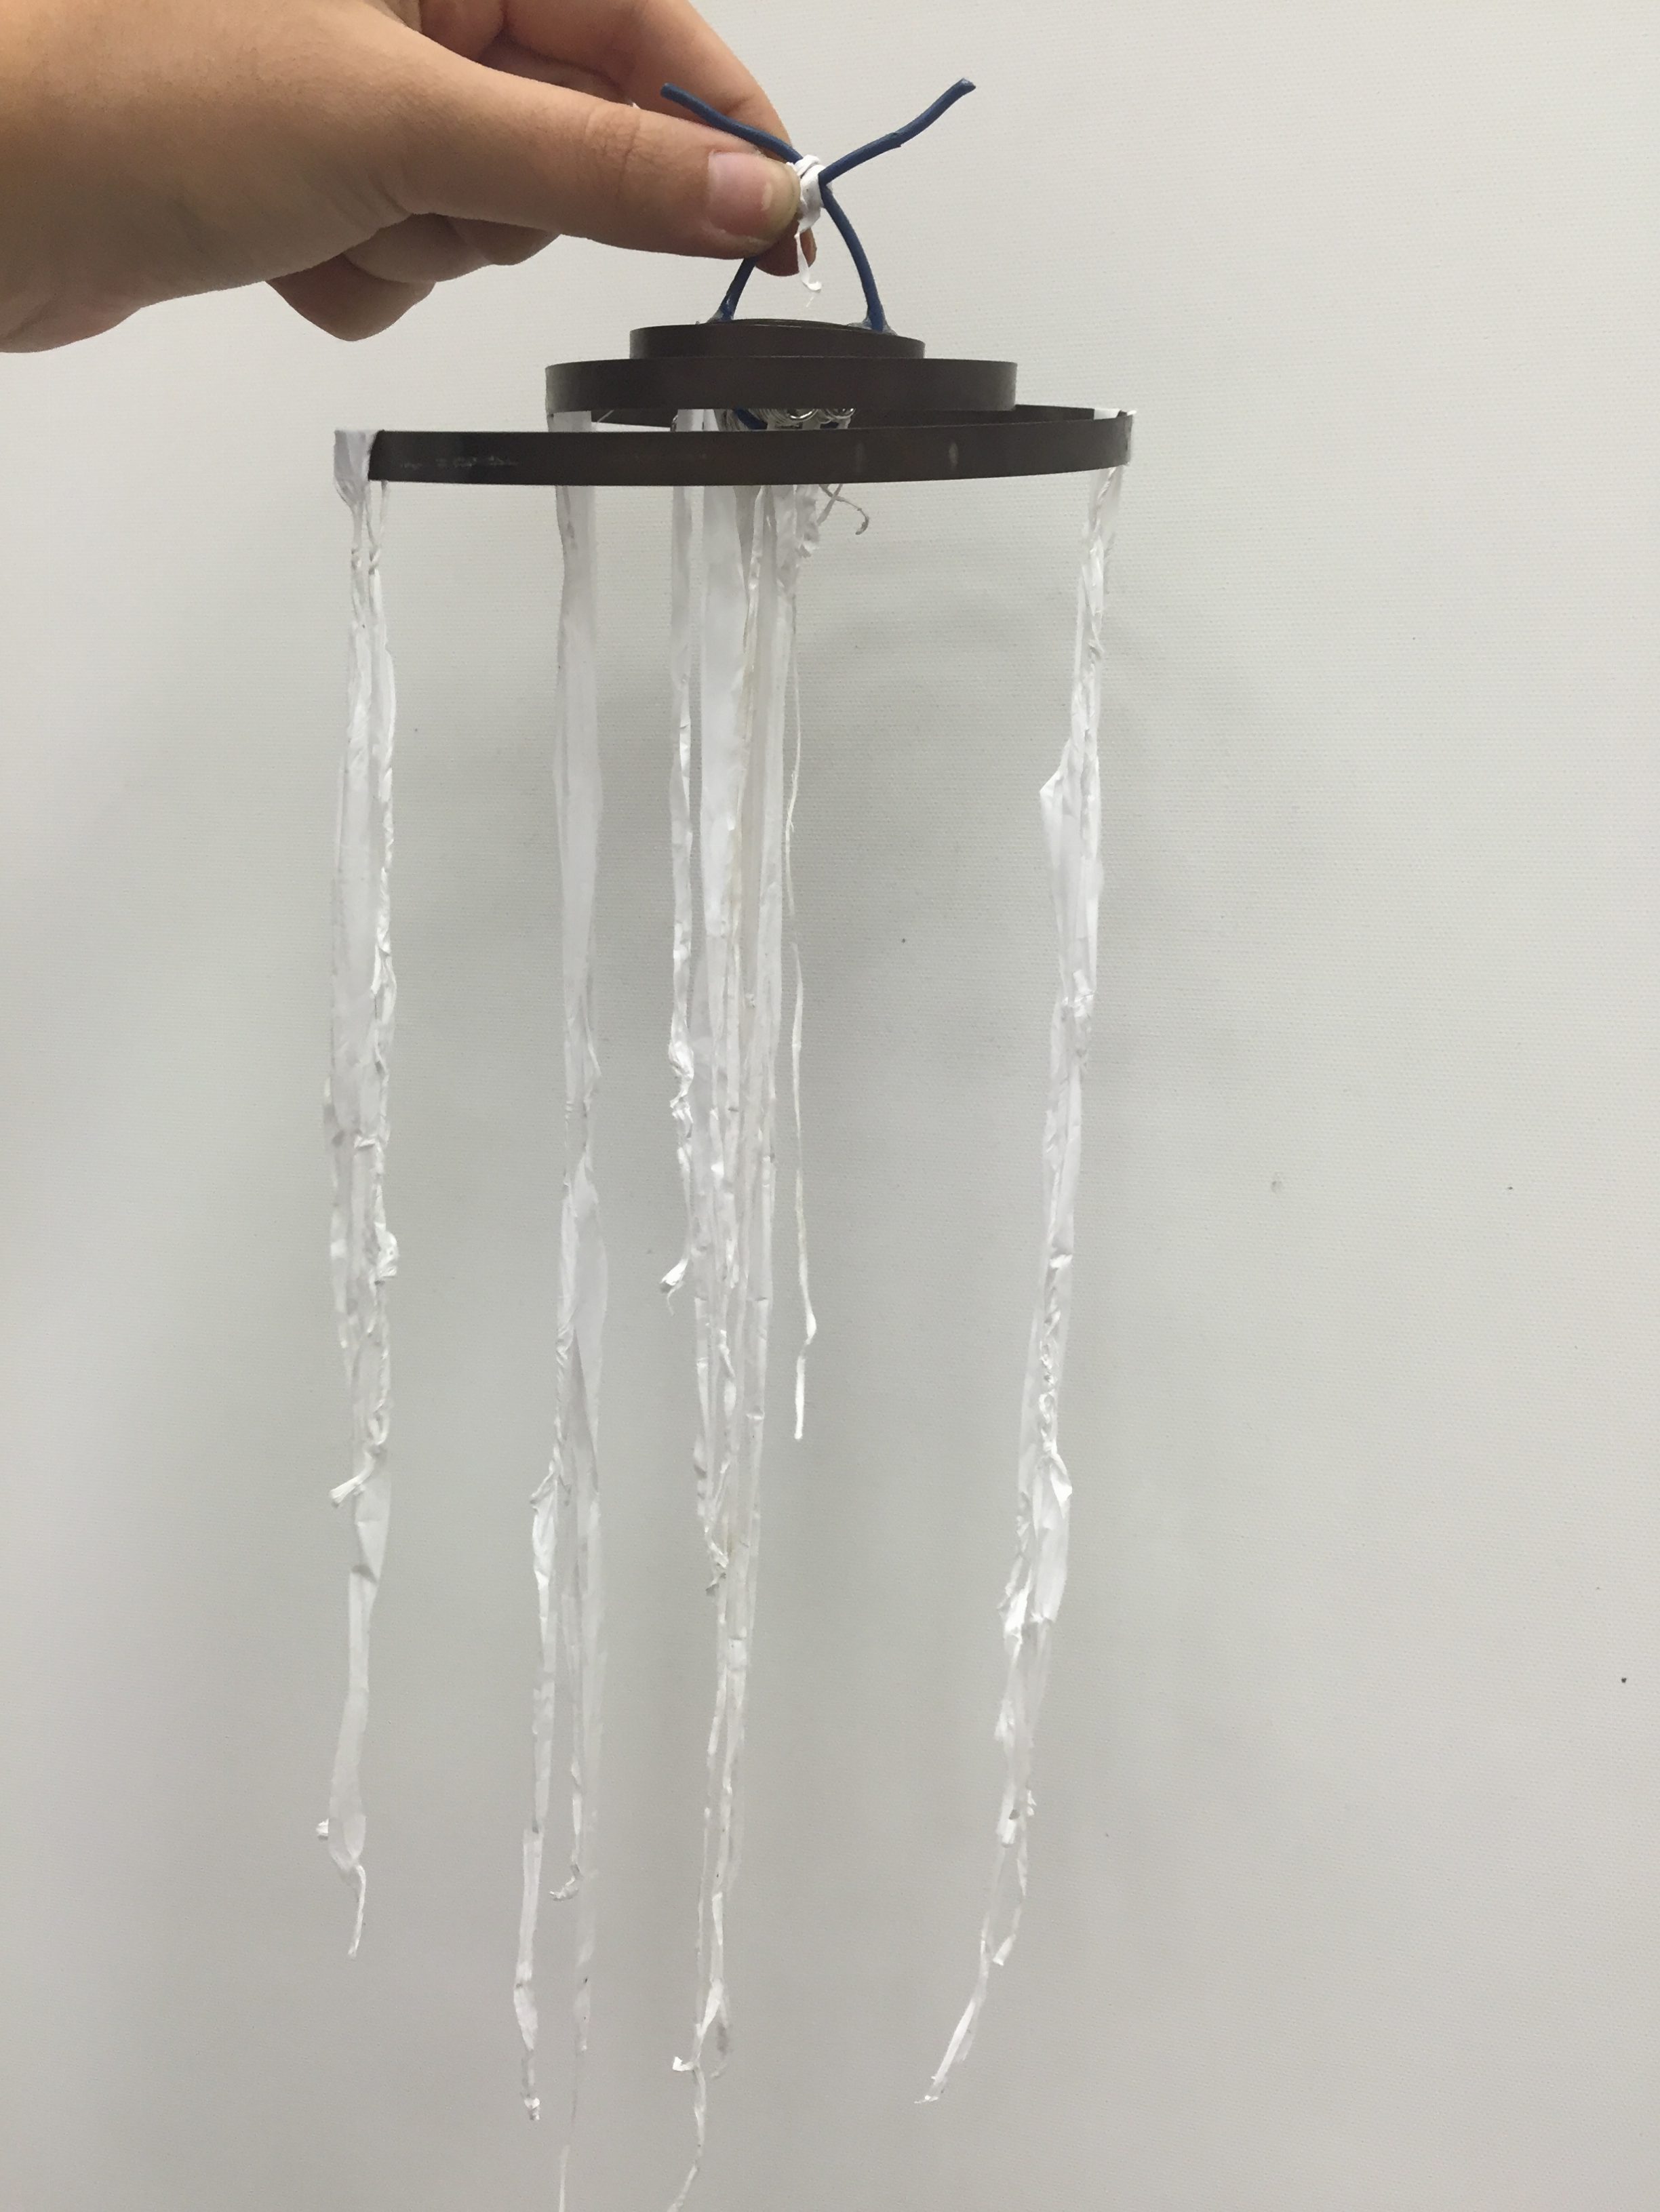
Afterwards, the professor told us to make a simpler sculpture with our leftover pieces. I used the white tape that I dismantled from the original bull body piece to form tentacles of a jellyfish! Used a expanded metal coil to form the top curved part of a jellyfish.

2016-08-25 17.10.06 2016-08-25 17.09.54

PERSONALLY…

This was a really fun project! I enjoyed making that trip to Kelantan Road to scavenge for the sculpture’s pieces and executing the project was exciting. Even though my original idea did not work out, I do like the unexpected finished product.

“My Line is Emo” Process I

For 2D class, we played around with black ink, rubber paint rollers and a bunch of mark making tools that we brought from home.

TOOLS USED: AA Battery, mini binder clip, big binder clip, spoons, and a bunch of stuff borrowed from classmates

PROCESSES

We also started on lino! (There’s nothing on that picture yet). Personally I don’t enjoy using lino.

2016-08-19 15.58.32

The flat bottom of the battery creates a pretty rose-like mark on the paper! I tried putting them in rows on the roller’s surface so it’ll have a repetitive pattern.

2016-08-19 17.32.52

And the finished products!

I achieved this zig zag dotted effect by placing ink on the roller’s surface using a spoon.

2016-08-19 16.00.02

As for this one, I tried to mimick Jackson Pollock’s work by using a palette knife and lots of black ink.

2016-08-19 15.58.45

I REALLY LIKE THIS ONE! I used the bottom tip of a mini binder clip and smeared ink on the roller’s surface. Reminds me of how cafe plate their sauces with their food.

2016-08-19 15.59.51

More prints.

2016-08-19 15.58.54

I placed ink on the roller’s surface using the whole bottom of the mini binder clip to get this double dotted zig zag.

2016-08-19 15.59.08

Then I turned to my left and saw a very happy Sammi and Vanessa working on their linos!!

2016-08-19 17.11.43

PERSONALLY…

I quite enjoyed this class. I’ve never worked with a rubber paint roller and didn’t know what a lino was until then! Even though my mark making tools looked “basic”, they did bring out some really lovely patterns.

Add, Subtract, Substitute, Superimpose

The very first 4D assignment! To be honest, inspiration had started to hit me when the professor was going through the project brief. Initially, my plan was to find a female model holding and spreading her skirt, then apply the techniques. I wanted to have raindrops falling from her skirt, but then realized that the emotive quality of the image was lost. So, I changed to a different model.

TOOLS USED: Photoshop CS6, Paint Tool SAI

RAW IMAGE

I took the model off the Uniqlo Styling Book:

raw image

ADDITION

I added watercoloured raindrops and clouds to the image. I wanted to achieve a sense of melancholy.

add

SUBTRACTION

I removed the eyes of the model and blended the area with a skin tone. I felt that the finished product had a sense of “numbness” to it.

subtraction


SUBSTITUTION

Searched up a picture of a watercoloured white tiger and substituted the model’s face with the tiger’s face. Looks pretty calm-angry.

substitution


SUPERIMPOSITION

For this, I looked for metal and shattered glass textures. Used a clipping mask and edited the layers so that the textures would be a screen over the model.

superimposition


SUMMARY

  • The overall theme is mixed emotions – sadness/gloom, melancholy/cold, anger/irritation and fragility. However, the last image shows a contrast: strength and fragility.
  • The series of images are to express the negative emotions that a person may have bottled up inside.
  • Thoughts and emotions cannot be read by another; one must vocalize their thoughts to get others to understand them. (the manipulation of one’s appearance is up to imagination, while the lady’s face, in reality, is constant).
  • Regarding the last image: emotions of a person cannot be seen as black and white. One can be fragile in some situations while be strong in another.


PERSONALLY…

As an INFJ-A (a pretty emotionally stable person), I find it tough to relate when someone gets extremely angry or sad when it comes to small matters. So this project is in my view — a lens in where the emotions of a person is perceived and imagined by me.

Doing this project was fun! I really liked how the substitution image turned out.

[TIME TAKEN: approx. 1 hour]