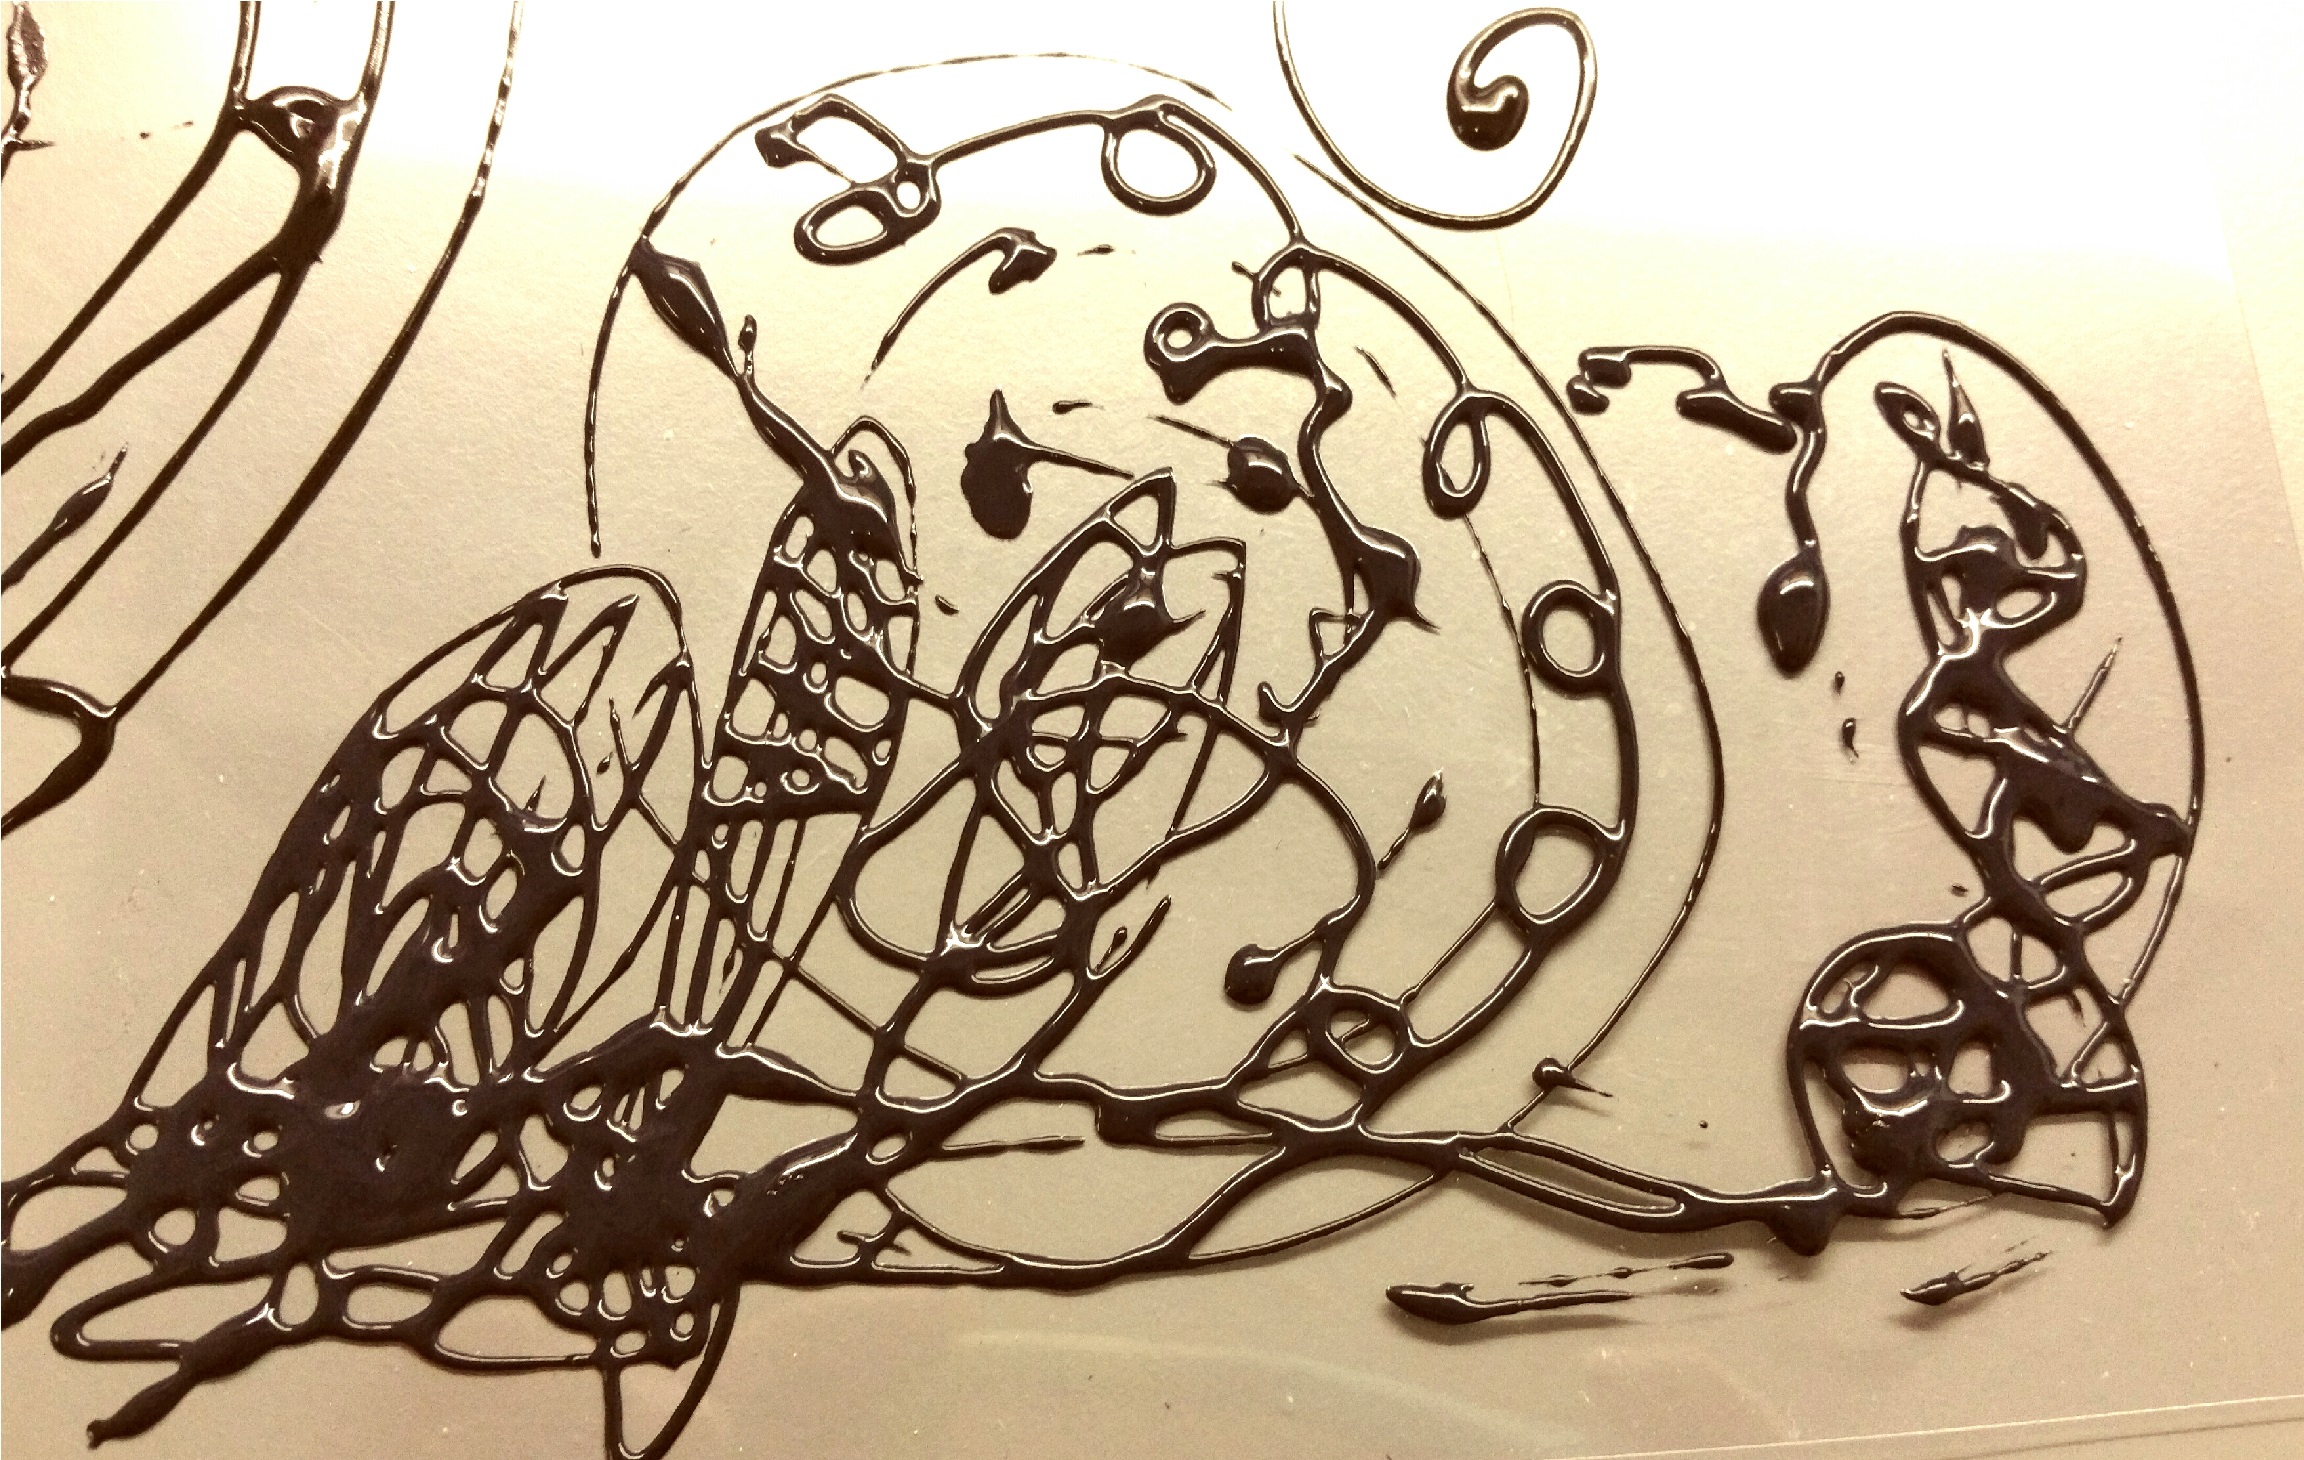
After our first monoprint lesson (which ended disastrously for both me and my white shirt), I decided to started out my experimentation with smearing paint around paper. After a few blotchy papers and shapeless lines, I did some brainstorming and thought about the sketchy nature of Tim Burton’s lines and his bizarre subject matter.
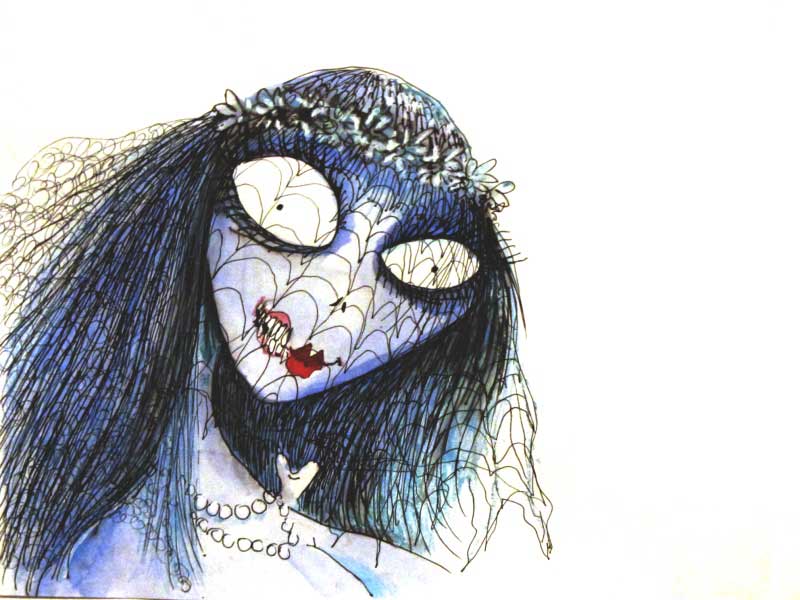
The idea to use lines like these came to me when I was thinking about bizarre lines. Tim Burton’s works tended towards very creepy, bizarre subject matter and I wished to emulate that. (This image was taken from http://www.praguepost.com/night-day/38024-exhibition-the-world-of-tim-burton-opens-in-prague)
At the same time, I was very dissatisfied with simply plopping paint down on paper or sketching out lines in pencil. I then remembered the paint that I used to play with as a child- the kind that could stick to windows with ease.
After a painful hour of searching in Google for the name of this paint (I searched ‘paint in bottles that you squeeze into outlines to make an image that can be stuck to windows’ and every variation of that sentence), the closest I got to was Gallery Glass. The paint I played with as a child wasn’t transparent like the Gallery Glass paint (it was opaque), but it was similar as you could peel off the hardened paint (that was a lot like rubber) and paste it onto glass and windows.
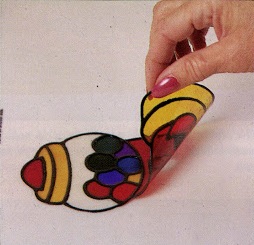
I really loved the texture of this paint and how it looked on glass. To achieve this, I decided to try creating my own mixture that could give me the same consistency and effect. (This image was taken from http://galleryglassclass.blogspot.sg/2014_09_01_archive.html)
In order to replicate Tim Burton’s lines and the consistency of Gallery Glass, I decided to create a makeshift piping bag and glue-paint mixture. This would allow me to achieve a nice texture that would ‘pop’ out of the paper as well as thin, messy lines that would be difficult to control (and thus emphasize the messy sketchiness that I wanted to achieve). This method would also allow me to create a window effect if I piped the mixture directly onto a sheet of transparency (although it would be permanently stuck to the sheet)
PIPING METHOD
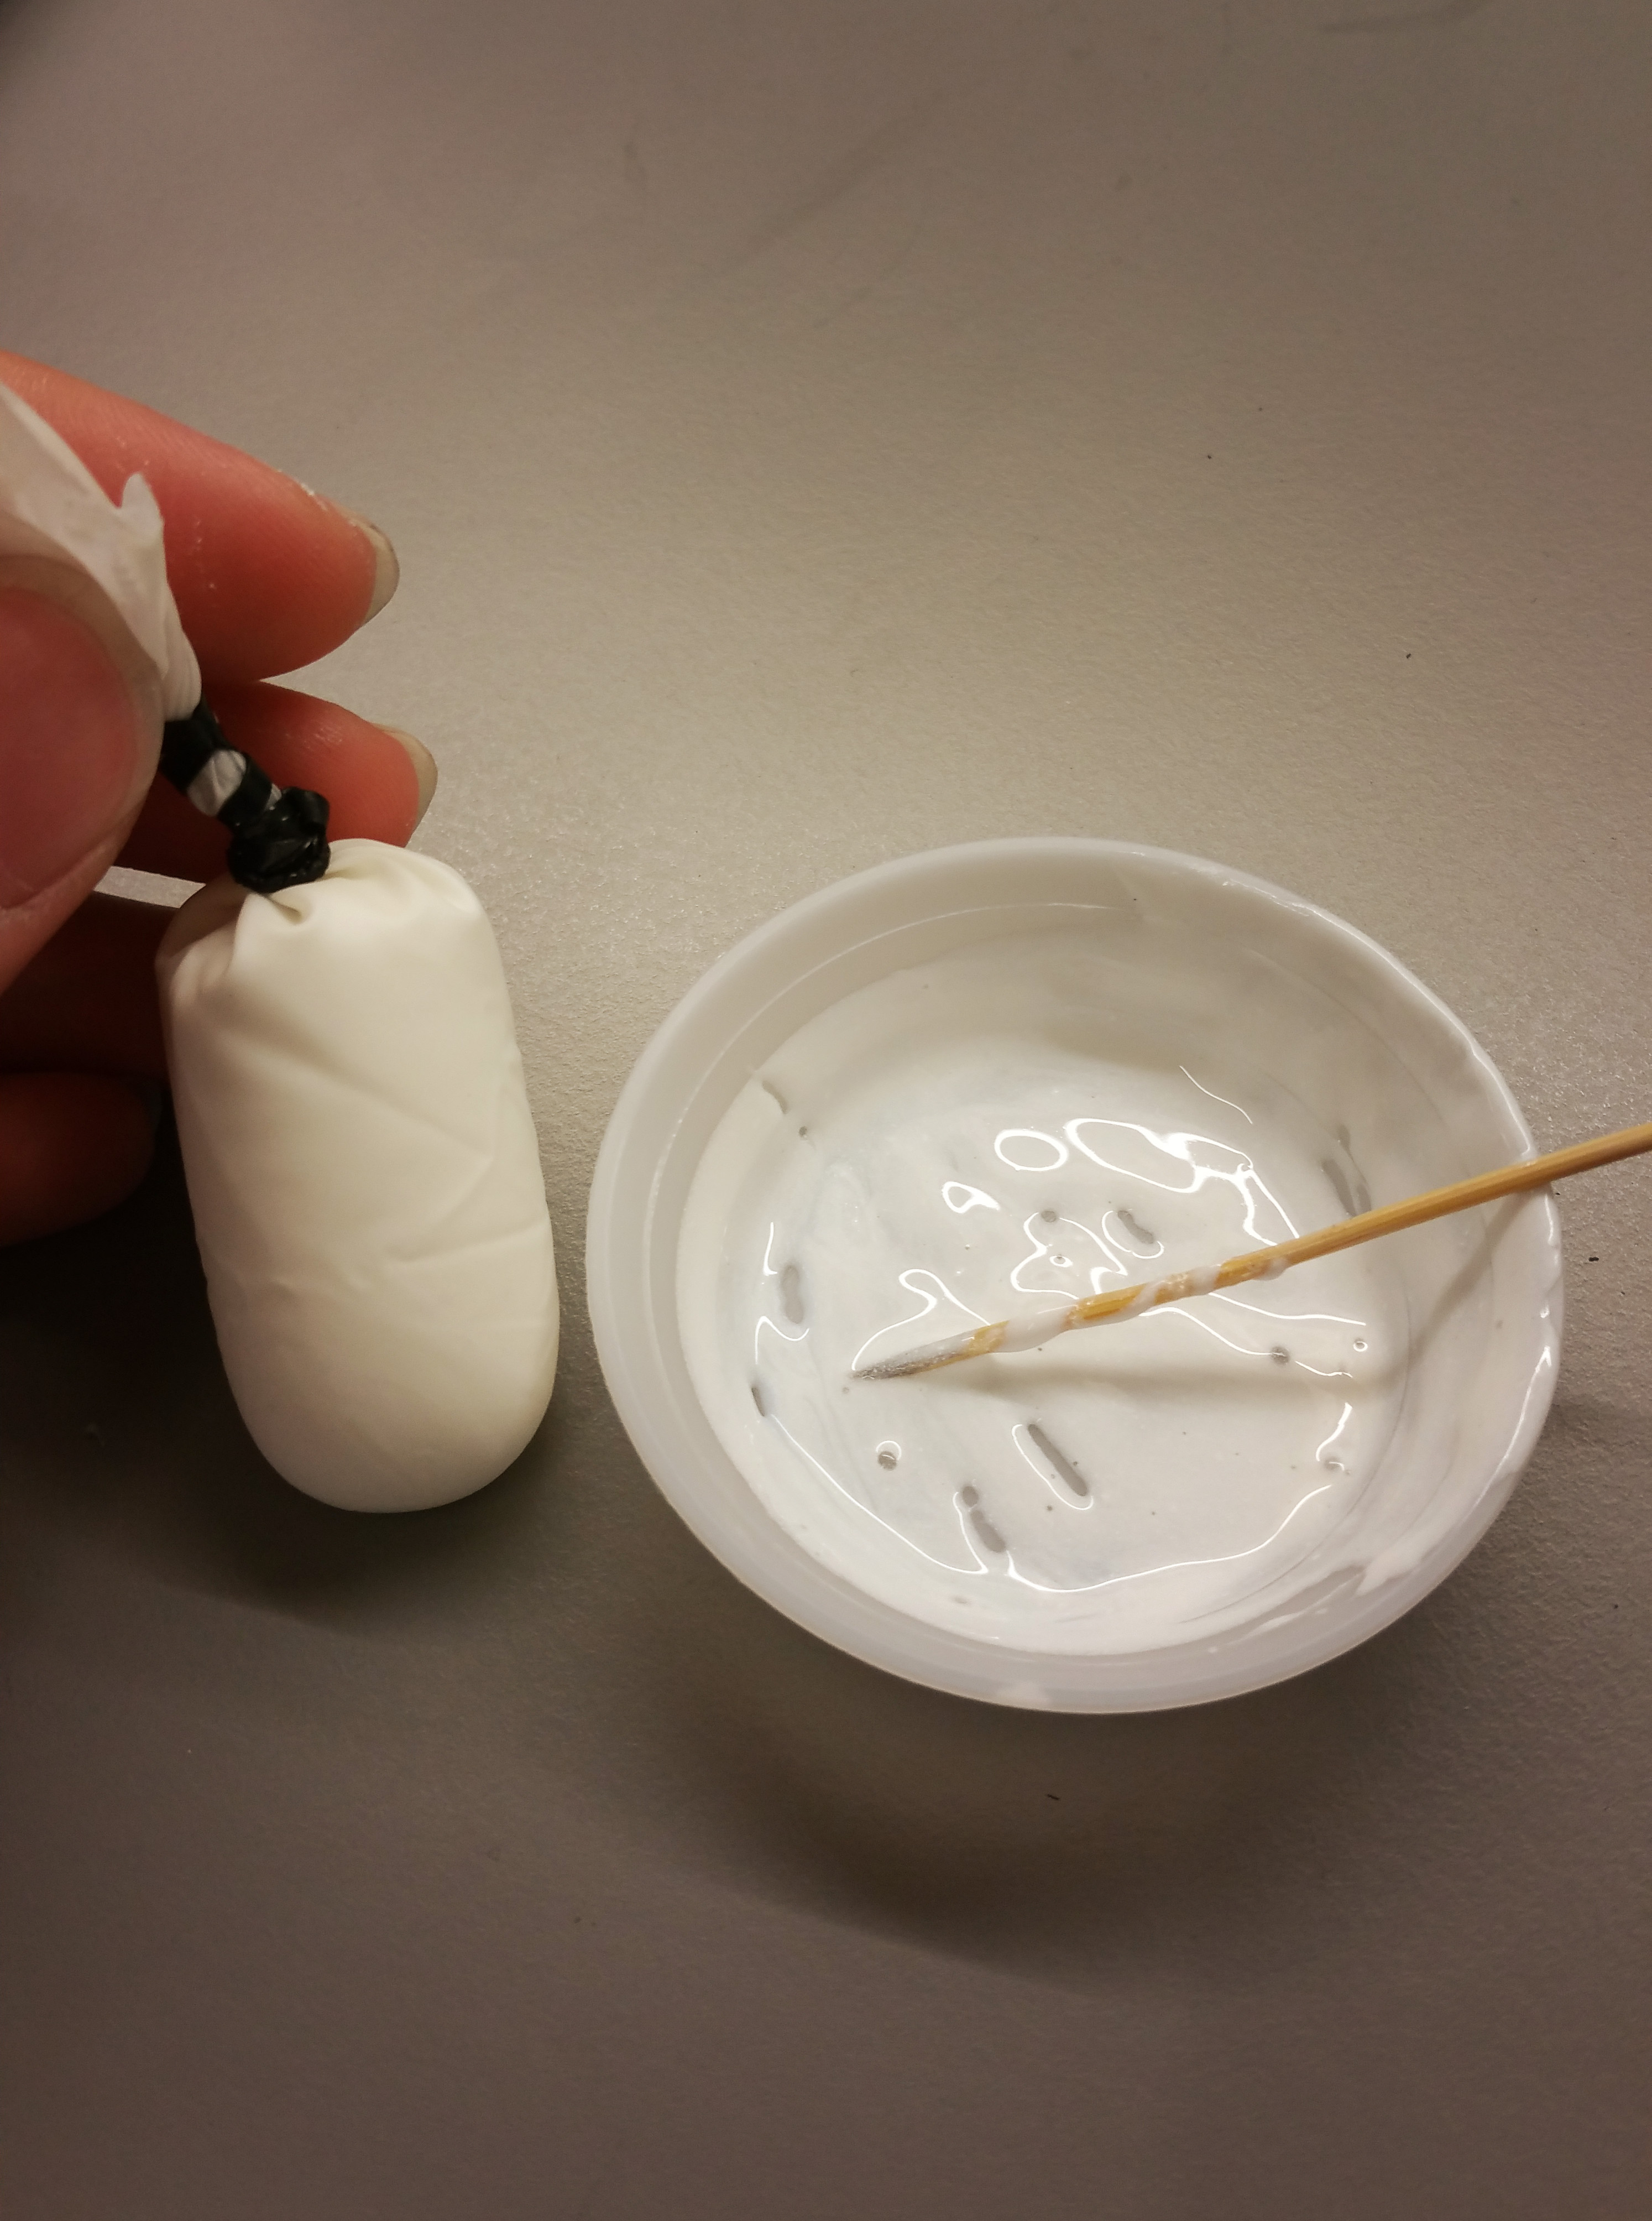
After mixing the white paint and glue together in a small dish, I cut ff the finger portion of a latex glove and spooned the mixture in. To keep the mix together and to allow me to squeeze and move around more freely, I tied a rubber band around the makeshift piping bag to secure the mixture. I then poked a hole in the tip.

A closer look at the piping glove after being poked with a pin.

I tried to achieve a messy effect with my lines by dribbling it in random ways- somehow along the way I ended up channeling more of Jackson Pollock. (I had piped the white paint mixture in the previous two photographs onto a black sheet of paper. The black mixture that I tried was piped onto a sheet of transparency to achieve the Gallery Glass effect)
After trying out this method for the first time, I decided that I would also attempt to emulate Jackson Pollock’s Action Paintings and lines using this method. This meant more movement of the arm rather than the wrist, and allowing the paint-glue mixture to dribble freely across the paper/transparency.
THREAD:
After receiving feedback and suggestions from Prof Ina, I decided to create some lines that were inspired by the insanely straight lines of Hilma af Klint and Emma Kunz. Prof Ina suggested that I use threads dipped in ink to create the straight lines, so I set about creating some straight lines.
Unfortunately, I only had thick white cotton twine with me at the time. I decided to pick the twine apart to get my thin ‘threads’, and dipped them in black paint one by one to get my dark threads.
I have a timelapse video but unfortunately WordPress doesn’t allow me to upload any file more than 3mb (And the file is a whopping 176 mb) so here’s a YouTube link instead! (The video gets a little fuzzy halfway through because my phone fell and lost focus- it took a while but Nathalie pointed it out and helped me refocus the video- Thank you Nathalie!!)
After the whole thing, I realised that because the strings originally came from a thick piece of twine, they were kinked and wavy rather than straight. This meant that I had to redo the lines but using proper thread.
awesome documentation of the process..please also cite all the references and in future make captions for your photos..for example “picture/photo taken from…or by..”
i like how you have explained what you tried…
Will do Prof Ina! I updated the images and cited the sites I got the images from!