Here is my chosen 6 pieces and the story behind each


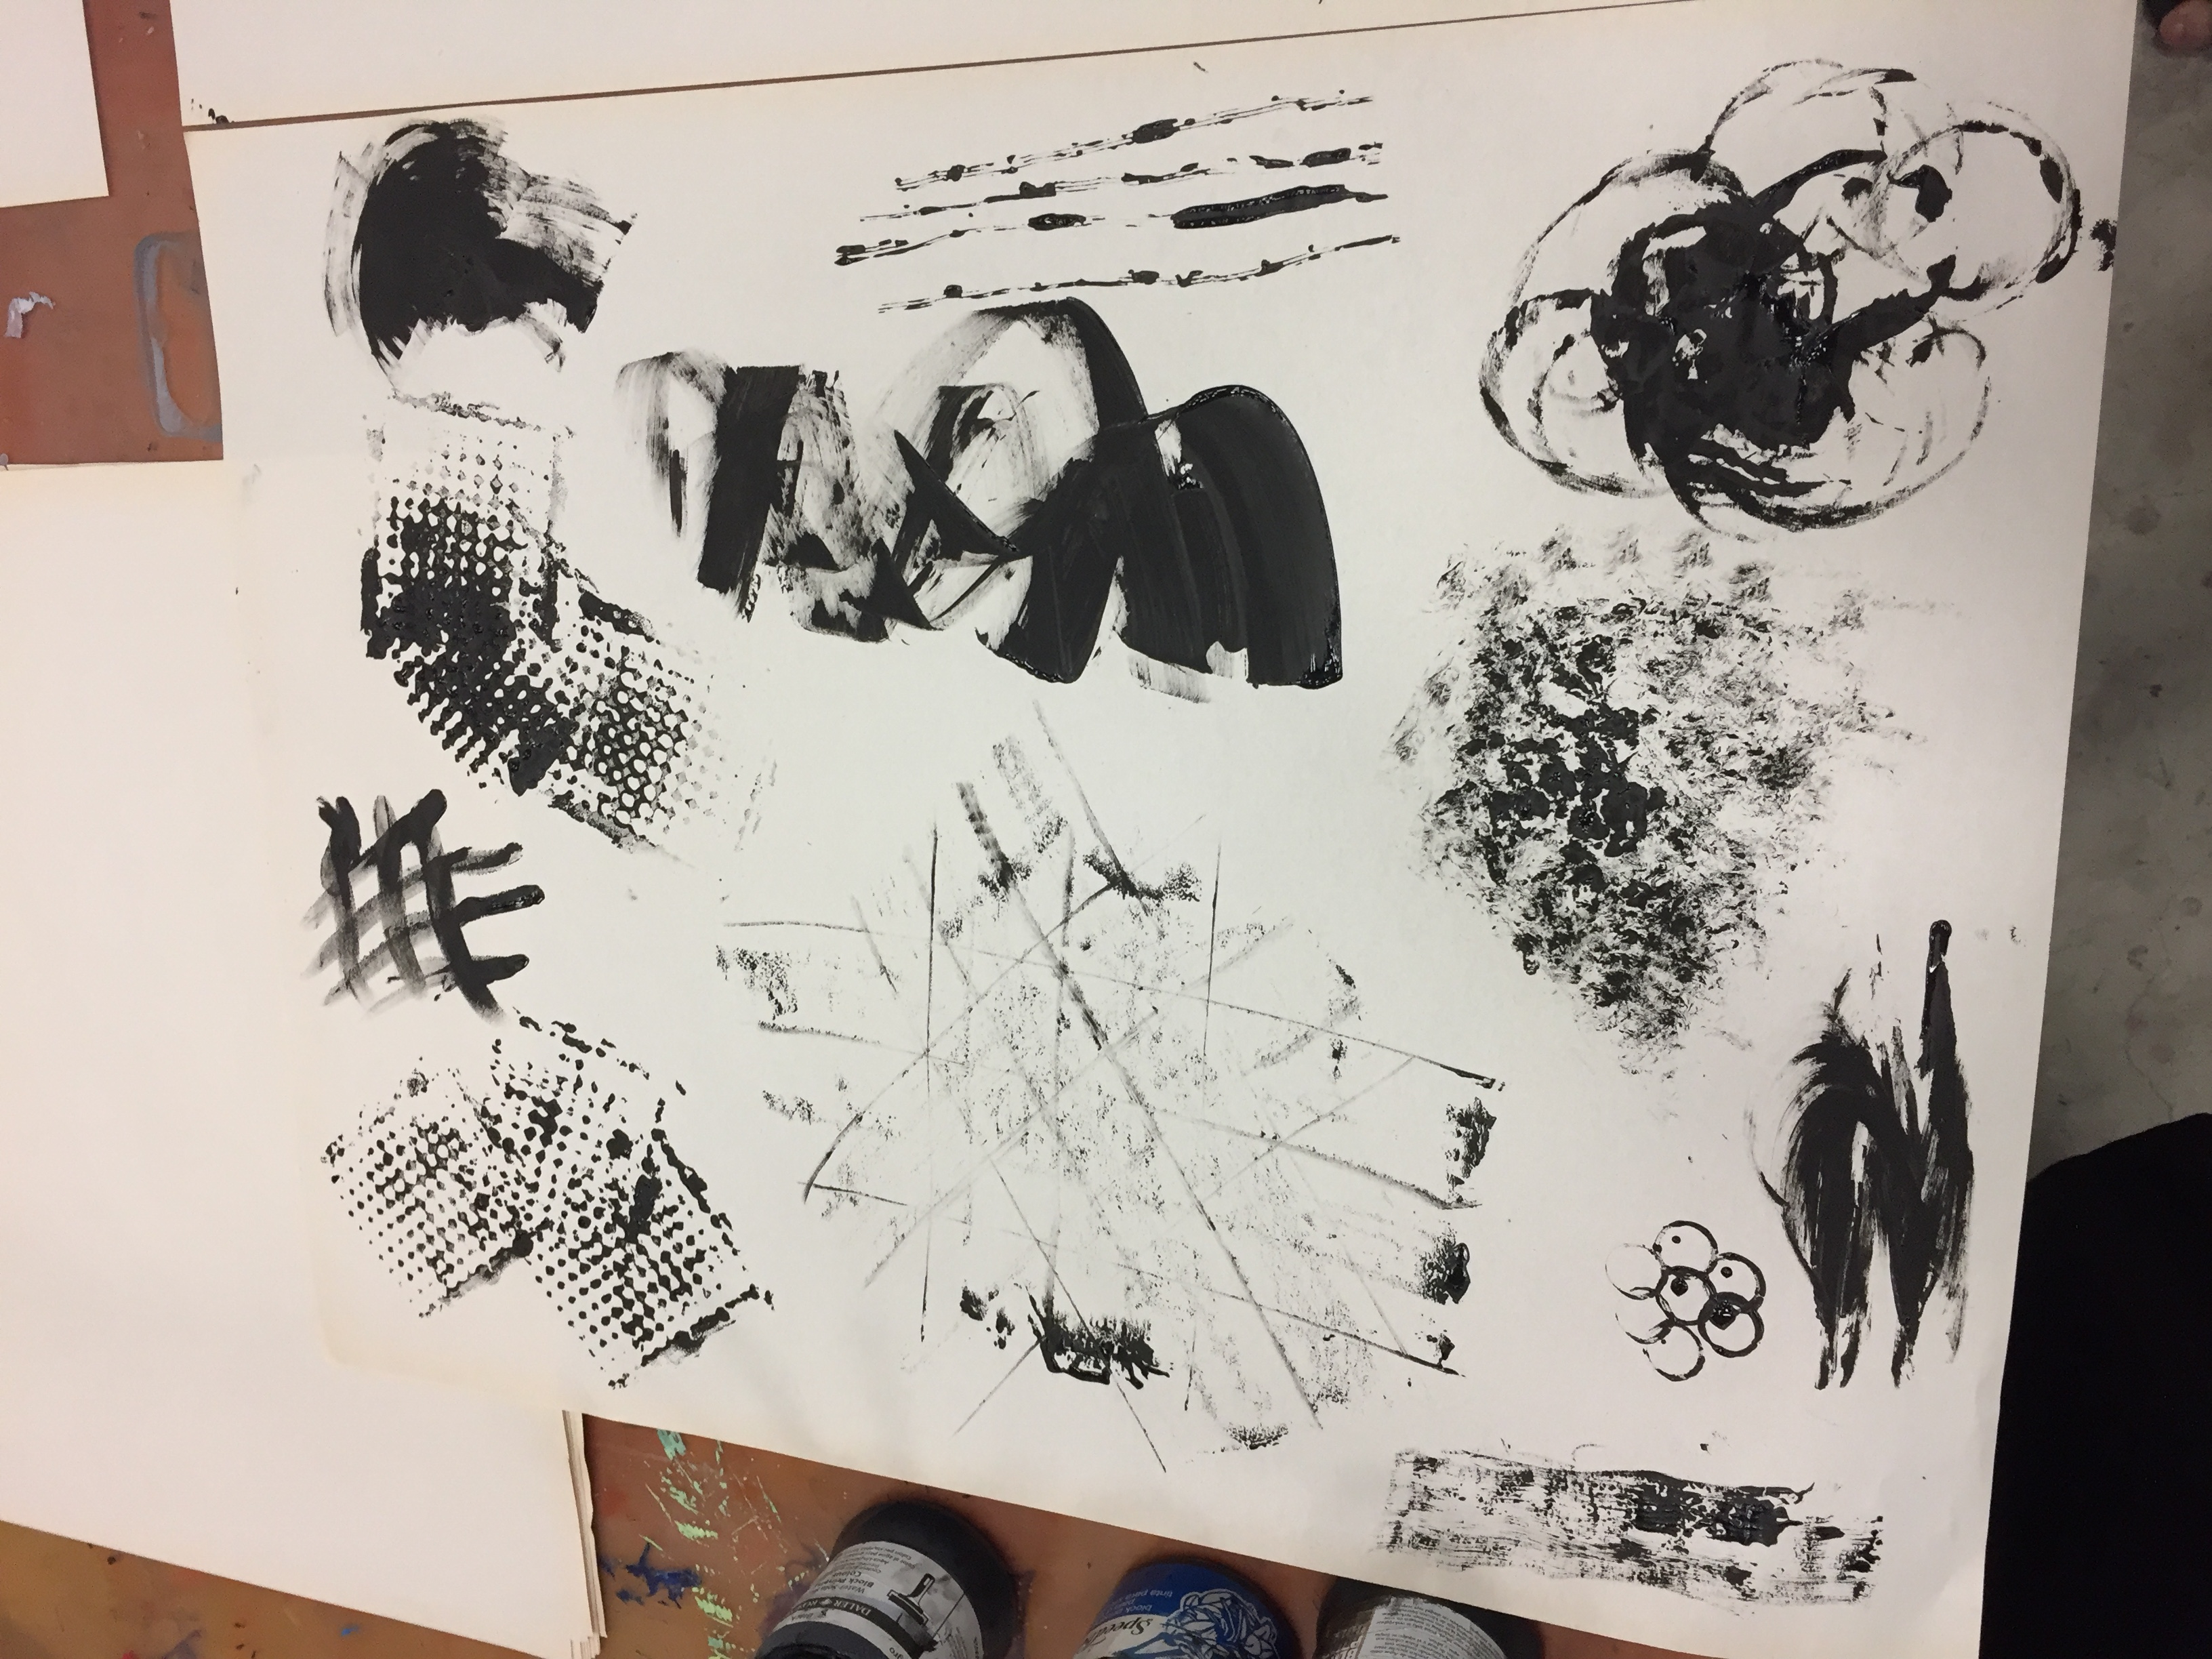
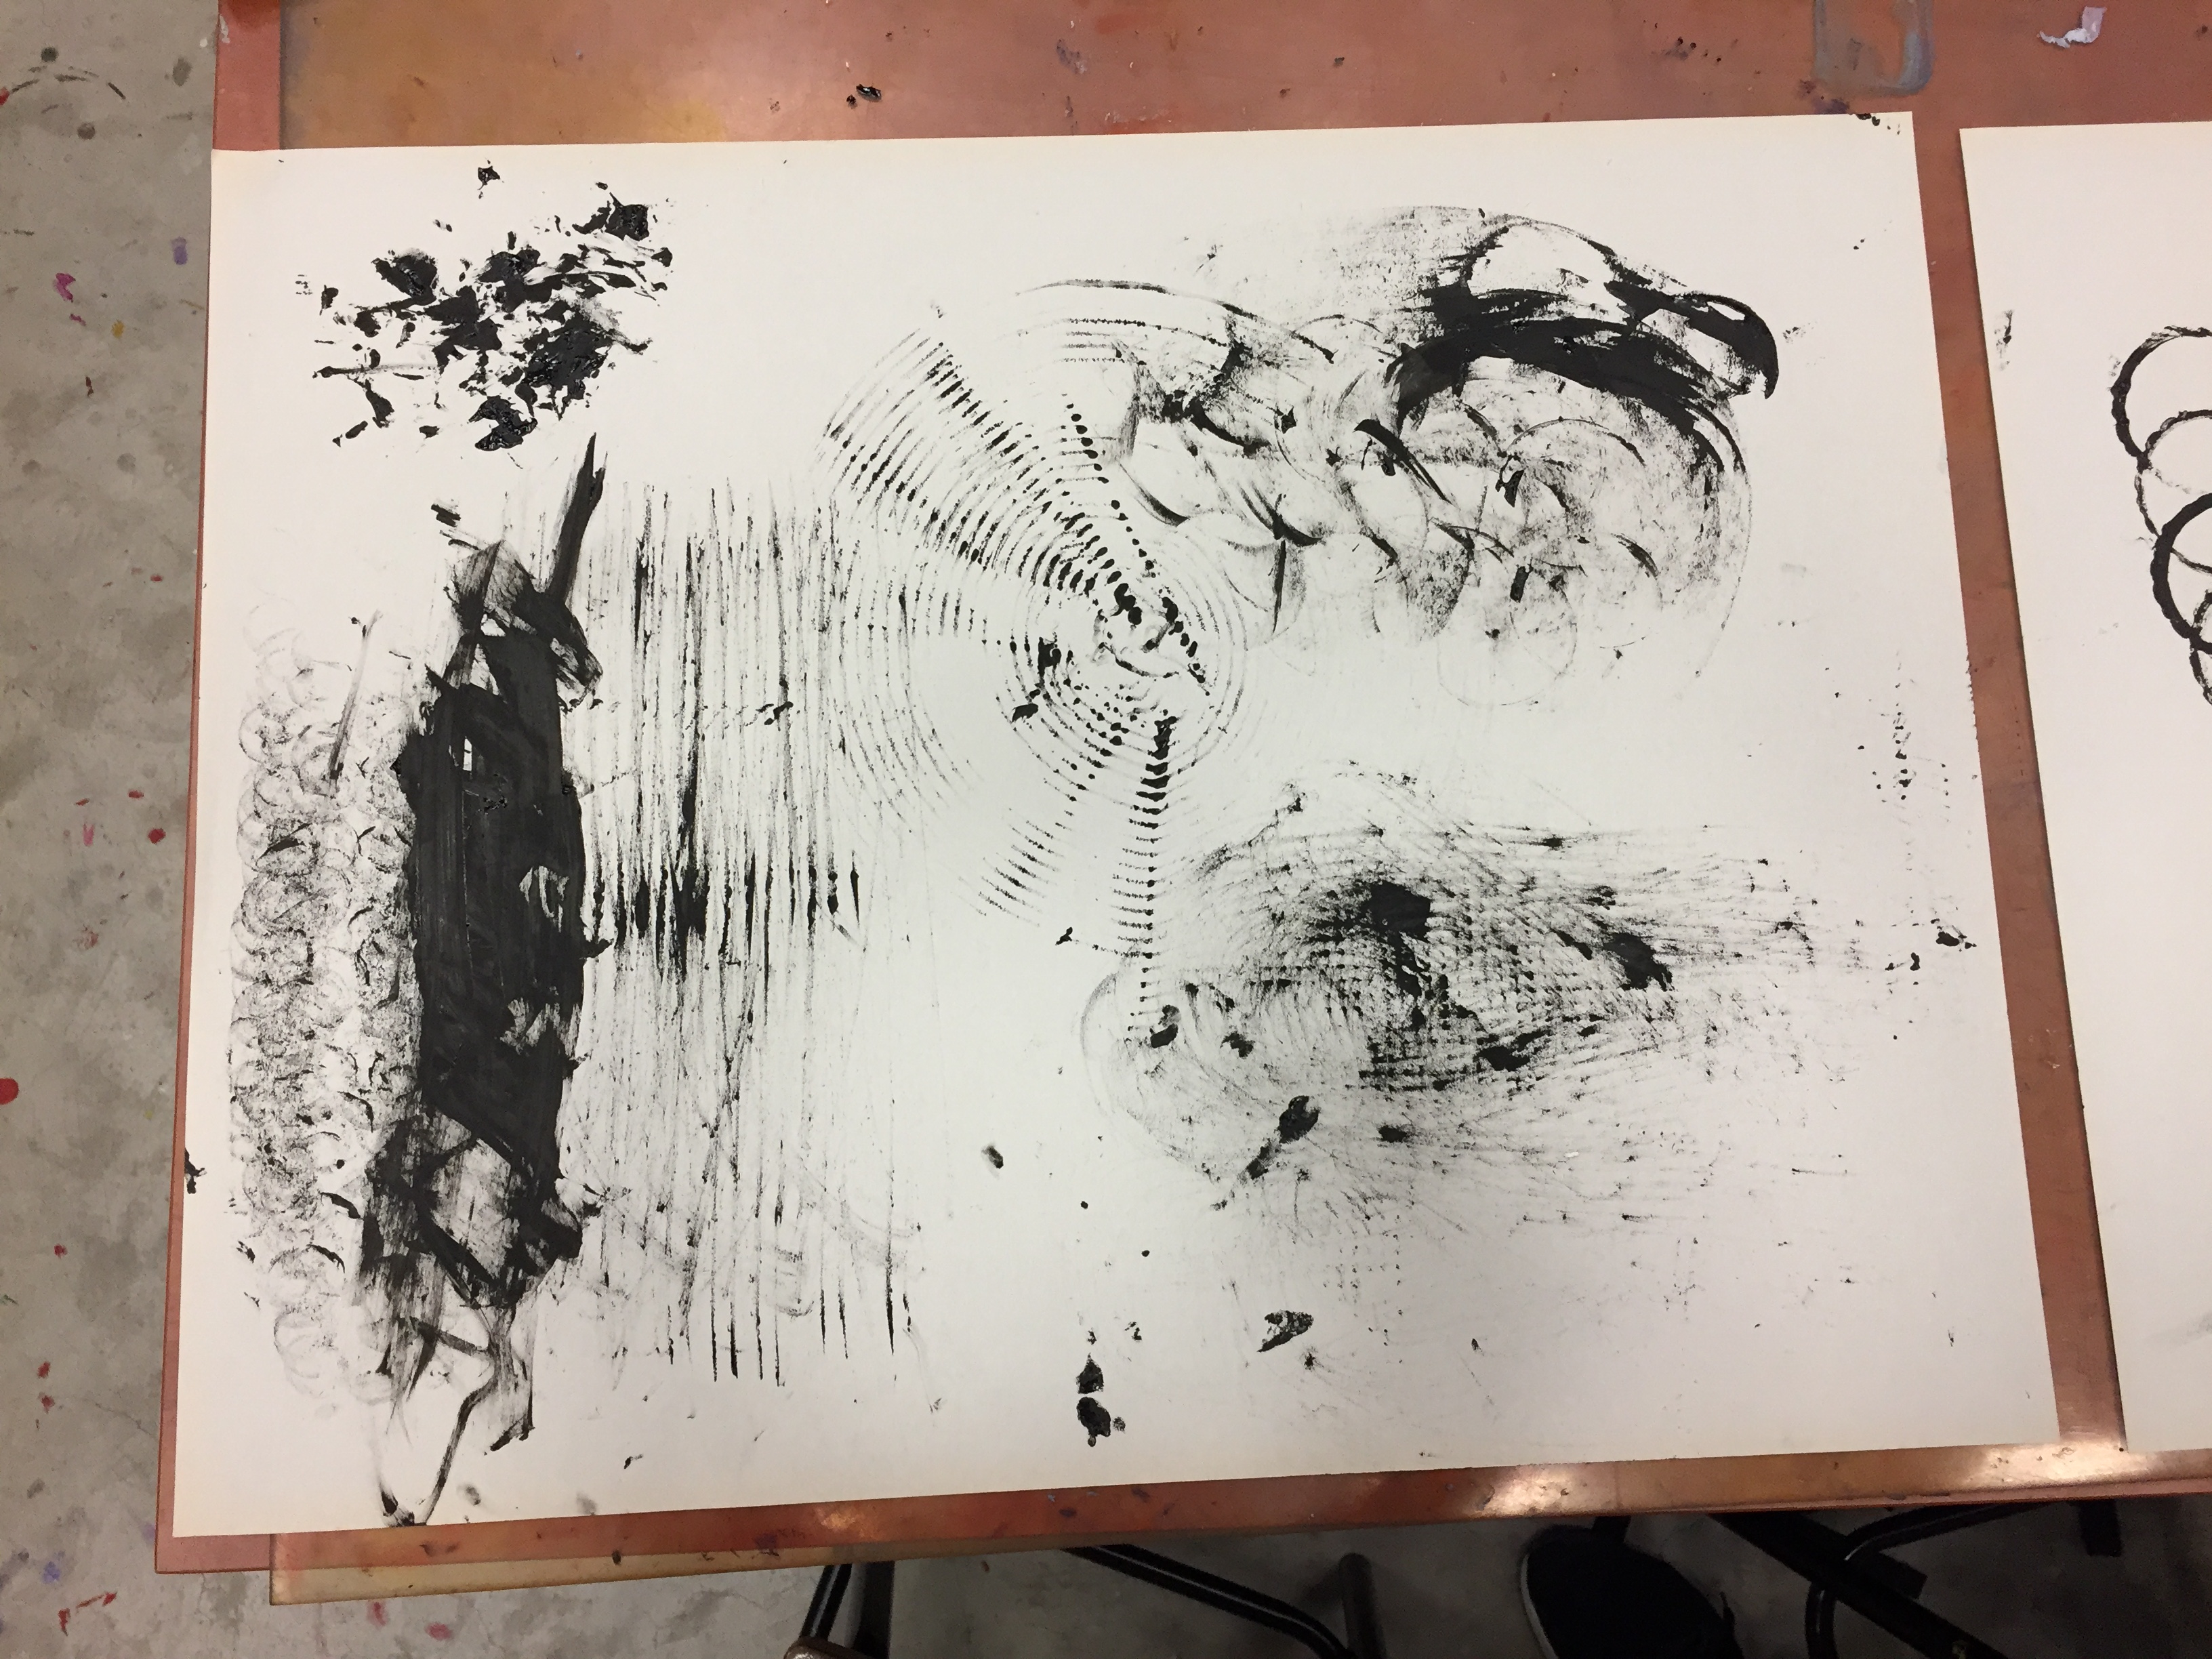
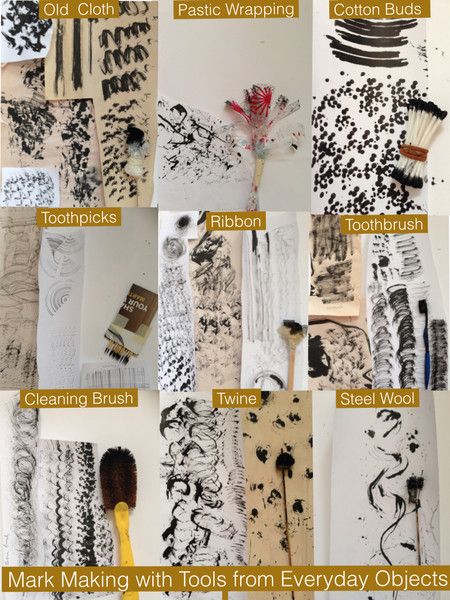
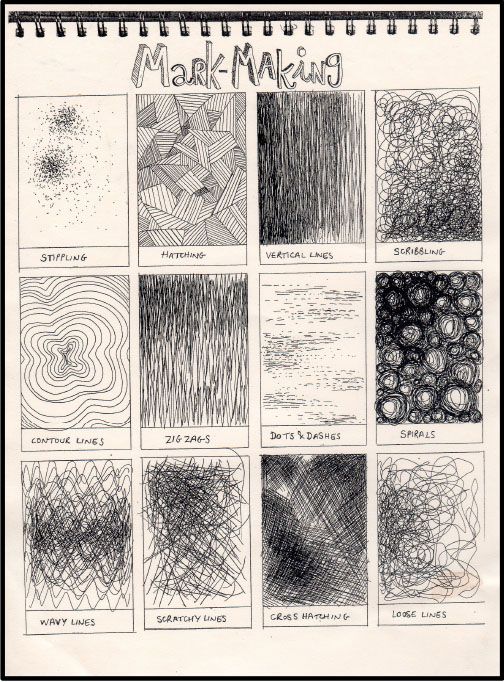
List of Mark Making equipments I used
Paint:

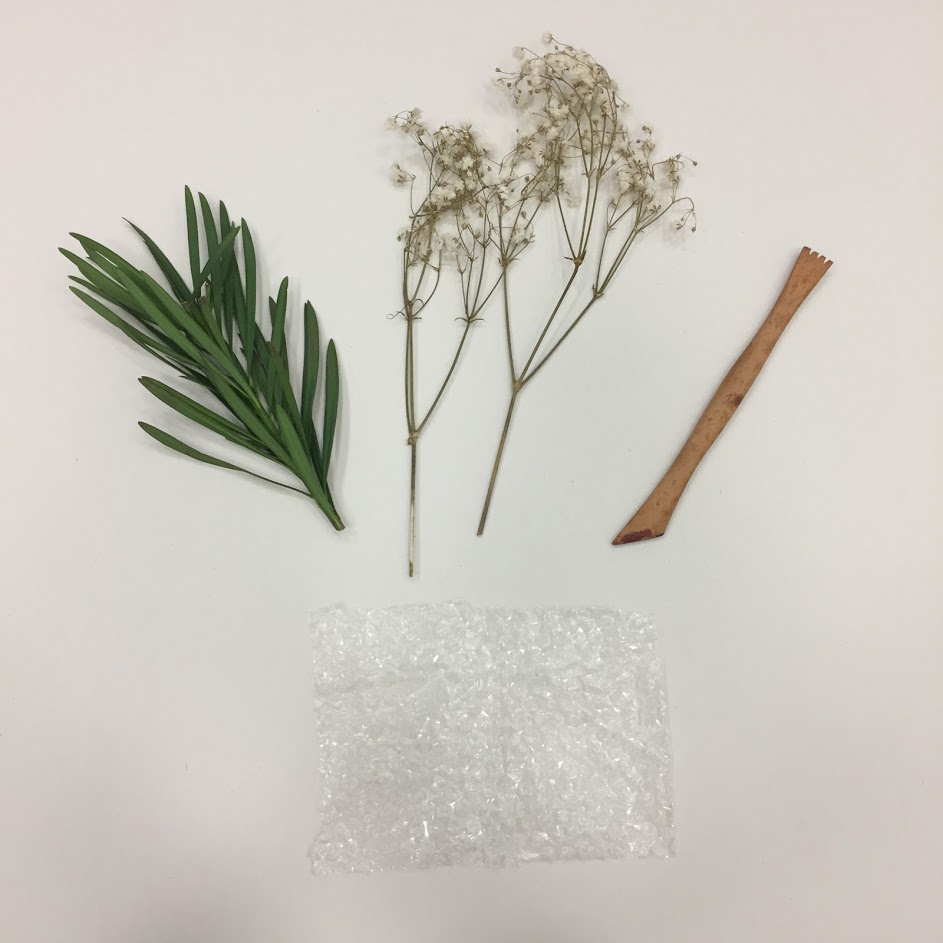
Mark Making Tools:

Process of Mark Making in the form of a Video
My thoughts behind the marks
 Joy –
Joy –
Bubbles makes people happy. I’ve already wanted to associate bubbles with happy emotion before I even began blowing the bubbles. The bubbles burst randomly and they mostly cluster around the bottom left.
It led me to remember about this body temperature chart based on mood. Happiness is a feeling which radiates throughout the body. Just like how the bubbles are of different degree of darkness and spreading outwards.
Paint used: Chinese Ink & Matte Acrylic Paint
Tool: Straw
Misc: Water & Soap
 Relief –
When I was trying to figure out if this should be a sad or happy emotion, I chose to go with the latter because the longer I look at it, the more calming I feel it is. It gave me a feeling of letting go, letting all the cluttered darkness fade away into the gentle lightness. And that makes me feel very peaceful about it.
This piece plays on the color contrast and space. It is also in an upward movement which creates an optimistic tone.
Paint used: Chinese Ink & Poster Color
Tool: Hair Foam
Misc: Water
 Euphoria –
I can’t find any words better to describe how I felt about this piece. I wanted a wavy mark to signify calmness and bliss. I used more strength to create volume and lesser strength on other parts, hopefully to depict a wave of various emotions.
It was impulsive and there was no plan. It was almost like I was riding the wave and seeing where it will take me. I spent more time thinking of ideas for other pieces. Thus it sparks an euphoric feeling just thinking that this piece was so impromptu yet came out as something I really liked.
The curvilinear of this piece makes it pleasant and positive.
Paint used: Chinese Ink & Matte Acrylic Paint
Tool: Sketchbook Paper
 Frustration –
This is truly a piece of frustration. (Read on my fail attempt at using beyblade as a mark making tool below). I was running out of ideas for what marks I could create with the limited creativity I had, and an initial design I thought would be perfect, turn out to be a failure.
Out of desperation, I grabbed the ripcord from my beyblade, smeared some paint onto it and started slapping the ripcord onto my drawing block. It felt like it was speaking my true feelings. I added some finishing touch by using a toothbrush to splatter some texture to it.
The strokes run in all direction and it creates an idea of friction and tension in the piece.
Paint used: Poster Color
Tool: Ripcord
 Torment –
Out of a few attempts at the hair dryer method, this was the first attempt and also the most successful attempt. My intention was to make dripping blood-like pattern to express the feeling of fear.
I decided to use the word torment instead of fear because torment felt like a stronger word. Also, its like reminding me of the traumatic feeling I get when I watch a gory film. (I hate horror shows with bloody scenes!)
Downward direction of the ink signifies a sinking and falling effect much like how torment draws you towards a sinking point.
Paint used: Chinese Ink & Poster Color
Tool: Hair Dryer, Hair Foam
 Anxiety –
Fear, panic, nervousness, these are feelings that eats a person up. I crushed the piece to create a rough texture to signify fear. I then layered the pieces on top of each other to represent the feeling of getting “caged up”, caged by one’s own thoughts and fears.
A painting with very little white space and with erratic prints, it creates a mood of confusion, fear and everything that leads up to anxiety.
Paint used: Matte Acrylic Paint
Tool: Paper
Conclusion
It was very therapeutic to create marks using unconventional tools to represent emotions. It was a little tedious trying to think of happy emotions because something that is painted black is associated with darkness, fear and sadness. However, through this assignment, I also learnt that white spaces can complement black to express positive meanings too.
I tried to be creative with the tools I have around me, however I learn that random marks made by those tools were dull and could not express my thoughts behind the work.
Like I thought a spinning top (Beyblade) could give nice spiral patterns. But the result of it was paint splattering all over, including the furniture around me whoops.
I also tried to apply the pendulum effect by stringing a plastic golf ball to a chair and swinging it, hoping to create some nice patterns. However, I could not find any meaning to the random patterns it created.
So I concluded that the paintings which involved my hands were the best at expressing the feelings I wish to portray in my work. Like they need some personal touch rather than full out randomness.
Credits:
Oral-B Toothbrush
http://www.redtomatoes.com.sg/Oral-B-Toothbrush-123-SOFT-X-2
Philips Hairdryer
https://www.ebay.com/p/Philips-Hairdryer-Hp8202-Salon-Shine-Care-Ion-Conditioning-Frizz-220v-1600w/1992046655
Sketchbook Paper
https://www.dickblick.com/products/strathmore-400-series-recycled-toned-sketch-wirebound-journals/
Music
http://freemusicarchive.org/music/Scott_Holmes/Happy_Music/Happy_Ukulele_1026
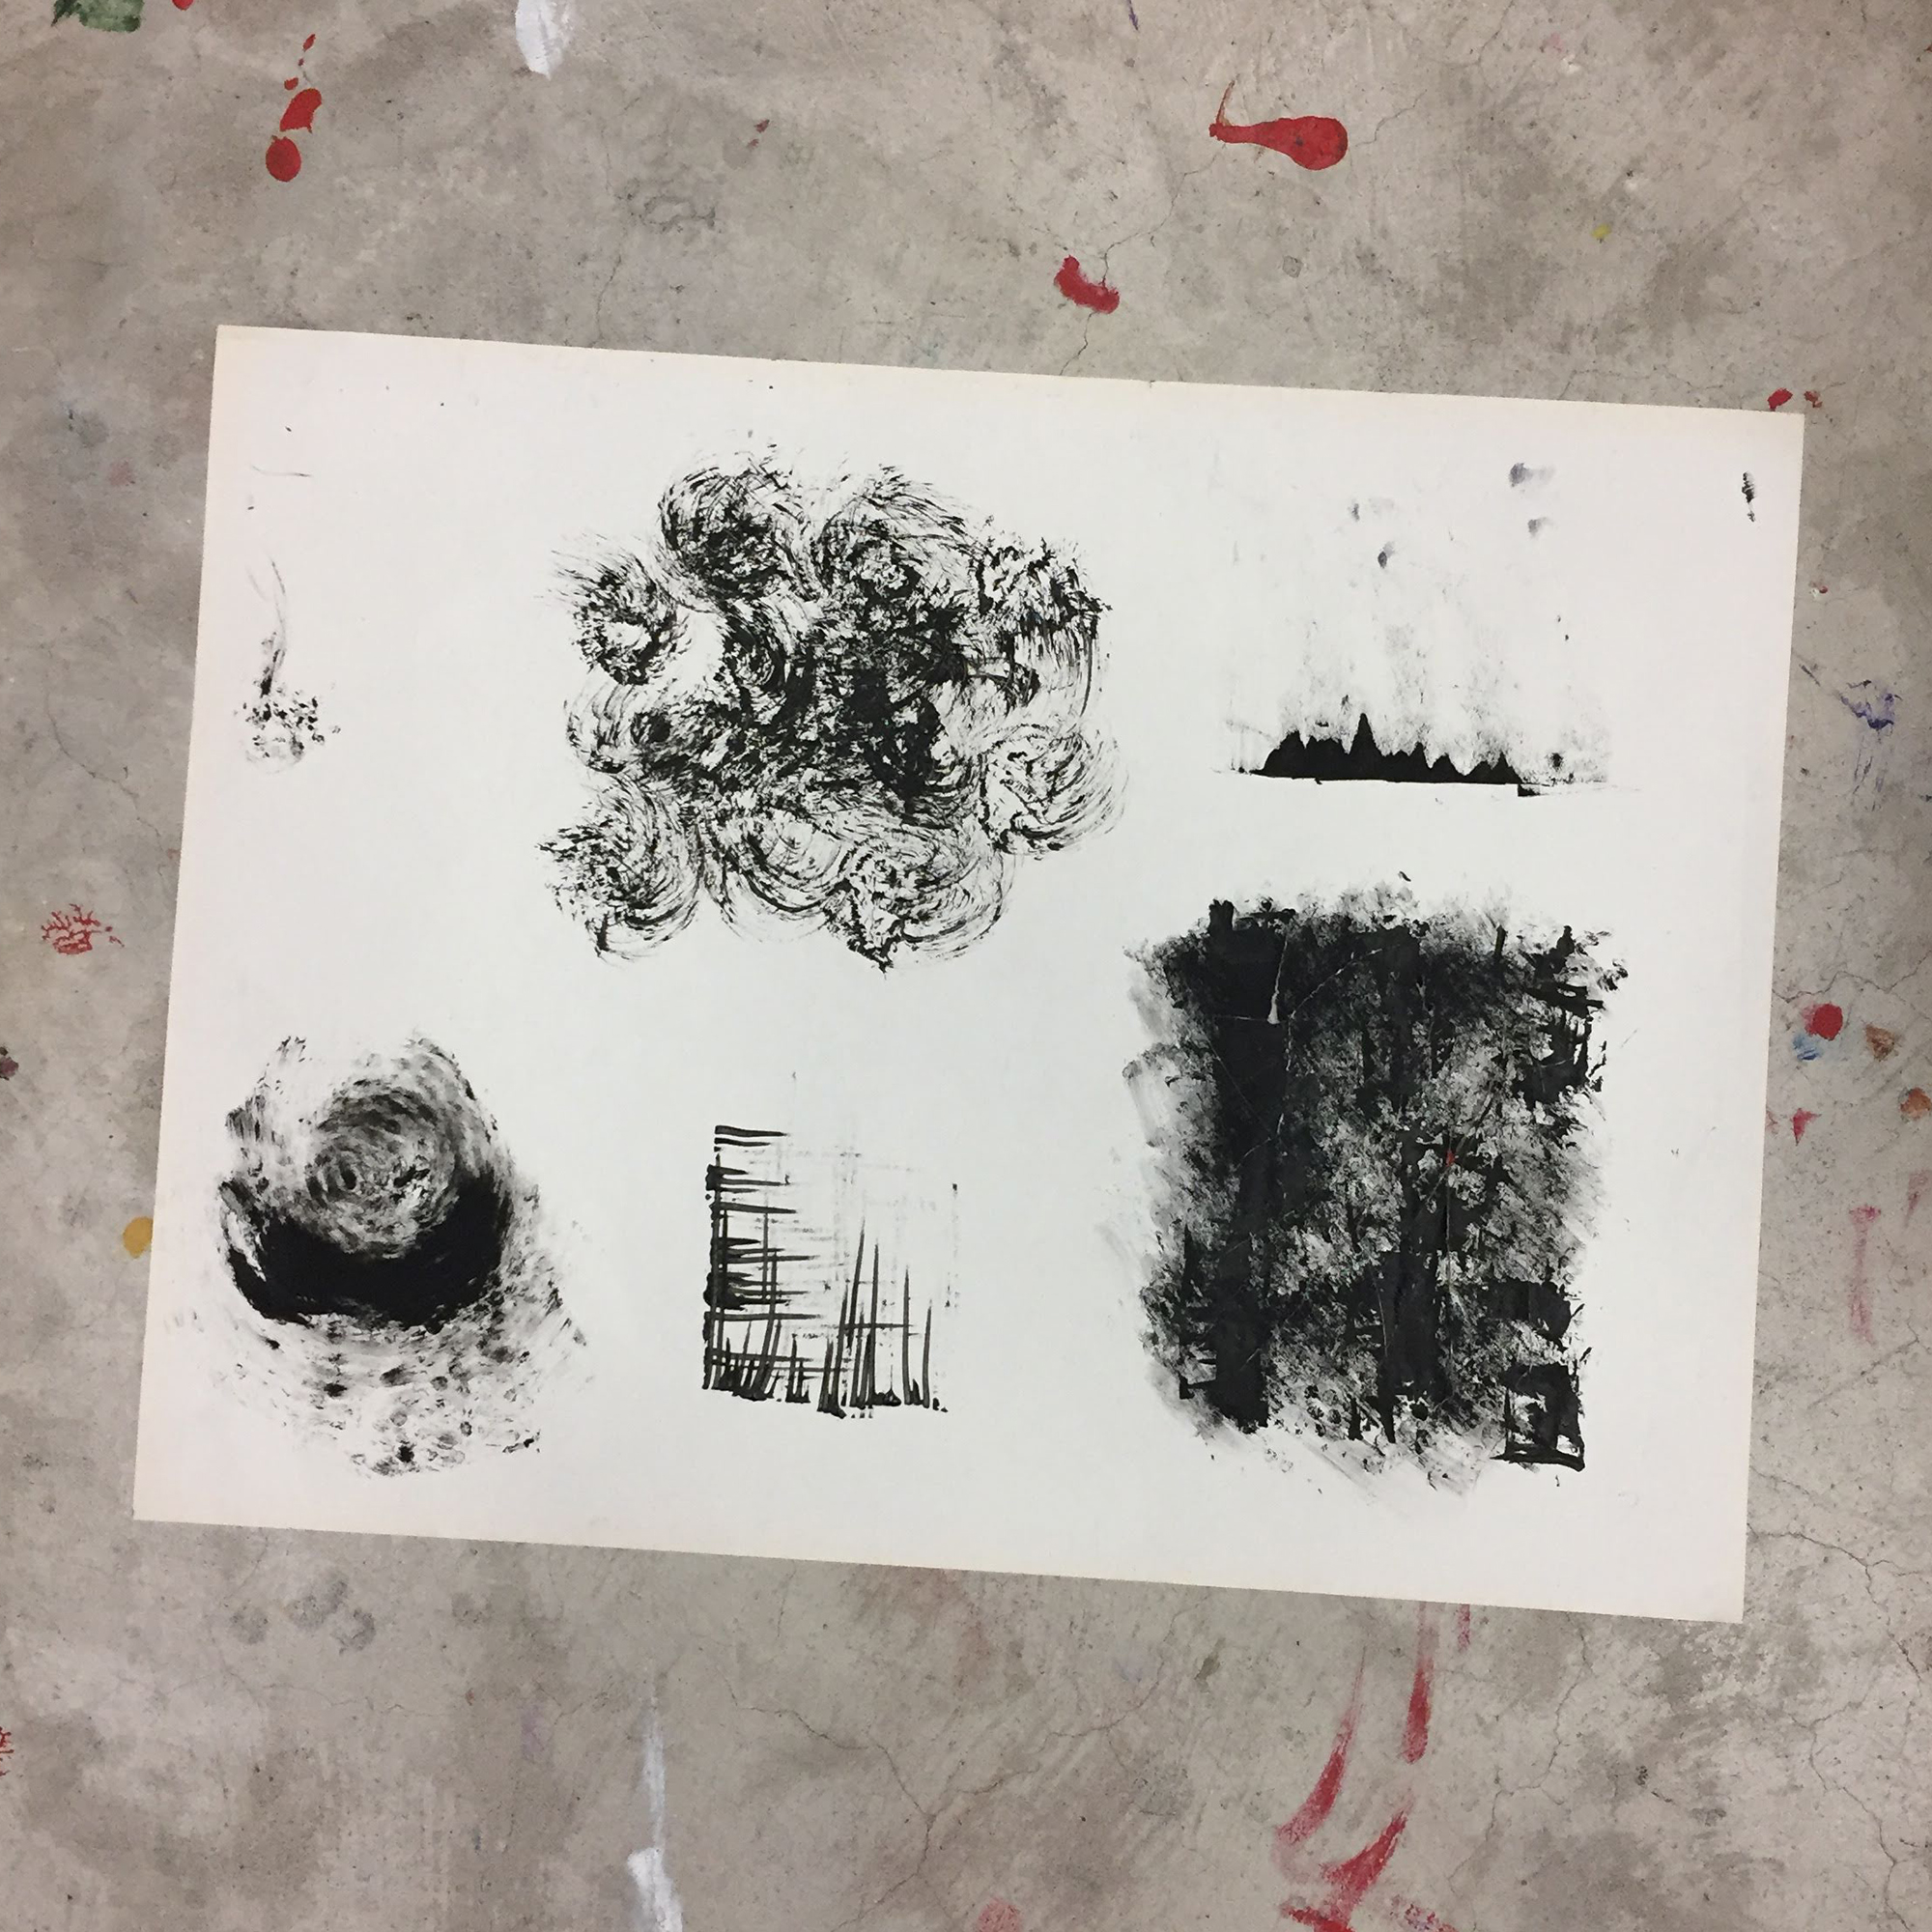
Bonus:
Experimental pieces