Week 10’s Emotions in a drawing

Hi again! For week 10, we were to draw our models who had look of distress in them. An opportunity to experiment with charcoal. I feel that charcoal adds a very bold touch to a drawing. And definitely not easy for someone like me who lacks confidence. I like to work with pencil because it has a softer touch. But at the same time, the effects of charcoal is really pretty!

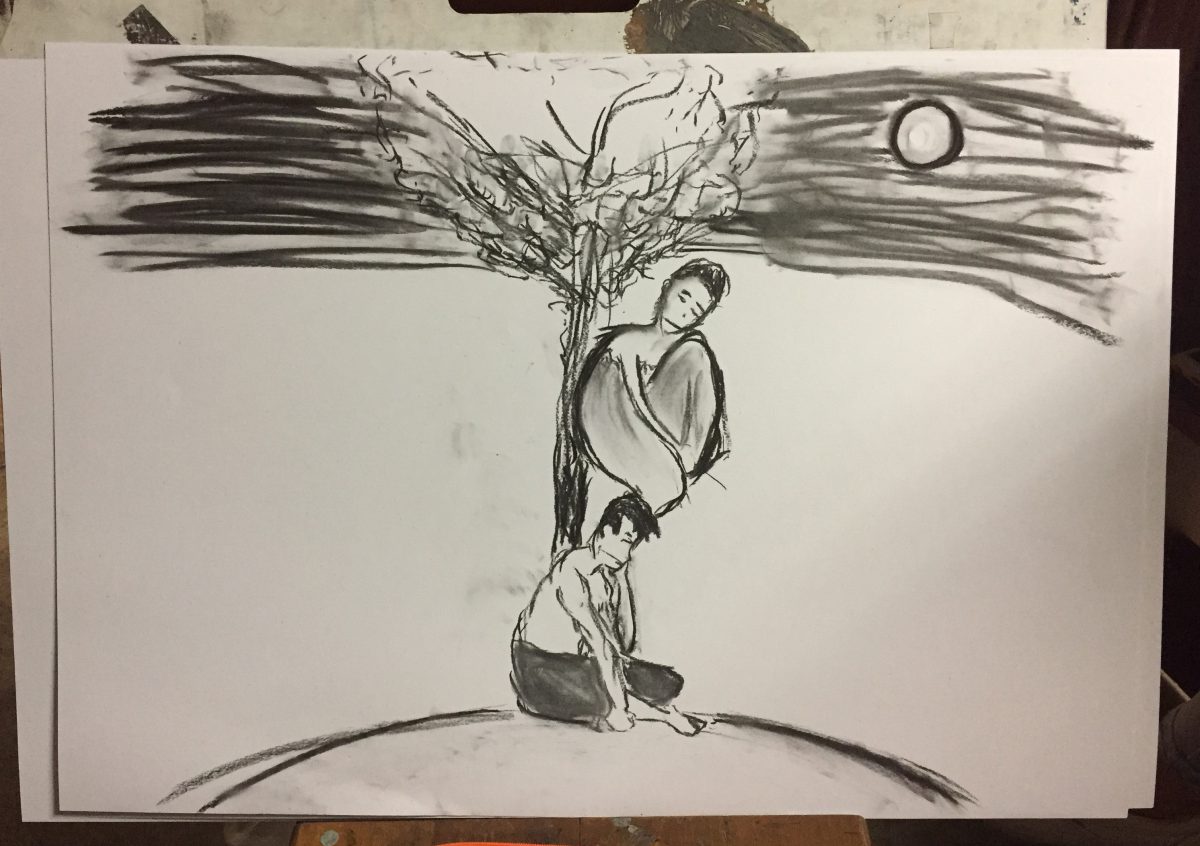
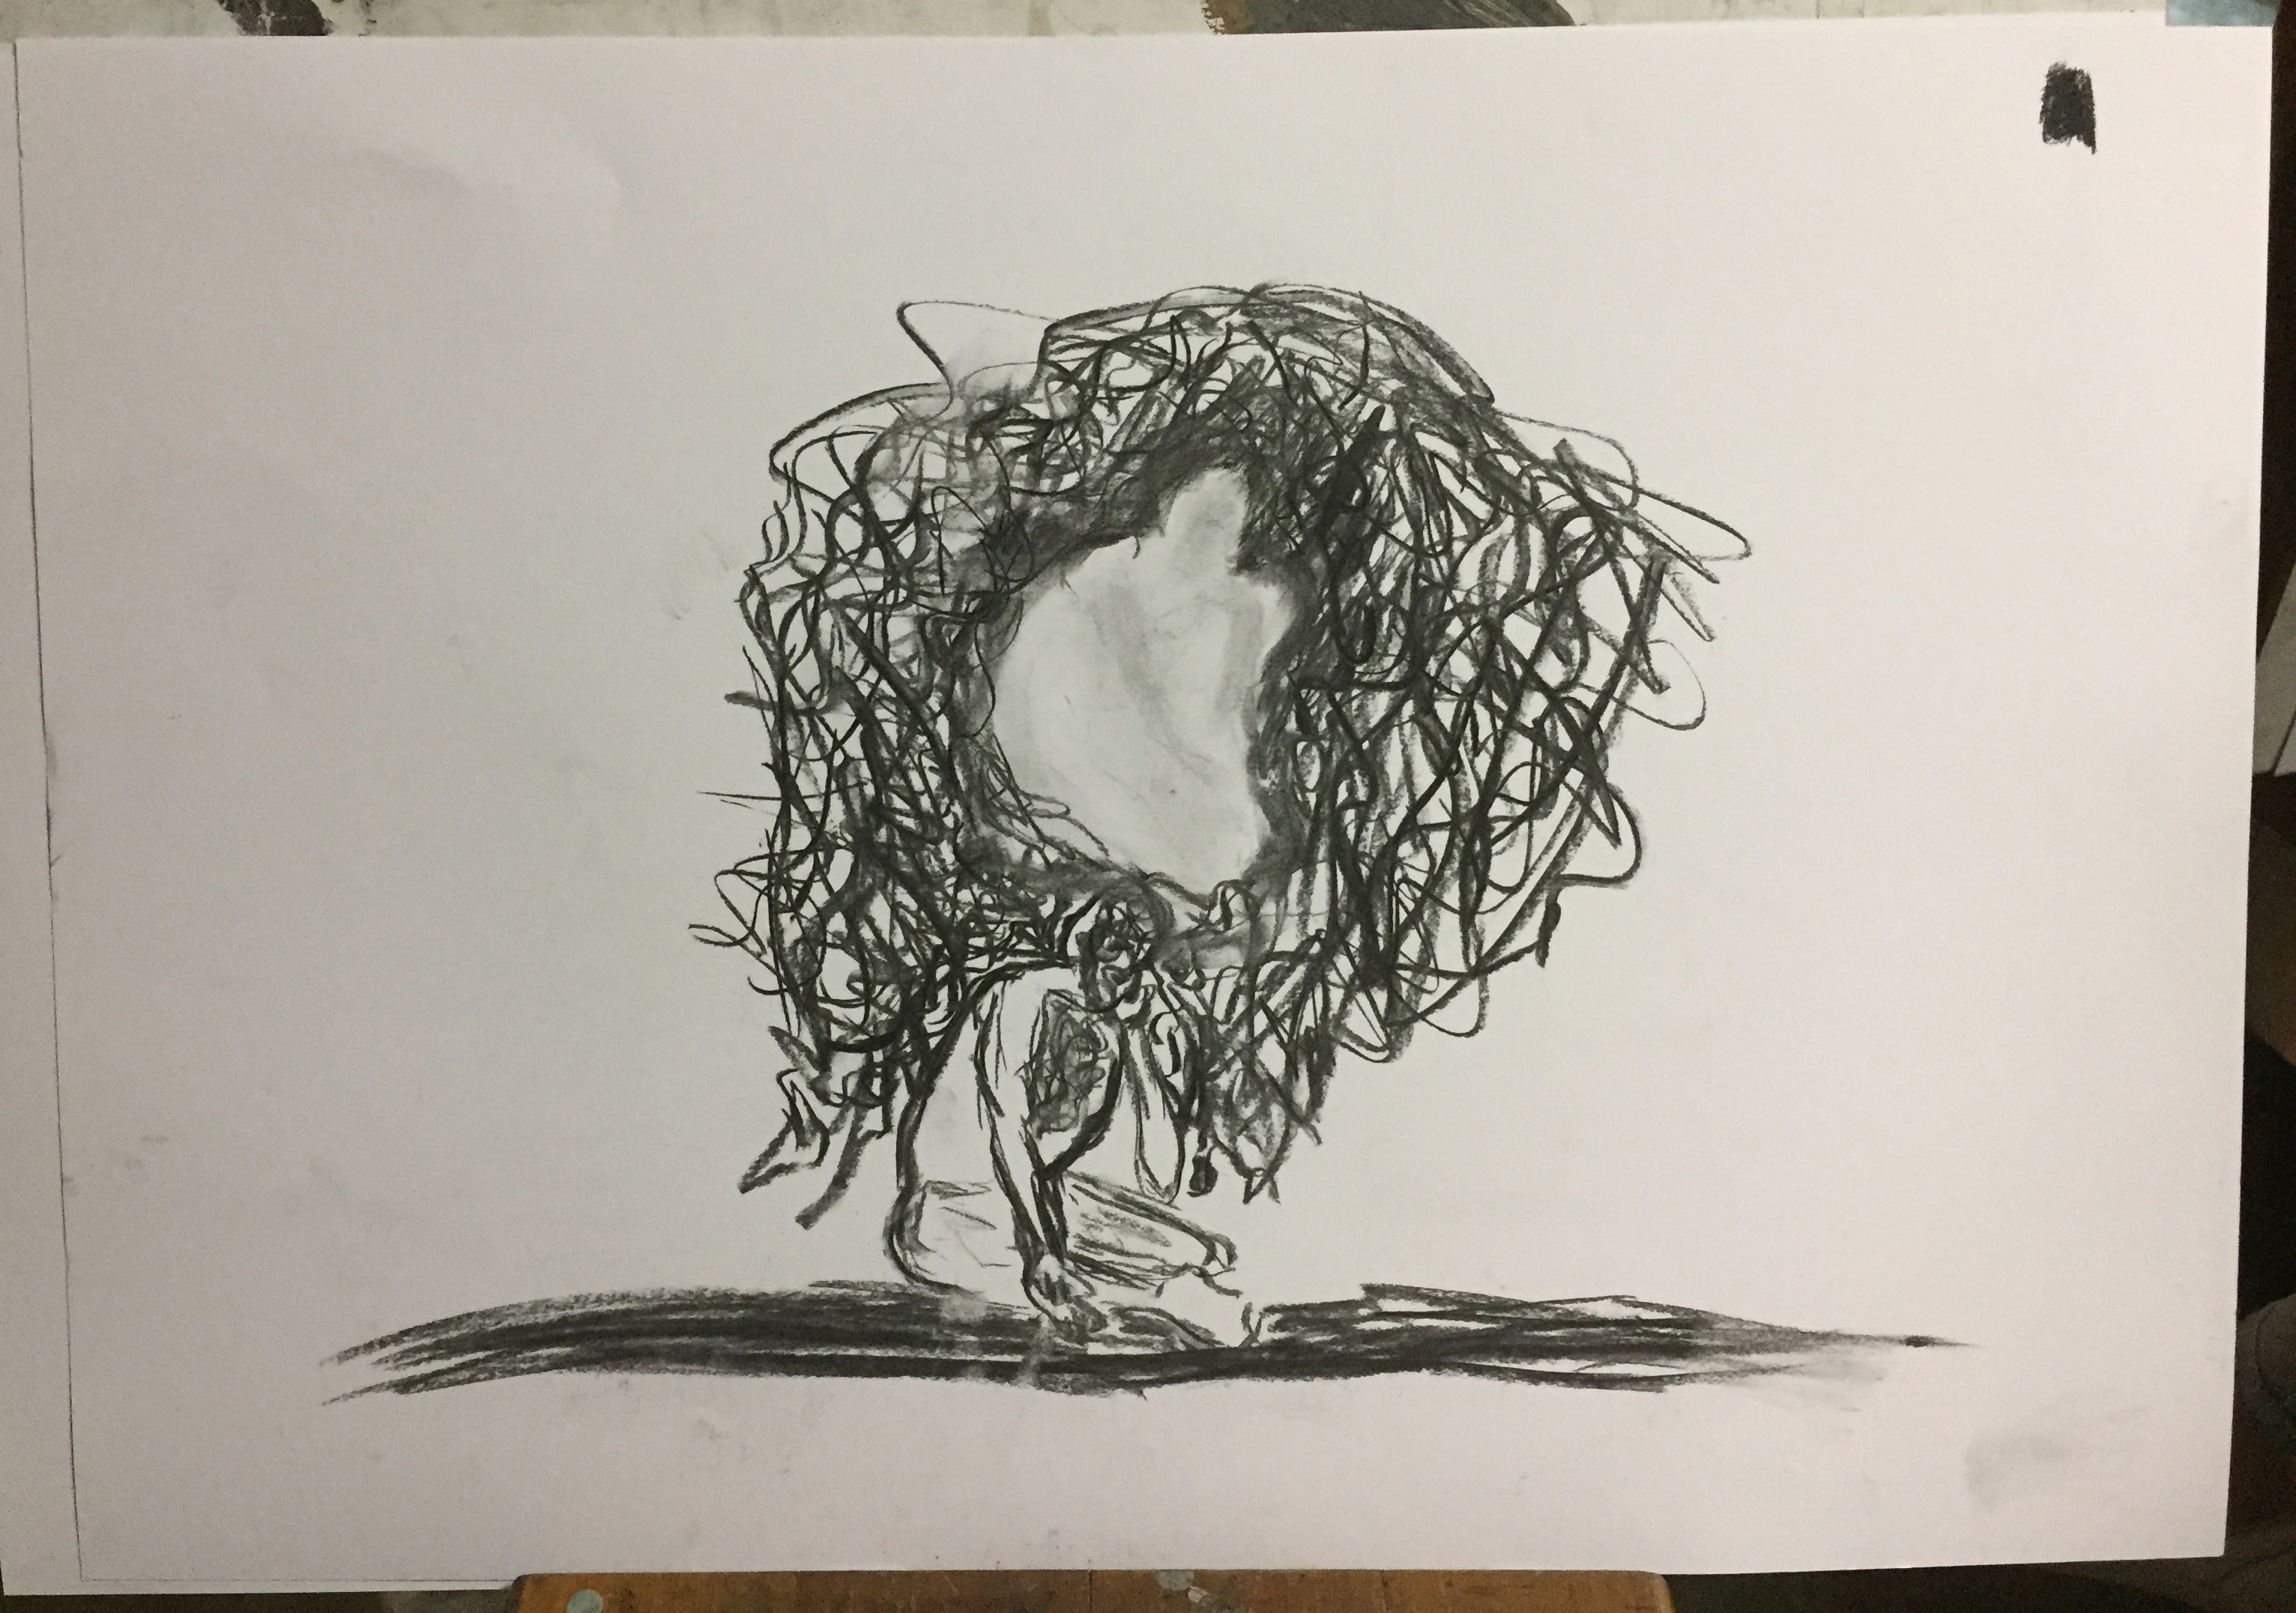
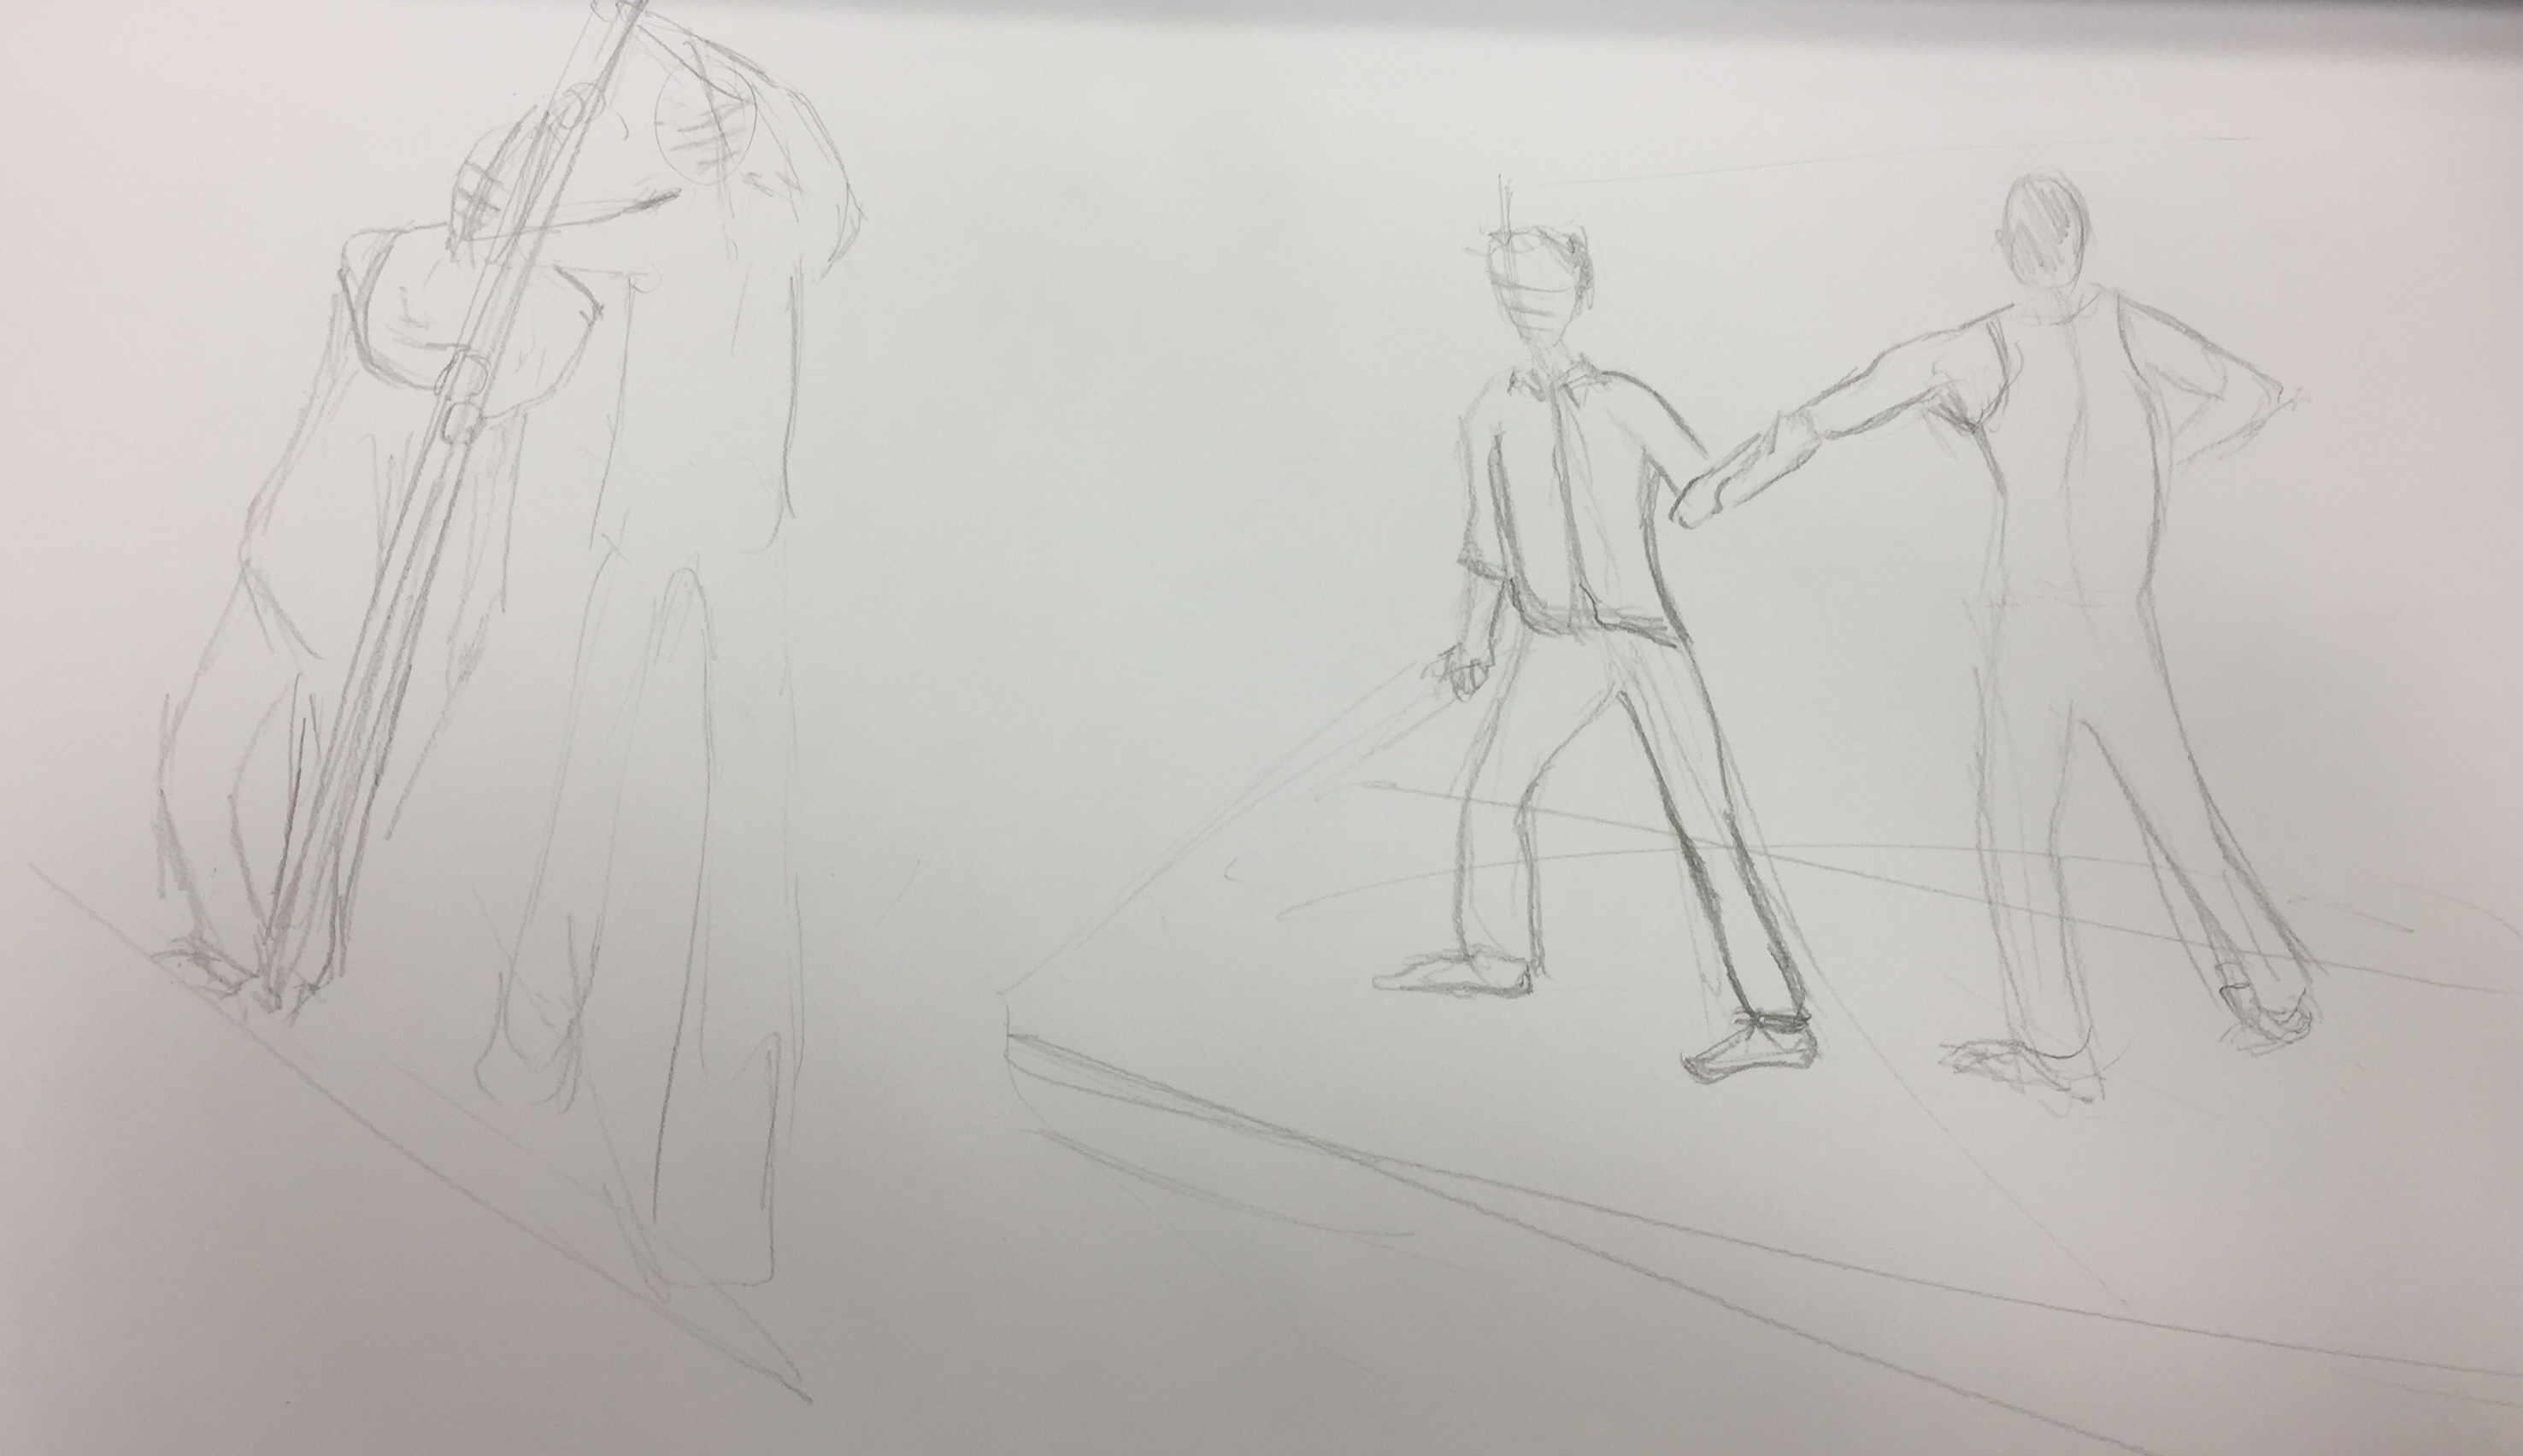
So basically, we had two sessions of 30 minutes to sketch our model. The first session was to draw more of their poses, but because they carried a look of distraught on their face, the very first thing that came to my mind was the squiggle lines which represents how distraught is to me. So I used that as an outline of the female model (the shadow figure). I initially wanted to make it seem like the feelings have overcame her.

Then I proceeded on to draw the male. The reason for the squiggle lines that are only around his chest and head was because emotions are overwhelmed in him, and those squiggle lines represents the amount of heartache and psychologically affected he feels.

Adding them up, the female is no longer just the female overcame by her own feelings, but her, being the cause of the male’s distraught.

img_0332

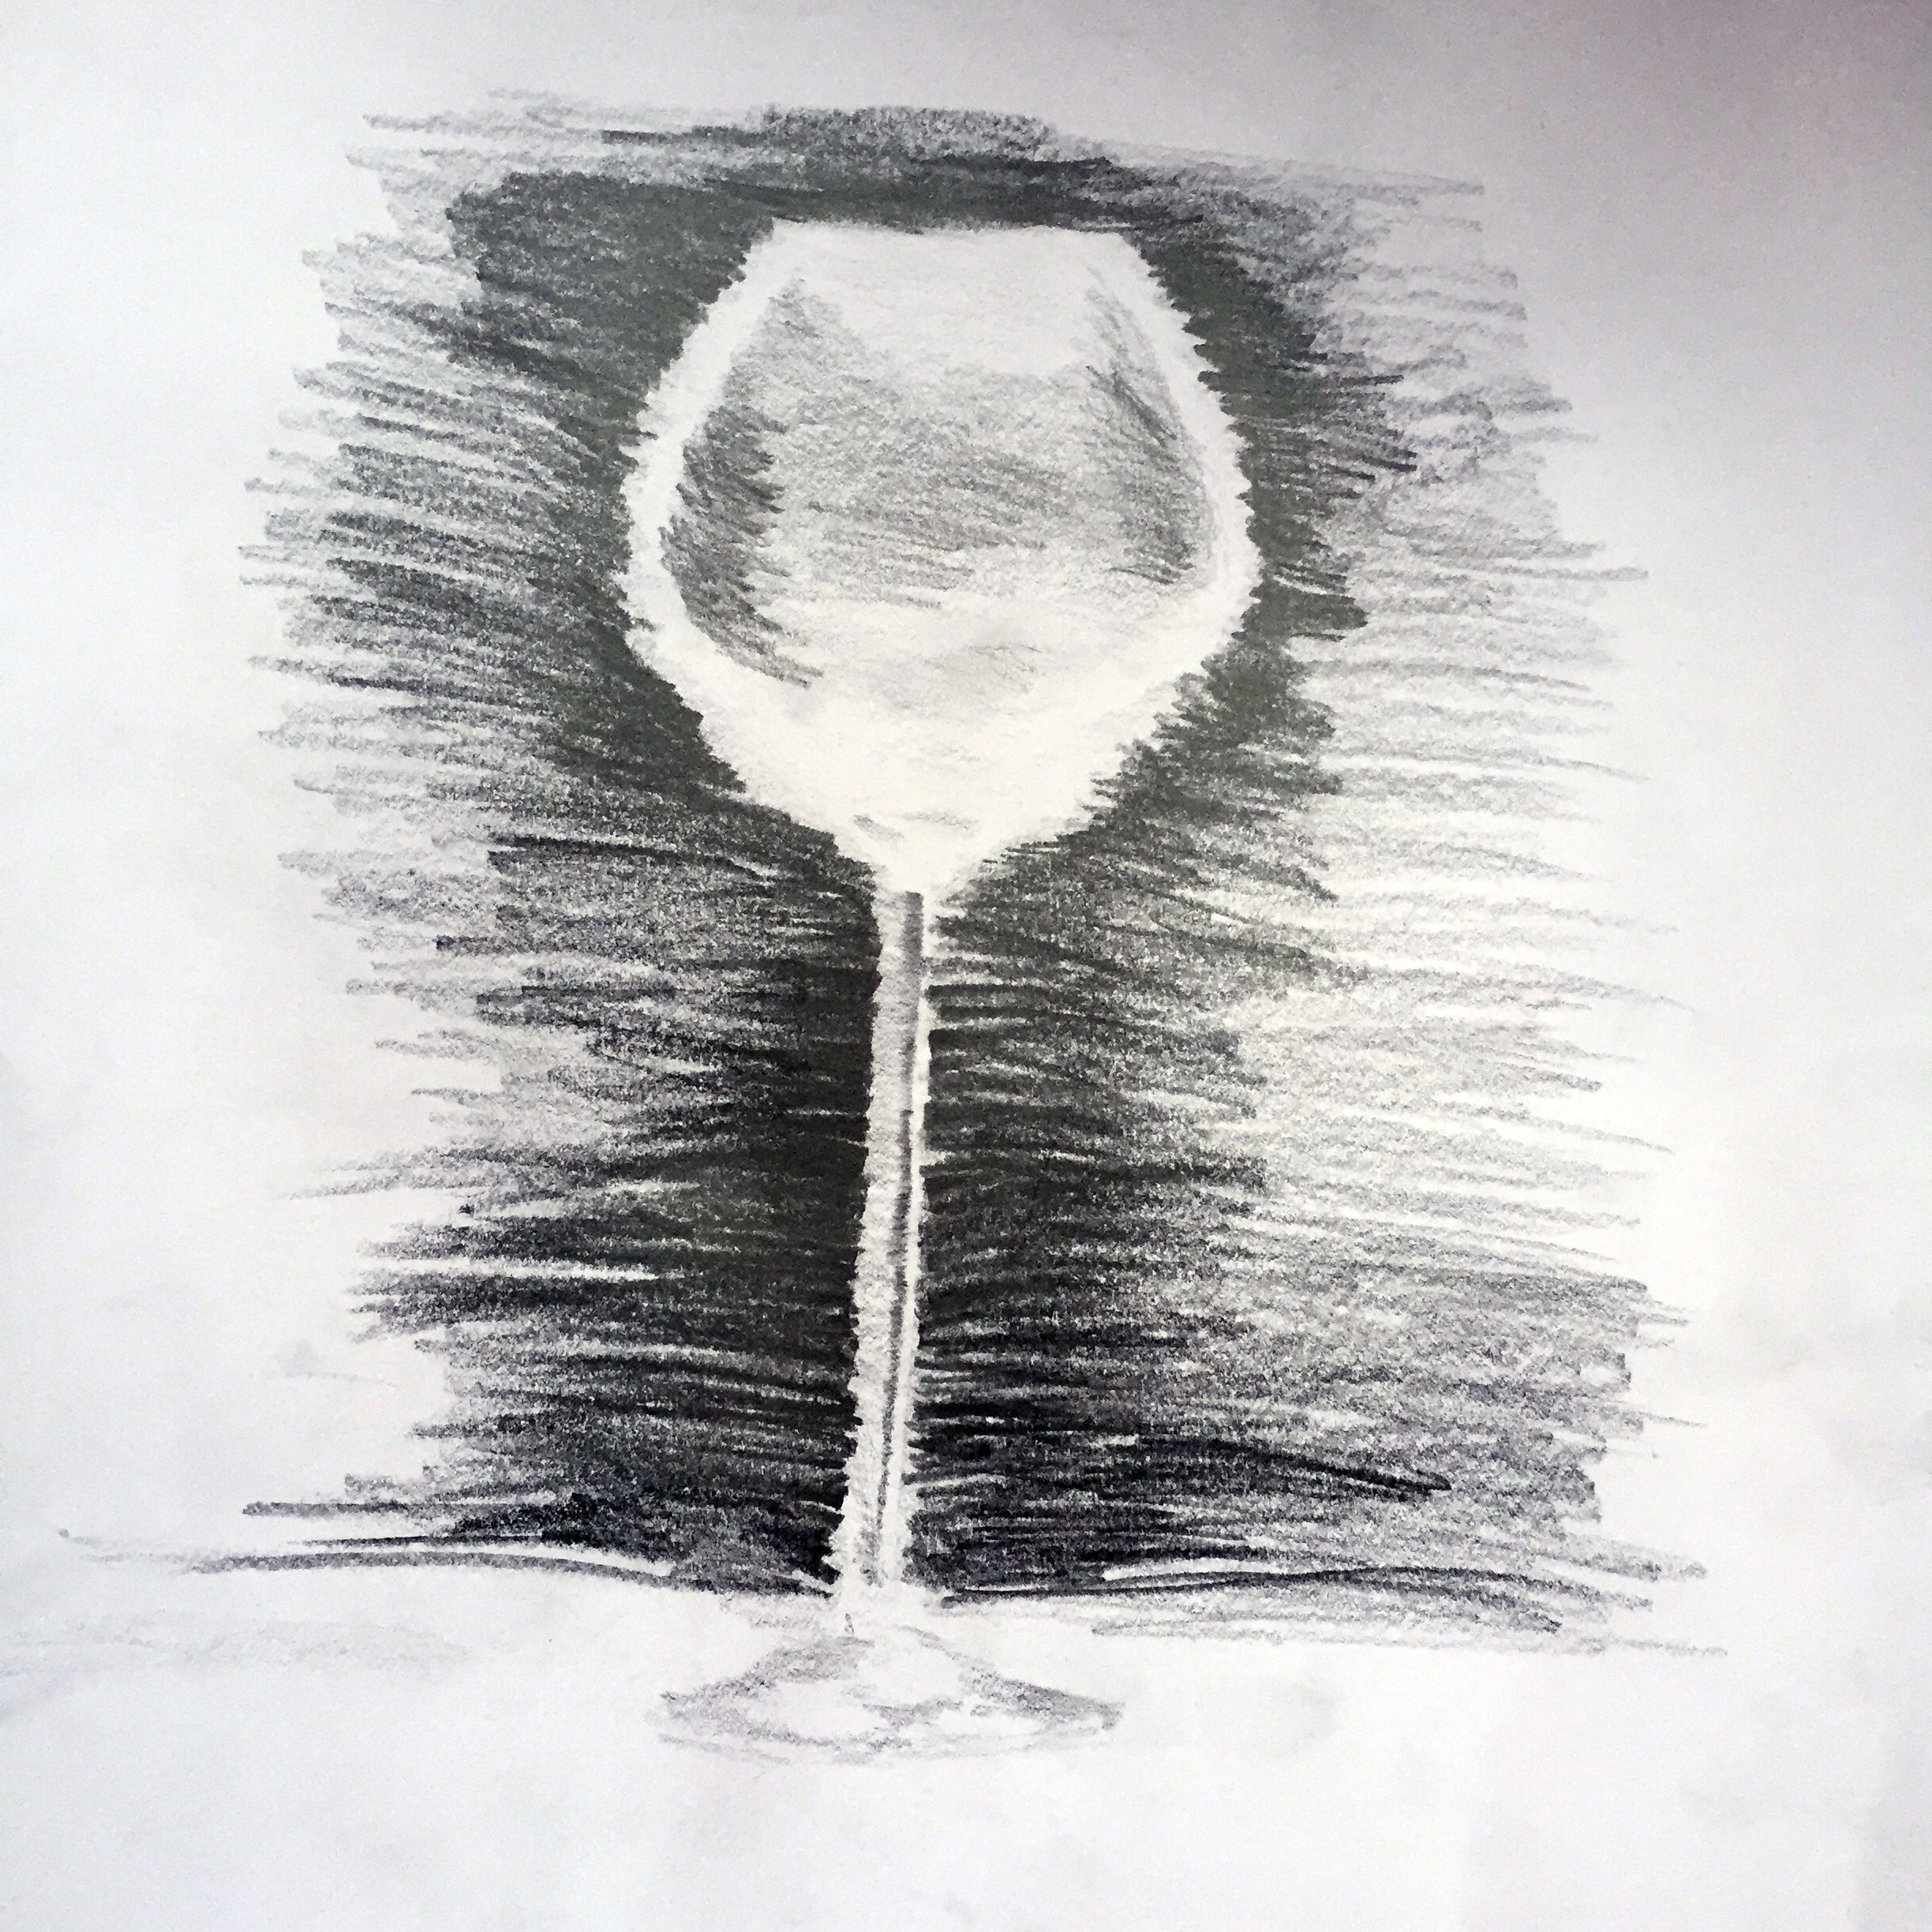
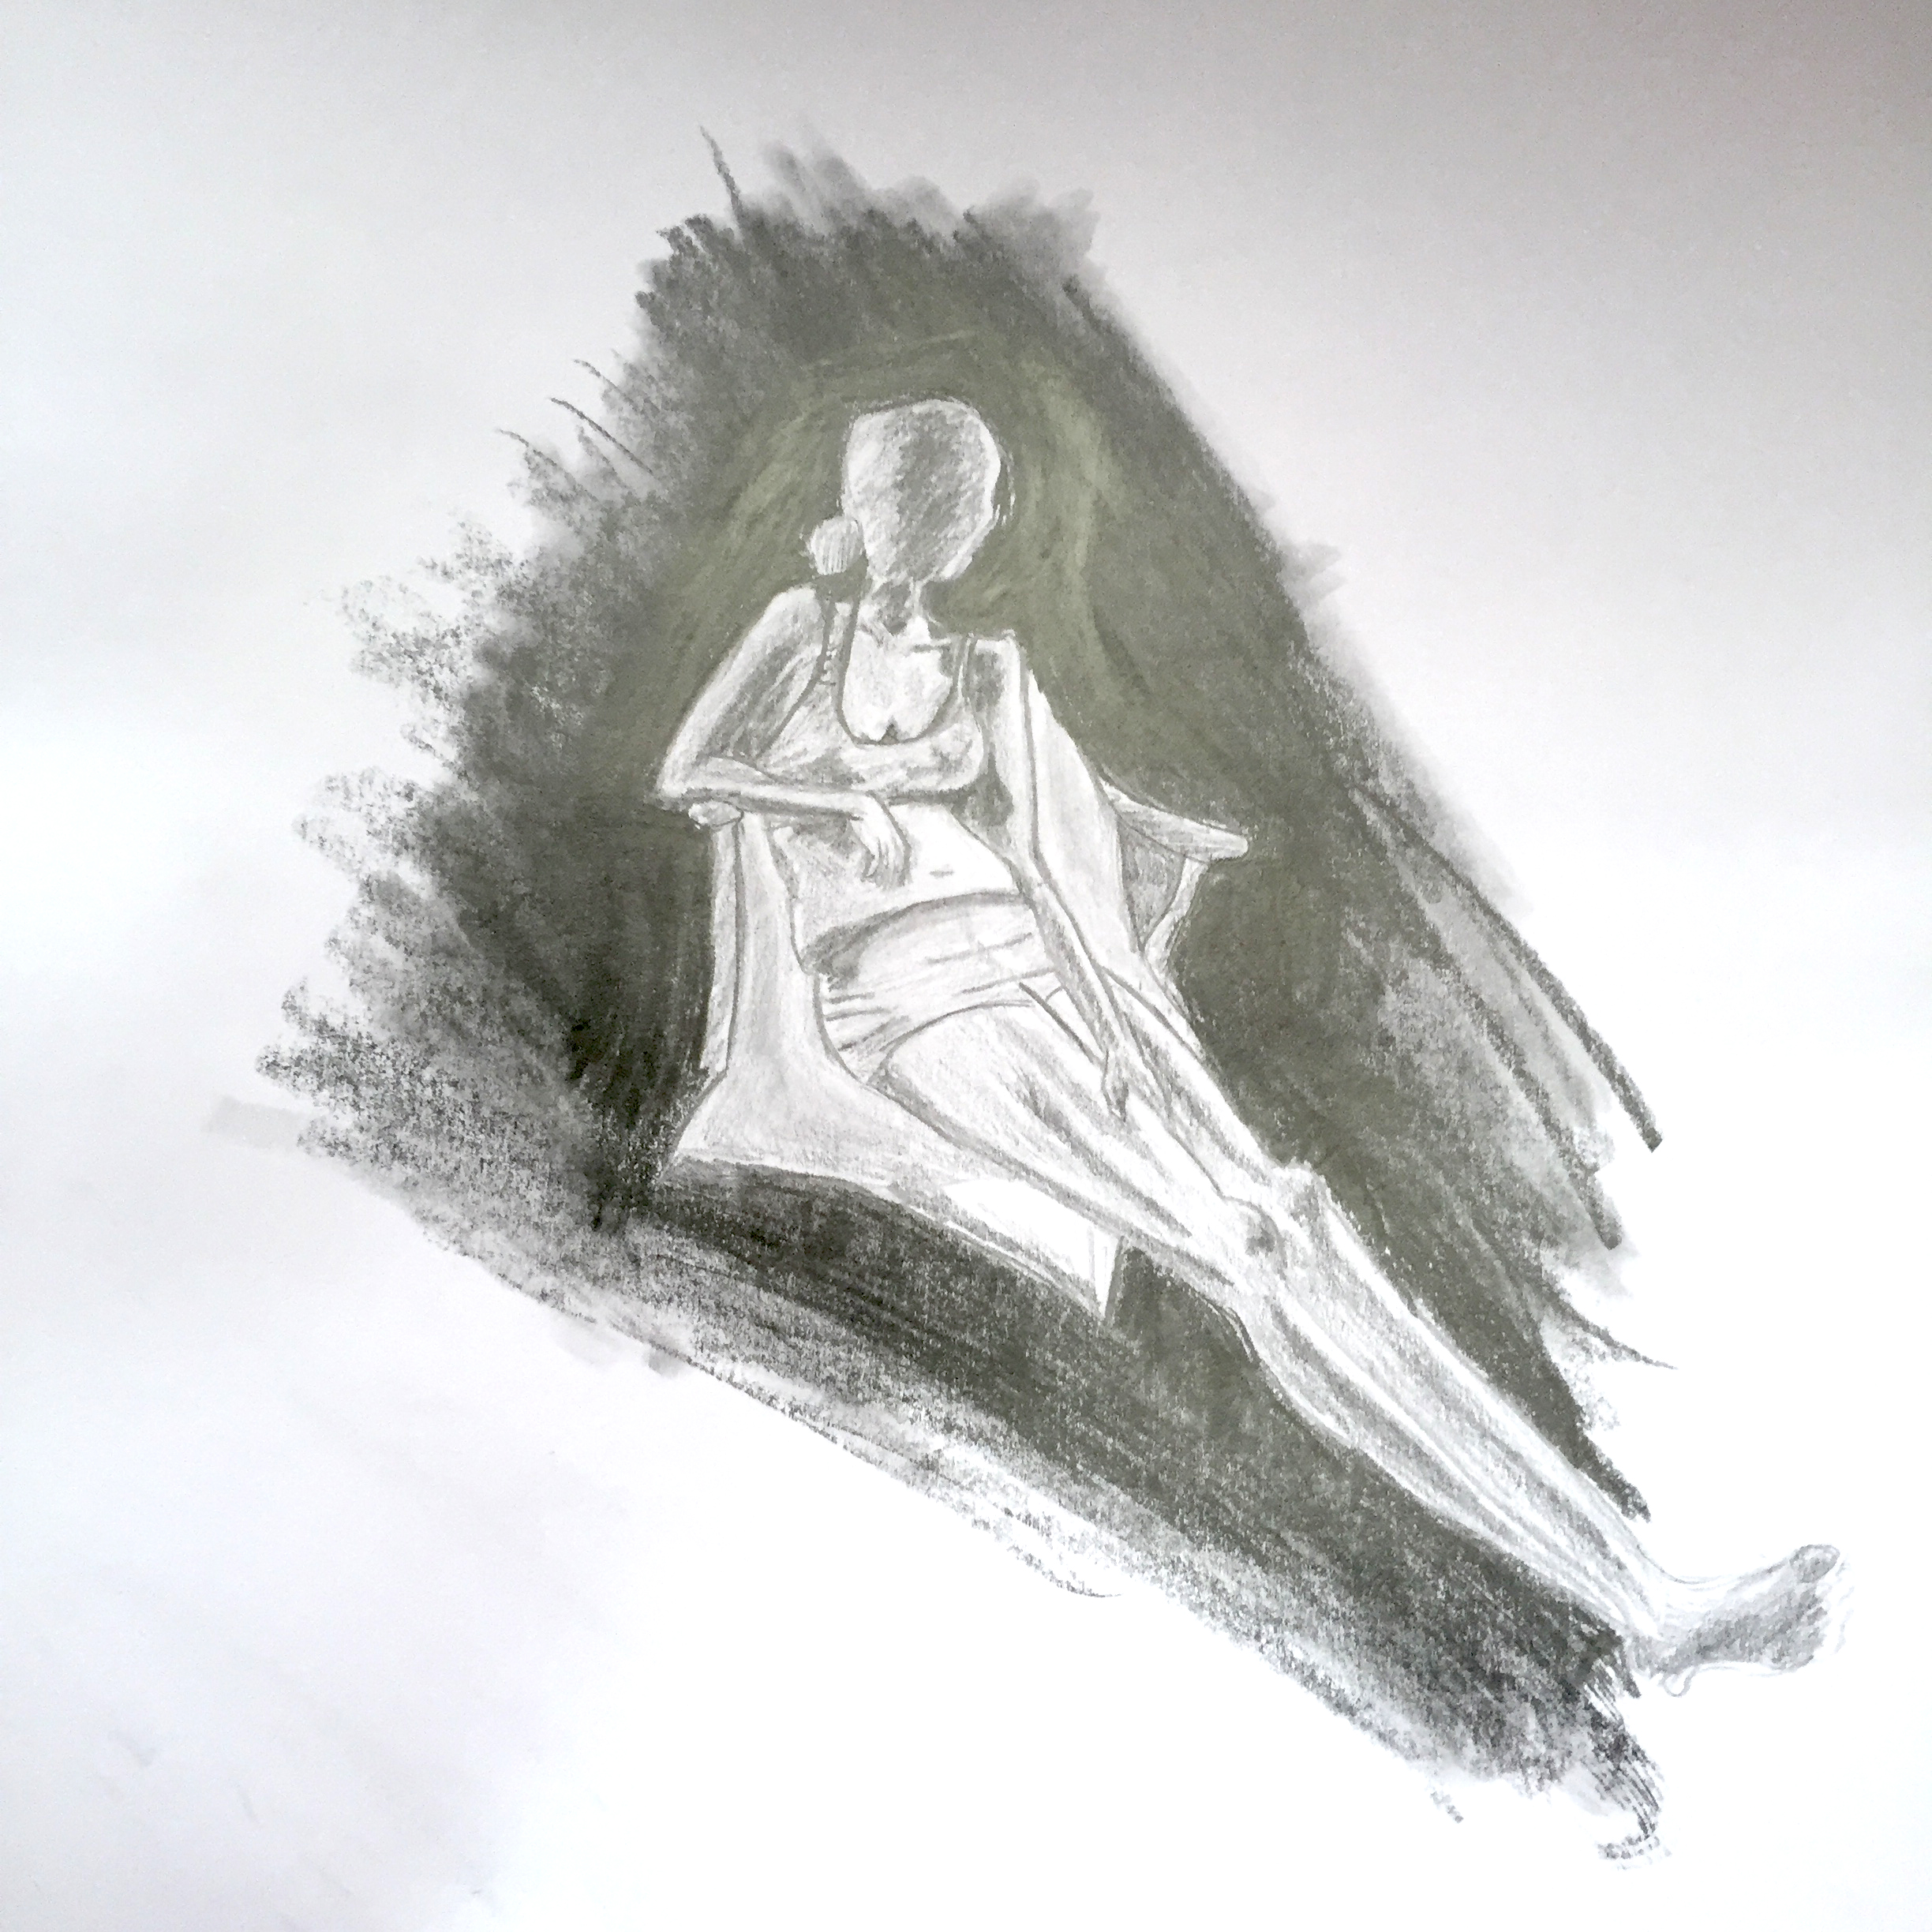
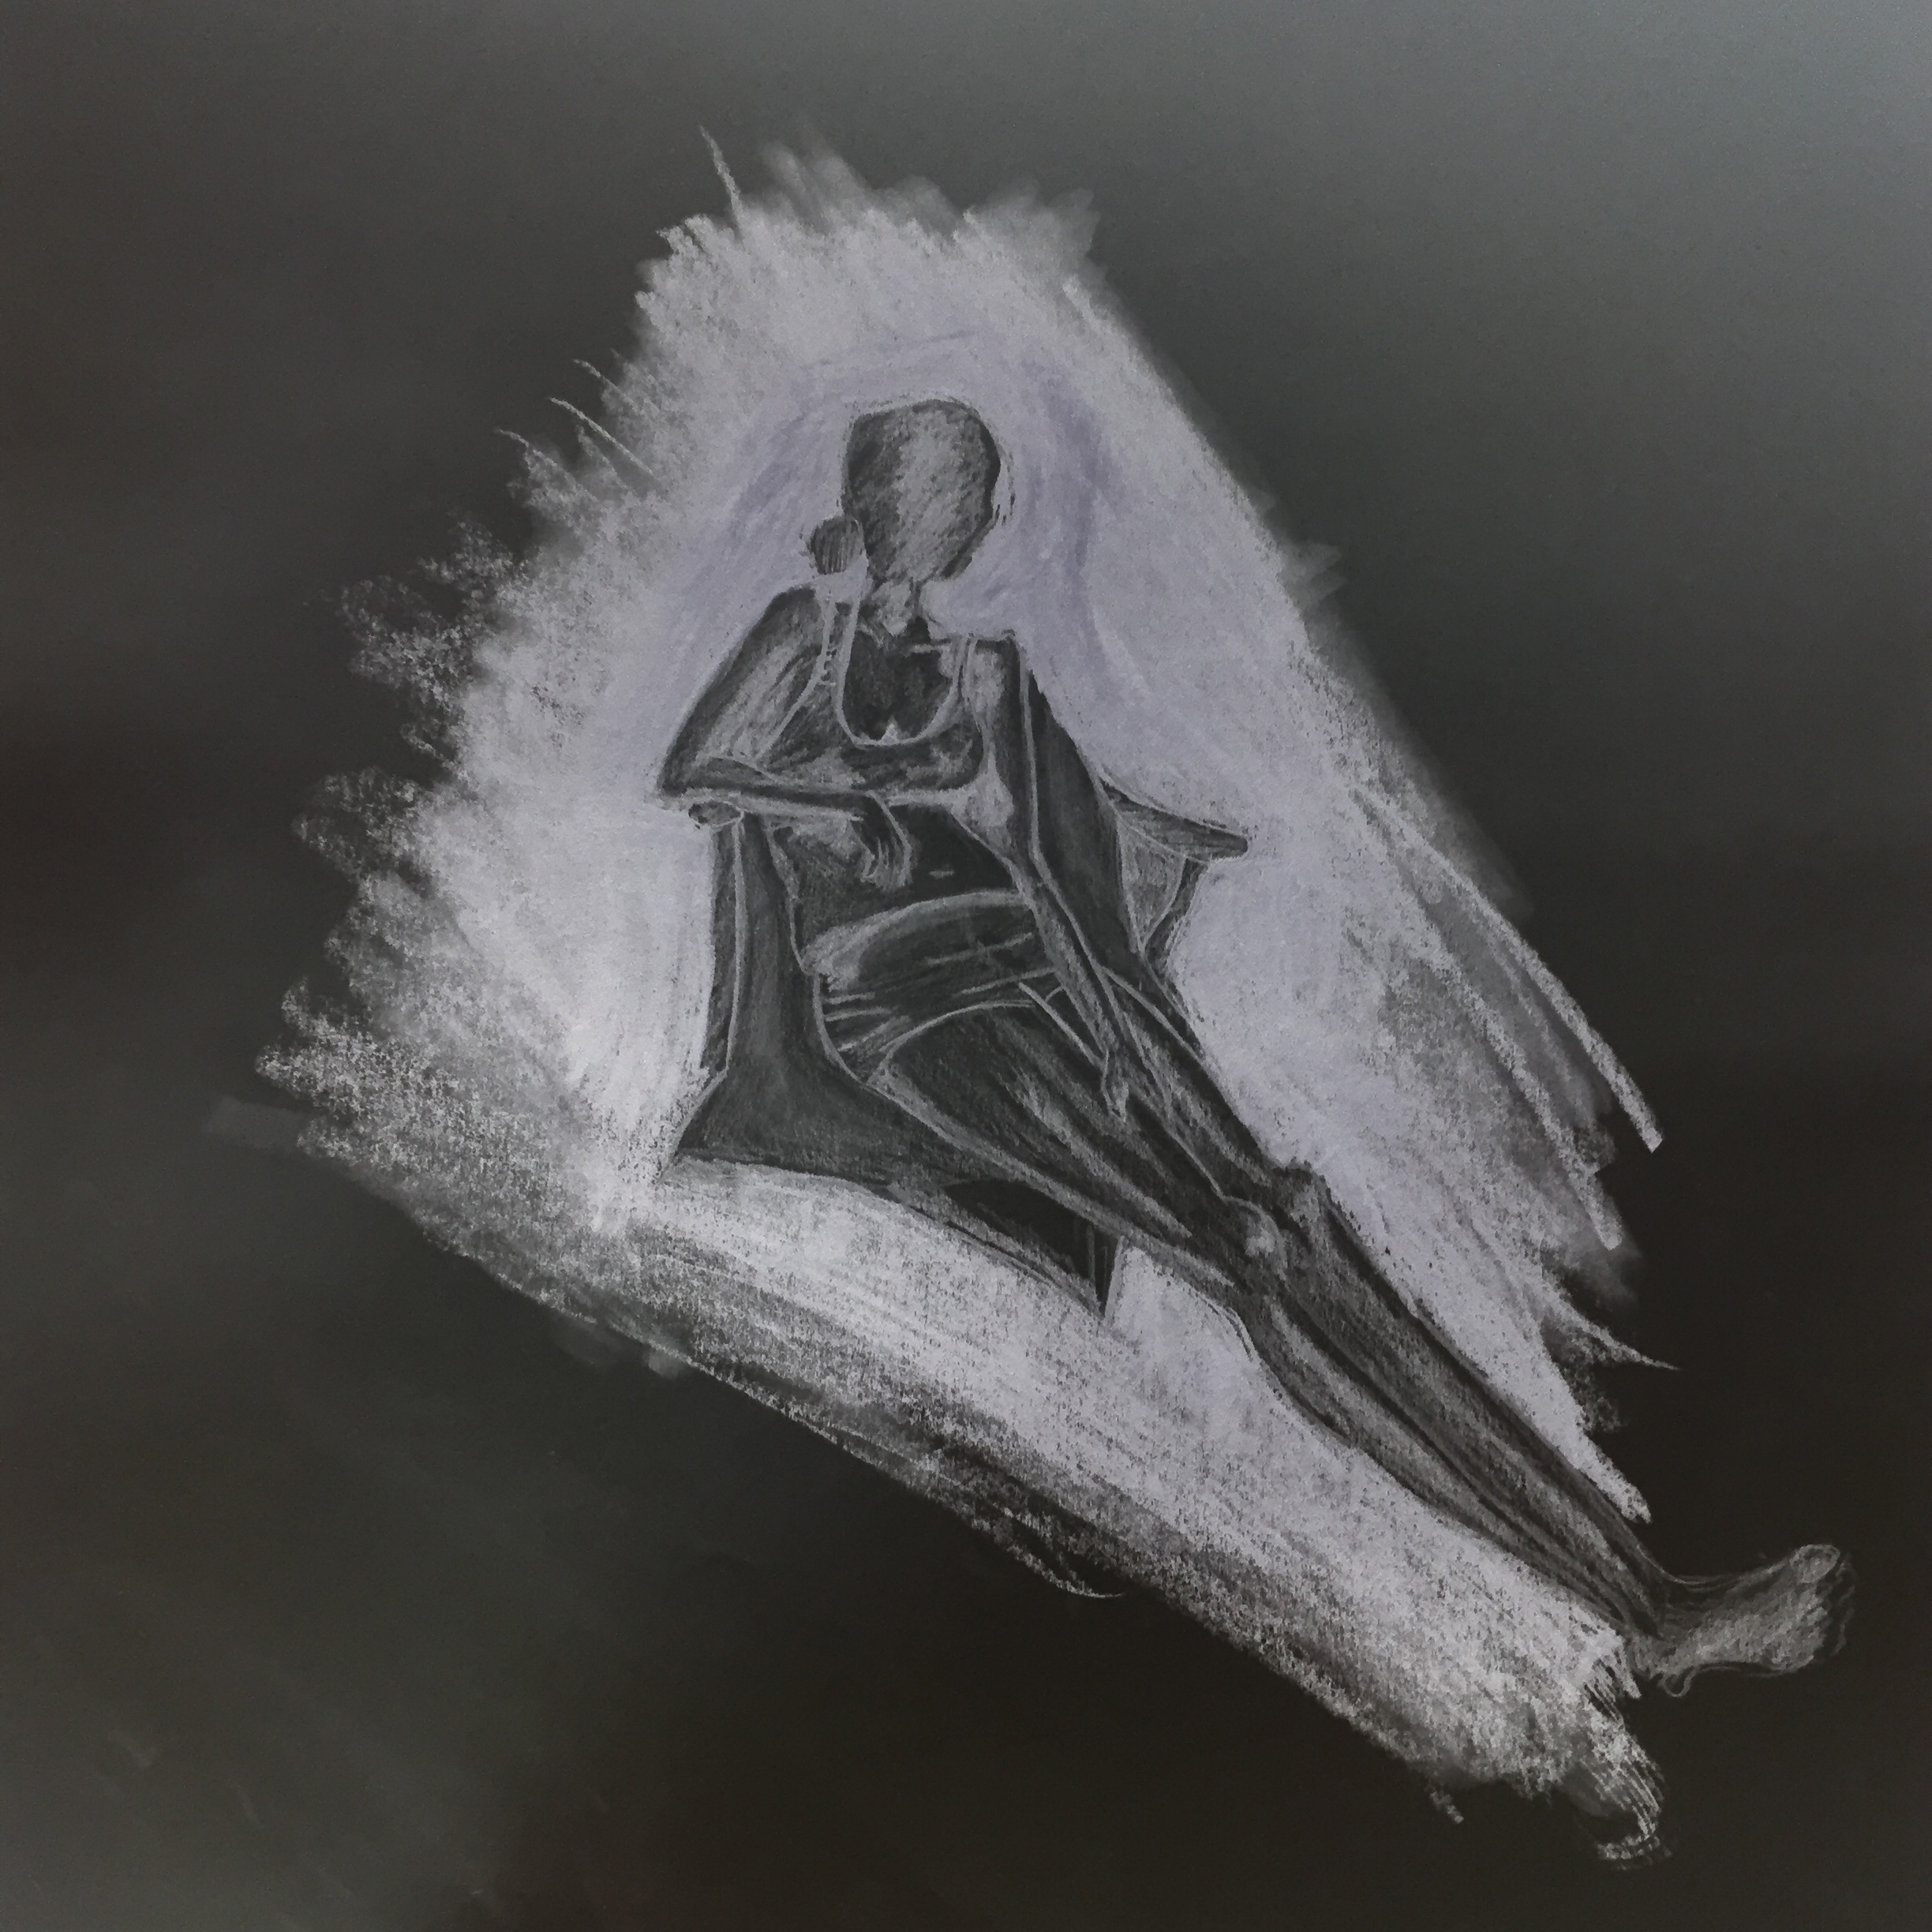
And because I was done with my first drawing, I made another one. This time trying something else. I feel that moon and darkness never fails to depict loneliness. img_0331

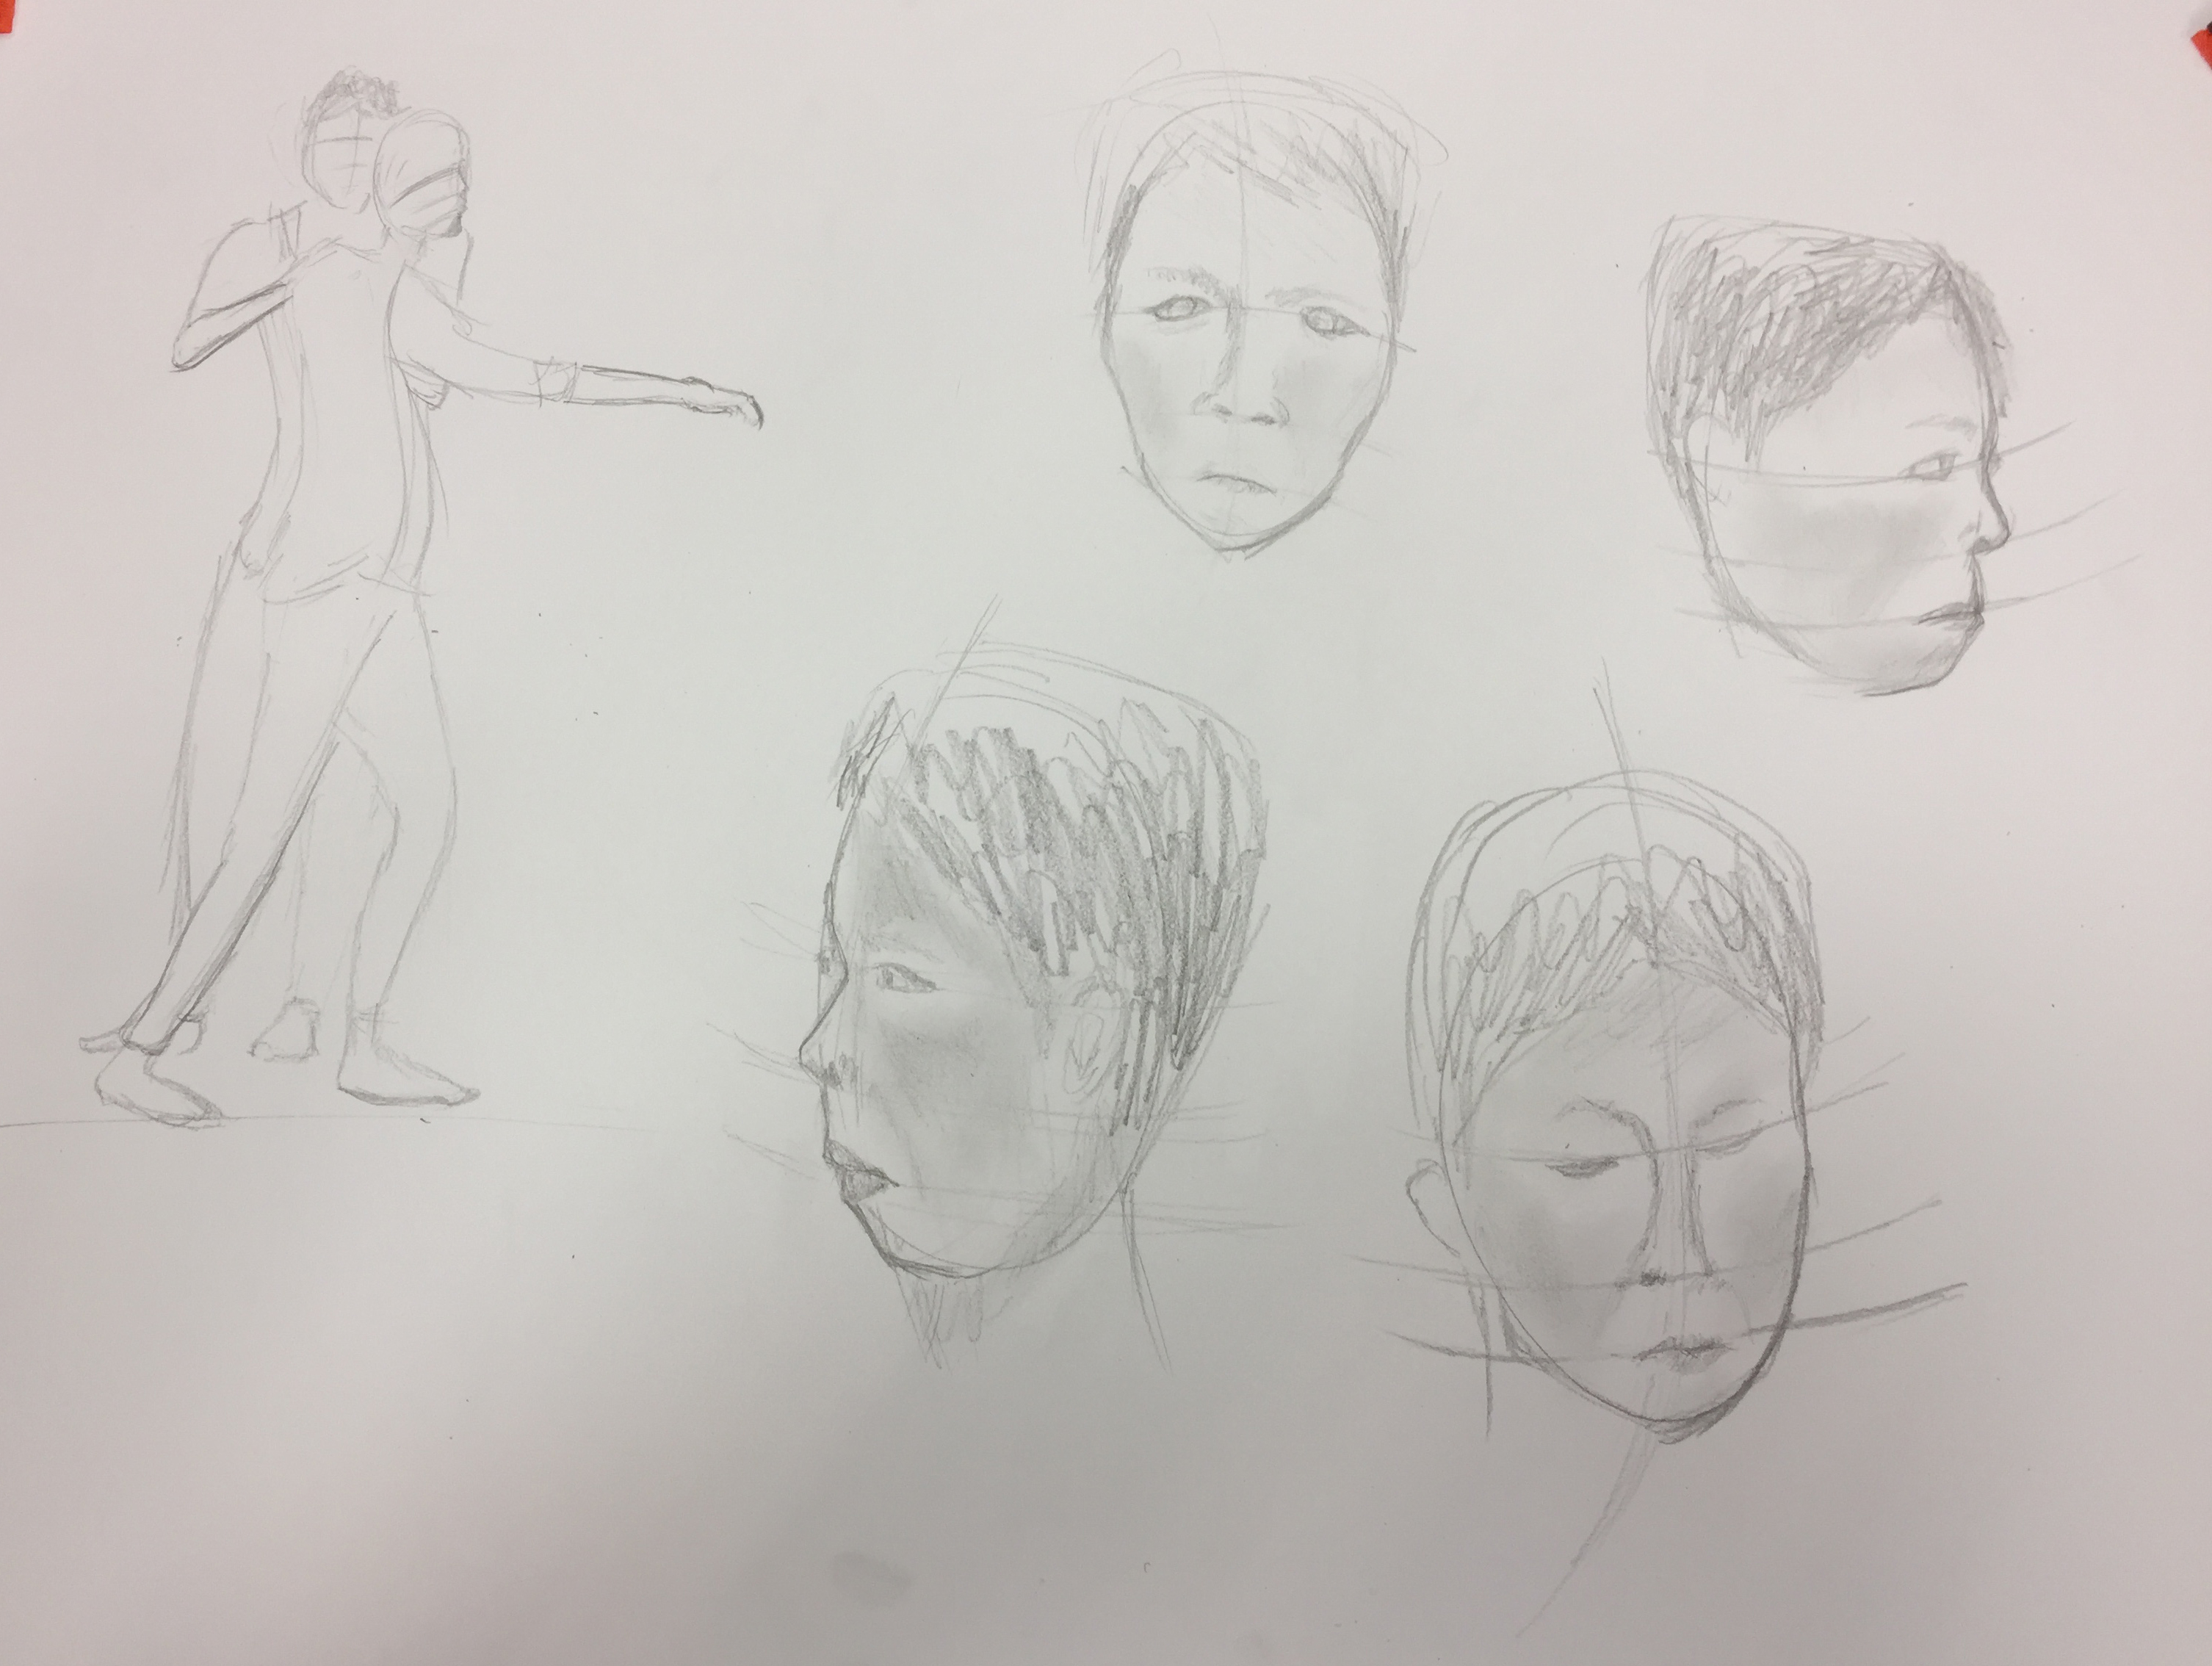
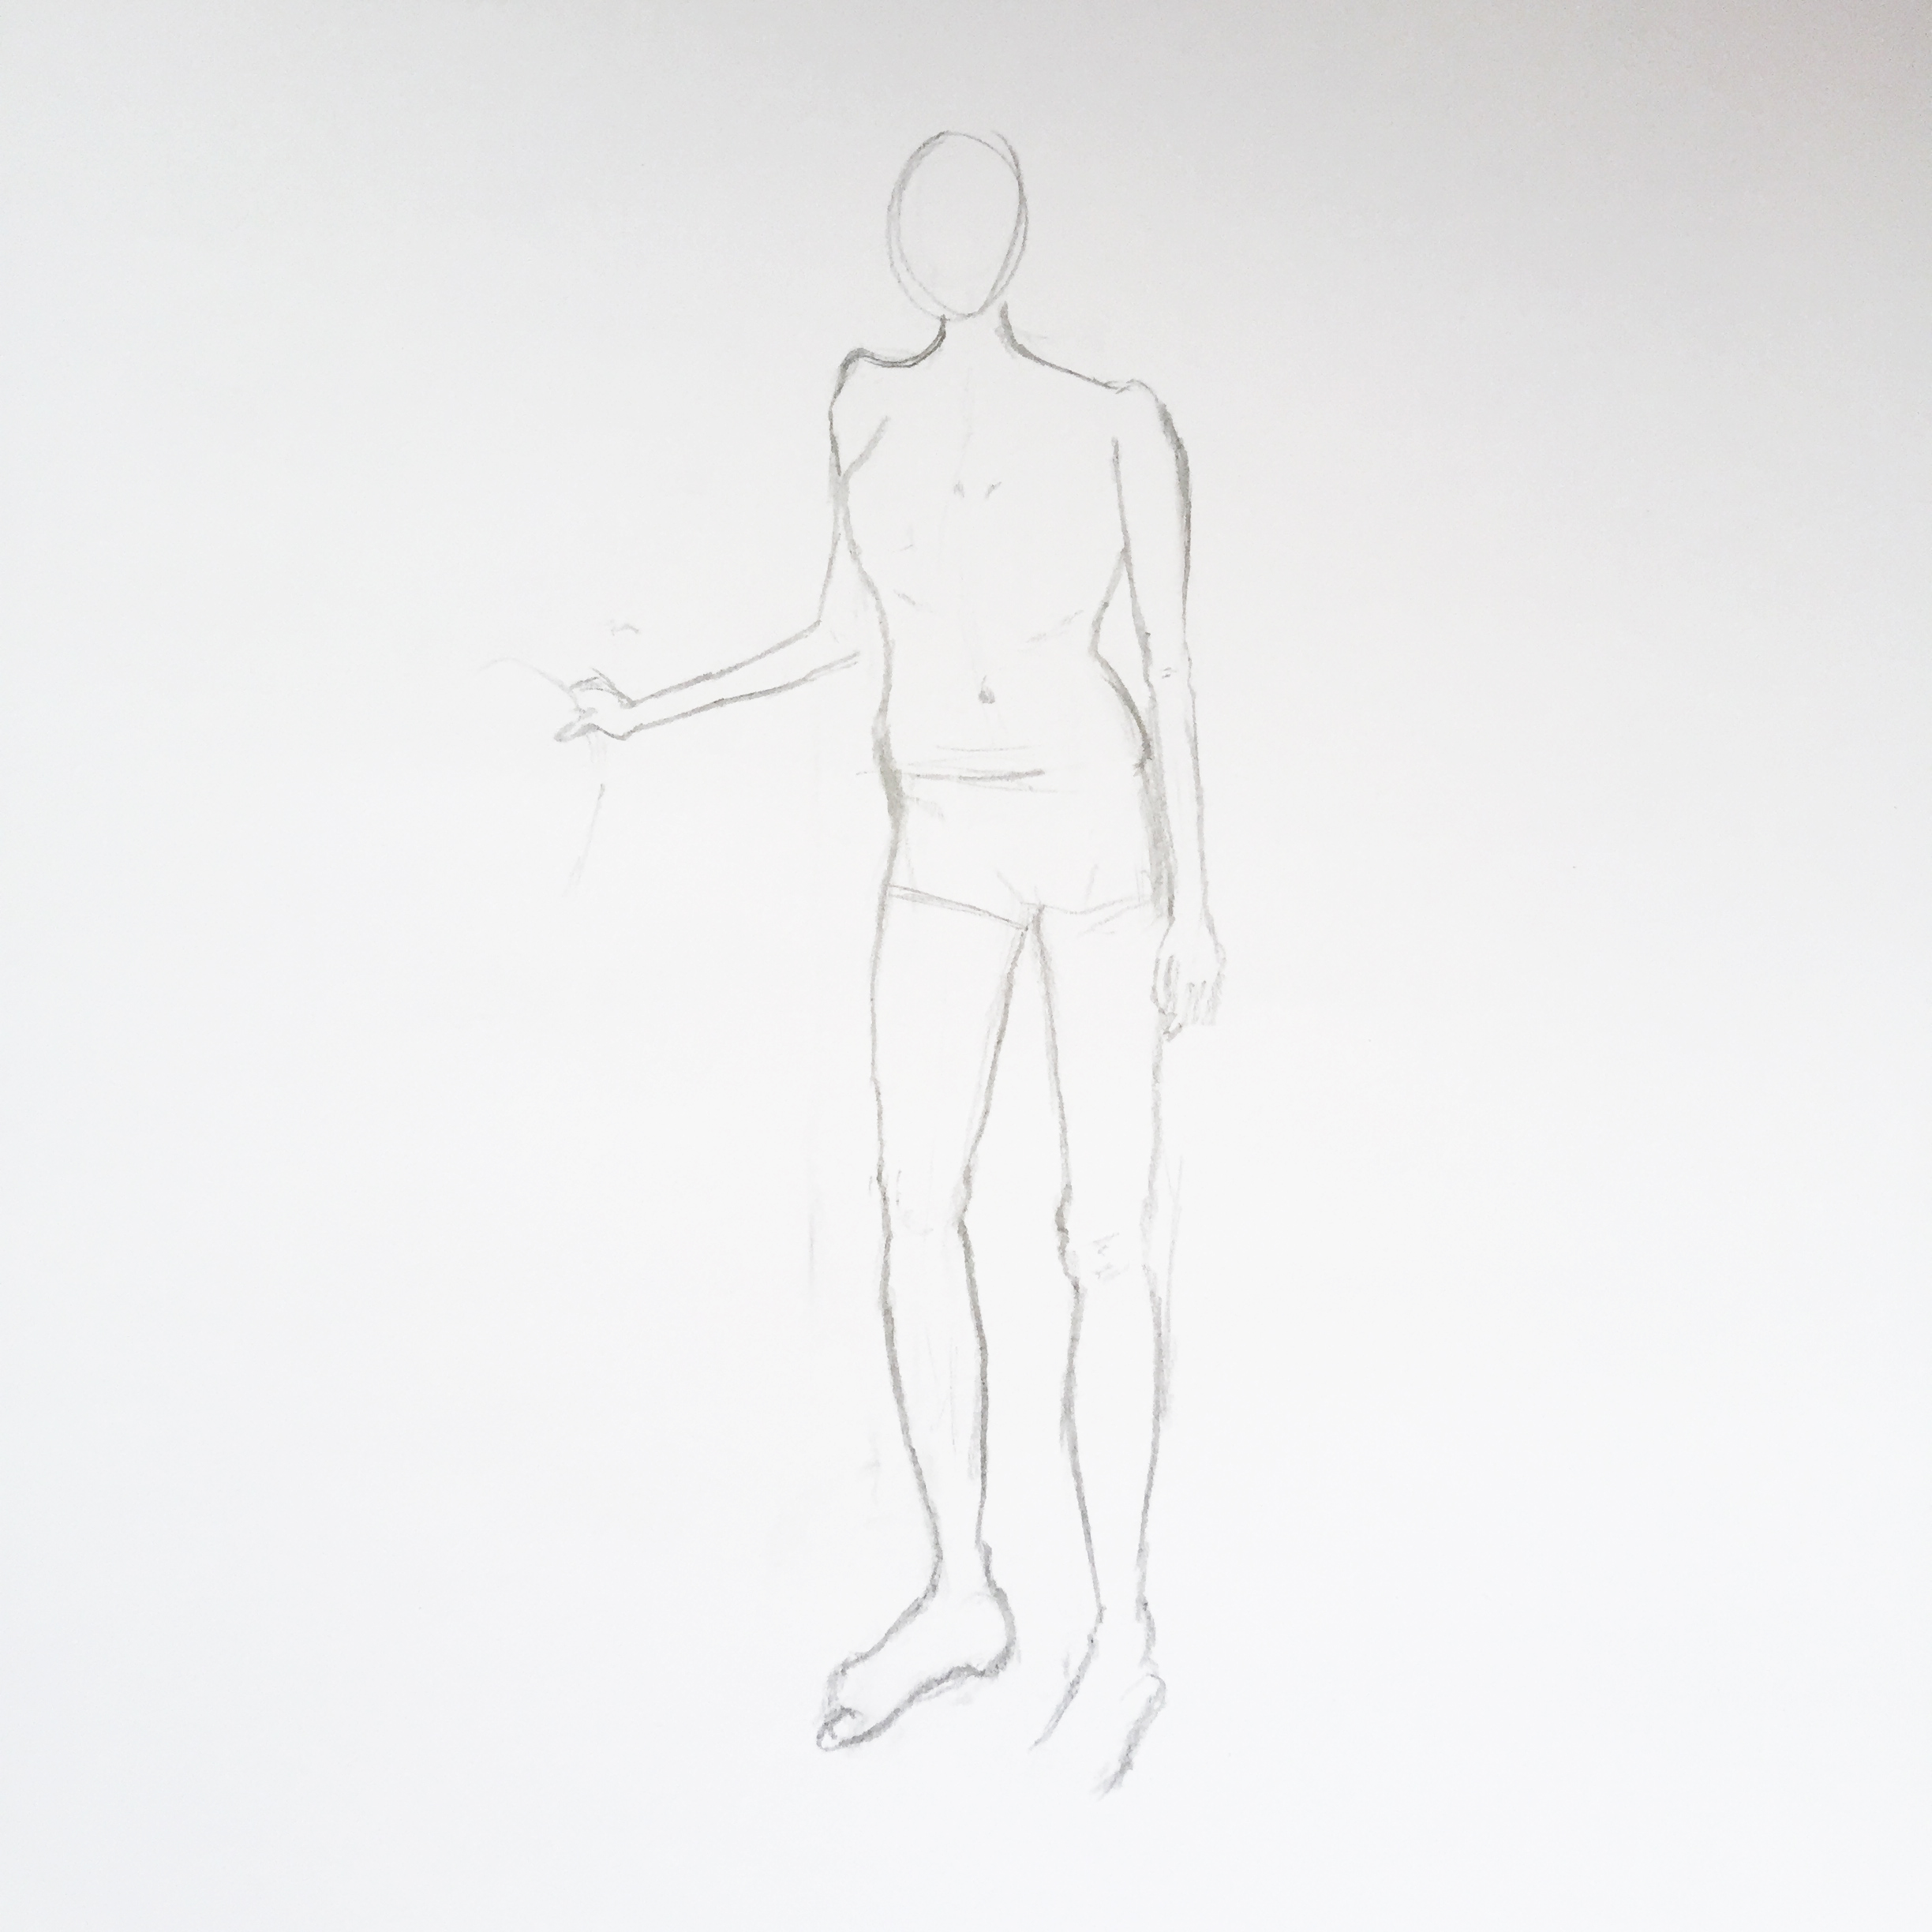
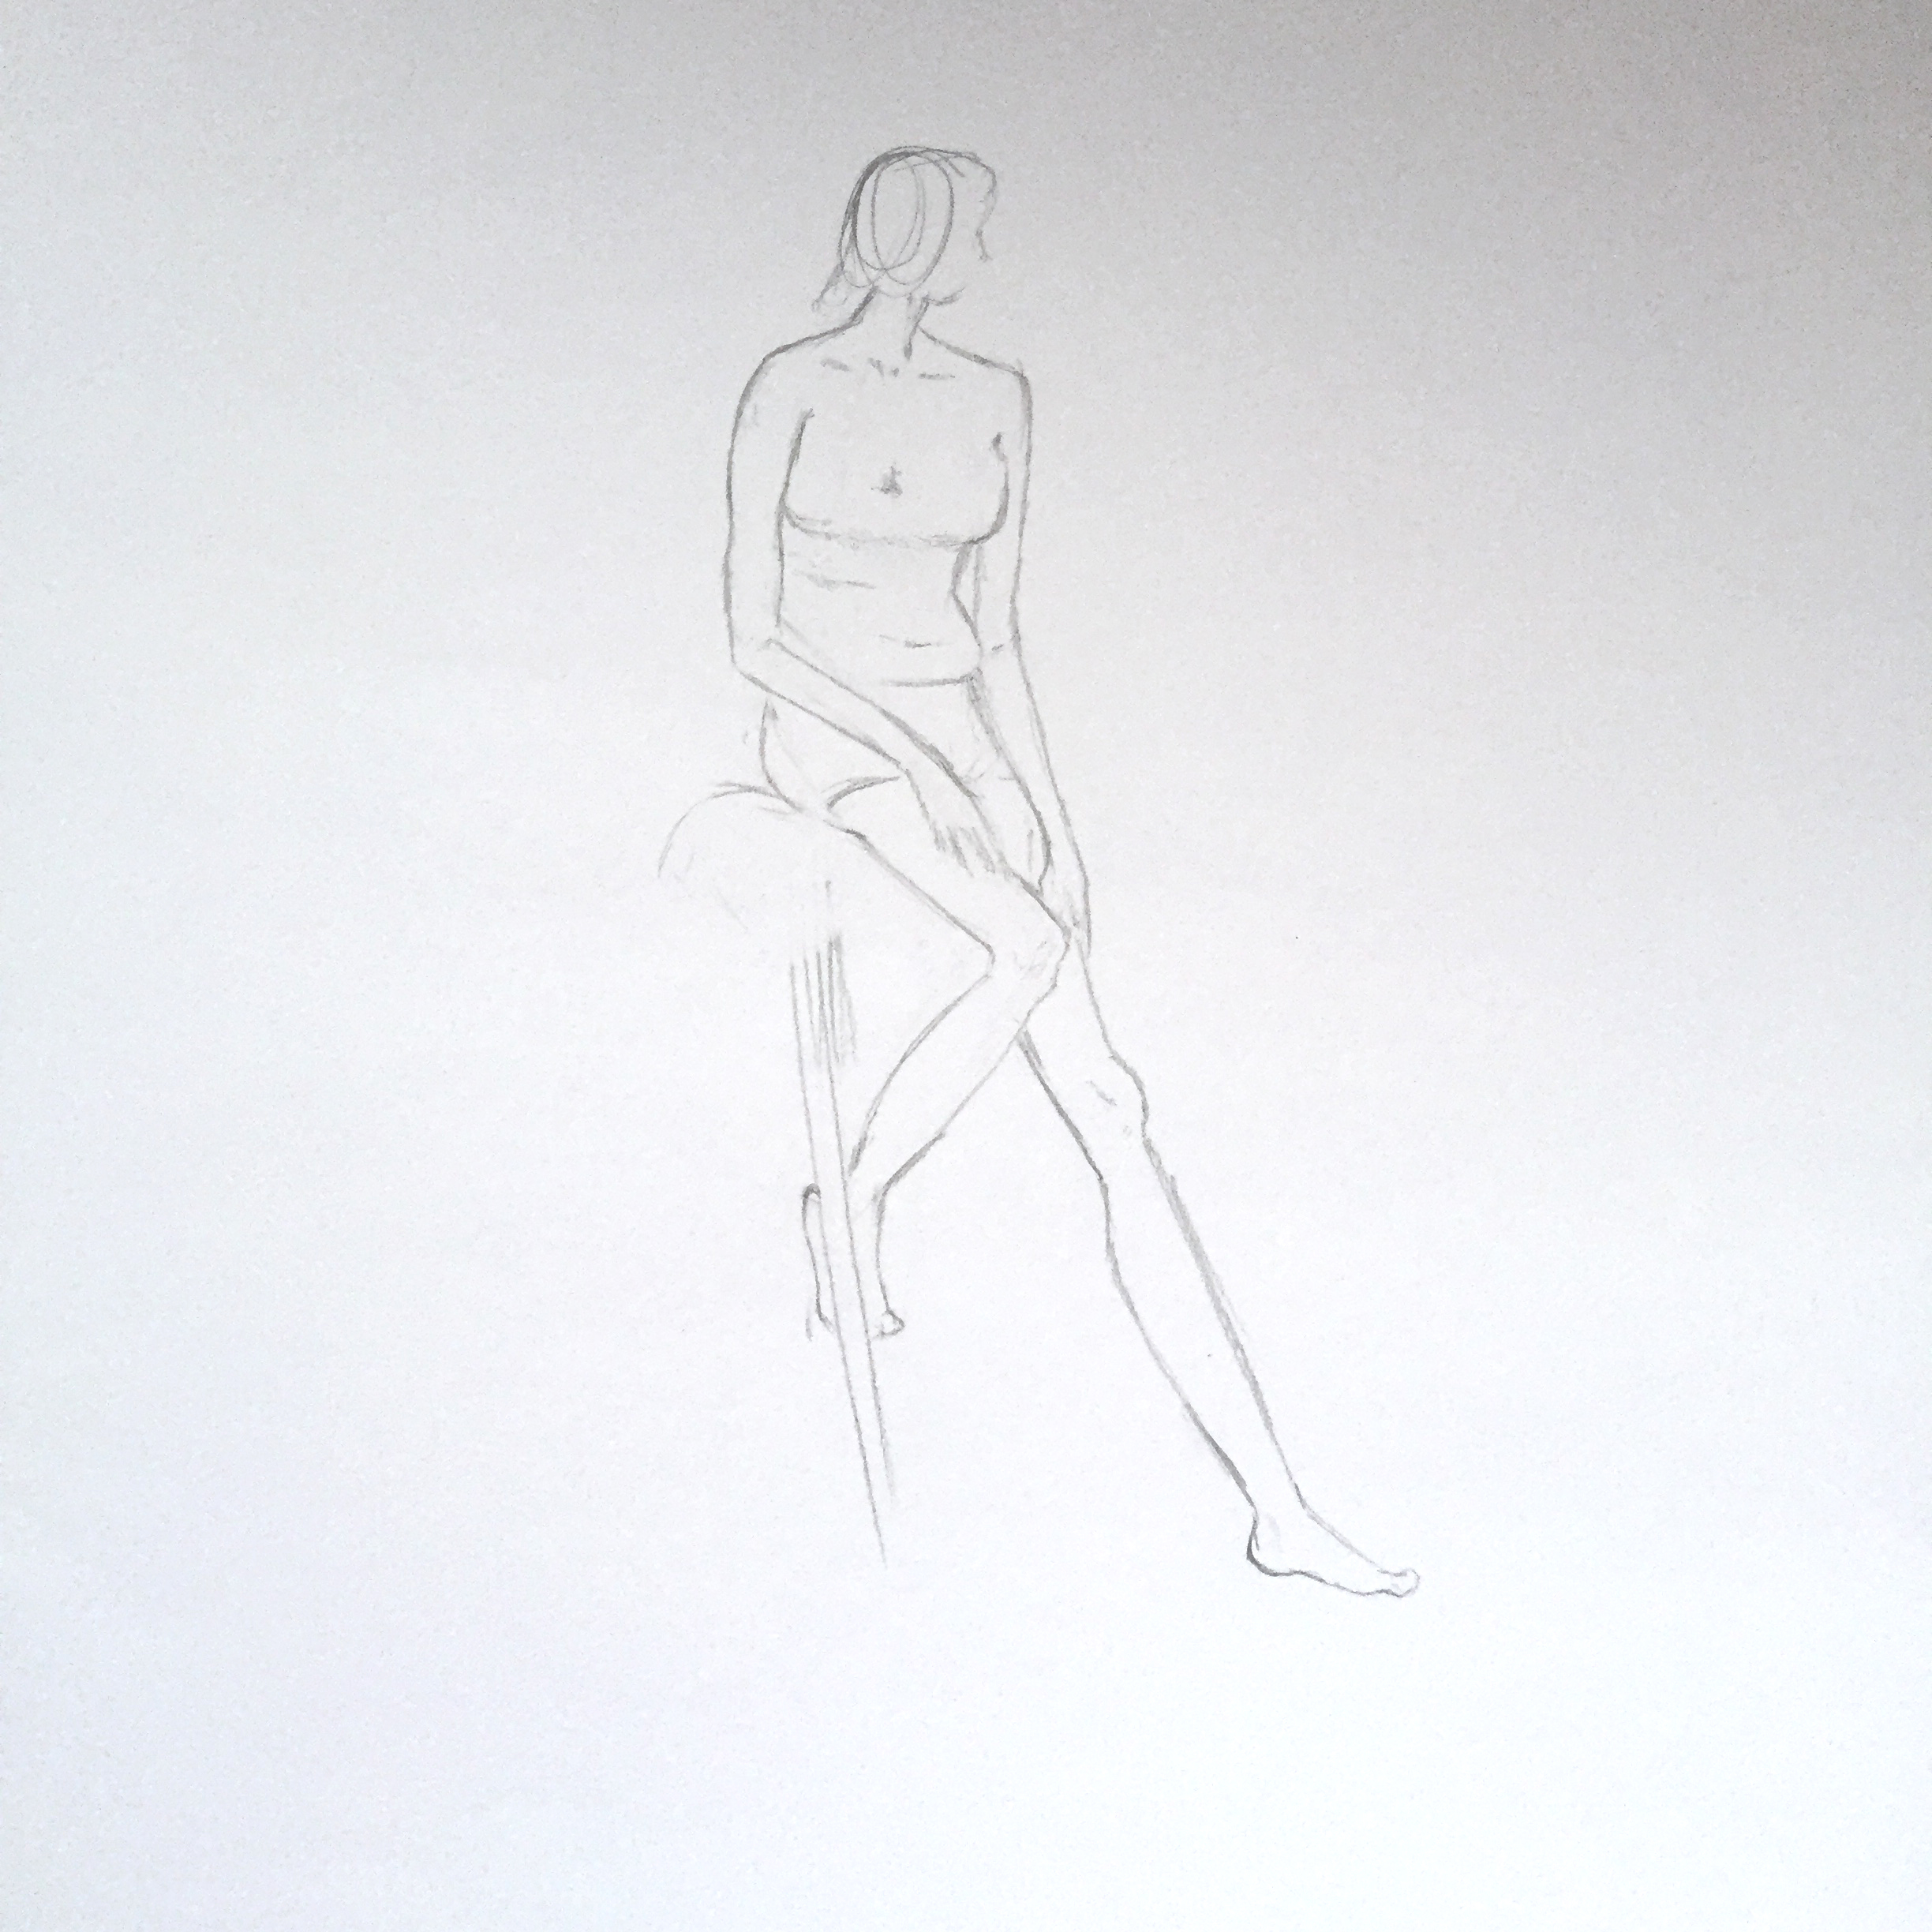
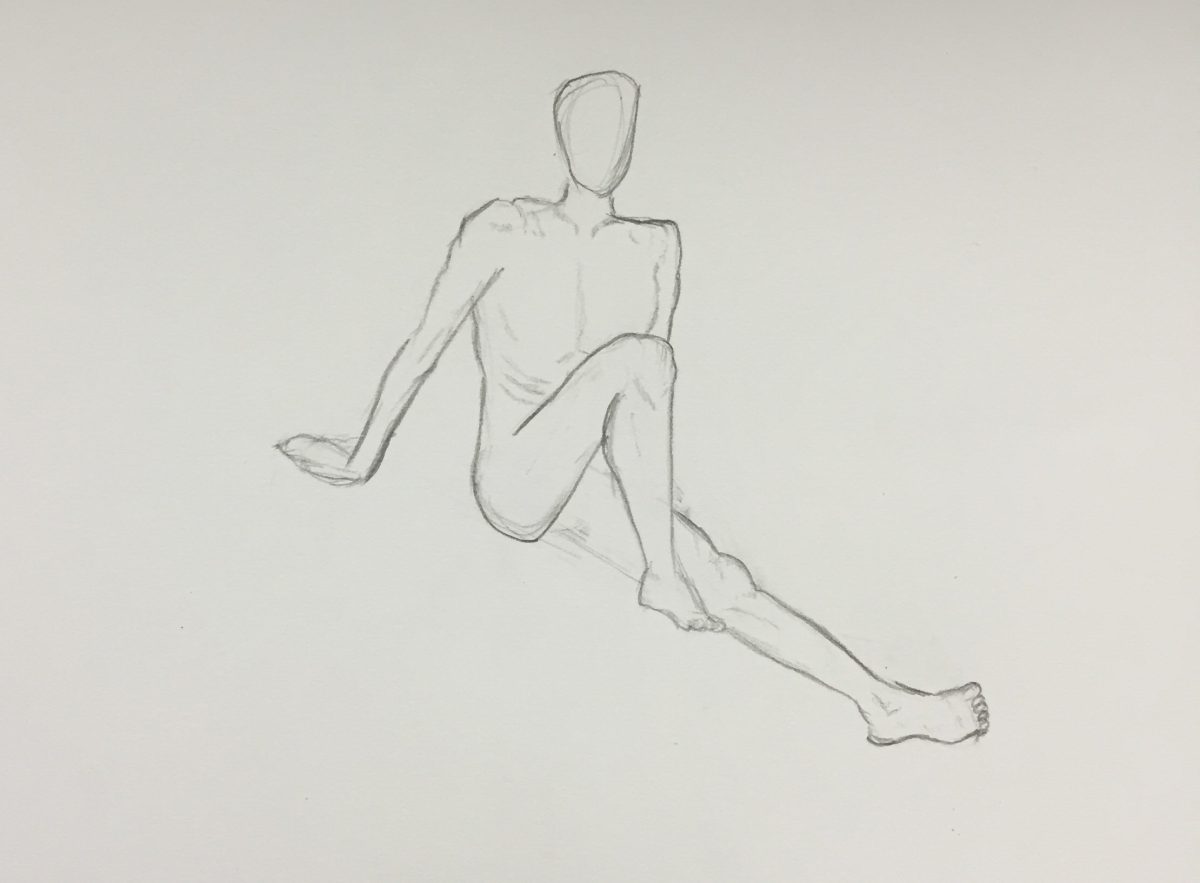
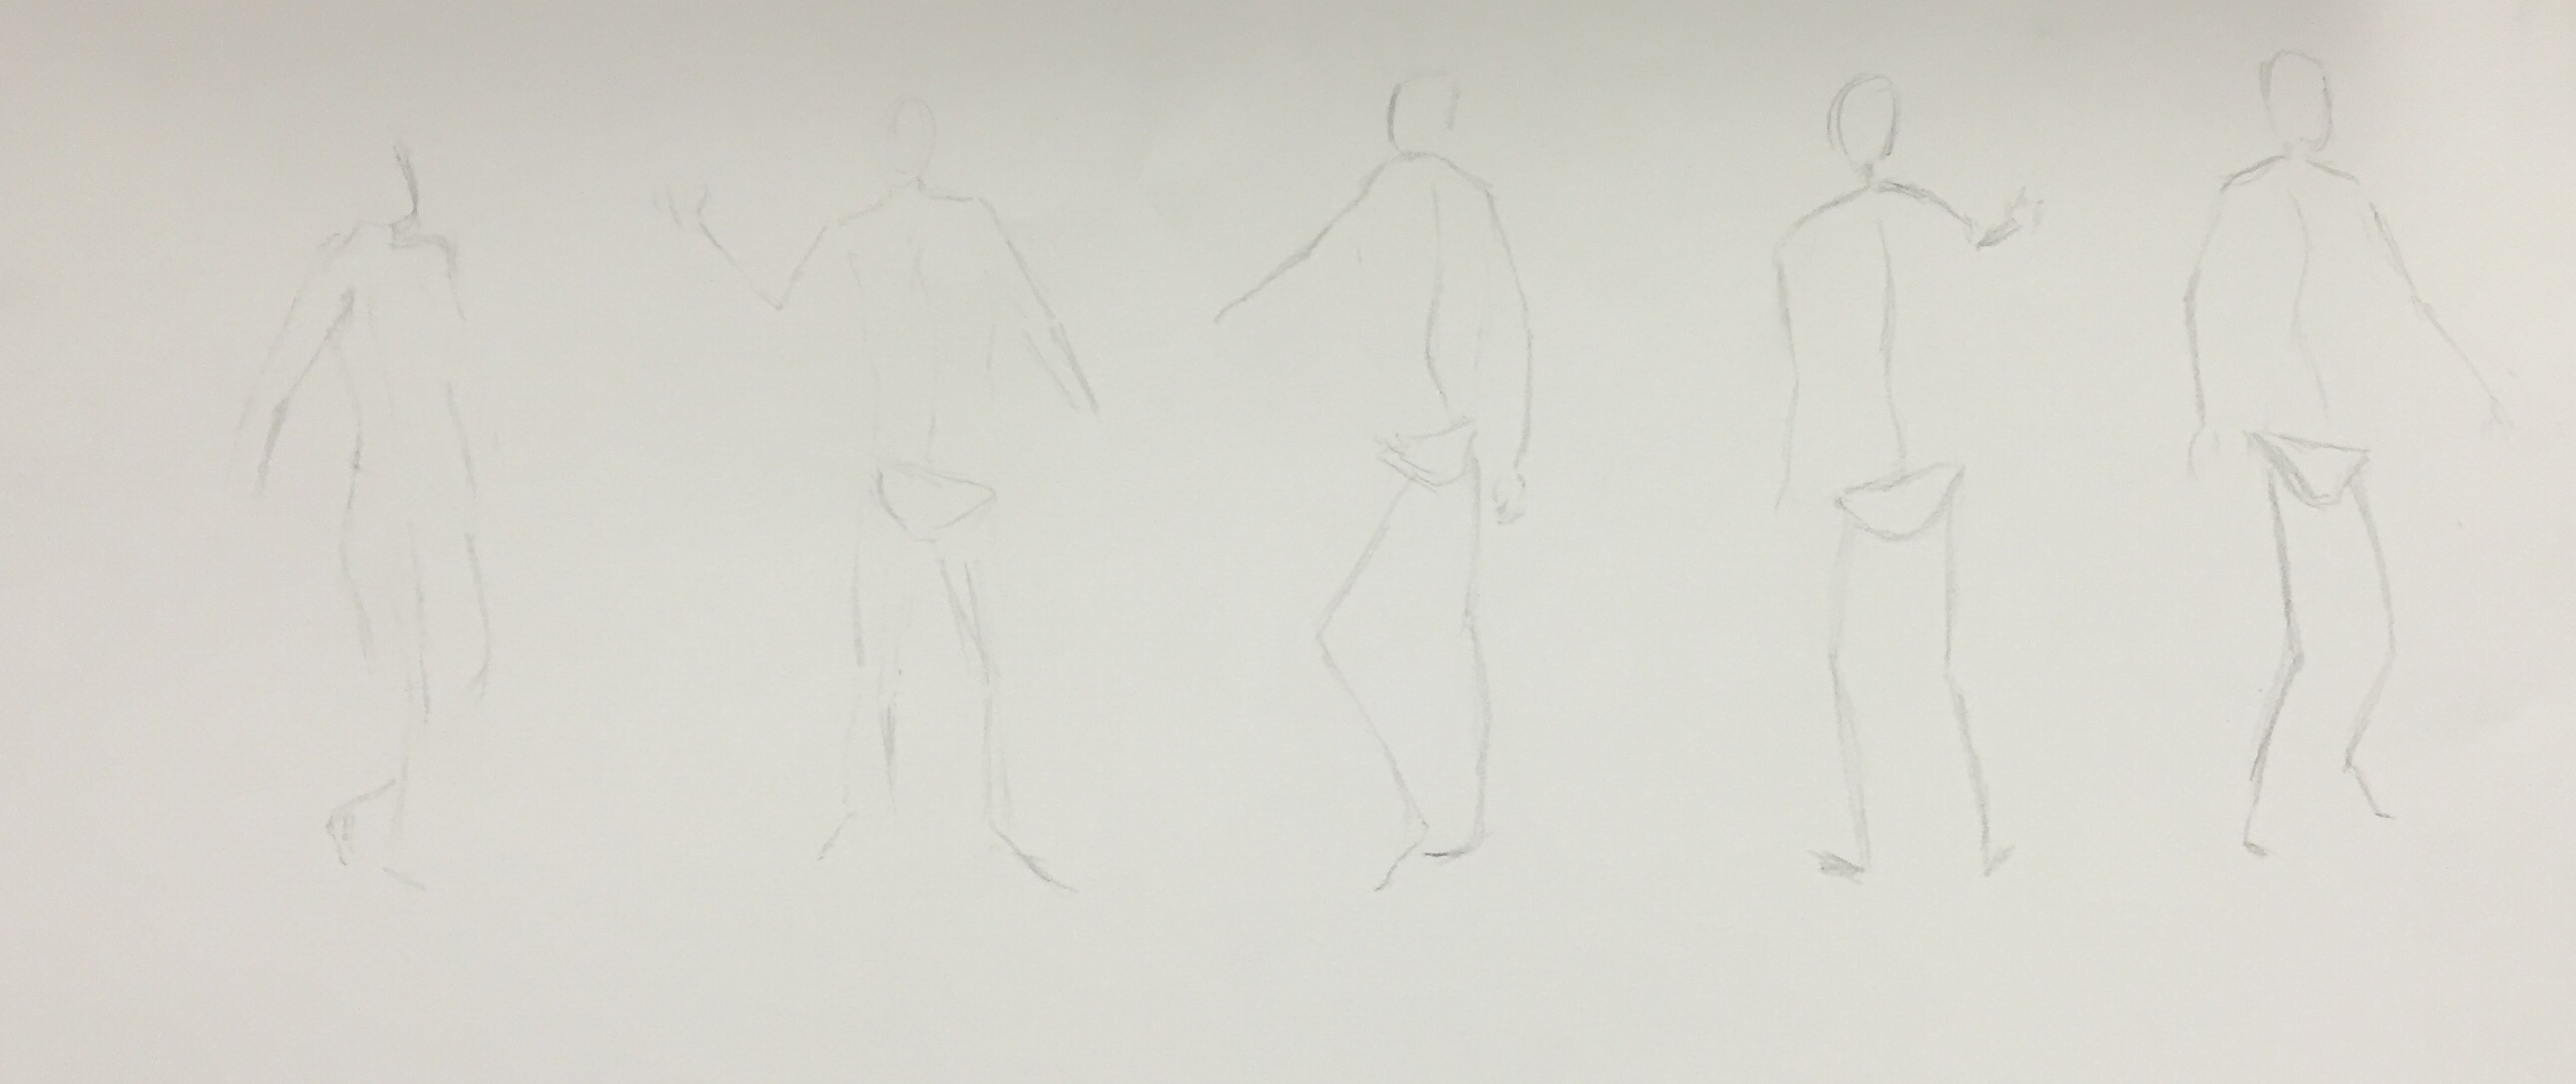
And we ended the class with 2 more drawings. The one on the right was the first we did. And the one on the left, we were told to make them look elegant. When I hear the word elegance, I would think “on point”. Thus, the pointy toes and hand.

model-sketching

See you again! 🙂

Portrait Drawing Week 9


Hi there! Week 9’s lesson was on face and expressions. As always, pretty interesting to learn about perspectives in class. Like we actually learnt that the proportions of our eyes nose mouth is 1/2, 1/4 and 1/8 of our face respectively?!

I’m always bad at shading and I really need to improve in my shading. Trying my best to observe light and shadow as best as I can! Hopefully I can improve with more practice!

portrait1

After a virgin try at portrait drawing ( yup I got the front view previously) , we had to draw at different angles! And also to draw the poses of our two models.

figure-sketch-and-portrait-at-different-angles

Finally, we had to draw poses of them exerting weight on each other and try to make it look as realistic as possible. Can you tell the tension between the models in my drawing? 😛

model-sketching2


And that’s all for week 9’s class! 🙂

Model Drawing Part 2

So before going in to model drawing part two, I should upload my previous work first. That we did for week 2. First we drew this jug, I haven’t been very good with shadings so this was a first attempt at figuring out where the lights are hitting and where should I be shading.

jug-shading

Then we had to shade a wine glass. It was way harder than the jug because this was see thru. And have to look harder to realize which part was dark with shadows or not. So here’s my attempt.

glass-shading

And this is what we did for week 6! Another model drawing but this time it is a female. And I have learnt after today that she was quite difficult to draw because of her (smooth?) and soft features that results it barely any details on her body unlike the male that we drew previously. He had the curves, the ribs, the chest, the muscle lines that helped a lot for shaping of his body.

Here’s my first attempt.

img_0067

And the second attempt.

img_0066

And the last one where we had to add in the shadows to her body. Comparing with what I did for week 2, I boldly feel that it was so so so much better? 😛 But I did learn a lesson of not shading my background too dark. Whoooooops.

img_0063

Thought this inverted image look pretty cool so I shall have it attach in this post too. HAHA.

model3_invert

Draw a model!

Keke, it has always been a dream to one day sit in front of an easel and paint a model. *imagines myself with a palette and professionally painting a picture of a model*

Well, it sort of happened today. Except that we had to draw intead of painting our male model!

Started off by learning the basics of bone structure. I used to draw anime characters back in secondary school and had never realize the importance of a backbone structure. If only I had knew it back then!

This has definitely open my eyes to a whole new perspective of drawing!

image

Then we move on to drawing the muscle details of our male model.

Here’s my first attempt at it. I think my proportions are a little off. Whoops. It was suppose to be just right but I took a step back and found that his tummy looks funny initially so I tried to give his tummy a more accurate curve and didn’t realize that I magnified his body area a little larger than the rest of him. HAHA.

image

We have yet to learn how to correctly draw the hands and feet at this point thus I only gave a rough sketch of it.

The model had to move and my next drawing was his back! I kinda liked drawing the back view (no doubt it was easier as there was no ribs or chest, but I like it because the muscle lines were fun to draw. It’s like each stroke of line gives a little life to the sketch!)

And yay, learnt the way to draw hands and feet I had always been bad at it. Now I’ve learnt the “hacks” of it! Trapeziums, triangles and circles were the trick! Definitely need a bit more practice. My fingers looks so tiny on the rest of the body!

image

Next up was this picture of him “resting” on the platform. It was a pretty challenging angle. Especially the feet. T_T Keep getting the wrong proportions. Hope to improve with practice!

image

And yup! That’s all for today. 🙂