Ideation
For my ideation process I first started thinking about bags which would have more unique functions, for example, like bags that could change in function or form.
And that is when I thought about steampunk bags, which has a gorgeous aesthetic, but the function of the bag did not follow its form.


These bags have intricate gears but hey are non-functional, I thought it would be cool to have a bag whose inner compartments could turn just like a clock.
3D sketch 1
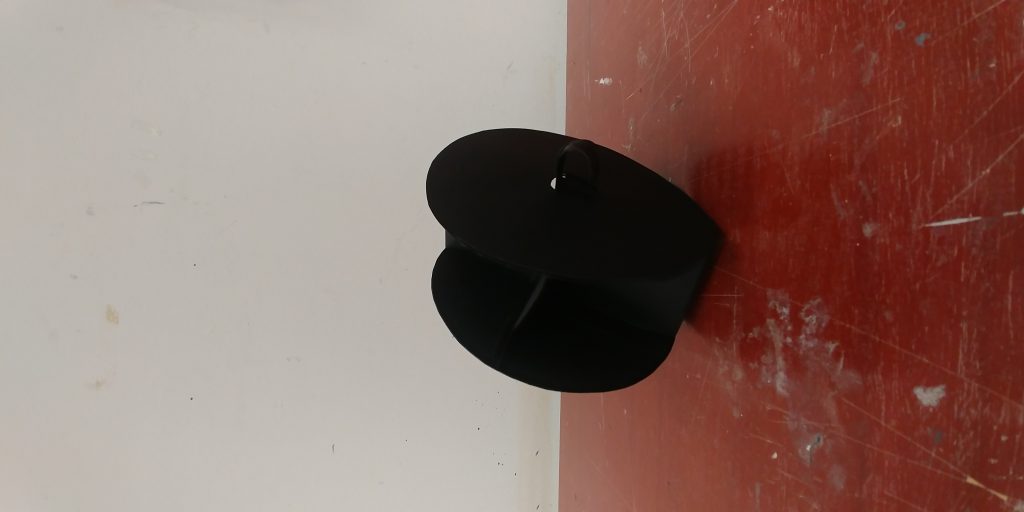
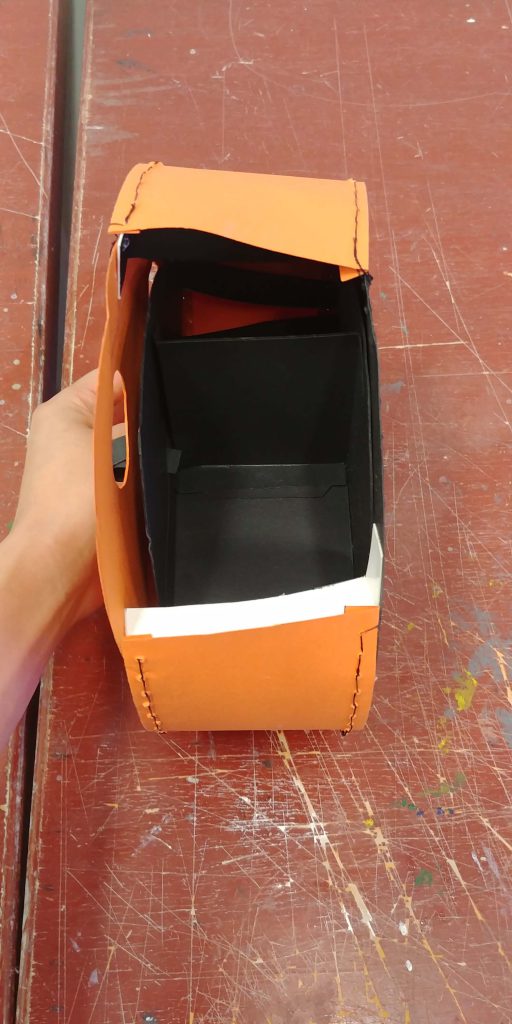
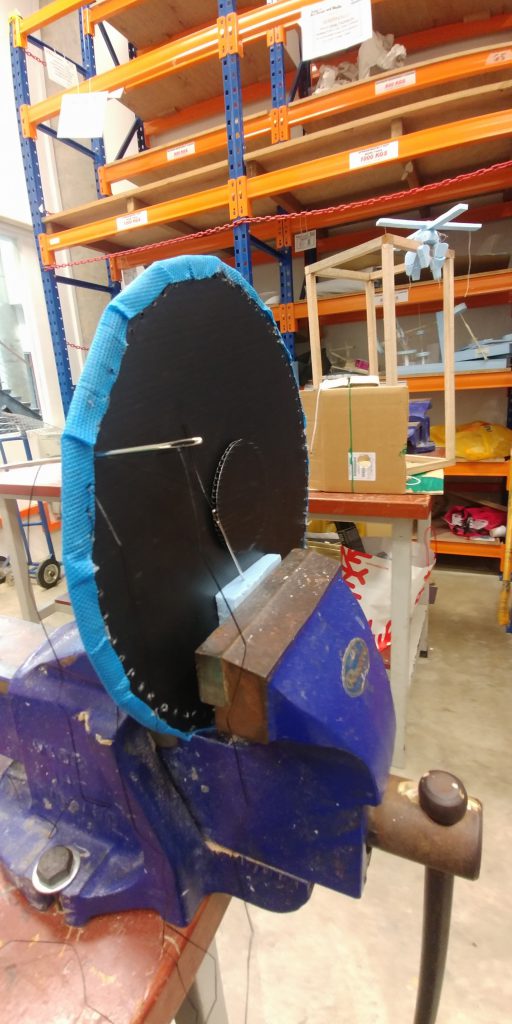
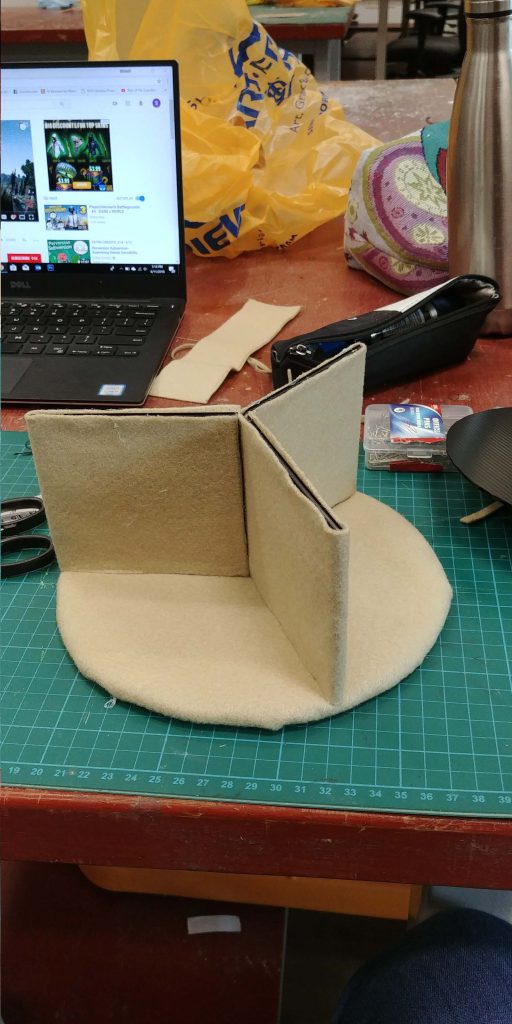
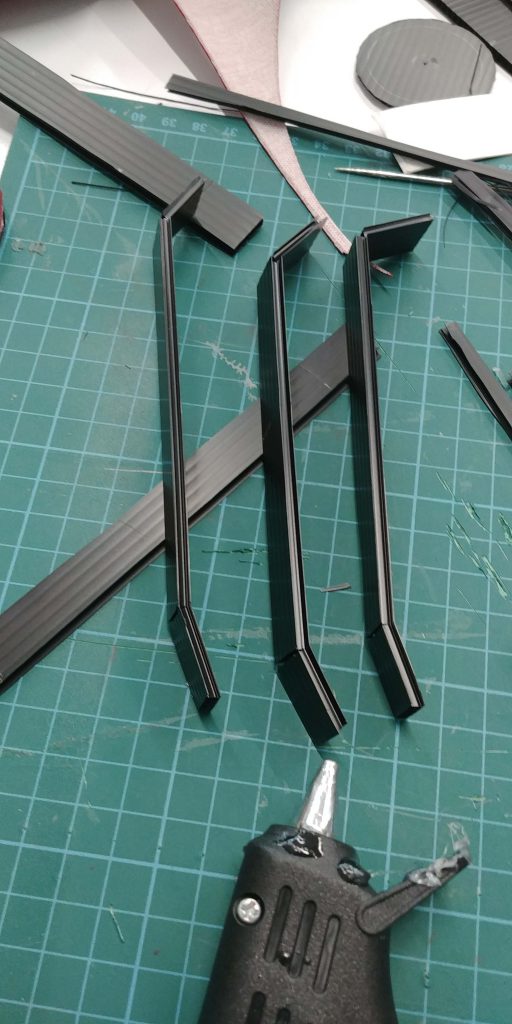
For my first step, I started with figuring out the turning mechanism. I did this by creating an inner compartment that could sit on a platform and turn independently of the outer frame. Thus I created an inner an outerframe.
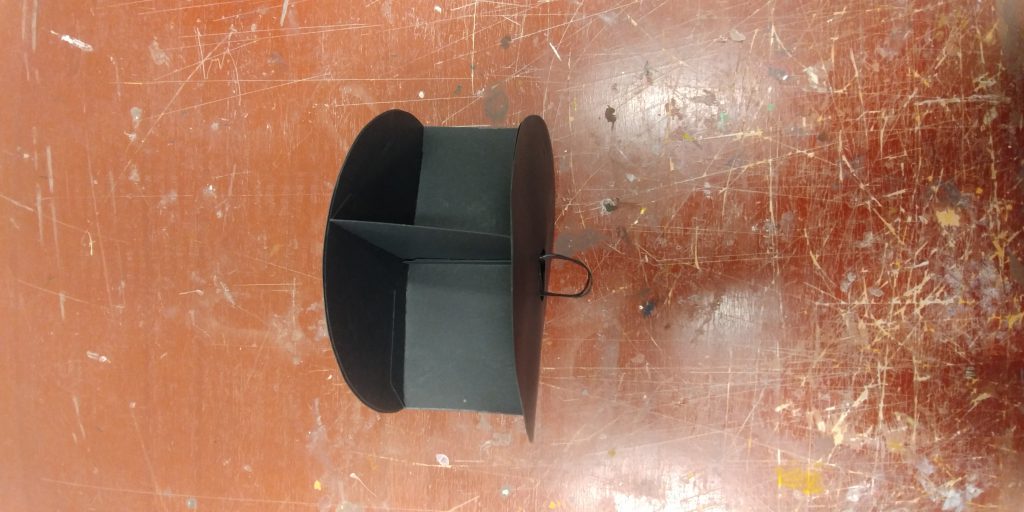
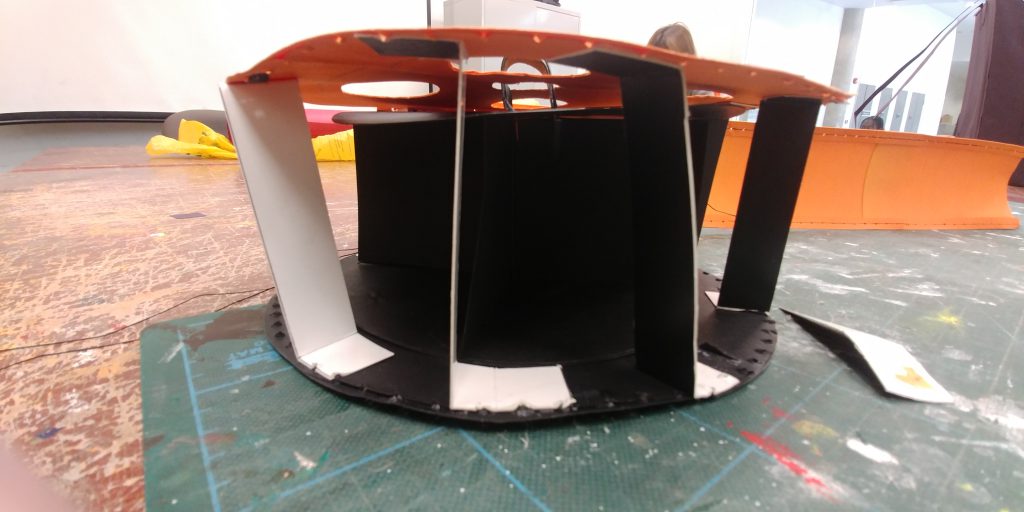
From this model I also realised that there are multiple different ways to put the braces for the outer model. This is one method and the other is with the flat parts facing outwards.
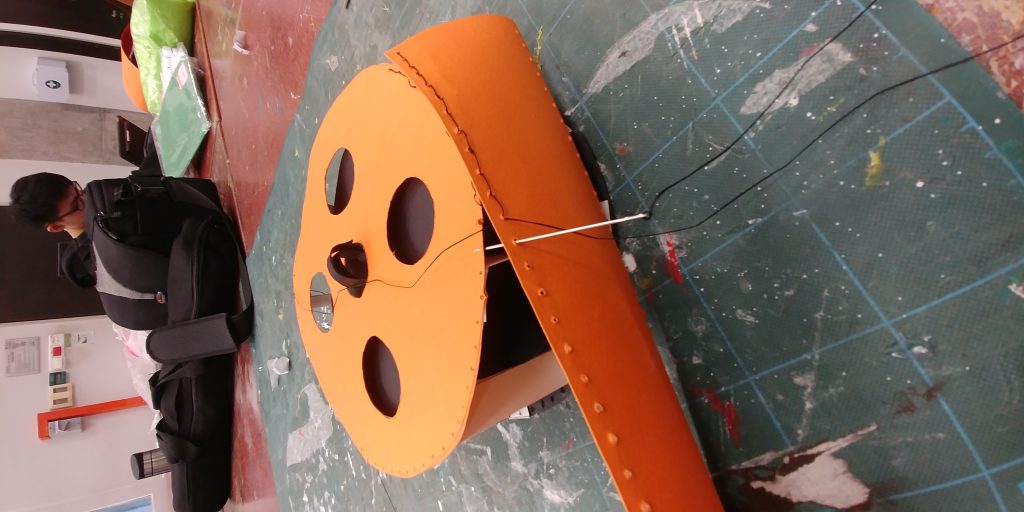
This was the video I used as a reference for my saddle stitiching
For the first draft I also practiced with saddle stitching to prepare for the actual leather bag. The holes for the thread were poked in before hand using an awl.
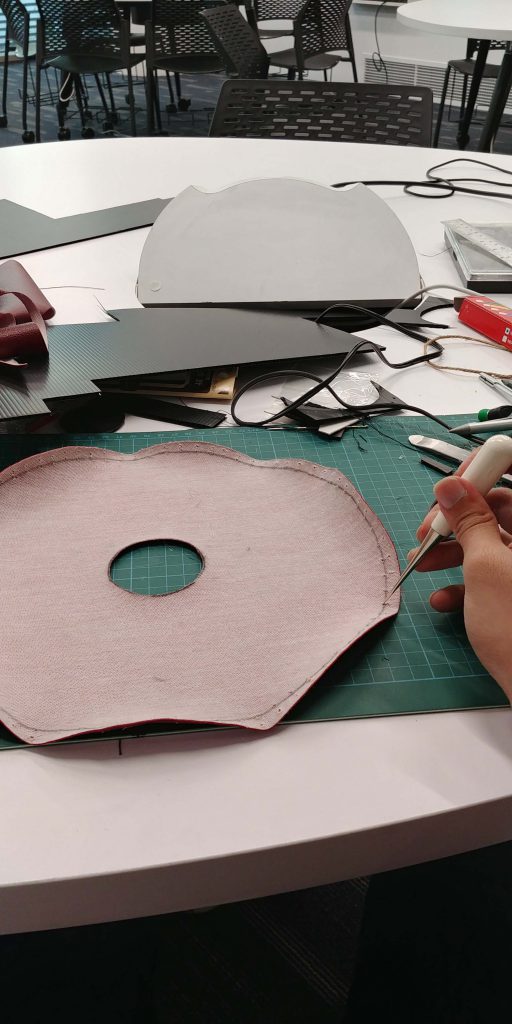
Draft 2
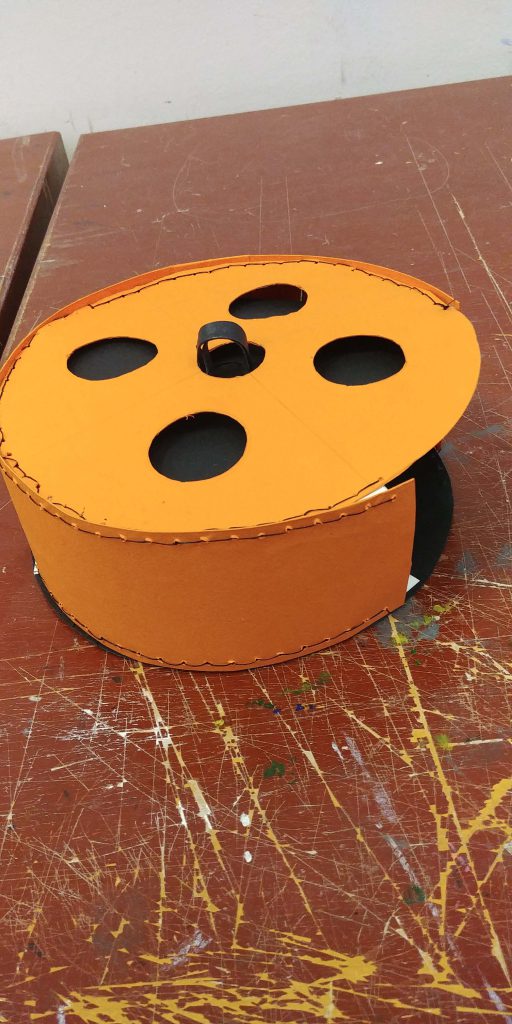
For draft 2, I started with trying to figure out what materials to use for the final model.
Initially I wanted to use acrylic, however this is not feasible as I have to stitch through both the cloth and the material used for the base.Thus I turned to corrugated board instead.
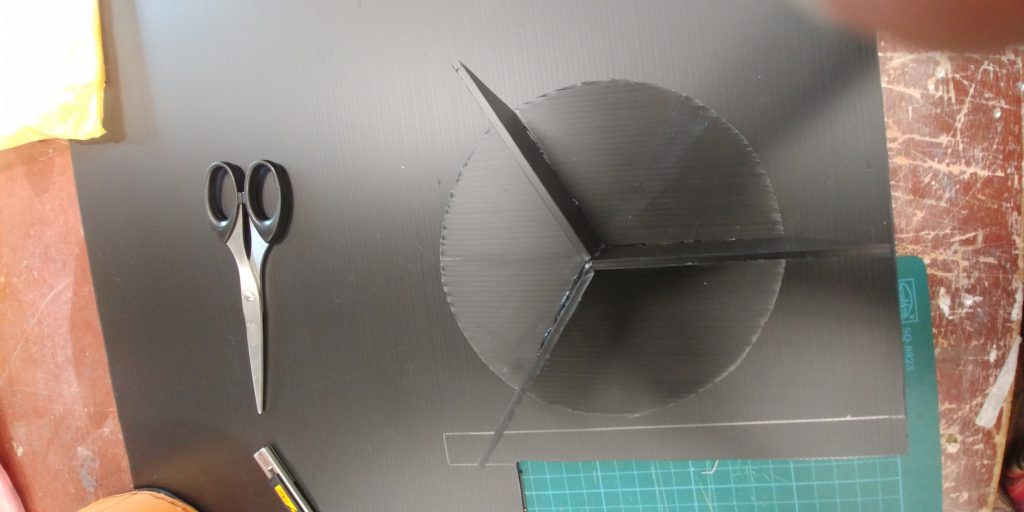
Corrugated board proved to be the suitable material for the base, Holes however had to be carefully poked through and it had to be a suitable size, for ease of sewing later on.
Saddle stitching.
Although it was a long laborious process, honestly, I found it very calming and relaxing. It was nice to be left with my thoughts.
Layering also turned out to be important, as when some parts are attached, you would not be able to sew n additional pieces.For the case above, I realised that you have to add the handles to the base before you construct he outer casing.
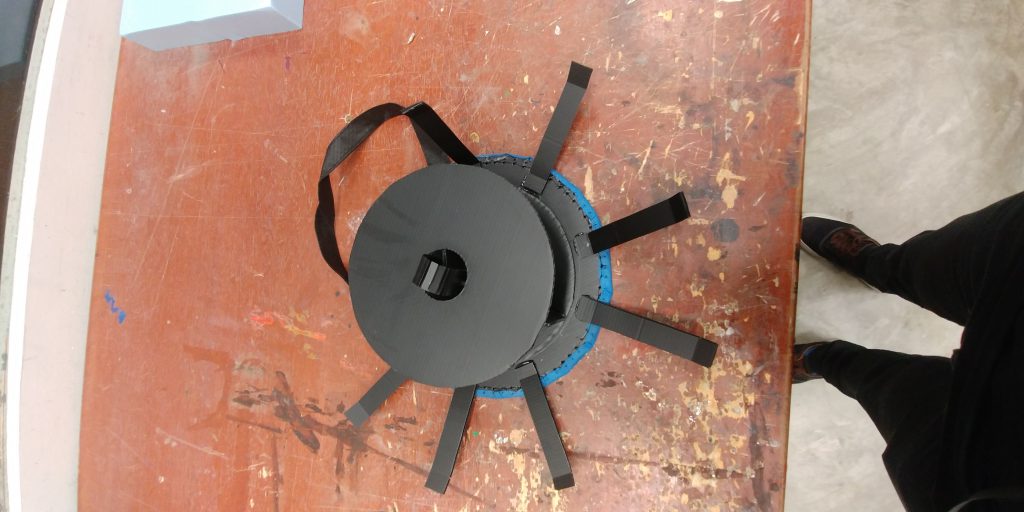
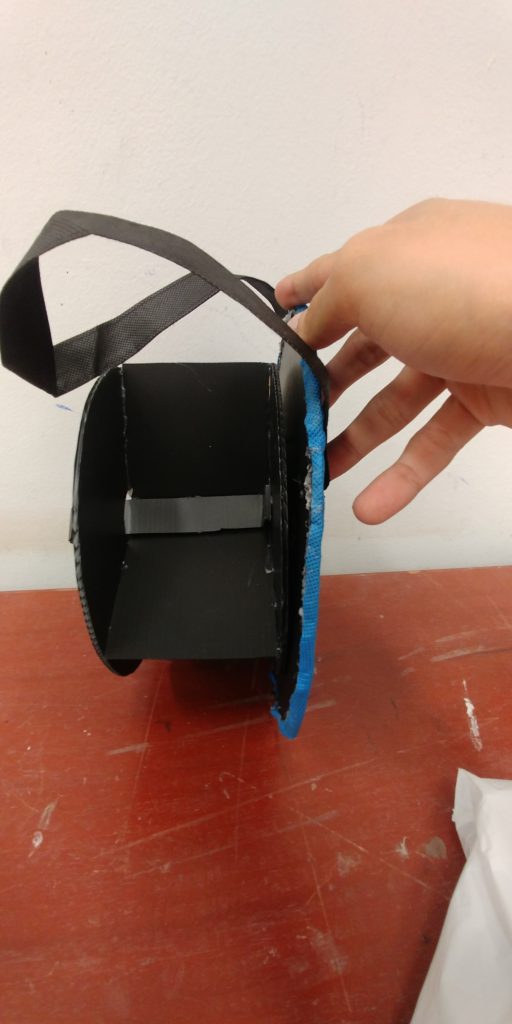
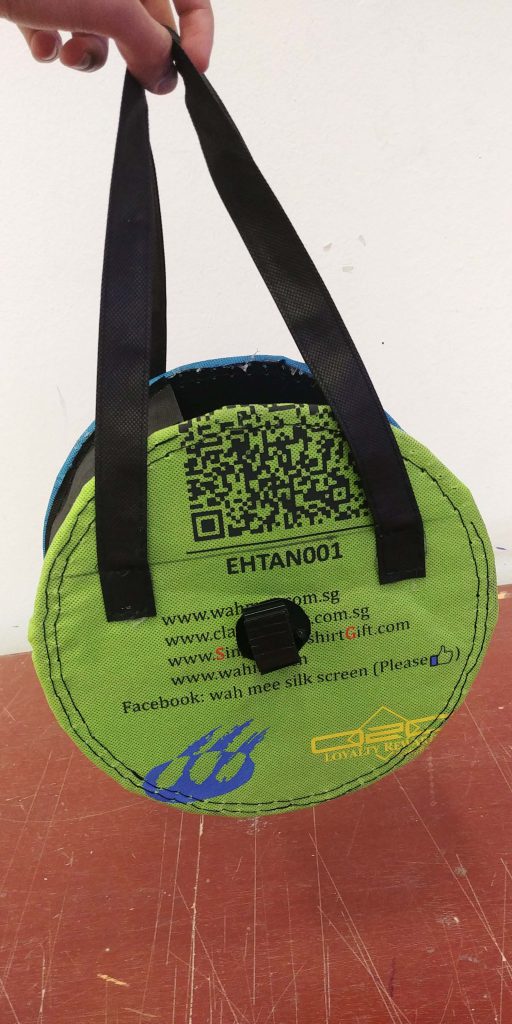
For this sketch model I also practiced with working with actual cloth. The cloth and handles were obtained from one of my numerous welfare packs. The cloth proved relatively easy to work with.

Turning mechanism of the model
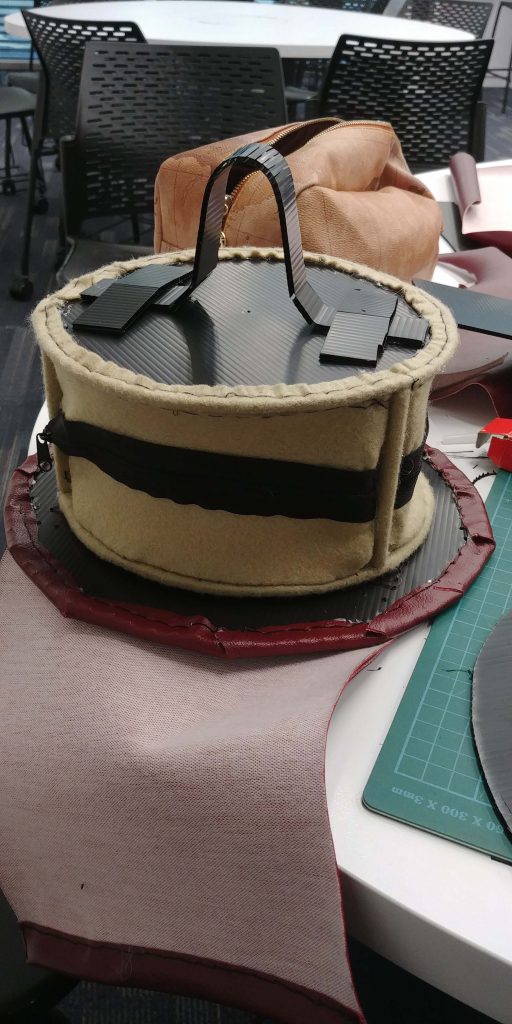
3rd sketch model
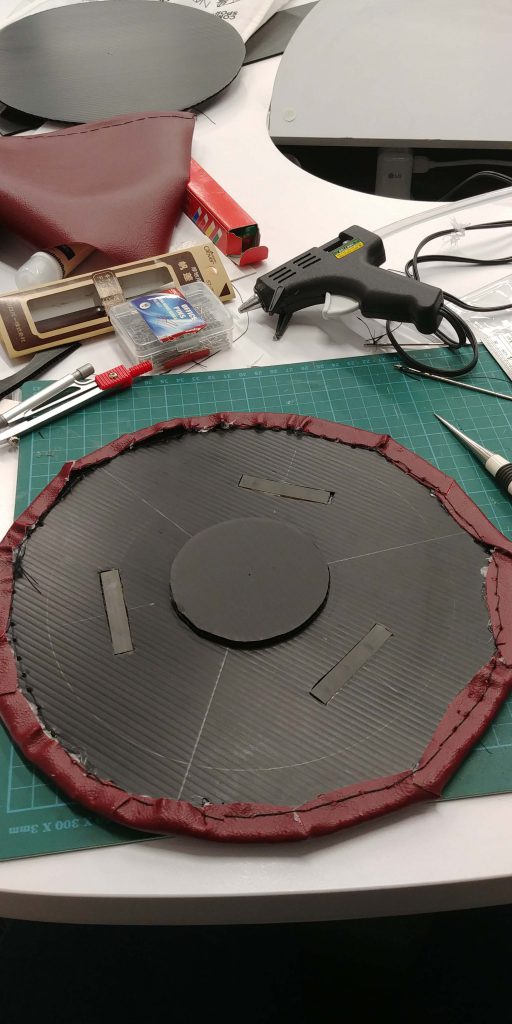
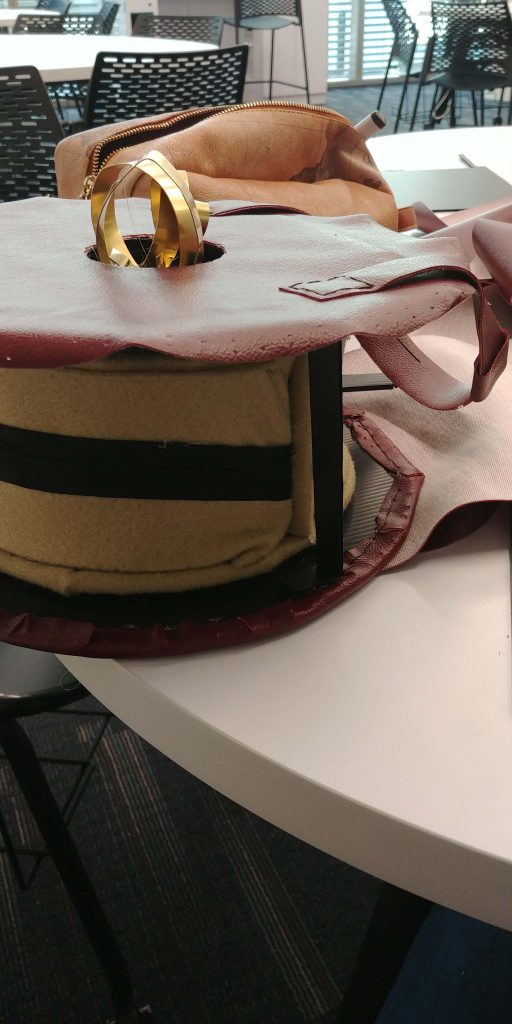
For the third sketch model, I decided to add magnets to the inner and outer casing to have a more satisfying user feedback when turning the bag.

I decided to embed the magnets into the board as I did not want it to add anymore height to the bag itself.
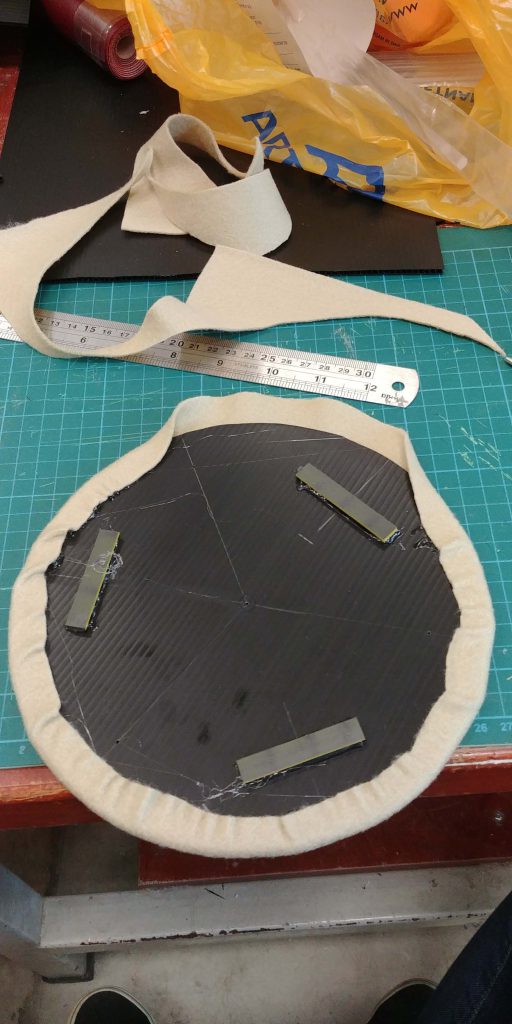
I also decided to use a different material for the inner casing and used felt. Although leather looks nice, it would not do as an inner casing as the user’s hand will constantly rub against the relatively rough leather.
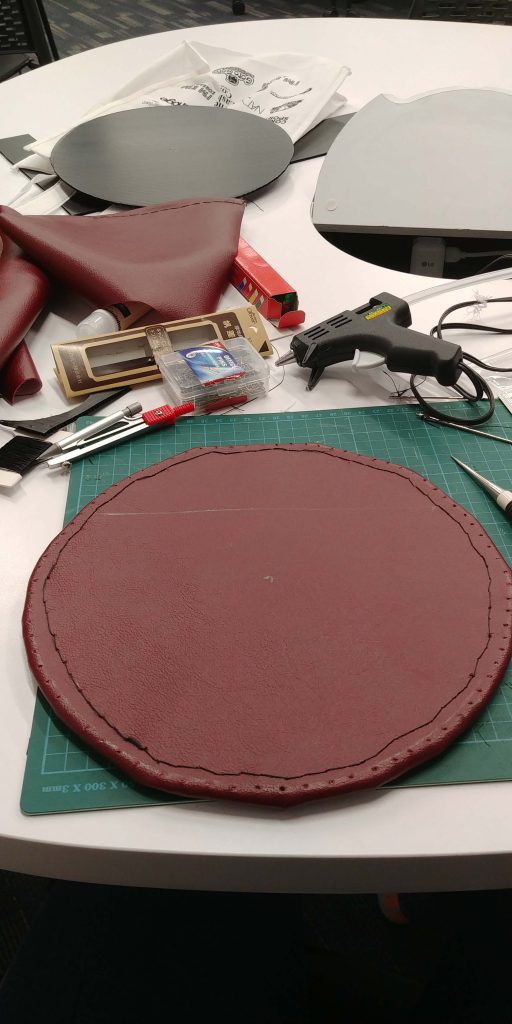
For stitching, I glued the cloth to the board first, to hold it in place before stitching it with thread.
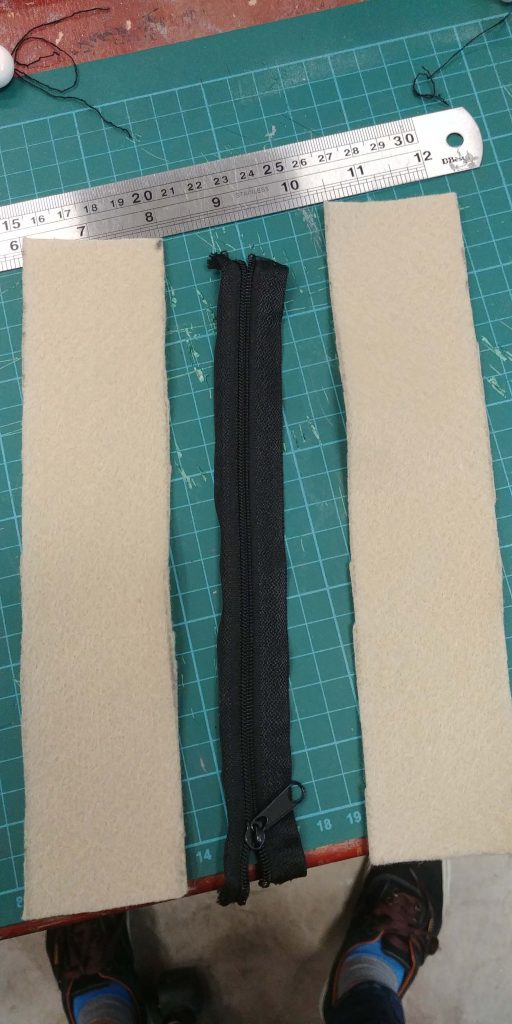
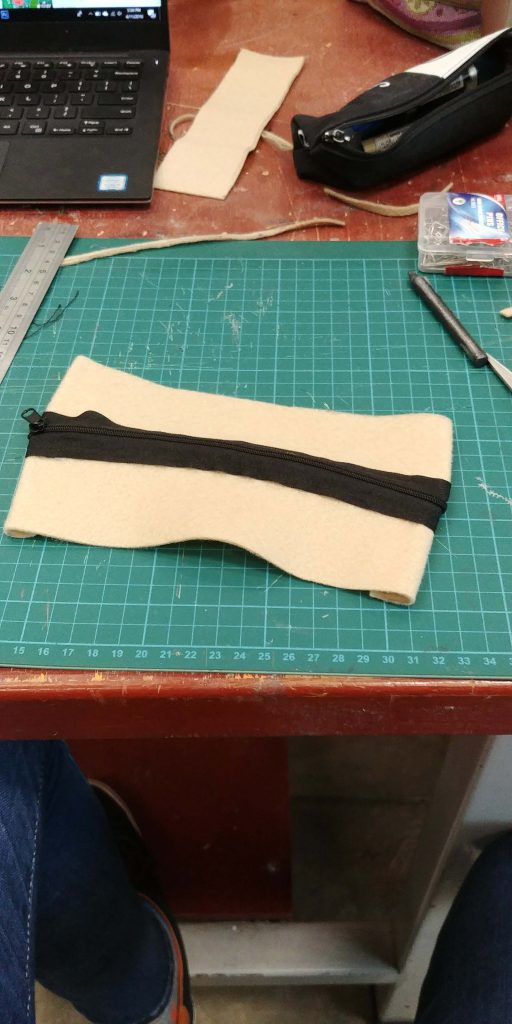
The inner compartment was made with relatively no trouble. When sewing the zips, careful manipulation of the cloth allowed my to hide the stitching.
I did not run into much problems working with the felt cloth and I think this was because felt in general was easy to work with as glue still works on felt.
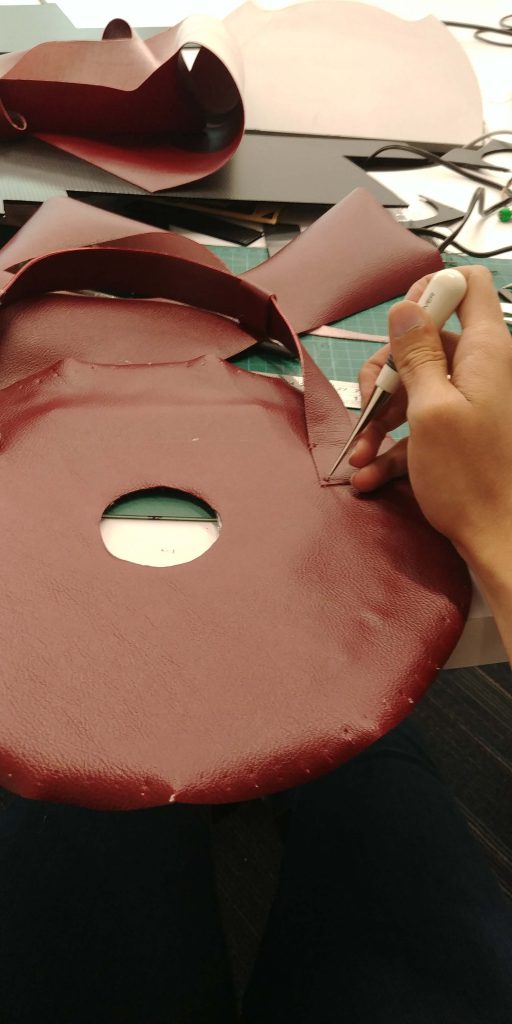
Working with the leather.
Ill say it now, leather is very very hard to work with.
The stitching here was a lot messier. leather being tougher than any of the other fabrics I have worked with, was much harder to stitch through despite me pre-poking the holes before hand.
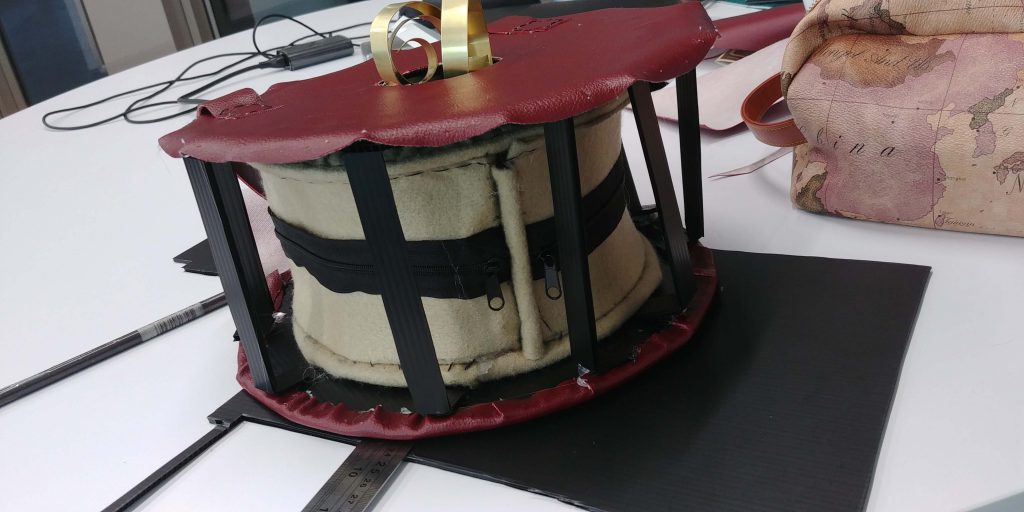
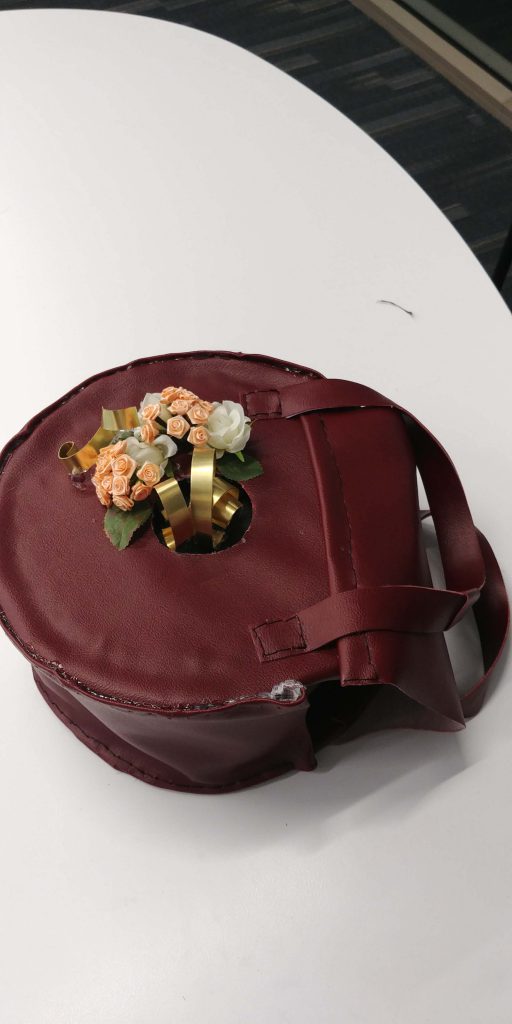
Innitially I wanted to create a clockface, but in an interest for time, I decided to use spare fake flowers and brass strips that I had. The colours complimented the maroon bag nicely and brass created nice contrast in texture.
What went well?
- It was good that with proper time management, i was able to create 3 different sketch models with me learning something new for each sketch model
What did not go well
- I thought with the two sketch models under my belt, the leather model would be relatively easy to make. It was instead very difficult as I was using a very different material.
- Because of this I did not have time to sew the bag properly and used excessive glue. And as a result the leather bag model still looked very raw
- Also the rotation mechanism for the final model did not work, due to the added weight I suppose.
Final reflections
I think overall this was an enlightening project, I manged to learn so so much and I found it really fun to be able to work with cloth. I learnt that planning and working in layers was really important and I bet I can apply this skill to my other projects too. I think I will continue to work with cloth as a hobby. It would be extremely fun to be able to create small pouches as gifts for friends and family.

Thank you for reading this post and have and absolutely wonderful day 😀