The Water Dress

Introduction
The concept was derived from the shrinking resources for clean, drinkable water. I wanted to design a dress that could bring awareness of this issue as well as provide some sort of solution to it. I was able to achieve both goals by using a skirt that is built up of drop-shaped plastic to indicate water; and by using a built in water filter to produce drinkable water on the spot. There are additional LED lights attached to the skirt that light in water flowing motion with white and blue colors. 

Topic B
Today’s world is facing numerous environmental threats. Ranging from water pollution to global warming, each threat impacts our society in a challenging way. The consequences of water pollution and the shrinking resources to pure water could be especially devastating. Water is an everyday essential for humans. In some places of the world war could start over clean water resources. In other places, humans are fighting with diseases from drinking contaminated water (Niveen Tadros, 1997). Some nations are zealously experimenting to purify water using modern technology. It is of utmost importance that the young and old are educated about such issues, as well as collaborate to make a better future.
I intended to raise awareness to these issues as well as use modern research to find a solution. The theme of water drop appears in several forms on the dress, more specifically the skirt and the attachable filter with the pouches. The overall color of white also suggests cleanliness and purity. The lights of blue and white also imitate water. The solution comes in a form of a water filter. The main ingredient is activated charcoal. It can eliminate or reduce chemicals and substances that are harmful for human consumption (all-about-water-filters.com). Thus, the method can be applicable for campers to purify water from puddles, for people who do not have access to water to collect and purify rain water, or for refugees to purify tap water.

Mechanics
Top piece
To make it easy to wear I wanted to make each piece stand-alone in itself. I chose a simple, white cotton fabric  for the top so that it would not dominate the overall look. I designed it to be sleeveless to make it easier to put together but also to focus the attention on a vertical level. Originally I thought to make it hip-length but when Galina saw my bottom piece, which was quite transparent, she suggested that I make it longer to around mid-leg. She also had a vintage dress template with a princess cut so I just used it to make the top piece. As the fabric is not a stretching material, the back has a zipper line to make it possible to wear without tearing the dress. When my model first tried the dress on there seemed to be some extra fabric under the breast line so we decided to add bra cups to the front that would flatten out the dress a little more. There are two attachable side pockets on each bottom side of the dress to store the electronics. The end product is a simple and elegant white dress.

Bottom piece
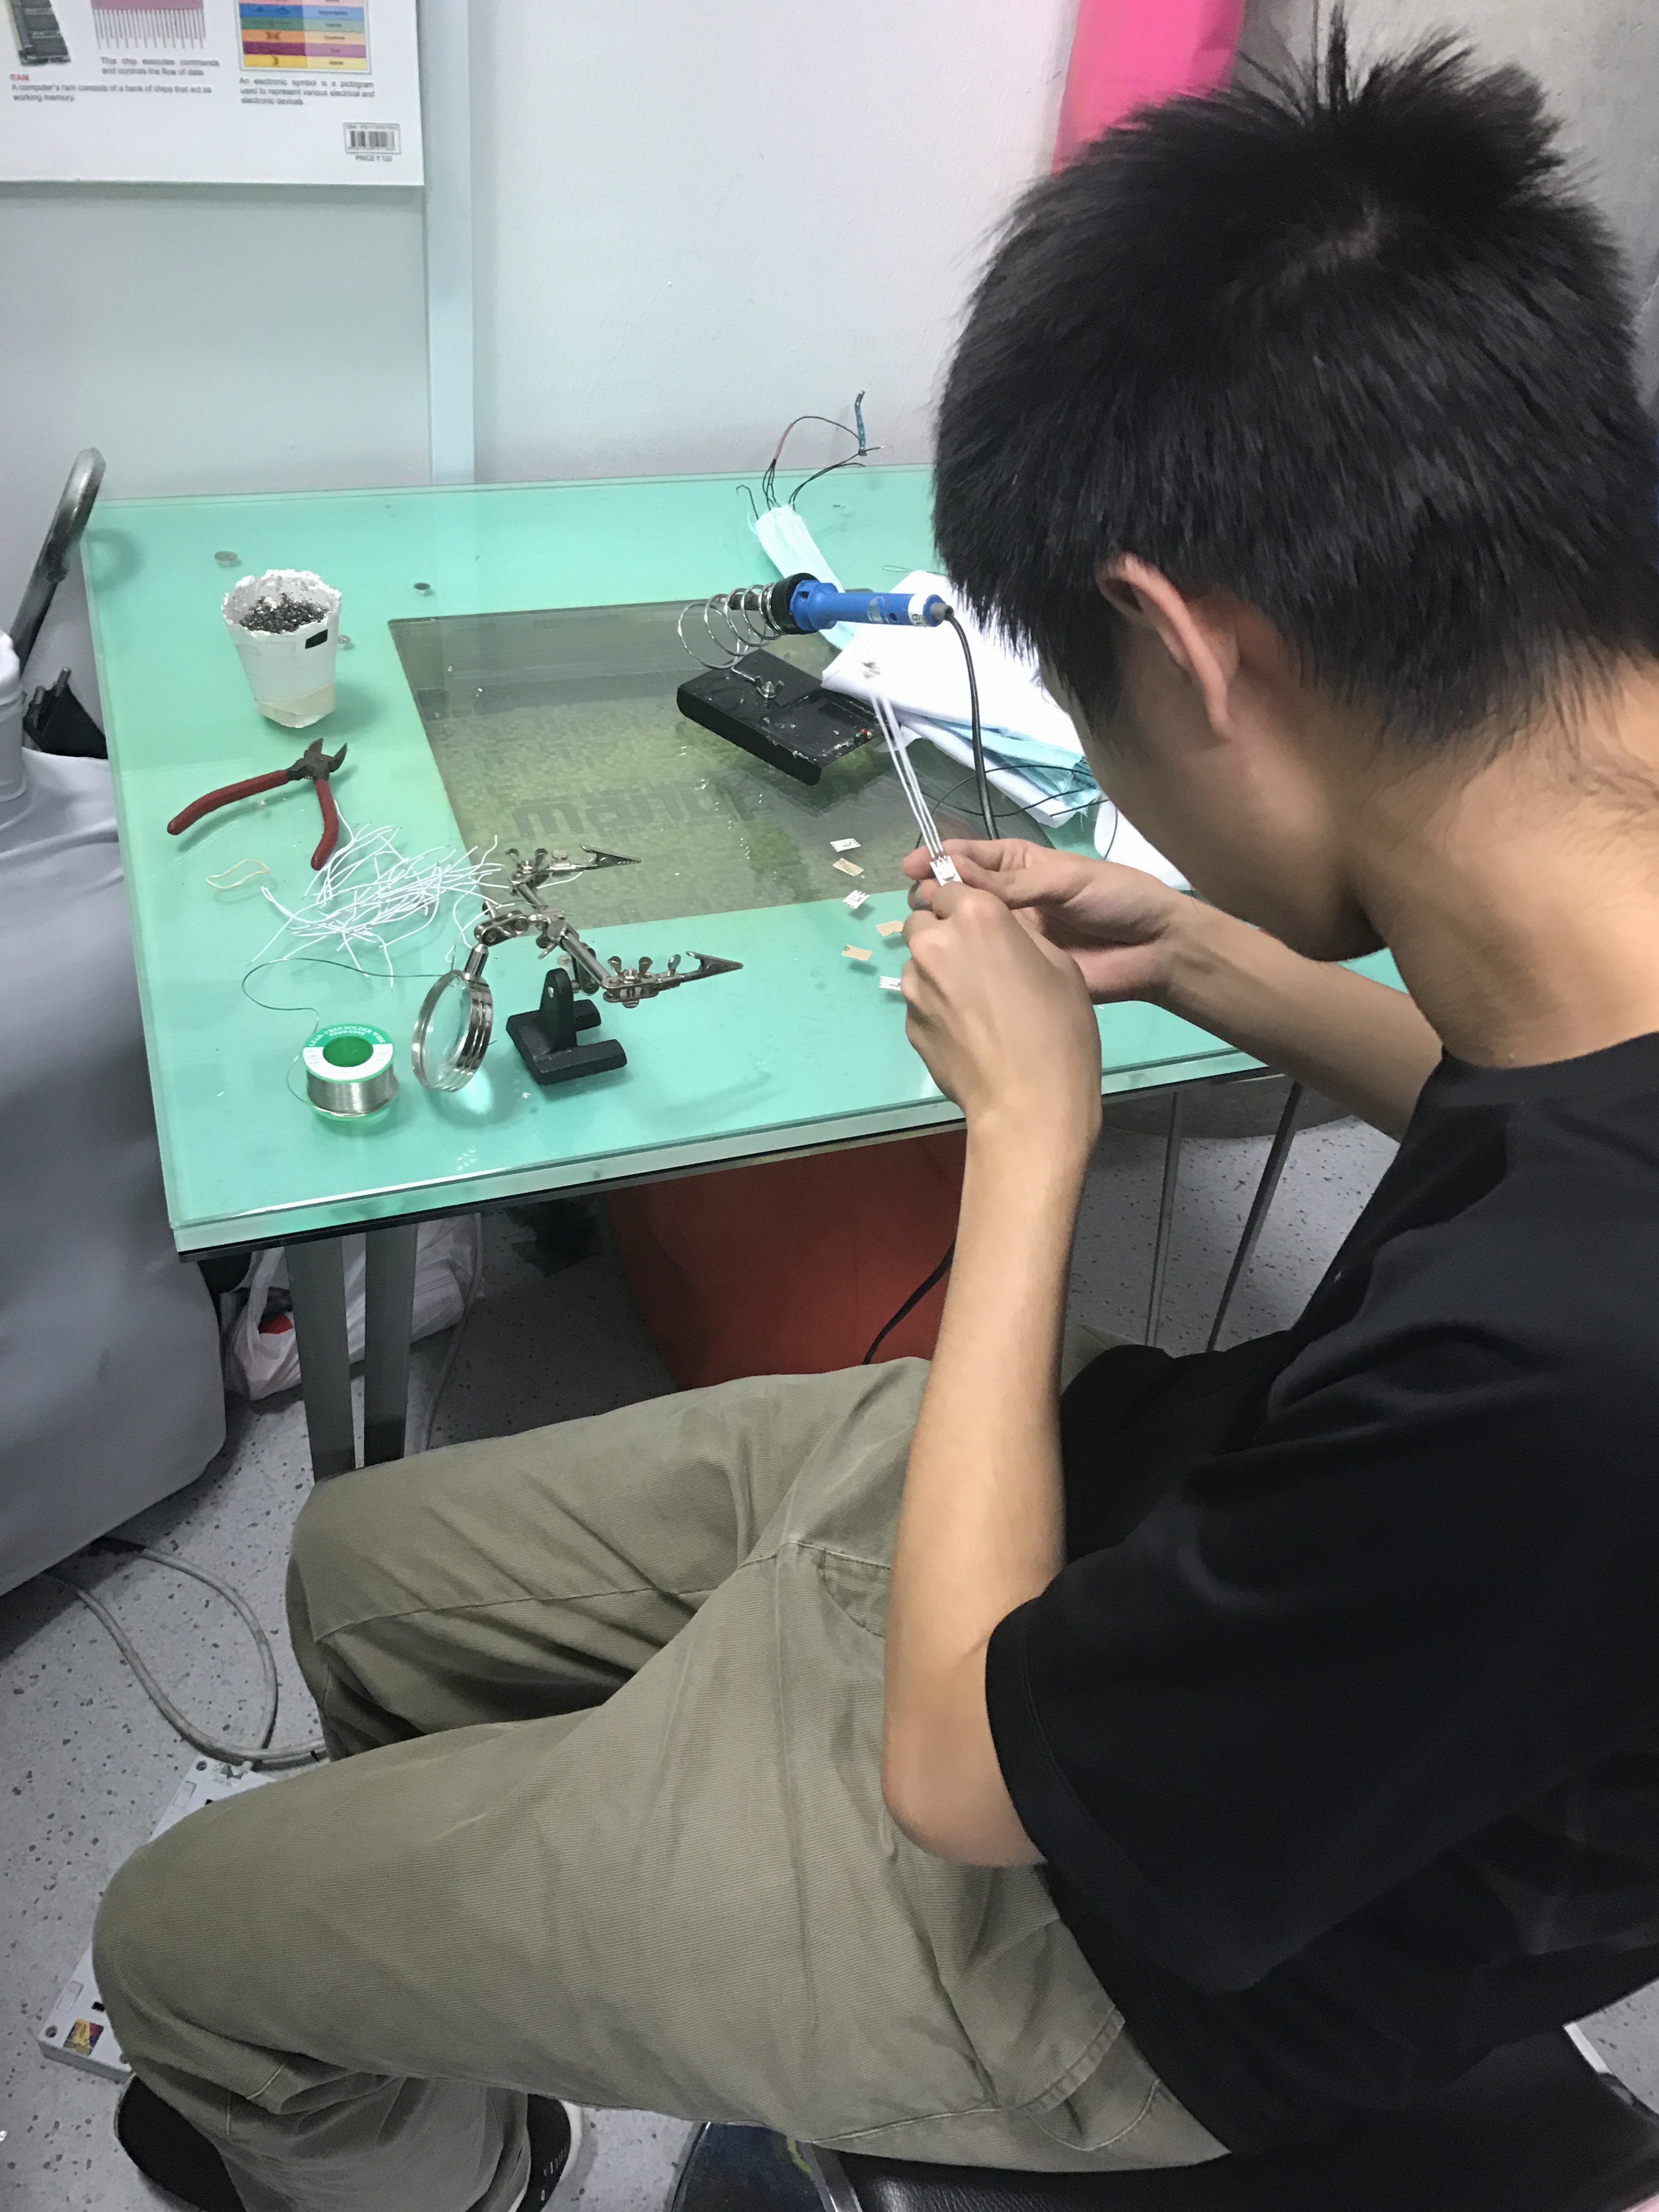
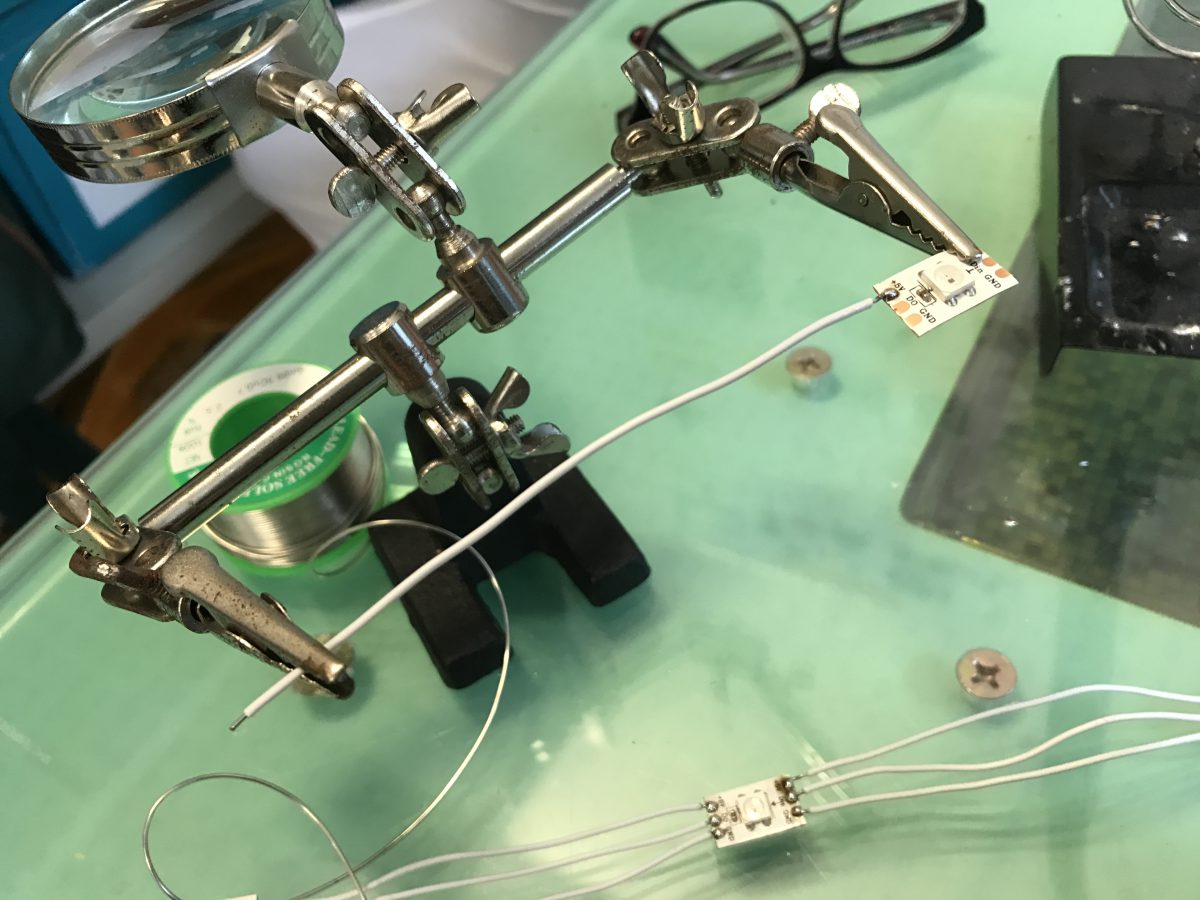
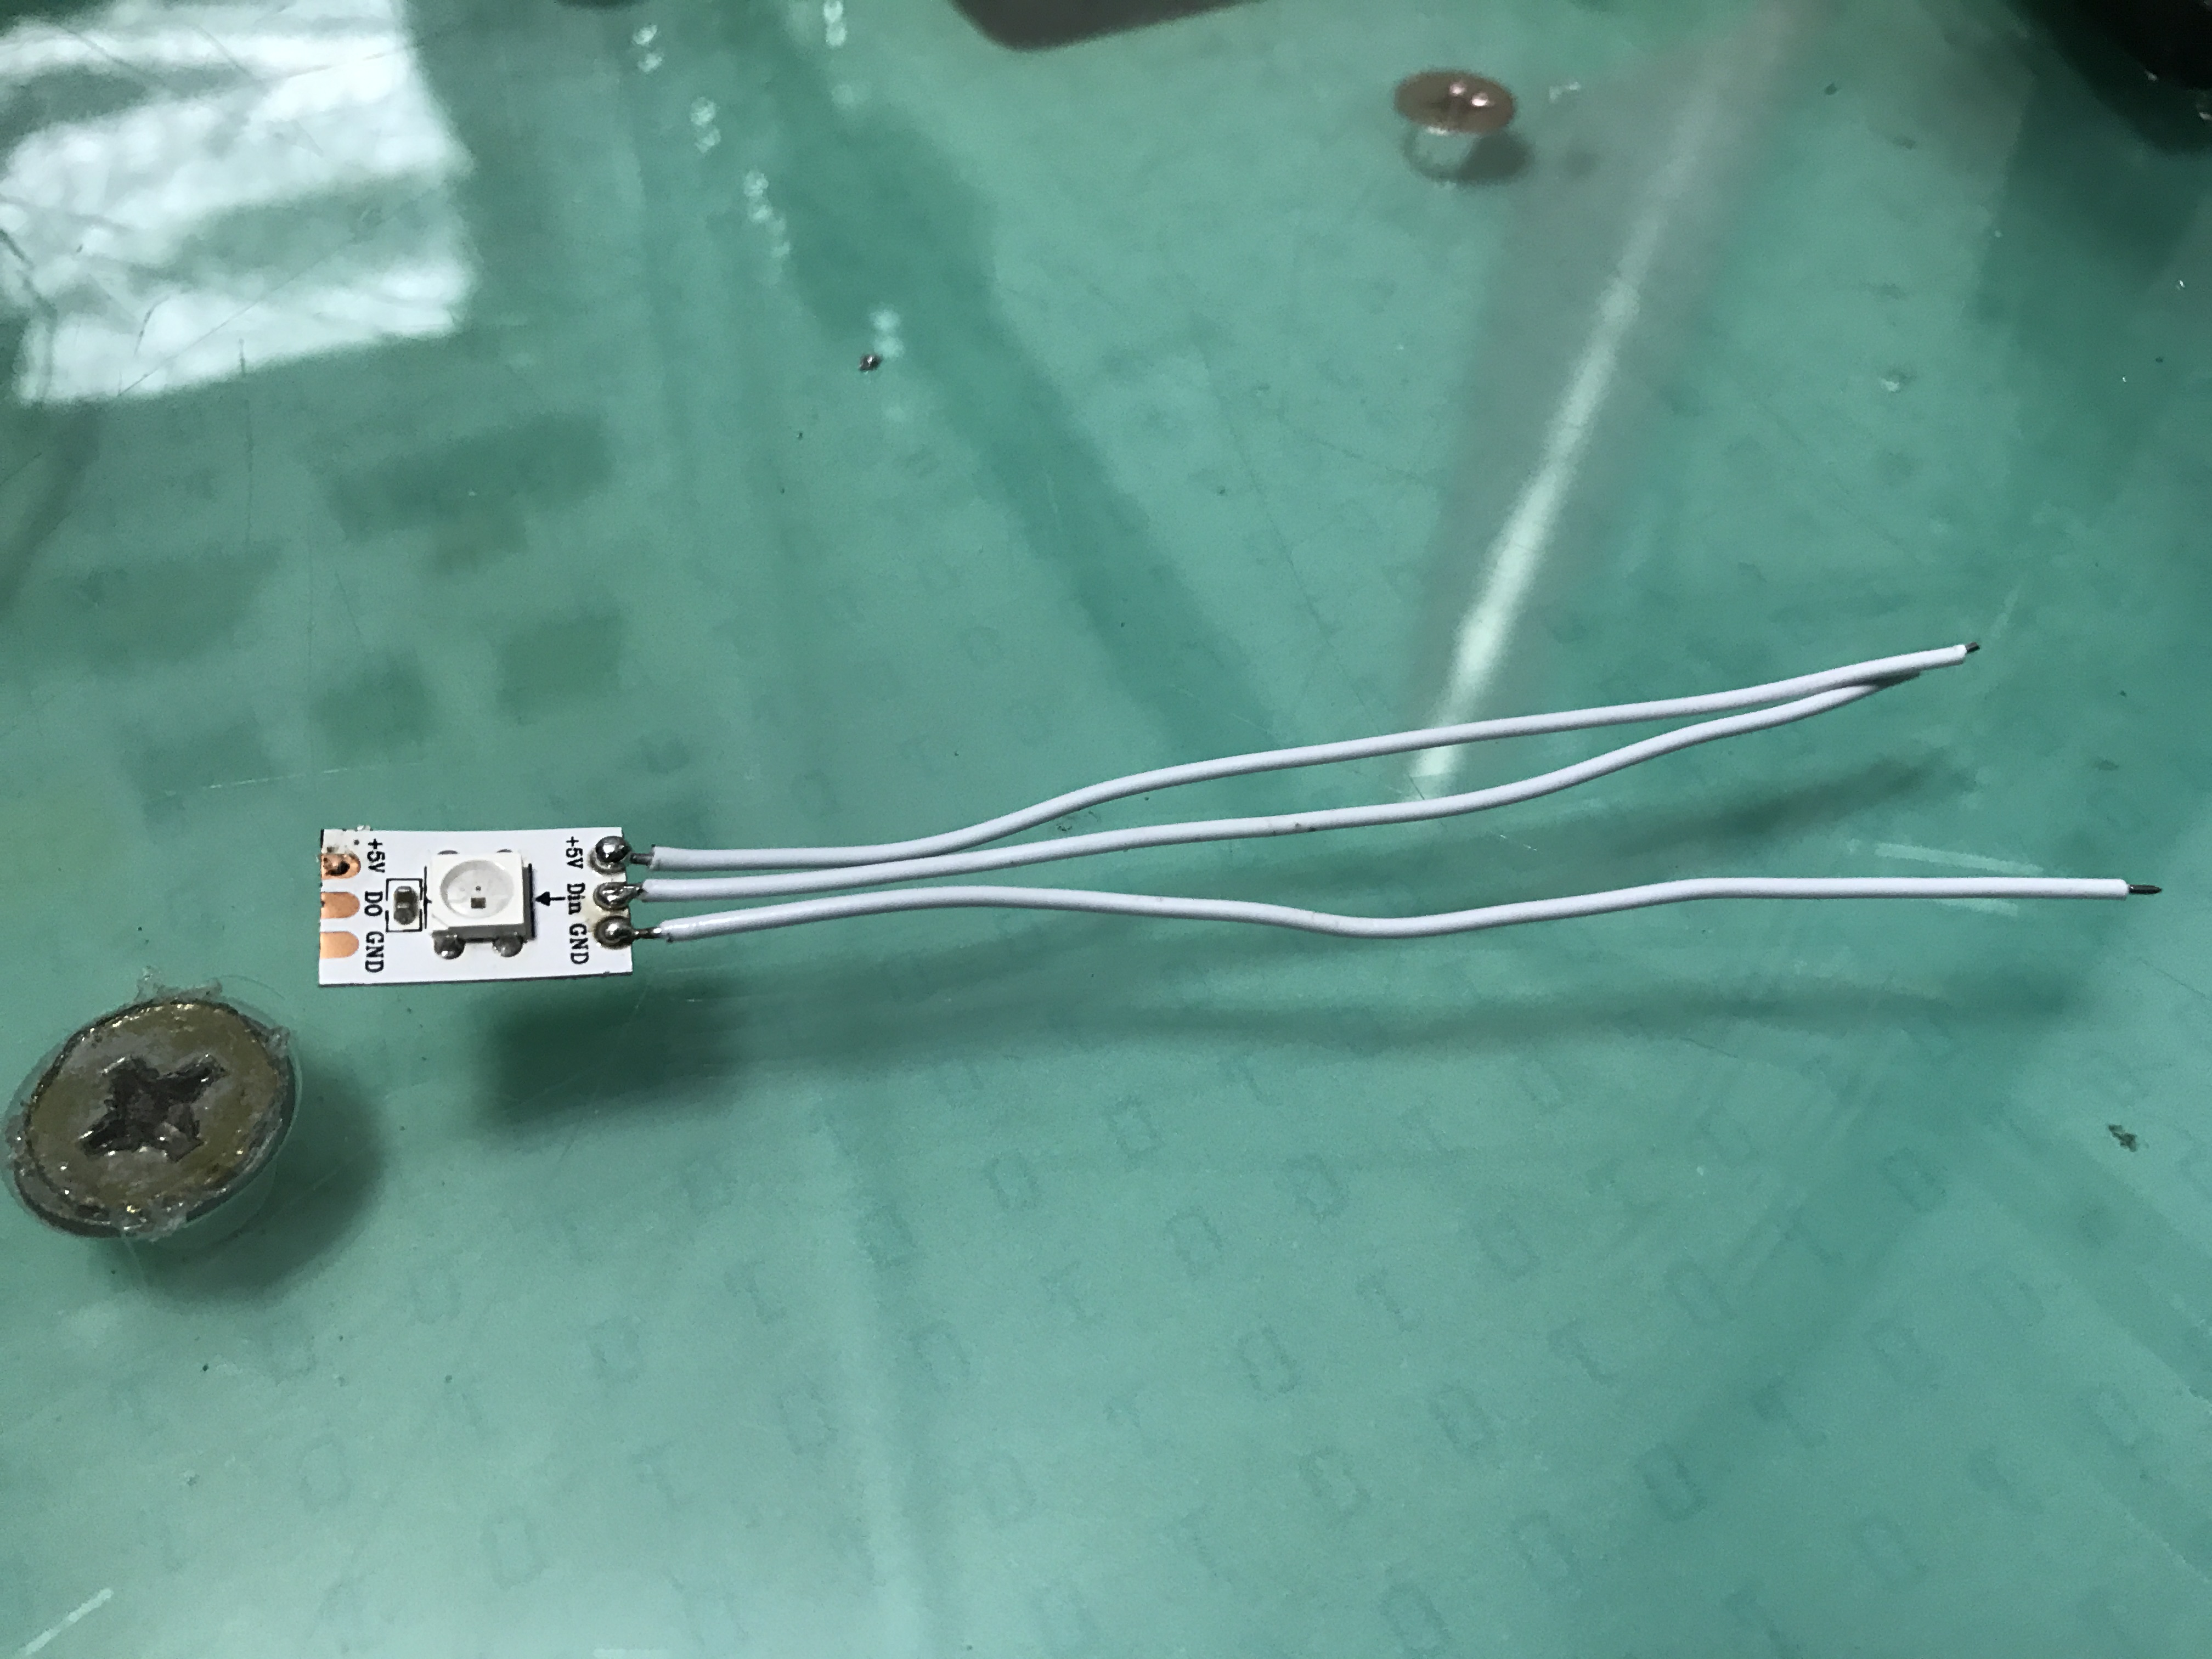
I chose to use plastic as my material for the bottom piece. I wanted to use this inexpensive material to bring attention to recycling and the waste of plastic that is causing contamination in many water supplies (lake, ocean). Initially I designed the bottom piece to be a layer of infused plastic only. I infused 3 layers of plastic bags but it turned out quite unpolished as I was unable to iron the material to become flat and consistent. In the meantime I started experimenting with my droplet pouches so Galina and I both agreed that it would be nice to cover the whole skirt with the droplets. That is when the ‘real’ production started as I had to make more than 300 droplets infusing plastic bags and cutting them out by hand. However, the outcome looked quite fabulous. There are also 8 LED light strips (each strip with 8 lights) attached to the skirt from the inside. It was a tedious work to solder the strips together with precut-length wires but with help of my very nice friend it was possible. My friend also helped me program the Lilypad so that the lights turned on to imitate water flow with blue and white colors. The lights were connected a switch, which activated the Lilypad to start the lights and it was powered from a power bank. To make it easier to wear, there is an opening at the back of the skirt which can be closed with velcro tapes.

Refer to video: LED lights (semi-dark) and LED lights (dark)

Attachable Water Filter piece
The visible water filter consists of three main parts: container, filter, and pouches. The container was a regular transparent water bottle, which can contain about 330ml of water and it was put on the back of the model. The container is attached with tubes to the filter pouch (containing activated carbon) which is at the front of the model on the chest. The filter pouch is made of two layers of clear plastic infused only at the outer edges as there is a small pouch of white fabric that holds the charcoal. The fabric of the cotton allows water to flow out from it into the plastic. There are three hanging droplet shaped plastic pouches attached to the bottom of the filter to collect the dripping water. There is a water pump hidden below the skirt, powered with batteries, and it can be activated with a switch. Once the switch is turned on, the water pump sucks air from the container so the inserted tubes will be filled with water that would flow to the front filter pouch. As the water flows through the filter, it becomes purified, and flows into the droplet shaped pouches. These pouches can be removed from the filter and using the straw on the top and water can be drank directly from the pouches. After drinking, the pouches can be reattached to the filter.

Refer to video: Water pump mechanics

Final Product

Refer to video: The Water Dress (close up) and The Water Dress (walk)

Fashion Show!

Some shots from the rehearsal, which was a day before the show. Learned how to walk and where to stand. The venue was not as big as I expected but it was still quite nice.

Joan walking along the tables.

The water droplets look really cool as they flip in the air by her walking motion.

She managed to get a new pair of heels, so this was not the final outlook.

Getting ready for the actual show!

Makeup is done! It is more of a natural look with a thin eyeliner and some blue and silver eye shadows.

The professional hands of Audrey to make a nice bun and keep Joan’s hair up.

Simple and elegant.

Showtime, baby!

The lights look stunning in the backstage. It is dark enough to see the lights well!

I wasn’t able to get pictures from her actual “runway” walk. These were taken outside after the walk.

Another picture under the shadow of the building that makes the lights more visible.

Cute facial expression 🙂

The back: transparent plastic water bottle that was used as the container connected to the front with tubes.

And the overall front look. STUNNING!

All this is thanks to Mangosteen to let us showcase our collection with their show!

But the greatest gratitude goes to Galina! Professor and Designer Galina Mihaleva!!! Thank you for allowing to take your class and have so much fun in your class! Fashion Technology has been one of my favorite classes ever!

Final Production Time!

So this is how it looks when you put the top and bottom piece together!
Quite gorgeous, isn’t it?! I might be biased though ^^

The rest of the time was spent testing the electronics and attaching the lights.

Here you can see the lights – picture taken from below. We first tried to tape the lights to the skirt… it failed. So the solution was to use hot glue and glue the wires to the skirt… it succeeded!

THE final testing of the lights! Looks awesome!!!

Now making the filtering pouches. The fabric is used so that the charcoal would not by any chance flow into the droplet pouches to drink.

Ironing the plastic to be infused.

Making the final versions of the water-droplet pouches with the attached blue straws!

Going to use some hot glue to conceal any openings.

Testing with the tubes and the pump. Unfortunately it did not work out 🙁 There must have been an opening somewhere that we couldn’t figure out.

So we switched to plastic bottle as water container. Concealed the holes with a lot of hot glue to avoid any failure this time 🙂 And it worked! See the water flowing in the tubes!!!

Yeah!!! The pump is working and water is flowing!

Final addition: making small pockets for the Lilypad & Power Bank and the Battery & Water Pump. I sew three velcro strips on both sides of the dress at the bottom.

This is a picture of the pocket attached on the left side of the dress.

Top piece is ready!

After meeting my model, there was some tailoring work to do.

Galina helped me pin the new dart lines and I sew the new lines with the machine.

So here we have the finished, tailored side darts.

Now, ready to do the final touches: neckline, shoulder lines, zipper and bottom.

Let’s start with the neckline – getting some pro help 🙂

I’ve sewed the facing together – this will be the inner part.

Pinning the neckline together and ready to sew.

Now, it’s sewn together.

We just need to do a little trick: clipping. By this, you can make sure that the neckline will end up flat.

Clip a little more where you have more fabric.

And there we go!

Woah, looks awesome on the mannequin!

Just gonna do the same on the two arm holes: cut out the fabric, sew the parts together into a facing, pin to the dress, sew it together and clipping in the end.

A look from the inside. Neckline and arm lines clipped!

Another trick taught by Professor Galina: layering!
Because there are multiple layers sewn together here, it creates a thick hump on the outside. We can cut the excess fabric so that you have different widths of layers that will keep flat when the fabric is flipped.

Here is an insider picture of the layering and clipping work.

But it can look more finished if you look at it from the other side 🙂

Unfortunately the dart lines did not align 🙁 But the facings look nice at least!

Let’s get the zipper done now! Galina showed me that you need a different presser foot for the zipper, which is the transparent one on the left.

Ready to sew after changing the presser foot.

This presser foot allows you to go by the line of the zipper. The regular presser foot does not have the space.

It is so cool to watch the master!
The zipper is done!

Wah, looks nice!

So here is the end product! The neckline!

The arm hole!

The zipper!

The end of the zipper!

Finishing touch: hand sew the bra cups to the seams.

And it is ready! Ay, I just forgot to take pictures of the bottom line. I was too excited to finish it up so slipped my mind to document 🙁 Please just look closely to the bottom end 🙂

Bottom piece is ready!

Yay, I also have a model now! Thanks to Galina and her spotting eyes 🙂

And it looks good on her!

Sewing row by row. The top cannot be reached from the bottom so the skirt has to be removed from the mannequin every time.

Sewing my faith into the dress! Another way to express gratitude to God!

Before getting to the top, sewing velcro straps on the back side to leave the opening.

You’ve gotta sew it by hand because the skirt would be ruined with that tiny space in the machine.

But hey, reaching the top real soon! Just one more layer to cover up the skirt.

And here we go! The bottom piece is ready! Each water droplet taped and then sewed on the skirt by hand!

Close up of the top row.

A sneak peak to the inside.

Another close up !

Woah, how cool!

Electronics

Testing the water pump system with the tools:

This water pump does not seem to work even though I have all the gadgets…

Also, trying to get ahead with the LED lights. Exciting moments: soldering for the first time ever!!! (So many cool stuff you get to try out with this class!)

This is how the wires should be connected to the light.

What you need: soldering iron, soldering metal and a holder with two arms.

Putting the light in one of the holders and the wire in the other holder. Then a little ball of metal on top to secure it. So cool!

Metal balls one-by-one.

And here we go! First connection is ready!

Continuing with the connections.

Got a few lights connected. Took me quite a while thought but practice makes perfect 🙂    

Fifth Production Class: Bottom piece & Water container droplet

Going to attach the water droplets to the bottom piece. 

About 100 water droplets…

Starting from the bottom to the top.
Pinning the droplets first to ensure the exact location.

Then using double-sided tape to attach the droplets to the skirt.

Mass taping:

Hmm…not bad. But how much more to reach the top??? Ran out of droplets already and haven’t even made it halfway up.

At the same time making the water container droplets from clear plastic so we can get a see-through look 😉 First drew and cut a template from paper and then the plastic.

Infused to plastic droplet sheets but only on the outer rim leaving about 2cm open on the top so that water can be poured into it.

And here it is! The clear plastic water droplet container!!!

In the meantime the taped droplets fell from the bottom piece 🙁 The infused plastic skirt is not as flat so the tape does not stick to it for very long. What to do then? Sew the droplets on one by one. All you need is a needle, white thread and a thread snipper.

Sewing an X-shape to make it tight and durable.