
Felting
Consolidation of fibrous materials by the application of heat, moisture, and mechanical action, causing the interlocking, or matting, of fibres to form one uniform and complete piece.
Wet Felting
Materials:
- Felted wool
- DIY Acrylic fibres
Instructions
- Arrange & layer felt in thin layers as desired.
- Pump some soap onto it.
- Pour hot water on it.
- Rub felt in circular motions.
- If part of it feels like it will peel off when dry, add a thin layer of wool and rub more.
My Explorations
W E T F E L T I N G
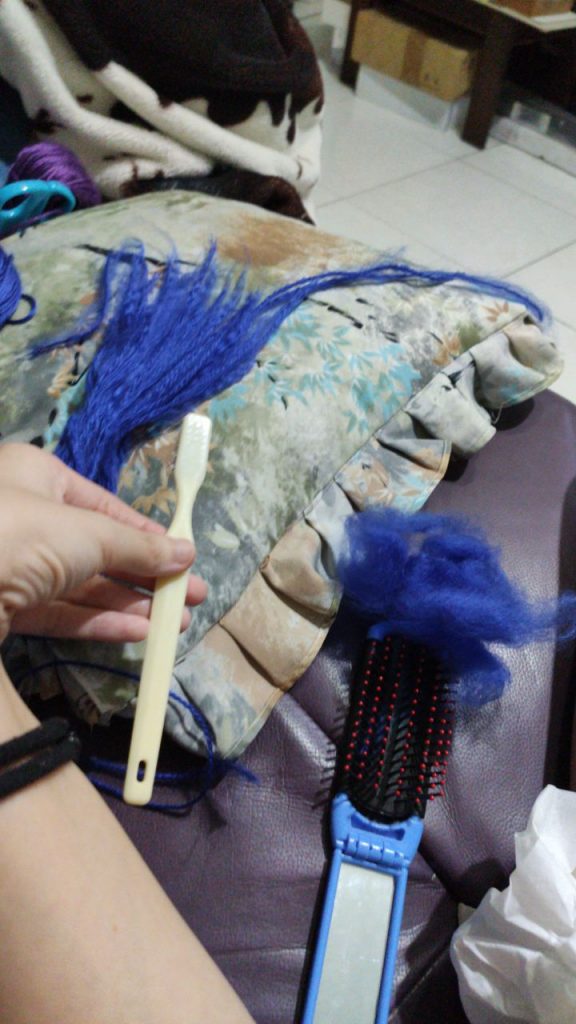
Firstly, I couldn’t find felted wool in my desired colours so I tried to make them myself from acrylic yarn.
I bunched up the yarn and then brush them out with a toothbrush, starting from the ends so that they fray. However, they don’t separate enough for it to appear ‘fibrous’, so I used the wooly fibres that were stuck on the toothbrush instead.
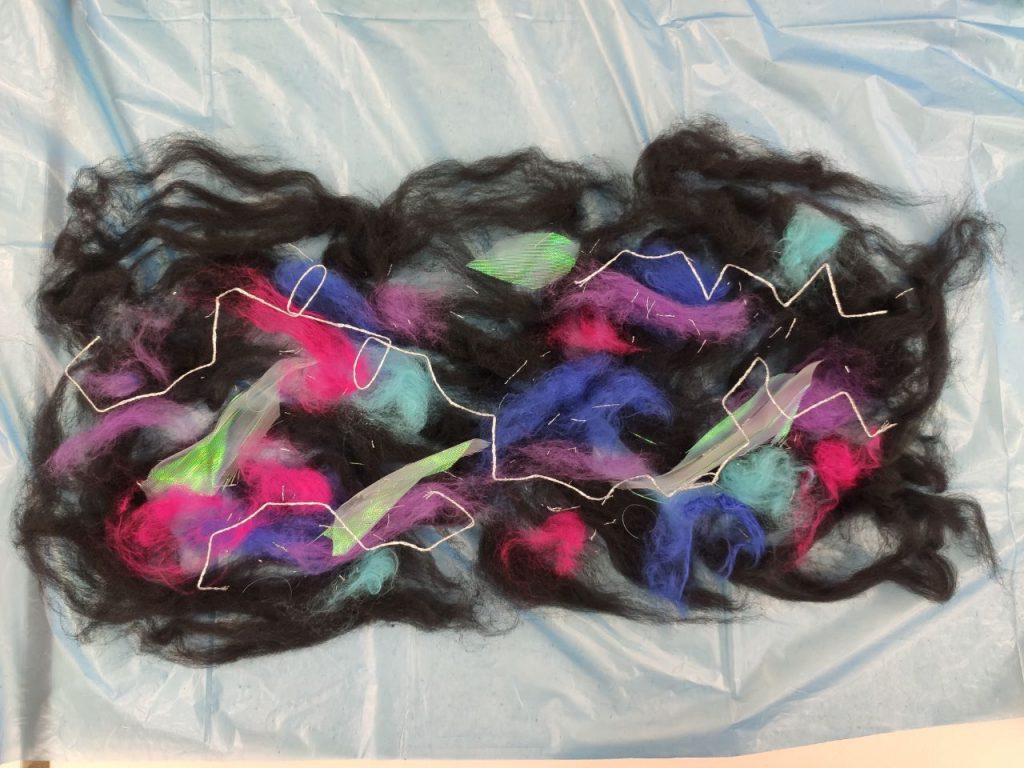
So in order to achieve the galaxy look, I arranged the galaxy colours against a backdrop of black felted wool. I added in some organza pieces which will hopefully get entangled with the felt and also some shiny threads and sprinkles.
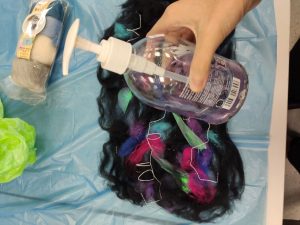
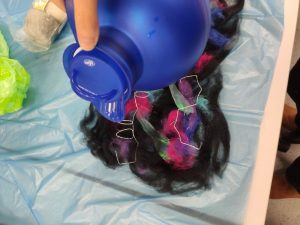
Then, I added 3 pumps of soap and poured hot water over.
Then, I rubbed in circles to blend everything together.
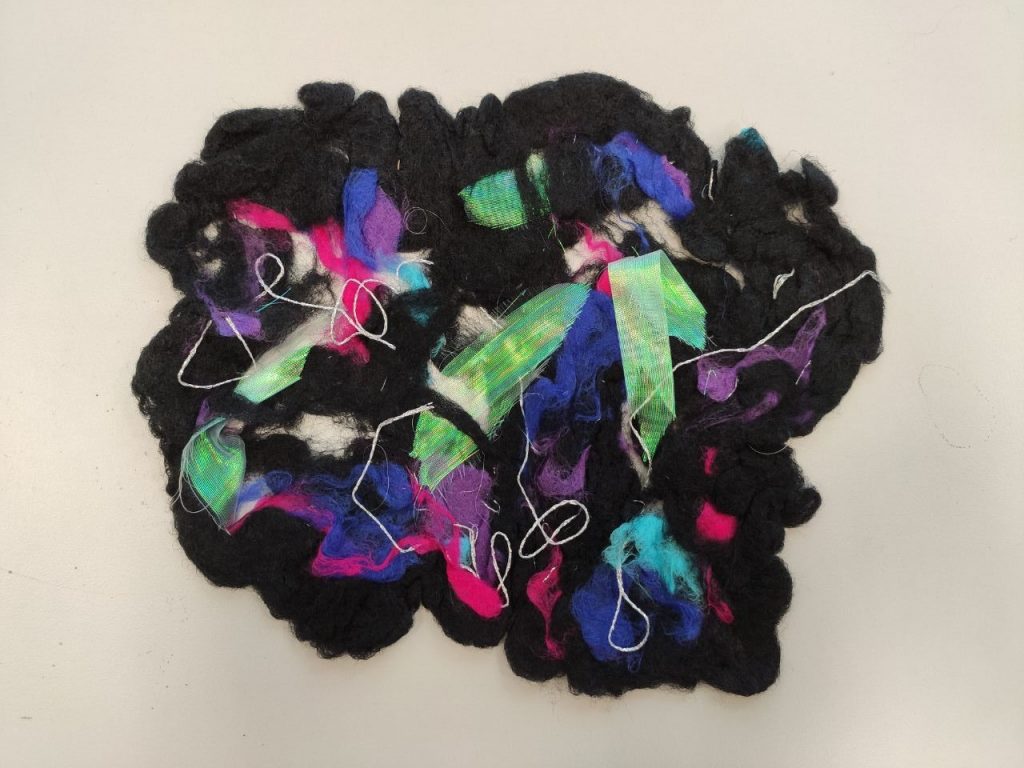
I am not really satisfied with the end product as I think the acrylic wool did not blend in with the black felt as much as I liked it to. The organza pieces not melding in between like they did in the plastic fusion technique. I’m not sure why there are holes in between the black felt but perhaps I could have patch them up with more wool, although I did not because I kind of like it to be not too dense and completely covered together.
Next time I will experiment using wool felt instead.
N E E D L E F E L T I N G
Materials:
- Felted wool
- Felting Needle
- Sponge block
Instructions
- Fold felt several times.
- Poke with the felting needle on top of a sponge block until stiff.
Since I have tried needle felting before, and have experienced the pain behind it, I decided to try another way of creating felted planets.
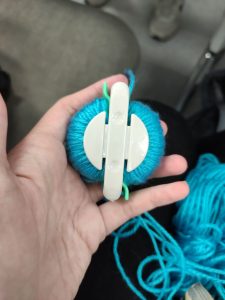
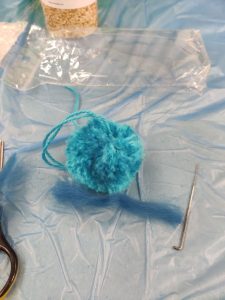
So first, with the aid of a pompom maker, I wrapped the acrylic yarn and cut it to make a pom pom.
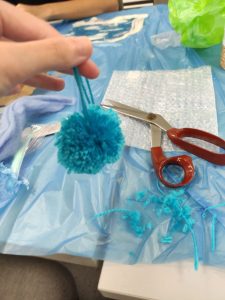
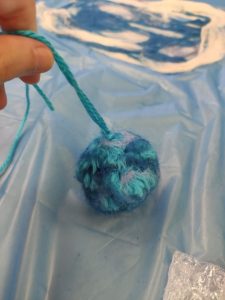
Then, I trimmed it a little and proceeded to brush it out with a toothbrush to make it more fluffy.
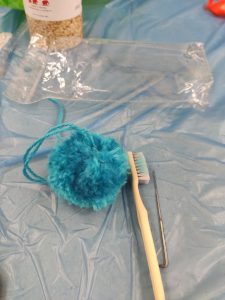
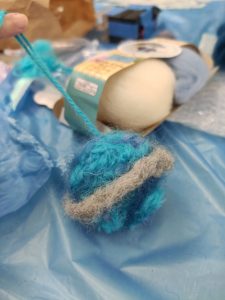
Then, I used strips of blue felted wool to add onto the pom pom by poking it on with a felting needle. However, it did not stick as easily and the acrylic wool will poke out at some areas so I had to cover the entire pom with a thin layer of felted wool to ‘contain’ it. Eventually though, it looked more uniform and round.
I also added a grey needle felted planet ring, which took longer than expected to make.
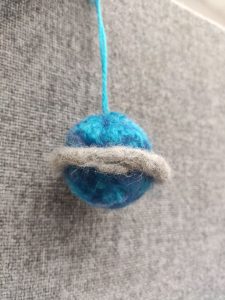
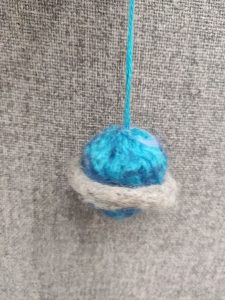
Overall, I am quite happy with my planet pom and I think I will make a few variations, perhaps with wool yarn instead. I think this is a faster and easier way to make a bigger ball of felted wool.
A P P L I C A T I O N S
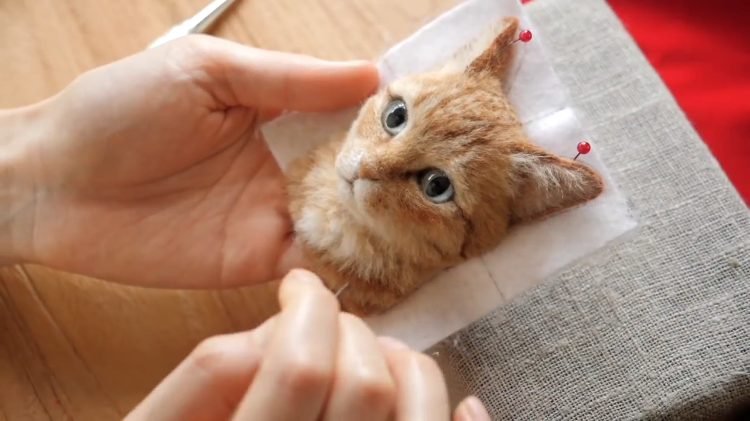
 Painting with felt


Making 3D forms with felt
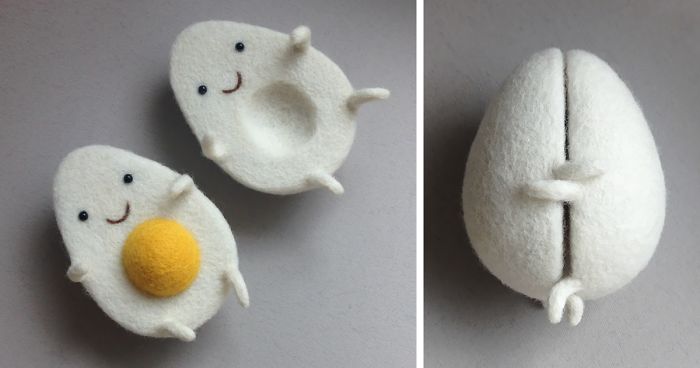
 Novelty gifts
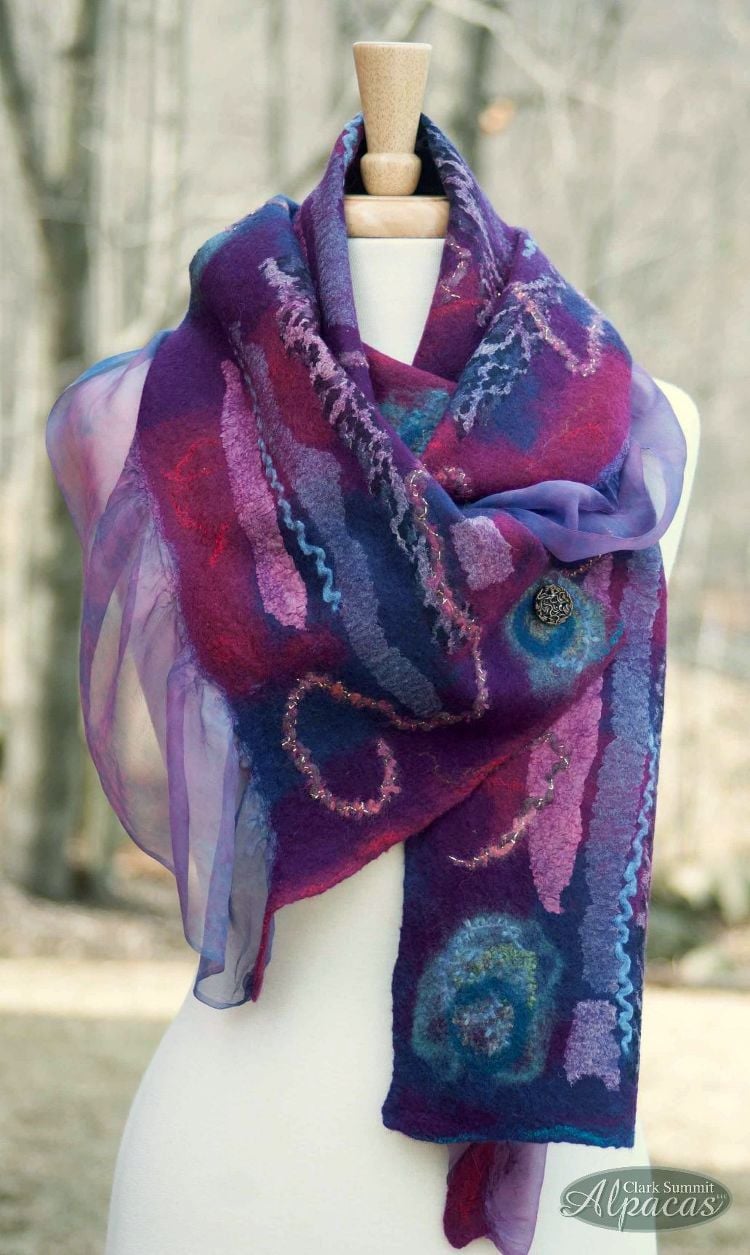 Nuno felting
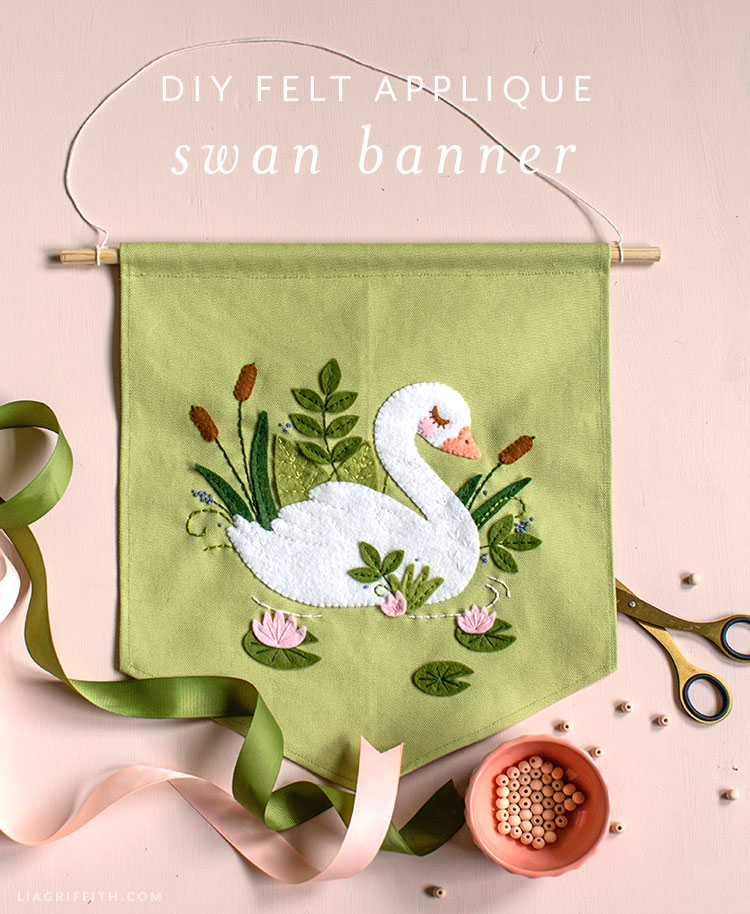
Appliqué
Ornamental needlework in which pieces of fabric are sewn or stuck on to a larger piece to form a picture or pattern.
Materials:
- Different Fabrics
- Sewing machine/ threads
Instructions
- Cut out a shape from one fabric and fold and sew along its edges onto another fabric. If the fabric is sheer, beads or other objects can be inserted before completing the sewing, allowing it to be a see-through patch.
- Other techniques include: Sewing zig zag over a piece of yarn.
- Repeat as desired.
My Explorations
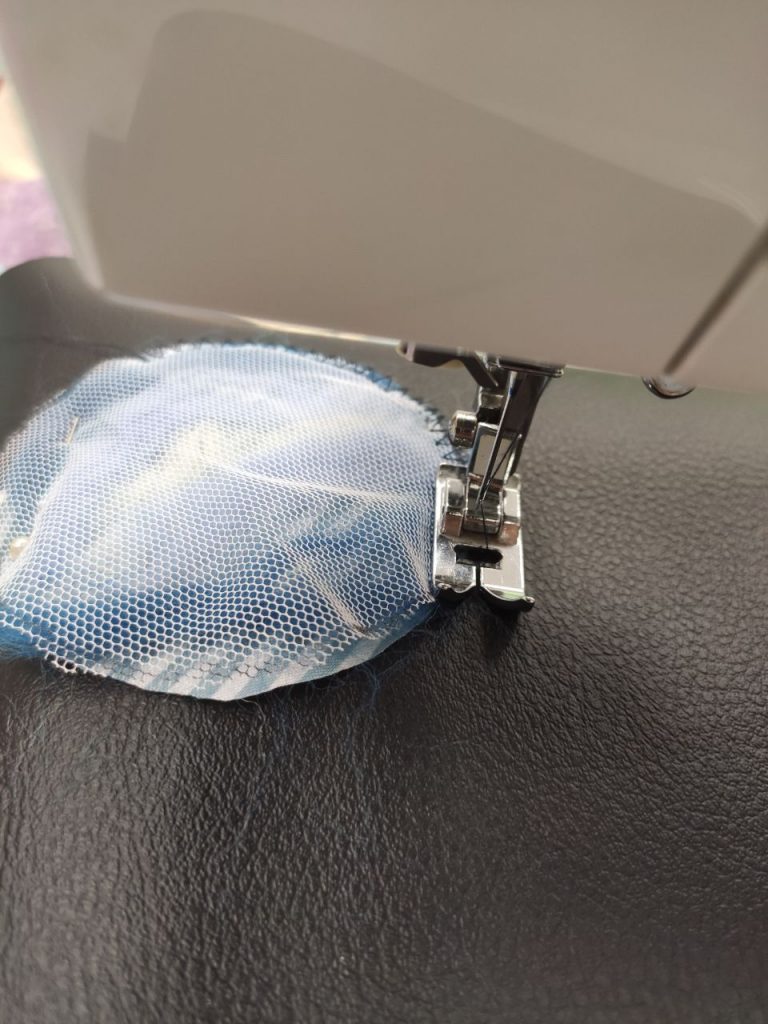
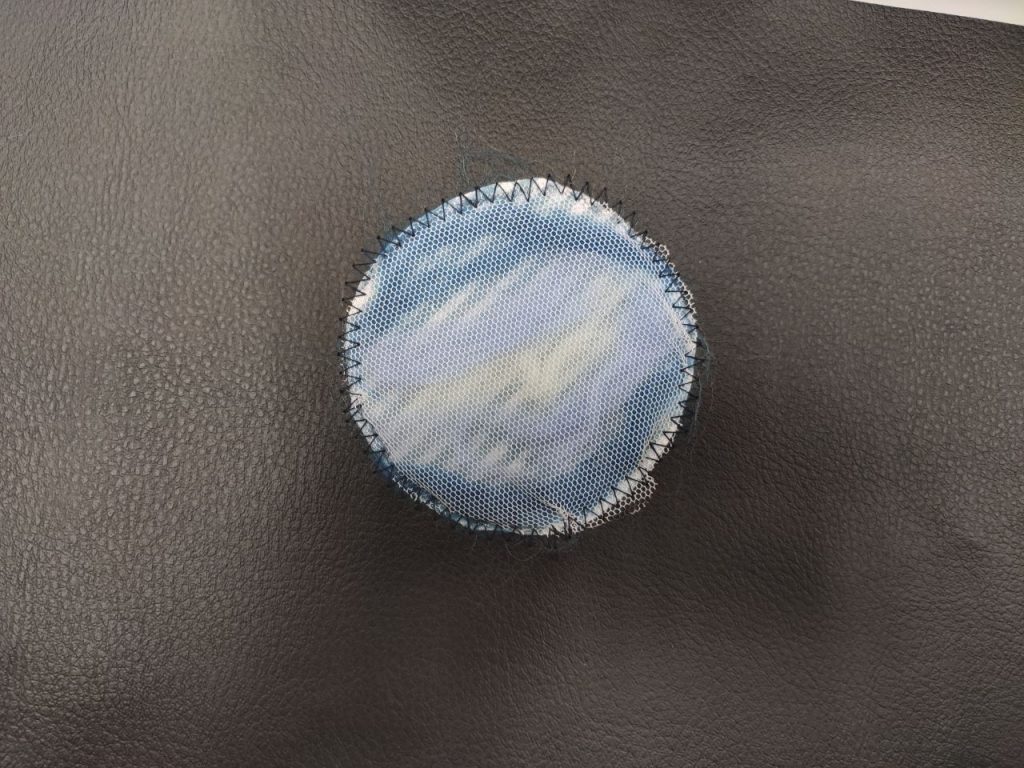
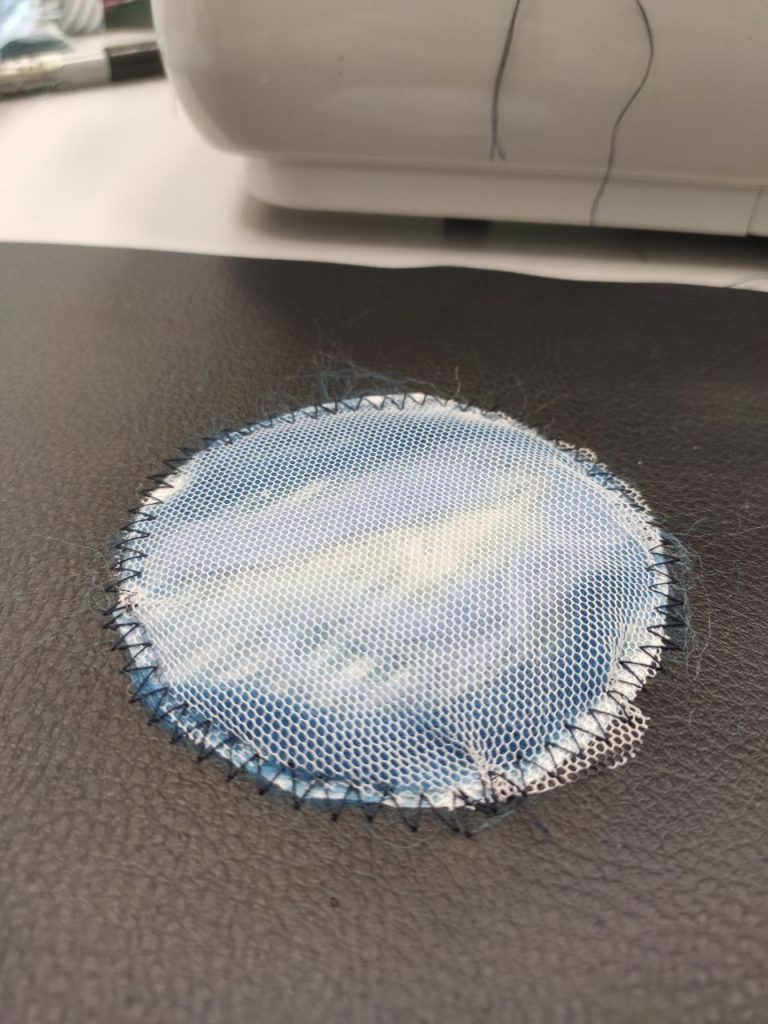
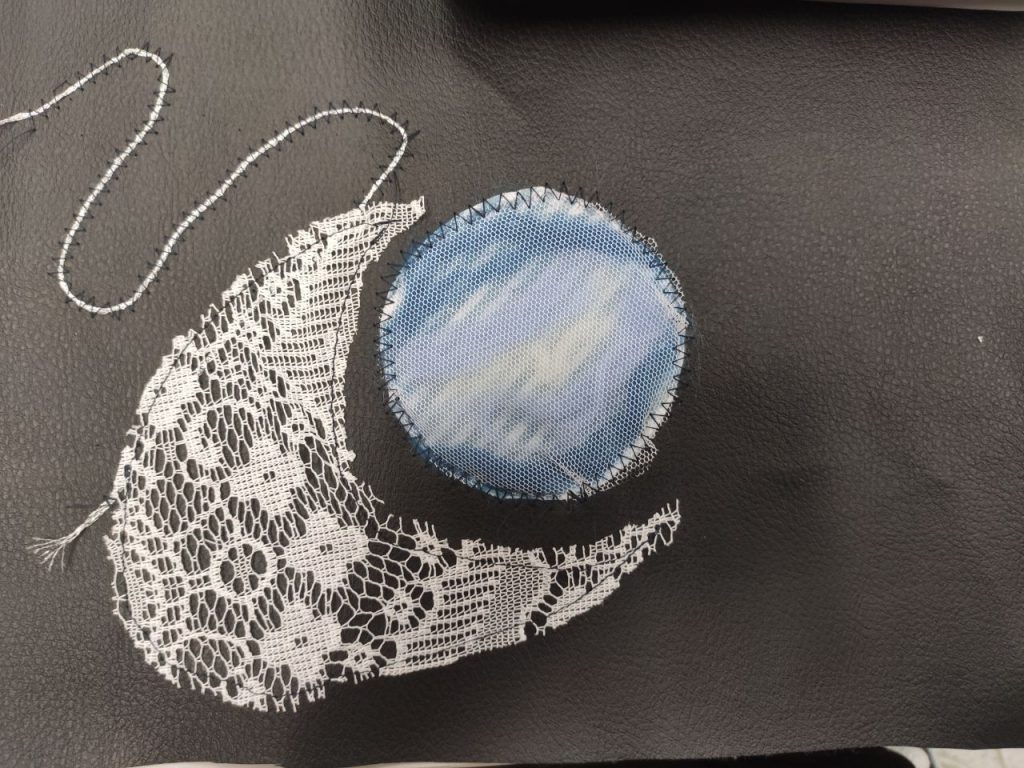
Firstly, I wanted to explore adding felted wool by trapping it behind sheer fabric. So I arranged the strands to simulate the textures of planets, pinned it into place and sewed a mesh fabric on top of it at the edges using zig-zag lines.
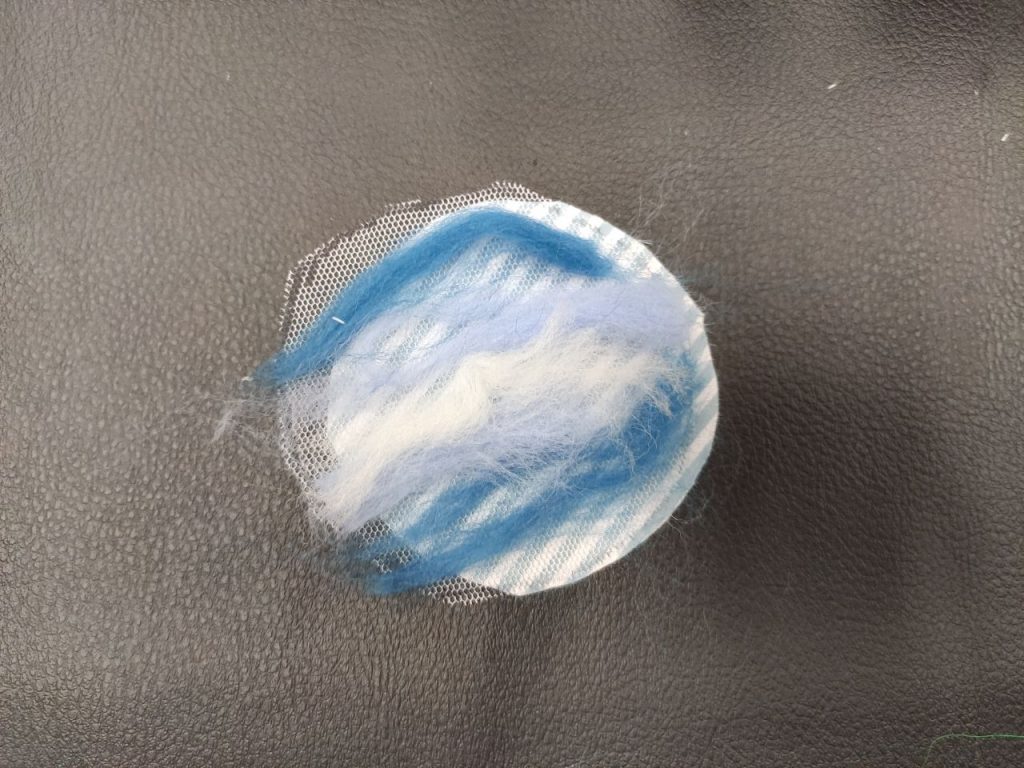
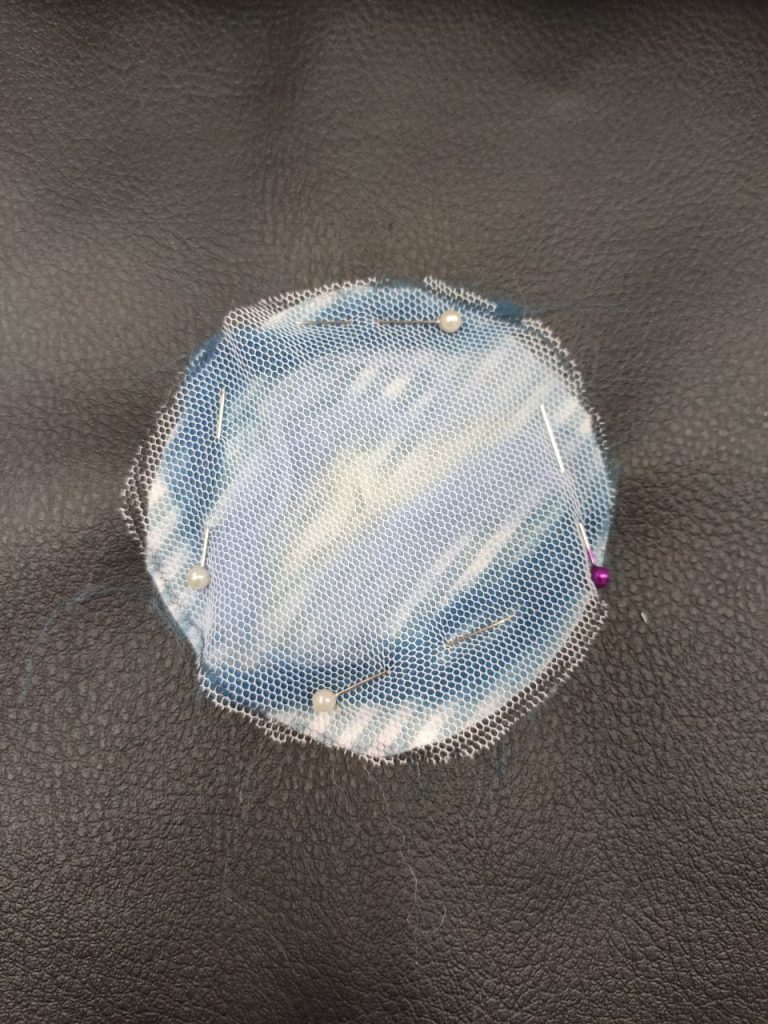
However, I think that the mesh kind of makes it hard to see the felt beneath it, although there is some dimension added when looking at its side view.
Next, I wanted to try adding shiny yarn to look like constellations against the black background, since there was a lack of white thread.
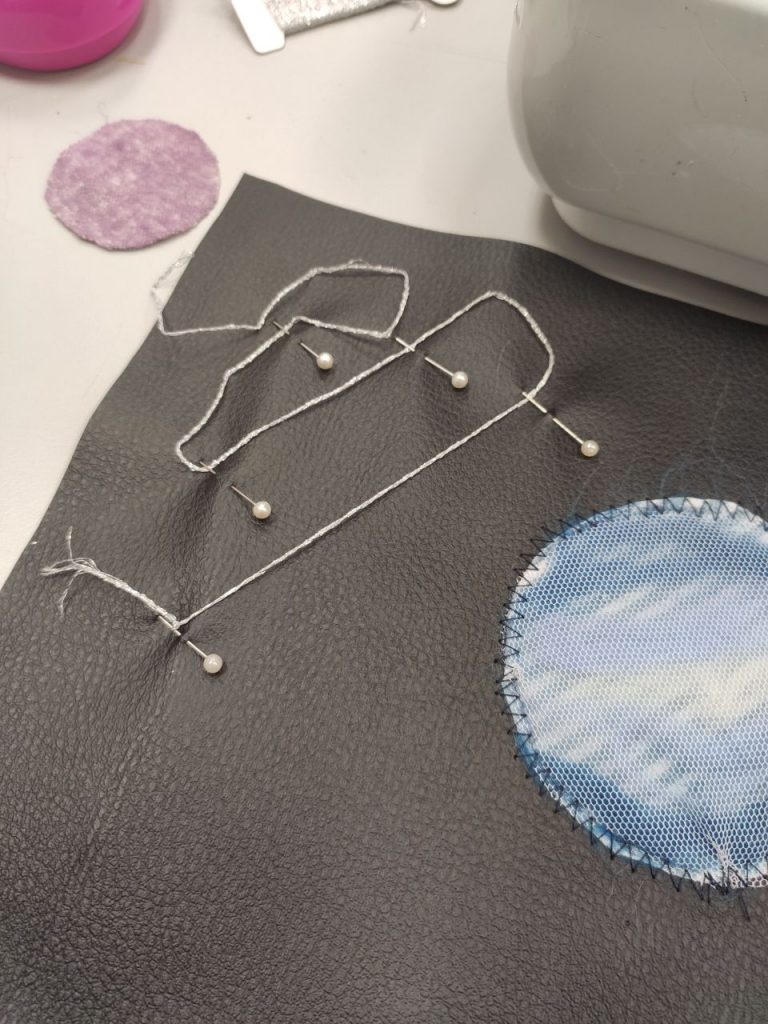
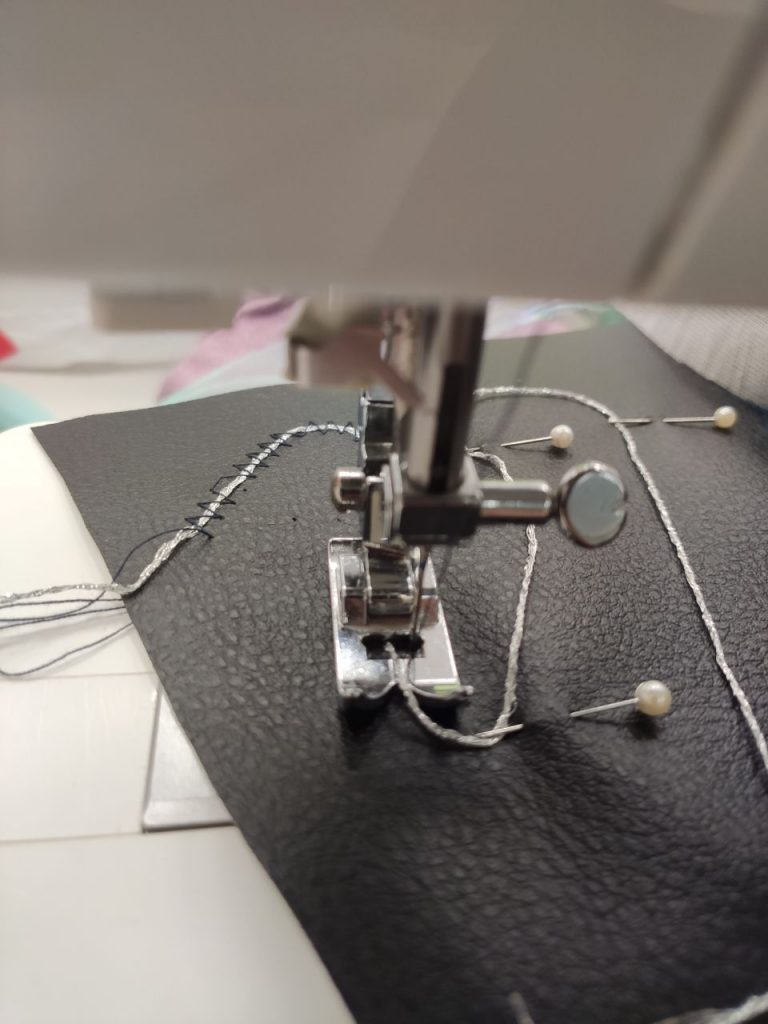
I also added a moon-shaped cut out from lace to vary the fabric textures.
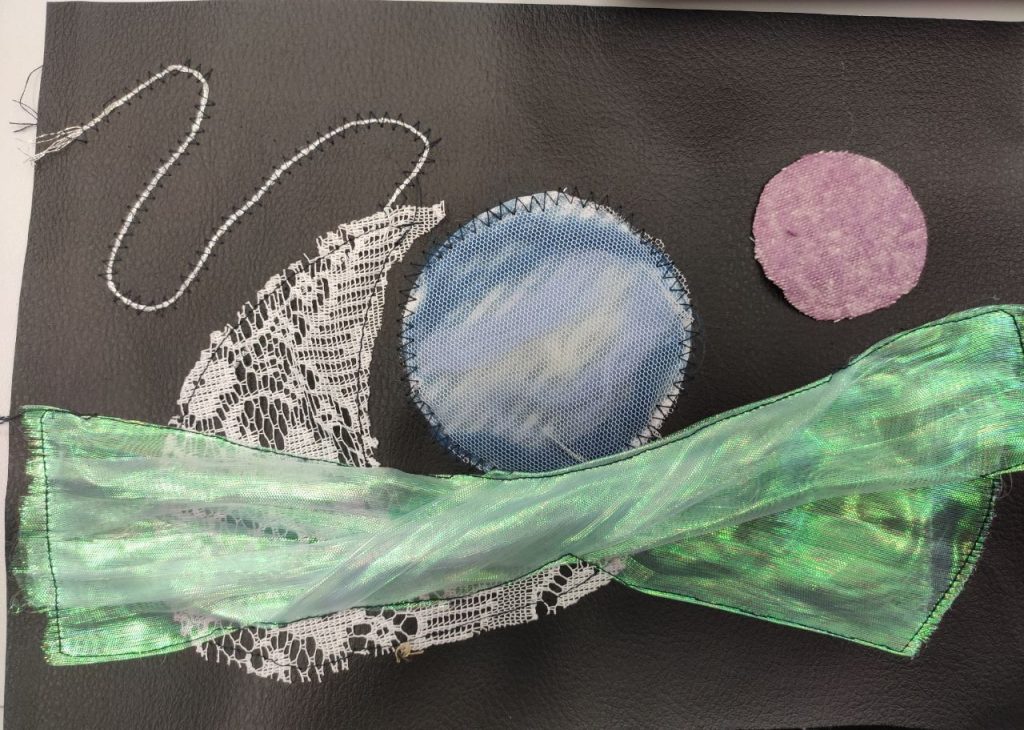
Next, I wanted to incorporate the shiny sheer organza somehow, and decided to twist it over the rest, similar to aurora streaks across the sky.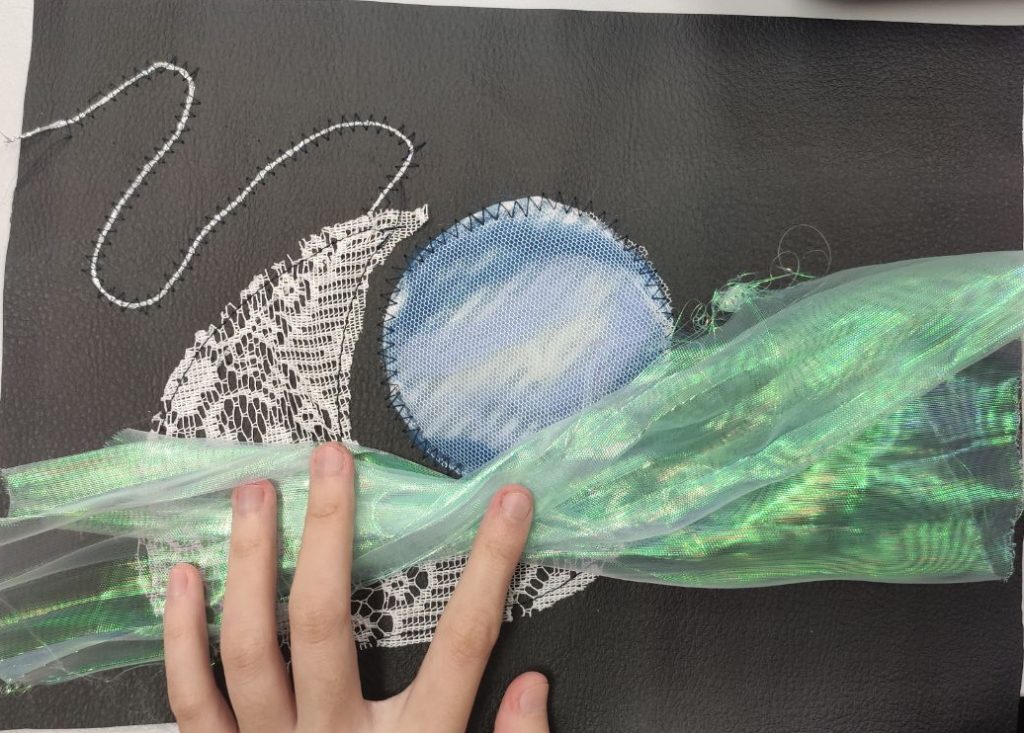
Next, I wanted to add another purple planet with a ring around it, using yarn.
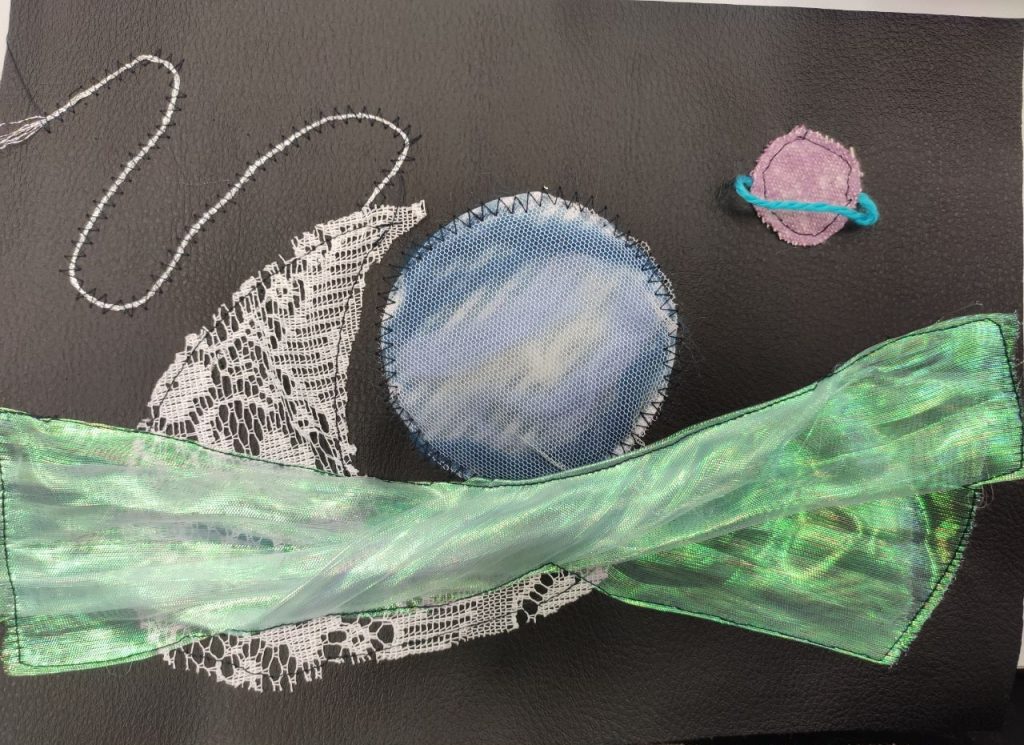
Finally, I thought that the piece was a bit too abstract for my liking, so I decided to add some stars by hand in the background.
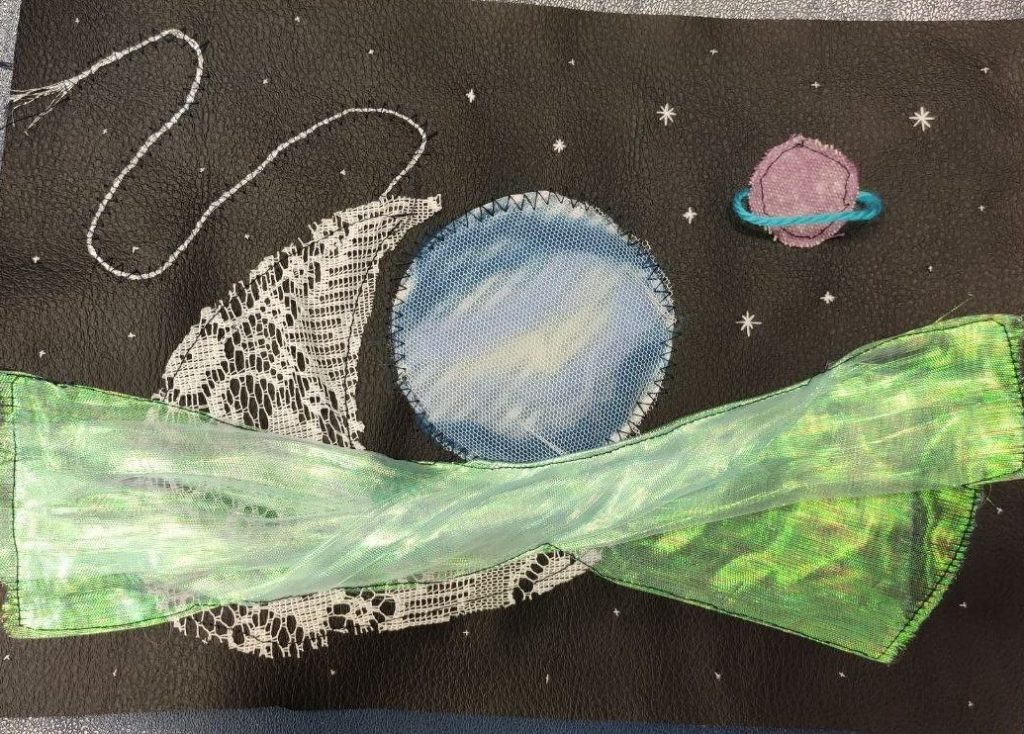
Ta-da! I think the textures of the different fabrics makes it very dynamic and more interesting for the viewer! I am quite happy with my final piece as it looks a little like a painting depicting space!
All in all, fabric applique is actually quite a fun technique, but I would say majority of the time is spent more on deciding how to compose the final look, i.e what shapes and where to arrange them. Nonetheless, it is still a easy and freeform way to vary the texture of fabrics.
A P P L I C A T I O N S
Embroidery Appliques
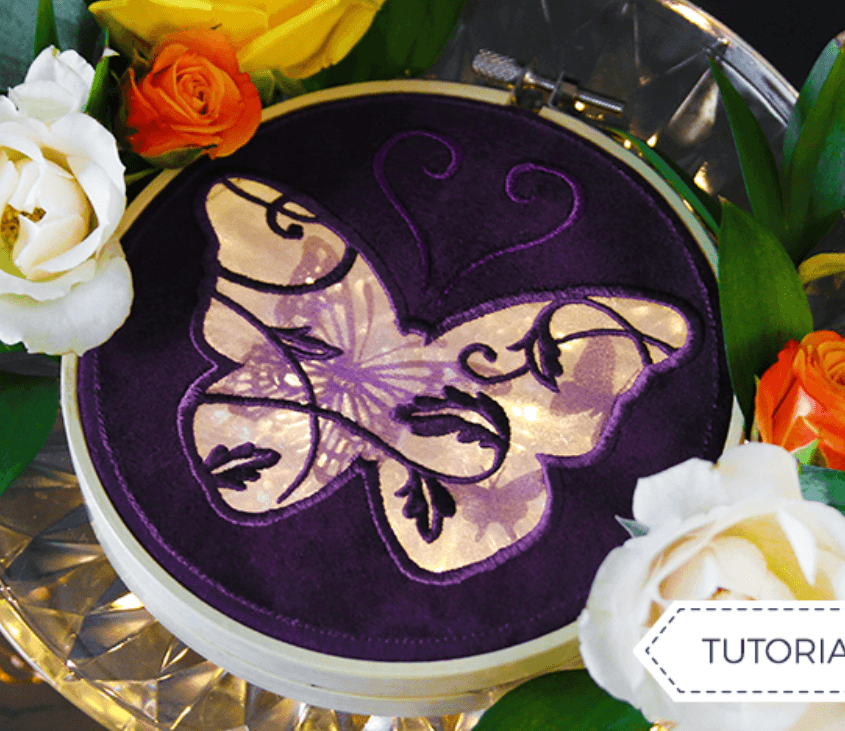
Layered appliques

Lace appliques