
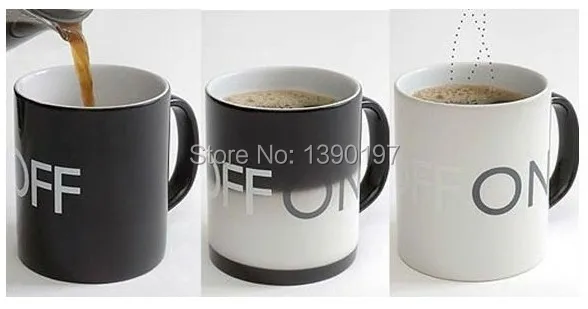
Thermochromic Ink Print
Printing with thermochromic ink that colours changes with temperature.
Materials:
- Thermochromic Pigment
- Silkscreen Printing Clear Base
- Bright Fabric
- Silkscreen
- Squeegee
- Cups, spoons
- Tissues
Instructions
- Mix pigments with clear base in a cup: Ratio of 1 spoon of powder to 3 spoons of clear base
- Put down the fabric on tissues
- Place the silkscreen on top
- Scoop some thermochromic mix and put it on the edge of the silkscreen
- Tilt squegee at 30 deg and swipe it across evenly with pressure, with support from classmates to hold down the the silkscreen
- Repeat until surface is sufficiently coated
- Seek support to hold down the fabric while lifting the silkscreen off
- Leave ink to dry
My Explorations
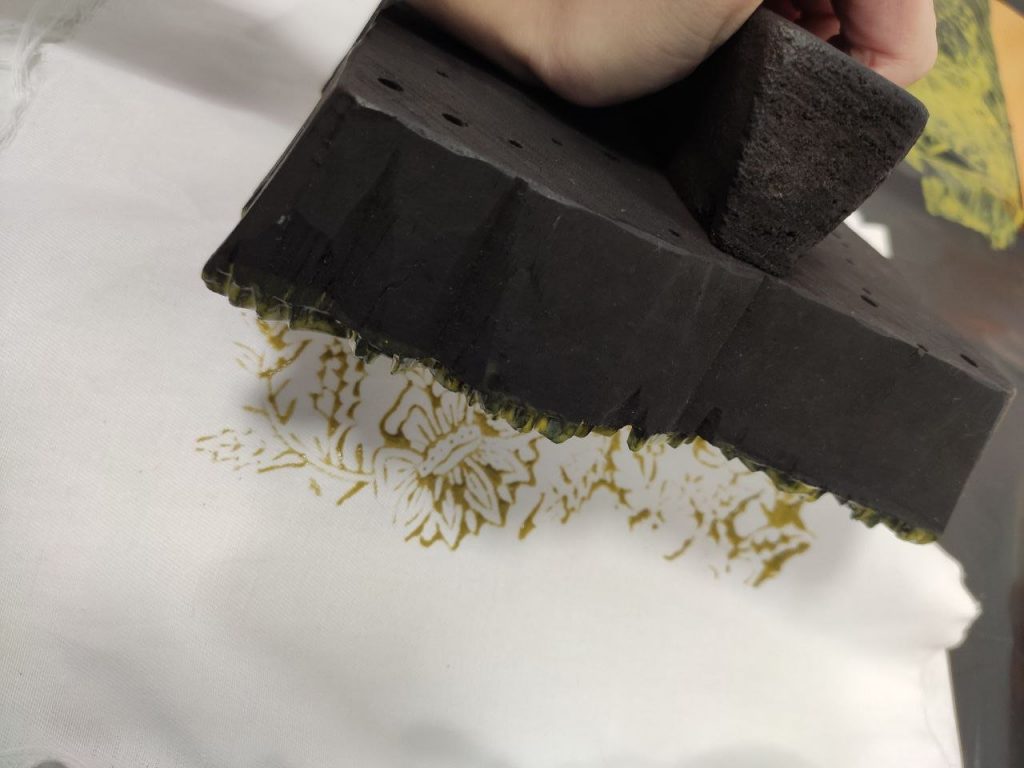
So first, I tried using the chop by dipping it into a puddle of thermochromic ink mix on the side and then pressing it onto the fabric.
I also put tissue behind the fabric to prevent the ink from bleeding.
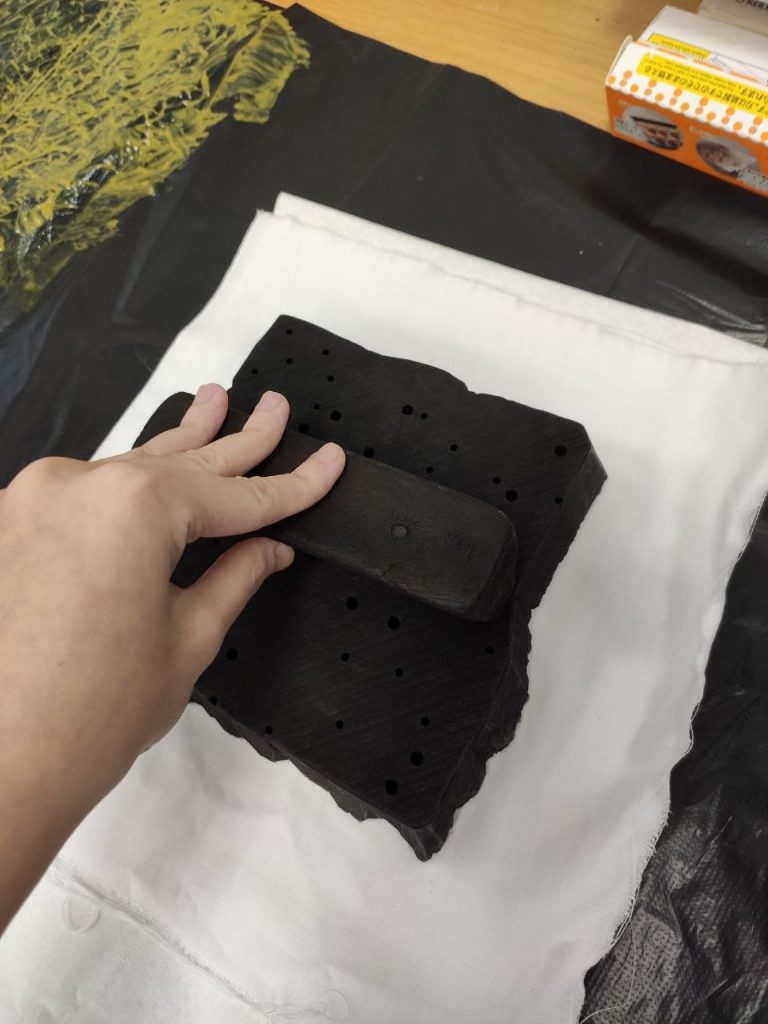
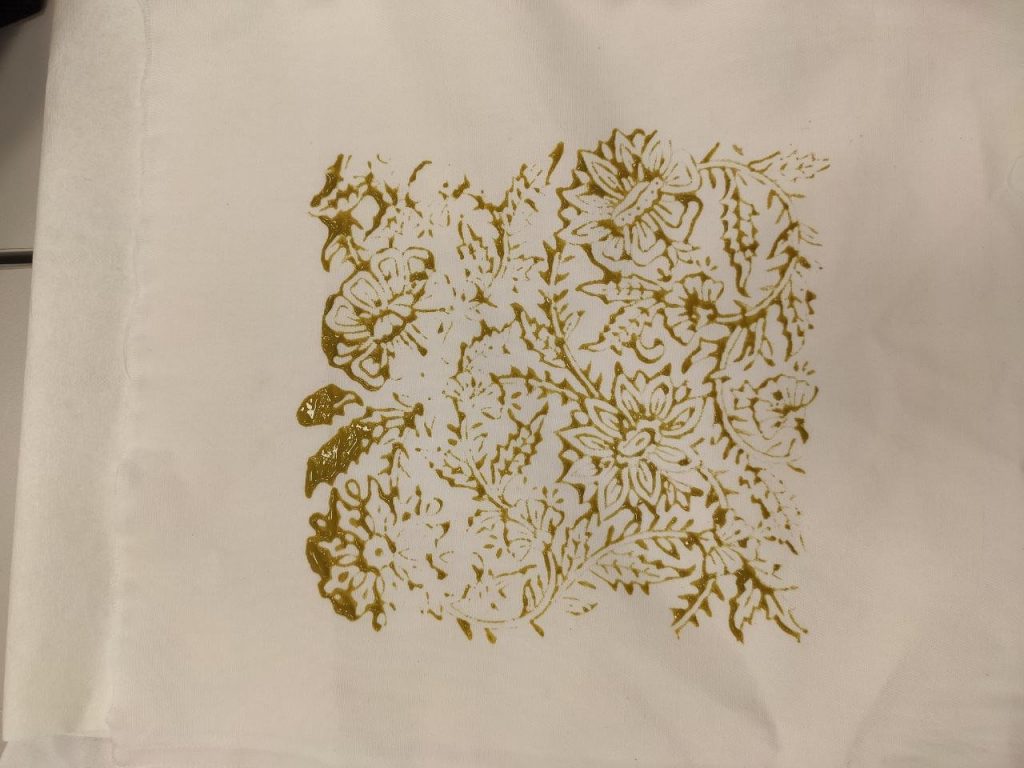
I would say the final result is not the best but not bad for my first try!
Next, I tried the silkscreen print with two colours – pink on one side of the squeegee and yellow on the other.

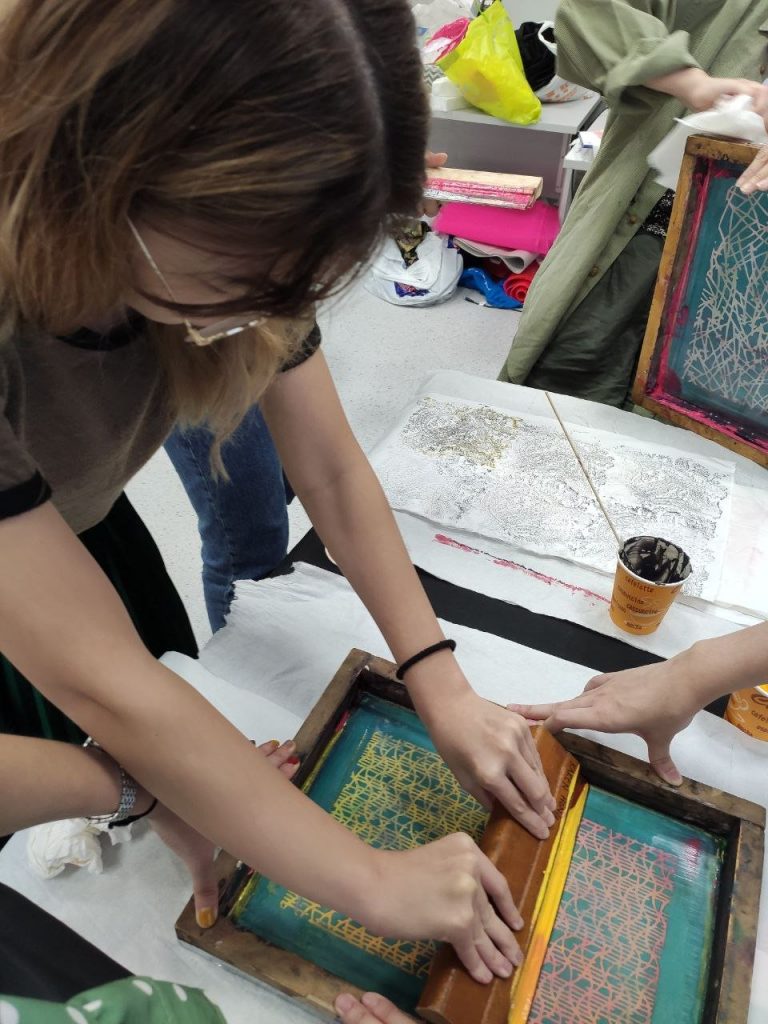
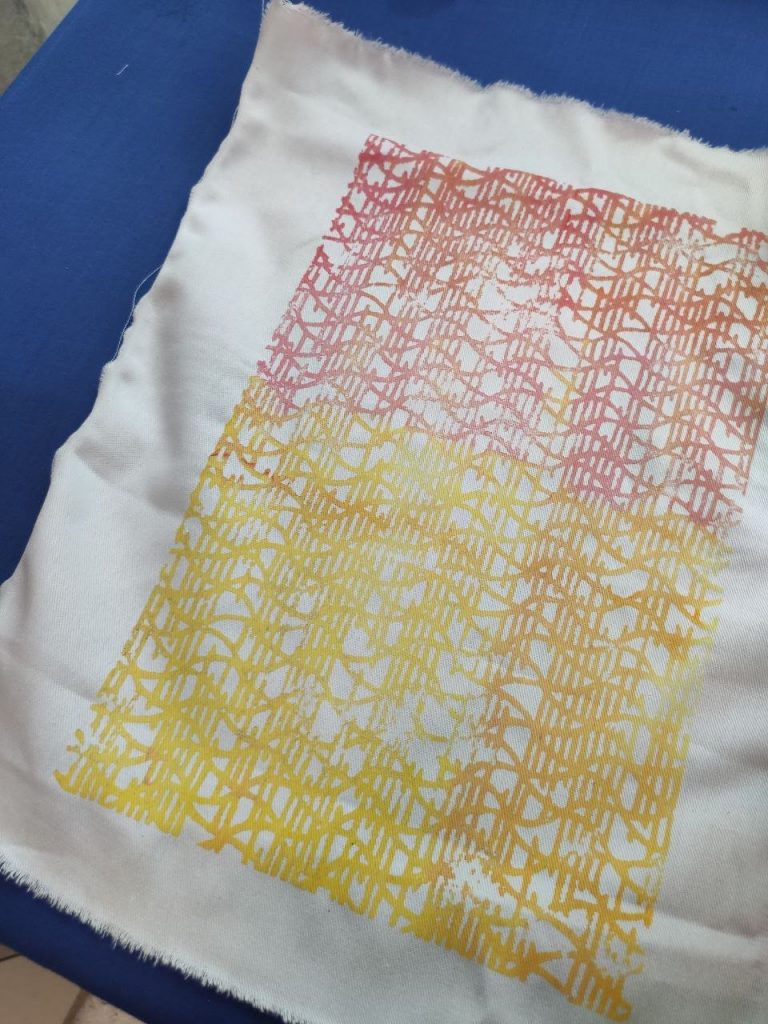
I went over a few times and applied more pressure at any empty spots so I think it turned out pretty well! I love the gradient effect.
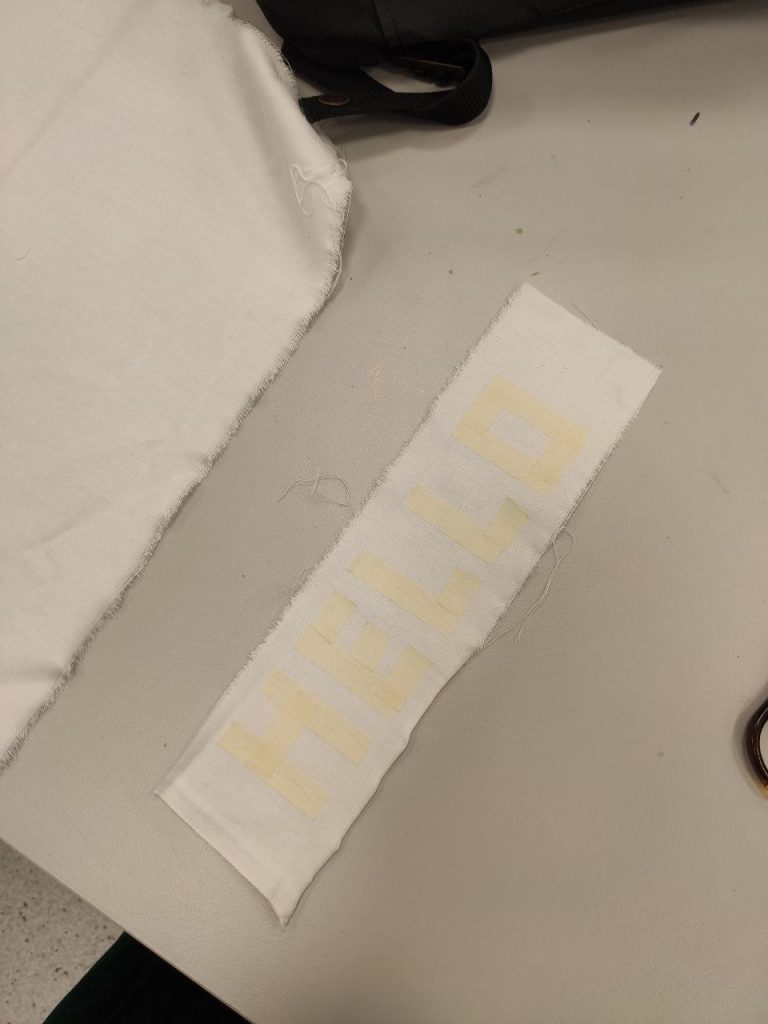
Lastly, I wanted to try embedding a ‘secret message’ that can be revealed after heat is applied.
So I first used masking tape to mask out the first message.
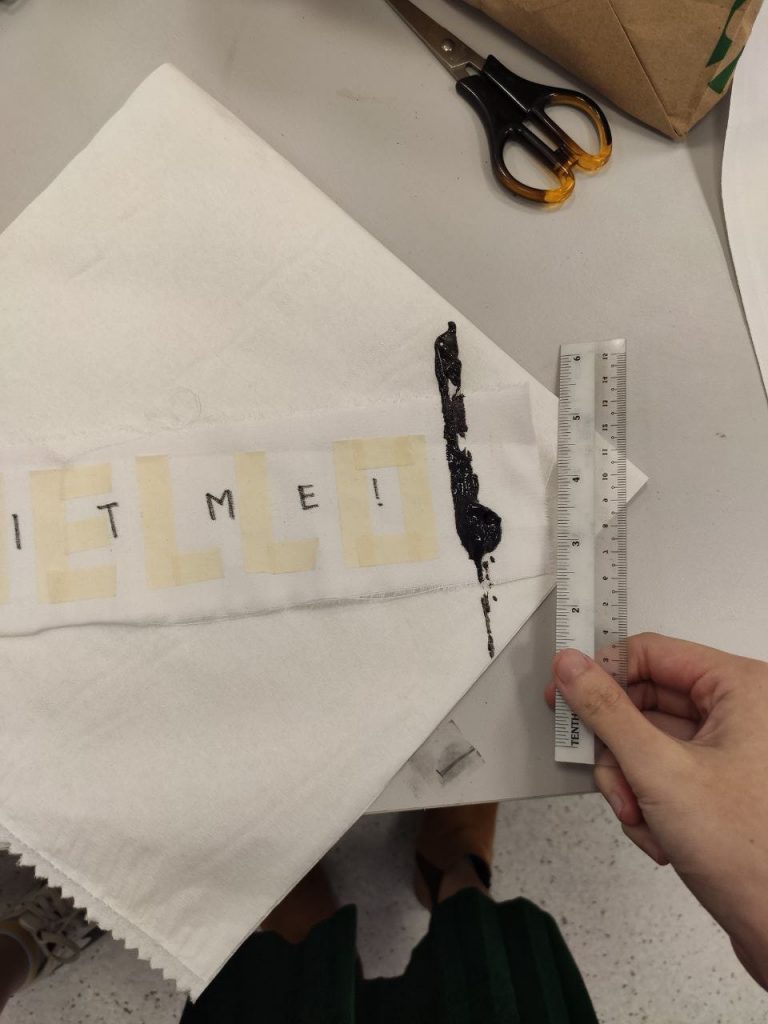
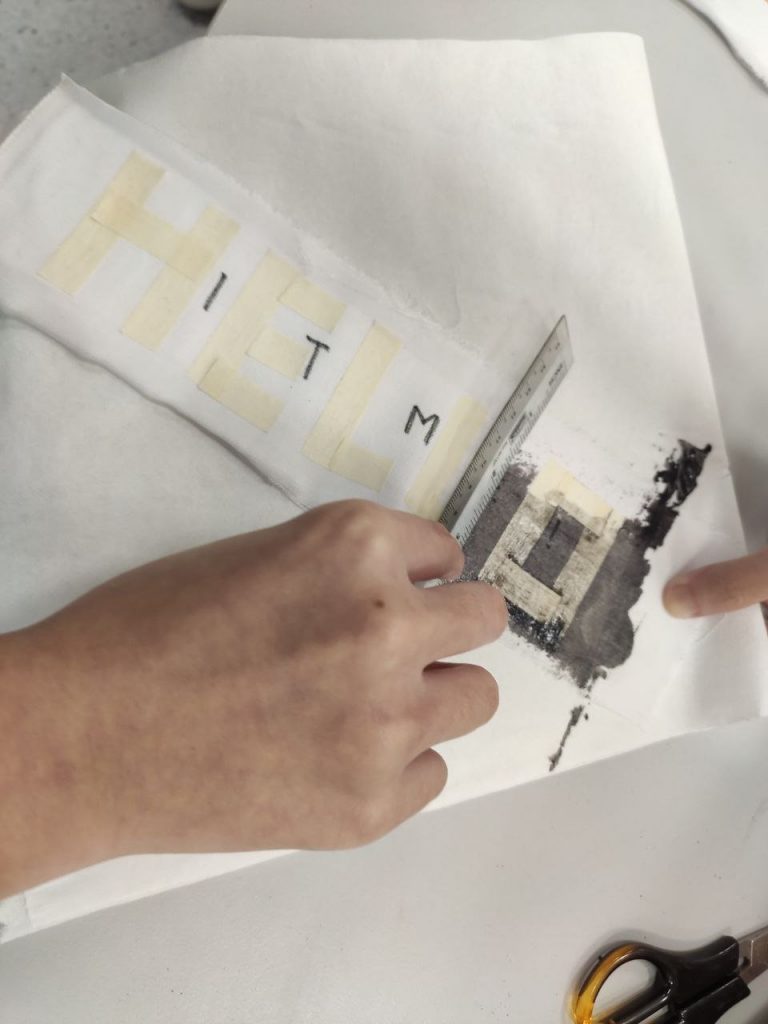
Then, I used a marker with the same colour as the ink and wrote the ‘secret message’, avoiding the taped area.

Then, since the squeegee is in use, I decided to use my ruler as an impromptu squeegee. So I applied some ink mix on the sides and start scraping across.
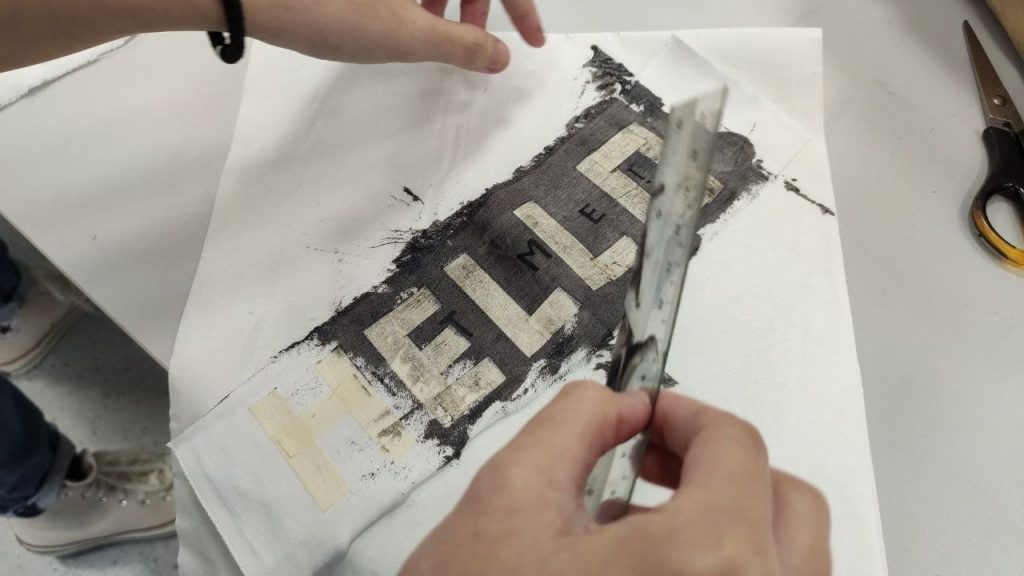
After it dried, I then peeled off the masking tape.
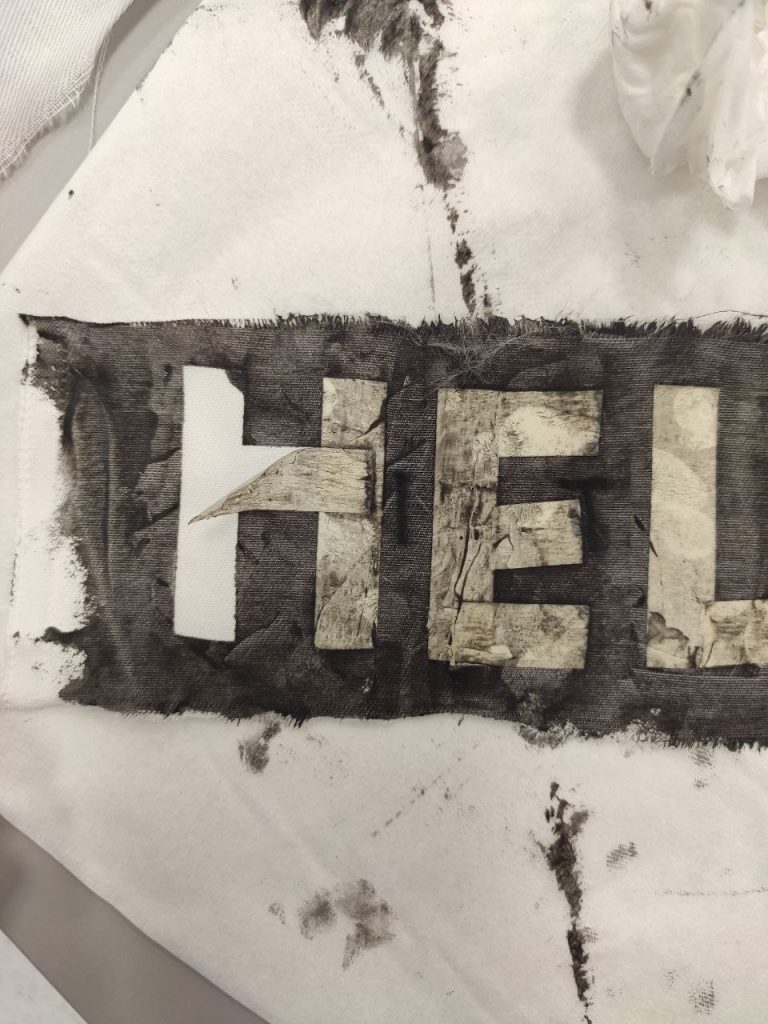
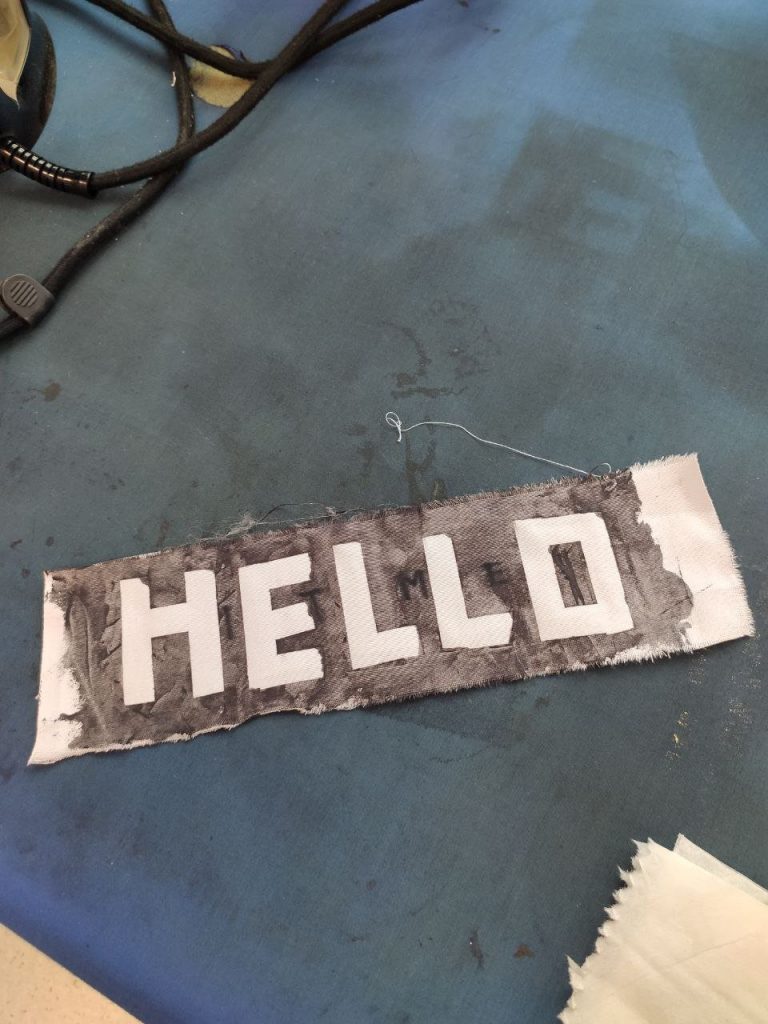
Tada! Although the ink did not cover the ‘secret message’ as well as I wanted it to be.
Results:
I was actually quite shocked by the change of colour from yellow to black, as I did not expect the black from the chop to stain.
This was really impressive as well, as the pattern is more dense, and it is very obvious when it turned transparent.

Lastly, I am actually quite happy with my secret message with reference to the Adele song hahaha. Although, the marker ink kind of bled so it looks a little more horror movie-esque instead of a cute message but I still like it!
A P P L I C A T I O N S


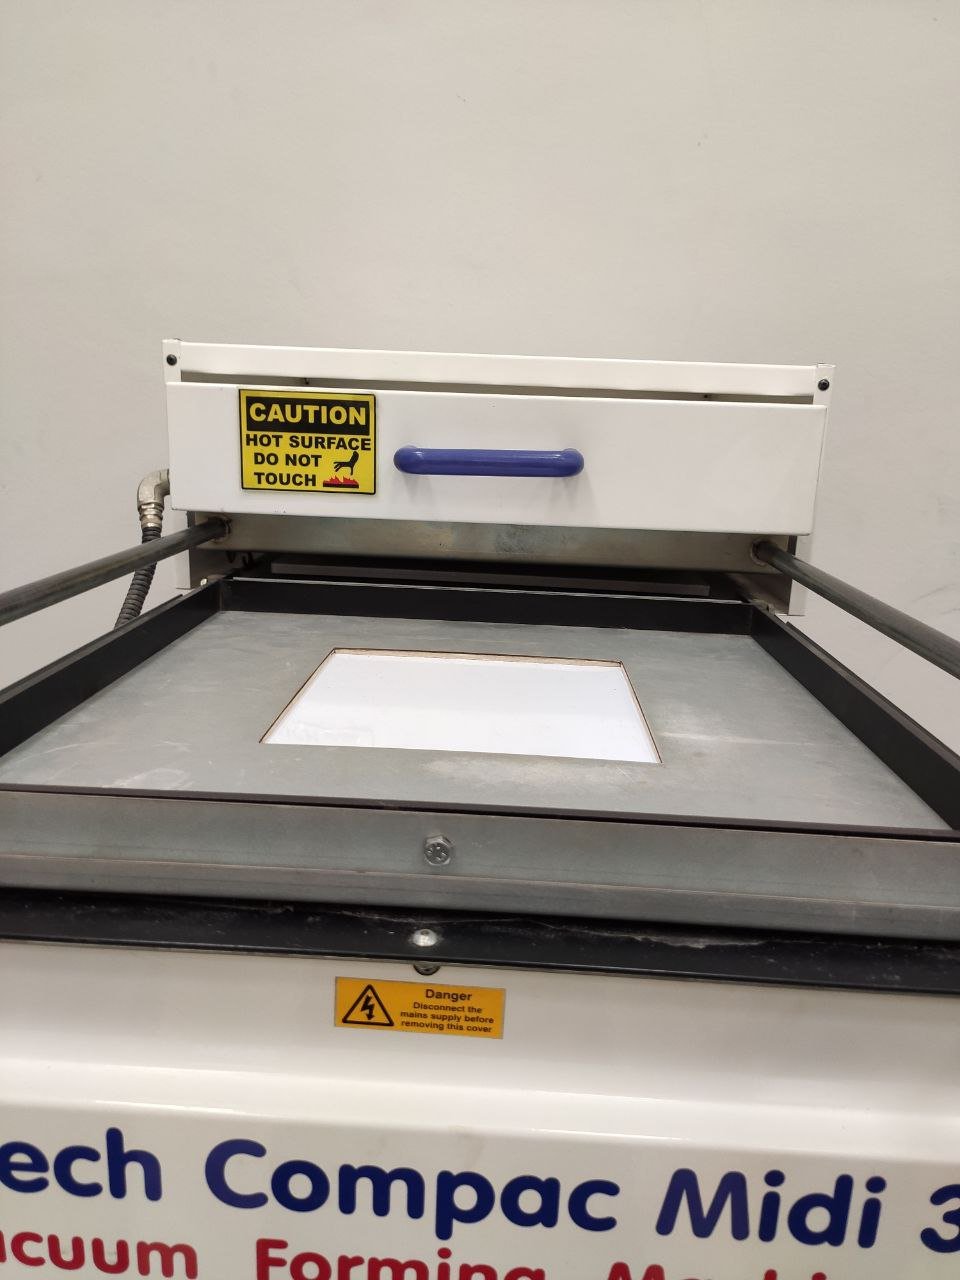
Vacuum Forming
Forming of a heated thermoplastic sheet by pressing it against a mould through the use of vacuum.
Materials:
- Thermoplastic Sheet
- Scissors
- Mould
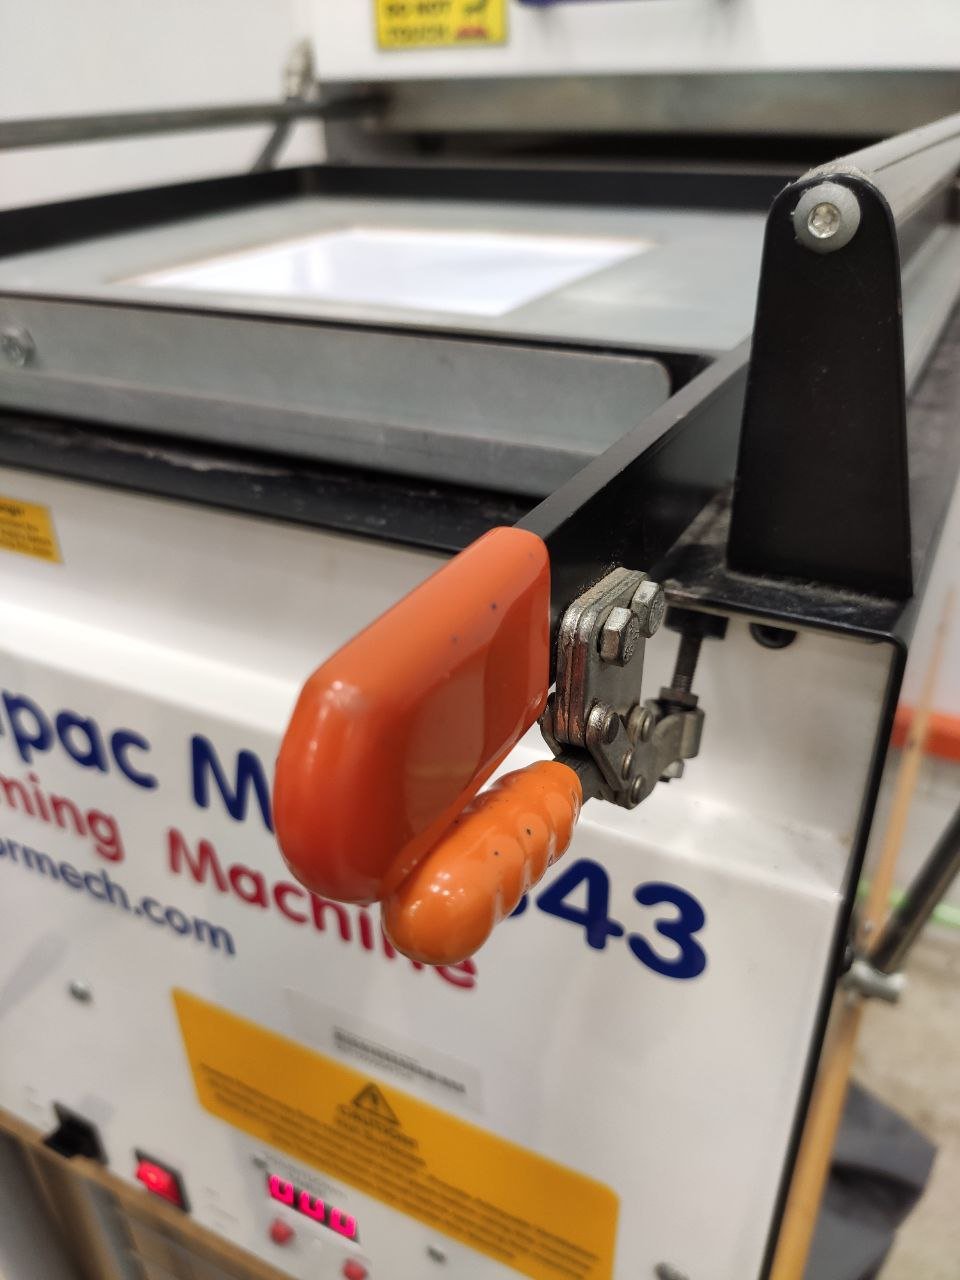
- Vacuum Forming Machine
Instructions
- Cut the thermoplastic sheet according to the maximum size the machine can fit.
- Place the mould onto the platform and ensure it fits the hole when raised.
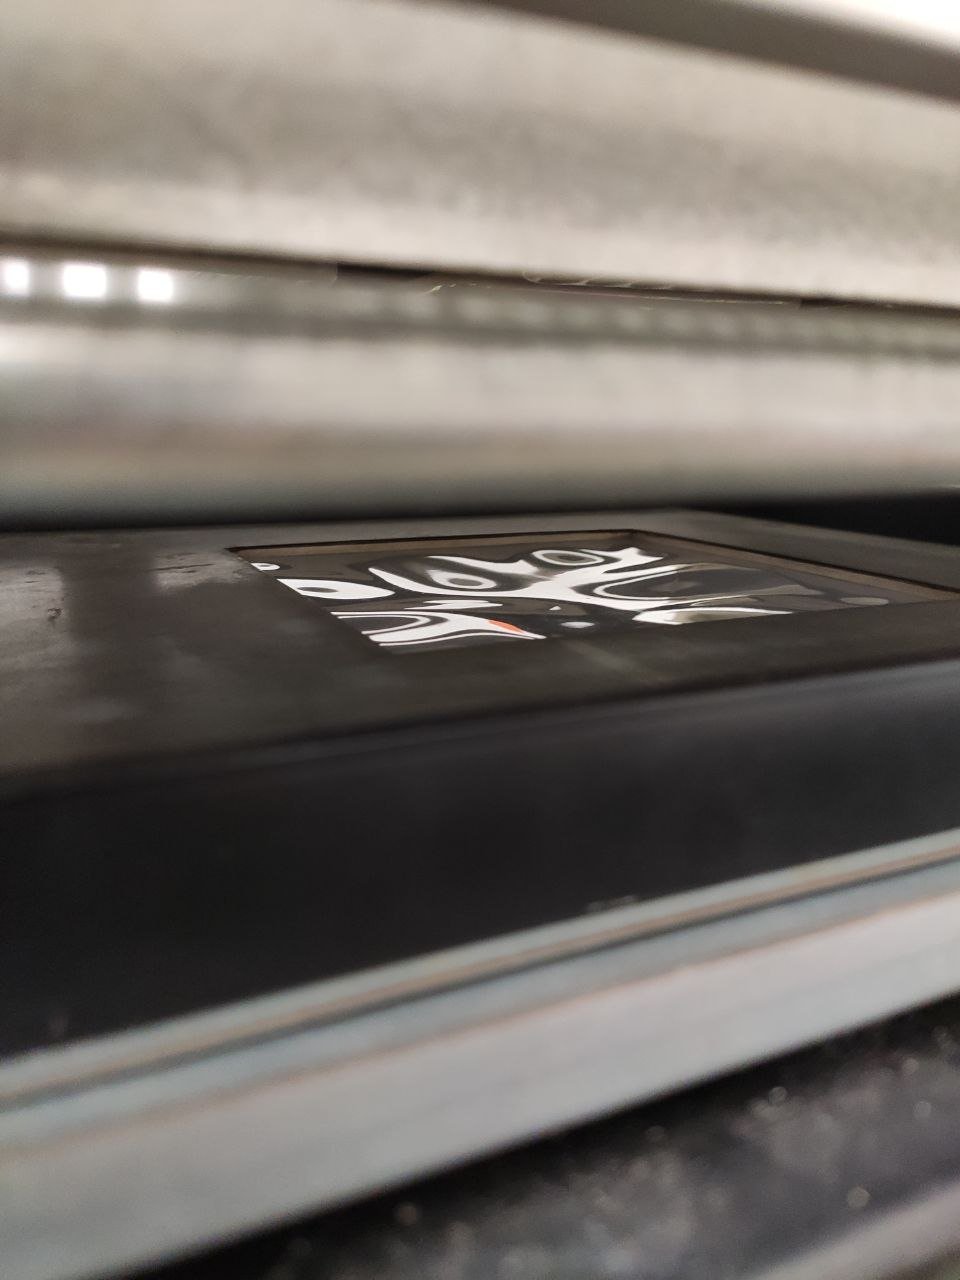
- Place the cut sheet onto the top of the machine
- Close the ledge and secure the clamps at the handles.
- Pull out the heater above it.
- Observe the sheet and wait for it to smoothen out (2 mins).
- Push back the heater.
- Simultaneously flip on the pump switch and pull the lever down to raise the mould against the heated sheet.
- Lower down platform with the lever and switch off the pump.
- Remove the mould after it cools.
My Explorations
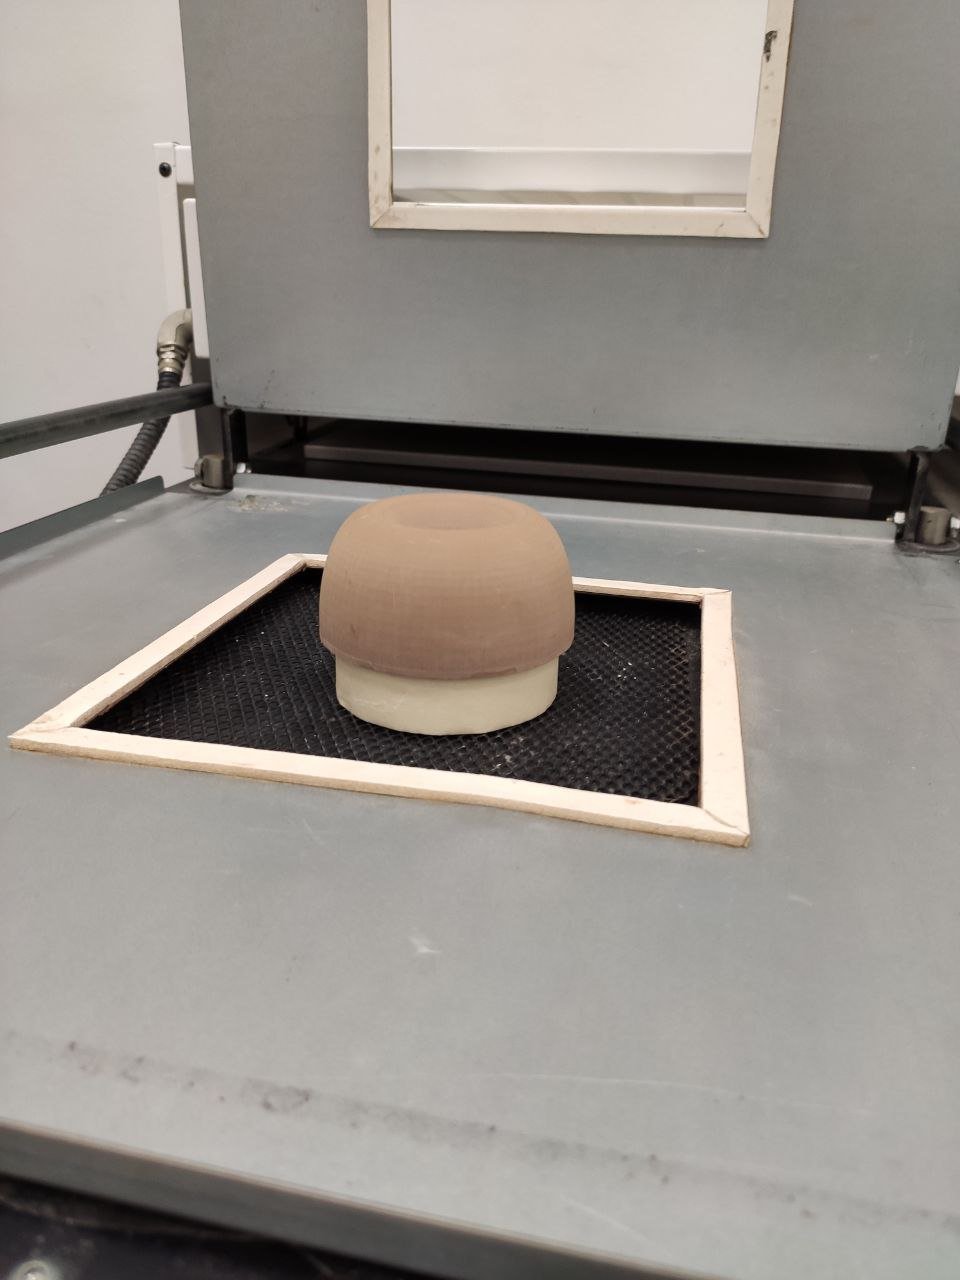
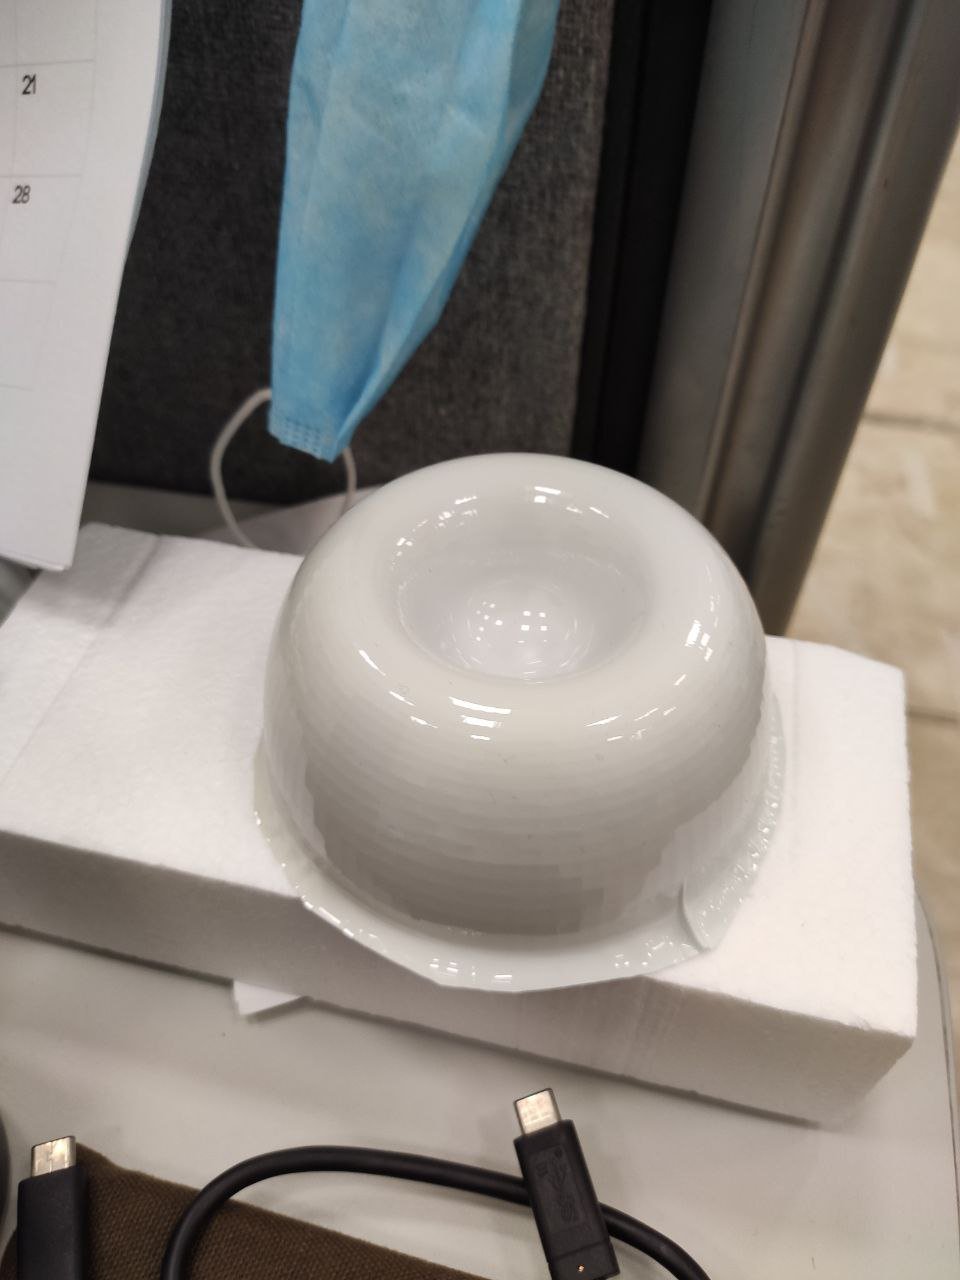
So after watching the rest did a few forms, I wanted to try vacuum forming this donut shaped mould provided by Patrick. I wanted a more defined shape, so I put a masking tape under it to raise it higher.
Then, I placed the sheet and closed the ledge…

One side of the clamp was surprisingly hard to close.
Waiting for the sheet to smoothen..
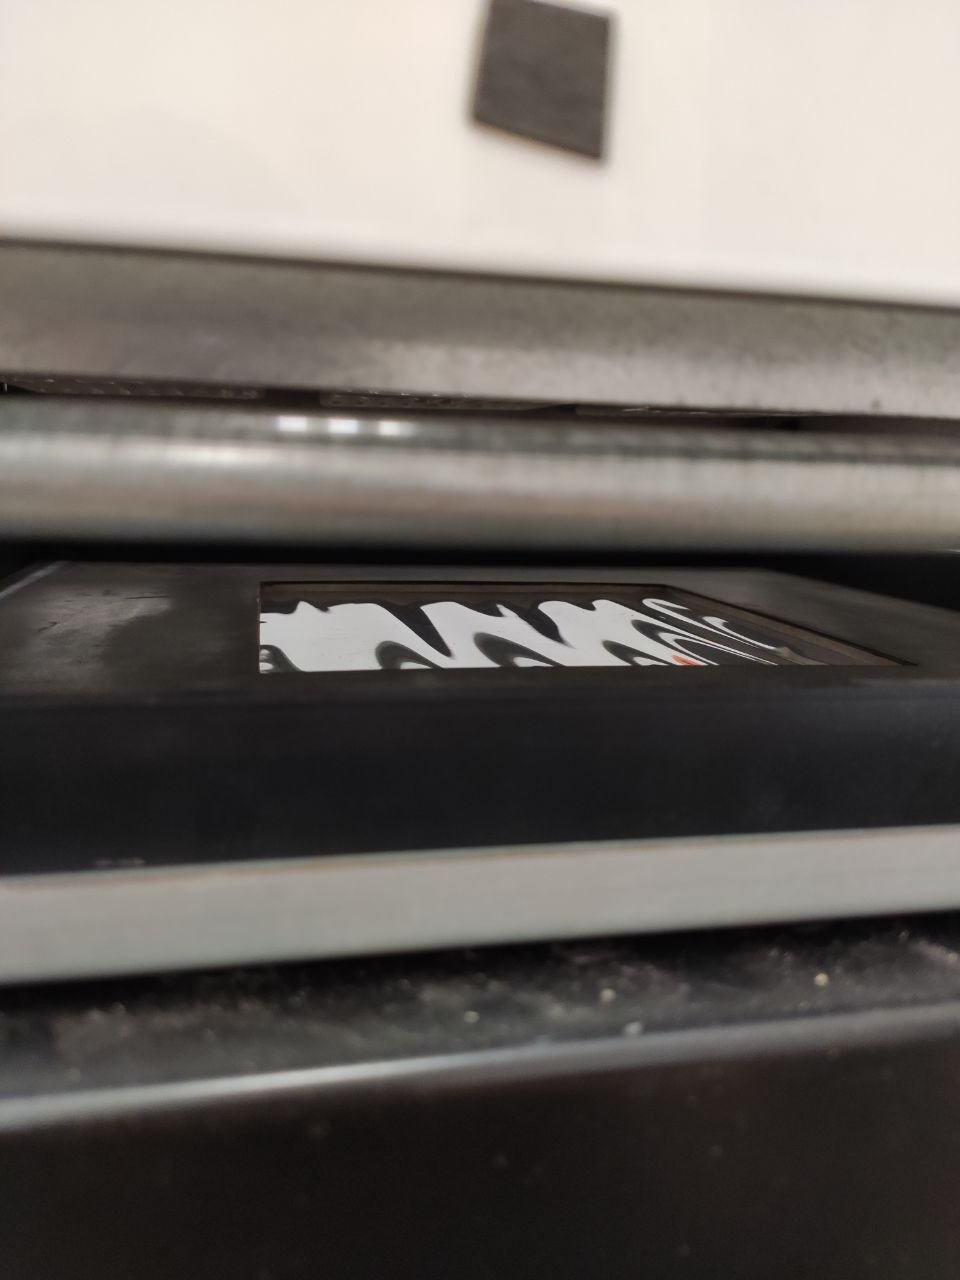
…And we are ready to mould! So I pushed away the heater(it must be completely pushed to the back for the lever to be able to move) and raised the platform while switching on the pump.

Success!
Unfortunately.. the mould got stuck inside as the sheet formed around the smaller circumference of the masking tape keeps it from coming out.
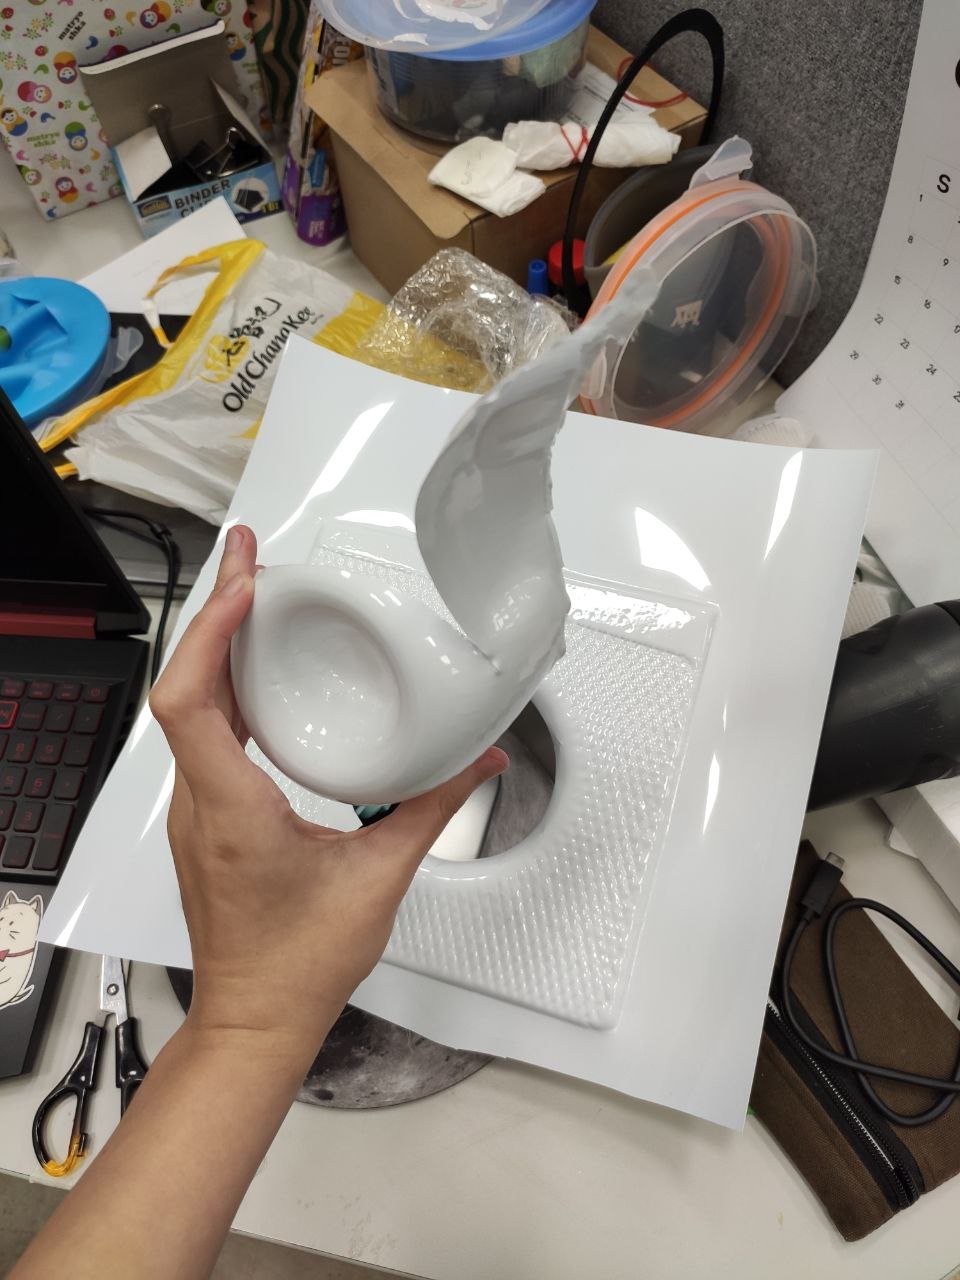
After many tries, including using the air gun in the workshop to ‘blow’ it out failed, I had to cut the sheet to release the mould. 🙁
But no worries as I did another one without the masking tape this time and it came out perfect!
Overall, I think vacuum forming has many potentials to be used in the packaging and mould making industry. However, the mould used has to have many requirements mainly:
- No overhang areas
- Must be heat resistant
- Must have small holes in certain area to allow the vaccum to suck effectively.
These factors kind of limit its use, especially for student work. Personally, I tried to make a mould of a plastic tupperware container but first I had to drill holes in the middle but eventually the plastic warped together with the sheet. Also, If I wanted to use a metal or glass tupperware instead, I will be unable to drill the required holes into them.
Nonetheless, with the right equipments and materials, vaccum forming can definitely go a long way as they can imitate a surface layer easily without using too much material.
I wonder if polyester fabrics can be used instead?
A P P L I C A T I O N S
Packaging

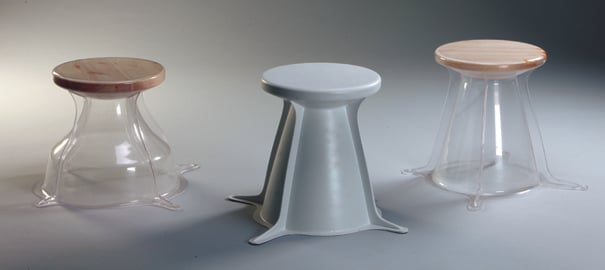
Furniture

Wall panelling

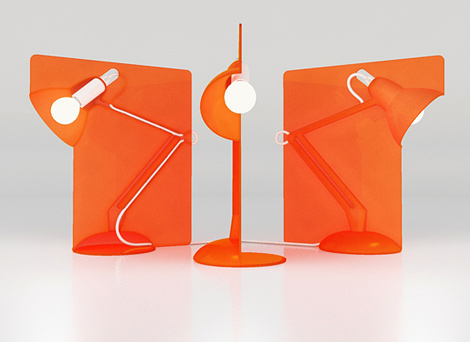
Fun 2D designs
