Bleaching
Removal of colour from fabrics through chemical means.
Materials:
- Bleach
- Spray bottle
- Dark coloured fabric
- Stencil
Instructions
- Load bleach into spray bottle and dilute if desired.
- Spray over stencil.
- Leave to dry.
My Explorations
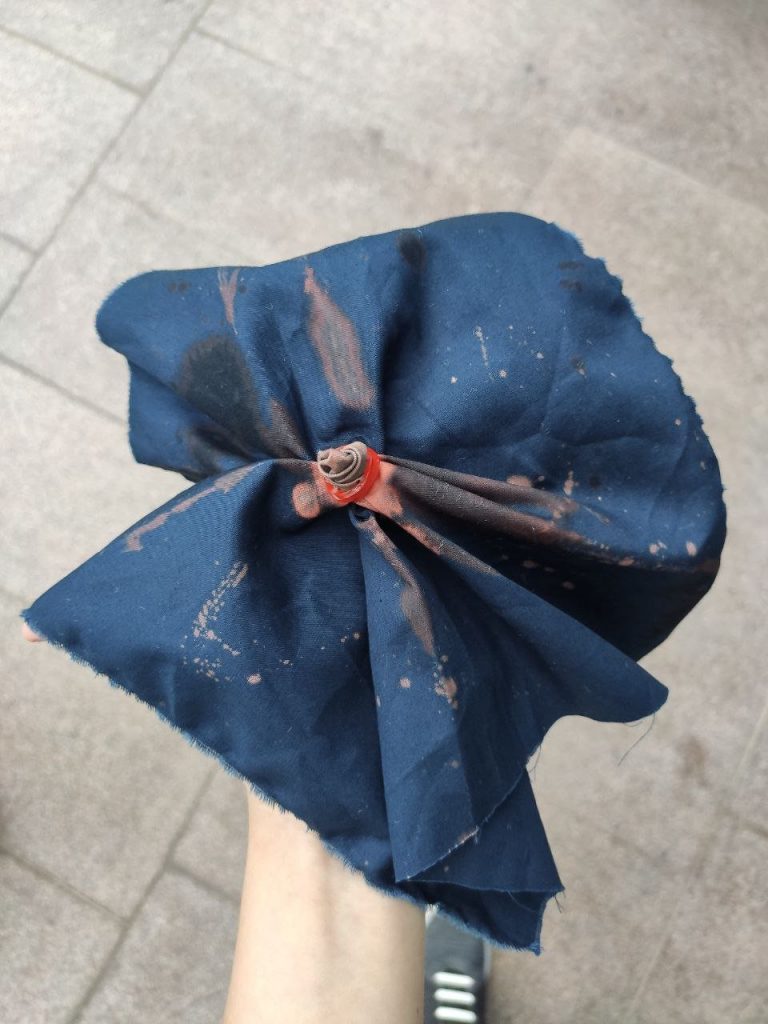
Firstly, I wanted to go for the spiral tie dye style in the middle to look like a galaxy so I twisted it a little and secured it with a rubber band.
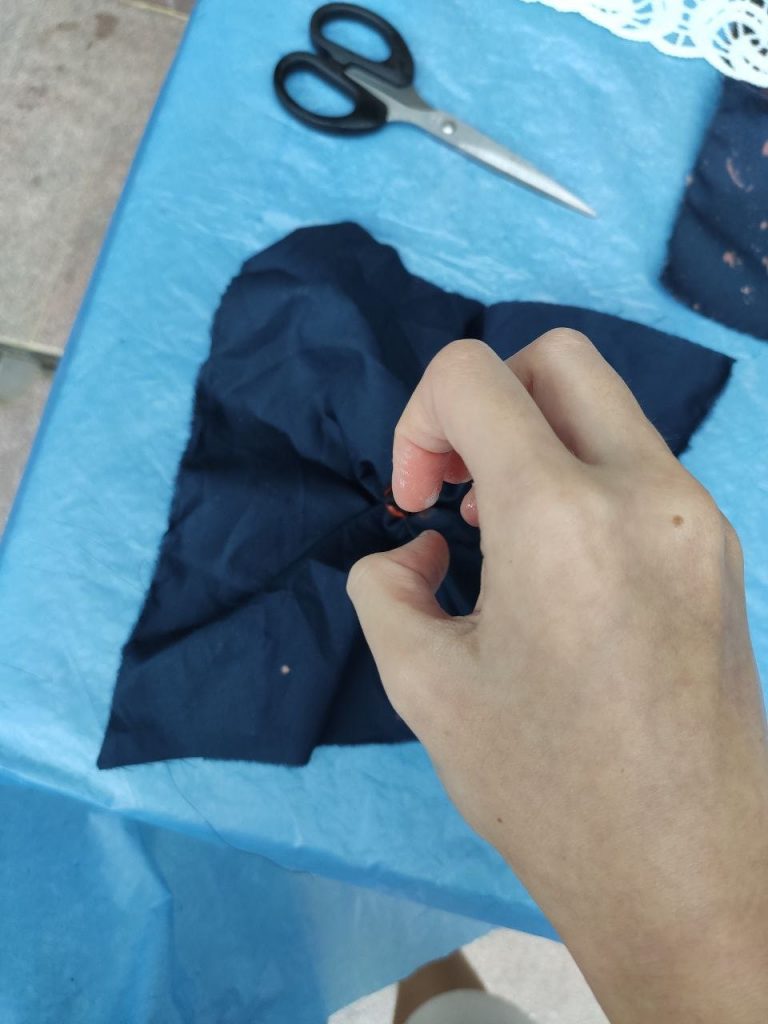
Then, I sprayed the bleach at the tip, and then tried to flick some bleach with my fingers to make splatters to look like stars.
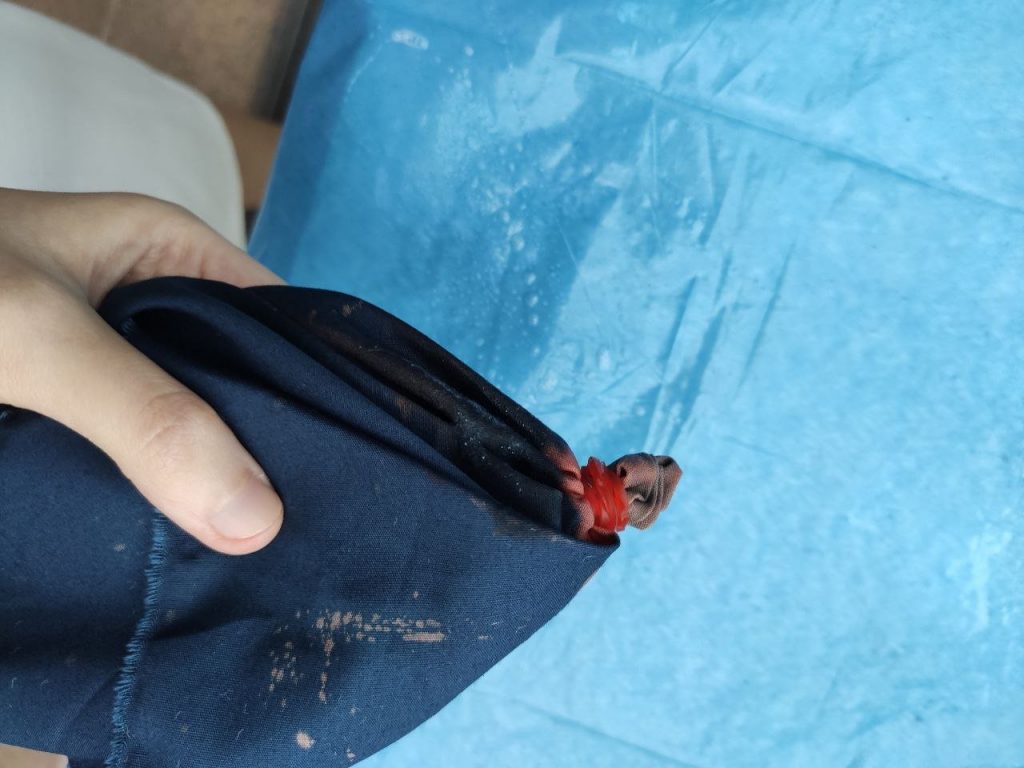
Next, I wanted to see the effects of pleating the fabric so I folded it accordion-style and rolled it up.
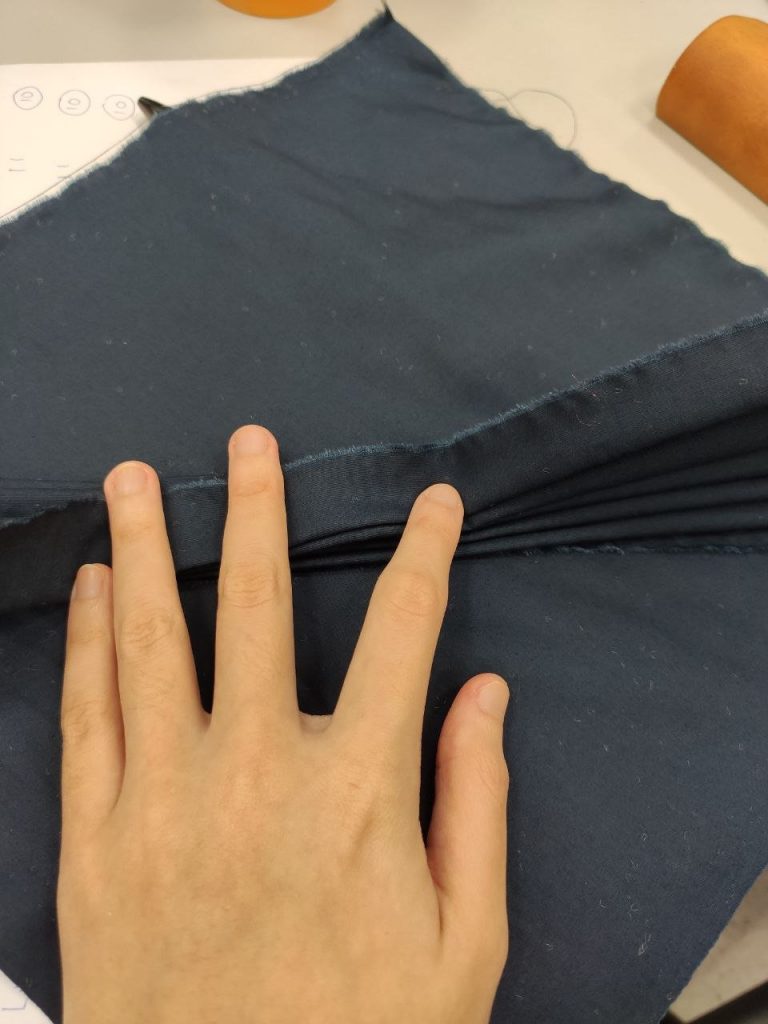
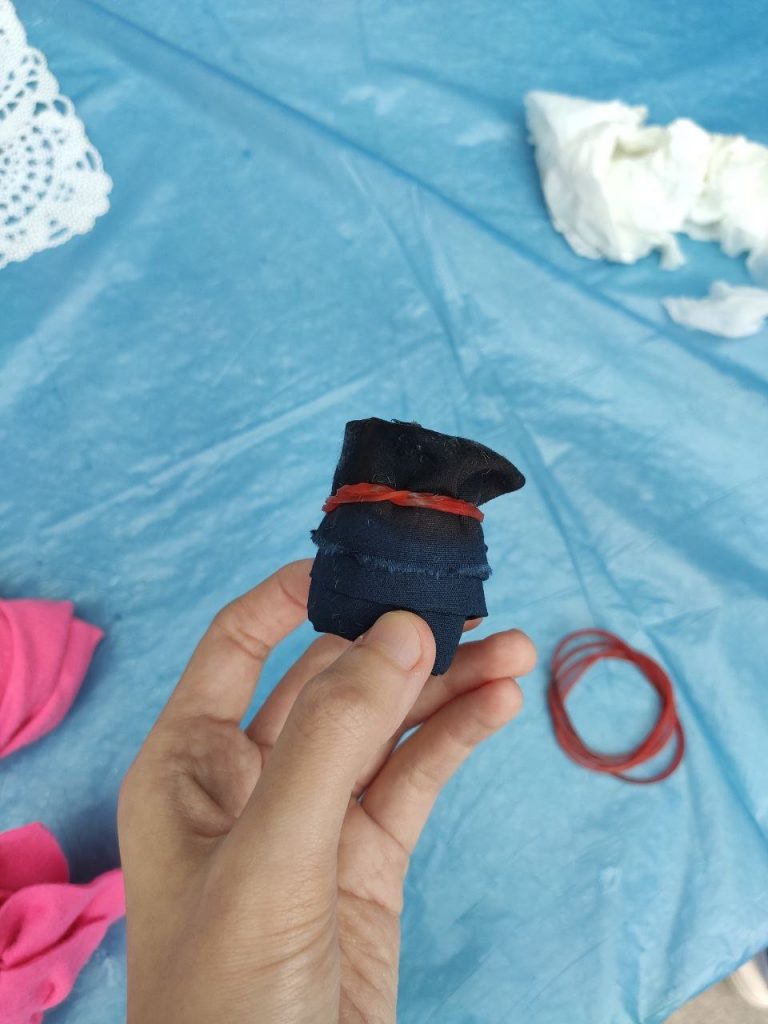
And then wet the top half with bleach.
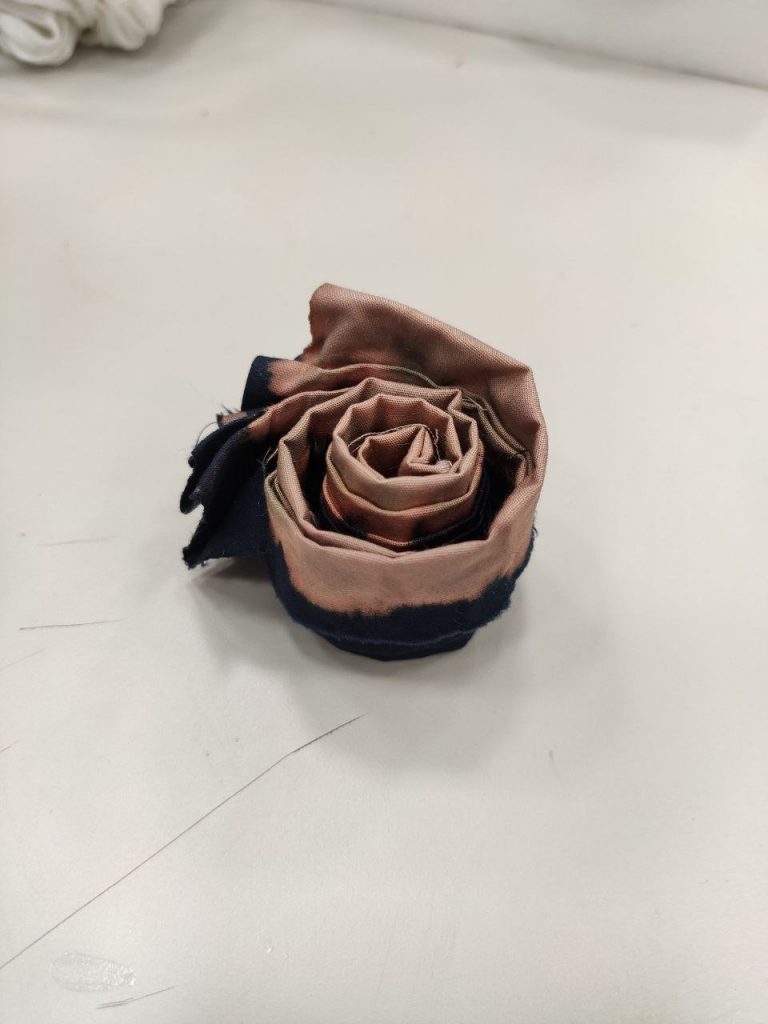
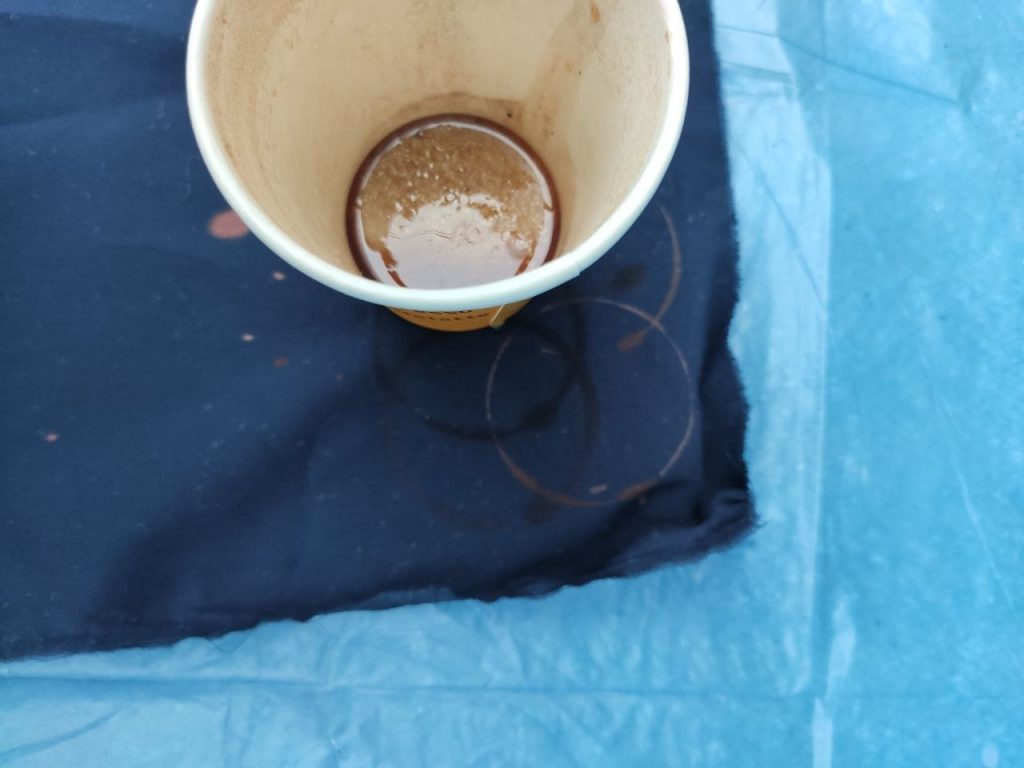
I came across this photo while researching on bleaching, so I decided to try it out with the coffeecup.

So I sprayed some bleach onto the table, stole meryl’s finished coffeecup and dipped the rim into the bleach before stamping it onto the fabric.
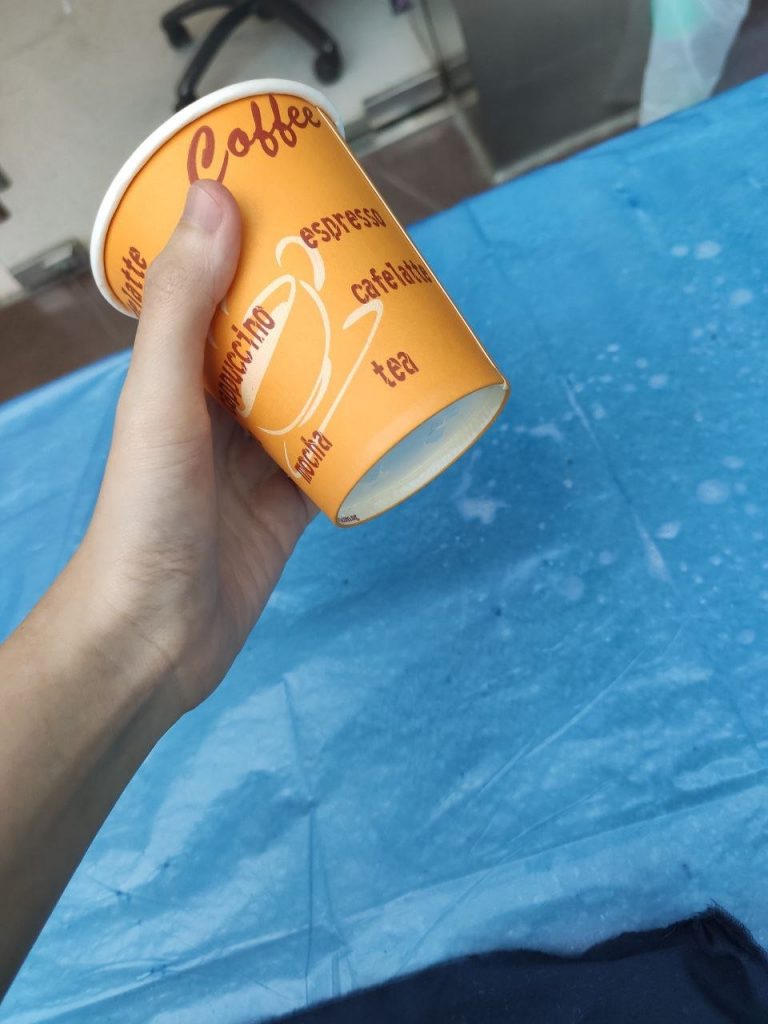
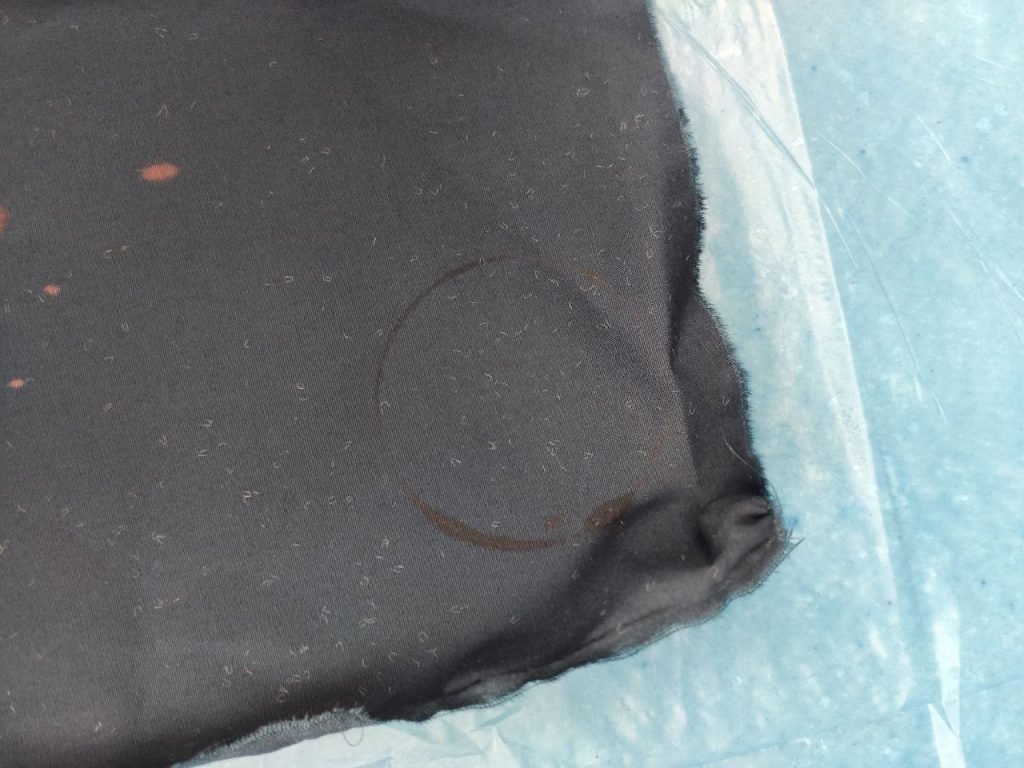
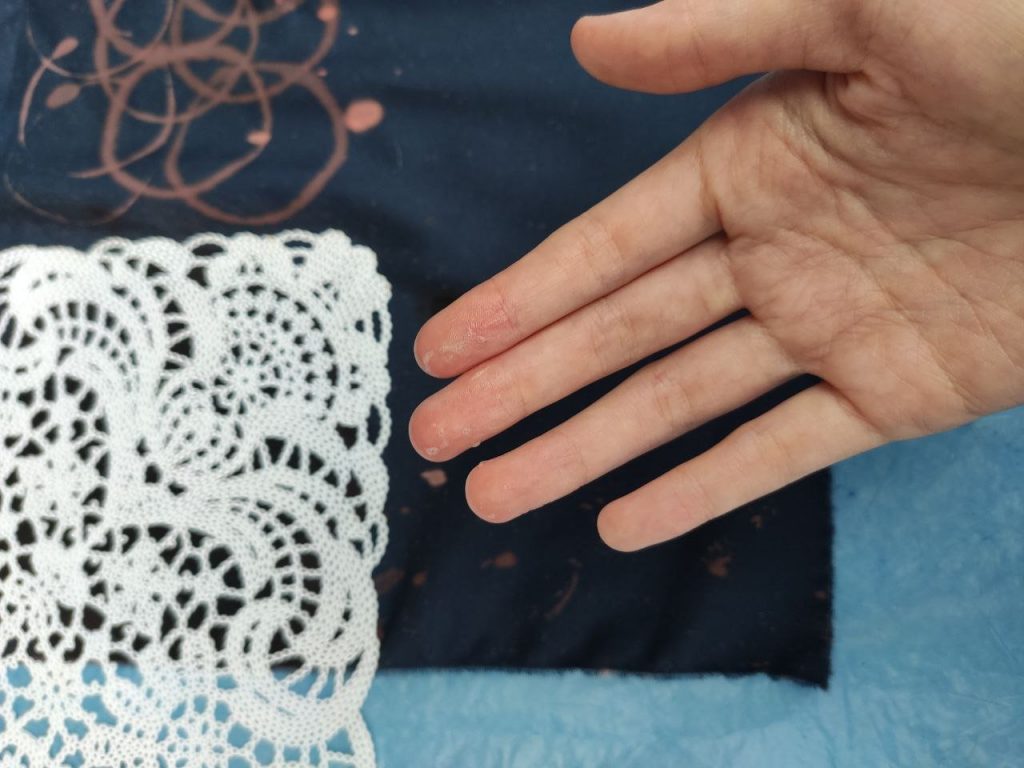
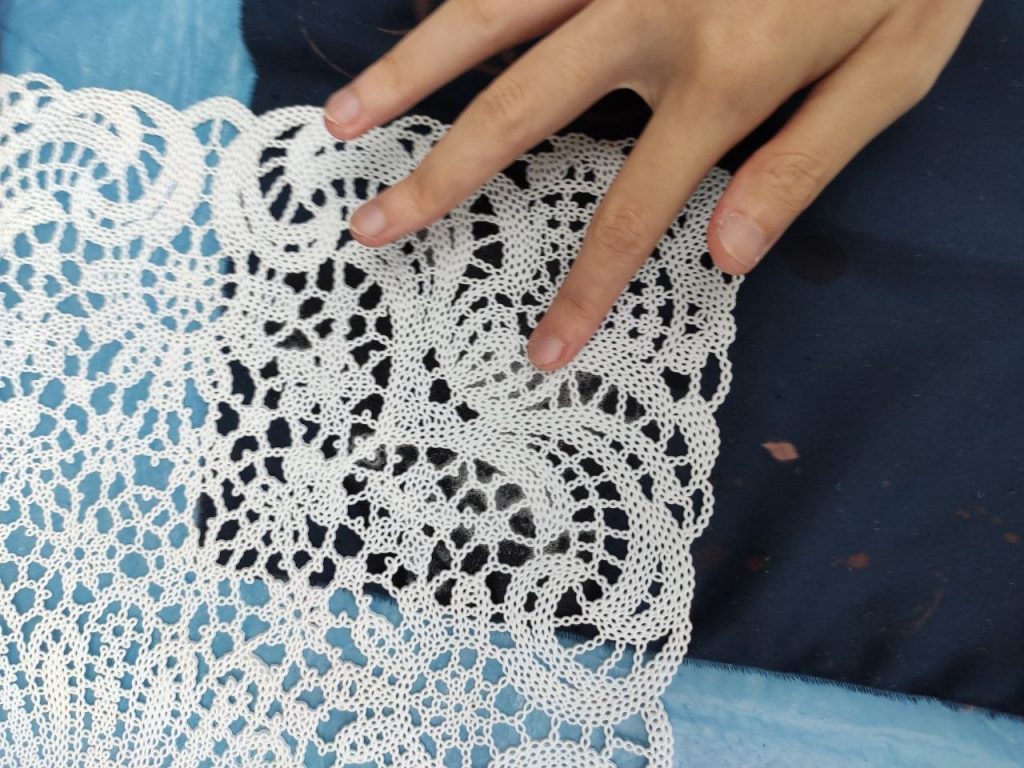
Next, I also used the lace stencil provided and rubbed bleach over it with my fingers as I did not want it to bleed out too much directly from the spray.
The last method is inspired from a module I took in year 1 where we got to play with black ink on white paper.
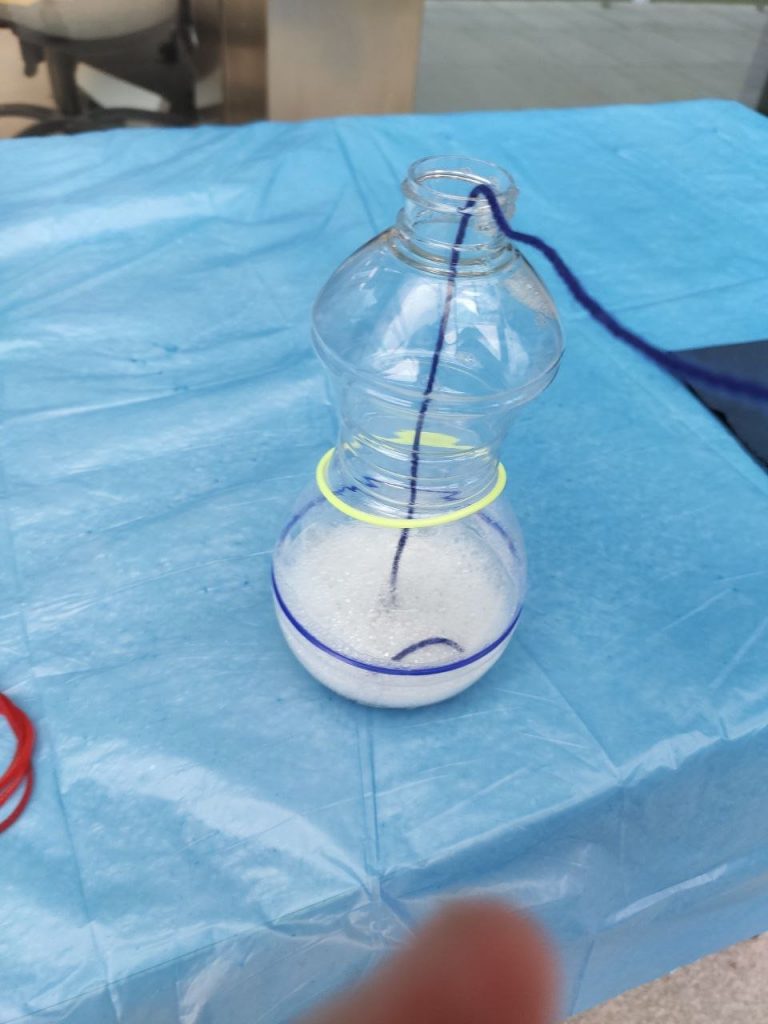
So first I dipped a yarn piece into the bleach solution.
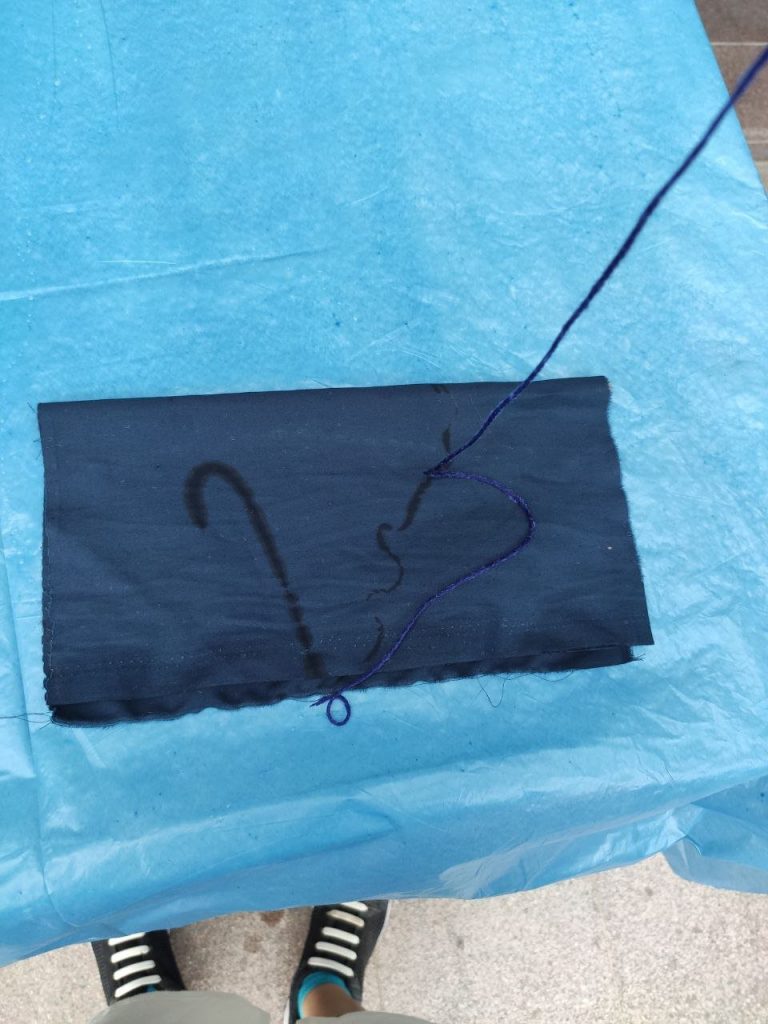
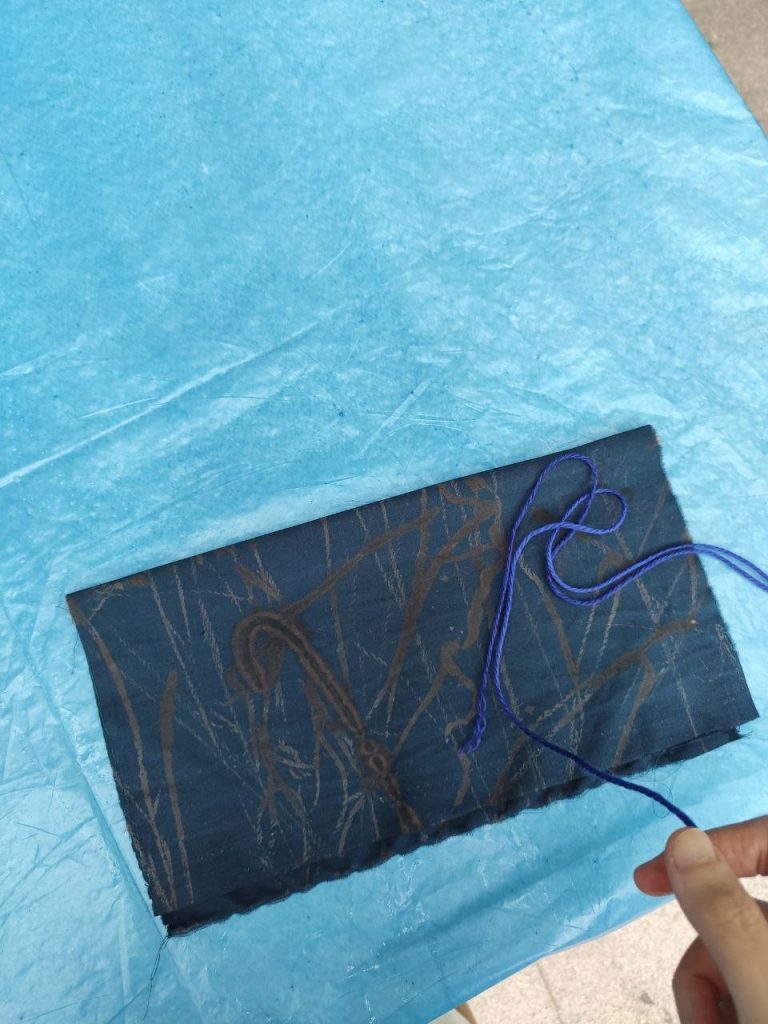
Then I thwacked the string against the fabric as hard as I can continuously.
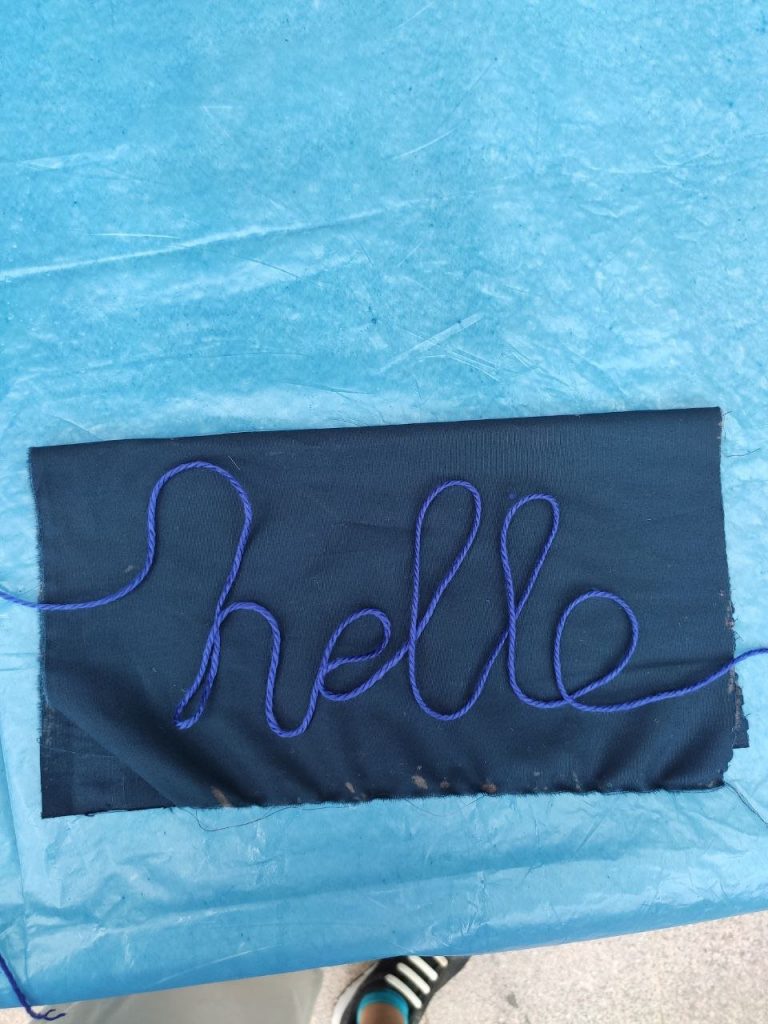
I also wanted to see if I could use the string as a stencil so I formed the word ‘hello’ with the string.
And then tried to spray upwards instead of downwards as I was afraid that the strength of the spray will make the bleach bleed out beyond the stencil.
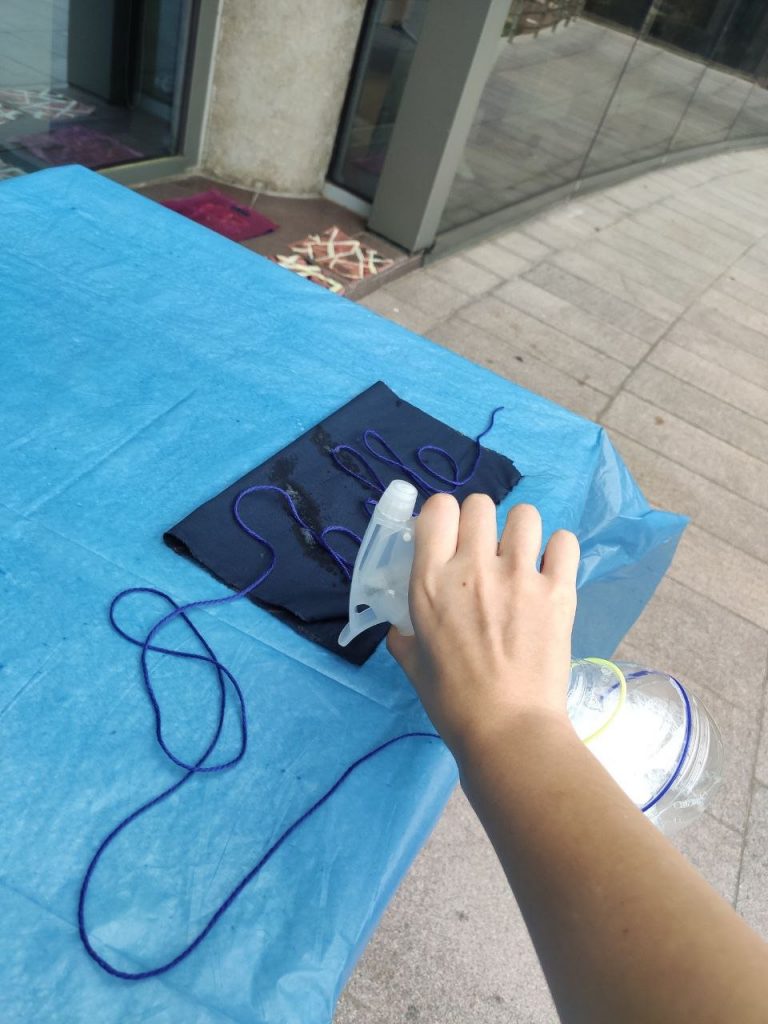
However, after seeing splotchy results that overruns the stencil, I just decided to use the string to whack and leave more lines.
Results:
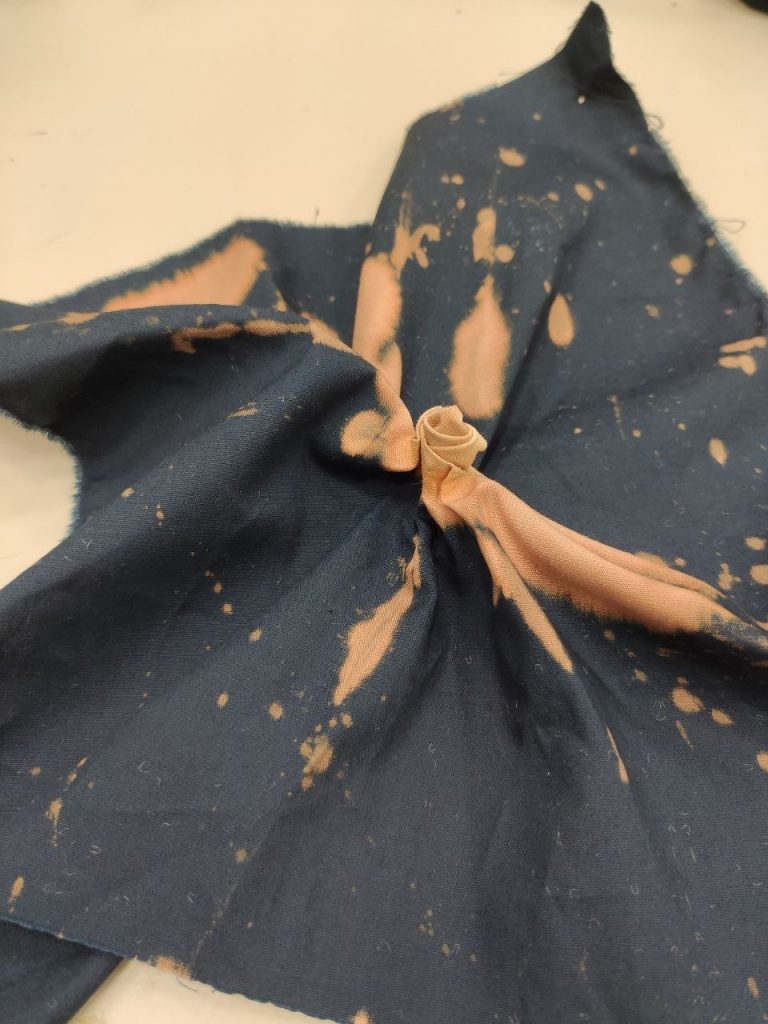
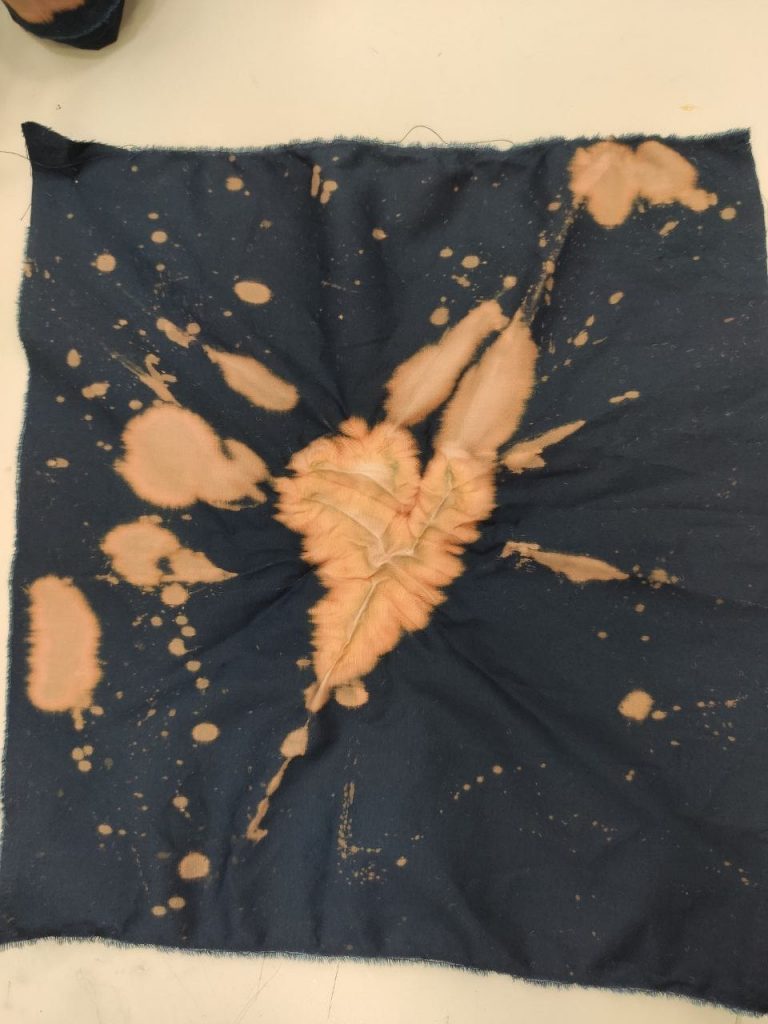
So the spiral effect kind of failed sadly, I think perhaps because of the bleach bleeding out too much as well as the pinched portion was too small. Some splatters turned out too much as well.
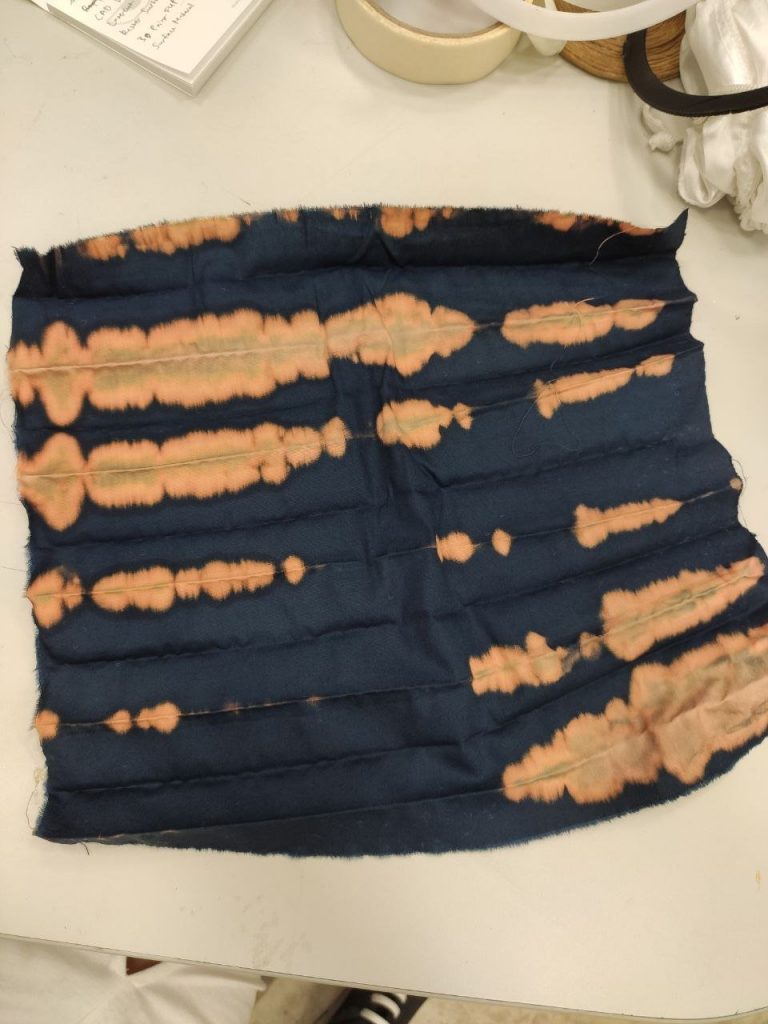
The pleated one gave a linear but asymmetrical pattern.
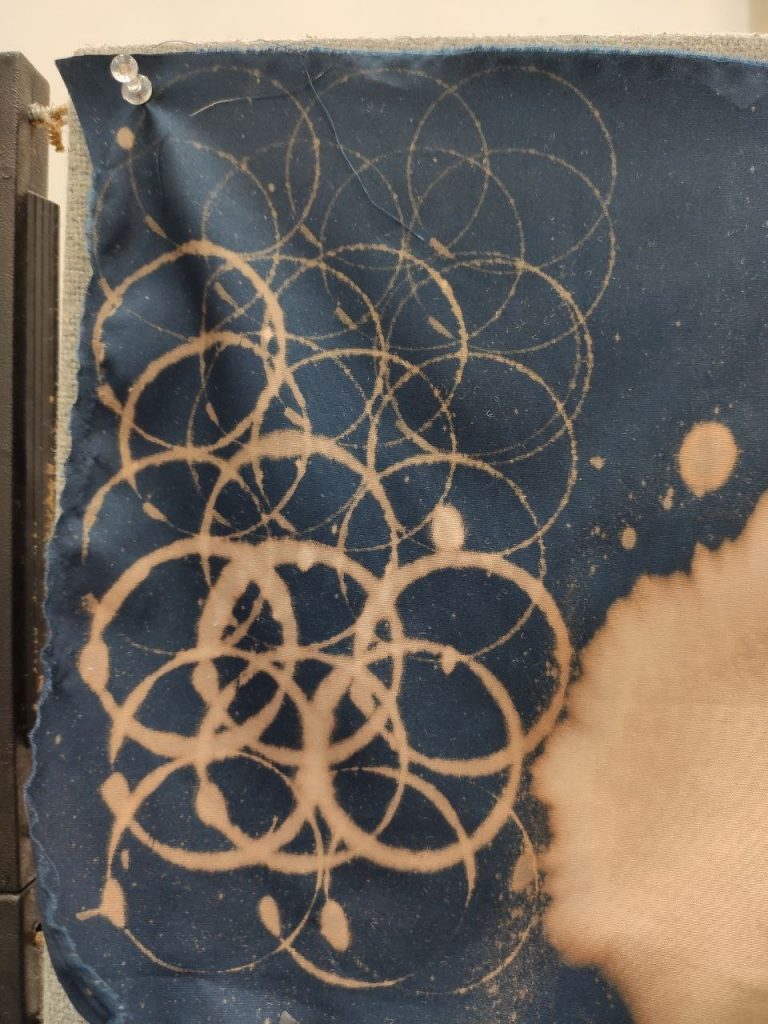
The cup one was quite interesting but I think for some parts, I dipped it in too much bleach before stamping. Also, it was quite hard to estimate where to stamp for an even symmetrical pattern.
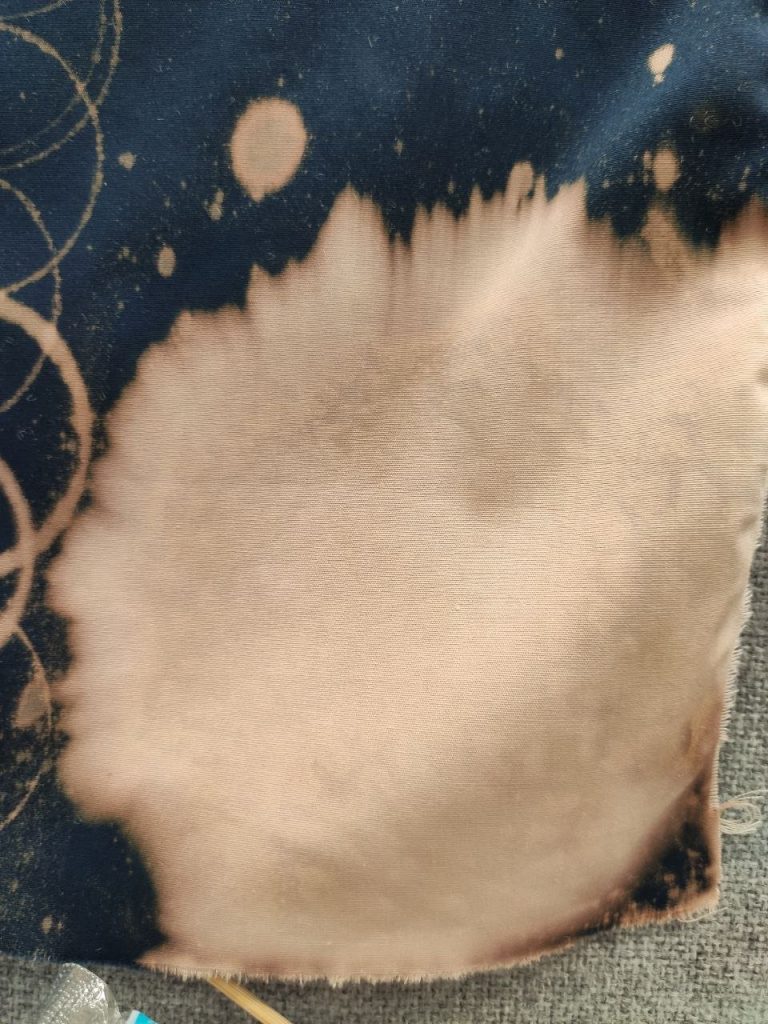
The lace unfortunately, still bled out quite a lot although upon closer inspection can tell the faint outline of lace pattern.
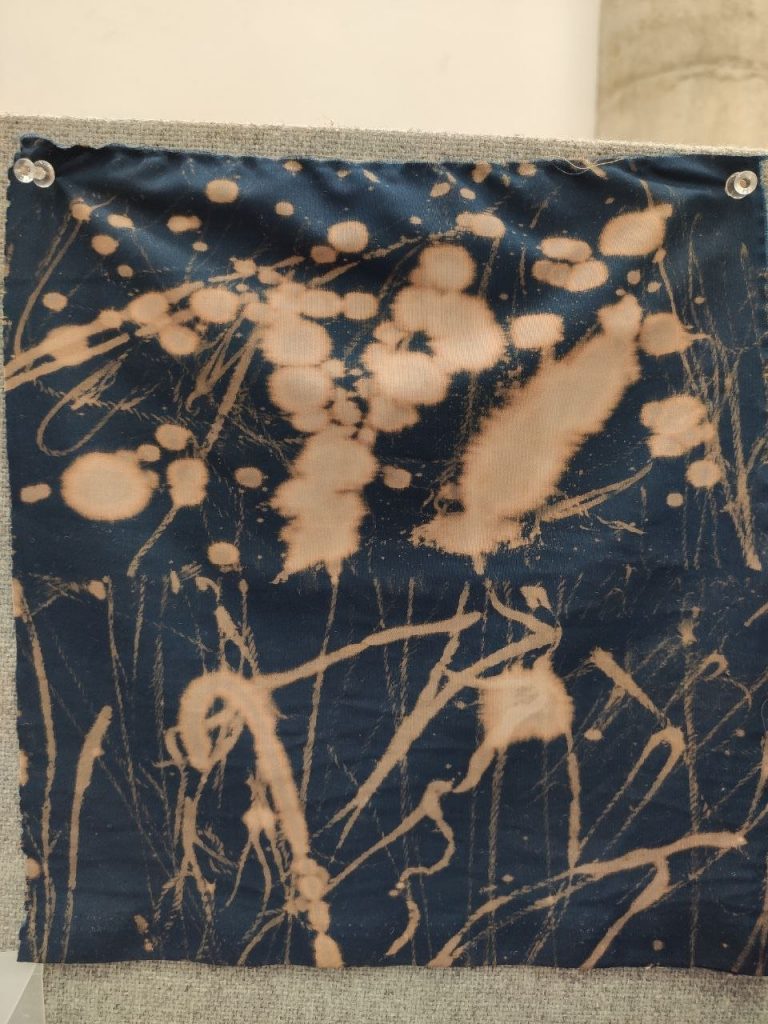
The yarn one turned out the nicest of them all, I think! The patterns created are very free-form and abstract.
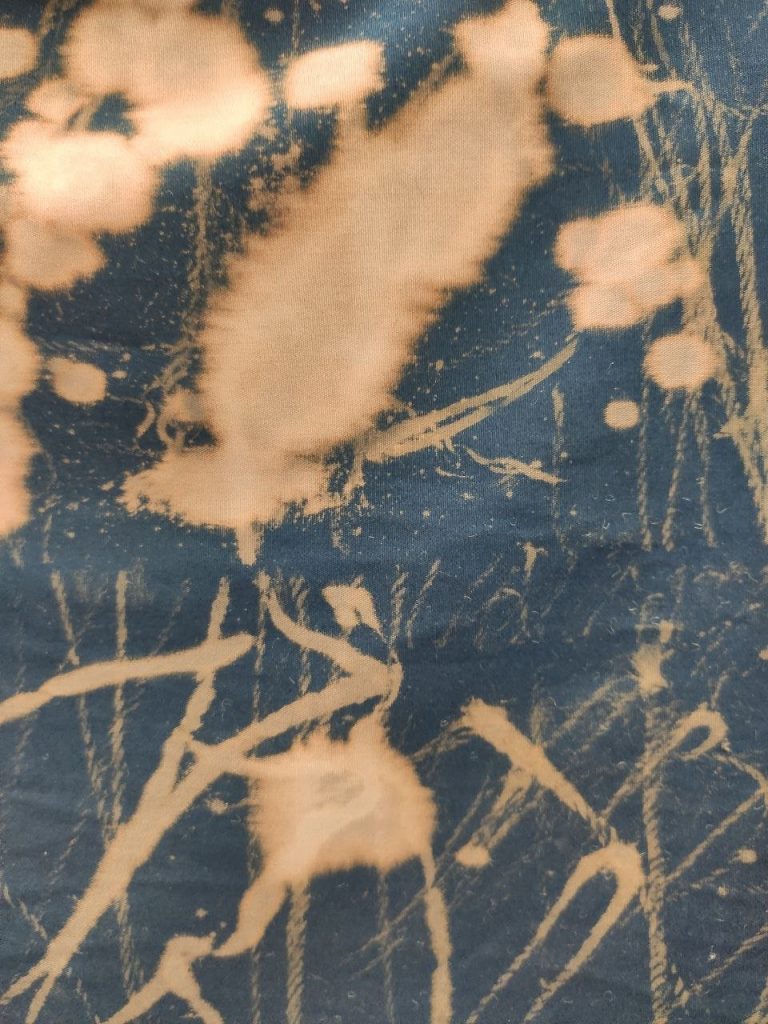
The texture of the yarn rope can also be seen on the imprints, which I did not expect!
All in all, bleaching is an interesting technique but due to its unpredictable and volatile nature, I would probably not use it in my final outcome.
I think that perhaps the bleach solution should be diluted further and applied with a brush for stencils to work well.
A P P L I C A T I O N S
T-shirt customisation


Writing words using a precise brush dipped in bleach

Can be used on denim as well!
Raster Engraving
Partial removal of material from the surface by a machine to form an engraved image.
Materials:
- Acrylic Sheet
- Digital file for print
- Laser-cutting Machine
Instructions
- Switch on the machine, computer, ventilation hood and air pressure valve.
- After initialising, place your sheet and attach the focus probe to auto focus.
- Open CorelDraw and set the print template to that of the machine dimensions. Then, import your file in .dxf format.
- Set the outline/infill colour to black(for laser cut – hairline thickness) & red(for raster). Ensure that the colour is in RGB mode for red, with R at 255 and G & B at 0.
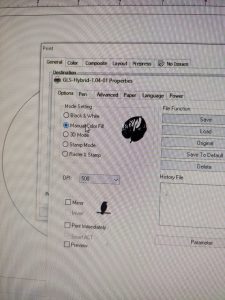
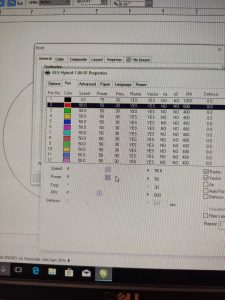 Position the print as desired. Then, click print and set preferences. Ensure that the mode setting is switched from Black & White to Manual Color Fill. Then, set the pen colour setting accordingly: For black cut outline, Speed – 3 for 2 mm(depends on sheet thickness), Power – 75, PPI – 1000. For red raster, Speed – 50, Power – 50, PPI – 600. Then, hit save, apply and print.
- Head over to the laser cut machine and ensure that the focus probe is removed before continuing. Leave the lid up if you want too preview where the print will proceed before cutting, then click Stop/Start button on the laser machine.
- After adjusting the location of your sheet as desired, open the door of the area at the bottom of the laser cutter and turn the knob on the right side until you hear a loud and pitchy release of air pressure.
- Then, close the door, the lid, and press the Stop/Start button to start the laser engraving and cutting.
- Wait until it is finished and the siren rings before lifting the lid and collecting your piece.
- Clean up the area and stray cuts in the laser cutter after use.
- Switch off everything if not in use.
My Explorations
Did the auto-focusing with the focus probe.
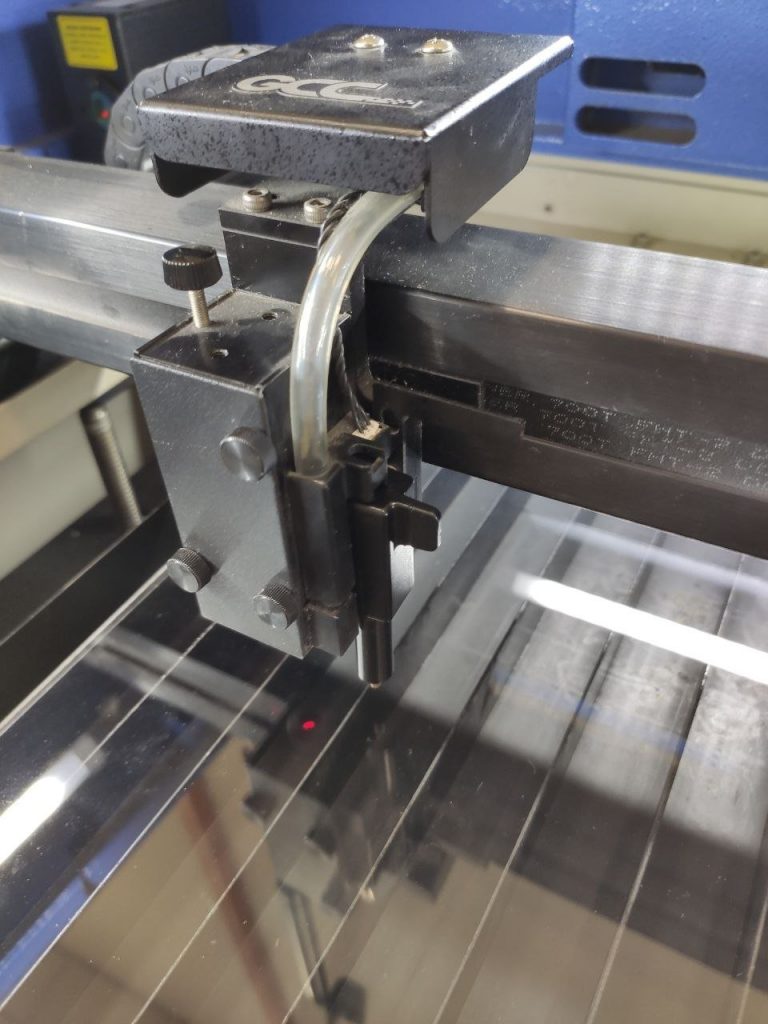
After everything is adjusted, start the cut!
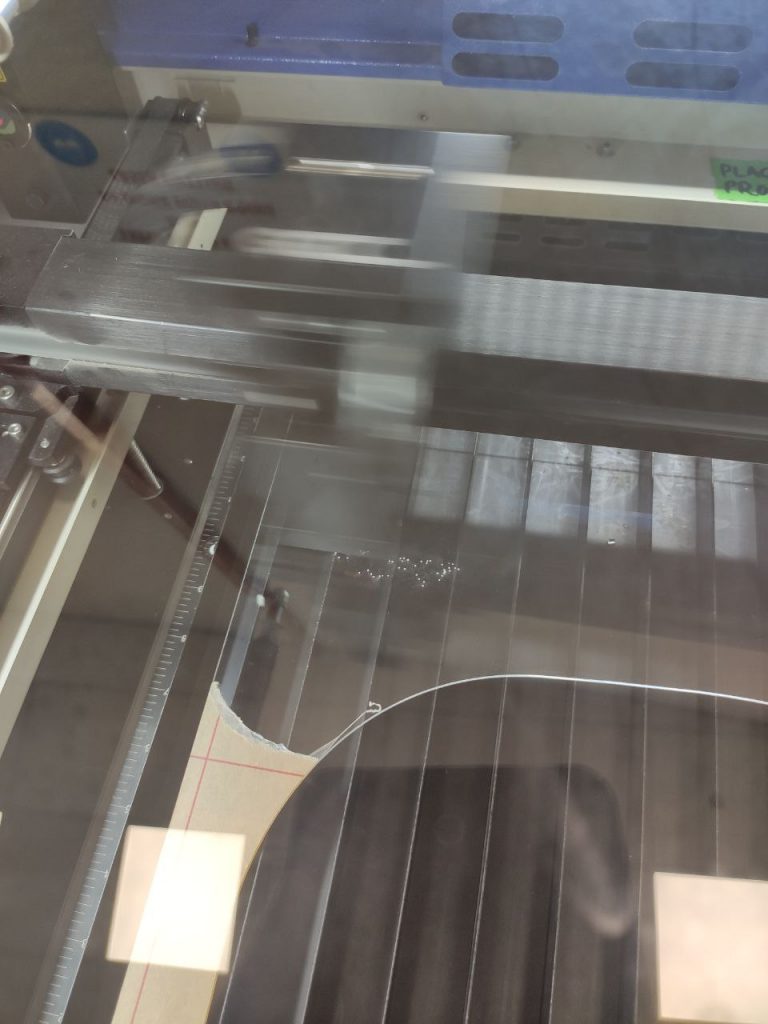
My first attempt was for an image I found online and converted it into a vector shape.
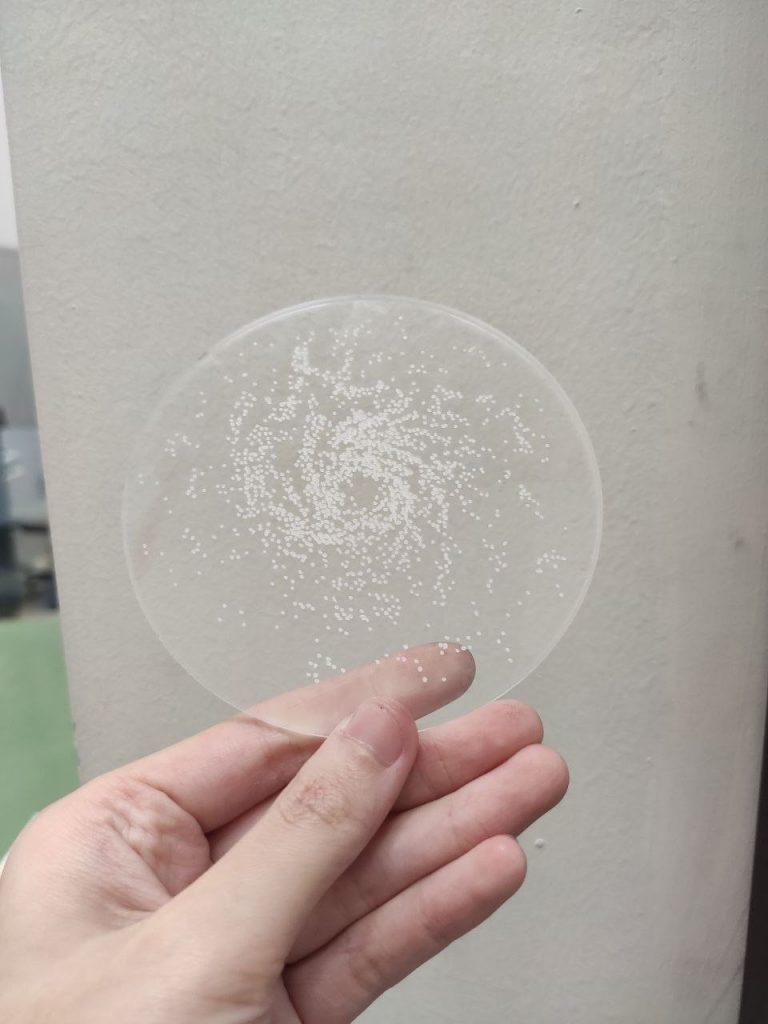
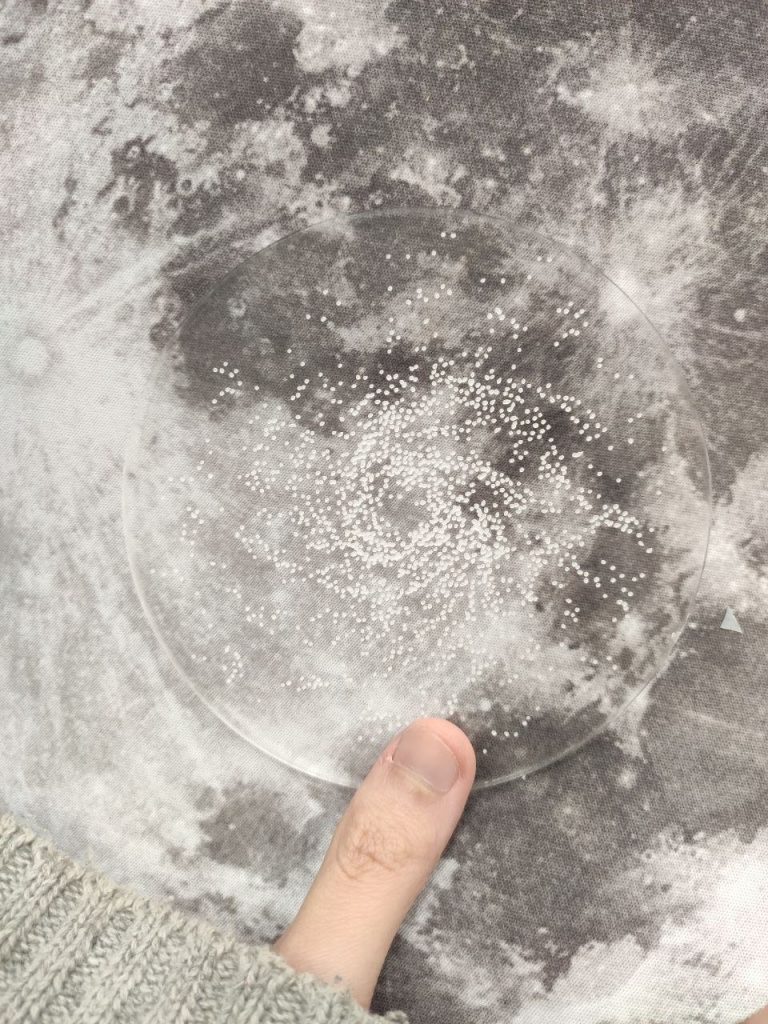
Not too bad! I think making multiple pieces of these will give it a cool layered look.
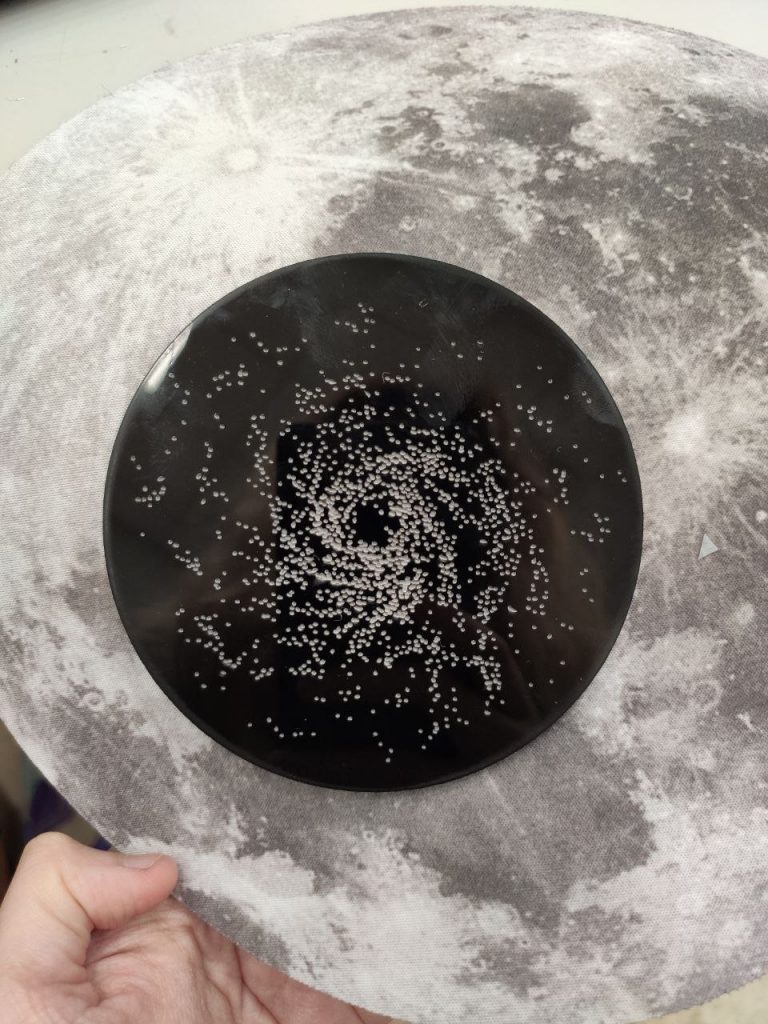
Tried it again on black acrylic instead! Thinks it looks more like a galaxy in space.
Next up is a planet orbit image I drew out on Illustrator.
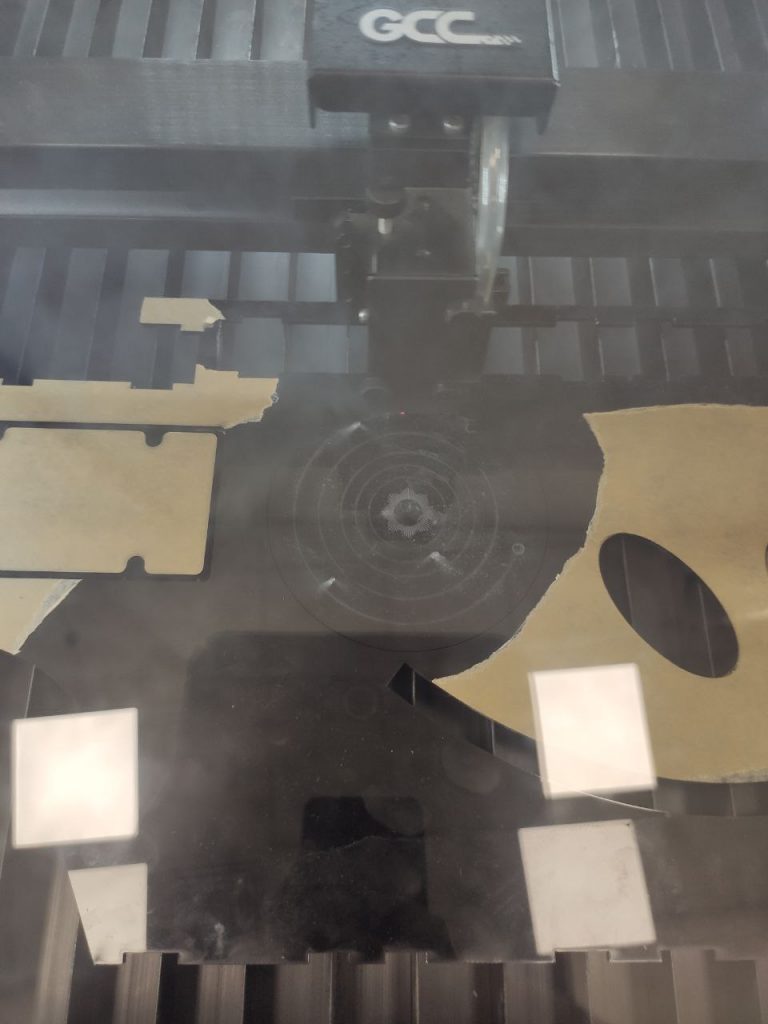
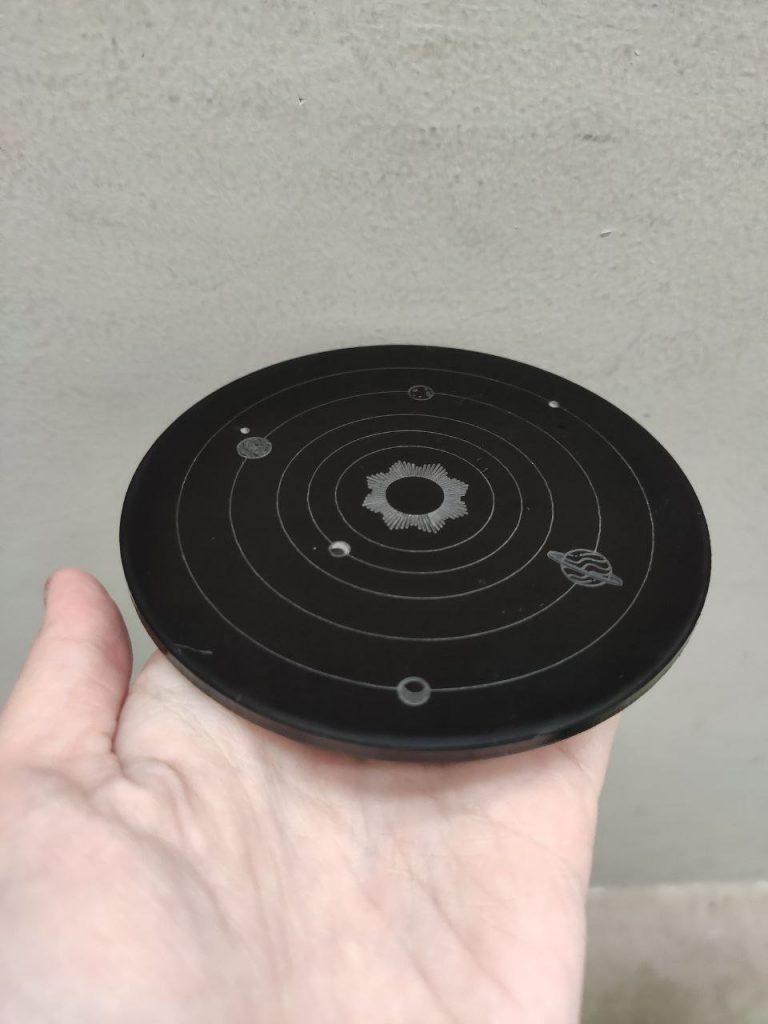
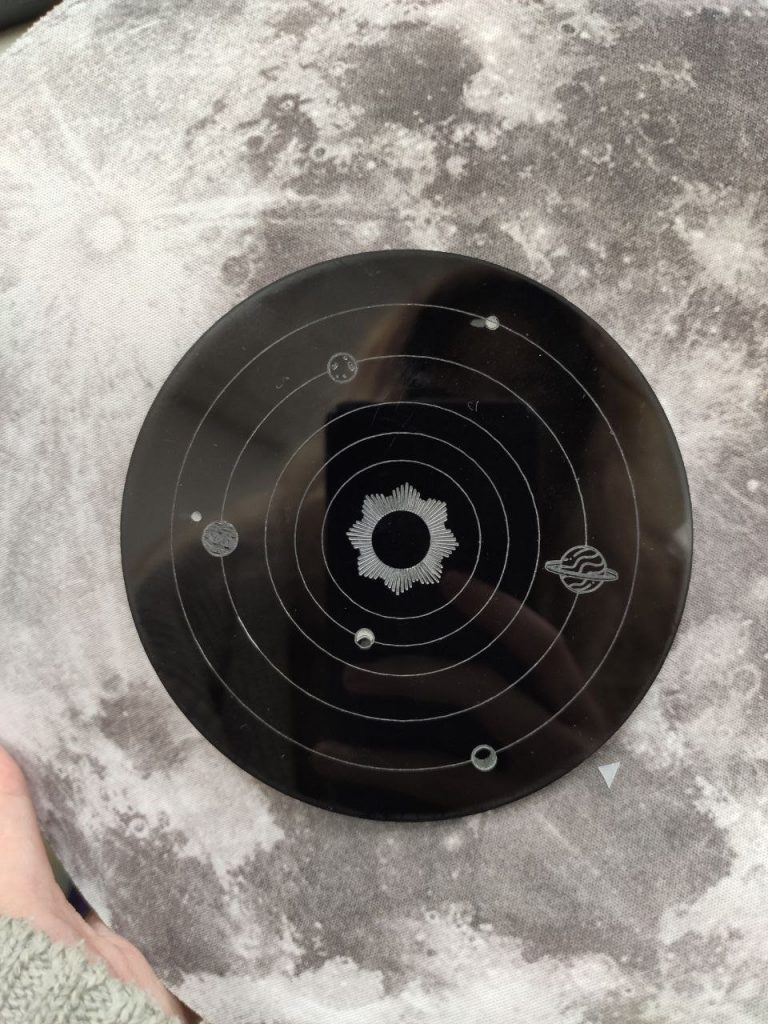
I realised some details of the planet surface are lost as the lines are too closely placed. Nonetheless, I still like the clean look of it!
Lastly, I wanted to try rastering the logo I created for my entire theme!
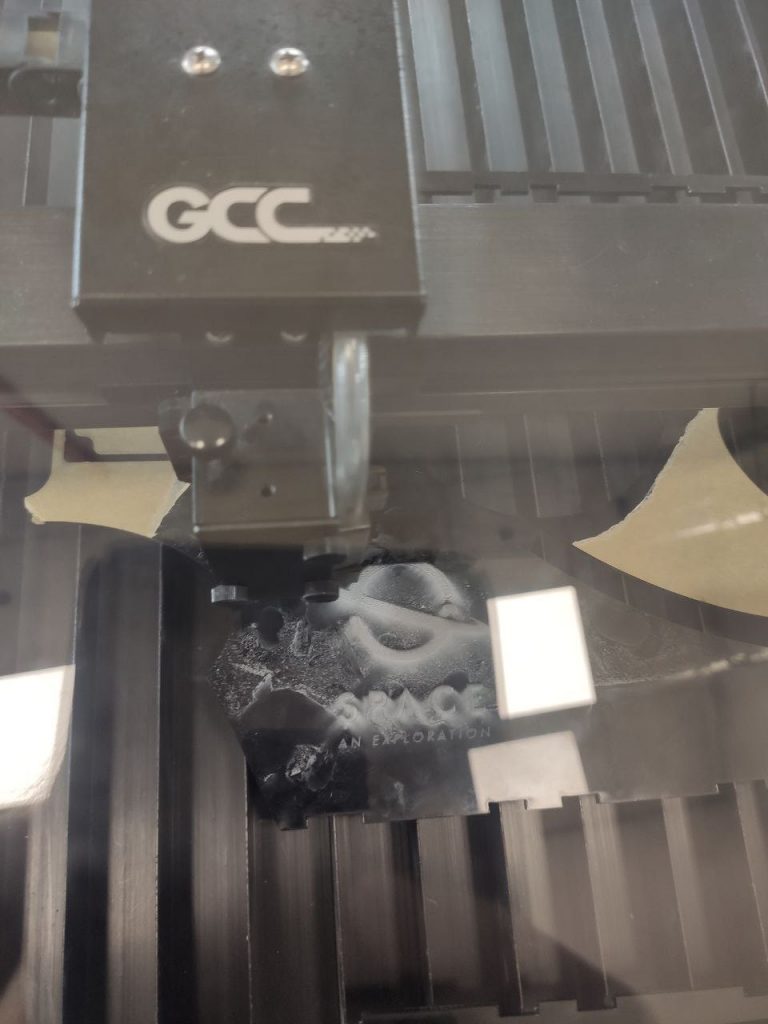
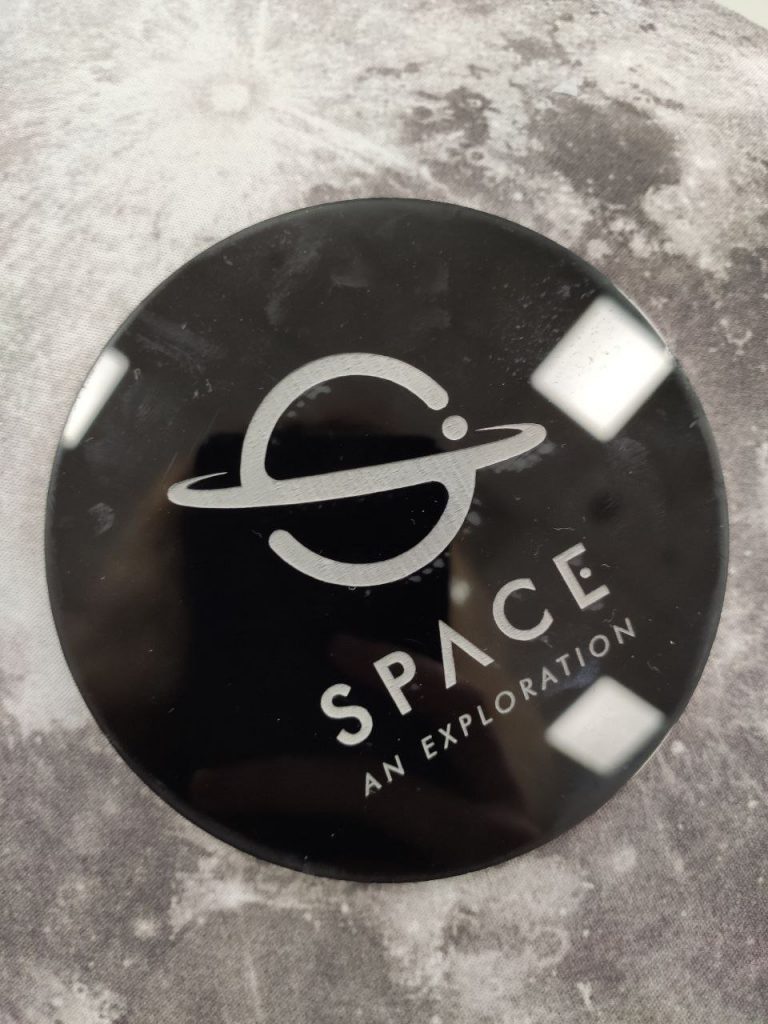
I think this image made the best use of the rastering as it is very big and clear!
All in all, laser engraving is a smart way of using the laser cutter to raster images to achieve quite a professional finish! However, it did took quite long as there was a lot of tweaking needed to change the colour of the lines accordingly, especially when you have to do it in CorelDraw manually one by one.
One problem I faced is that for certain shapes, when I set the fill colour, it filled the entire thing instead of just the outline. For instance, the ‘P’ in the SPACE logo initially had no hole as it was filled up. However, I am able to overcome this by setting the outline of the ‘P’ hole to white infill instead, creating a false gap. Nonetheless, it is not the most efficient method and I hope there is a better way to counter this problem in Illustrator itself.
A P P L I C A T I O N S

I would imagine they can be used as stamps too!

Lamps

For a more professional name card look!
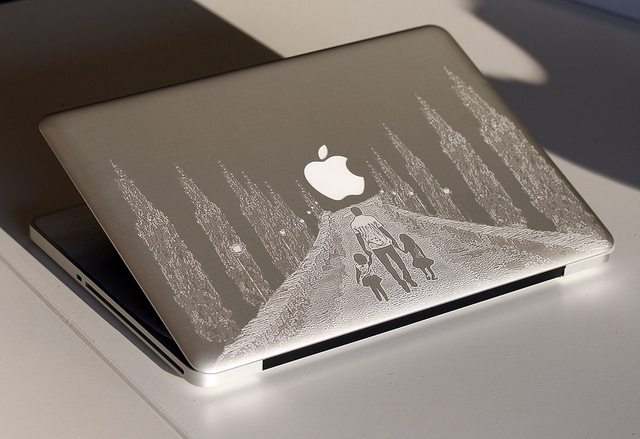
Macbook engraving
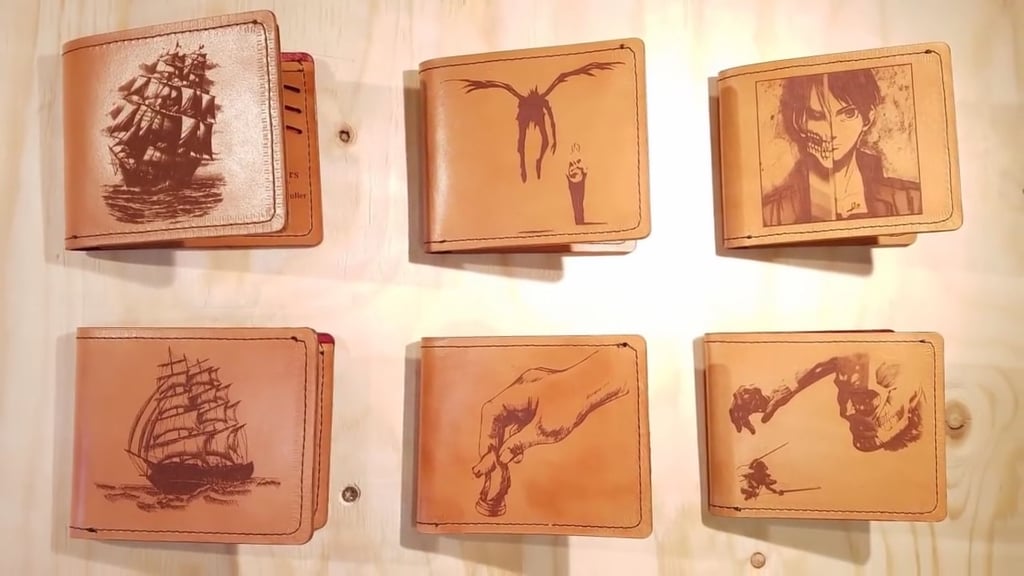
Even on leather!
