
Hello!
So on Monday we had our second Foundation 2D class where we got to make our own mono prints with things that we brought from home/hall/anywhere! Because I was kinda in a rush I just grabbed a bunch of random rubbish from my room like tissue paper, wrapping tissue, string, cotton squares, and some cloth. I was really out of it that day haha I wish I had thought of picking up leaves and grass on the walk to school but it totally slipped my mind. Catch me in the 2D room with armfuls of grass next lesson.
Anyway, we were shown how to make the mono prints using linoleum squares, ink, and paper. Here’s a more detailed process for my future reference (or anyone’s future reference hehe):
- First, transfer the ink evenly onto the linoleum square using a brayer.
- Place your objects onto the inked surface, arranging them however you like.
- Place the sheet of paper onto the surface, making sure to press down when you carry around the linoleum square to prevent stuff from falling out.
- The fourth step, the creation of the print, has various methods. The press machine is one, where you place your square onto a board. The square is then squeezed evenly under a rolling metal cylinder, creating an even mono print. The second method is using a small circular plate to manually press across your linoleum square, giving rise to other interesting effects like circles or straight lines, depending on how you move the plate around. The last method is one that I found on my own (if I wasn’t supposed to do this, sorry to Joy in advance WHOOPS). I just took a clean brayer and rolled it over the surface of my mono print and it created lines and grids!
- Remove the paper from the square and let it dry.
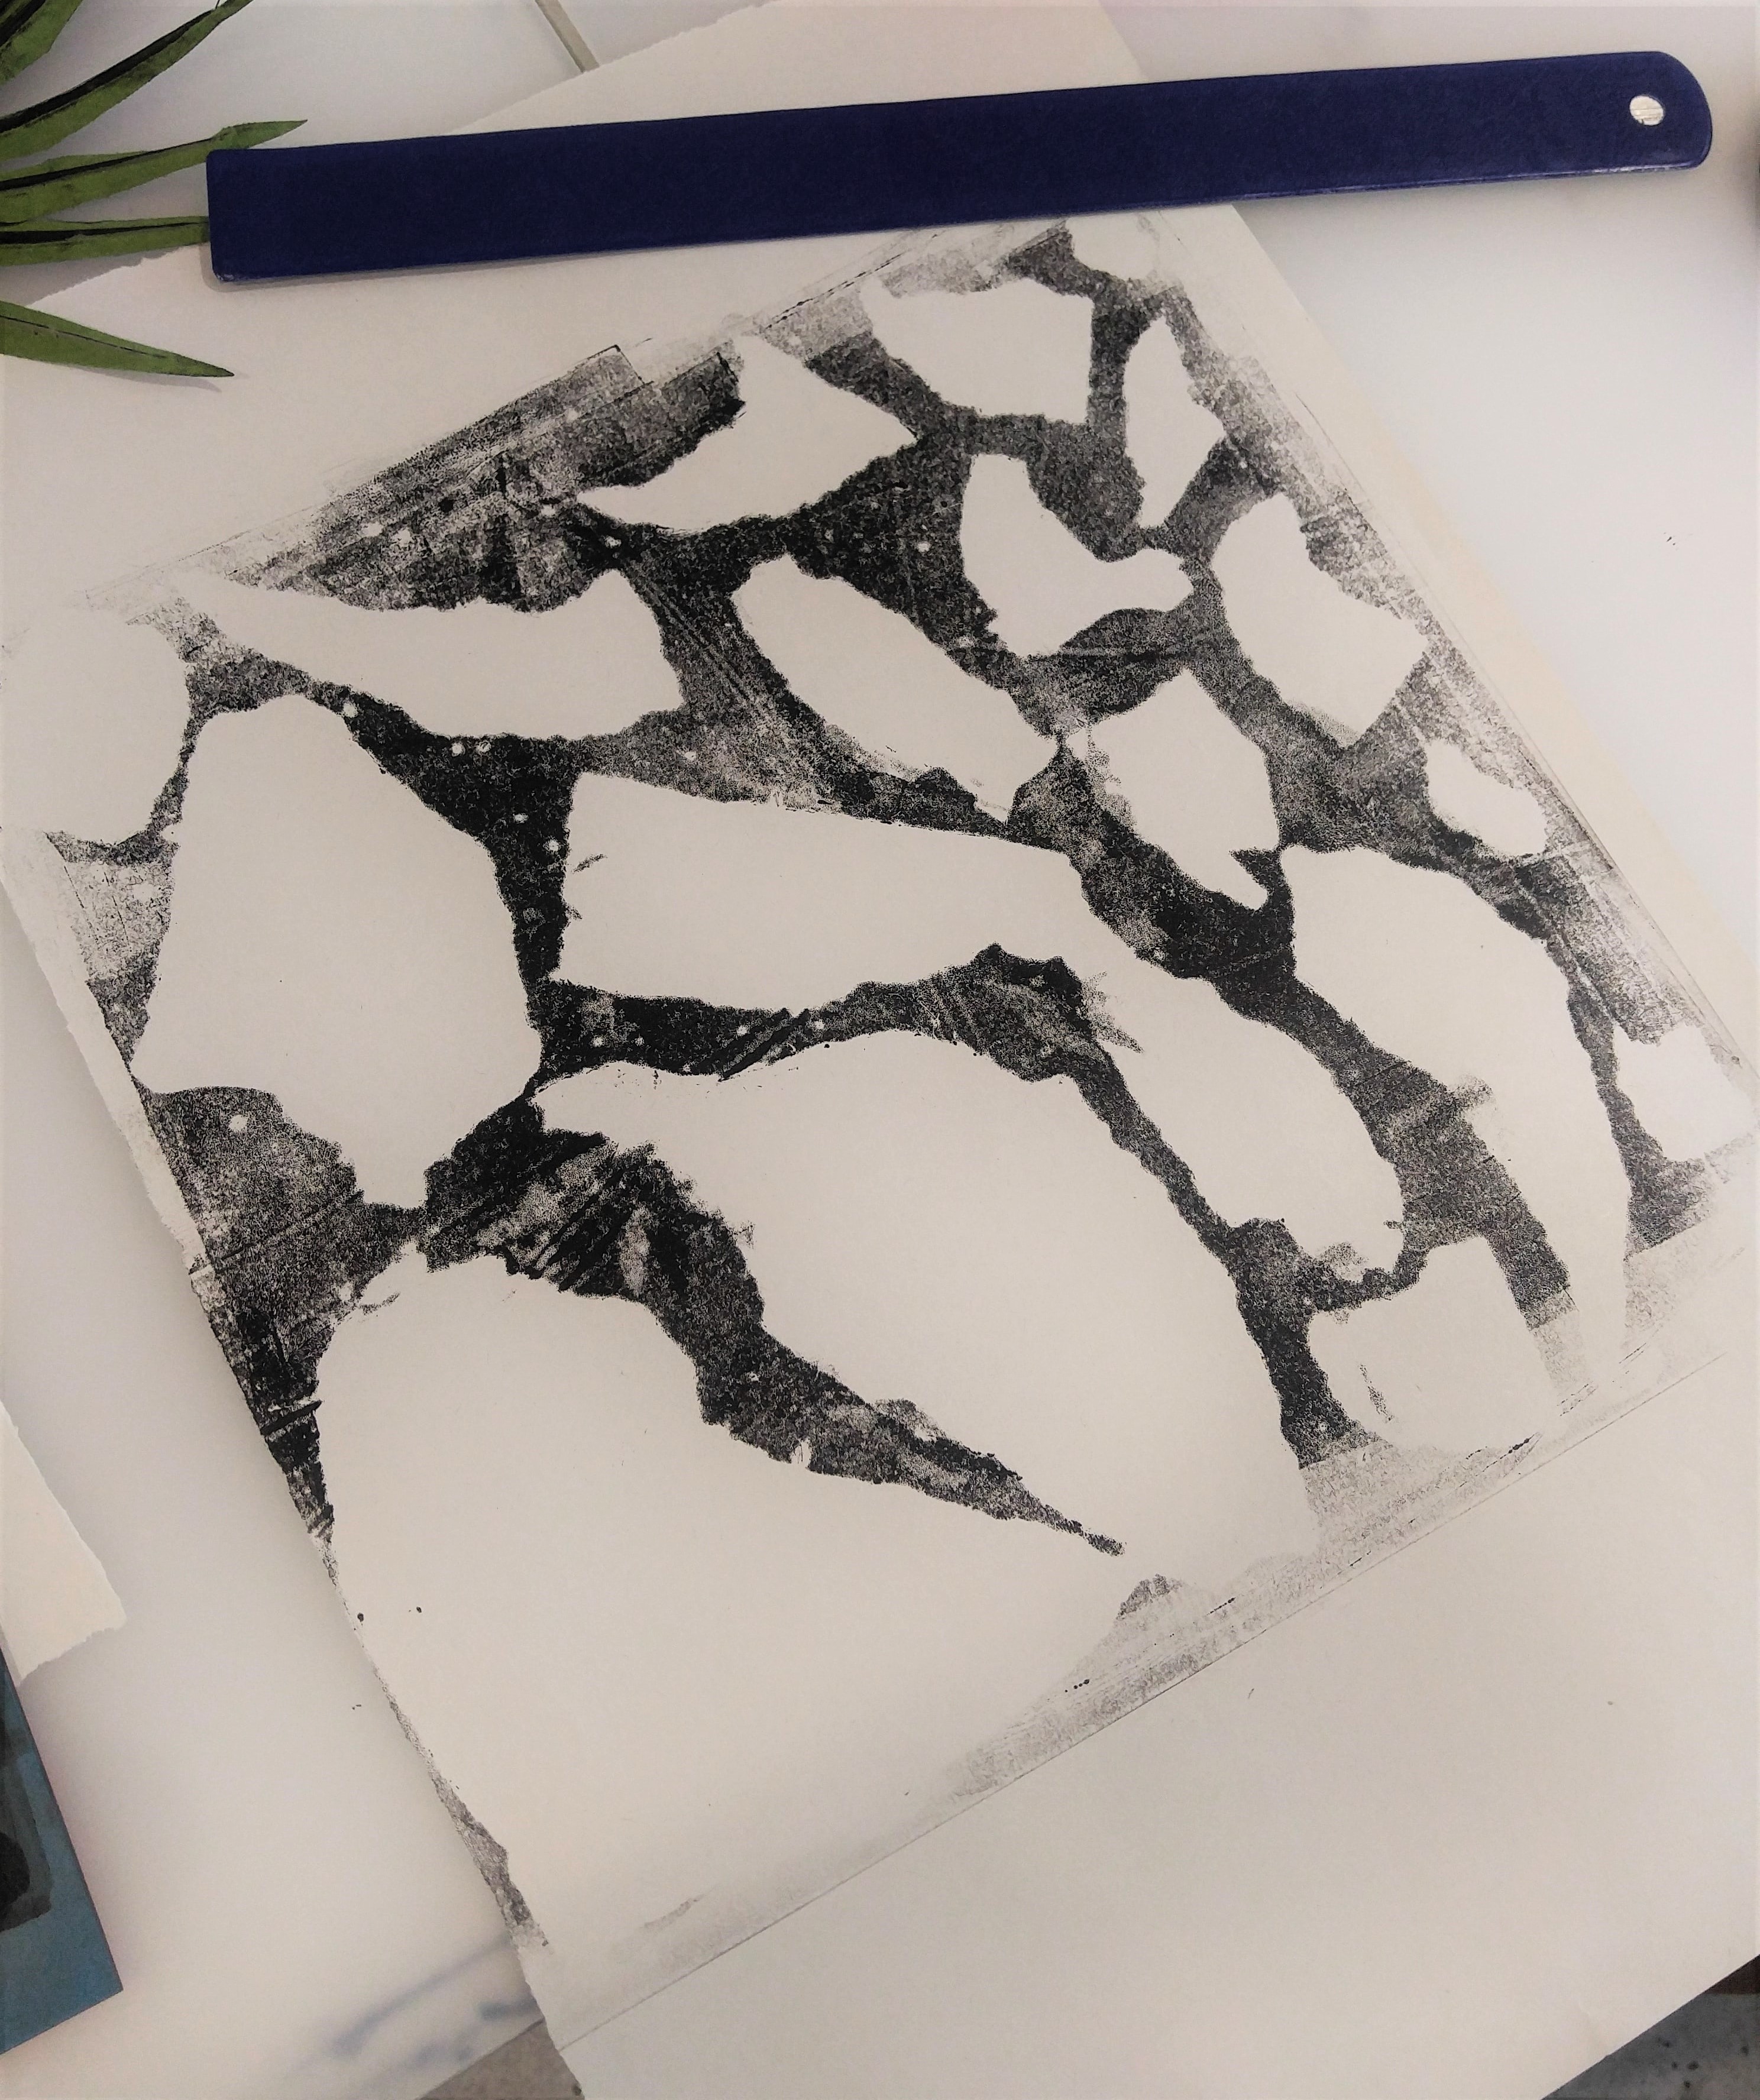
Here are some examples of the mono prints I made in class:

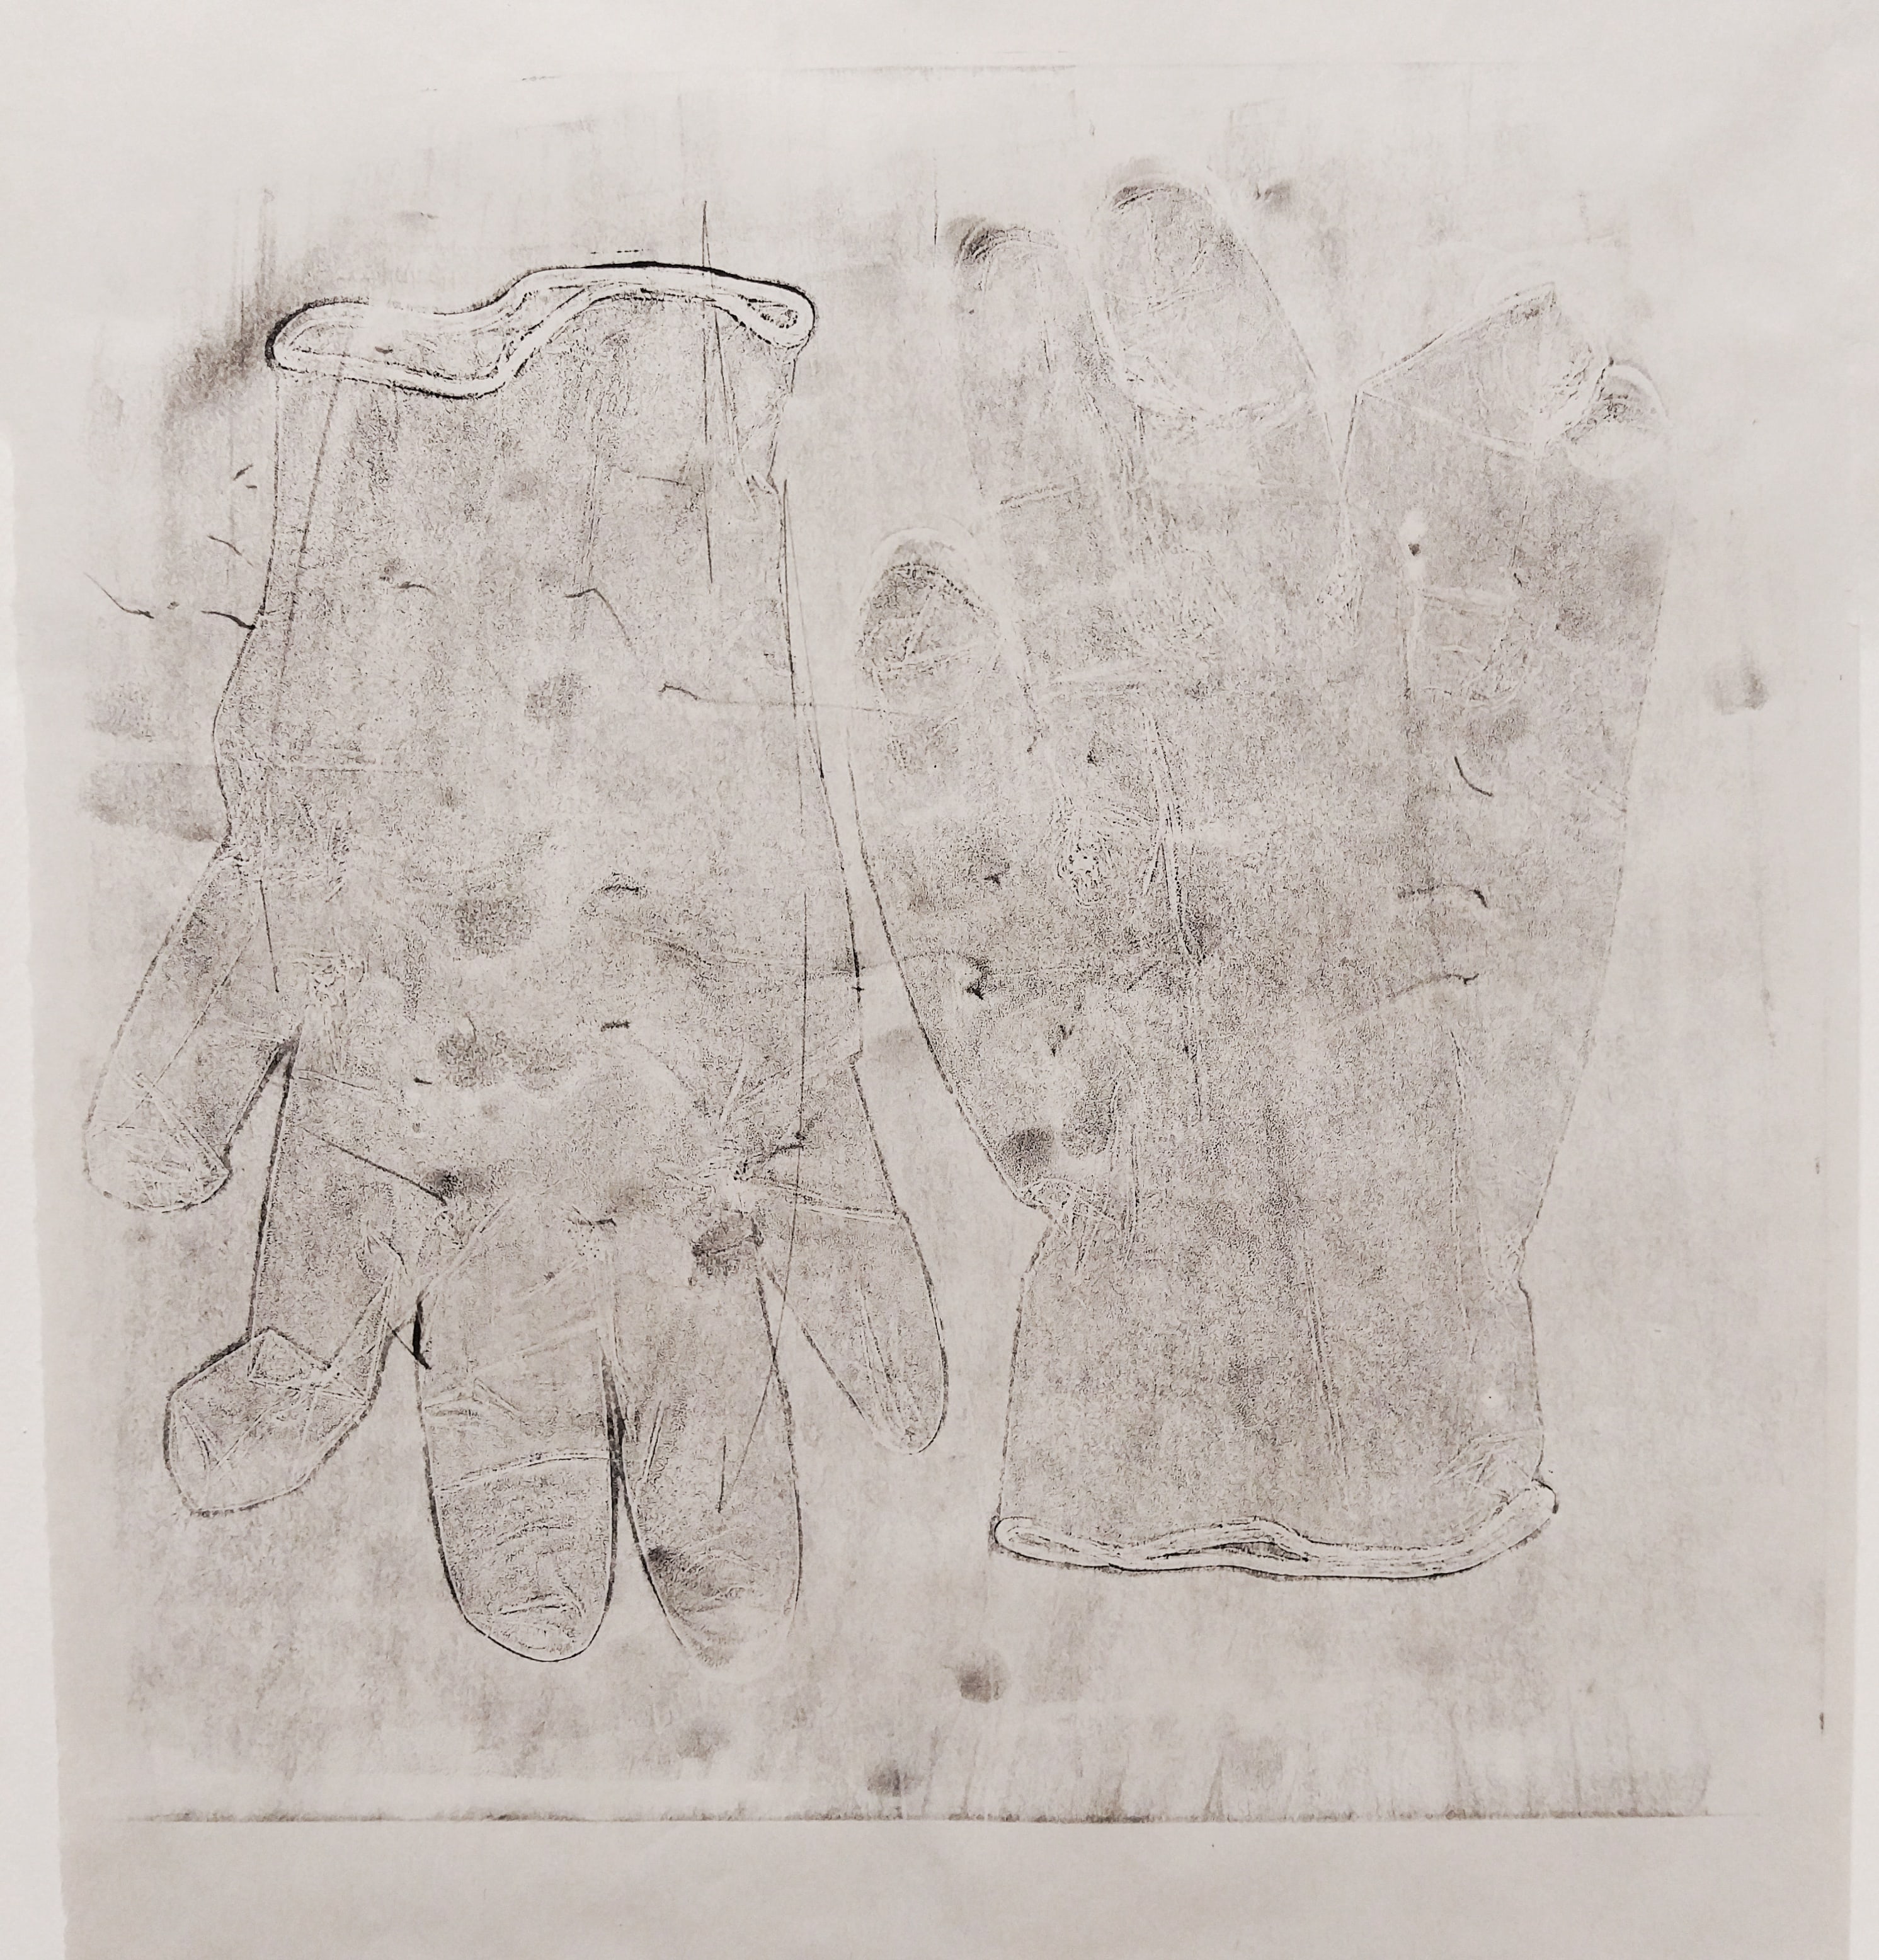
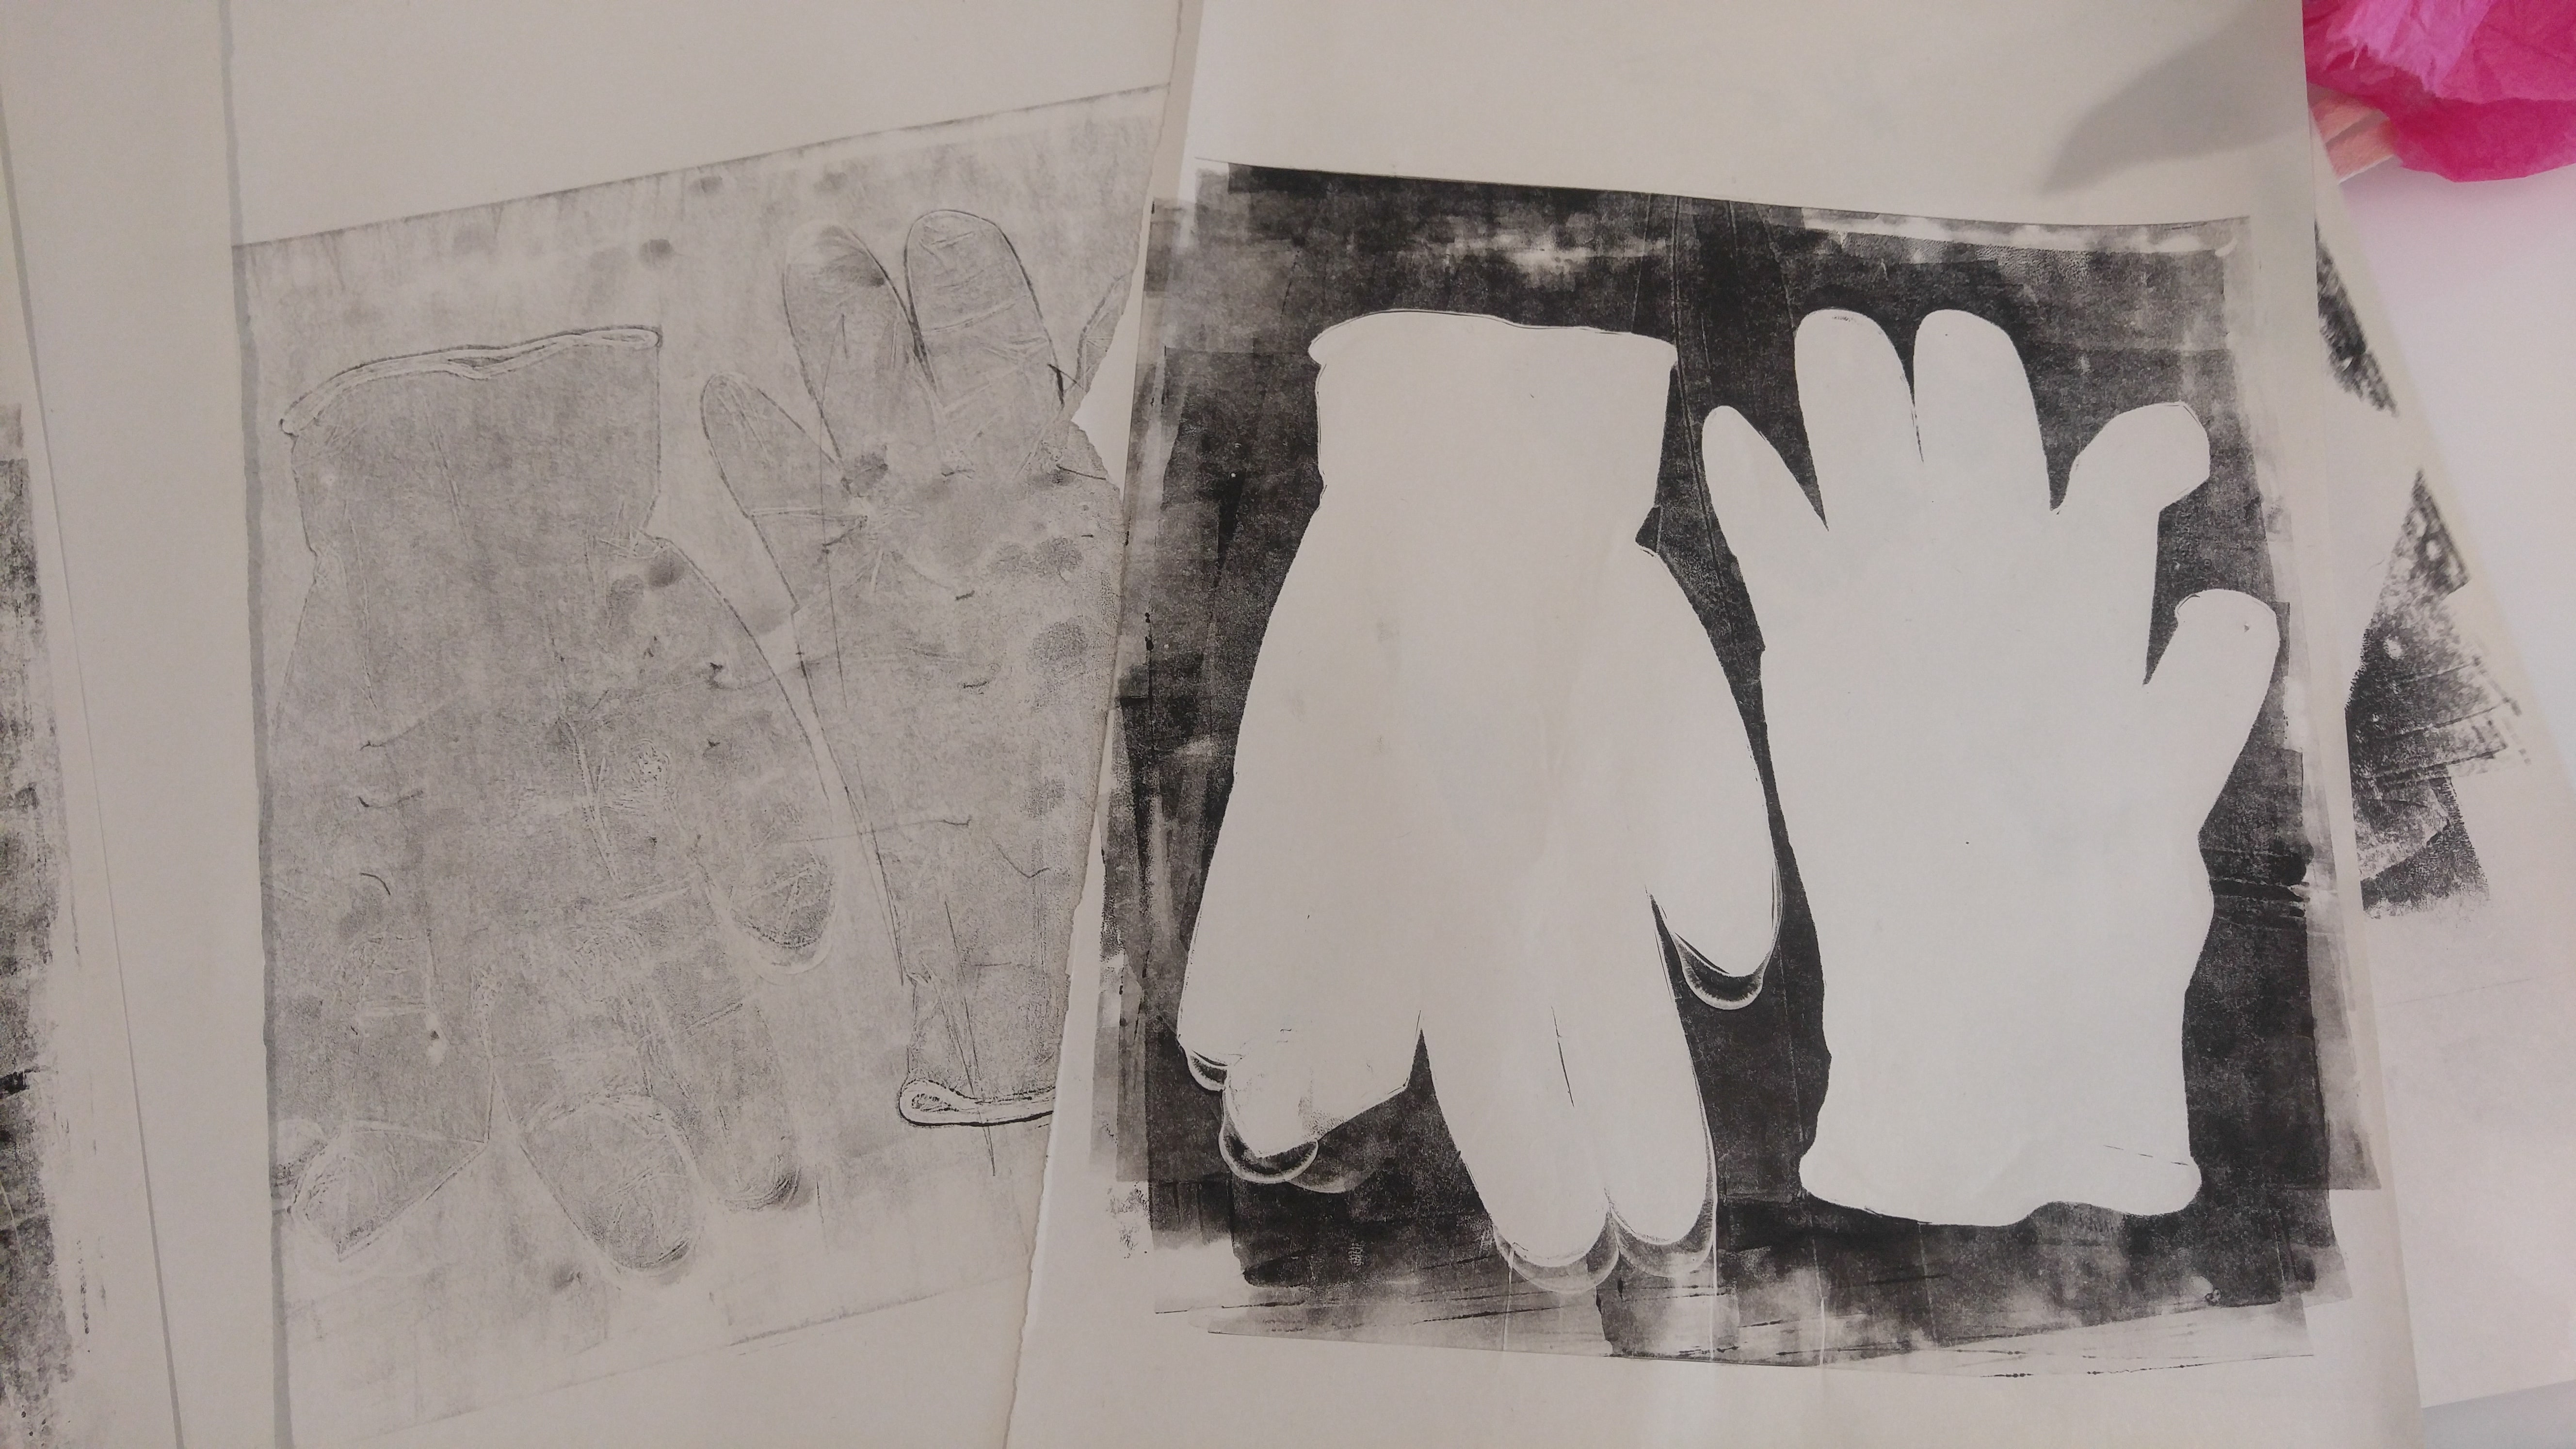
These were the first prints I made with a pair of latex gloves that I brought! I thought the idea was cool but frankly I think the first one looks quite silly. Like someone’s hands with super extra fat fingers. The second one was an inverse print where you just remove the objects and re-roll the linoleum square with a fresh sheet of paper to capture the textures of the items itself, and I think the inverse print looks more interesting because it managed to capture the folds of the gloves. However, this print just felt like me just plainly whacking with whatever items I had, without much thought. But the first one was just a tester I guess!

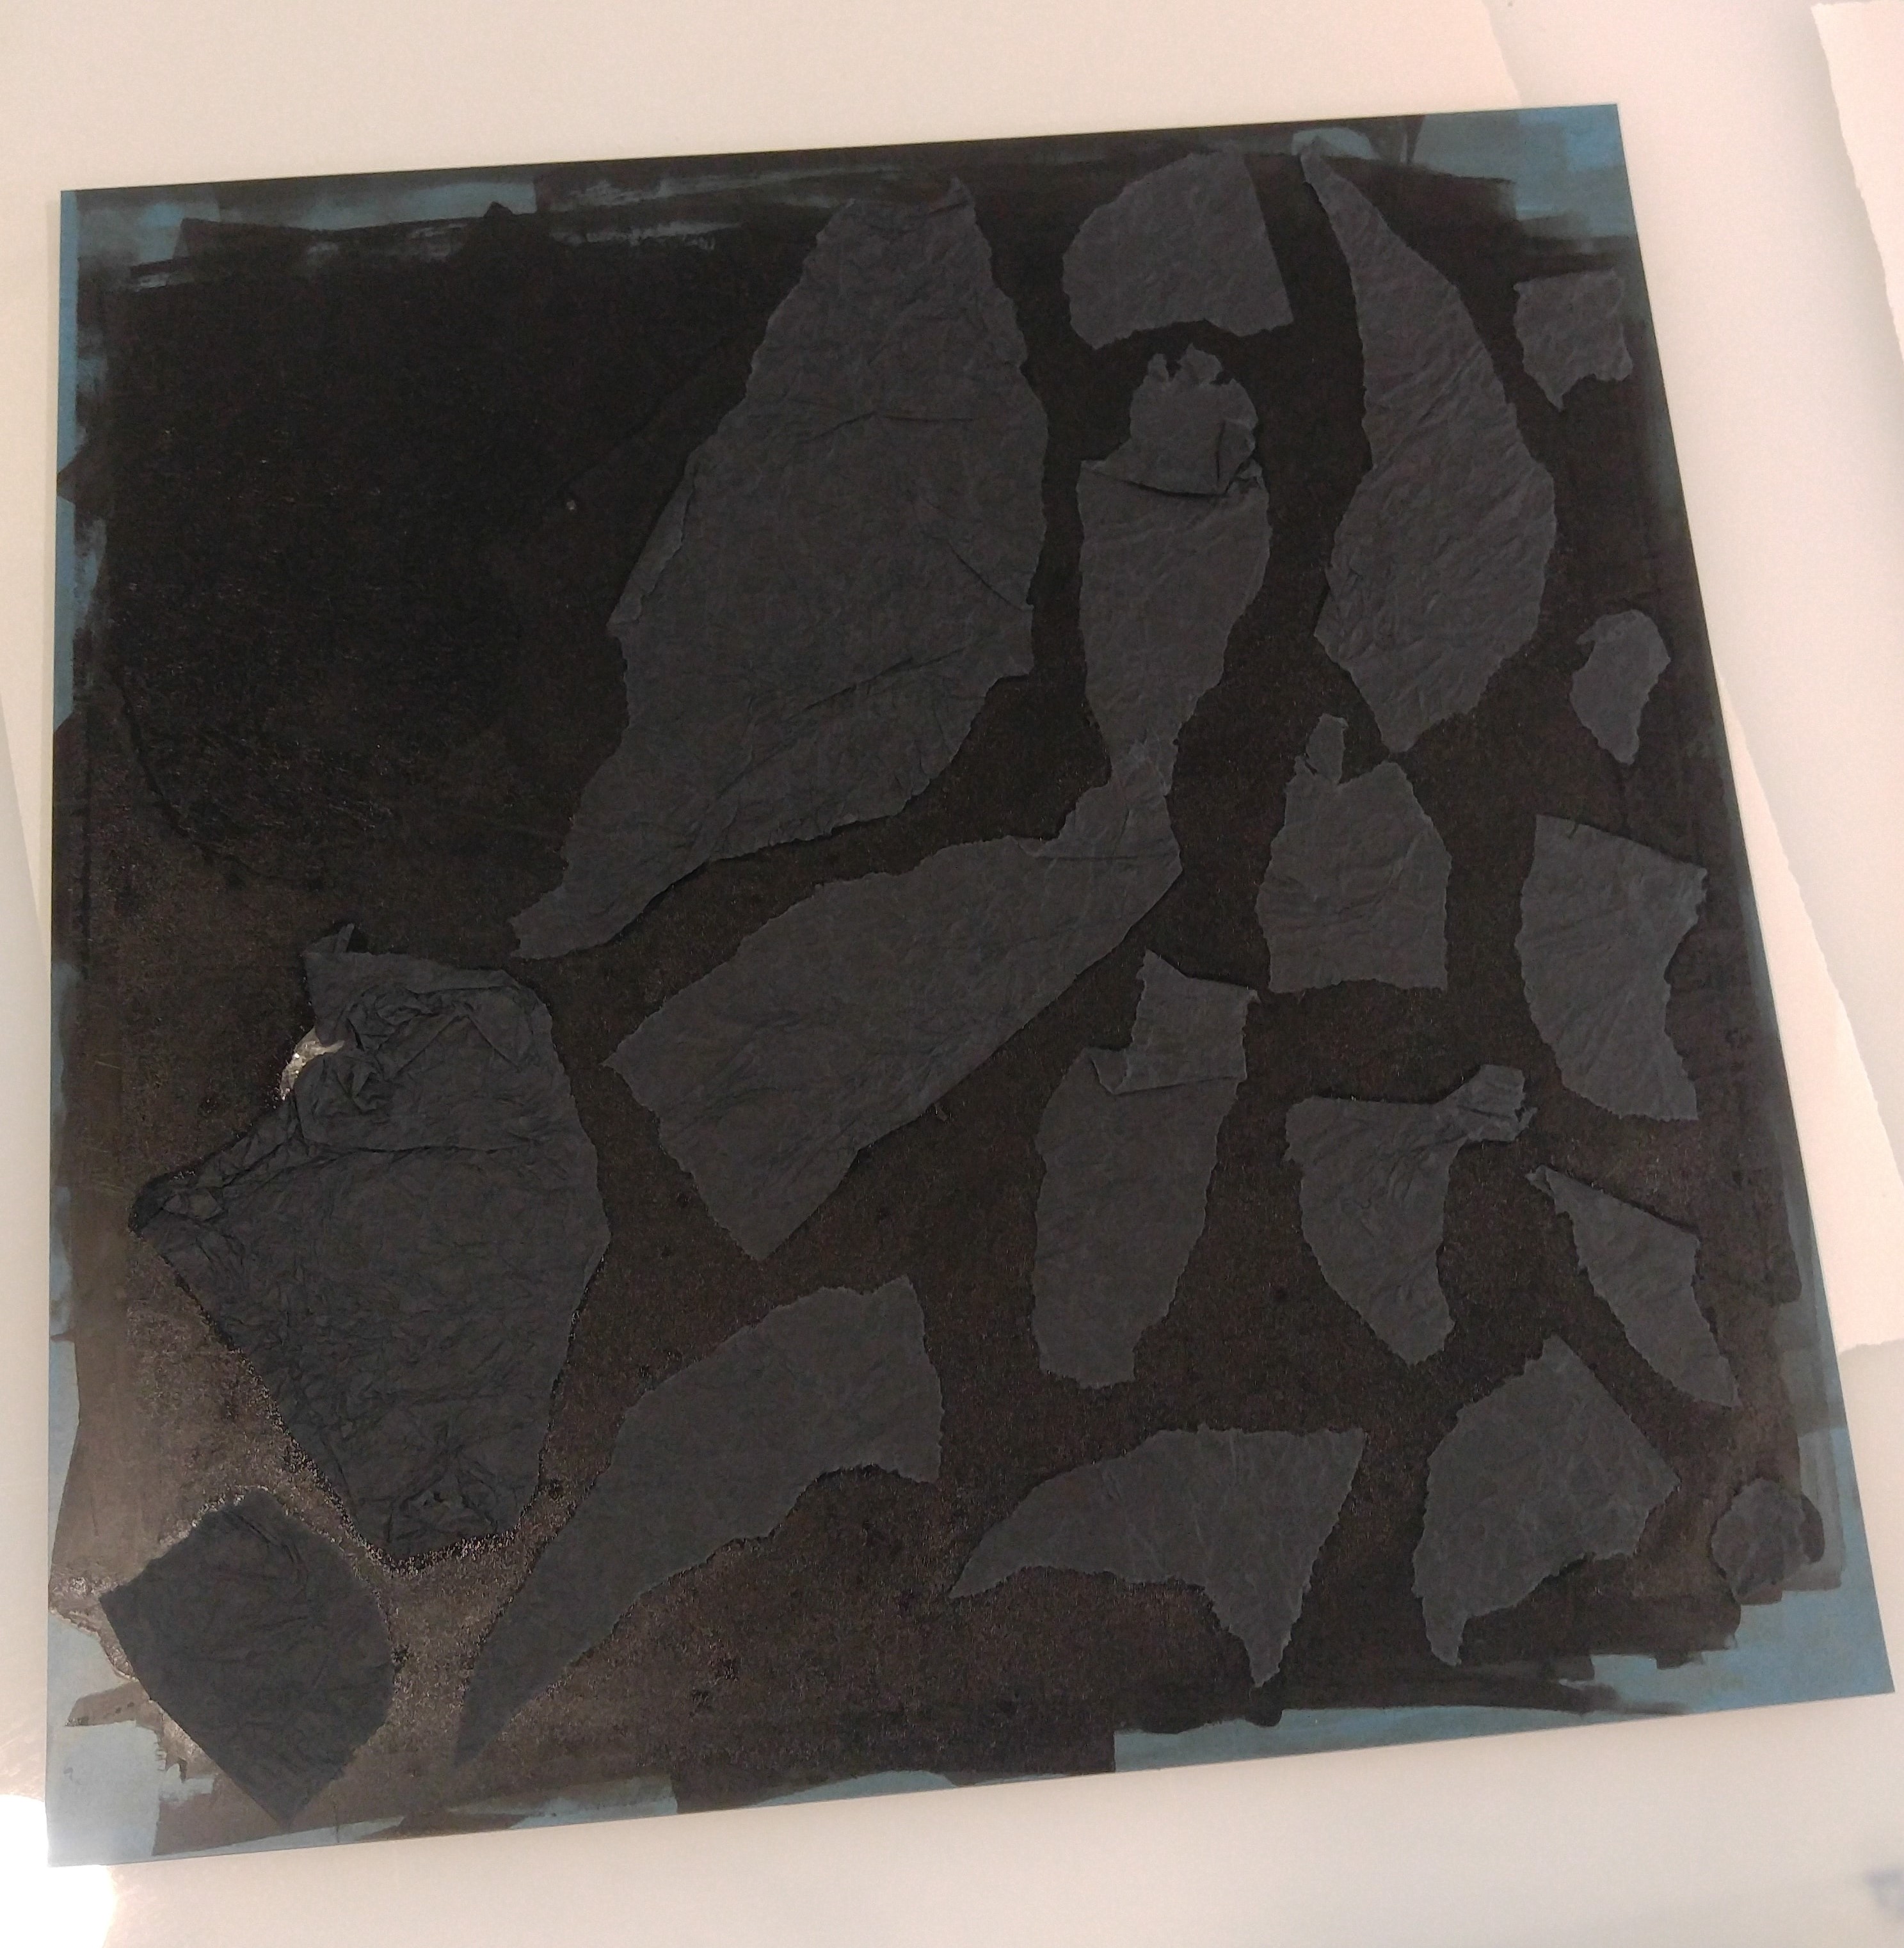
This one was super stupid HAHAHA I thought using the cloth piece would show some cool effects but I forgot that all that happened was that the cloth would block the ink and it just came out to be a rough blob and I was so disappointed. :/ And then I wanted to do an inverse print but I mixed up the steps and ruined my chances of mono printing the cloth’s textures hais. I’ll keep cloth in mind for future mono printing! On the bright side it looks like a screaming stingray? ://


This one I was quite happy with, especially the inverse print! It looks kind of like cells hovering around in space and minding their own business. I’m not even sure what the extra lines around the squares were but they look cool.
This one is slightly diifferent as it was done using the small circular plate! I moved it around across the paper as well as in circles. These are actually my favourite prints! I love the cloudy effect the inconsistent pressure has on the ink. Also the tiny dots speckled around (from what I don’t even know) remind me of stars, and the shapes of countries. However I can’t find them right now as I think I forgot to take them 🙁 Hopefully Tricia still has them!!


I think these also looked quite interesting hahaha I was running out of materials to use so I just thought about using my own hands! So I covered the linoleum square in ink, and pressed my hands into the ink. To not waste the ink on my hands I just pressed it all onto a piece of paper. Then I used a clean brayer to press the paper to the square, and out popped this print. Looks quite haunting to me, like some ghost is trying to push their way out of the paper hehe.
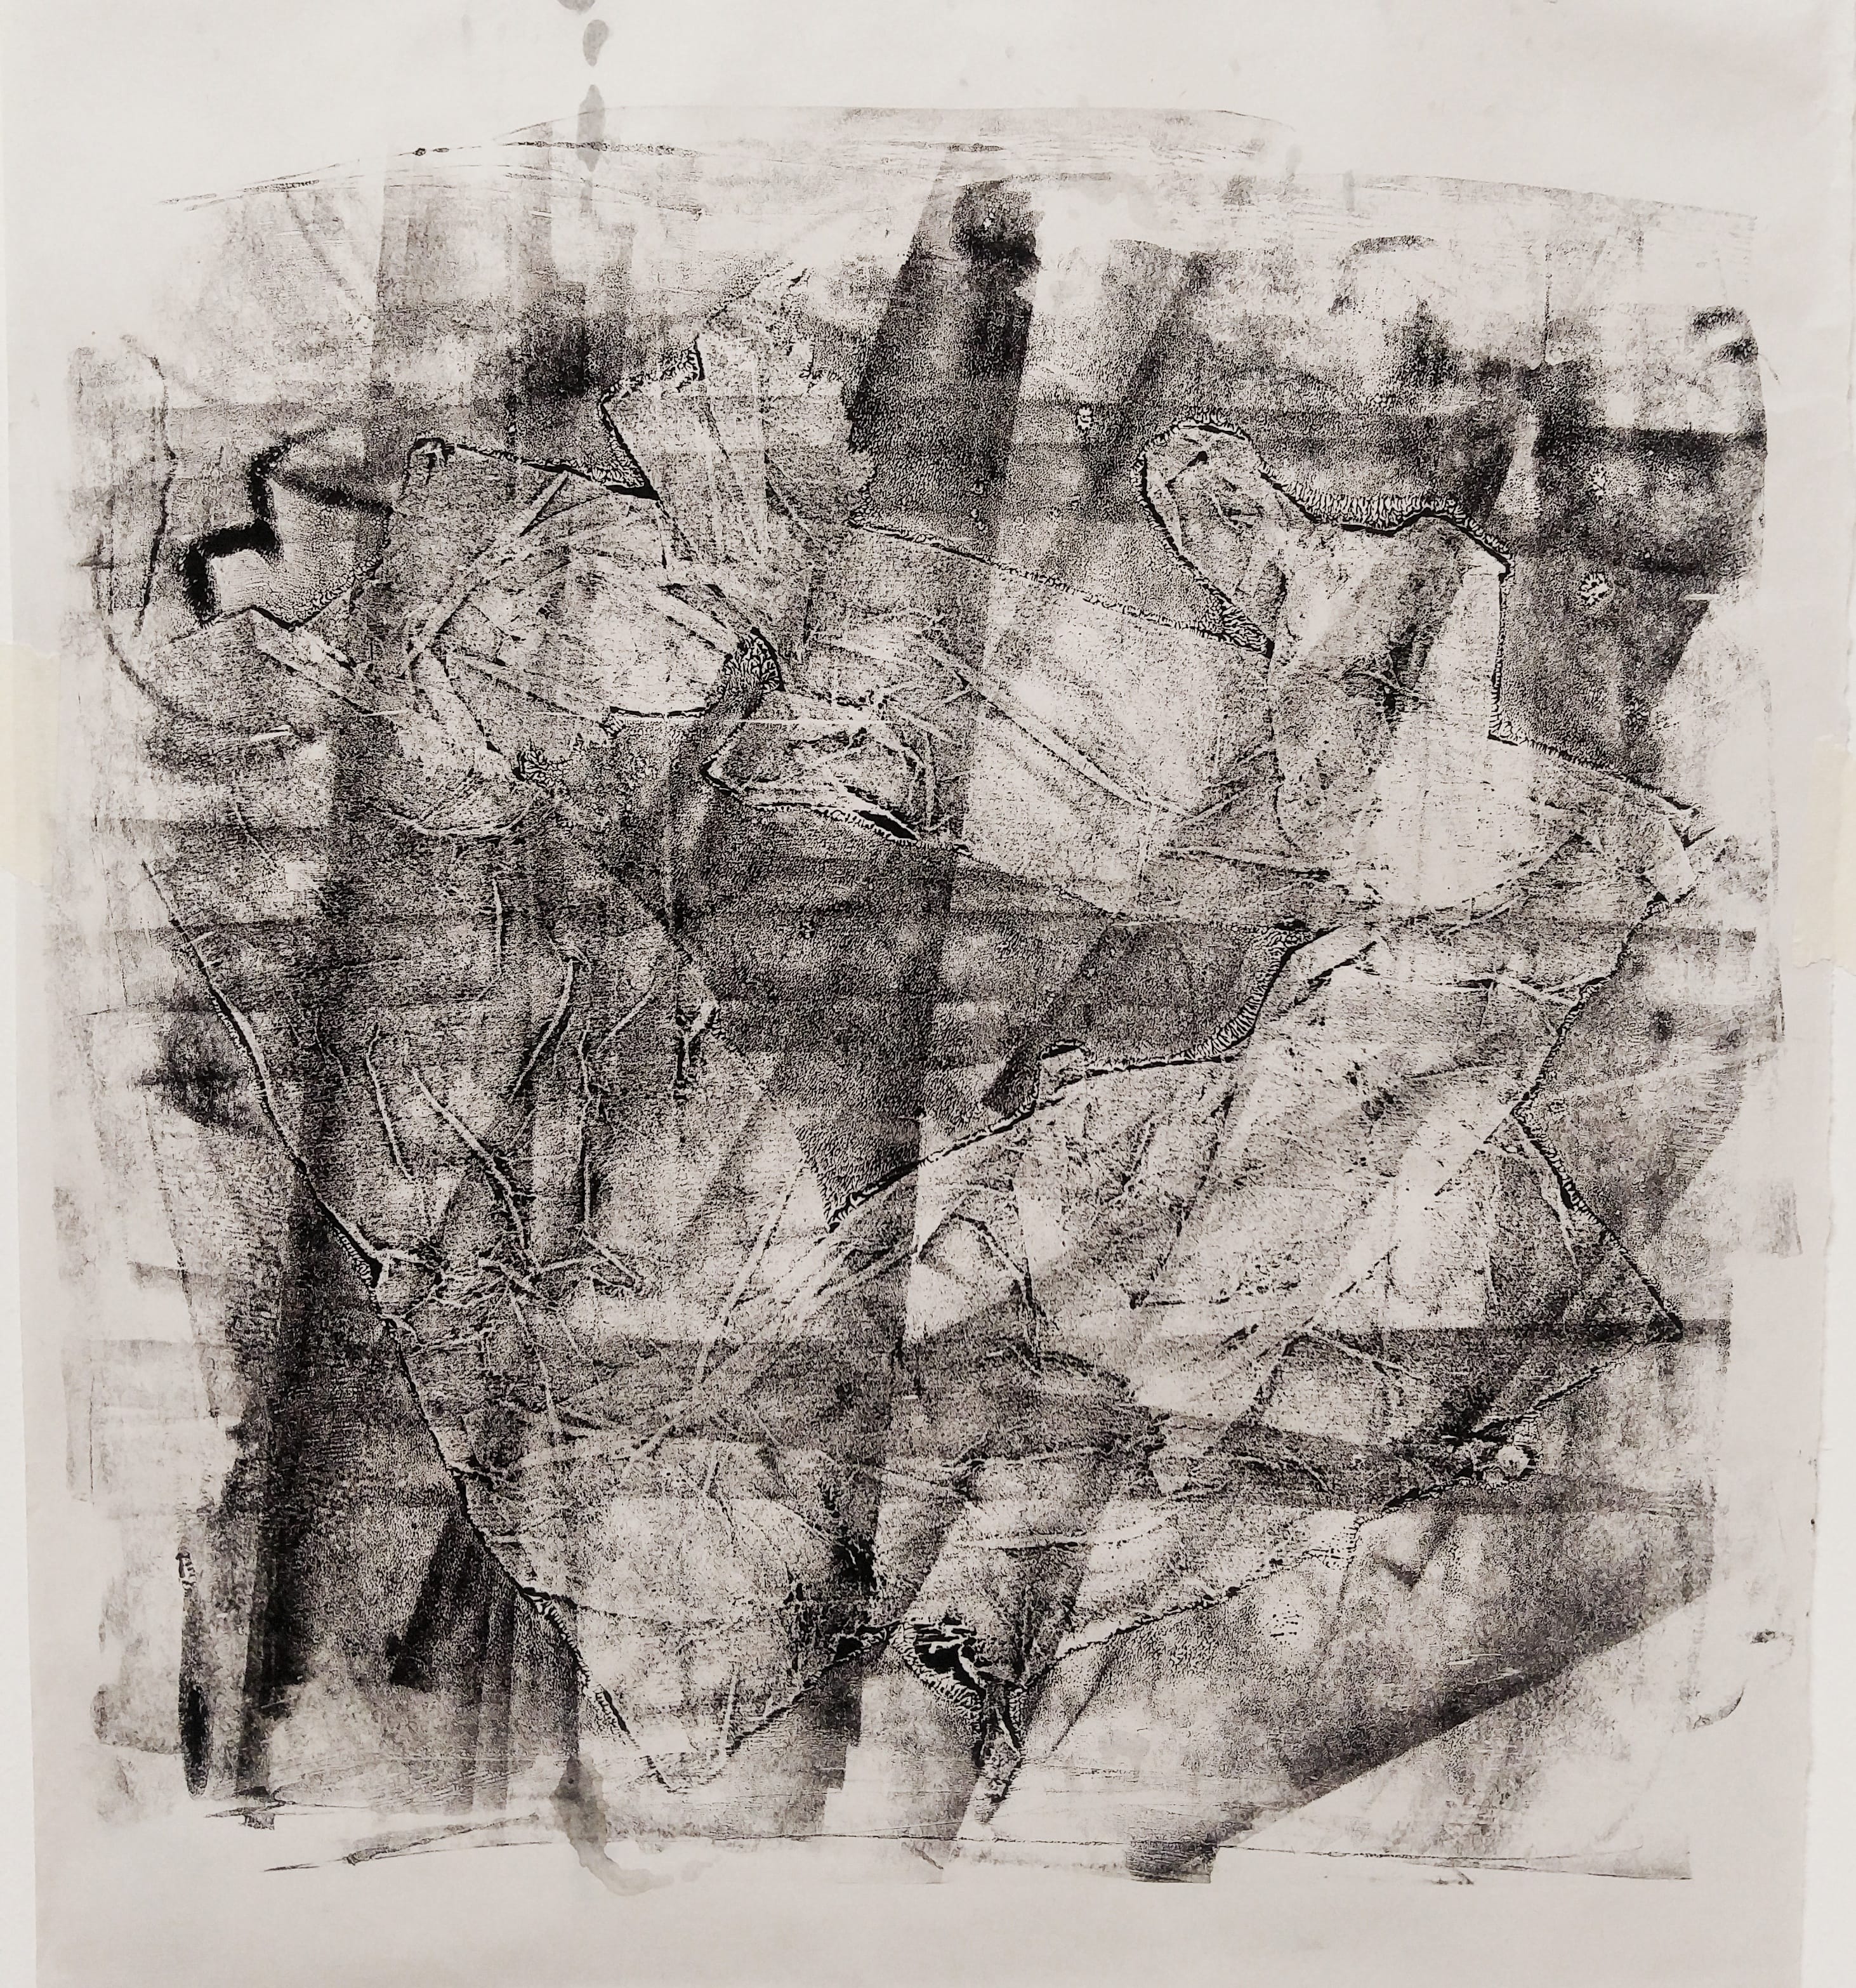
This one was made because I thought it was such a waste to throw away the long cloth after one use, so I tried to rearrange it on the square again and went through the whole inverse printing process. I used a brayer and it produces a super interesting effect I feel, with the sudden lines and grids appearing! I did not expect that effect at all, but I really like it.
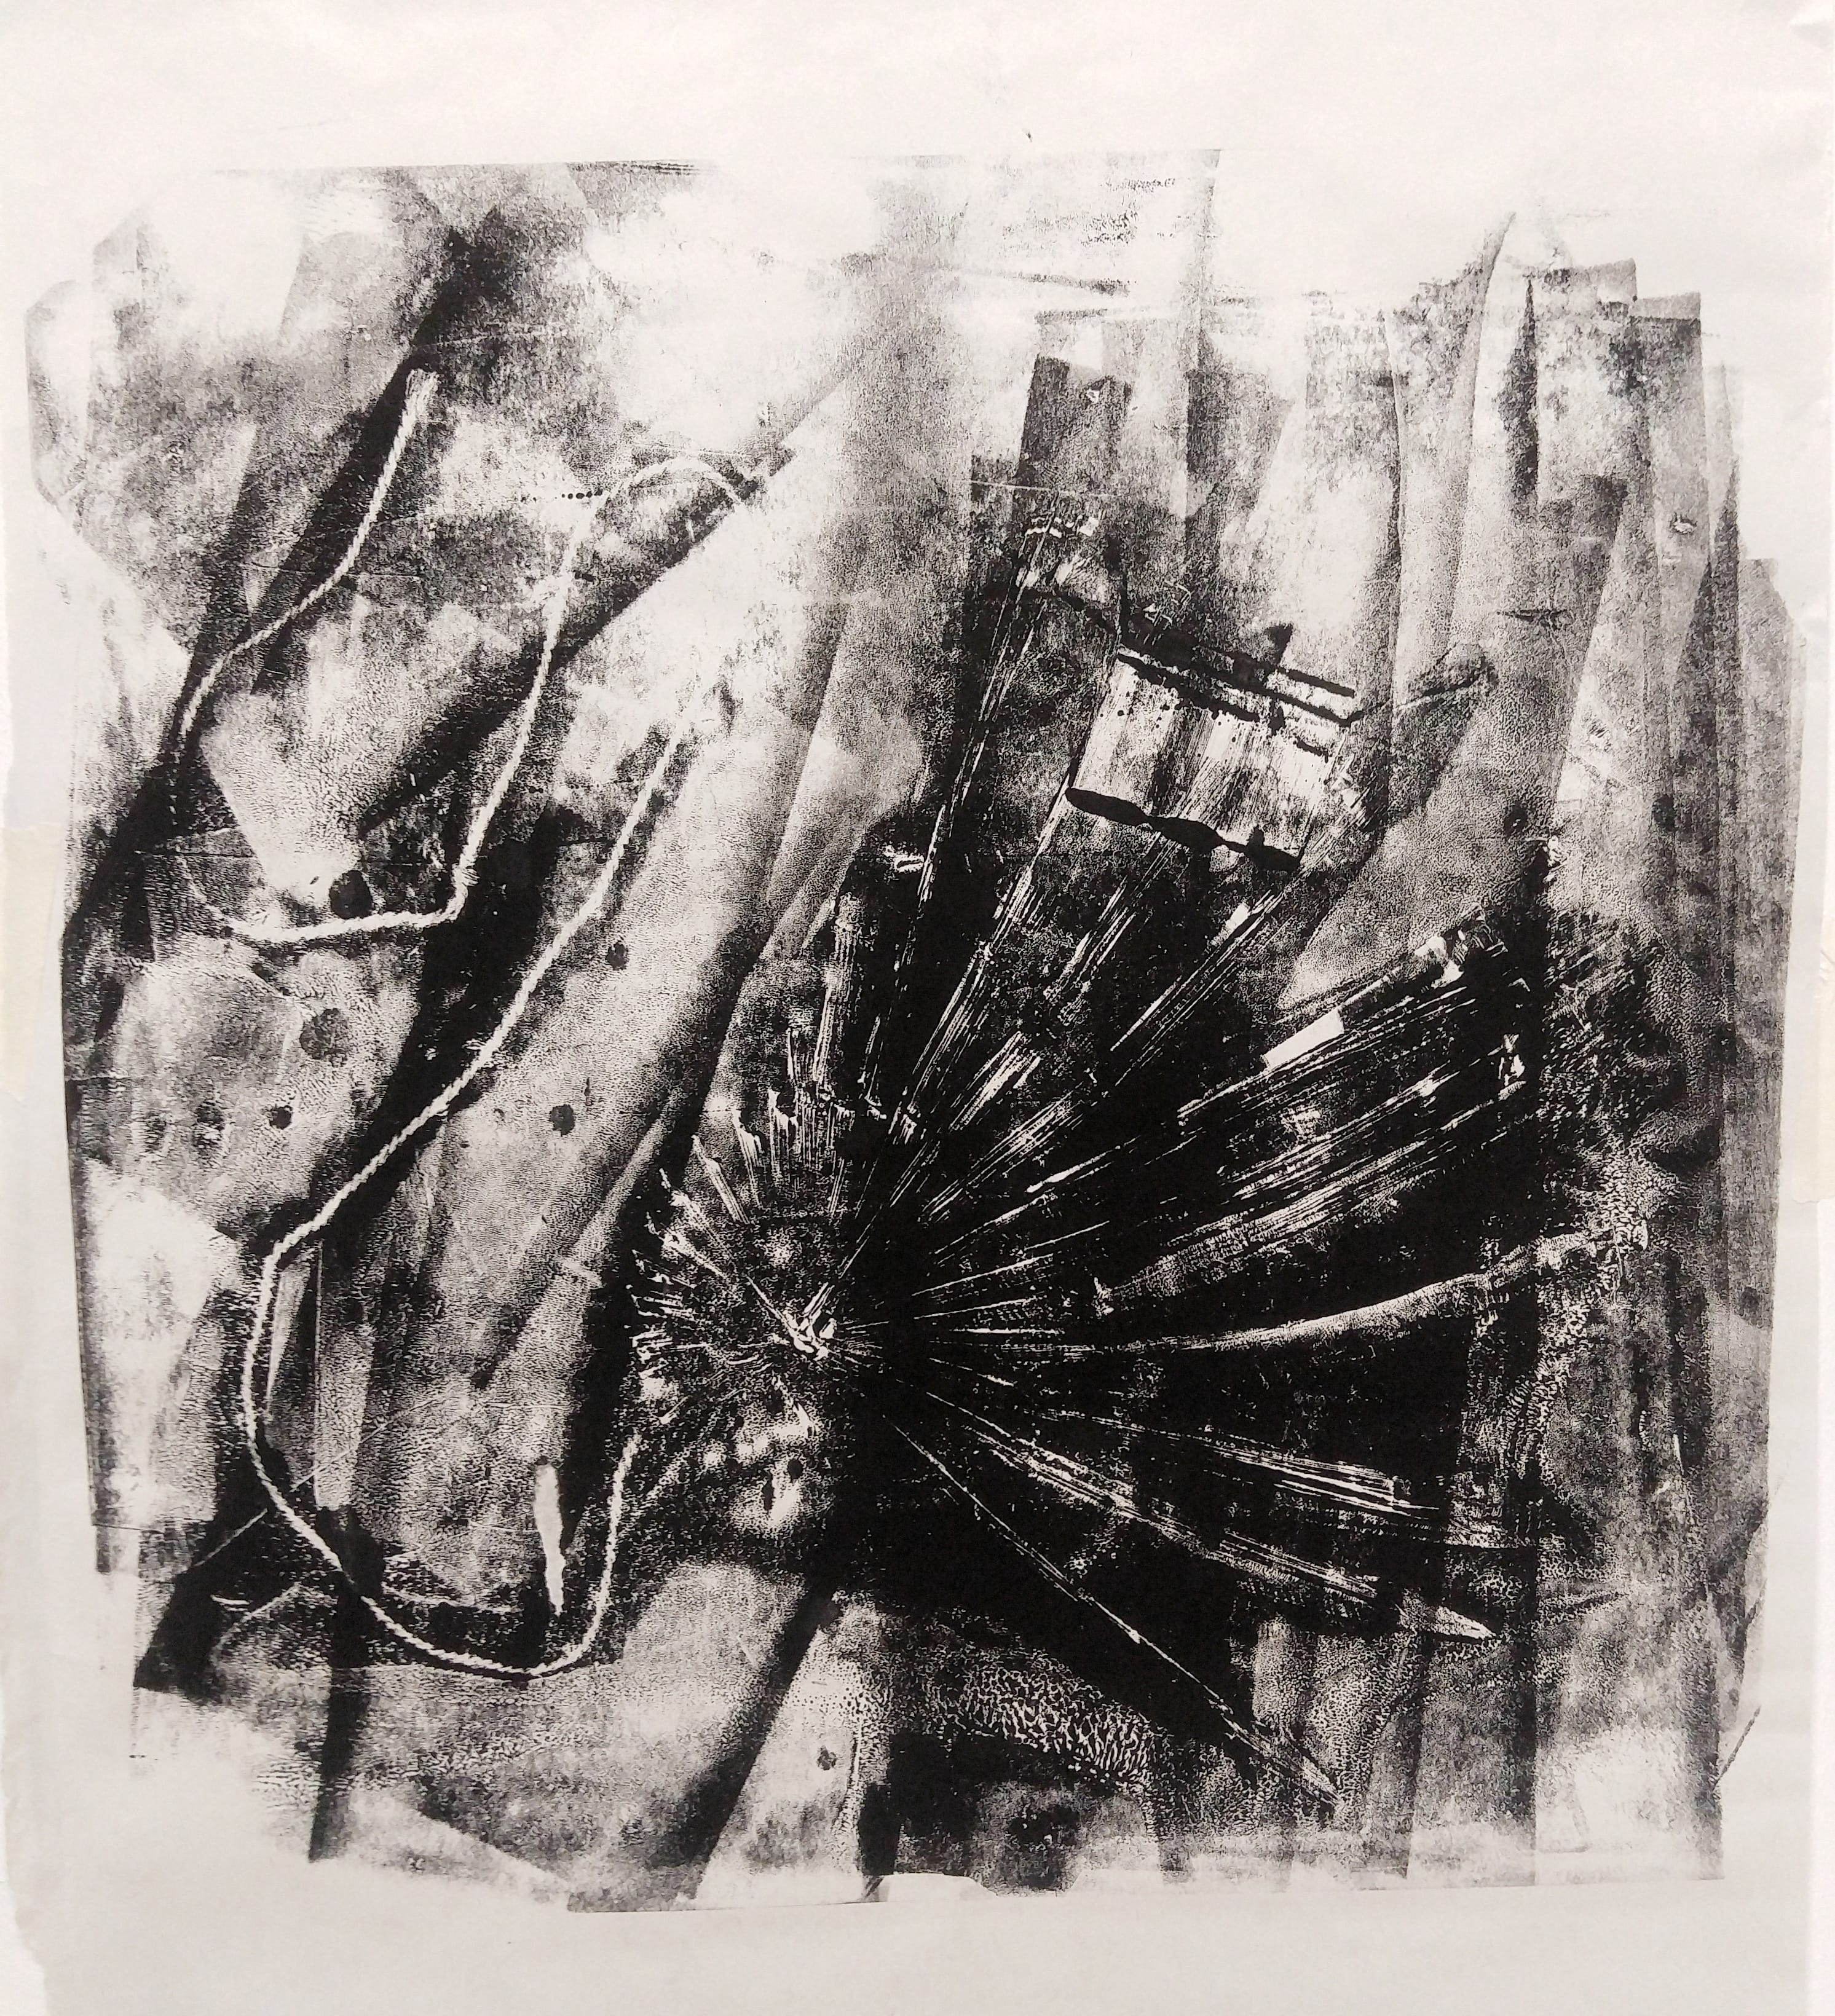
This one was made in a RUSH but I think it’s really cool!! I used the brayer again to roll the paper, with a string arranged and a leaf I borrowed from Dhanu. I think it sorta looks like those prehistoric fish fossils from far away!! Or maybe it’s just me being weird at 1 AM whoops. :’)
I didn’t really have the idea of emotion in mind while I was creating the mono prints on Monday. I was more preoccupied with just experimenting with the prints and everything and I hope that was okay. Which I think it was because I think certain prints do express certain emotions! I’ll explore the theme of emotions more thoroughly when I go down to do the mono printing in my free time with new items. It’s super fun yall haha. See yall next post!
- Niki