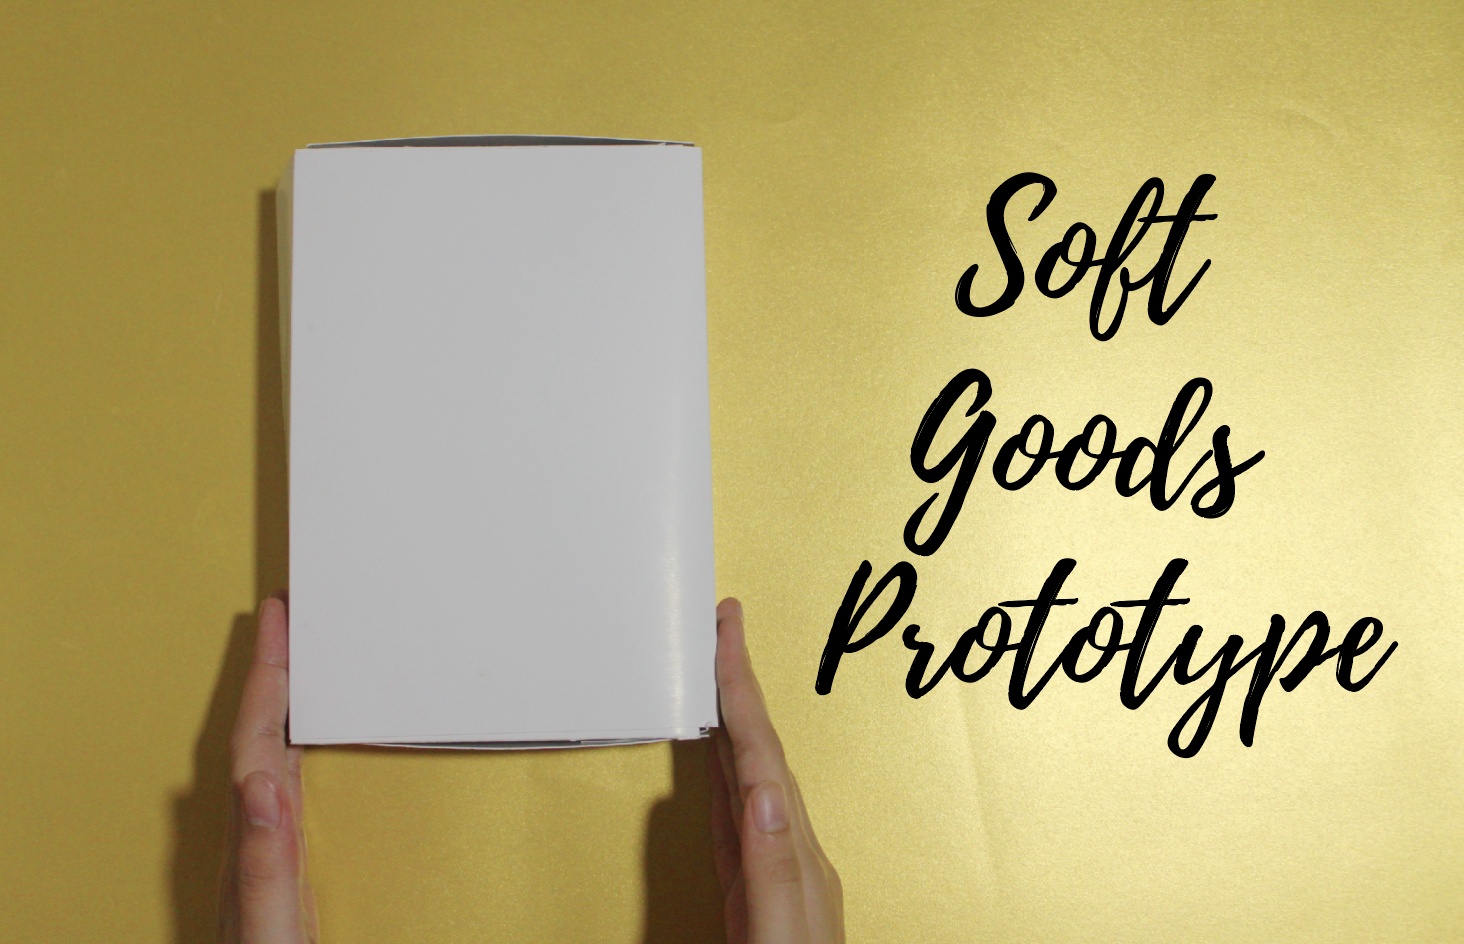
For the second assignment, we are task to do a soft goods prototype using paper. So the first thing that I thought of is a make-up bag. Reasons why I decided to go with this:
-
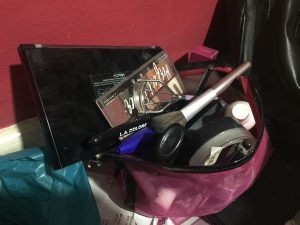
My sister make up bag My current make up bag does not have lots of compartment
- My sister has a huge pile of make up, but she only carries her lipstick wherever she goes

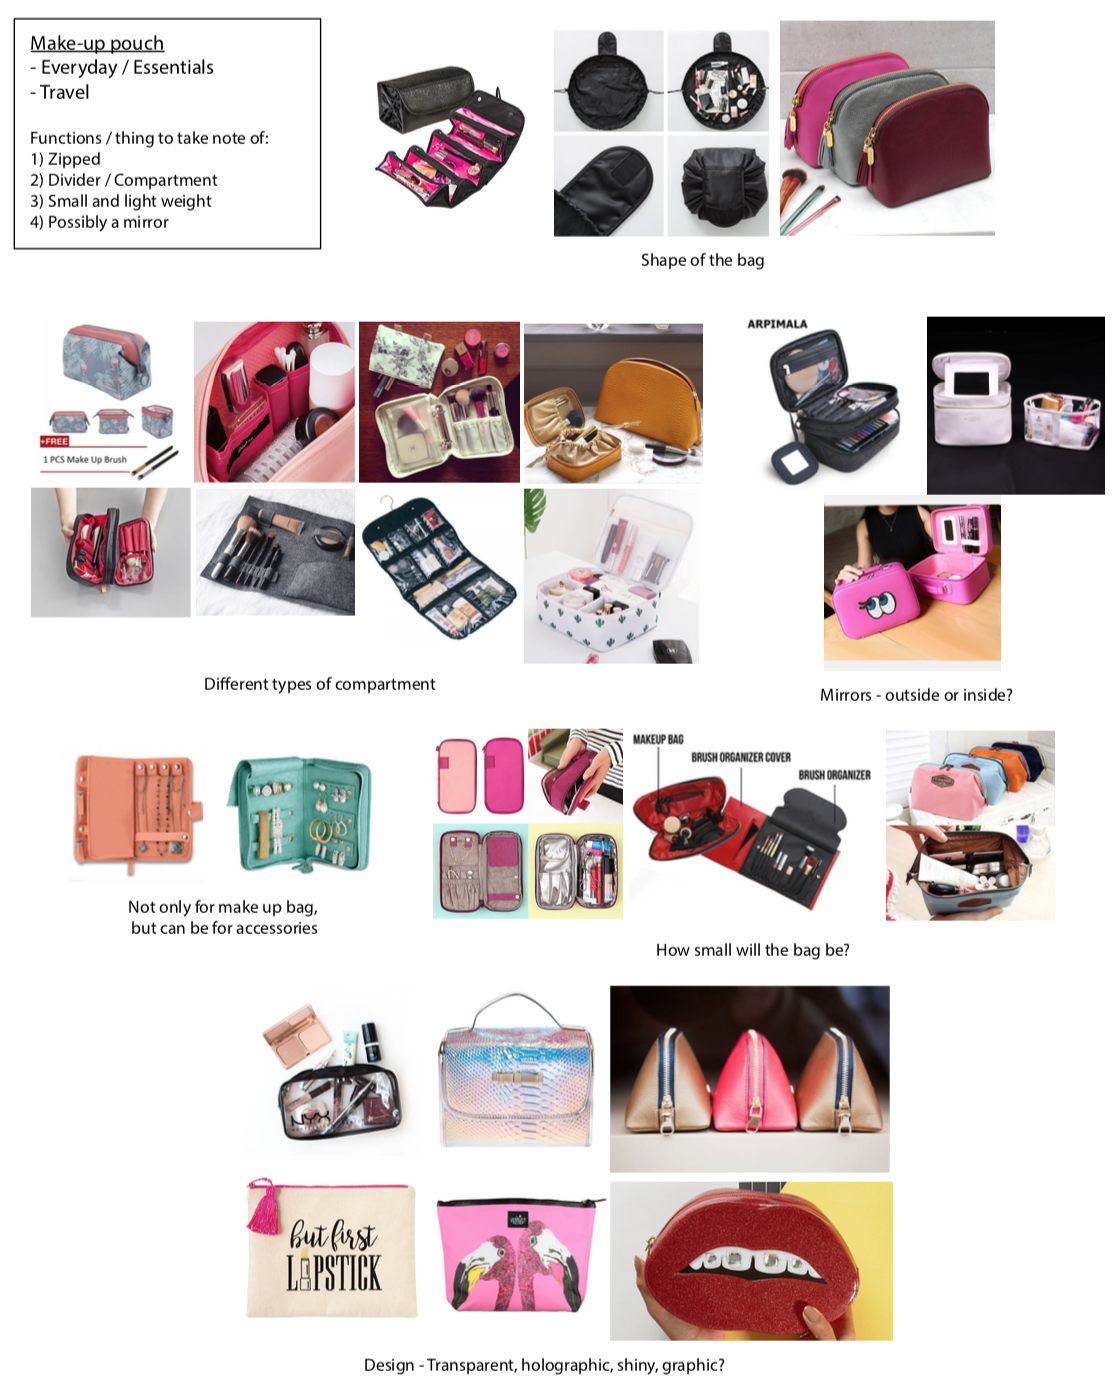
Above are existing make up bag/pouches. There are variations type of make up bags, hence I decided to go for something that is more personalize, something that I need in a make up bag.
Functions/some things to take note while sketching:
- Divider
- Zipped
- Compartments
- Small & light weight
- A mirror, maybe.
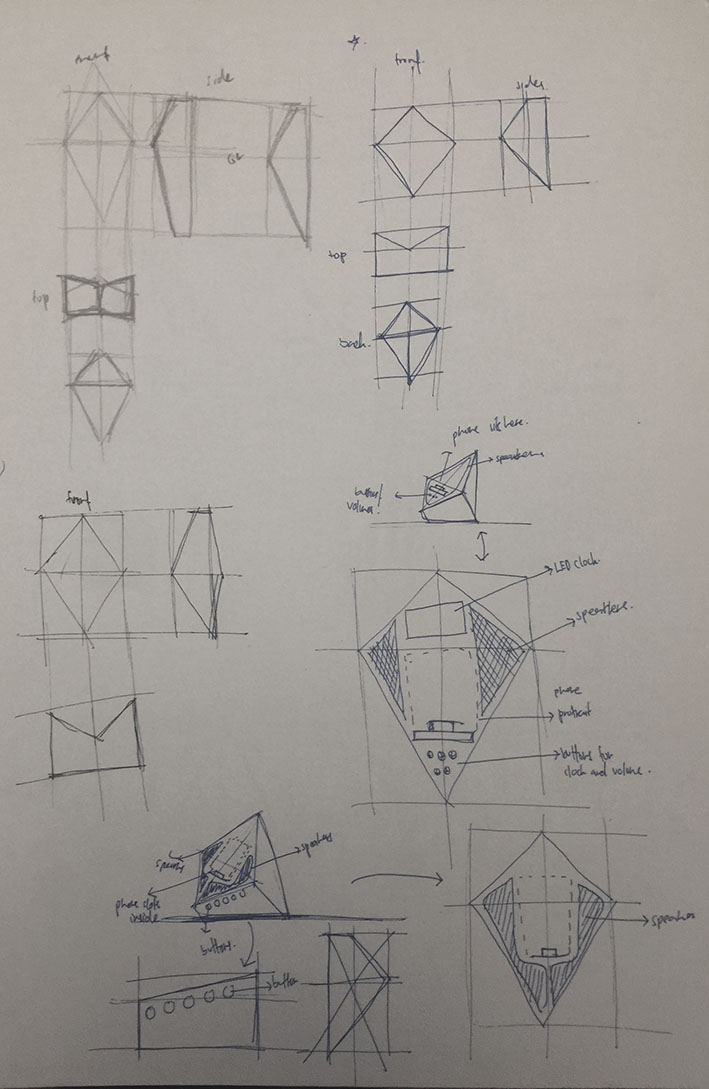
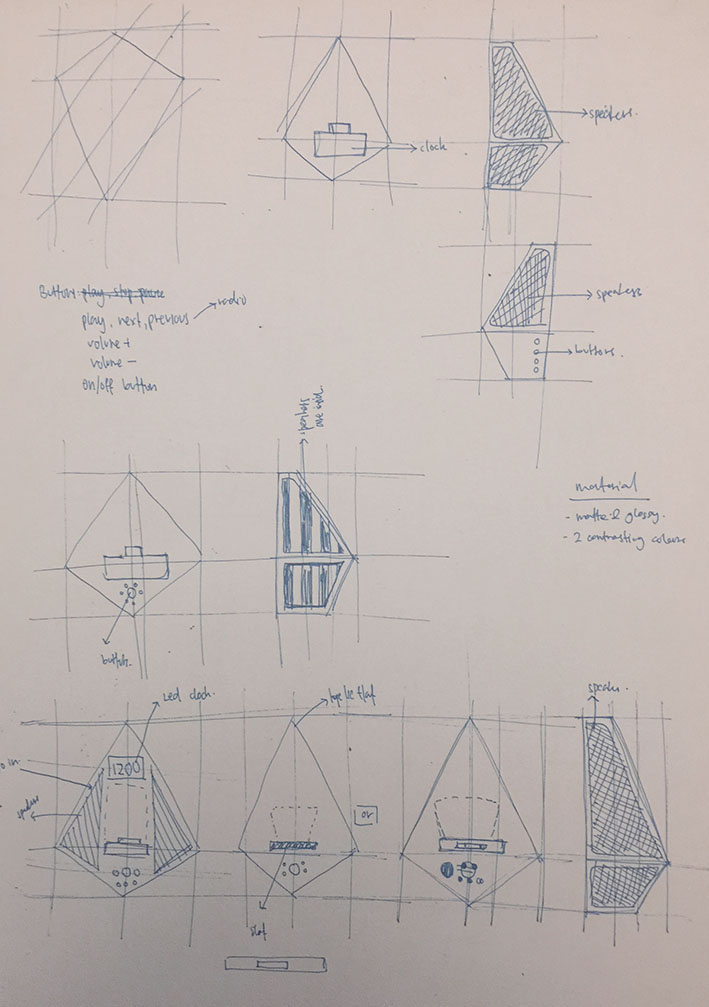
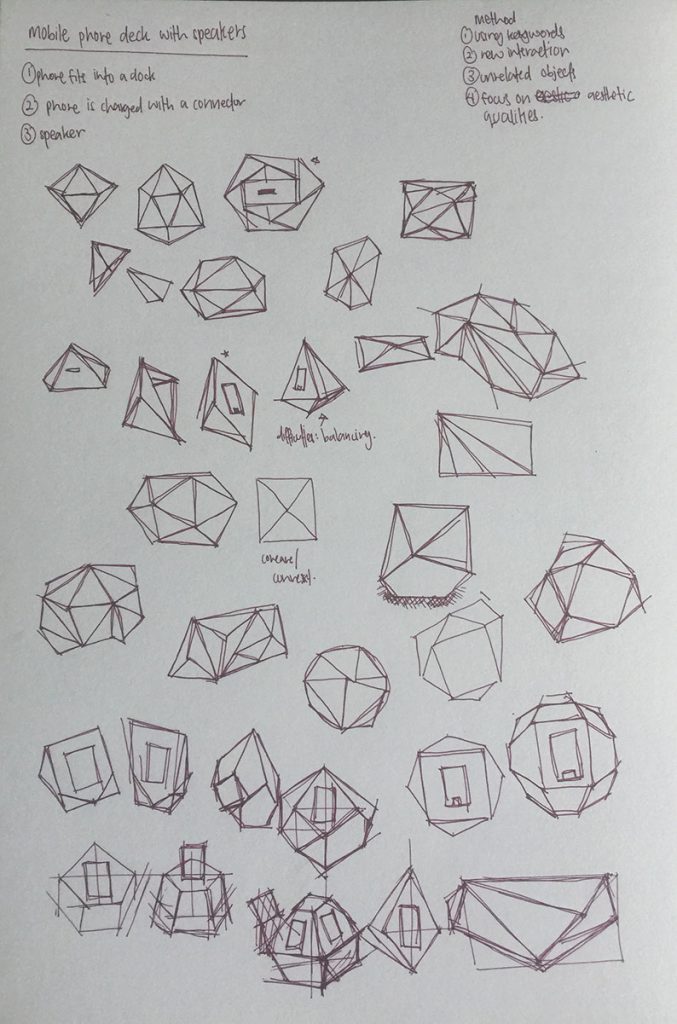
Sketches


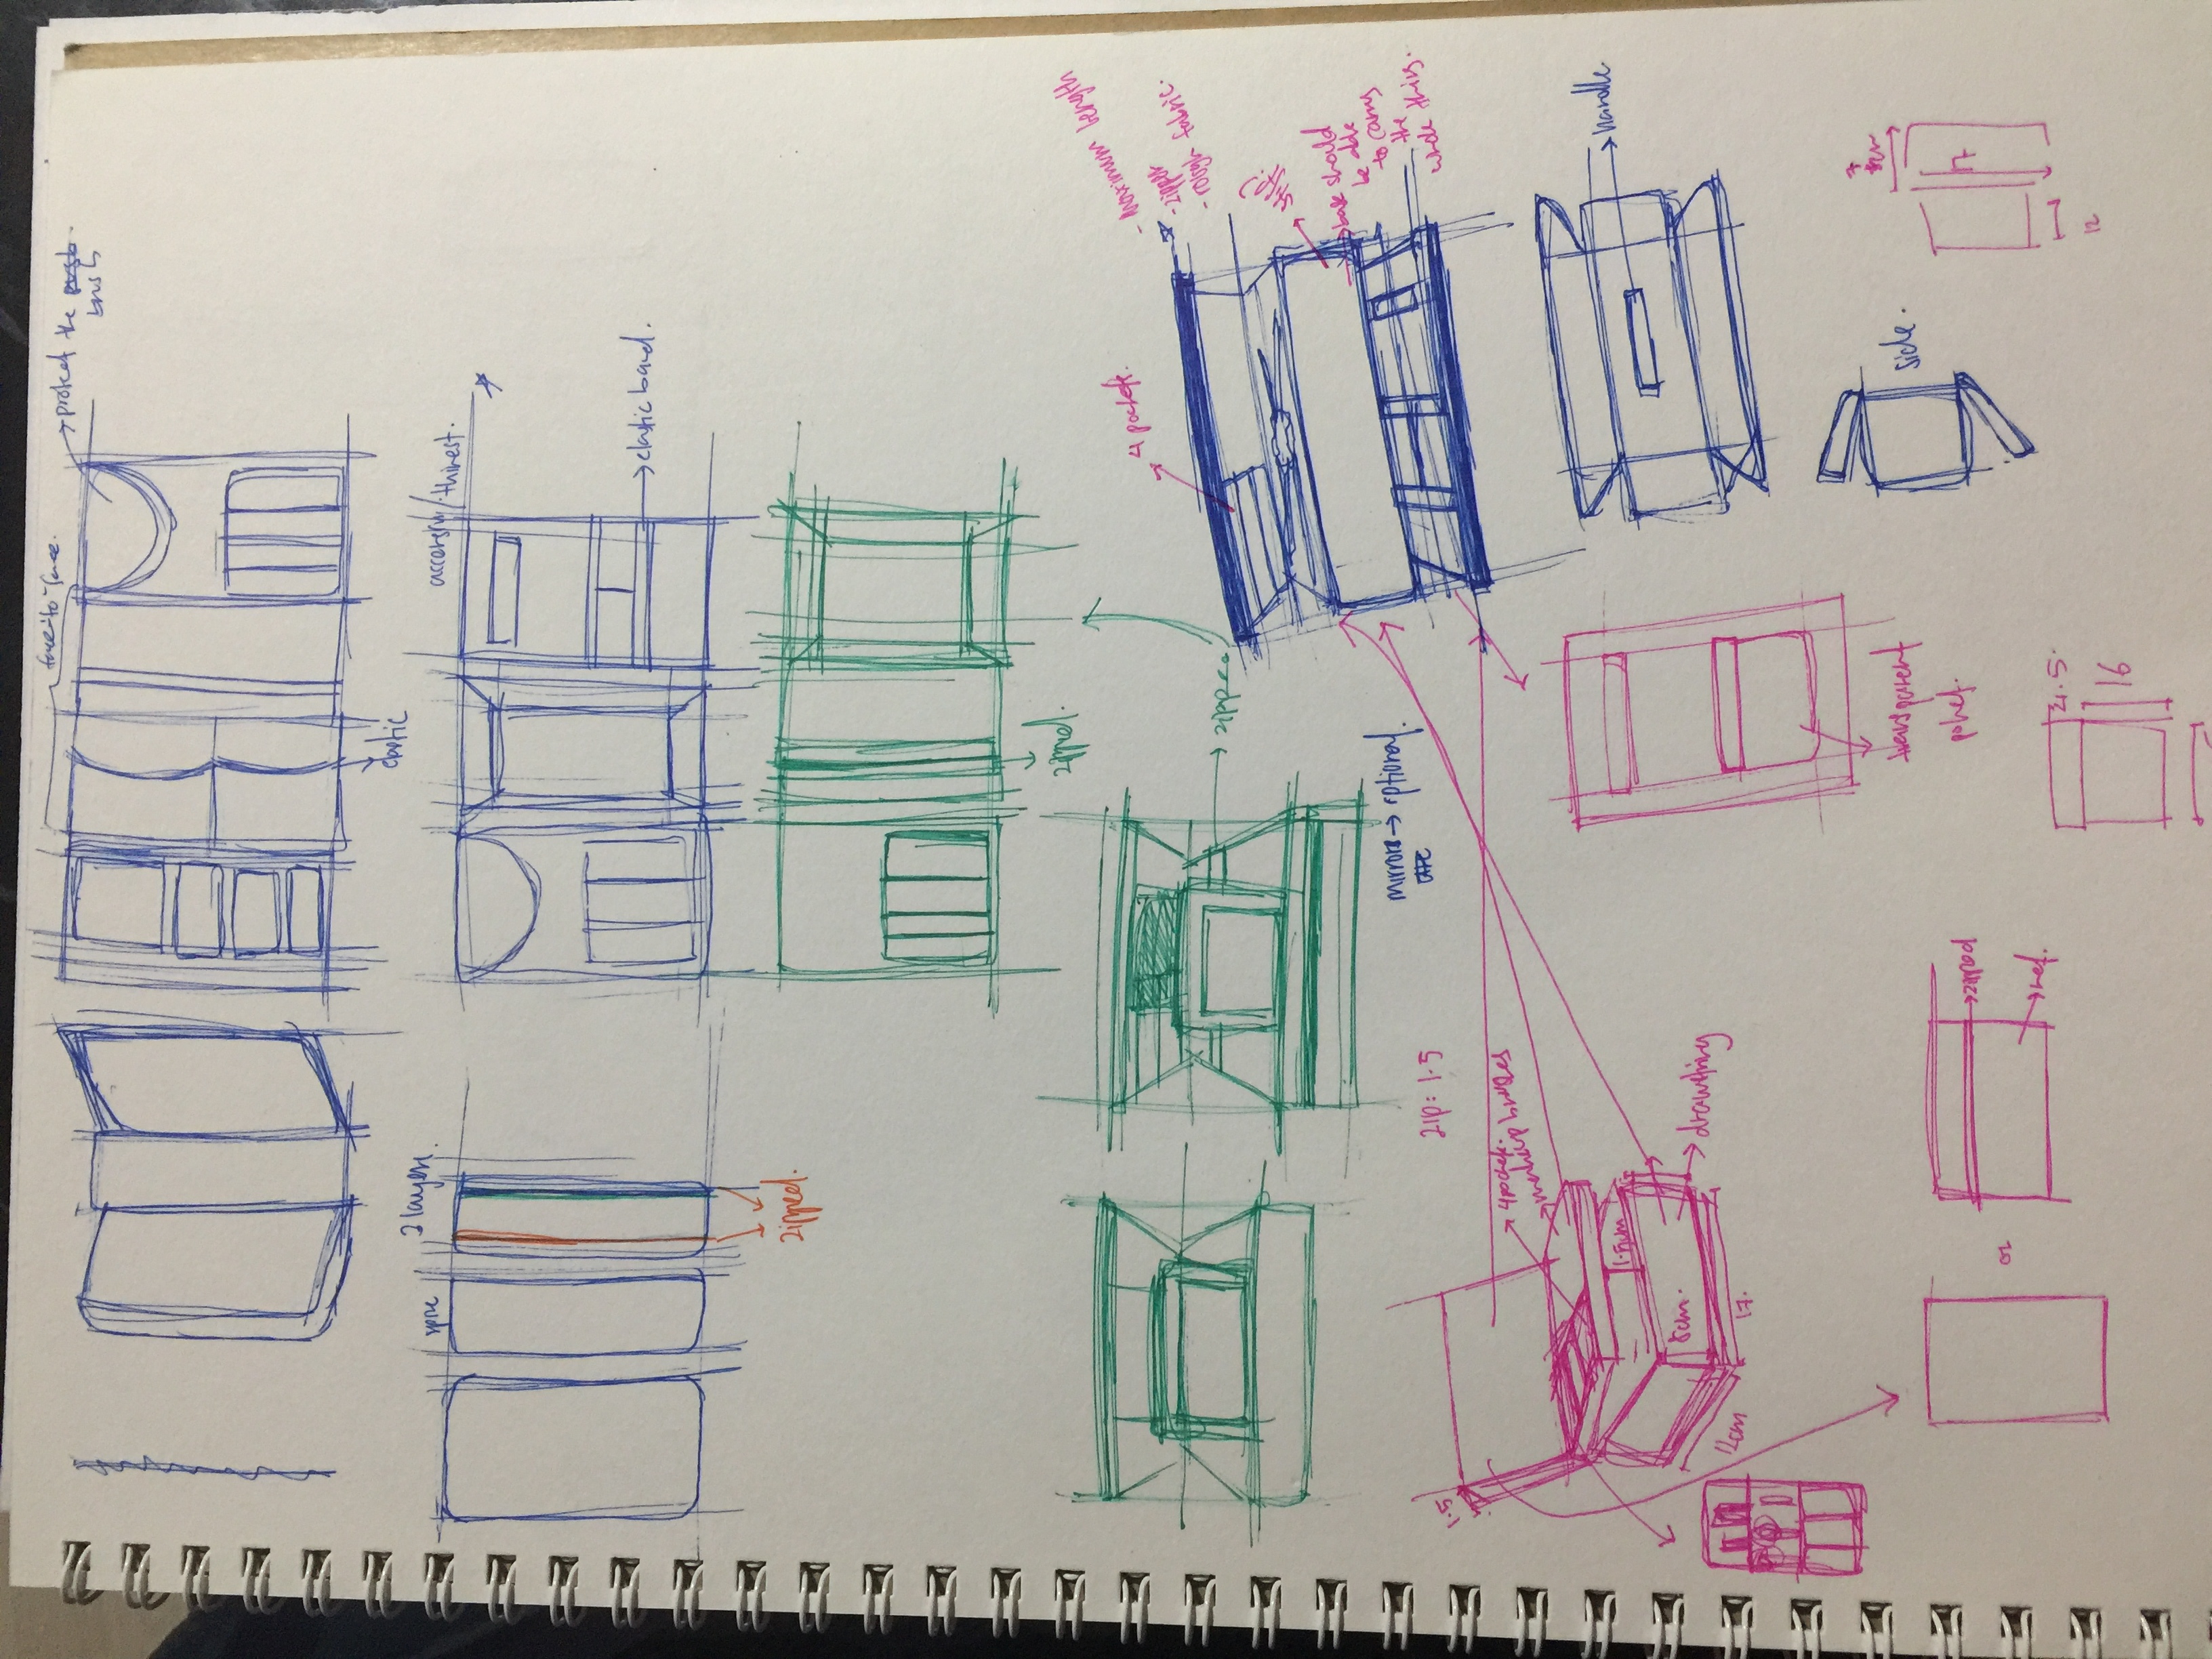
From previous assignment, I find it quite easy and fast to draw the details in orthographic view. Hence, did the same way for this assignment.
Most of my sketches are in rectangular shape. I explore variation of compartments, wether to have it in portrait or landscape. At the start of my sketches, I explore mostly on 1 and 2 tiers of the bag. Then, when ideas started to strike me, I started sketching 3 tiers of the bag, which allows more things to be put inside it.
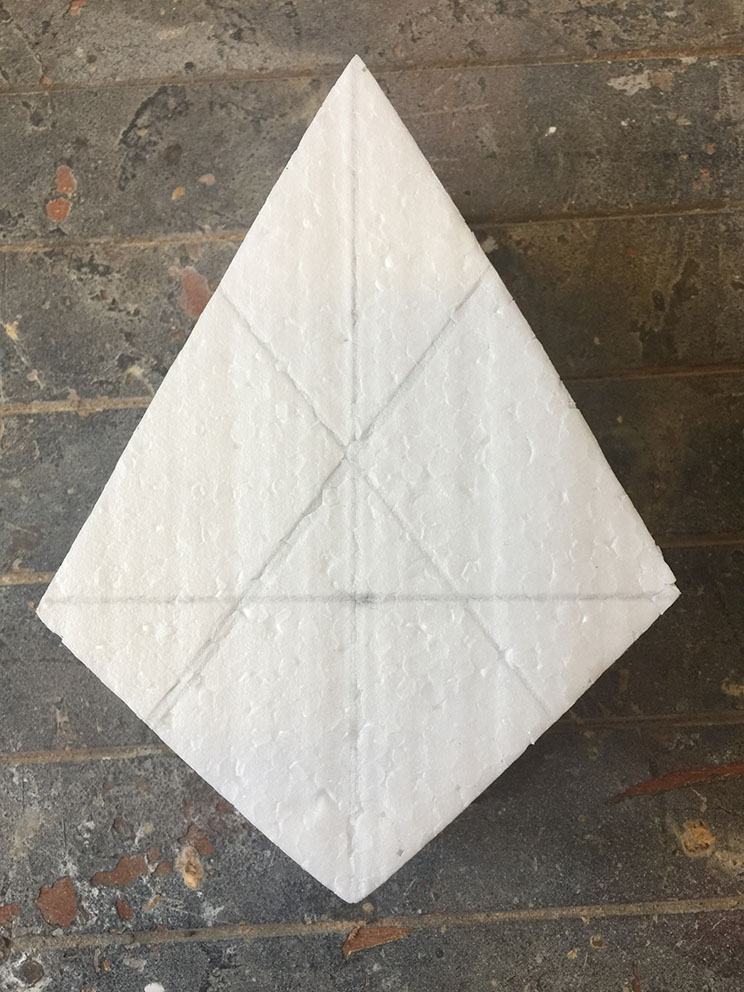
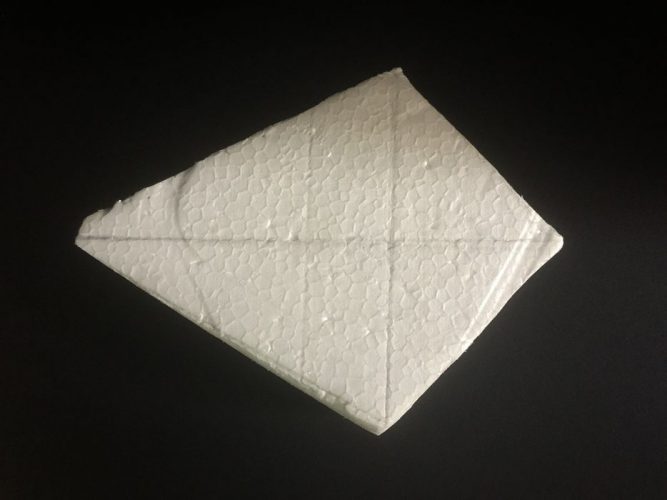
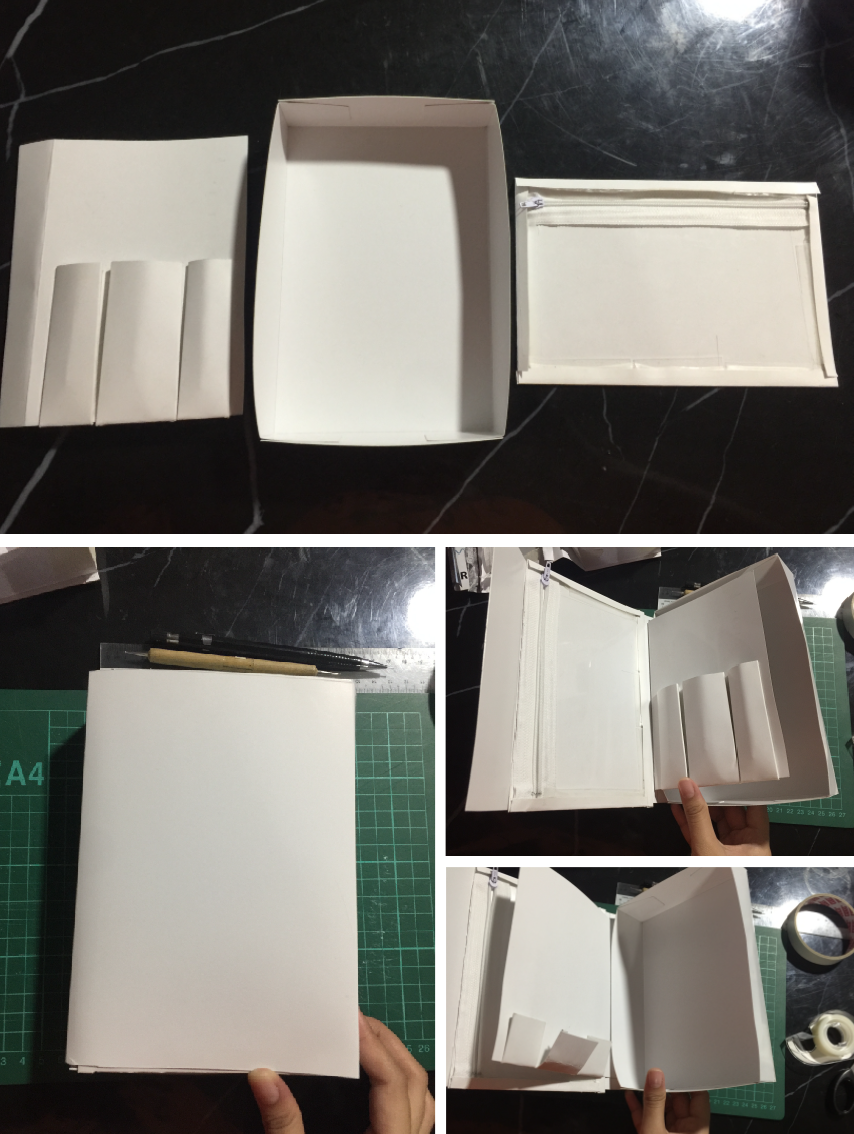
Process
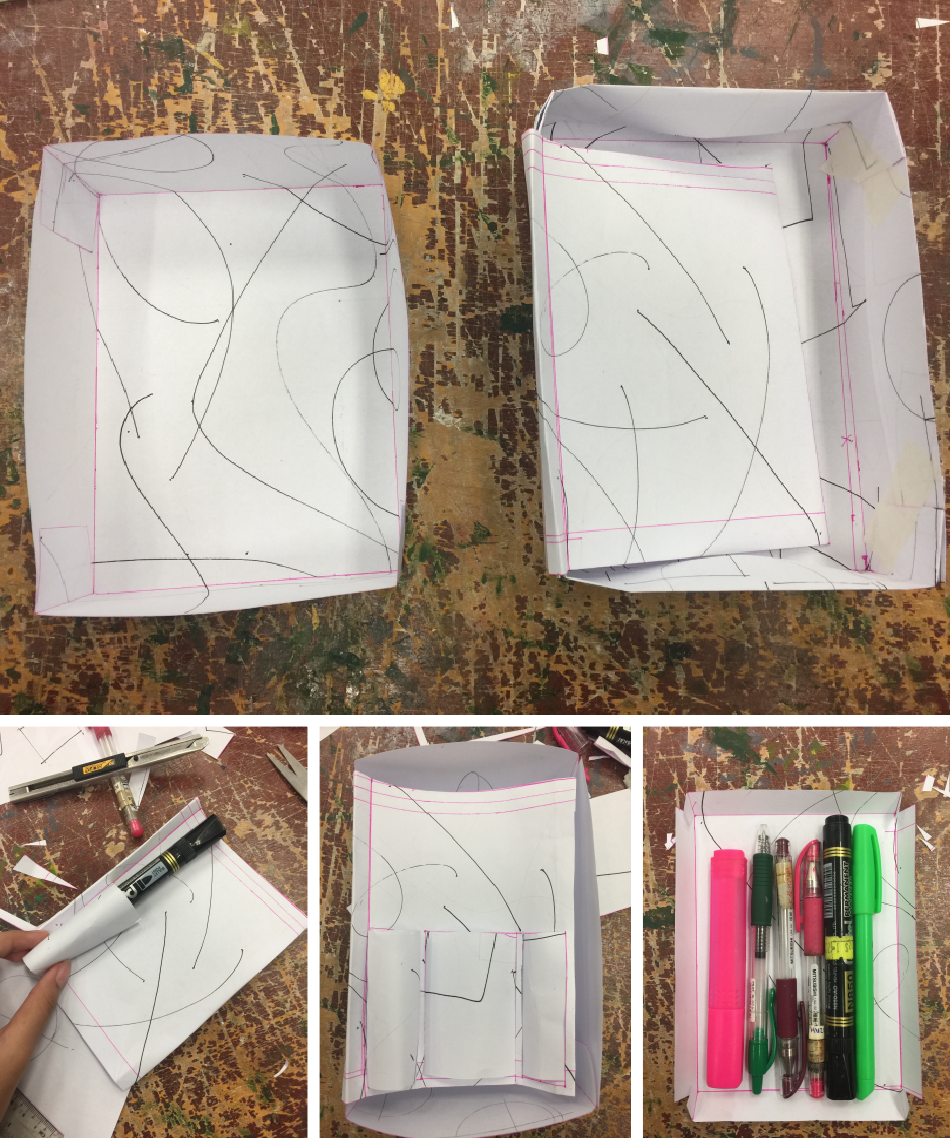
I start by doing the base (image at the top). I had 2 different sizes of the base so that I can work between those 2 and roughly know what is the size that I want to achieve. Then I did the brush compartment (image at bottom left and bottom center). While doing, the compartment, I use my stationary as a guide for my brushes and other make-up items. Then I did the last compartment (image on the bottom right), with my stationary in it to see wether the size fits. Lastly, I combine all the different parts together.
However, I felt that it was too bulky and I decided to cut down its size.
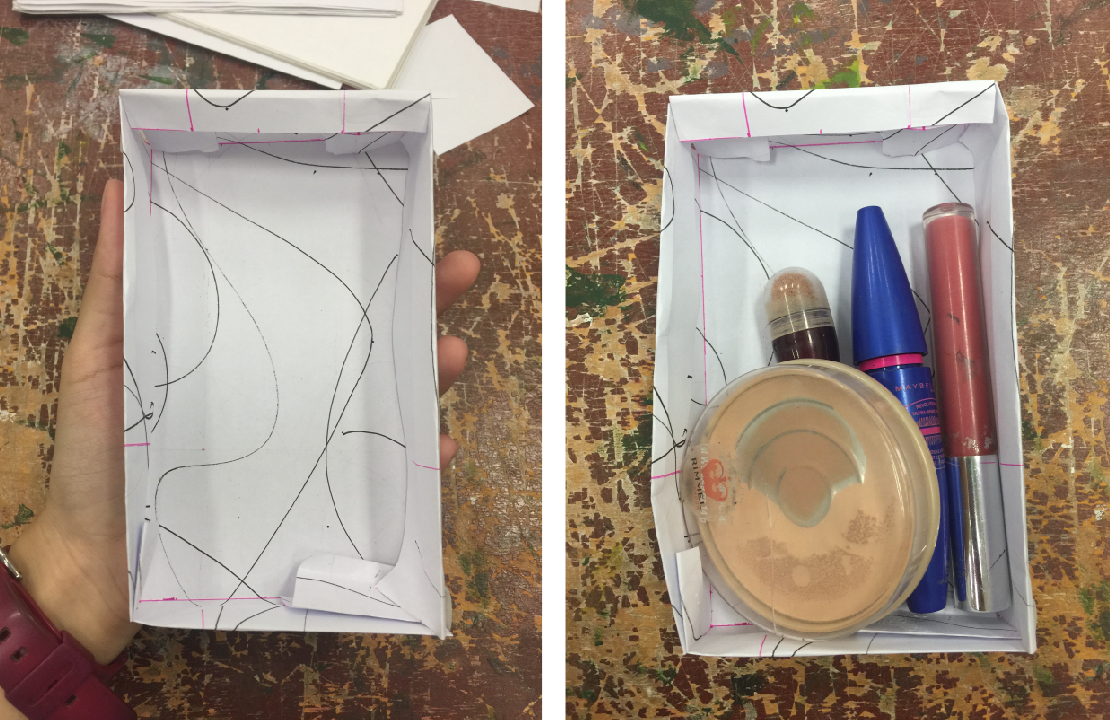
The focus of this process is to get the correct size. Hence, while I was doing this, I kept going back and forth from the box to my hand. Other then depending on my hand size, I also put in some of my makeup.

After finalising my prototype using paper, I move to art card and development my prototype. There are differences when using art card. One of it is the increase in size. Hence I had to change the steps of making my prototype. Previously, I started with the base. But now, I start with the brush compartment, then the base and the zipped compartment. Another difficulty I face was, I kept using tapes to combine all the parts together. However, some parts did not stick together and glue gun is the solution to this problem.