
____________________________________________________________________
____________________________________________________________________


Updating Portfolio…

____________________________________________________________________
____________________________________________________________________


Hello!
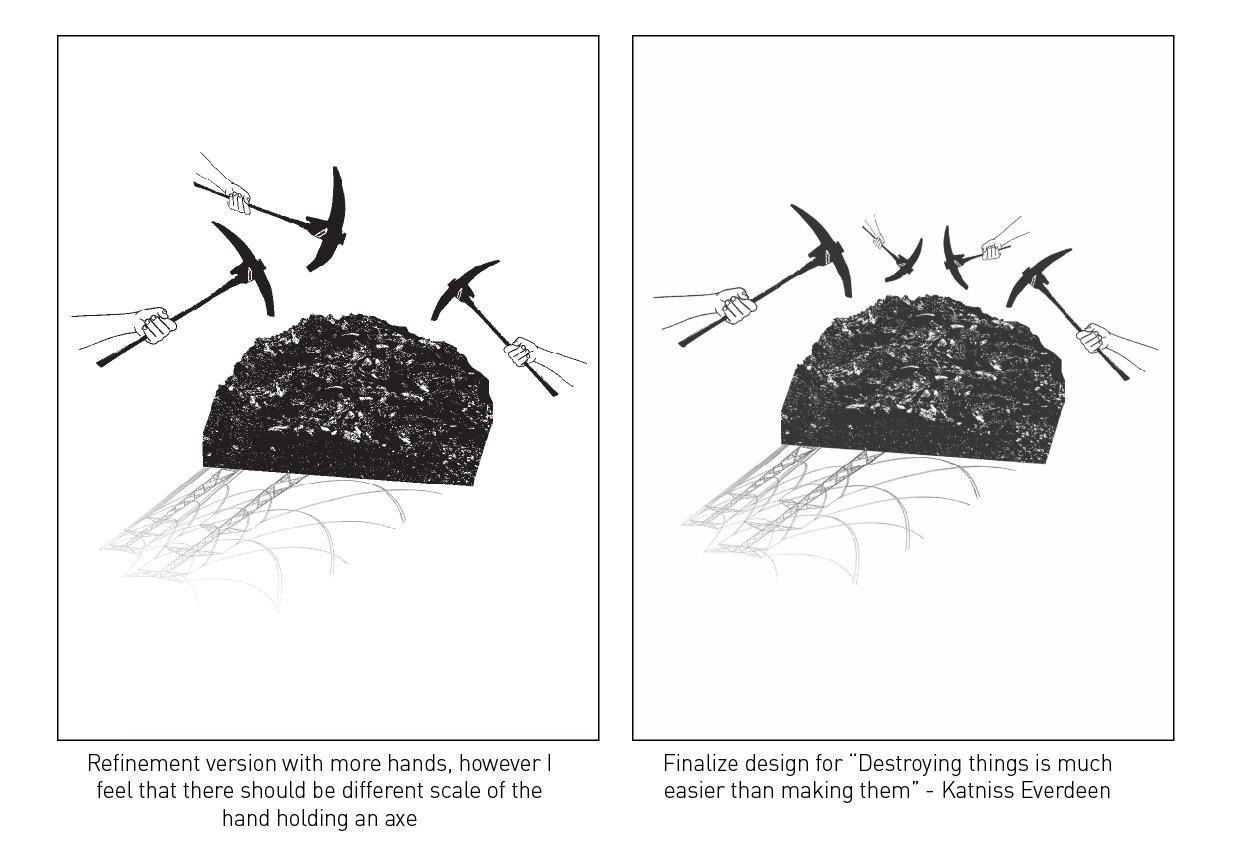
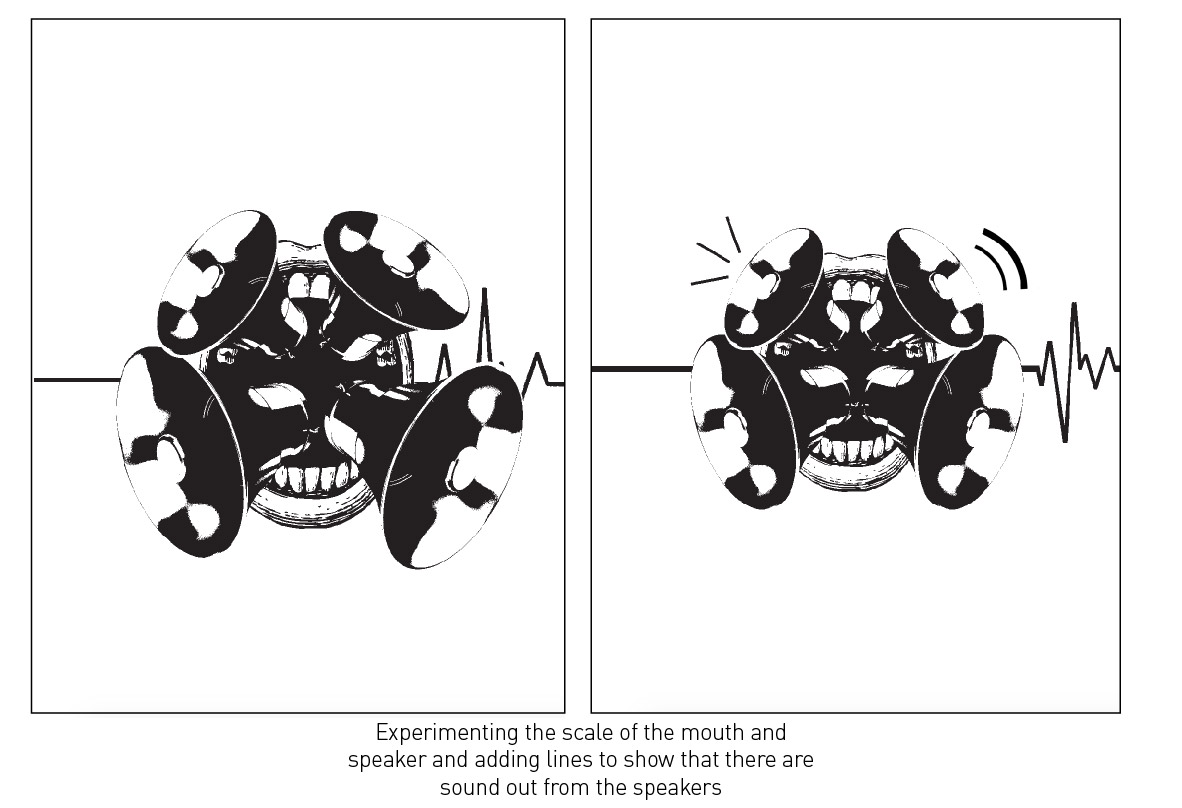
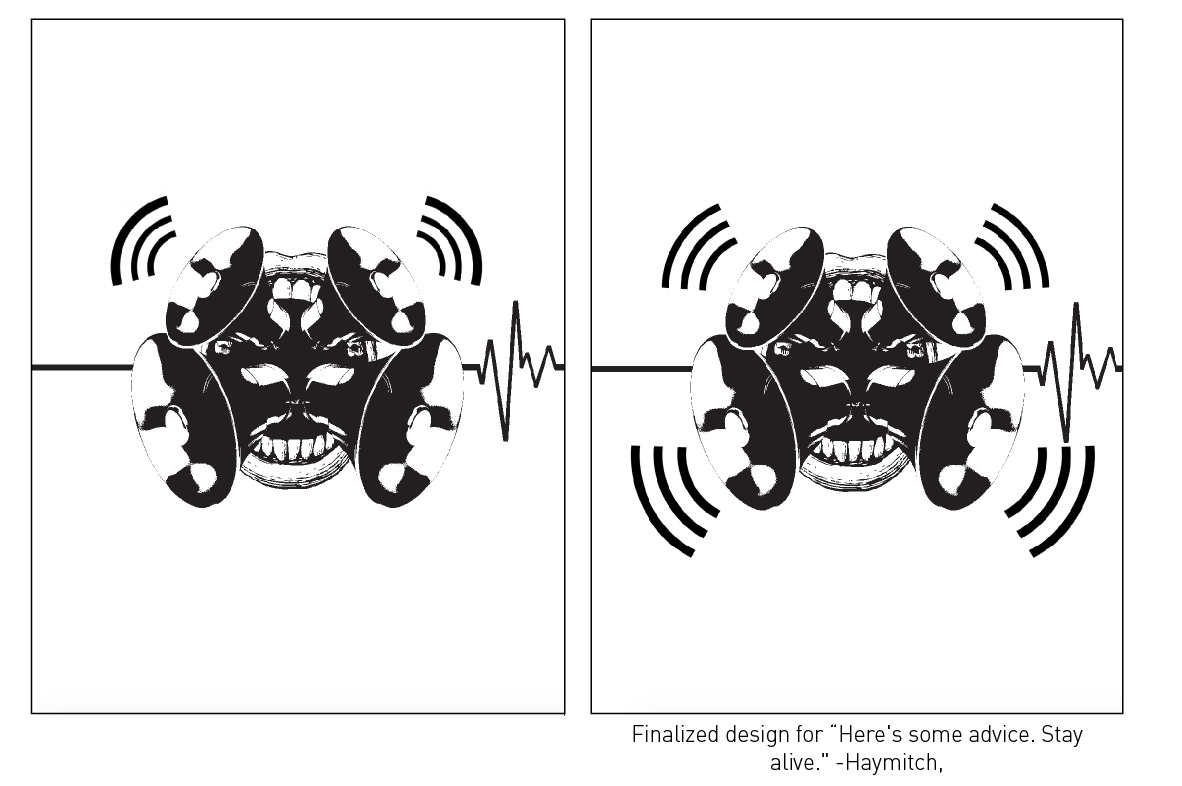
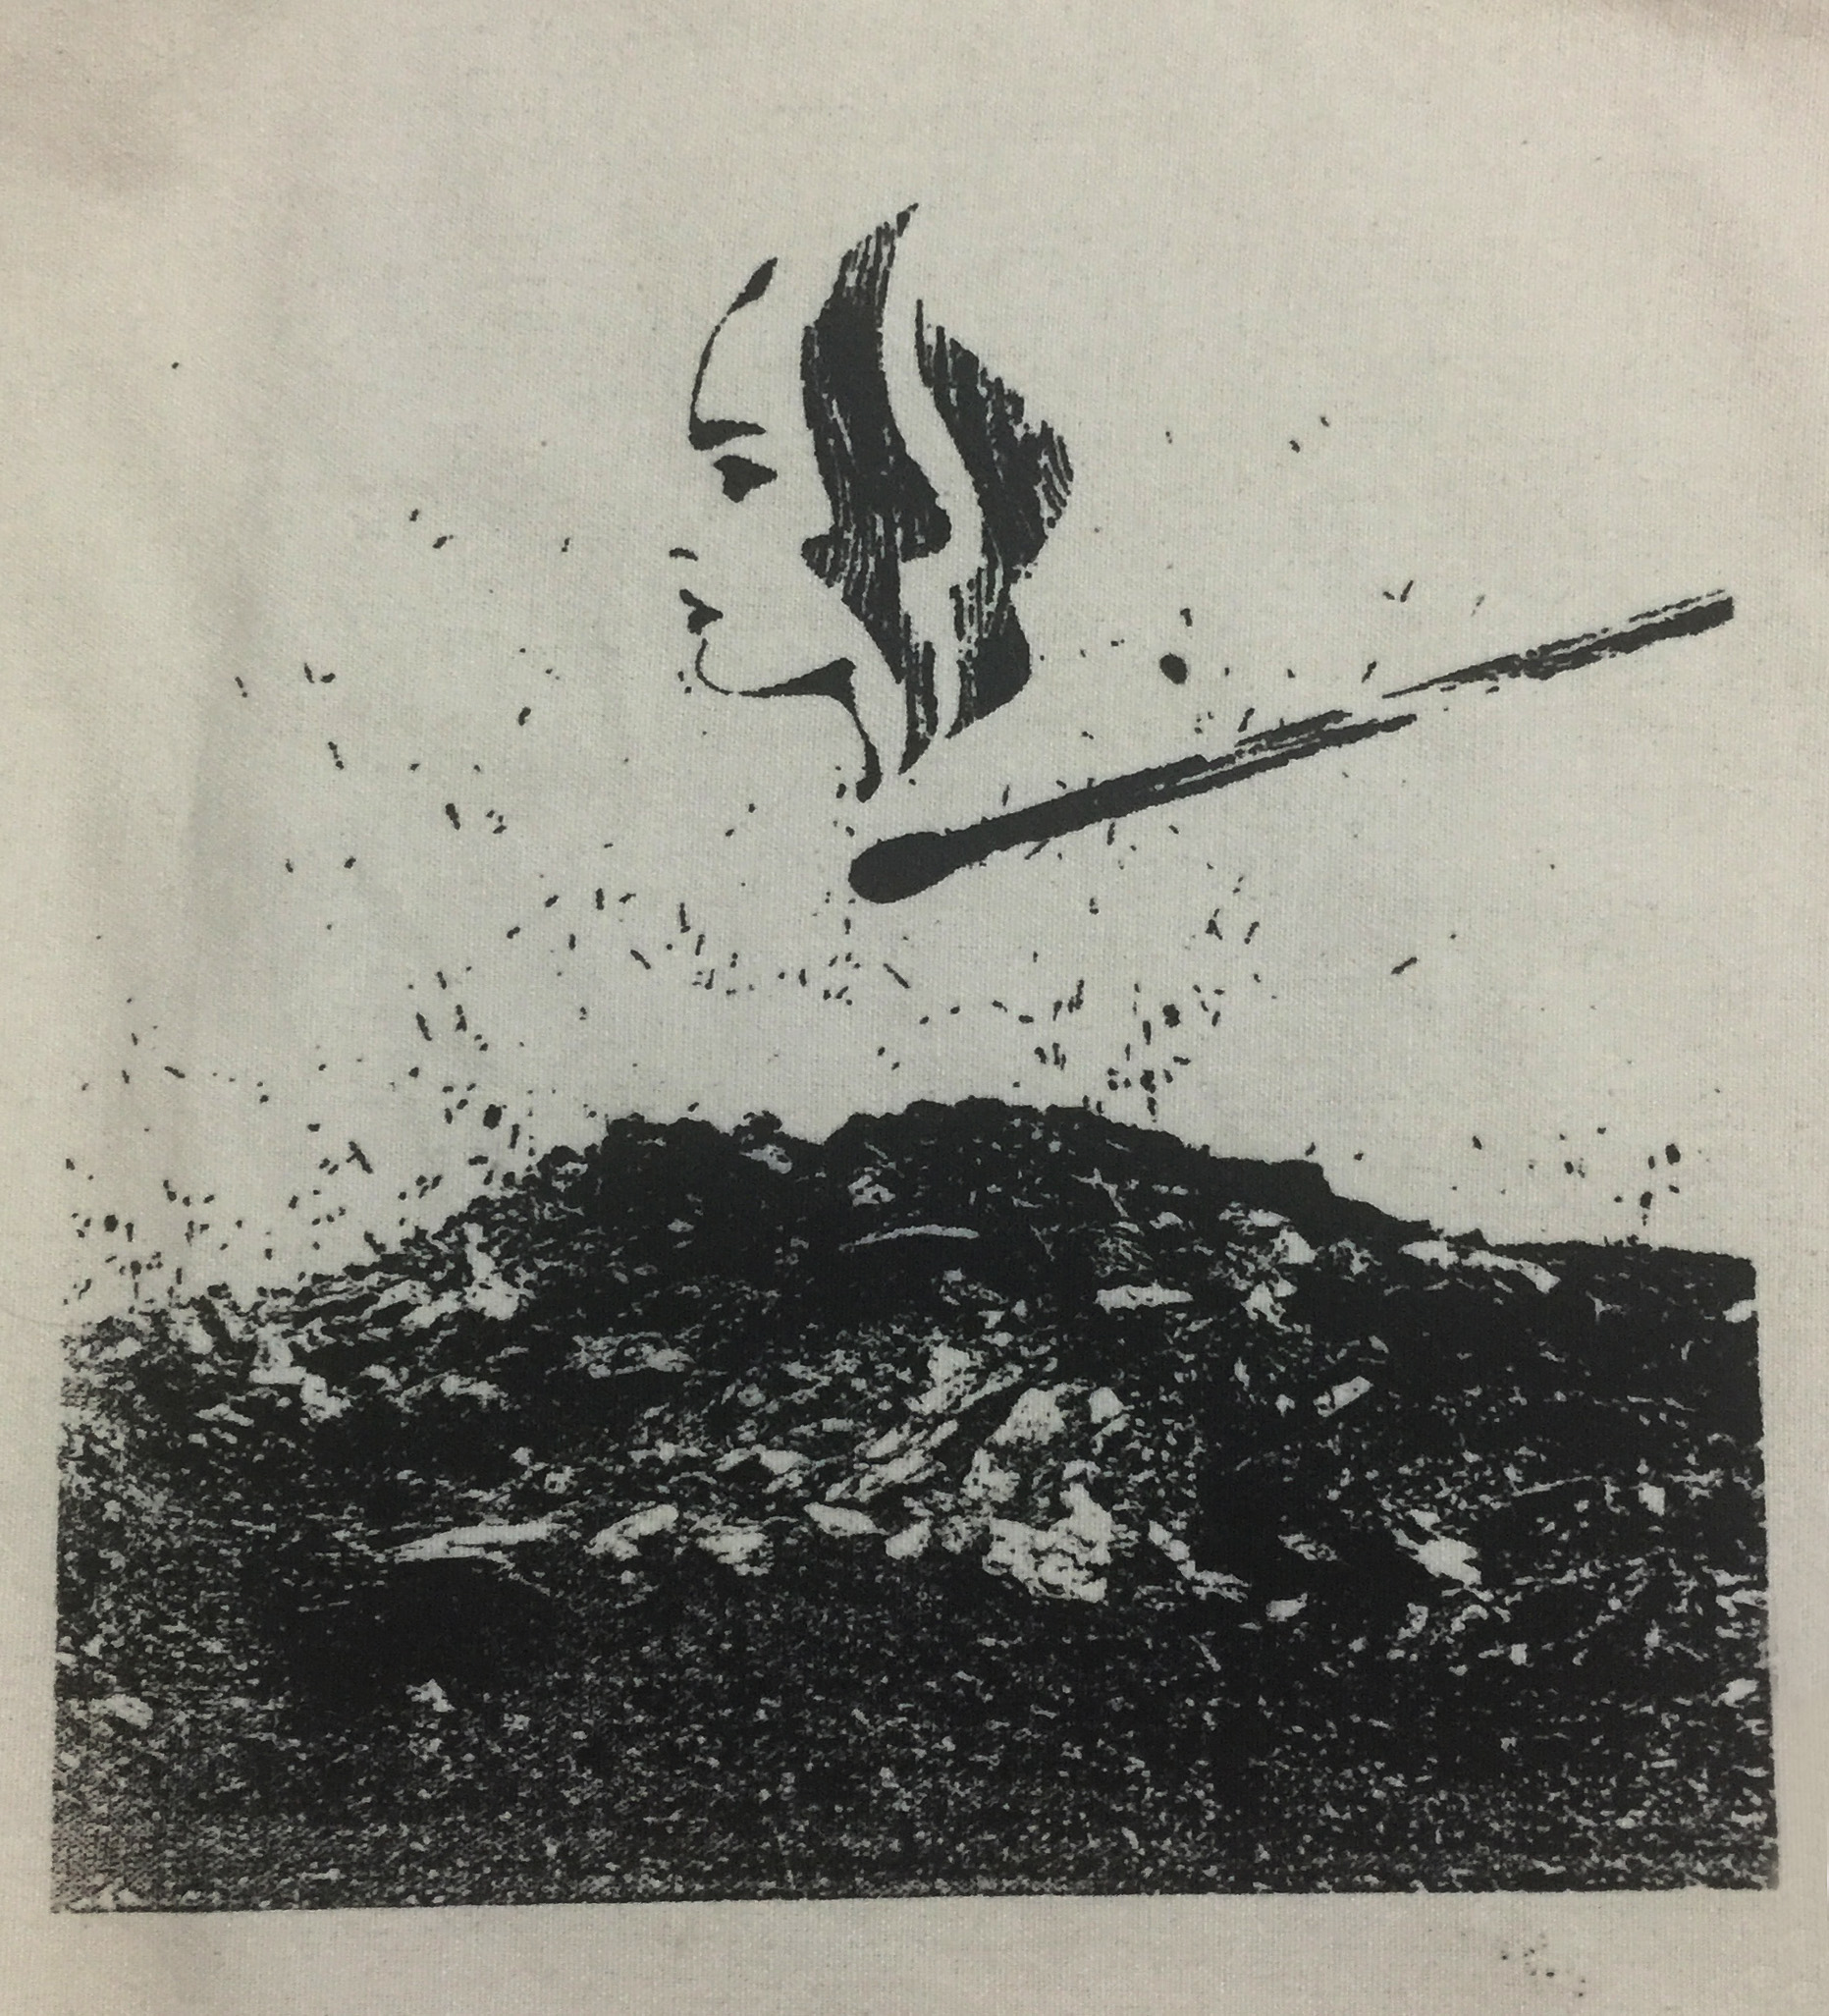
On the first lesson of silkscreen, I was 50/50 with my design cause most people chose this design than the other design (which I really like). So on the second lesson of silkscreen, I decided to change my design after editing it.
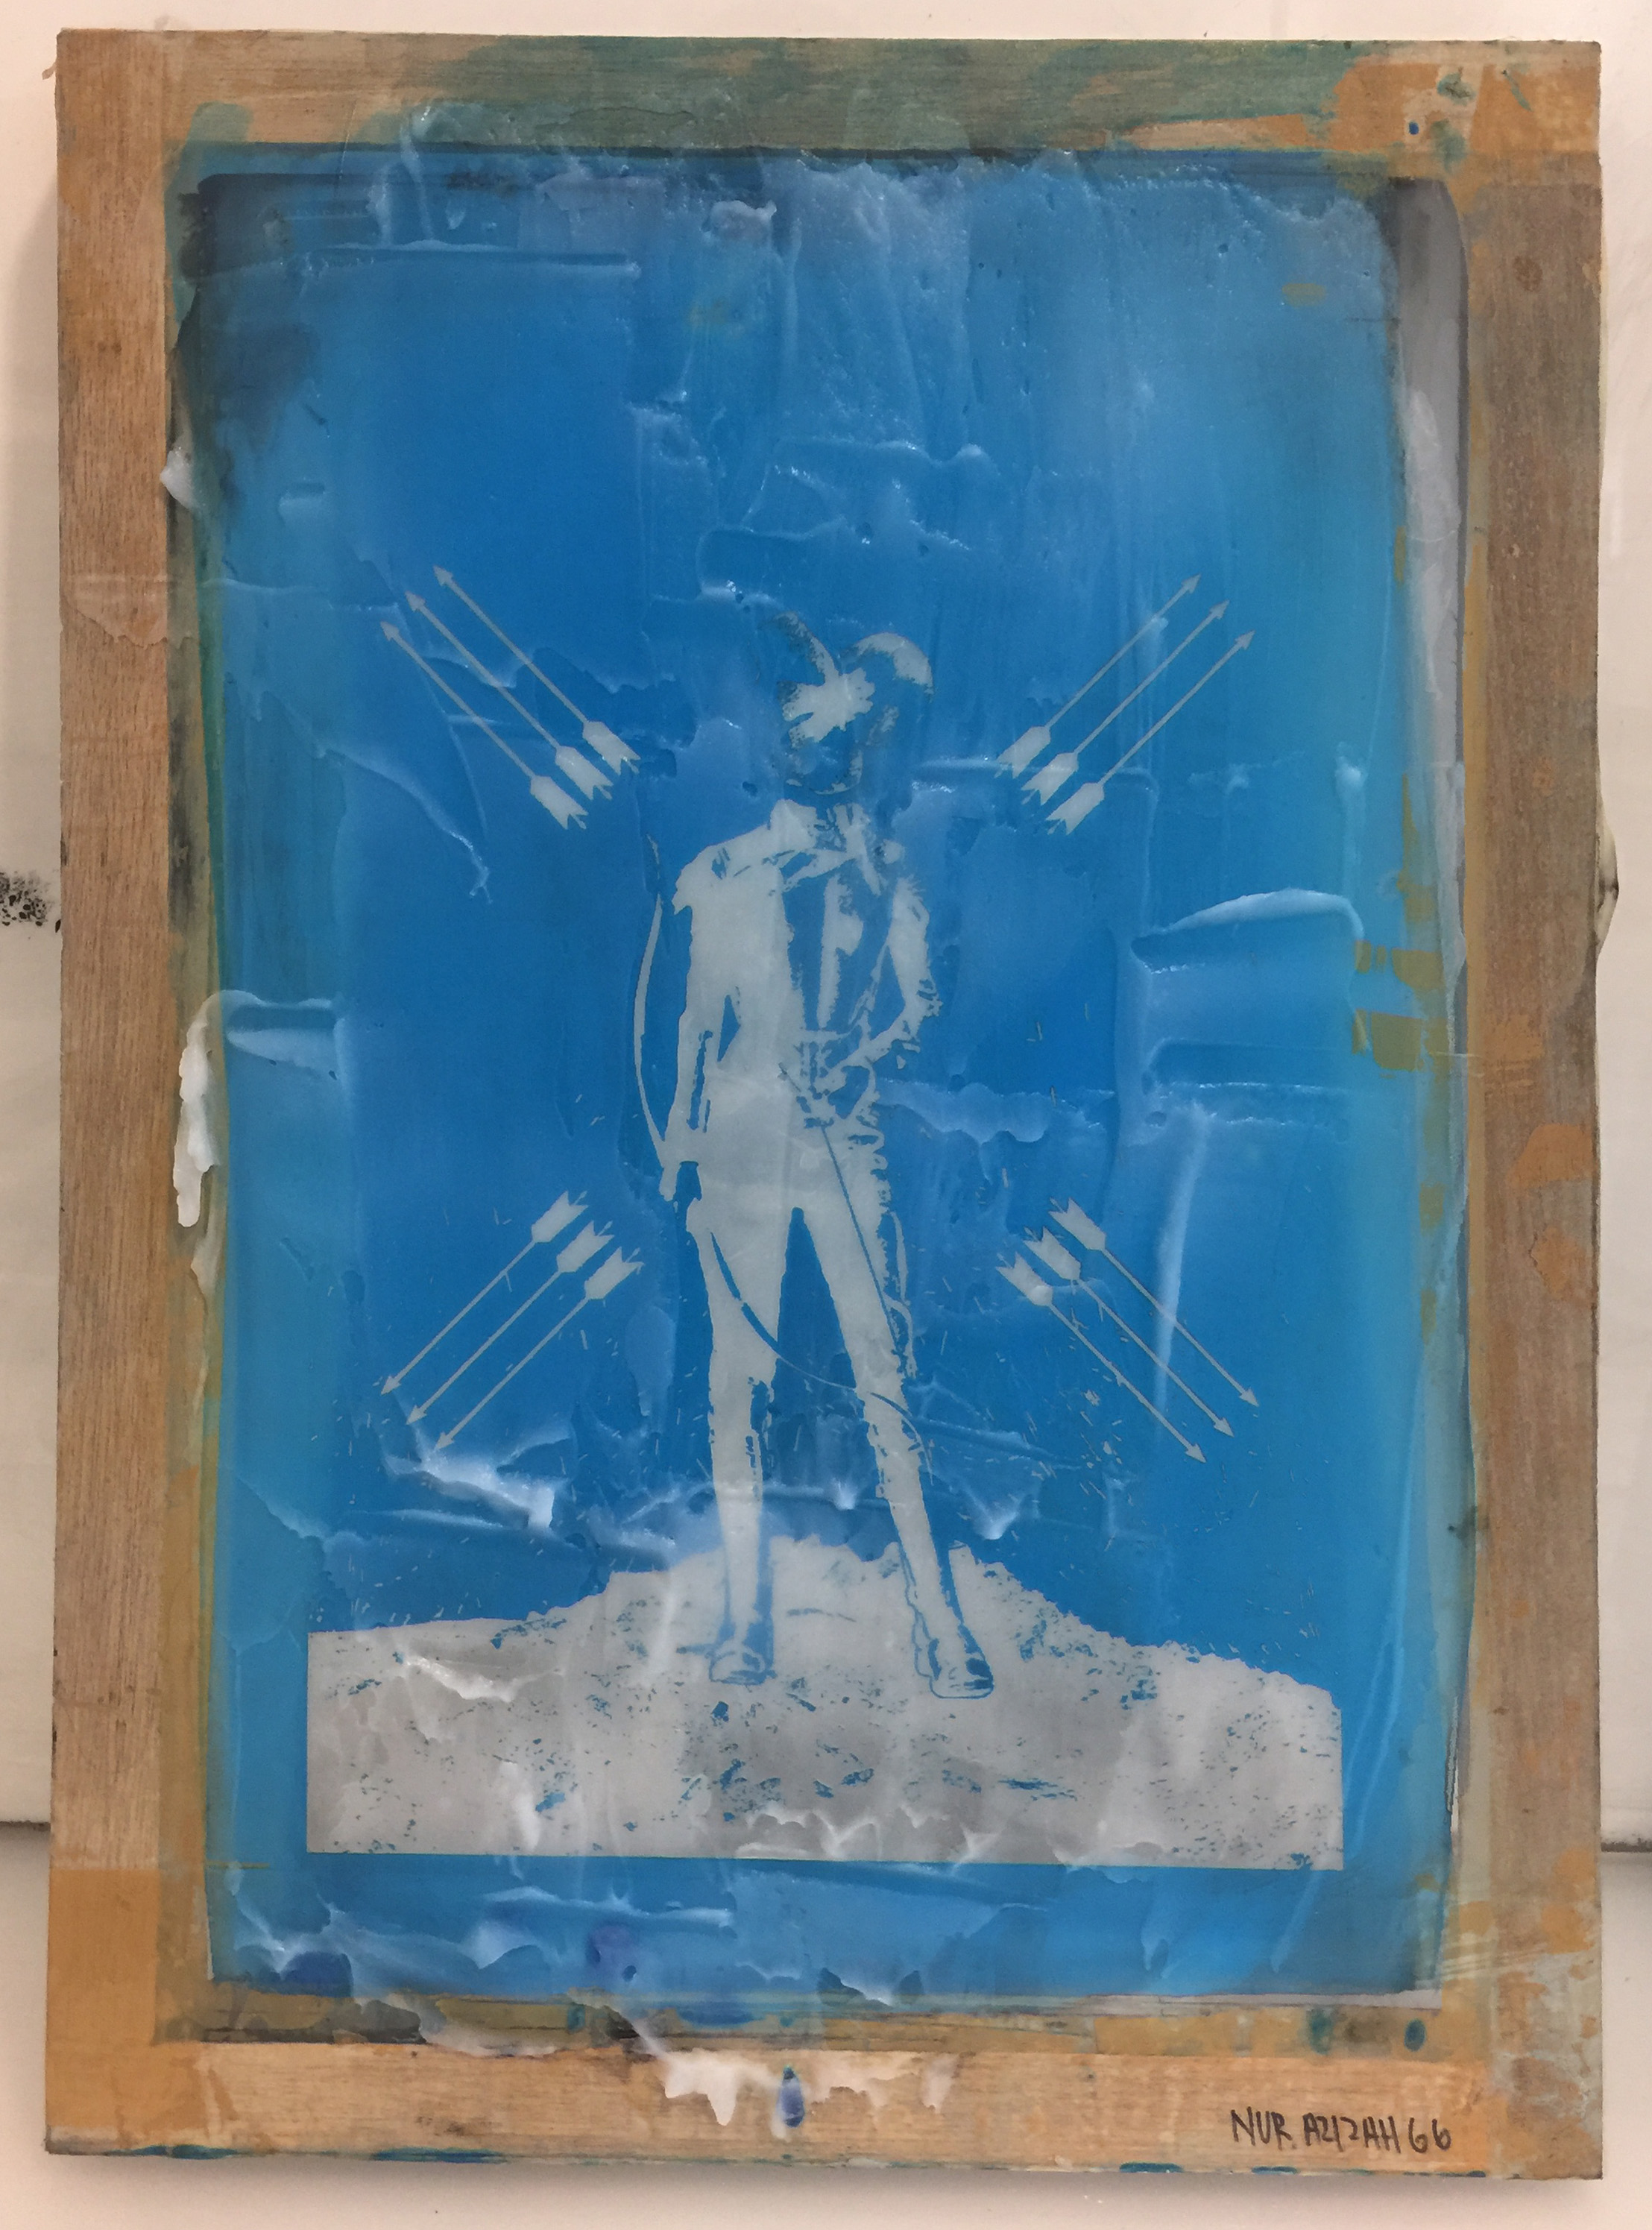
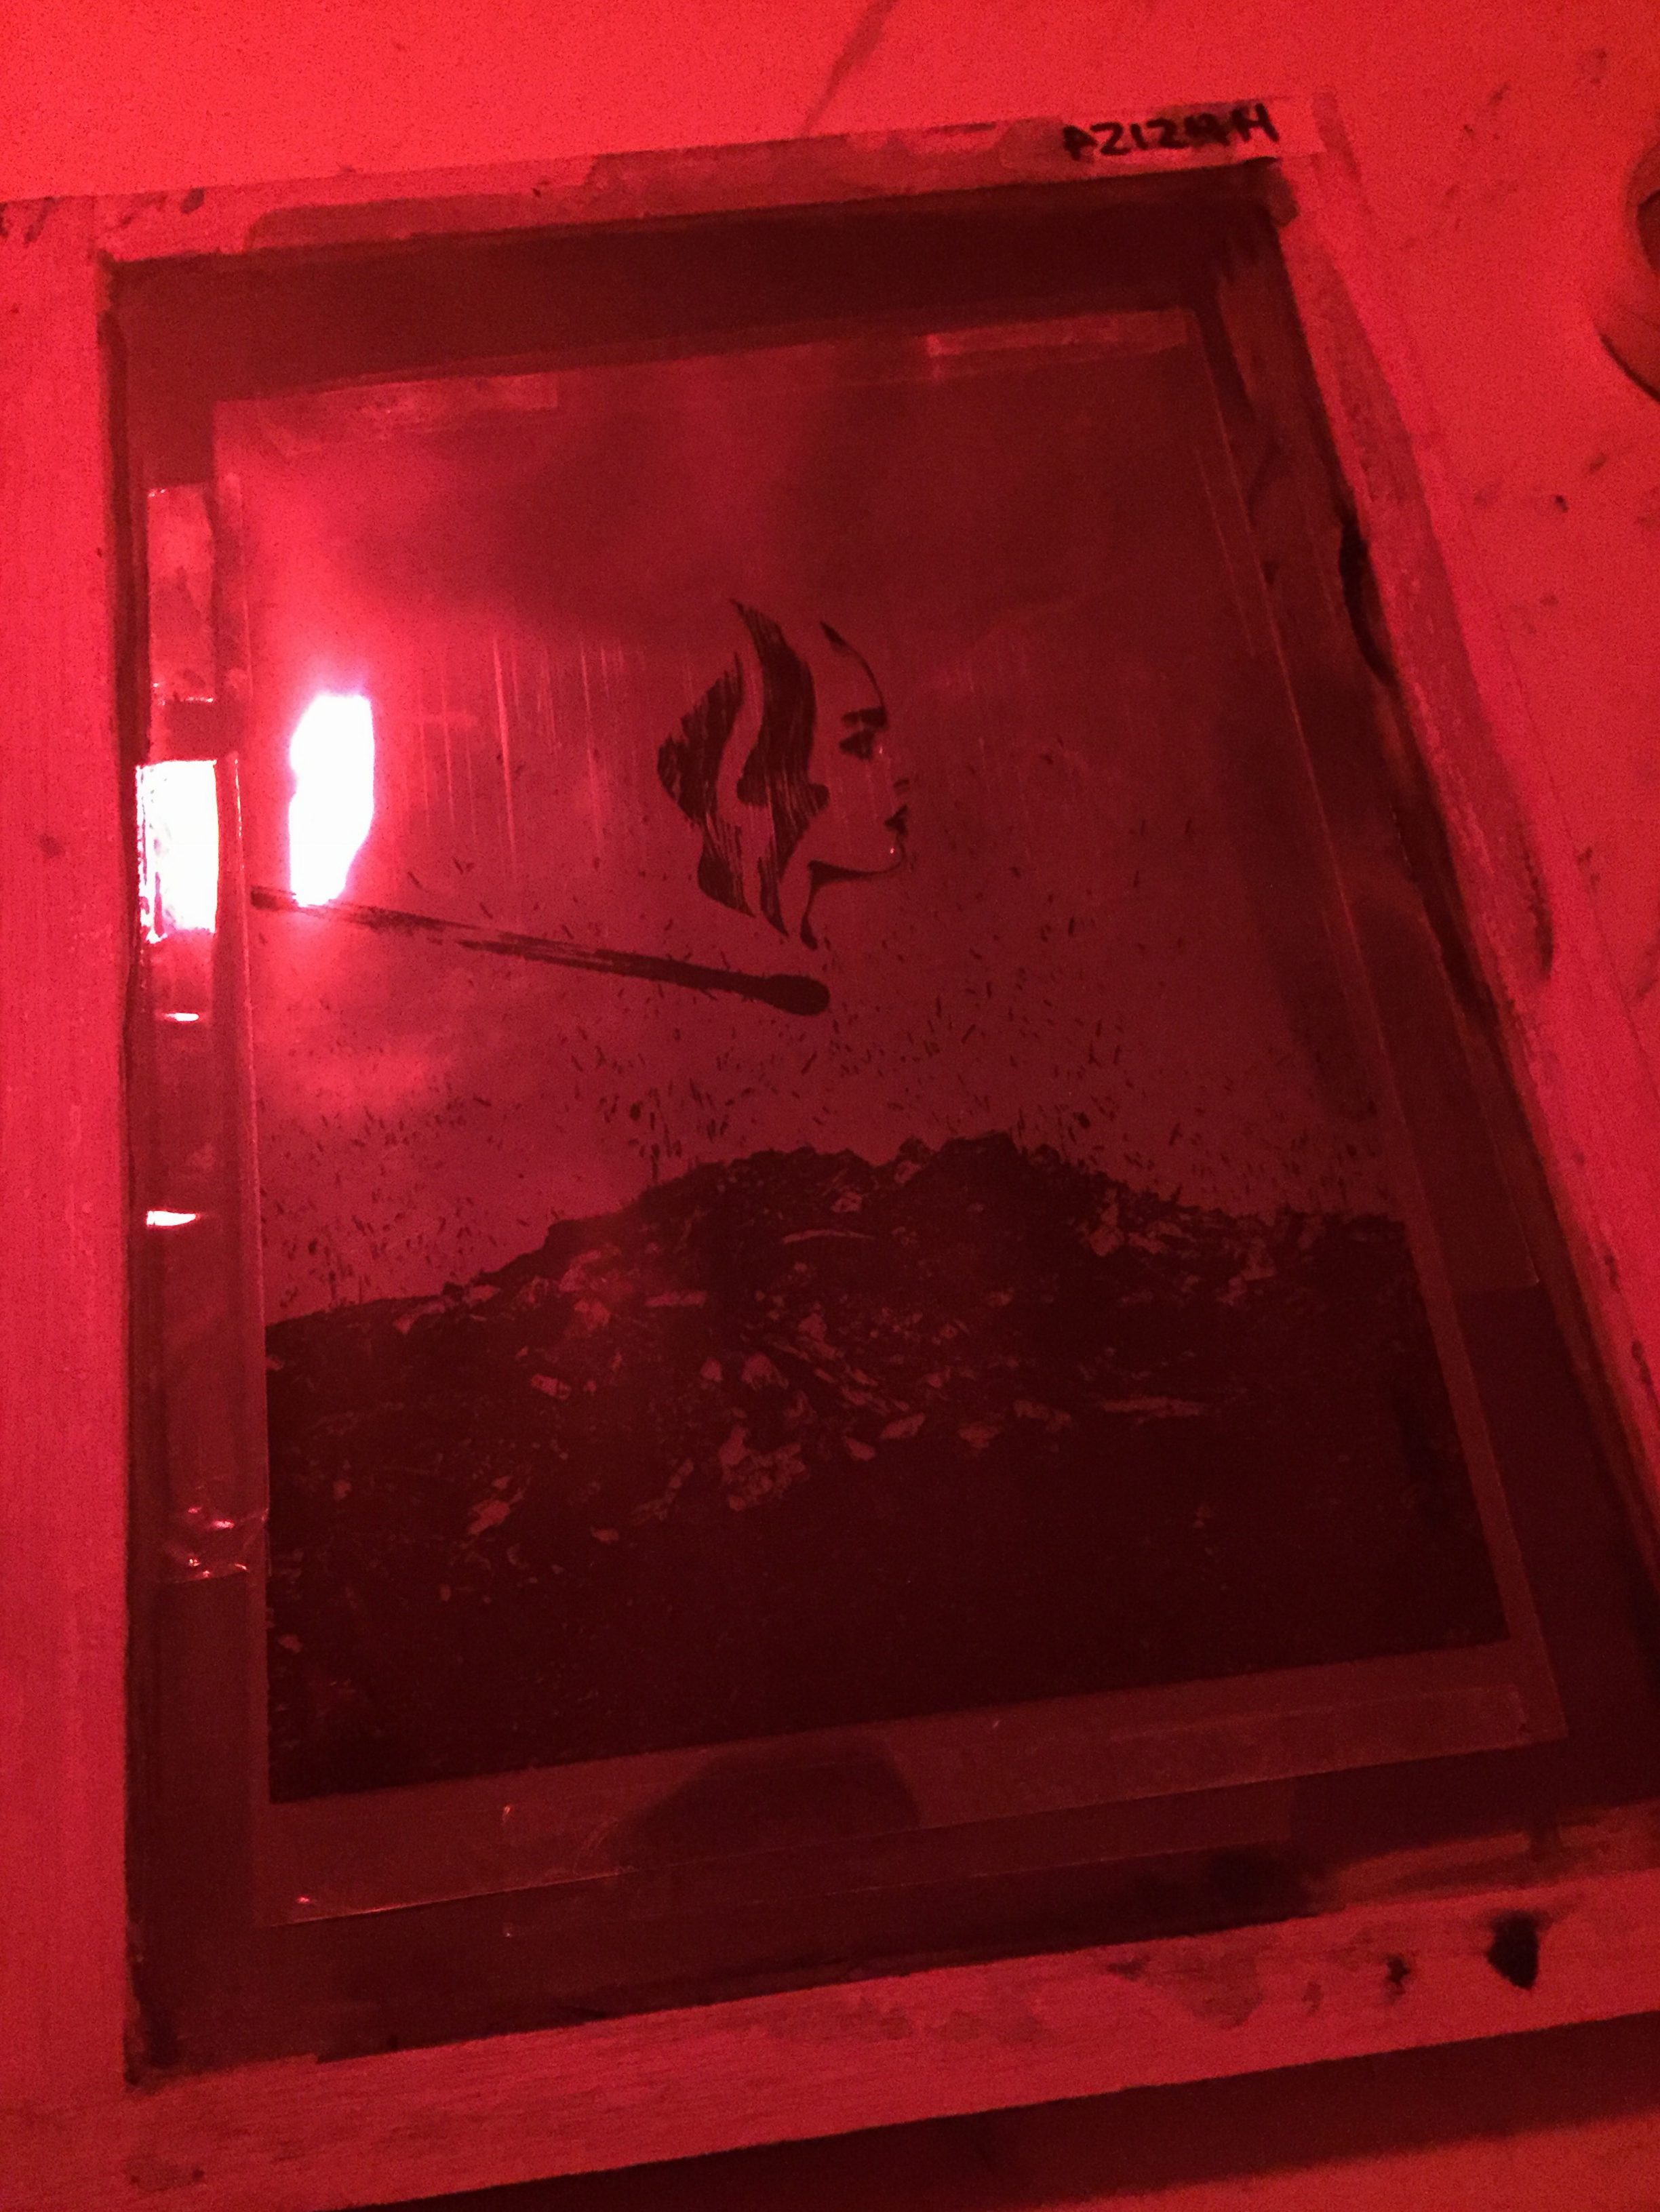

During the second lesson of silkscreen, our work-study was Clara. She was so nice and understanding as she knows that most of us wanted to get out screen ready, so that we can do it on the tote bag as soon as possible. So she chop-chop and give us the short-cuts to do the things, such as reusing the silkscreen that is dry and not putting a thick layer of the blue paint and more. She even made an effort to remember some of our names. So nice of her!!
After 2 lessons of silkscreen, I learnt that there should be not hesitation in doing silkscreen. Like the malay used to say ‘Go jer!’ means just do it. Although silkscreen is a troublesome process (to me), I still find it enjoyable while doing it and seeing my work being executed.
One of difficulties that I faced while doing silkscreening was it execute on different material differently. And the amount of ink use also plays a part. On newsprint, my design looks so good with a single stroke. However when I did it on my shirt and tote bag, it gives a darker look and the inks absorb faster on the cloth. Hence to overcome this, I had to ‘Go jer!’ and just do it.