Hi everyone!
Welcome to my final post of this assignment. It will consist a set of 4 design, that carries an overarching theme. The name of the following series is called:
Circle of Life featuring, The Organic Symmetry
As mentioned in my previous post, some keywords I have in mind while designing my layout consist of:
LINES | CIRCLE | SYMMETRY | FOREGROUND, MIDDLE & BACK | NATURE | PAINTERLY
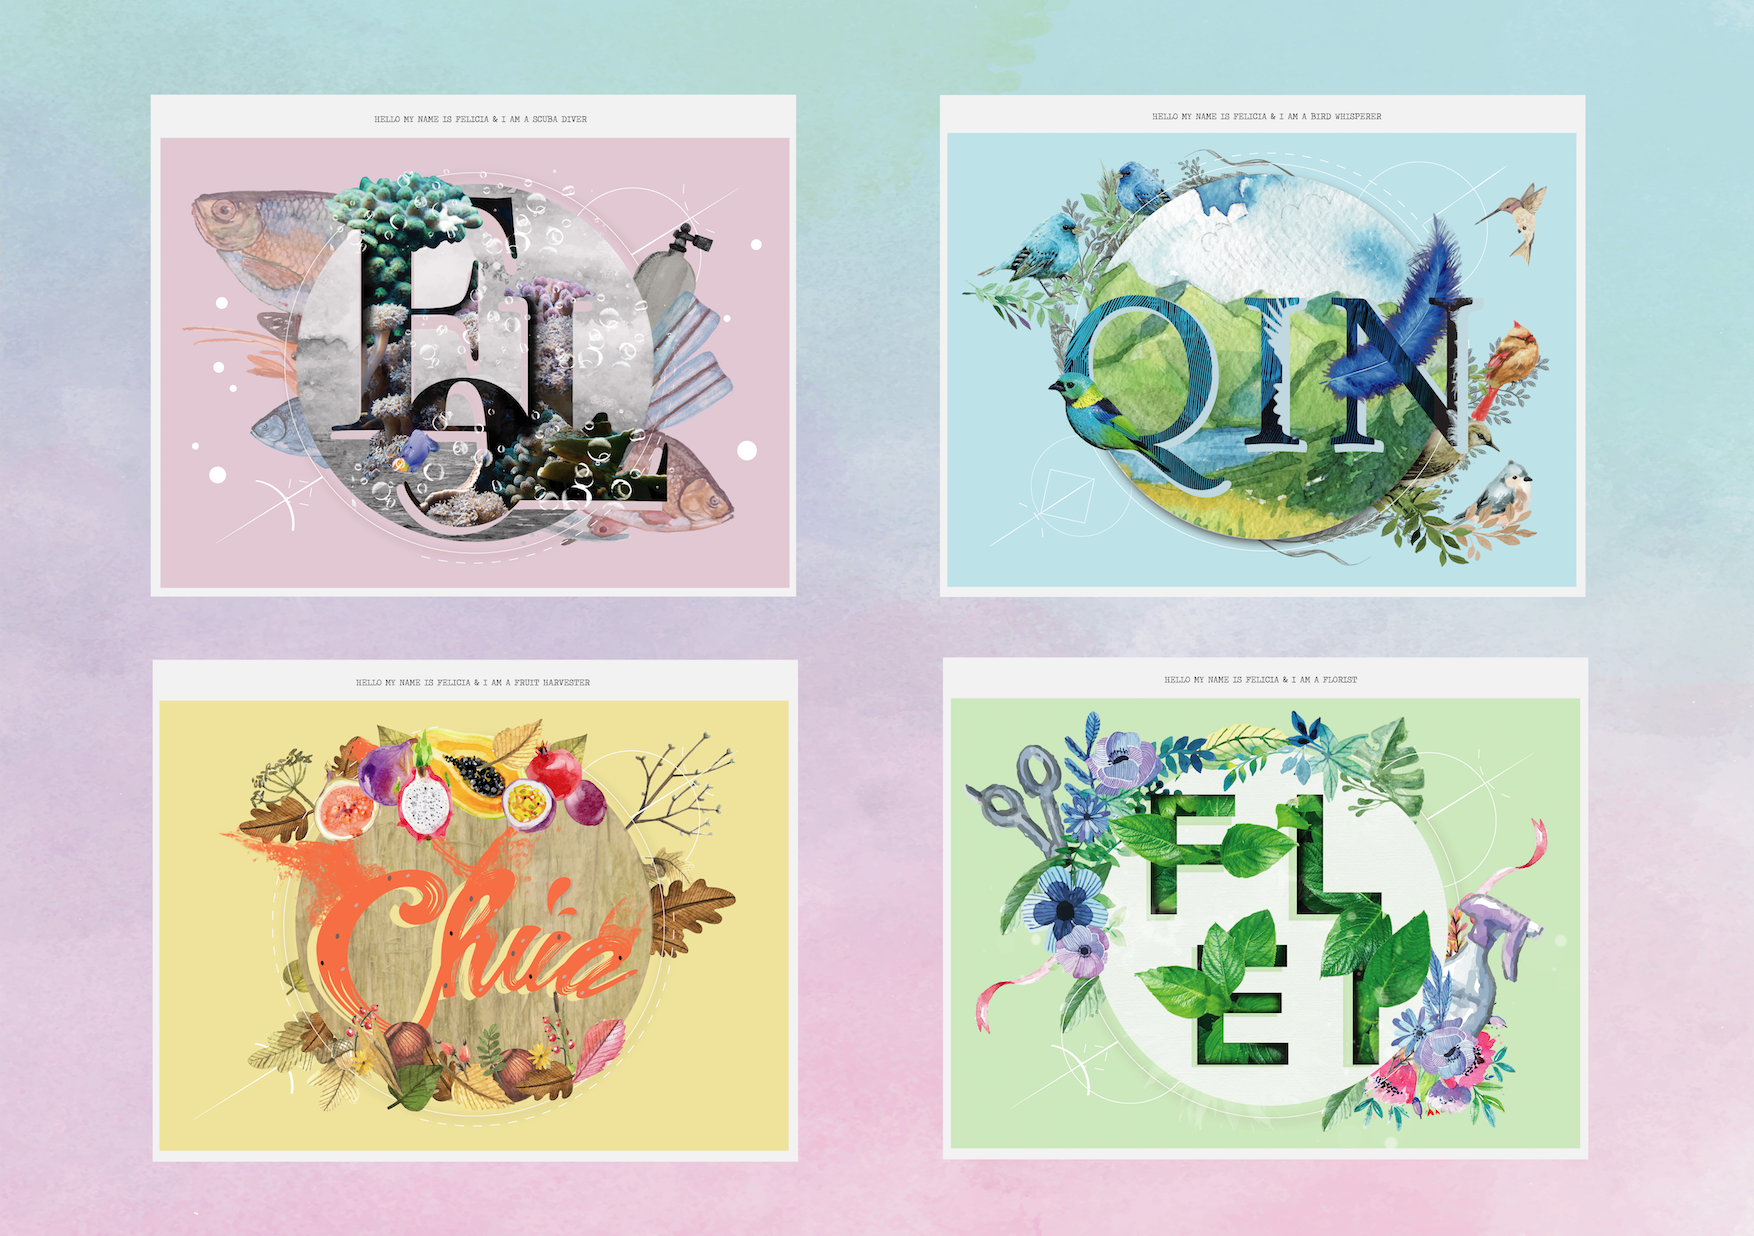
I wanted my design to look like a set of 4, curated with the intention of delivering a consistent message. An idea that they are produced in the hands of the same designer. Ensuring consistency means careful attention throughout the conceptualization and design phase of your site. I have grouped all these occupations under the theme of “Nature“.
–
Design 01 of 04
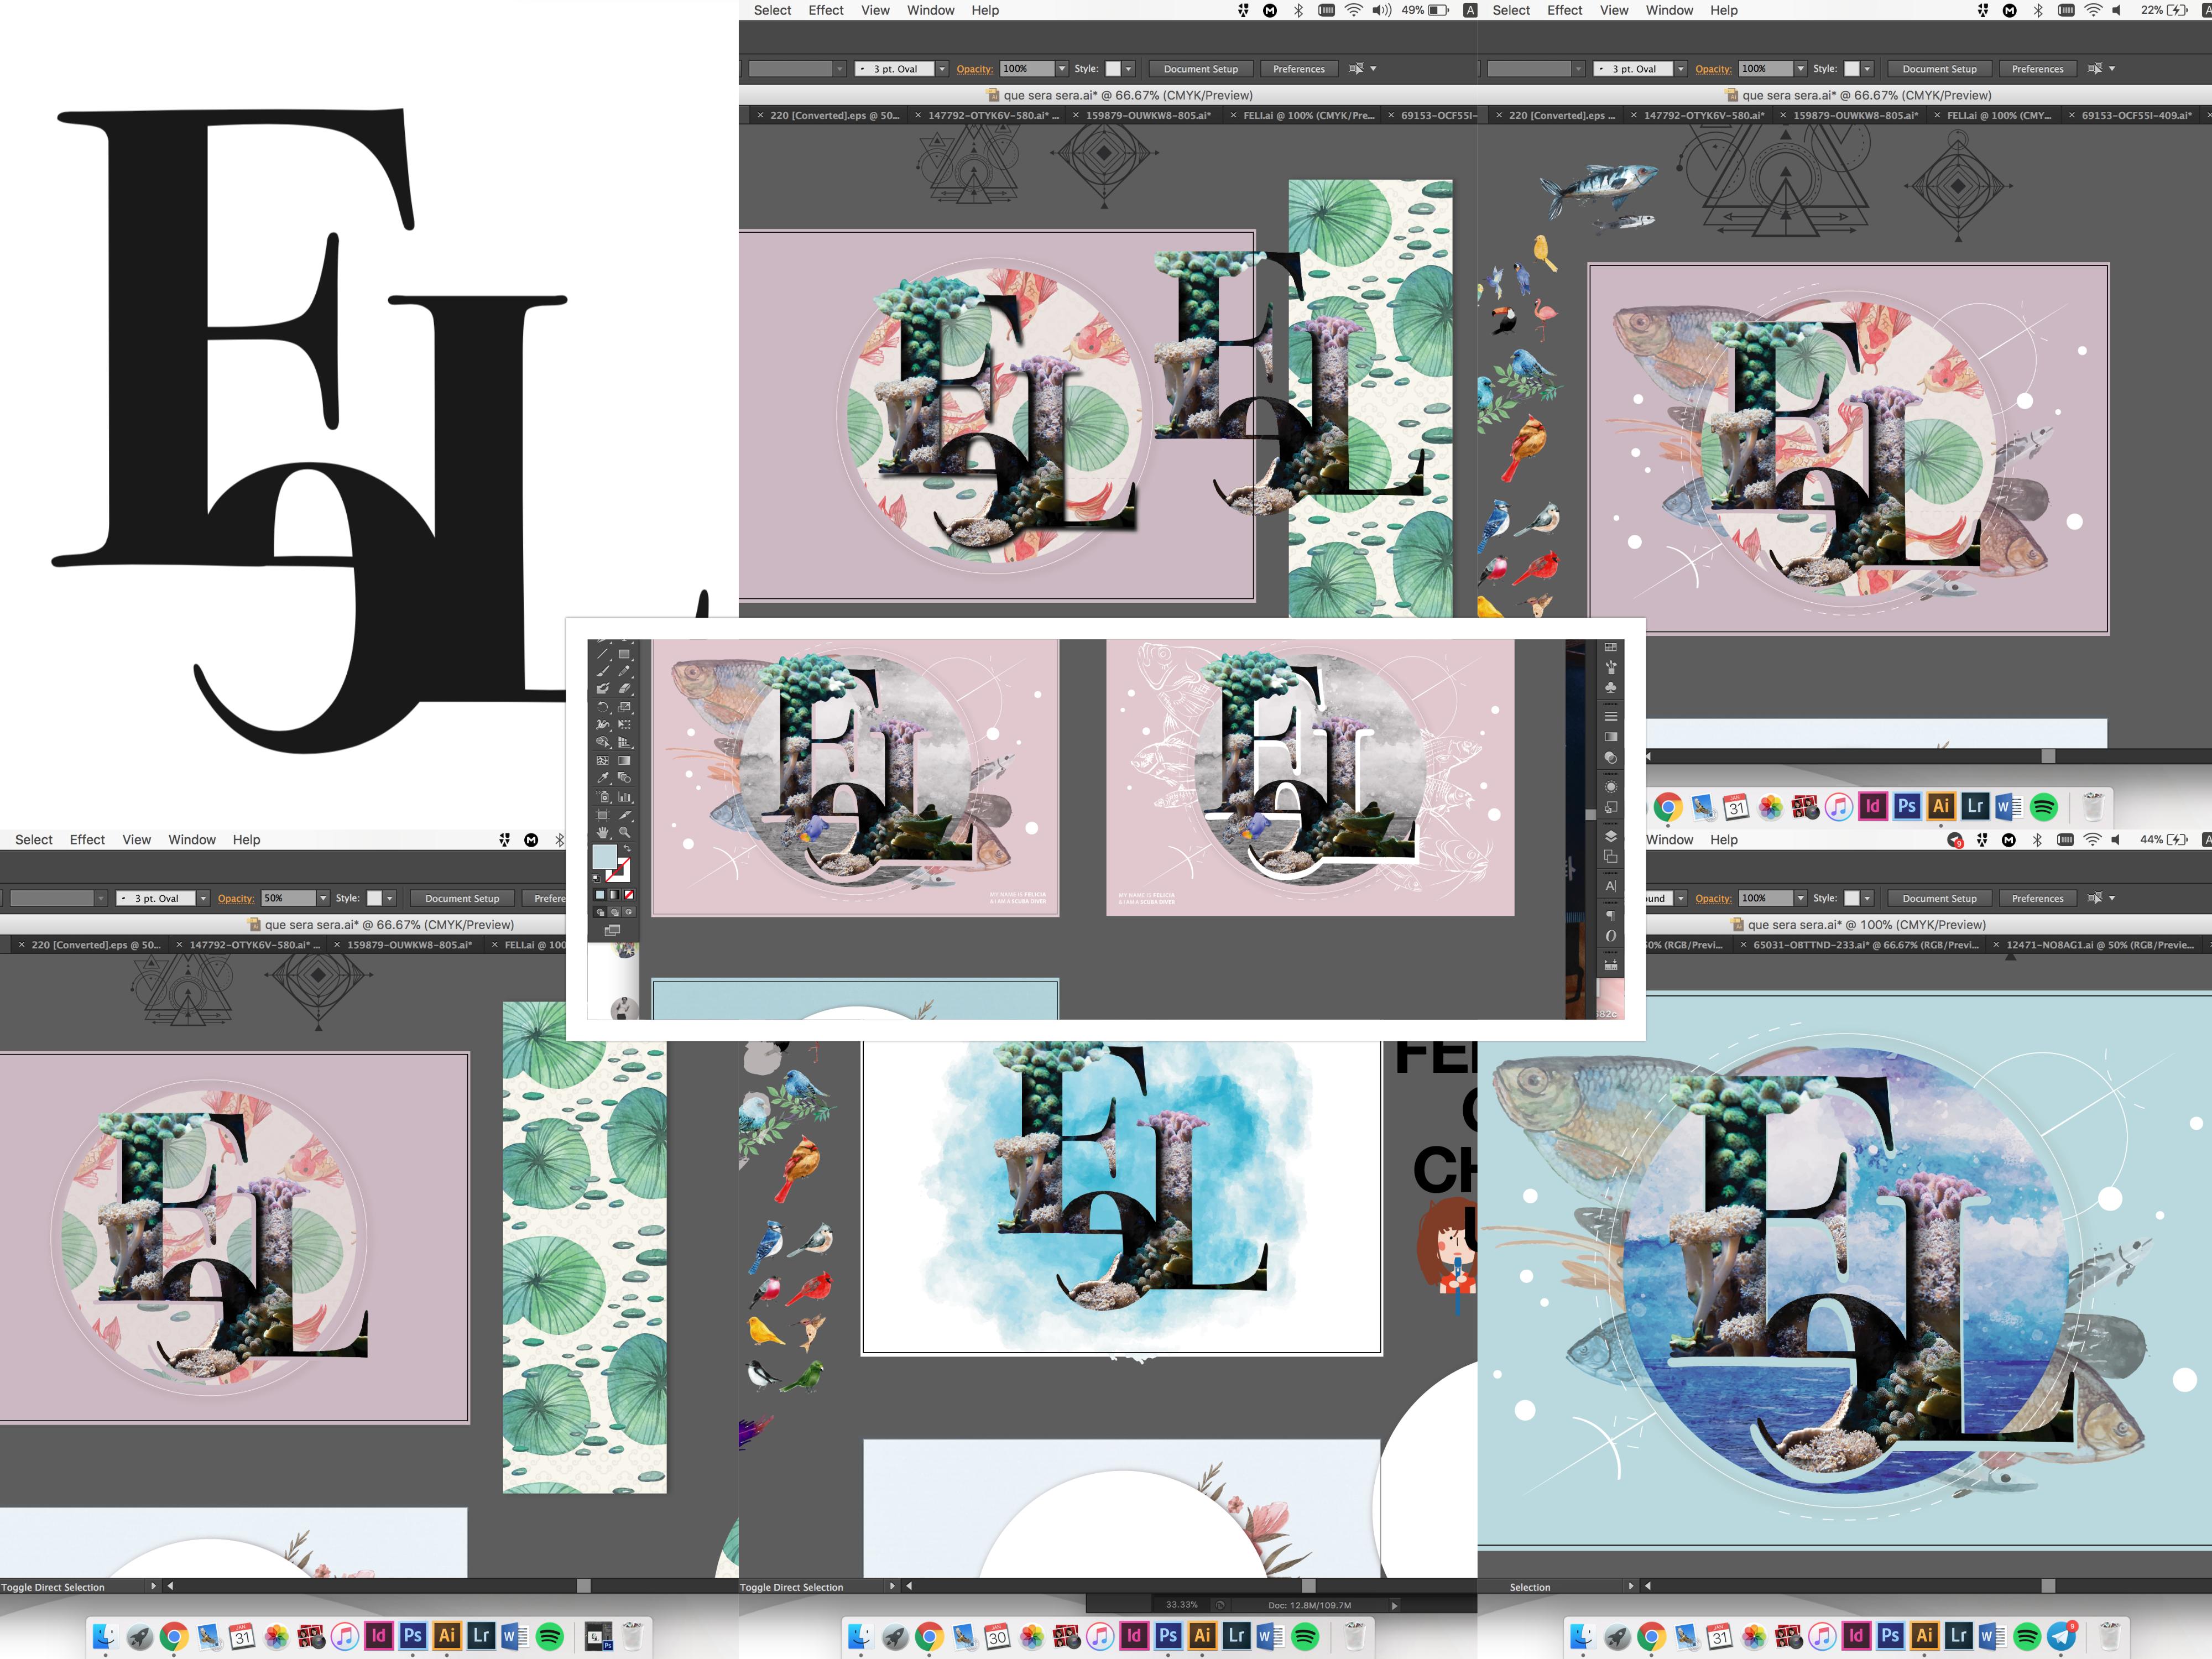
The Scuba Diver
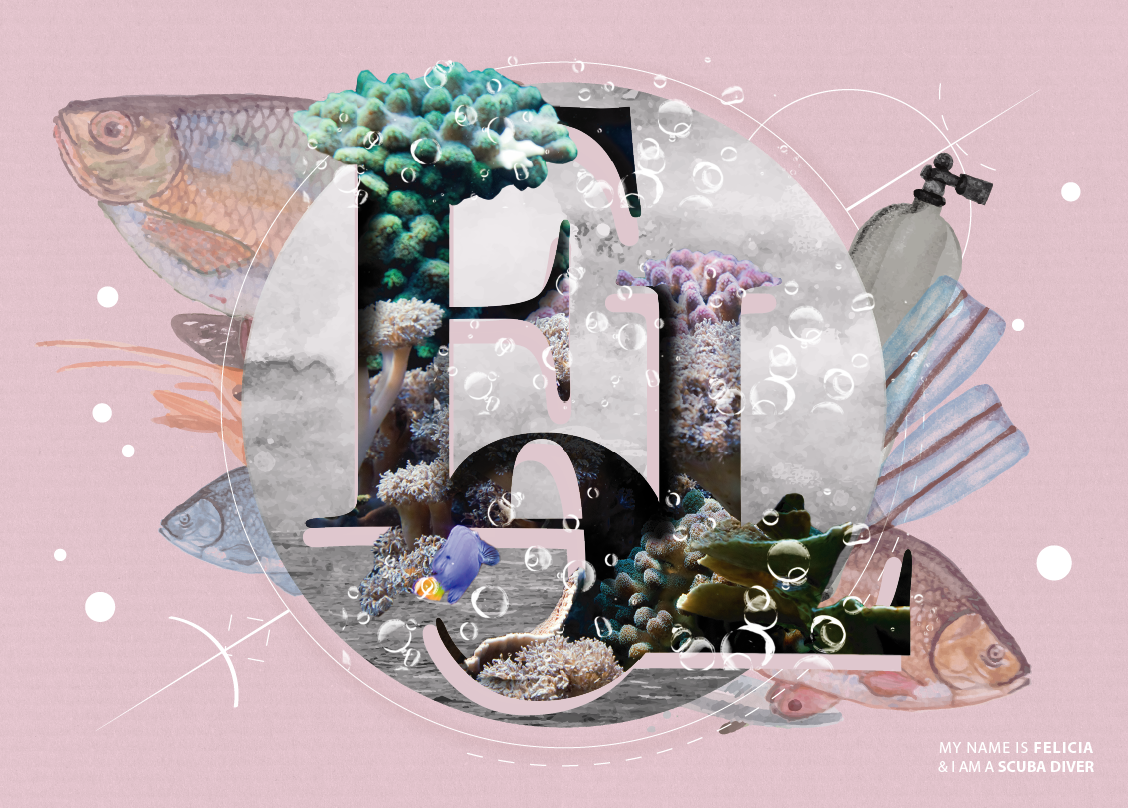
The nature of this occupation is usually done out of leisure, especially over the holiday. Some of the key sightings any diver will notice are Fishes and Corals. Aside from these elements, every diver is equipped with an oxygen tank and a flipper good for paddling underwater. These are what stood out for me, particularly for this job.
When I was a lot younger, I have always dreamt of what lived beneath the ocean. Was there a whole new world out there for me to venture? Would it be more exciting to live under the surface of water instead of the land? All these were questions that bugged me the most, and I would imagine having mermaids as friends, and swimming with them in cute bikinis hahaha. That would be perfect, isn’t it? A world as surreal as this.
Hence, I thought, why not do the occupation of a diver? And that was how the other 3 nature related jobs came into my mind.
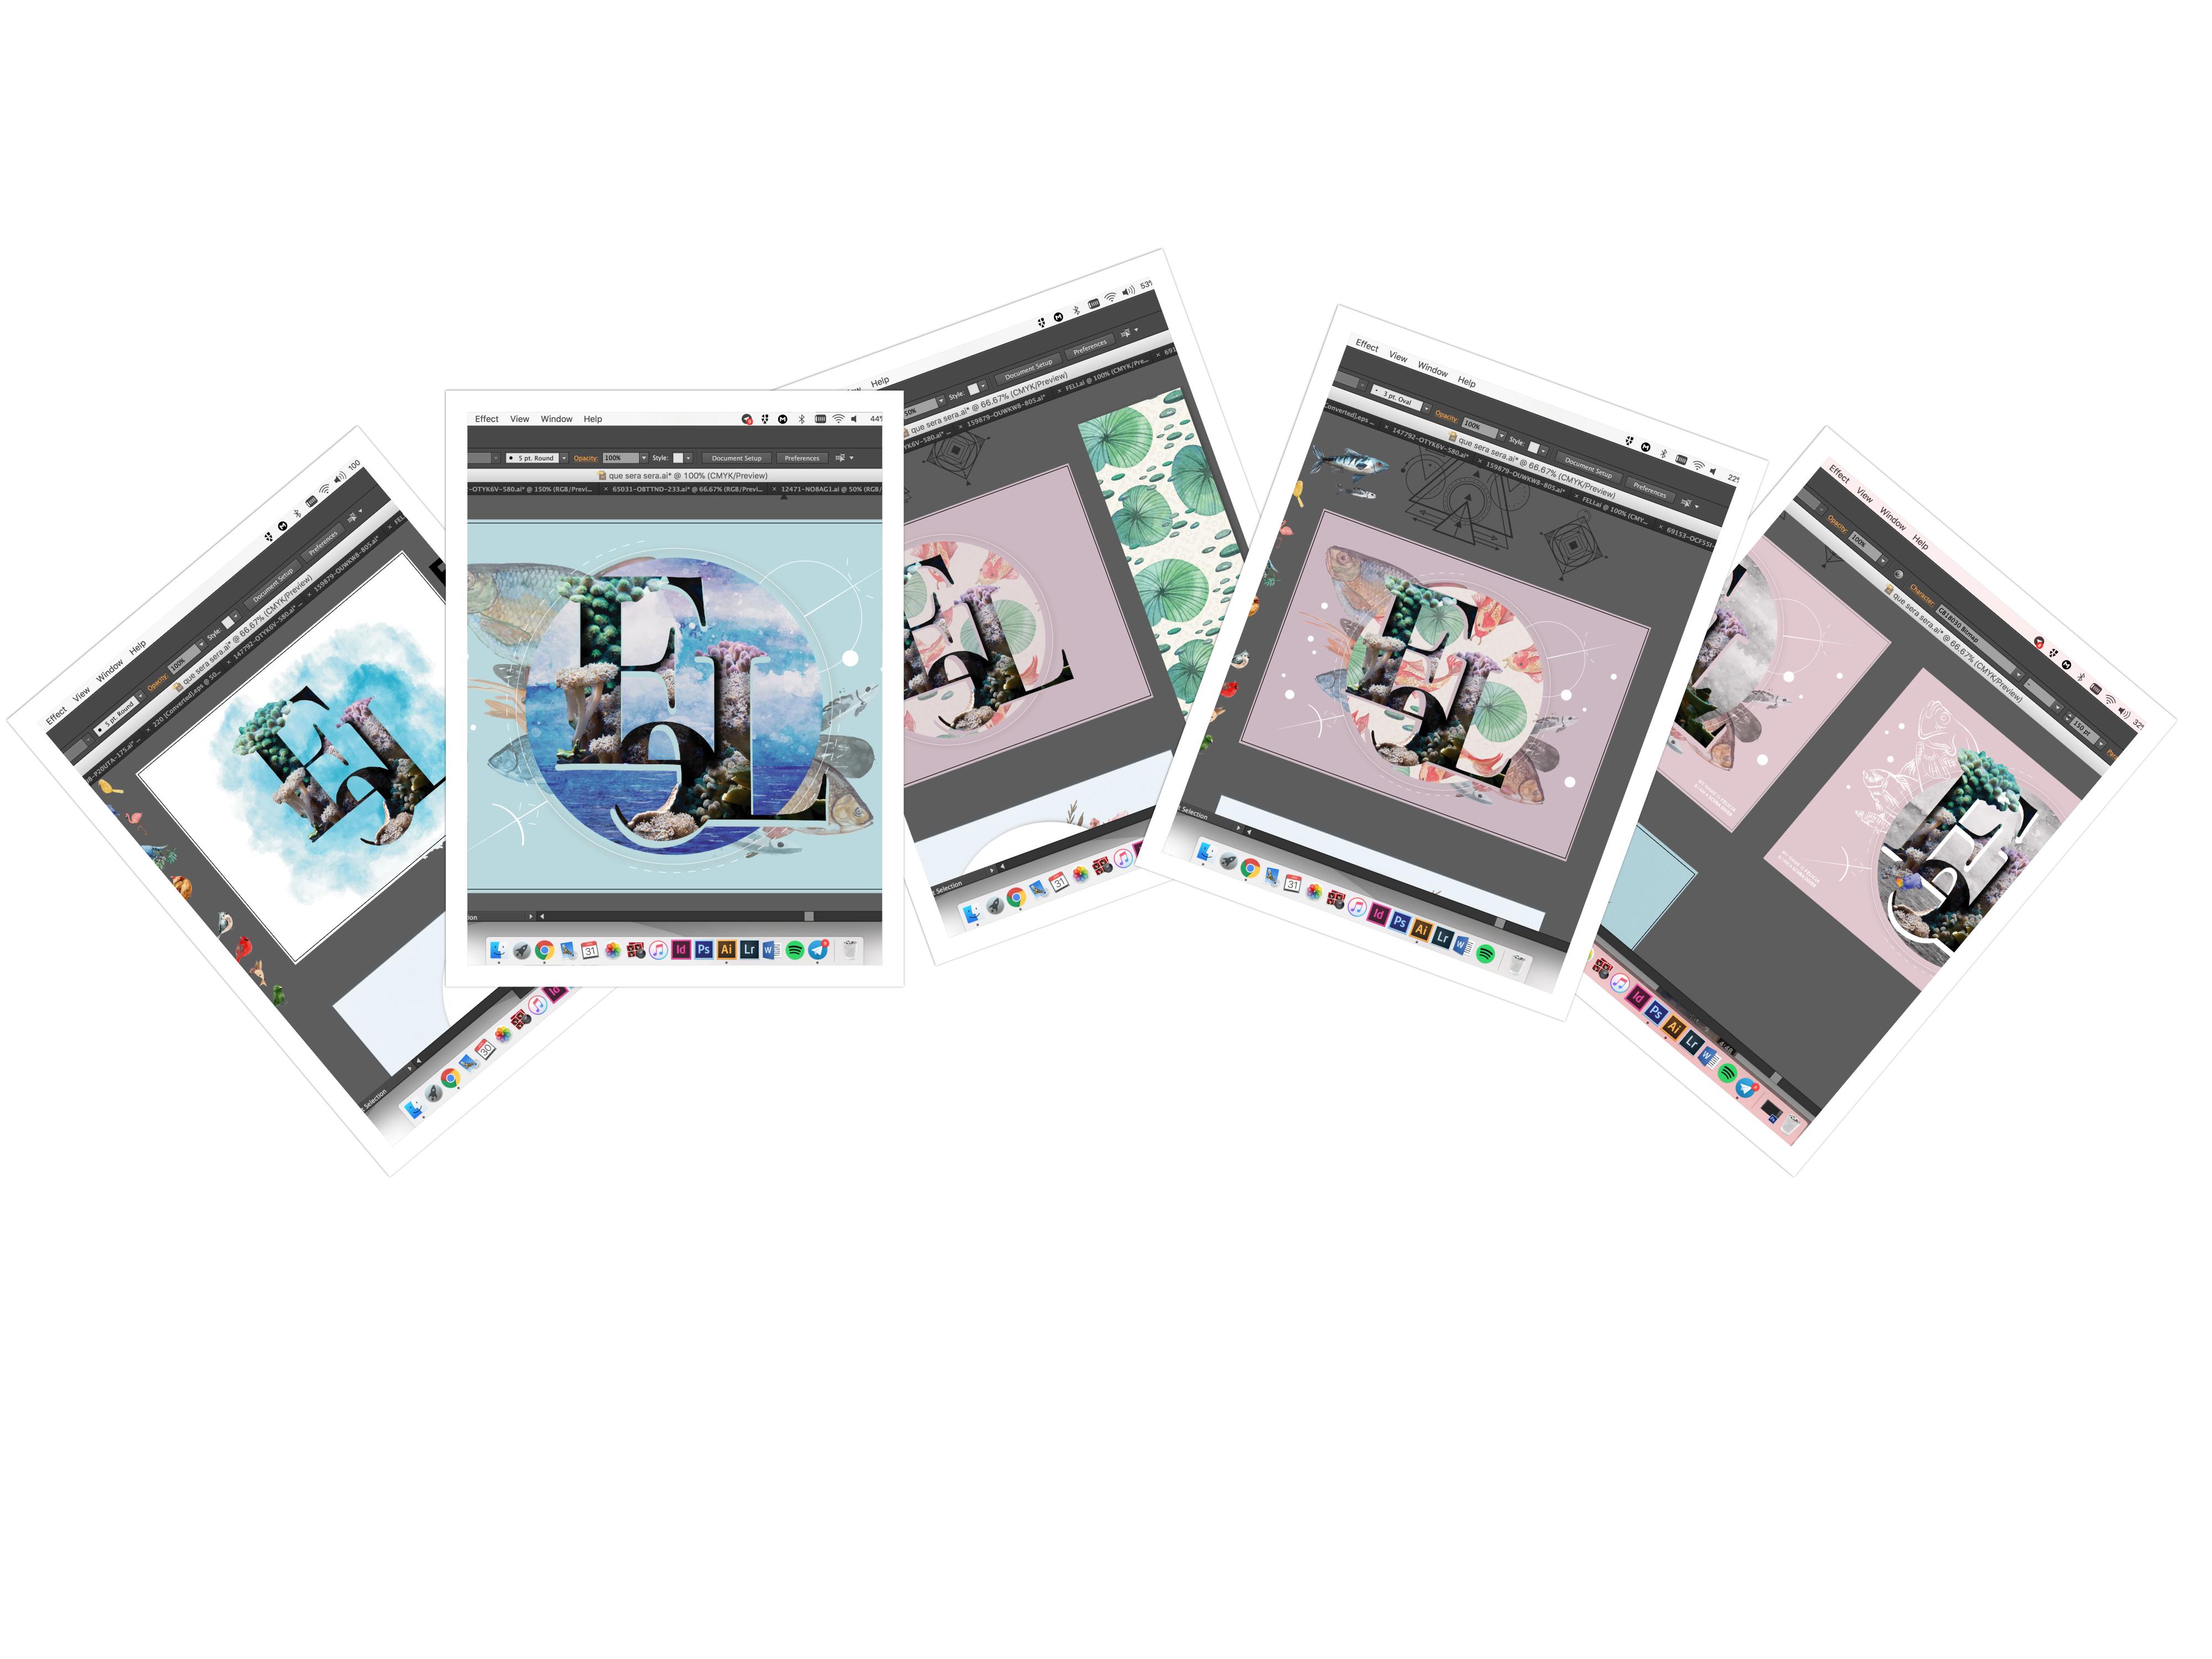
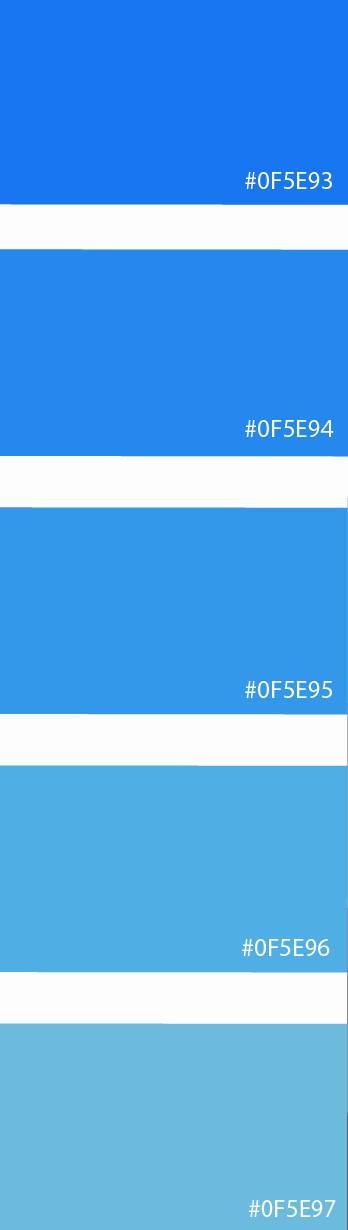
In this very first concept, I designed with a clear intention of having a foreground, middle ground and background. I thought this would provide more depth and perspective to the layout, hence I layered images by images so that it would avoid turning out flat-looking. Also, the colour blue seems like the perfect visual representation of ocean, yes. But I challenged myself to be less literal and went with the colour pink that hints no oceanic vibe. Okay apart from that, bubbles were added, so that the typography pops, making it looks more 3-dimensional.
Additionally, I adore the painterly style, as a result, I decided to incorporate this element into my final layout. I processed and re-done some of these images in Photoshop, to achieve the harmony among all the elements. With that, all components of this piece will tie in together.
Design 02 of 04
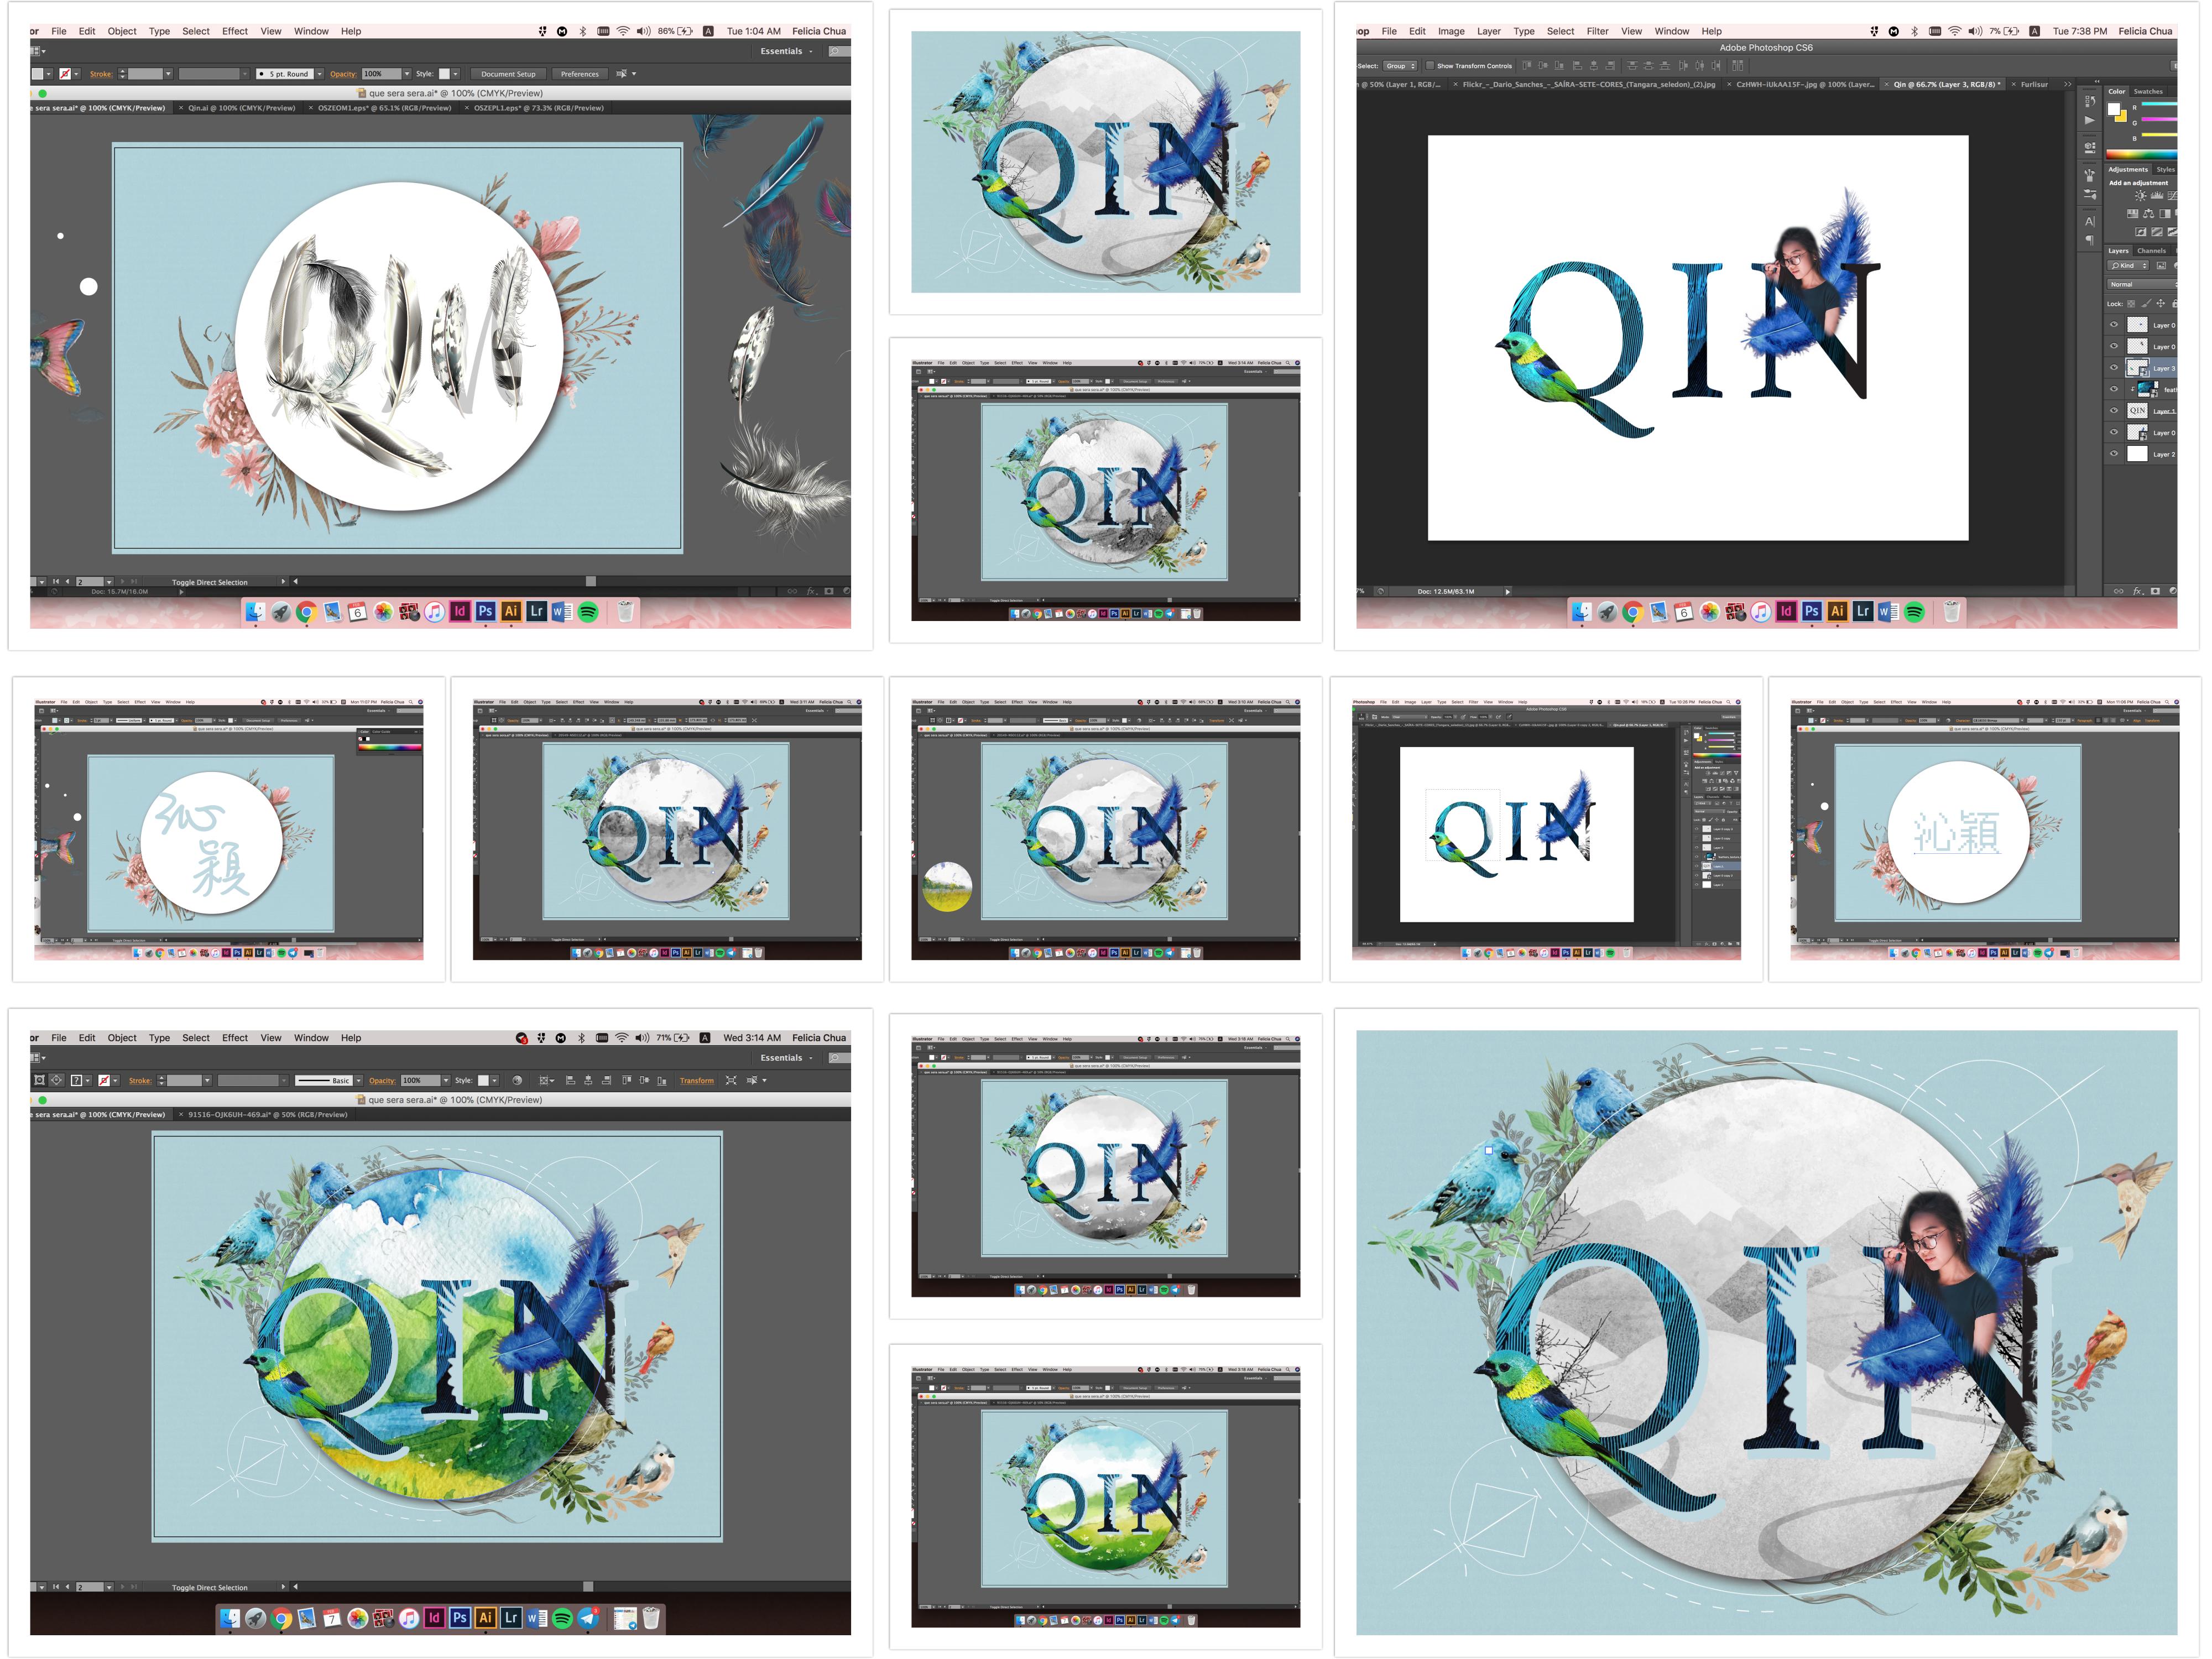
Bird Whisperer
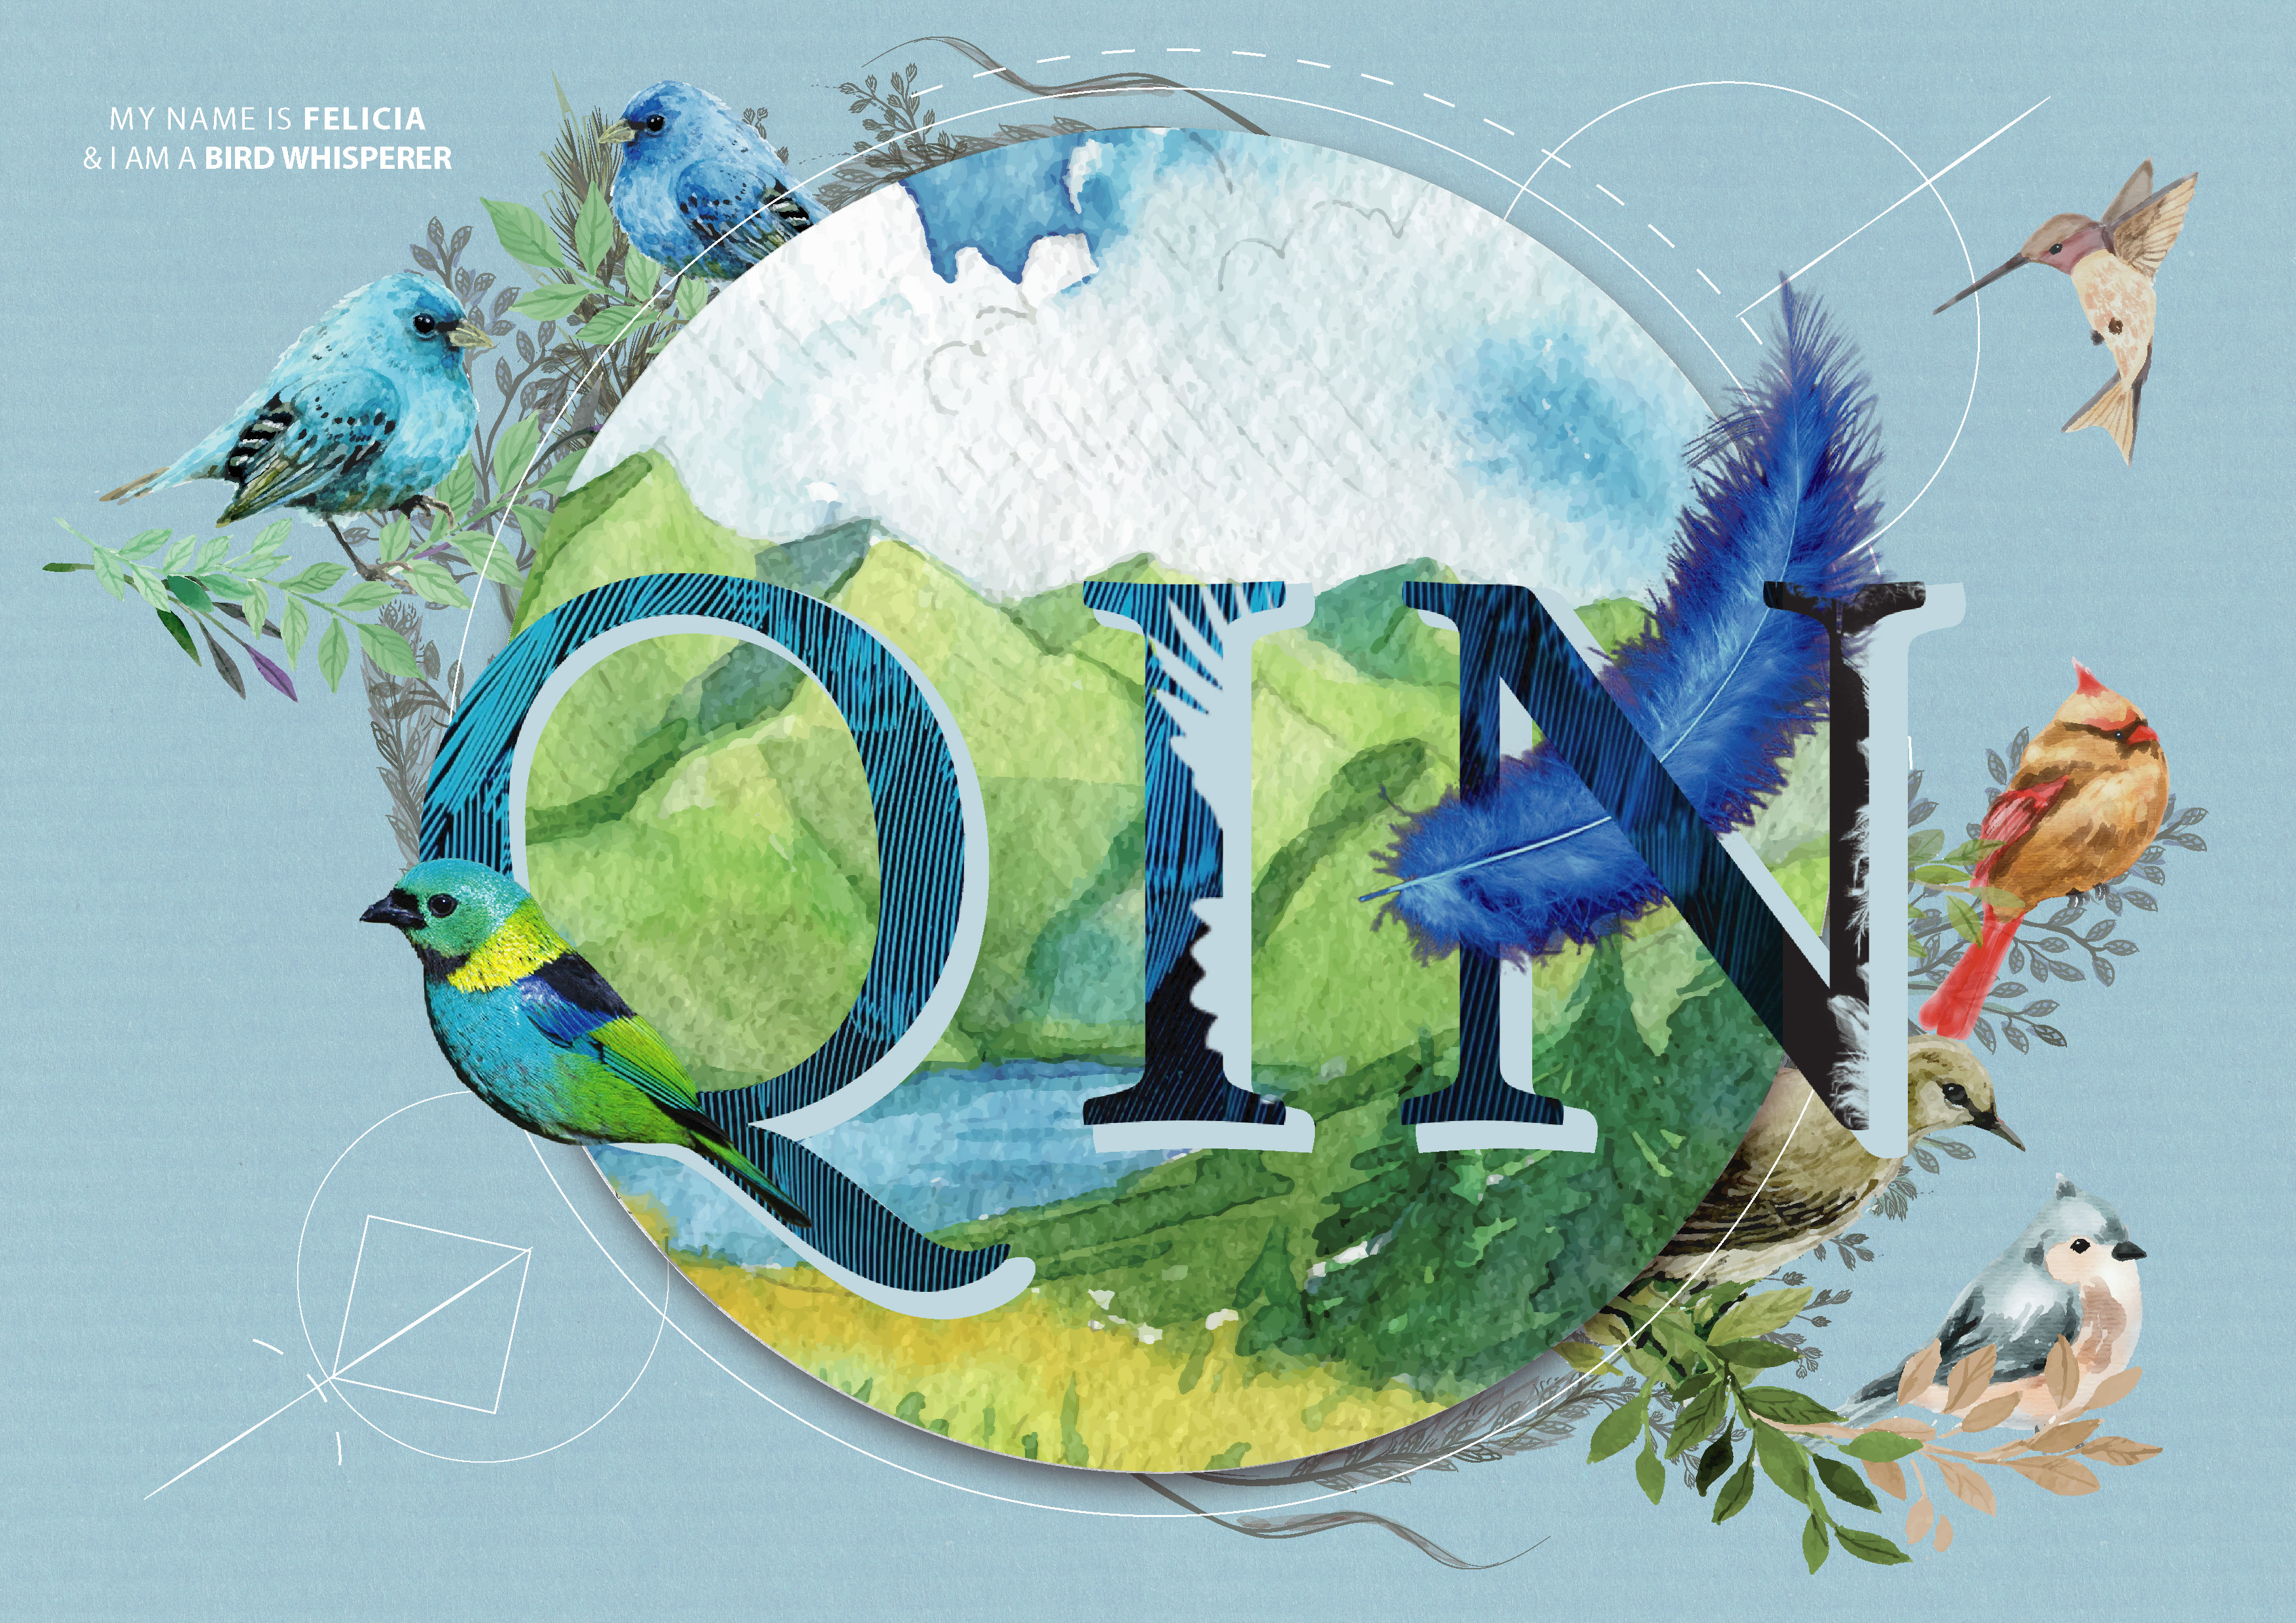
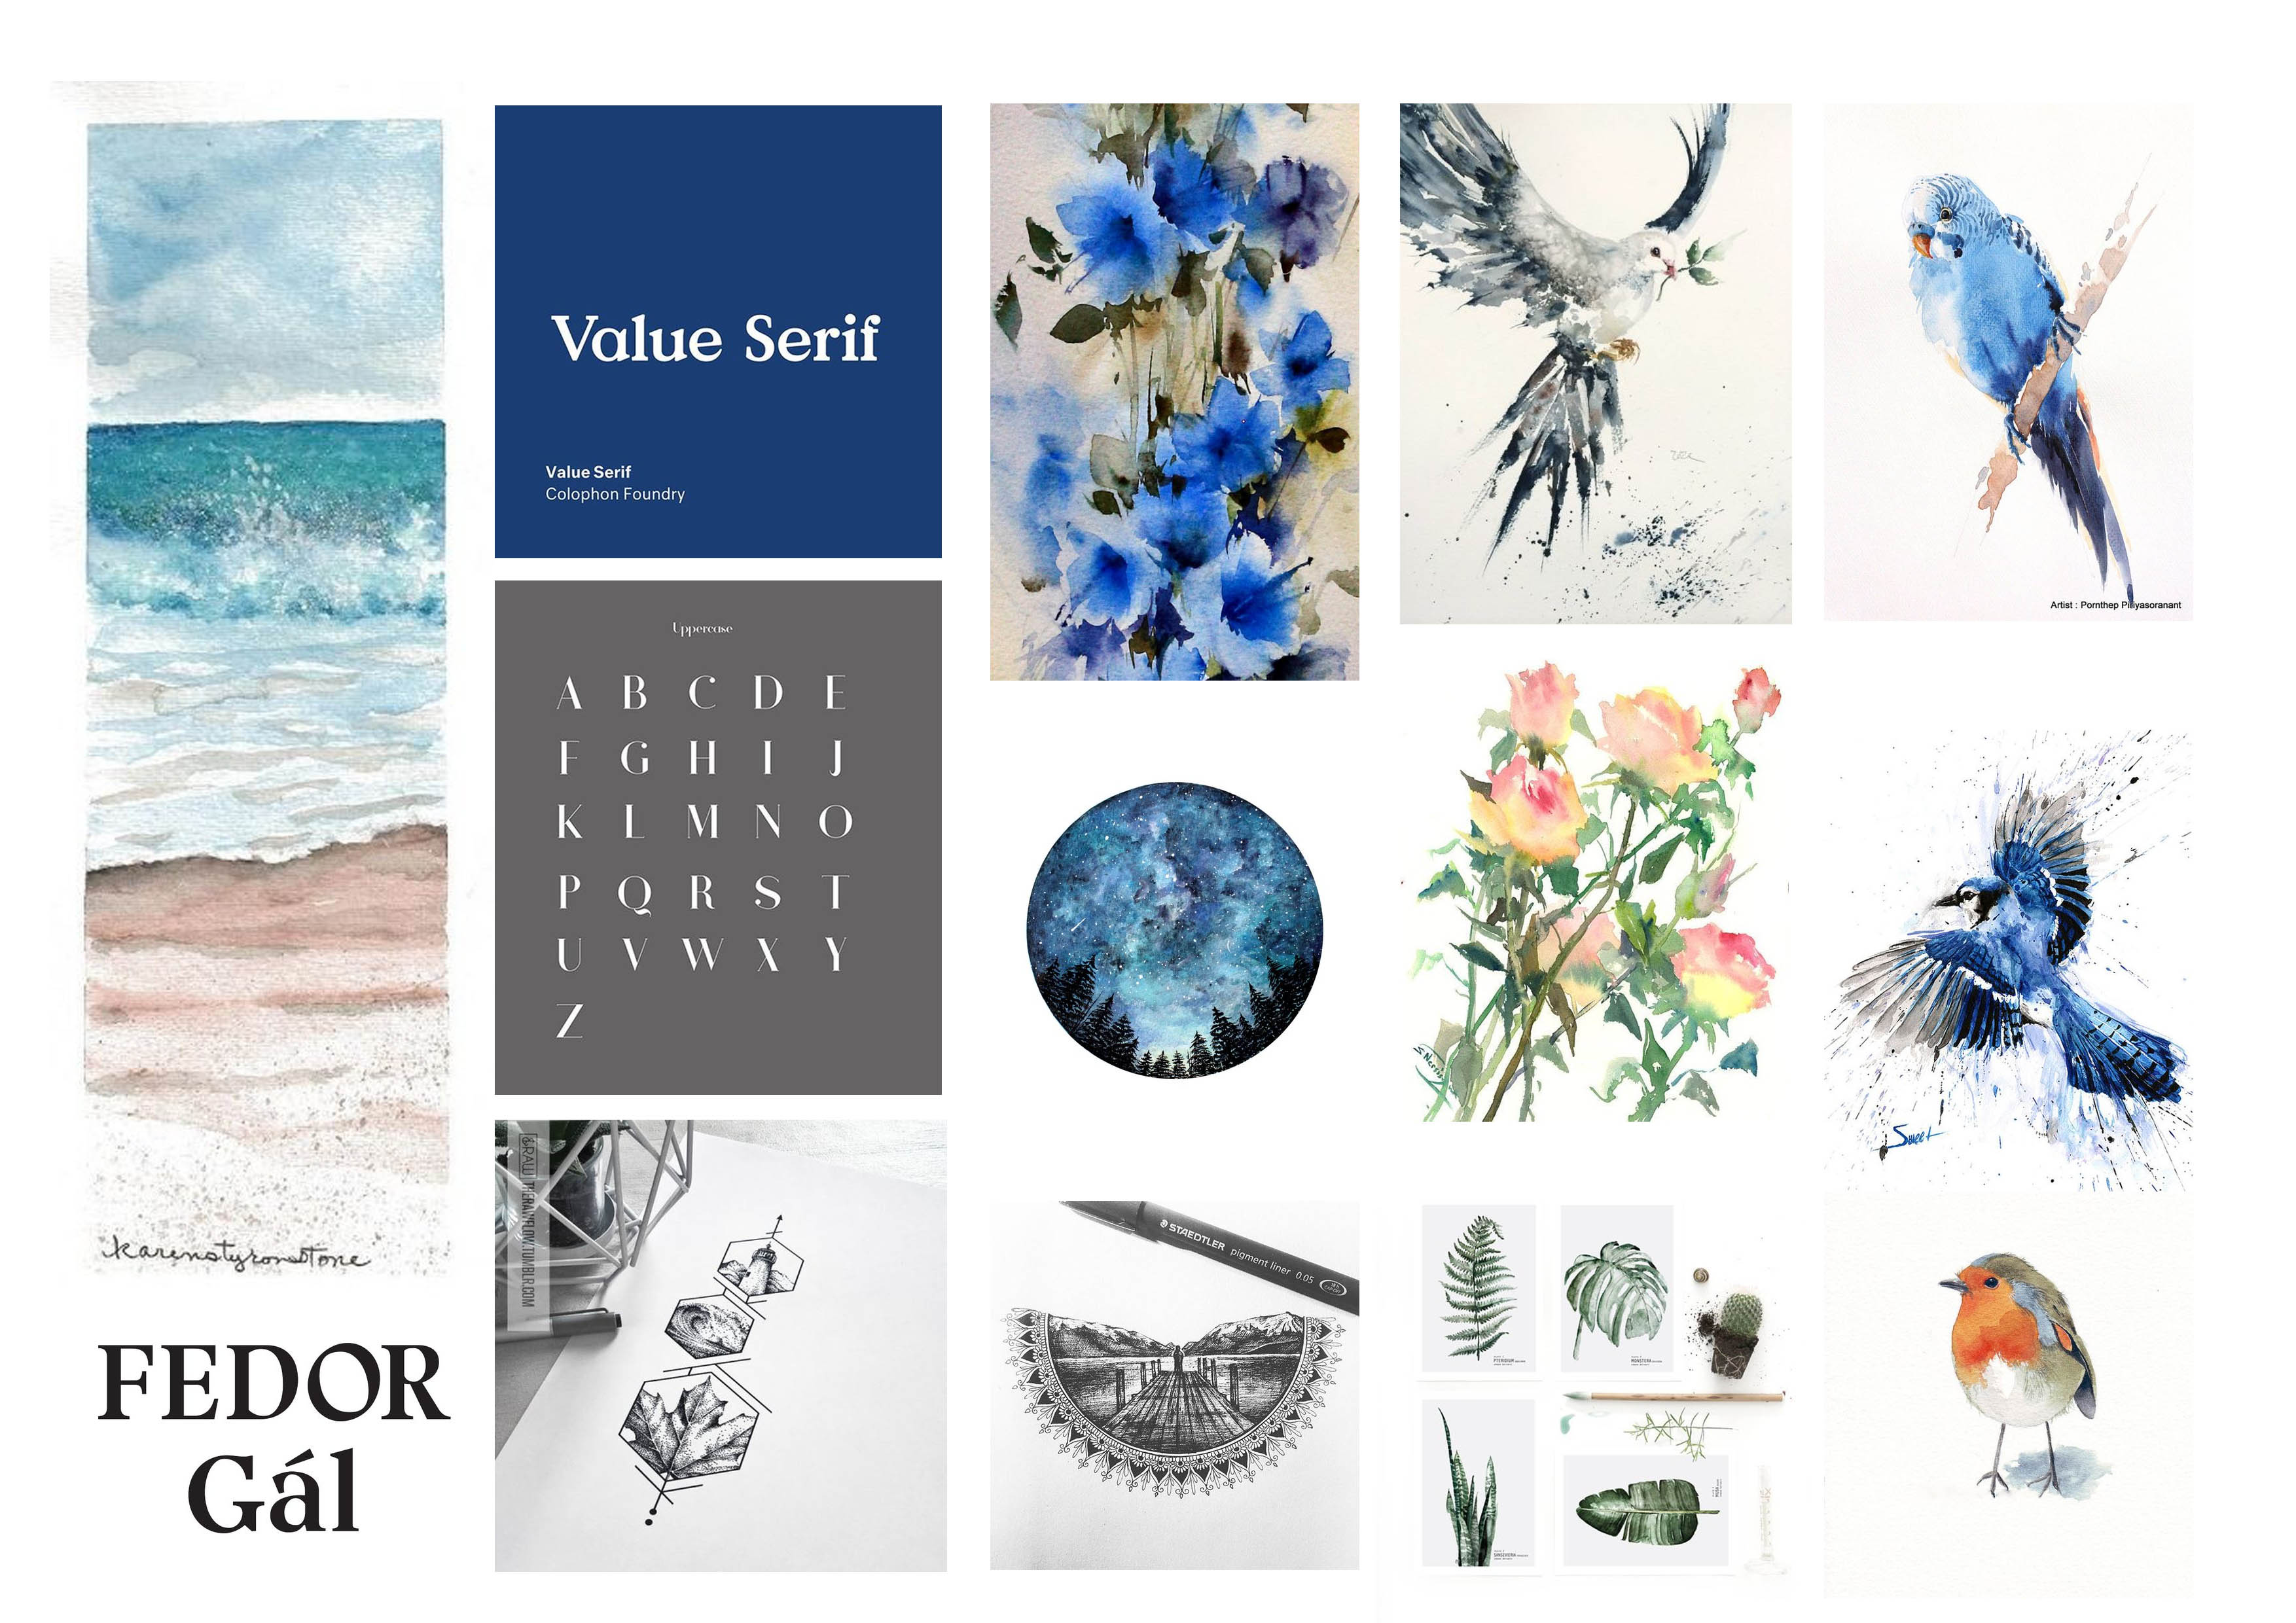
Dimension. As mentioned in the rationale above, I was seeking for depth from the viewpoint of my audience. To ensure consistency, I maintained the painterly technique and employed this edit on my second layout – The Bird Whisperer.
Staying in the Nature theme, the bird whisperer is someone who is in love with birds, and have the sheer ability to tame any forms of difficult birds that existed. Well, in my case, I am always the victim of bird’s shit. They like pooping on me. Not sure if I am a poop whisperer or what, but I guess bird sounds a lot nicer huh? I created a complimentary watercolour technique background that contained within the circle. I feel like it helps to carry the typography, and makes it stands out more.
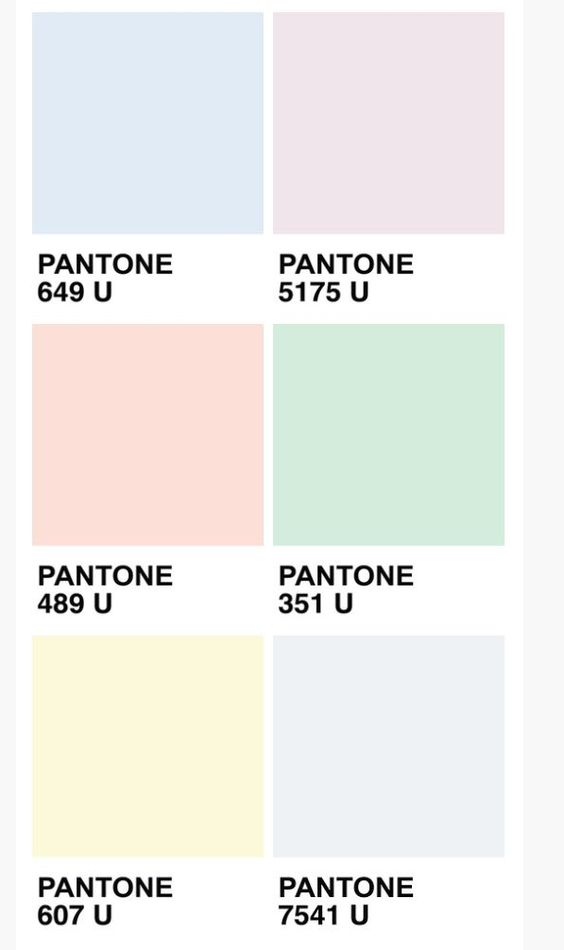
The colour scheme I had in mind for this is an analogous combination. I wanted the layout to give off a serene and light atmosphere, bringing my viewer one step closer to nature. Apart from that, the chosen blue is of a soft hue, which falls under the pastel family.
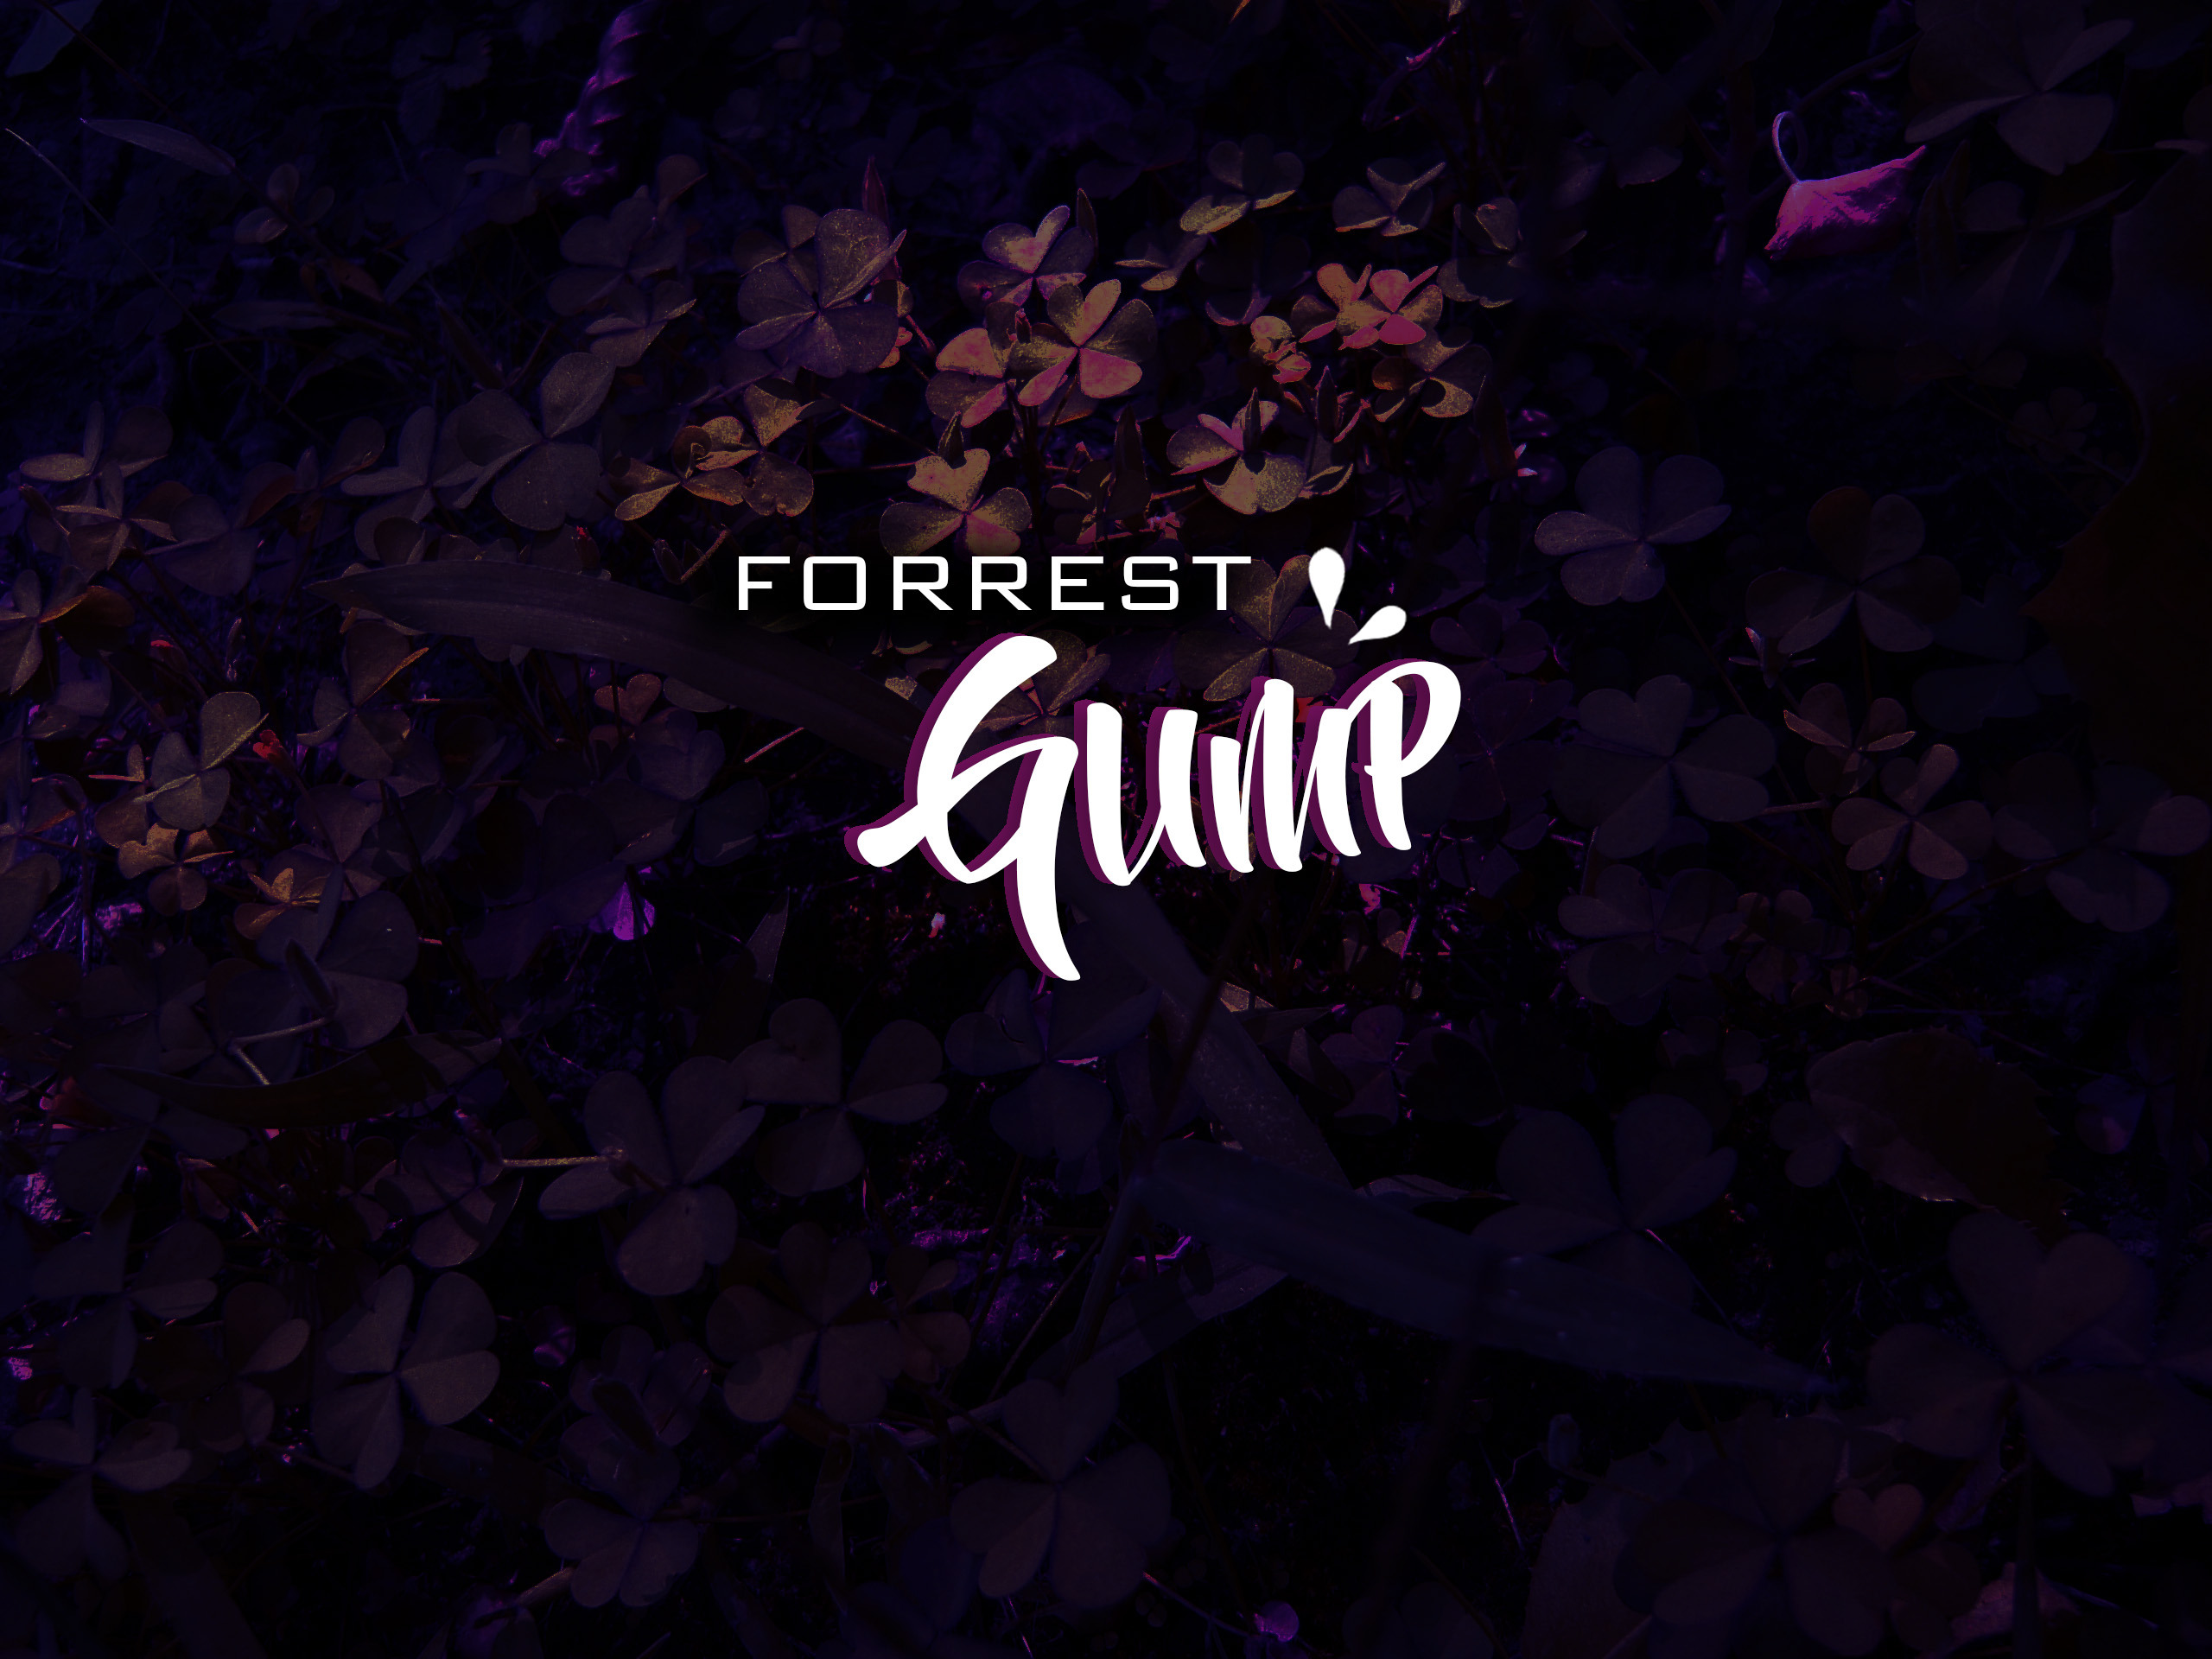
Design 03 of 04
Fruit Harvester
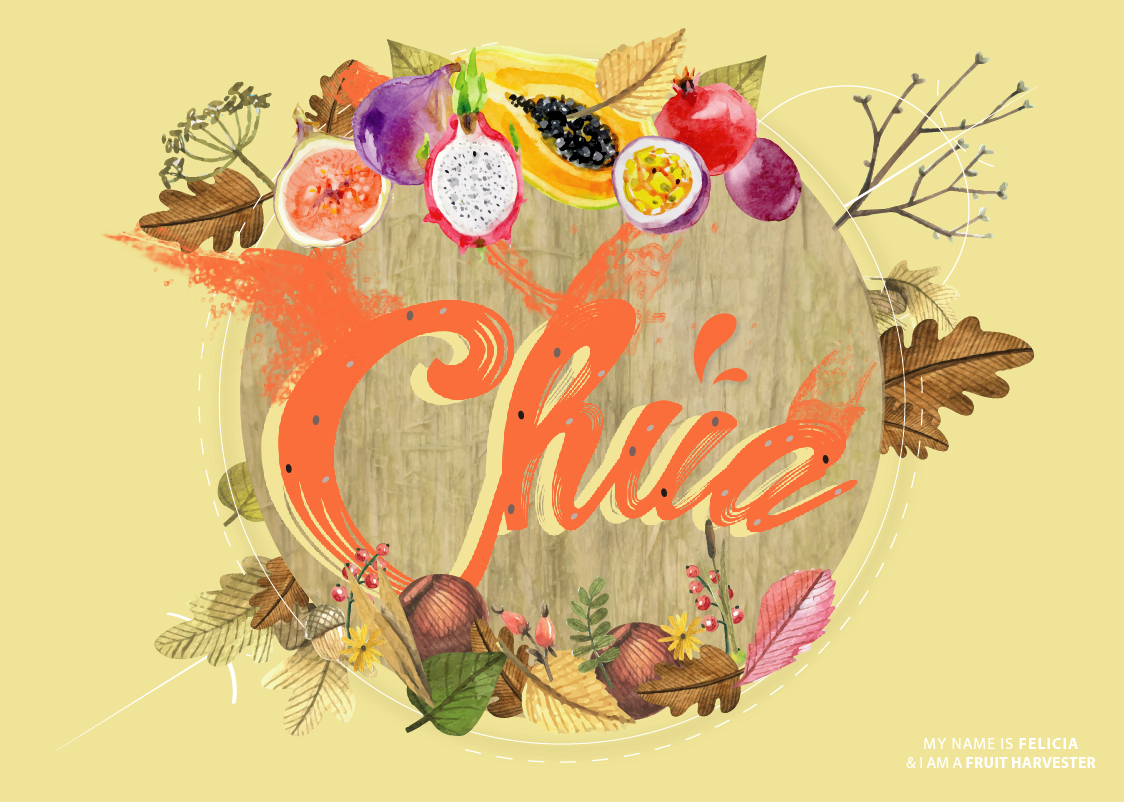
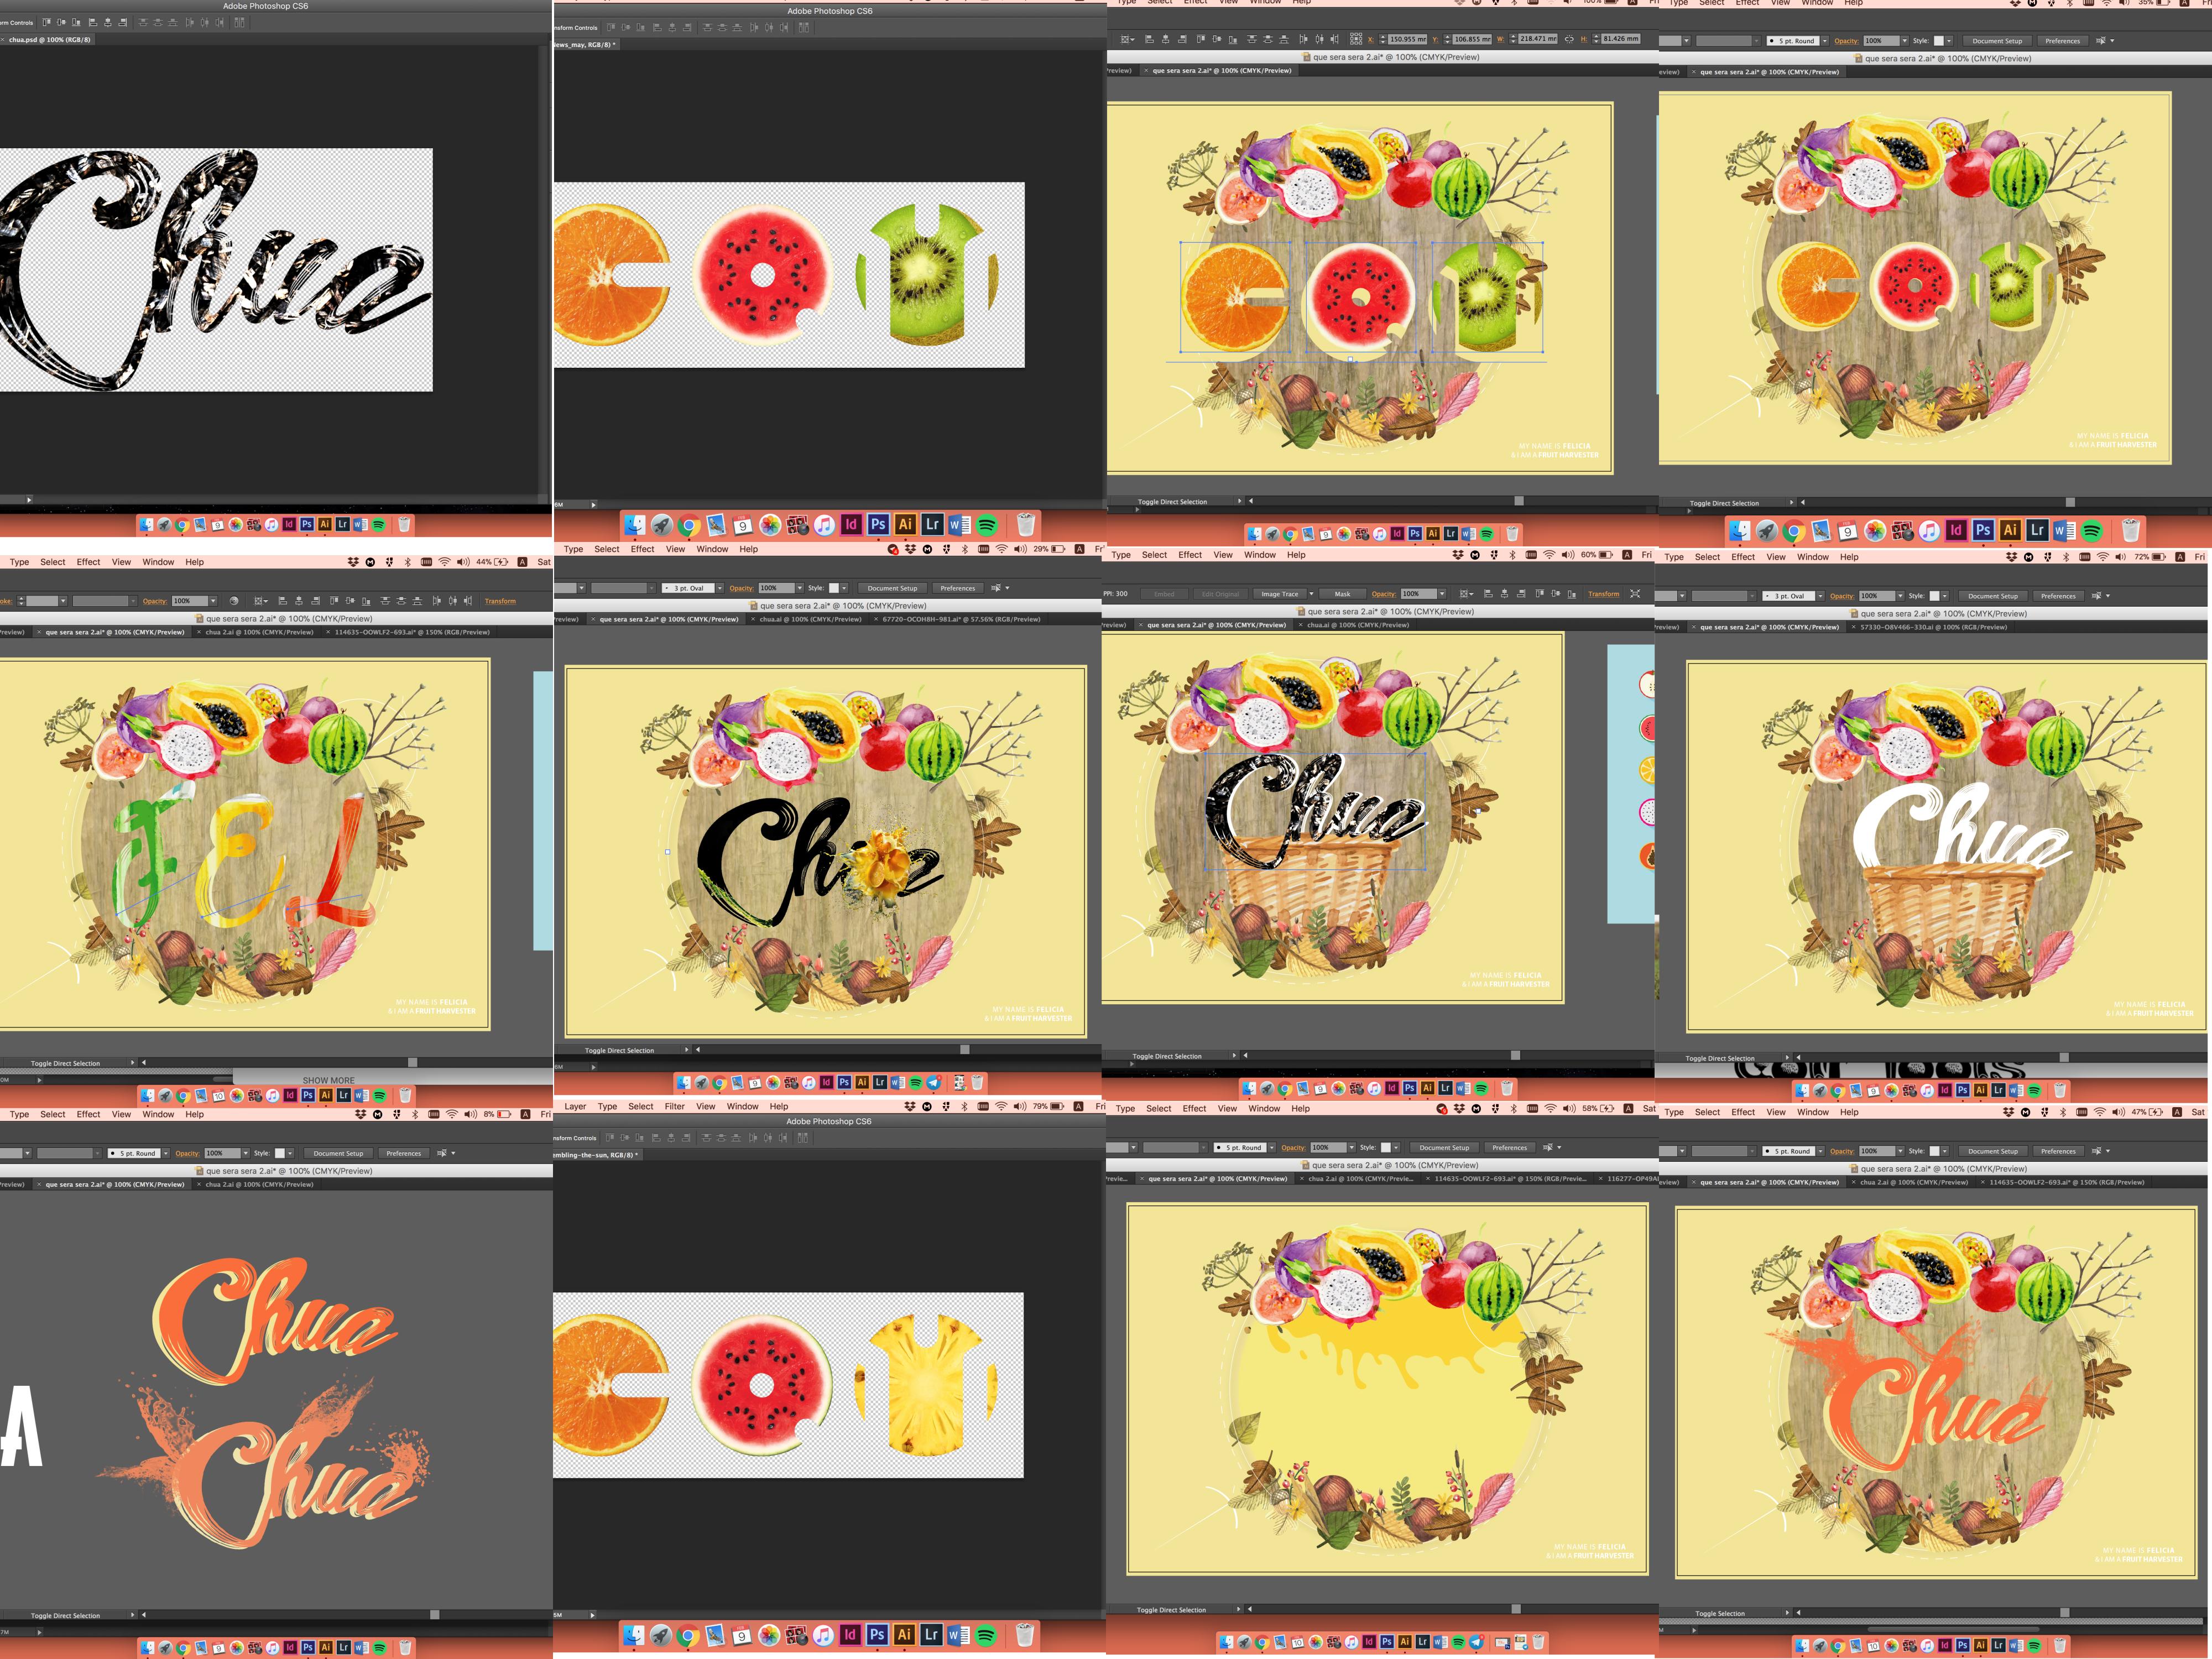
My uncle owns a fruit/vegetable farm located in Lim Chu Kang area. Since young, I would often hitch a ride over and learn some planting from him. This is mainly one of the primary reason why I chose Fruit Harvester. I tweaked it a little since I will also be doing a florist, and to avoid overlapping of elements, I narrowed it down to fruits category instead.
The typography is supposed to give off the feeling of an eruption from a fruit. I stuck with the analogous colour scheme for this as well, so as to portray colour harmony and maintain visual consistency. The wooden tree bark texture behind the main typography acts as a filler to hold up the weight of the text, hence strengthening it’s visual weight, ensuring that it still stands out amongst all the colourful fruits.
It was a challenge for me as well, because it seems like the fruits are way too vibrant and that it might overshadow my main typography. I struggled with finding the right colour combination for the font and the background. Decisions… Decisions… Eventually, I chose to go with pale yellow, coral orange and some neutral browns to help even out everything.
Design 04 of 04
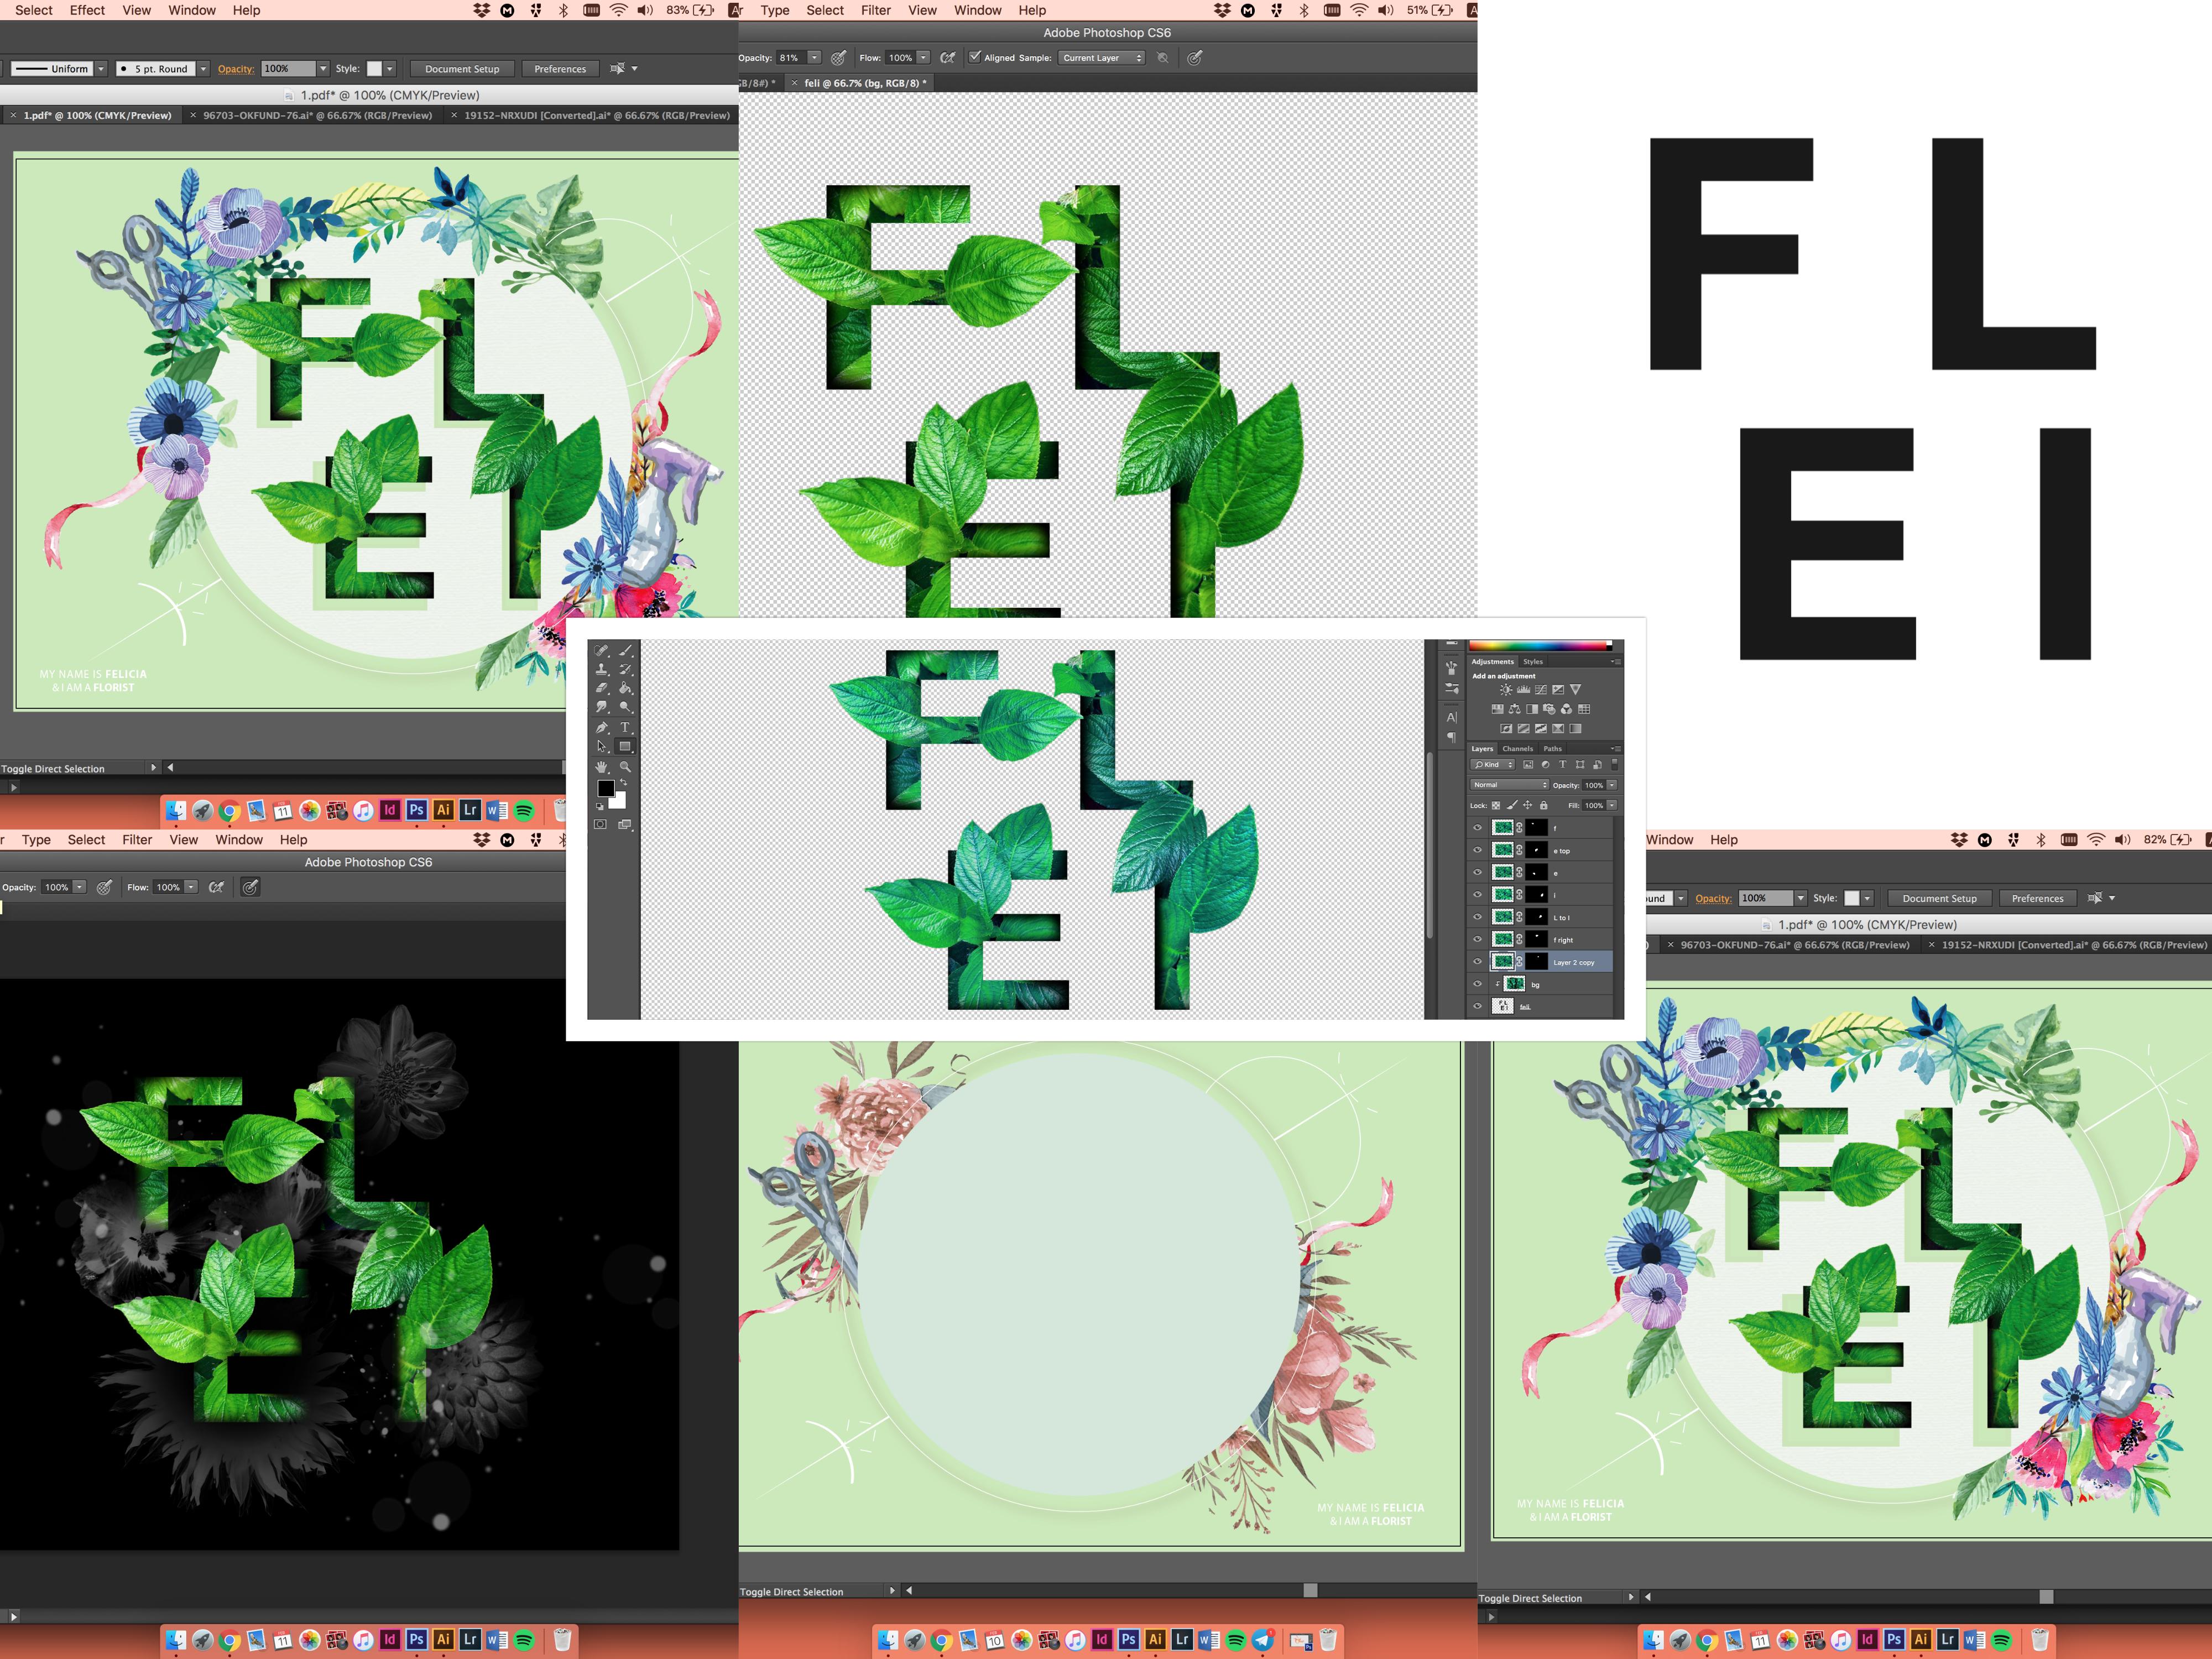
The Florist
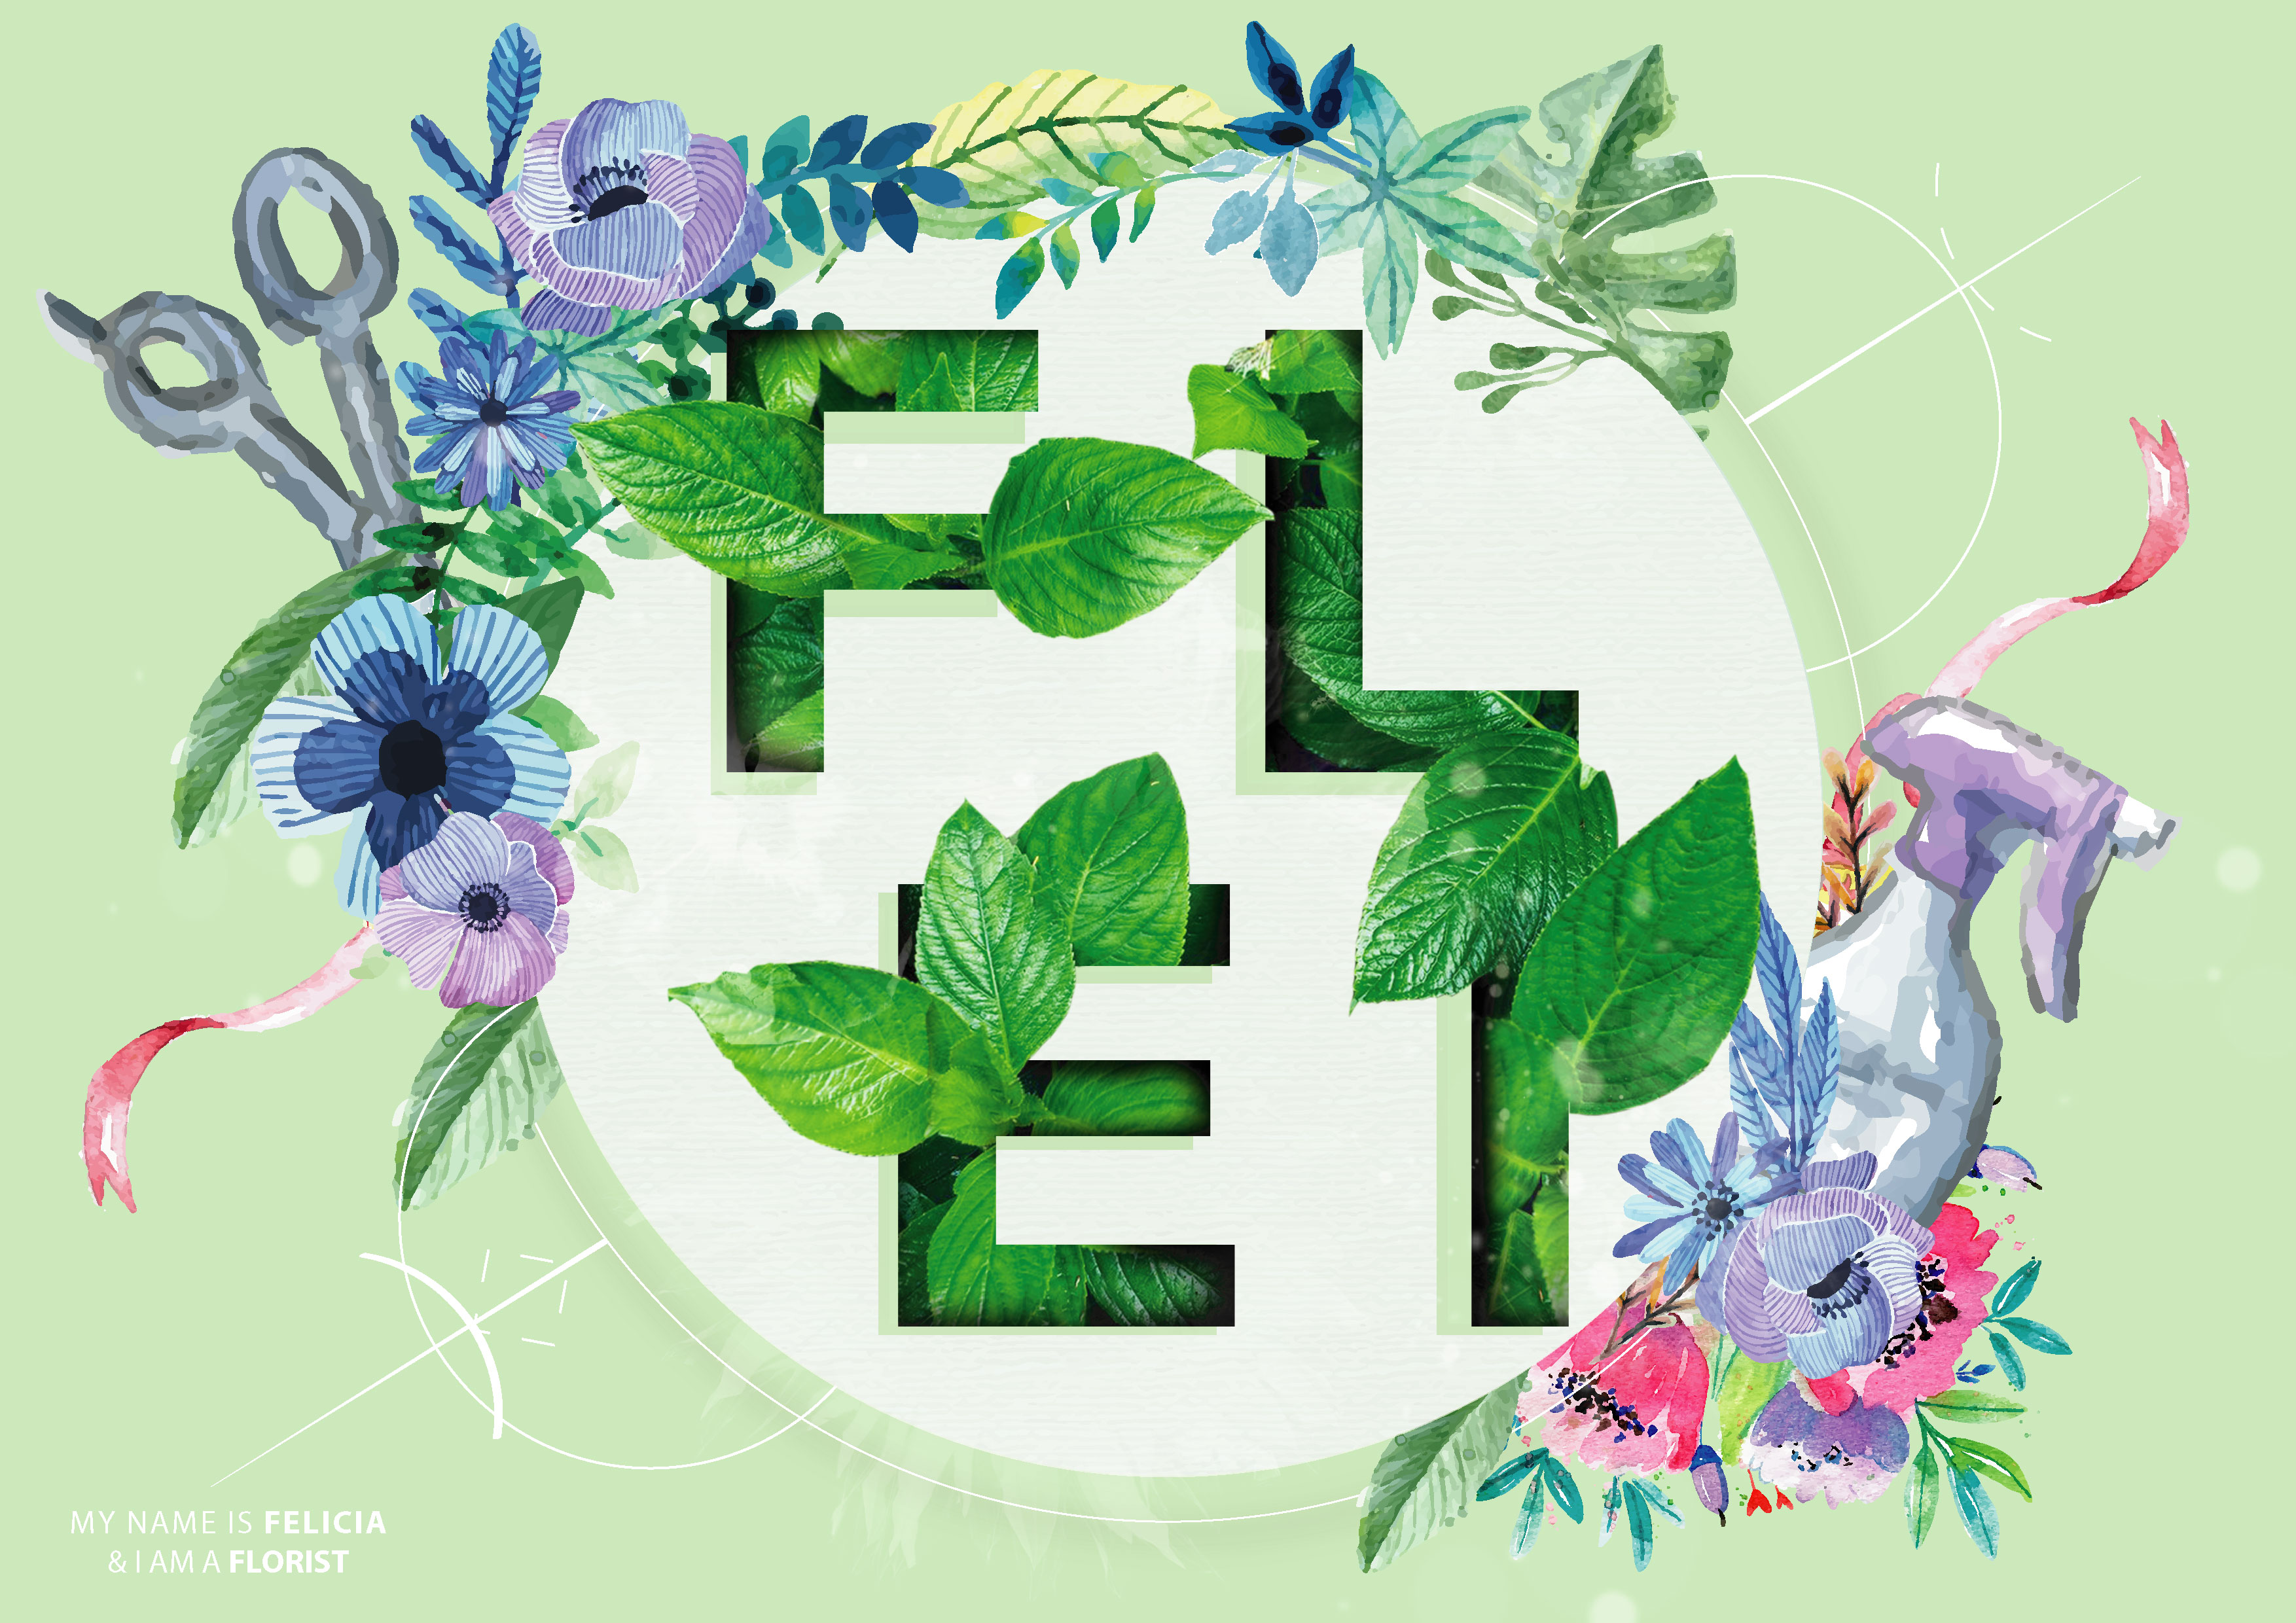
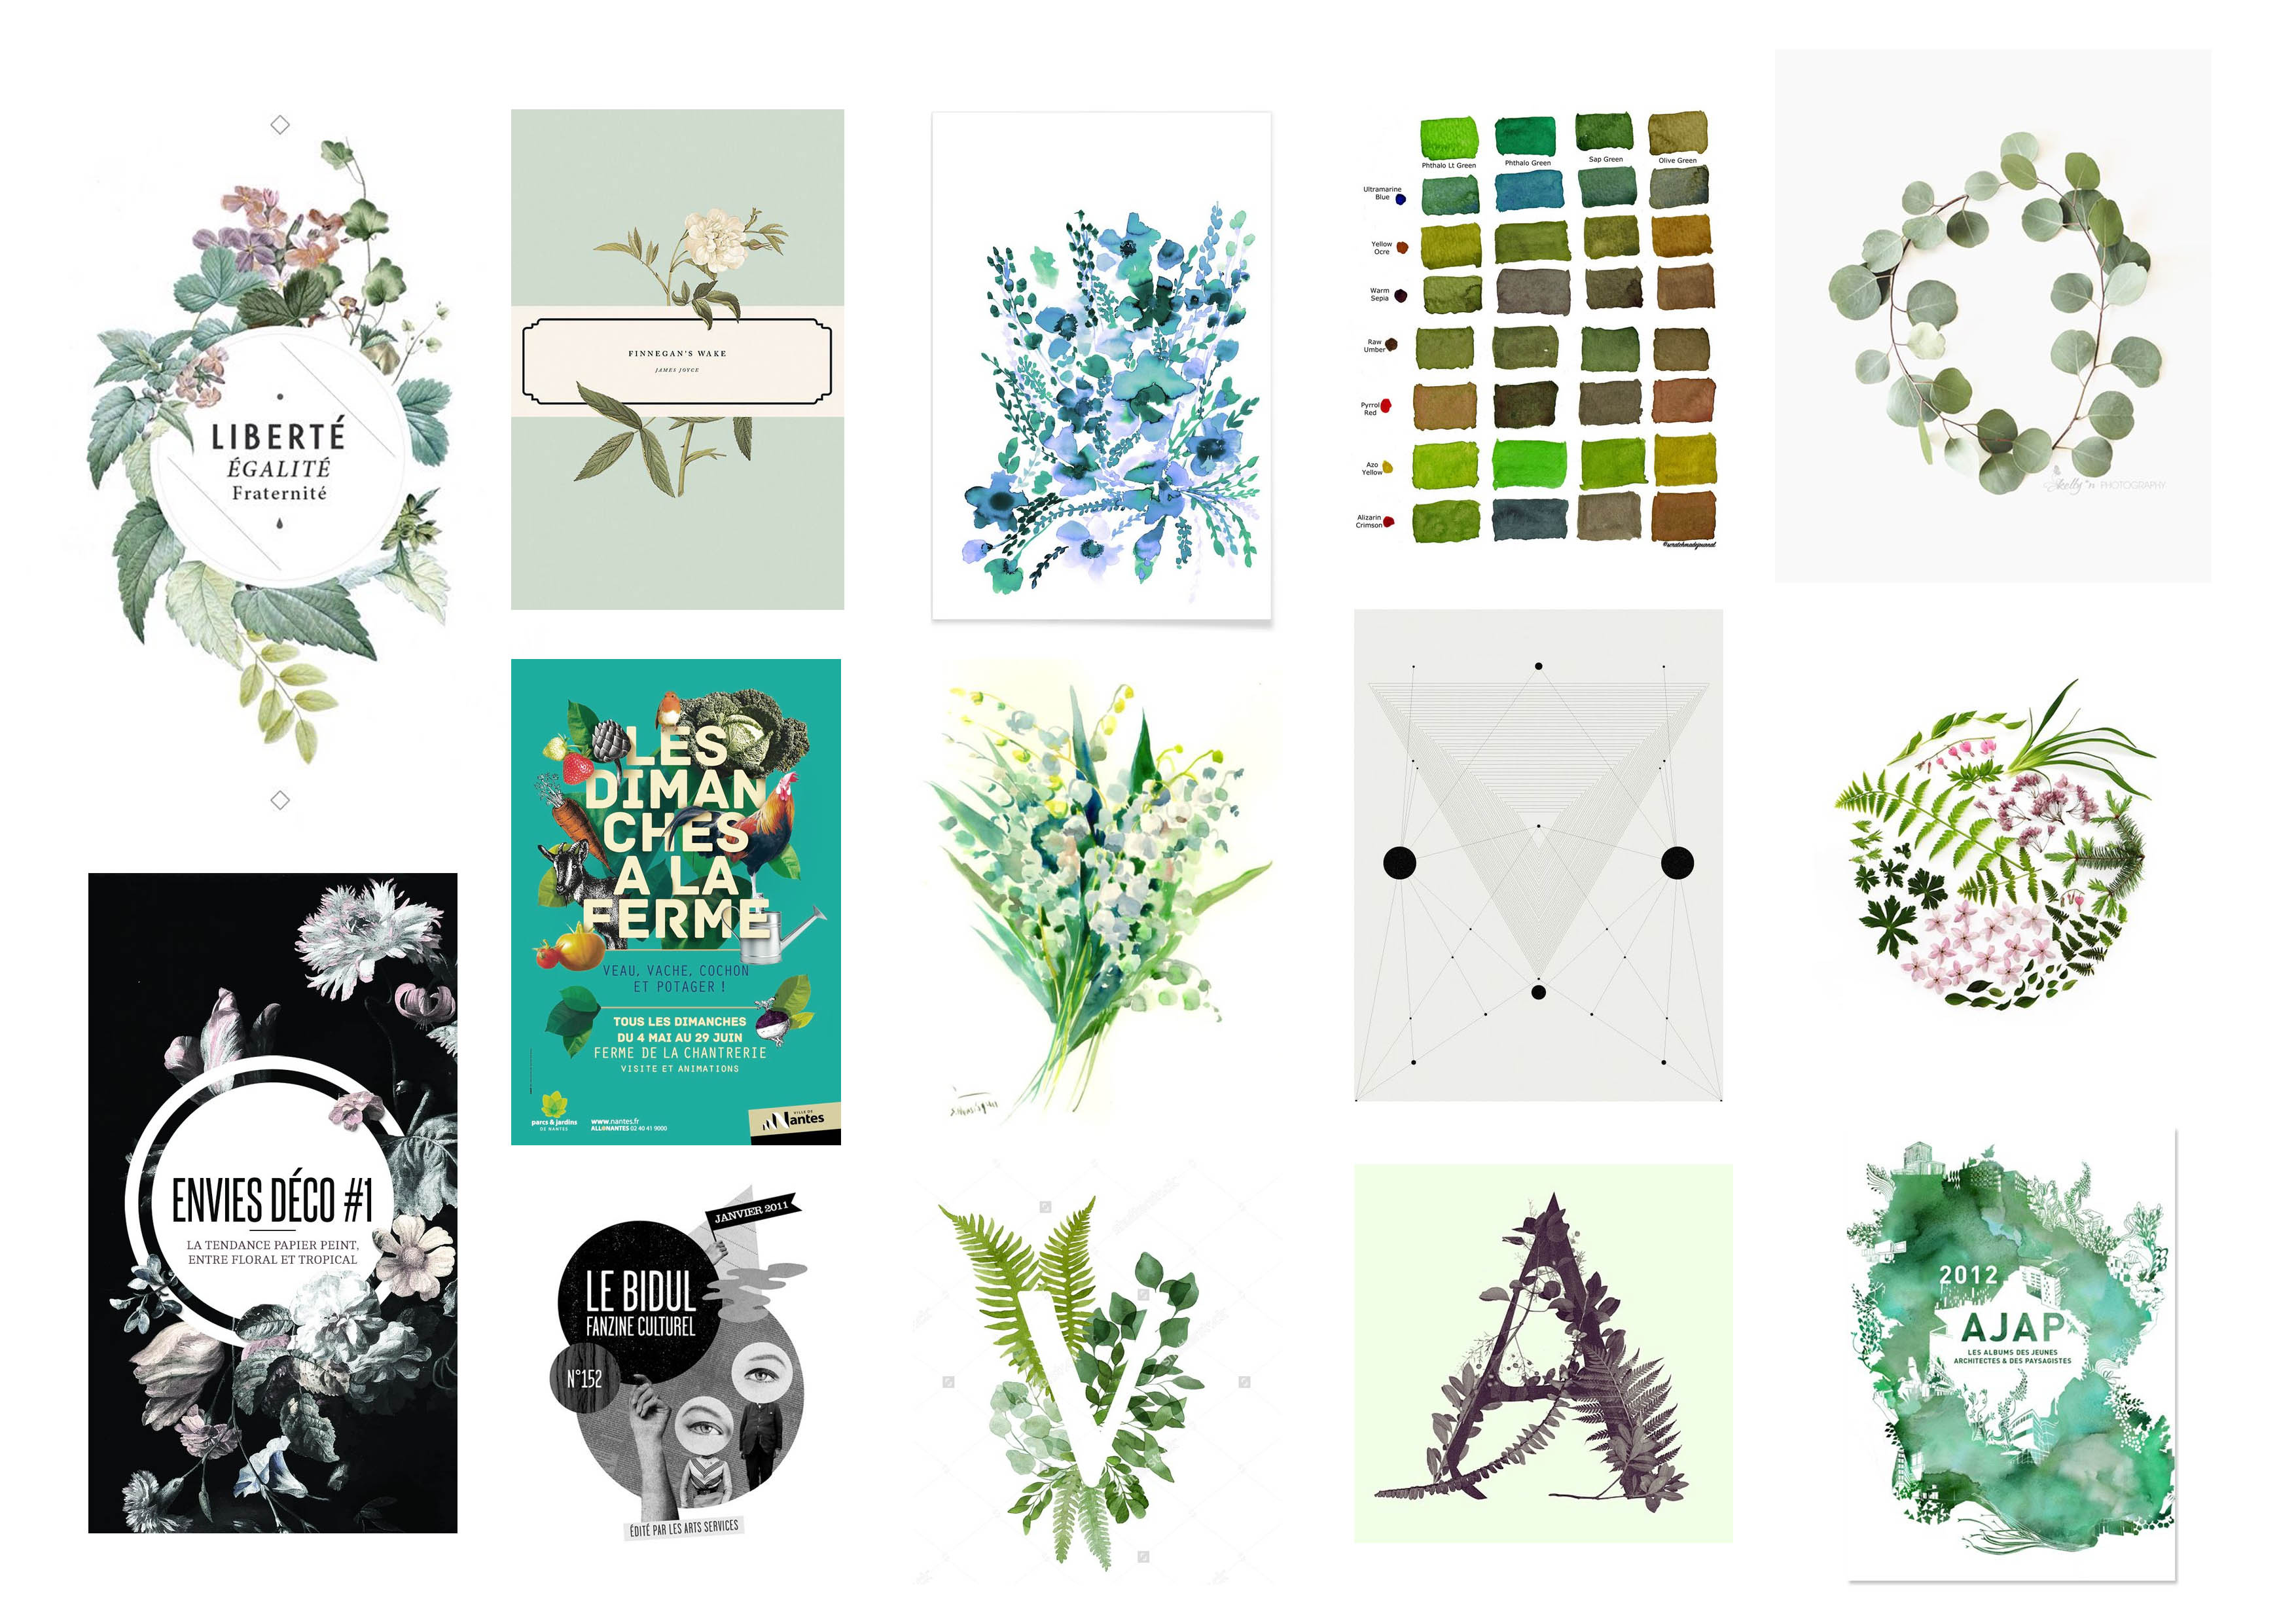
Leaf, Flowers, Spray, and Scissors are what I associate with a Florist. The overall colour falls with green being the primary and most striking shade, and a few accent colours here and there to give the visual a lift.
For the leafy typography, I masked out the leaf layer by layer. To give it more depth, as though the leaf is really growing out from the font itself, I gave the letters an additional shading so it looked less flat. Flower textures are also added to give it a more artsy look (its opacity level is 20%) (can you see it?)
Maintaining the overall pastel and painterly technique, I altered and added Photoshop filters to these vector images so they look consistent when placed together. Lastly, one of the unchanging element that you may have noticed by now will be the directional geometric line art that occurs in every background. I like how it gives off energy and it’s subtleness. Even though the line is super fine, it helped in filling up the empty space, giving these layouts an illusion of a fuller look.
–
Overall, this concludes the first project of the semester! Yay! Thanks for reading!
Ciaos