Gaia’s Ikebana (III) – process and final

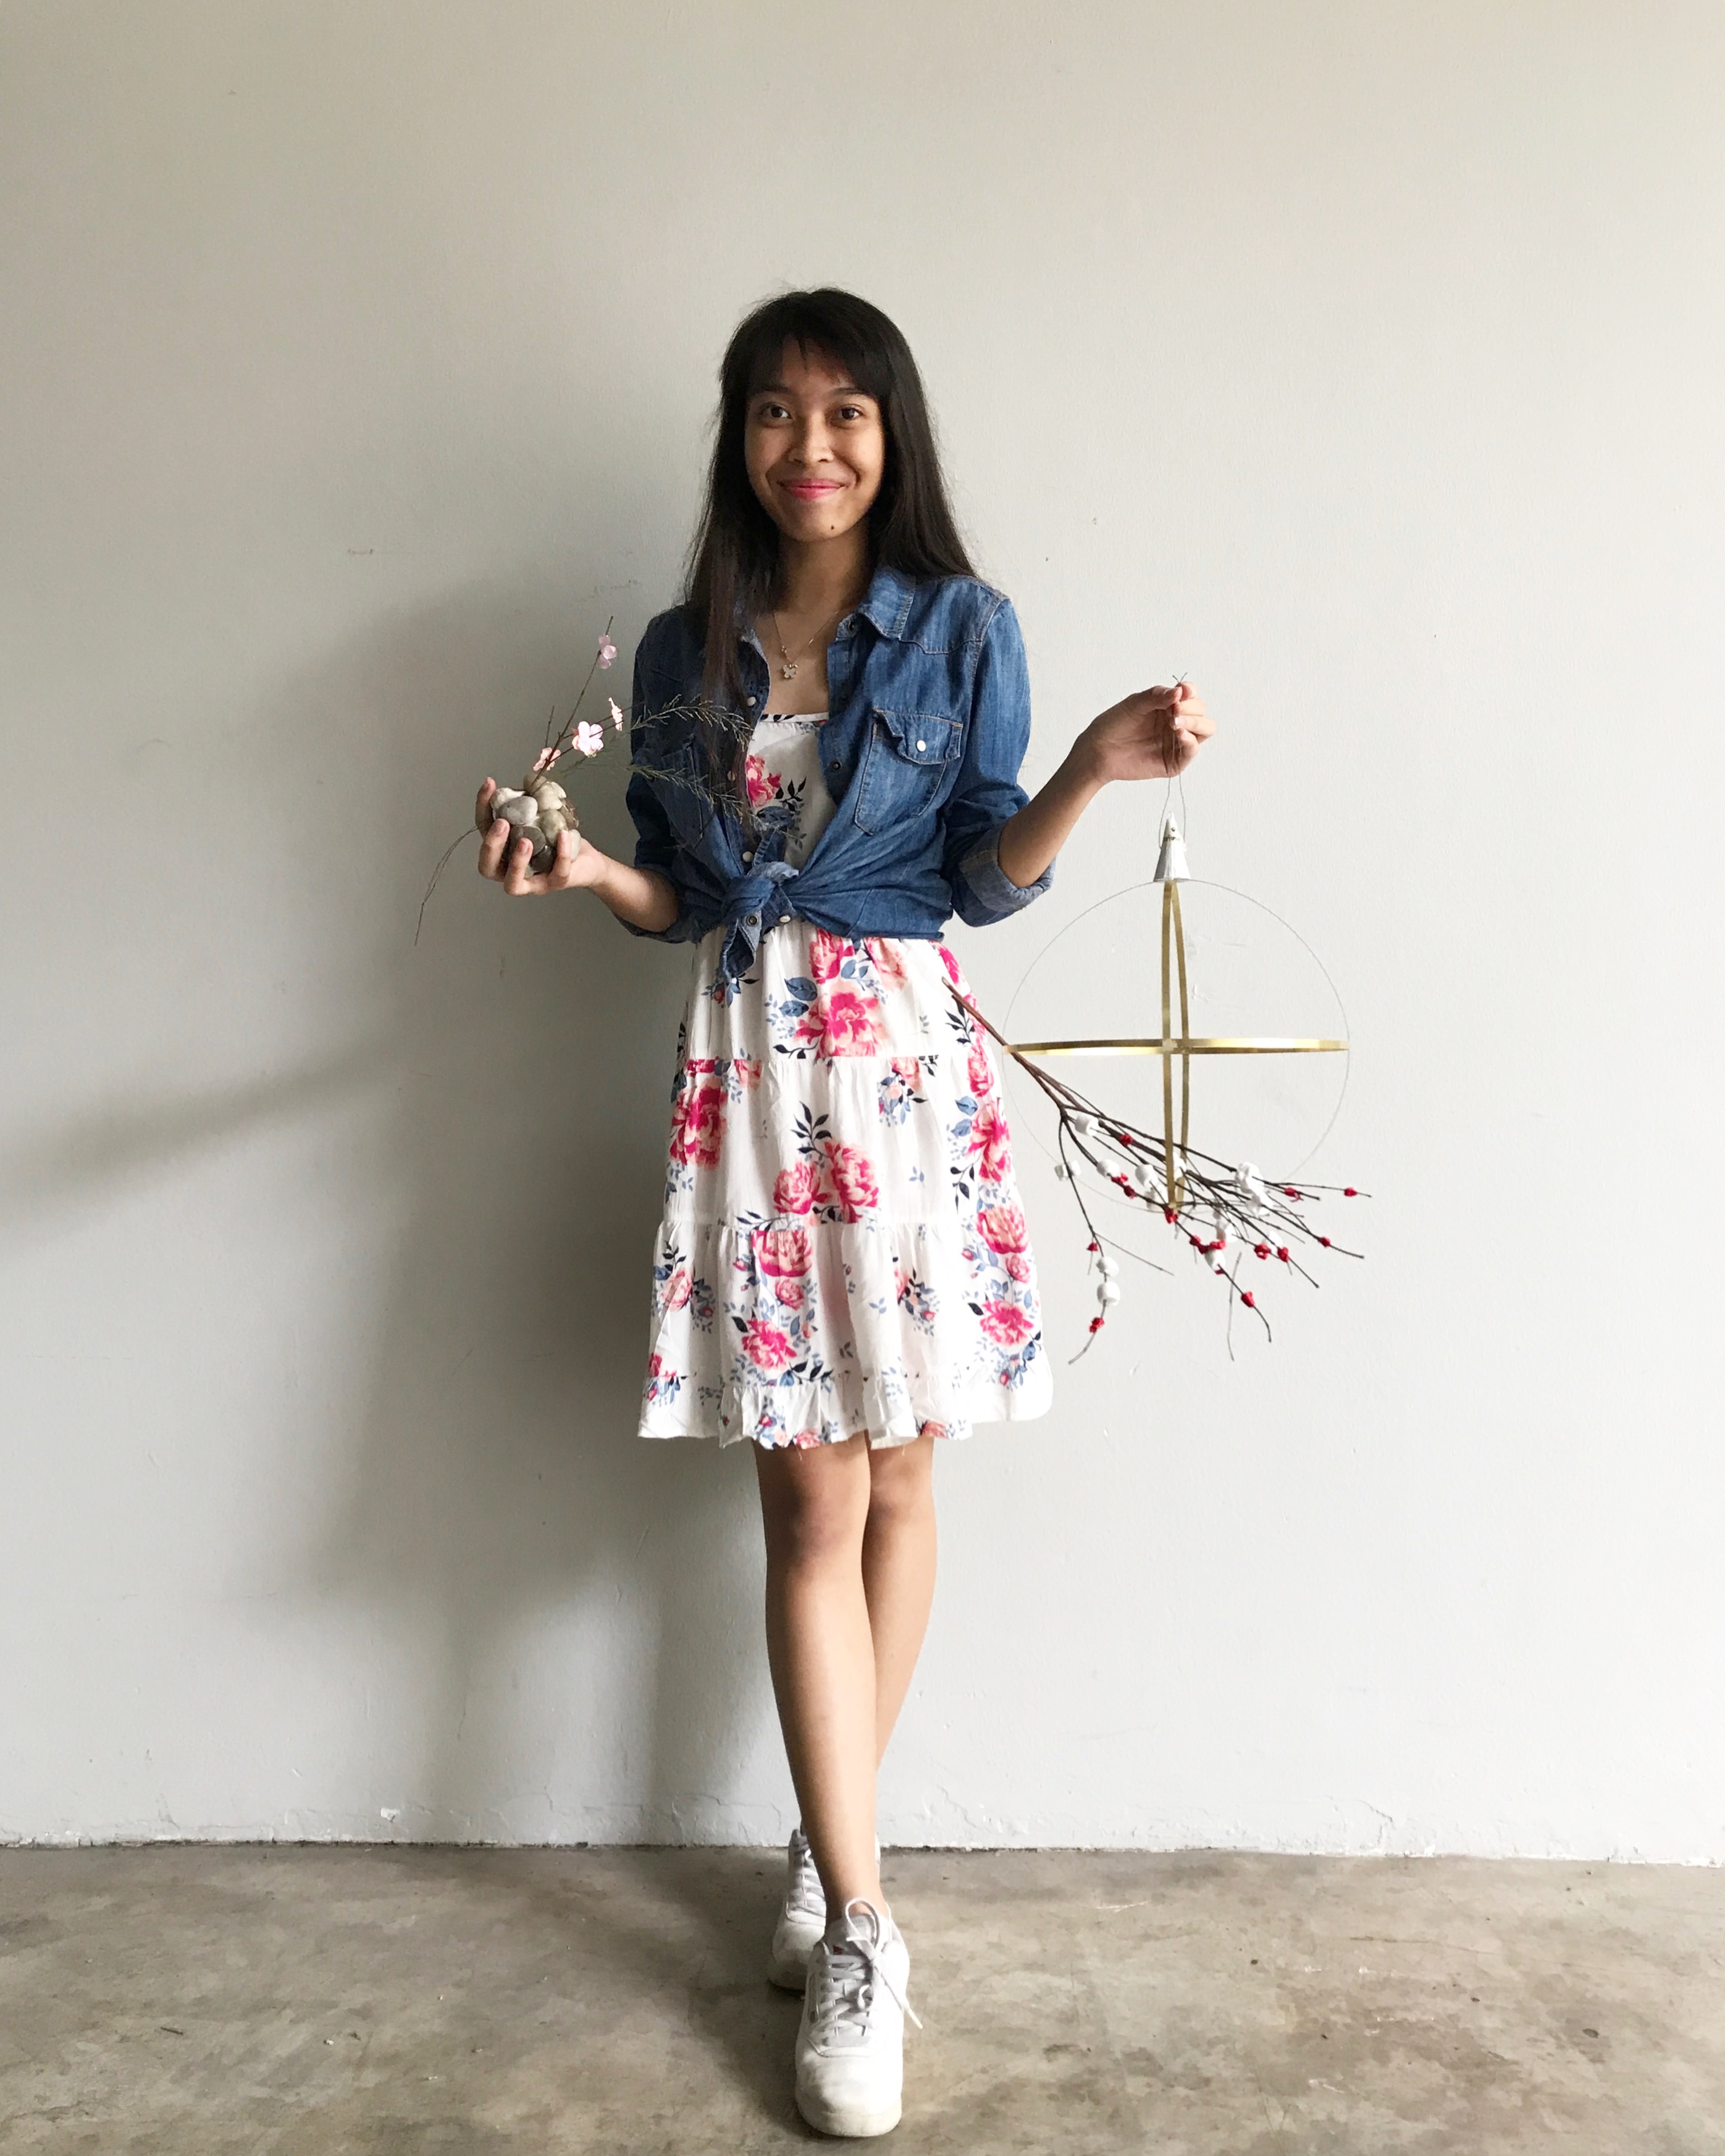
Hi – welcoming you to this post with my newfound buddy on that day, my twigs. I call them “autumn”, for some reason idk.

Funny story behind this is, I was trying to look like i’m just taking a stroll around our neighbourhood field but my friend which is also my neighbour drove past me when I was almost done with picking branches and he caught me anyways. Hahahaha how lovely.

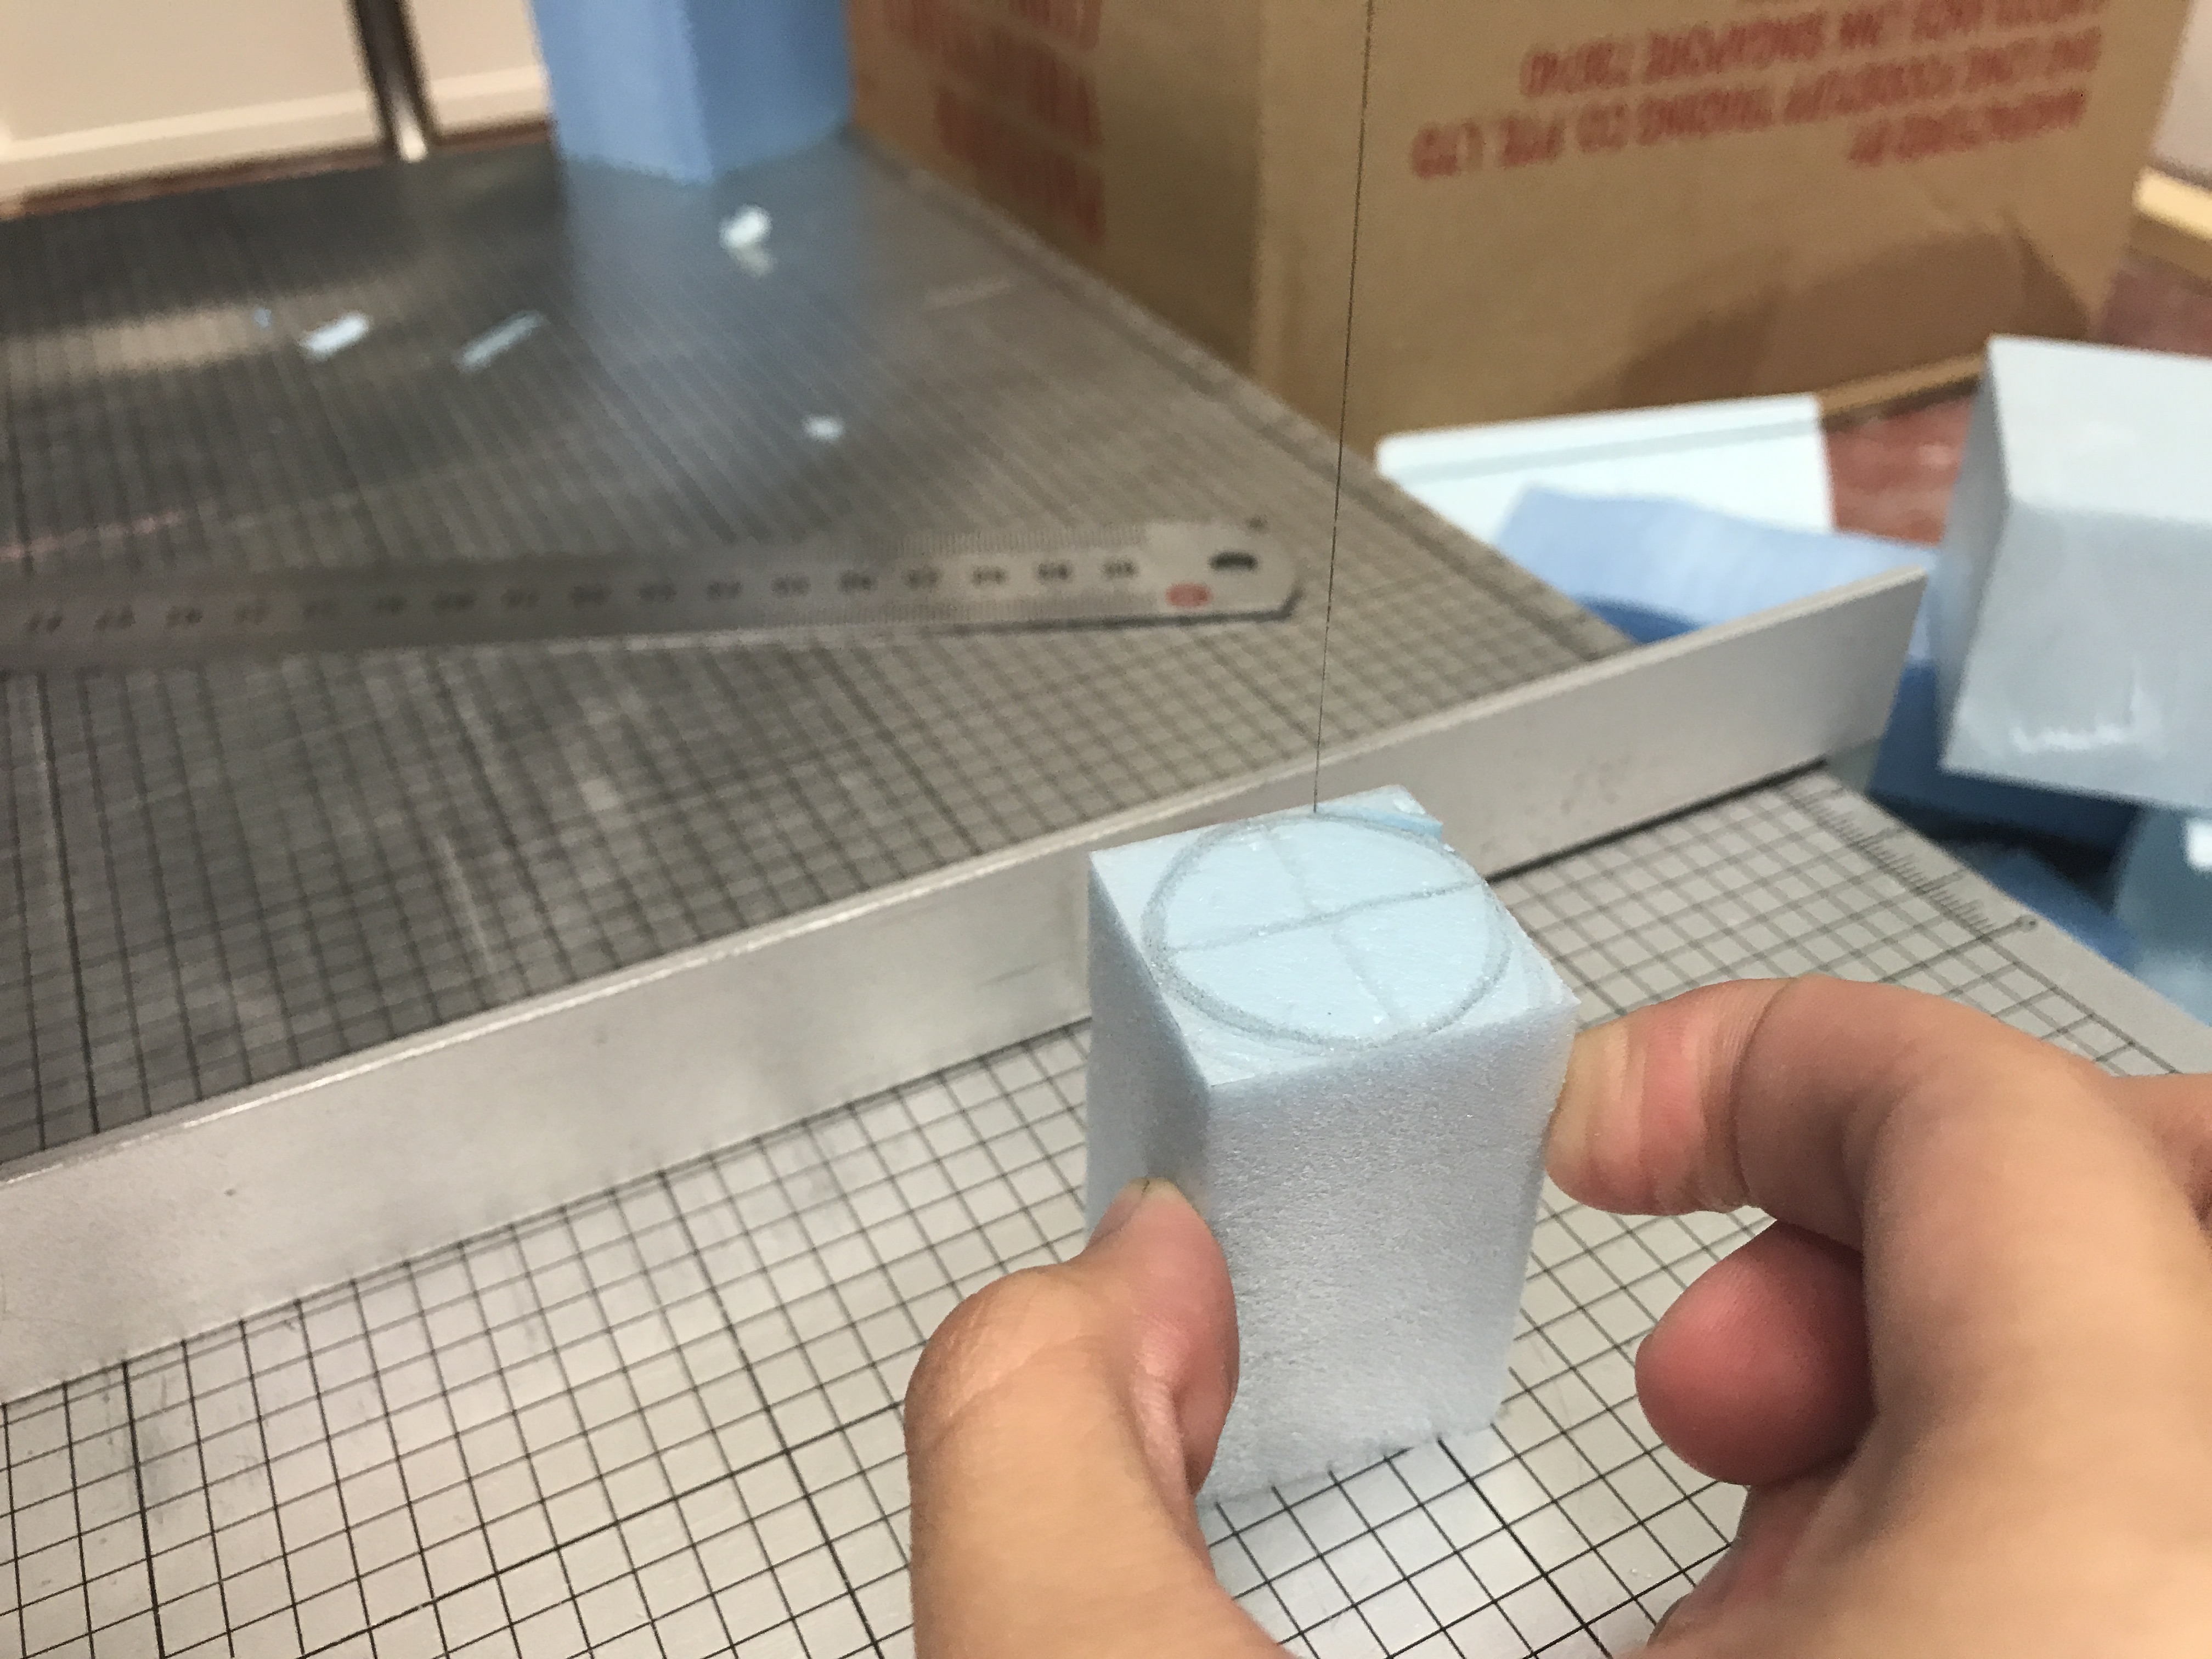
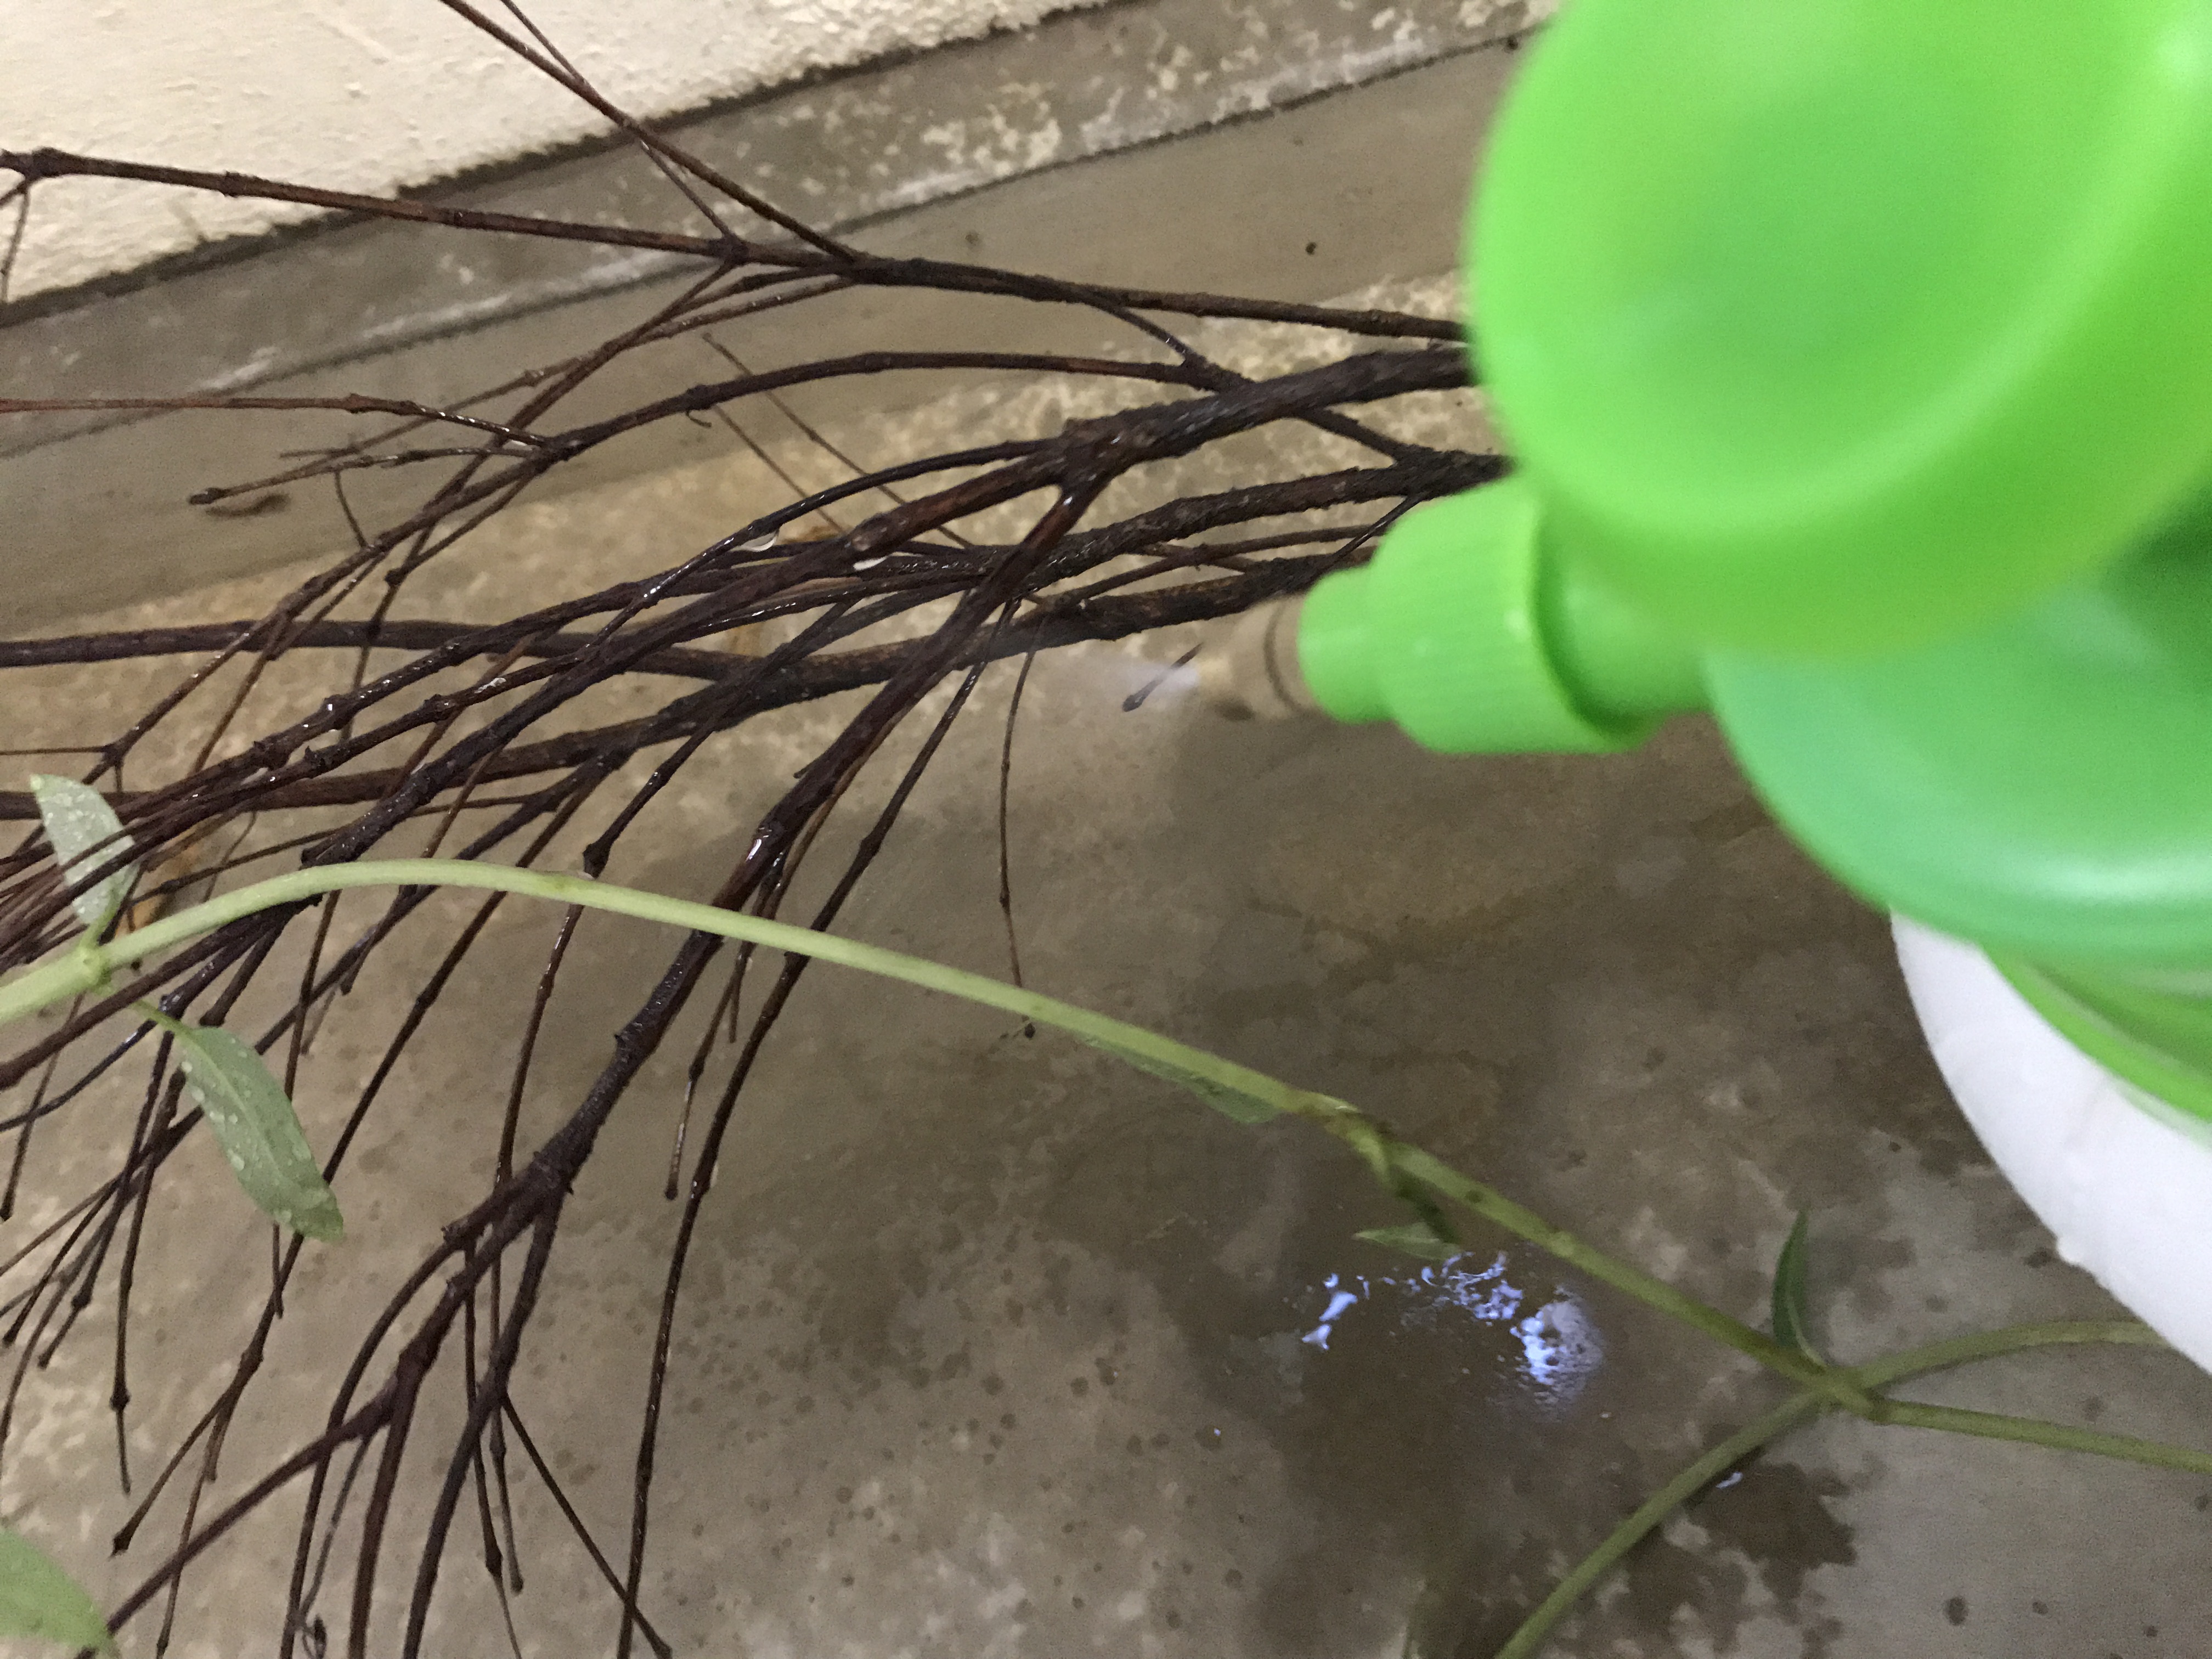
Before getting those branches done for art, of course i would clean them to rid of any insects.

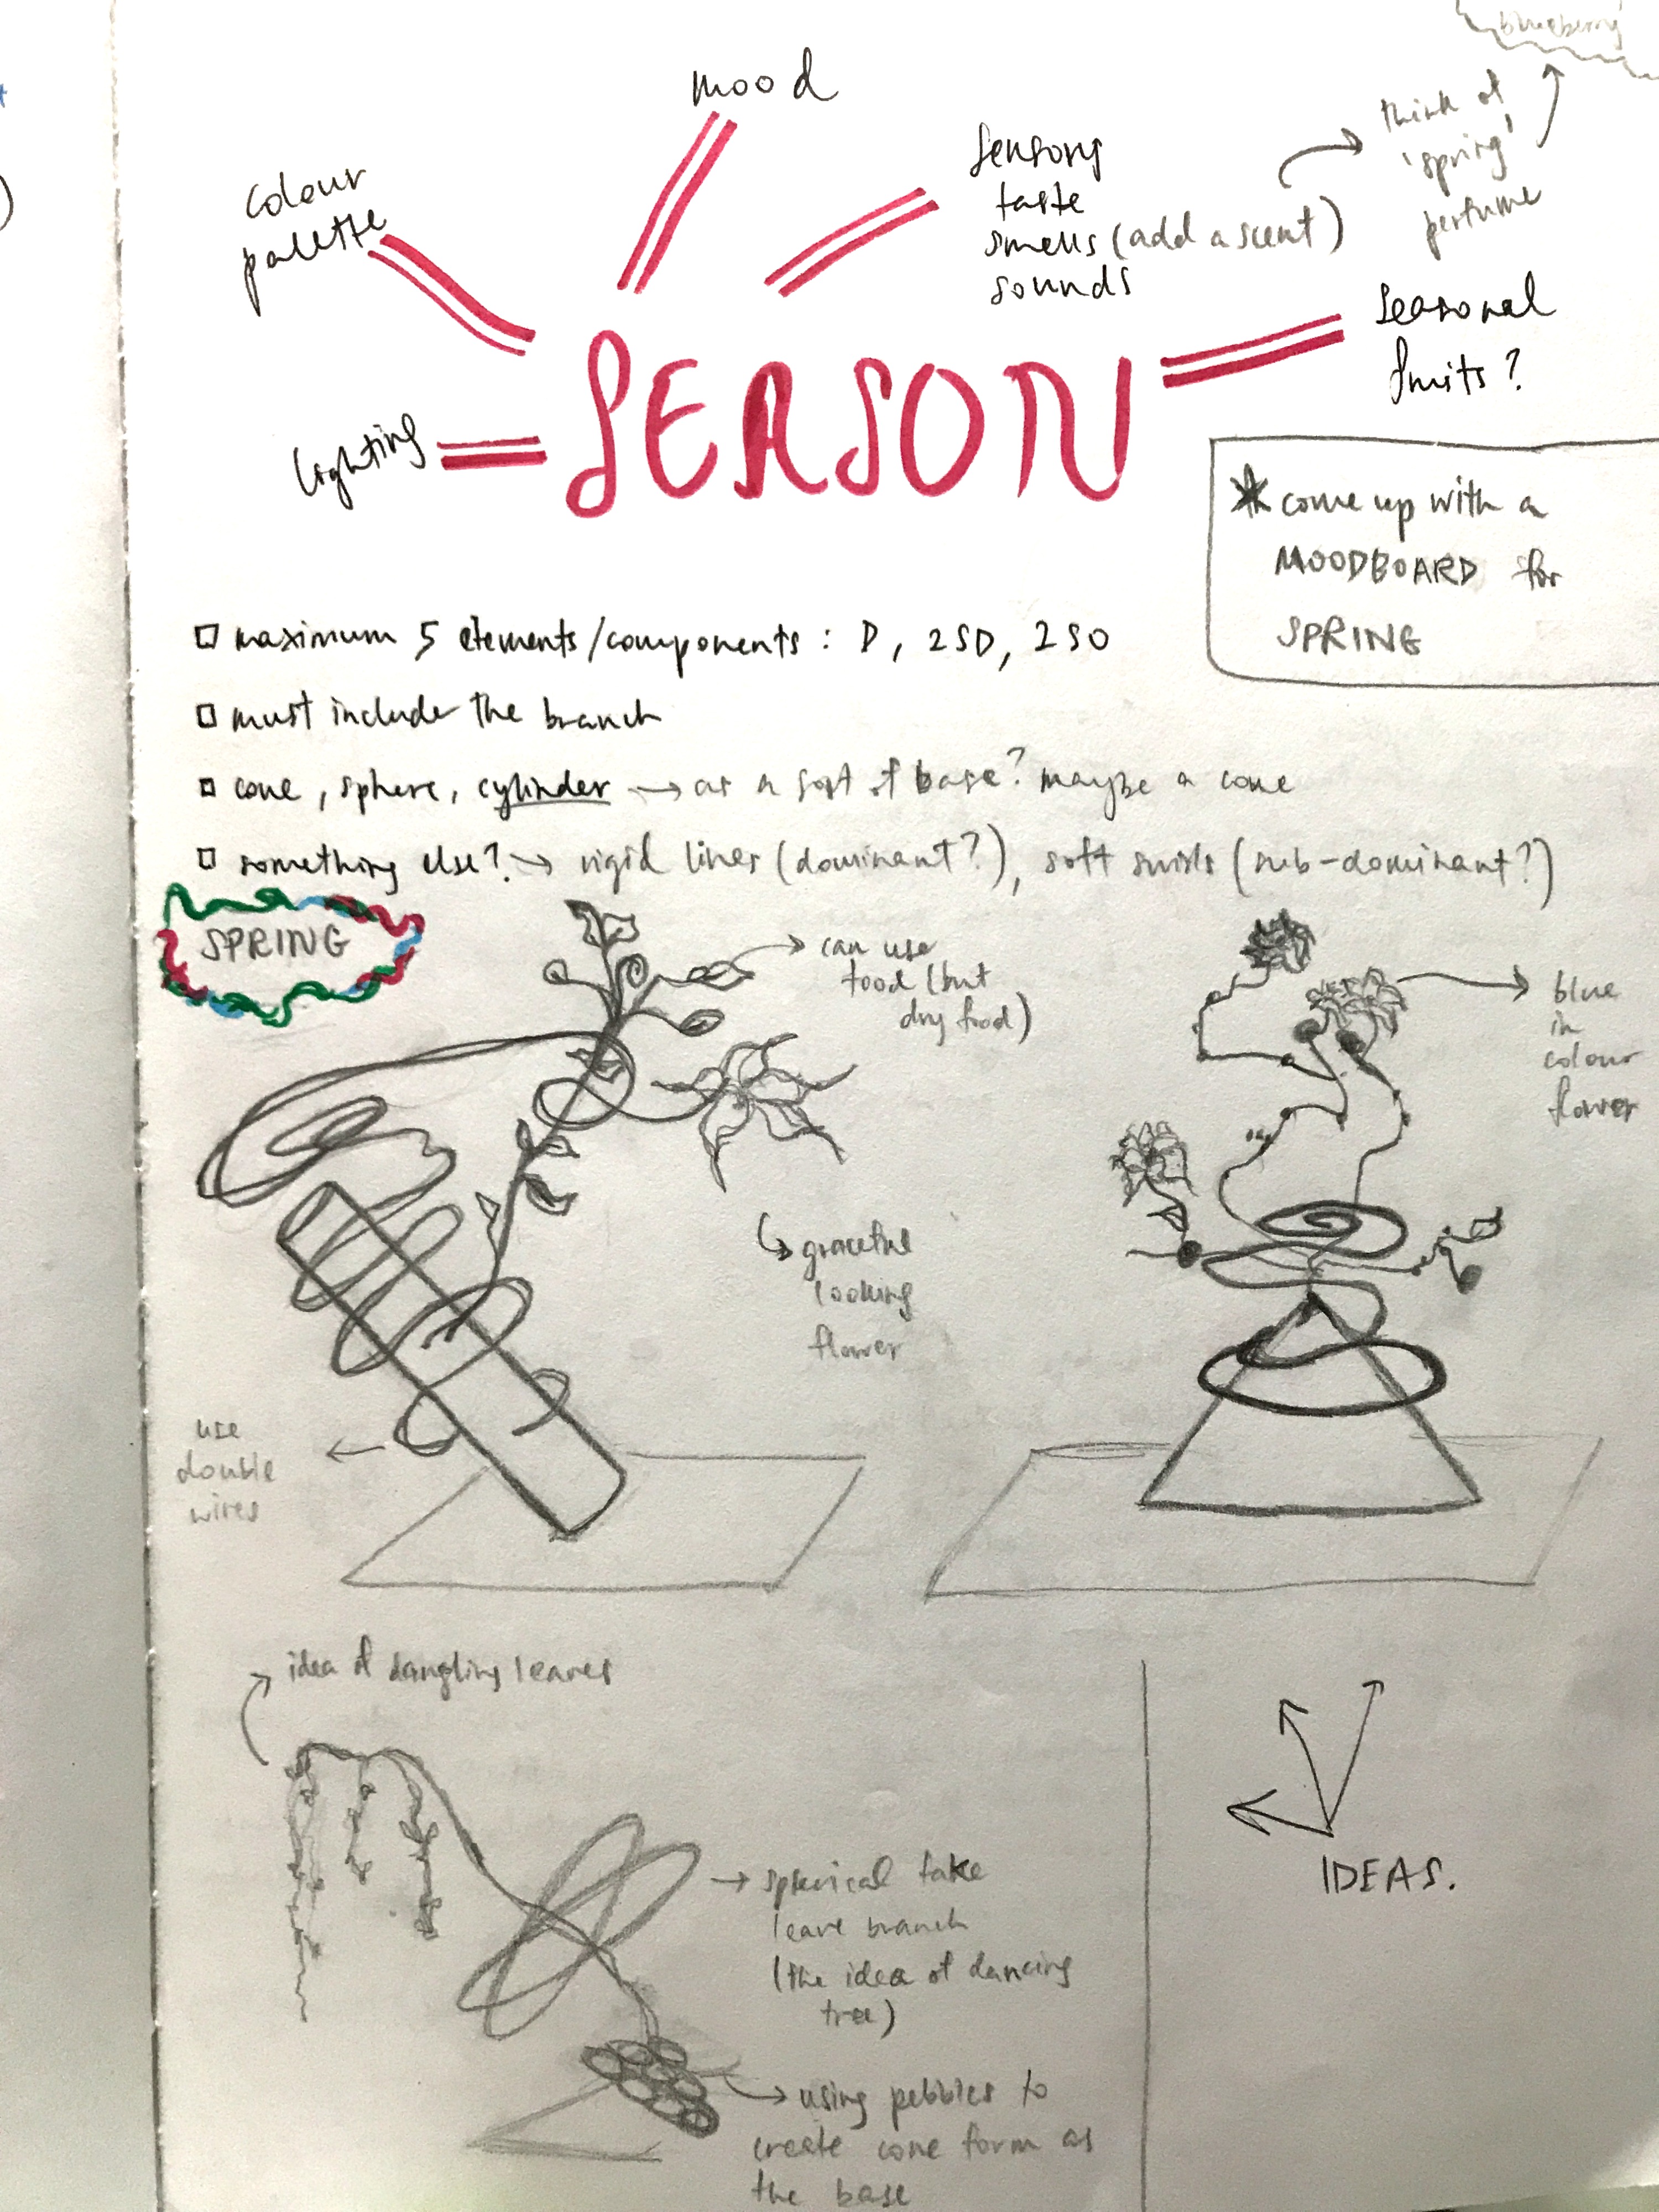
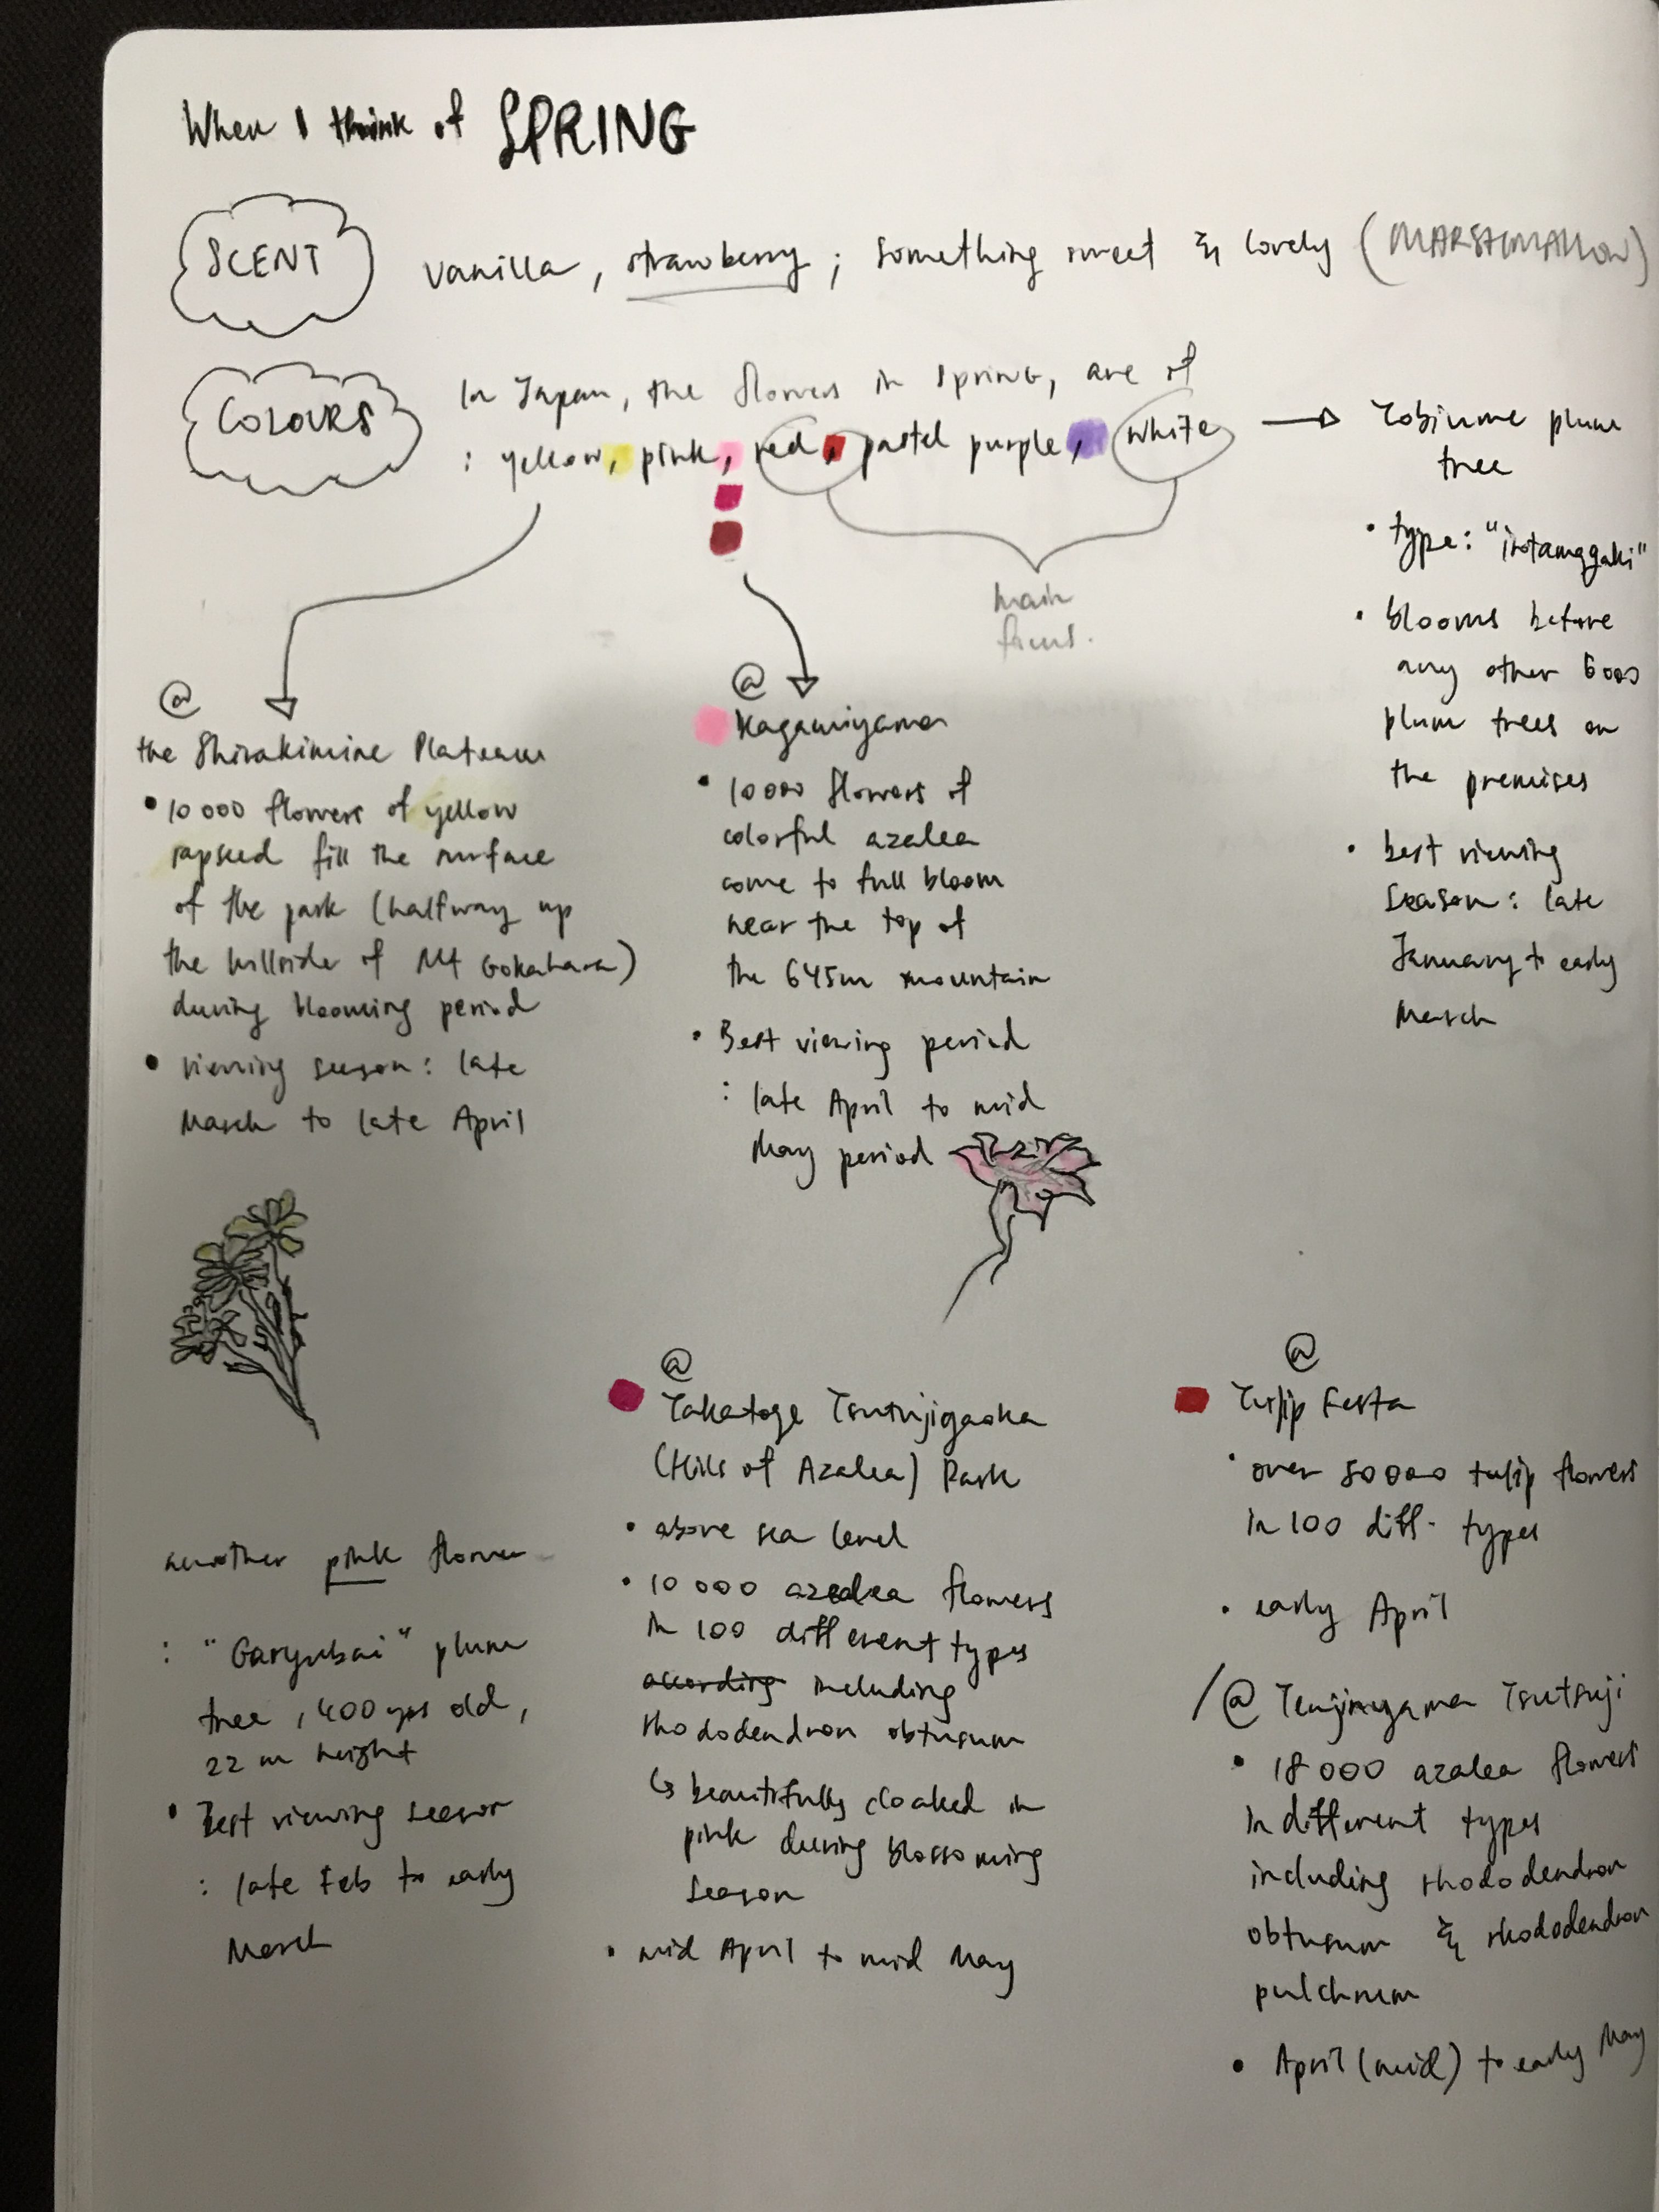
Preparing for ikebana 1:

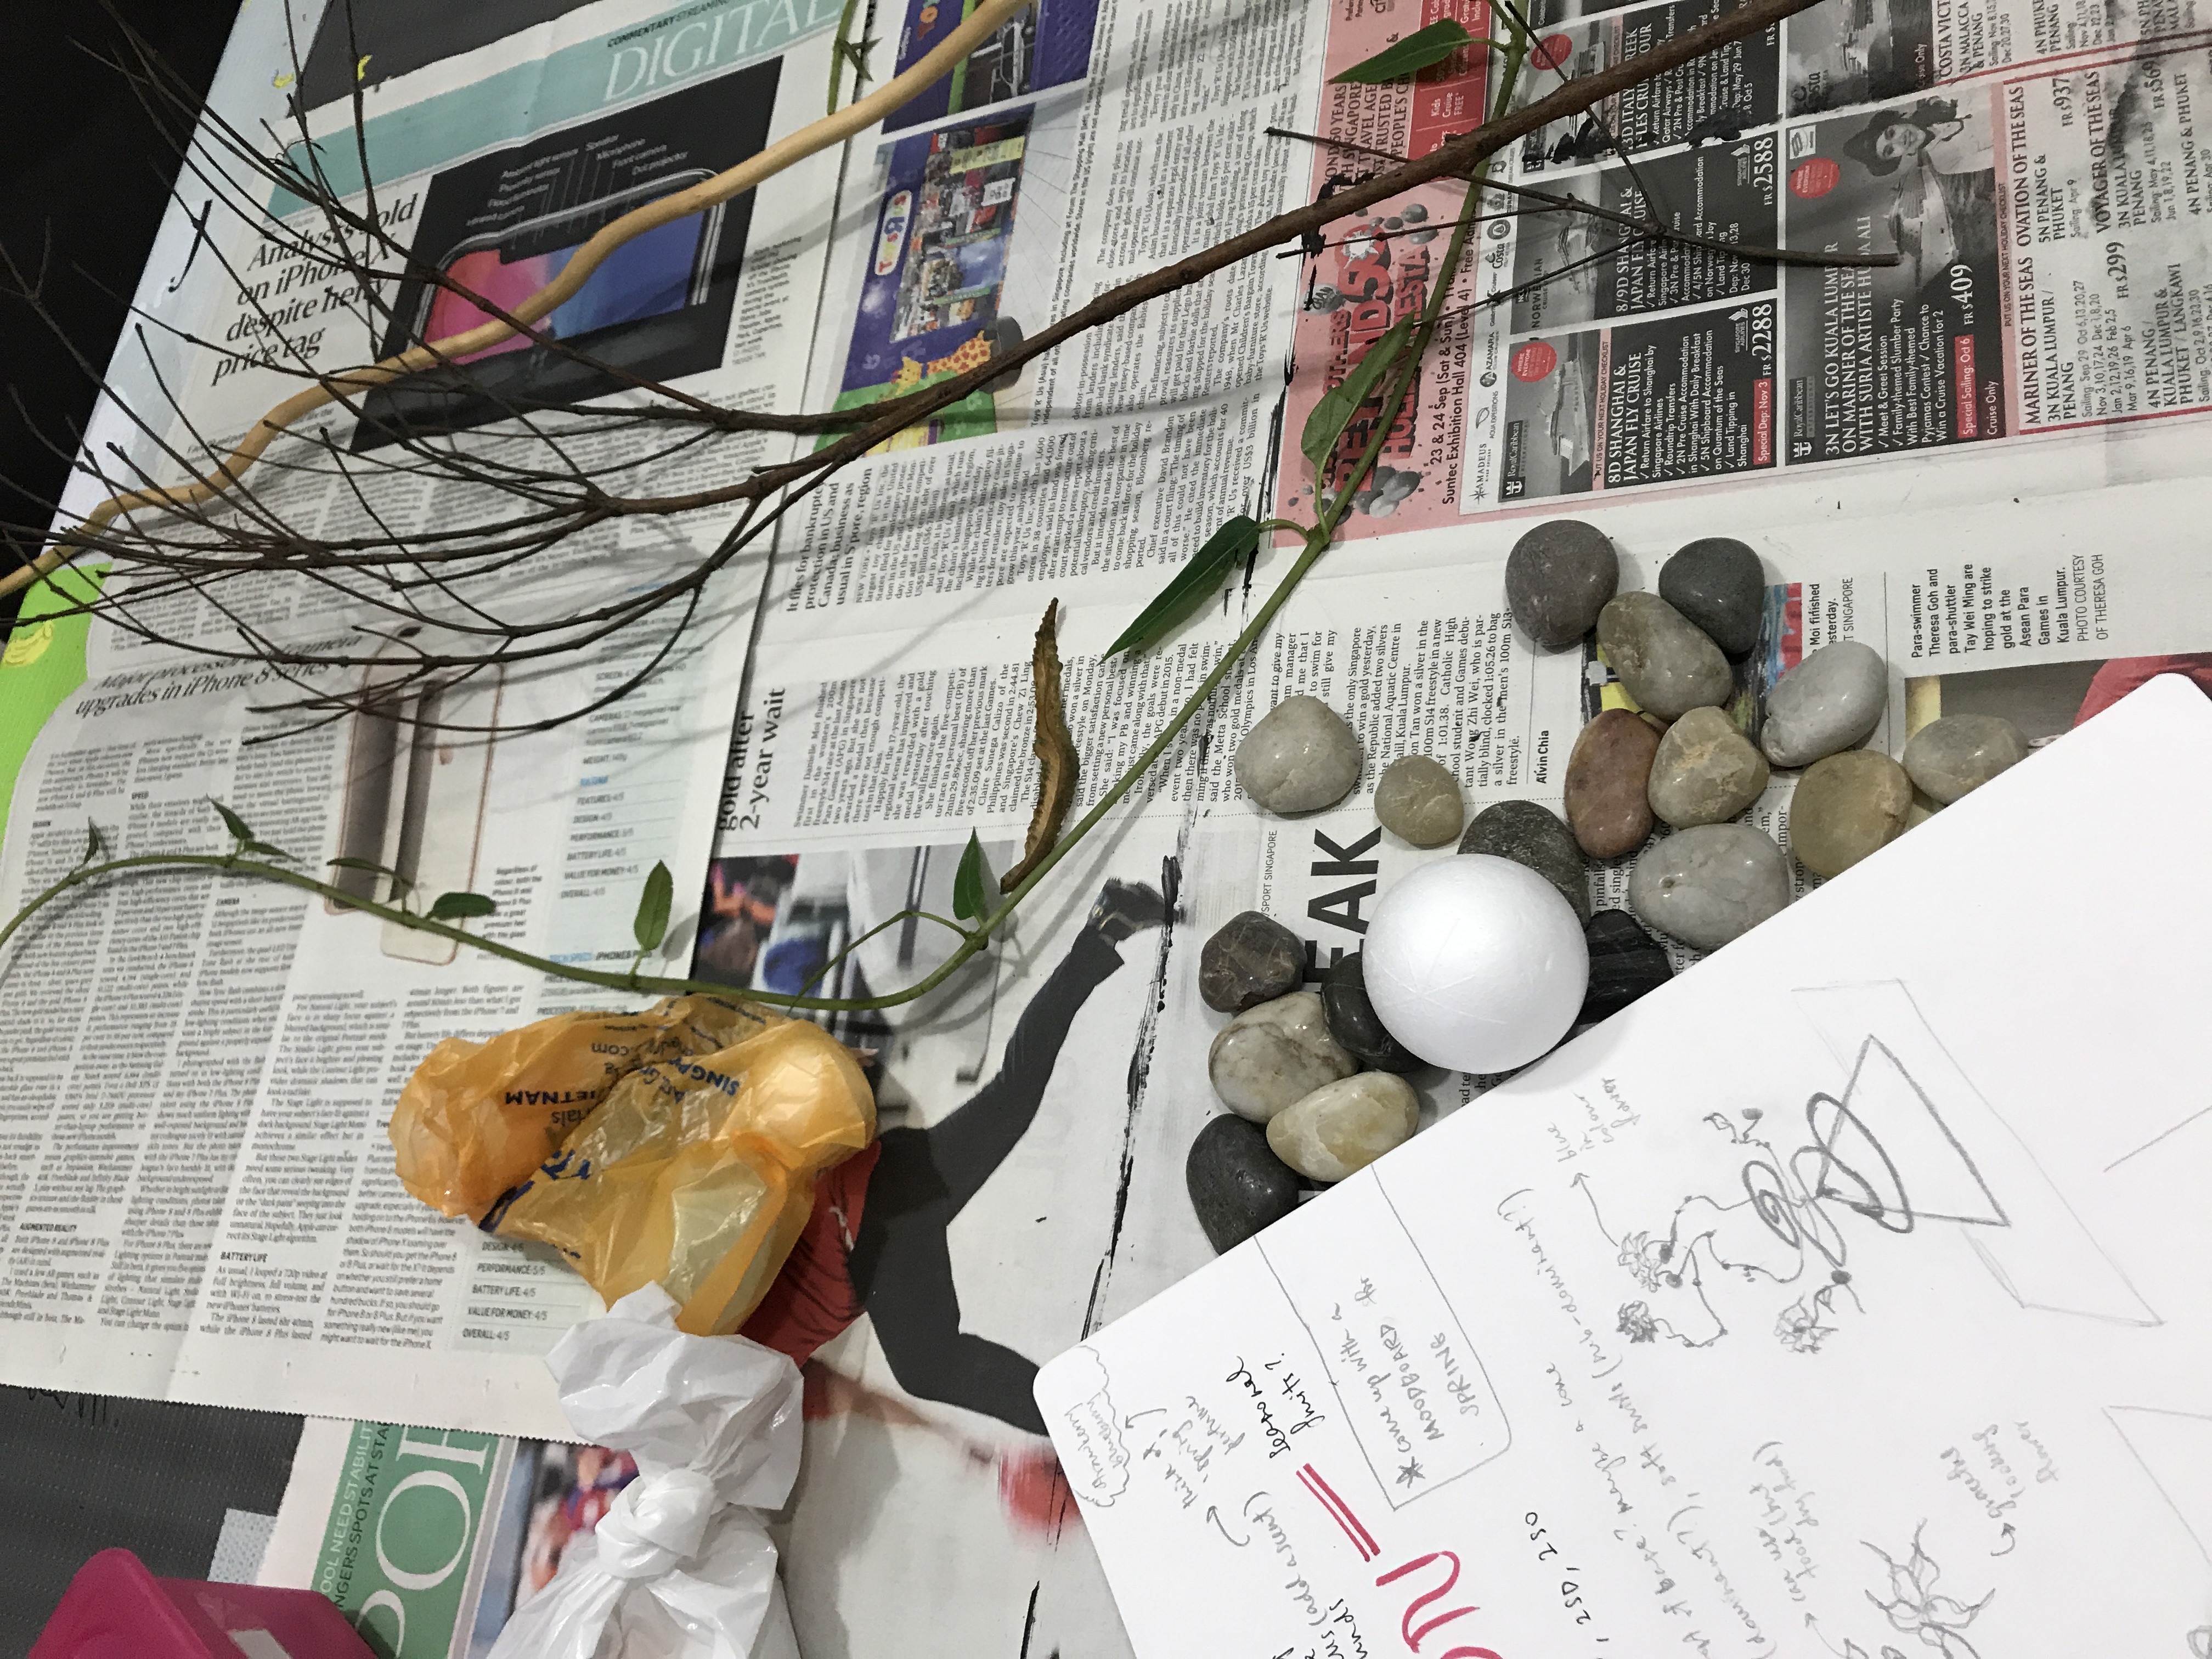
Using pebbles of different sizes and almost same tone of colours that resembles nature, to create my sphere, my dominant:

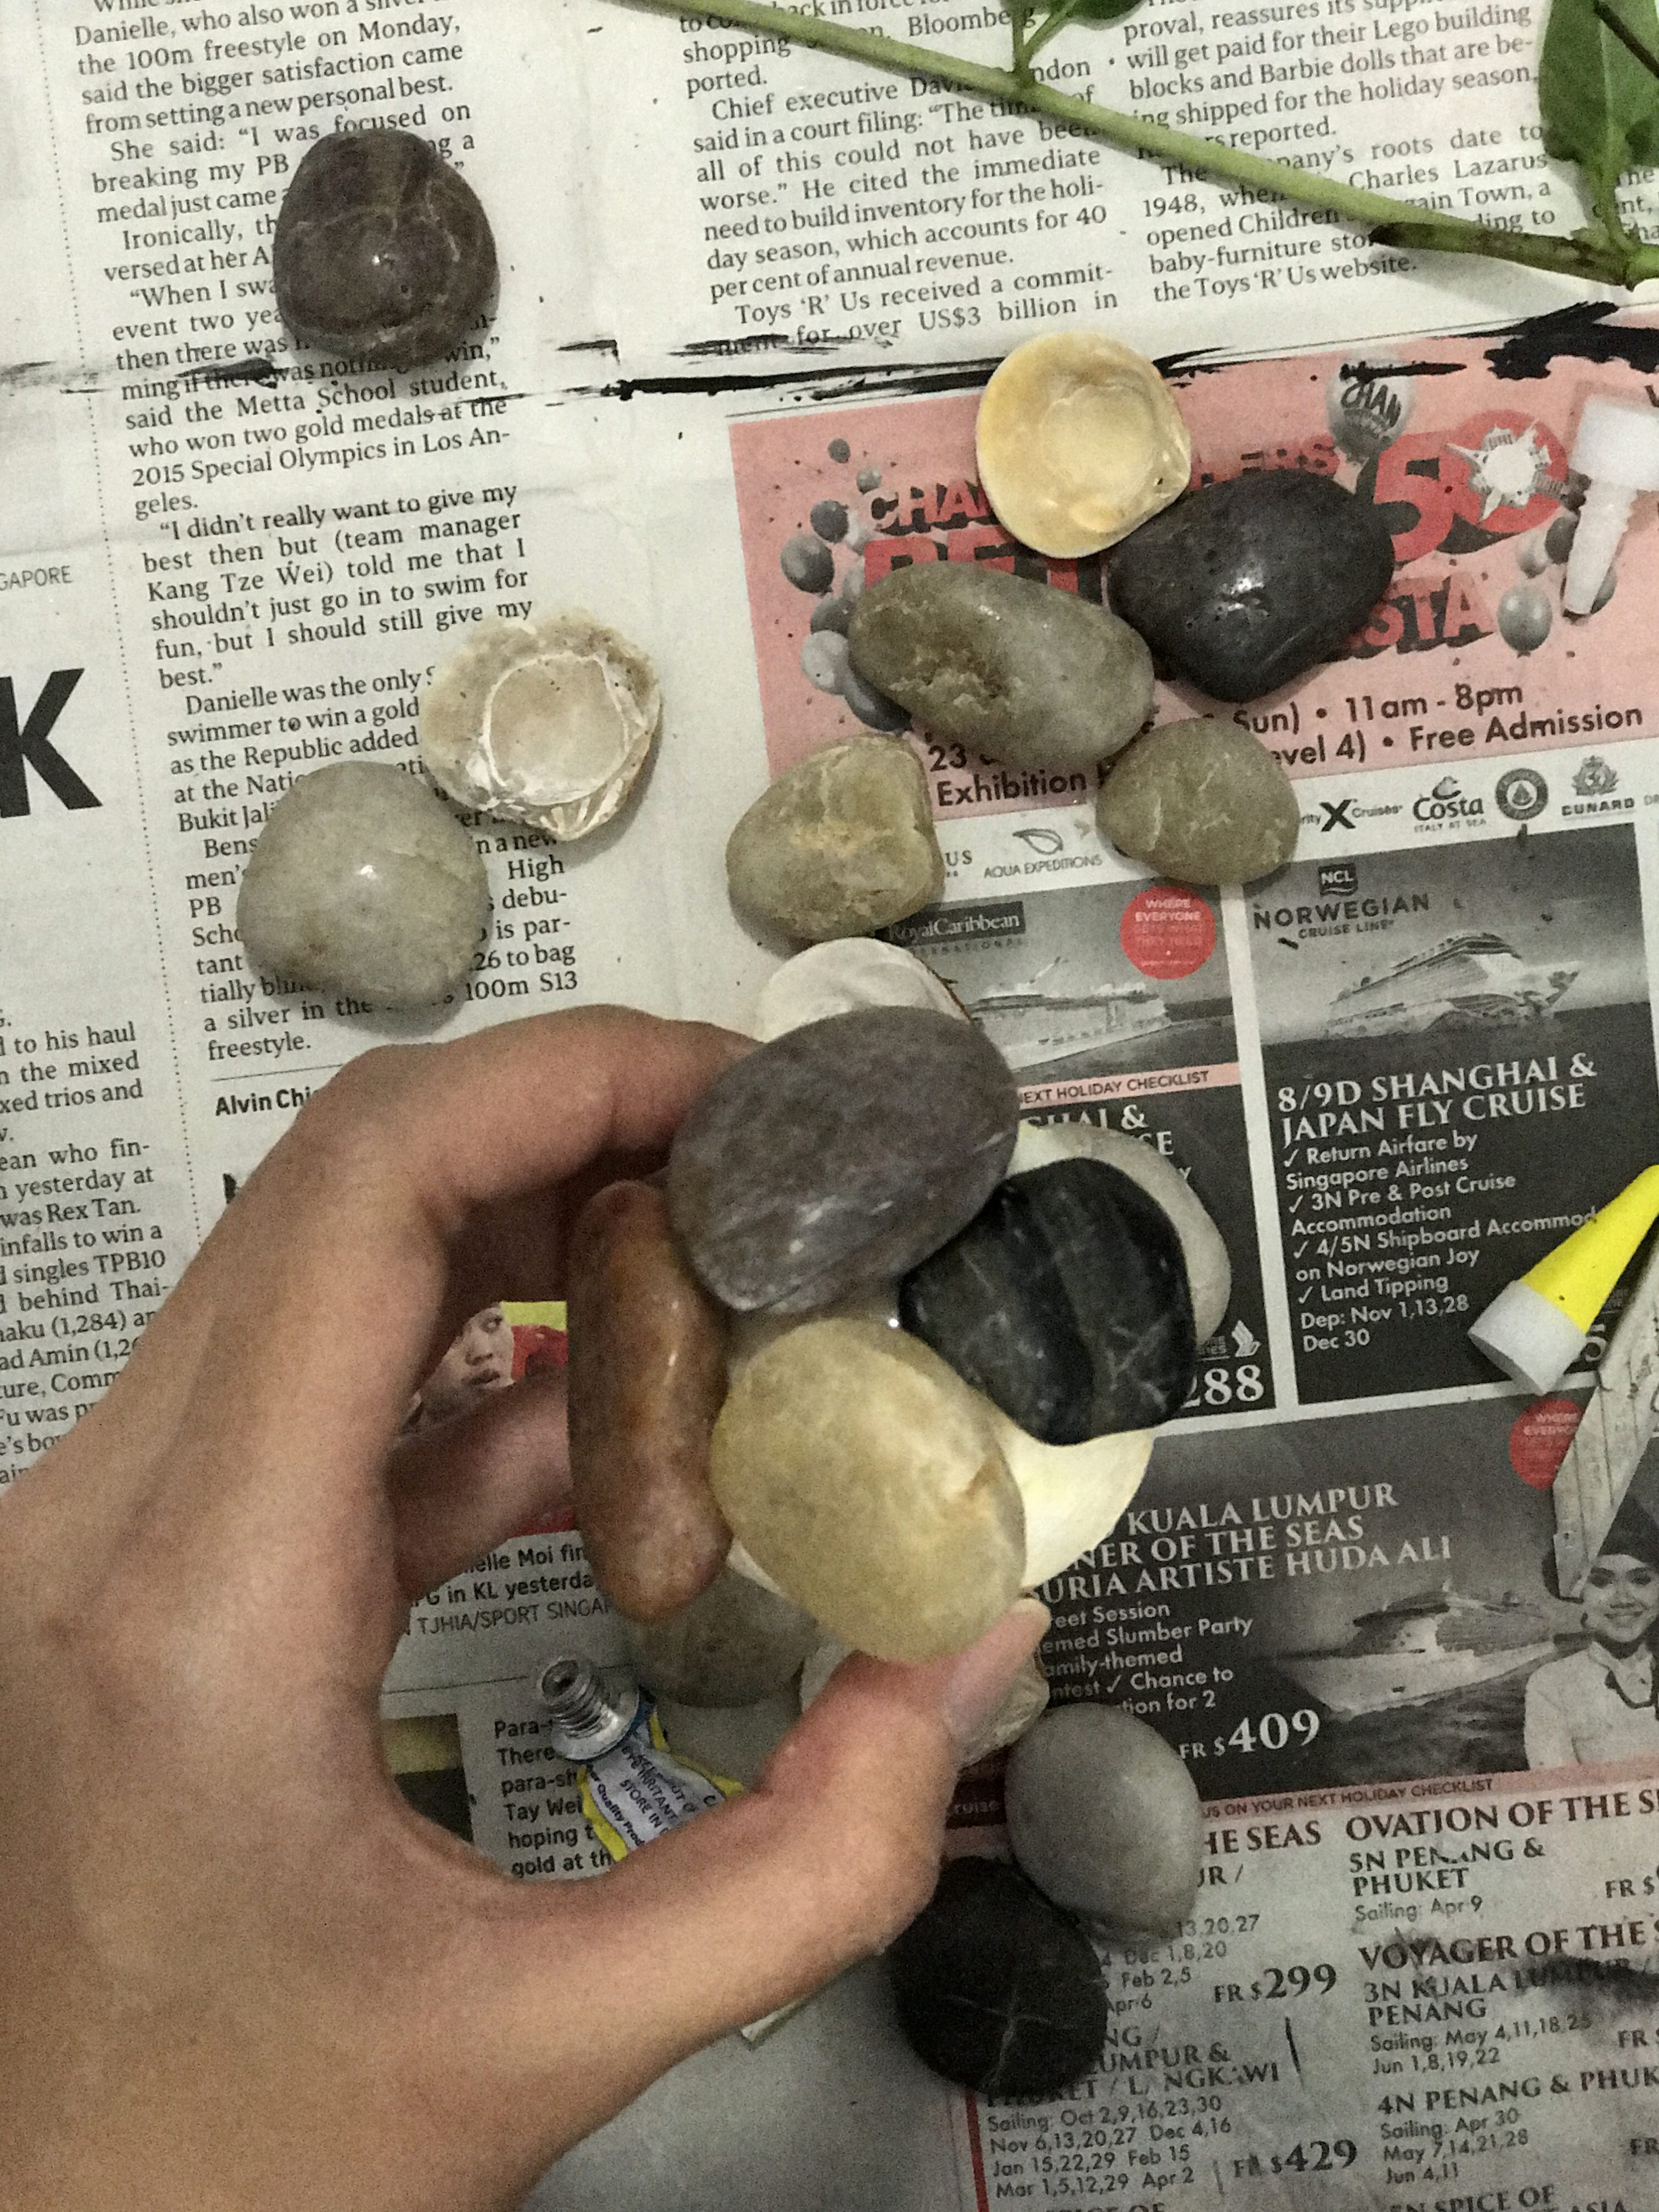
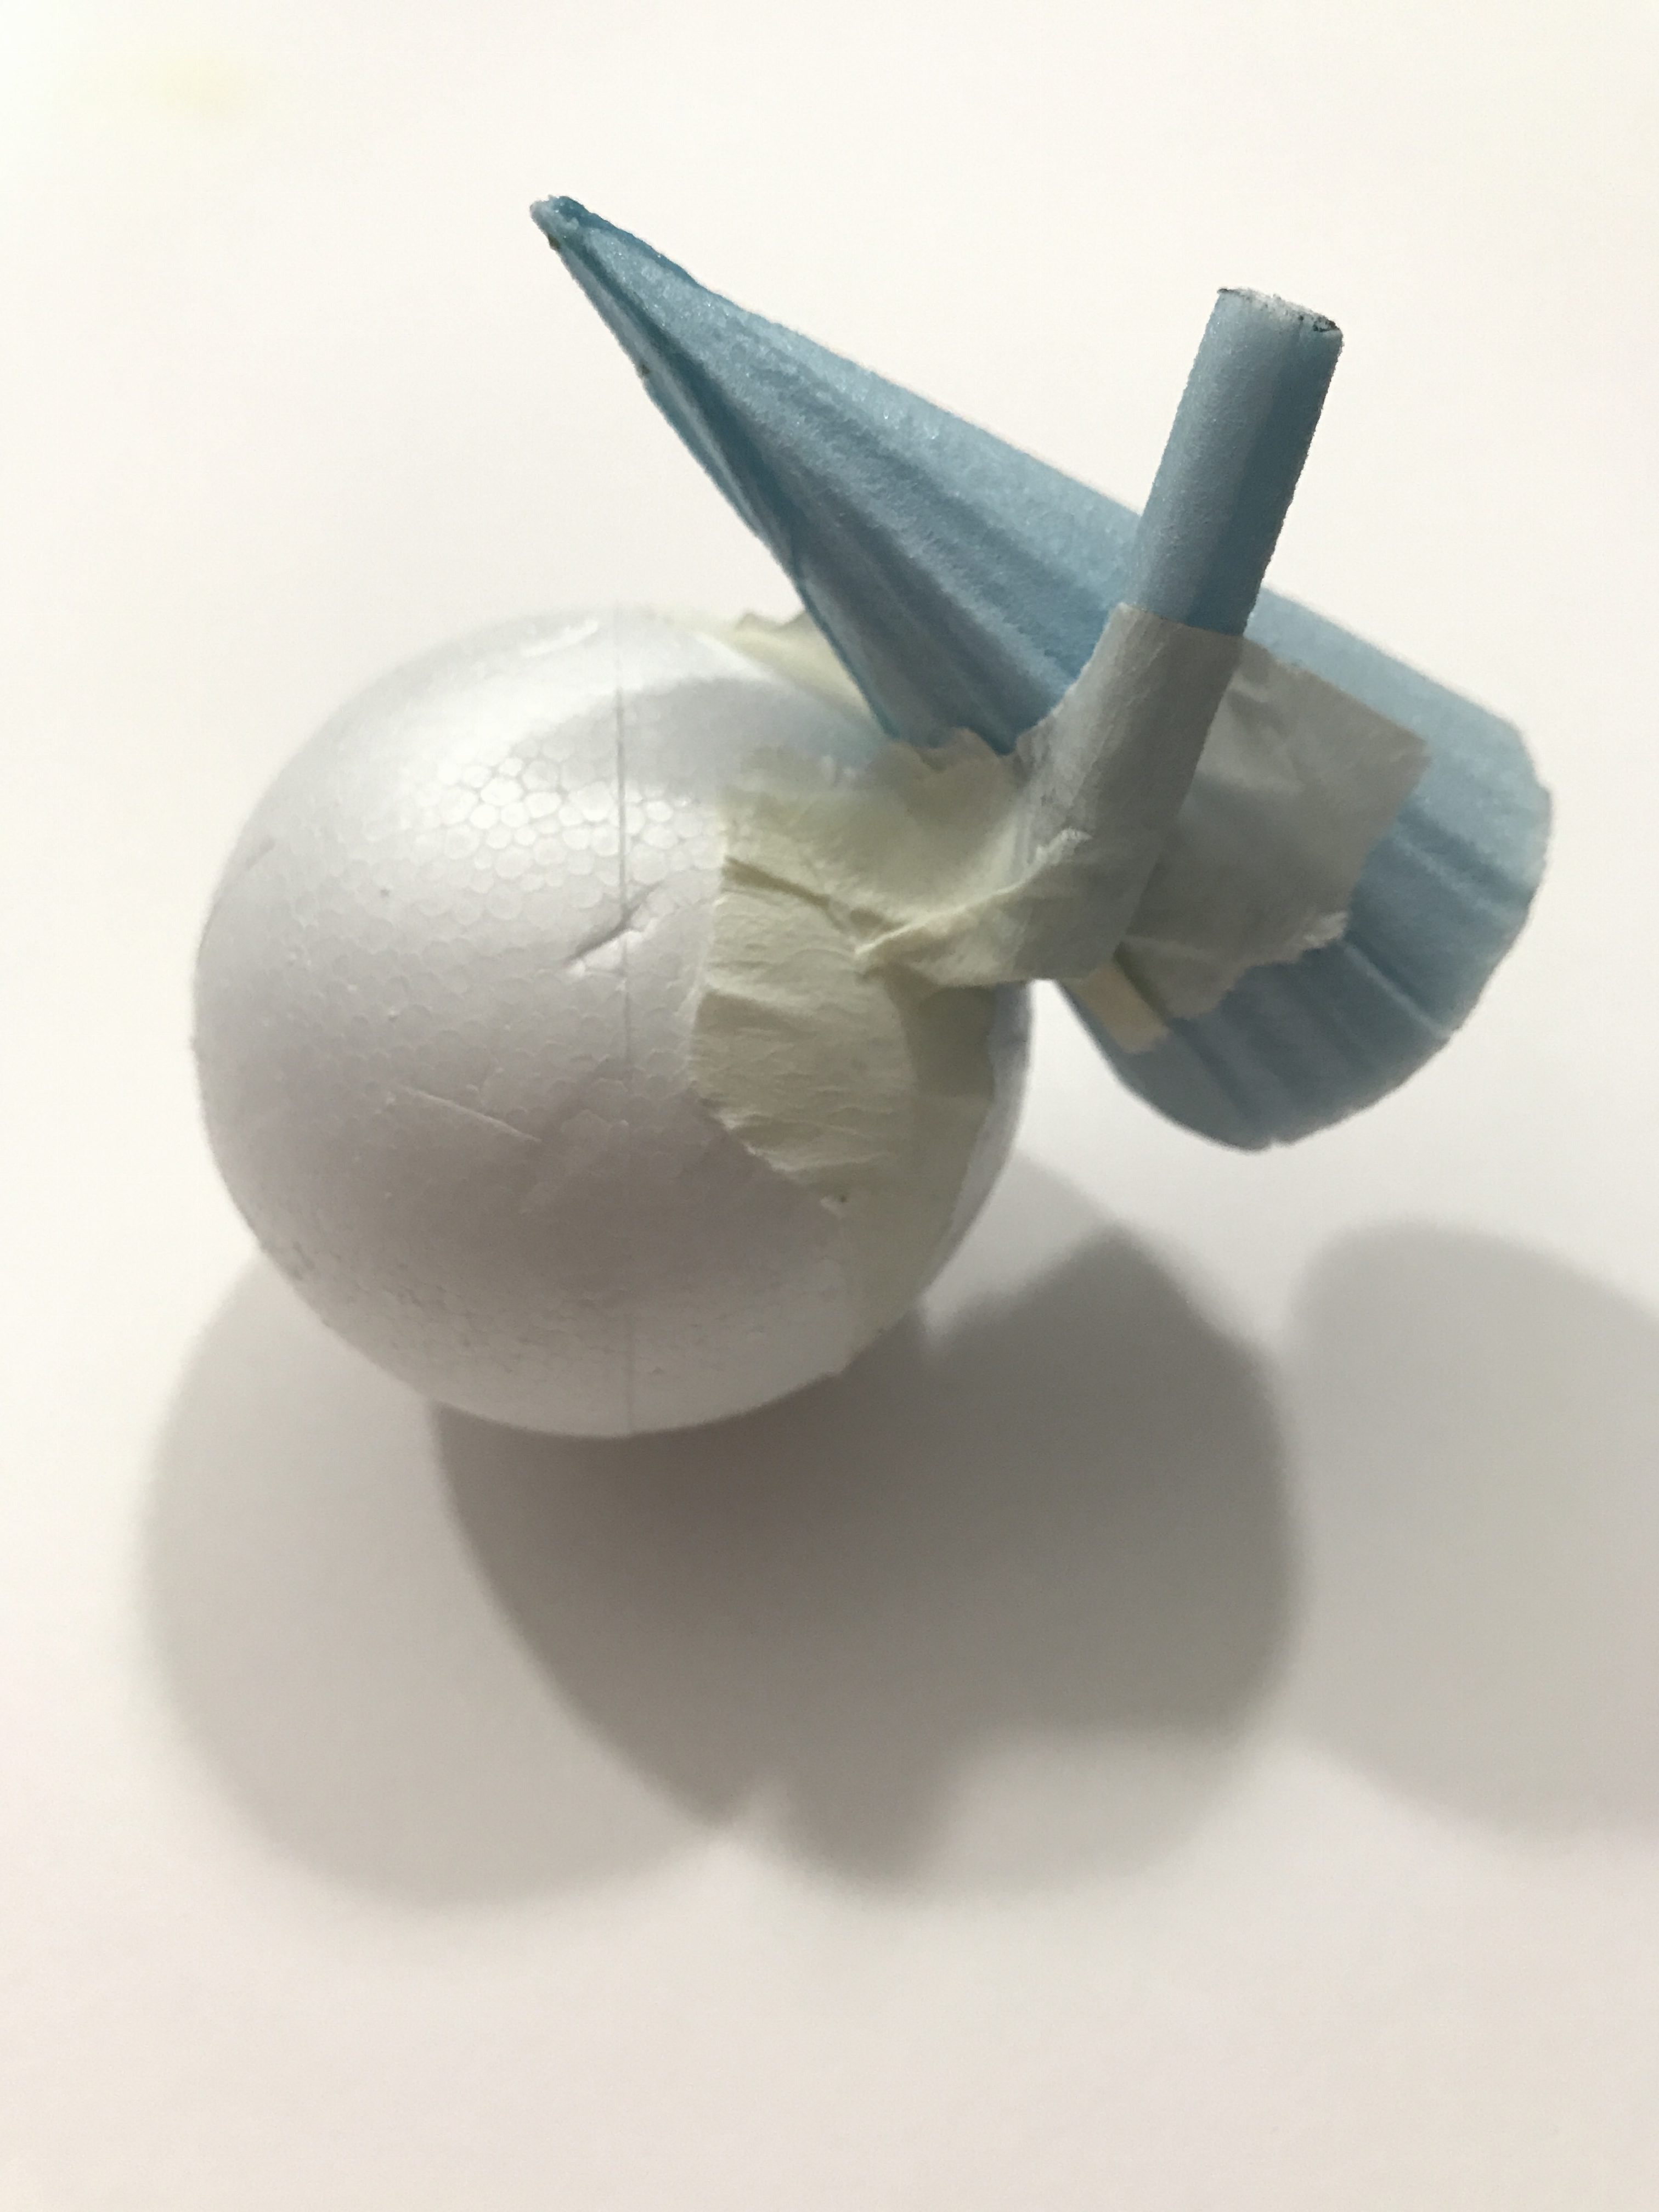
End result of sphere:

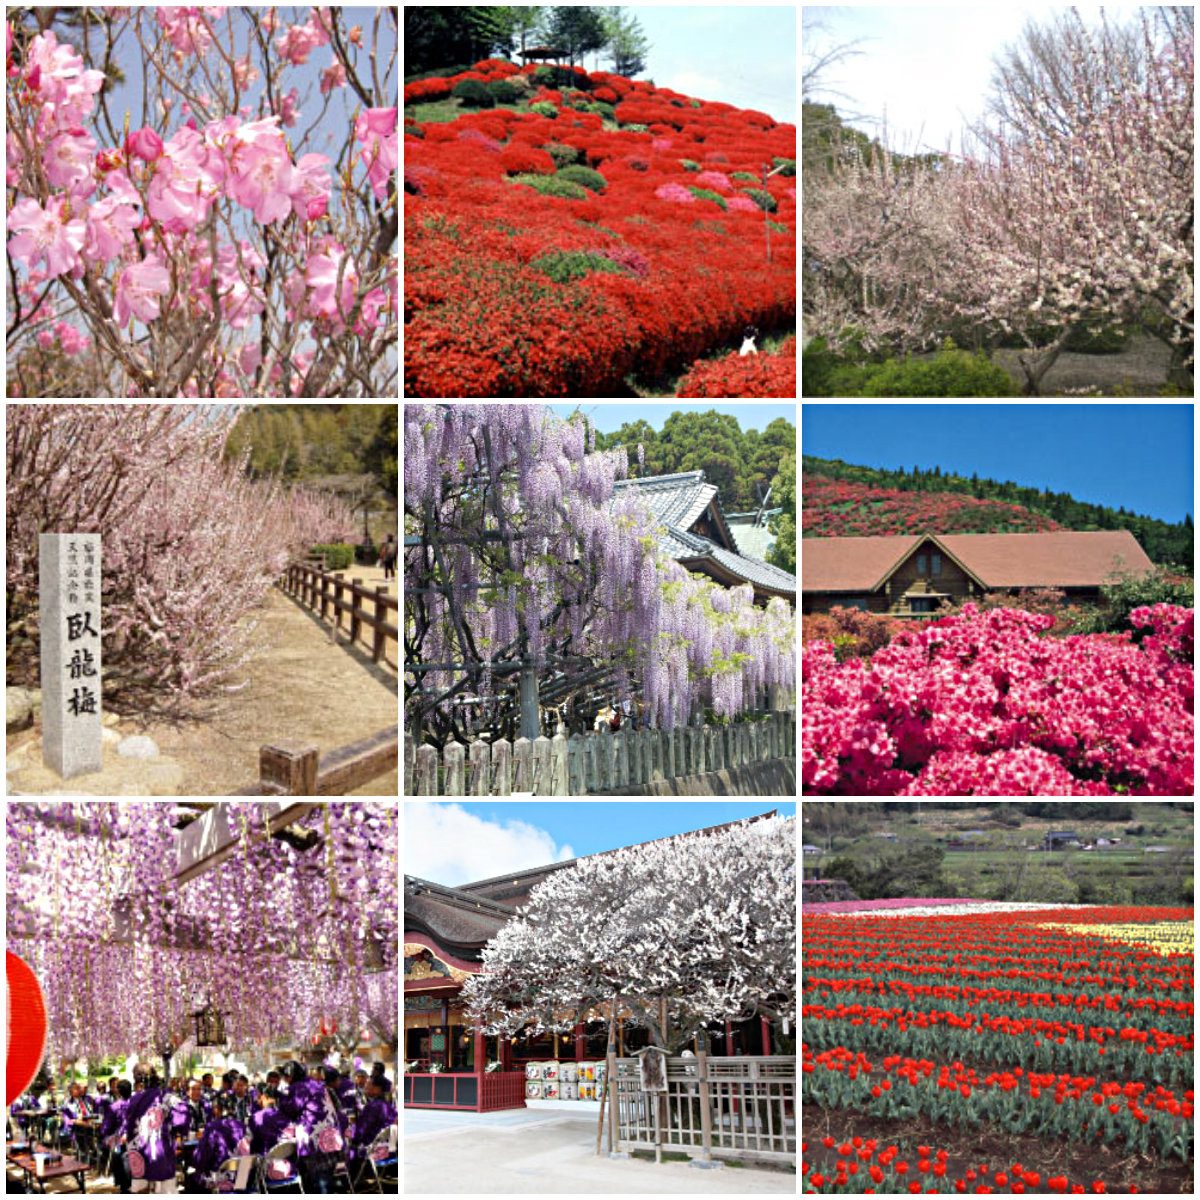
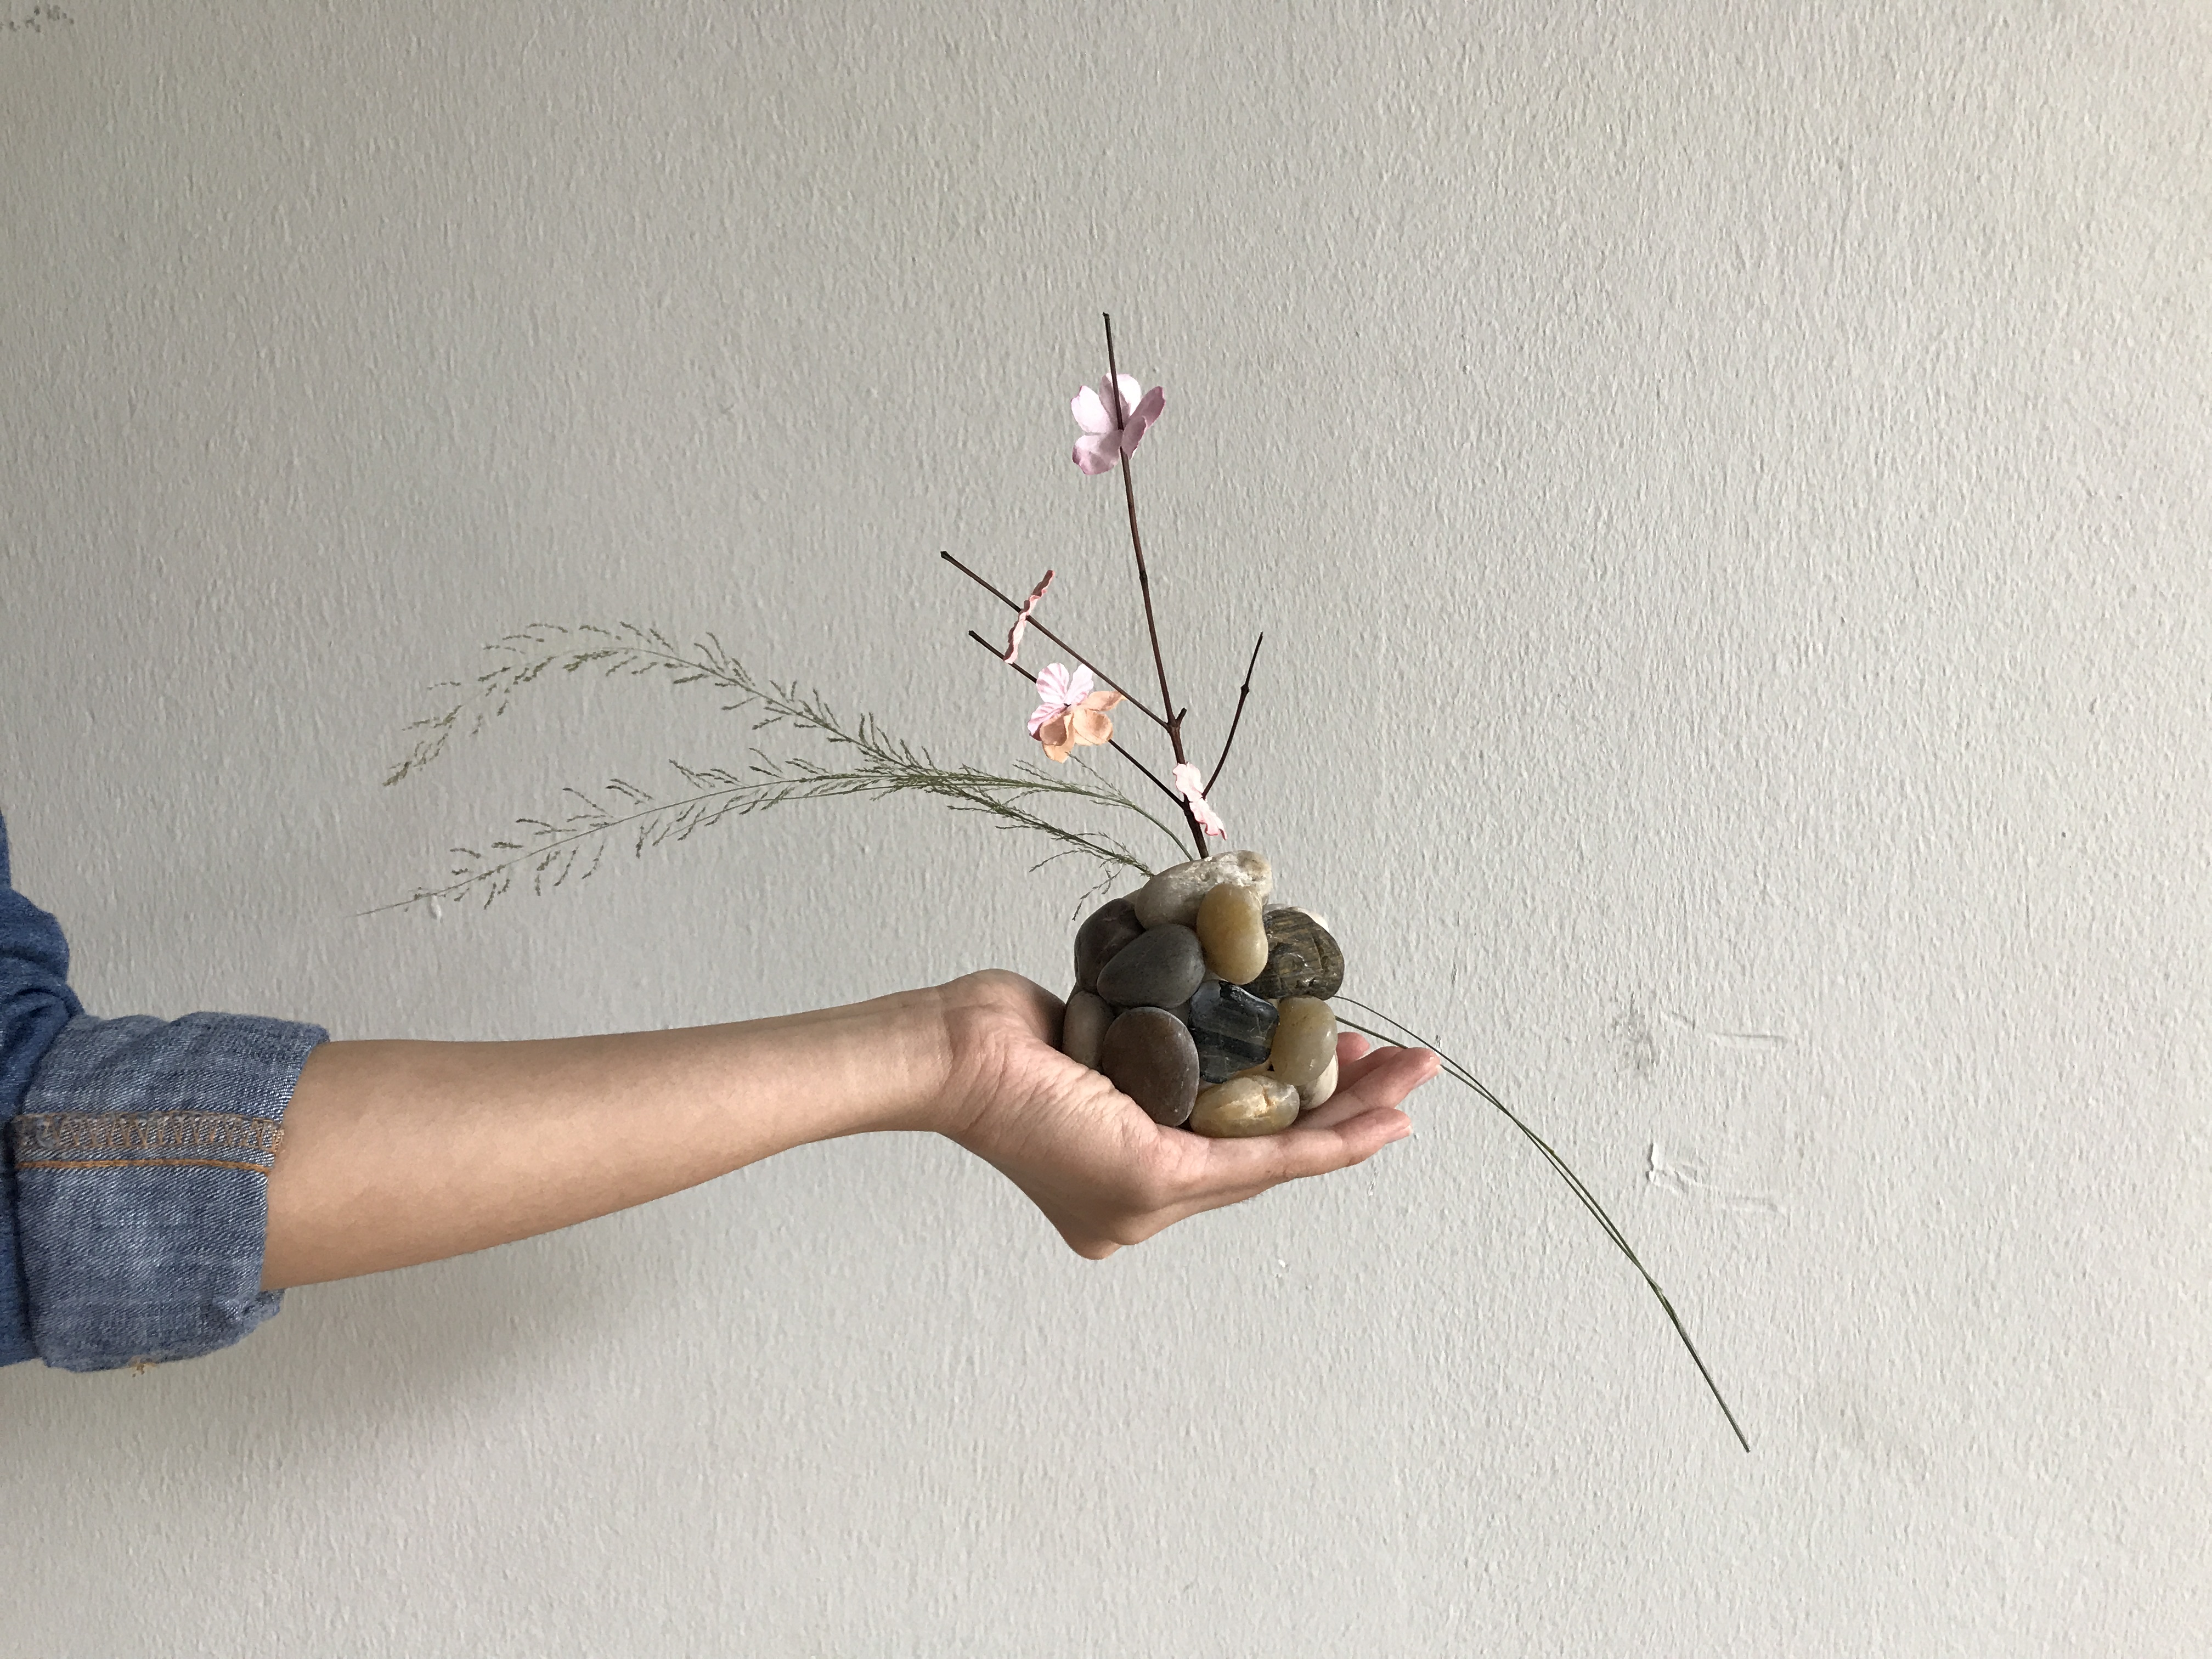
Then making fake pastel pink flowers to be poked through the twigs, to make them look like spring flowers. I also tried to use real little flowers you usually see growing out of those vast grasses:

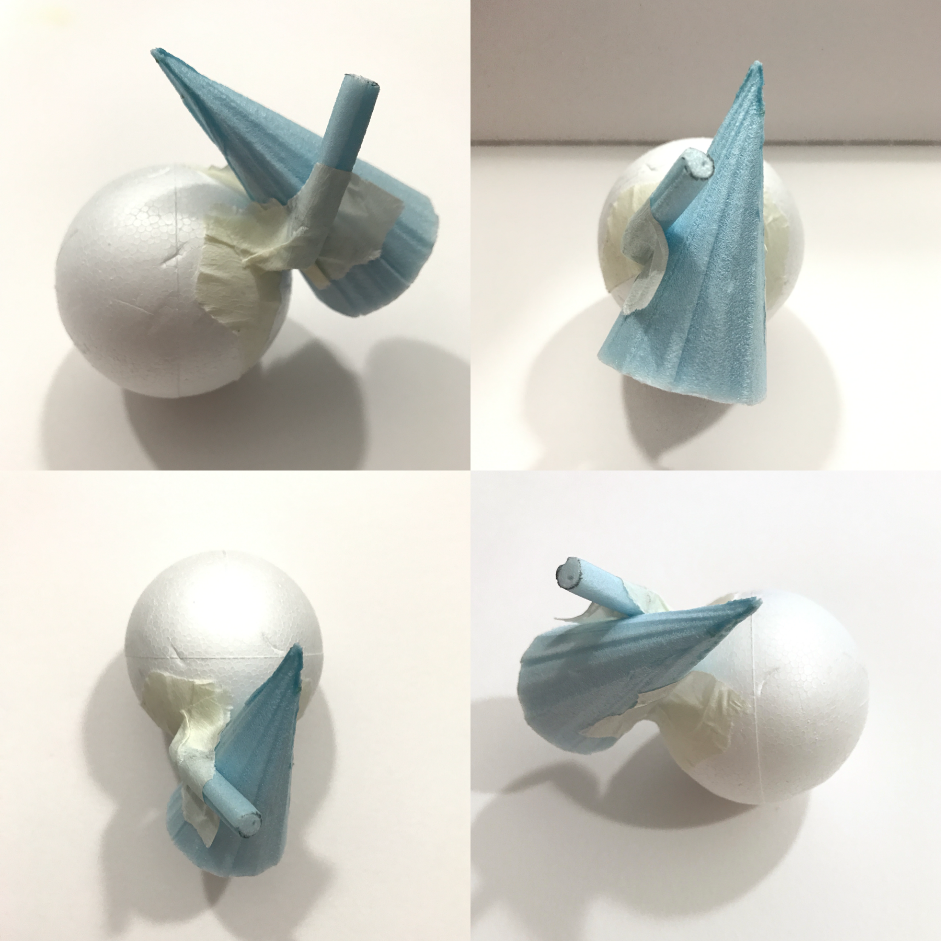
Wedging the twigs into the pebble sphere, putting it in the right order and placement to make the long leaves hang loose like one of the Japan’s flowers that bloom during Spring, the Japan wisteria tree annnnnd voilaaa!

Initially I didn’t want to show this in class because for me, i was not satisfied as I couldn’t find a right place to put a cone, it just seemed lovely this way. BUT after viewing it in class, the best ideas came from professor and my friends where they suggested I could just get more of those long flowy leaves and stack them like the direction you see above and it will already be shaped into a loose cone on the other end!

HOW INTERESTING.

So because I didn’t know this, and because I still was excited to create more, I just decided to create 1 more. A different style.

Ikebana 2: I used 3 bendable gold wires for this, to create another huge sphere as my dominant.

In the end after putting marshmallows (i thought of spring flowers as something that scented vanilla and sweet) and fake red flowers made out of ribbons wedged into the twigs, this is the outcome:

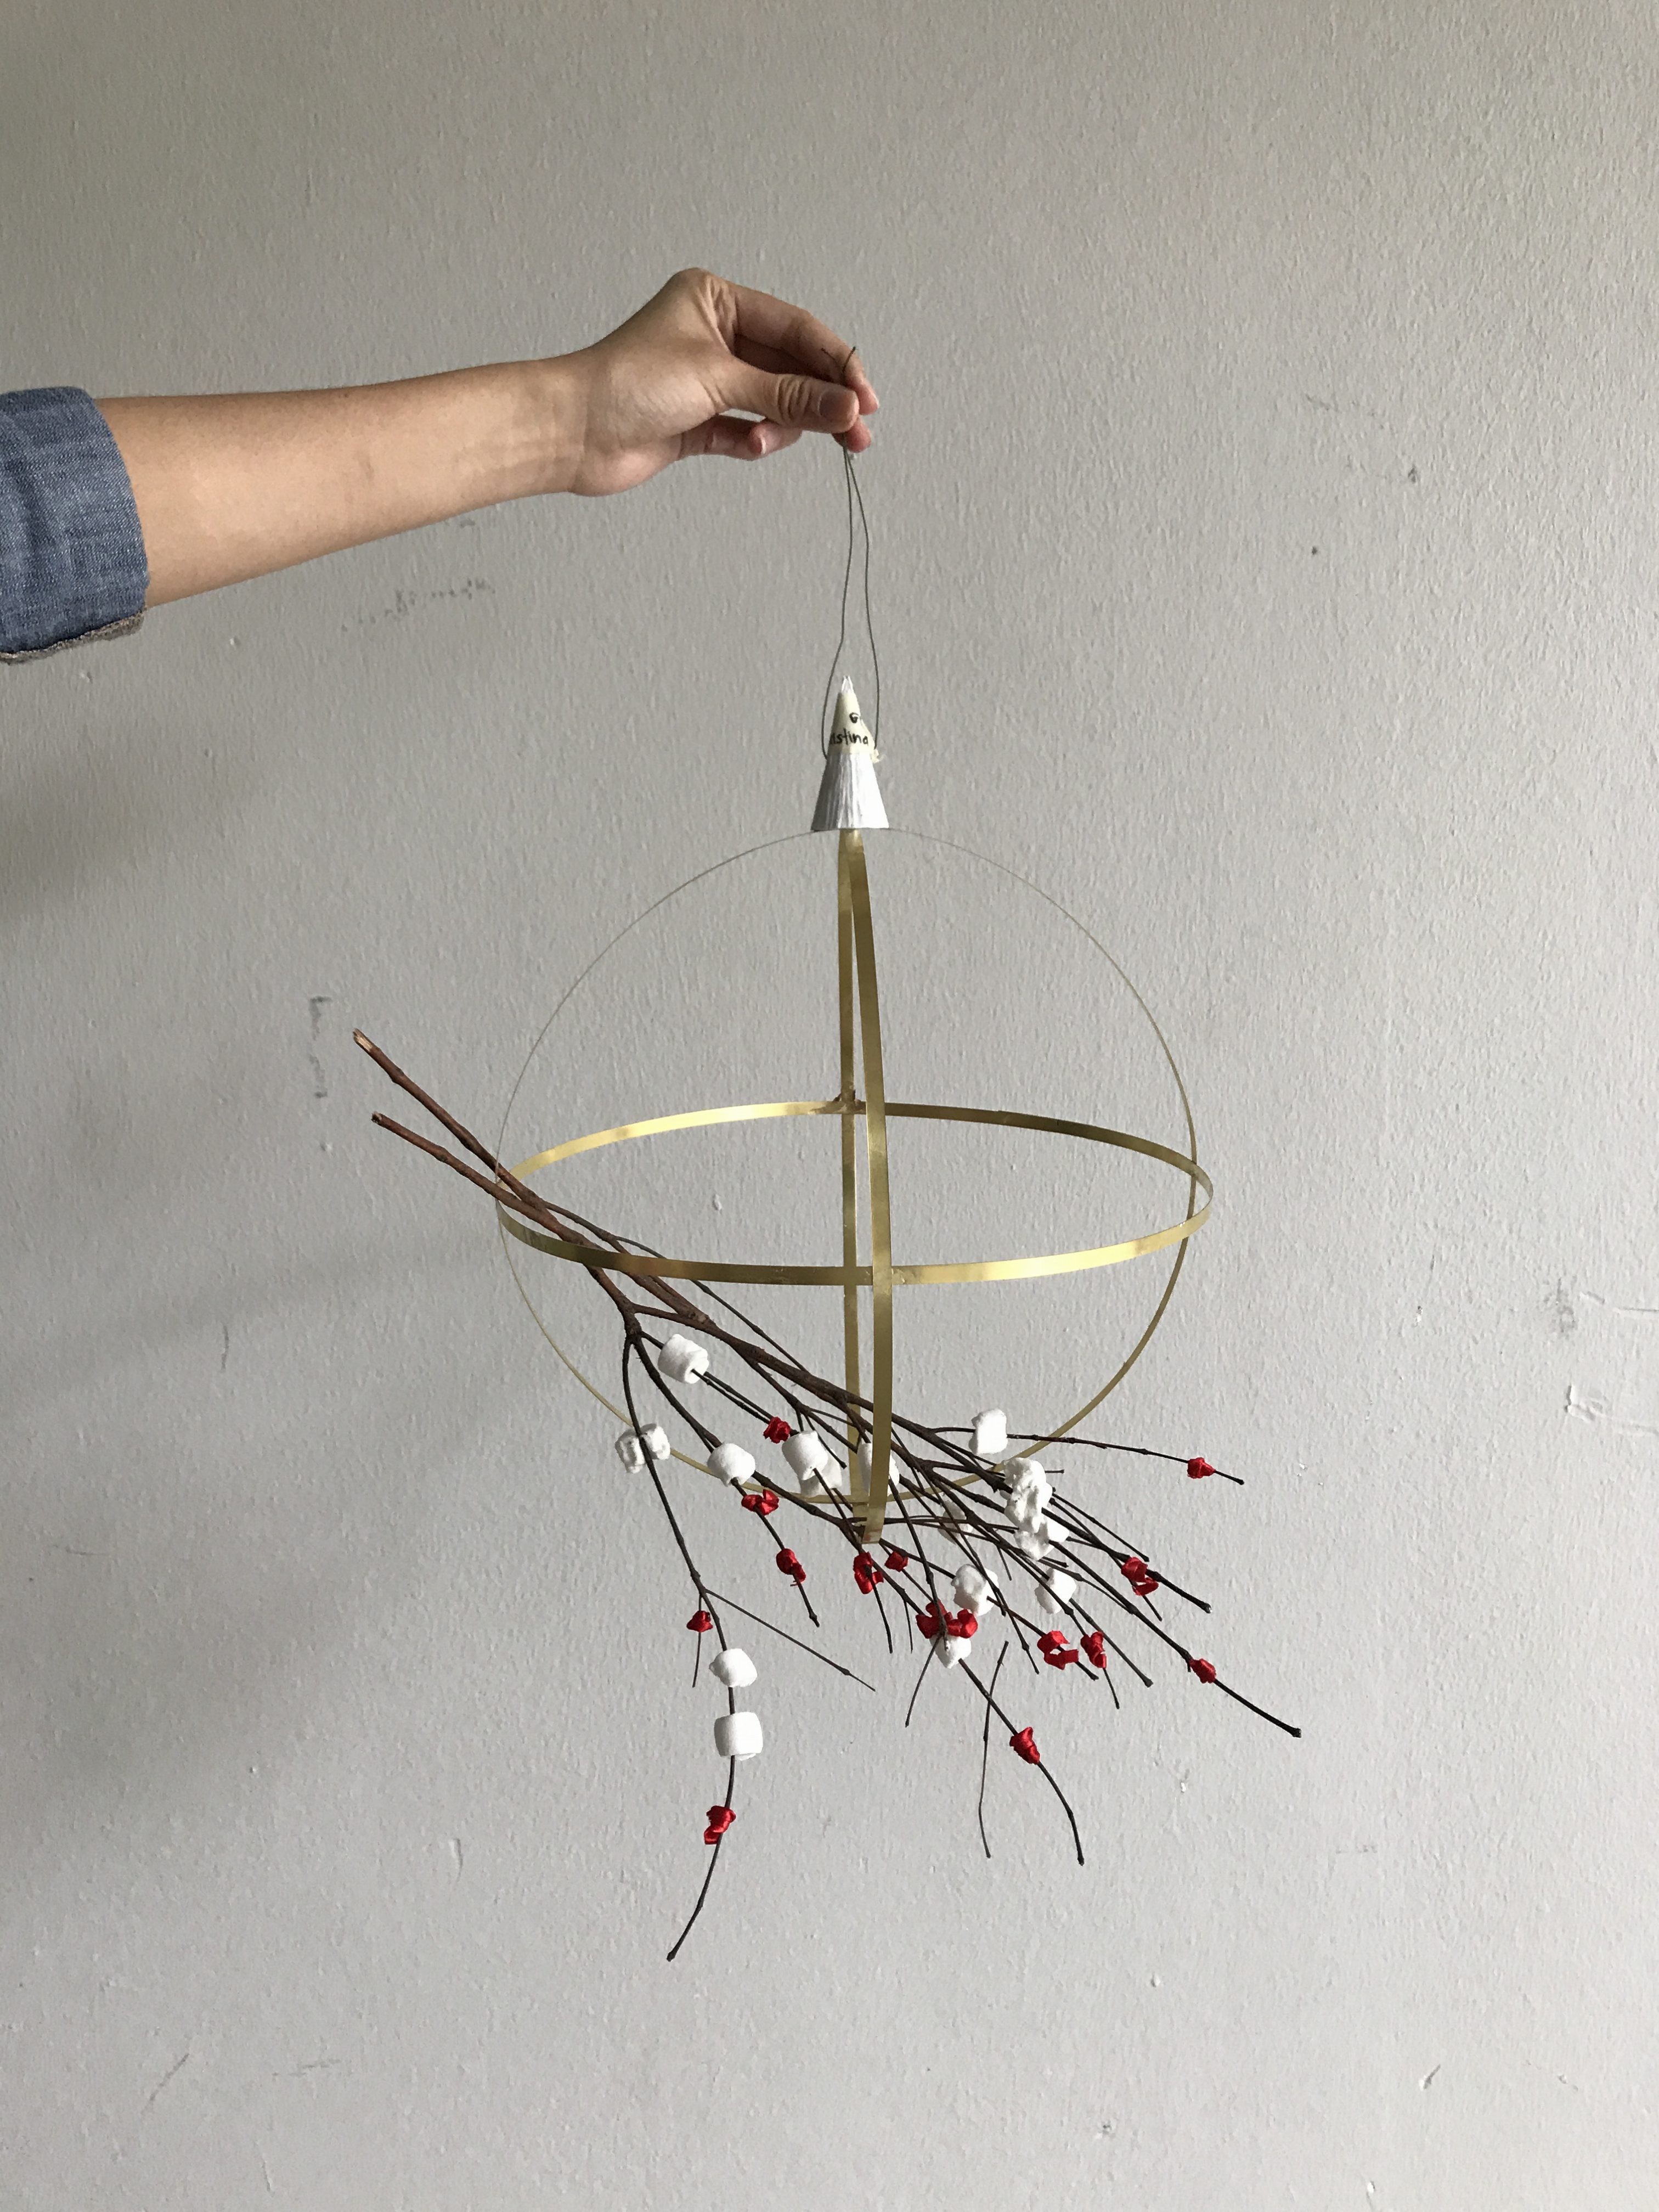
I could have made the cone be less obvious by simply just attaching 4 wires at the top and shape it into a cone as the handler. But overall I liked this one too, and the previous ikebana too. There’s room for improvements but I like what I did and that’s just something to be proud of.

So here my 2 SO(s) are the red and white ‘flowers’ that represent my hopeless romantic state whenever i think of Spring and their new beginnings. My 2 SD(s) are the twigs and the cone/wires on top as the handler (that could have been more obvious if i just amde the cone out of long thin wires). And my D is of course, the huge gold wire sphere. Purposely made it gold so it also seemed simple but elegant.

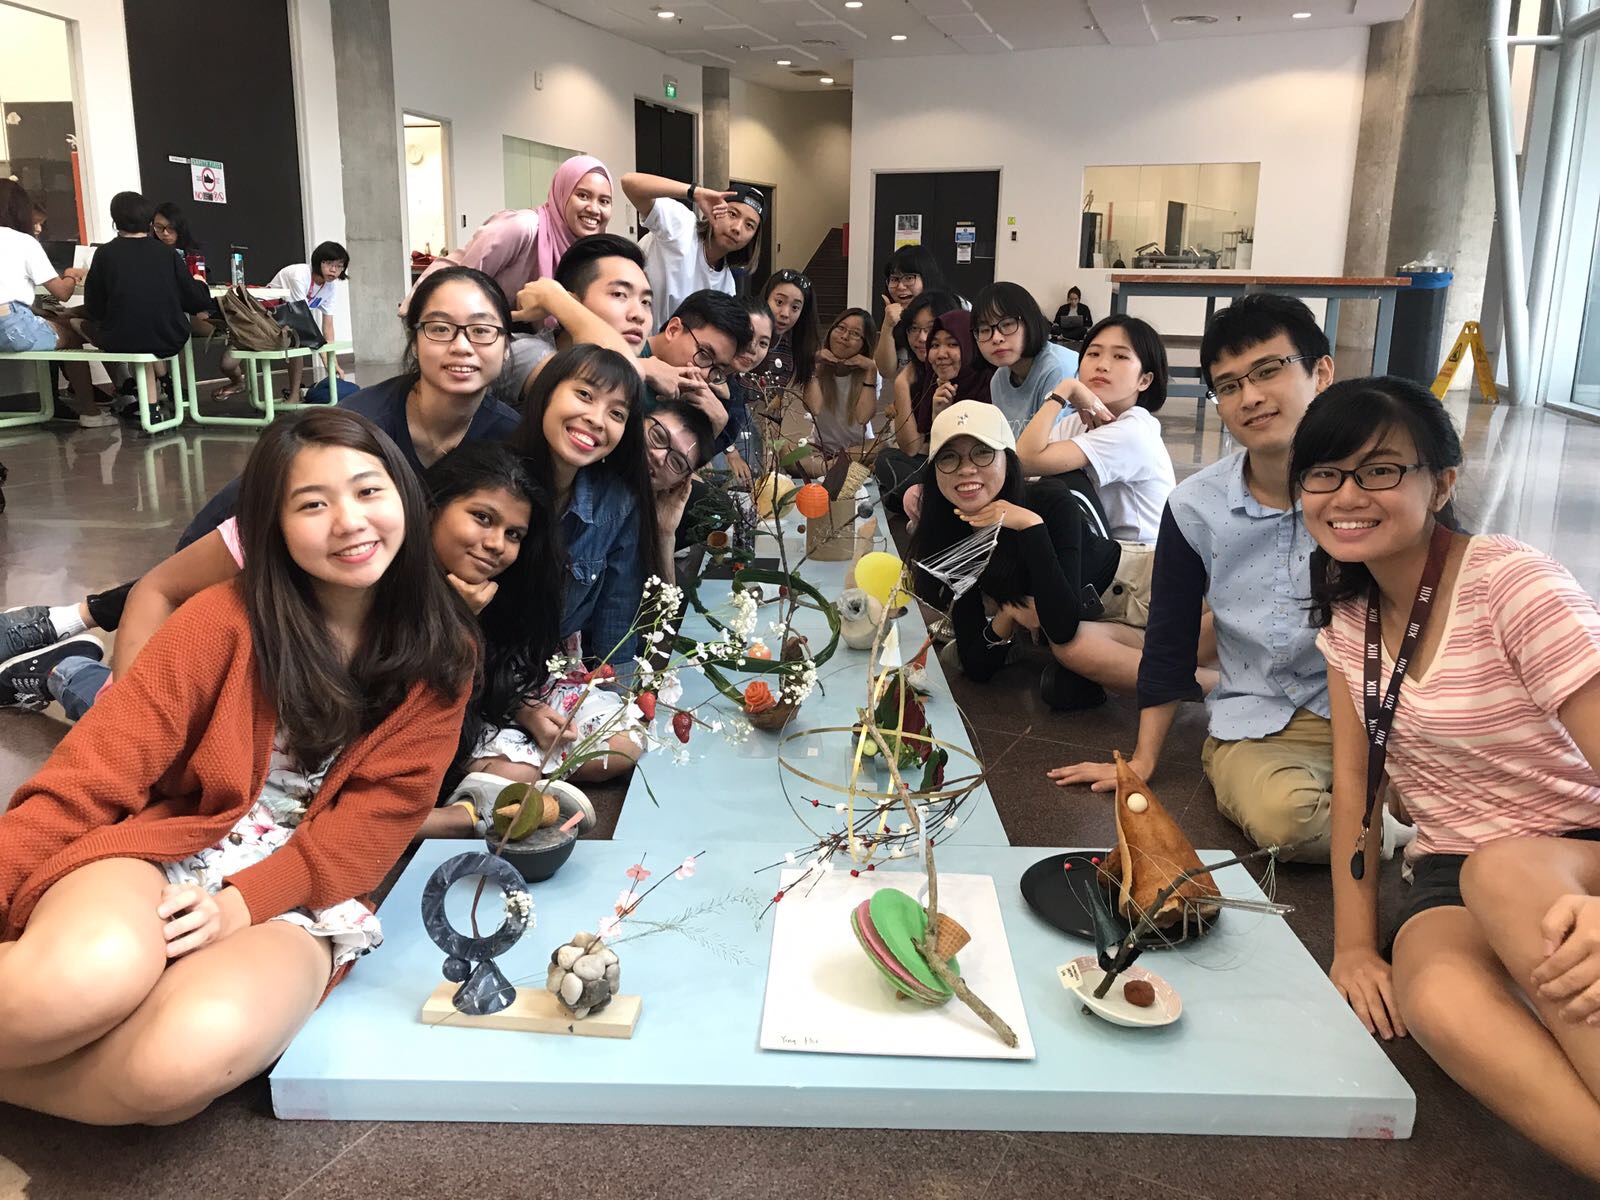
Overall, this was probably the best 3D class i’ve had because I truly enjoyed what I did and I loved the Gaia Ikebana idea – so enriching! And my classmates’ works are so unique it makes me smile so much, it was honestly a fun lesson. The process towards this made it worthwhile. smile

These beautiful works from these beautiful faces.


Gaia’s Ikebana (II) – research process

I was given the theme Spring.

When it comes to Ikebana, it is not just some flower arrangement, but it is “the art of Japanese flower arrangement, with formal display according to strict rules”.’

Before doing my final Ikebana, I researched more on the spring season in Japan as I wanted to know more about it first – like what are it’s features in the flowers that bloom? what kind of flowers are they? when do they take place during the seaon?

I didn’t want to just know what an “ikebana” is, I wanted to know how to make a good one by incorporating the different features of the each blossoming flowers in Japan and what’s so special about different ikebana styles, hence researching on what I had to. The picture below are my initial ideas i came up with on the day we were given the Ikebana task.

My moodboard – mainly for colour and flower features.

The picture above are the kinds of flowers that bloom during the Spring season in Japan. Notice that I did not include any other bright colours such as yellow (which also blossom during Spring there) as I wanted to focus on these colours for my flowers in Ikebana. And also looking at some of the plants that simply fall elegantly with flowers clinging onto them – that’s one of my inspiration when making one of my Ikebana works.

So I wrote all of what I know down on my sketchbook.

From there I went on to see the kinds of ikebana style i wanted to make. So i searched up a few and these few caught my attention.

I was also interested in some other artist works such as Andy Goldsworthy and Jordyn Miley. This is because it shows the amount of patience they had to make unique sculptures out of branches and twigs and basically nature, without destroying much of their initial stage, which is what I am trying to do when making my ikebana.

For Goldsworthy, it’s because he made use of nature ONLY without destroying the aspect of it to create such an interesting sculpture, a land art. He would work with nature alone and not use other materials to say for example, stick them together to make a sculpture. An example would be the one below.

Woven branch circular arch

For Jordyn Miley, she does abstract nature weaving like the one below.

So the rough ideas I got from these was that, hmm maybe try weaving branches or twigs together to make a sphere? Since we still needed to incorporate spheres, cylinders and cones. And that itself could be my dominant, while the little flowers could be my double SO(s). And what if i also used pebbles instead?

I got alot of inspiration from all these and there was so many “what ifs” so I thought why not try making 1 first and see how it goes then maybe make another.

These are my final outcome ideas:

Stay close for the upcoming post where I will share my final Ikebana work (or should say “works”)! TEEHEE.

Gaia’s Ikebana (I) – exploration

WOW new stuff.

I missed out on the previous lesson where the class was told to explore circular cuttings to get spheres, cylinders, and cones. So that’s one thing I learned from my friends when I caught up with some of what I was missing out. And I panicked. Because foaming curvilinear volumes??? (When it took me so long to even get my cuboids right in the first place)

Apparently we are using the same method, just on curvilinear volumes this time. So we have to input the same method of D, SD, SO and y-axis to x-axis. But this time, it can’t be perpendicular and instead diagonally. Of course, there’s more I have yet to learn on this because I was slightly confused at first, but I think I got a slight jist of it now. (will consult on this soon!)

YAY with the help of my kind friends, I learnt how to sculpt cylinders and cones using foam!

STRUCTURE DRAFT 1:

If I have a favourite CUPCAKE, this is what it will look like:

D: sphere            SD: cone         SO: tiny cylinder

STRUCTURE DRAFT 2:

My ‘Sam’ satellite. Orrr mini speakers.

D: cone       SD: thin cylinder      SO: short but thick cylinder

Reevaluation:

Only after this whole post I realised my 1st structure was off – my D and SD looks the saaaameee, the same kind of volume 🙁 I think I should have cut the cone to be a little smaller but bigger than the SO. Or I could turn my sphere to the smallest size so it can act as the SO instead and my tiny cylinder can be my SD. (I still have yet to learn to sculpt a sphere hmm)

Then I also realised in my 2nd structure, the cone lying on my small cylinder creates a right-angle, making it perpendicular? It shouldn’t be perpendicular. Maybe I could have just cut the bottom of the cone a little bit so it doesn’t touch the ground and still stick at about 1/3 of it’s height.

Ahh I still have so much more to learn and figure out, because what about the radius too? I’m pretty sure I have to take note of that next time. I’ll be sure to clarify more tomorrow during lesson.

[Will leave this space to add on for improvements based on the above structures after consulting]