3D Mnemosyne – Pair work process [II] and Final

In our next Mnemosyne task, we were all paired up and my partner is Alina. We were told to make use of our mnemosyne bottles to create a new work with our partner, something that is WEARABLE. HAH, that one got us shook.

For our work, we decided to incorporate a few parts of our bottle design and take that into consideration when making a new work.

This is Alina’s bottle design.
This is mine.

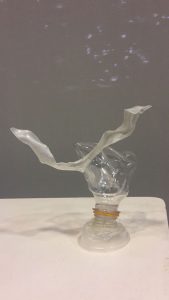
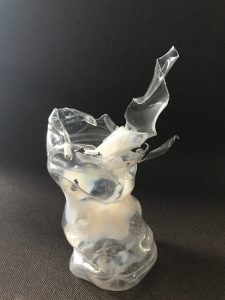
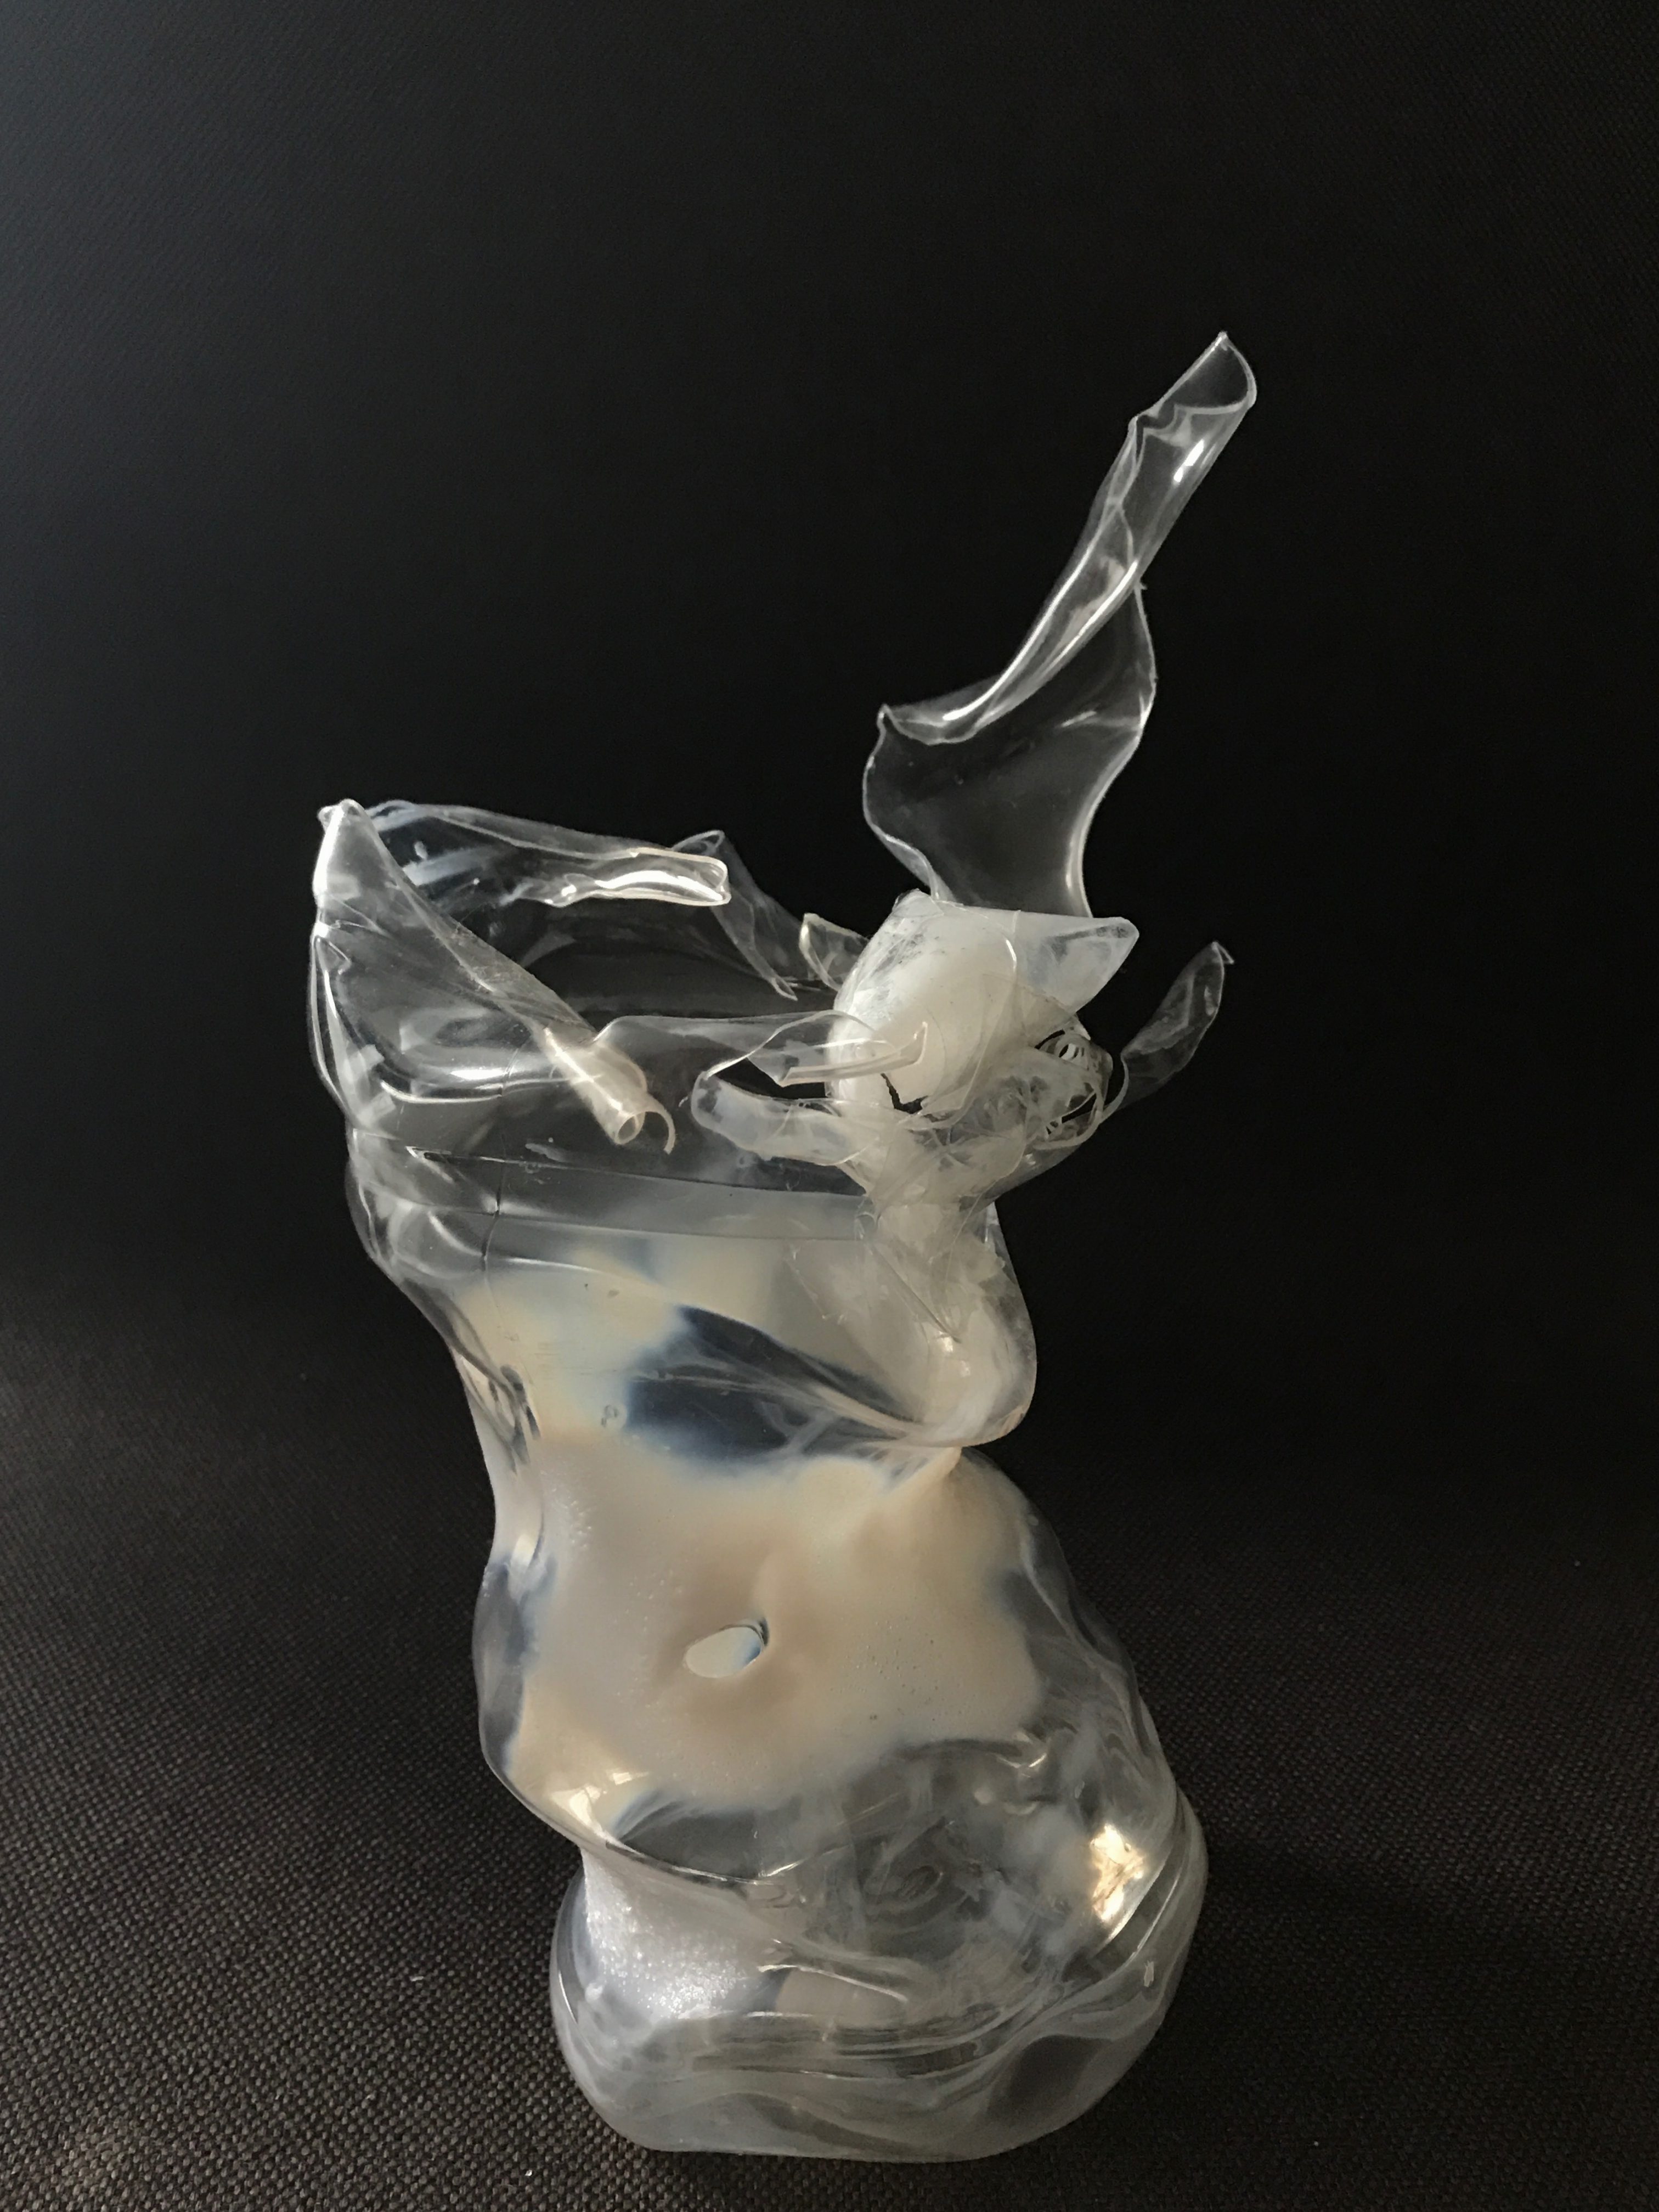
So we decided to create a ‘top’ incorporating the things we learnt before on planes such as twisted, bent and curved planes.

We chose to use 2 good scents:

  • caramel scented (mine)
  • argan-olive oil (Alina’s)

Our bad scent:

  • the smell that lingers in a dentist clinic

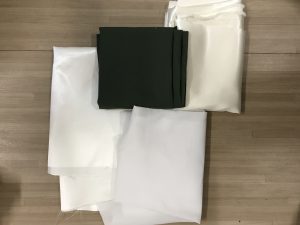
The materials we used:

  • white silk (for Dominant portion)
  • olive green cloth (for SD portion)
  • white cloth; extra
  • thin bendable gold-coloured wire (for SO portion)
Materials used that is not seen inside: gold wire as SO to attach the top together by the back in a curved loop.

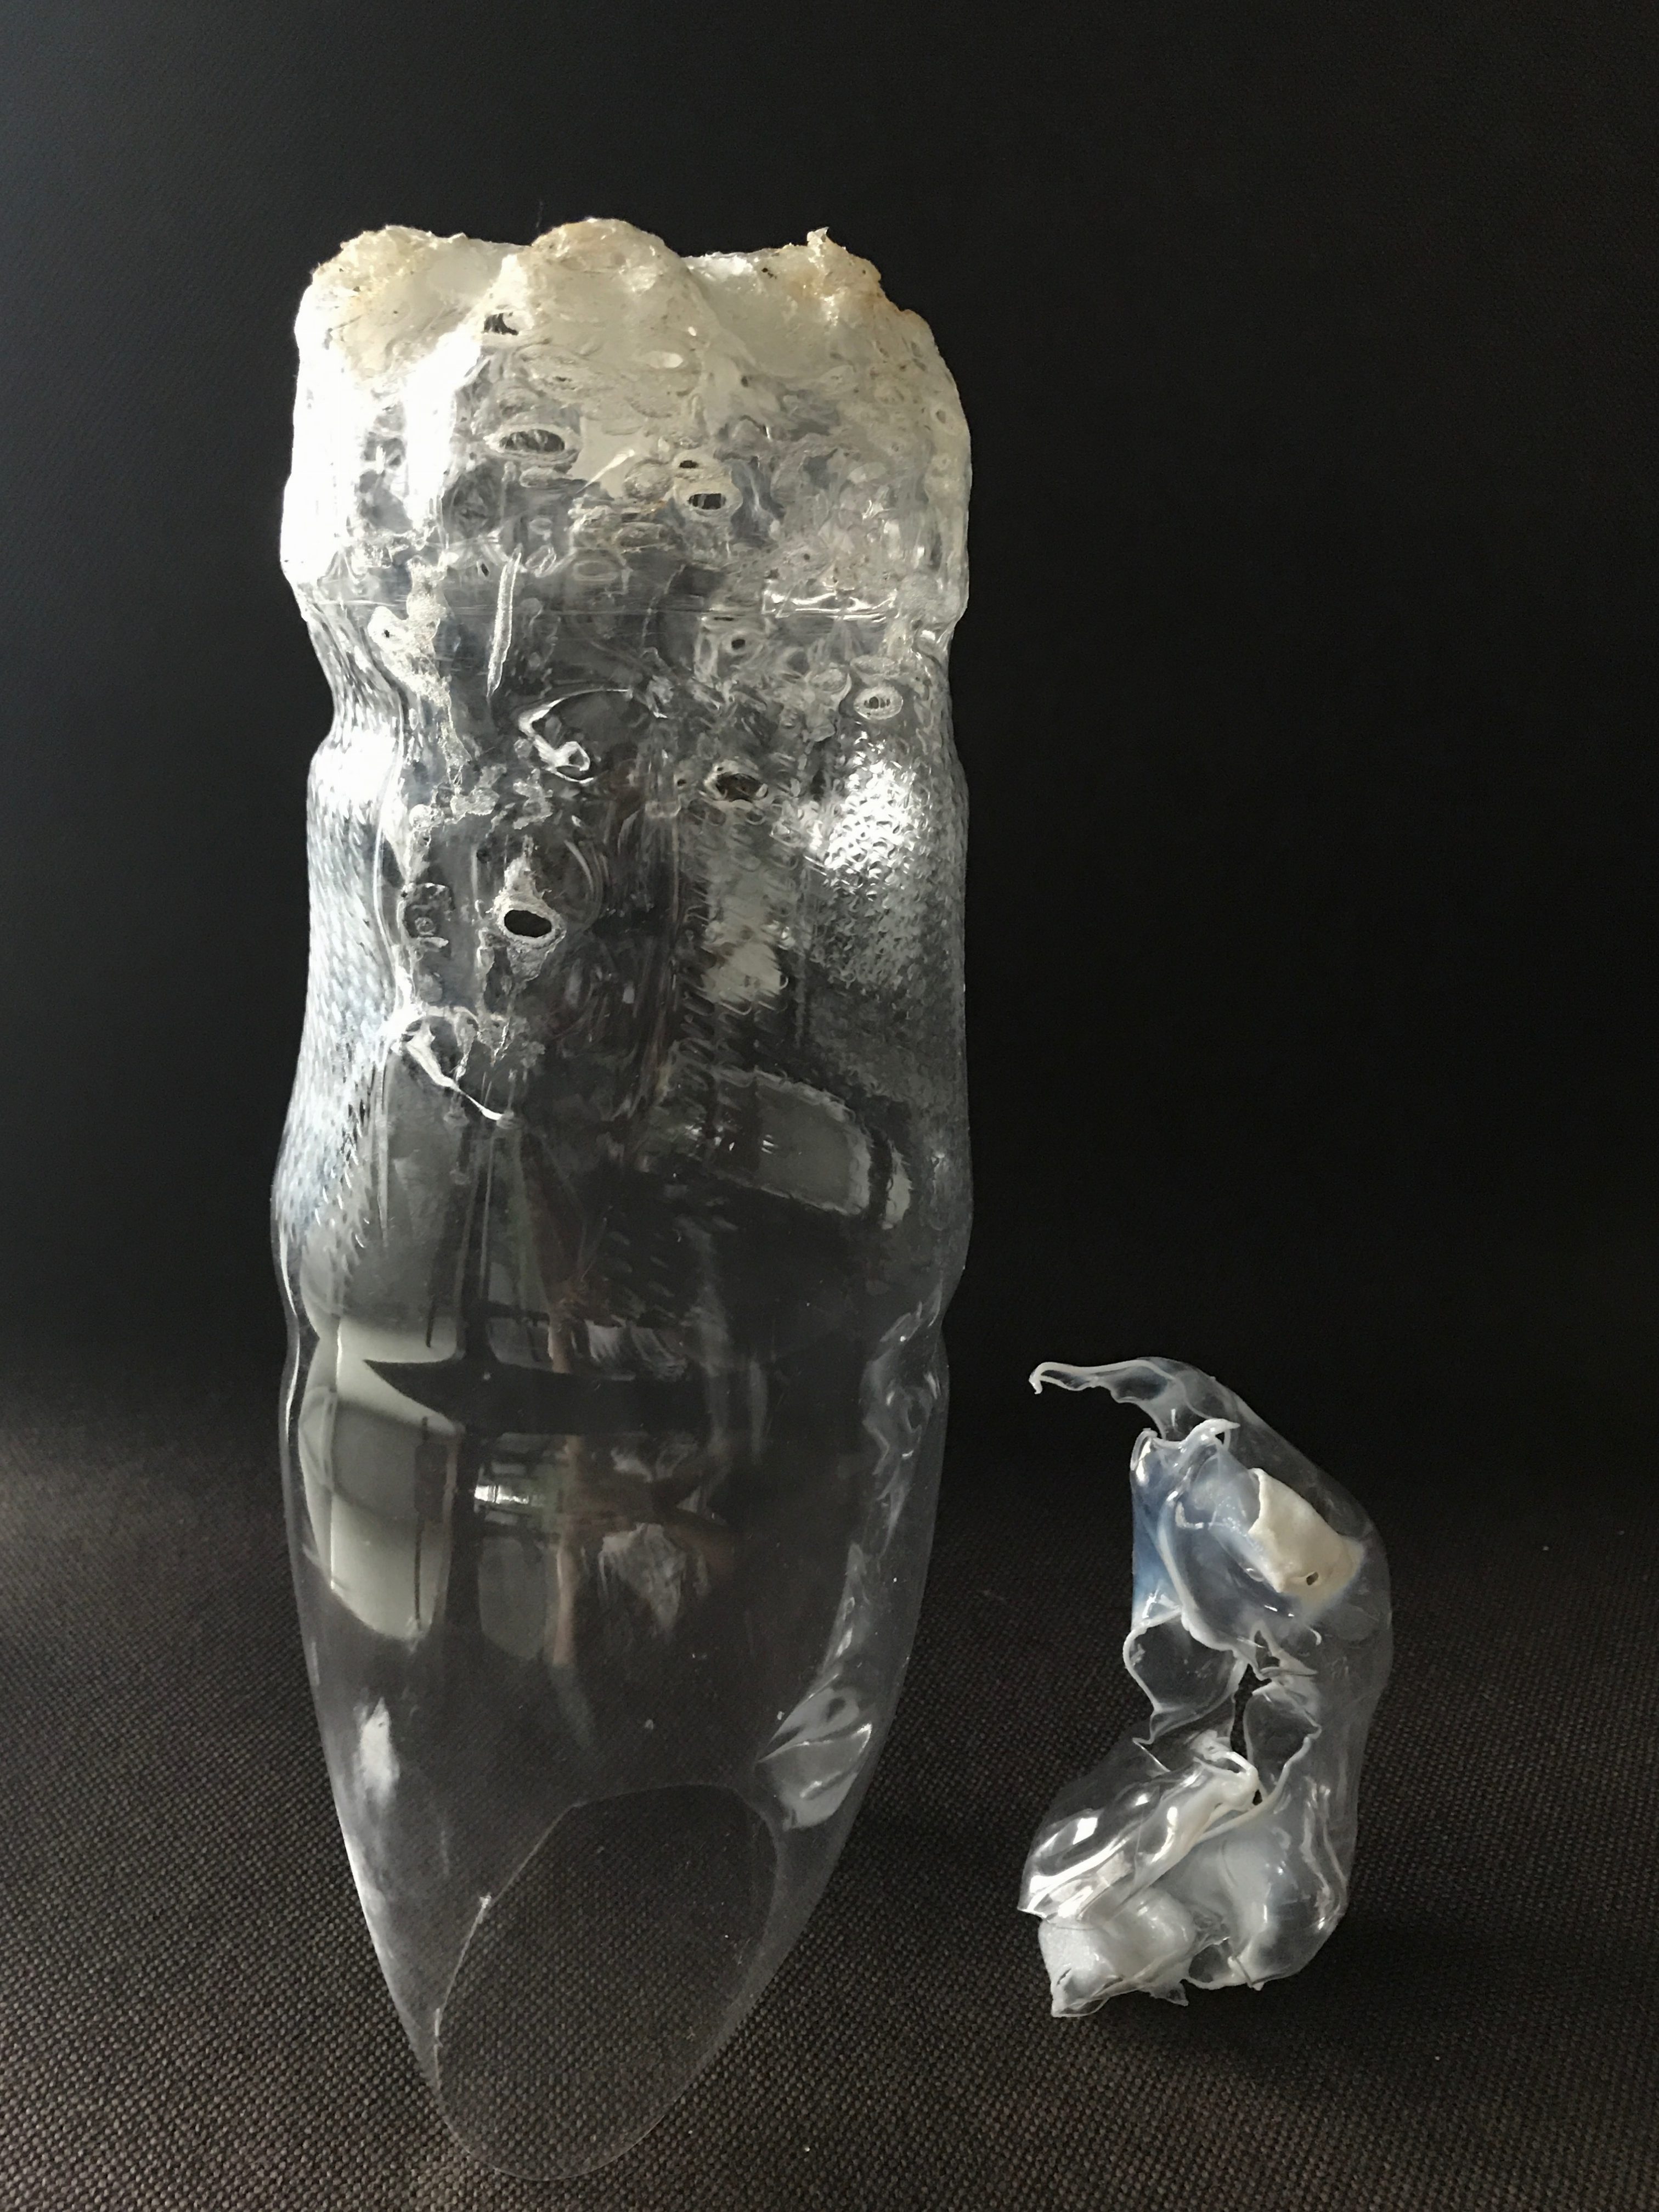
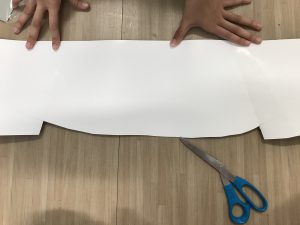
So we made a mock up of our top first by using art card.

The structure of the top.

Twisted plane over the shoulder.
From the front to the back, it curves, and then the ends curved outwards into a complex plane.

Then we  began with the real thing where Alina came up with the suggestion of gluing the white silk so as to make it wearable and not flimsy.

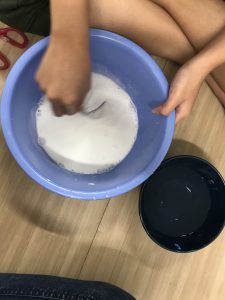
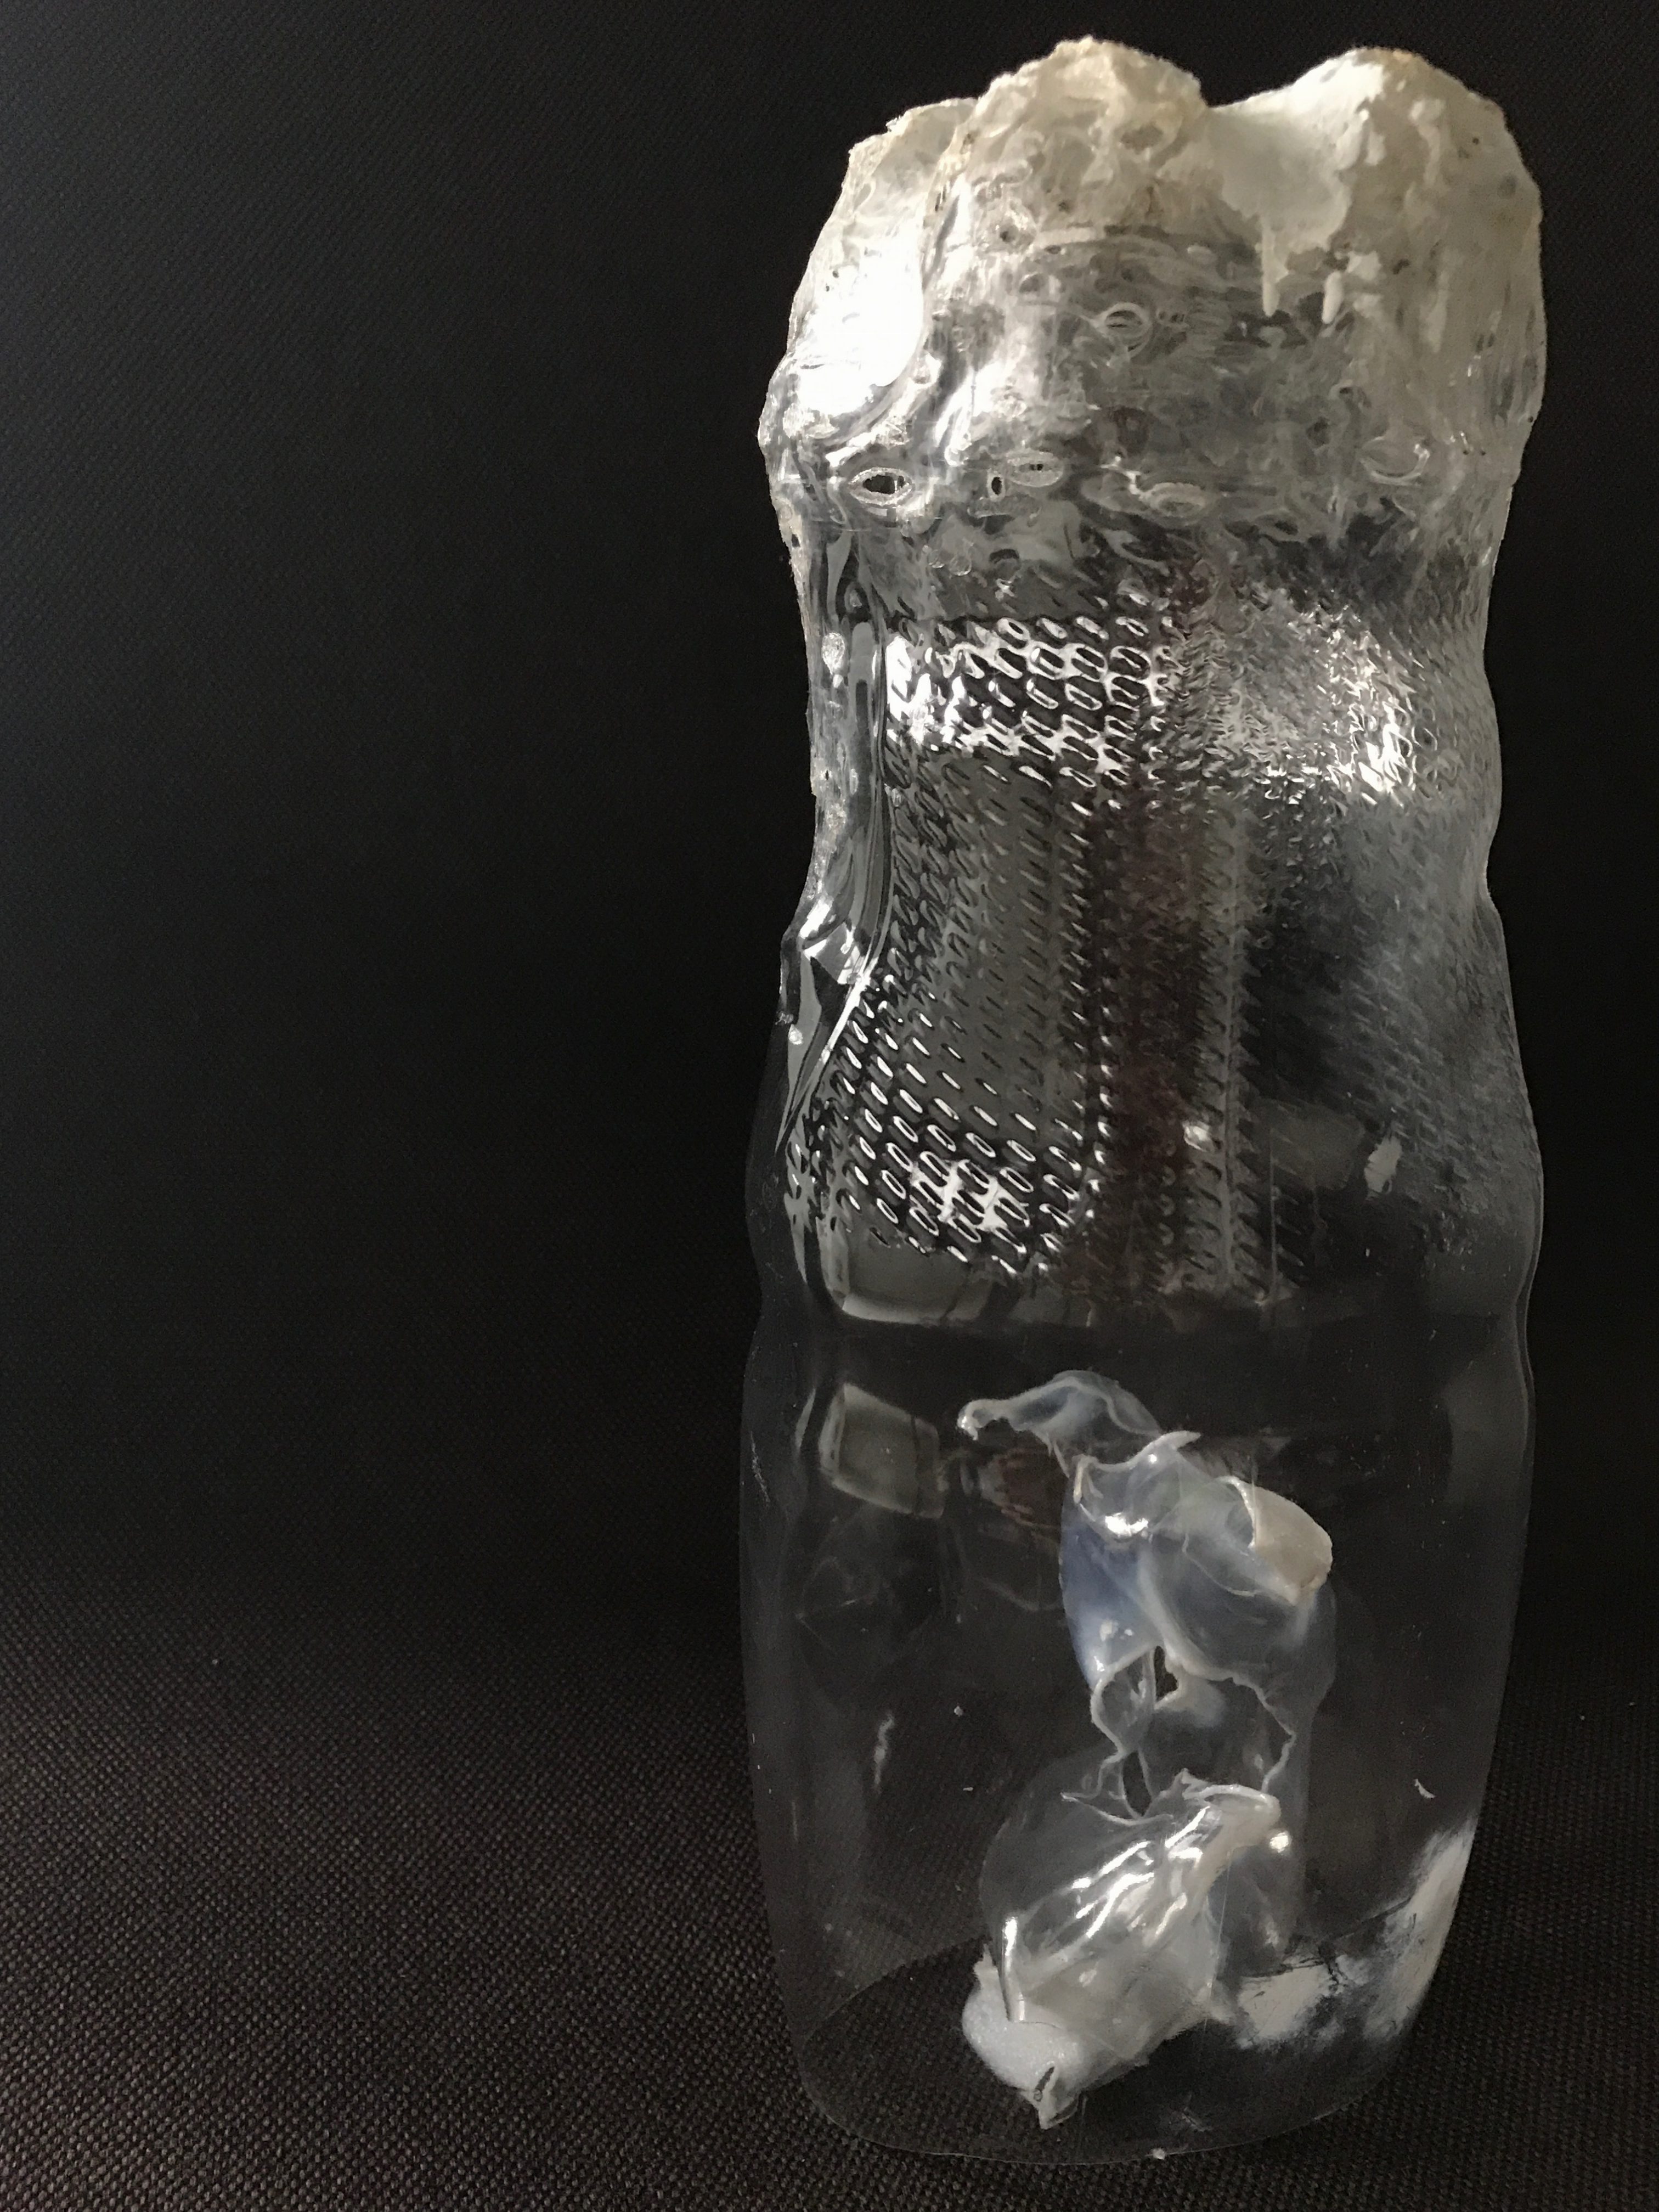
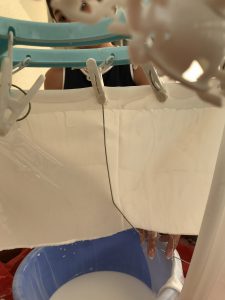
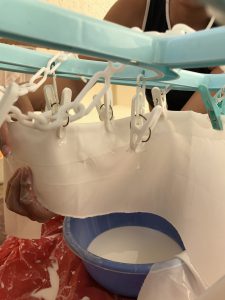
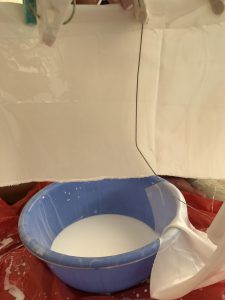
Soaking the white silk into the load of white glue.

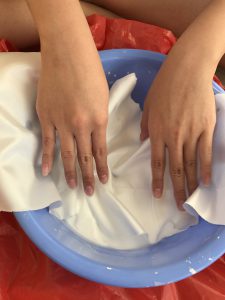
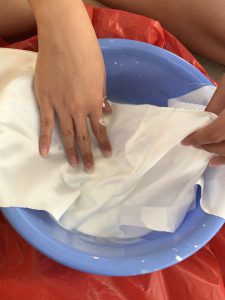
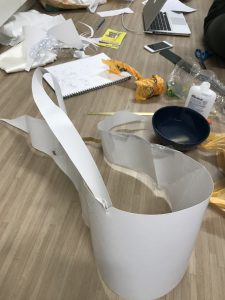
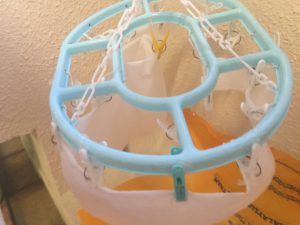
We also needed a hanger to clip on our silk and let it dry according to the shape we needed for our top.

We placed a hard wire behind that helps to act as the spine to our flimsy cloth, so as to create the structure for when the cloth dries up.

Folding it carefully and according to the body shape as the structure for our top.

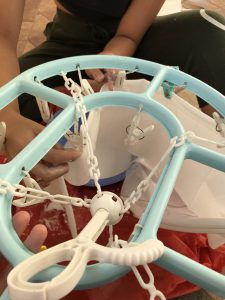
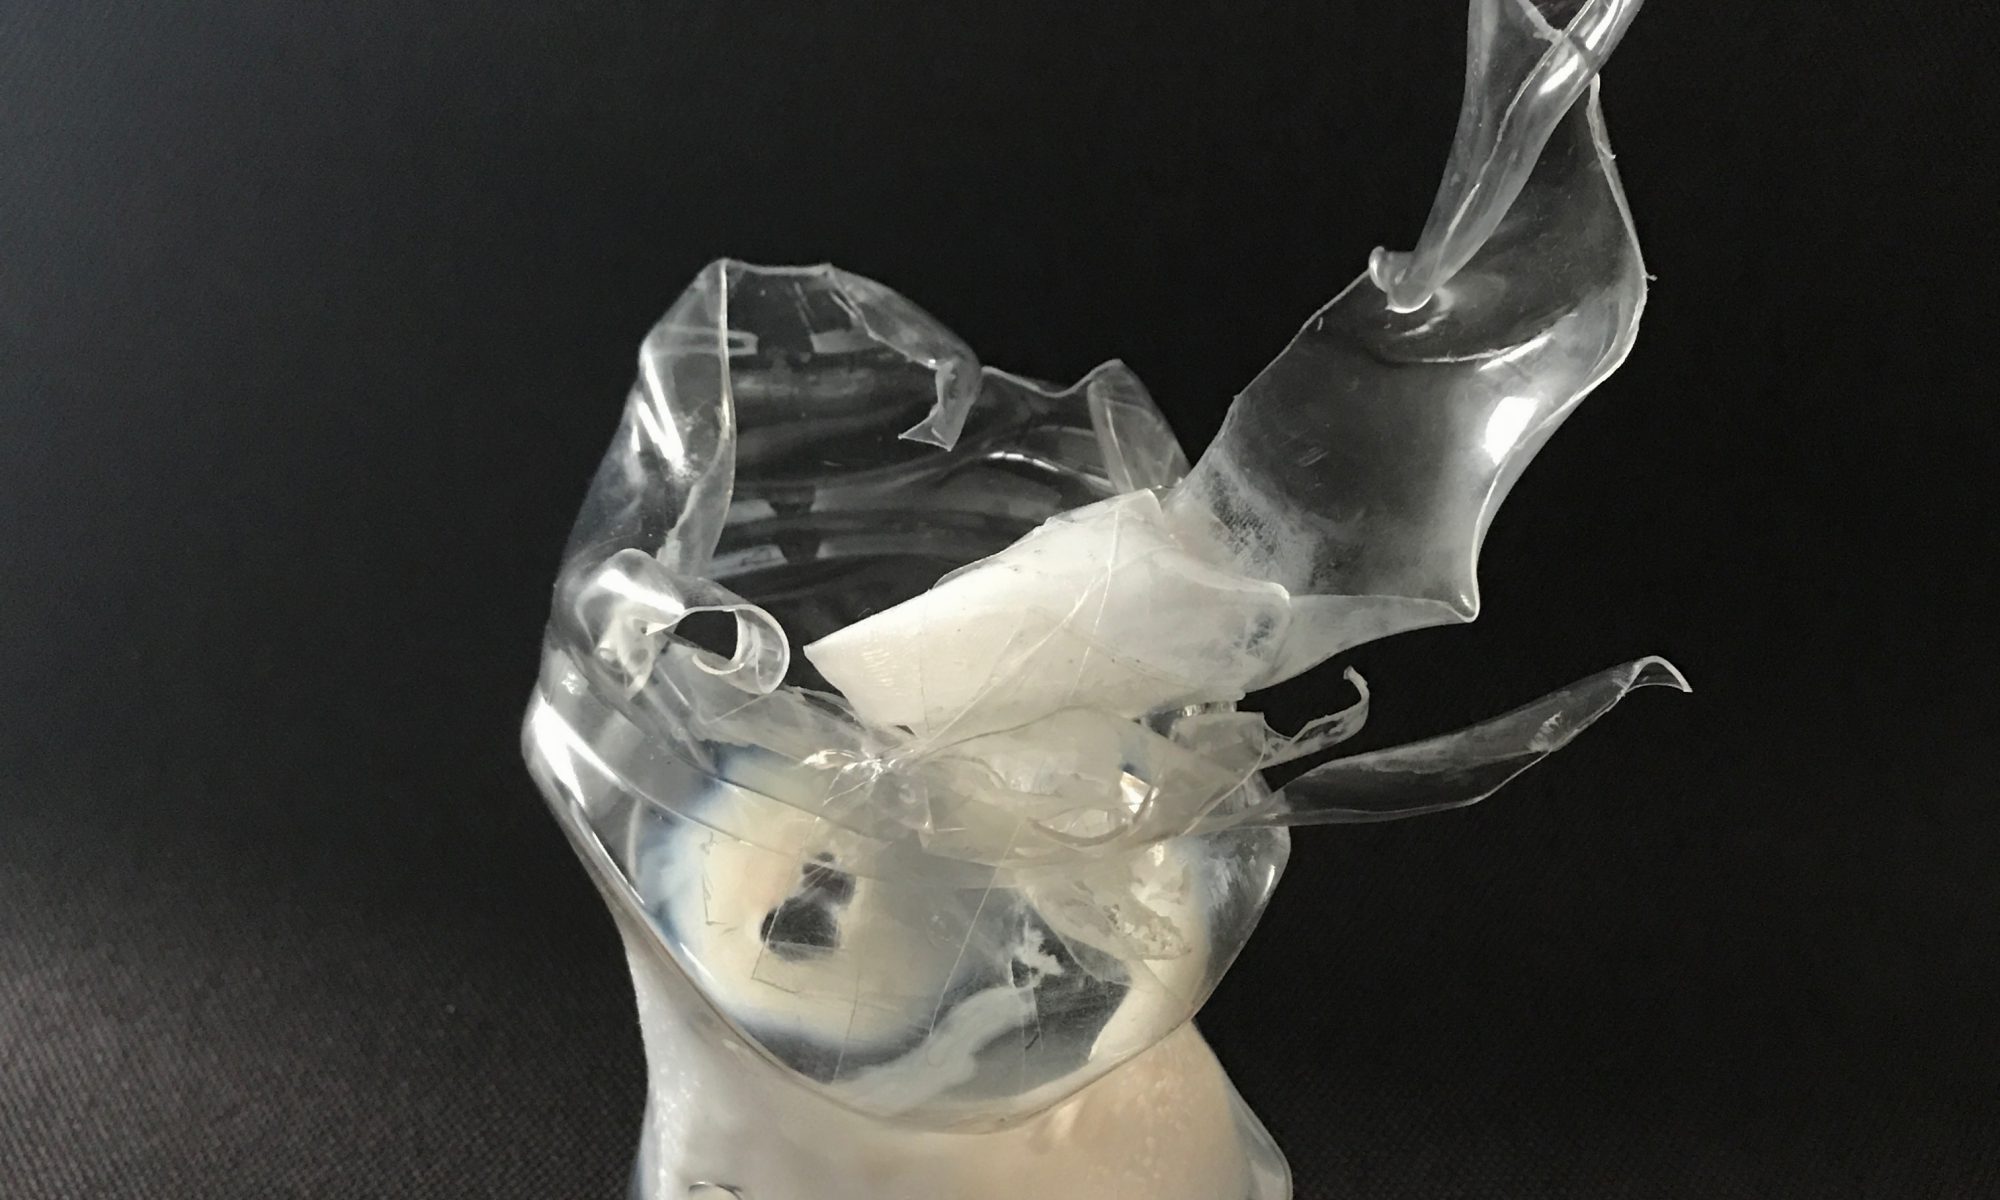
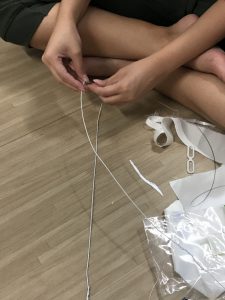
While waiting for the cloth to dry, we did wire structuring for our SO to connect the front to the back by the shoulder.

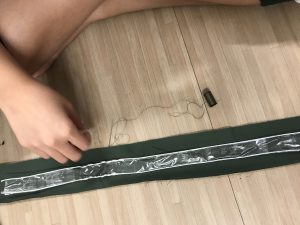
And so made 2 of those thick wires and we pasted them in such a way that we can make a bigger surface area to create the structuring of the SD part of our olive-green cloth, over the shoulder. (as seen below)

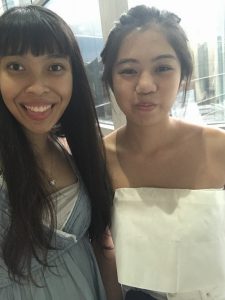
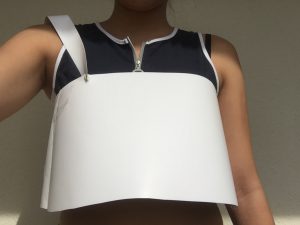
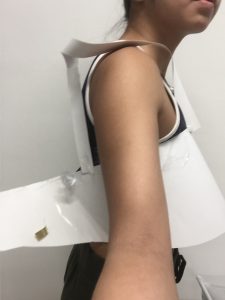
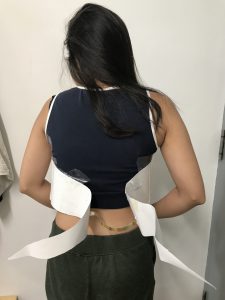
All of the above led to the final product:

FINAL

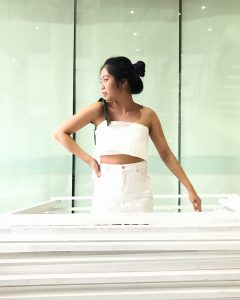
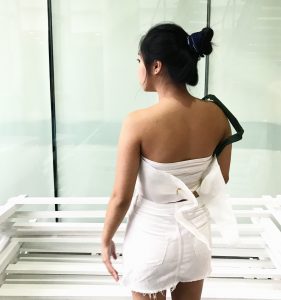
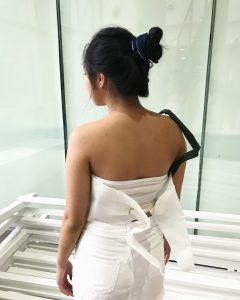
I love the outcome, happy to say that it looks legit and wearable haha, considering the planes inside too to create it.

YAY and we are done 🙂

3D Mnemosyne – Process [I]: Scents portrayed in forms

We were suppose to come up with 2 forms out of the scents we talked about in previous lessons. So my good scent was something like caramel/vanilla (because it’s buttery-sweet and I loooove sweet smell, like as if they can be eaten), and my bad scent was smoke (because it reminds me of how my sister started smoking, and how my dad’s not quitting).

Based on the figure below, taking on the shape of a smoke is the form on the right – it is curved/slanted and can be said that it has no absolute shape, because it’s suppose to represent smoke and it somehow fades into air (as seen from the curvy thin strip growing at the top of it). It also has white ombre in some parts to show the smoke-like portion.

For my caramel/vanilla scent, we look at the form on the left. The white/caramel-coloured top is suppose to represent the vanilla/caramel melting and dripping. The reason for the holes I created was to simply represent the smoke creating holes into my good scented form.

Here’s the reason why:

My caramel scented form, is suppose to act as the dome that covers my smoke scented form, in a way to show that my good scent is overwhelming and able to cover the bad scent.

But of course I want my two forms to come as one – a whole figure itself, hence I showed the slight effect of my “smoke” here managing to create holes in the top part of my good-scented form. This is the part where my vanilla/caramel (white part above) drips down, as an idea to show that either way, my good scent will cover up those holes (voids), and will eventually overpower my bad scent.

I created all of the above effect using the heat gun. The slow movement across a small bottle (for the smoke form) to create the “smoky” white look looping around it.  And also melted the bottom part of a big bottle (for the dome-caramel-scented form) to create like a…sort of, small-becoming-larger-at-the-top kind of dome.

From a small bottle, white effect in certain places but not so overwhelming to keep the smoky effect. To portray my “smoke” scent.

For the vanilla/scented form, I tried melting wax to get the melting effect but it wasn’t too successful.

The wax couldn’t be maintained there, so in the end I just painted the top white and burned bit parts of the sides to make it look slightly “caramelised”.

ANYWAYS……I made another form out of both the good and bad scents. This is the other one.

Under good lighting.
Under certain lightings, but I loved the tinted light below and how the curves on top looks more prominent. I couldn’t pick haha so I put both pictures here.

For this, the bad scent starts off from the bottom, as seen from the holes and white portion, slowly digressing to the good scent as it spirals upwards, hence looking like a thin twisted strip of spiral as it is suppose to resemble a “caramelised” thing (like the ones we see on cupcakes, an edible caramelised strip added as a deco).

In my next post, it will be on me and my pair’s works and scents combined together to make 1 work that’s wearable! Let’s see how that goes.