My application for 3D Pandora’s Box FINAL

I don’t know if this was overdue but i’m gonna share it anyway. [hi Ms Cheryl I have already included the link on my previous post on ‘progress’  stated below like you wanted] Before I go into the details, here is the link to my previous posts on my 3D Pandora Progress (the 1st link) and my 3D Pandora Final (the 2nd link)

3D Pandora – Progress Towards Final ‘Counter-Balance’ Structure

3D Pandora – Final ‘Counter-Balance’ Structure

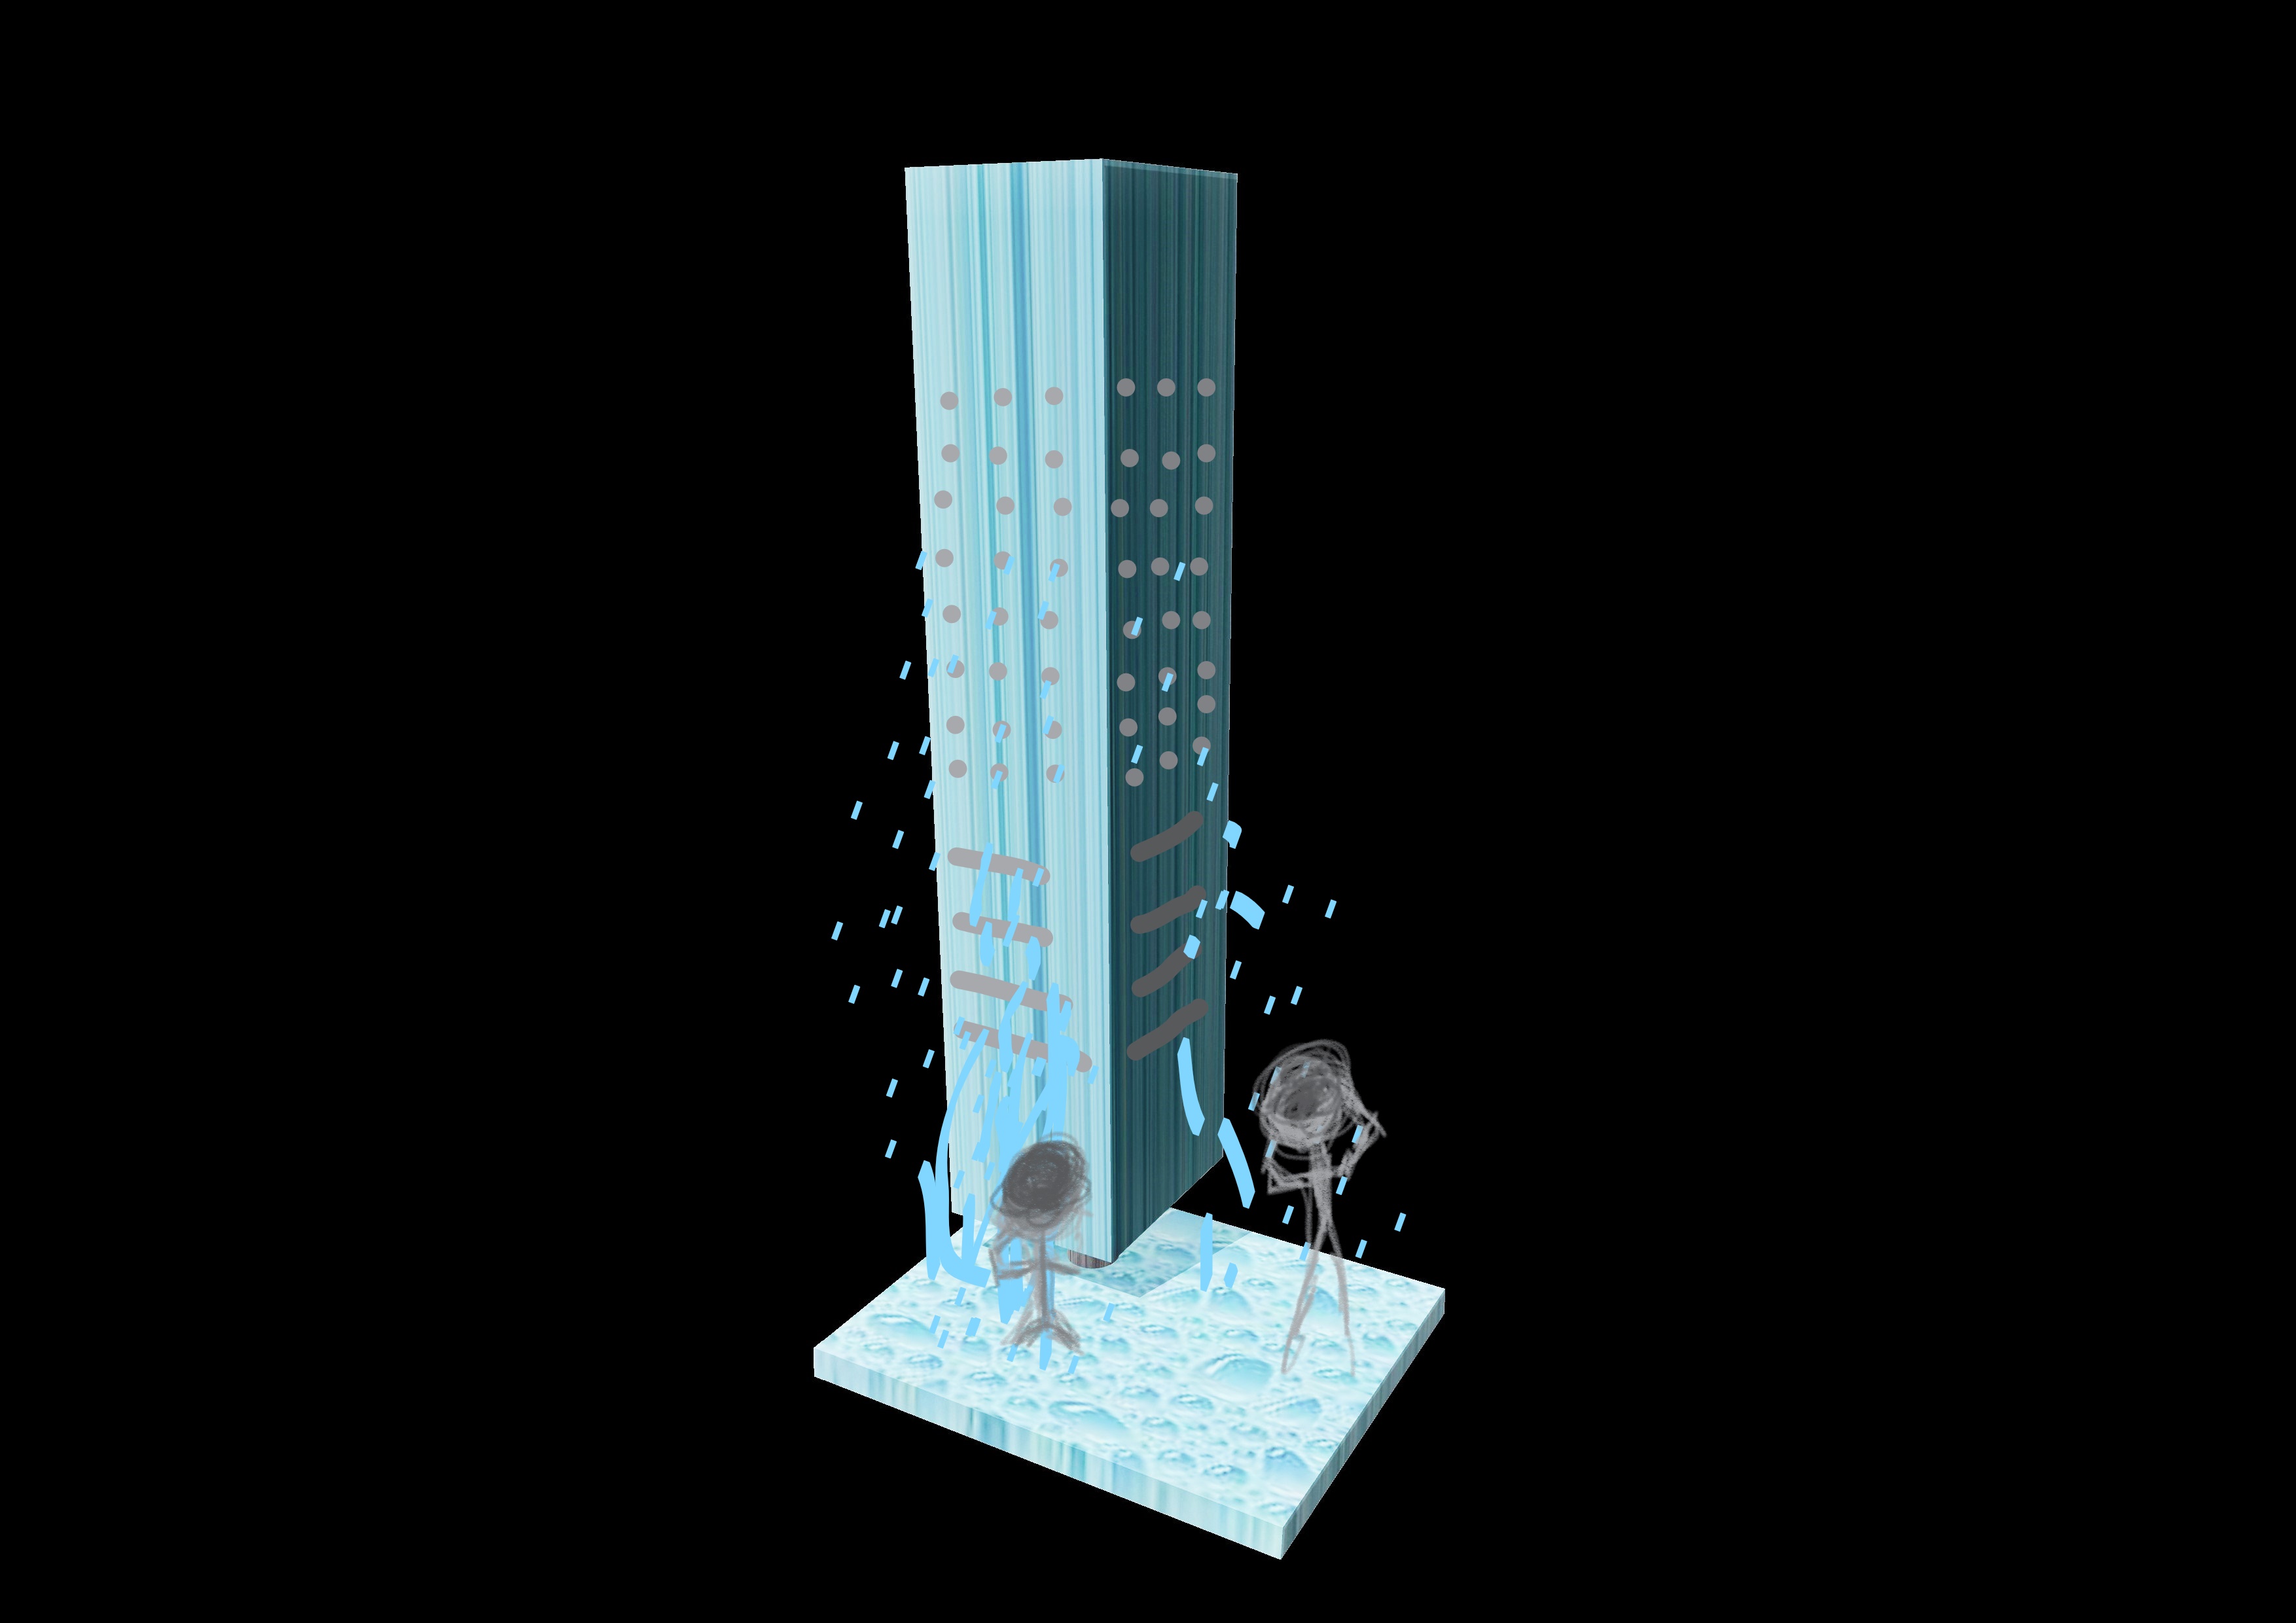
So my application for my structure would be a hugeeee shower panel for the public’s usage that could cater to more than 5 people at once. Meaning, it could be placed at swimming pool areas or especially at the beaches where people need to take some rinse before and after getting into the waters.

I apologise if i can only afford to draw stickman here……but yeah they are bathing there.

In the 1st picture below, if you see closely, I changed up the material for the SO digitally by using marble colour because I decided the marble material would be better when we are using this in wet areas as it last longer when we talk about non-corrosion or rust (they don’t rust). In the following pictures after, I decided to decorate the shower panels with colours of turquoise-blue and water droplets as it resembles well with the idea of shower, water and the surroundings.

Yeah I took a long time editing and moving the cubes to the right places for this but my drawing ends up looking horrid to show what my application would be like, my apologies. frown I hope it still makes sense!

3D Pandora – Final ‘Counter-Balance’ Structure

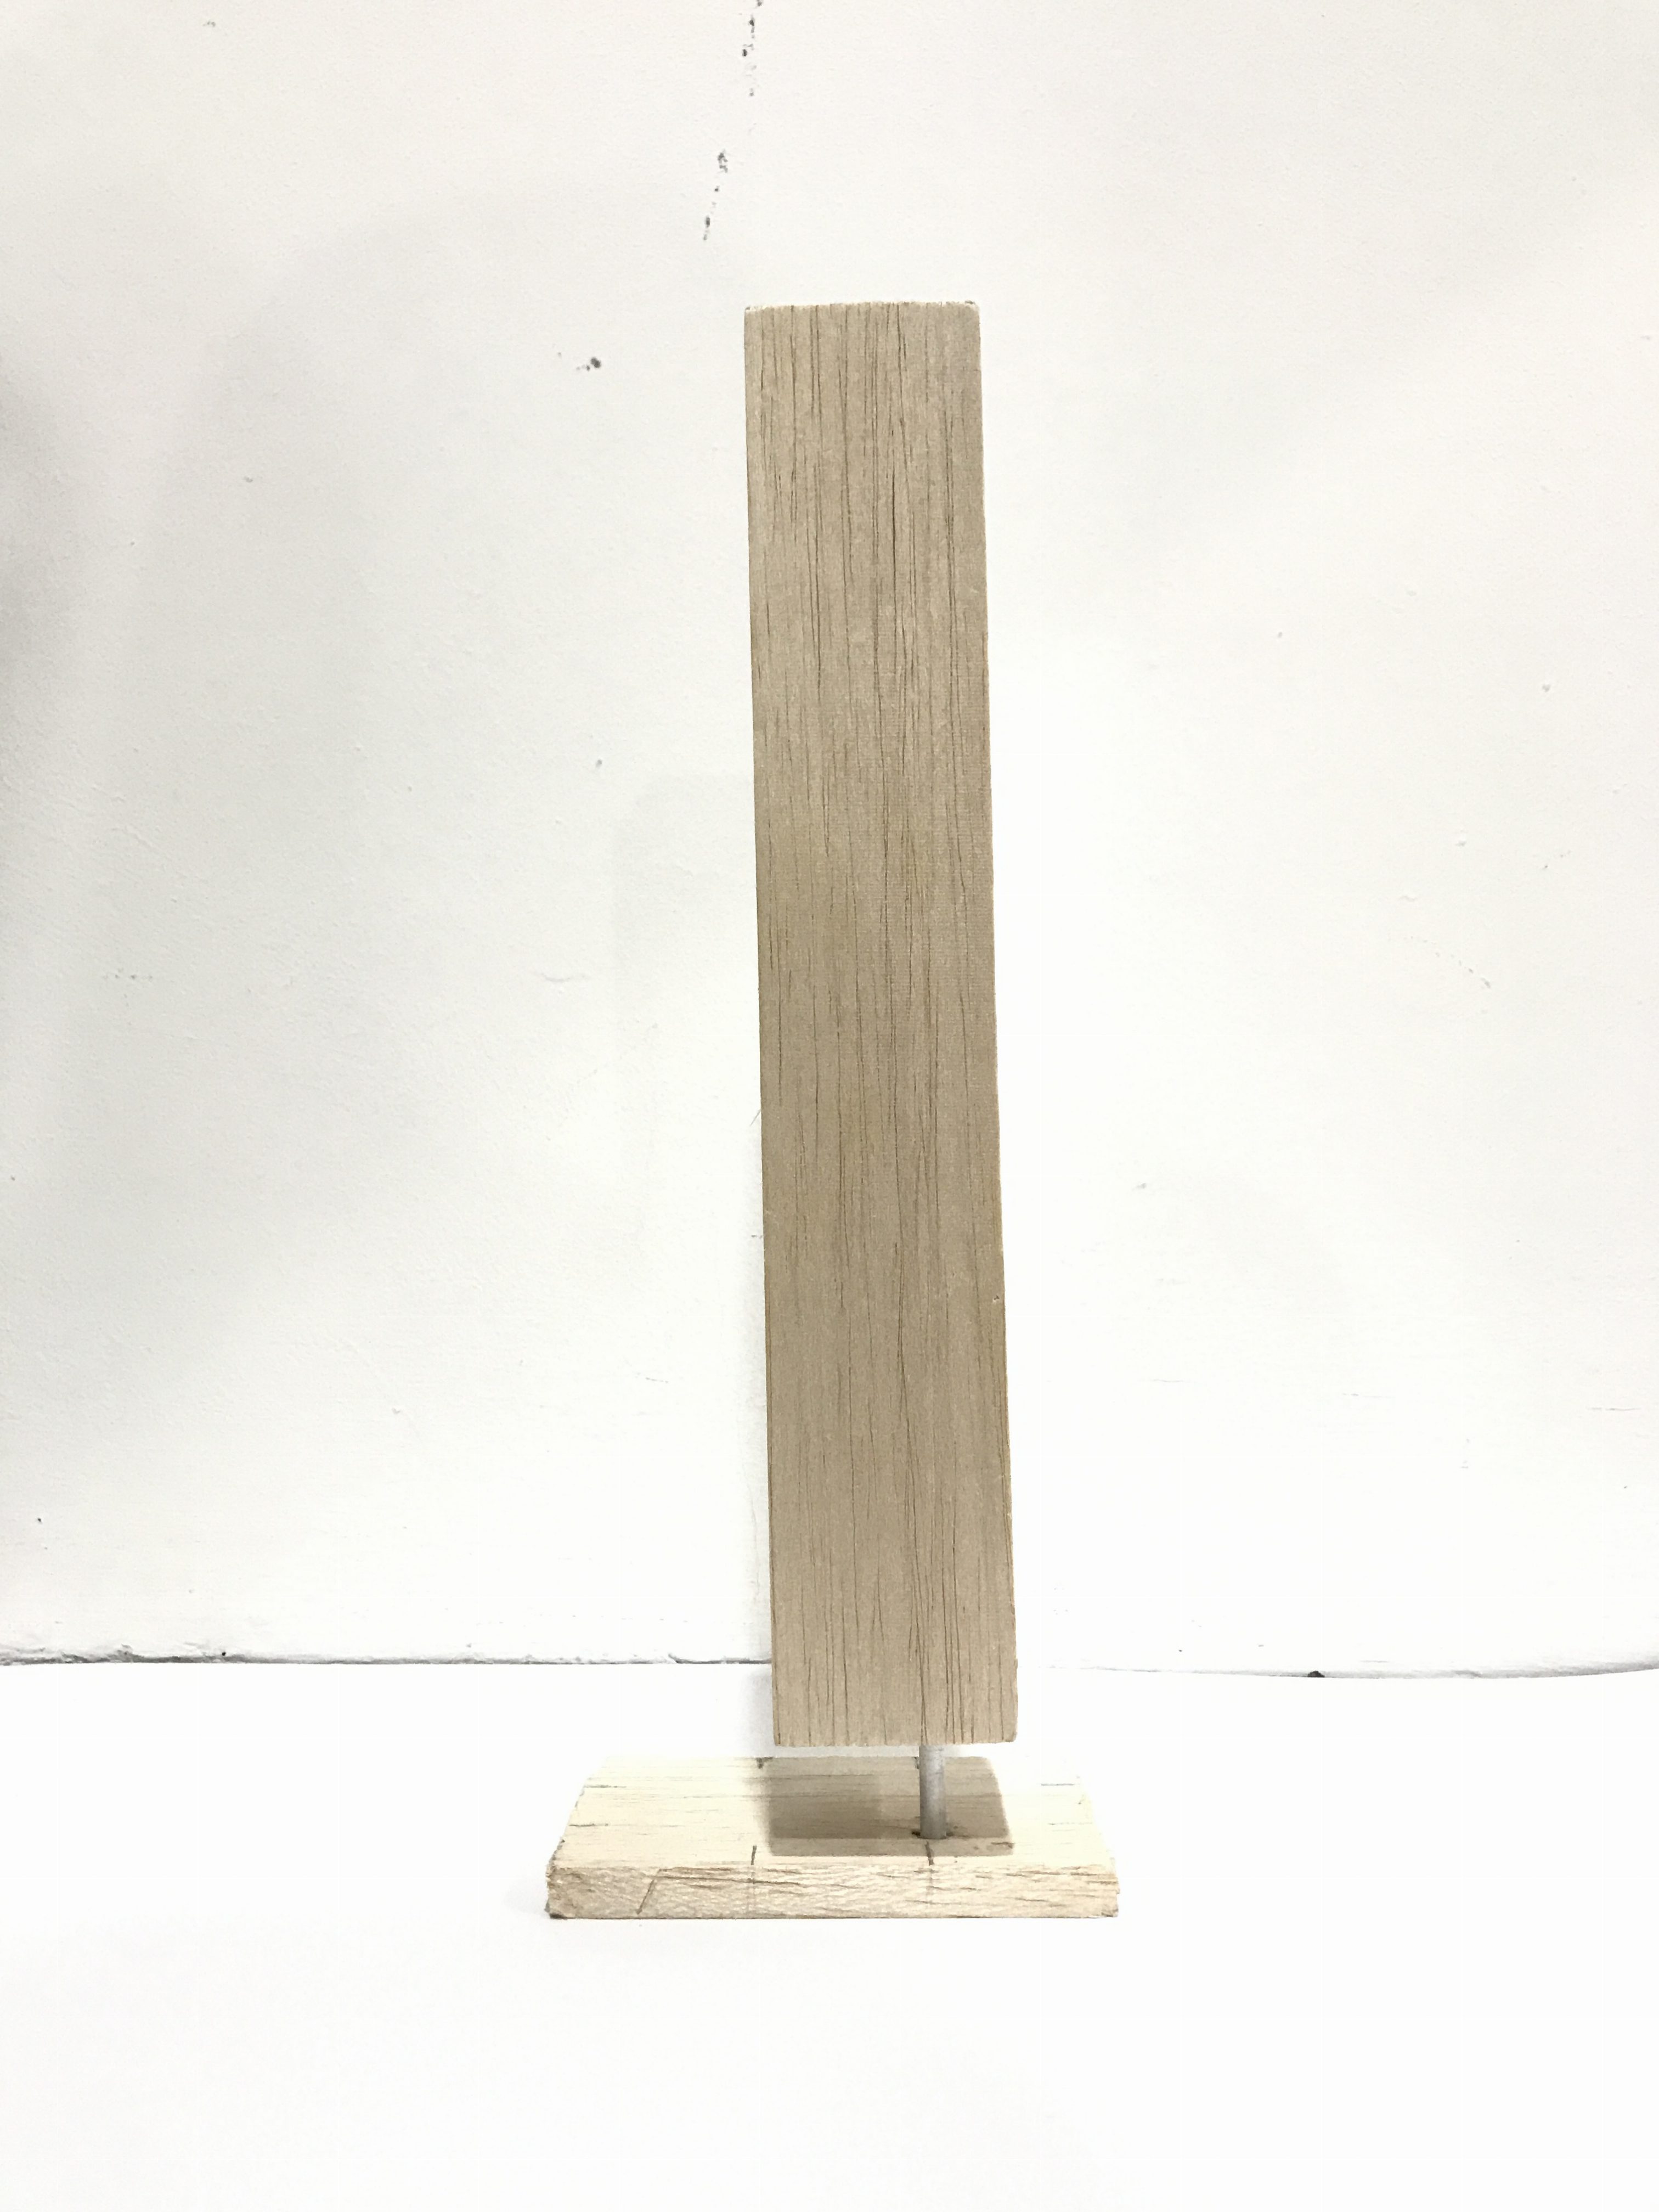
I already posted my process to getting to this. This is my final ‘Counter-balance’ structure.

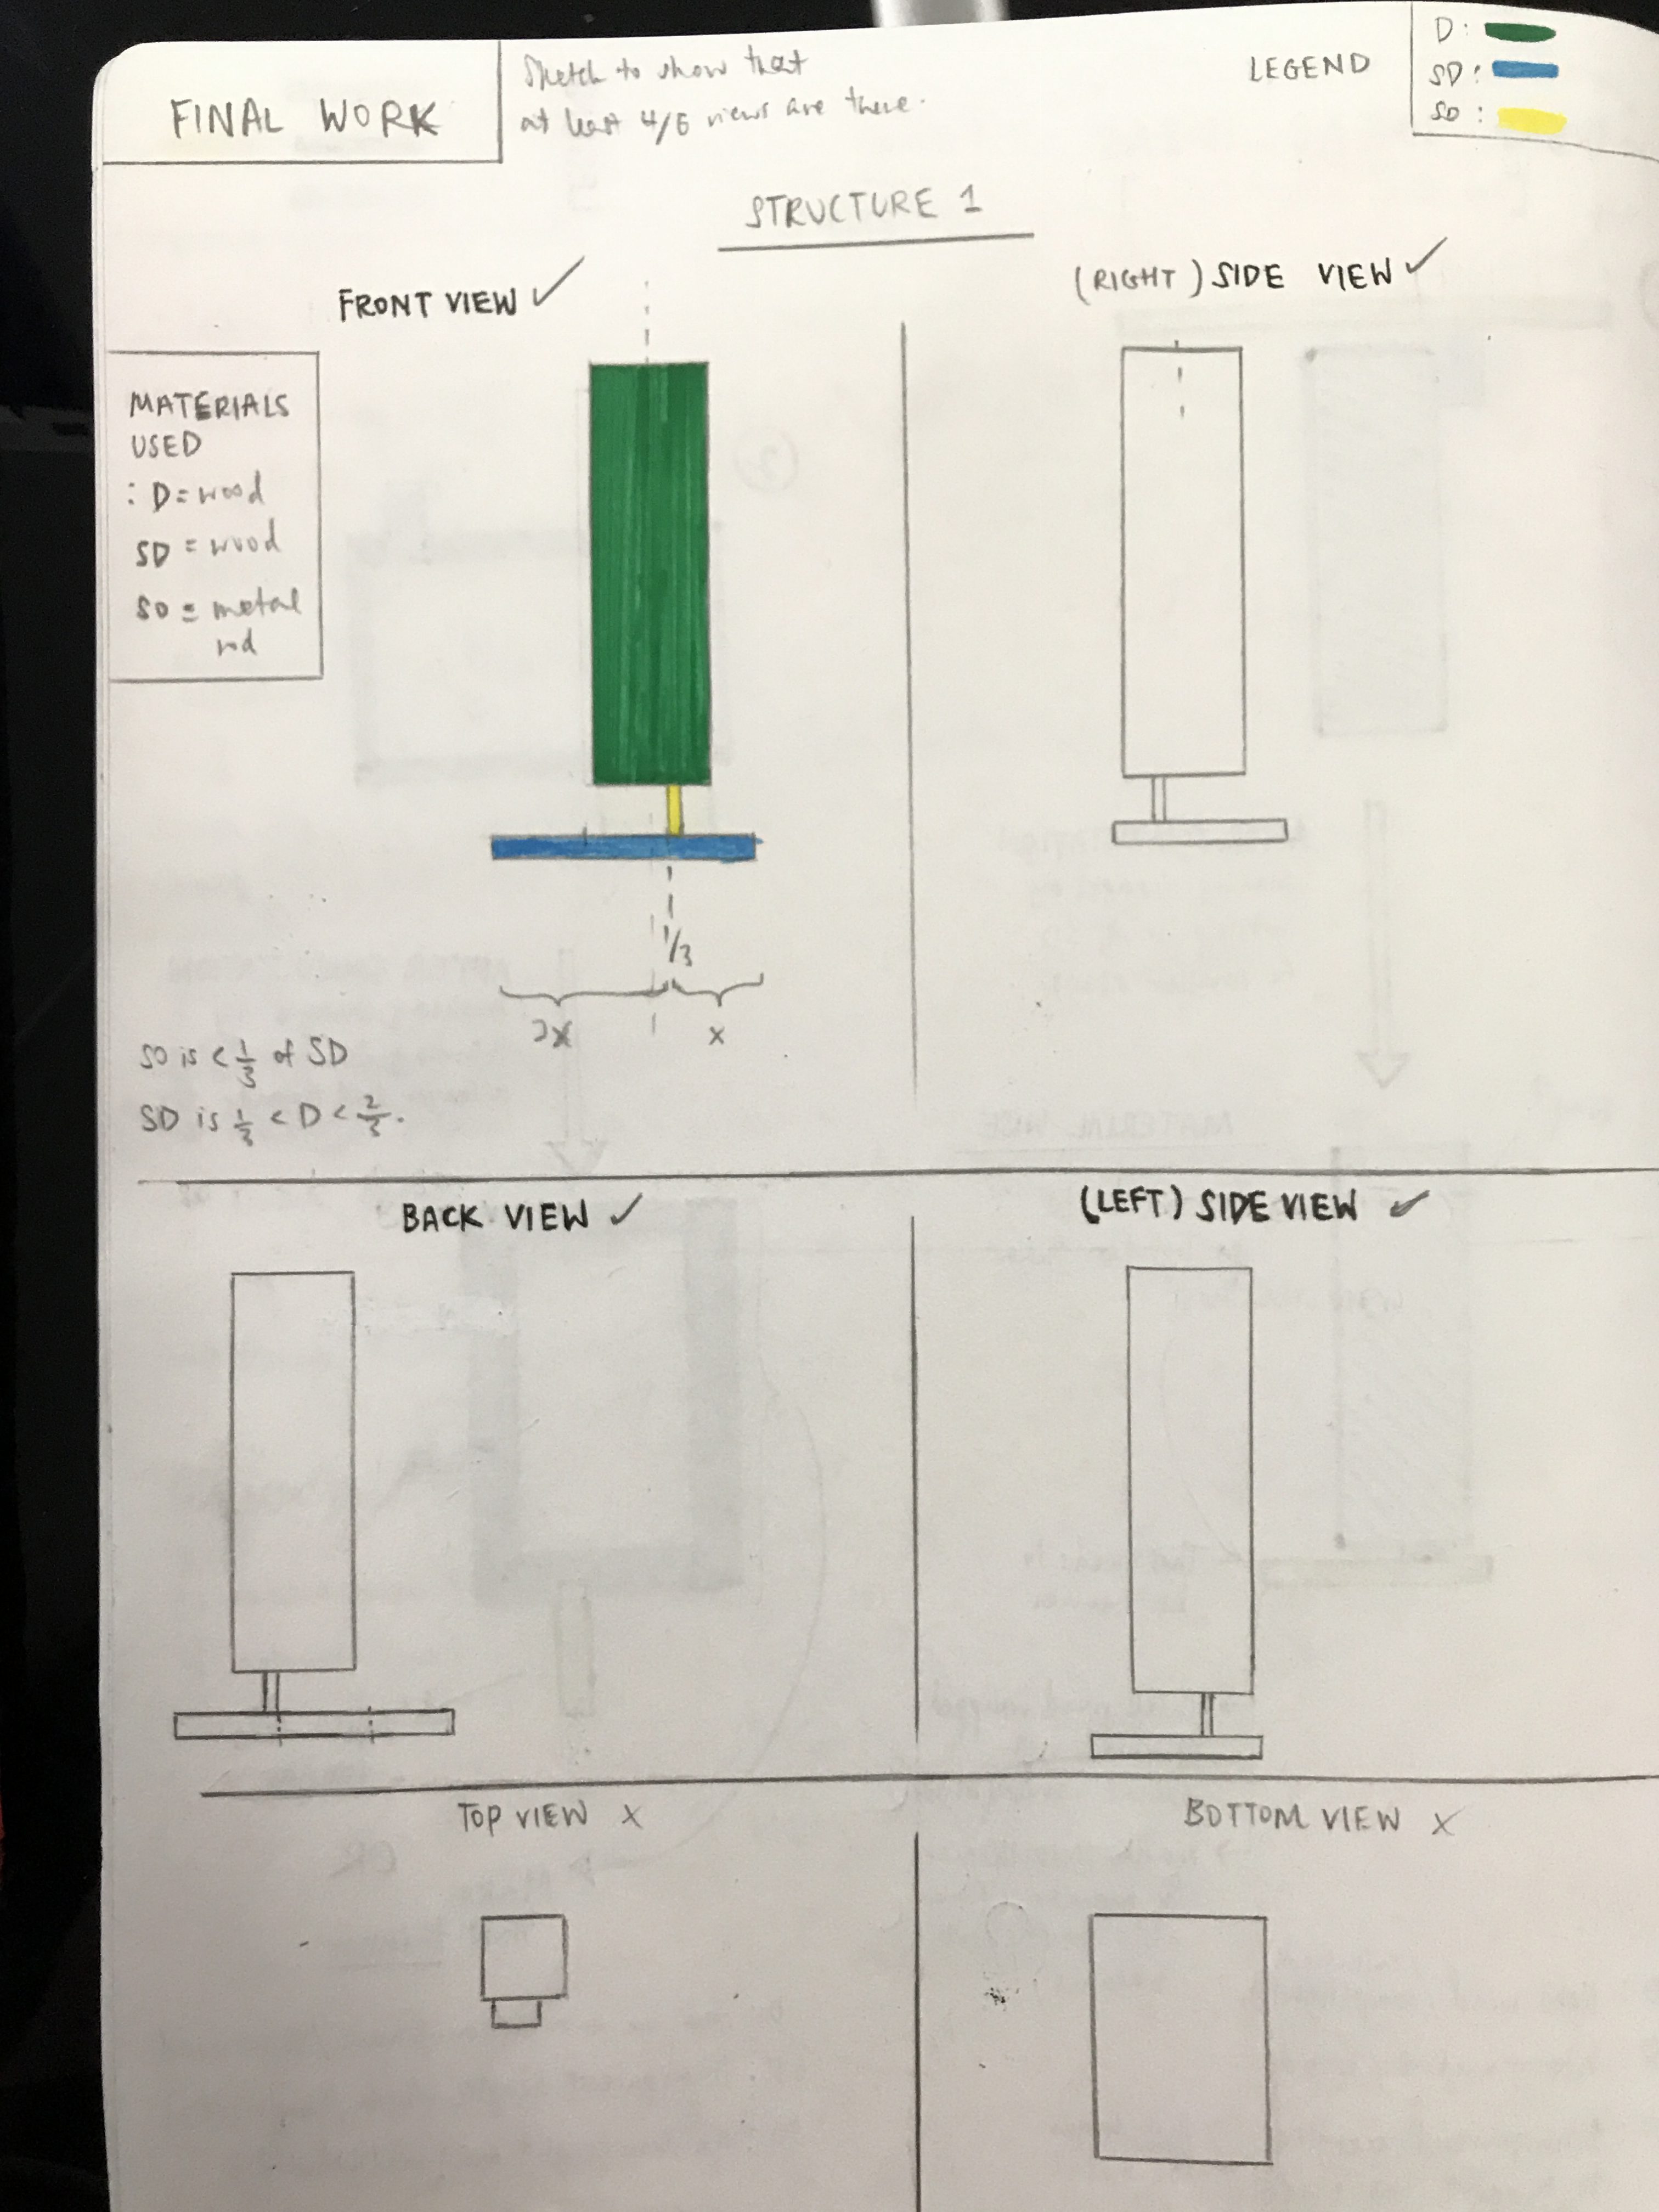
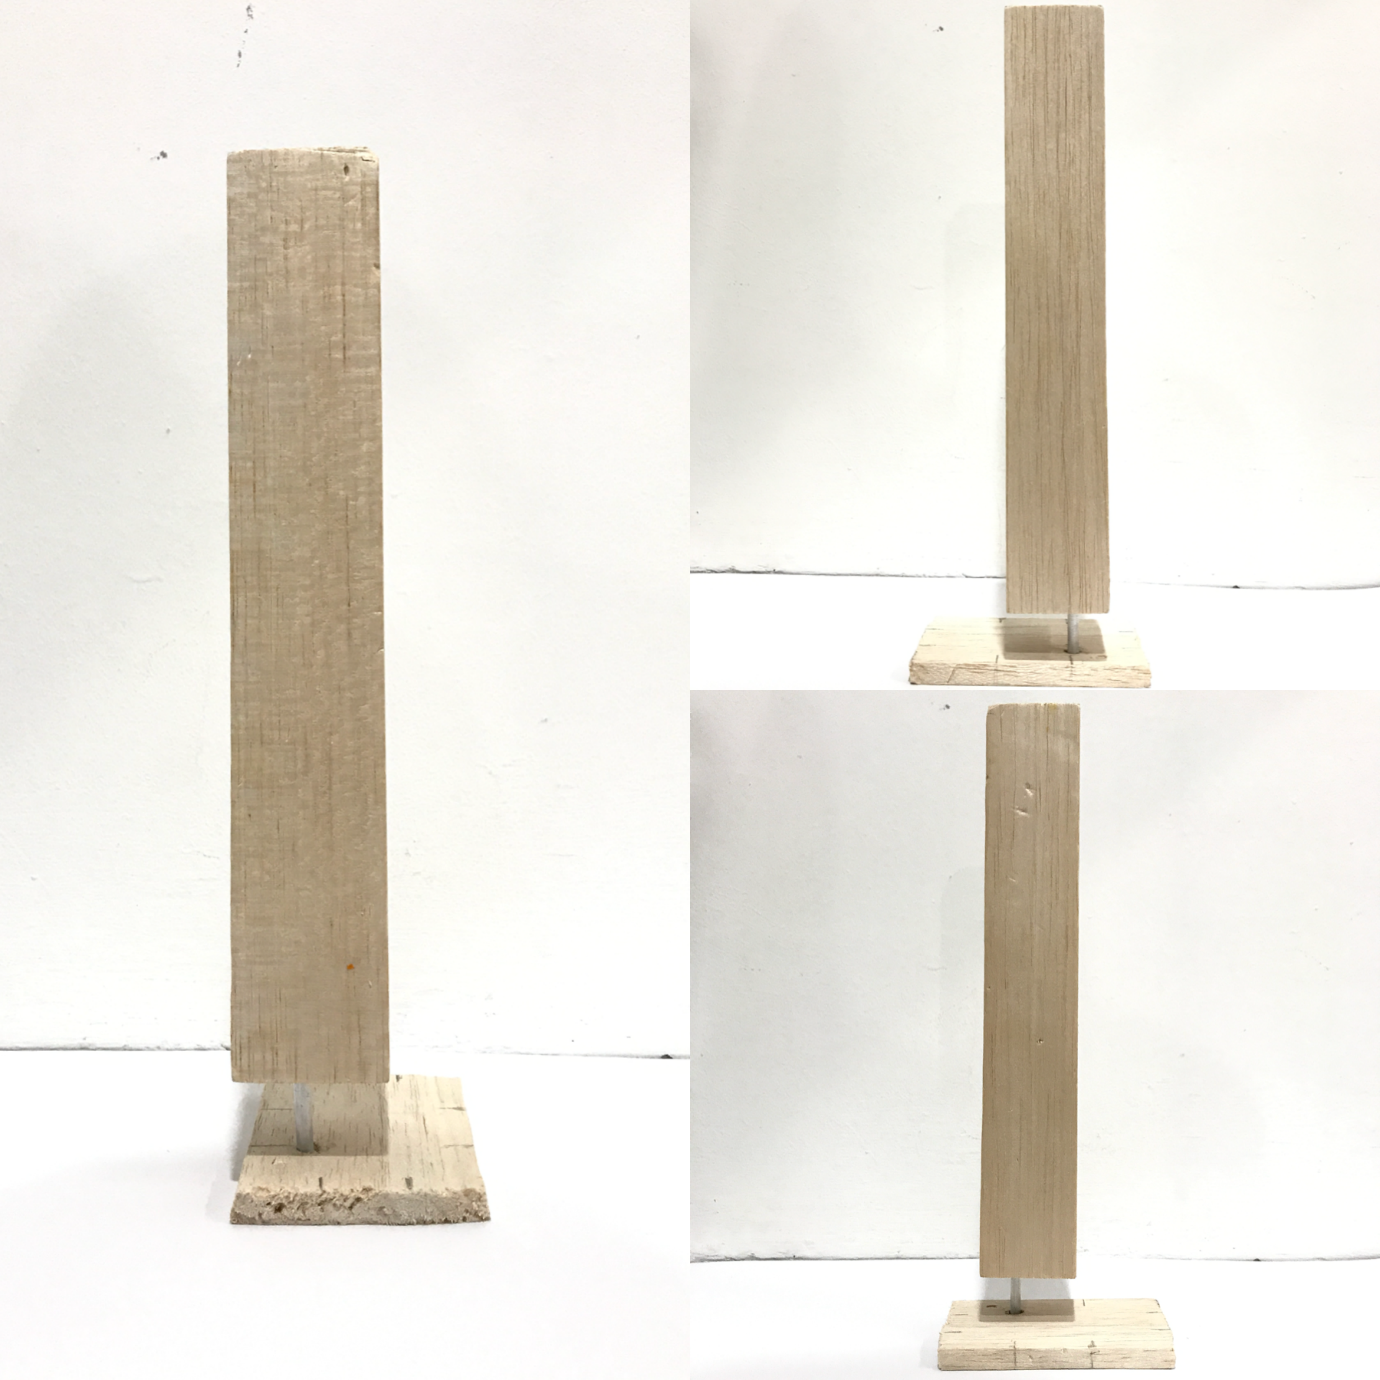
The all-sides view of the structure and showing that at least 4/6 of it went right.


The reason why I wanted to use a metal rod for the SO was because metal can easily be the backbone of alot of things. And the material of this metal is specifically aluminium as it is known for not rusting or corroding easily. Hence if it touches water, it won’t rust. IN ALL HONESTY, this was hard to create to balance it well. I had to get the right measurements for everything. I thought of making it into a floating building, or a hardy bar soap dispenser. undecided

3D Pandora – Progress Towards Final ‘Counter-Balance’ Structure


PREPAAARE, a really (thought-through and reflective) long post incoming.

In last week’s lesson, we went through each and everyone’s boxes and consulted our professor. After my consultation for my ‘counter-balance’ work I went to make some changes to my boxes. So there are two structures that I’m planning to create (as seen below):
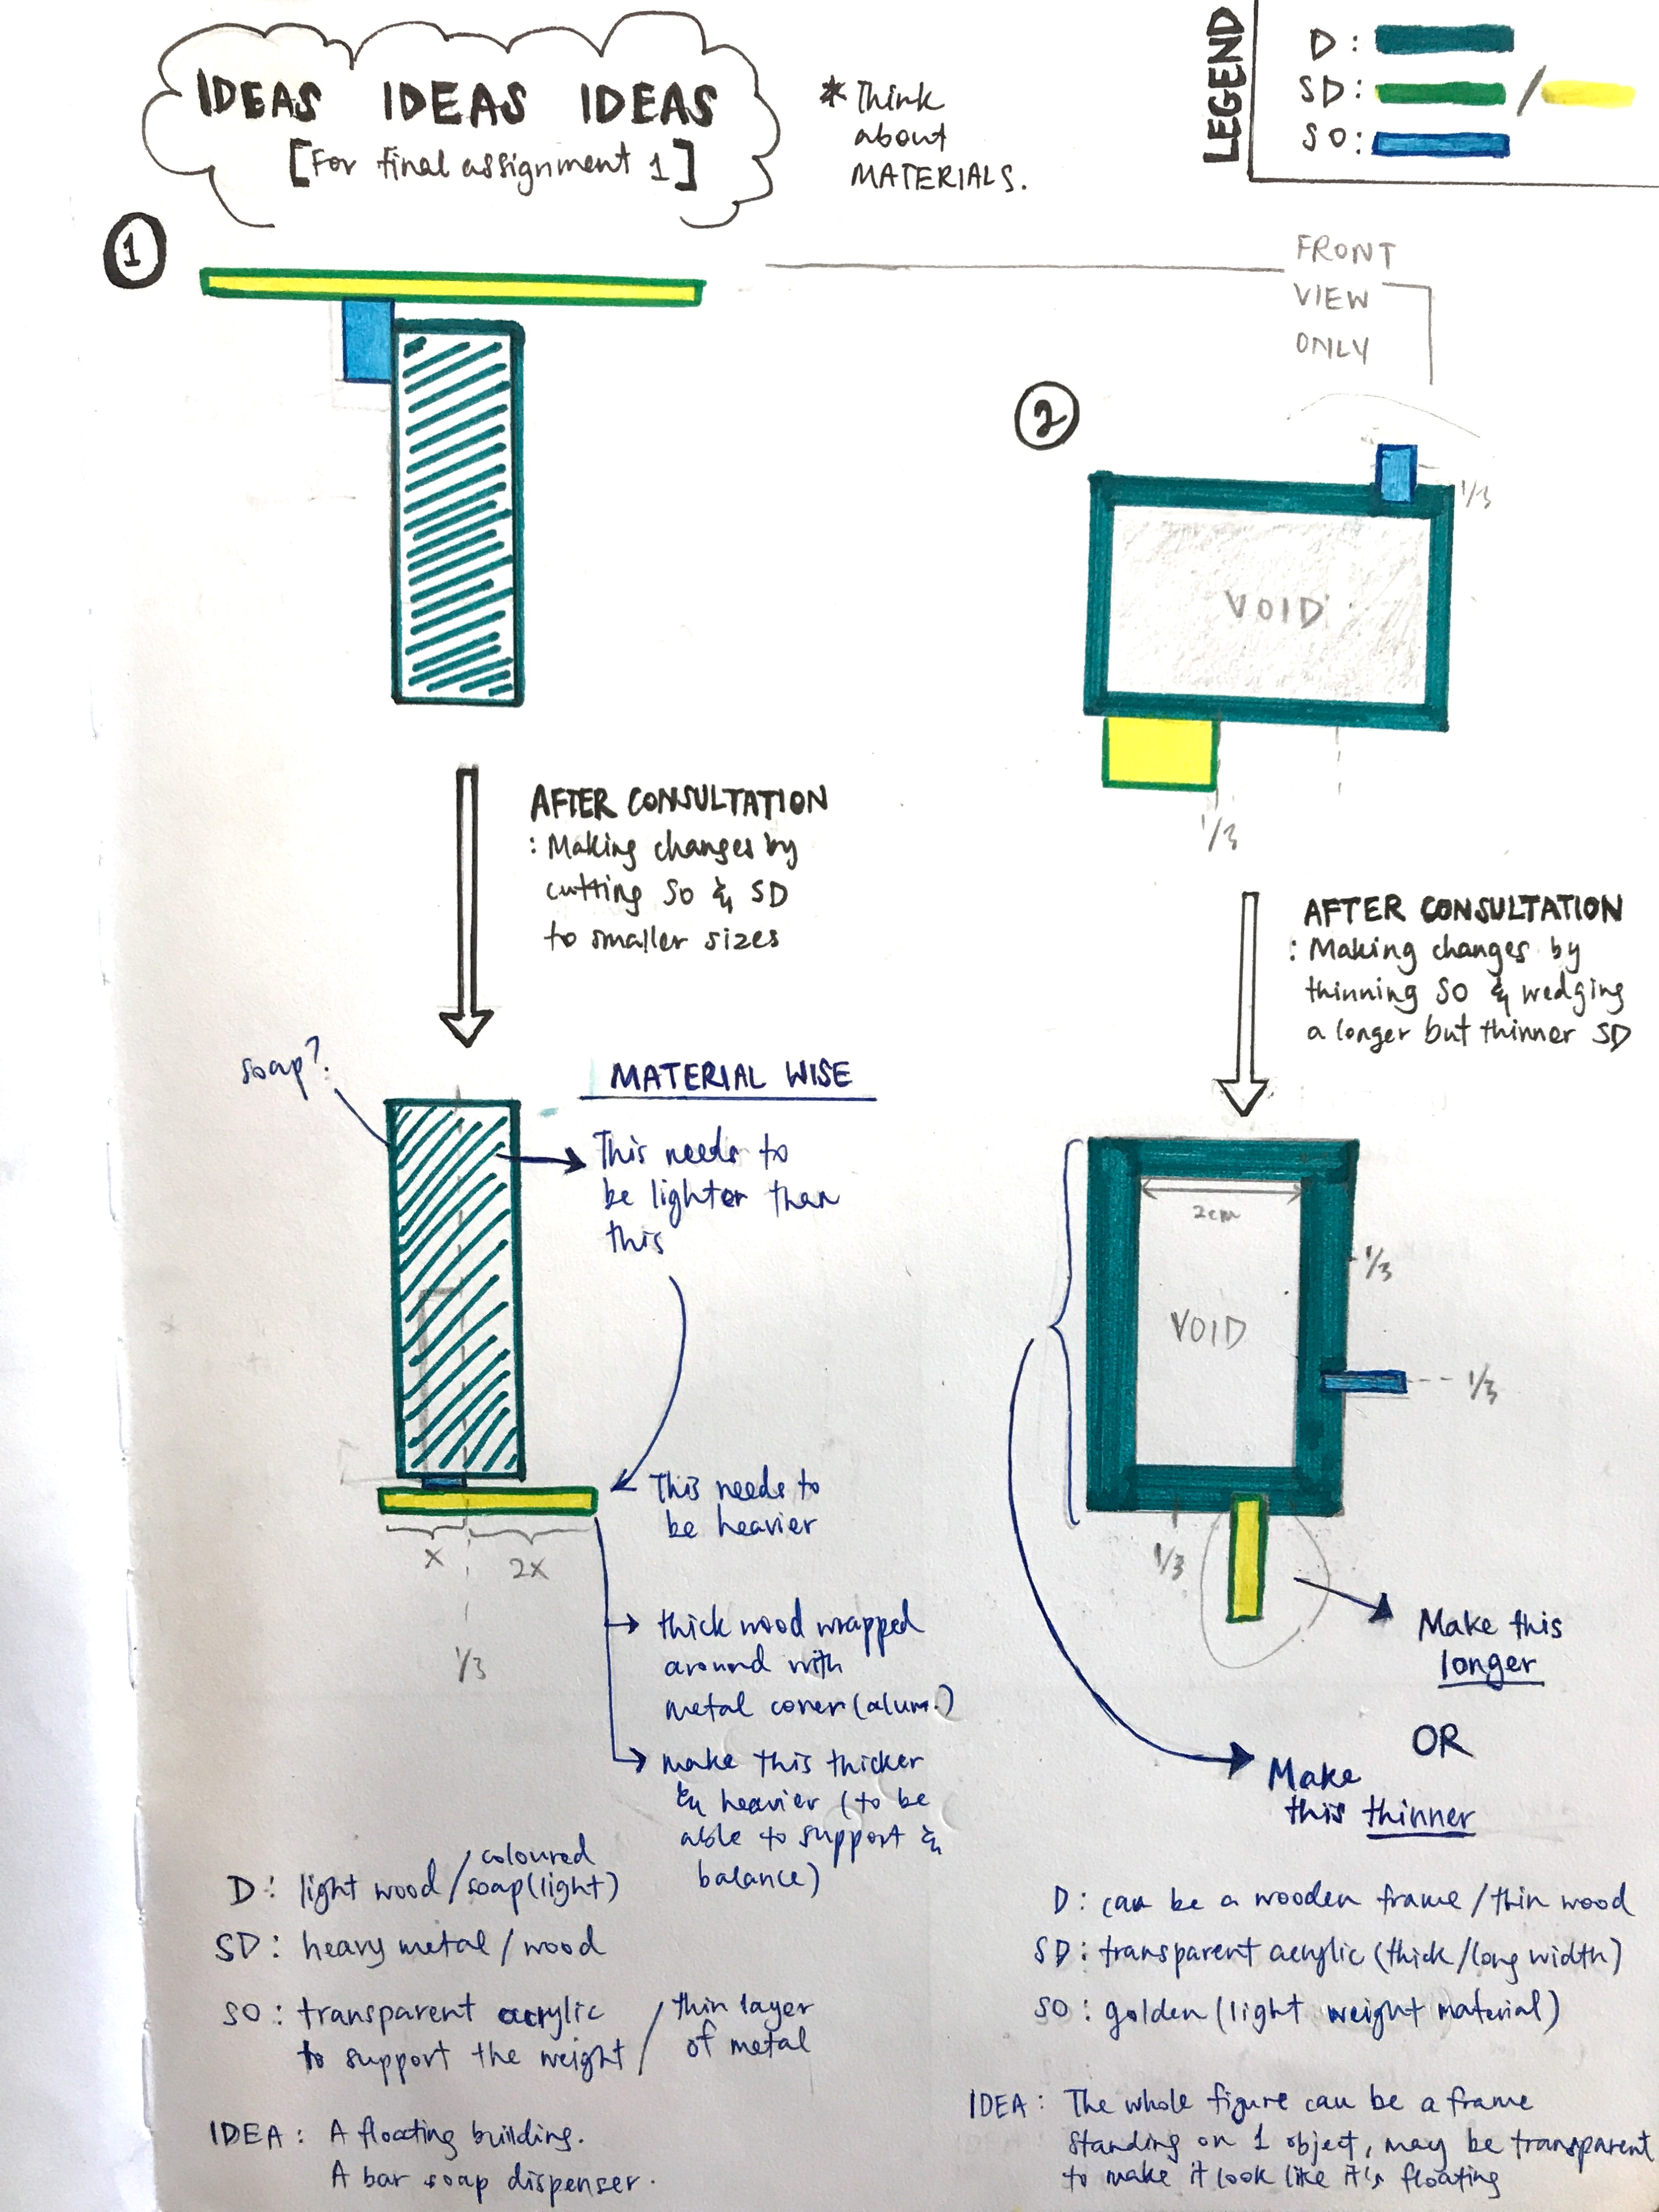
In my 1st structure, I went to make changes to the SO and SD to make my D block more dominant, and basically make an interesting counter-balance figure. It was quite hard to ensure that my figure balances as my D foam block was thick, tall and mainly weighs more than the SD could handle. So I decided that the D block had to be lighter than SD and the SD had to be heavier to be able to support the whole structure.

In my 2nd structure, I went to also make changes to my D and SD by making the D thinner and choosing an acrylic slightly longer to try and support the D and SO.

Of course taking into account of the length and width of the blocks too, it wasn’t easy. ESPECIALLY when we have to start including the materials we want to use.

So in this post, I will be sharing a few of my fails when creating structure 2 and structure 1 with other materials. And then I will show how I finally made progression towards a successful structure through structure 1 draft model (as I shifted more of my focus onto it).

LET’S BEGIN!
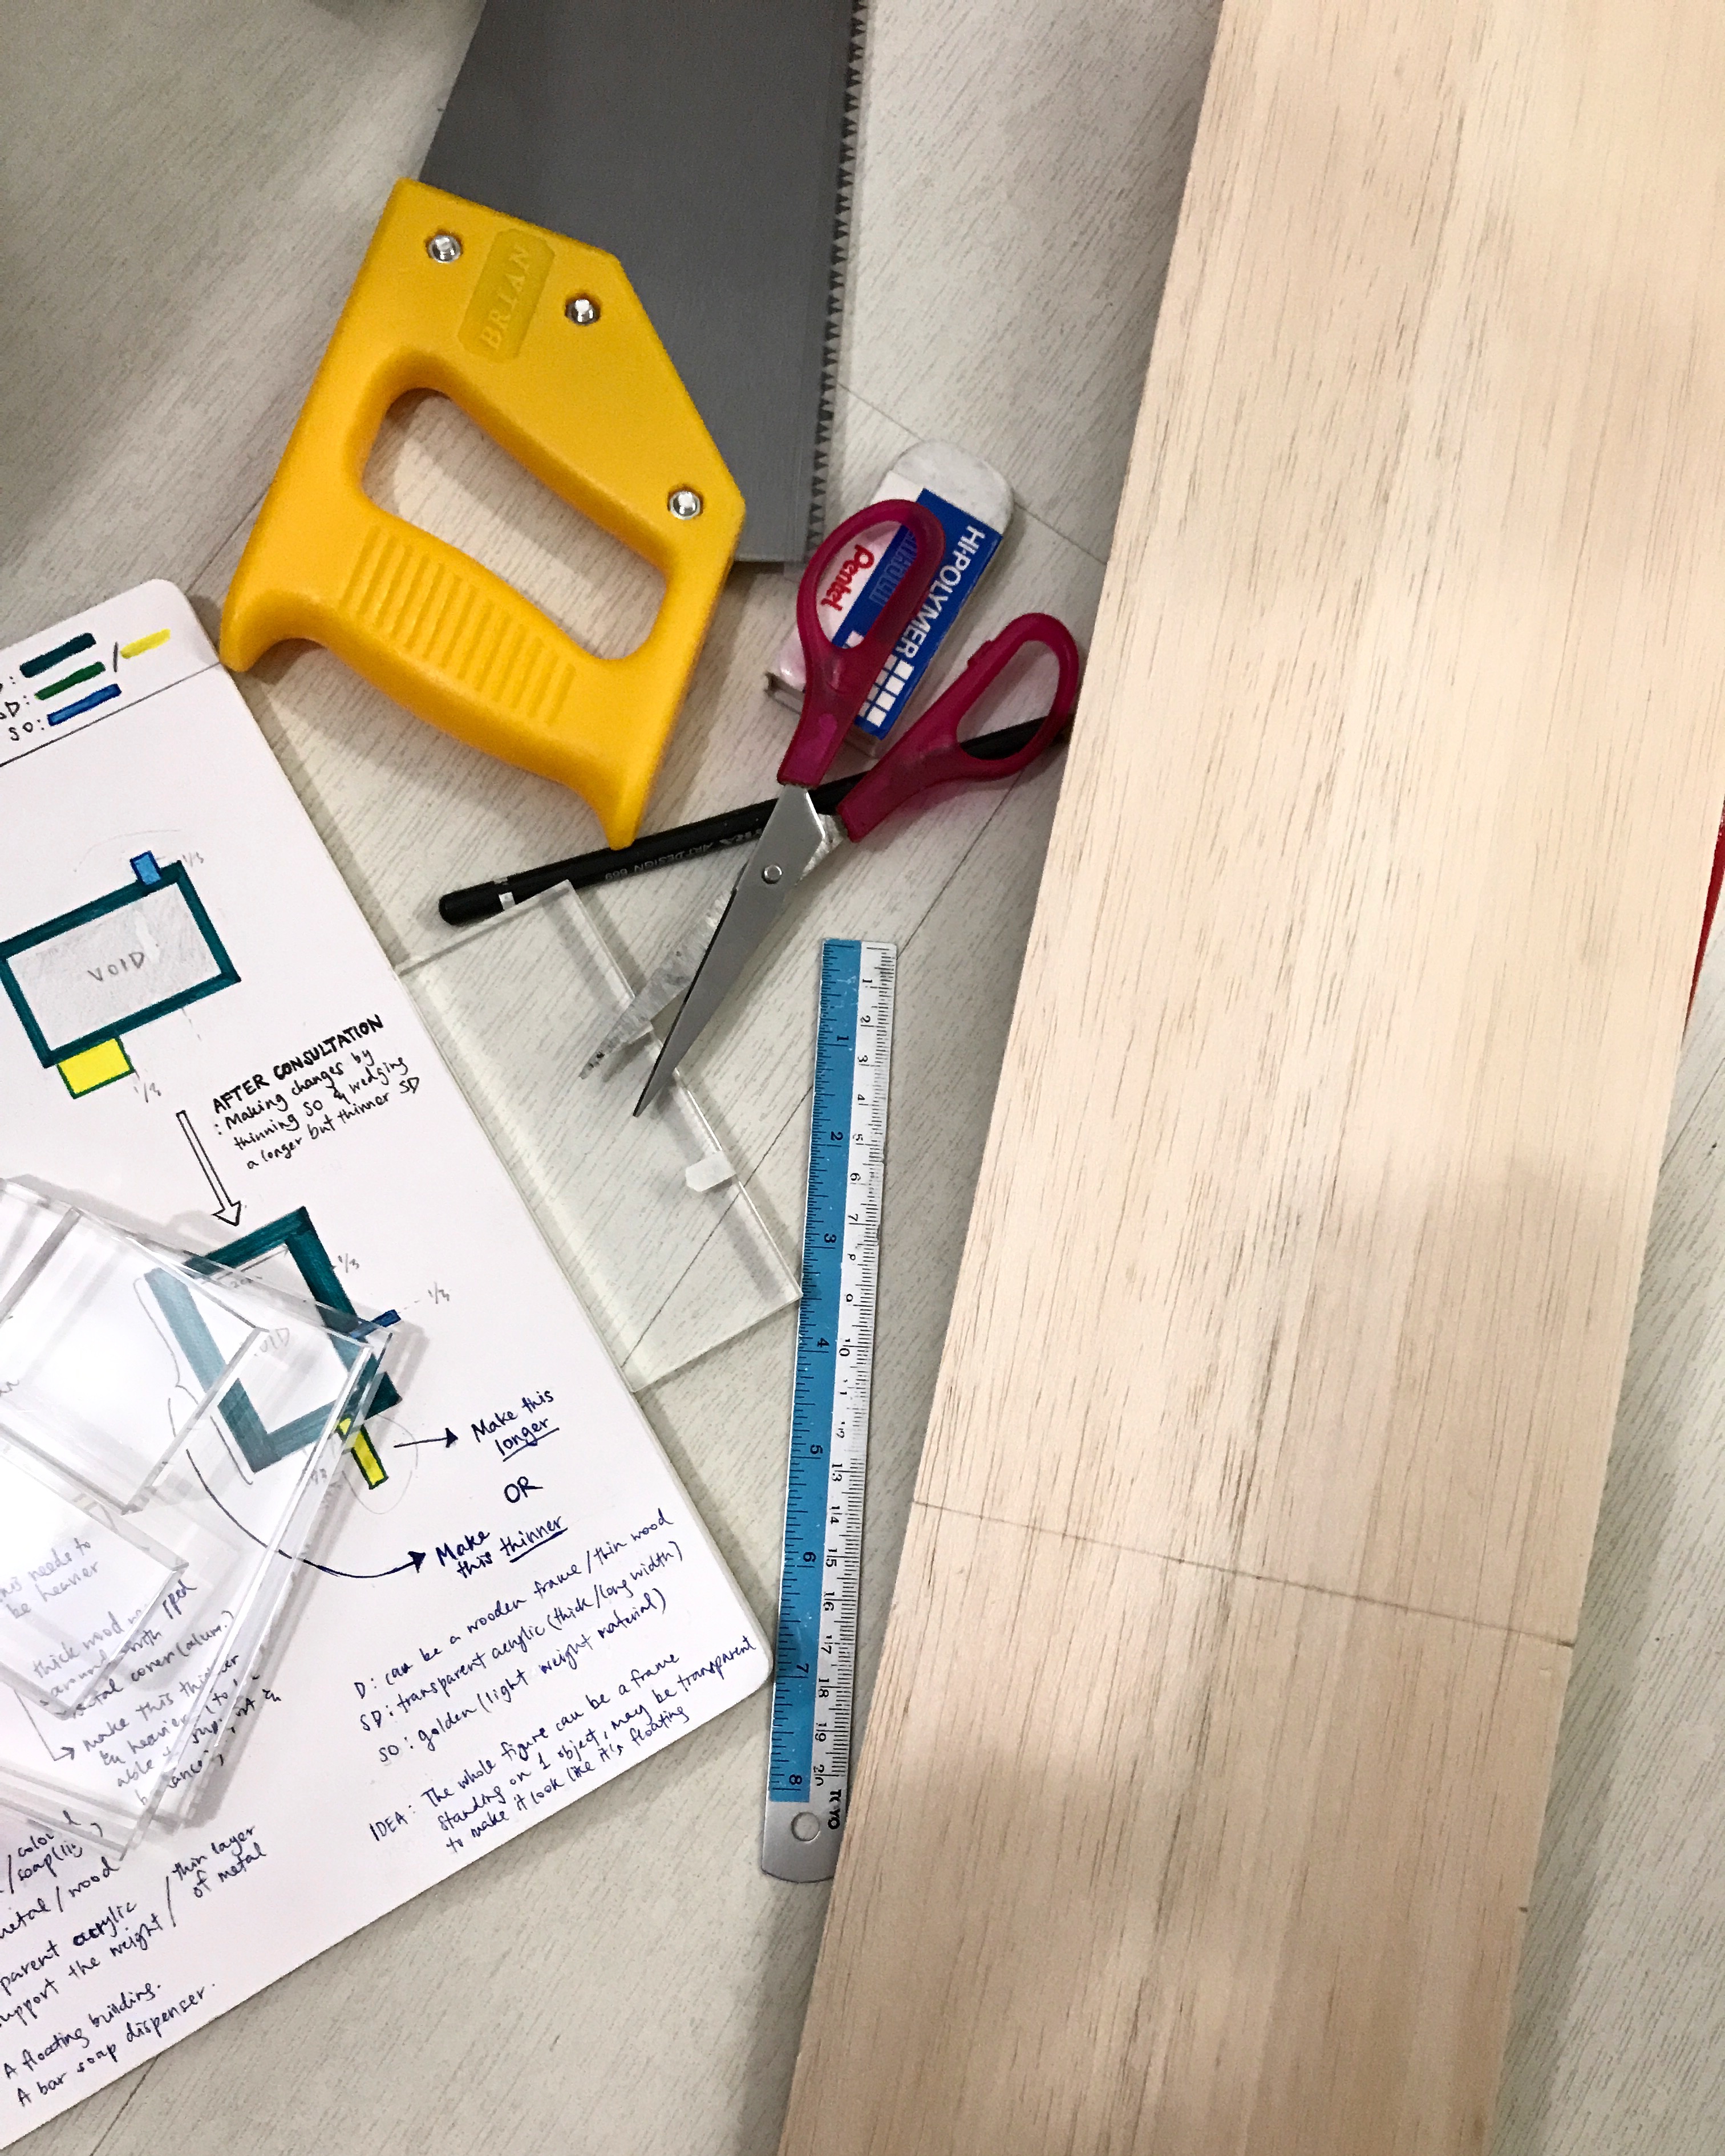
TRYING TO MAKE STRUCTURE 2

I started by trying to come up with a good structure using wood and acrylic and aluminium metal for structure 2. The wood for my Dominant block, the acrylic for my Sub-dominant block, and the aluminium metal for my Sub-ordinate block. Here below are some progress shots.
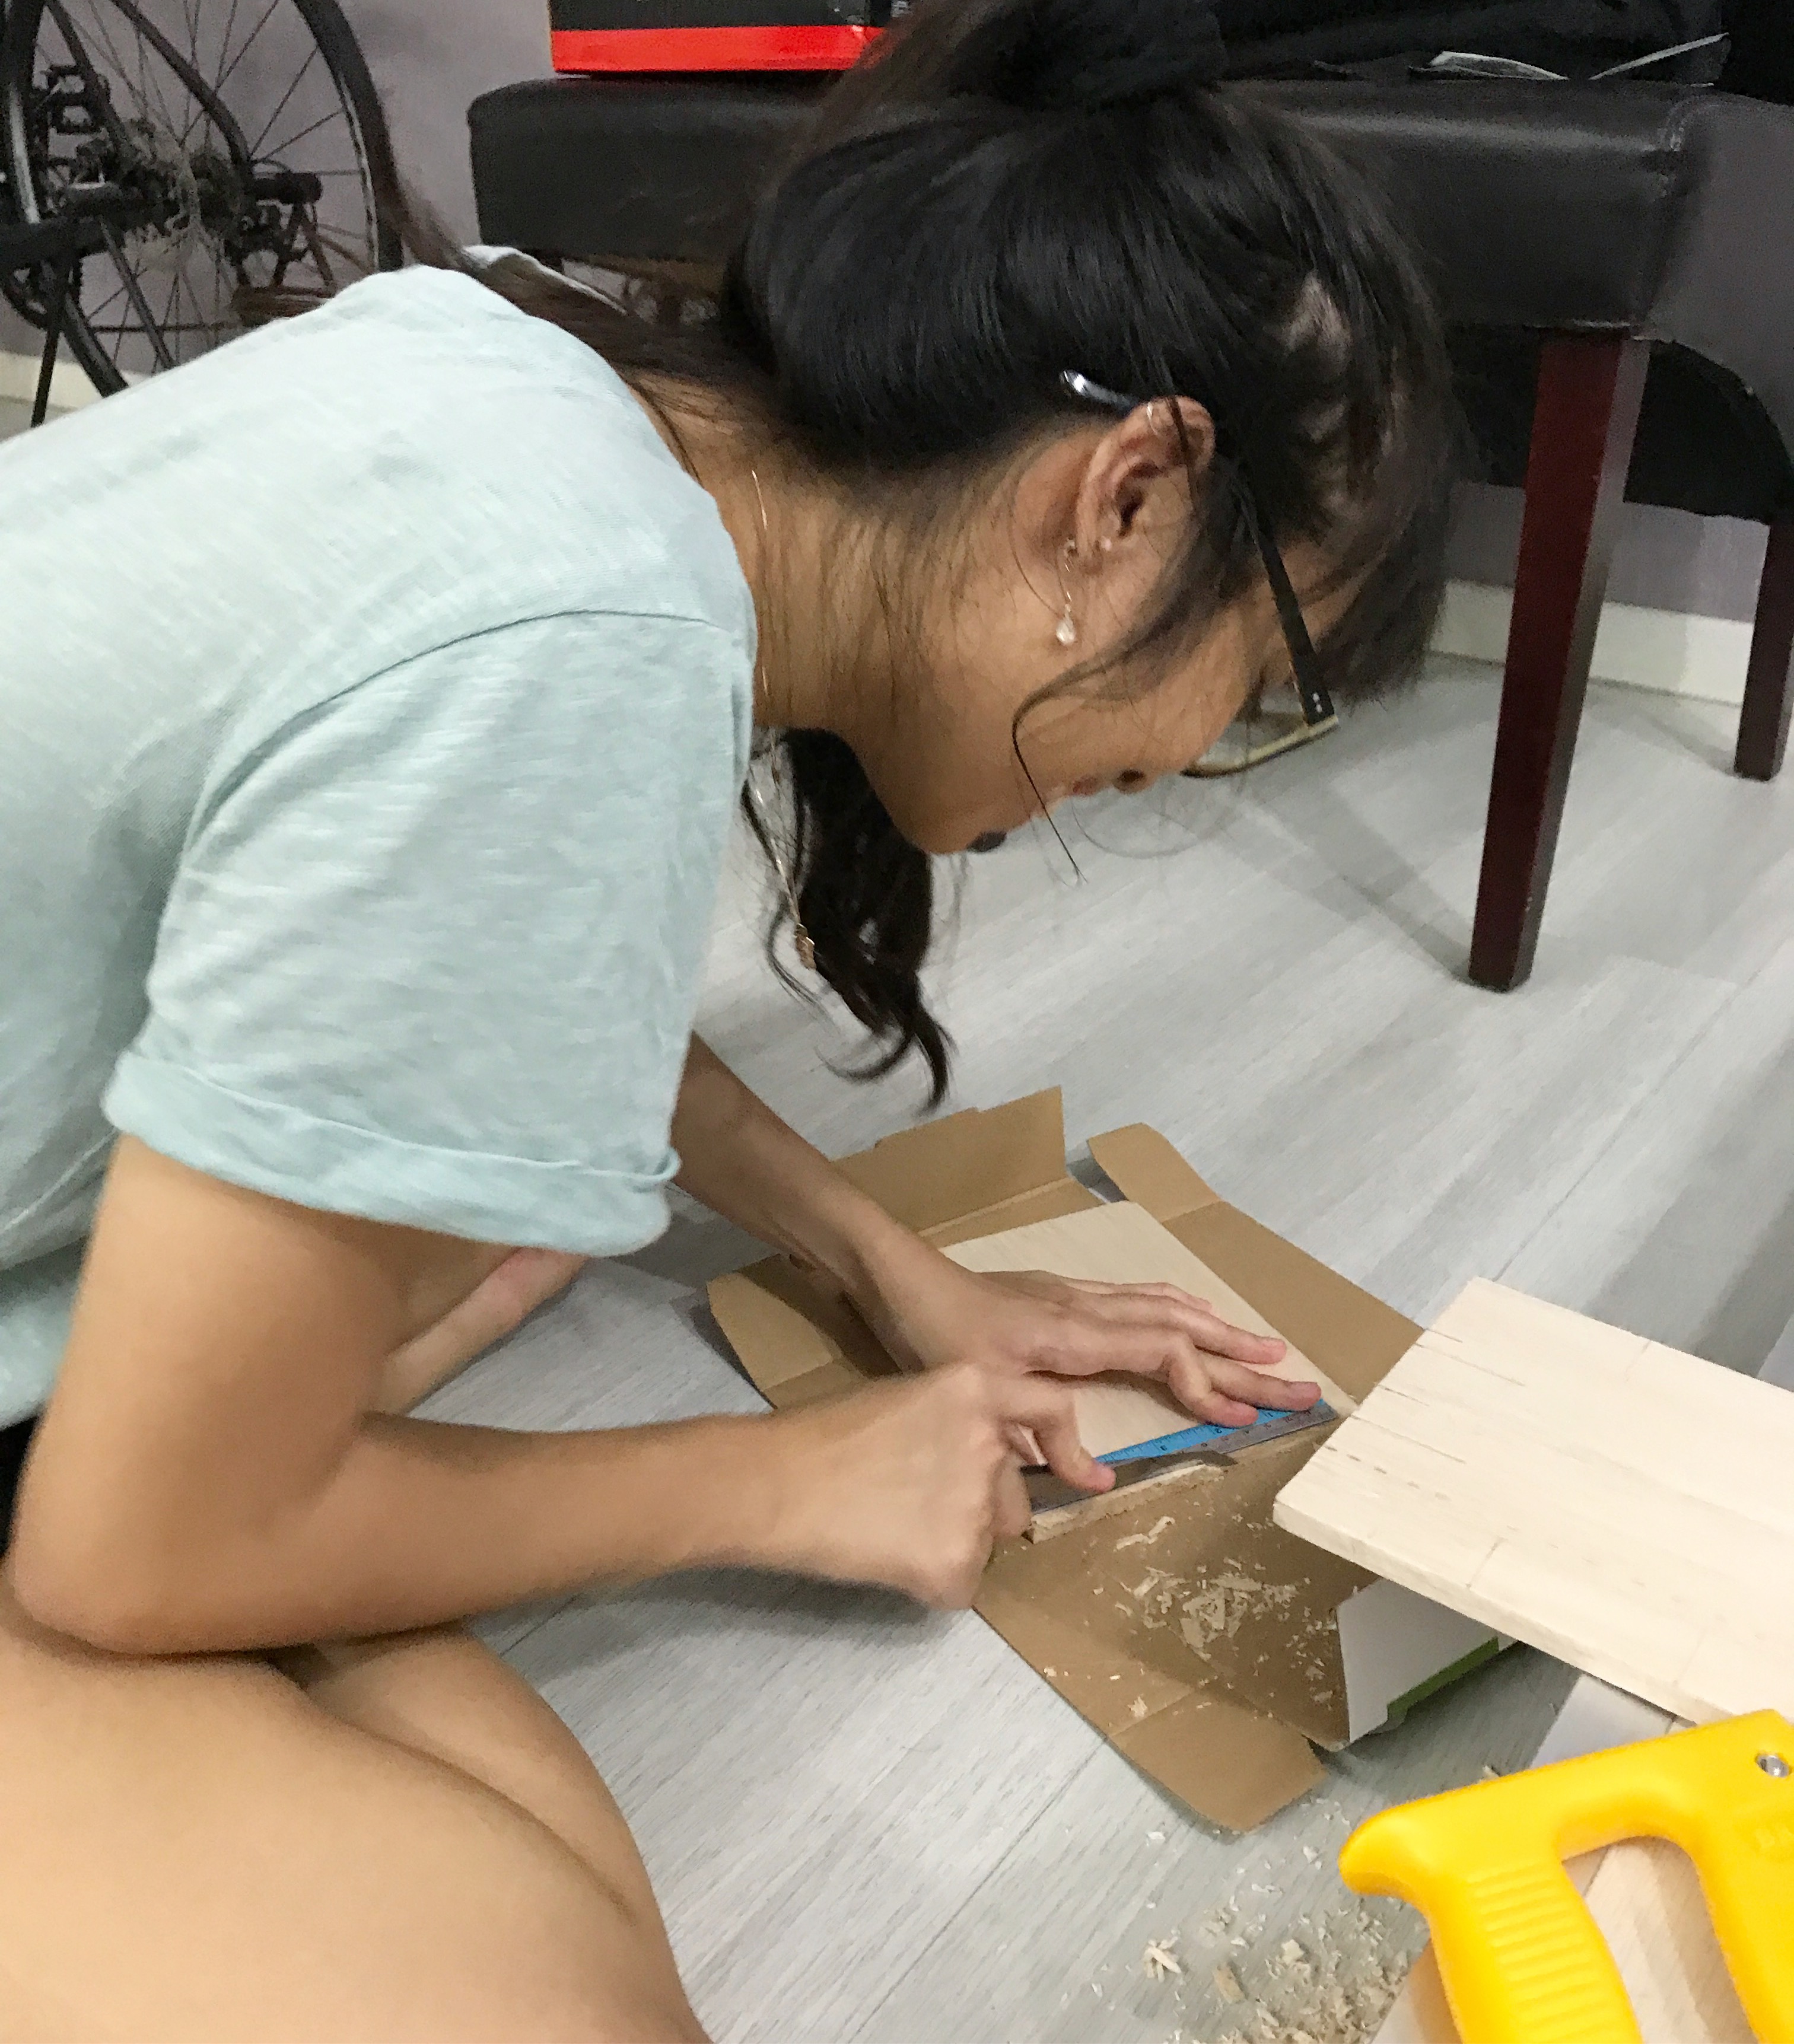
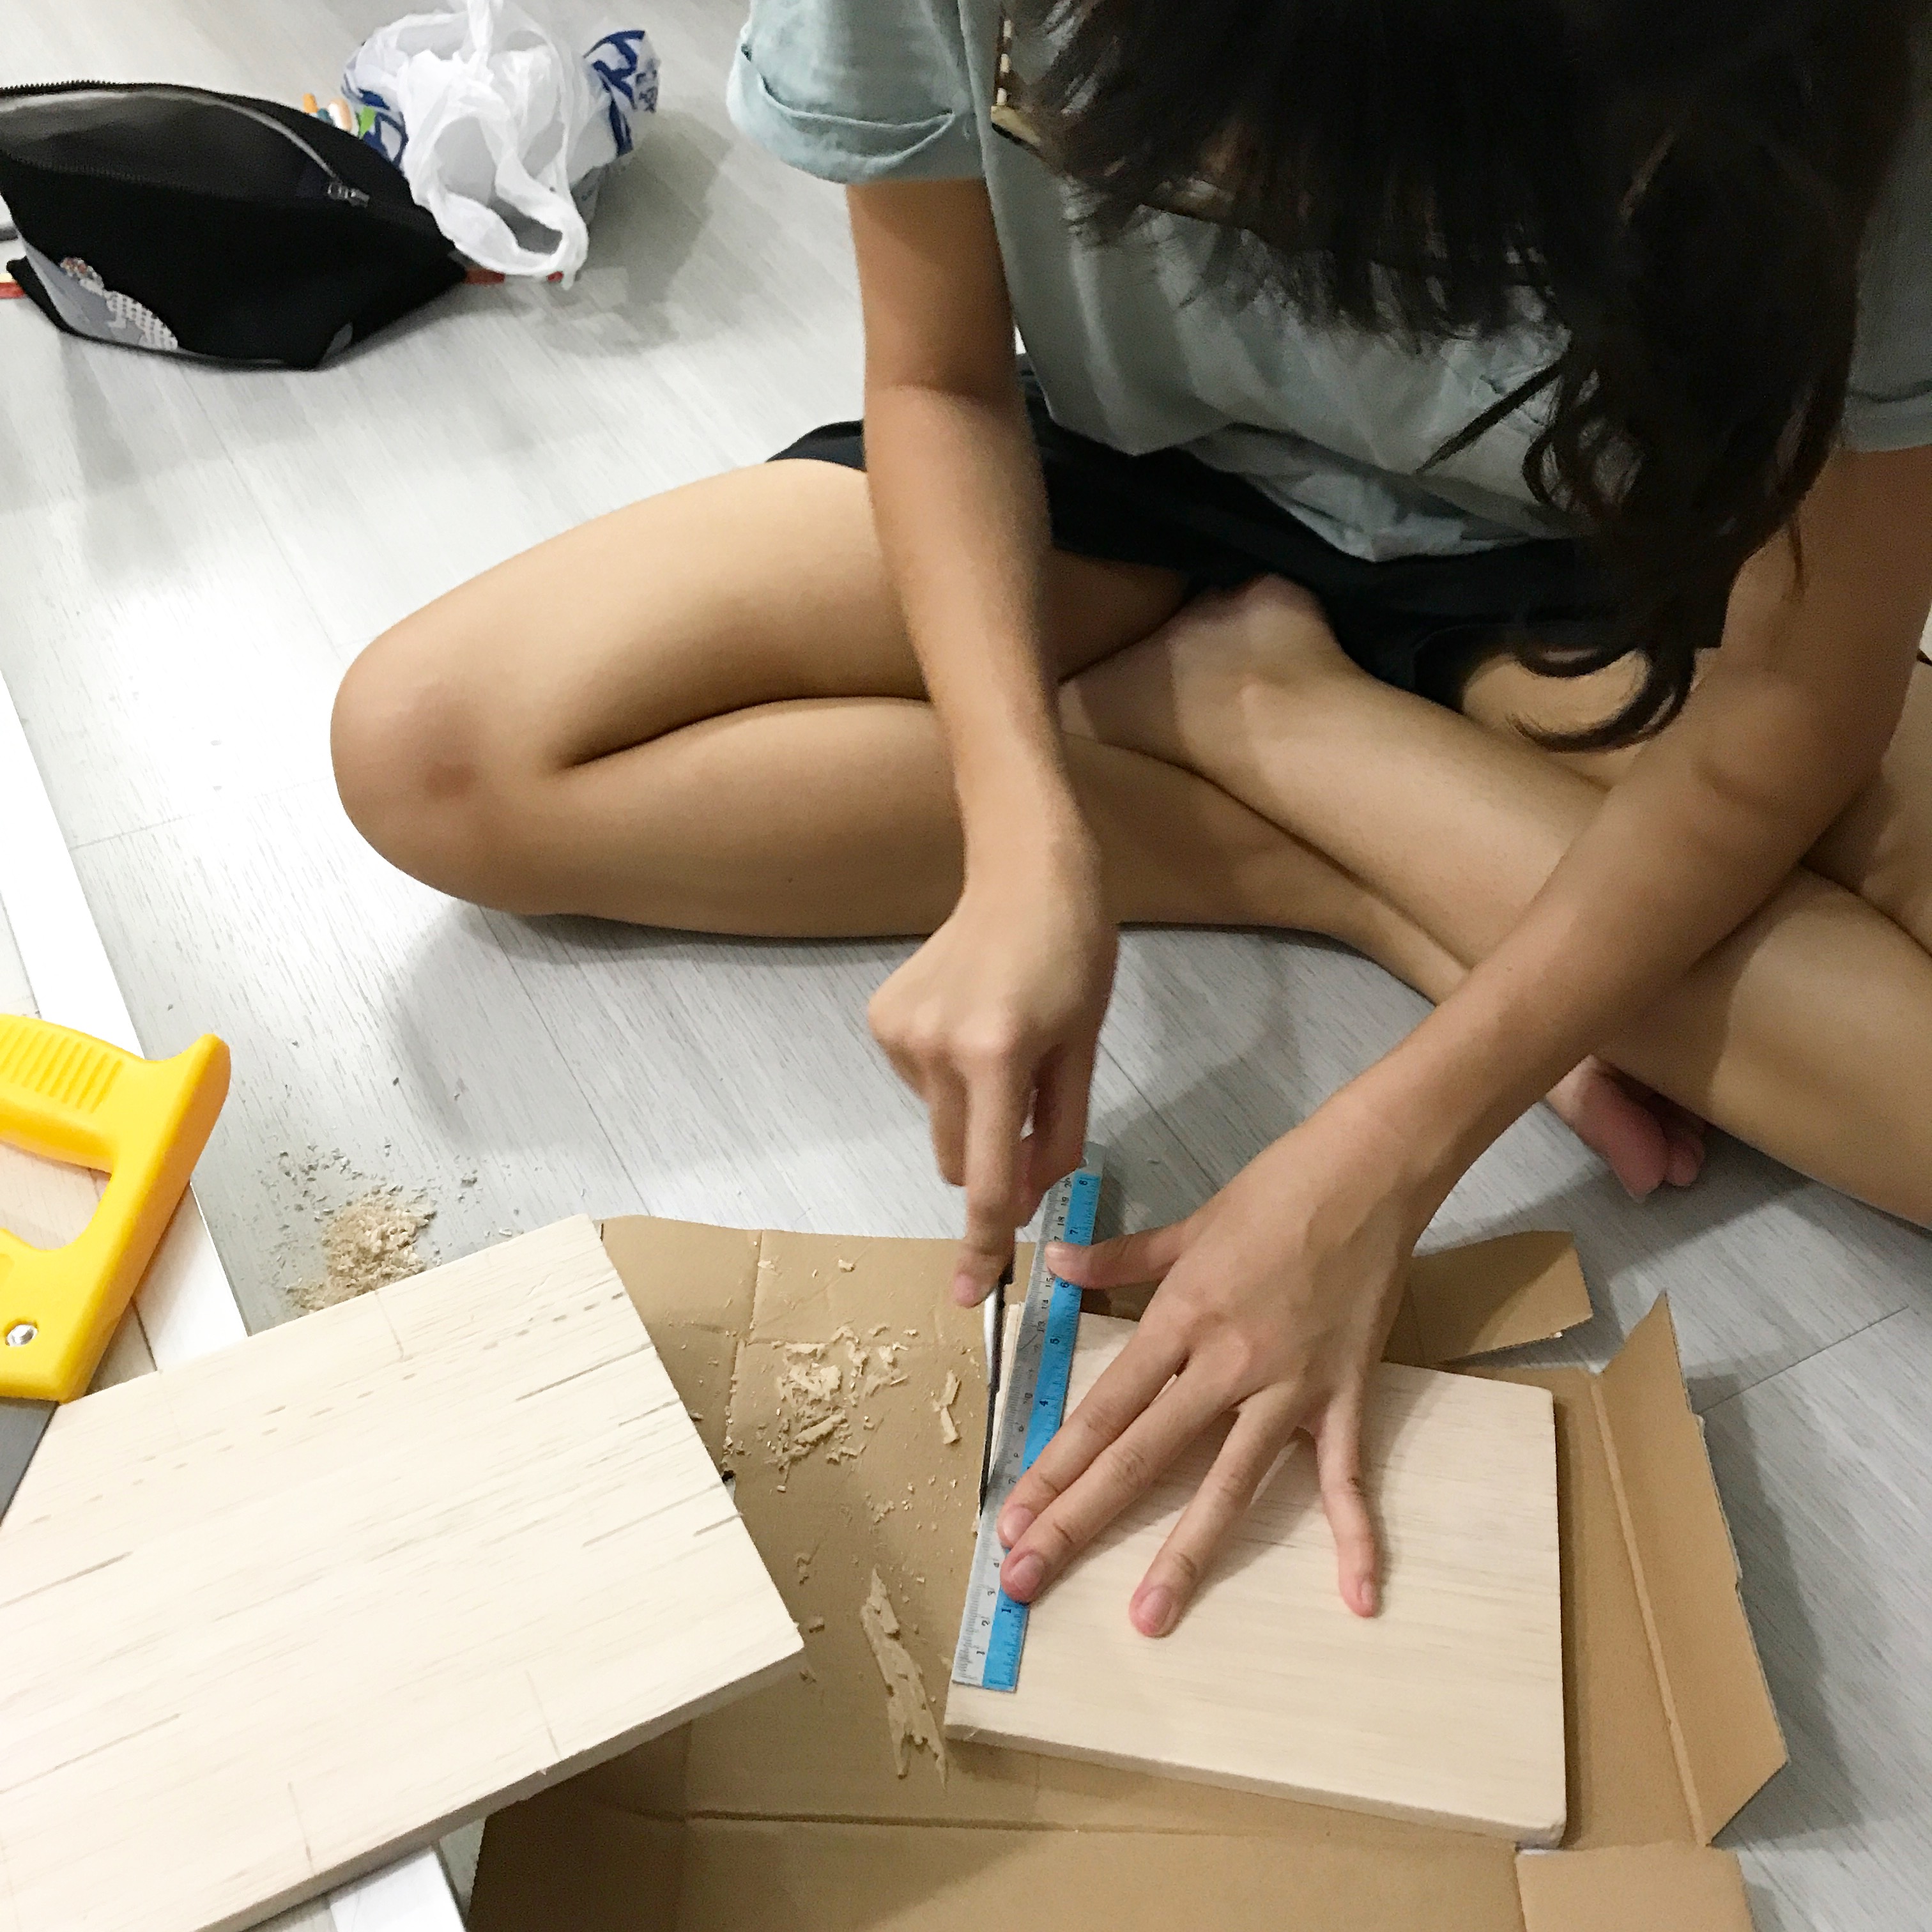
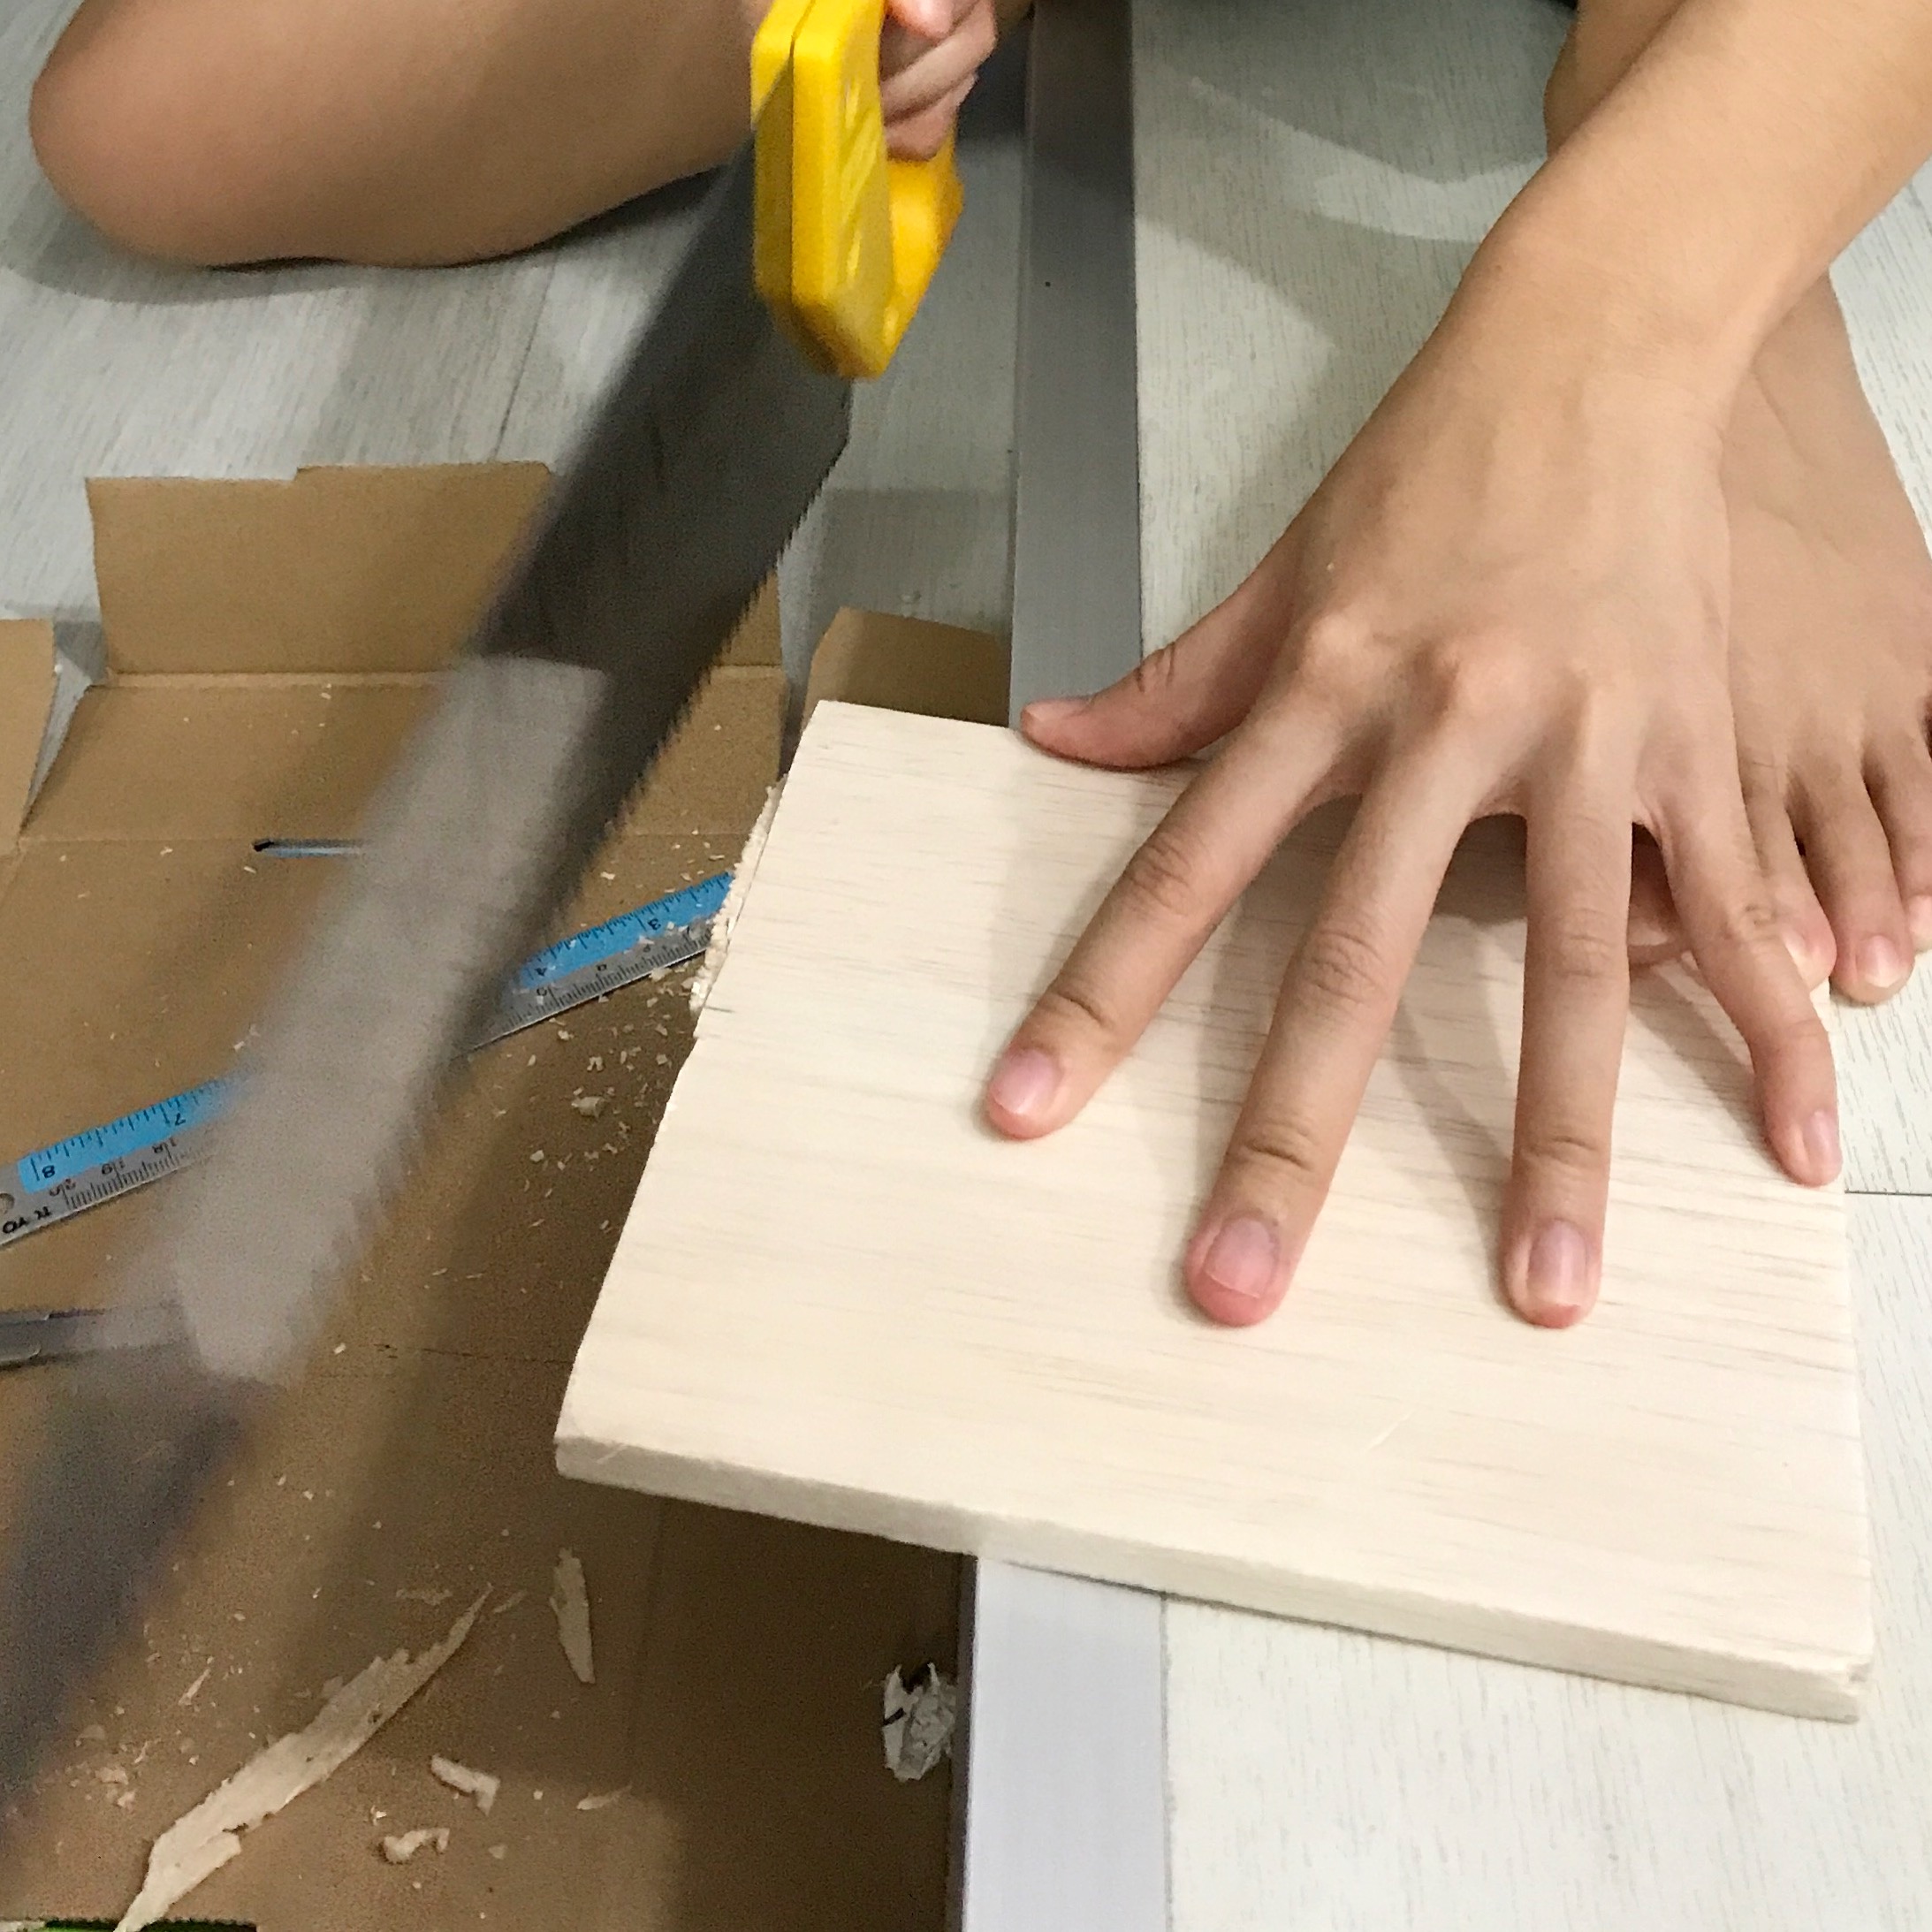
It was definitely tough to cut out the portion of the wood that I wanted, despite using a saw because there are some problems I encountered while doing so:

  • some parts of the wood are made harder hence harder to have a clean cut
  • when cutting through them, it is hard to maintain the same measurement at the length and the width
  • it is EVEN harder to carve the middle of the wood out to turn it into a frame!!! 🙁

When I was trying (very) hard to carve it out, the thin portion at the sides starts to break and I’d have to super glue them back together. And even though it works and everything finally looks like a frame, I still had to do some wedging at the bottom of the frame to insert my medium acrylic block for my SD.  But the chaos happened here: my saw couldn’t wedge through the hard part of the wood properly and I ended up cutting the space for my SD a little wider. 🙁
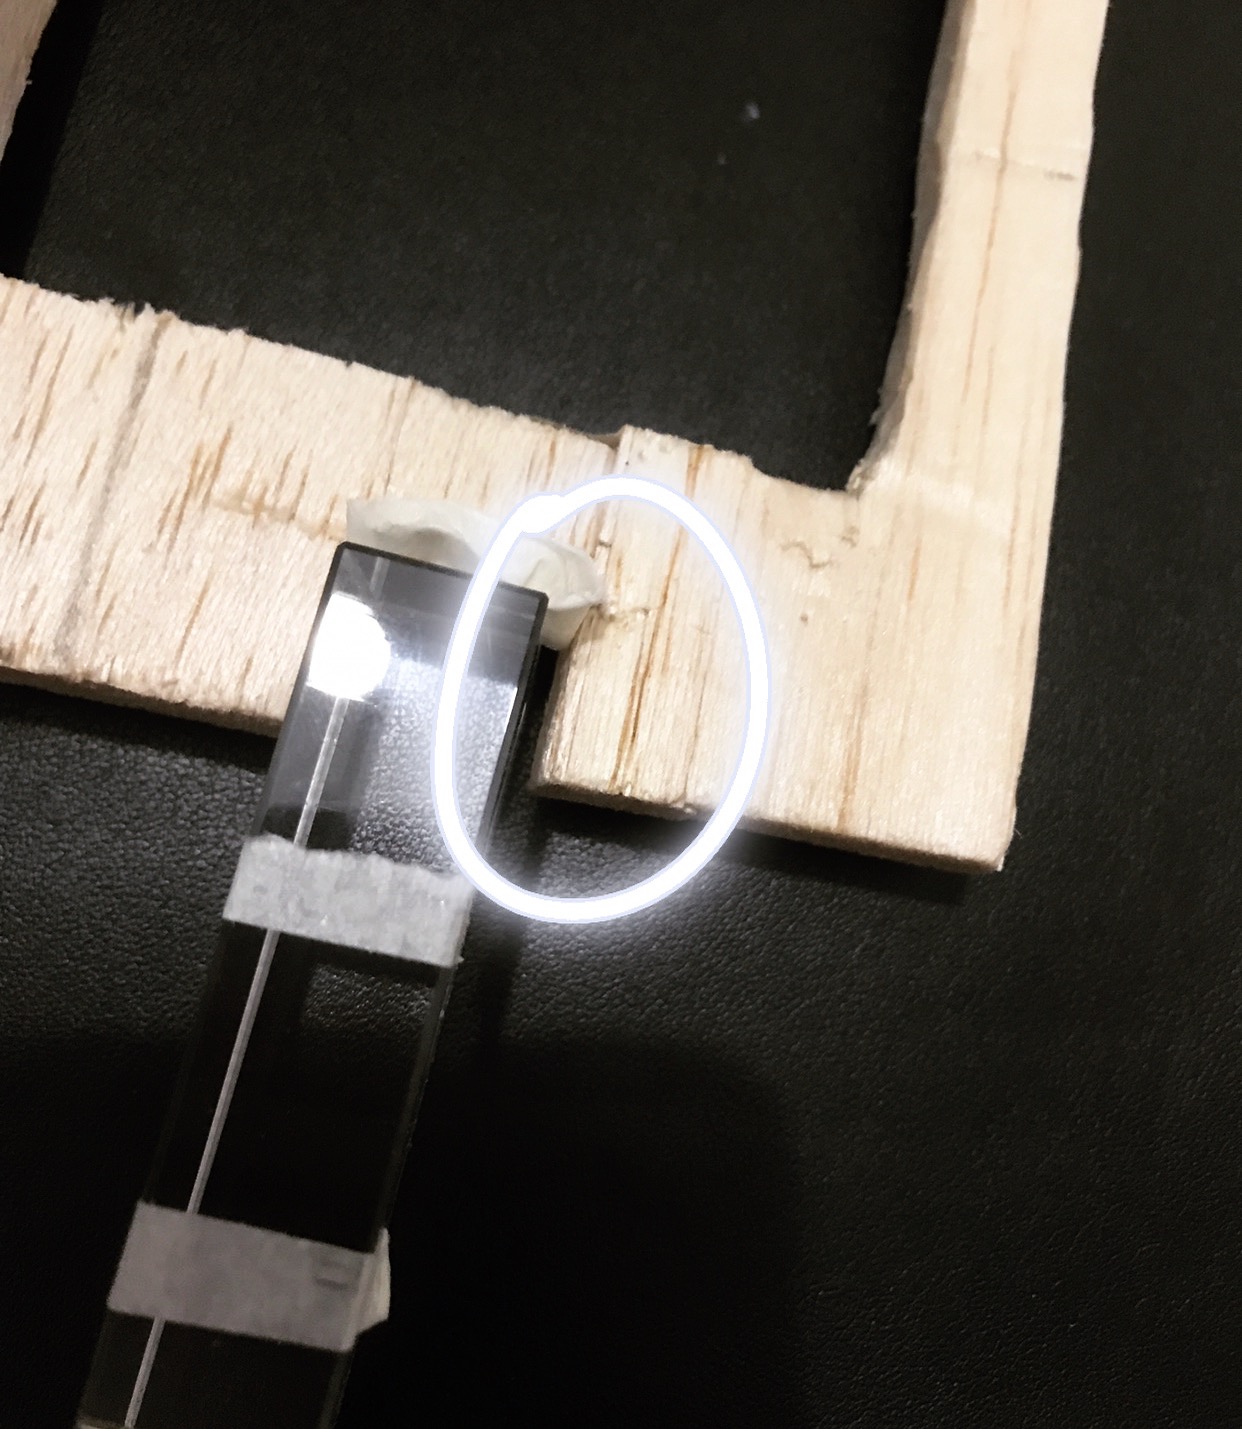
This in turn could not let my whole figure balance, unlike my foam model, as it was too spacious there and the acrylic could not hold the wood frame better.

Seen here below shows that I had to balance it by holding it unlike my foam model which could just stand/balance on it’s own. I haven’t even wedge the side (like seen on the foam model) to insert my aluminium metal as my SO because i know it still wouldn’t balance if the wedging is too spacious below (it can’t hold the whole blocks above).
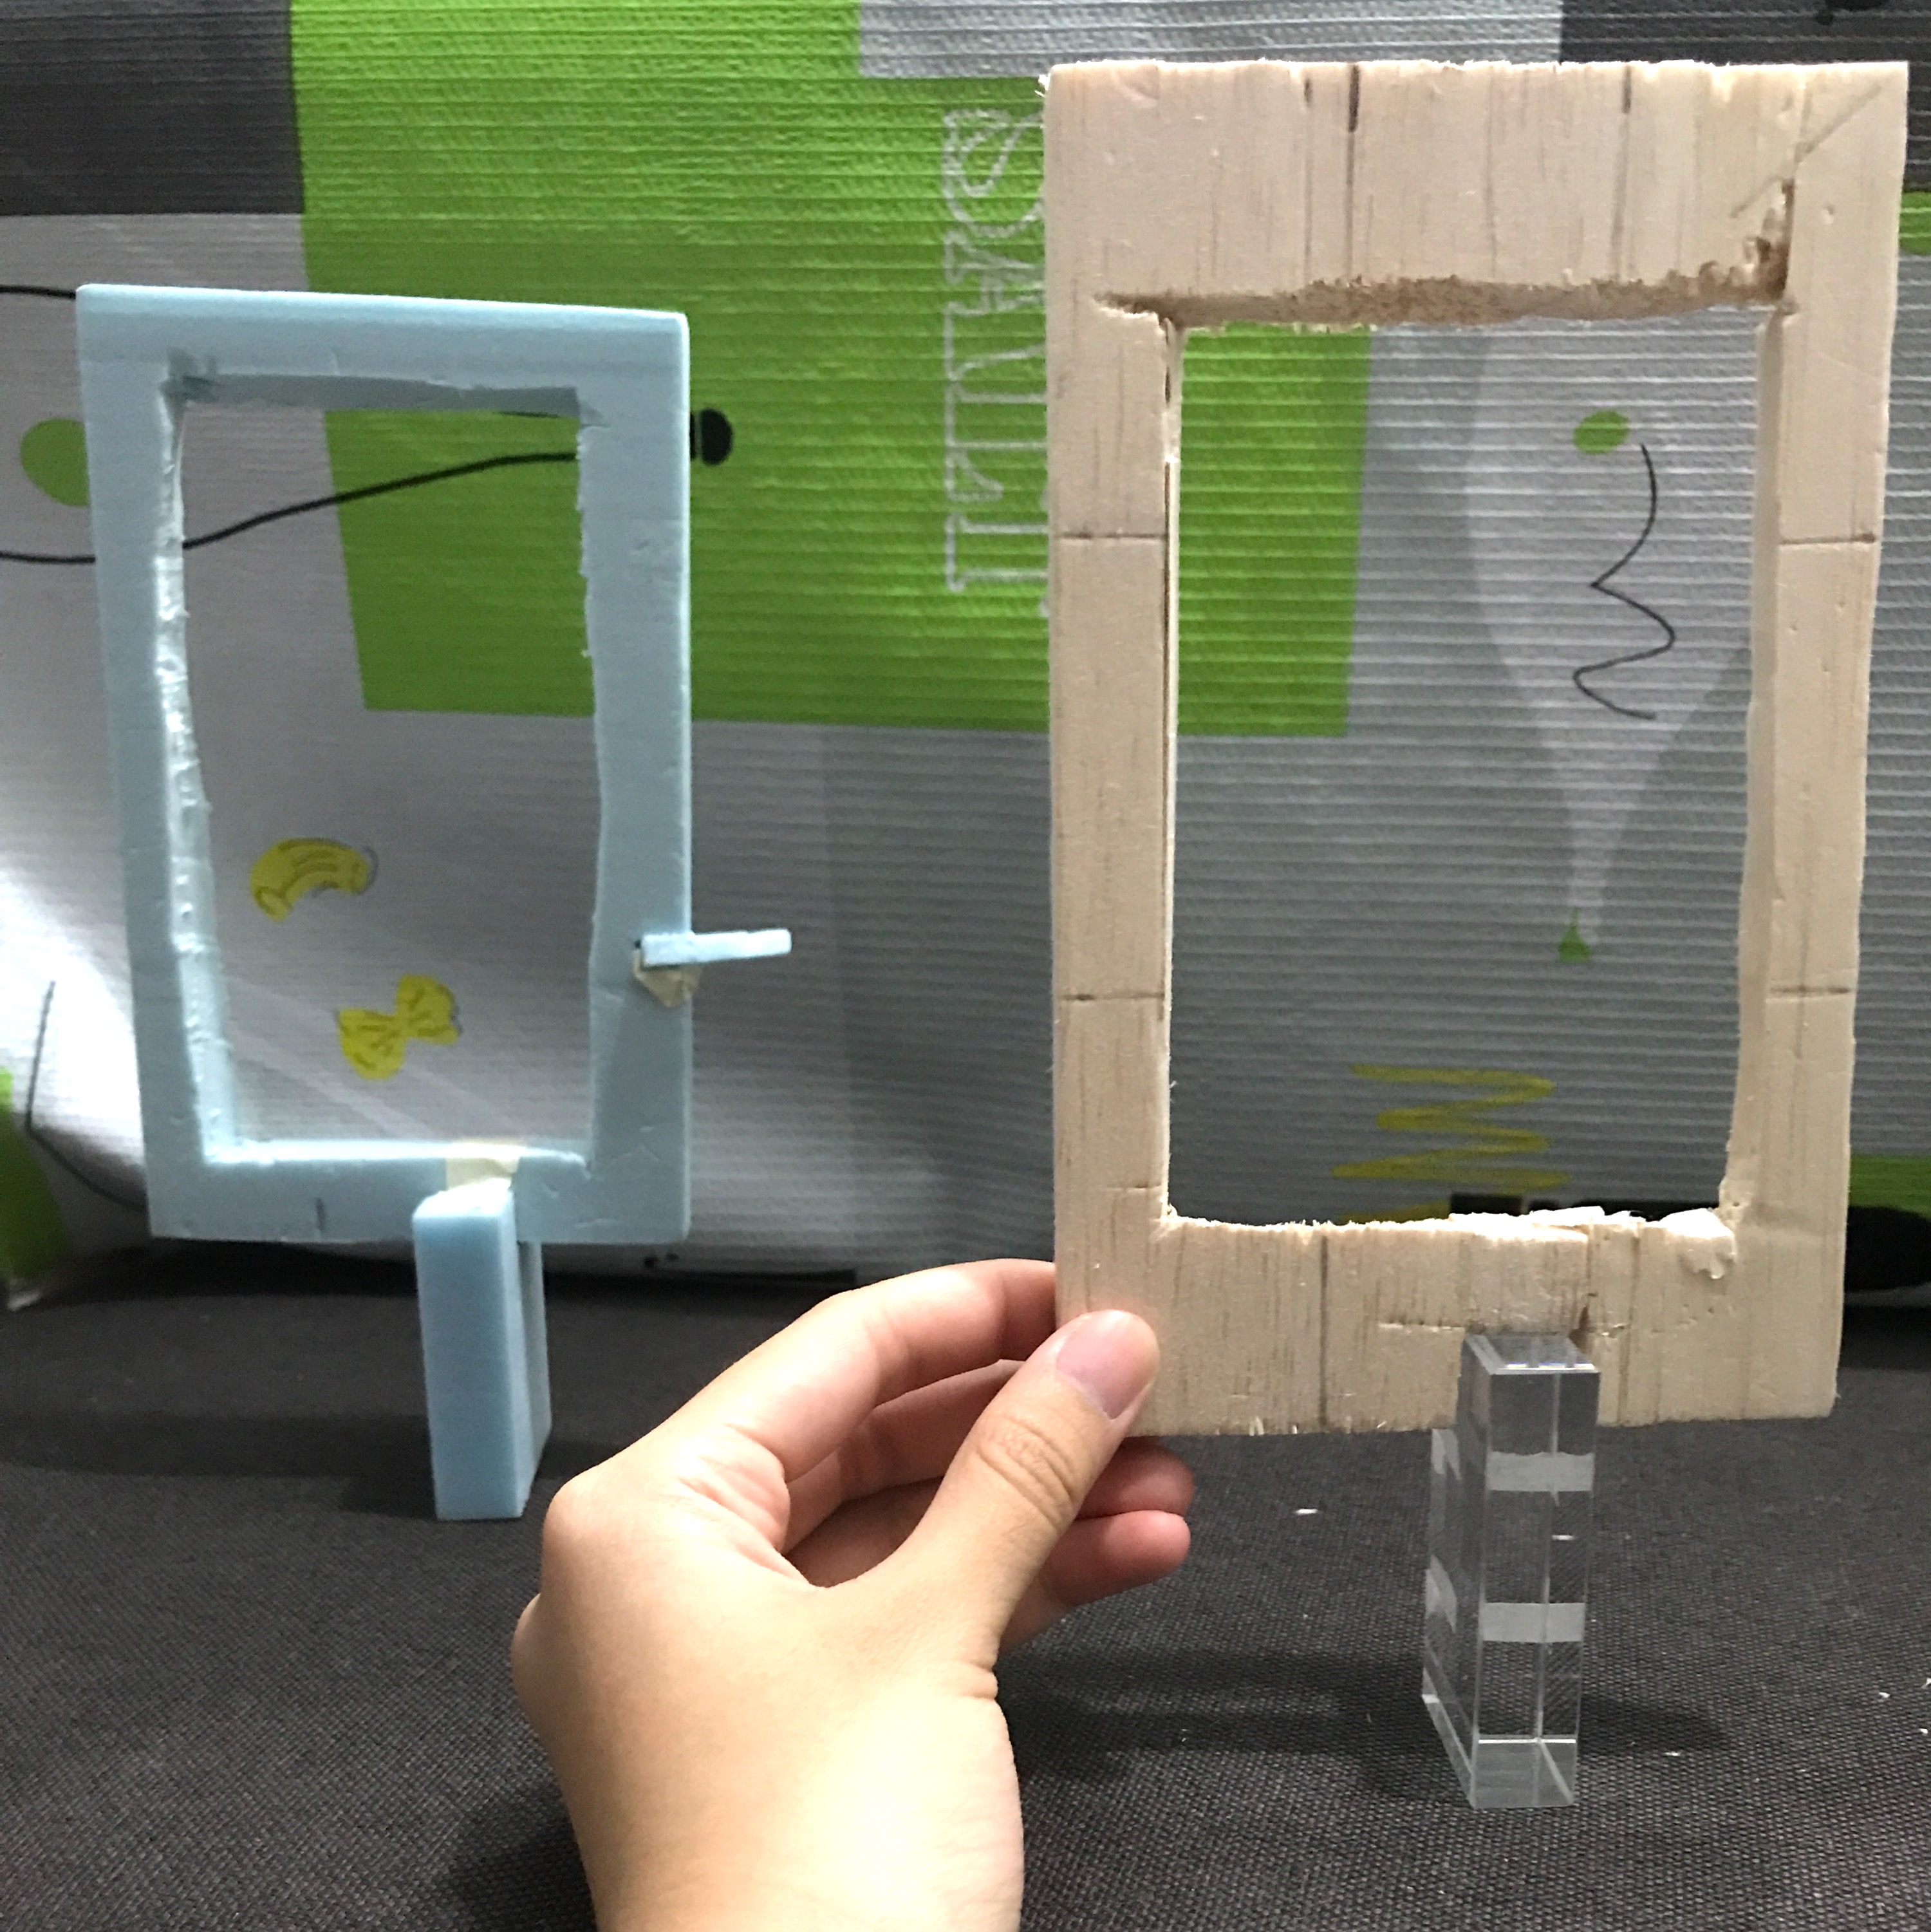
Conclusion: Failed attempt at structure 2.

So instead of wasting time on finishing it and since I knew what my problem was in that structure, I decided to just move on to doing the other structure. STRUCTURE 1.

PROGRESSION TO STRUCTURE 1
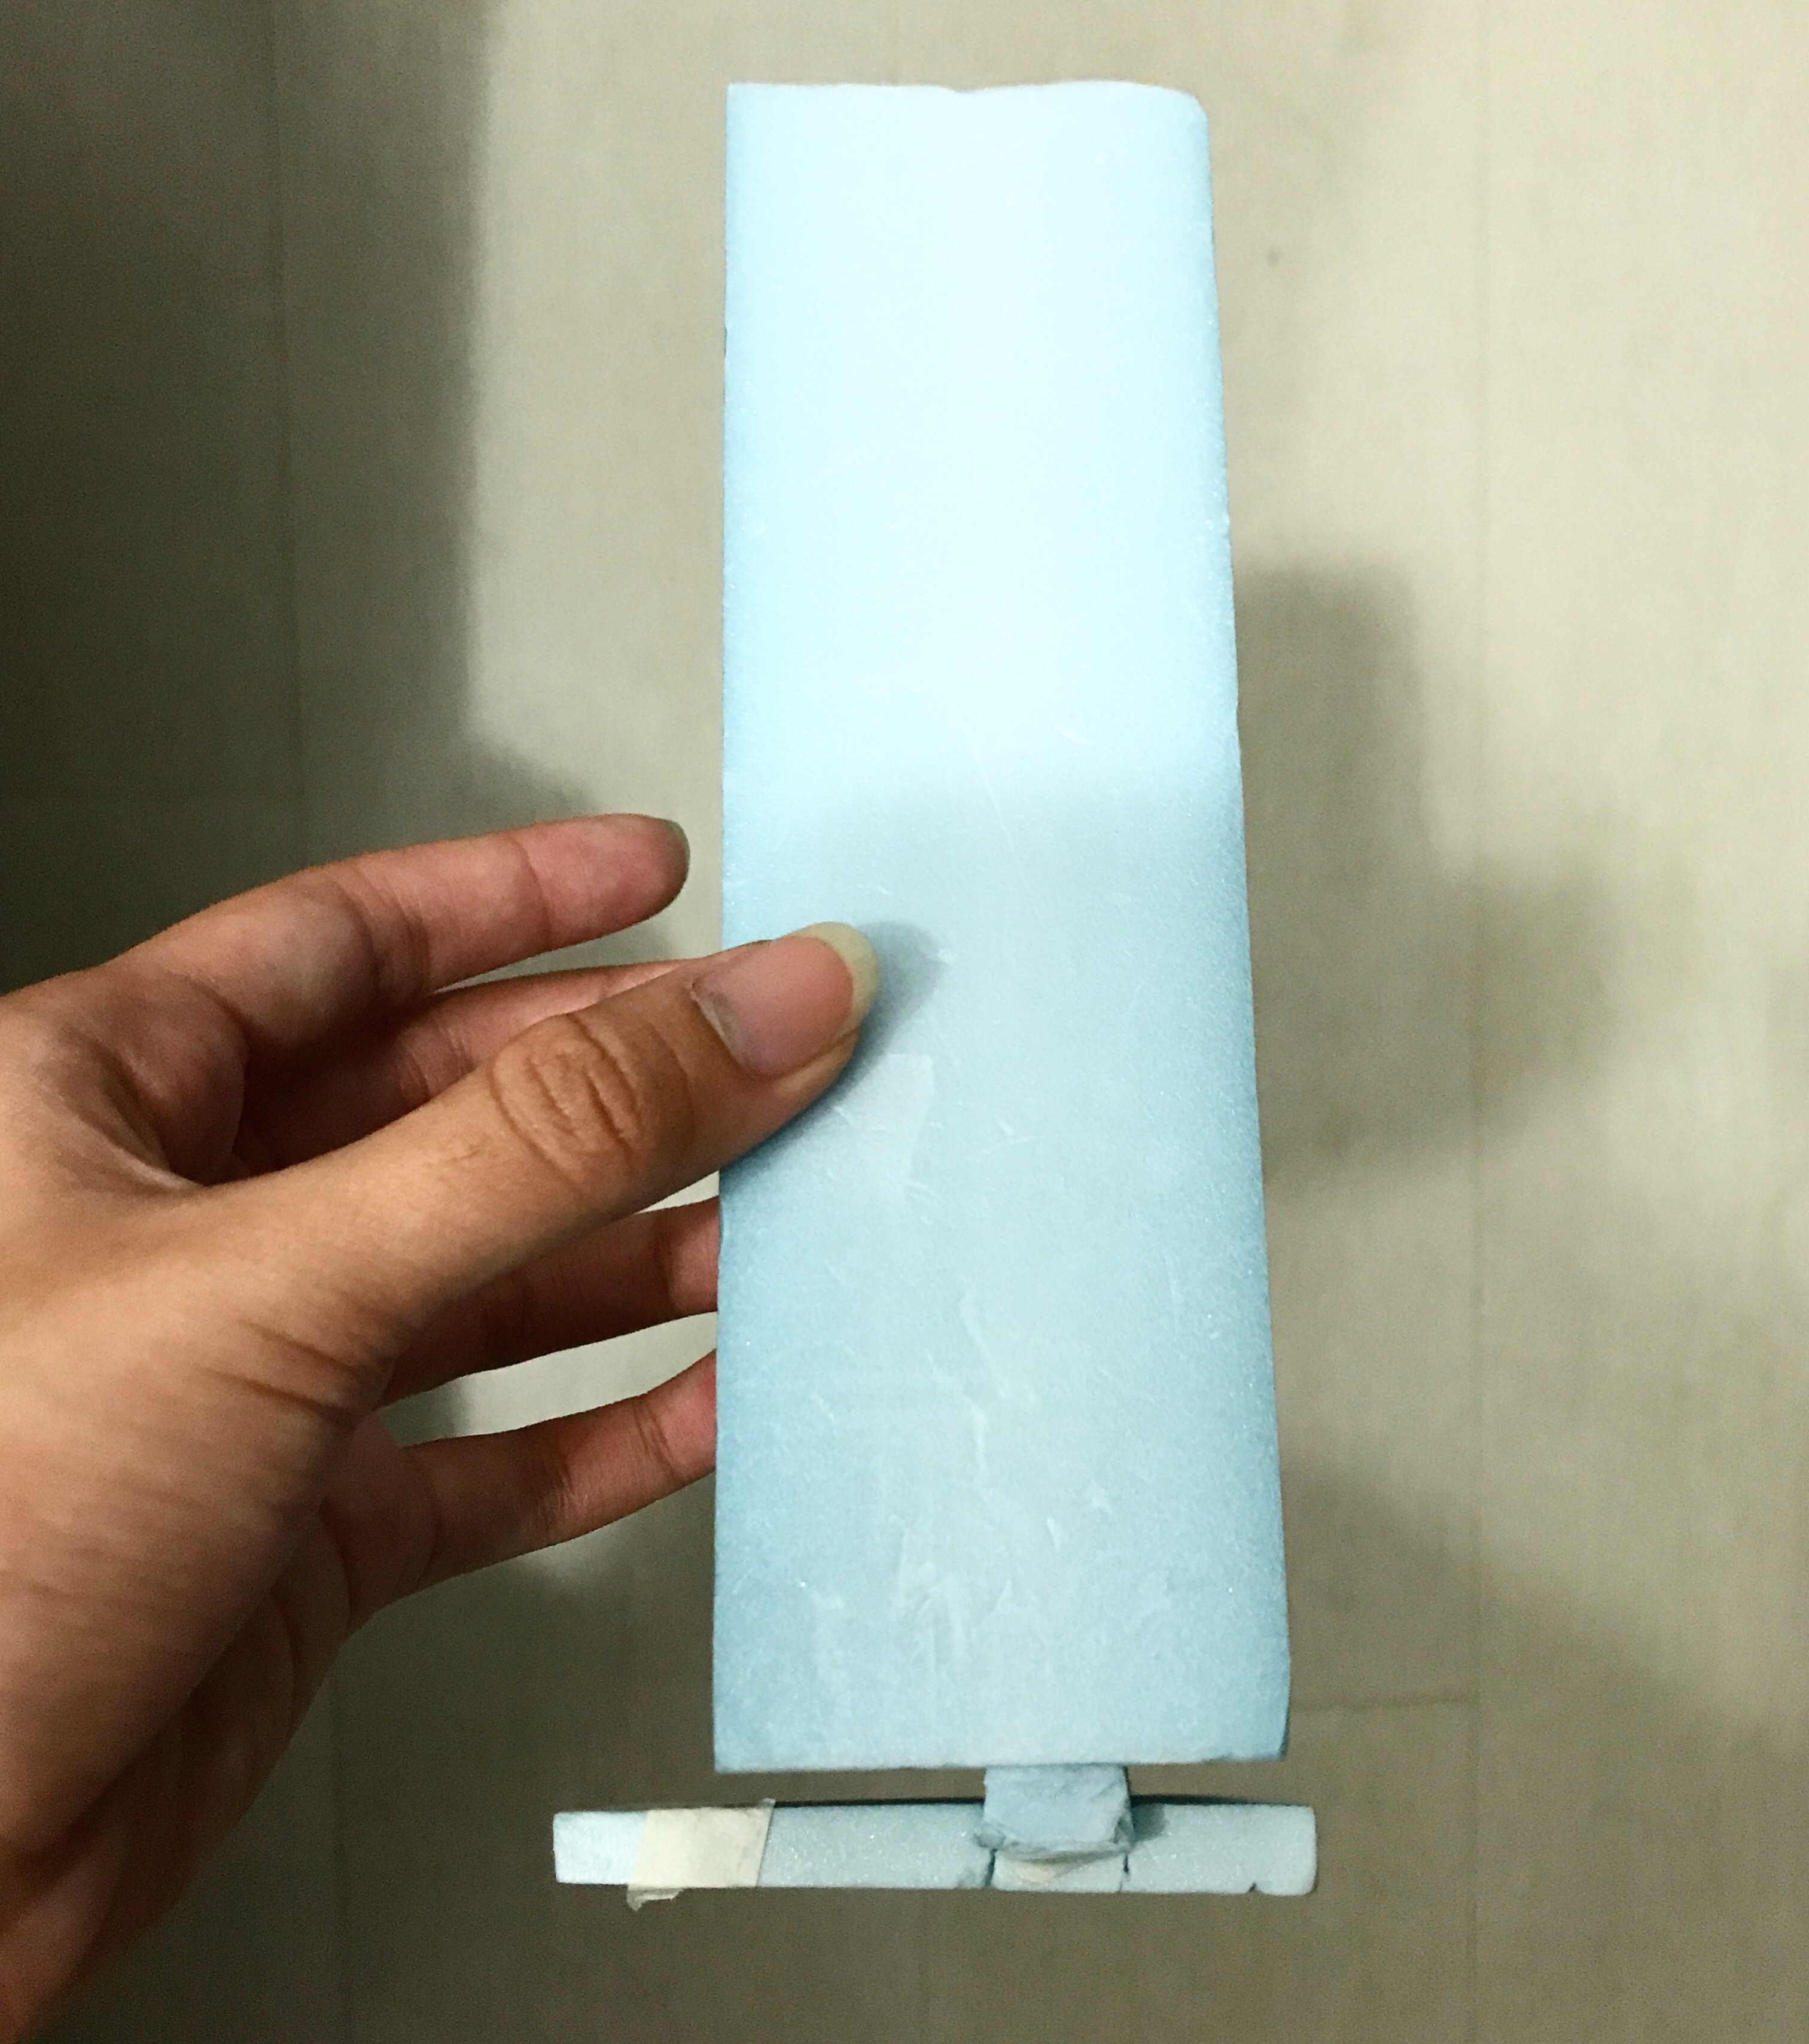
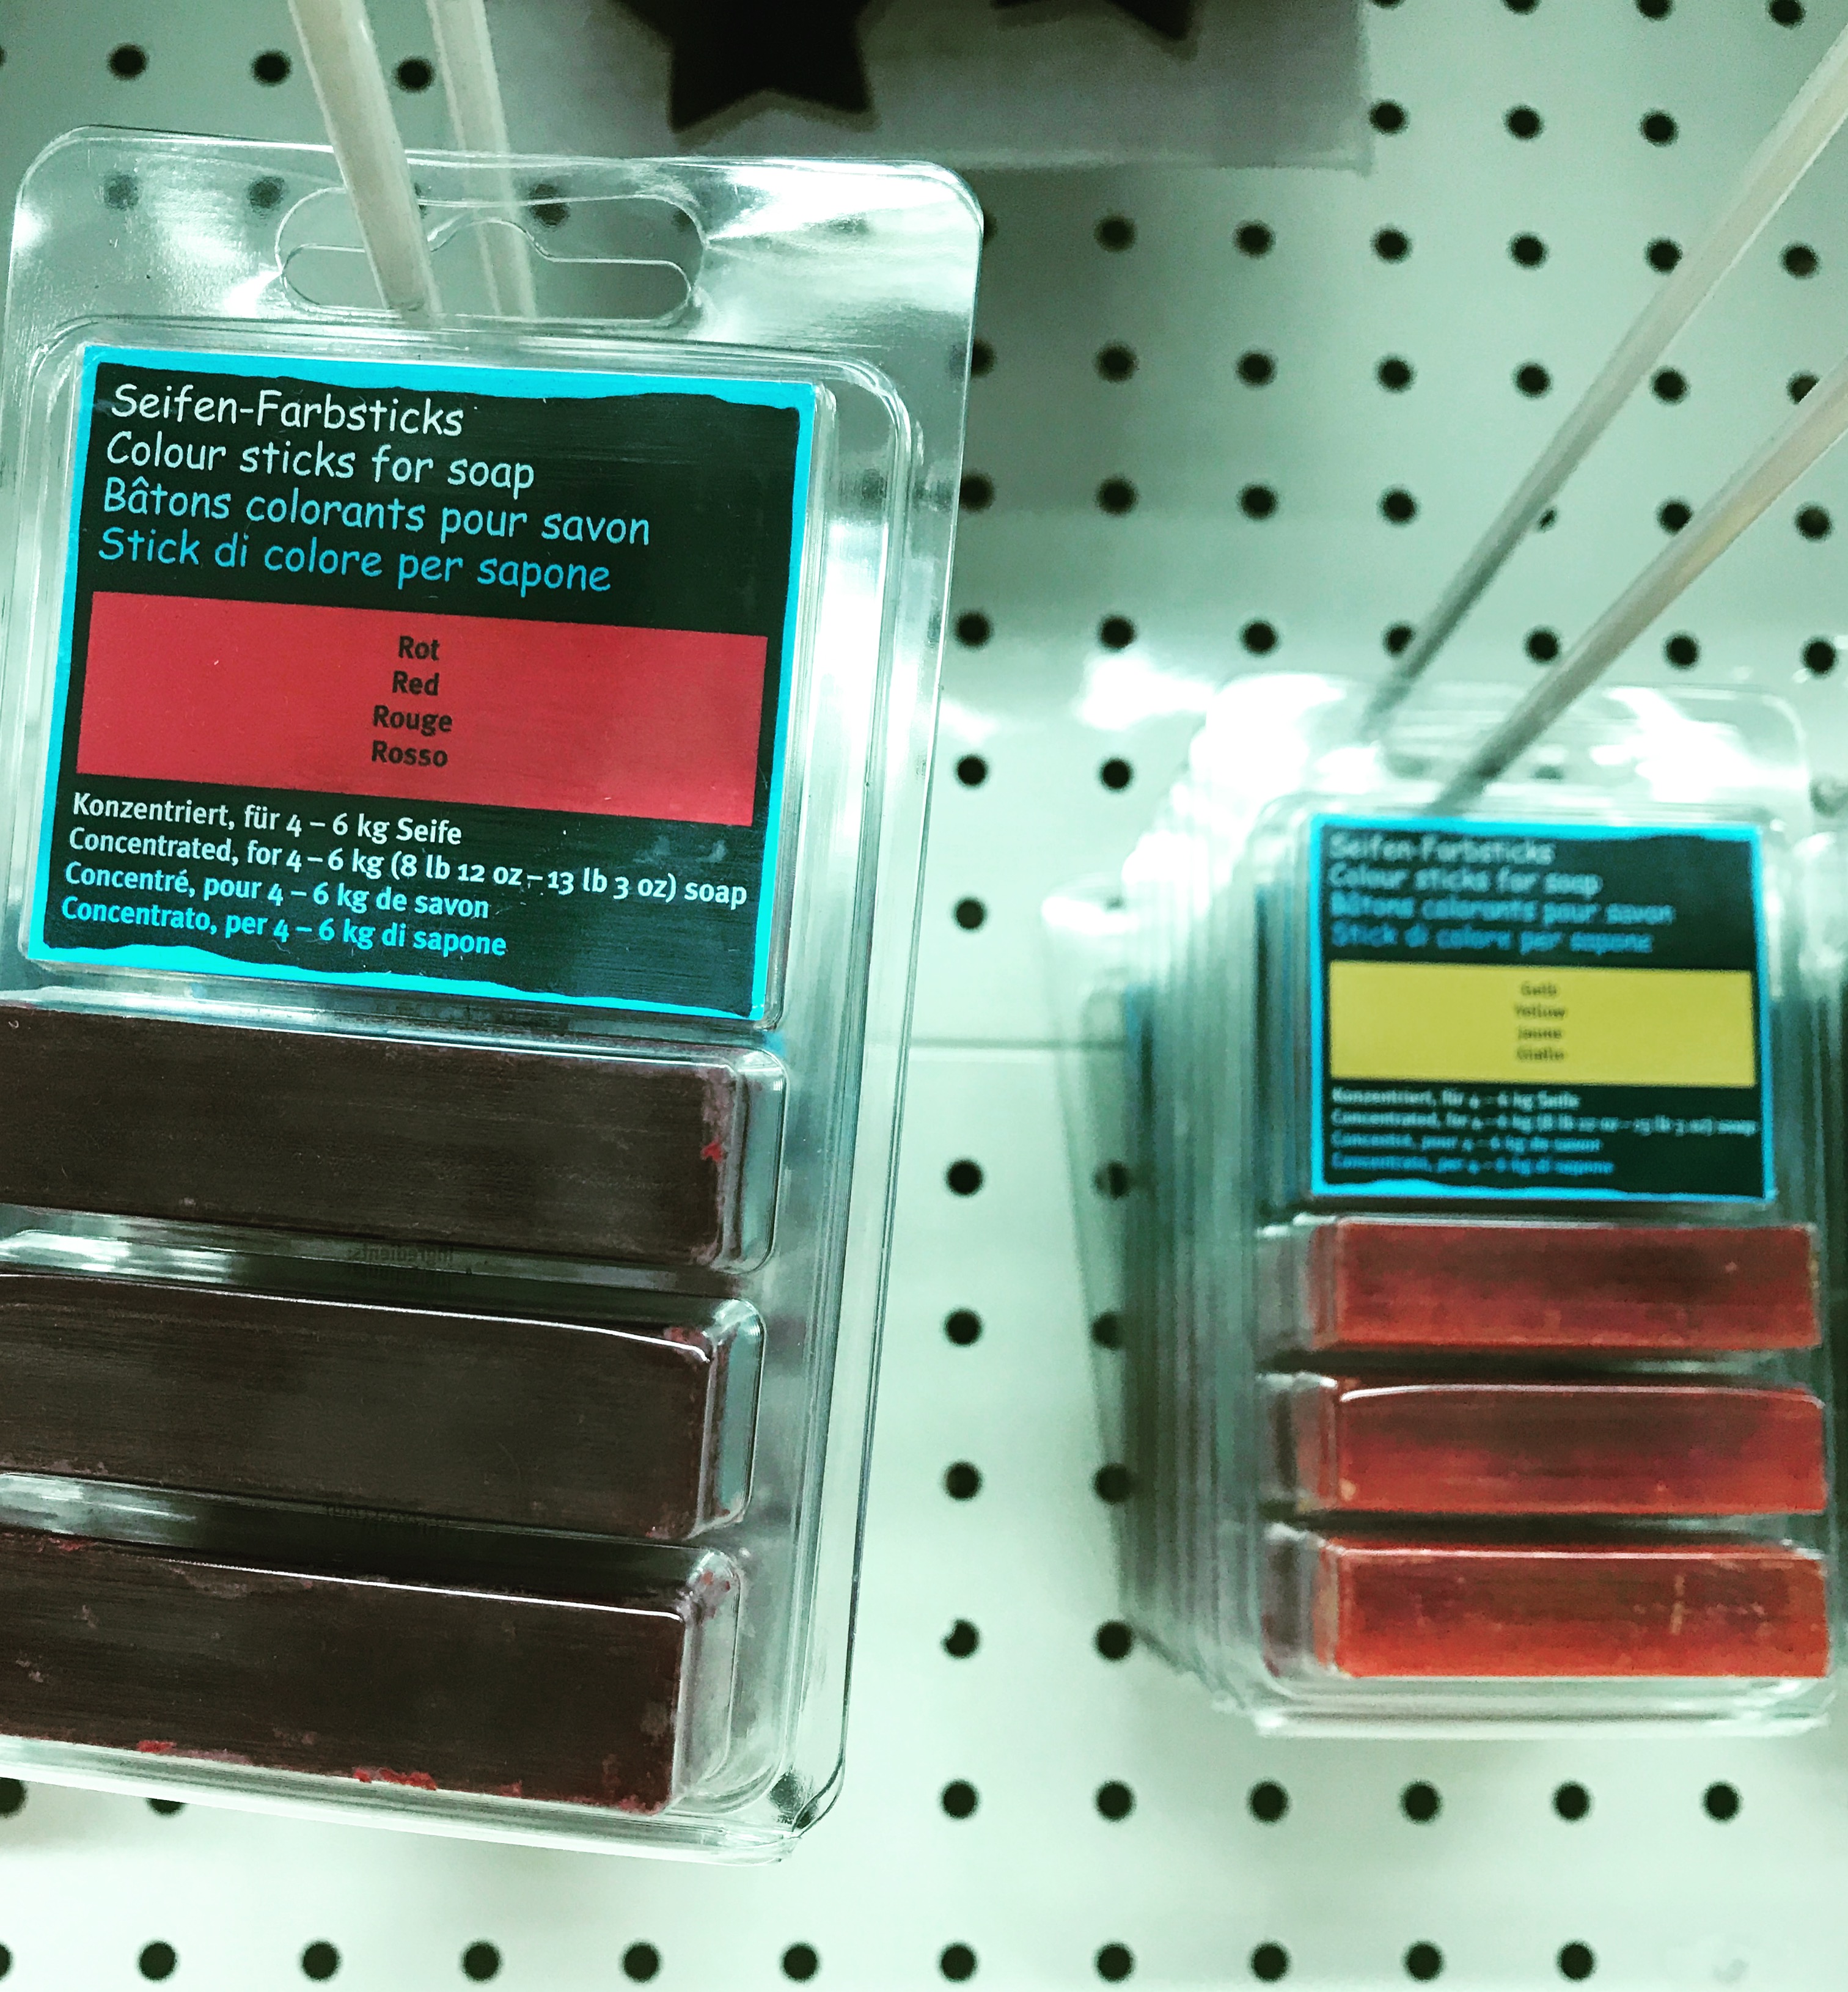
My initial idea for this was to create perhaps a ‘bar soap dispenser’ strictly for 1 person use only (mainly for people who is allergic to sharing soaps). I wanted to create it using this interesting coloured-hardy soap bar I found in store as my Dominant. (seen below: the kinds of coloured sticks for soap)
So I tried and as you can see in the figure below when I’m holding it, it’s a mini model.

Now why this one failed too:

  • Yes it could balance like you see it balance in the first picture BUT only for a first few minutes
  • This is partly due to the veryyy thin and small Sub-Ordinate which was just a thick wire stick into the D and wedged into the small-based SD. There’s no good material to create a good support there.
  • The soap is not hardy of a material enough, it will slowly tilt to the right when not handled with care or moving around while holding it and then fall off, hence not balanced at all on it’s own. I’d have to hold both the SD and D together.
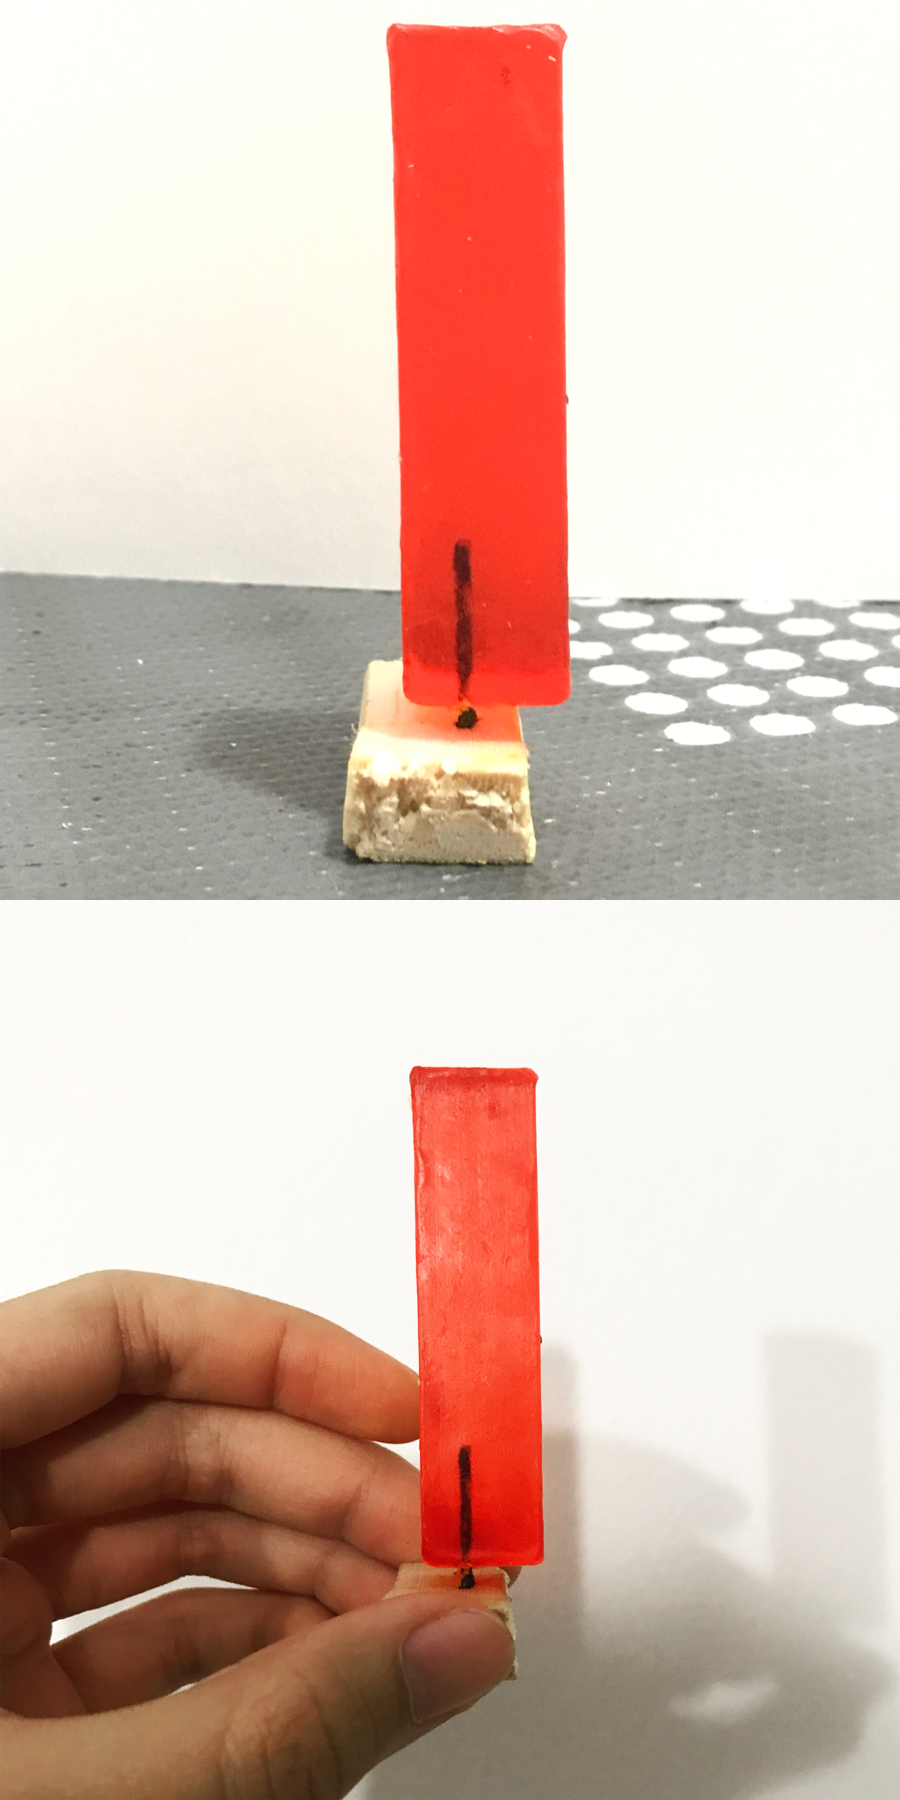
Conclusion: Failed too due to fragility of soap that i bought – could cut through so easily it will fall off. Defeats the purpose of me wanting it to be soap bar dispenser if it’s not hardy enough.

I decided to redo by using other materials and not to make a small-scaled structure. This time, I tried using wood for both D and SD. I chose a kind of wood that’s not so heavy-weighted so as to balance it off in the end of counter-balance.

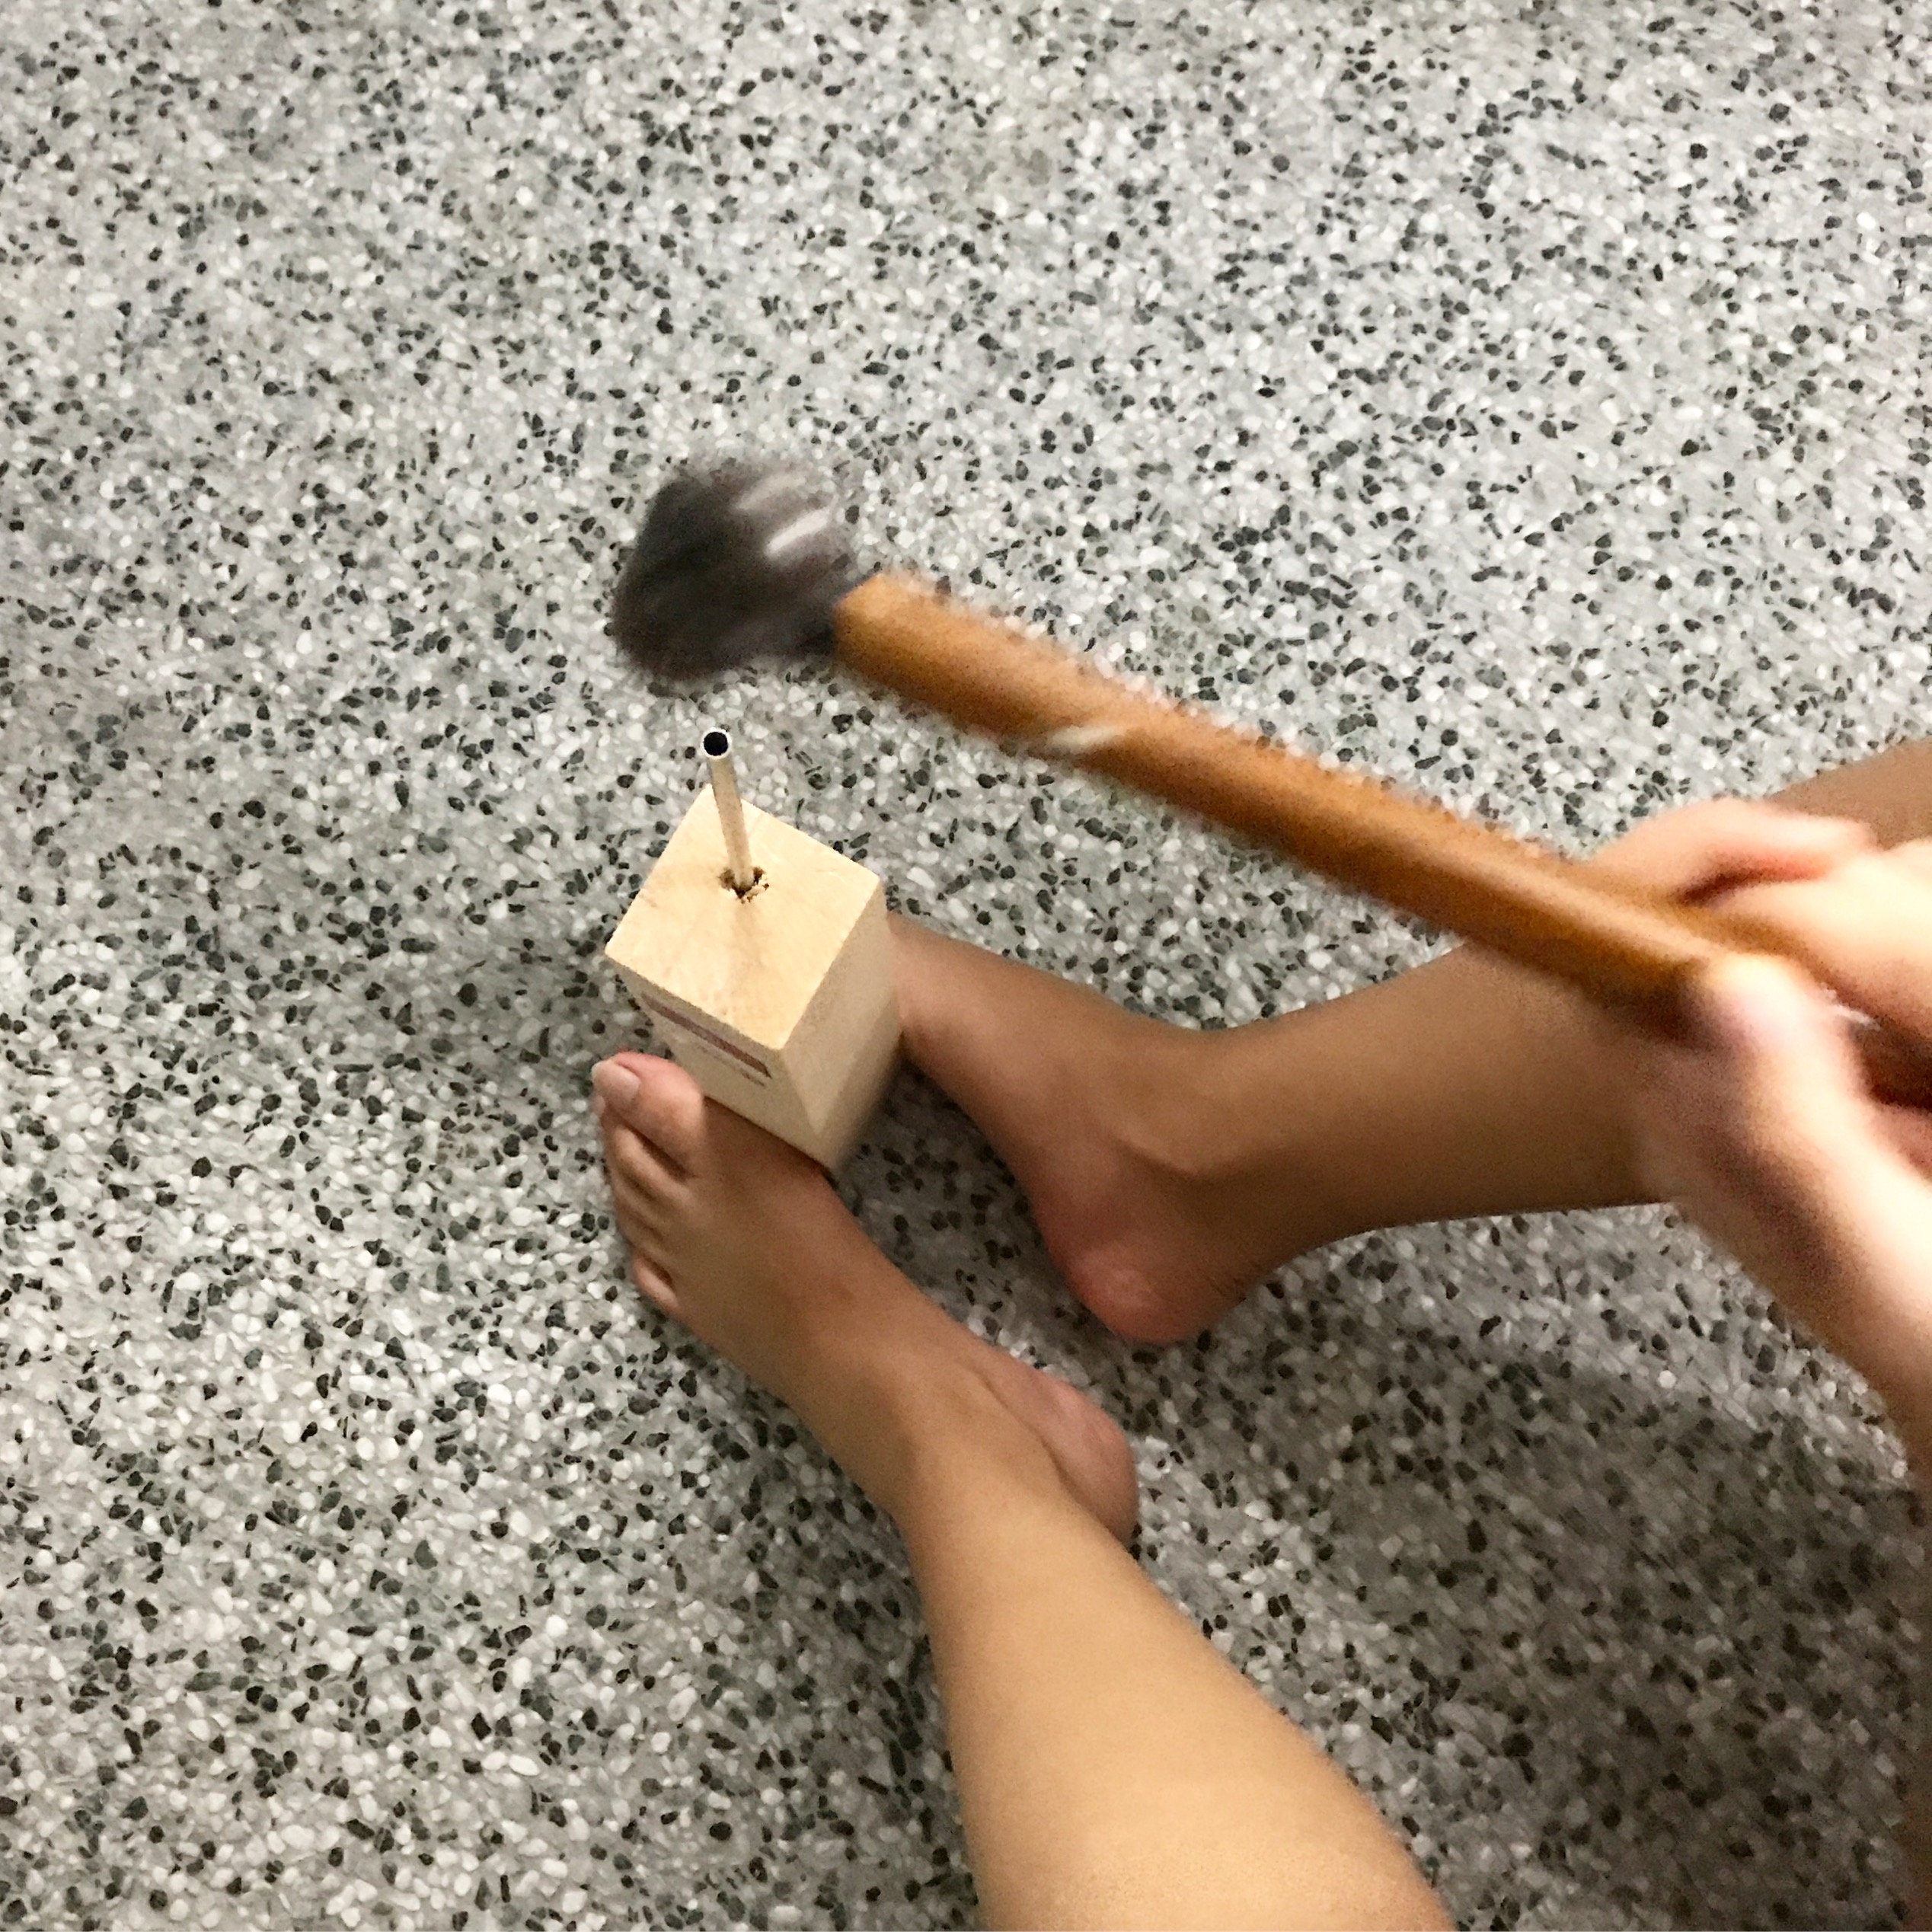
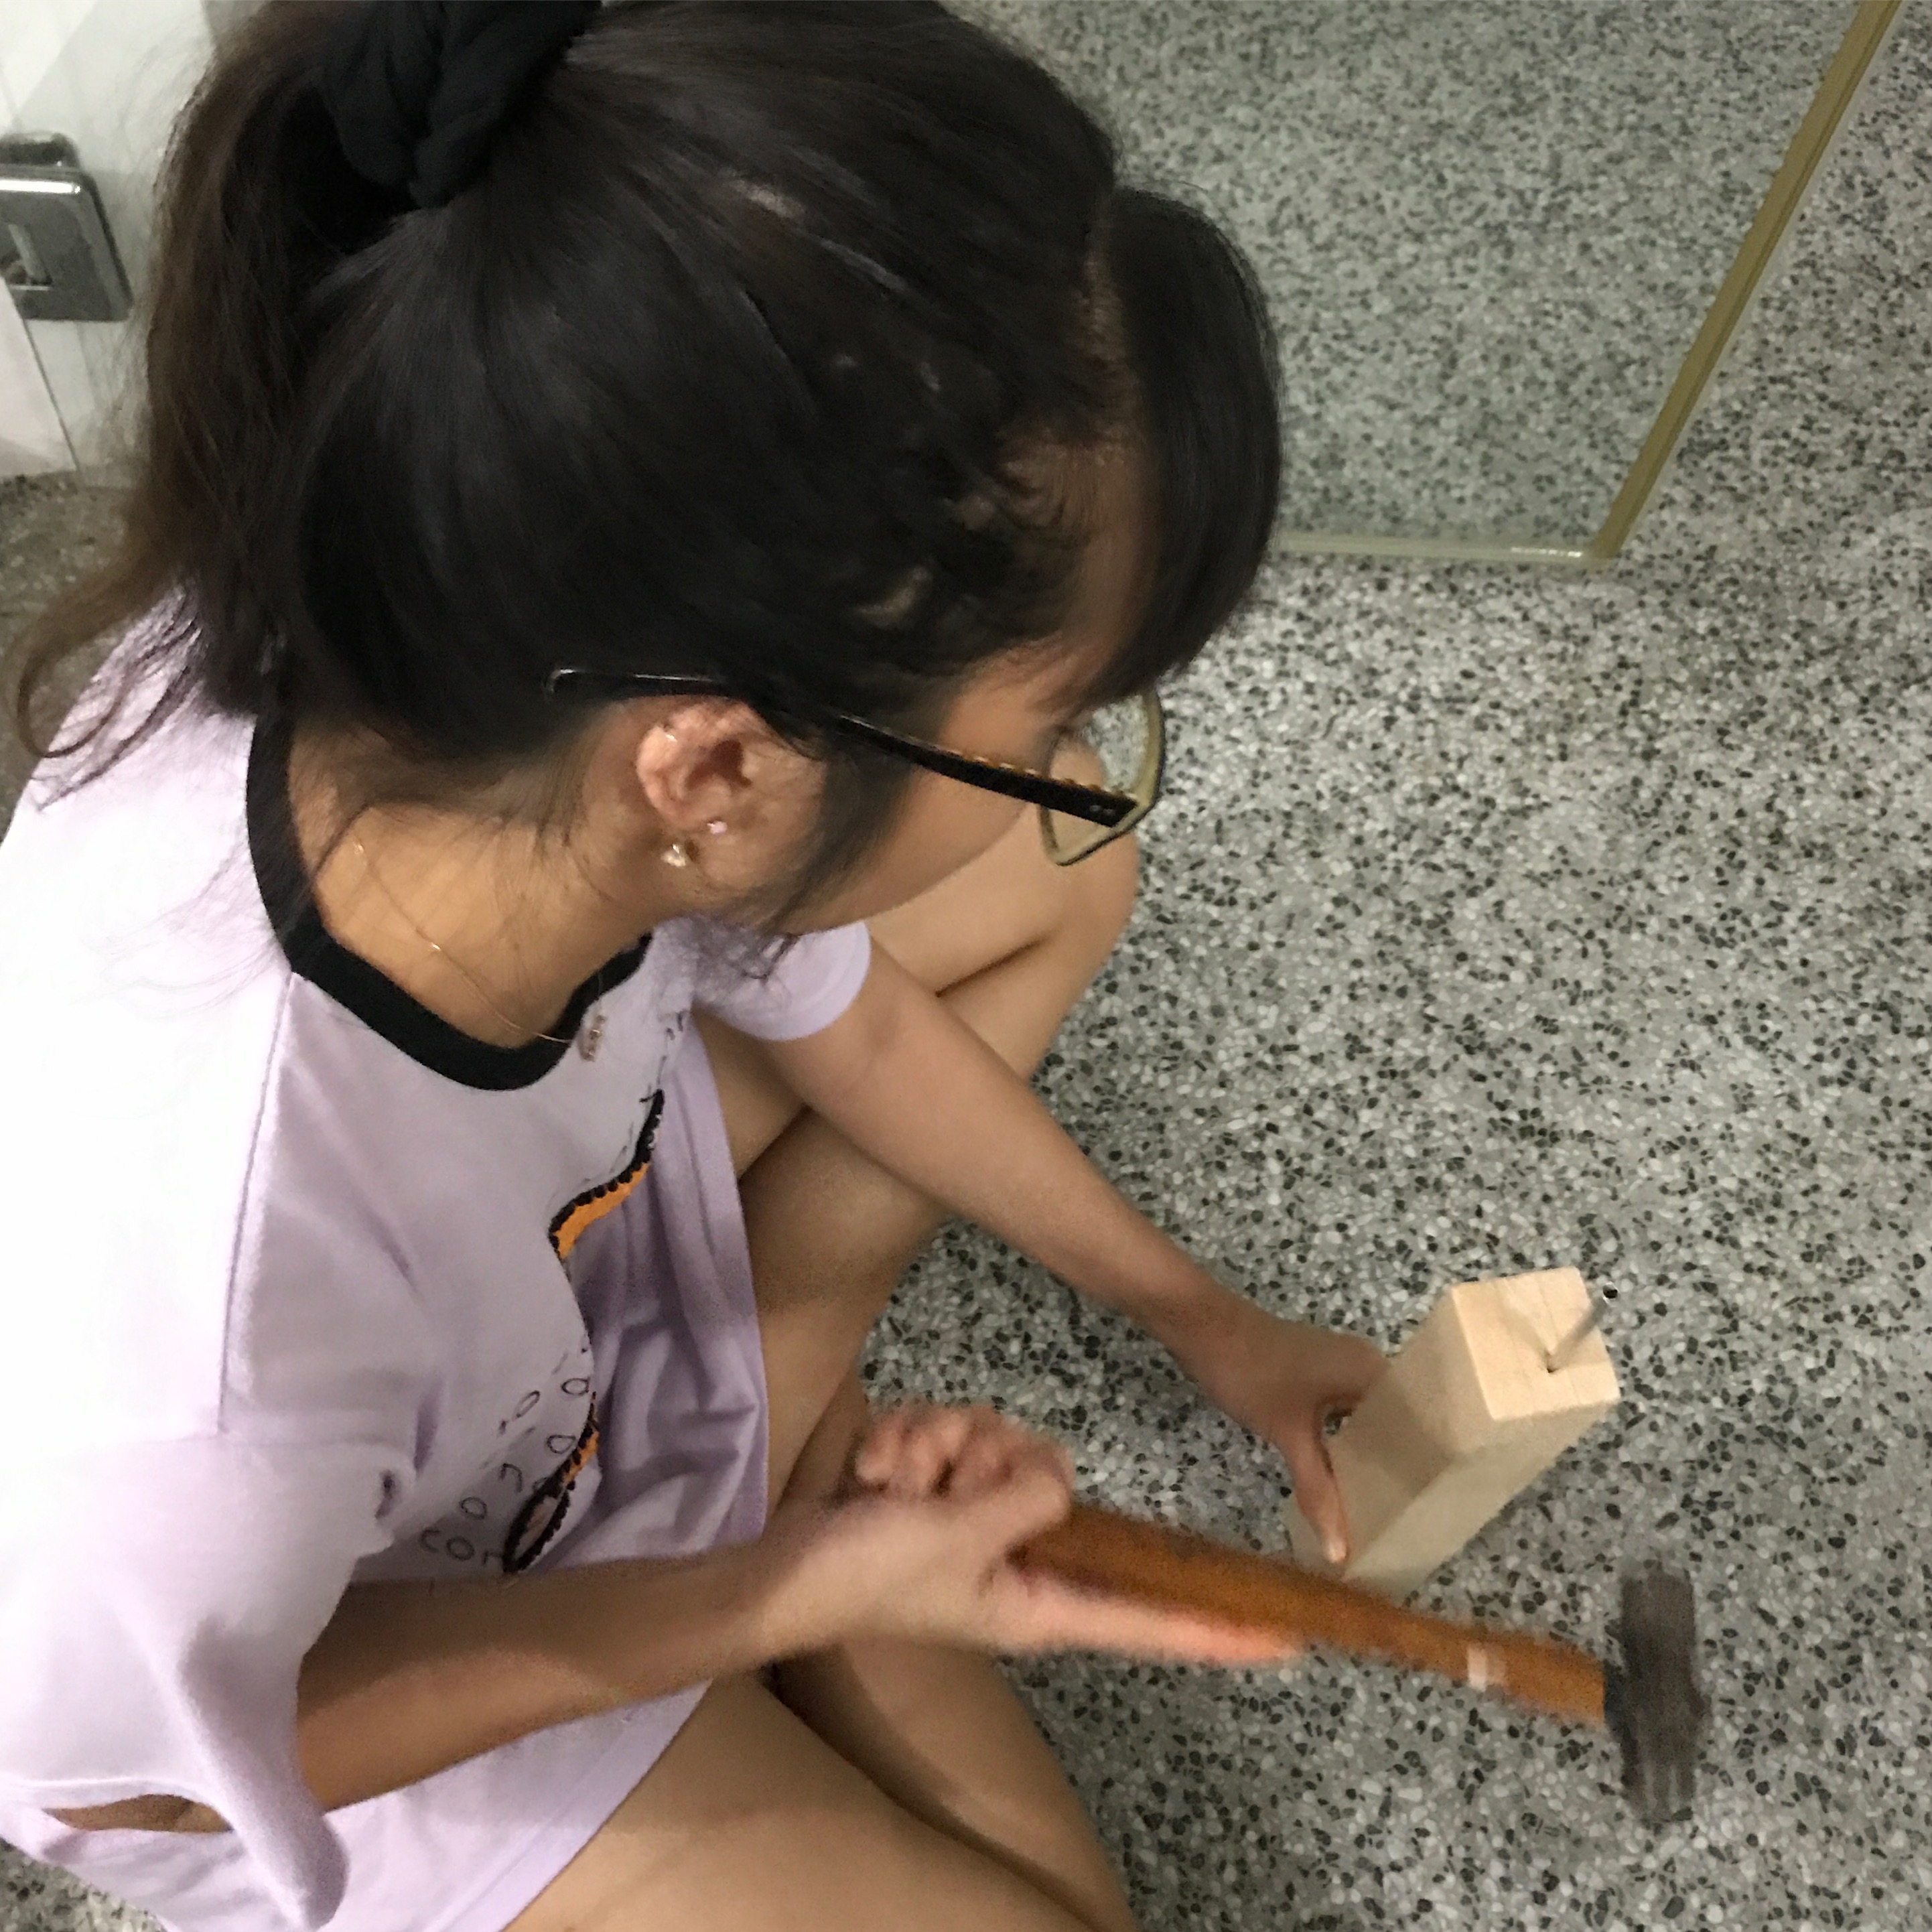
The process that made it hard to work with was wedging a small deep hole in D to insert my long thin but HARDY aluminium metal rod into it, and also into the SD which acts as my base. Hence desperate times calls for desperate measures – if you cannot create a deep hole, you hammer the rod into it to force it to make a deep hole.

Progress shots while making use of other materials and not soap.
And surprisingly, IT WORKS. surprised IT STAYS BALANCING DESPITE THE COUNTER-BALANCE. FINALLY.

TAAA DAAA.
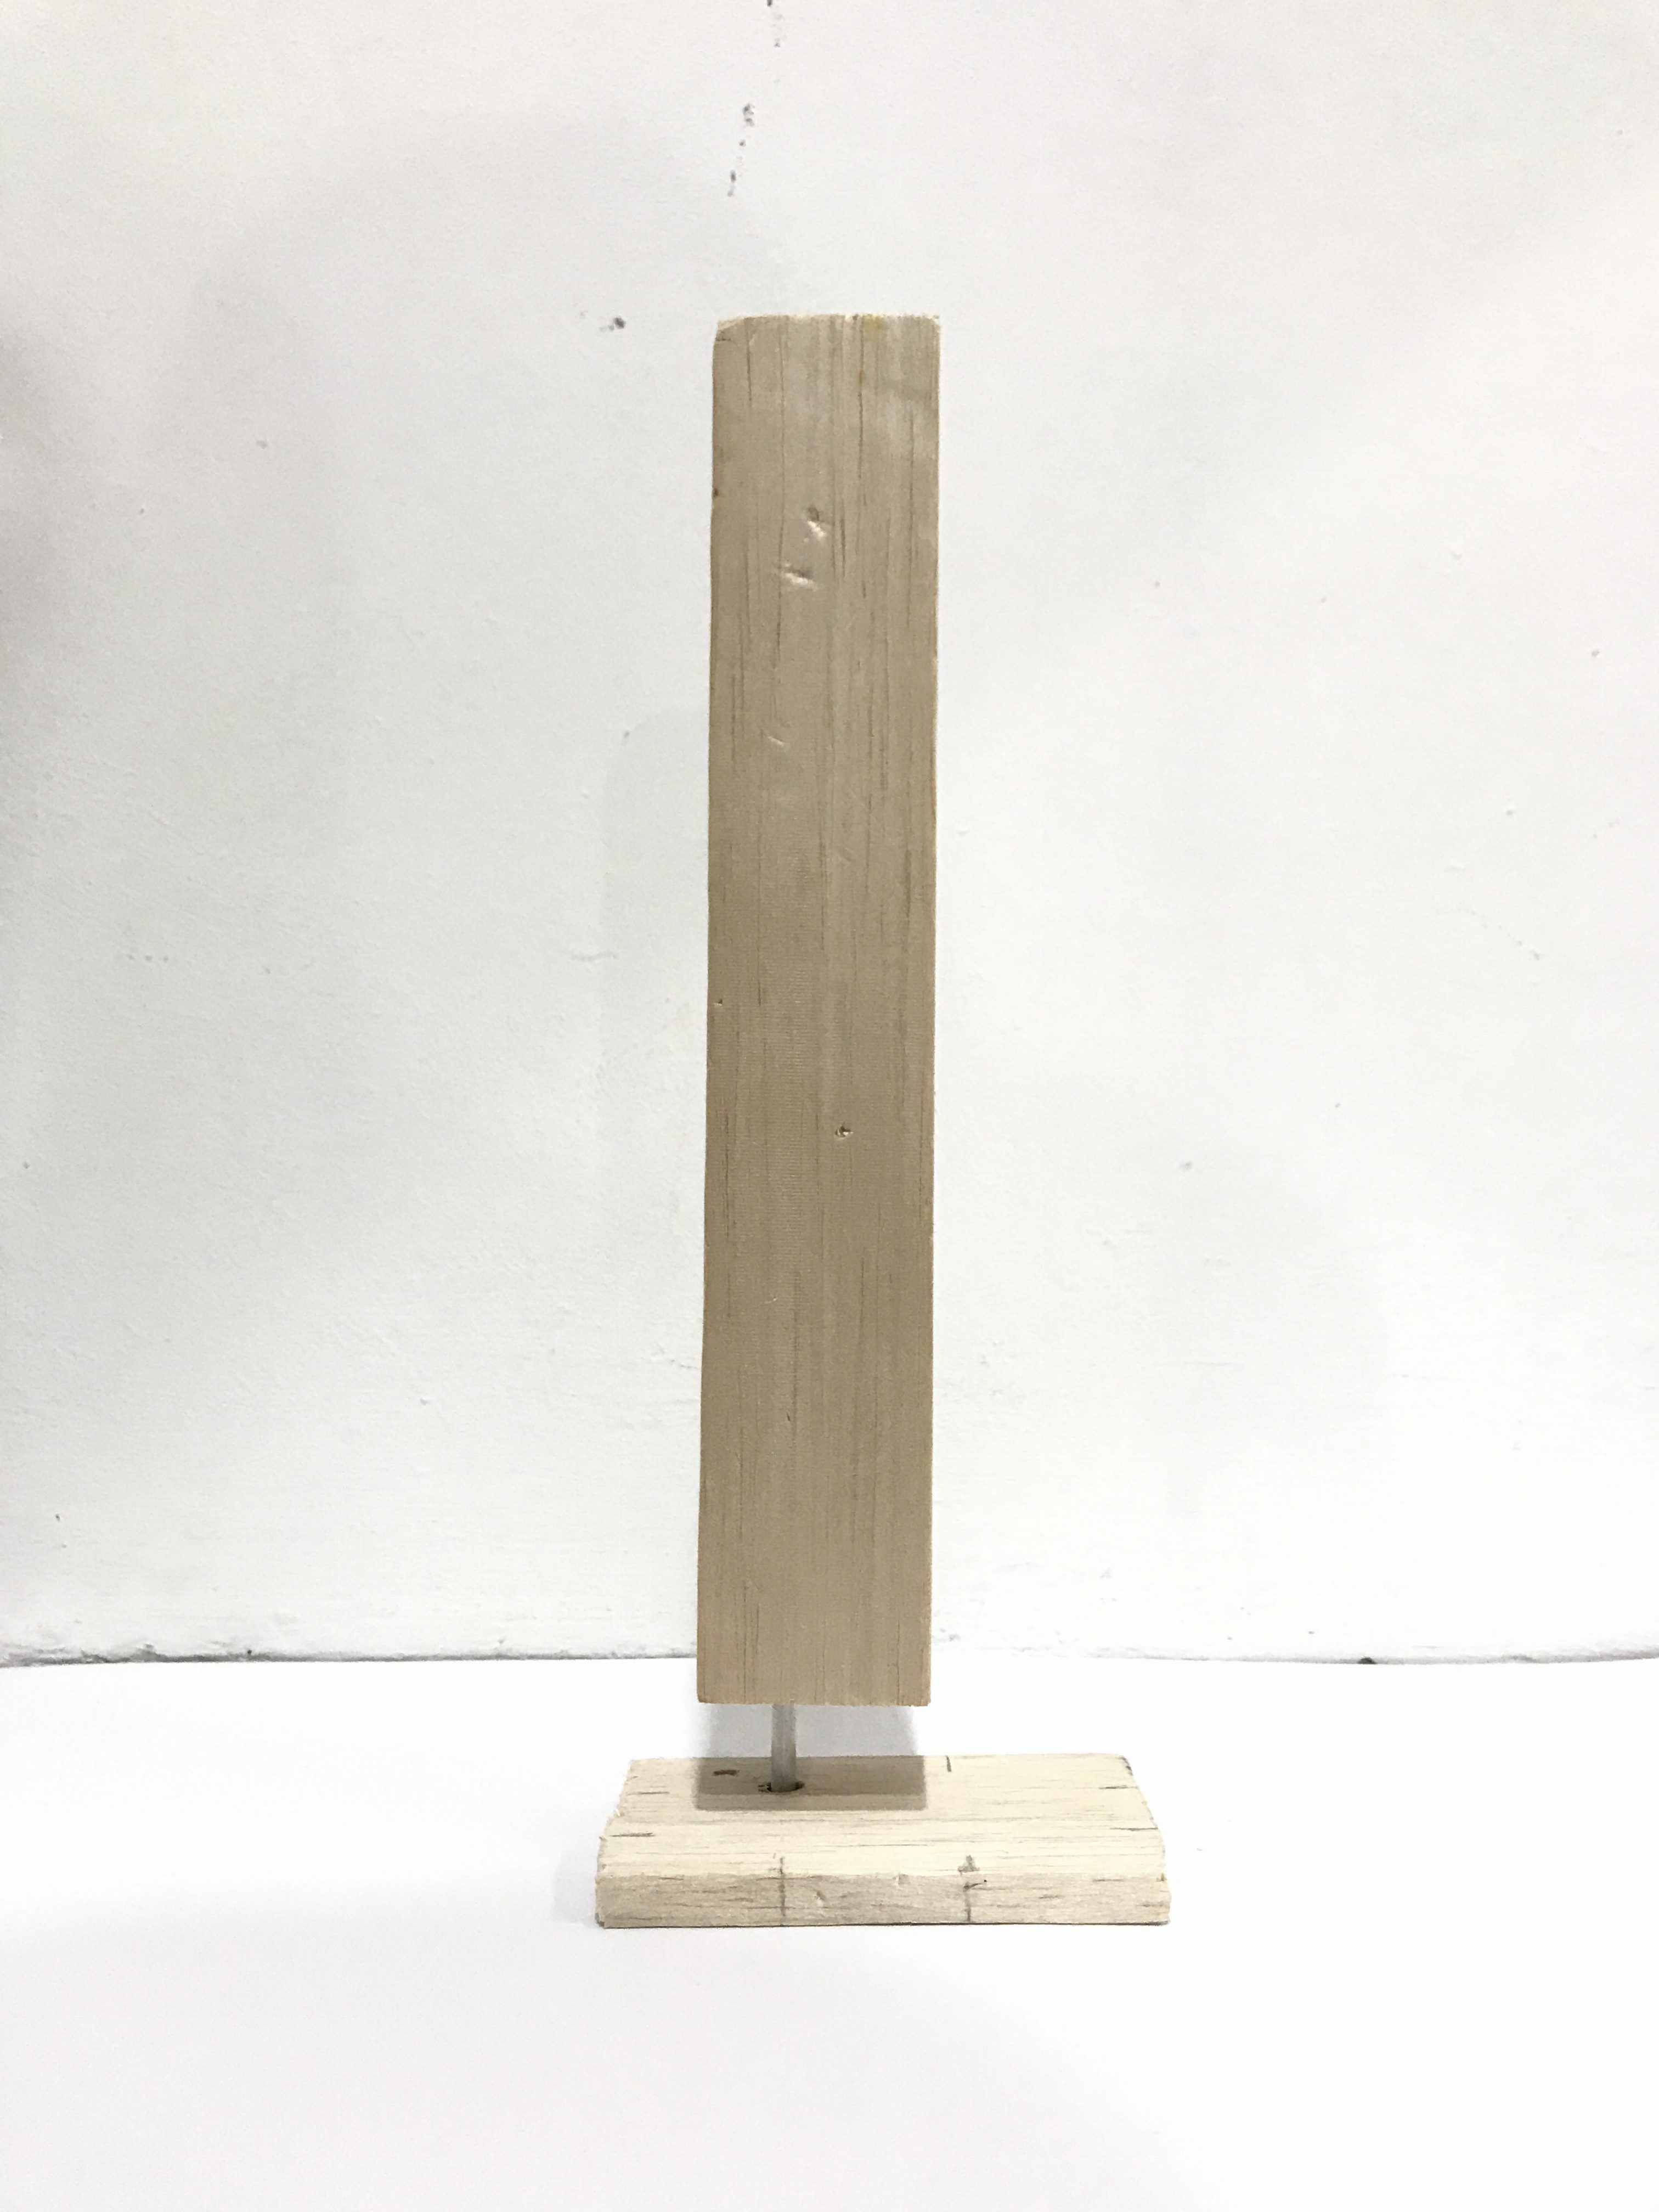
 

Continuation of this will be on my next post where I will go into detail on this final work. See ya there! laughing


Reflection & 2D Sketch Analysis of my 3D boxes

@ myself: TIME TO REFLECT A BIT.

So in our 1st 3D lesson, we learnt about the “rule of thirds” and applied it while attaching our boxes.

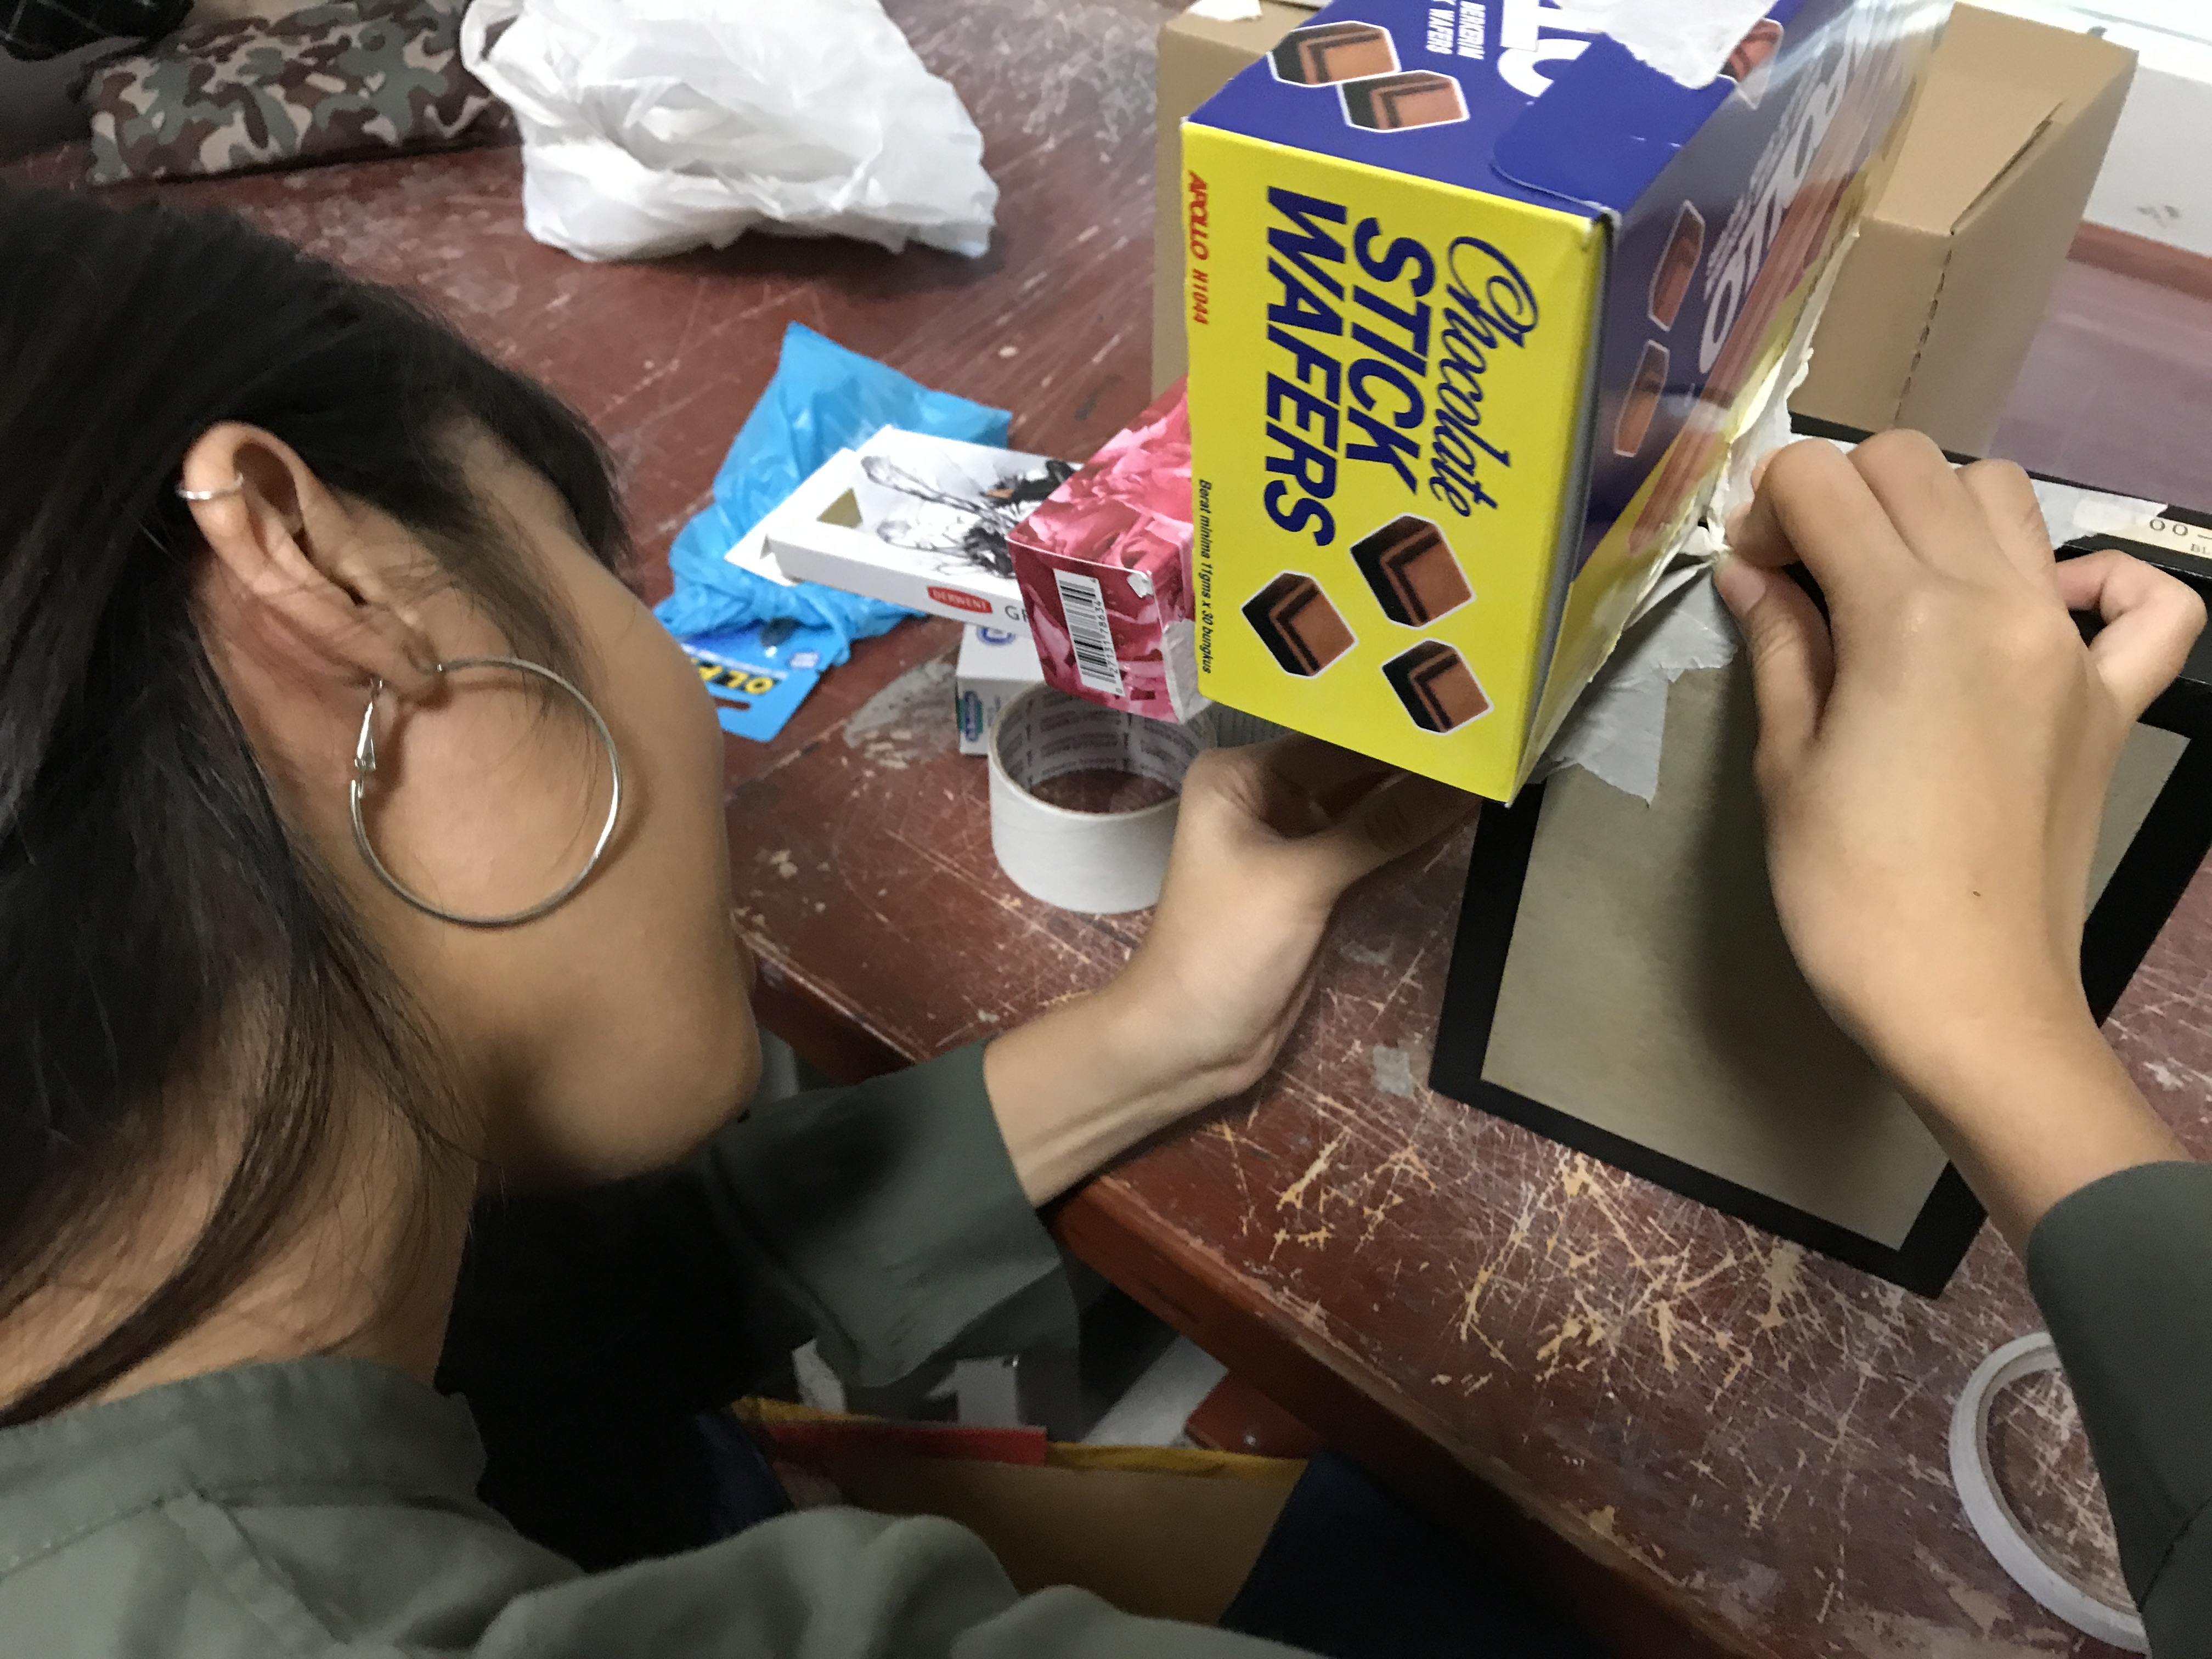
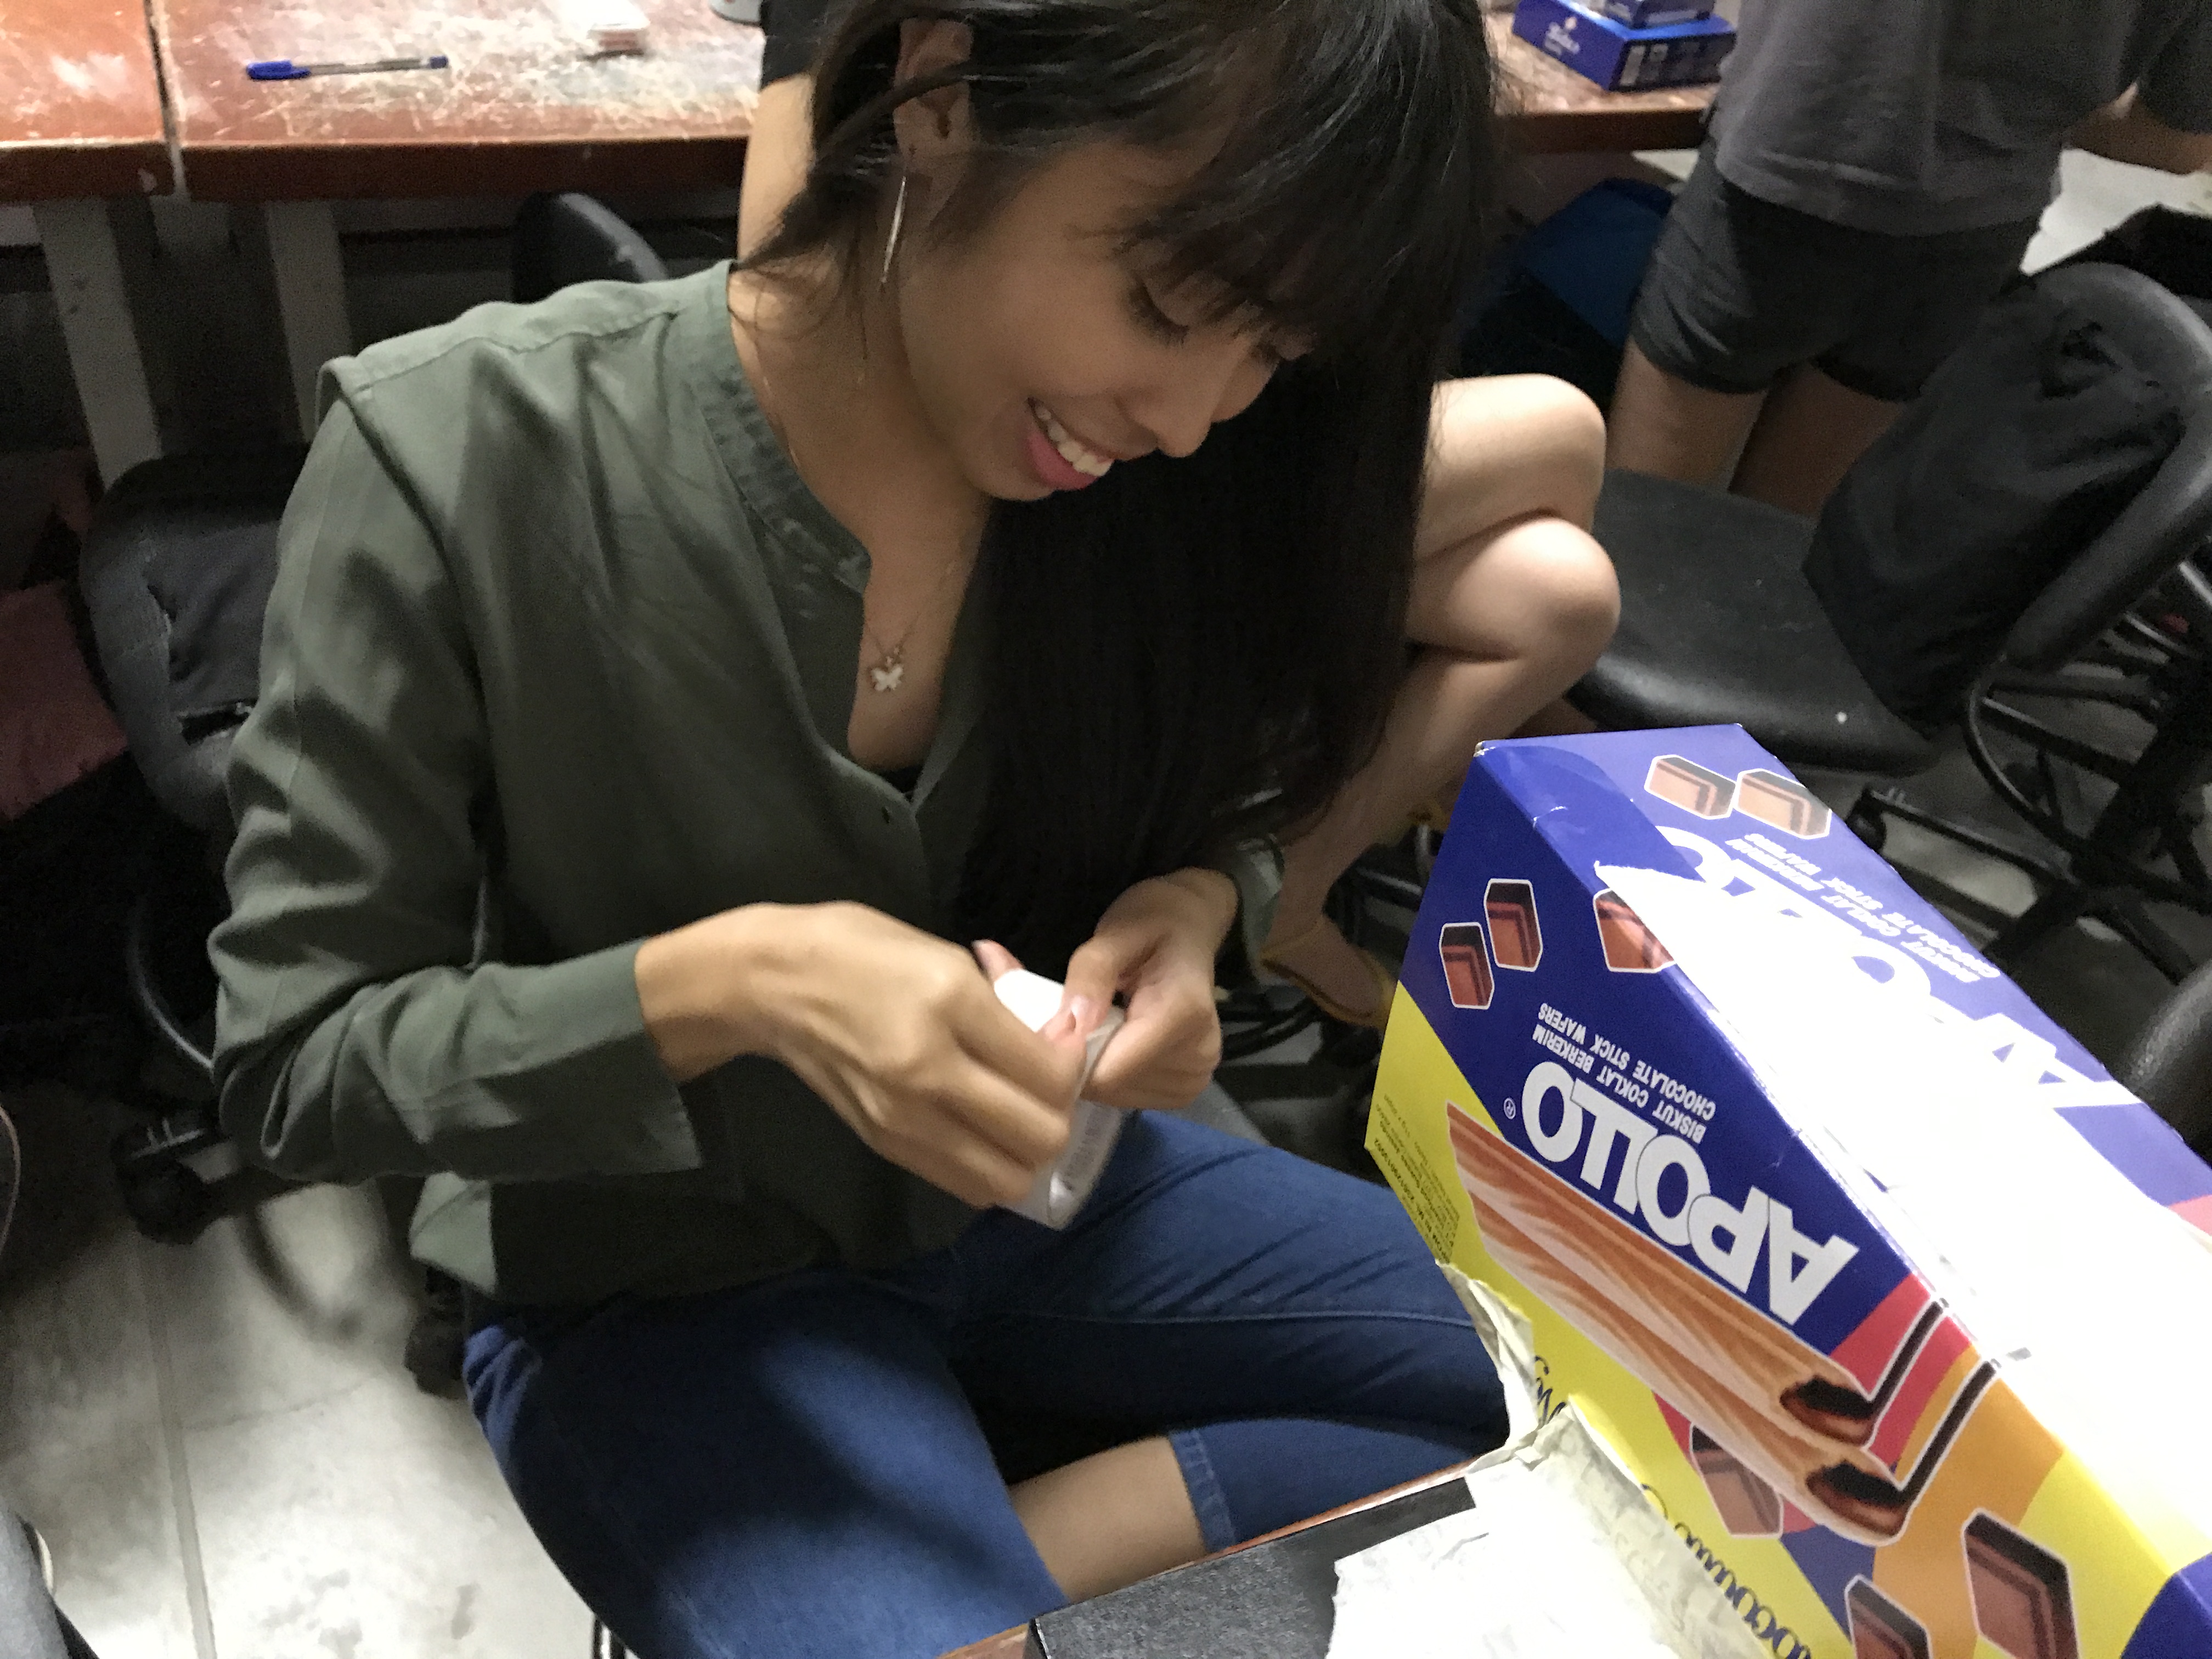
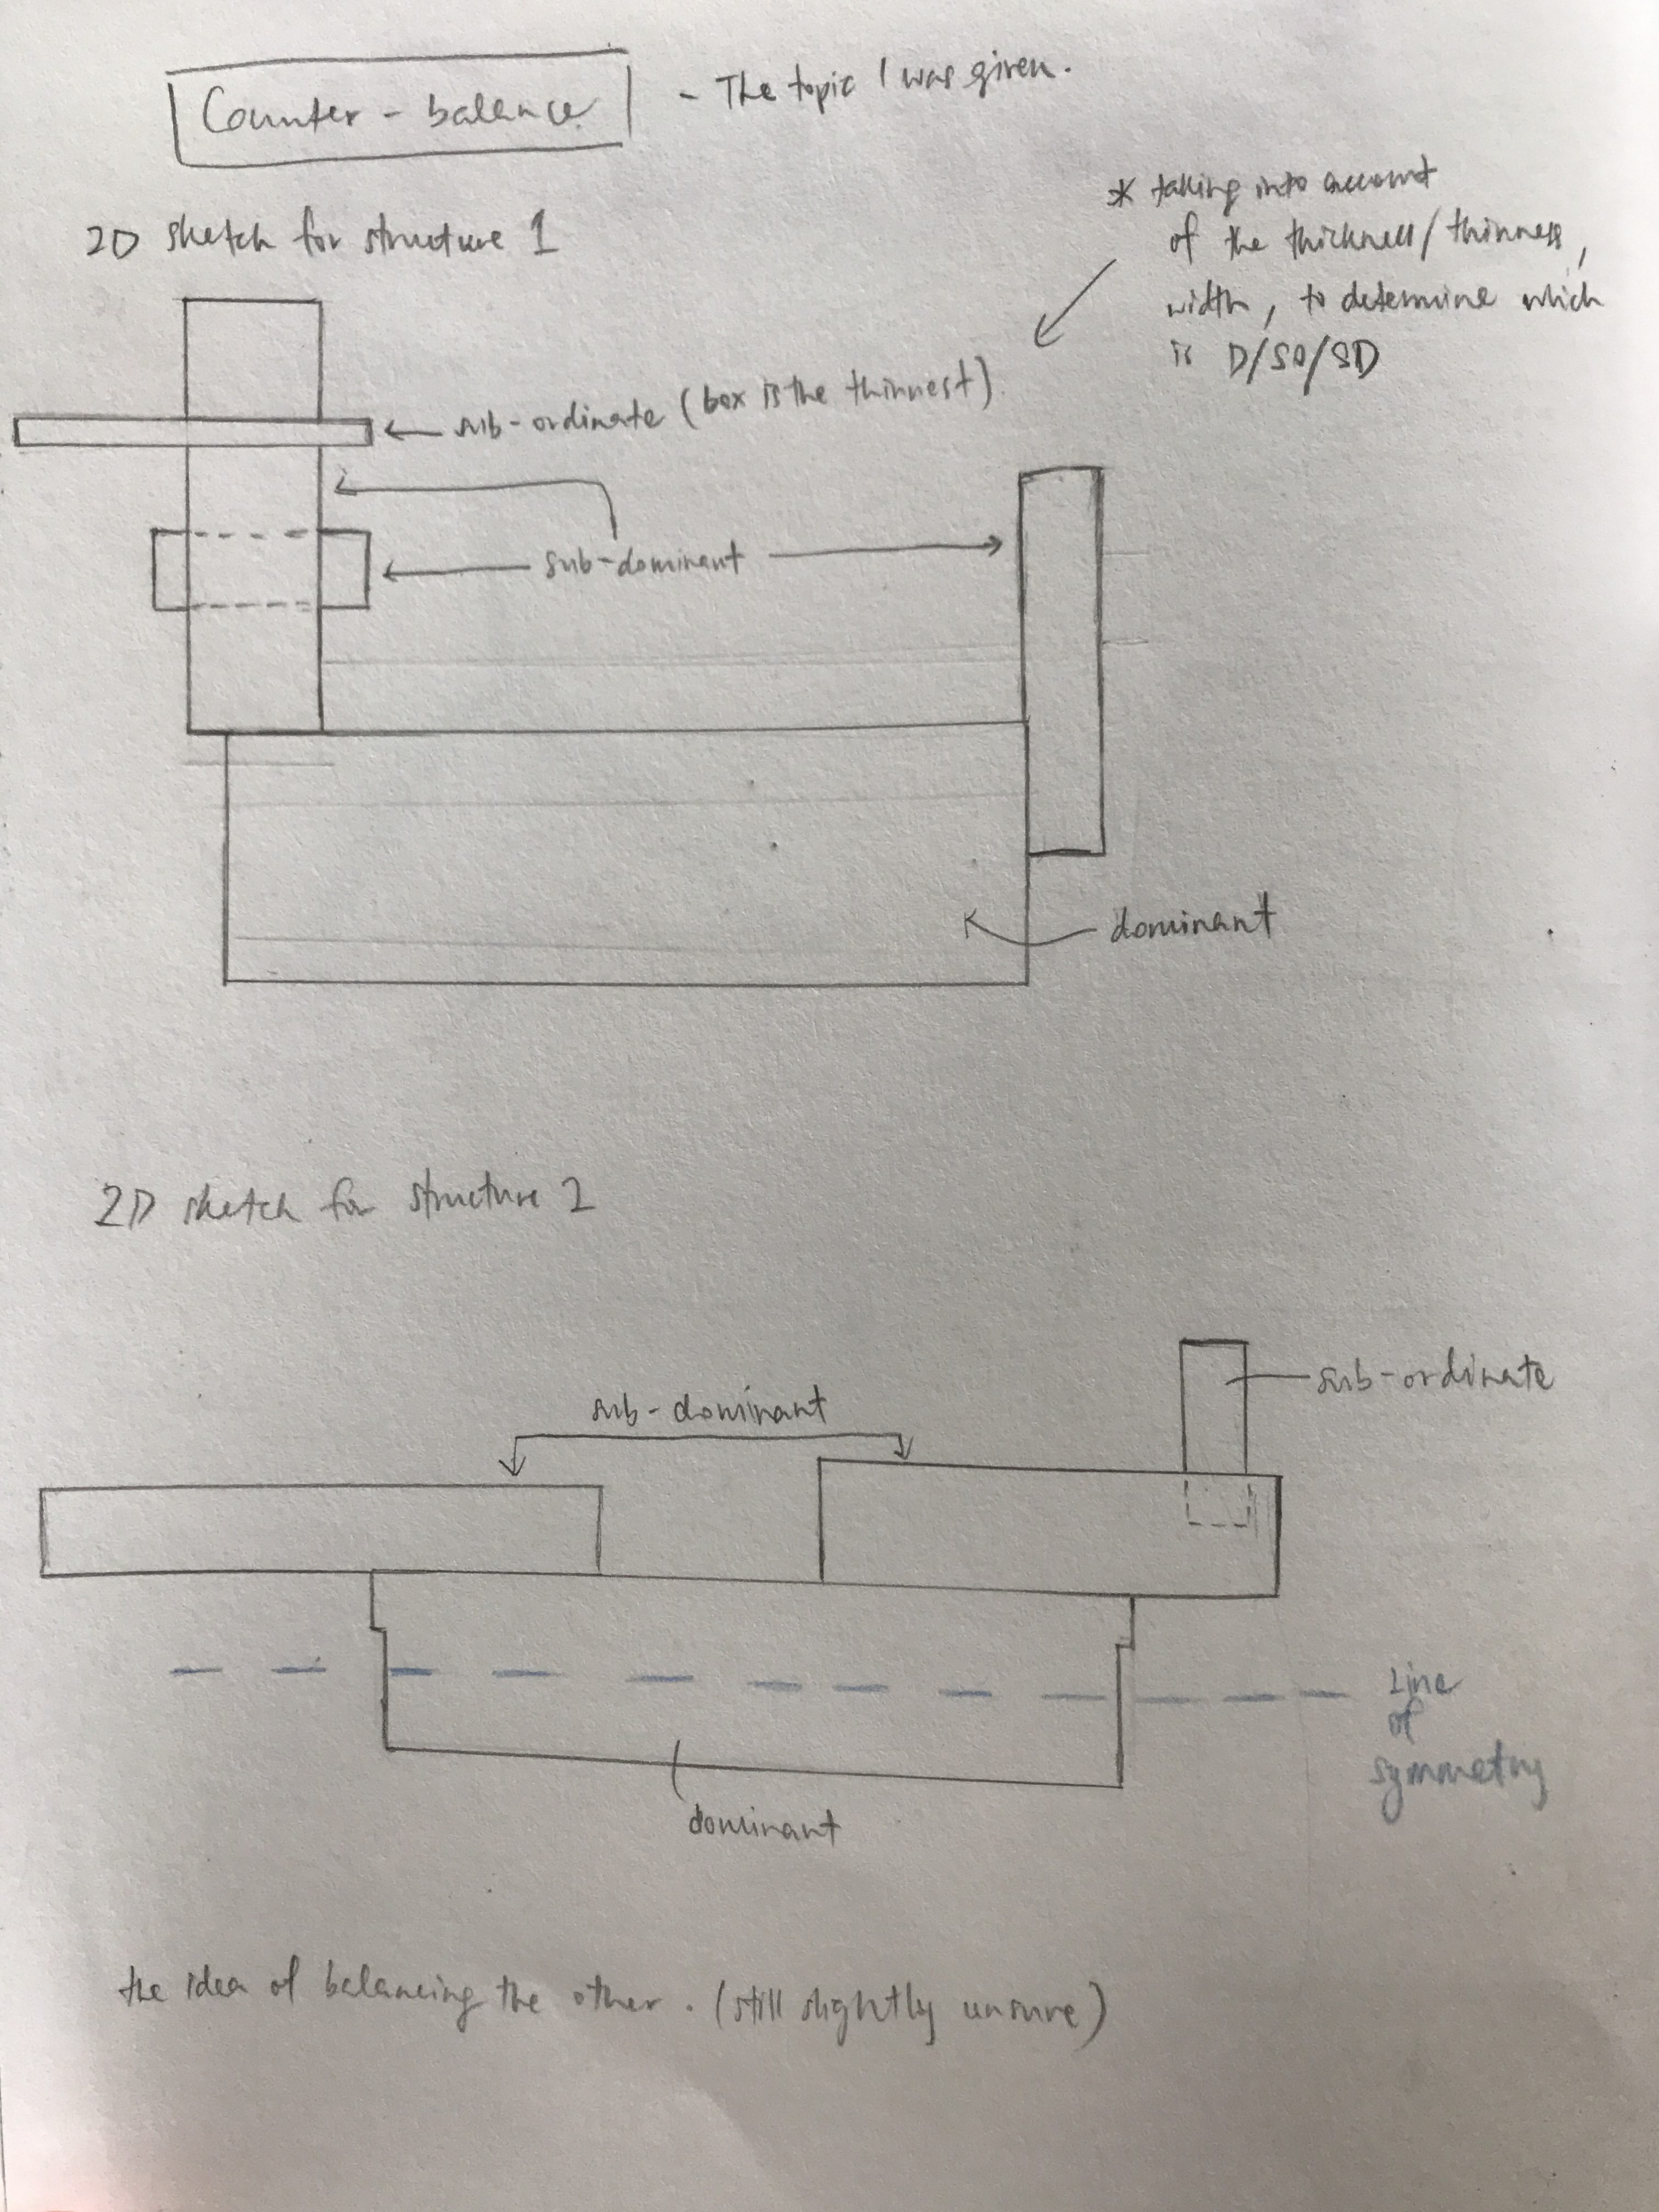
HAHA i look like i had fun doing it but it was actually quite tough figuring out which sizes of boxes to stick together and taking note of their thickness just to ensure that in all sides the “D, SD, and SO” stays the same in the figure. Considering the void and line-of-symmetry too. WELP, at least I tried. I was given the word ‘Counter-balance’ and here’s my sketch of the boxes i attached together after the 1st lesson.

Yes I agree, it is abit sketchy and it isn’t well thought through. This is also because i was unsure what counter-balance really meant and how to really visualize it in boxes (even though i did try to research on internet to help me out abit, didn’t really work).

BUT after the 2nd lesson which was just this week, I learnt a few more critical things to take note of when putting these boxes together.

I learnt about the Gestalt Principle where the whole is > than it’s parts, we have to try not to align the boxes together, and that we should at least aim for 4/6 right views in portraying the D, SD, SO as mentioned before. (I also learnt about the 3 ways of joining boxes such as wedging butttt we’ll get further more into that later)

So here is the aftermath of going through it during lesson about my topic and recreating my figure of boxes.

STRUCTURE 1

STRUCTURE 2

2D SKETCH ANALYSIS OF BOTH

In Structure 1, the Bottom View is slightly bigger than the one you see in picture, but that’s because in real life when I physically hold it up, the SD box can be also seen to be smaller than the D box hence the difference in scale.

I learnt quite alot by the 2nd lesson and I’m still learning and I think that’s the best part, especially after making mistakes first time round because you learn more. I’m still trying to keep in mind about the 4/6 D, SD, SO views  in every angle because that is quite hard to maintain when creating since we are used to focusing on one view haha and hence the importance in choosing our boxes. 🙂

Interesting 3D object

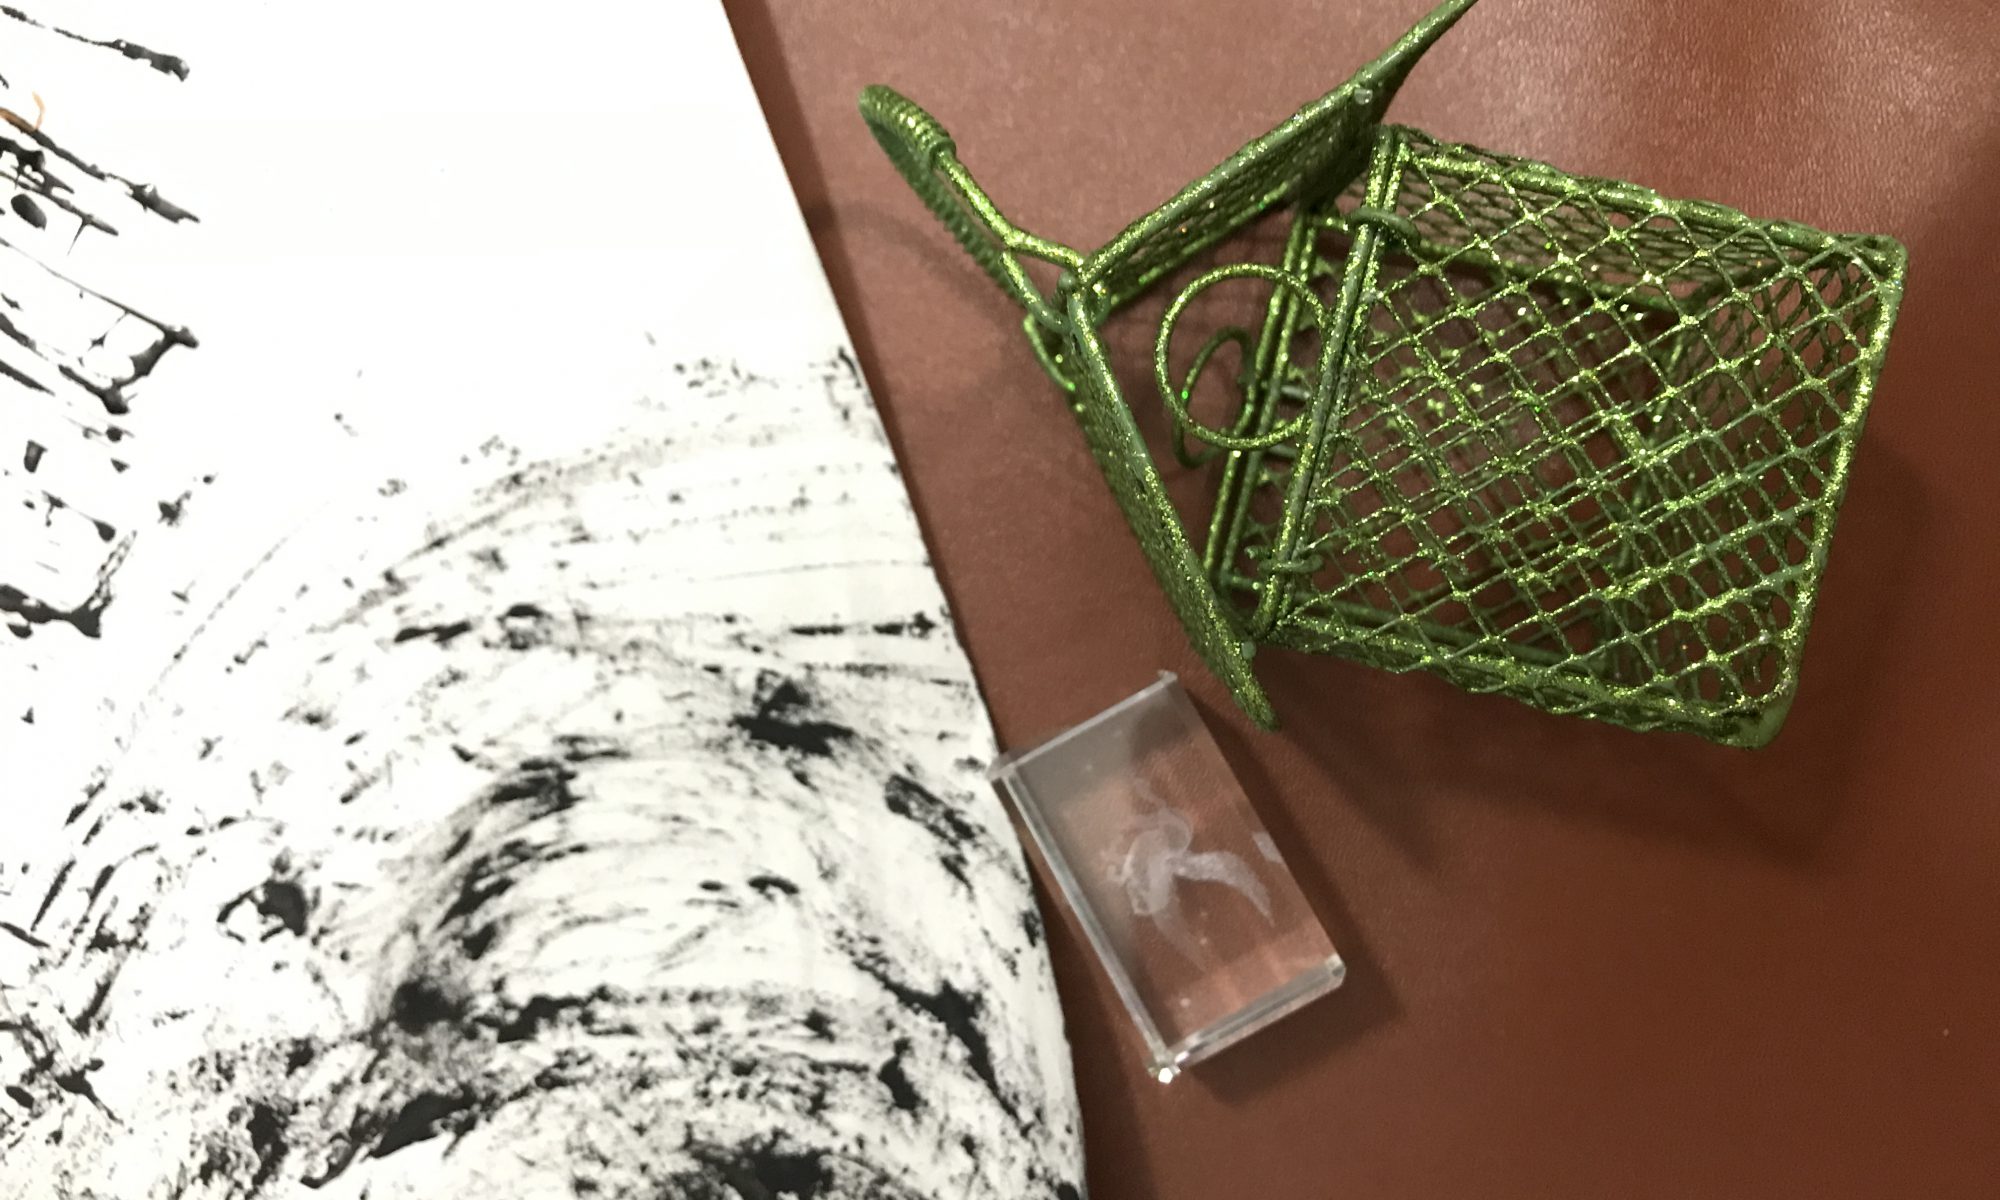
issss my little glitter green house.  🙂

We went through this object and other 3D objects as part of last week’s 3D lesson. Here’s my 2D Sketch Analysis.

Now when looking at 3D objects, I will try and notice the 3 important things i learn about the details in a 3D object:

1) Dominant (the colour/part of the object that occupies the most)

2) Sub-dominant (the contrast of Dominant, bringing out the quality of Dominant)

3) Sub-ordinate (finishing touch = e.g the brand name/special point)

But when it comes to my object, we also have another learning point which is the term called “Cluster of similar volumes”. Because we see that even on their different sides, they each share similar volumes. (However i’m not quite sure if the dominant and sub-dominant rule still apply to this) I learn that there is a void here too – in the space where the small circle is and outside the circle itself that’s within the triangle (see SIDE picture). The little circle inside could also be the sub-ordinate (SO) as it is the only special looking thing that looks different from all the parts that has angles.

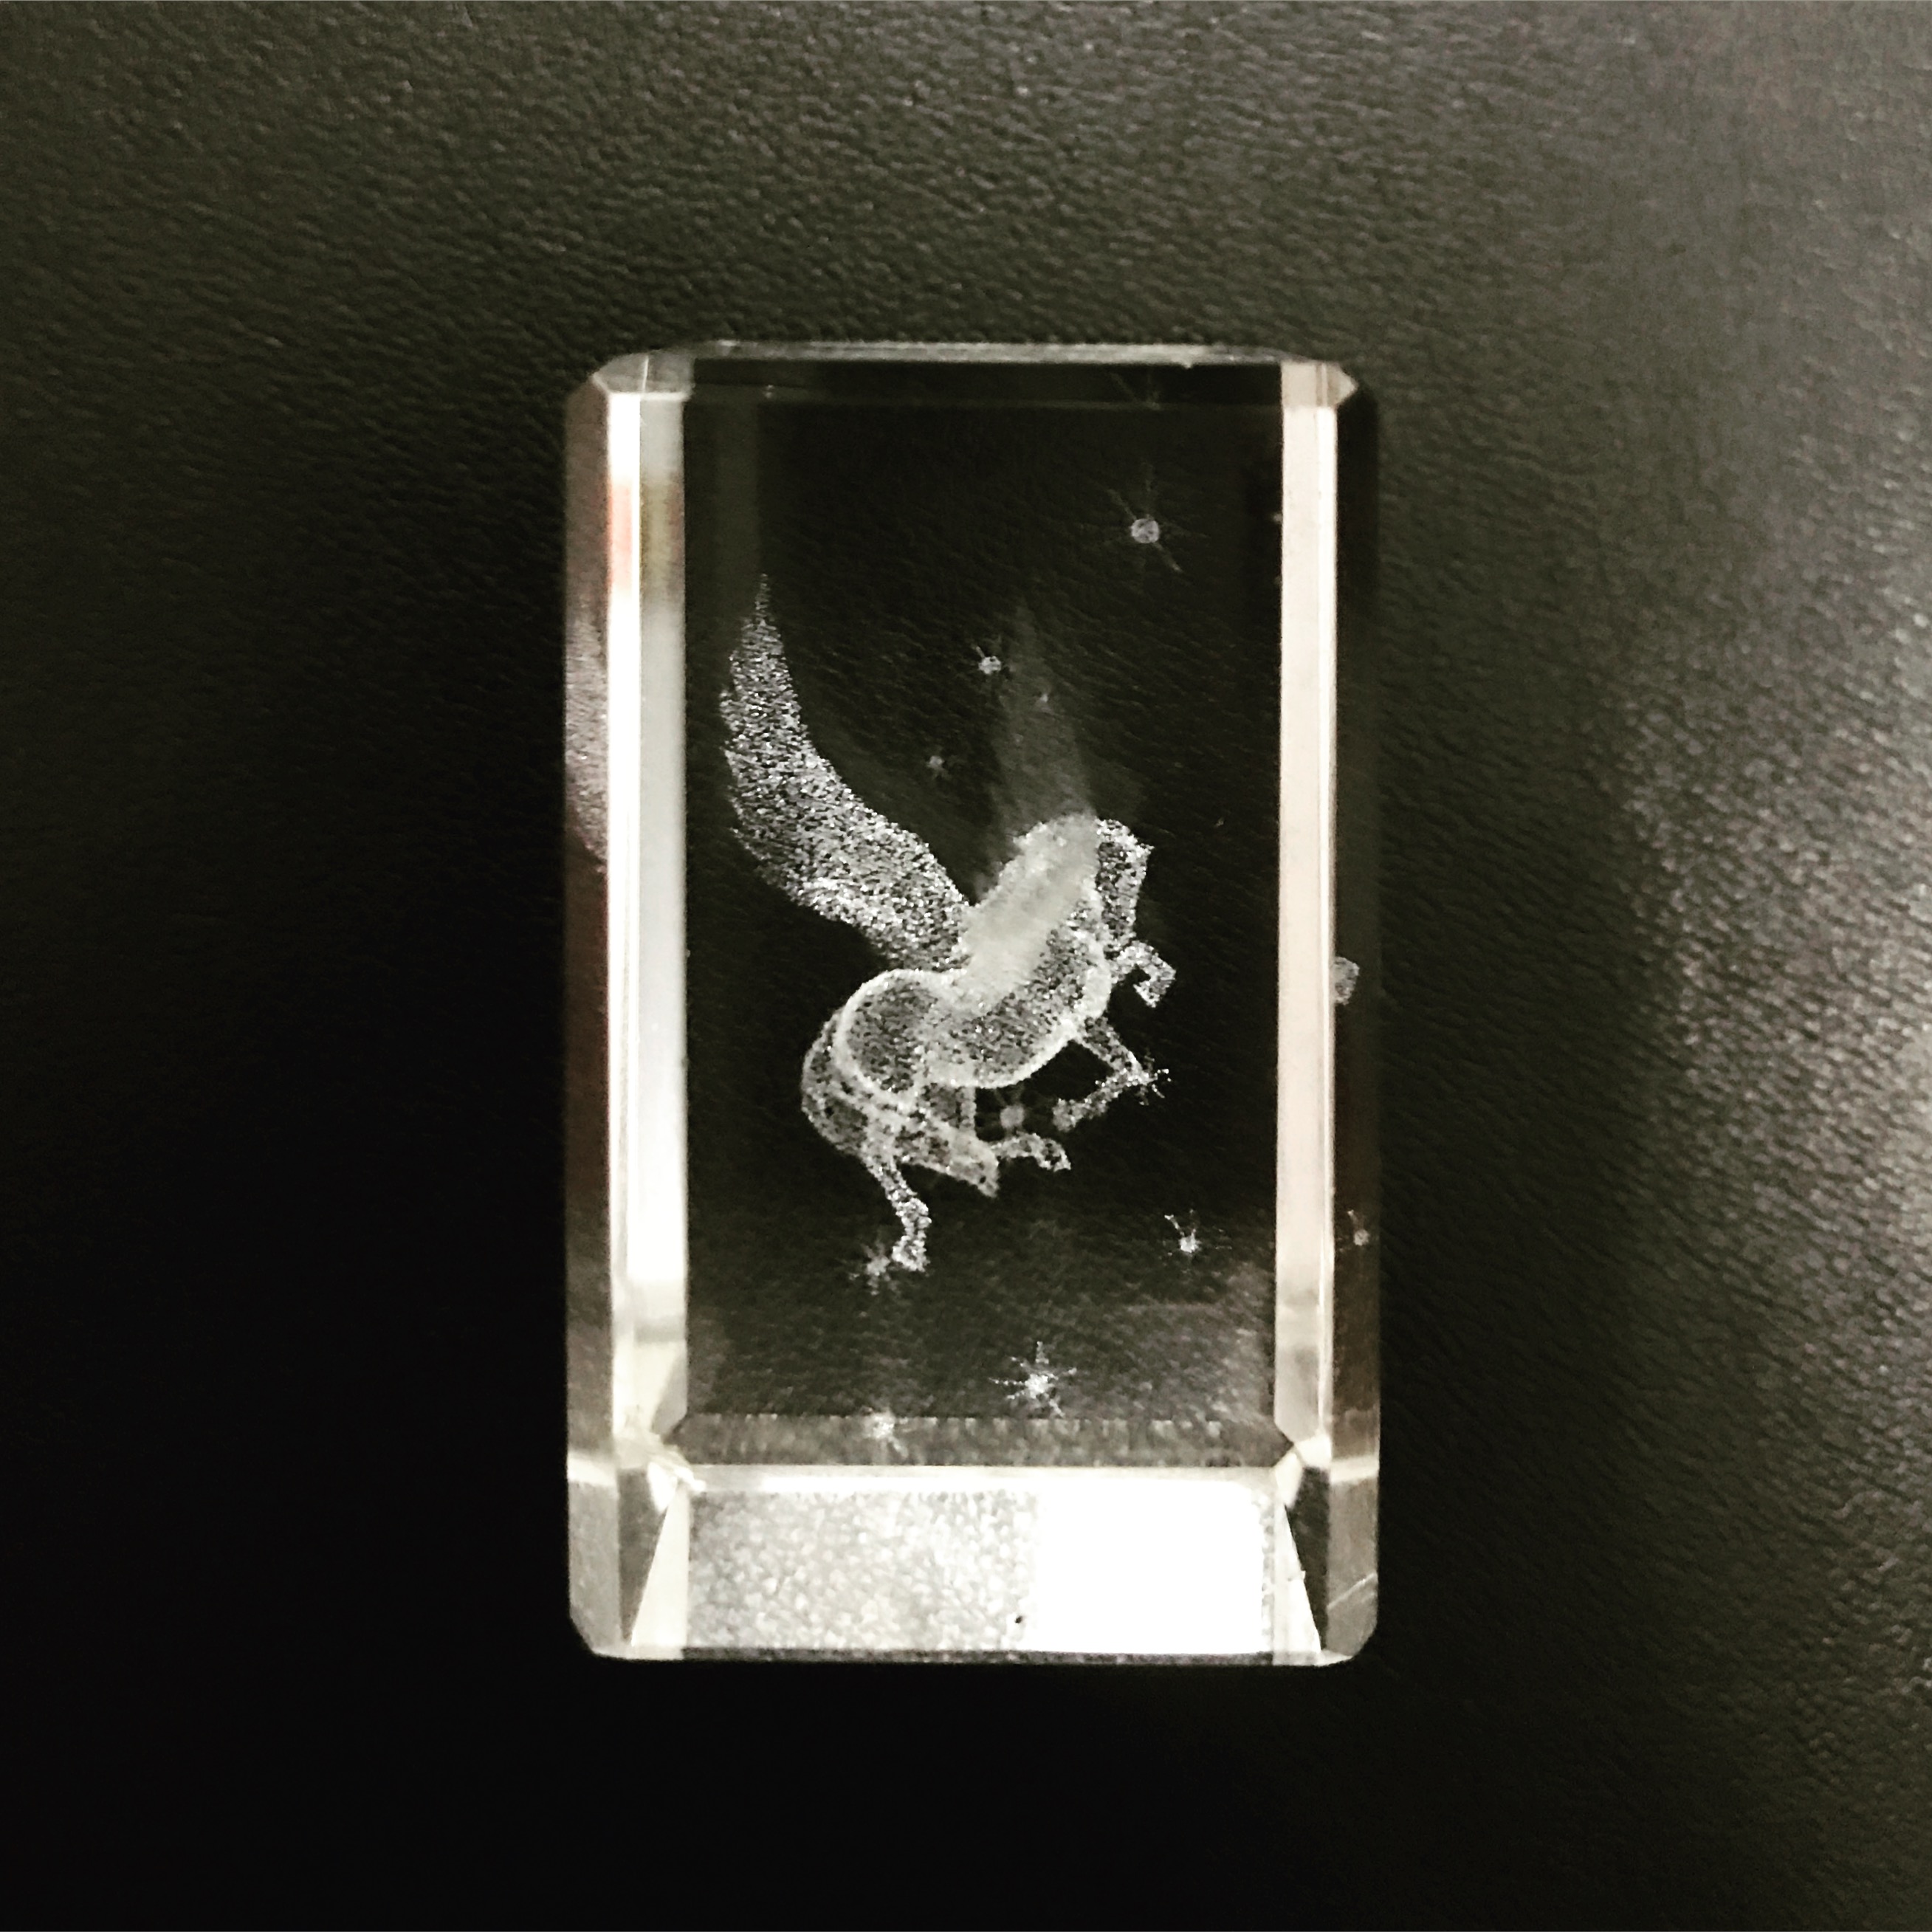
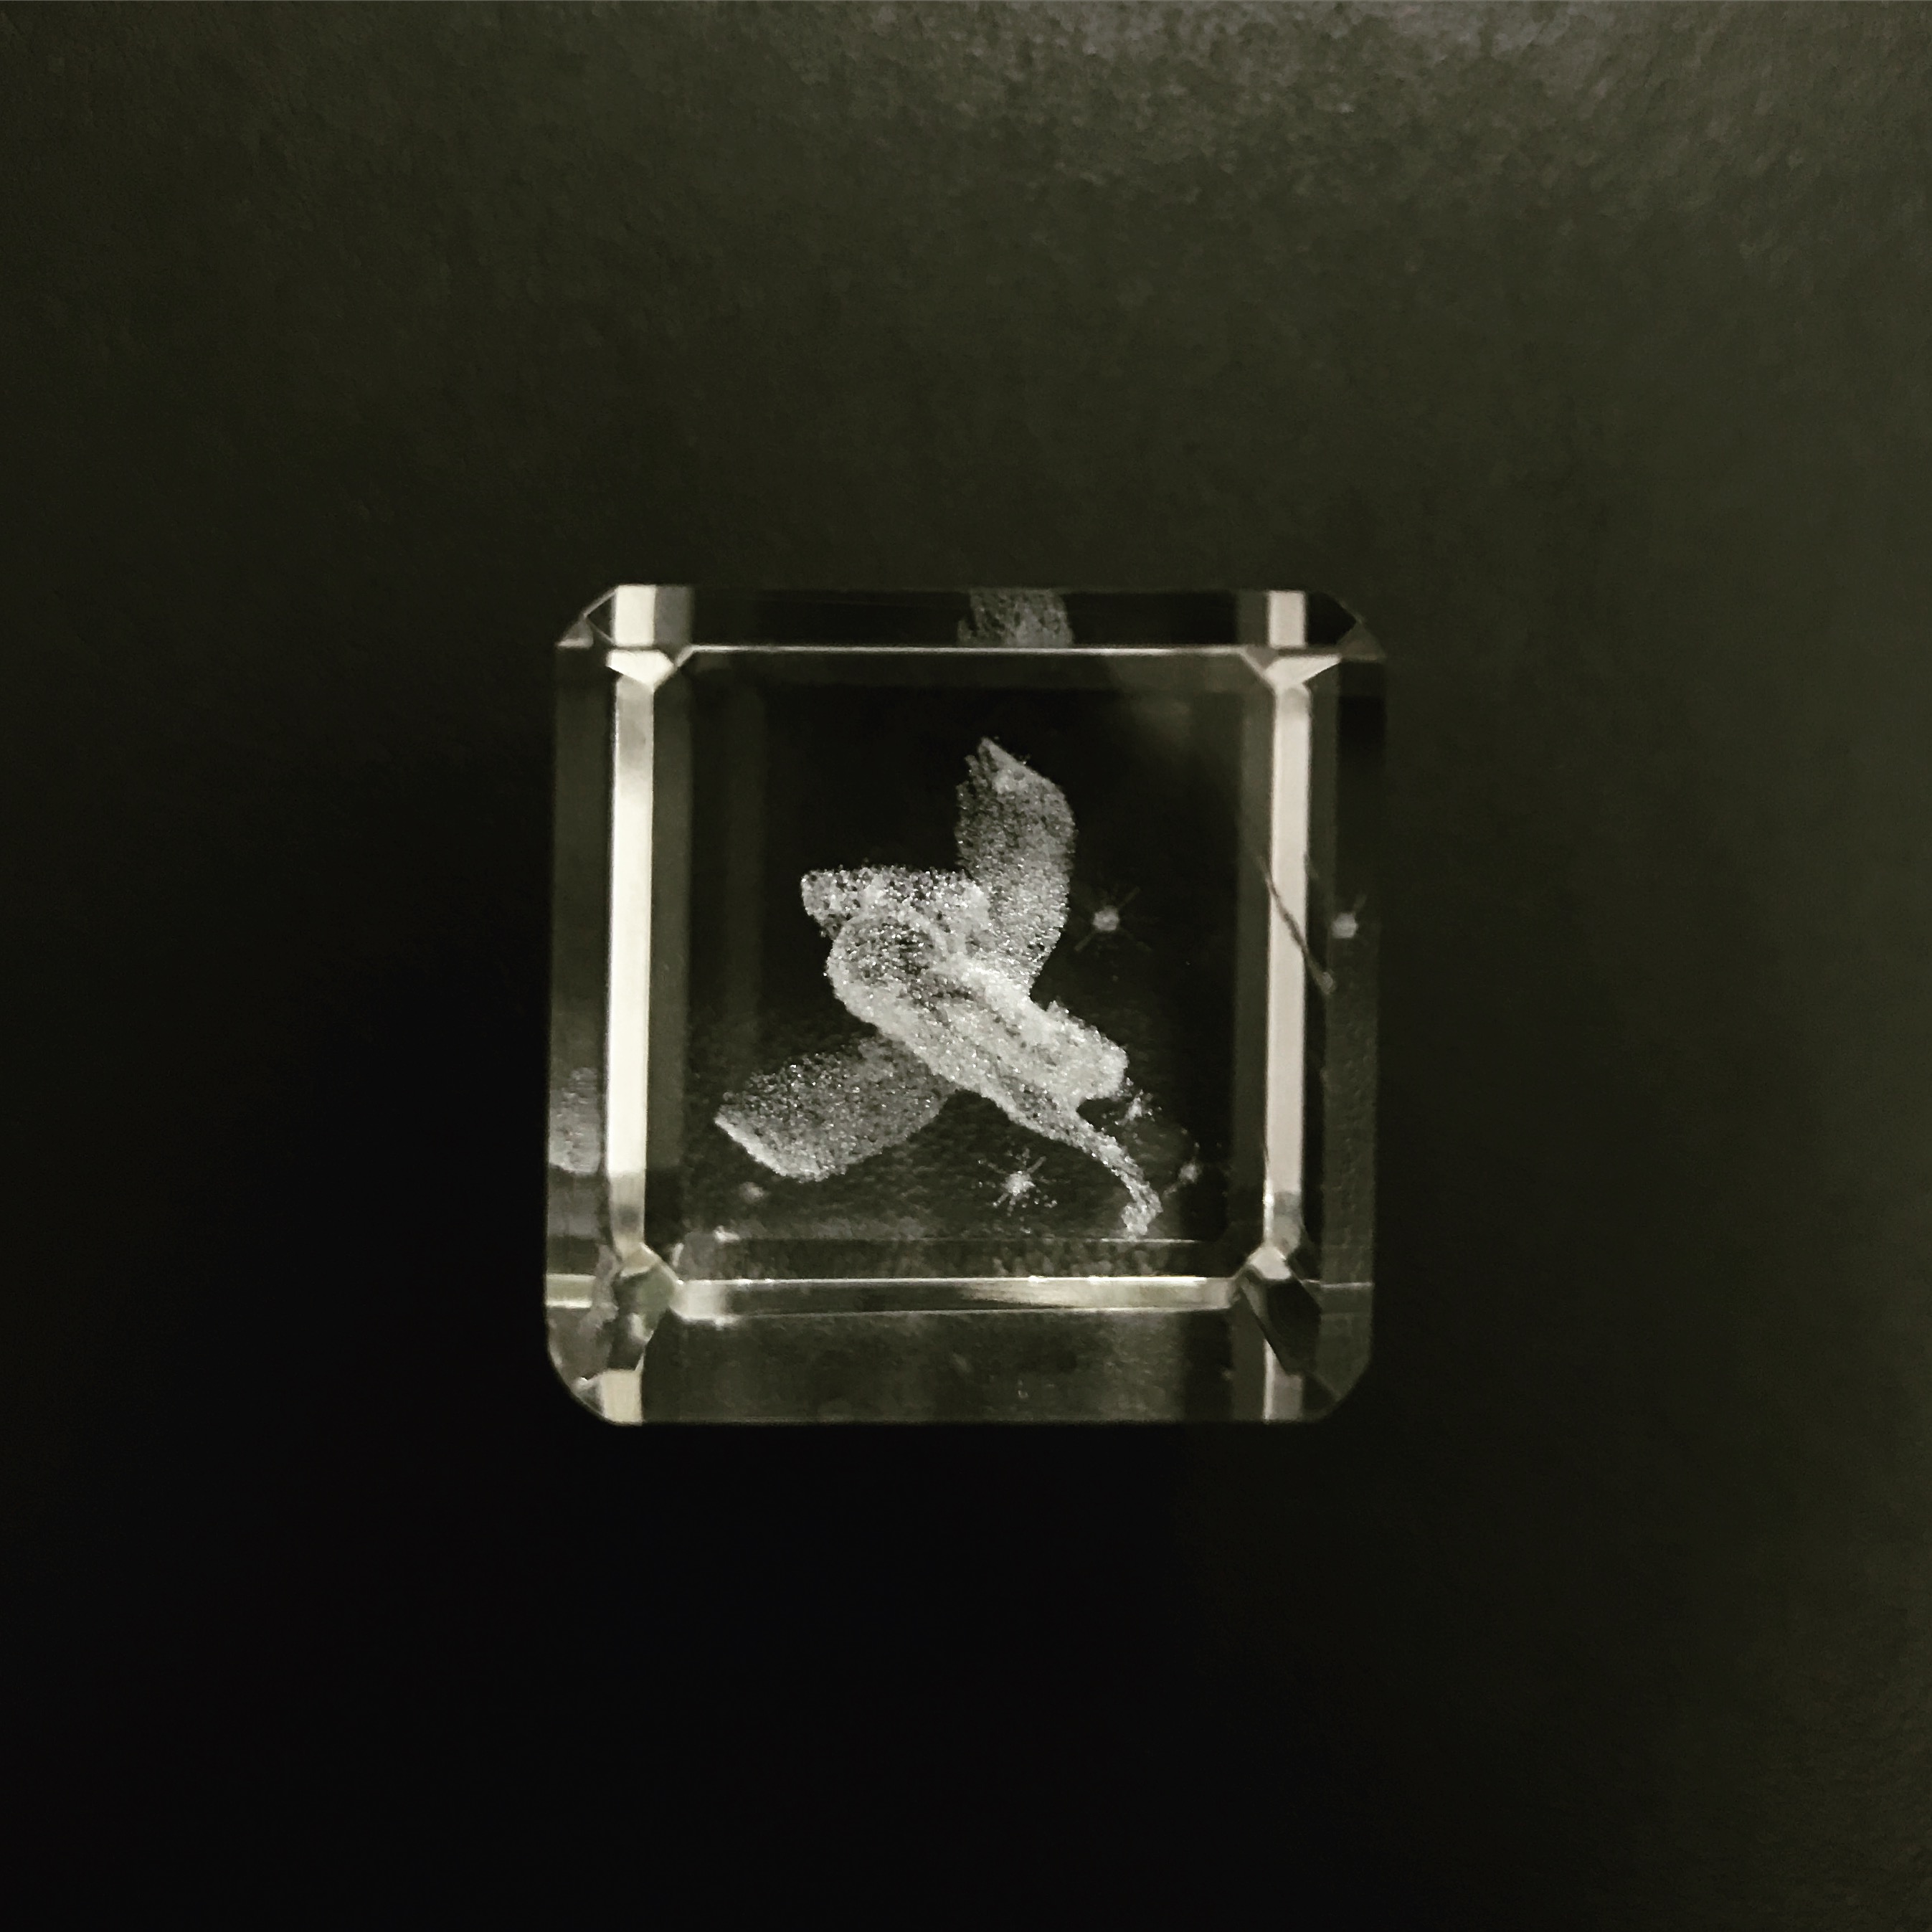
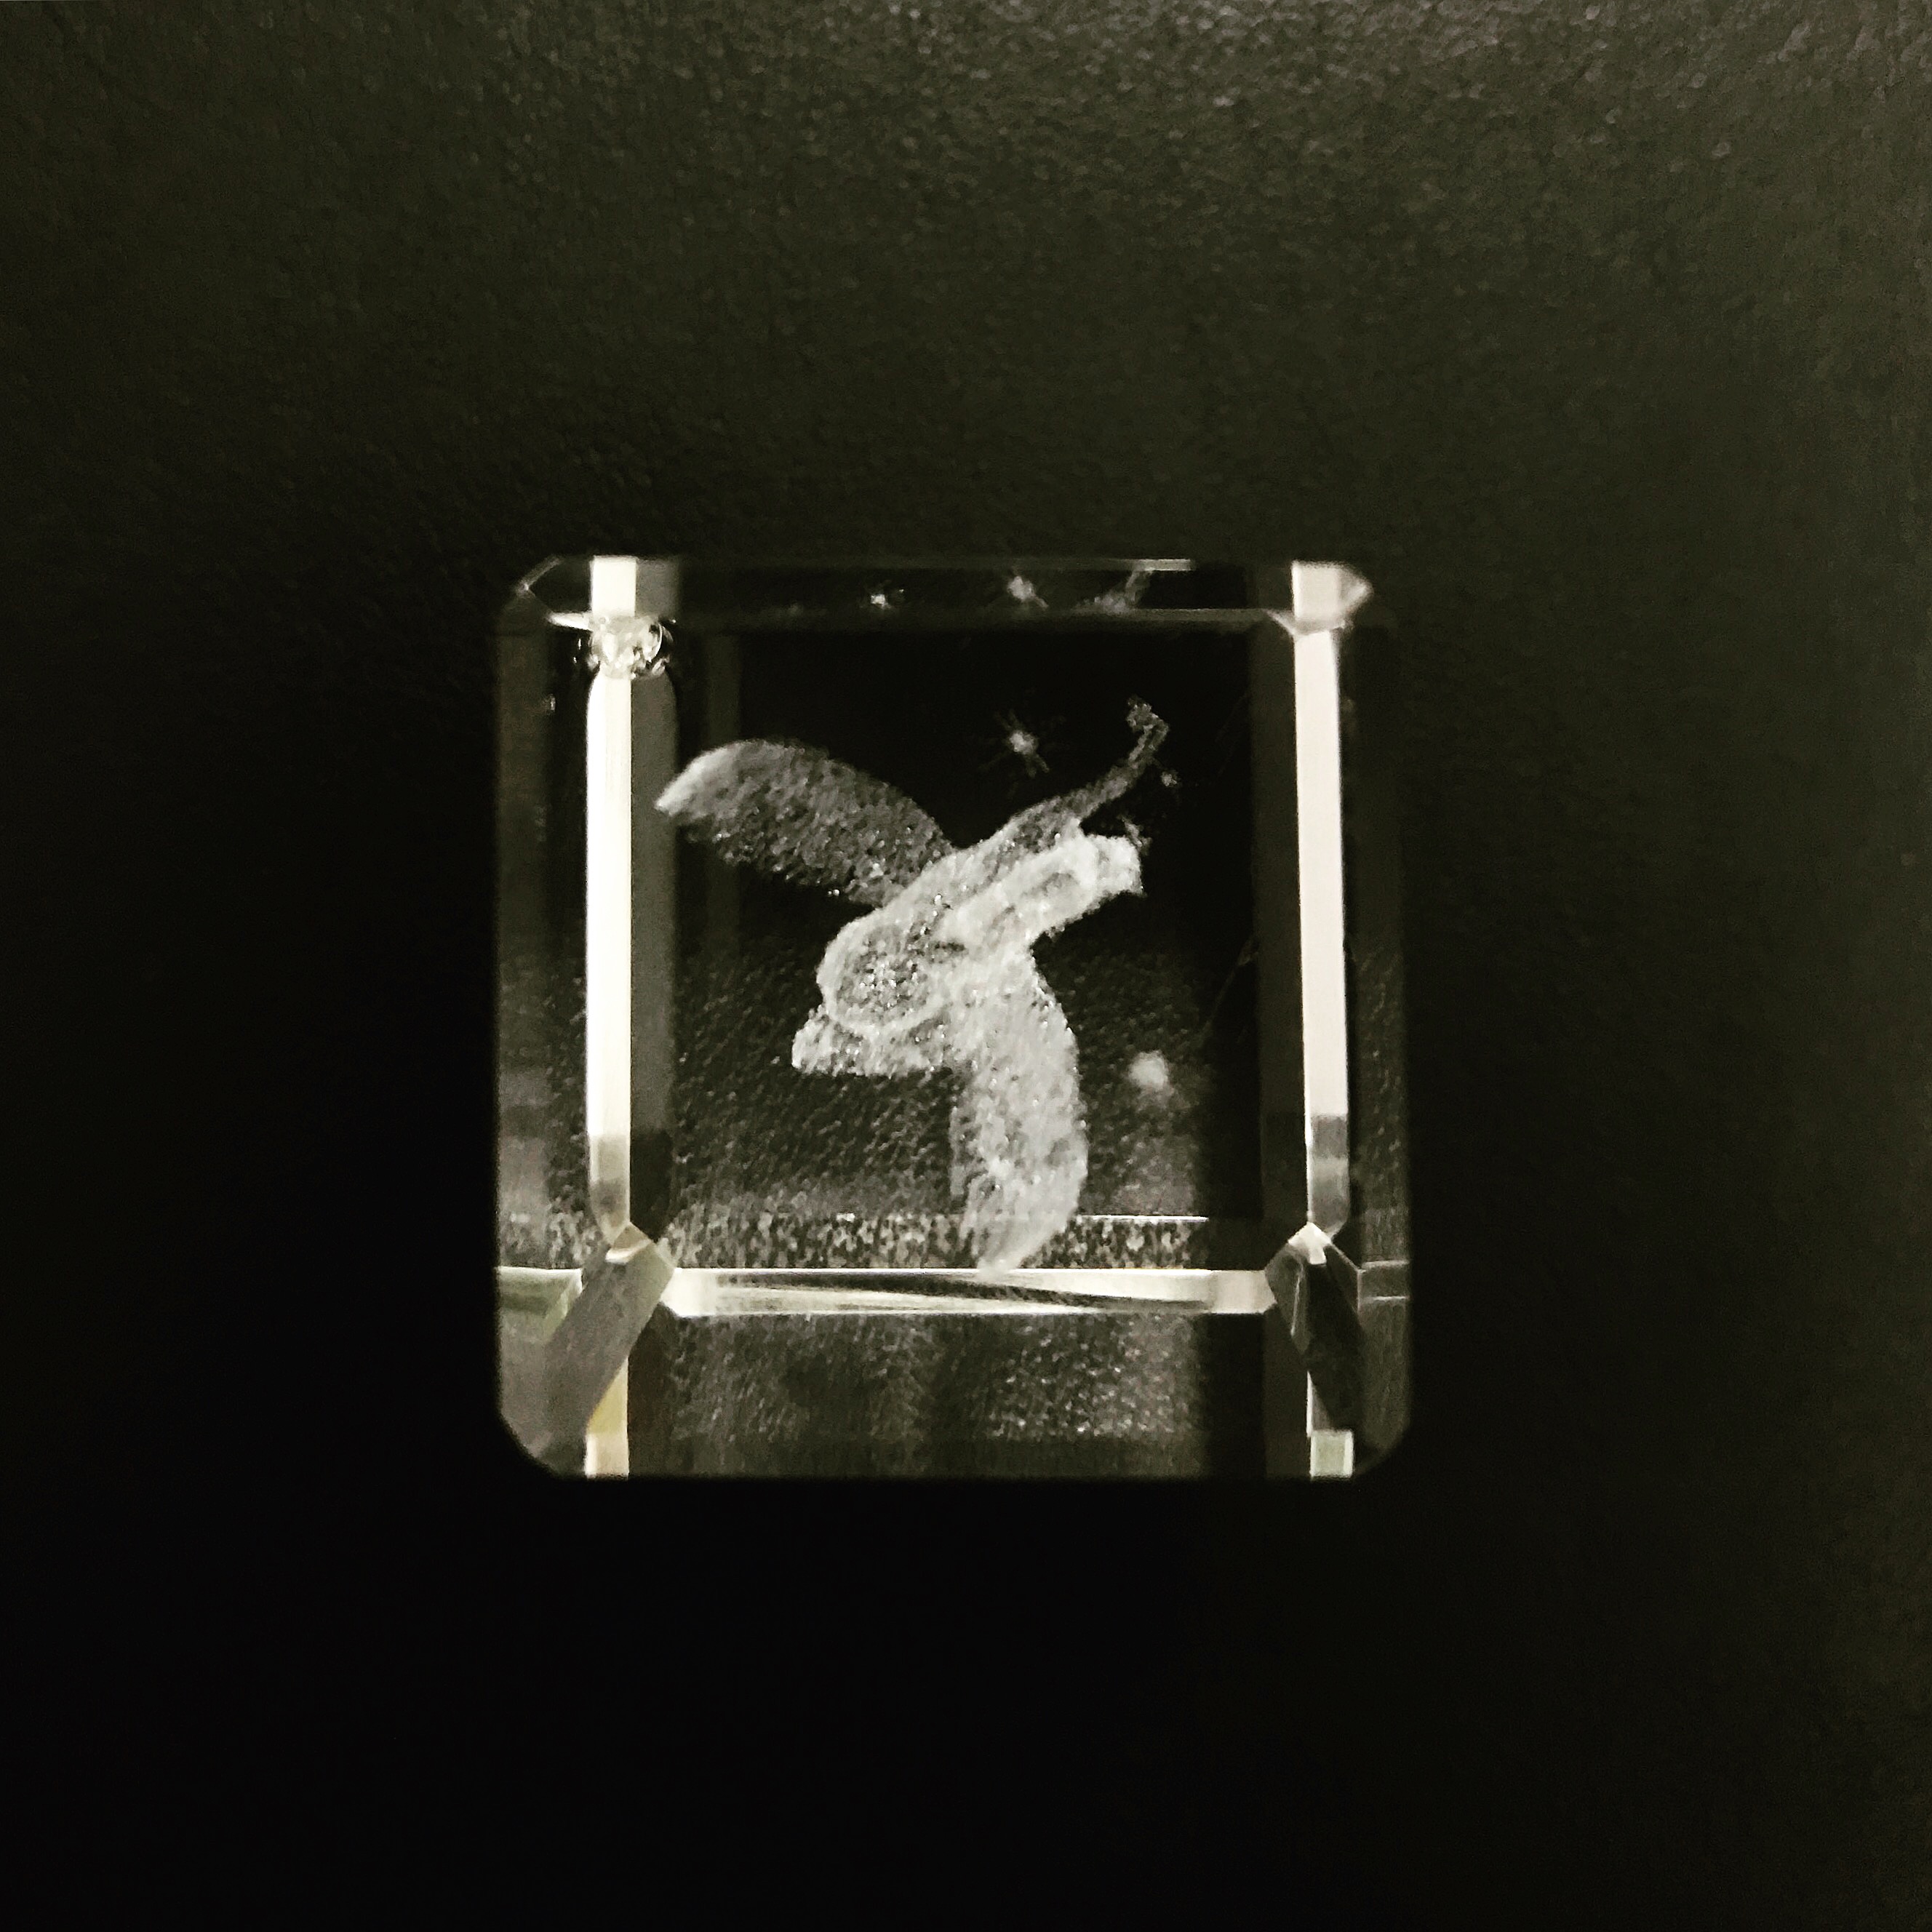
On another note, I initially wanted to bring a different 3D object for the lesson for analysis as it looks simple but the inside of it is not? It intrigues me haha i shall show it here. (pictures of it seen below)

From top to bottom: 1) front view 2) top view 3) bottom view

It’s a glass-like material, transparent and  a small rectagular cuboid. BUT what i realised was that, it wasn’t just a normal cuboid but the magical ‘pegasus’ feature inside was also built in as a 3D thing. It doesn’t appear flat and it has various dimensions represented, hence having this structure of a pegasus. I would insert a video in here to better show how it looks like but i tried and was still unable to post the vid despite the fact that it has a lower mb so i guess i will bring it on the next lesson to explore more about it. I’m guessing the same “rule of thirds” applies to this too.  🙂

(also i will be putting up my 2D sketch analysis for the box-making session we had to do after this post heh)