*My long-overdue process but still hoping it will be looked into to get graded (bless my soul I hope so)*
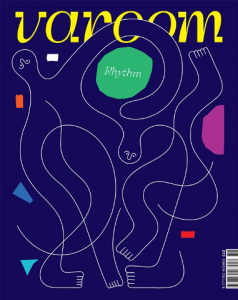
Hello! For this project, we dived into the cover design of a globally leading illustration magazine that features a unique combination of industry insight and critical analysis of the field of illustration. This magazine is non-other than VAROOM.
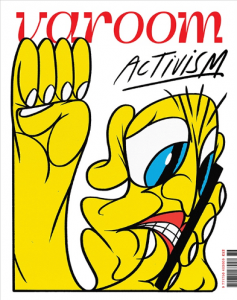
We are given 3 different choices of which theme to pick for the magazine cover design – Activism, Fantasy or Play. I picked Fantasy! Here are just some thought processes on why I picked Fantasy and who would be keen to take up a magazine on the issue.

But before diving into my process, I did some research to understand better what Varoom magazine is about.
RESEARCH
They have an intention for each issue: “[to convey] a live reflection of what is happening in illustration at any given moment… presenting new work and giving insight into how it’s done, but also asking questions about it – why make it? – what does it mean to people?”
Varoom’s subject-matter helps us understand that all wider-world ideas are equally as pertinent to illustration as other creative disciplines.
Whether the work is personal or commissioned, an illustrator’s unique voice is always embedded in the work, “even a tight brief to advertise a product can tell us a lot about society and what’s considered ‘desirable’”.
Like their editor, Olivia Ahmad, said: “Illustrators have a toolkit of largely unrecognised skills that are essential for coming up with the images for which they are commissioned” and what better way than to have Varoom be a hub of discussion for the illustration community and advocate their innovative approaches to these discussions? I, as a growing creative, strongly support this.
PROCESS
Now we will go onto my initial stages/processes of my creation behind a Fantasy-themed cover for the magazine.
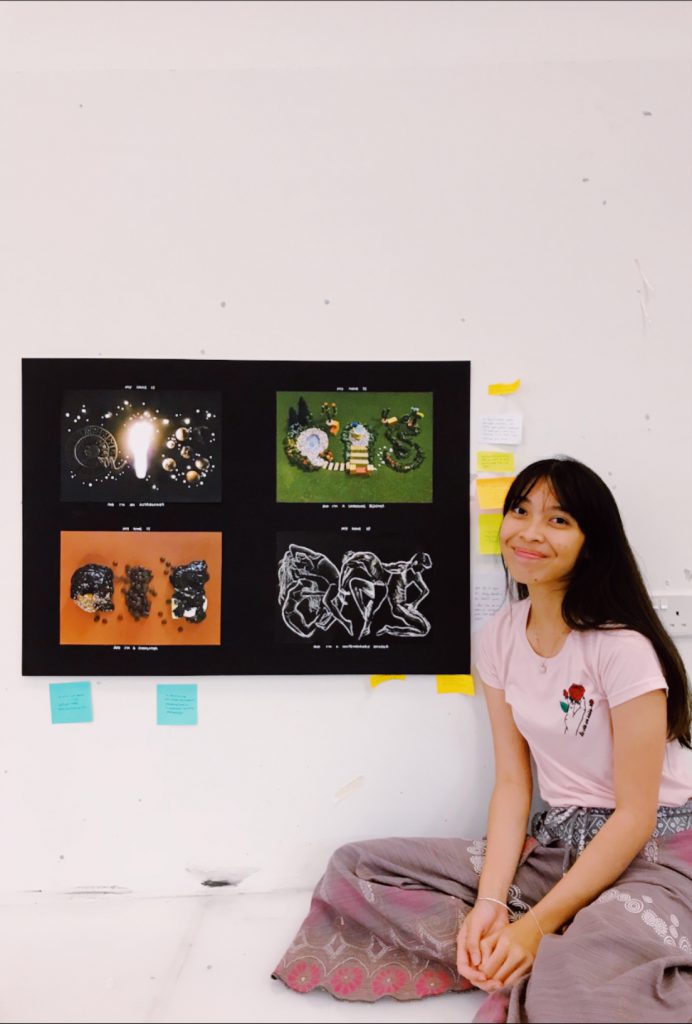
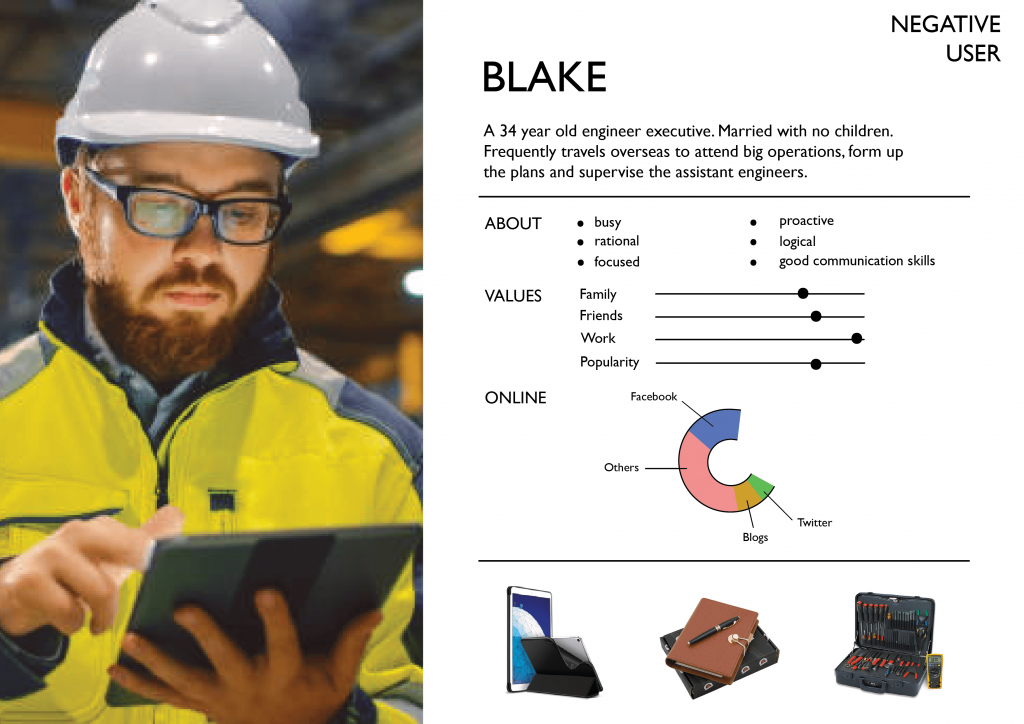
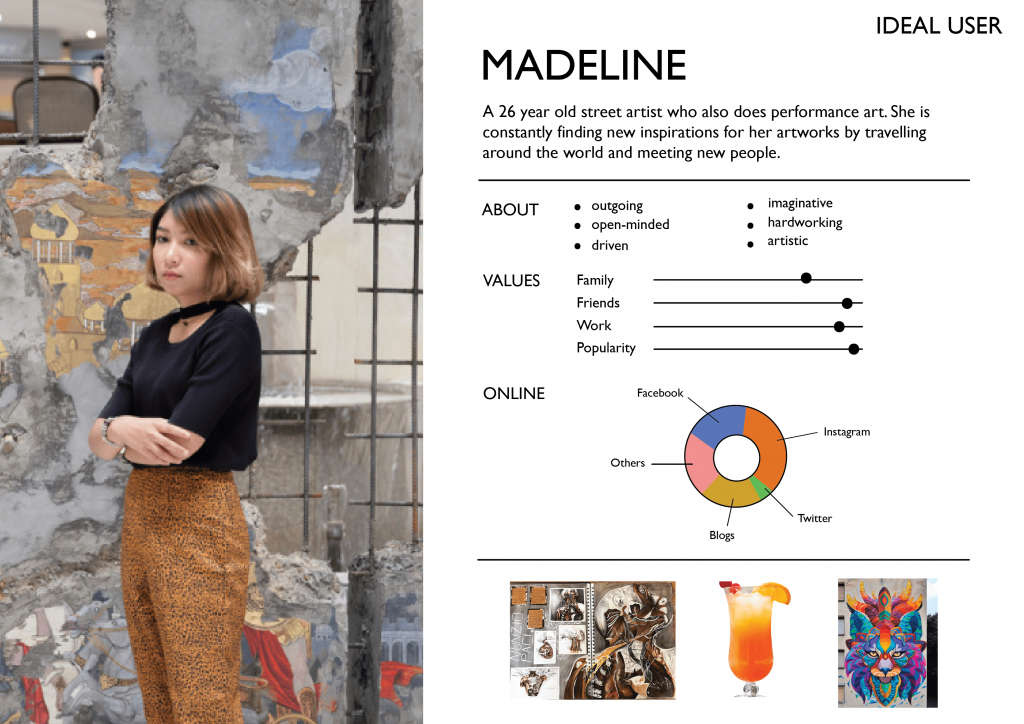
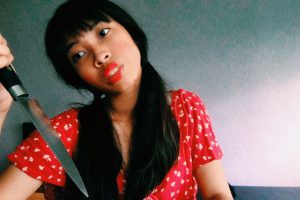
Firstly, to better showcase who my target audience is for my magazine, I created a few user personas – 1 on a negative user, 2 on ideal users of my Fantasy-themed magazine, as shown below. This was inspired and was given as a good suggestion by Lisa.

I had to narrow down and focus entirely on one user so I picked Connor as my ideal user instead. This is because I wanted to lean more towards fantasy designs for kids his age, and things related to science (but also including other weird elements) so ideas are made based on adolescents like him!
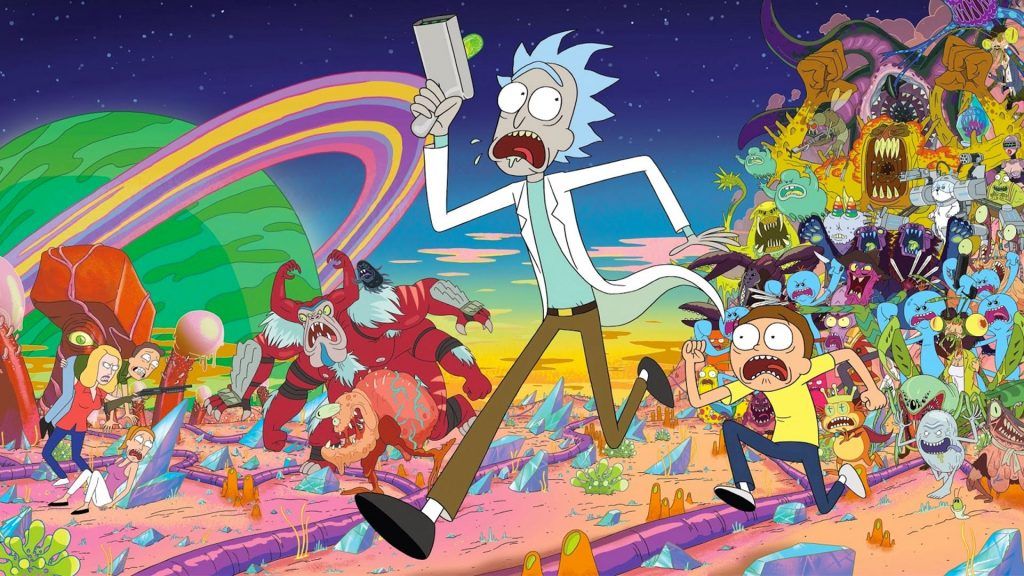
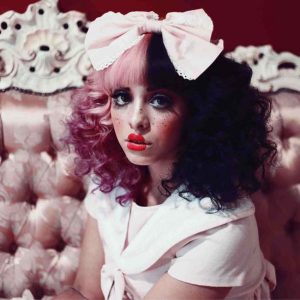
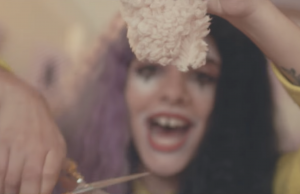
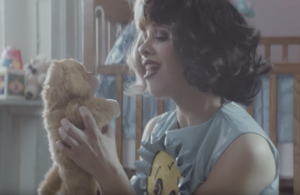
I was very inspired by the show Rick & Morty because of their bright colour palettes used in the cartoon, and the crazy bacteria elements that I love. I love weird things.
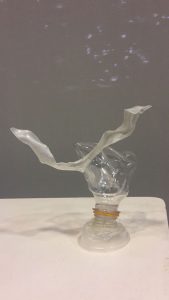
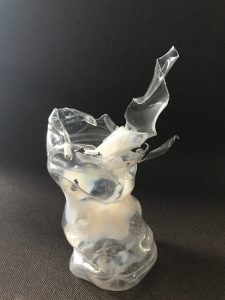
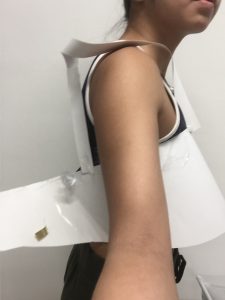
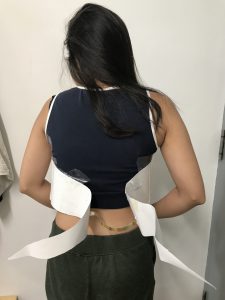
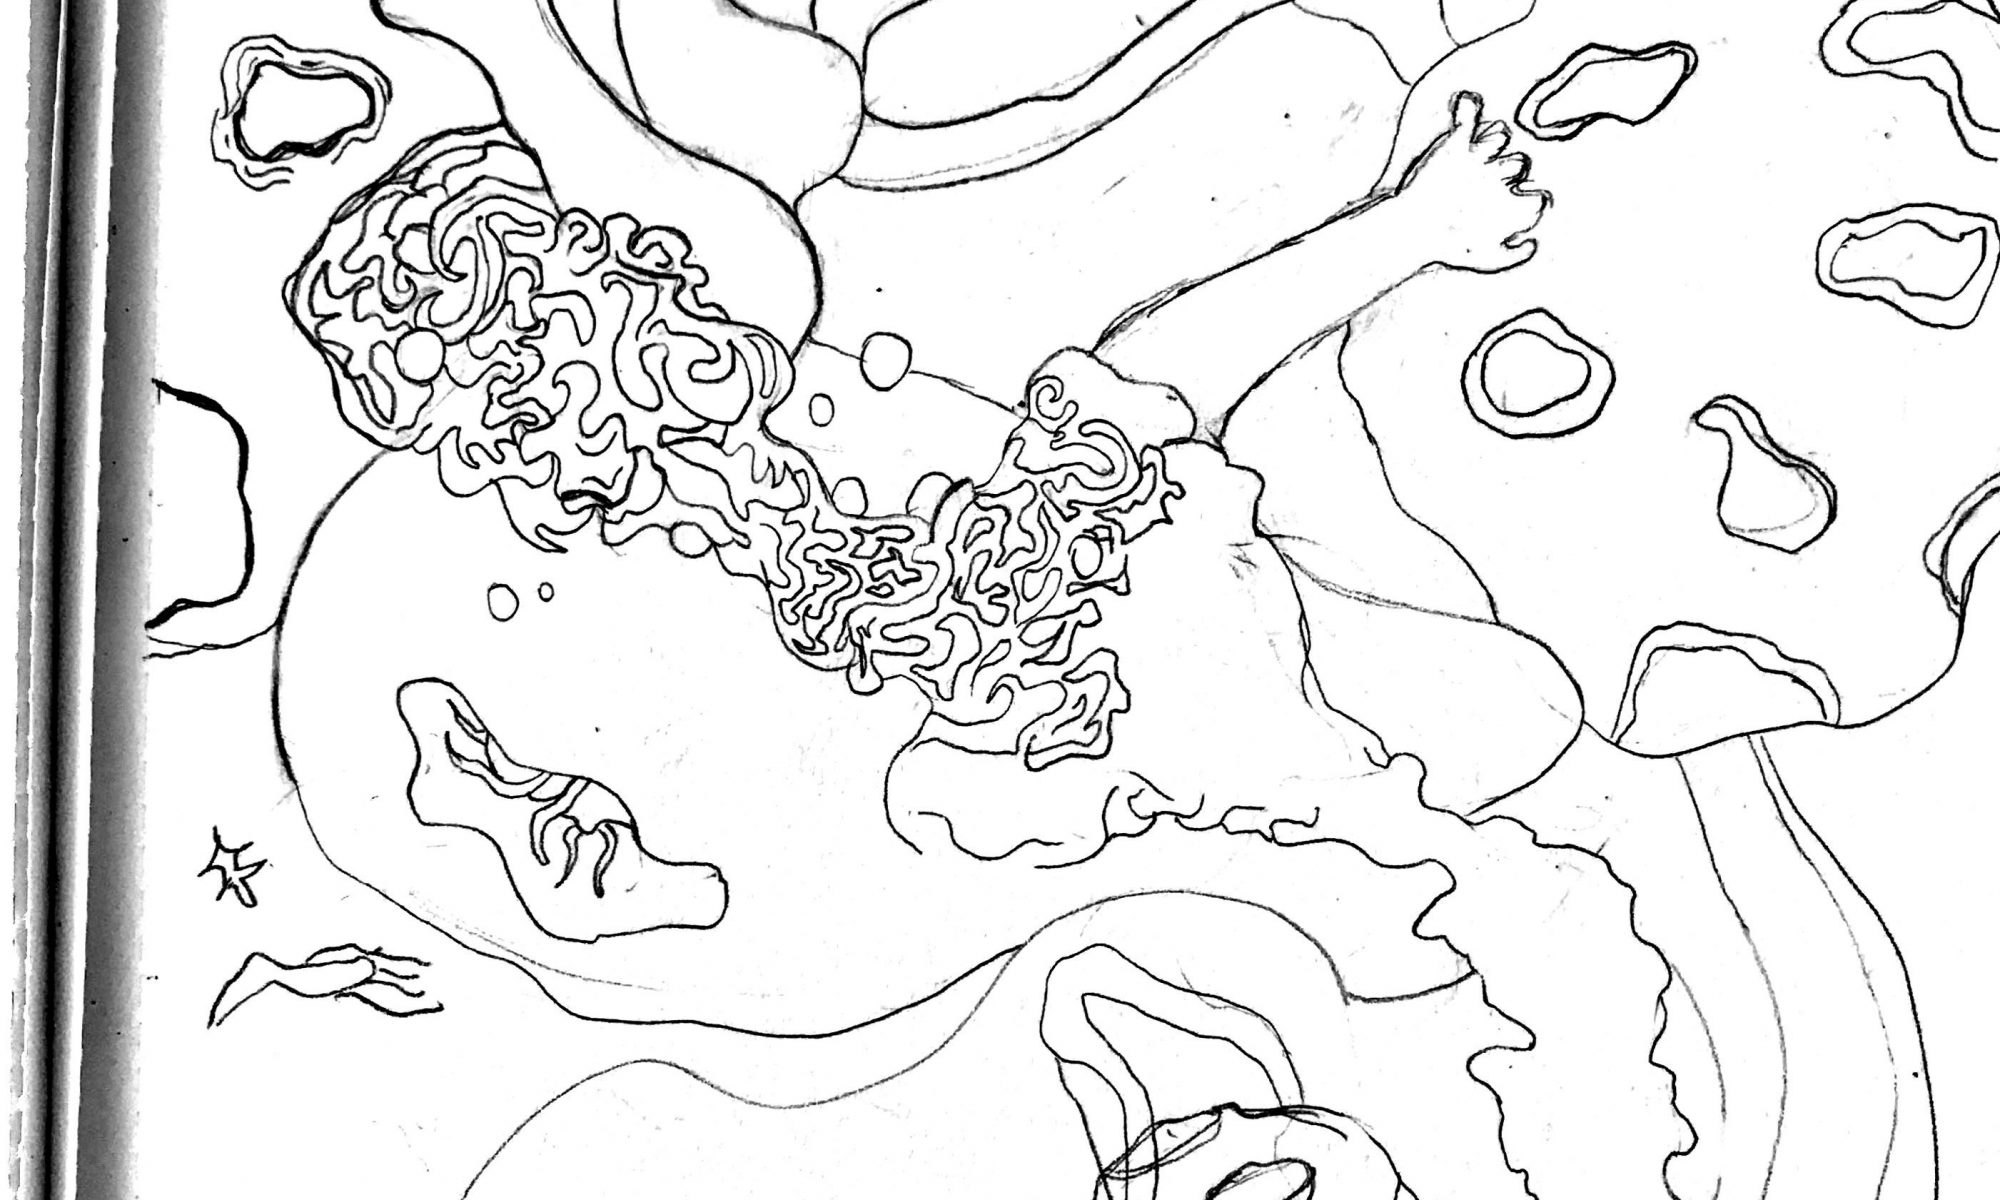
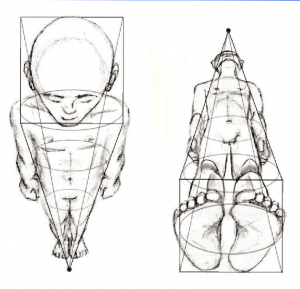
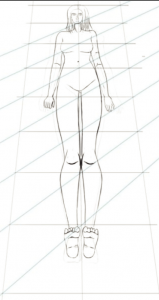
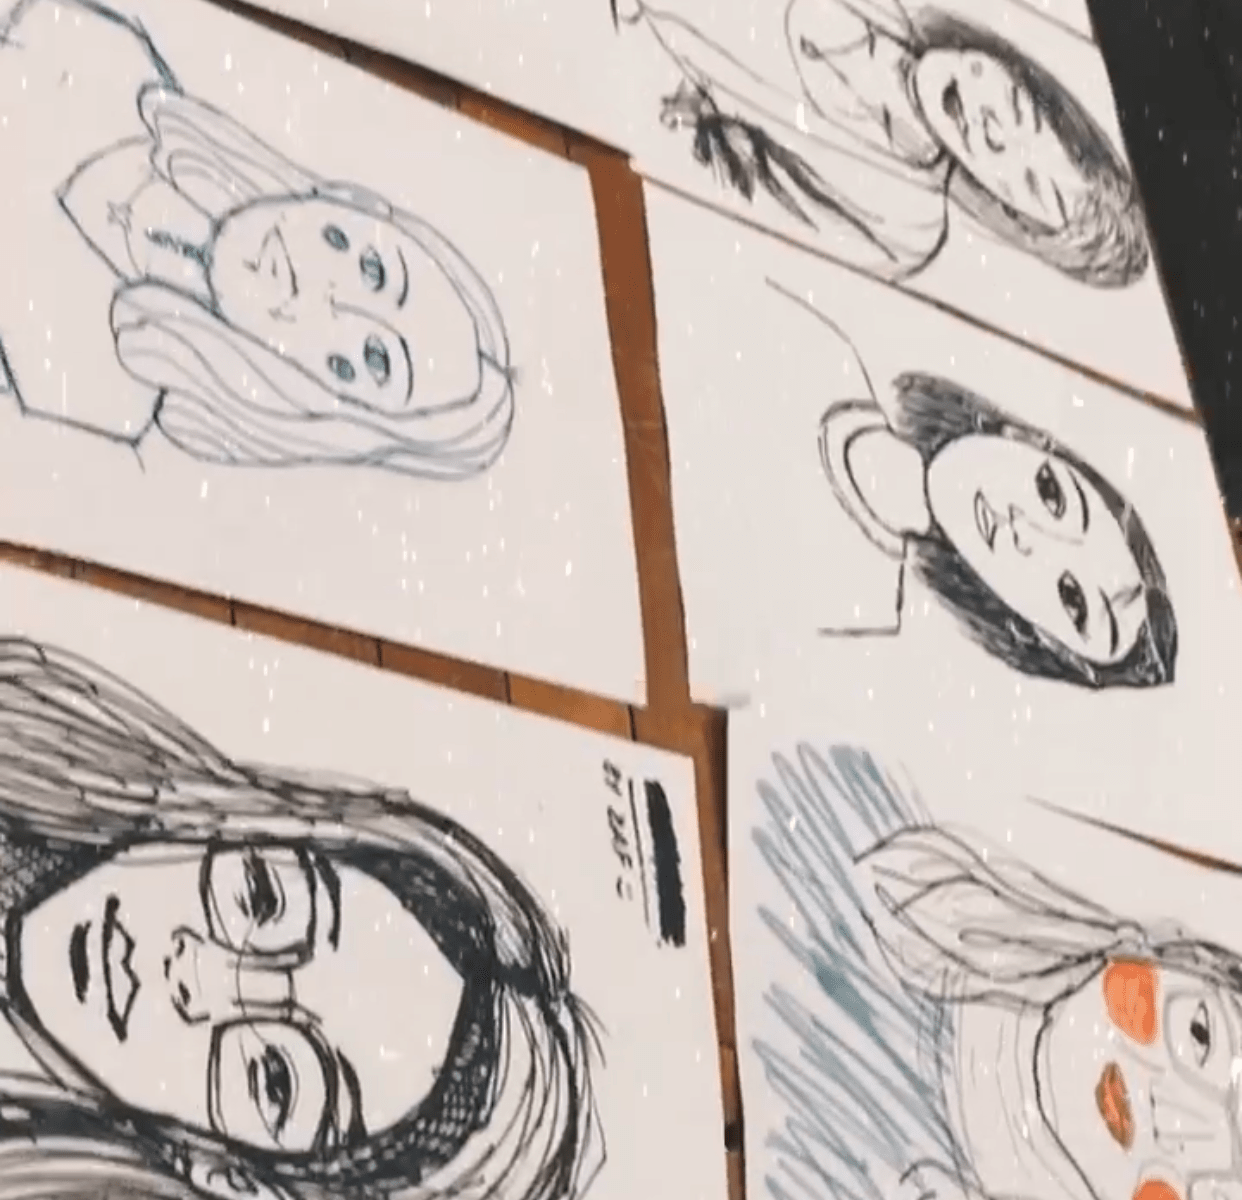
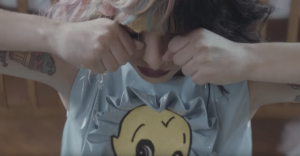
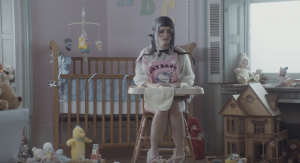
I have always been into body movements as well – how the human body works. So some of my inspiration came from that too as seen in the images below – even the fetus position is something worth pondering for me. There’s a beauty in the way we move and unfold ourselves.

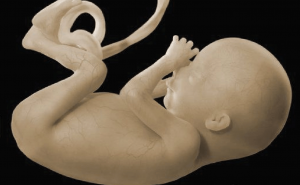
so I looked more into figure drawings, just for inspirations.
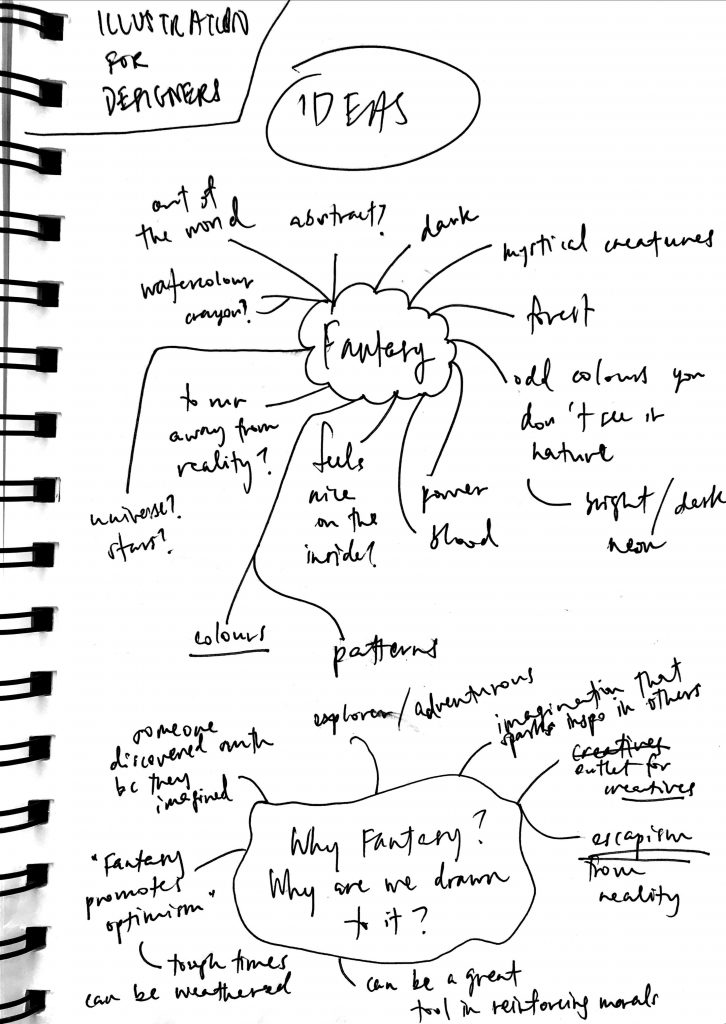
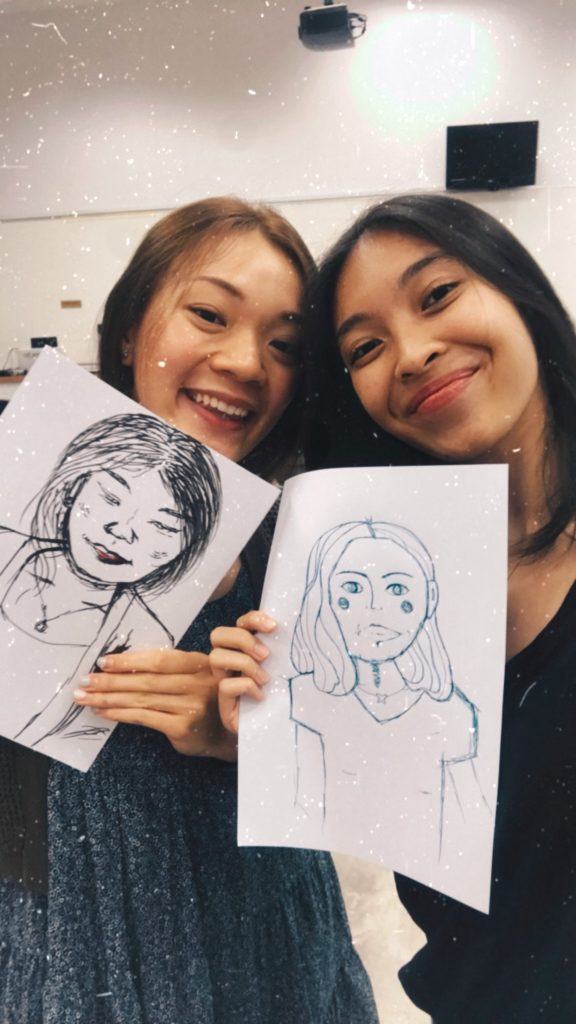
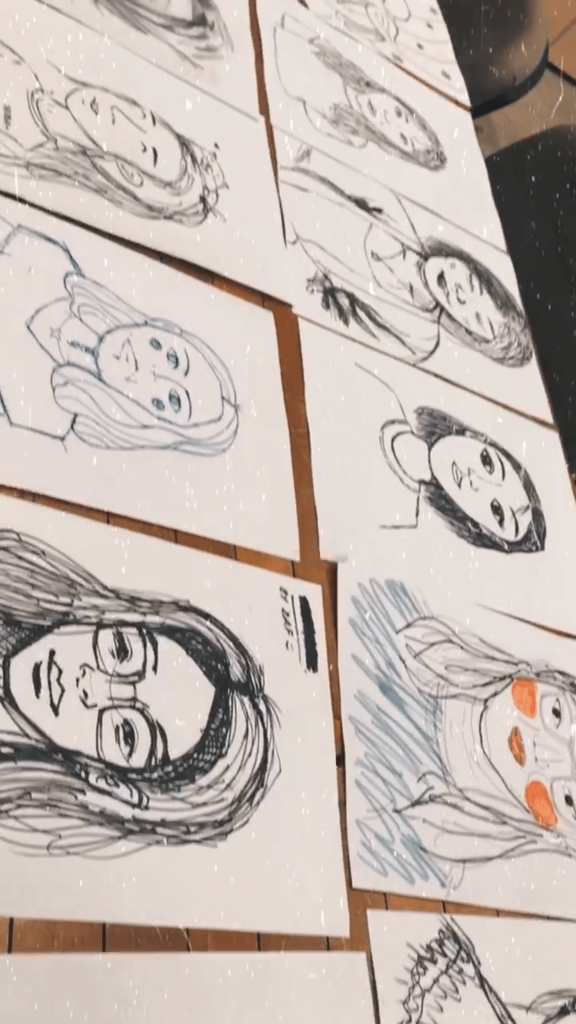
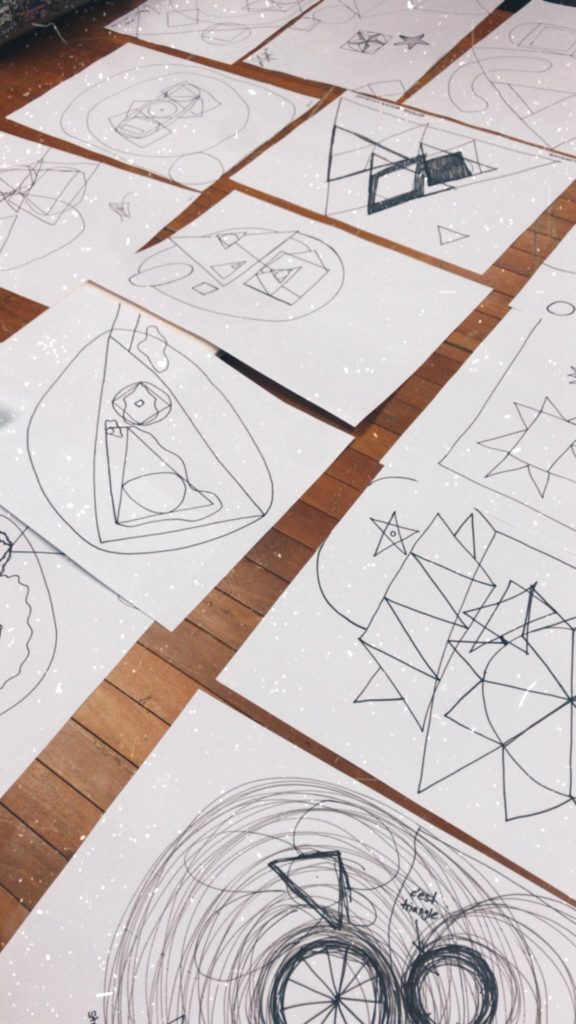
I then decided to do 12 note-pad sketches for ideation and further explore my choices.
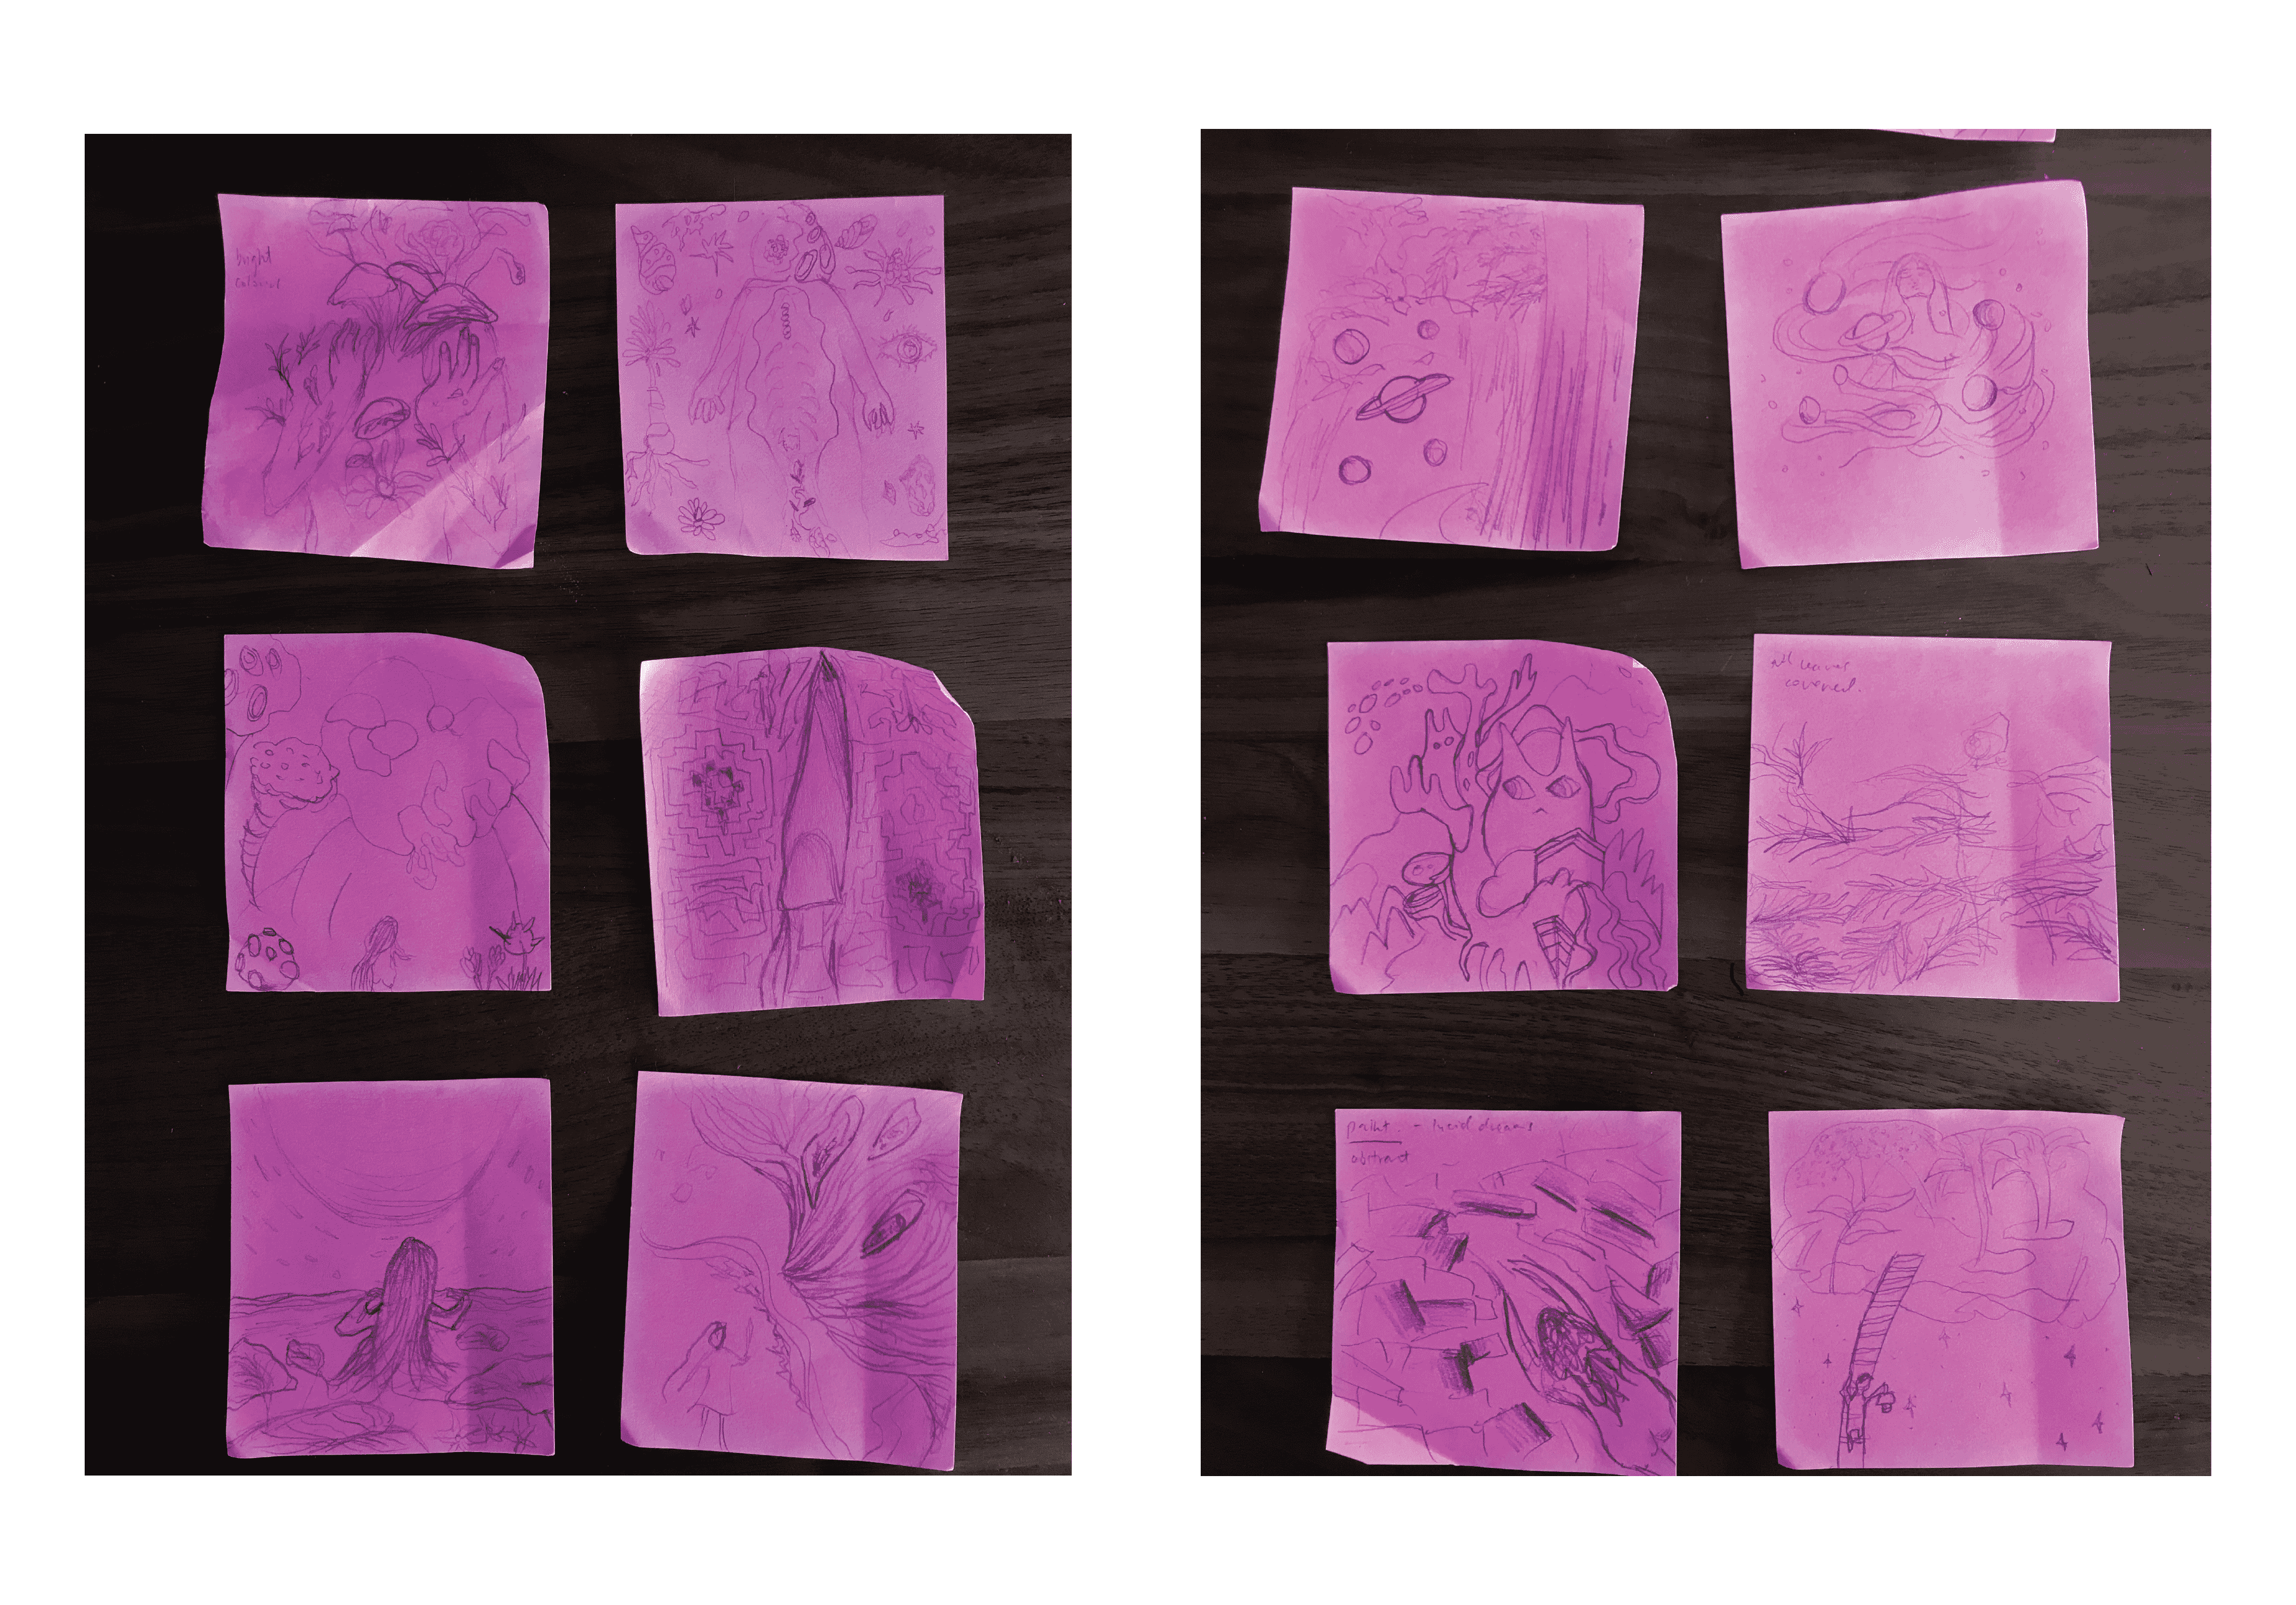
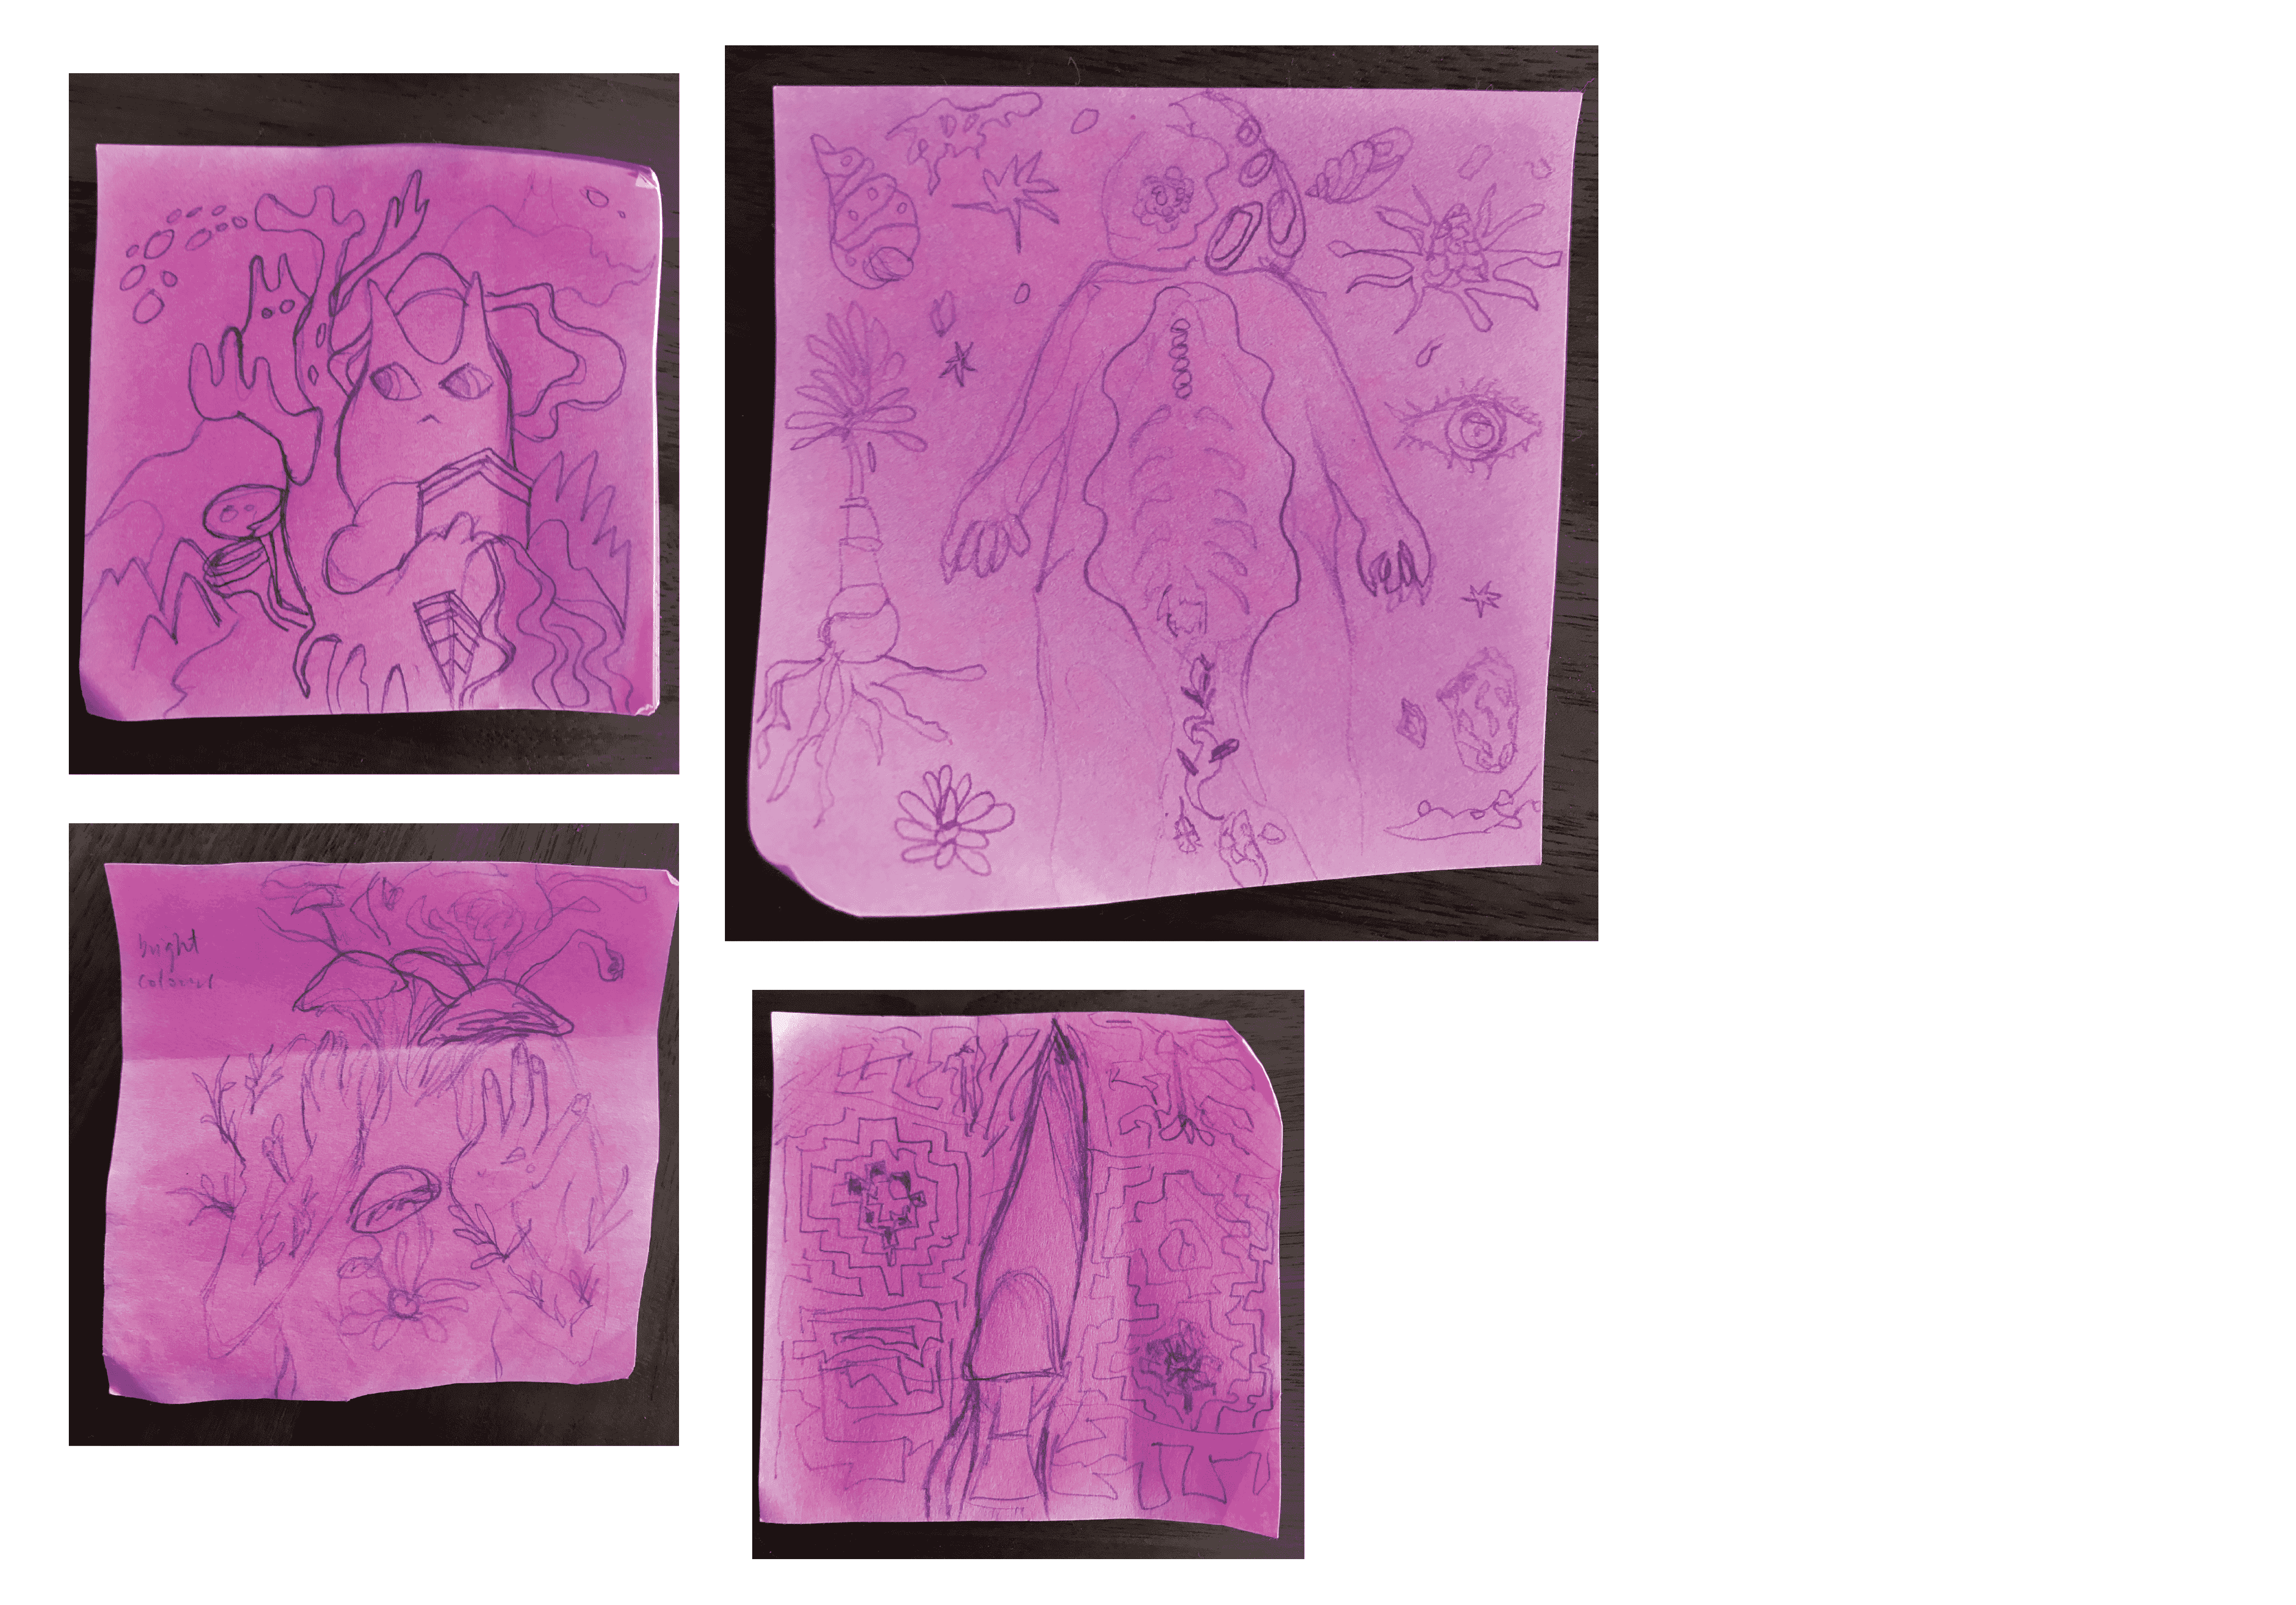
Looking back at my scribbled sketches, I realised I lean more towards things that include germs and bacterias along with the human body as well. (The one that’s purposely sized bigger than the other 3 above!) Surrealistic, in a way. And this brings me to my overarching theme for Fantasy: a world that drug users would probably see – psychedelic human melting-bacteria. Weird, I know.
I even did a few simple illustrations to push my idea further.
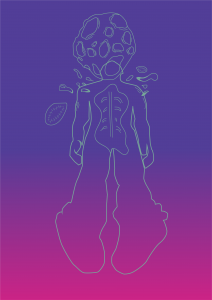
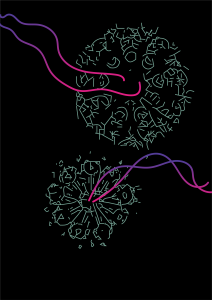
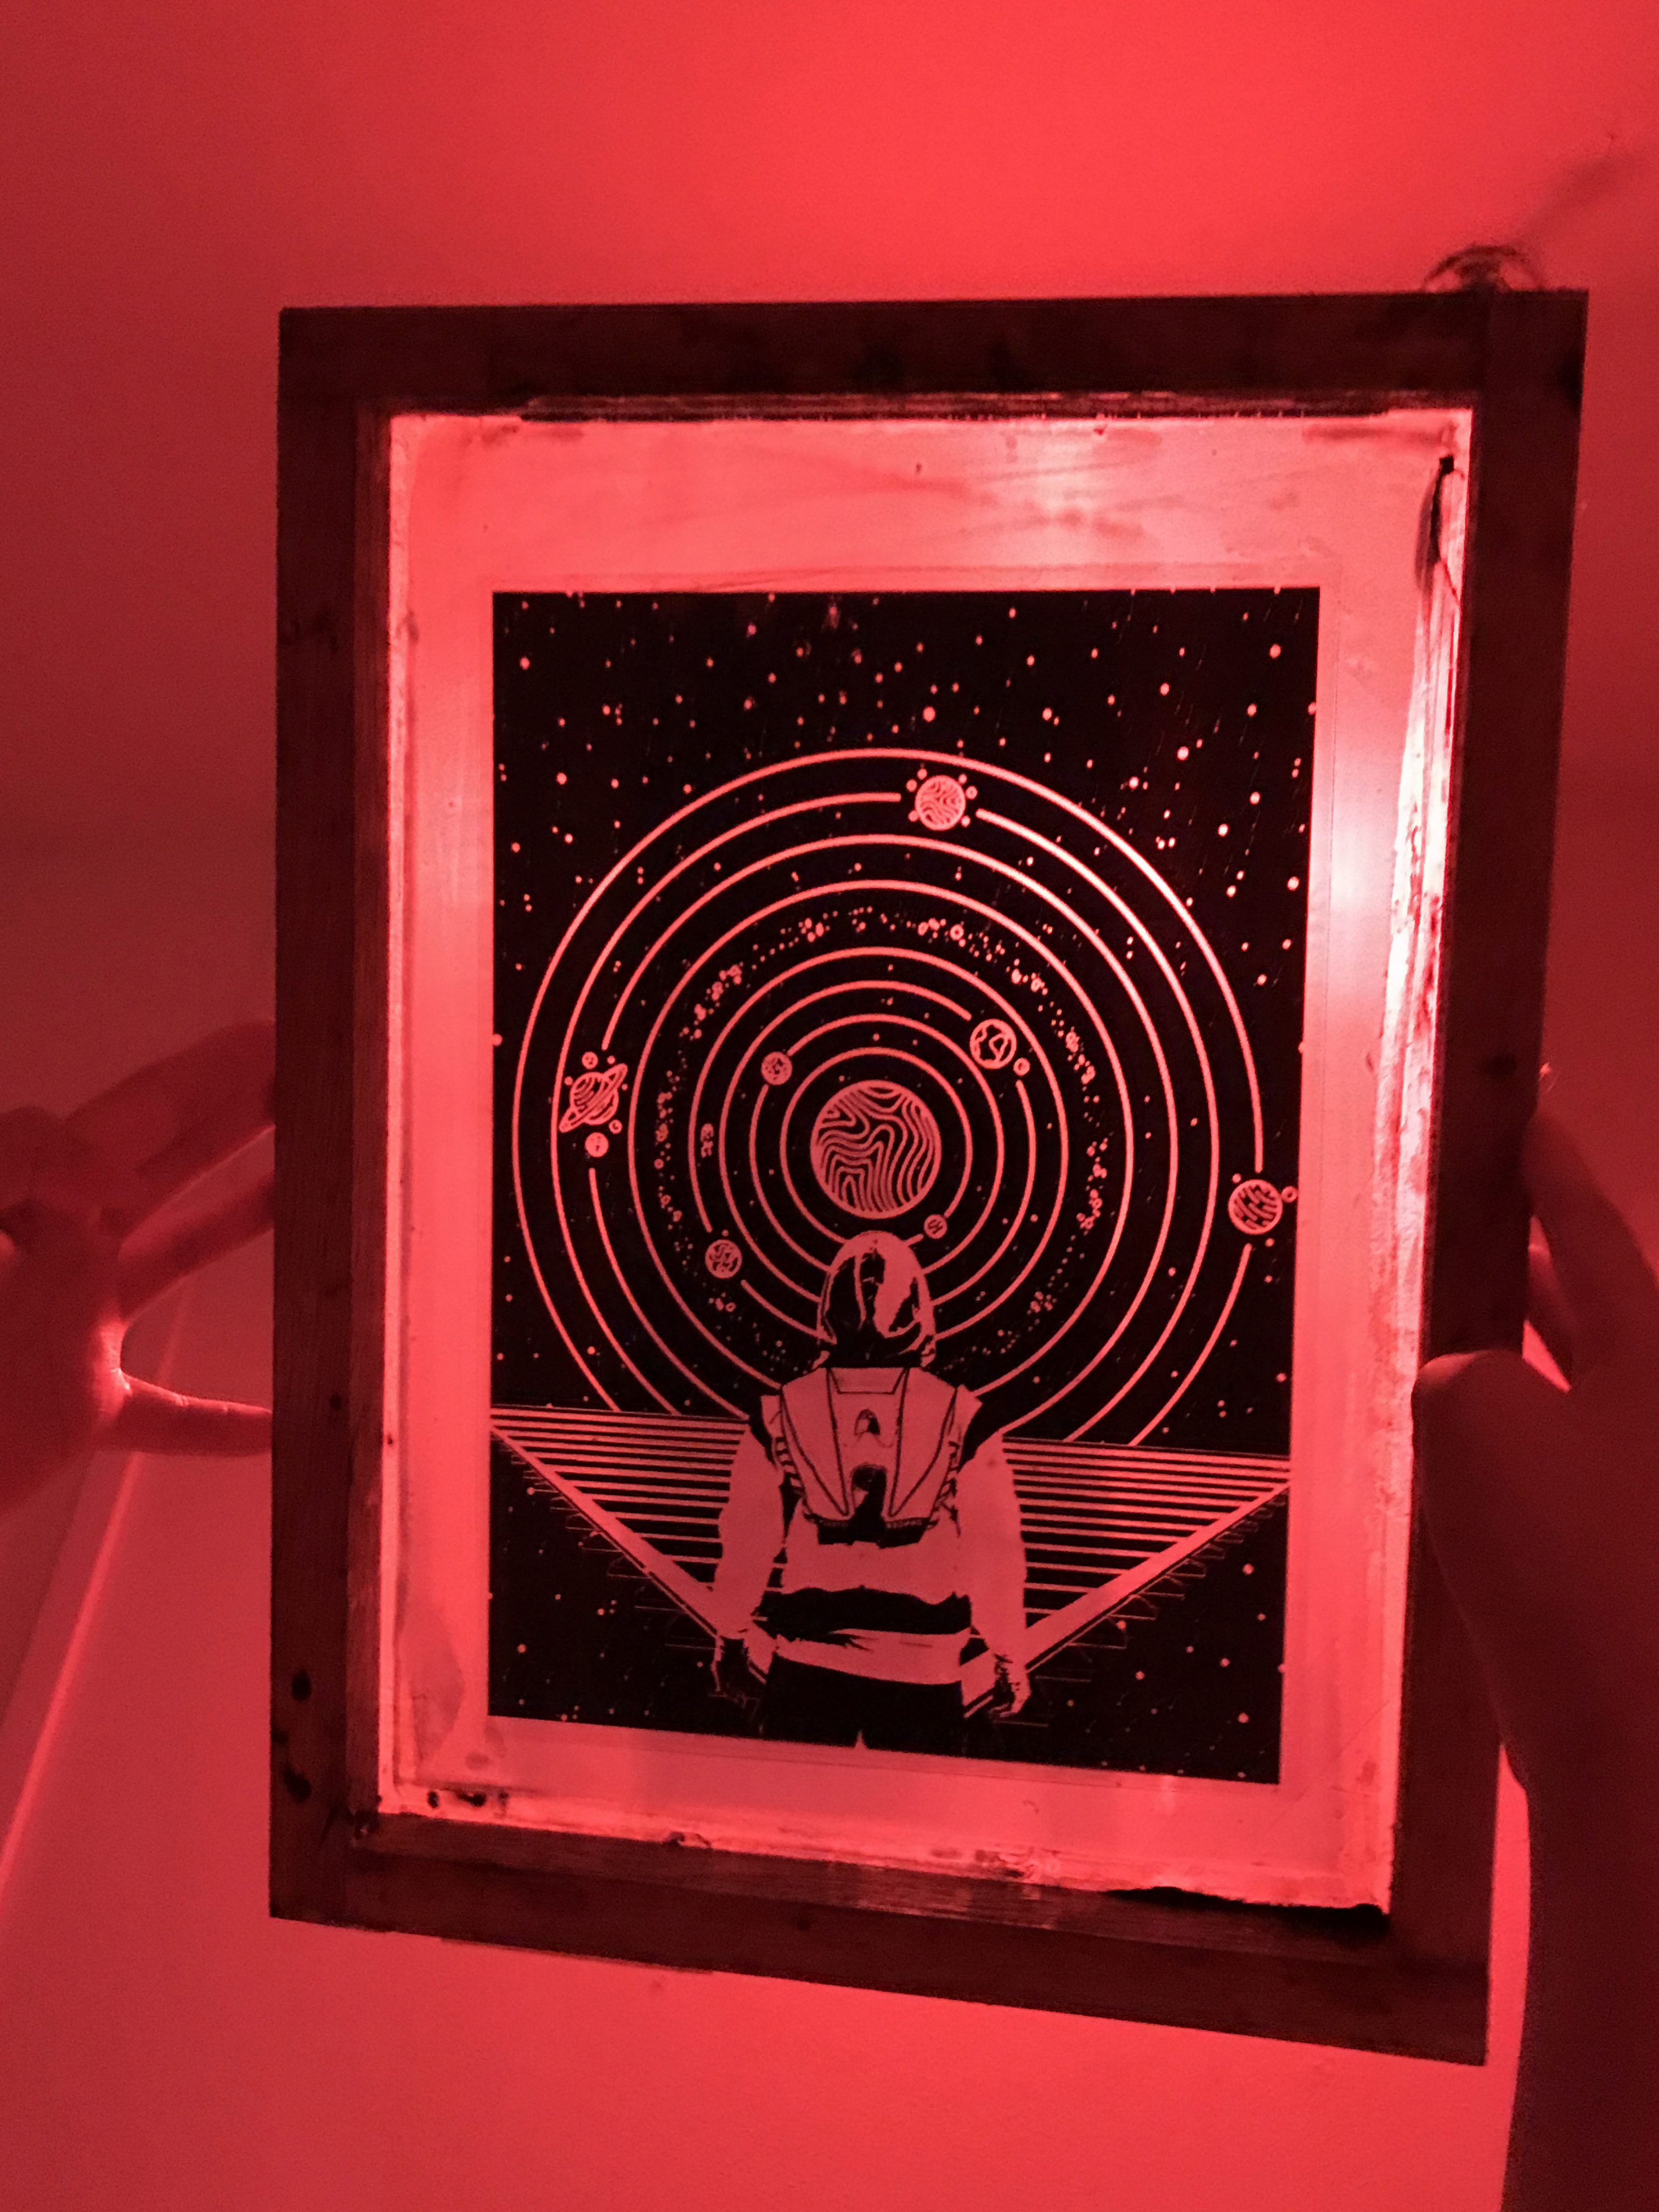
I then went on to draw what I visioned in my mind:
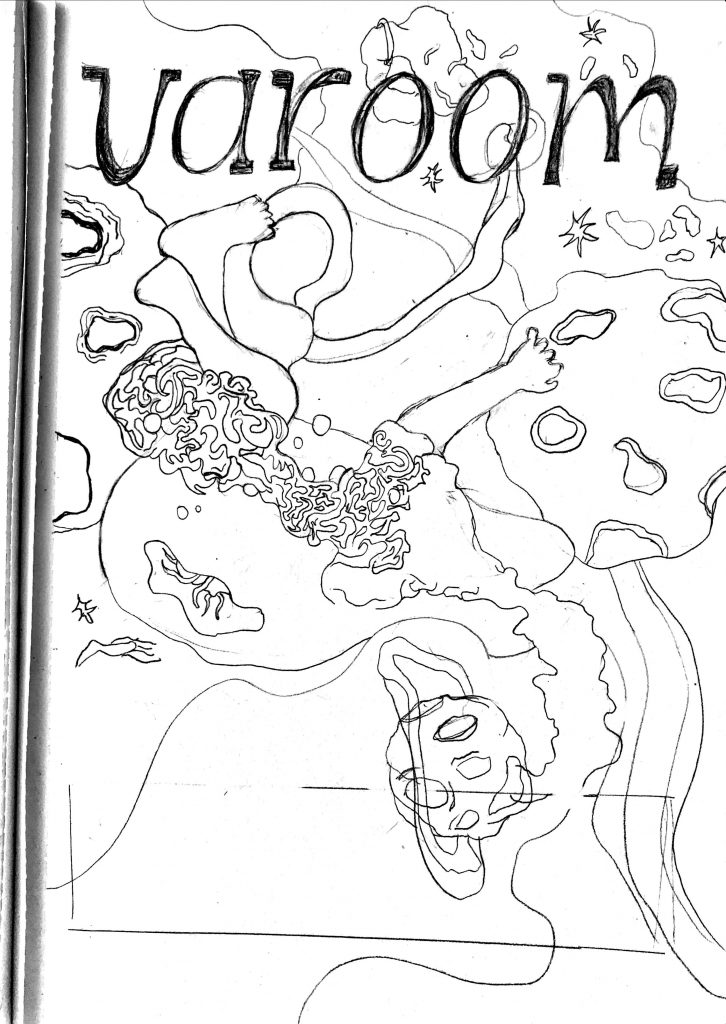
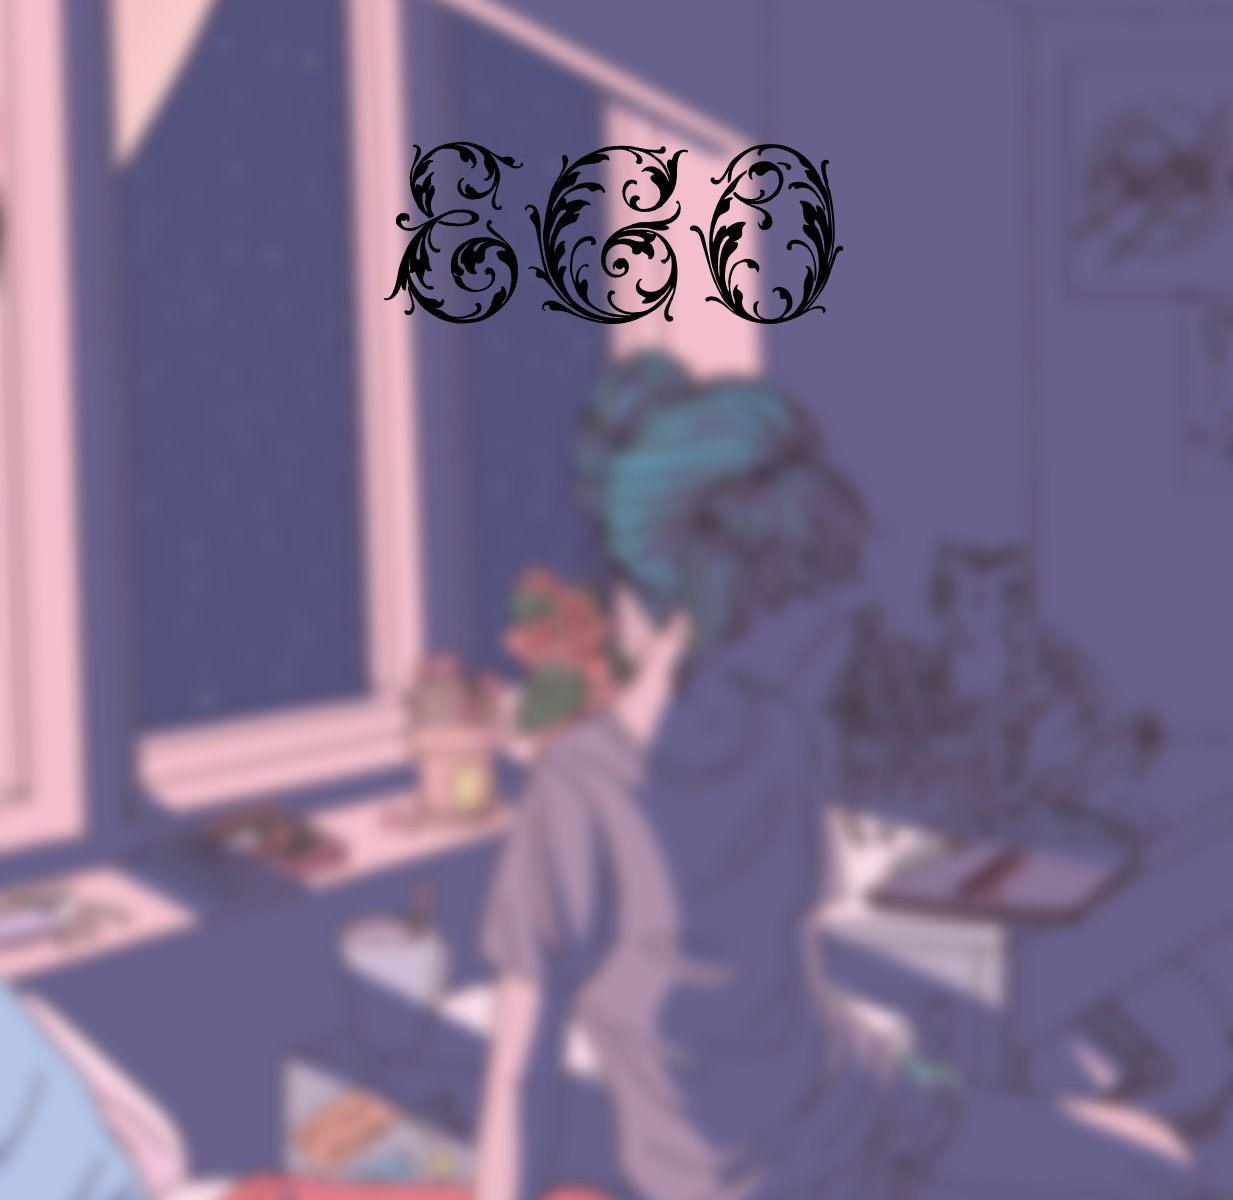
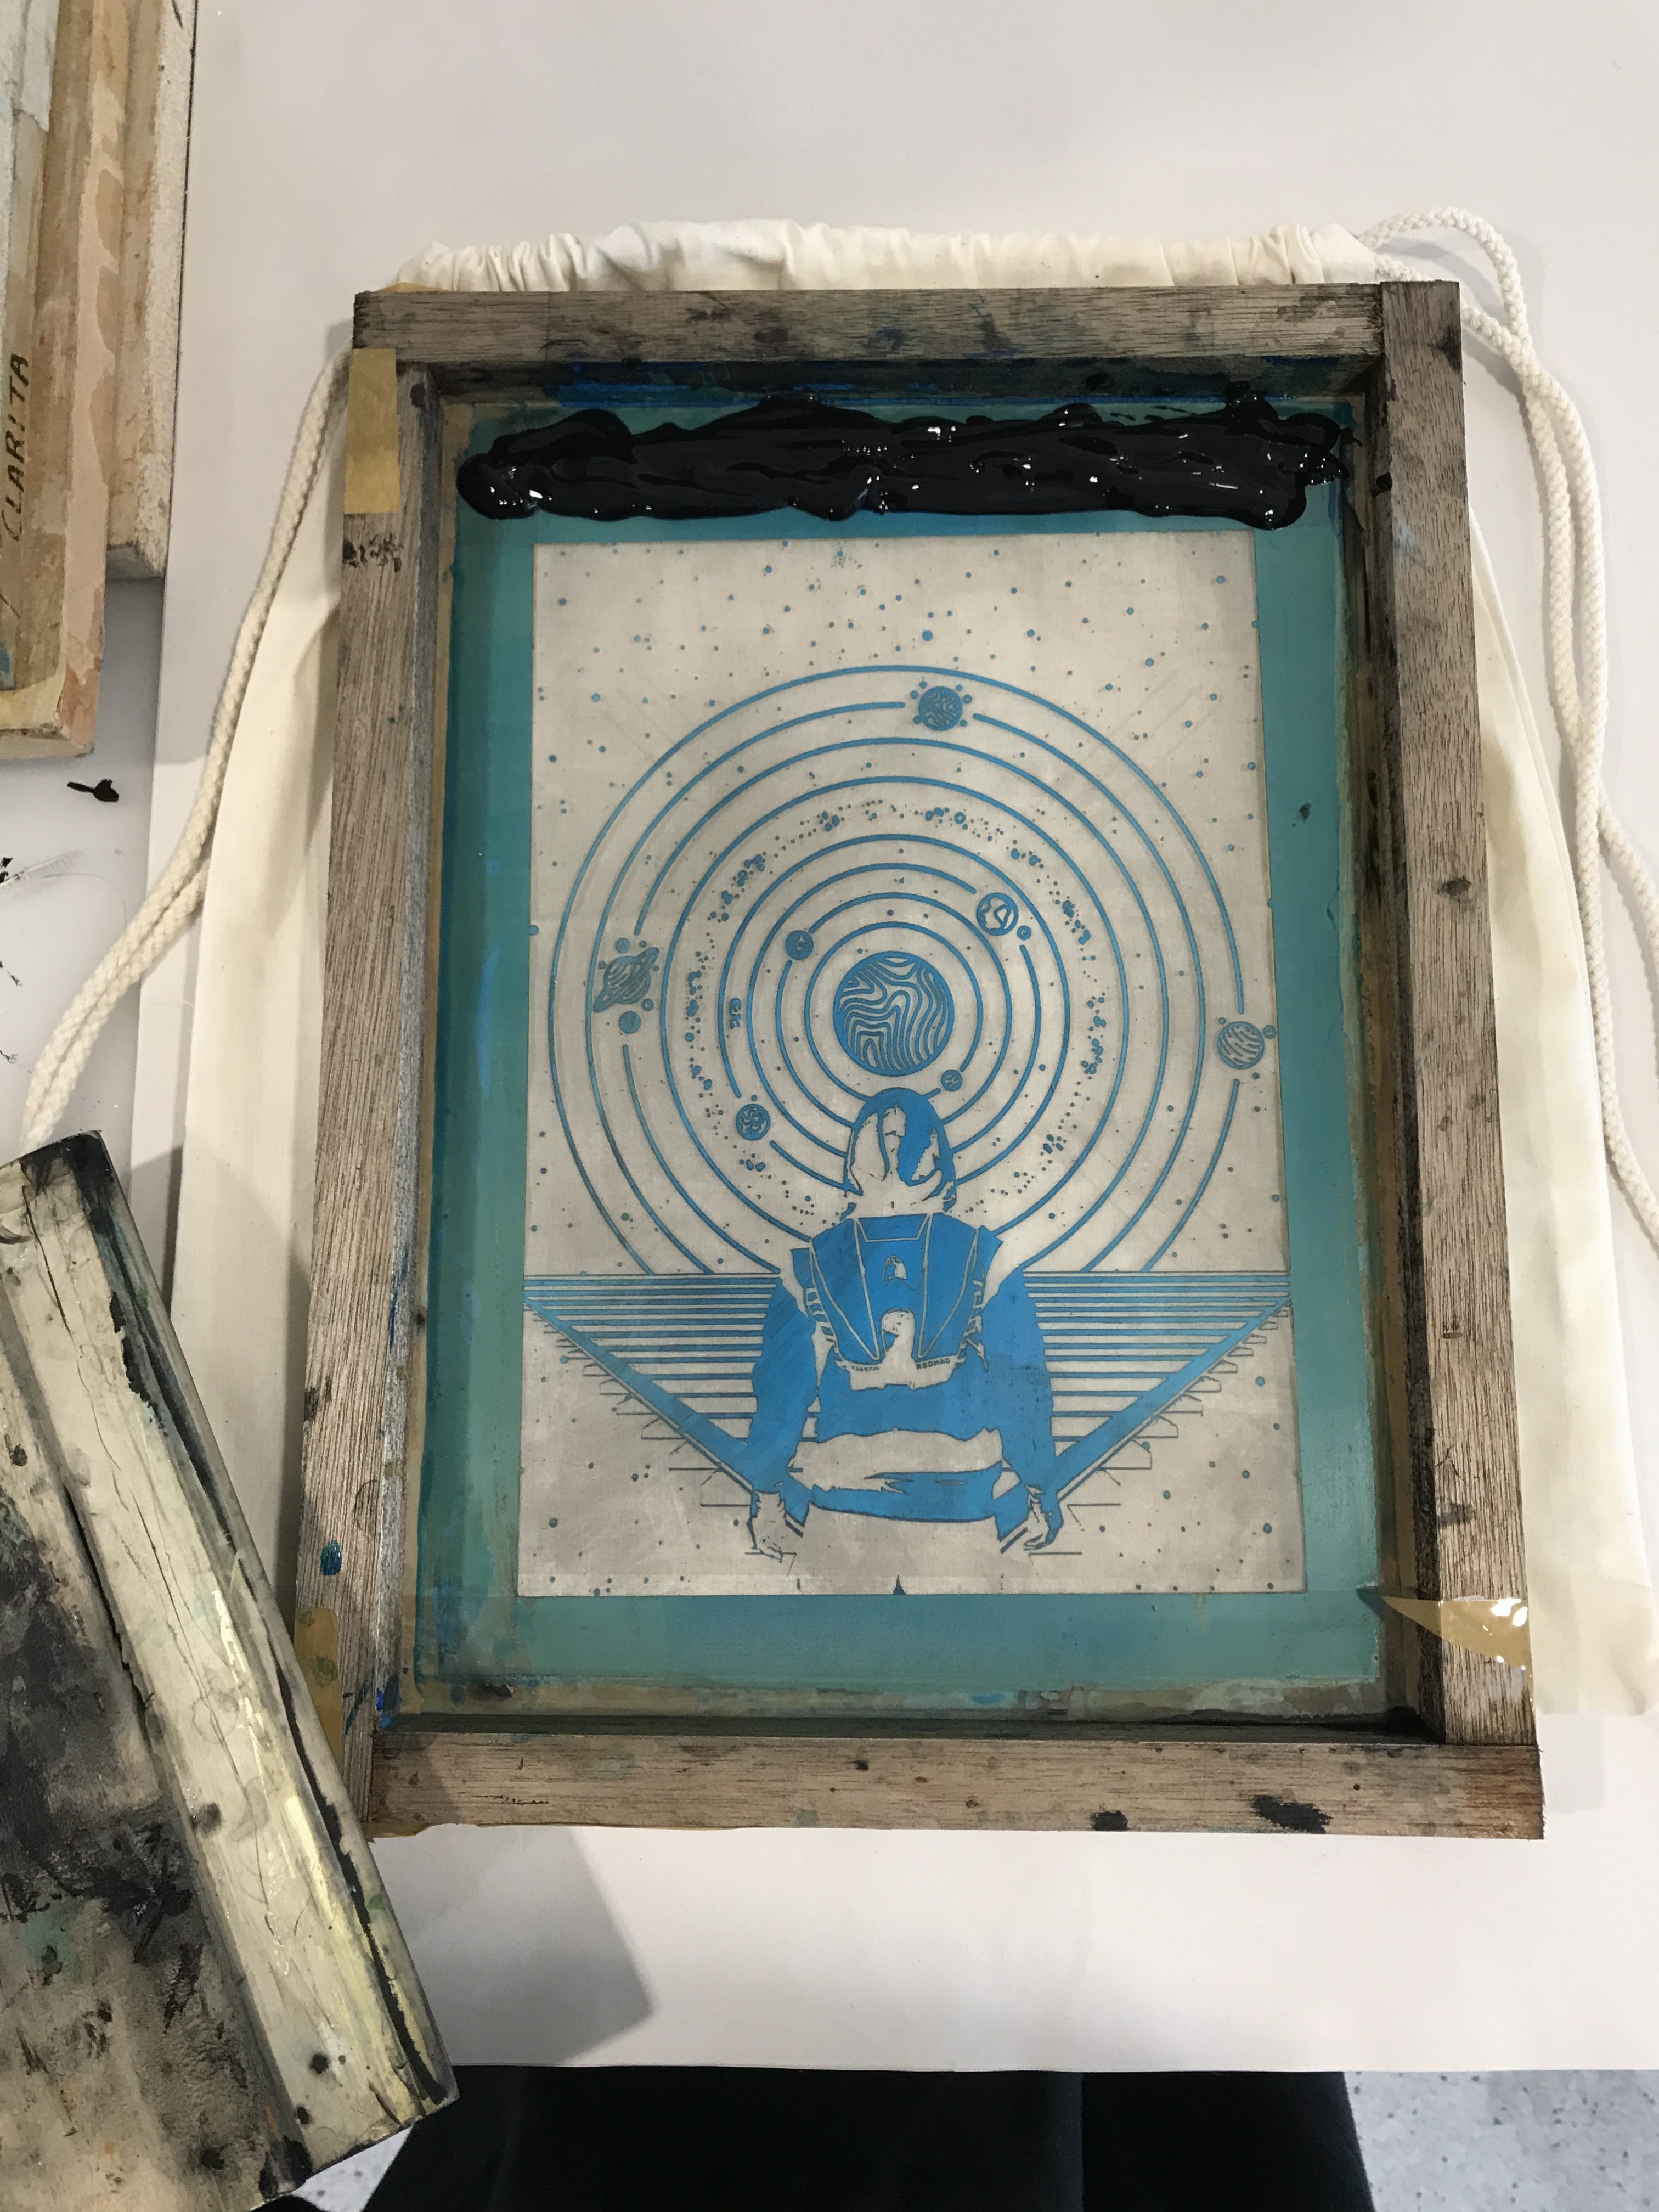
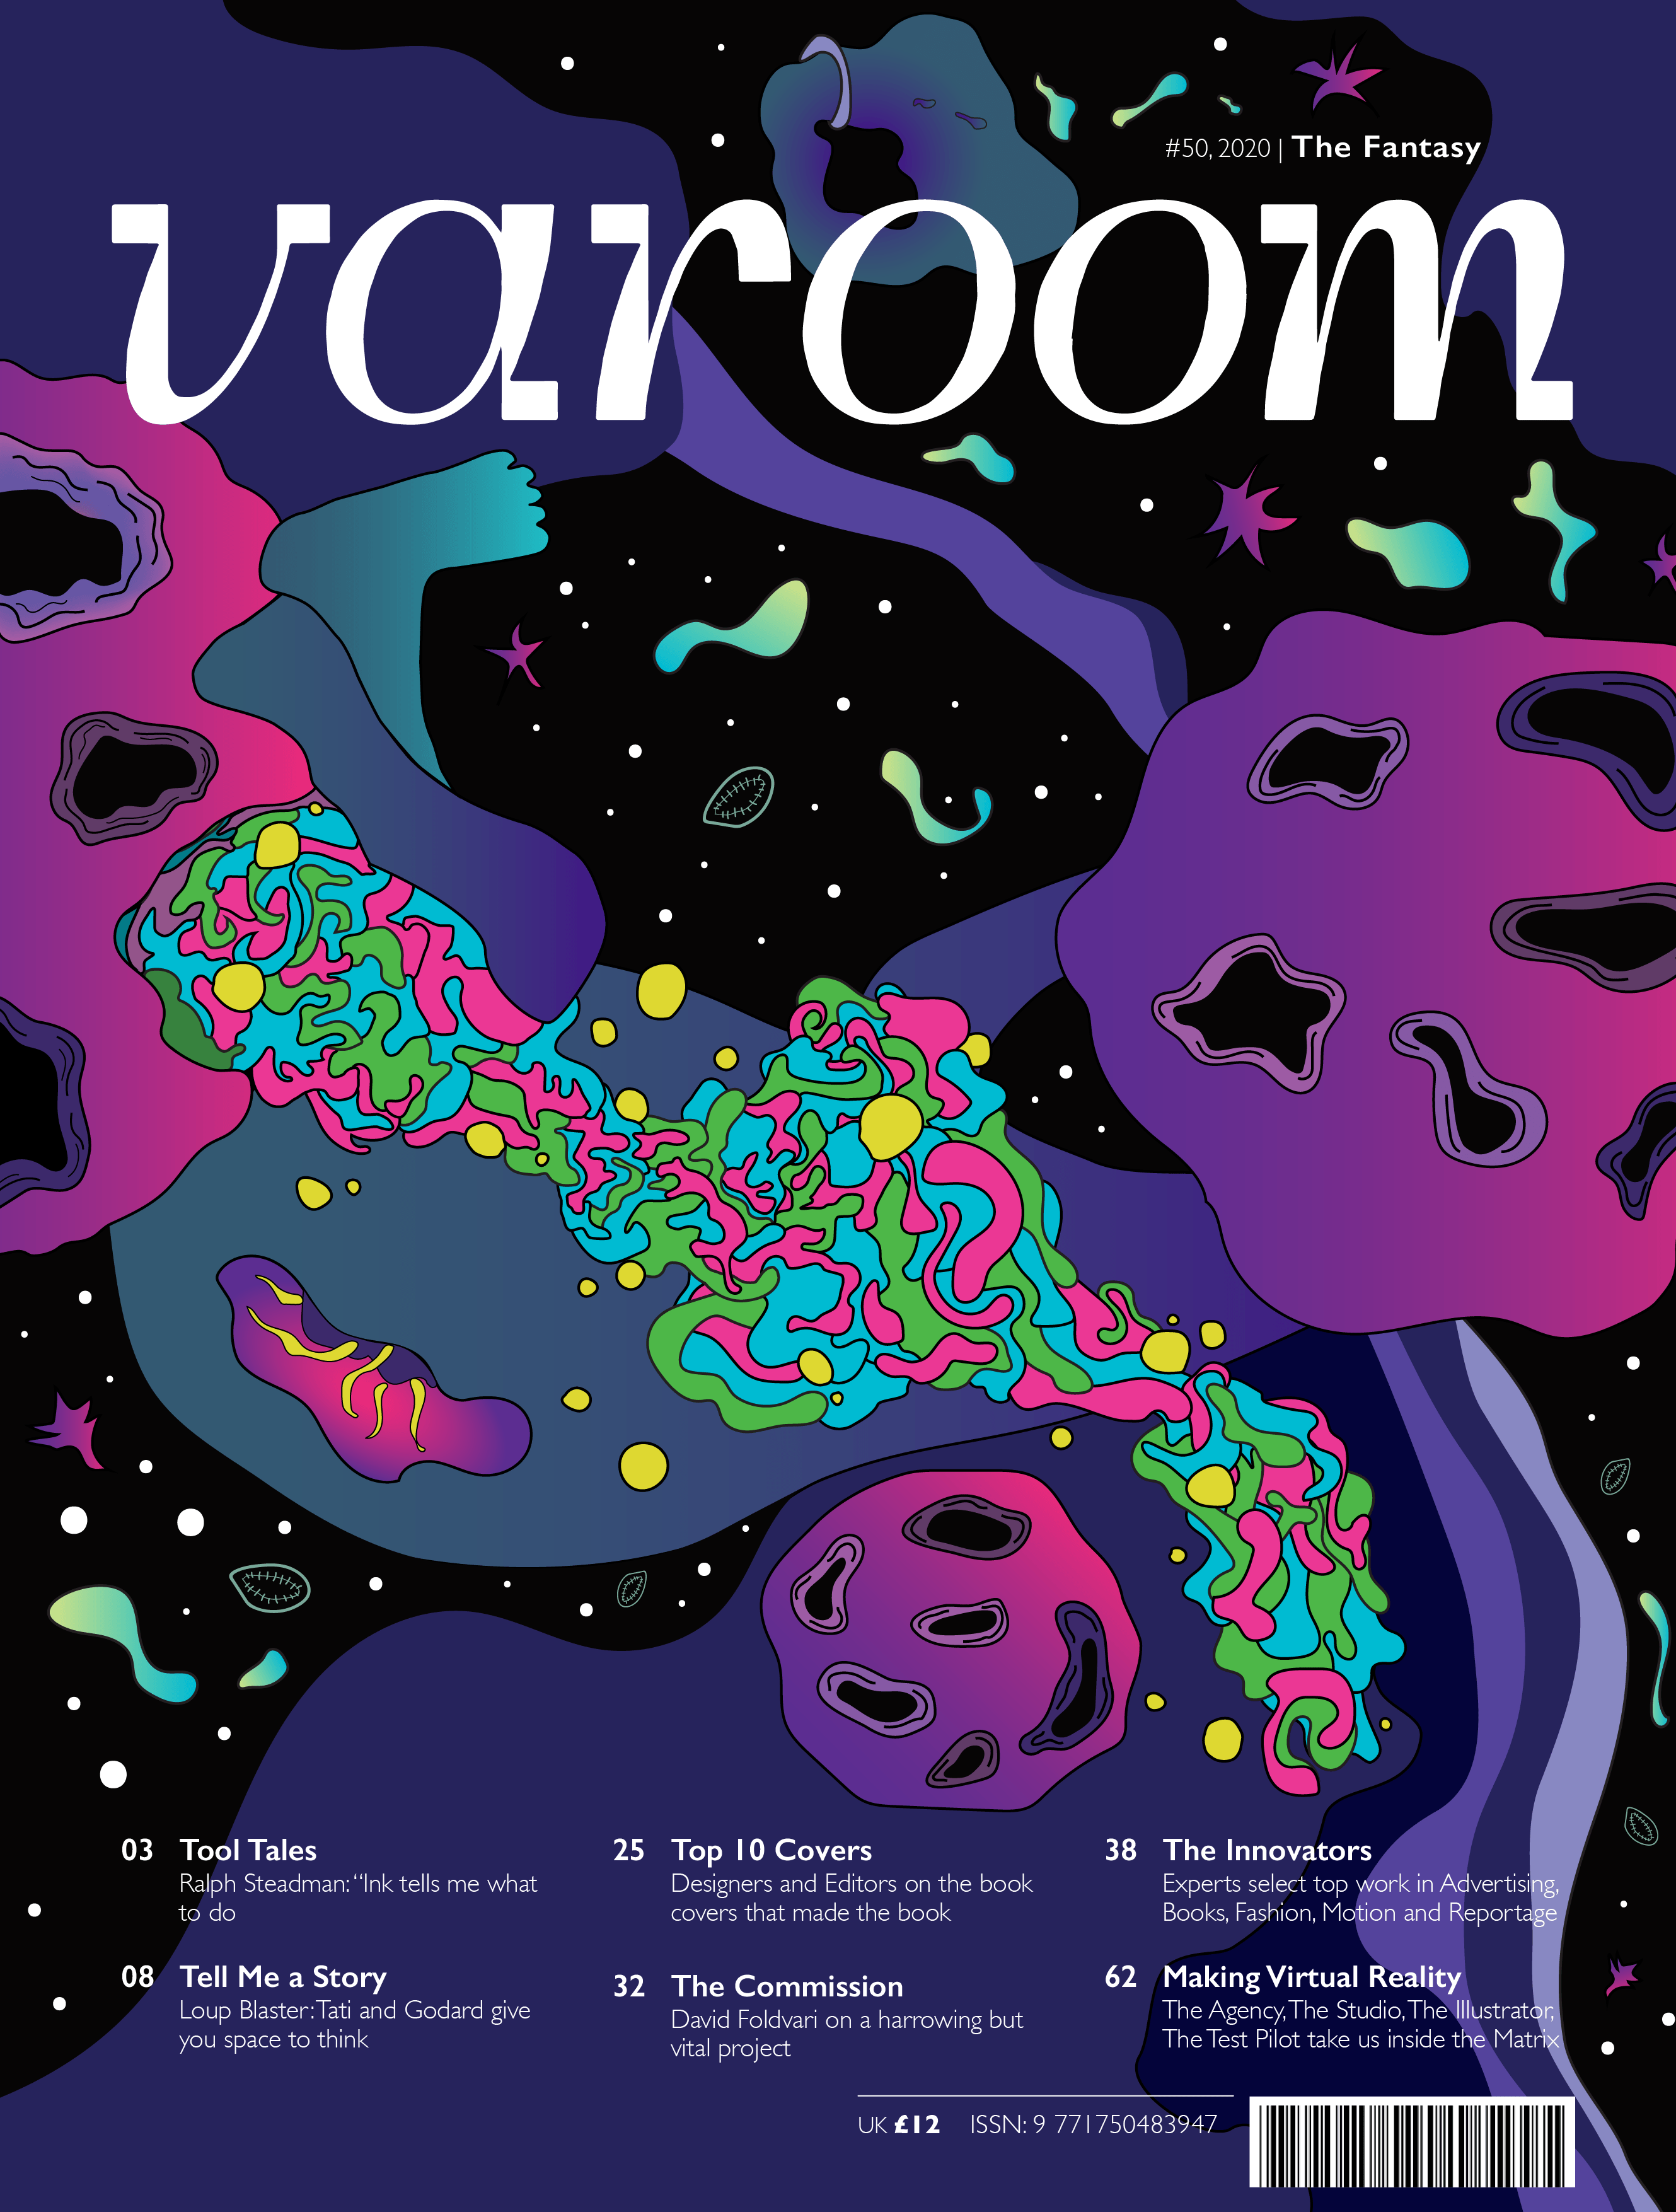
I went to further digitize it and then think about the colours there:
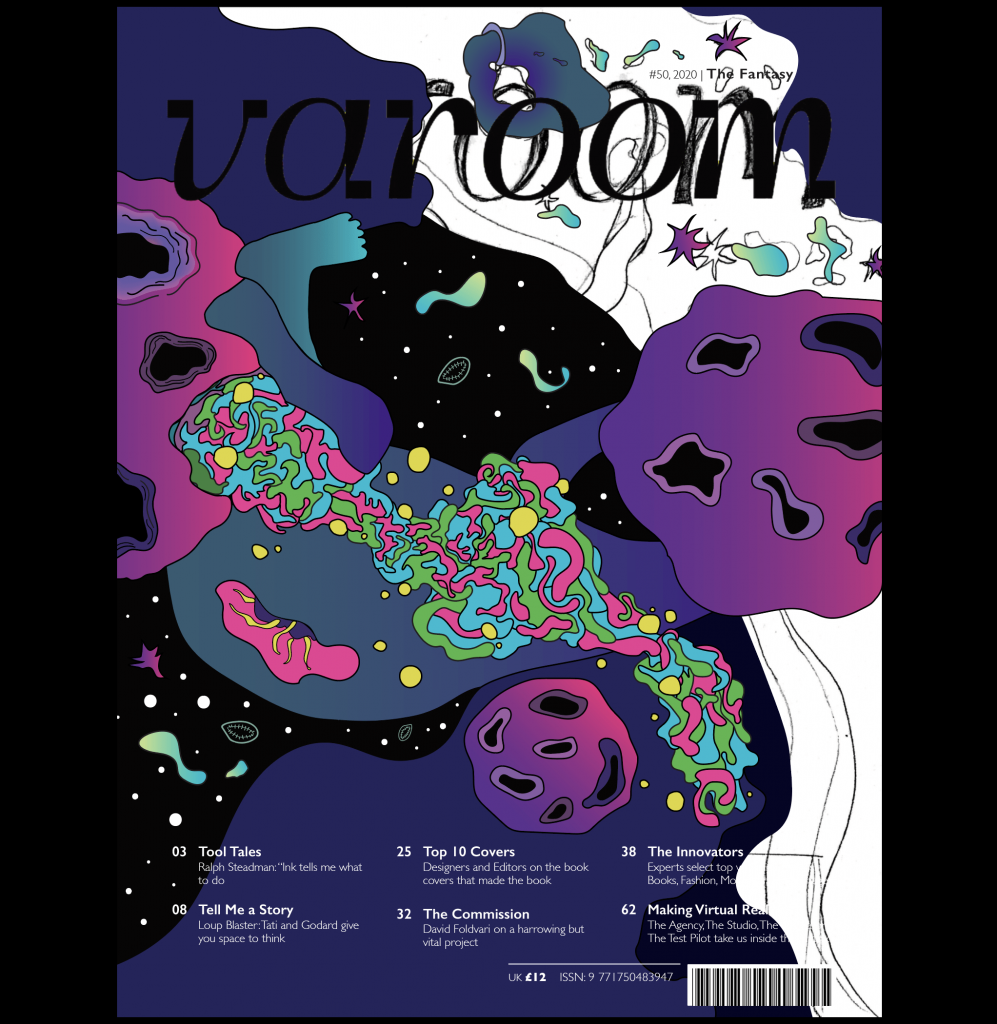
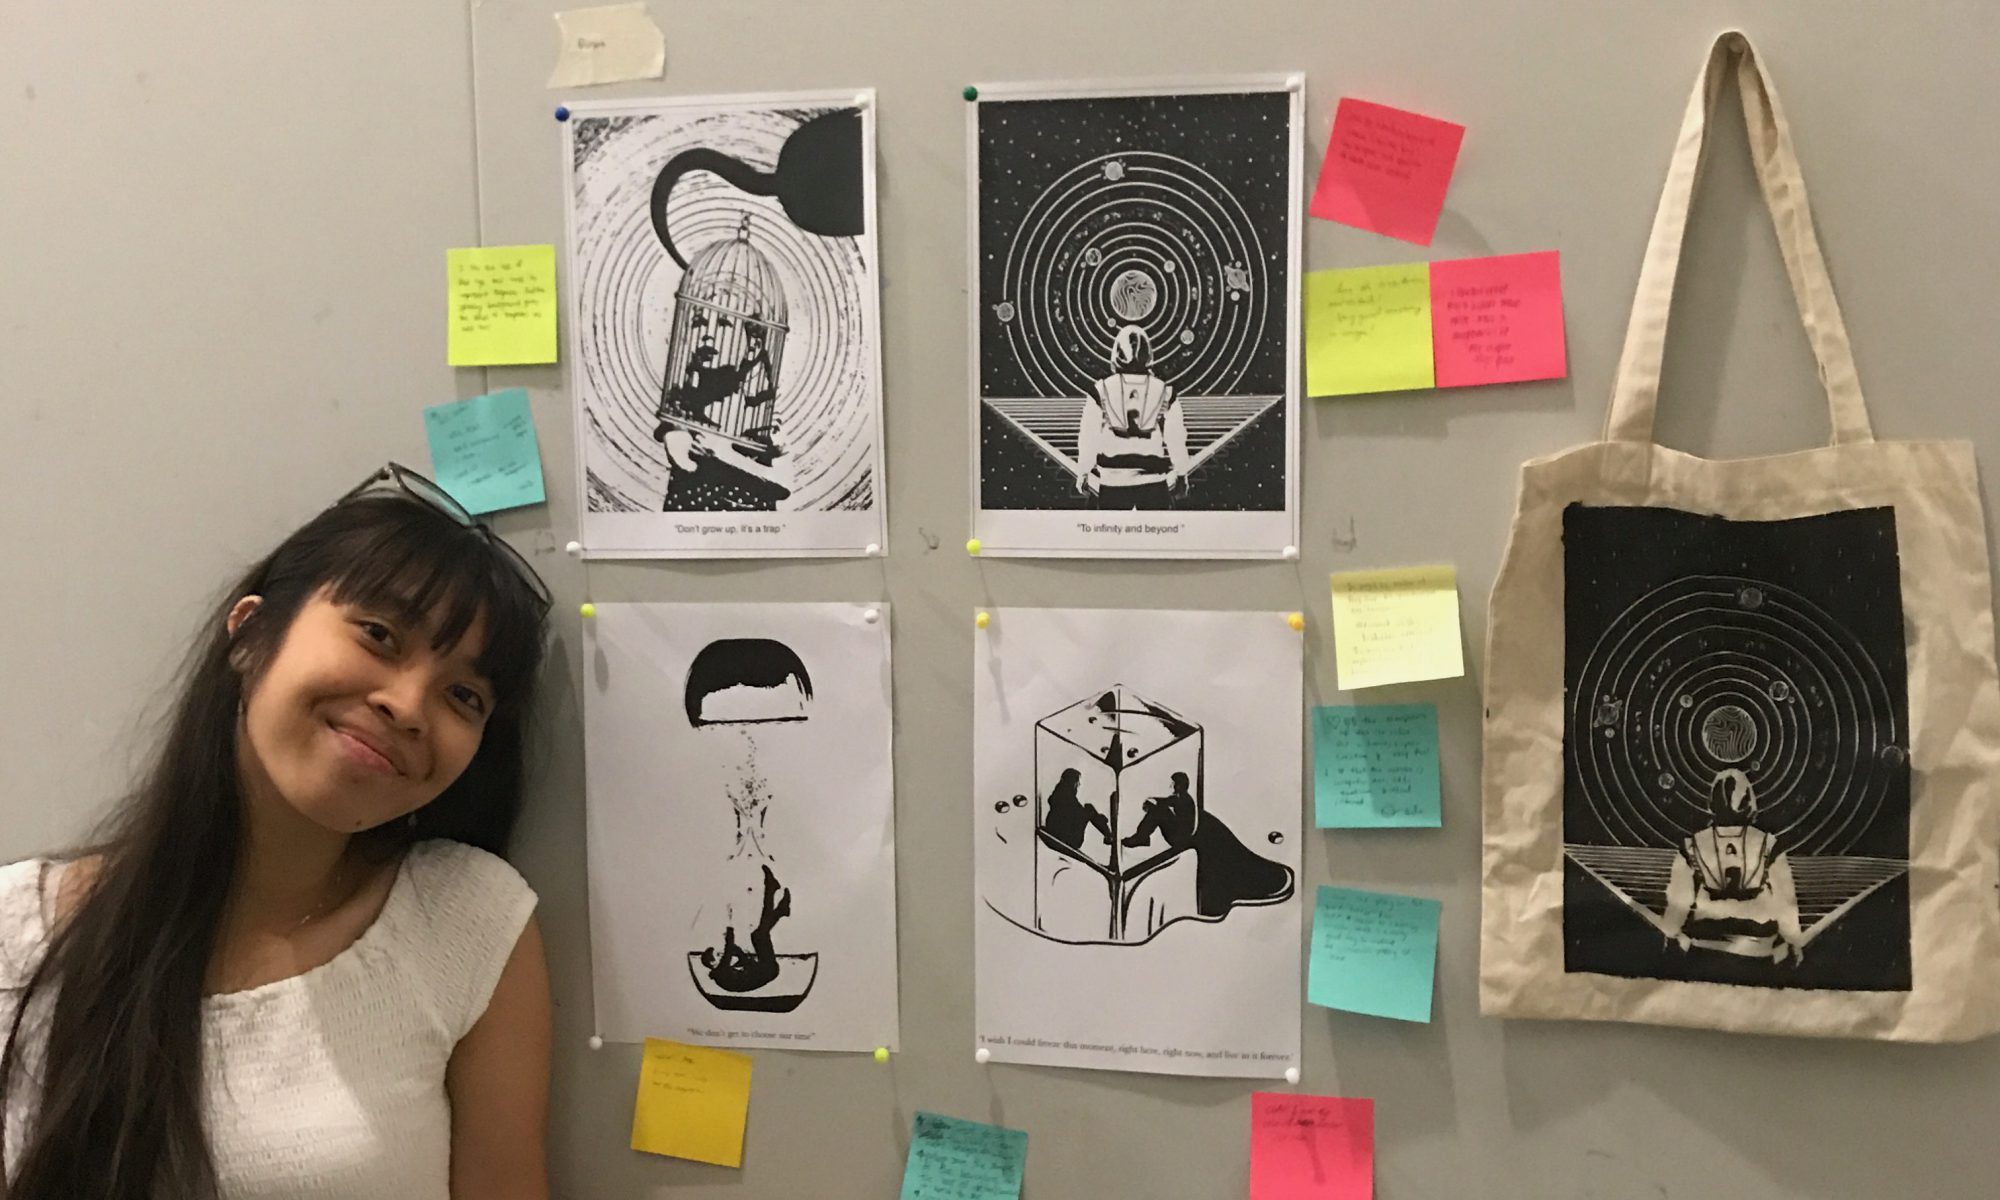
And hence, just to recap, my final! You can look into the previous post to see more as a final submission. I apologise again for this late process post but I wanted it to be close to perfect and unfortunately didn’t have time to do so before. So here you go, thank you for reading all the way if you did!


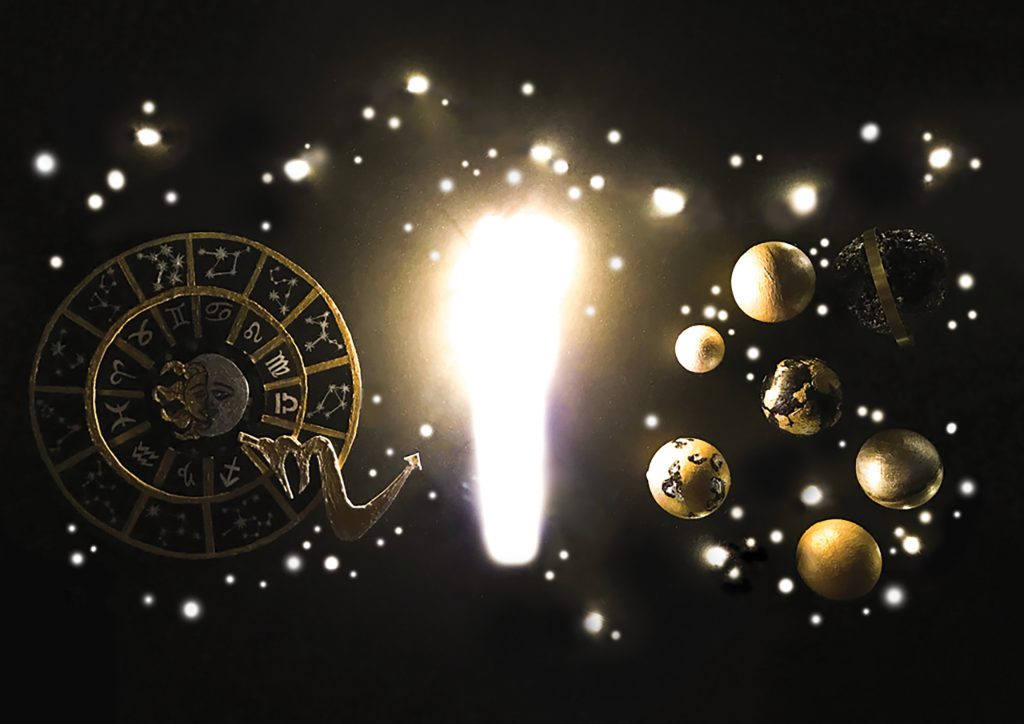 and I am an Astrologer
 and I am a Landscape Designer
 and I am a Chocolatier
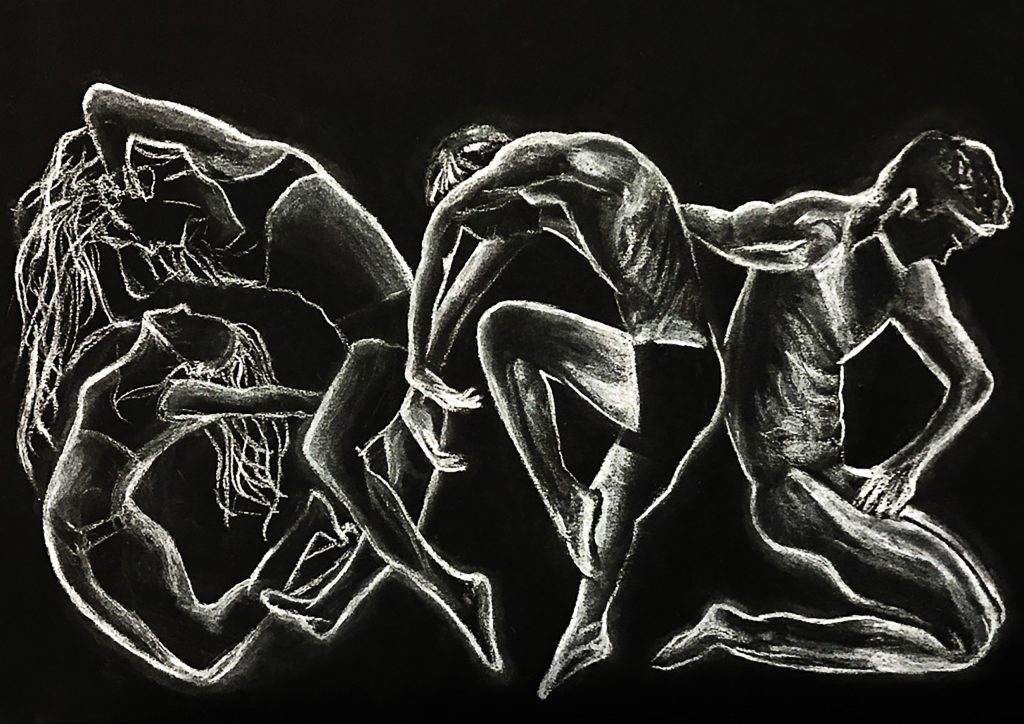 and I am a Contemporary Dancer