

PREPAAARE, a really (thought-through and reflective) long post incoming.
In last week’s lesson, we went through each and everyone’s boxes and consulted our professor. After my consultation for my ‘counter-balance’ work I went to make some changes to my boxes. So there are two structures that I’m planning to create (as seen below):
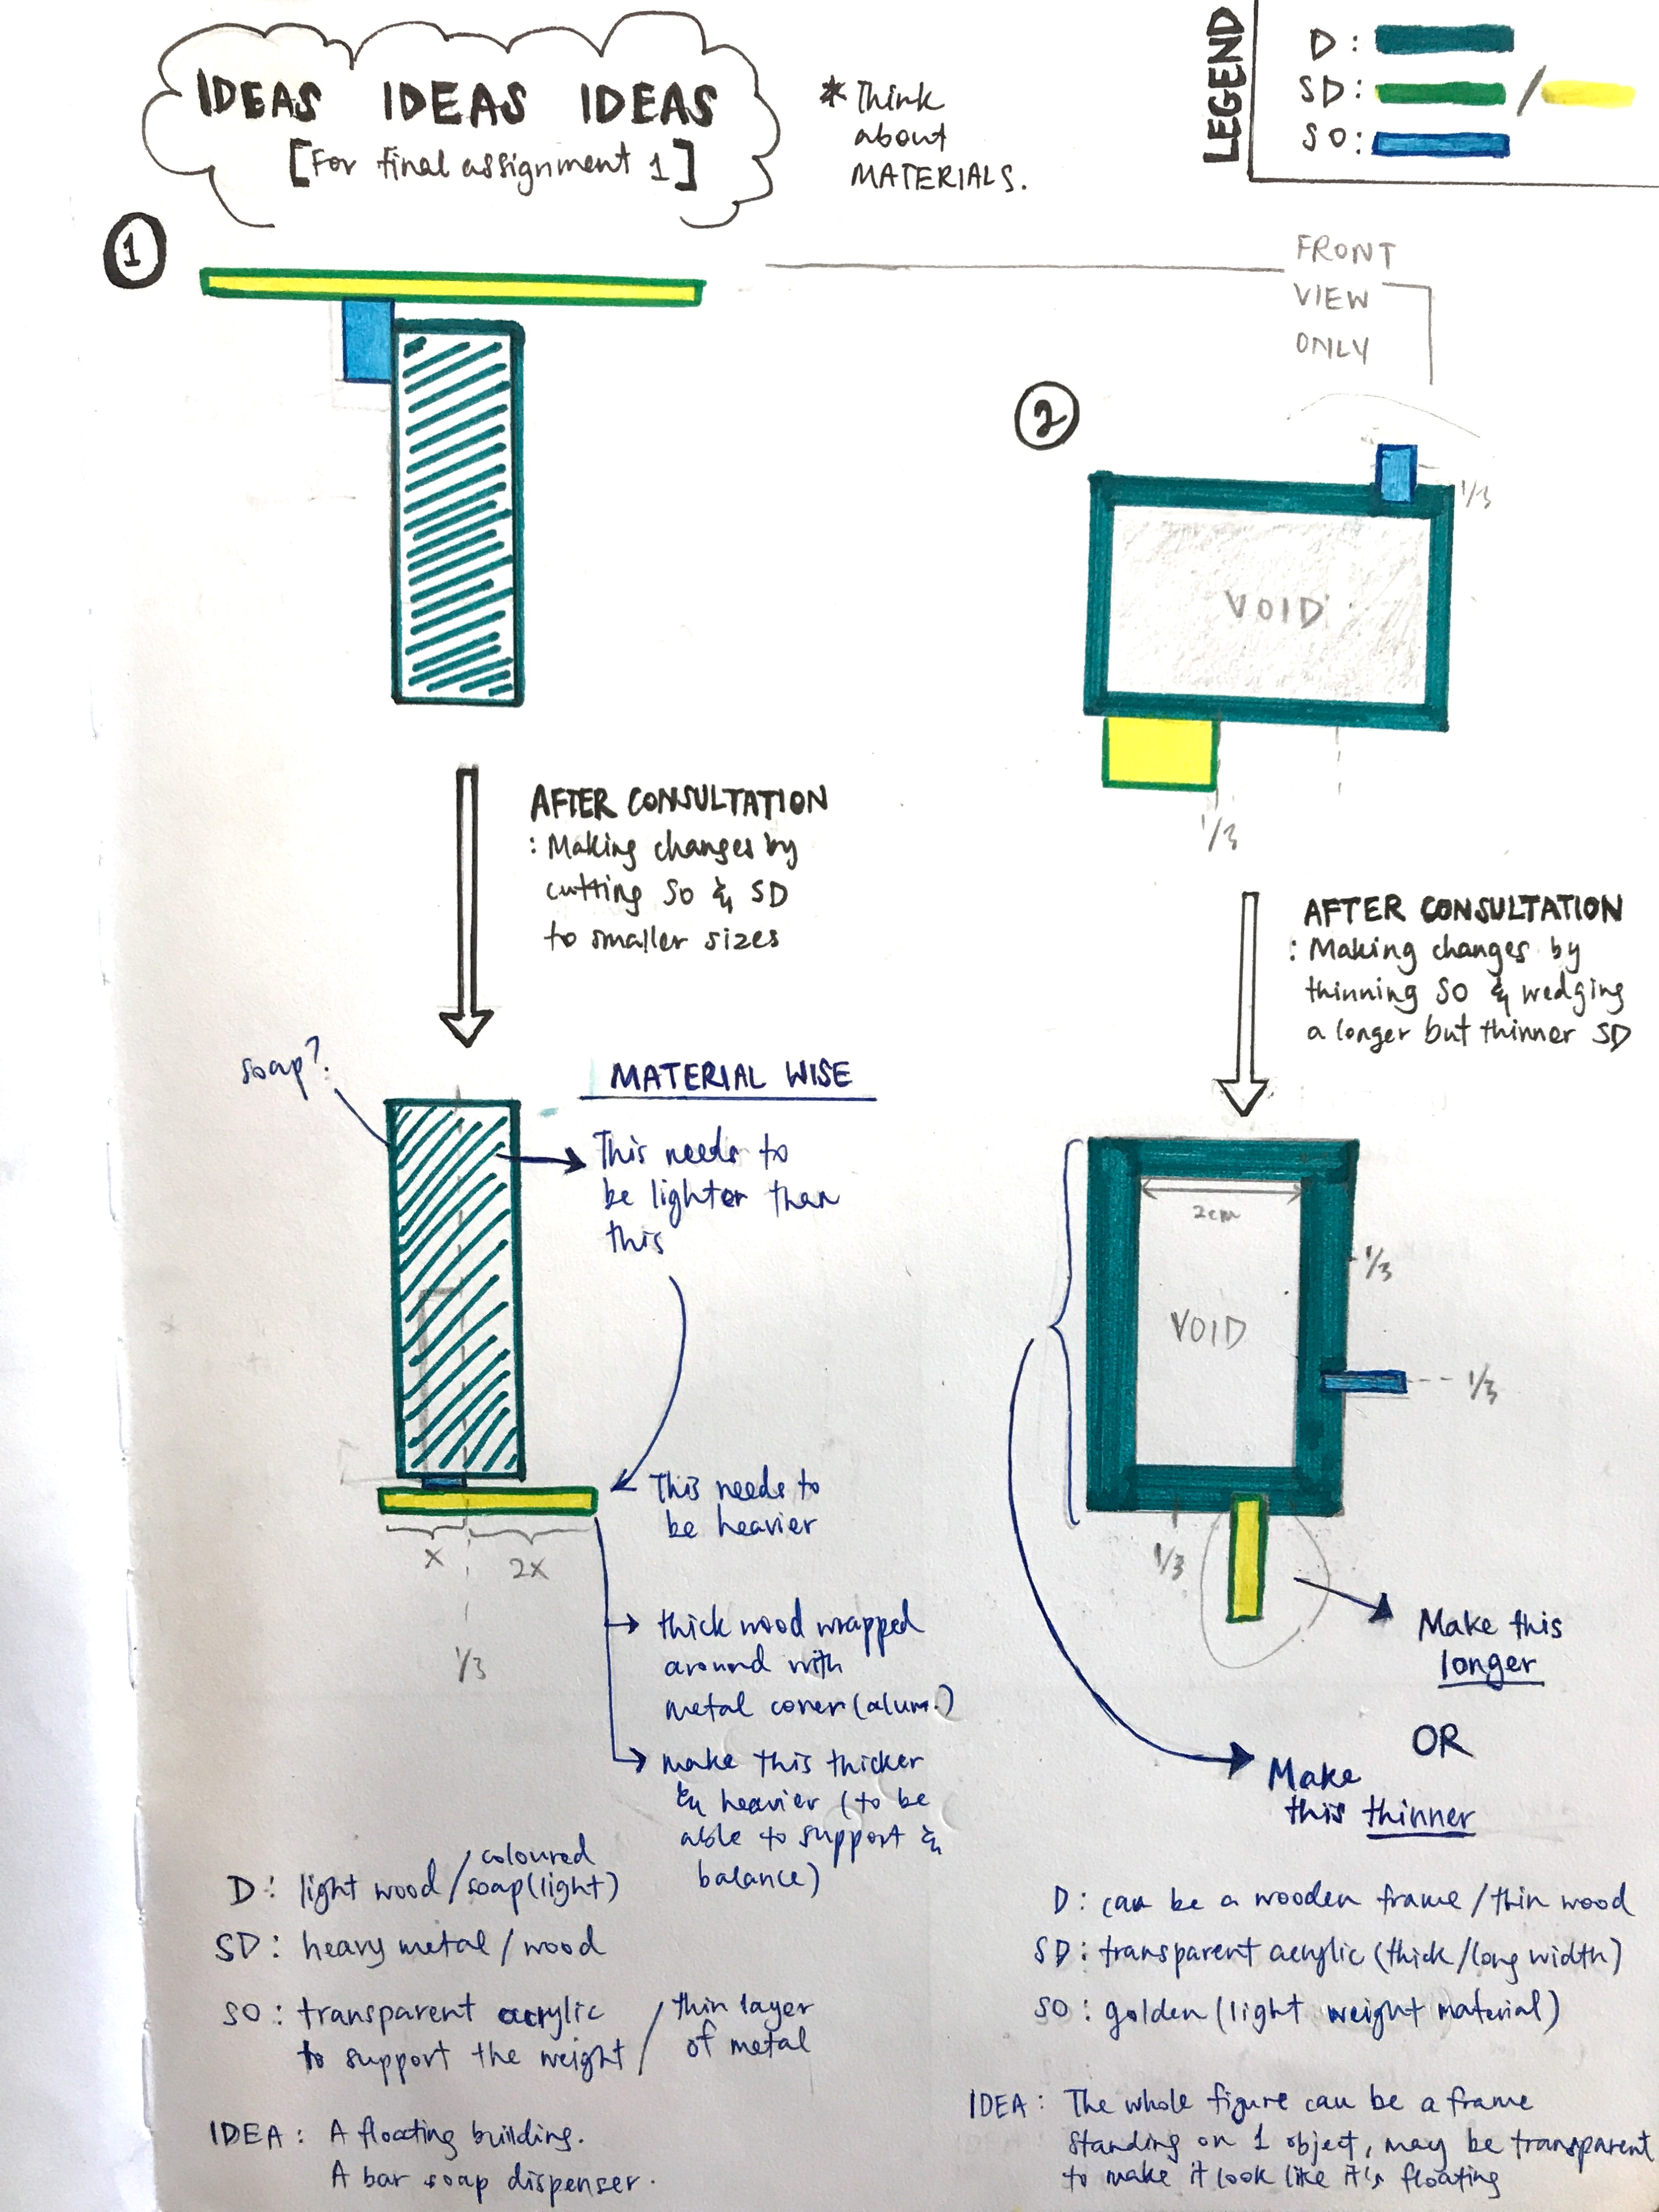
In my 1st structure, I went to make changes to the SO and SD to make my D block more dominant, and basically make an interesting counter-balance figure. It was quite hard to ensure that my figure balances as my D foam block was thick, tall and mainly weighs more than the SD could handle. So I decided that the D block had to be lighter than SD and the SD had to be heavier to be able to support the whole structure.
In my 2nd structure, I went to also make changes to my D and SD by making the D thinner and choosing an acrylic slightly longer to try and support the D and SO.
Of course taking into account of the length and width of the blocks too, it wasn’t easy. ESPECIALLY when we have to start including the materials we want to use.
So in this post, I will be sharing a few of my fails when creating structure 2 and structure 1 with other materials. And then I will show how I finally made progression towards a successful structure through structure 1 draft model (as I shifted more of my focus onto it).
LET’S BEGIN!
TRYING TO MAKE STRUCTURE 2

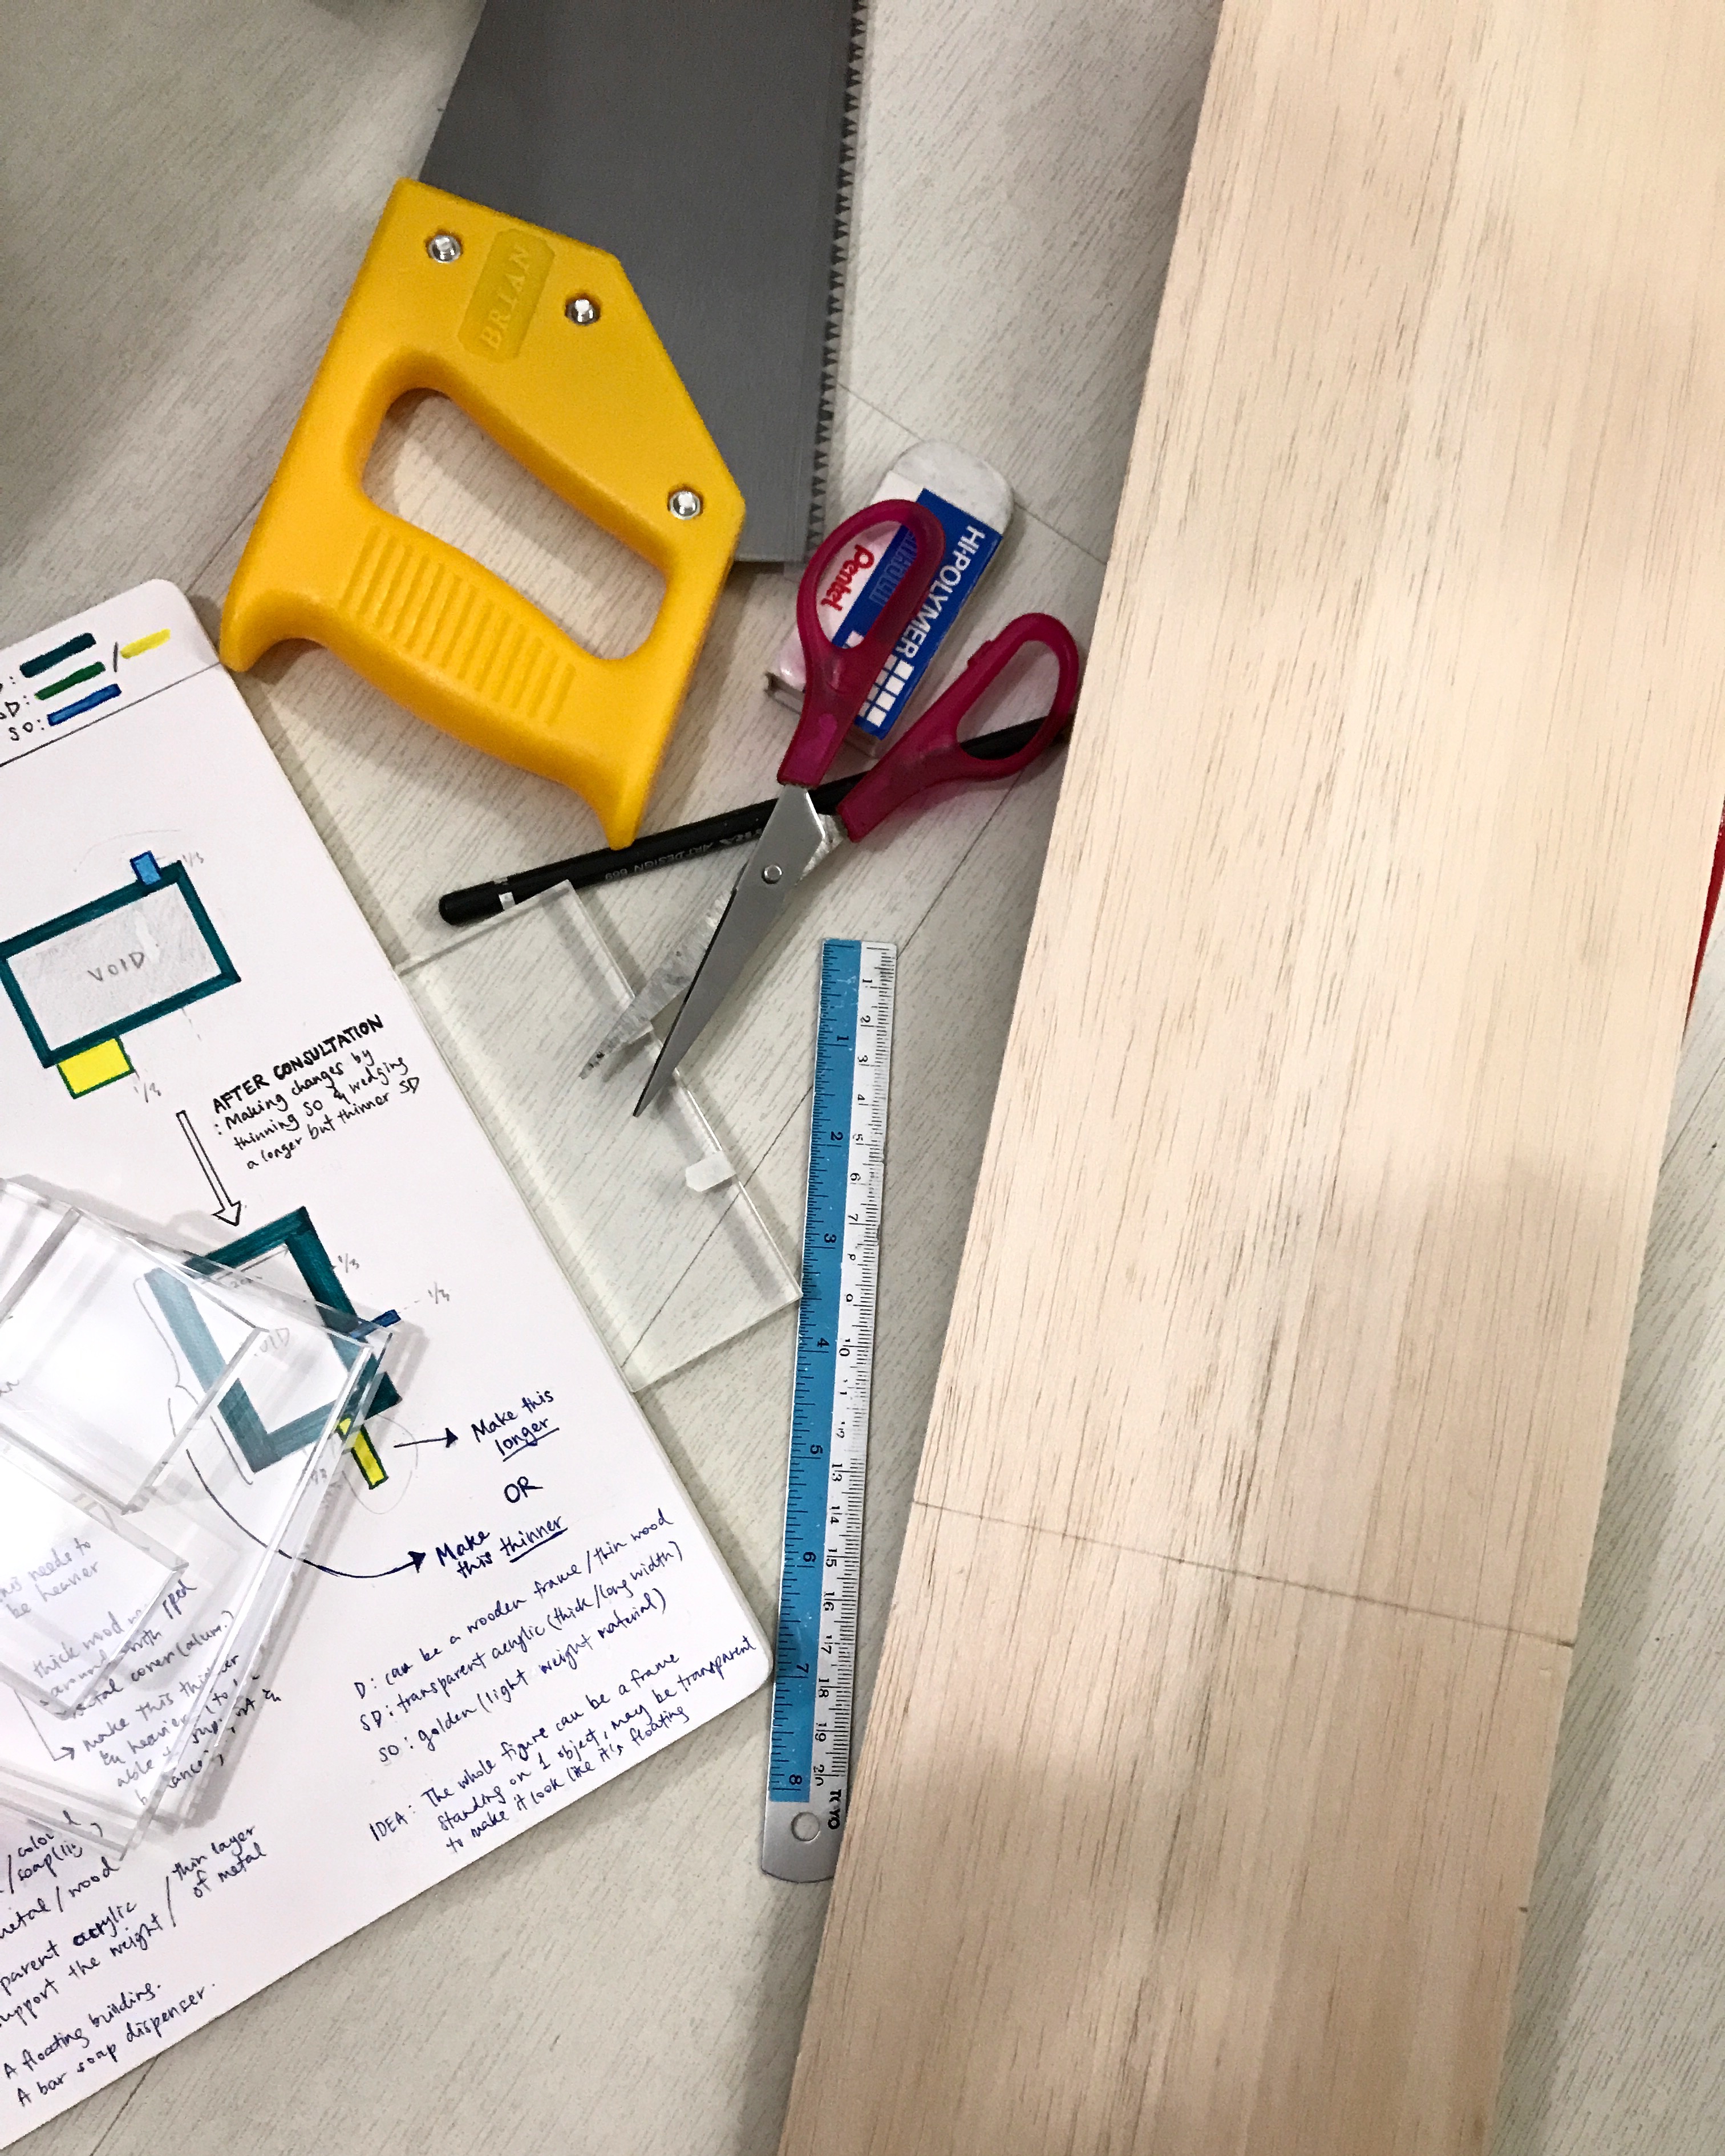
I started by trying to come up with a good structure using wood and acrylic and aluminium metal for structure 2. The wood for my Dominant block, the acrylic for my Sub-dominant block, and the aluminium metal for my Sub-ordinate block. Here below are some progress shots.
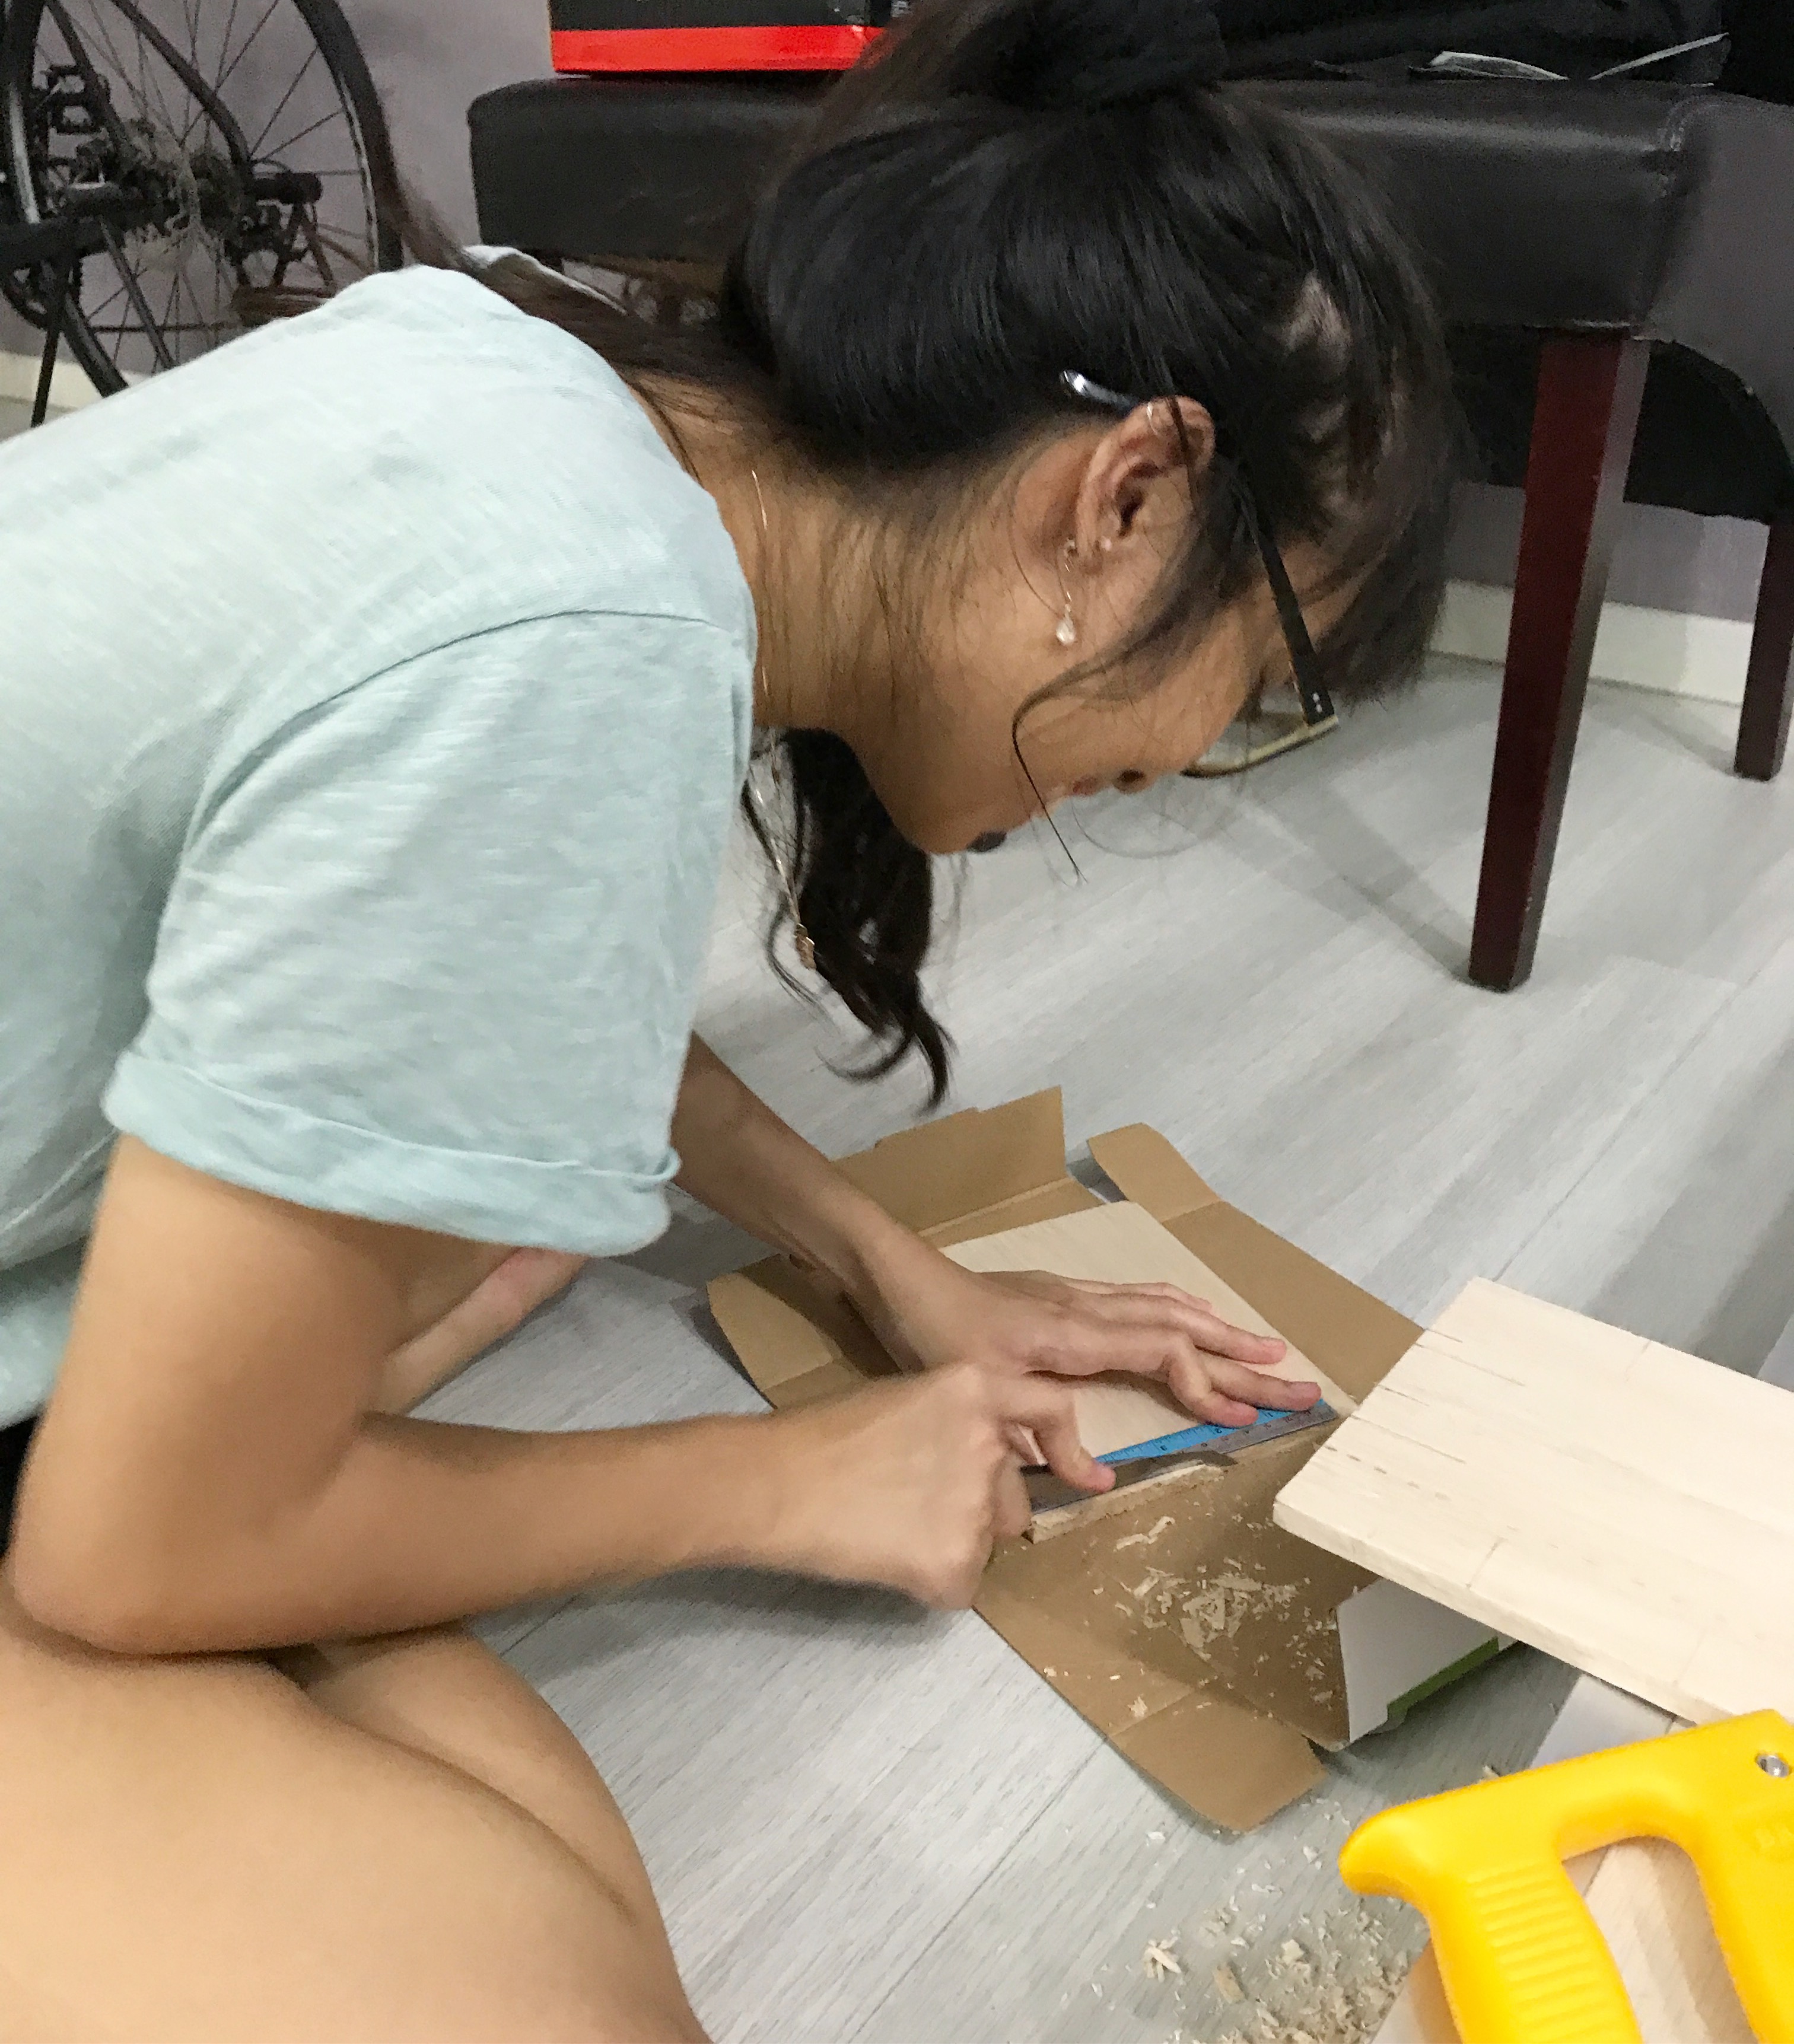
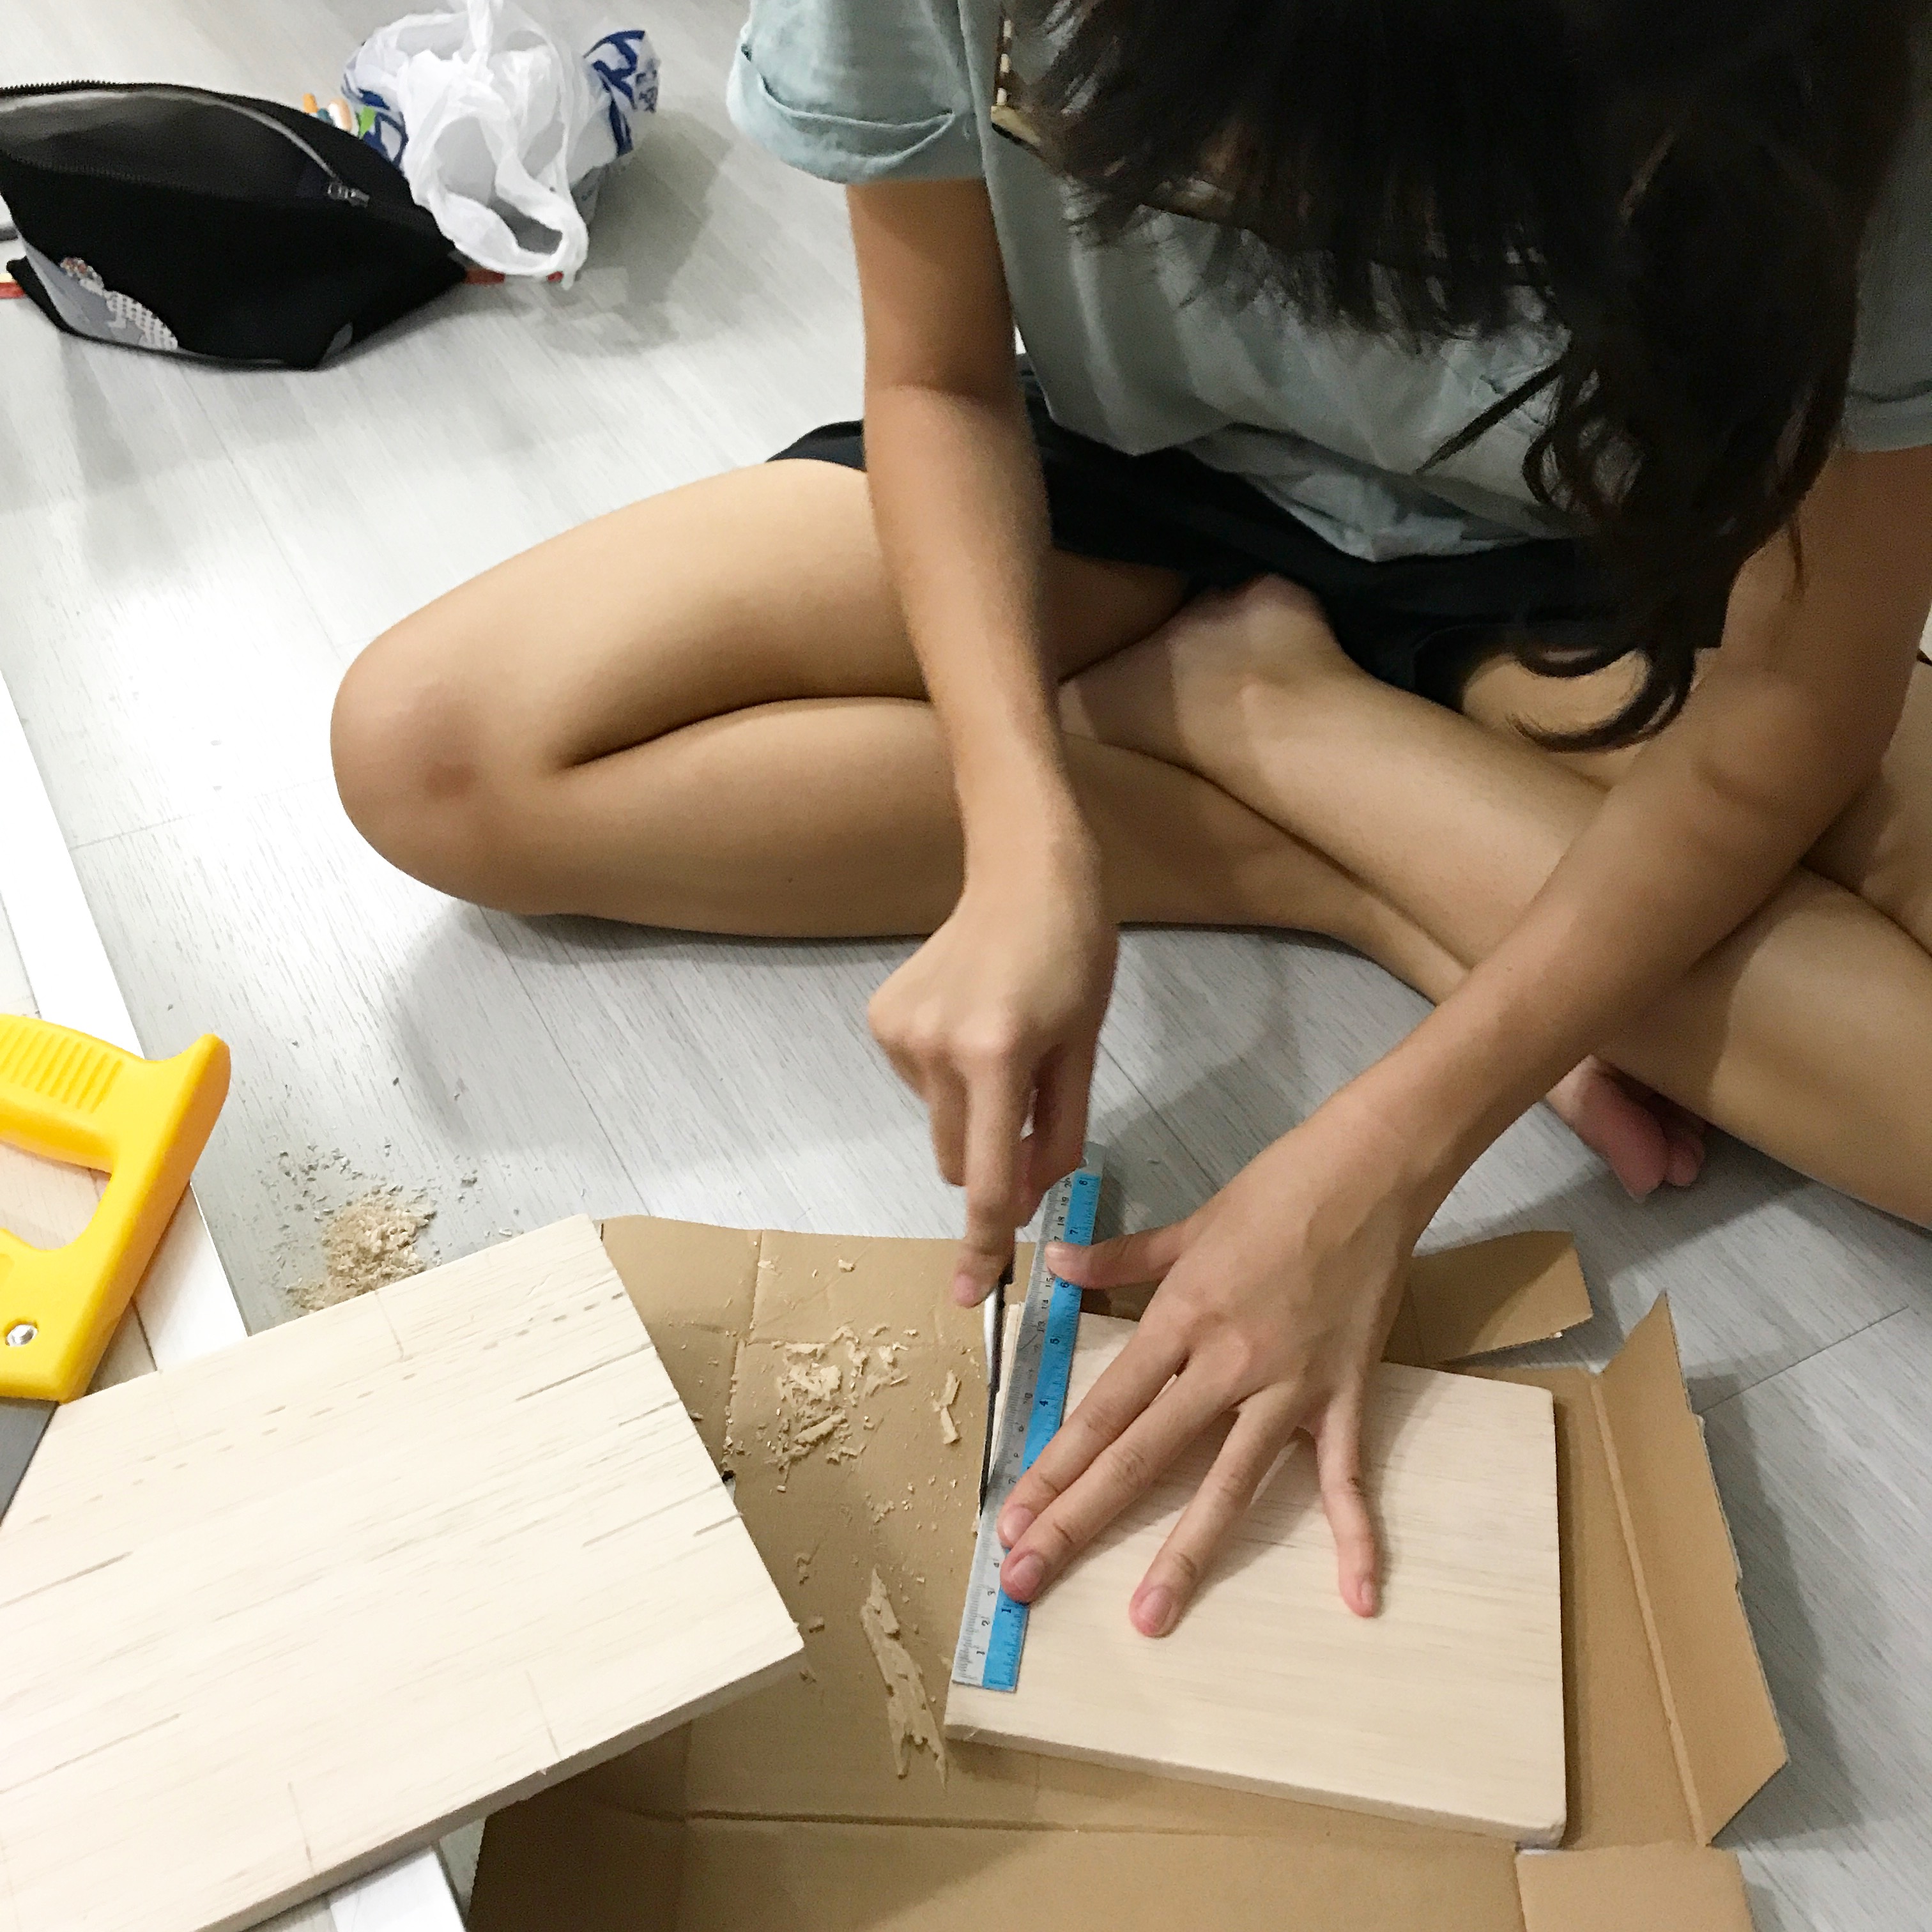
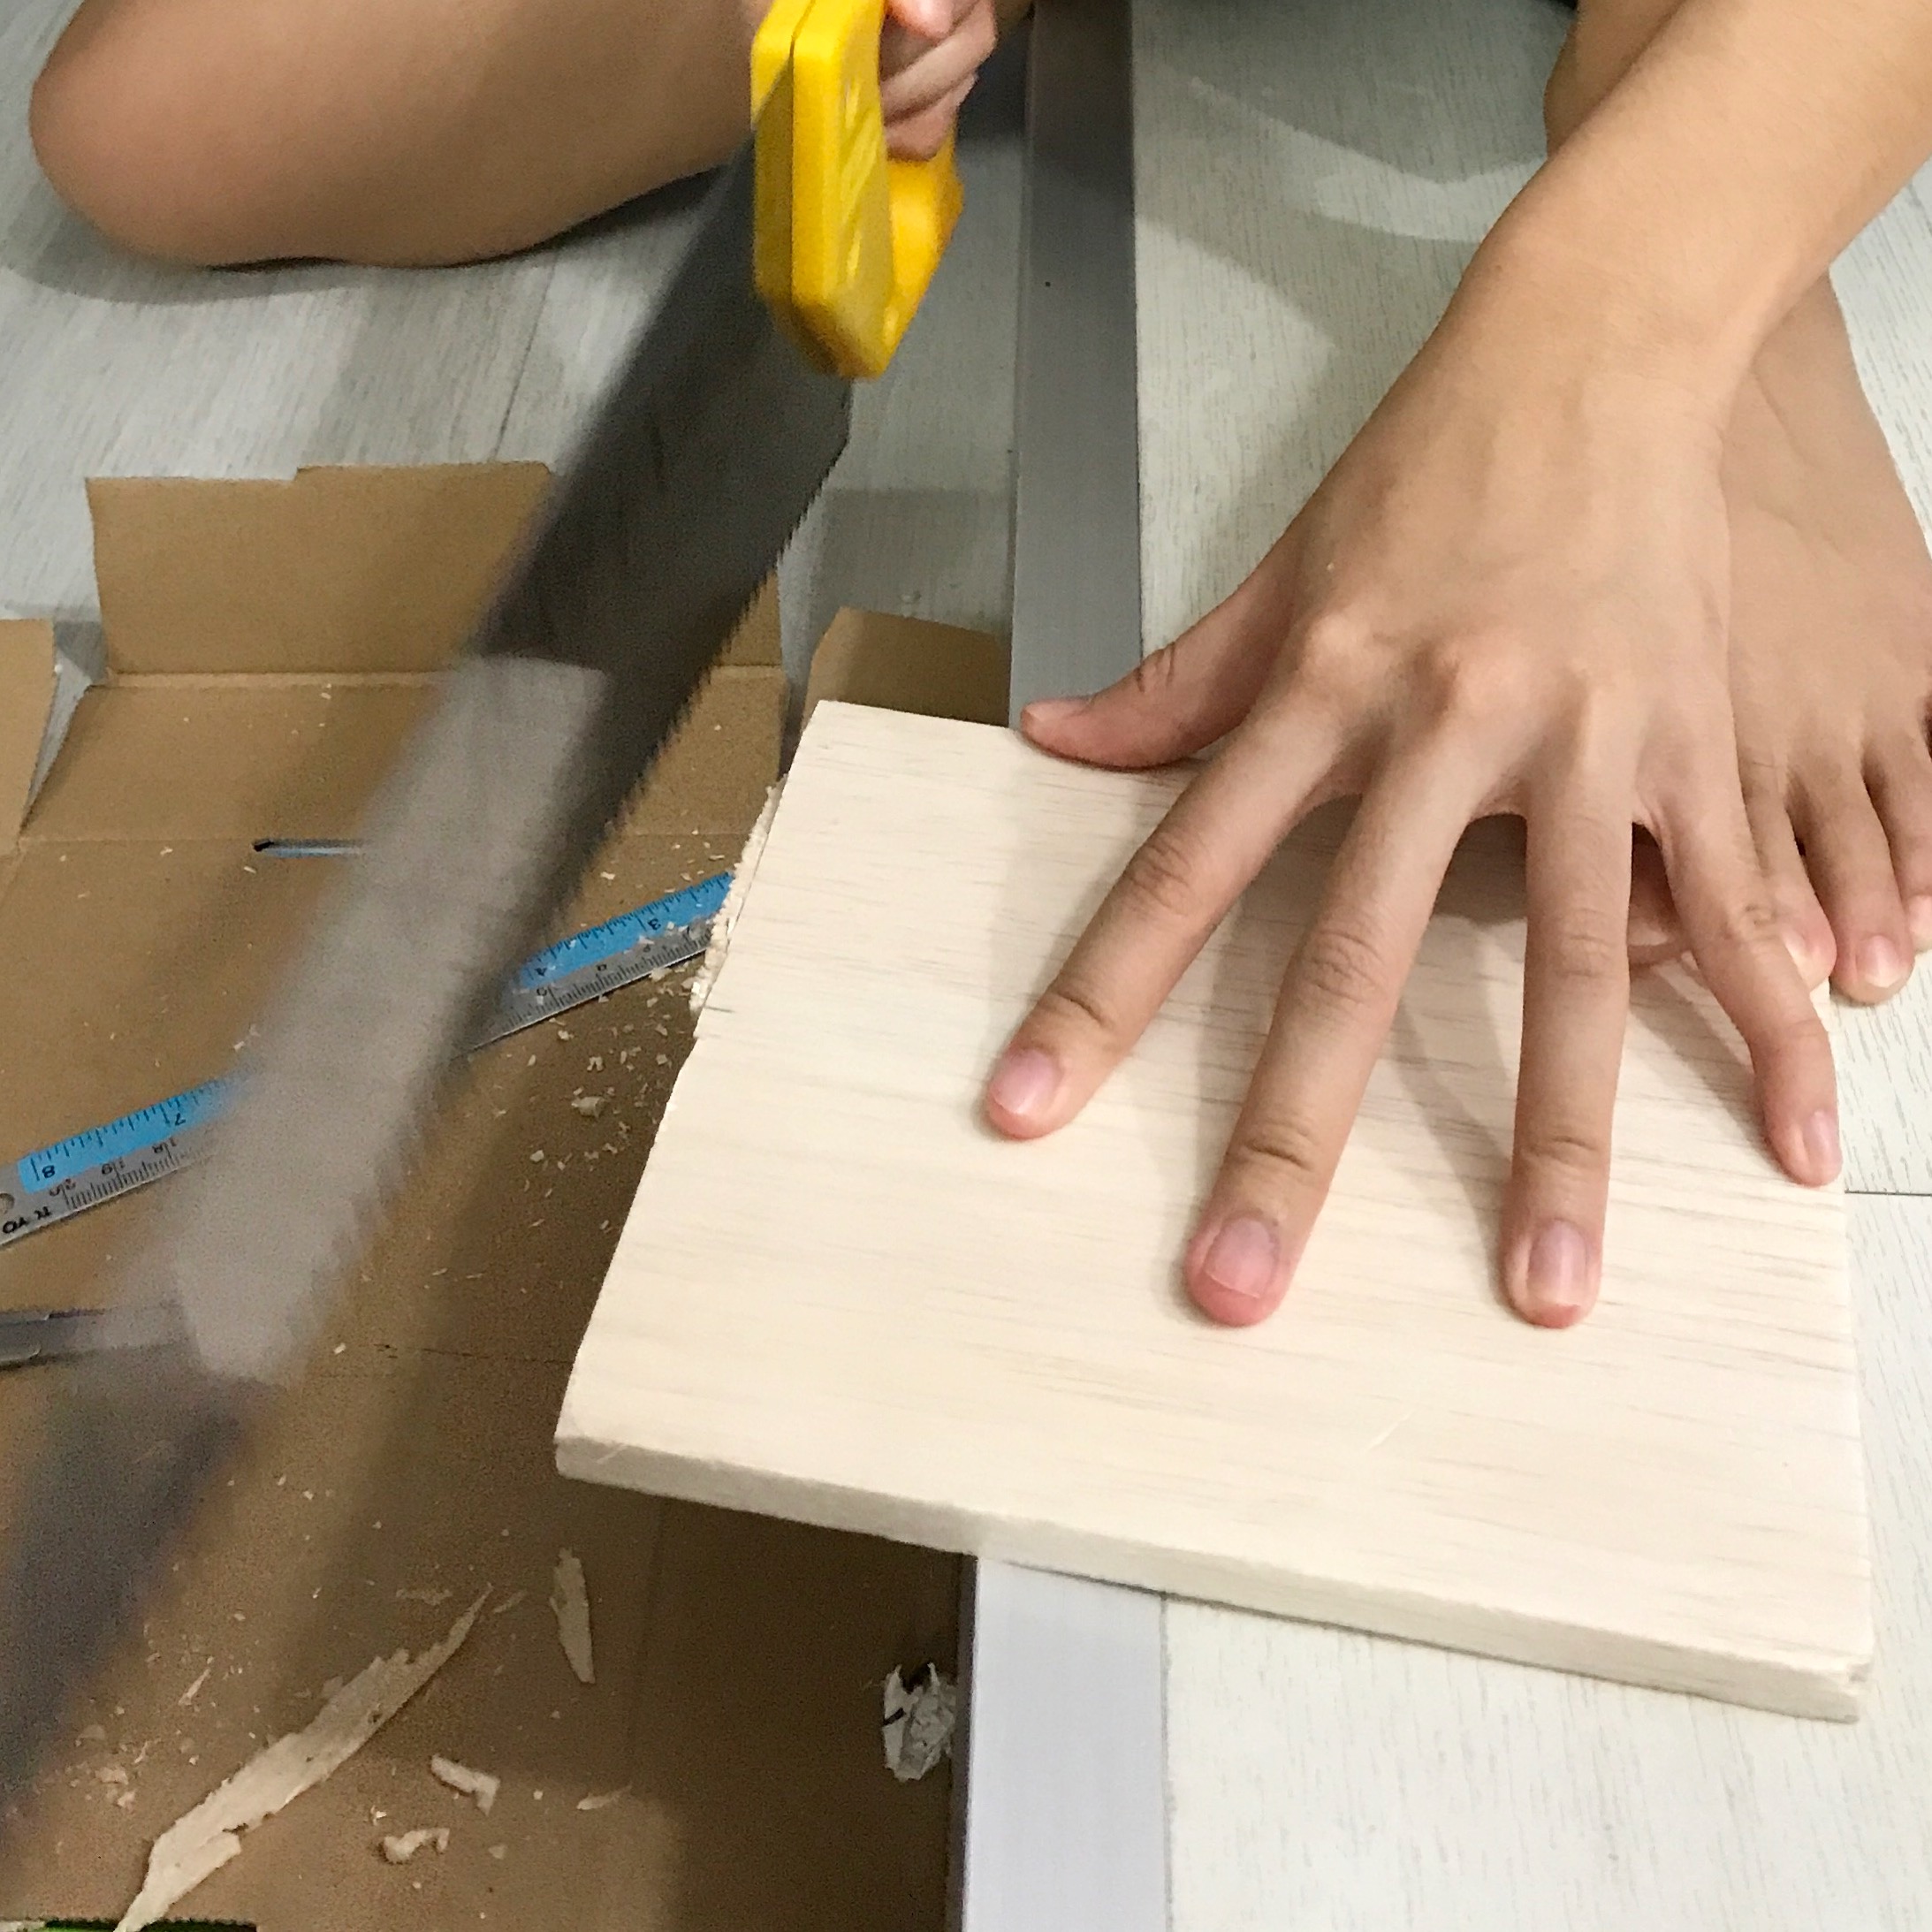
It was definitely tough to cut out the portion of the wood that I wanted, despite using a saw because there are some problems I encountered while doing so:
- some parts of the wood are made harder hence harder to have a clean cut
- when cutting through them, it is hard to maintain the same measurement at the length and the width
- it is EVEN harder to carve the middle of the wood out to turn it into a frame!!! 🙁
When I was trying (very) hard to carve it out, the thin portion at the sides starts to break and I’d have to super glue them back together. And even though it works and everything finally looks like a frame, I still had to do some wedging at the bottom of the frame to insert my medium acrylic block for my SD. But the chaos happened here: my saw couldn’t wedge through the hard part of the wood properly and I ended up cutting the space for my SD a little wider. 🙁
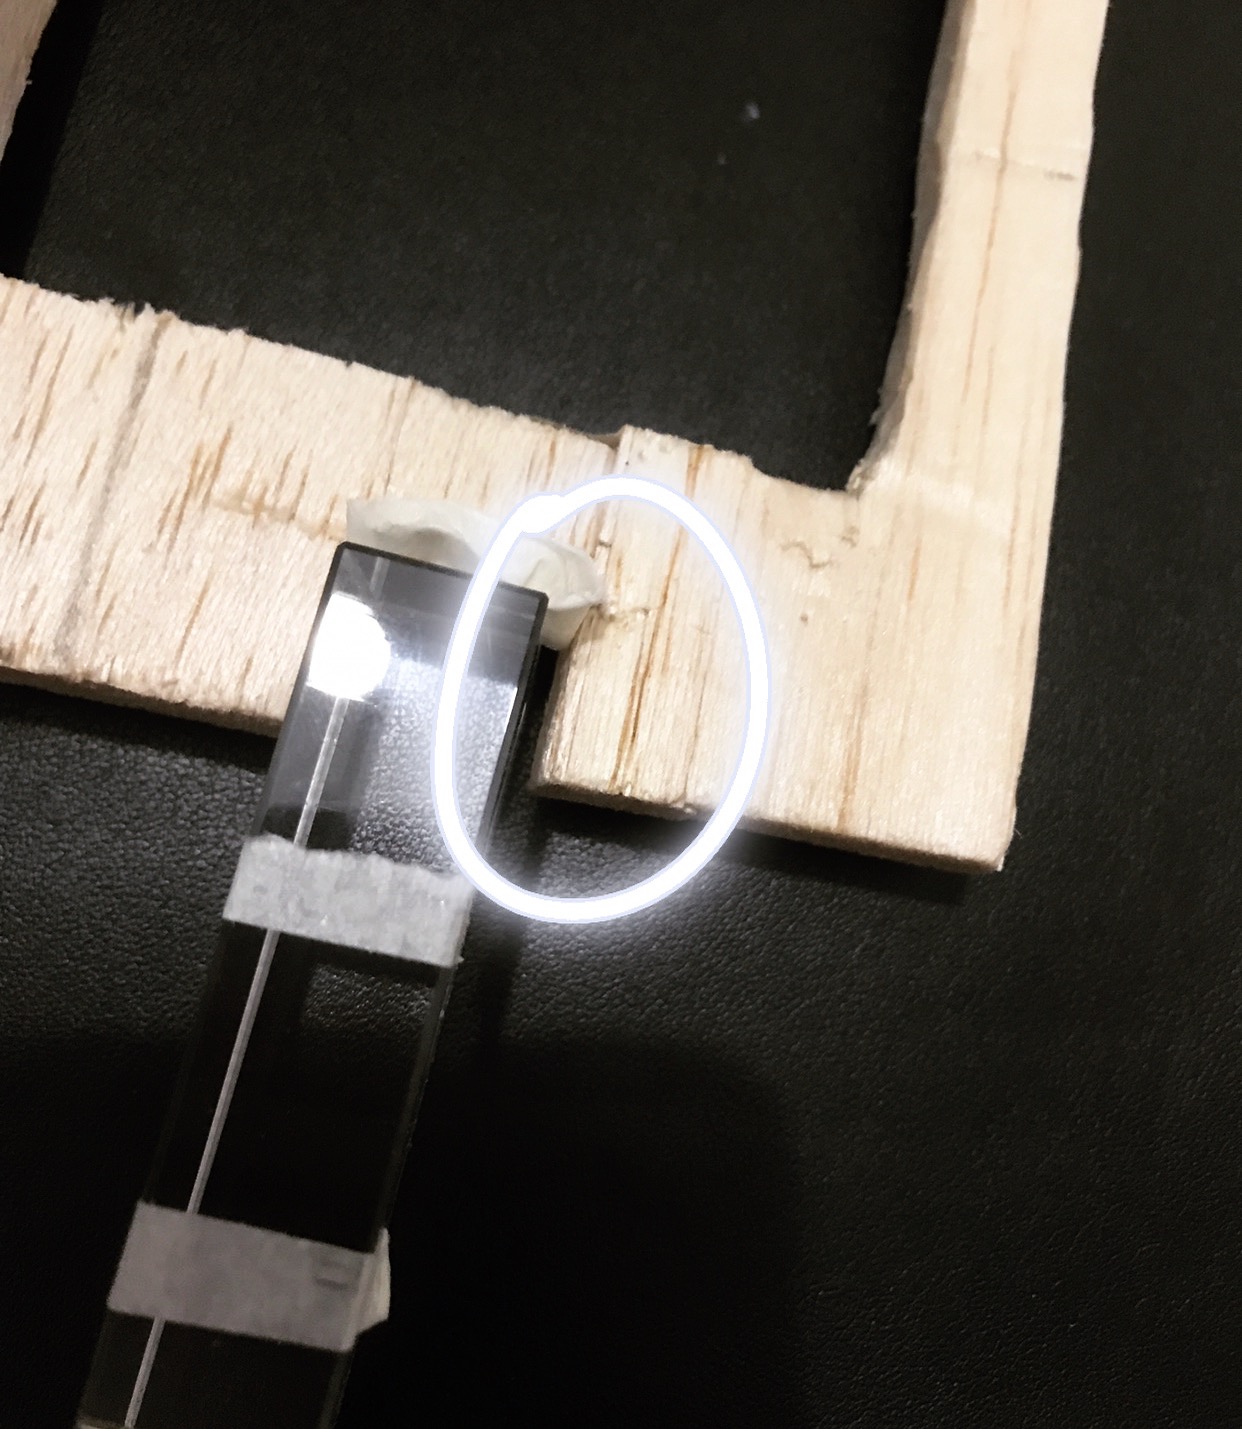
This in turn could not let my whole figure balance, unlike my foam model, as it was too spacious there and the acrylic could not hold the wood frame better.
Seen here below shows that I had to balance it by holding it unlike my foam model which could just stand/balance on it’s own. I haven’t even wedge the side (like seen on the foam model) to insert my aluminium metal as my SO because i know it still wouldn’t balance if the wedging is too spacious below (it can’t hold the whole blocks above).

Conclusion: Failed attempt at structure 2.
So instead of wasting time on finishing it and since I knew what my problem was in that structure, I decided to just move on to doing the other structure. STRUCTURE 1.
PROGRESSION TO STRUCTURE 1
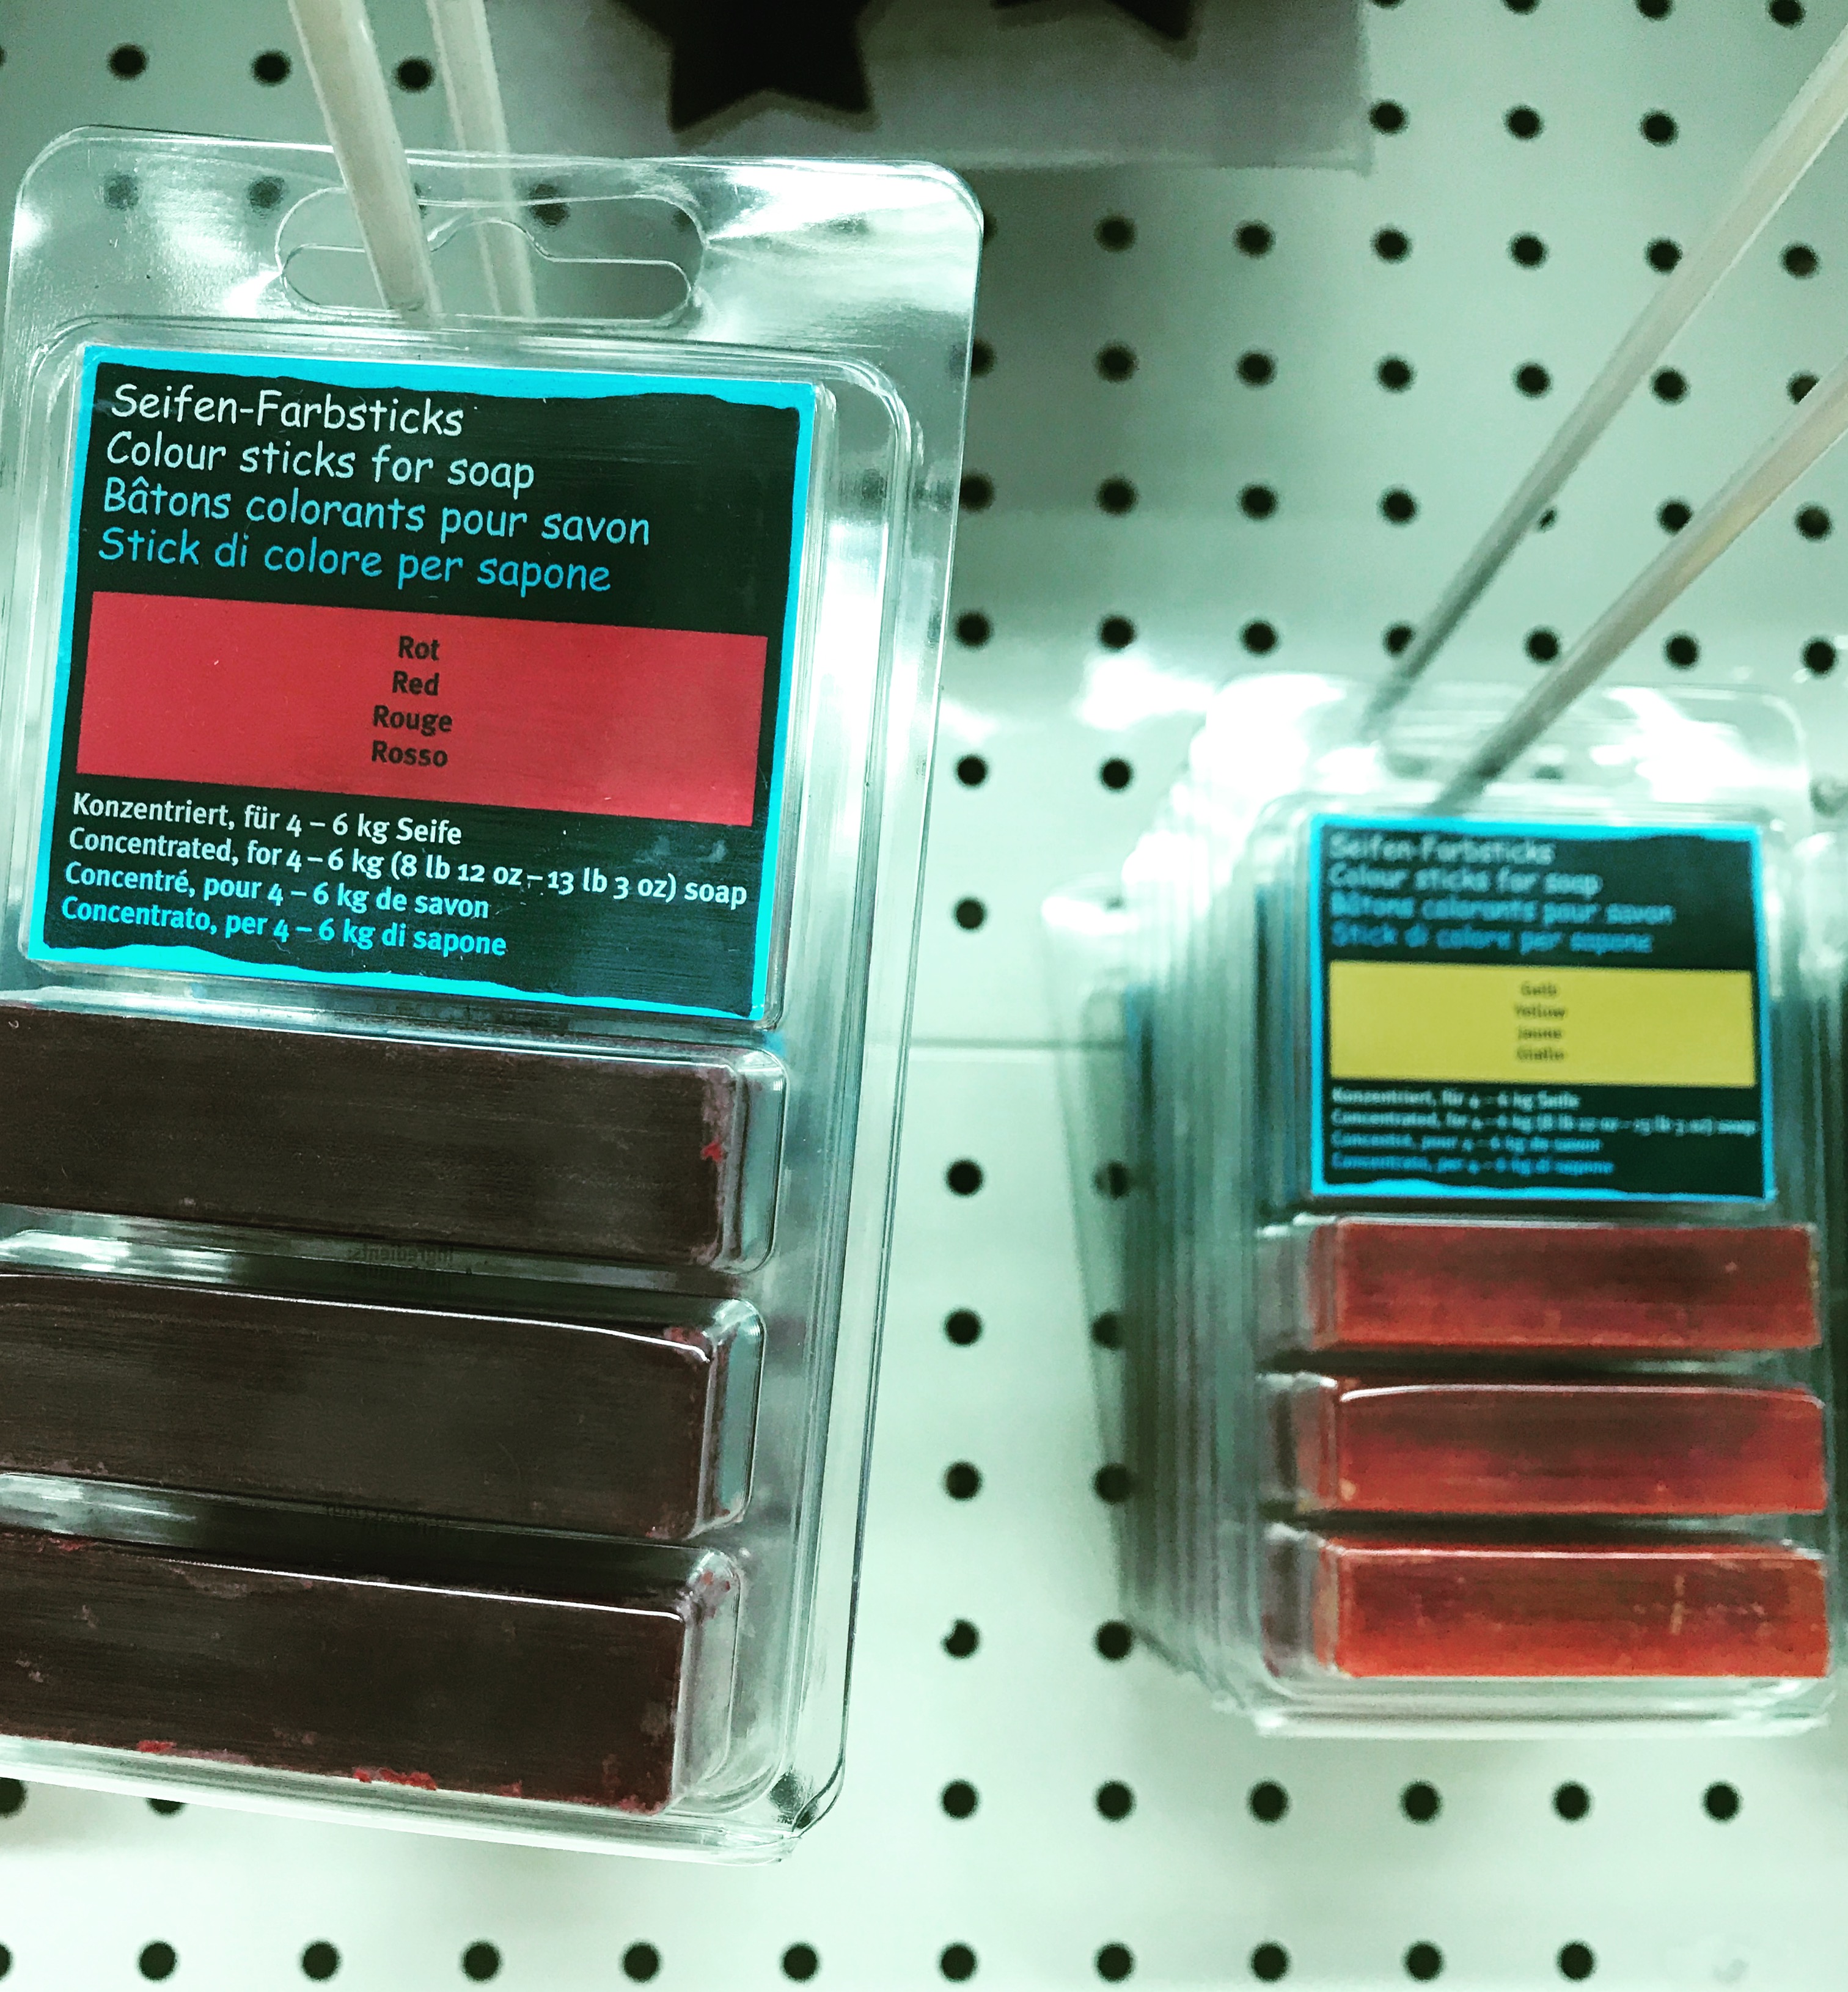
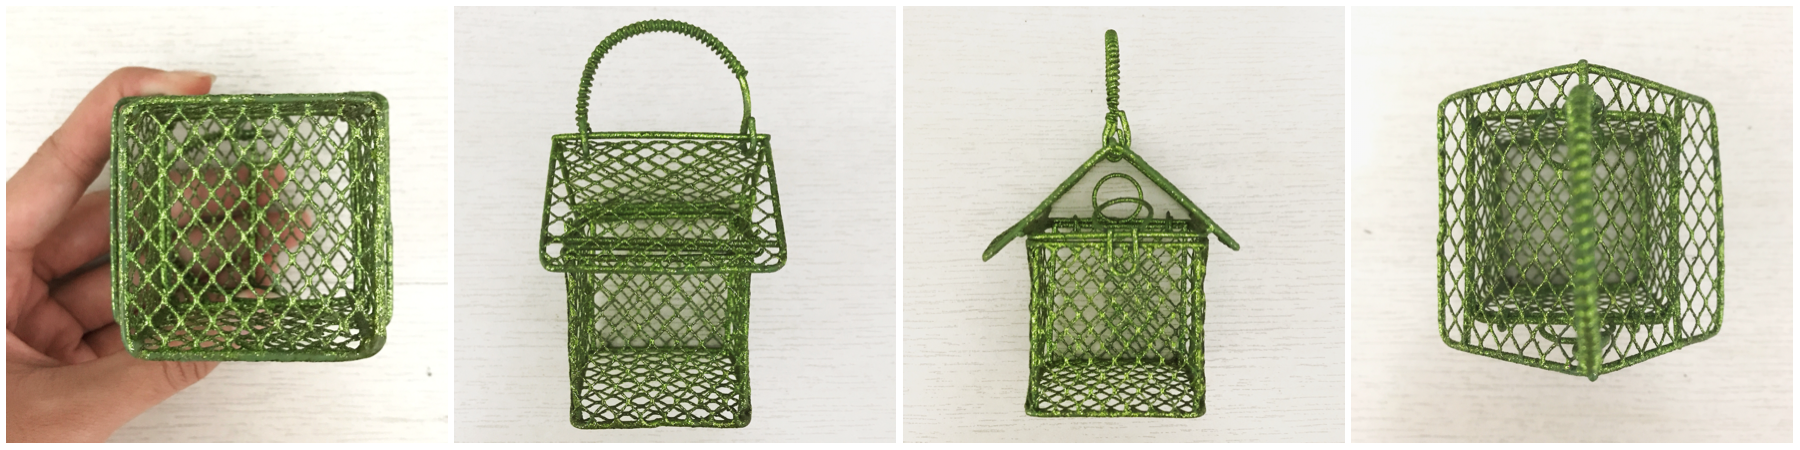
My initial idea for this was to create perhaps a ‘bar soap dispenser’ strictly for 1 person use only (mainly for people who is allergic to sharing soaps). I wanted to create it using this interesting coloured-hardy soap bar I found in store as my Dominant. (seen below: the kinds of coloured sticks for soap)
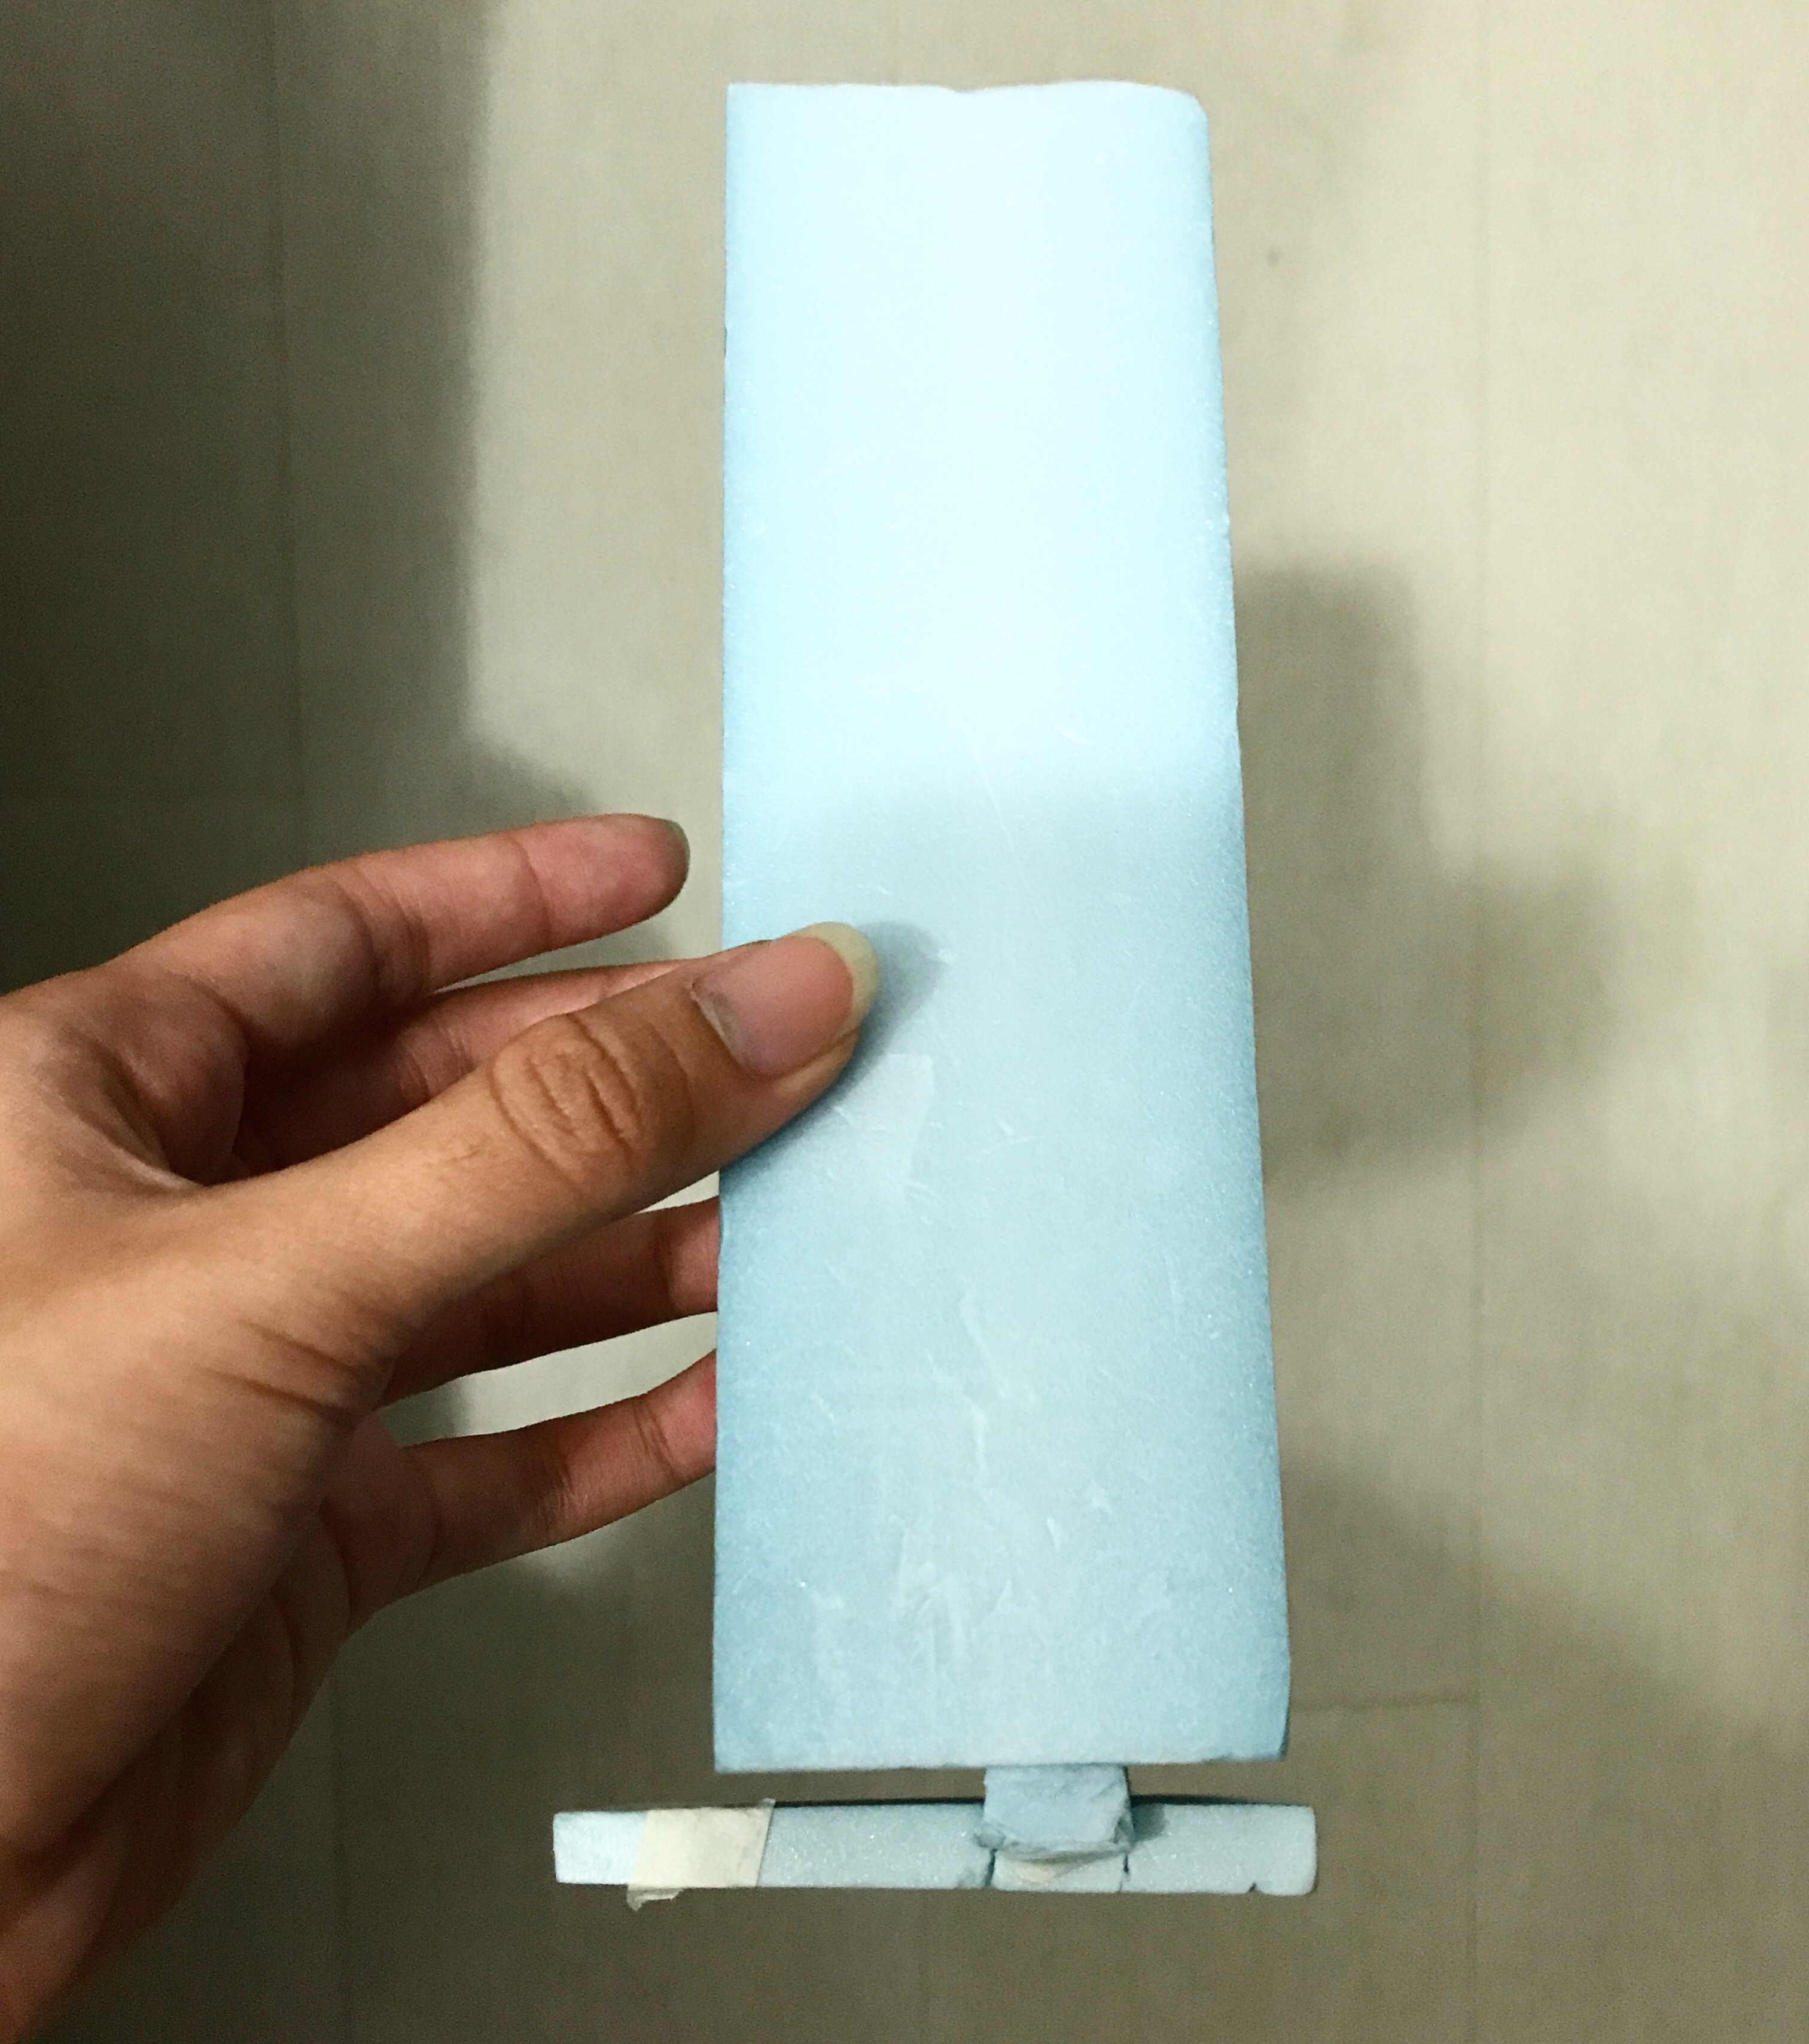
So I tried and as you can see in the figure below when I’m holding it, it’s a mini model.
Now why this one failed too:
- Yes it could balance like you see it balance in the first picture BUT only for a first few minutes
- This is partly due to the veryyy thin and small Sub-Ordinate which was just a thick wire stick into the D and wedged into the small-based SD. There’s no good material to create a good support there.
- The soap is not hardy of a material enough, it will slowly tilt to the right when not handled with care or moving around while holding it and then fall off, hence not balanced at all on it’s own. I’d have to hold both the SD and D together.
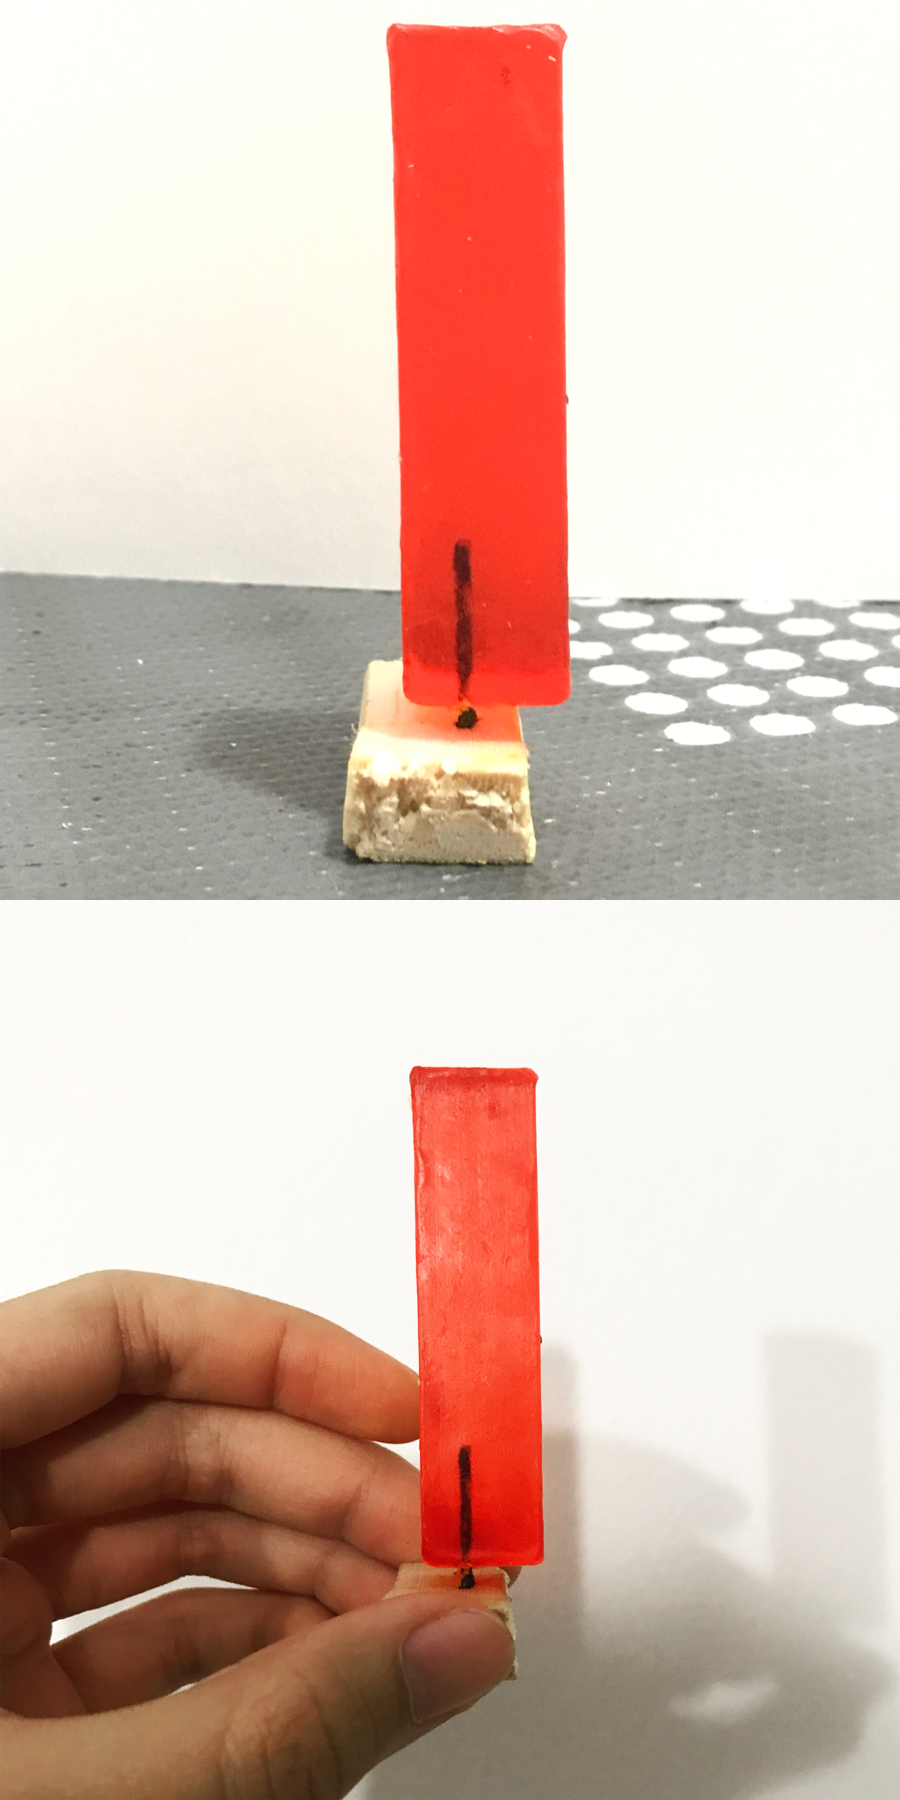
Conclusion: Failed too due to fragility of soap that i bought – could cut through so easily it will fall off. Defeats the purpose of me wanting it to be soap bar dispenser if it’s not hardy enough.
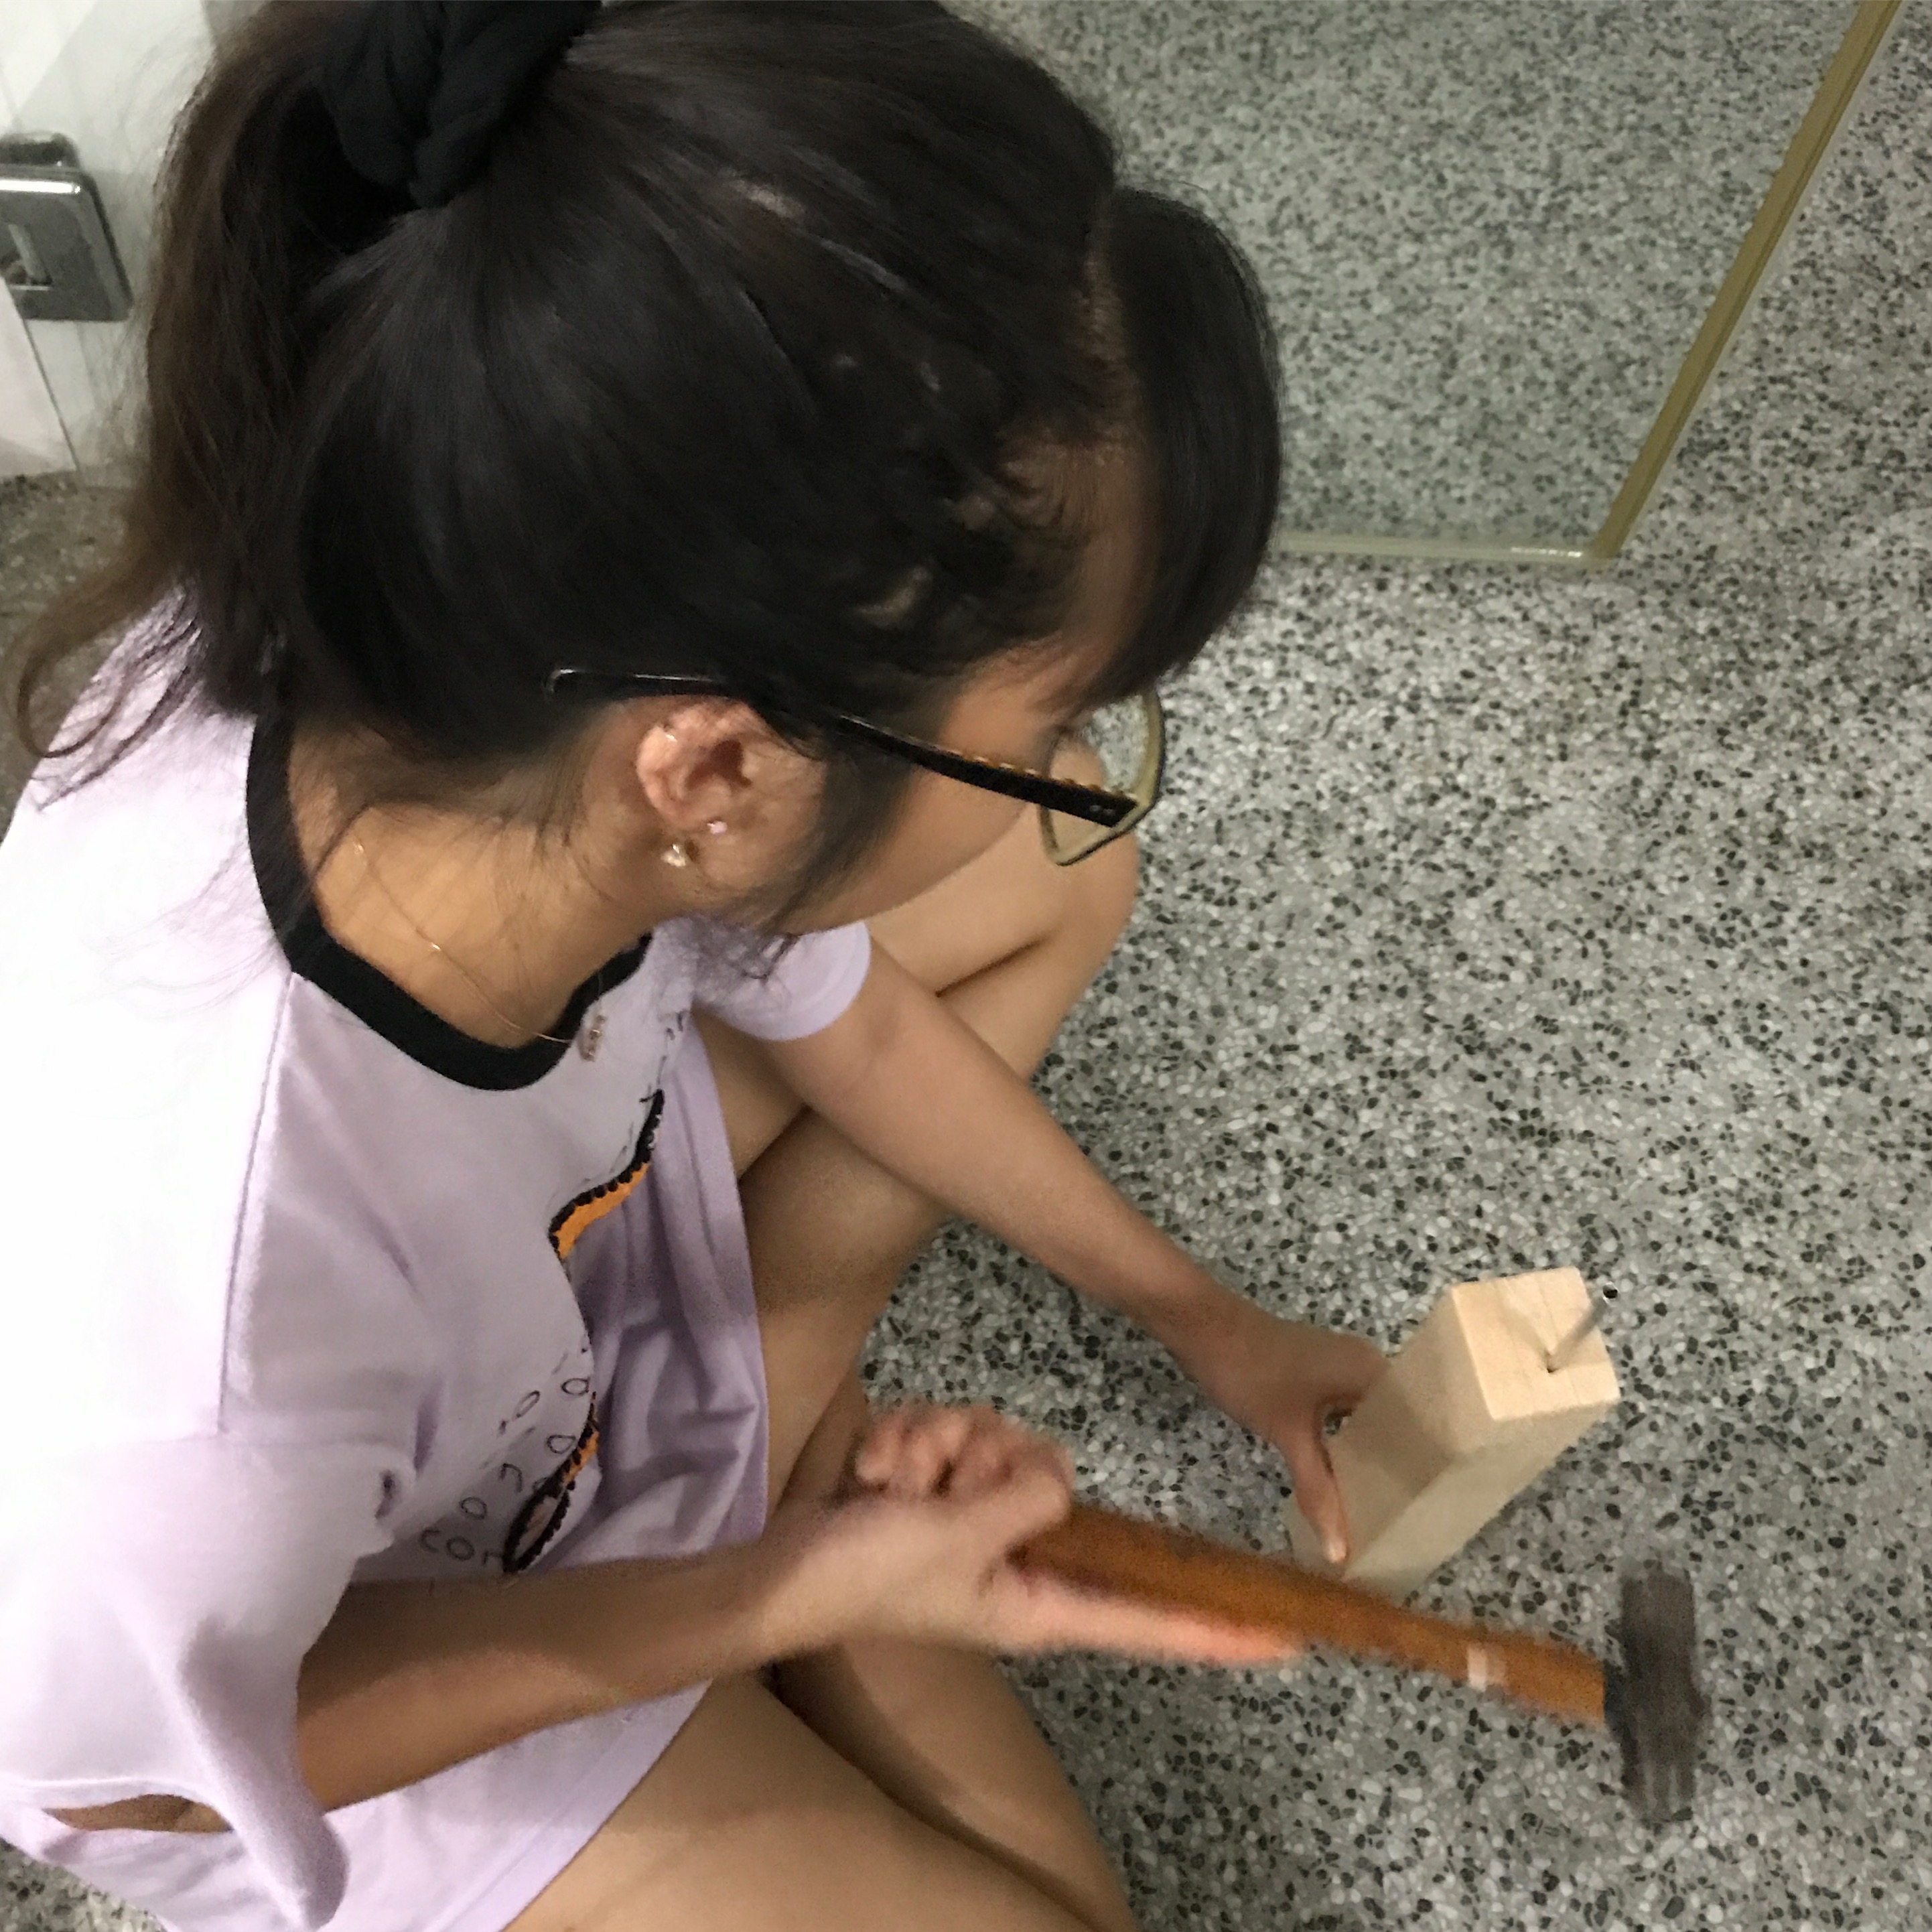
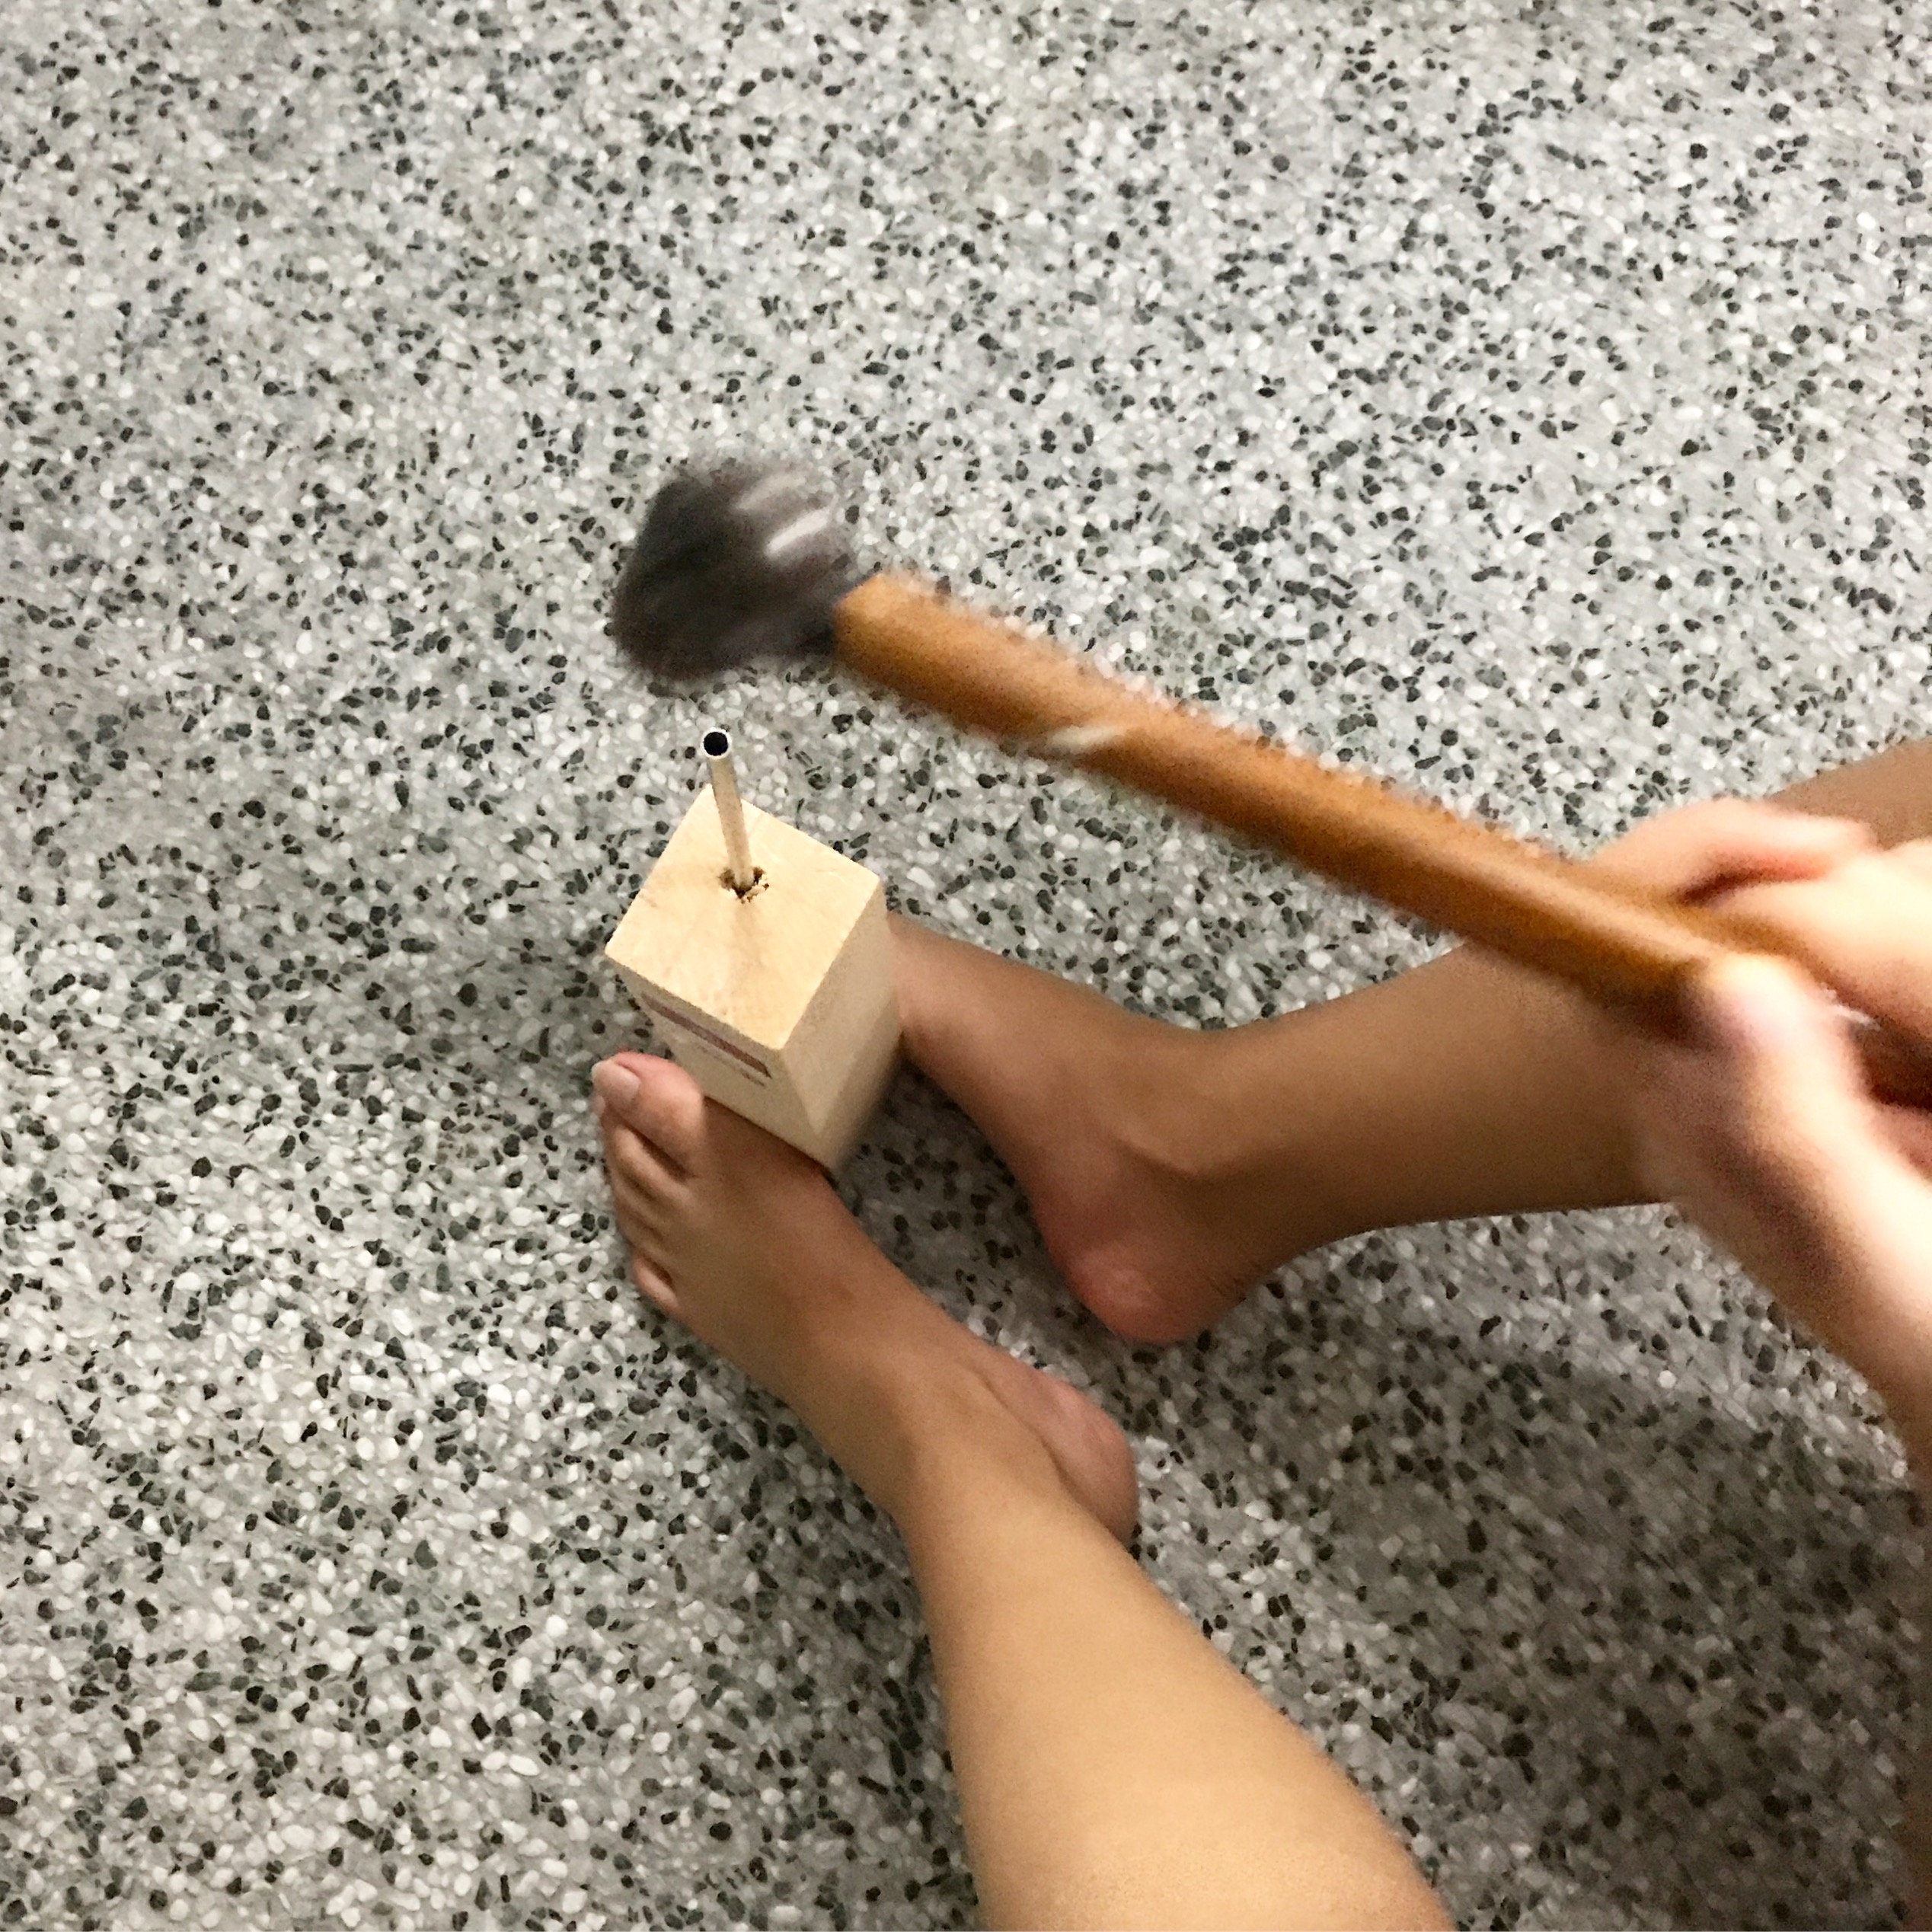
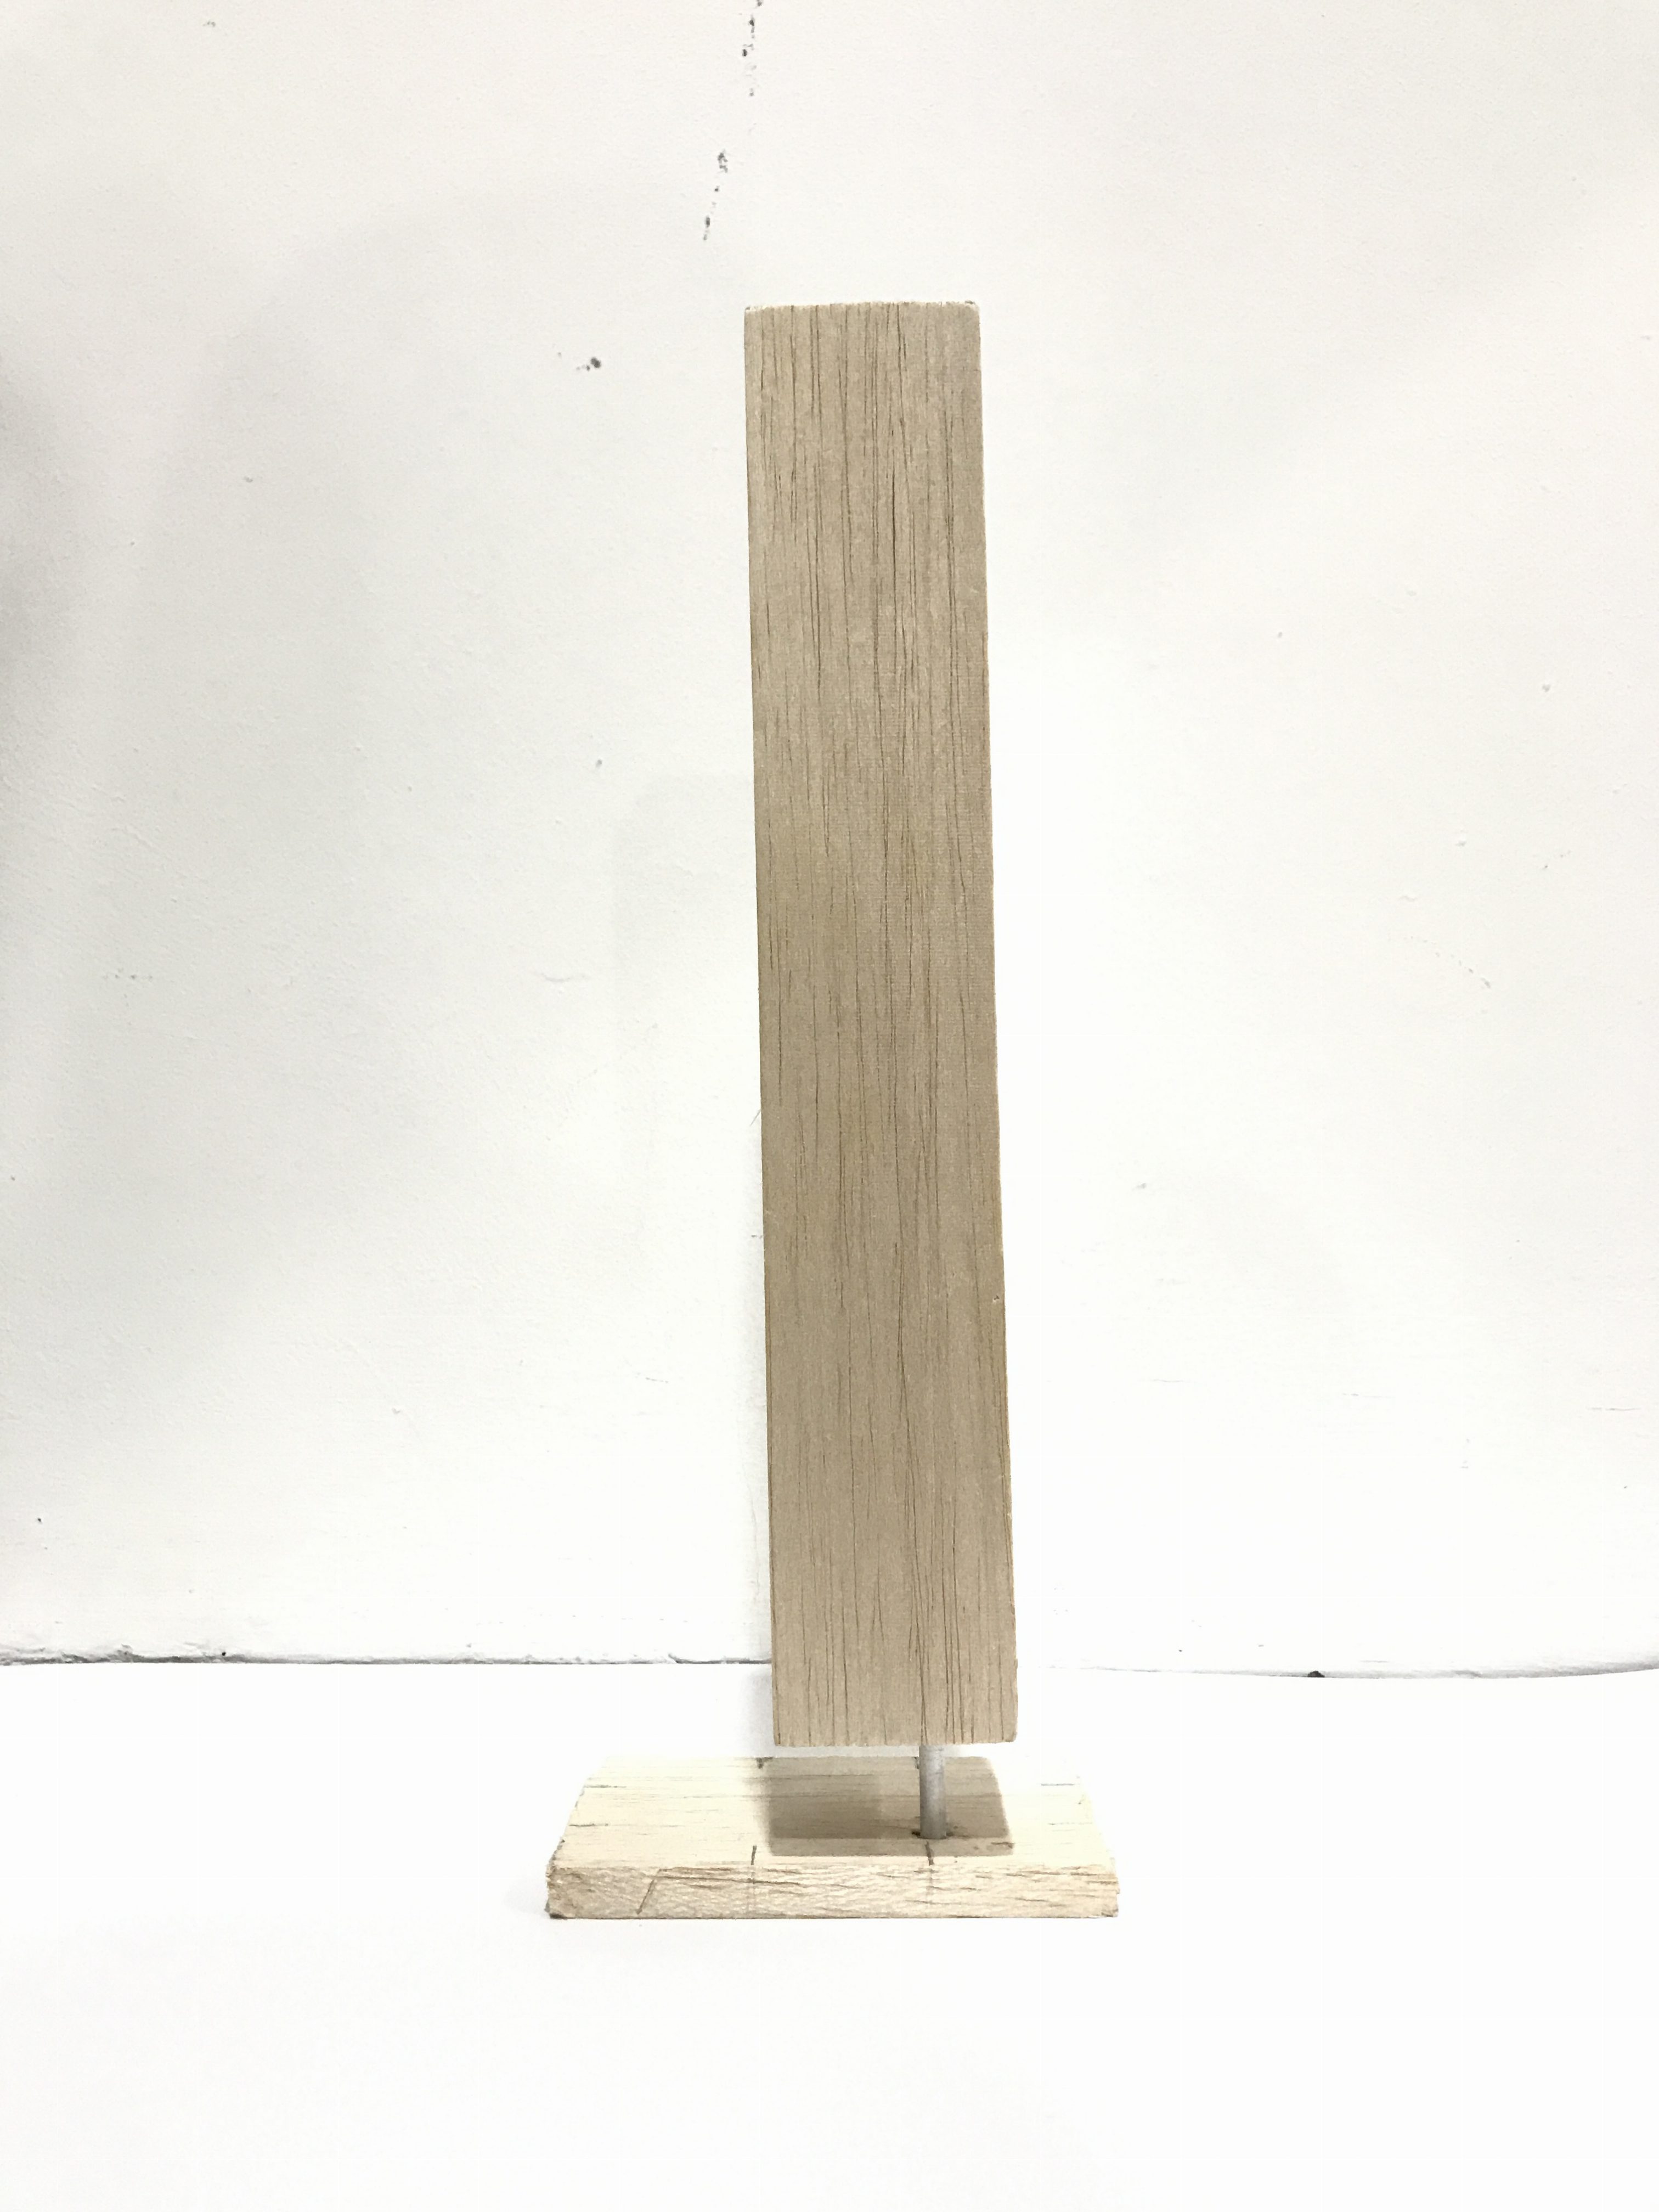
I decided to redo by using other materials and not to make a small-scaled structure. This time, I tried using wood for both D and SD. I chose a kind of wood that’s not so heavy-weighted so as to balance it off in the end of counter-balance.
The process that made it hard to work with was wedging a small deep hole in D to insert my long thin but HARDY aluminium metal rod into it, and also into the SD which acts as my base. Hence desperate times calls for desperate measures – if you cannot create a deep hole, you hammer the rod into it to force it to make a deep hole.
Progress shots while making use of other materials and not soap.
And surprisingly, IT WORKS.  IT STAYS BALANCING DESPITE THE COUNTER-BALANCE. FINALLY.
TAAA DAAA.

Continuation of this will be on my next post where I will go into detail on this final work. See ya there! 
