
Description:
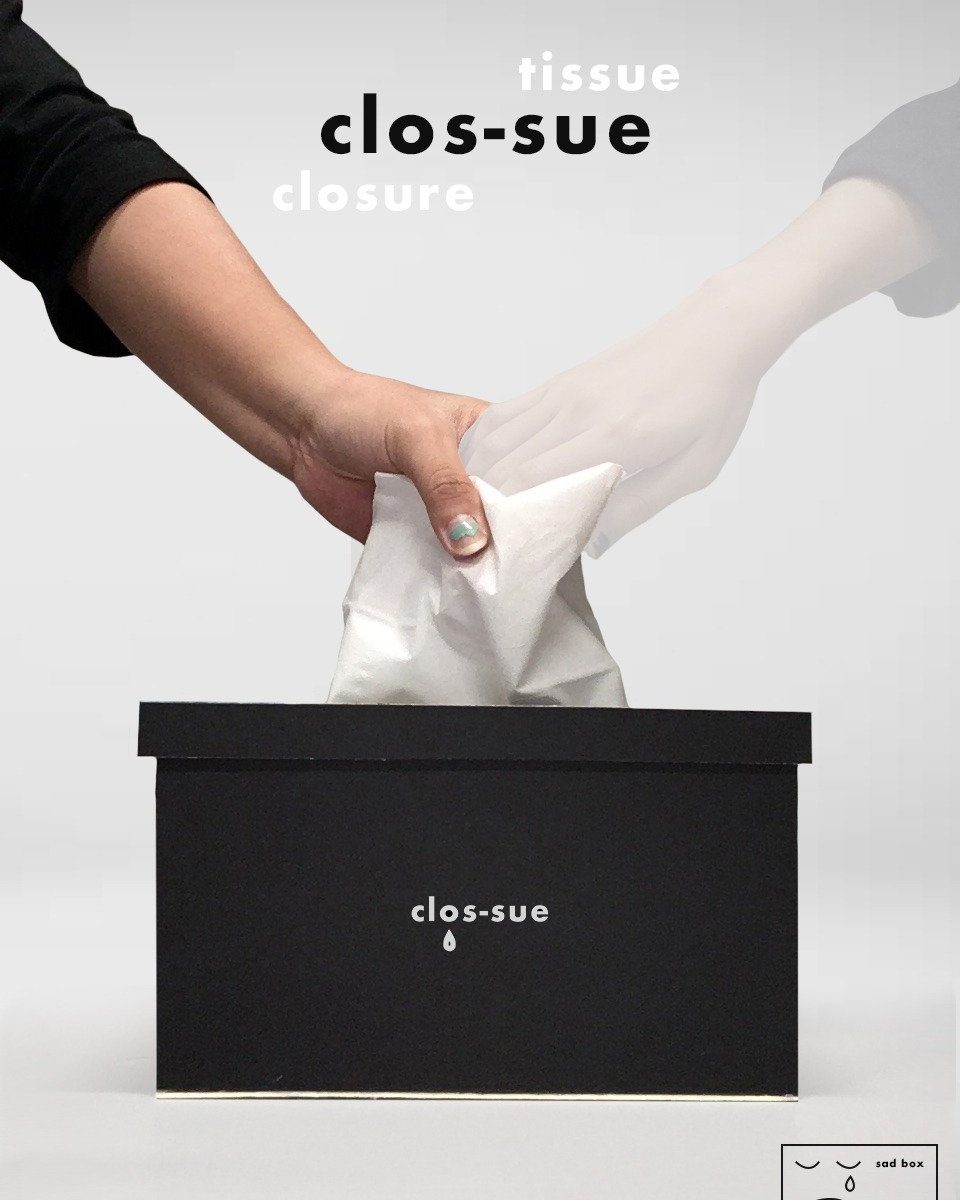
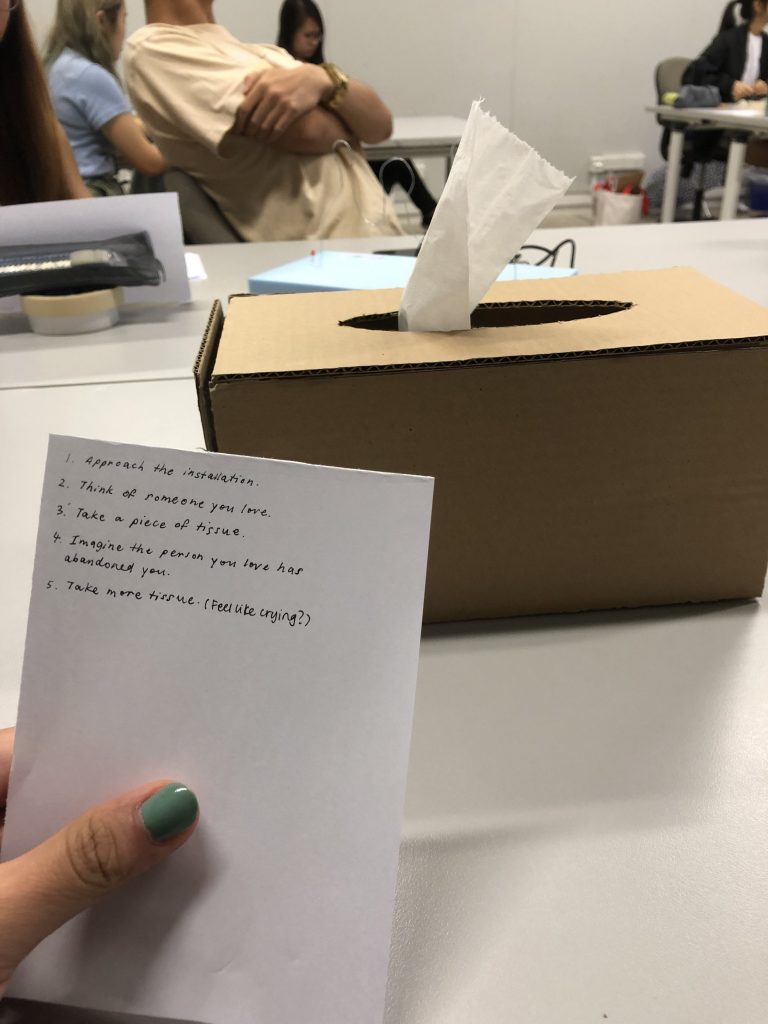
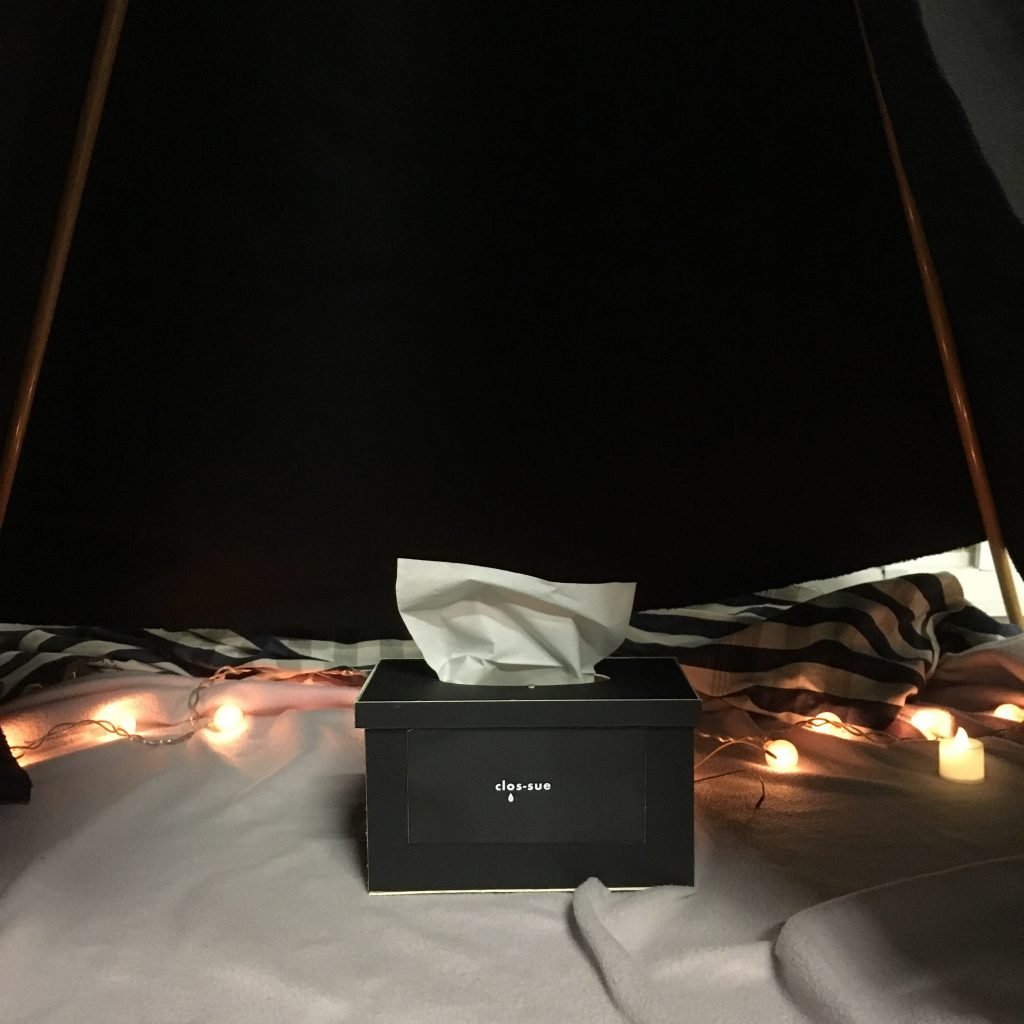
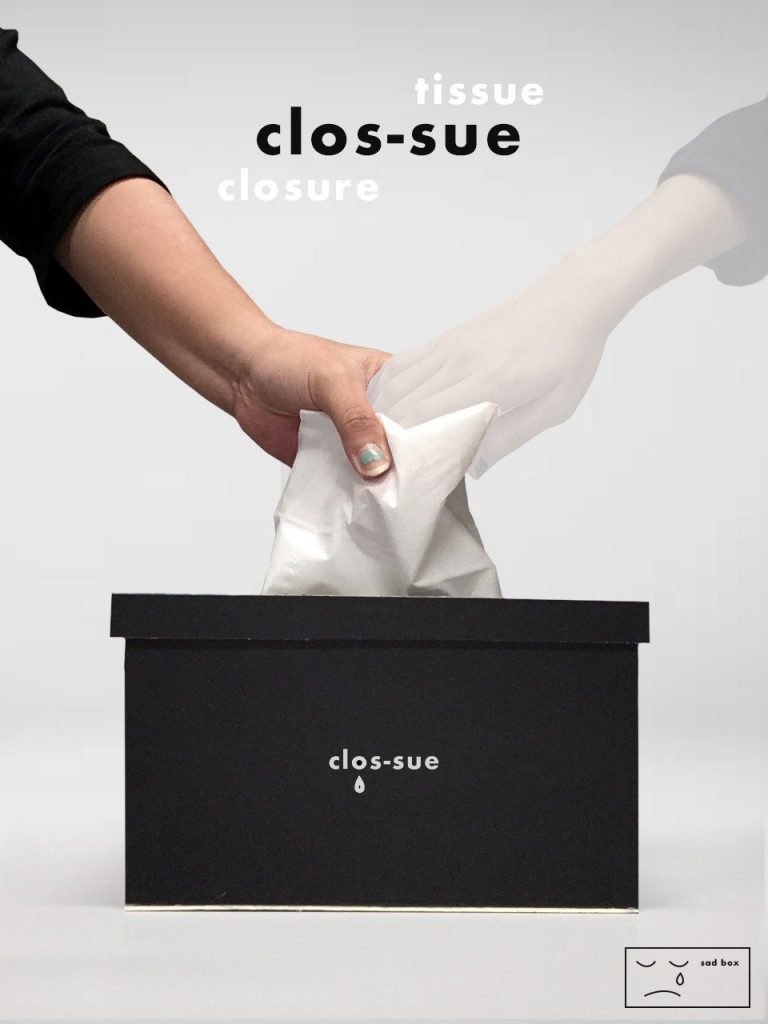
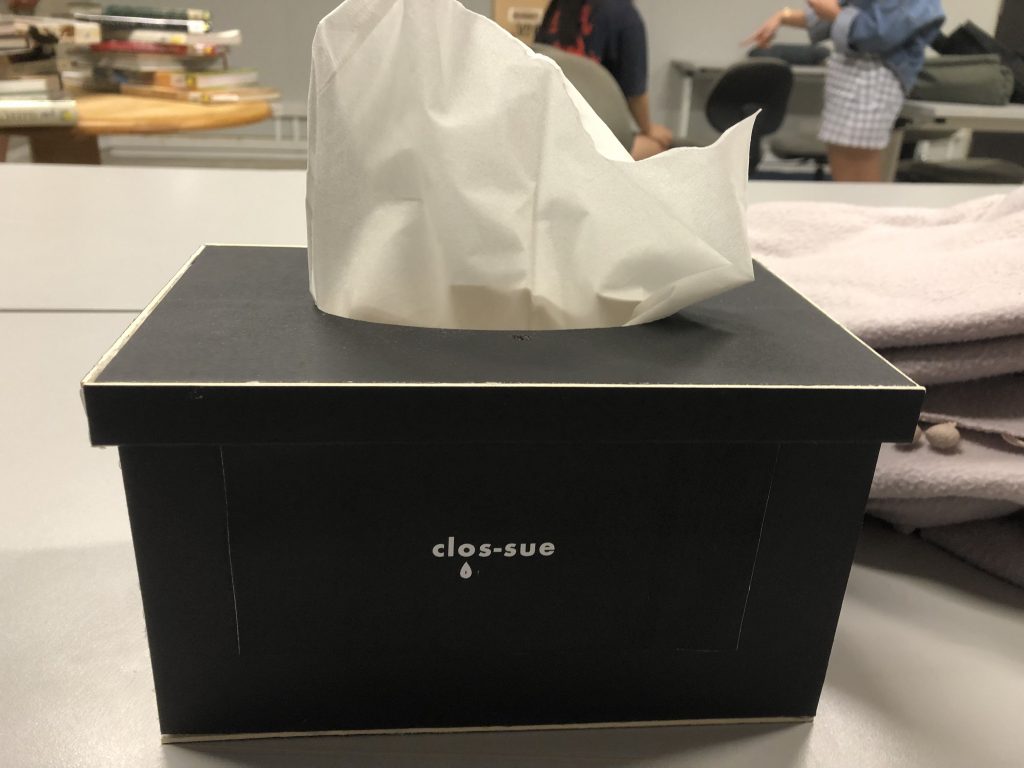
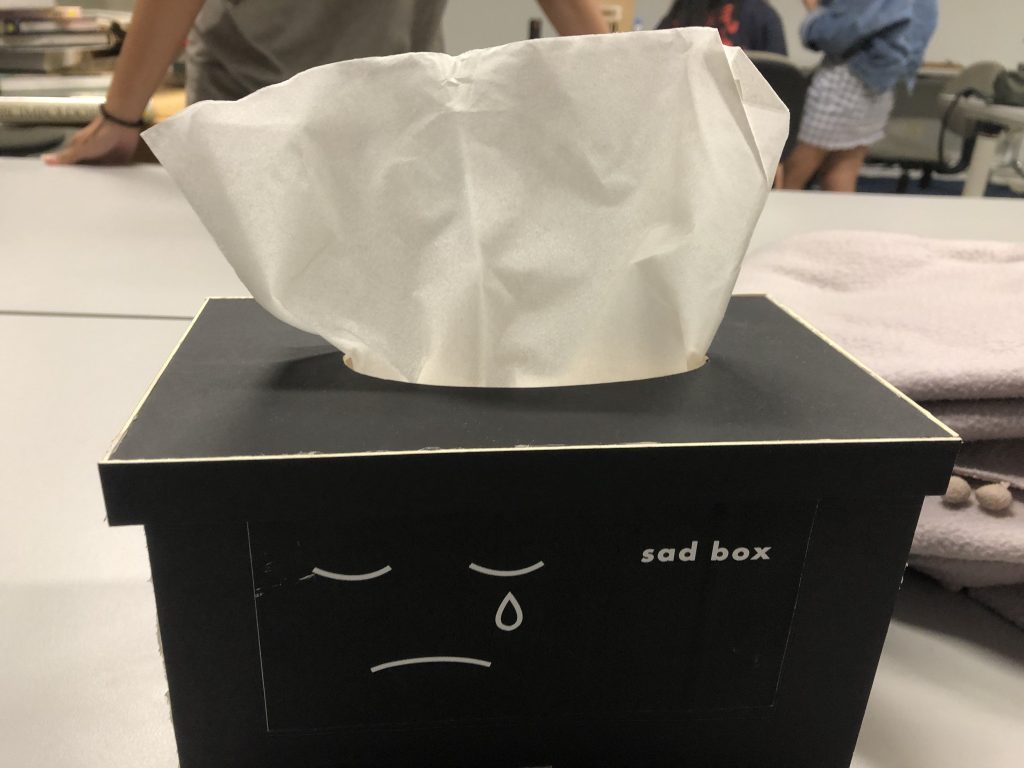
Our project is a tissue box that offers phrases of comfort to those who have been abandoned and are crying over their loss. Users will sit inside a tent, visualise the person that has abandoned them, and take a piece of tissue that will offer them phrases of comfort, in hopes of helping them to find closure.
Observational Documentation for user tests:
Our users found that the set-up was very appropriate and well done. It gave them a private space even though the entire class was watching and they did not think of the people outside. Even though one of them have not lost anyone, he said that the mechanical voice and set up eased him into a reflective/sad mood required to aptly experience the object. For the two who have lost somebody, one of them said that she was comforted while the other thought that the mechanical voice made her sadder as it reminded her that the person she lost is irreplaceable but it’s more of a positive reflective kind of sad instead of a negative one.
Design Process documentation:
Initial ideations:
Initially when we developed it, we envisioned it as an object tailored to a person who has just been abandoned so we thought of using the voice of the person who has been abandoned as it will be more powerfully hearing words of comfort that you might never be ever to hear again from the person. However, we then realised that for the demonstration, it is hard to do this as not everybody has lost somebody and the voice has to be specific to a singular person so we decided to use a universal mechanical voice instead. We also thought that the mechanical voice can emphasise on the fact that that person is gone and push our audience into facing reality and finding closure .
Development drawings:
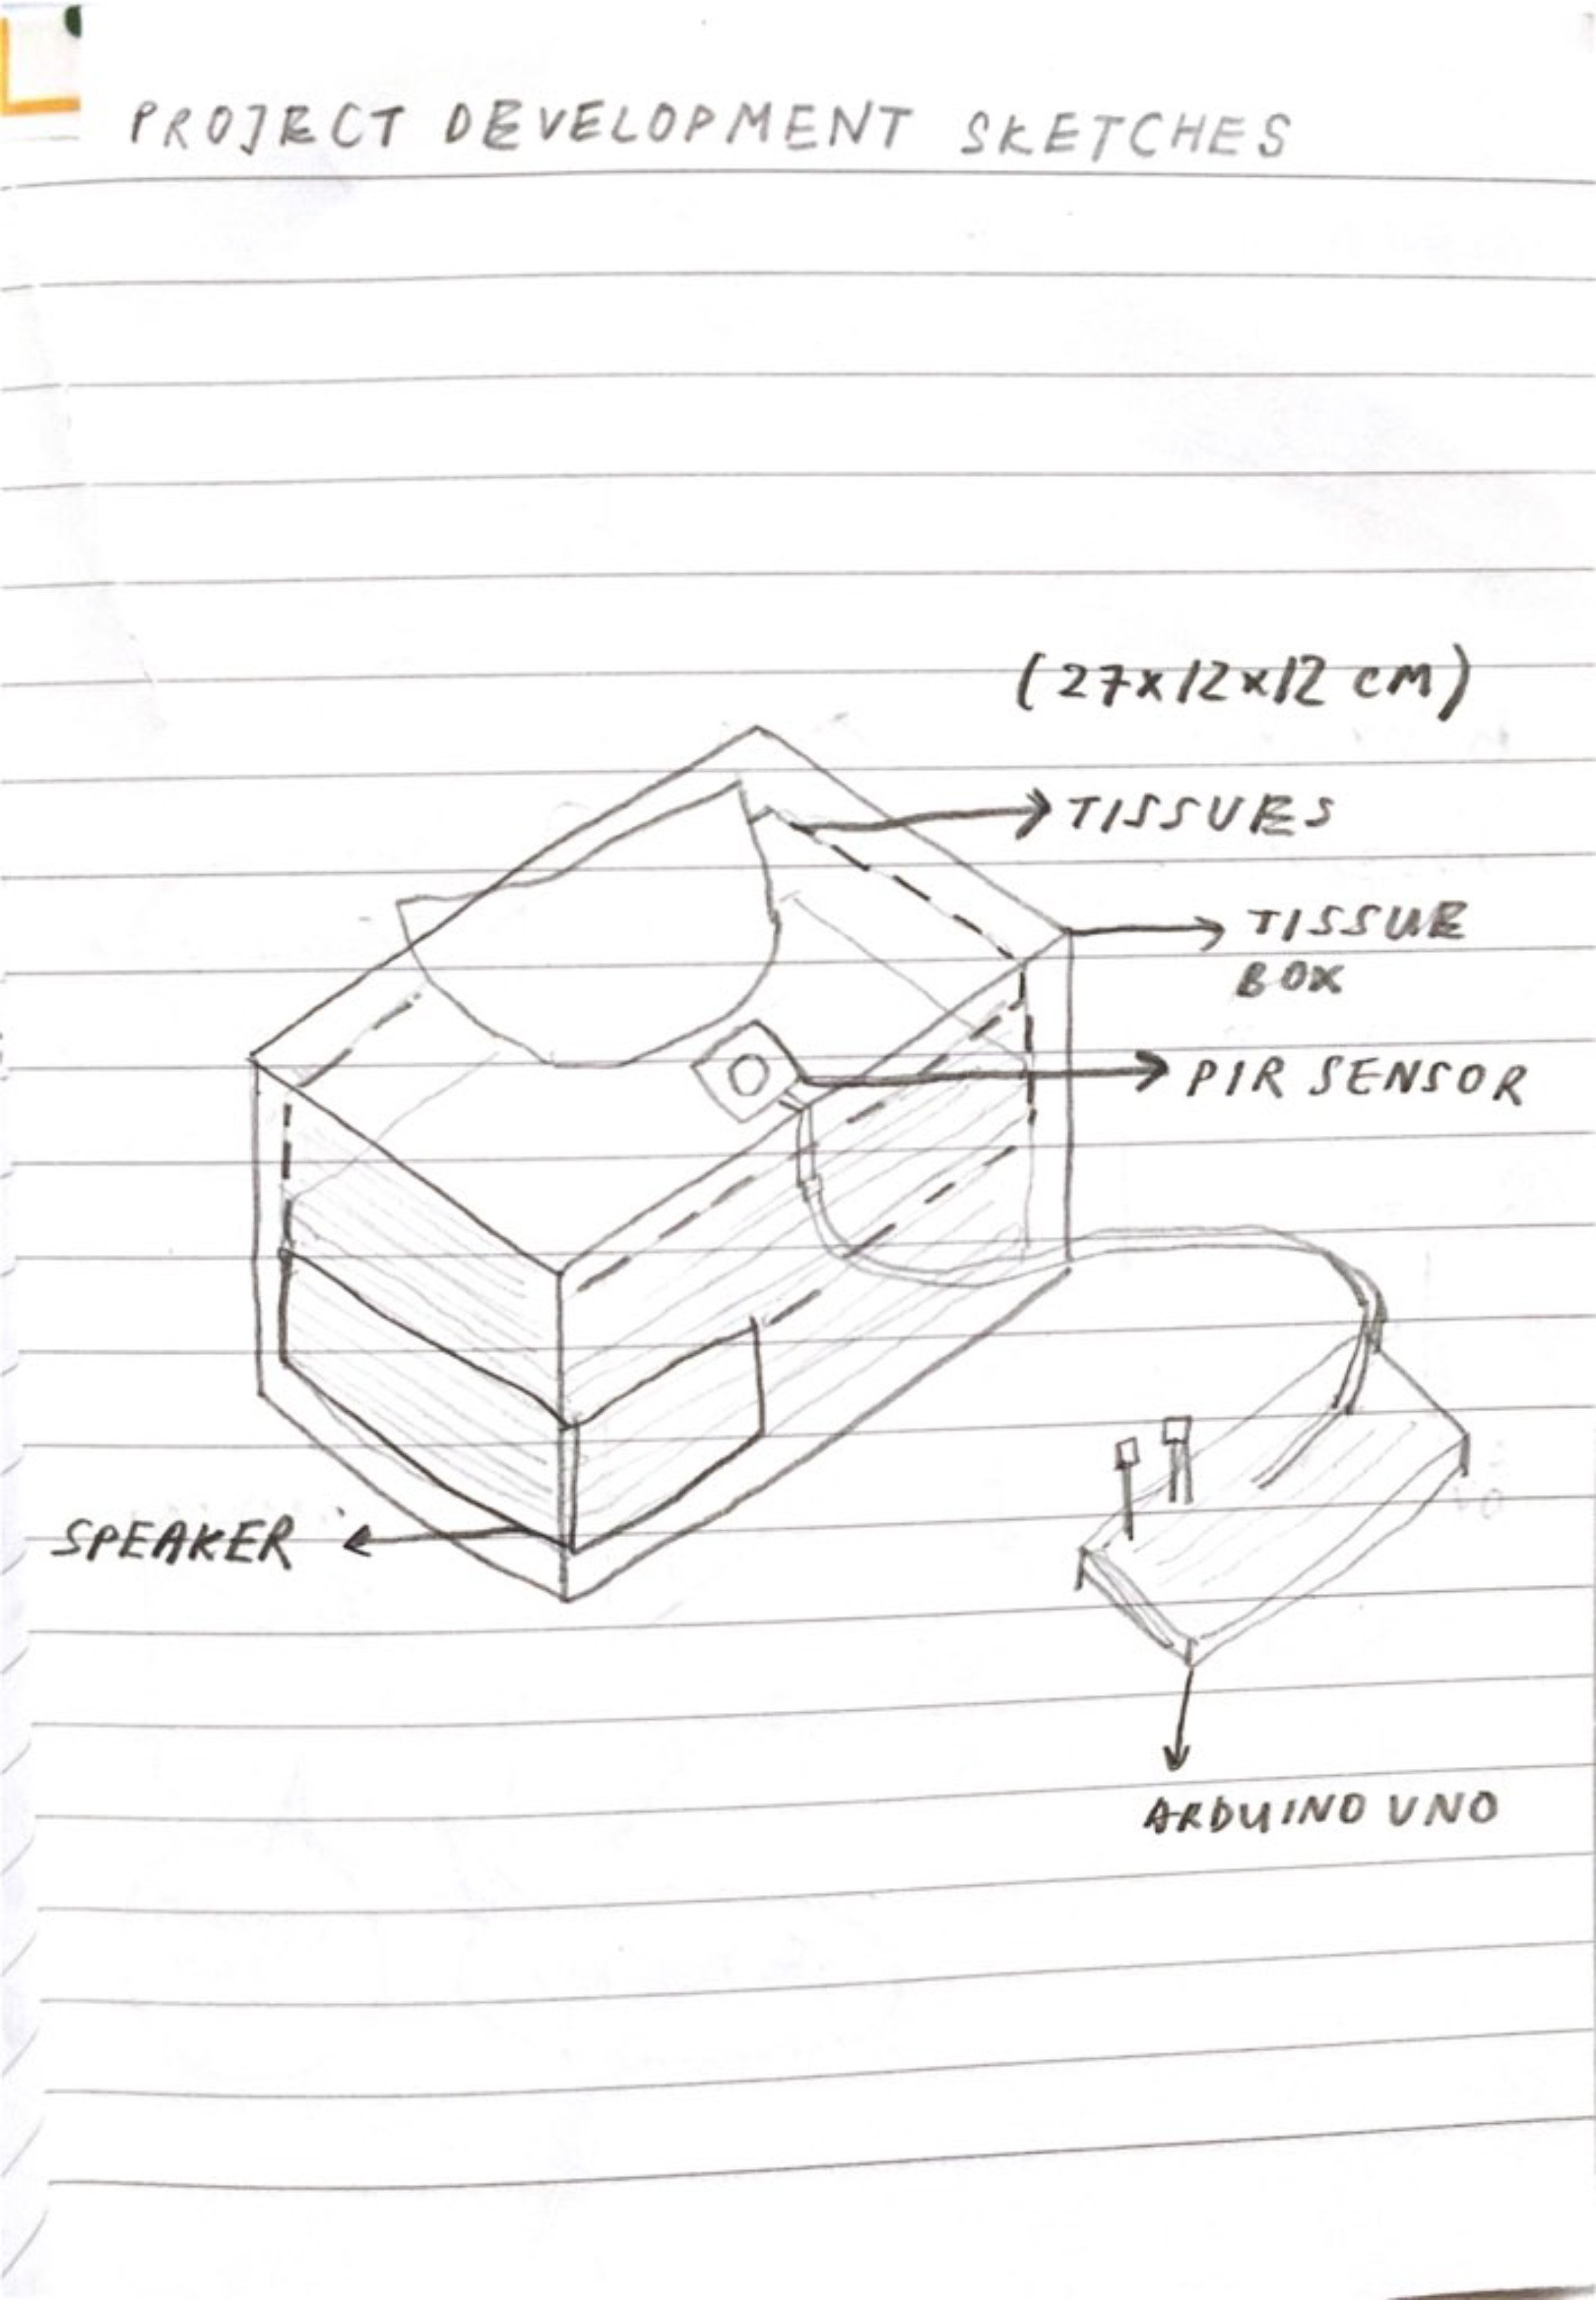
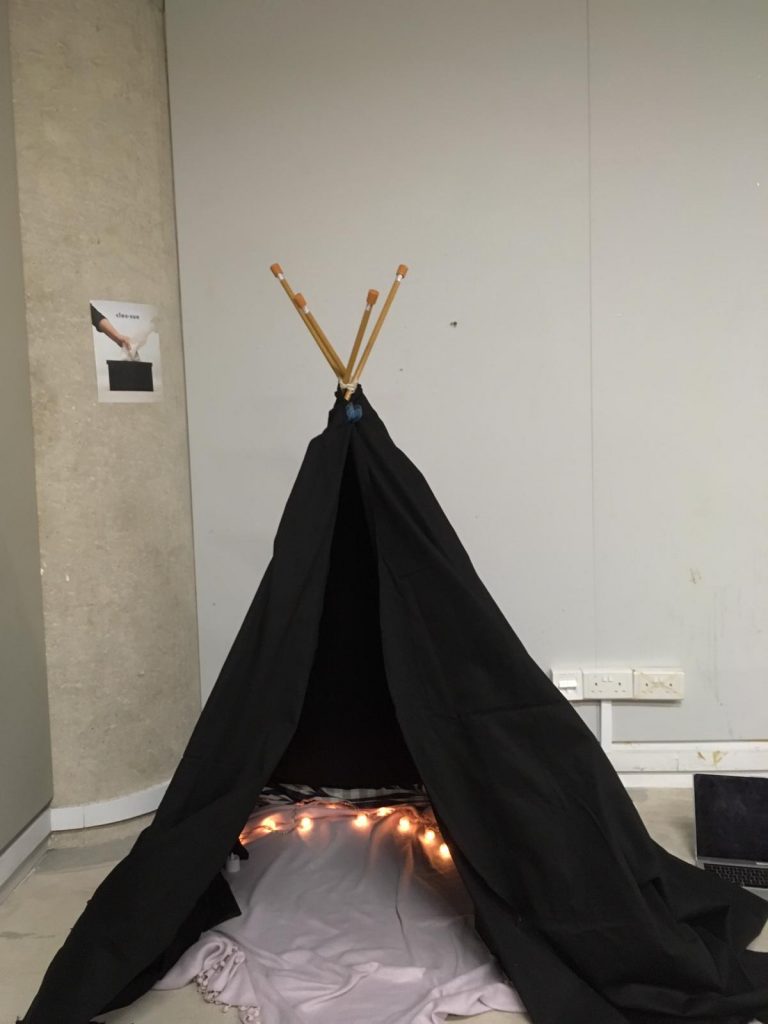
This was our bodystorming prototype and after the feedback gathered, we realised that we should create an environment for the audience to immerse themselves in in order to experience this project ideally as it is hard to get into a reflective/sad mood with just a tissue box.
We decided to set up a private space.
We thought of giving the audience a scenario (and Lei asked us to do such that even those who hasn’t lost anybody can experience the box with the right mood) but instead of doing so, decided that we should market this as a product instead such that only those who have lost anybody would buy it which is what we envisioned it to be at first.

Hence, for the demonstration, there are instructions for those who have lost somebody and those who haven’t. And for those who haven’t, we gave them instructions to take tissues for somebody else whom they know have lost someone and mourn for their loss instead (to put them in the same reflective mood).
WHAT TO DO IF YOU HAVE LOST SOMEONE BEFORE:
- Imagine the person you lost and what you would like them to say to you.
- Enter tent. Sit comfortably.
- Take five pieces of tissue.
- Listen.
- Feel comforted and/or sad.
- Exit tent whenever.
WHAT TO DO IF YOU HAVEN’T:
- Someone around you, or someone you have heard of has probably
lost someone dear to them. Think of them and the person they lost. - Enter tent. Sit comfortably.
- Take five pieces of tissue.
- Listen.
- Mourn on behalf of the person you thought of.
- Exit tent whenever.
Stand-alone Video
Password: hello
Instructables-style process document
Step 1: PARTS REQUIRED
This simple project can be done with minimal components. The parts list are given below
Arduino Uno – 1
LDR Sensor – 1
Breadboard – 1
Resistor 10k ohm – 1
Connecting Wires – 4
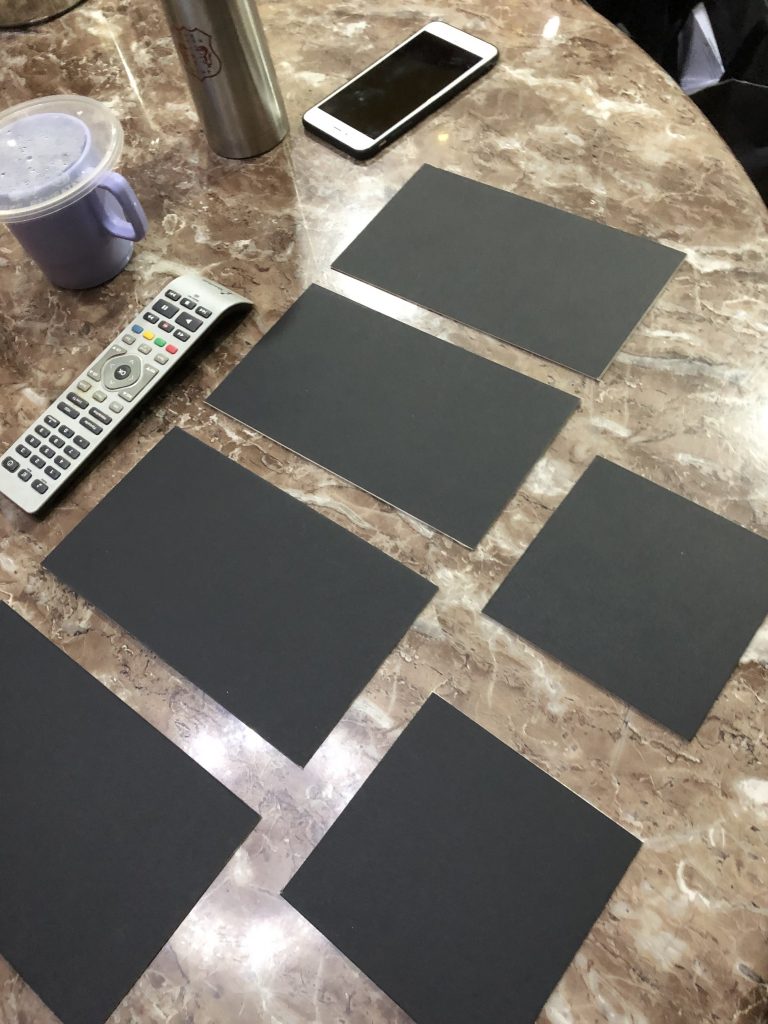
Step 2: DESIGN
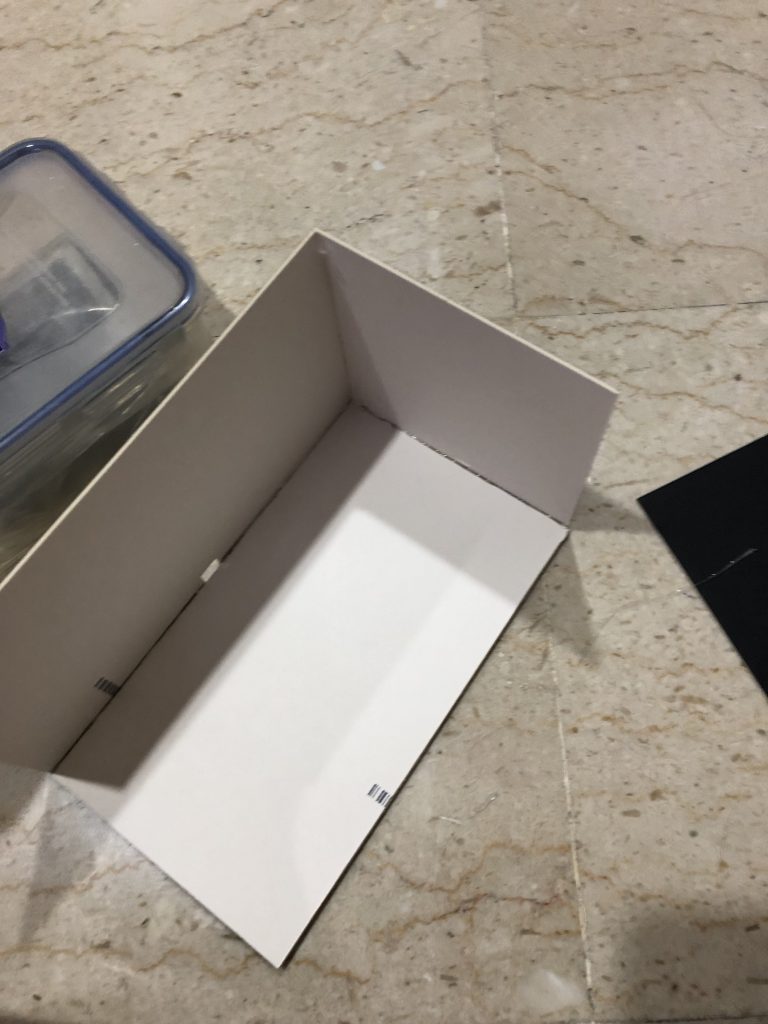
Measure out 4 (12 cm x 21 cm) board pieces and 2 (12 cm x 12 cm) board pieces

Step 3: Cut out a small 1 cm x 1 cm hole for the LDR sensor to pass through on one of the four bigger boards
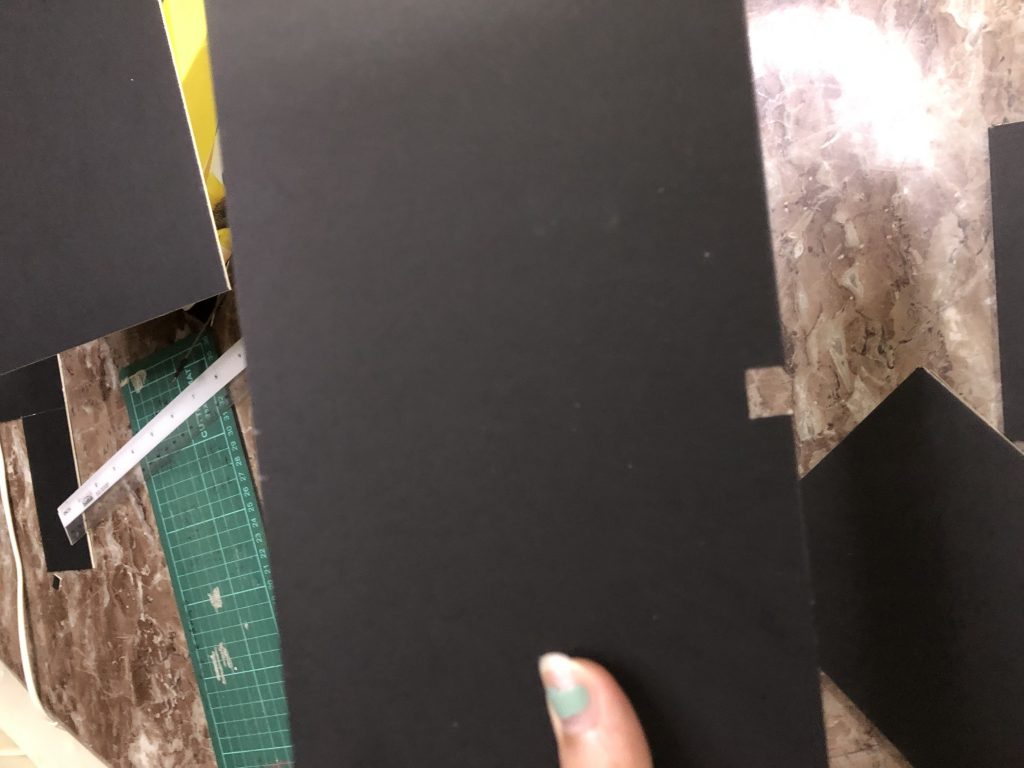
Step 4: Assemble the boards to form a cuboid using glue
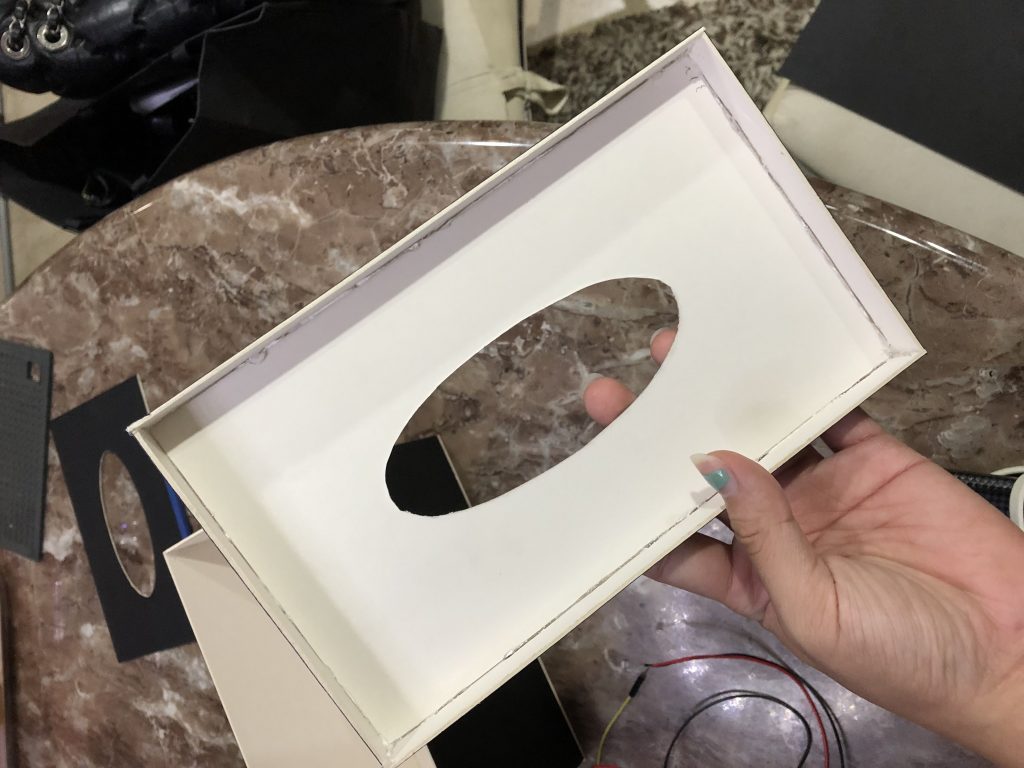
Step 5: For the cover, measure out 1 (12.7 cm x 21.7 cm) board piece for the body and 2 (22 cm x 1.6 cm) and 2 (12.7 cm x 1.6 cm) side pieces
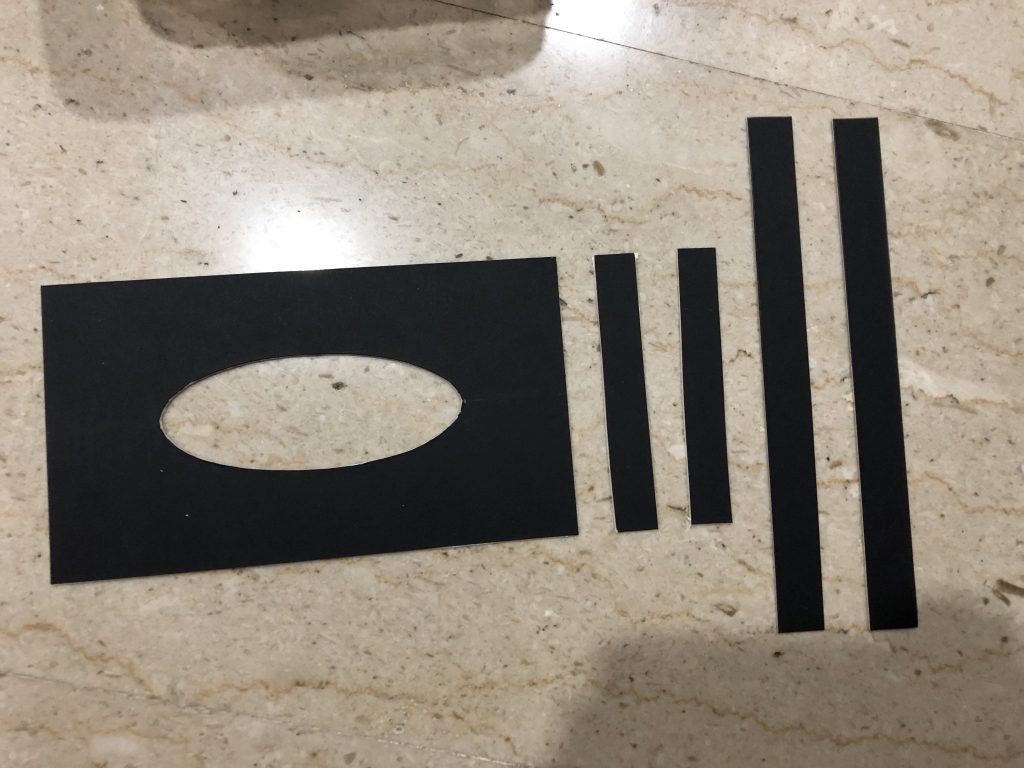
Step 6: Assemble them to form the cover with some glue
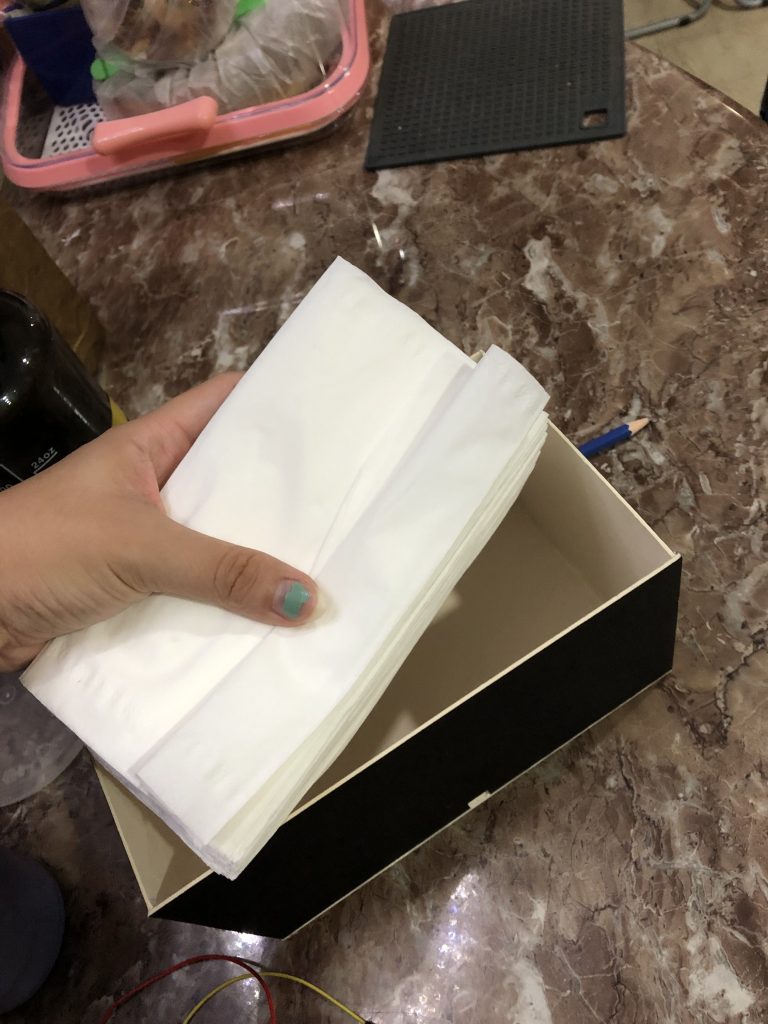
Step 7: Add tissues
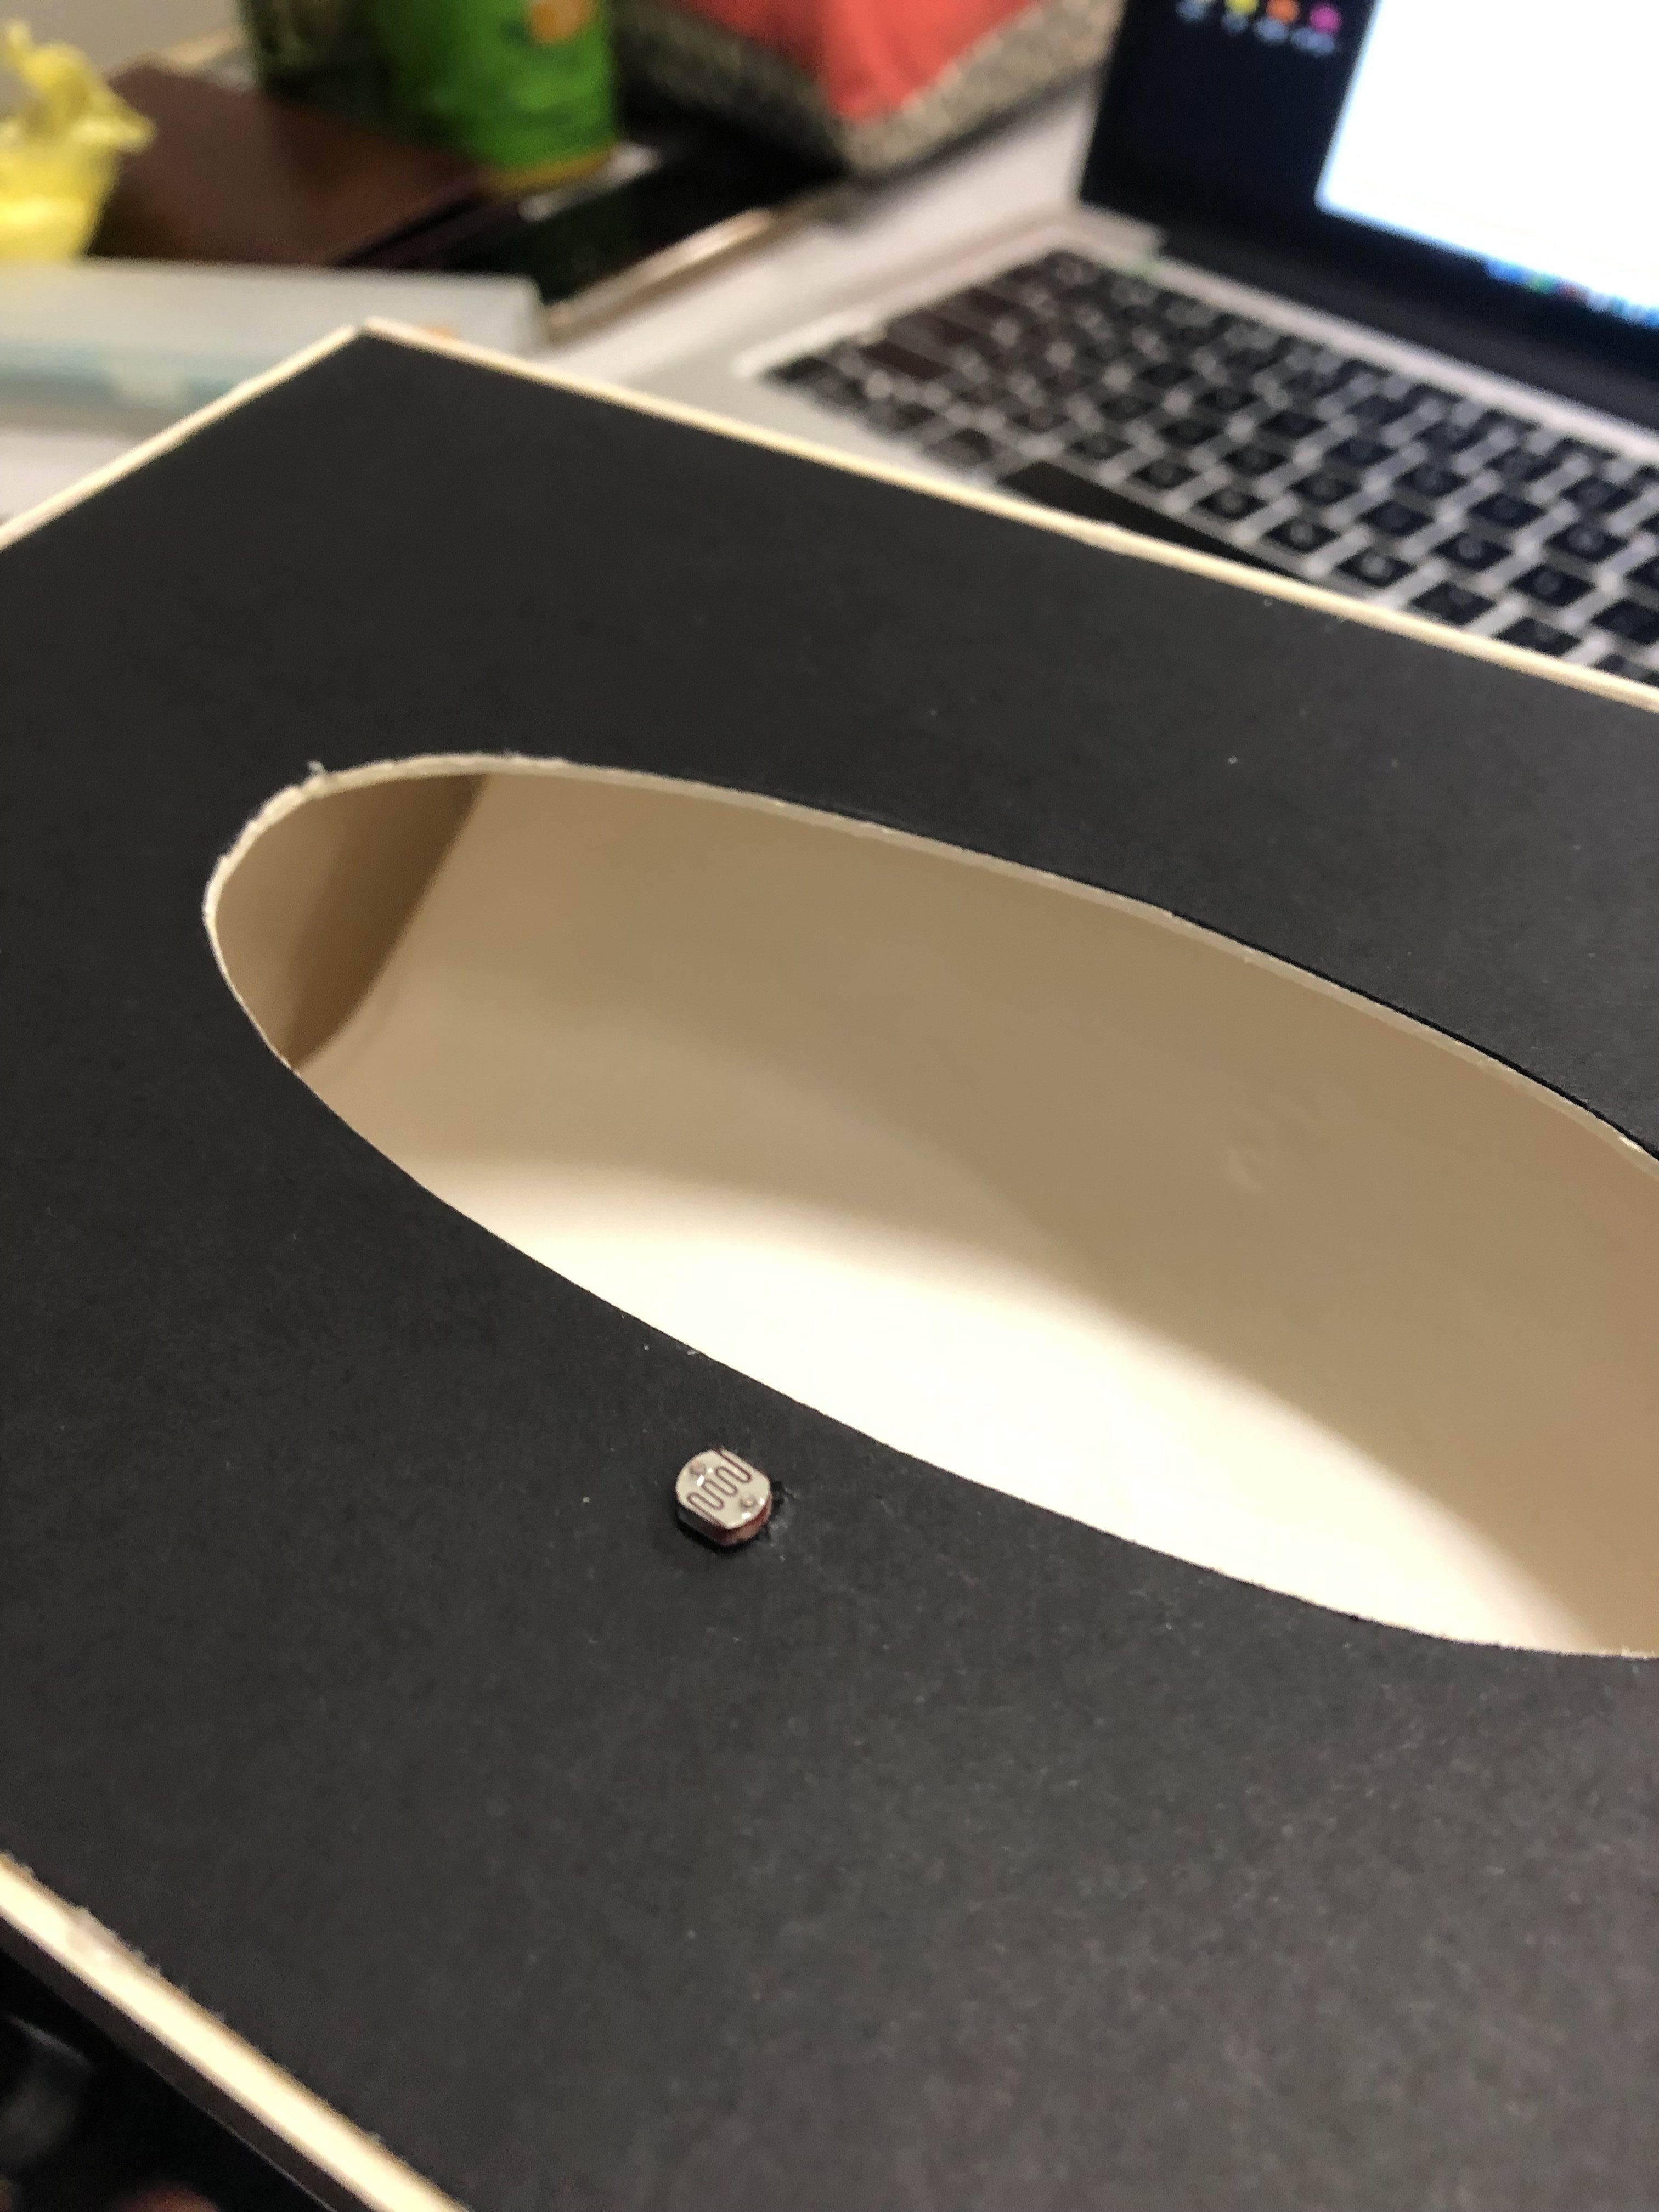
Step 8: Cut a small hole for the LDR sensor on the cover (center of it near the edge of the opening)
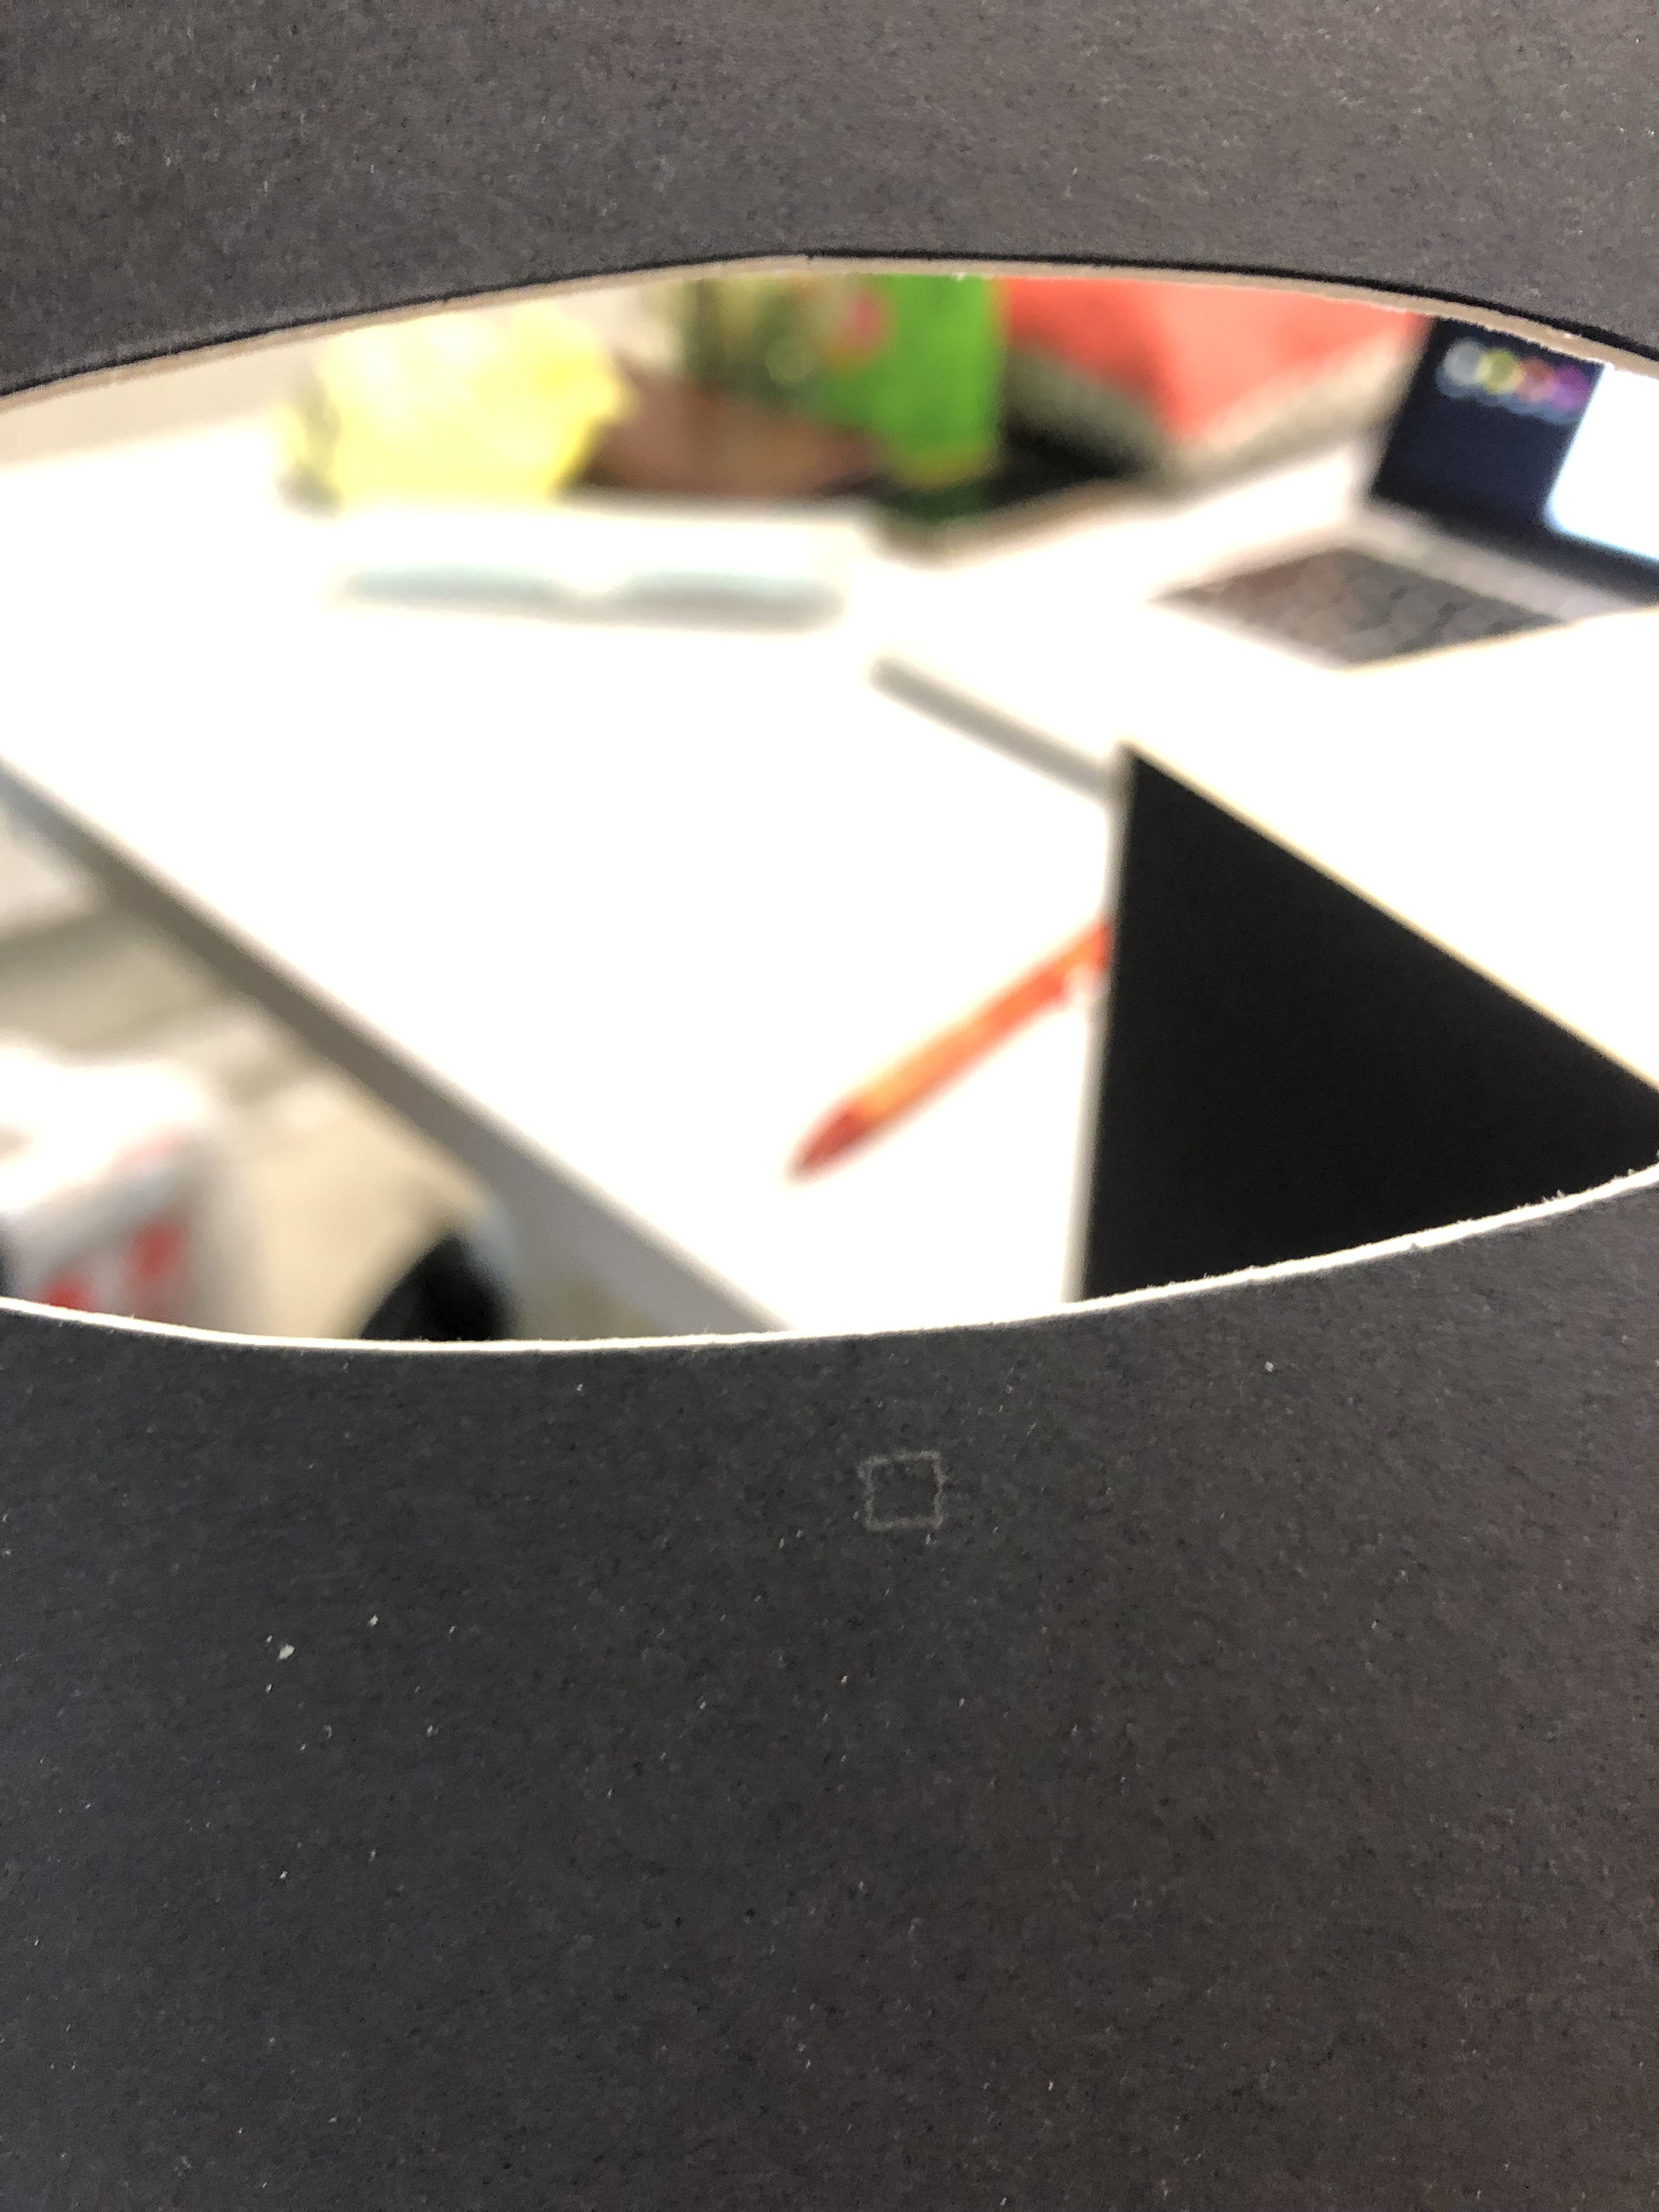
Step 9: Put the LDR sensor through and pull it out from the other side
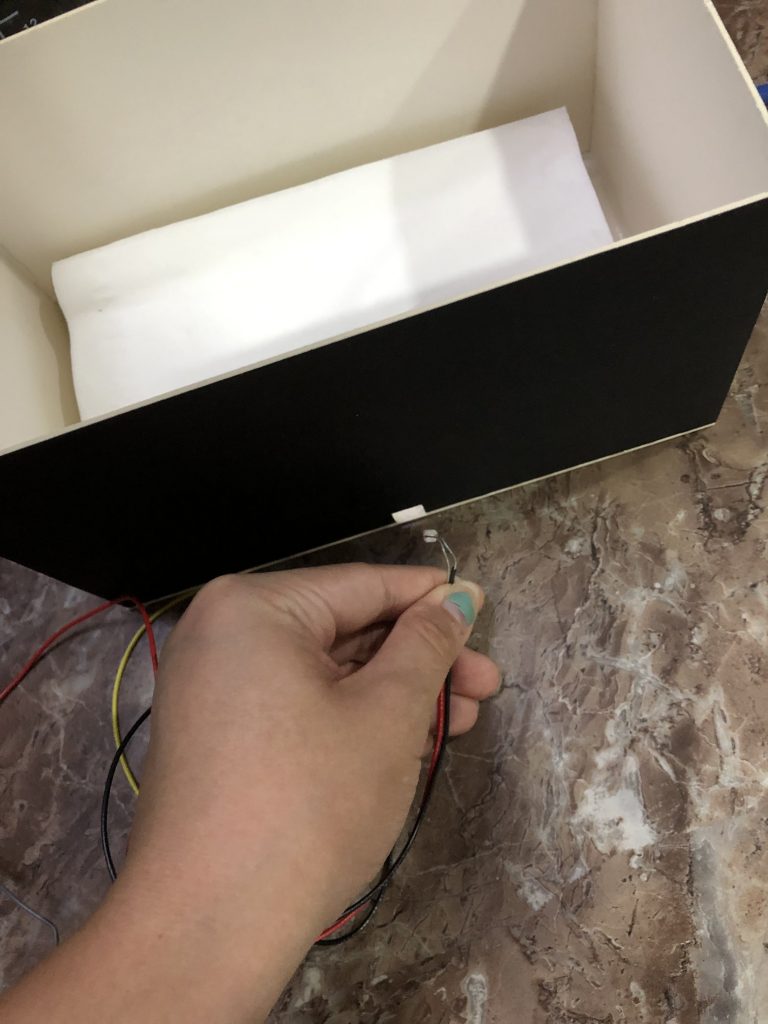
Step 10: push the photocell through the tiny hole on the cover
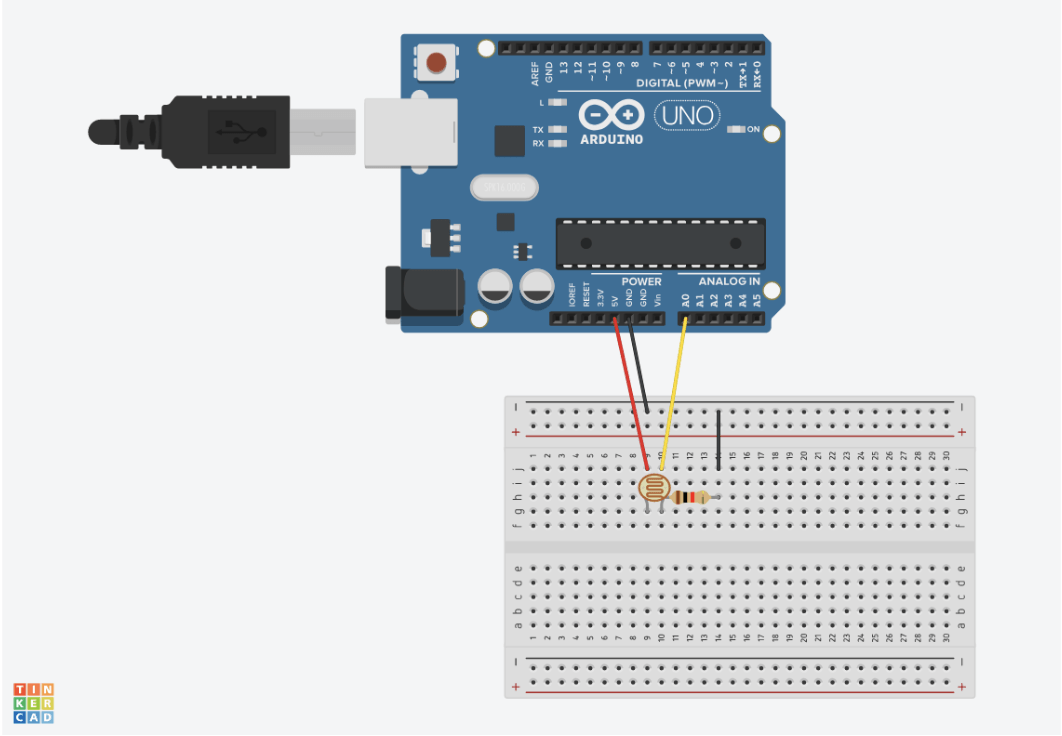
Step 11: Build Arduino circuit (one leg of the photocell is connected to 5V, the other is connected to A0, add the resistor to the leg of the photocell connected to A0 connect the other leg of the resistor to Ground)
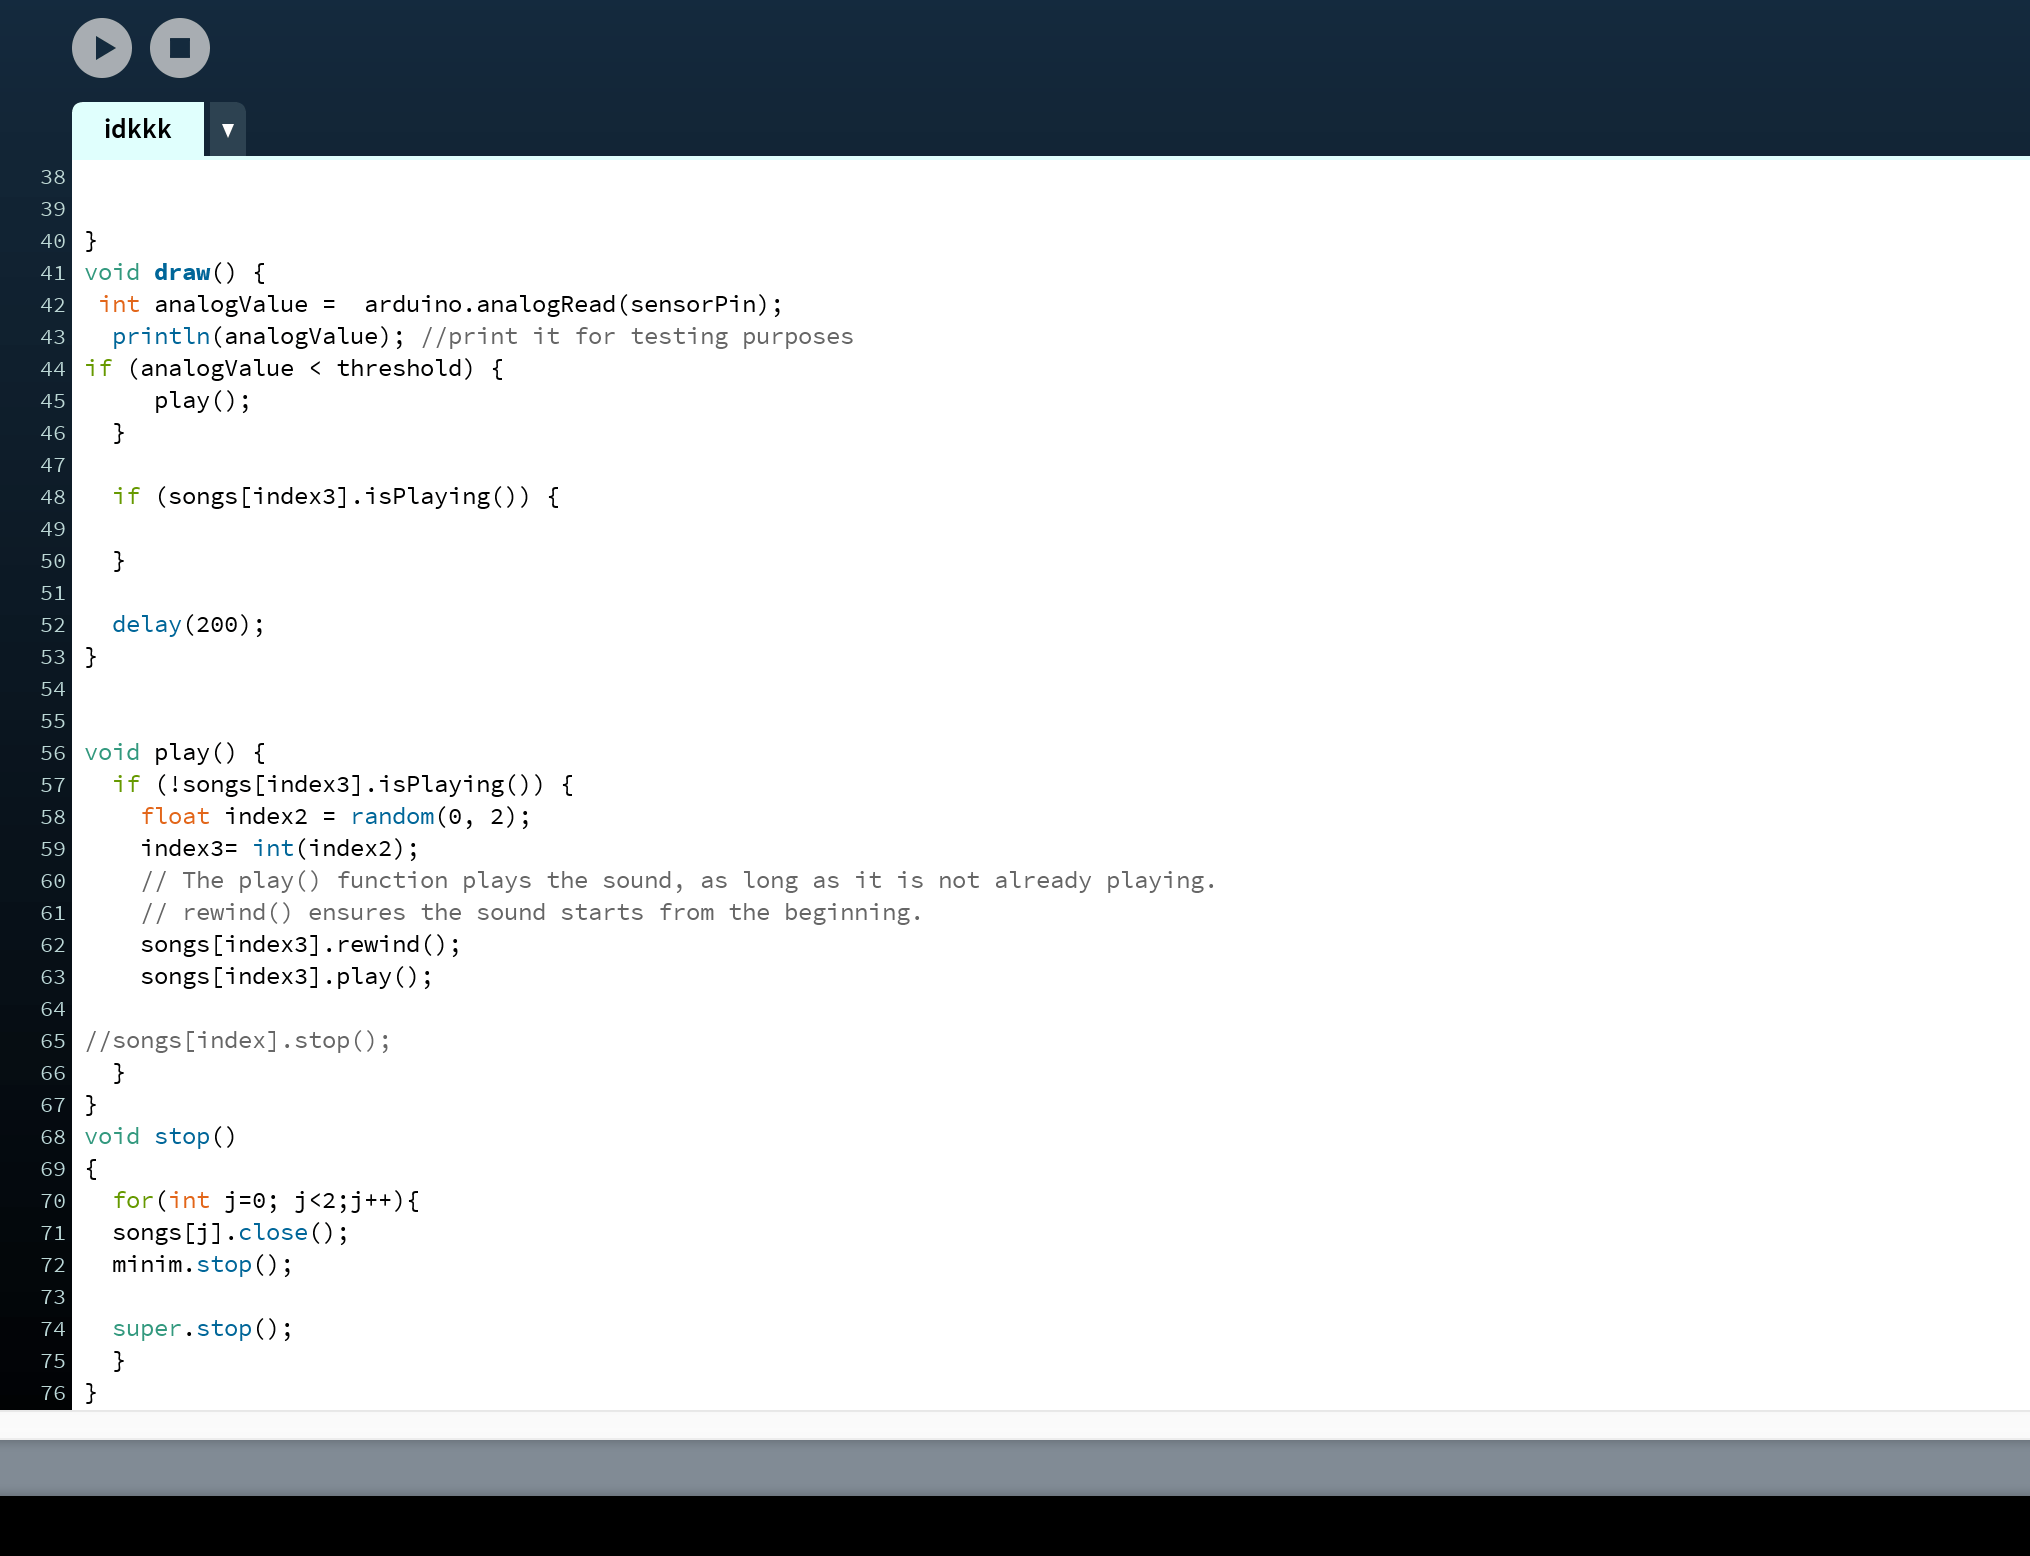
Step 3: CODING
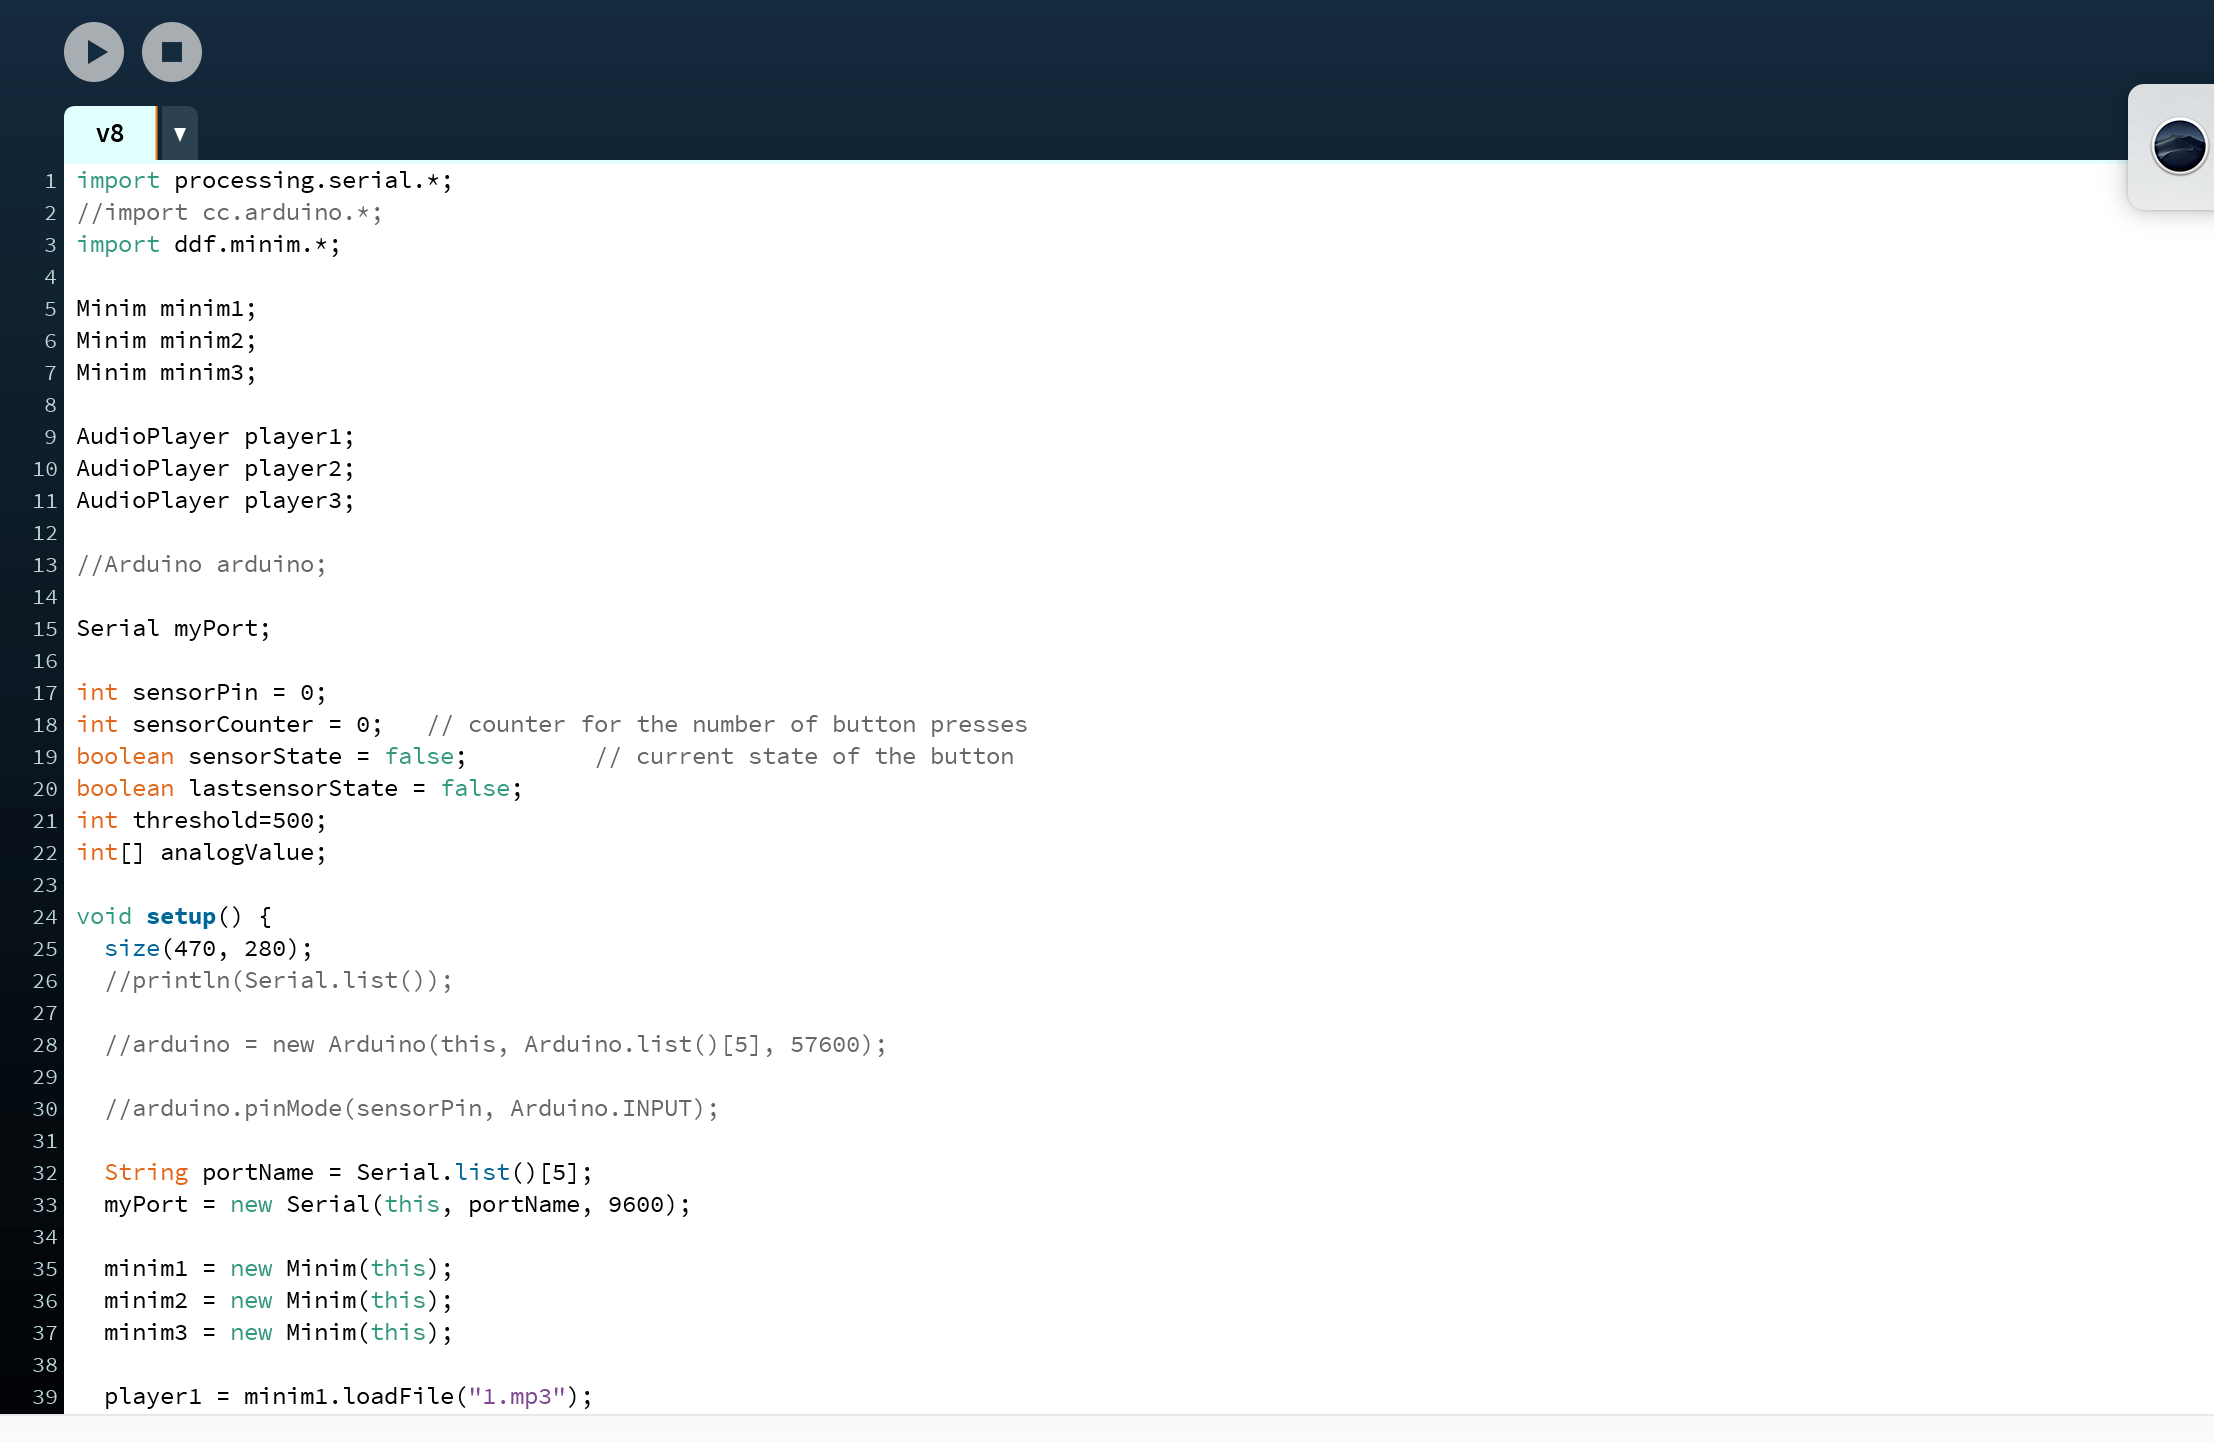
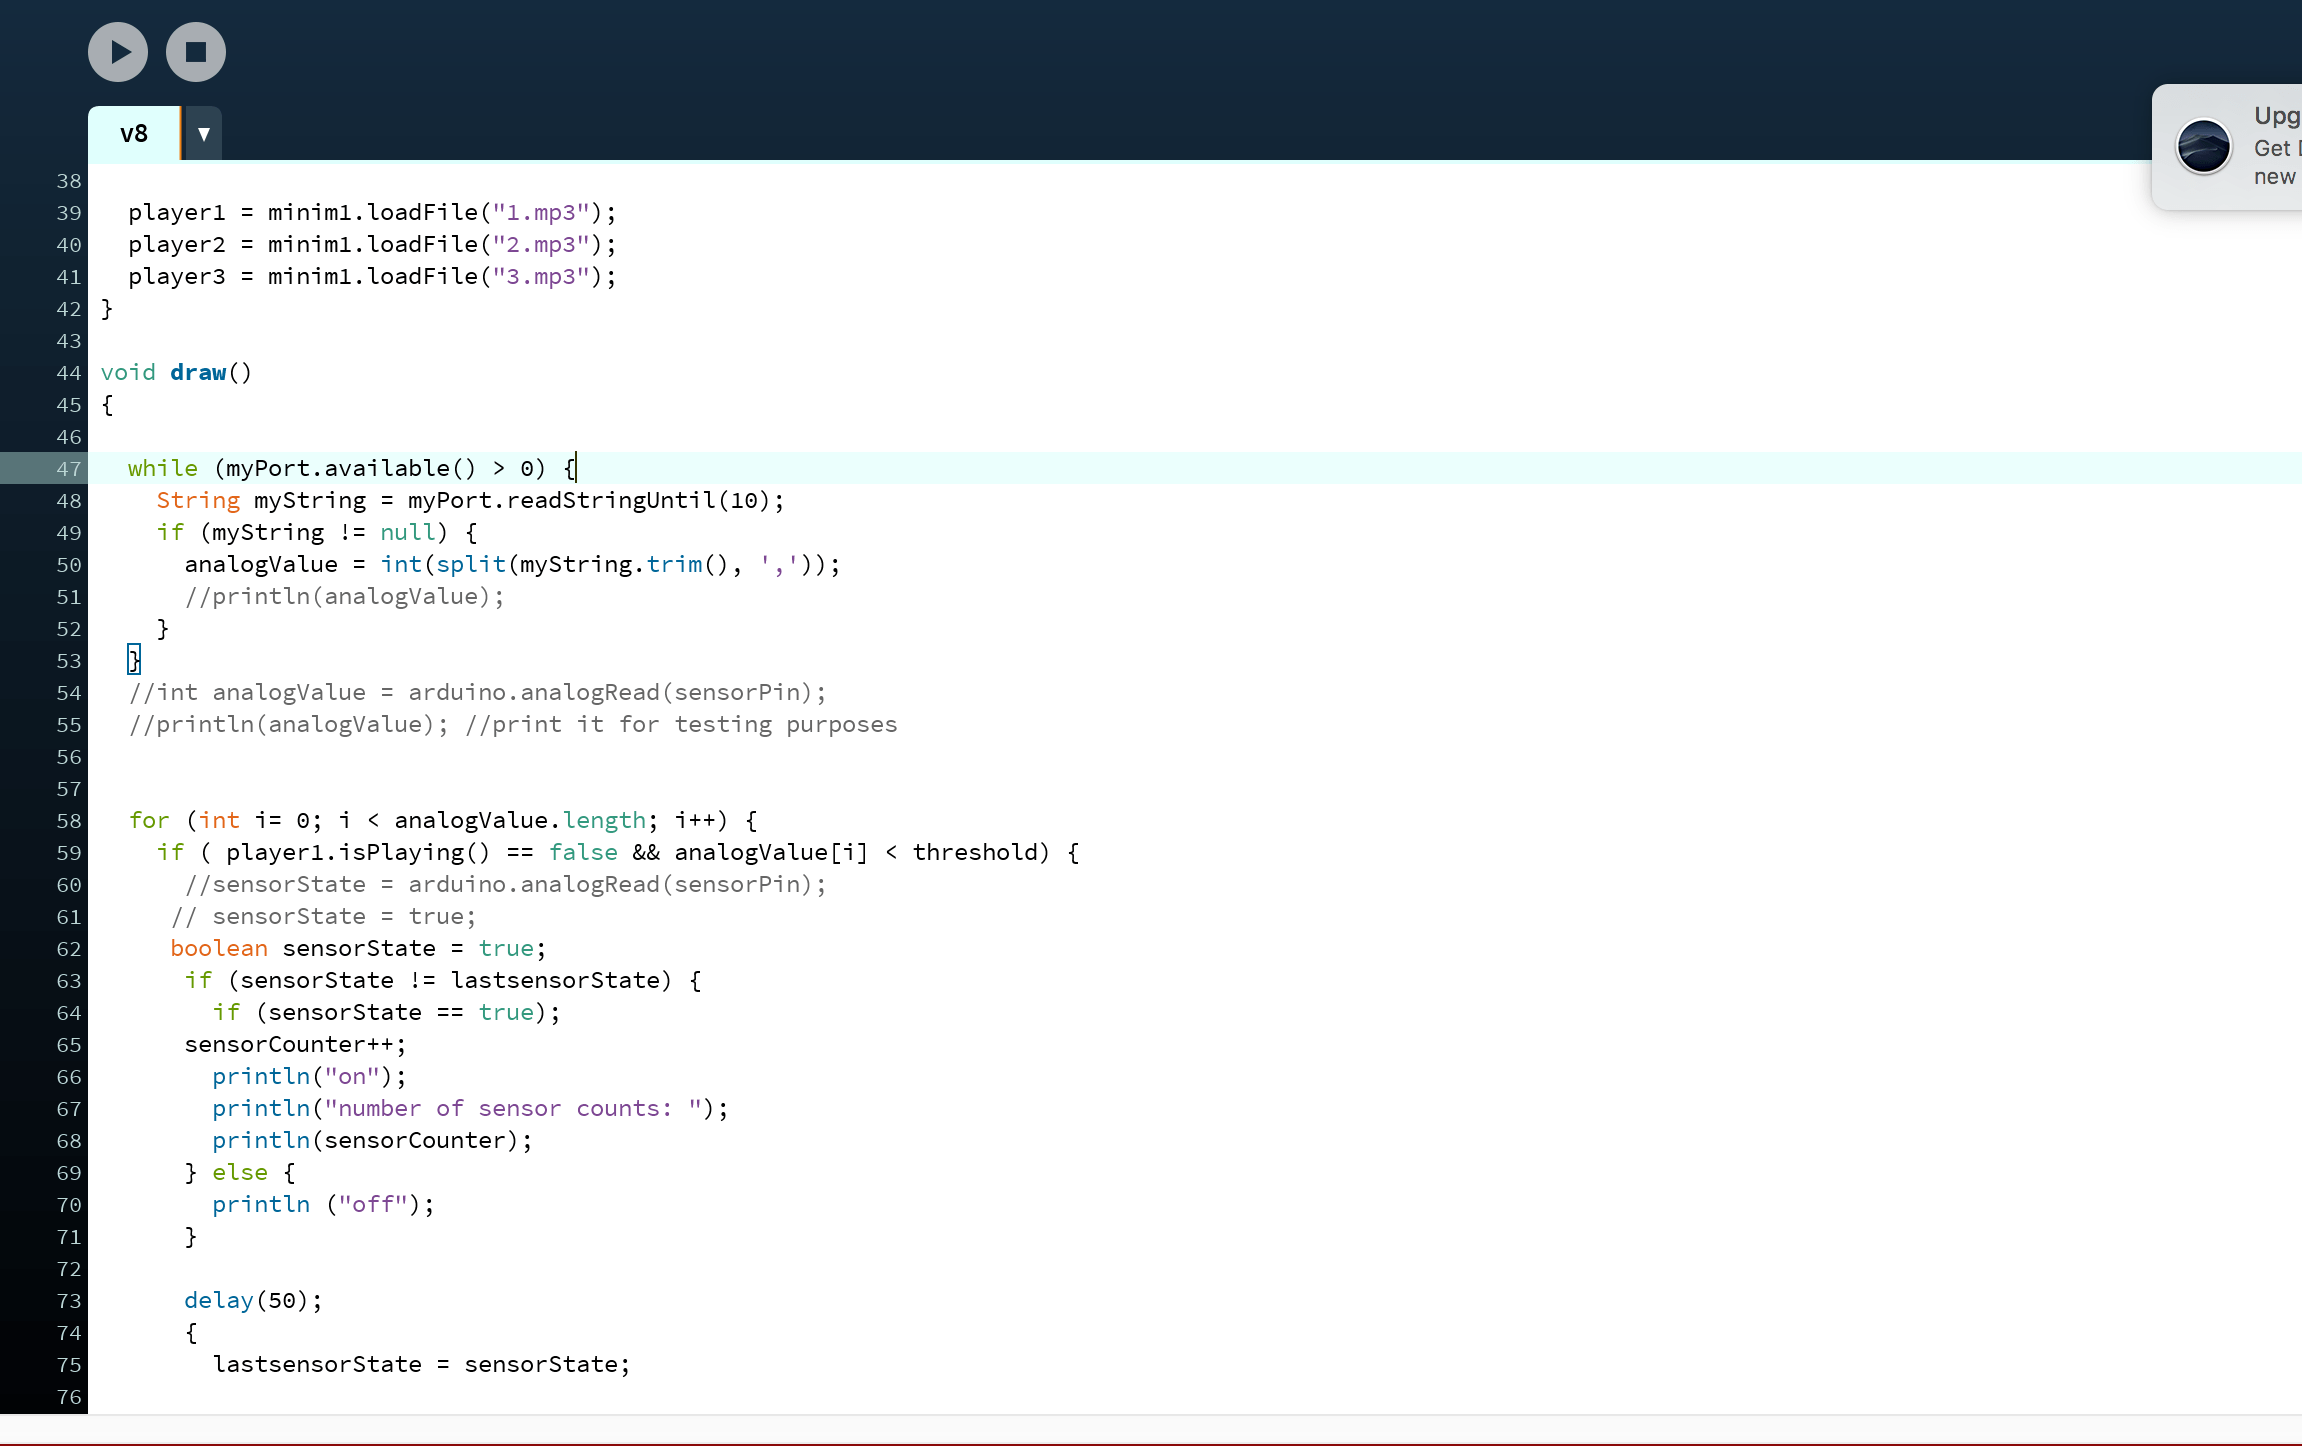
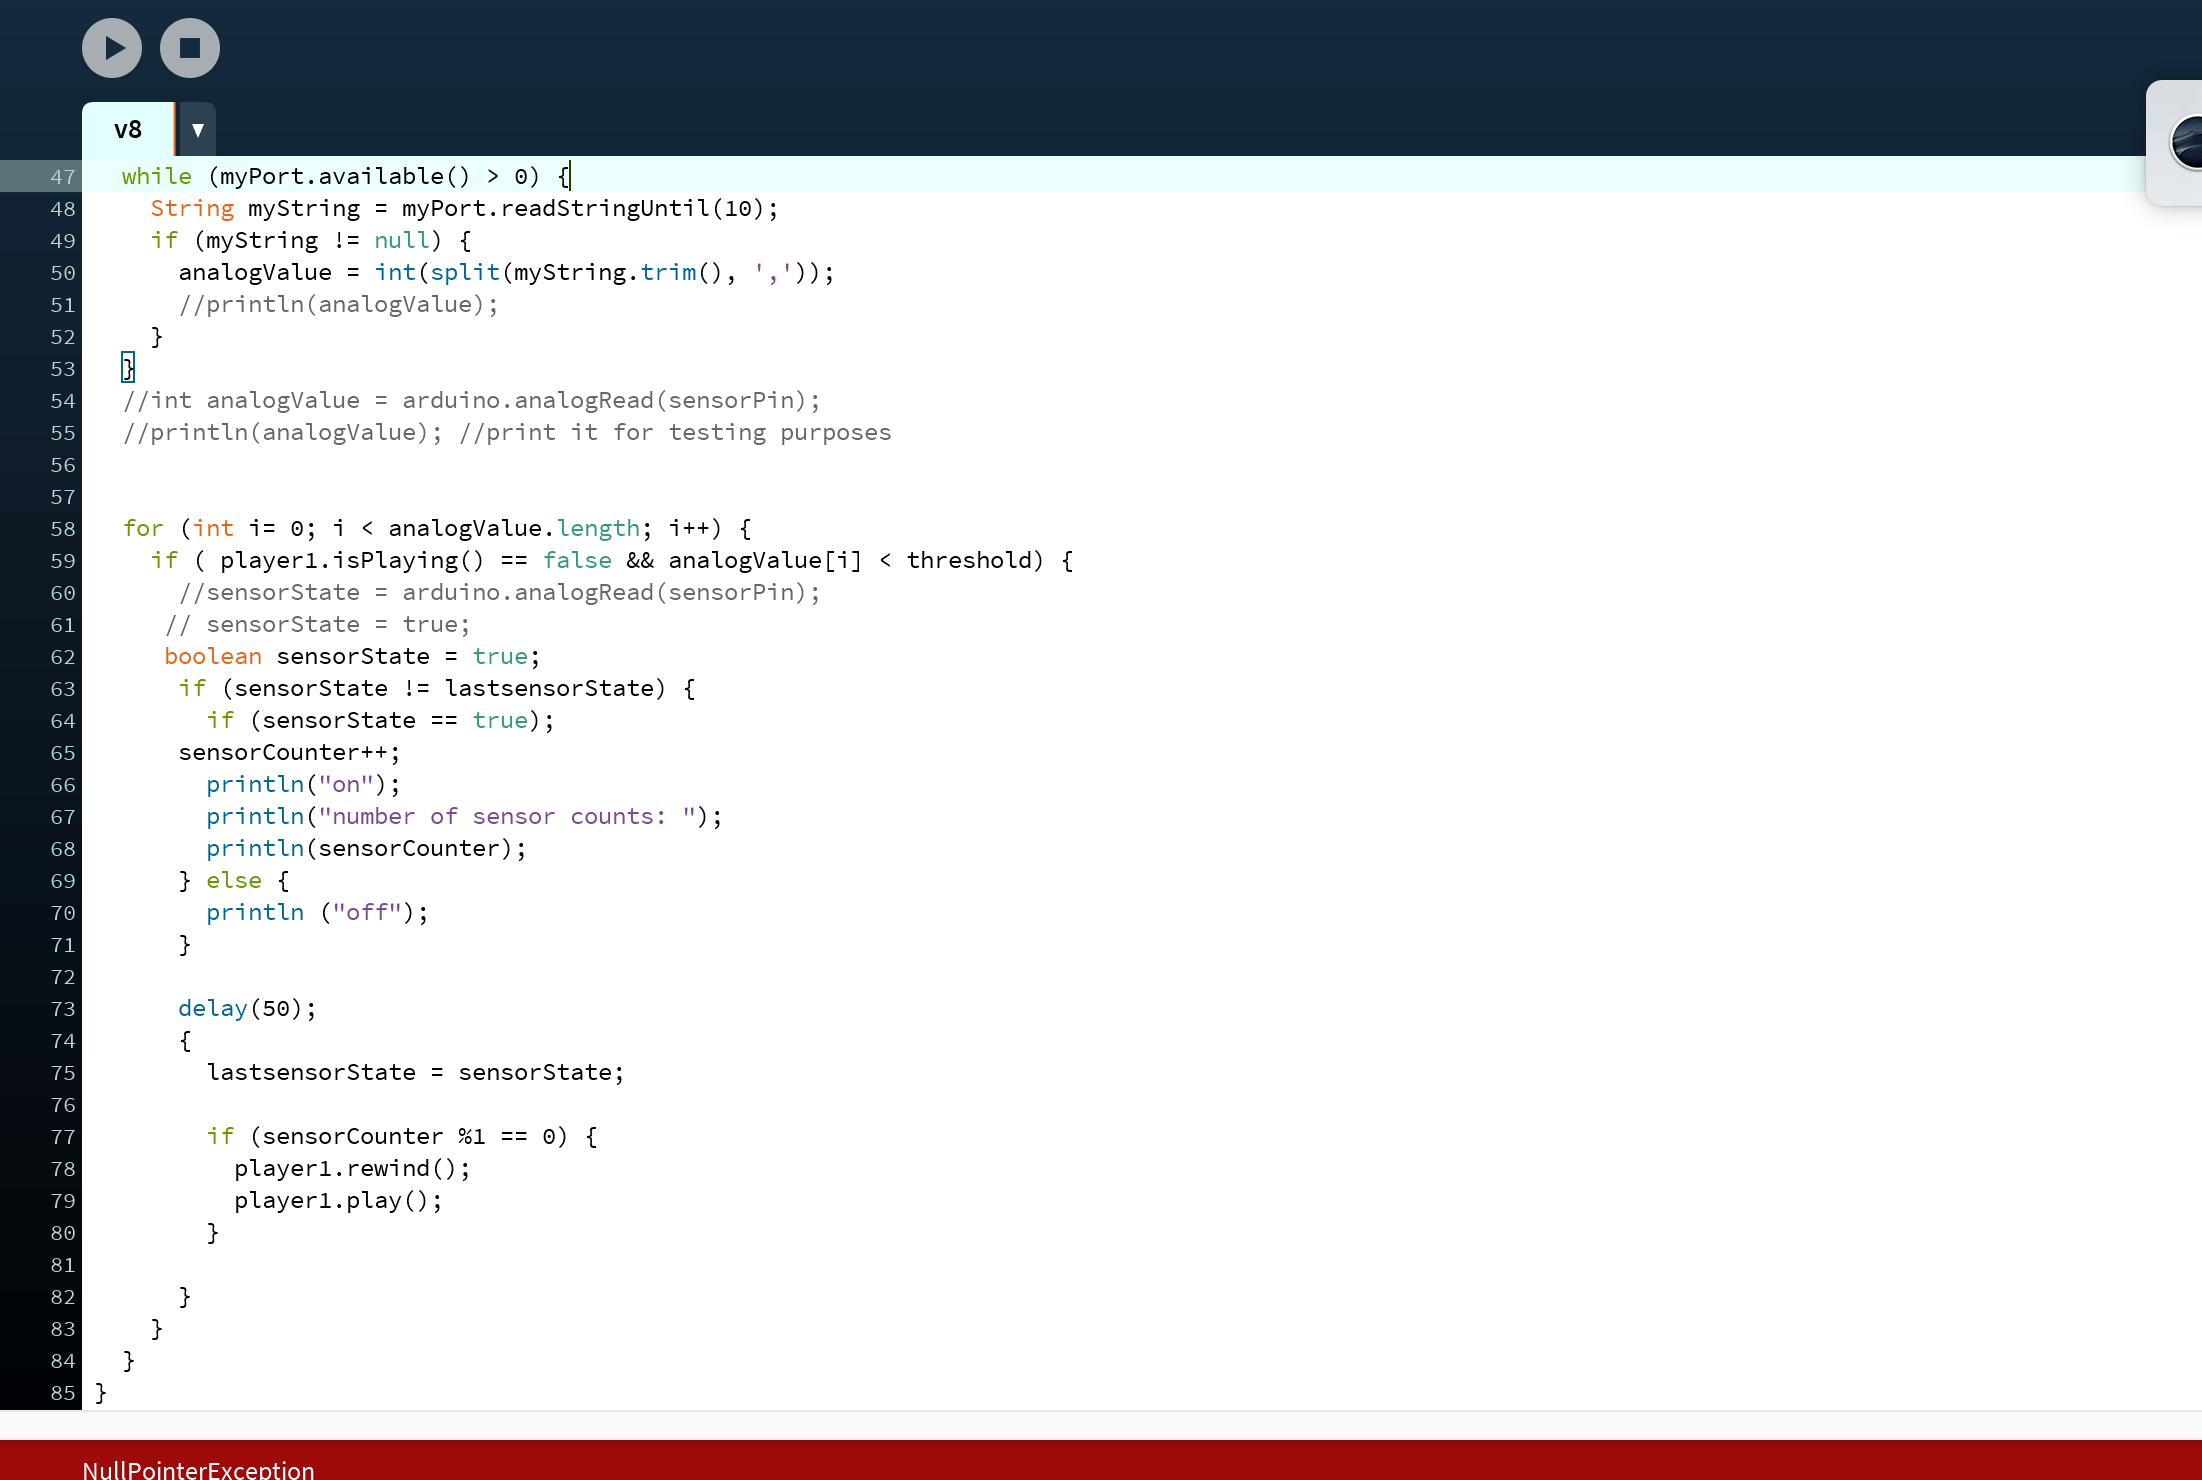
Step 12: Insert this code into Arduino

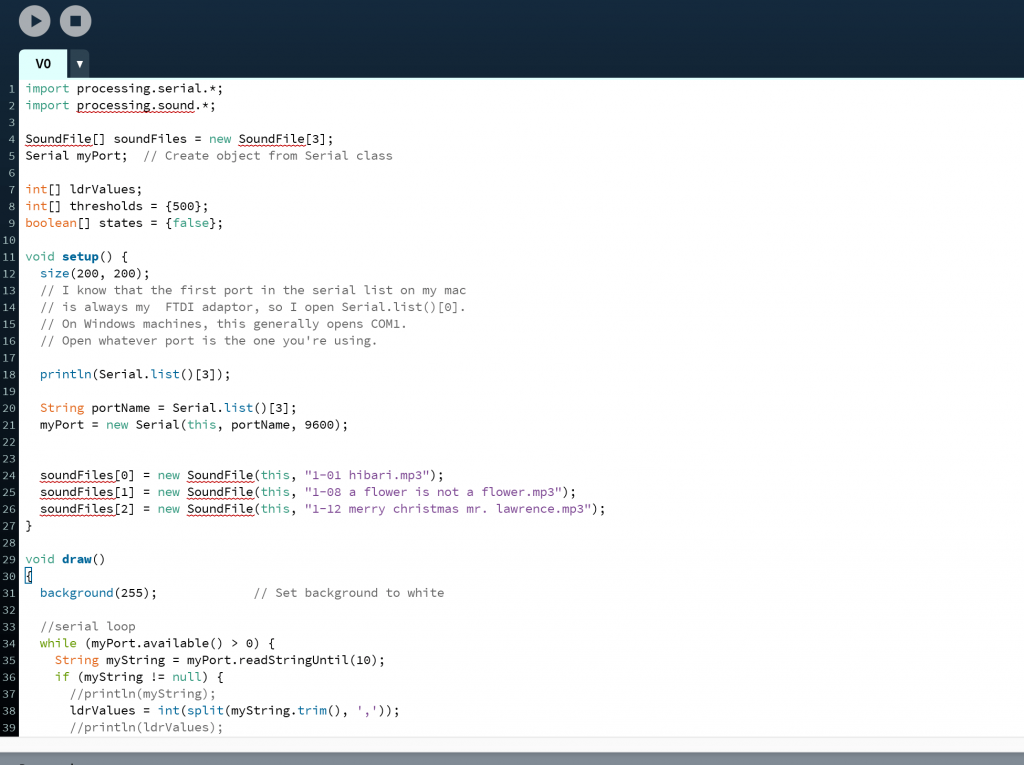
Step 13: Insert this code into Processing
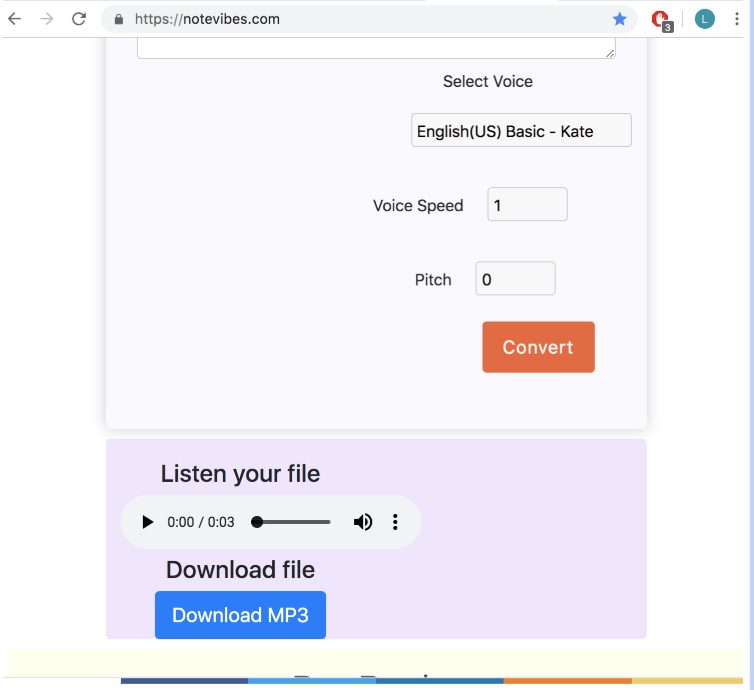
Step 14: Generate comforting messages sounded by robotic voices on: https://notevibes.com/
Step 15: Prep Sound files (edit and cut) and insert into processing file

Step 16: Sit in your bedroom, think about your lost one, cry a little, pull out some tissues and get some closure
Codes required + process:
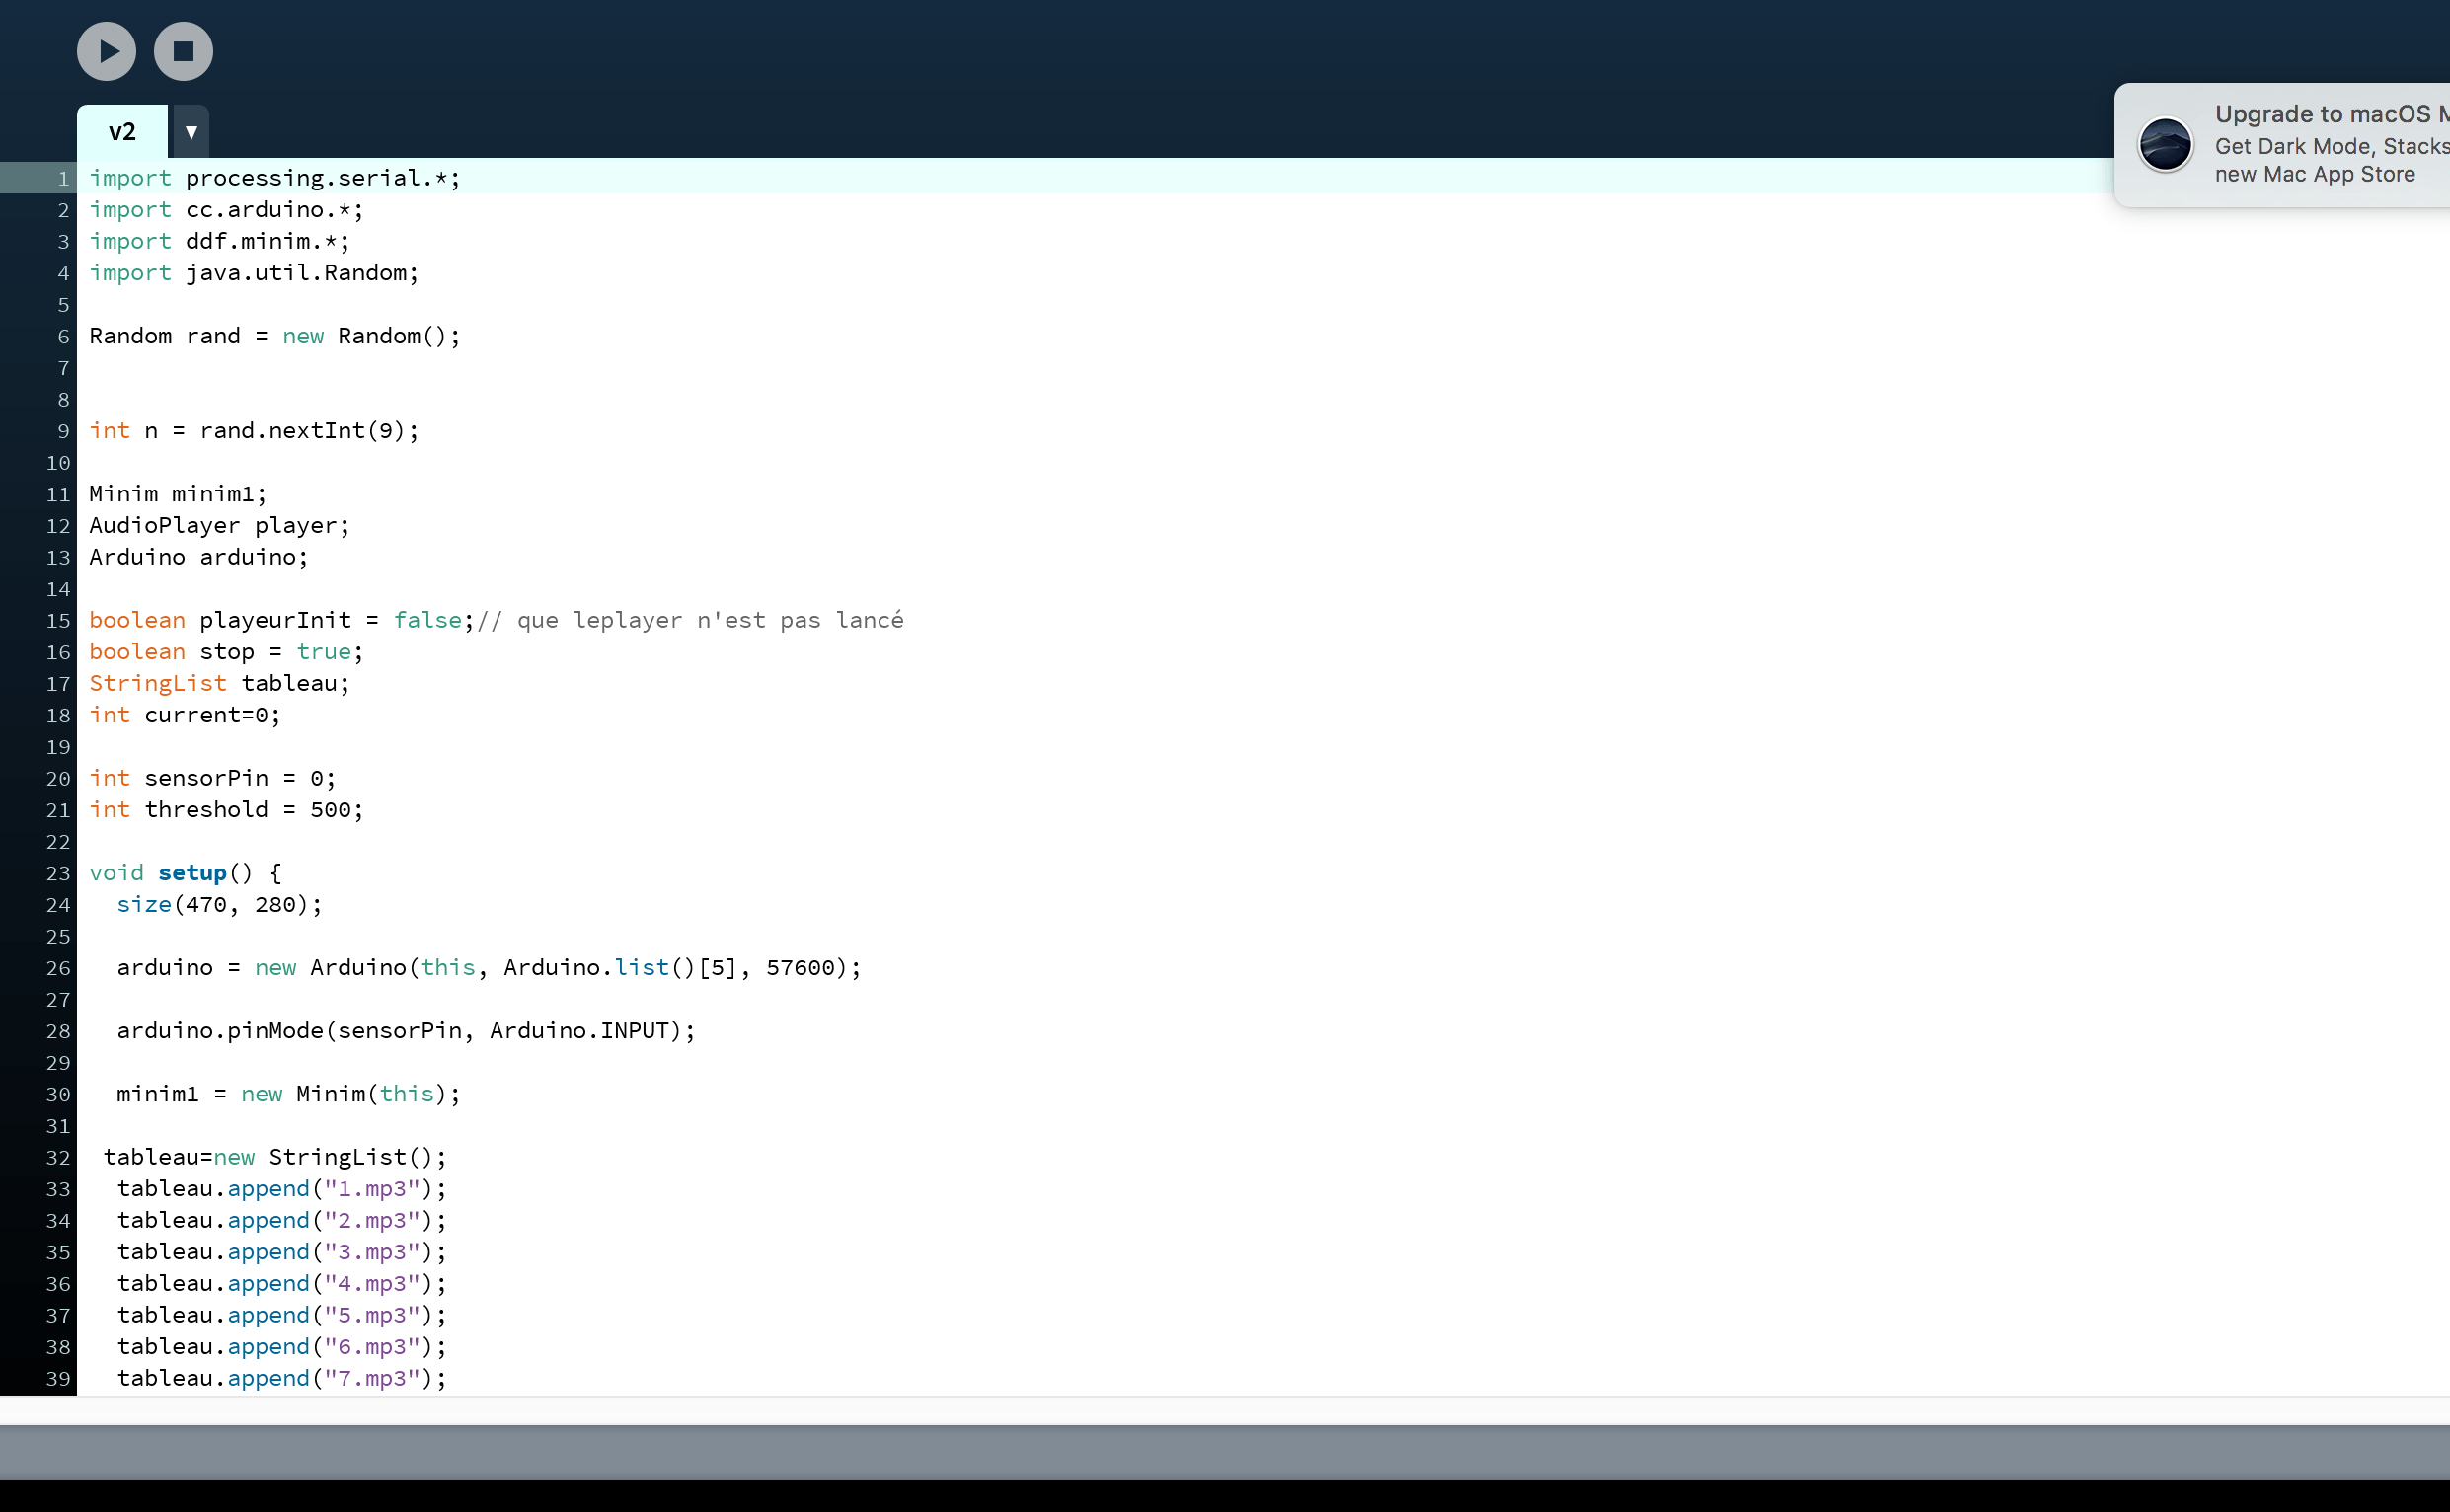
Arduino code used:
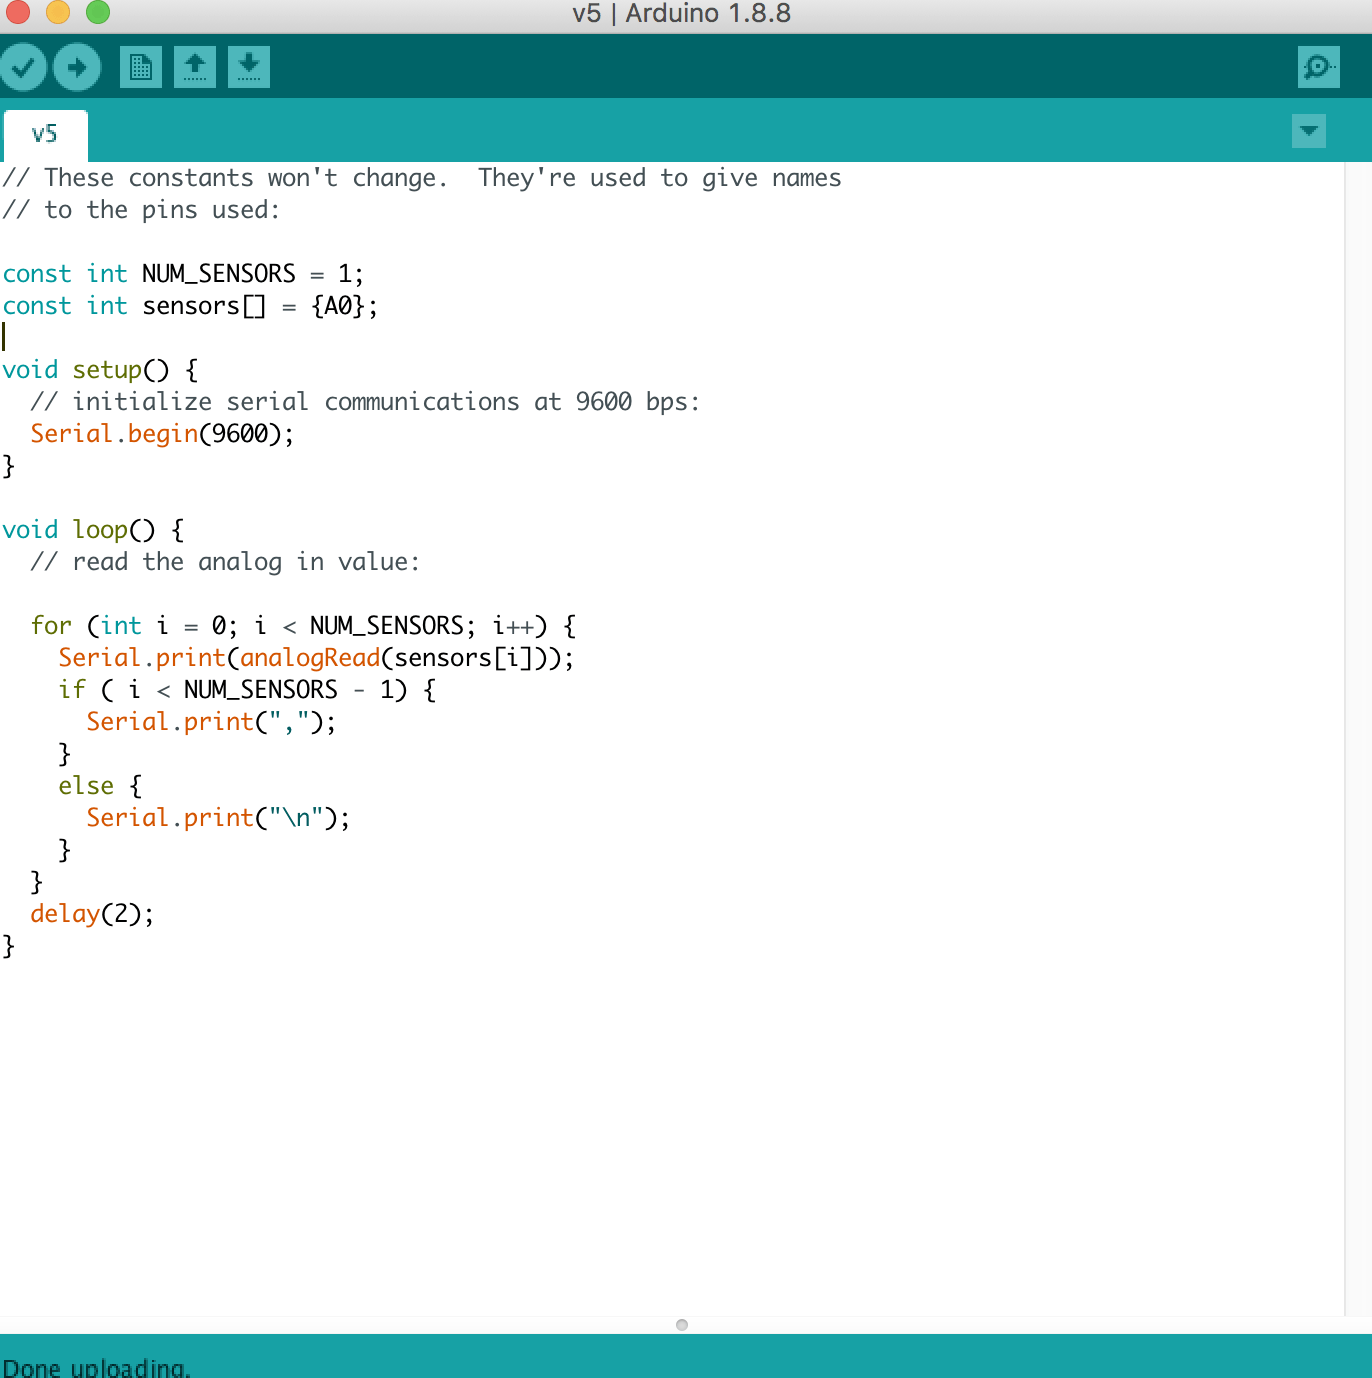
We found this code online and it was for a project with 5 sensors so we had to change it to 1 sensor and only A0.
The same project used this processing code but when we tried to adapt it, only when the hand hovers above the photocell, the sound is triggered and it cuts off when the hand is removed. It can only be triggered three times too.
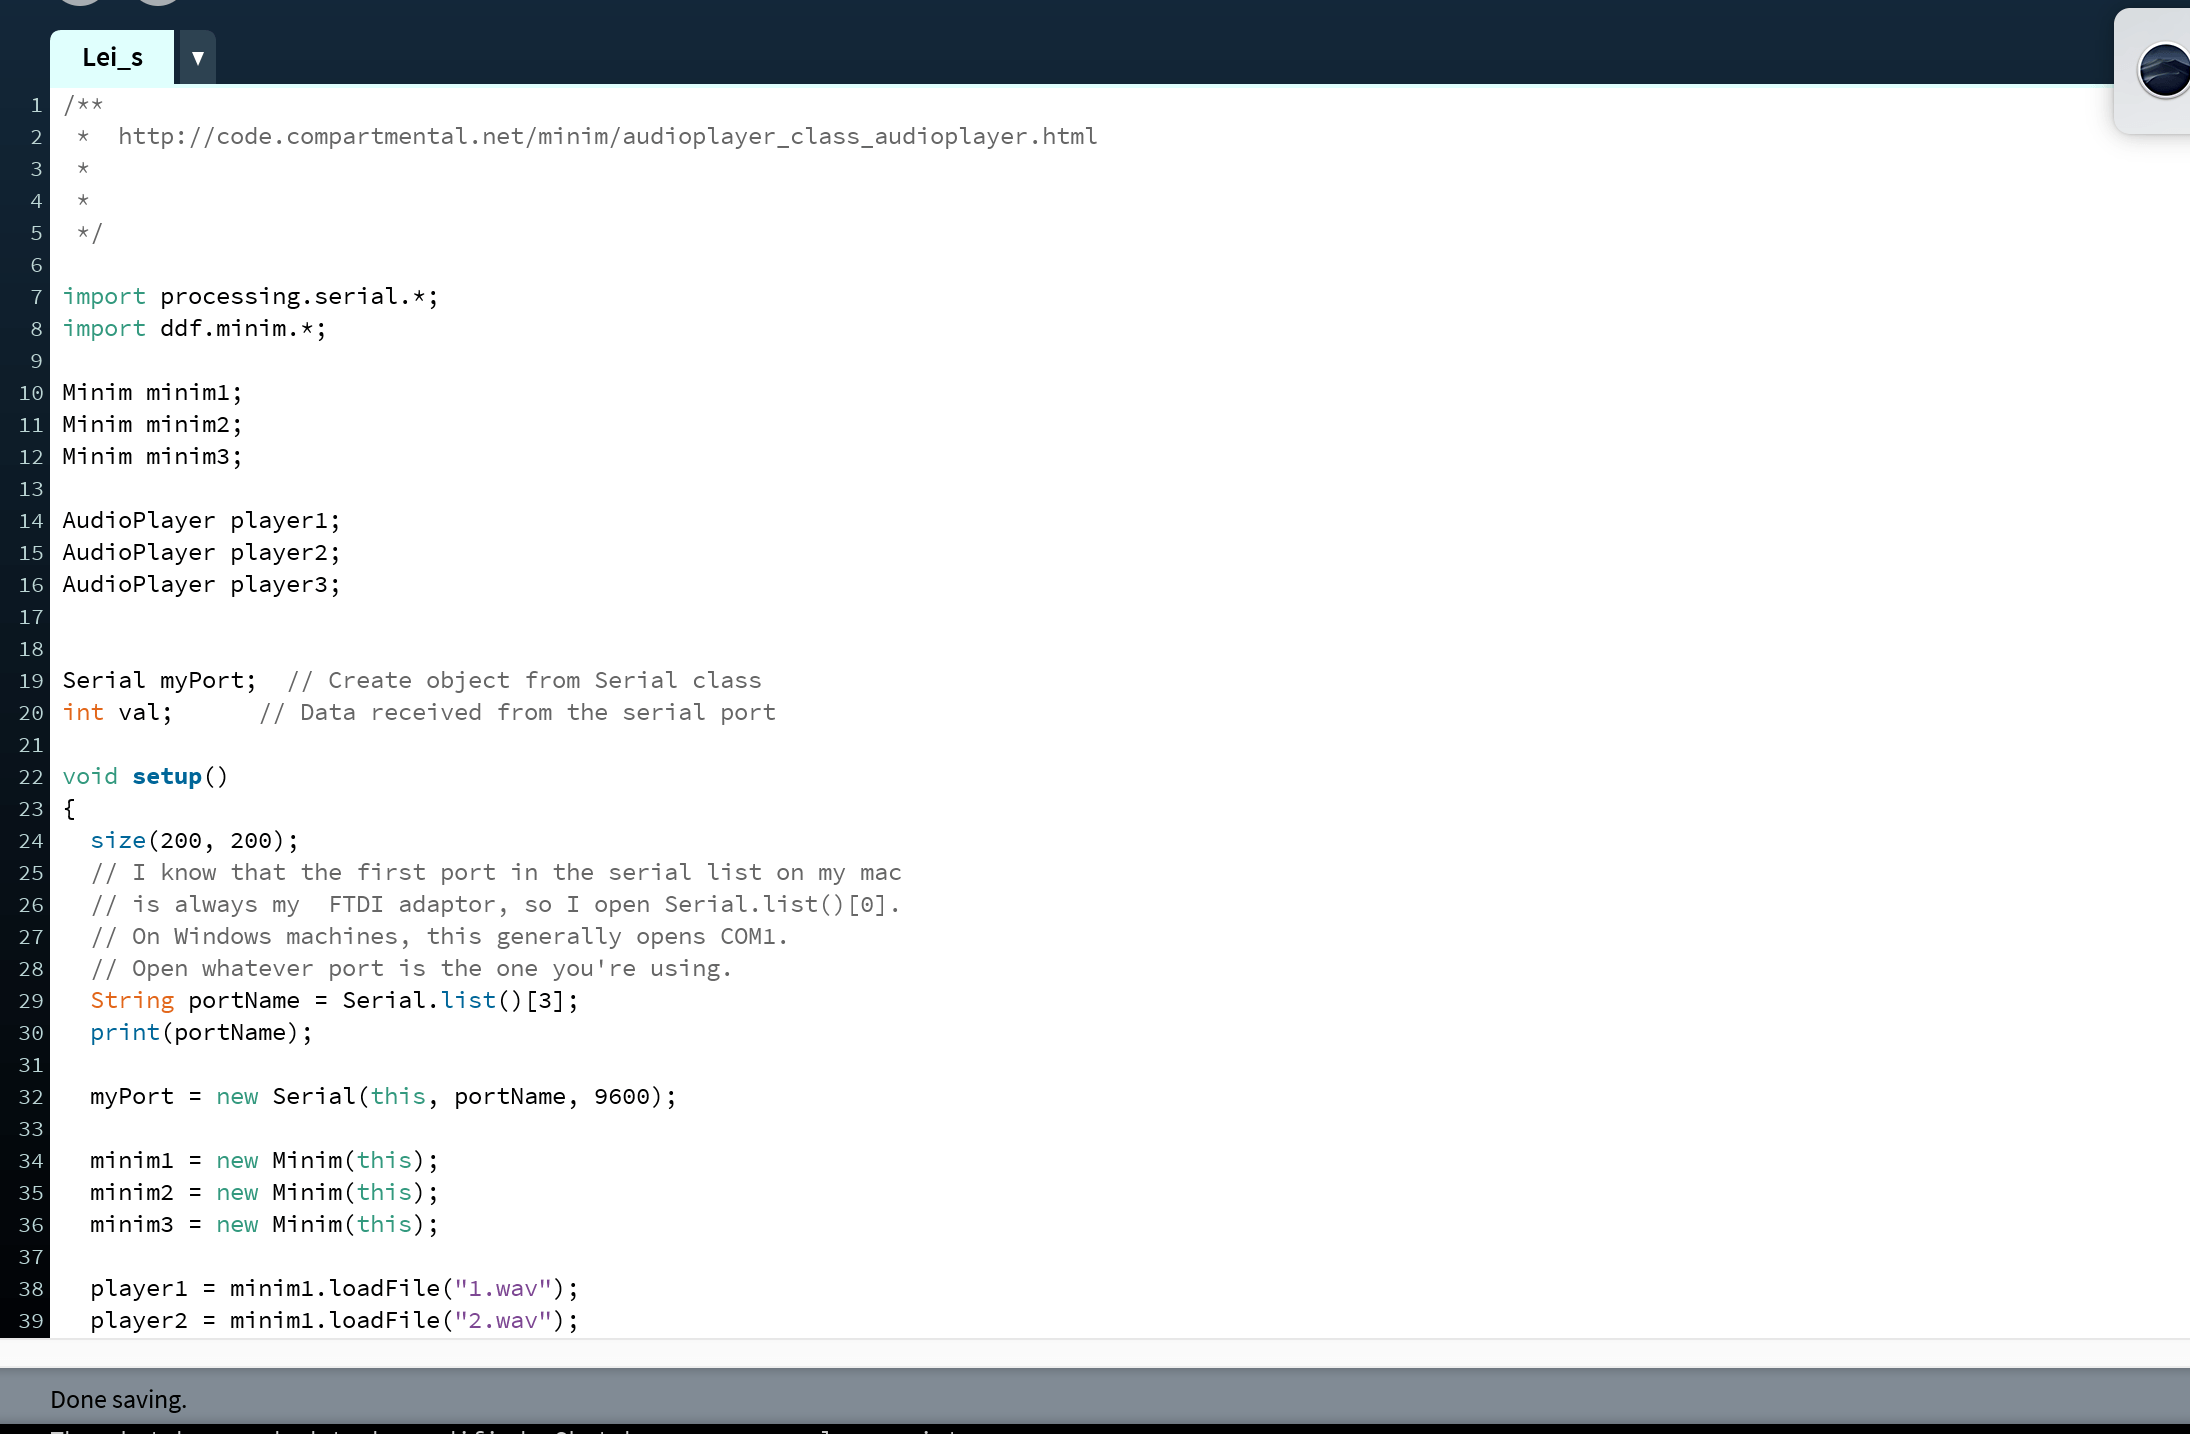
Lei sent us a code too but it didn’t work for our project:
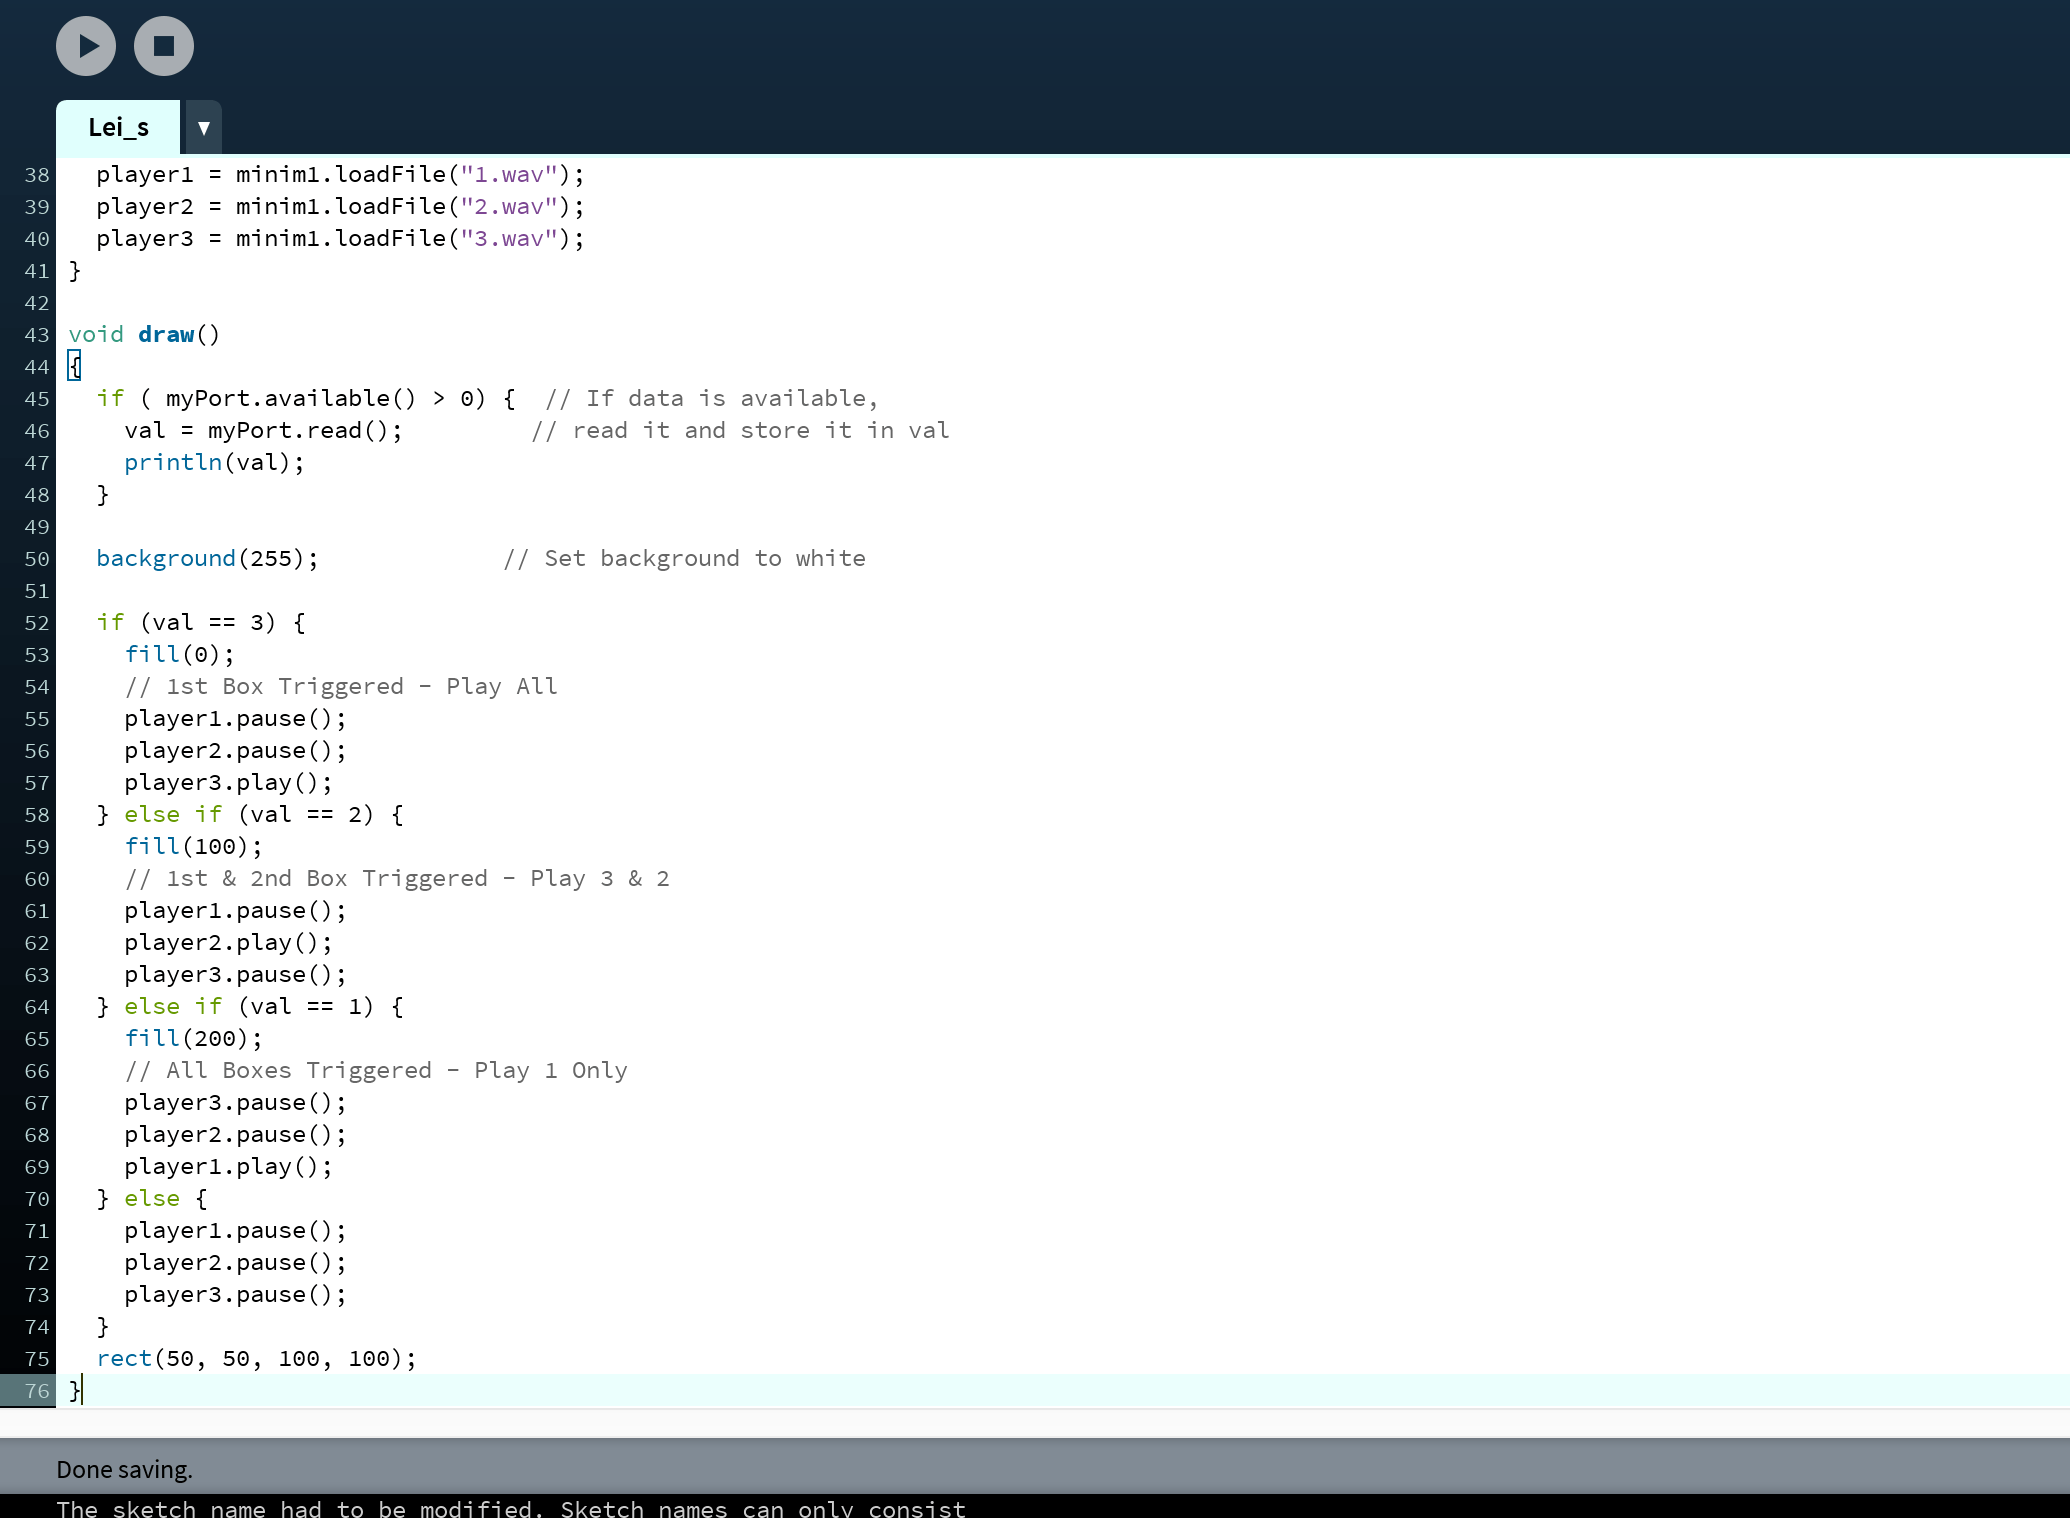
We tried to adapt it to ours by removing the parts of the code that deals with graphics and changing the void draw () part:
So that when the amount of light received is lower than threshold (meaning it’s being covered), the sound plays. It worked for only once or twice and did not anymore so we had to find other ways.
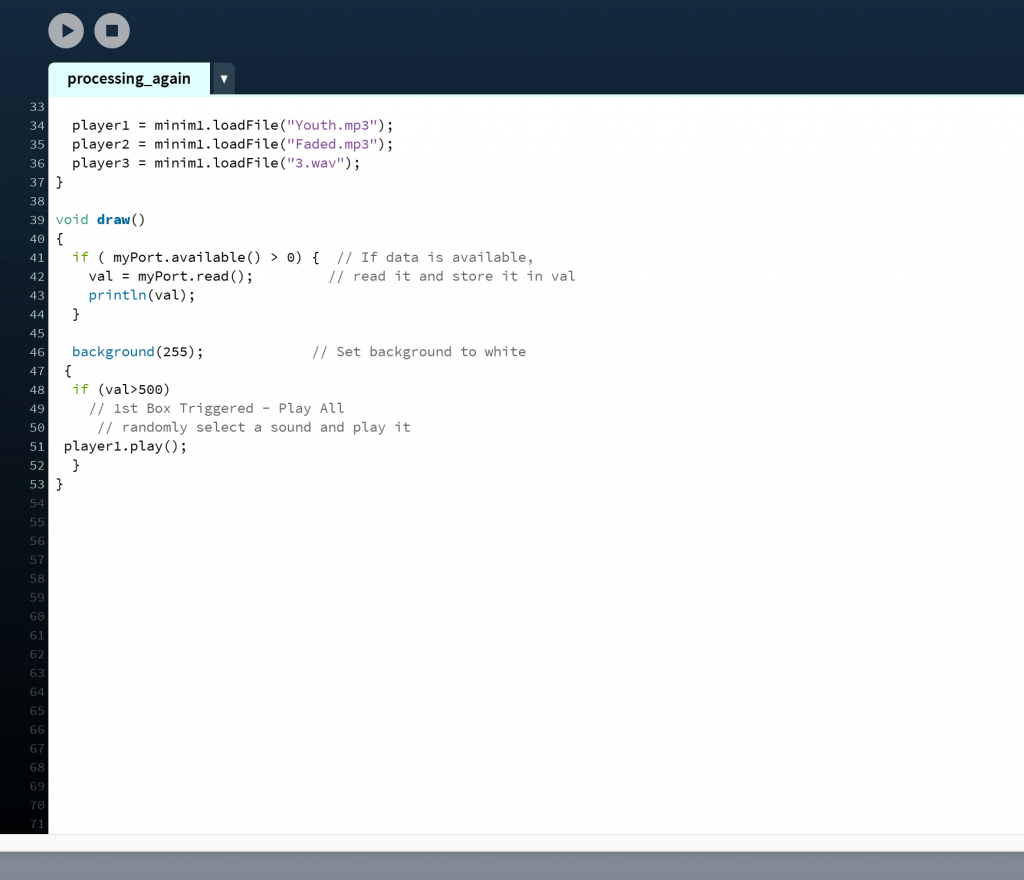
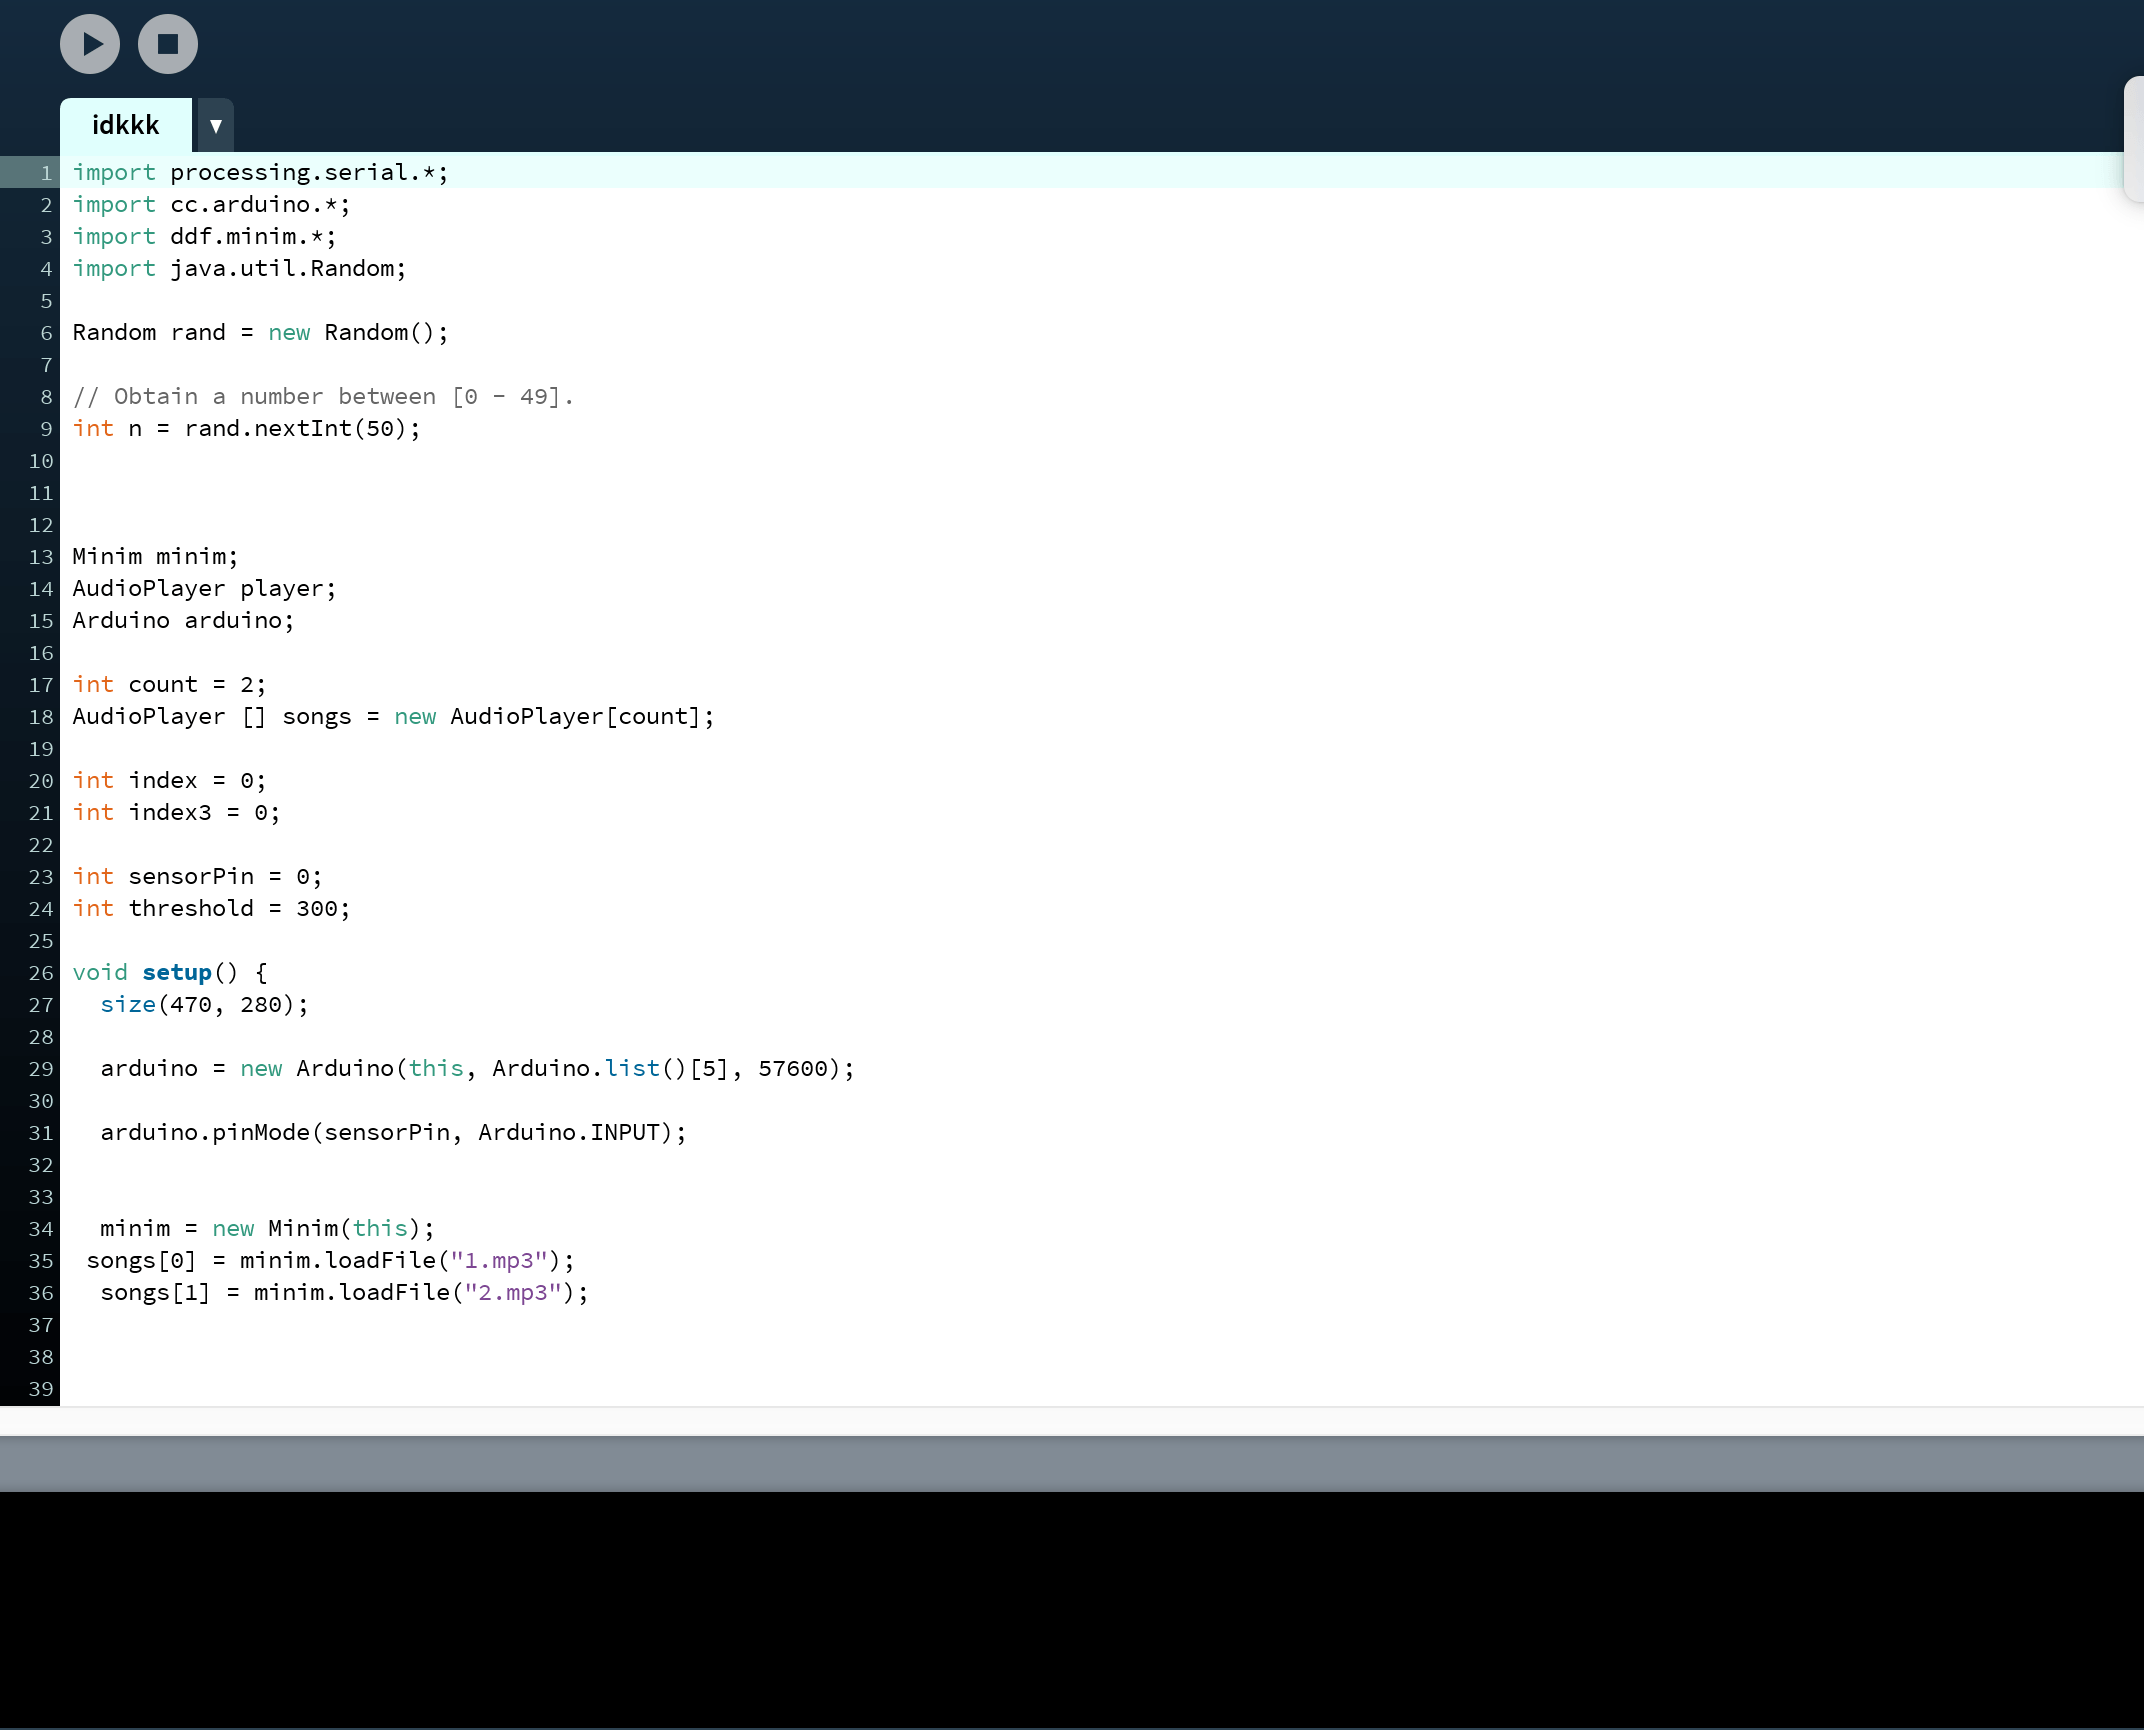
We found out that one can link processing directly to arduino boards through Firmata and using Cc. arduino for the code and we tried it out using a playlist and array.
The sounds only play through the playlist once and we thought that firmata actually worked at first but then realised that even without a hand covering it, the sound still played so the trigger does not work.
While we thought that firmata worked, we also managed to get only one sound to play instead of the entire playlist. The one random sound loops thought and we thought that a person can hit the stop button manually to prevent it from looping and the code will trigger another random sound but then we realised that even without triggering, it plays the sounds so this does not work too:

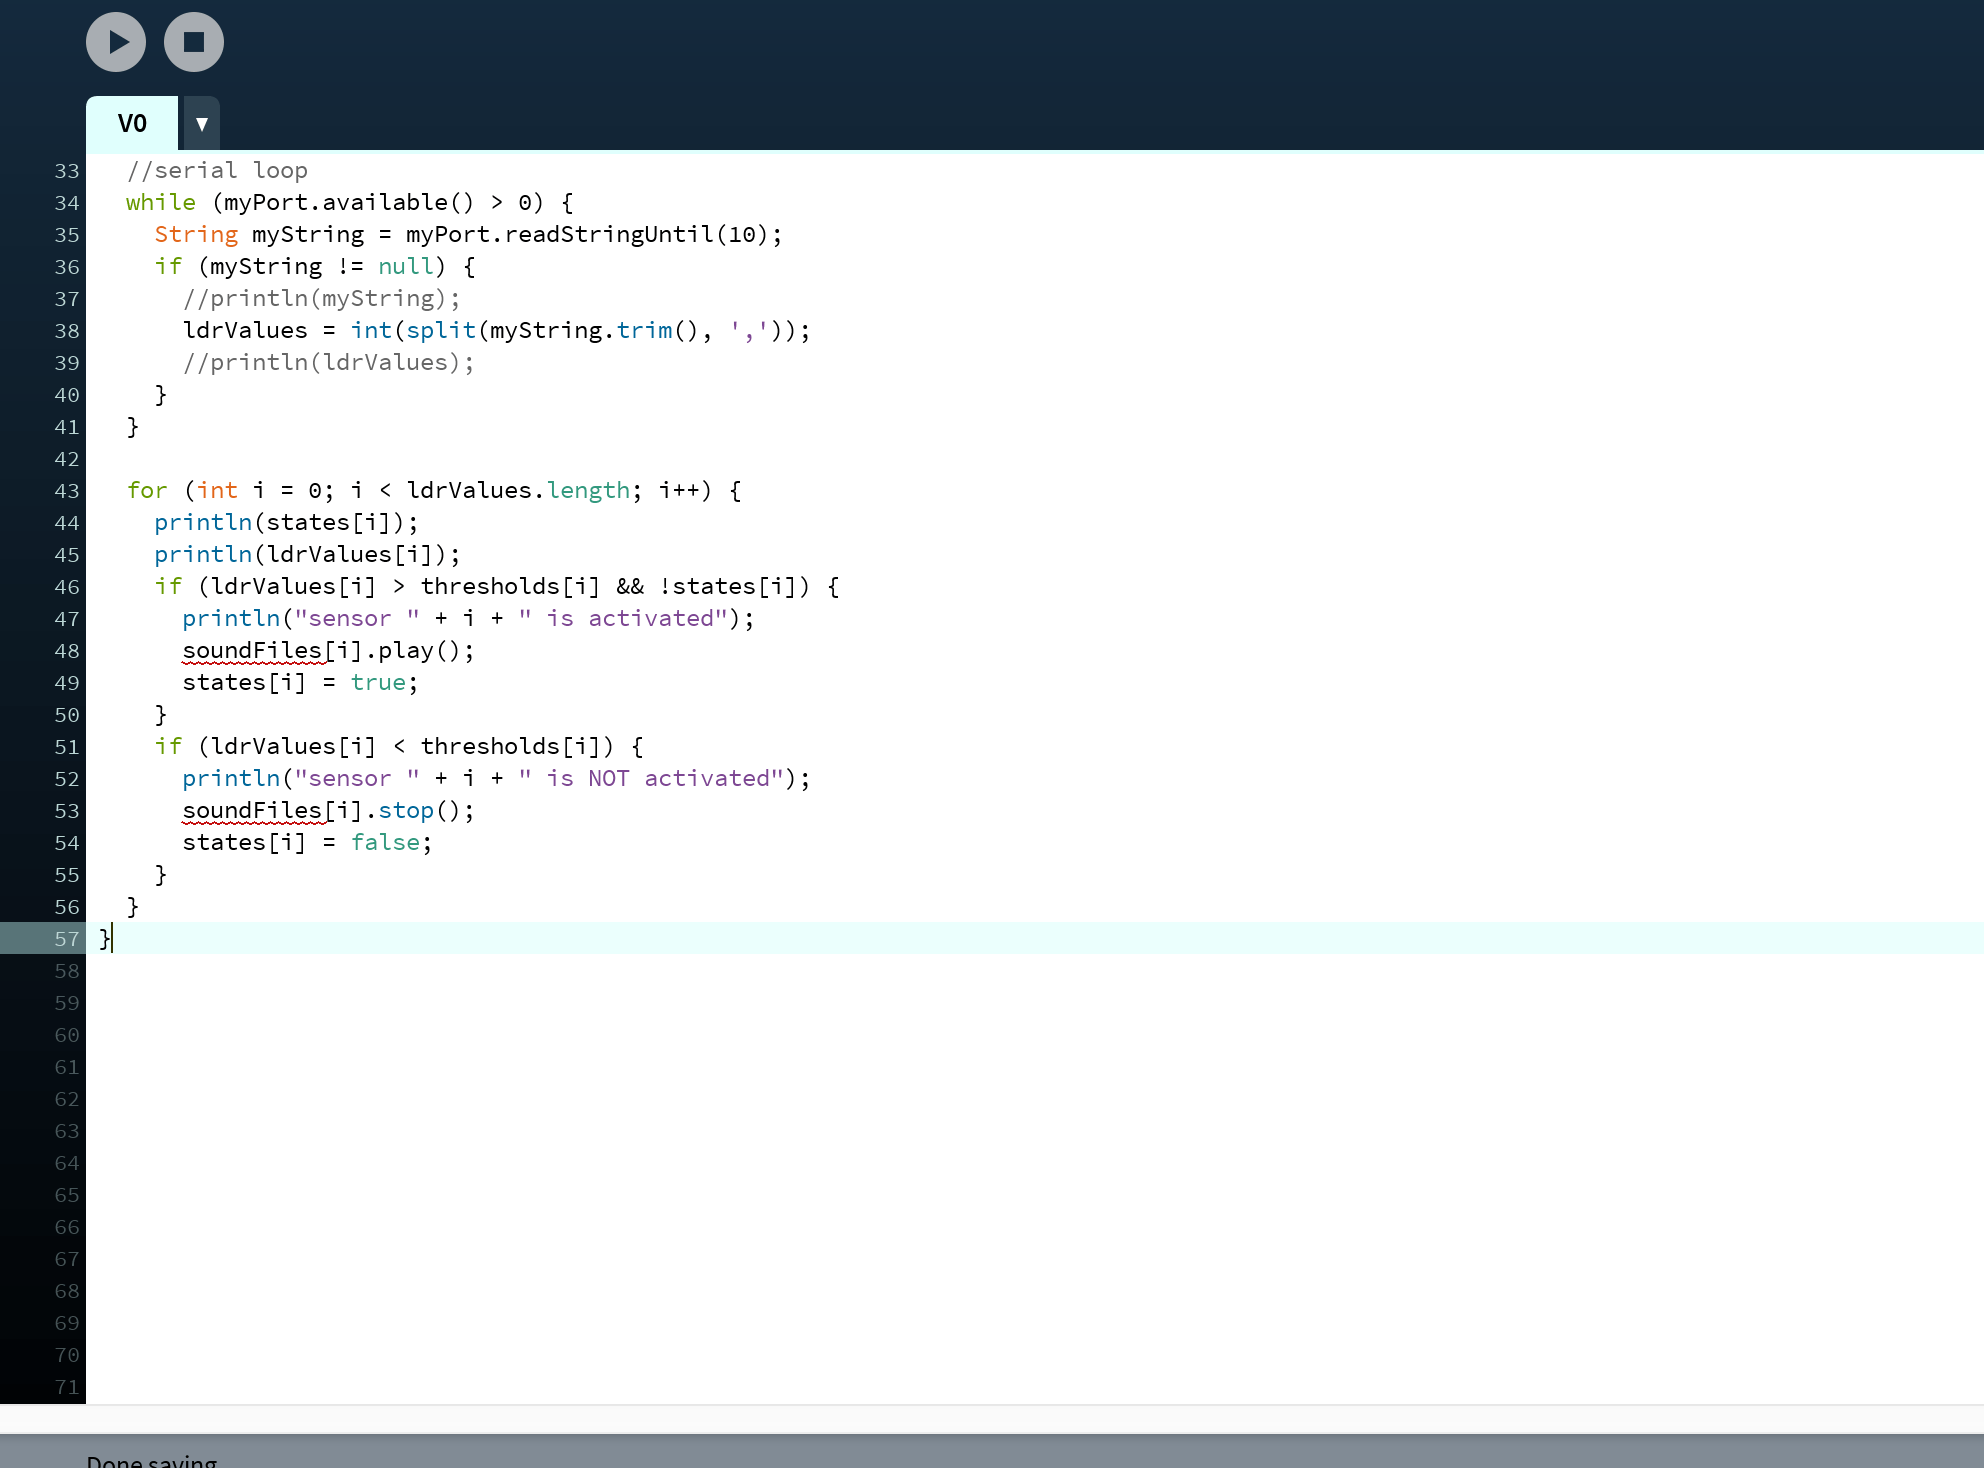
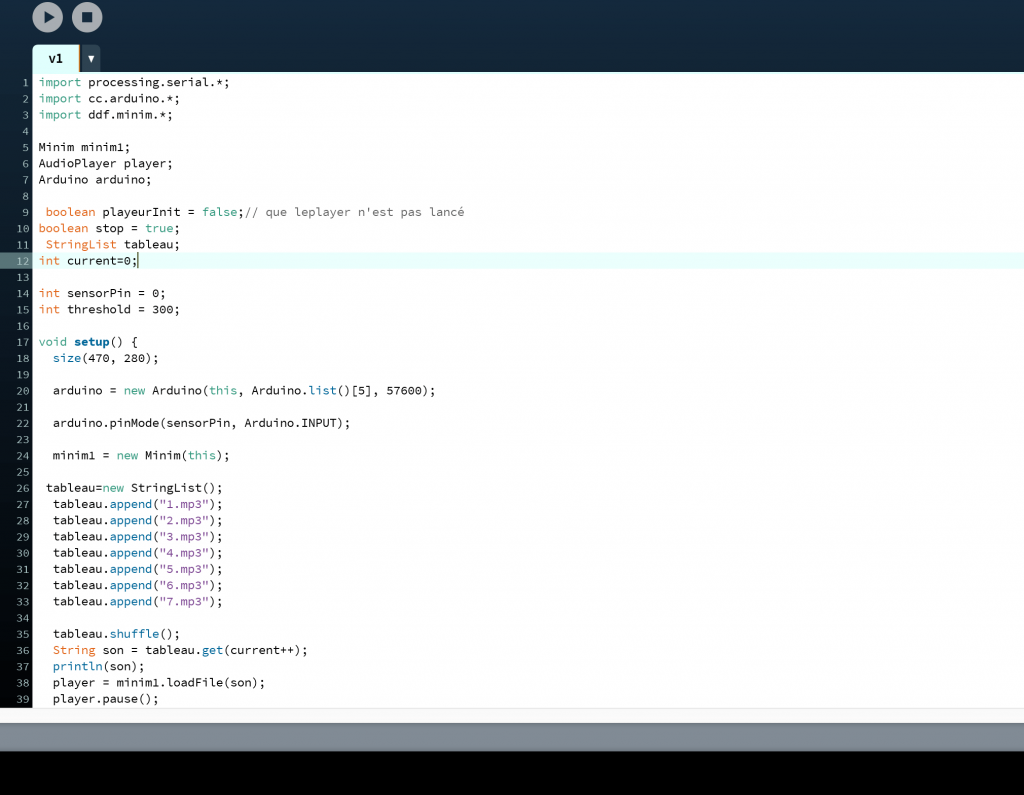
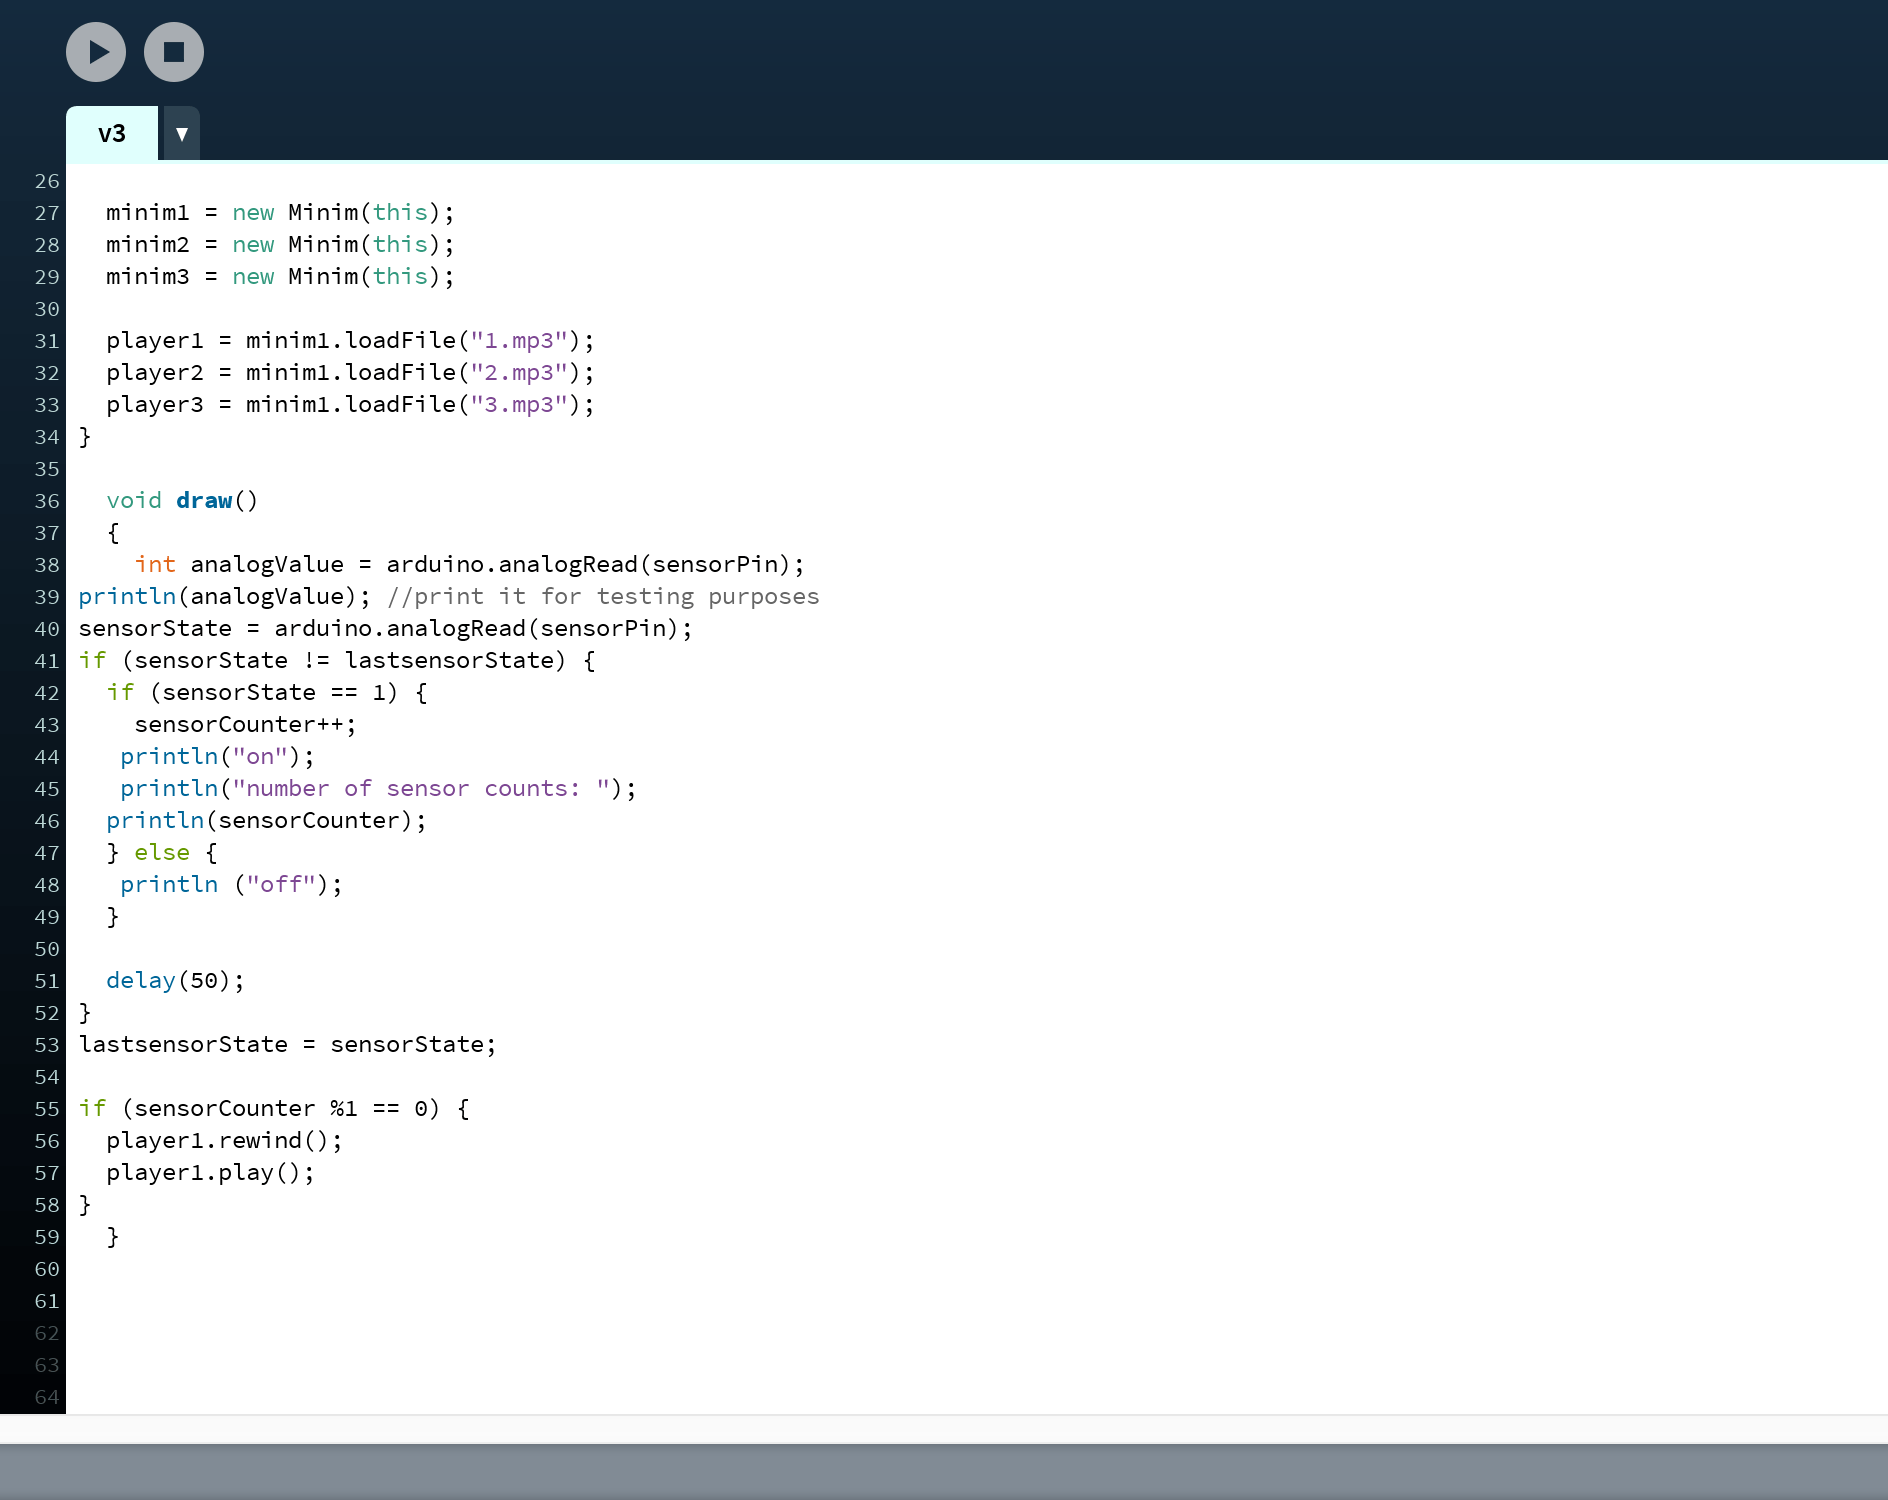
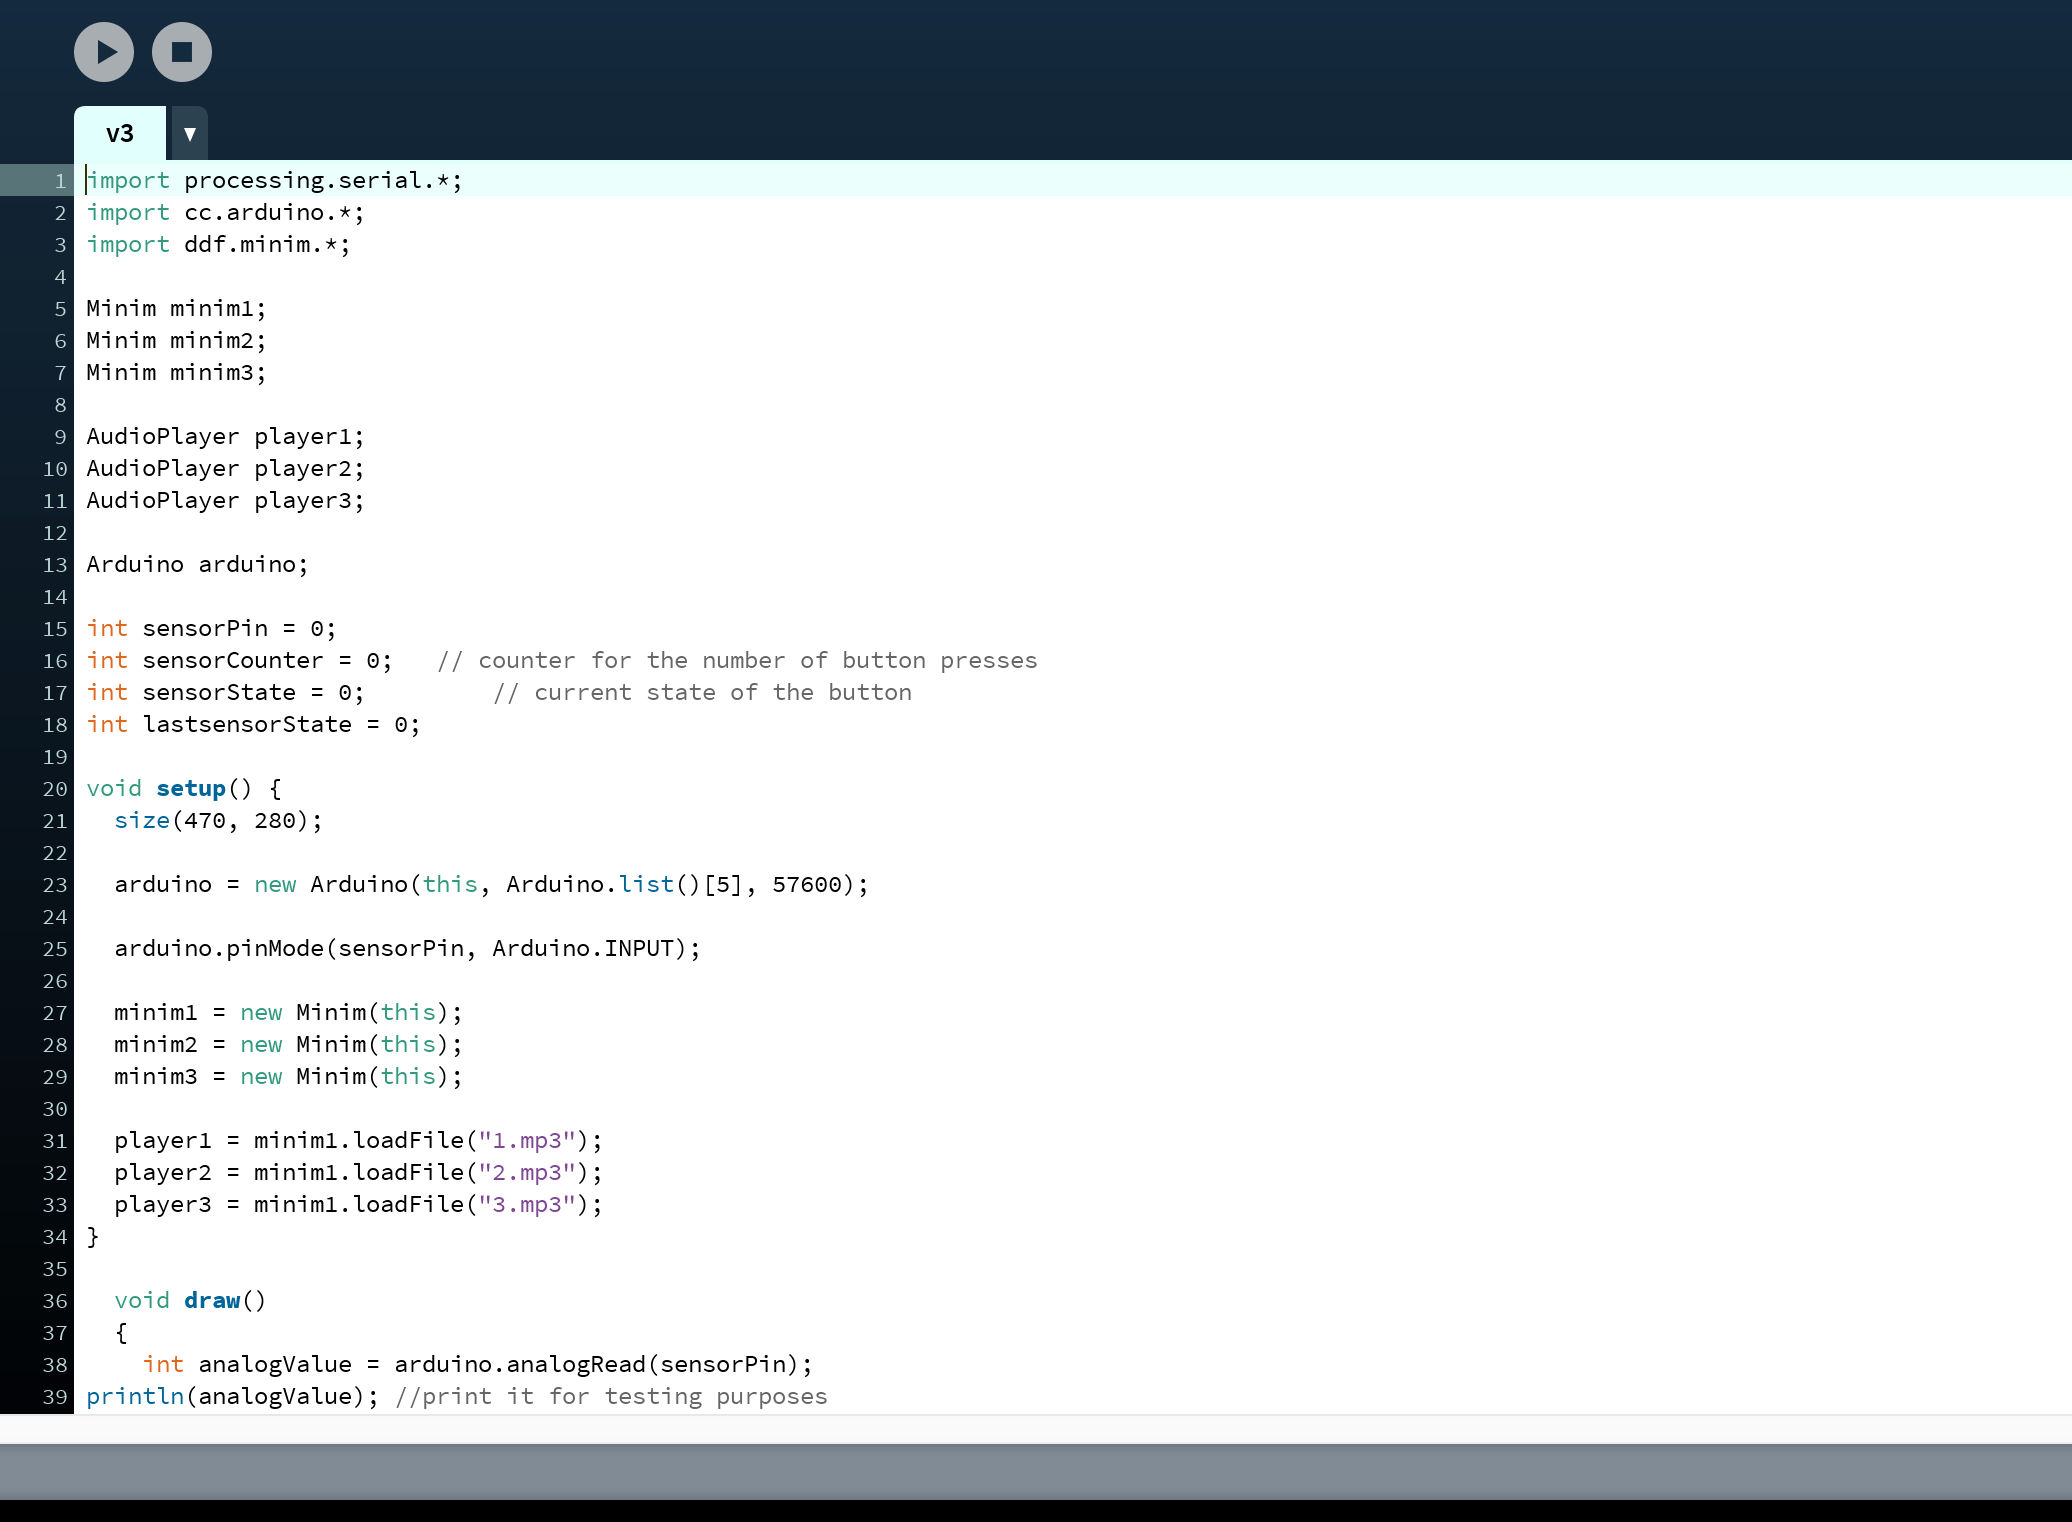
Lei pointed us to sensor counts and we needed to adapt the code for buttonpush counter for arduino into sensor counter for processing.
We tried using firmata too because we weren’t sure how to adapt the code from arduino to processing and firmata supposedly links the code from processing directly to the hardware so we got this:
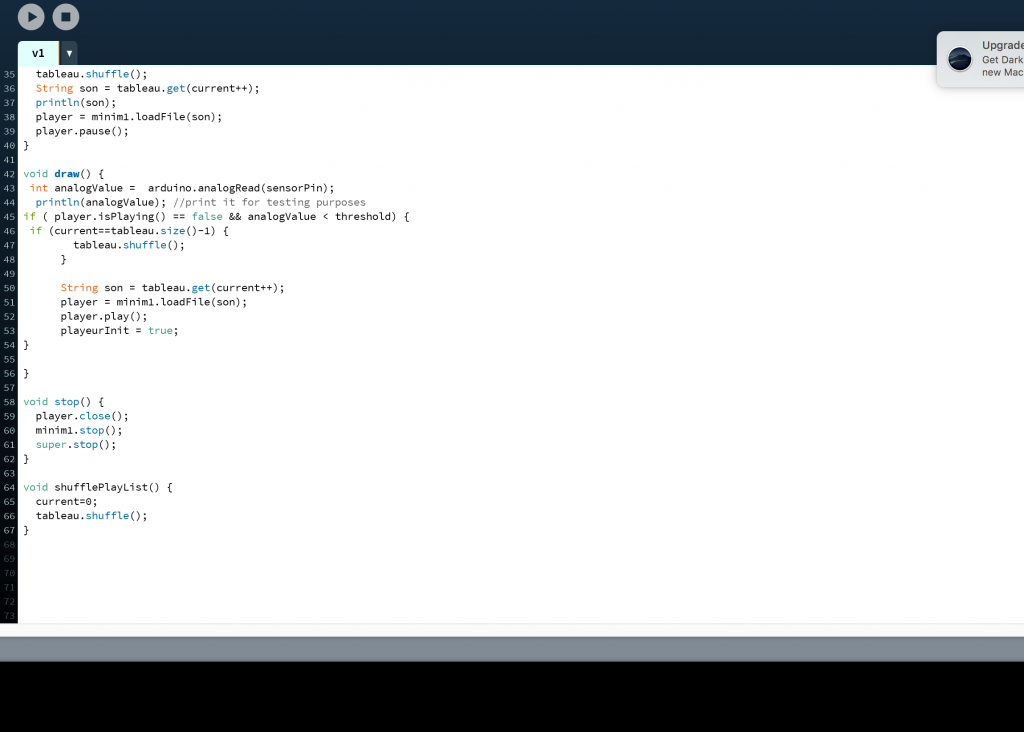
But firmata is quite a lost cause so we abandoned it and Lei helped us adapt the code to processing without firmata and we got this:
The problem with this code though, is that the counter only counts the first time the sensor is covered and not the rest but the sound recording plays once through and only plays when it is sensed. In the end, Lei told us that it’s okay if it does not play consecutively and we can generate a single audio that is long and with pauses to mimic the sensor being not triggered.
Some other codes that were tried:
Personal Reflections:
I think that if given more time, we would have worked on the code more and come up with a working one. Nevertheless, we tried our best and were glad that the users didn’t realise that the code was a one-off trigger producing a long recording timed to mimic several triggers. This project made me realise that to do an installation, a lot of things has to be considered, particularly the universality of the subject/theme. As ours was designed specifically for a person who has been abandoned, it’s hard to adopt it into an installation as not all of the audience has been through such an experience and every experience differs. Even if one has experienced it, setting up a context to facilitate and draw out the emotions are vital to the success of the object.
This project also encouraged me to not always come up with ideas with the good in mind for that restricts creativity. Ours was aimed at first to facilitate loss and loneliness and make the person sadder after hearing words of comfort from that person who abandoned him/her but the final version of it provided closure and encouraged one to face reality. I think that even if we don’t design with good/practical intentions in mind, it’s a natural instinct for us as empathetic humans to head towards a good cause and the object designed in the end would eventually be something positive or value add to others even if it was designed to house negative emotions/purposes and that opened my eyes to the possibilities of design.