Second figure drawing session!
Today we dealt with Chiaroscuro, learning to deal with light and shadows and knowing how to demarcate edges of a form just by playing around with tone.
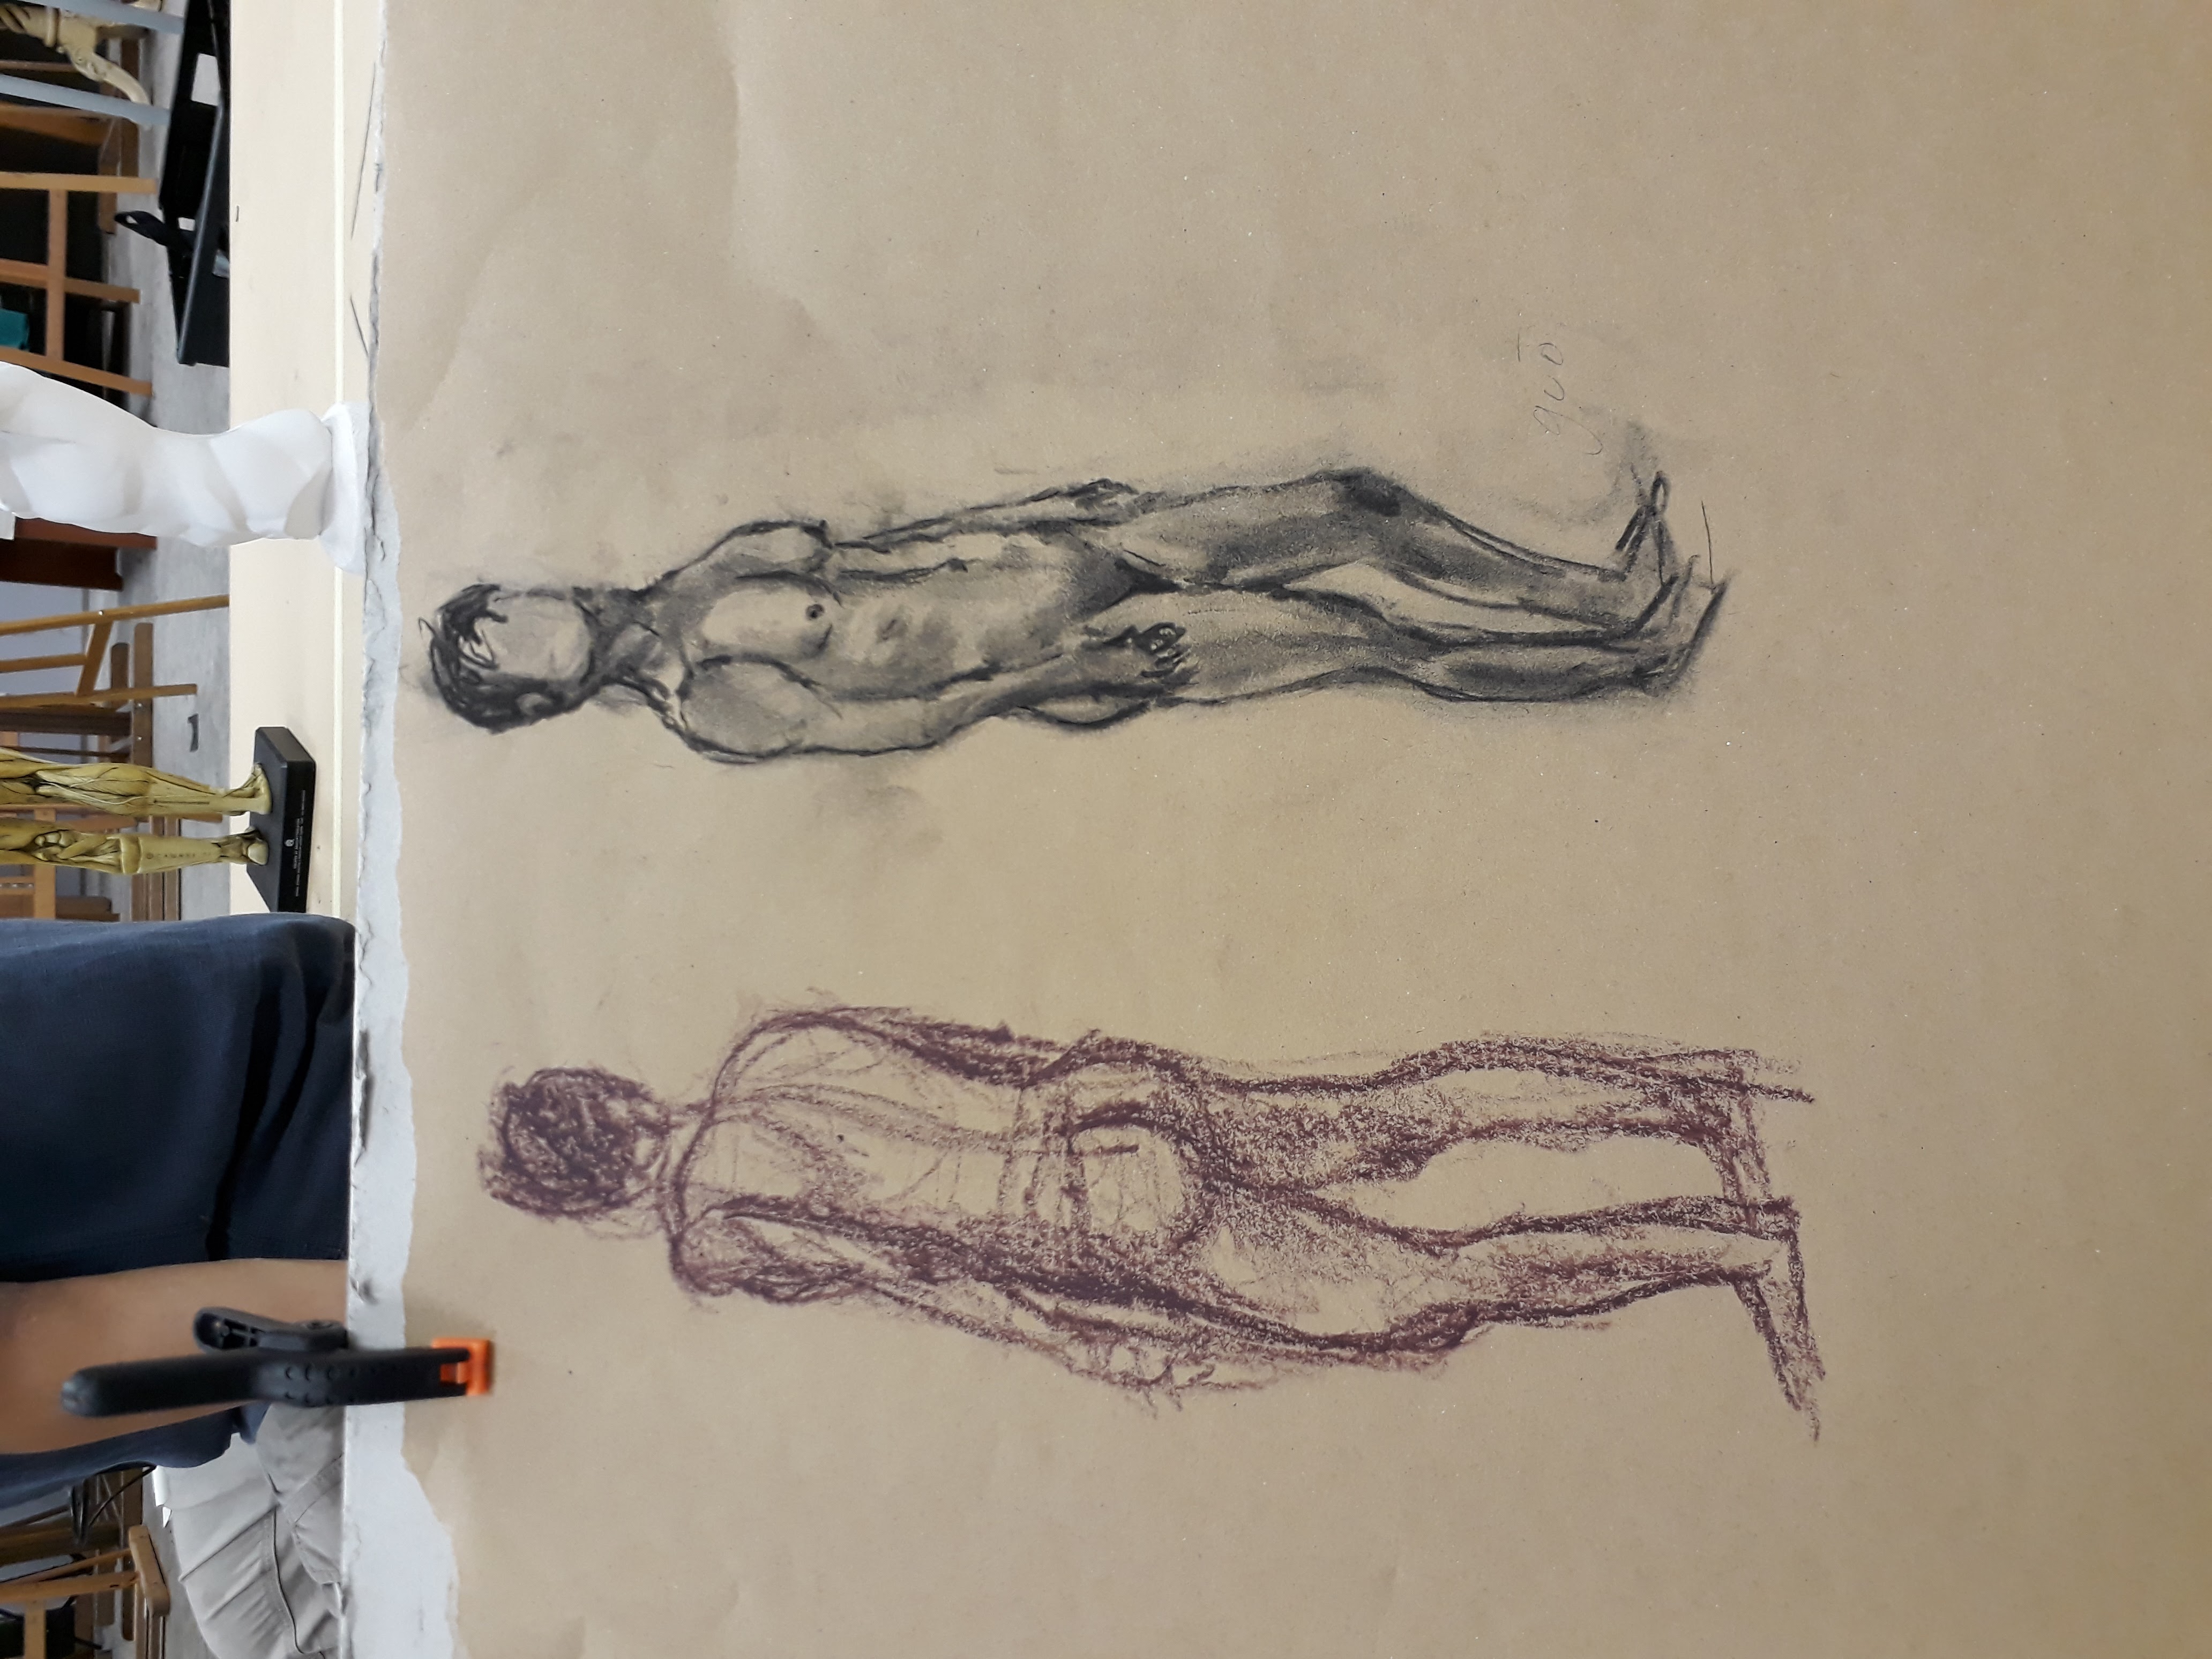
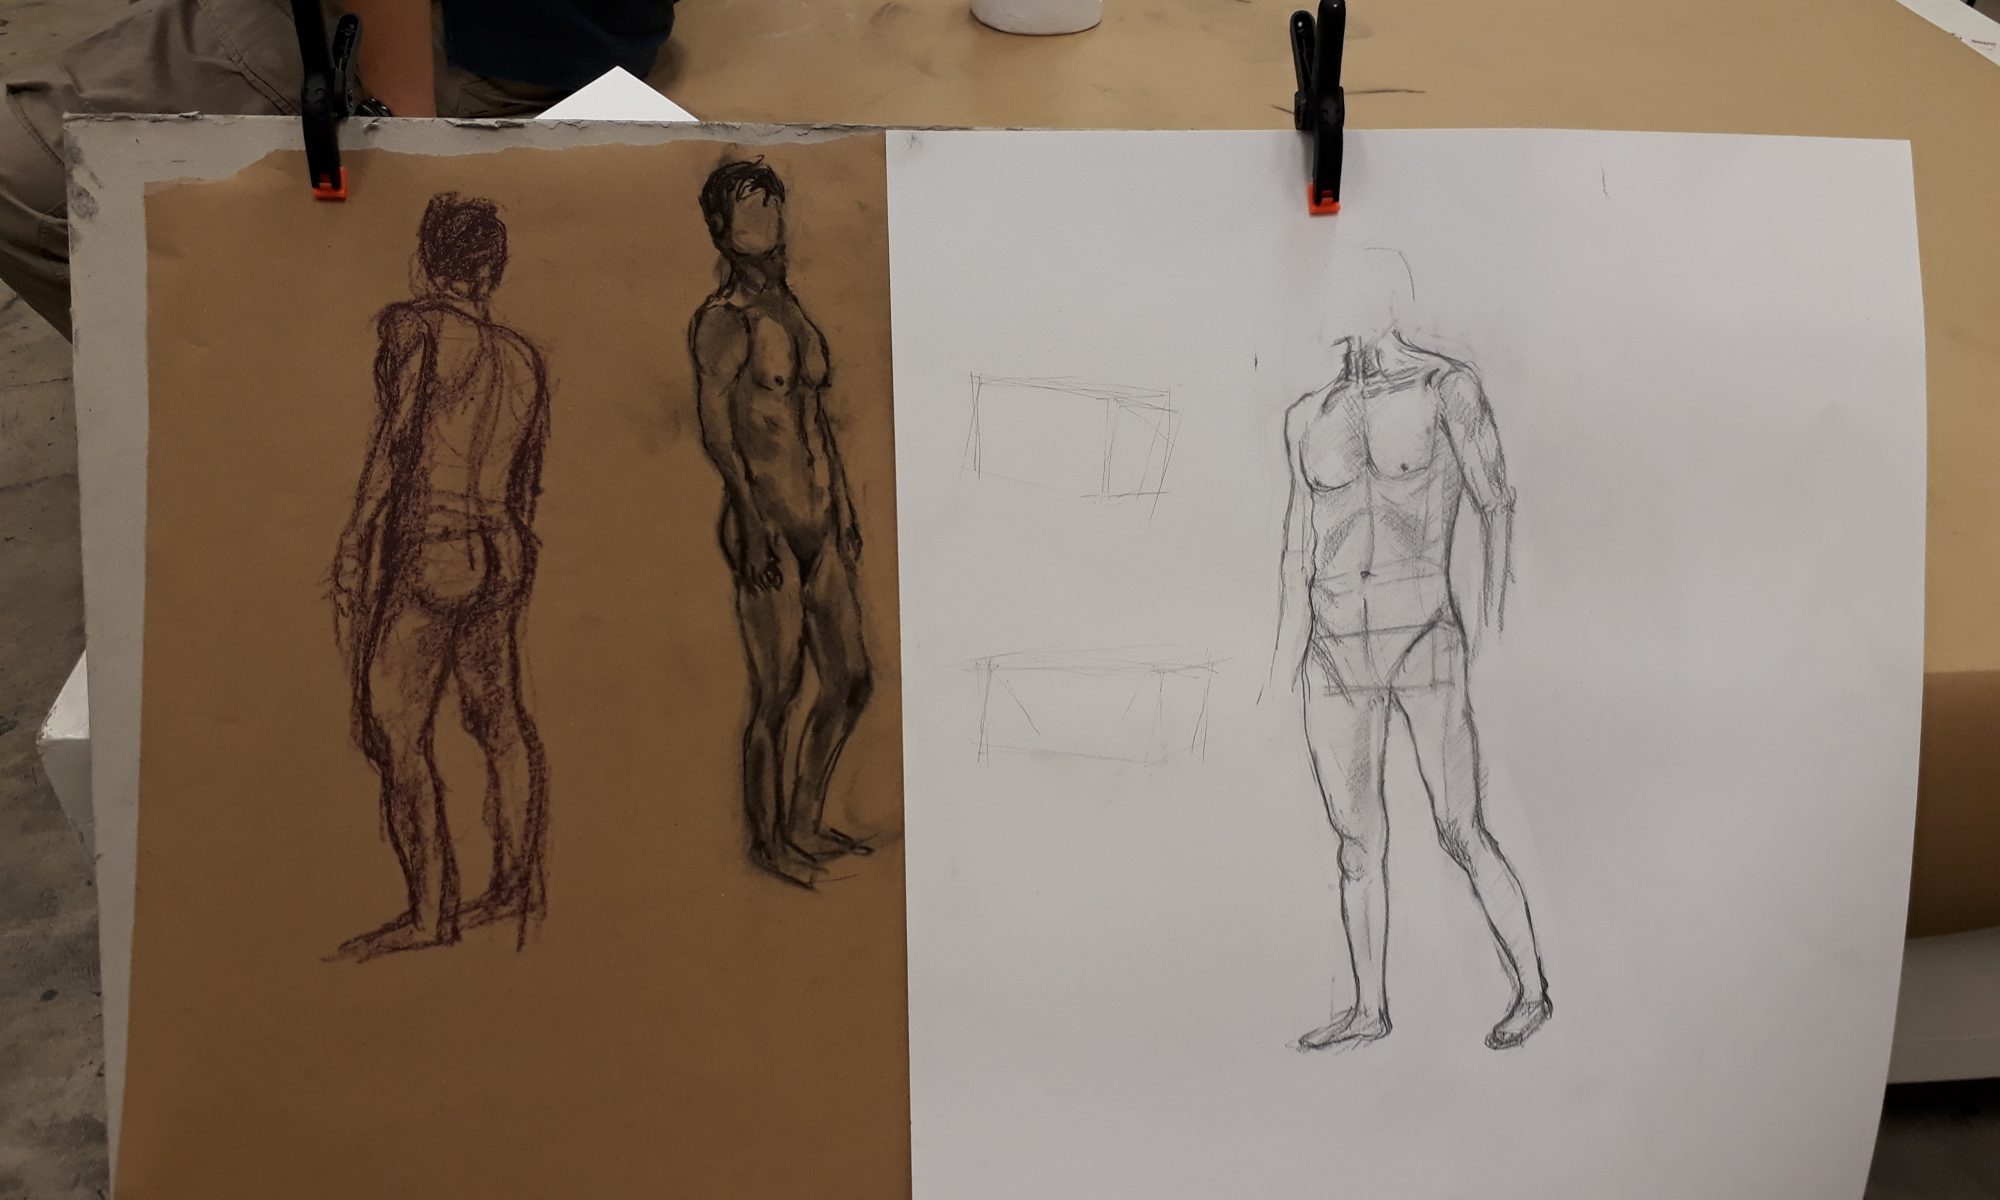
Some quick sketches we did as warm up to try portraying the figure using different tones:

There isn’t quite enough tonal ranges in these sketches, but I did get a rough idea of what we are supposed to learn here.
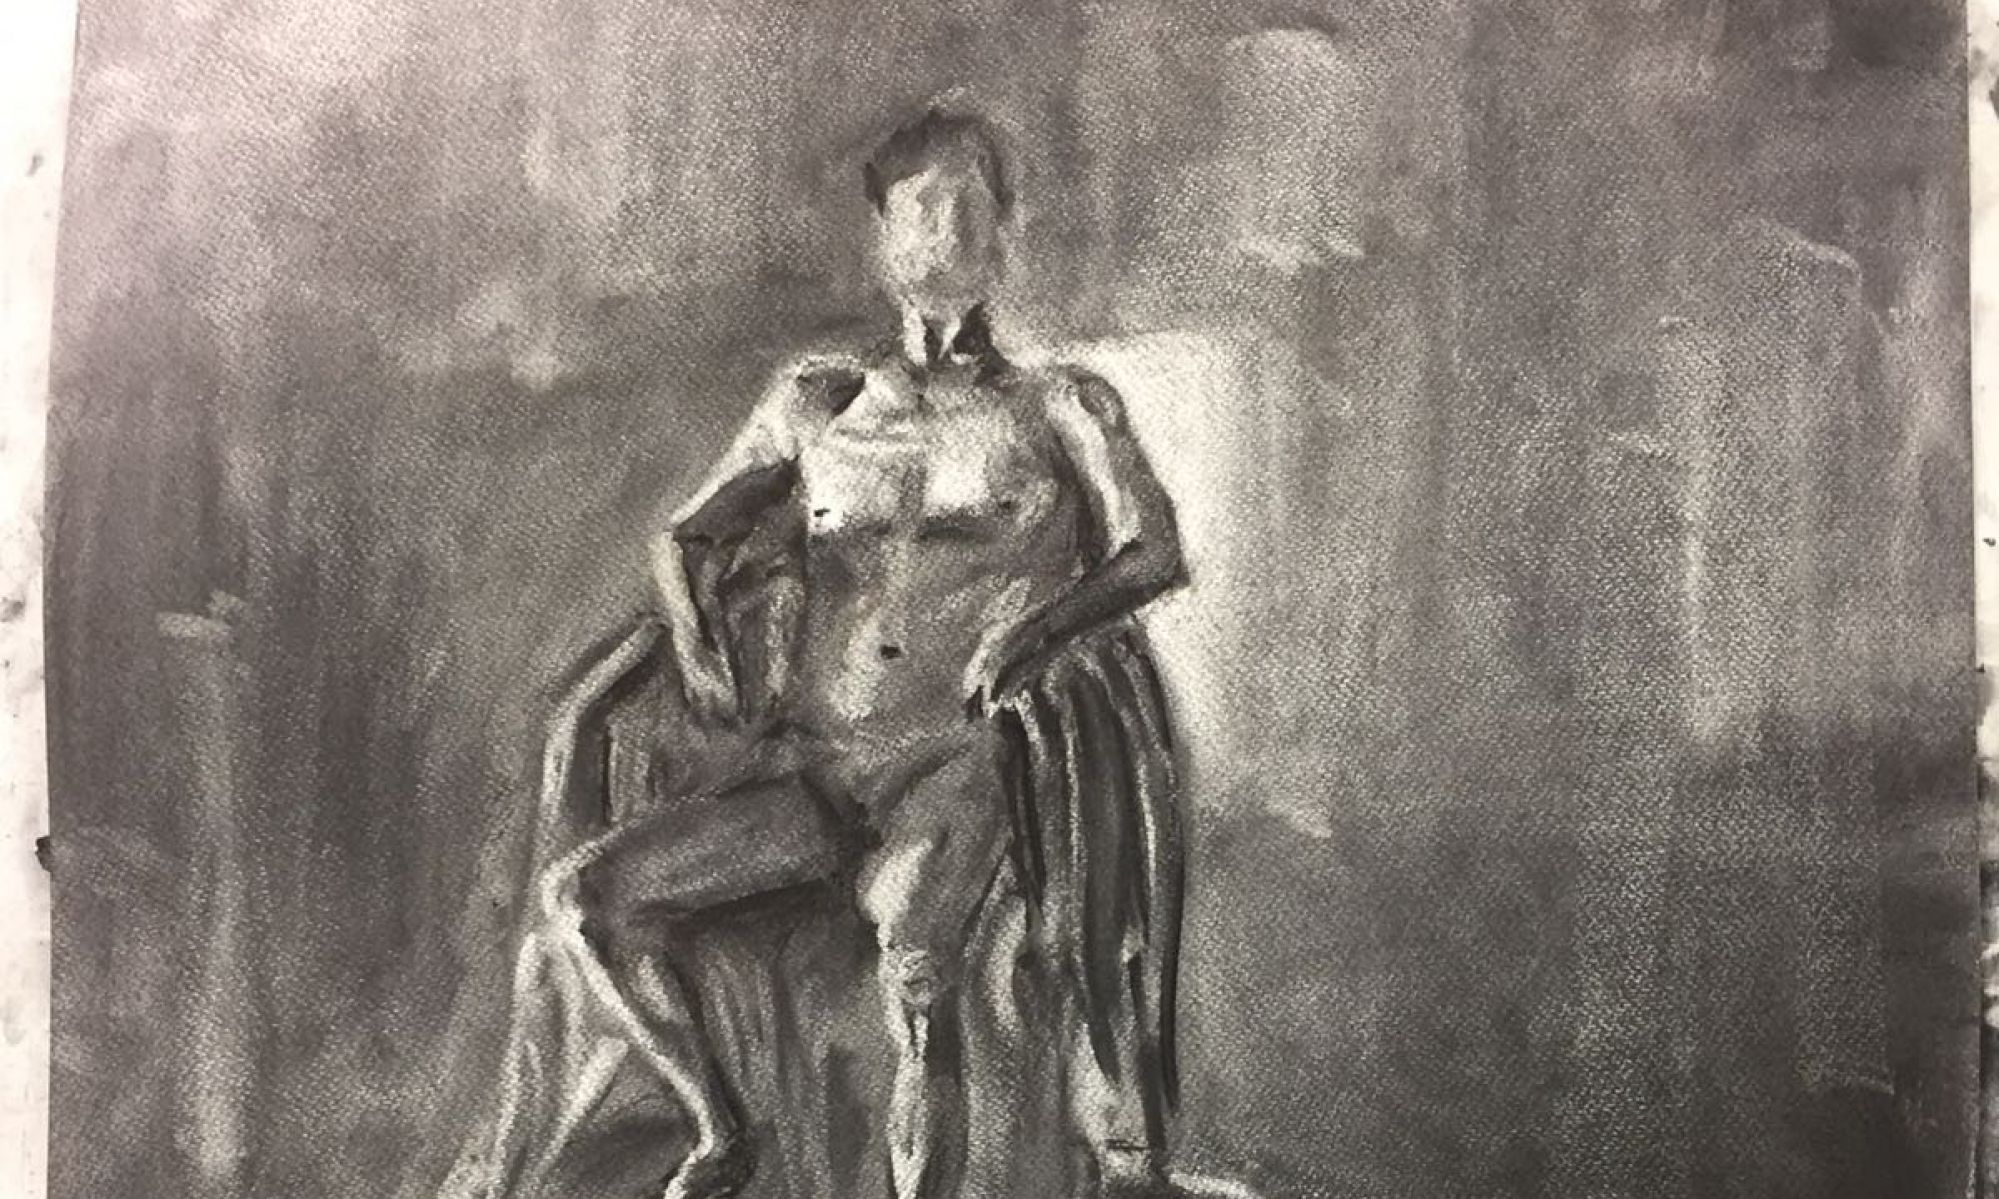
1.5h sketch: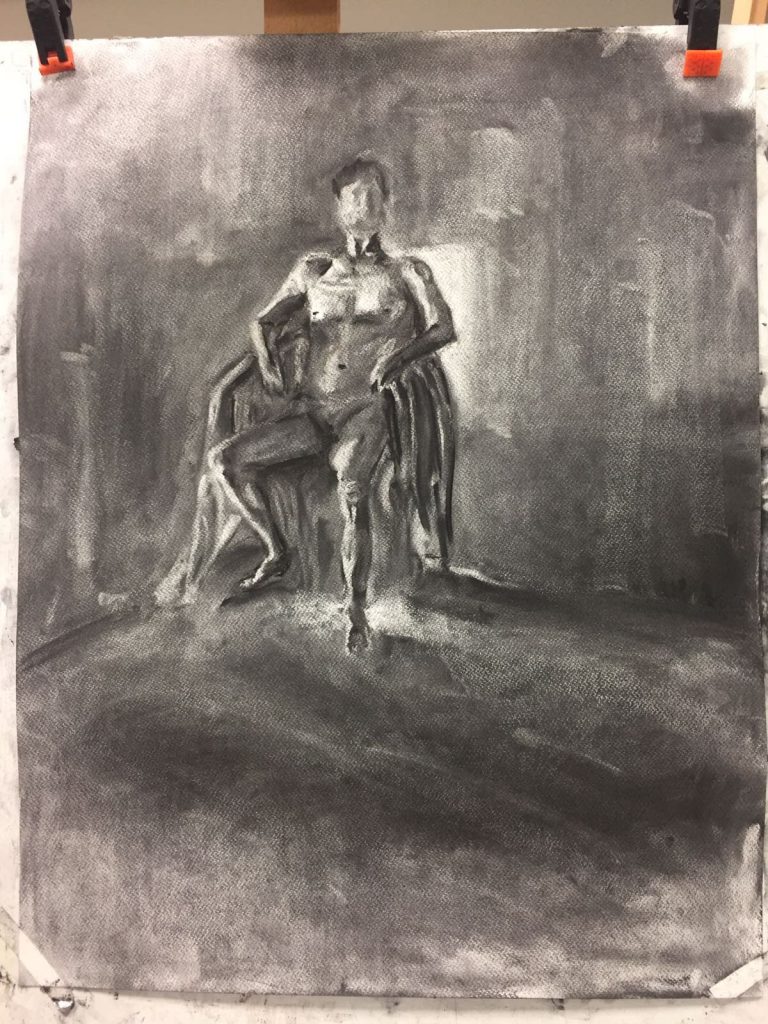 Here, we first smeared the background with charcoal so that it is mid-tone black and then brought out the human form by using an eraser. This exercise helps us to identify the brightest and darkest parts of the human figure, and this aids us in elucidating the form accurately.
My figure is too small again….. Somehow I cannot visualise how the figure will translate on the paper, and so I couldn’t estimate the size of the drawing. Here I think I managed to mark out the form of the body quite clearly (other than the hands which I casually skipped). Some shadows are too sharp (like the one at the model’s right shadow) and some edges are rather weird (e.g. the left arm). I am very happy with the model’s left leg though!! I thought it turned out quite well :>
However, I wasn’t very successful with capturing the mood. Even though the background shades vary in tone, they don’t really give you the idea that there is some sort of air flow or movement at the back. They literally just look like different blocks of different shades in the background. I should work on this more in the future.
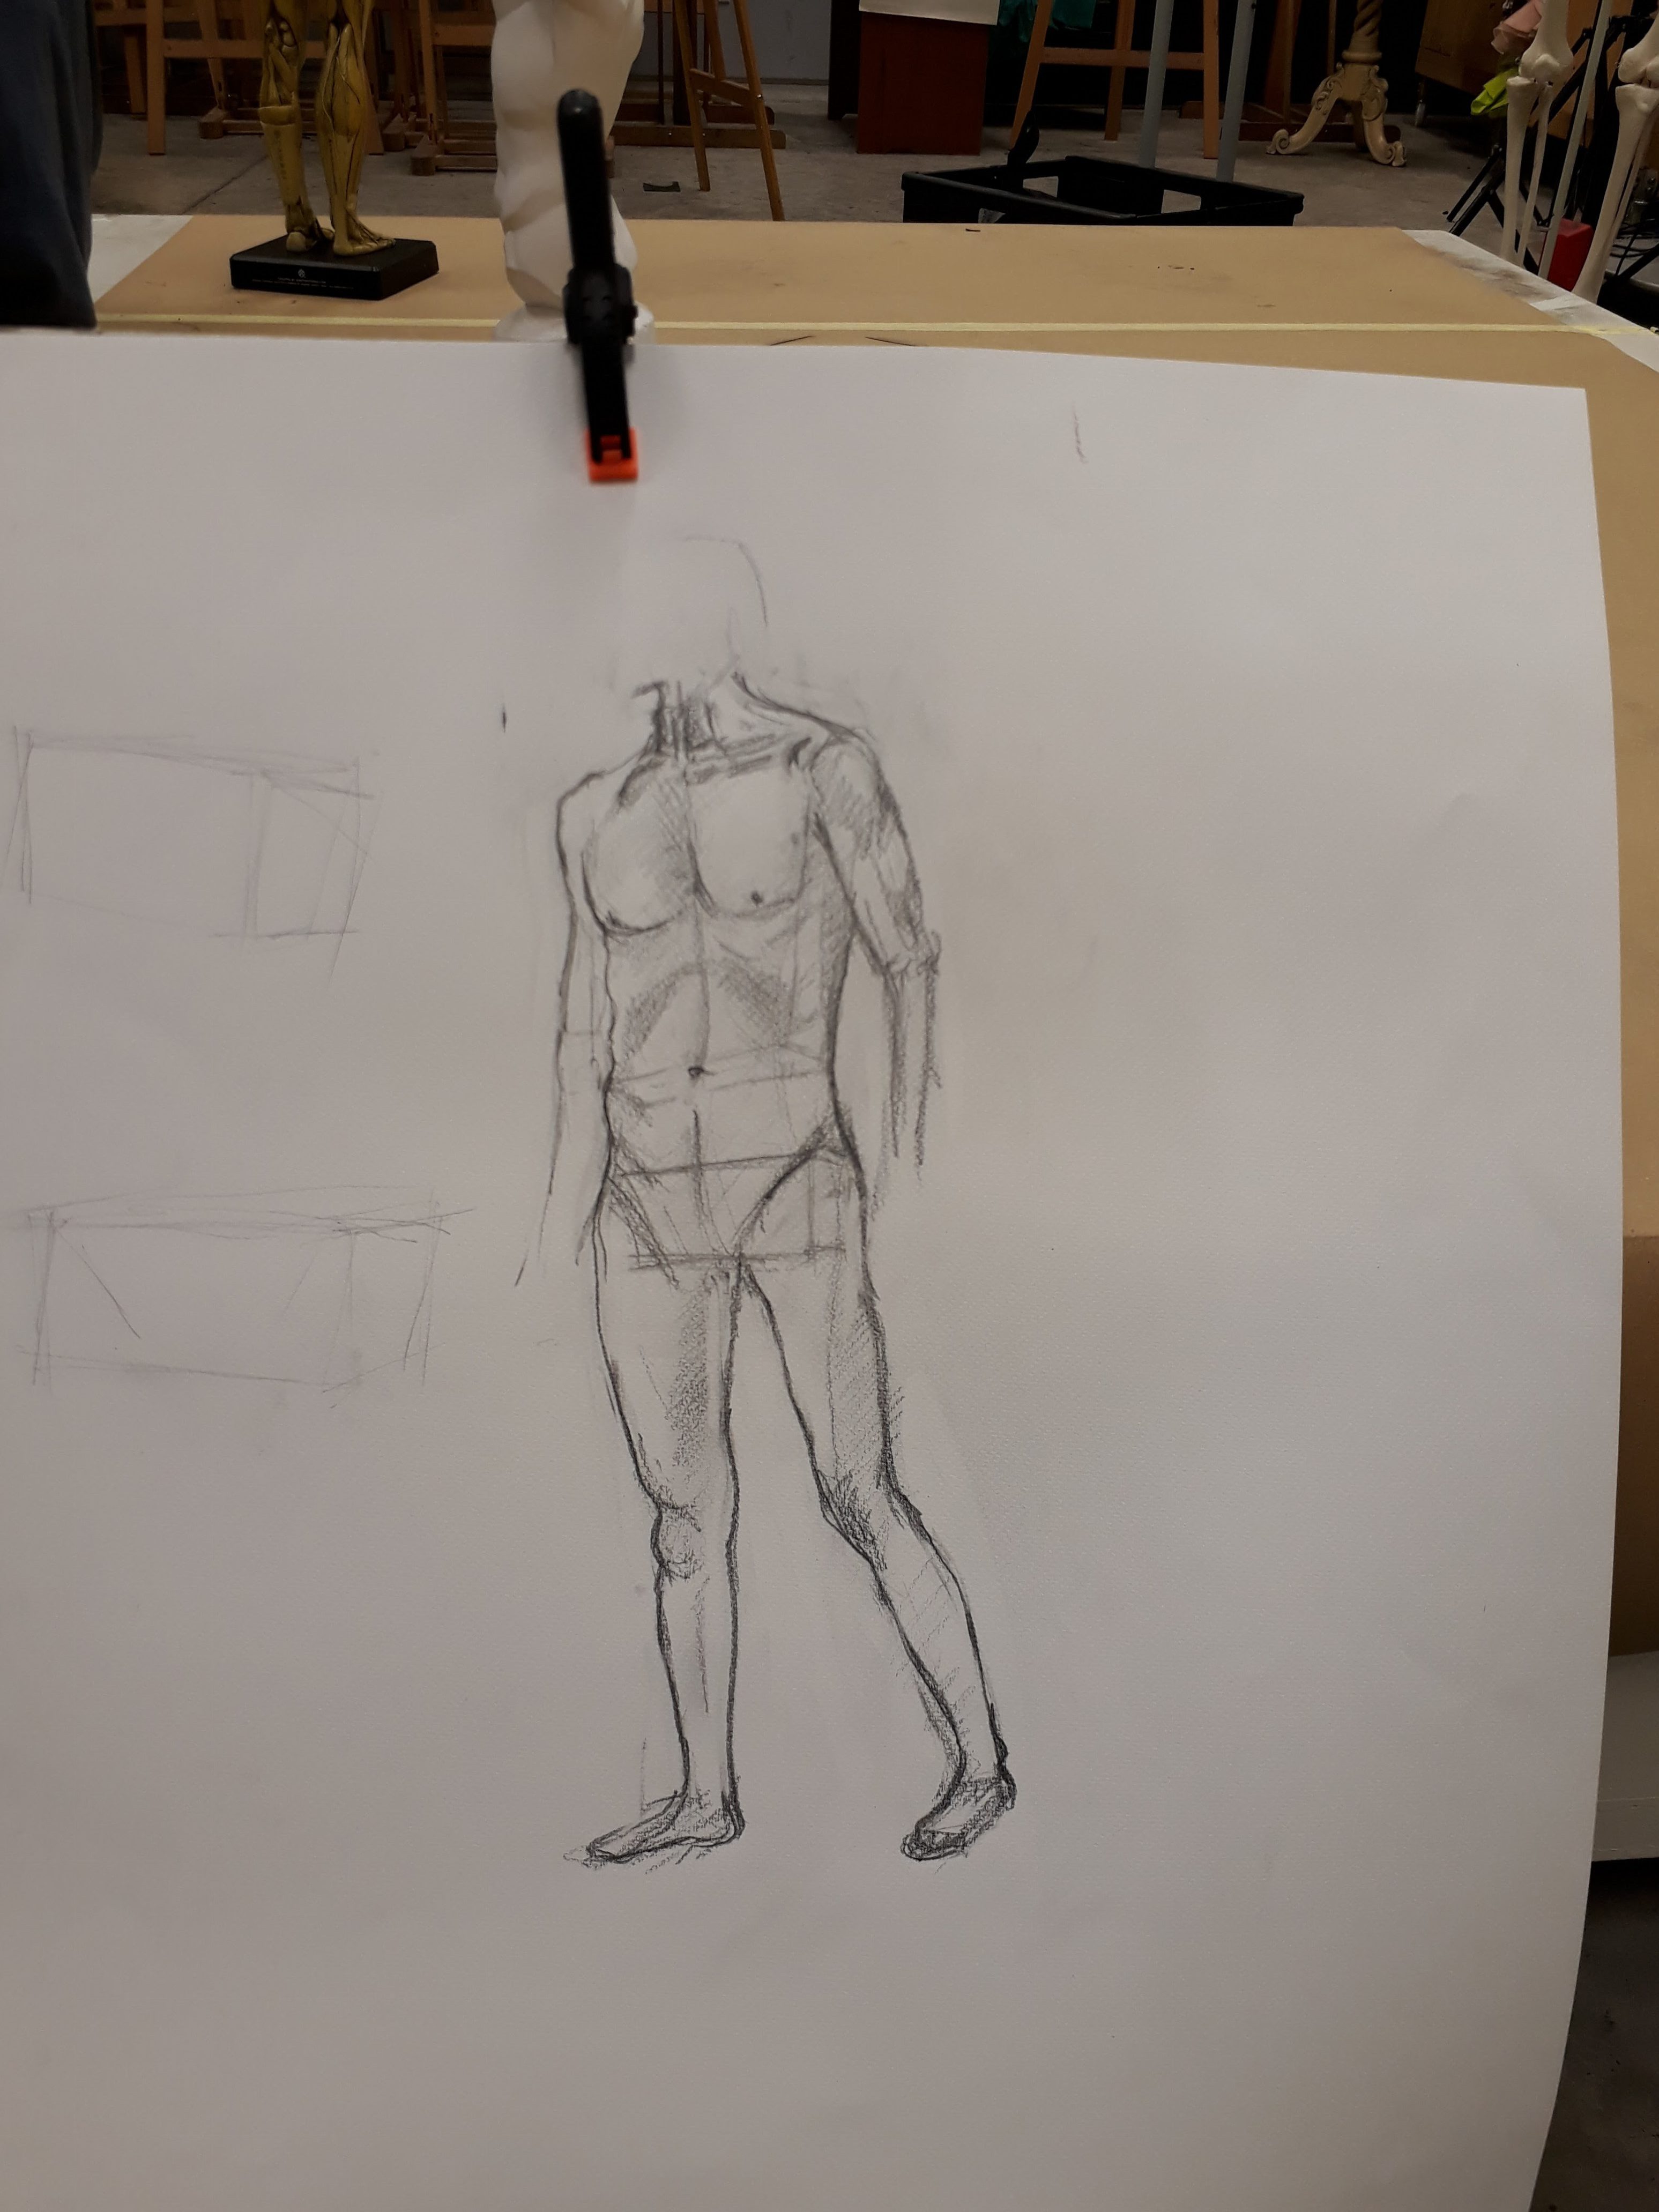
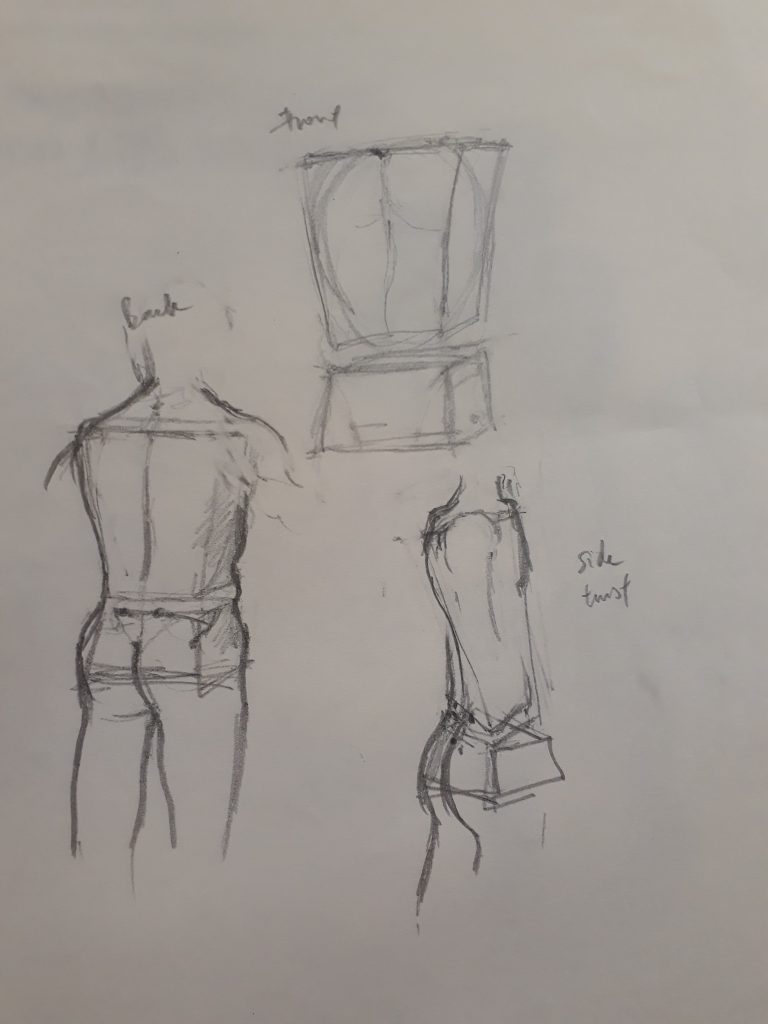 Proportions feel rather off here. Also, I did not know that the boxes should be rectangular instead of taking a trapezium shape. In the bottom right sketch, I was confused by the twisted torso of the model and thought that my boxes should be distorted as well. However, Prof told us later that we should be thinking of the boxes themselves as representing immovable blocks (we can’t twist our ribcage or pelvis after all). What gives rise to the idea of the ‘twist’ is by displacing the alignment of the top and bottom box.