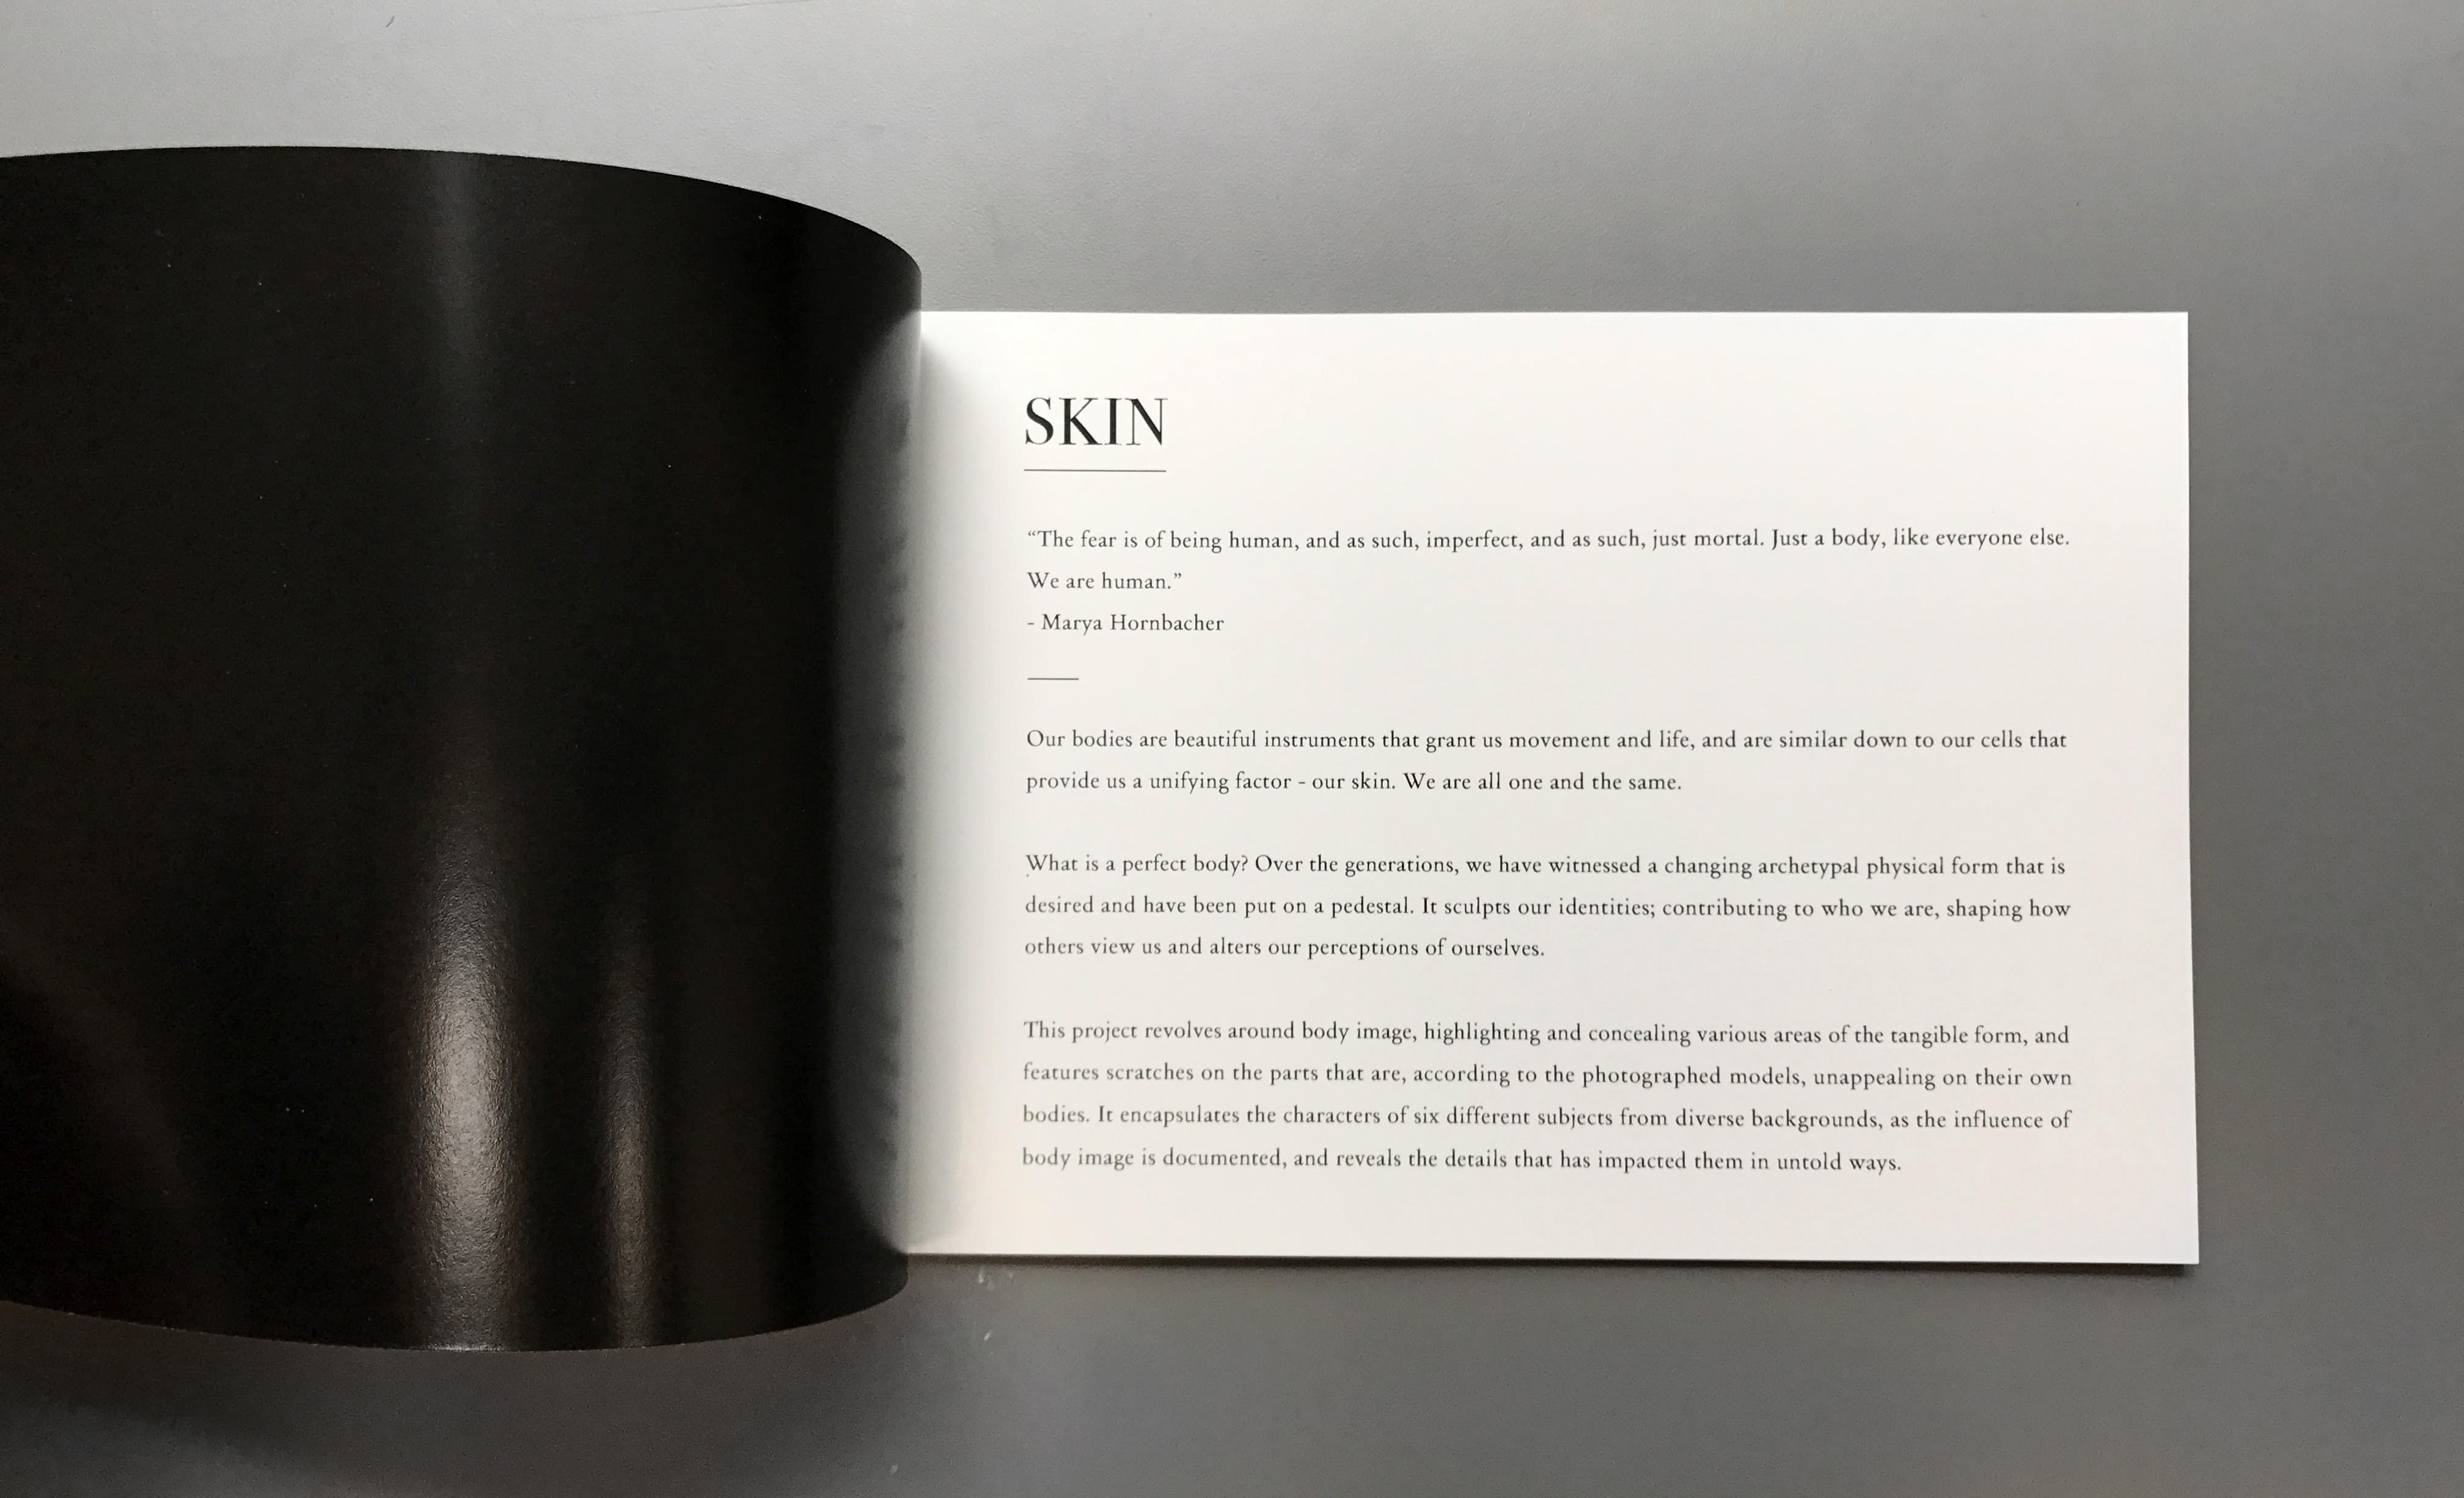
Hello! So this post will conclude the semester of Text & Image, and it was fun, especially rewarding seeing the final product after everything was printed and bound. So this post will address the printing situation and process while putting the hardcopy photo book together.
I printed my book at Sunshine Plaza, and visited three printing shops in total. The first was to print the inner pages of the book, the second to print the cover and back of the book, and the third to bind. This is because the shops all offered different services and paper and sizes, and it was rather difficult finding a particular shop that could provide everything I wanted.
Firstly, I did up my files on InDesign, and then exported as PDF to print. I also had soft copies of the JPEGS, PDFs and Photoshop files for printing, just in case things needed editing or shapes only accepted one file type. I find that it’s useful to over prepare for printing because…things will go wrong (somehow!).
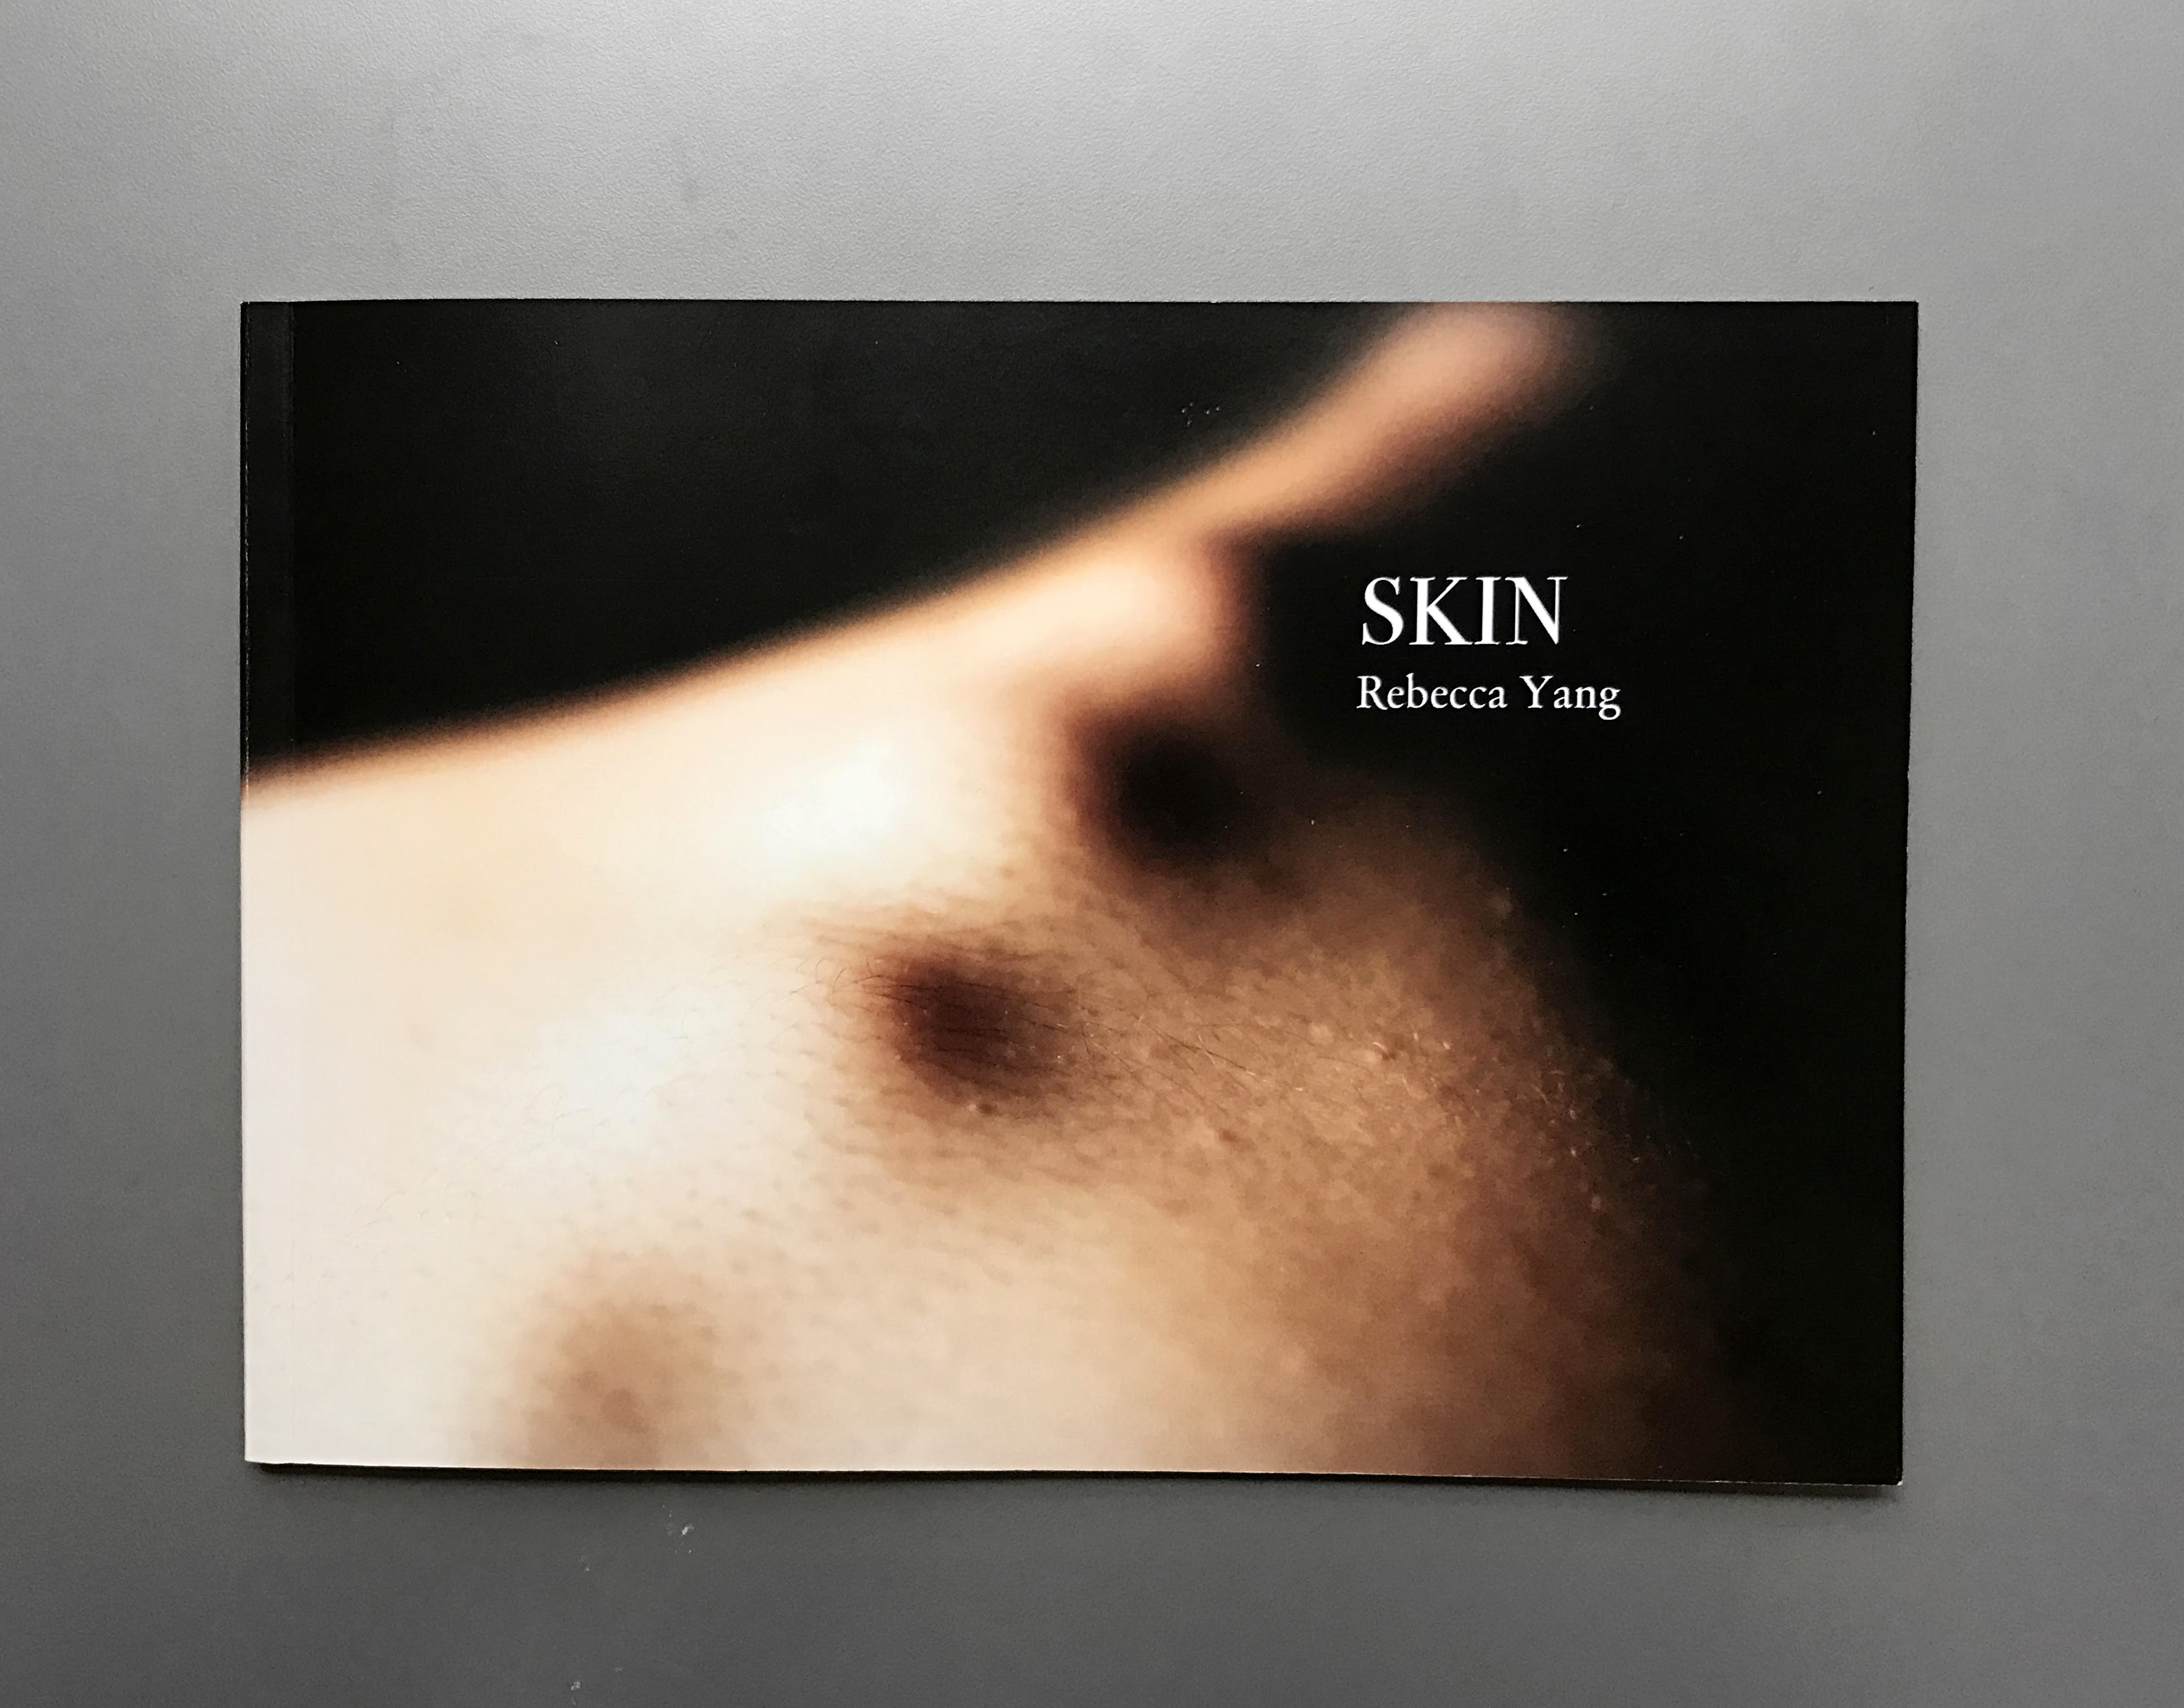
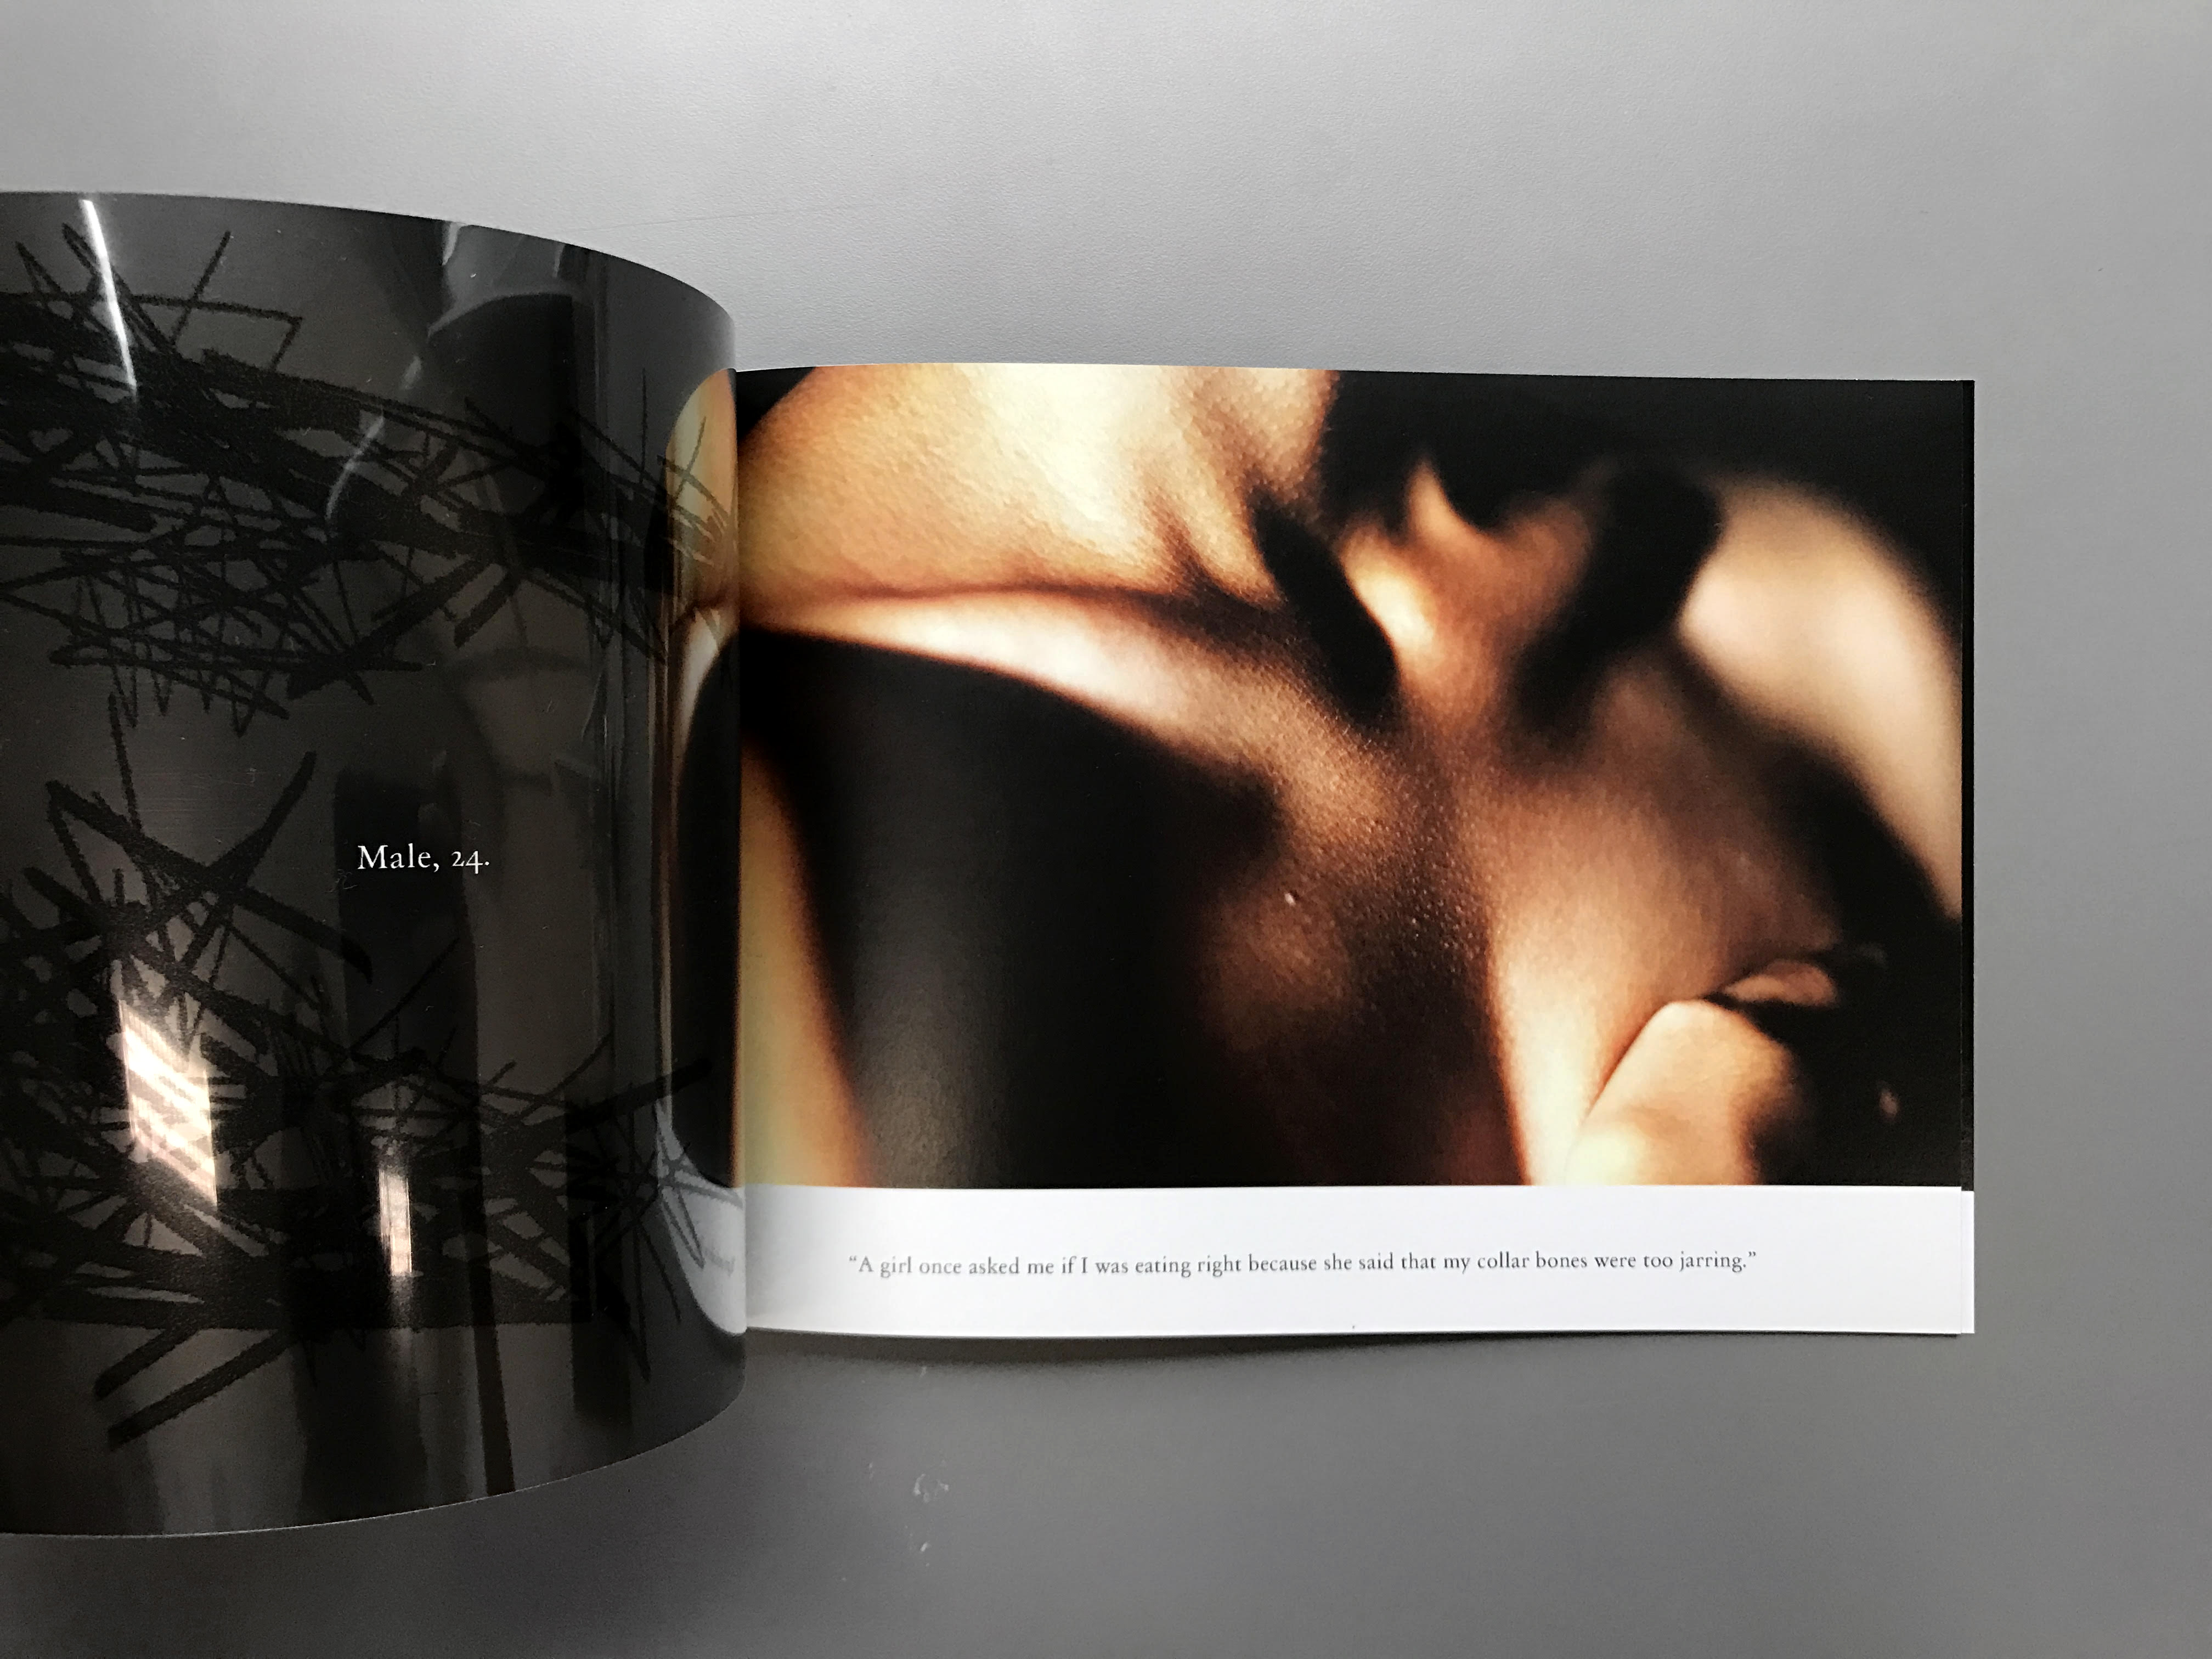
The first shop I went to, I chose to print the inner pages on 190gsm glossy paper to achieve the photo book kind of look and feel. I also printed my transparencies there, and bumped into an issue whereby the scratch marks on the transparencies could not be seen because they were white. I had to change them to black instead to get the ink to show on the transparencies, which was actually ok because I felt the black suited the theme of the book and the cover page, as white would be more stark and may have looked out of place. Another issue was that the colours showed up nicely on my computer and the printing computer, but when they came out, all the photographs had a yellow cast to it, creating golden looking skin that wasn’t accurate, unfortunately.
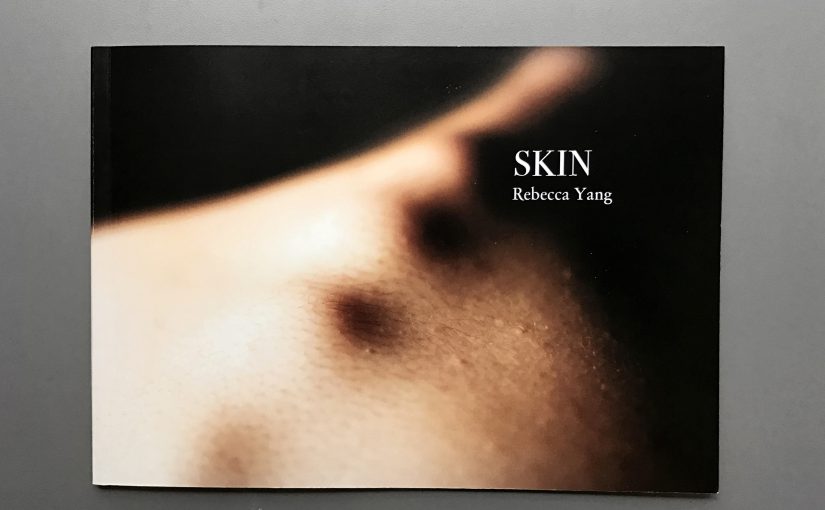
The shop also did not have A2 paper. Because I wanted my book to be B5, I went to the second shop to print the cover. I needed A2 because I wanted perfect binding, and it would have to include printing space for the book spine in order to accurately fit the B5 size, so I couldn’t print the cover on simply A3. I chose B5 as I felt it was a nice size for a photo book, as A5 was too small and A4 would be too large. I also chose to design it horizontally longer in B5 instead of the usual longer vertical spine as I felt like the shape was nicer and flipping through felt more pleasing.
At the second shop, I printed my A2 cover, back and front in colour on 250gsm glossy paper. The printing quality was really good this time, and the colours turned out pretty accurate so I was really satisfied with it. But that’s also because it was at a really exorbitant price. You really get what you pay for!
Because the first two shops did not have perfect binding services, I went to the third shop to get it done. I also realised given that this is my first time printing a book of this thickness (20 pages), I should always export the document properly so it’s easier to cut and bind. I had crop marks but no bleed, so in the future I’ll definitely remember this. Thankfully, the binding turned out well! The spine was scored well and allowed for easy flipping through the pages.
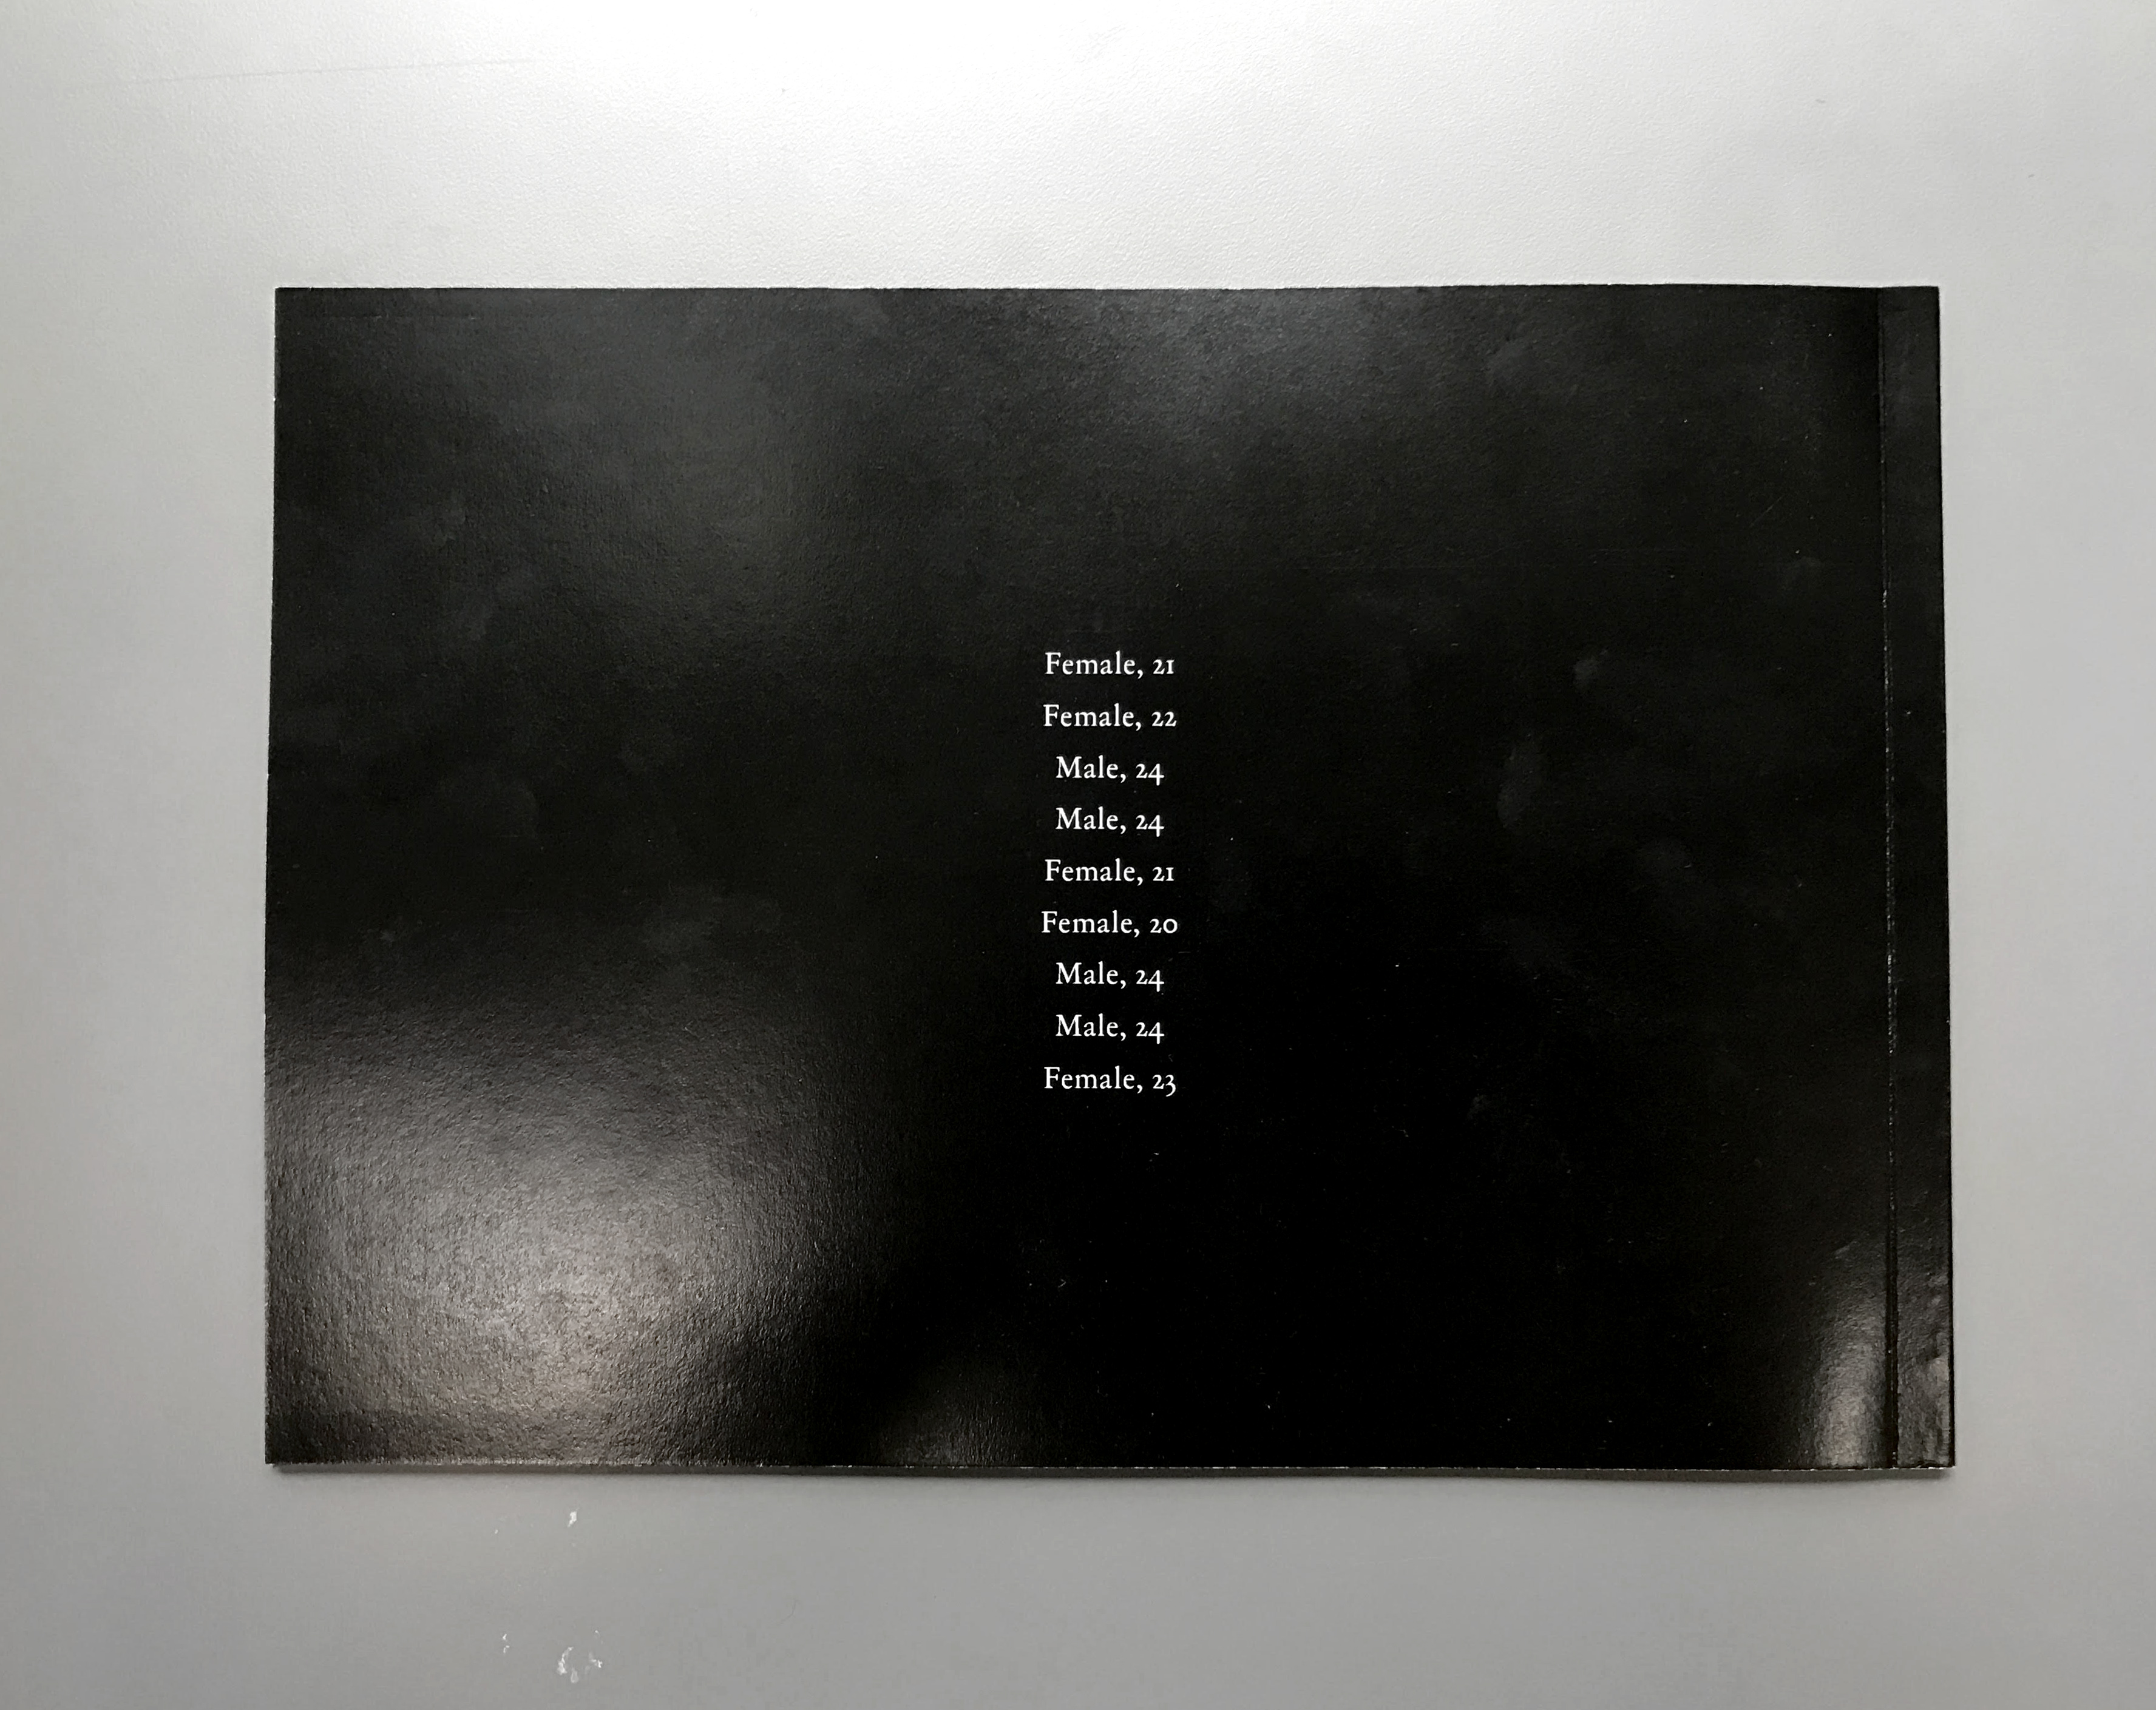
So that was my printing journey! And I’m quite happy with the end result, except the colour for the inner pages, so I may get it reprinted. Here are some photos of the hardcopy!

So great! Thank you for sharing your beautiful work and your valuable experience!