This is the most tedious part of the design. The sewing of the circuits takes a really really long time as I have many different layers and I place the lights in different places.
- Turn the layers inside out
- Start sewing the circuits
- Make sure that the plus and minus threads do not touch each other
- Repeat the steps 5 to 6 more times for each layers as i have about 5 to 6 led lights in one layer
- Flip the layer back out to the bubbled shape
- Add fabric glue to the circuits so that the thread would not touch the threads of the other layers
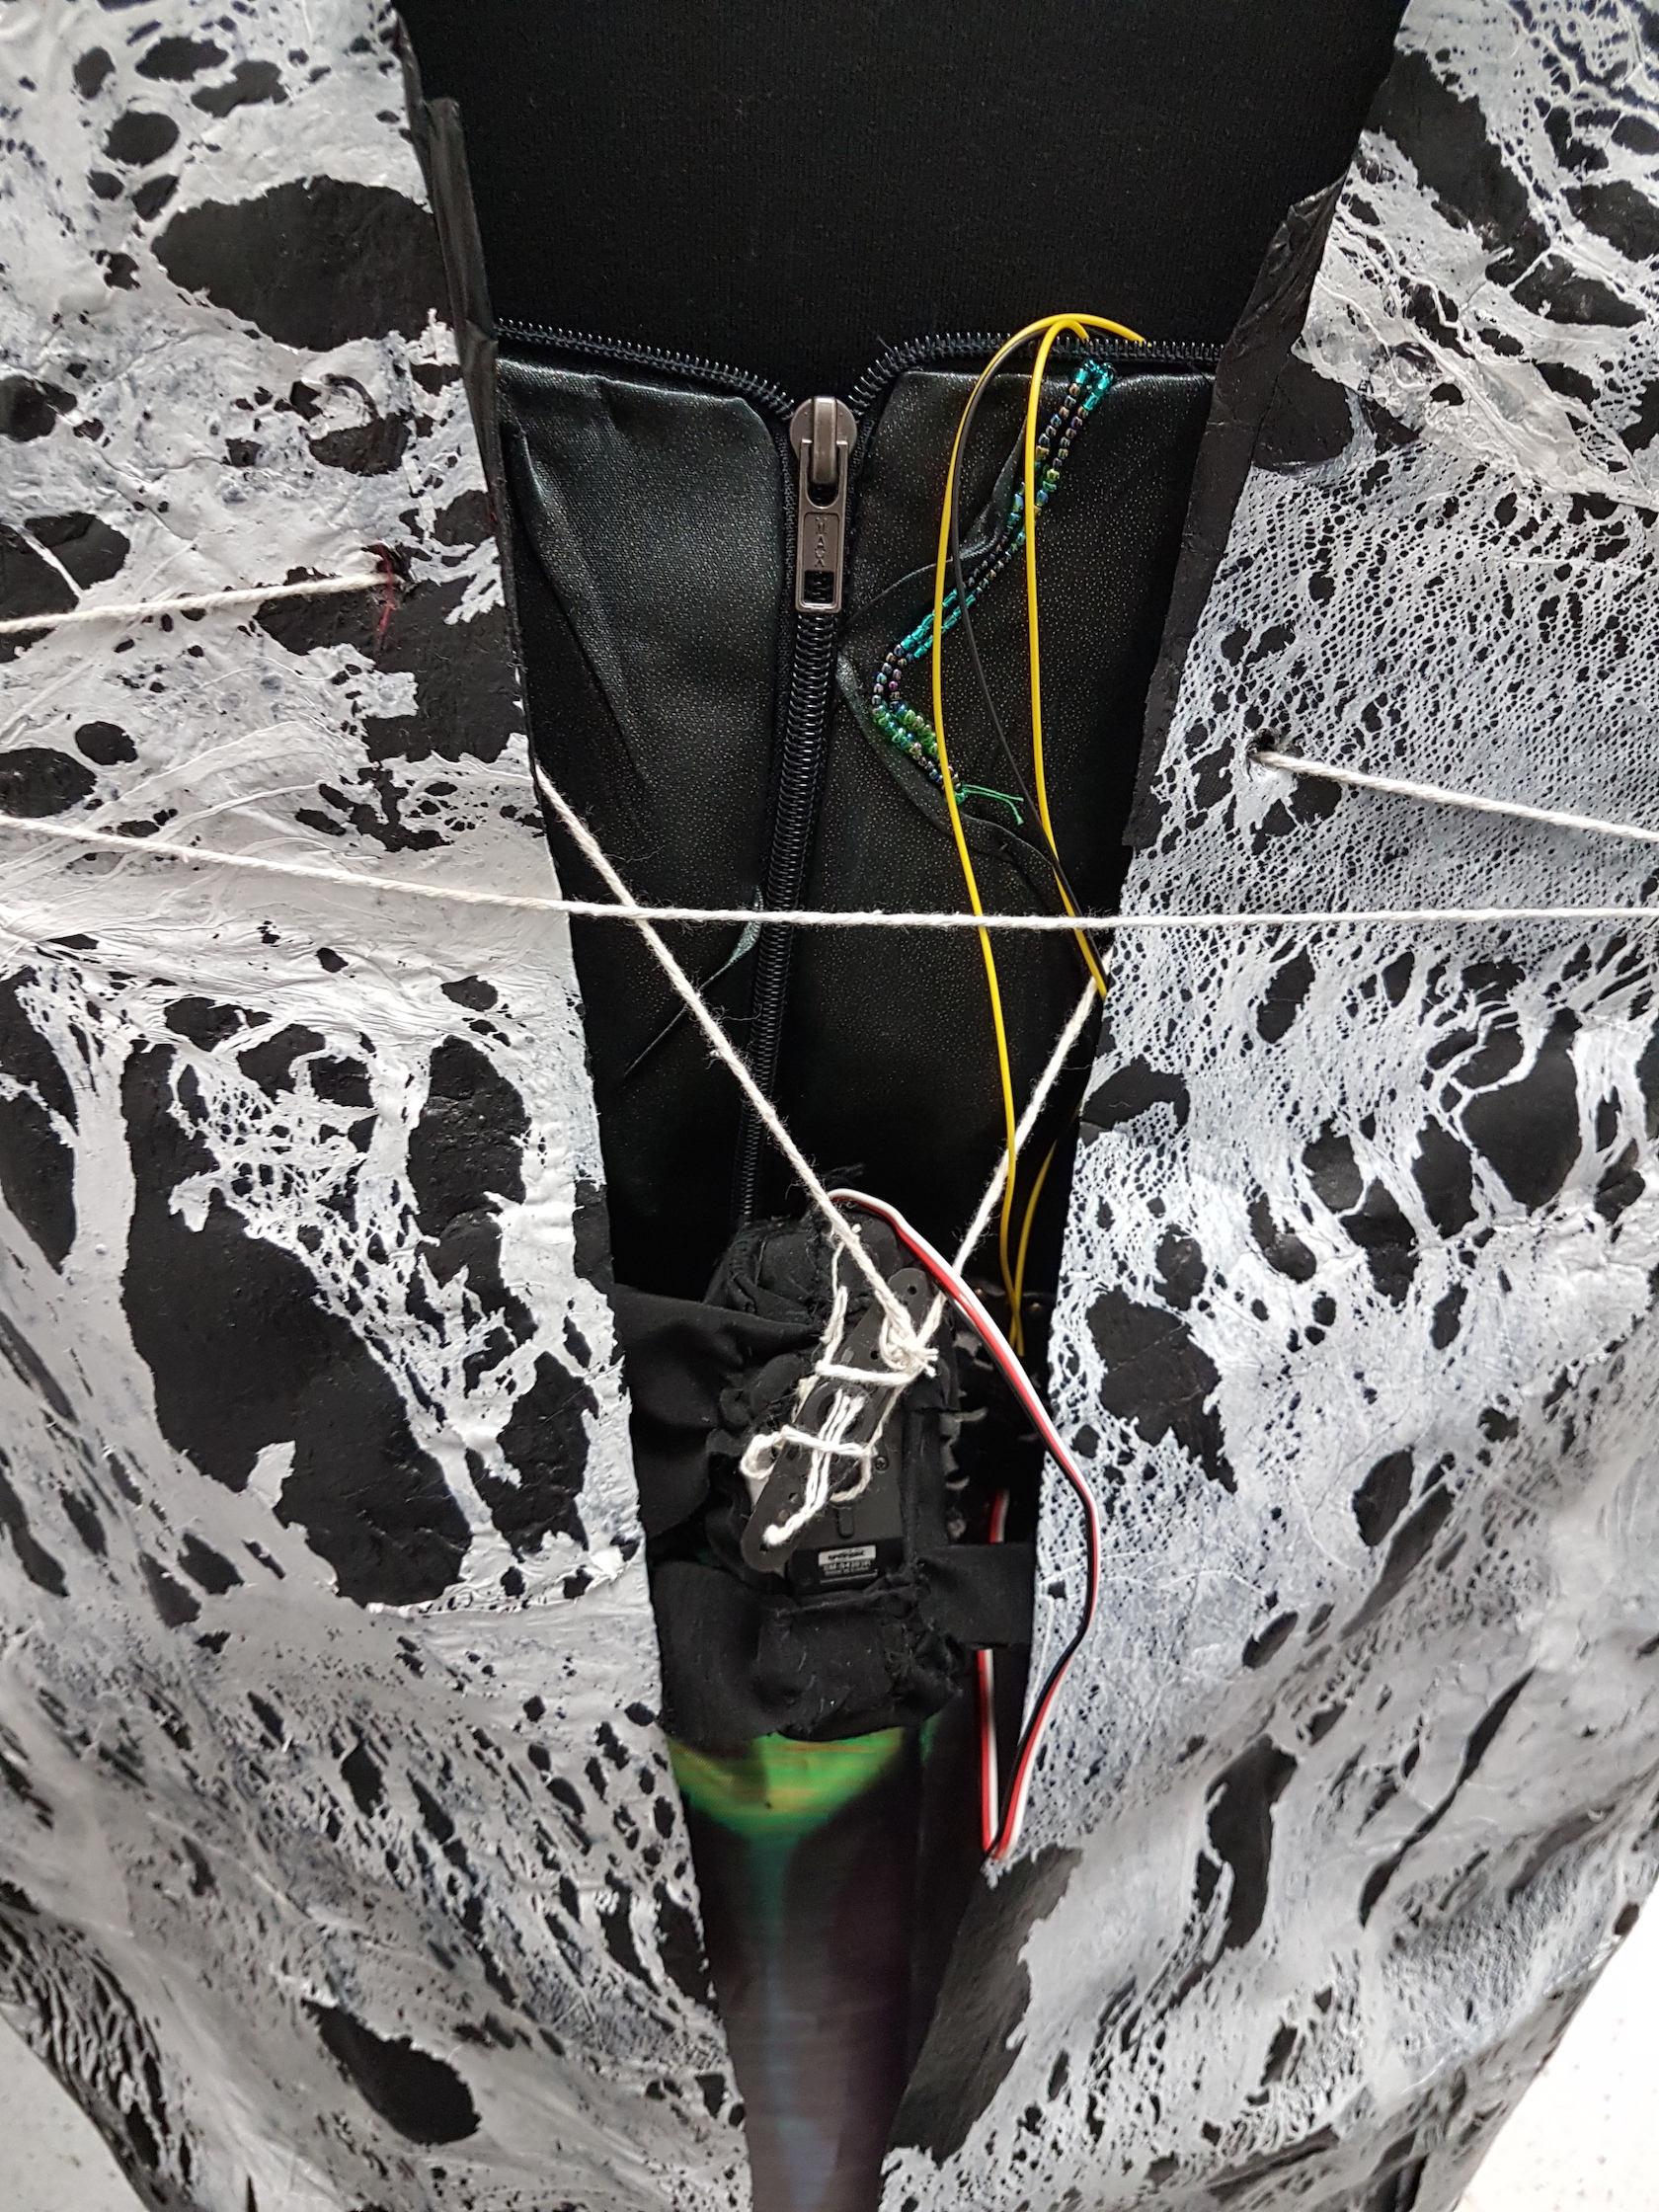
Adding the motor on the belt to ensure that it is fixed in place.
- Fit the motor into a piece of foam
- Use some scrap cloth to wrapped the foam and to ensure that the motor is well secured
- Sew it onto a belt
- Create holes in outer piece to thread the string through it to pull open the outer layer when the motor is on.
- Add rings on the side of the outer layer to pull open the outer layer
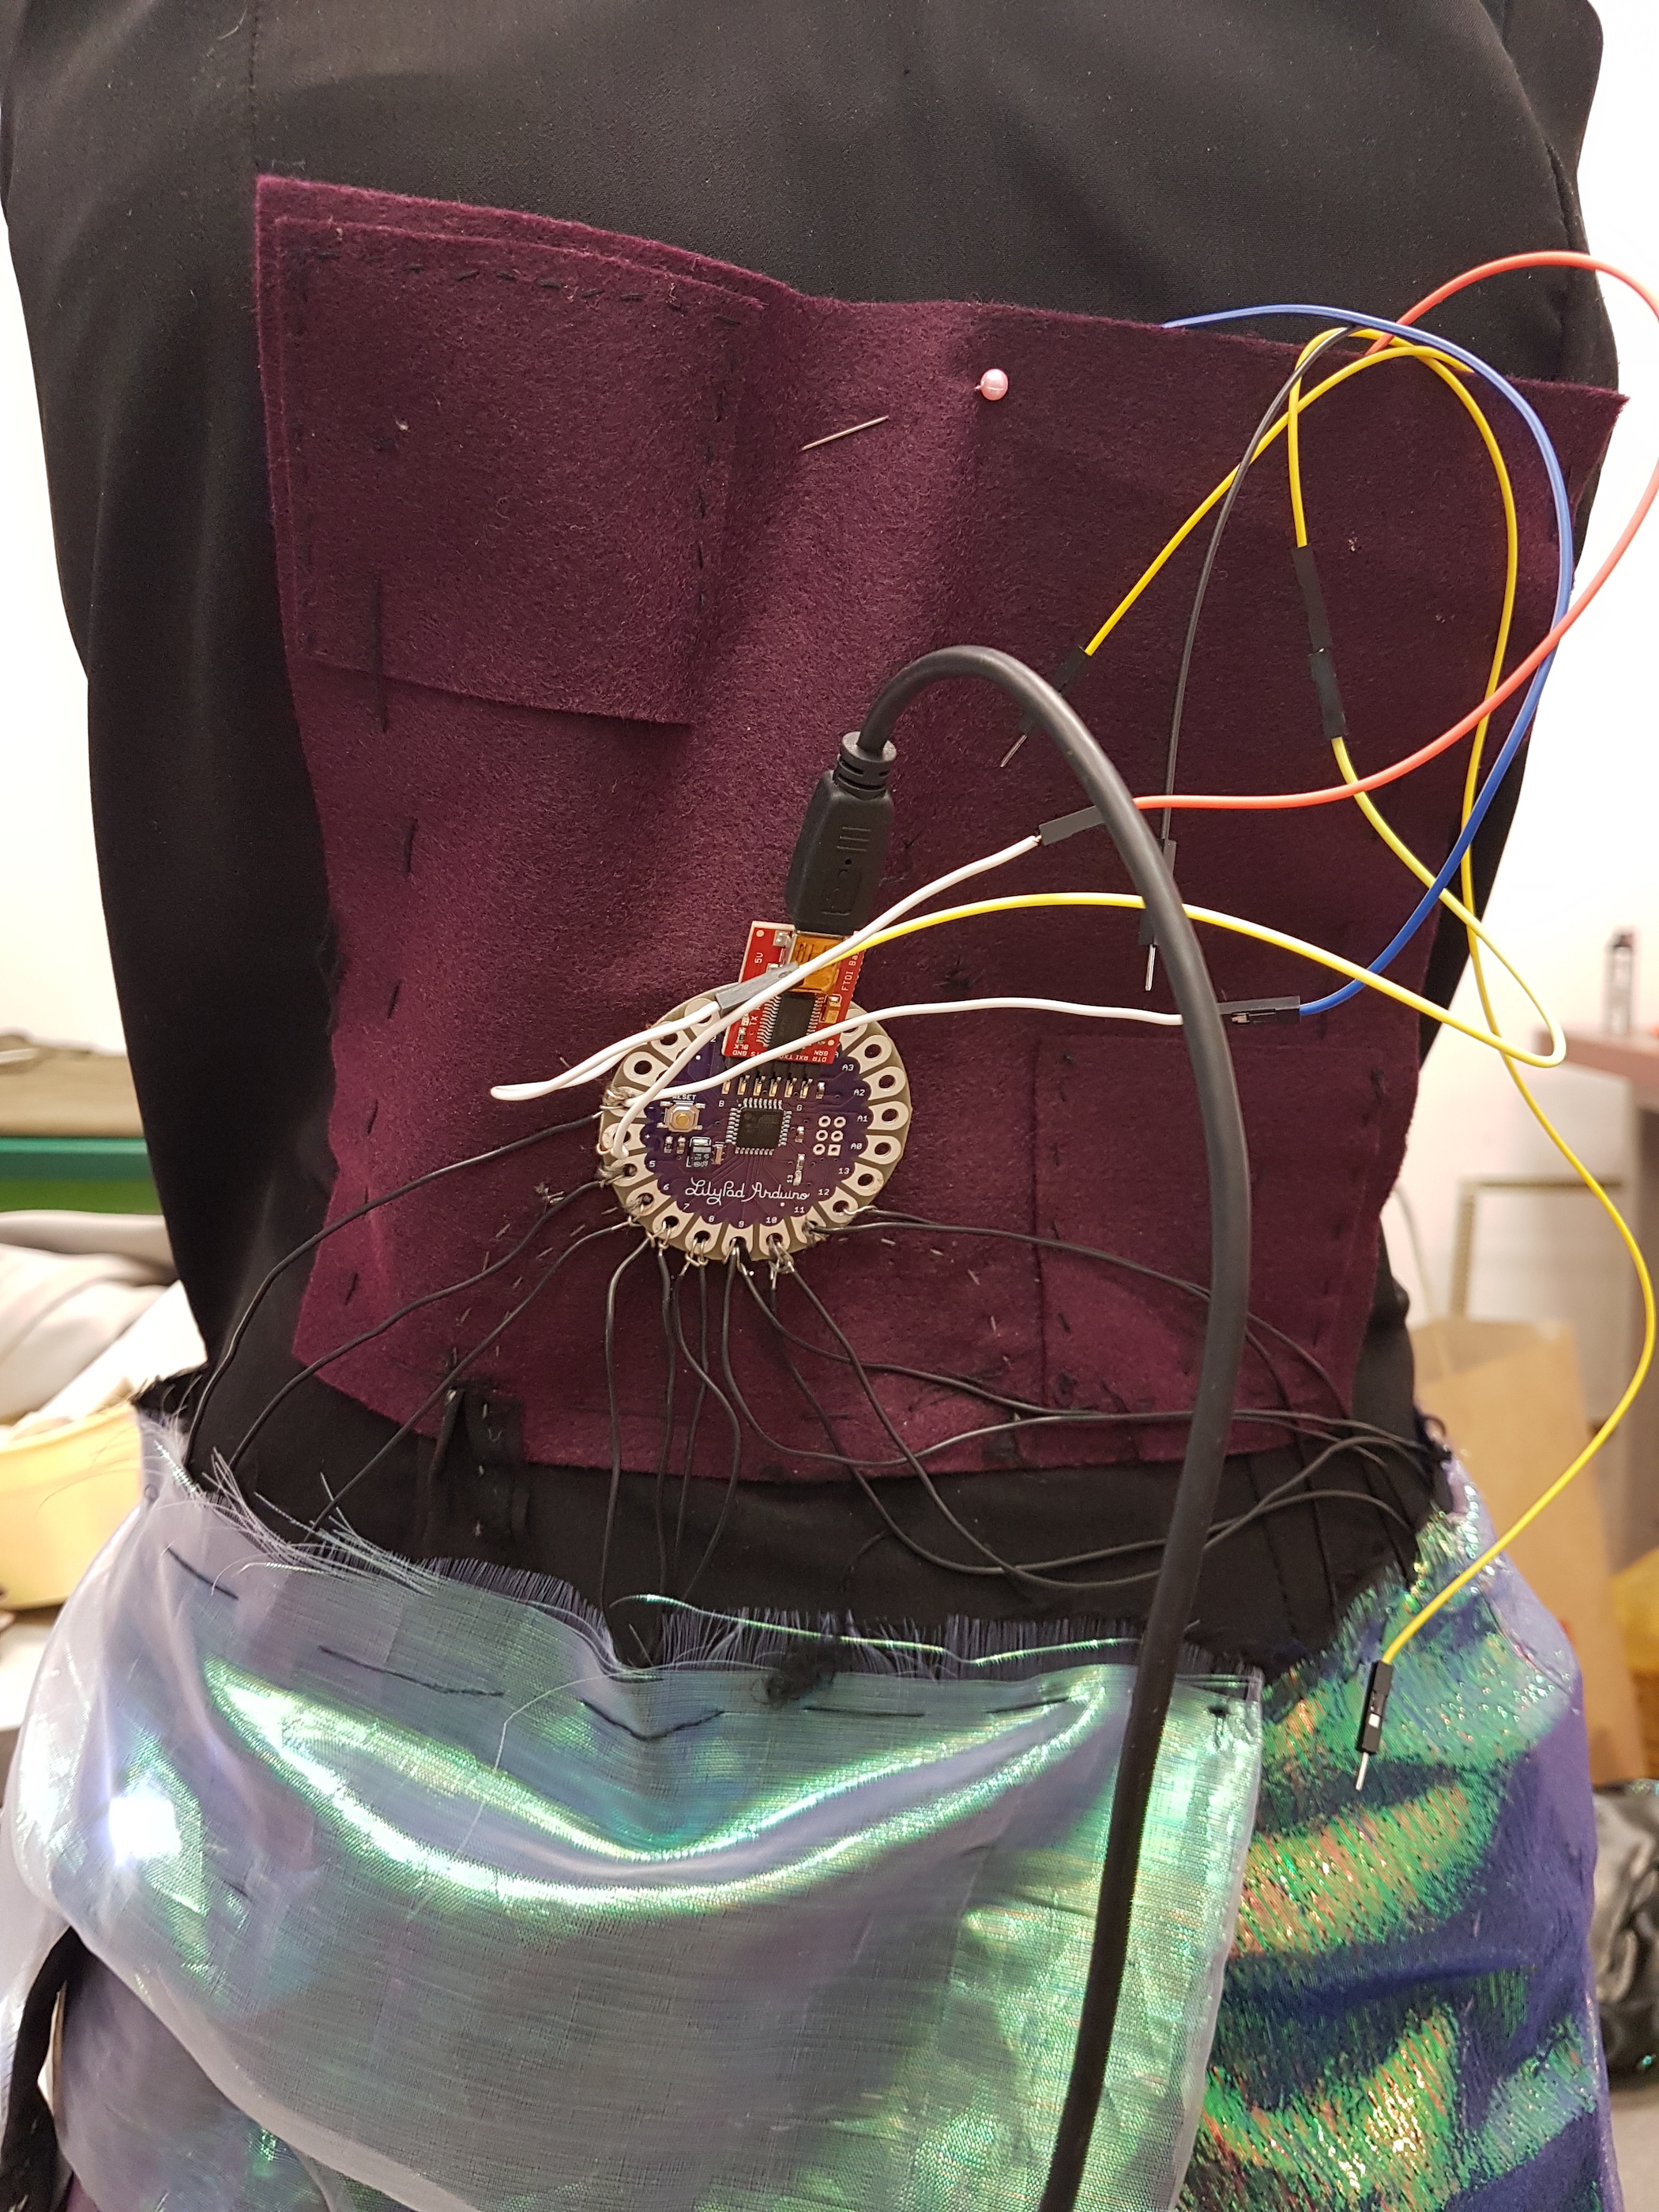
Initially, I used conductive threads sew on strips of cloth to link them to the lilypad. It worked out fine in the beginning. It was able to light up until the time of the fashion show, none of the lights lit up. I had to amend it after the fashion show. I tried to reconnect the circuits by testing it with wires. I realised the wires worked much better than the conductive thread in terms of linking to the lilypad.the wires were tubed thus, it mades sure that the plus and minus ends would not touch each other.
Therefore, in the end I changed all the circuits to be linked by wires to lilypad and now thank goodness they are all working fine.


