OSS Symposium: Mobile Cam Exercise #3

Standard

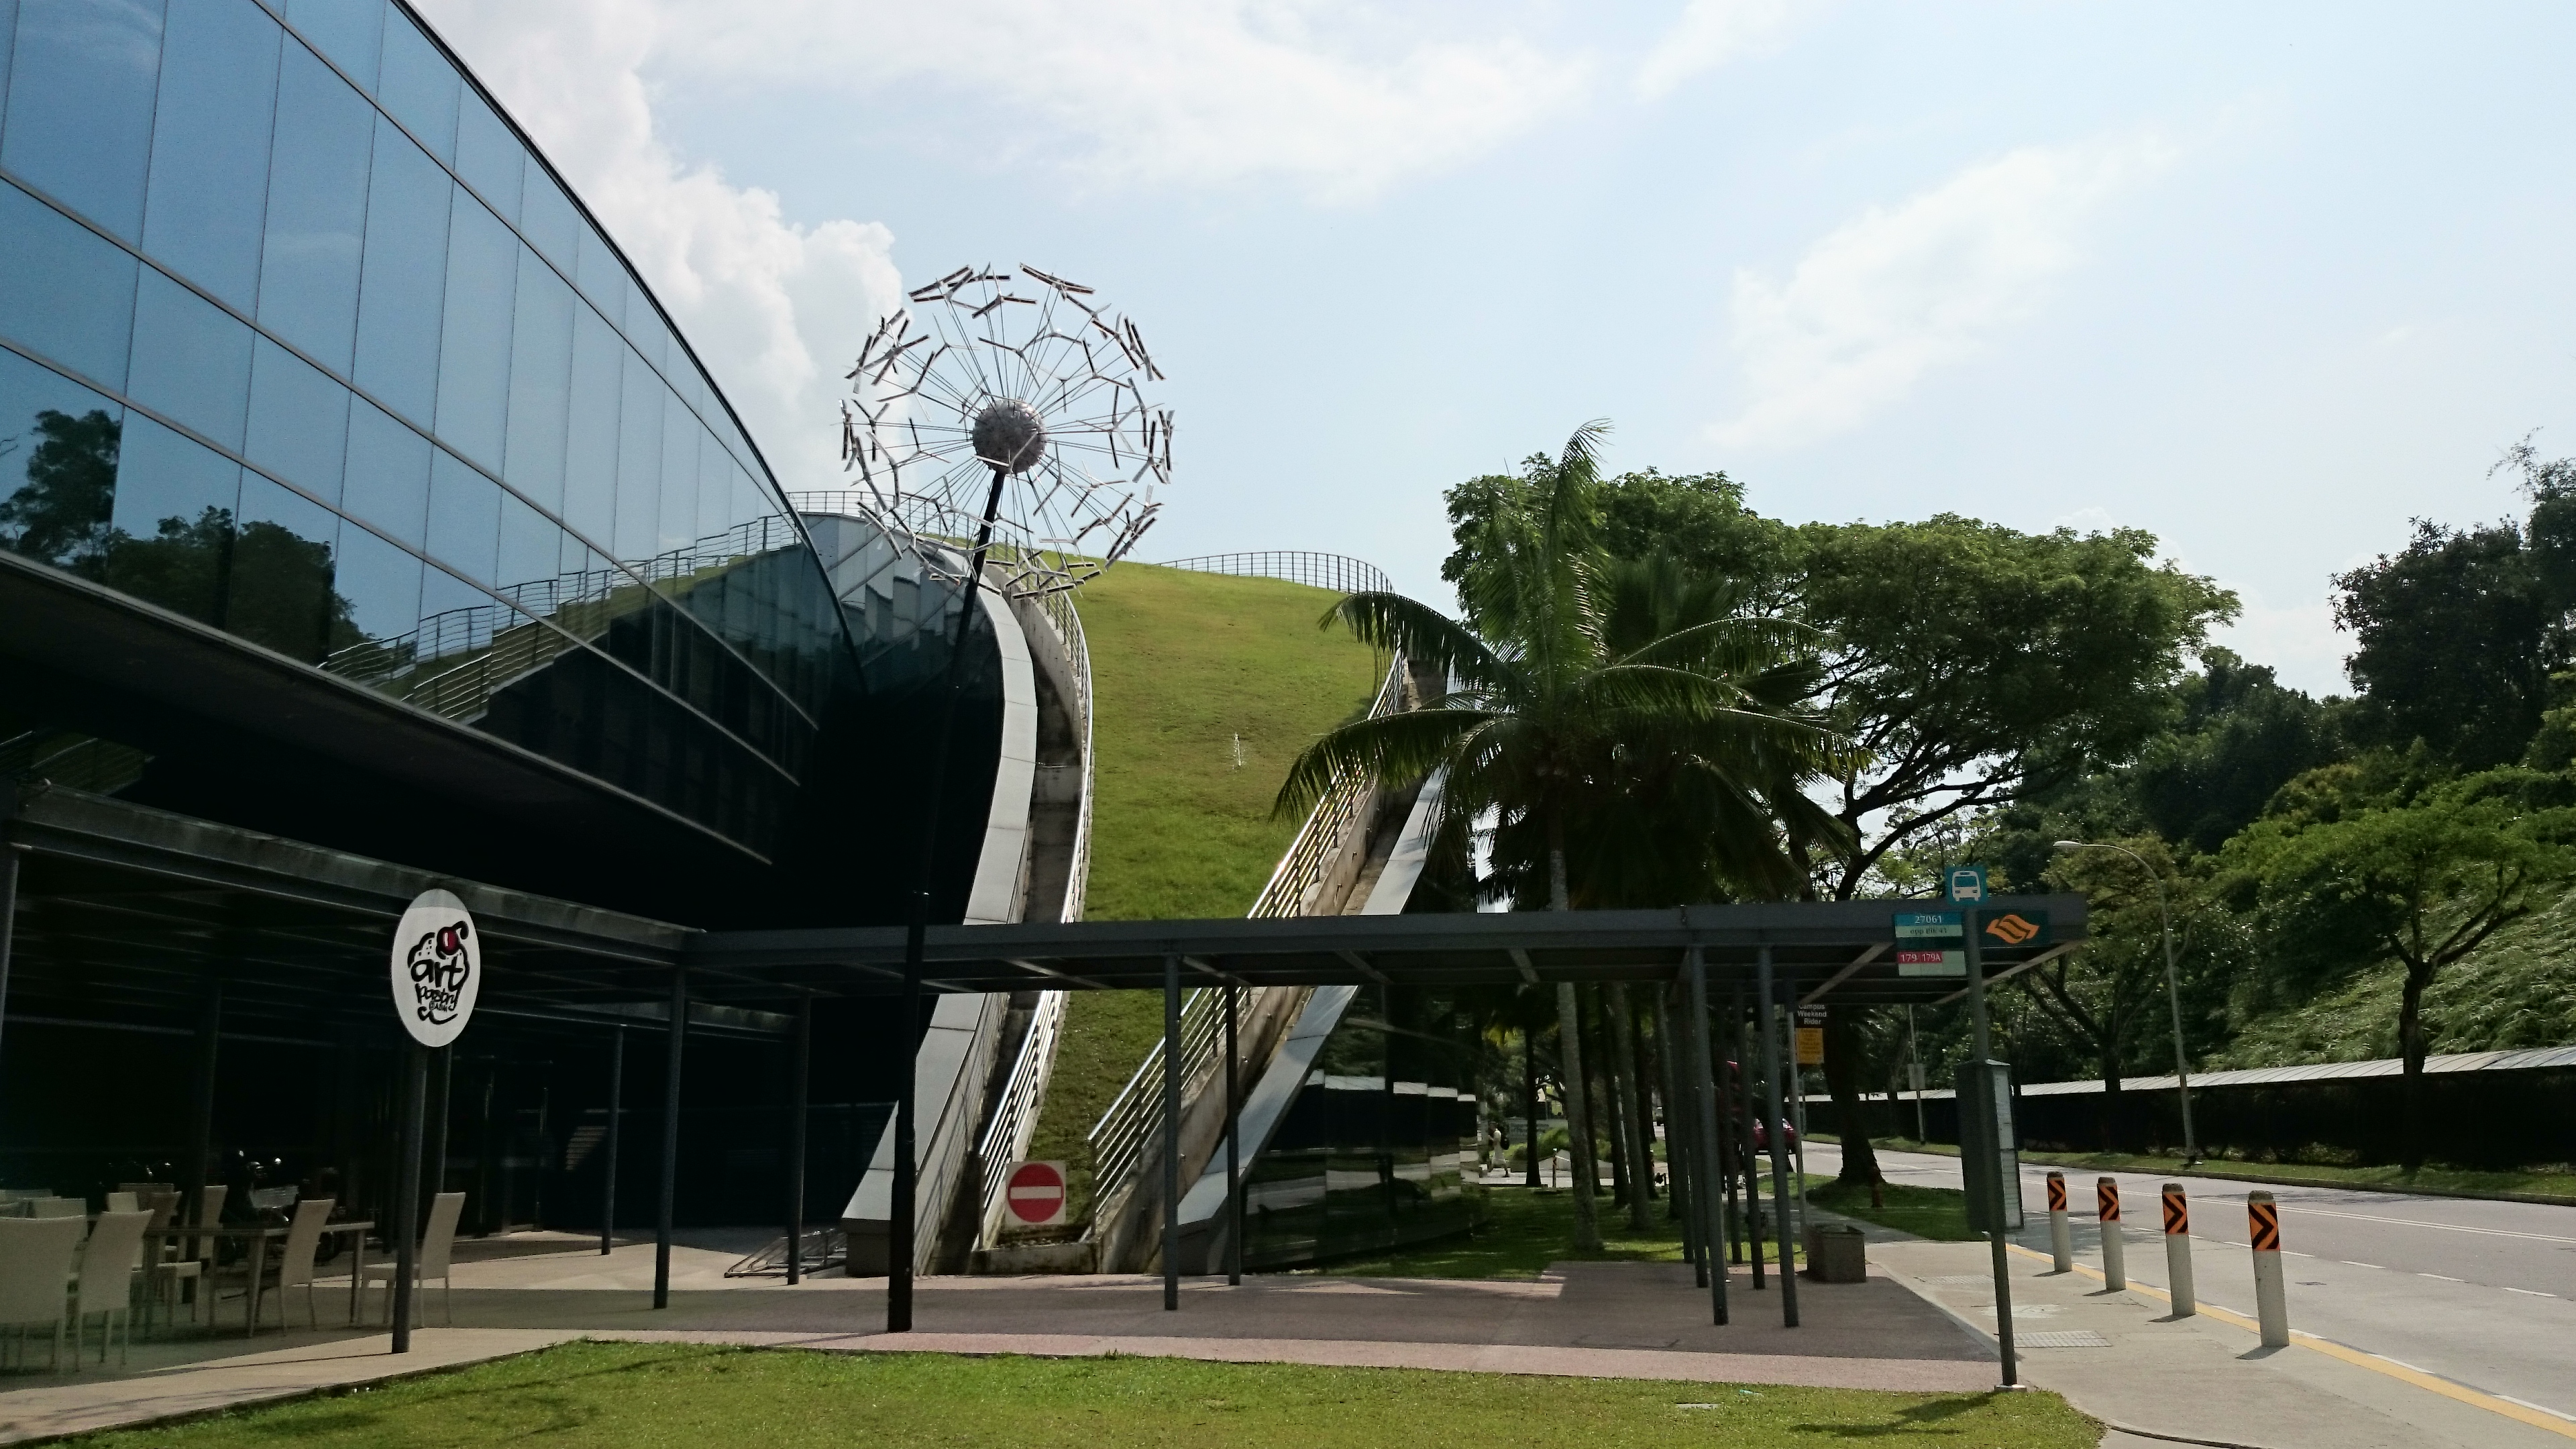
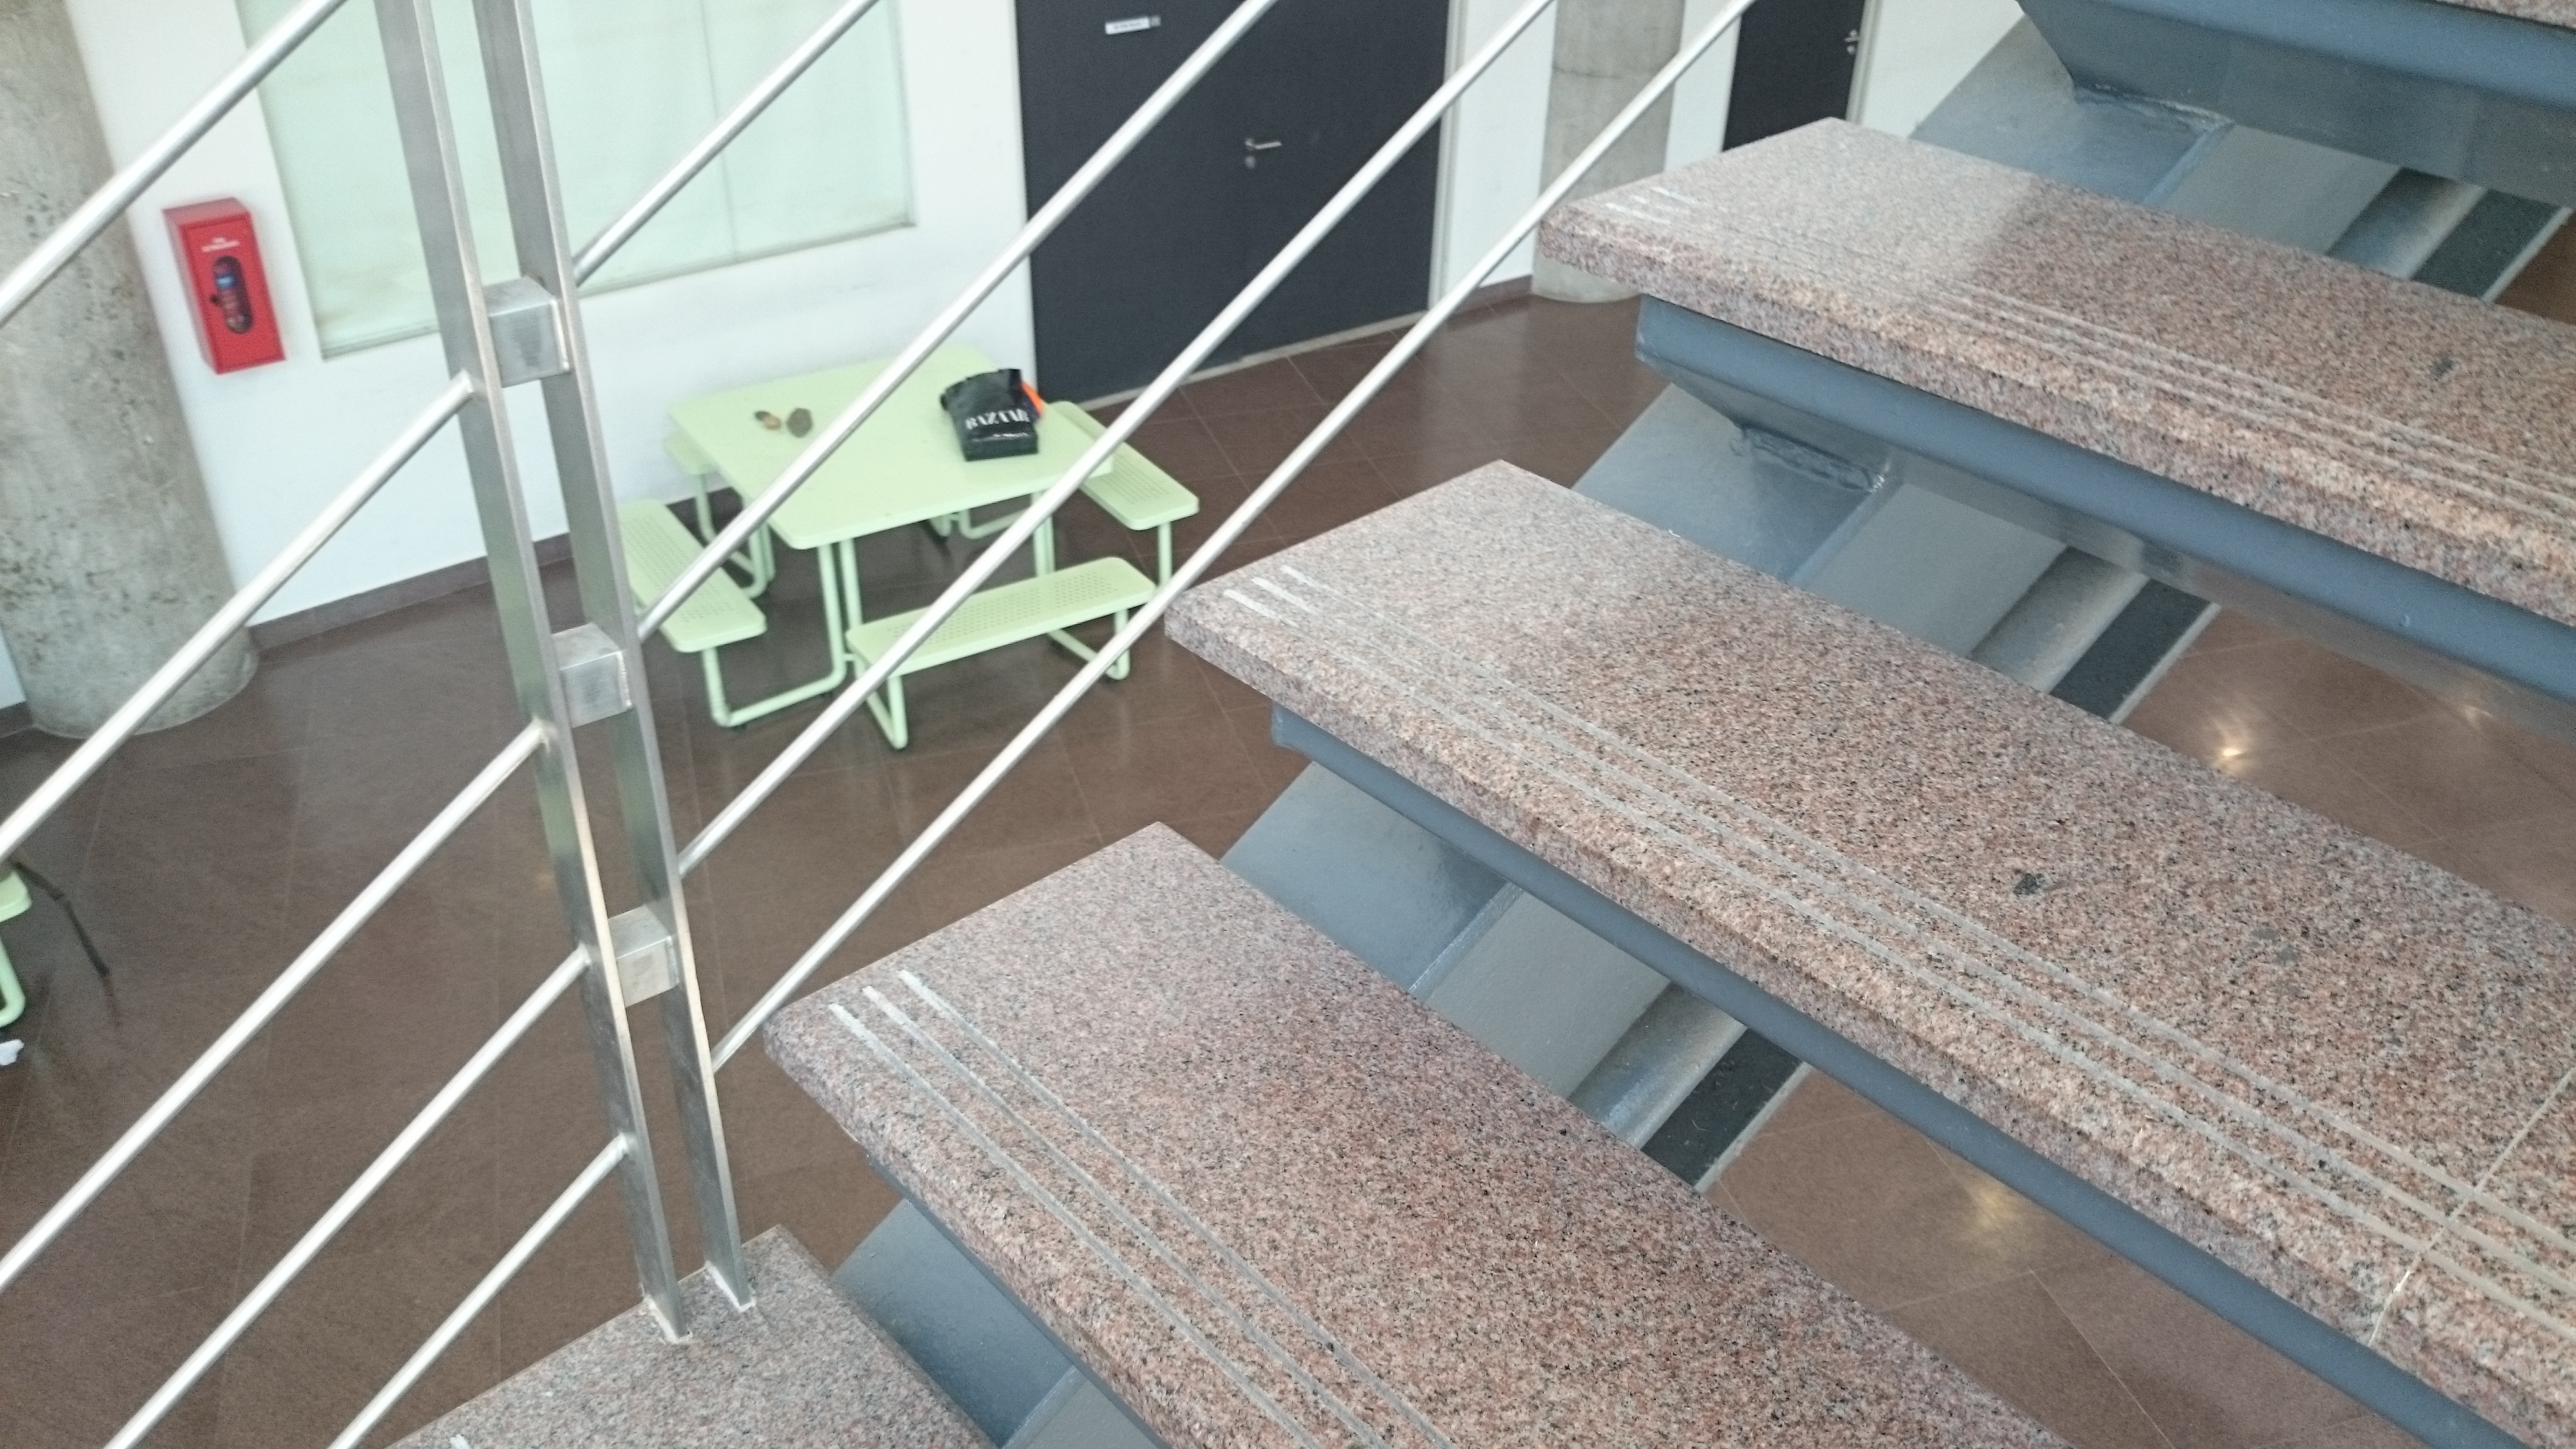
I’ve decided to change my location for the final performance because I realised this journey gives a nicer and more interesting perspective of ADM. I want to start right on top of the hill where the side entrance of ADM is; cause I realised everyone that visits ADM would take pictures here. I’ll start right at the top and walk slowly down the steps while focusing on the views per step. Because the ADM building is very reflective, I think its interesting if the audience could catch a glimpse of my cam through the reflective surfaces; yet not be able to see me.

DSC_1985

Following that I’ll walk towards the sunken plaza – everything around the sunken plaza is reflective glass.. DSC_1987

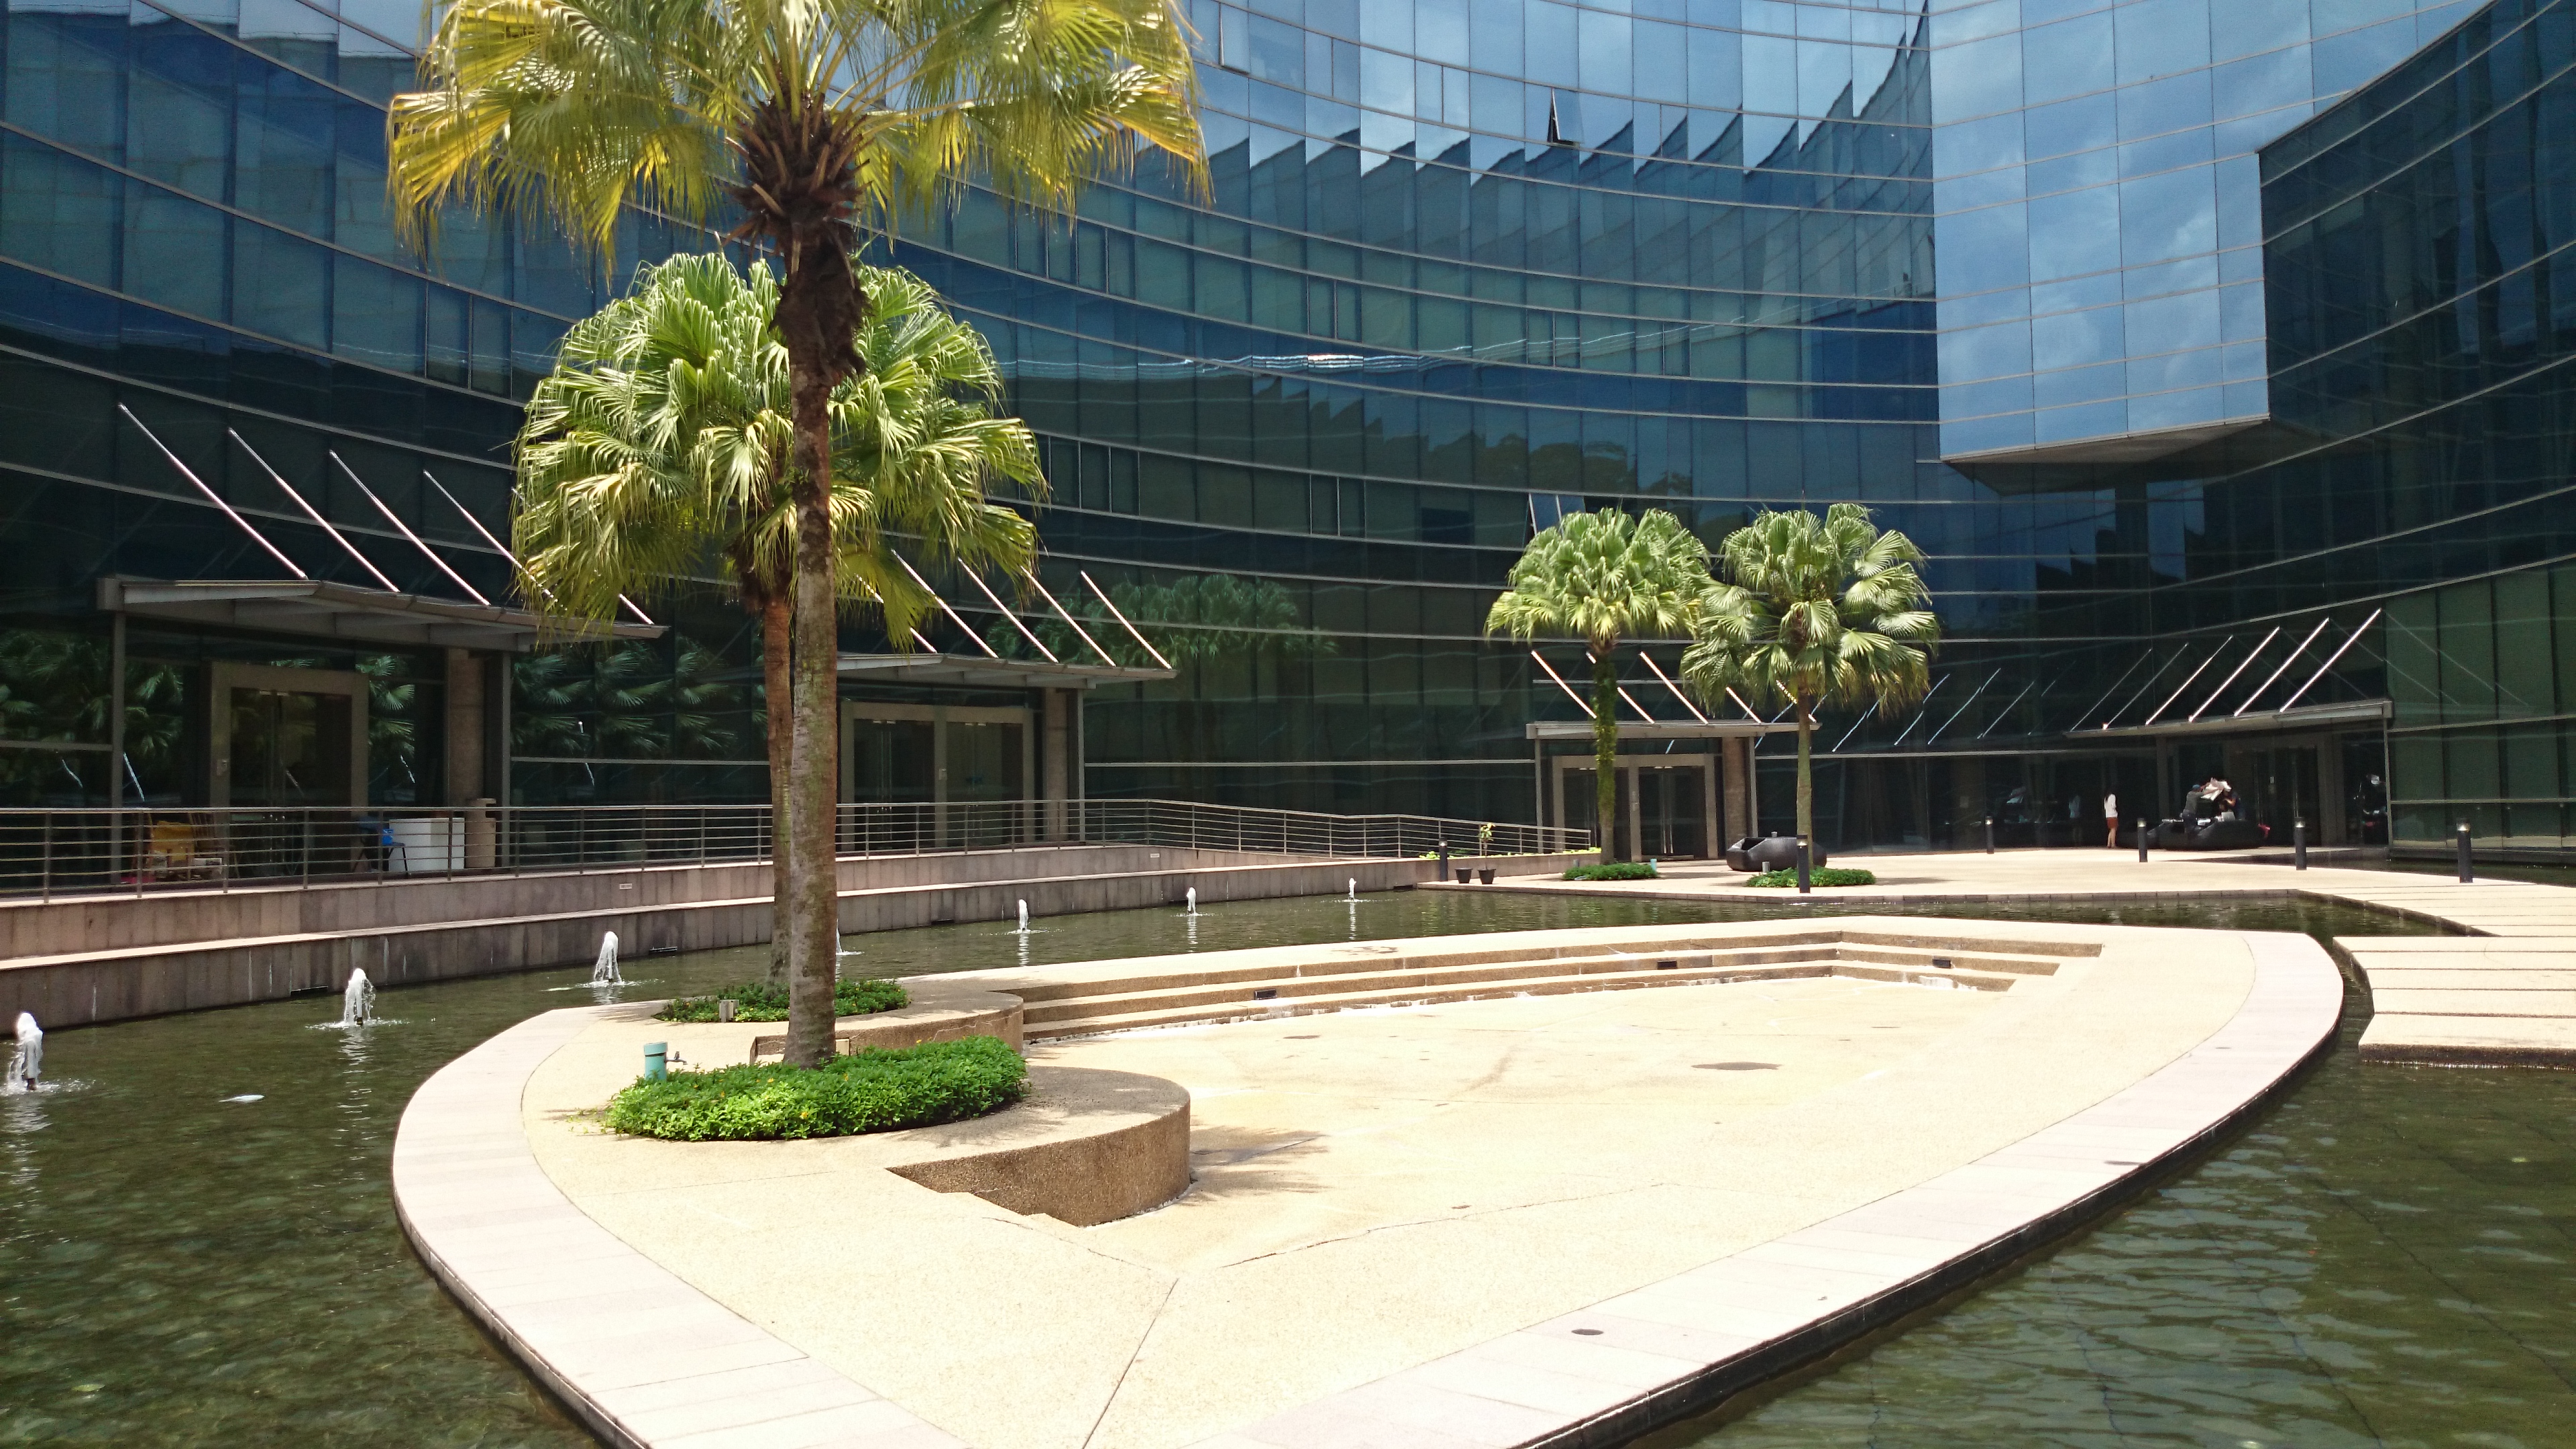
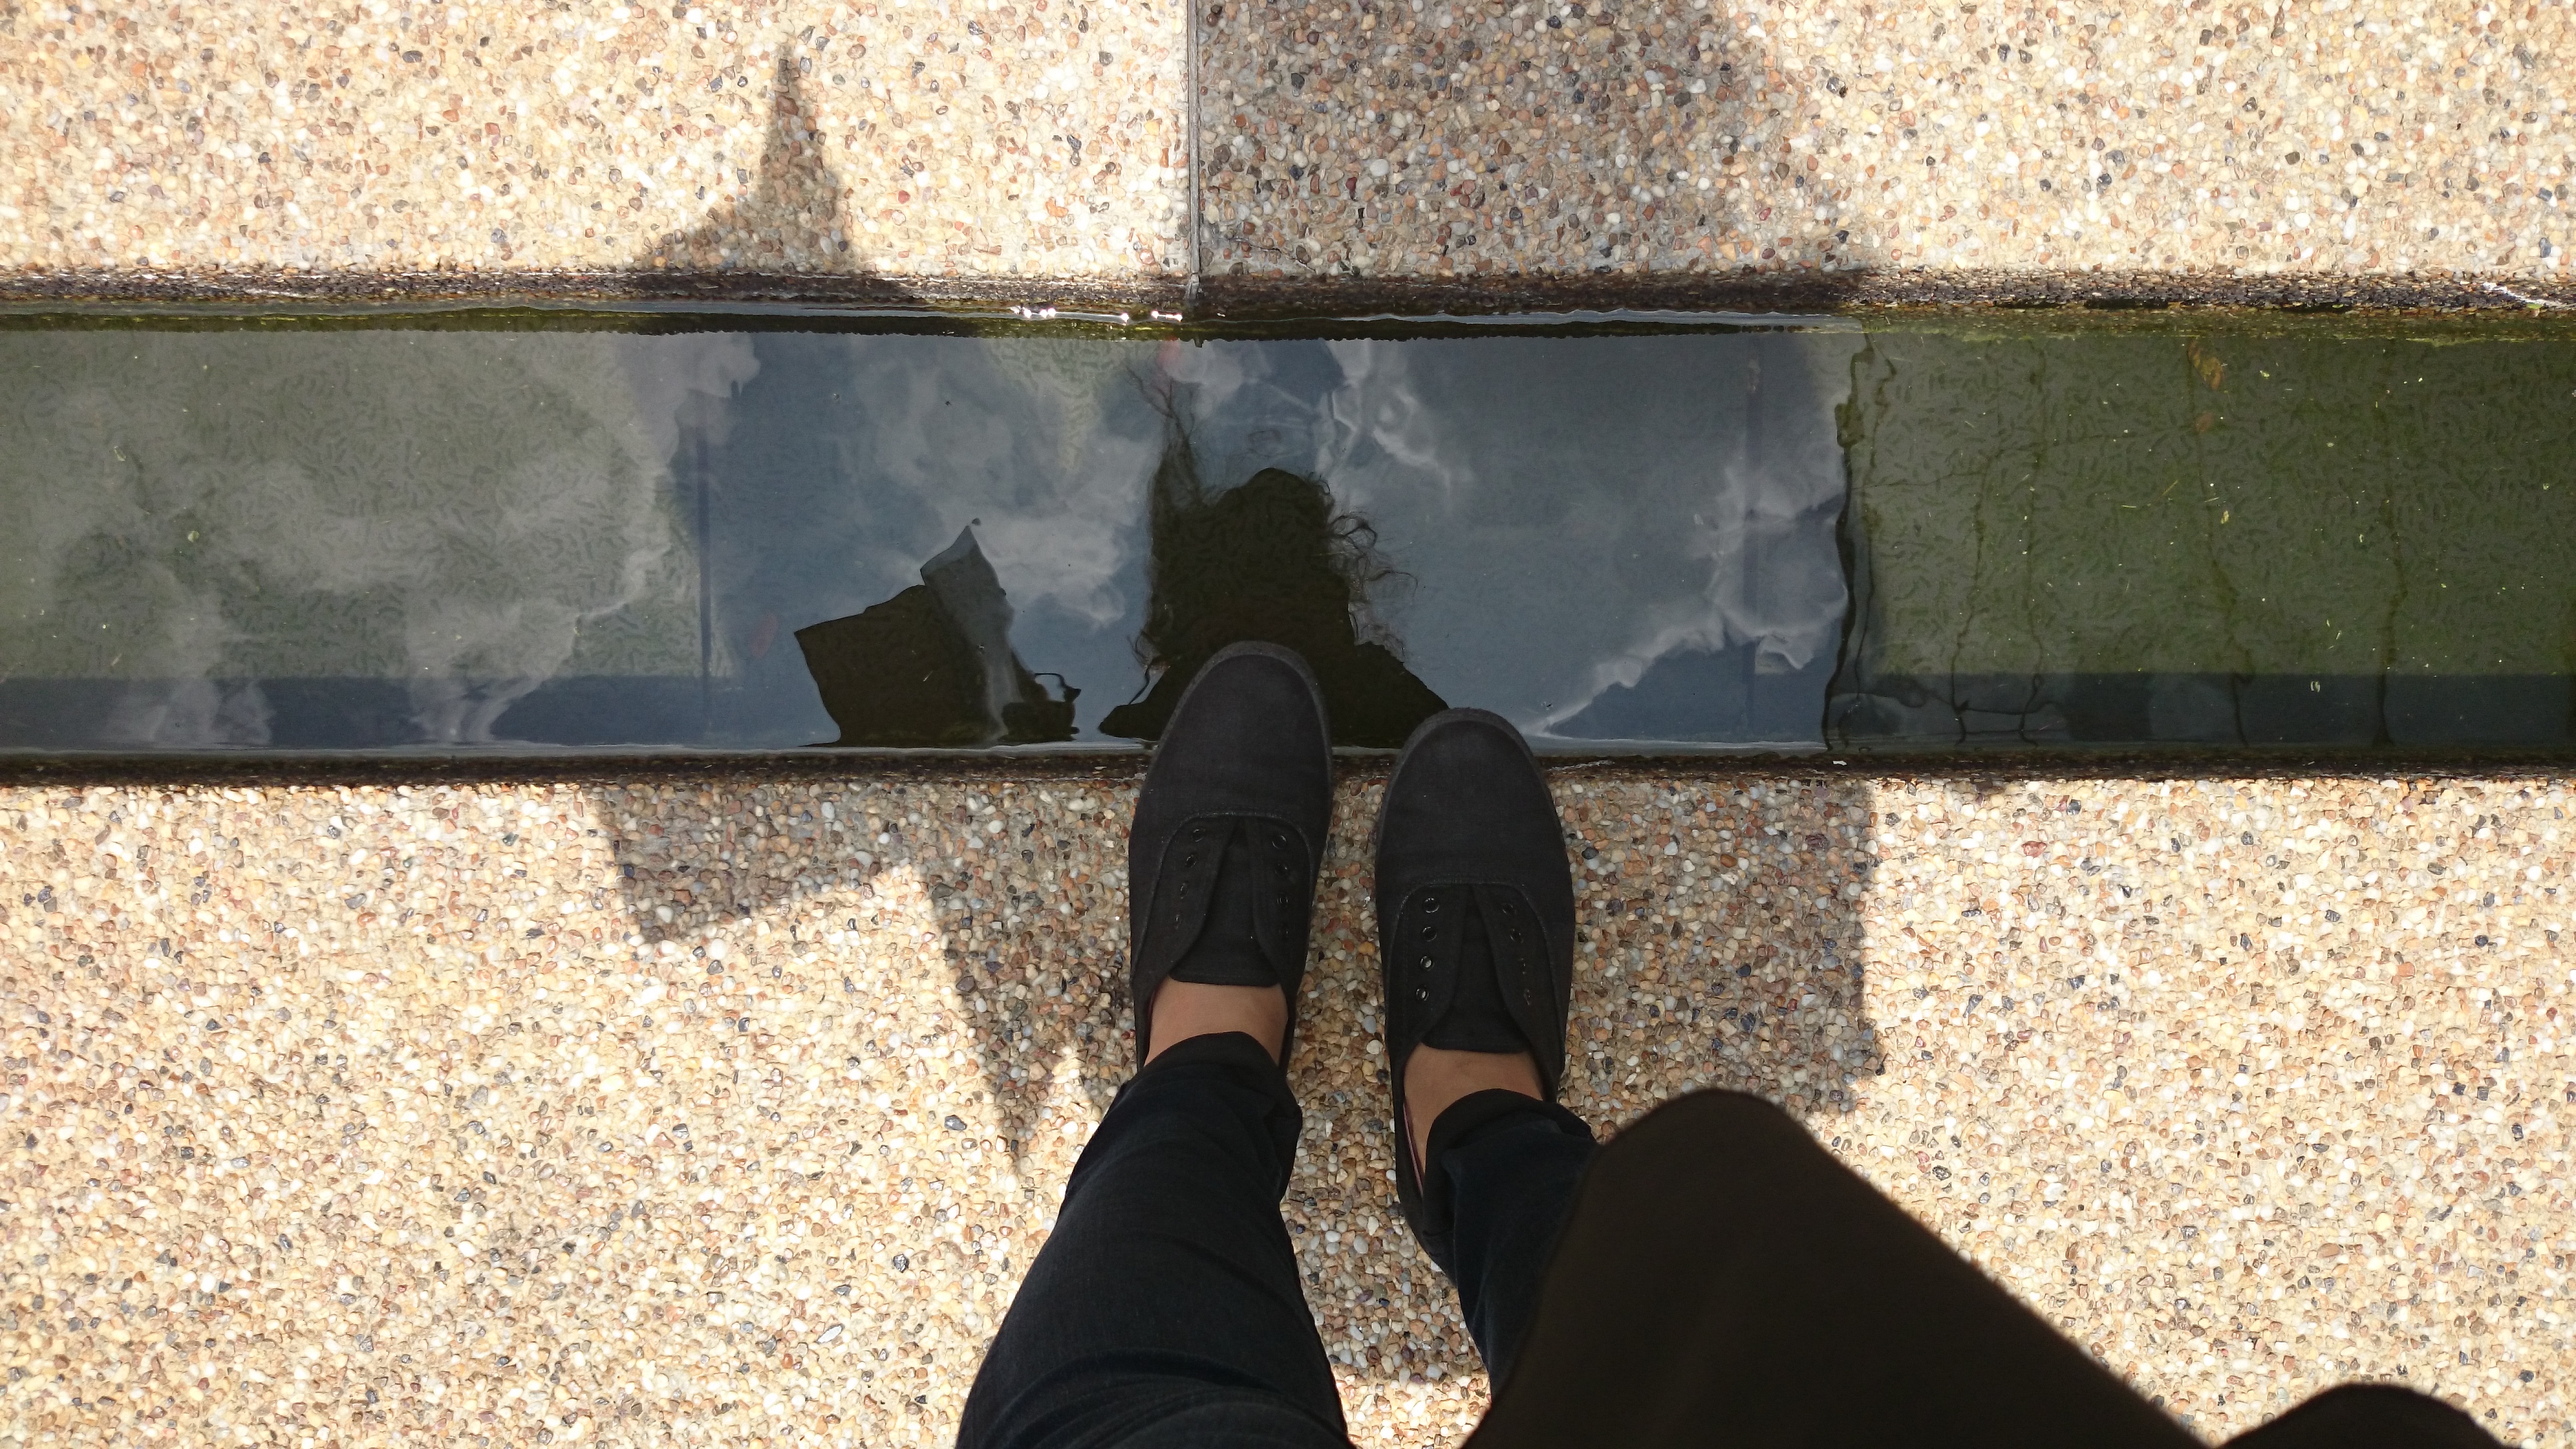
Then, I’ll cross the stone “bridge” –

DSC_1988

DSC_1990

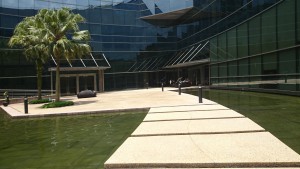
Even showing my foot/feet as I cross the water.

DSC_1989

Then I’ll continue my way towards the inside of the ADM building.

DSC_1986

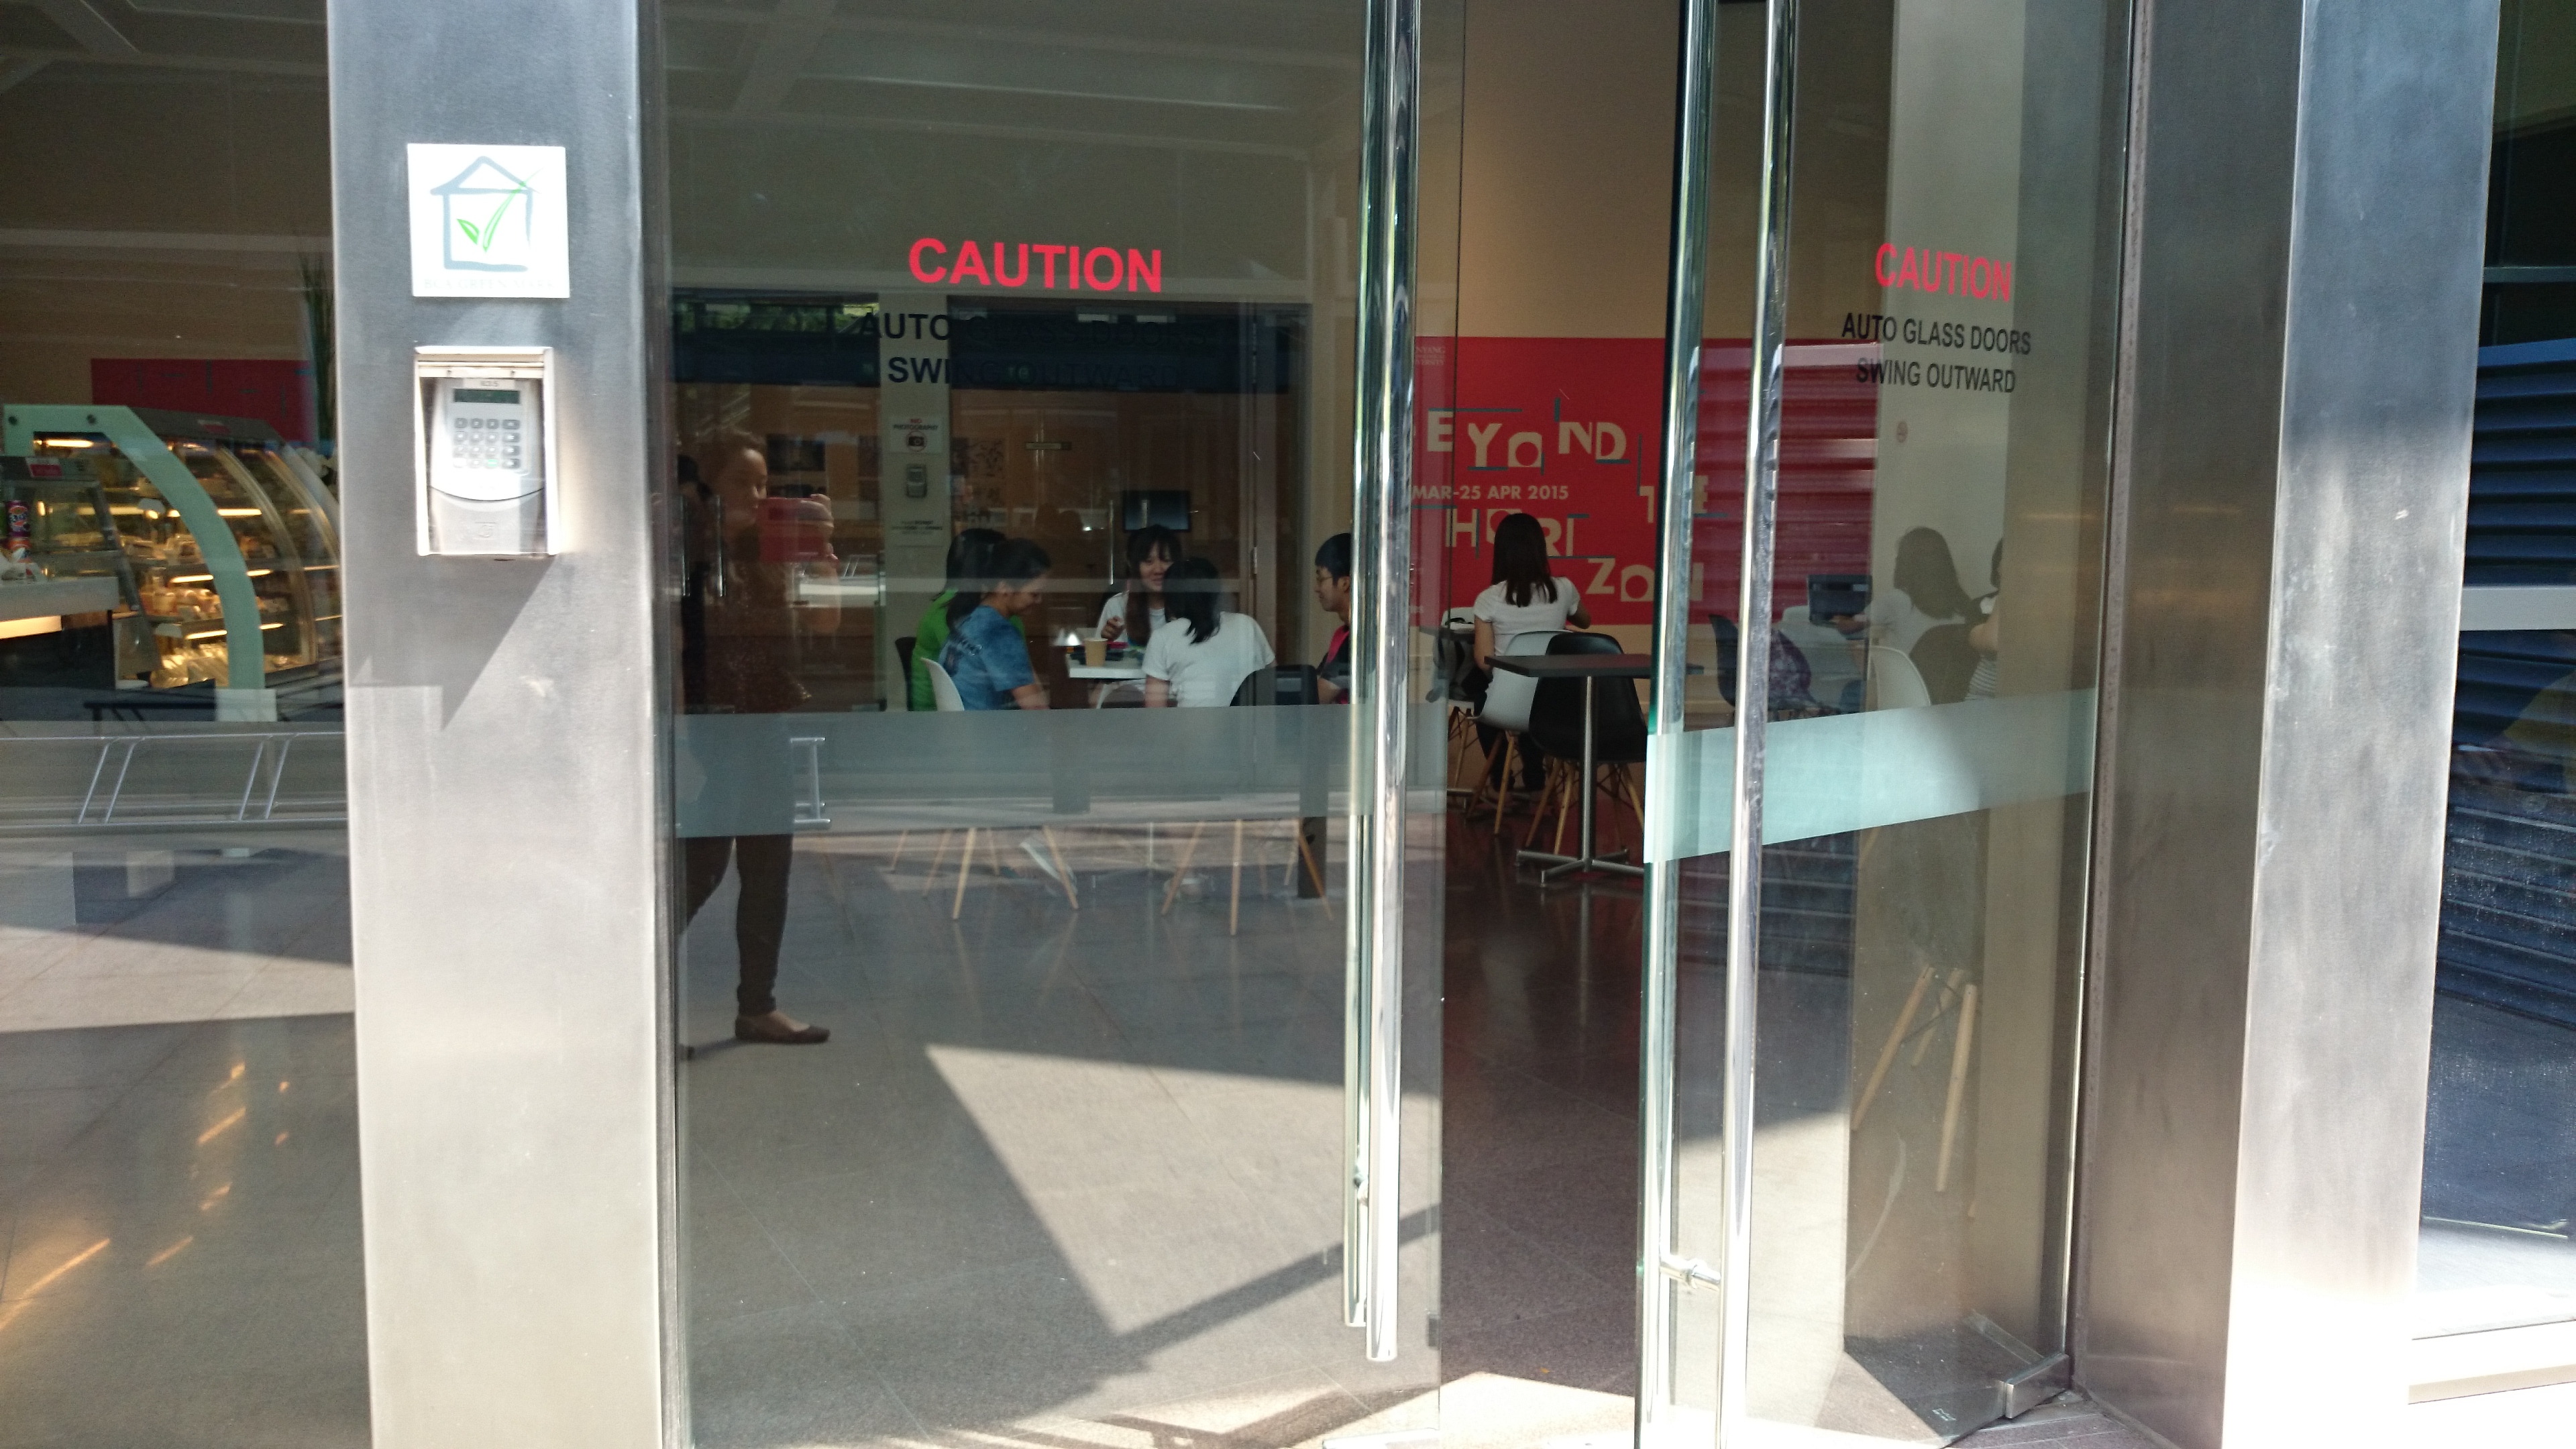
And even show some artworks along the way.

DSC_1991

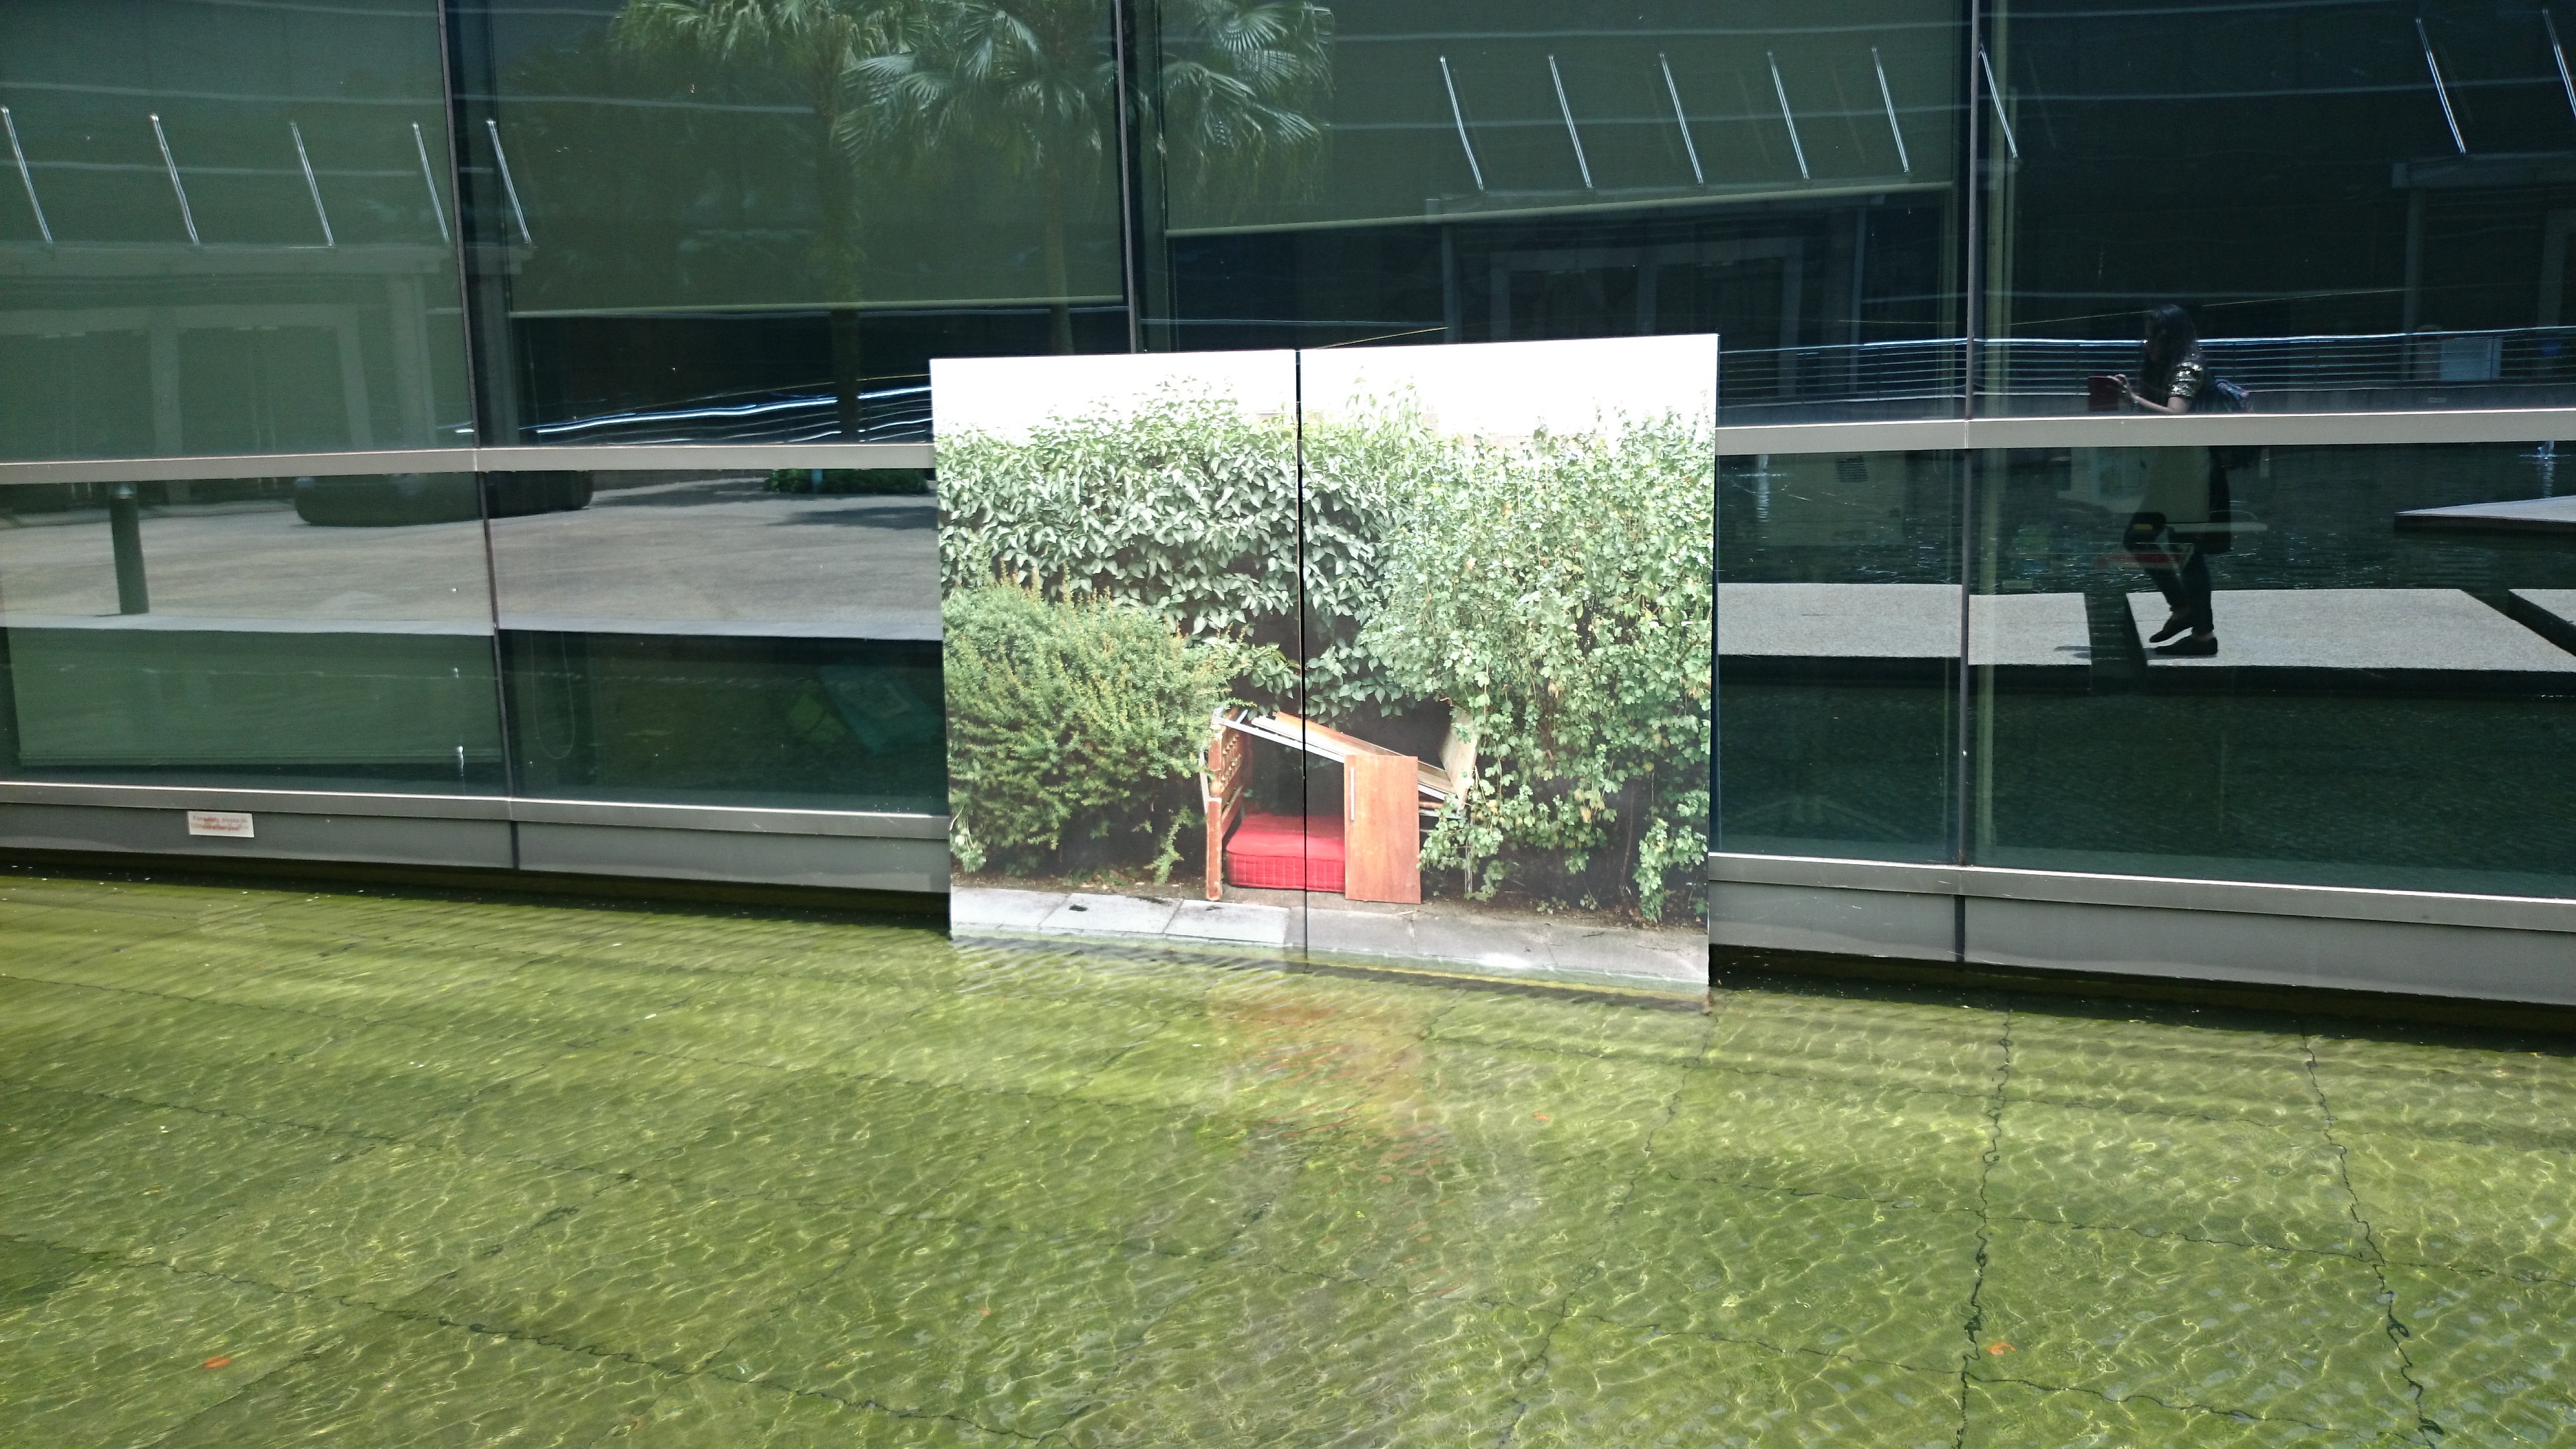
Ultimately, I will walk through these doors and walk into the ADM building.DSC_1993


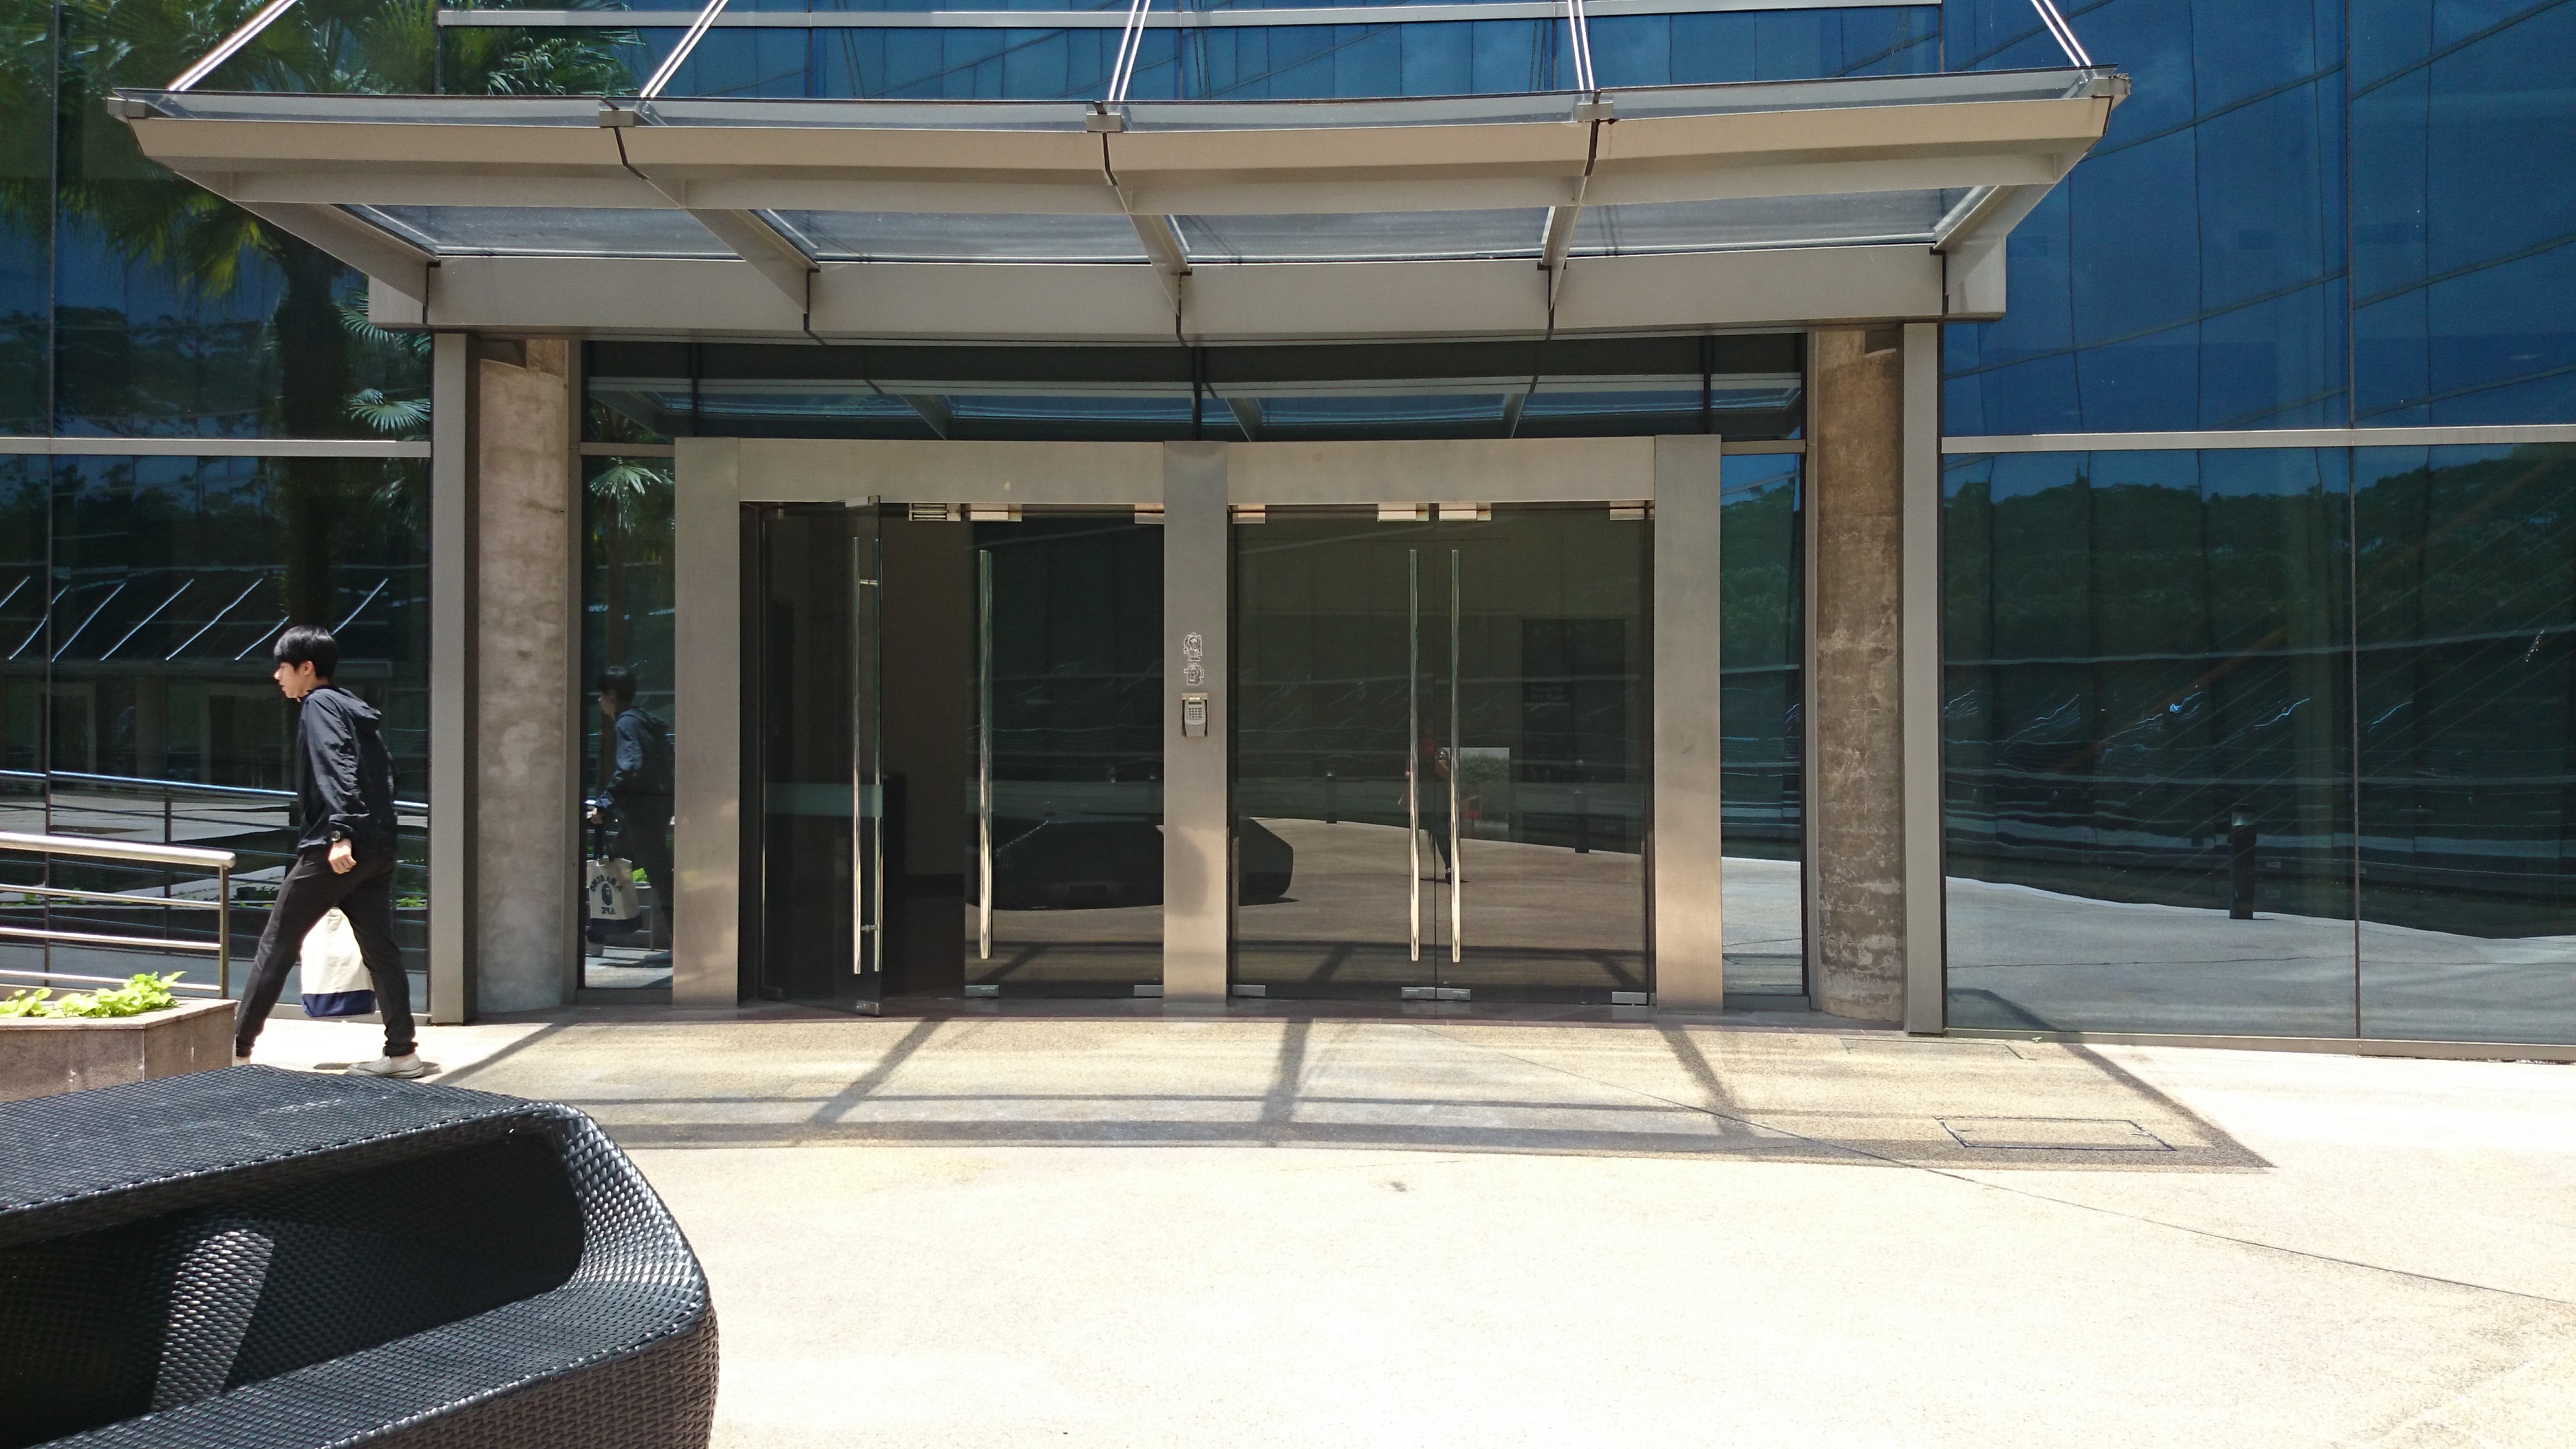
And up the long flight of stairs – occasionally showing where I was earlier through the glass on the inside.DSC_1994


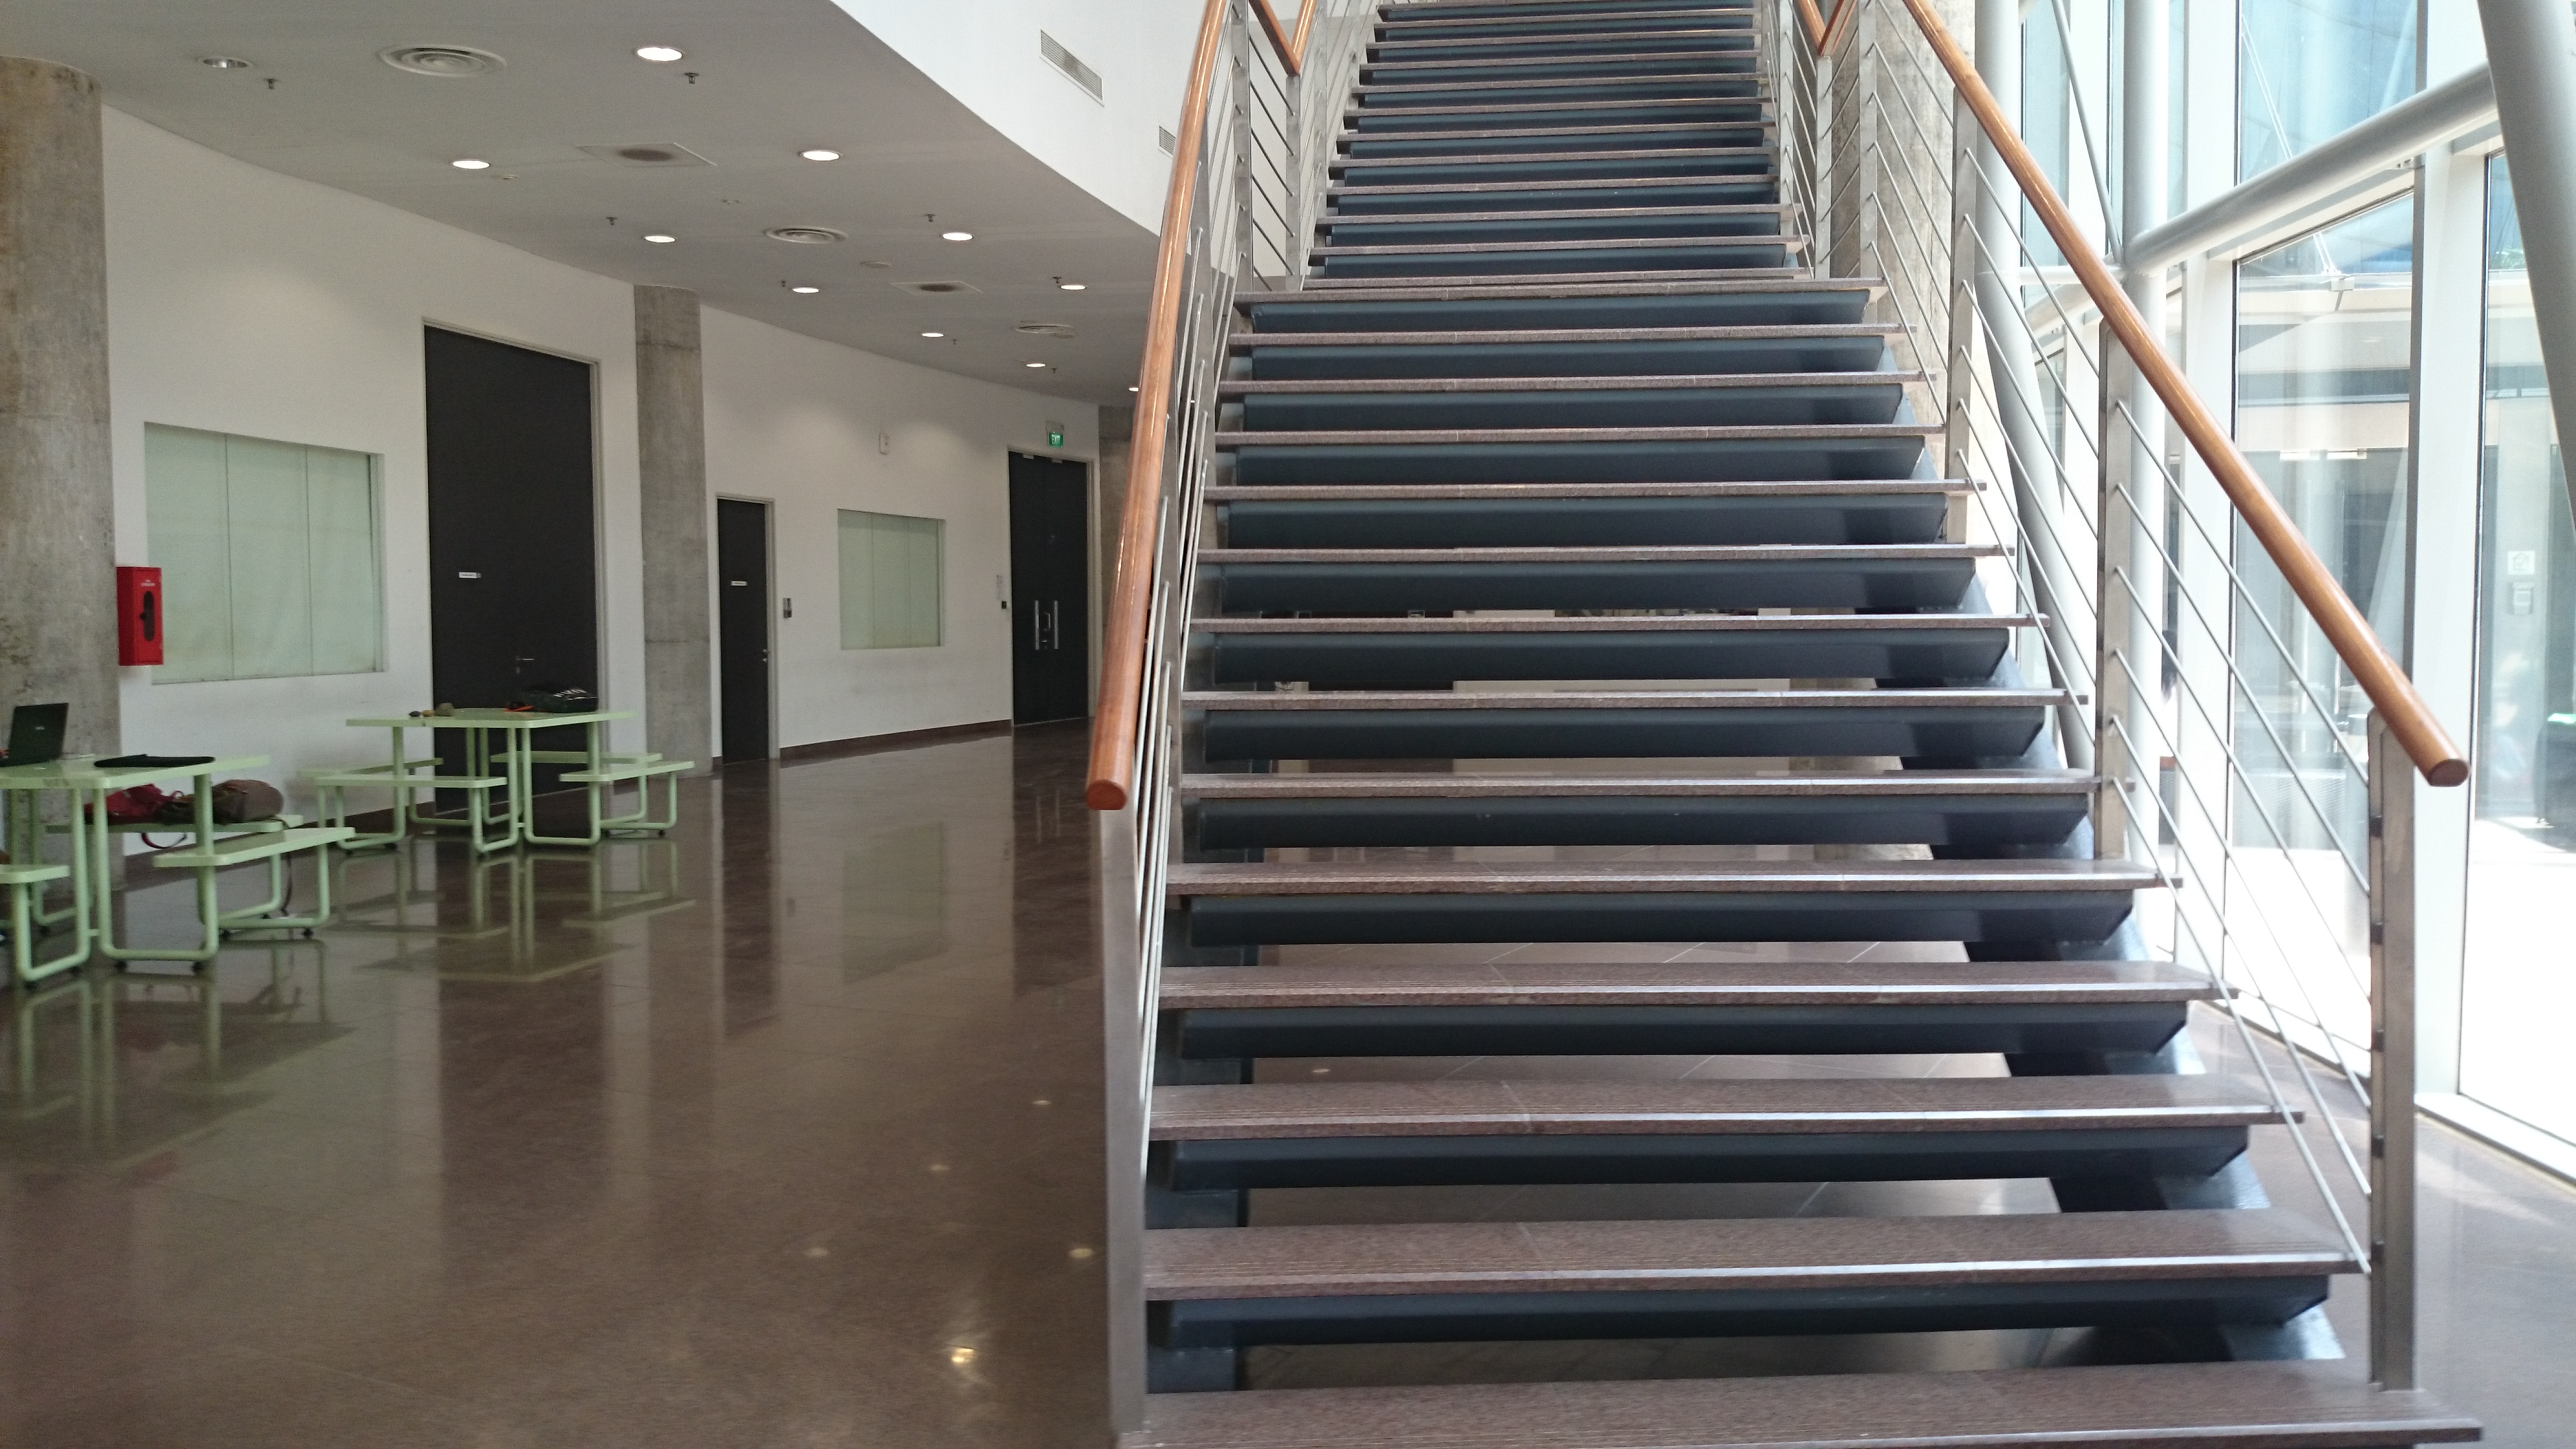
This is how it would look when I point my camera out the building.DSC_1995


And the view of the steps; occasionally my feet..

DSC_1996


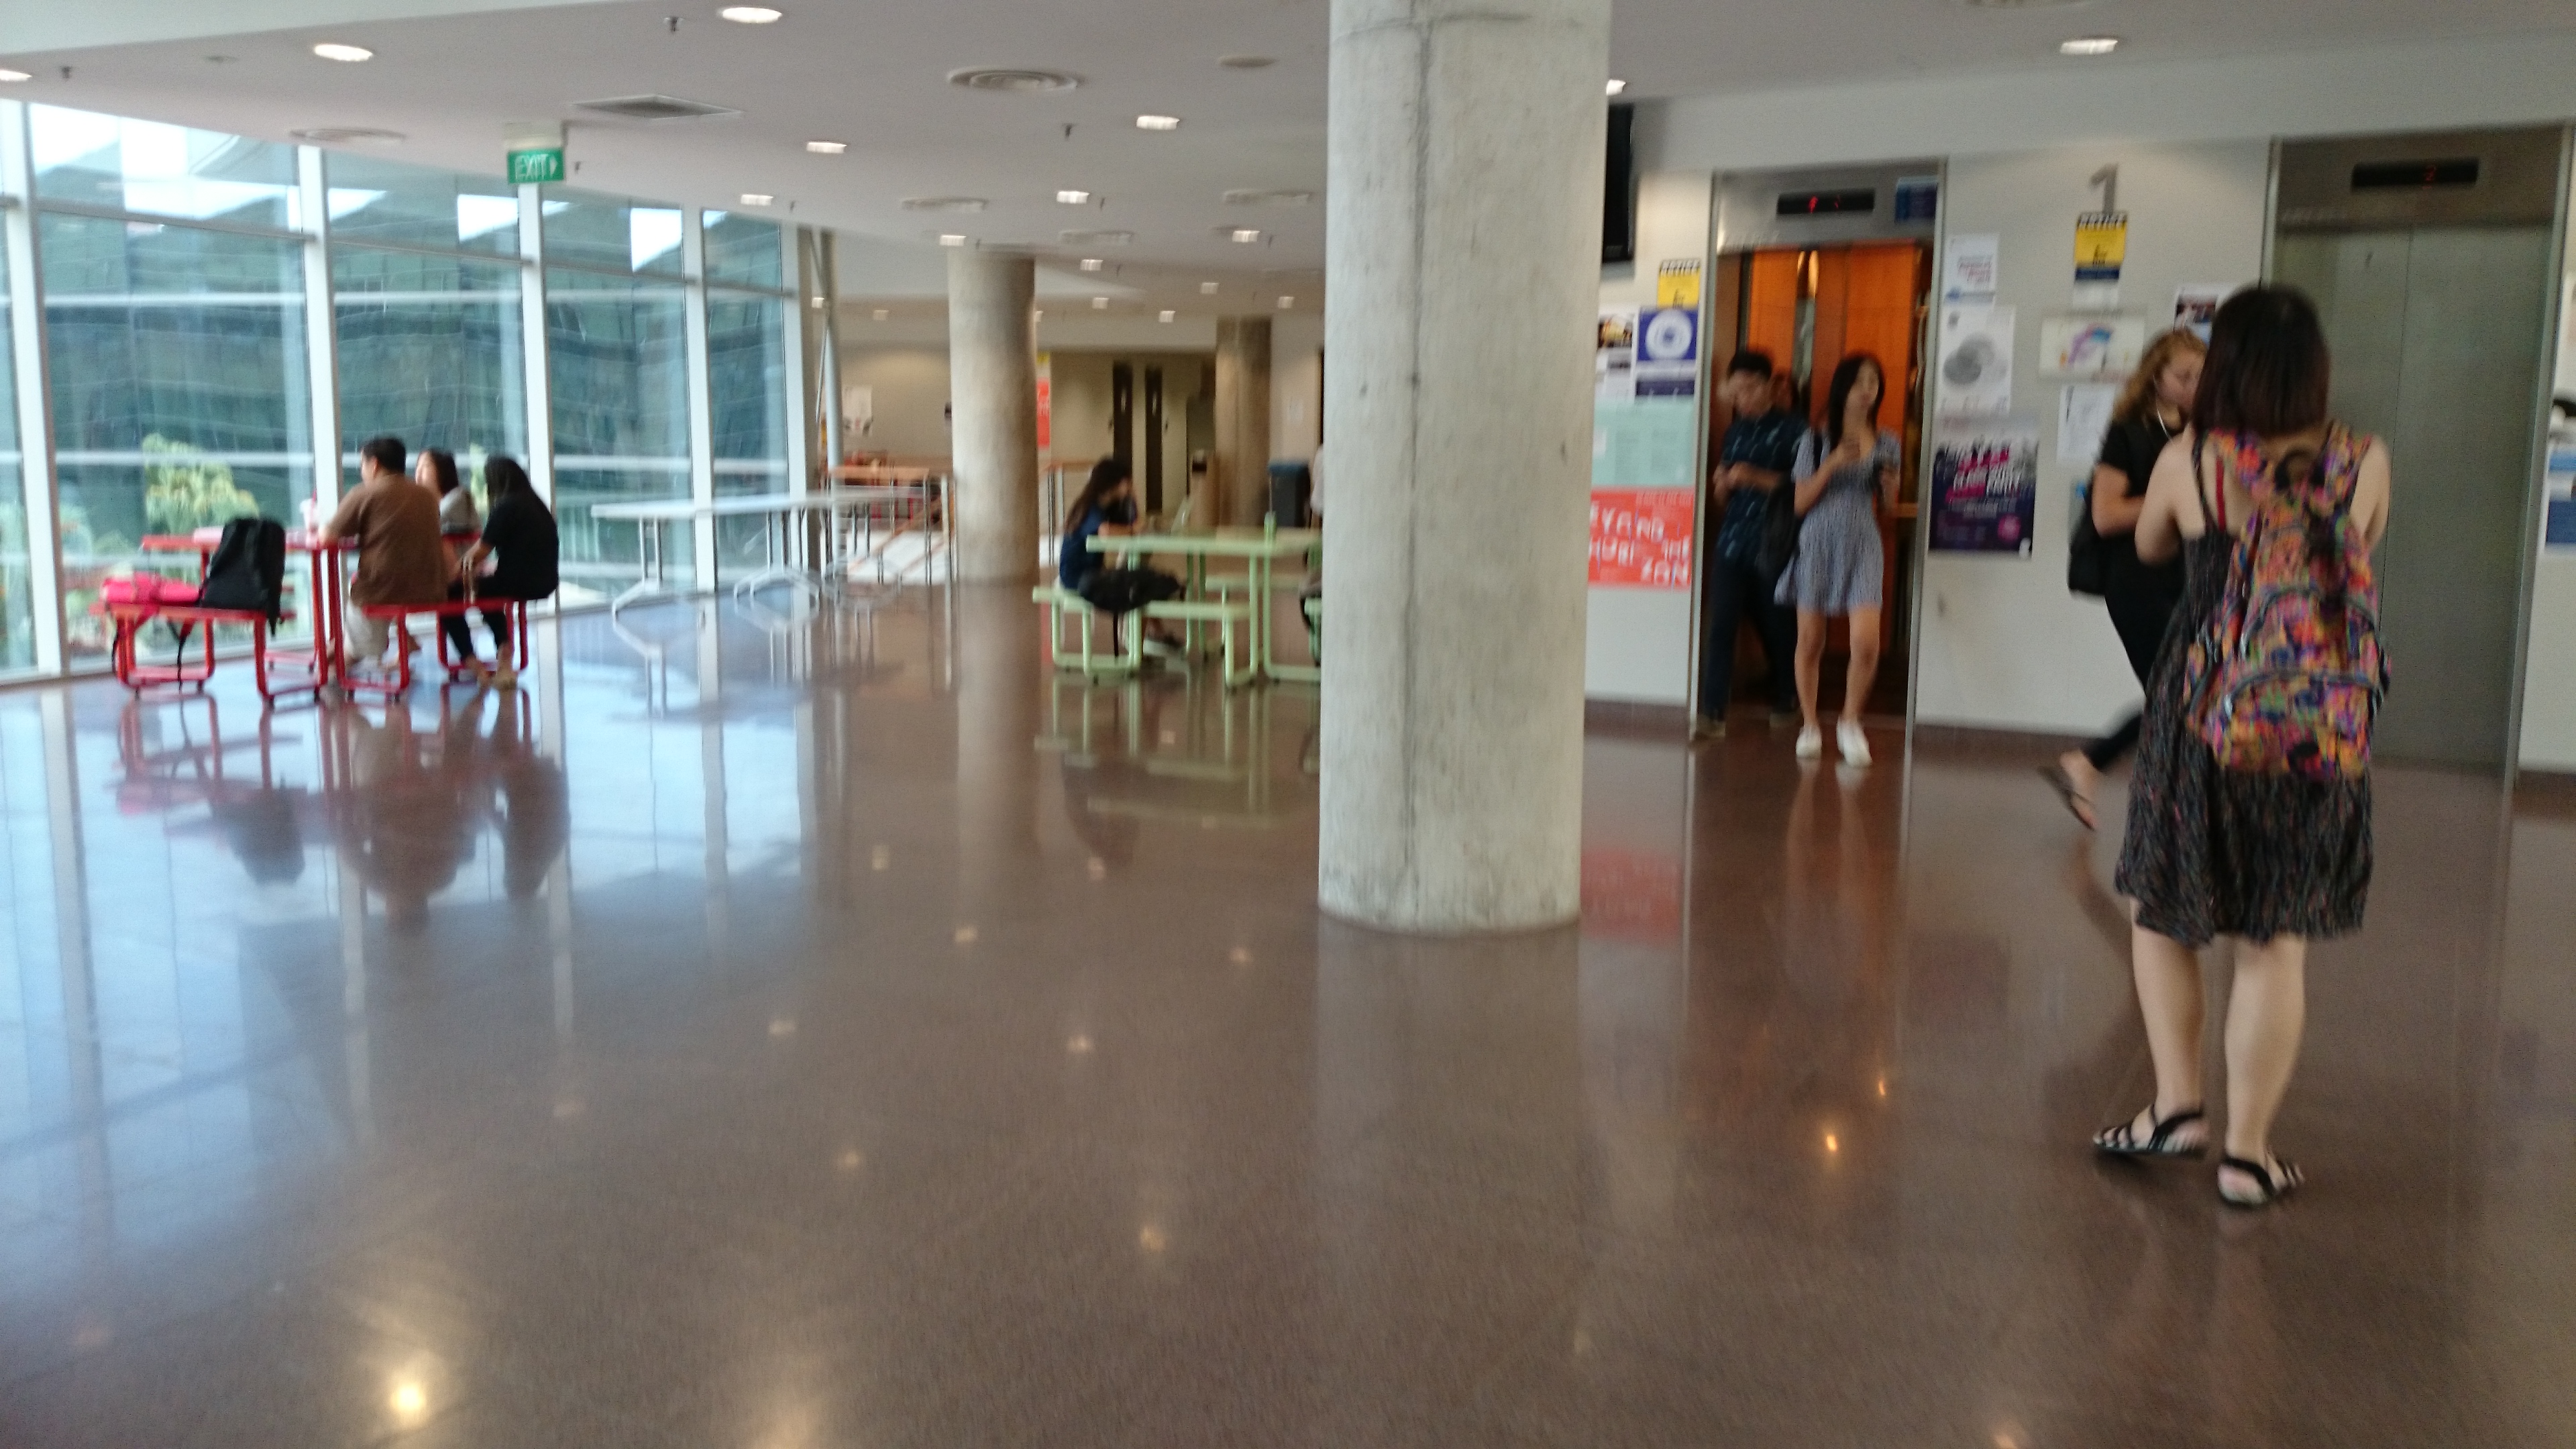
And then we arrive at the ADM lounge – some of the audience would recognise the old adm cafe/ now the new ADM lounge thats right next to the atrium space where the symposium is happening.DSC_1997

DSC_2000


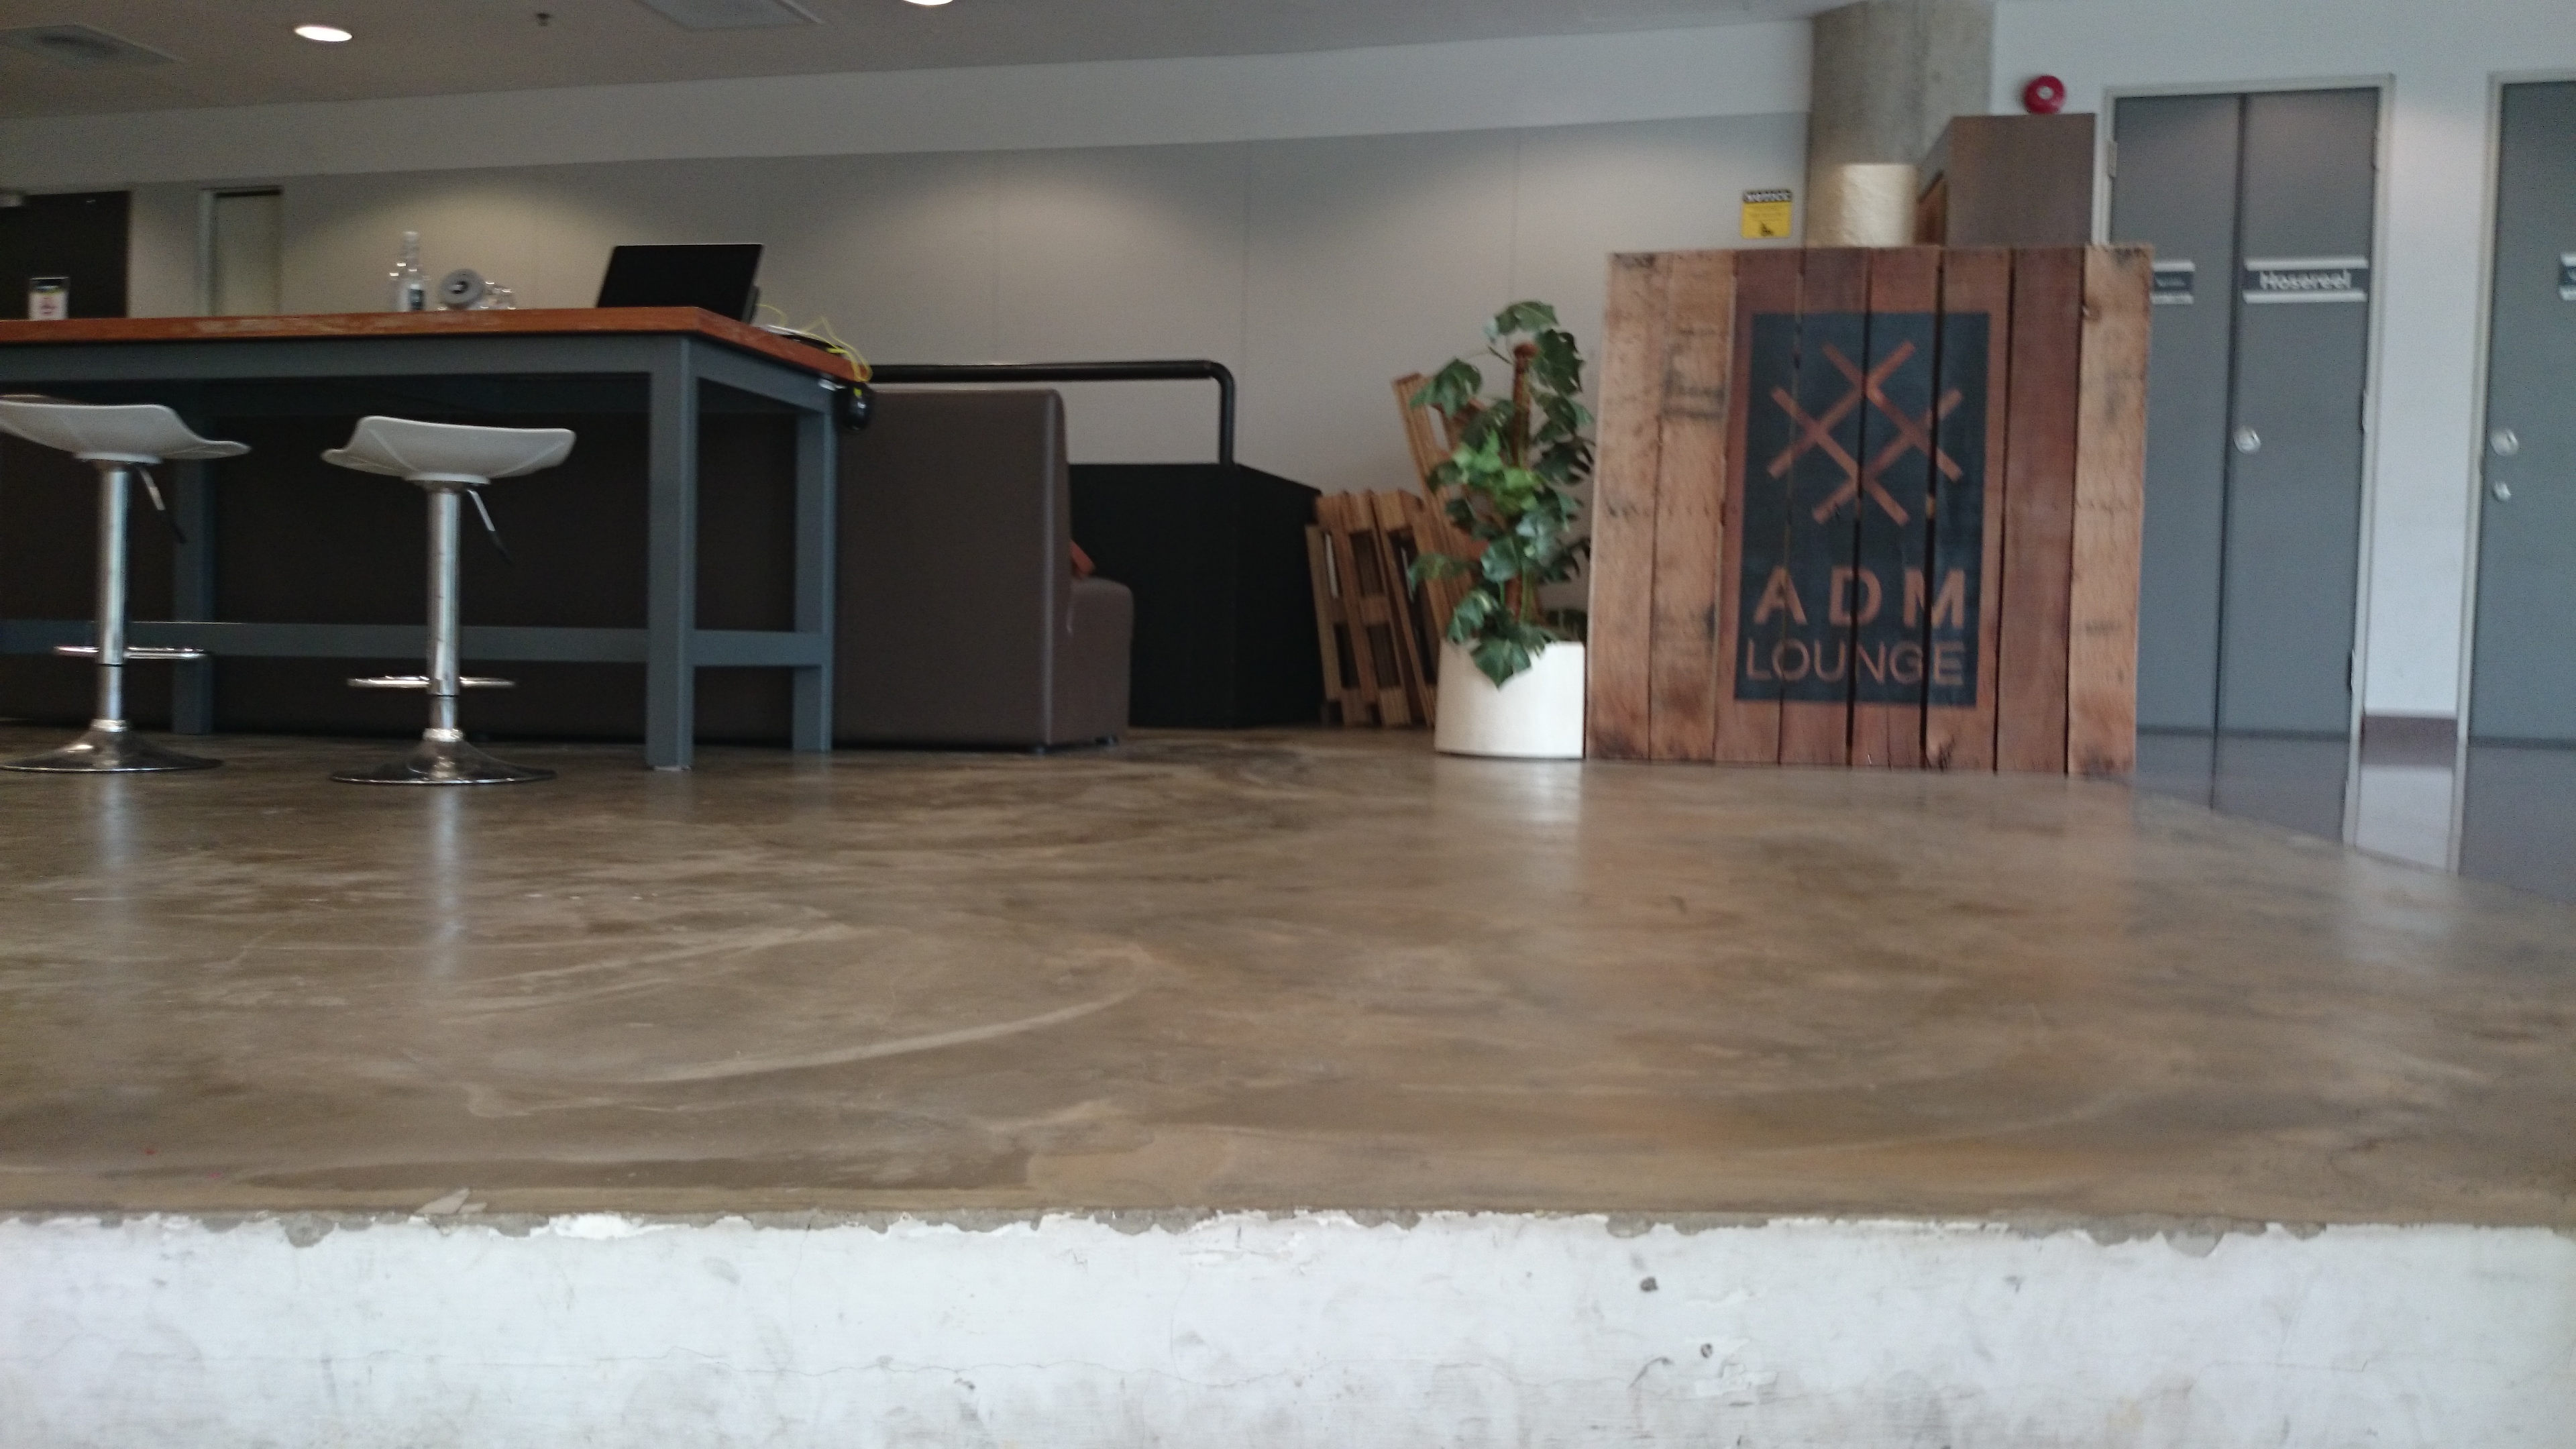
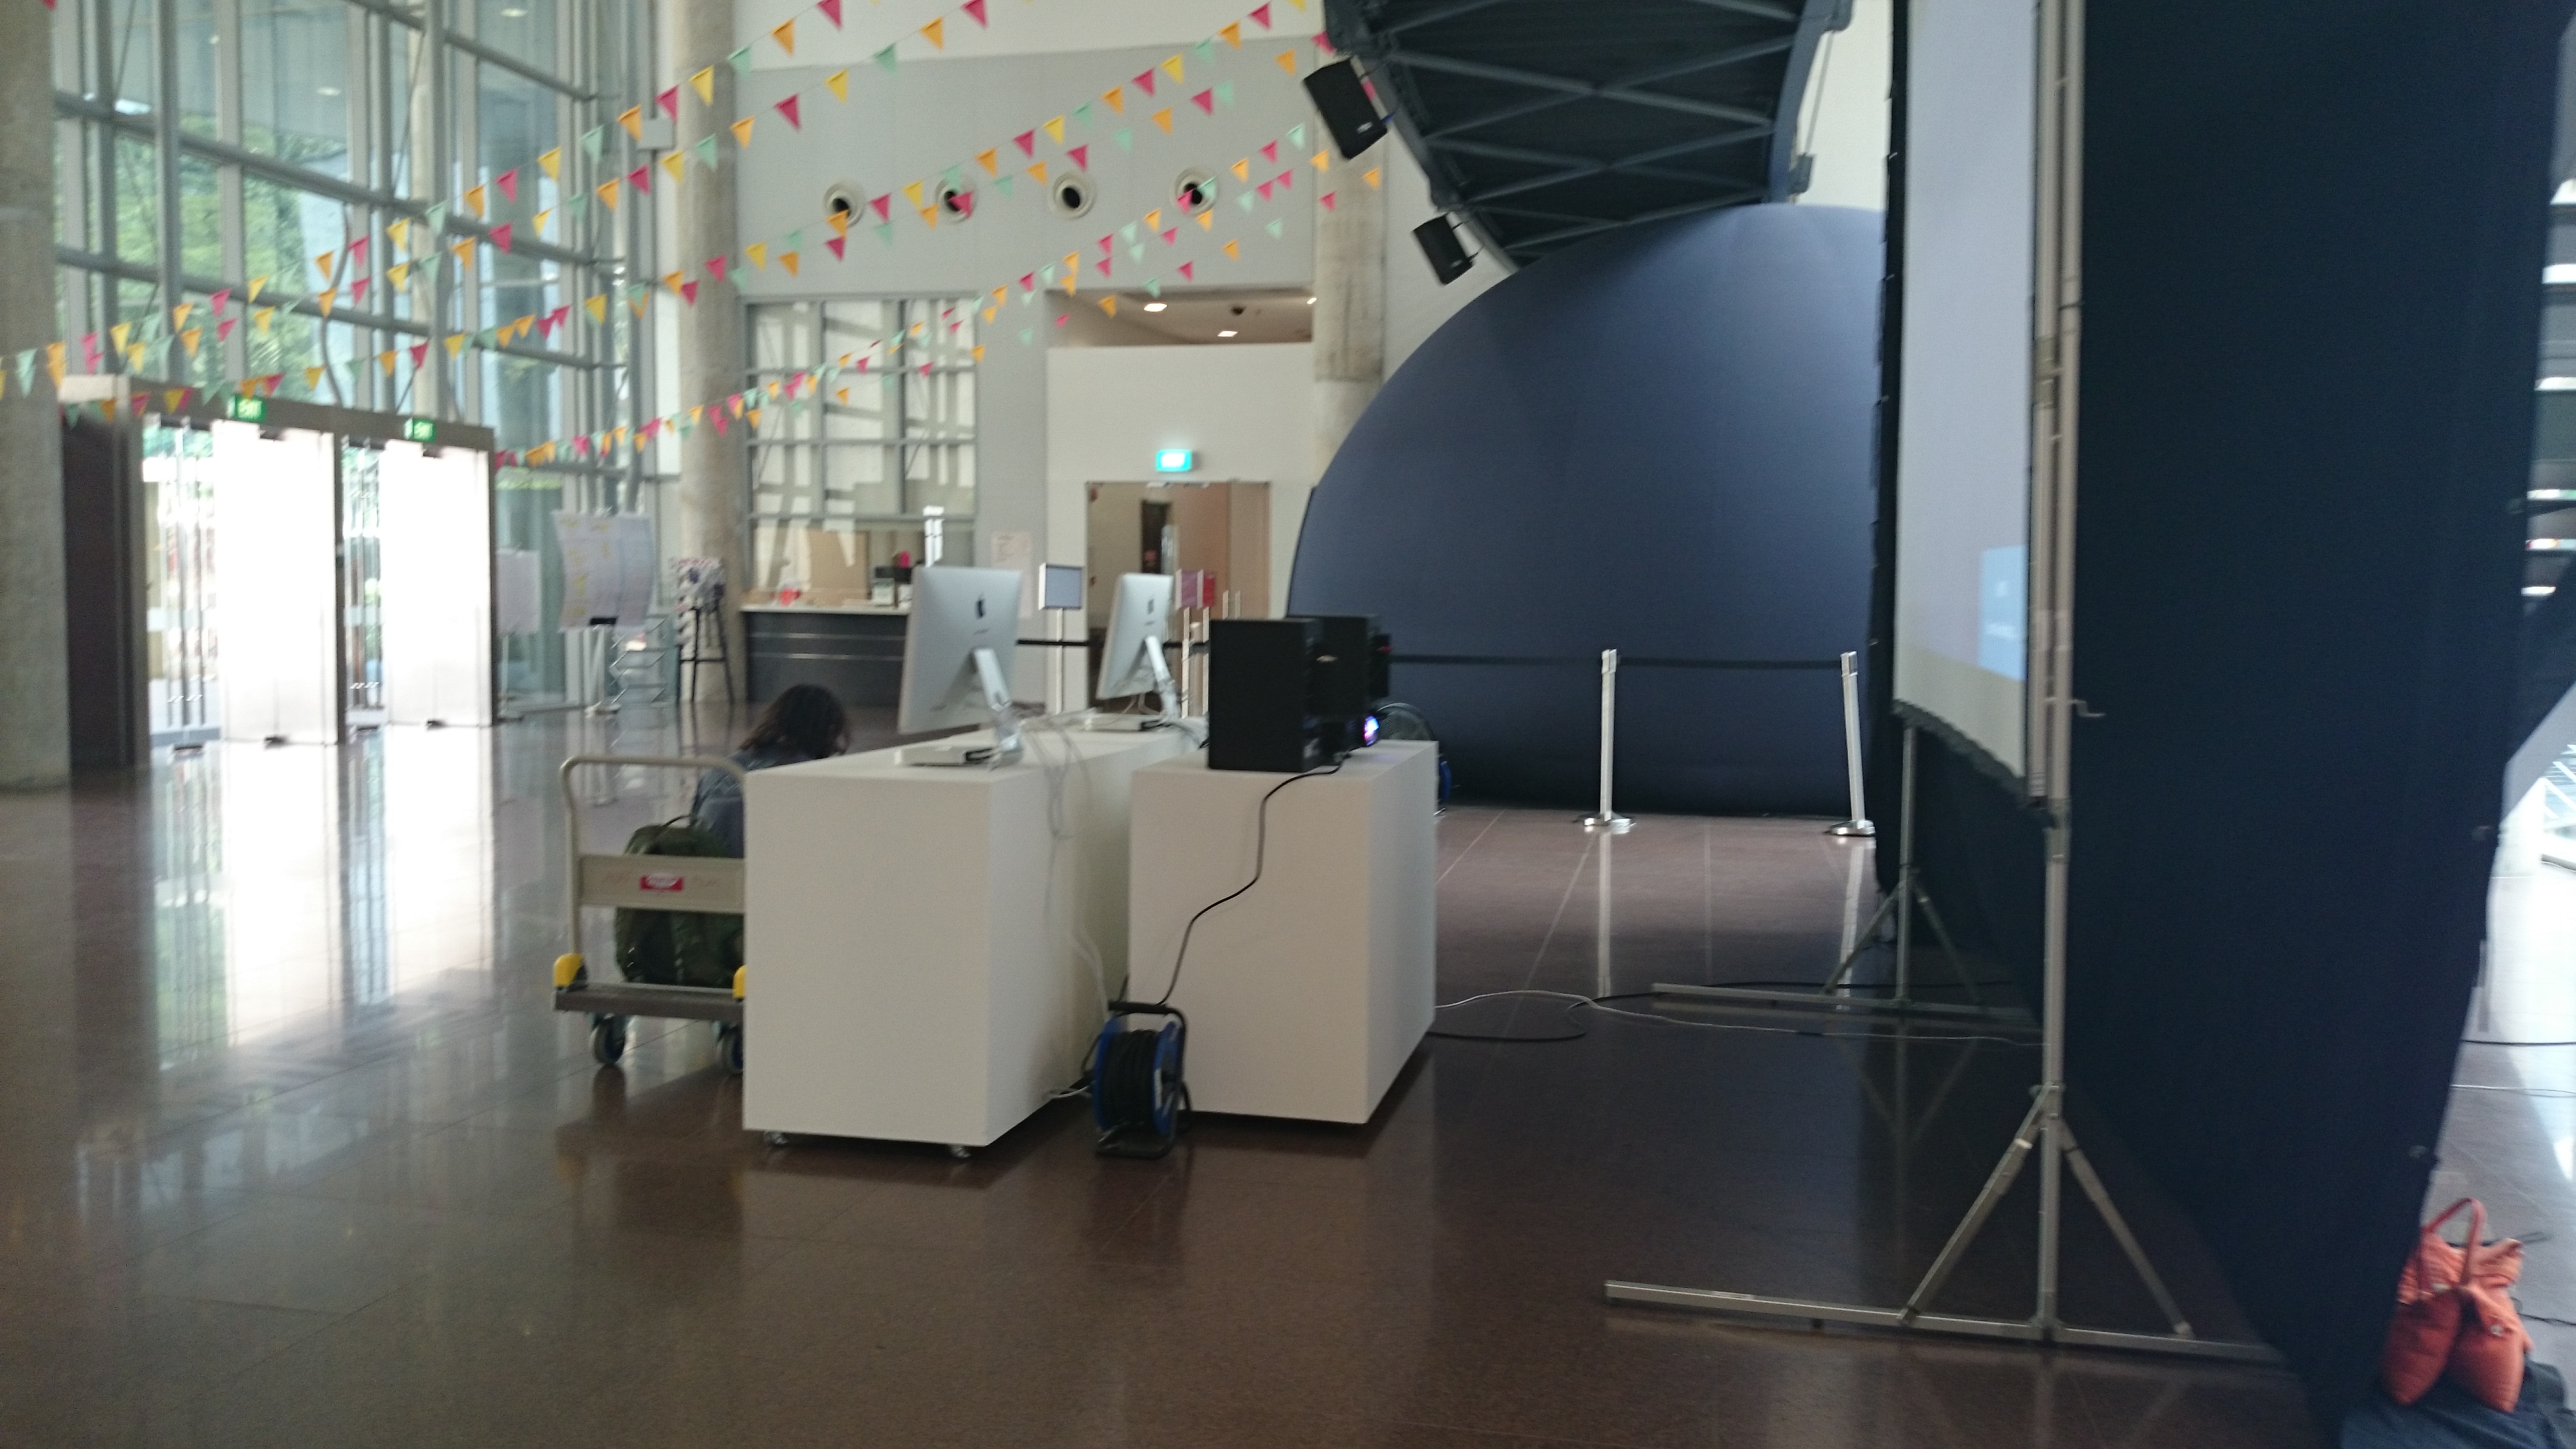
Showing the screens of the symposium; (probably not juan behind the scenes)

DSC_2002

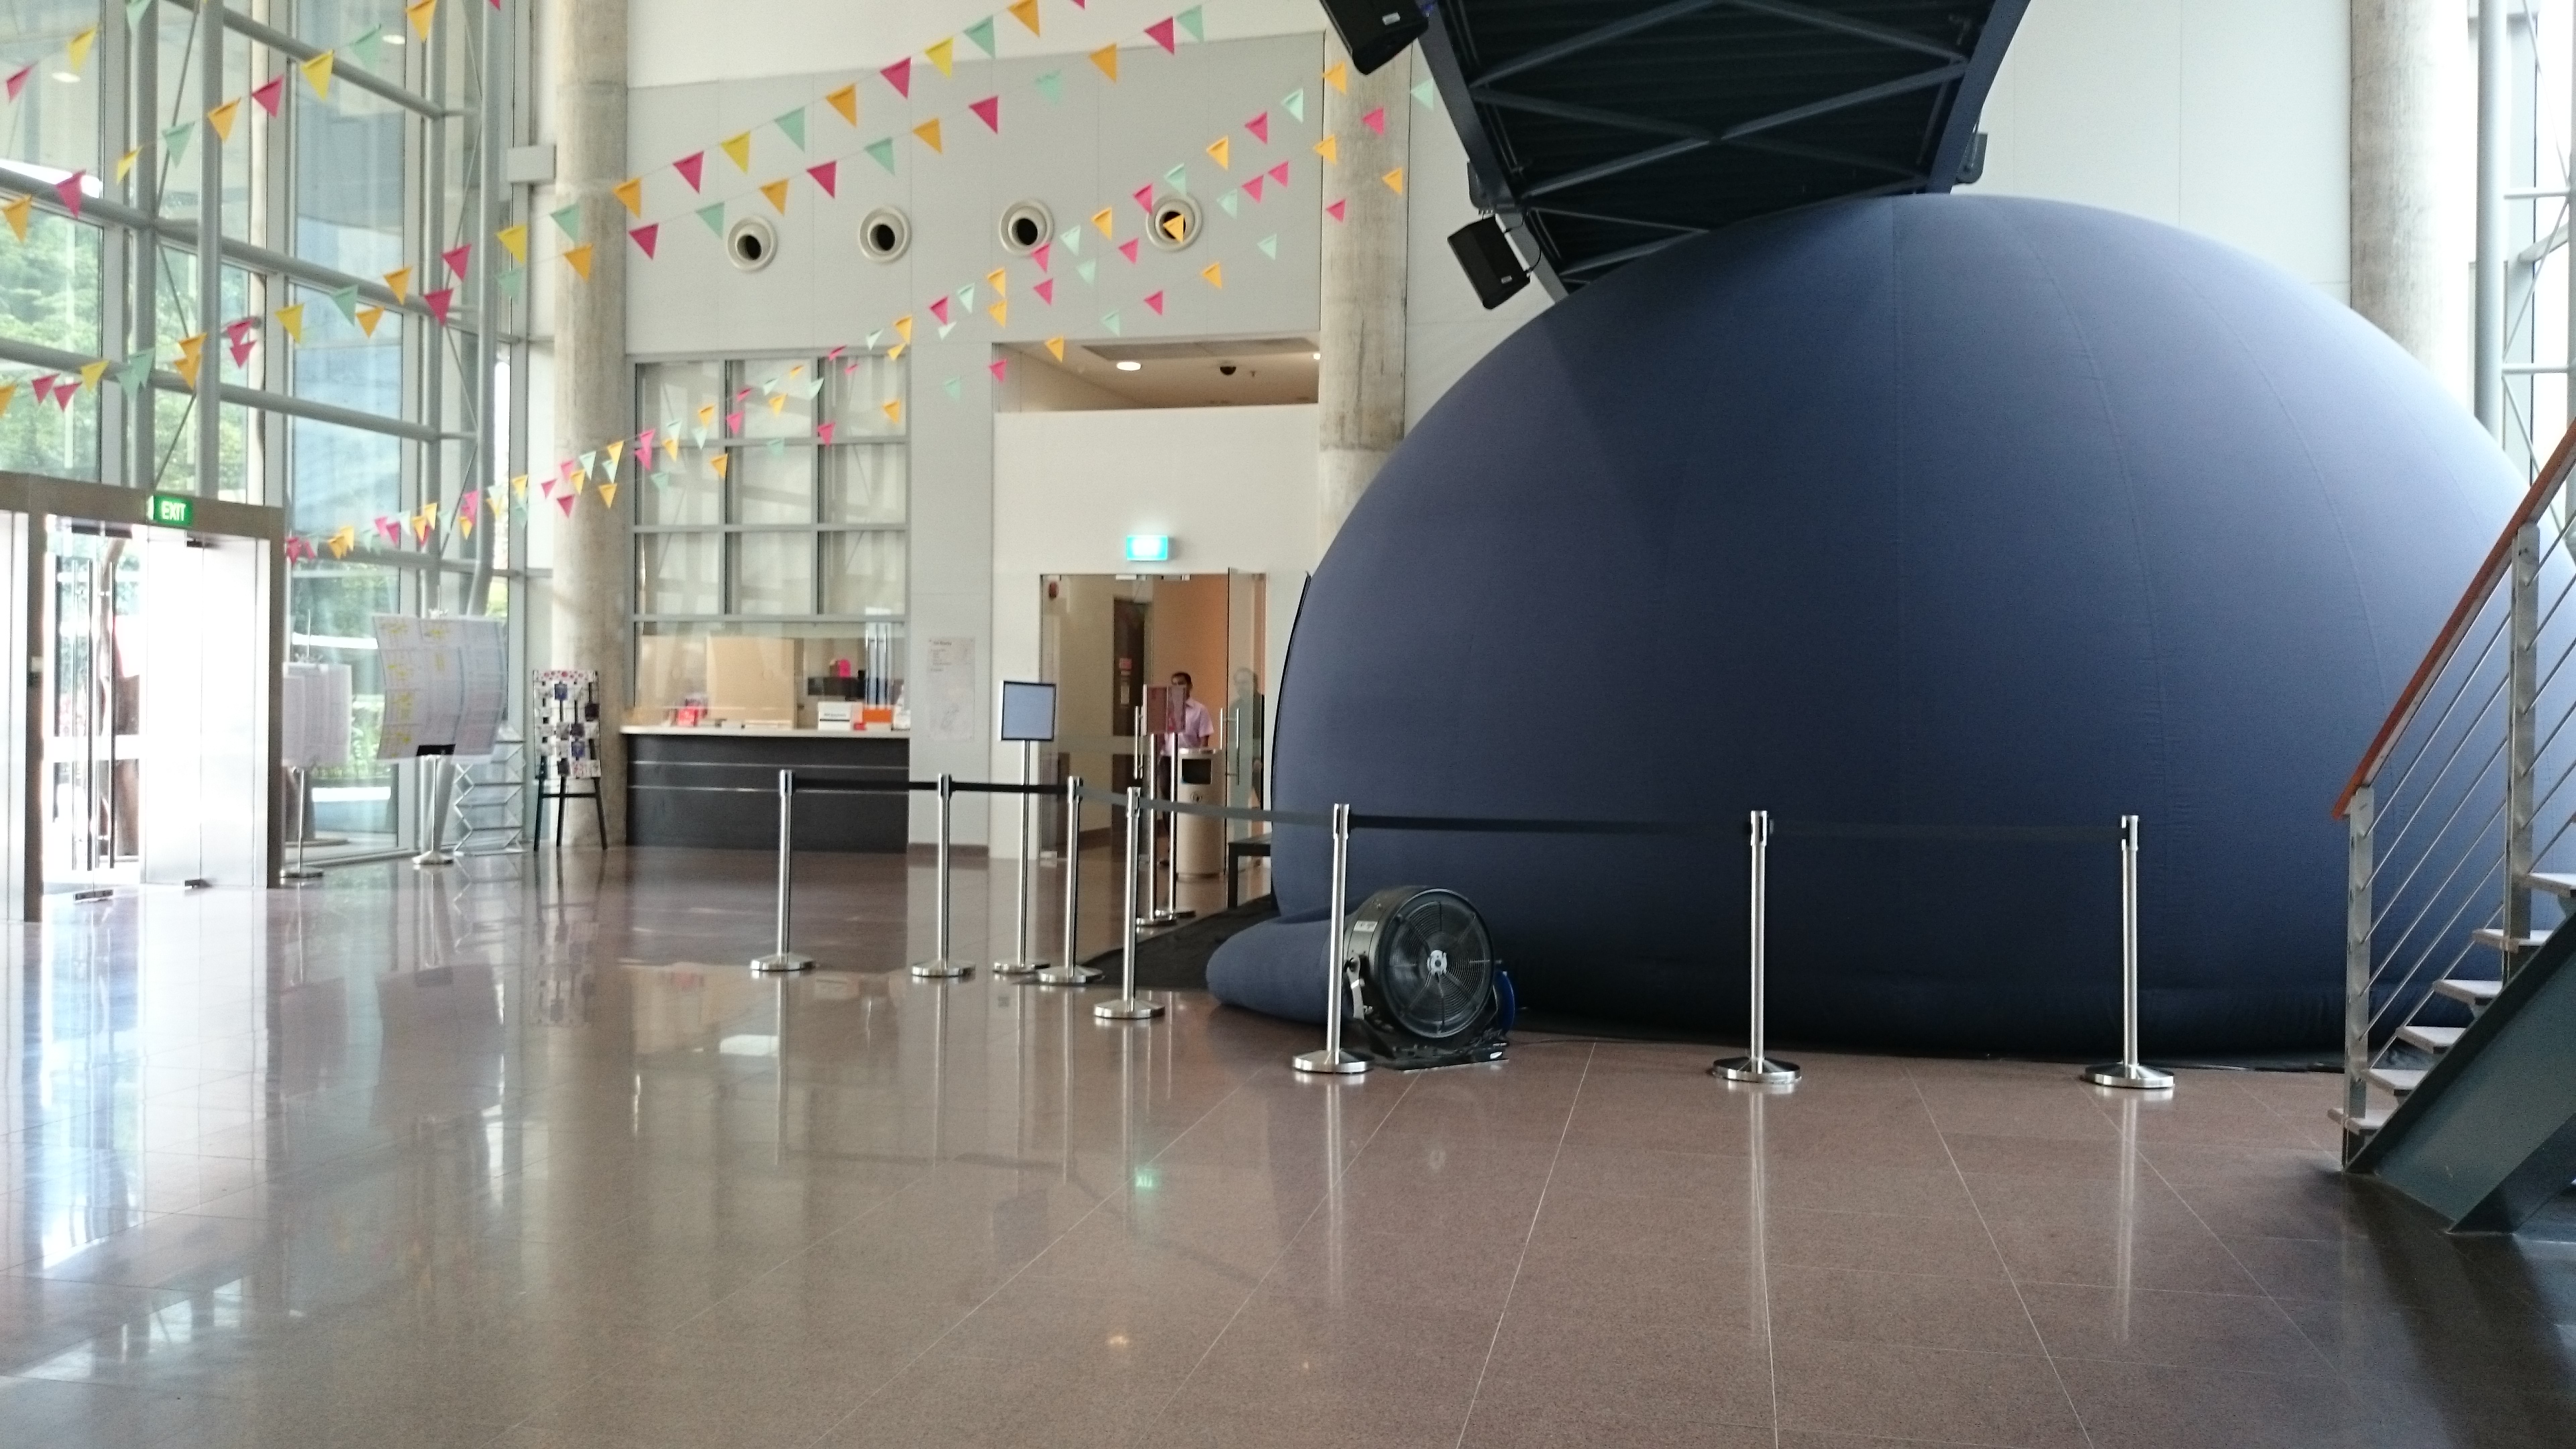
The overview of the ADM atrium…

DSC_2005


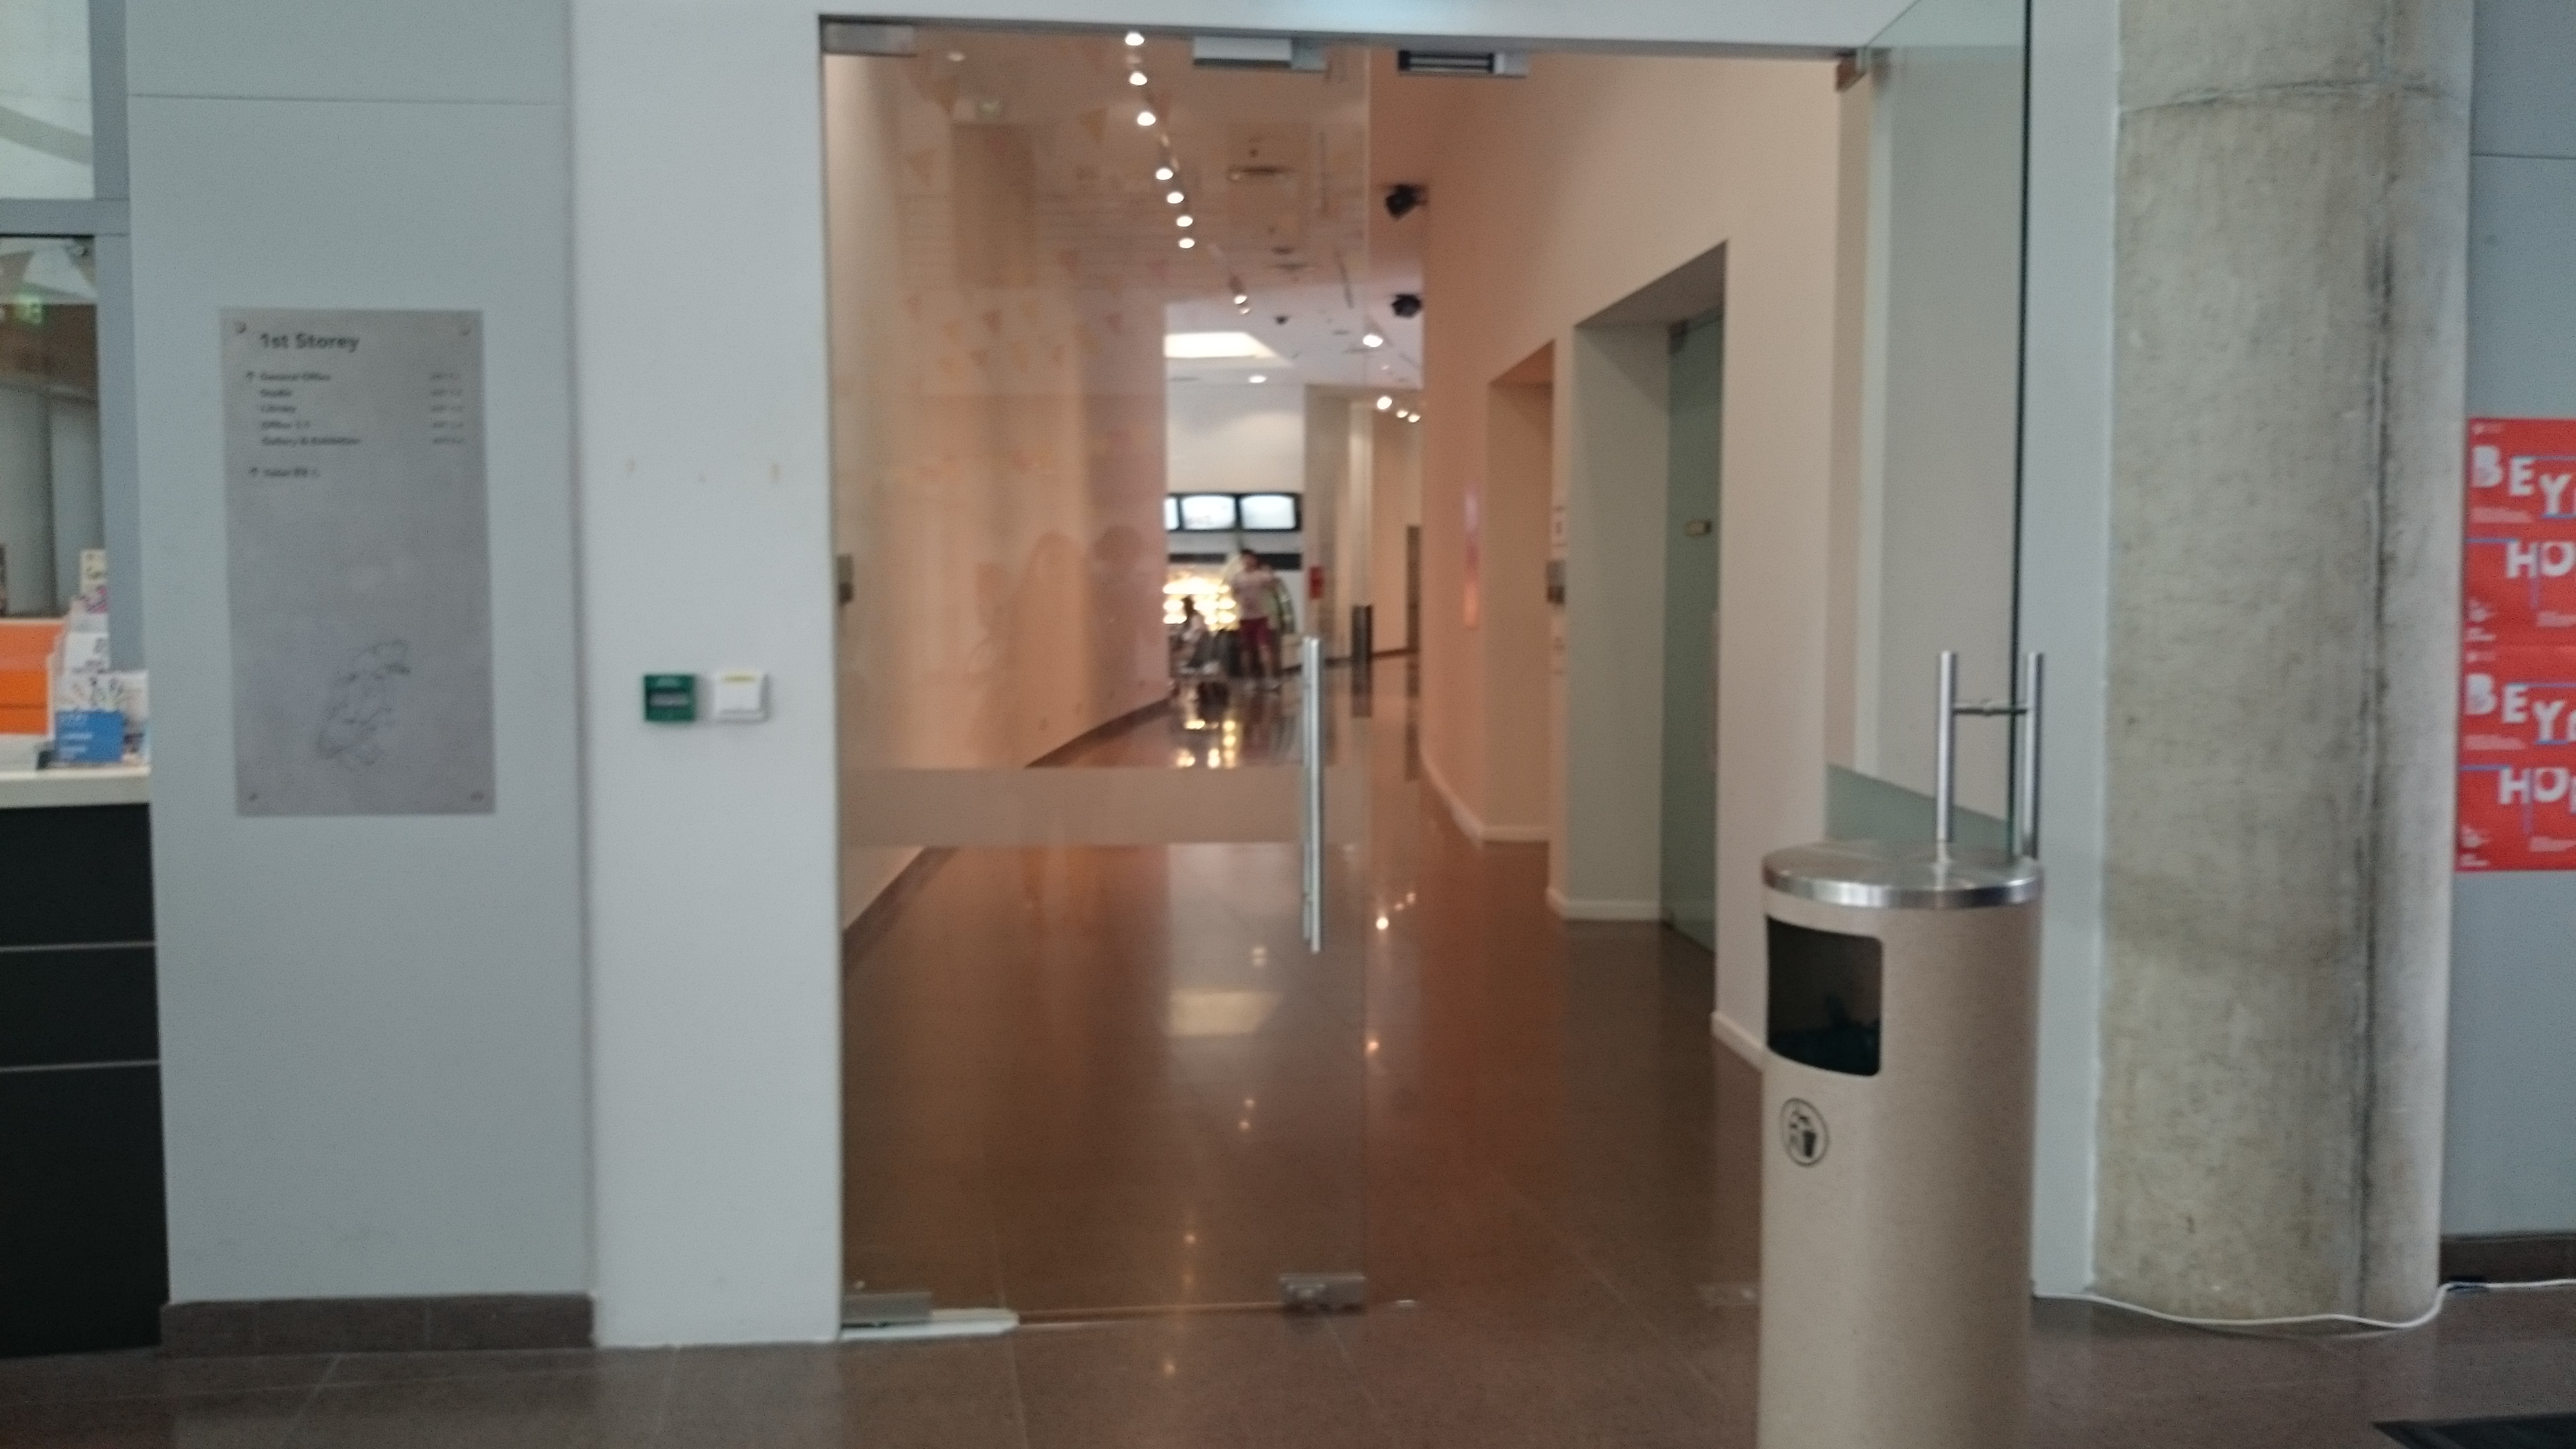
And this door near the atrium marks the end of the journey.DSC_2004

OSS Symposium: Mobile Cam Exercise #2

Standard


For this mobile cam exercise, I will start my journey at the ADM bustop. Its significant to me because I’m one of the 300 odd students who signed a petition to have this bus top with a public bus route. (prior to this it was only purely decorative and there were no buses that would stop there)

Quite recently, this giant dandelion sculpture was built to accompany this lonely bus top and its beautiful at night cos the whole sculpture lights up (i think they are LED lights) and would look great on webcam, in my opinion.

DSC_1952

Then I move along, the the art pastry cafe alfresco dining where some people would be dining.DSC_1953

Then I’ll head to the automated door to the indoor dining space (this door makes a cool automated sound)DSC_1954

Then I’ll show you the adm cafe counter (but it would be closed by night)DSC_1955

people dining at the cafe  with ambient noise and talking..DSC_1956

Then i’ll walk the way down to the corridor leading up to the lobby. (you can hear echoes here sometimes)DSC_1957DSC_1959

Then we’ll head to the lobby where there is the Vishwaroop exhibition by one of the ADM professors which is really cool (you’ll see the whole thing in a bit)DSC_1960

We’ve reached the lobby! (Sound is abundant here – from the chattering of people hanging out at the arm lounge to the tings of the lift) HAHADSC_1962

Here is my contribution to pirate pad: Screen shot 2015-03-25 at 11.29.36 AM Screen shot 2015-03-25 at 11.29.44 AM

OSS Symposium: Mobile Cam Part II

Standard

OSS Adobe Connect Mobile Cam with MJ: Part II

As mentioned, this is our second attempt using the Adobe Connect app platform on our mobile phones. We showed each other the overview of our rooms; MJ was at home and I was in my room in NTU hall.
Screenshot_2015-03-17-20-33-43

We then showed each other what we were doing prior to being online – MJ was writing his hyperessay #2 and I was making pages for my CVE class submission.

Screenshot_2015-03-17-20-28-22

We showed each other the artwork on our walls of our rooms…

Screenshot_2015-03-17-20-30-40

And even our beds…

Screenshot_2015-03-17-20-29-28

And not forgetting our snuggle buddies!Screenshot_2015-03-17-20-30-13

Then we both opened our closets;

Screenshot_2015-03-17-20-29-05


And showed each other our perspectives from where we stood.

Screenshot_2015-03-17-20-32-00

And included our hands in the presentation…

Screenshot_2015-03-17-20-33-11

And we both went back to doing what we were doing after logging off the app 🙂

Screenshot_2015-03-17-20-26-31

OSS Symposium: Mobile Cam Part I

Standard


Mj & I met on our Adobe Connect phone apps twice during the OSS Symposium: Mobile Cam exercise. I will be addressing the encounters in 2 parts as it was only after our first session did we find out that our faces are not supposed to be in the frames – and our cameras were supposed to be pointed the other way.


Connect Session #1: 16 March 2015, Monday

I started giving MJ a tour of my dorm room in NTU Pioneer Hall.

Screenshot_2015-03-16-20-12-41

MJ moved on to show me the master bedroom in his home – and I showed him my side of my hall room.

Screenshot_2015-03-16-20-11-47

I found it difficult to take a screenshot on my Sony Z2 smartphone cause you’re required to press 2 buttons at once; and it was difficult for me to do that while still being in focus. I kept fumbling and pressing the wrong buttons – primarily the volume control button that is just above the screenshot button hahaha.

Screenshot_2015-03-16-20-10-06

We then moved on to our corridors…

Screenshot_2015-03-16-20-13-20

and then proceeded to show each other the view outside our windows (my balcony in hall)Screenshot_2015-03-16-20-14-20

MJ went down the stairs and I took the lift (totally forgetting that my data connection would be cut off)Screenshot_2015-03-16-20-23-09

but we still managed to reconvene again downstairs though Adobe Connect lagged quite a lot…Screenshot_2015-03-16-20-21-07

The whole time while we were downstairs, MJ froze when he was looking down – I could still hear him talking but he wasn’t moving an inch. P/S: I took the opportunity to take a selfie with a frozen MJ! hahahahaScreenshot_2015-03-16-20-24-59

Part II of this post will be posted up after MJ and I meet again on Adobe Connect – this time turning our cameras the right way round…

Micro-Project IV: Telematic Embrace

Standard

This post comes a little late cause the most frustrating thing that can ever happen when working with digital files happened to me – i lost my screenshot. OK, I didn’t quite lose it – I’m pretty sure its somewhere in my hard drive but I can’t quite figure out where it is so I was unable to post my entry for awhile 🙁

Undeterred by my minor setback, I asked MJ if he would be keen to try out the telematic embrace once more with me over Adobe Connect. However, – another minor setback- we realised that without Randall, the administrator online, we couldn’t turn on our video cameras. Thus, we made do with Skype (and still had problems split-screening the graphics).

All that aside, we managed to read a book together in the virtual space!

11014691_350339481842685_519414130_n

p/s: many many many thanks to MJ who took some time off his recess week to achieve this with me!


Micro-project V – My Desktop World

Standard


I’d like to think that my computer desktop is indeed an extension of myself. My folders are arranged in neat rows on the left of my screen while my menu appears on the right when my mouse hovers over. I have everything I need for the semester in their own individual folders; much like how I would treat actual paperwork. I would file my handouts and notes in a clear folder after every class. In a sense, I could be OCD, but this system keeps me grounded helps me function and keeps me on top of things. I have had to borrow my friends laptops and some of them do not have their folders snapped to a grid; hence, the folders are everywhere as they reign free from grid or any form of hierarchy – rather unpleasant for someone like me to navigate cos it irks me that there is no structure to things and where they go. I also like to personalise and customise my desktop as much as I can ; so instead of the default blue folders that Mac creates, mine are pink and some even have skulls as icons – I changed them using an app called CandyBar.

My wallpaper is an old picture of my friends from high school and I at our high school reunion. This picture is really dear to me as its the last time we got together. Faatin, who is in the middle of this picture is in the UK studying architecture while Siti, the one on the extreme right is on exchange in Oslo, Norway. Polka dots are also my favourite pattern (as you can see from my top in this picture) so that’s a plus!

Screen shot 2015-02-26 at 11.47.38 PM


As mentioned, I absolutely hate it when things are not in its place and look what happened when my Adobe Illustrator was handling a big file; it wasn’t responsive, created all these strange blue, green and grey markings on my document and crashed soon after. Perfect example of me when I’m bombarded with too much — I crash!

Screen shot 2015-02-26 at 11.31.11 AM

Micro-project III: Disembodied – Pixel8

Standard

My Disembodied Micro-project is entitled Pixel8 or rather Pixellate. Reason being, when I was fiddling around with the Max7 patch, I realised that it could duplicate my main image into many smaller ones while still retaining the basic outline of my figure and that piqued my interest.

I started thinking about old school arcade games and computers in which the displays were simple images in the form of pixels (much unlike our HD videos today). Then, I thought about how I loved to play Super Mario on my GameBoy device when I was younger and how the low-fi graphics did not bother me (as much as it would today. I’d be pissed if graphics were low resolution).

The pixels were formed as a product of many vertical and horizontal repetitions of my image and the “loading screen-esque” movements was achieved by simply waving my arms in front of my webcam like a maniac. I performed a short skit of what a Super Ruzana game would look like. I do realise that my game doesn’t look very fun to play as compared to Super Mario 😛 but I indeed had fun creating the poses and experimenting with the different elements on Max that created this chain of effects.

Micro Project I: Artistic Alter Ego

Standard

What better way to augment or change your perception of reality than to craft your own “ideal” face?

Face substituition or face tracking throws off your sense of self and stretches beyond a personal identity crisis. A combination of software and hardware based on algorithms matches the contours of my face and take on the face of anybody I want; my alter ego(s).

Can digital technology be an alternative to plastic surgery?
That’s a question saved for another day…


Created by capturing my computer screen while running
CLMtrackr by Audun Mathias Øygard