Assignment 2A is broken down into 2 tasks. Task 1 is Object Studies which is the one that will be covered in this post. Unfortunately, I wasn’t well and could not make it for class. Therefore, I had to try and pick things up via the internet. Thankfully, we did Orthographic Projection studies before in class which aided me in completing some parts of it.
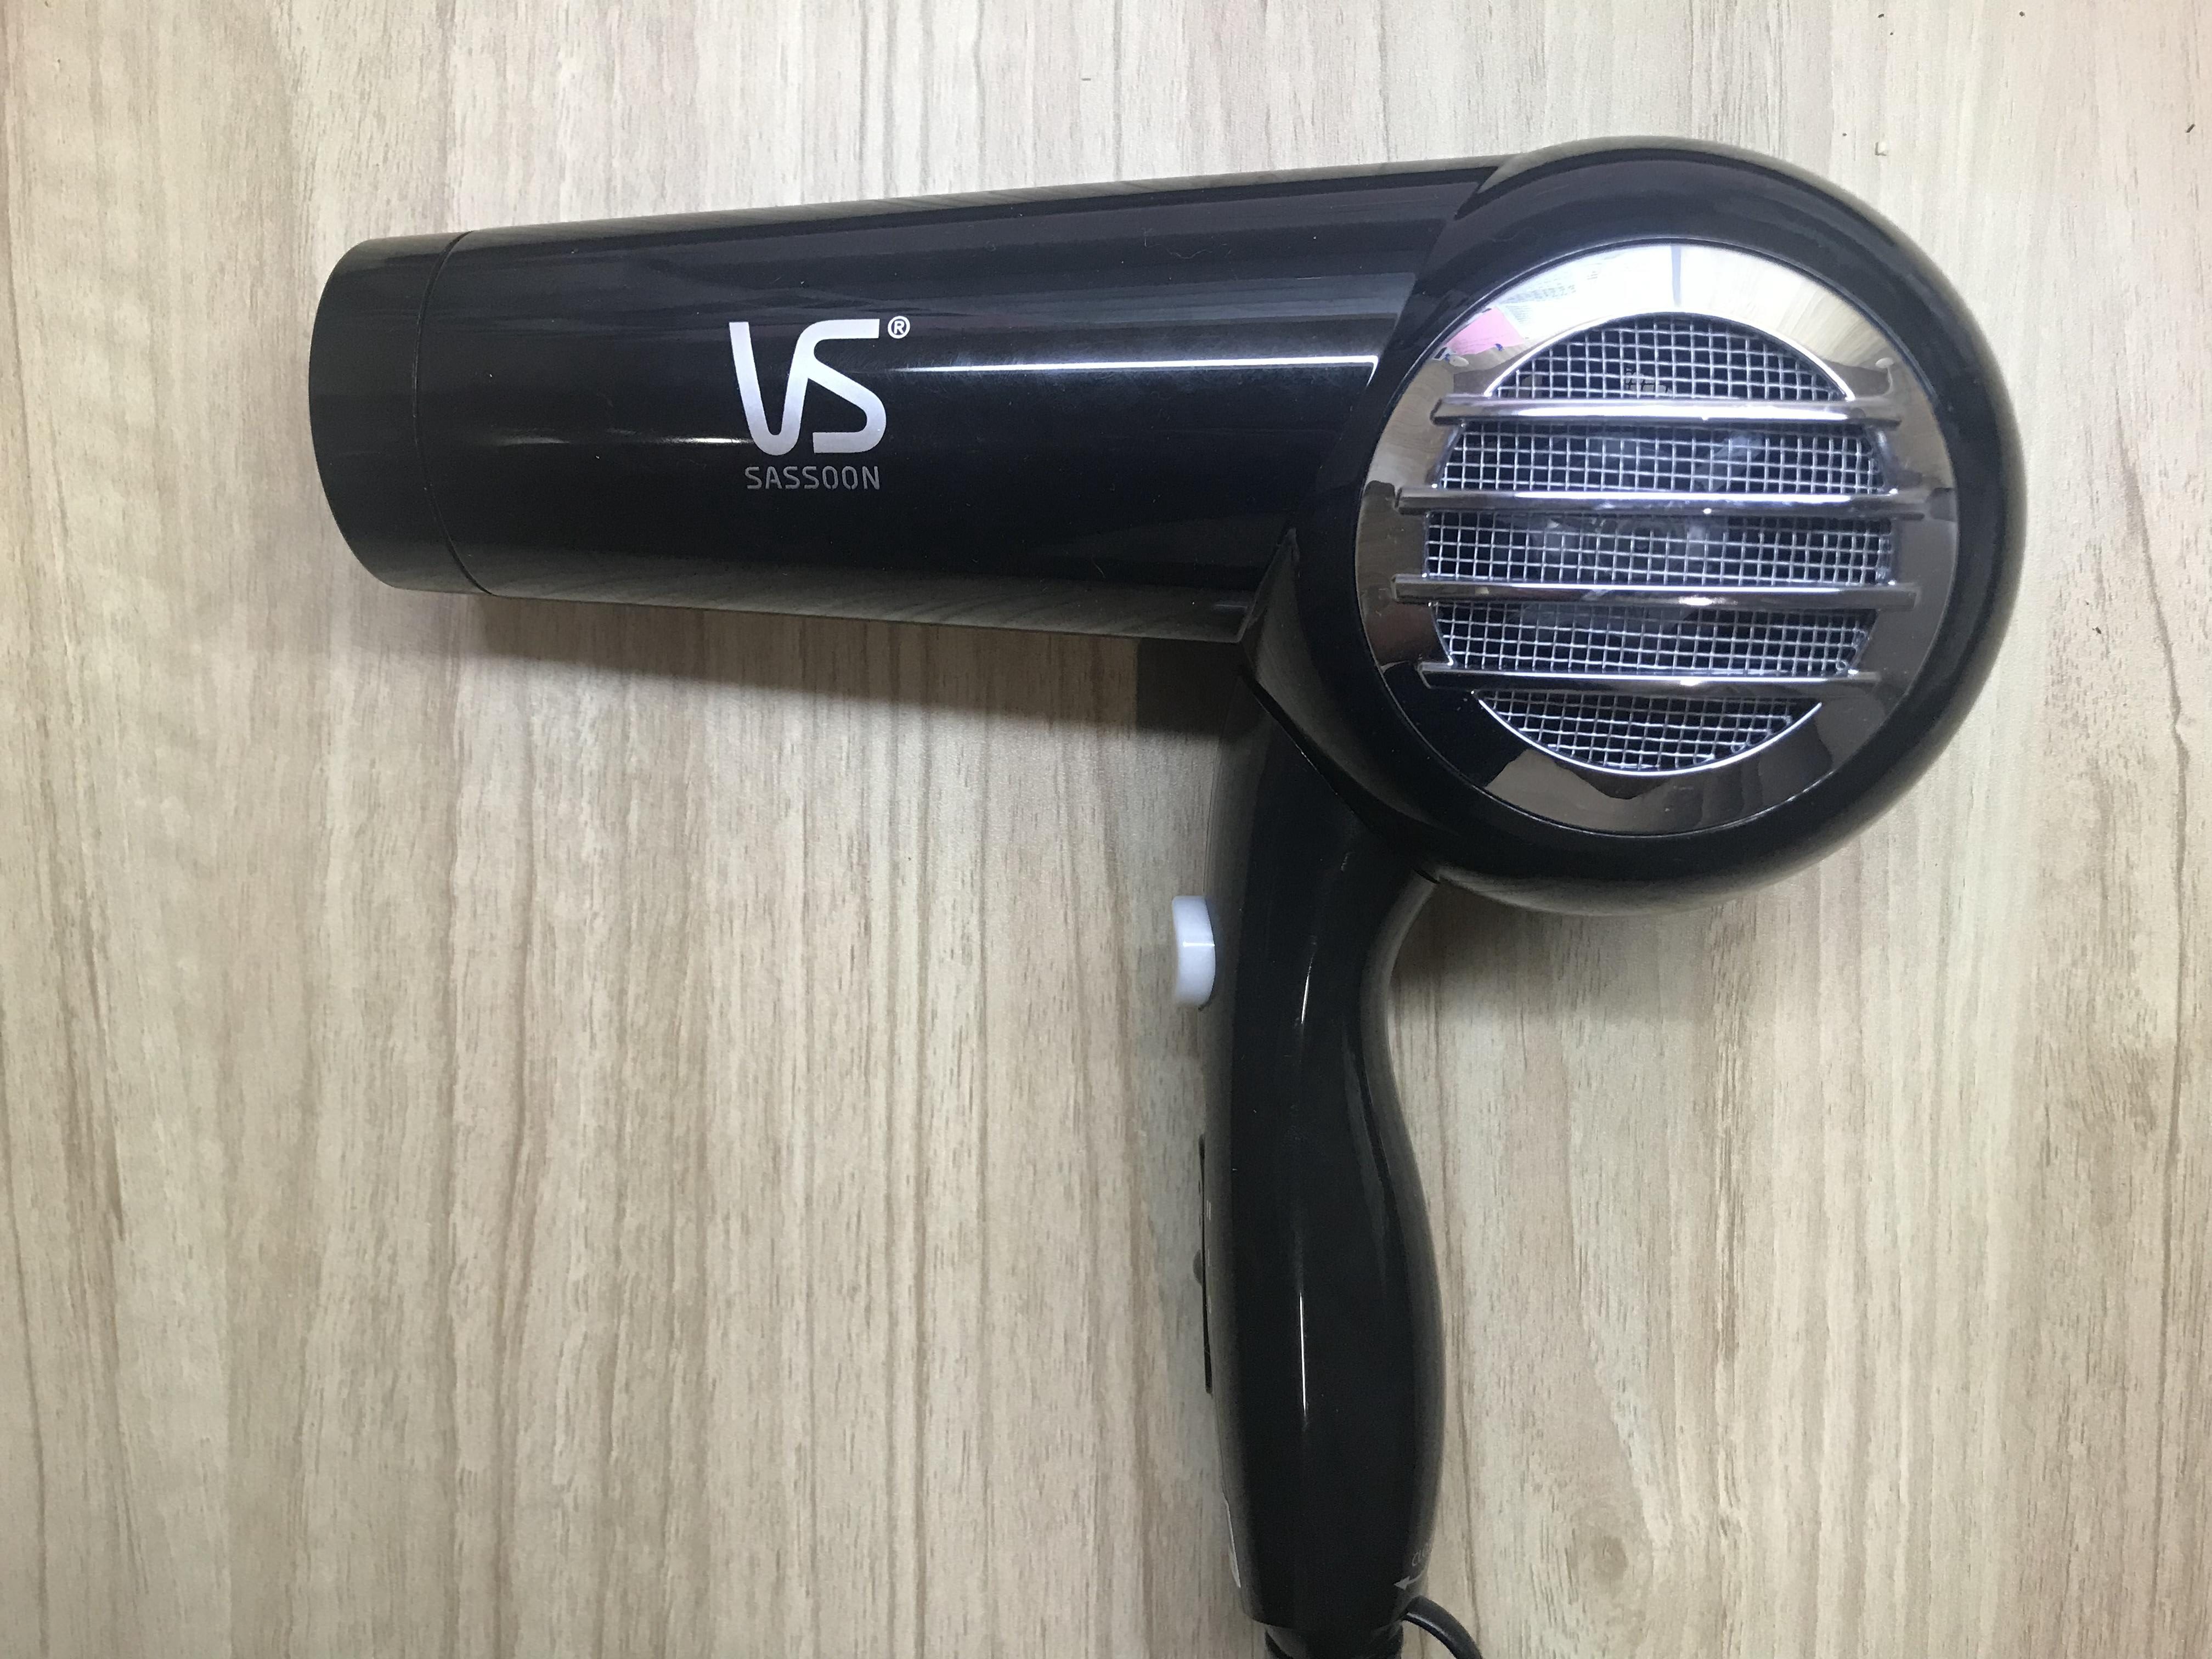
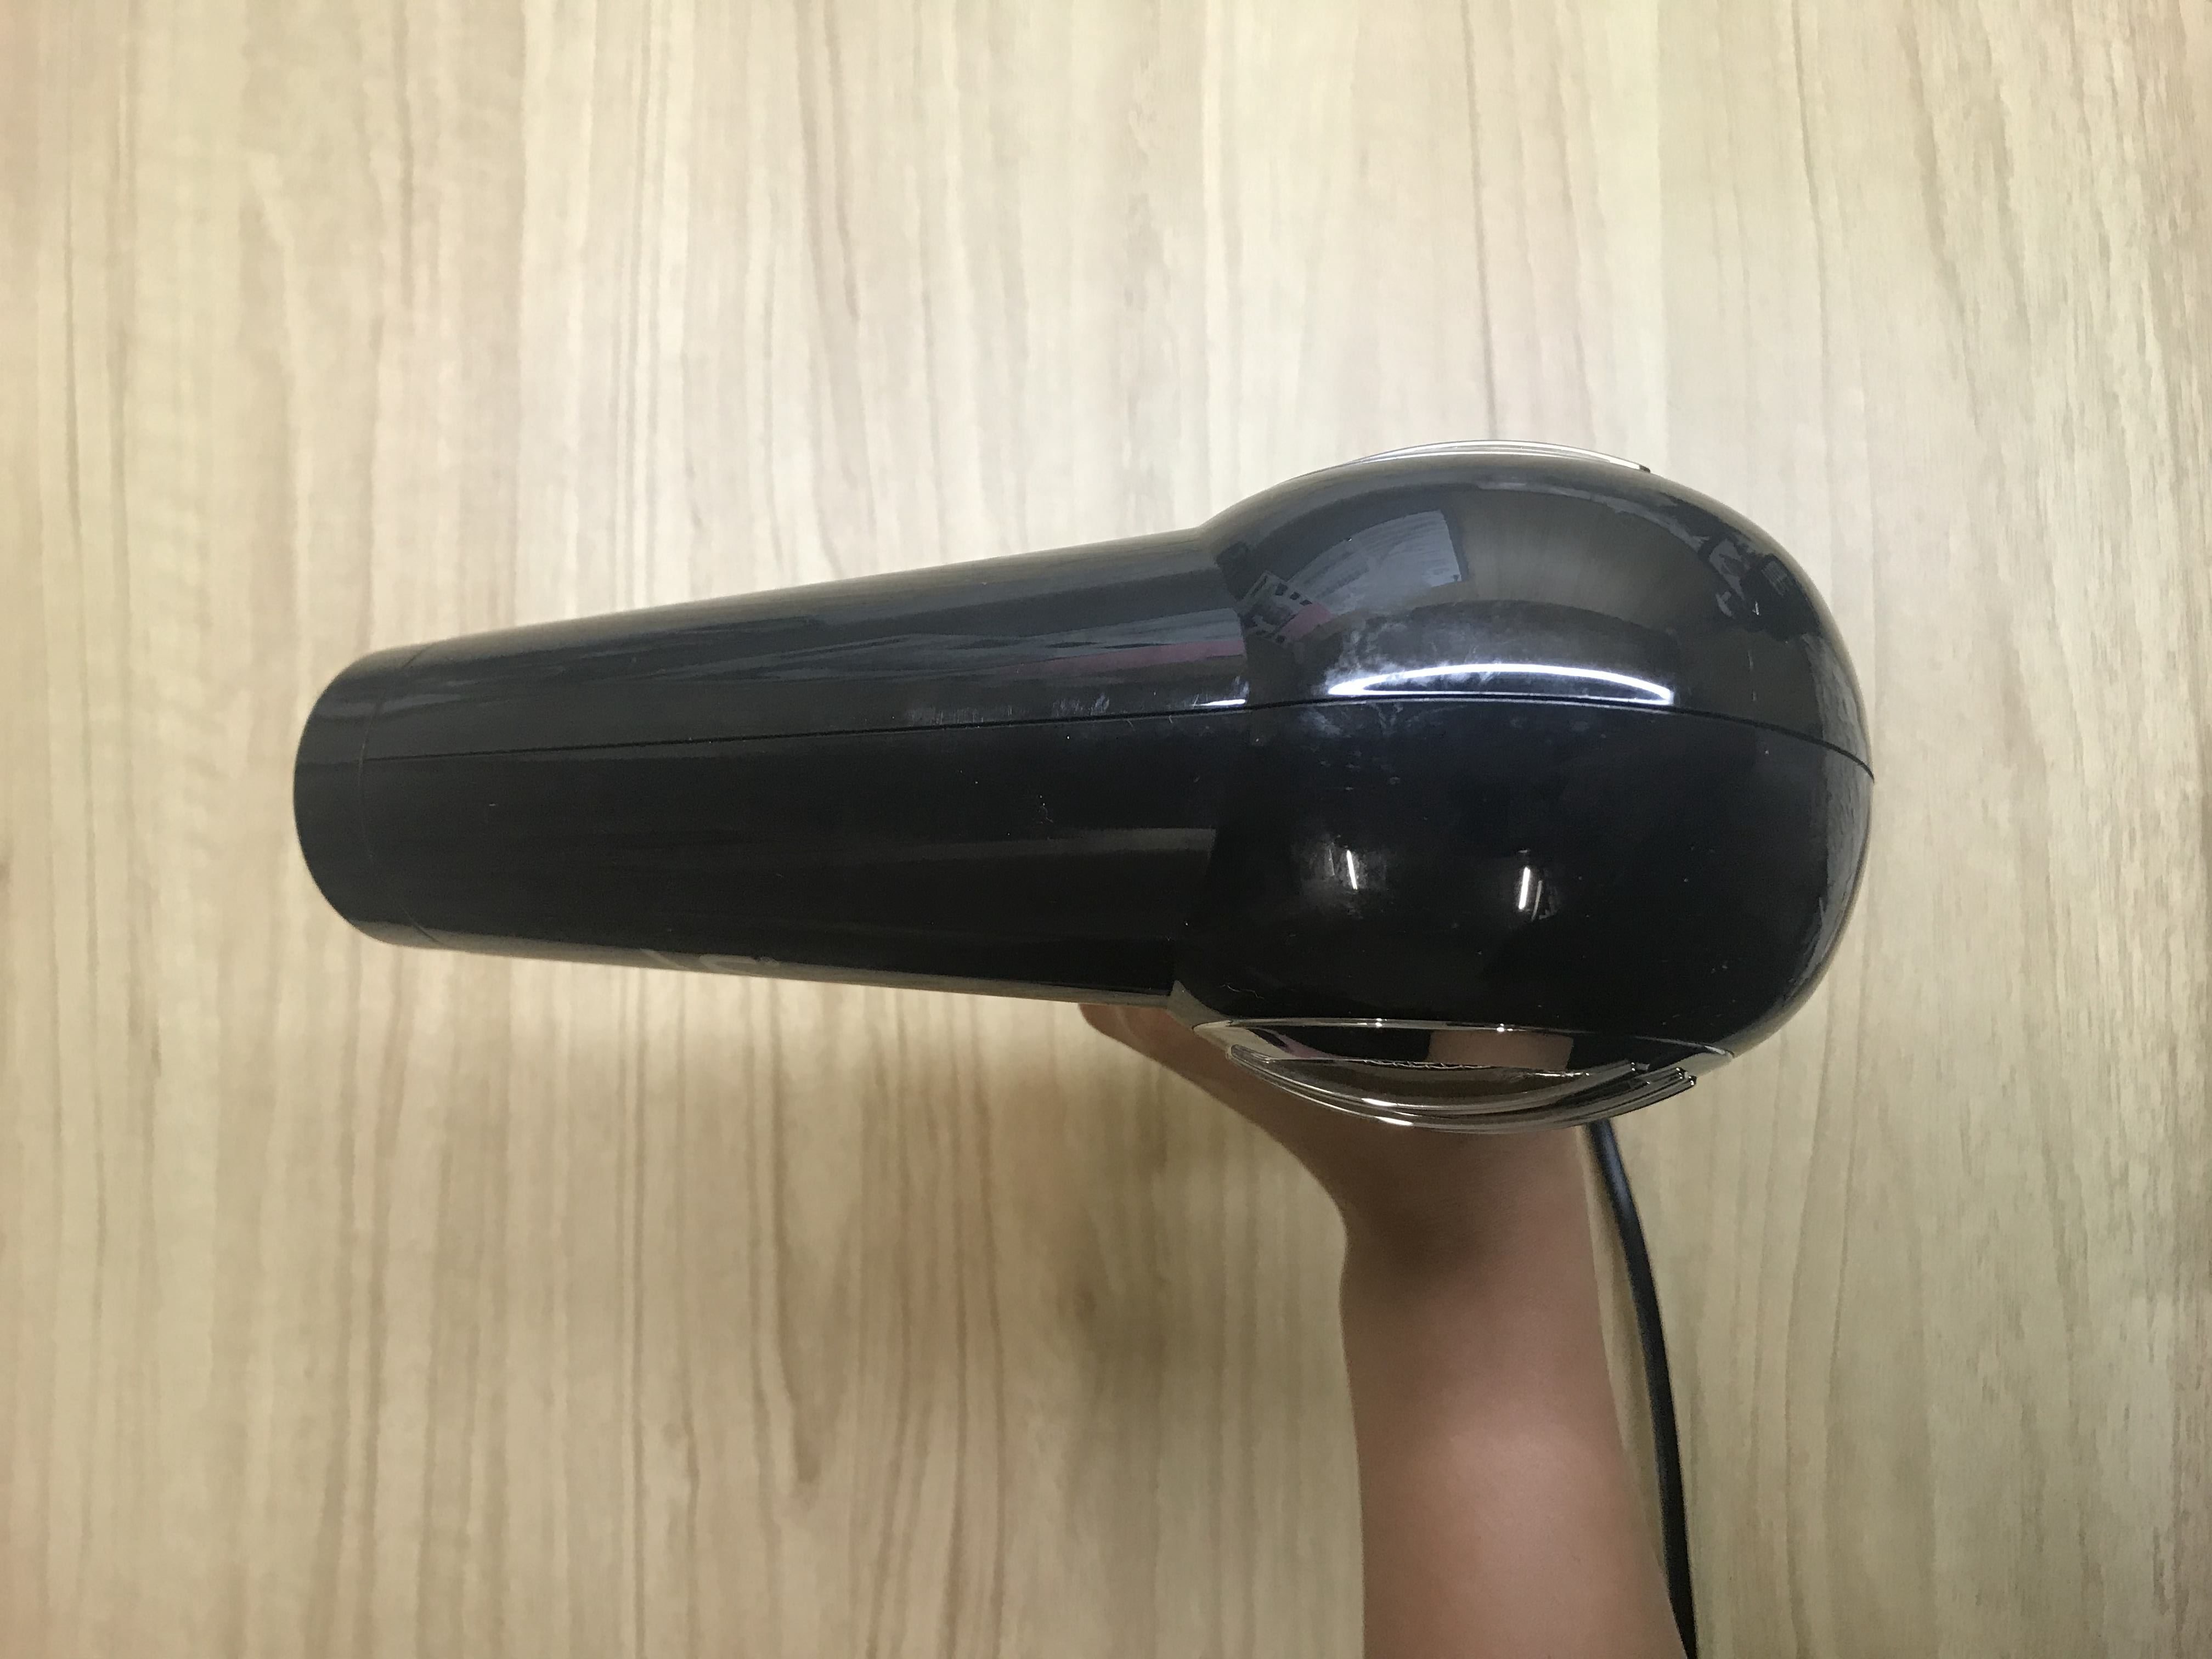
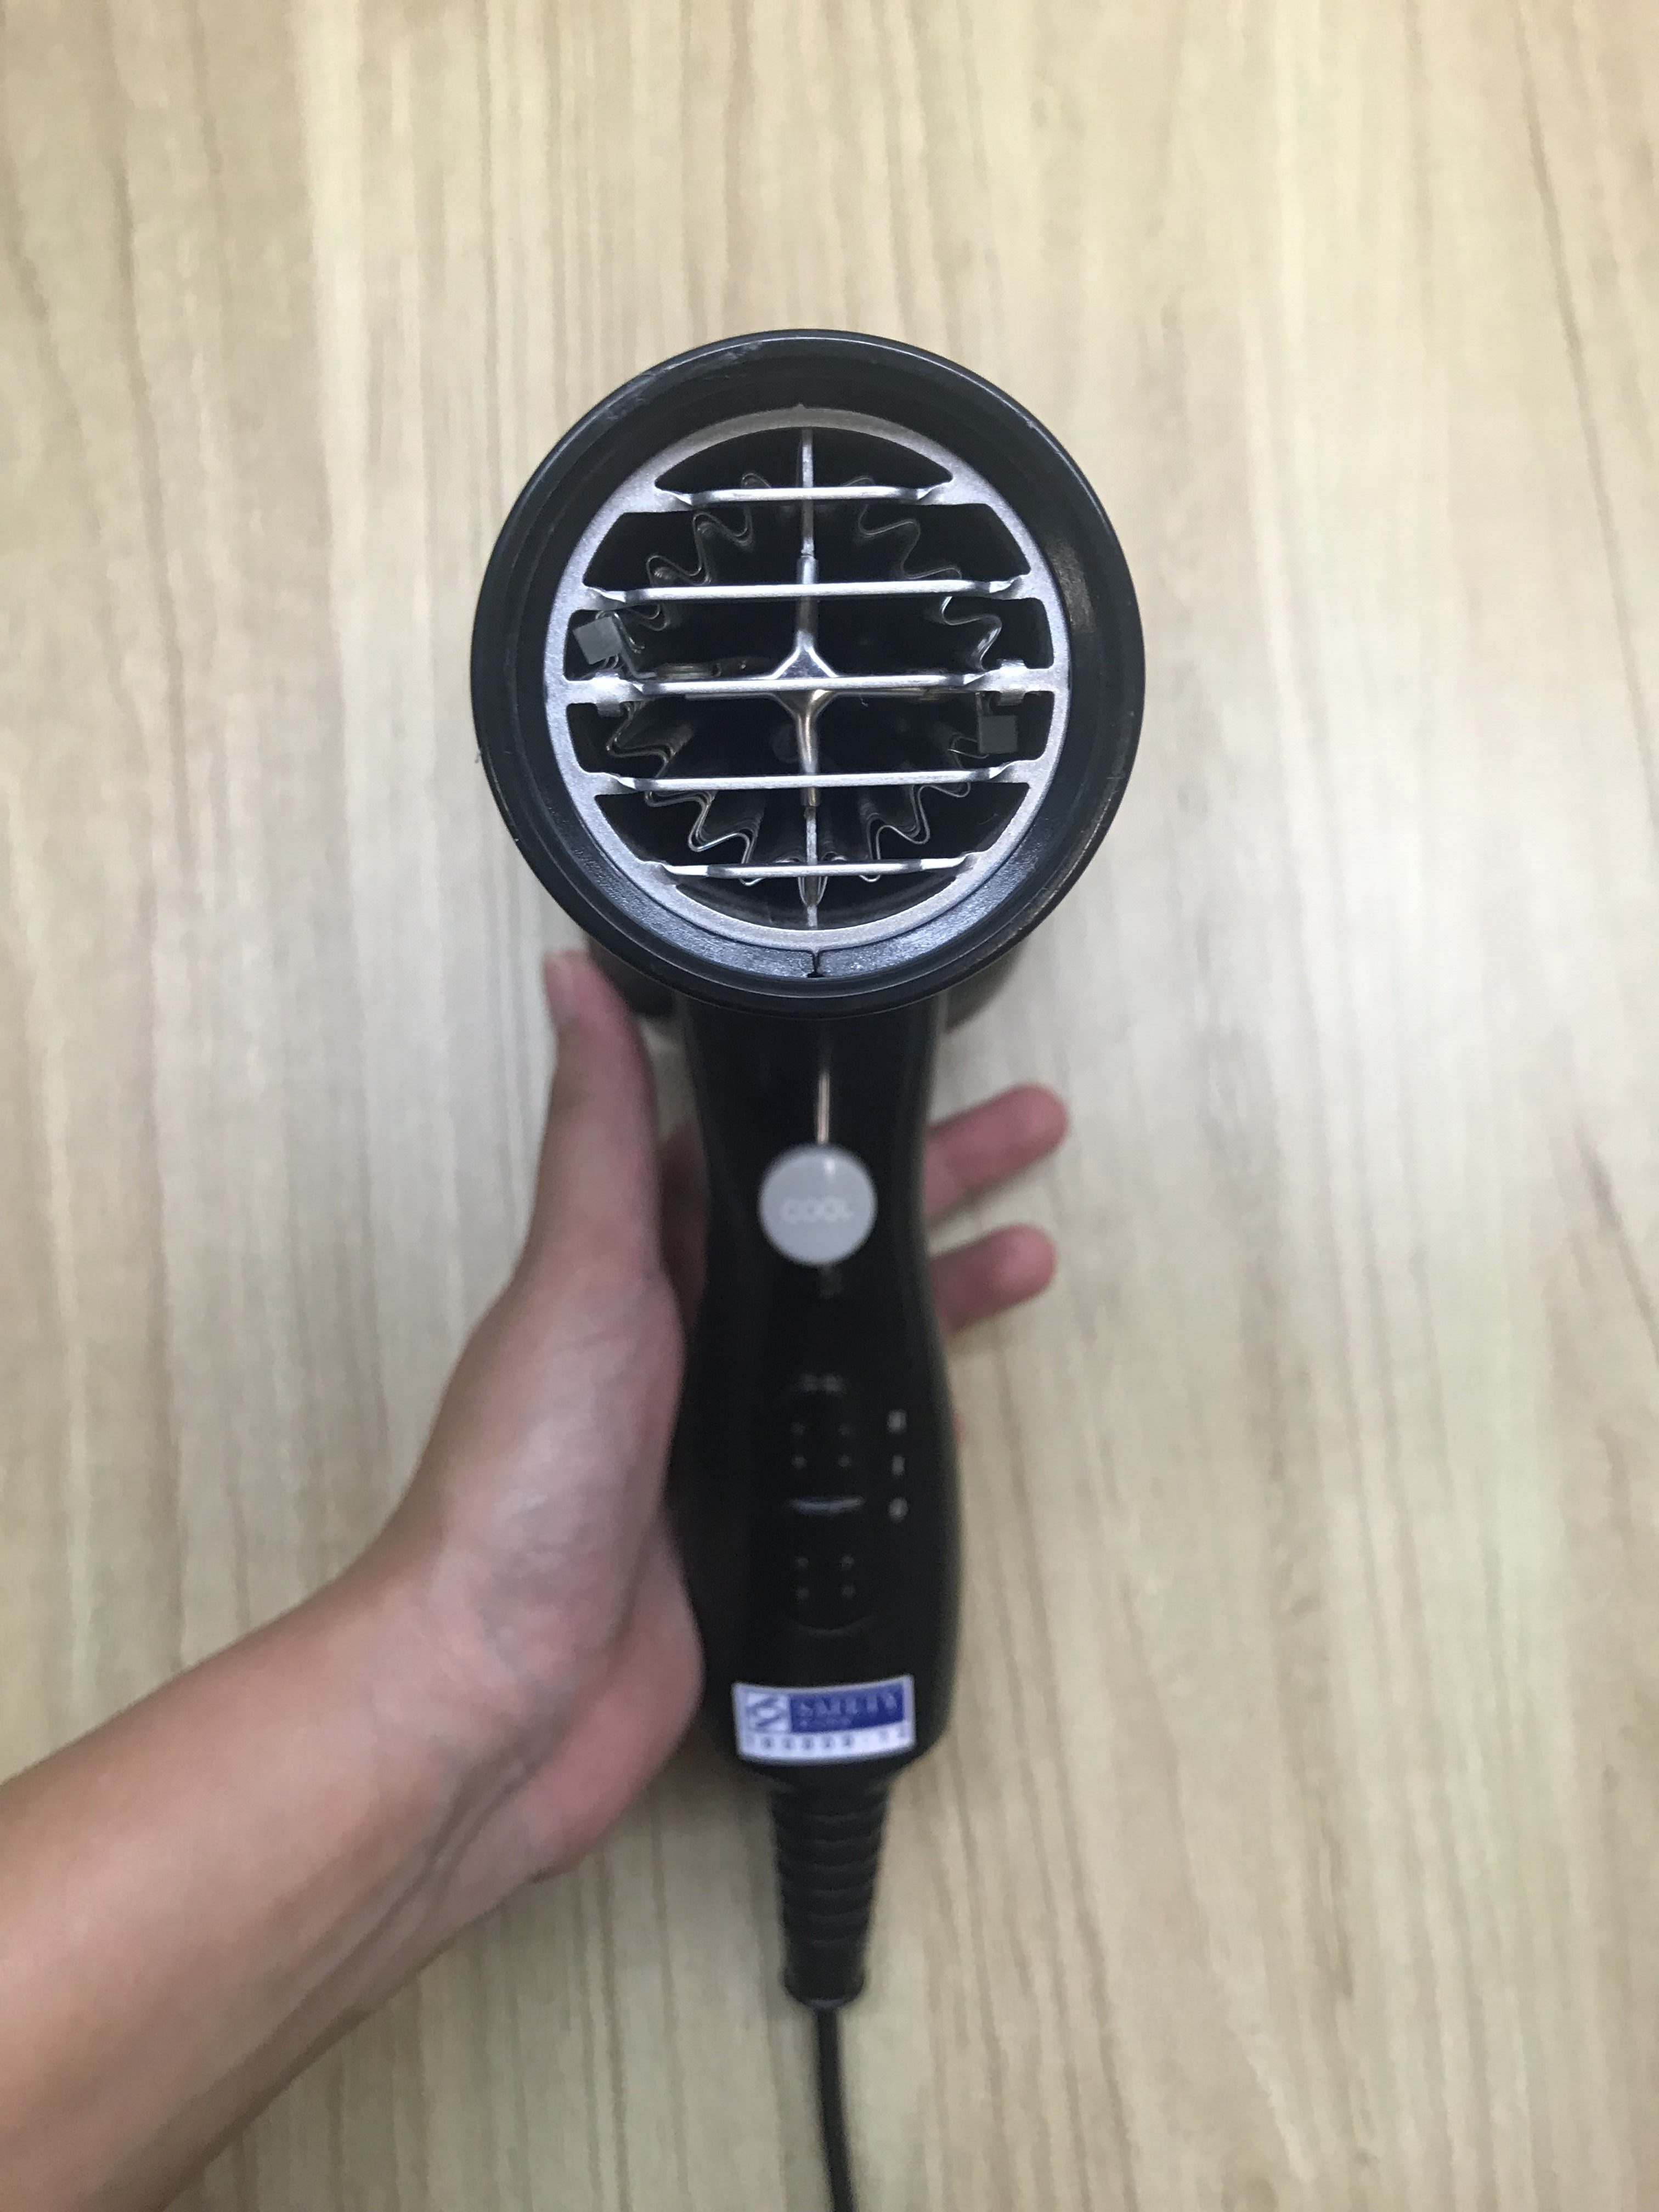
Task 1 requires us to study the form of a chosen object that is either held, worn or carried. I chose a hair dryer as I figured that it would be quite interesting to study.
Side
Top
Front
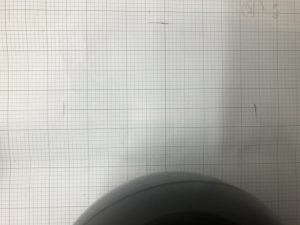
I attempted the Orthographic Drawing of the Top, Front and Side View of the object. I scaled it down to 1:2. I started off by breaking down the hair dryer into 3 parts. Then, I measured the length, height, diameter (if need be) and pen it down on the graph paper along with a rough mini sketch of the dryer. I then divided these measurements by 2, measured and drew it onto the graph paper. I start with light sketchy lines and darken it as I got the the shapes out. The easiest way for me to get the measurements out, since the hair dryer had a lot of curves, was to lay it down on graph paper and mark it out. From there, I collated the measurements and did the maths.
Example of marking out the measurements of the object
The challenges for the Orthographic drawing was definitely drawing the curvatures as well as getting the details in. The base of the shape was also not easy to achieve. I had to be very systematic in the way that I work in that I had to attempt things, one at a time and get all the measurements right first before moving on. This allows me to get the proportions, sizing and scaling, more or less the same.
Next, the second part to Task 1 is a 2-point perspective drawing of the same object. This was the one that was most challenging to me since I was also absent from class. I can’t seem to visualise perspectives and therefore, putting it down onto paper, in proportion has always been a problem for me. I decided to watch some videos online and mimicked the tips given.
I sketched a lot of circles that helped me visualise the shape better. This took multiple tries before I was somewhat satisfied with the base shape. The problems I had were mainly the proportion and also the perspective of the circles.
This is Part 2 of Assignment 2A which was done in pairs. I was paired up with Ik Hwa.
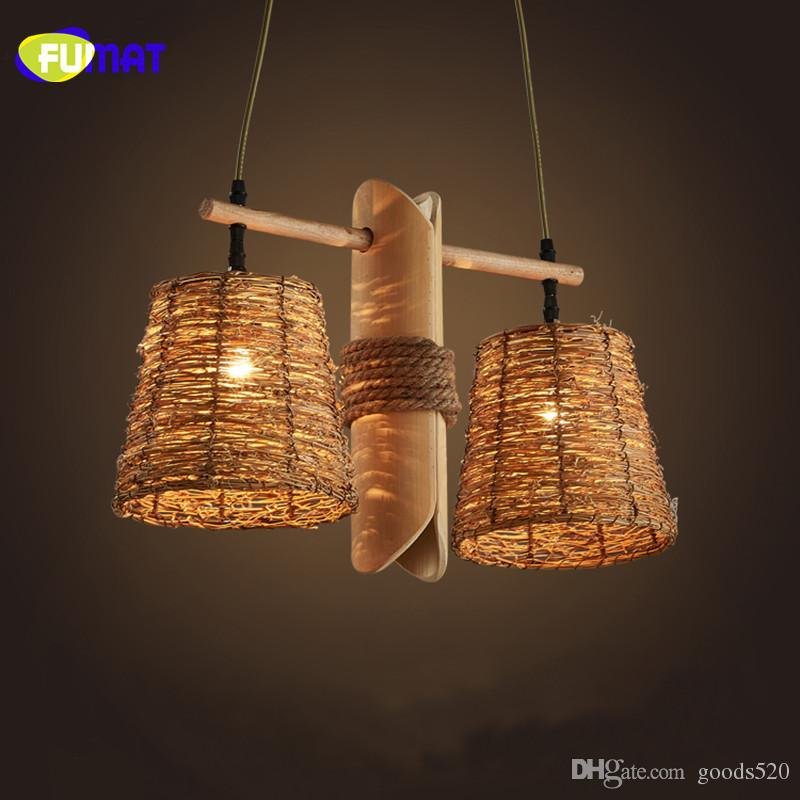
Going into this, both Ik and I had no clue as to where we should even begin as we were both inexperienced in weaving. We started off by doing our own self-studies by watching videos provided by Sherry. We explored other videos when we met up to attempt the project. At first, we contemplated between the Hexagonal and Octagonal Pattern. However, as we went on with our research, we realised that the Octagonal Pattern was a little too ambitious as a first attempt. In contrast, Hexagonal was a little too simple and we want to attempt a pattern that was somewhat challenging but doable. Upon pinning several images on Pinterest, we both decided that we were going to settle for the Pine Needle pattern.
Looking through our Pinterest pins, we realised we were both drawn to the lanterns/light 3D pieces. We felt that the Pine Needle pattern would suit what we were going for as well. It will allow the light to be emitted through the tiny spaces. It also fitted the aesthetic style we were going for.
2D
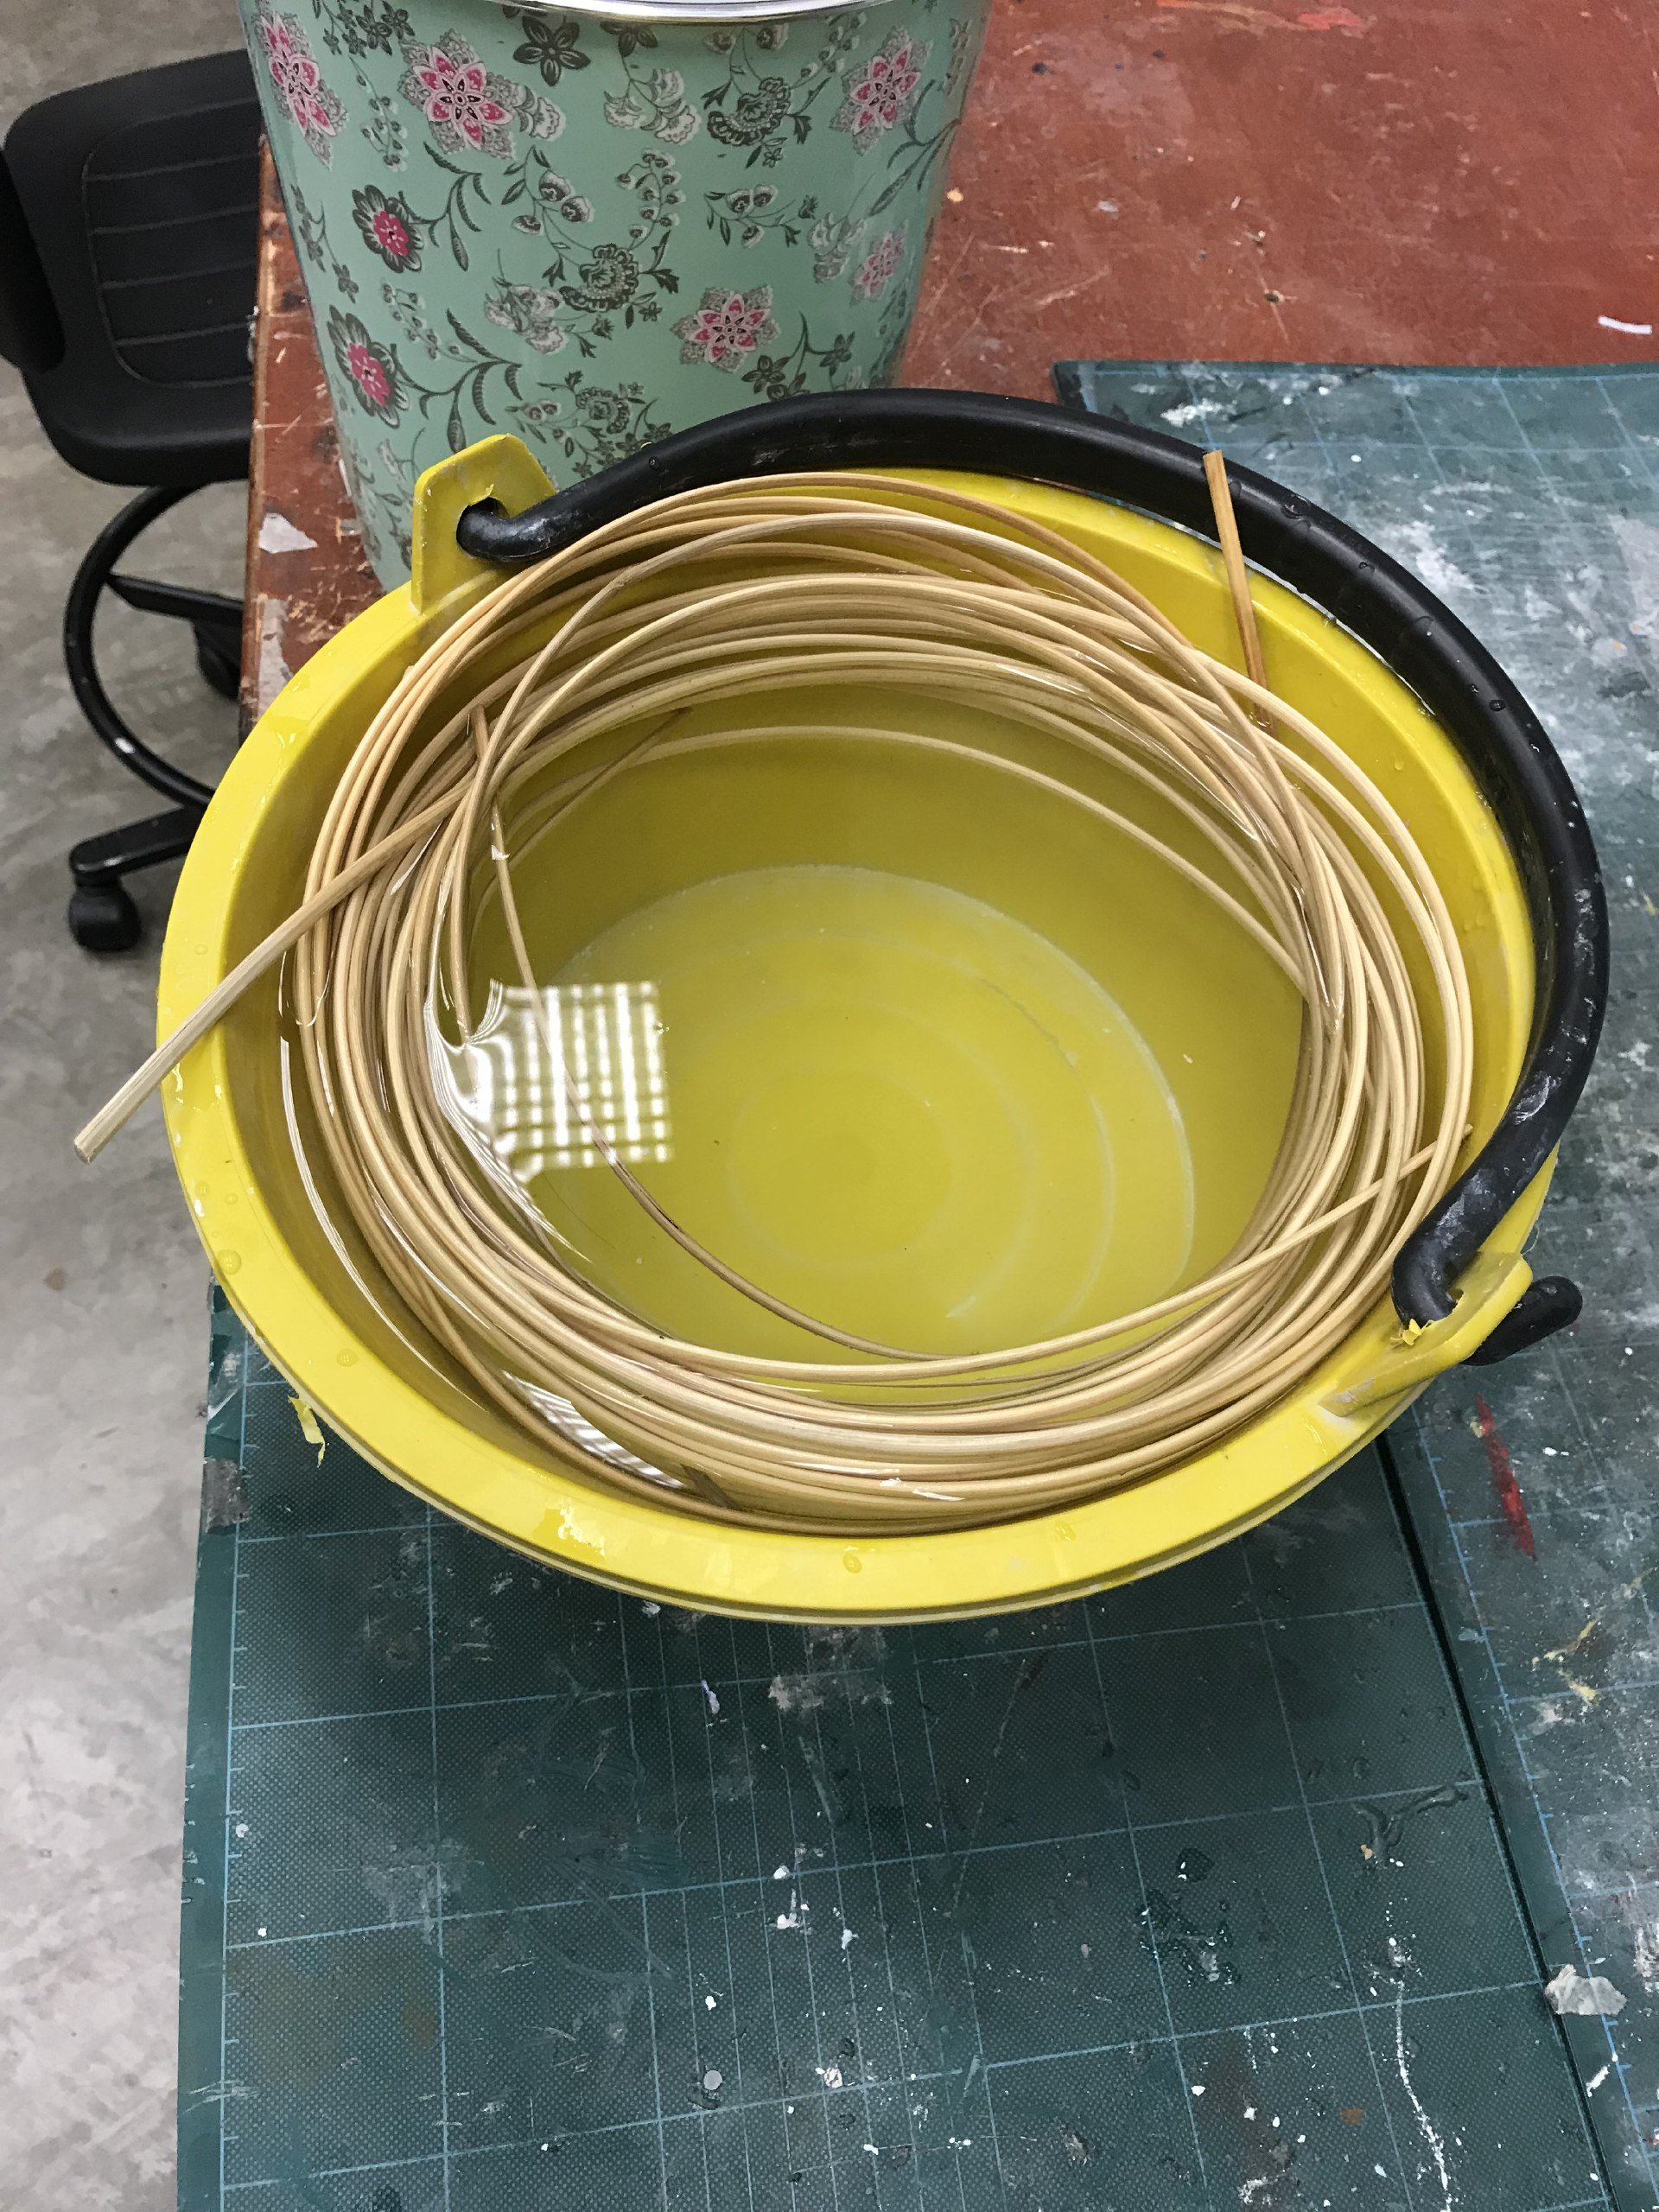
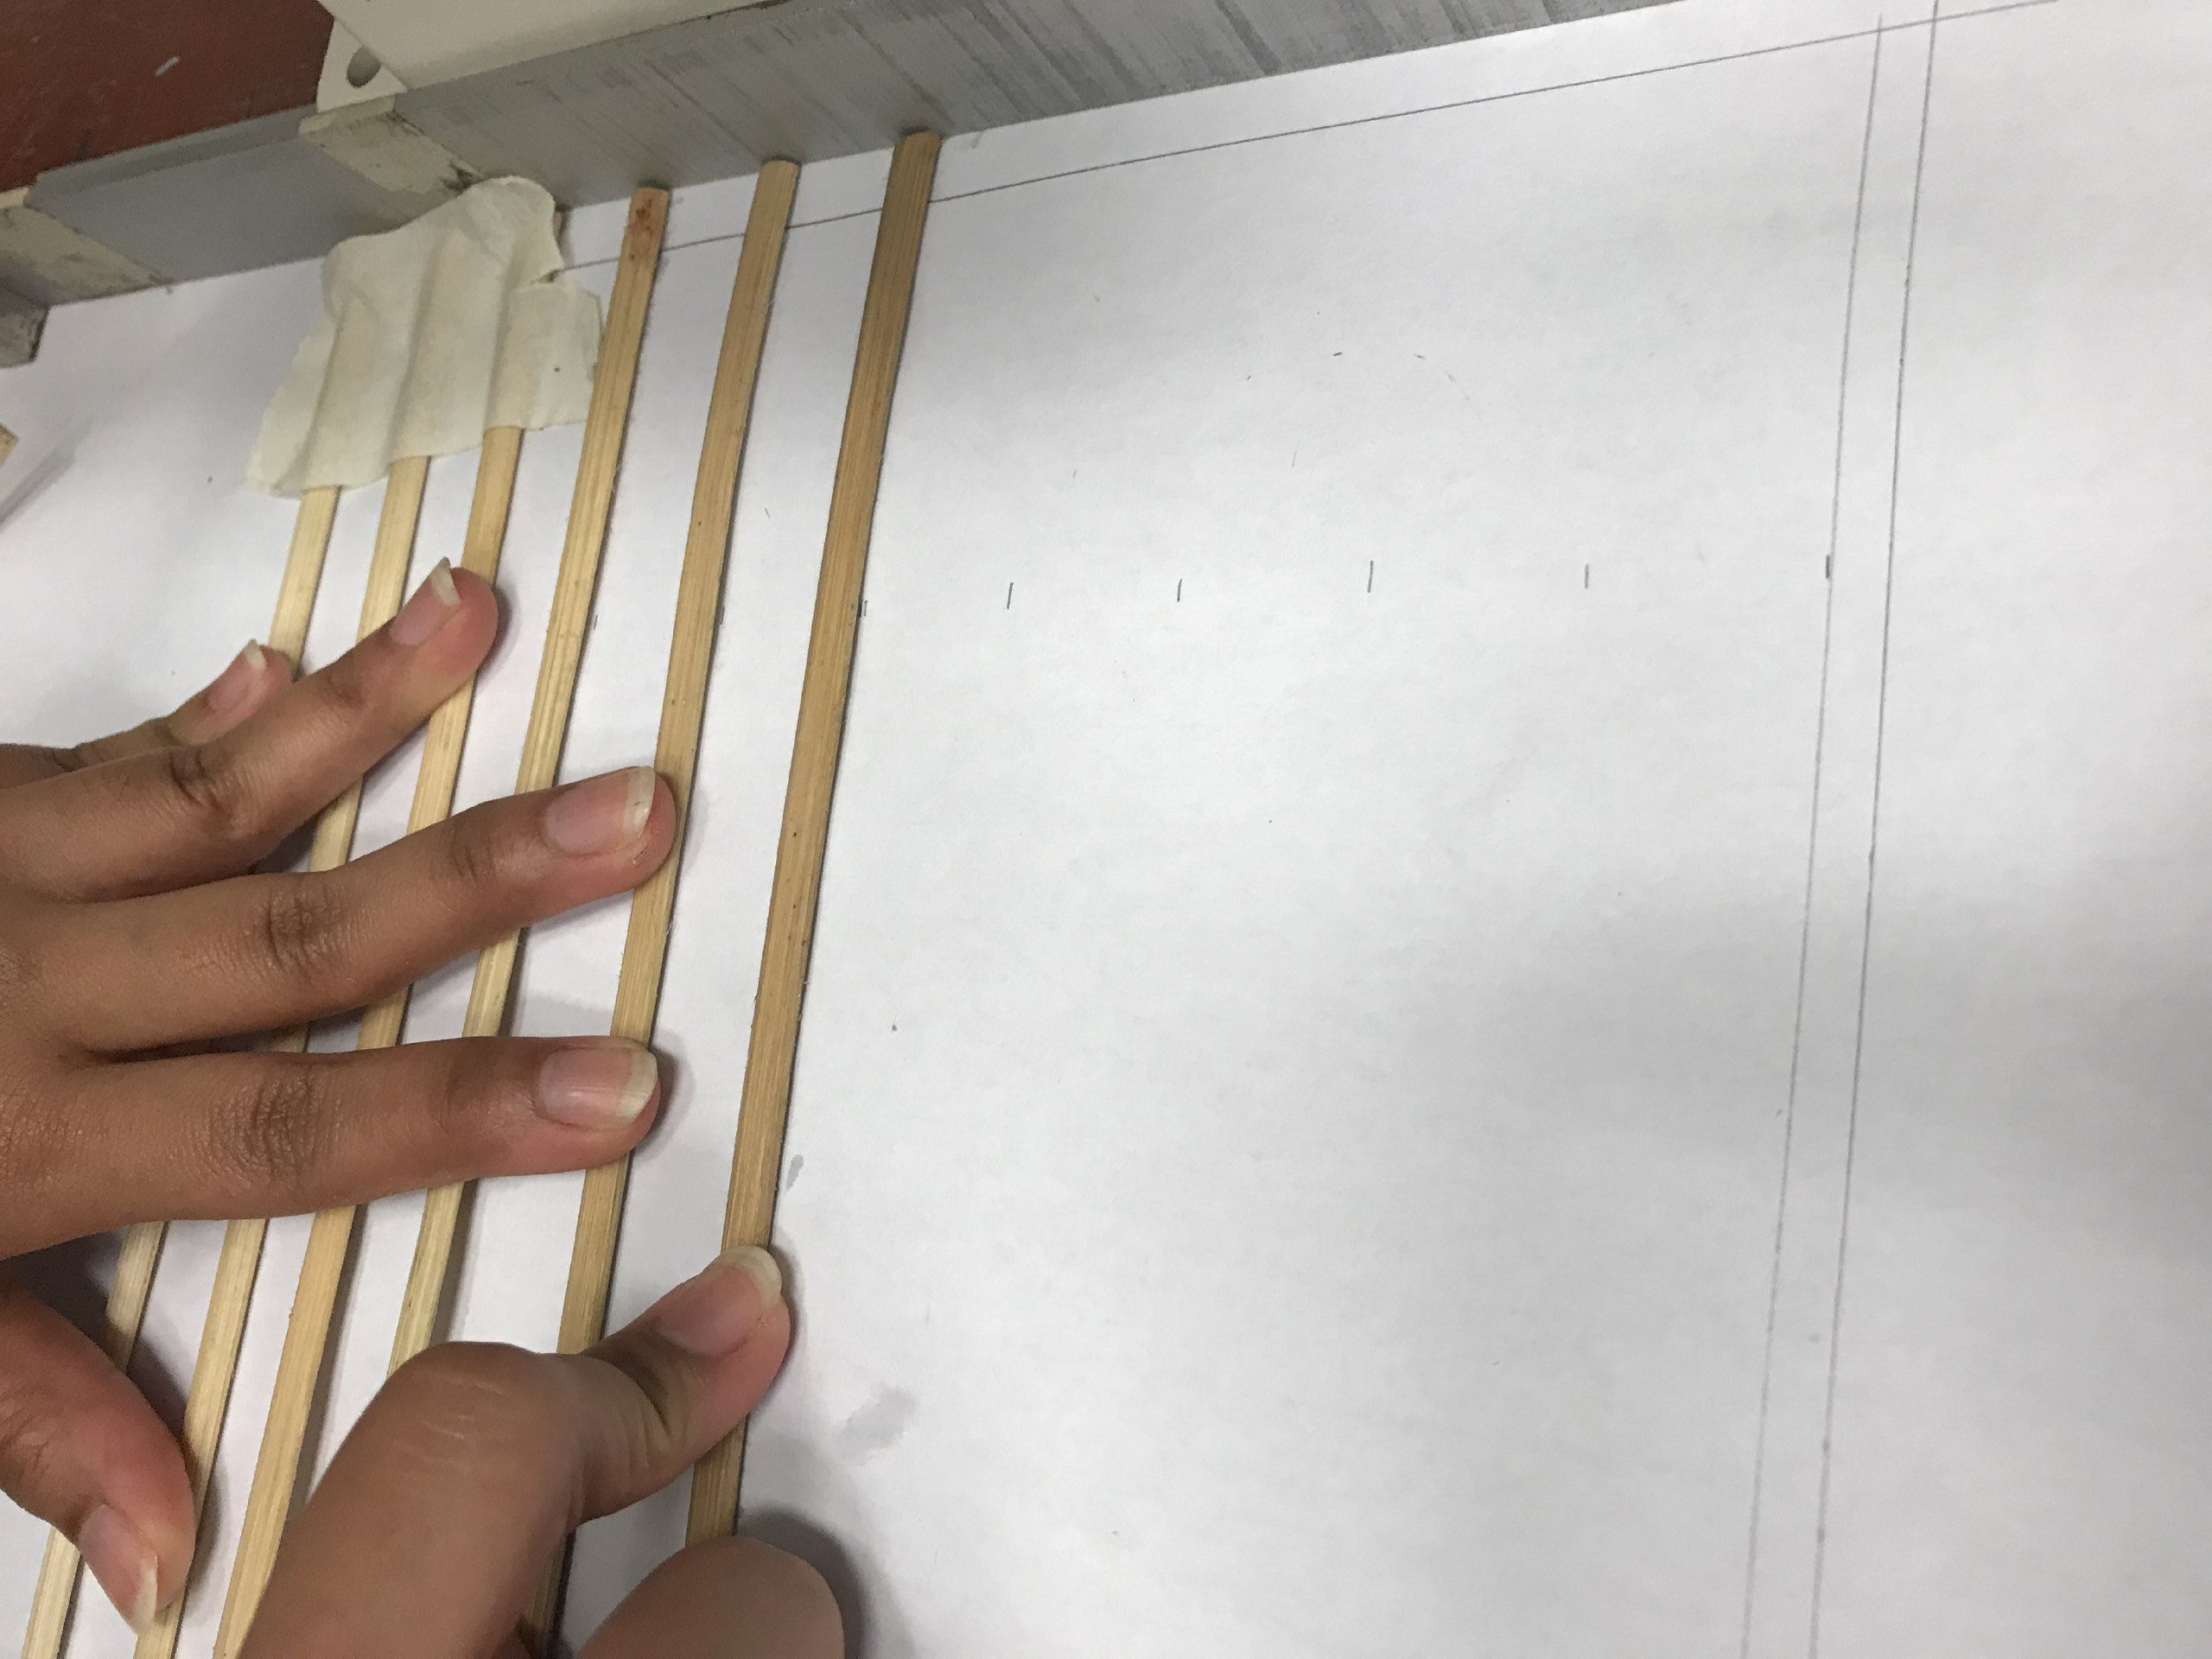
We soaked the rattan provided by Sherry into water. This helped soften and moisten the rattan to allow it to be bent into shape without much fraying and breaking. The idea is that as it dries, it will retain the shape that we’ve created when it was wet and malleable.
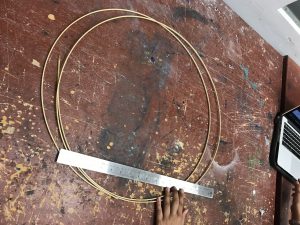
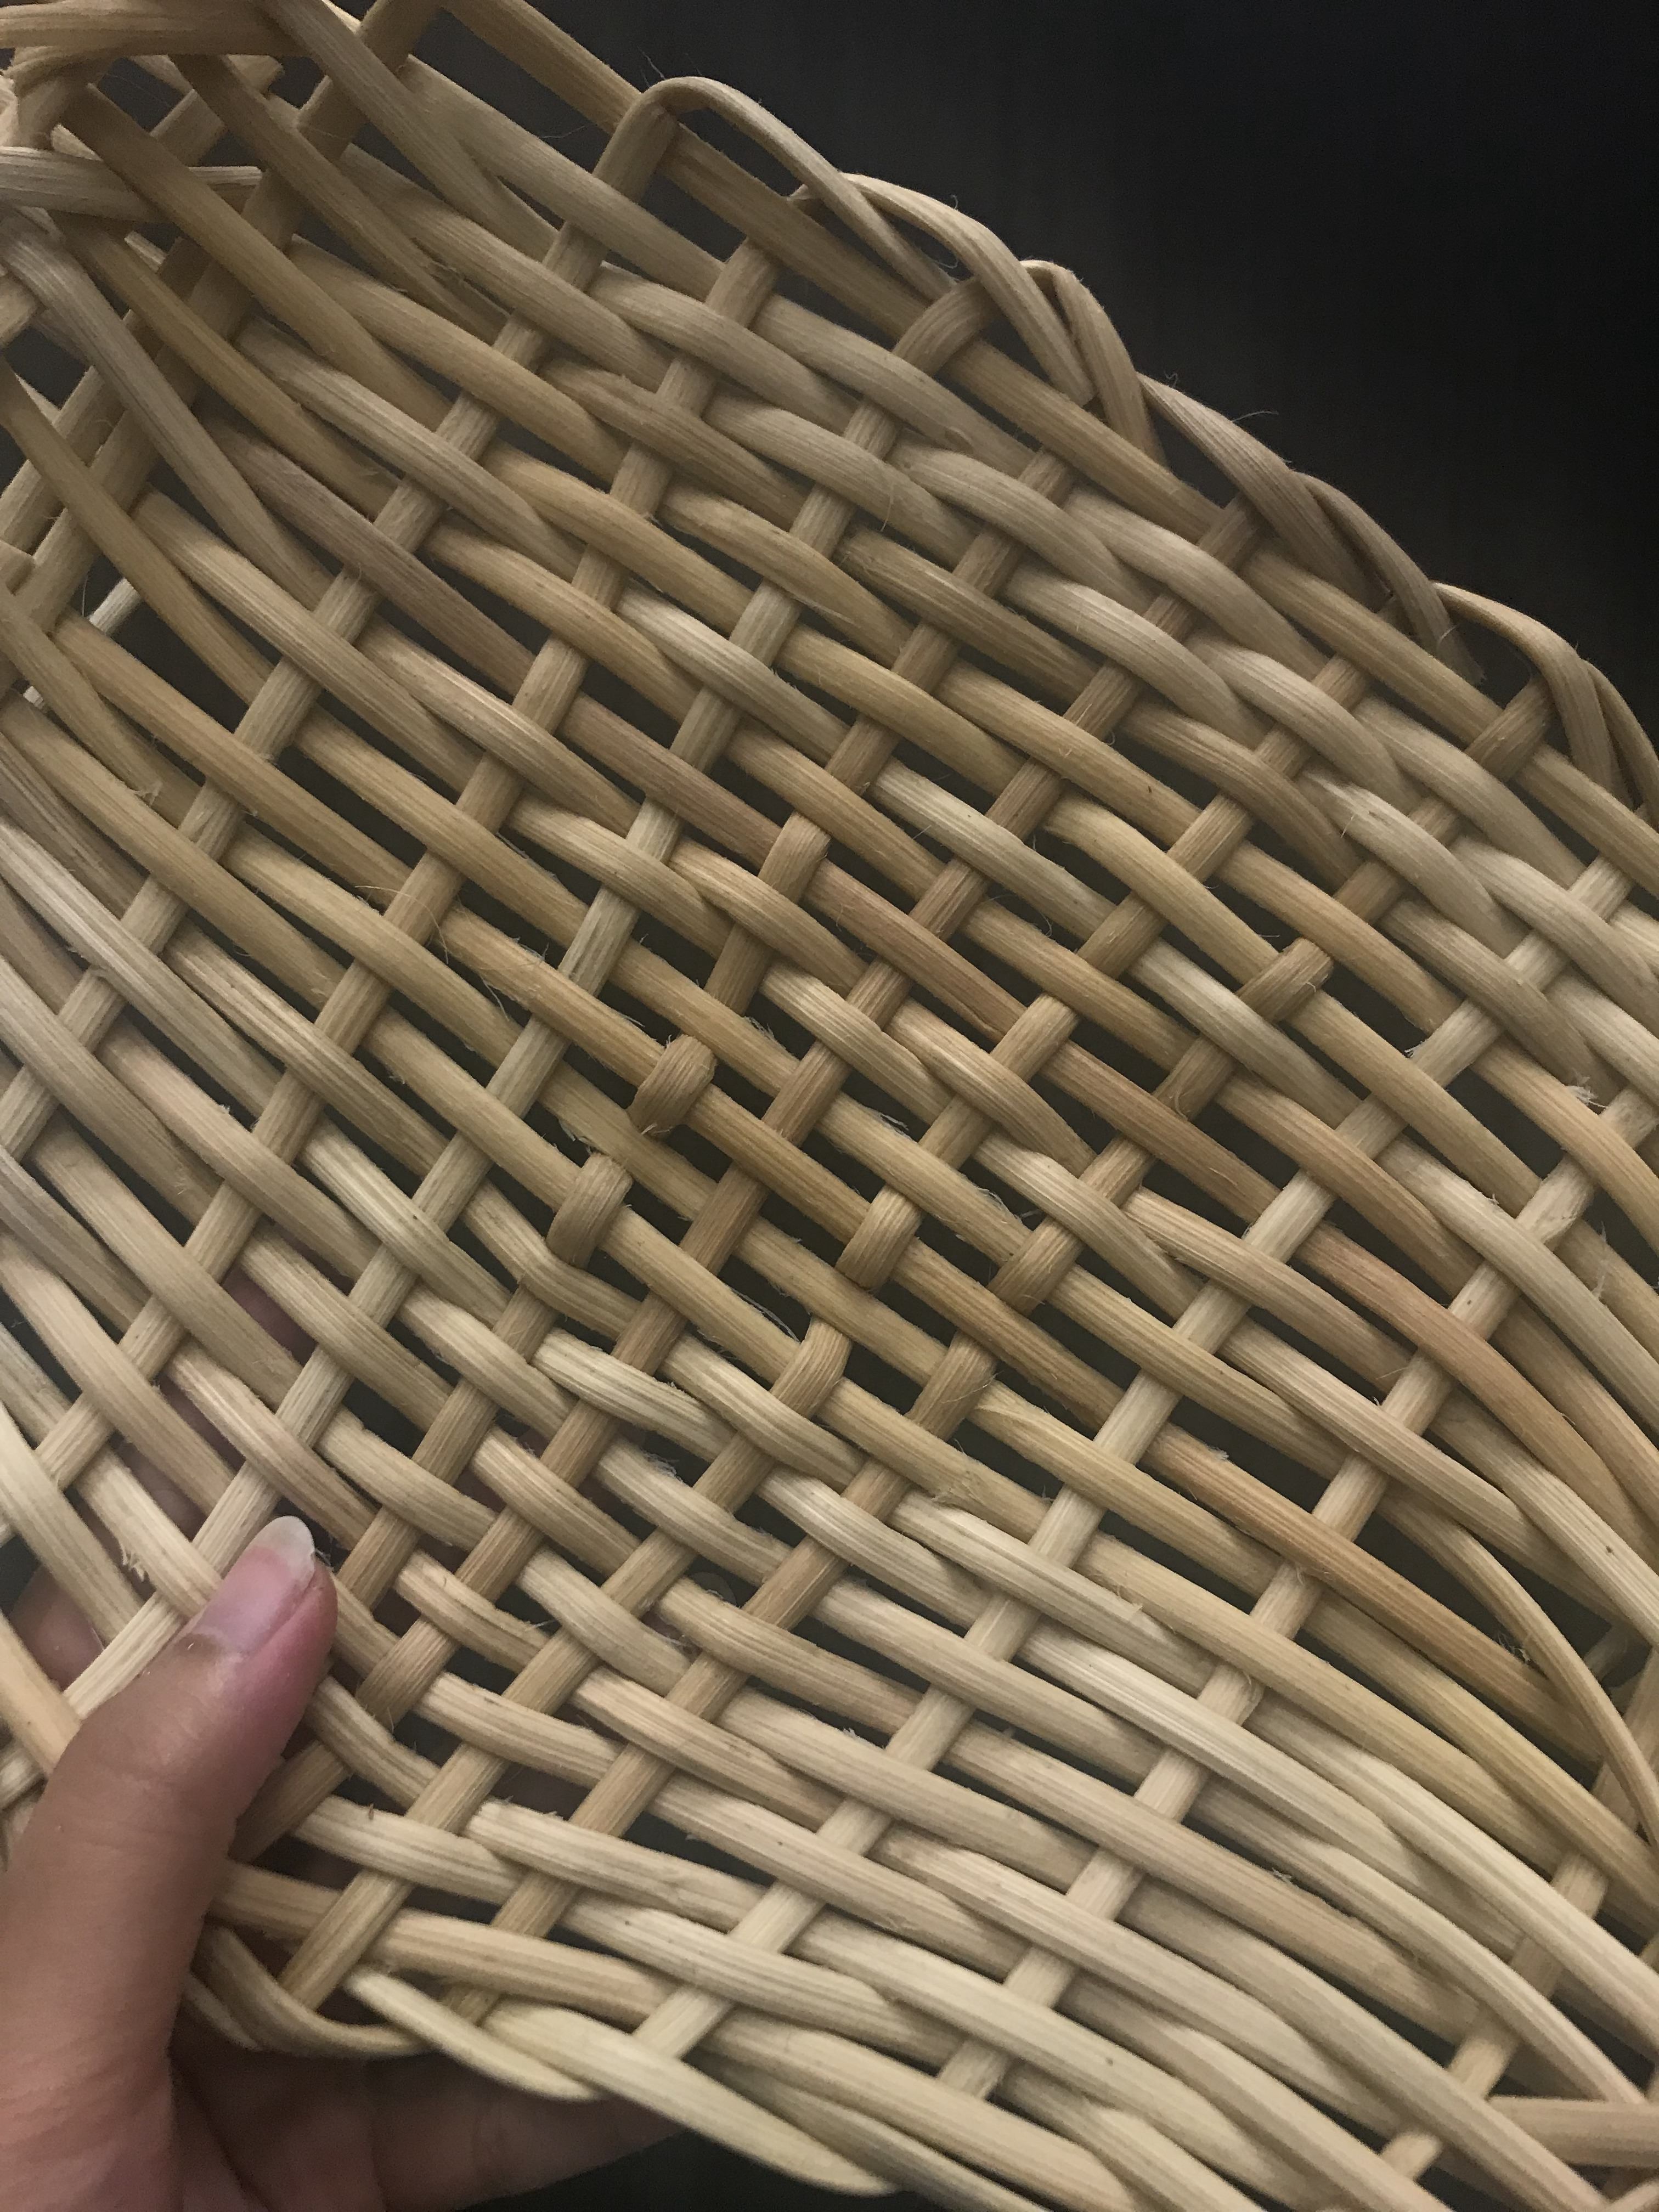
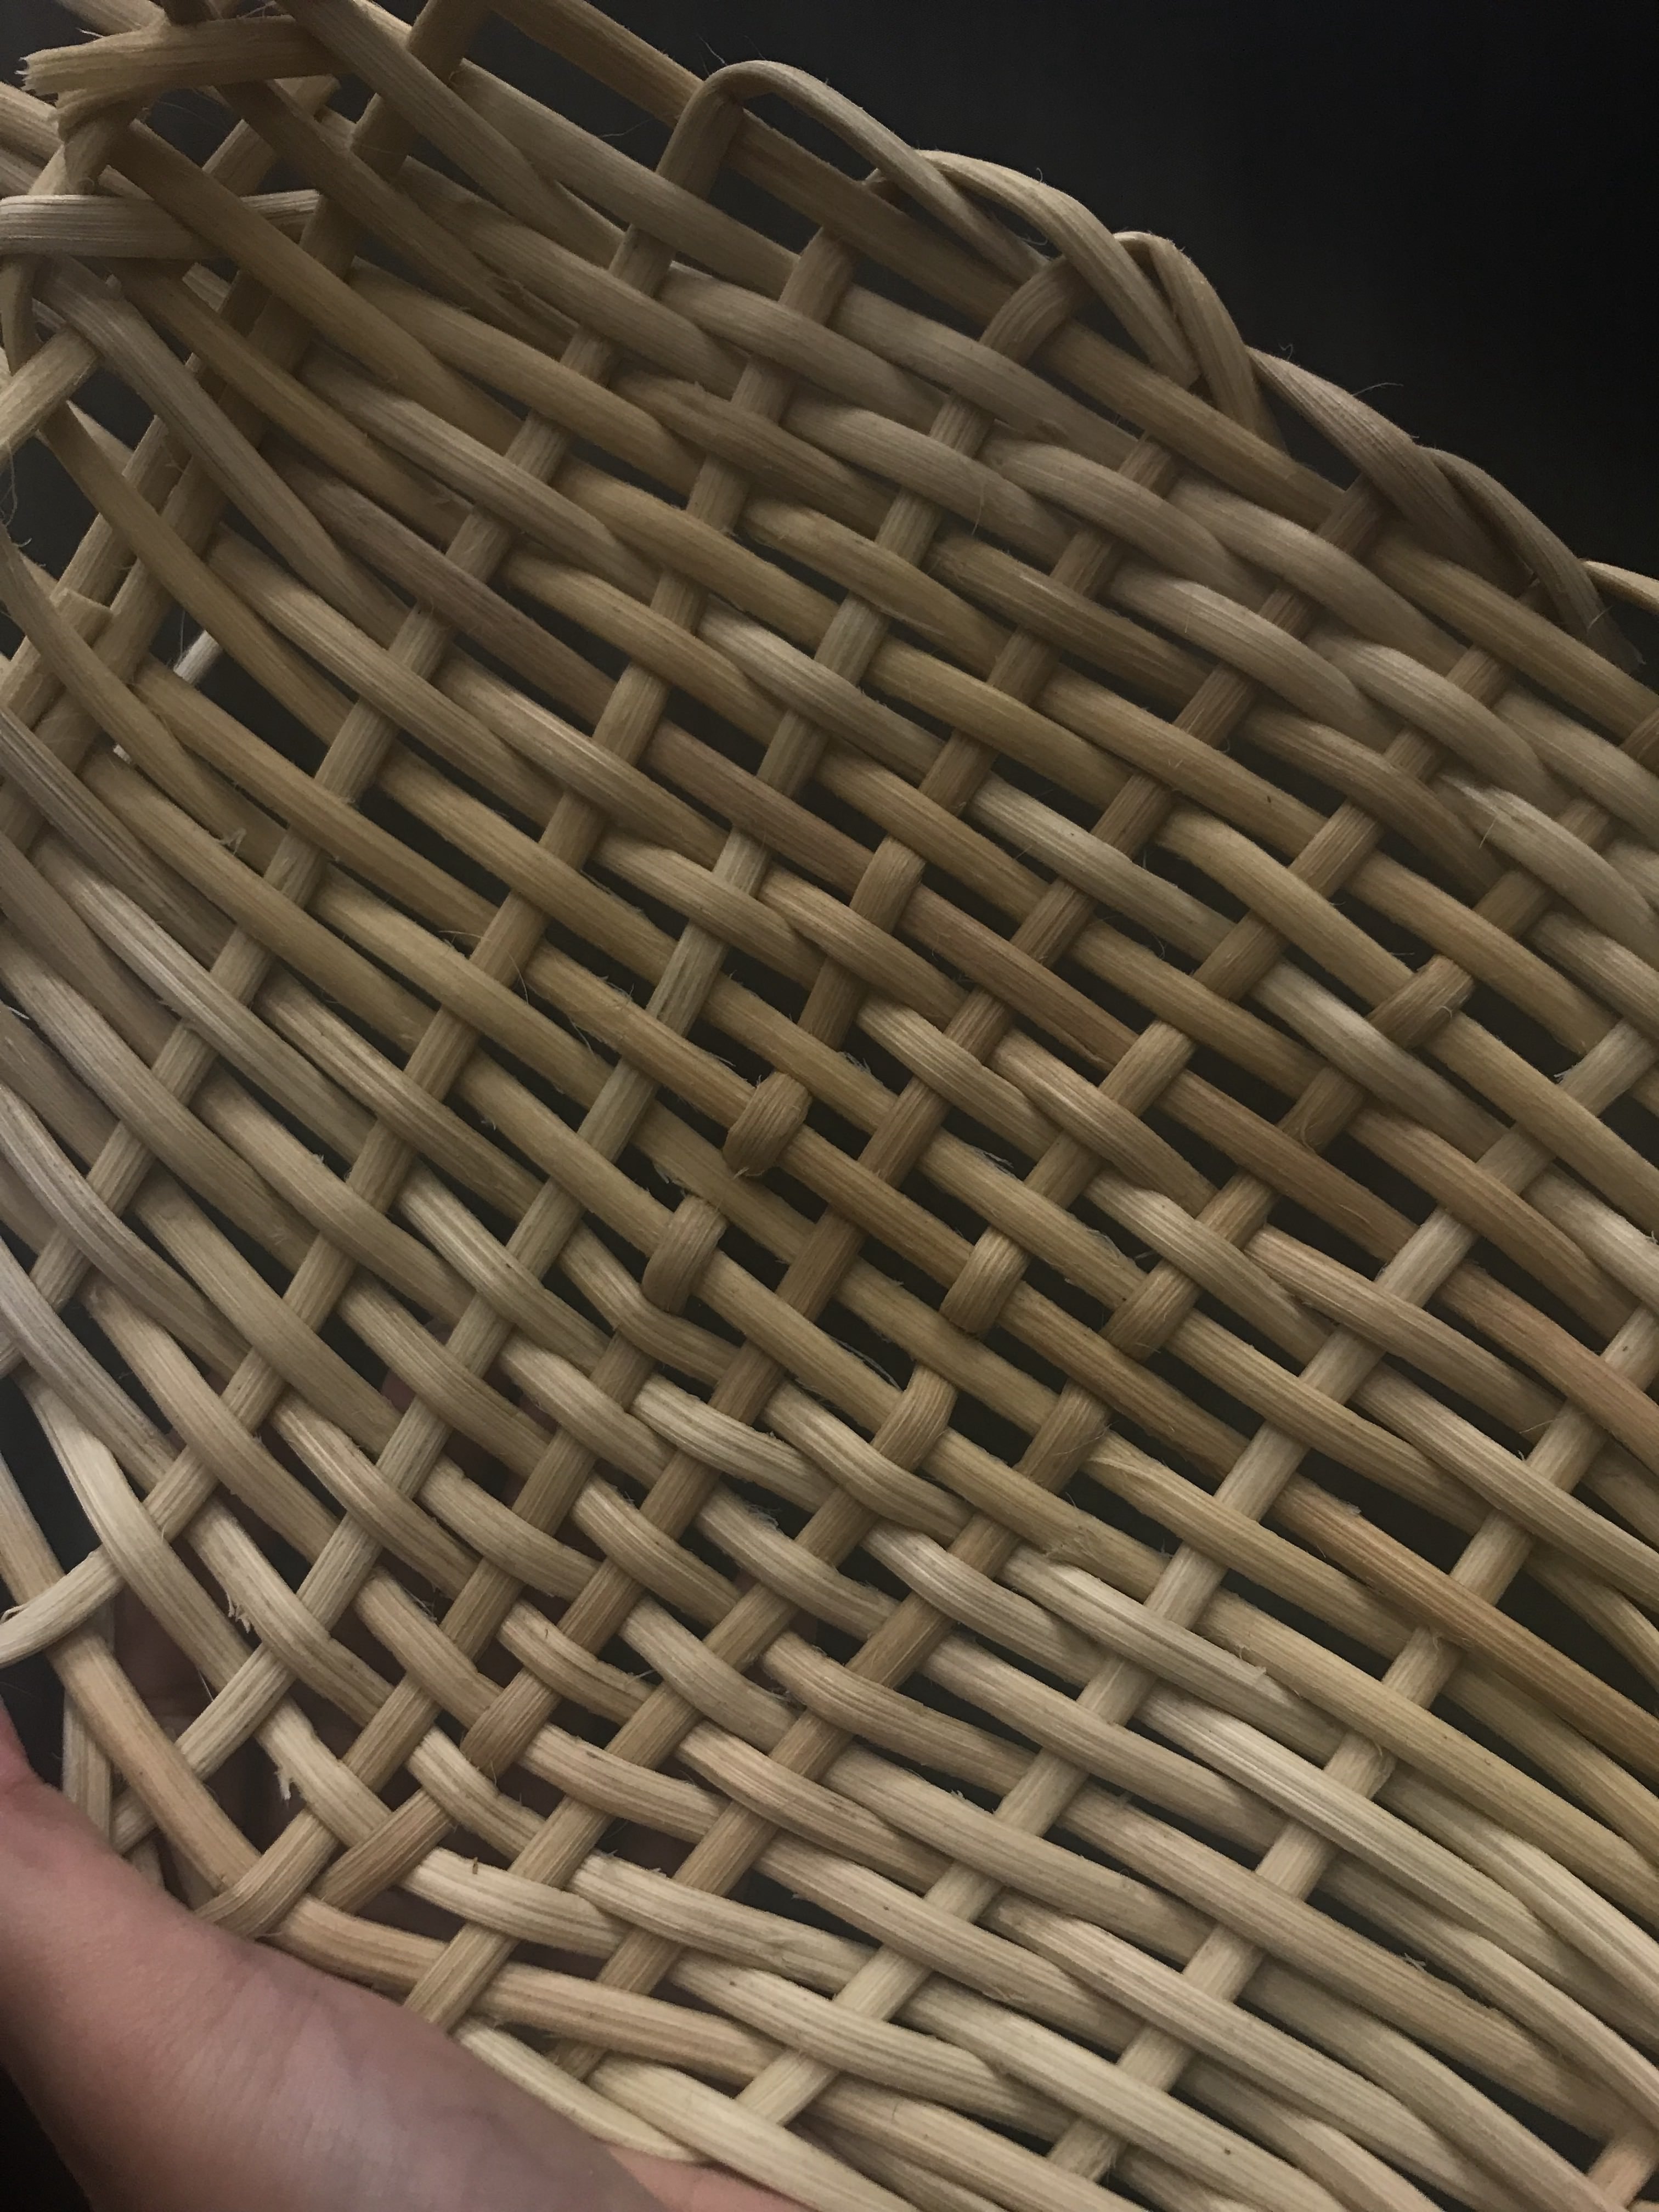
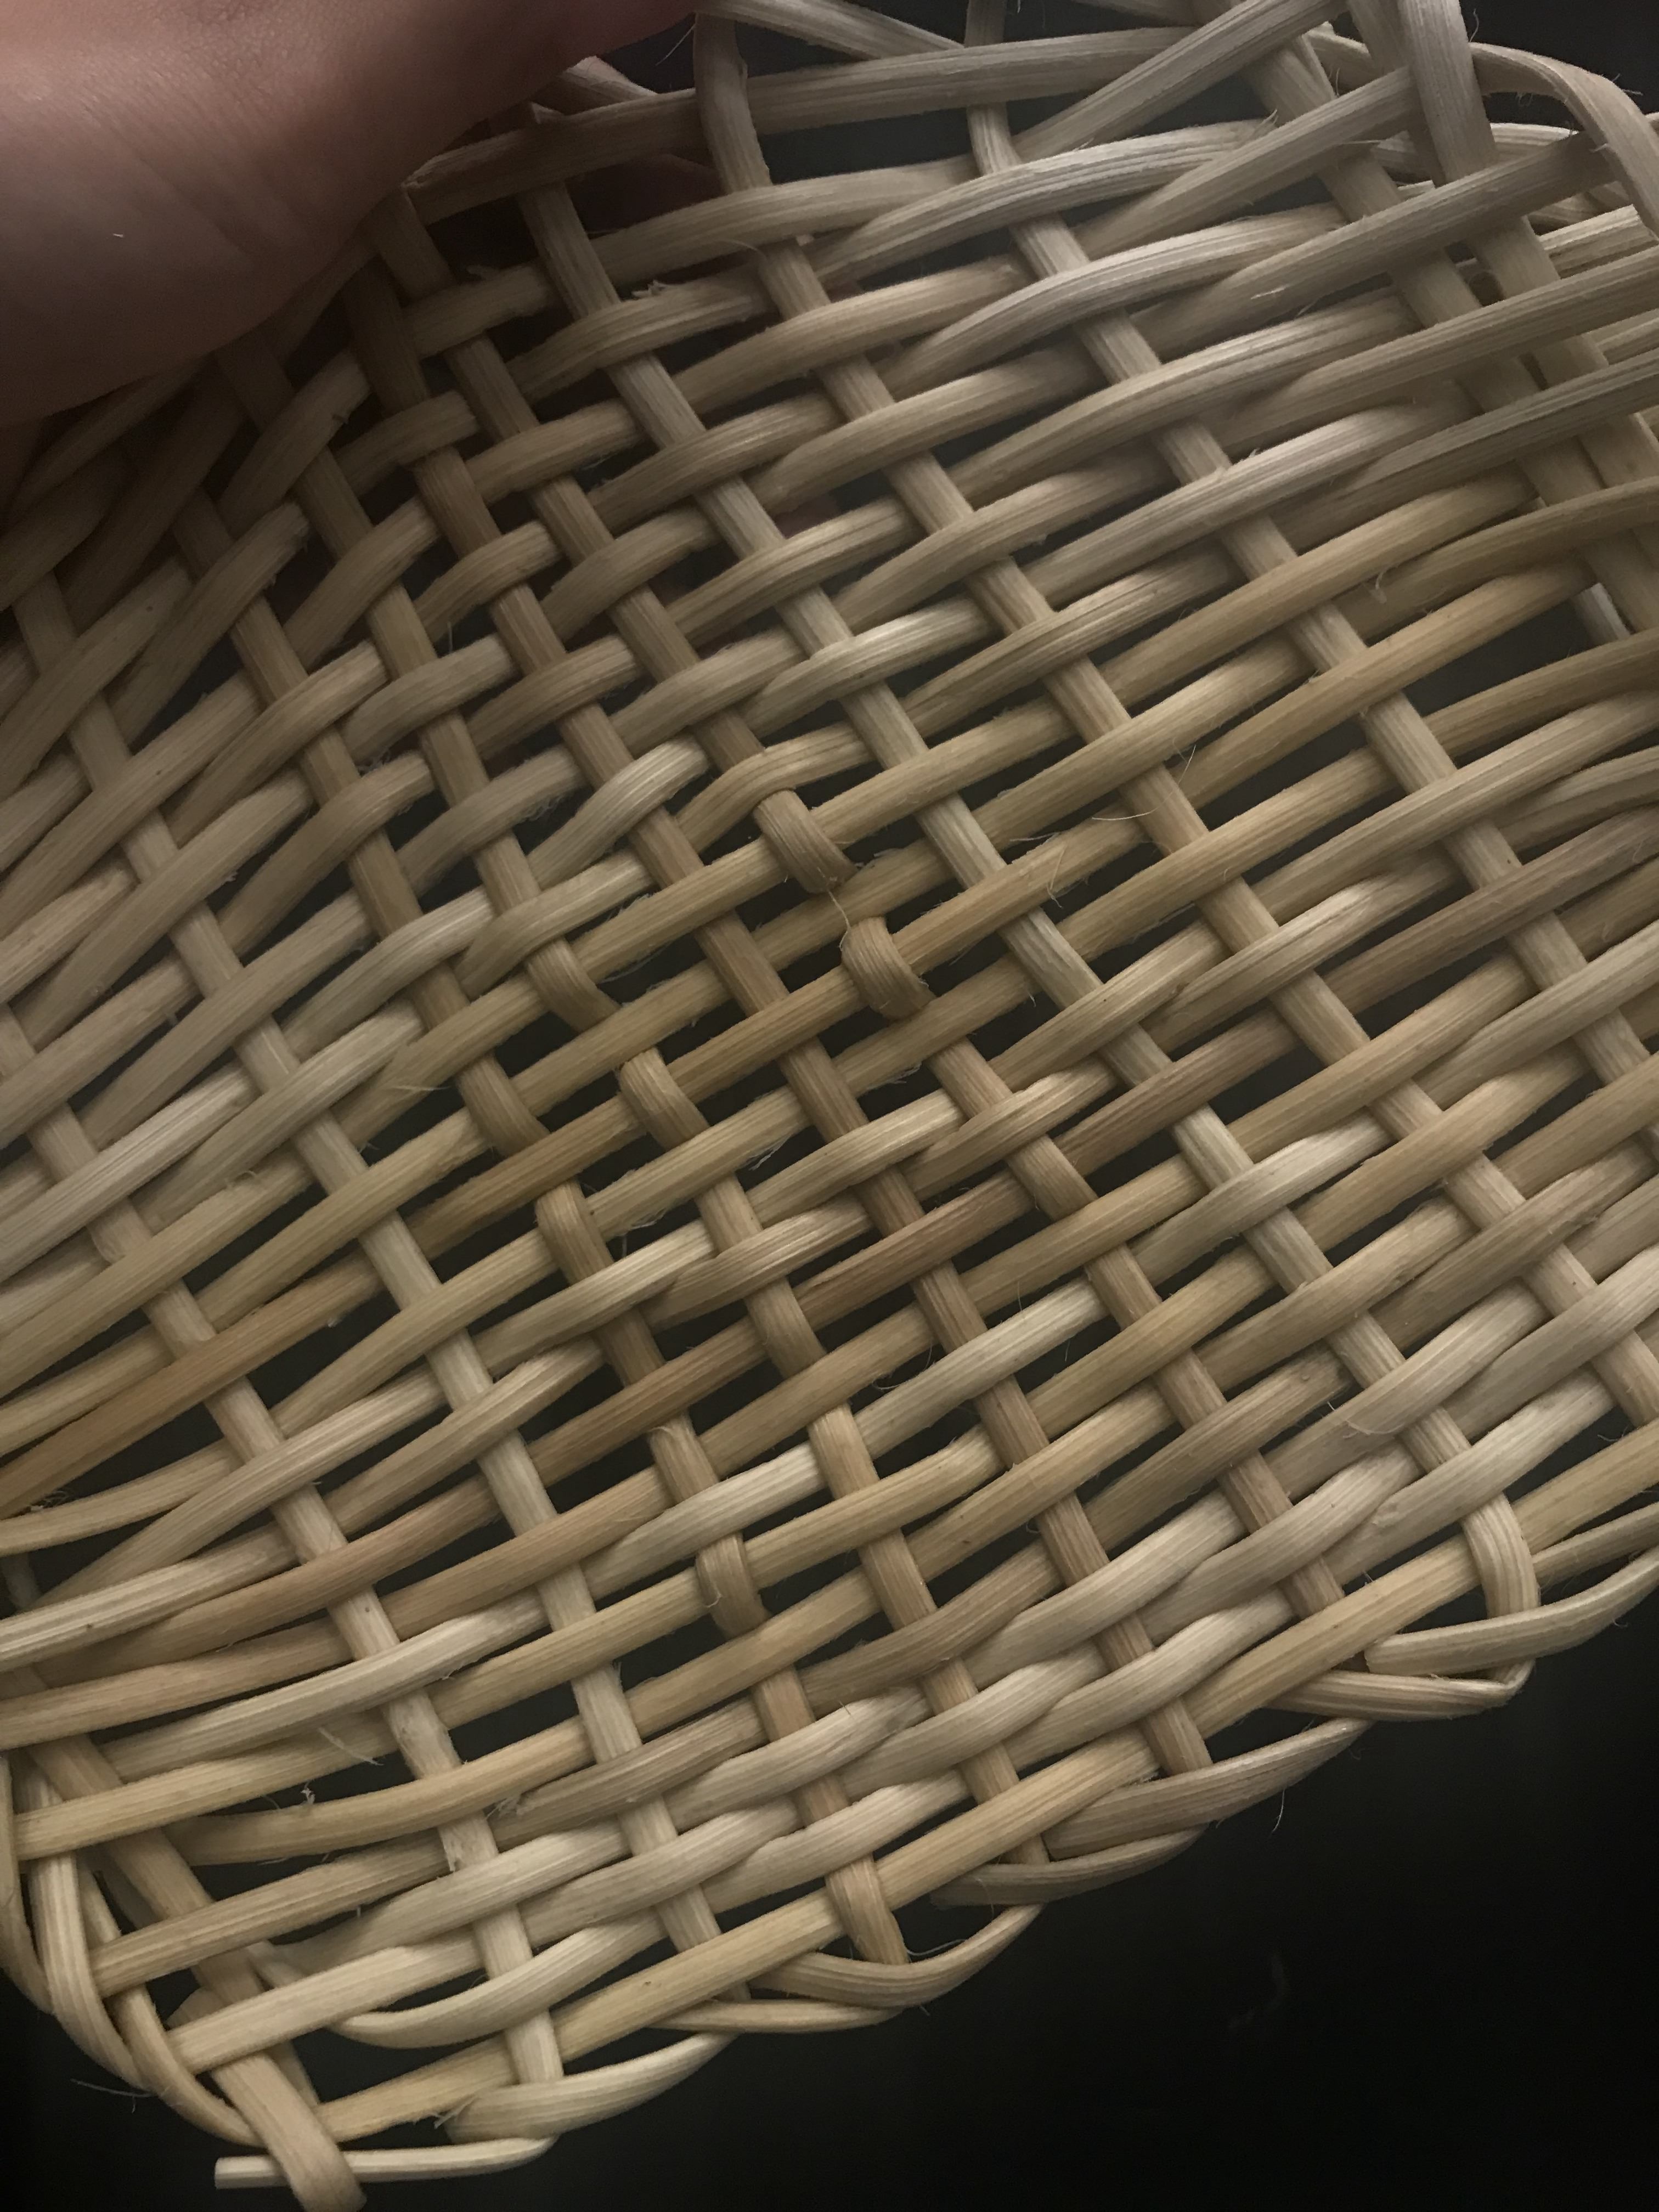
We first had to create a 2D flat weaving pattern (20x20cm) and measured our rattan strips before anything else.
We had trouble starting it off as it needed to be stuck to a strong base to be pushed into place.
Hence, we laid the vertical rattan strips in a row with 2cm spacing between each strip. We stuck it down to a piece of paper with masking tape and secured it further by placing it under something heavy.
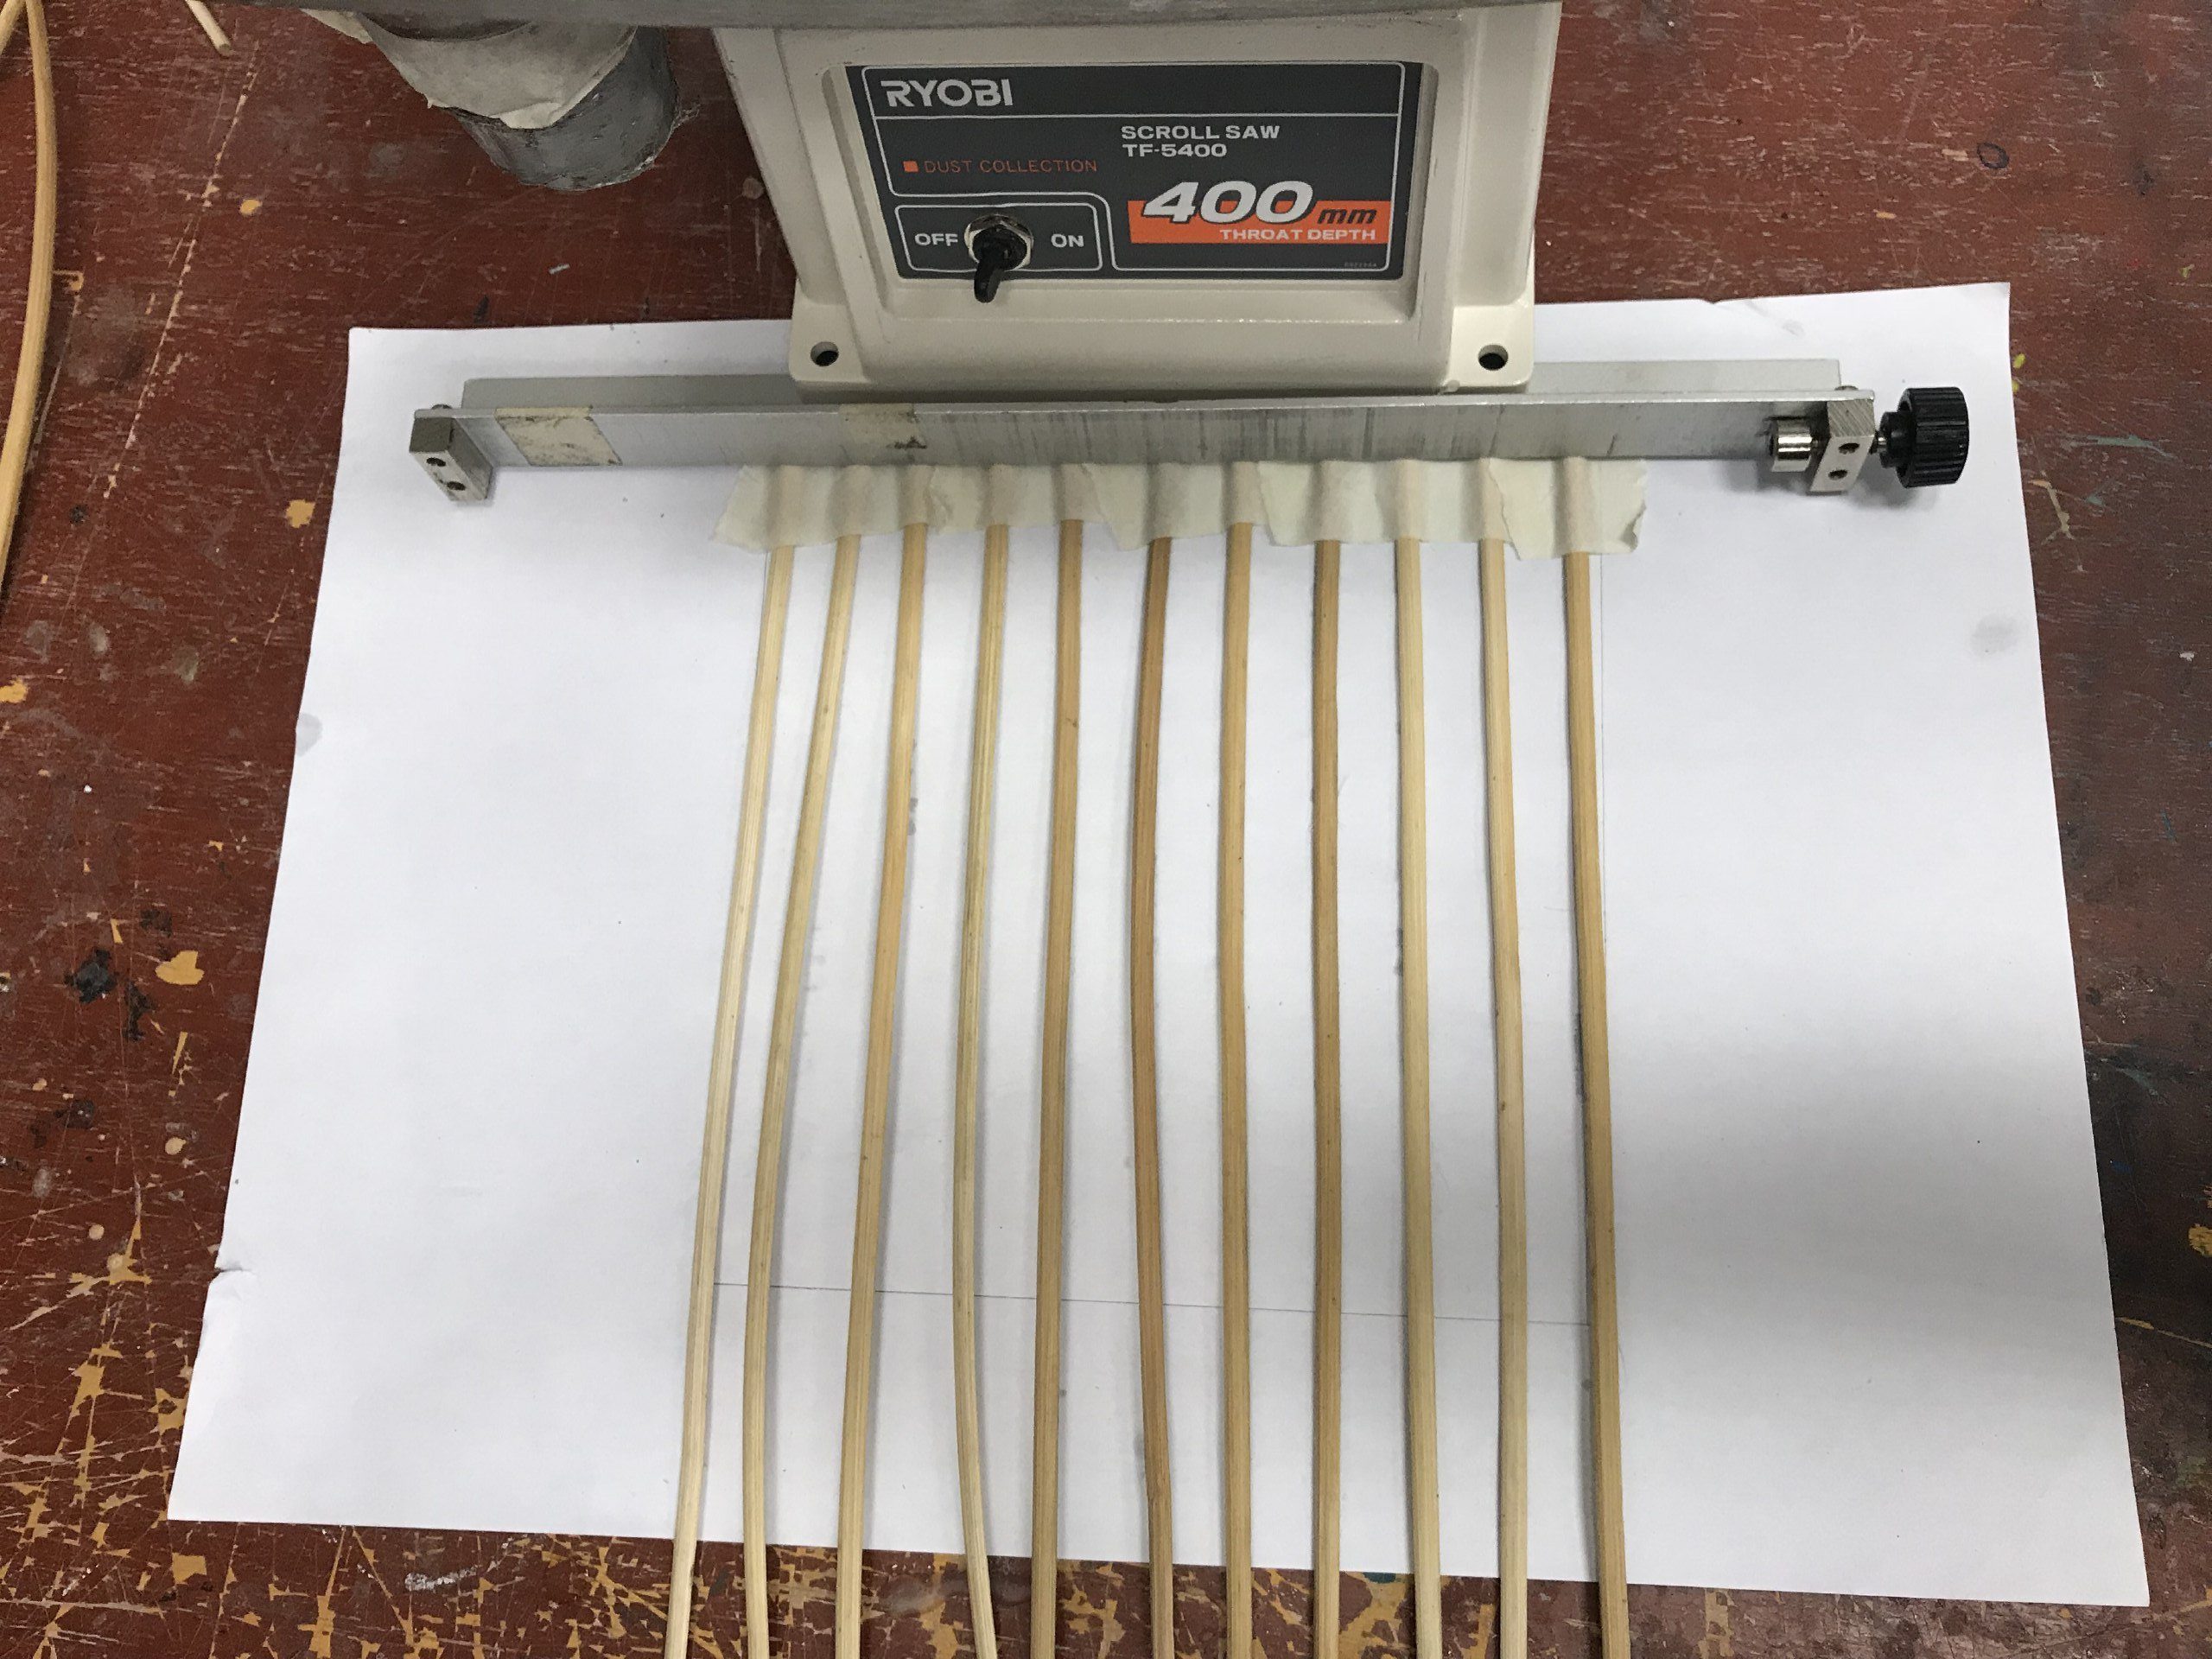
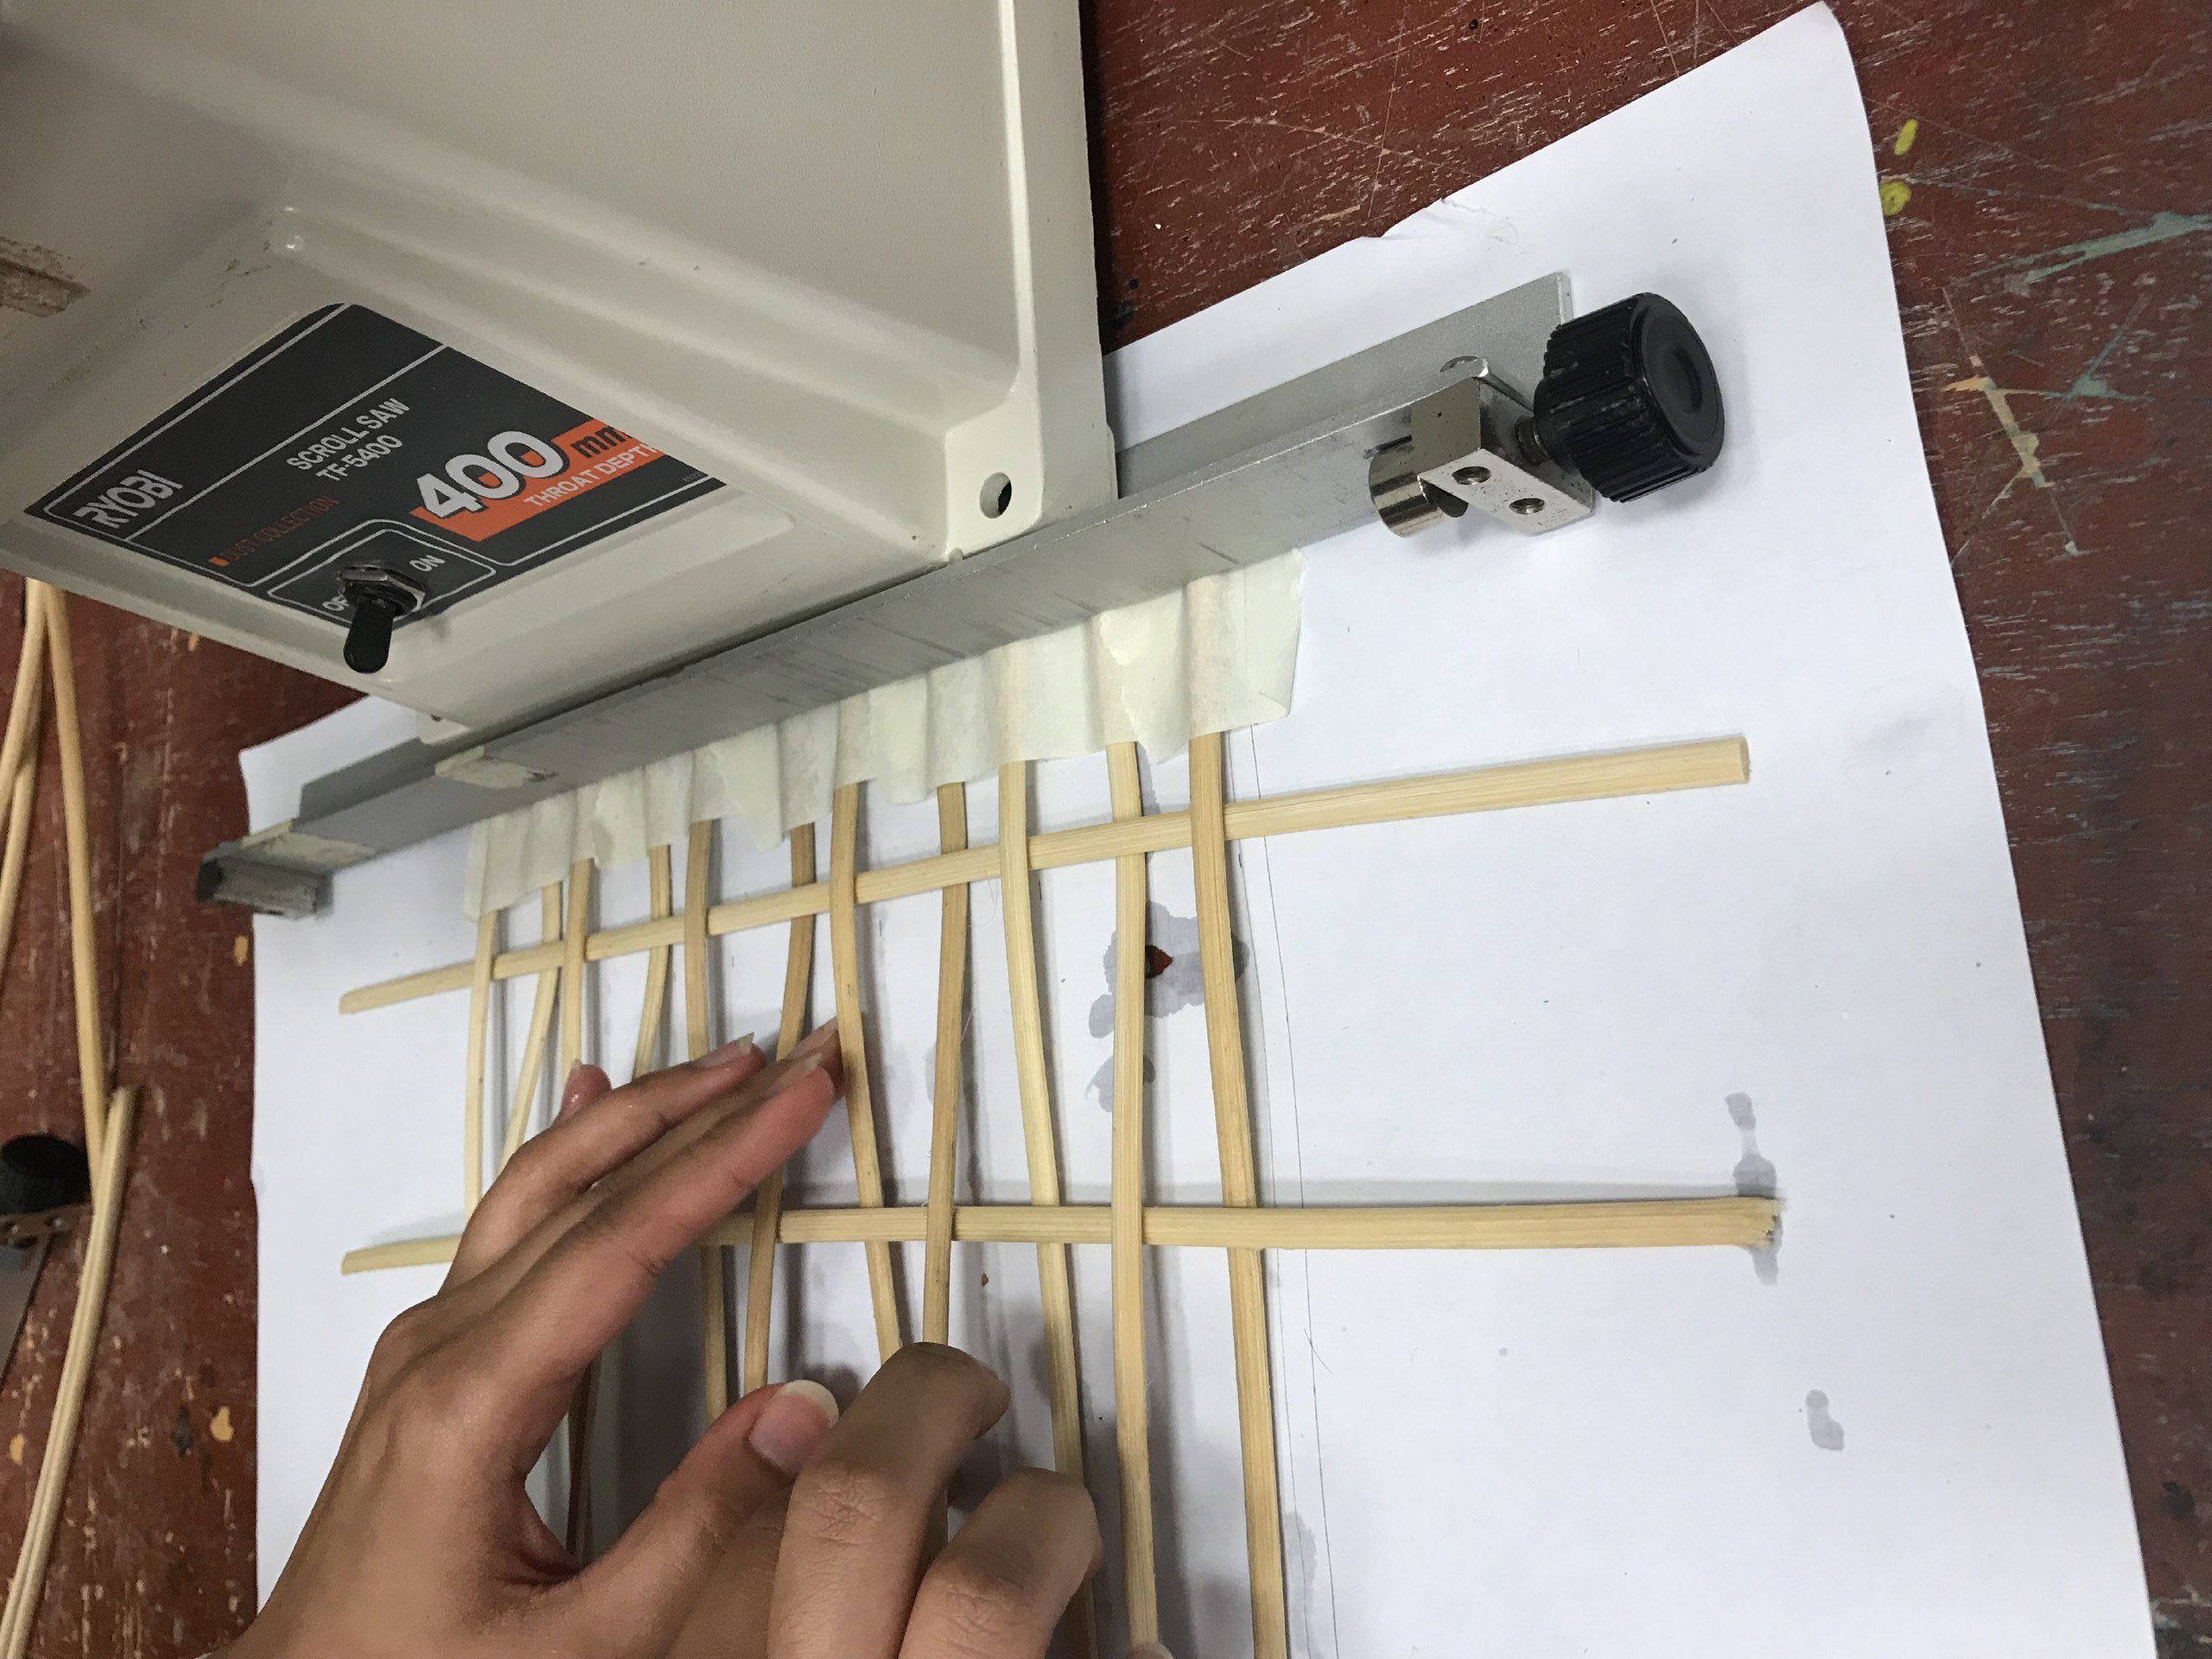
After which, we started weaving with the horizontal strips. It went well at first and the rattan strips were secured tightly to each other without much struggle.
However, as we went along, it got tighter and tighter. Even after using pliers to assist the tightening process, it was still challenging and trick to get the strips to be pushed close to each other. We even tried moistening the rattan again which didn’t help much as well. The whole process was extremely time consuming.
We discovered that the reasons for this:
1. The vertical rattan strips were exactly the same size as the horizontal ones which did not create much space for the rattan to be pushed up and be secured.
2. The strips were not long enough which resulted in them being propped up as we went along since it got tighter.
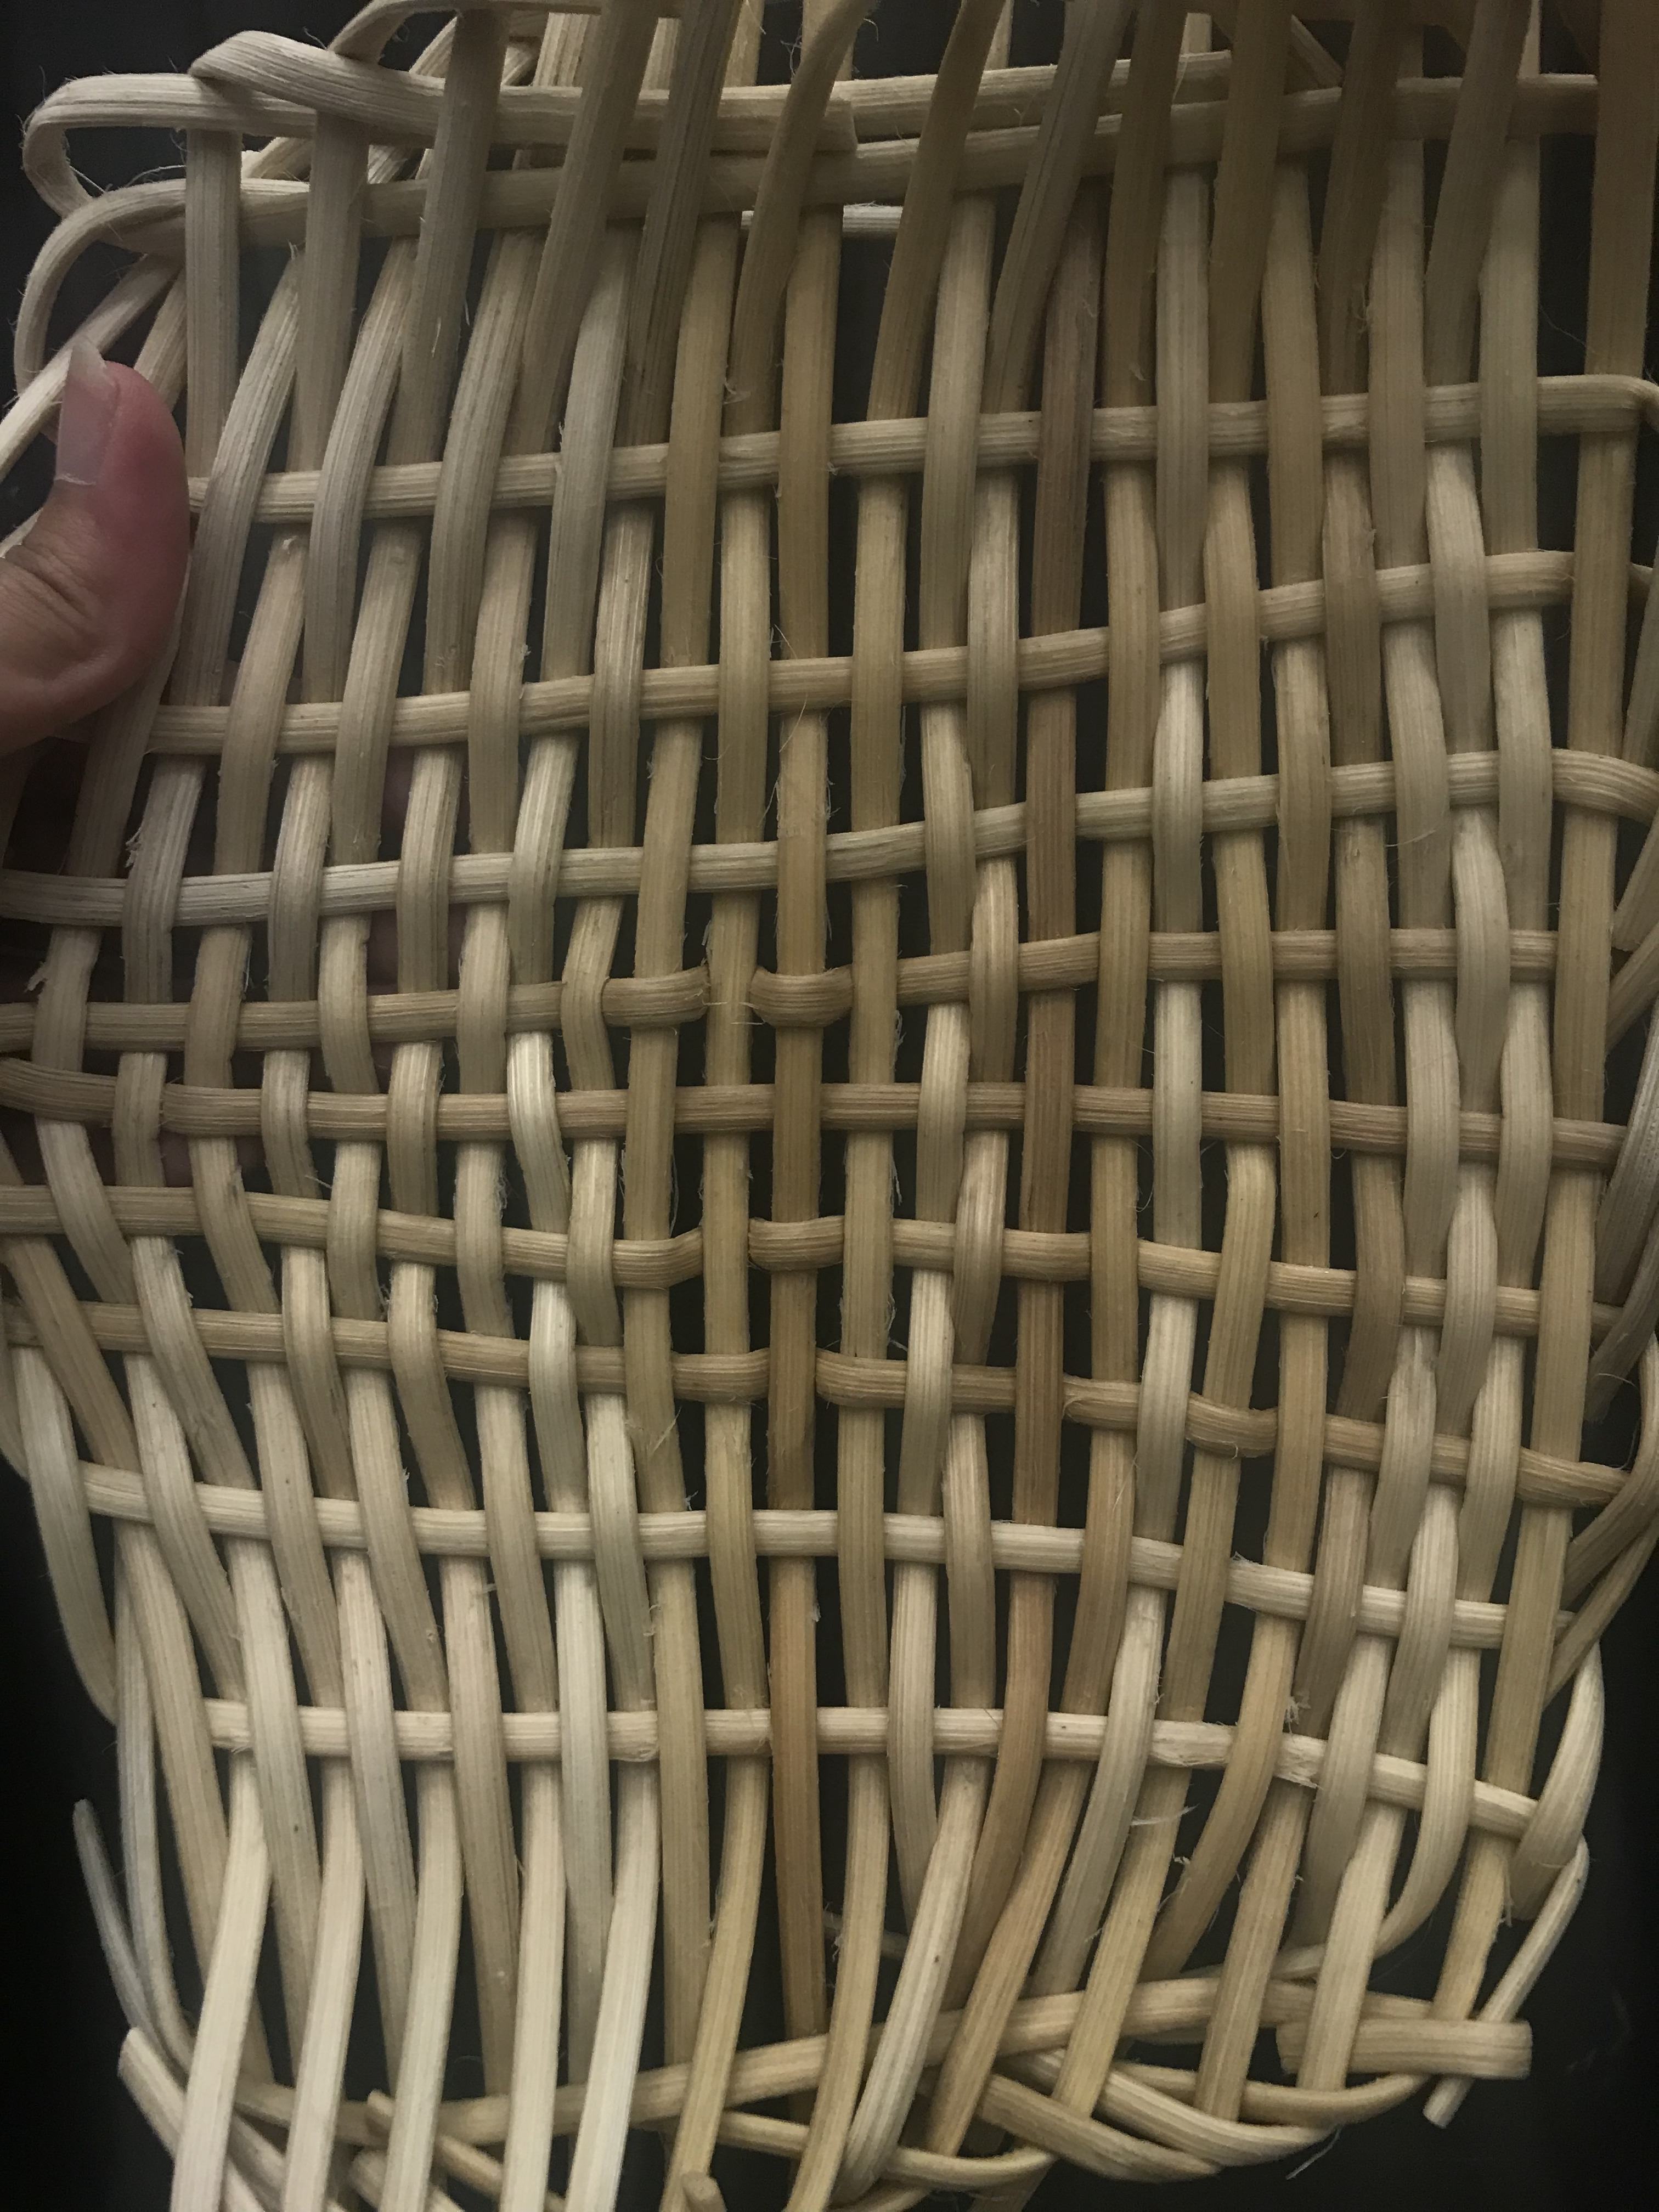
The final result for the 2D weaving:
3D
Knowing the problems we encountered and the reasons behind it, moving forward, we took note of all of it and rectified our errors.
For the 3D object, we drew inspirations from Pinterest and sketched out our idea on paper.
Inspiration
Rough sketch which we modified as we went along
Again, we couldn’t figure out as to where we should begin. Hence, we started watching videos on youtube on wicker baskets etc.
Main video reference:
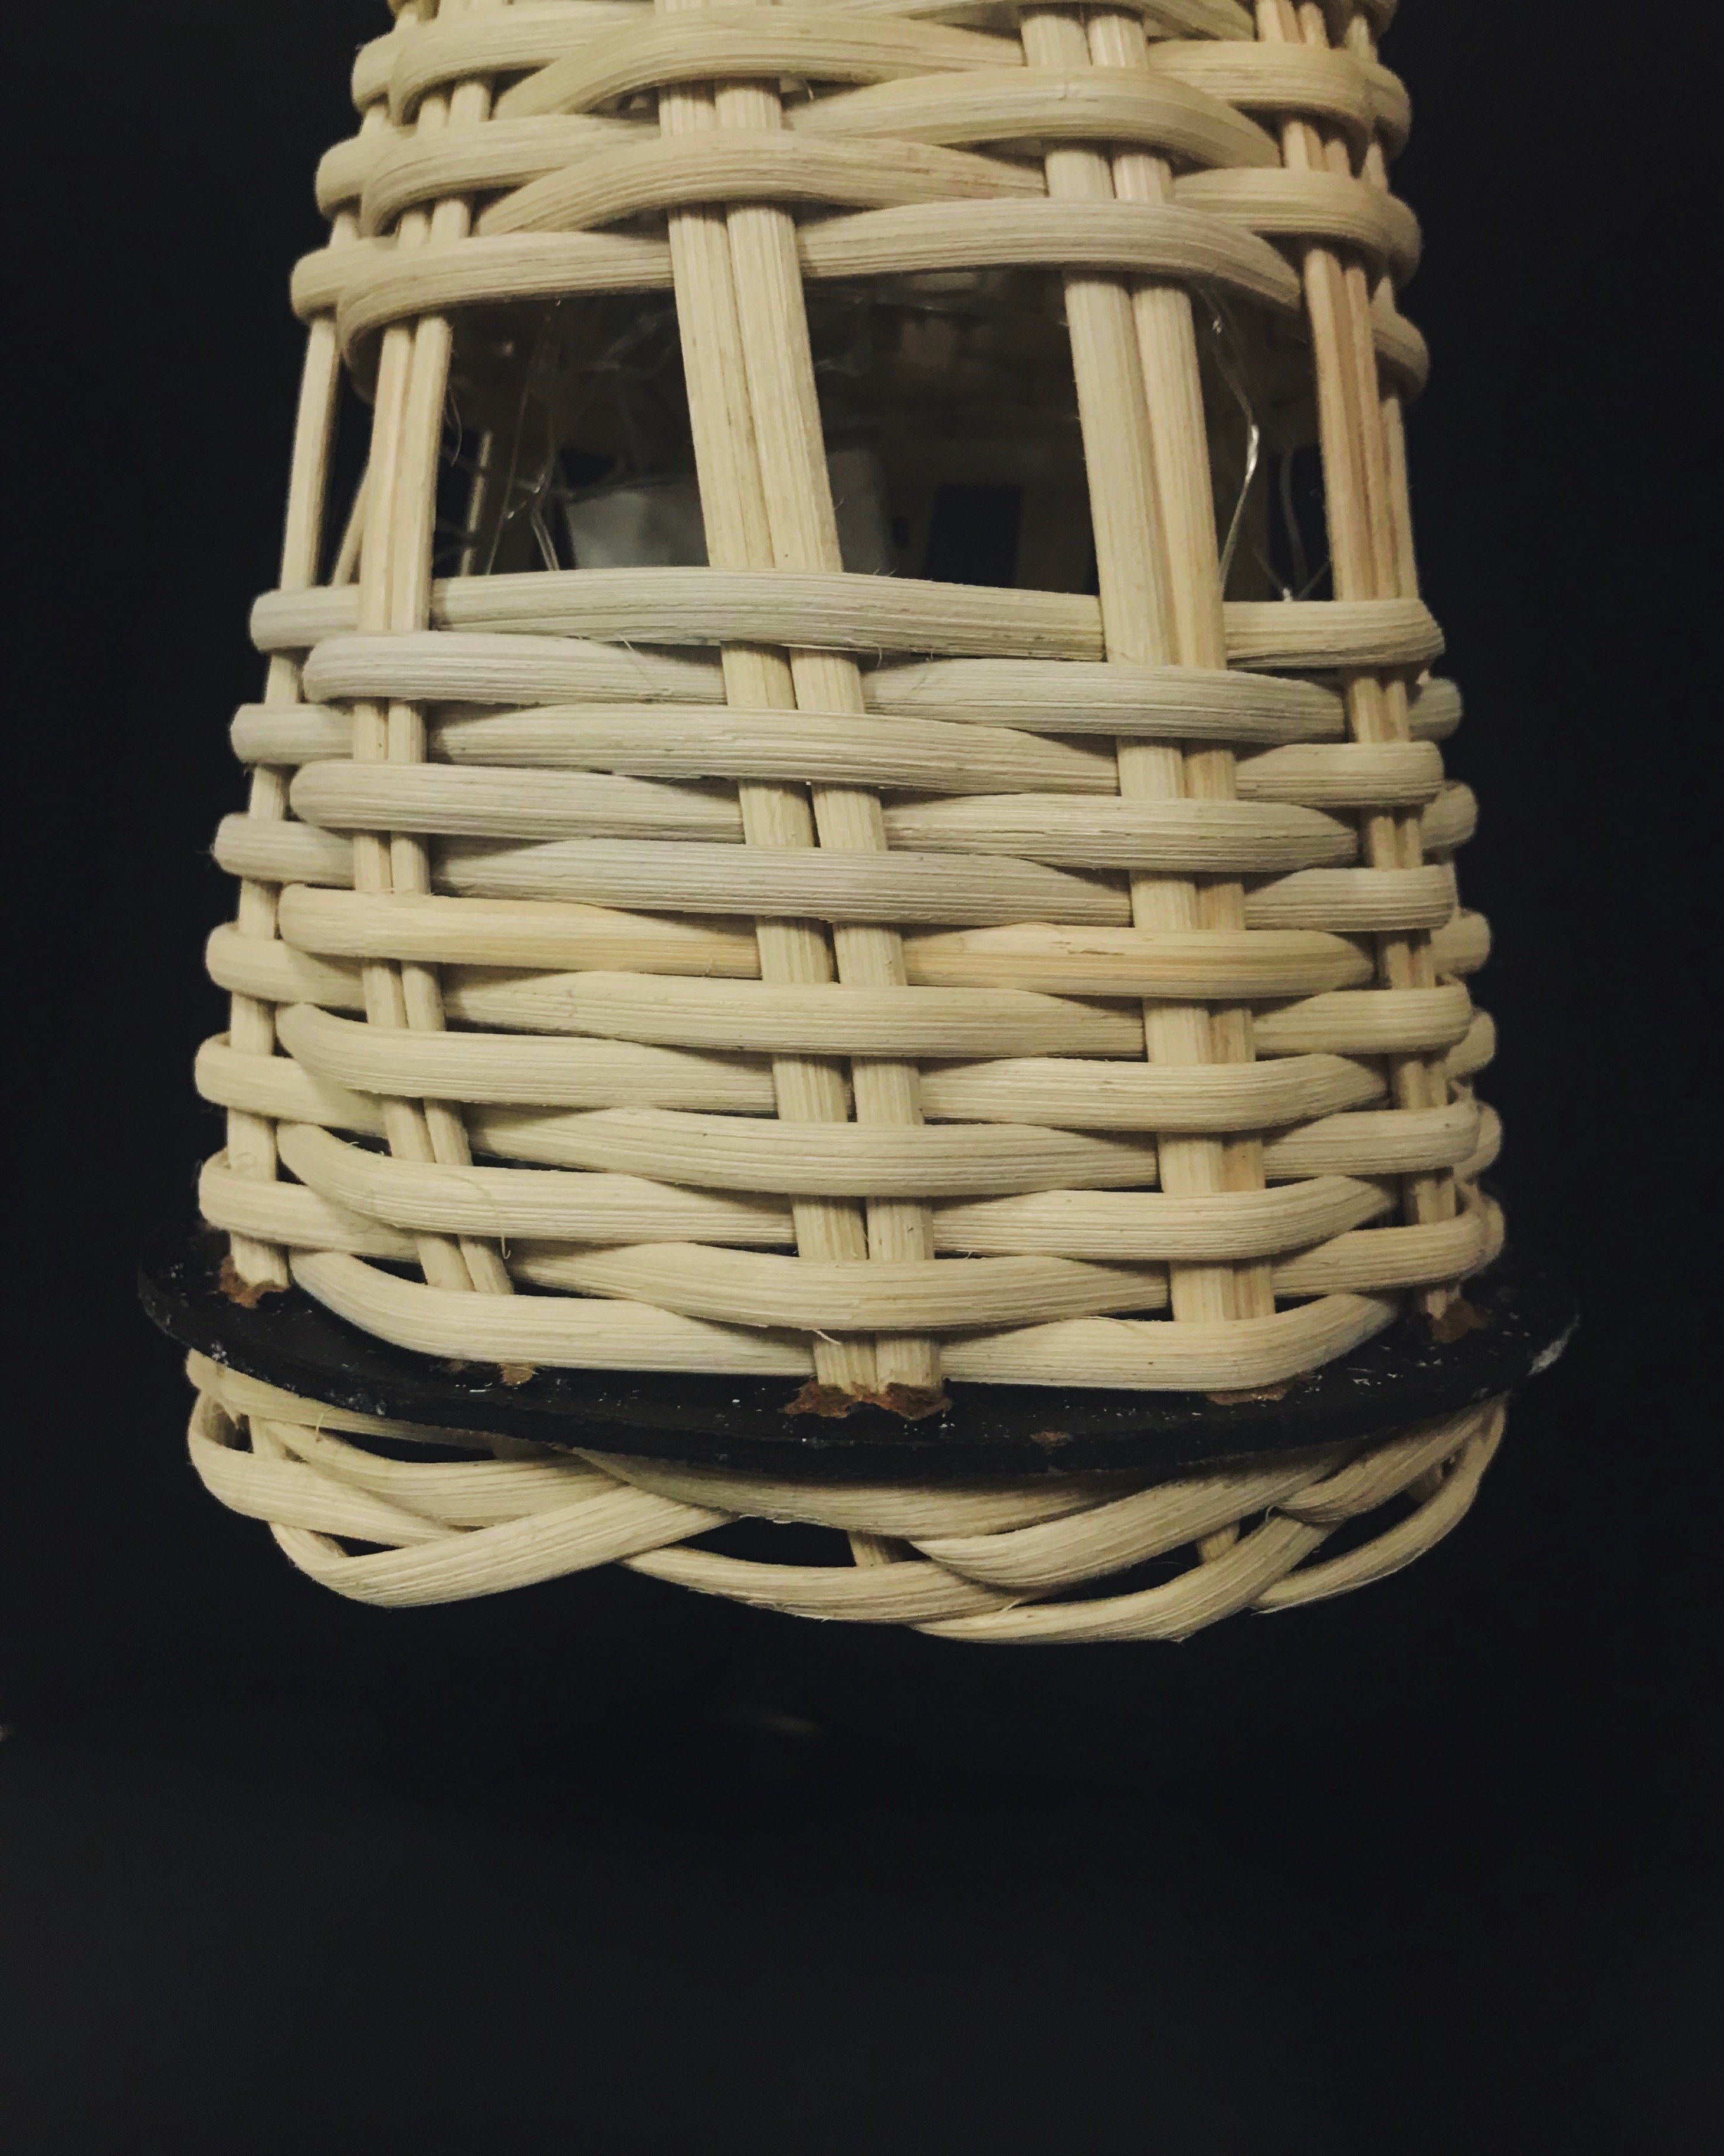
I had a previously used MDF board which I had cut into a circular shape. I brought that which we used as a base.
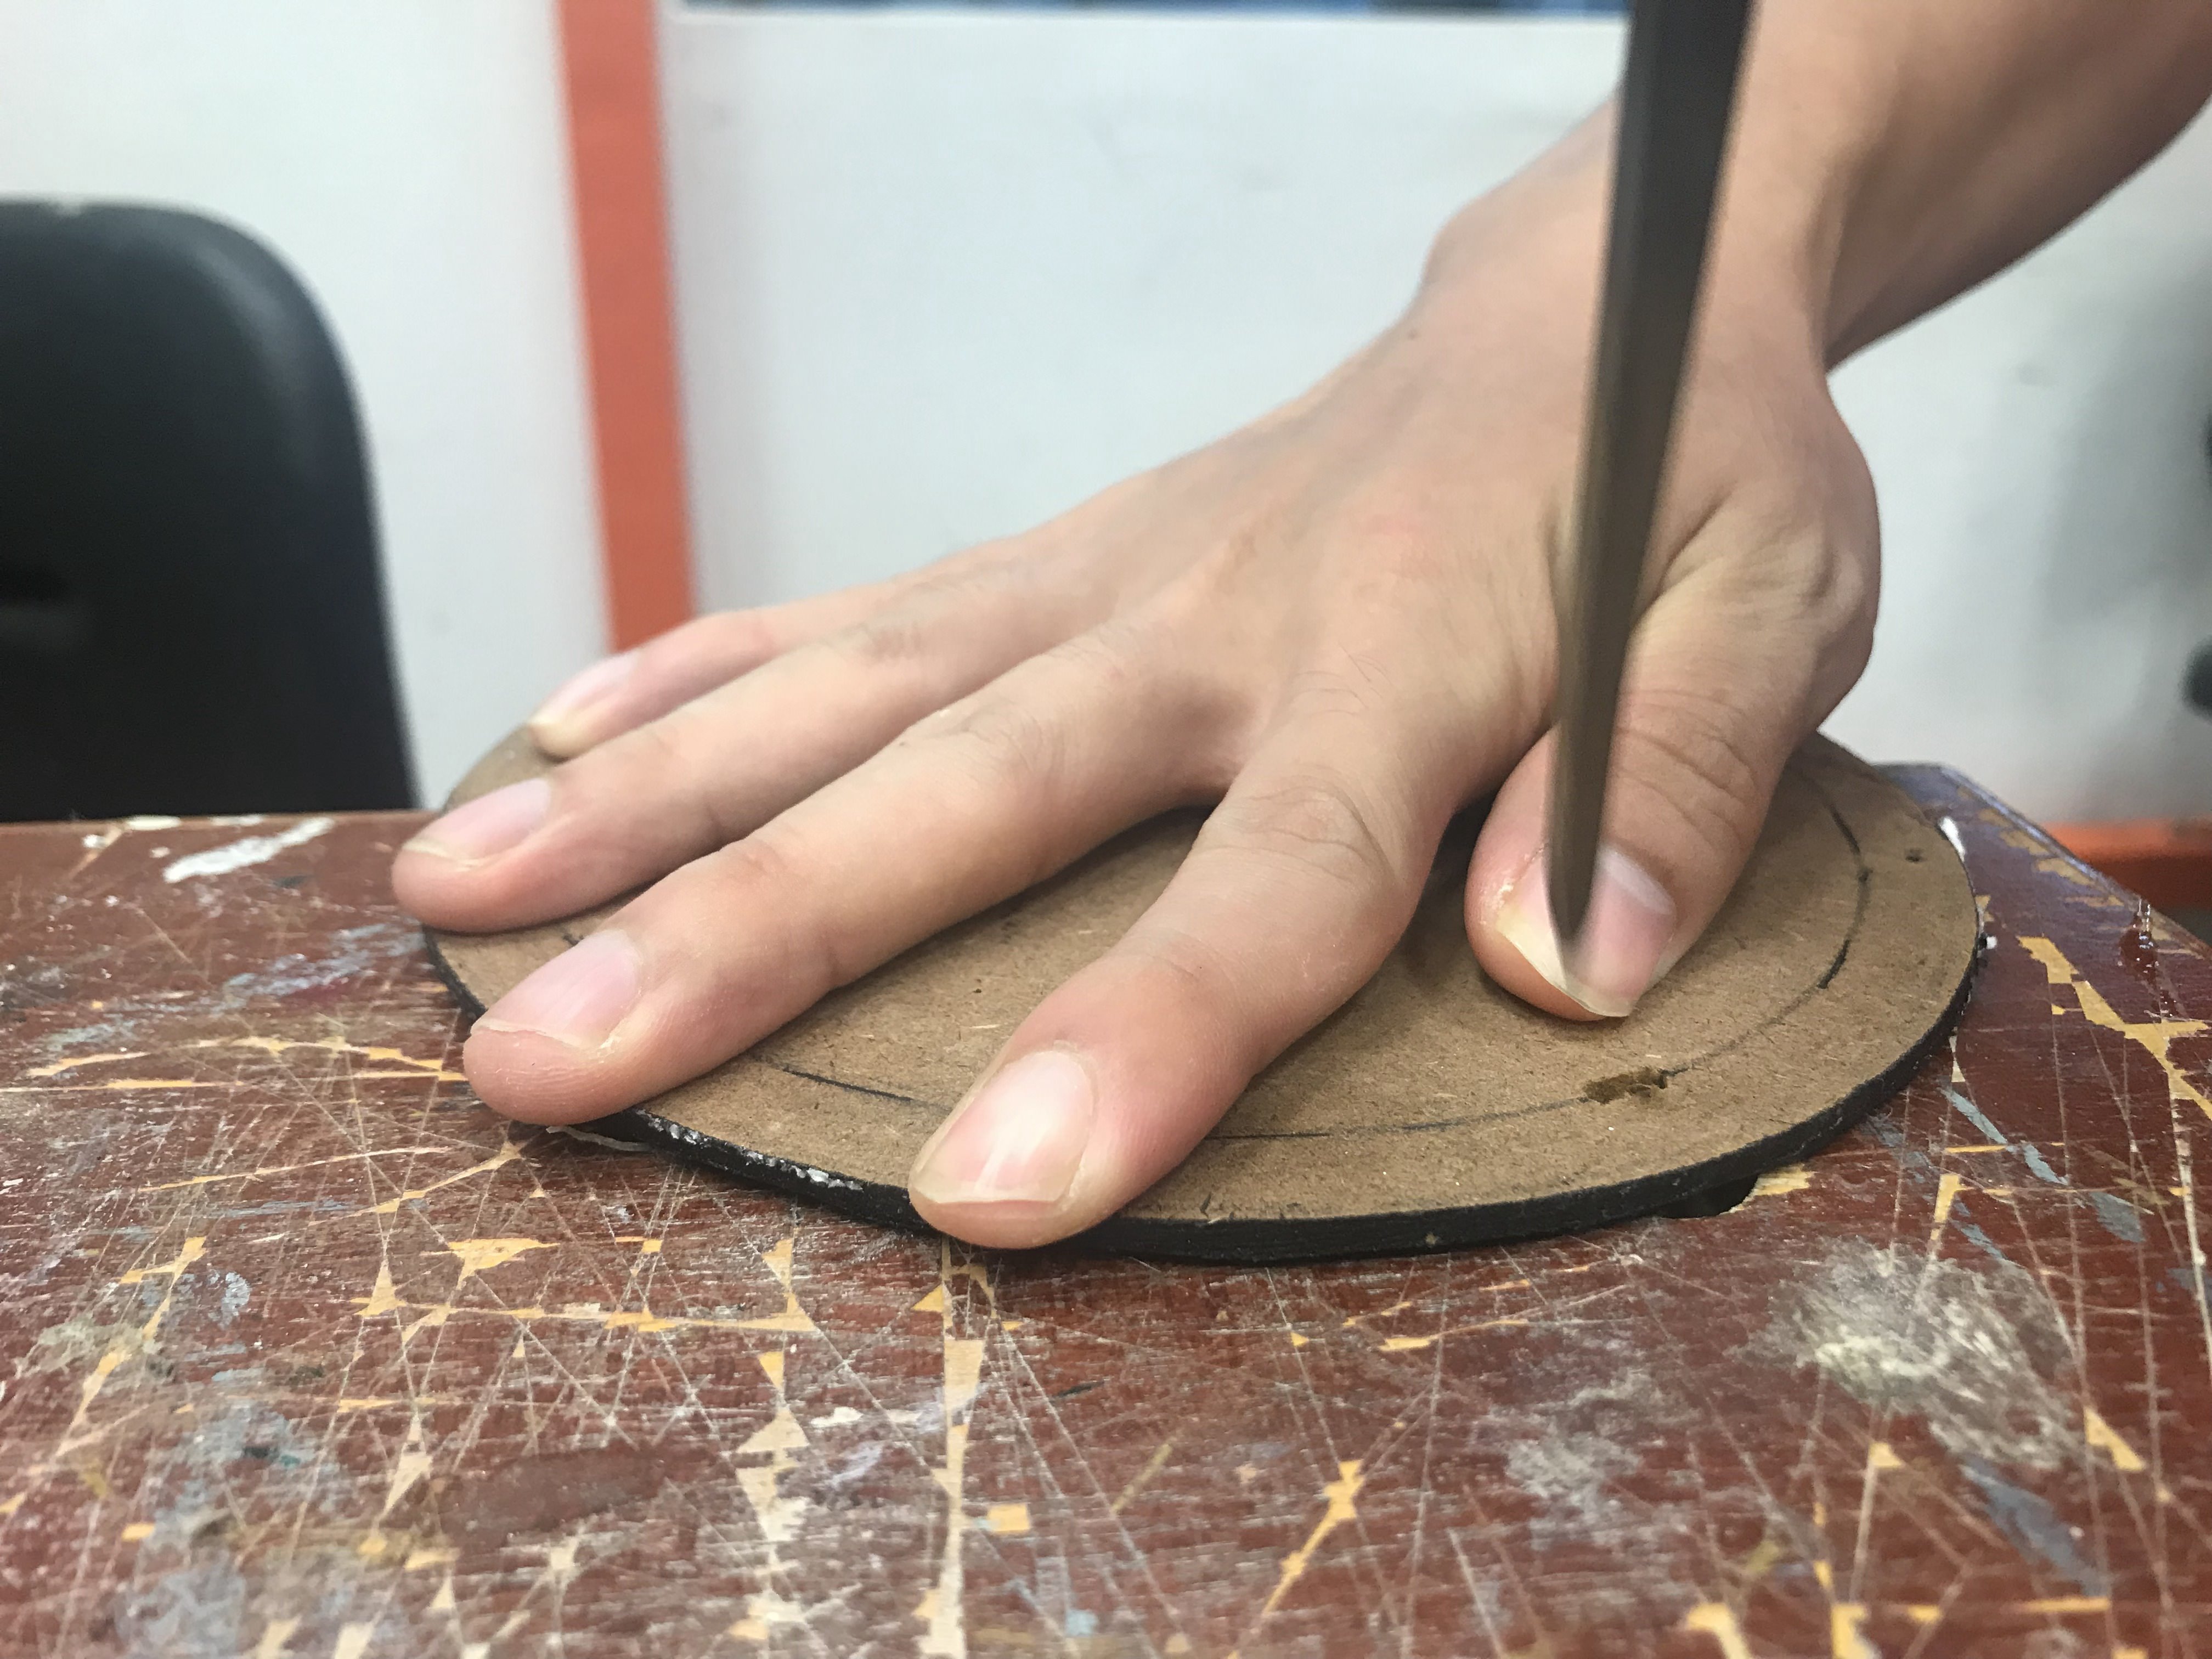
Since we had a problem with spacing in the 2D model. We decided to add two vertical strips (attached together) instead of one and kept the distance between each other to be 2cm. We marked the circular board according to the width of the two pieces of rattan.
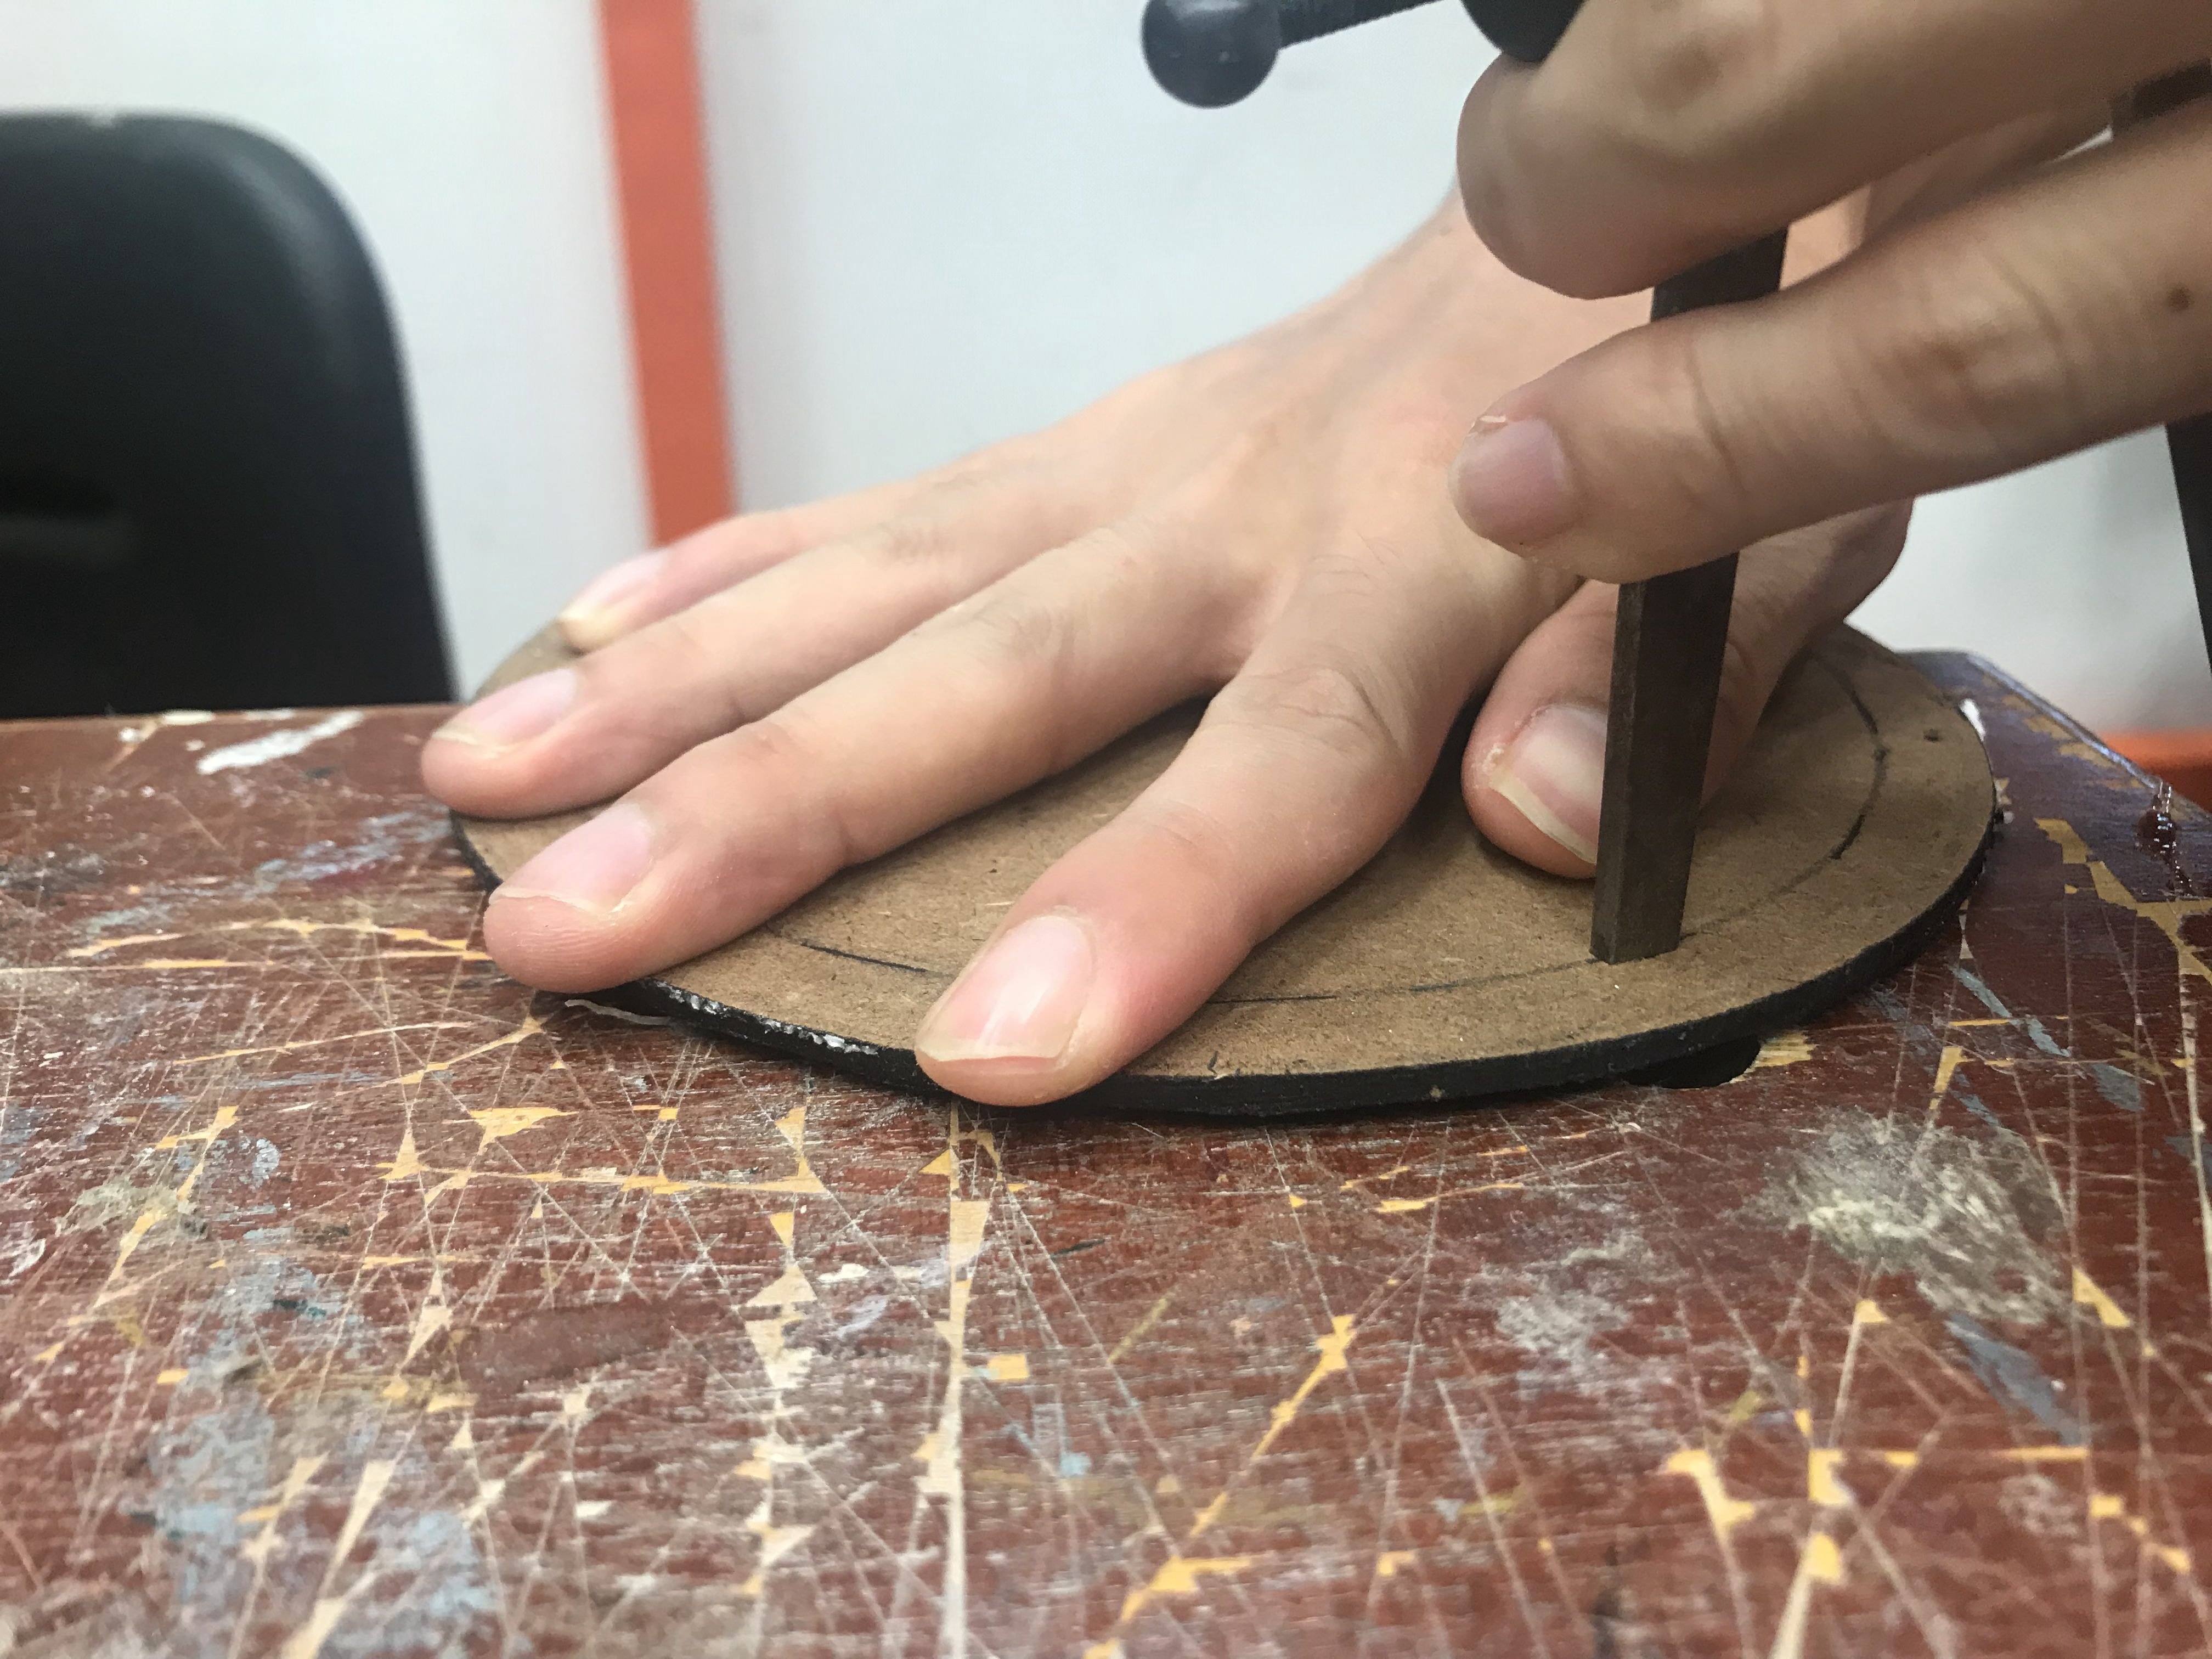
After which, Ik used a hammer and a sharp object to create a inserts/slits into the MDF board.
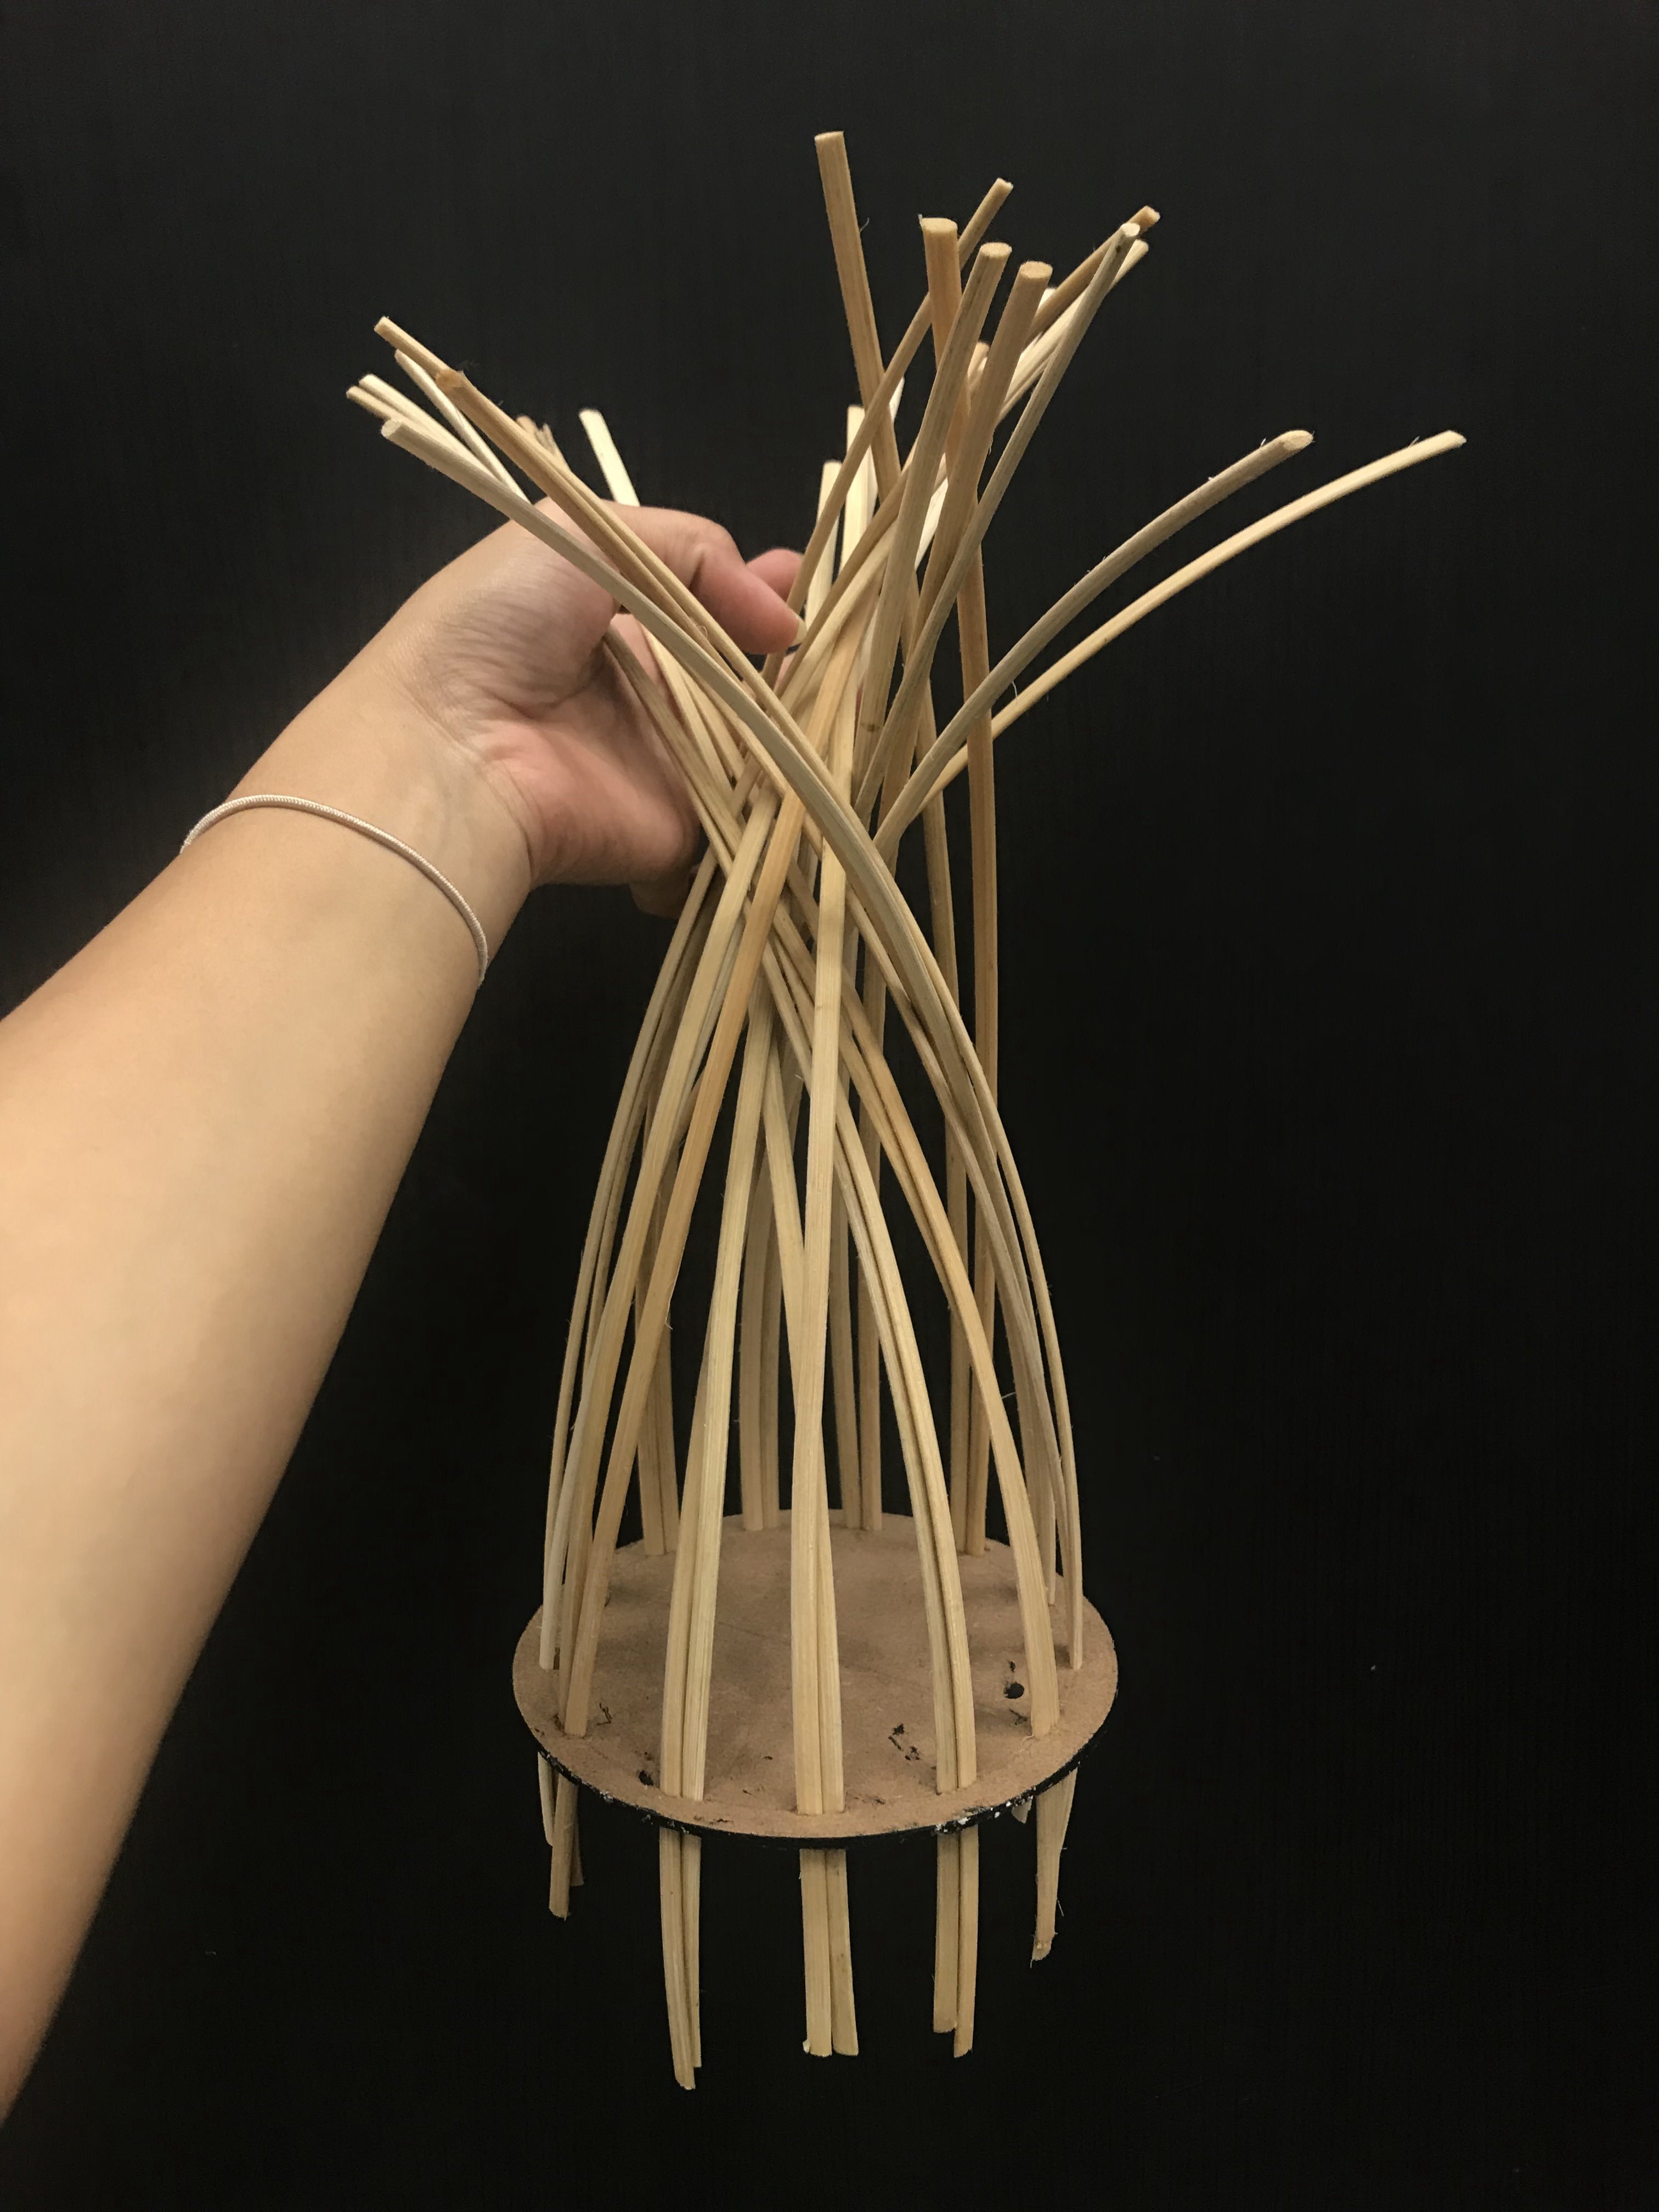
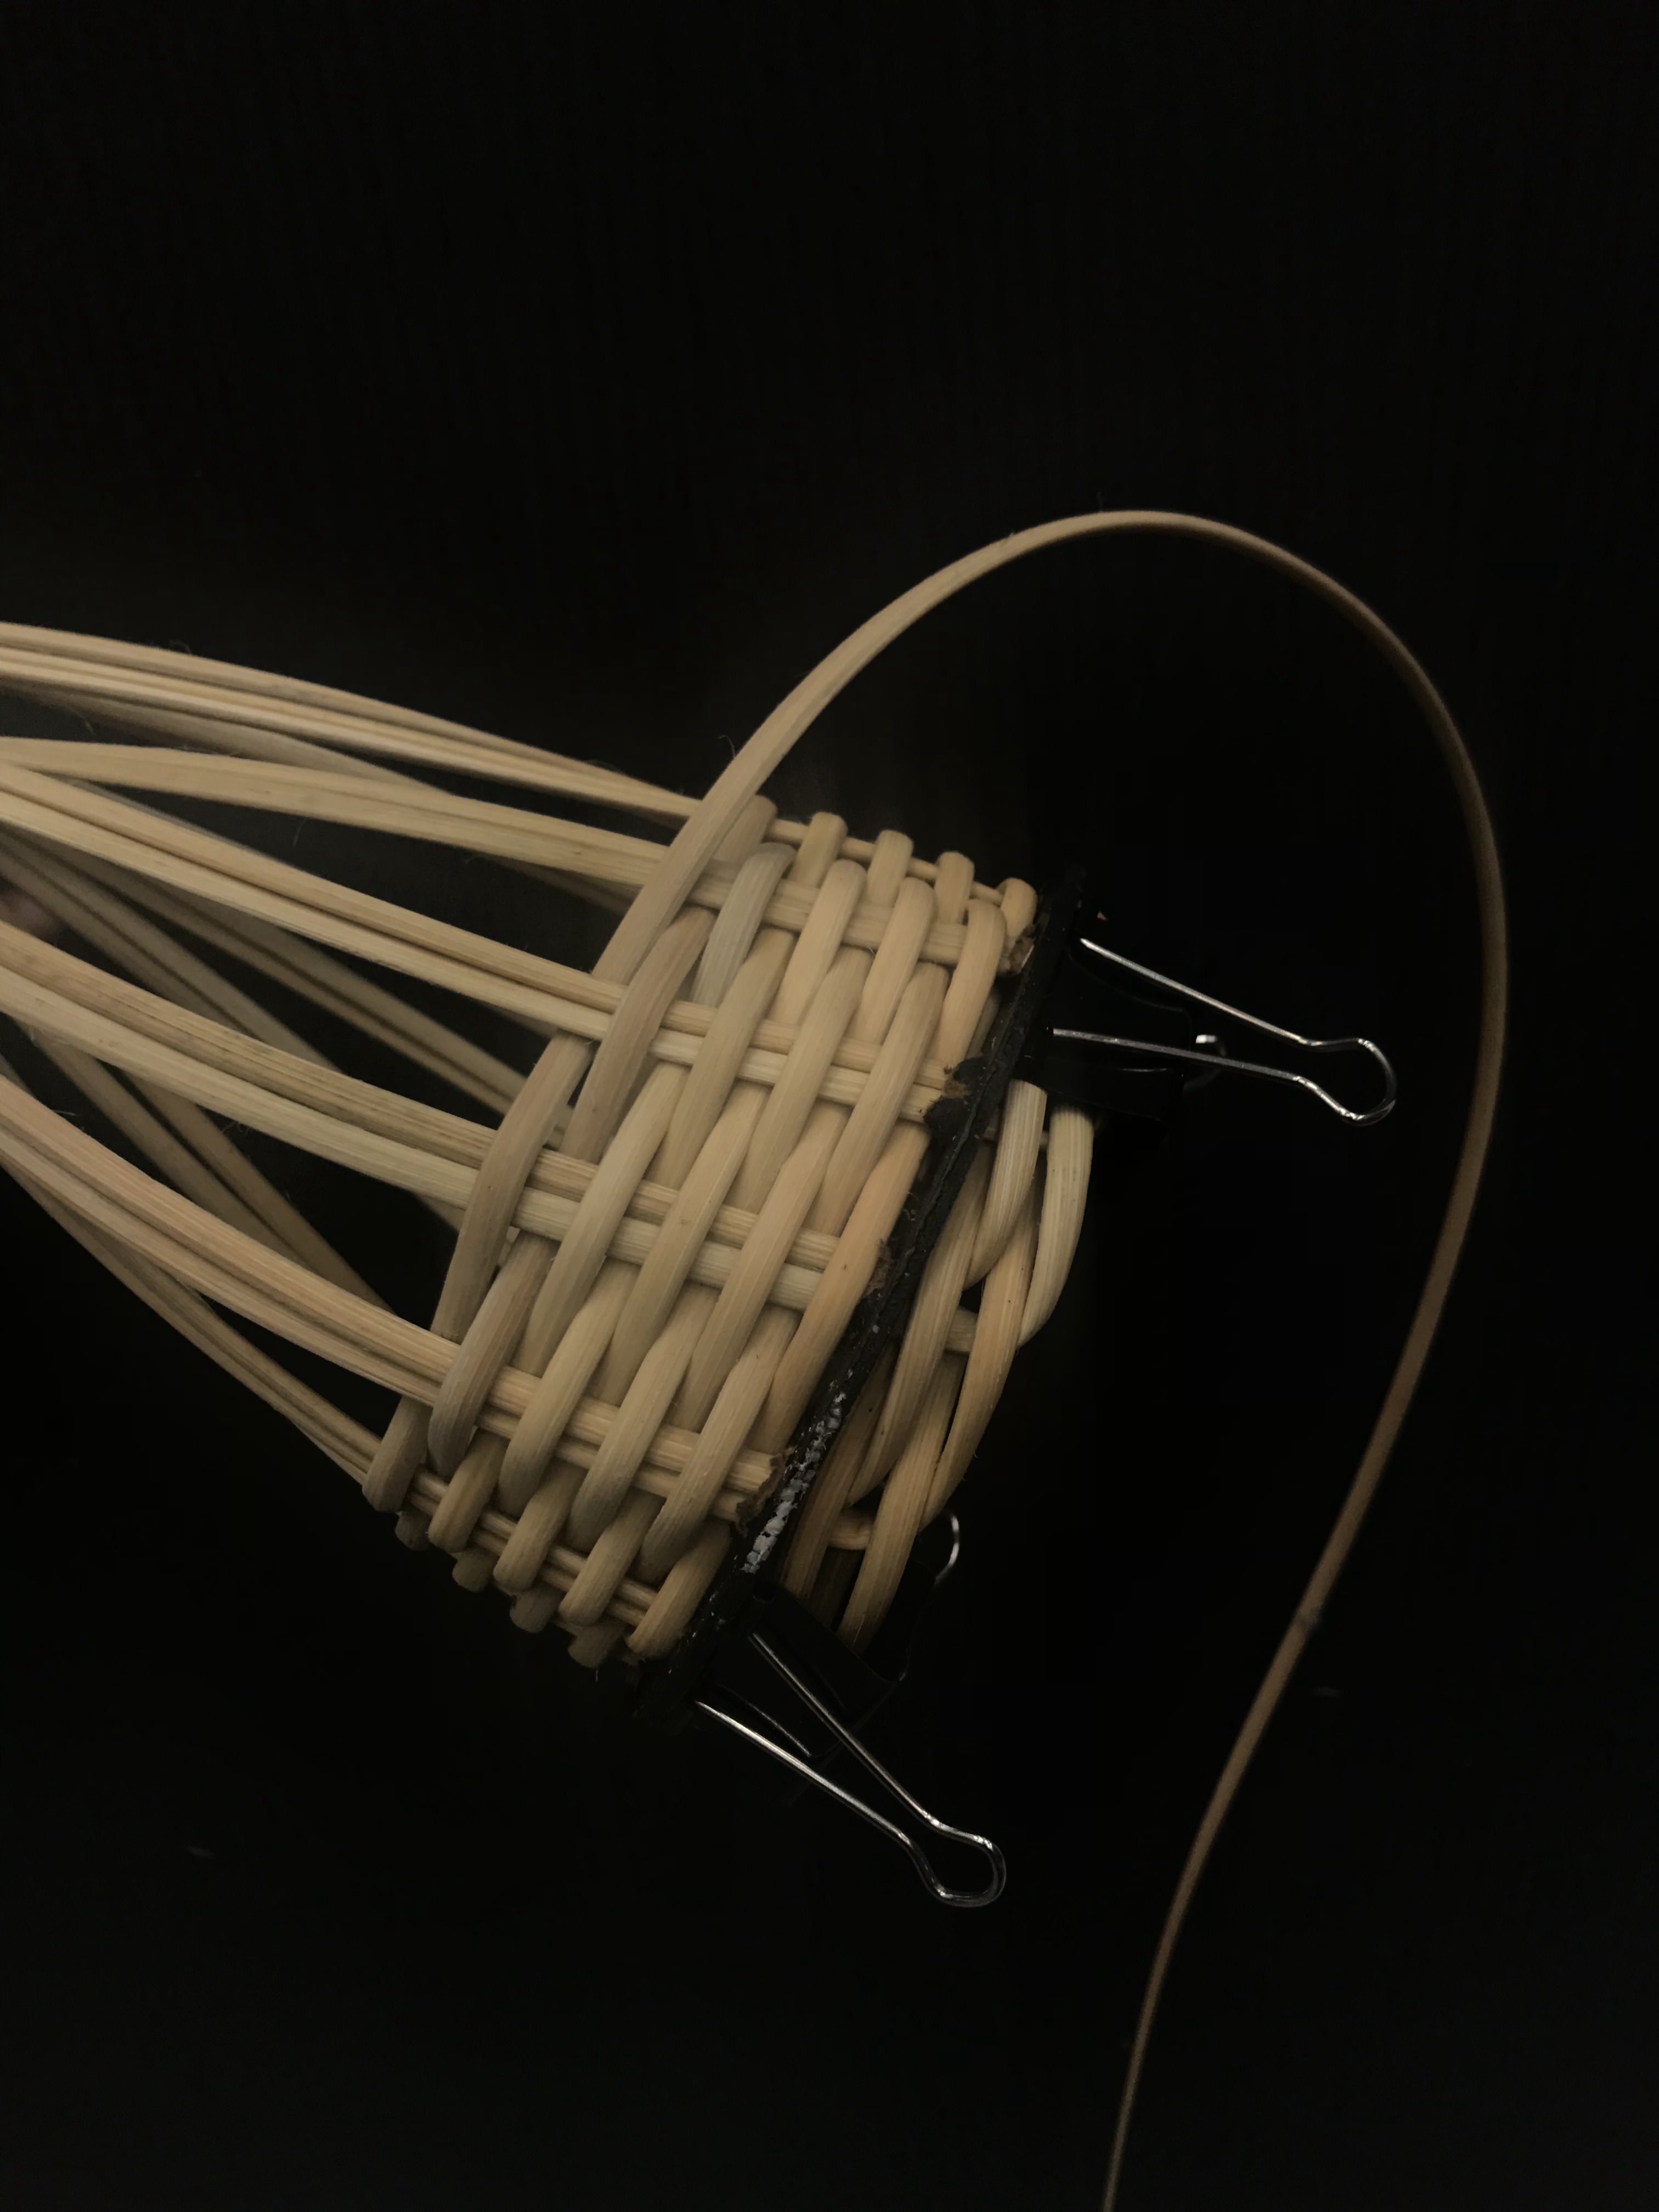
Mimicking the steps from the video reference, I then inserted the rattan strips through the inserts and secured the remaining rattan at the bottom using the same braiding-like method used in the video. This was challenging as the rattan kept sticking out. Hence, we secured it with clips until it dried into shape.
Inserting rattan into slits
Before weaving the ends
Process of weaving the ends
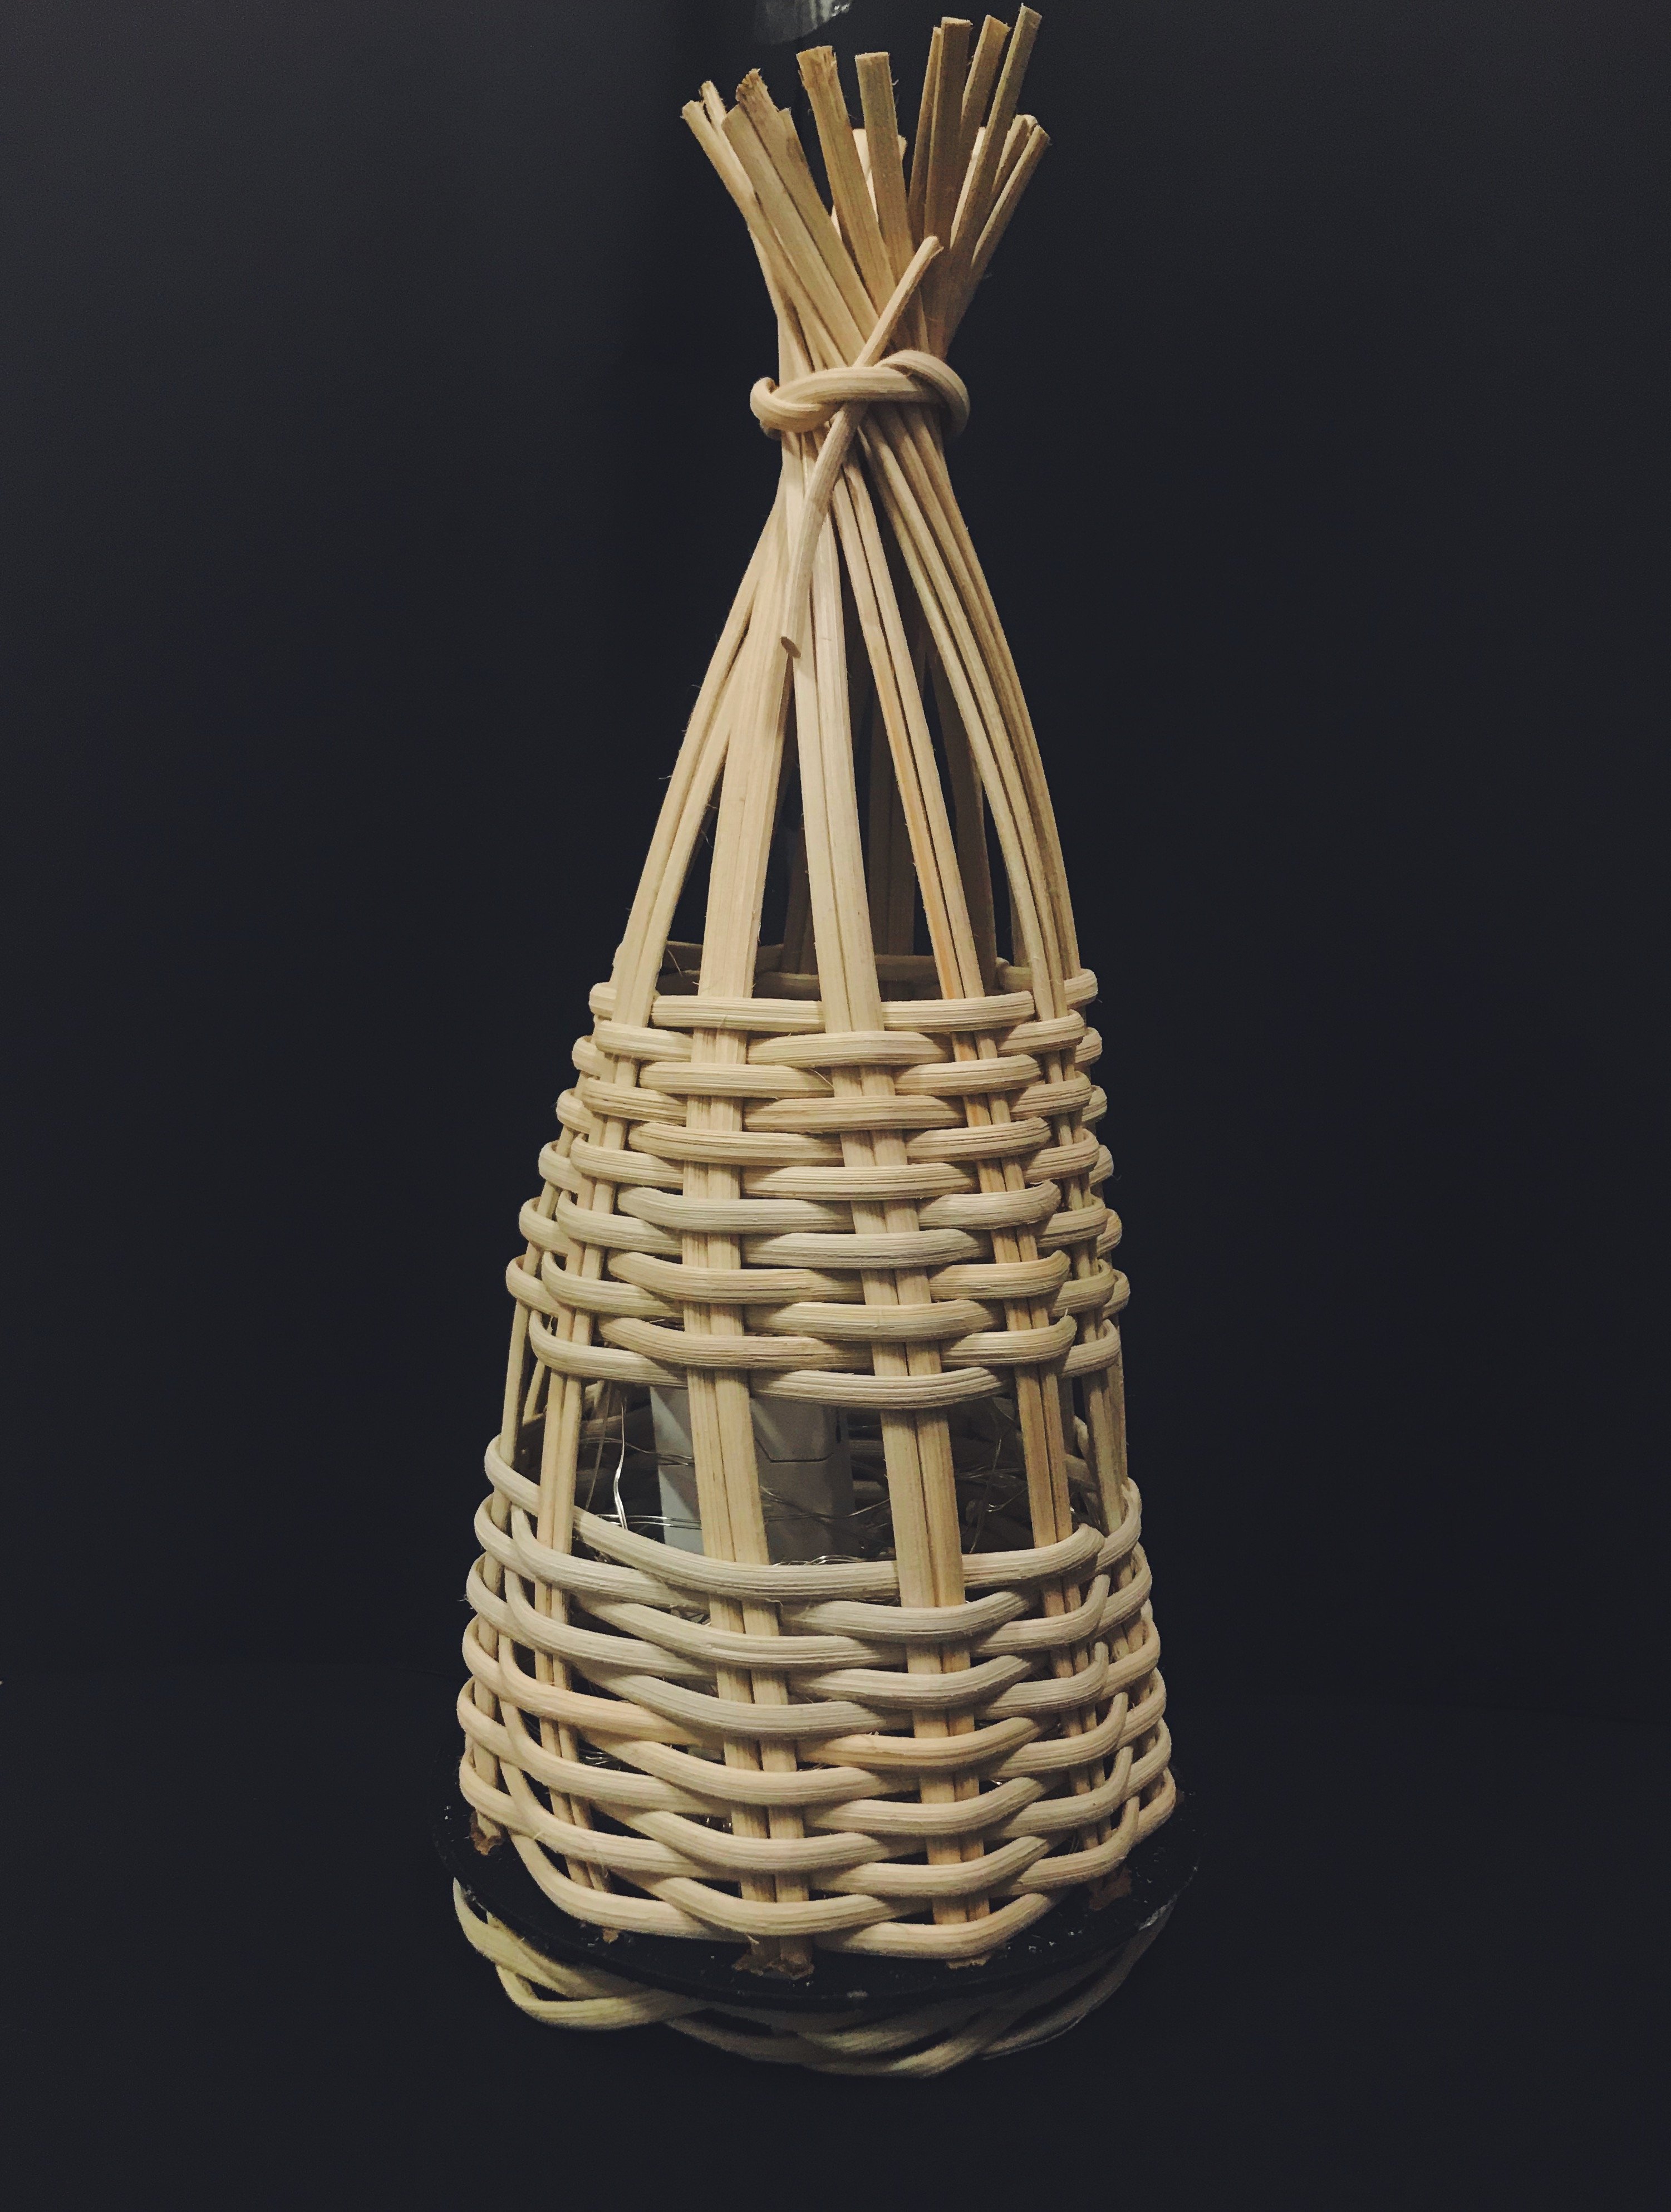
Completed weaving of the ends
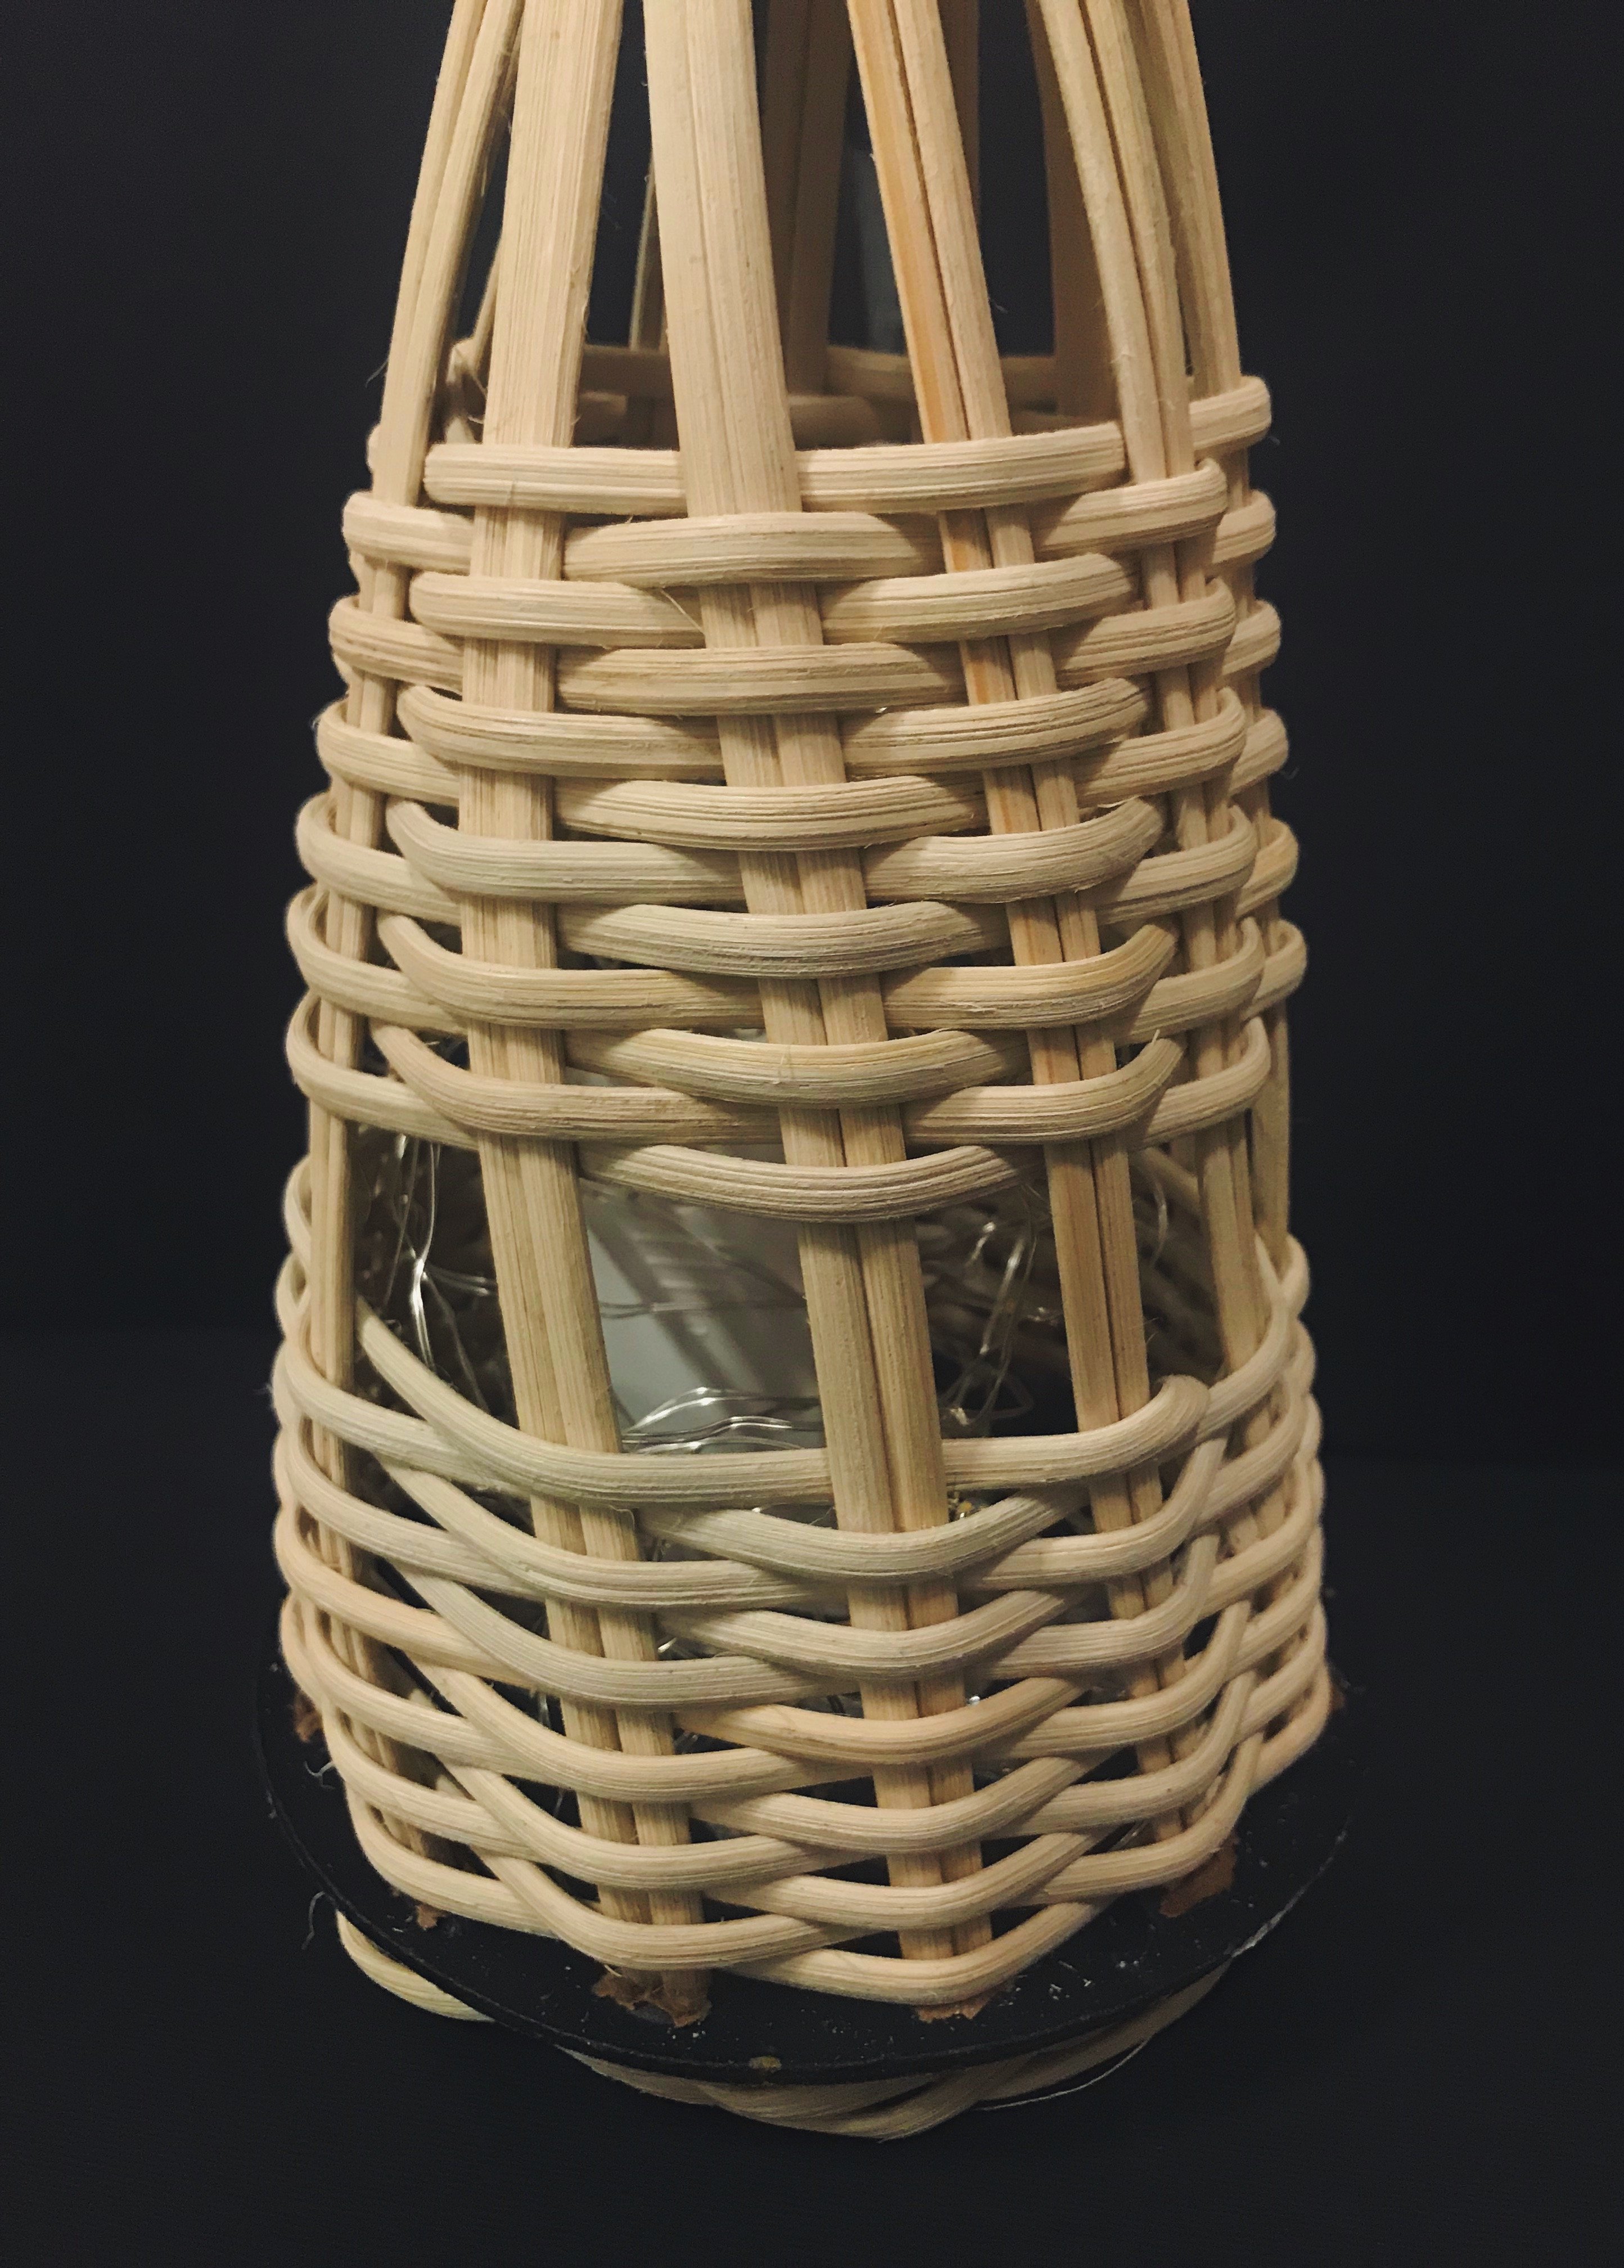
We then started weaving the horizontal strips through the vertical ones. It was a much smoother process compared to the 2D model when we were still exploring the weaving methods. The rectification of our previous mistakes really mad a difference in making the weaving neater. We also taped the rattan together to make the process easier as the weaving did get a little complicated.
Taping other end together
Weaving process
Weaving process
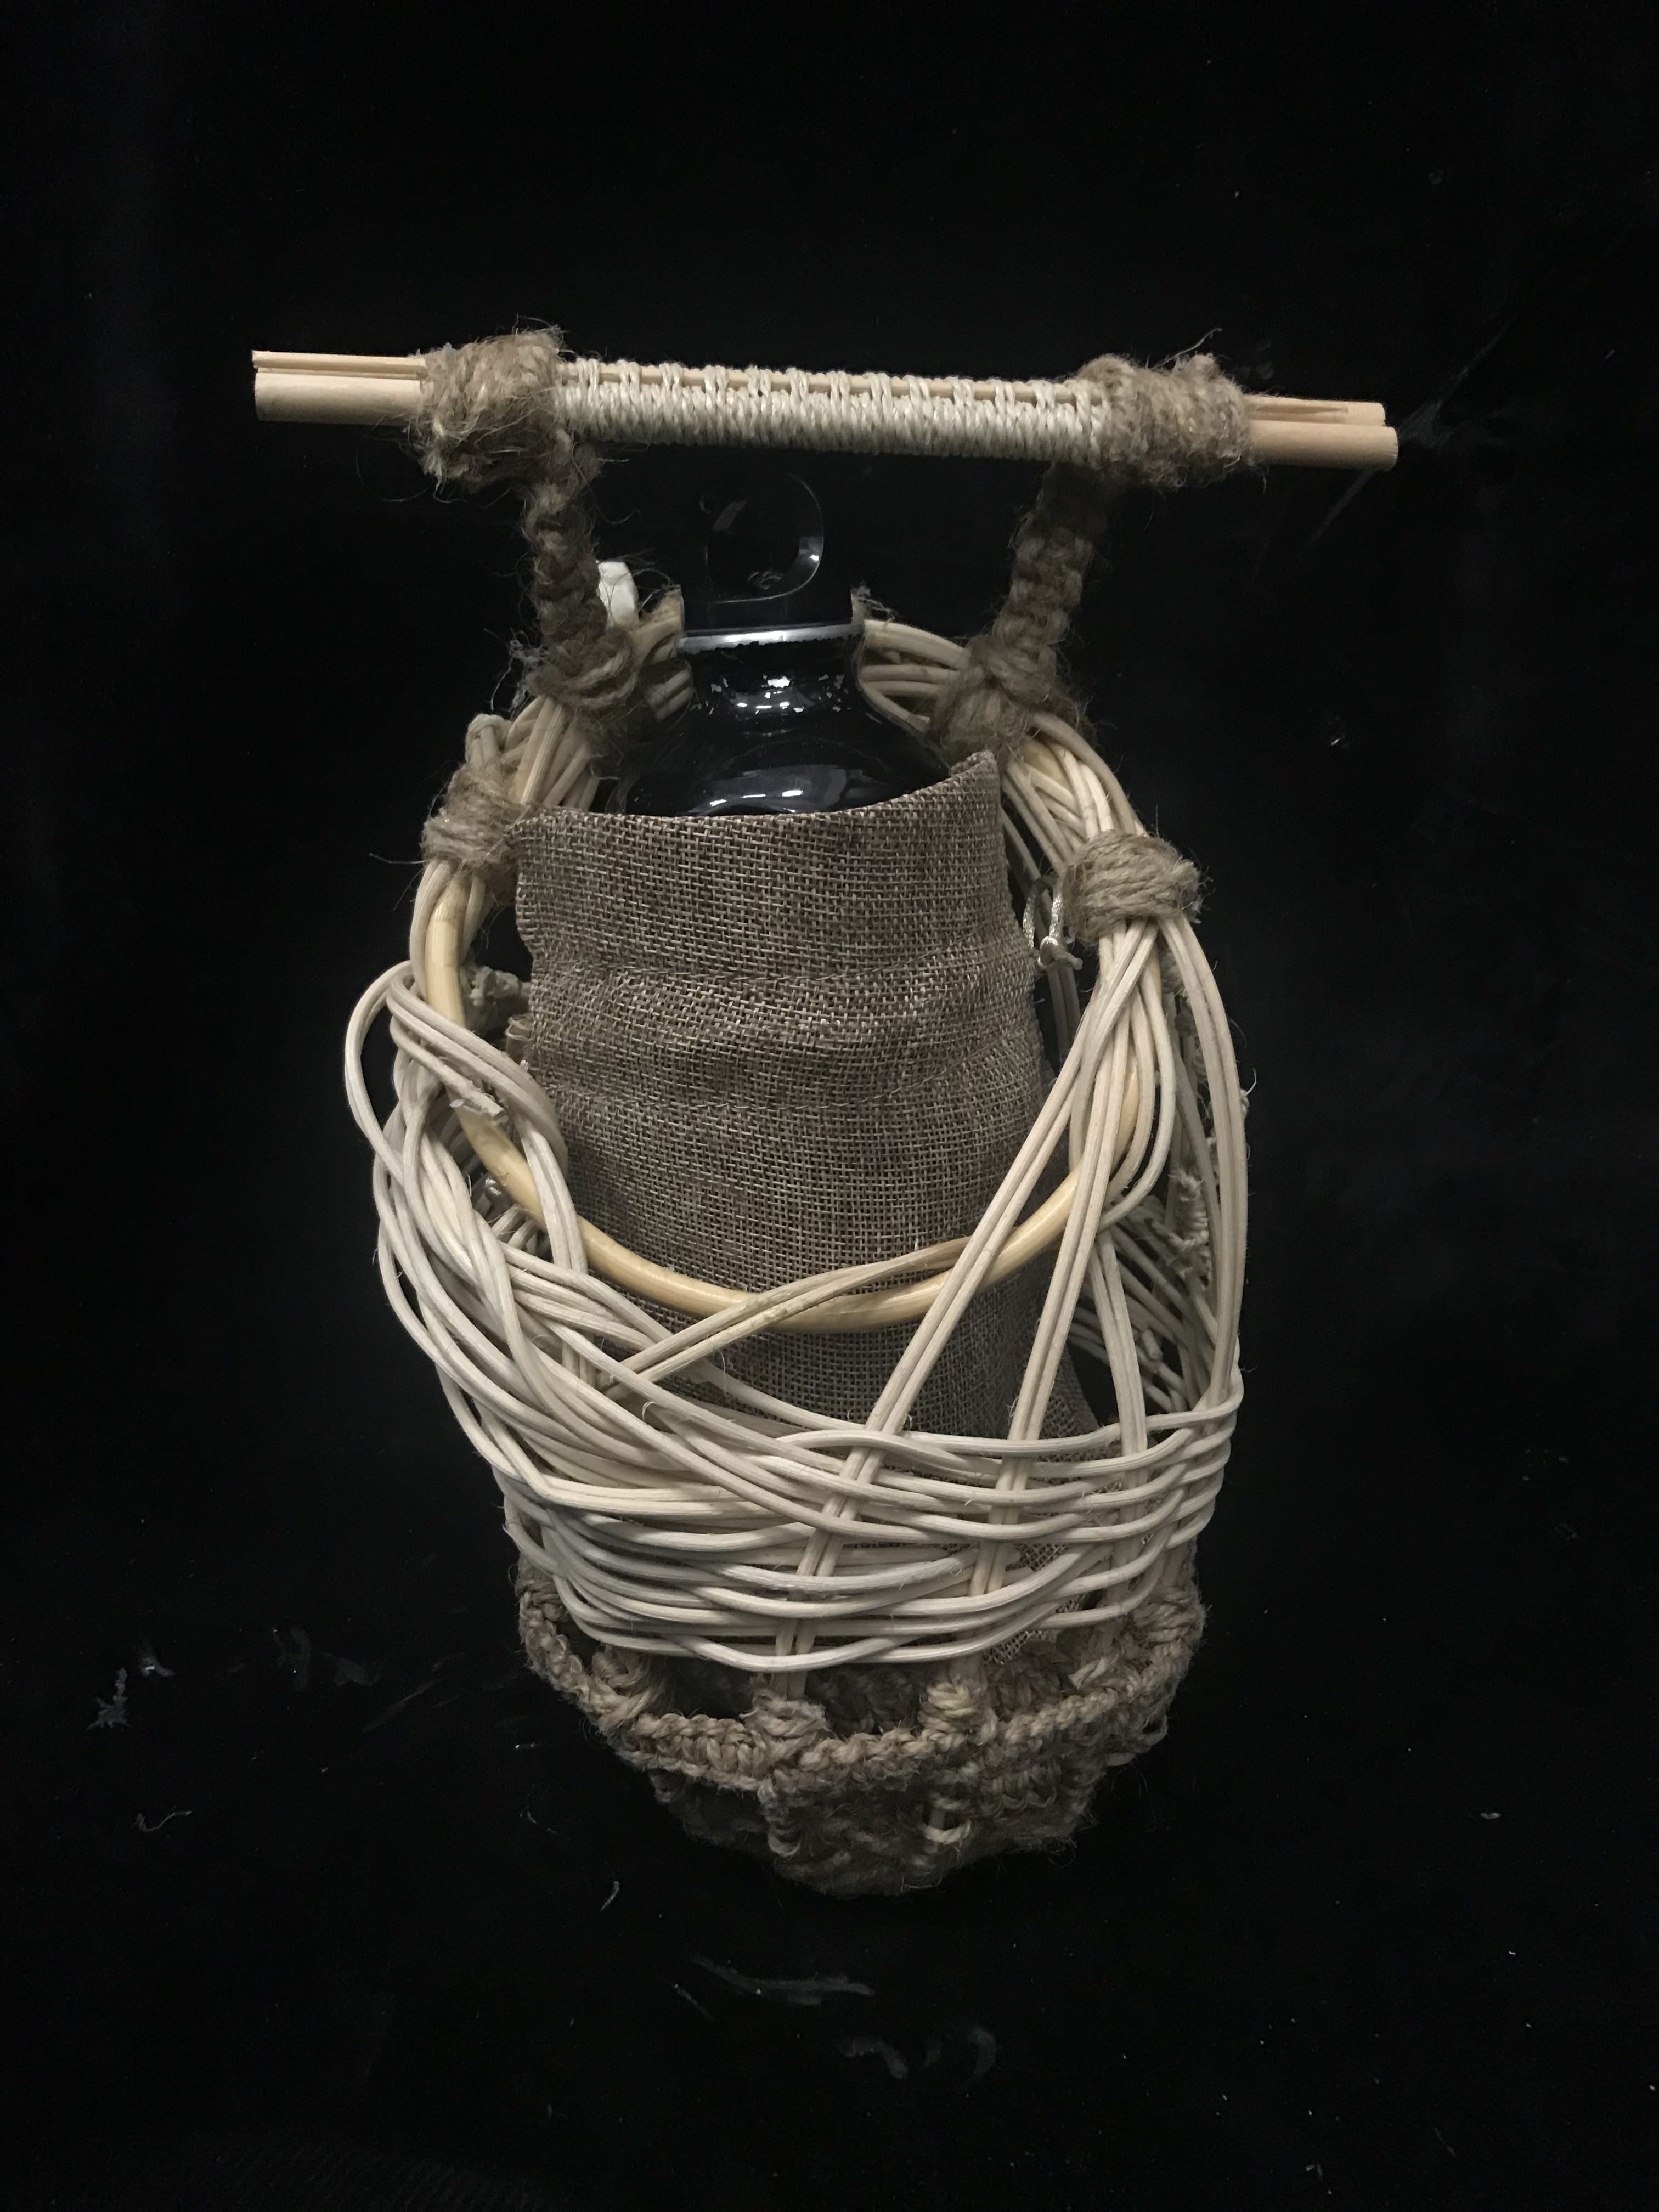
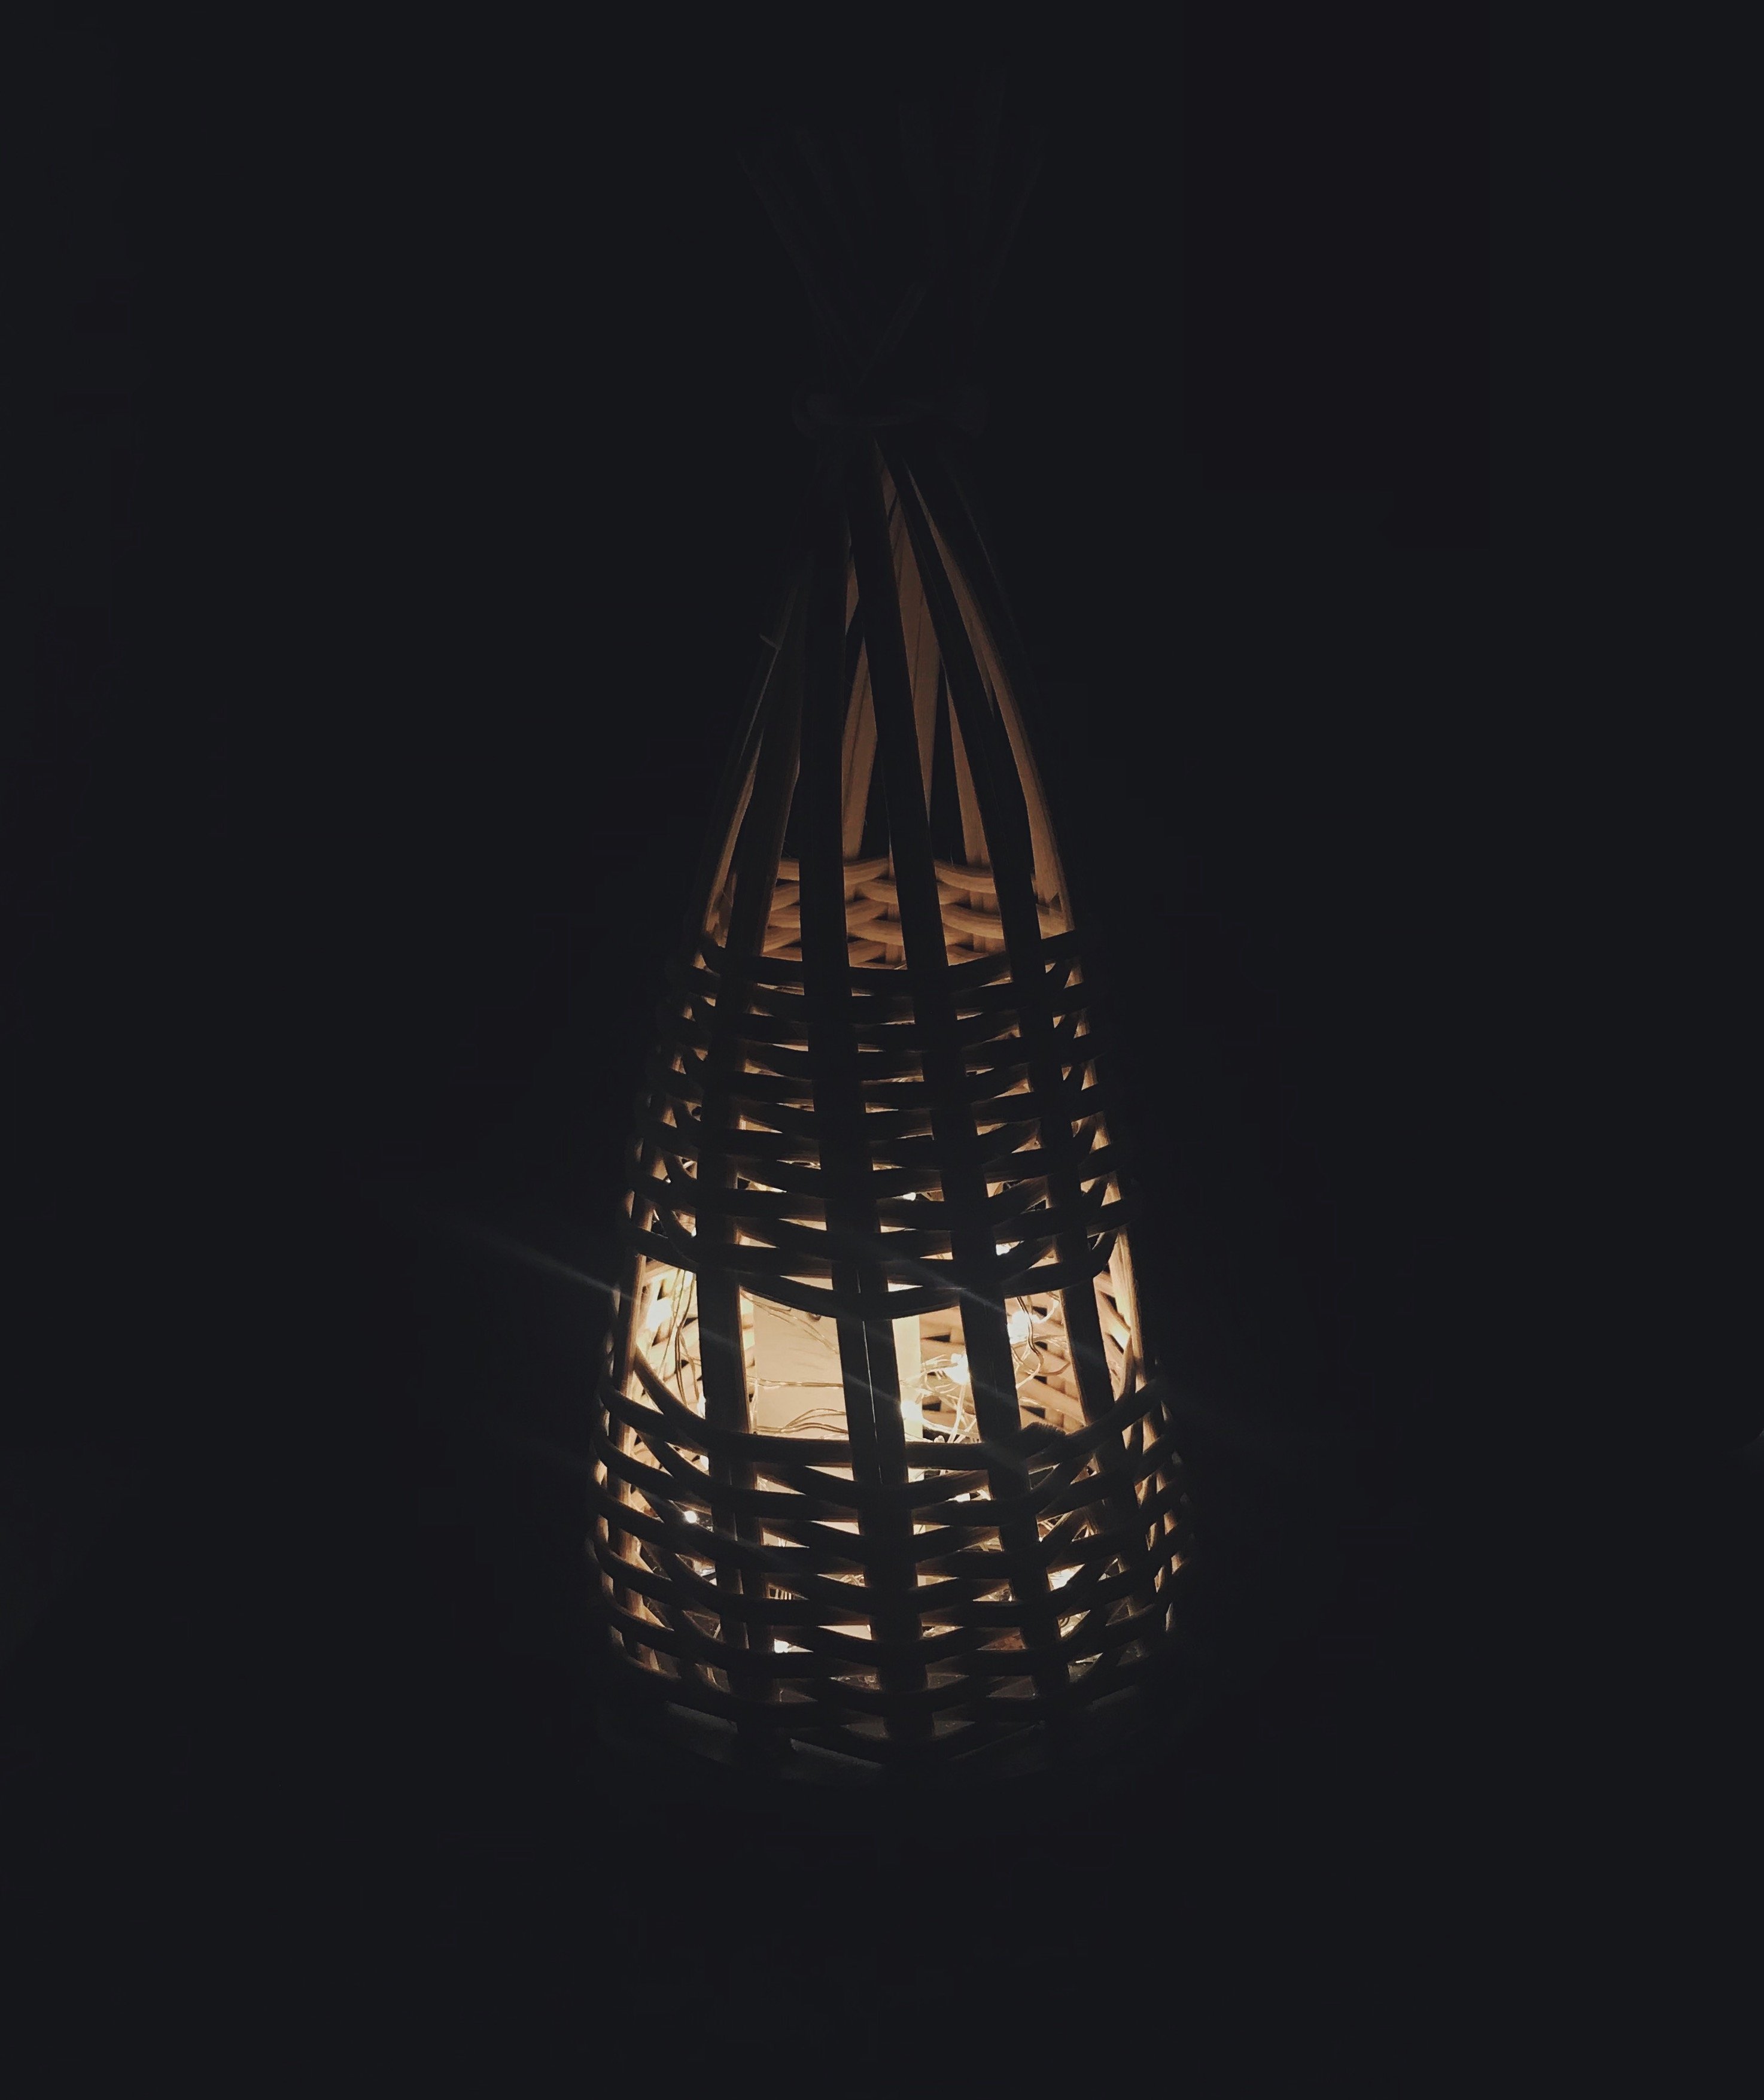
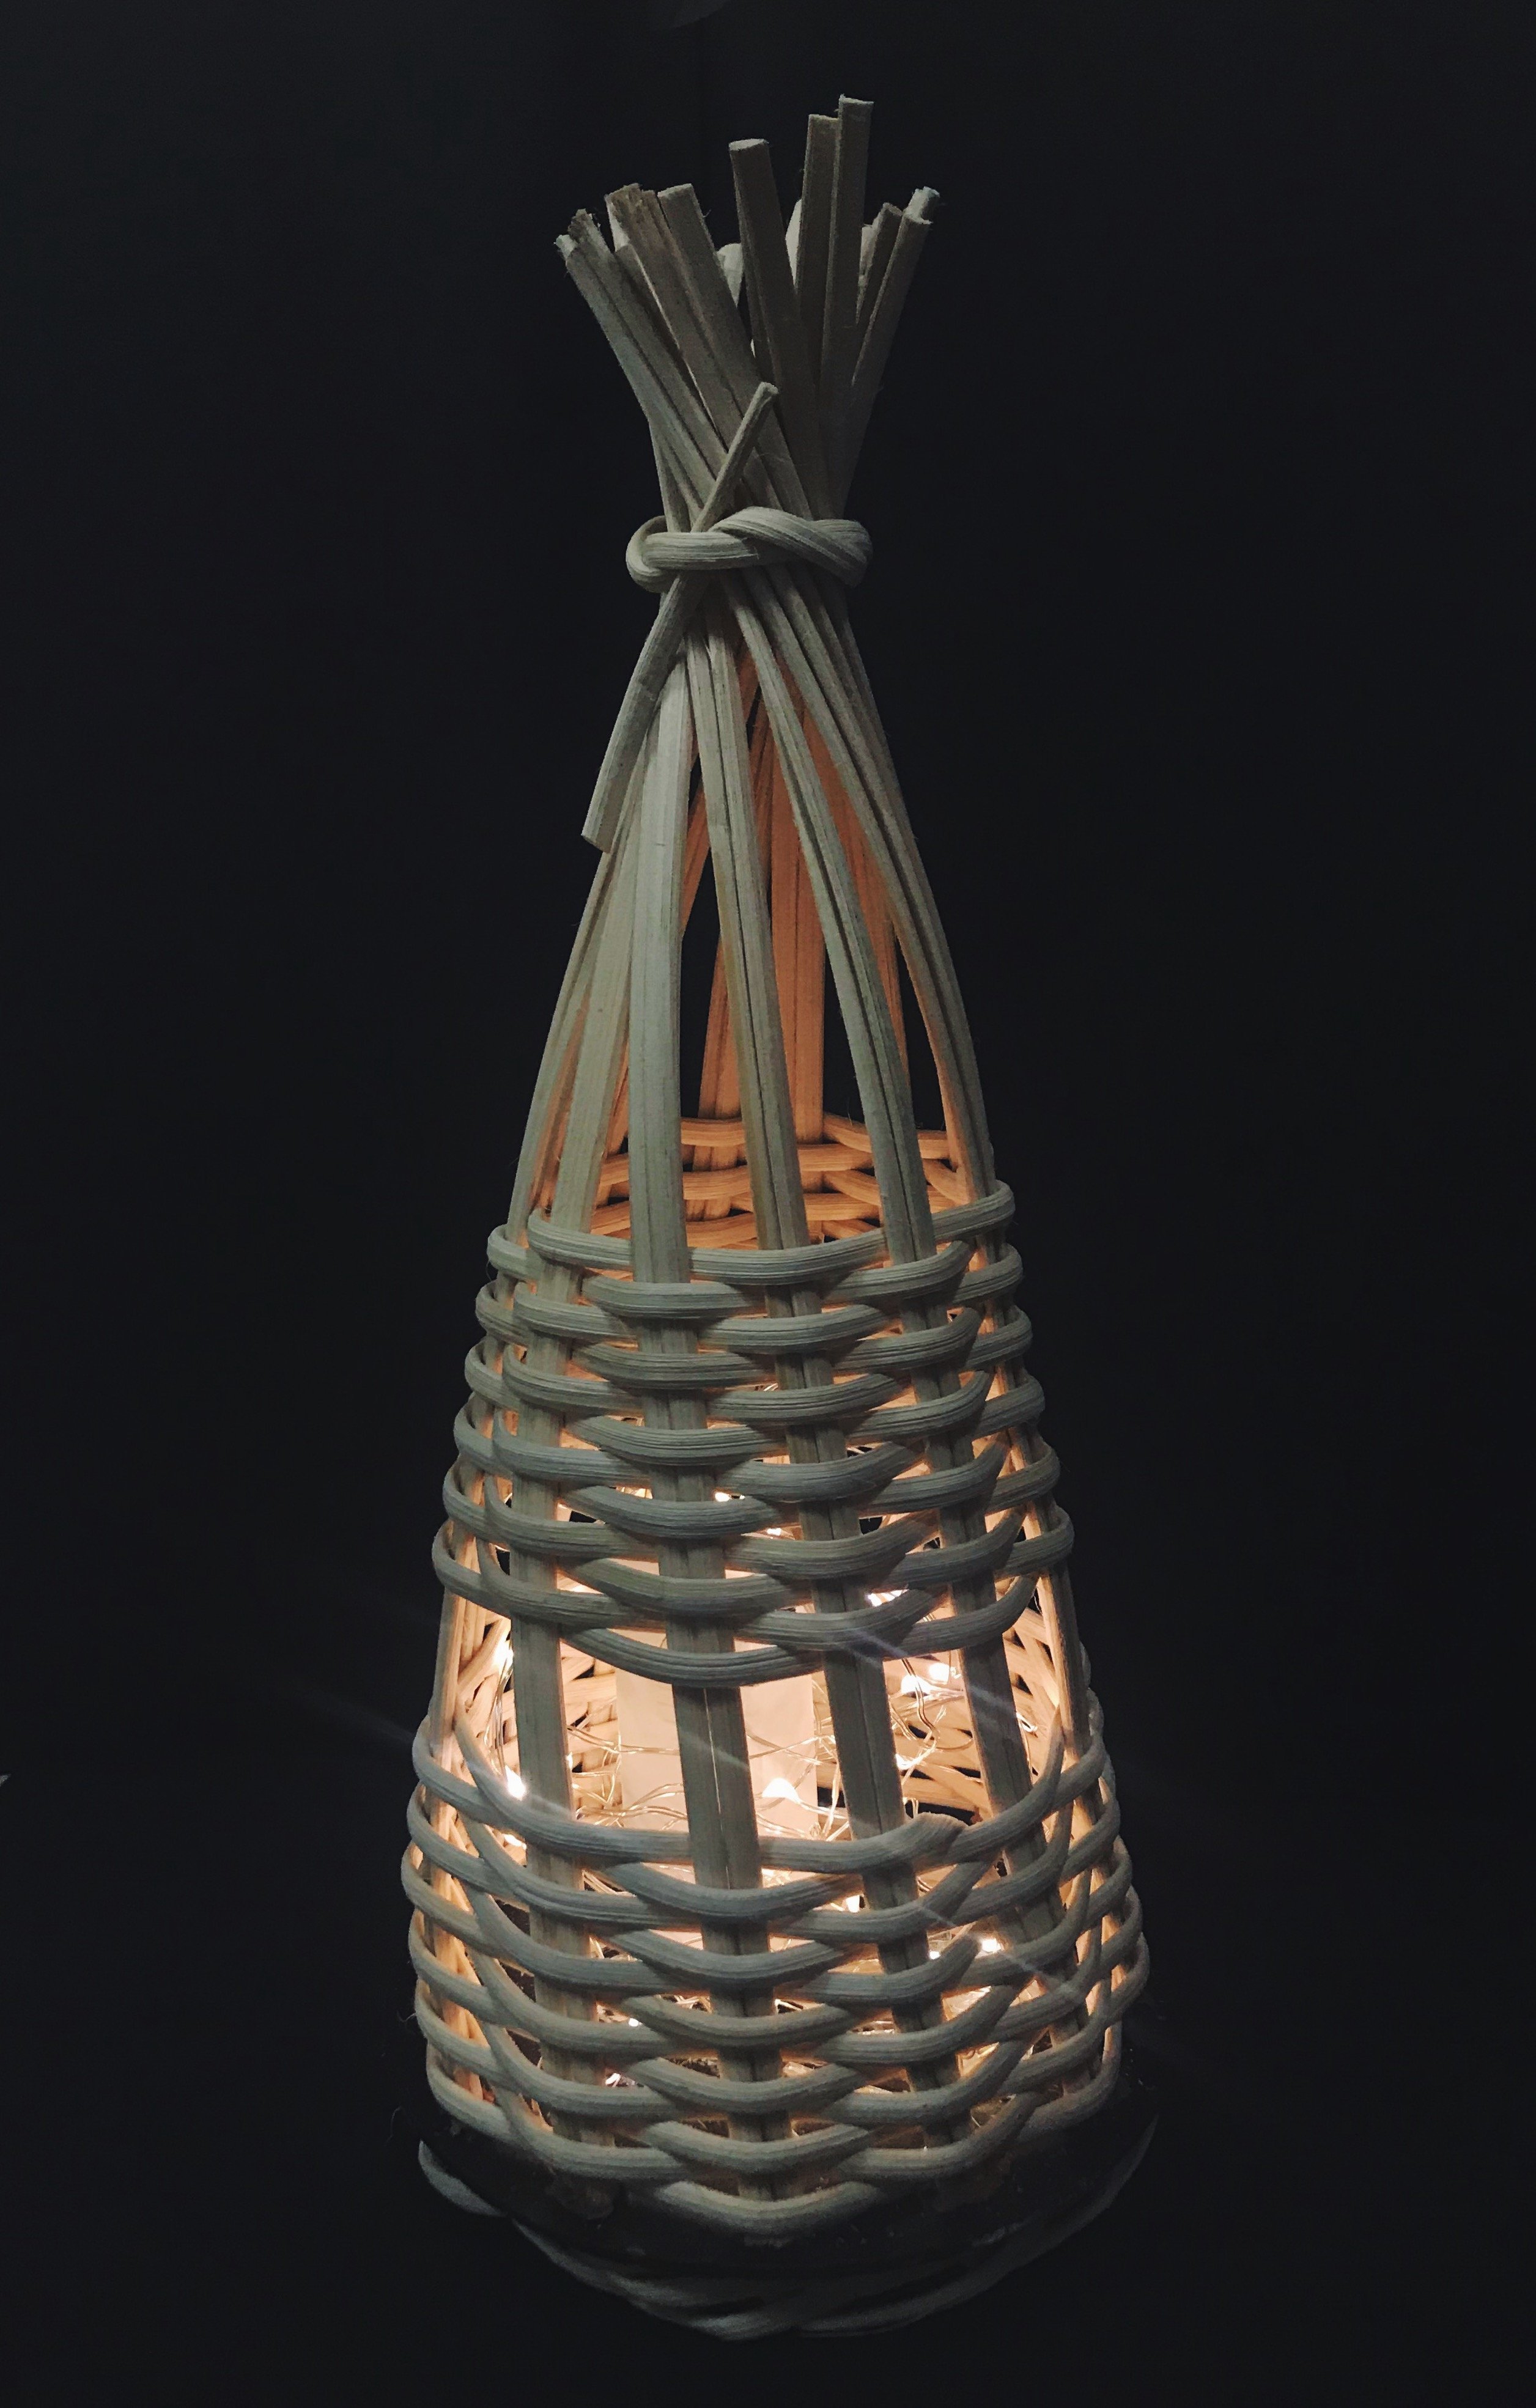
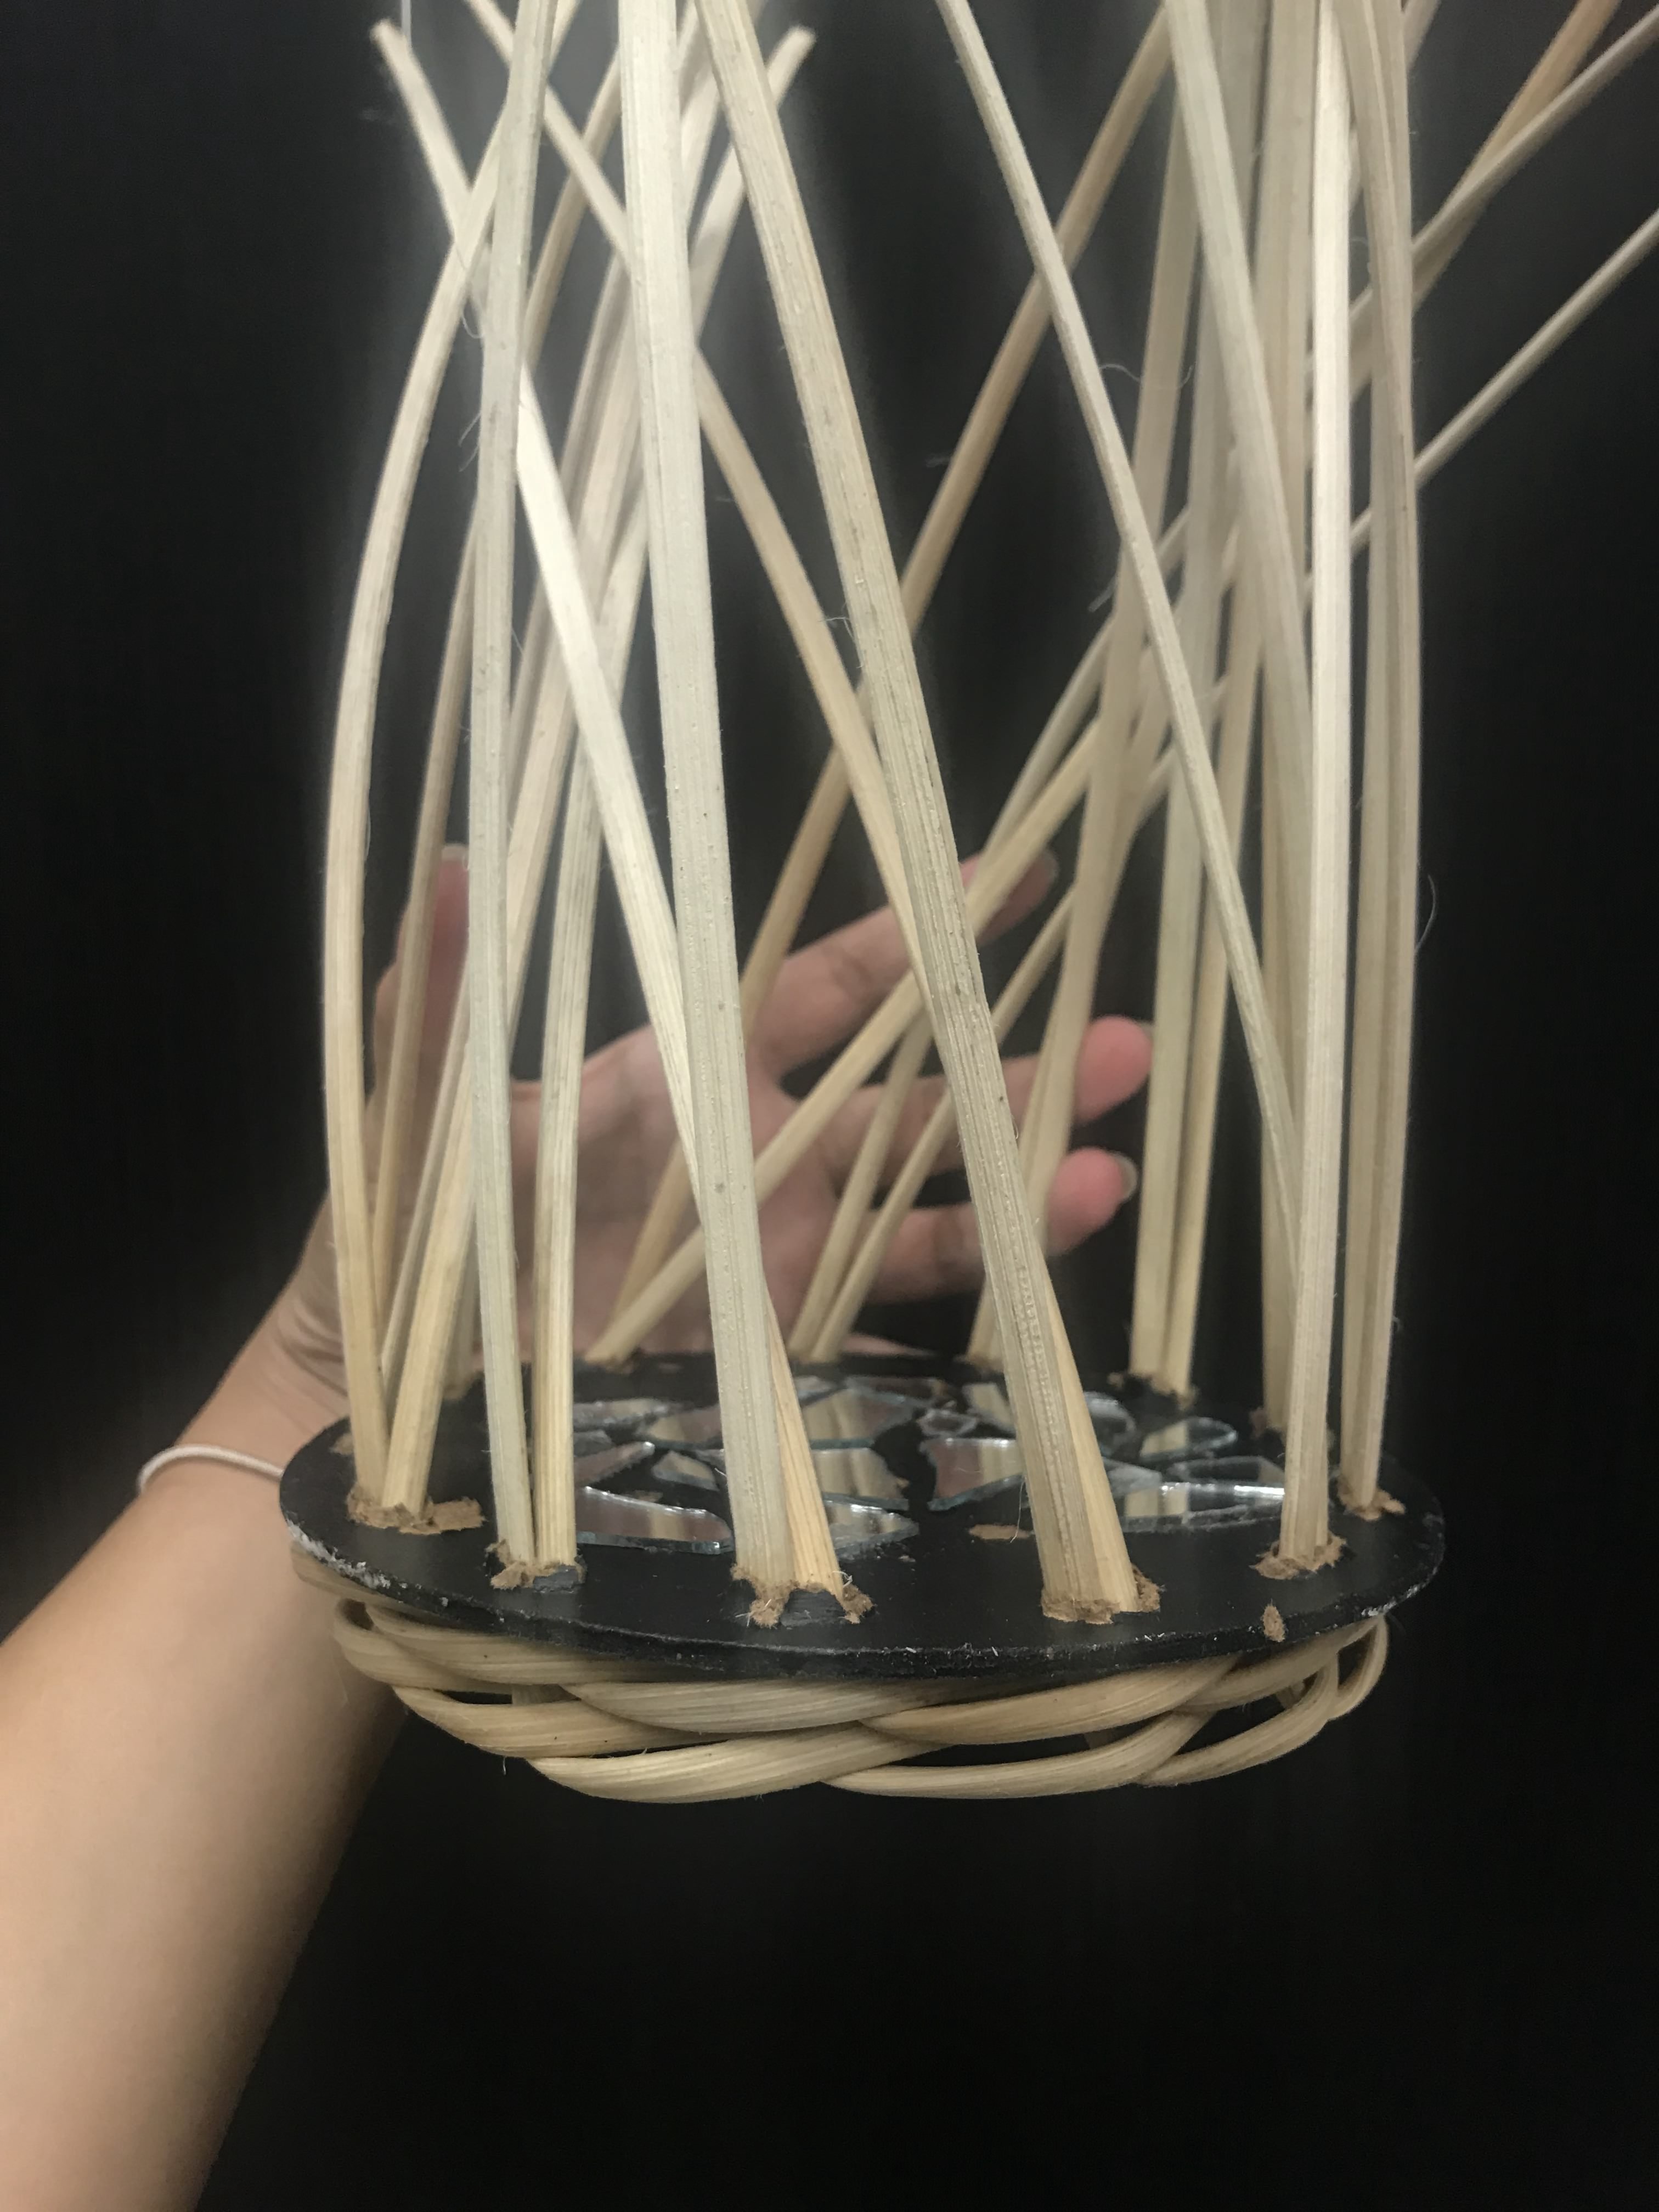
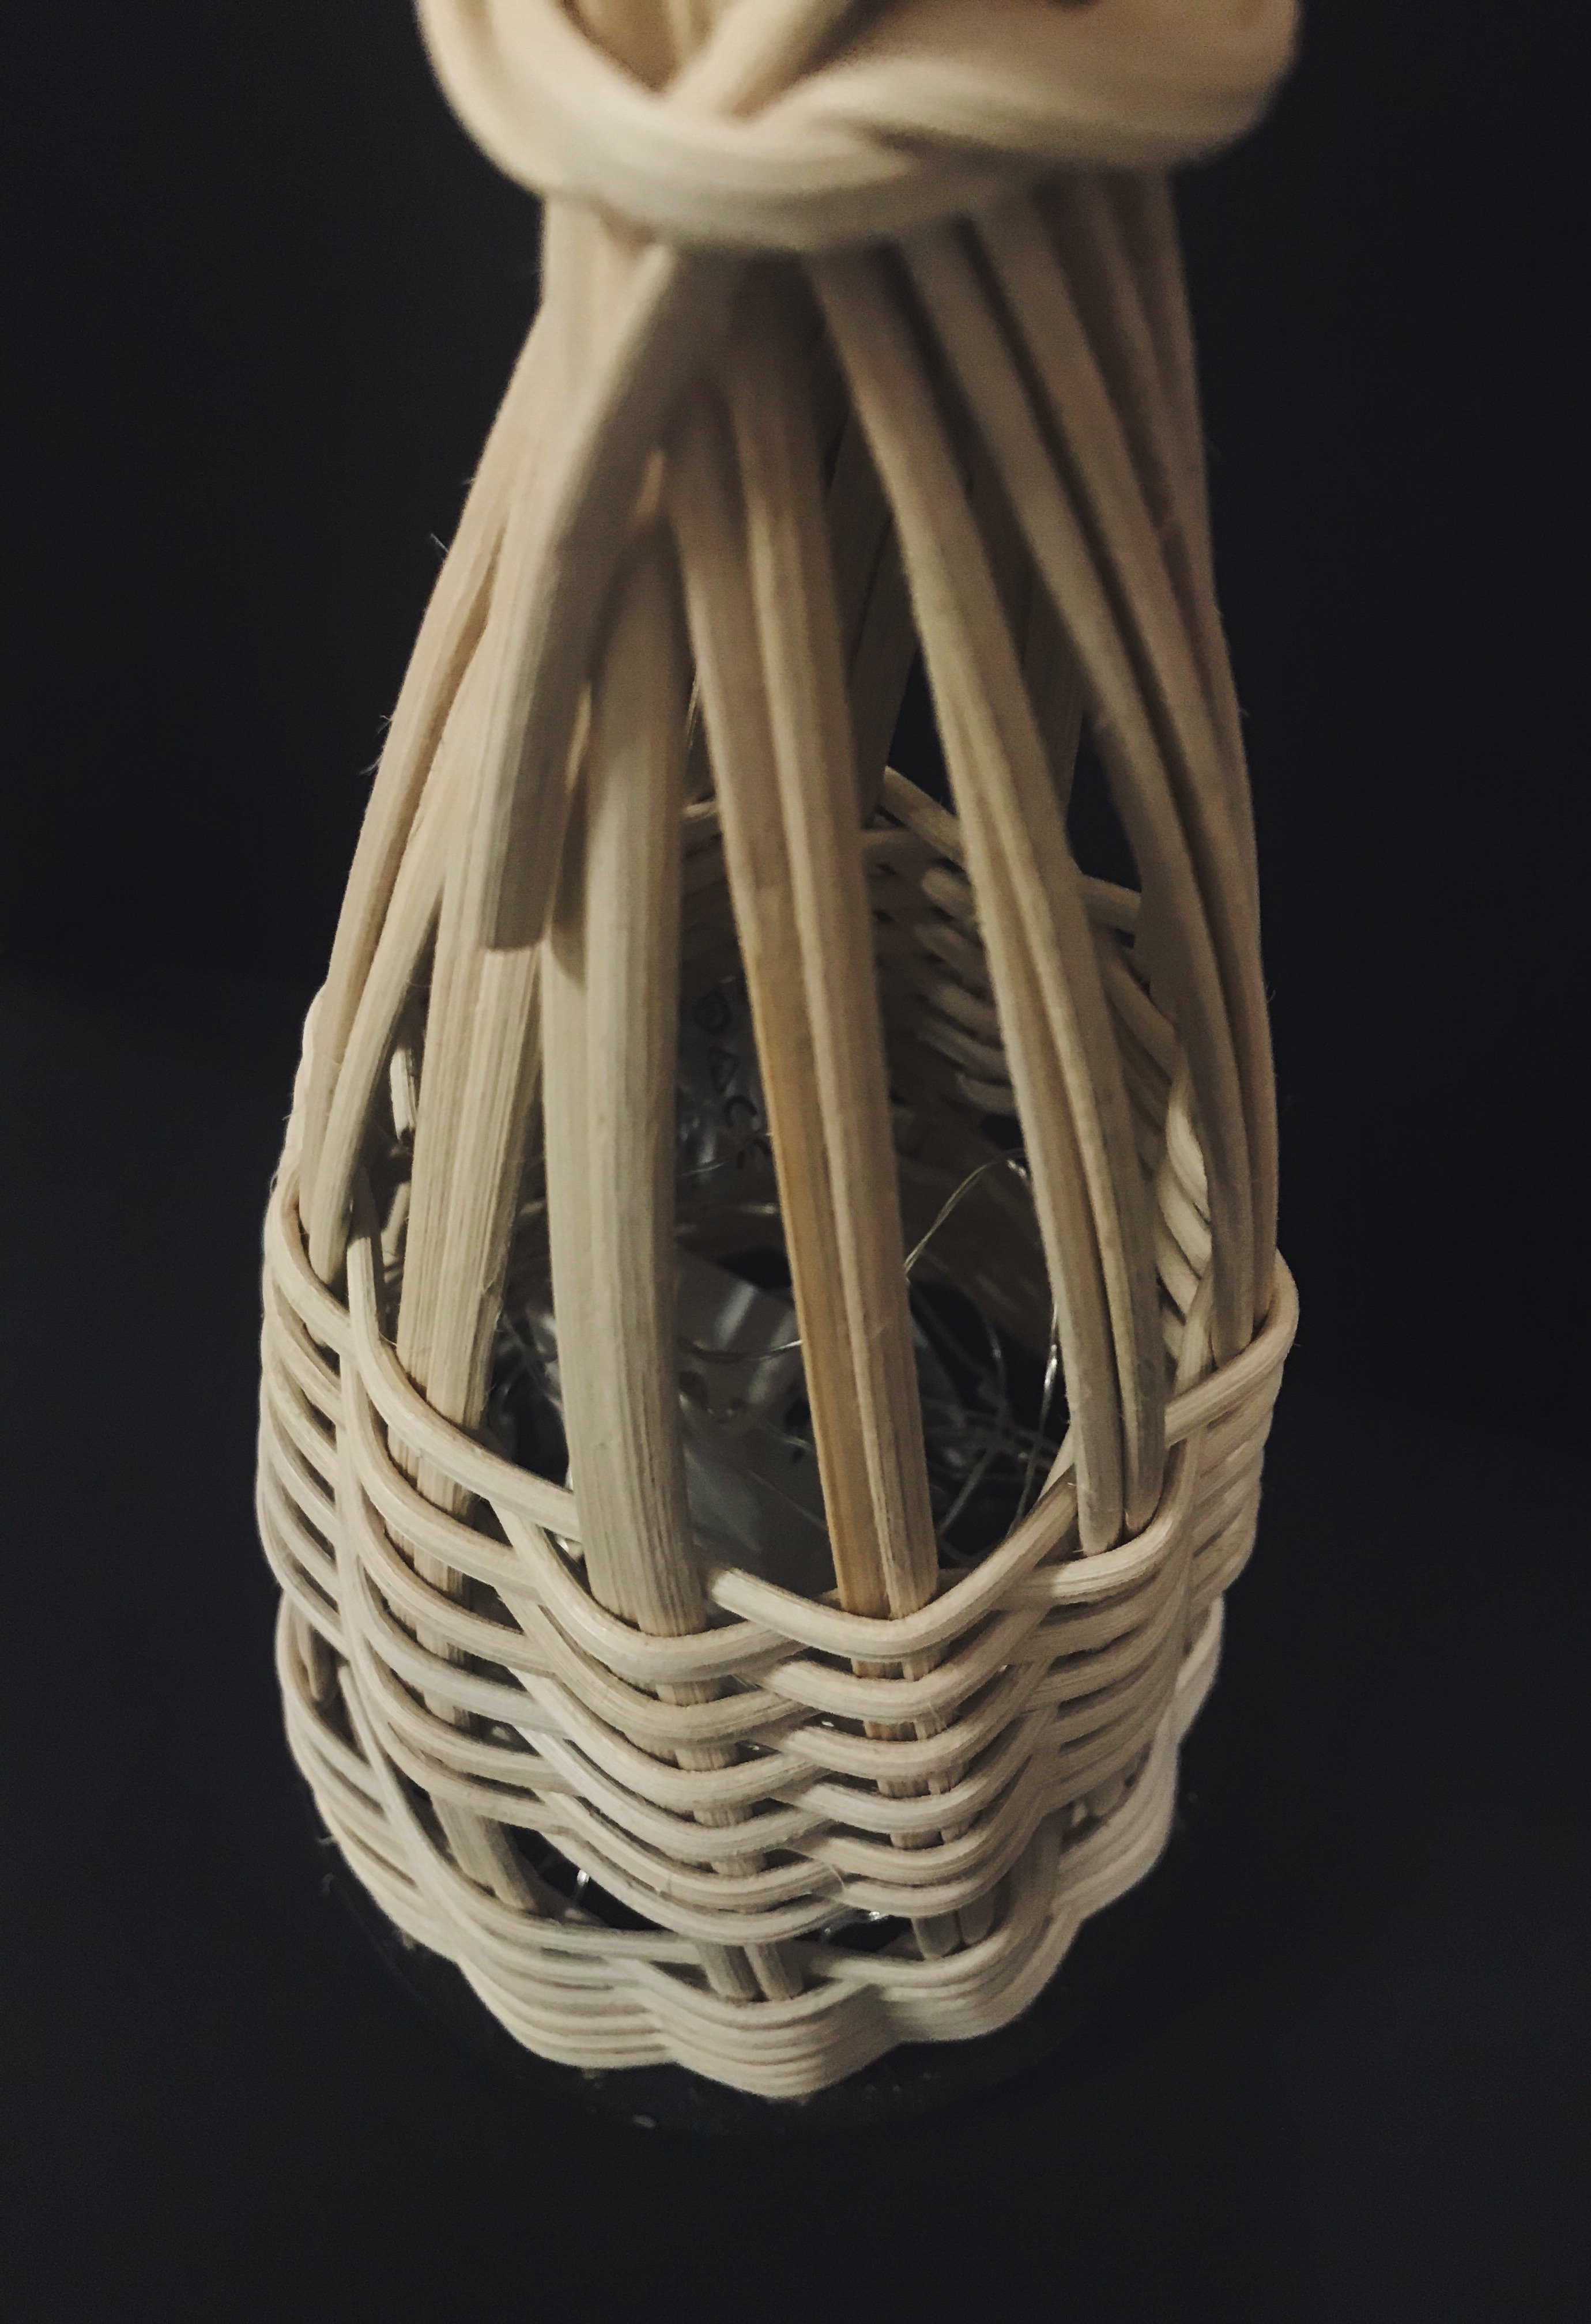
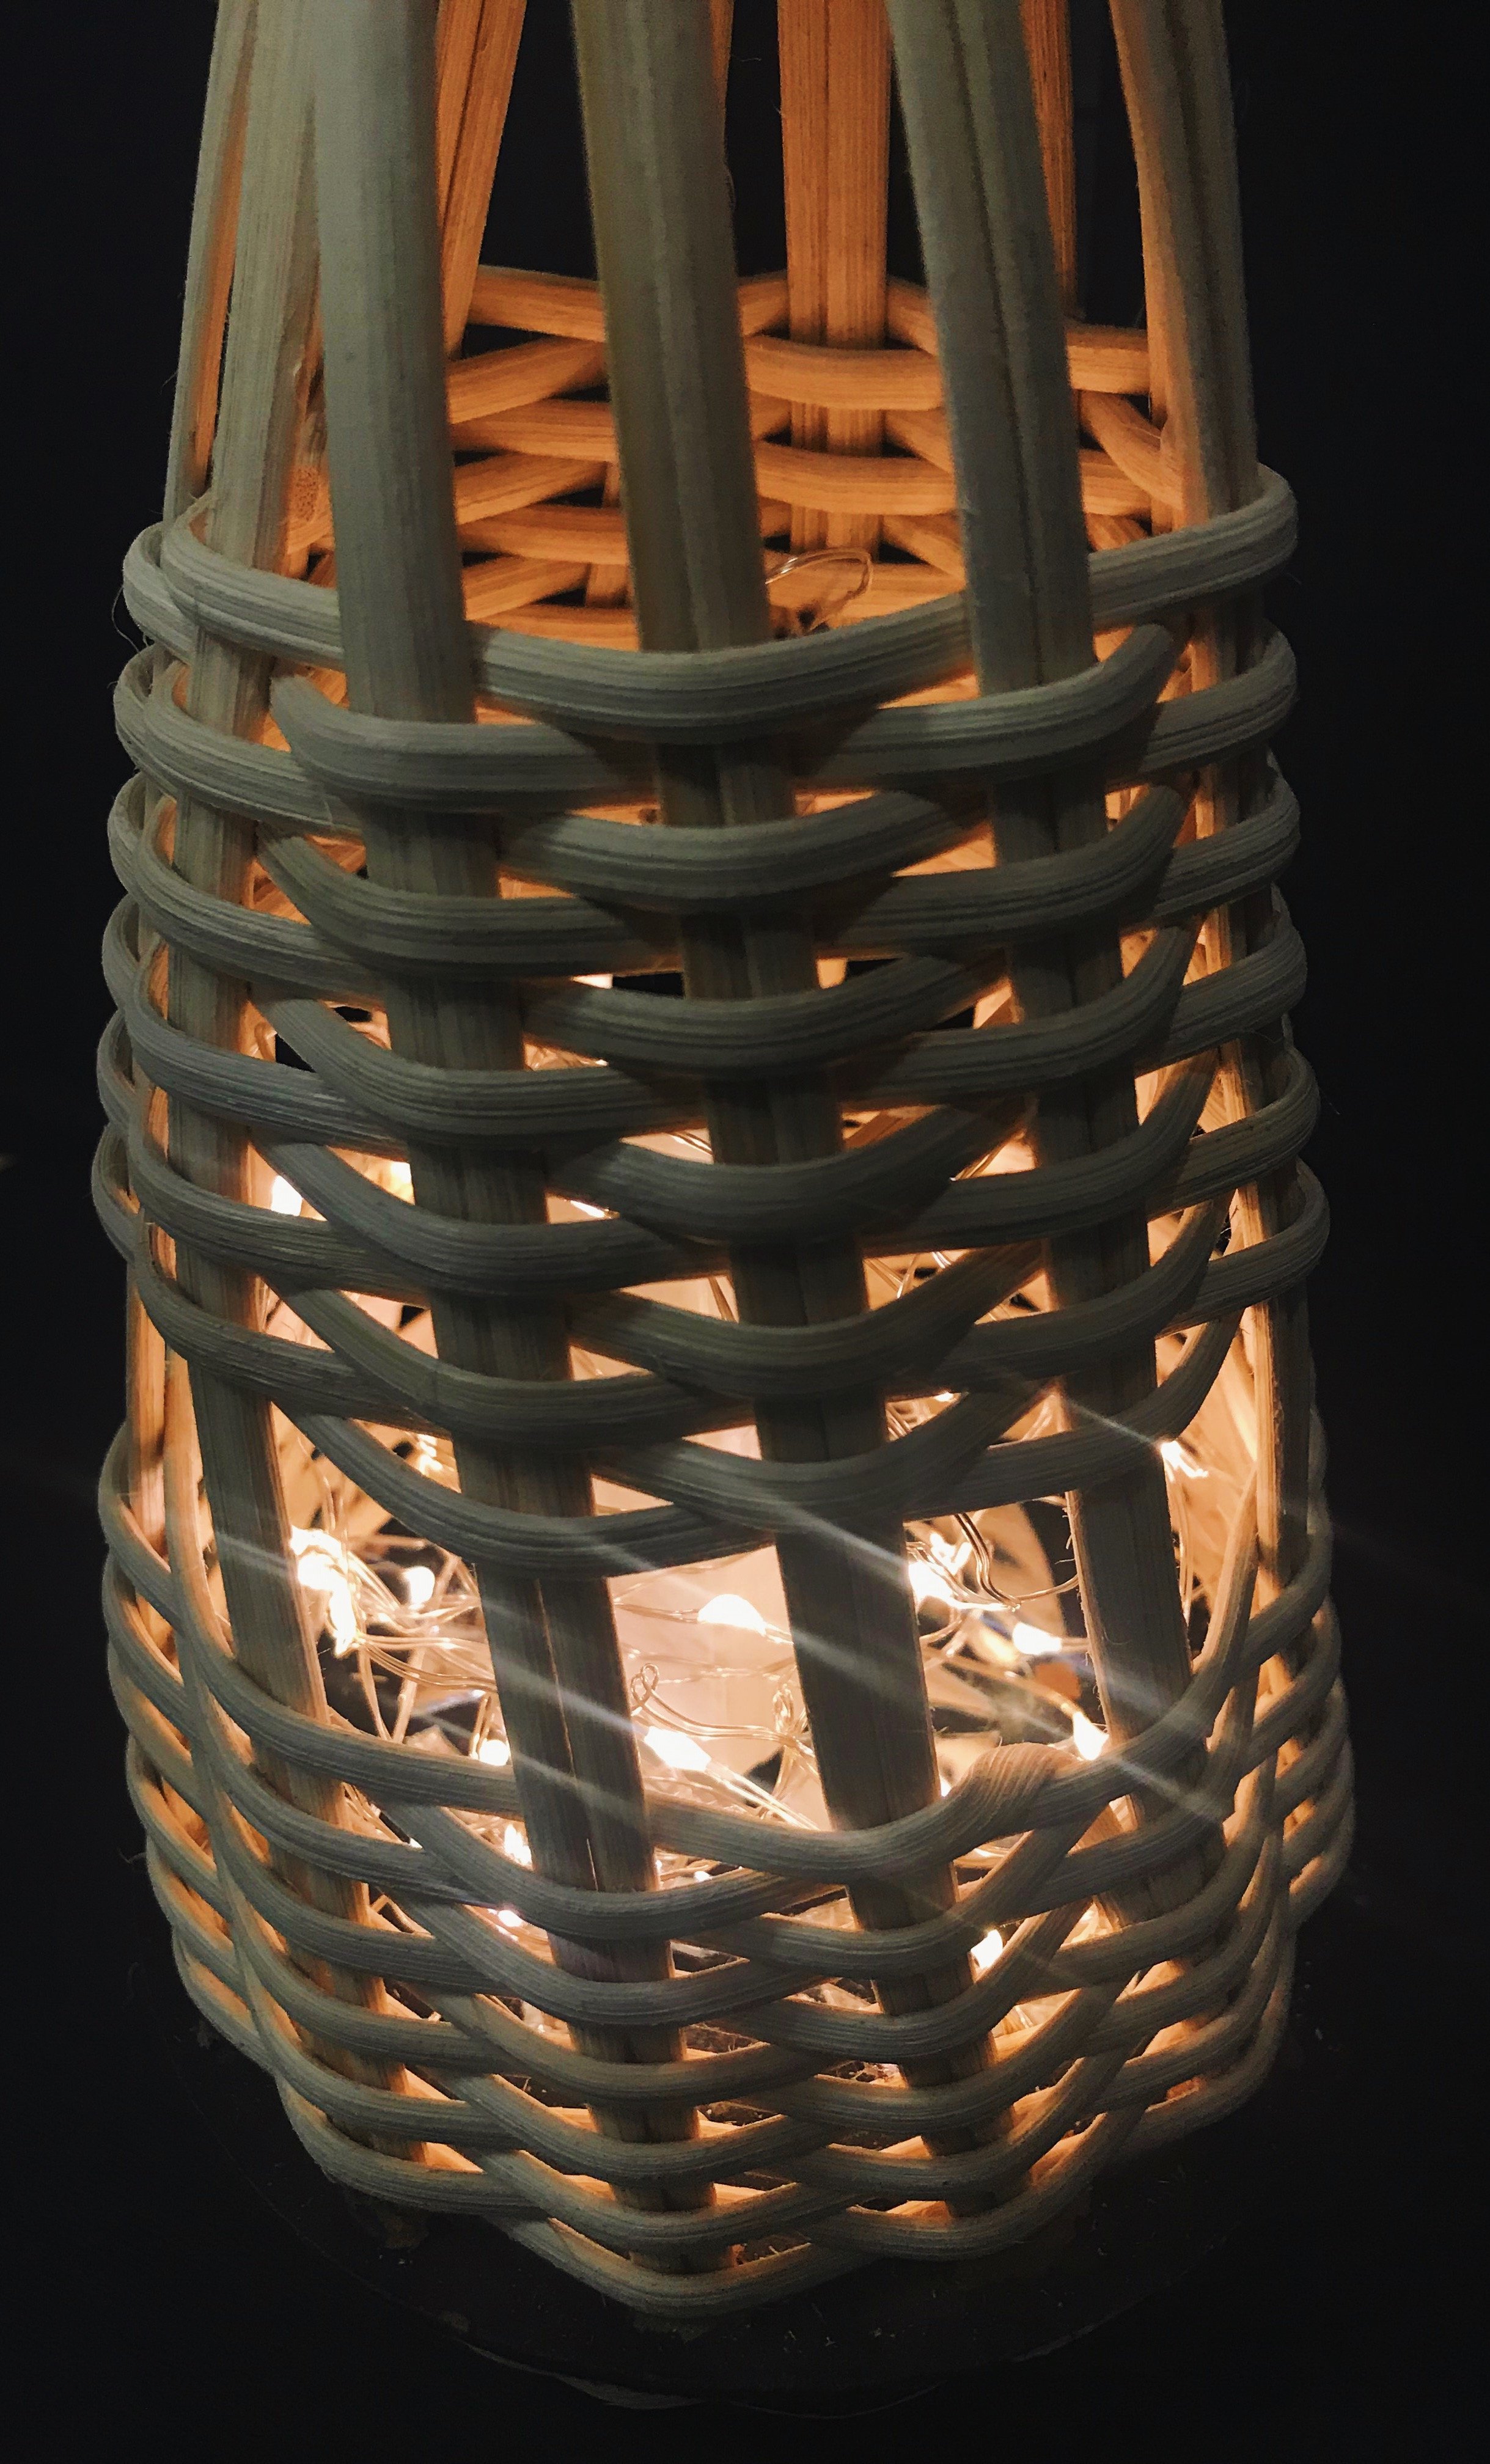
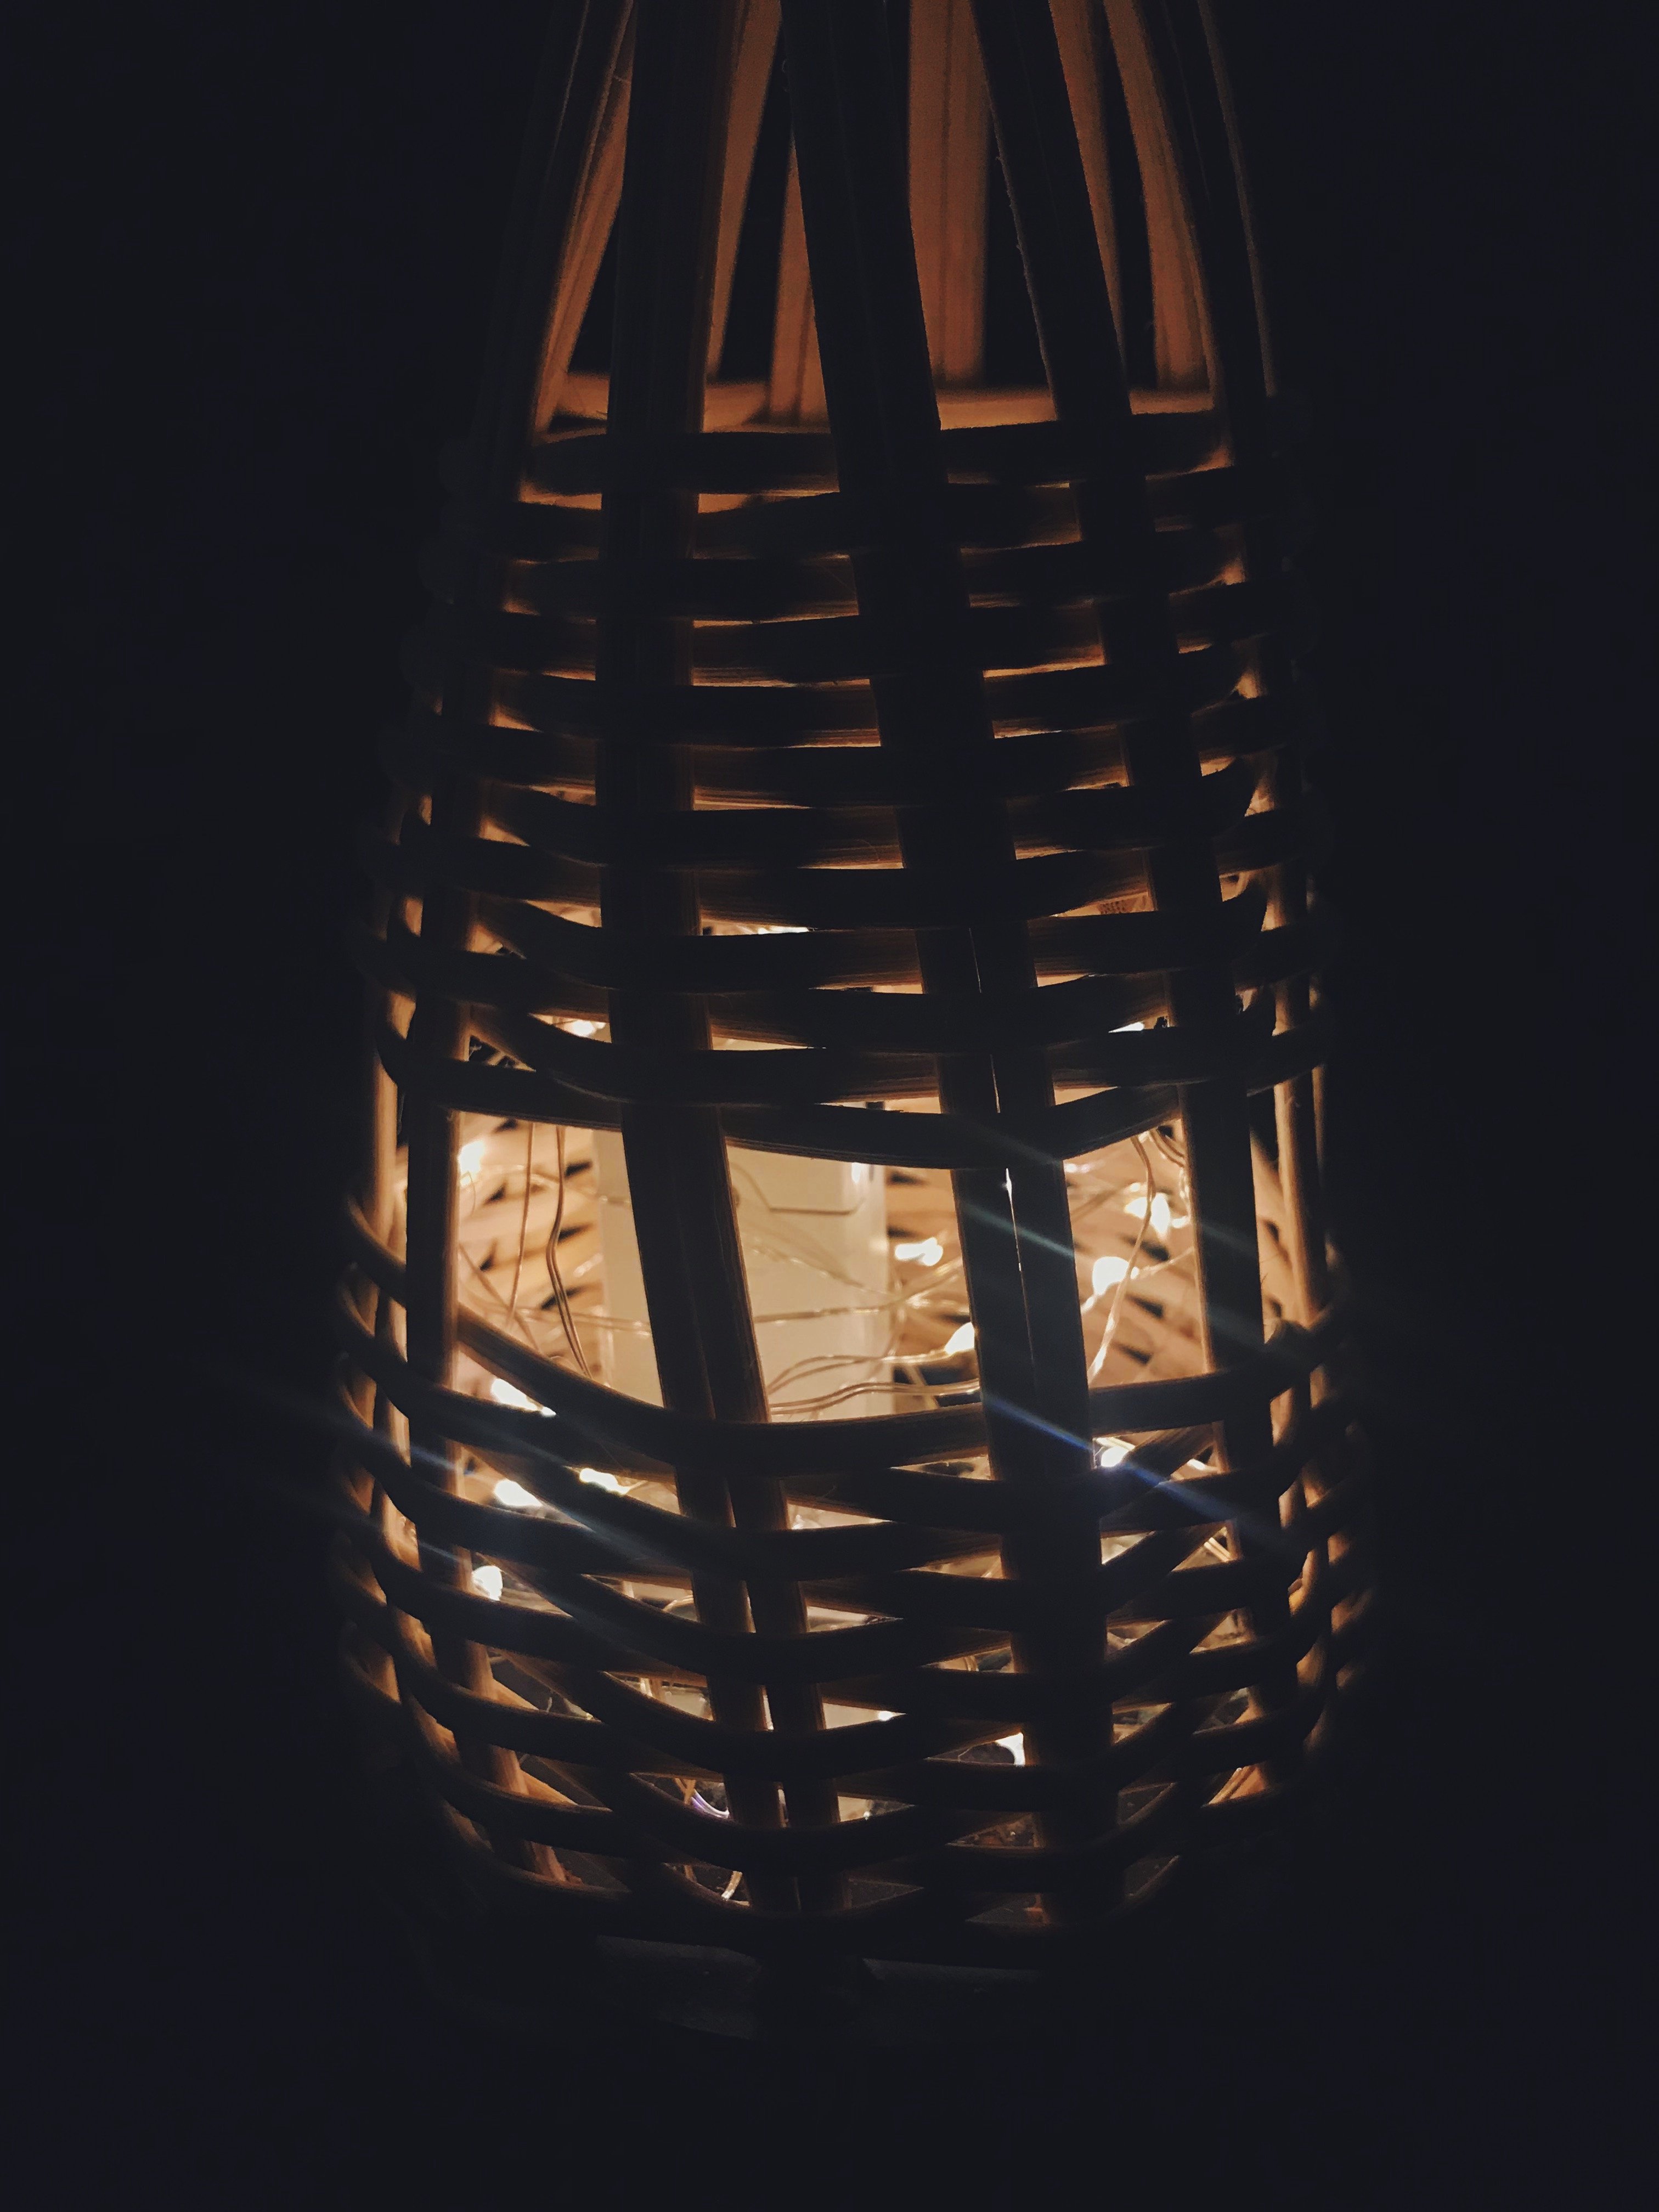
We wanted to add battery operated fairy lights into the 3D model. Hence, I brought it back and inserted the fairy lights before finishing it. Before that, we had discussed that we wanted a space between two sets of weaving as it will allow more light to be radiated out of the model to fit its functionality.
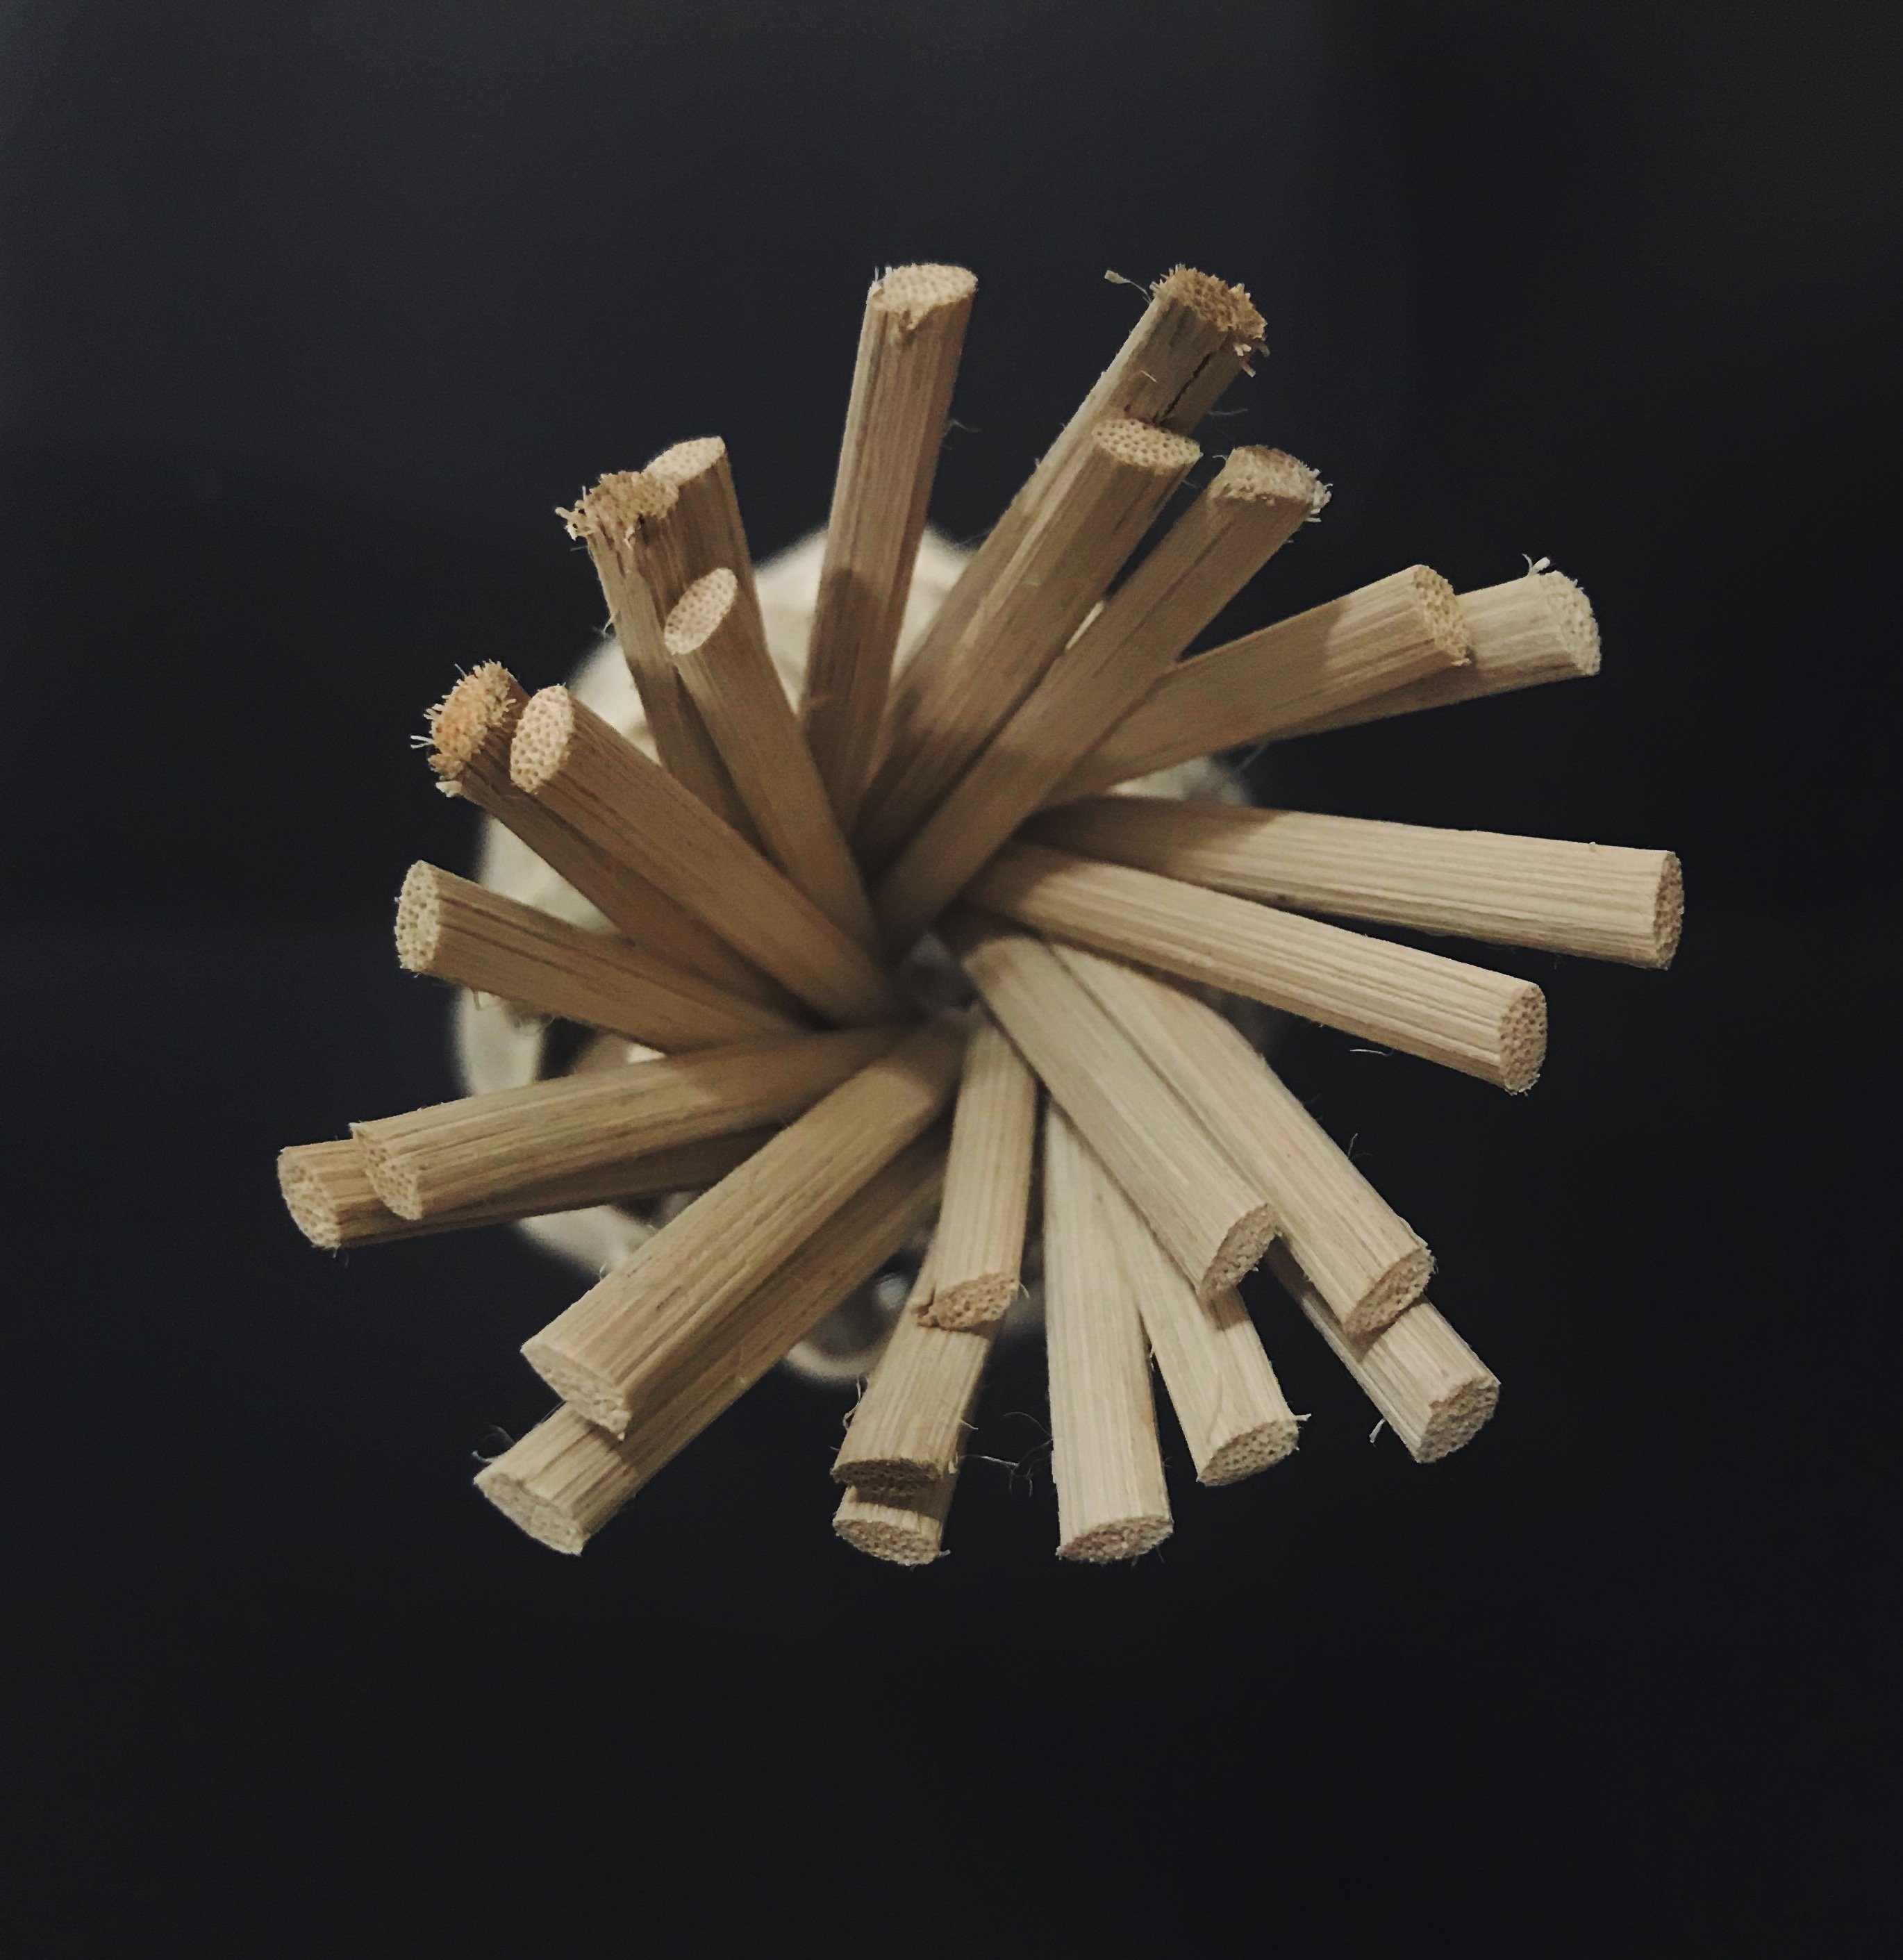
Finished the model off by bunching up the rattan and wrapping a piece of rattan around it. I tied it off with two knots (one in the front and the other in the back).
Overall, Ik and I are quite satisfied with our outcome despite the several hiccups we had. We learnt quite a bit about weaving and have a better understanding of the material.
One thing we would have done differently, given the chance, was to switch up the rattan for a thinner one like a cane or actual pine needles as it would create a better effect.
Micro-Project 3 was probably one of the most challenging one yet but definitely the one where I had the most fun.
For this project, we were required to create a final piece that was a collaborative effort. We all had to work towards a common goal to produce ONE final art piece.
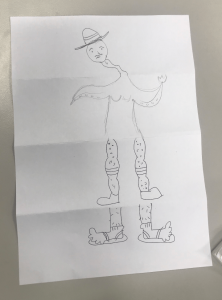
Lei introduced this concept to us by making us do a quick class activity. This was a surrealism game called, Exquisite Corpse. In a group of 4, we folded a piece of A4 paper into 4 sections. Each person had to draw according to the word/description given by Lei. This part of the drawing was to be continued by the next person who was not allowed to take a peek at the previous drawing. This continued on and we all got to see the final piece as we unfolded the drawing and see how our drawings connected to each other. In this case, we each get to draw a part of figure (person/creature/etc) which combined to form the following.
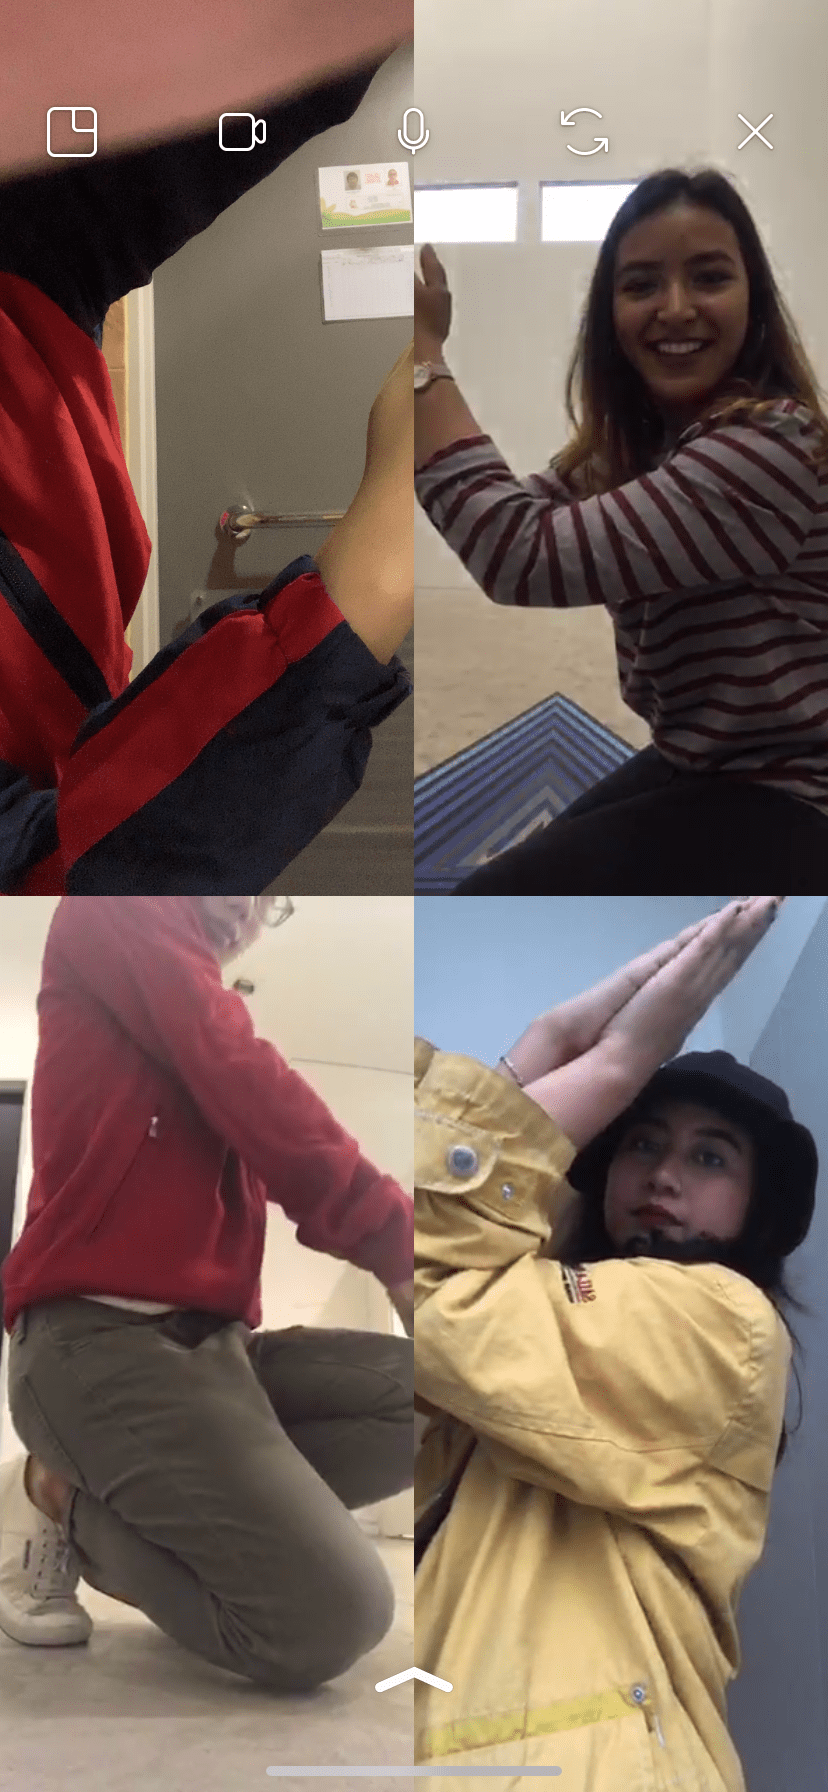
Afterwards, the Micro-Project 3 was introduced. The idea behind this project was to use a streaming platform that could connect the 4 for us in a group together, to produce content in a third space via Instagram video chat. We all had to be in different locations and we had to produce a final piece that would have a sense of continuity amongst the 4 of us!
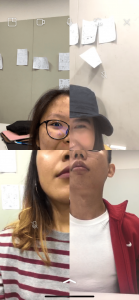
Before we decided on an idea, we attempted to match up our faces to see what we could work with. However, we failed miserably as seen from the photo below.
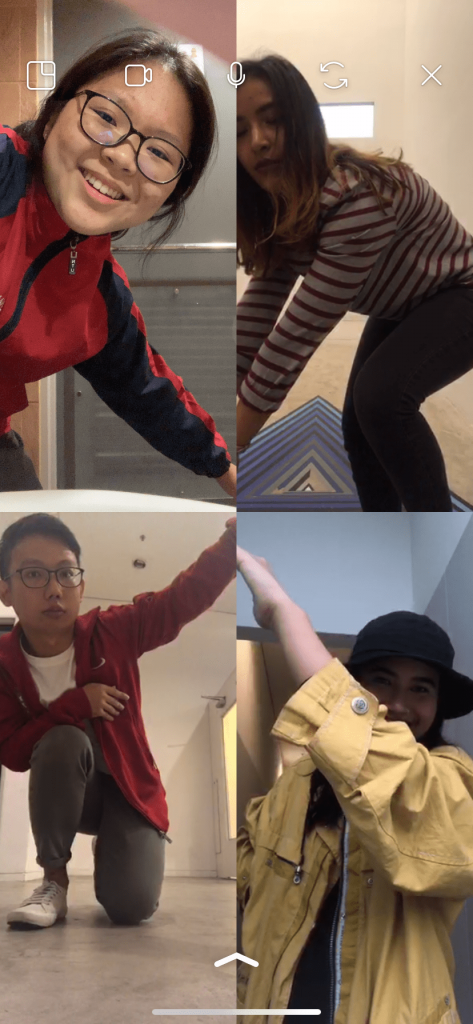
Hence, we used a different approach and planned things beforehand. Our main objective as a group was to have a dance choreography, singing a simple song that we all knew a.k.a. the Alphabet Song. We did not coordinate our dances but we did coordinate certain movements as it moves along one video to another to create an impact and to attempt to create a shape.
There were so many challenges that we faced. We all separated to different locations and ended up communicating via the video chat. This was especially challenging as firstly, communication was an issue. The timings as to when we spoke led to it being messy as we didn’t know which person was talking to who. There were times where we just gathered in person to discuss which wasn’t ideal given the nature of this project.
Another challenge we faced was coordinating the steps with each other. The positioning of our hands had to be in the right directions to form the shapes we wanted to create through the screen. This was especially difficult to coordinate given the fact that at times, the signal could be interfered and someone would end the call. Due to that, the positioning of each person on screen, would change. After several tries, we figured out that that could be solved by the timing in which each one of us picks up the call. Hence, we did that and coordinated the moves again.
We attempted a total of 4 times before we got the final video. Even so, we couldn’t get the audio to work. We did check to see if turned on the audio while recording the screen but it didn’t work. Hence, what we had to do was to recreate the audio separate from the video and edited it into the final piece.
All in all, although it was the most challenging micro-project we’ve done, I felt that this was the most fun I had. Creating content with other members and listening to everyone’s creative input was helpful to create the final piece. It was also interesting to see how each of us interpreted things.
That being said, to answer some questions,
1. Which project did you feel you had the most creative control? Why?
I felt that Micro-Project 1 was the one where I had the most creative control. This was because everything was entirely based on my own creative direction, my point of view, my curation of filters to use, etc. That’s when I felt that I had the most creative freedom. Micro-Project 3 was the one where I felt I had the least creative control given that we all had to work towards a common goal but had to do things together and work cooperatively. Sure, we could all chip in to give input, but ultimately, we all had to agree and come to a compromise which I feel limits one’s creative exploration.
2. Which project had the most unpredictable outcome? Why?
Personally, I felt like Micro-Project 2 had the most unpredictable outcome. This was because that although we had some control over what our participants get to choose since we curated the choices, we still were not able to control their responses based on the polls we did. The participants had full control given the choices we provide. Therefore, I feel that that was the most unpredictable outcome as we could not have be sure of the choices our participants made collectively.
3. Which project best illustrates the concepts of DIWO & Open–Source? Why?
This is tricky given that all the projects resulted into a final piece that involved a collaborative effort.
If I had to choose one, I would say that Micro-Project 1 illustrated the concept of Open Source best while Micro-Project 3 illustrates DIWO best. To me, they’re slightly different; DIWO & Open Source.
Micro-Project 1 illustrates the concept of Open Source as the hashtag, collectively, as an outsider, it provides a more holistic insight into the life of an ADM student. It was a collective effort from differing opinions and views. Therefore, I felt like viewers are able to take what they may and interpret things accordingly which essentially highlights the strength of Open Source. I see Open Source as an inspirational outlet where people come to share their common knowledge.
Micro-Project 3 illustrates DIWO best because it involved the thorough and active participation of all the members to work towards a roughly planned common goal. As the name suggests, I think that the concept of Do-It-With-Others involves people working towards the same objective and building on each other’s ideas.


Recent Comments