Part 1
Moving on from a weaving assignment before this one, Part 1 requires us to select a minimum of 2 verbs (from: WRAP . PUNCTURE . CRADLE/GRAB . BIND . SLIDE . LIFT) and come up with 4 expressions that expresses the verbs.
I chose Wrap and Bind as my verbs and did some sketches as I attempt on the expressions. I did some research and was more drawn to the play on ropes and I decided that that would be one of my material along with cane. Figured the two would be a pretty interesting and unifying combination given its ‘raw’ nature.
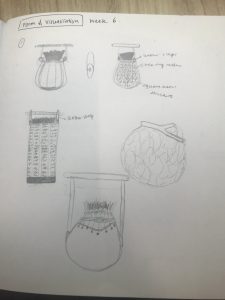
Sketches:
Process for Expressions:
FINAL 4 expressions:
Part 2
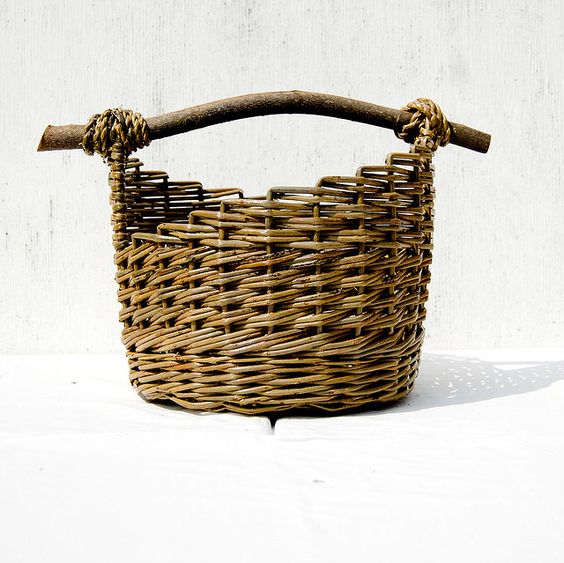
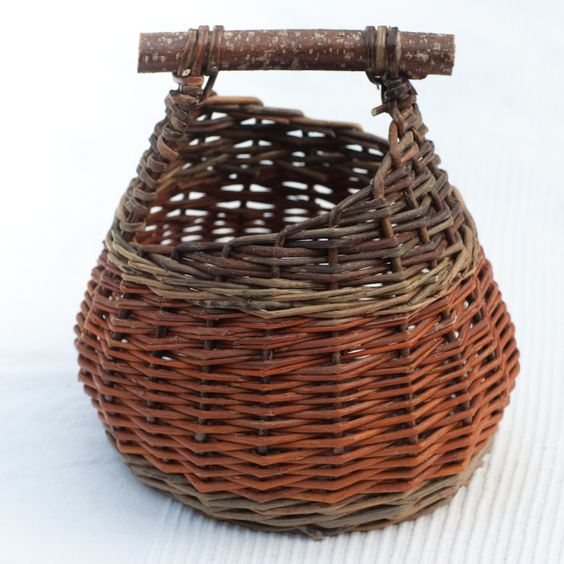
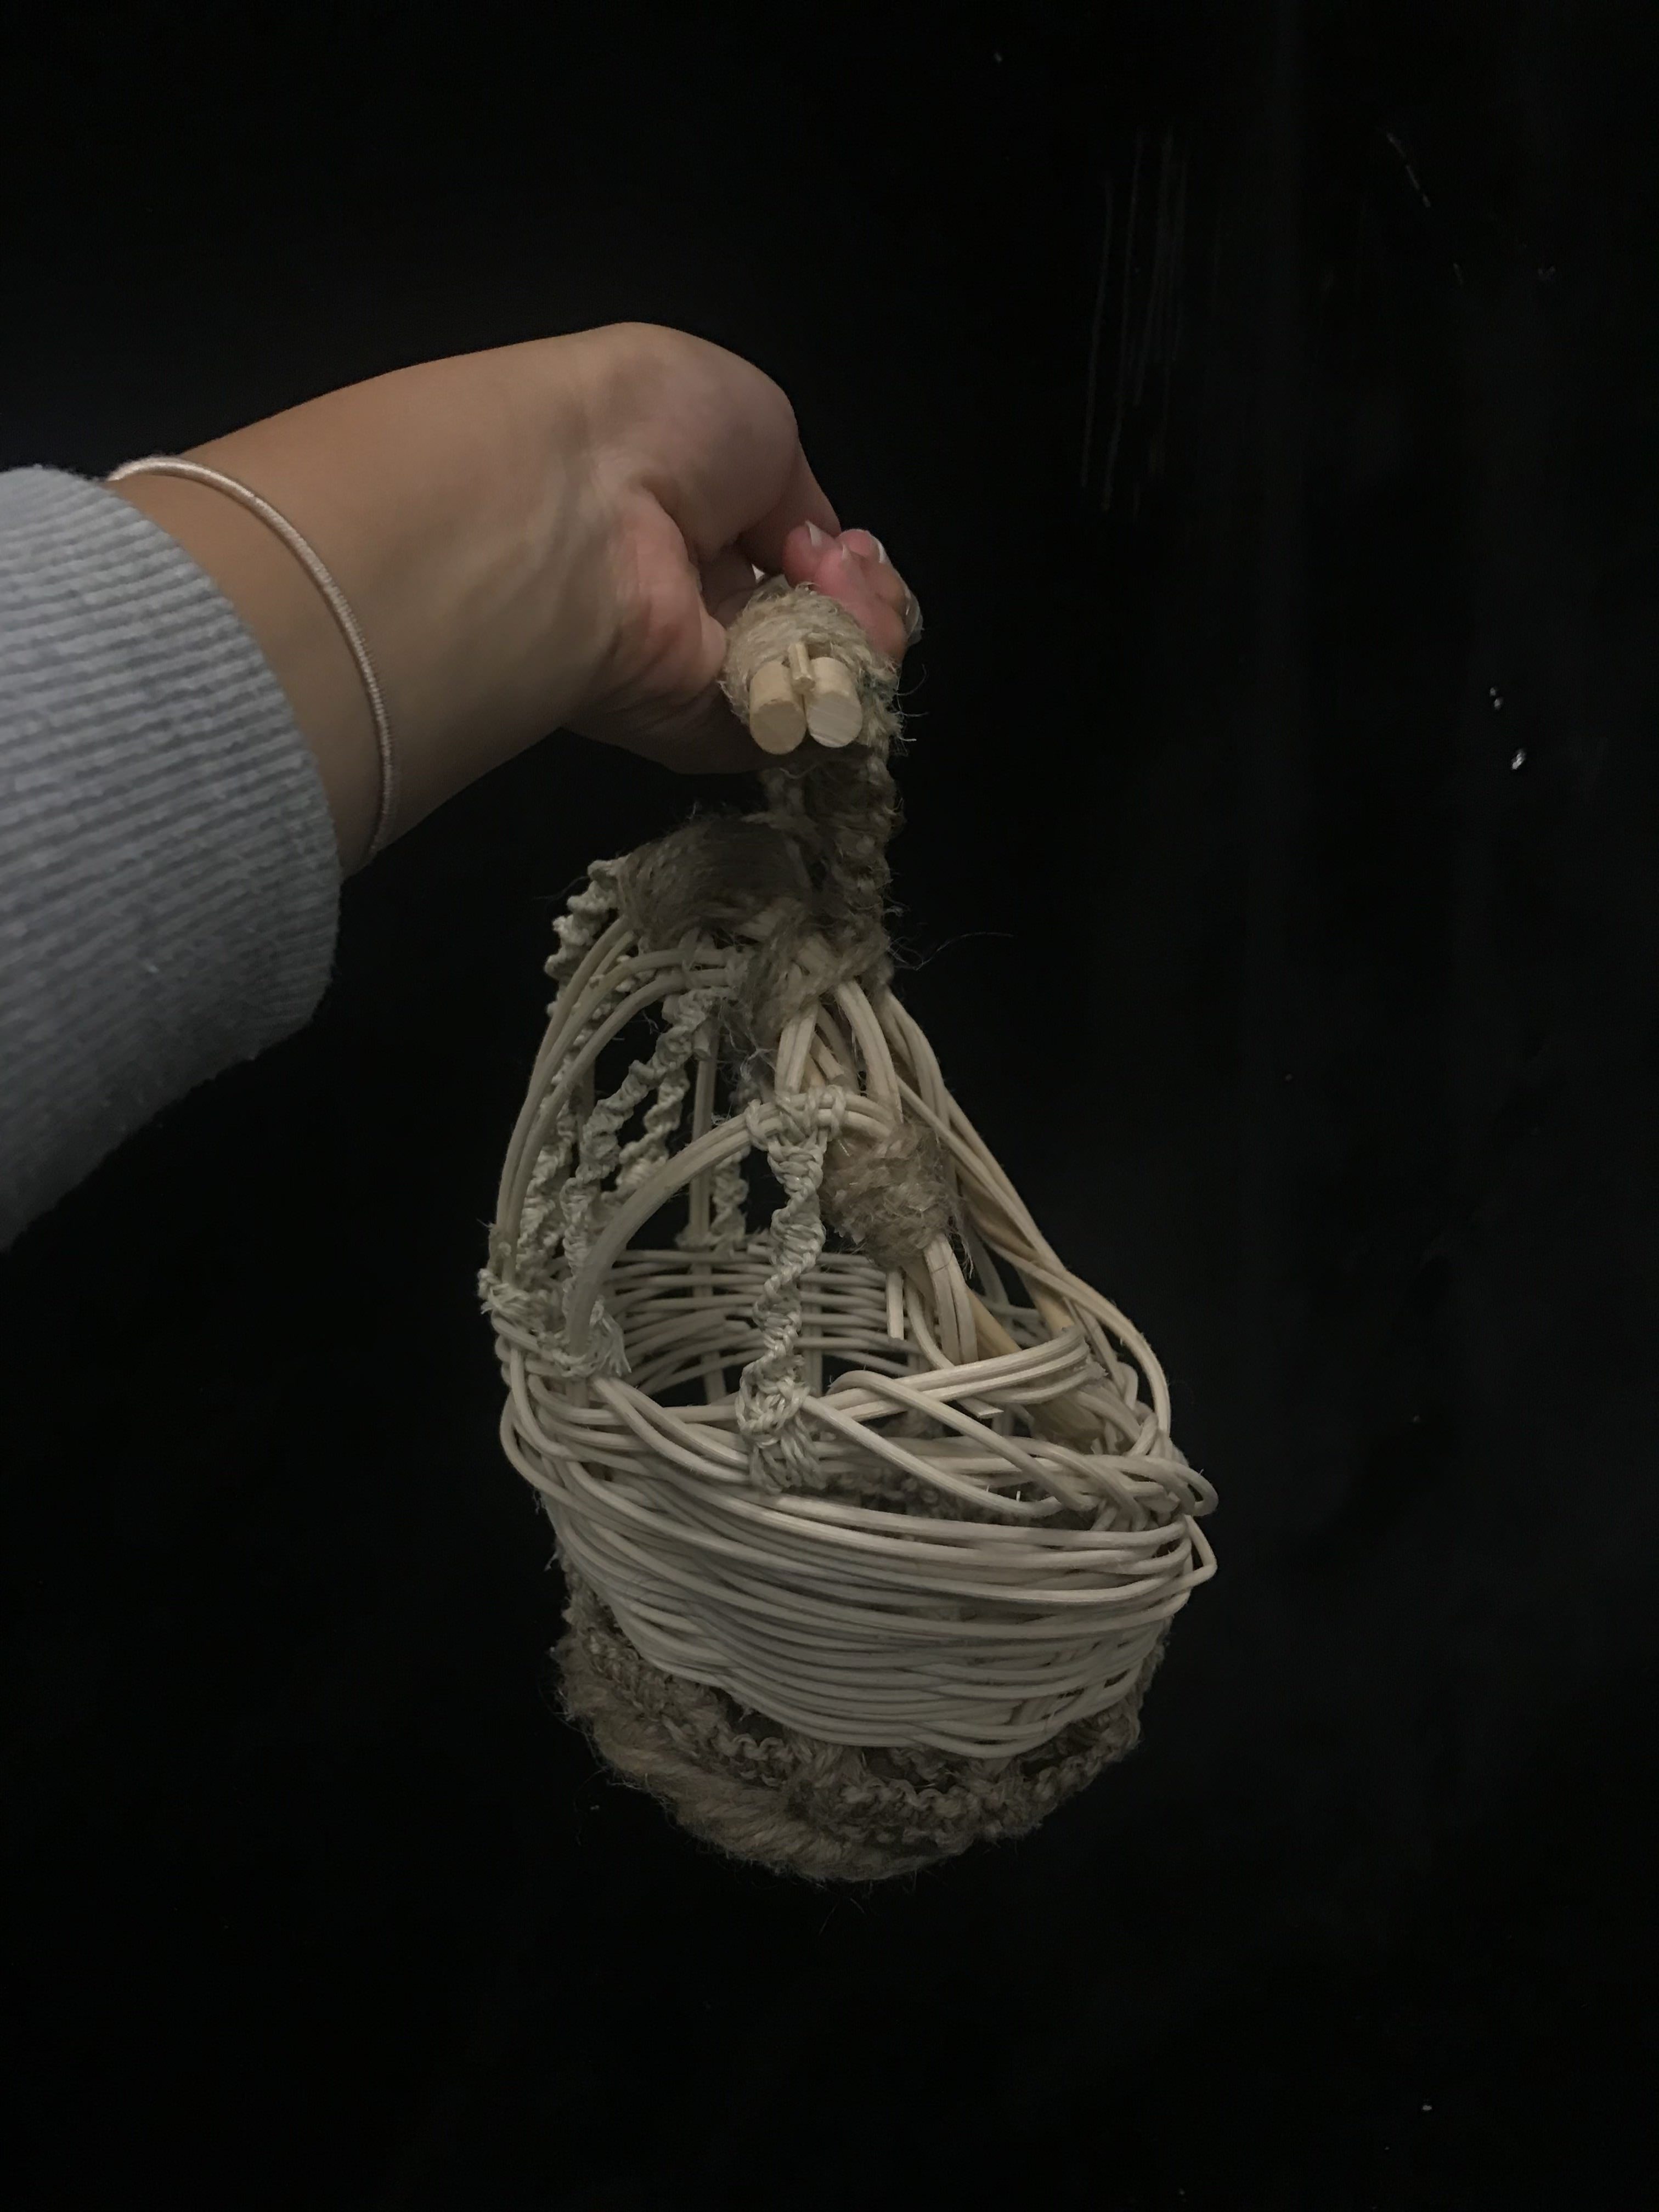
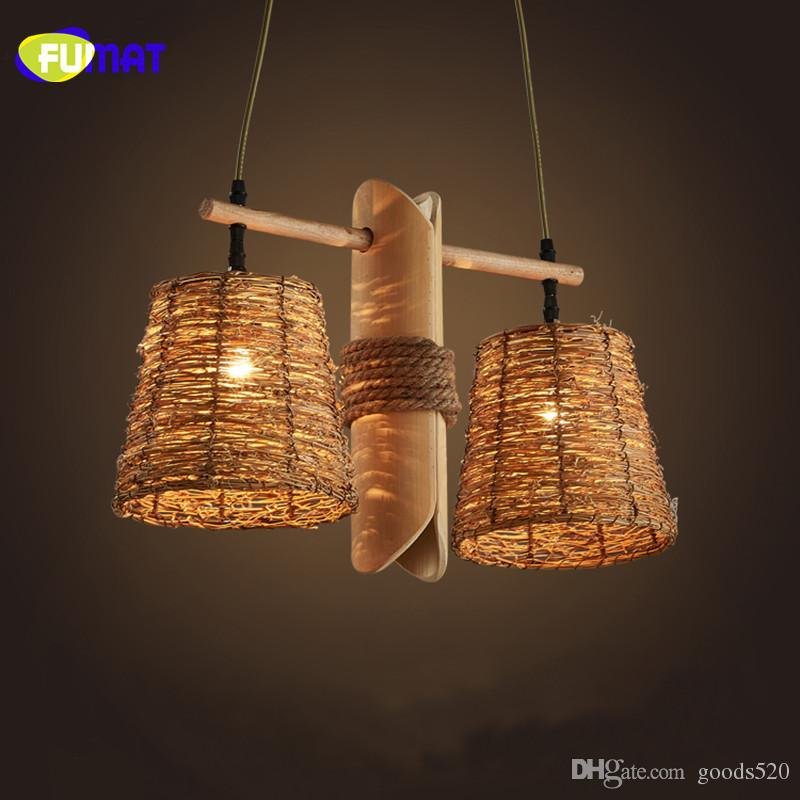
For the second part, we had to create a vessel that is to be held, worn or carried. I looked up some photos for inspiration and was steered to the idea of my final product being a bag of some sort.
Originally, this was my inspiration photo:
I did some sketches to generate some ideas for consultation.
I liked the more curvilinear shapes as they felt more organic and tied better with the materials I had in mind. I sketched these based on the 4 expressions I had in Part 1.
Upon consultation, I decided to pick number 1 as my final product. I wanted it to have spaces so that a complimentary fabric would peek through. I did not want it to all be covered in the weaving expression.
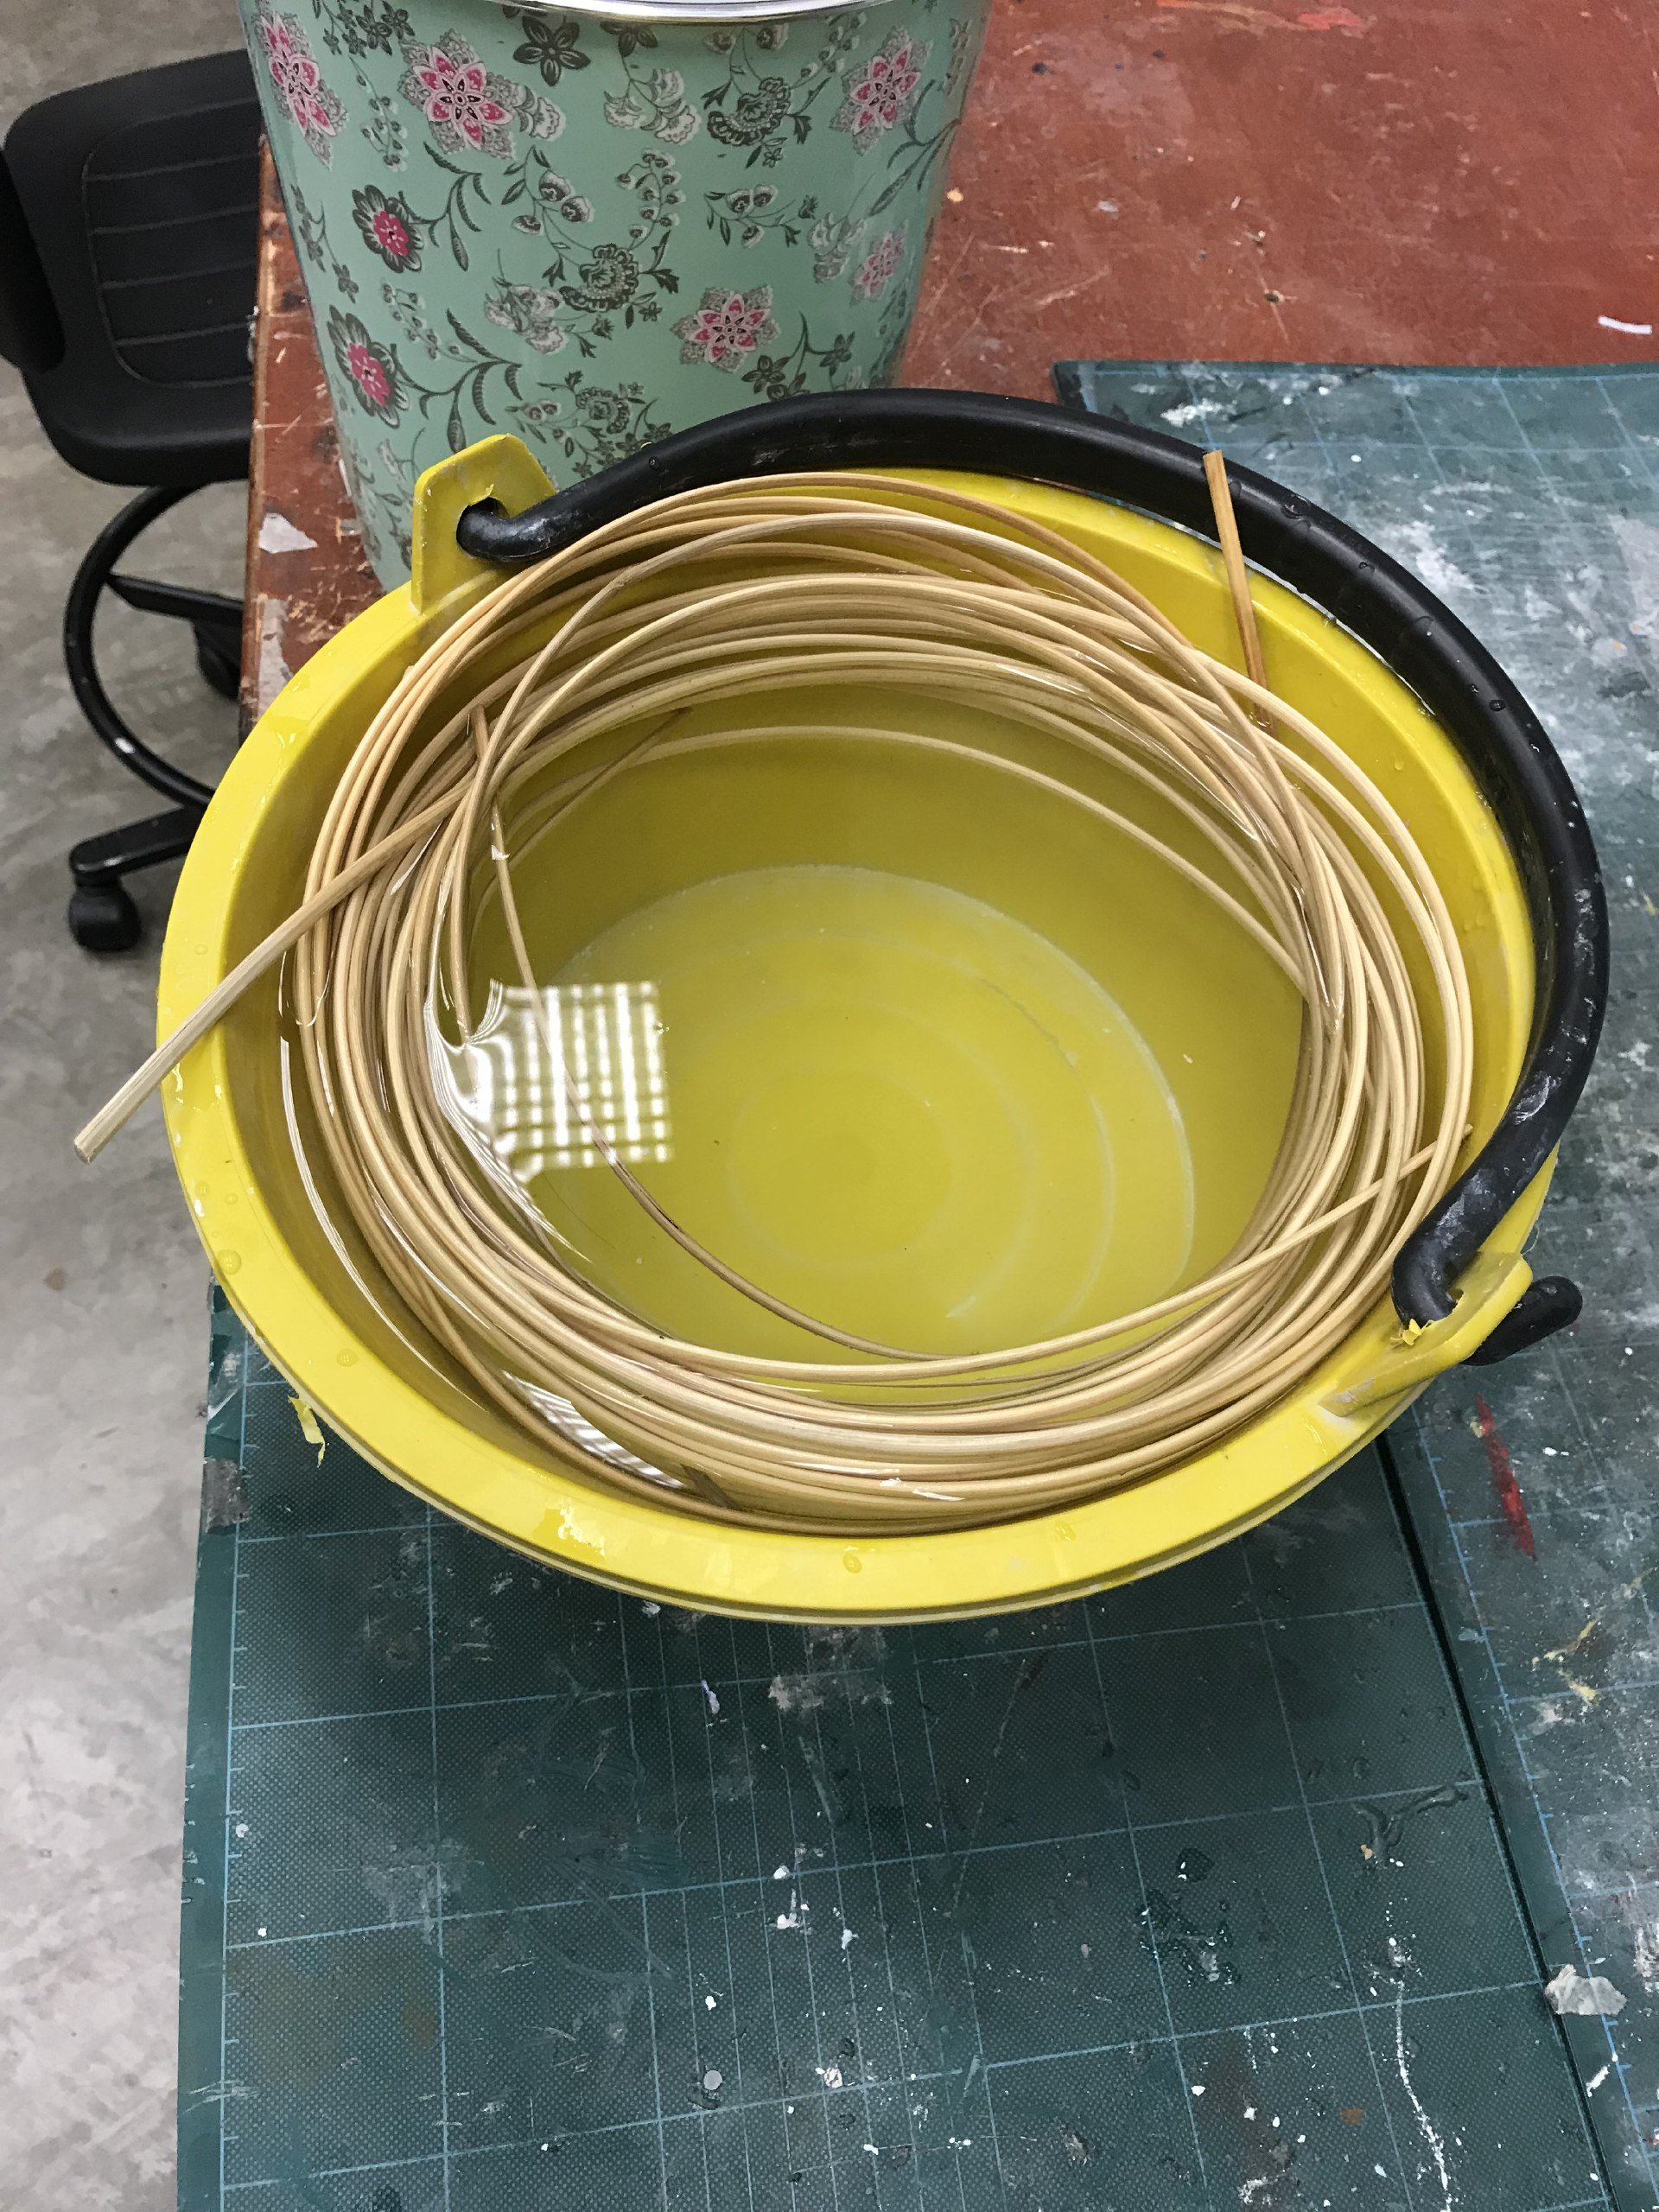
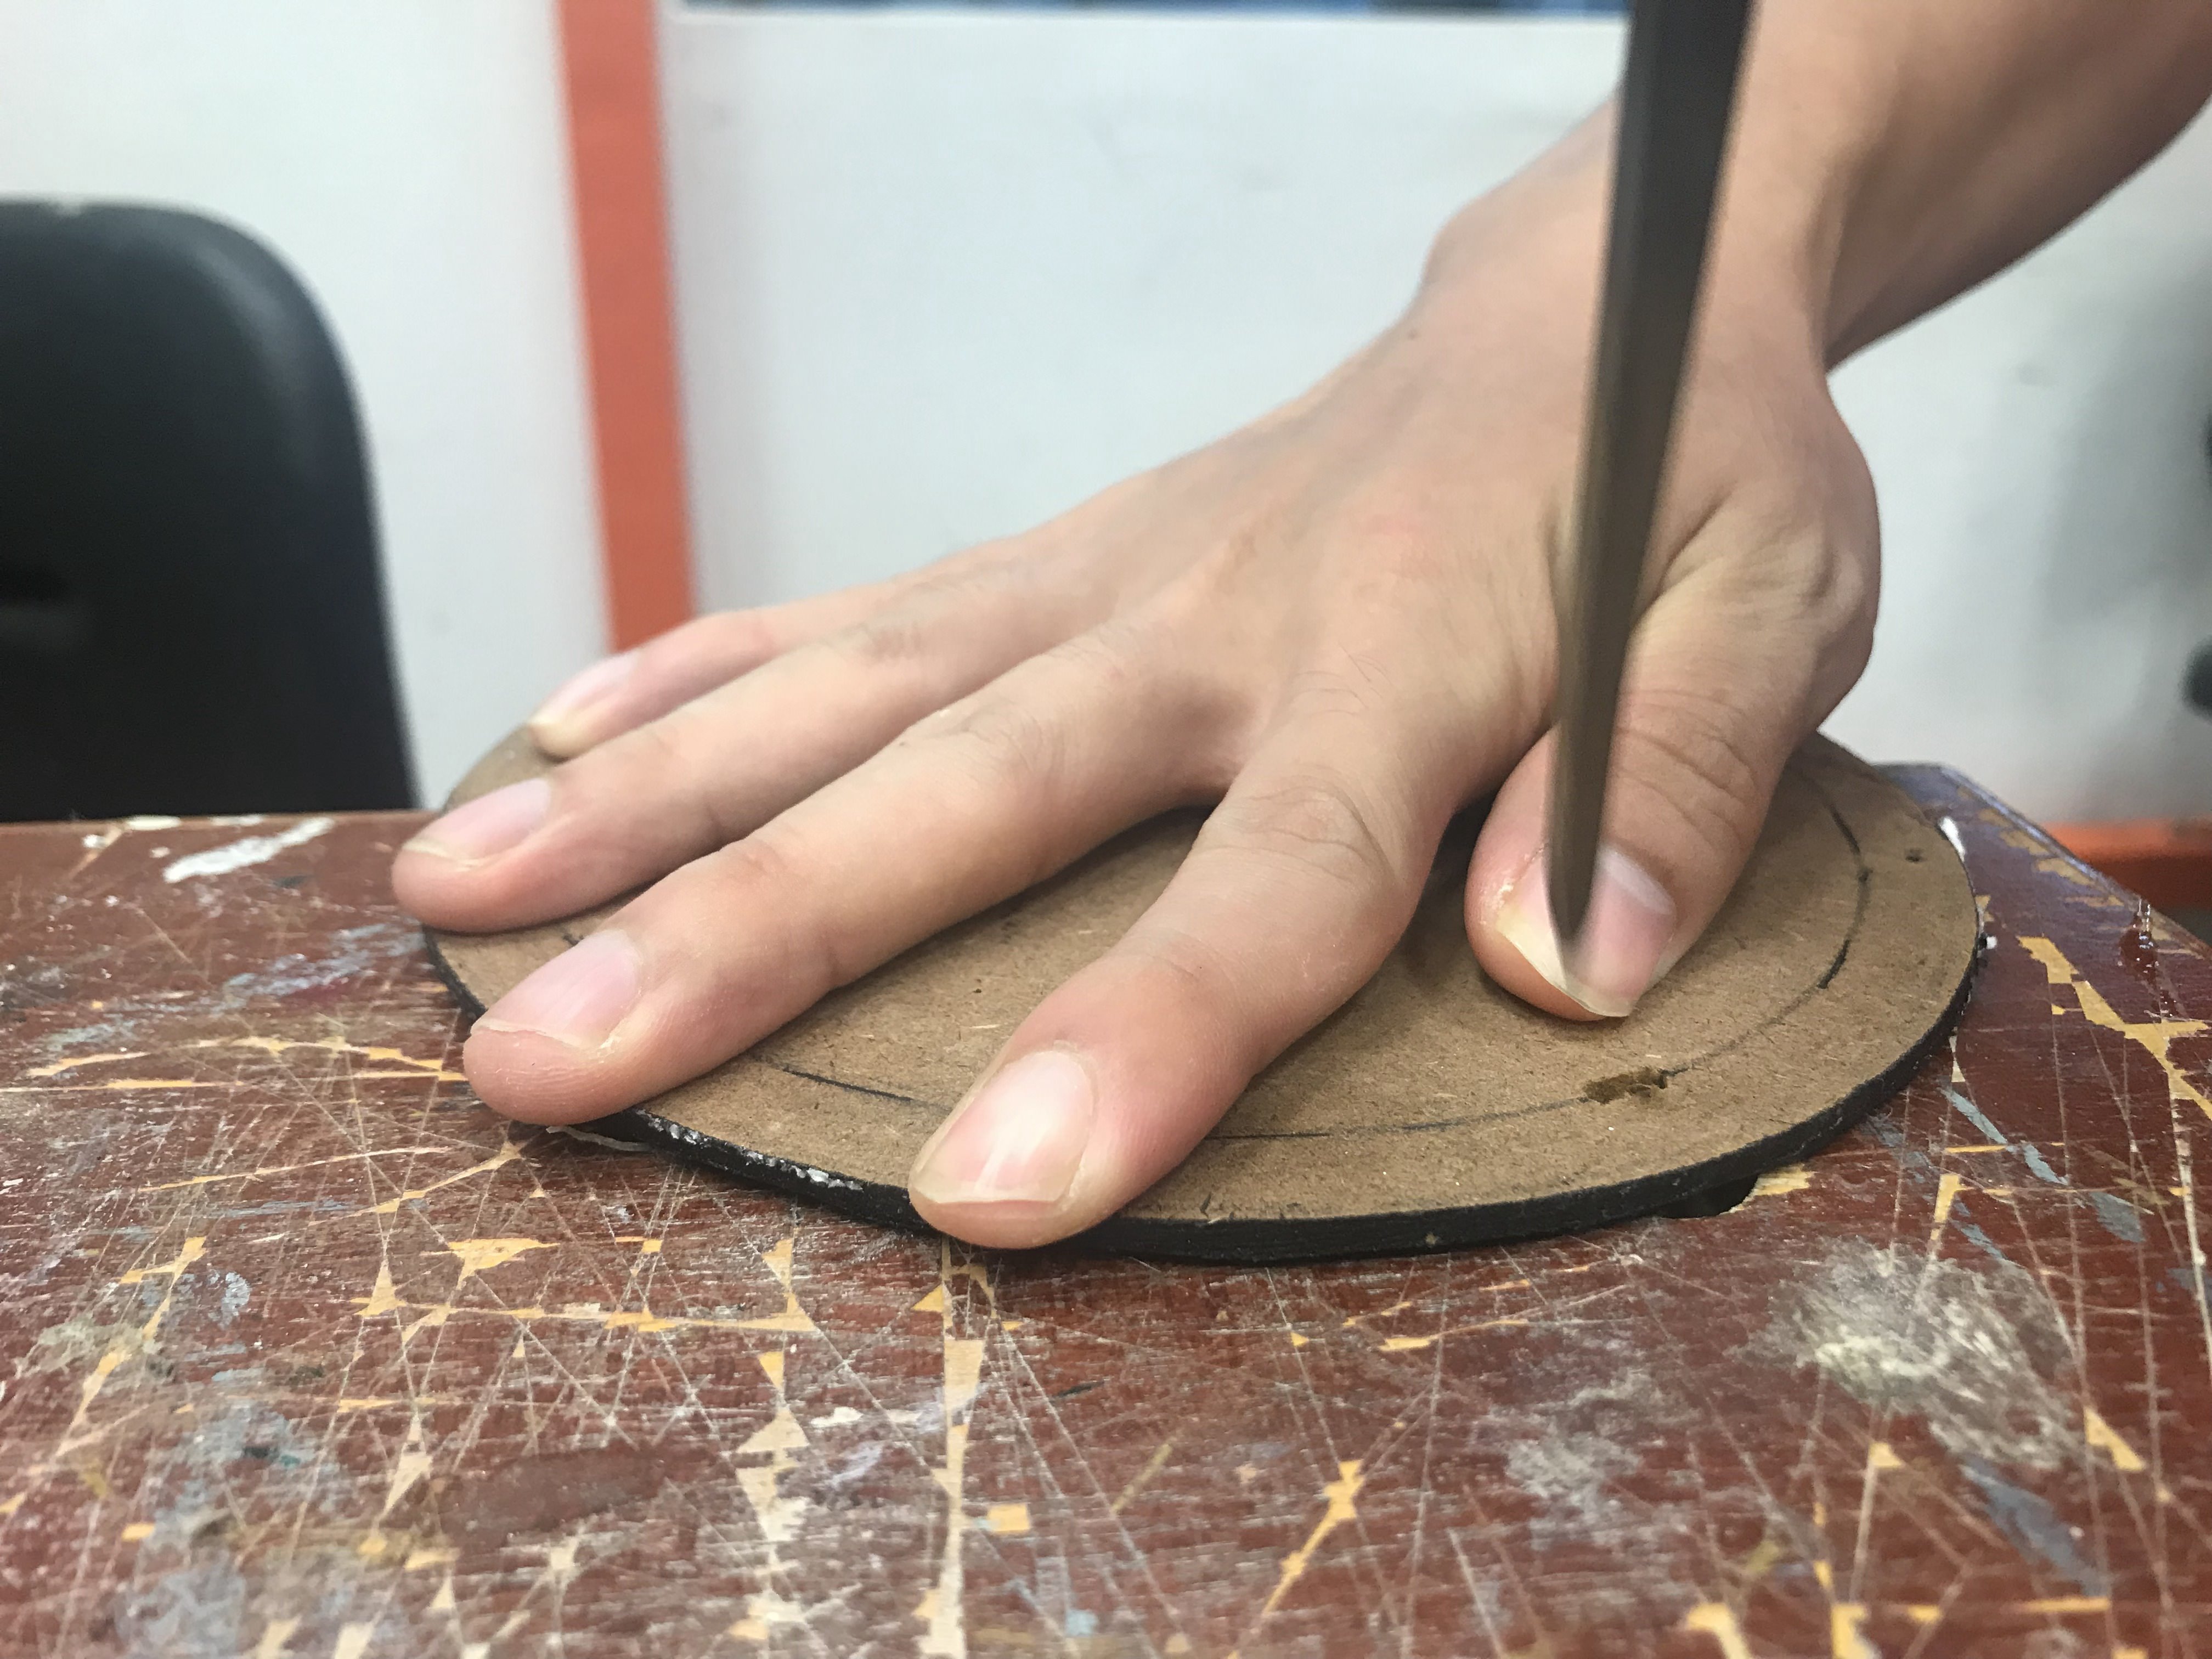
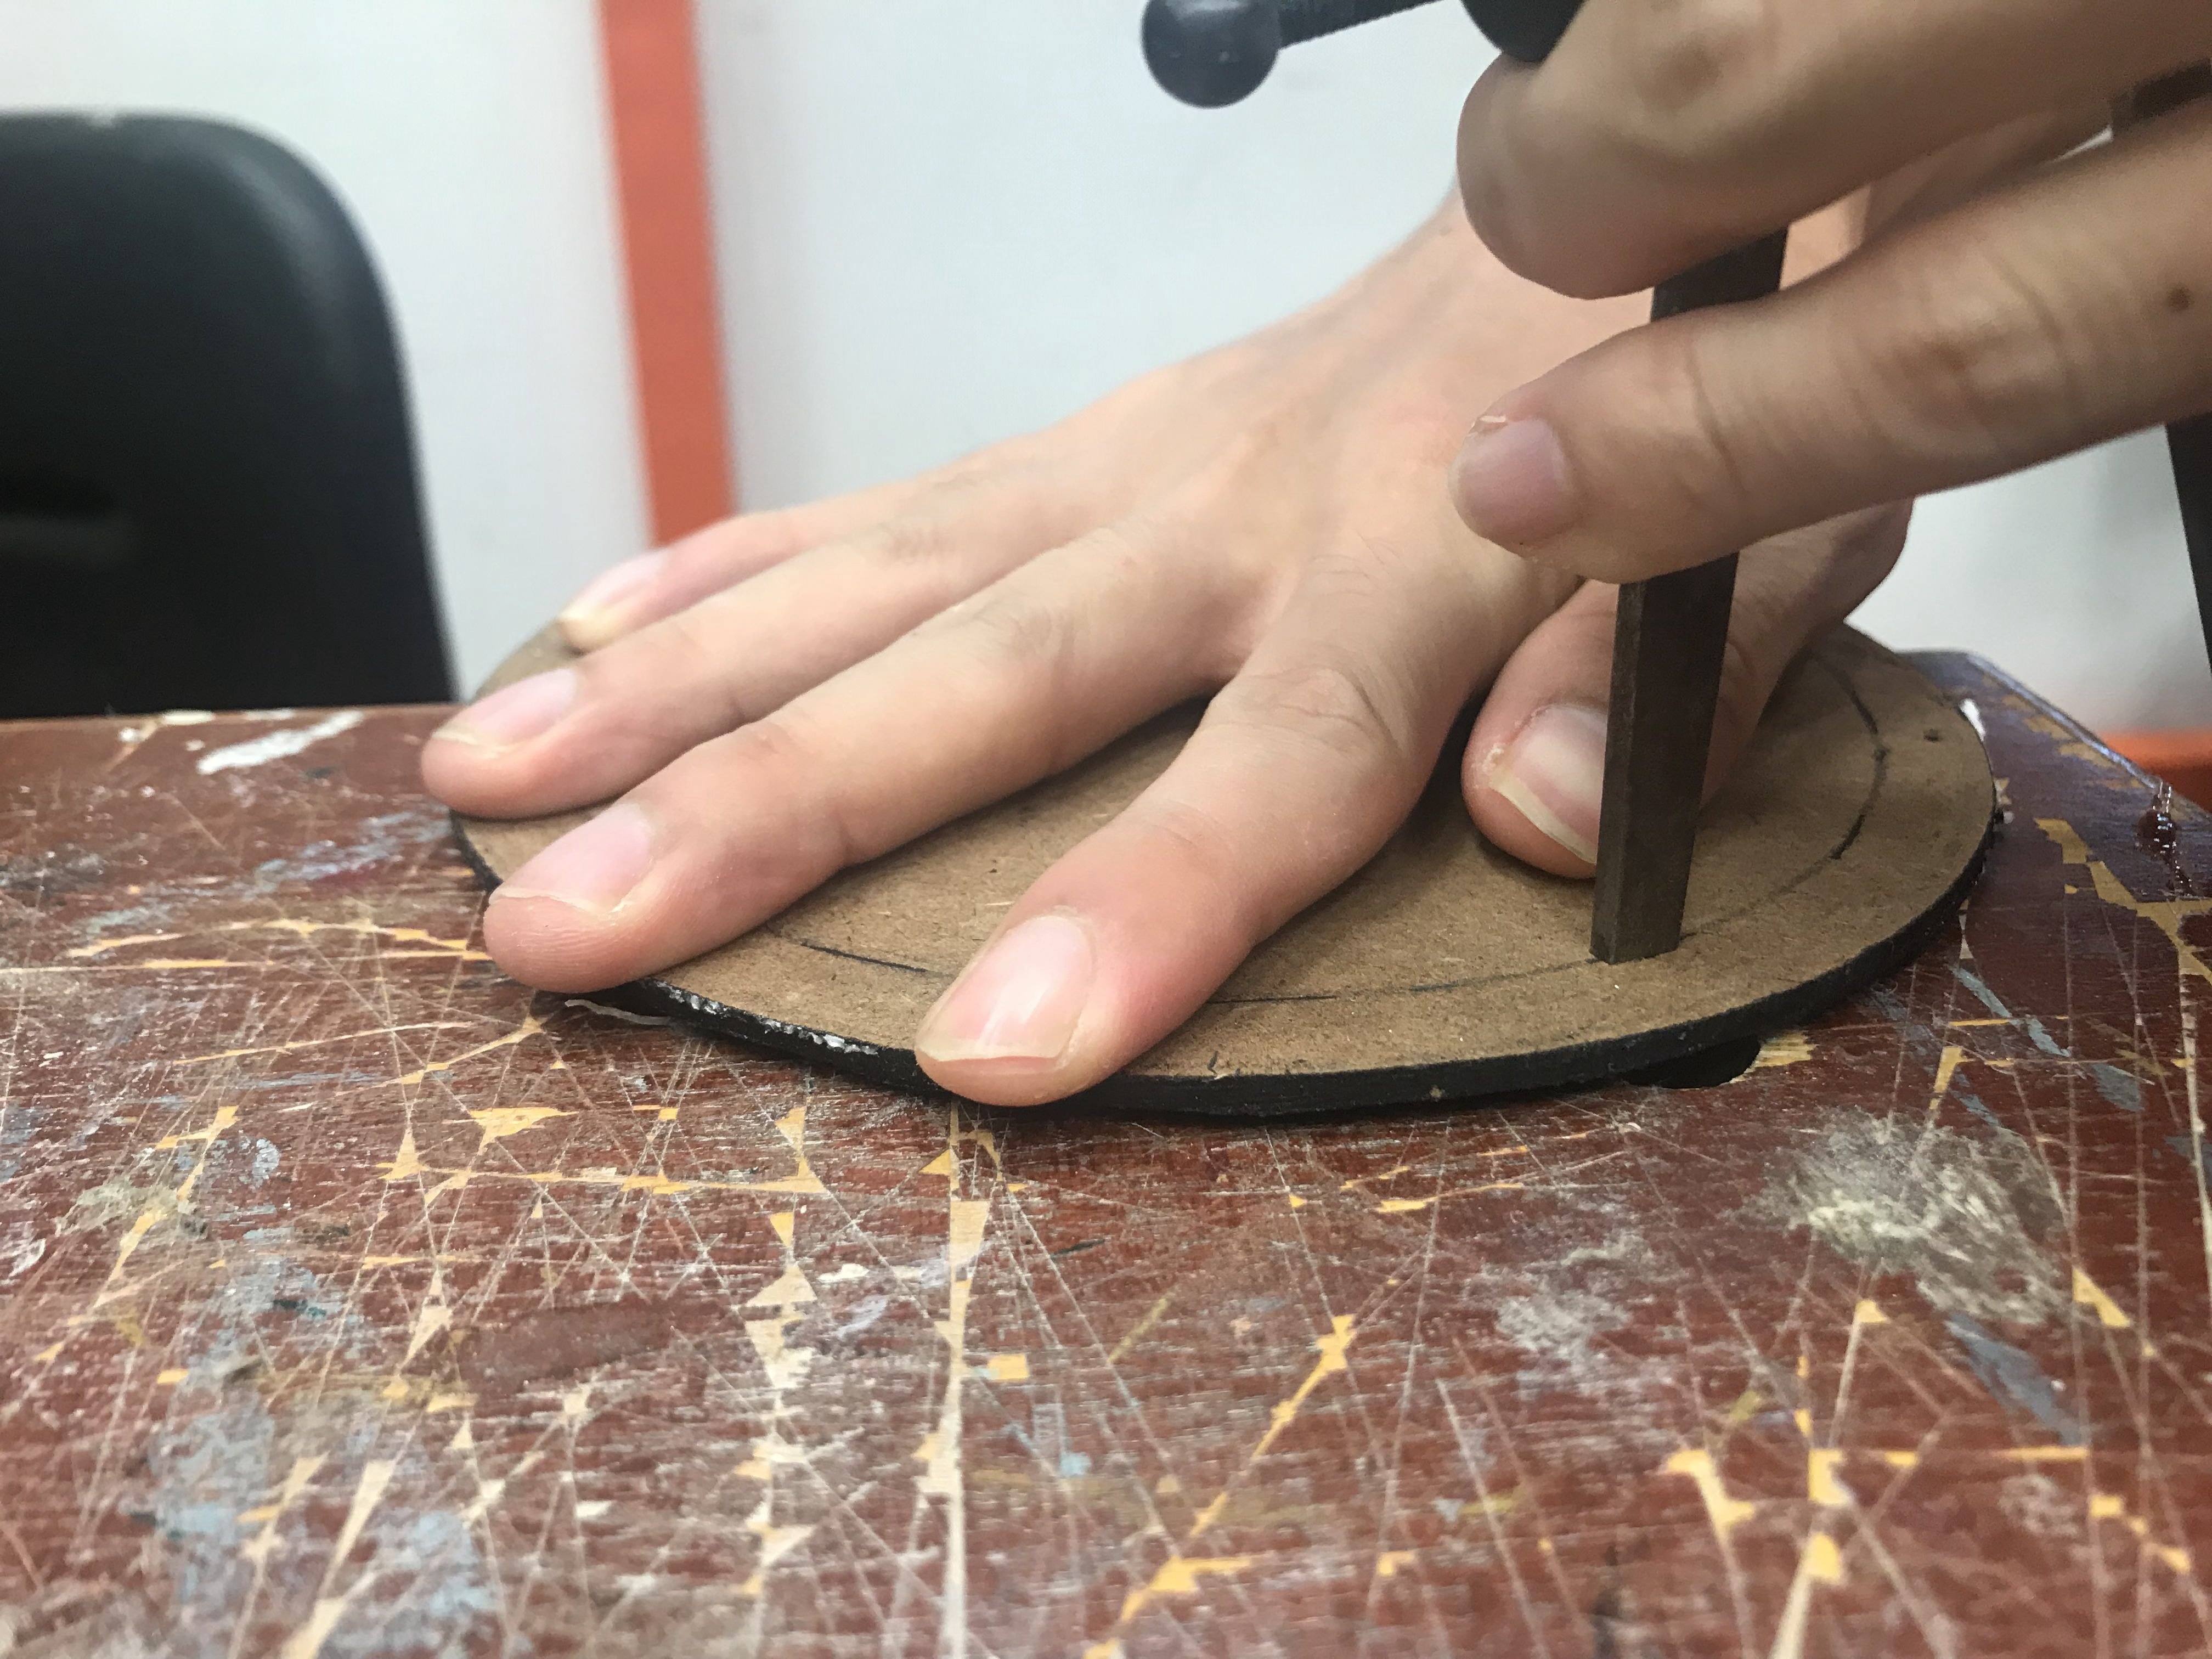
At first, I wanted to use wires as the base and weave cane through it. However, upon consideration, I realised that attaching it together would be a problem as I wasn’t familiar with soldering and I was also pressed for time. Hence, I decided to go ahead with having weaved cane as the base.
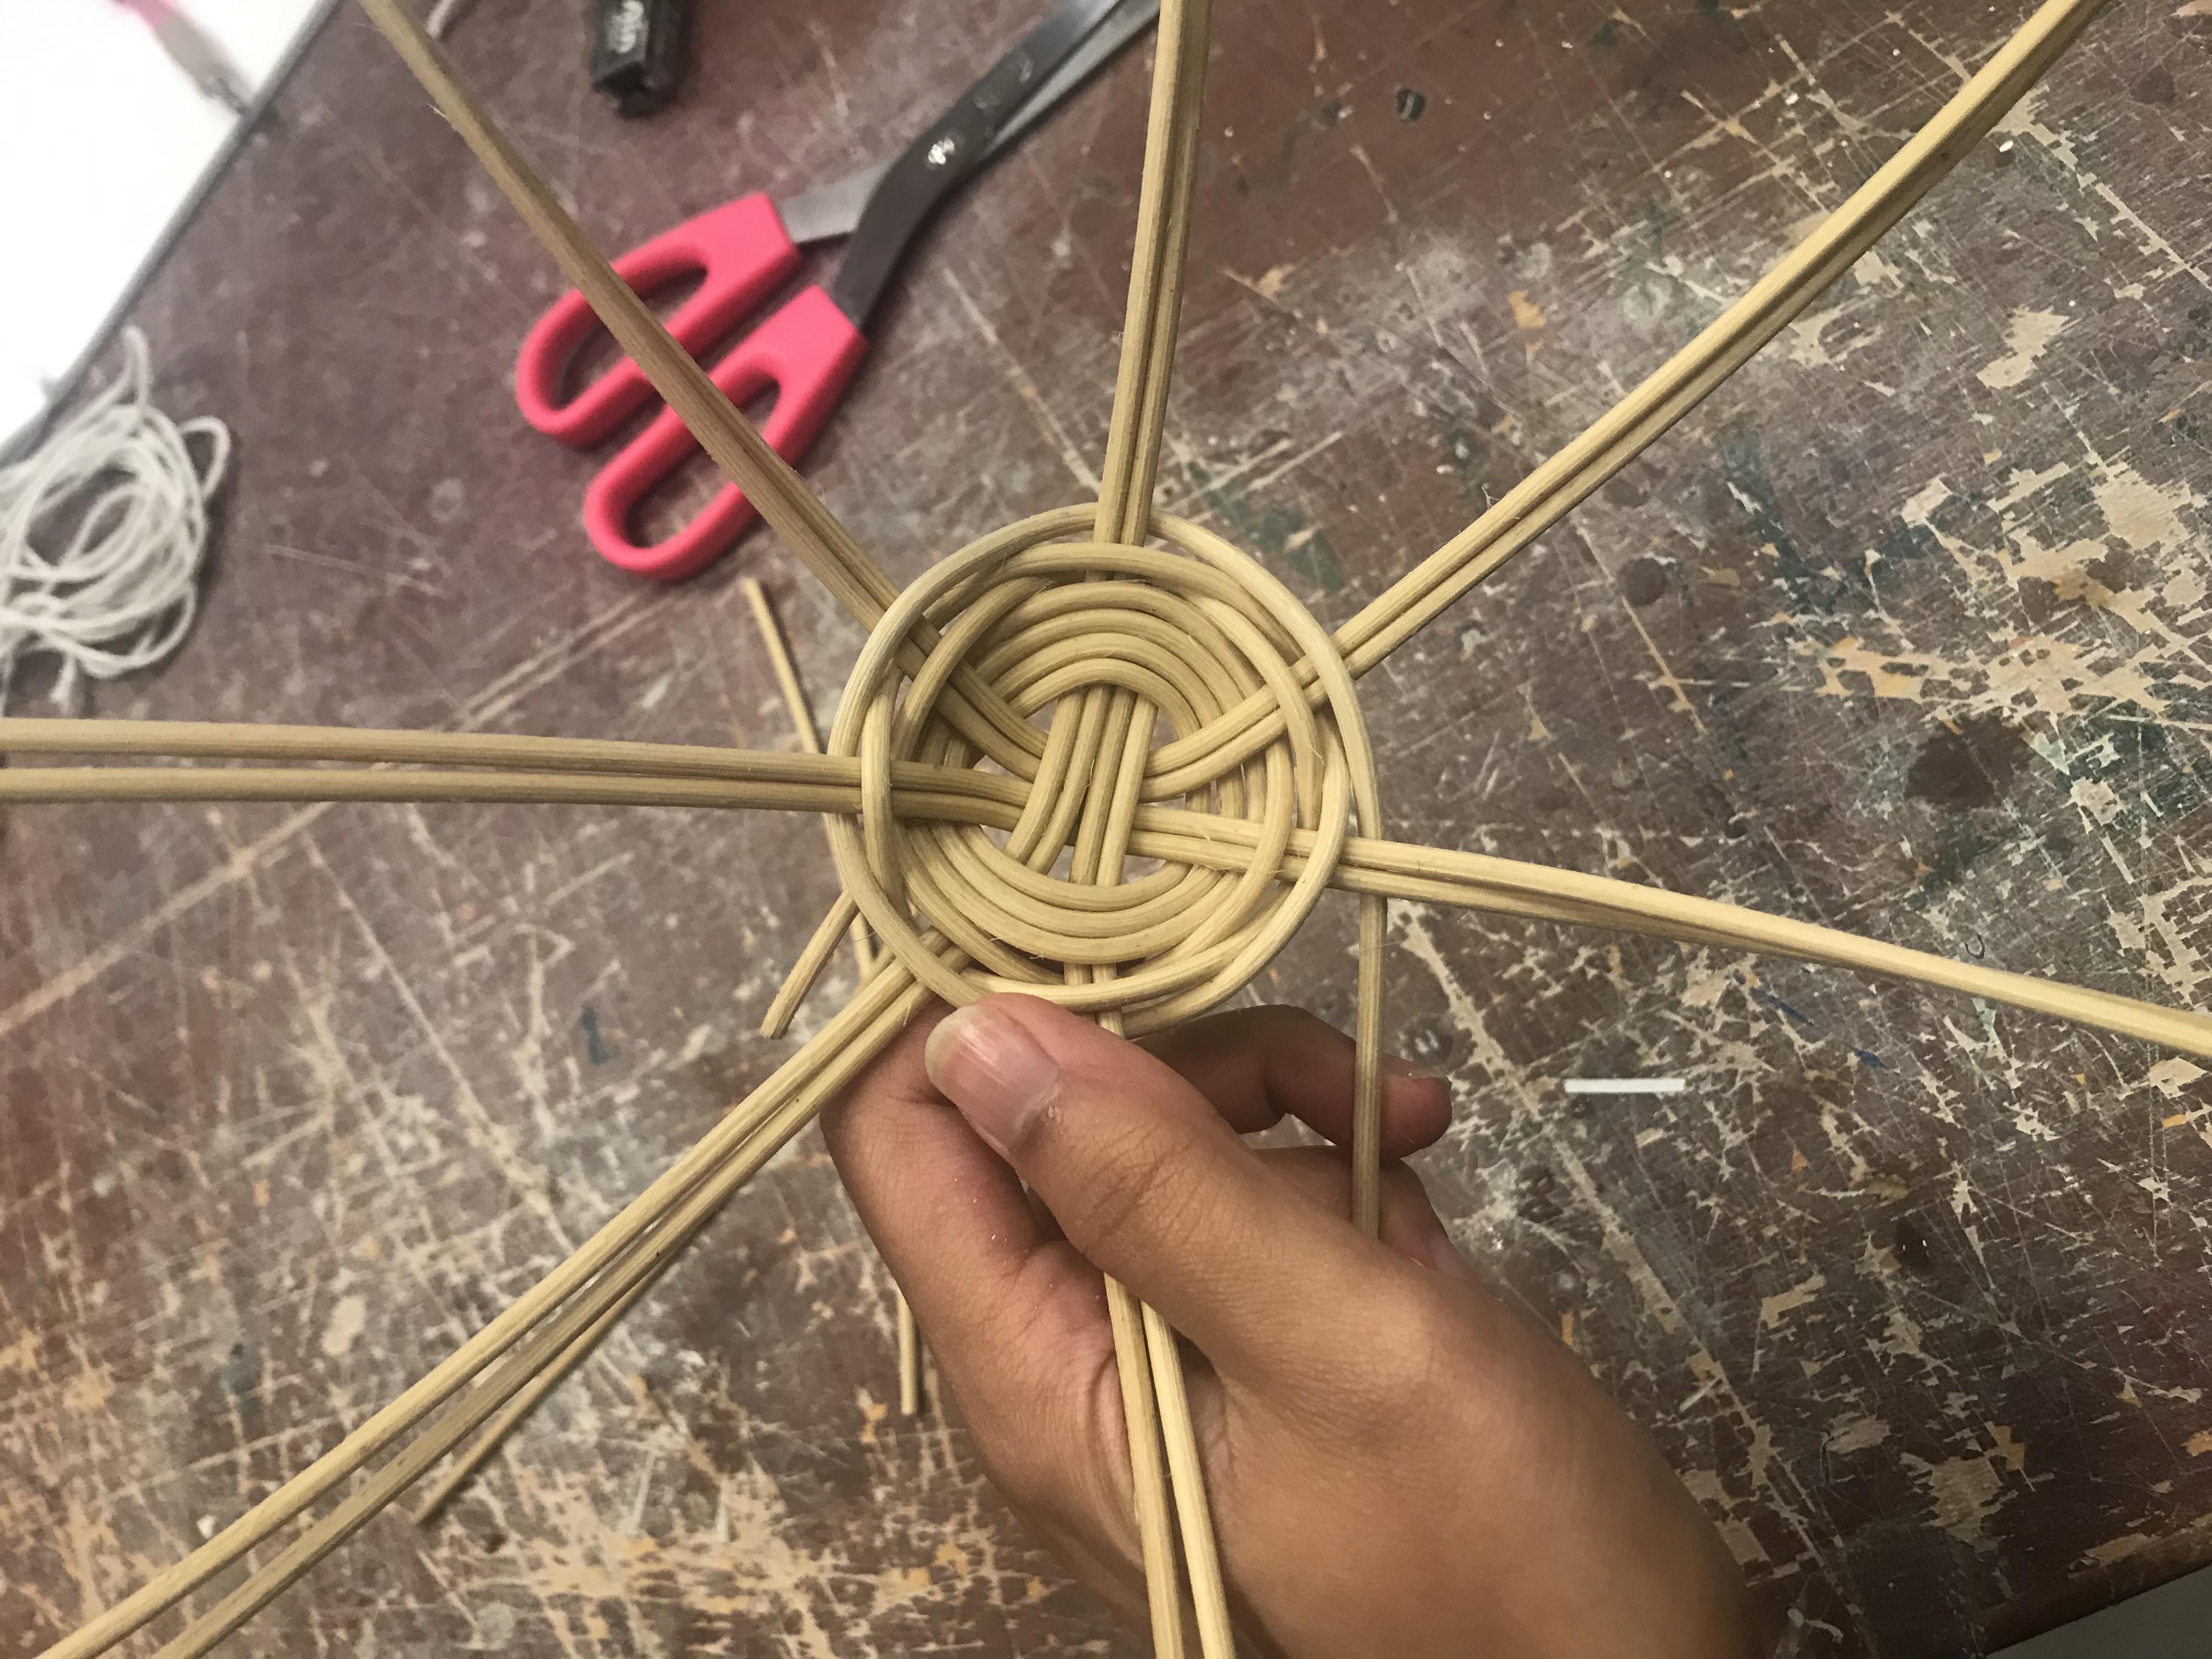
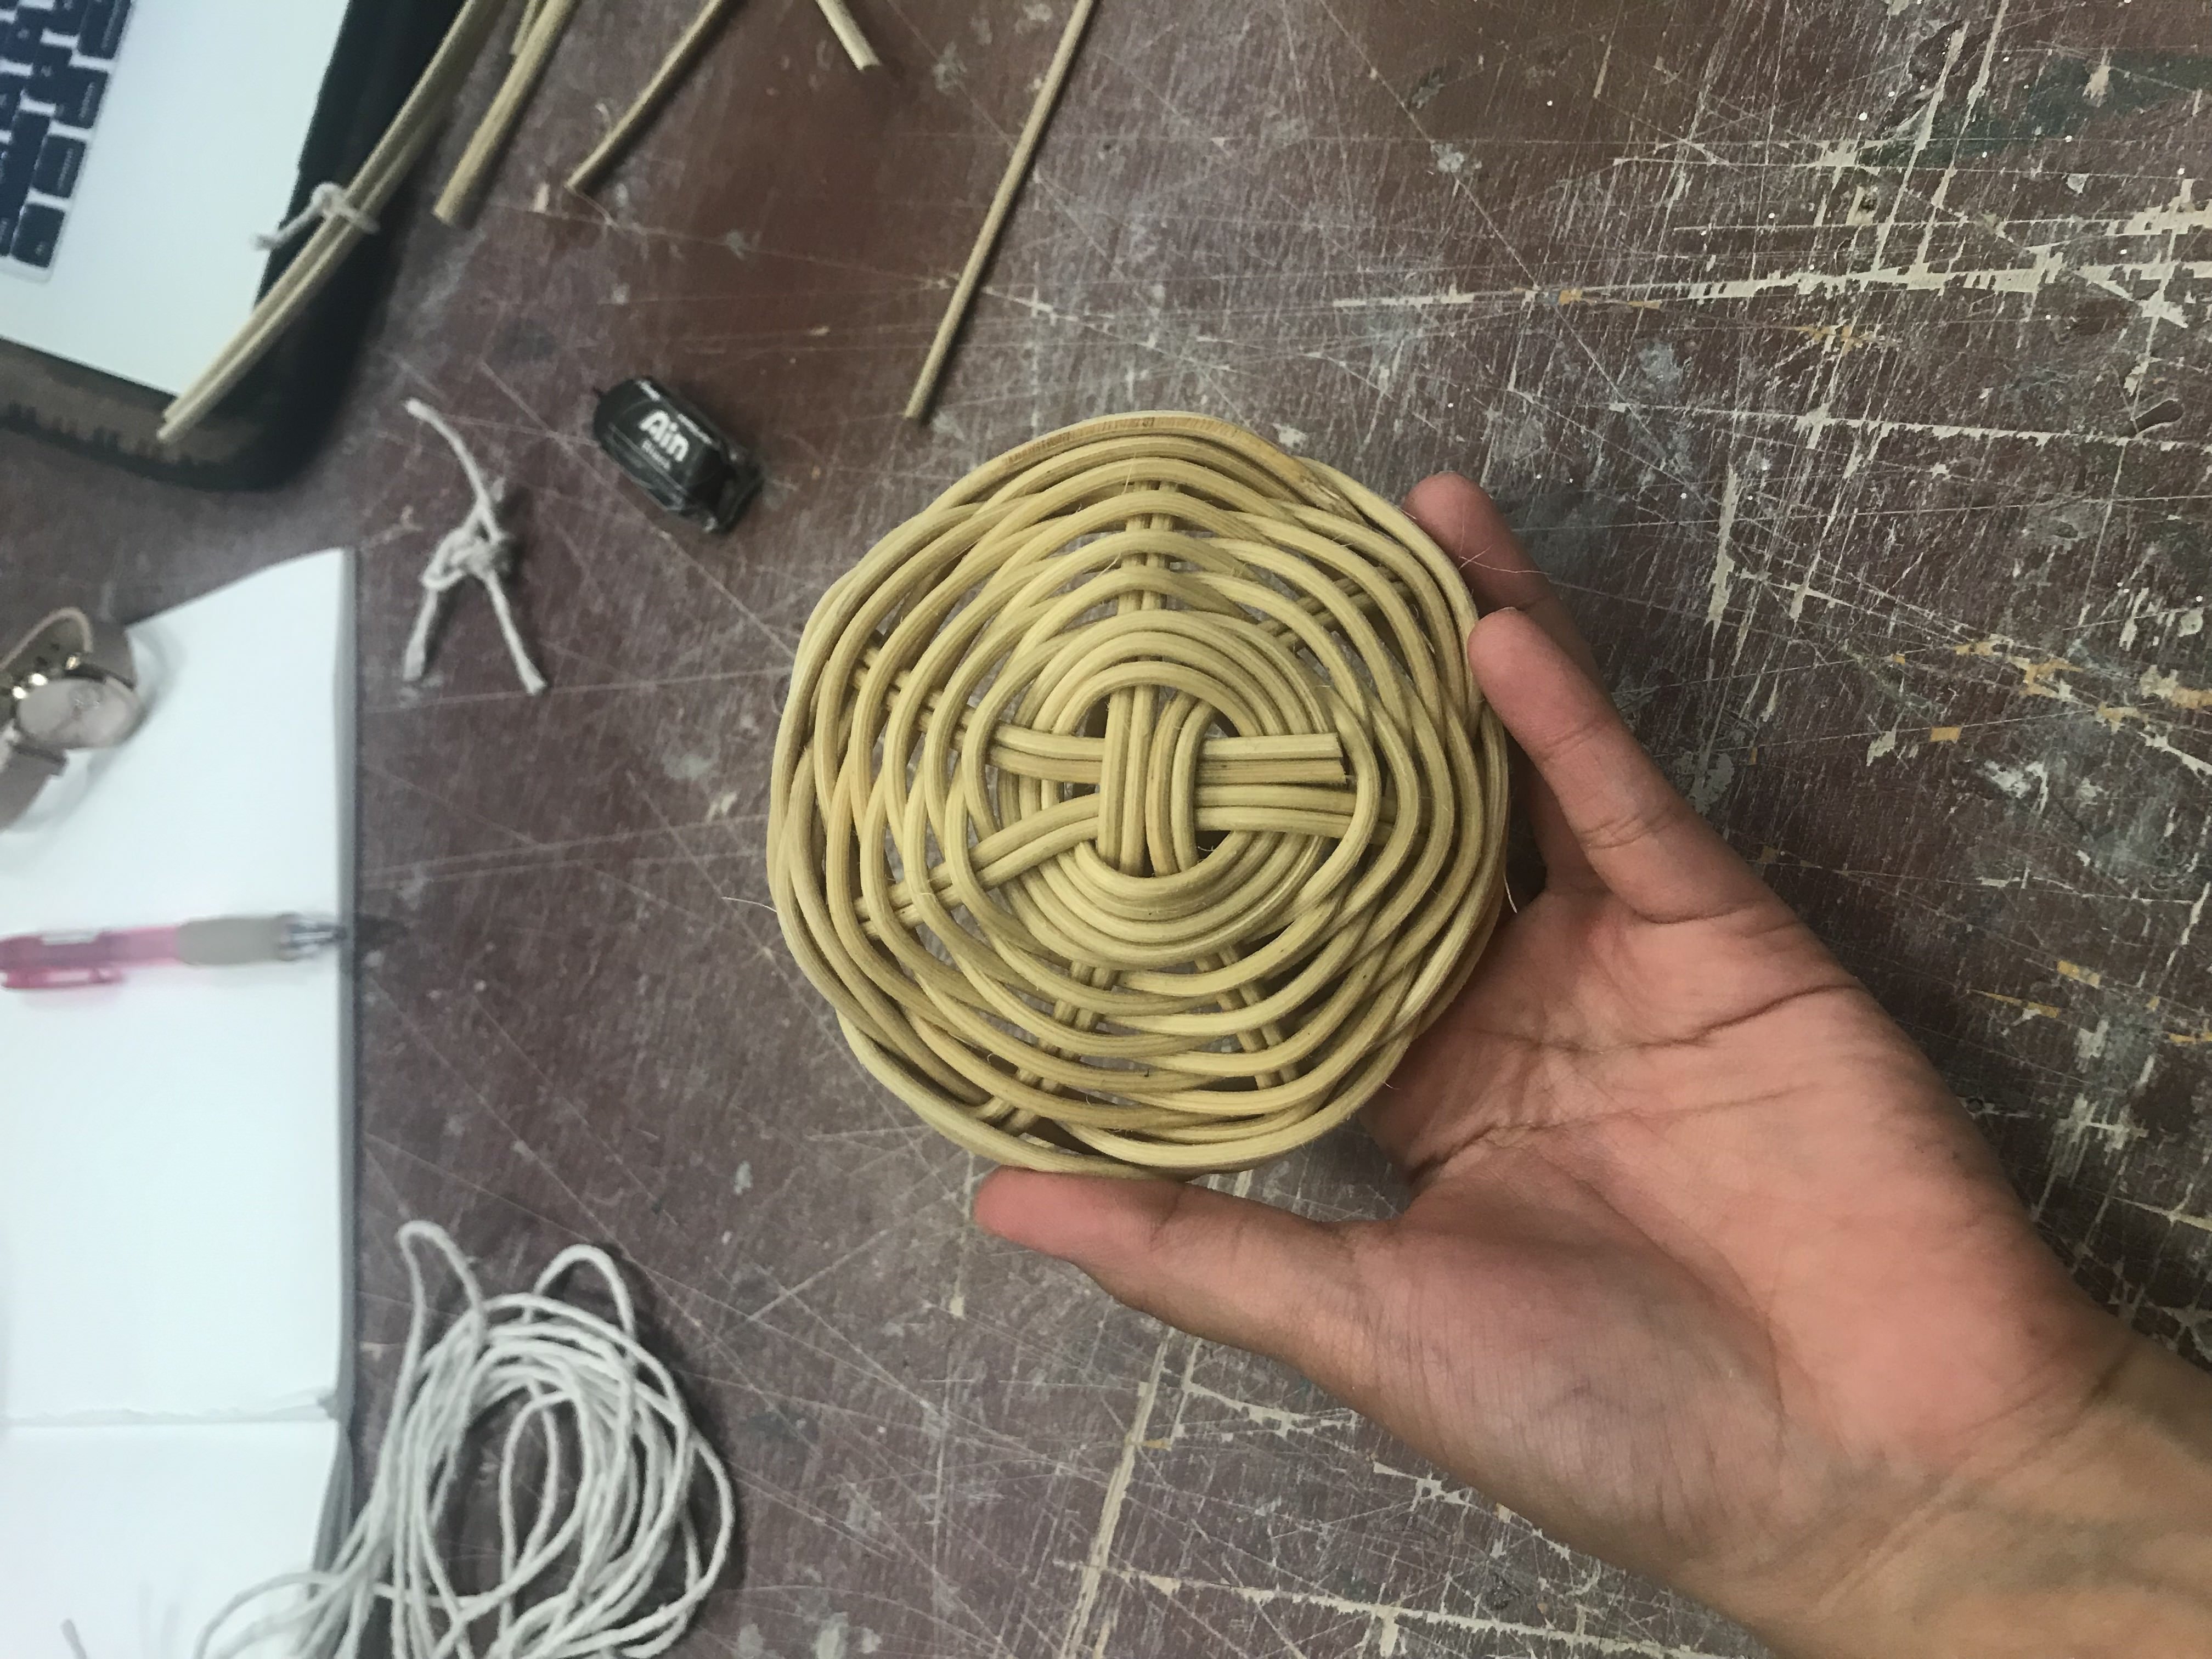
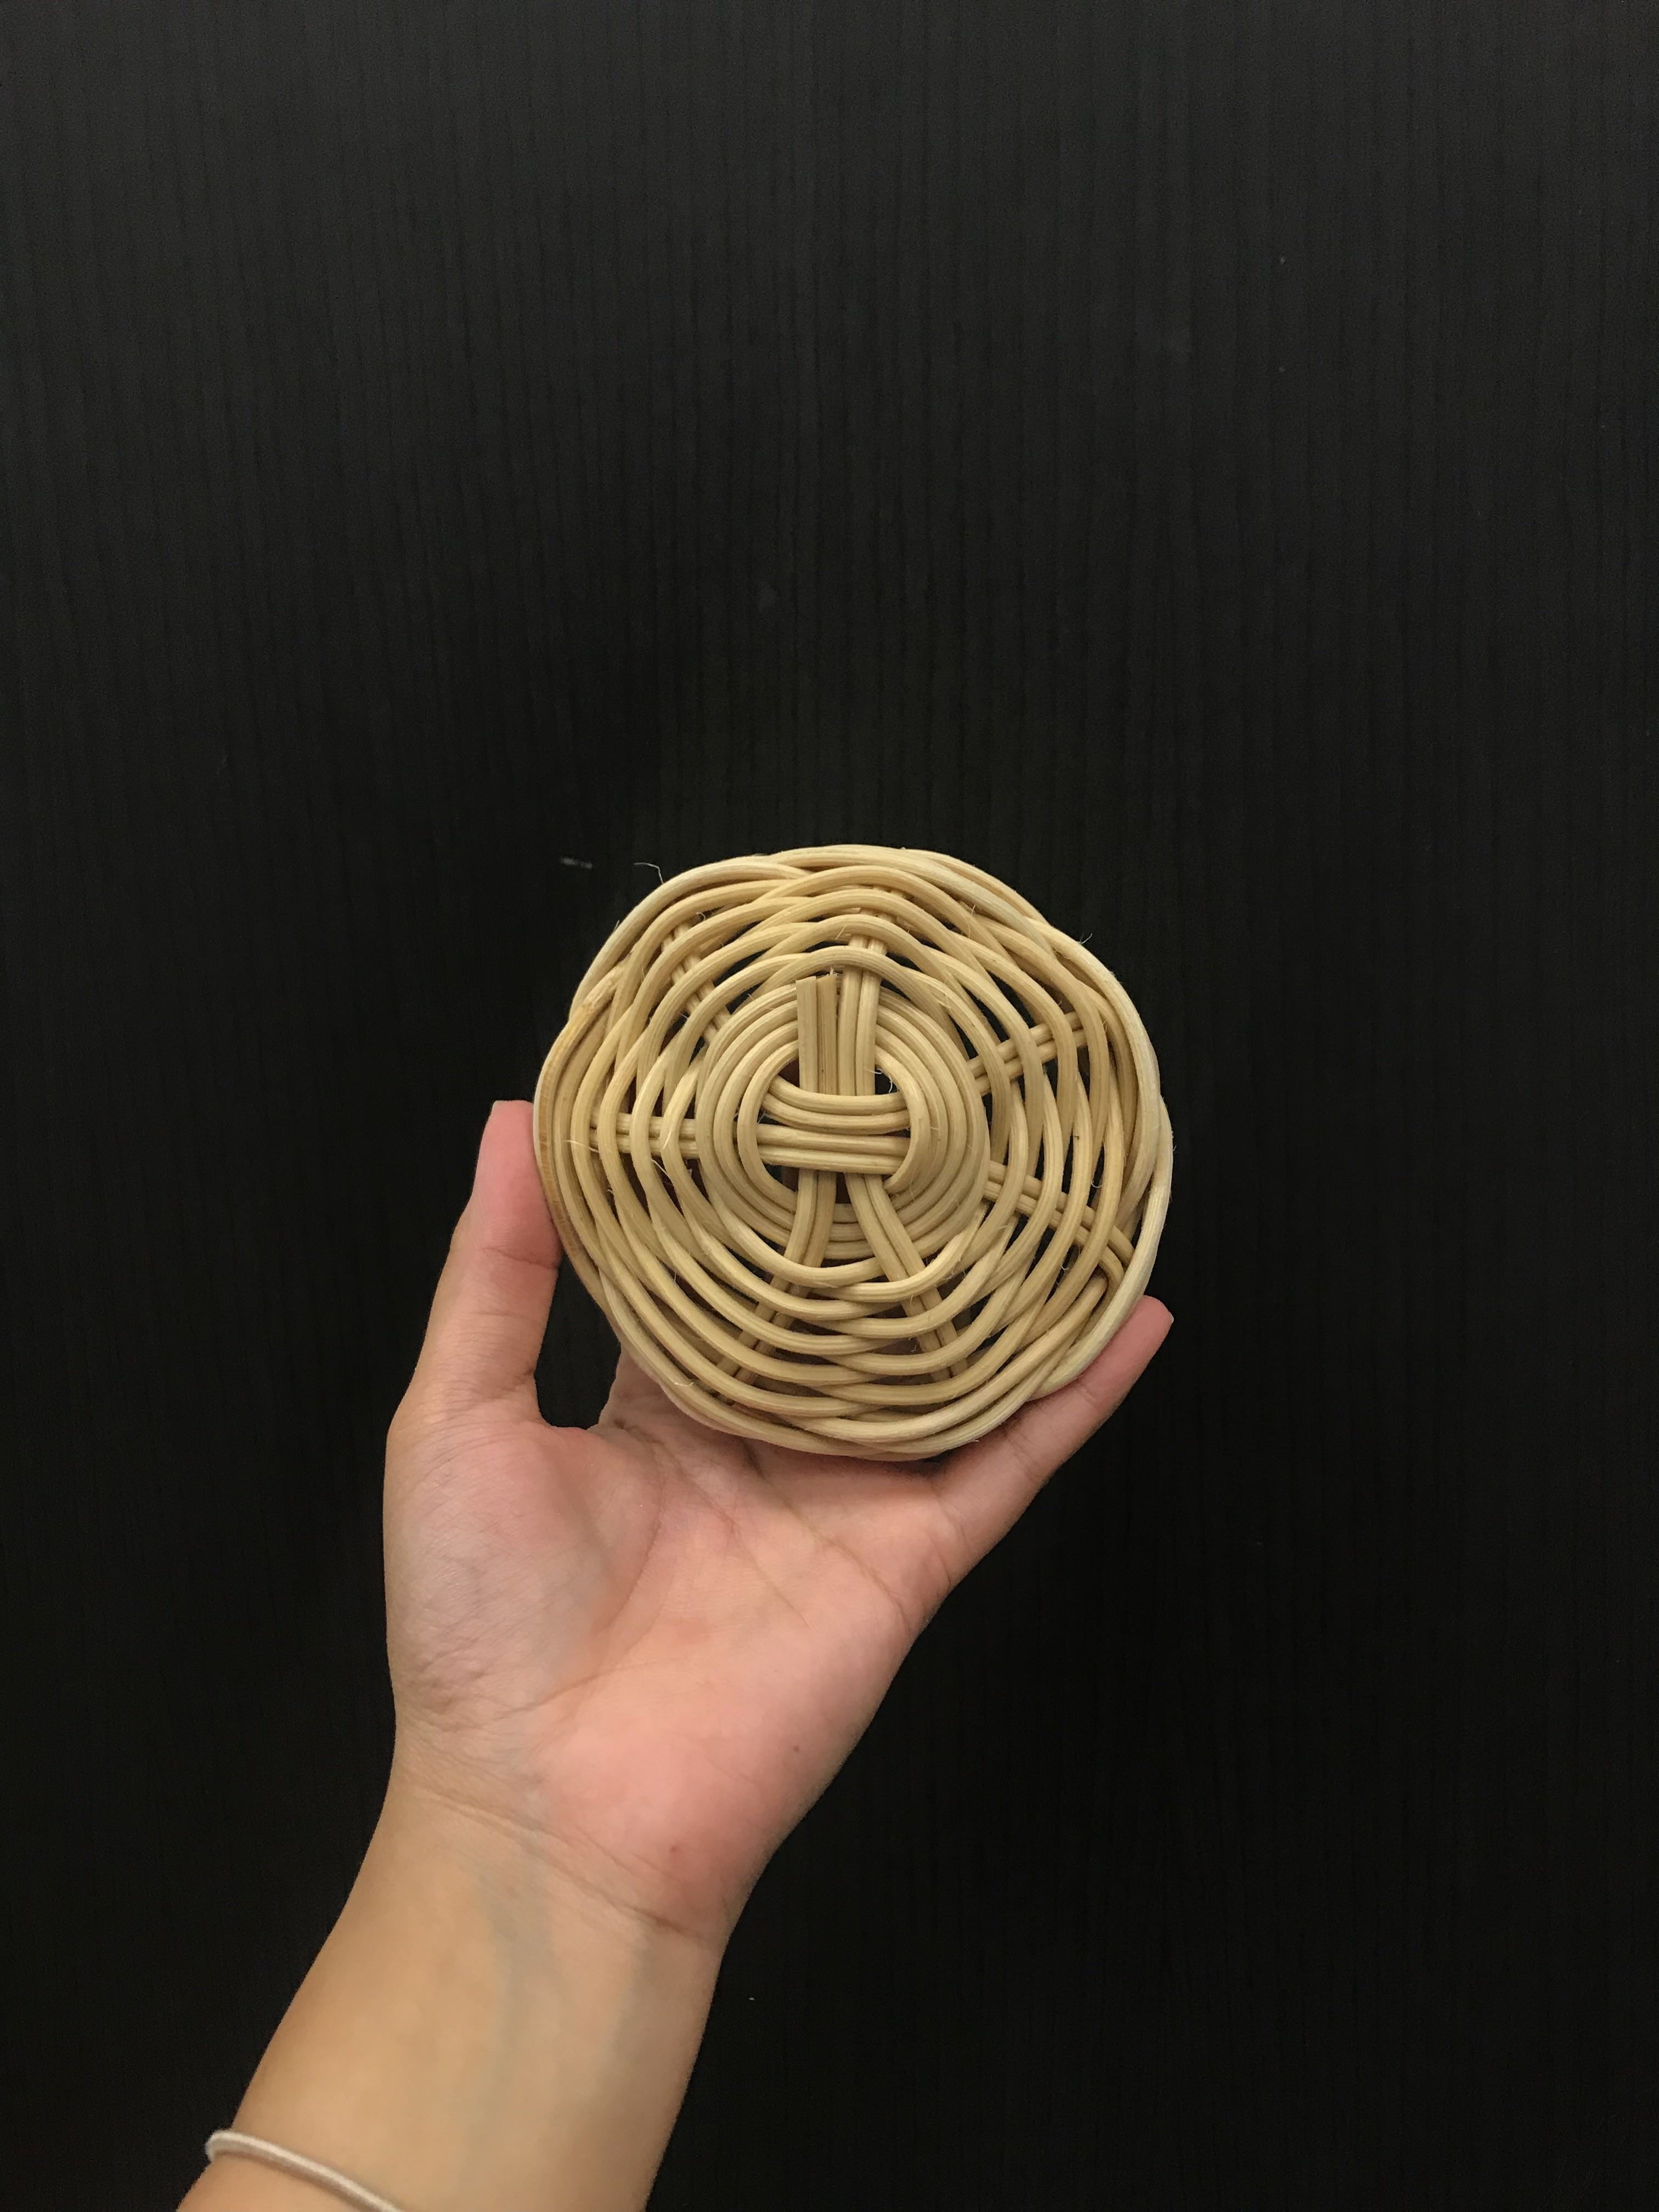
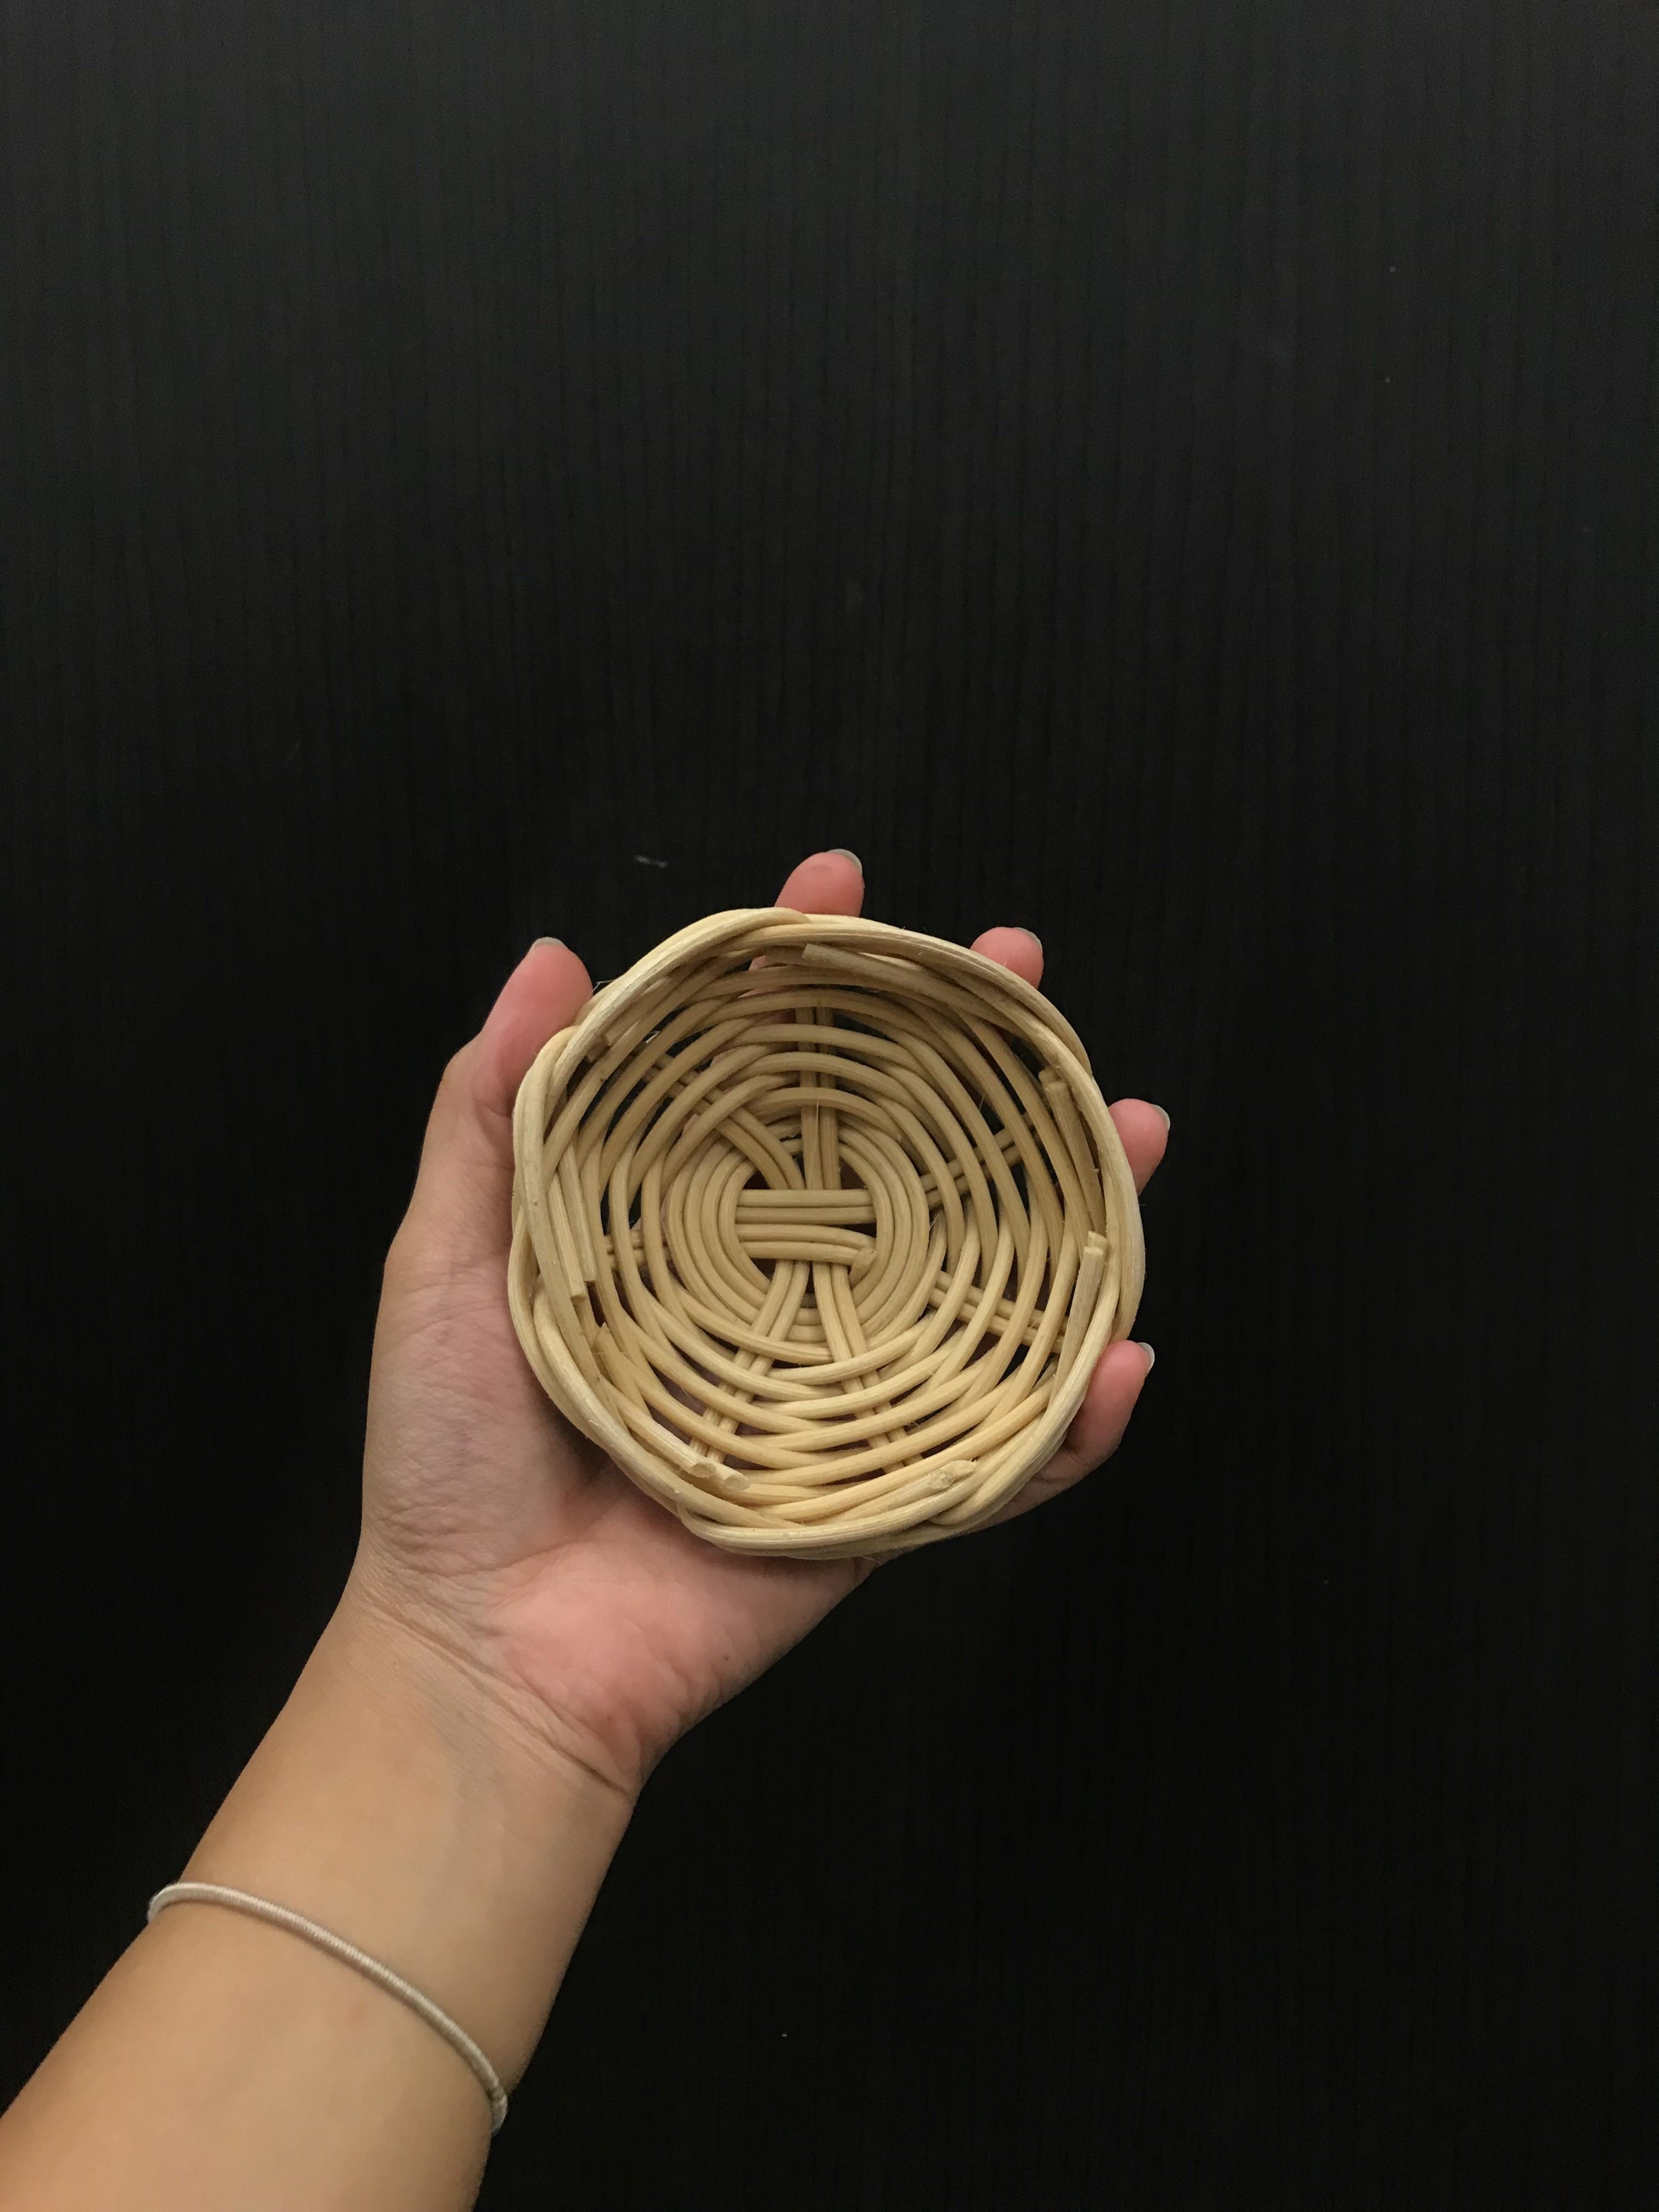
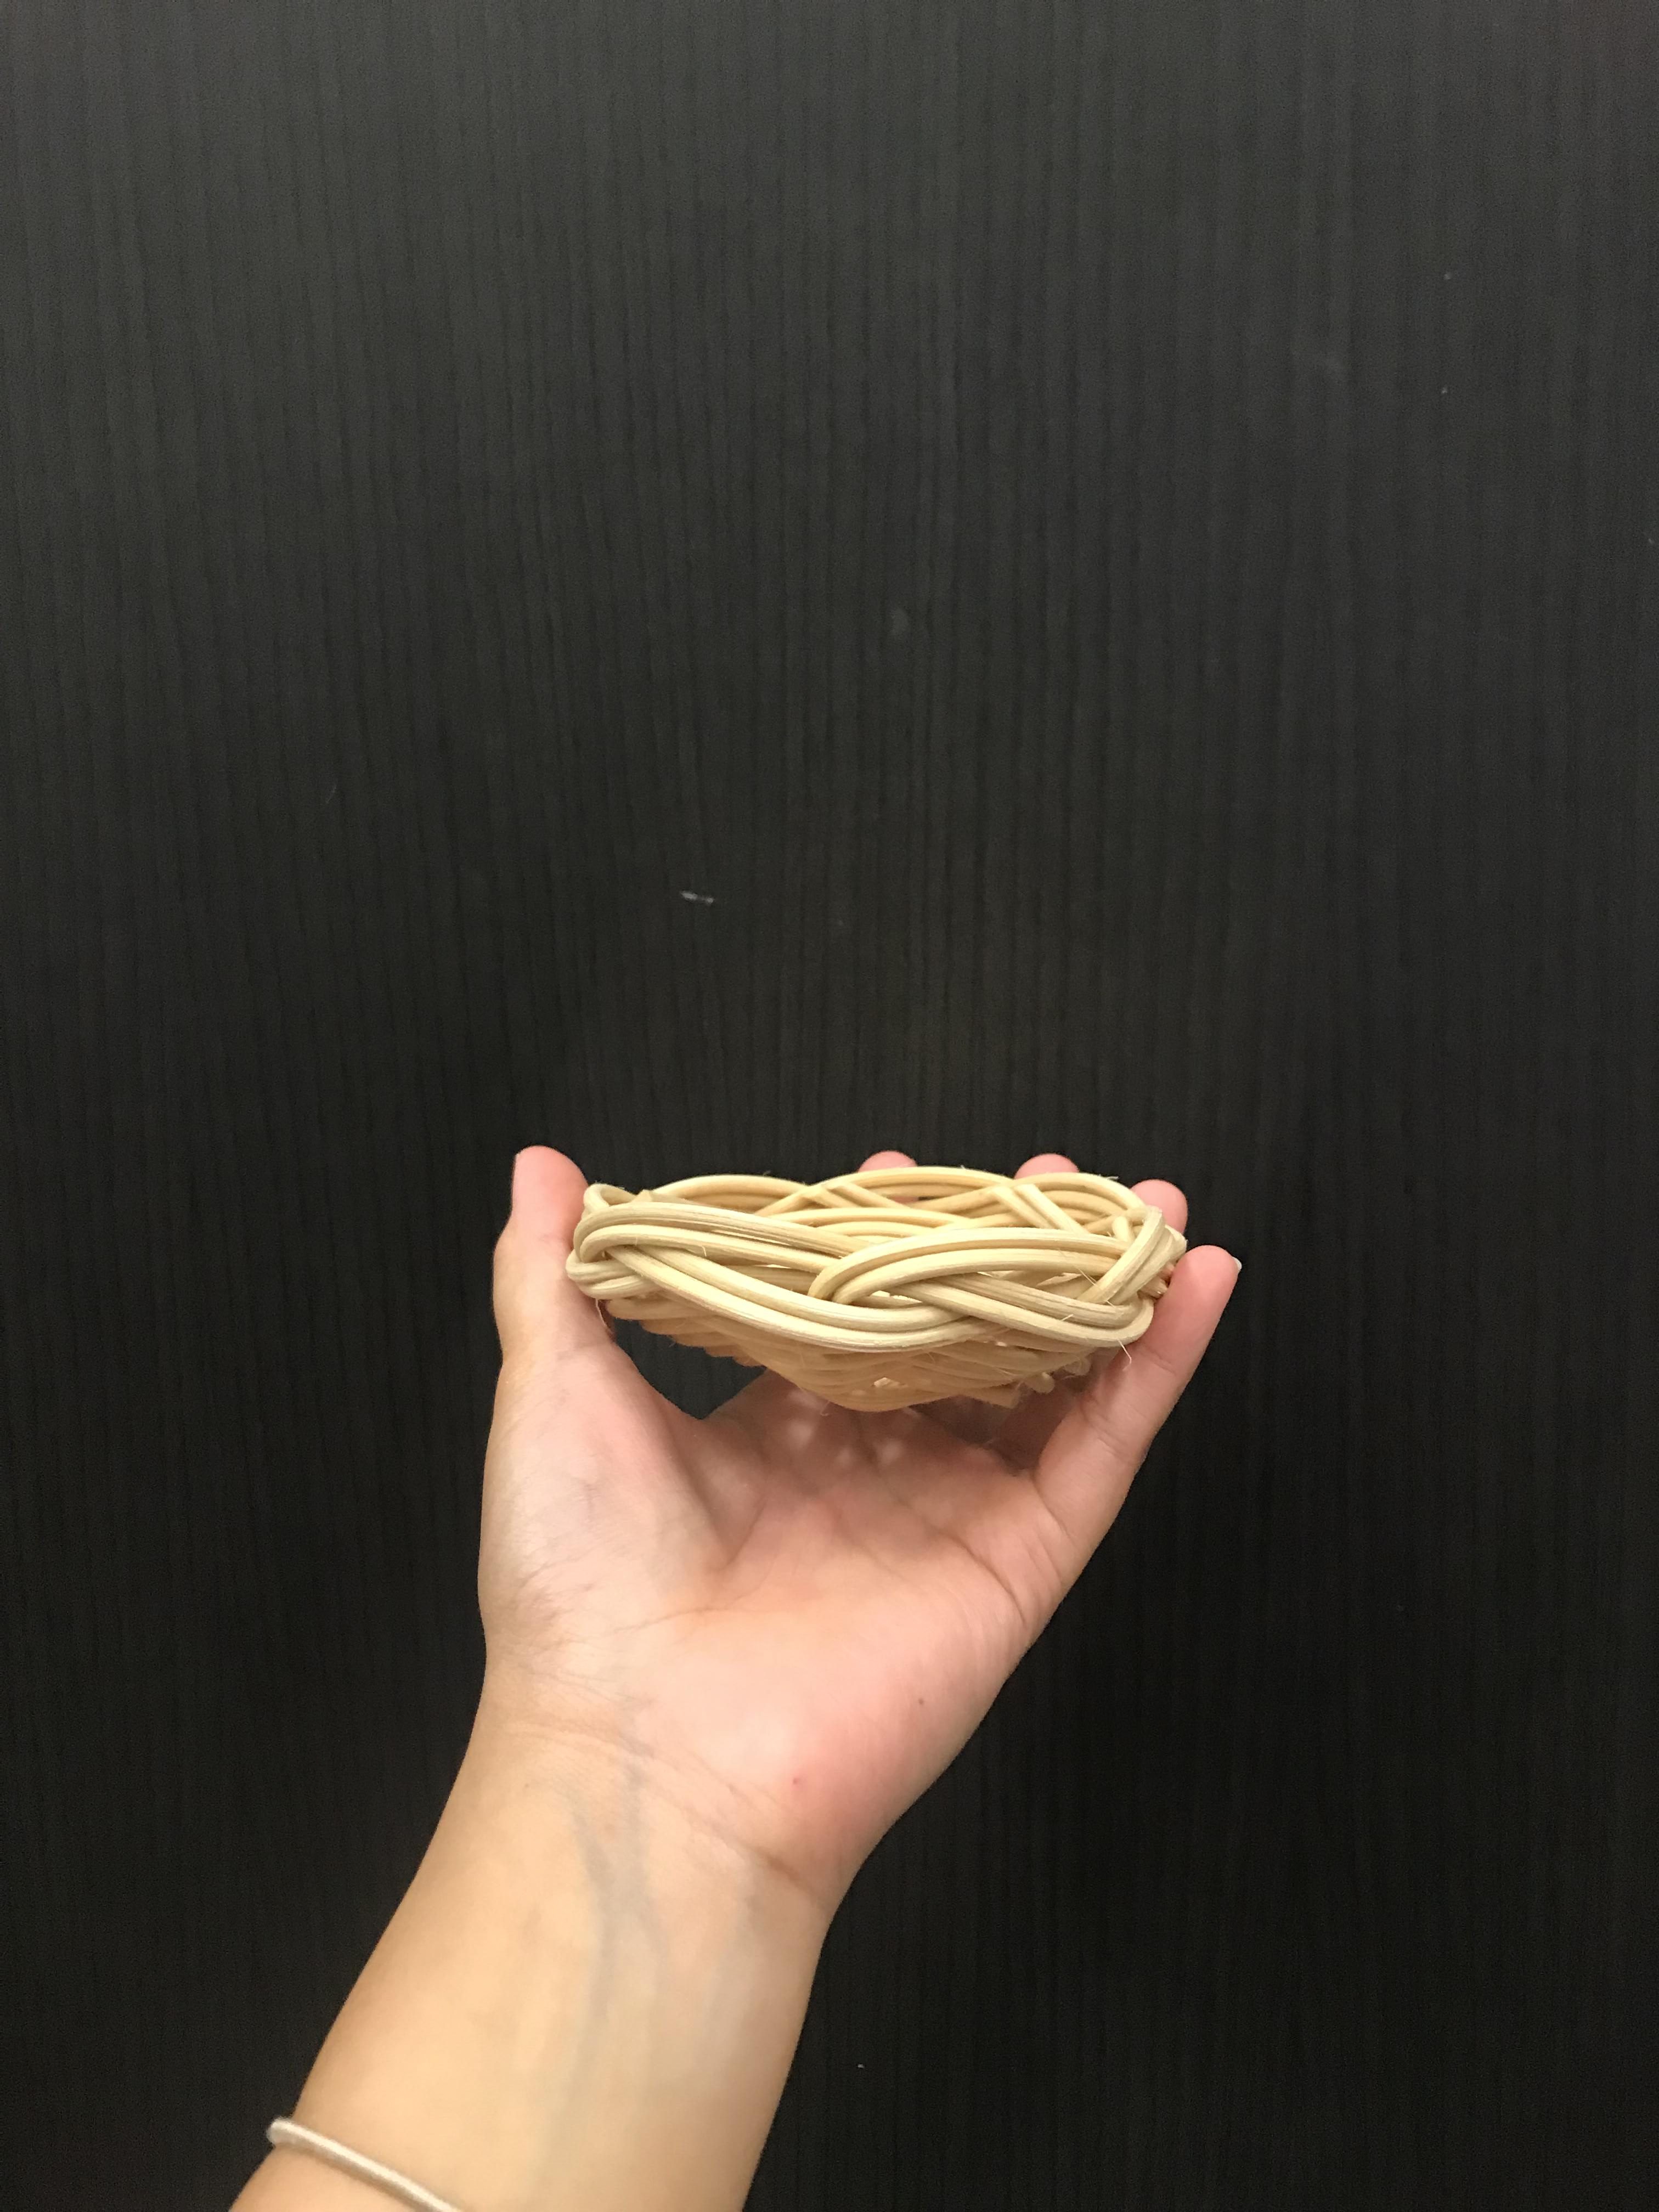
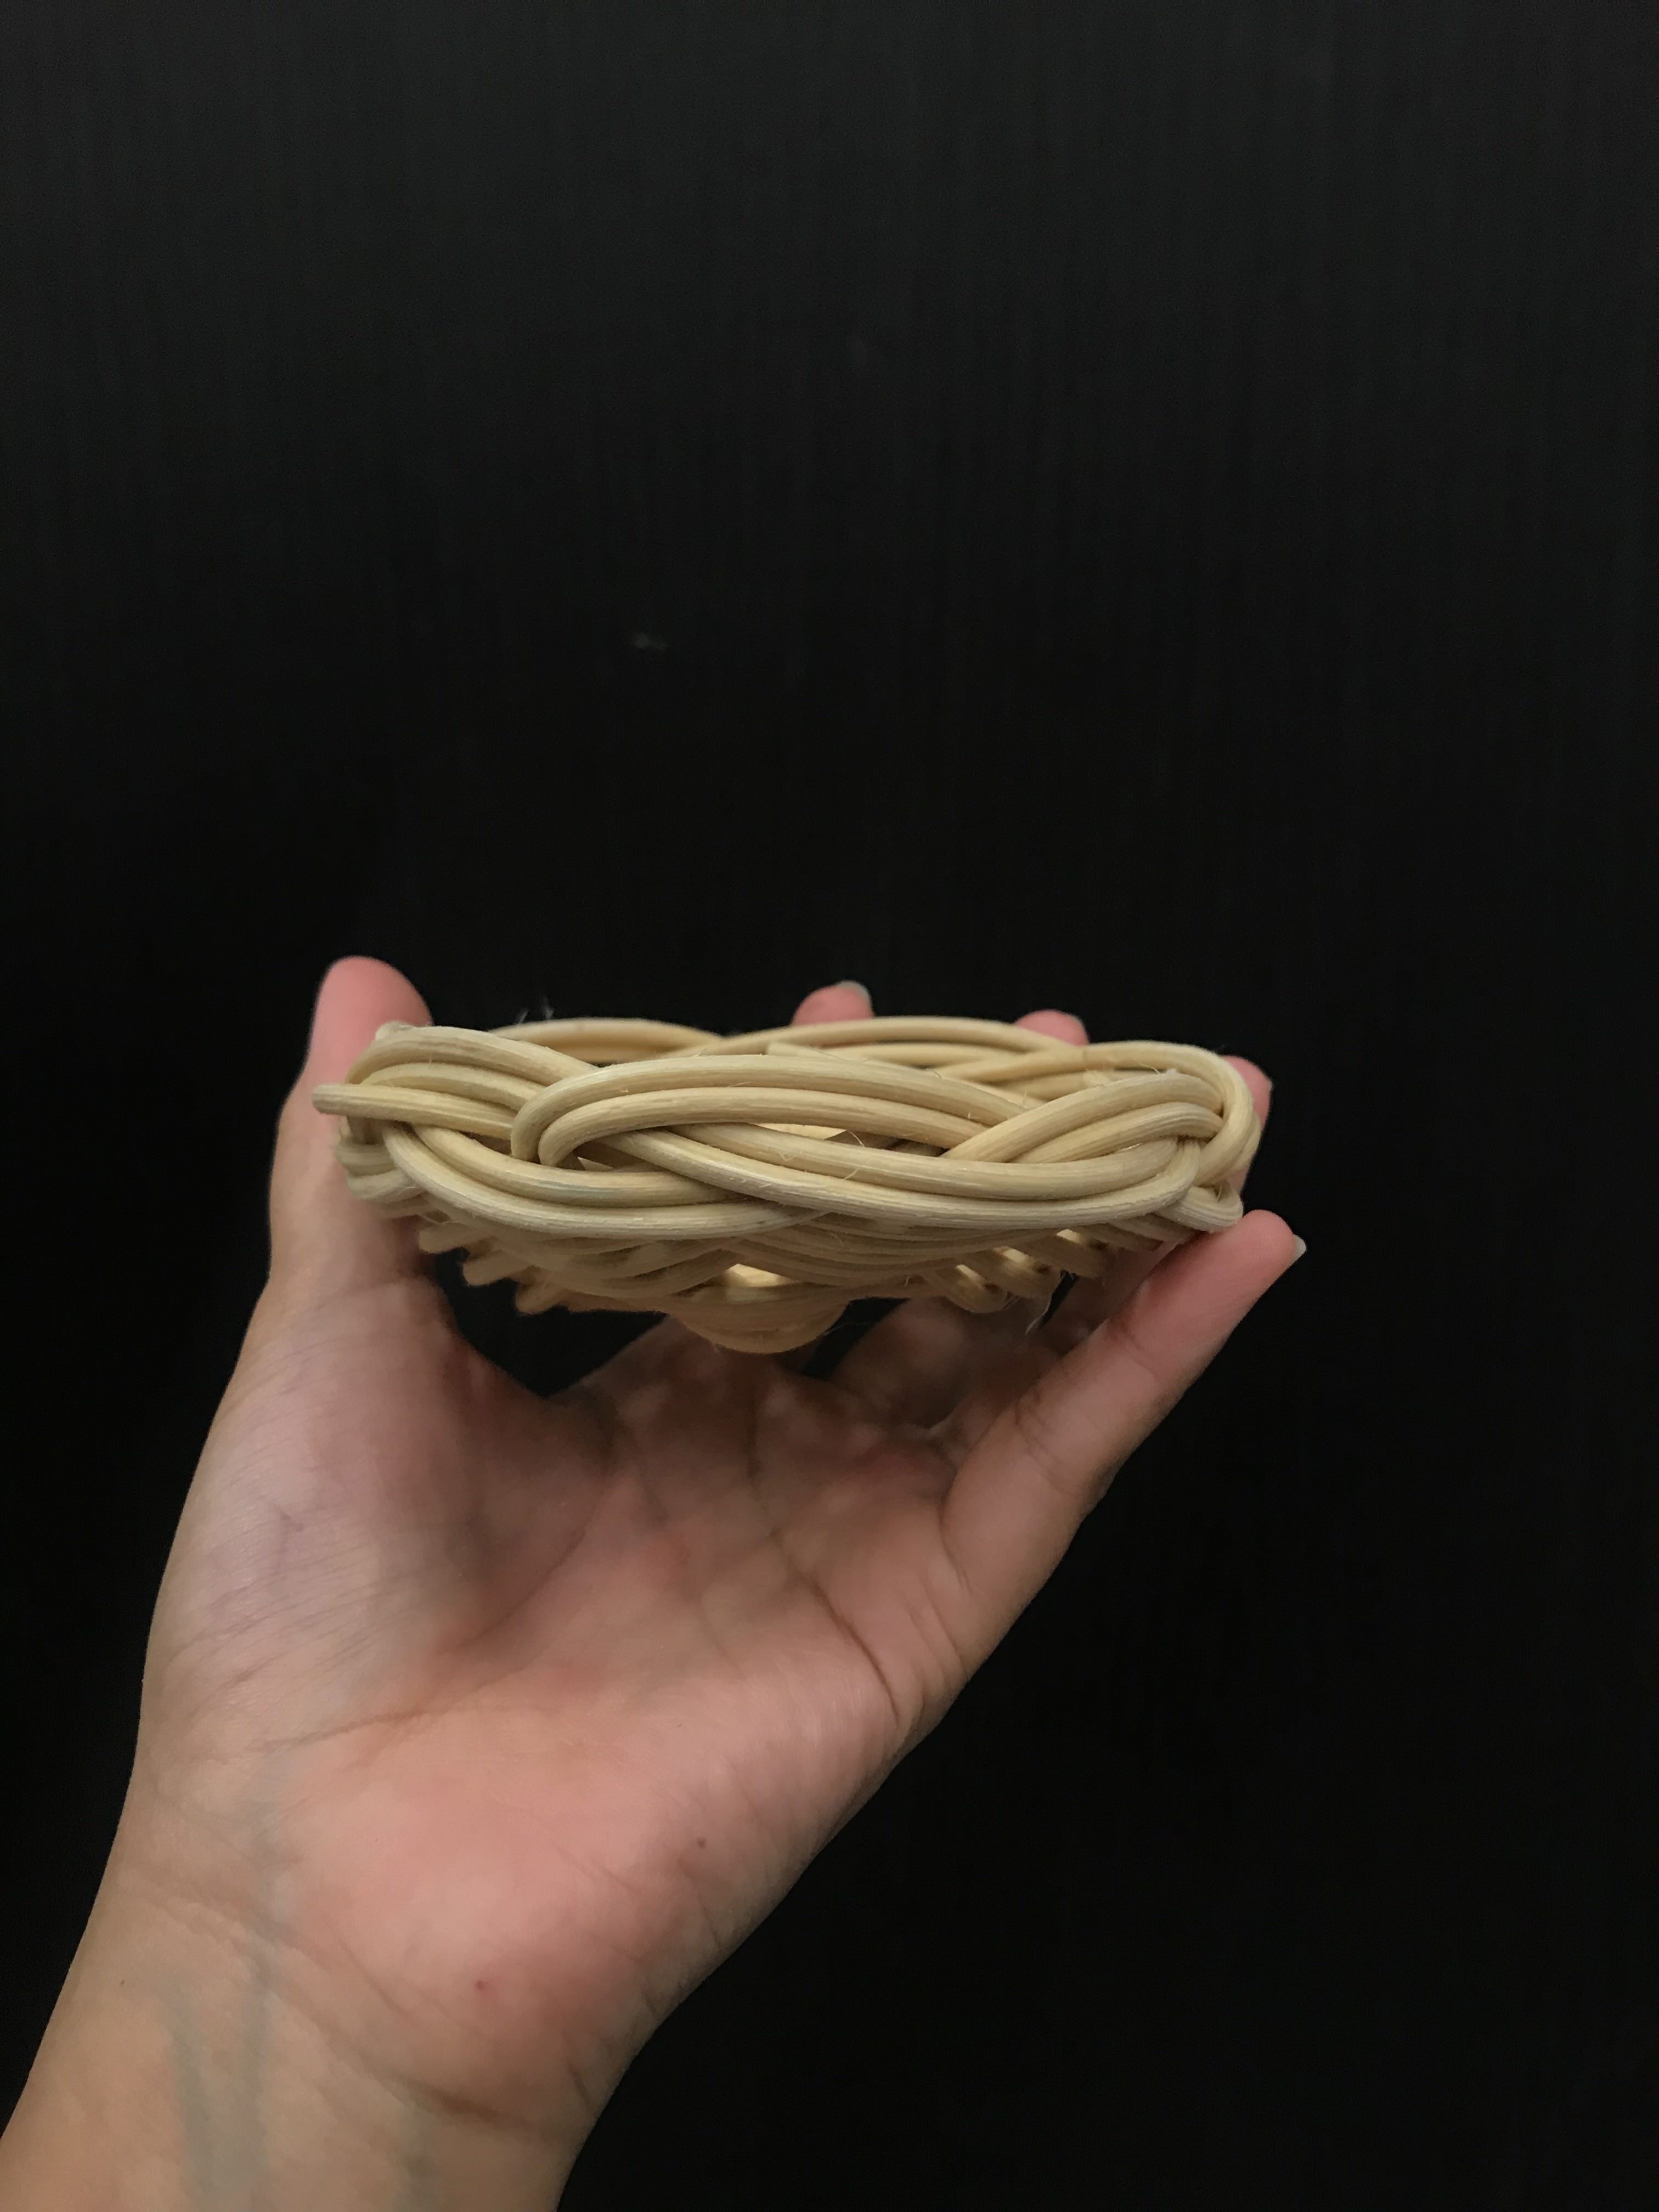
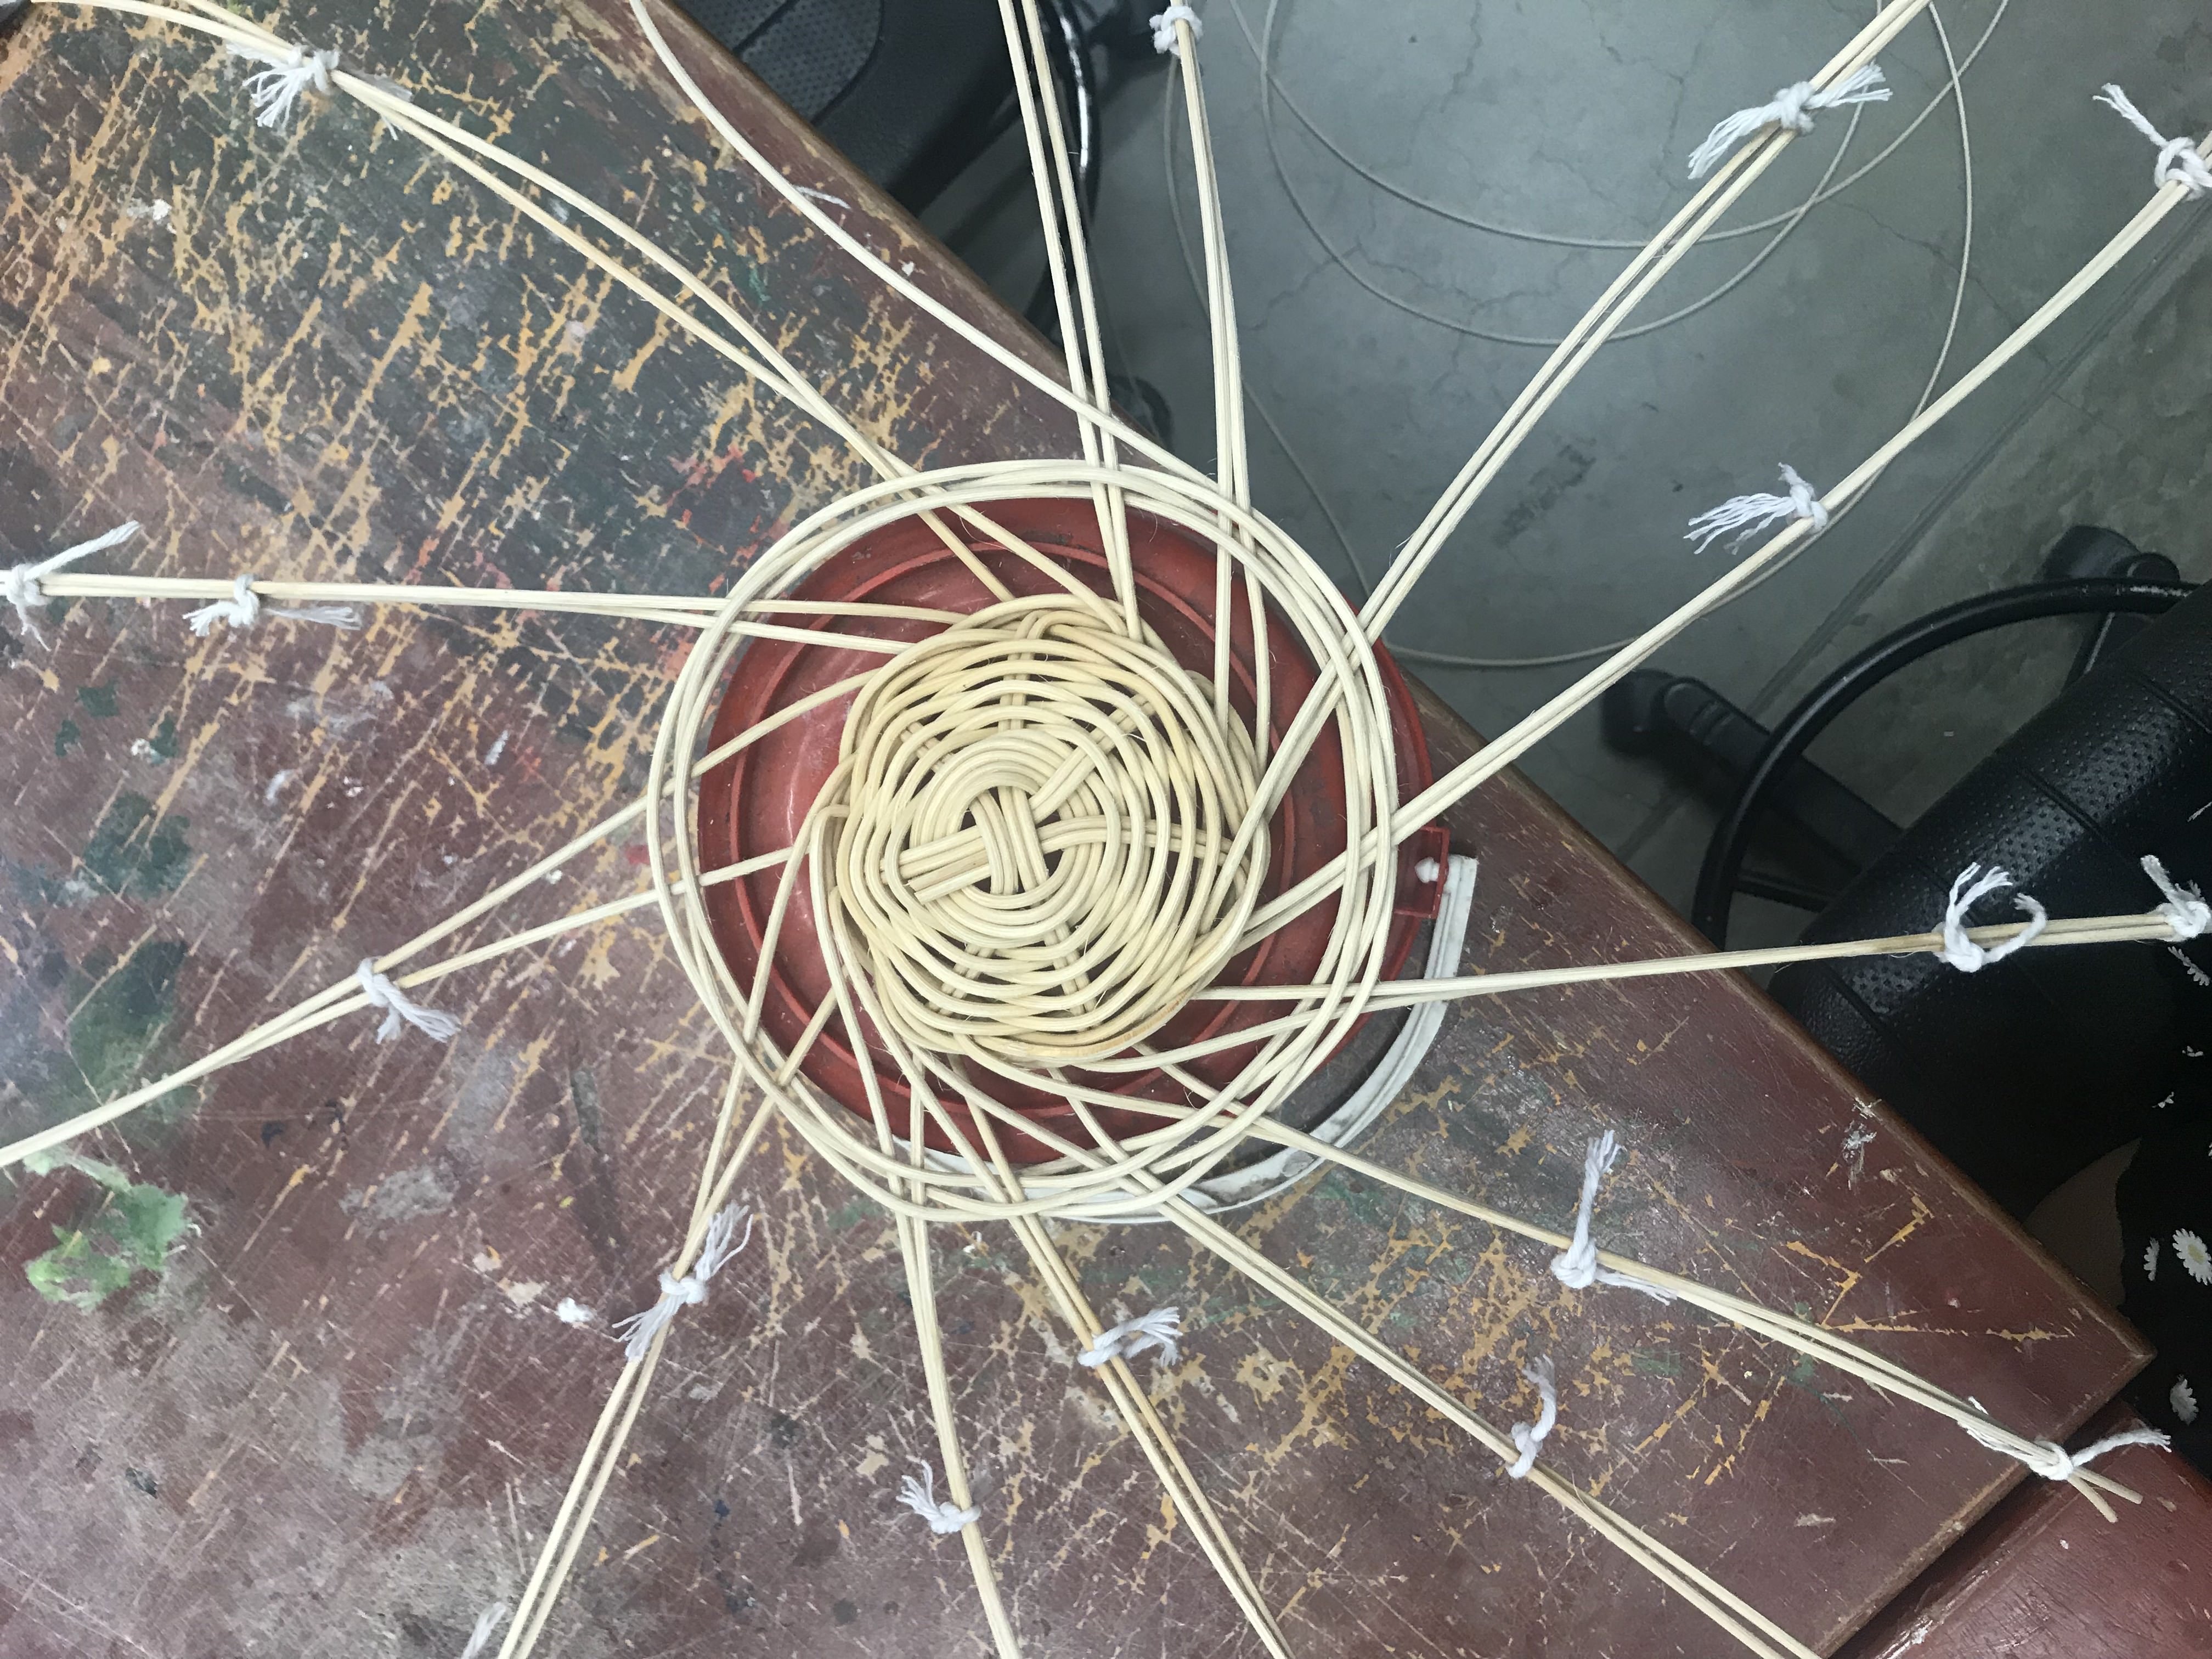
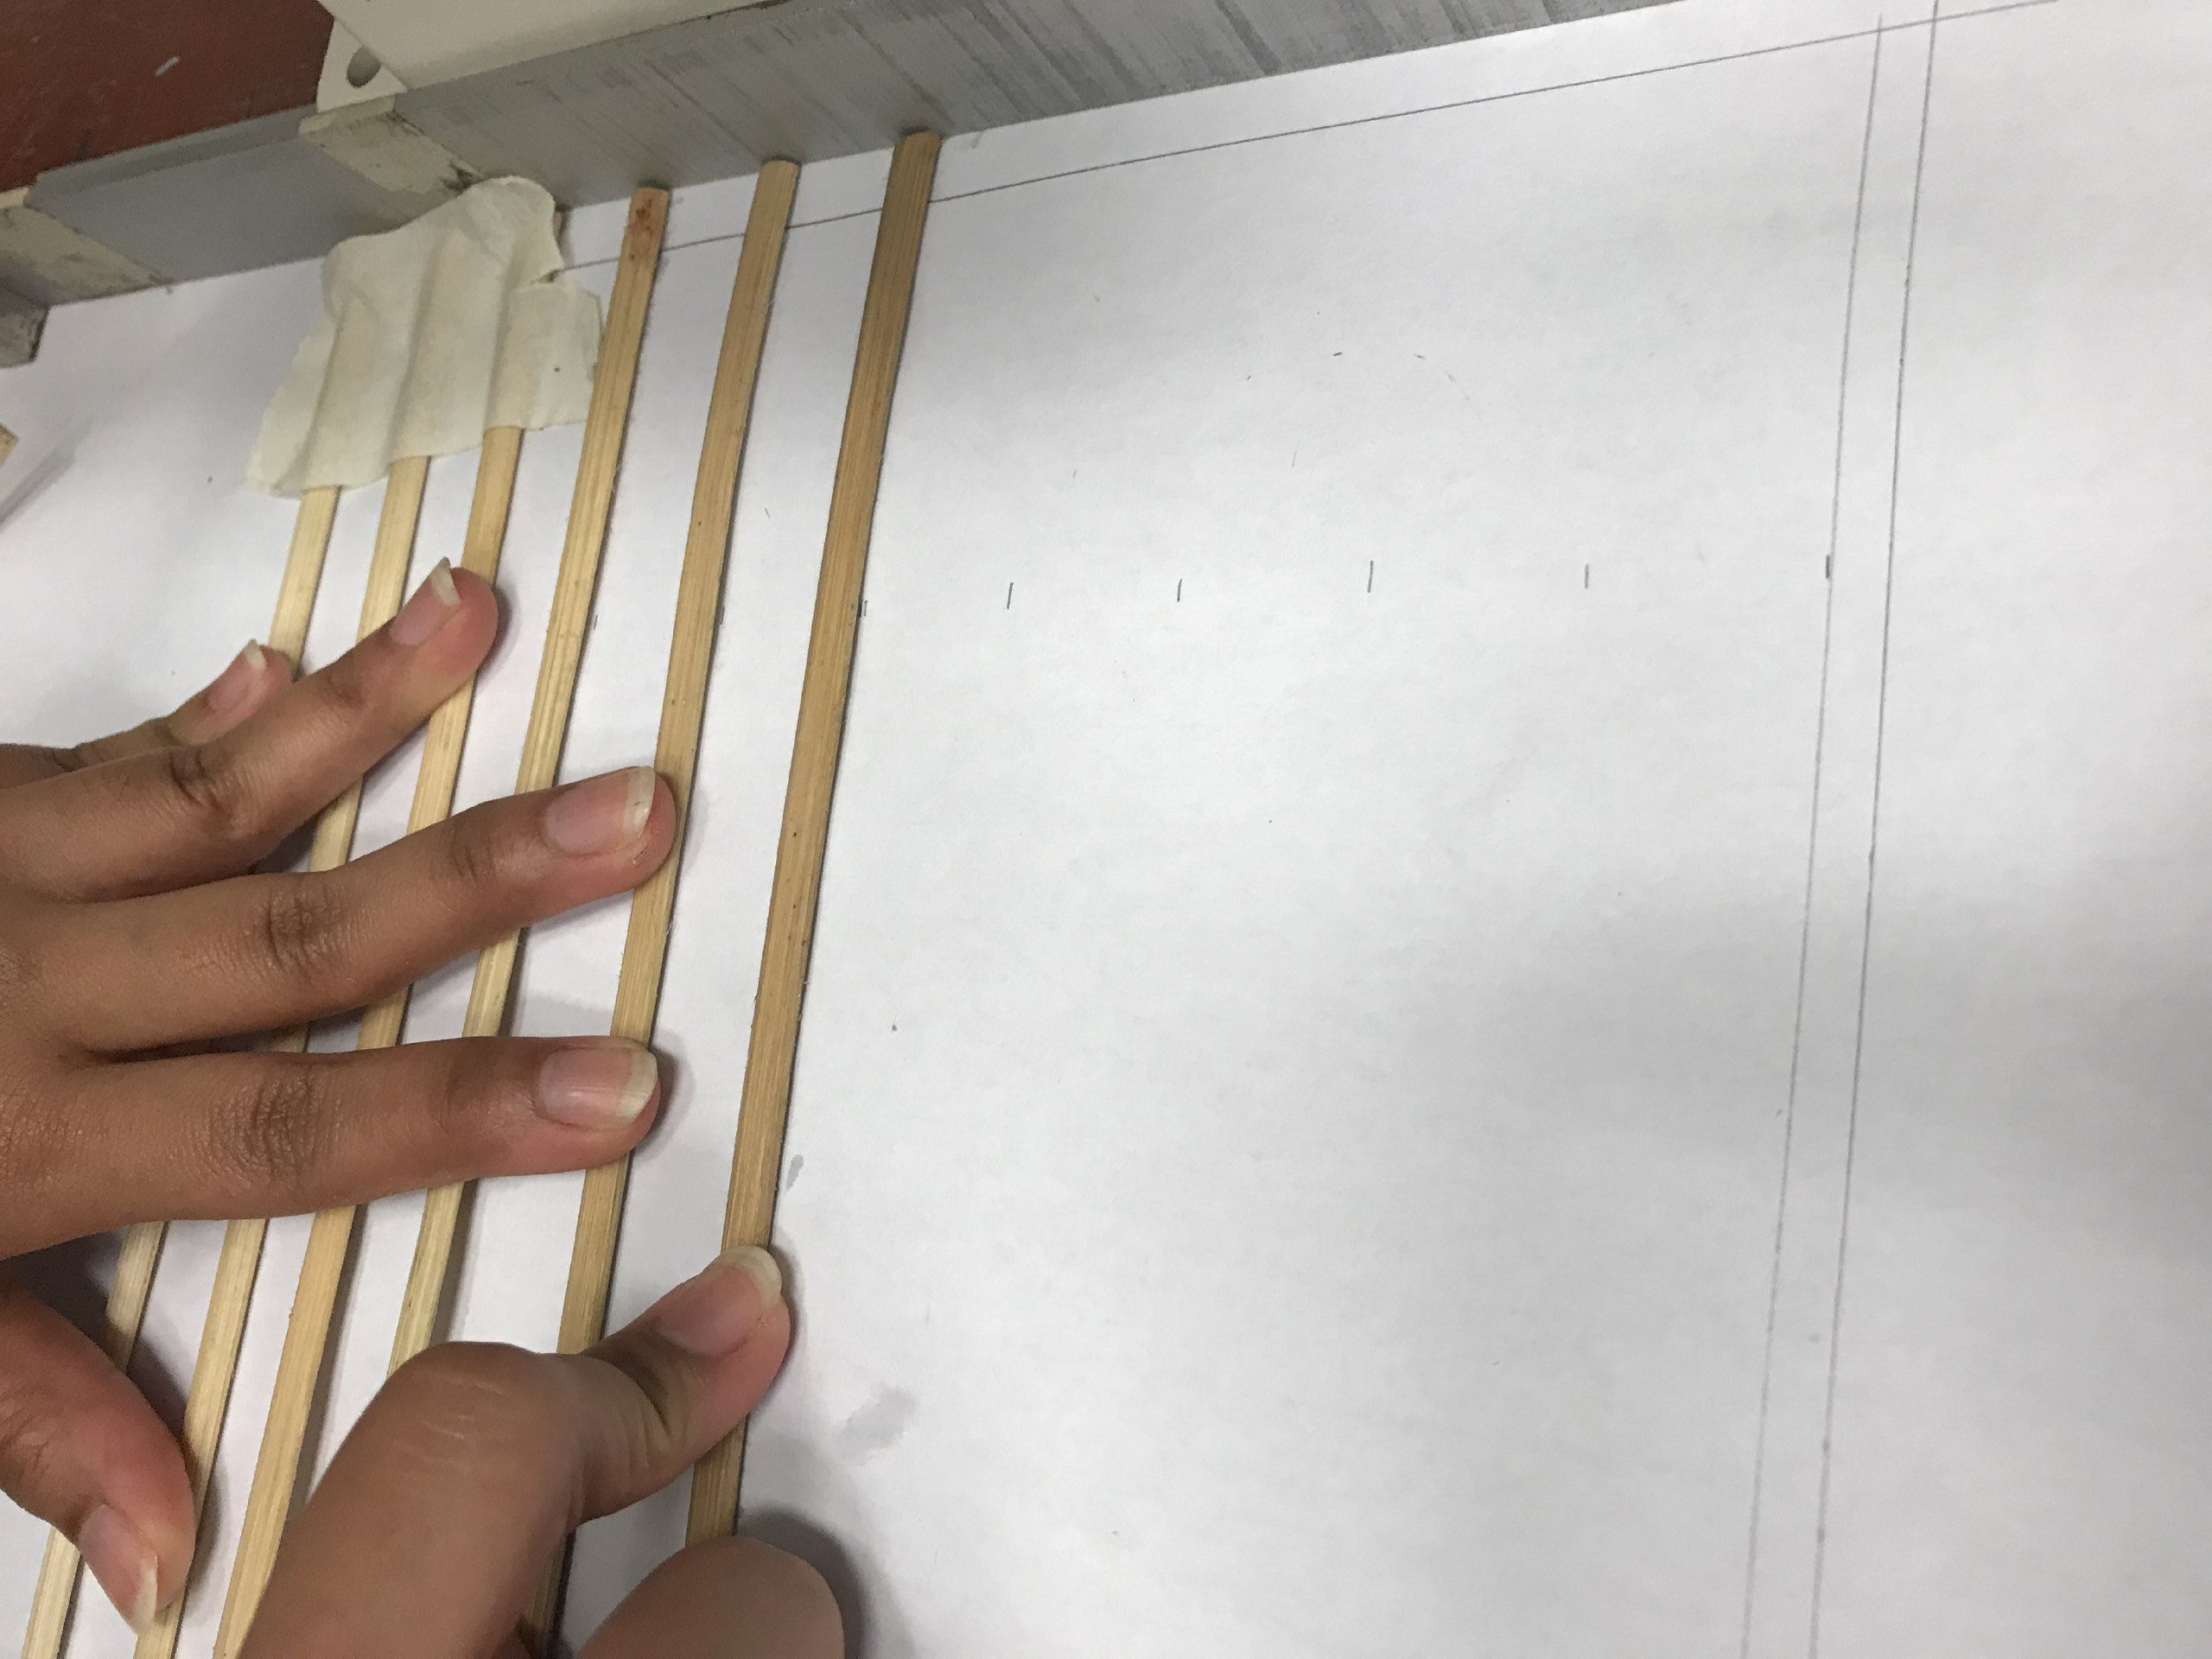
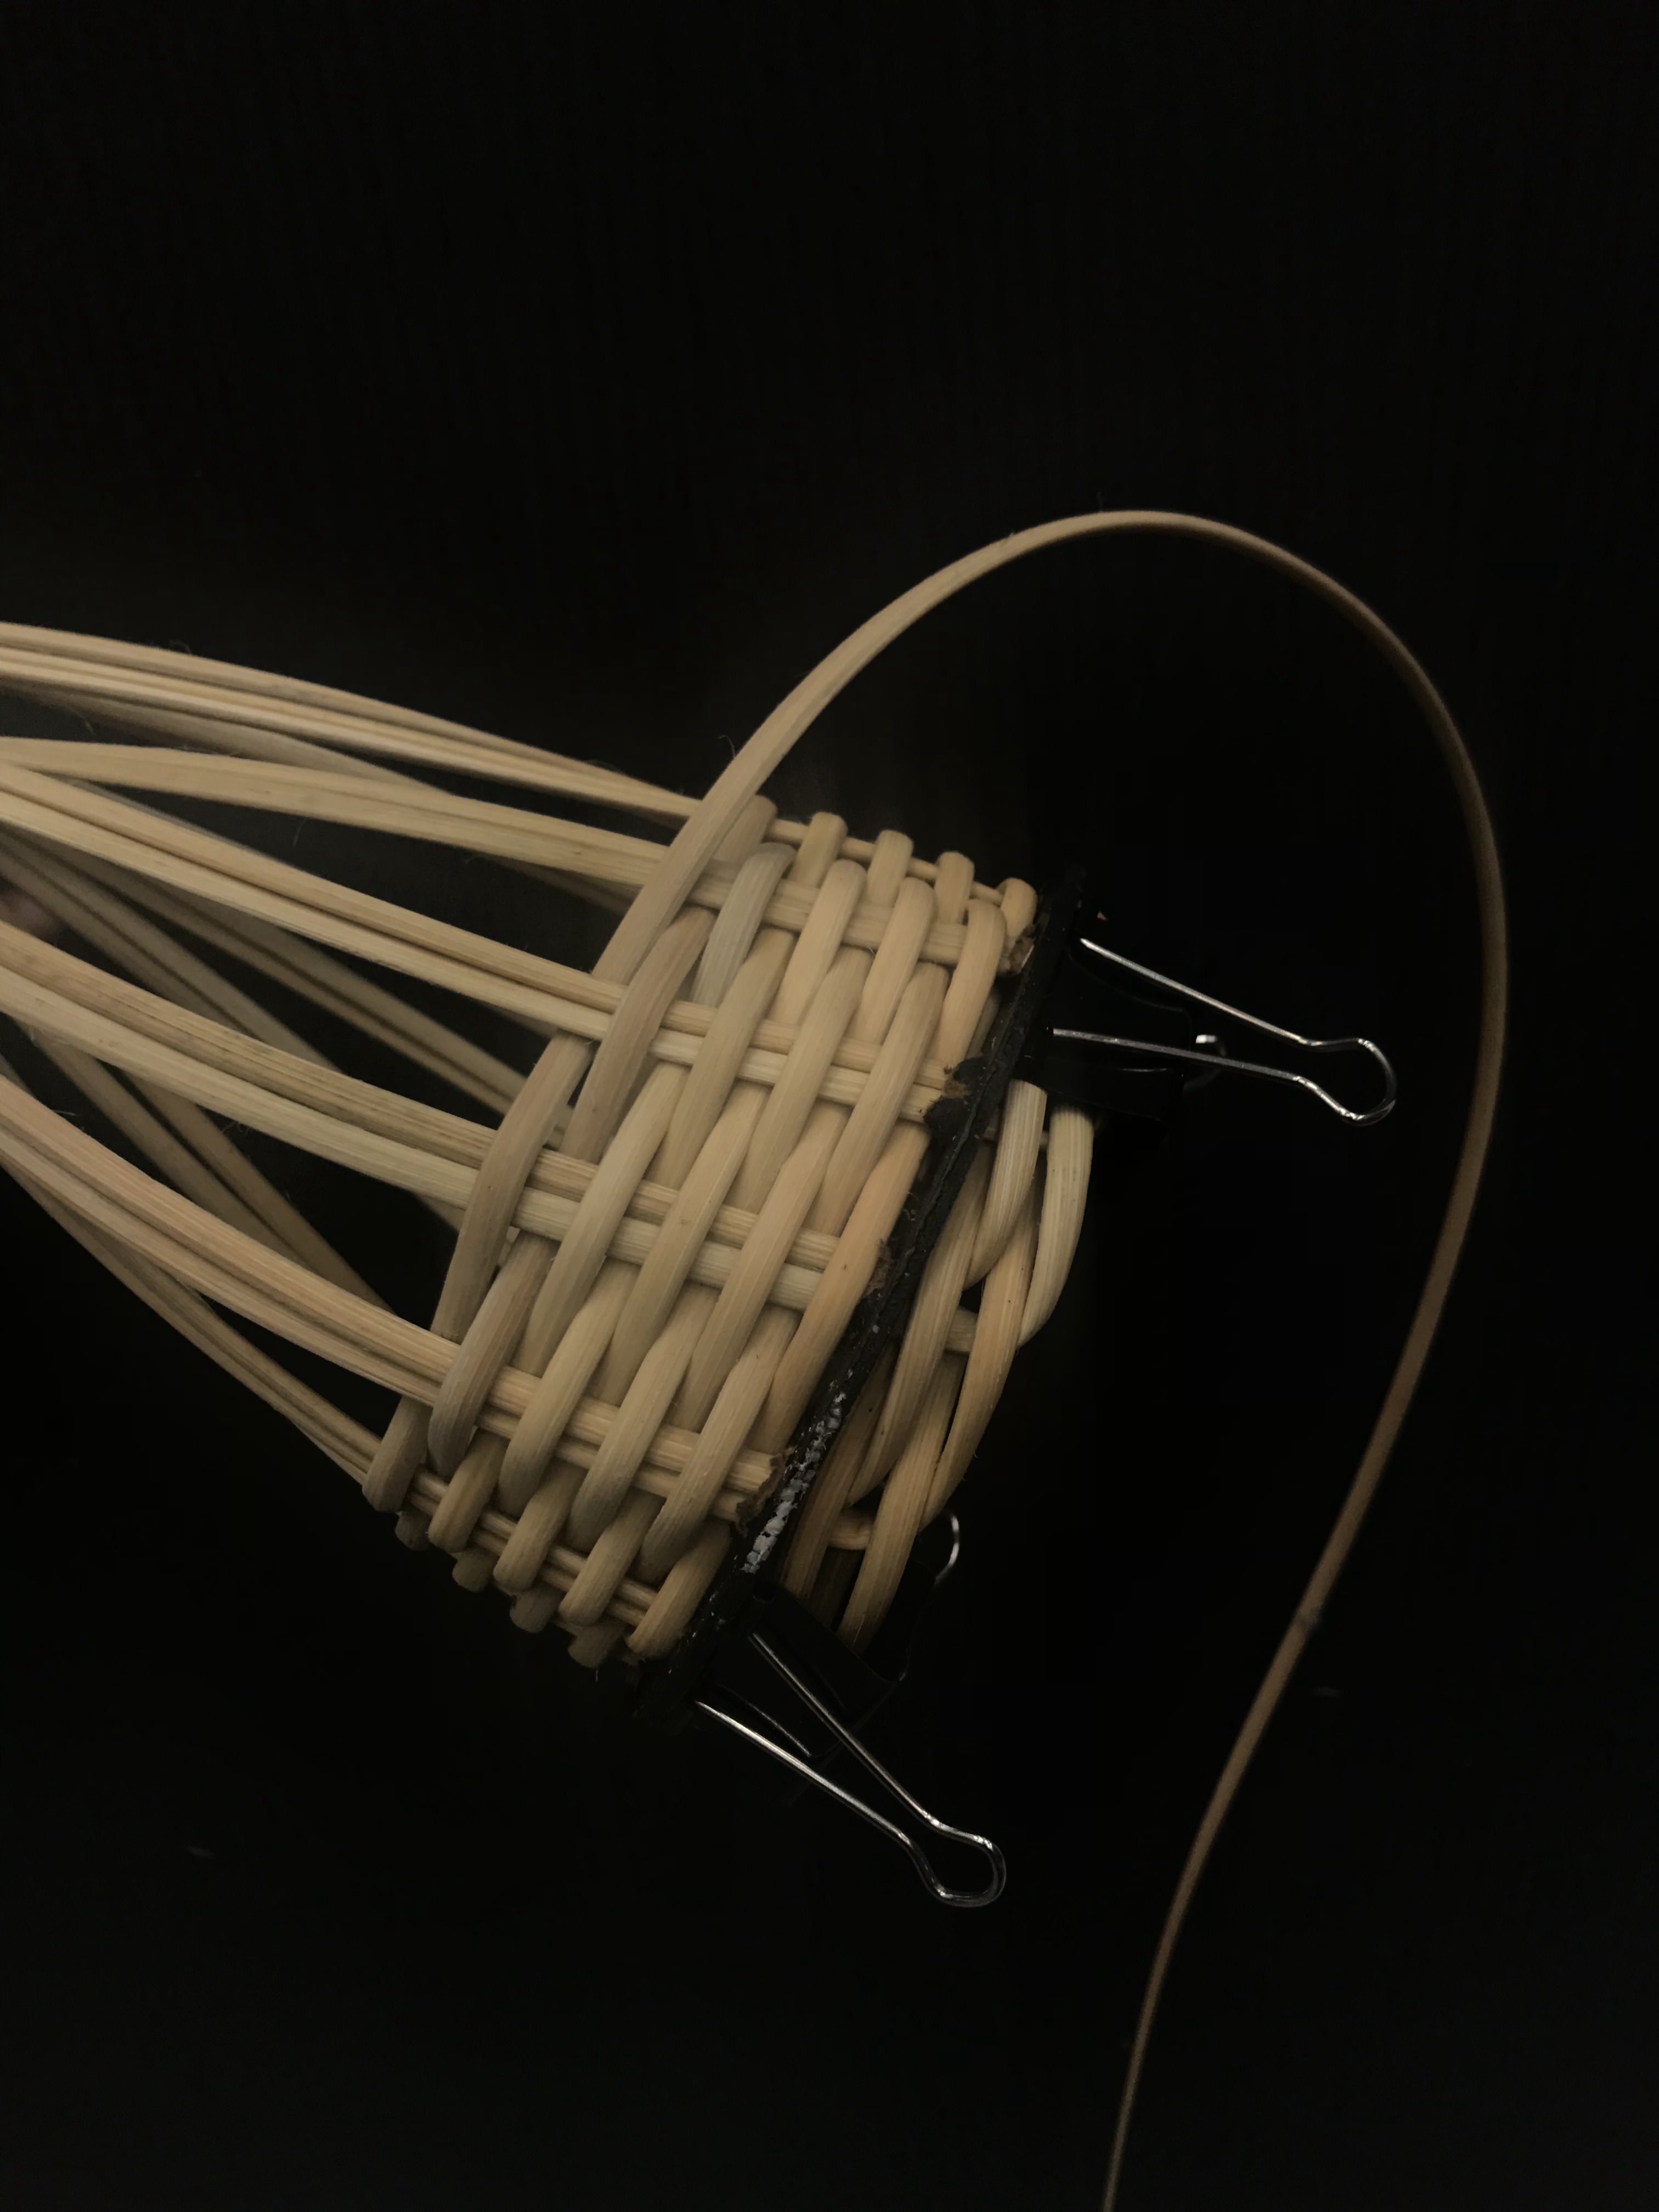
I started working on the bag. I soon realised that this can was tougher to control as compared to a thicker rattan that I had used before. I knew it was the cane as I used the same, pine needle pattern as before. The cane was fragile and dries quicker than the thicker rattan.
This served as a problem as the weaved base kept falling apart or rather, it looked messy. I decided to continue on as I really liked how it looked as a base. Another problem I had with it was also the fact that it could not stand as the base was more pointy than I had anticipated.
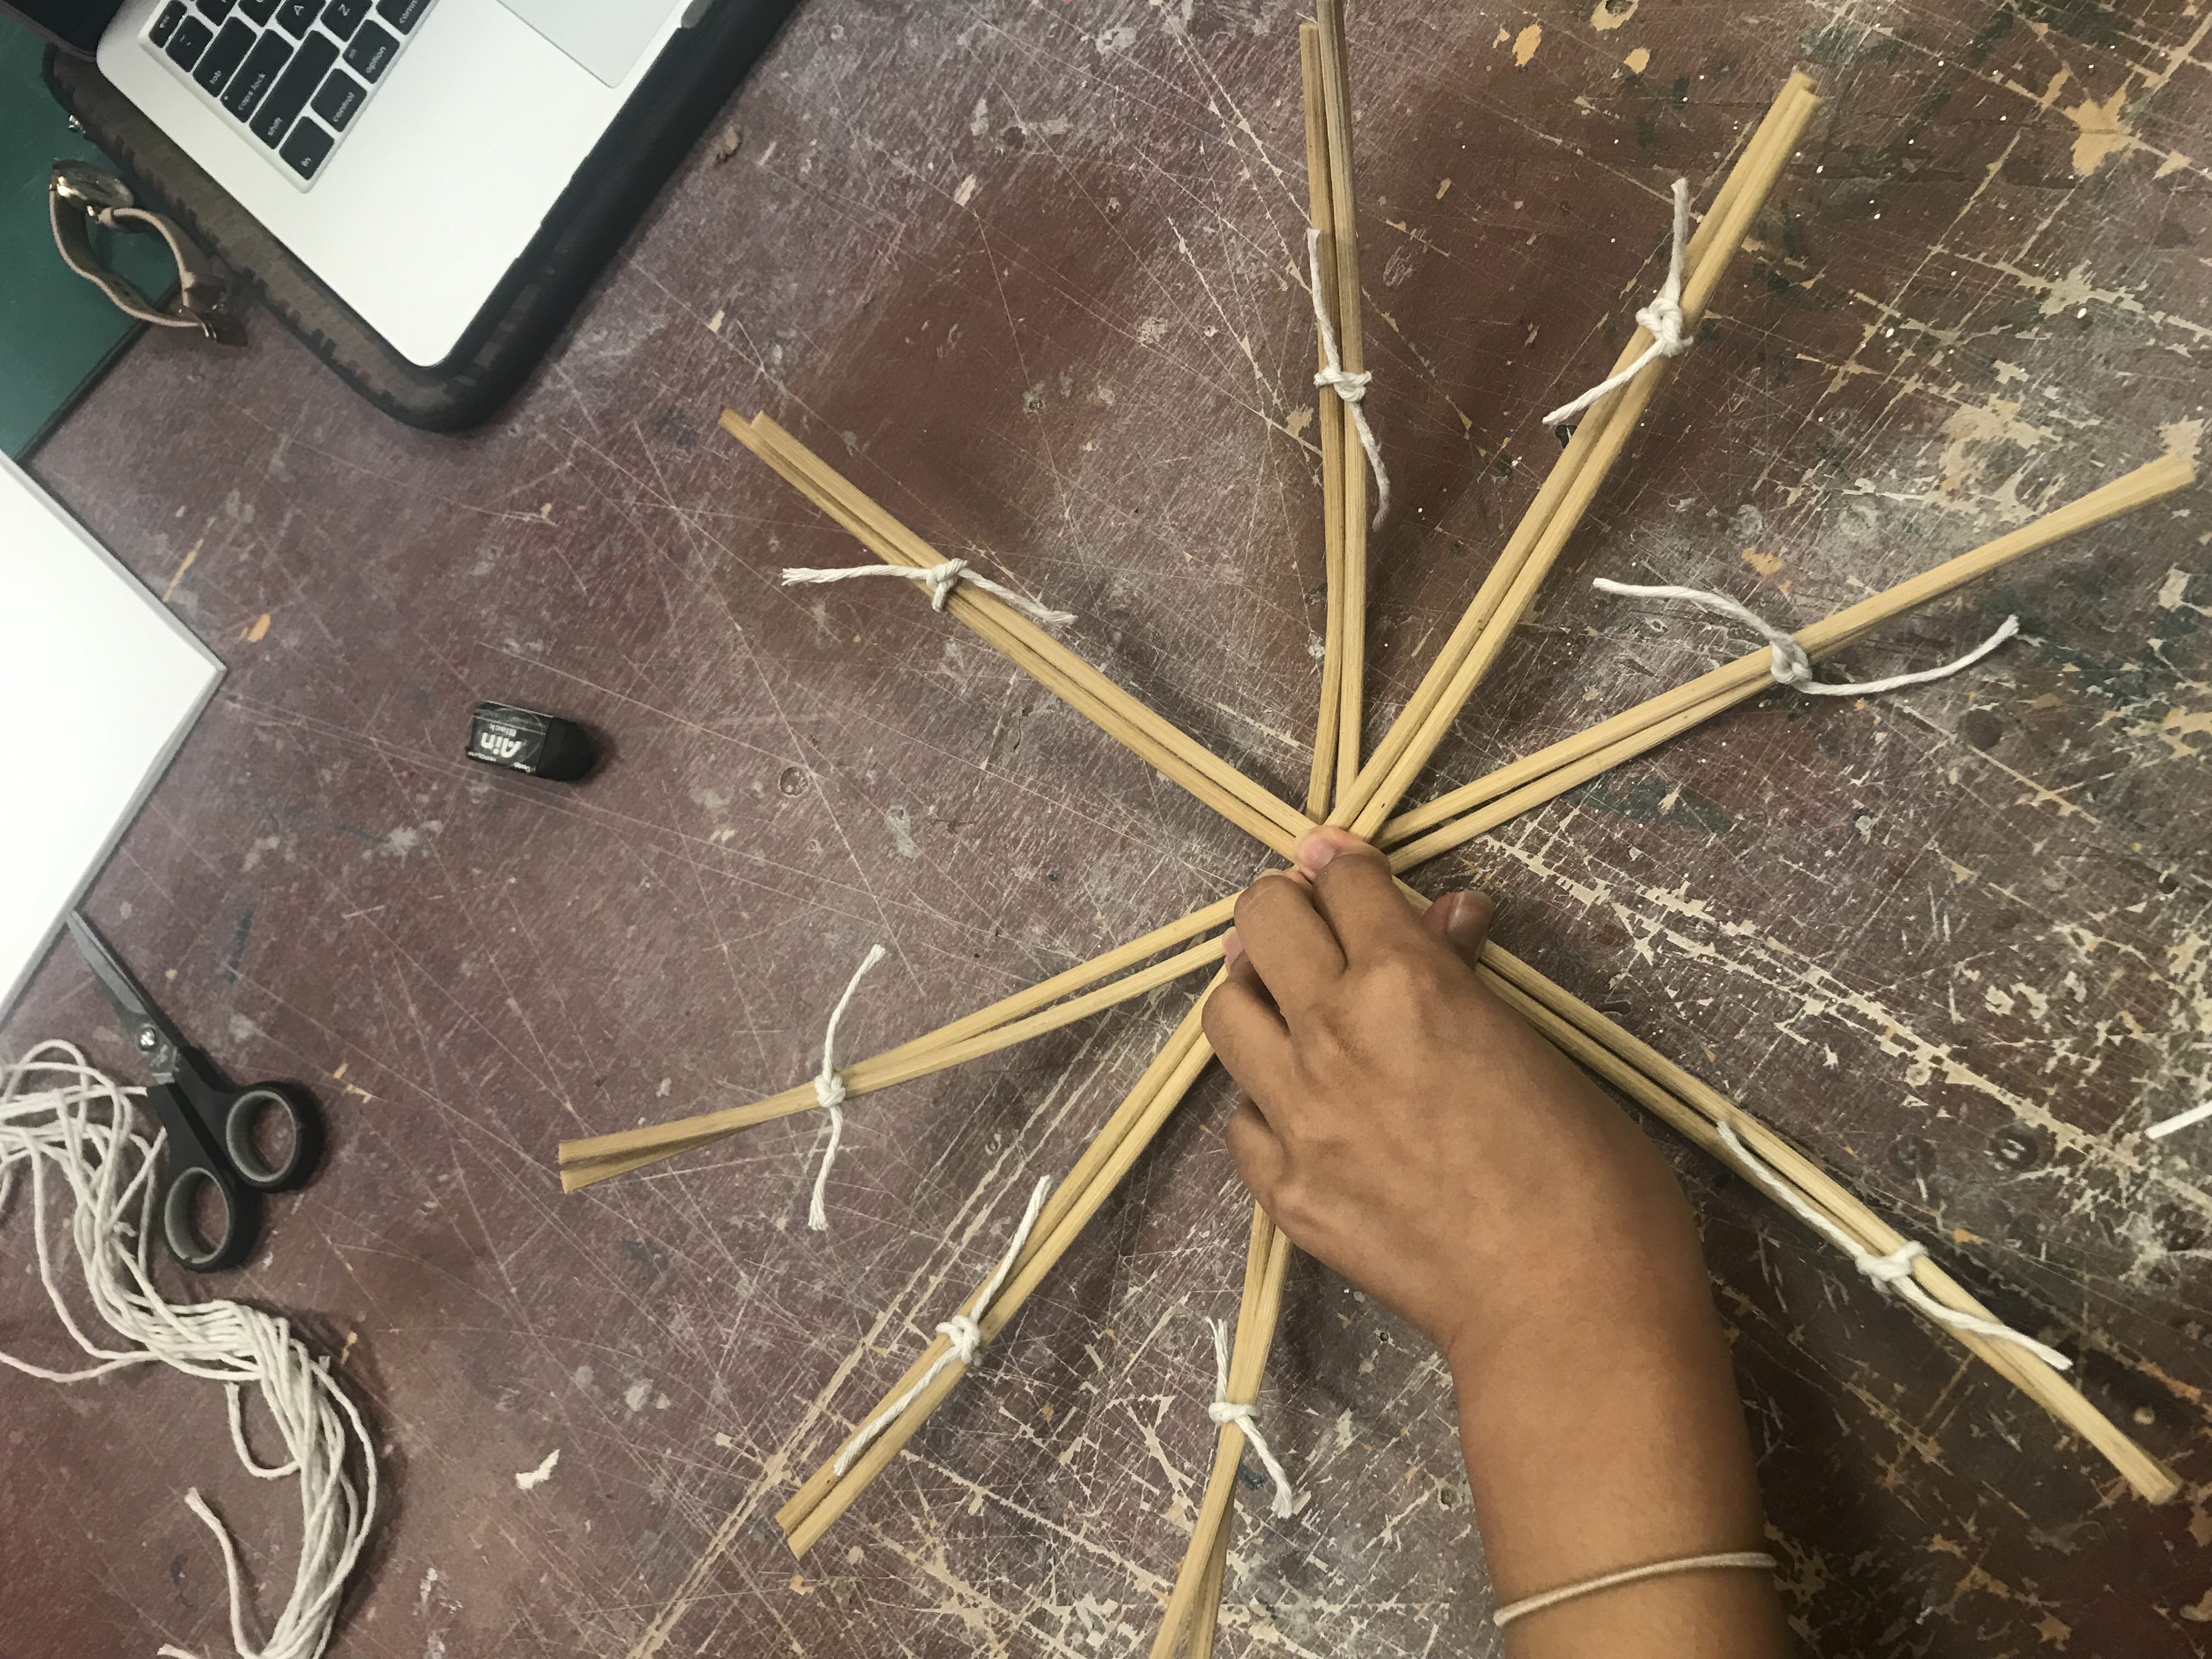
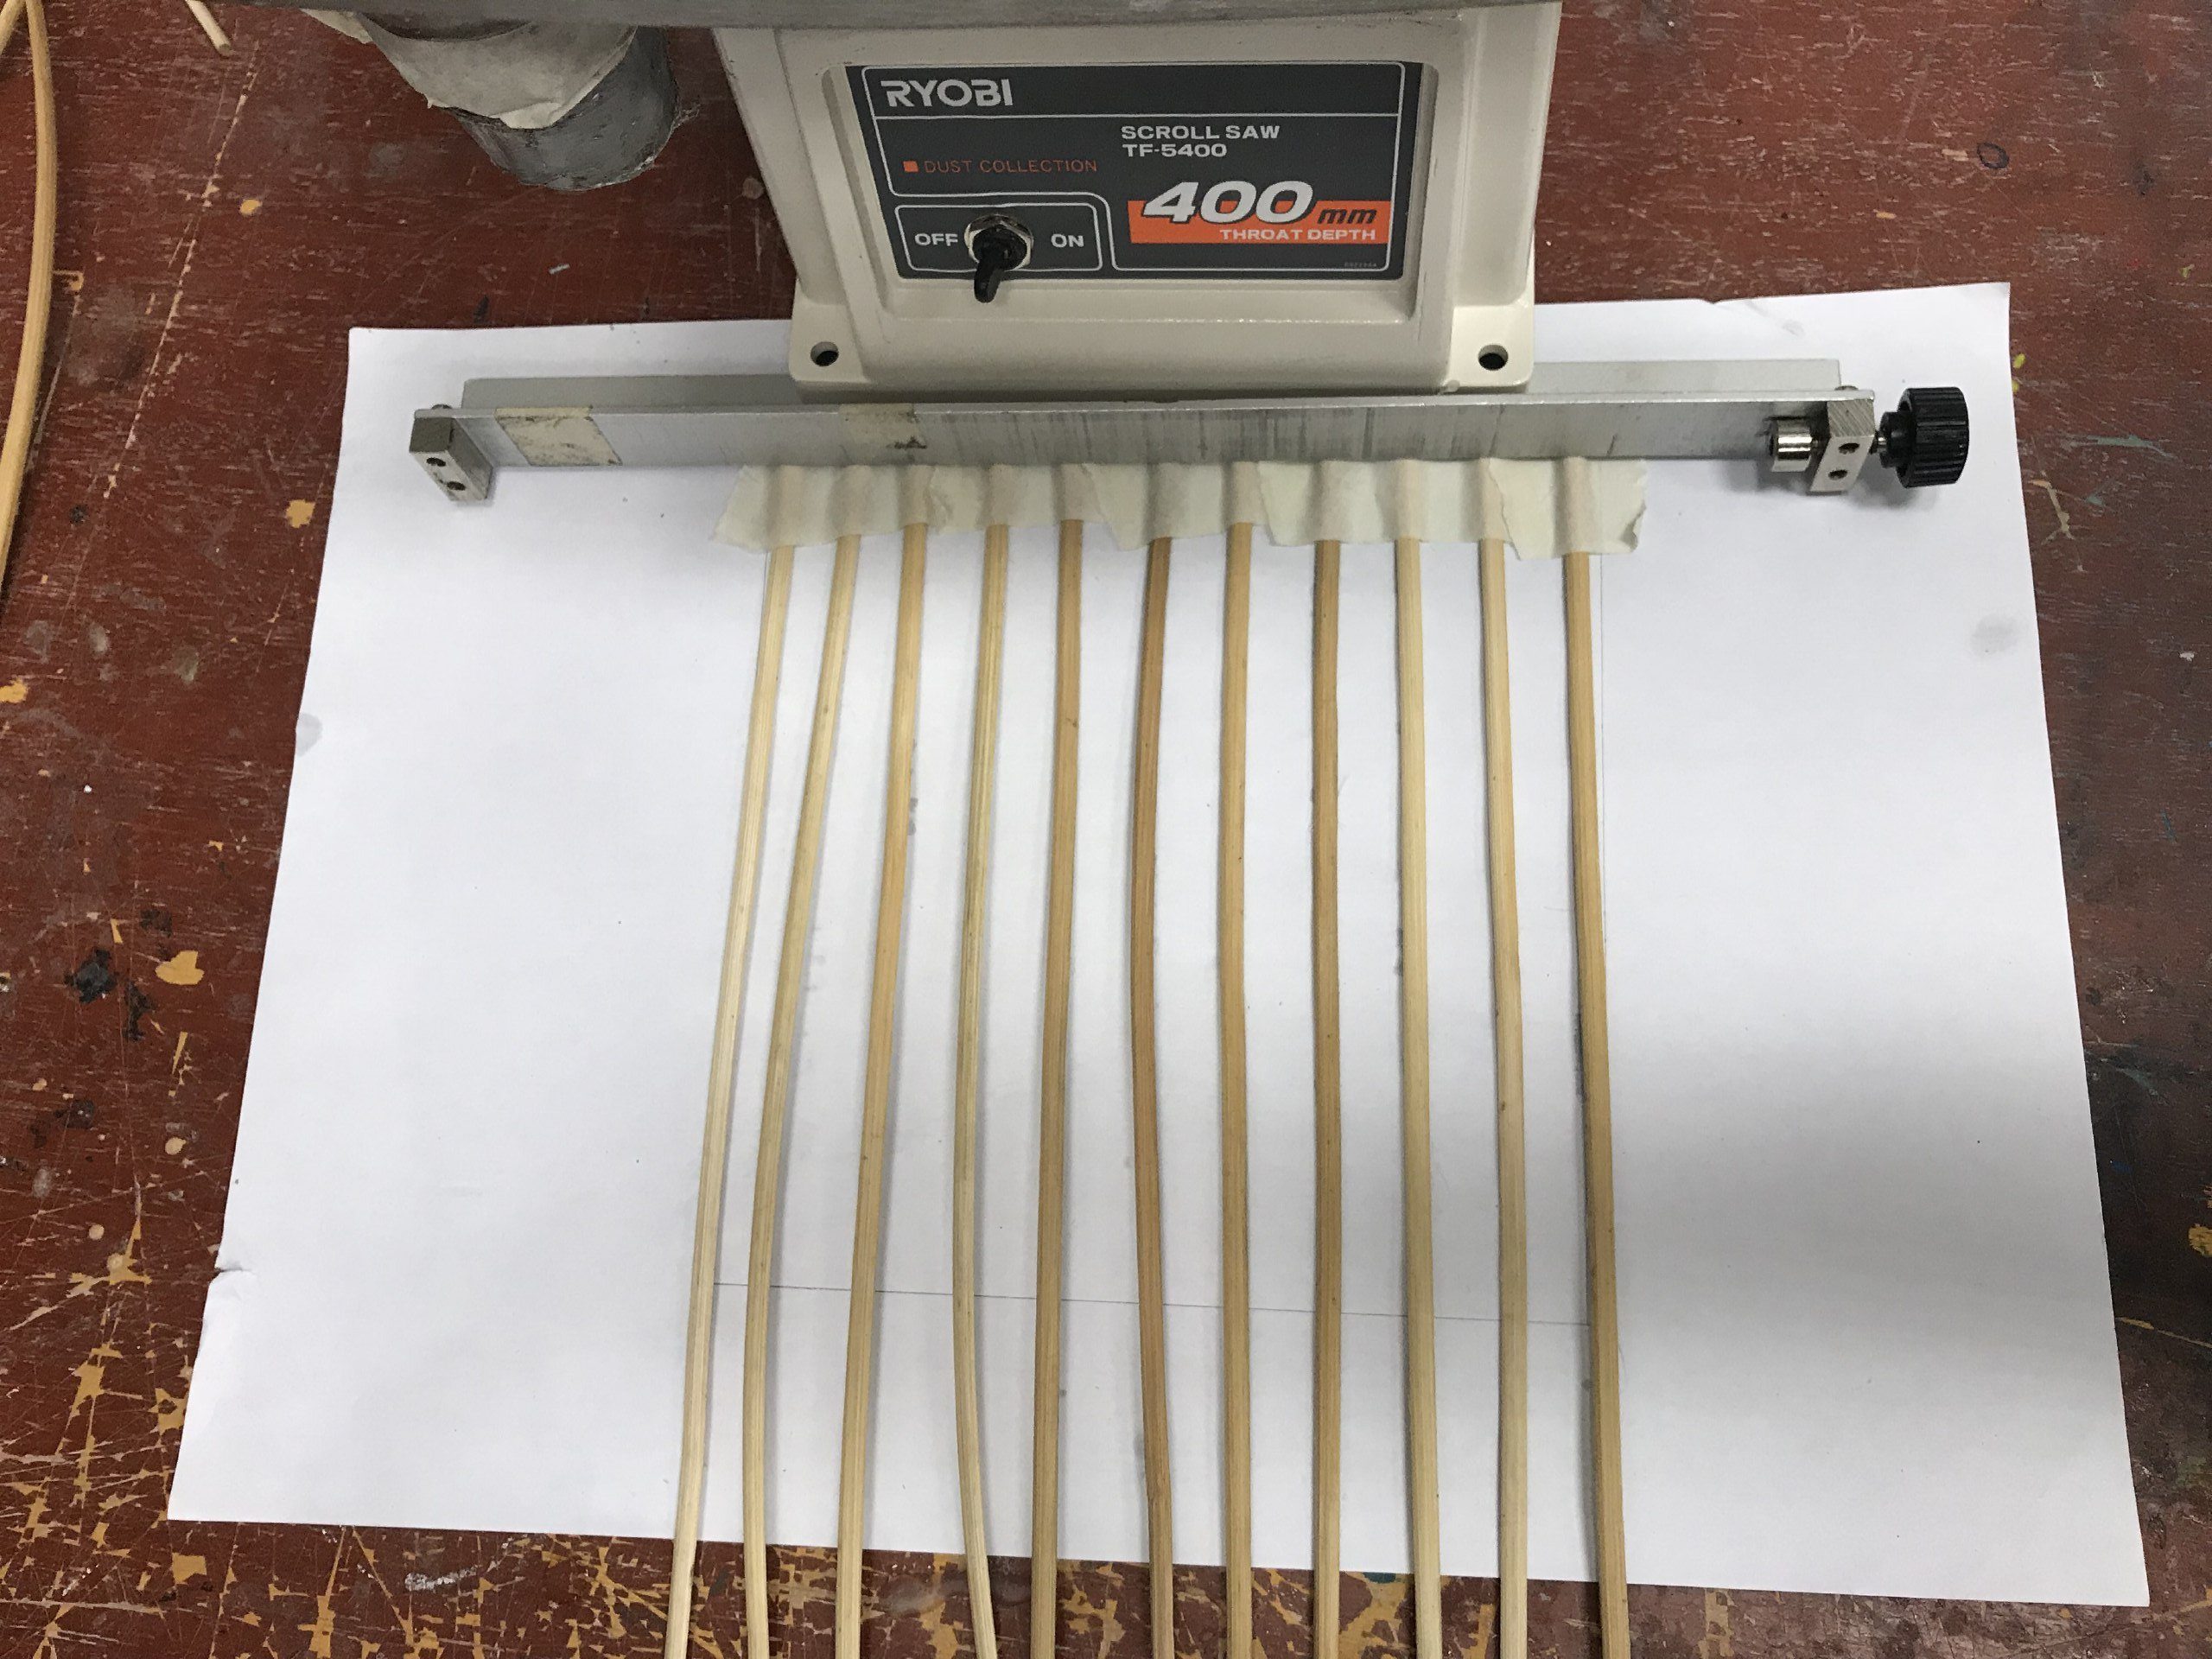
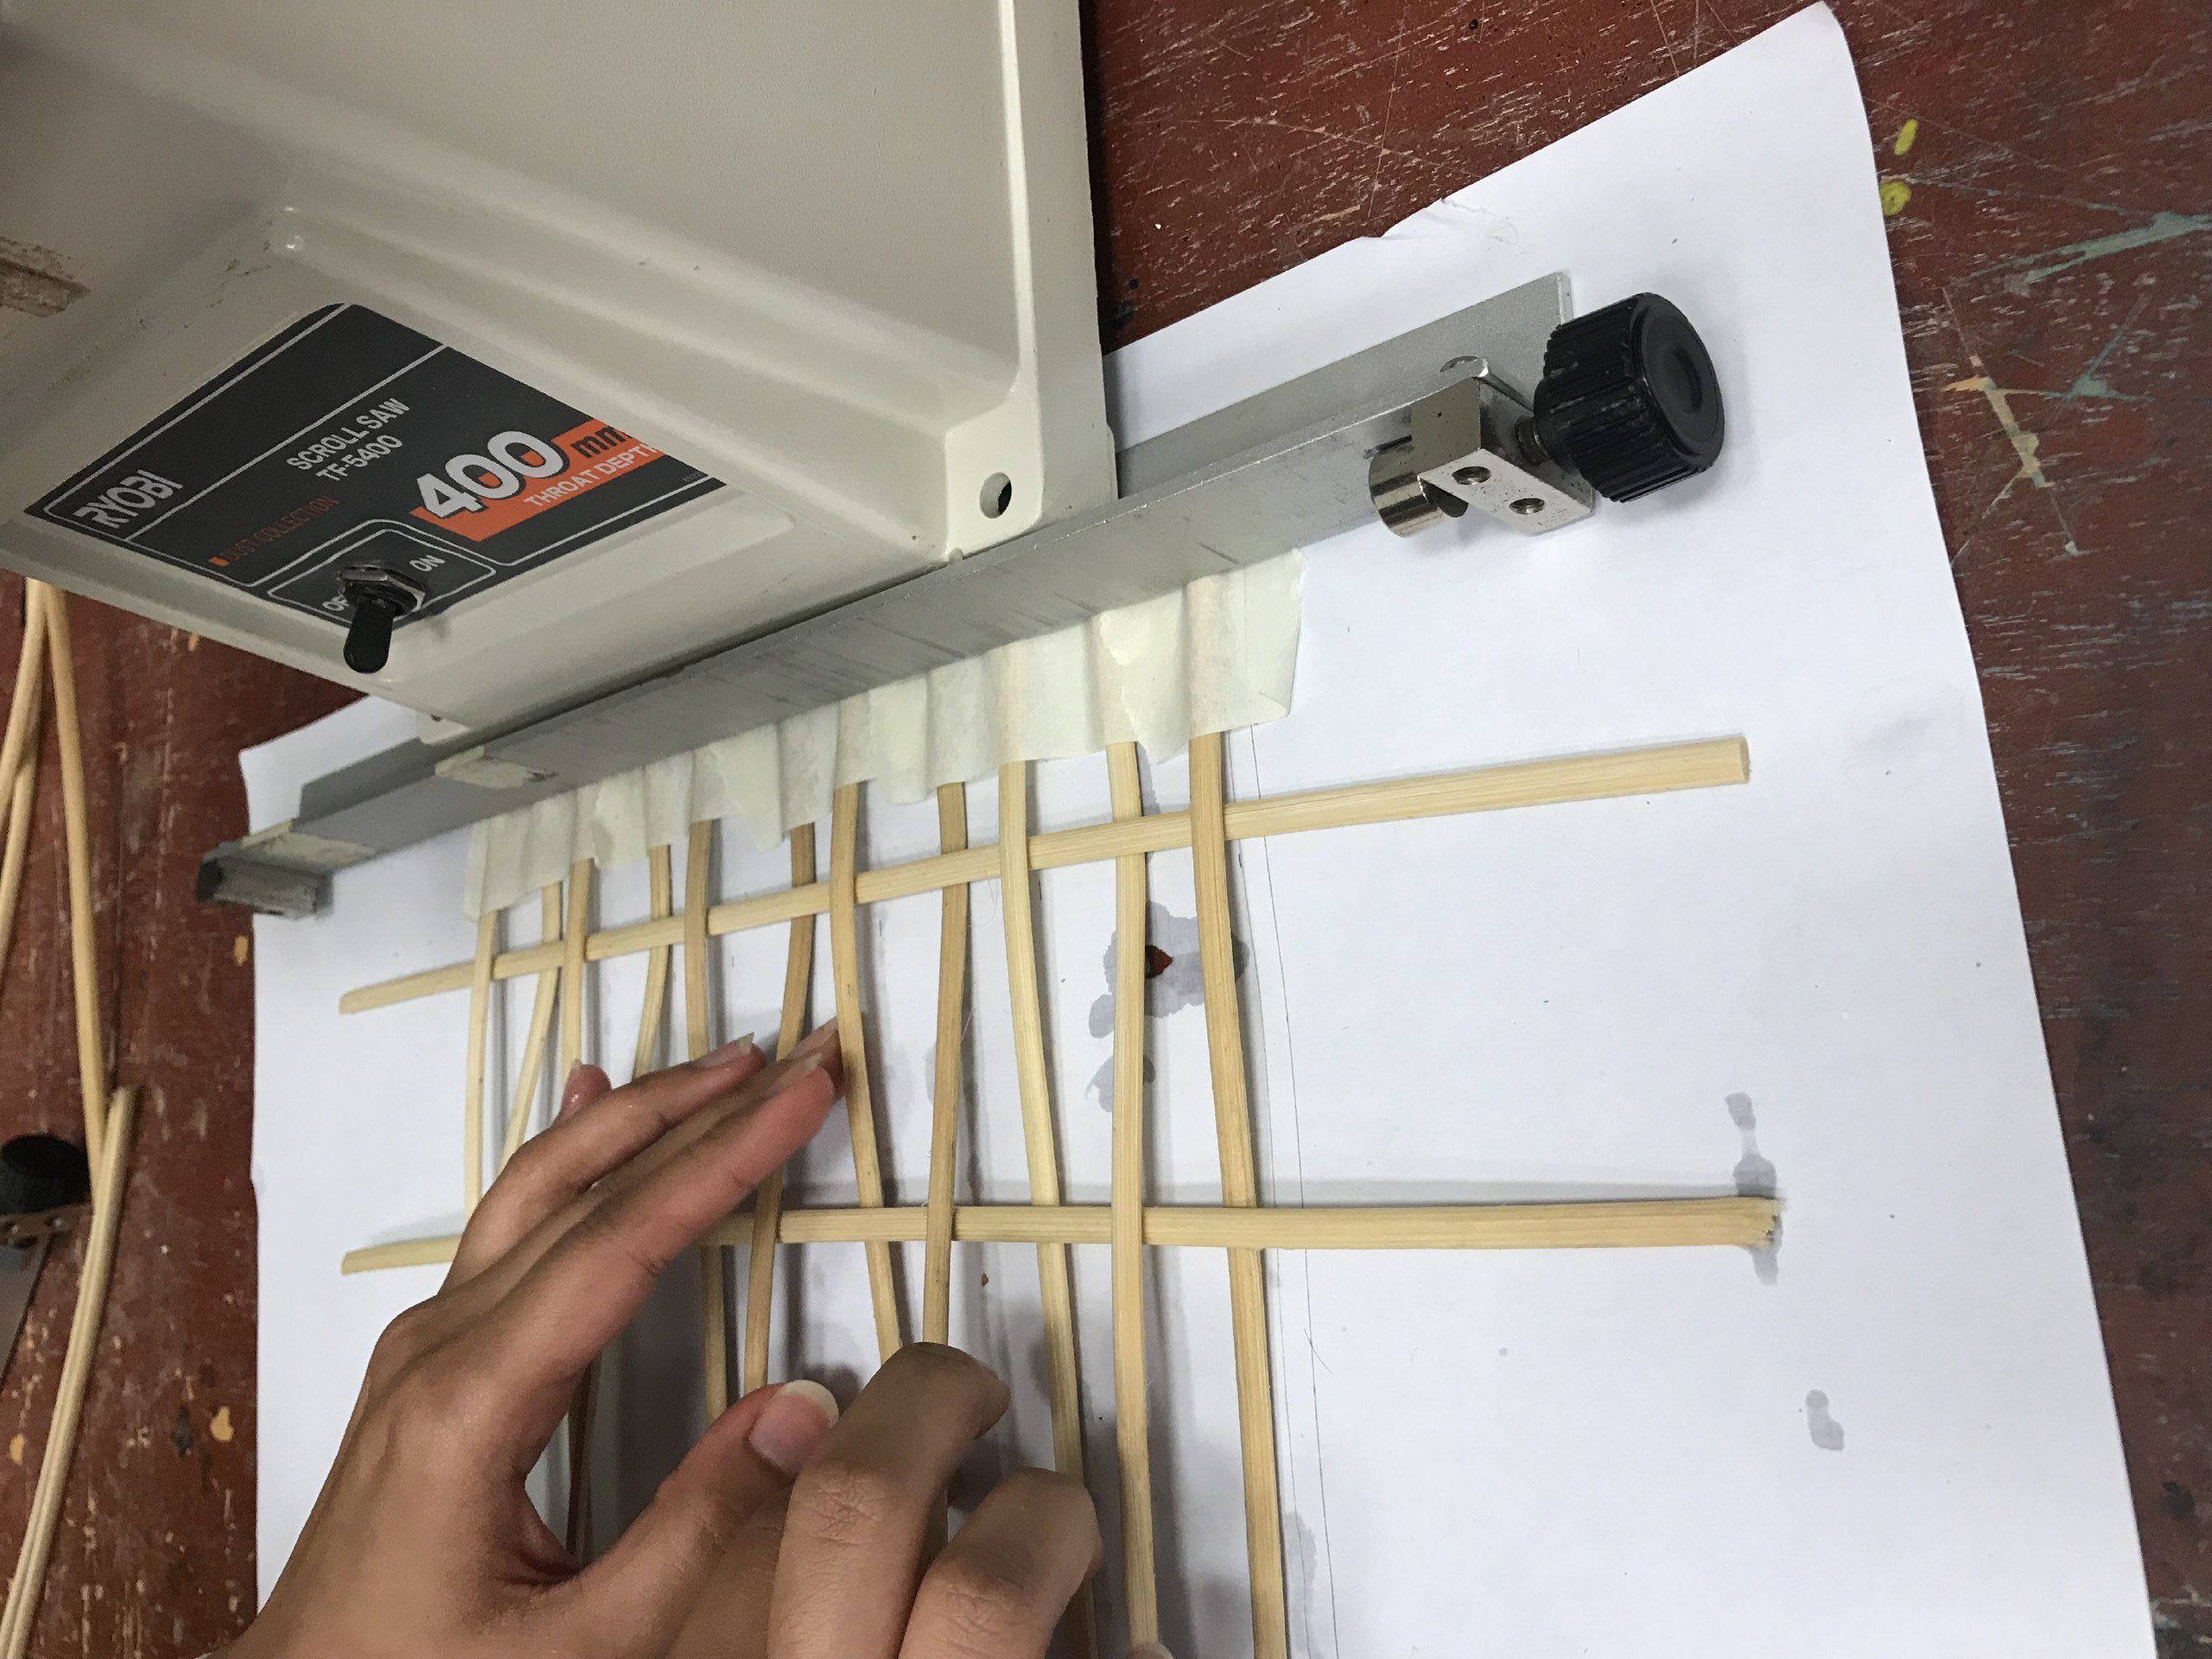
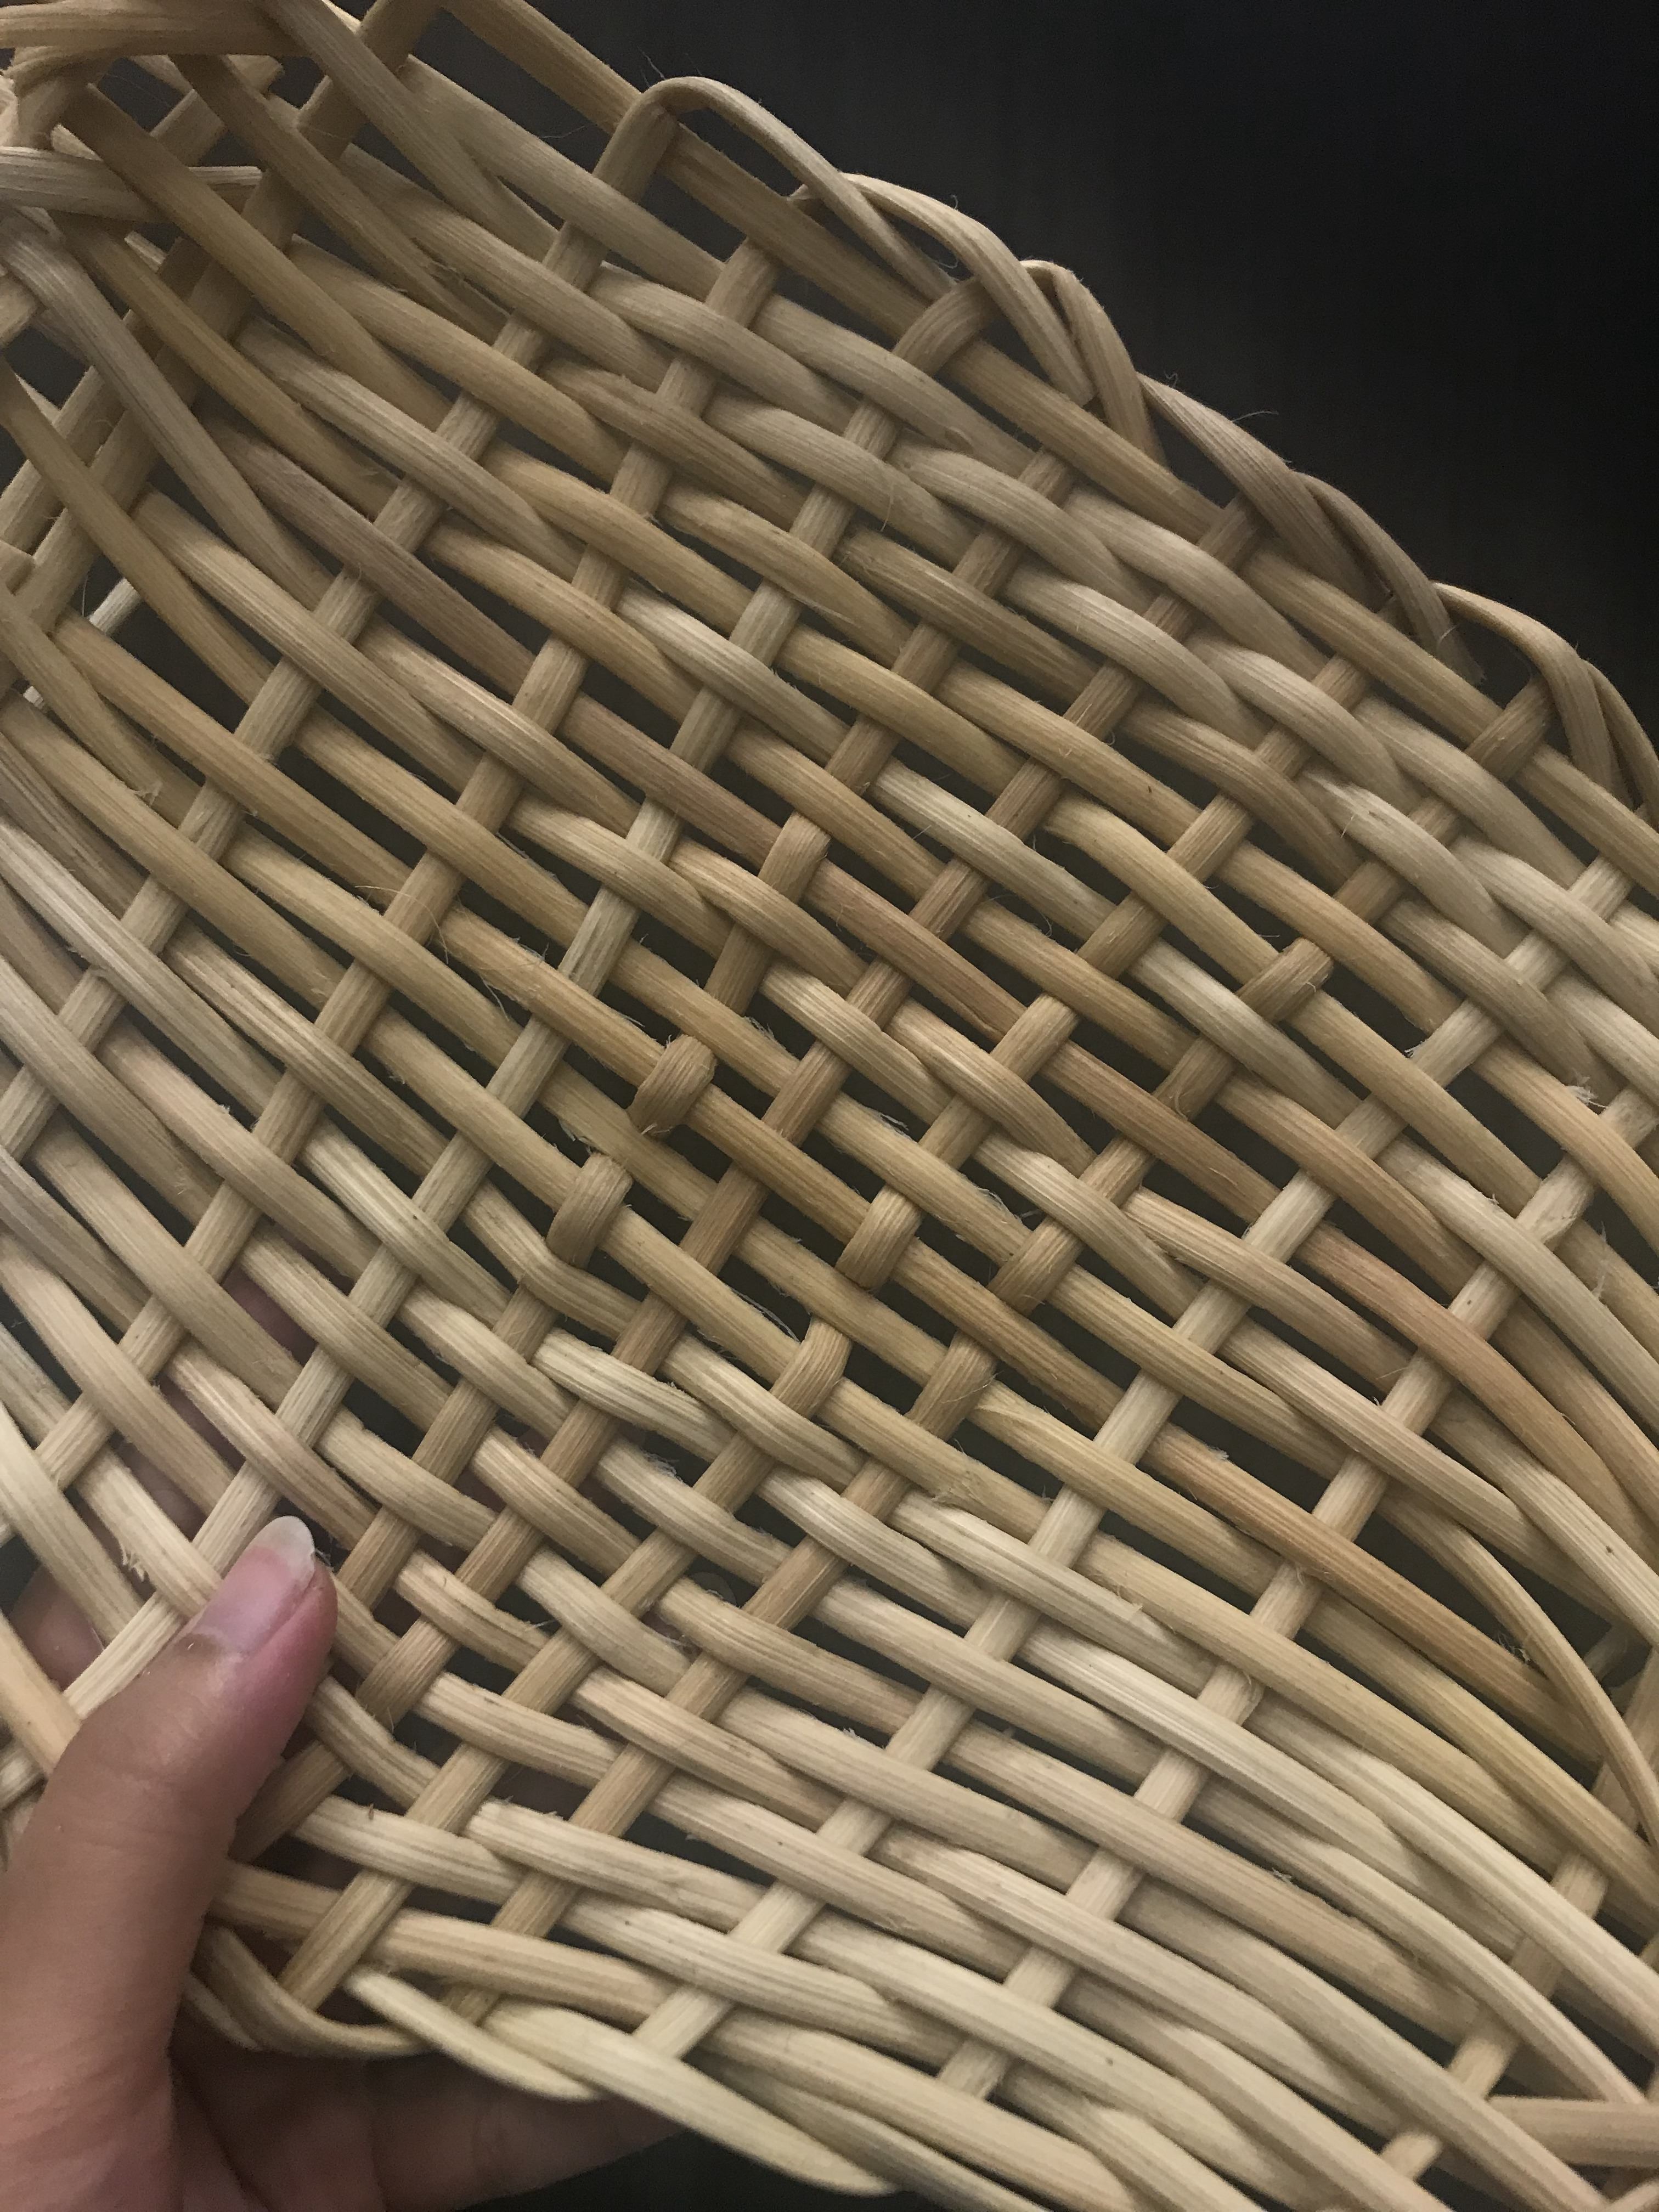
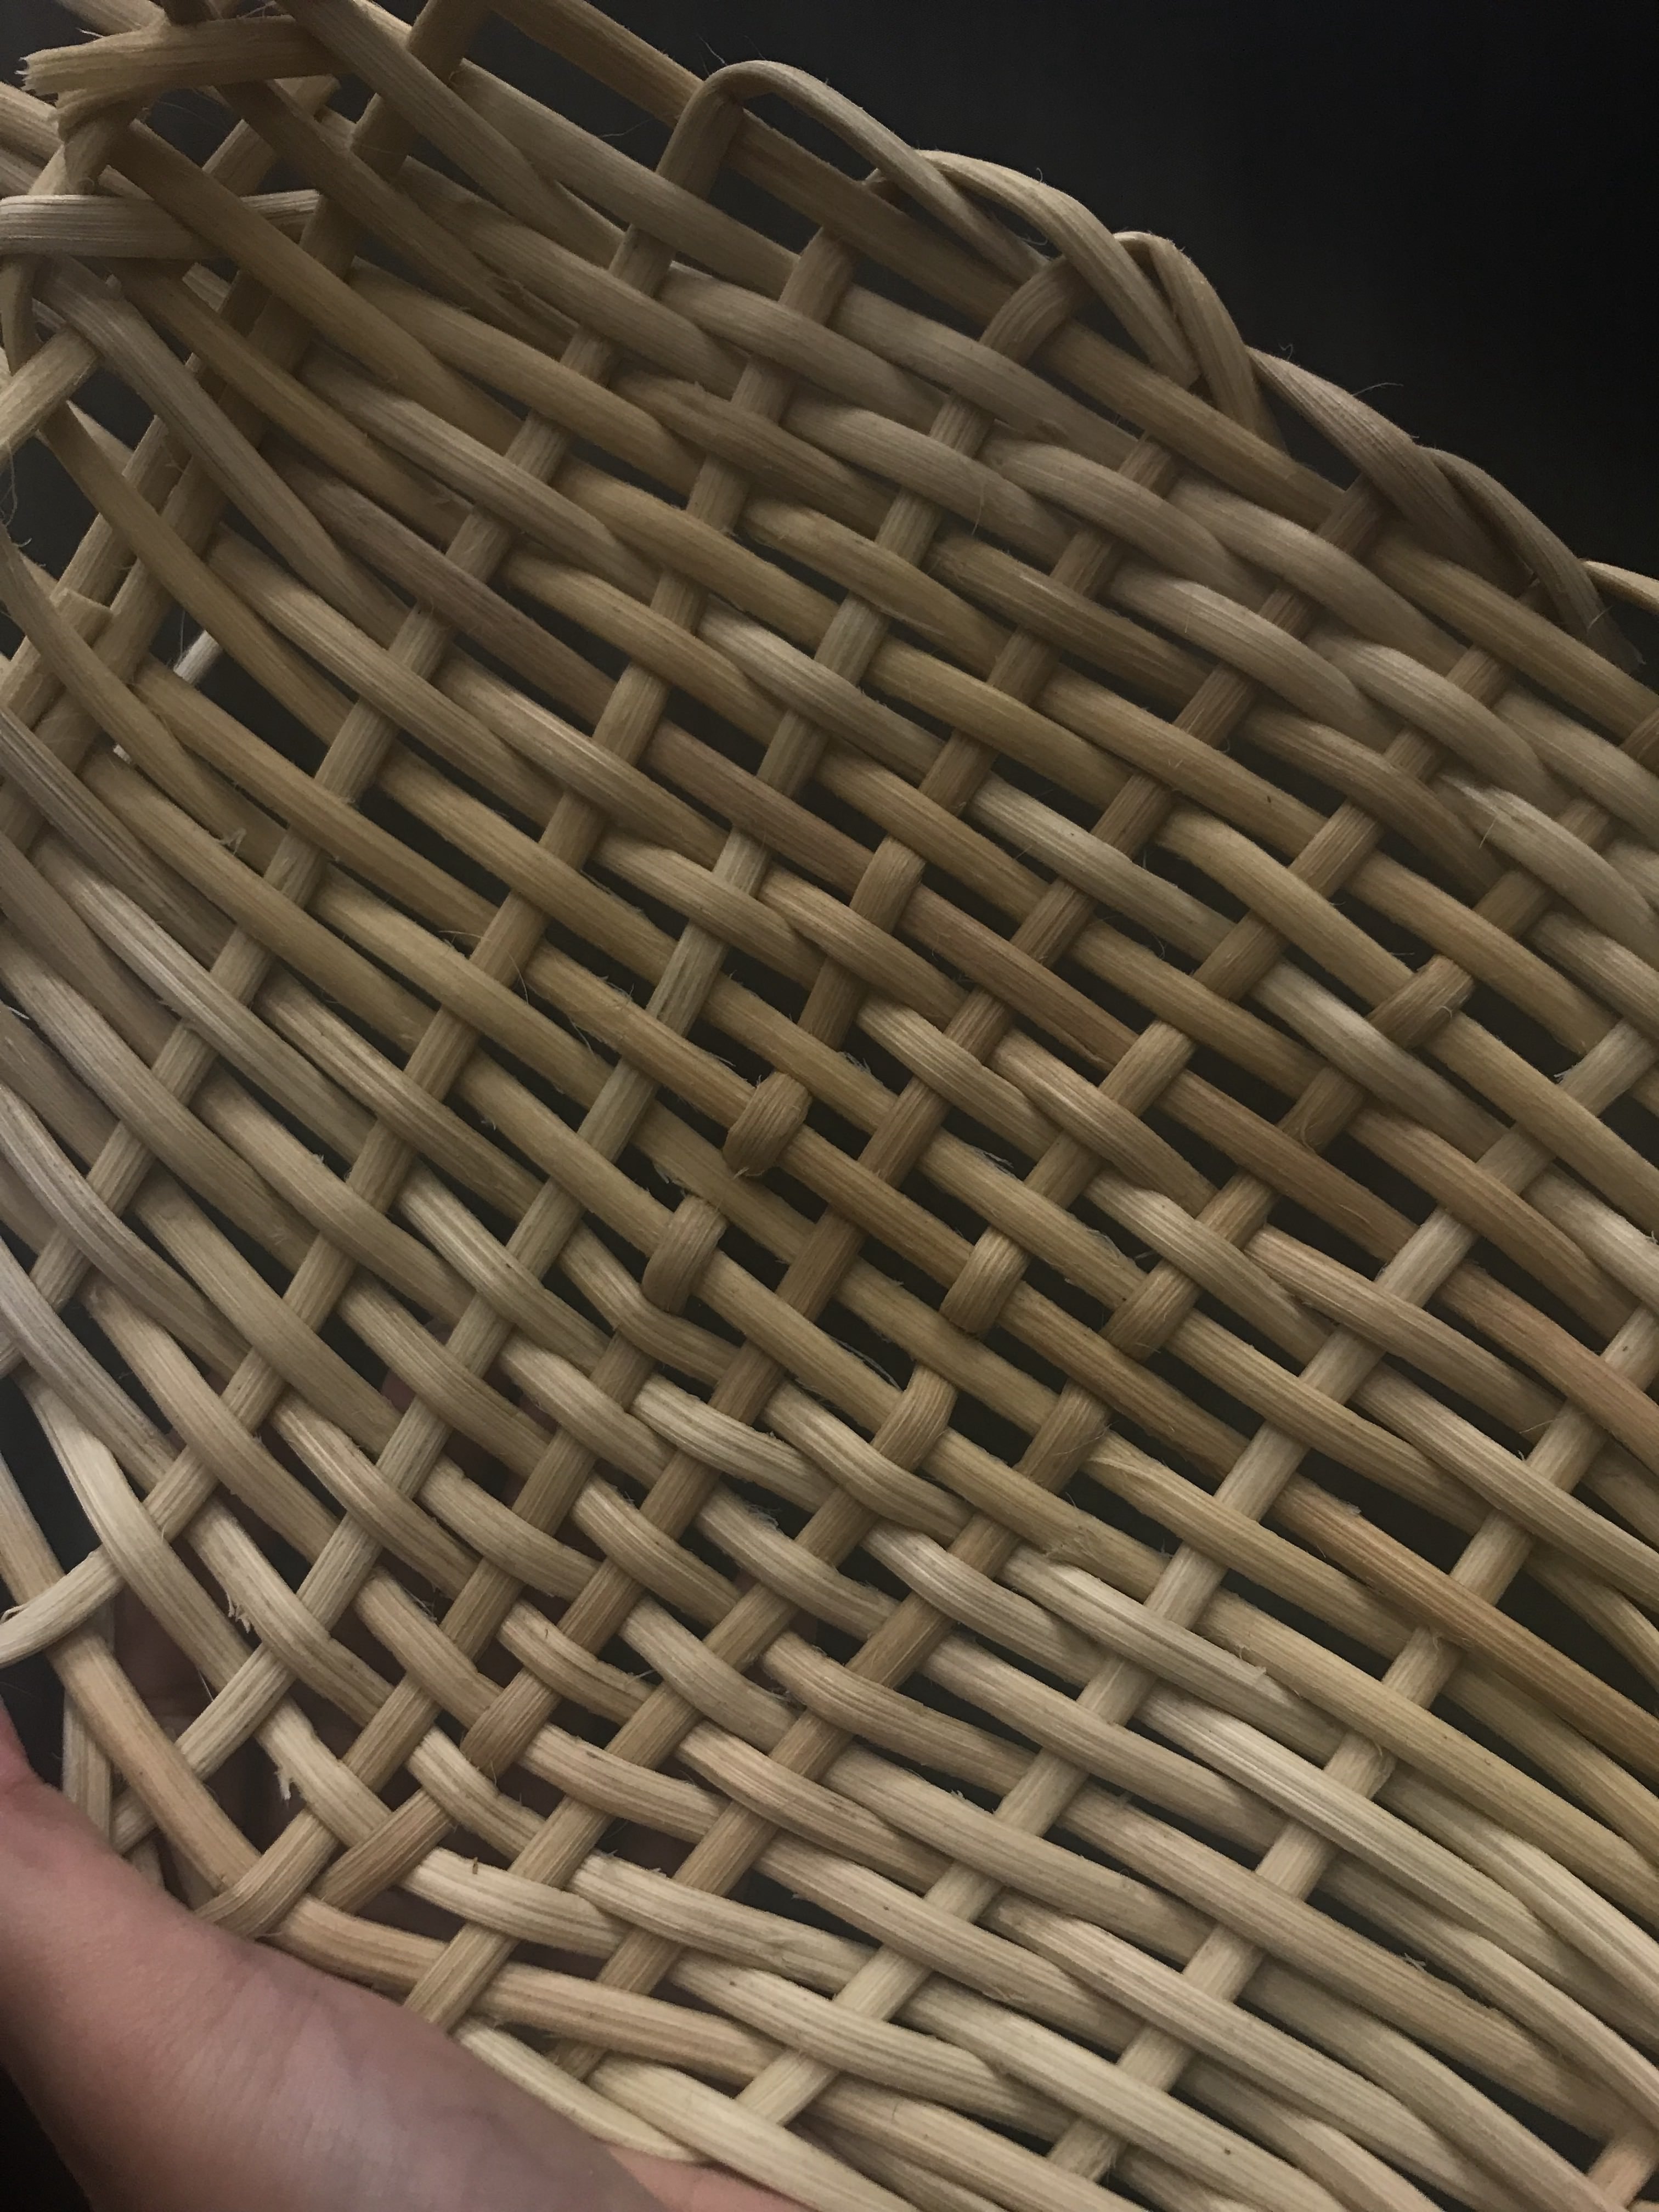
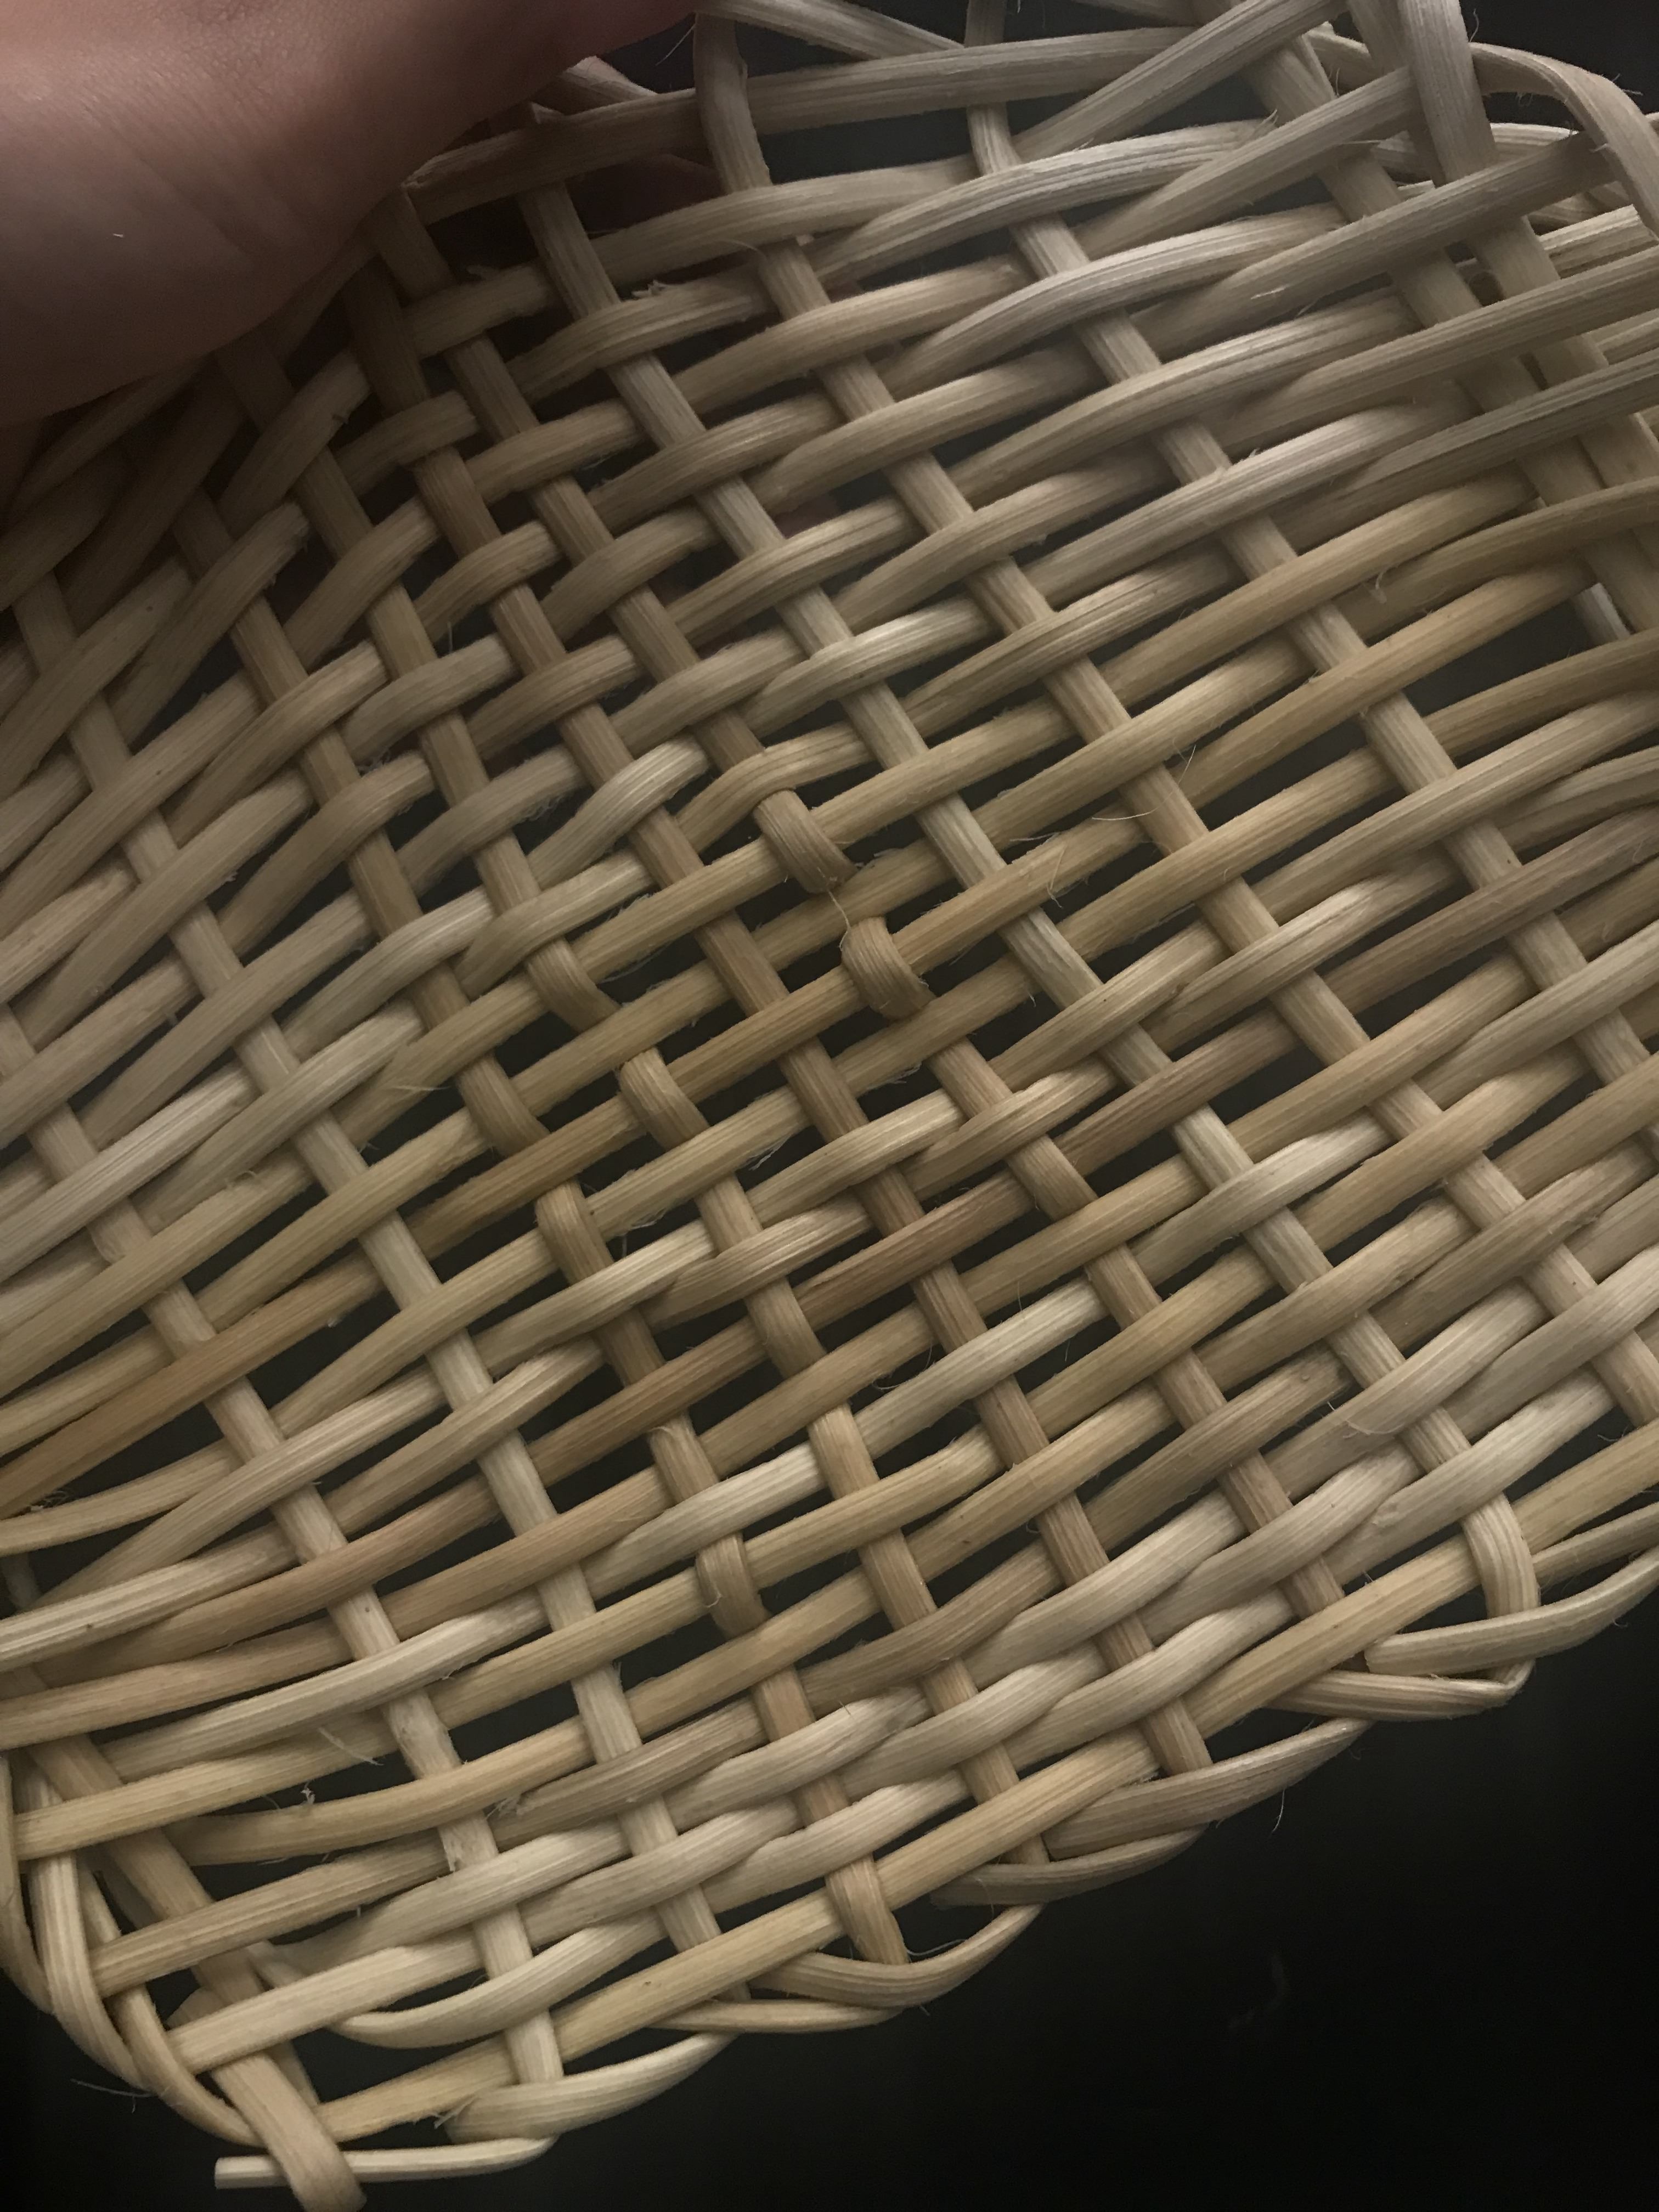
PROCESS PHOTOS


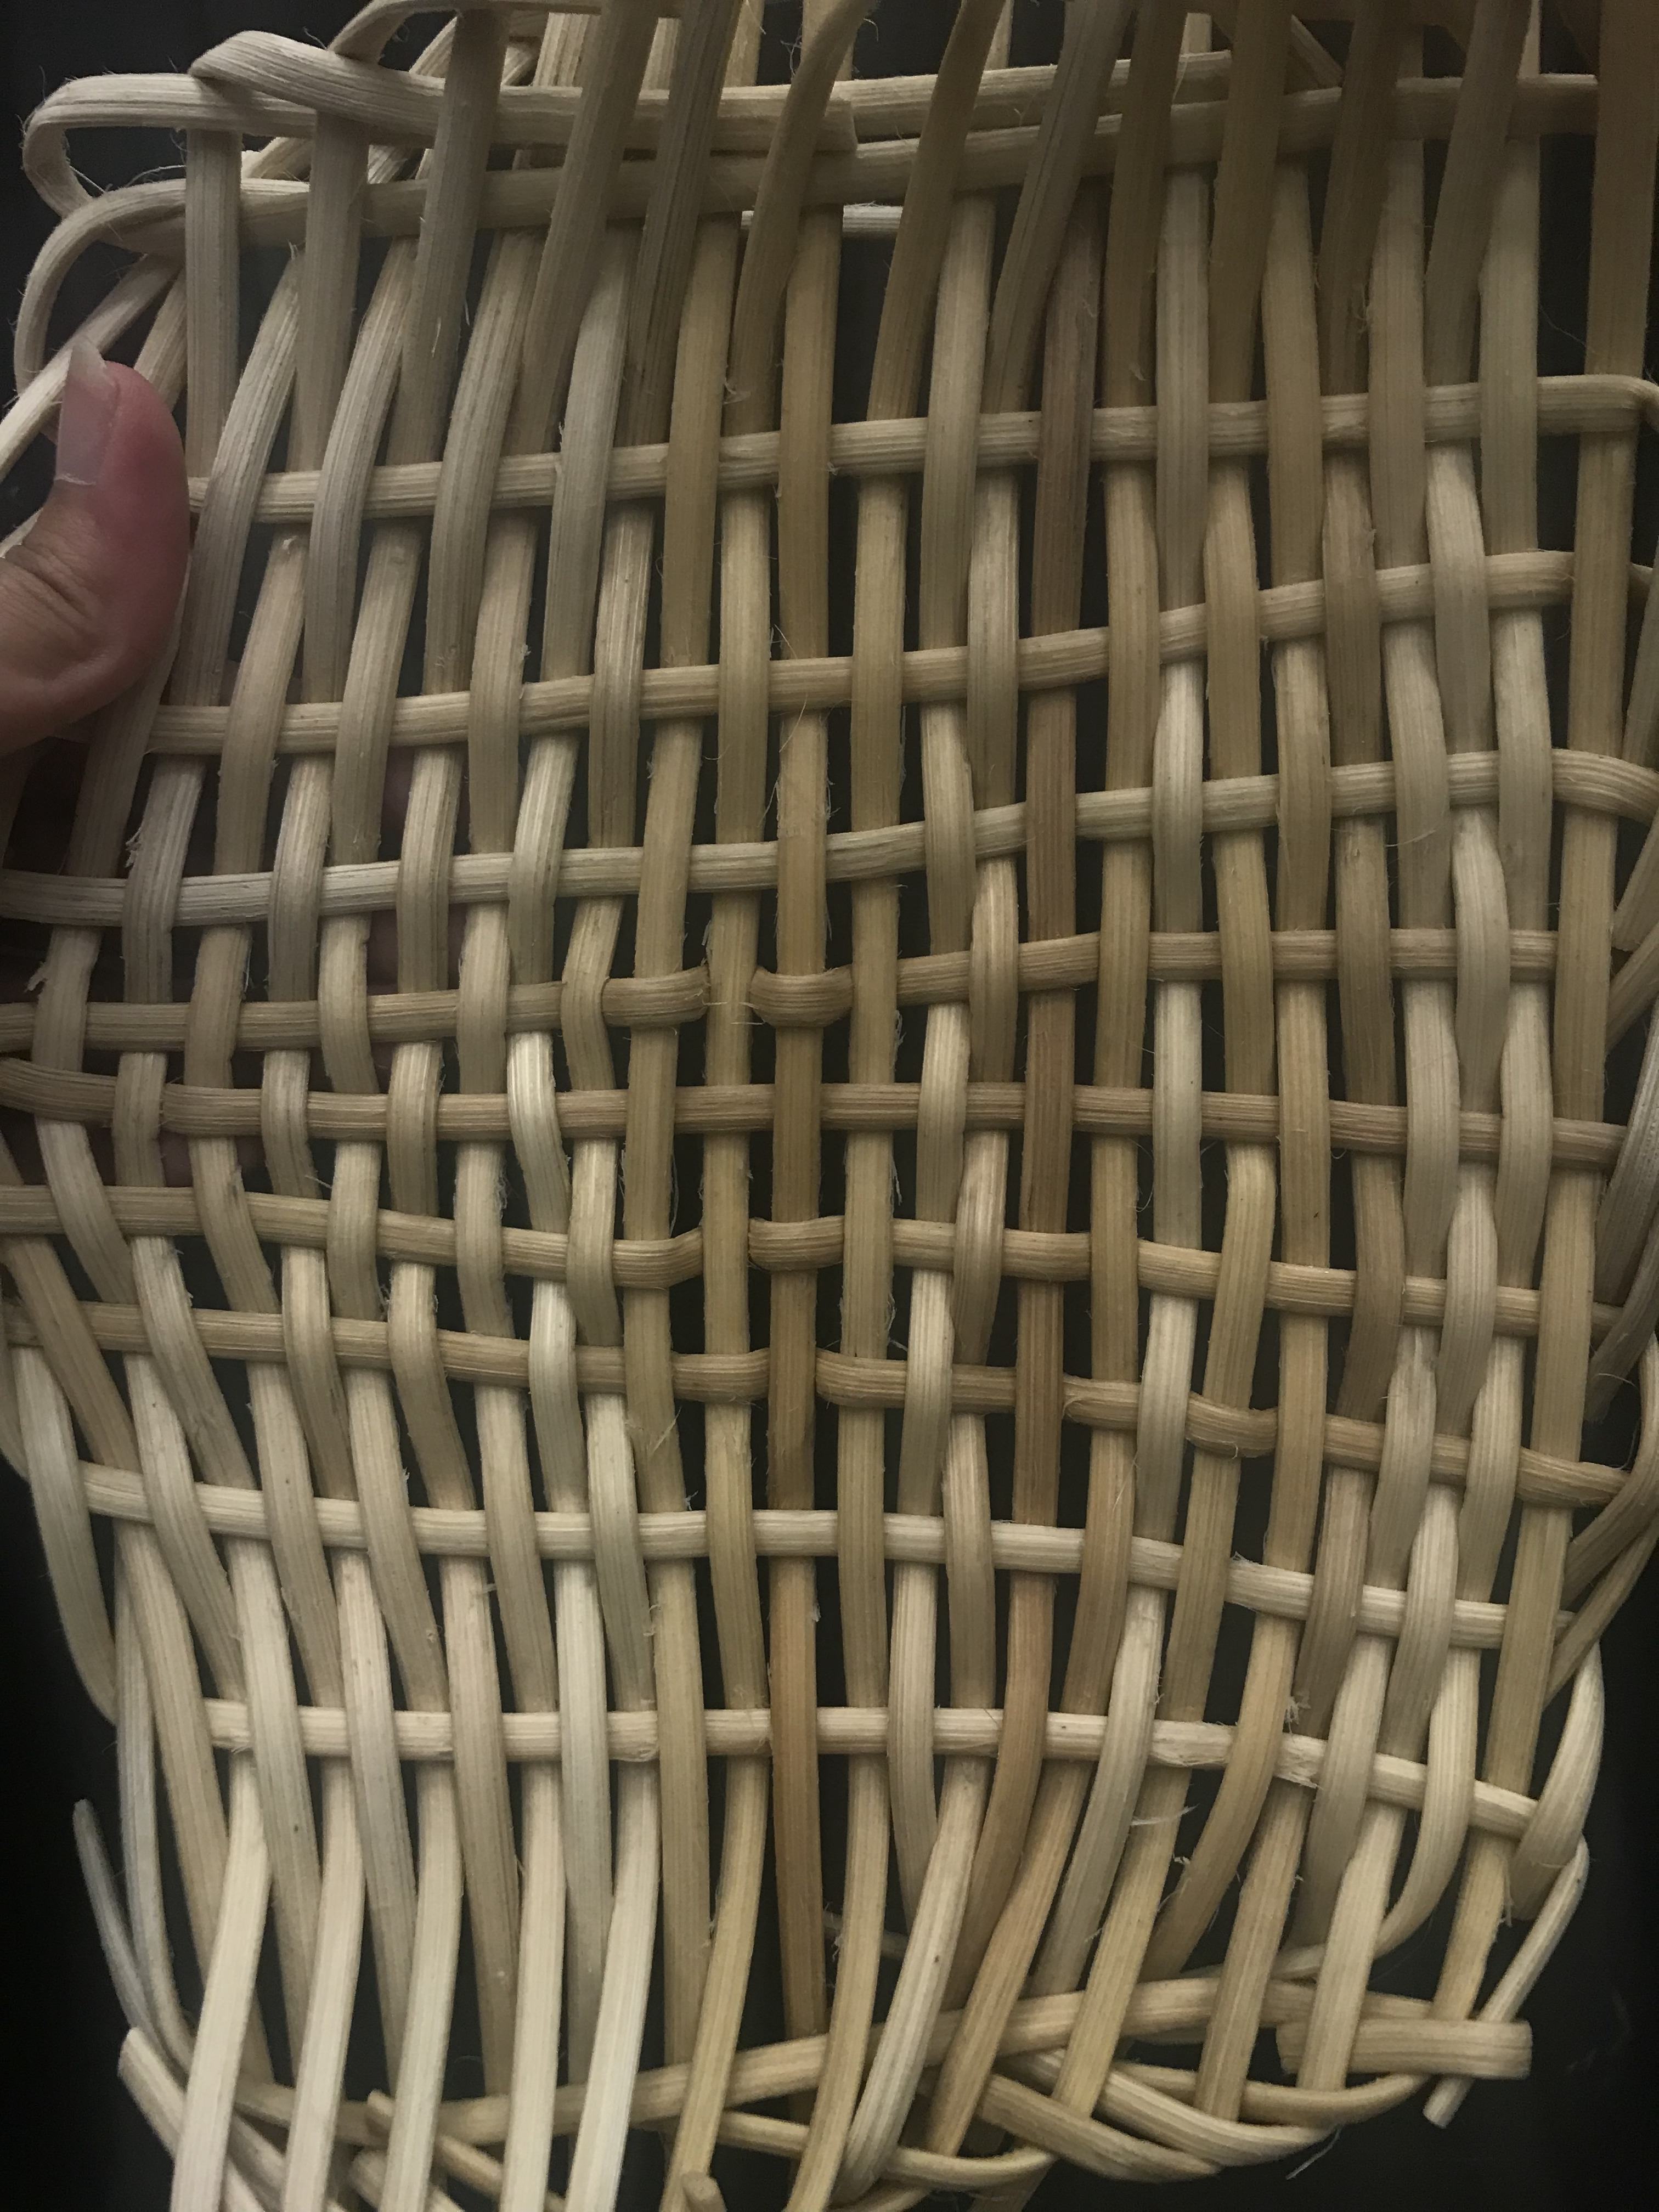
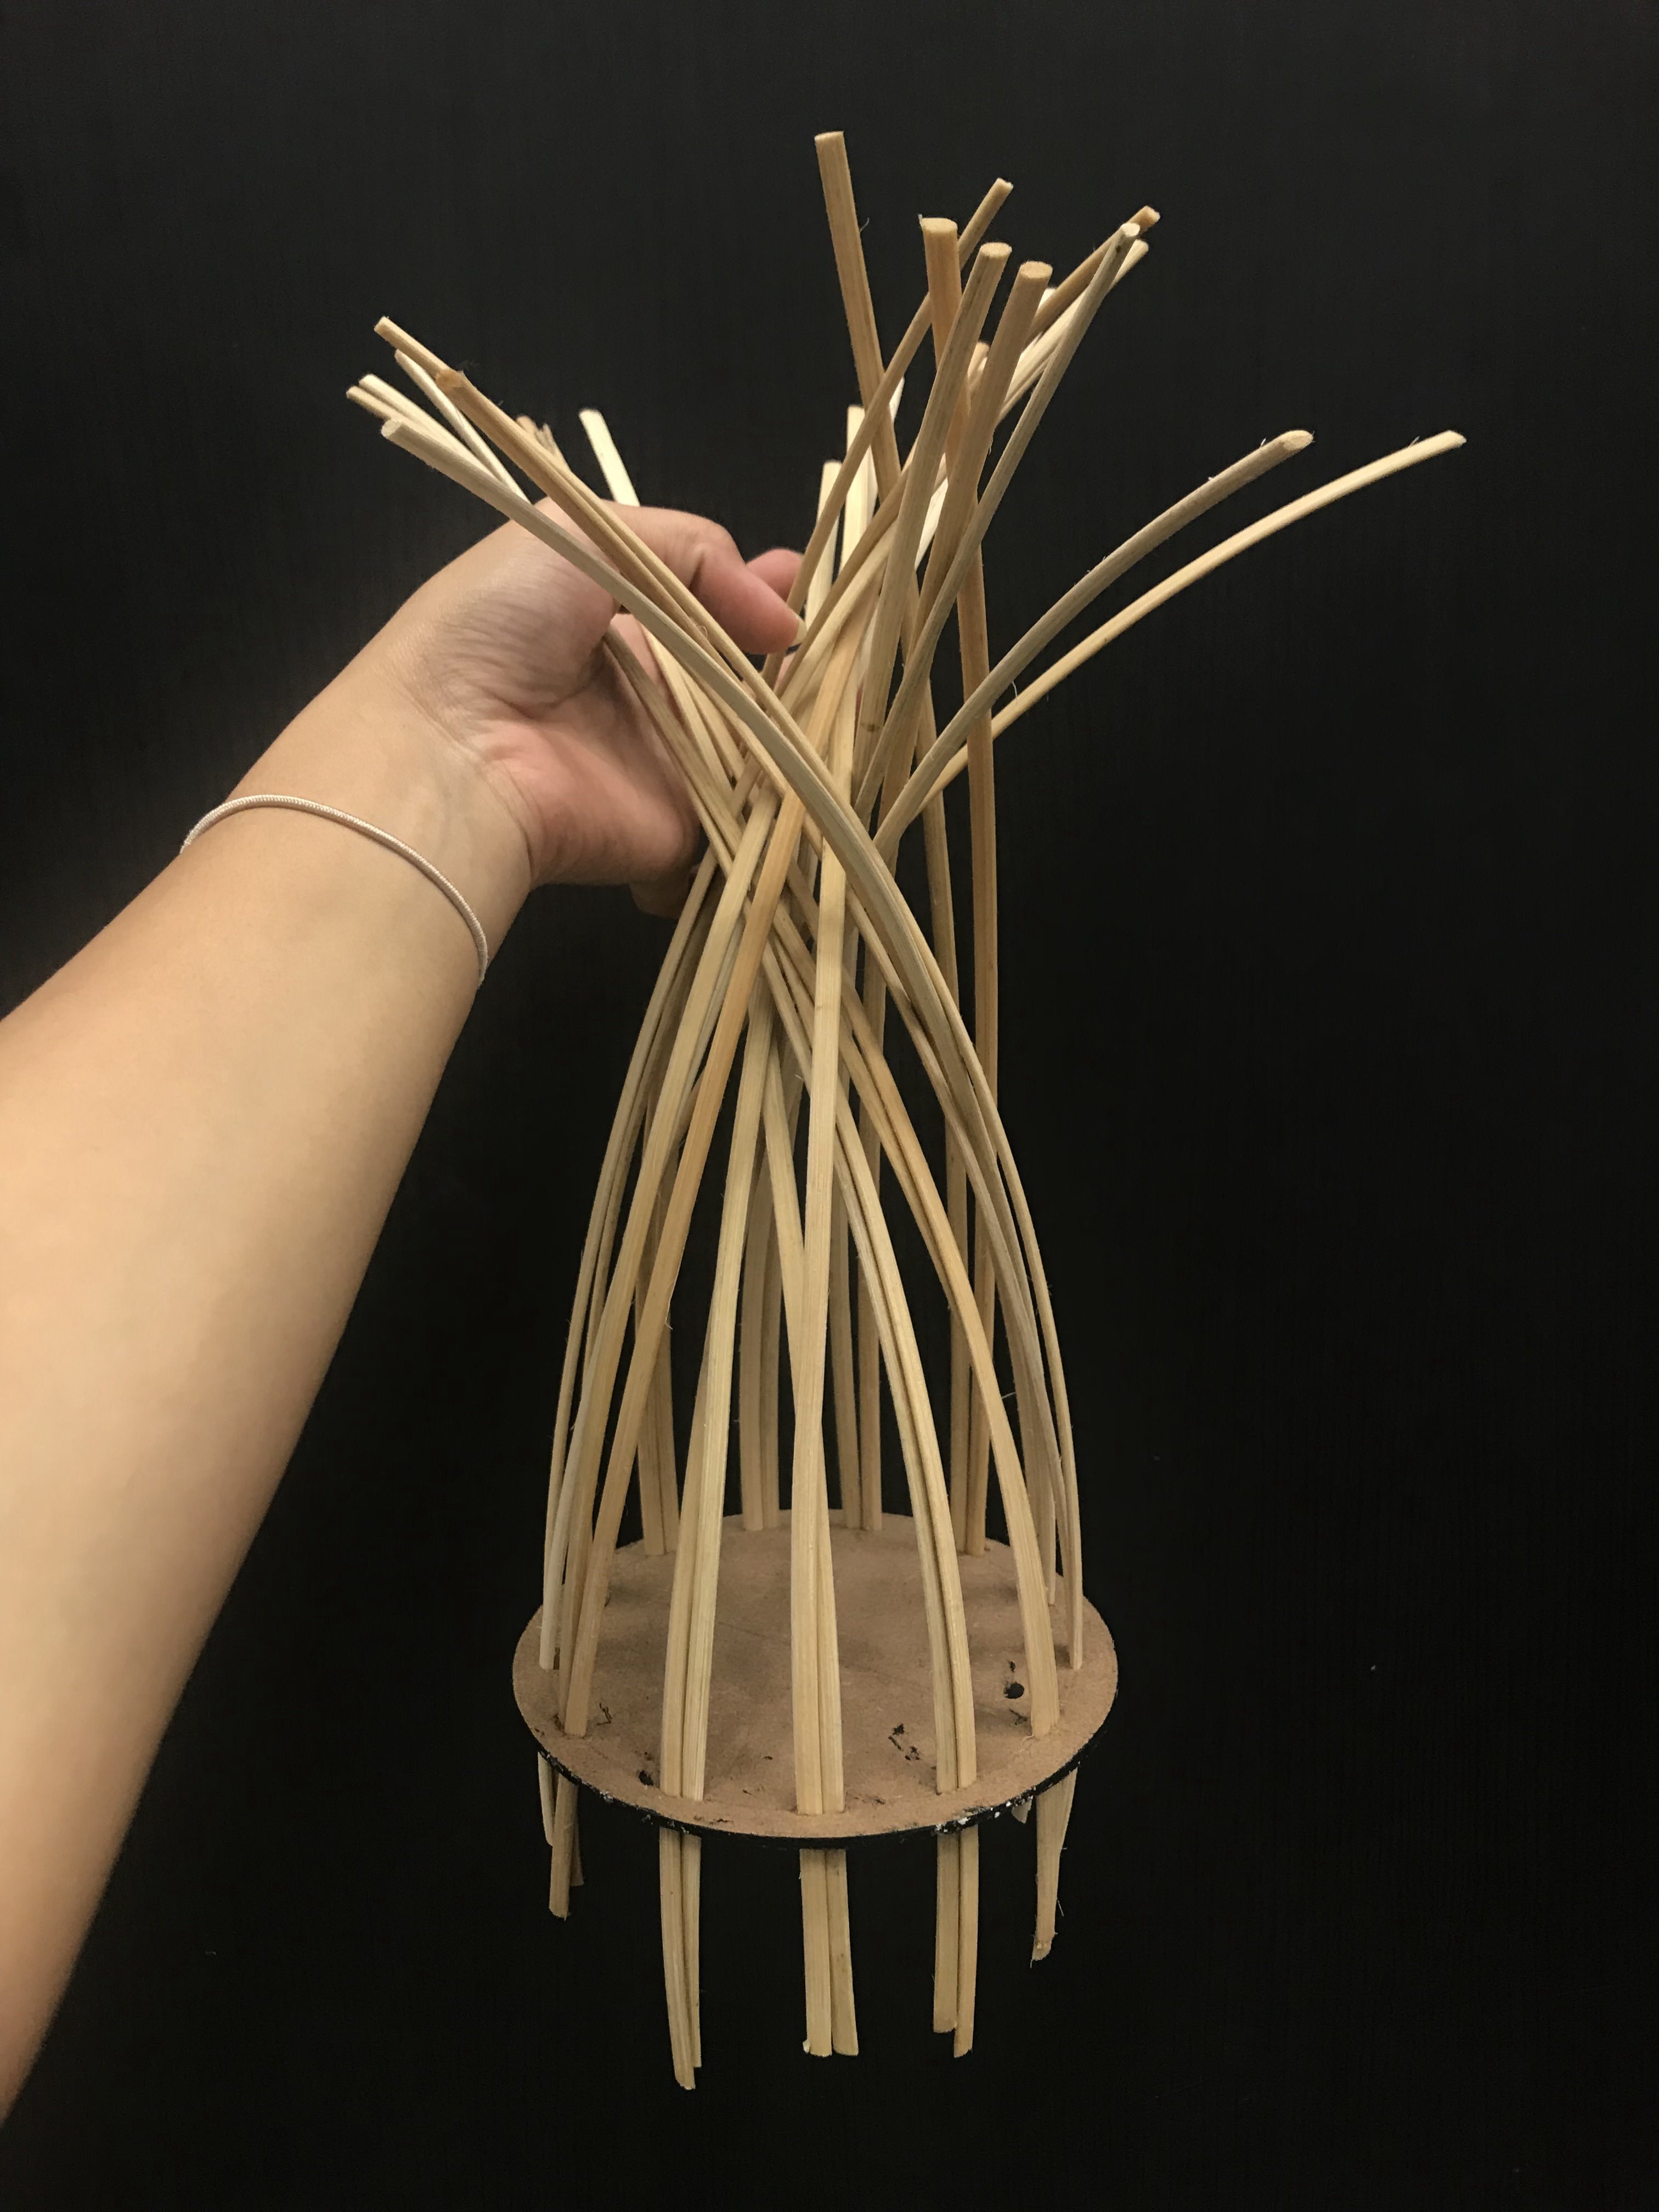
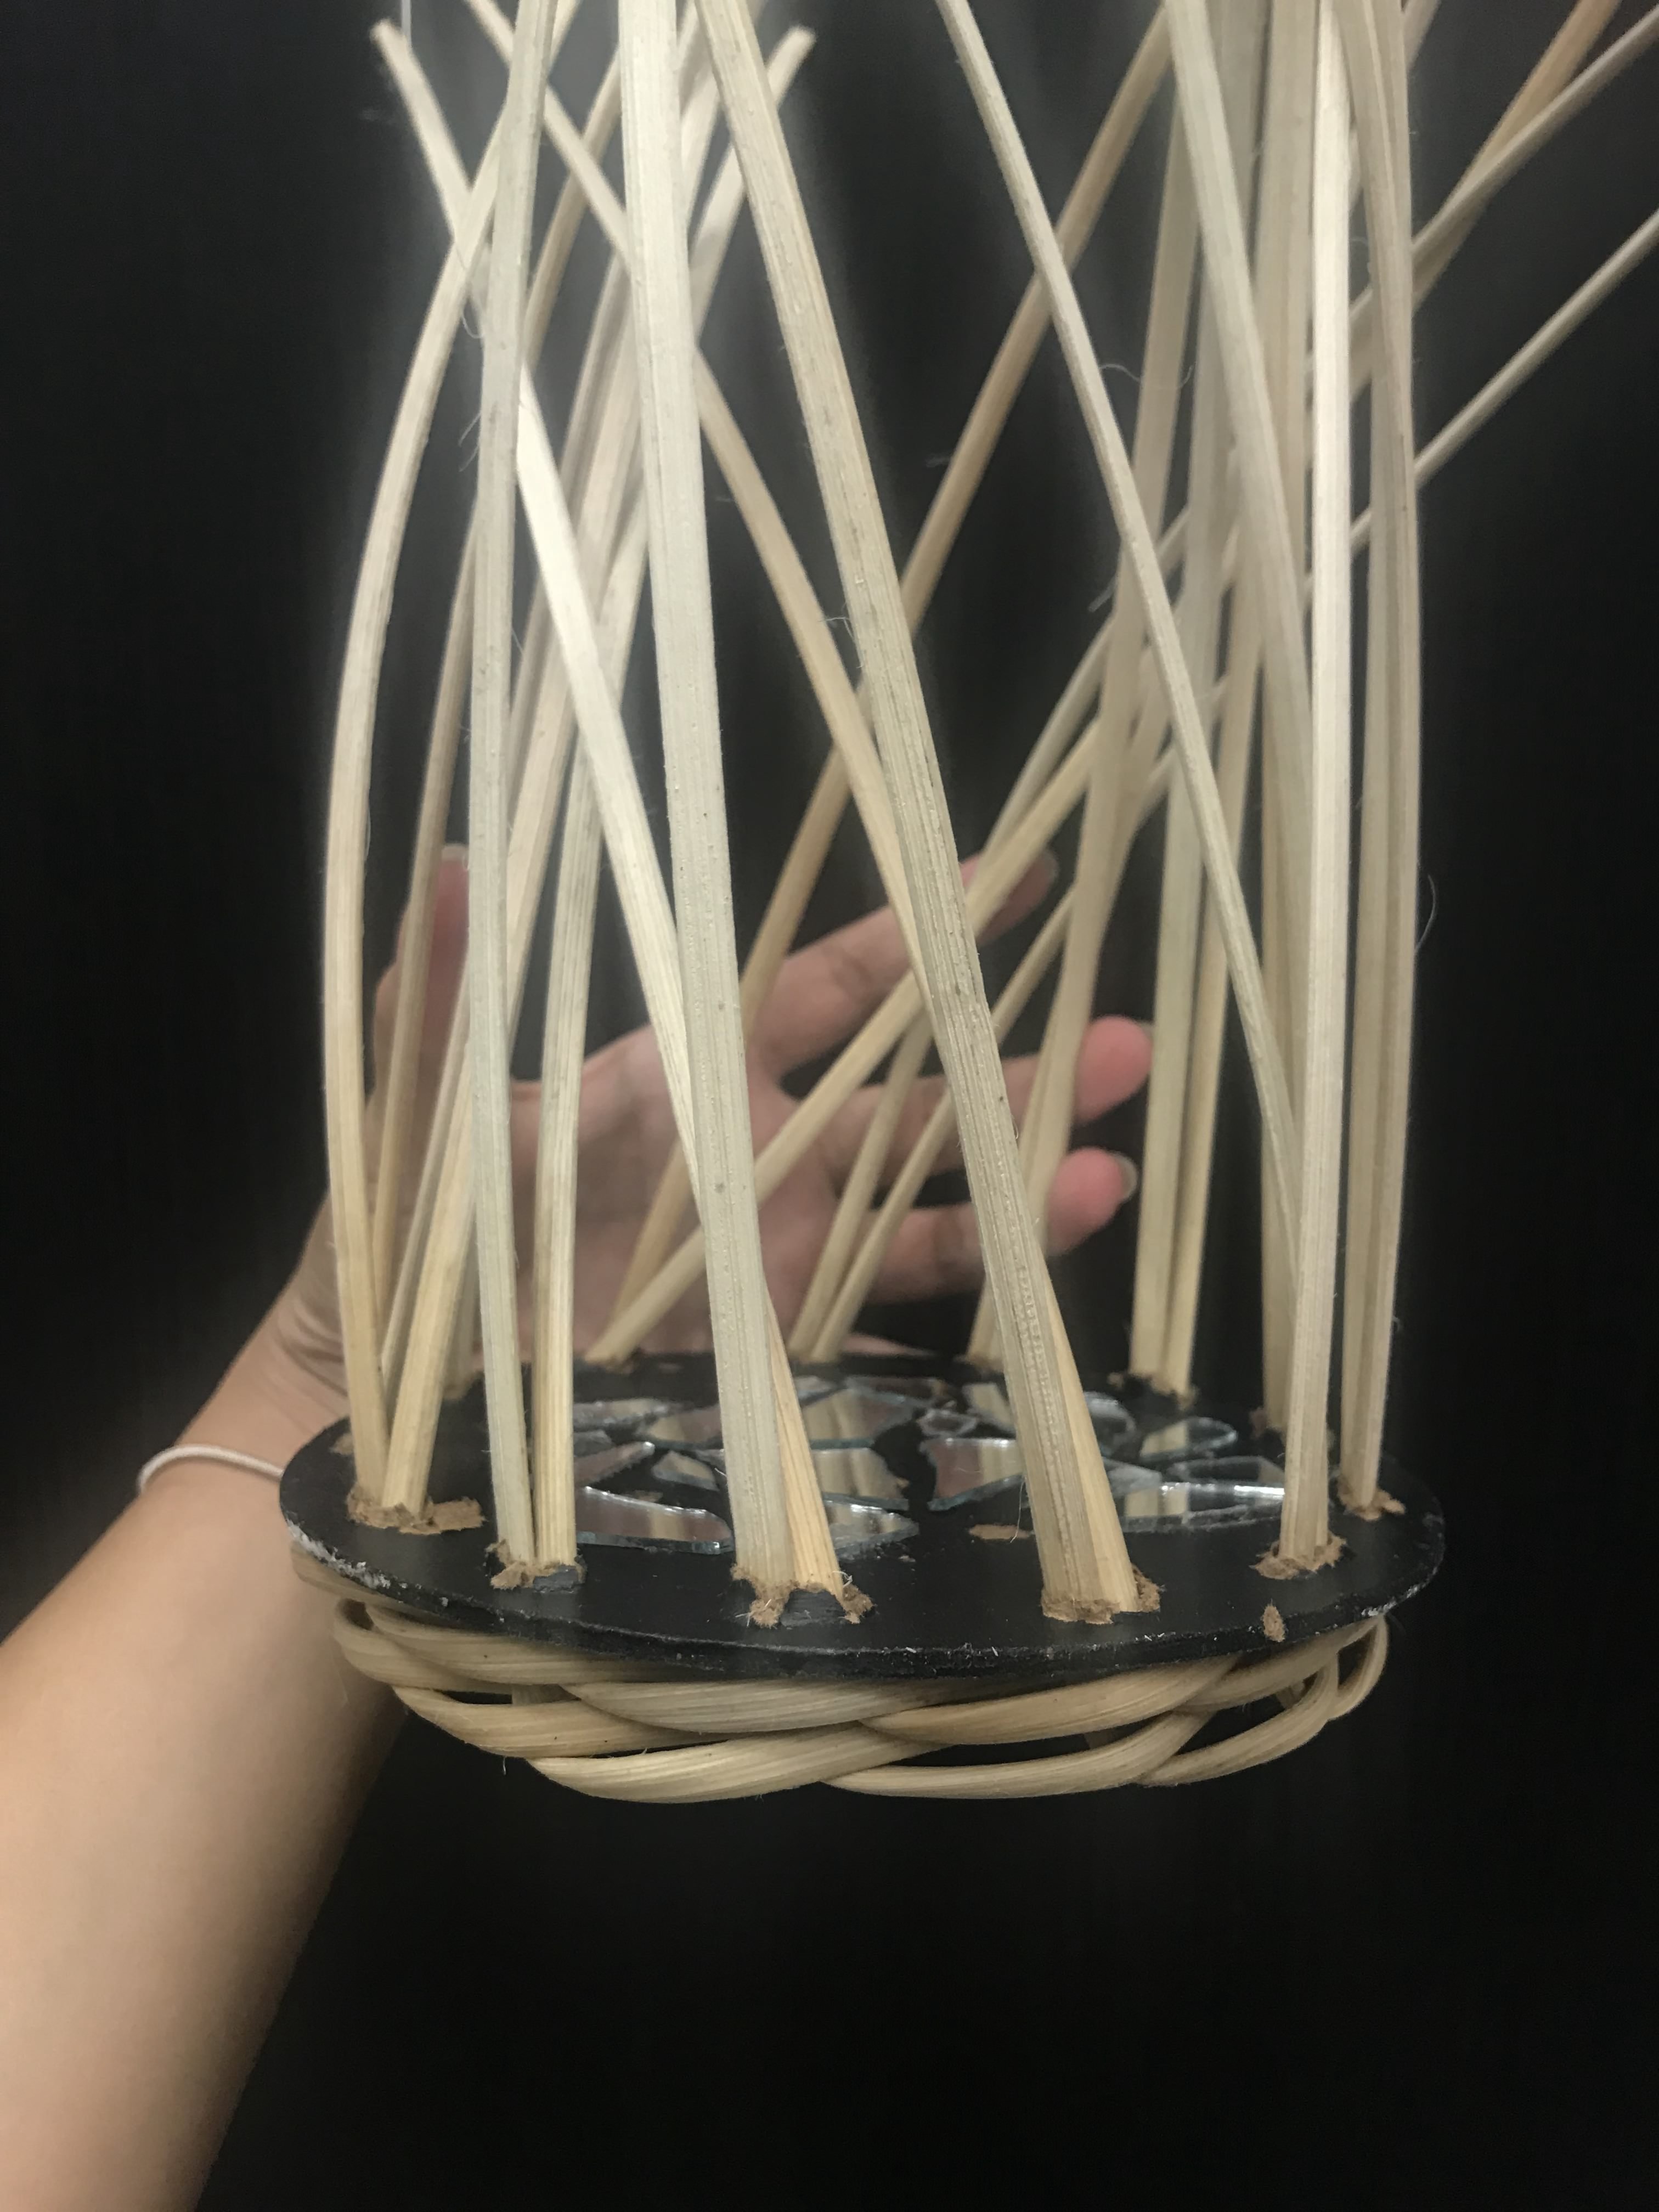
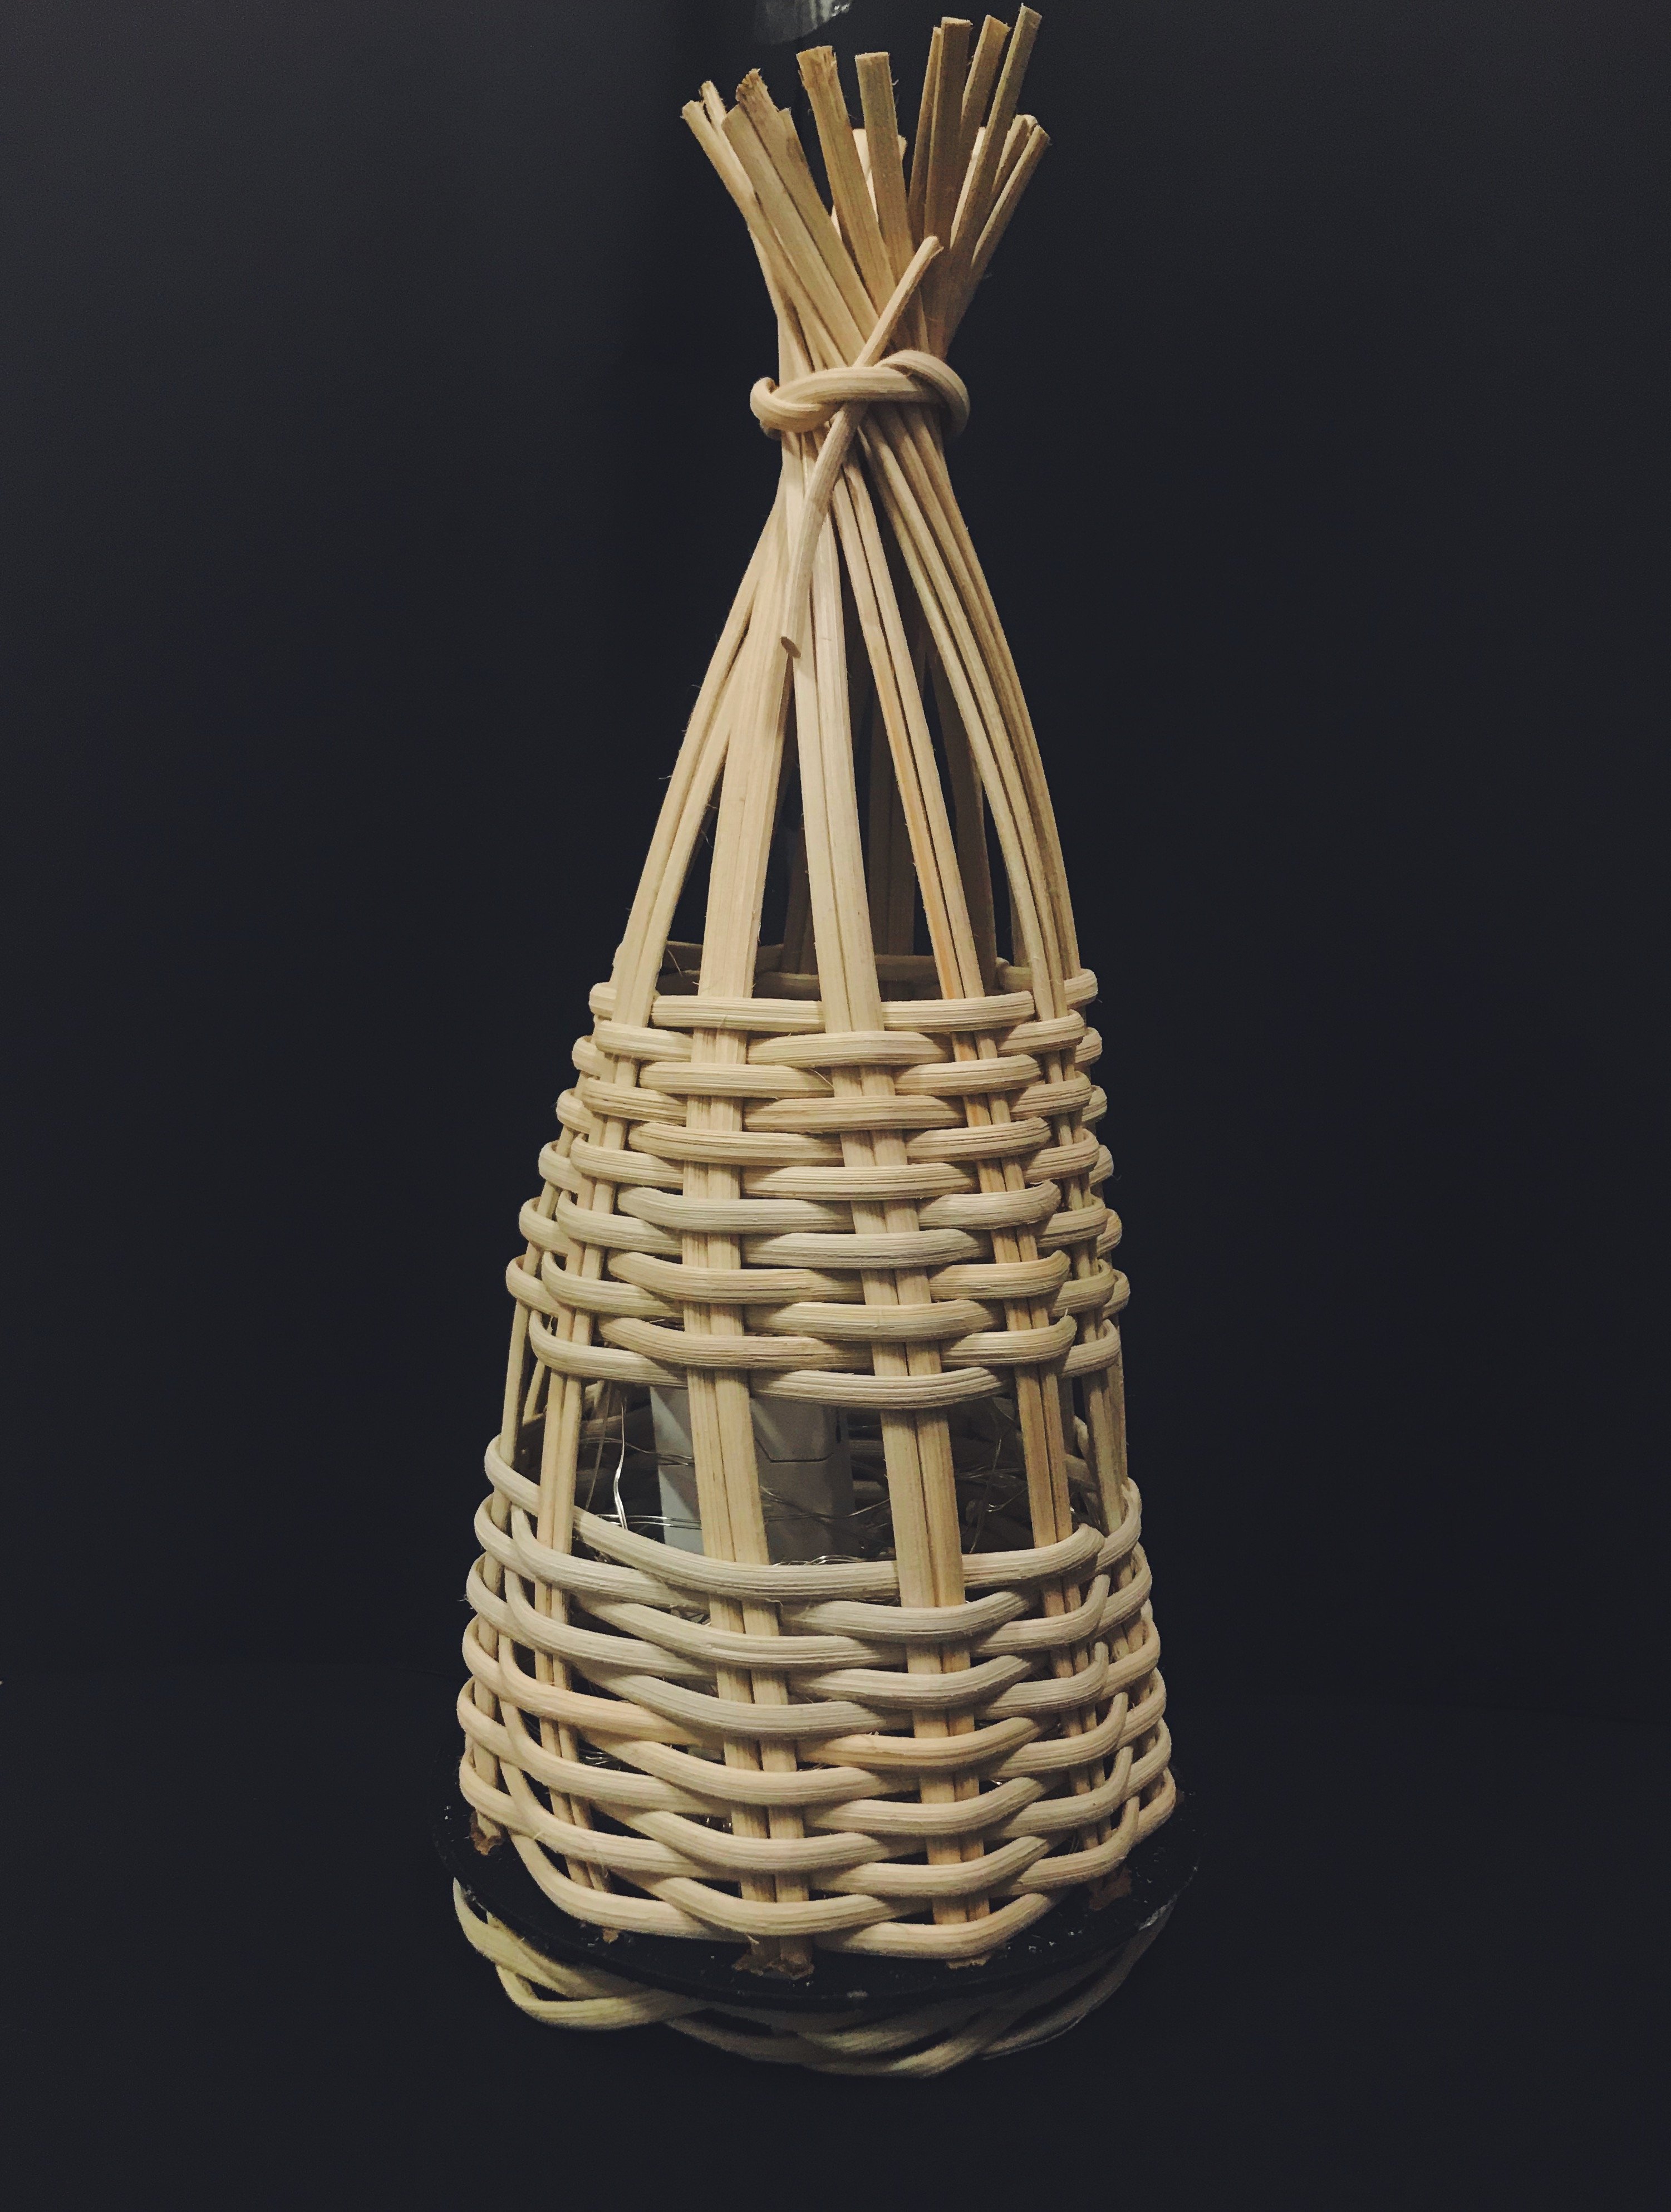
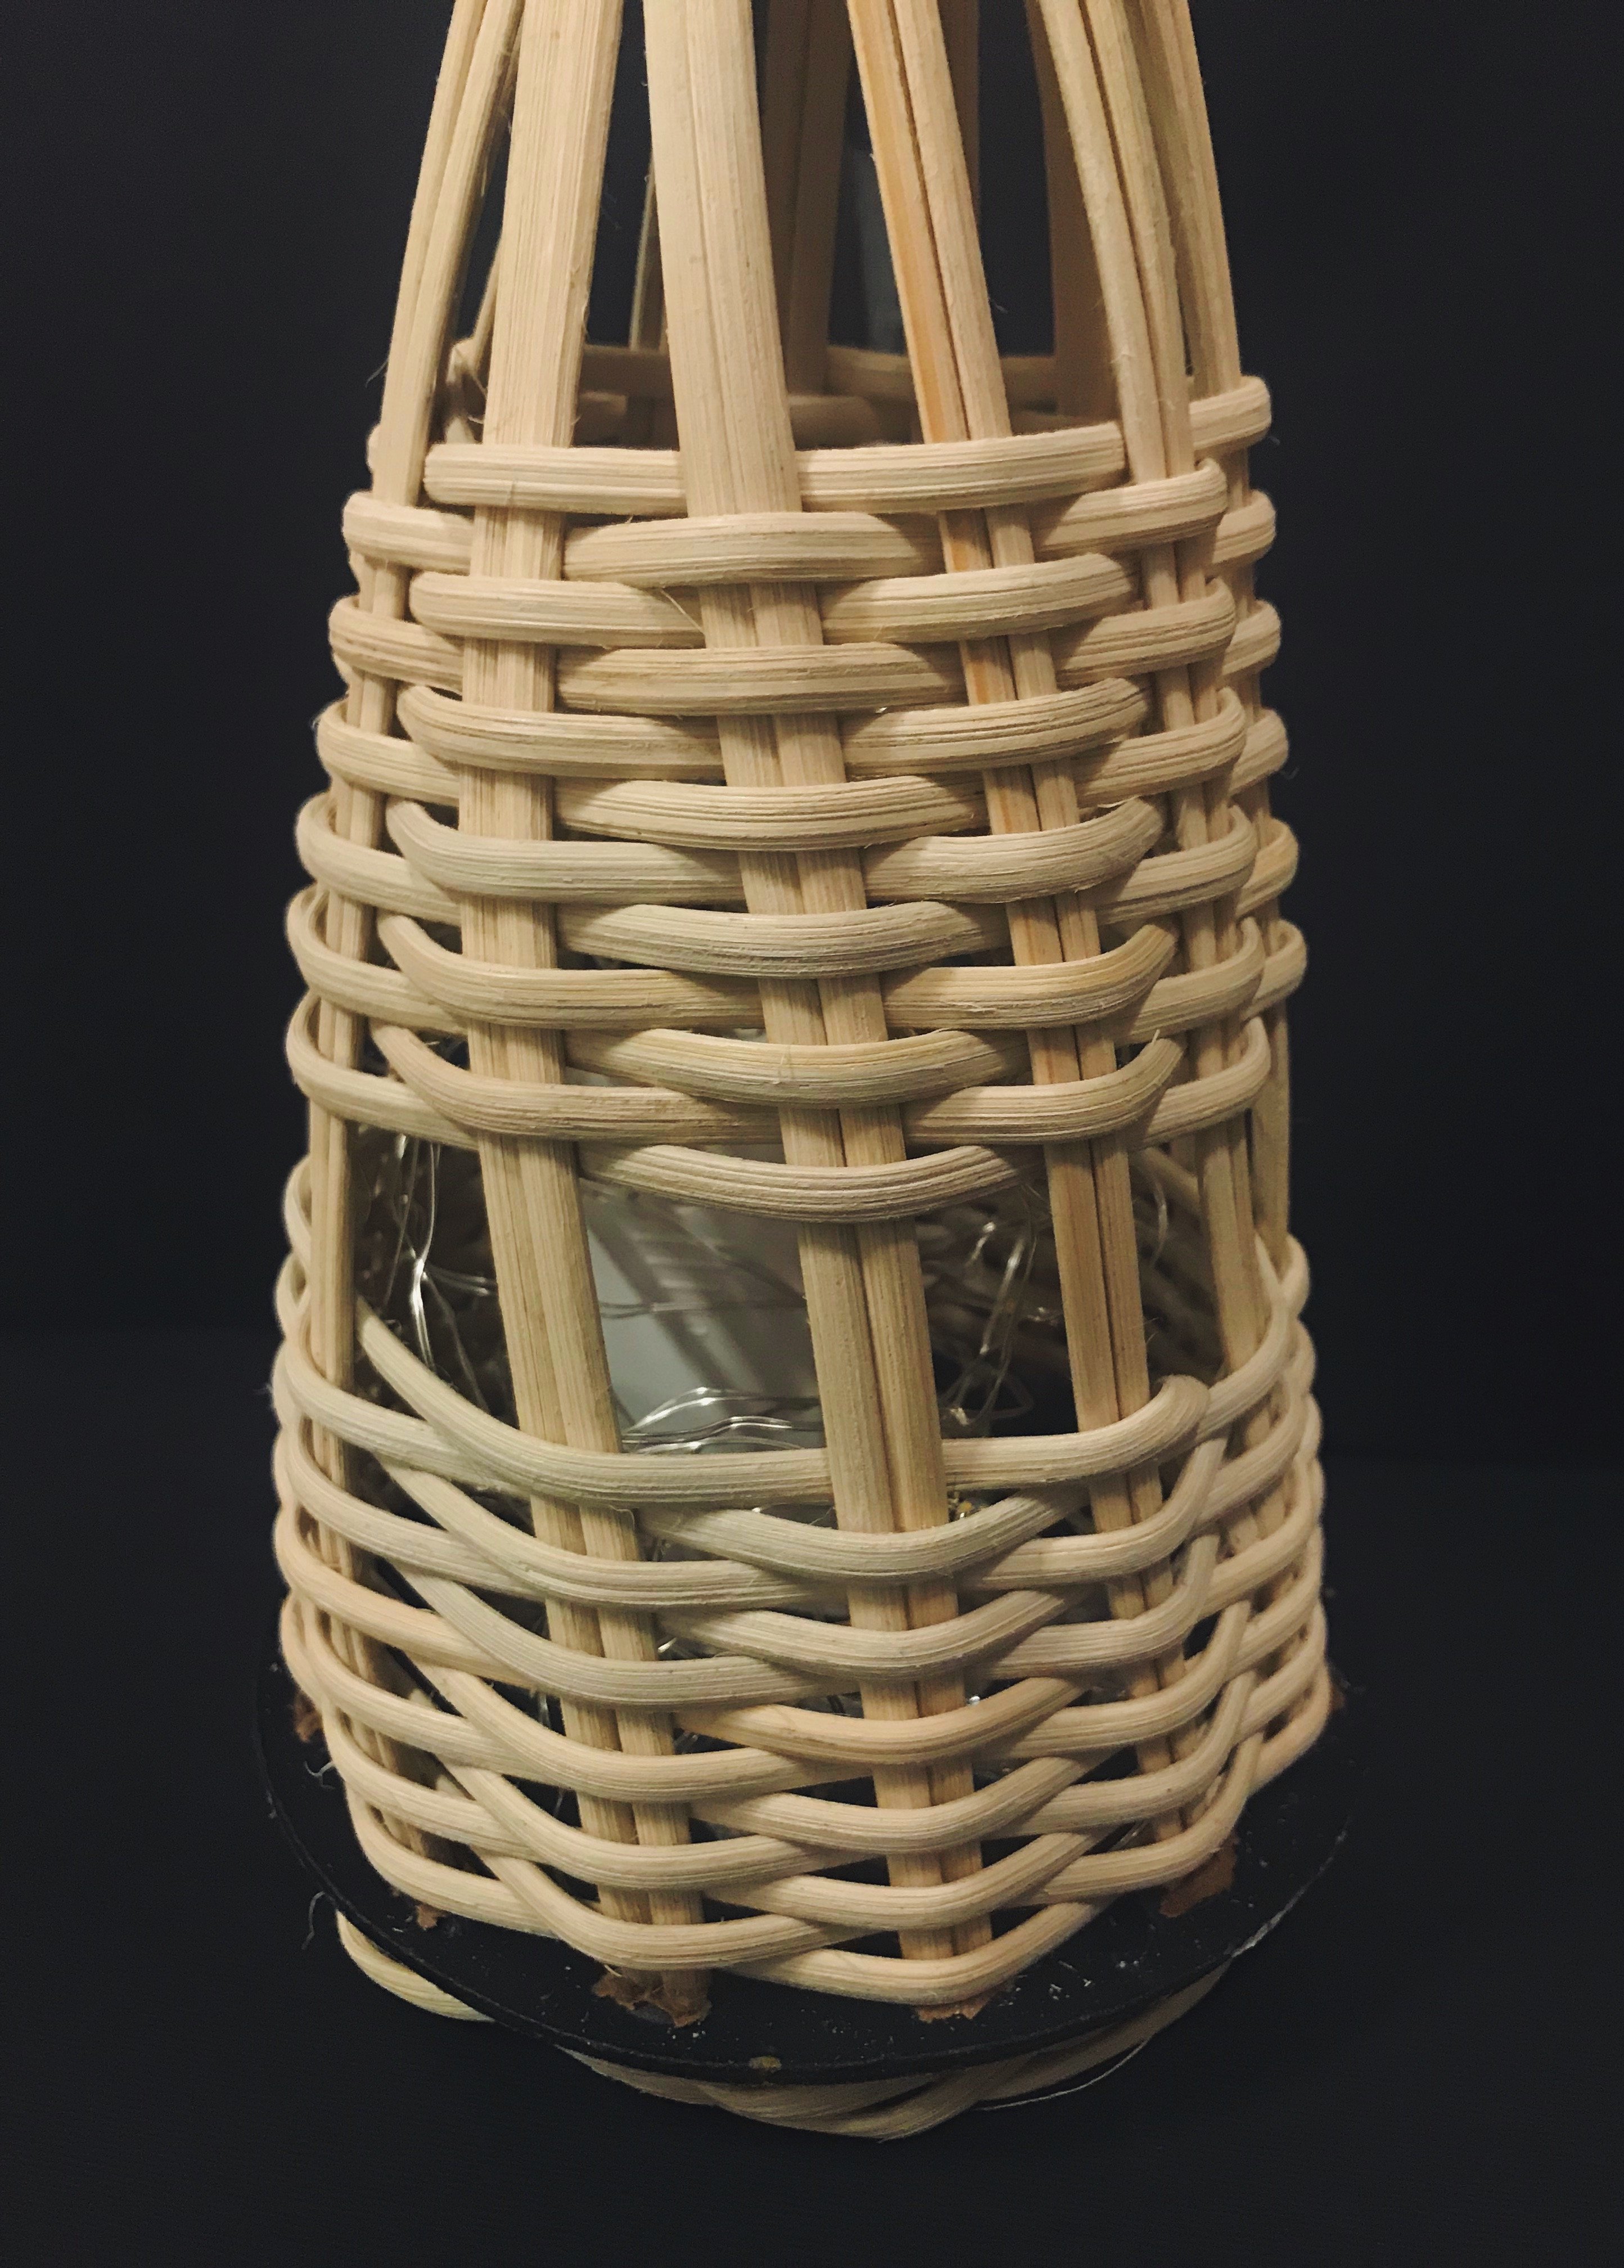
Afterwards, I attached vertical rattan to the base. As I continued on, I added twine in a darker colour horizontally and incorporated the square plait weaving I learnt in Part 1 into the bag.
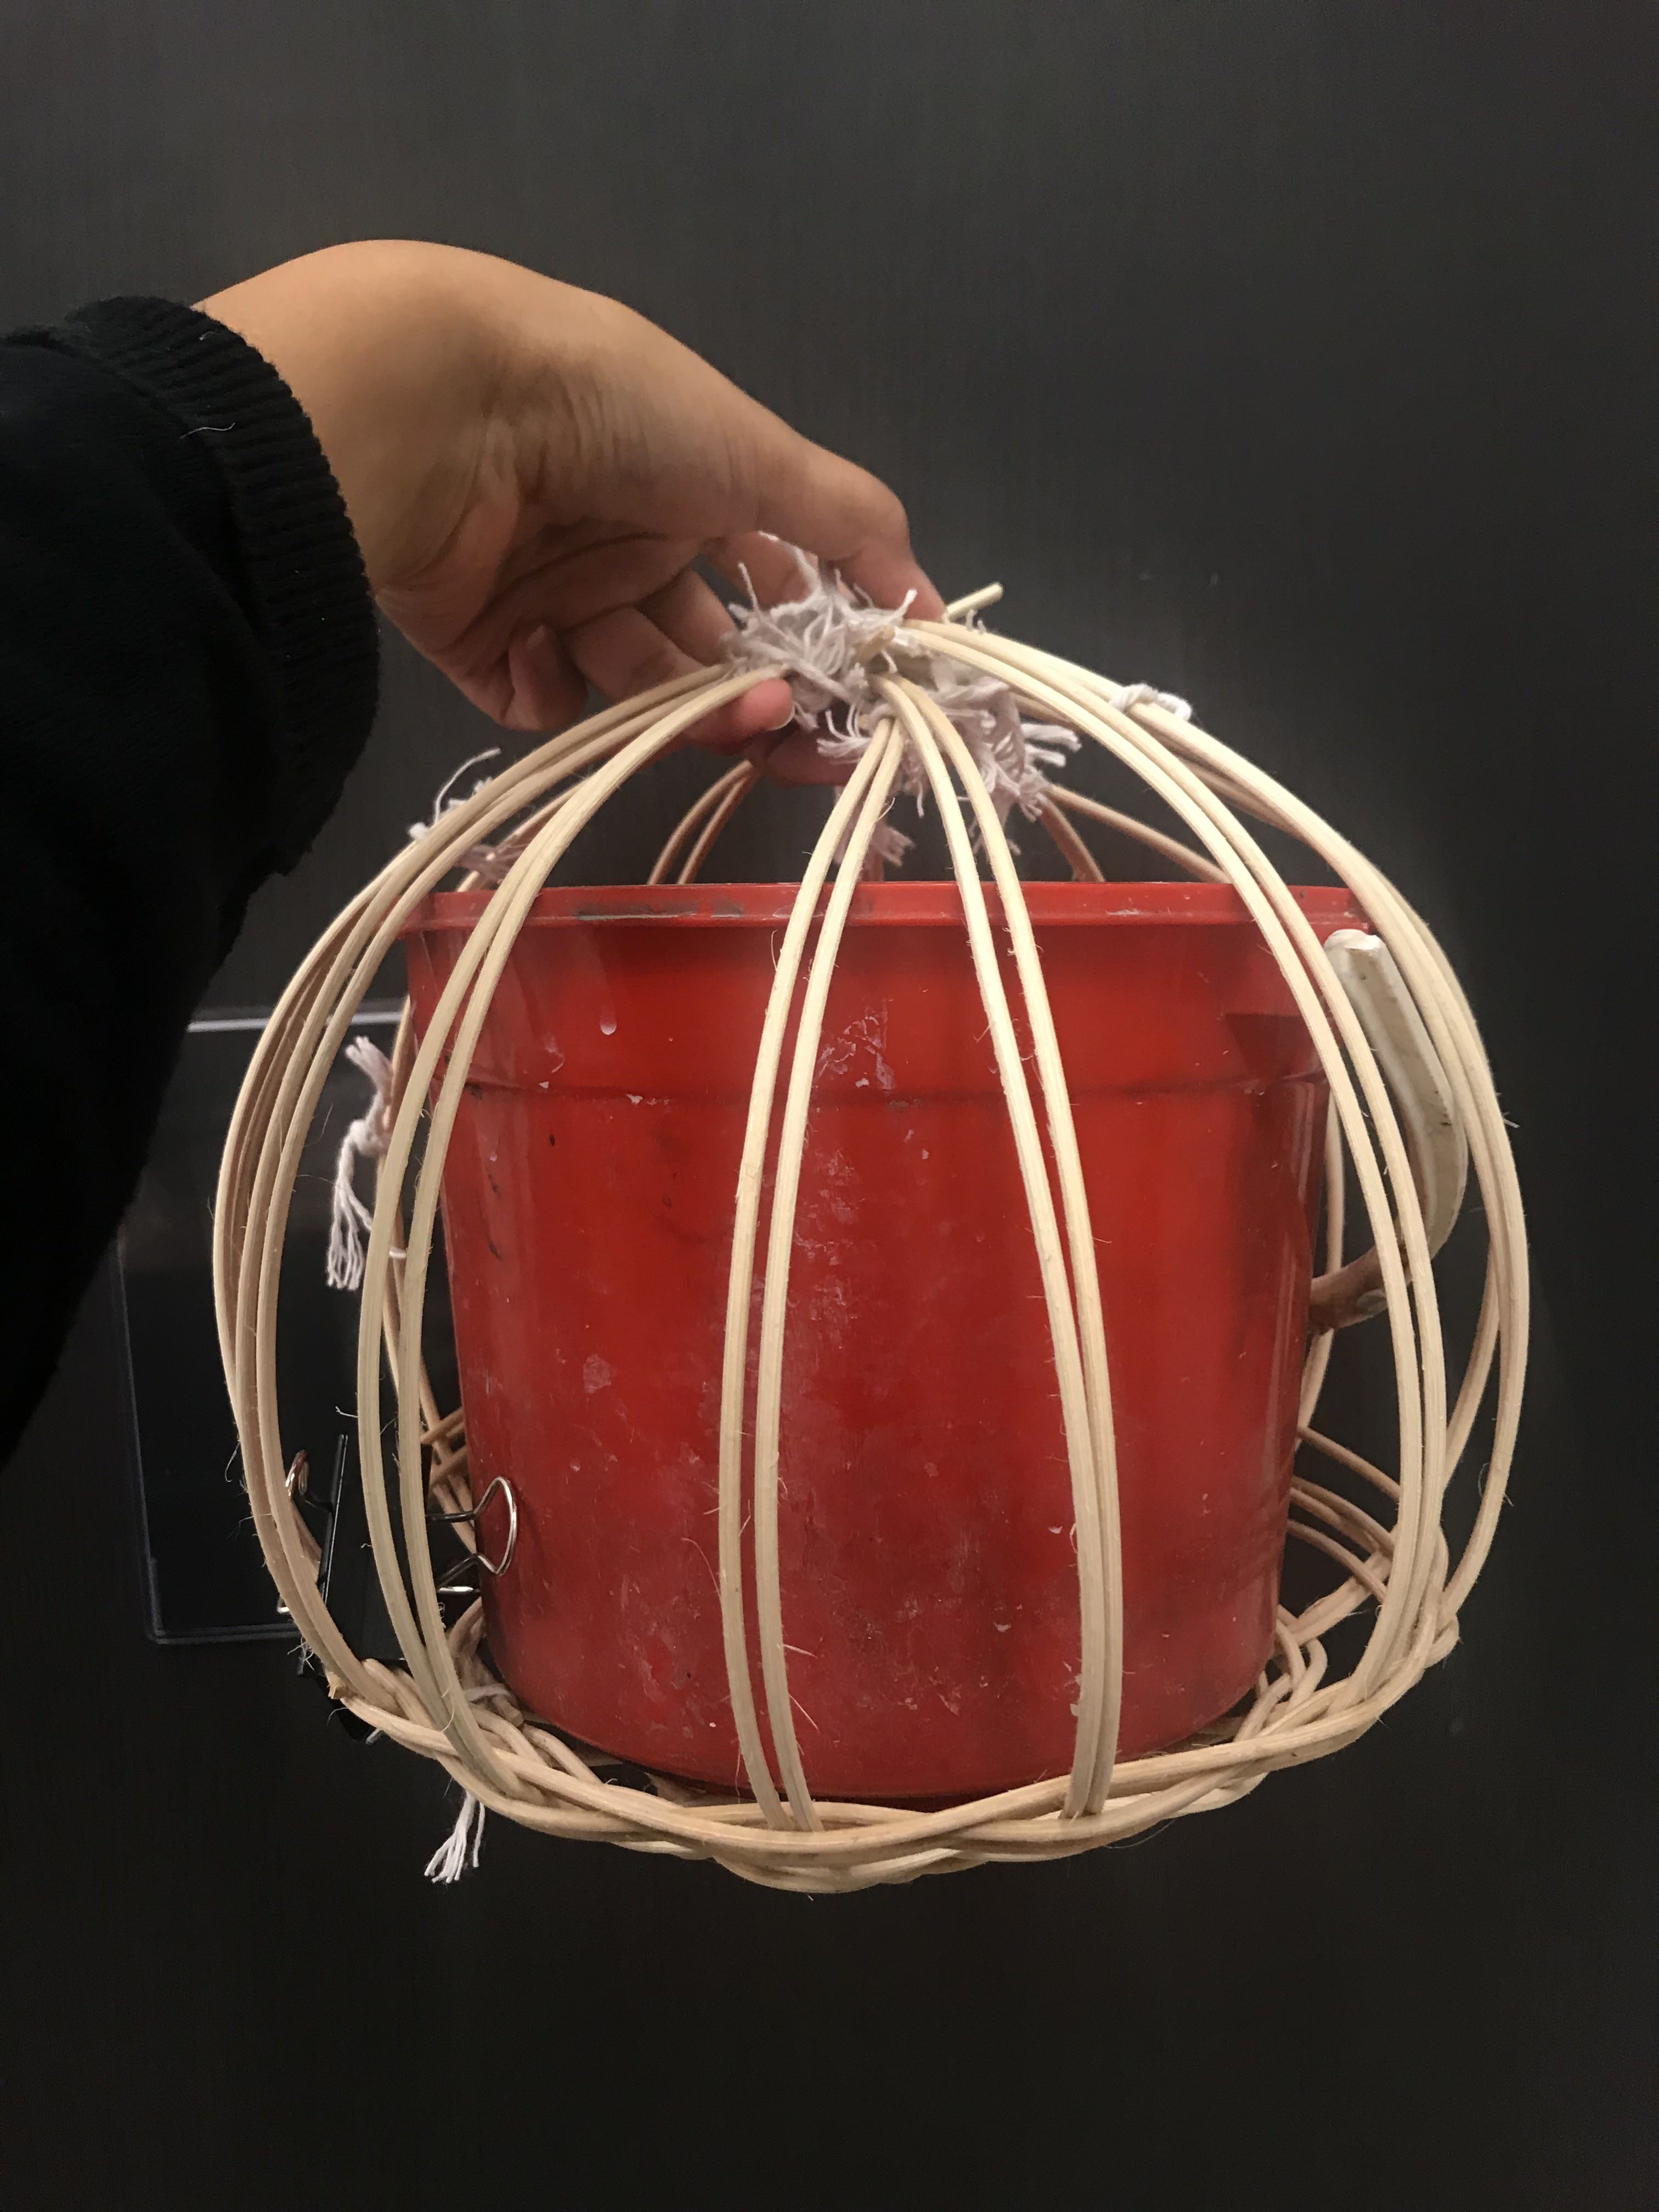
A mini bucket was used to form the wider base that I was aiming for. I didn’t have a smaller bucket in hand which I intended to have. Had to work with what I had. I tried to use the weaving to keep the base wider.
Unfortunately, the challenge to replicate the shape from my sketch was pretty much unachievable with the materials I had on hand.
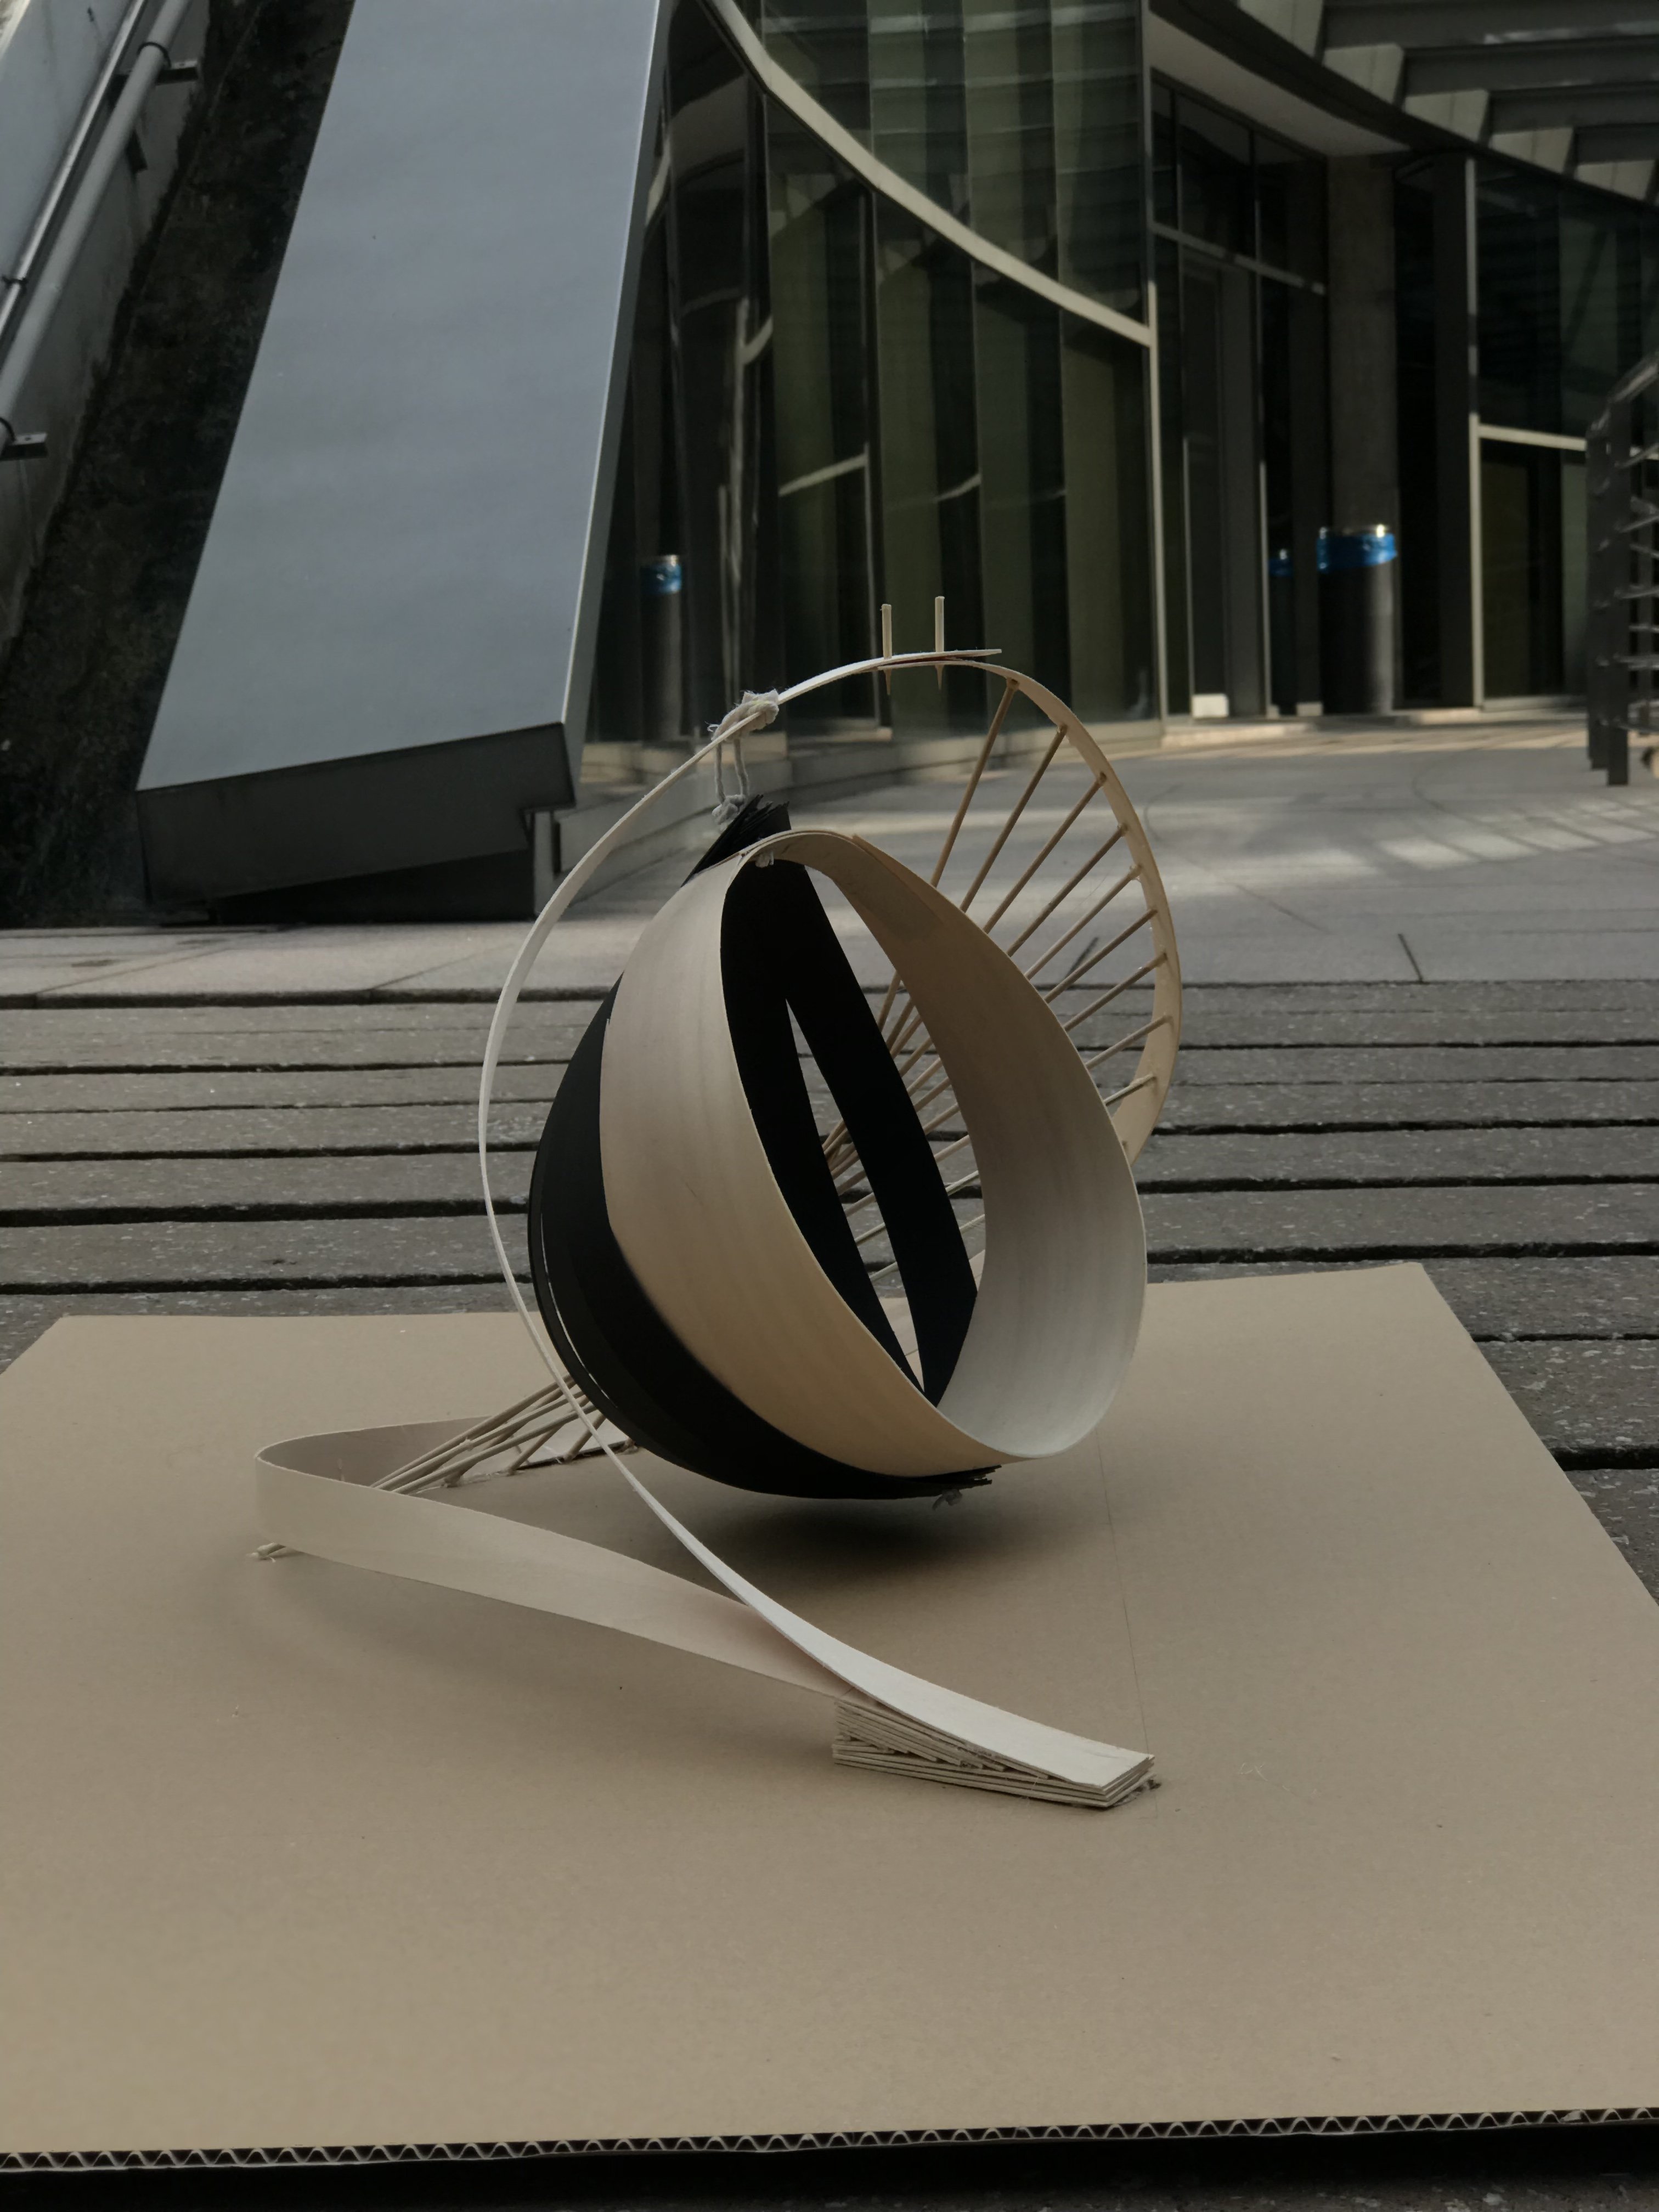
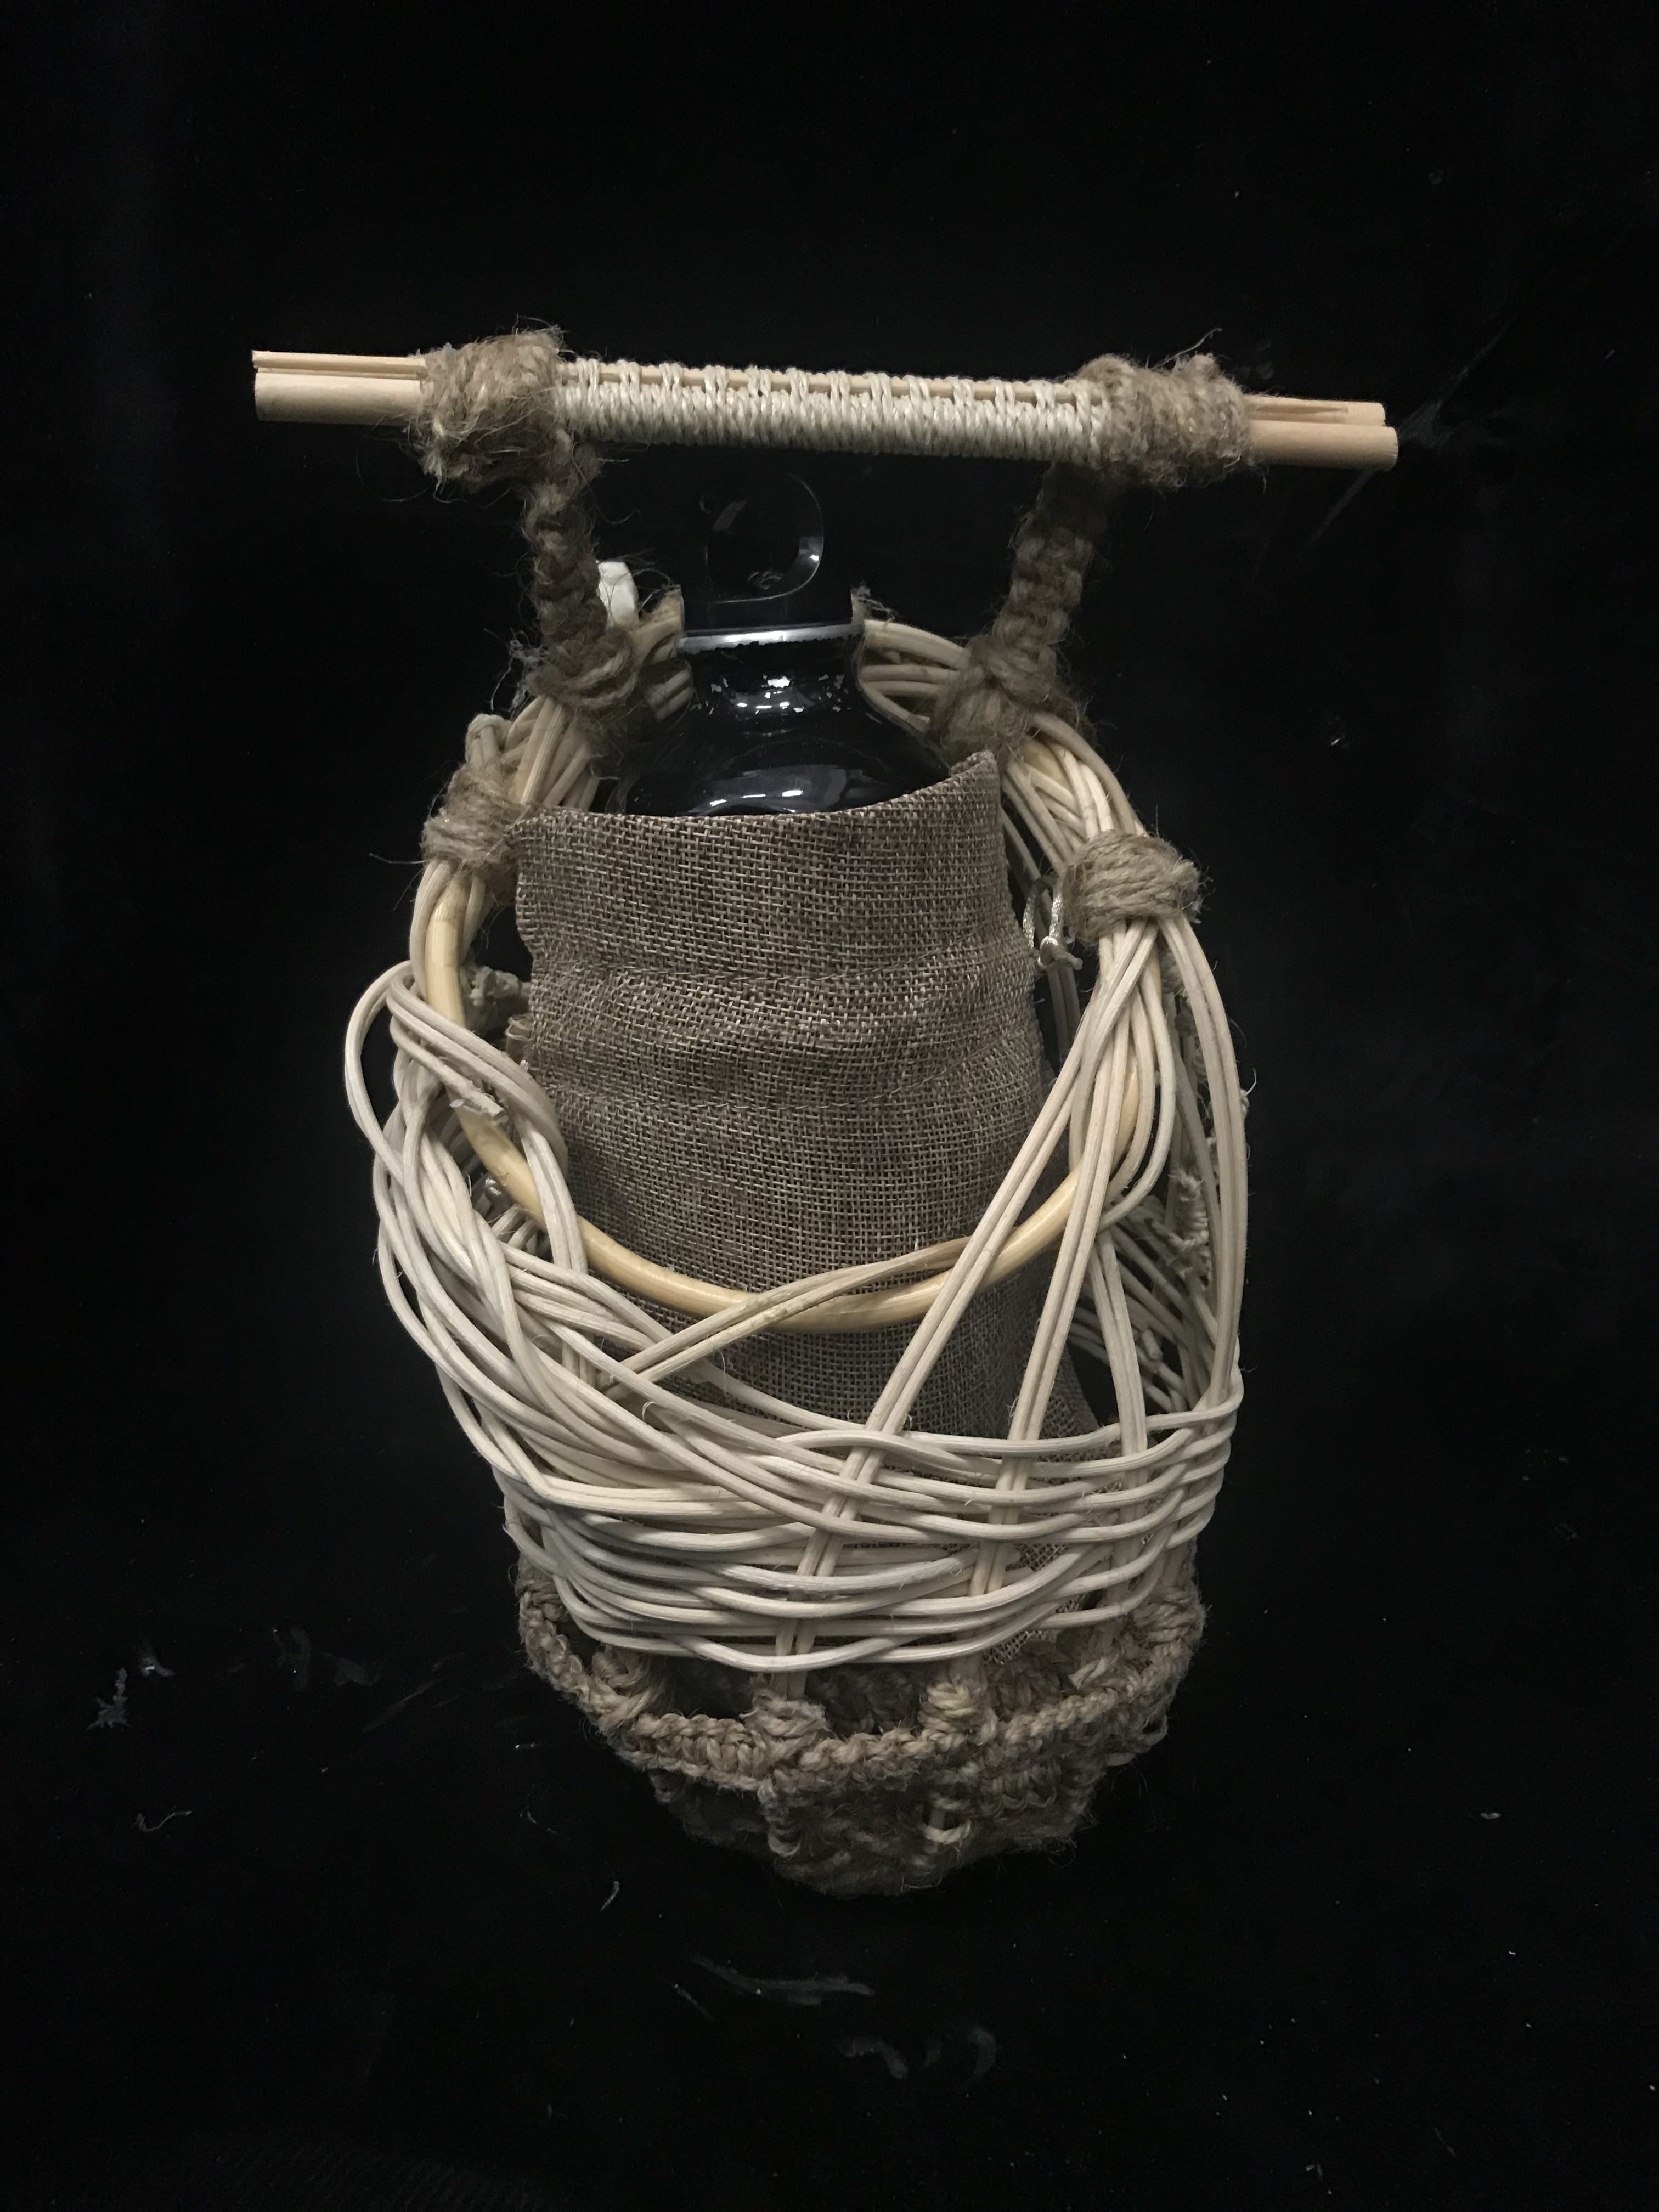
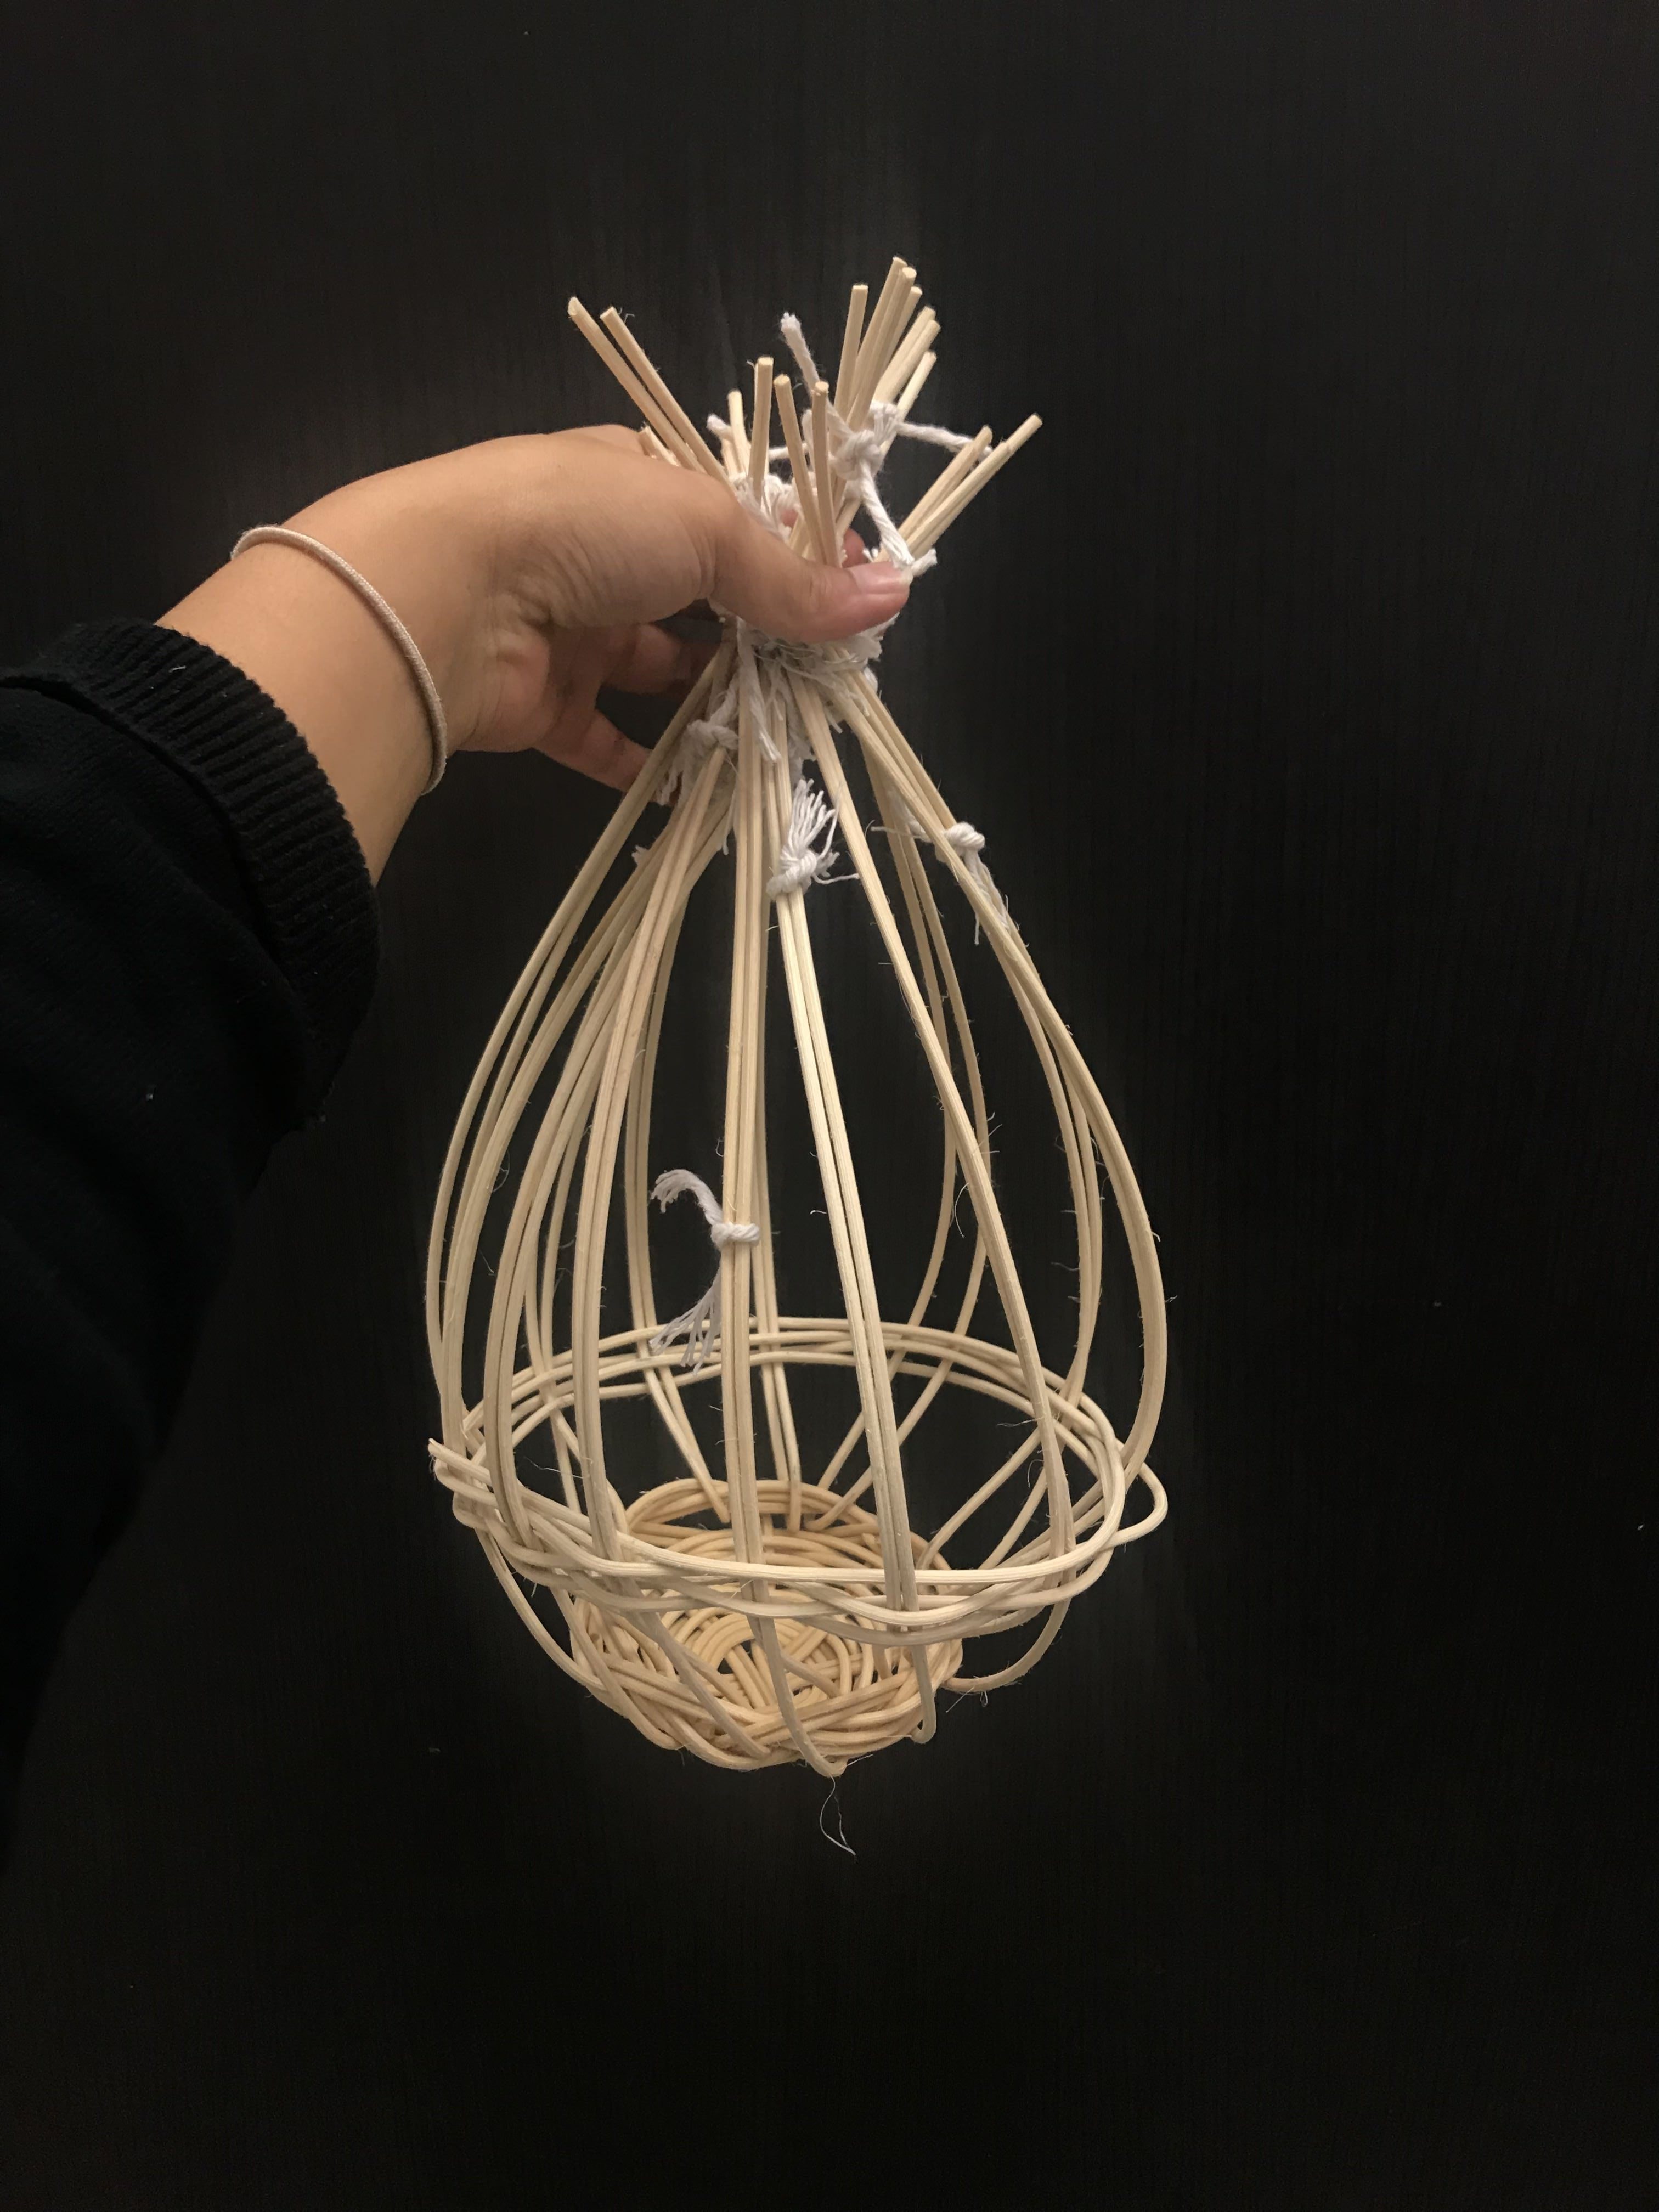
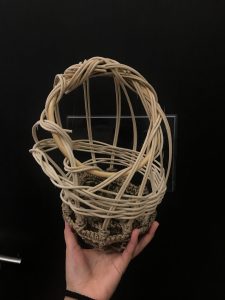
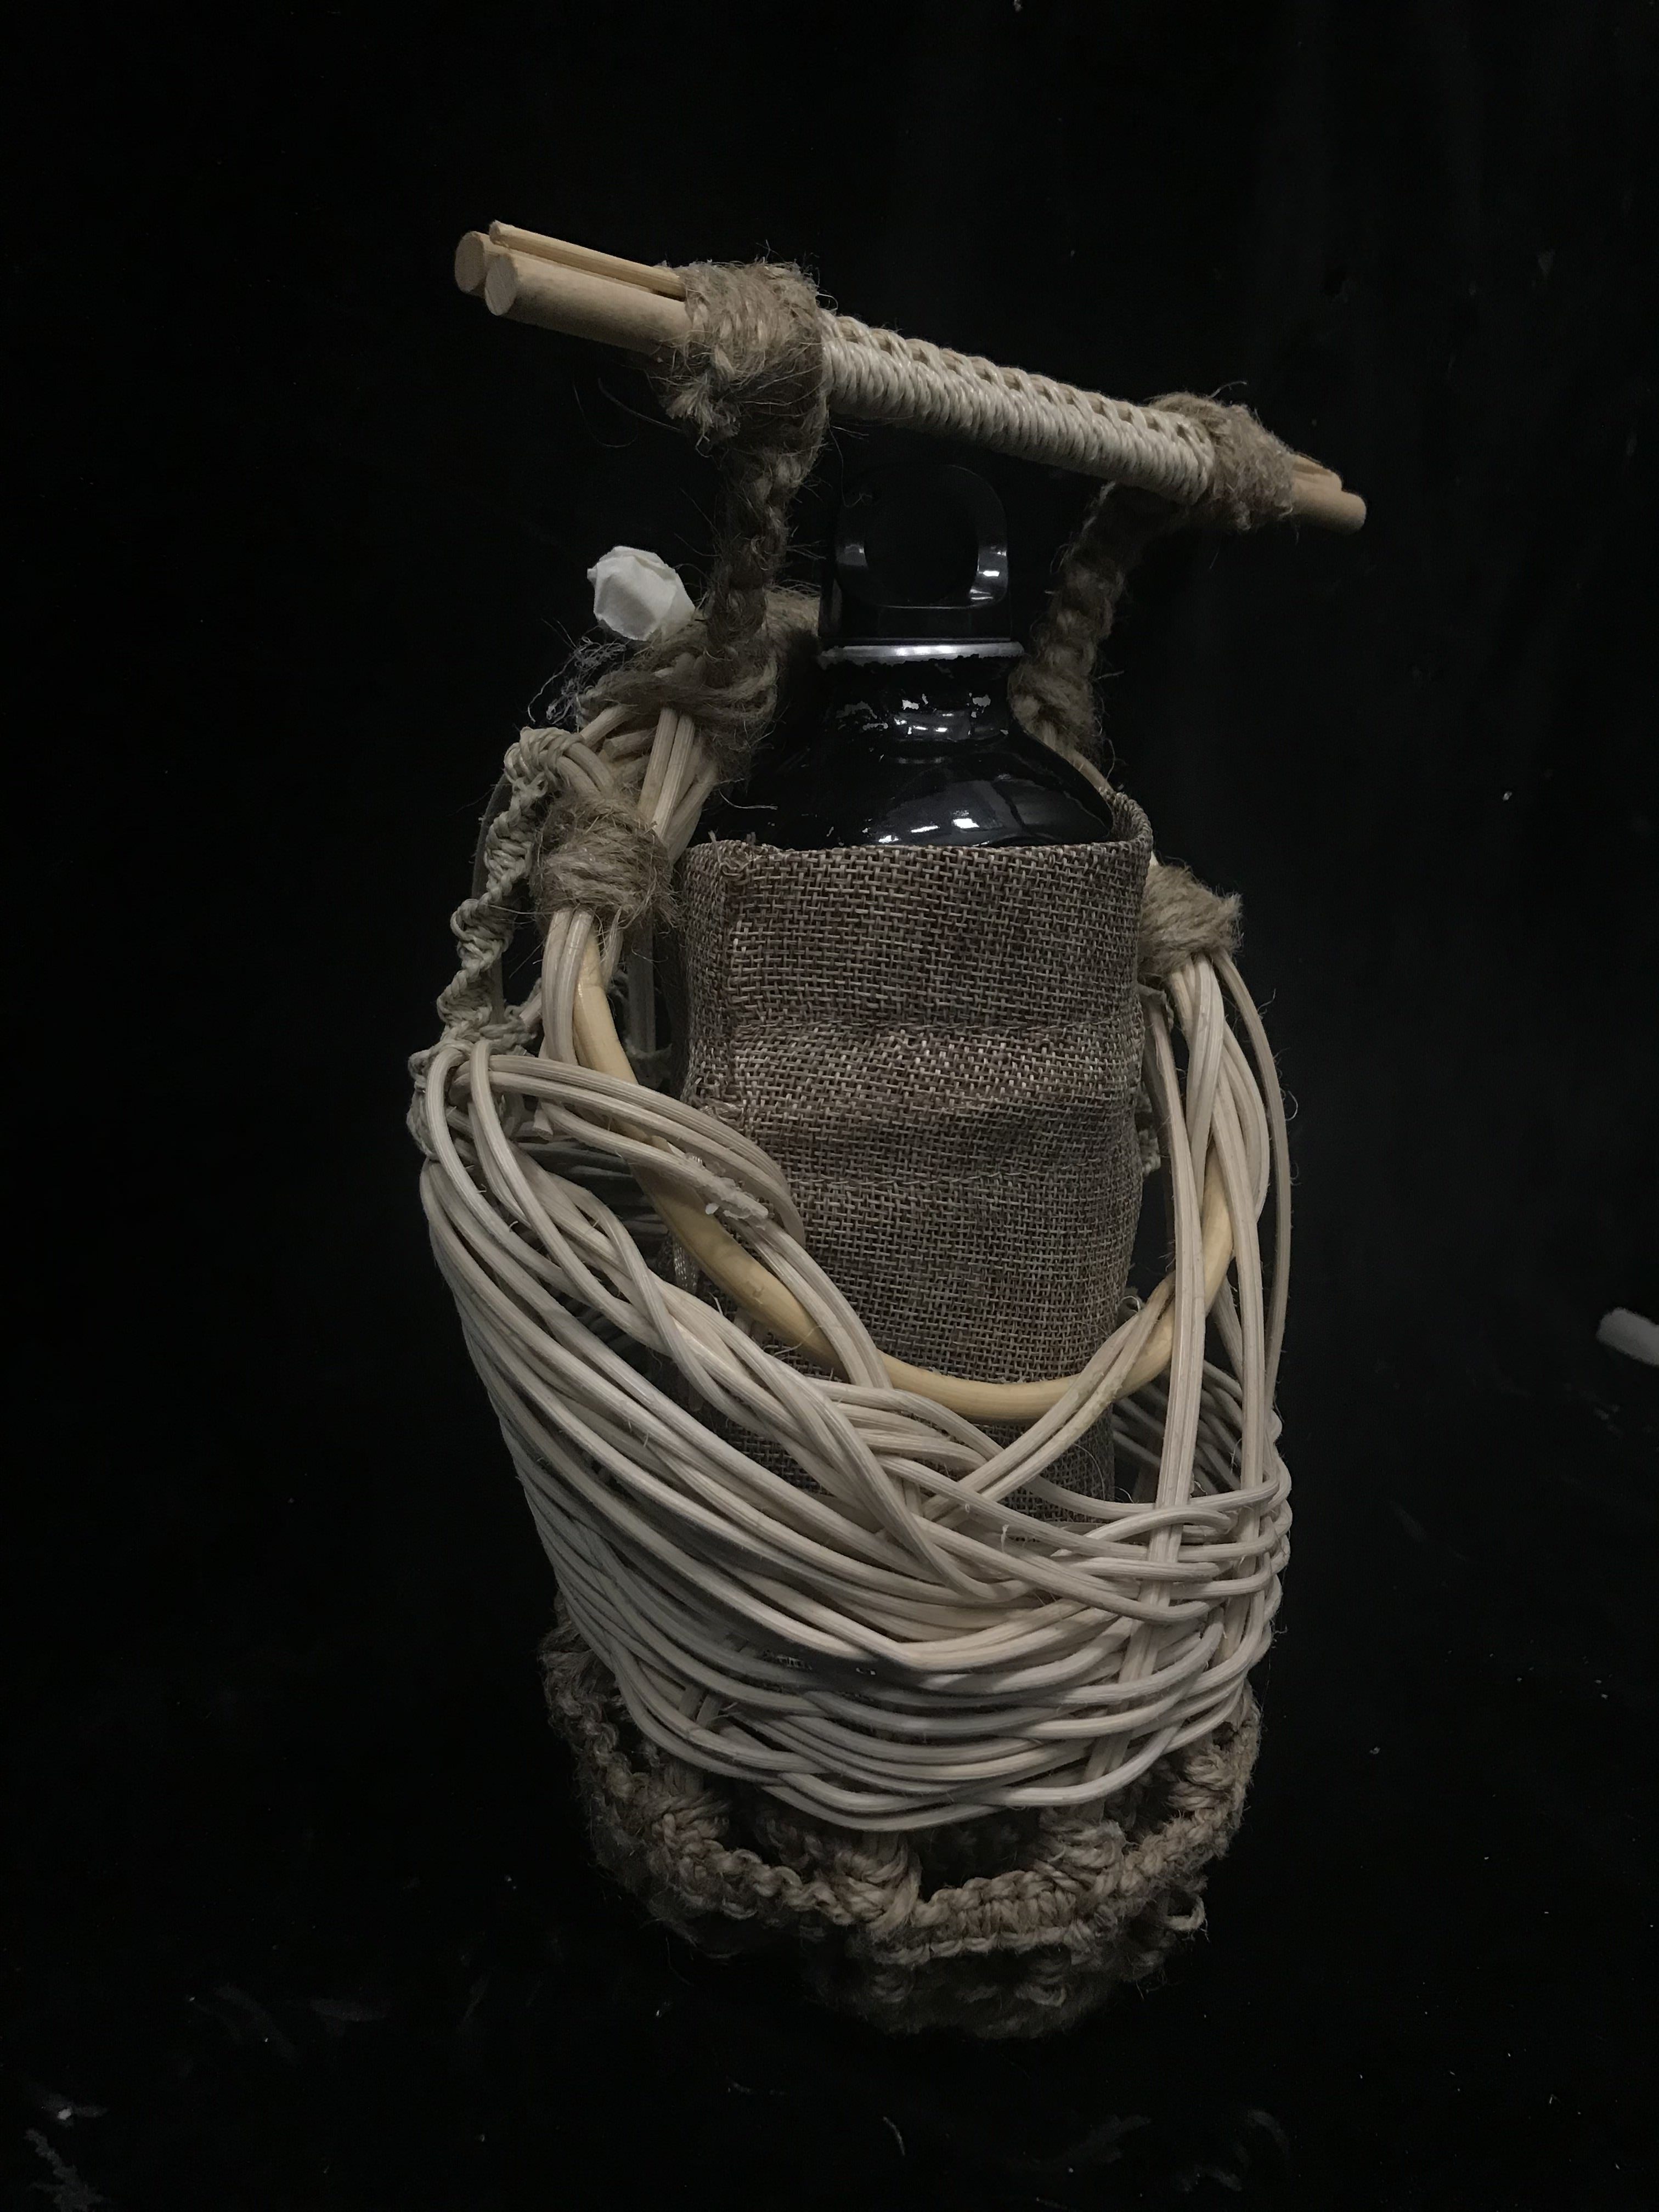
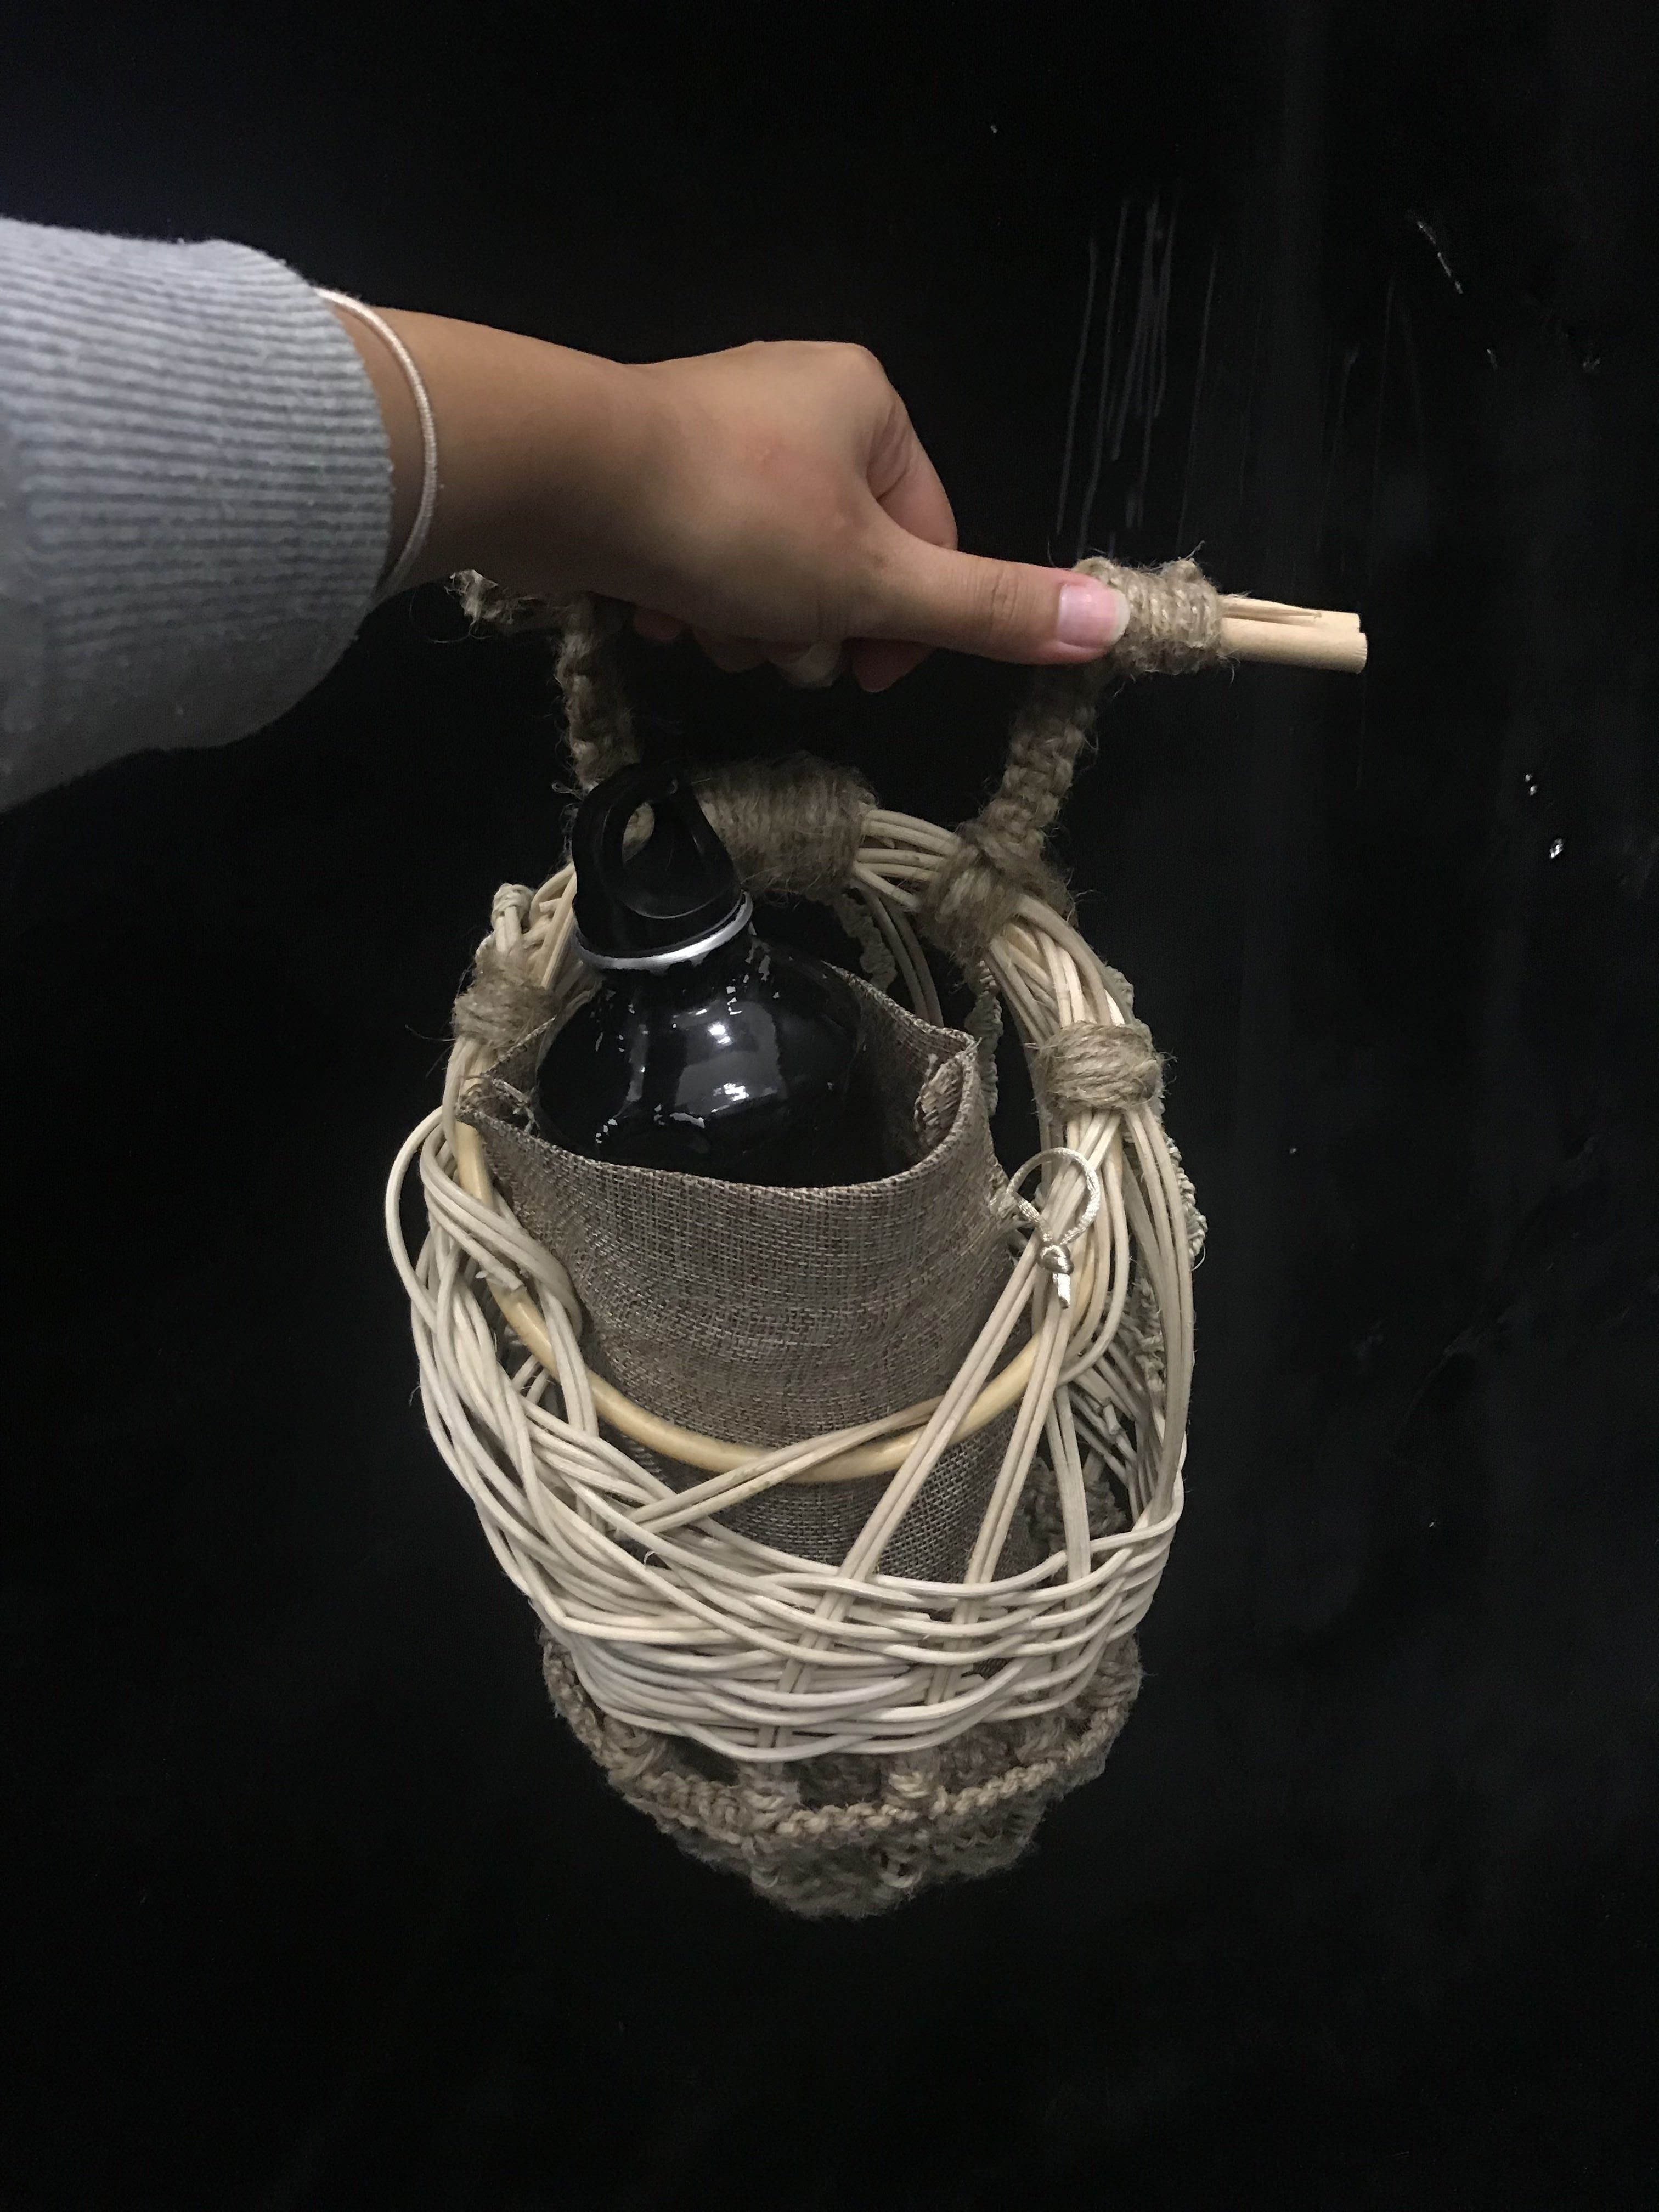
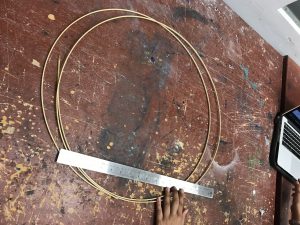
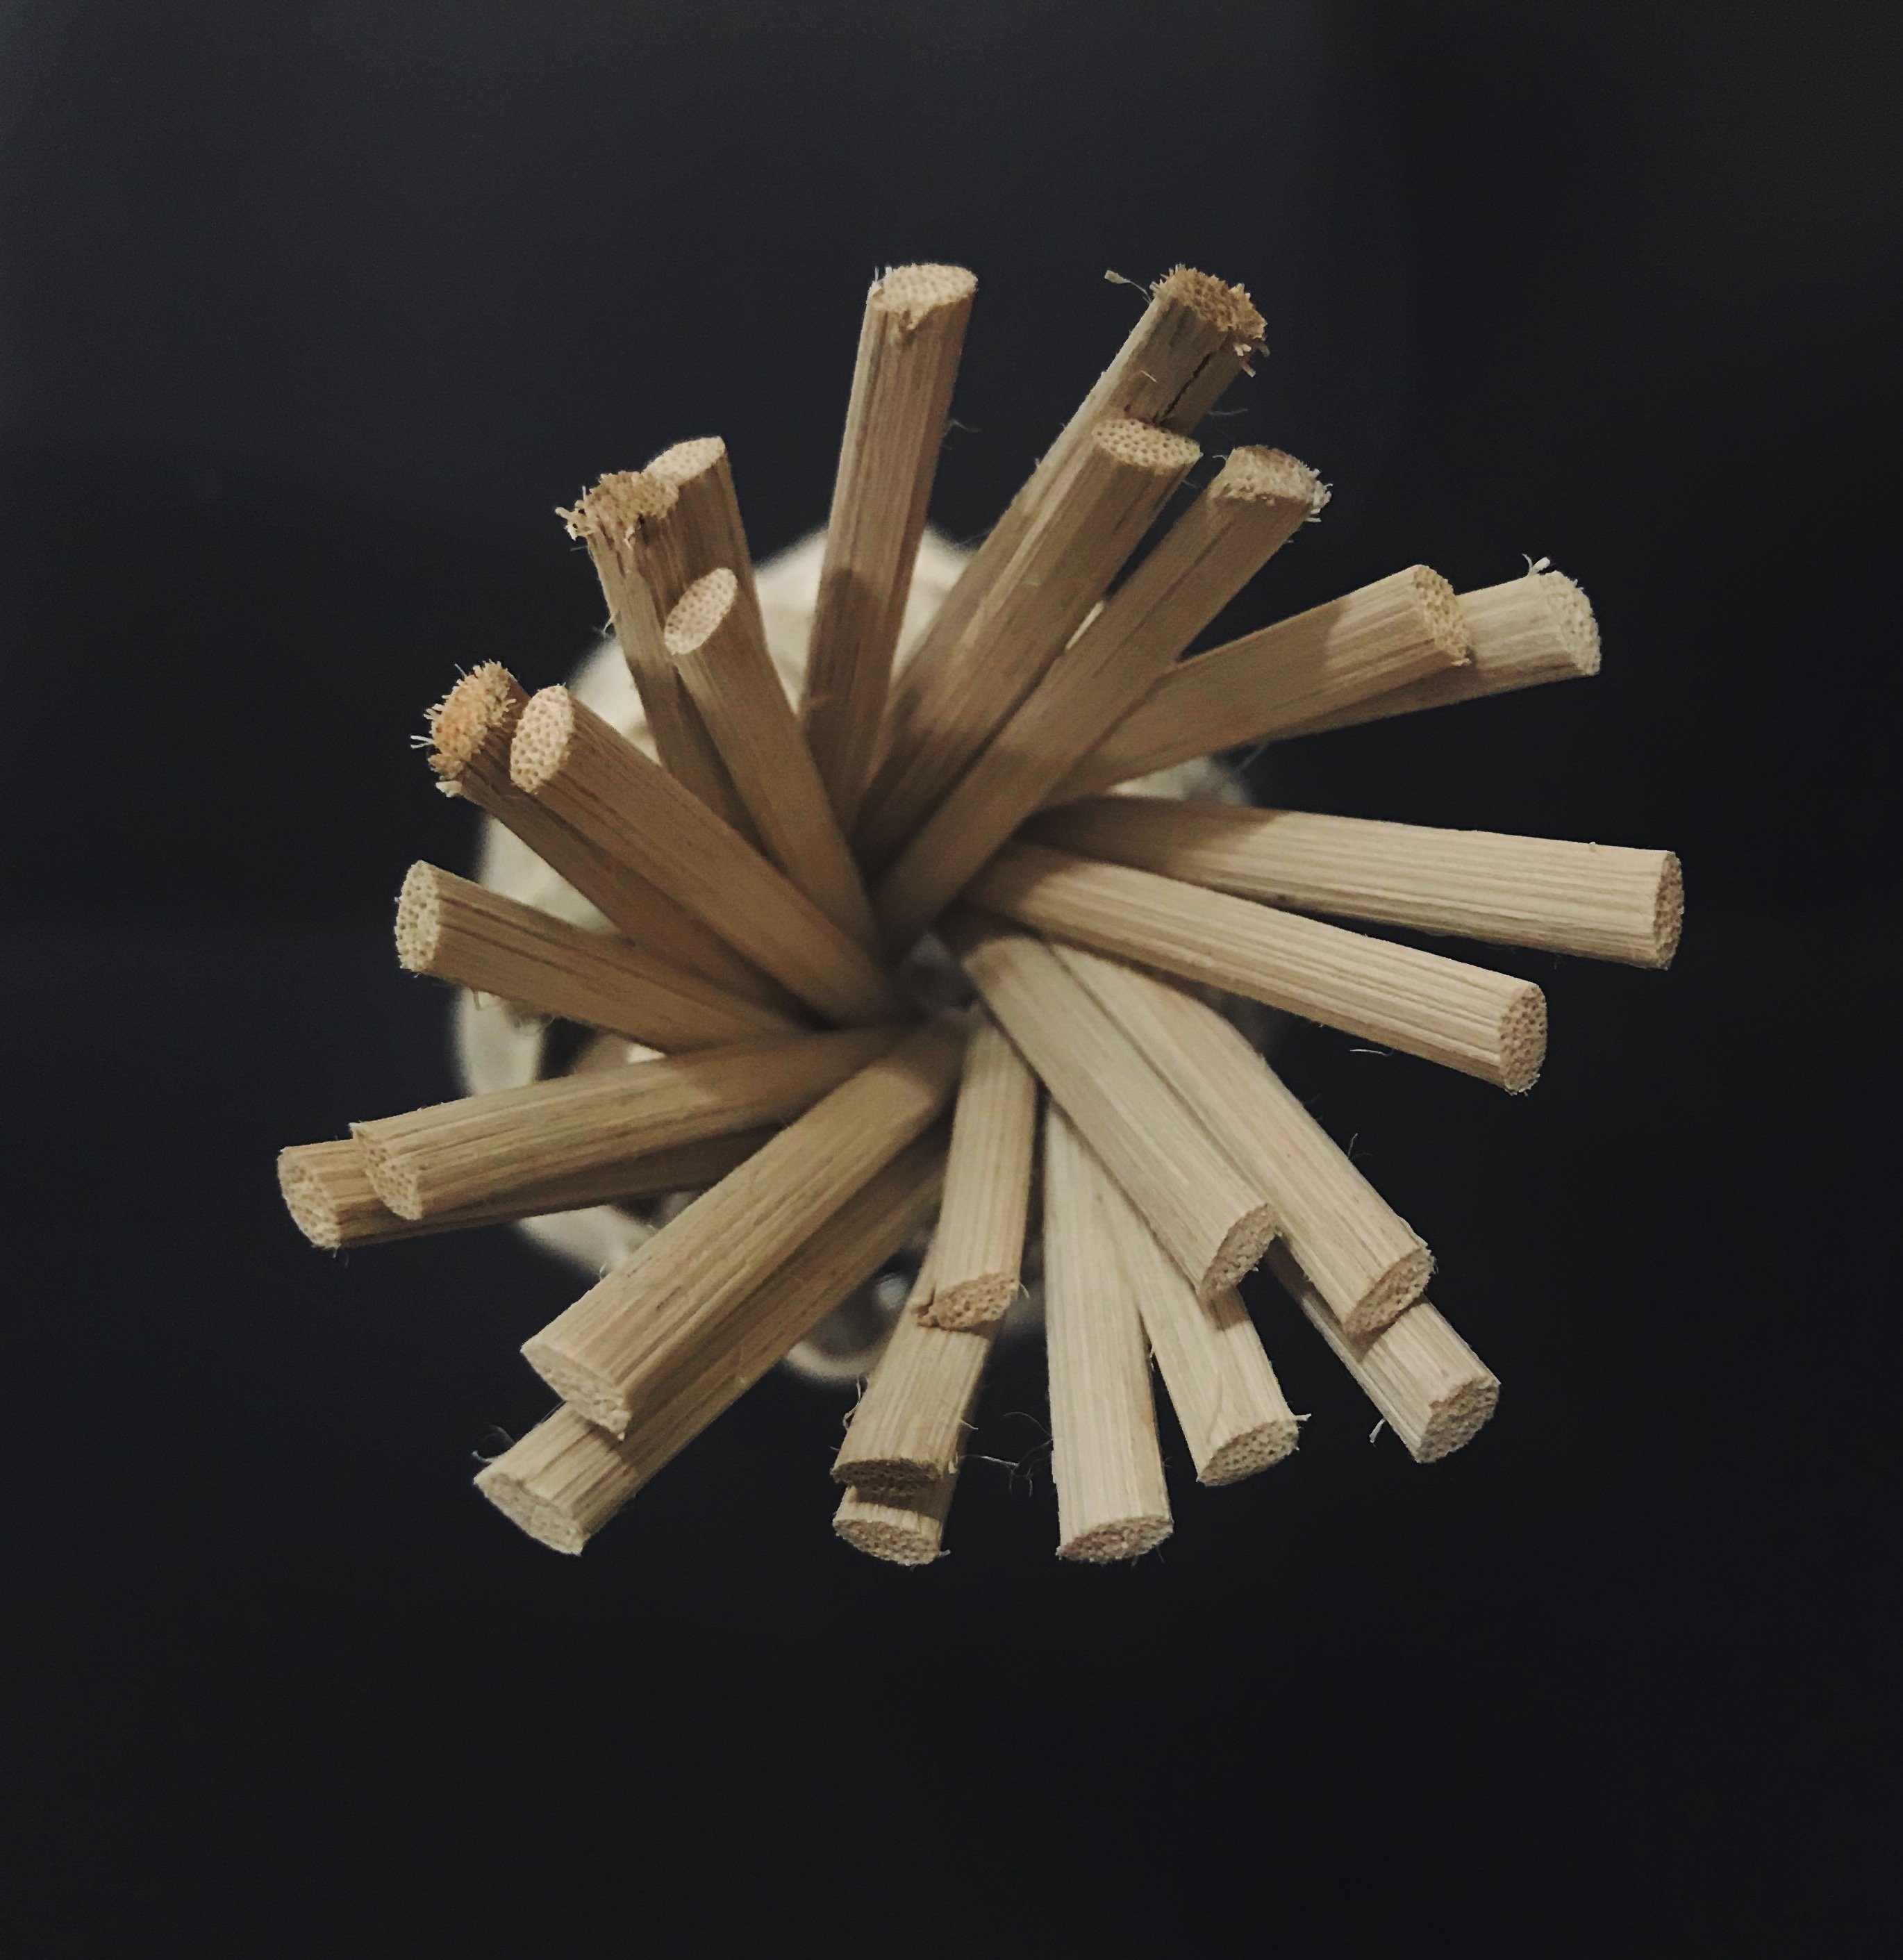
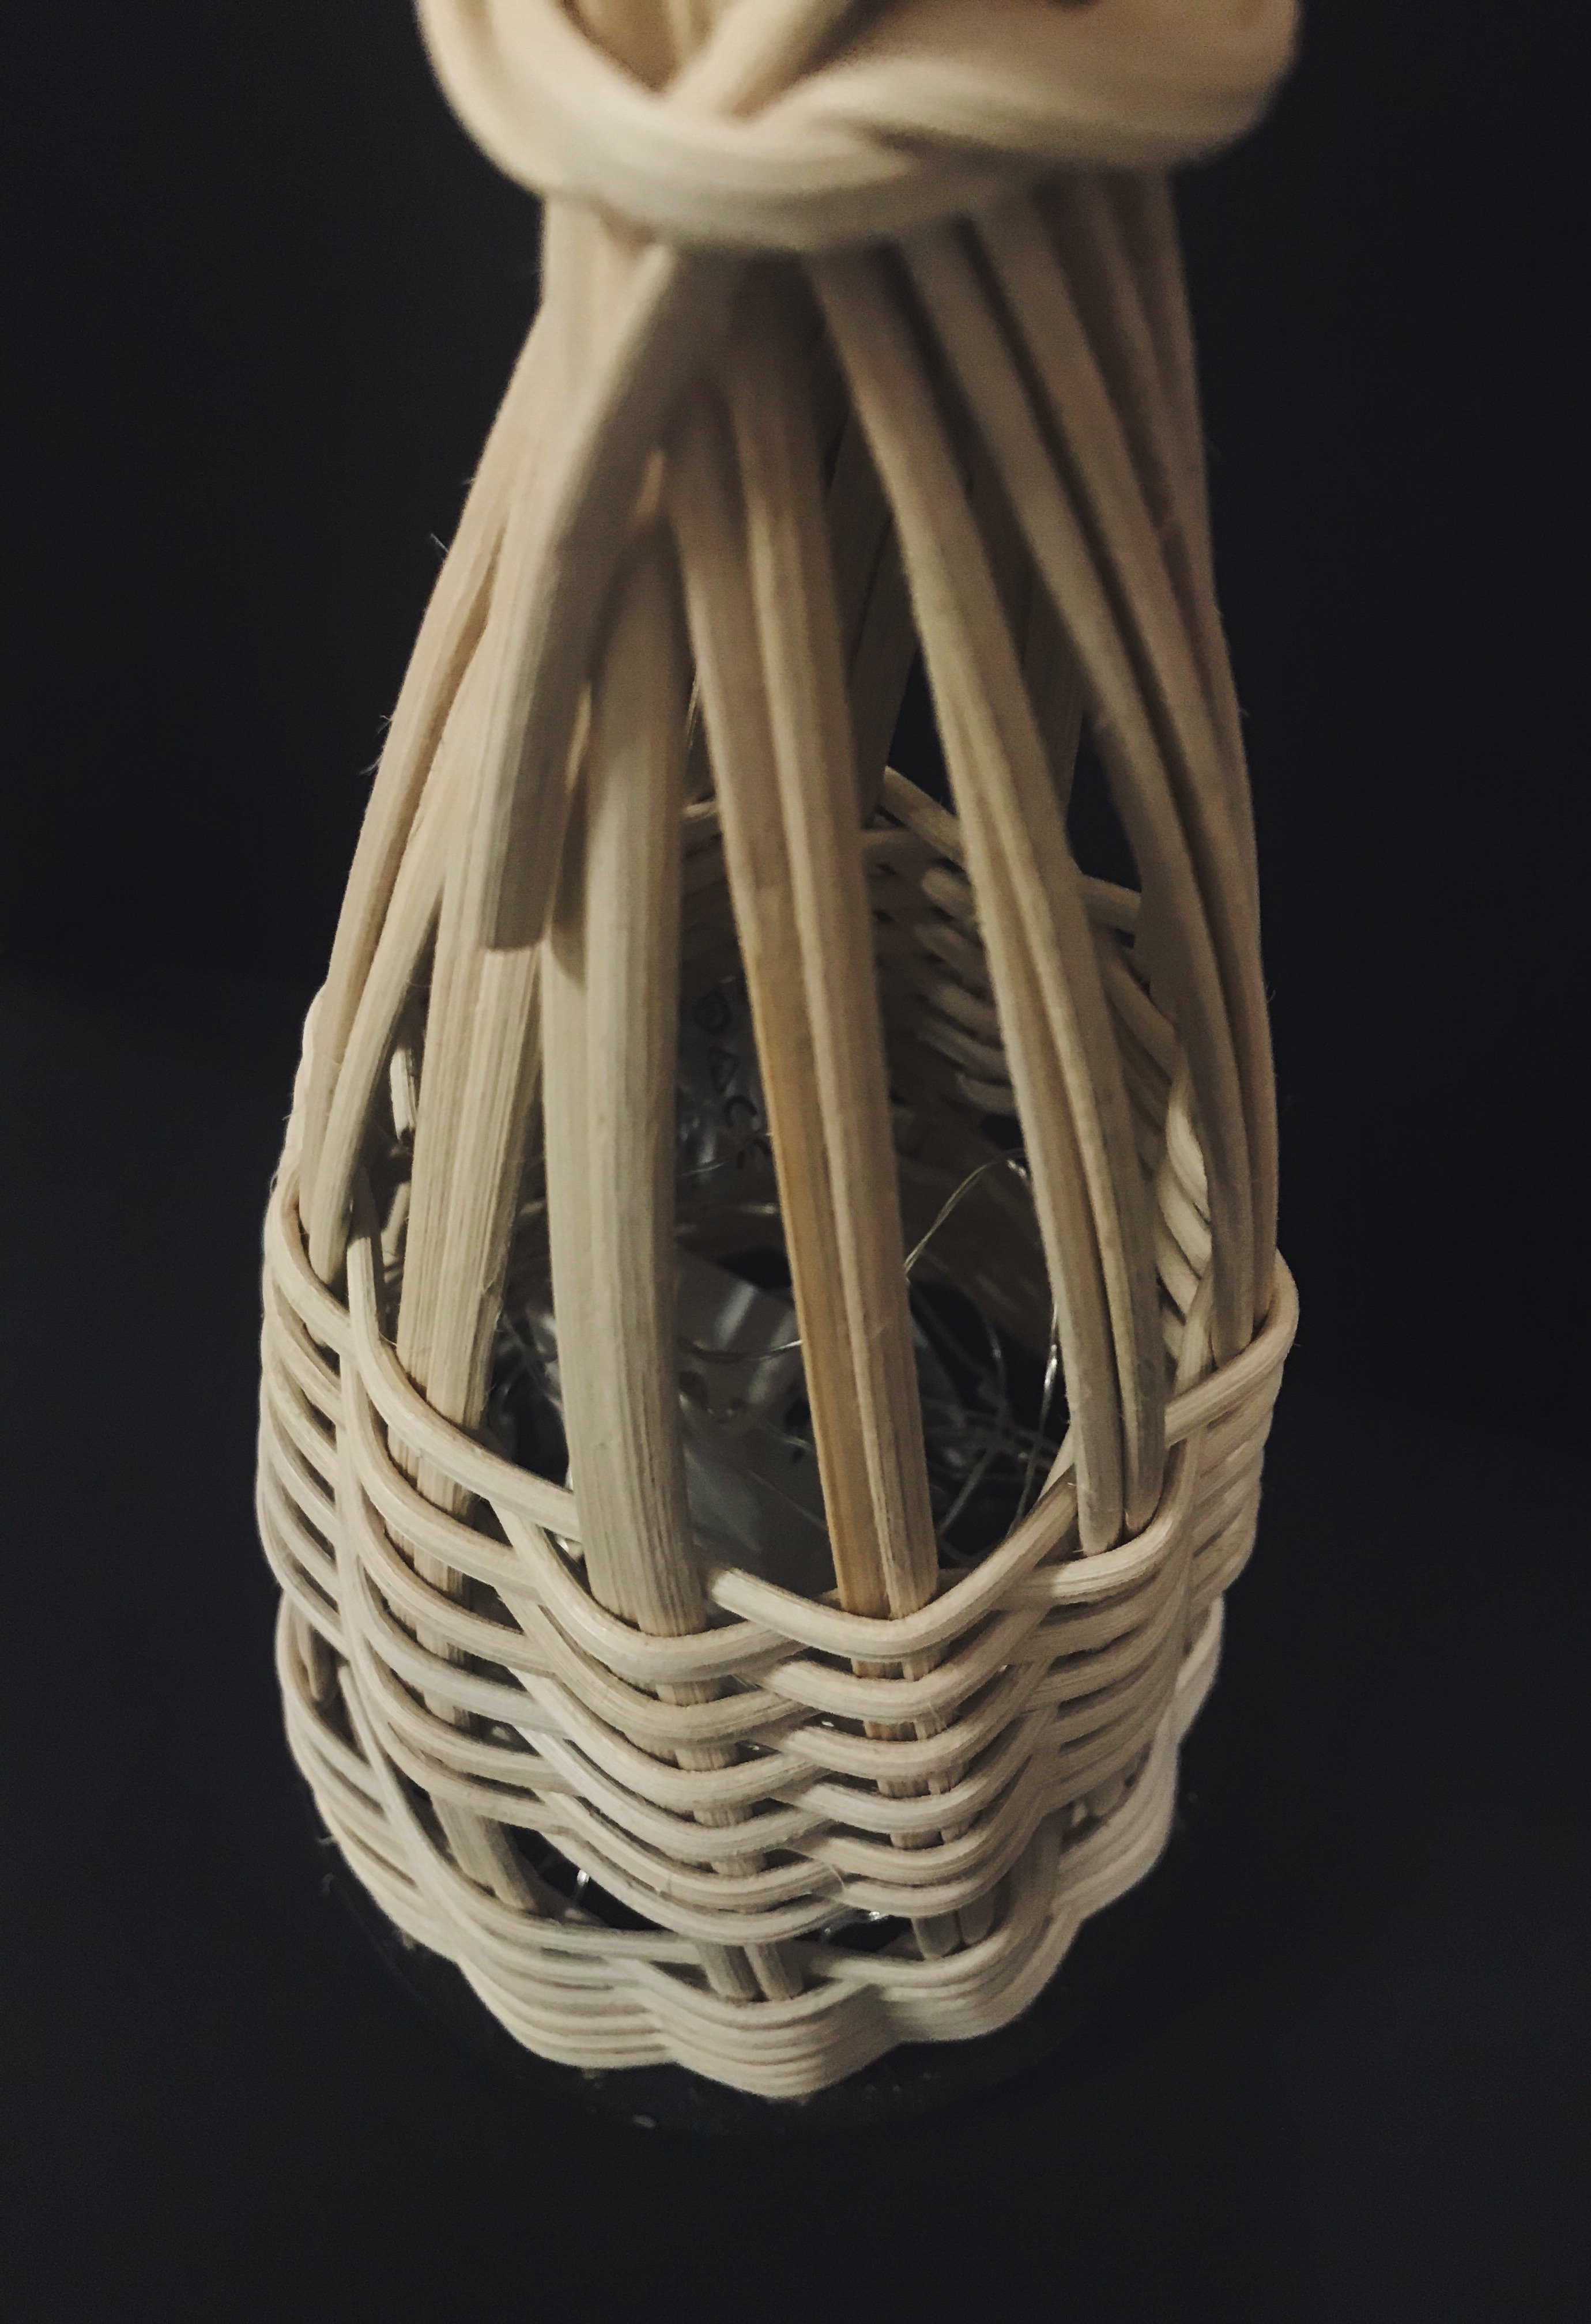
Hence, I brainstormed again and decided to change my plan. I went with a more organic shape where I used a ring to wrap the cane around. I used that as the means to form my shape. The idea of it was for the bag to look raw and have that “unfinished” look as it was aimed at holding things like bottle for those working outdoors like farming. This was also to compliment organic-like materials that I went for.


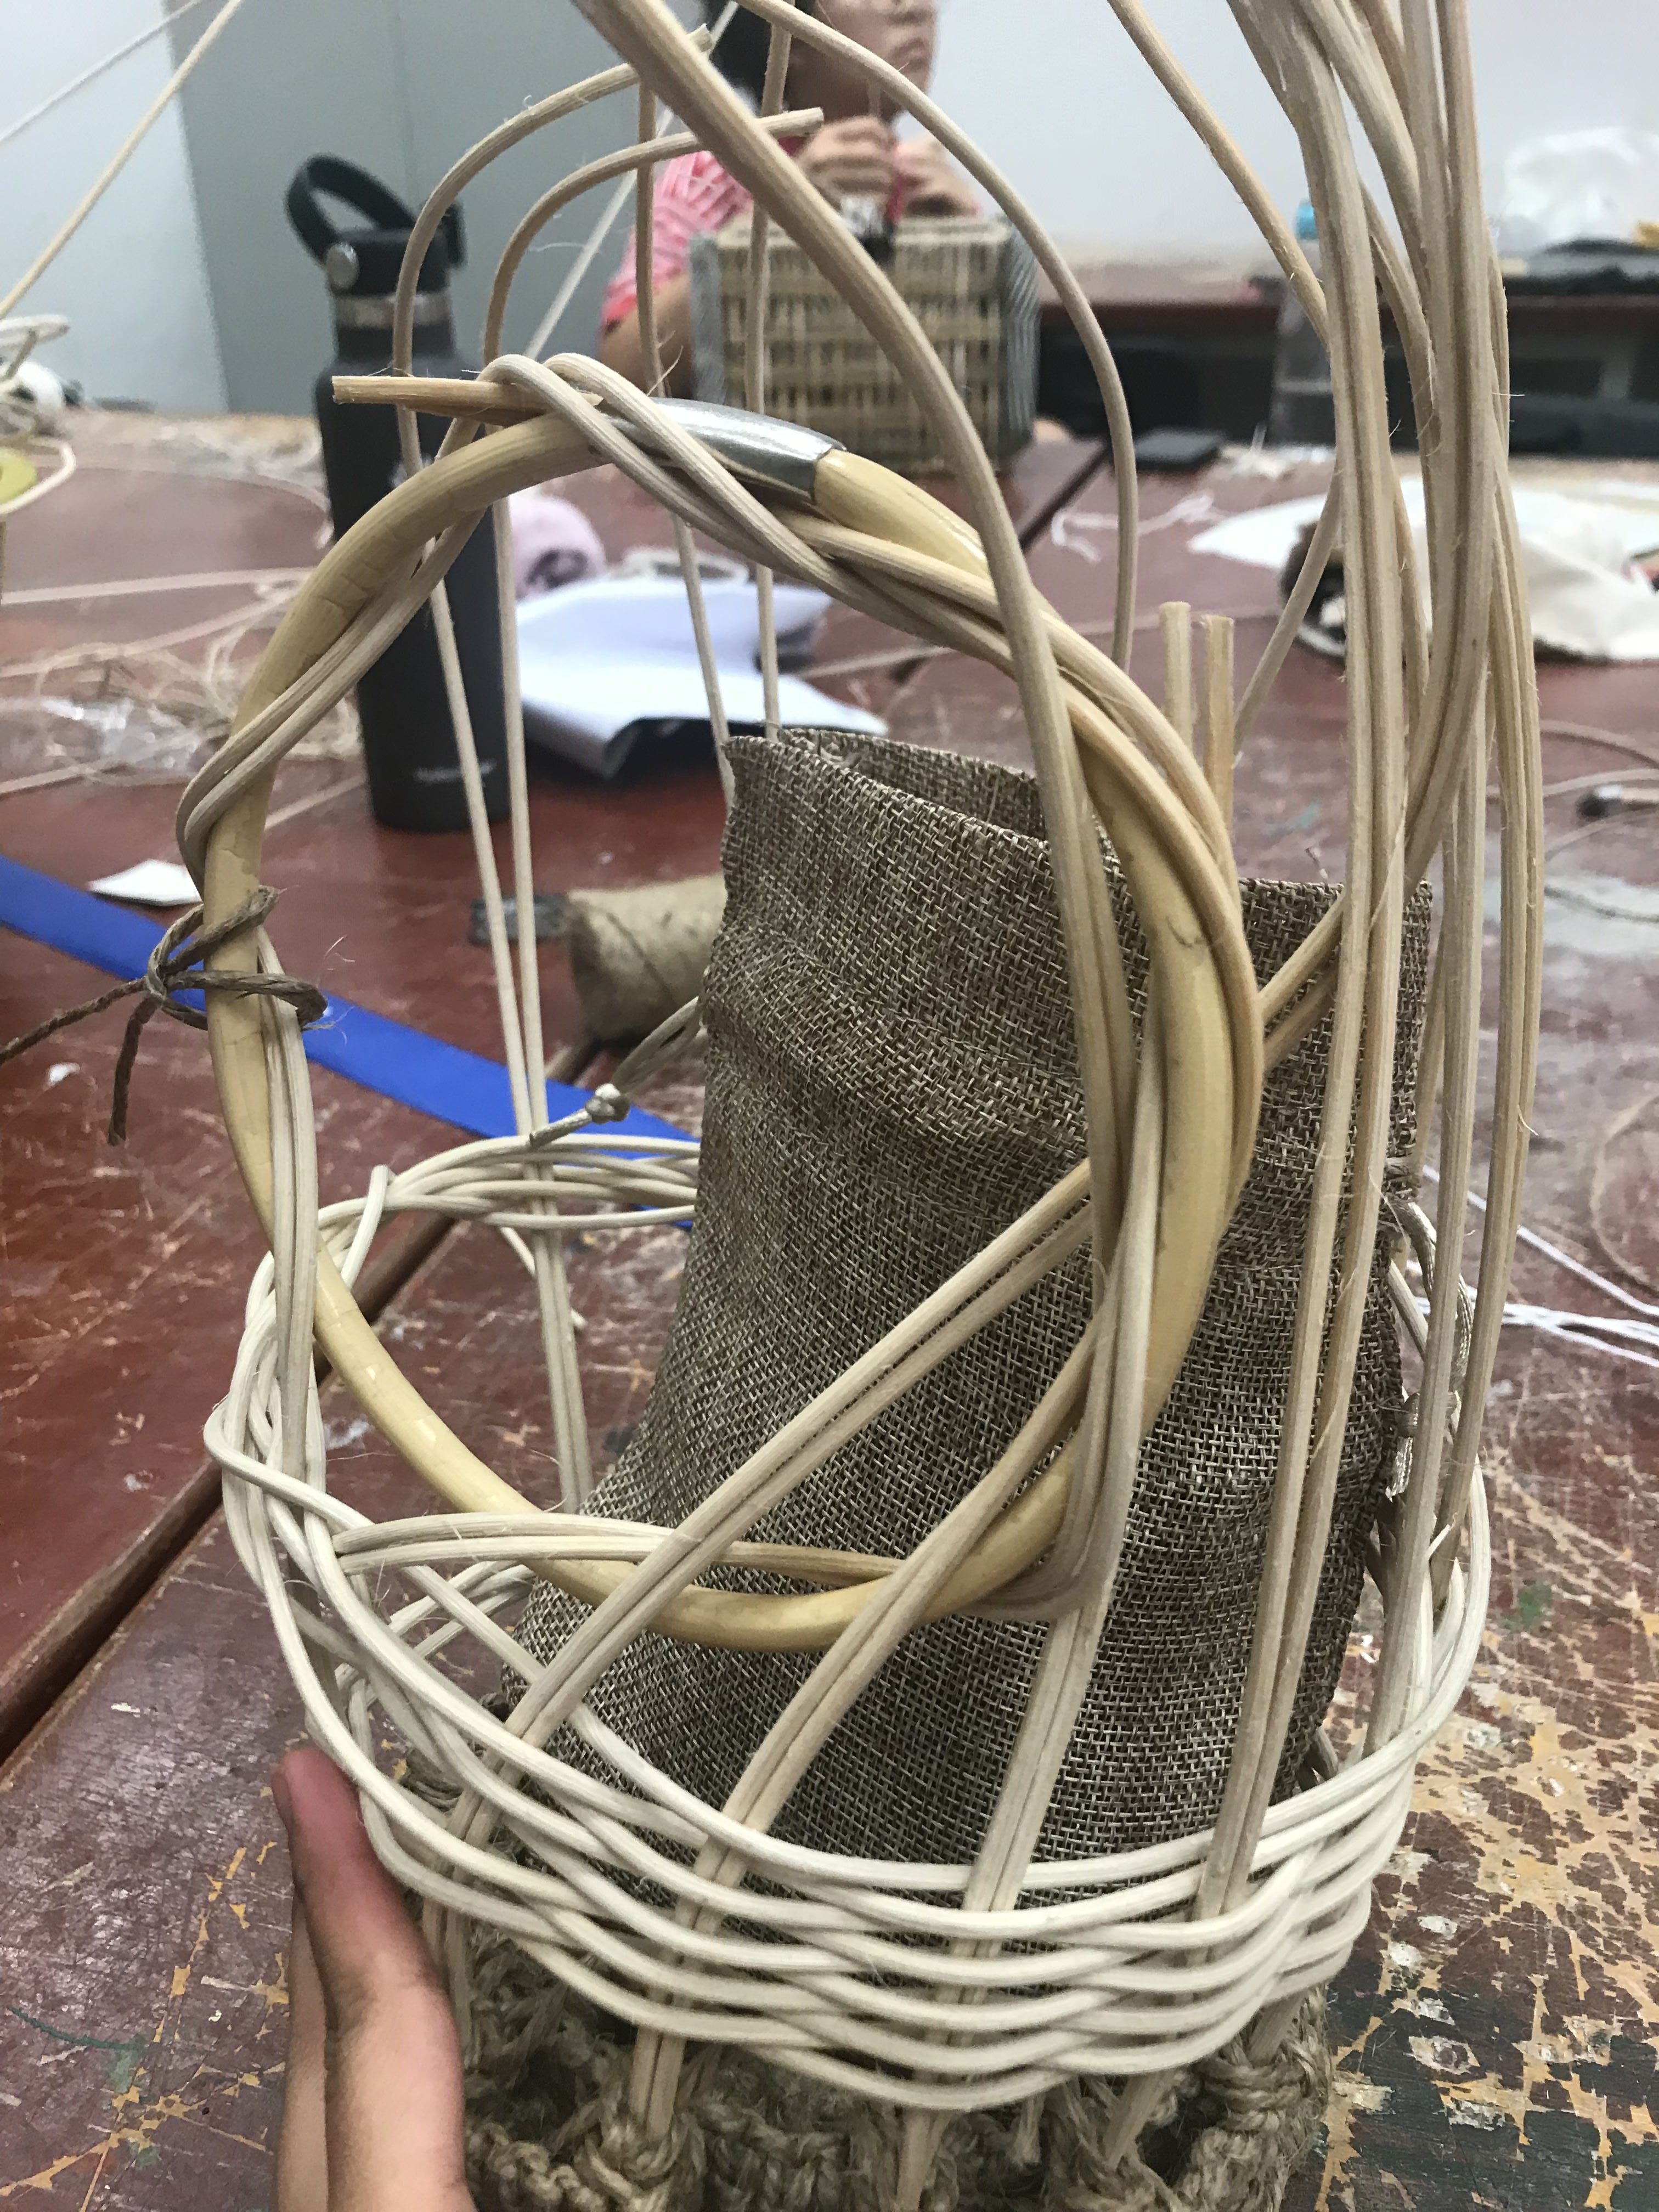

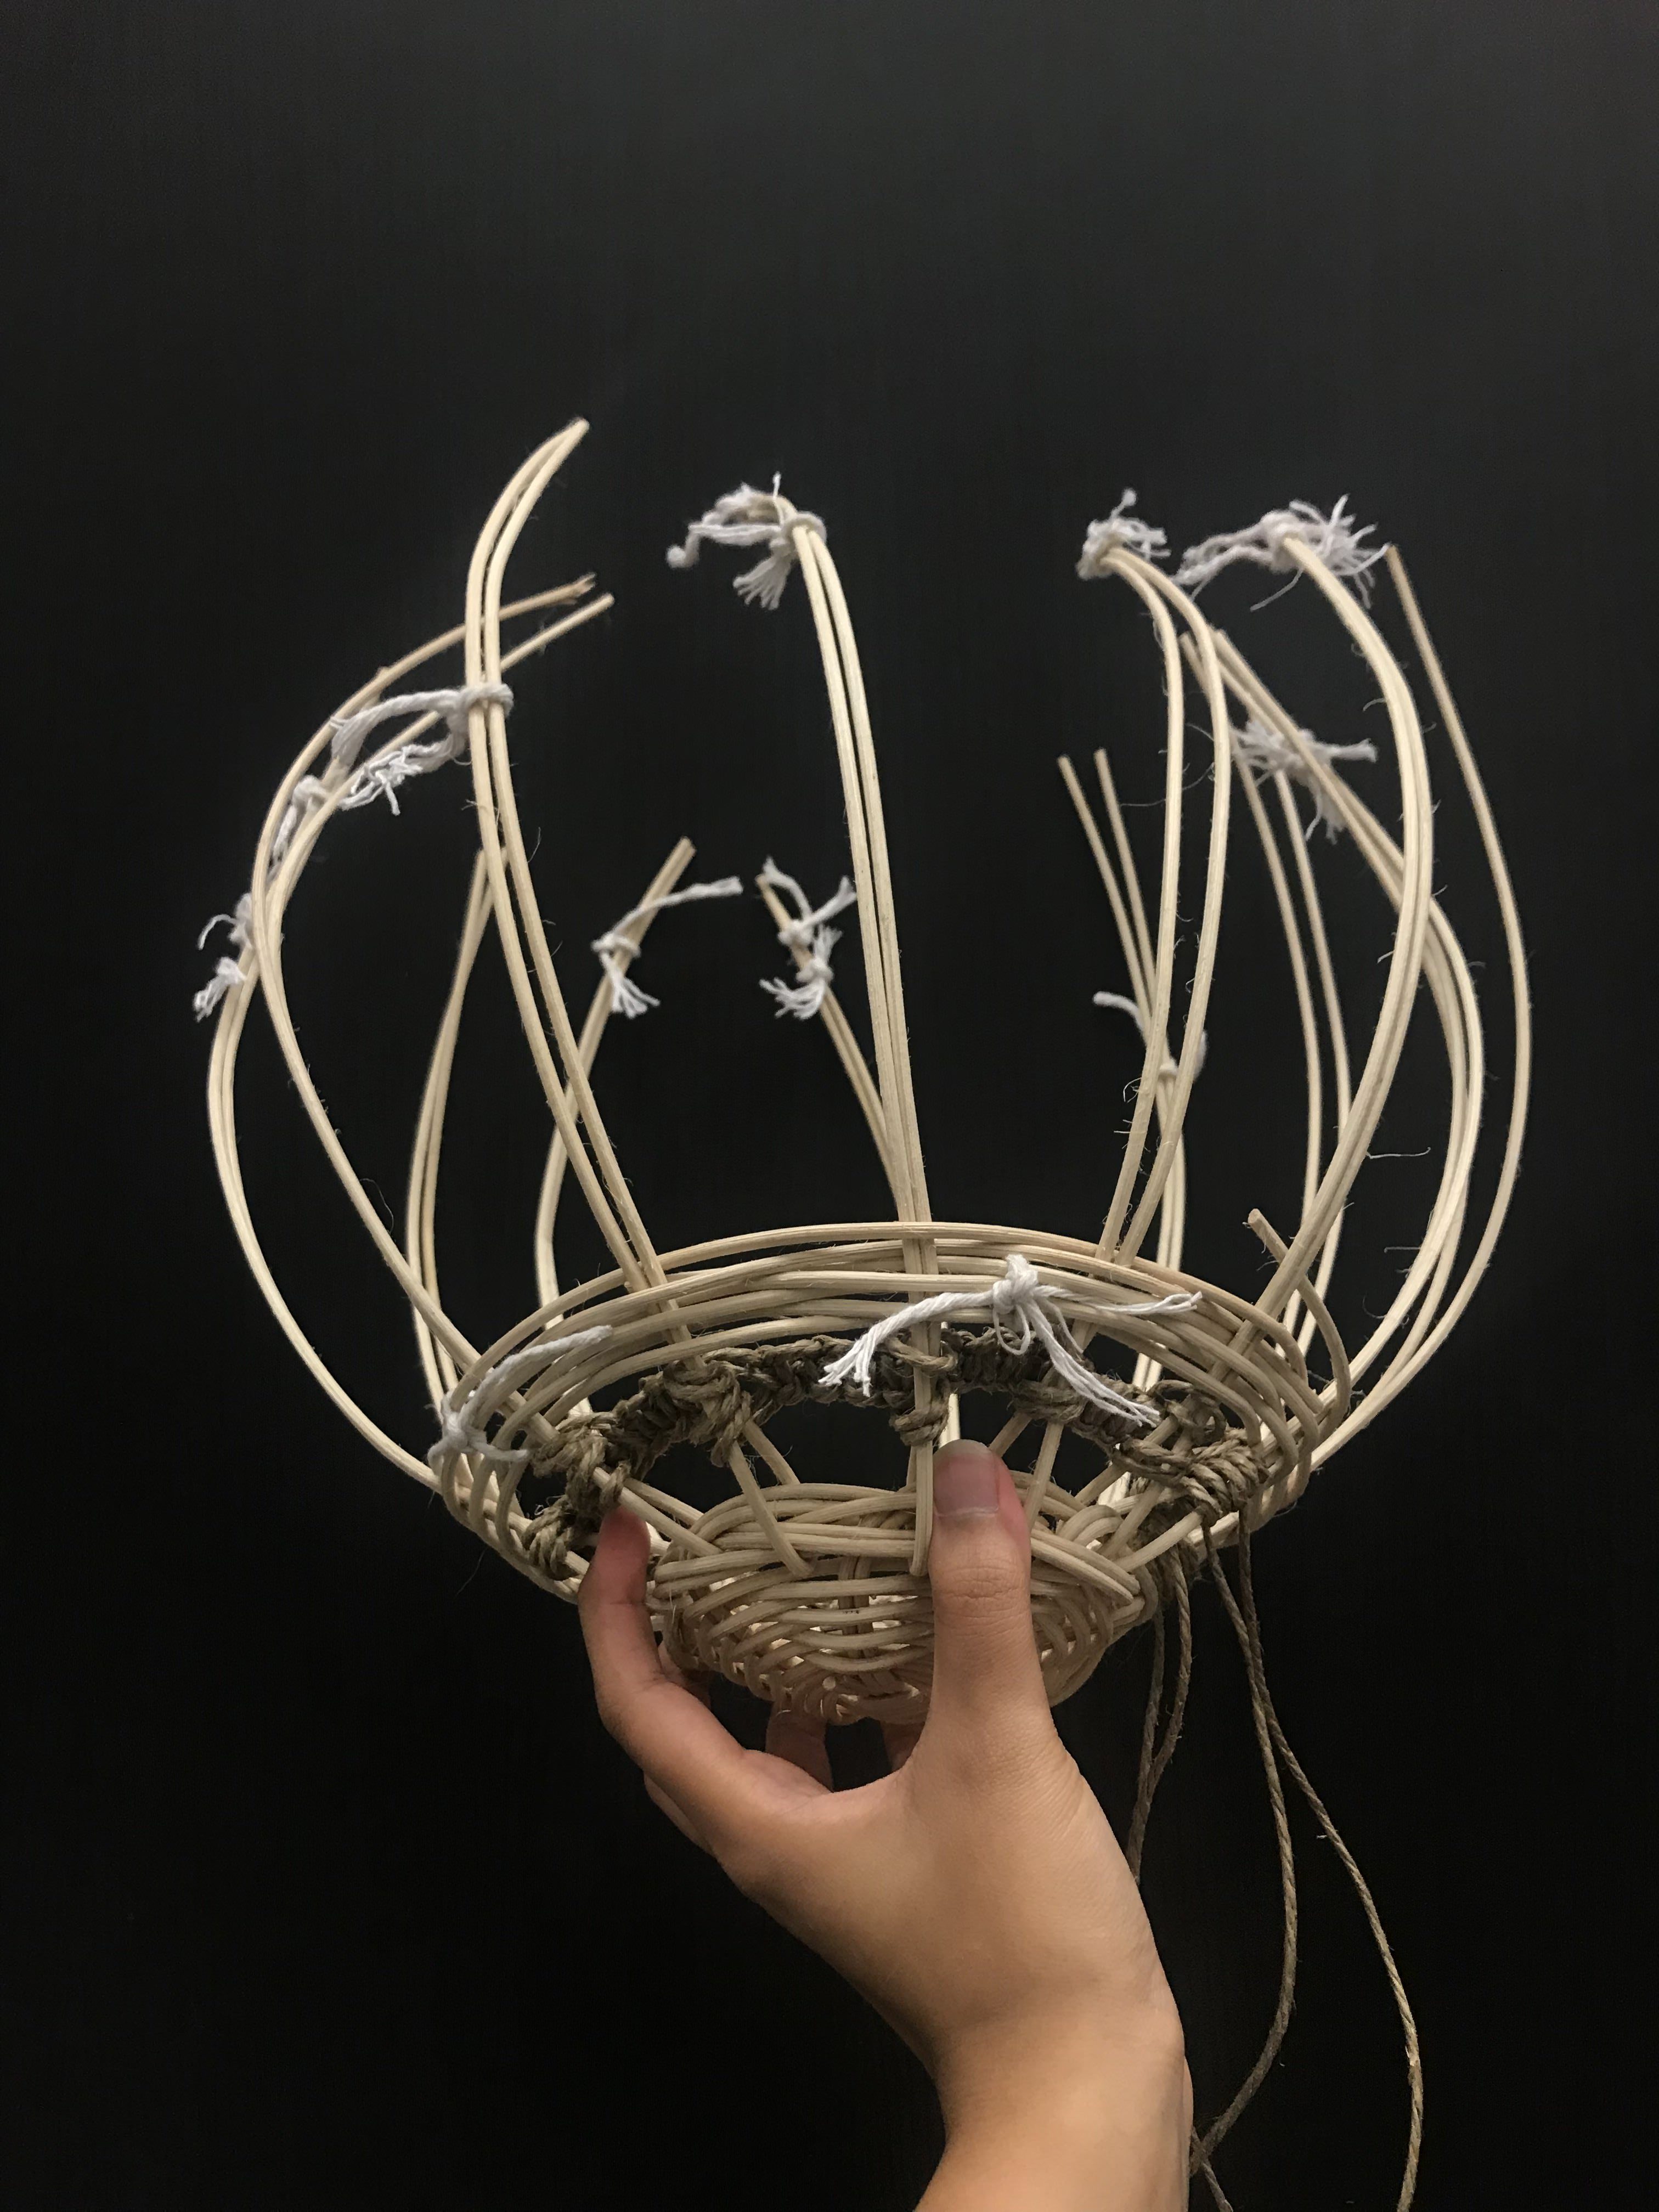
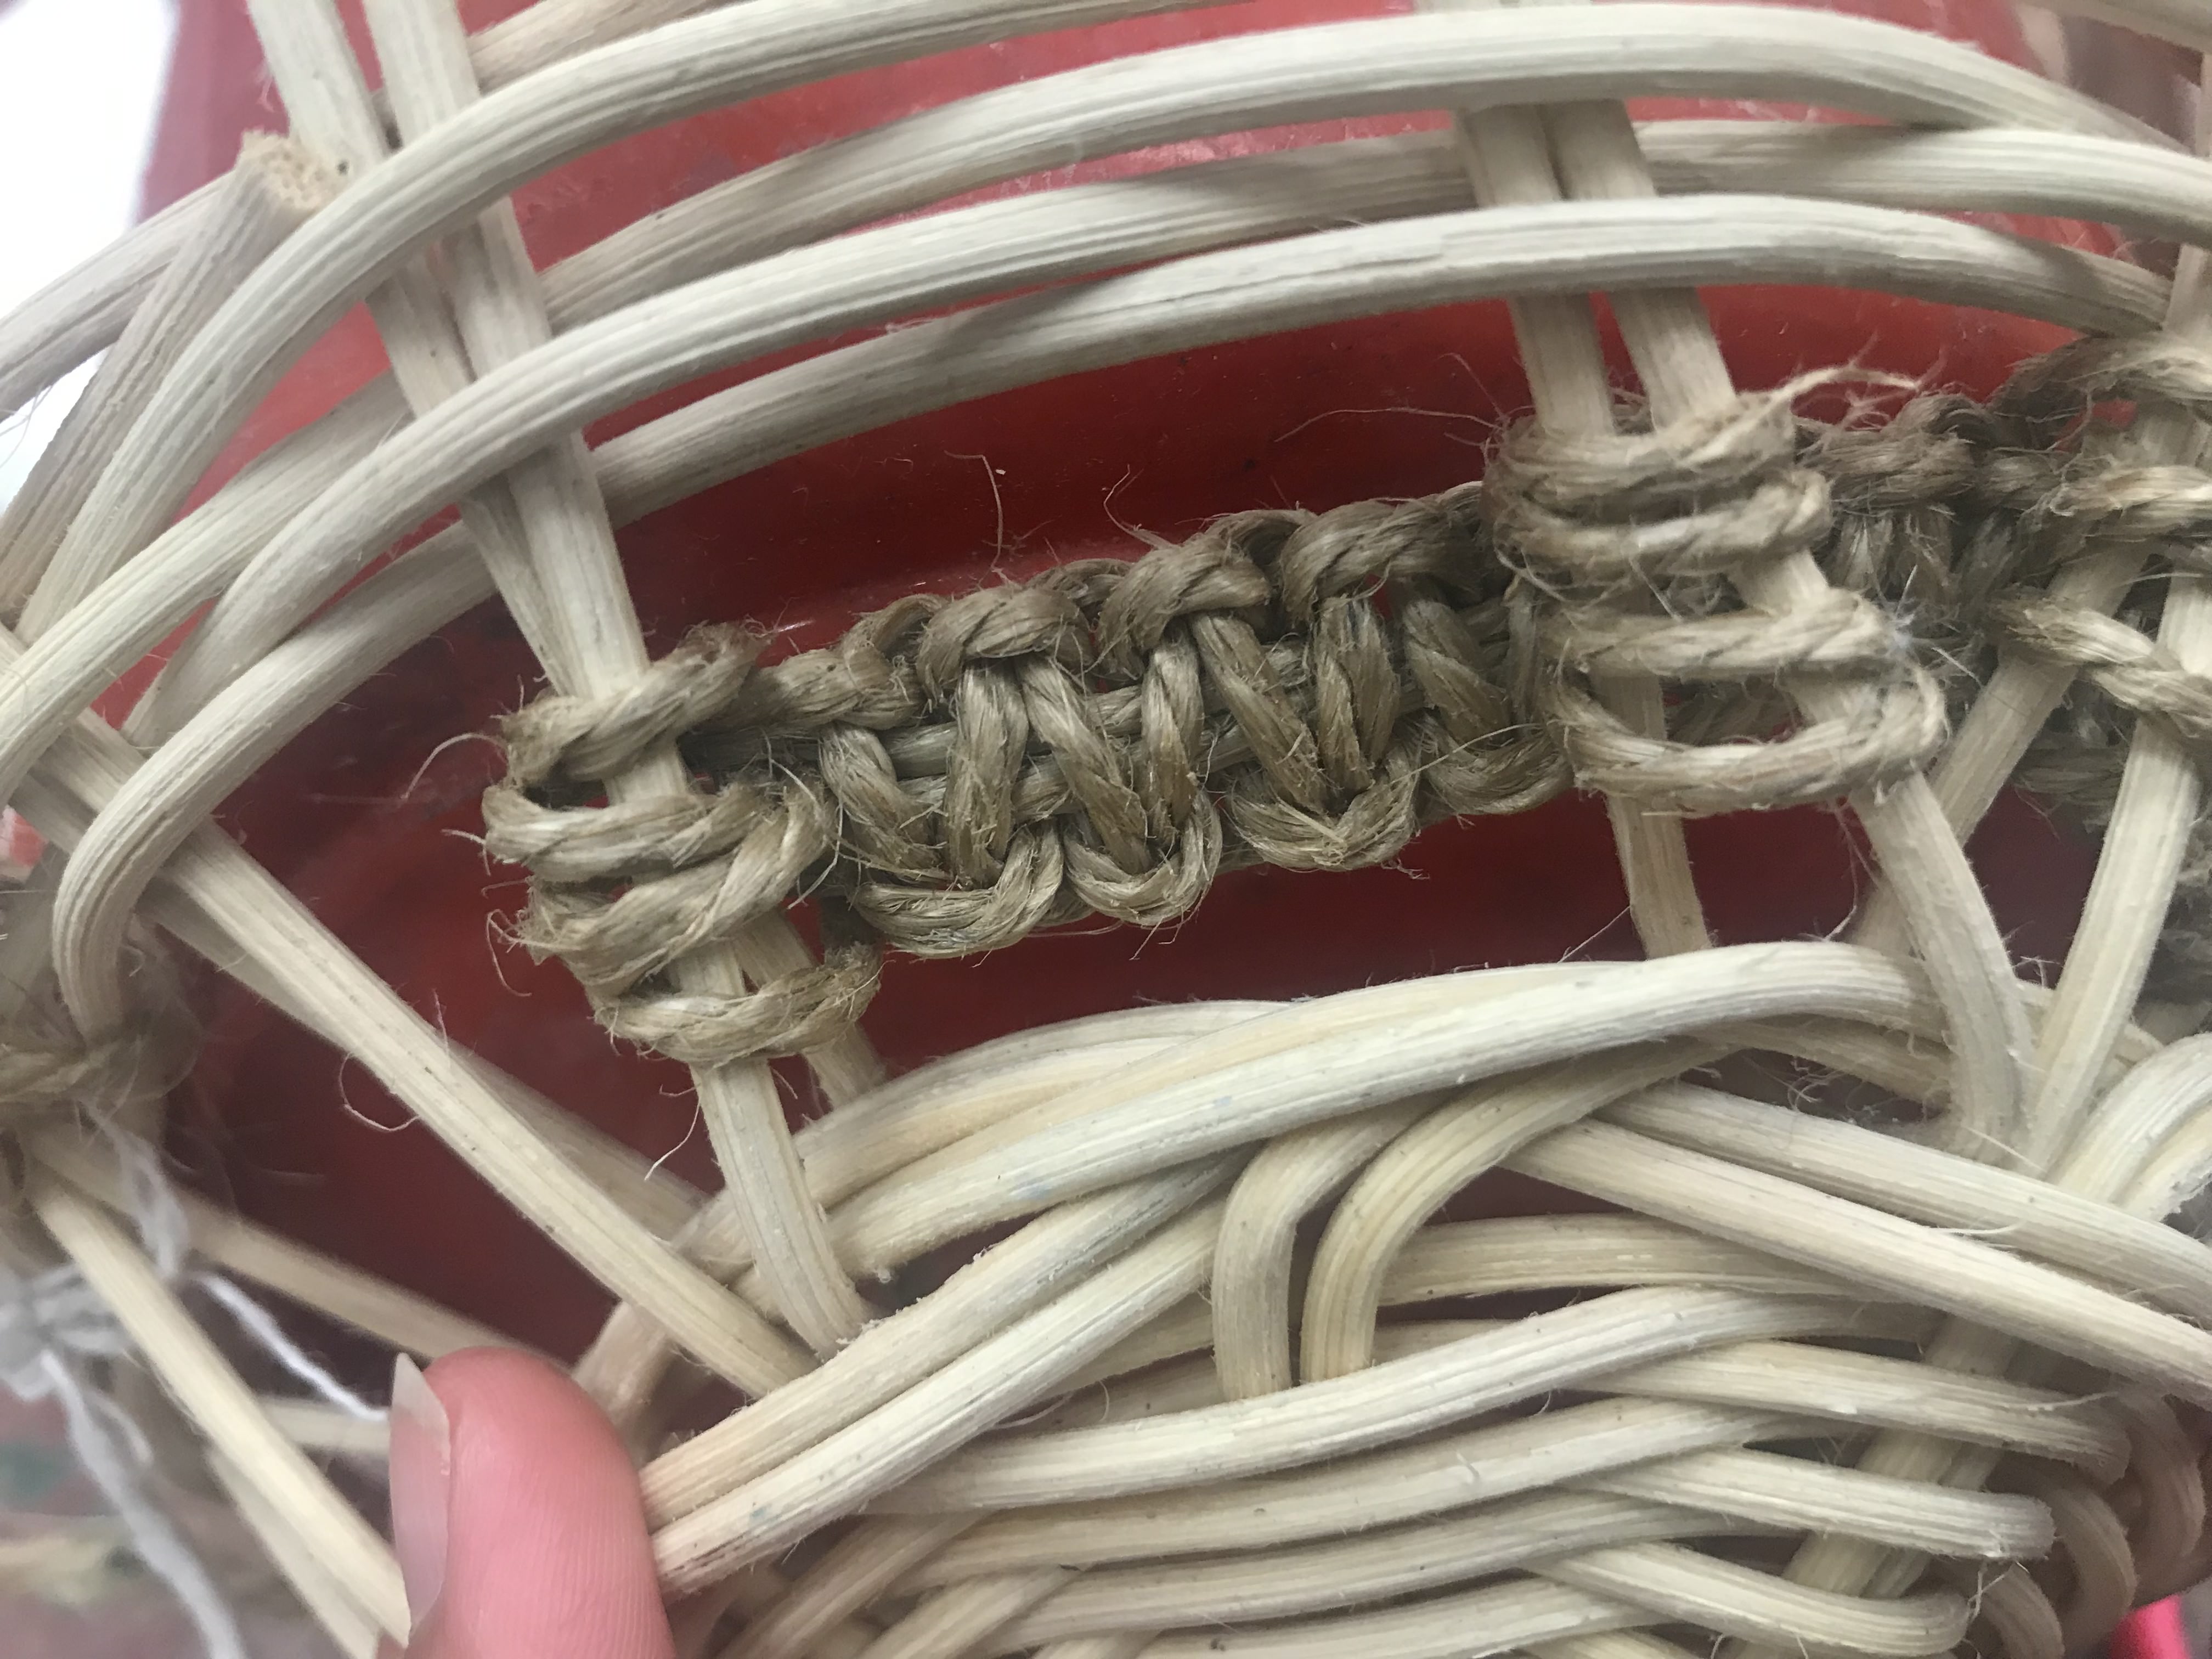
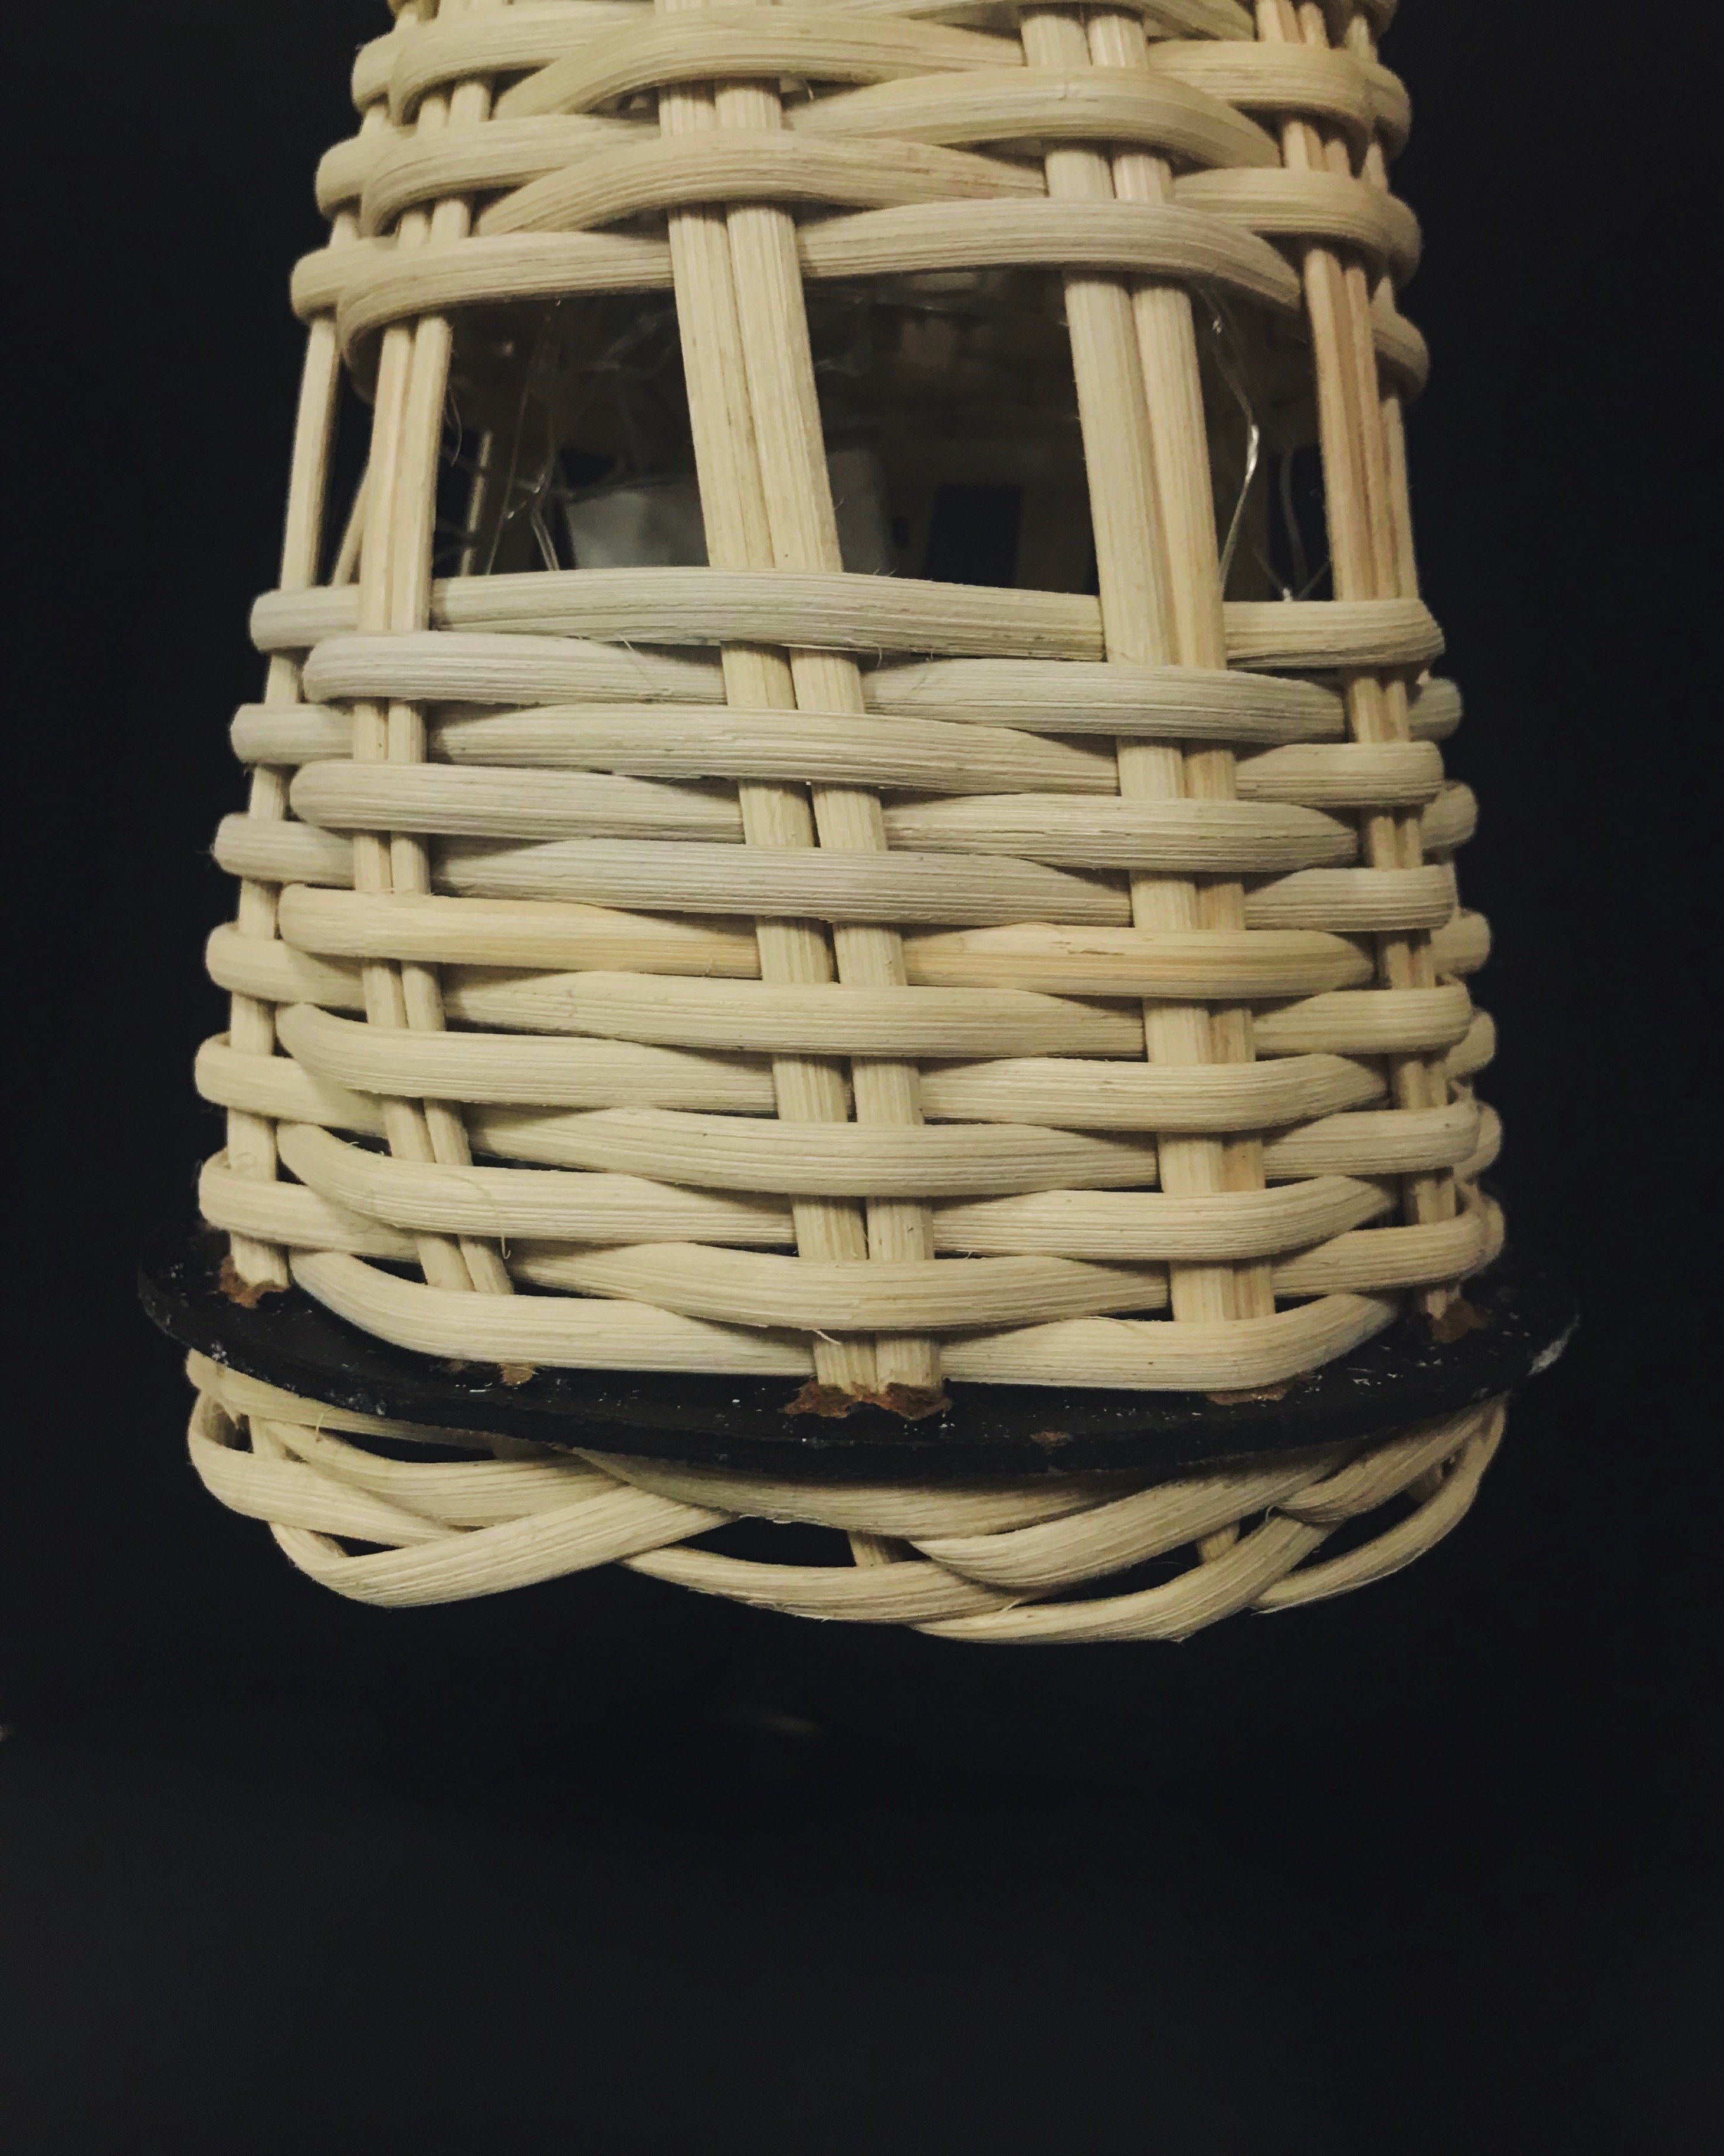
As I continued on, I kept getting frustrated with the unstable base that I decided to remove it completely. I decided to incorporate jute rope for the bottom with cable/square plait weaving that I incorporated from Part 1. Fortunately, the base was detached from the vertical cane that already had weaving on it.
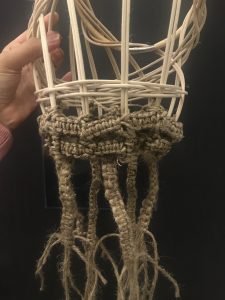
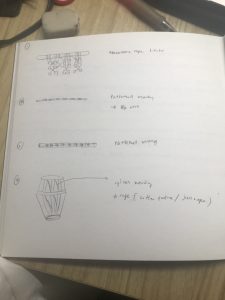
Rough sketch of new plan for weaving

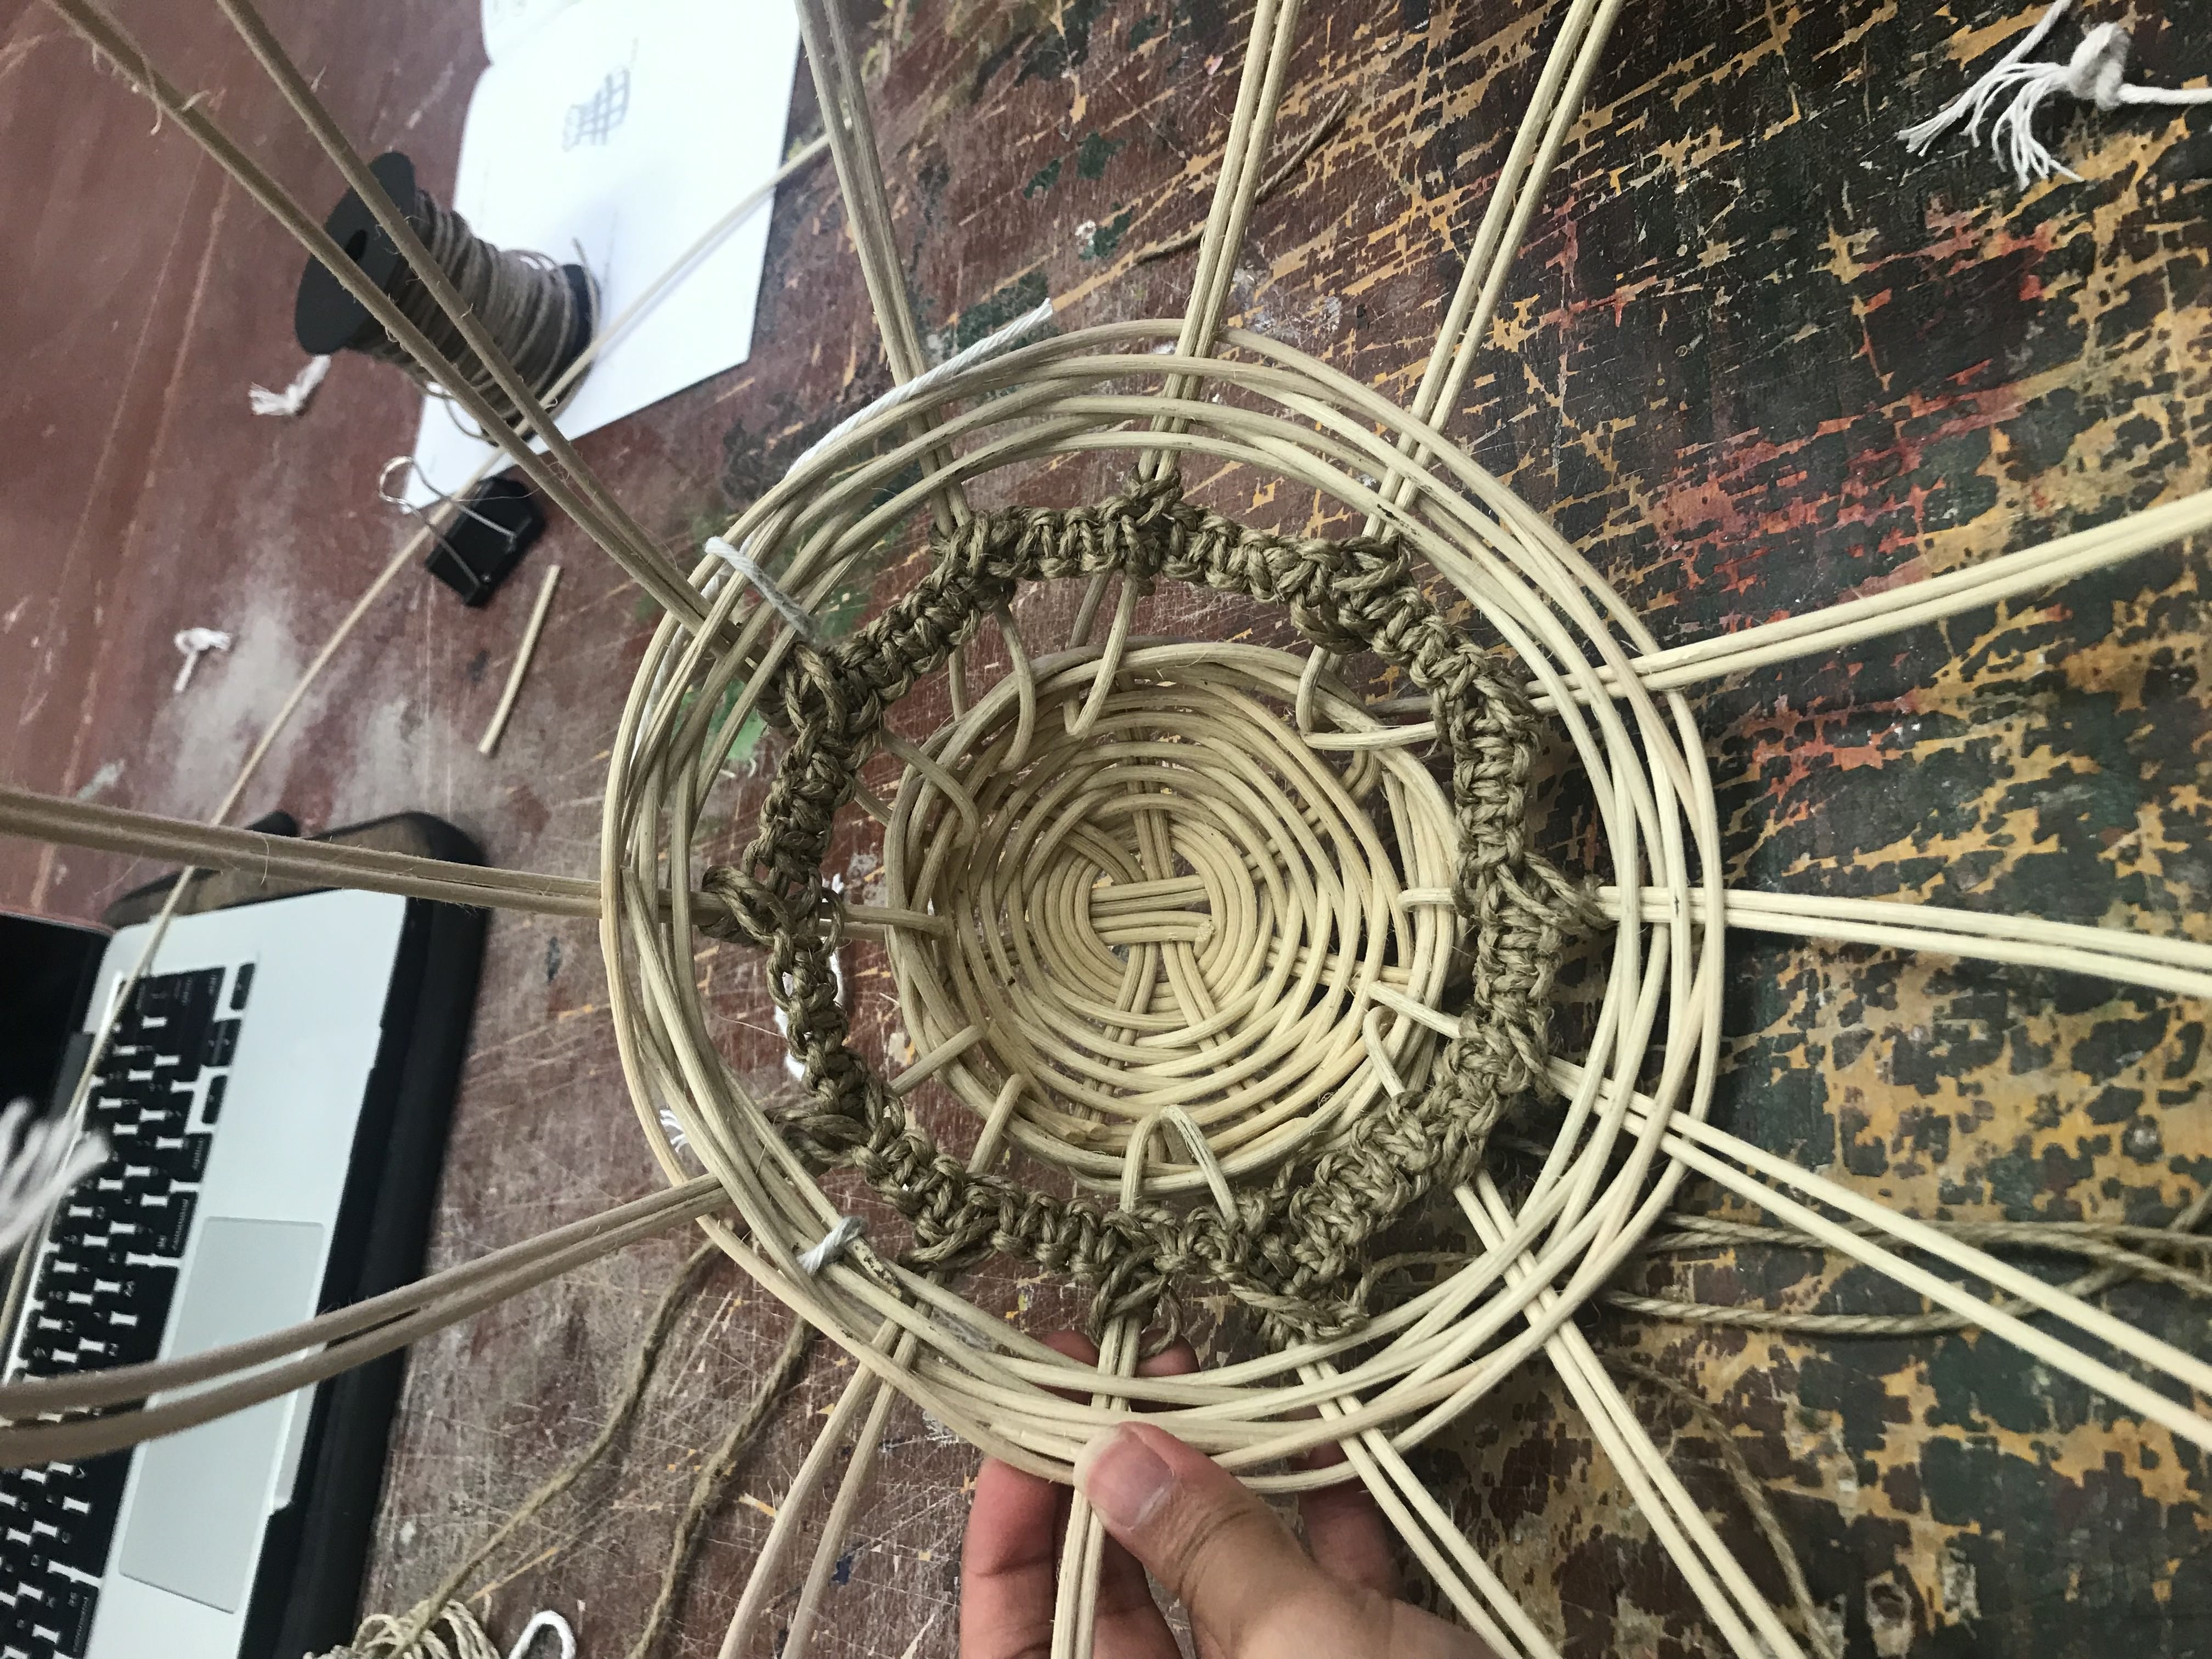
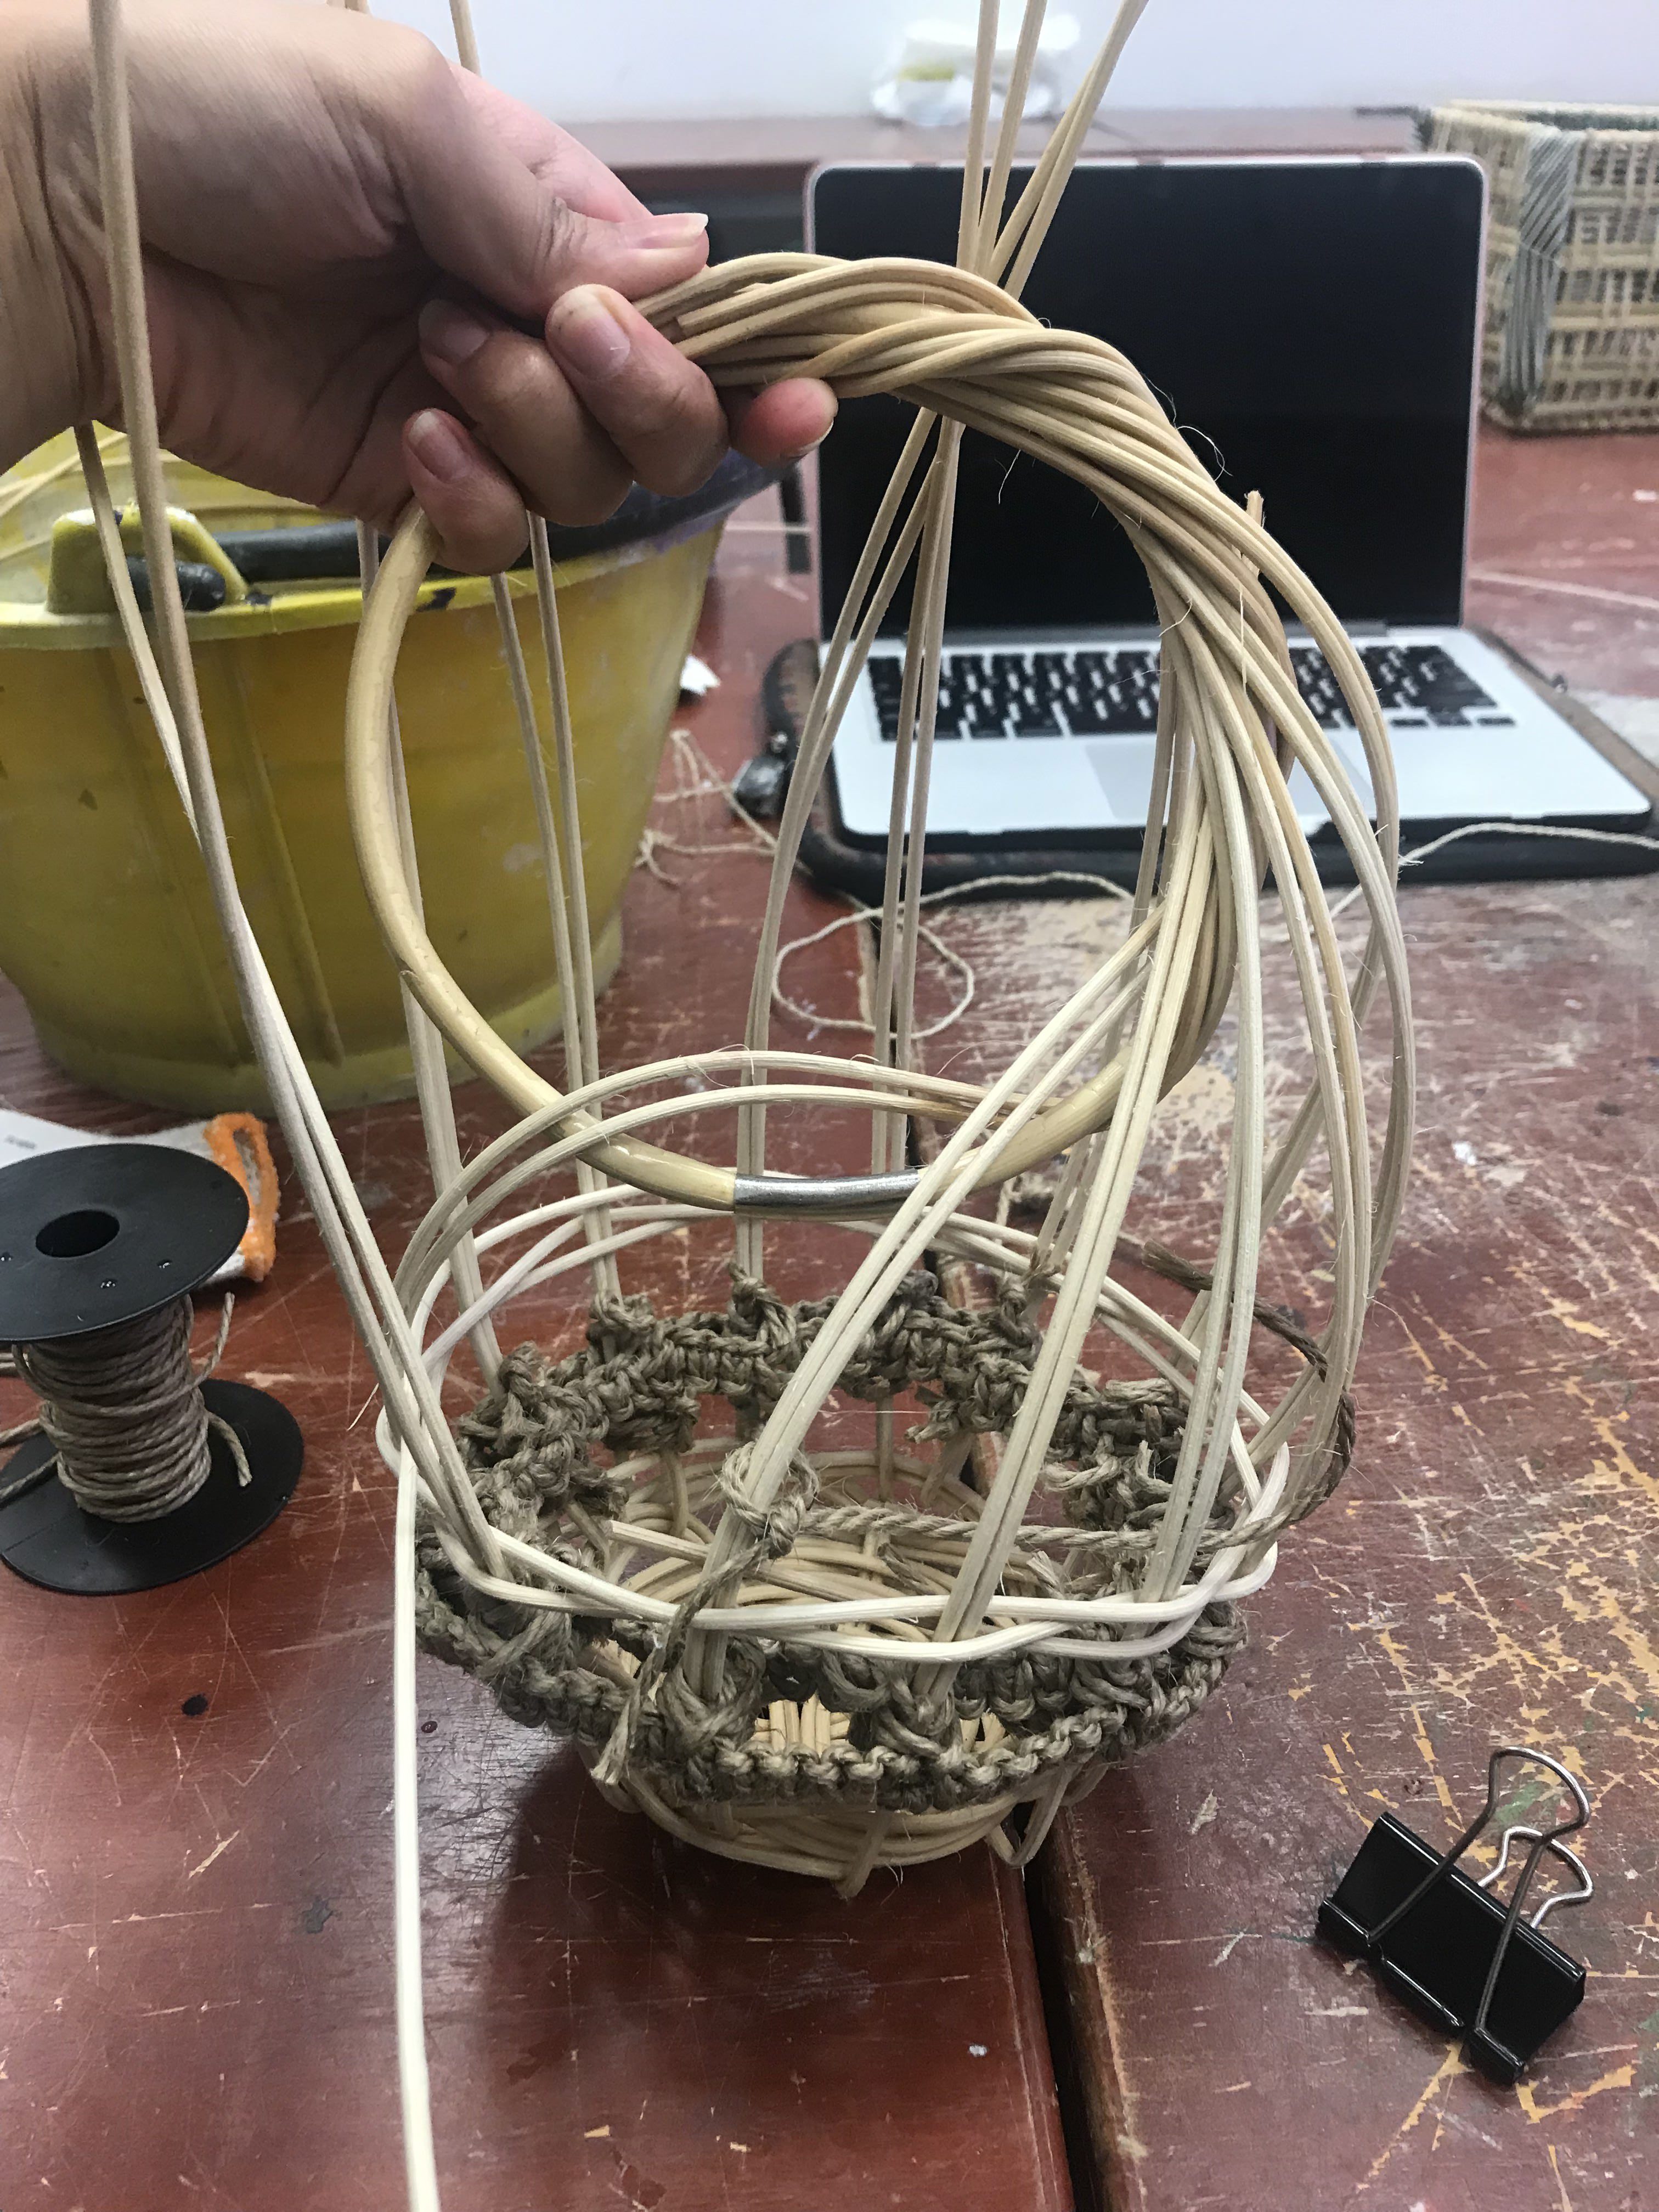
Jute rope was used because it was more thick and rugged. After that, I just experimented with different bases to see what I could come up with.
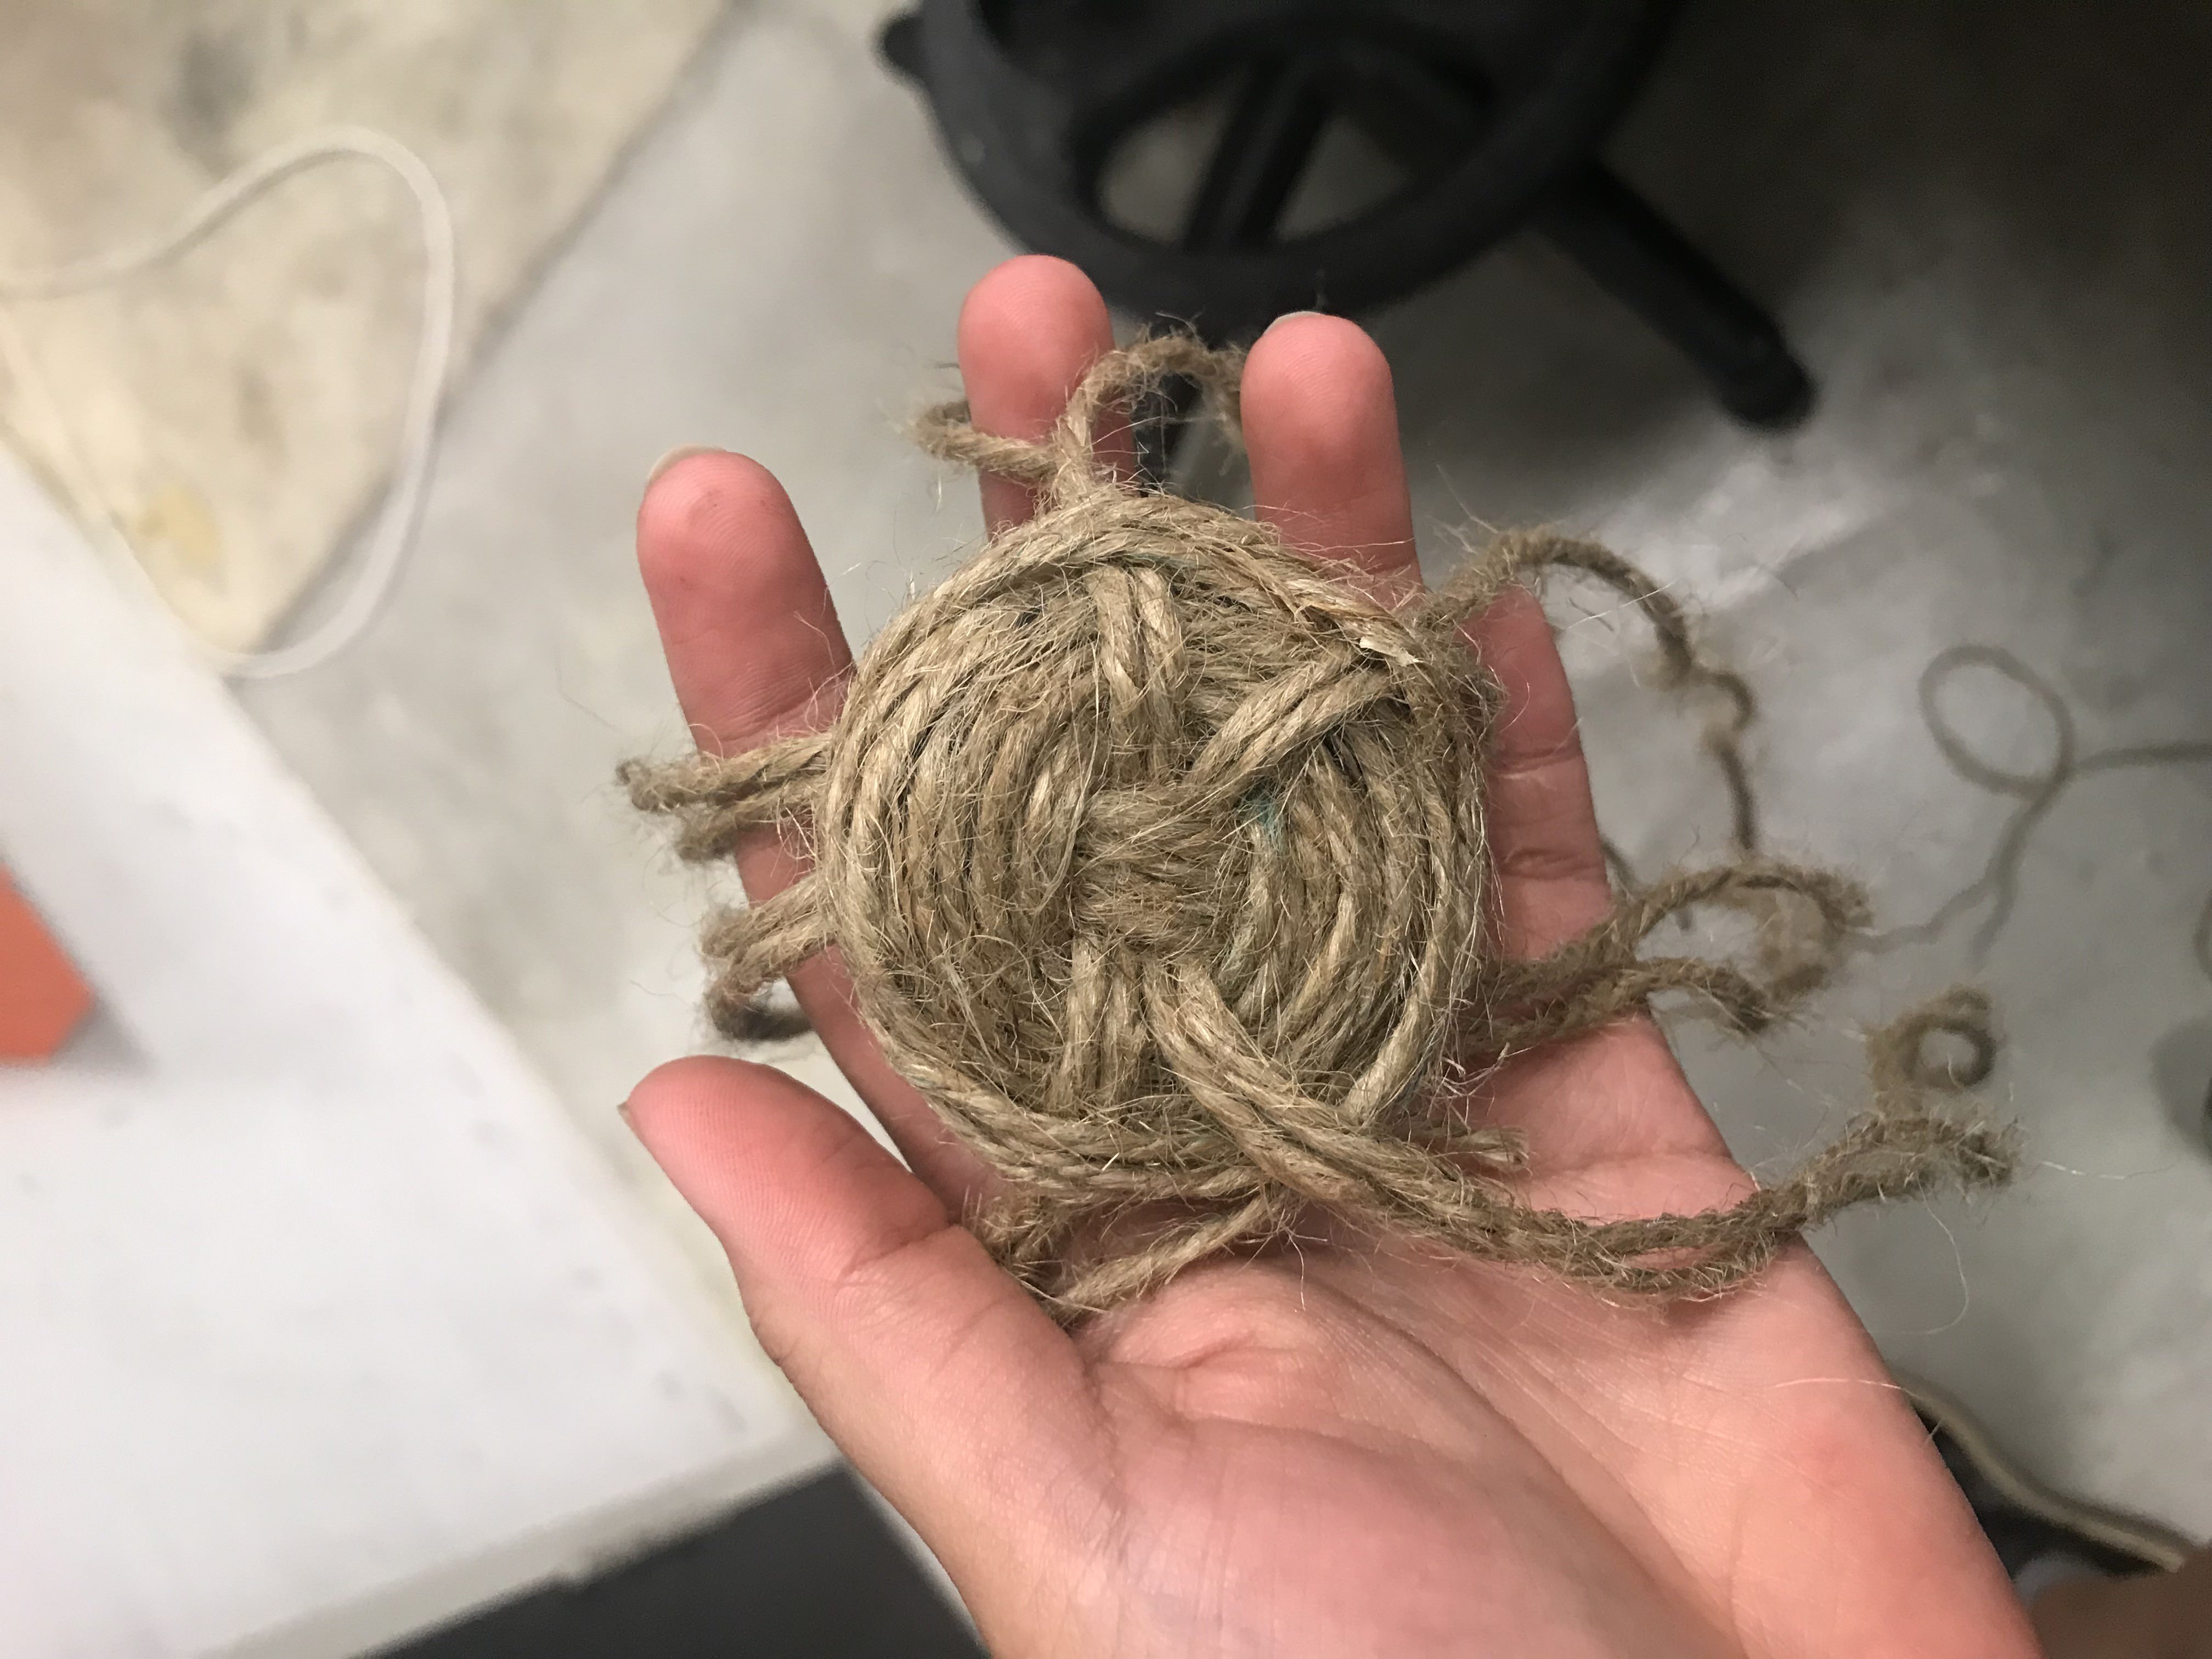
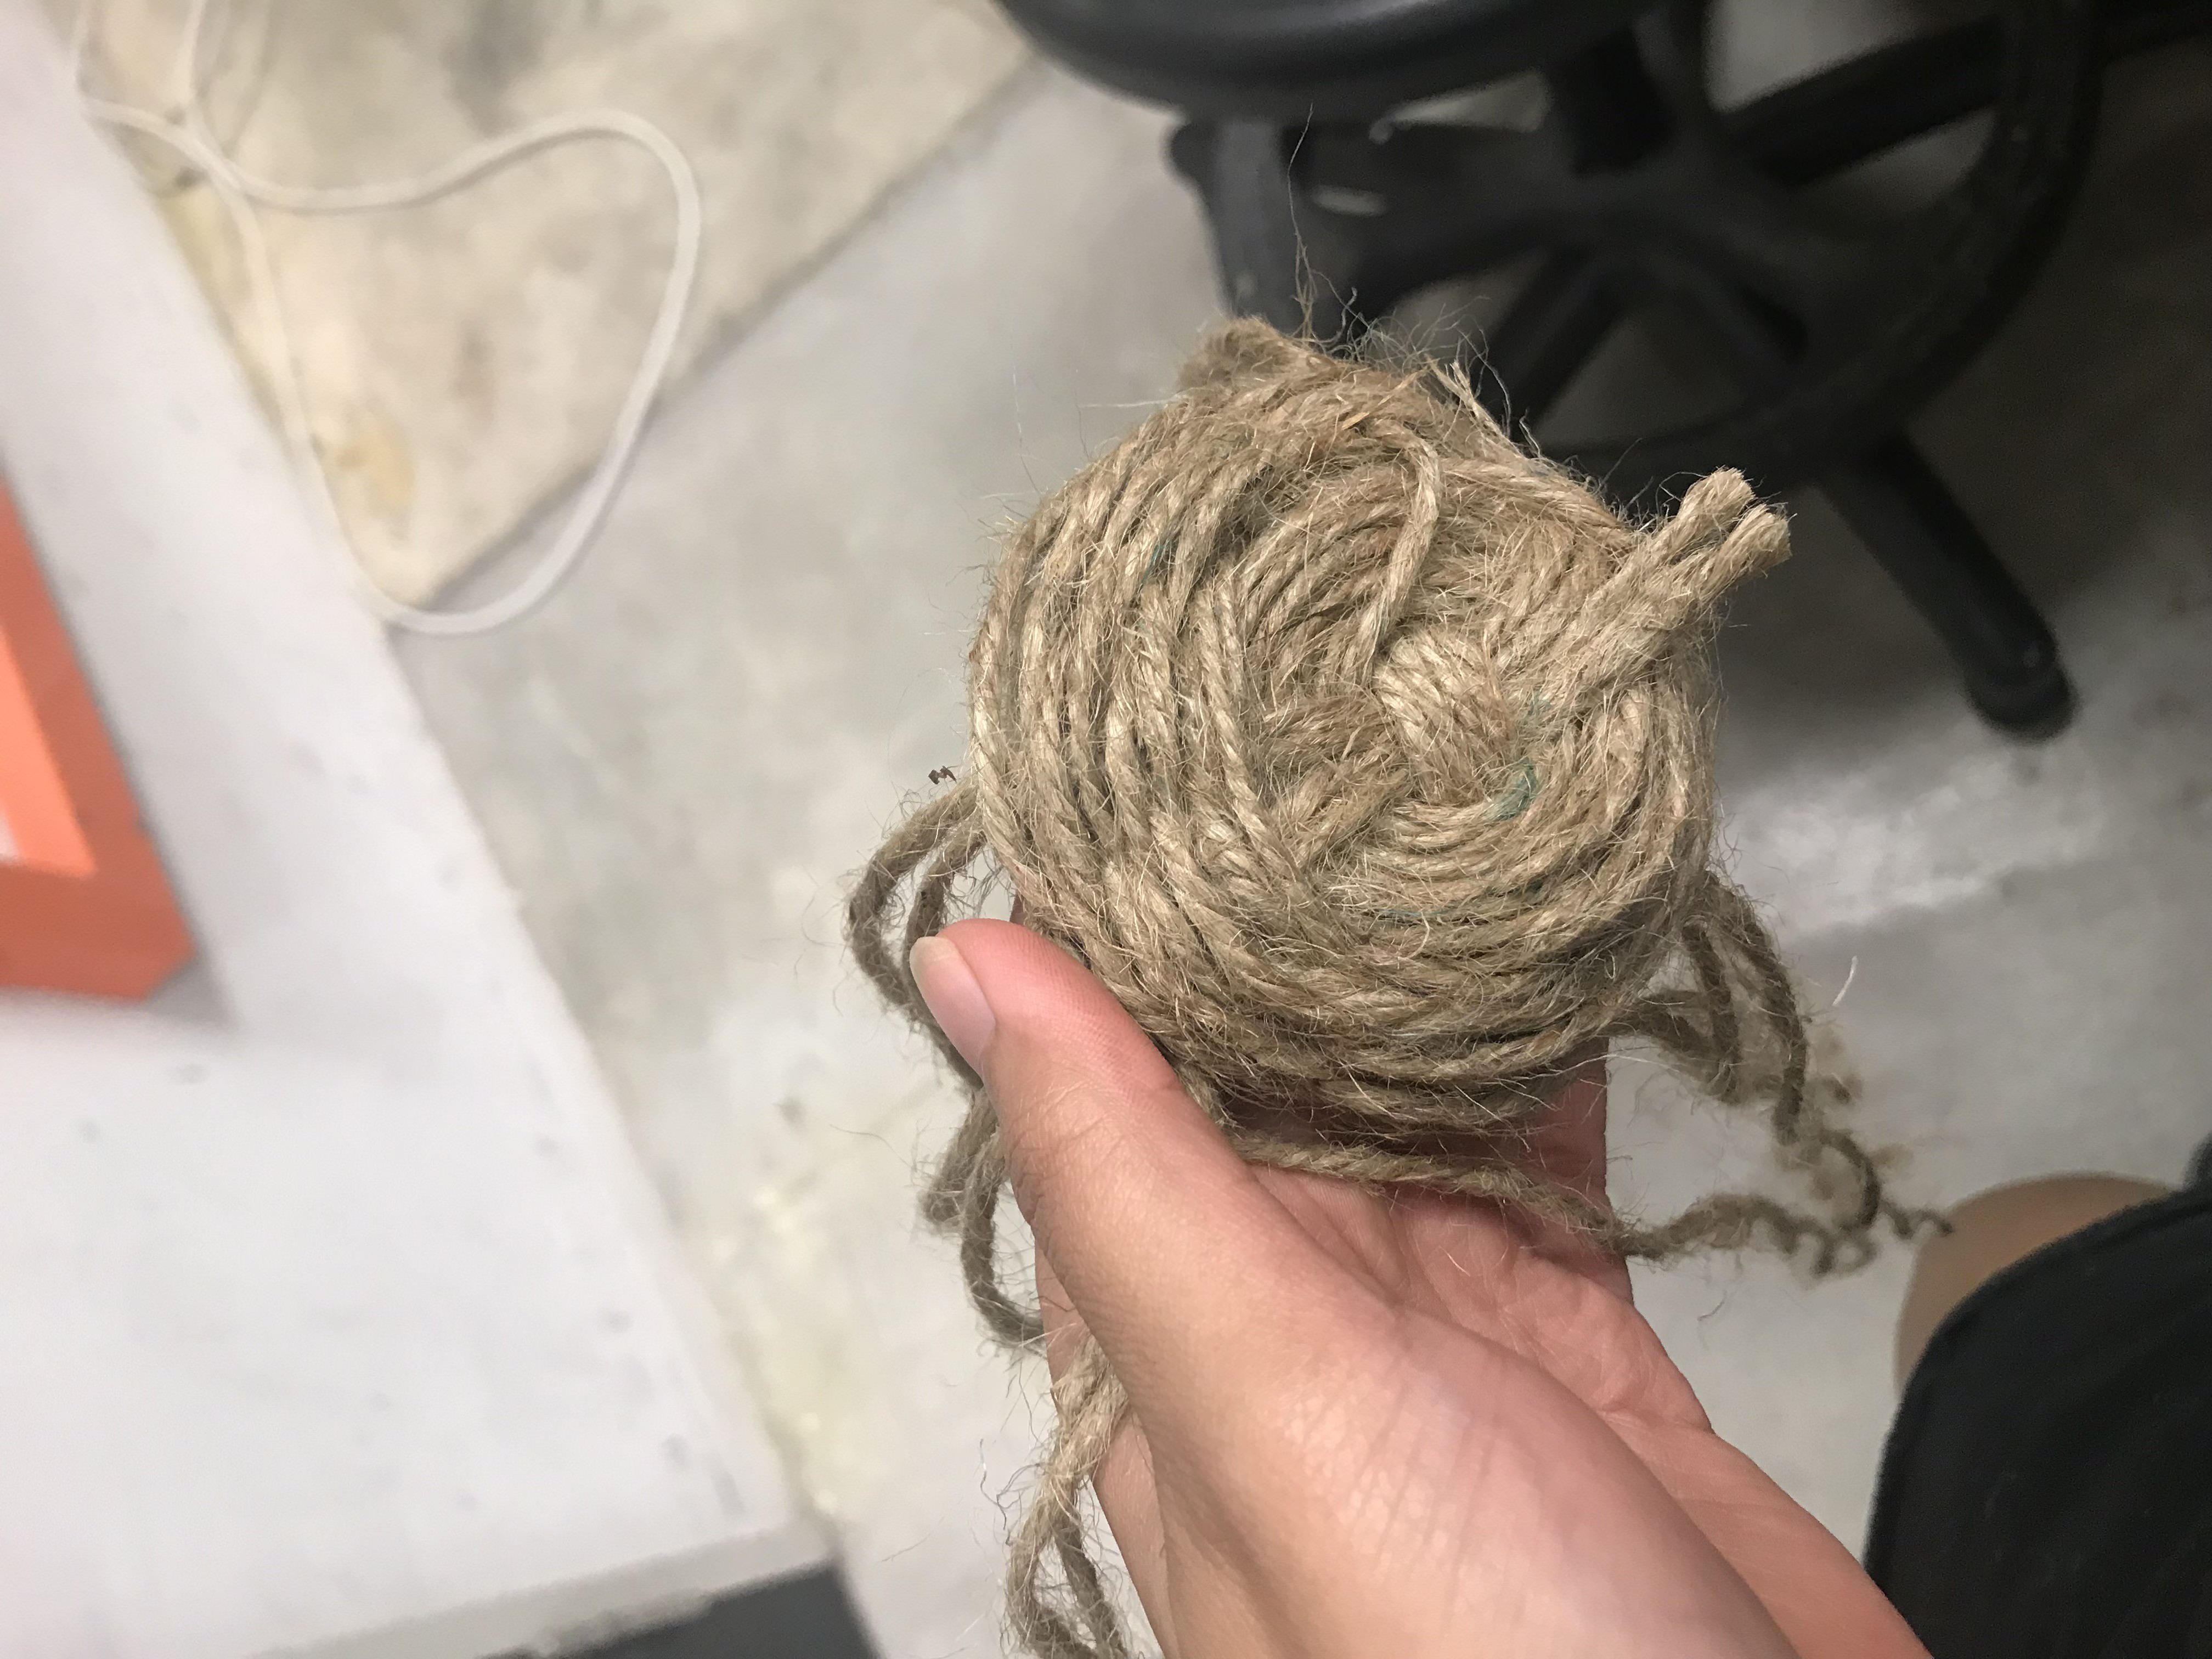


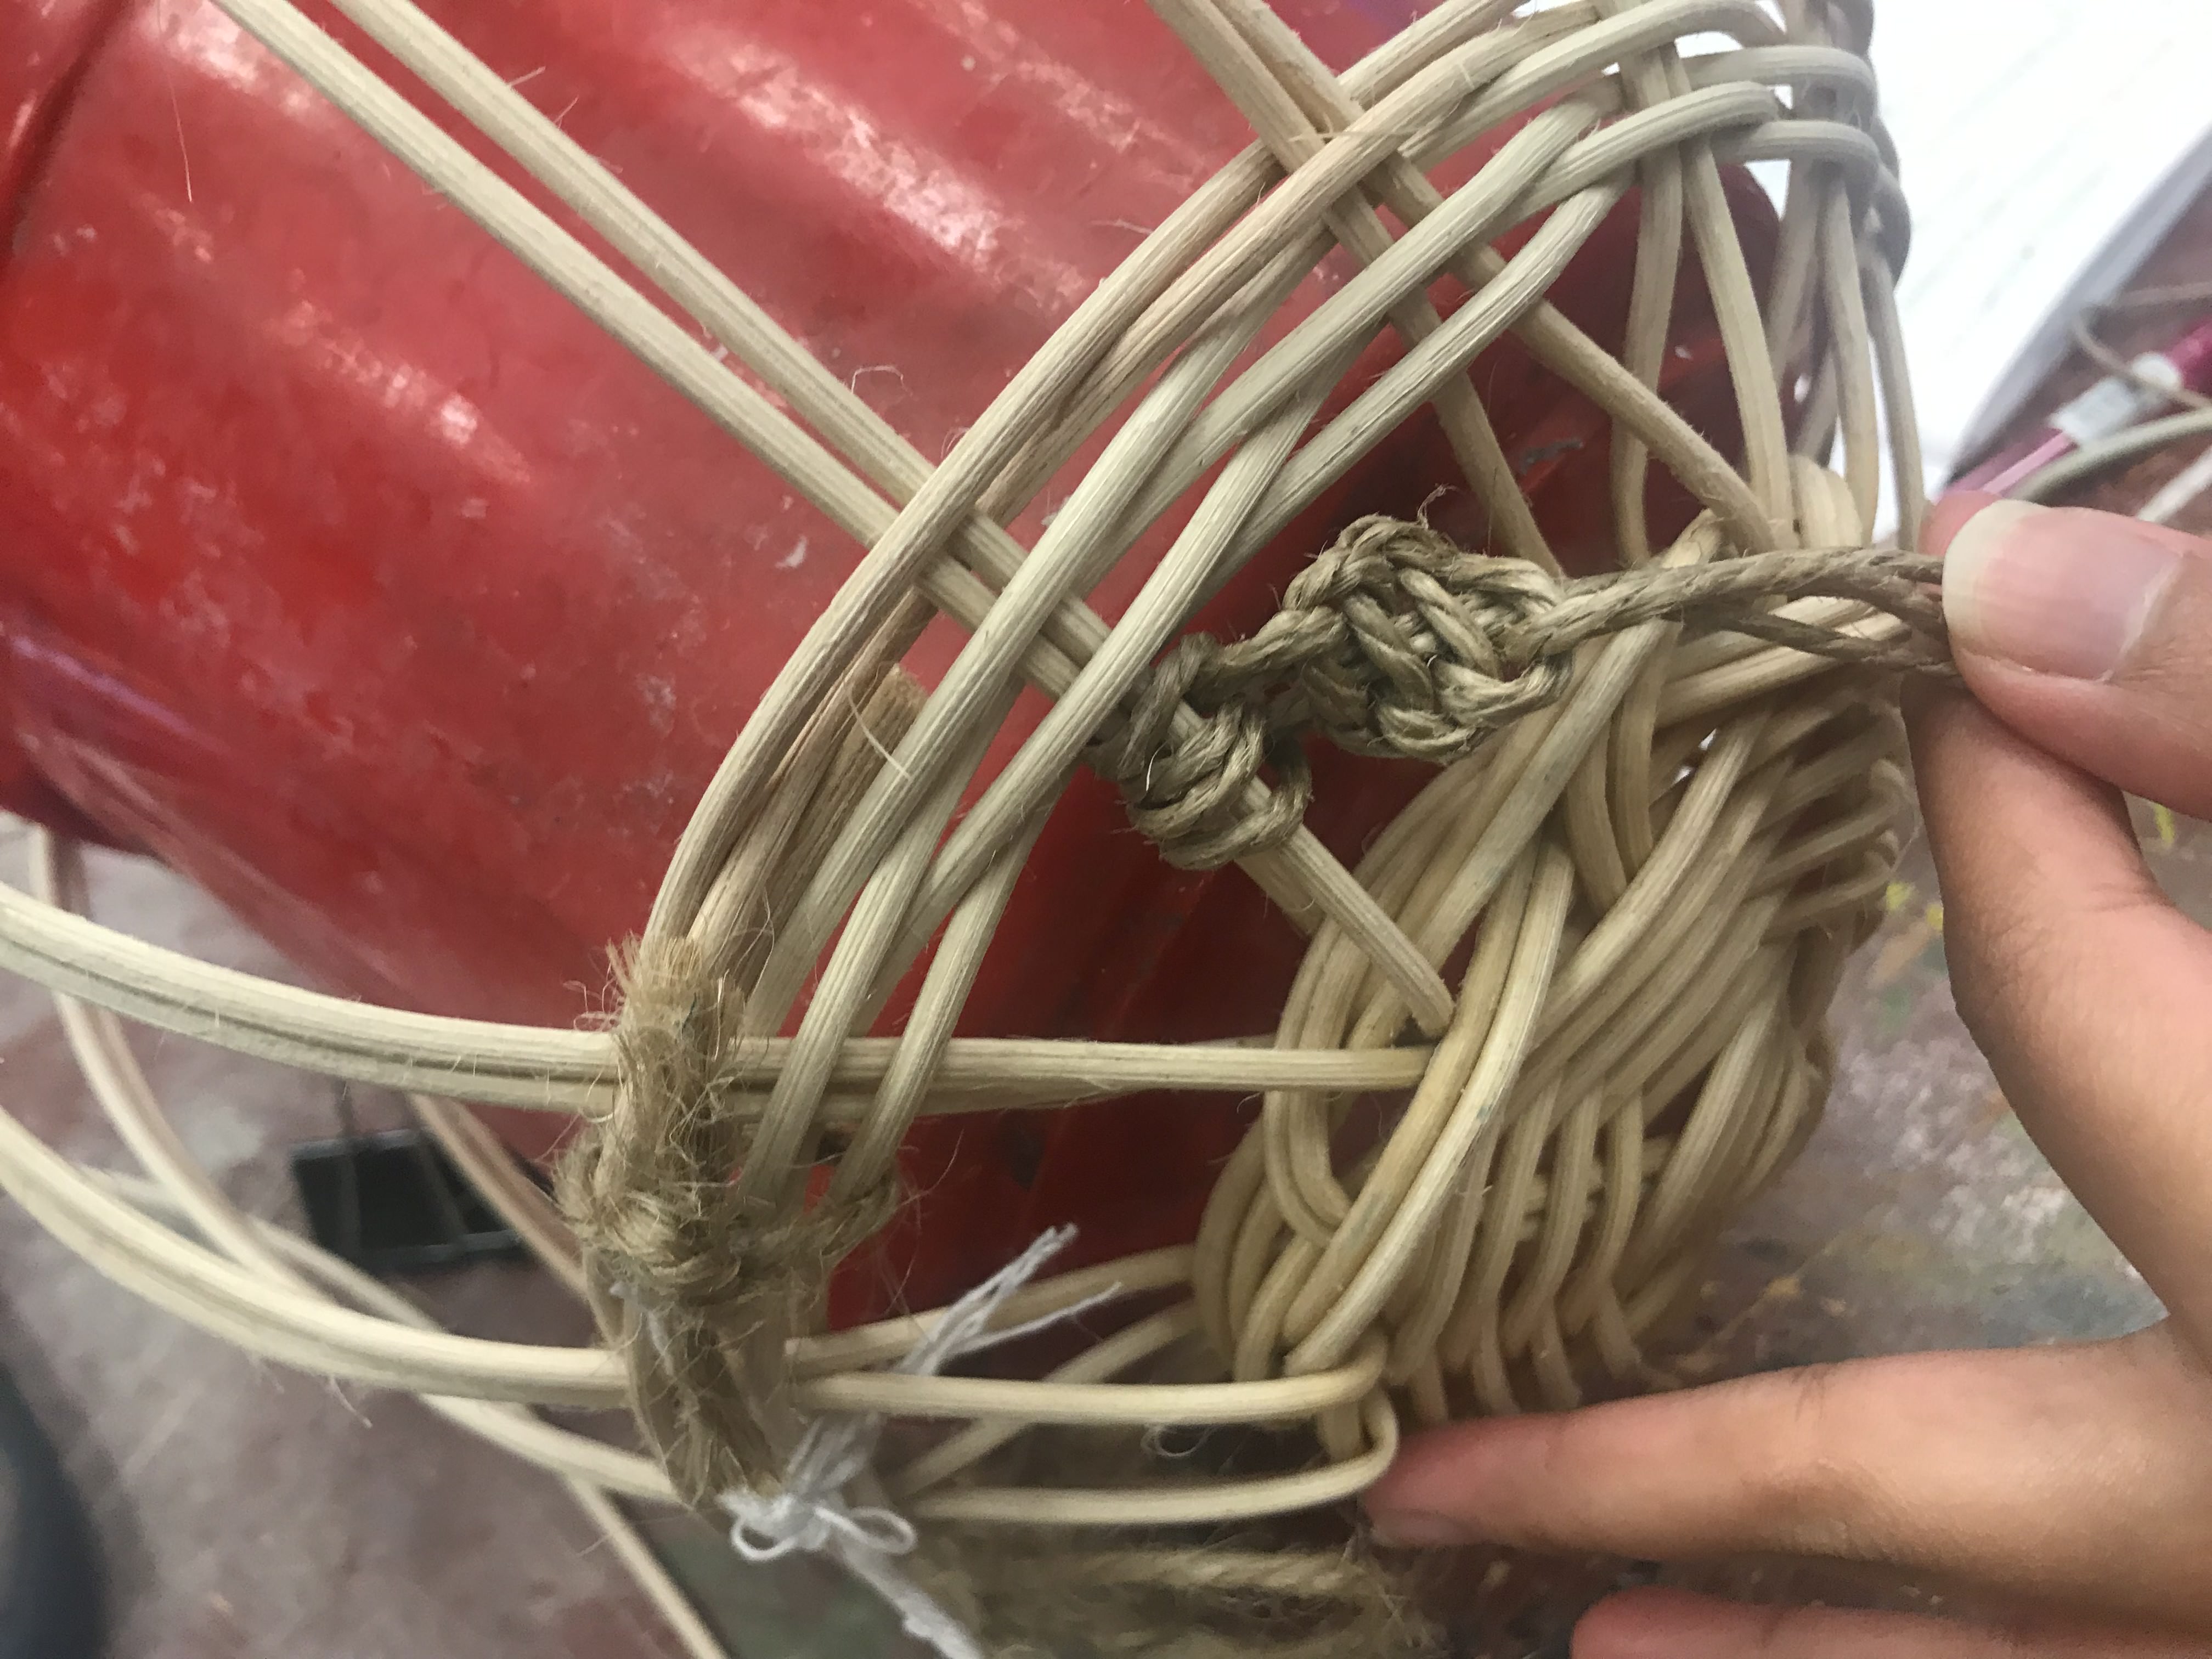
It was not possible to form the pine-needle weaving base with rope. Hence, I decided to use the same cable plait method in vertical form to criss cross it with one another. Thought it created an interesting expression.
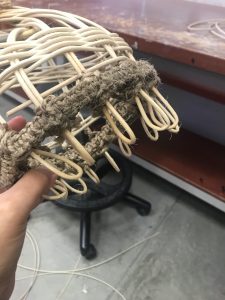
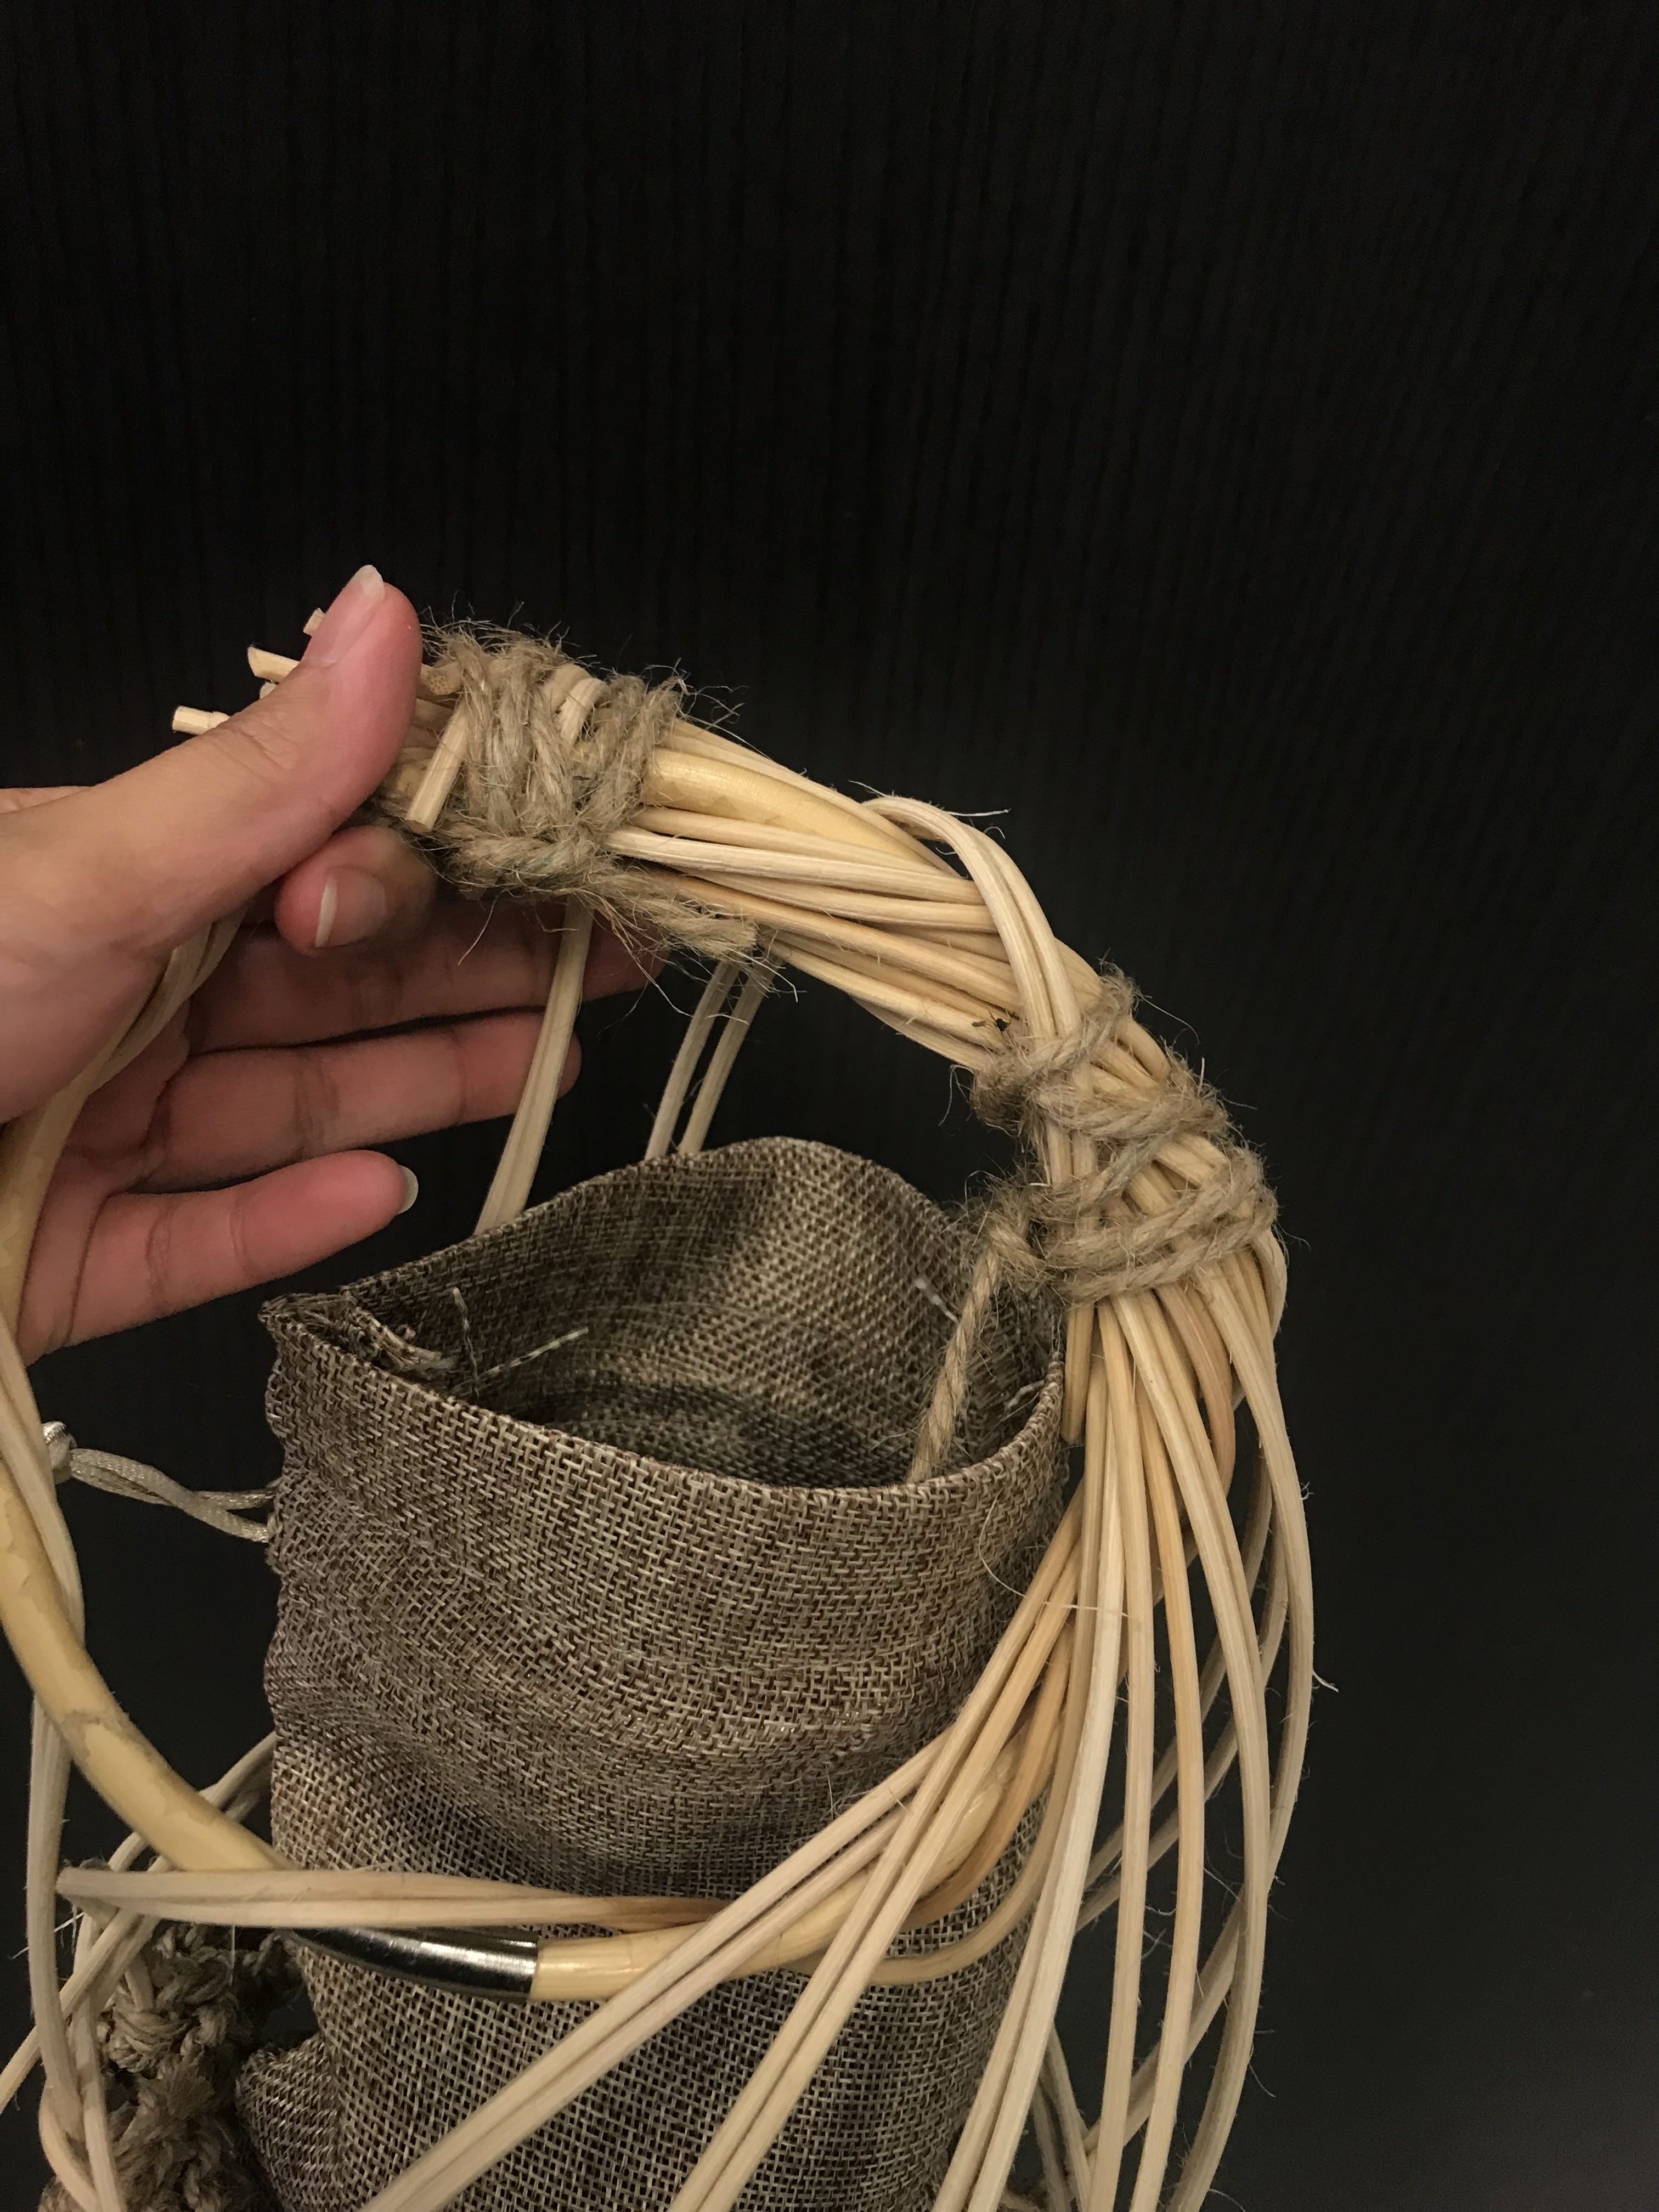
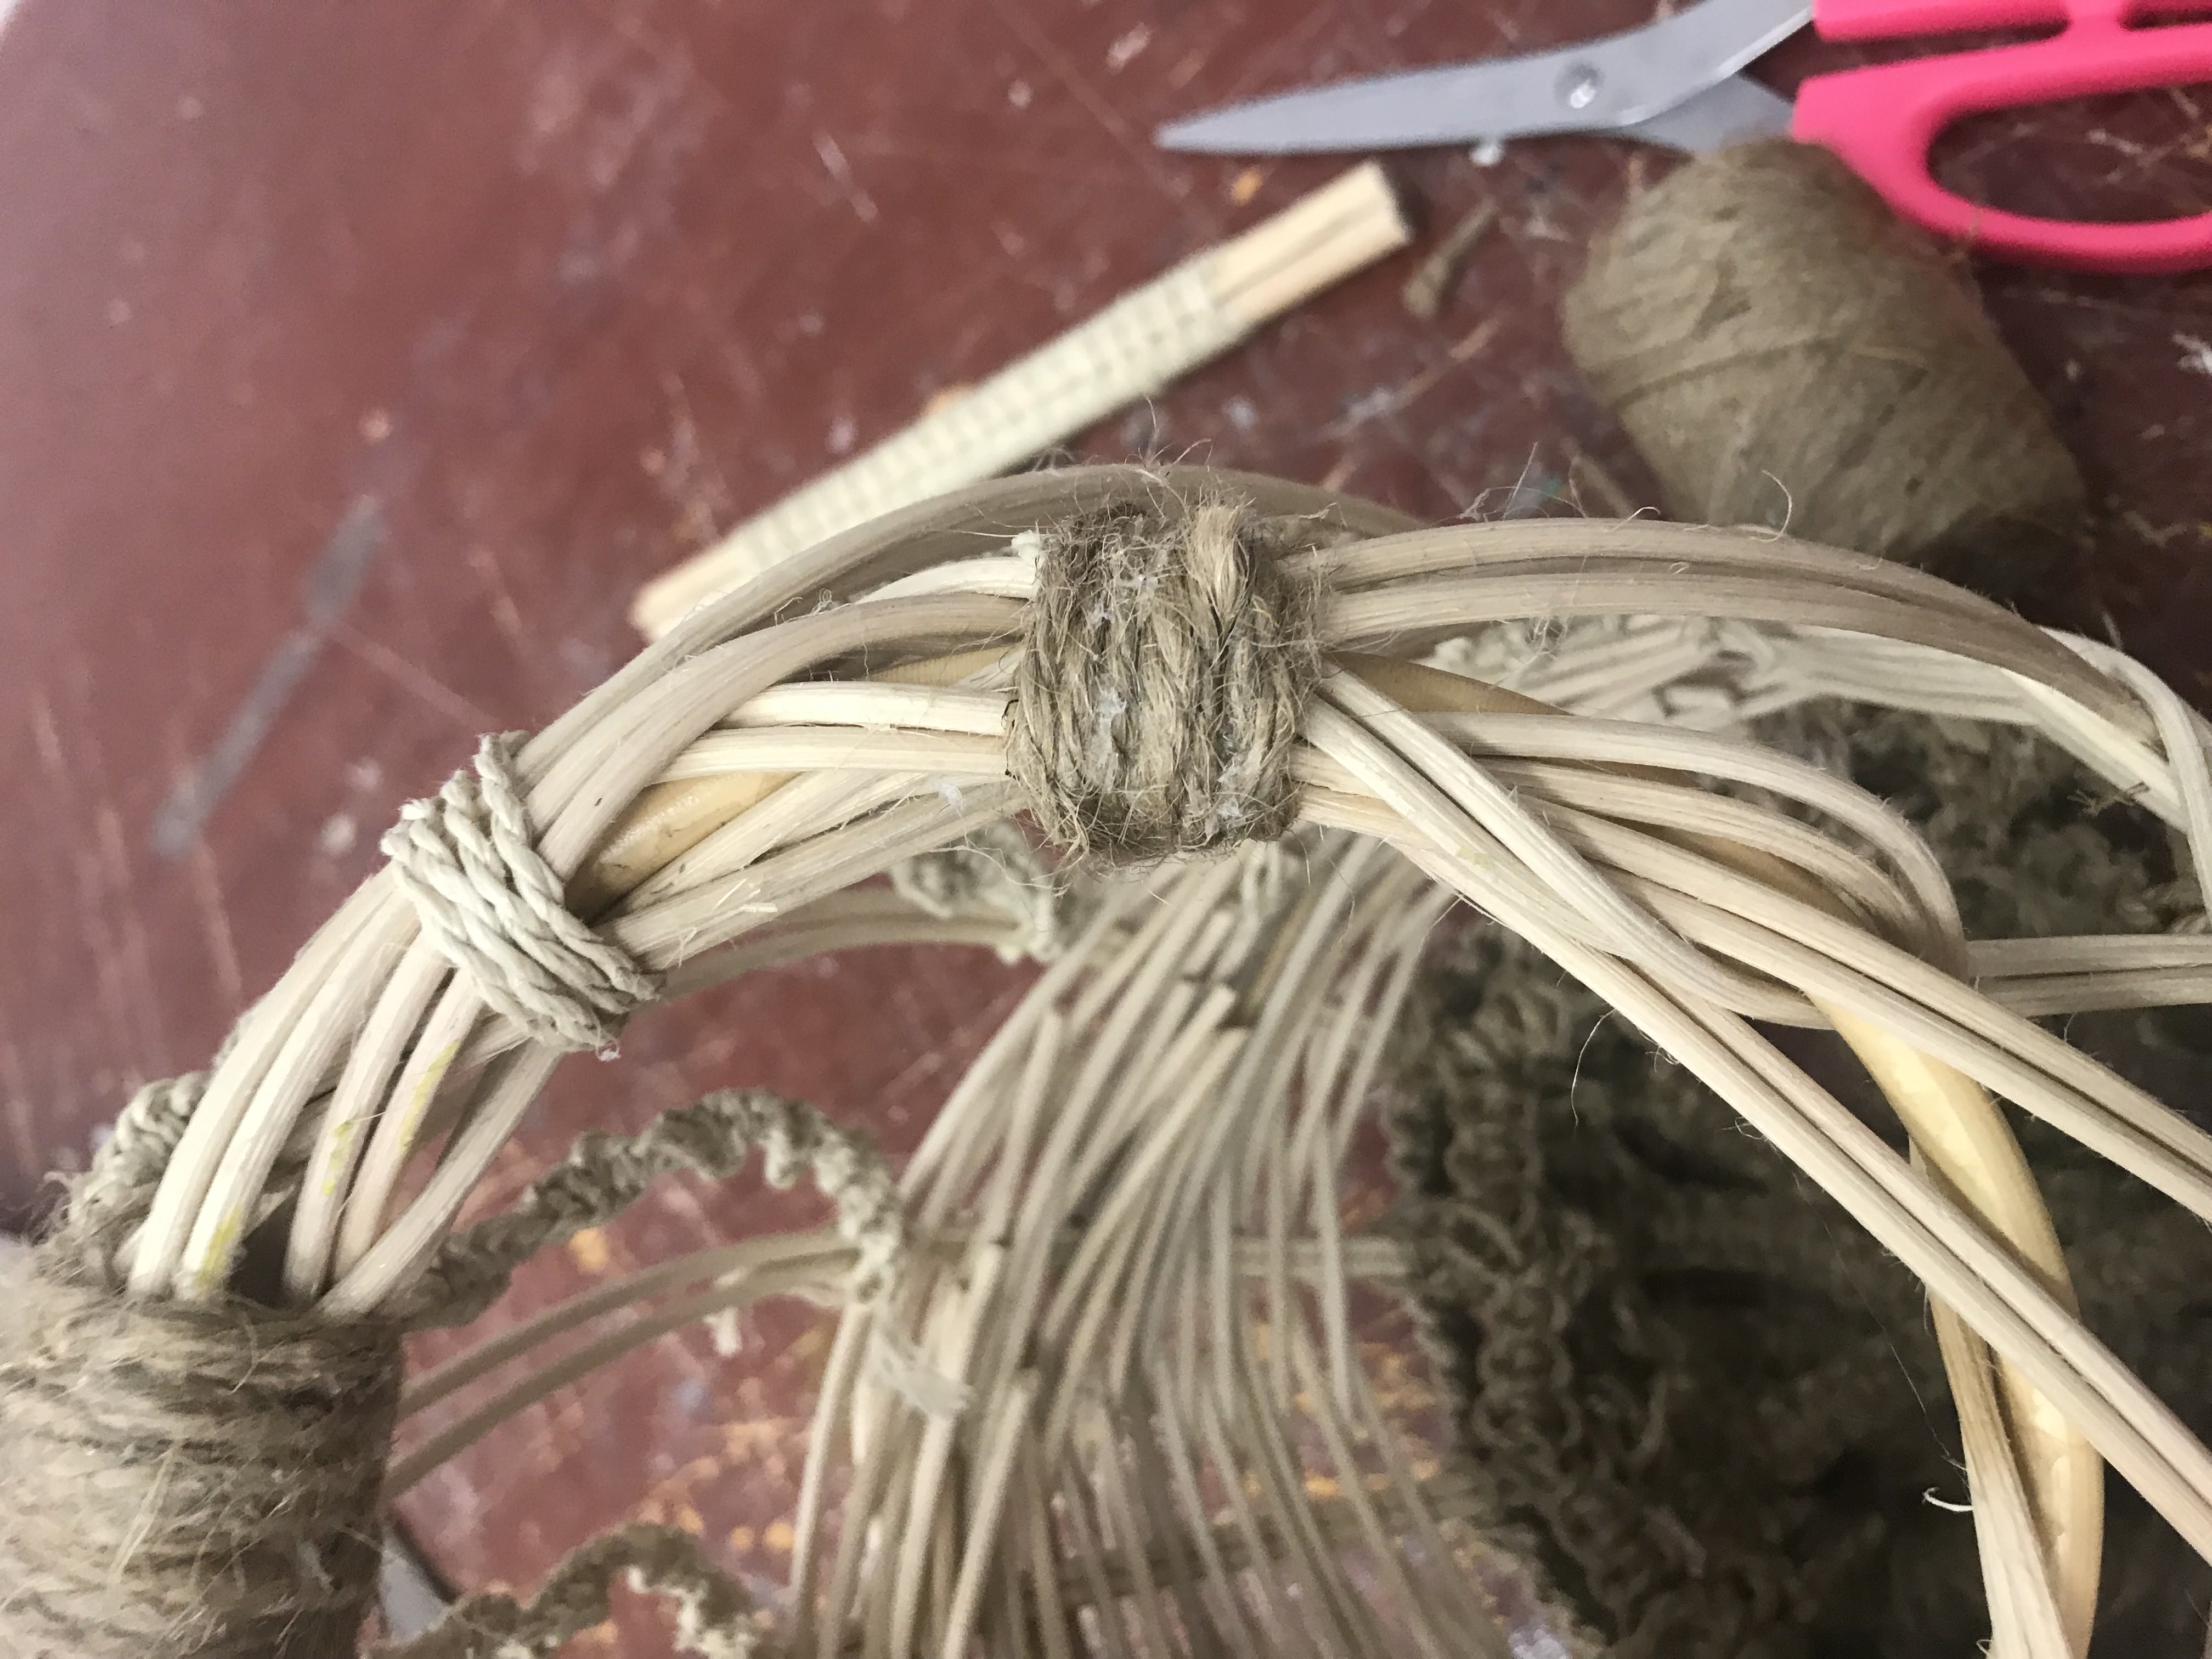
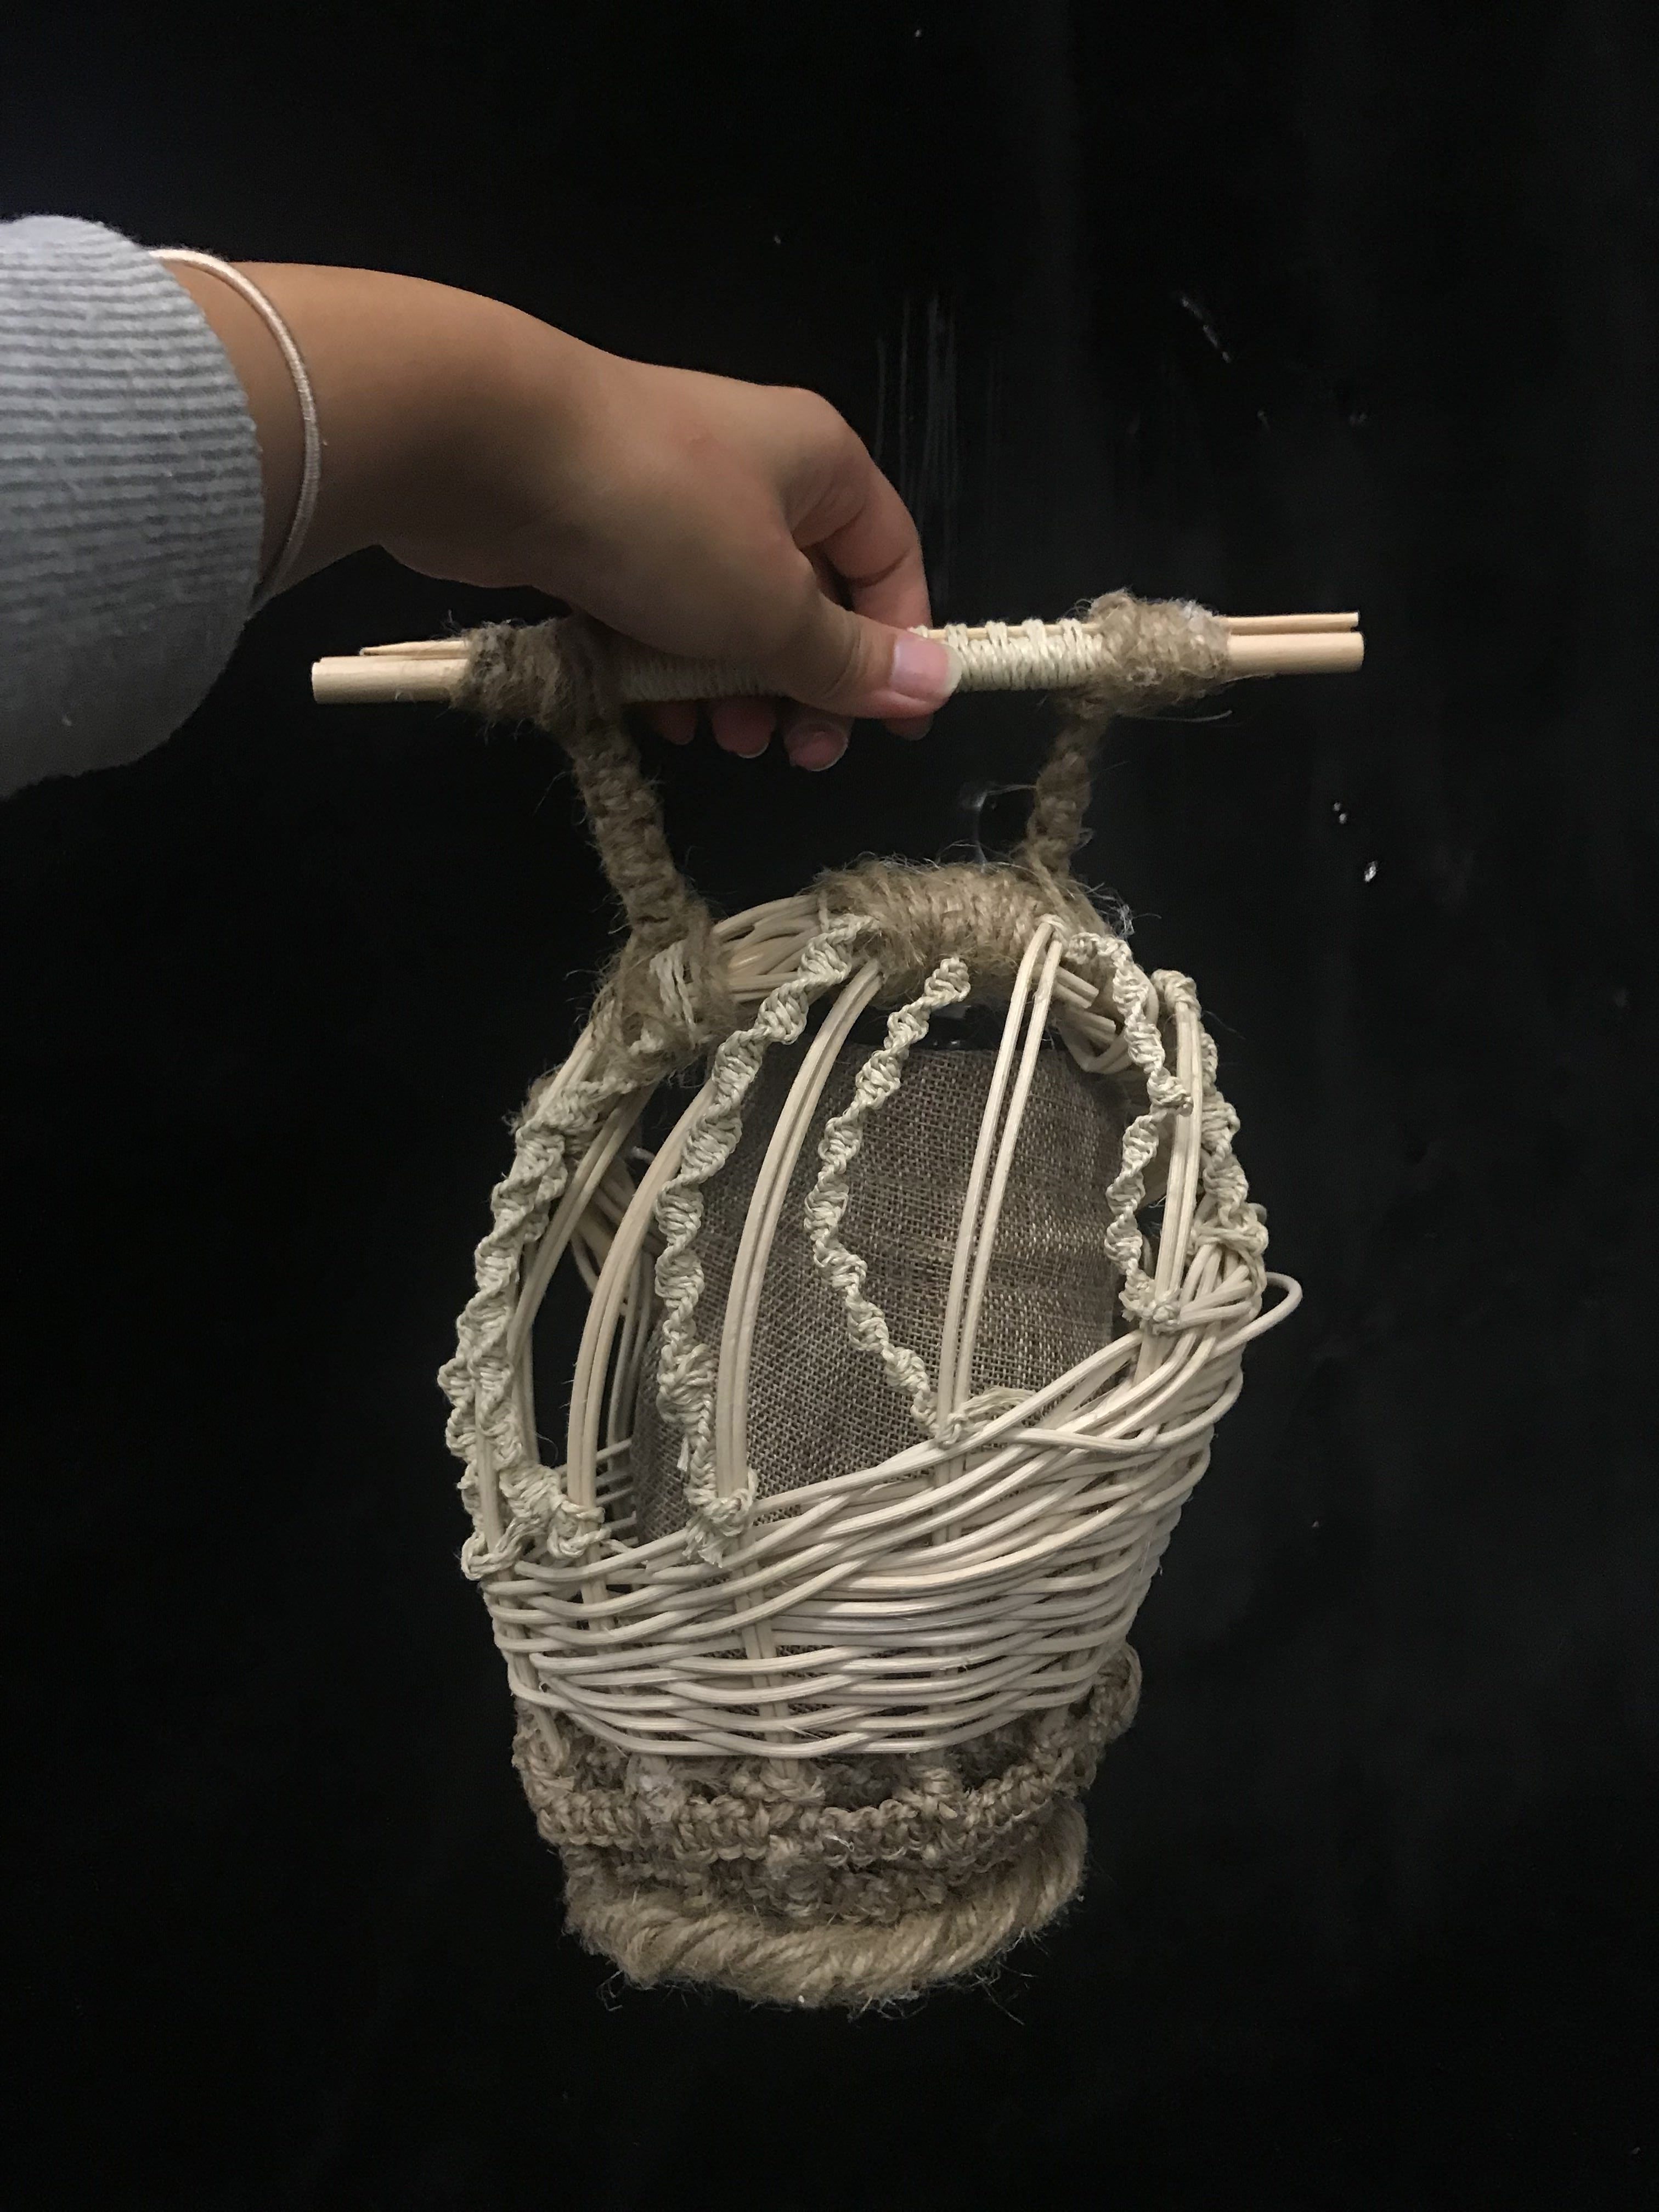
Afterwards, things started to look better. However, the challenge was to form a shape for the bag. I formed the shape as I went along and it was supposed to look have a more irregular shape where it looks different from each angle. To form and keep the shape intact on the ring, it took quite a bit of manipulation with rope to secure it further.
Upon completion of the weaving I realised that one side of the product looked too empty and it didn’t look like it forms a smooth curved shape on the left side of the bag. (front view)
Hence, I incorporated one of the expressions of the twisted cable plait and attached it in a curved manner to the empty slots.
Finally, I added the handle which was from Part 1.
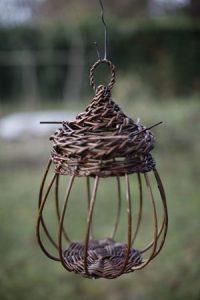
Inspiration:
FINAL DRAWINGS
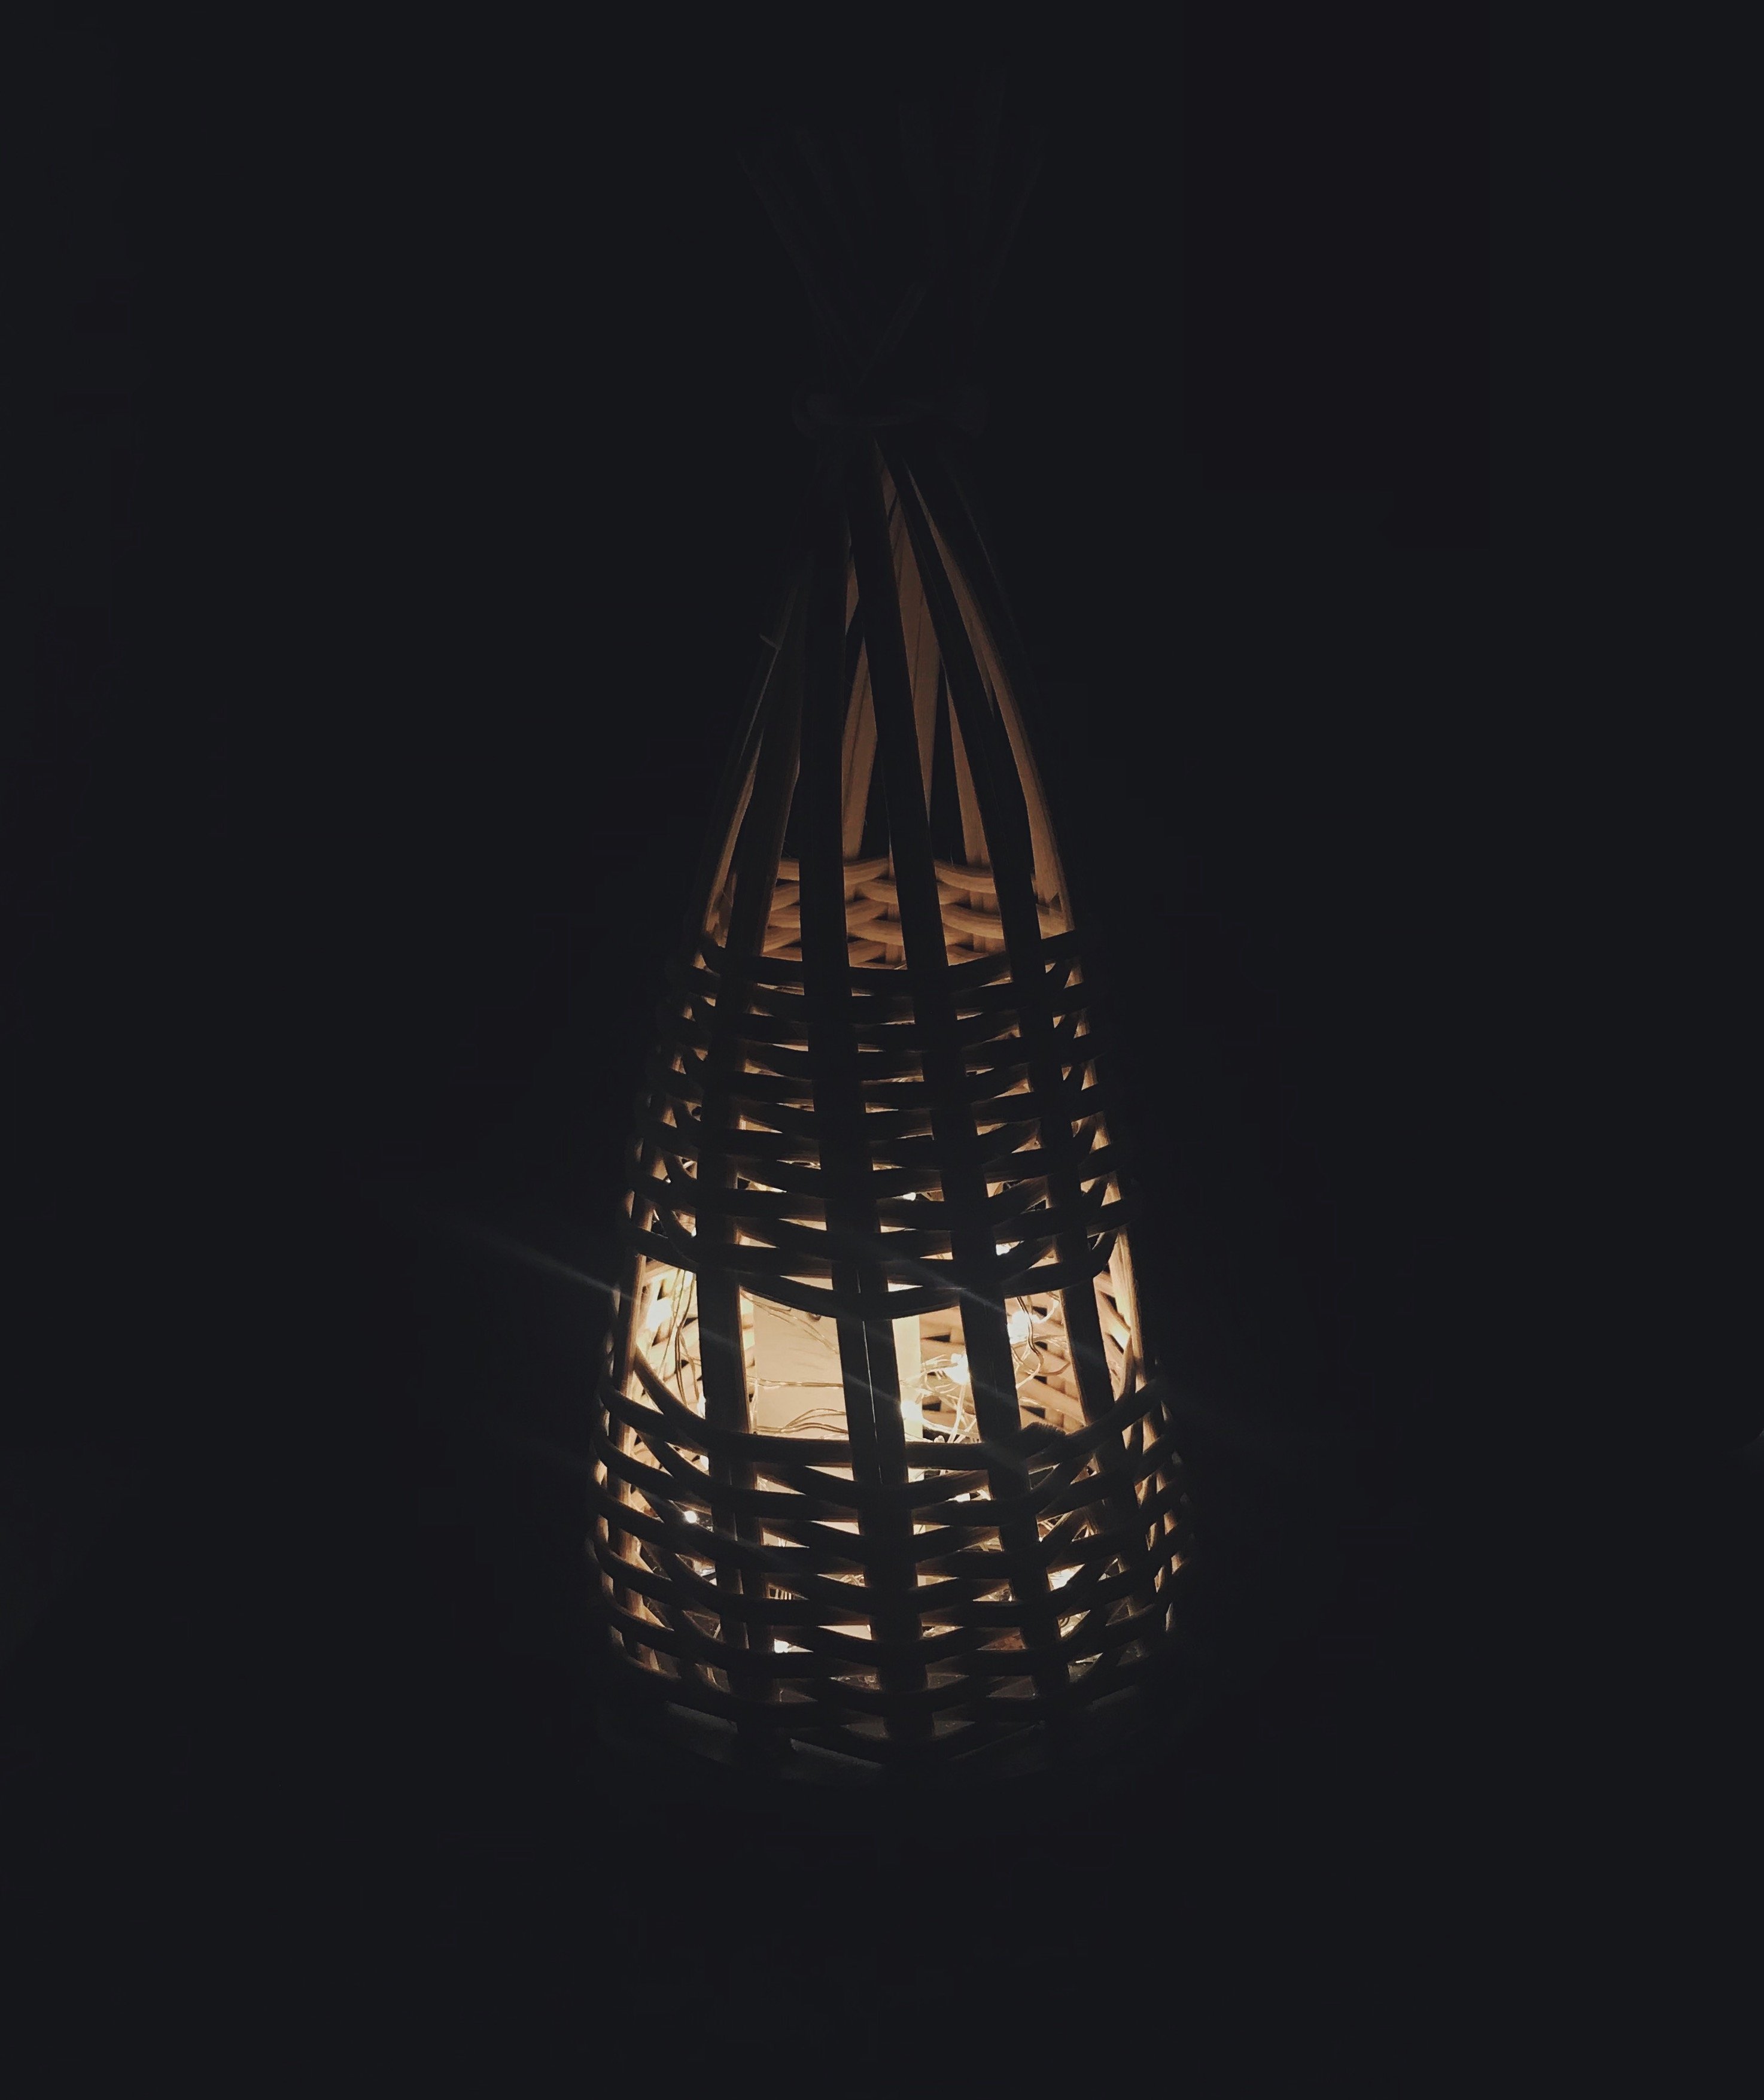
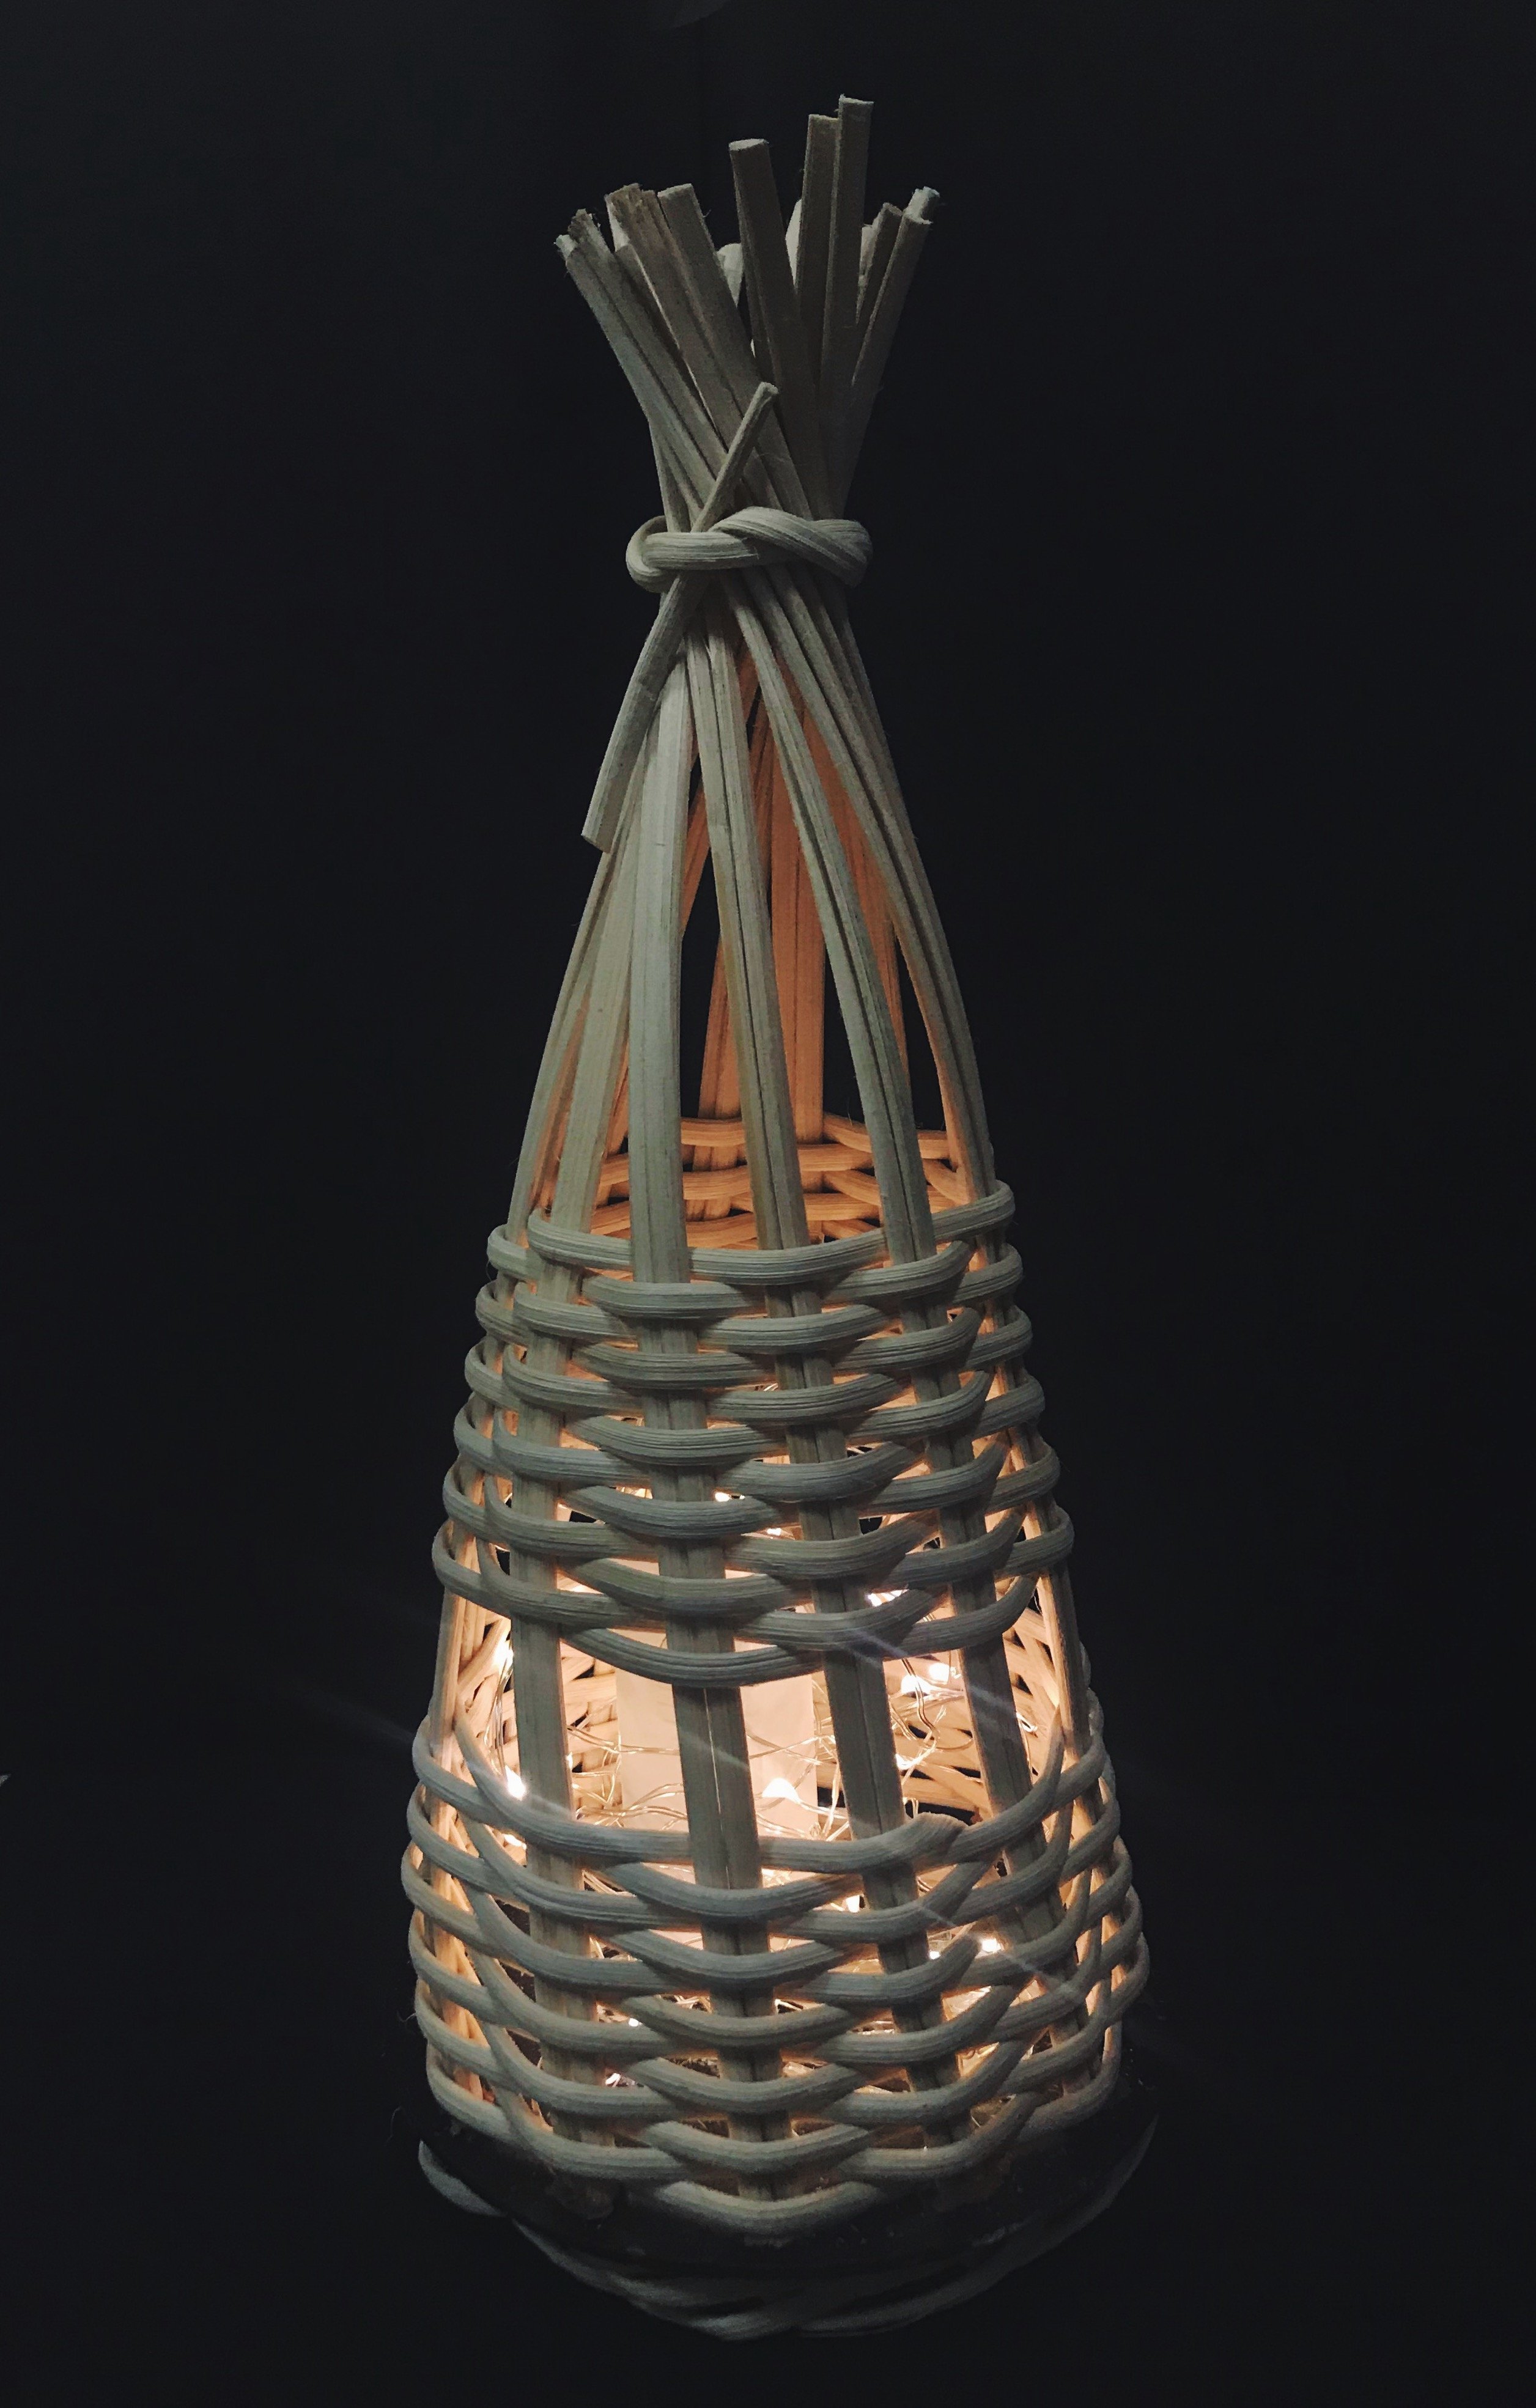
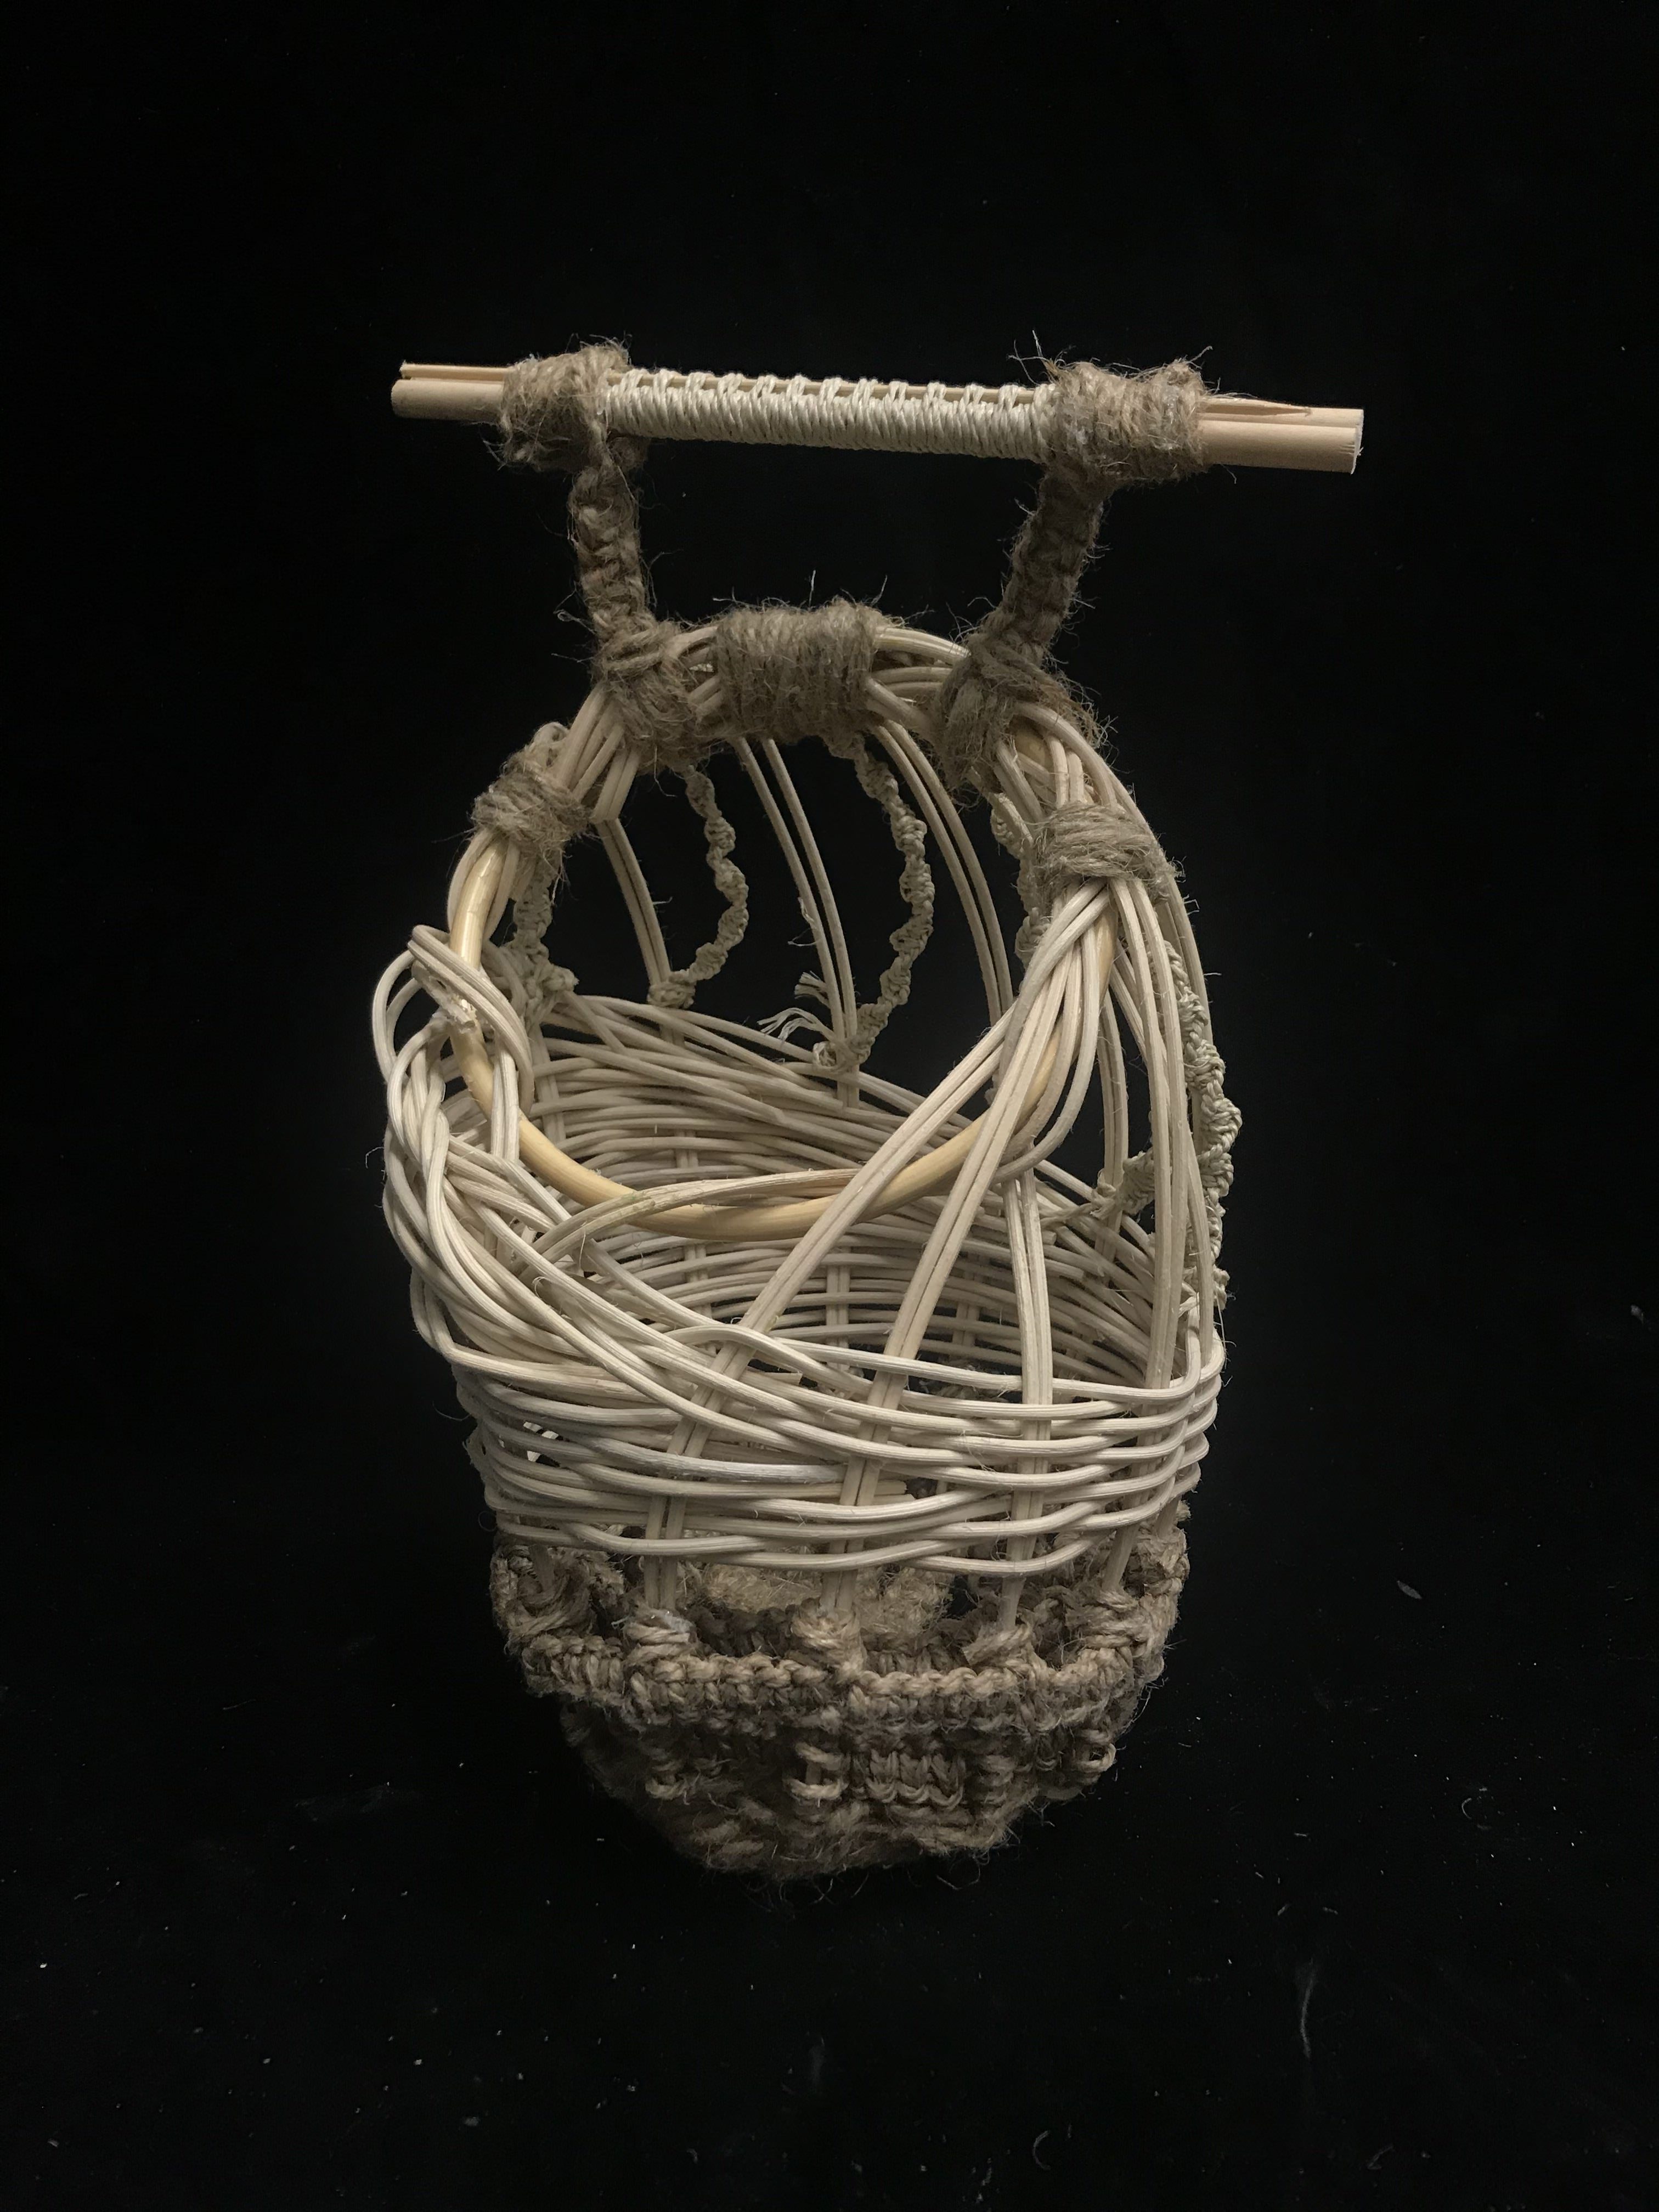
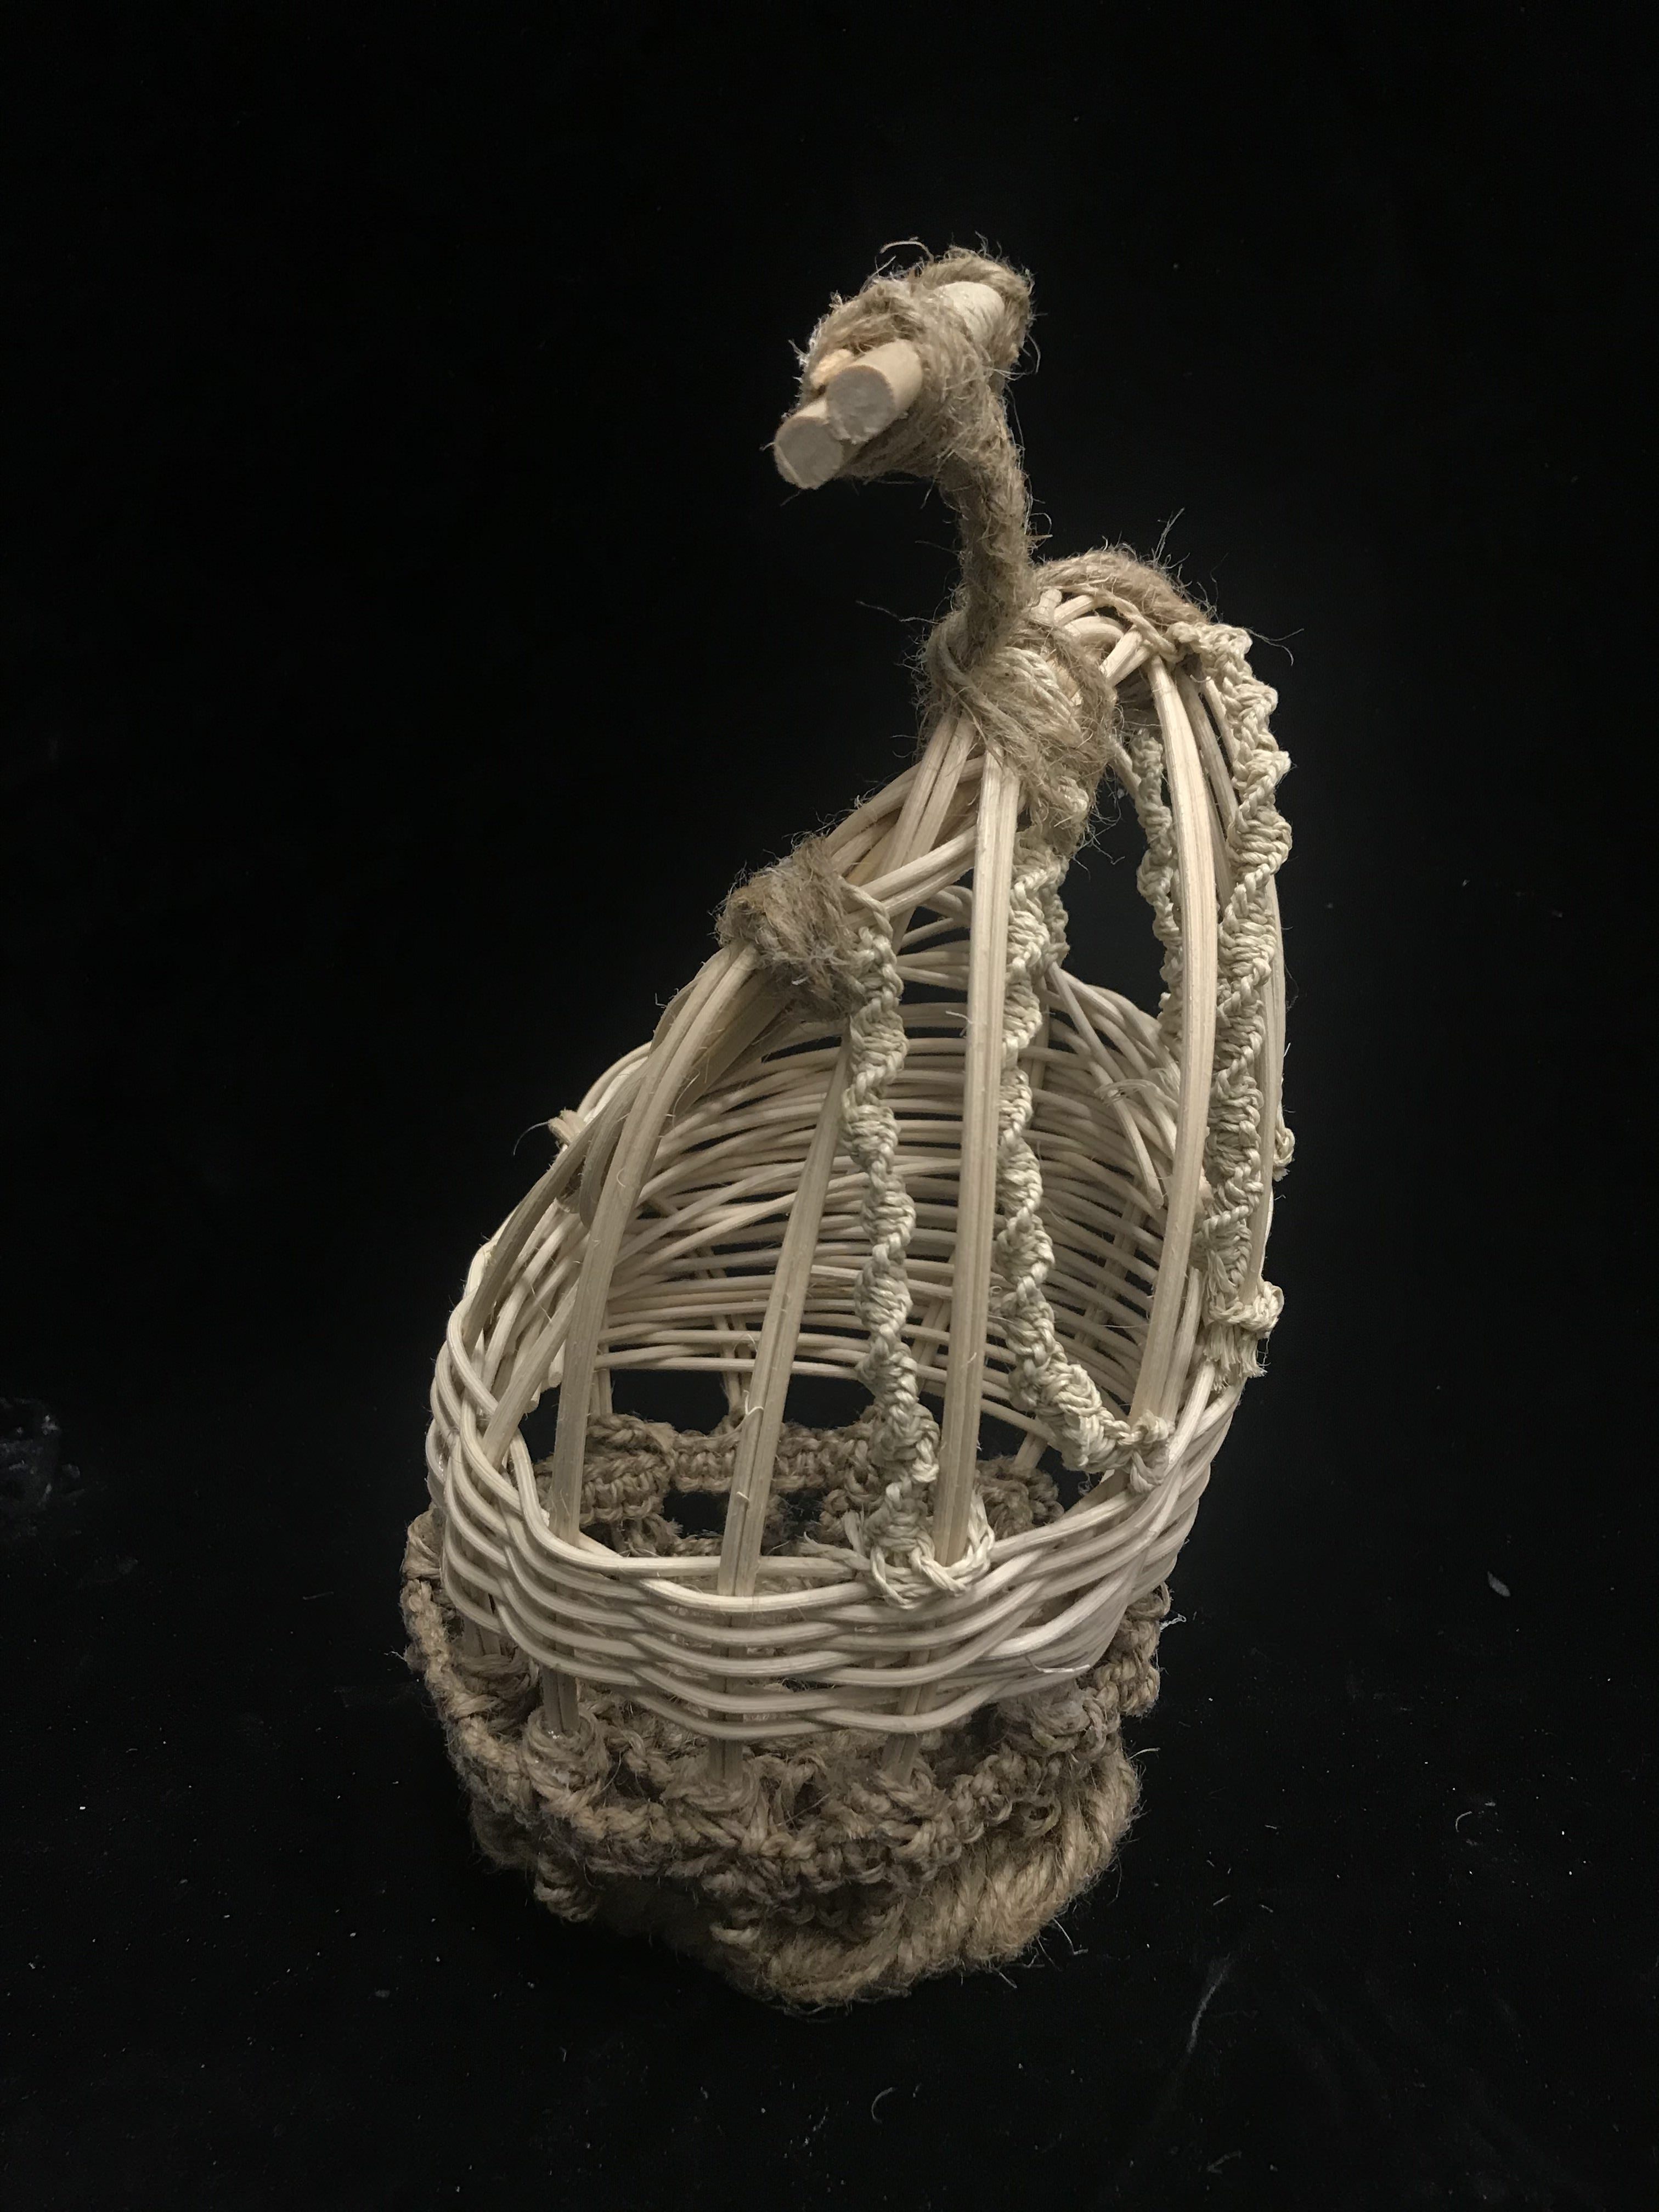
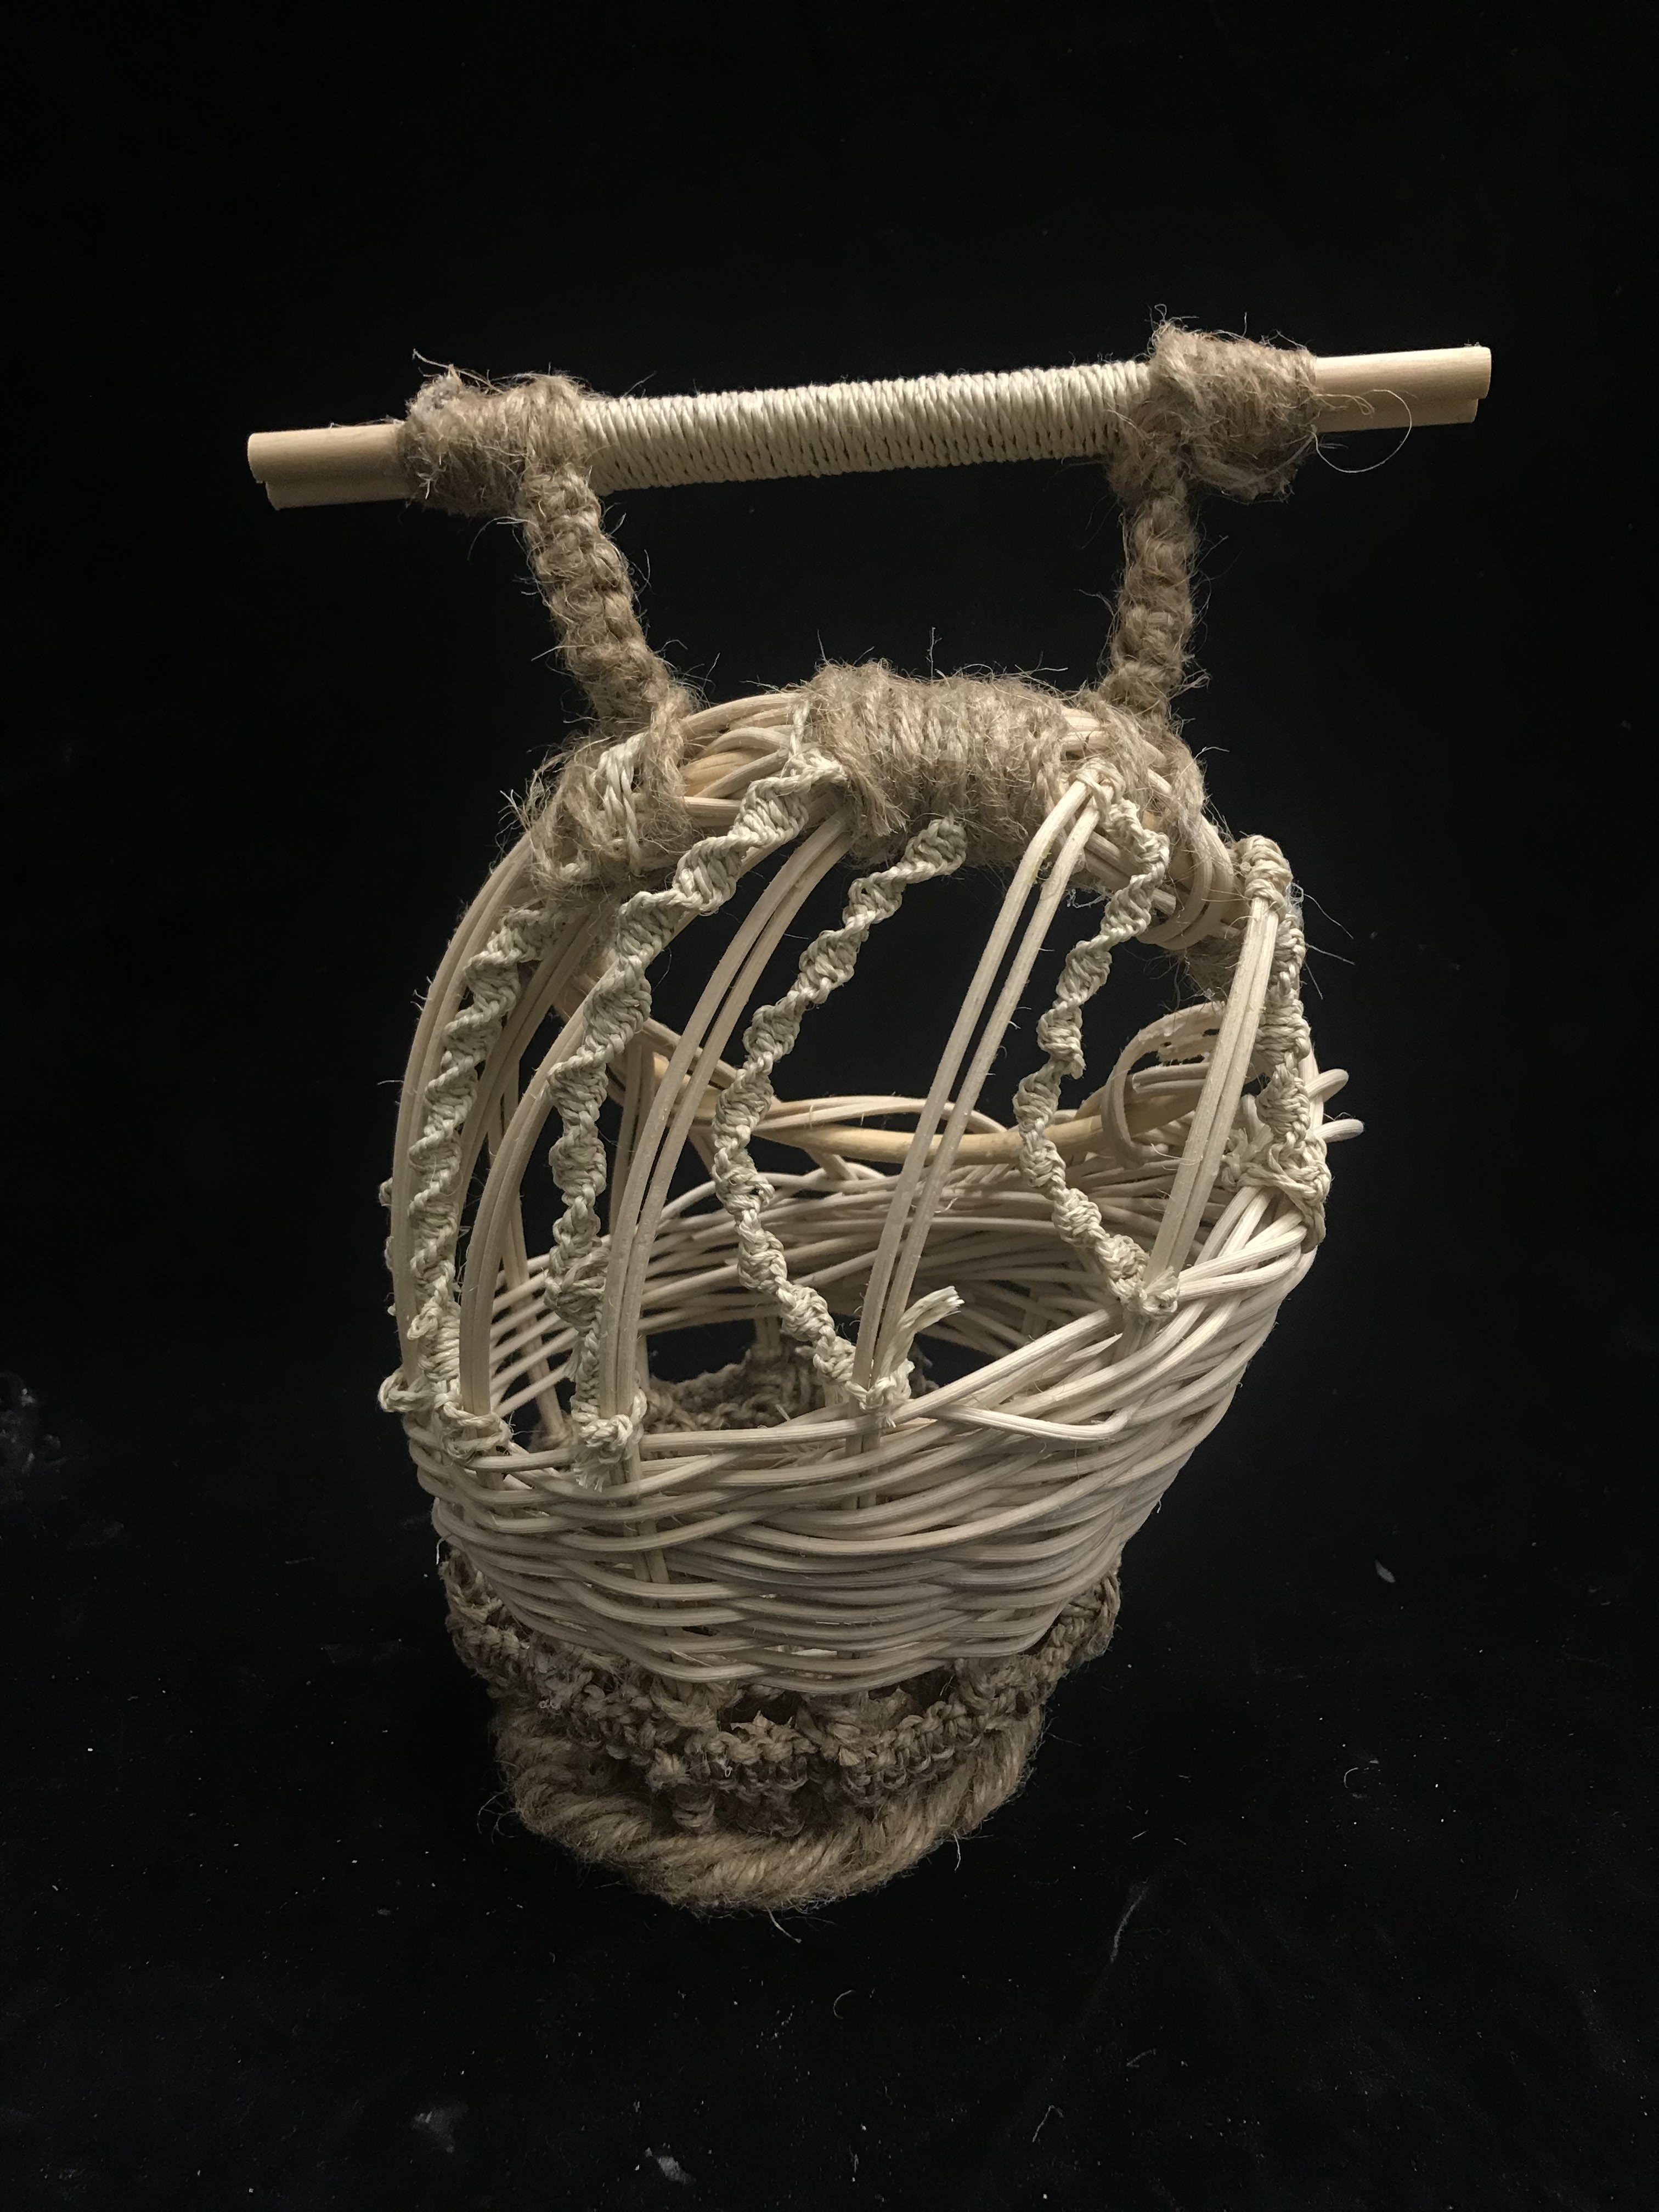
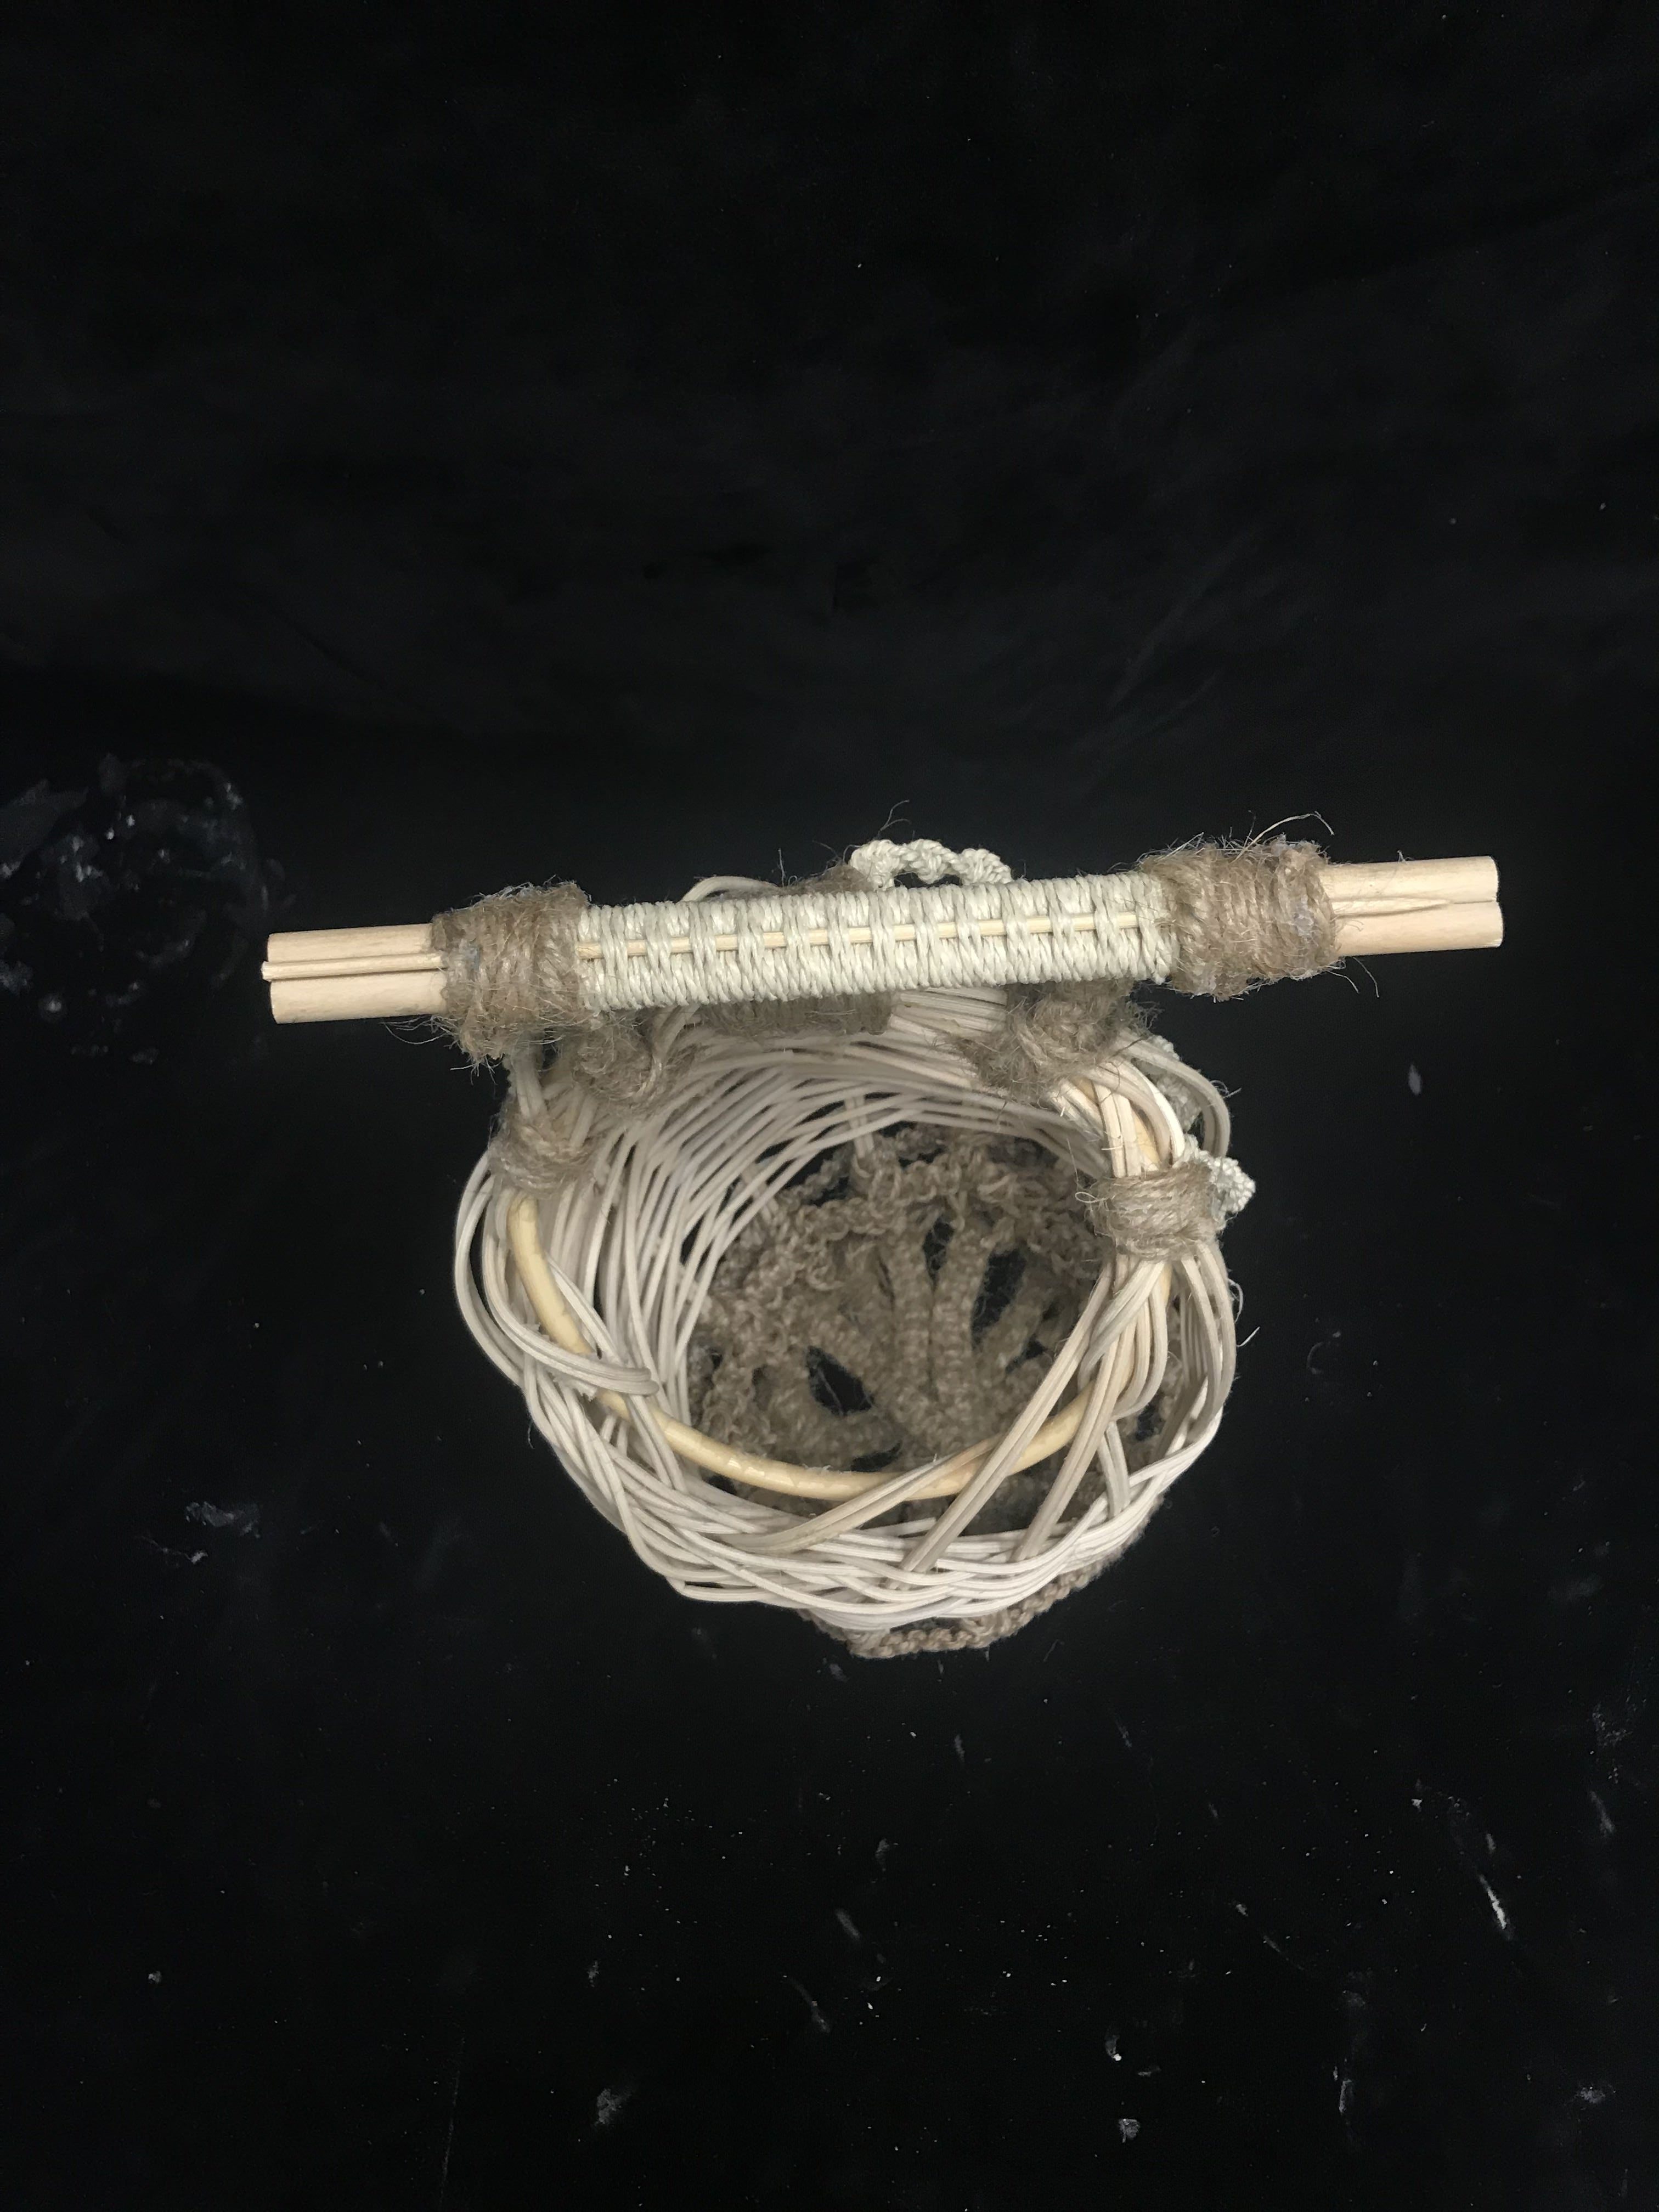
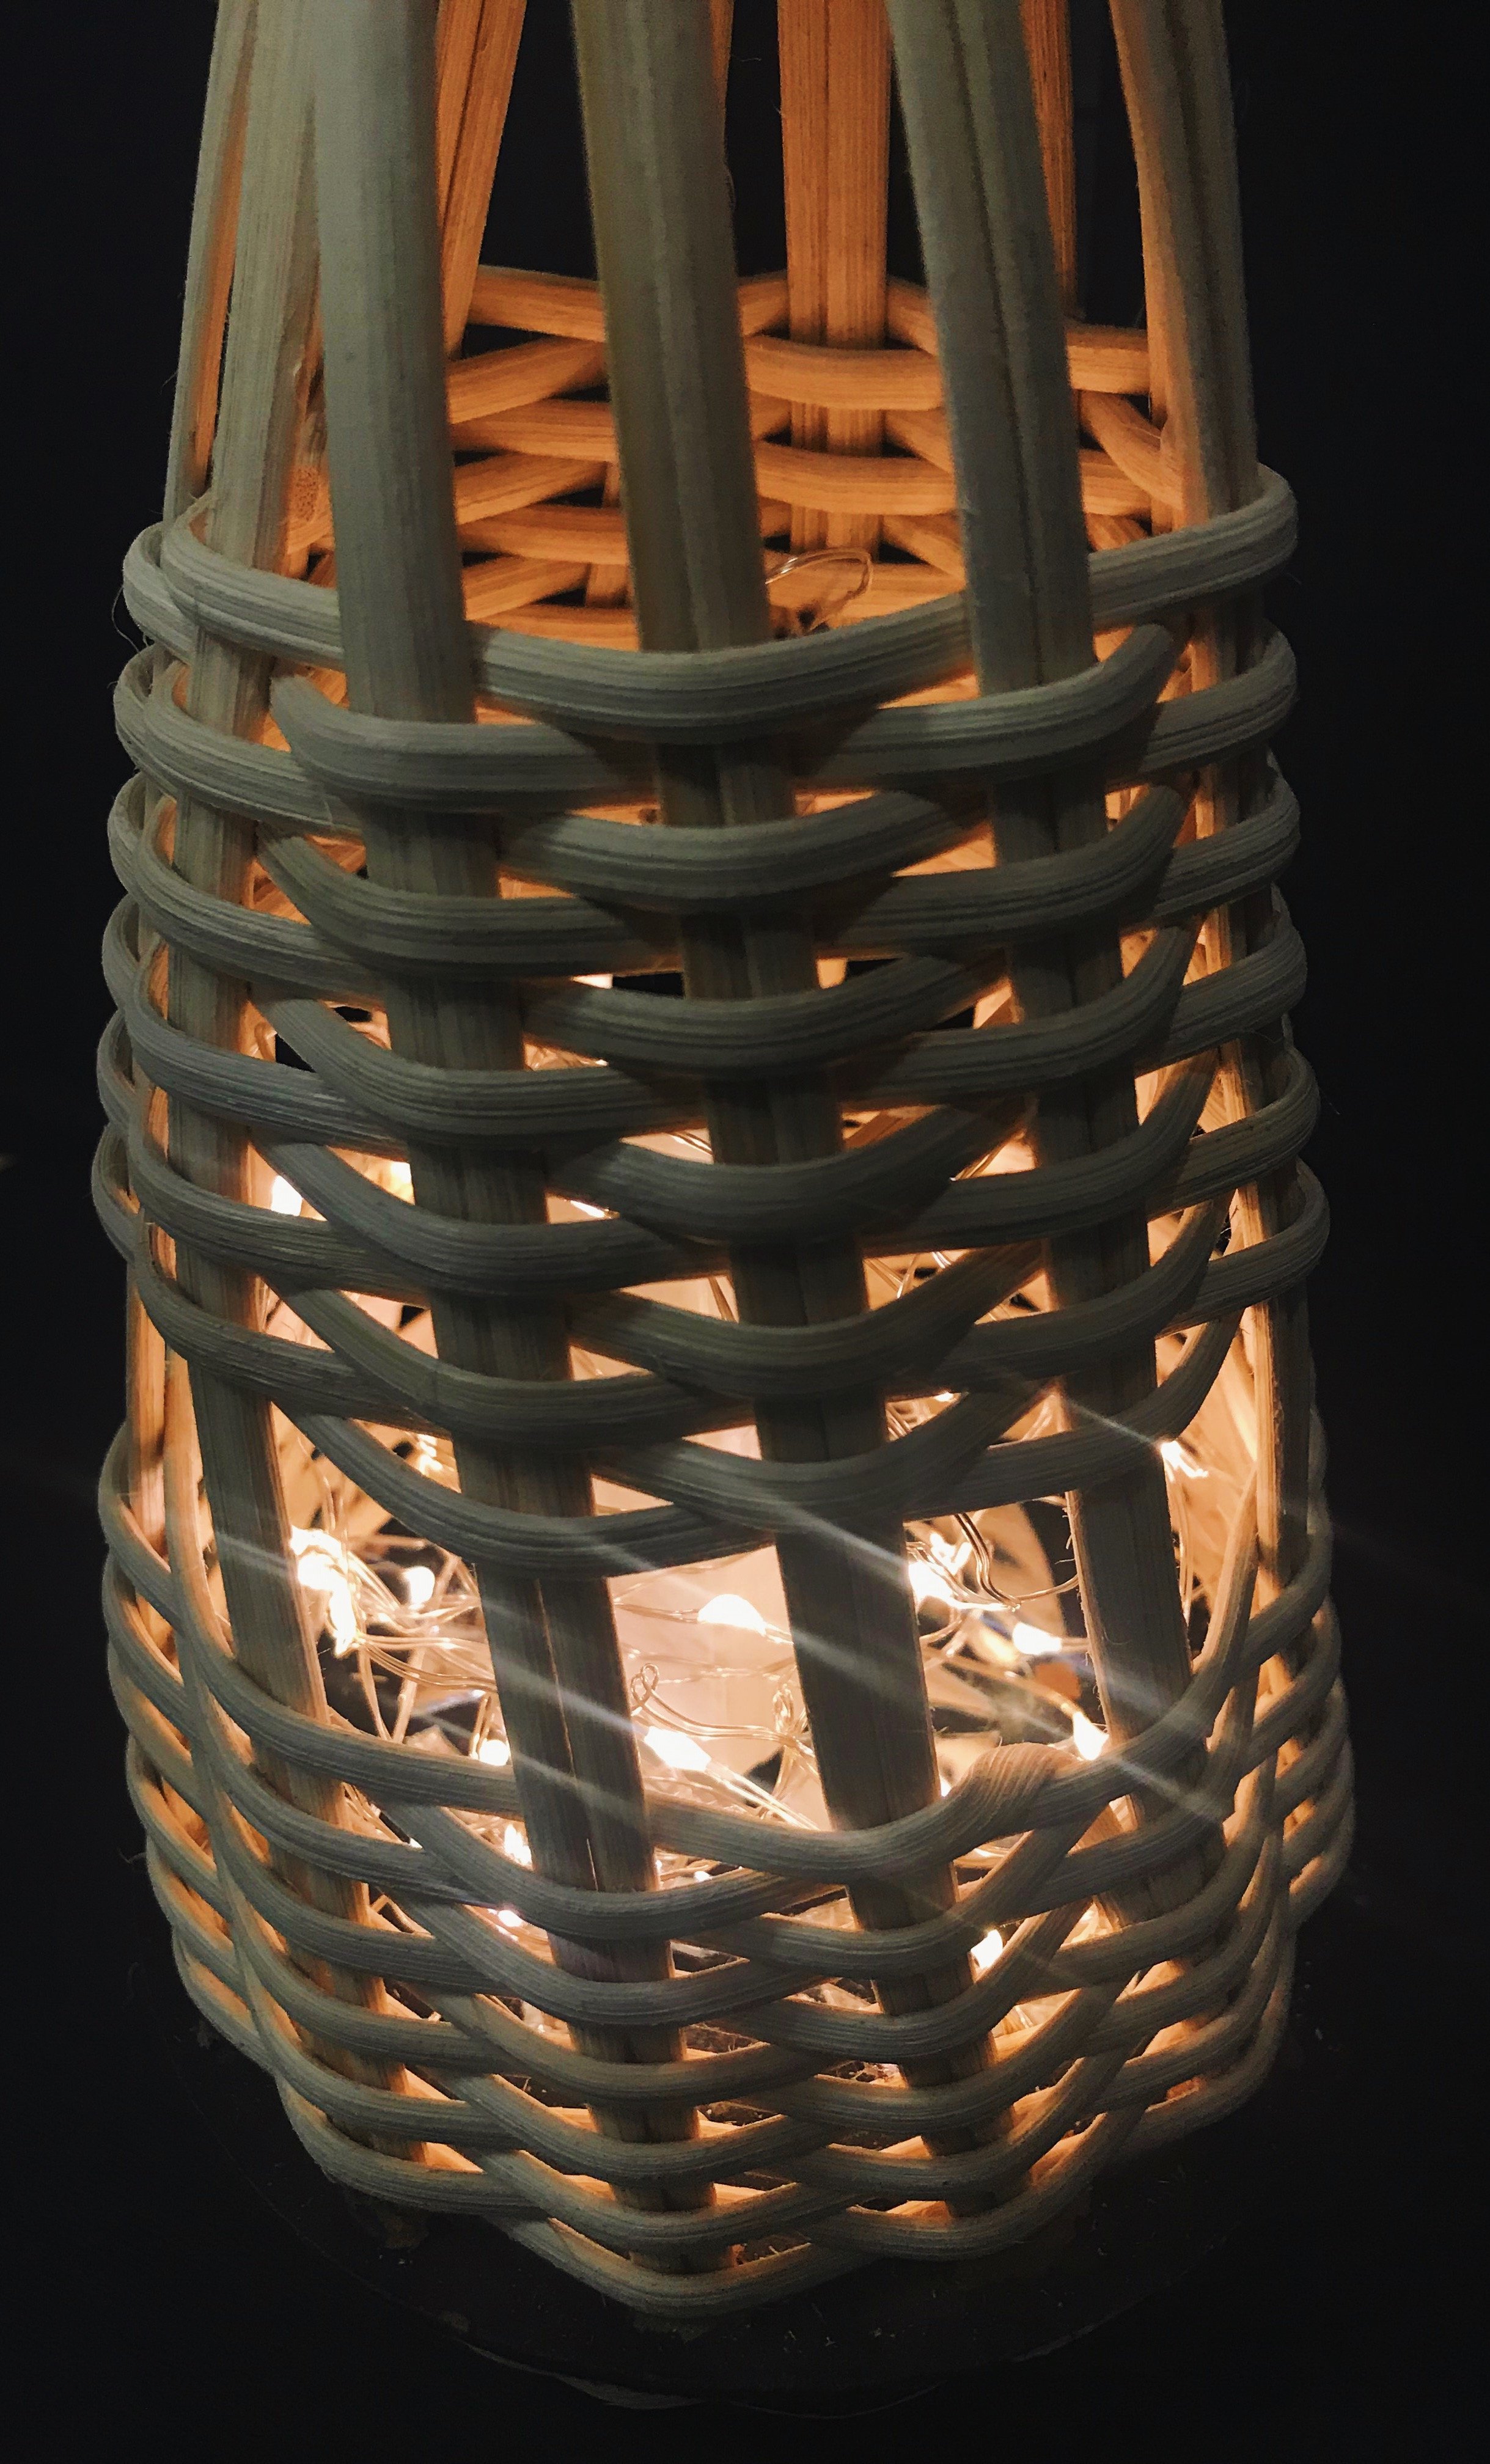
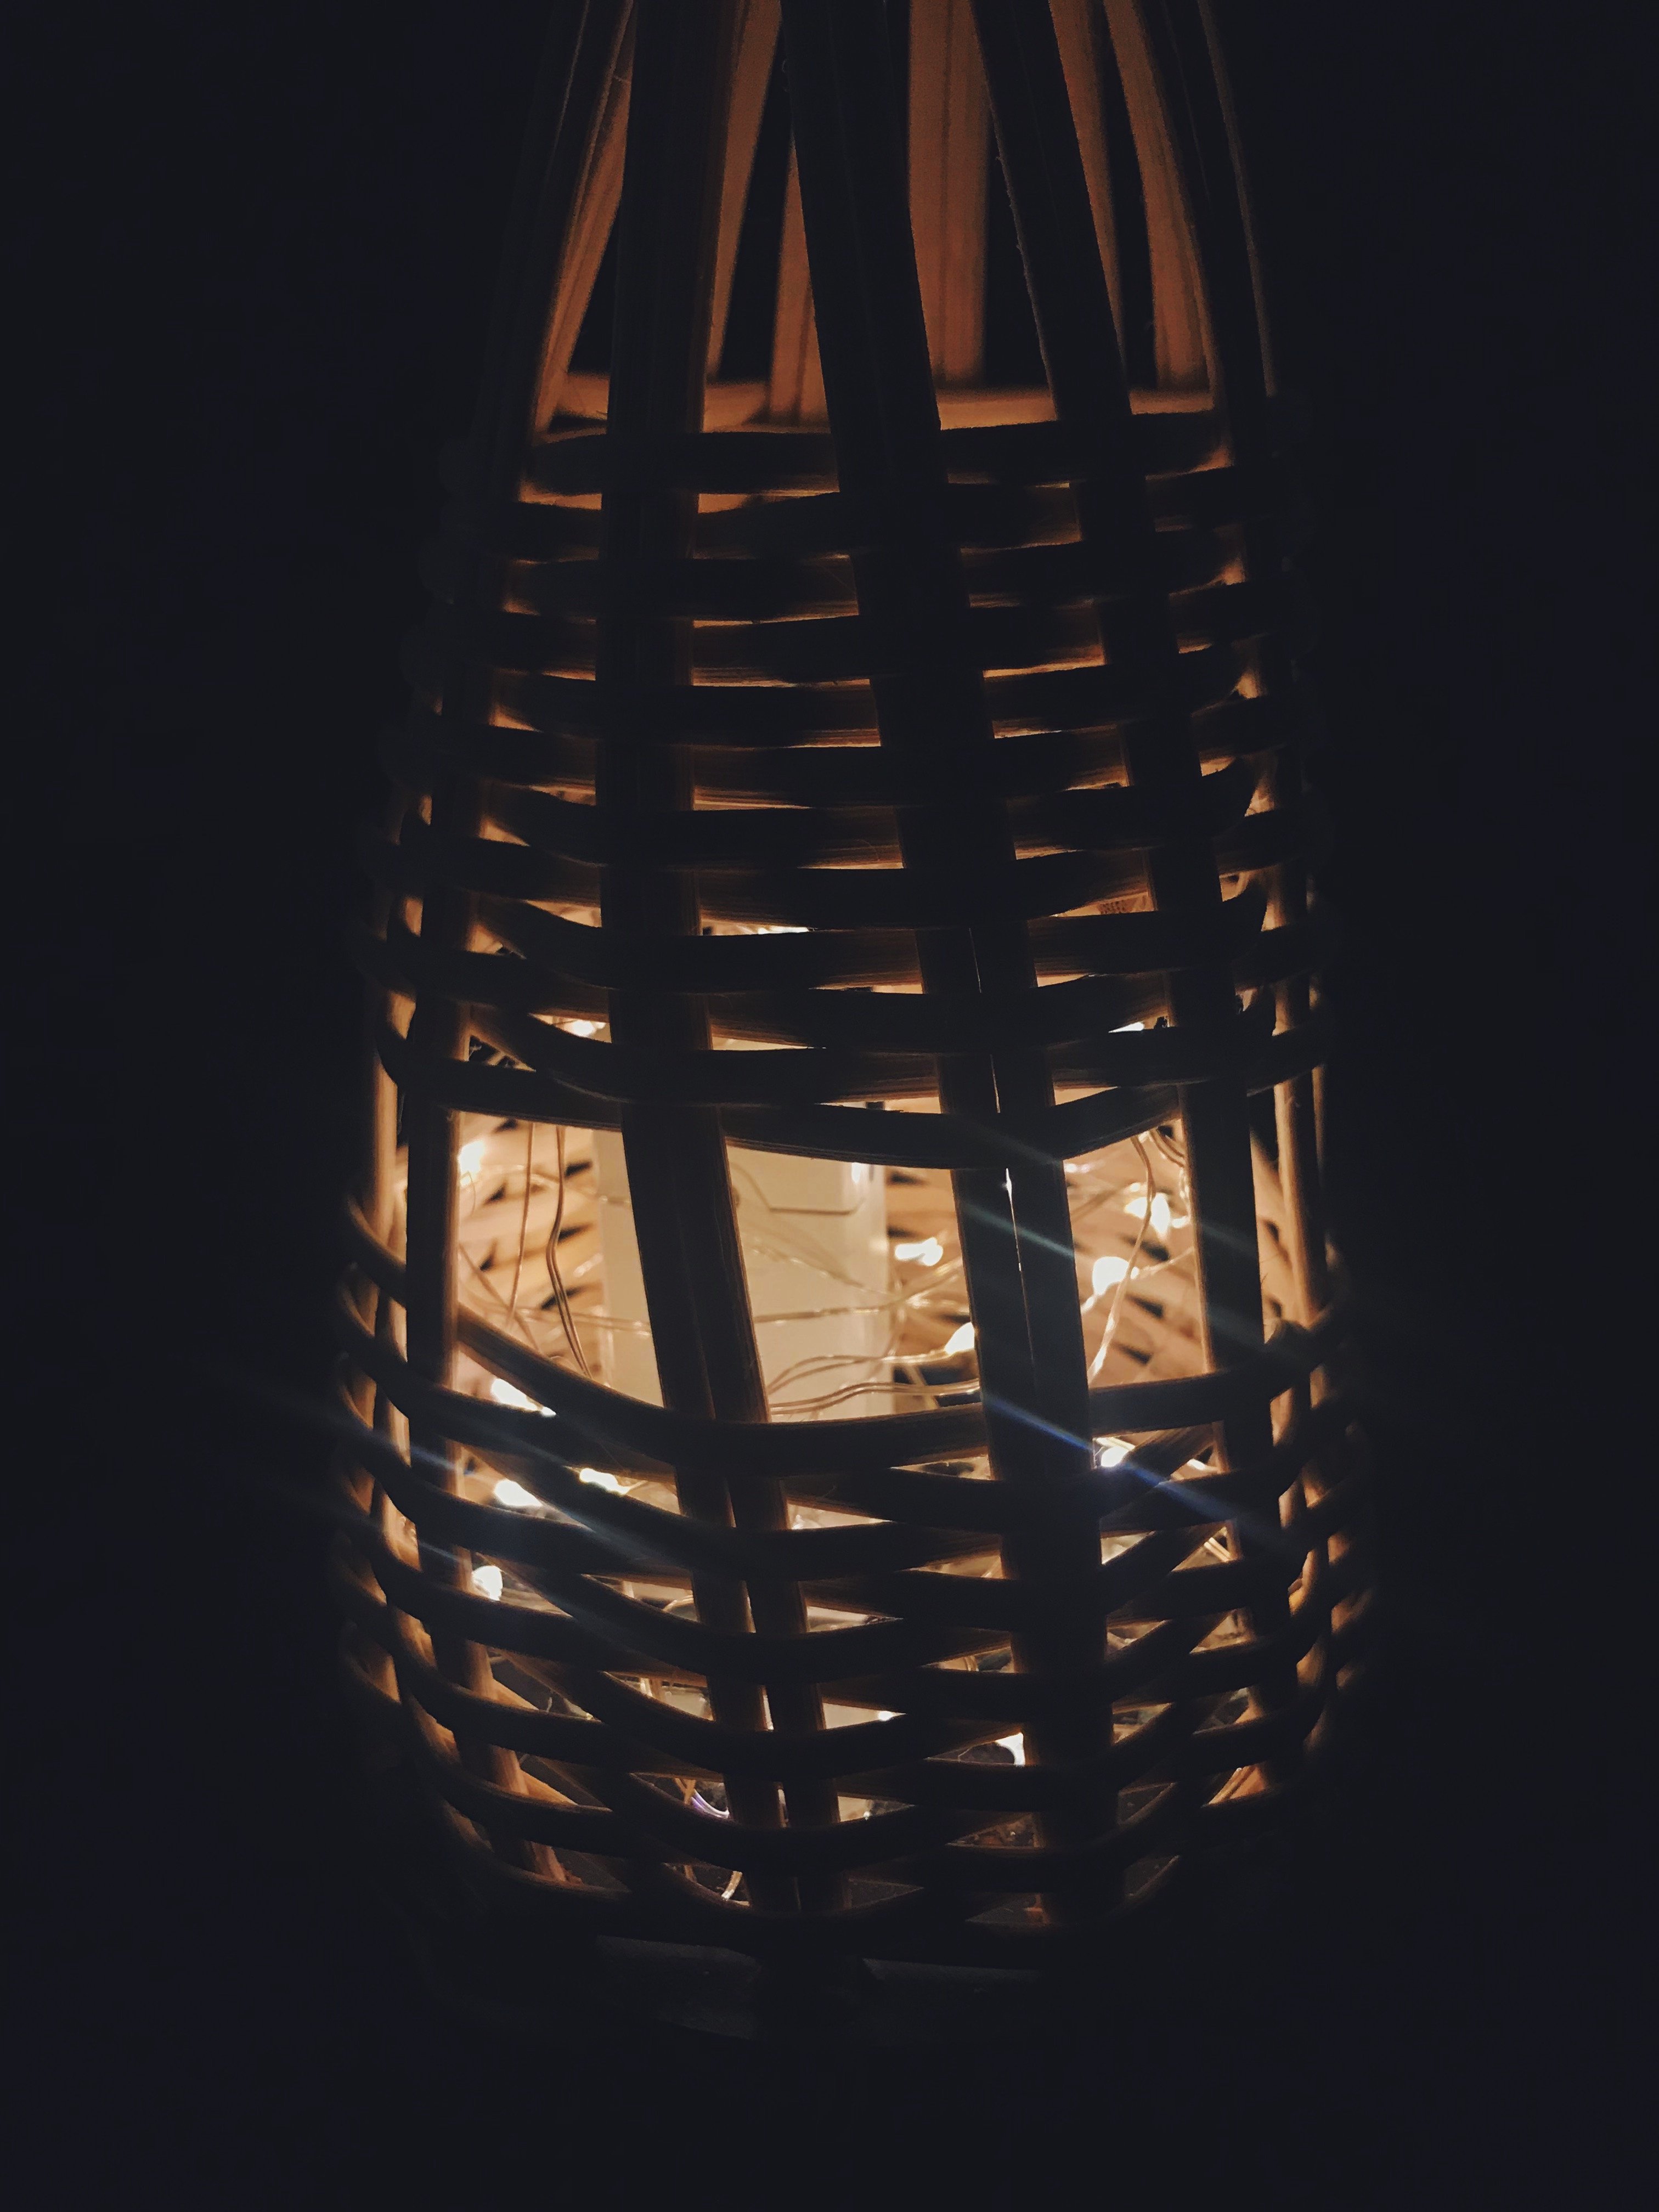
FINAL OUTCOMES


Recent Comments