This week we explored 2 new techniques: Felting and Applique.
Felting
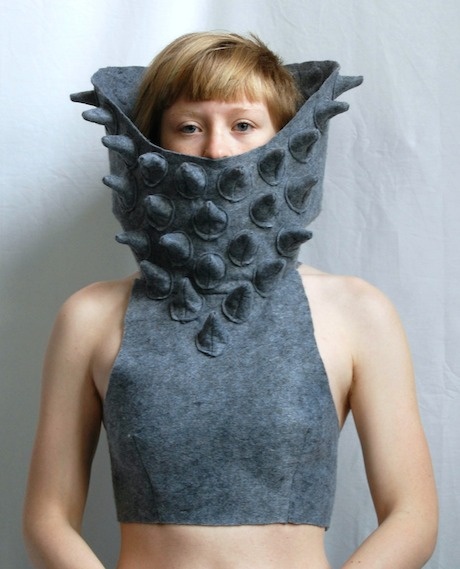
Felting can be used to create both flat textiles and structured 3D objects. There are diverse applications and we can see felting in everyday products in the form of fabrics, hats, bags and handicraft.
Felt hat
Felt fashion by Stuart Shepard
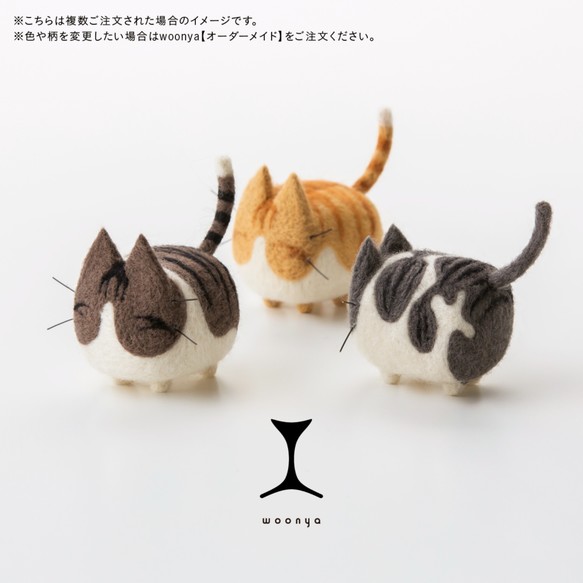
Cat dolls made of felt
Techniques
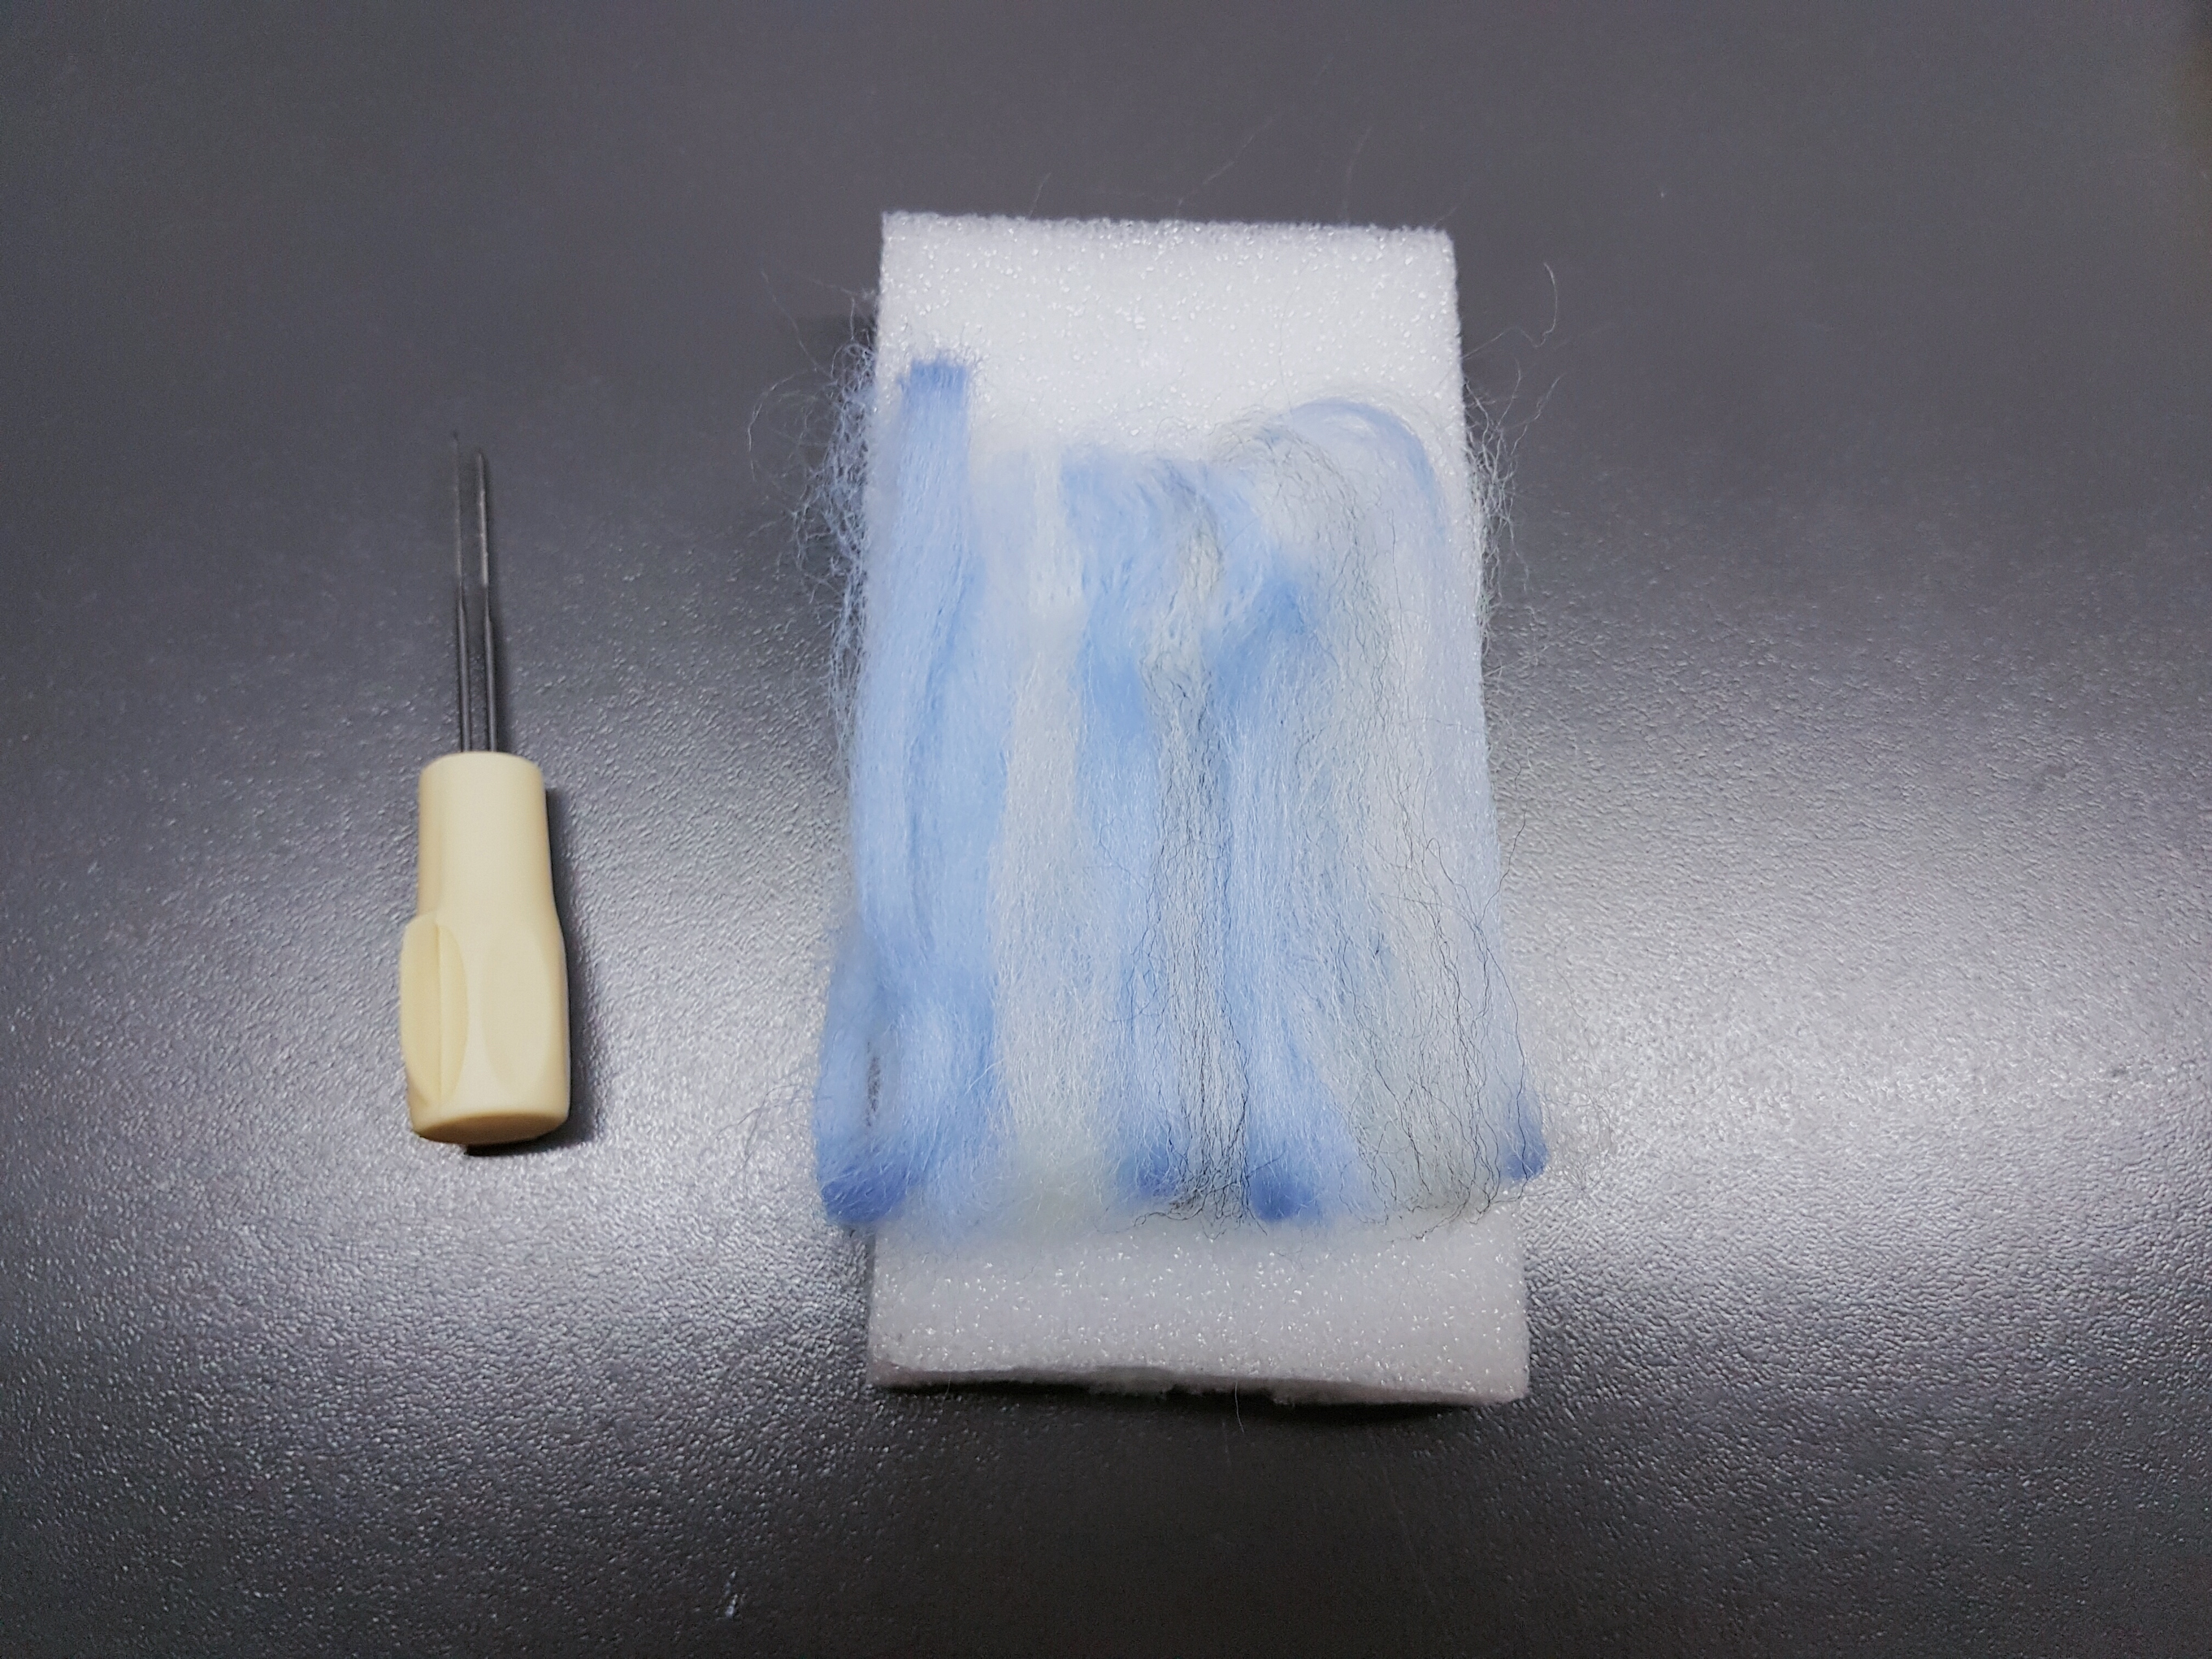
There are several felting techniques such as wet felting, needle felting and Nuno felting. The basic felting techniques requires these materials: wool, felting needles, hot water, soap, and a soft surface to work on.
To start, gather the colours and arrange it into the intended shape or design. Moisten the wool with some hot water and start massaging; this will help the fibres intertwine and shrink to create a strong and firm material. A little bit of soap can be added to speed up the process and make the massaging easier.
Arranging felting wool
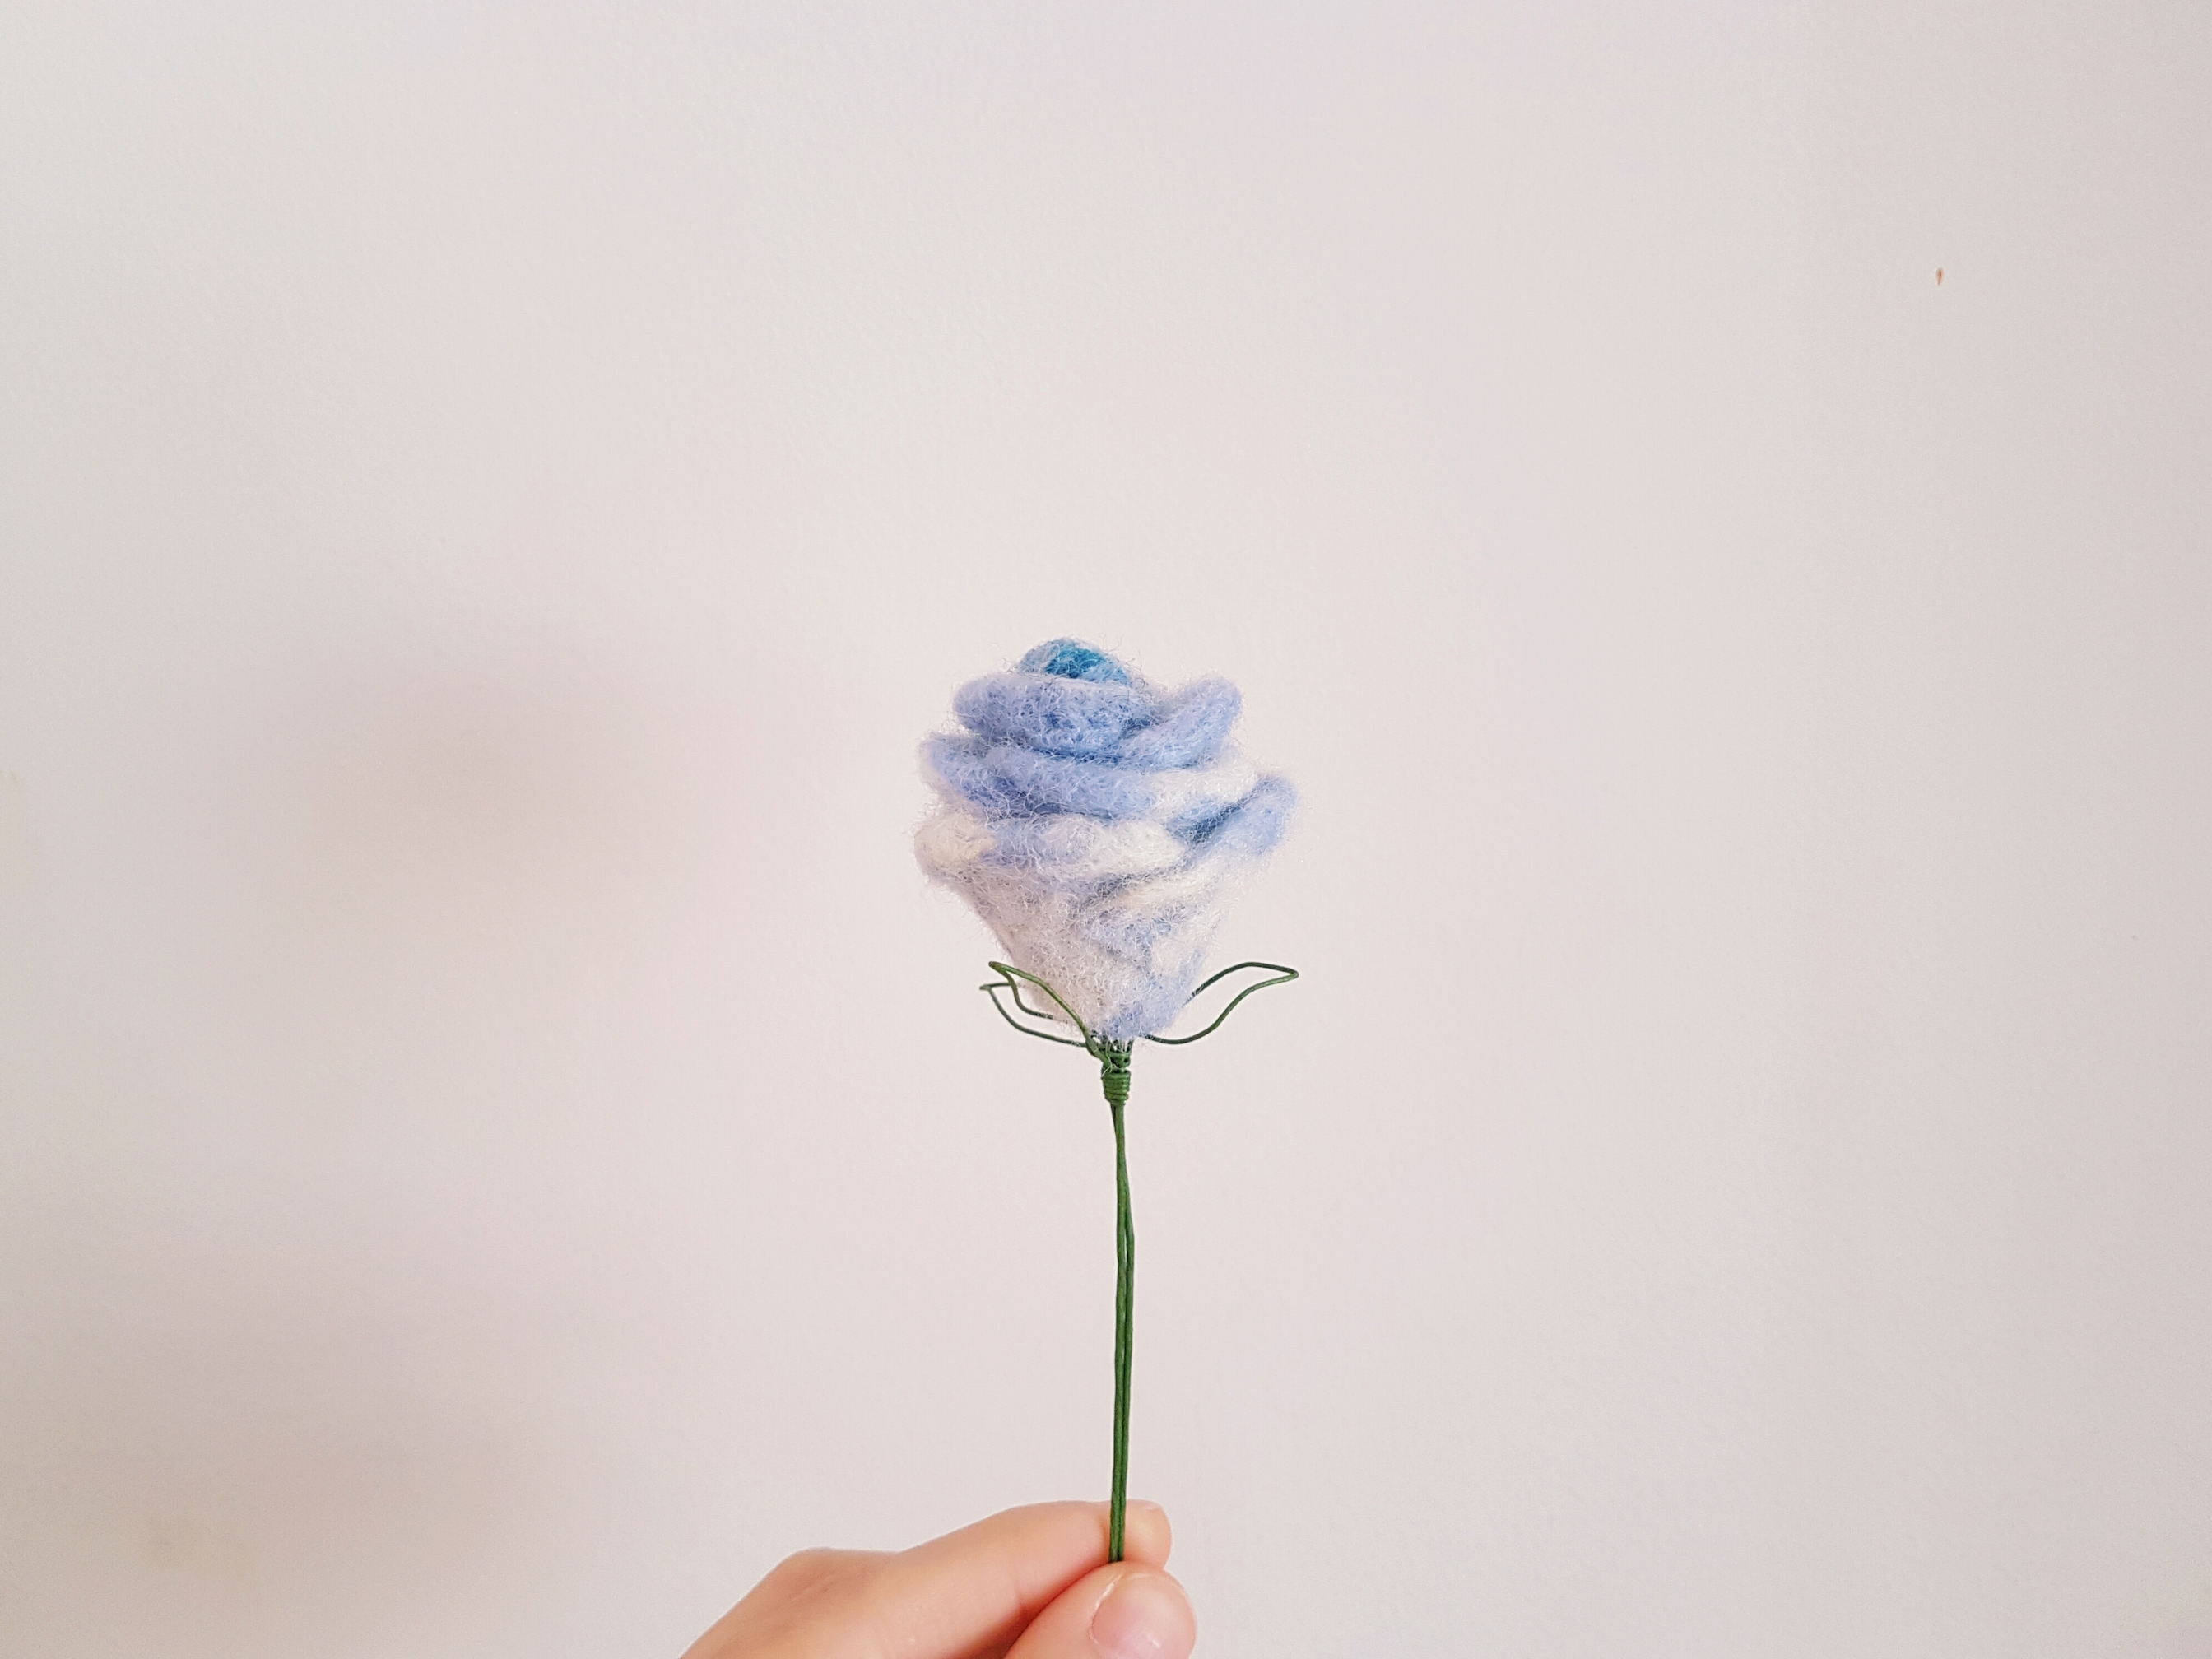
For my first felting attempt, I decided to make a blue rose! I combined both wet and needle felting techniques. I made the individual petals first before felting them together using the needles. The petals in the centre are darker and gradually become lighter on the outer petals.
After felting together several petals to form the rose, to complete this little sample, I used a green metal wire to add a stem and leaves.
This week we explored various transfer printing methods such as dry transfer using fabric crayons, wet transfer (direct and indirect printing), and digital transfer. Although these methods are relatively simple, they can create amazing results.
Dry Transfer Printing using Fabric Crayons
Crayola fabric crayons
Regular household iron
Baking paper
Materials needed: Fabric crayons, an iron and some baking paper to protect the iron.
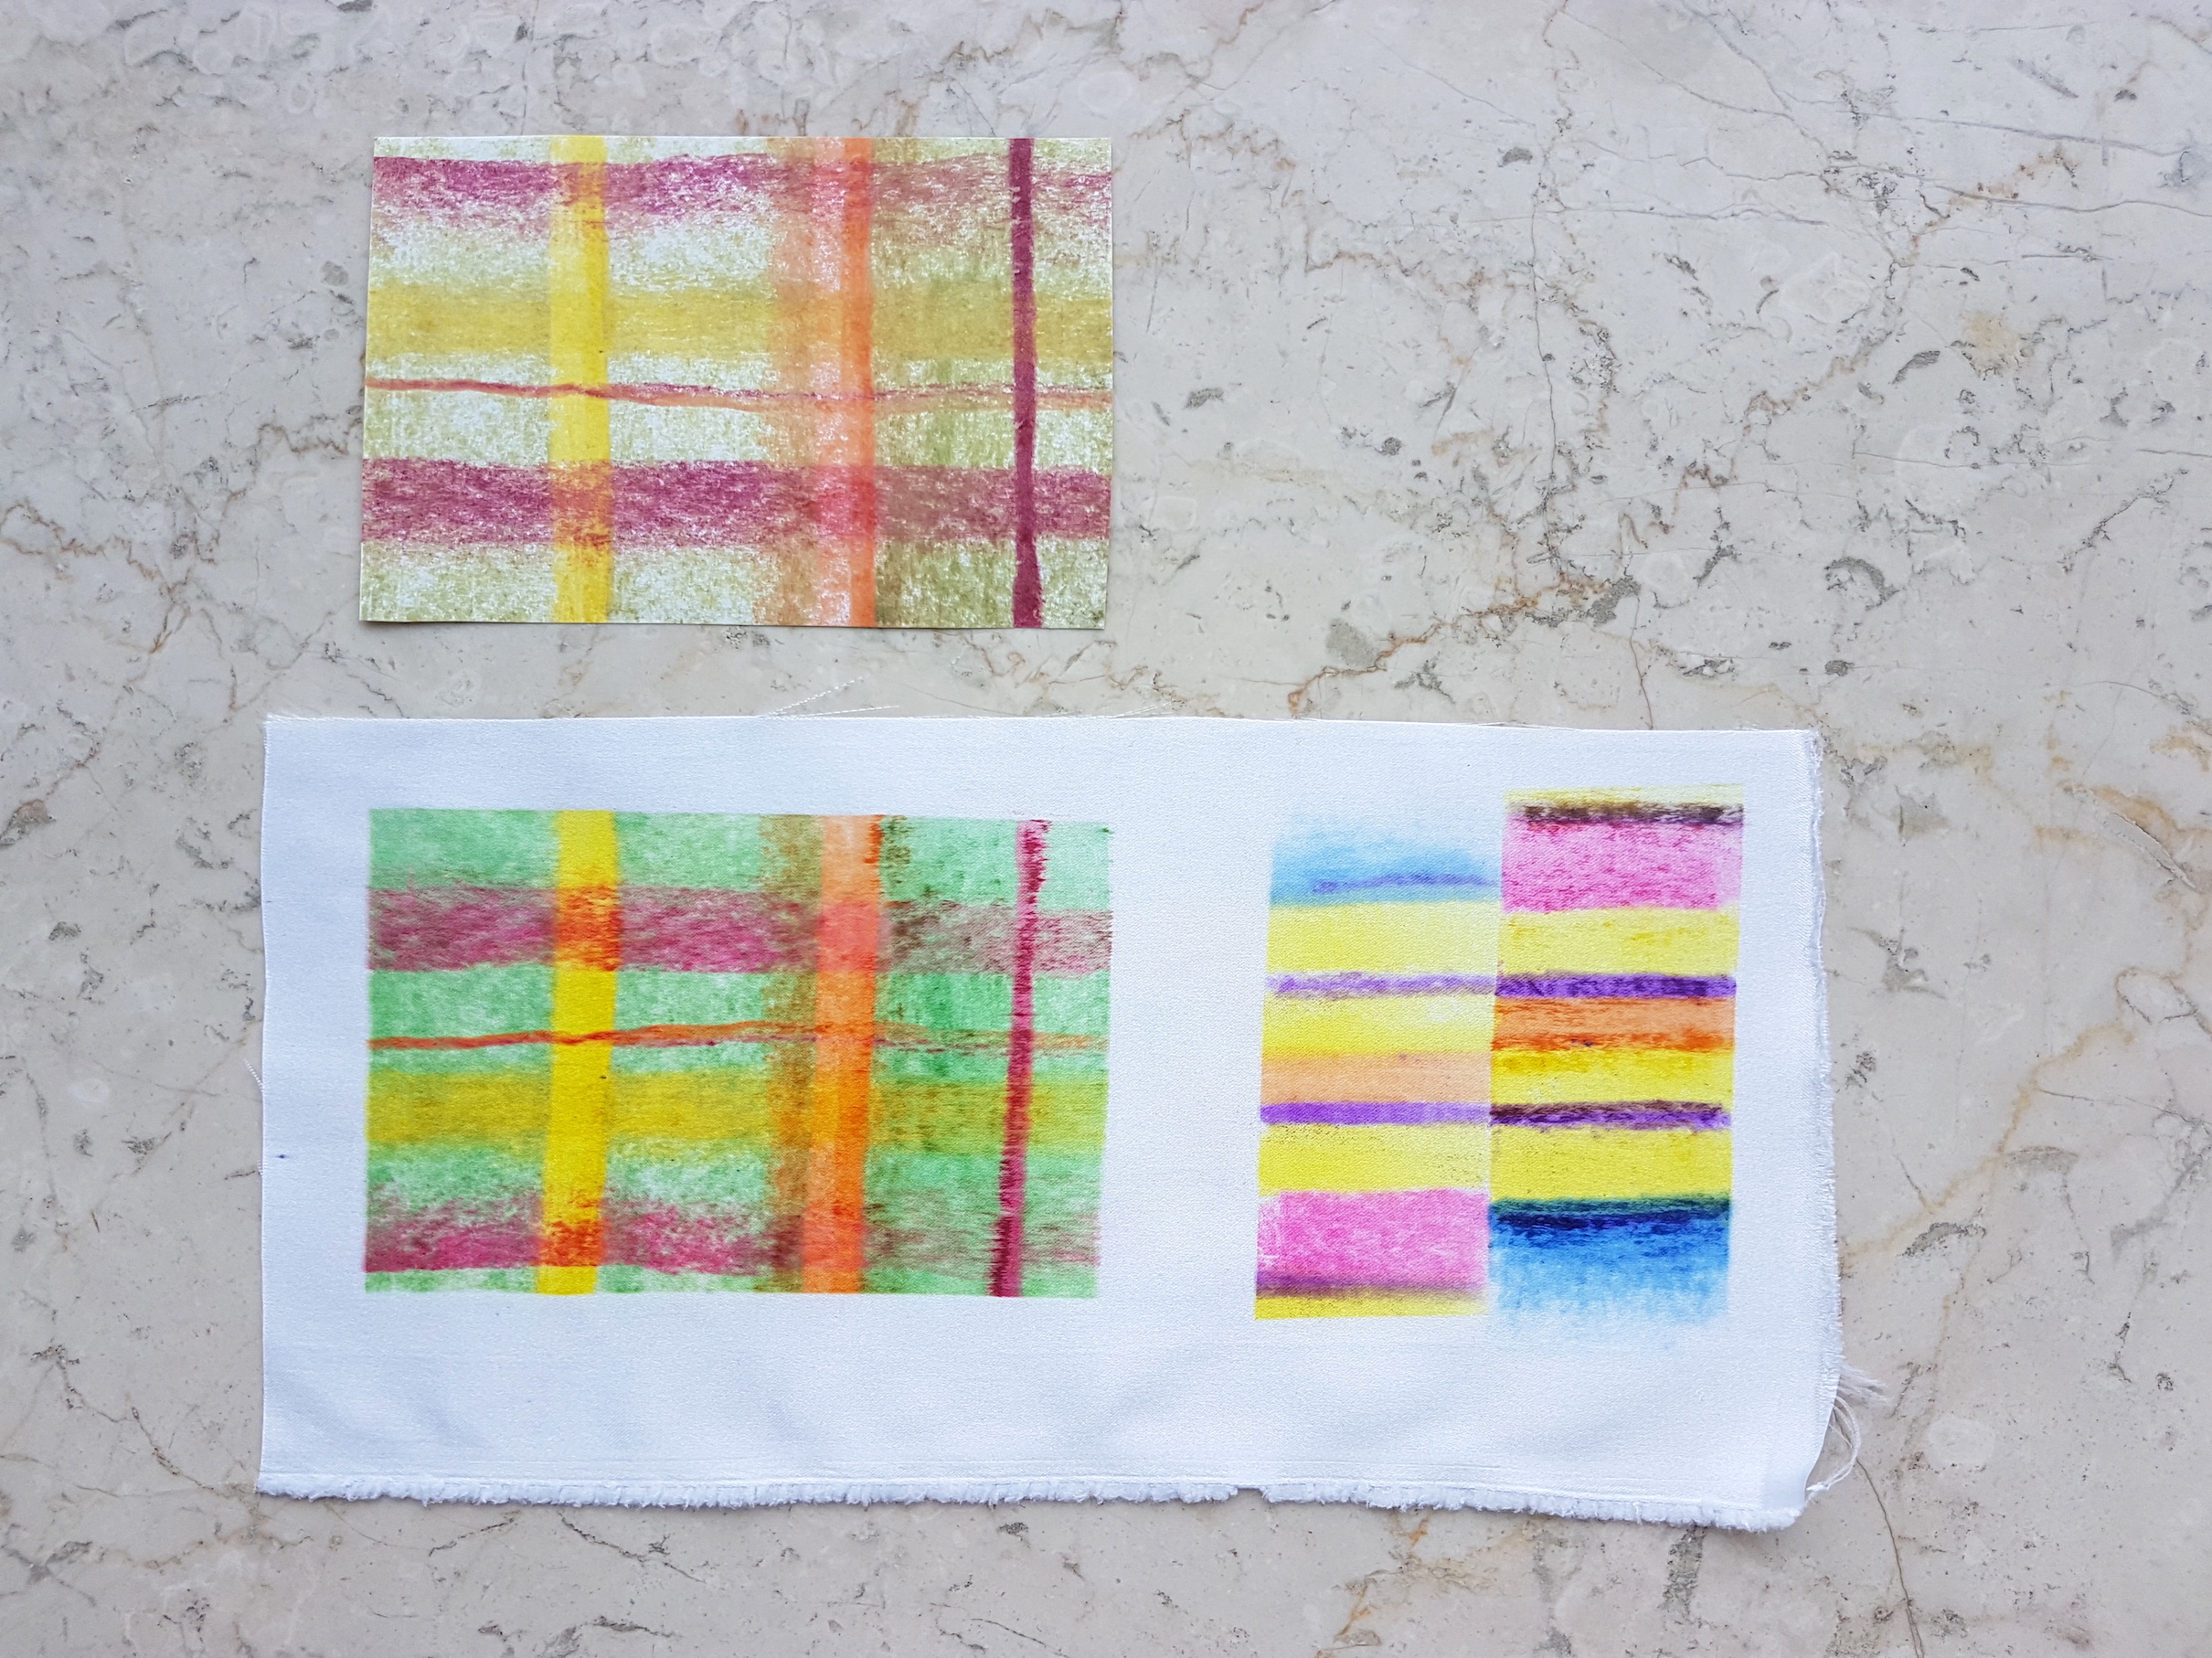
This method involves drawing onto paper using crayons, then transferring the drawn images onto satin polyester using heat. The colours produced are very vibrant and the process is simple and intuitive.
Tartan made using fabric crayons
The same drawing can be printed again, producing a lighter effect.
Crayon on paper before printingResult after transfer printingPattern swatch made using fabric crayons
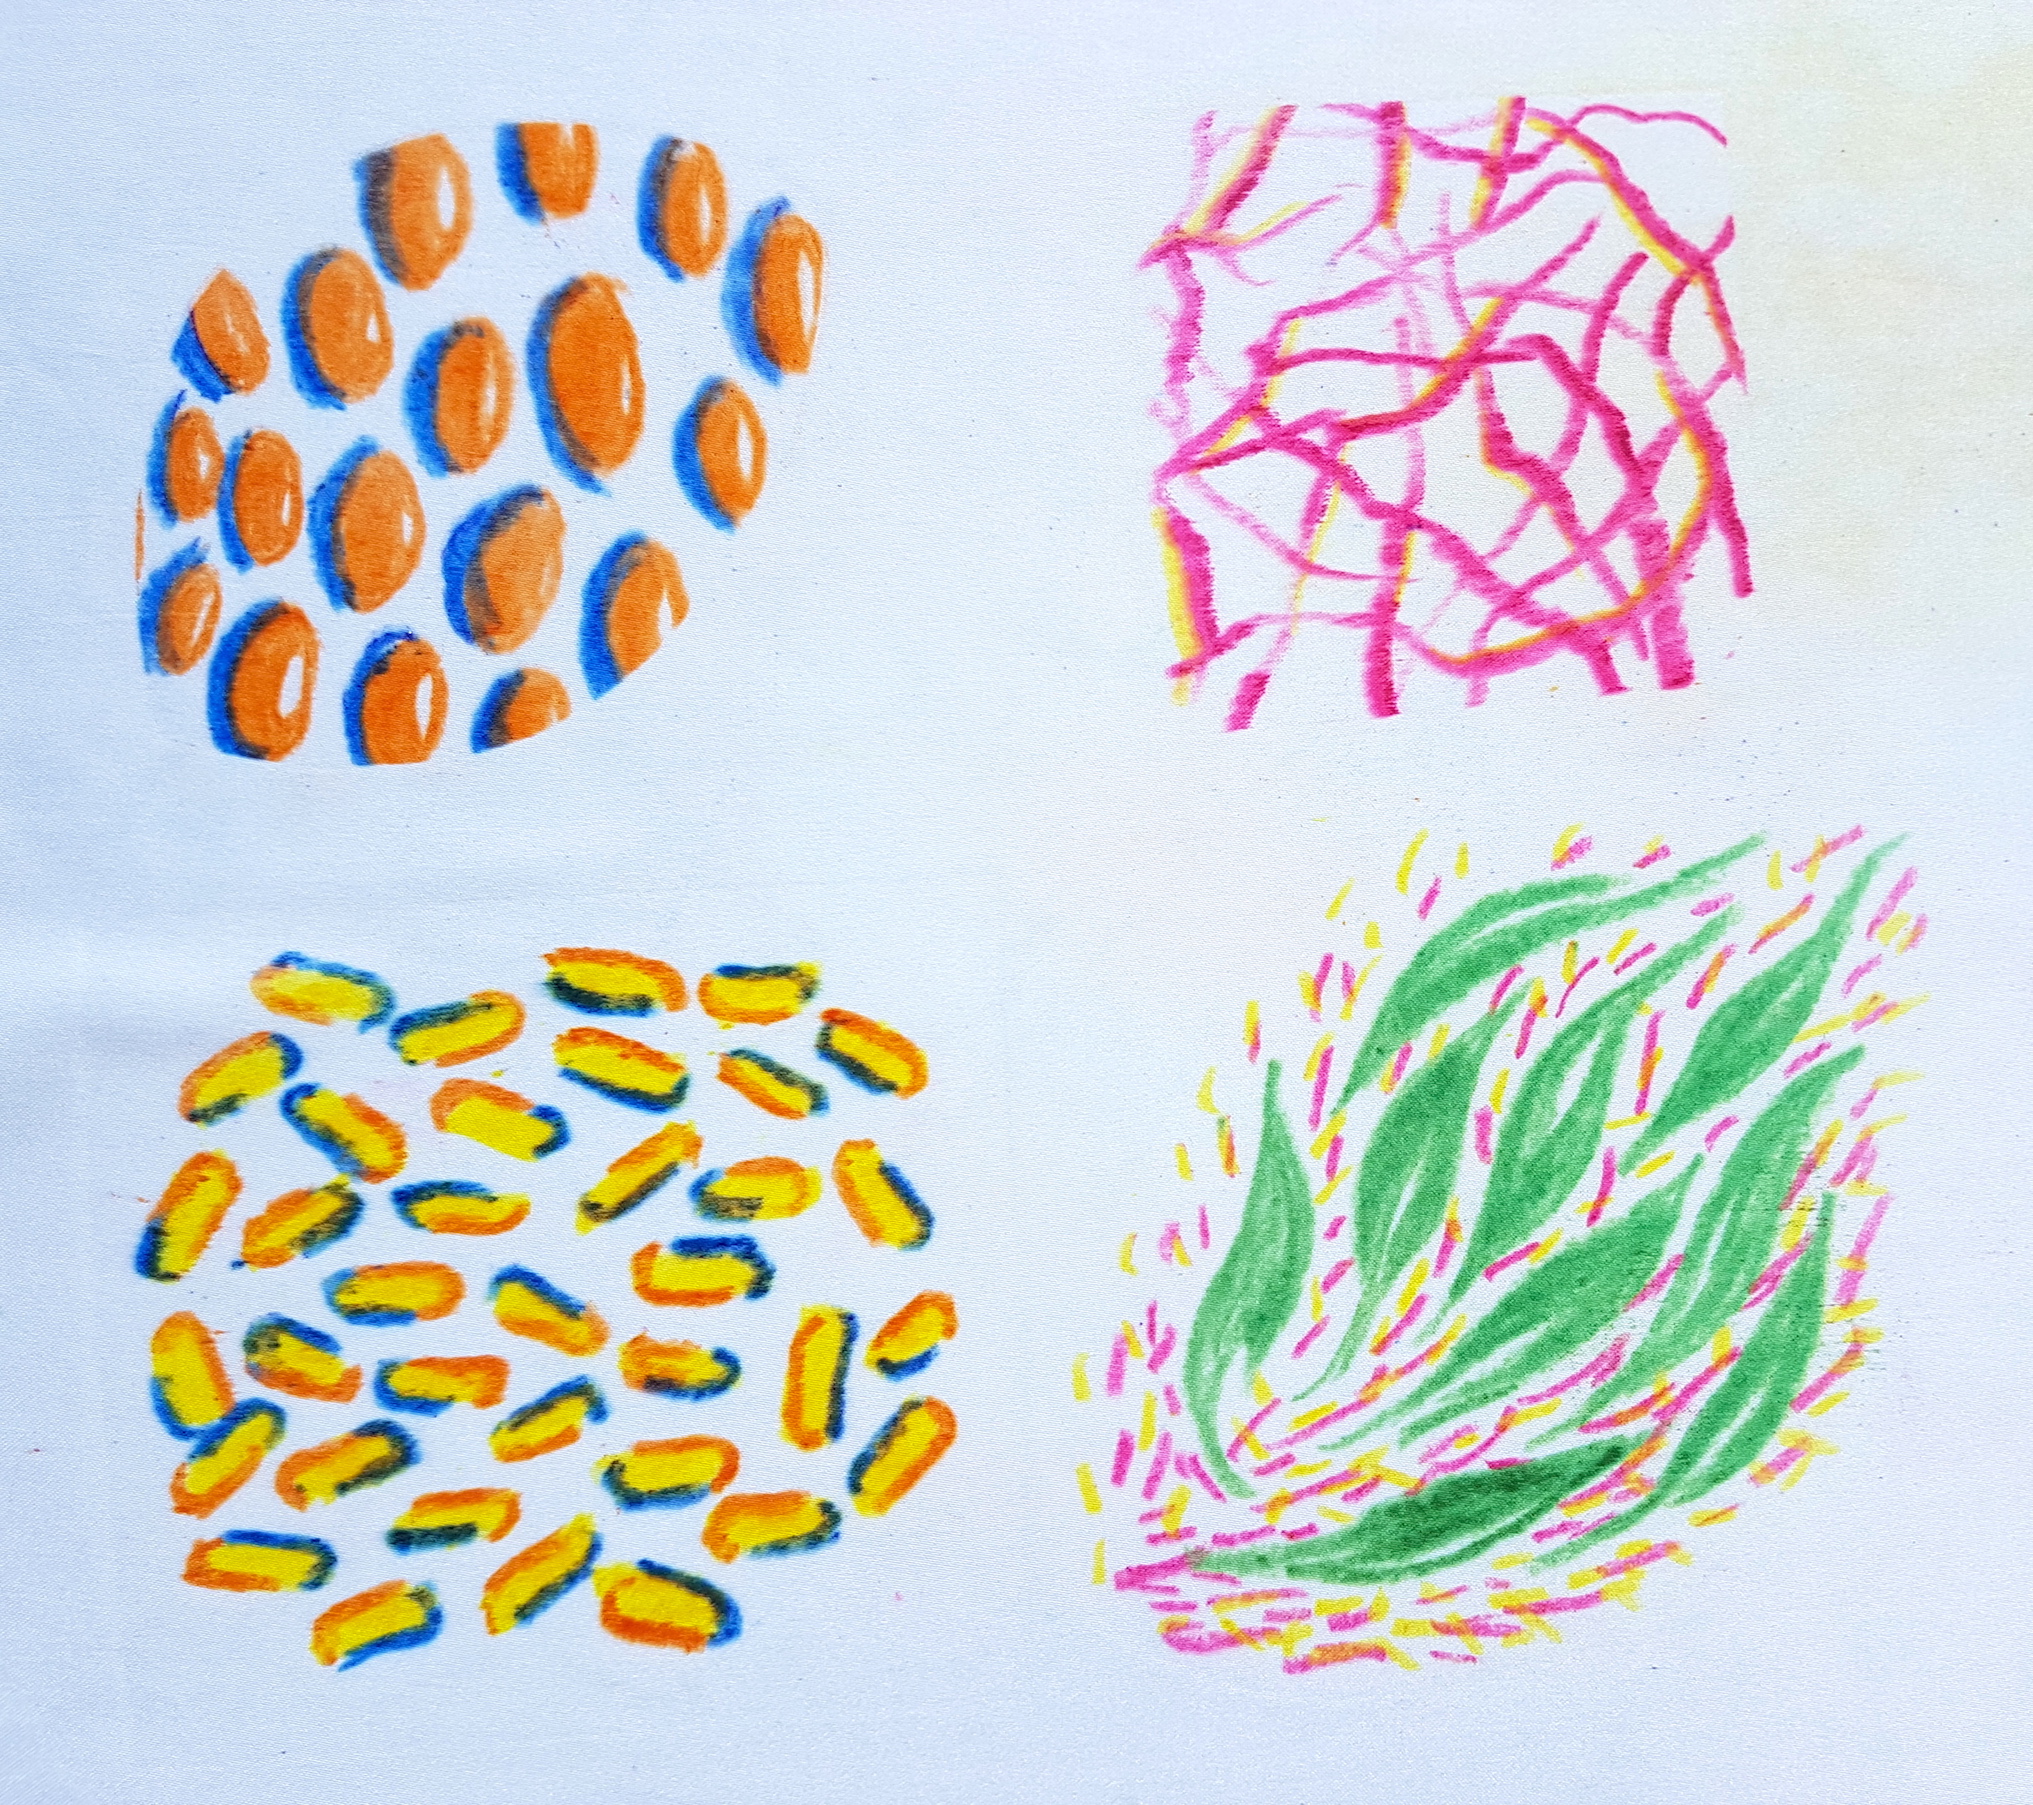
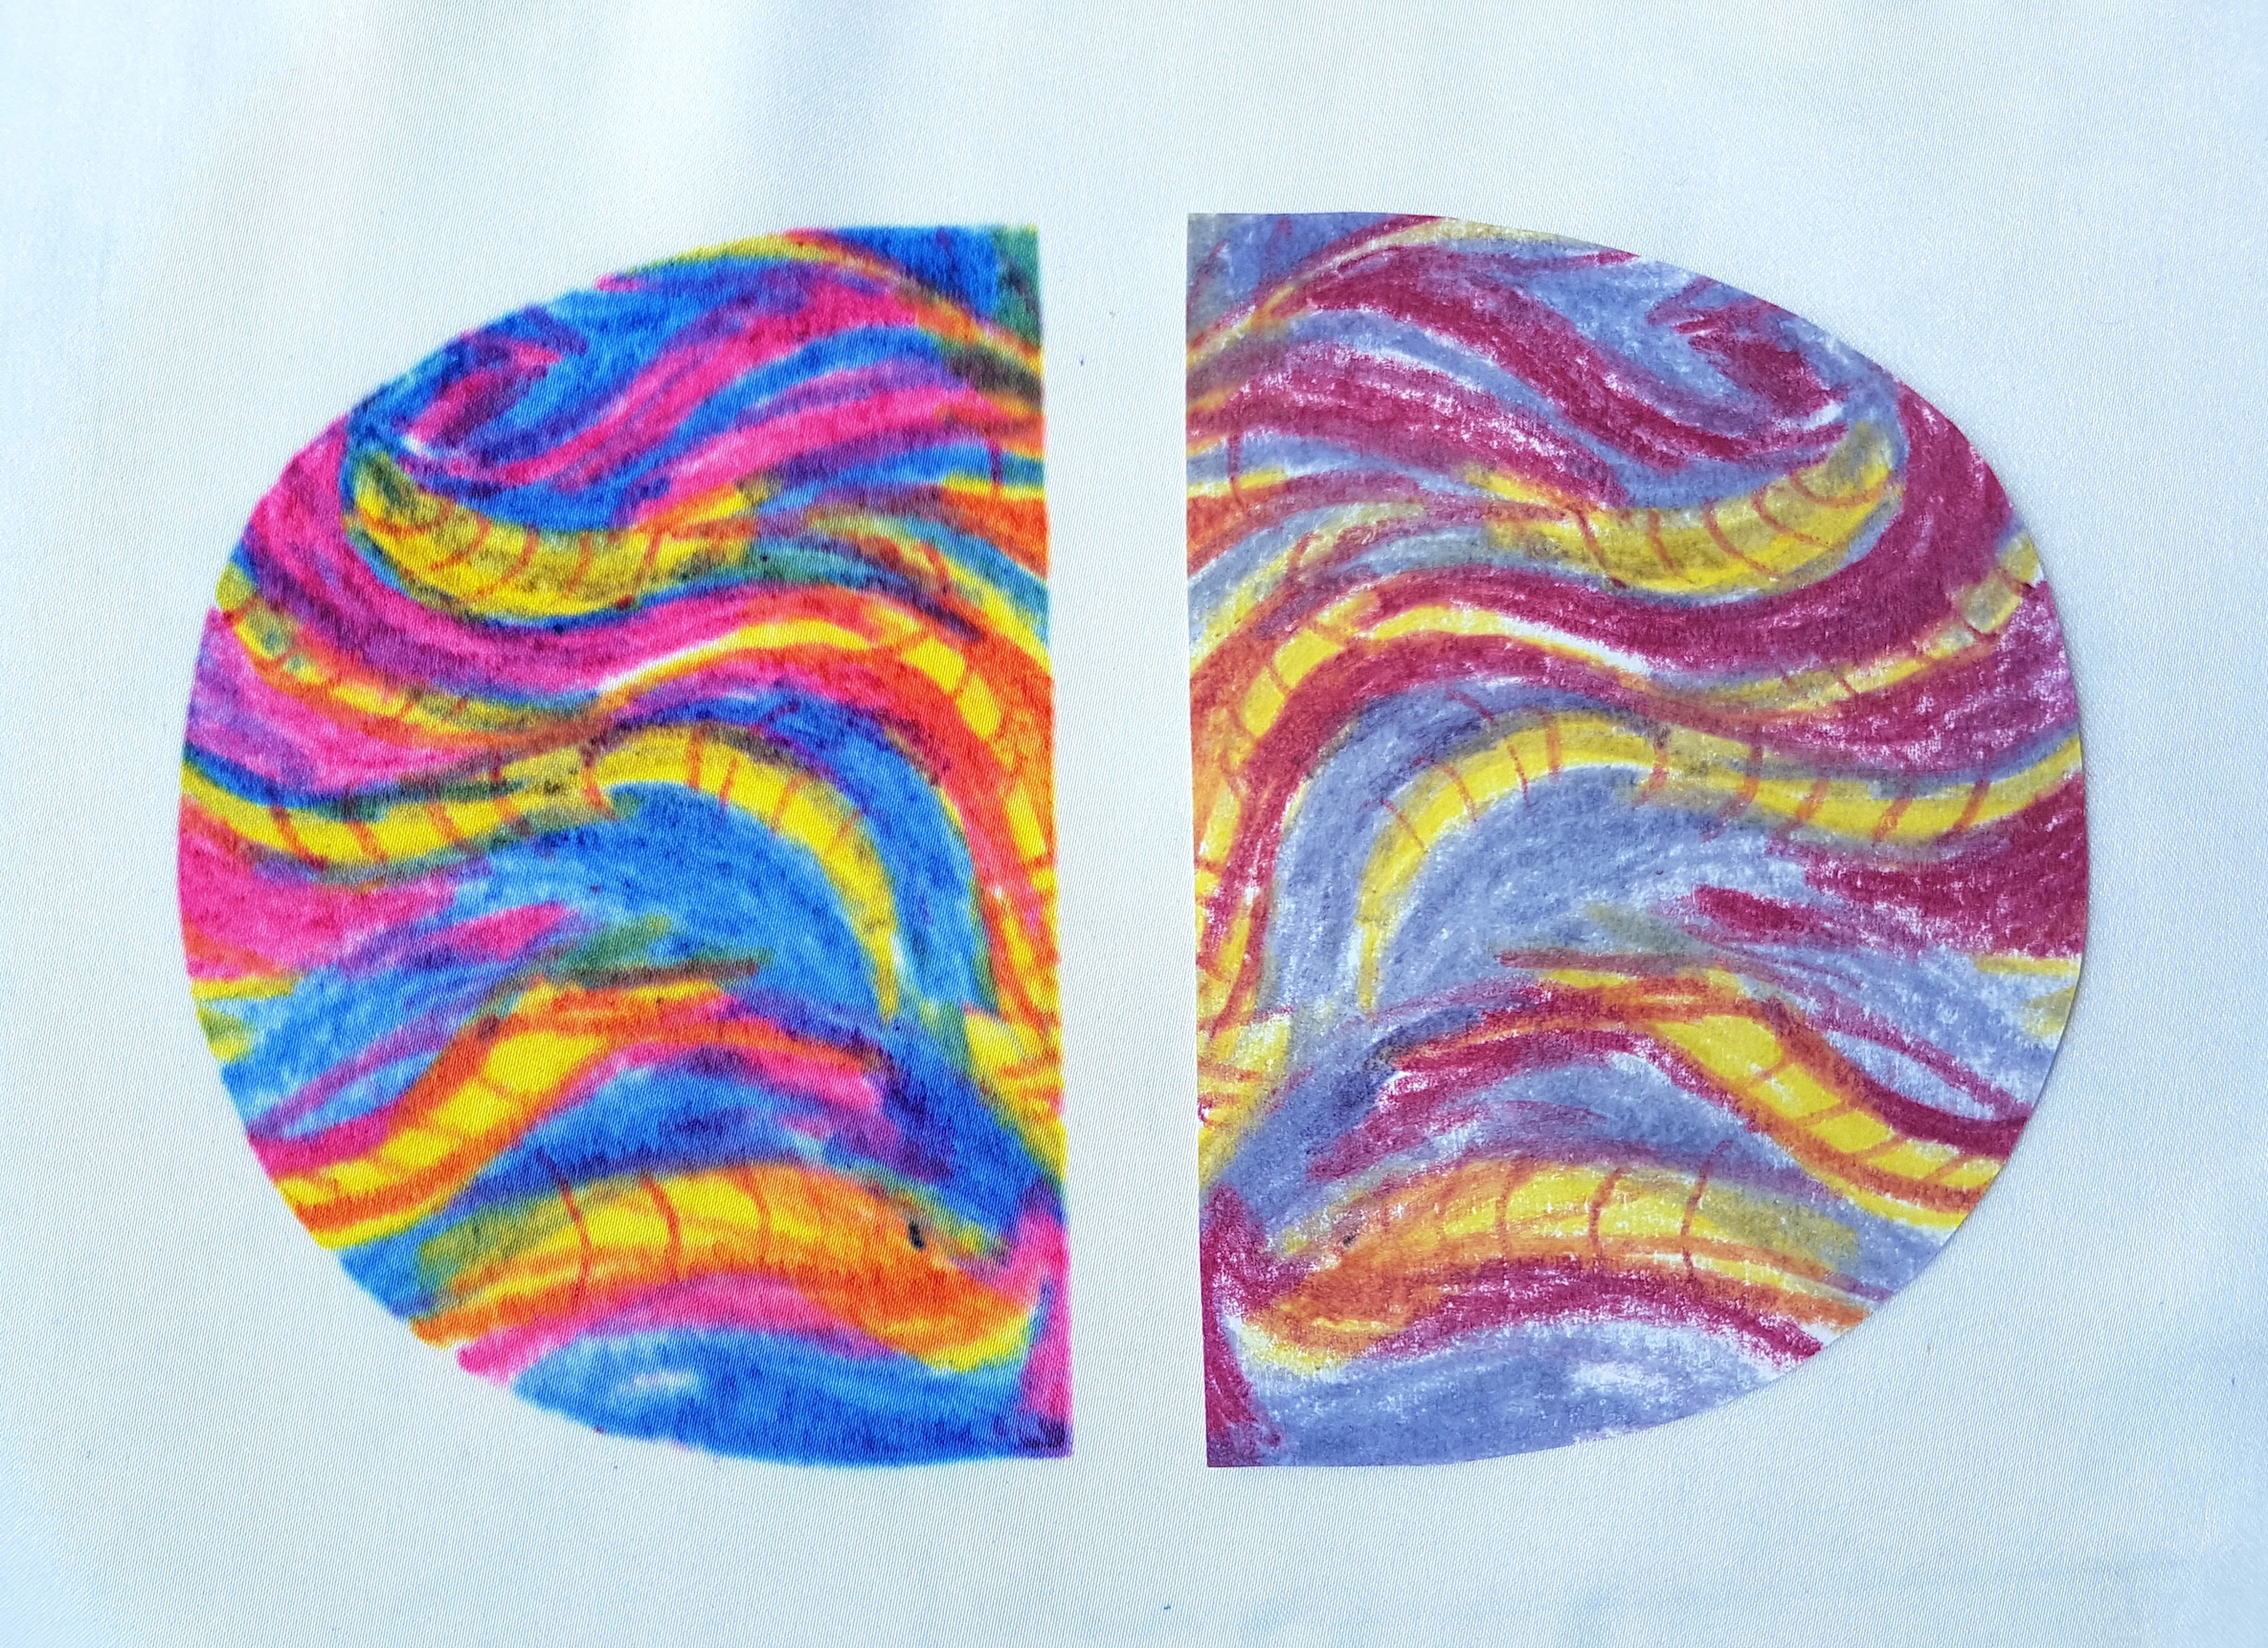
After drawing with the crayons, we can reframe the pattern by cutting out a specific shape (e.g. square, arch). The use of crayons allows free control and limitless organic shapes. Personally, I think these fluid shapes and organic patterns came out nicer than the earlier tartan prints (straighter and cleaner lines would make a crisper effect)!
Wet Transfer (Direct and Indirect Printing)
Materials needed: Ink, brushes, paper to paint on, flat objects, iron, baking paper.
Direct Printing
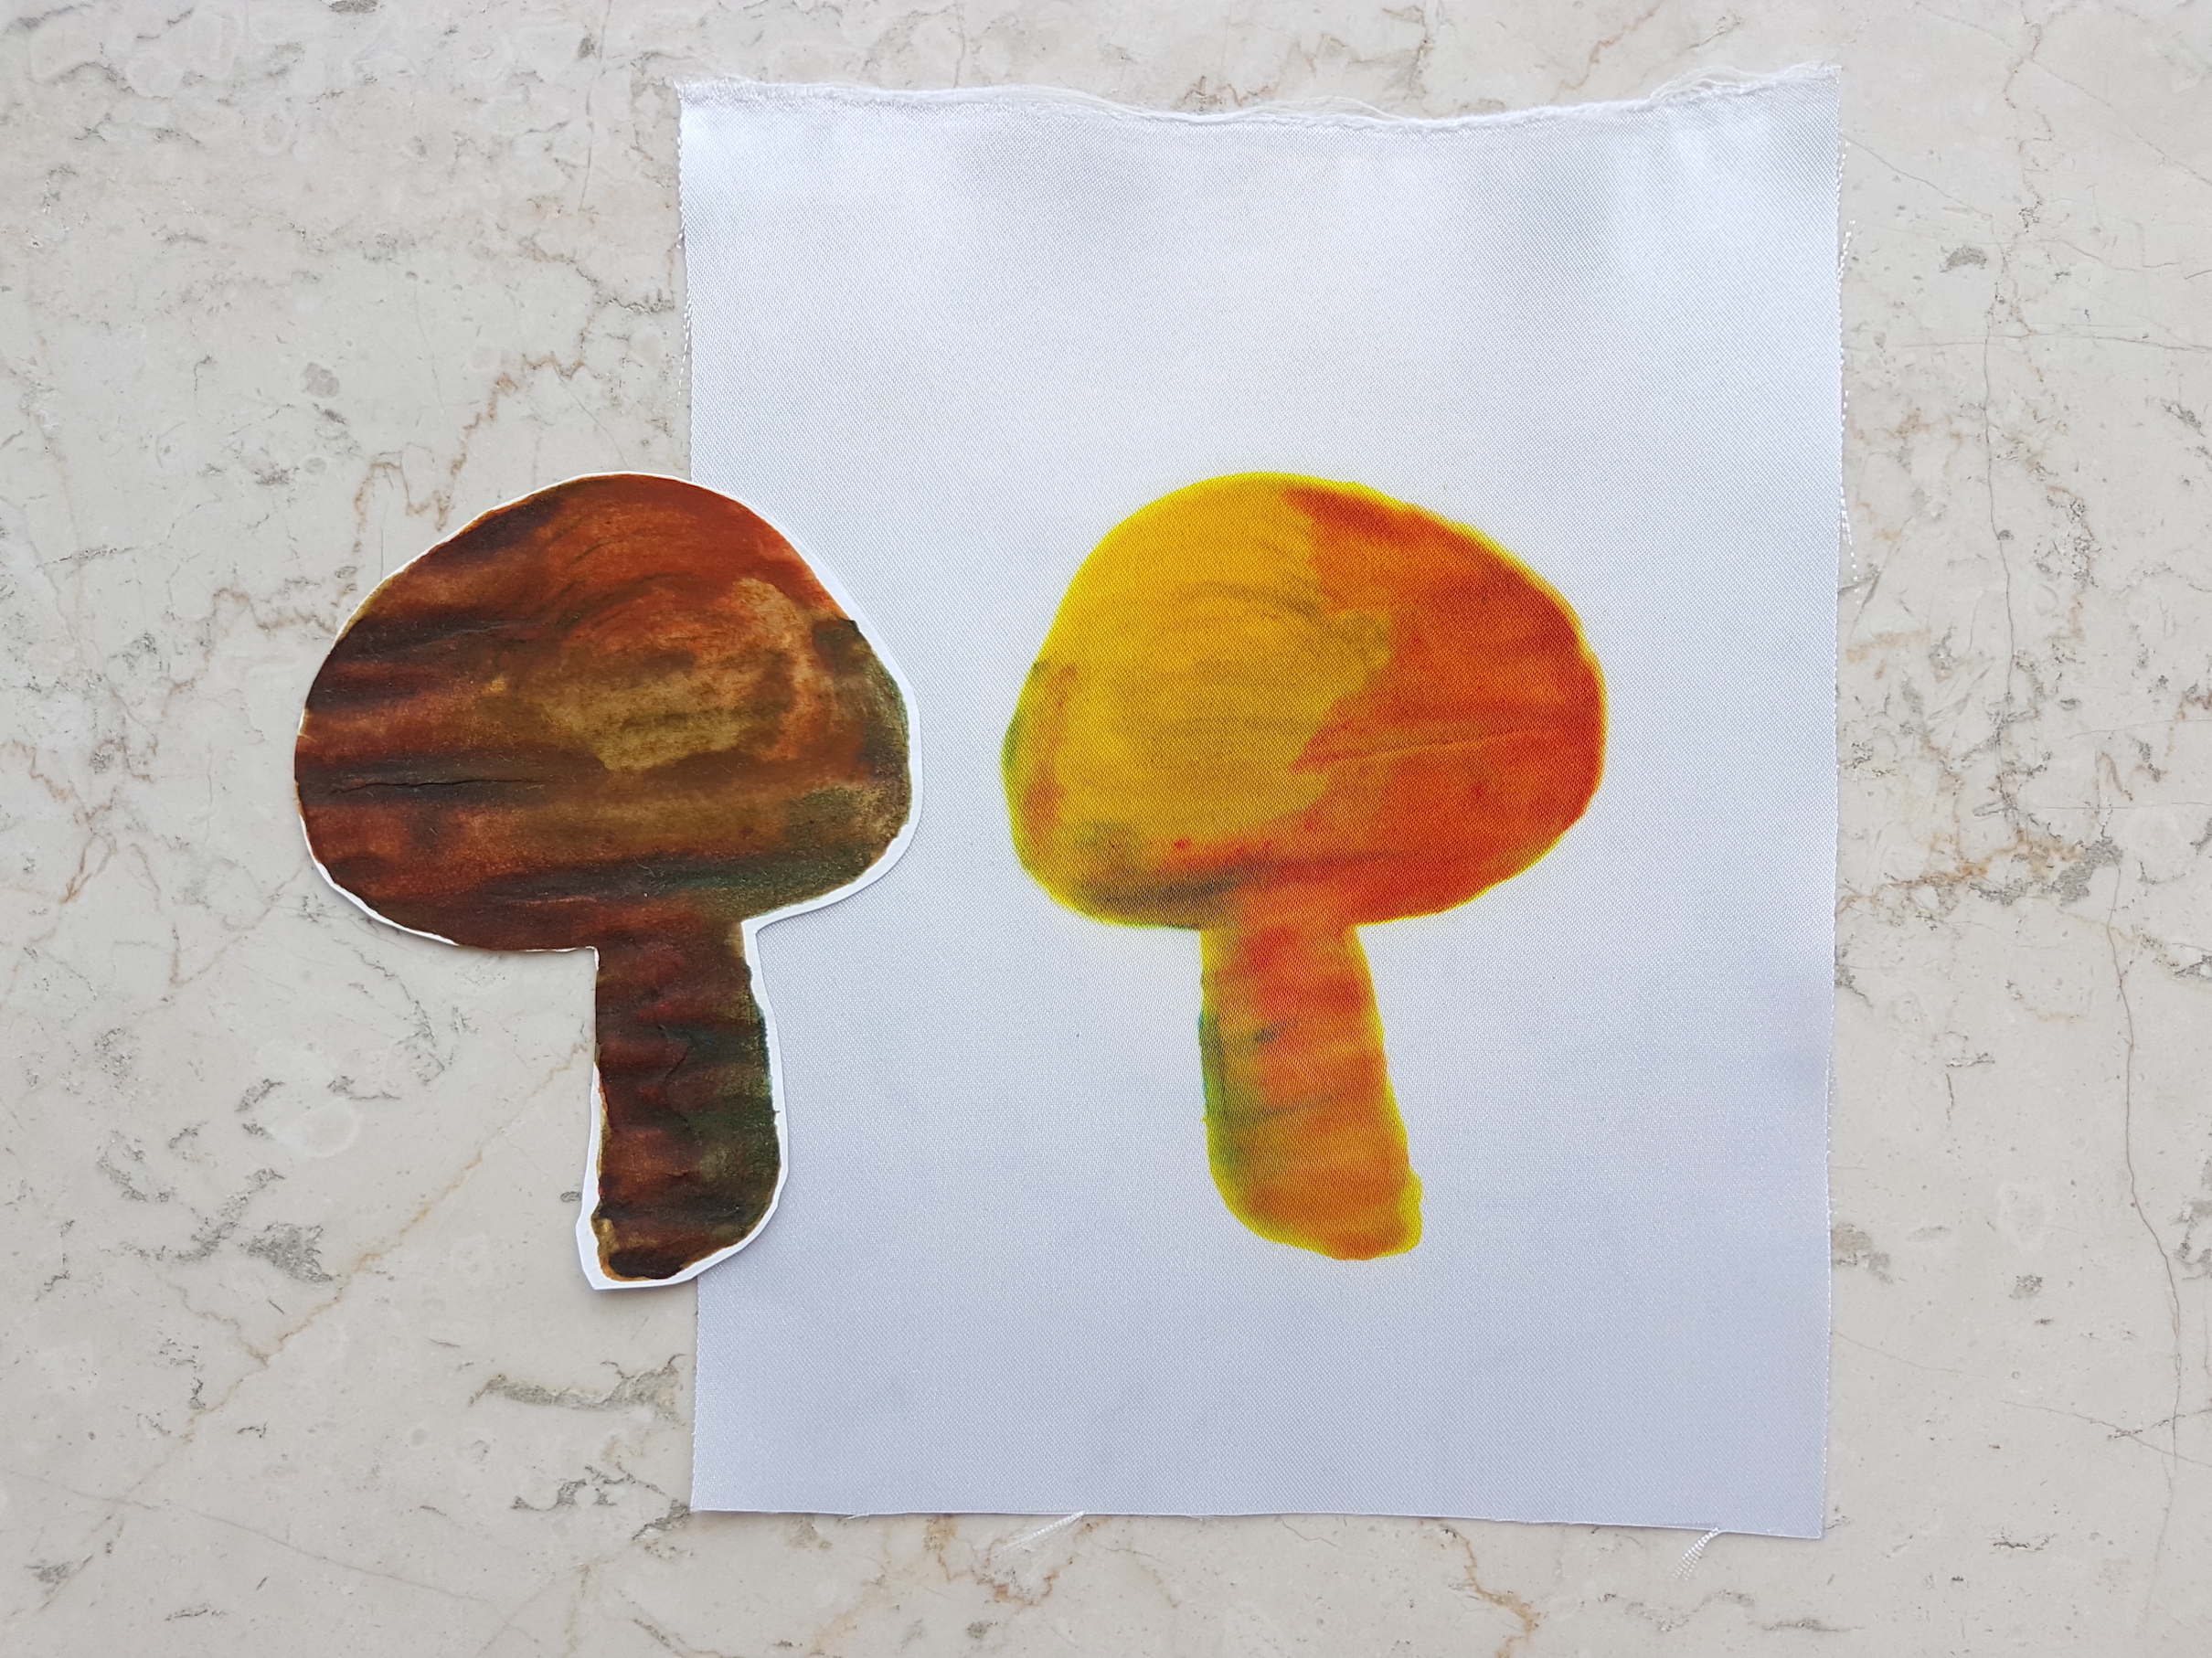
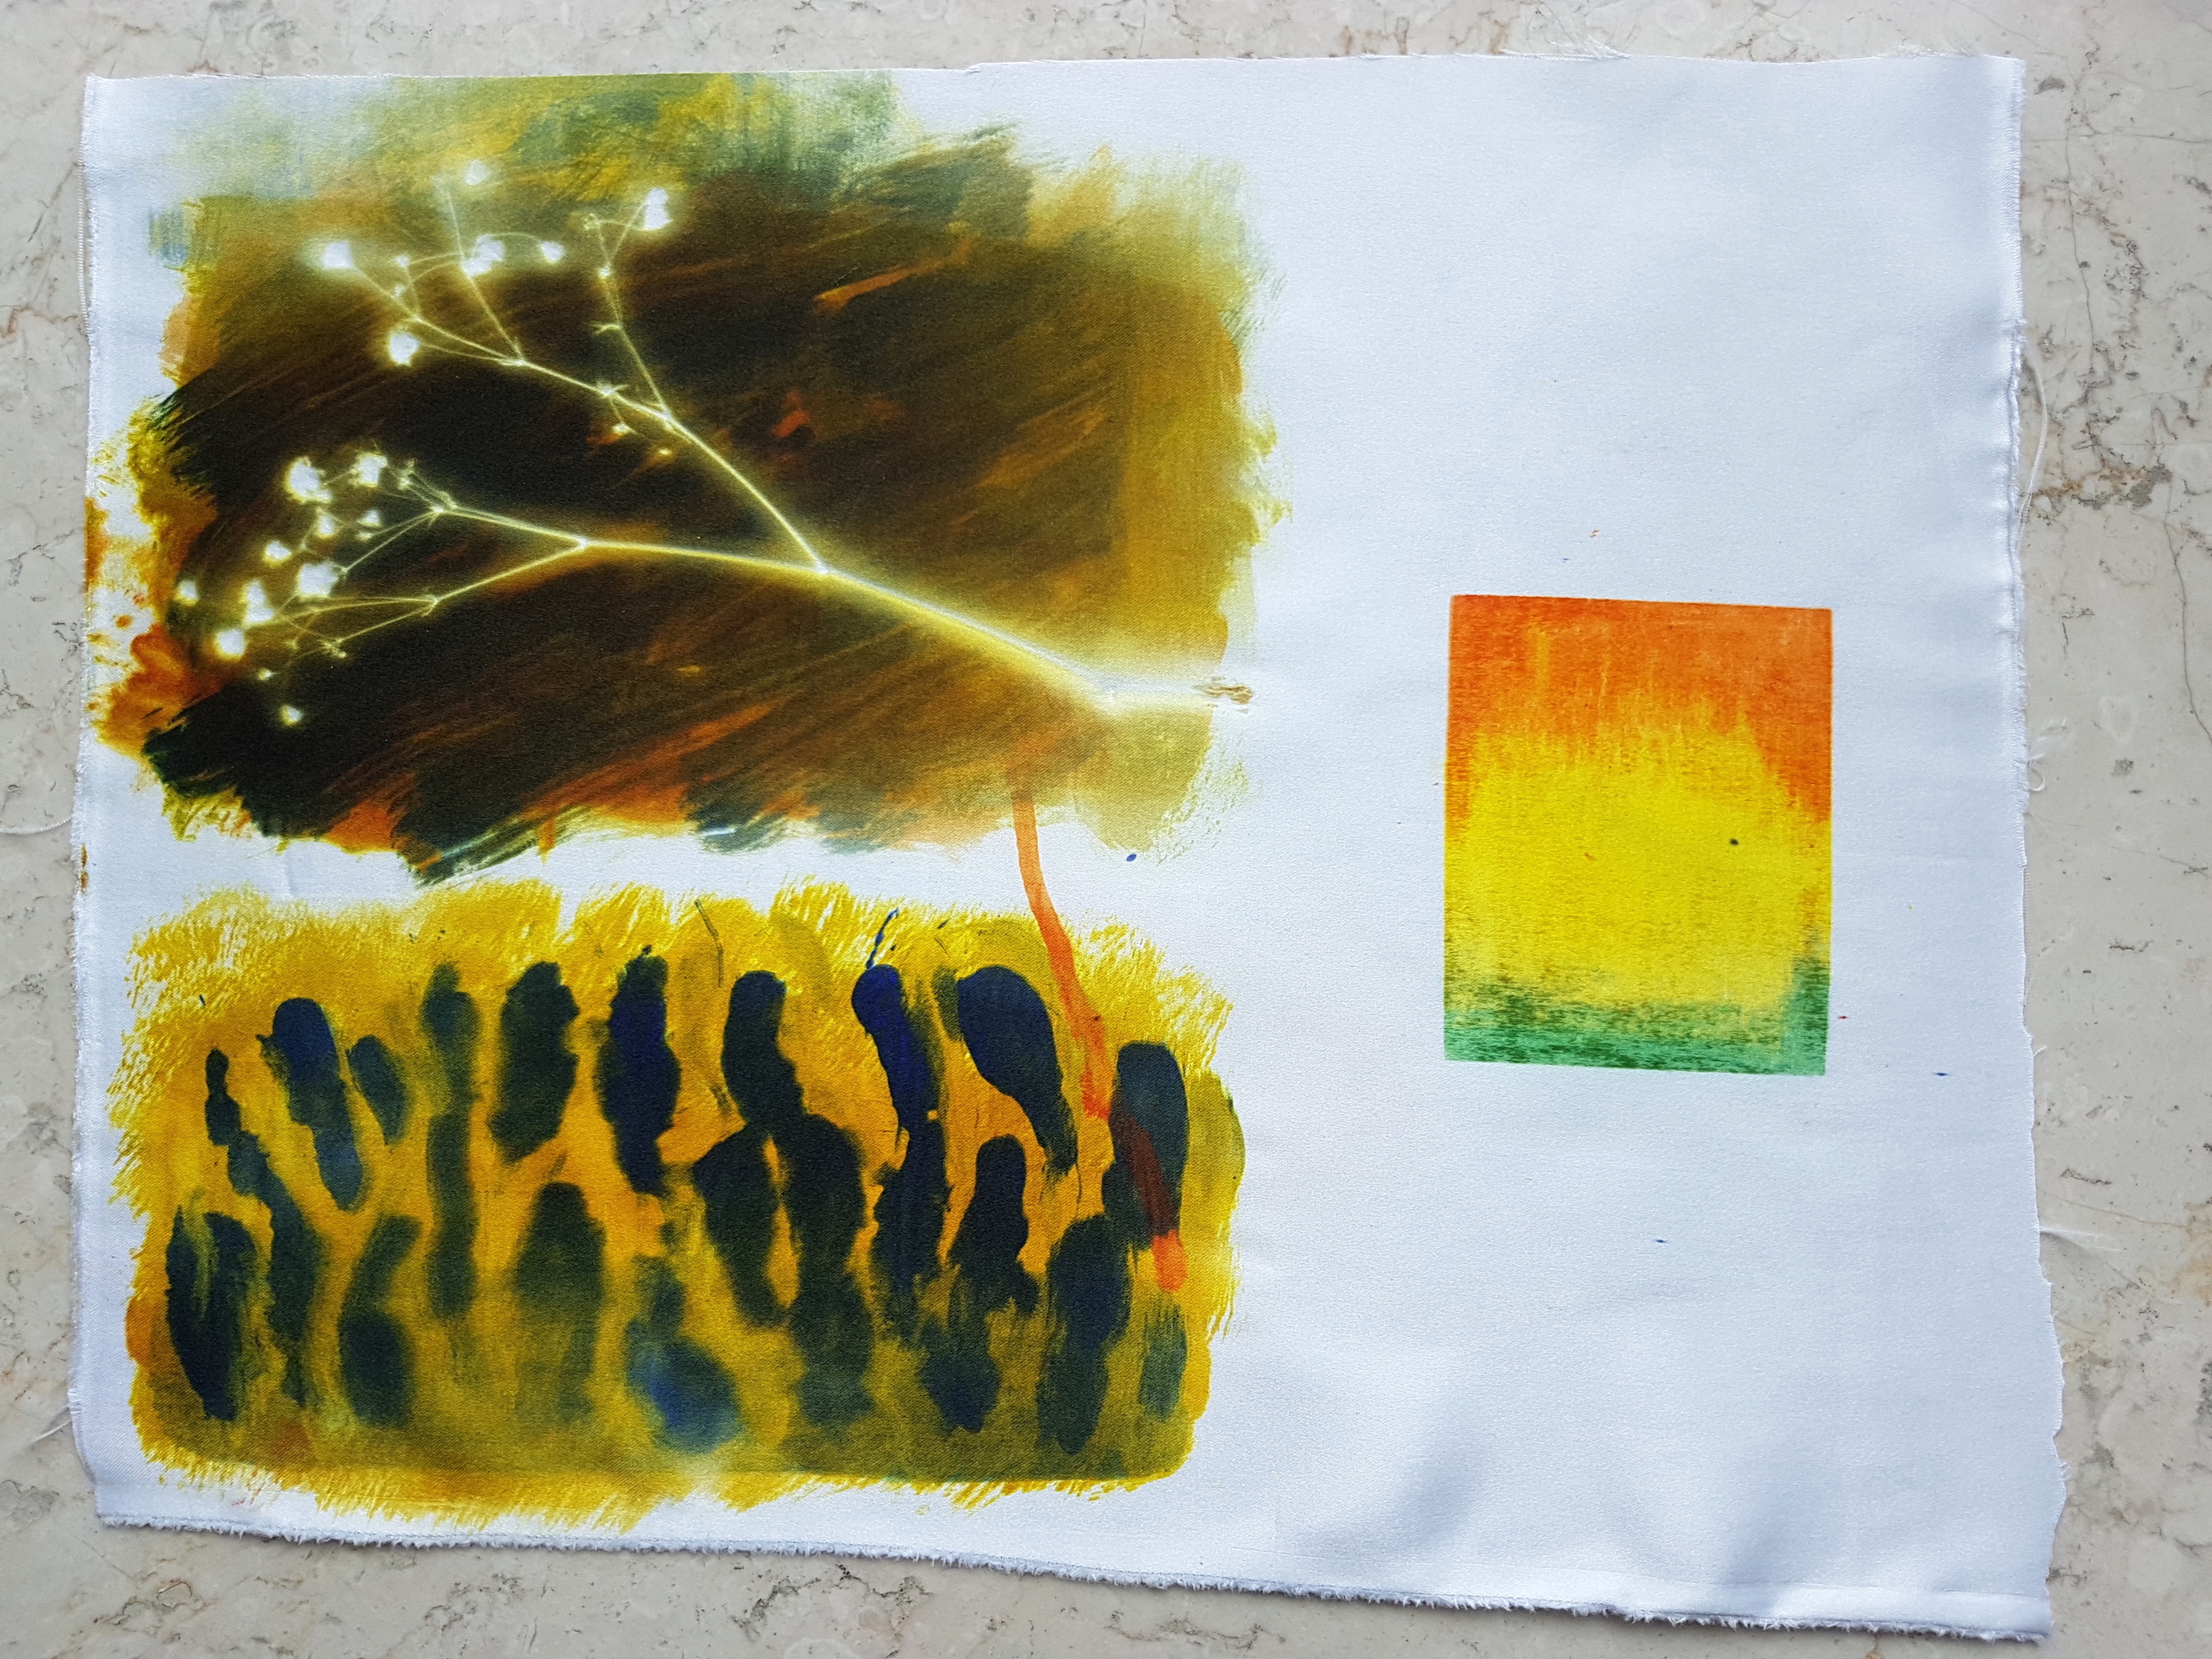
For this method, we paint the designs onto paper and transfer them onto satin polyester using heat. The colours produced are very vibrant and beautiful. However, a drawback is that the paints on paper look very different from the end result so it can be slightly unpredictable. Although the heating process requires more time than the crayons, it produces very saturated colours.
Direct printing. Technocolour mushroomTop: painted ink on paper before printing. Bottom: result
Indirect Printing
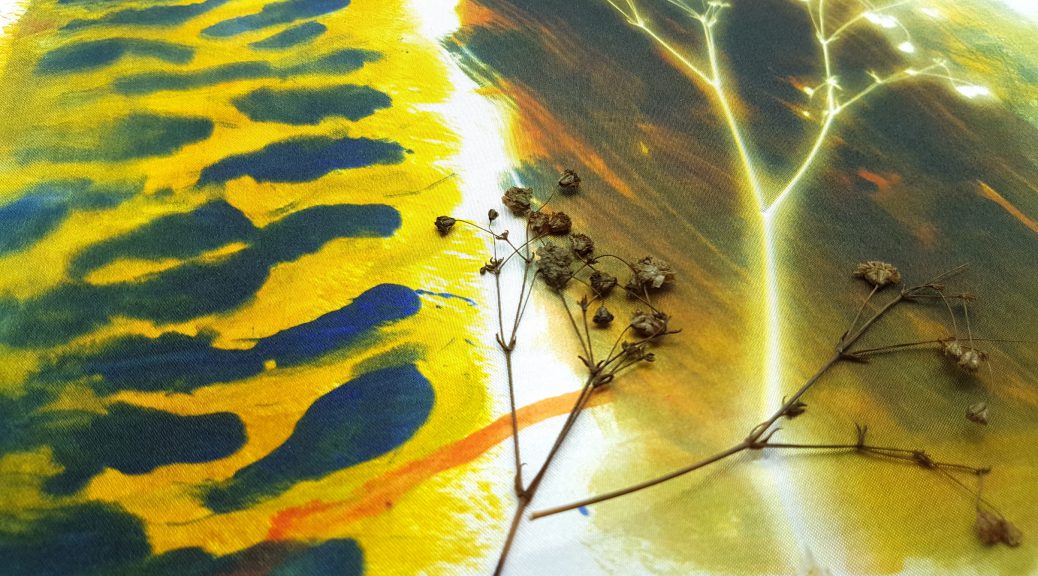
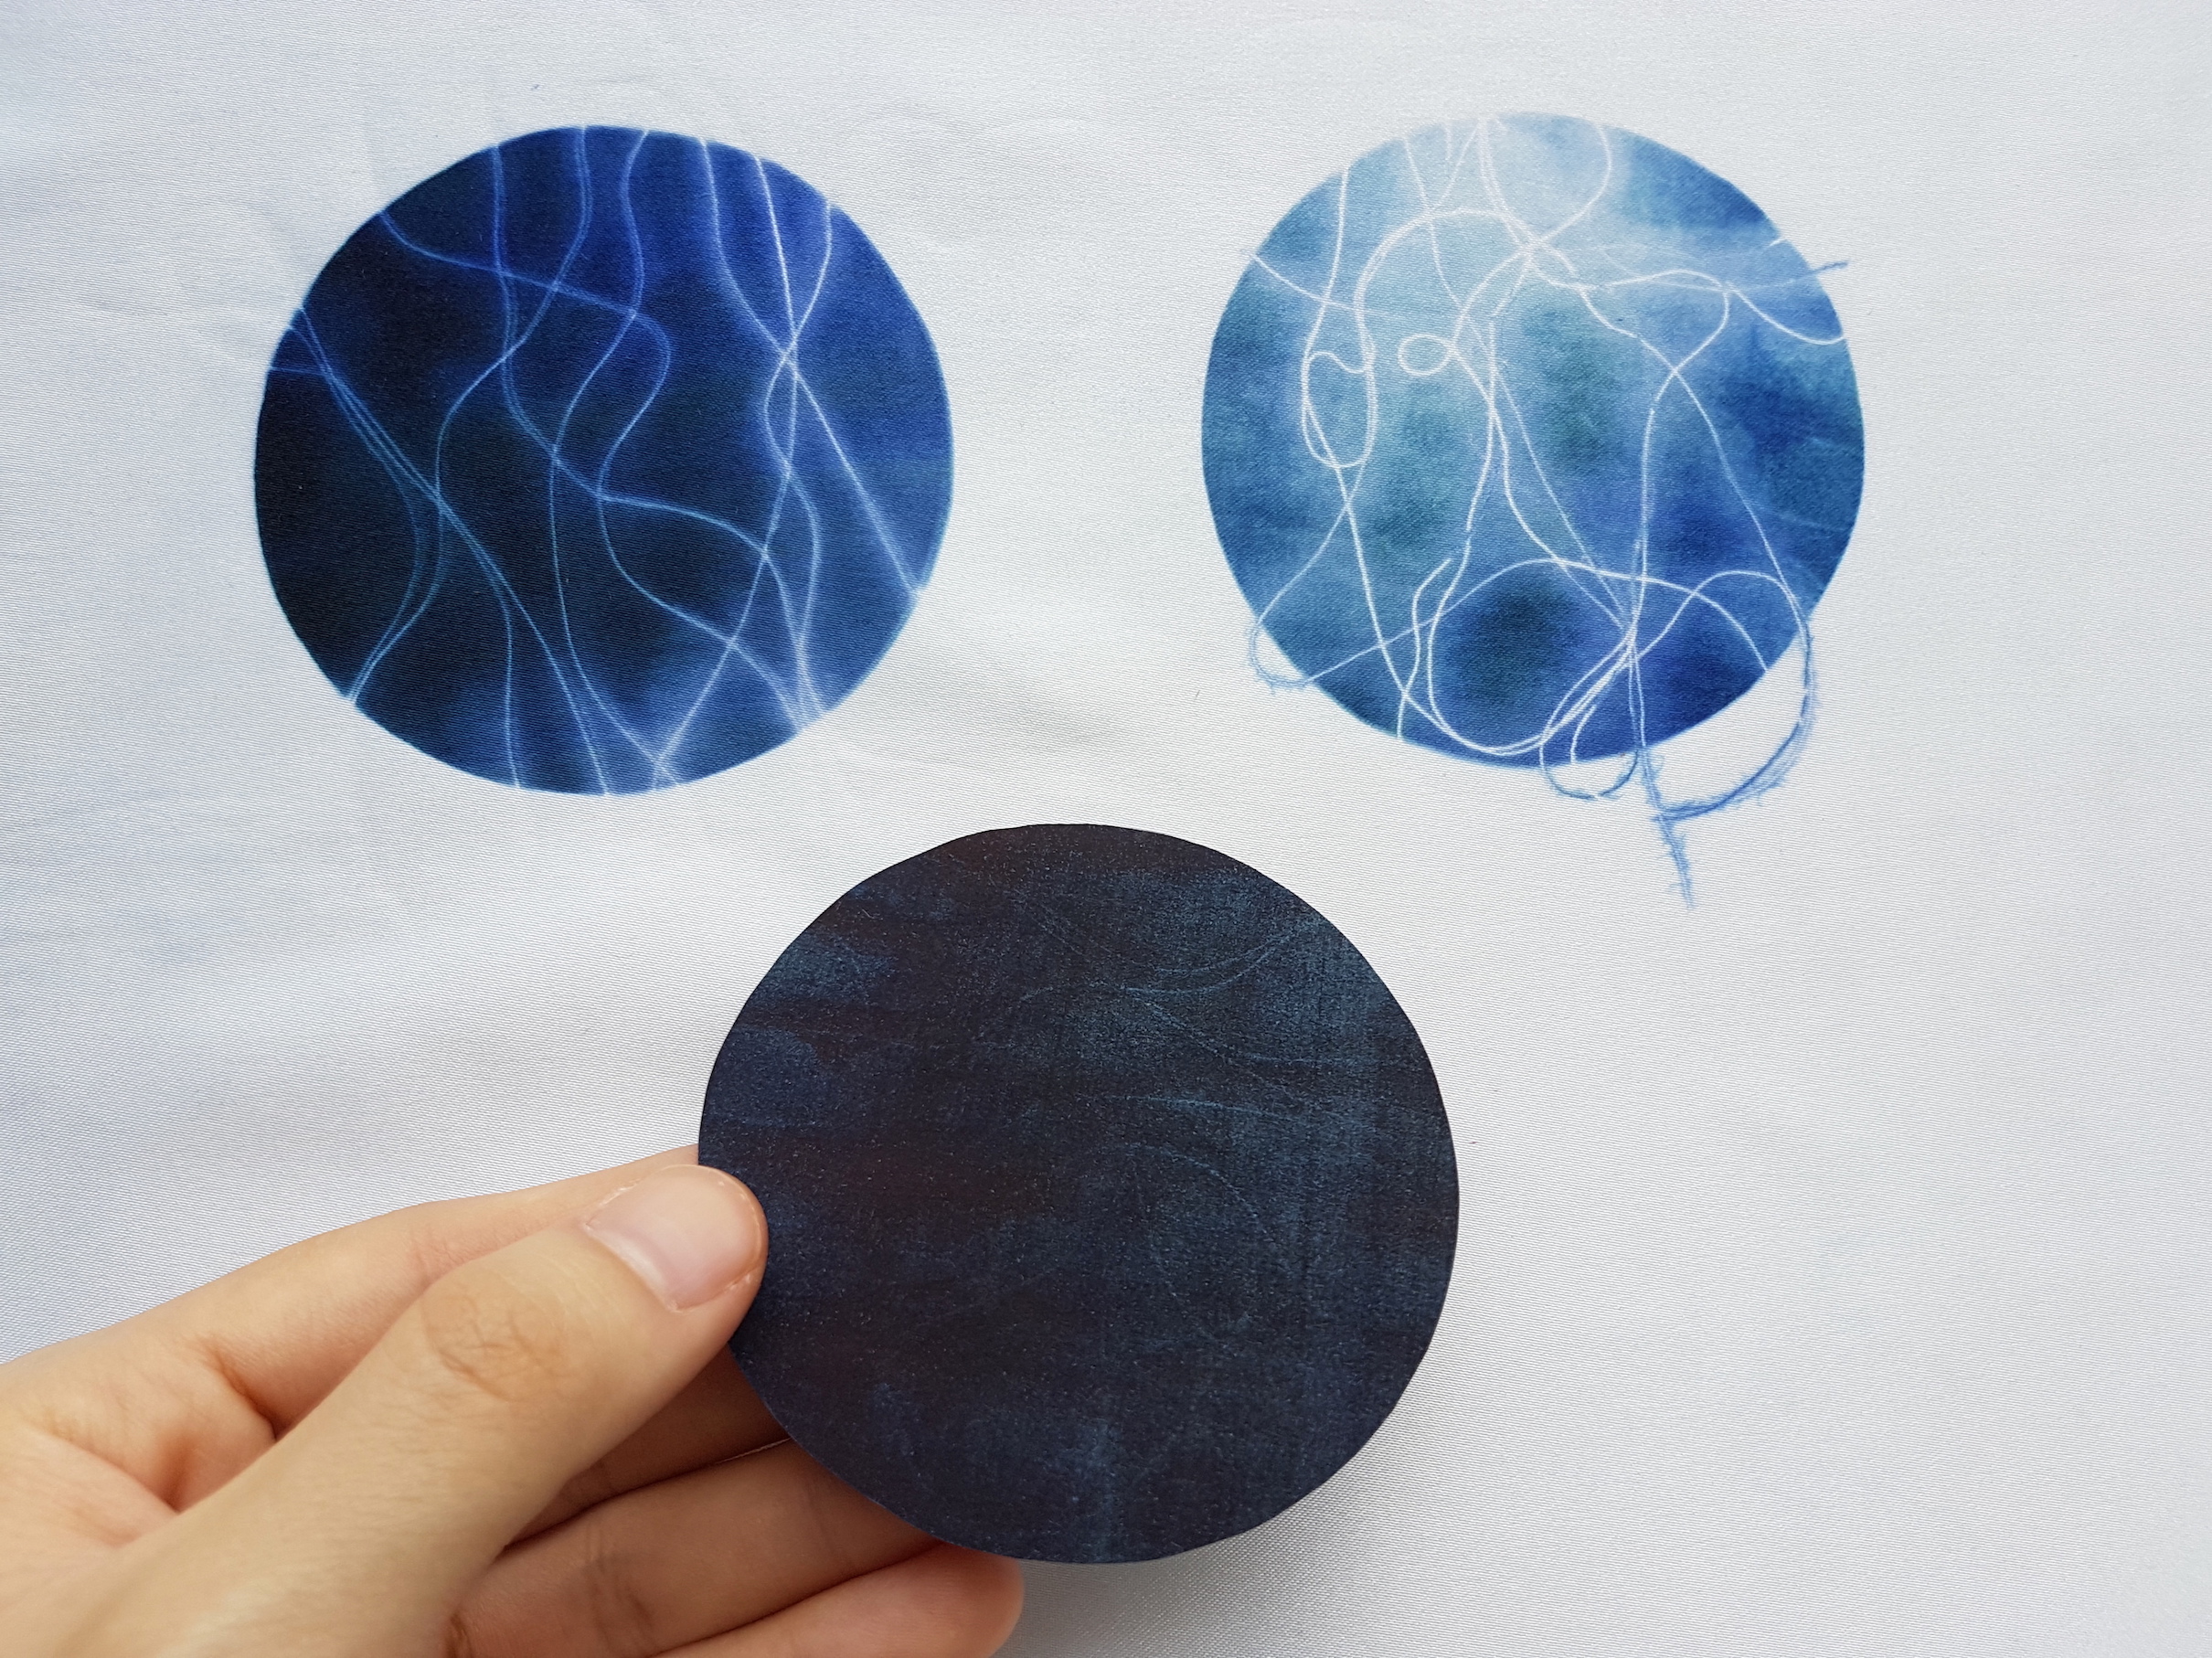
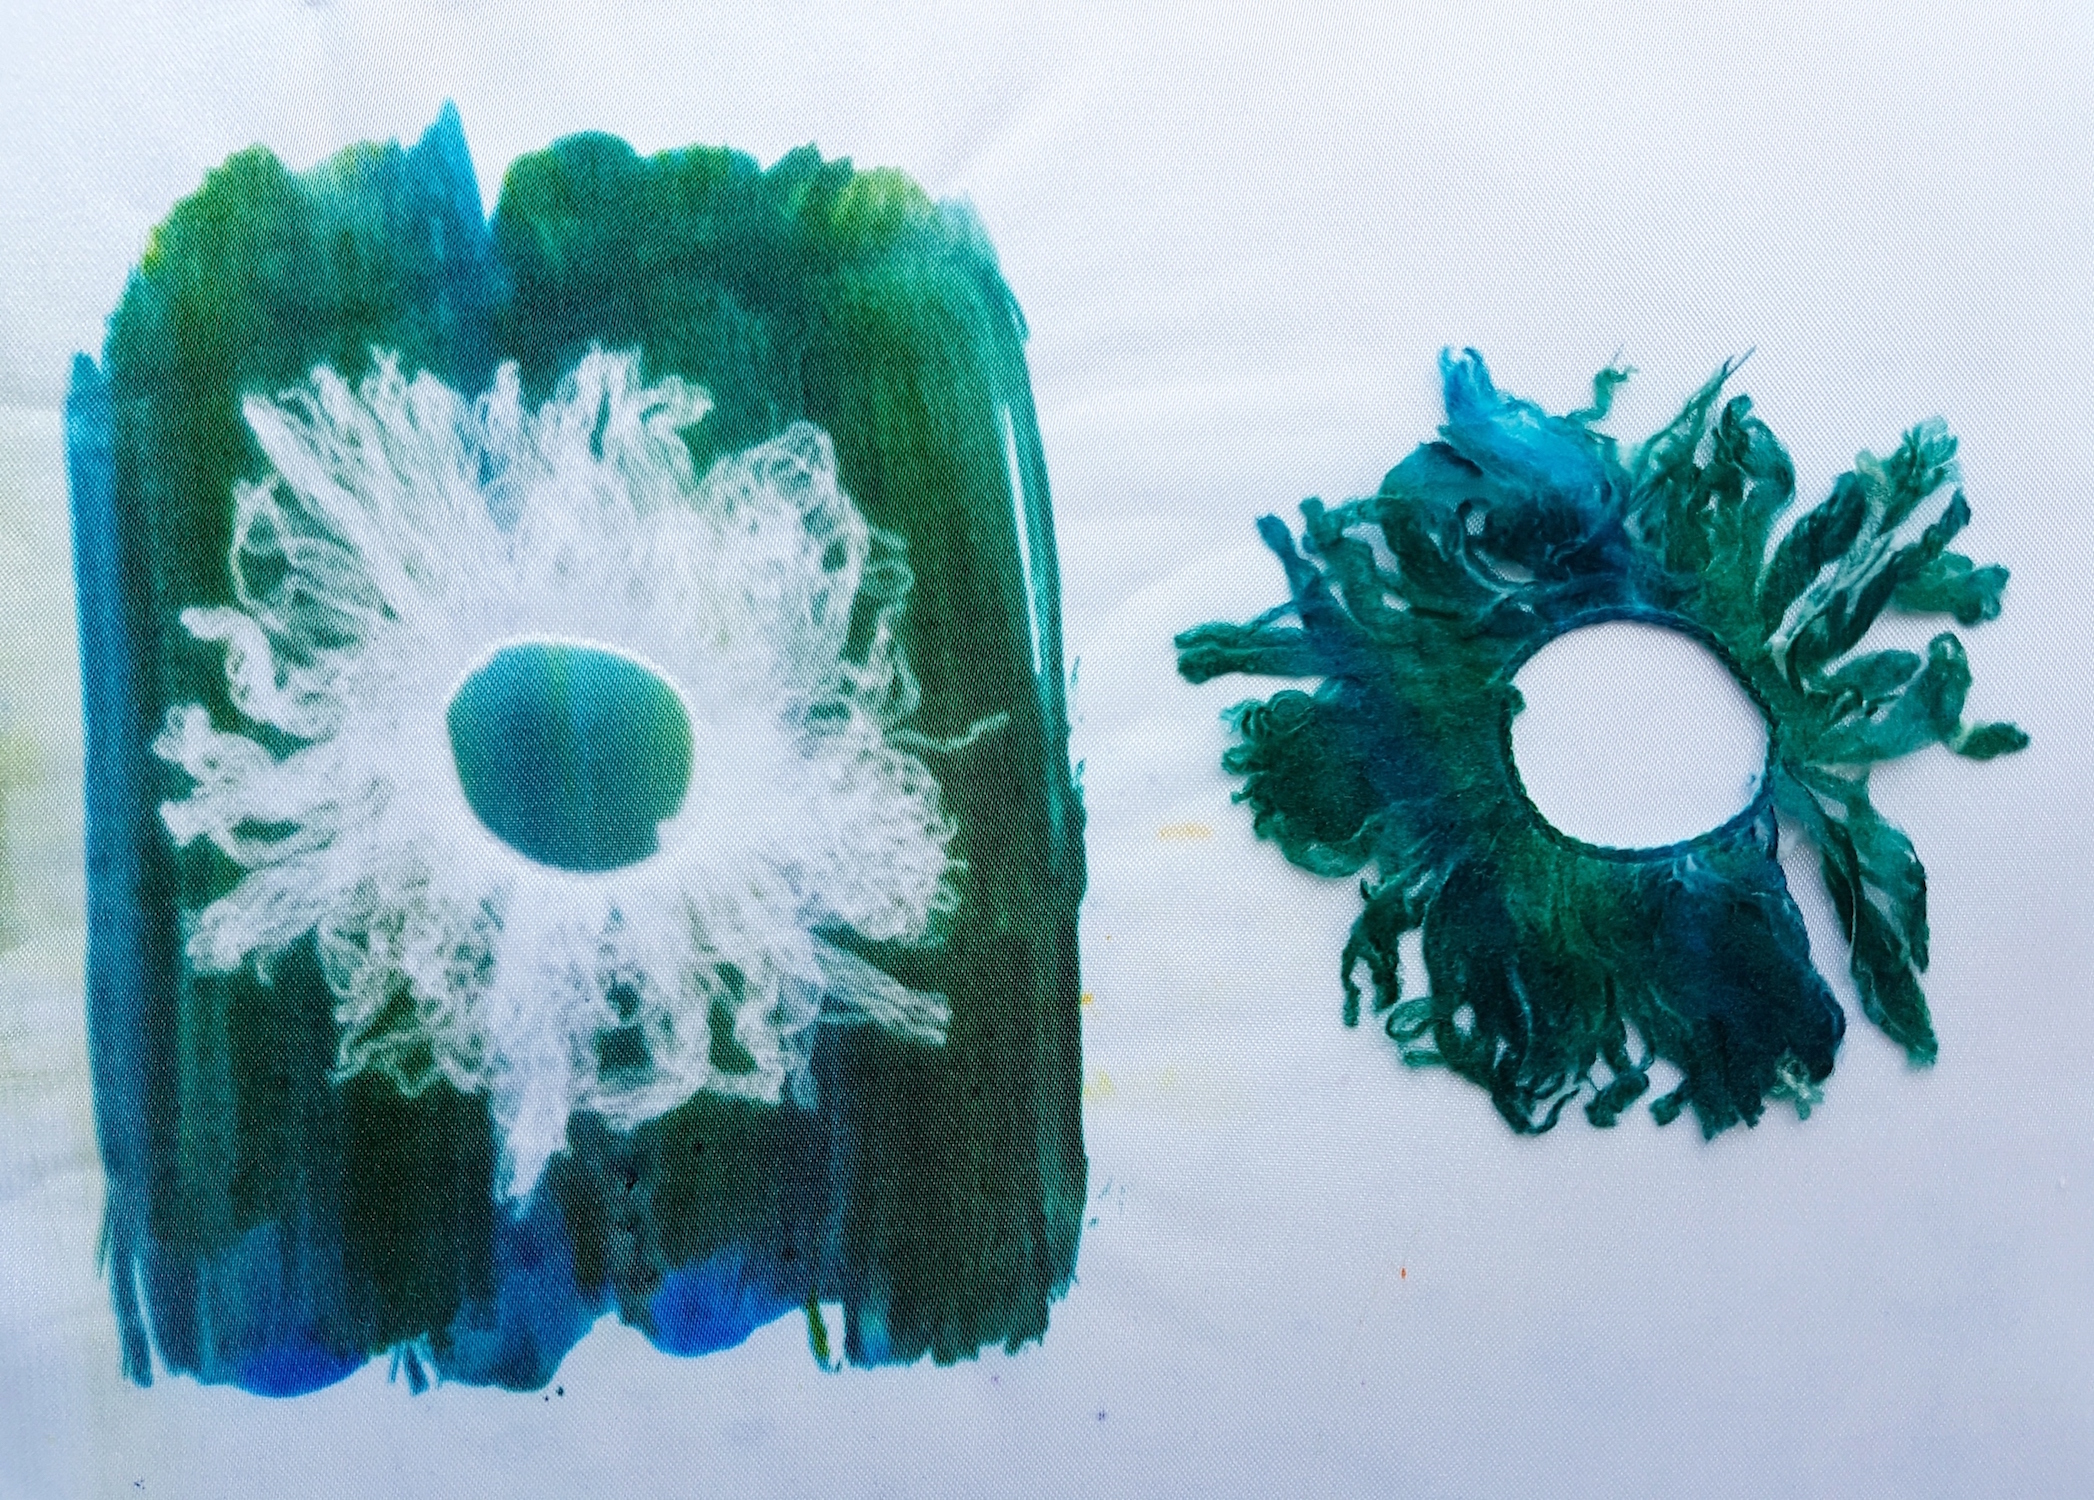
Printing with objects in between the paint and the print surface. The flat objects (thread, flowers, yarn, feathers etc.) block out the ink and mark their shape onto the print.
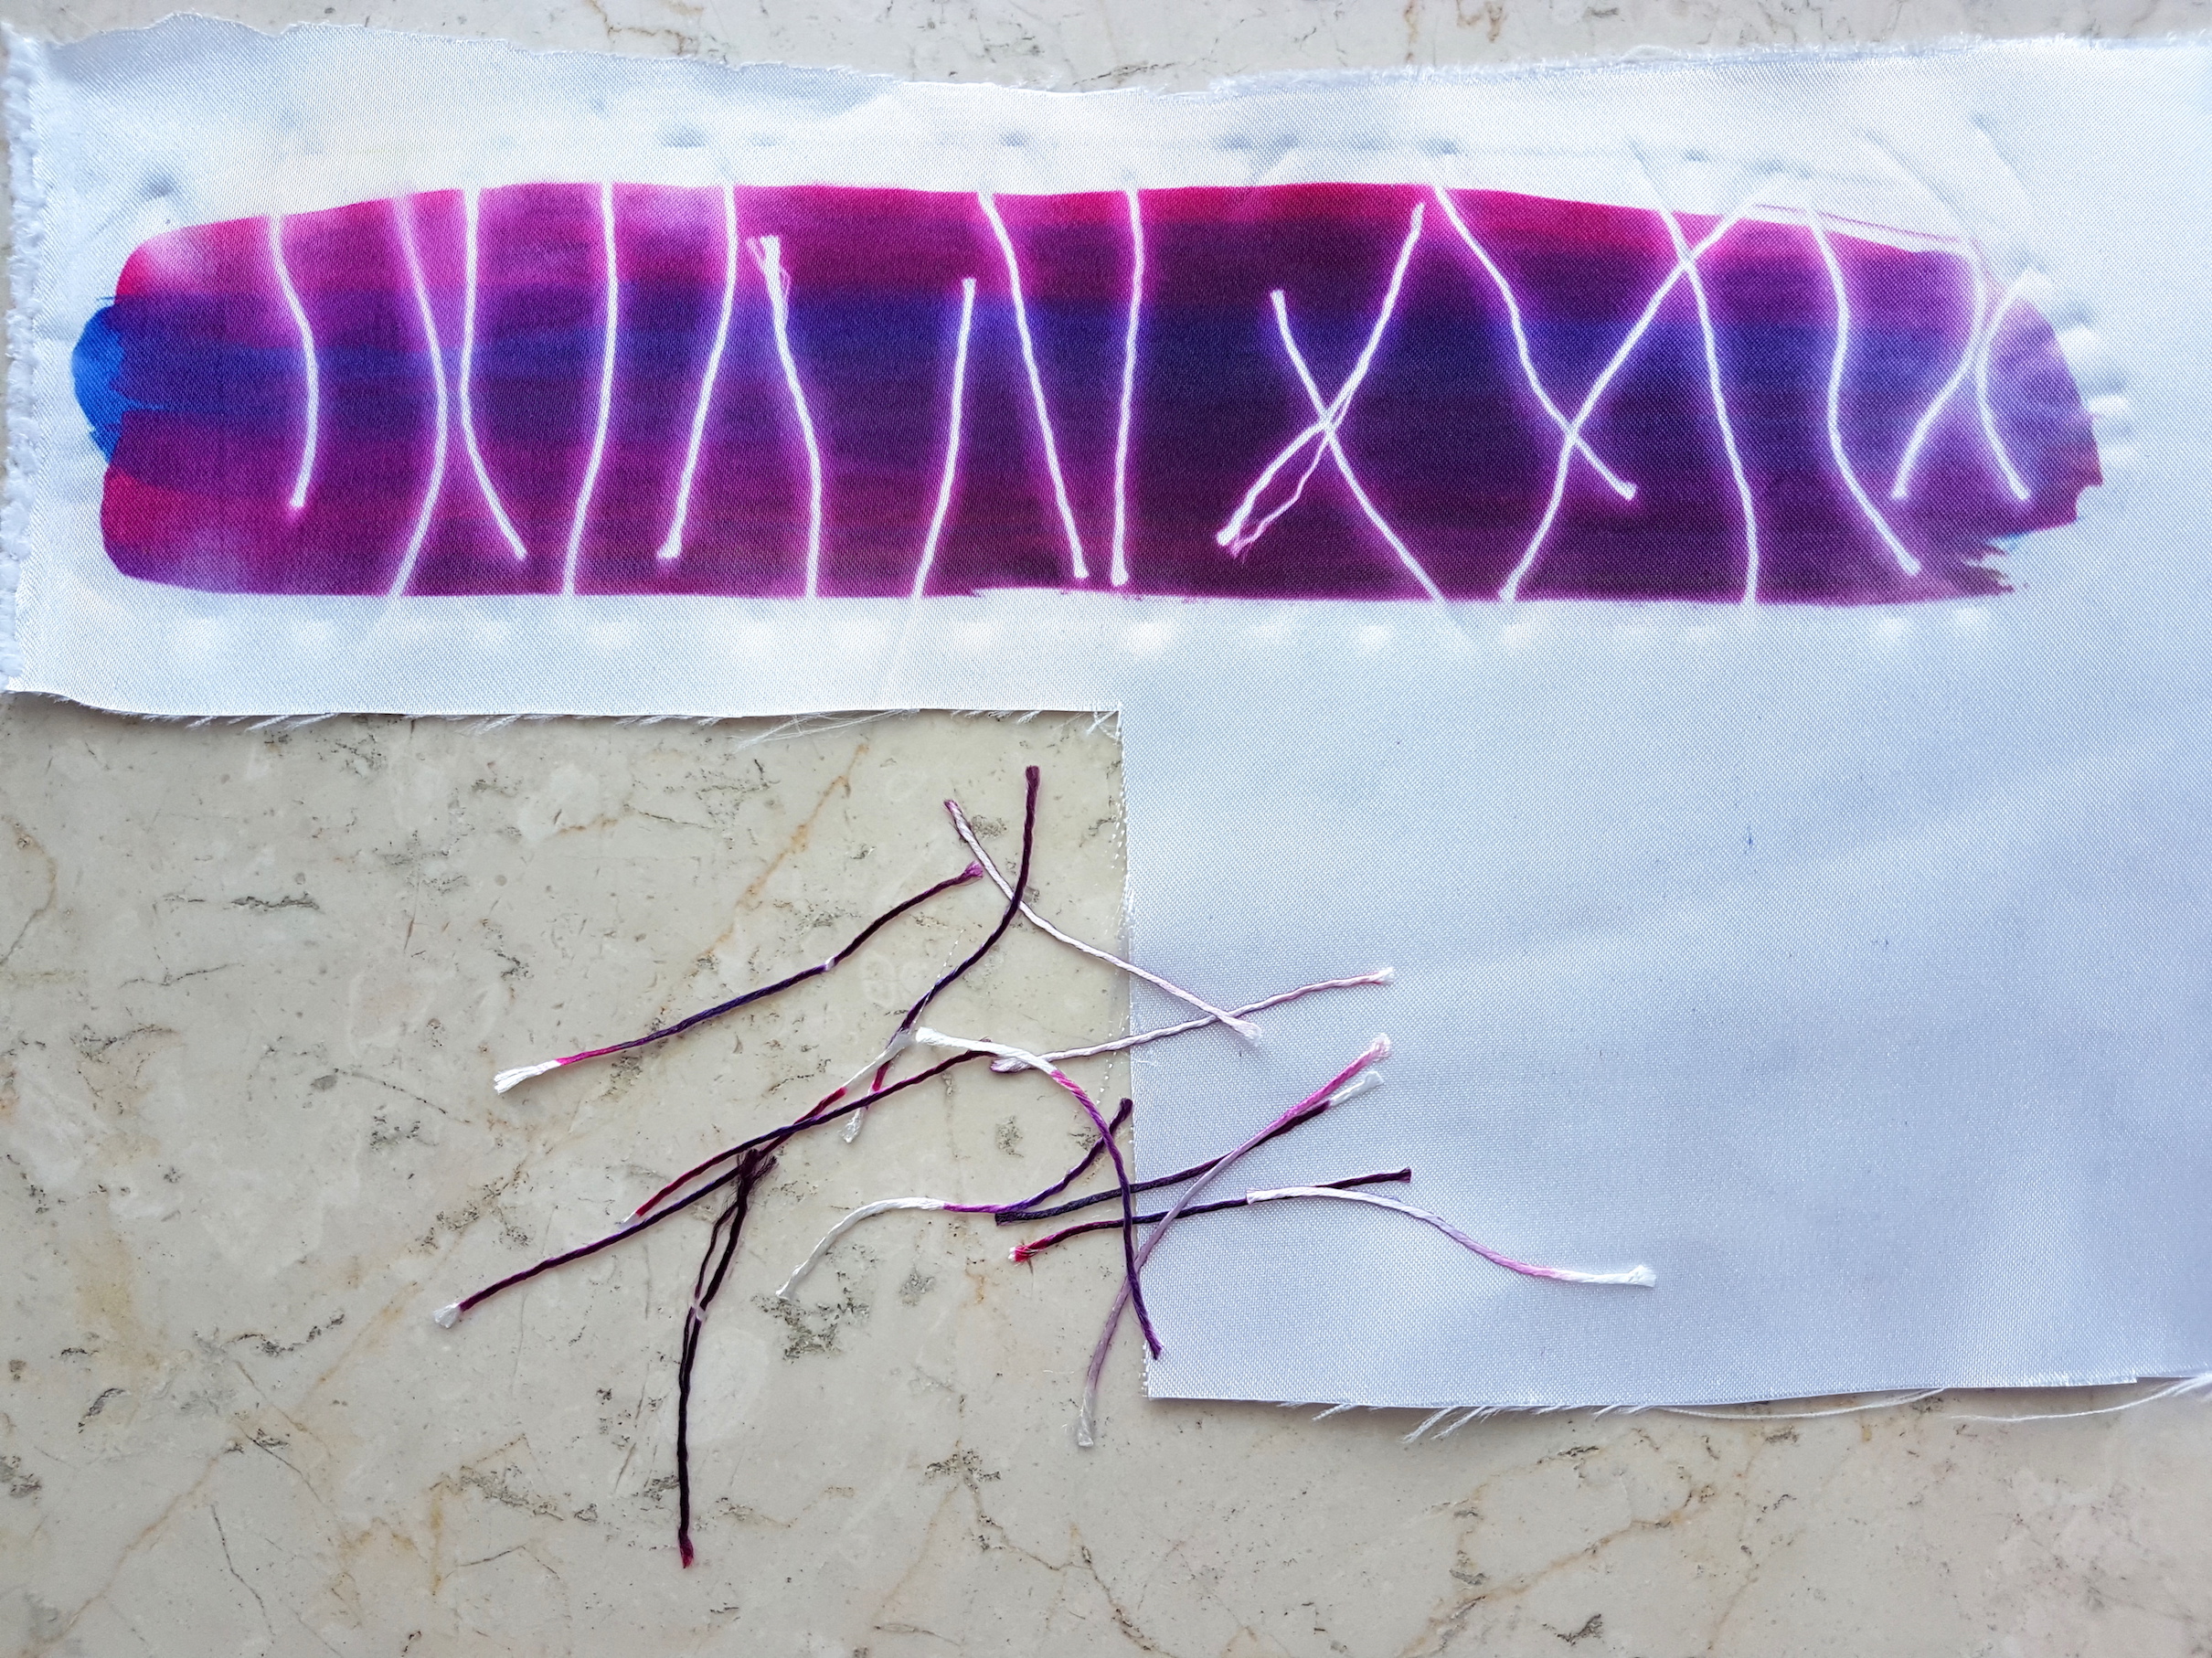
Printing with ink and thread
As seen above, prints can be used more than once. The second print (right) produces a lighter, more ephemeral effect. Applying heat for a longer time produces a more intense colour outcome. Inks can also be mixed and overlaid to create interesting blends and effects.
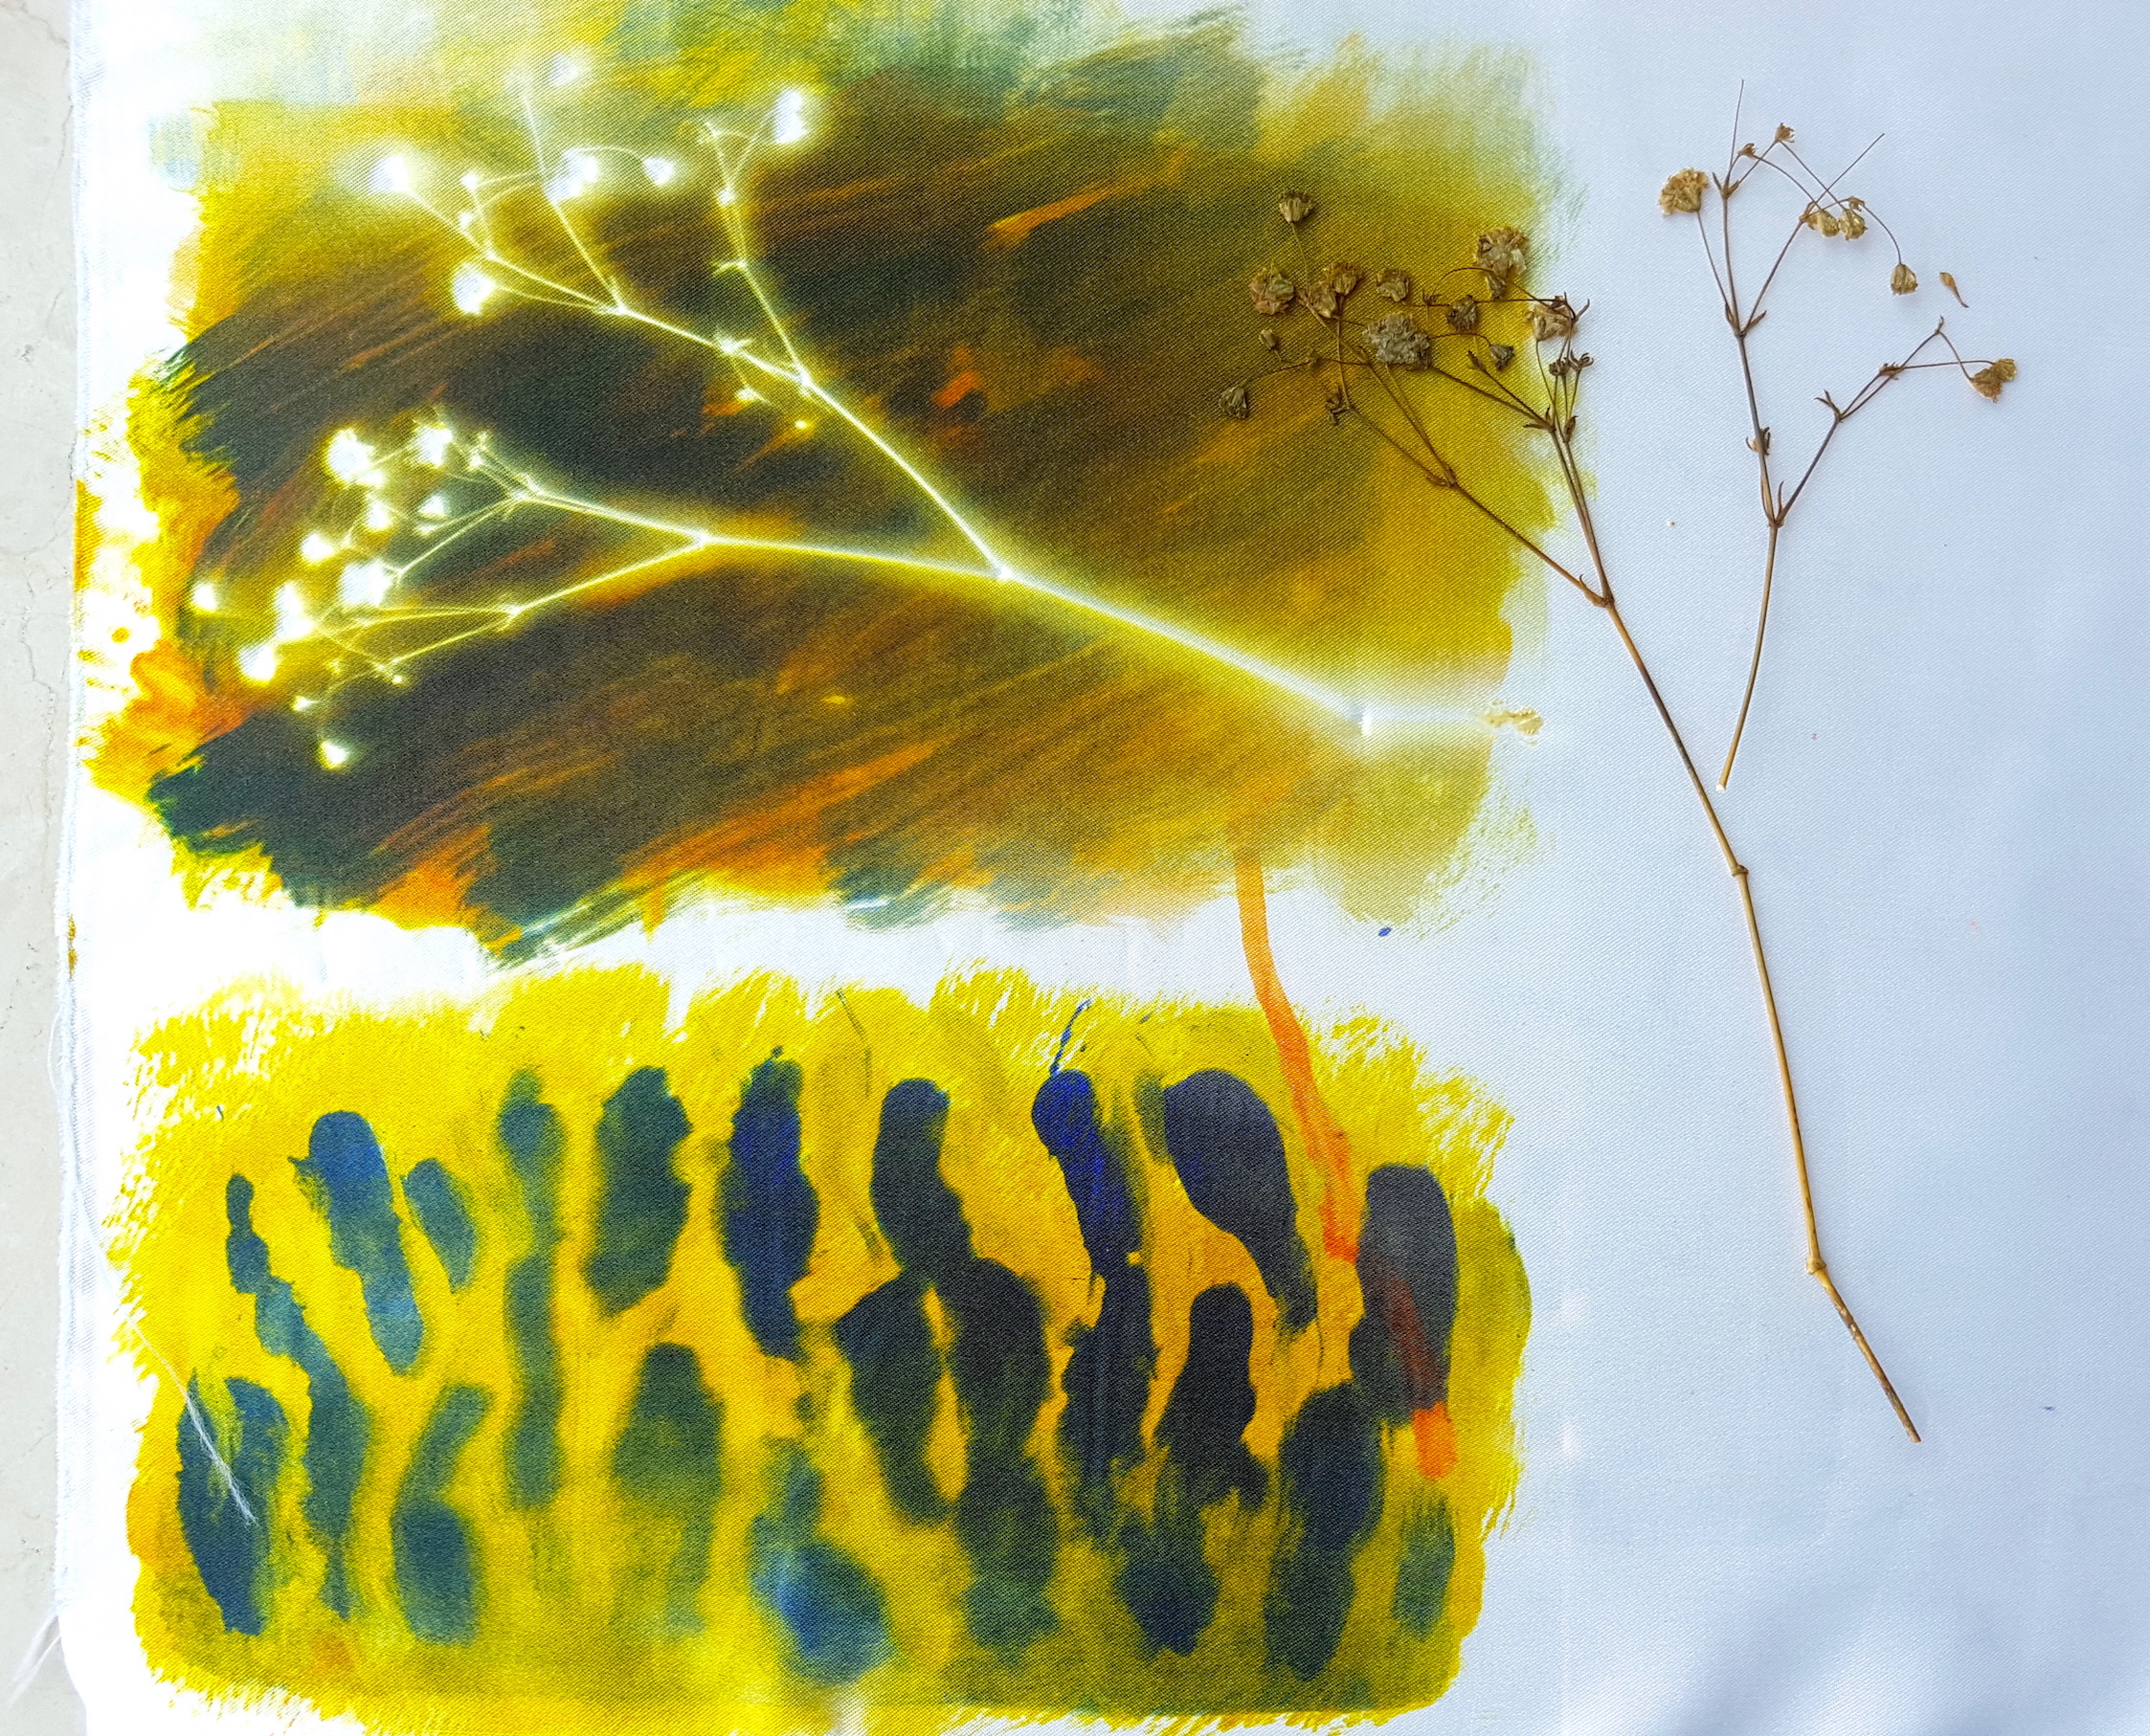
Printing with ink and threadPrinting with flowersRight: Gradient made using fabric crayons
Different inks can be overlaid to create denser patterns (top). I like how the ink can be applied in a very raw manner and preserves the brushstrokes.
Especially for thicker objects like flowers, we need to apply more pressure to the iron to get a clear shape of the object. When I first printed the flowers, the shape was quite indistinct so I went over again with more pressure to get crisper lines.