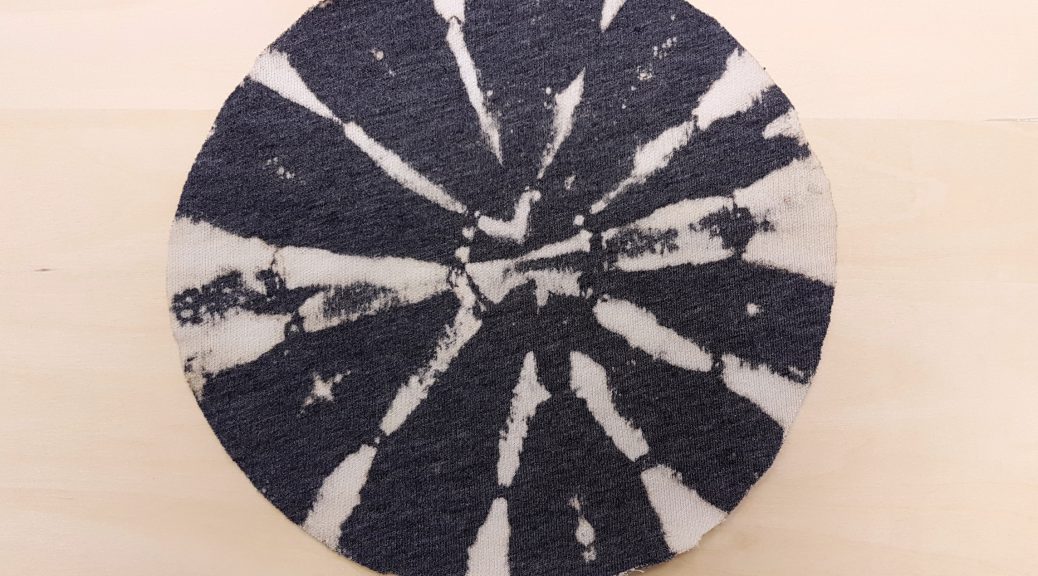
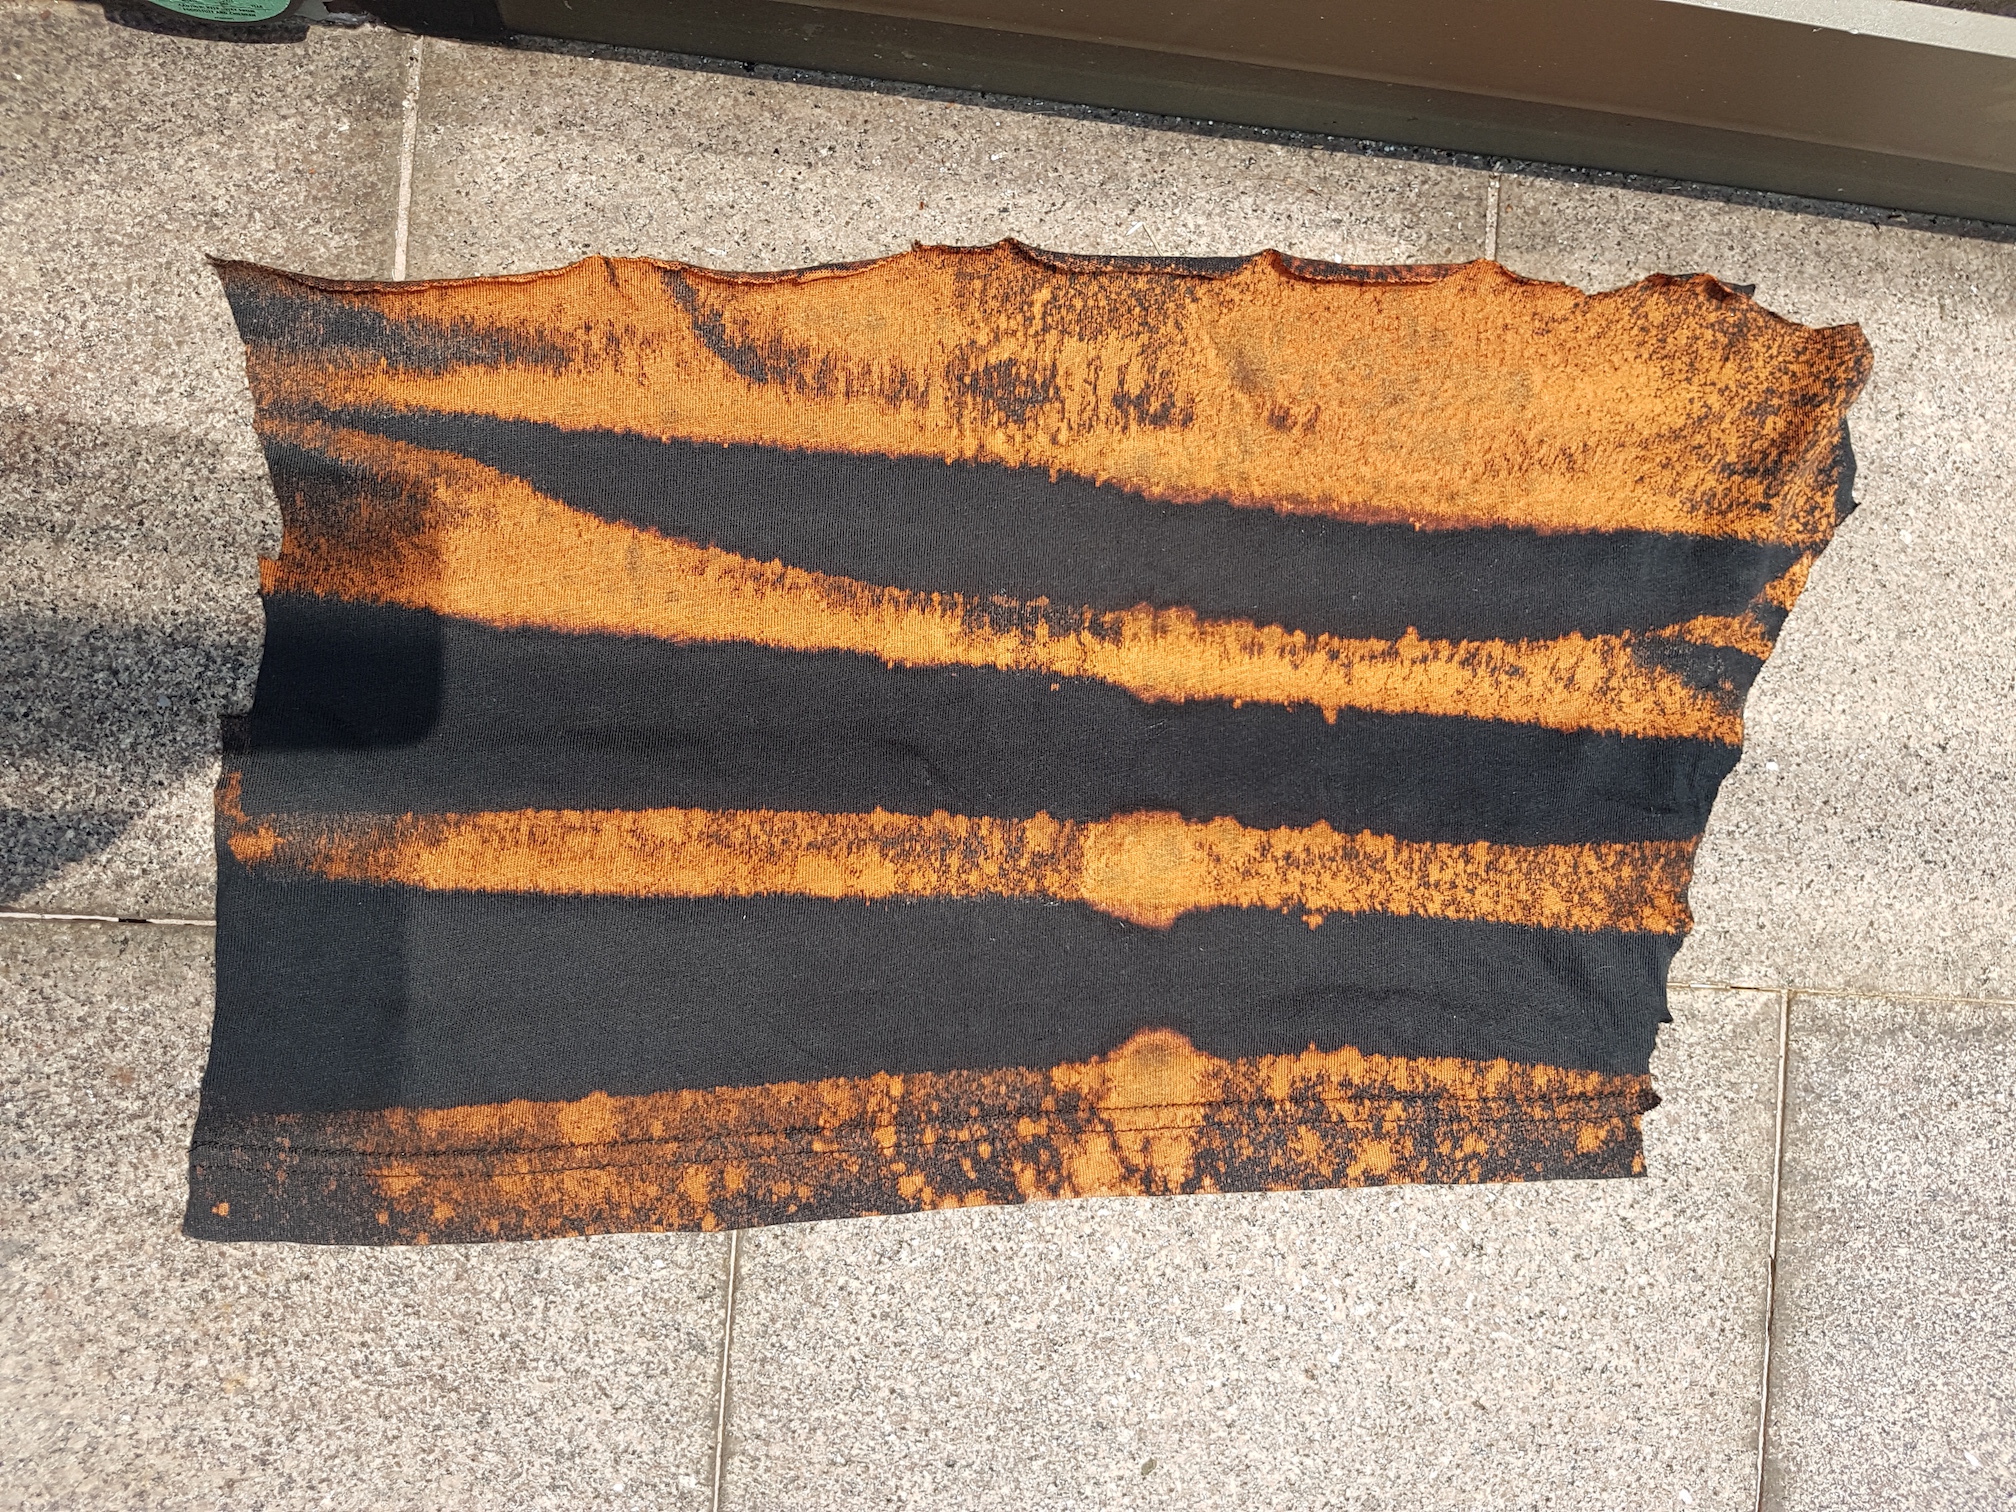
Although bleaching fabrics is one of the simplest techniques, it is one of my favourites so far as the results are always unexpected depending on the dye the manufacturer used. I enjoy this aspect of open-endedness and the unexpected in the process of making. Furthermore, we can use recycled fabric scraps and give them a new lease of life by creating unique patterns!
I tried multiple rounds of bleaching as the first few materials I used (felt, poly-cotton blend) were not susceptible to the bleach! Despite leaving these samples drenched in bleach for hours out in the sun, they remained the same colour, allowing me to conclude that these fabrics are not affected by the bleach.
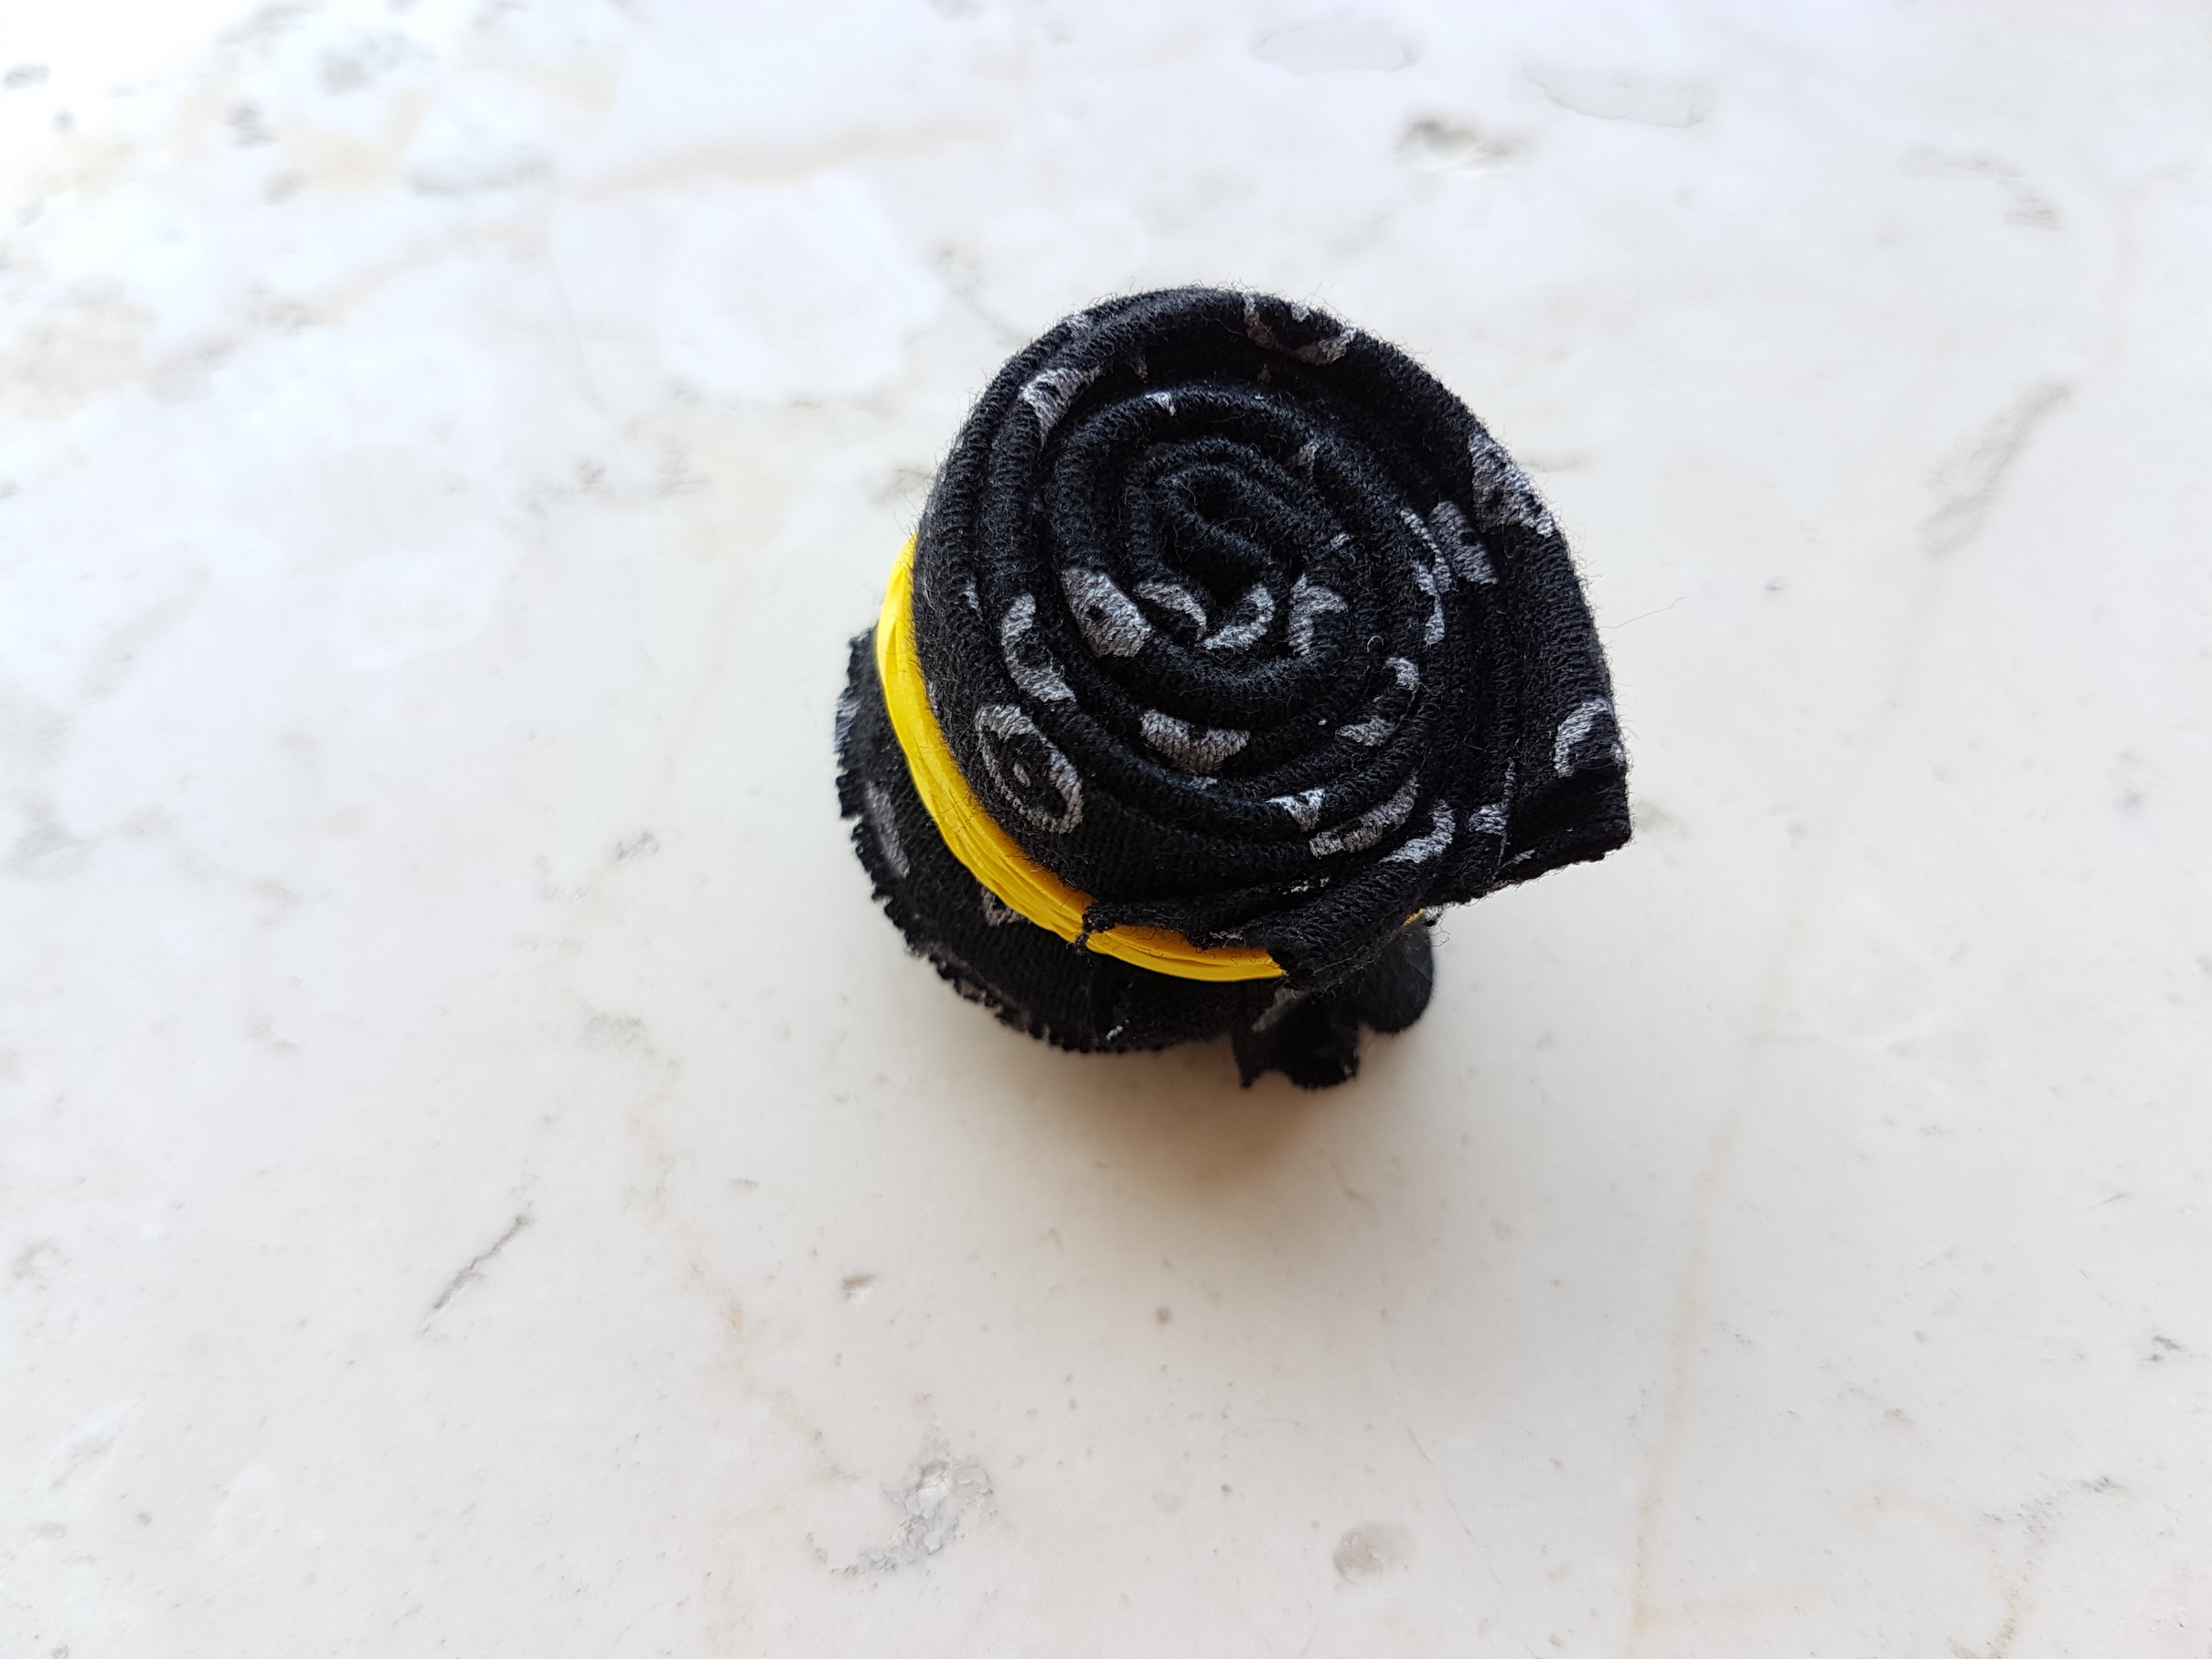
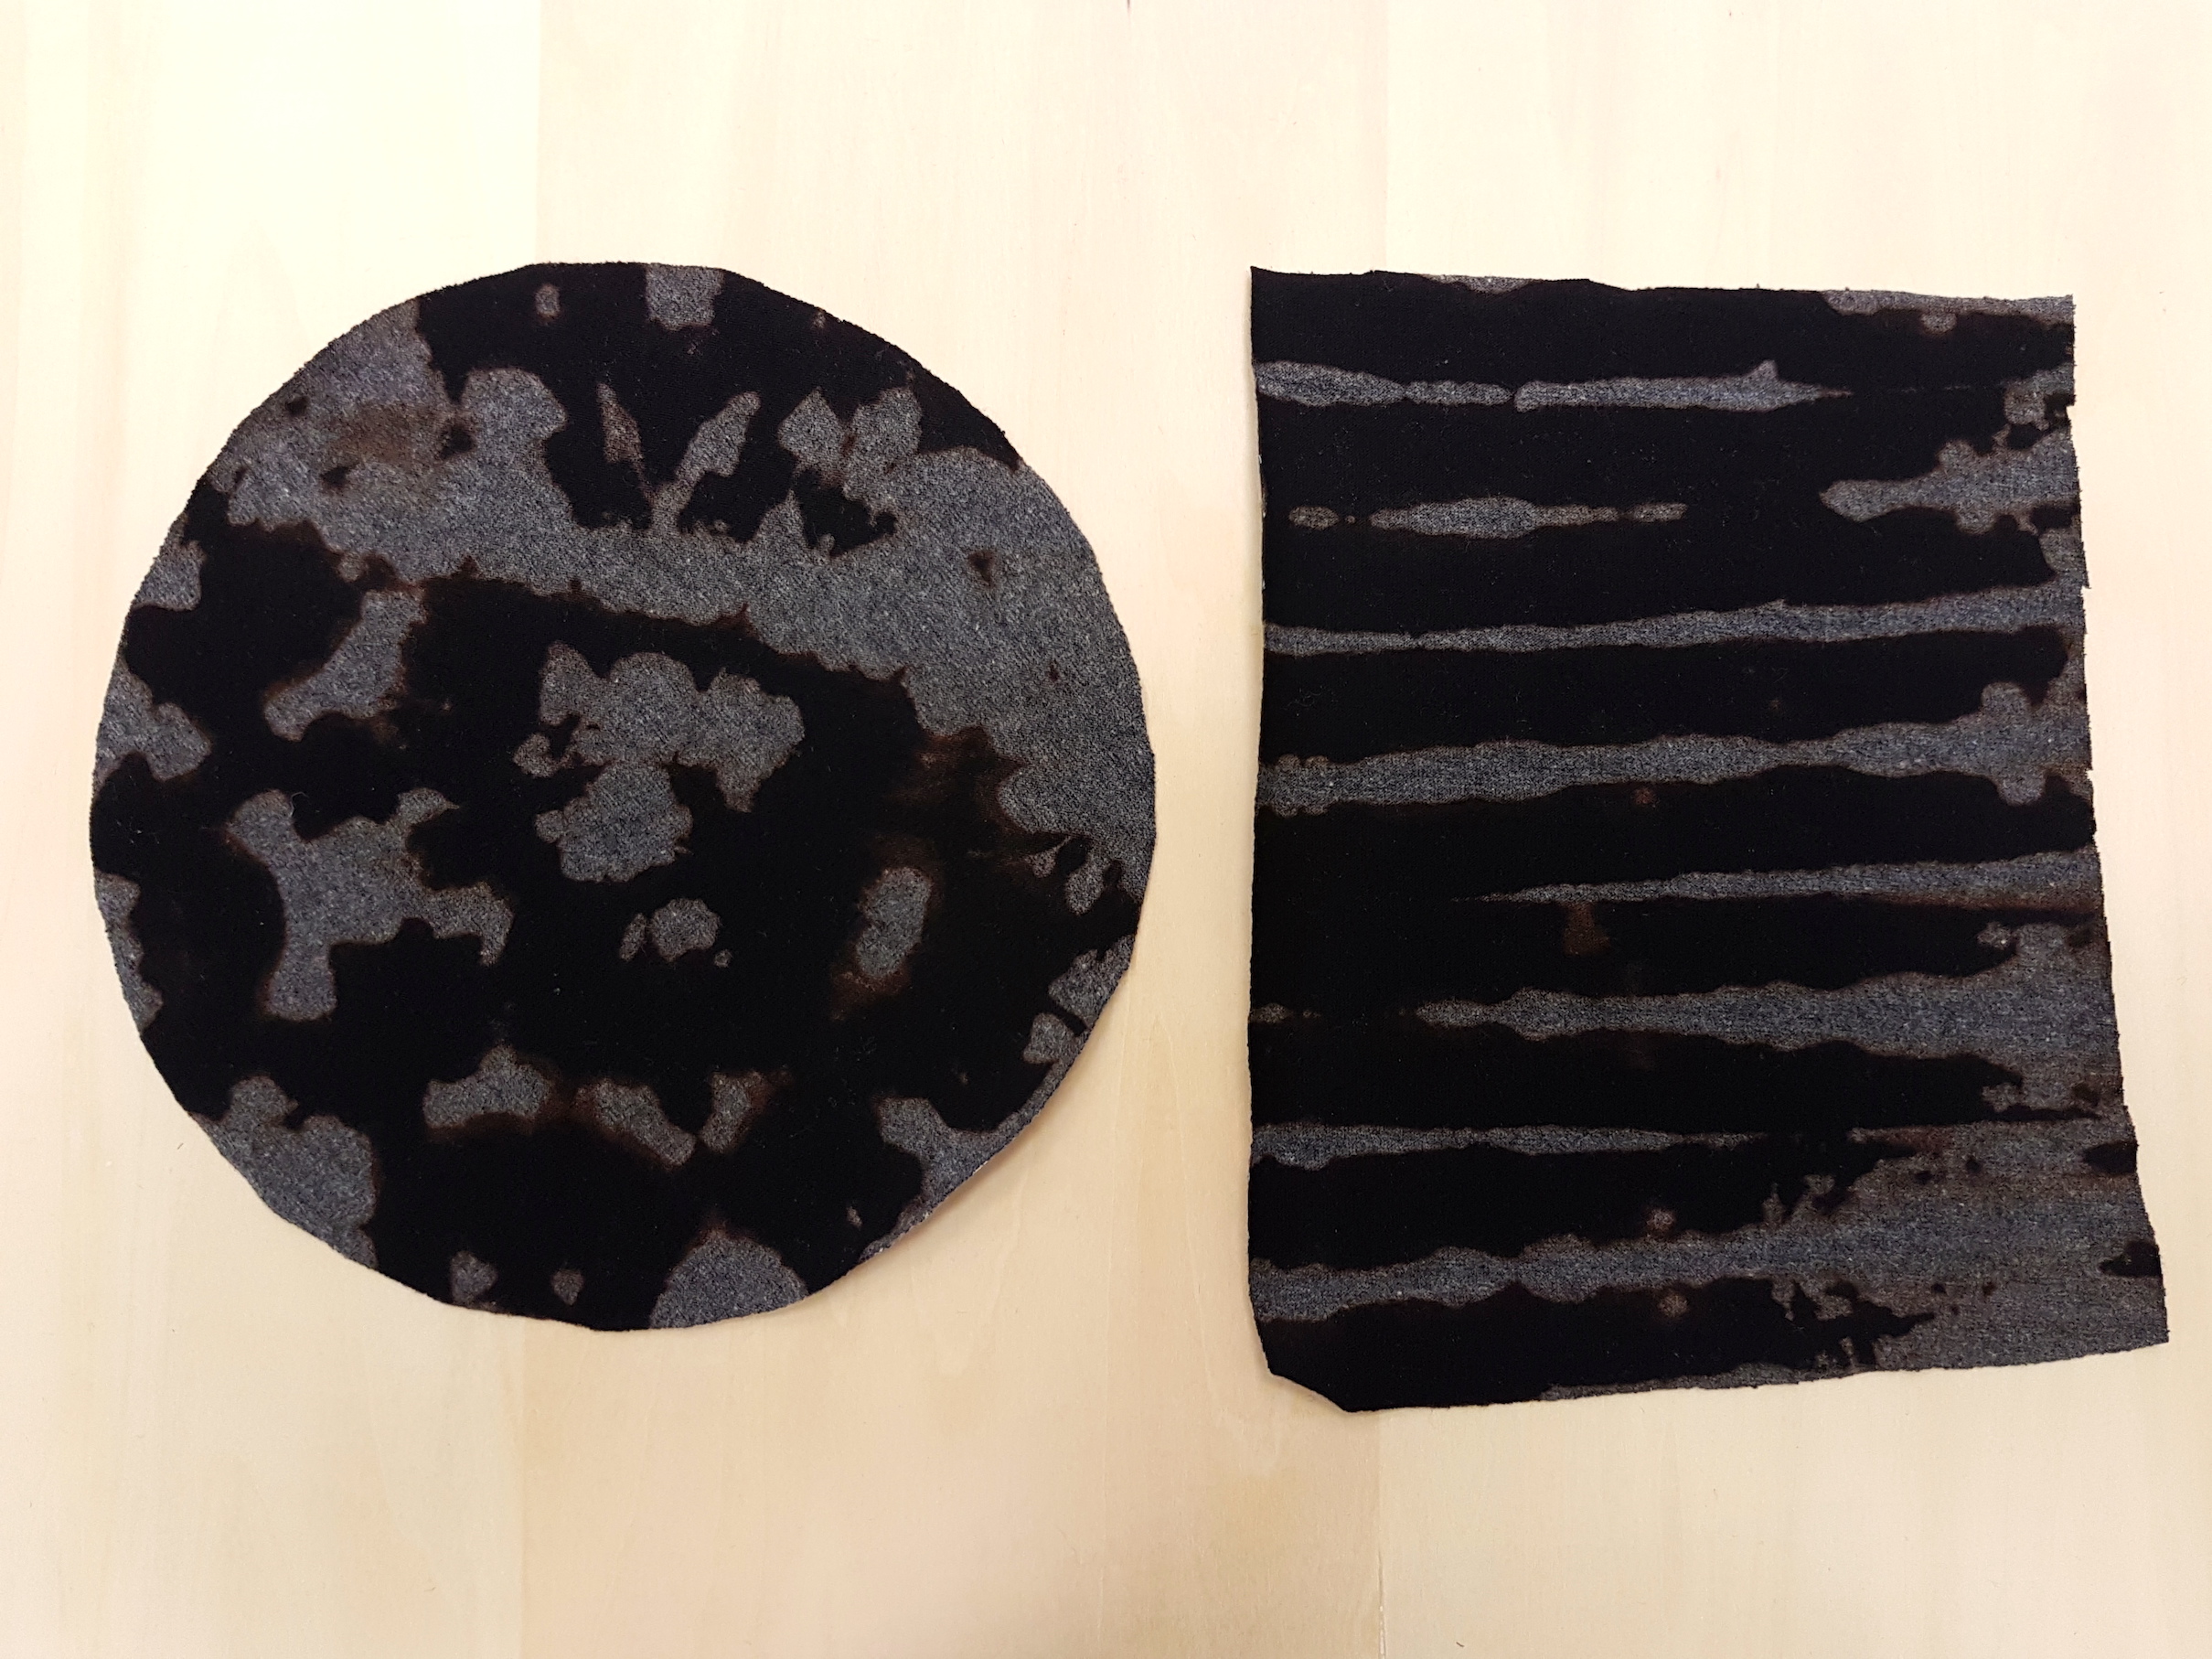
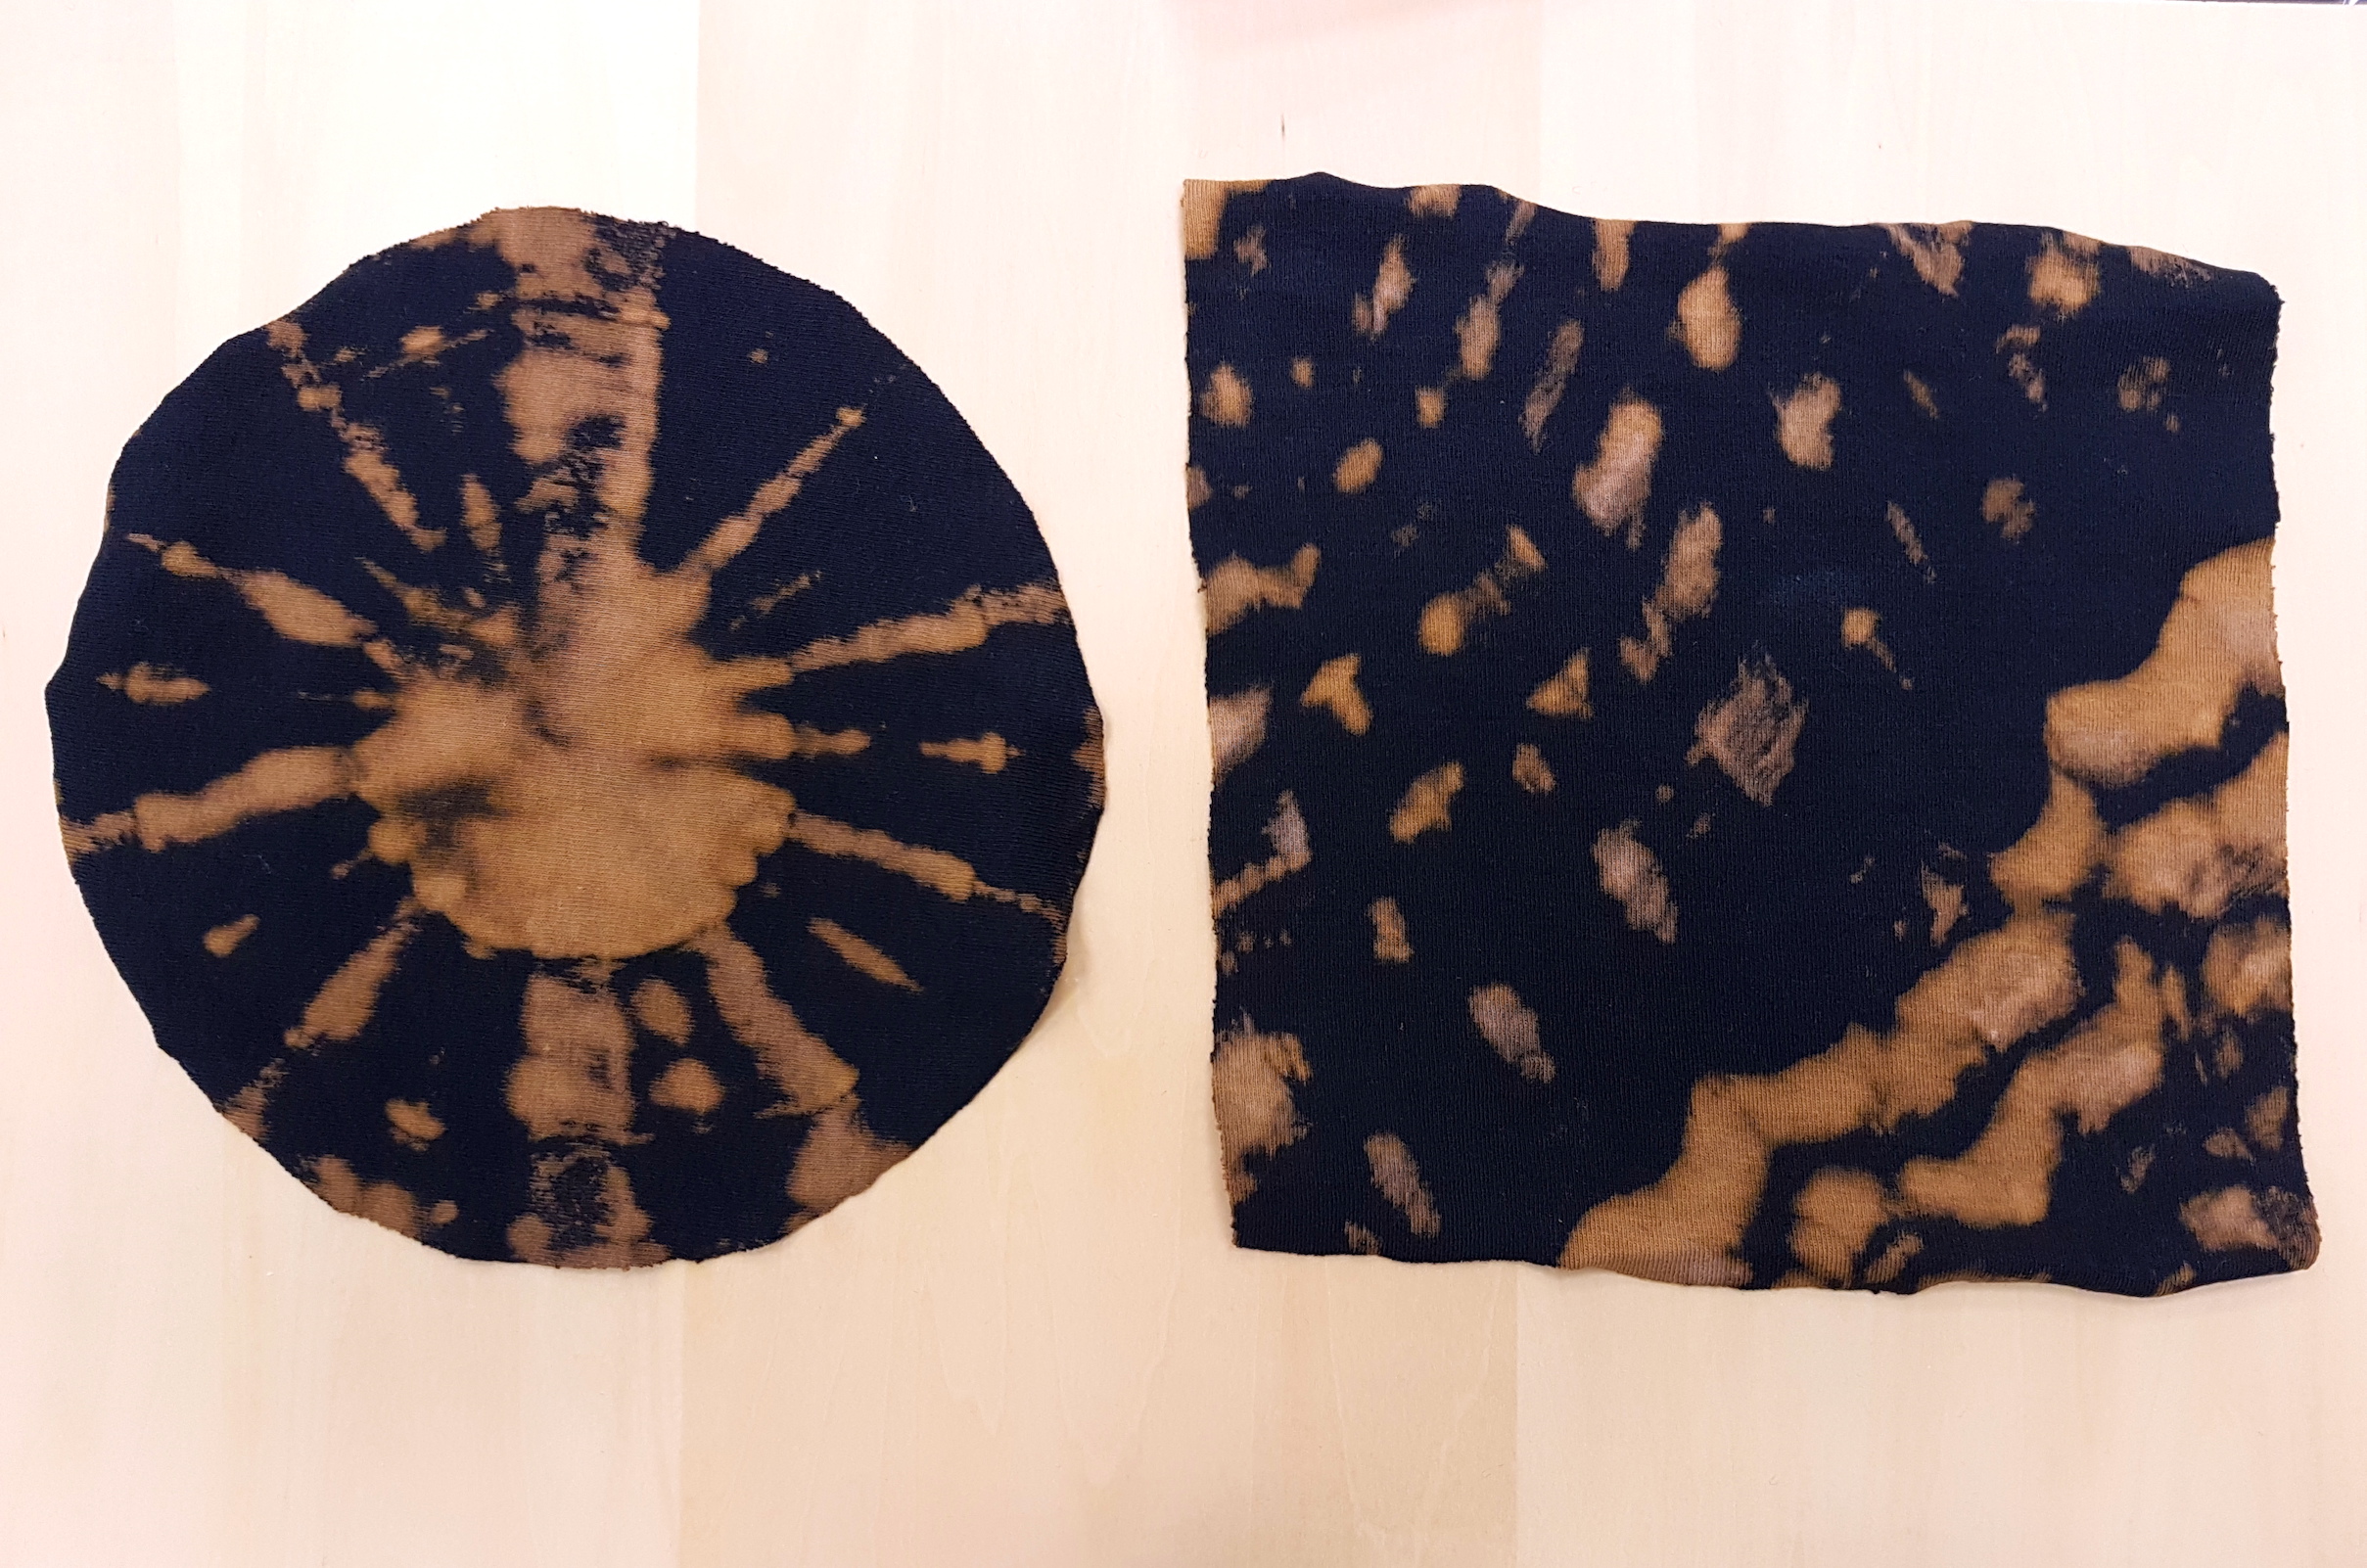
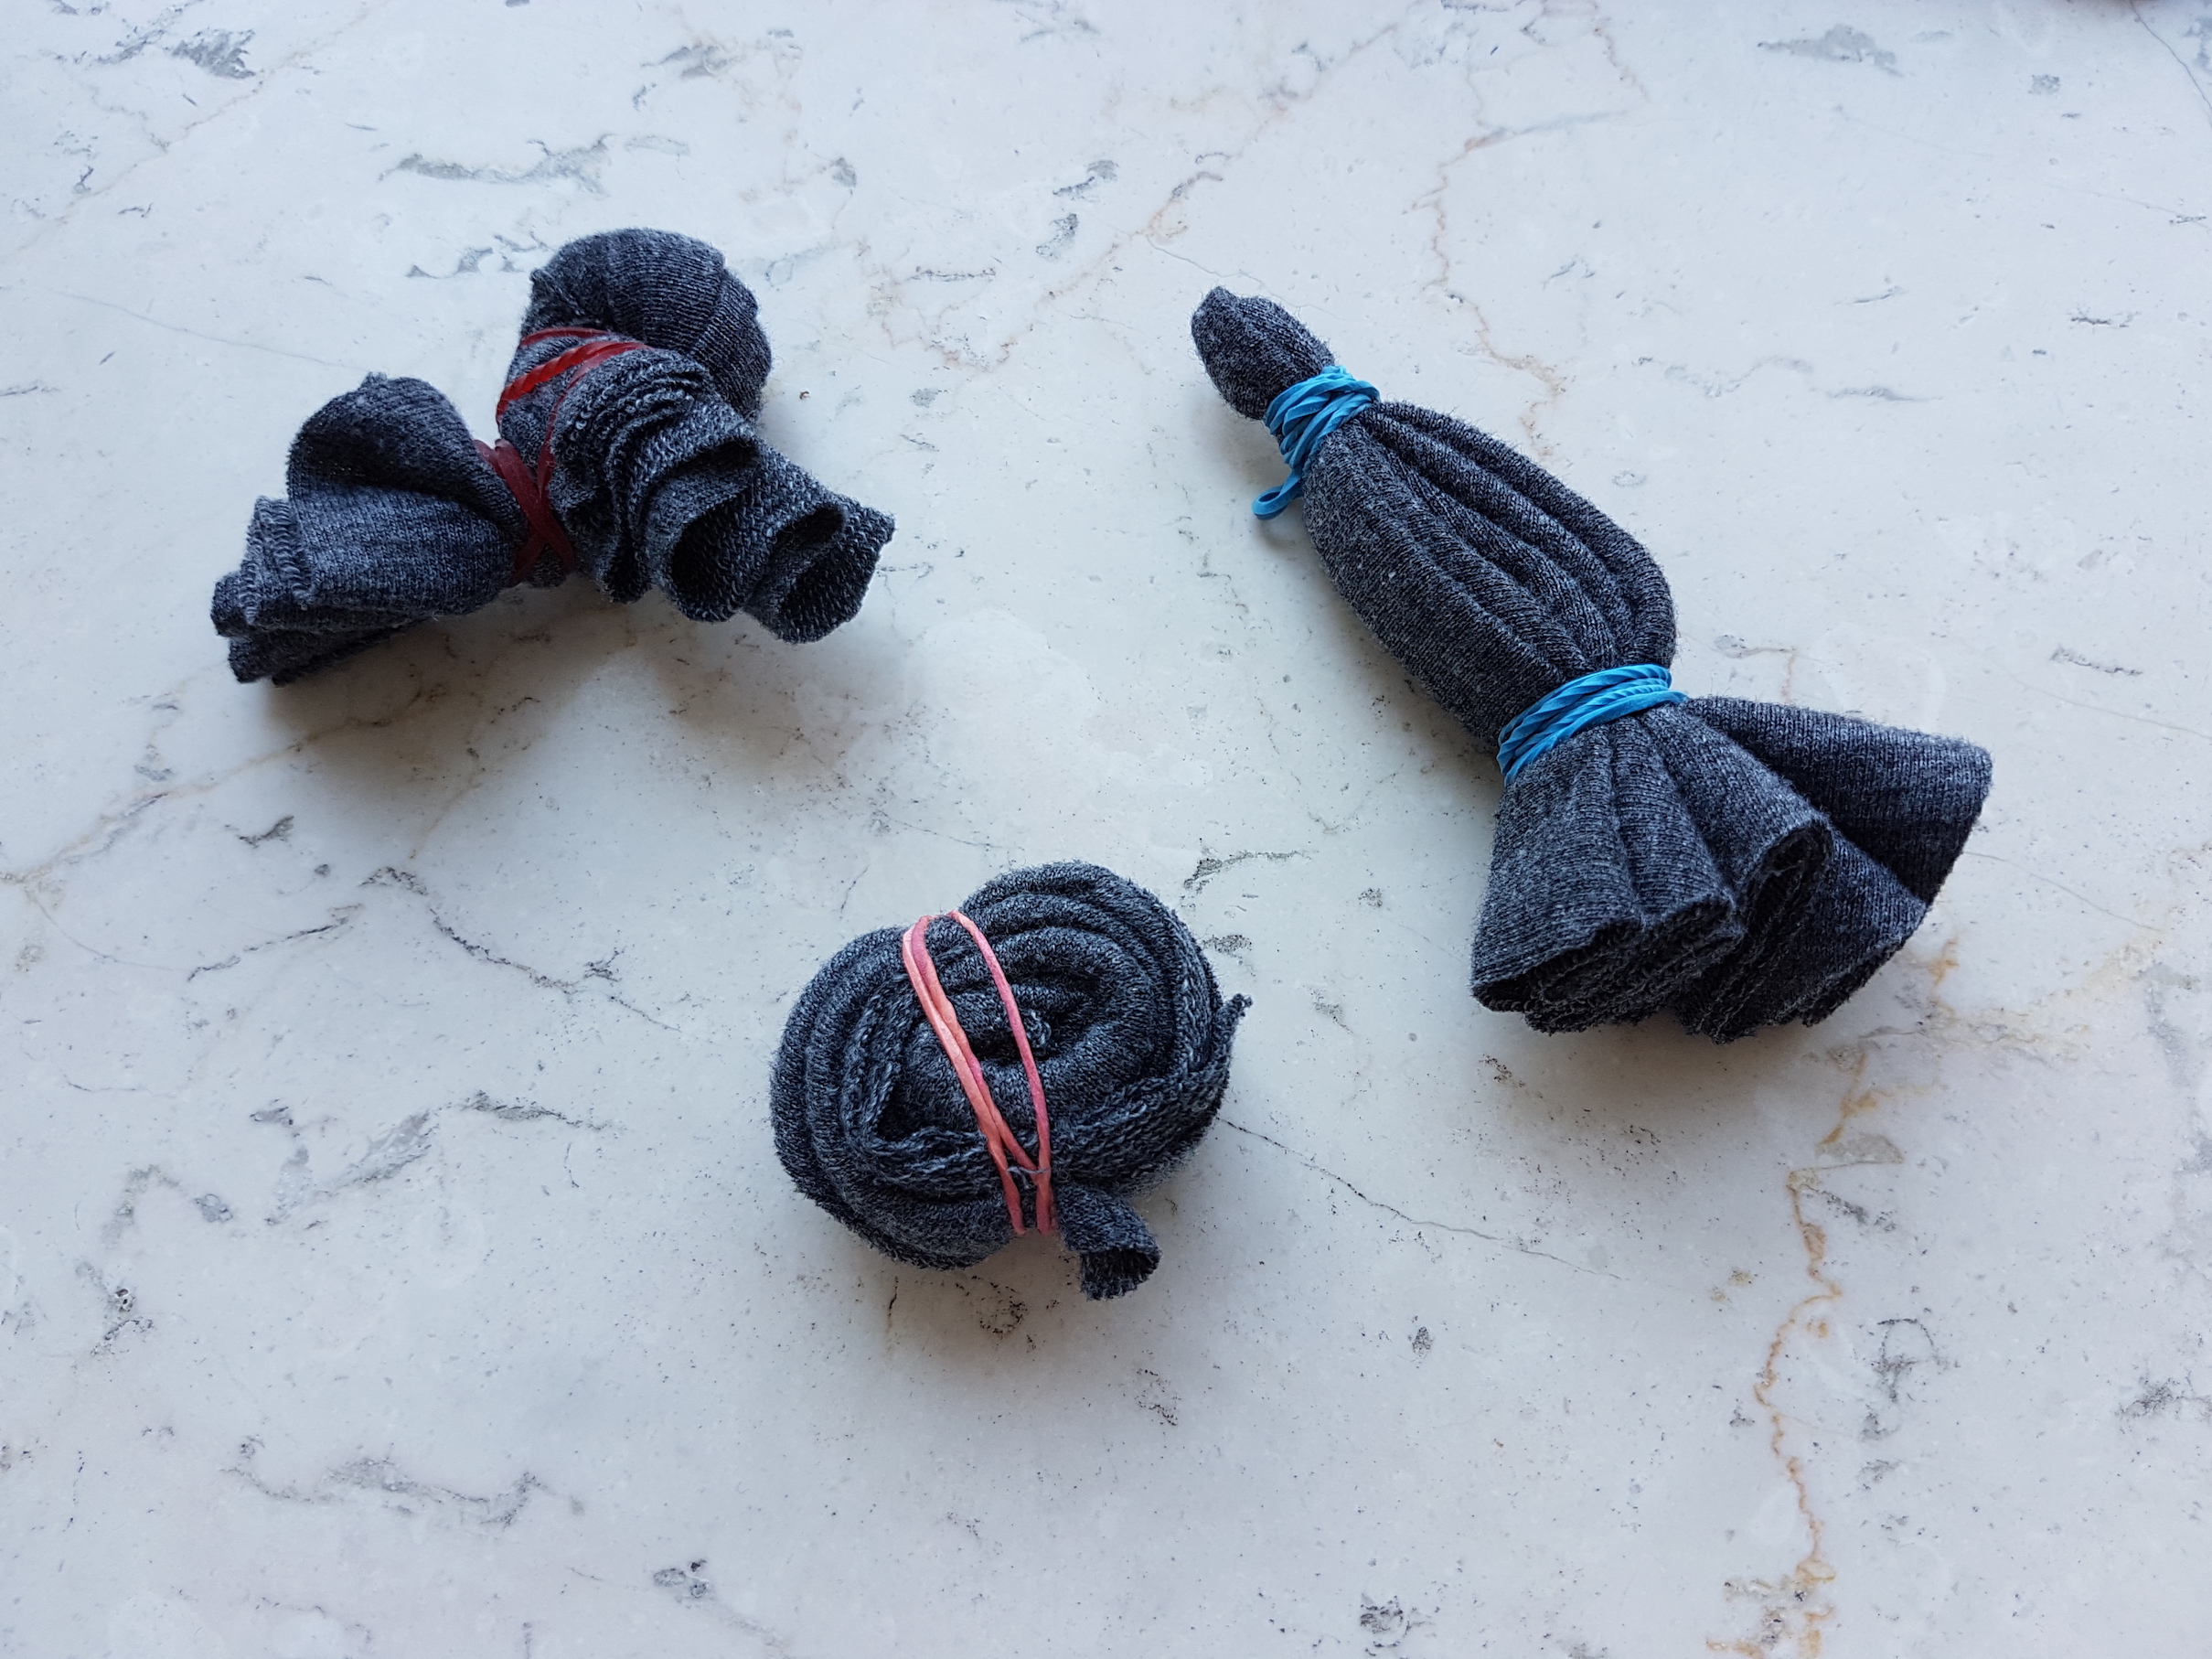
So the next week, I cut out shapes from old t-shirts and fabric. These dark fabrics produced very different results, ranging from almost white, to warm orange, to a cool grey. I used rubber bands to pleat and tie the fabric in different patterns.
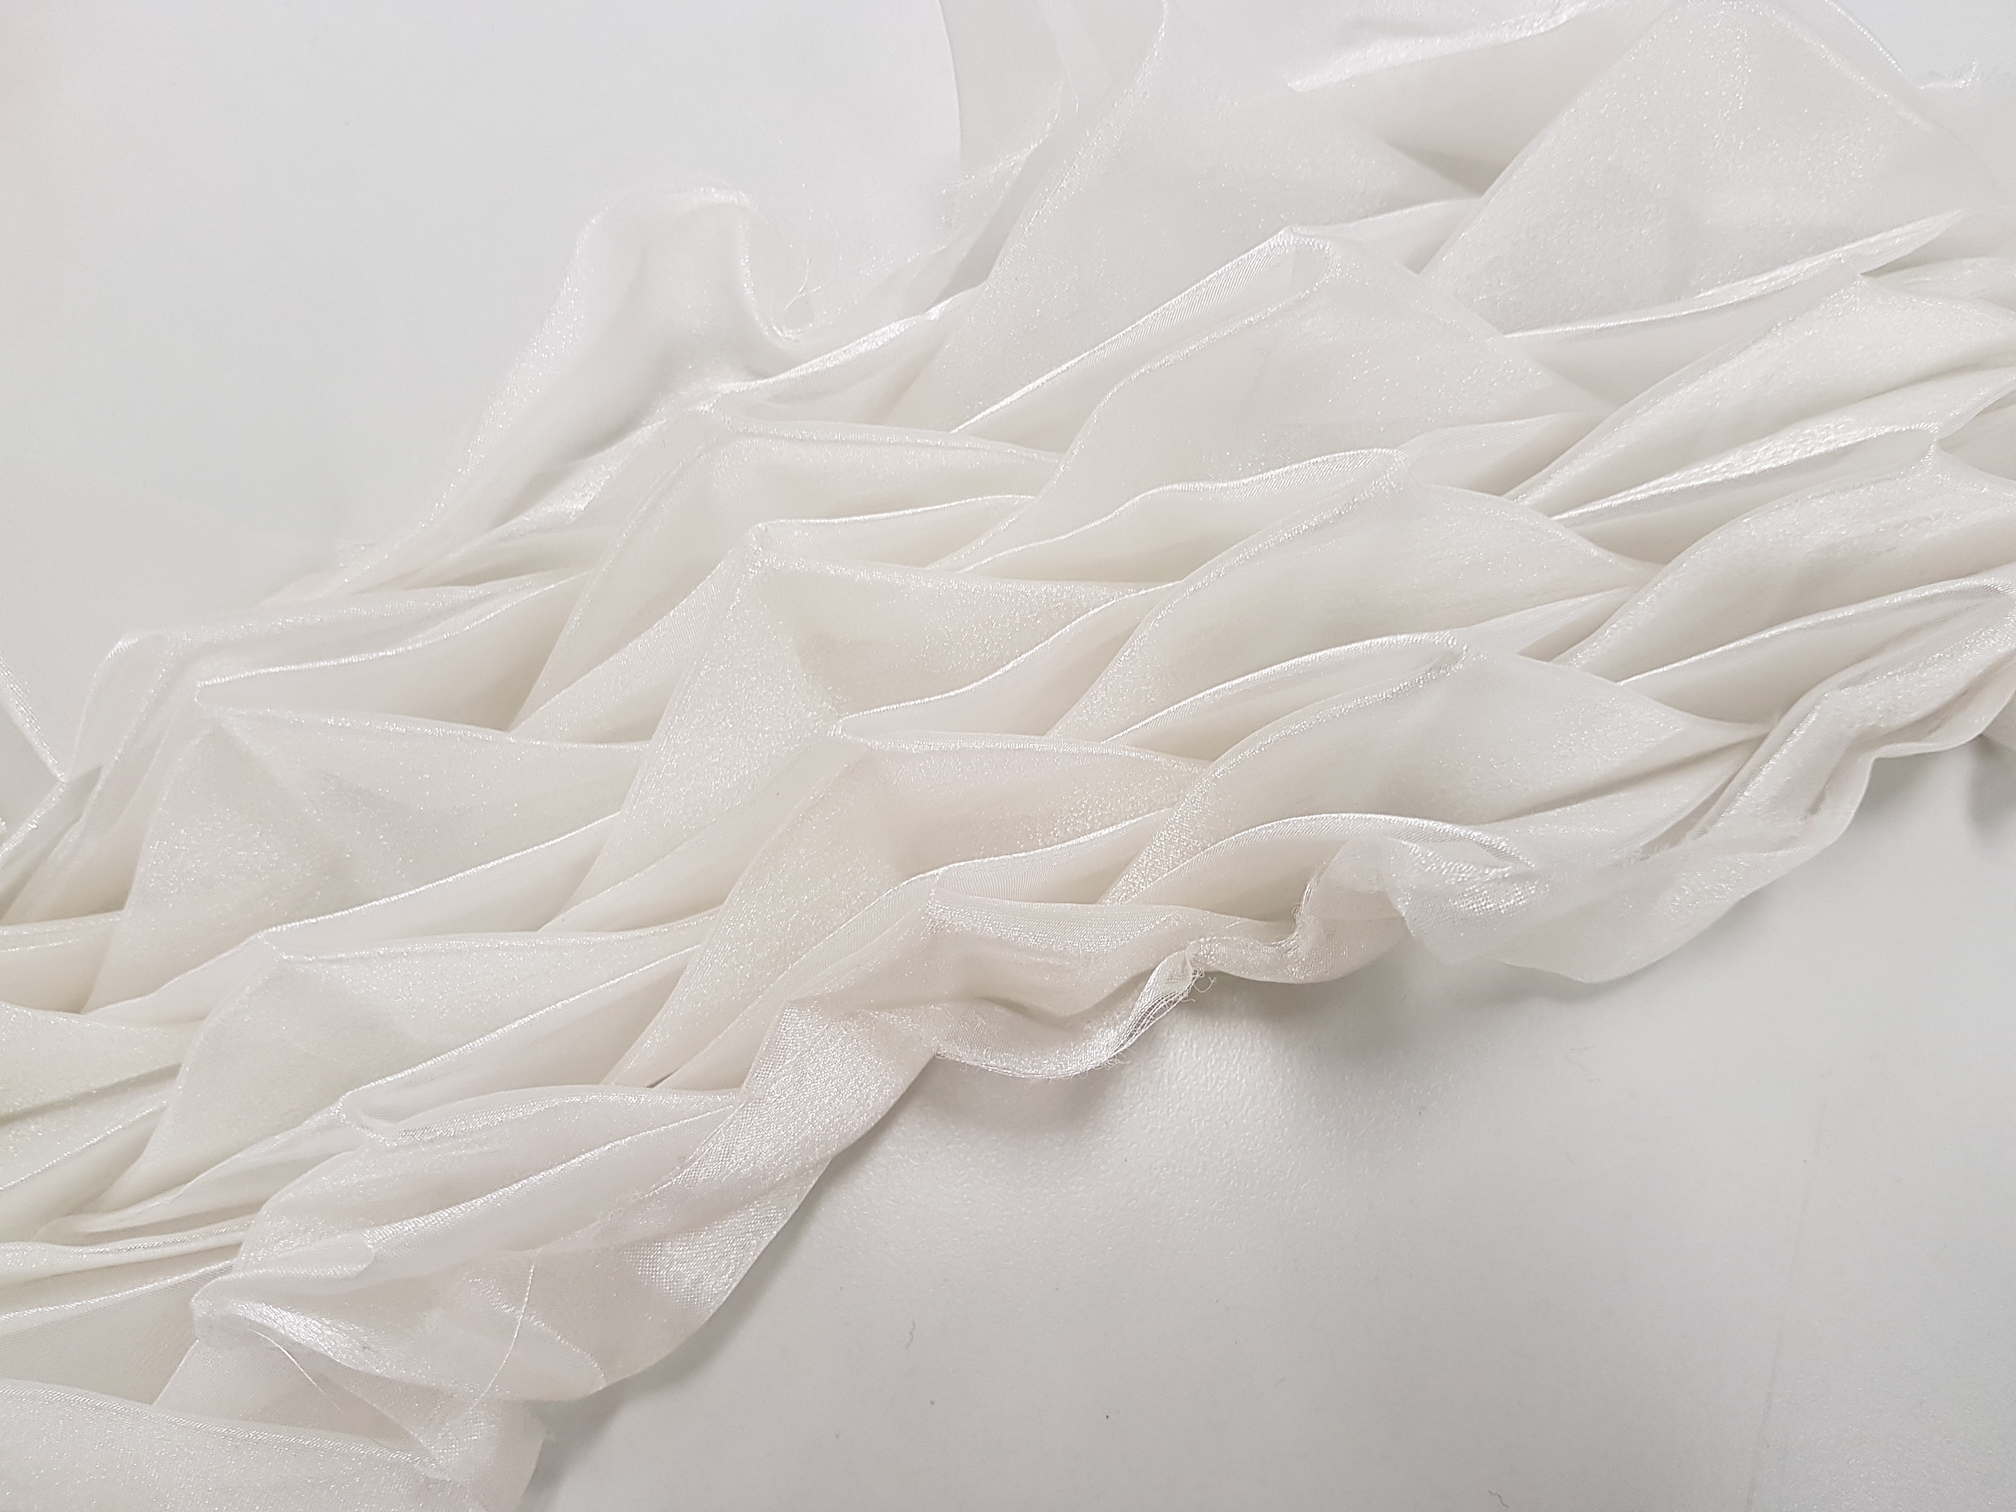
Thermoplastics are fabrics that can be manipulated and shaped using heat and pleating, crushing or moulding techniques. When heated, the polyester organza will soften and take the shape of the mould or object and will retain this shape when it cools. The organza can be reshaped when heated once more to an even higher temperature.
Materials needed
100% polyester organza (no nylon!)
Objects to mould the organza with e.g. marbles, stones, glass beads etc
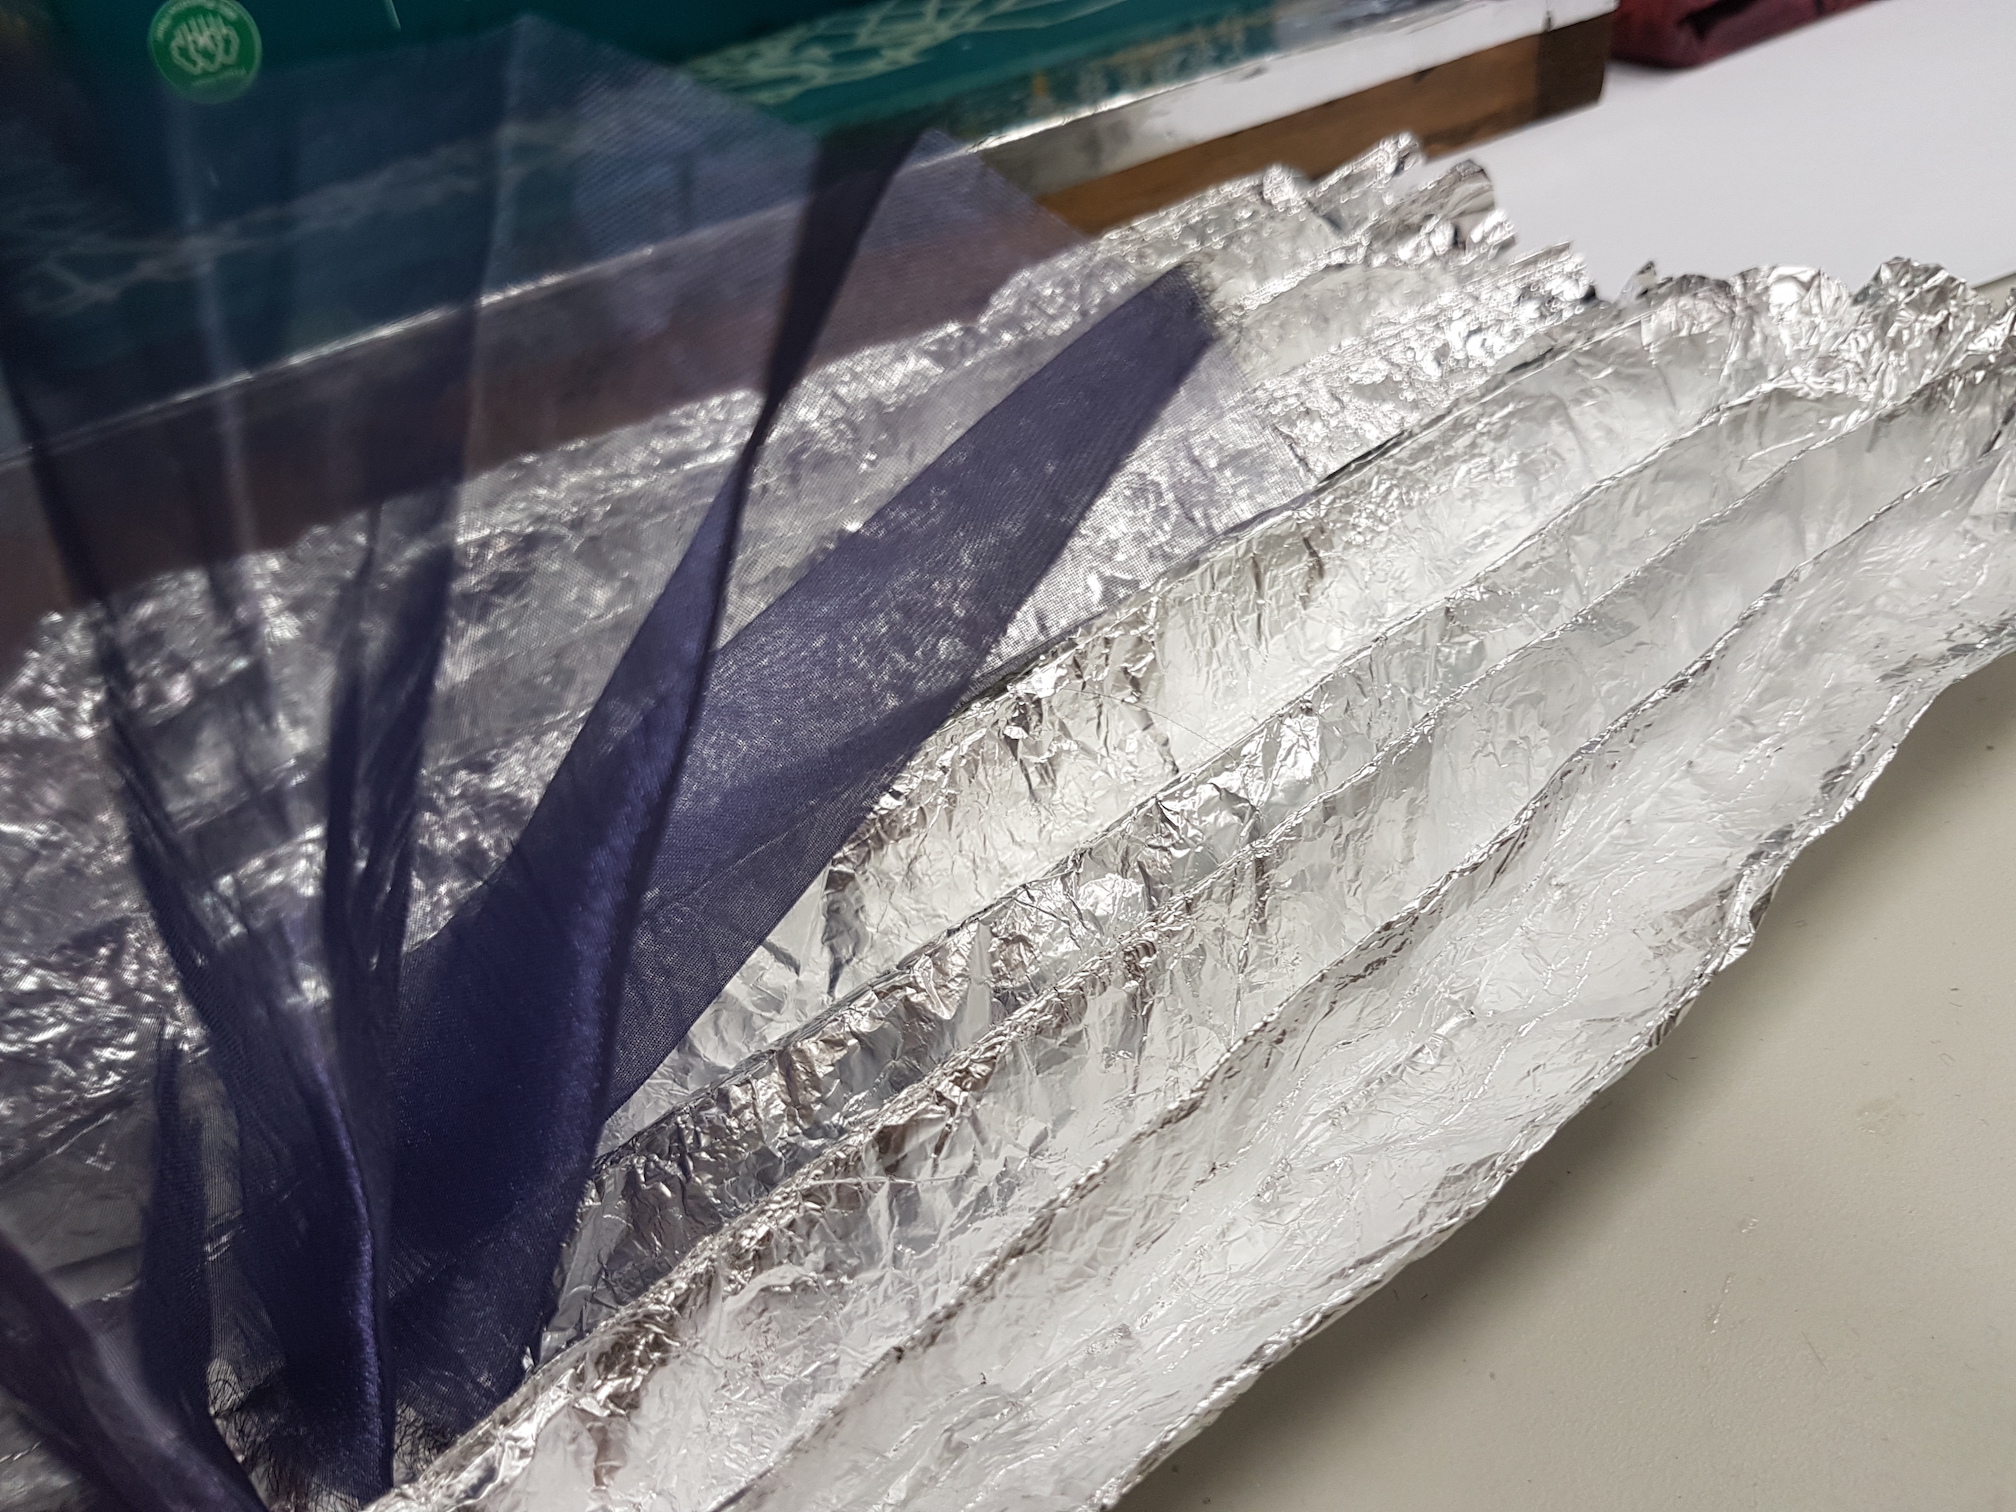
Aluminium foil to pleat the organza and wrap the sample
Large pot of water and stove
Applications
Heat set thermoplastics are sometimes used in decorative cushions or lamp shades due to their semi-transparent nature.
Here are some interesting samples which we saw in class:
Process
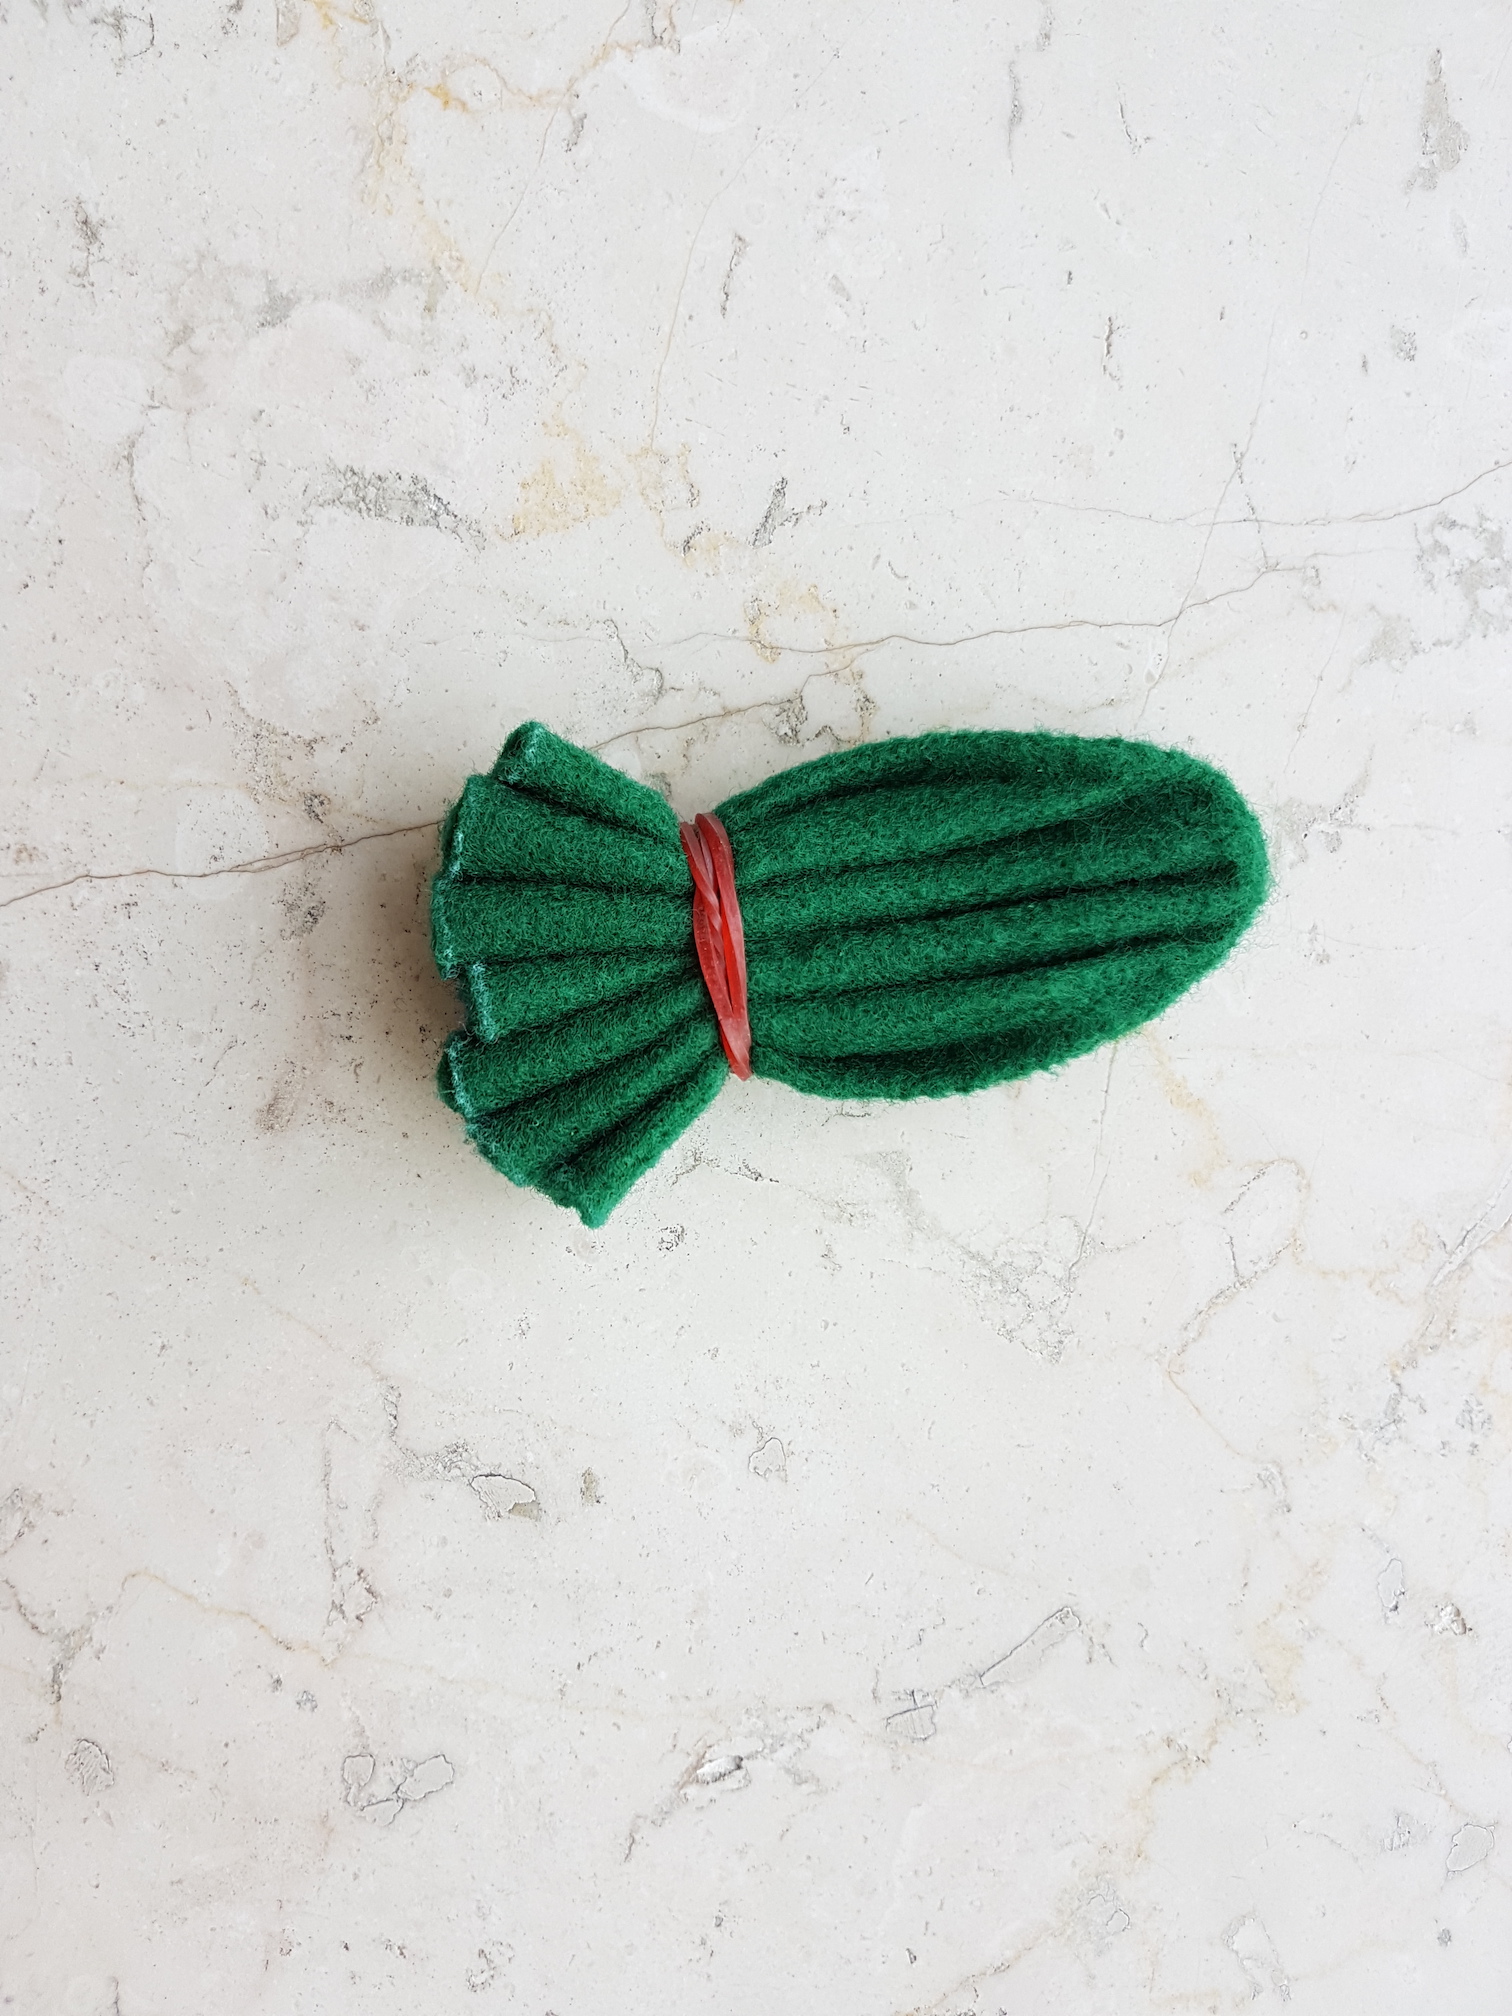
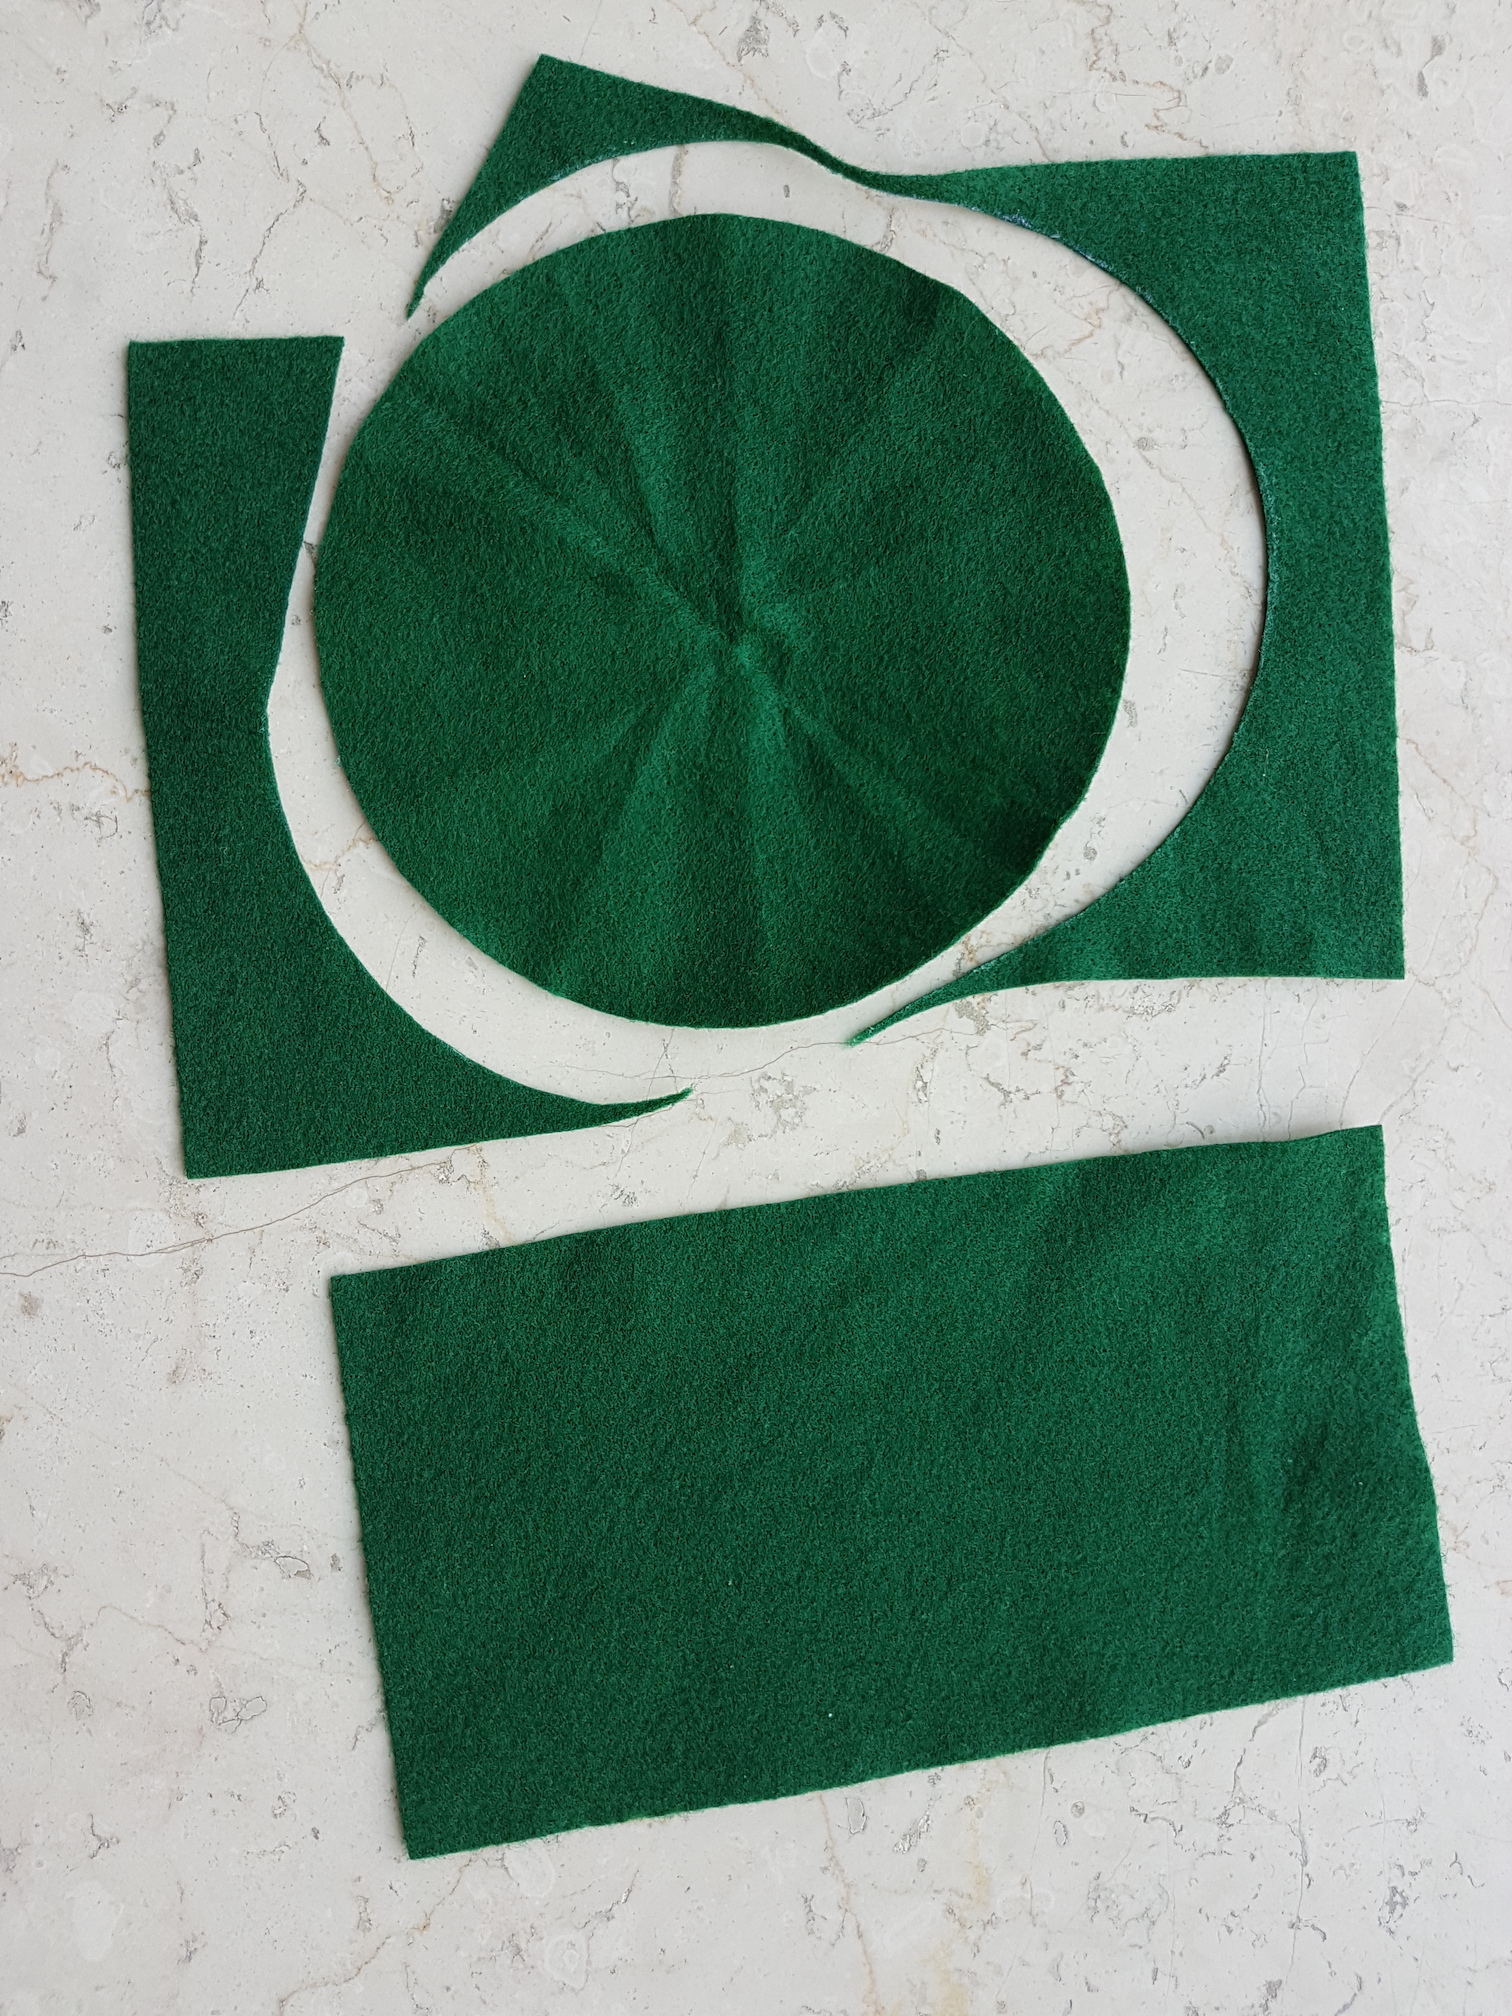
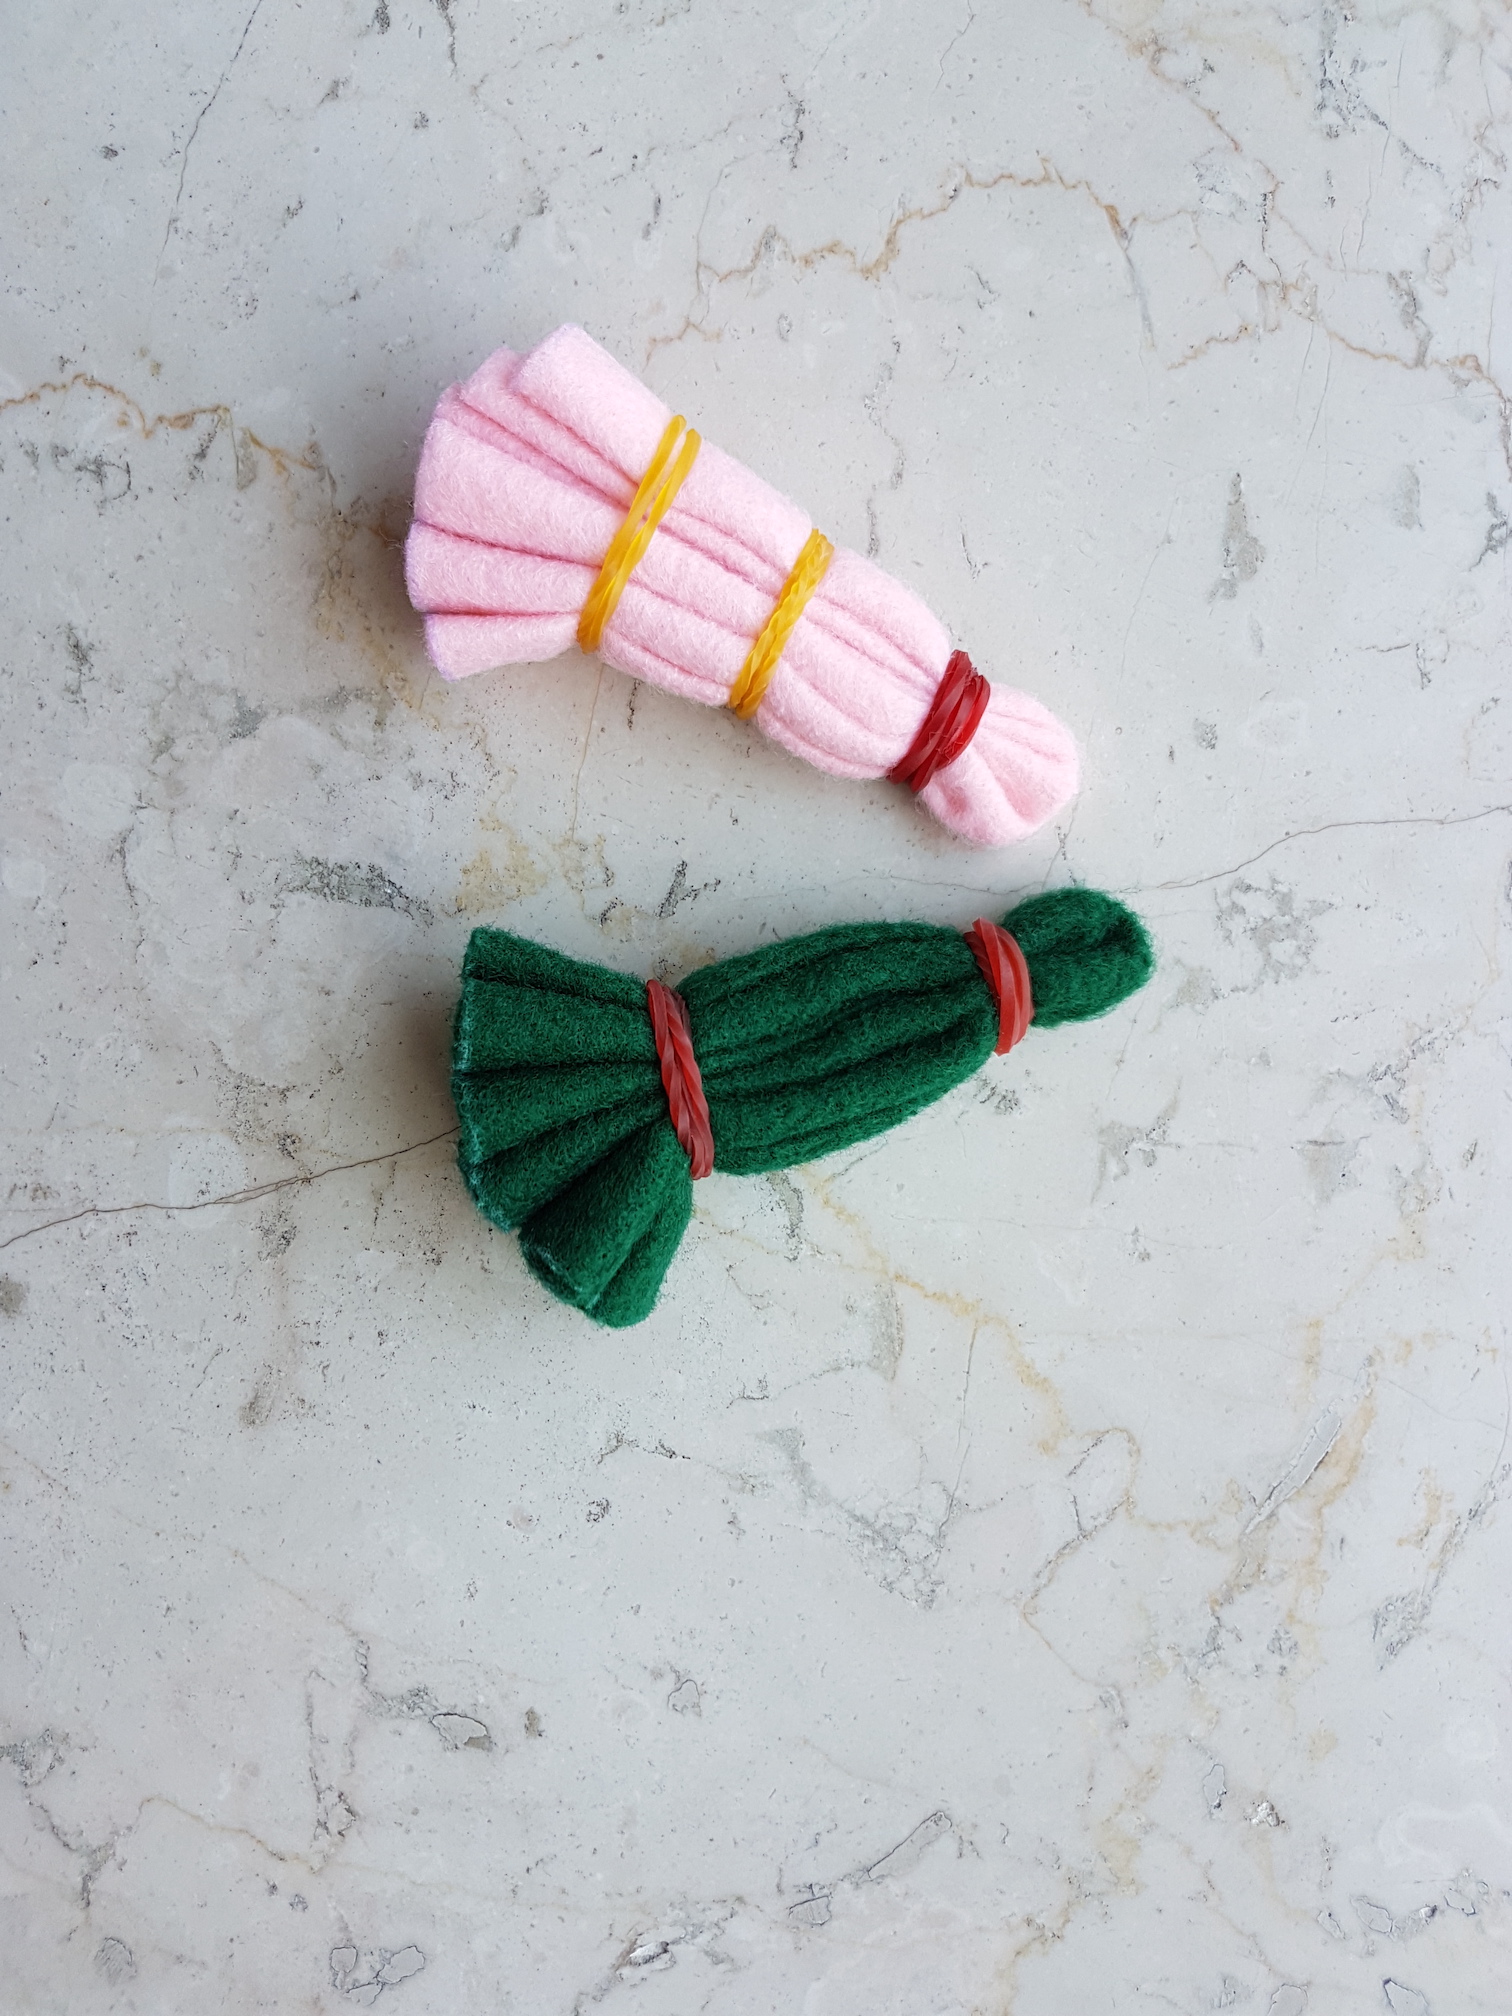
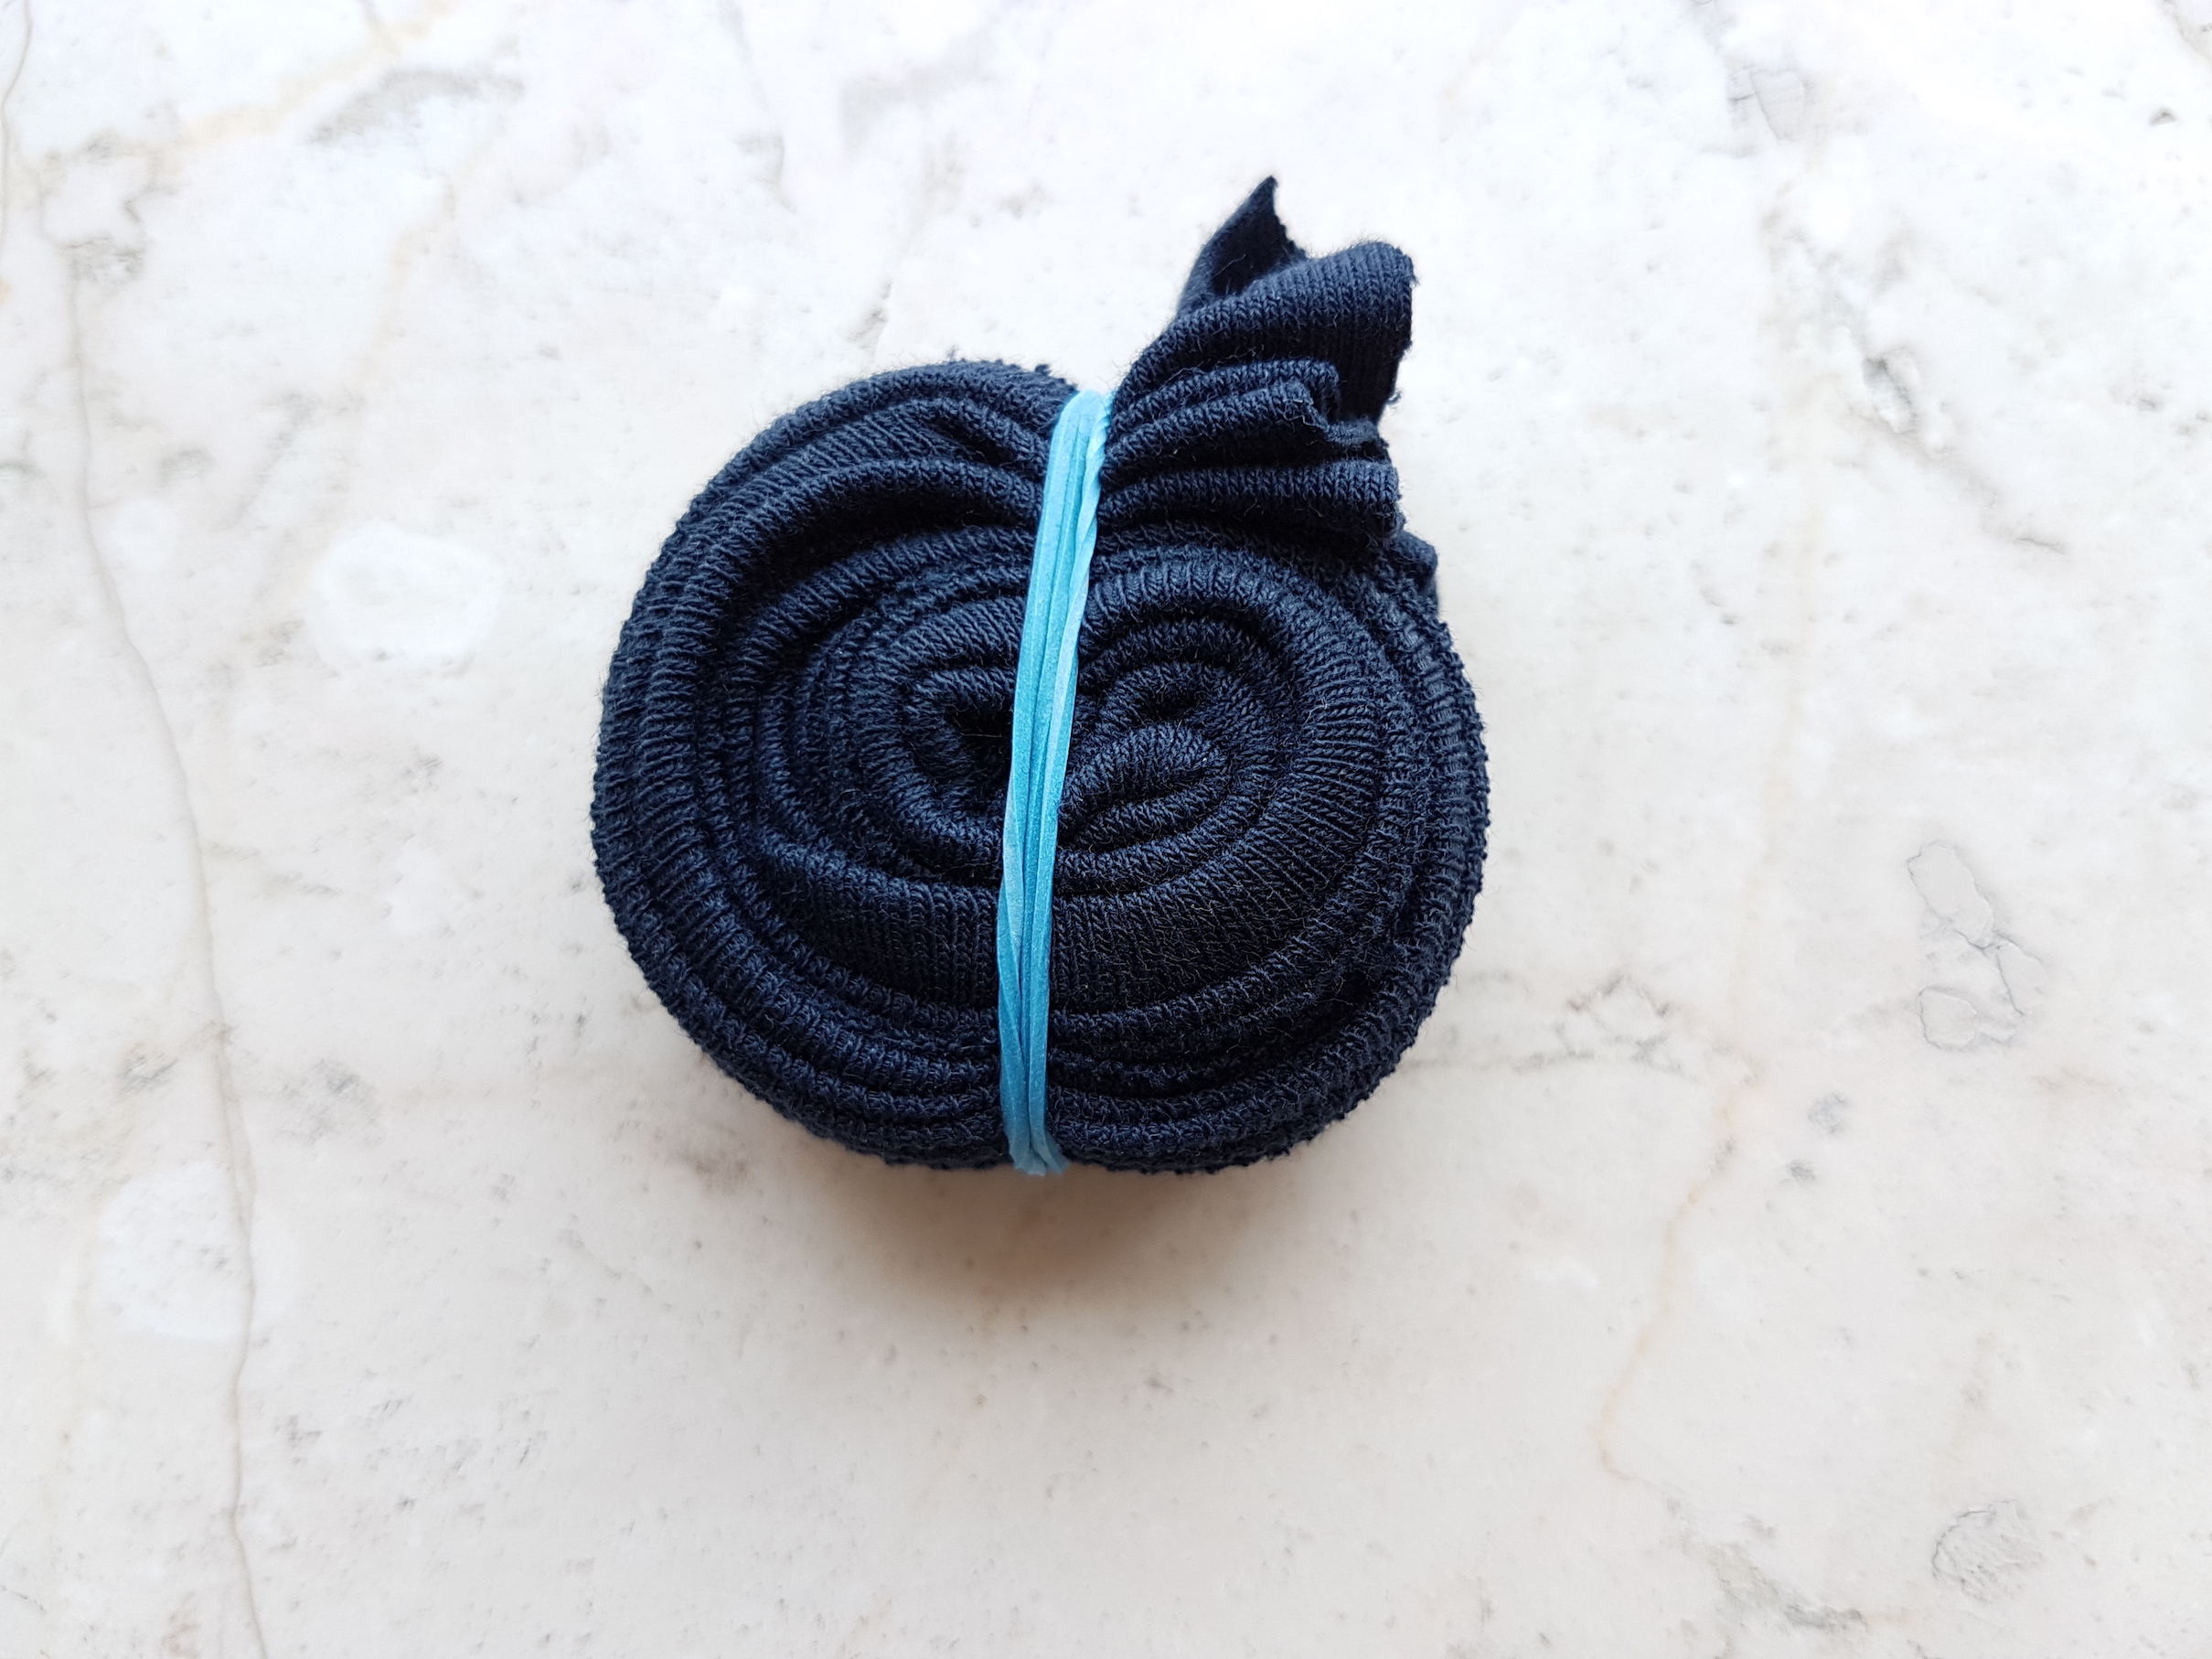
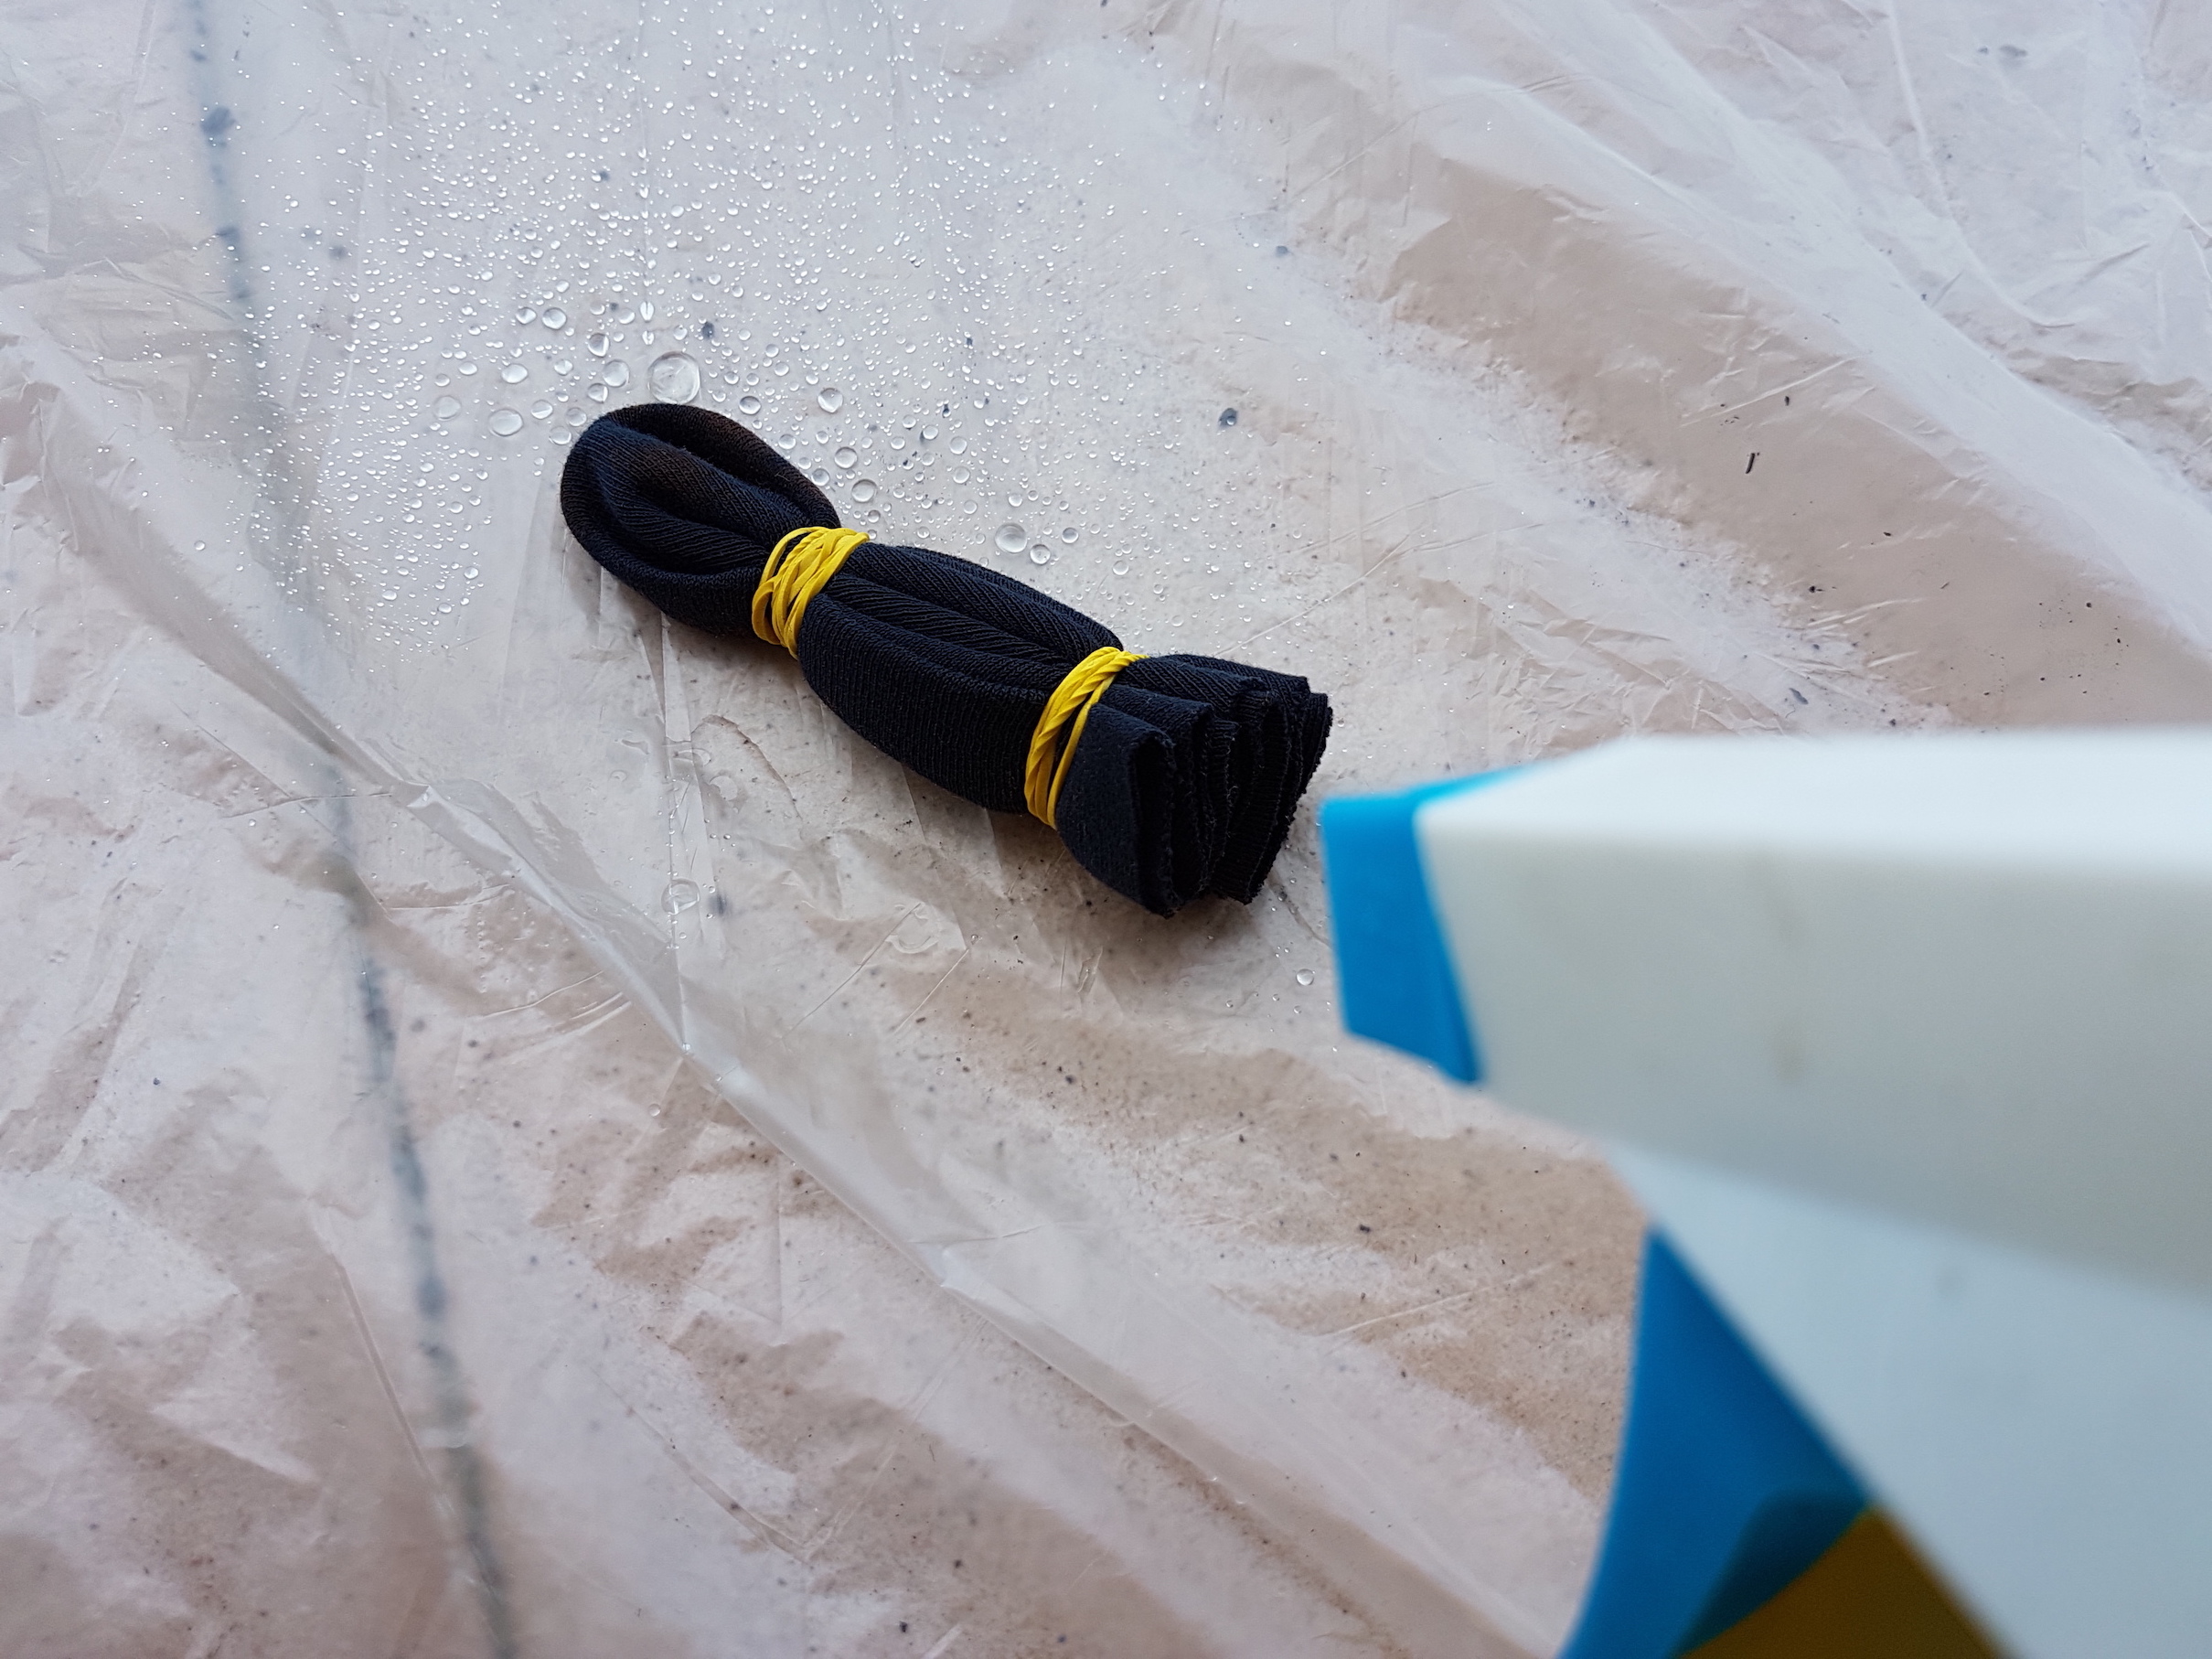
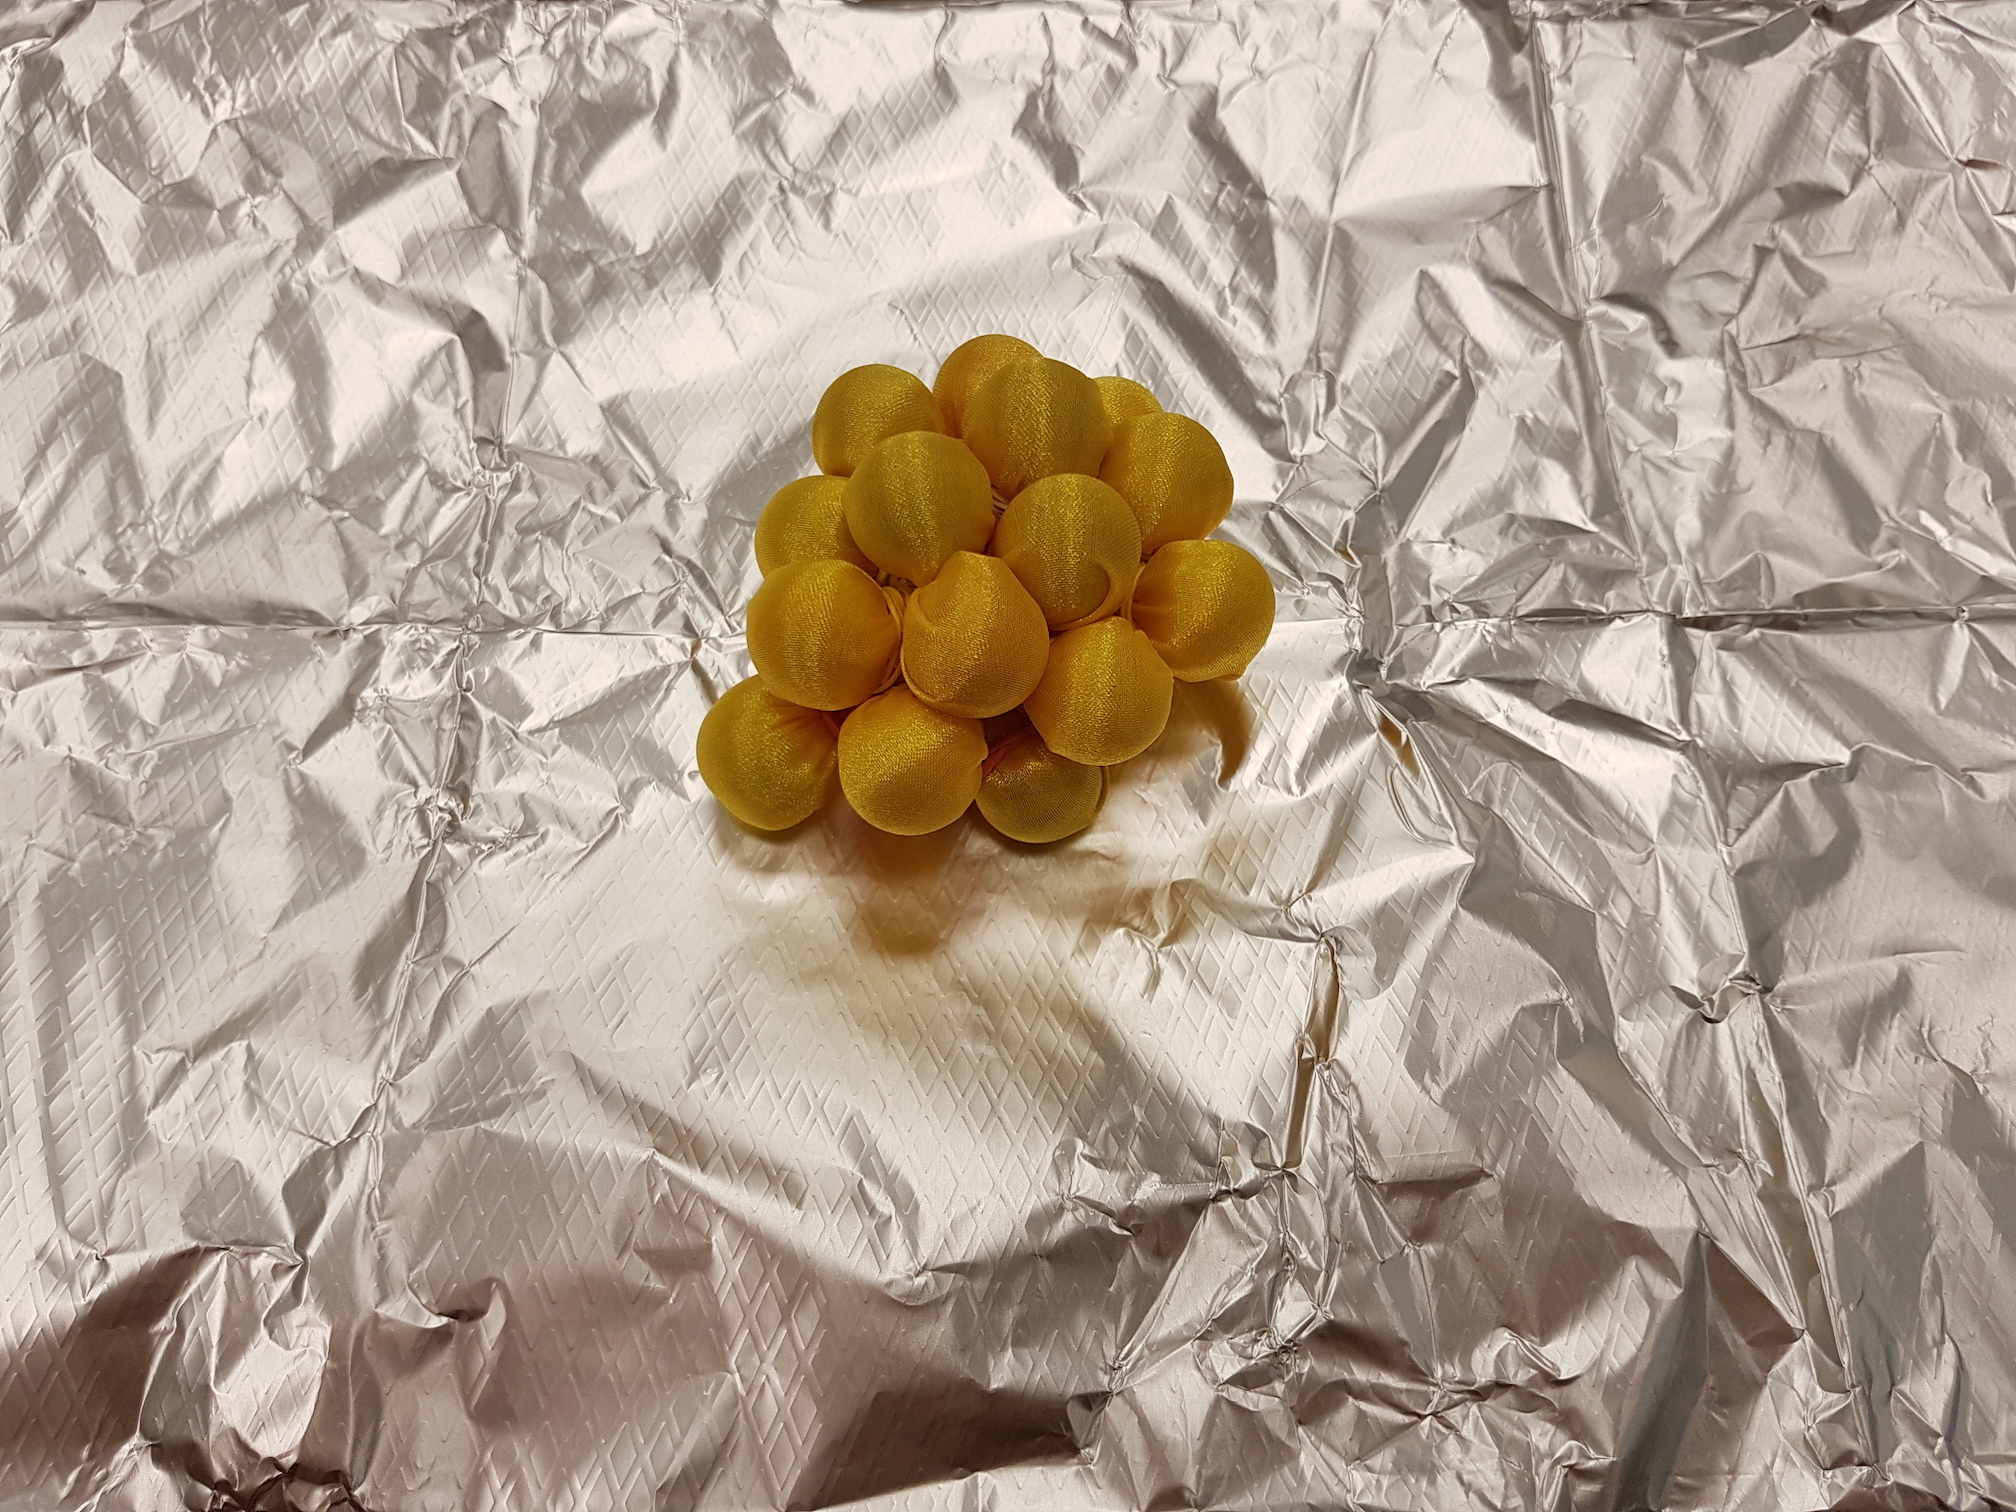
Mould, fold or manipulate the polyester organza using objects (e.g. marbles, stones) and secure with elastic bands. Alternatively, pleat and fold the polyester organza between sheets of plastic, paper or aluminium foil. Fold the organza into multiple layers to get a repeated pattern over a larger area of fabric. The sample below is folded into 4 layers.
Mould the polyester organza around marbles
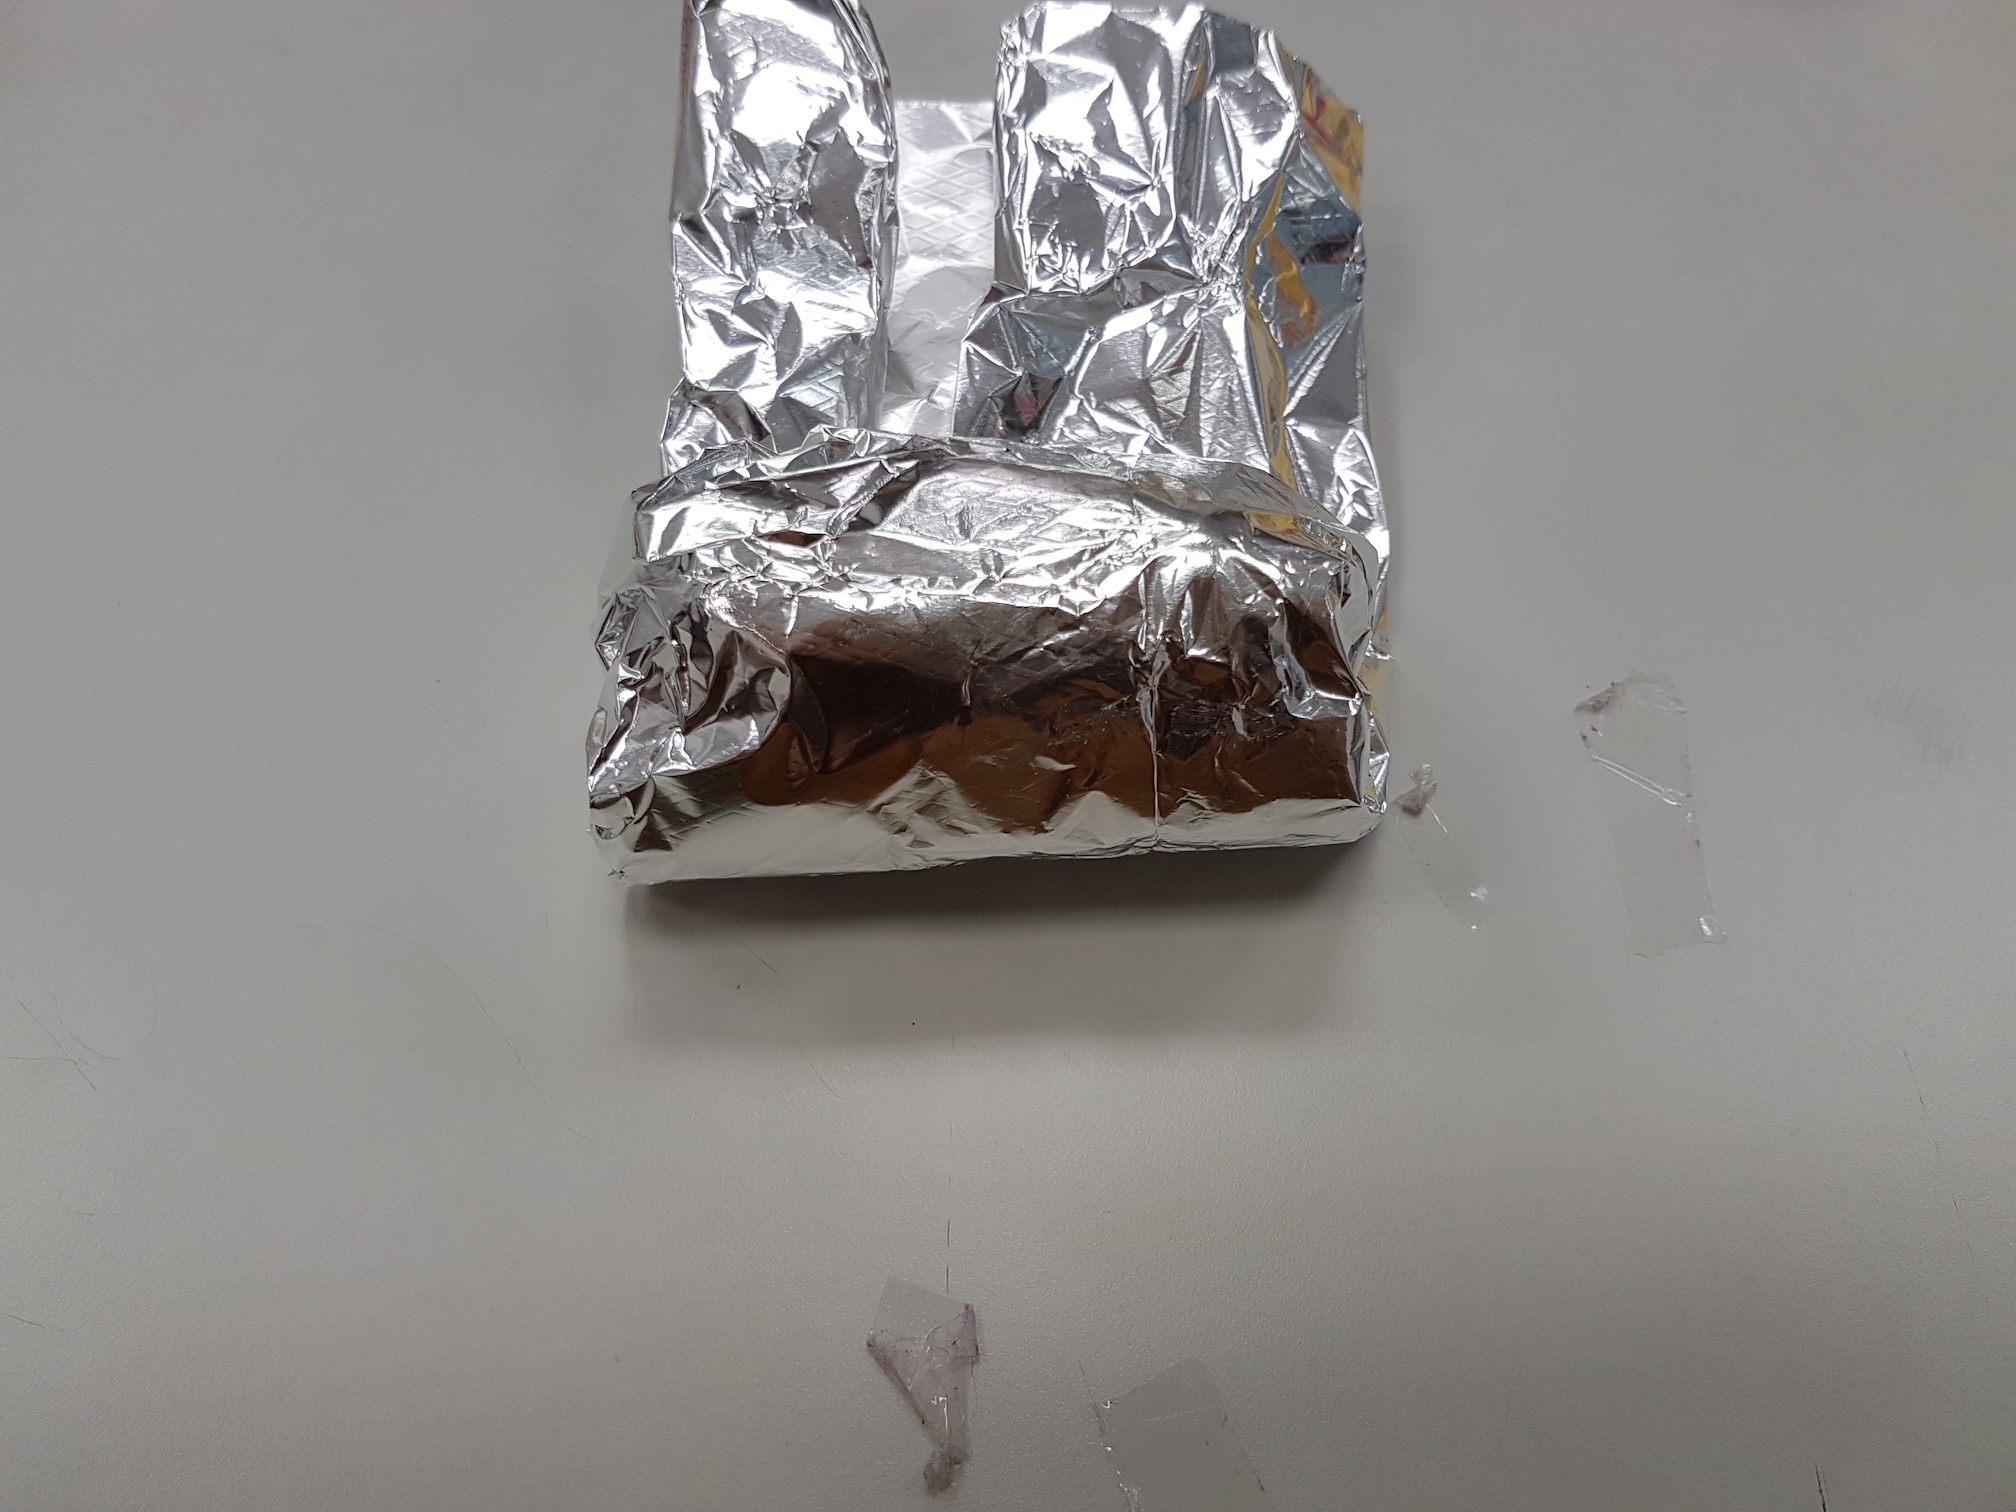
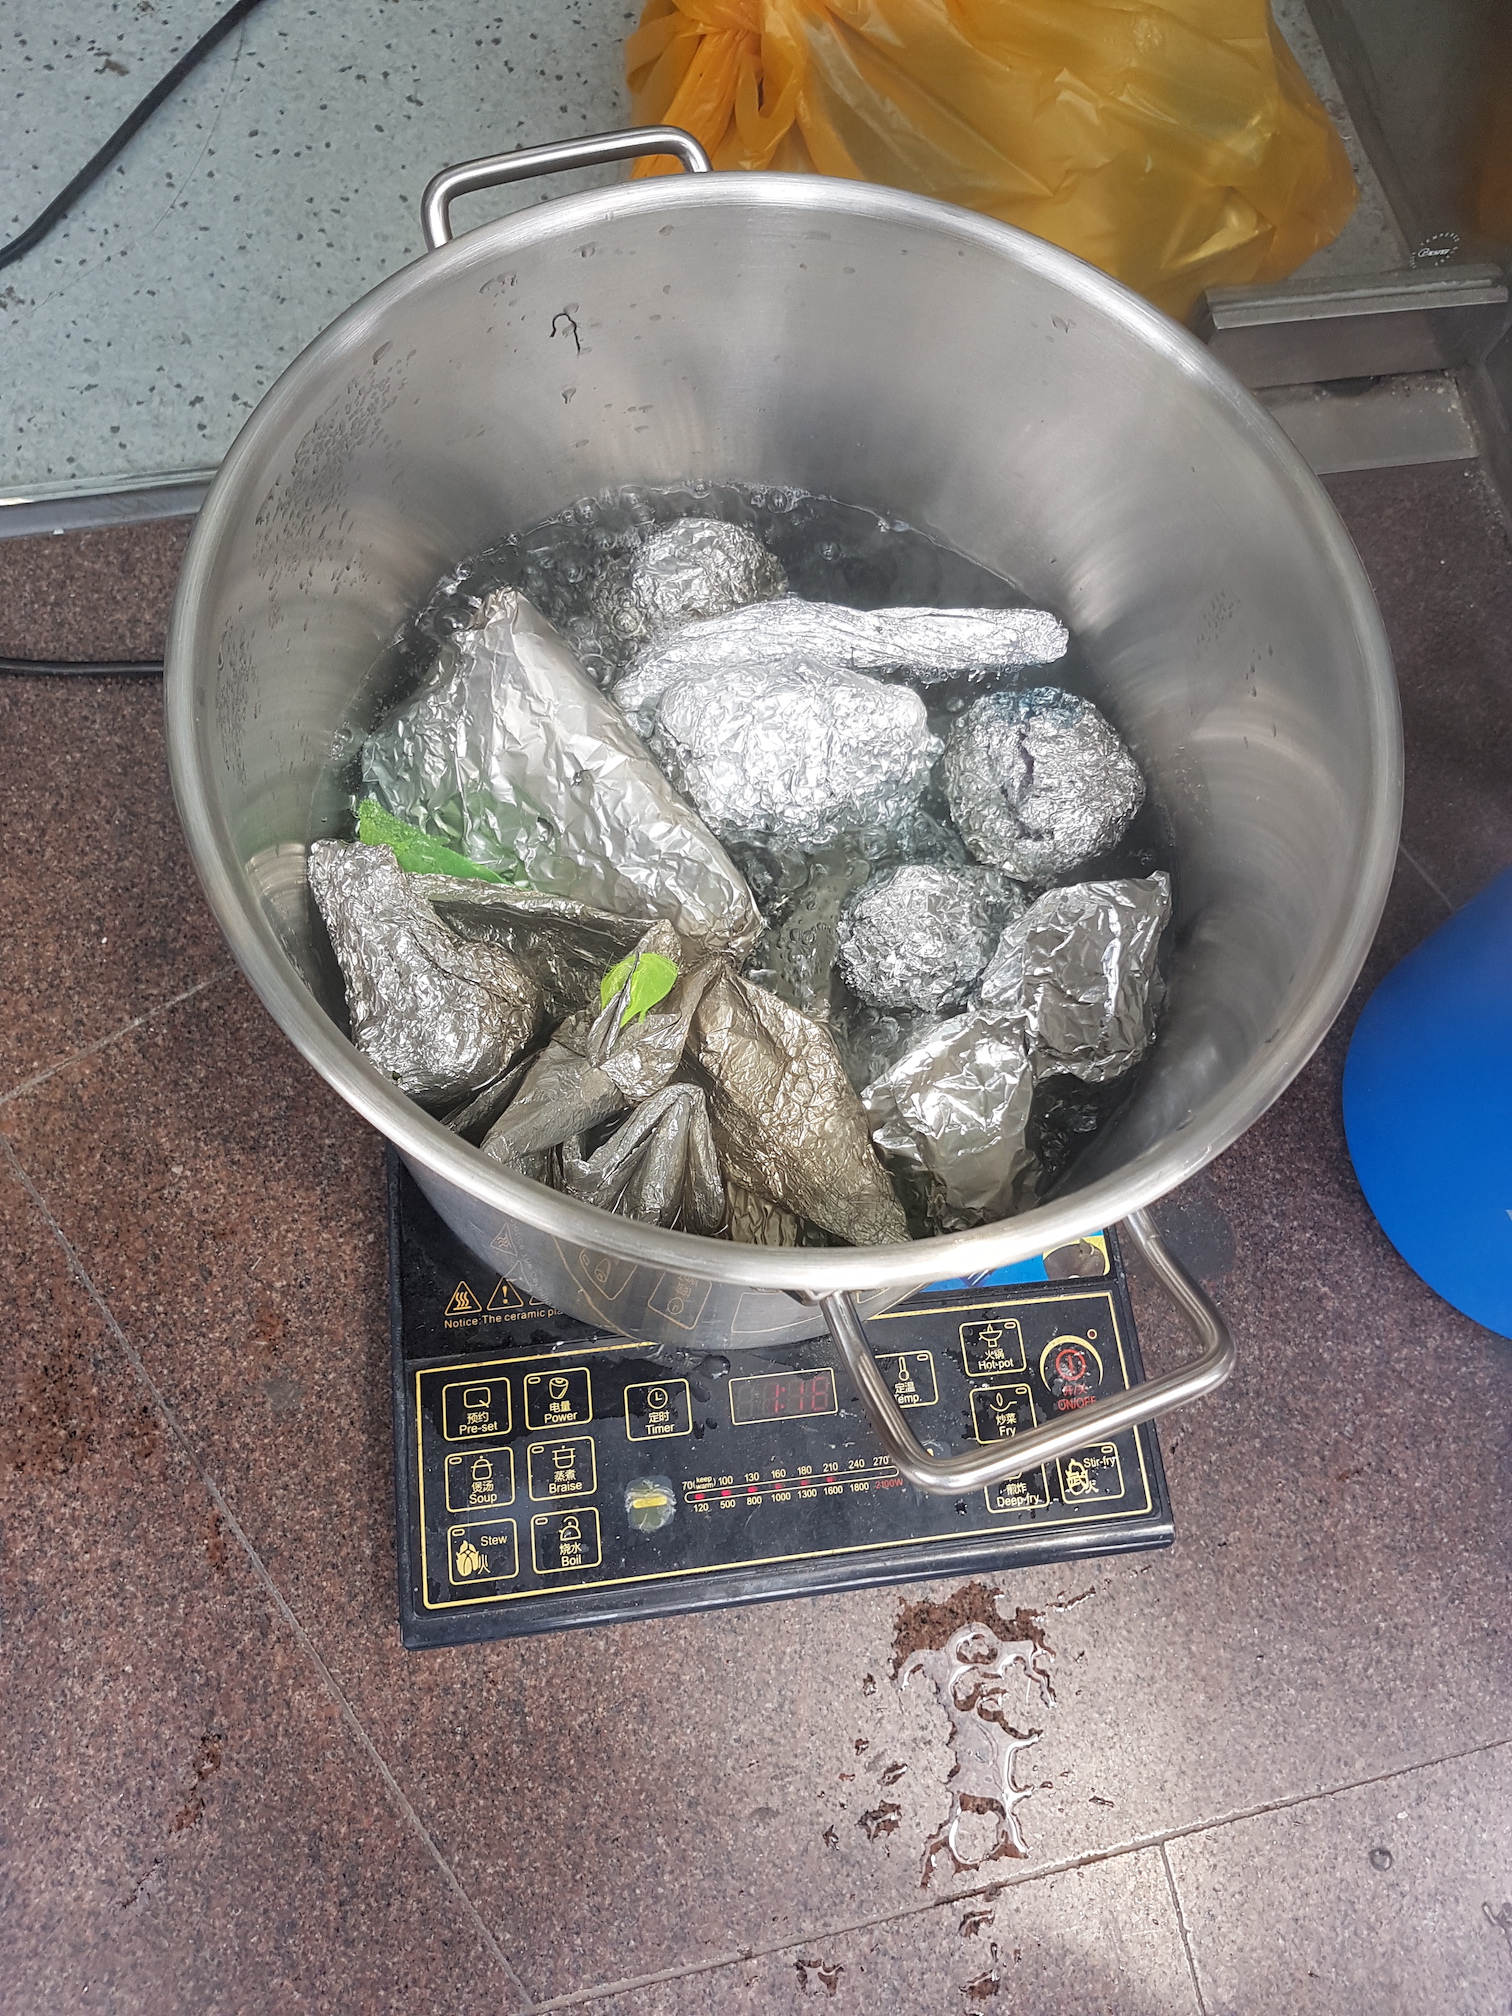
Wrap up the object in aluminium foil before boiling and steaming in hot water.
Wrap up in aluminium foil
Steam the samples
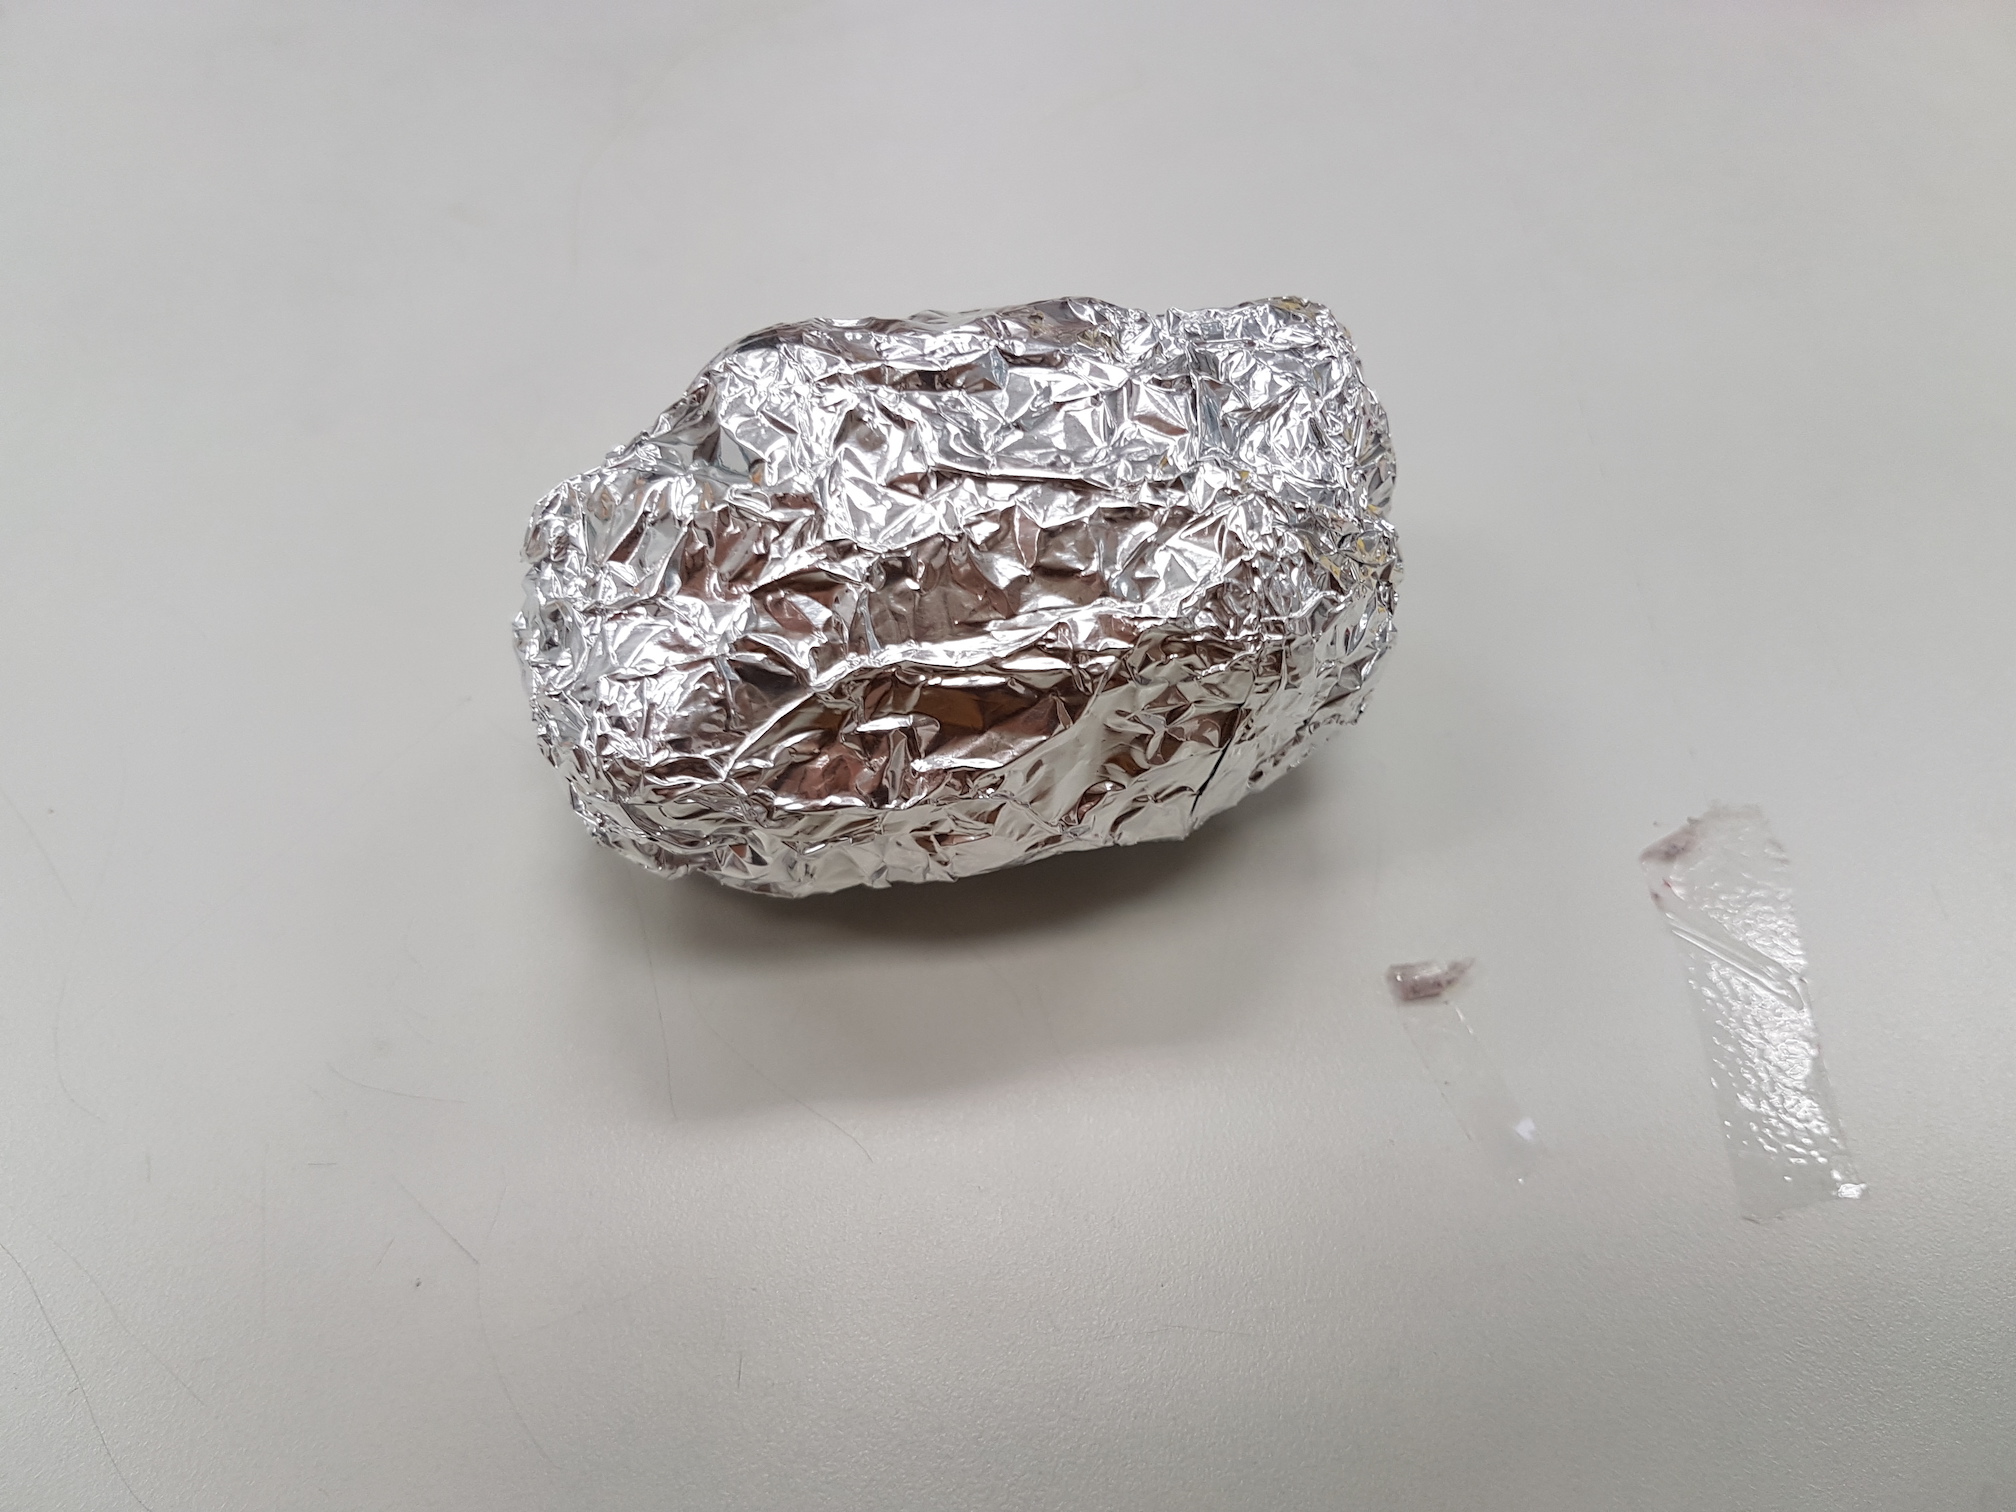
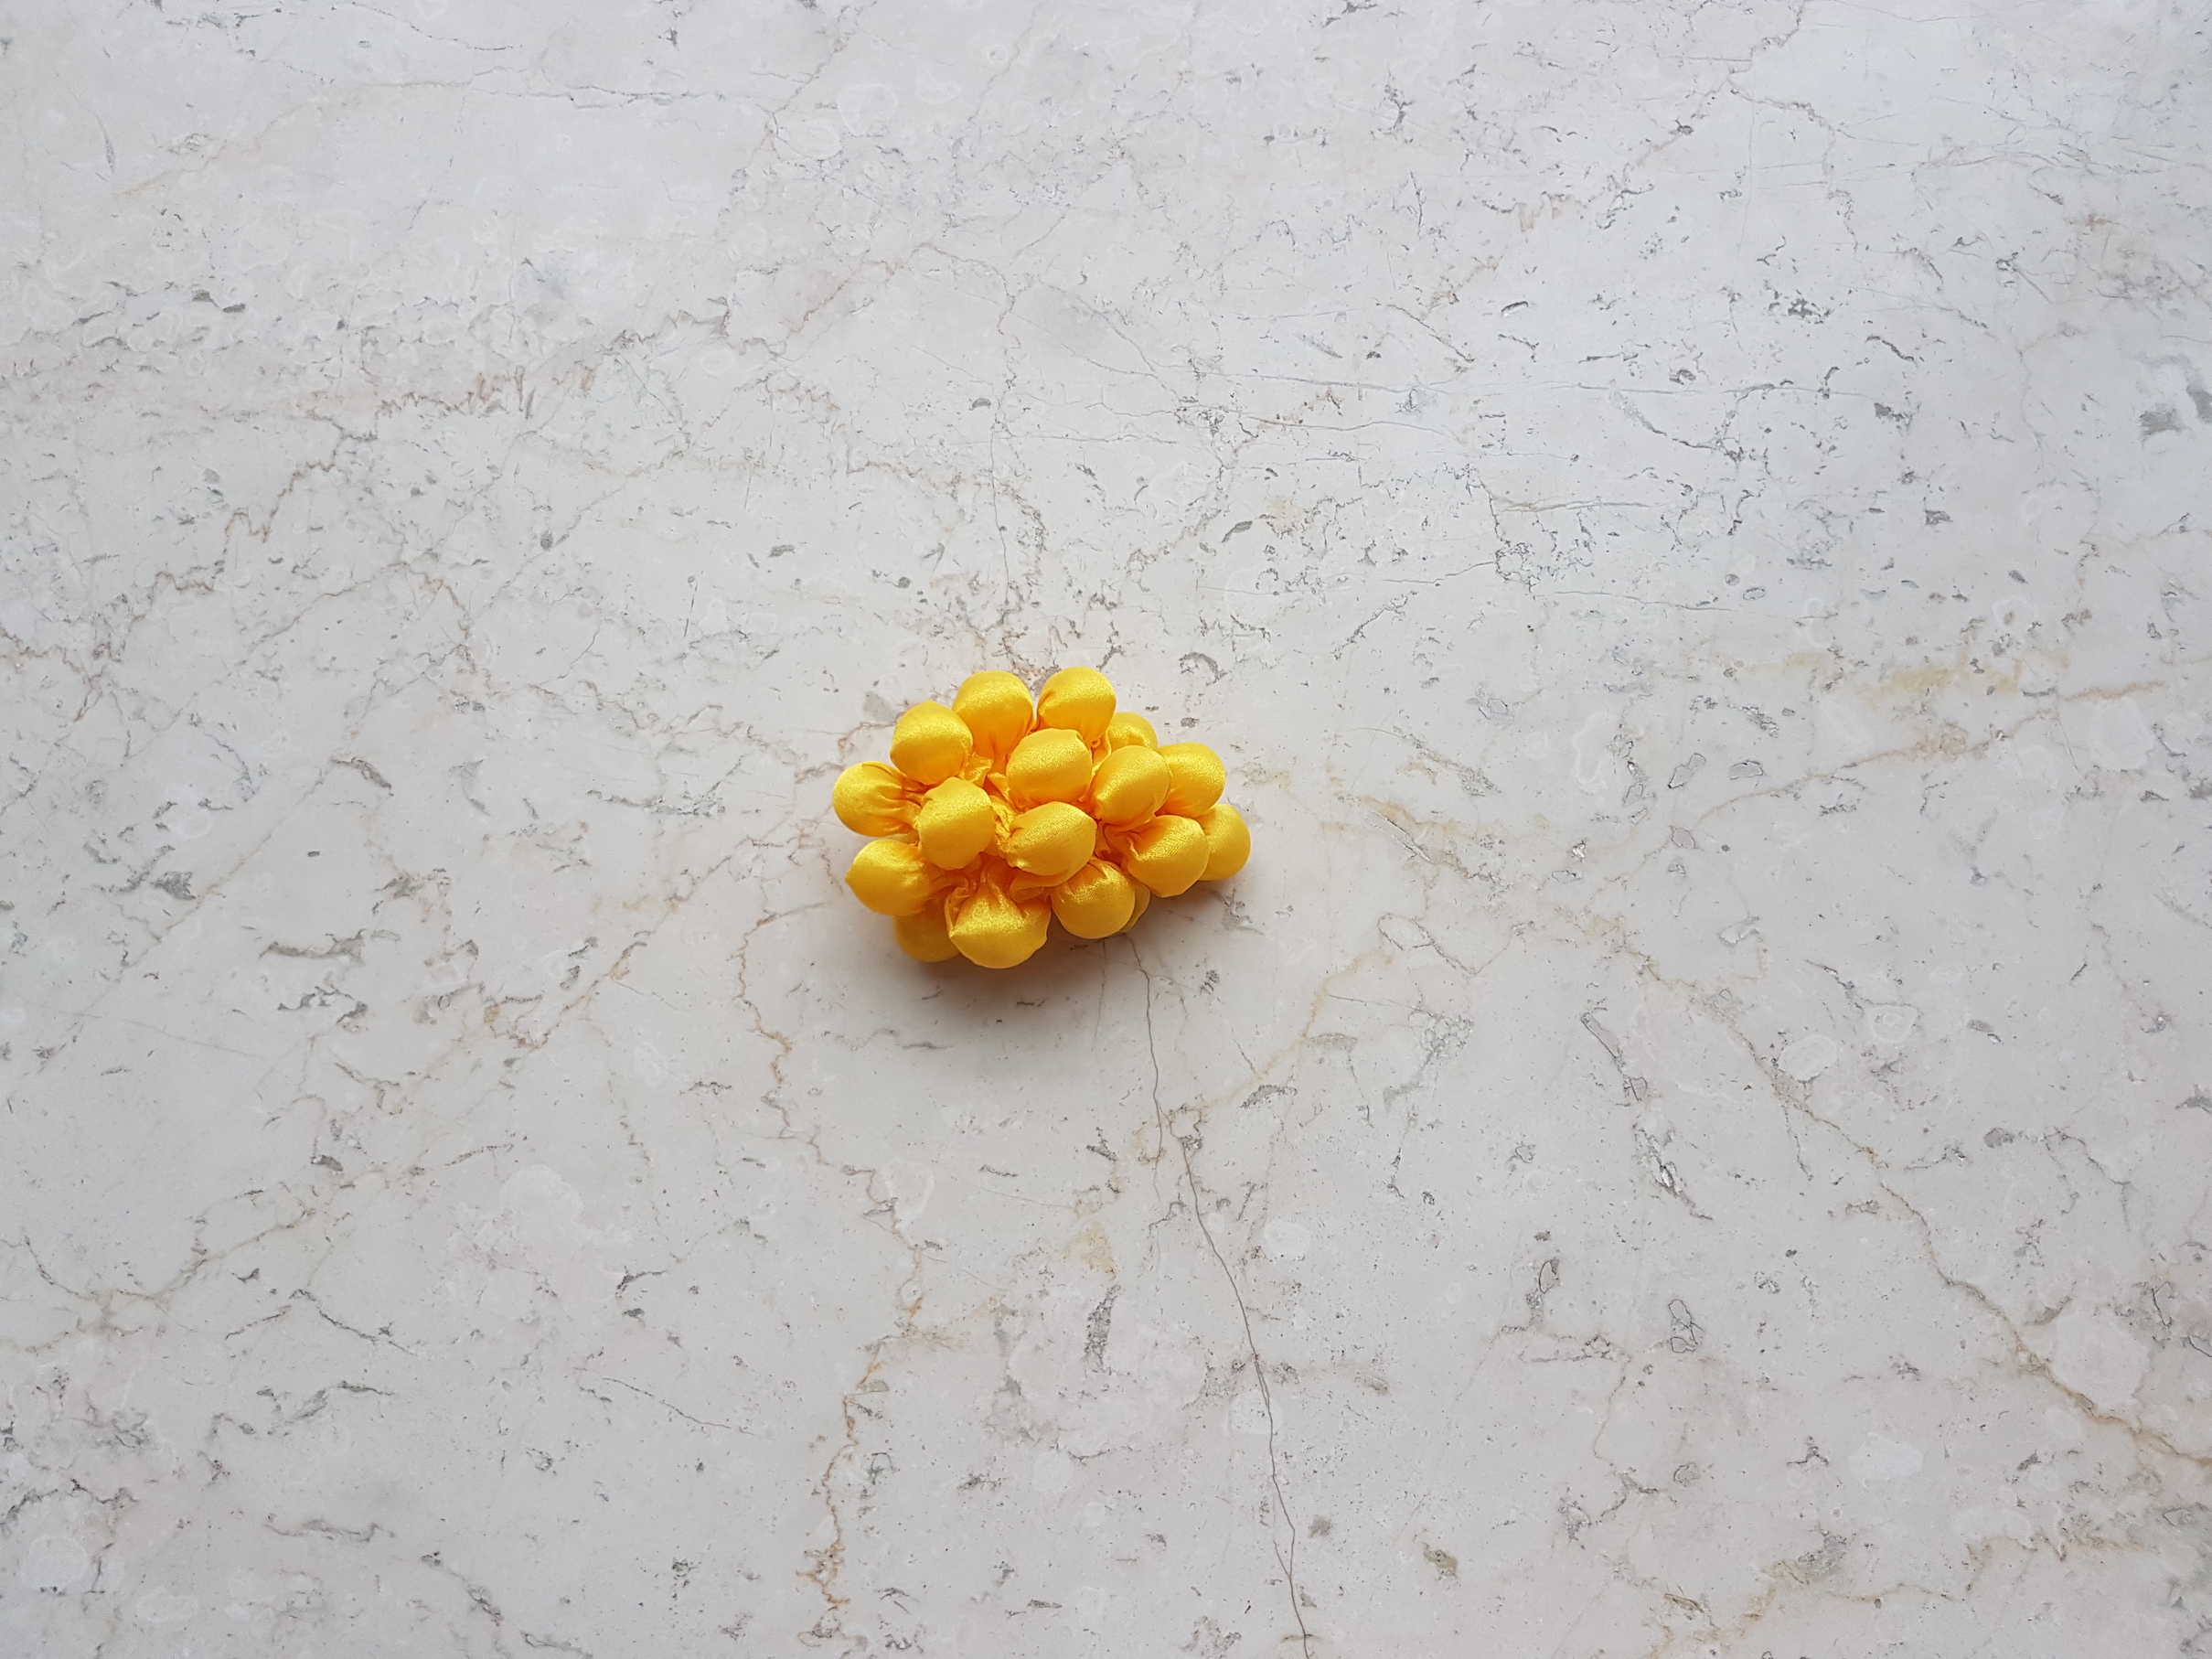
Unwrap the foil and let the organza cool down in the desired shape. Do not hang the fabric or remove the rubber bands or marbles when still warm, as this will loosen its shape.
Just boiled
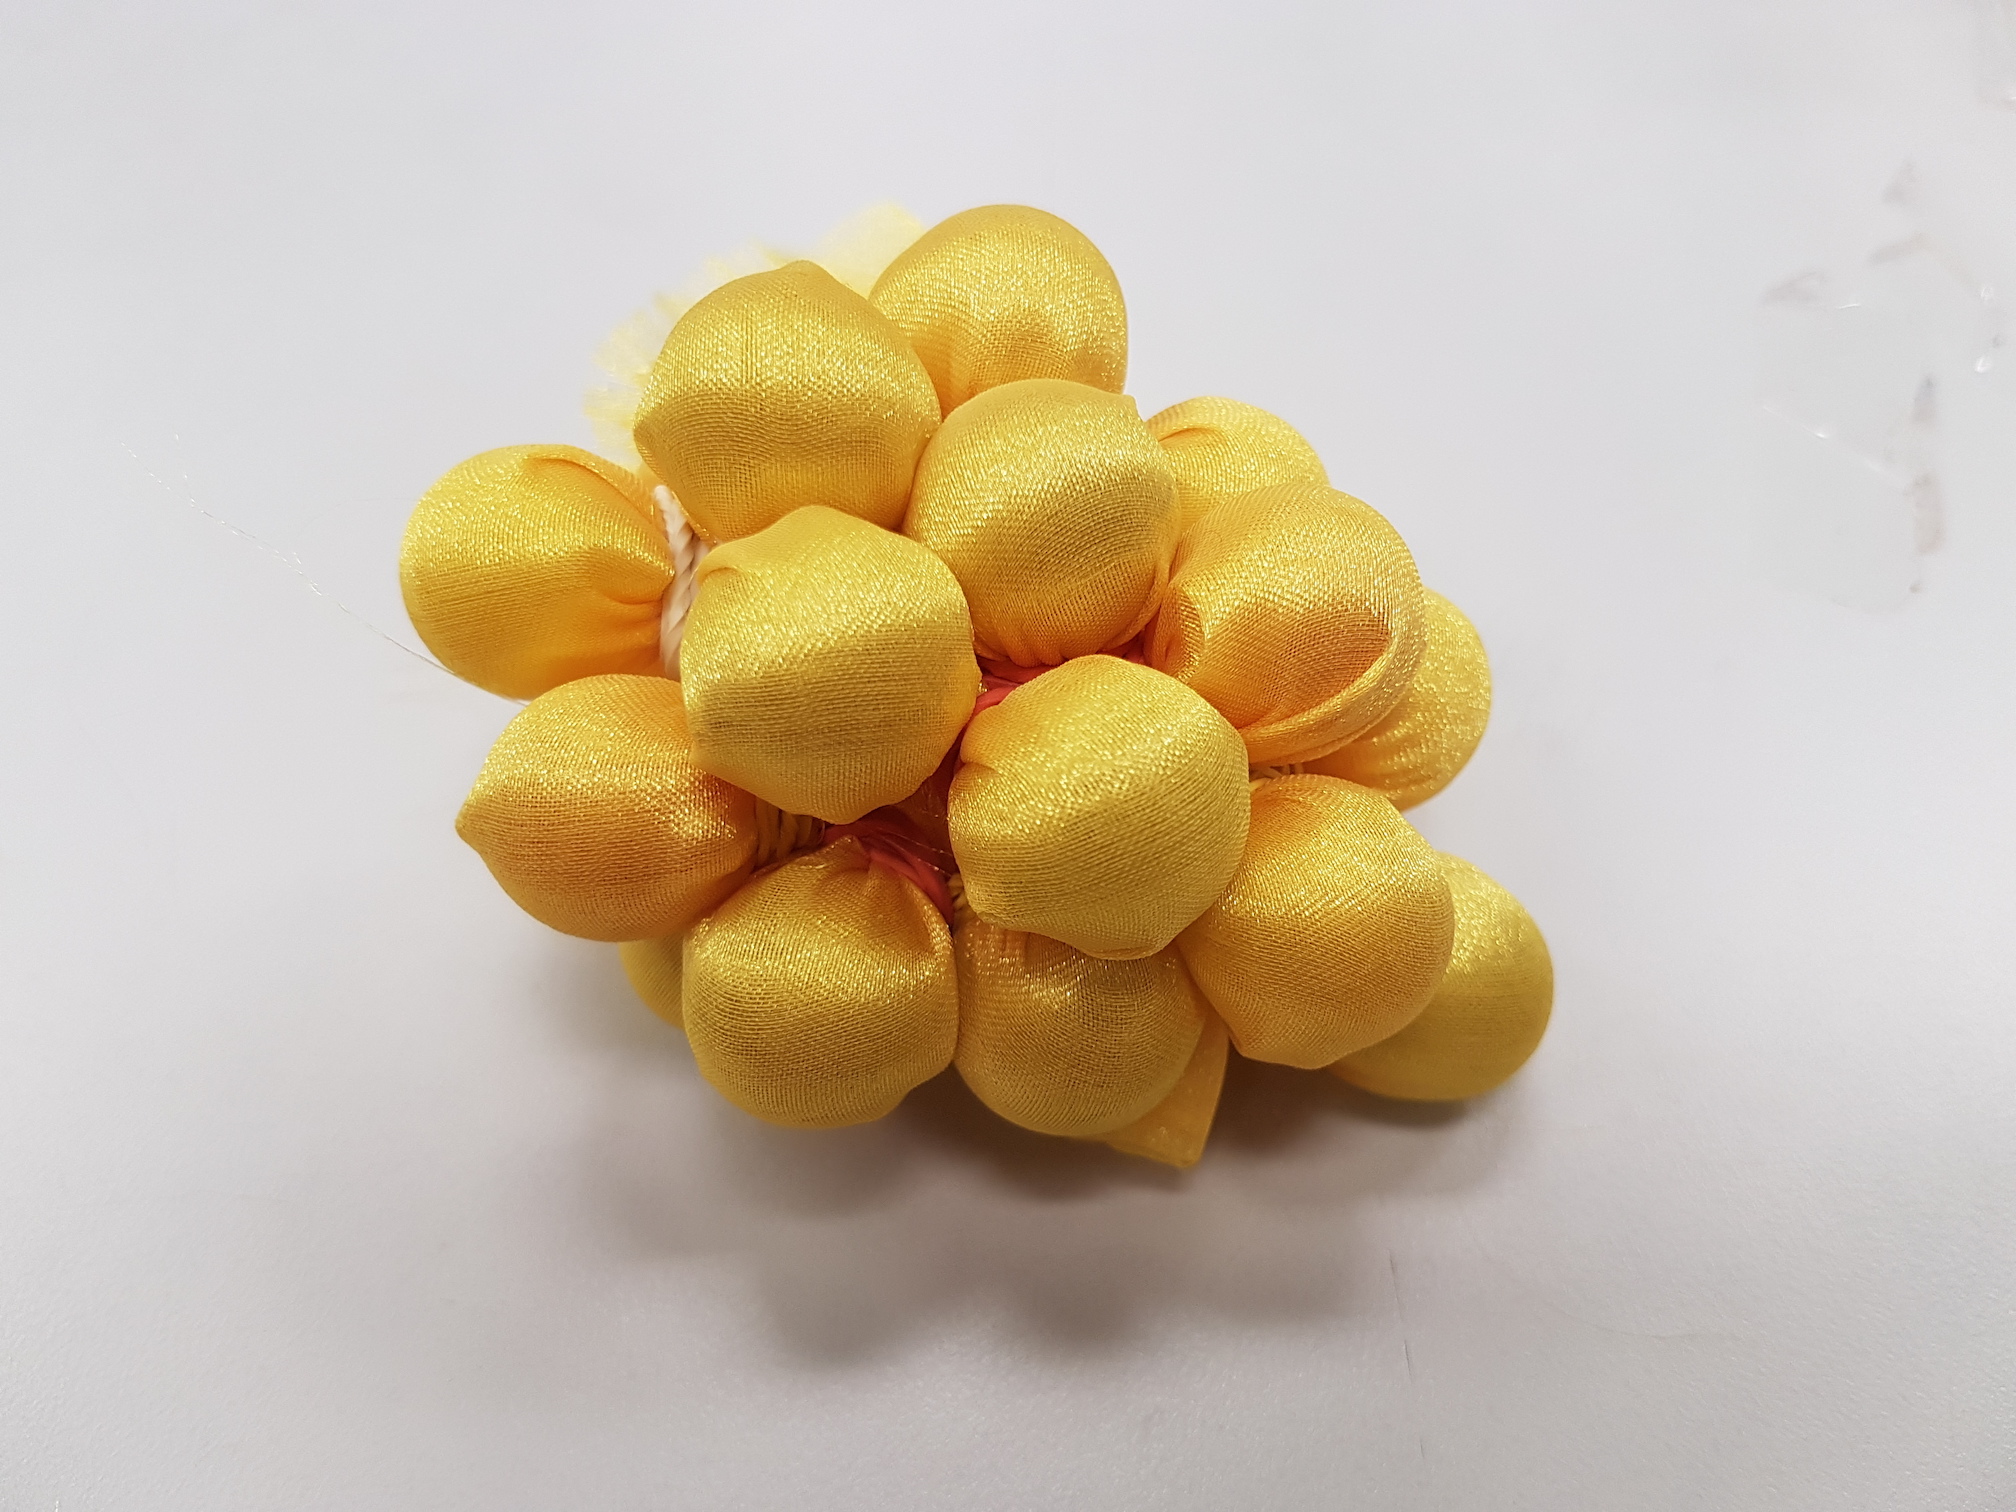
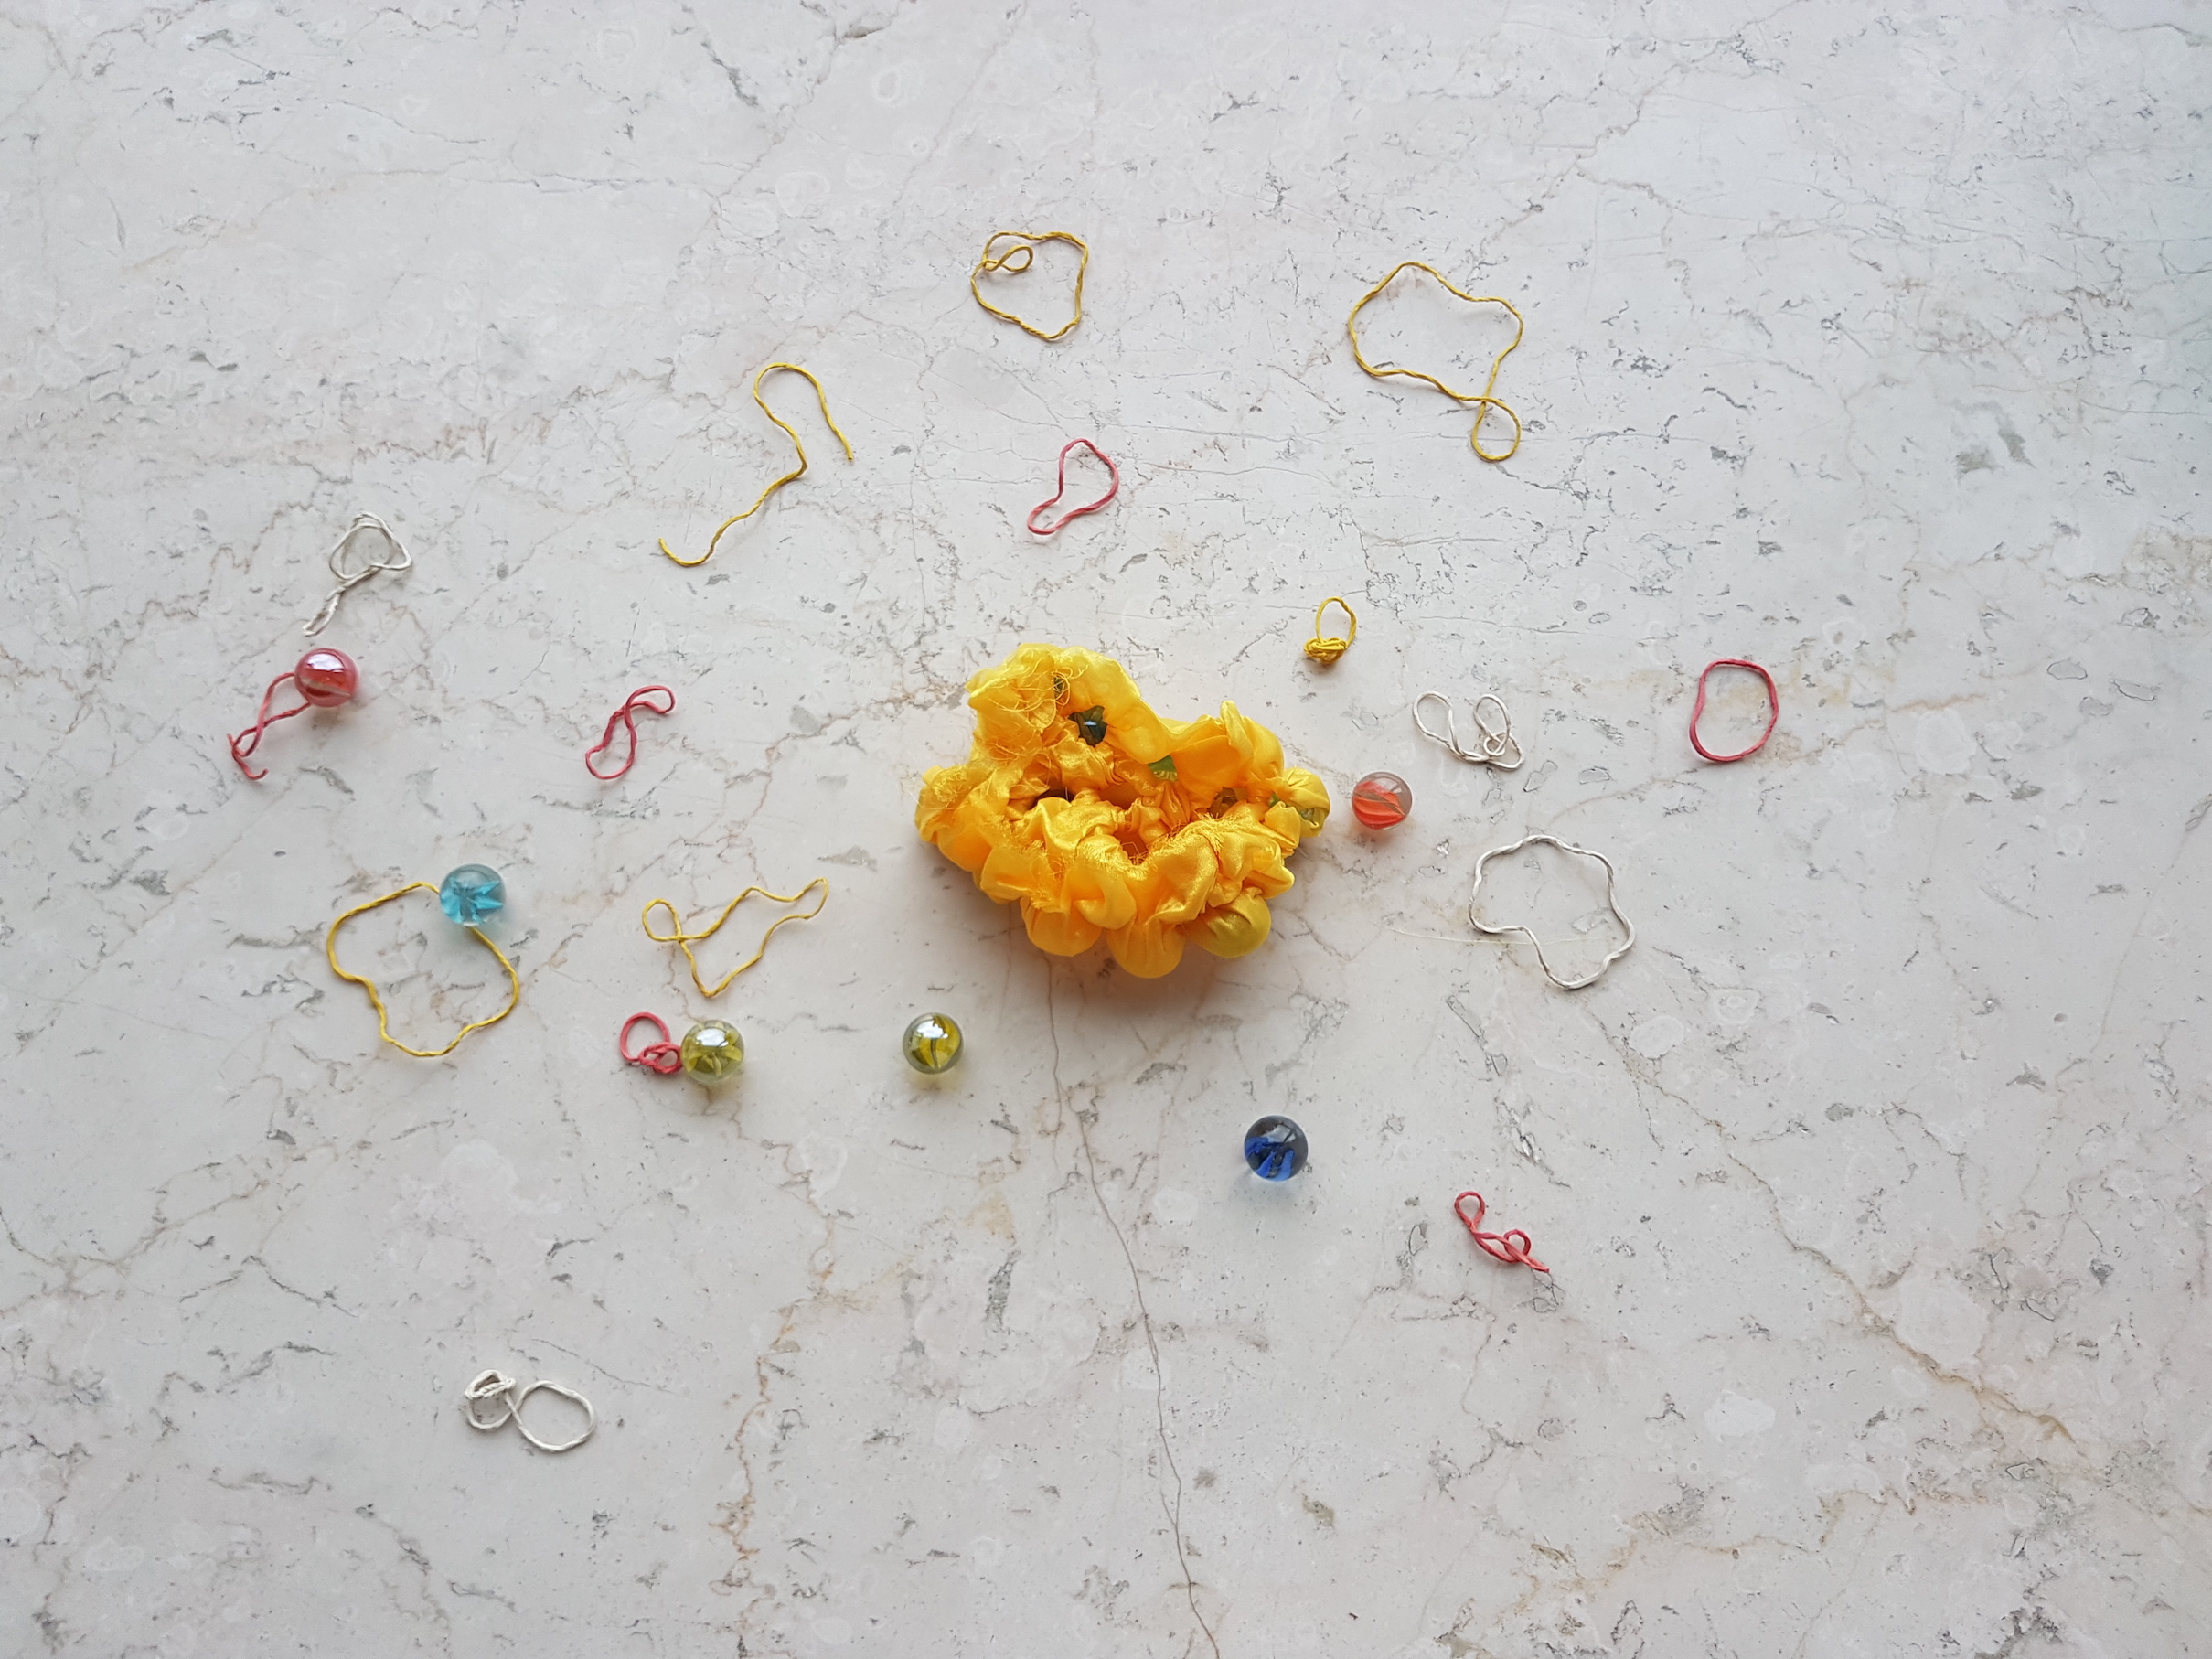
Remove the rubber bands and mould objects when dry.
All rubber bands removed
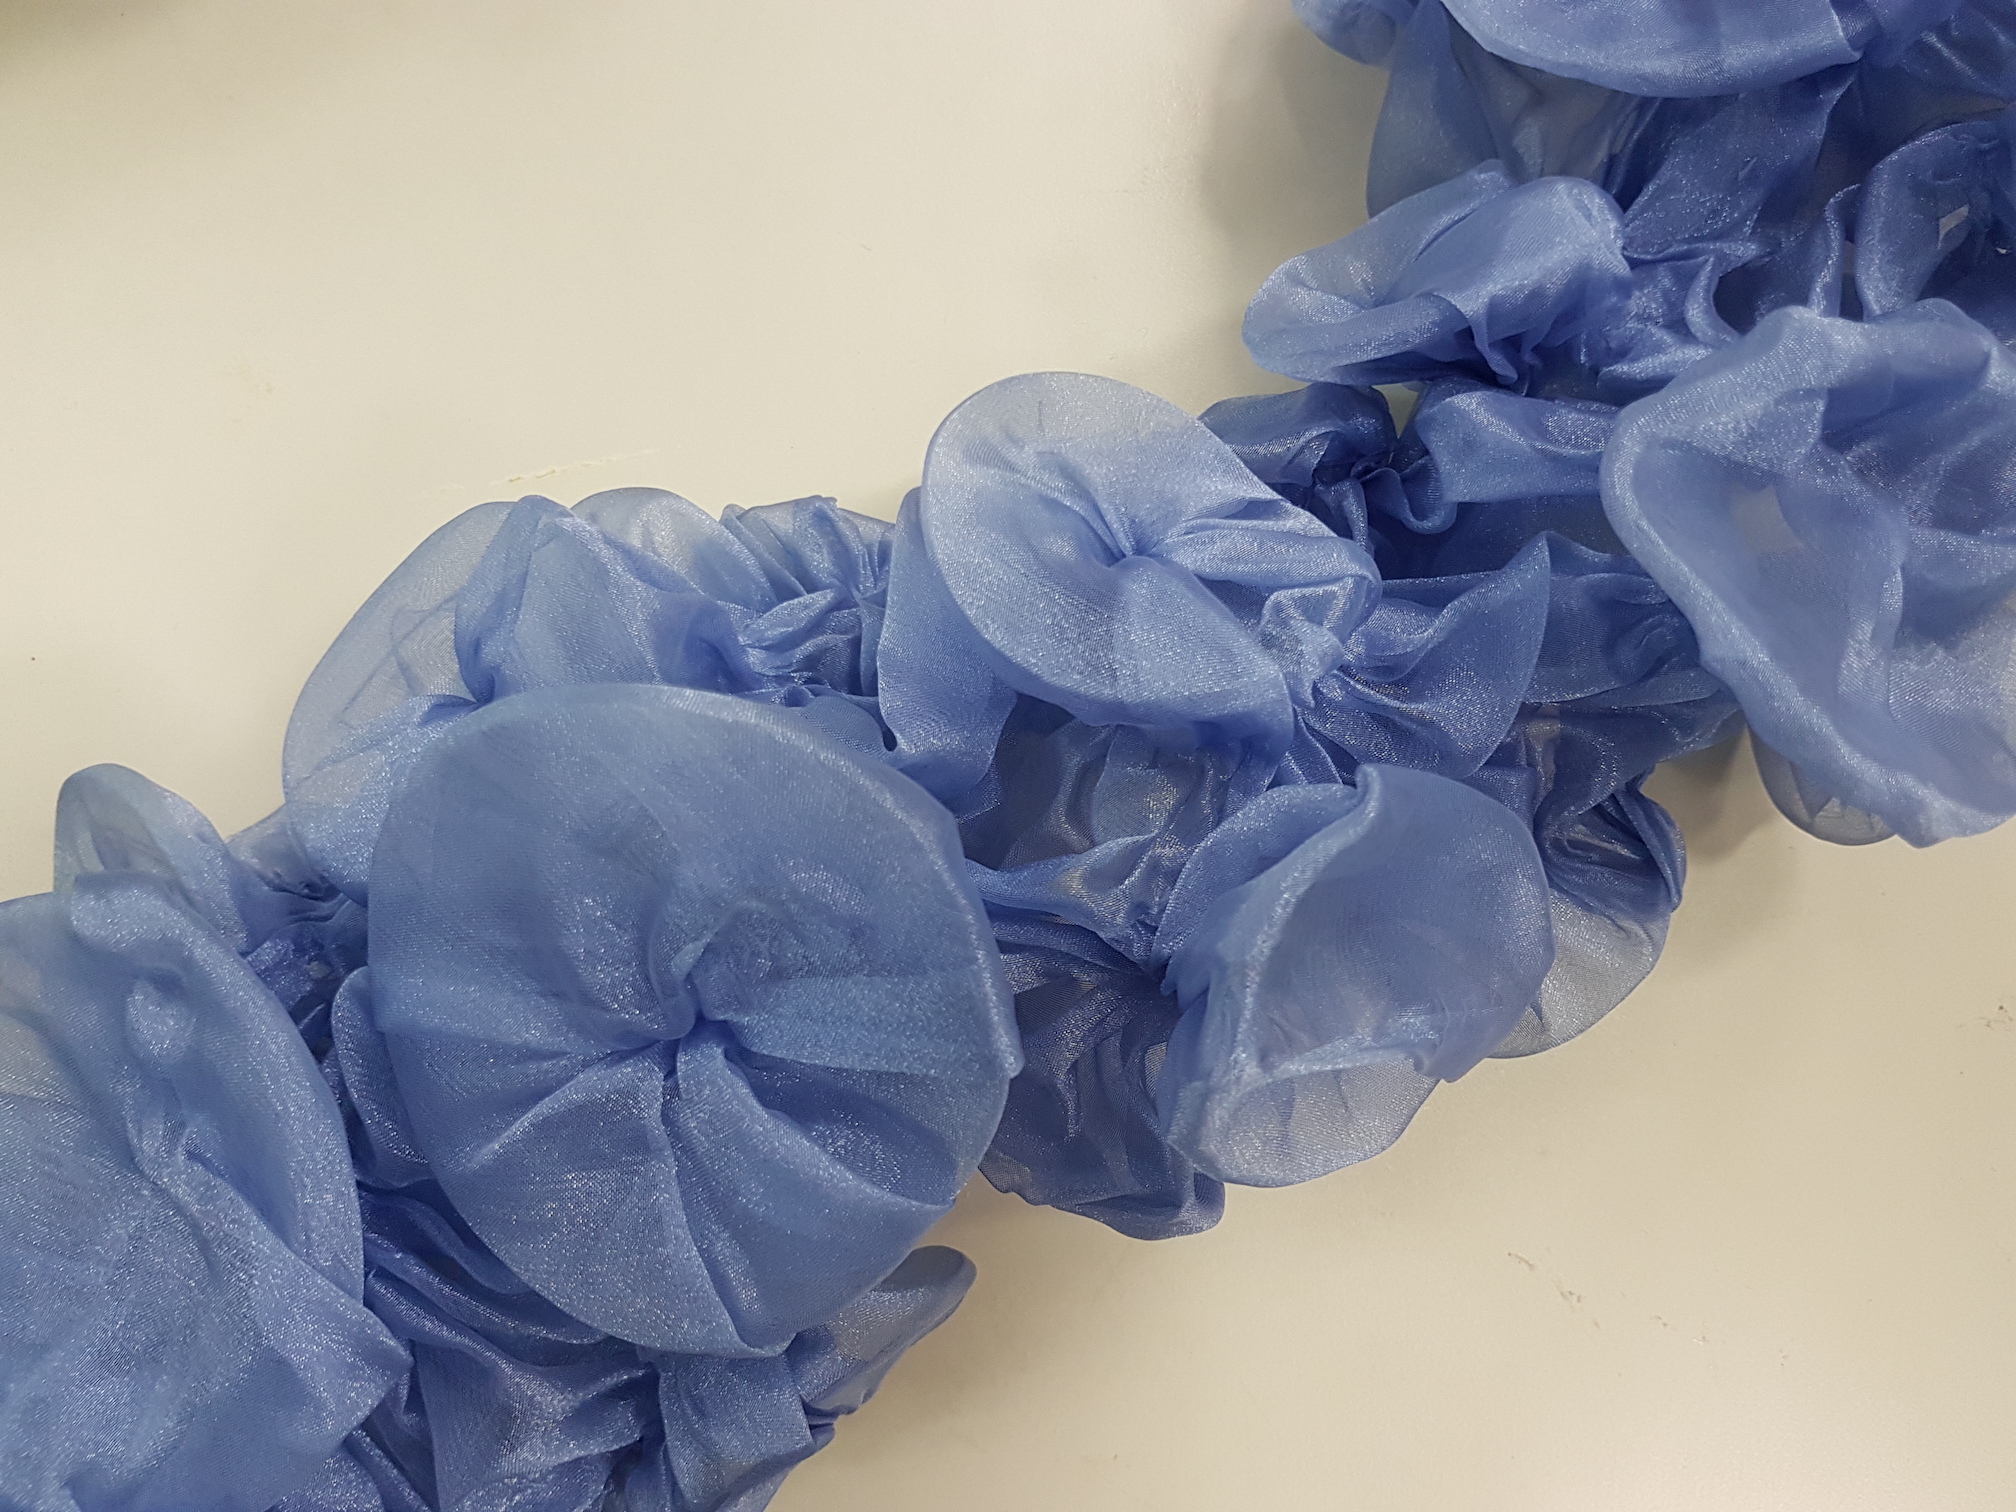
Mould the polyester organza around marblesFully expanded!
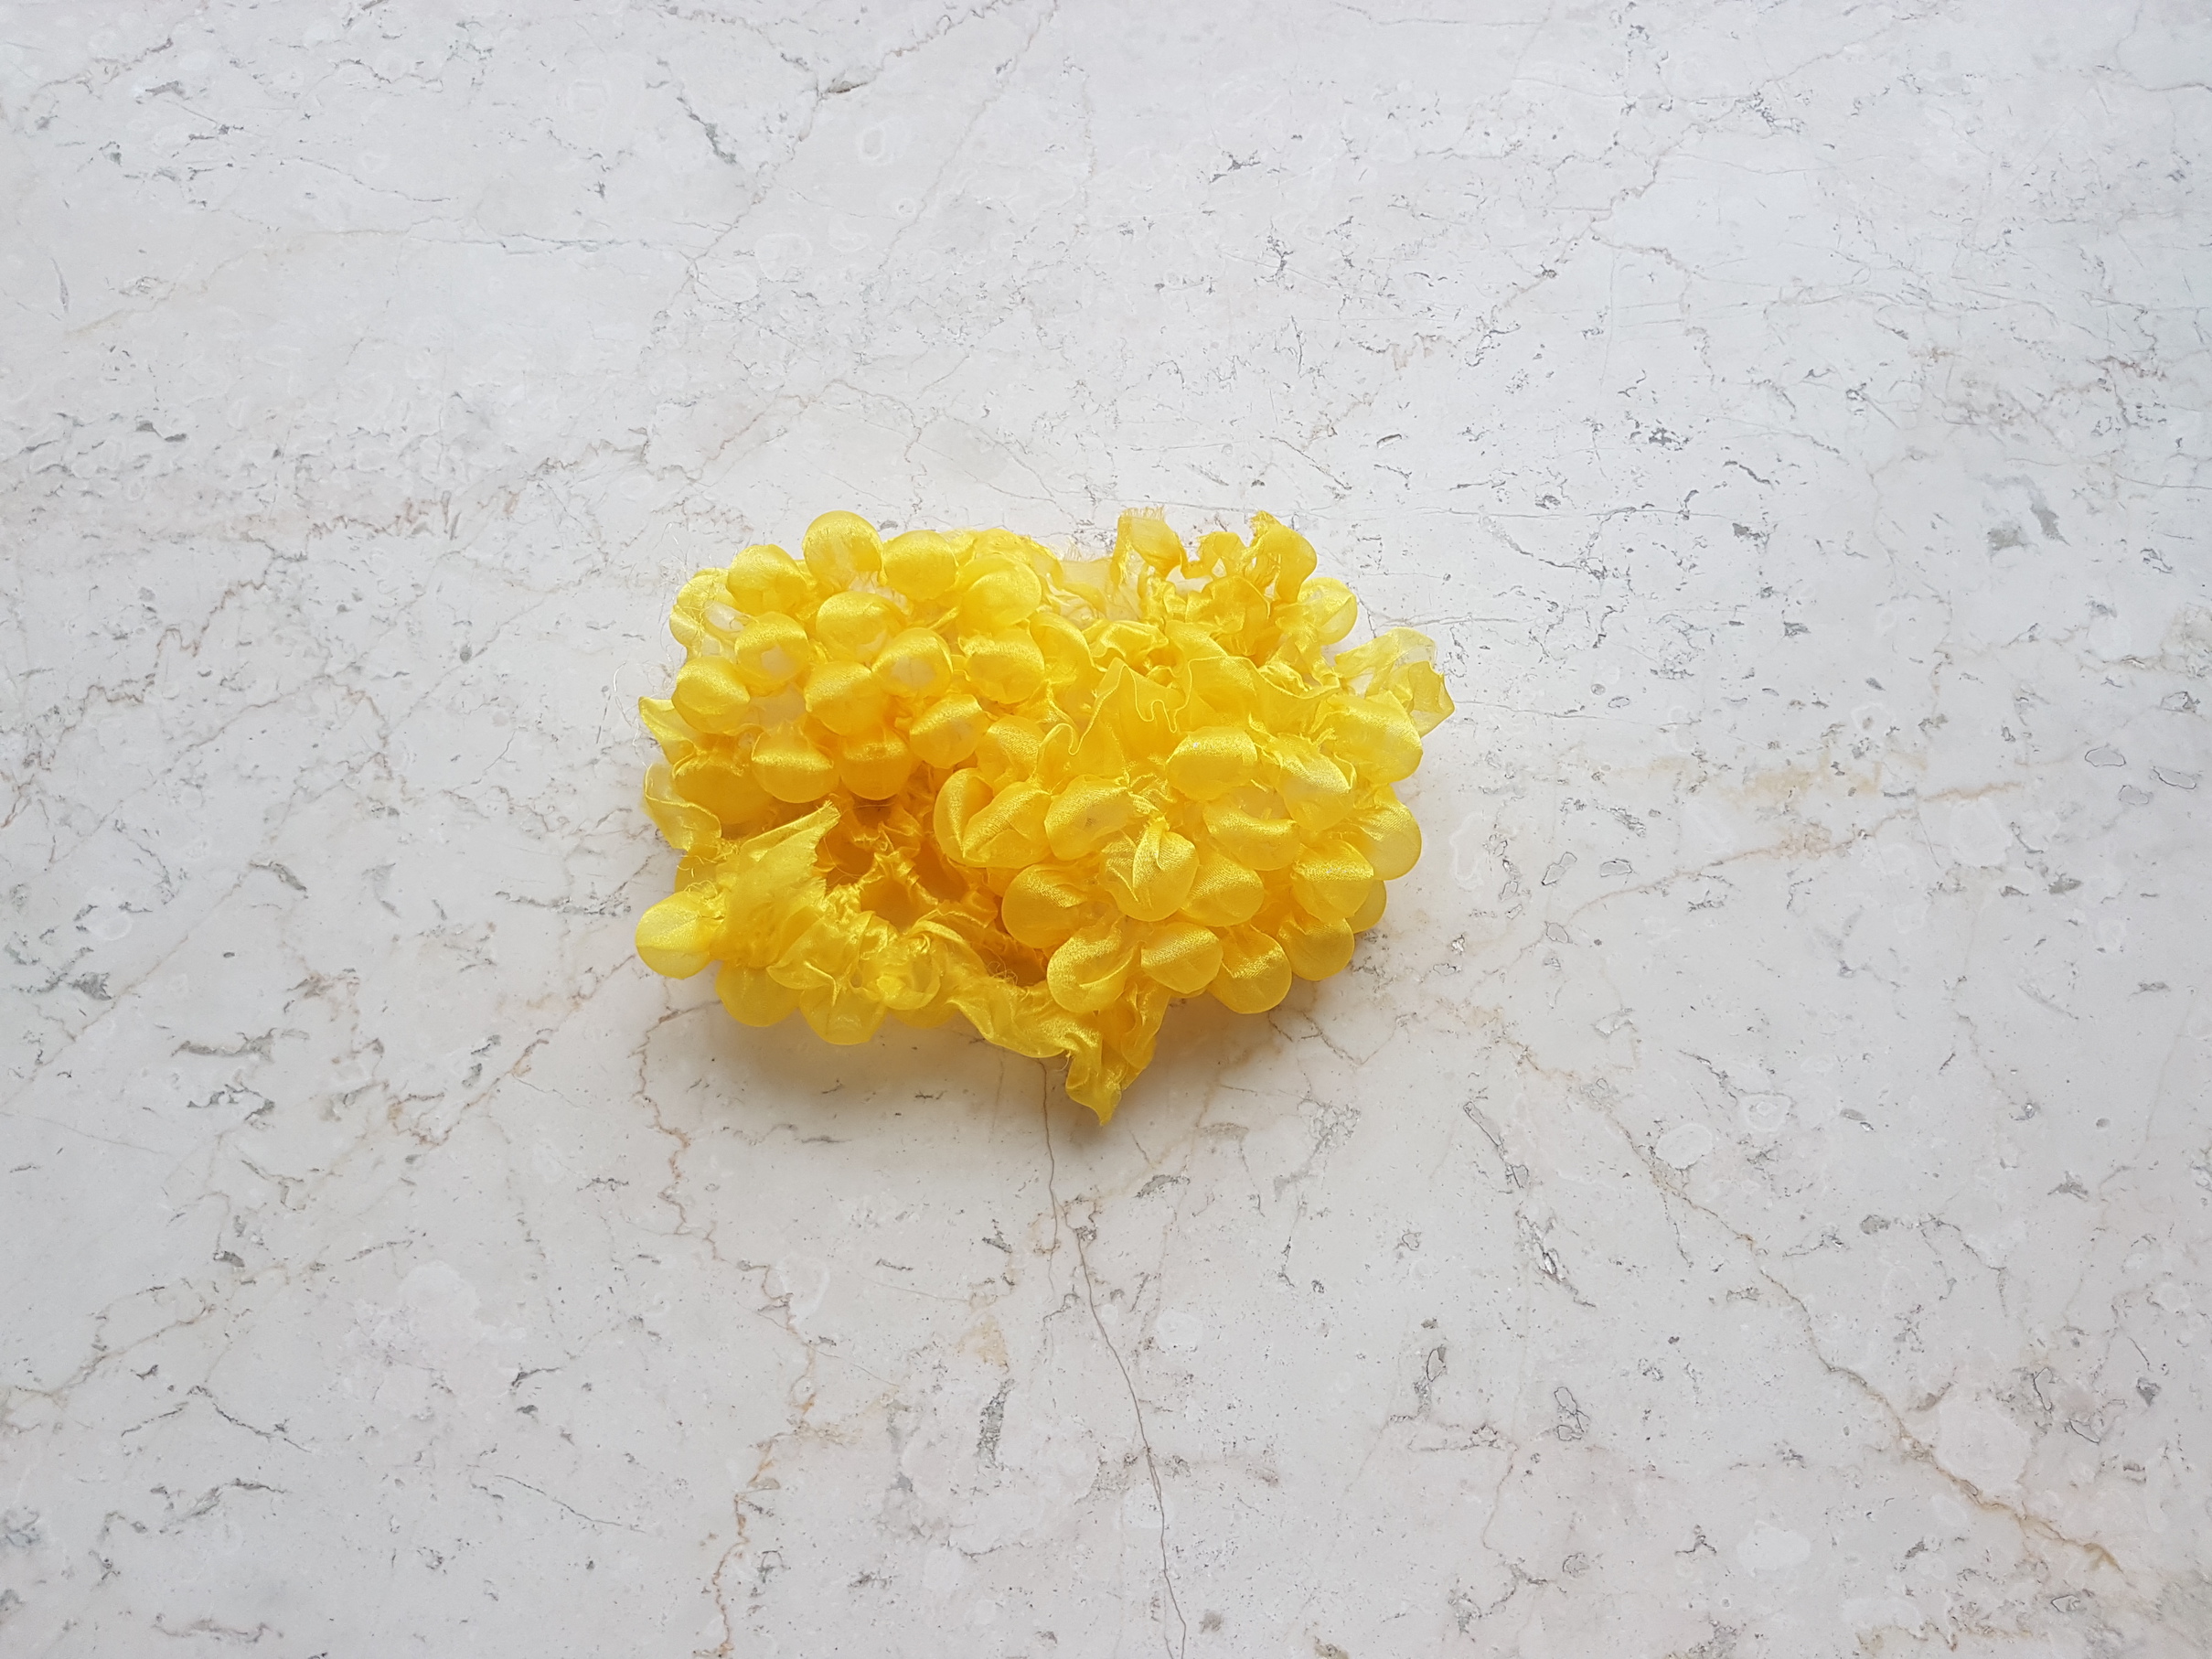
For my final project, I imitated the shape of the pine cone petal using thermoplastics. I wrapped organza around different sizes of disposable spoons to simulate the different petal sizes.
Final project sample inspired by the petals of pine cones
This technique of manipulating thermoplastics with heat is very interesting and enjoyable! It allows us to create organic shapes and mould a soft fabric into a rigid semi-translucent form. There are endless possibilities!
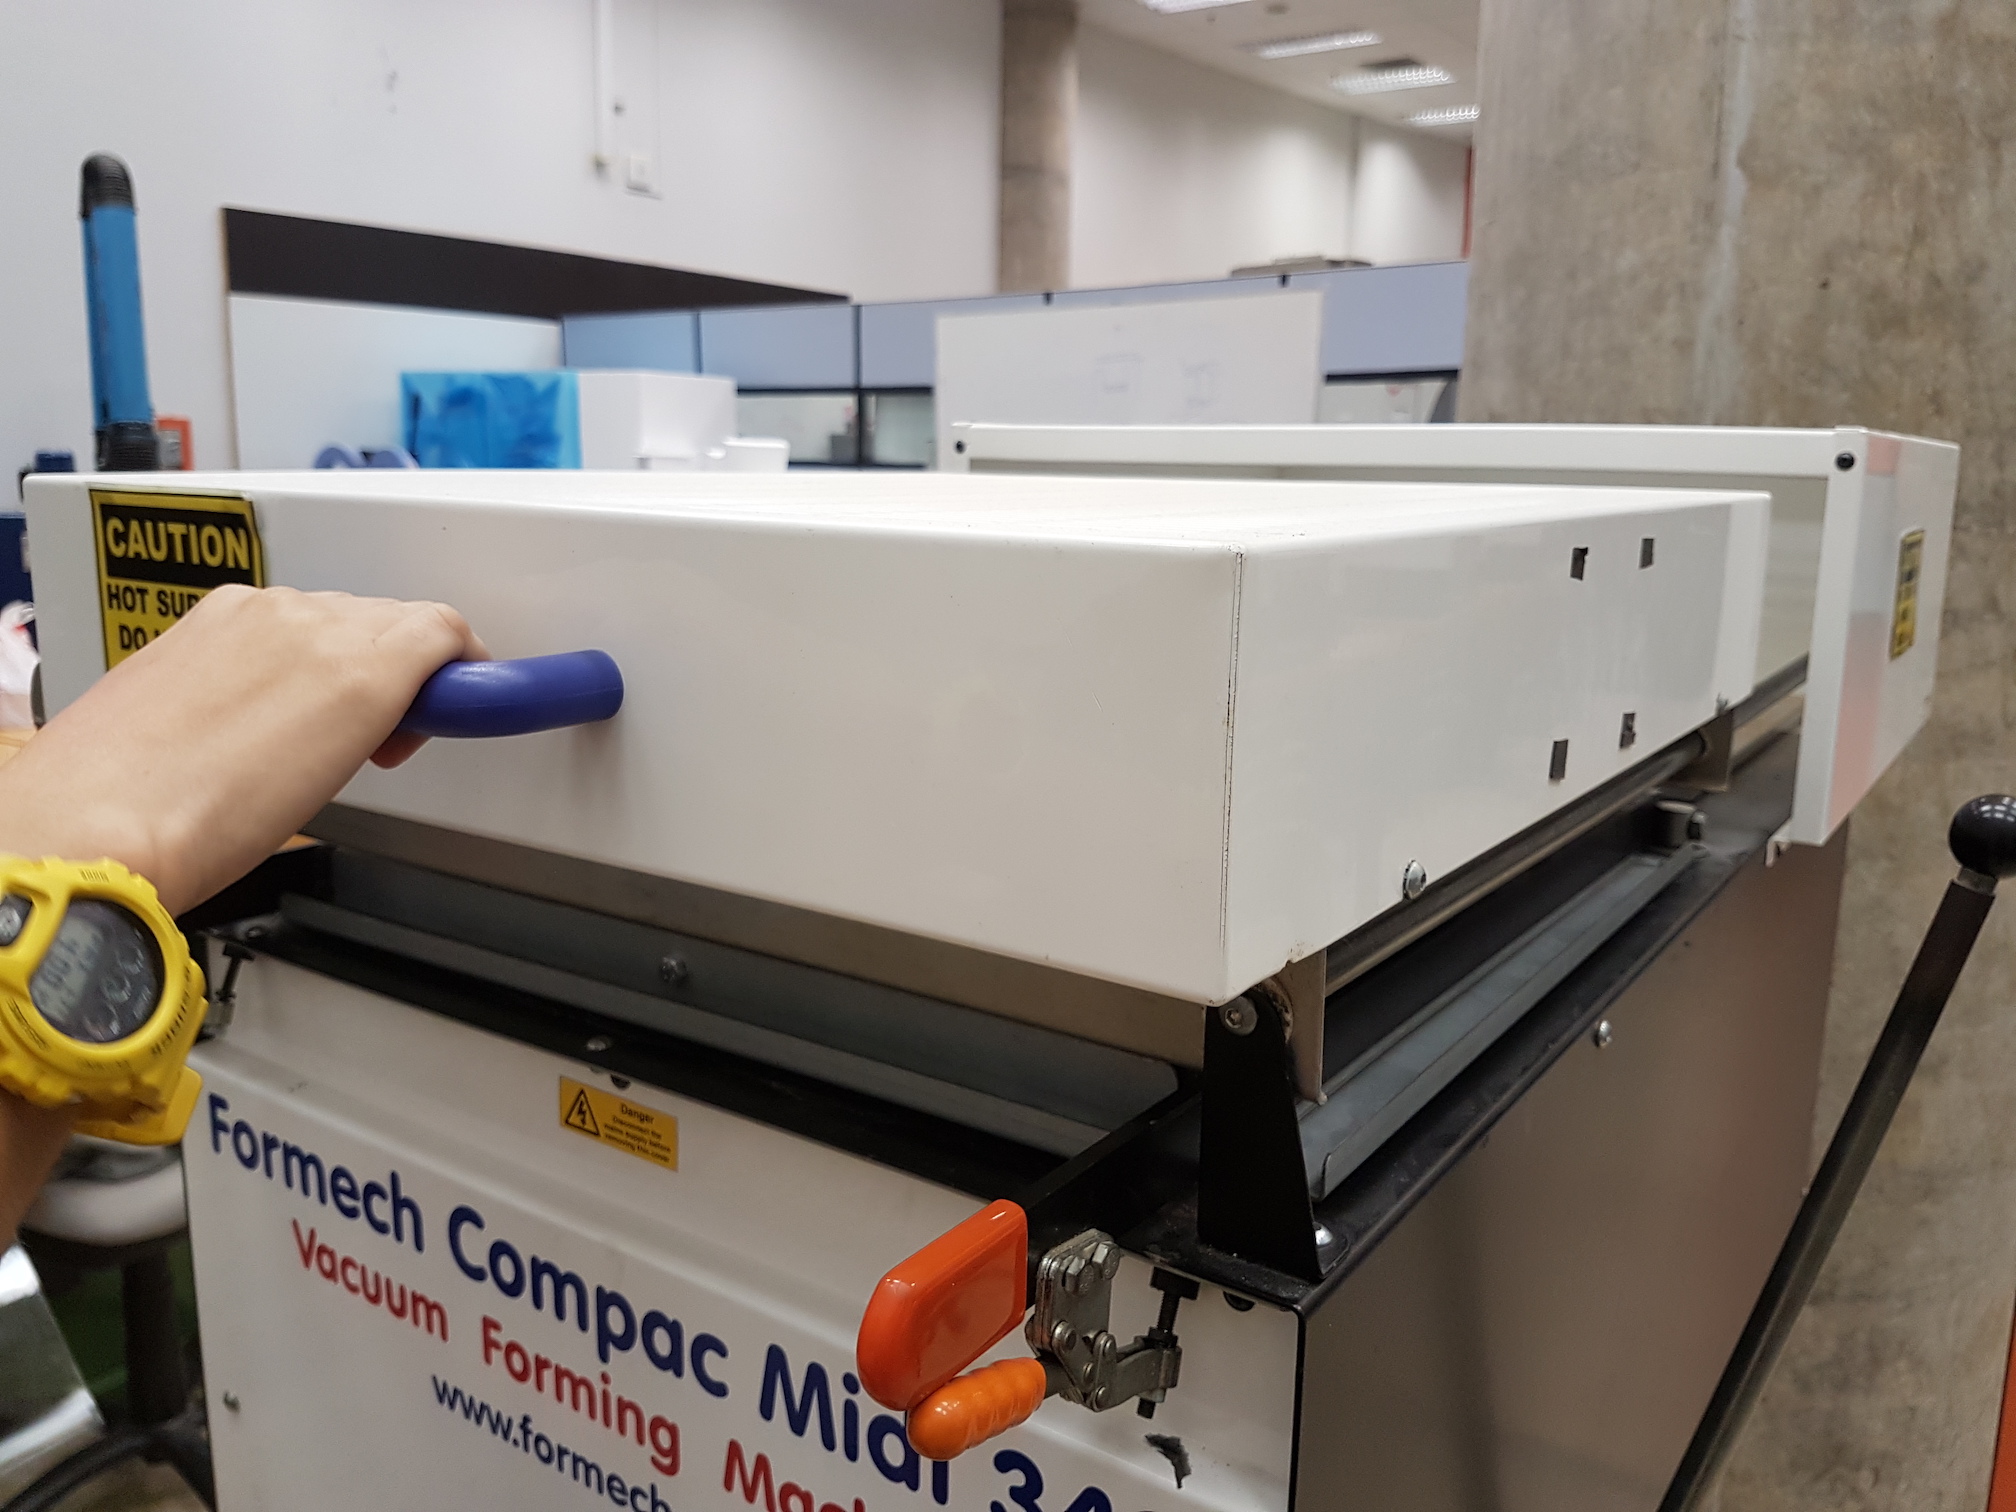
Vacuum-forming
Materials needed
Vacuum-forming machine
PVC plastic sheet
Objects to form around
Process
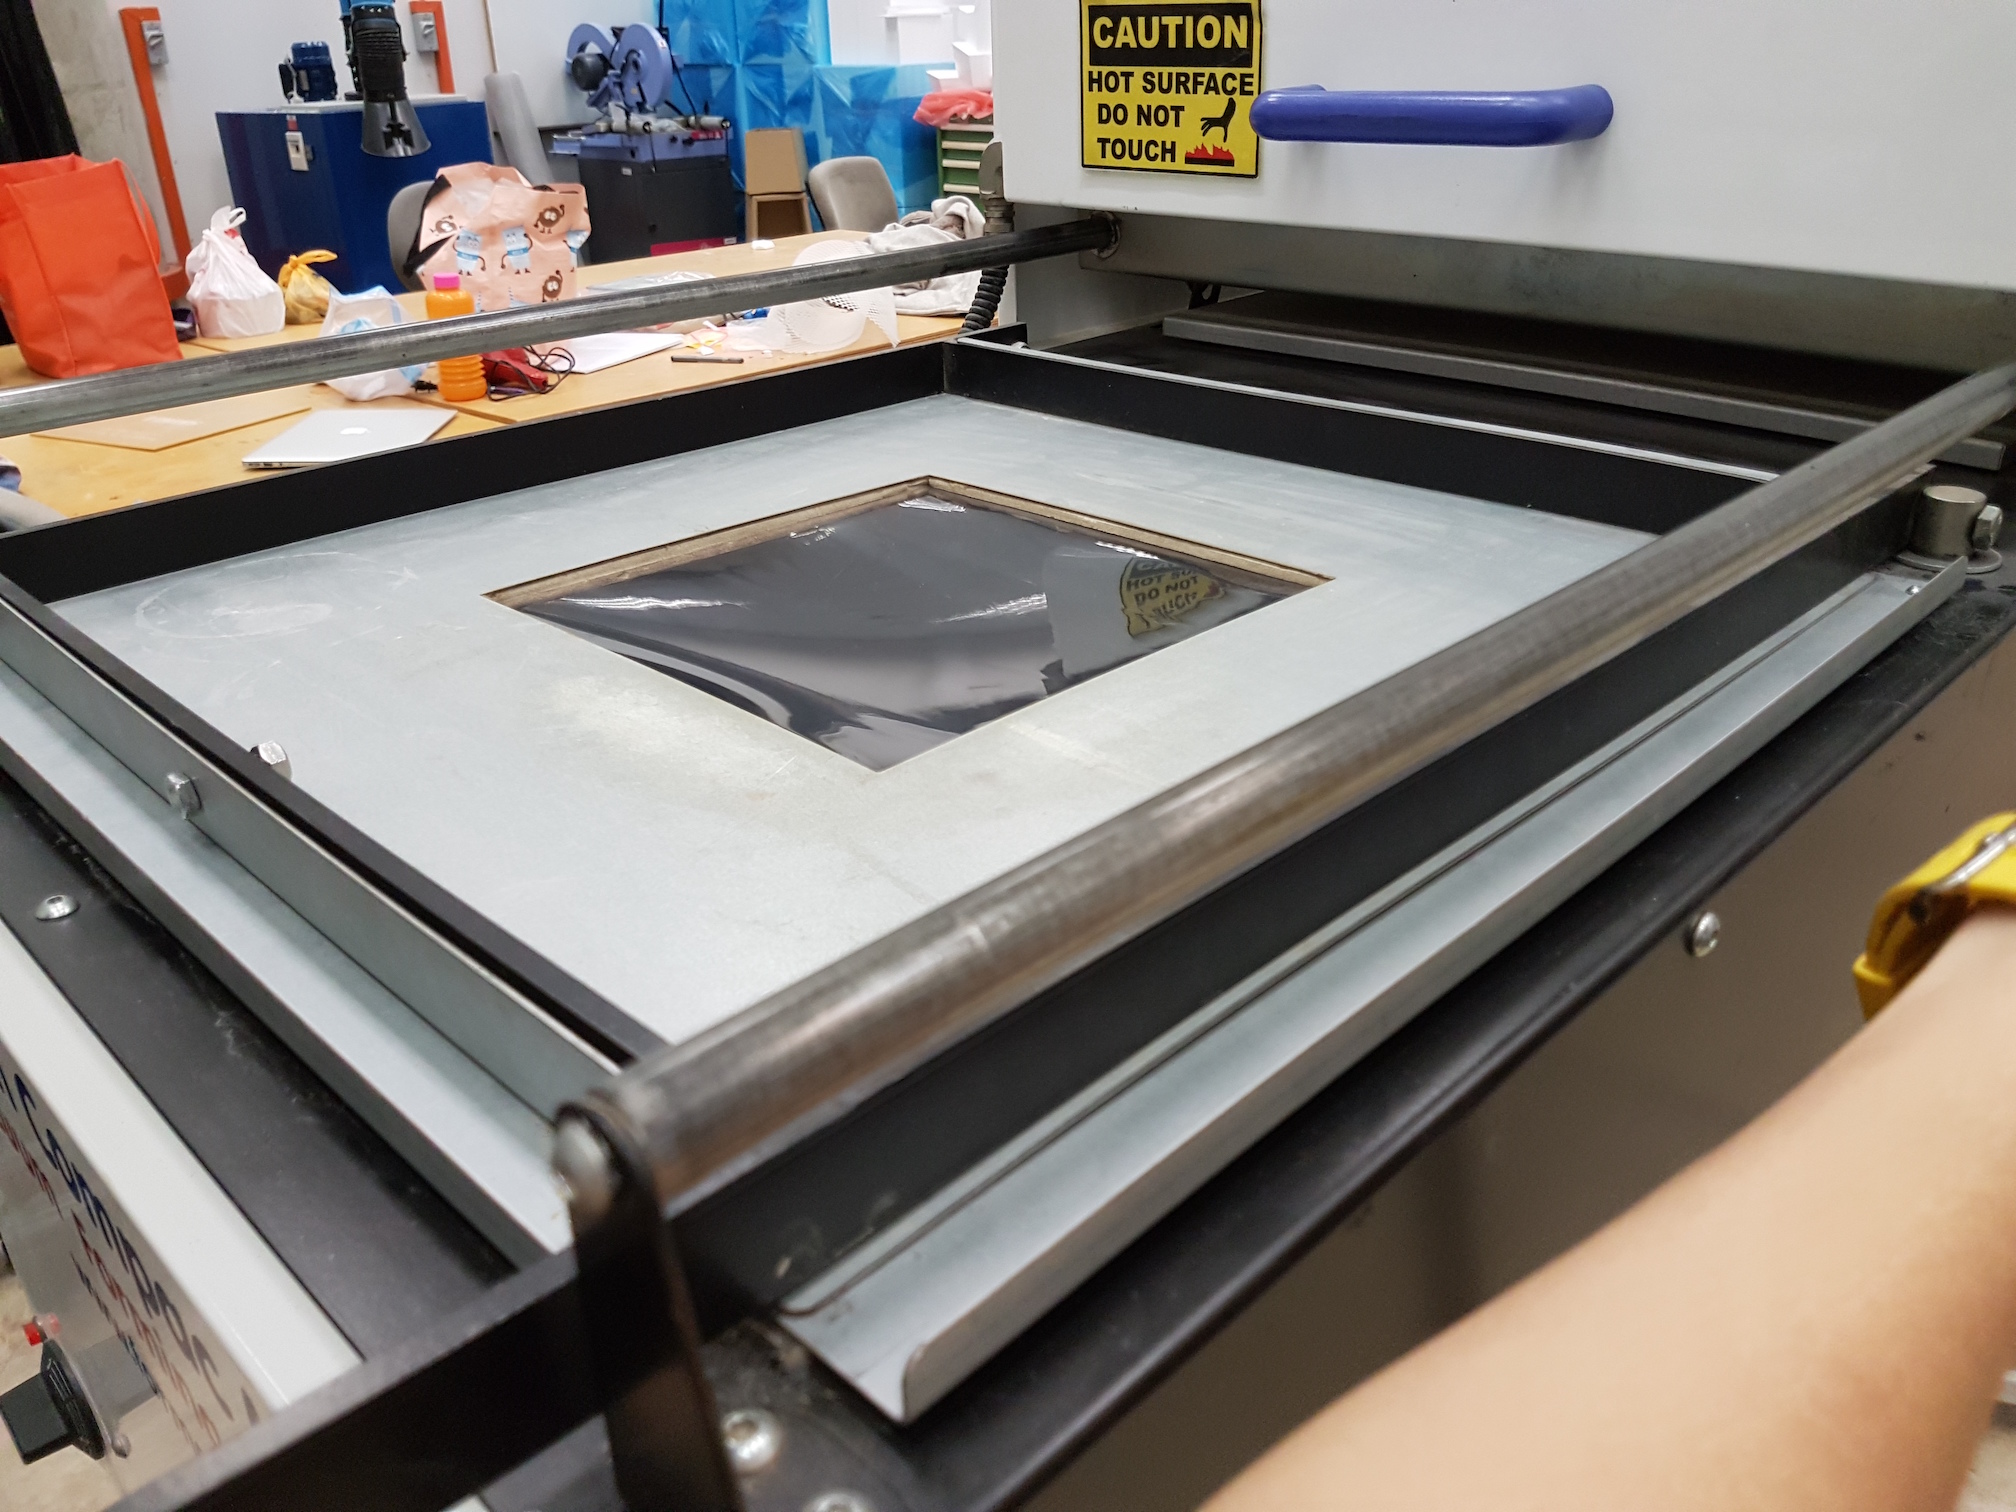
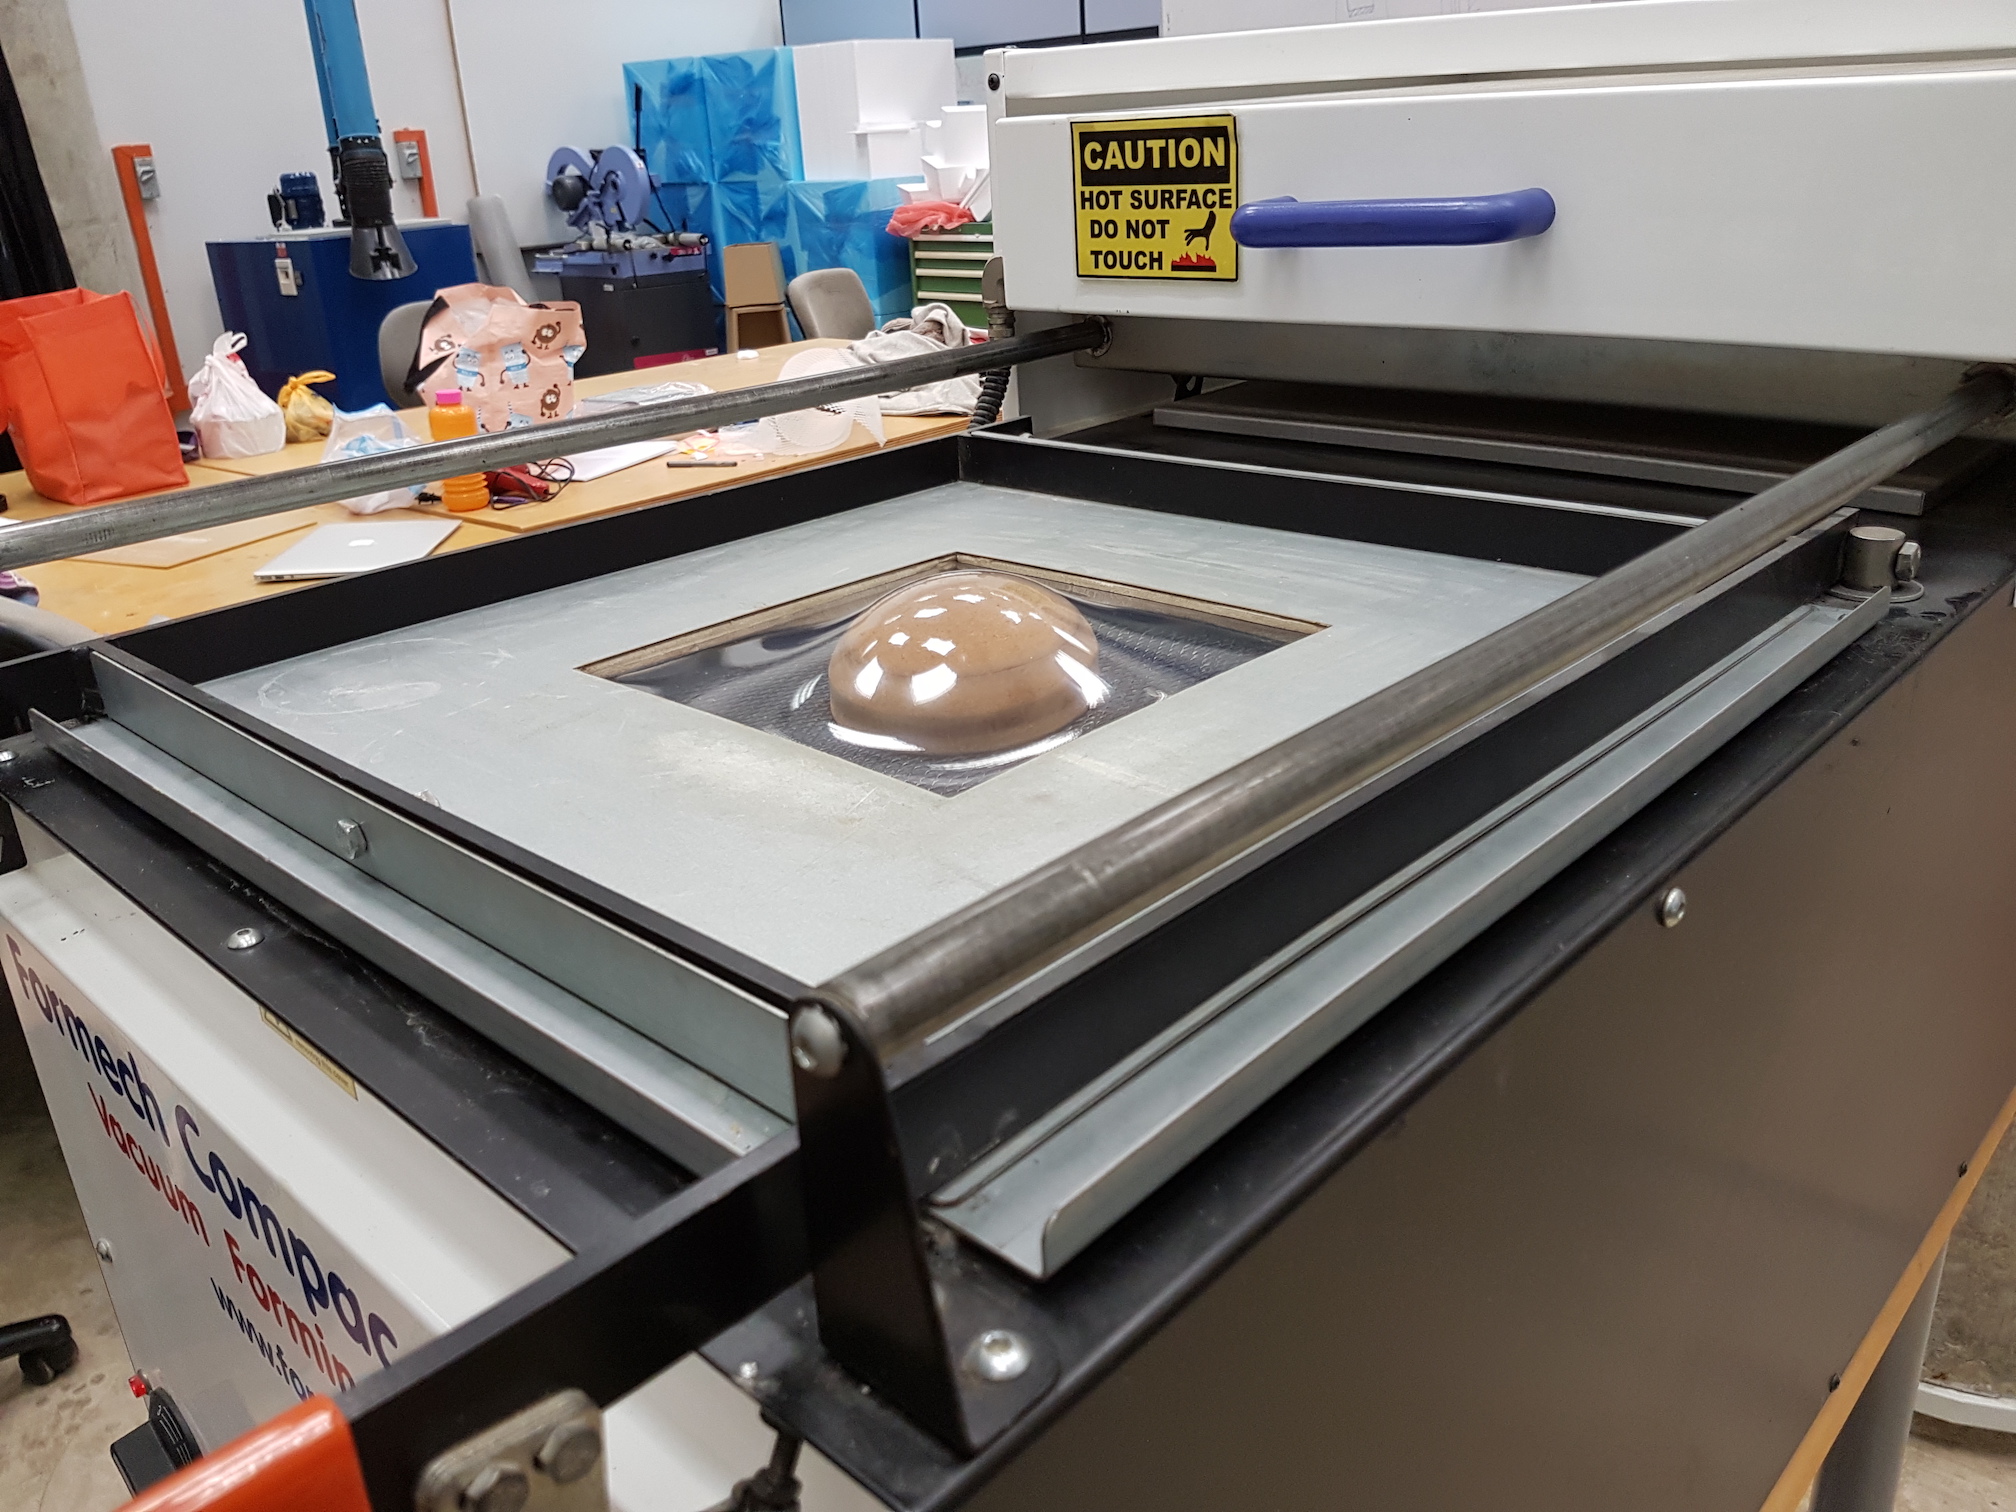
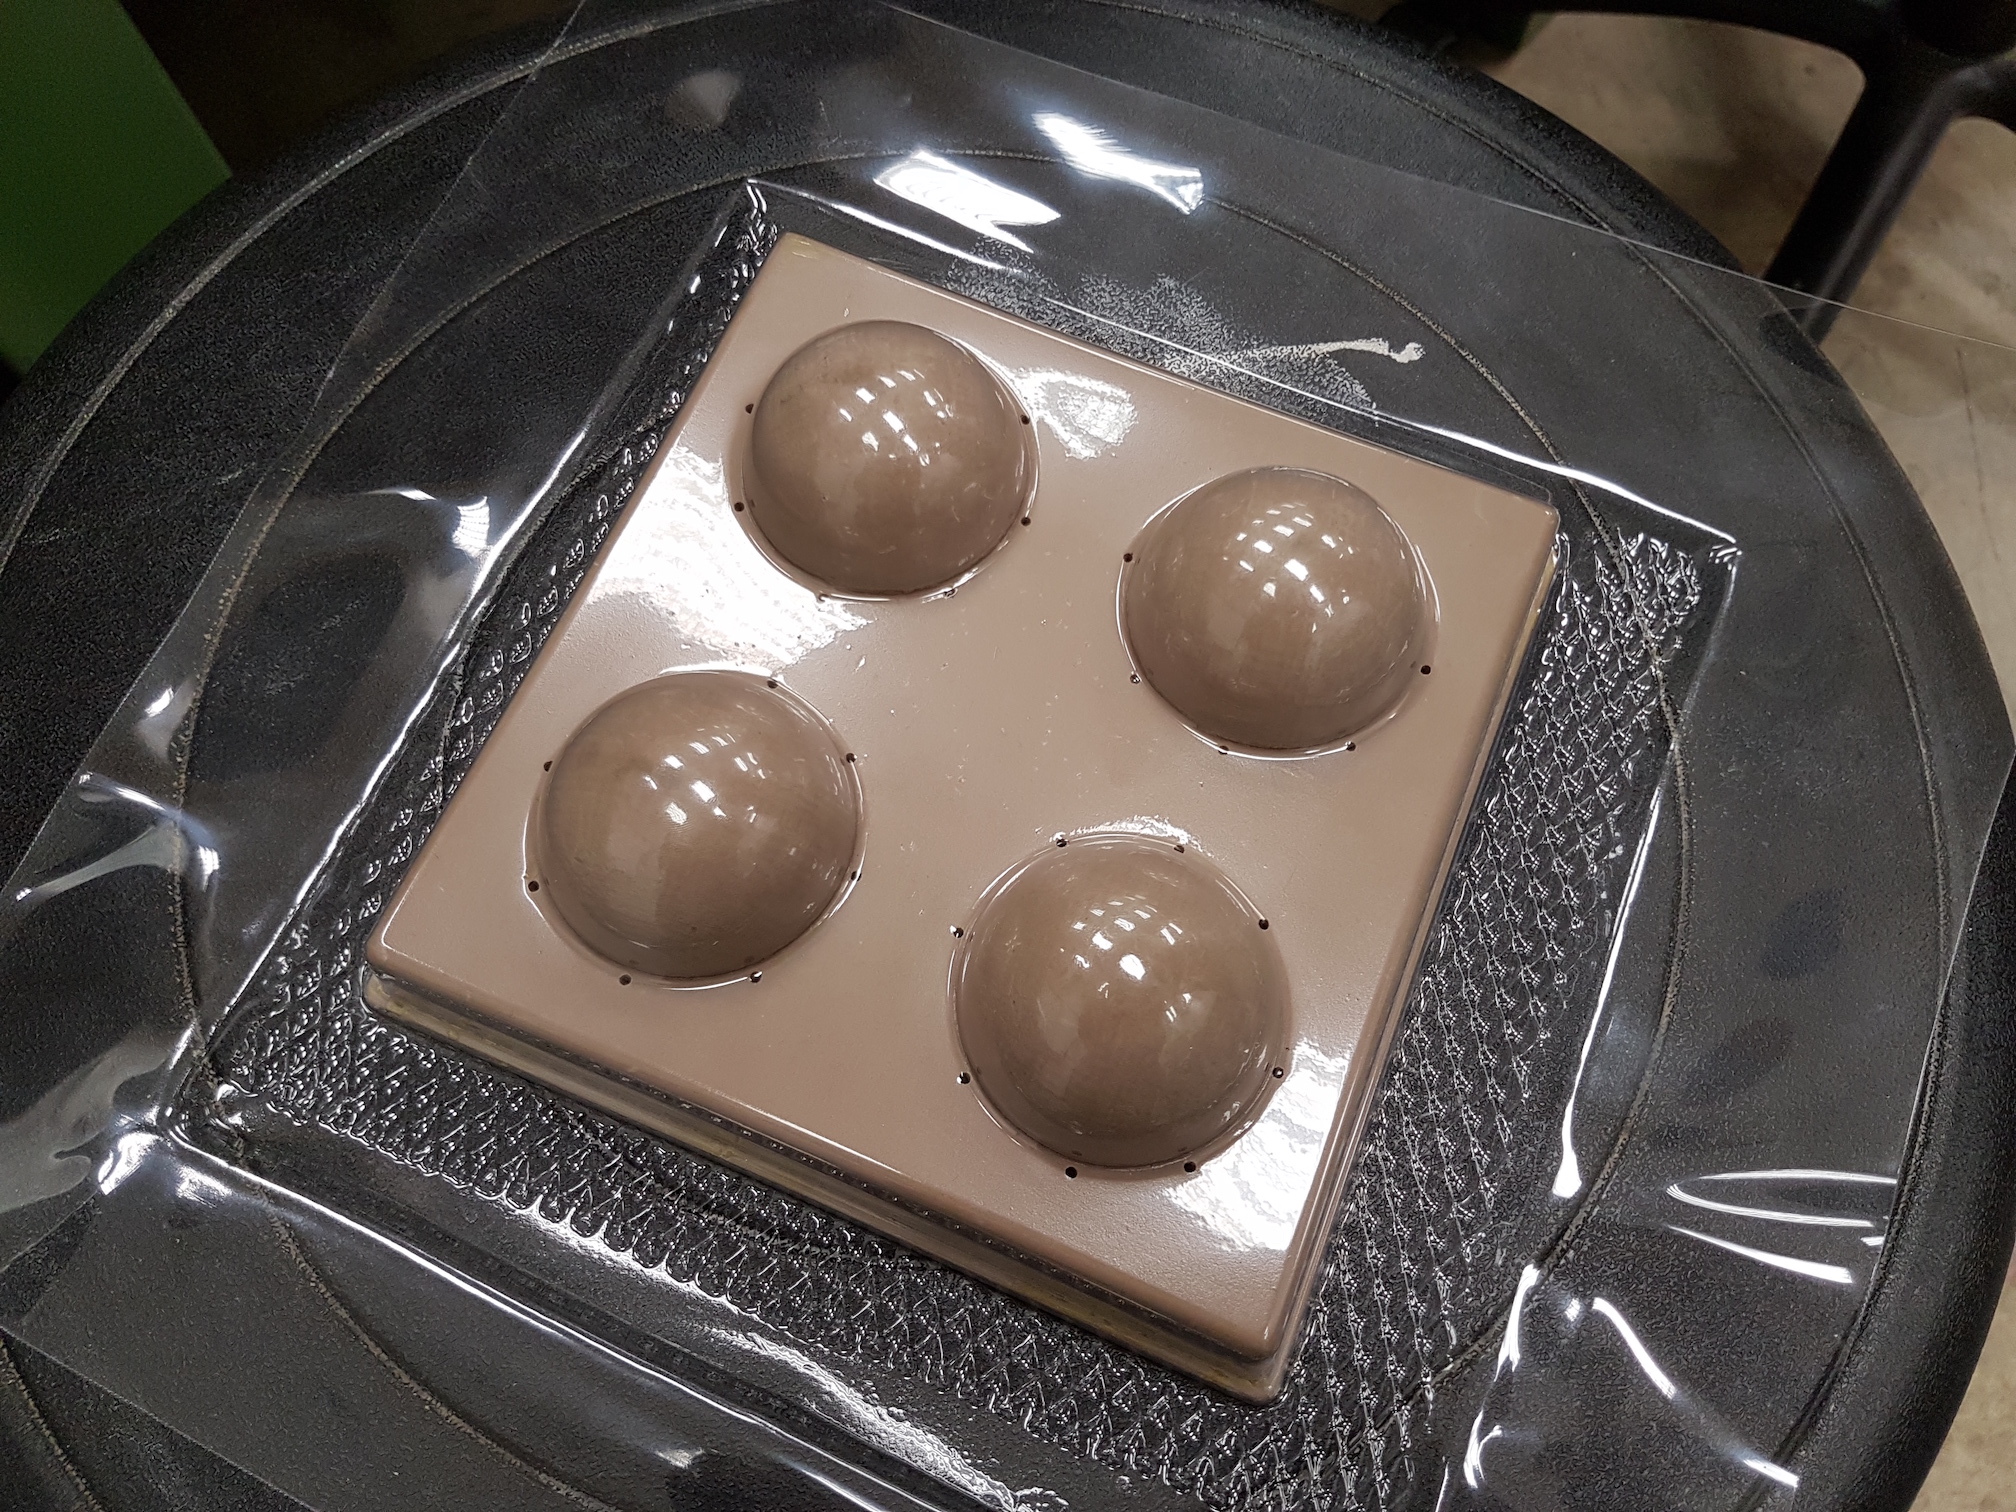
Cut out an appropriate size of PVC sheet. The vacuum forming machine has 2 default sizes. Use objects with a concave shape so that they can be removed after forming such as domes (Spheres can’t be removed!). Vacuum forming can be used to create moulds for other materials such as latex and resin.
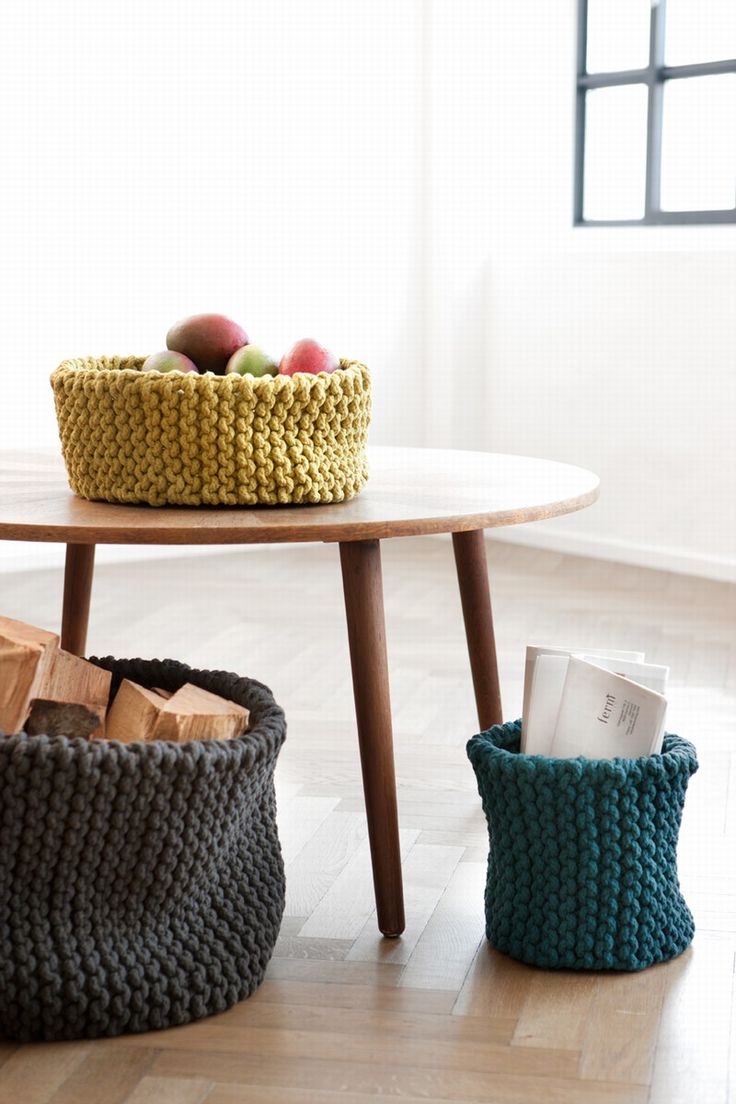
Knitting is a very popular and widely-loved technique of manipulating yarn to create a soft, warm fabric. This is done by looping the yarn with needles to create multiple rows of stitches and purls.
Common applications
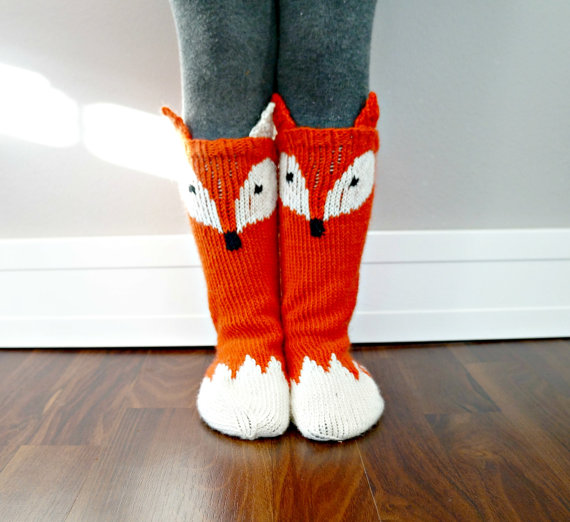
Clothing: socks
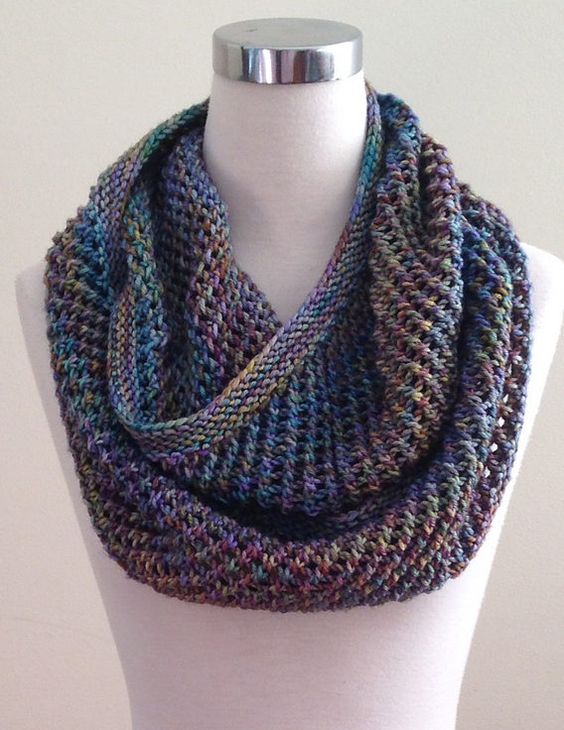
Clothing: scarf
Household items
Materials needed
Wool or Acrylic yarn of any size or colour
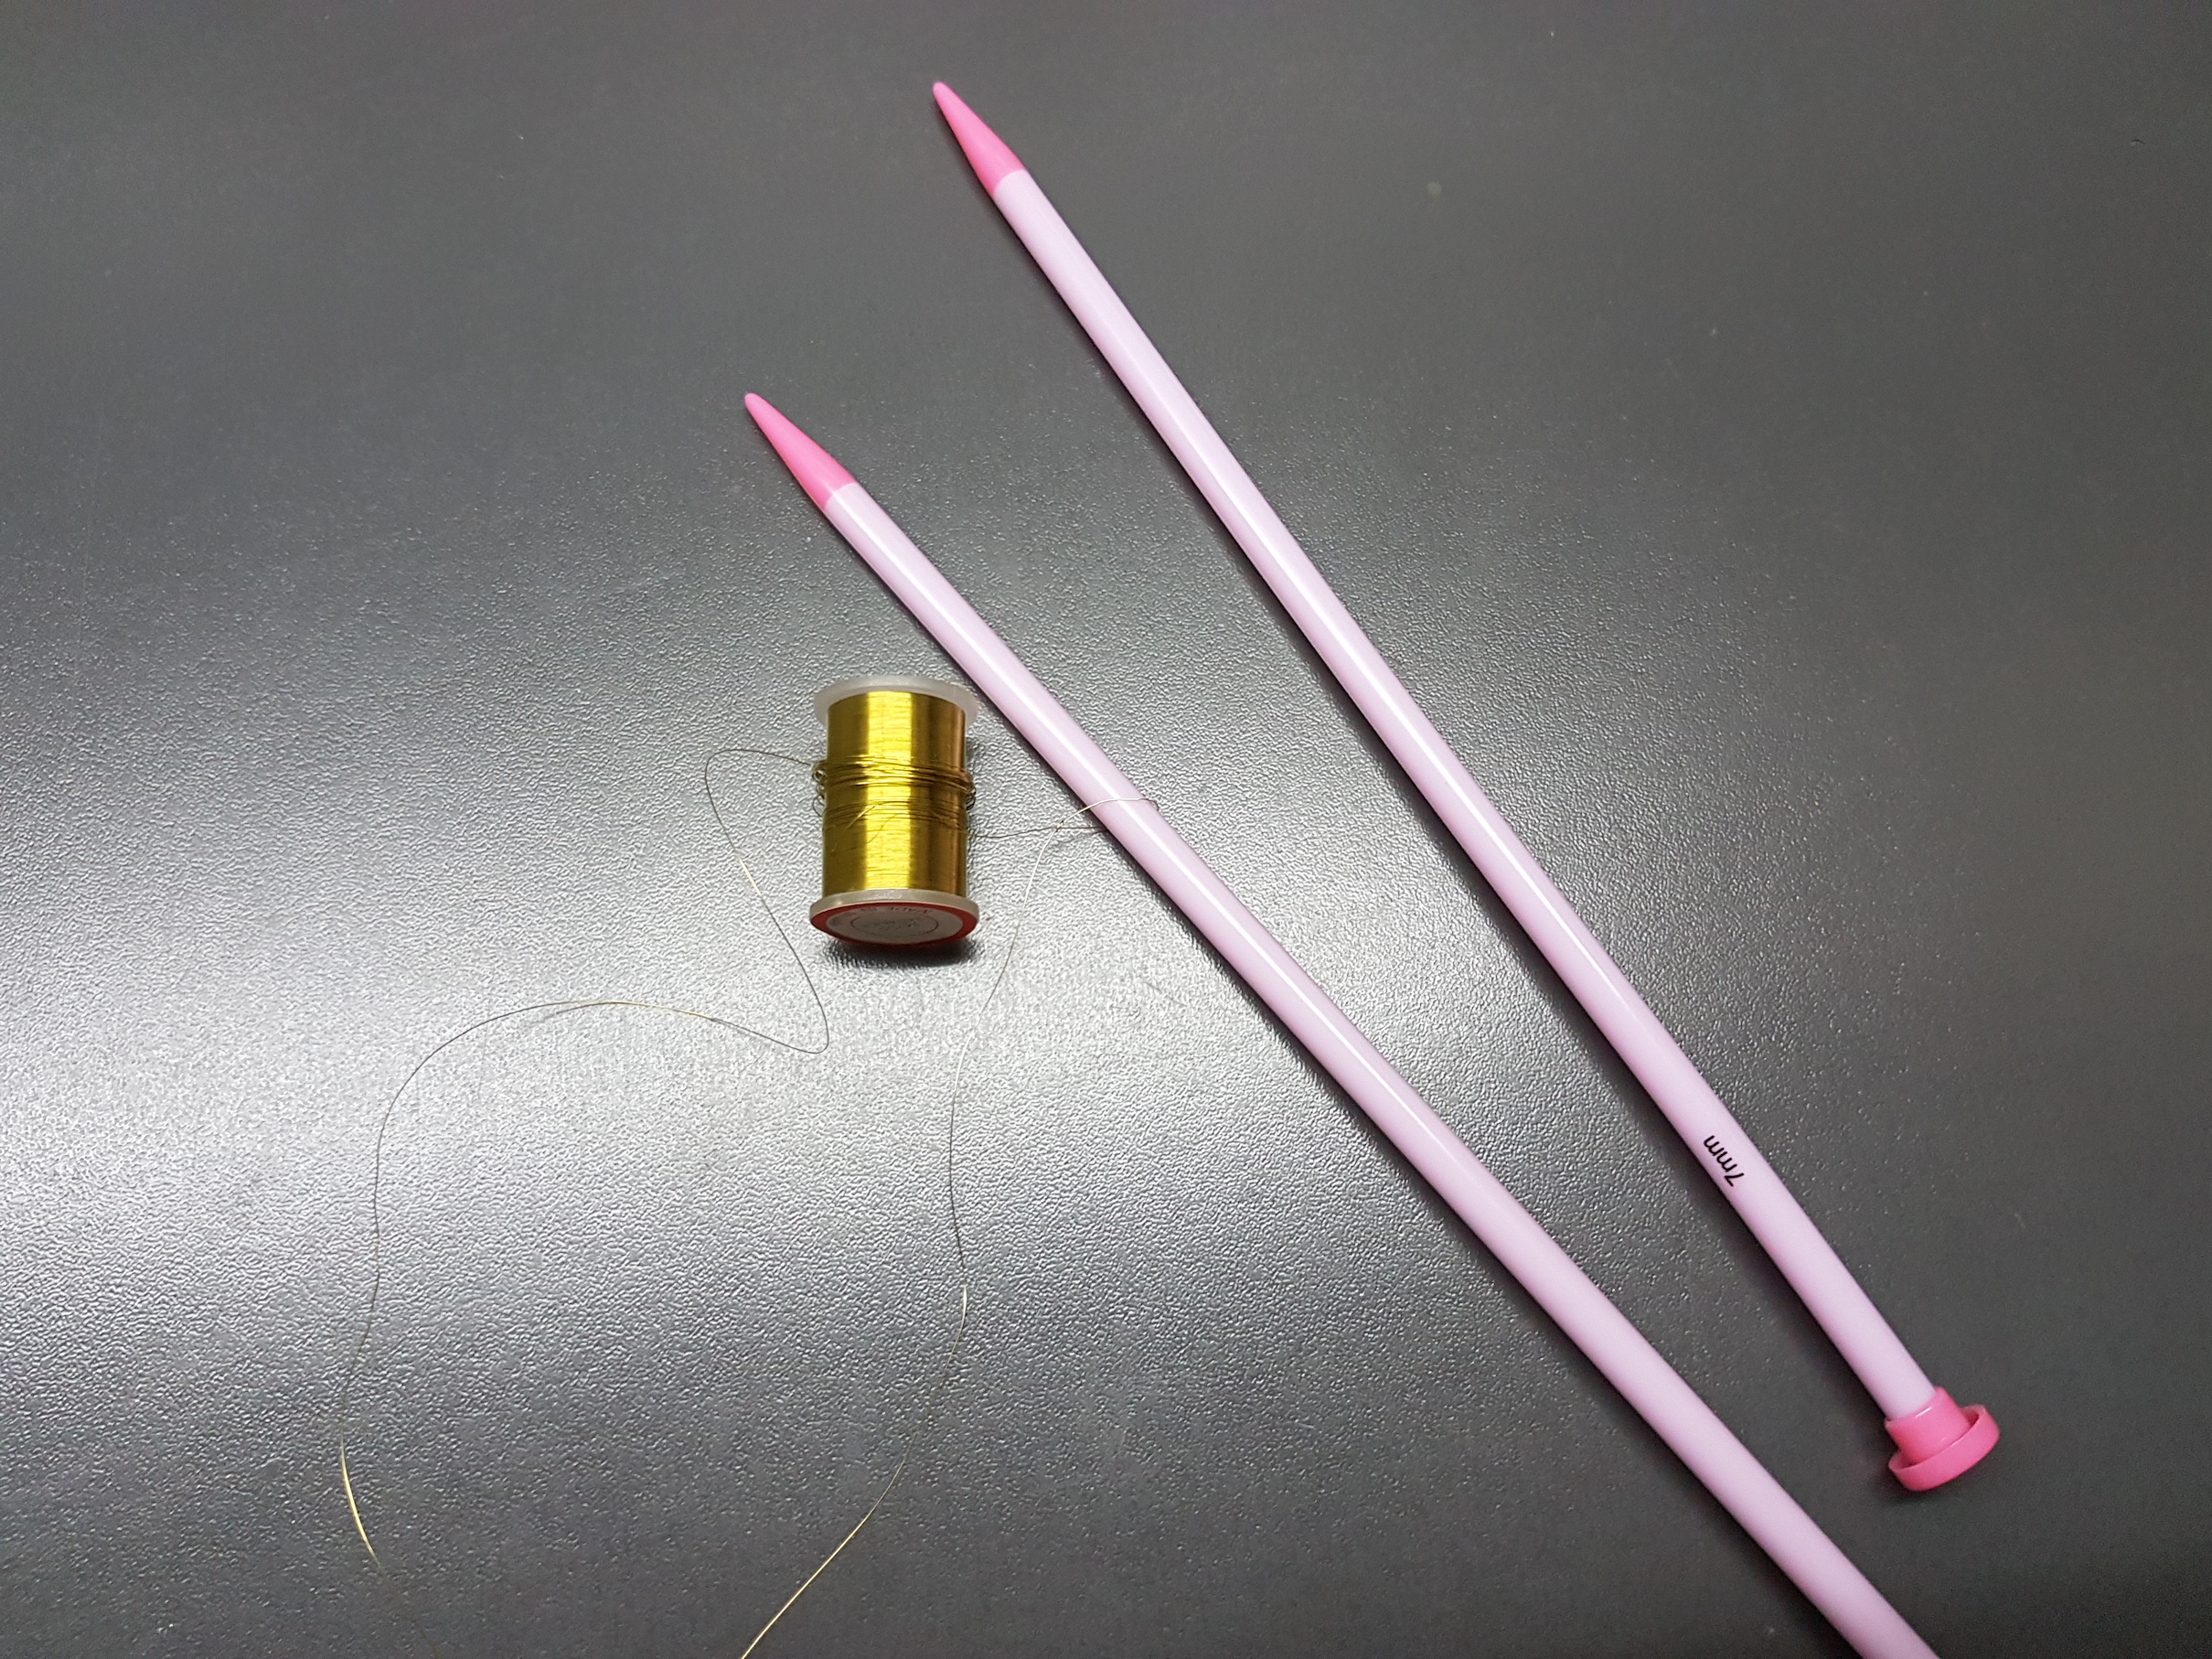
Knitting needles (size will depend on yarn chosen)
Process
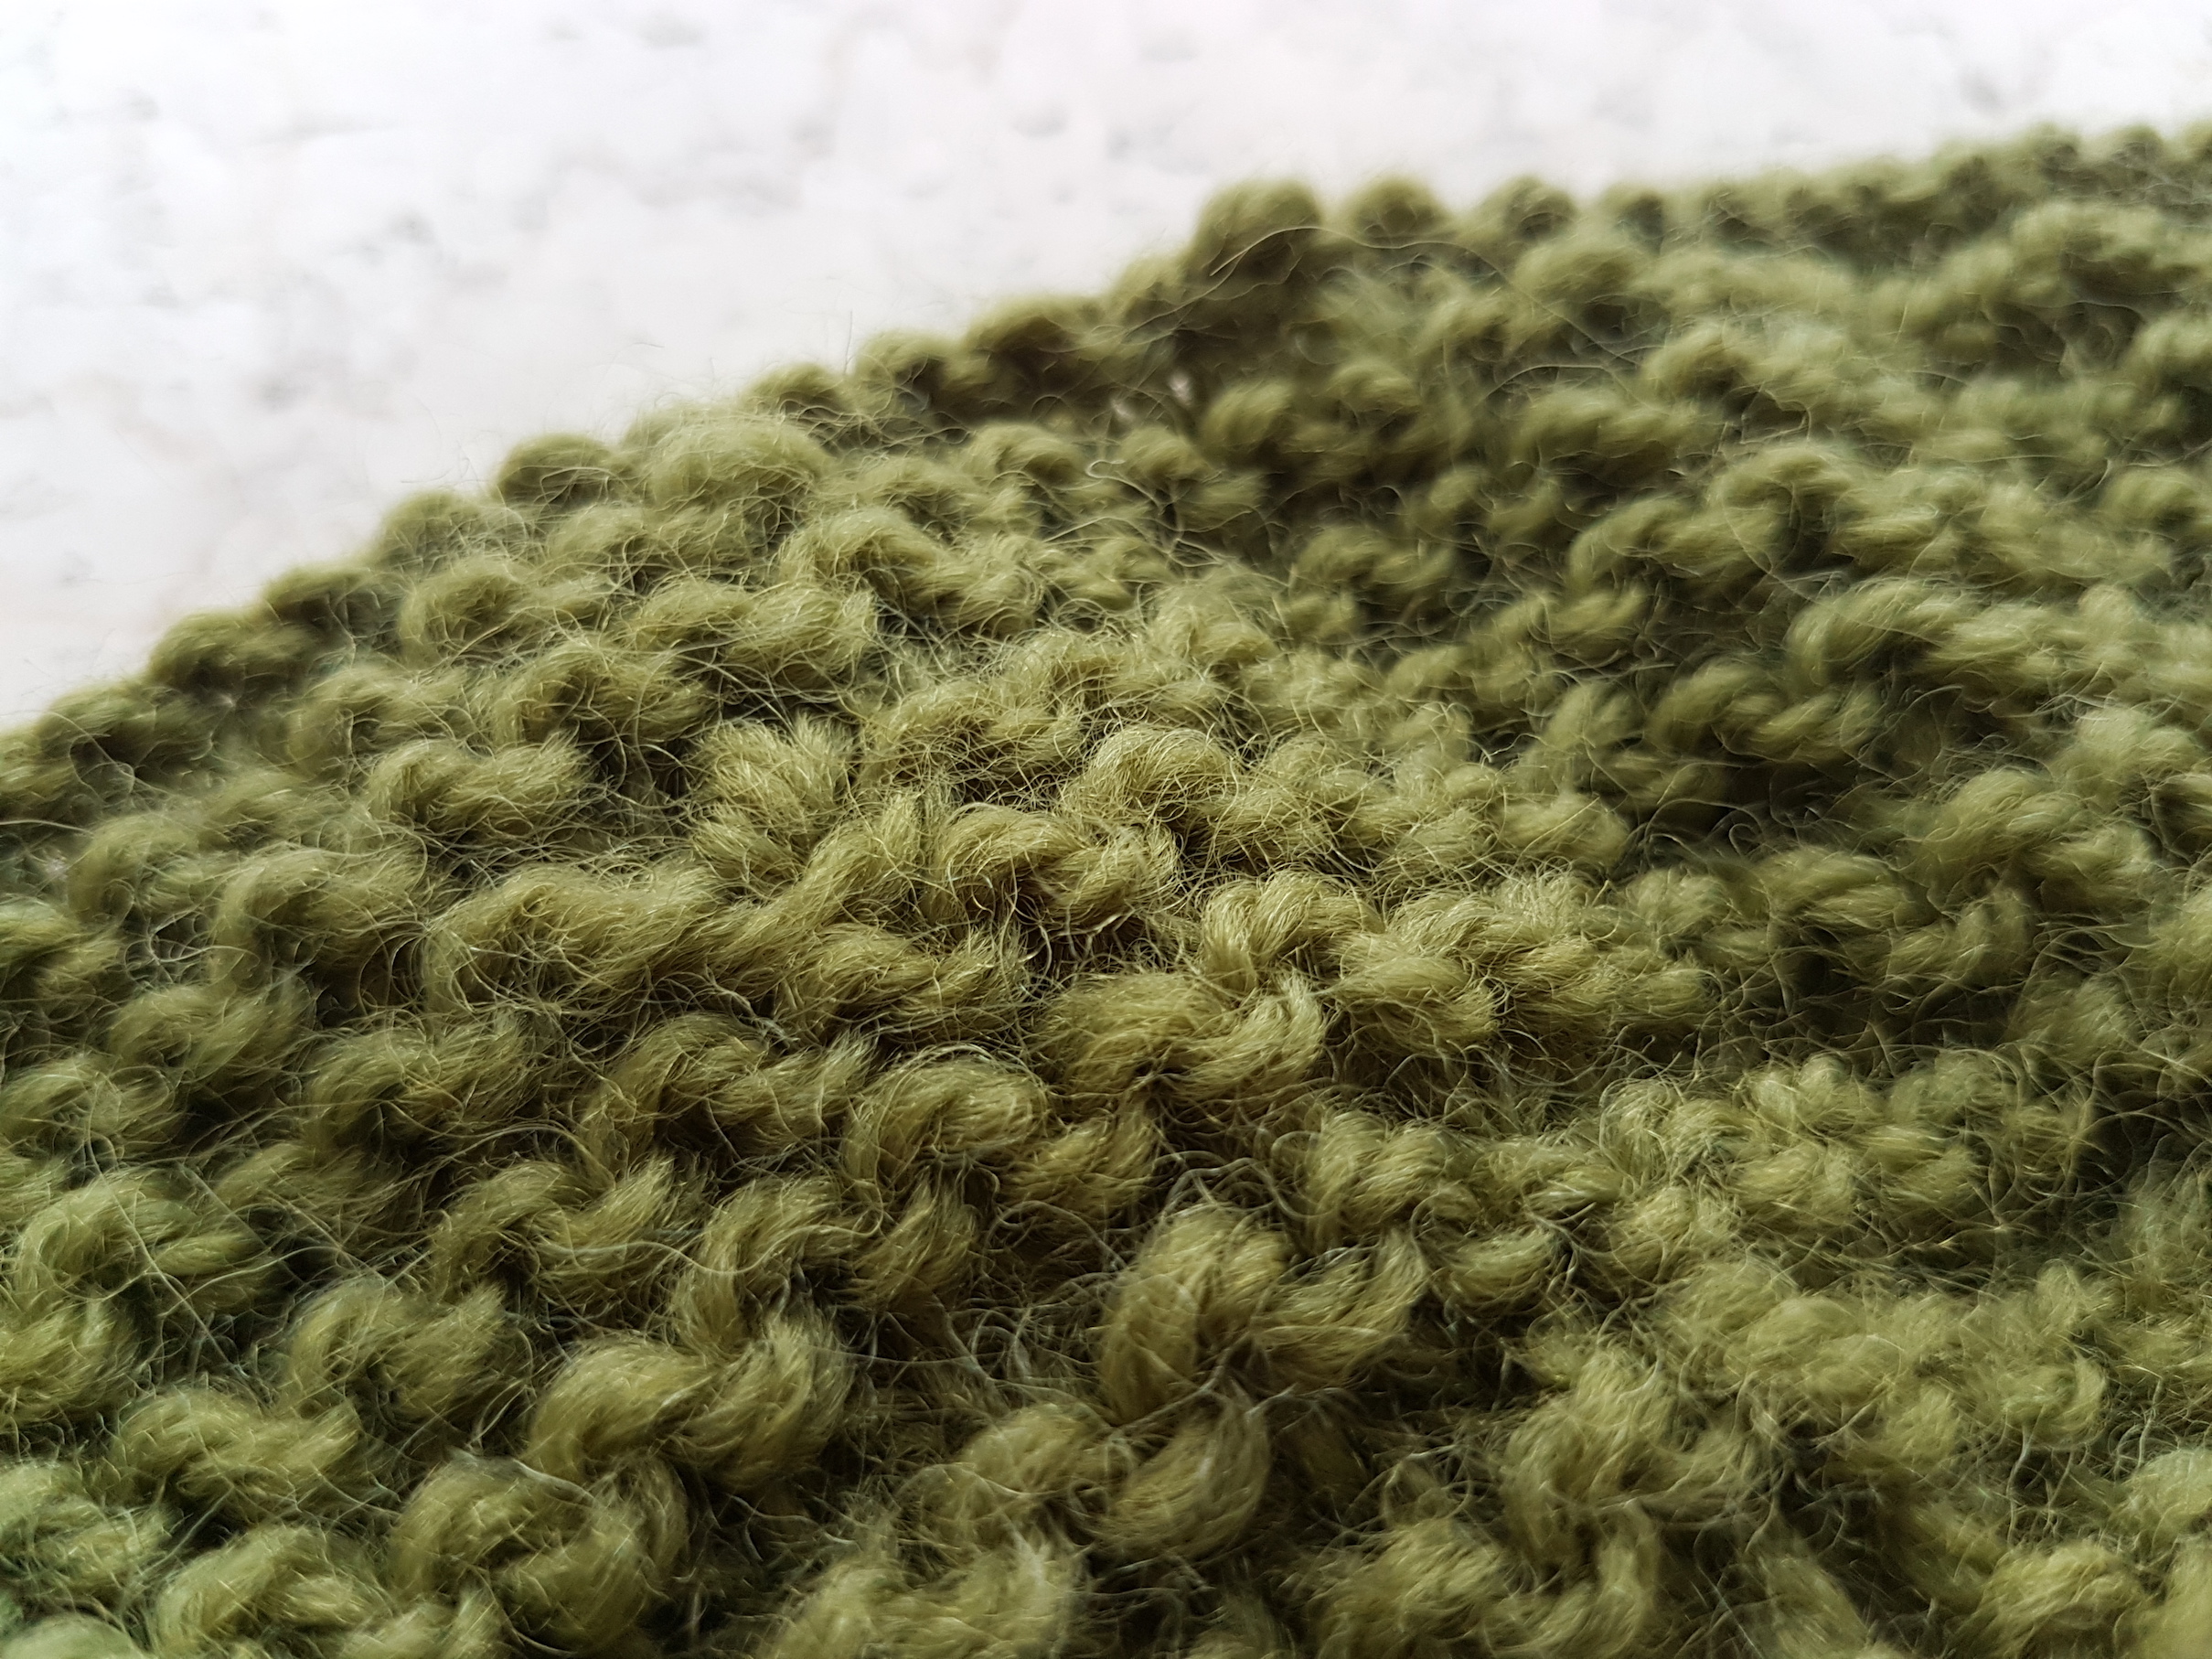
Knitting basically consists of making knit and purl stitches in a variety of patterns. The number of repeated knit and purl stitches create different knit patterns such as stockinette, garter and ribbing.
Continuous knit or purl stitch creates a garter pattern which is the same on both sides.
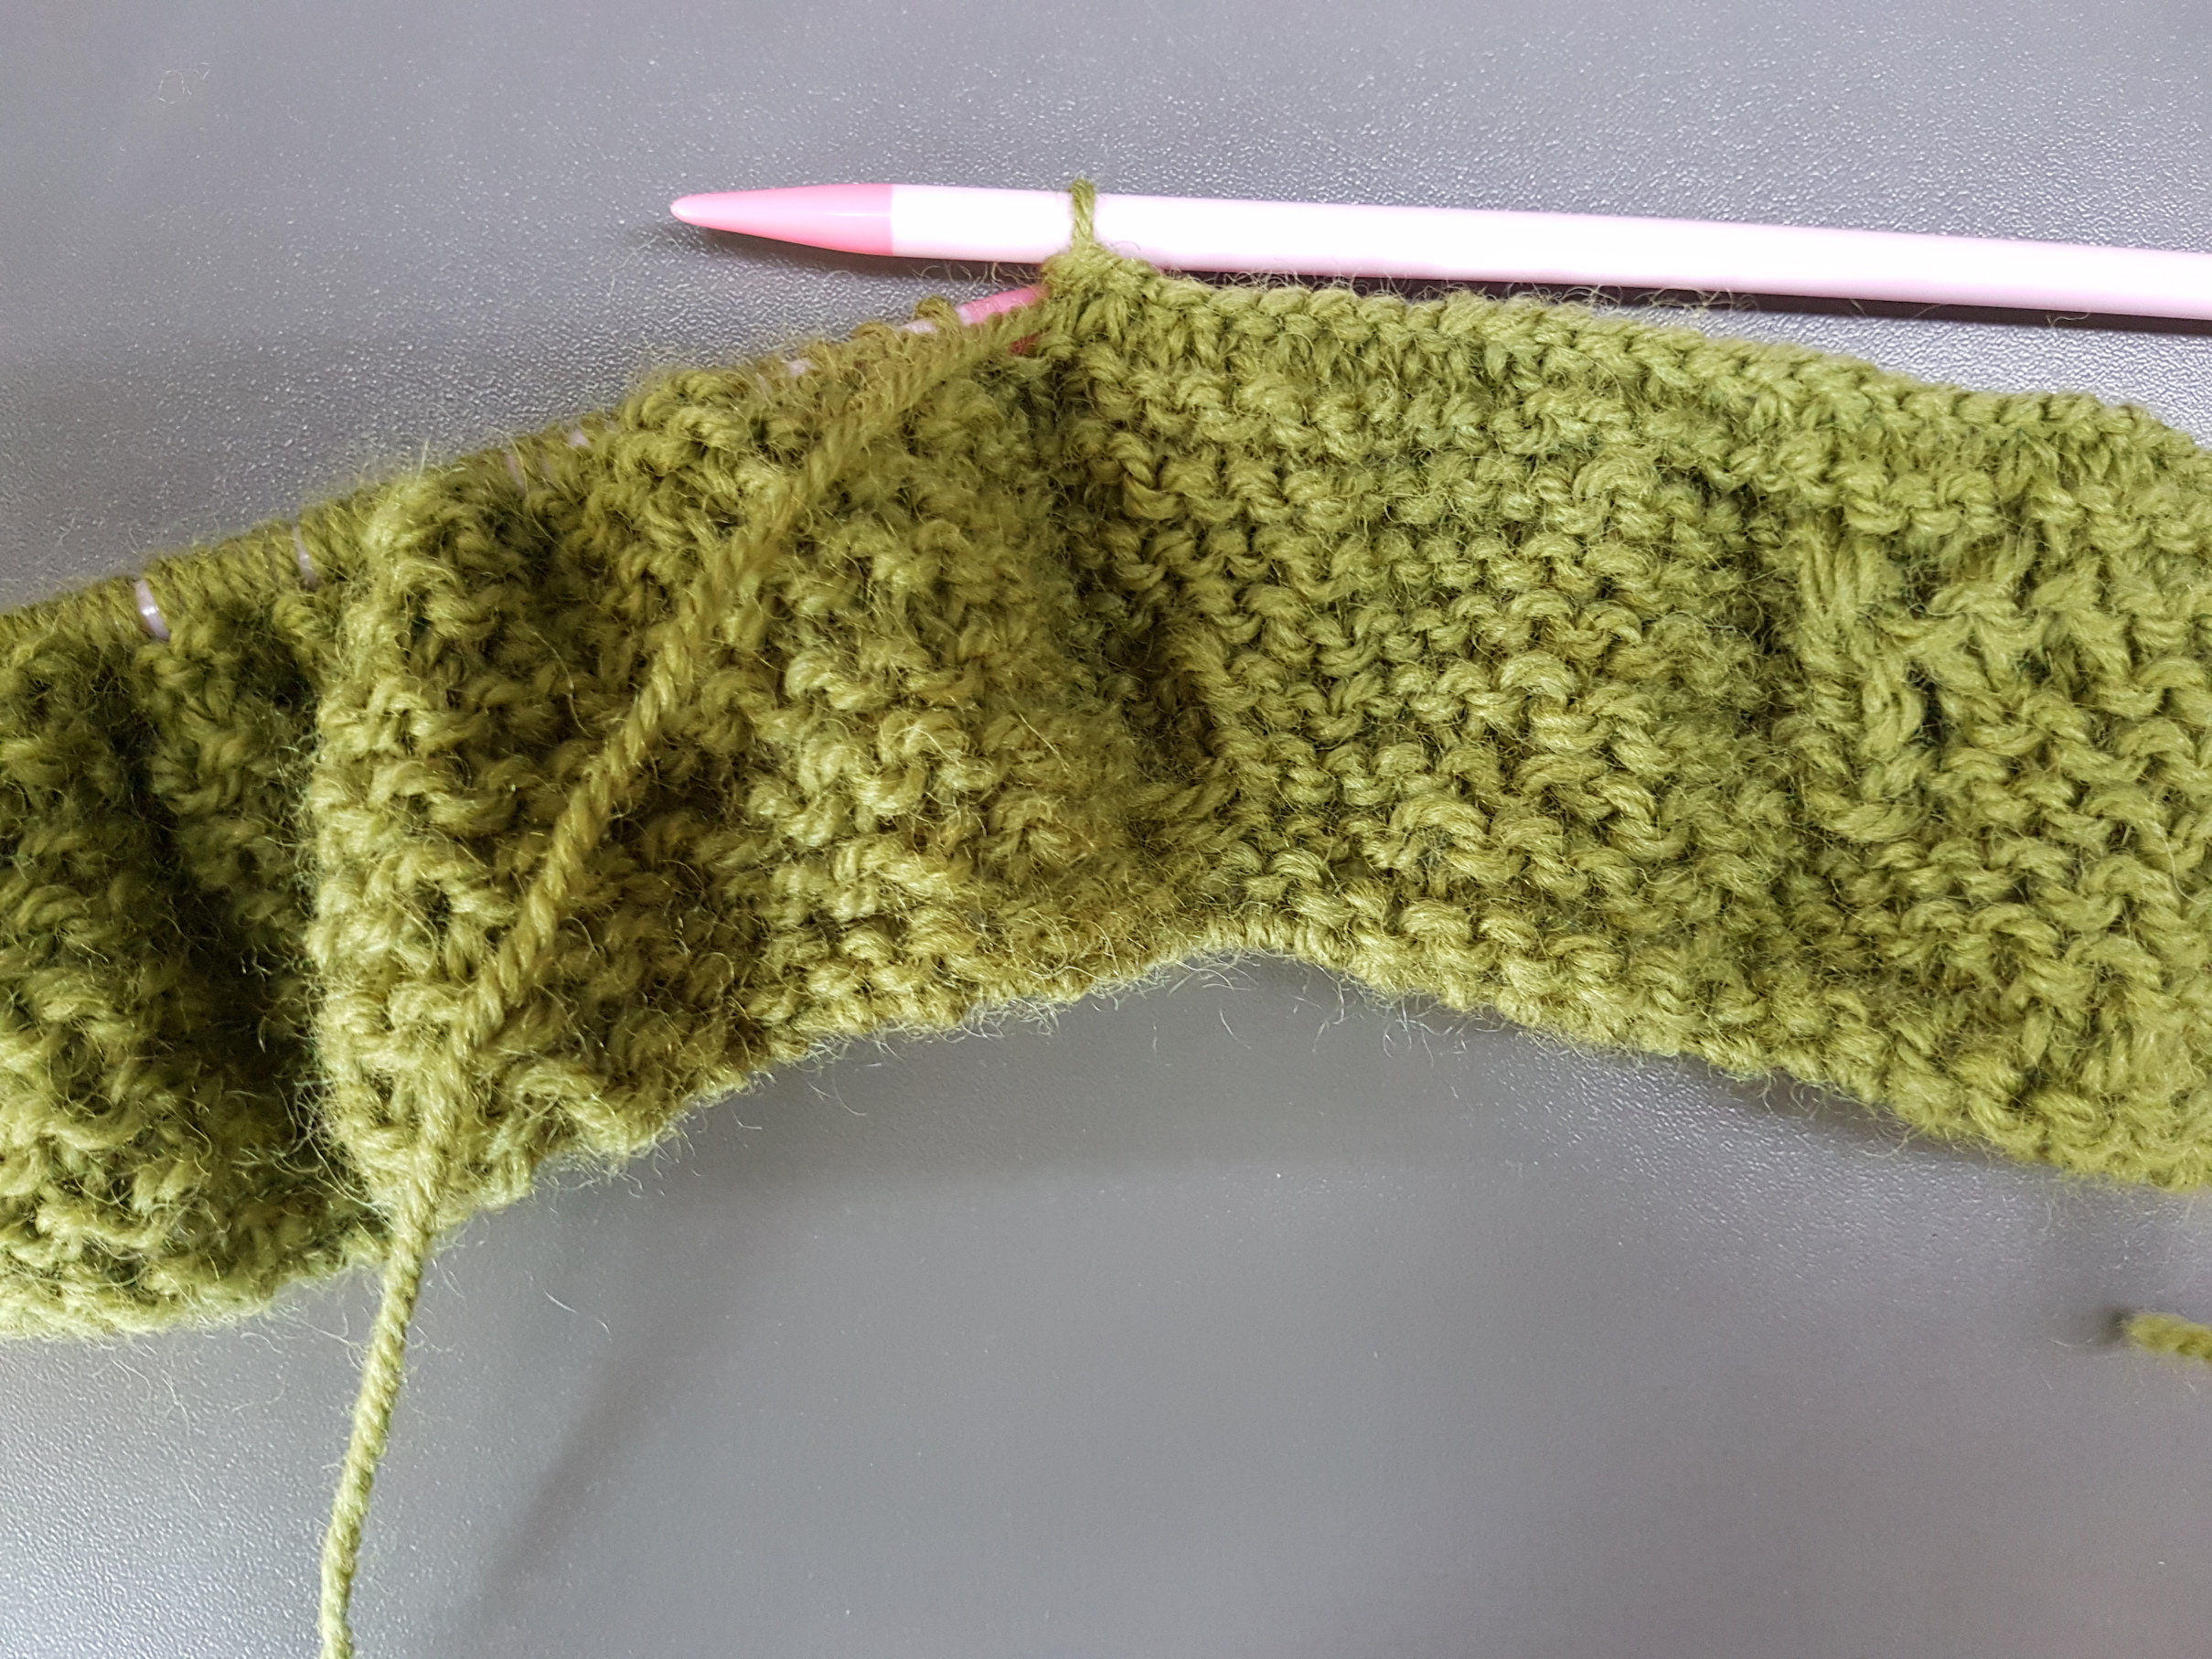
Purl stitch. First time knitting!
After getting comfortable with purling, I tried to combine knit and purl to create a stockinette pattern.
How to do stockinette stitch tutorial
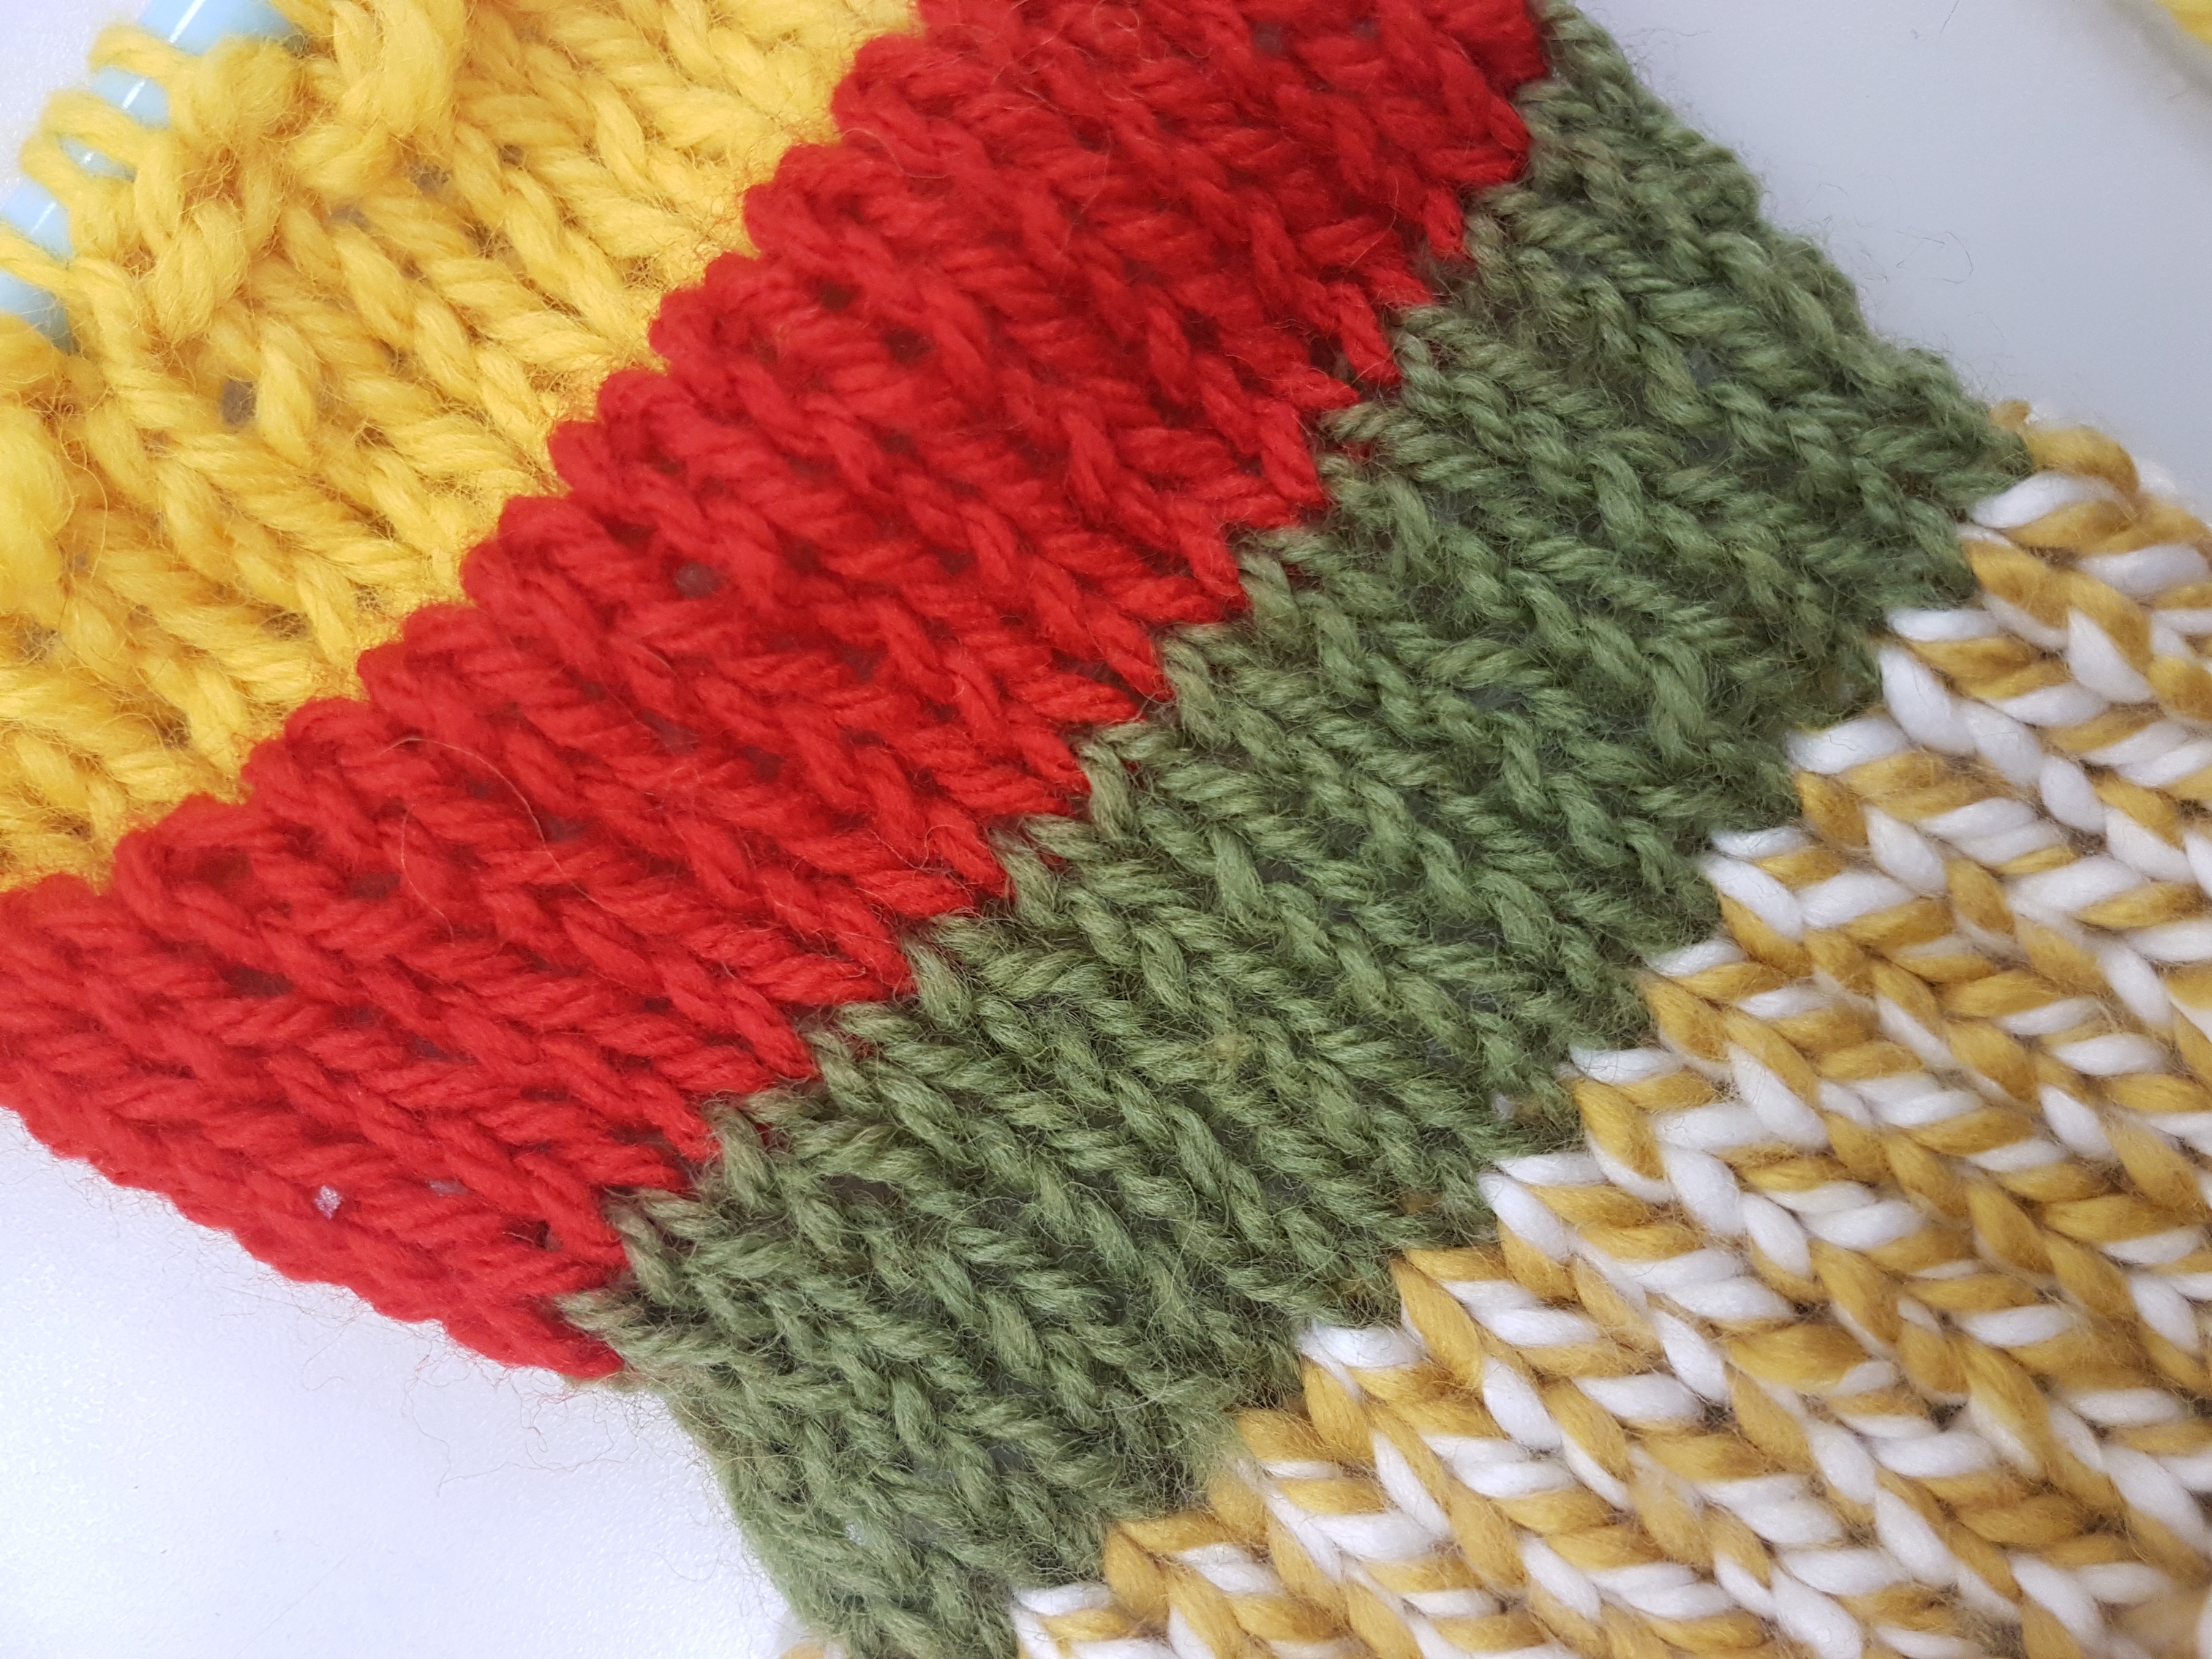
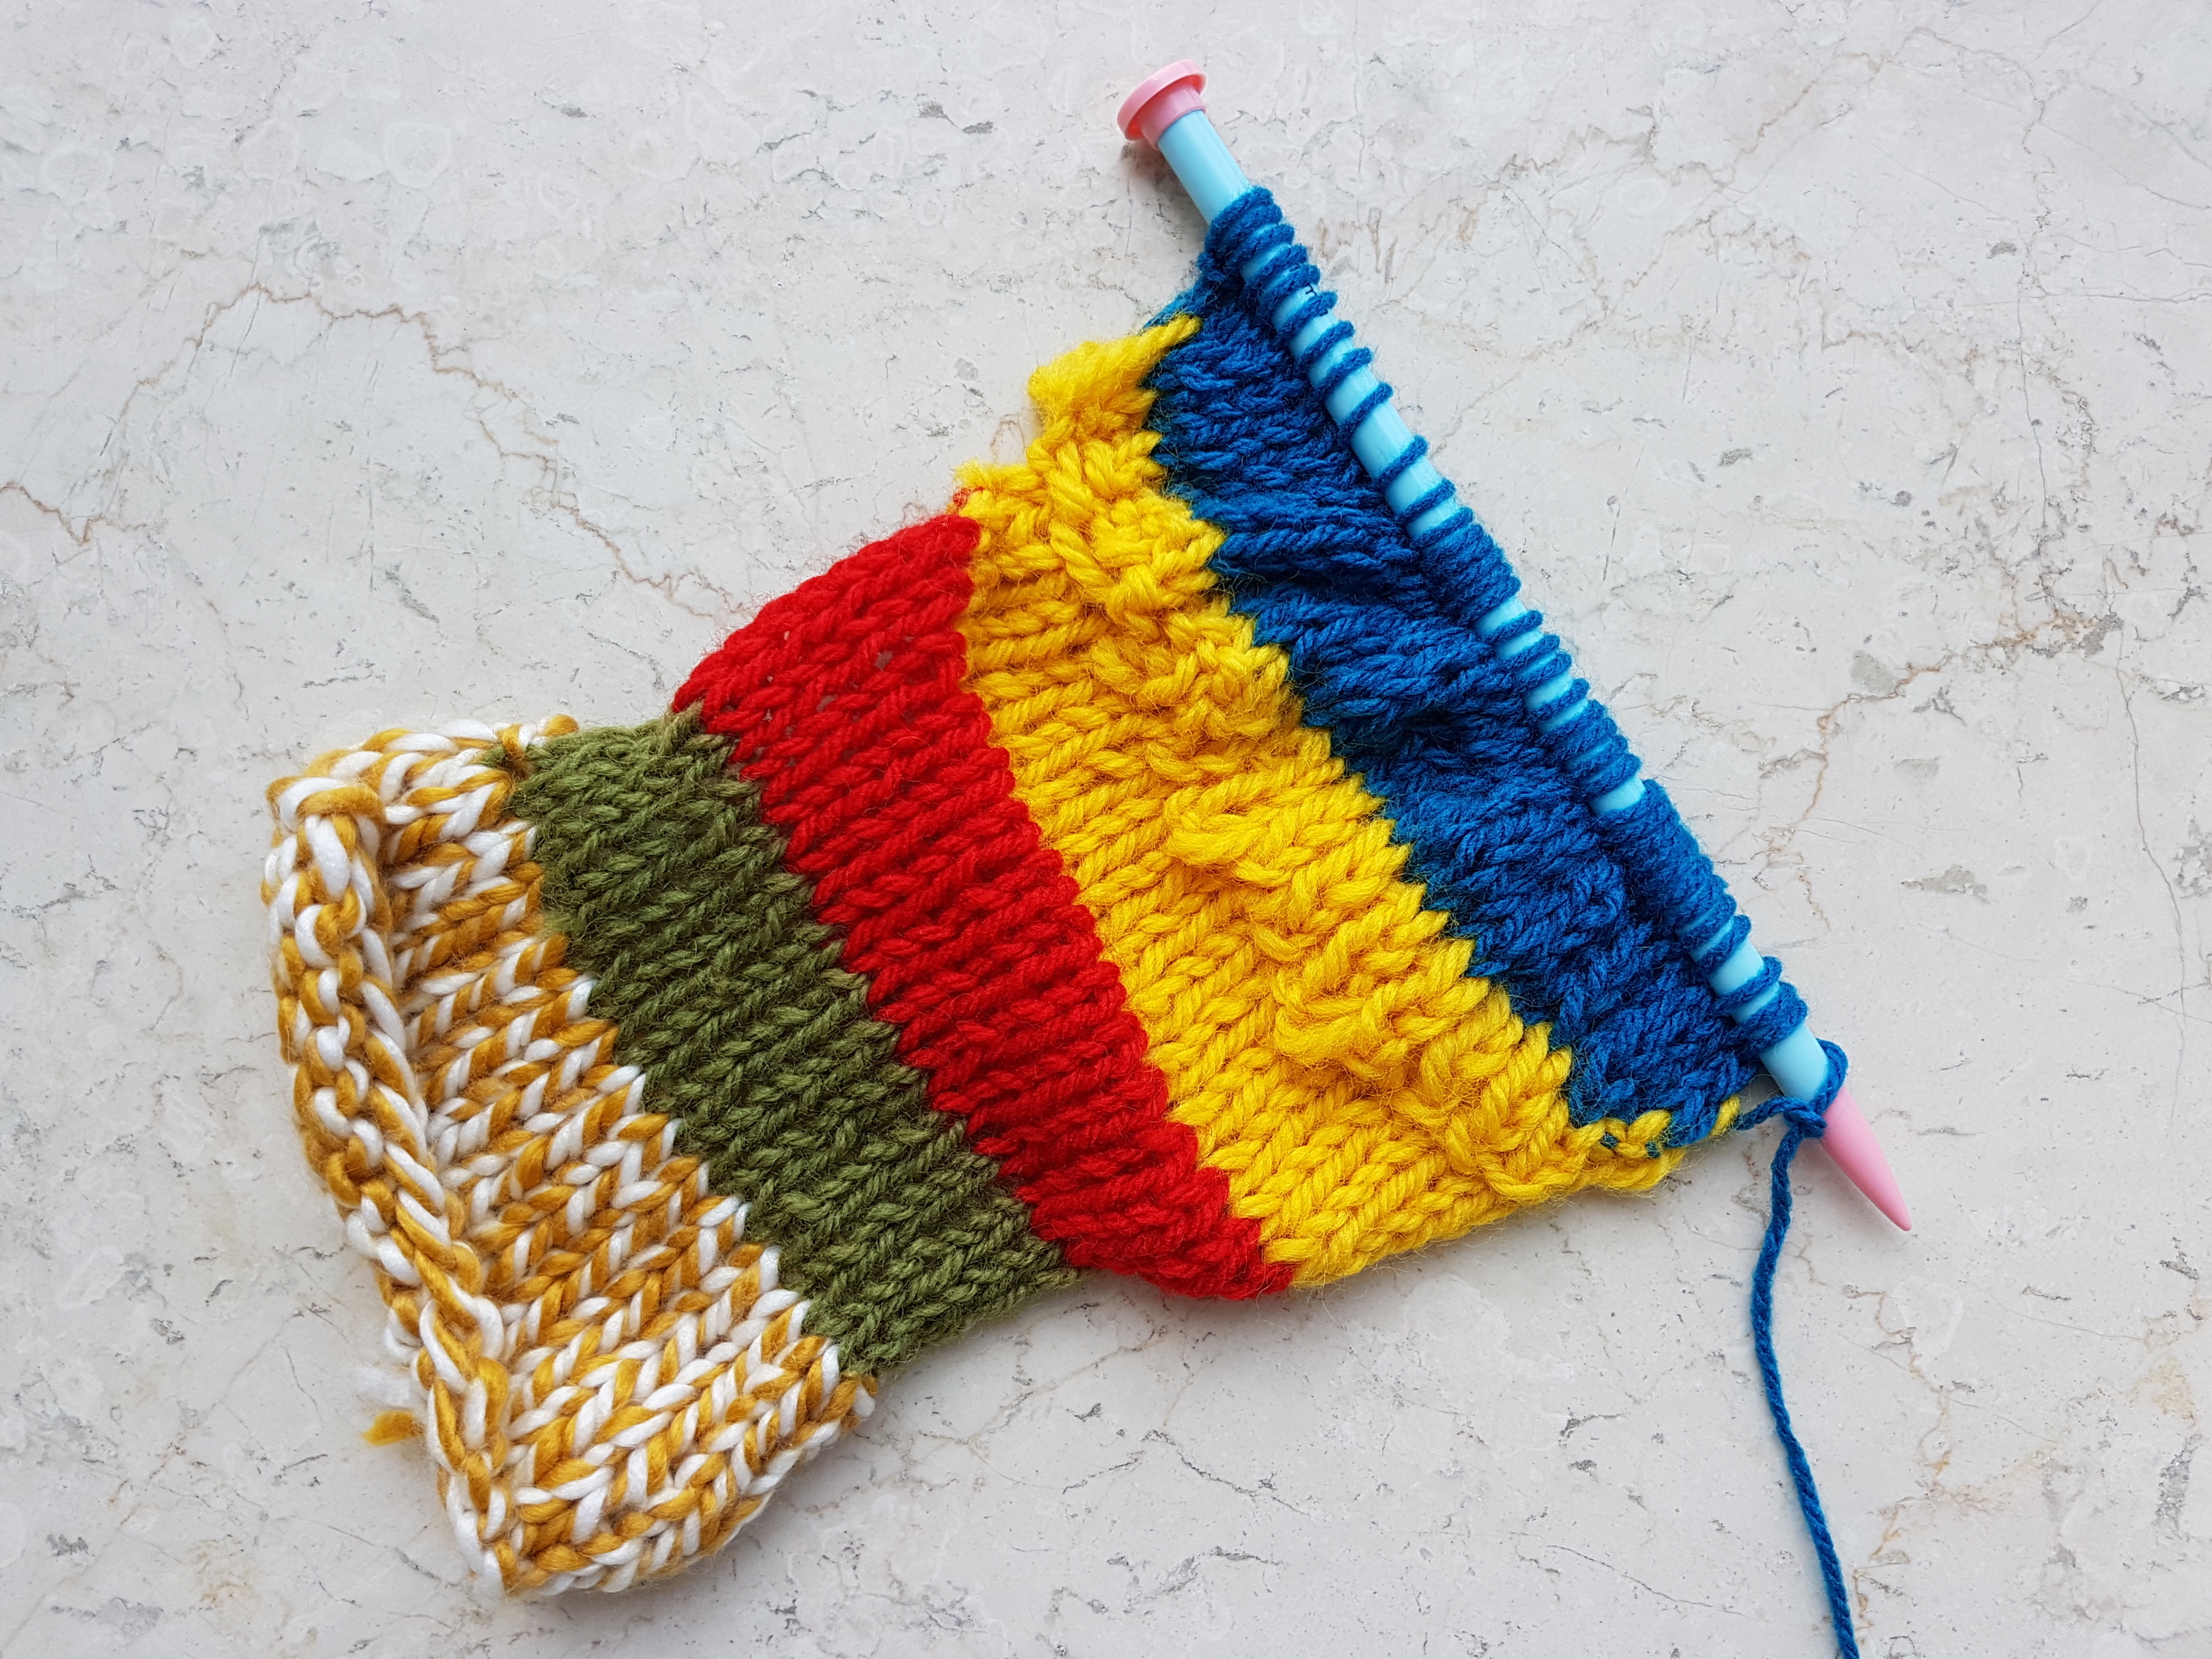
When adding different yarns, I also tried switching needle sizes to suit the larger yarns. Introduce the new yarn colour on a knit row to create a smooth transition between colours.
Switching yarn coloursStockinette stitch by alternating between knit and purlTraffic light!
I also tried to knit ribbing but this could be neater with more practice!
Experimentation: Knitting with unconventional materials
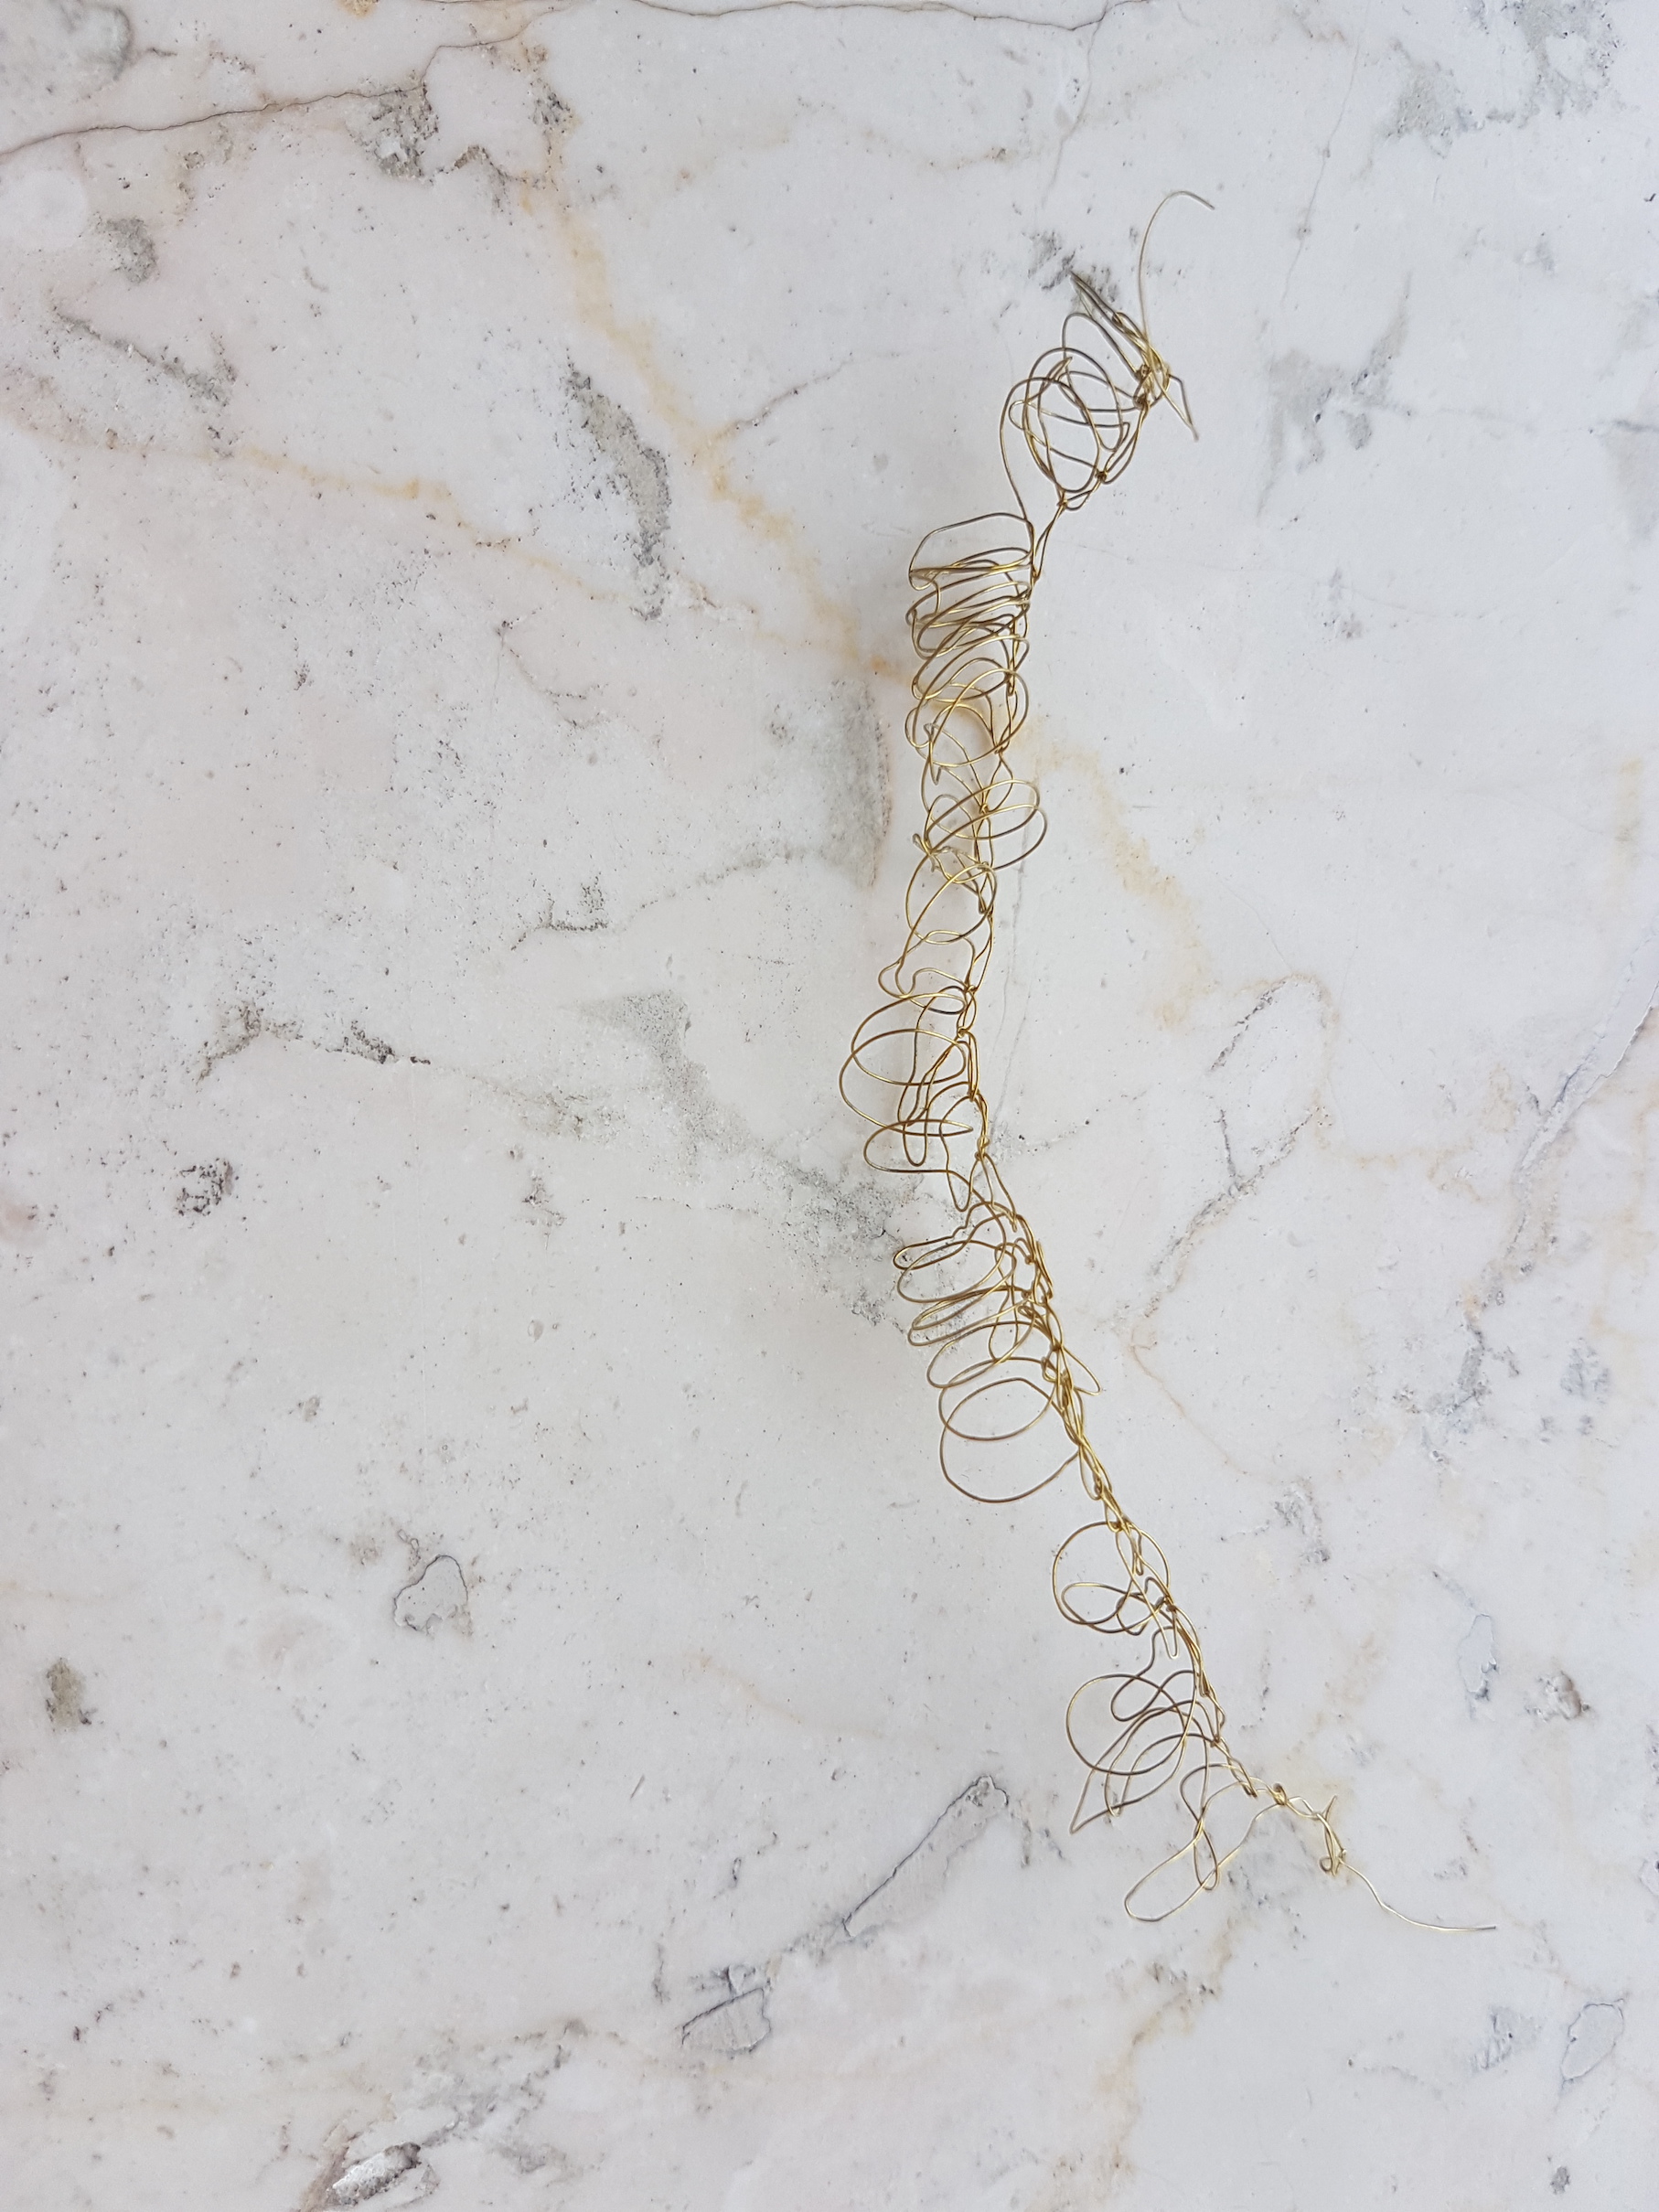
Knitting with golden wireAttempt at knitting with wire
I attempted to knit with a fine jewellery wire but it did not work out beyond a few rows as the wire formed kinks and lacked elasticity, making it difficult to loop and manipulate.
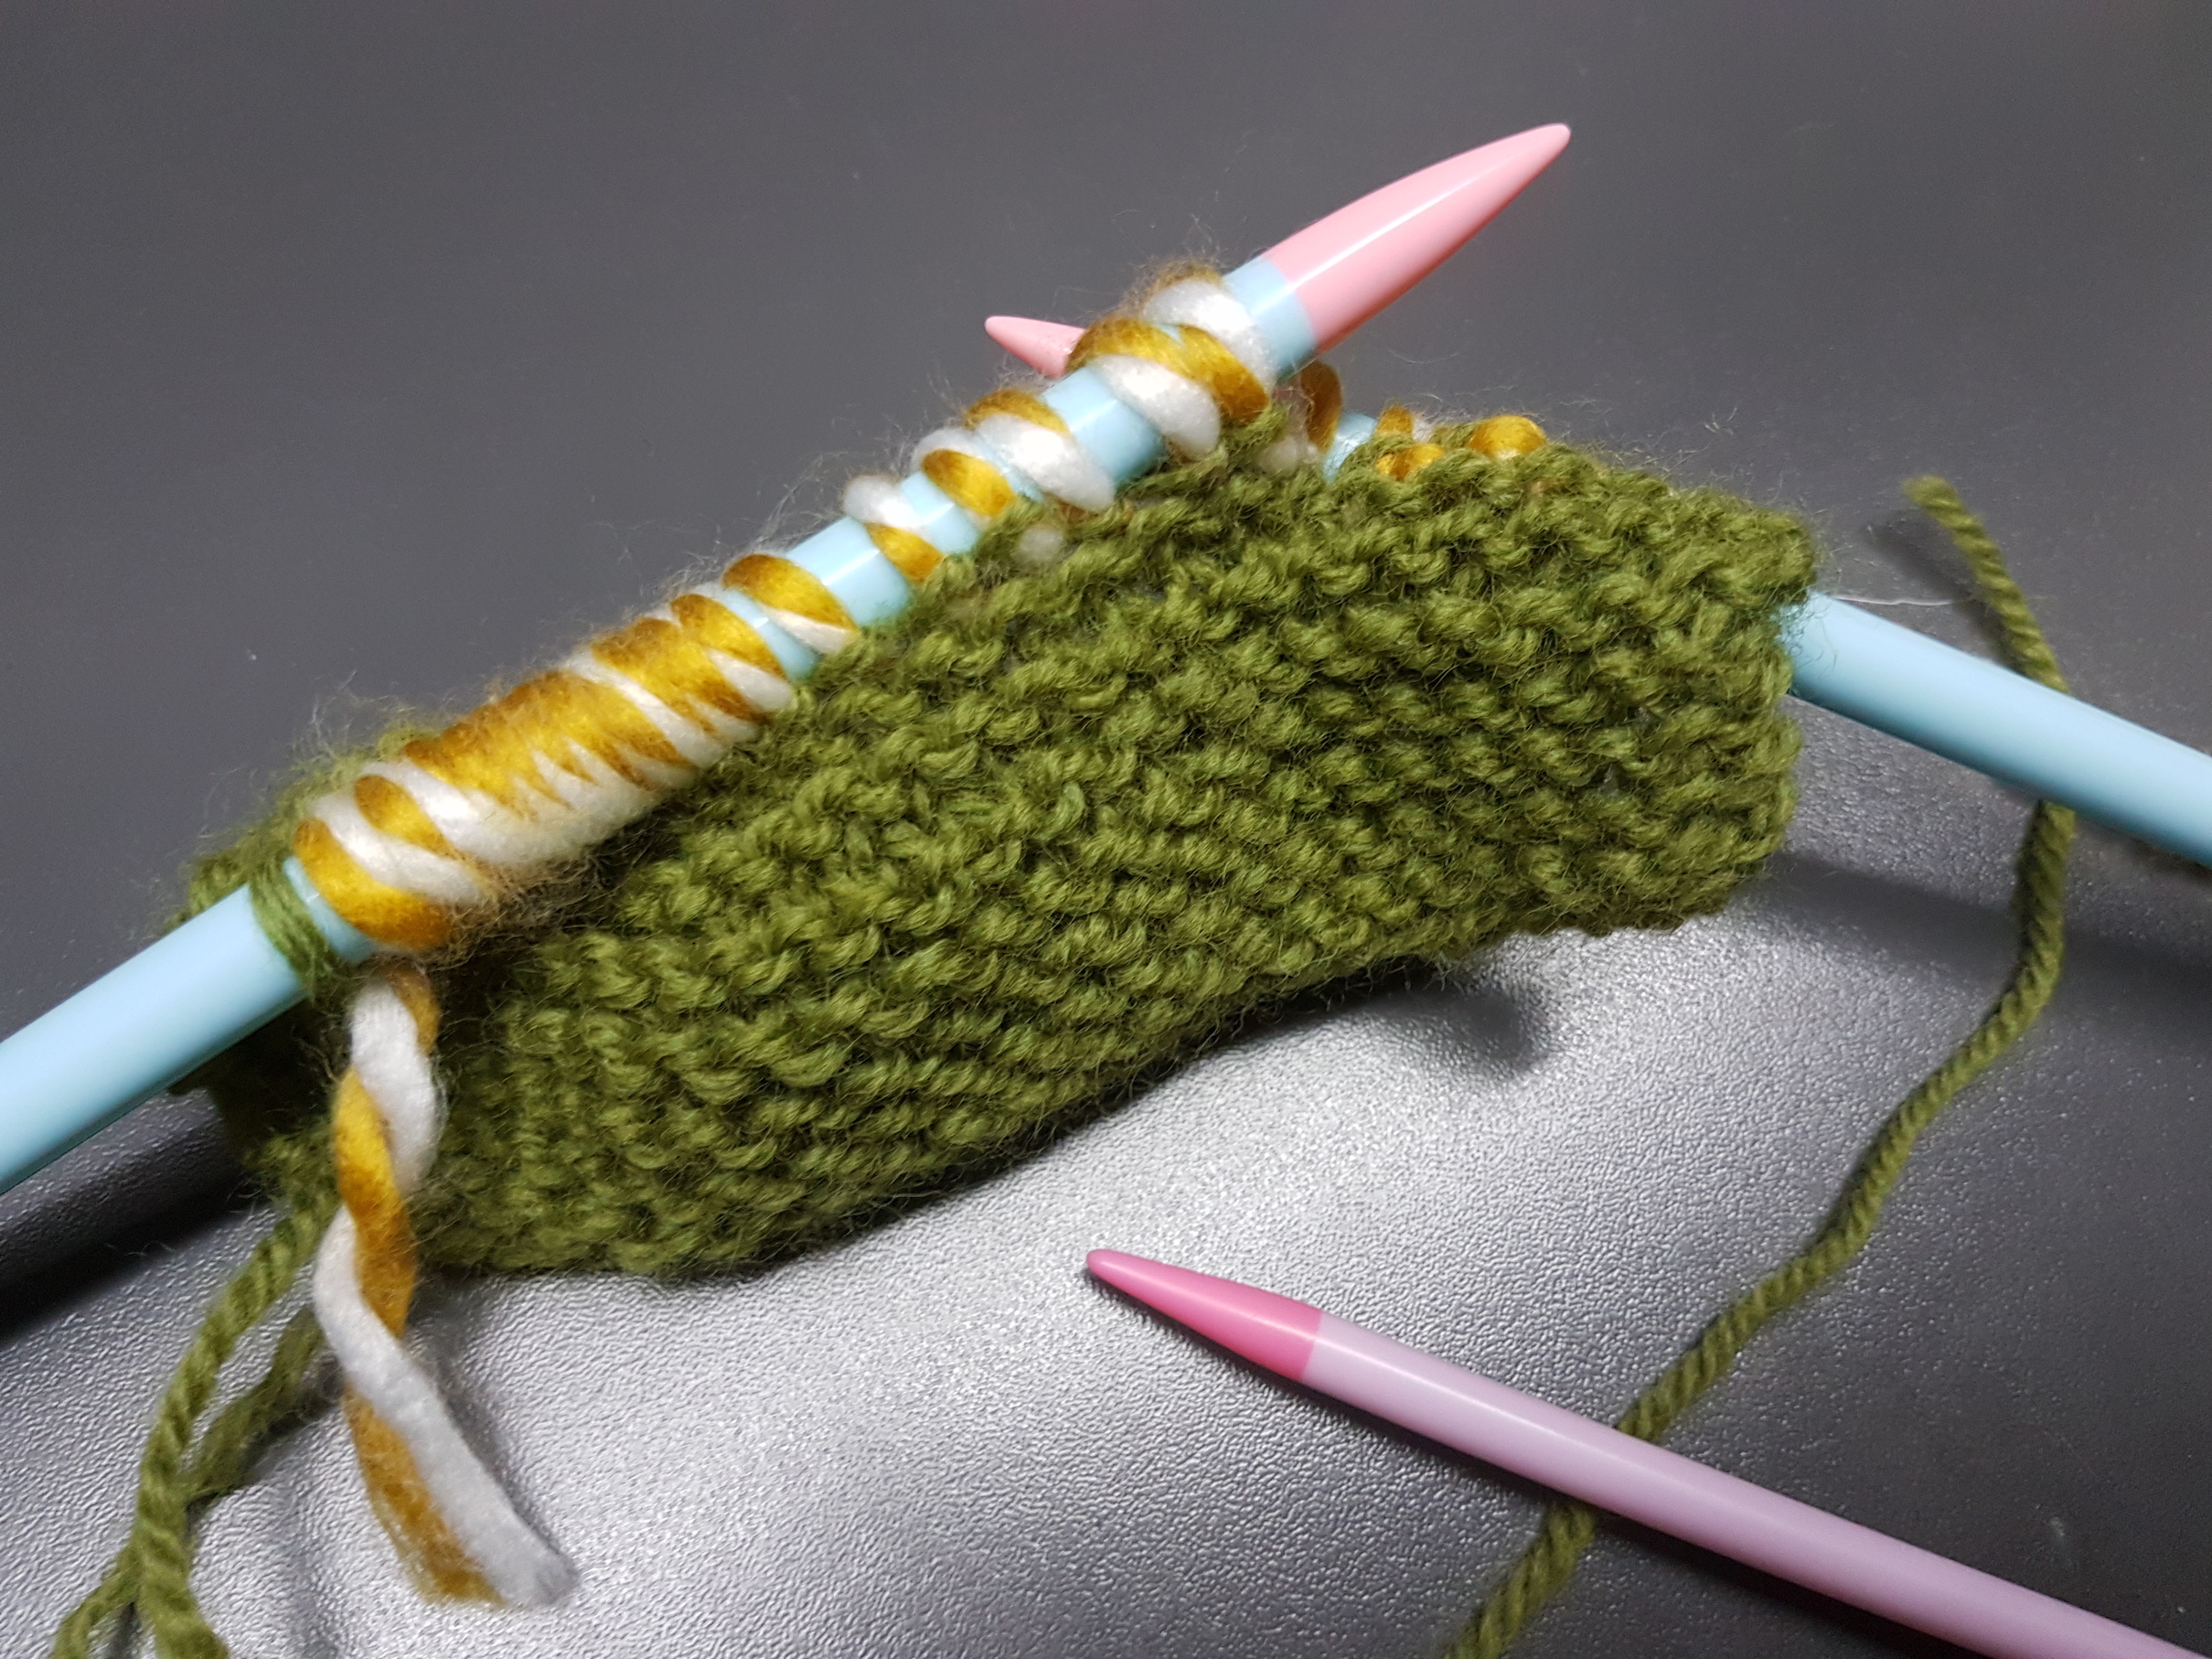
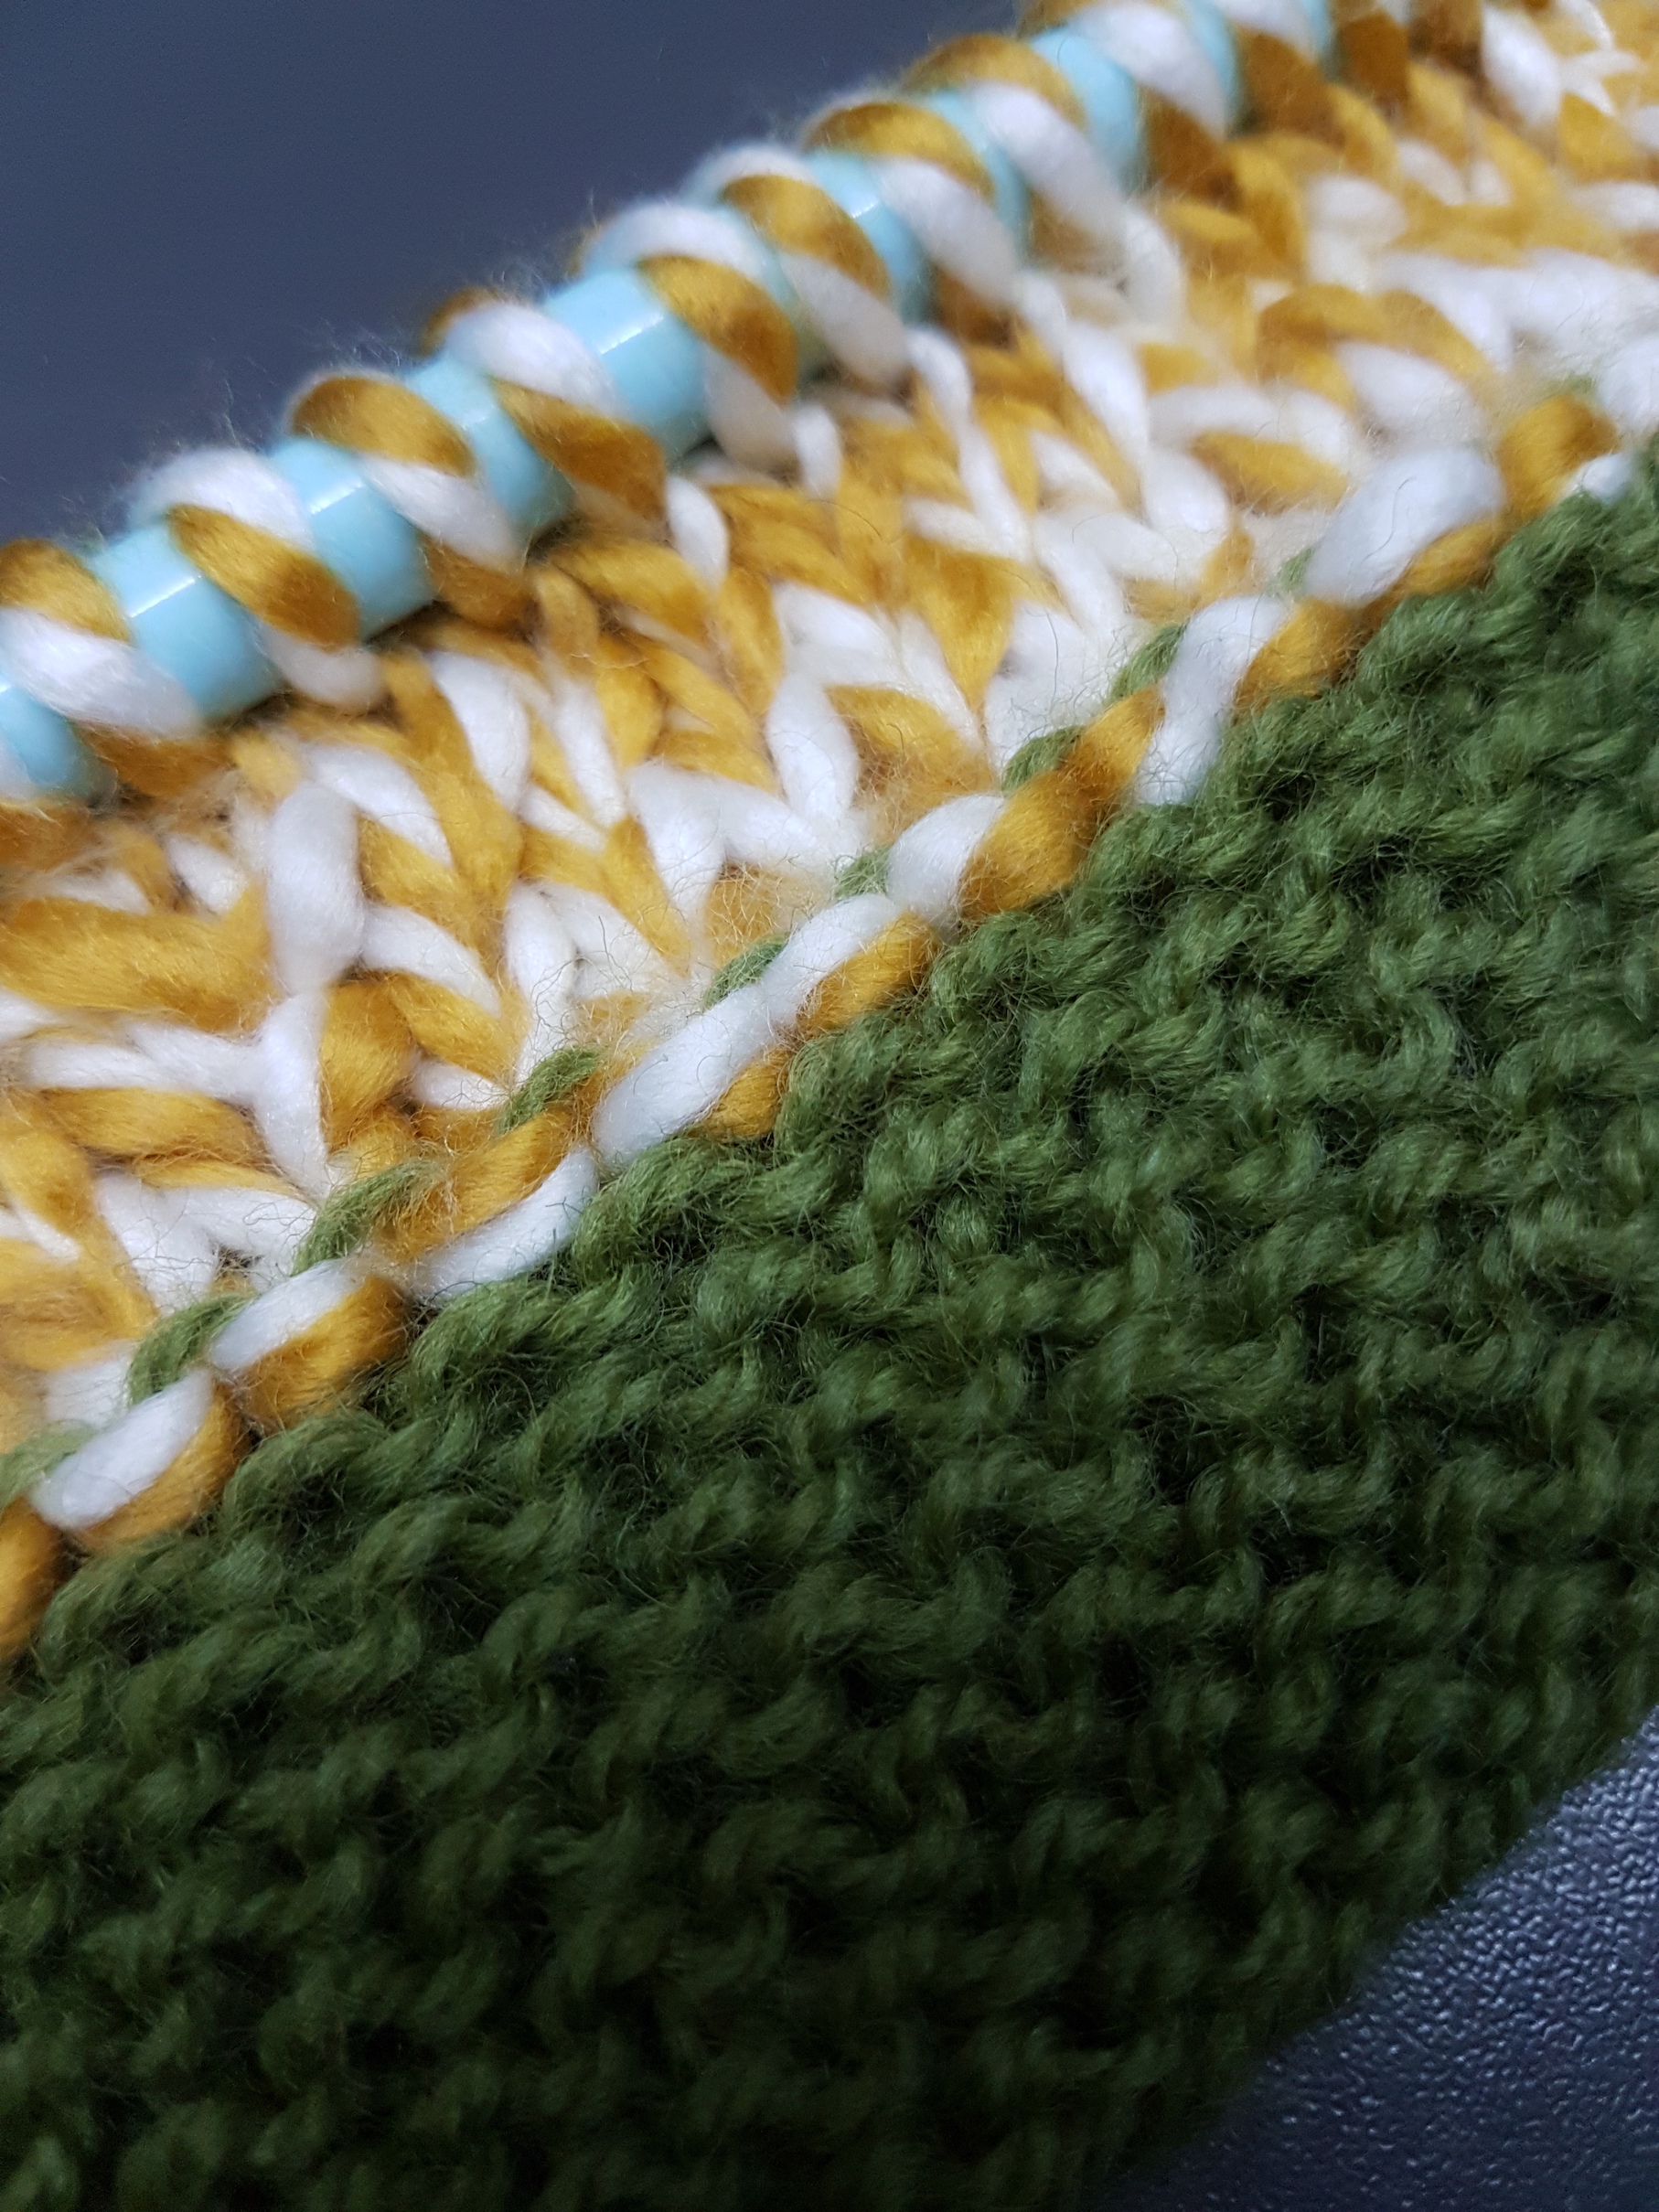
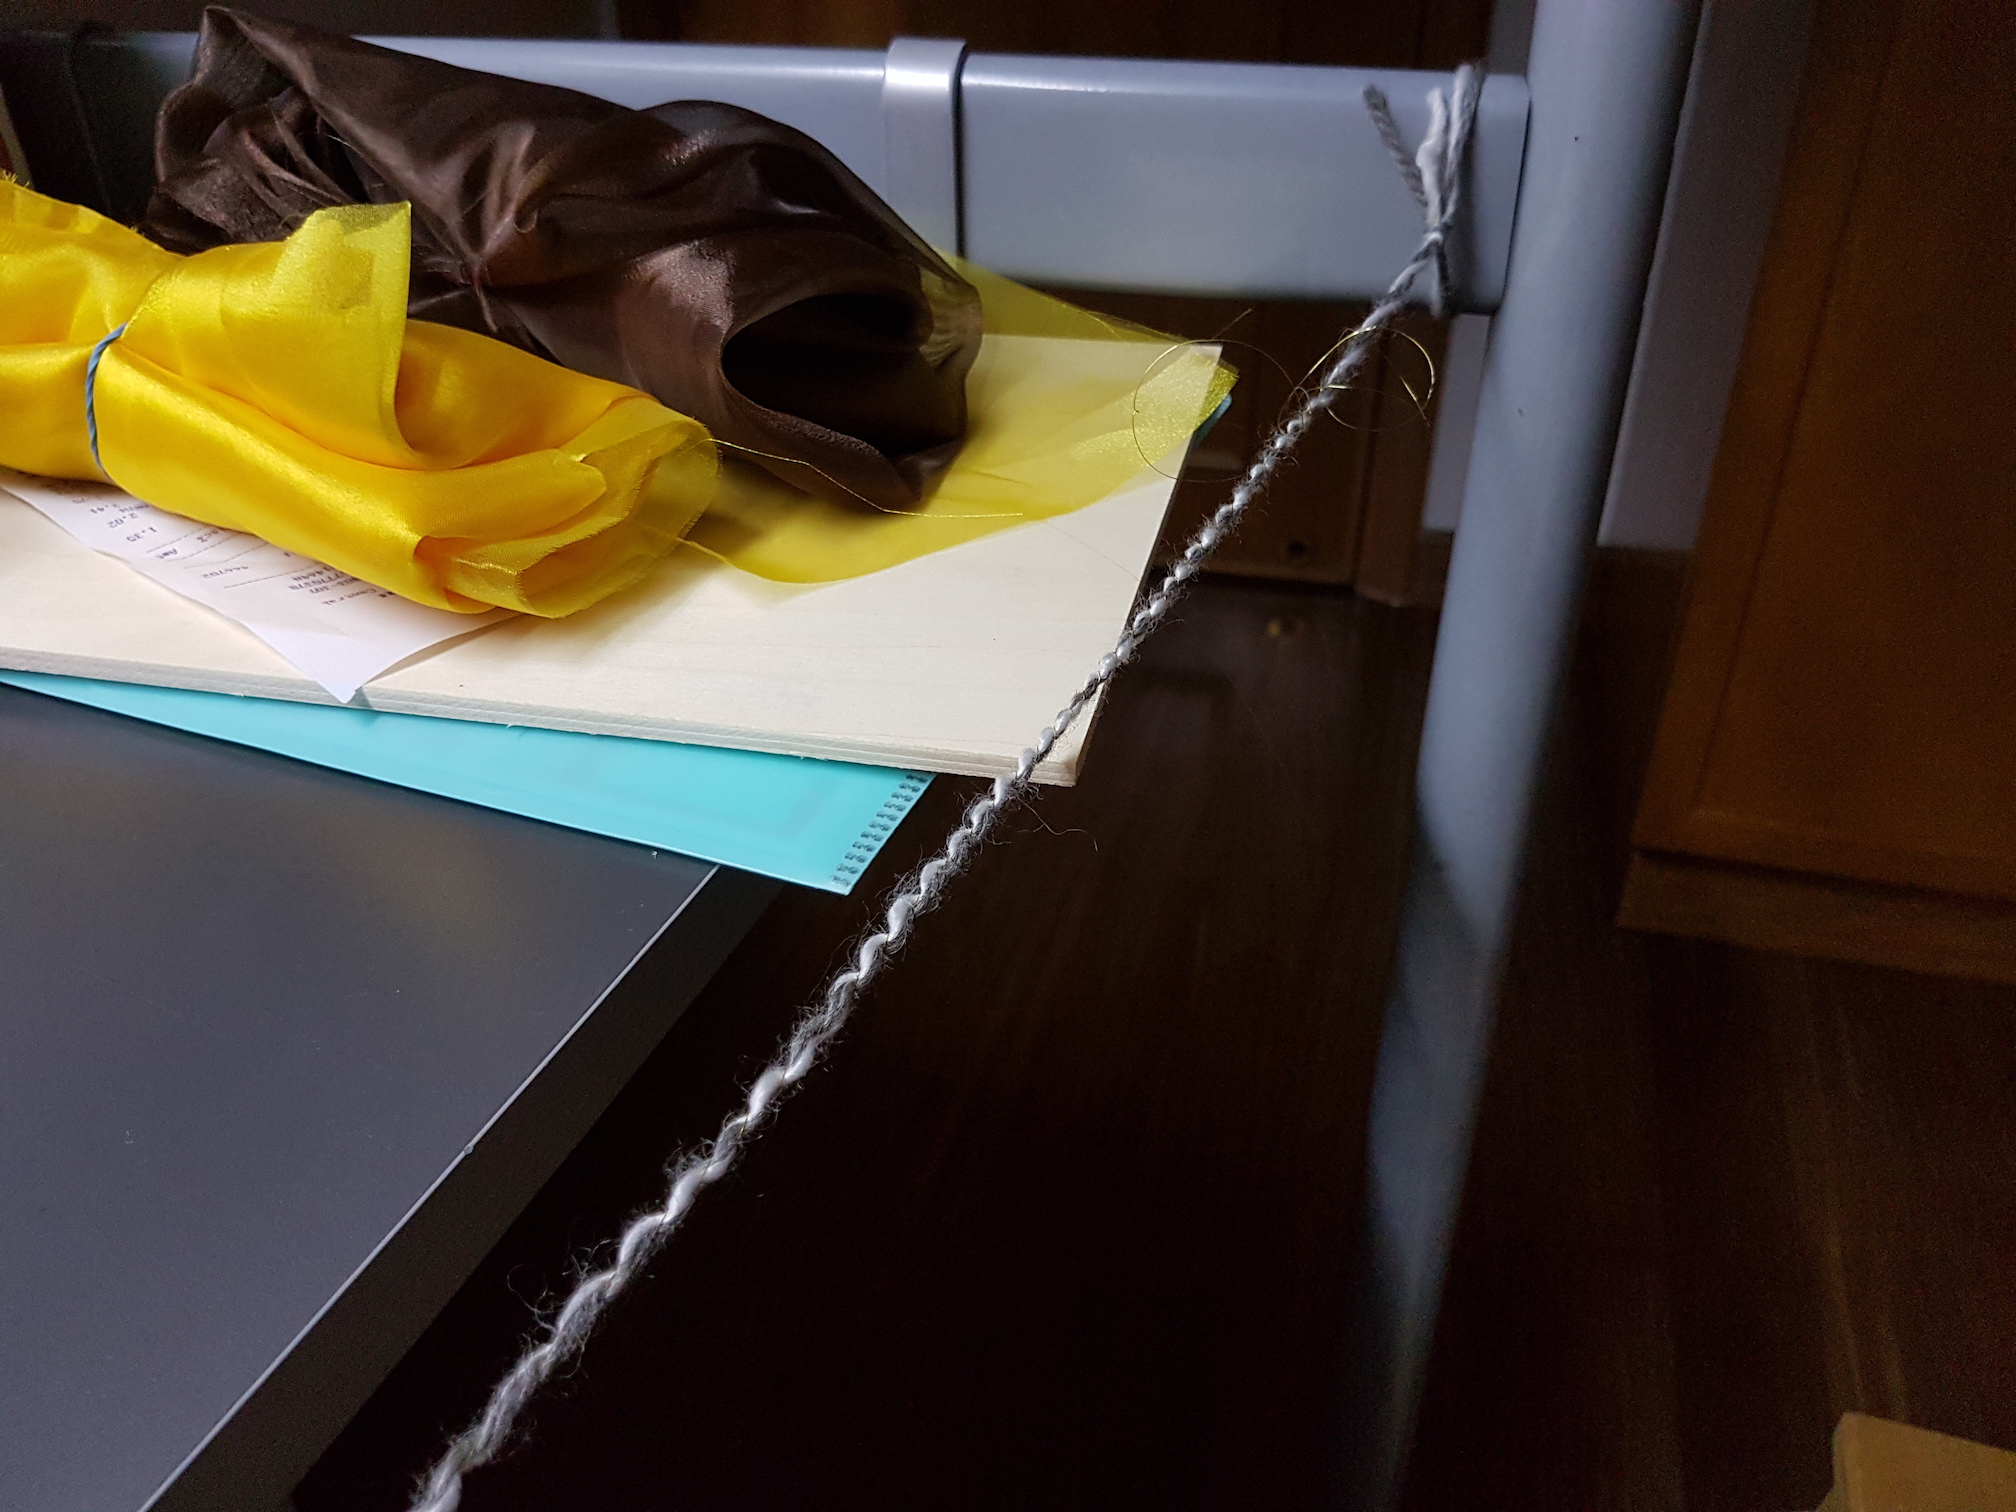
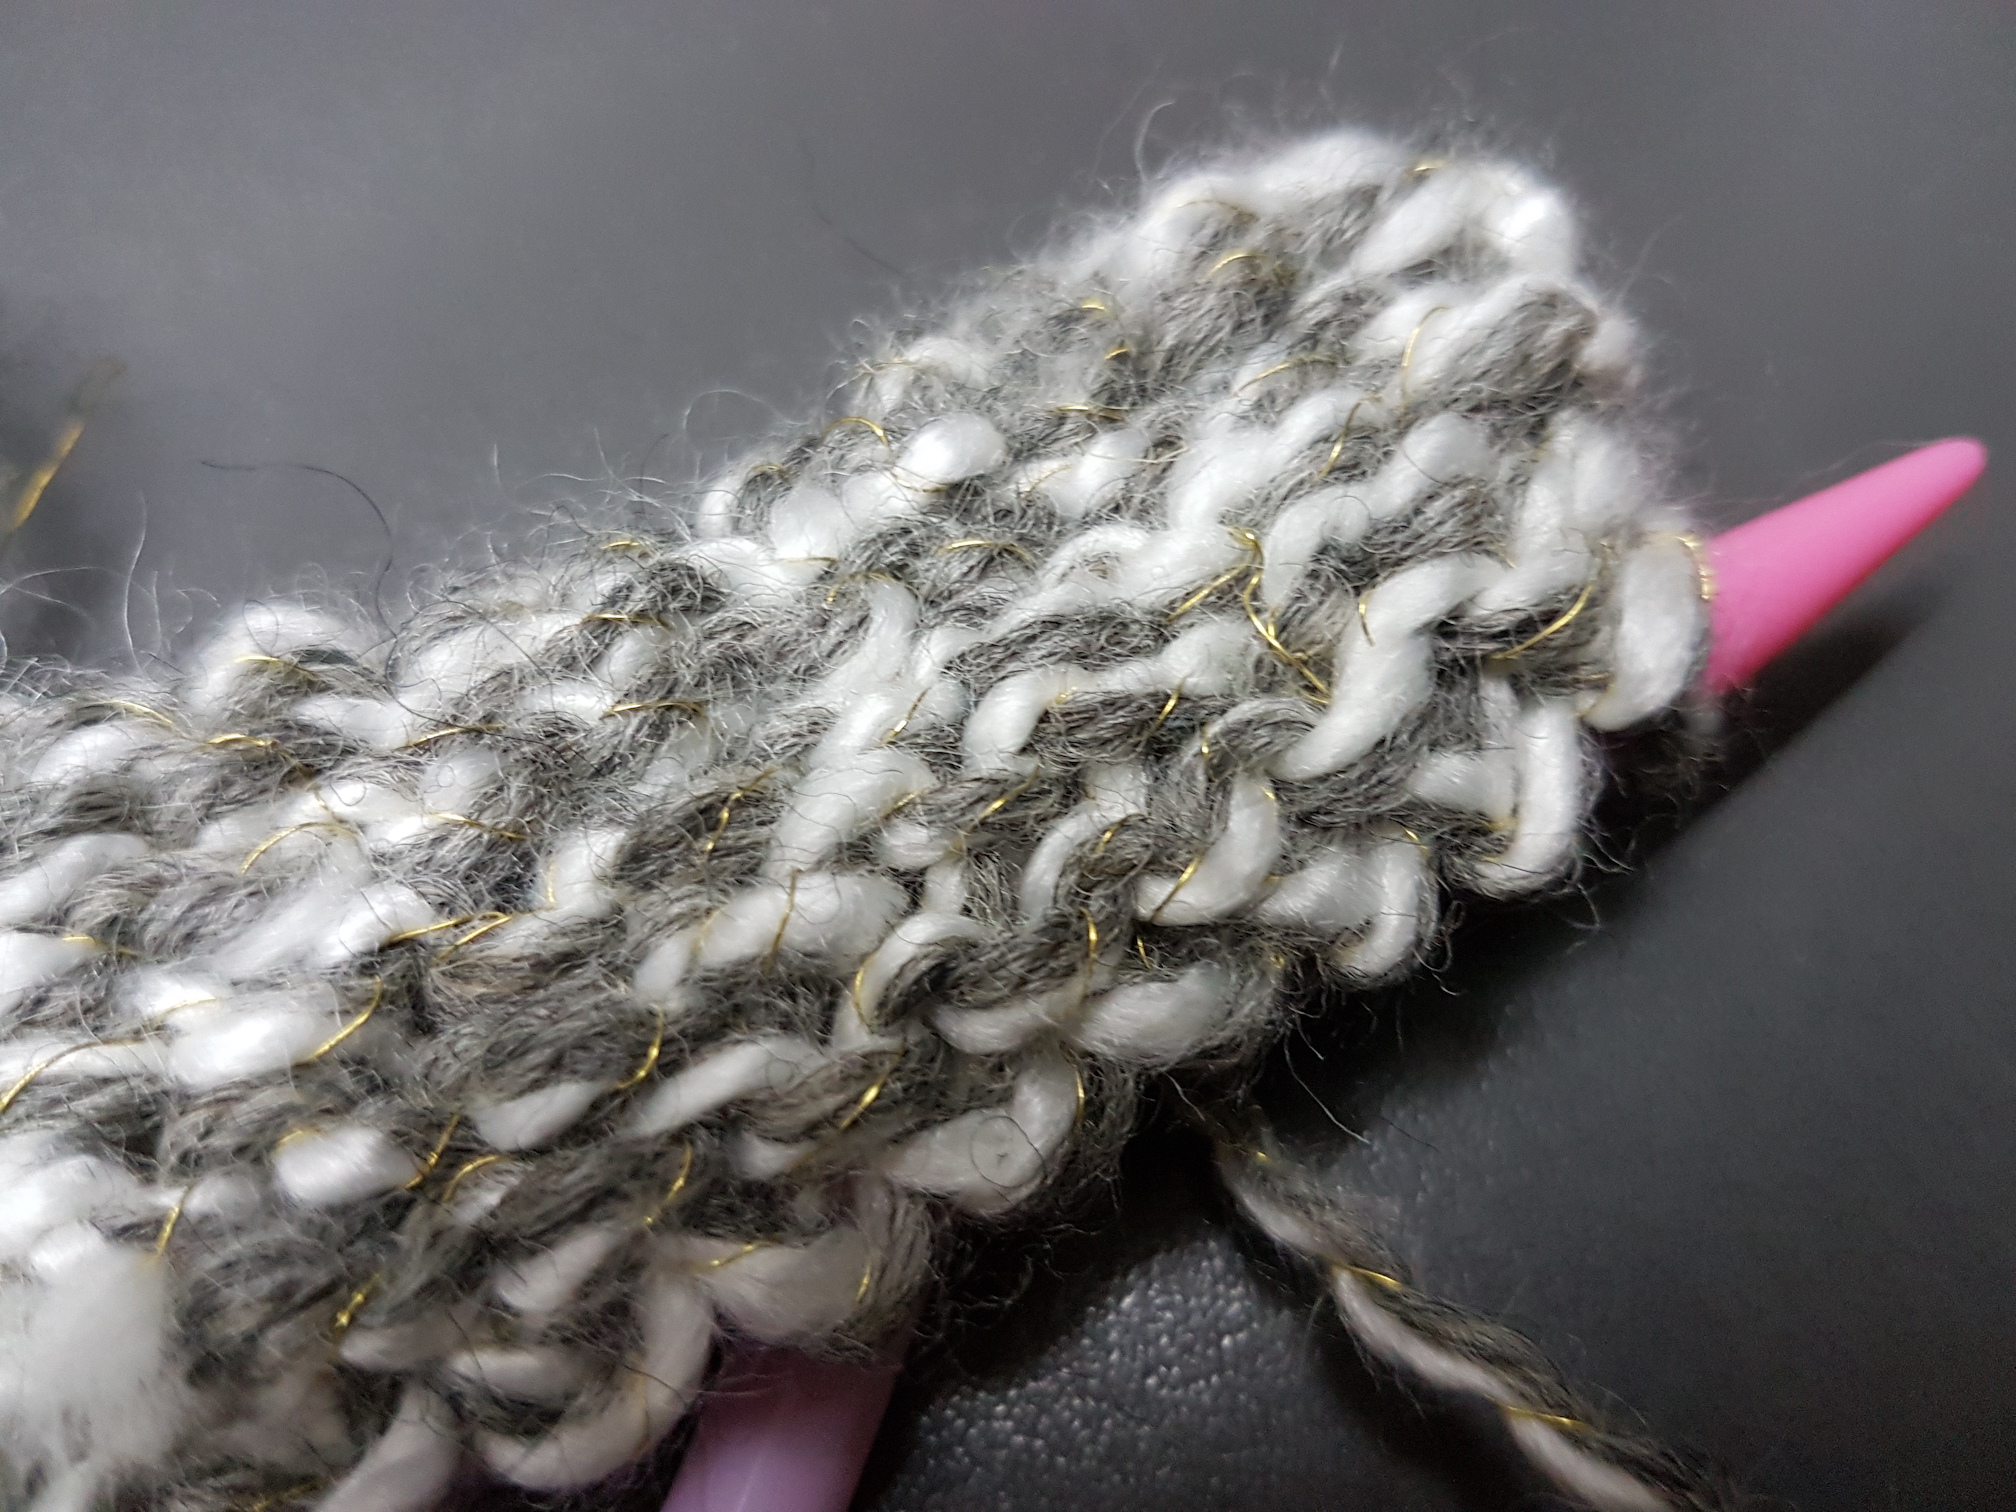
Instead, I tried weaving the wire together with wool yarn to form a new 3-coloured yarn with white yarn, charcoal grey yarn and golden wire.
Twisting and coiling the yarns and wire together
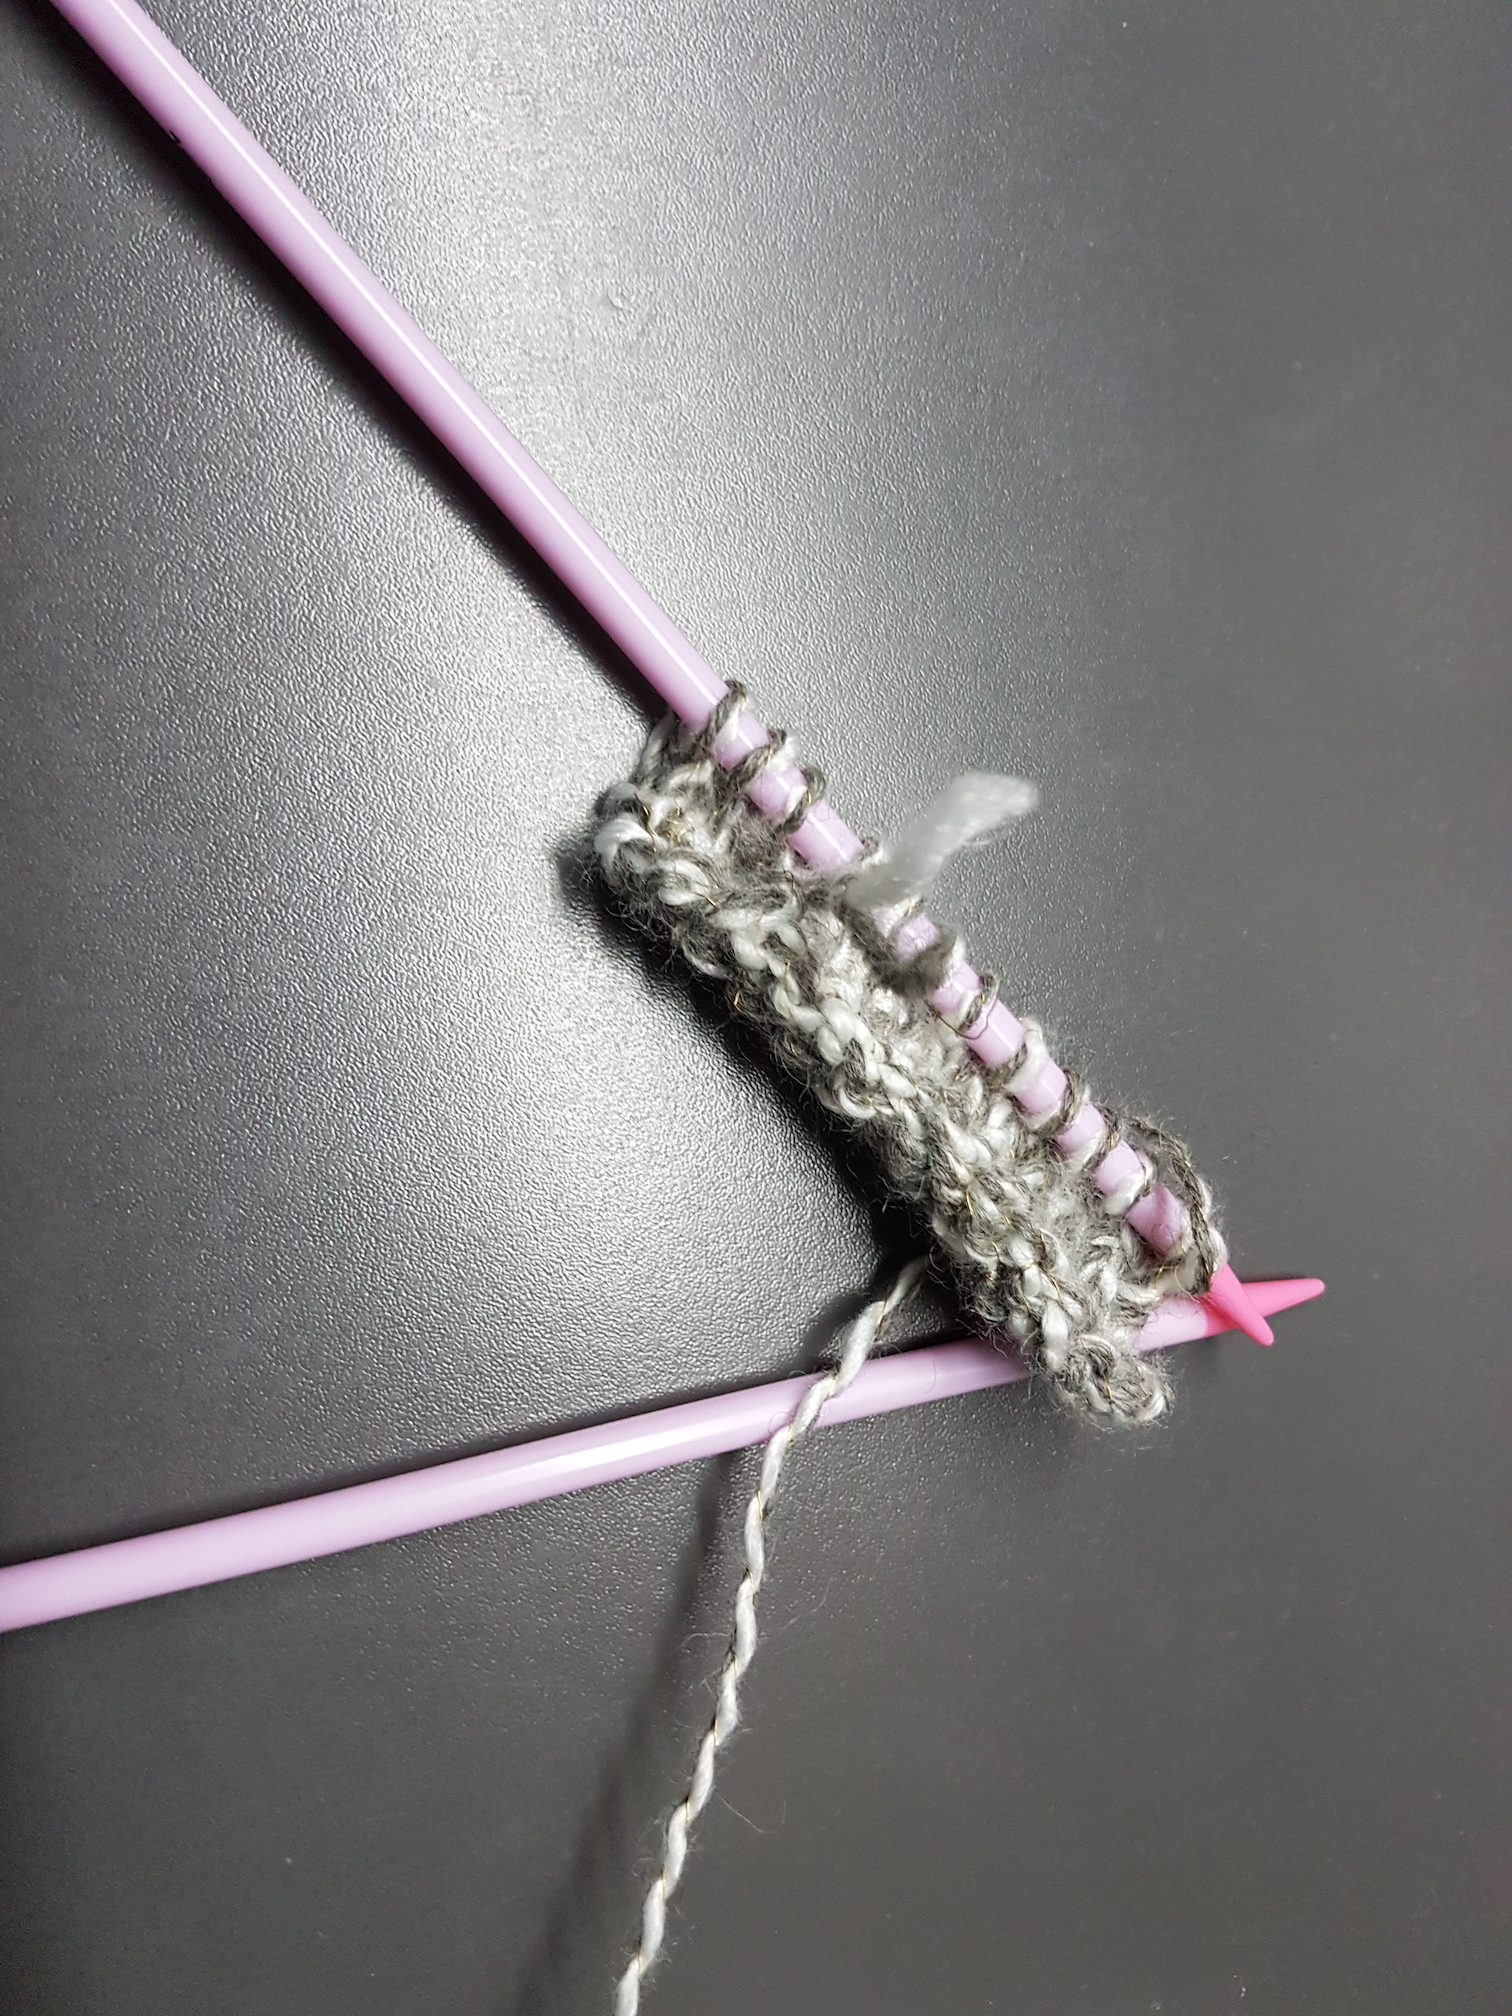
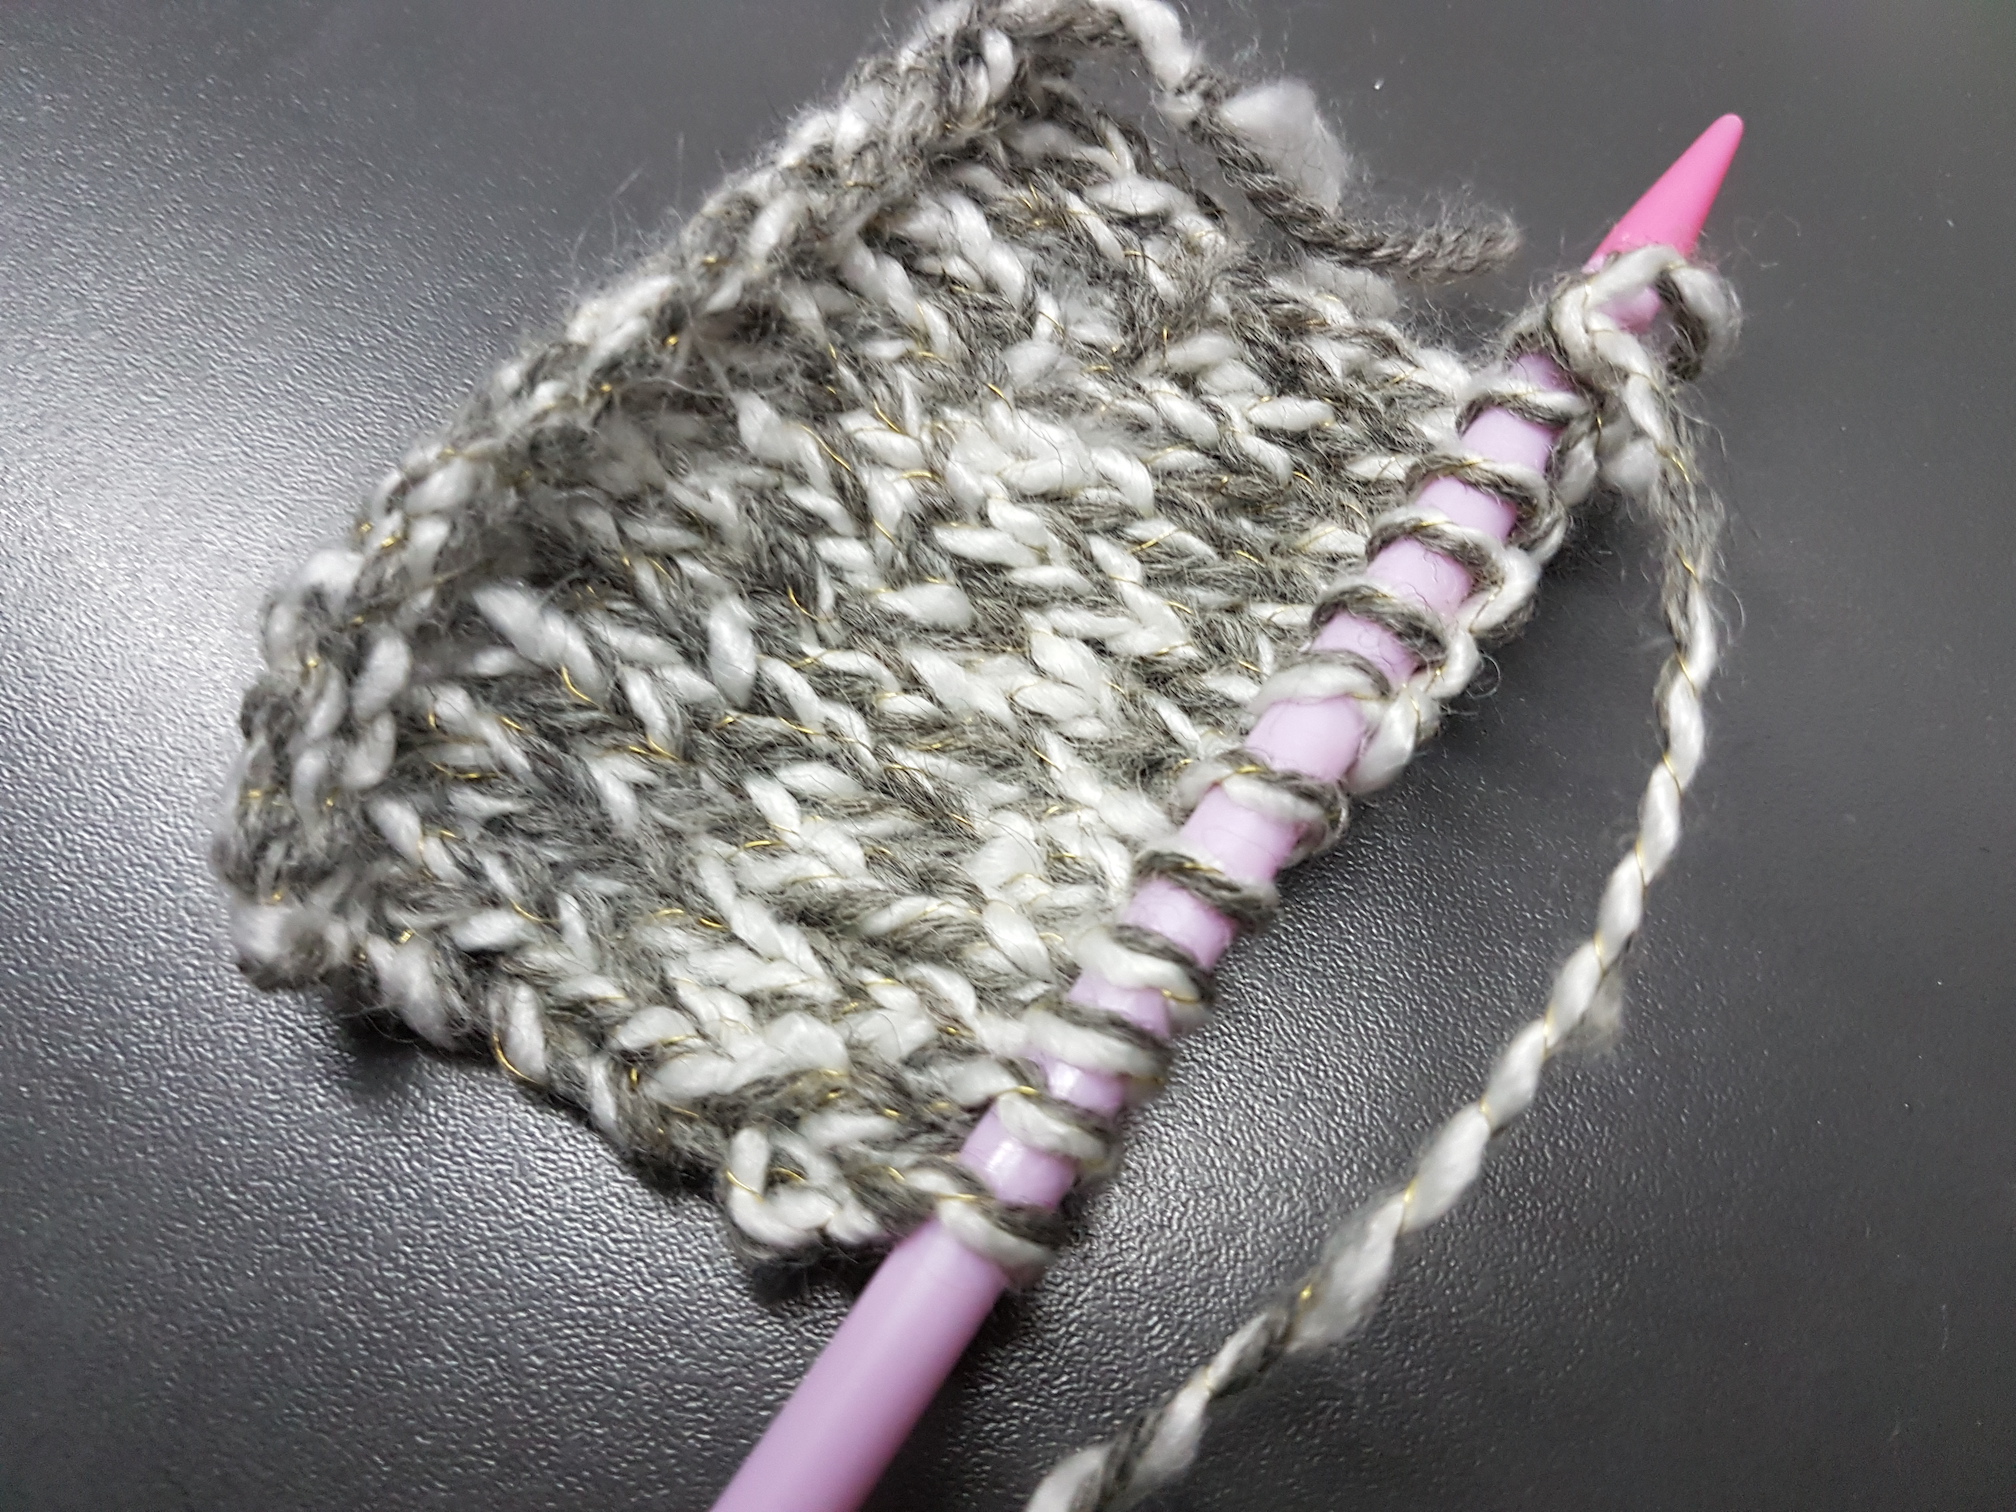
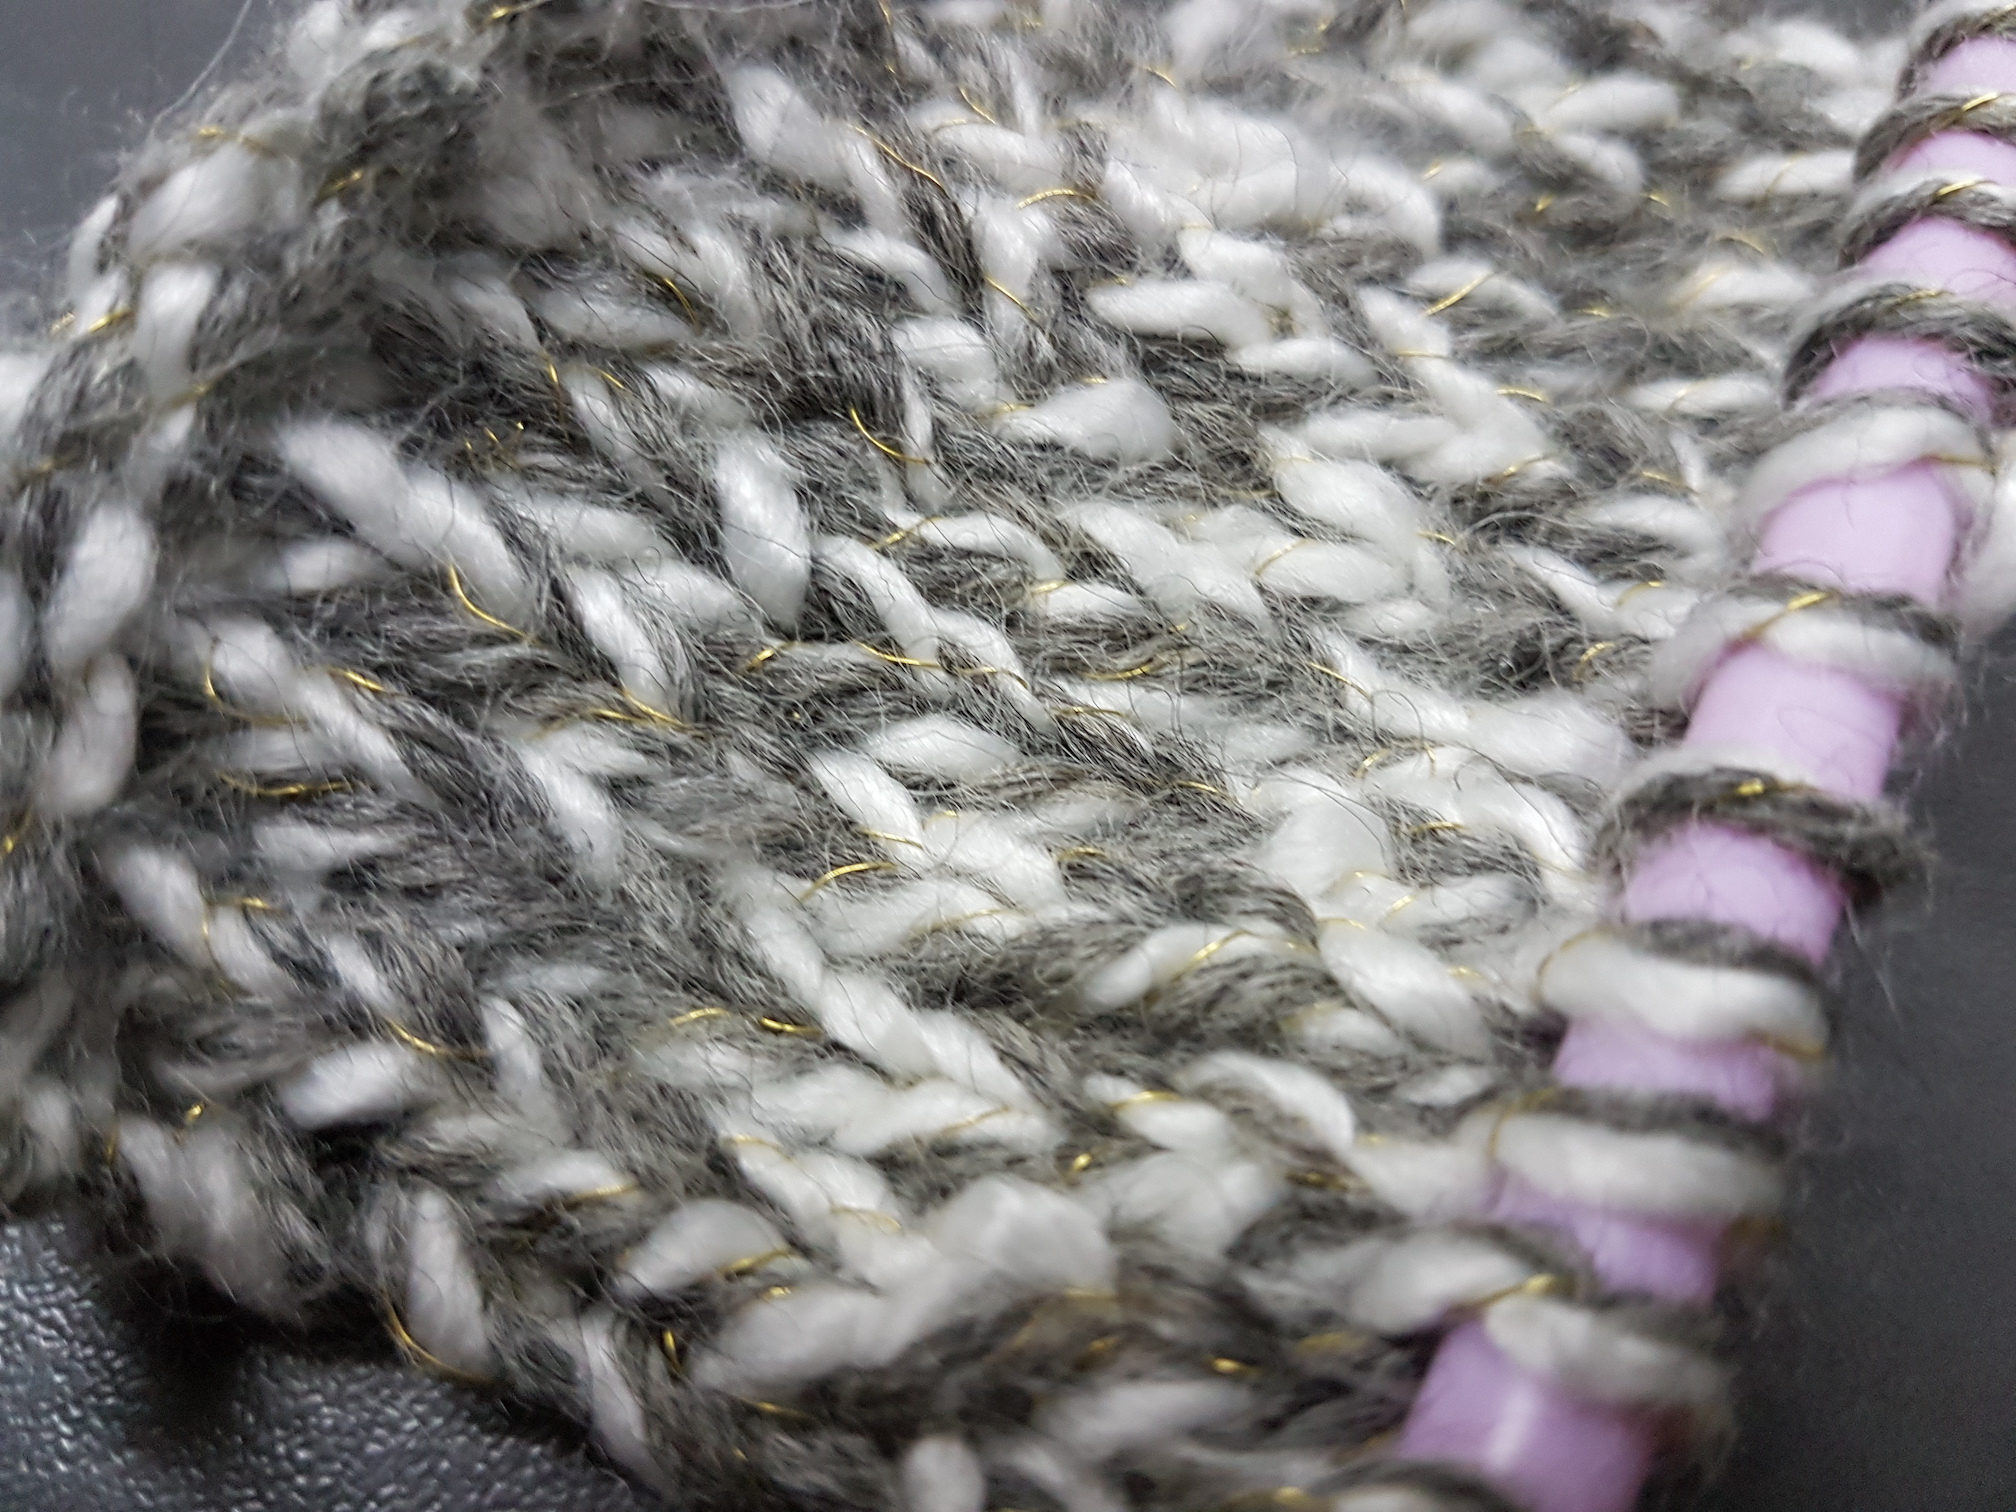
I used this 3-coloured yarn to knit a sample which was soft to the touch yet stiff due to the wire coil.
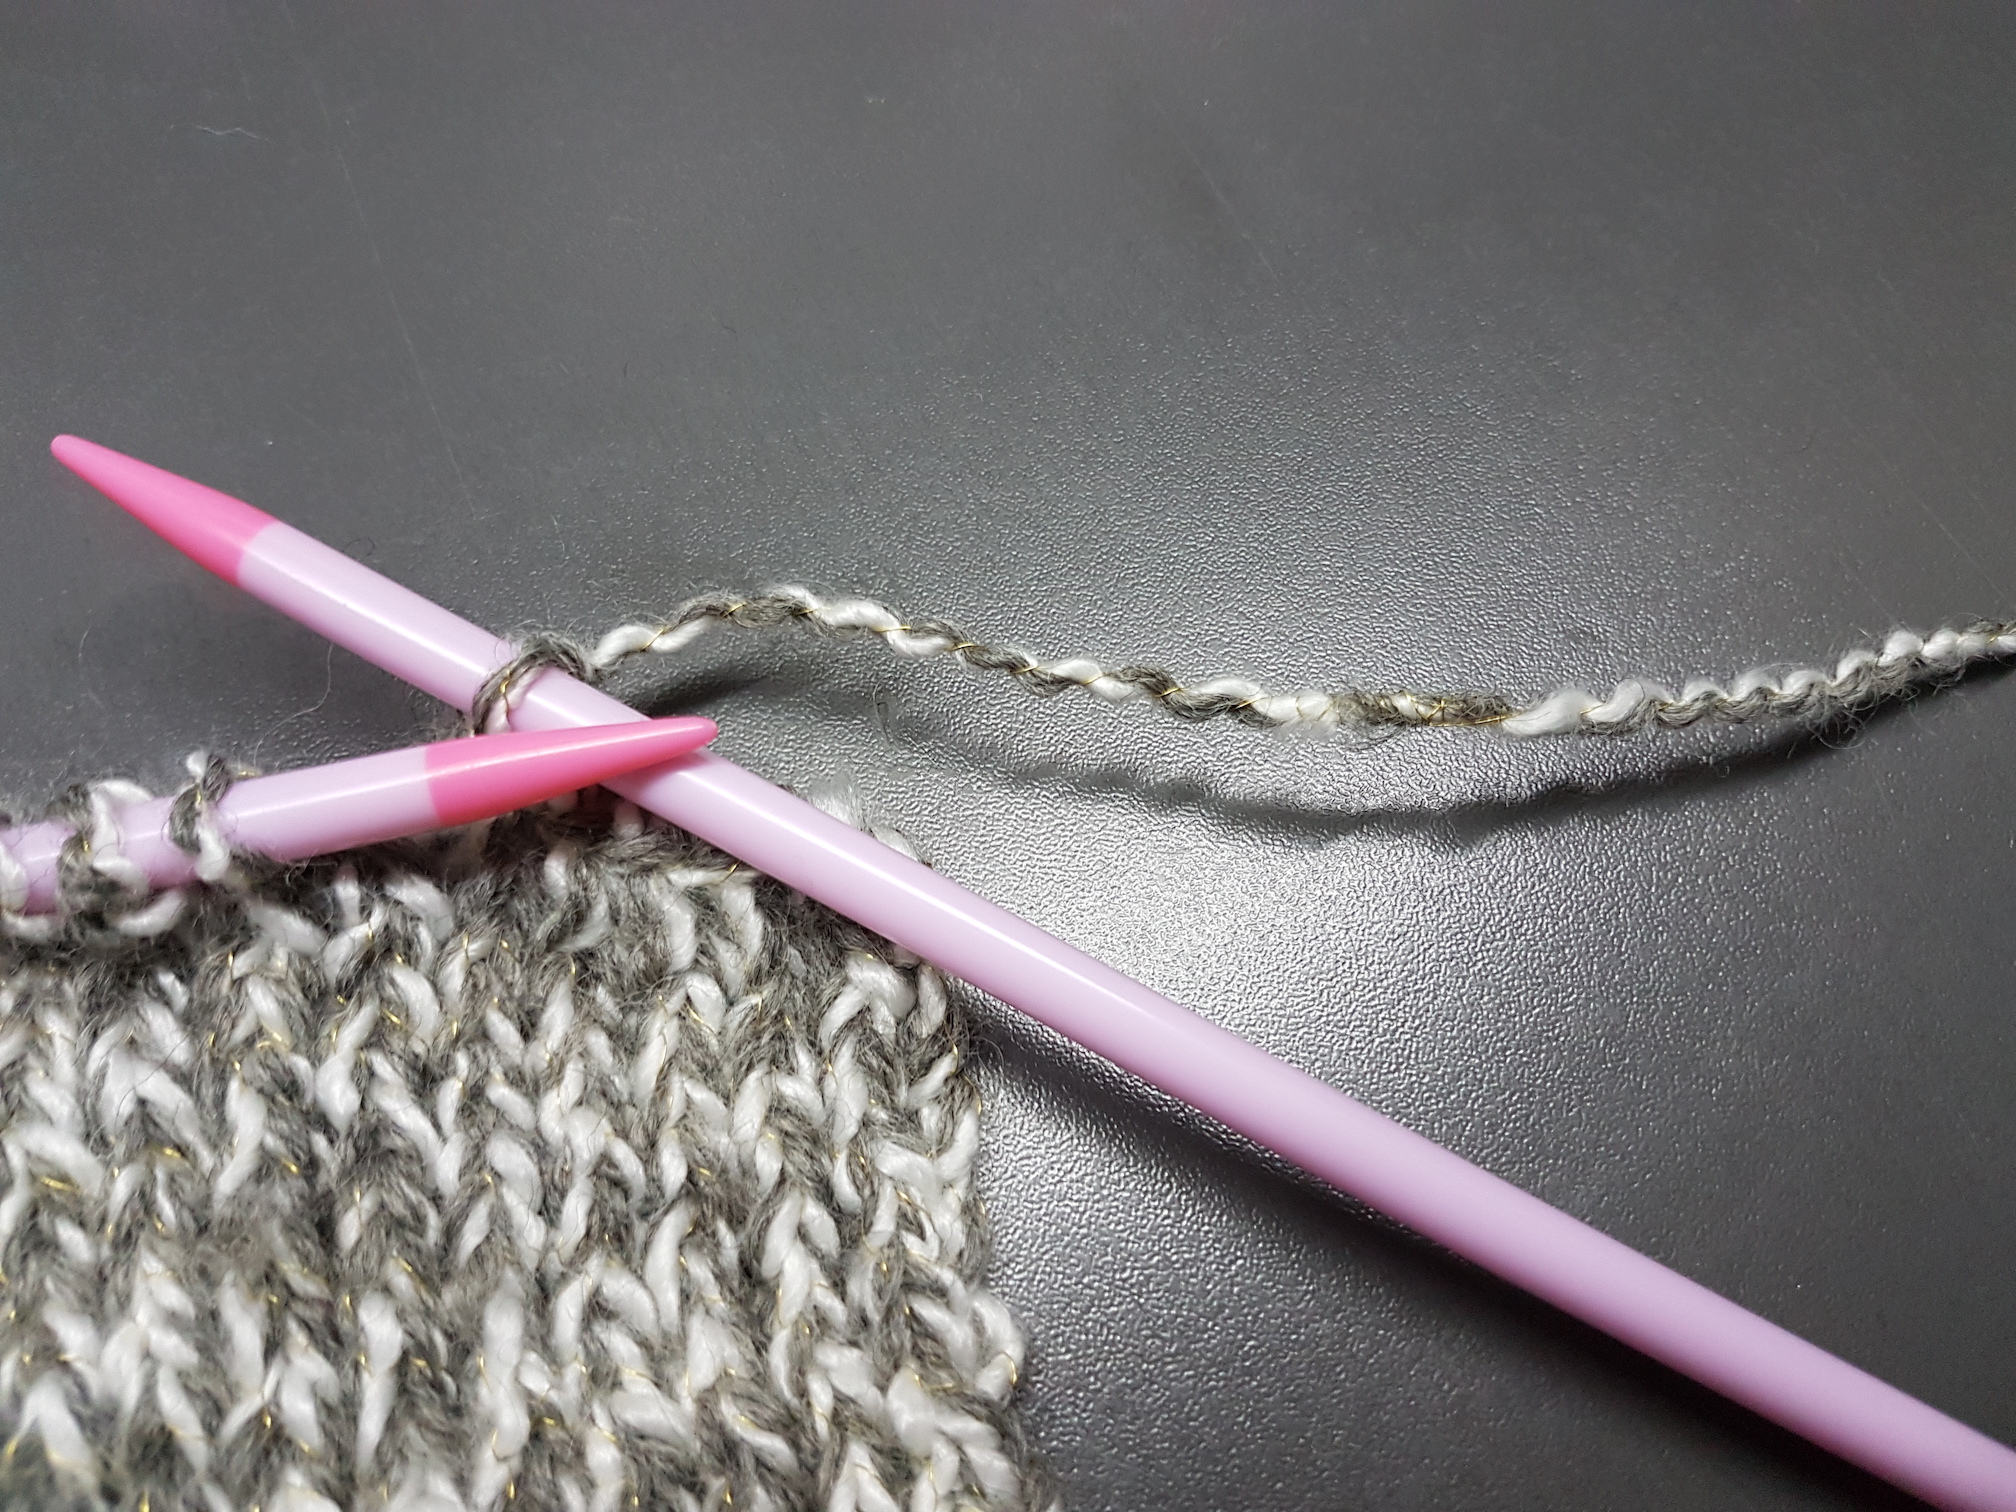
Casting off to end the knitting with a smooth edgeFinished sample
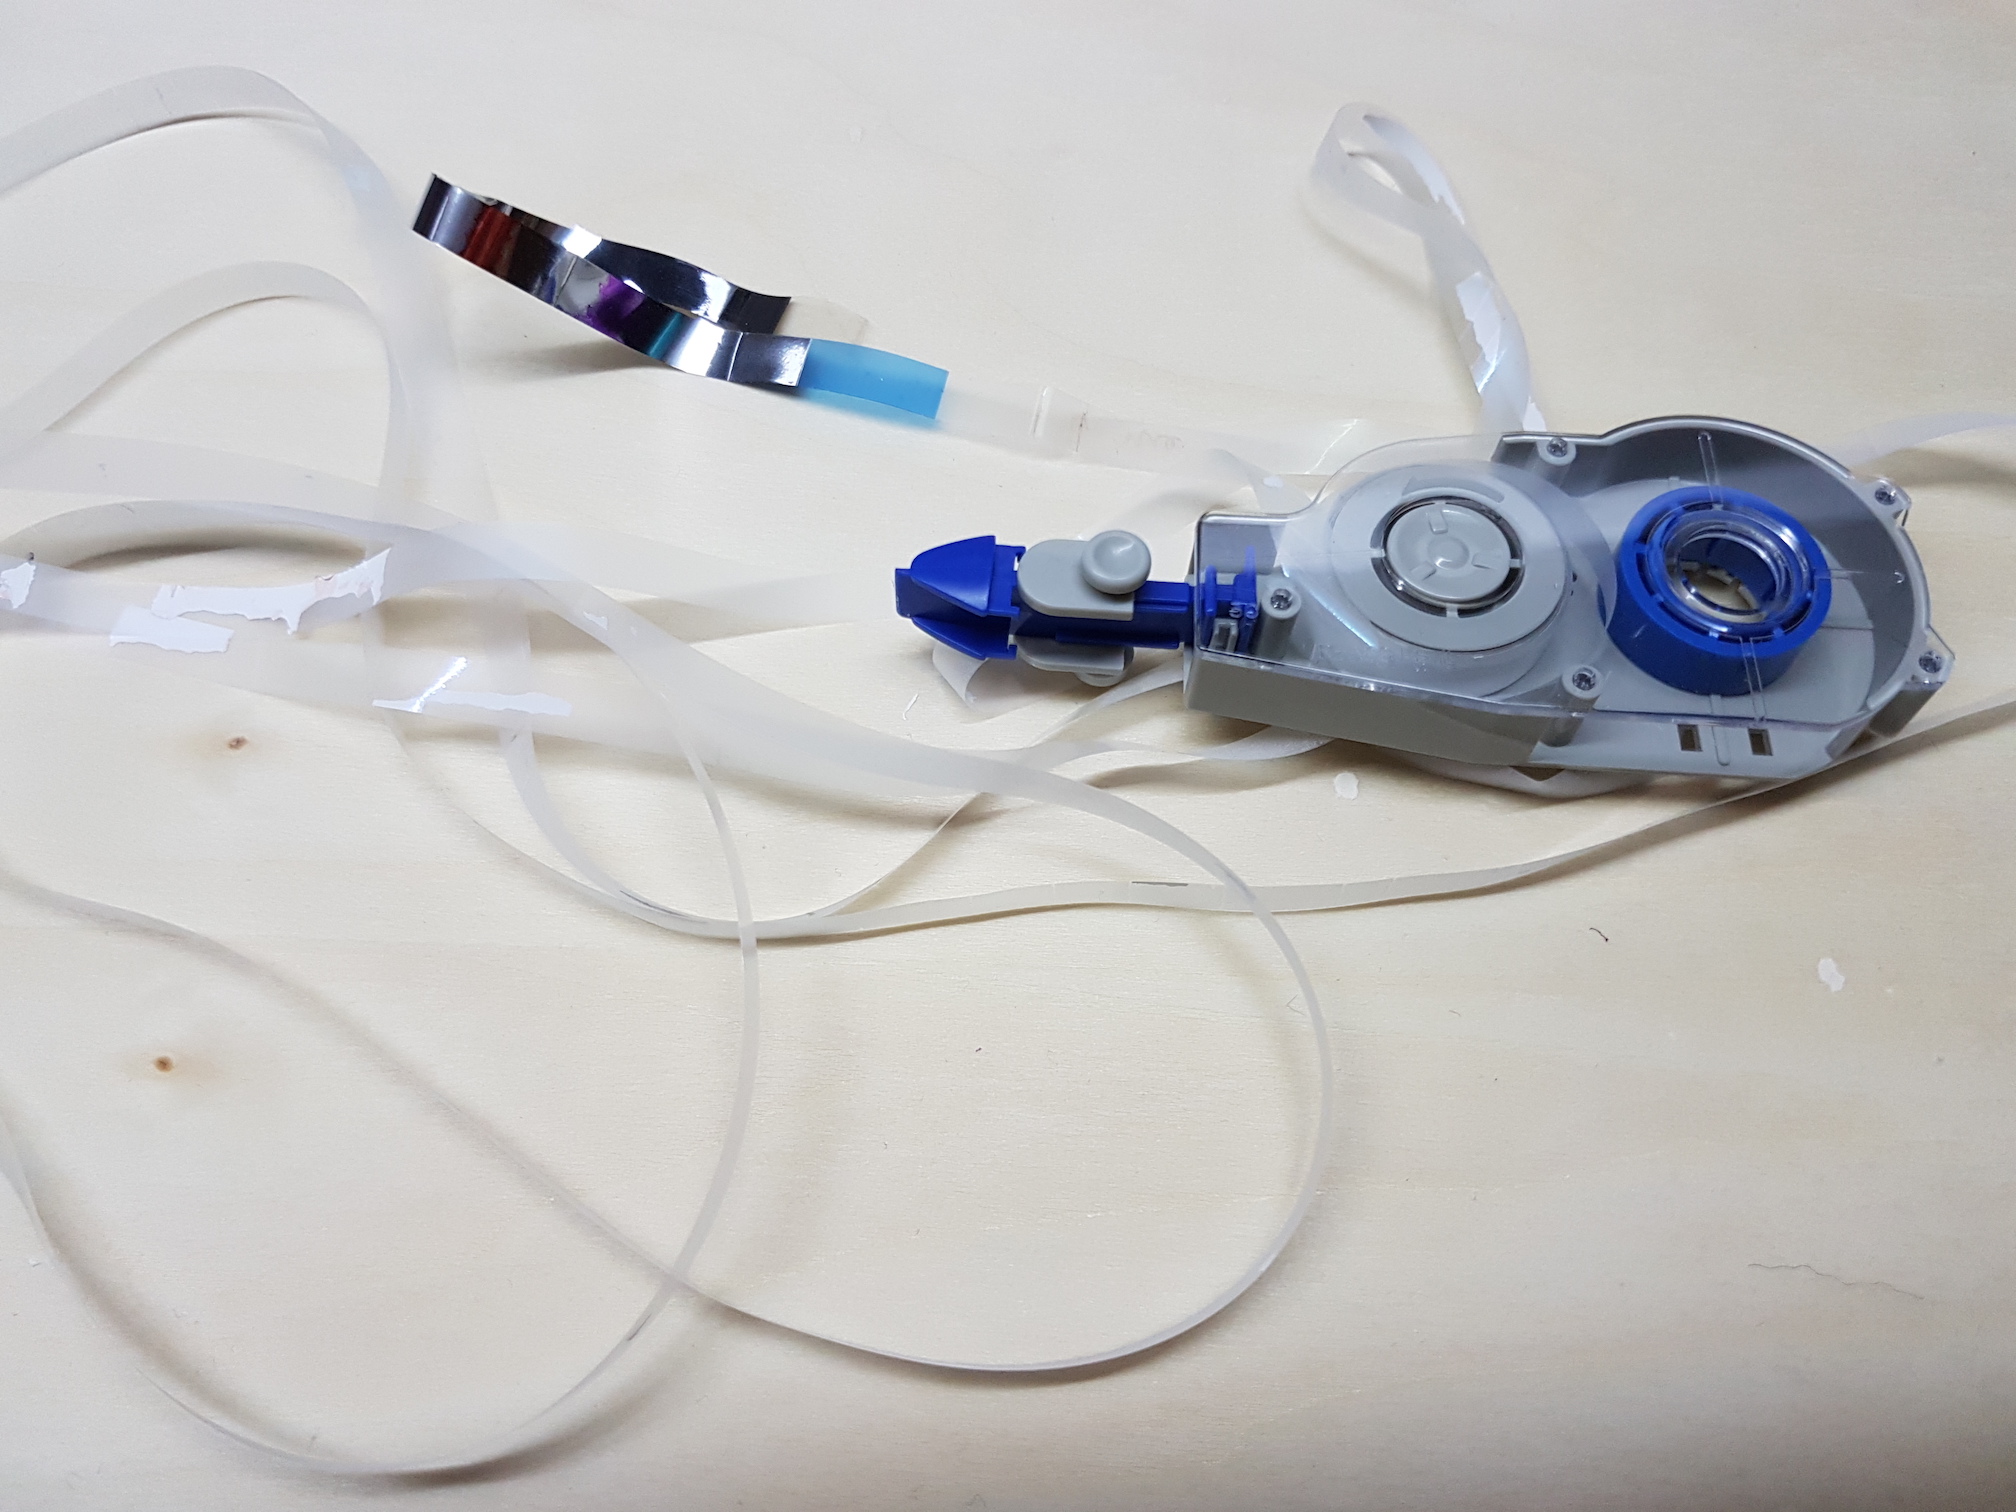
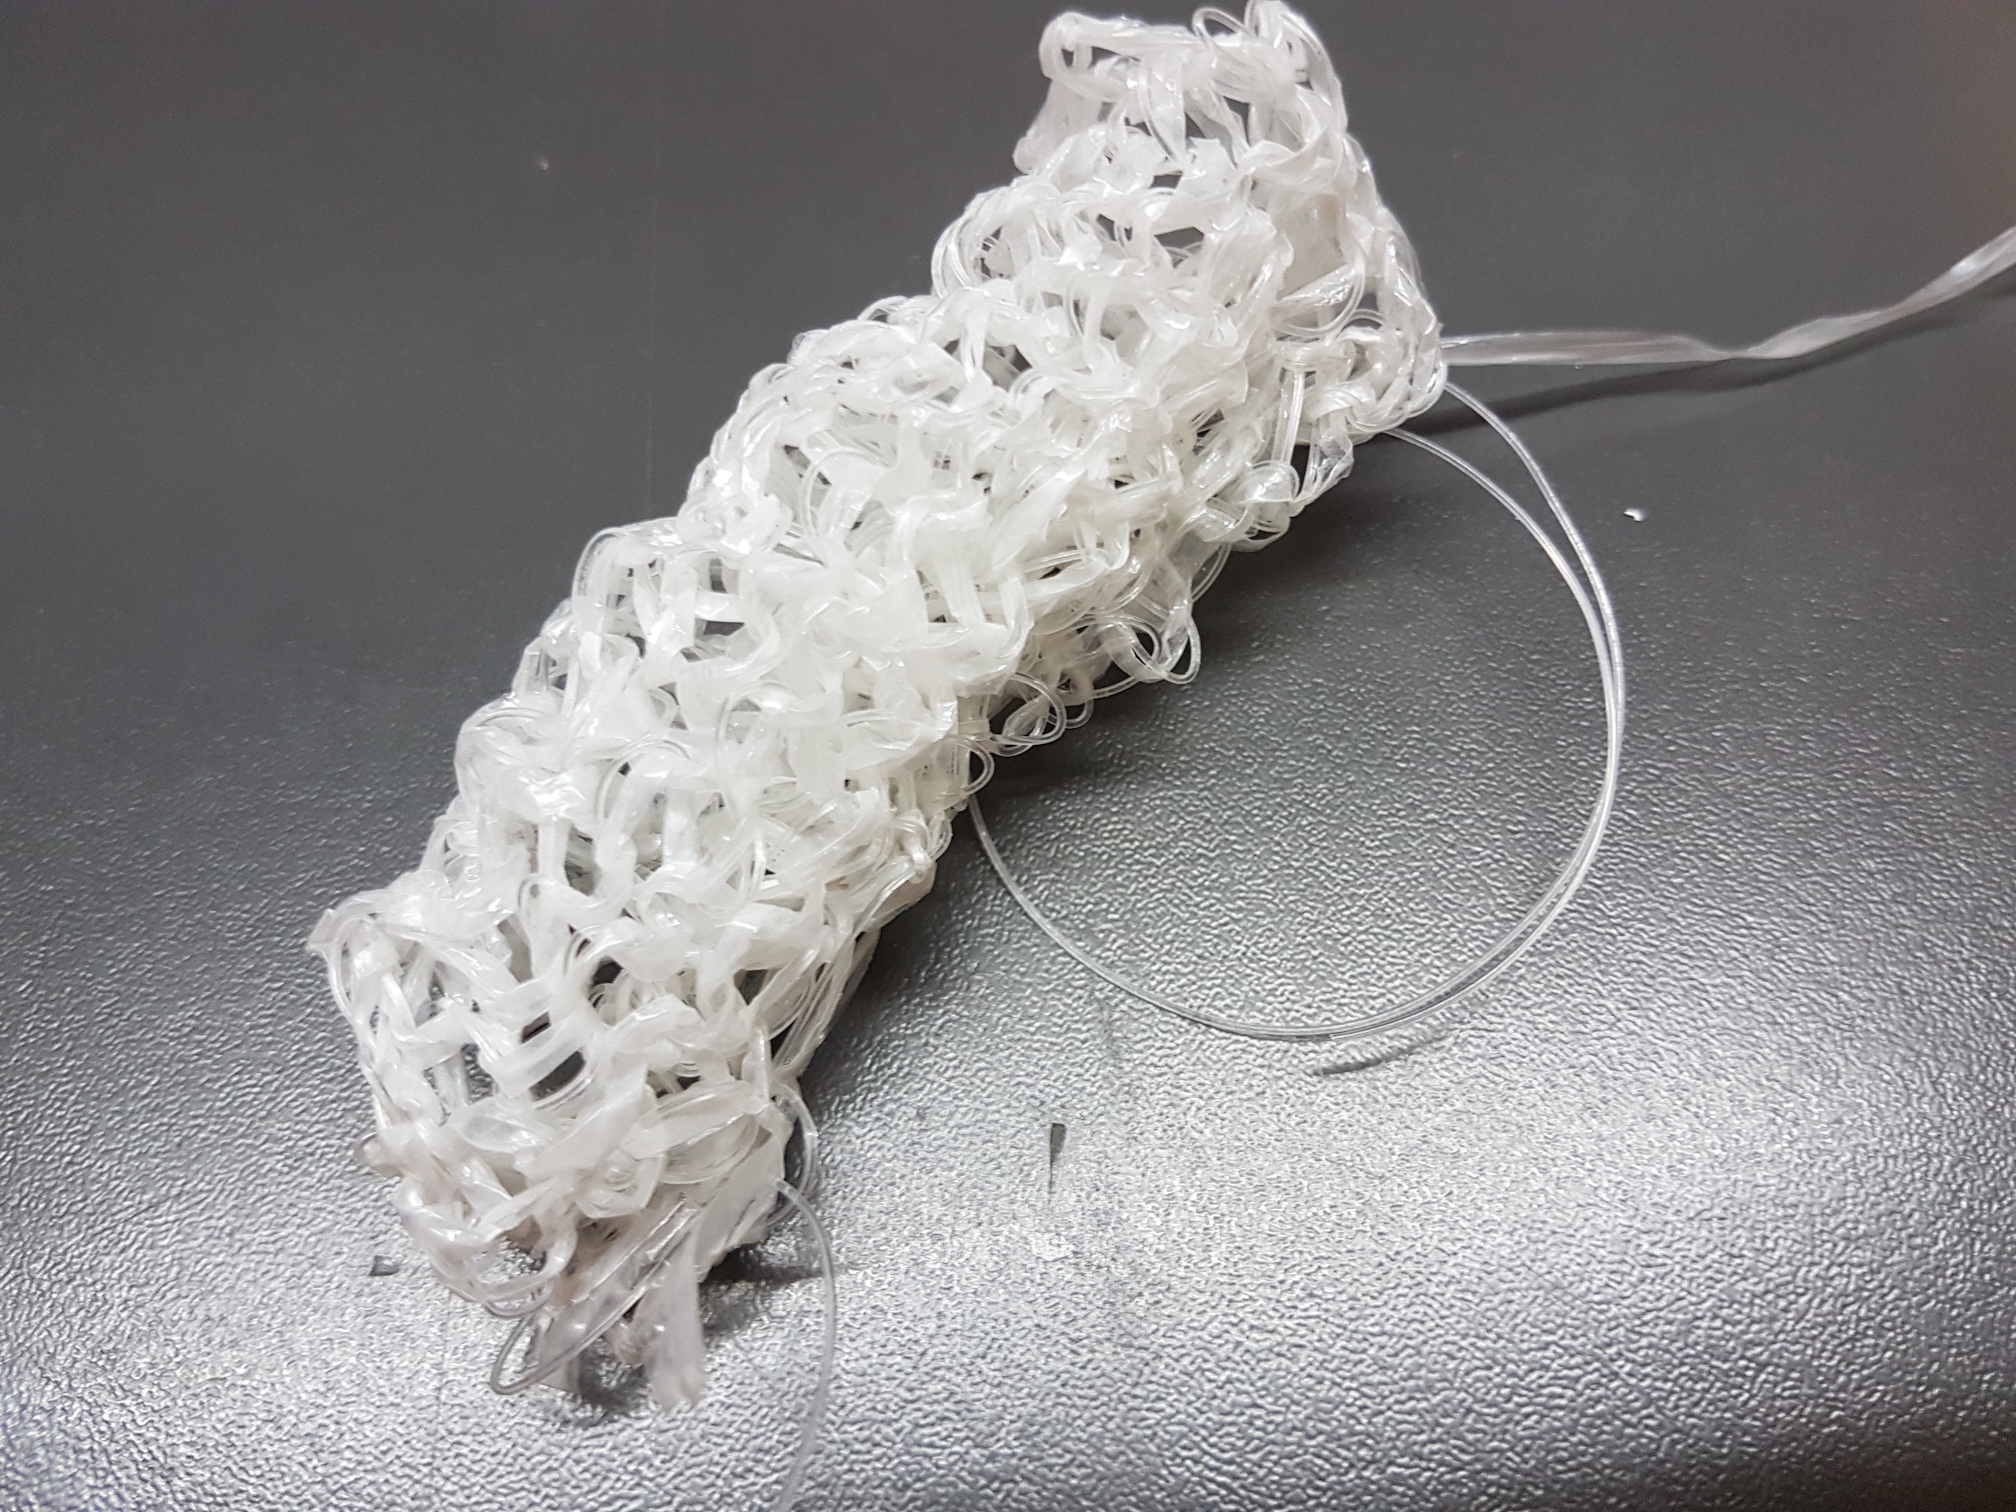
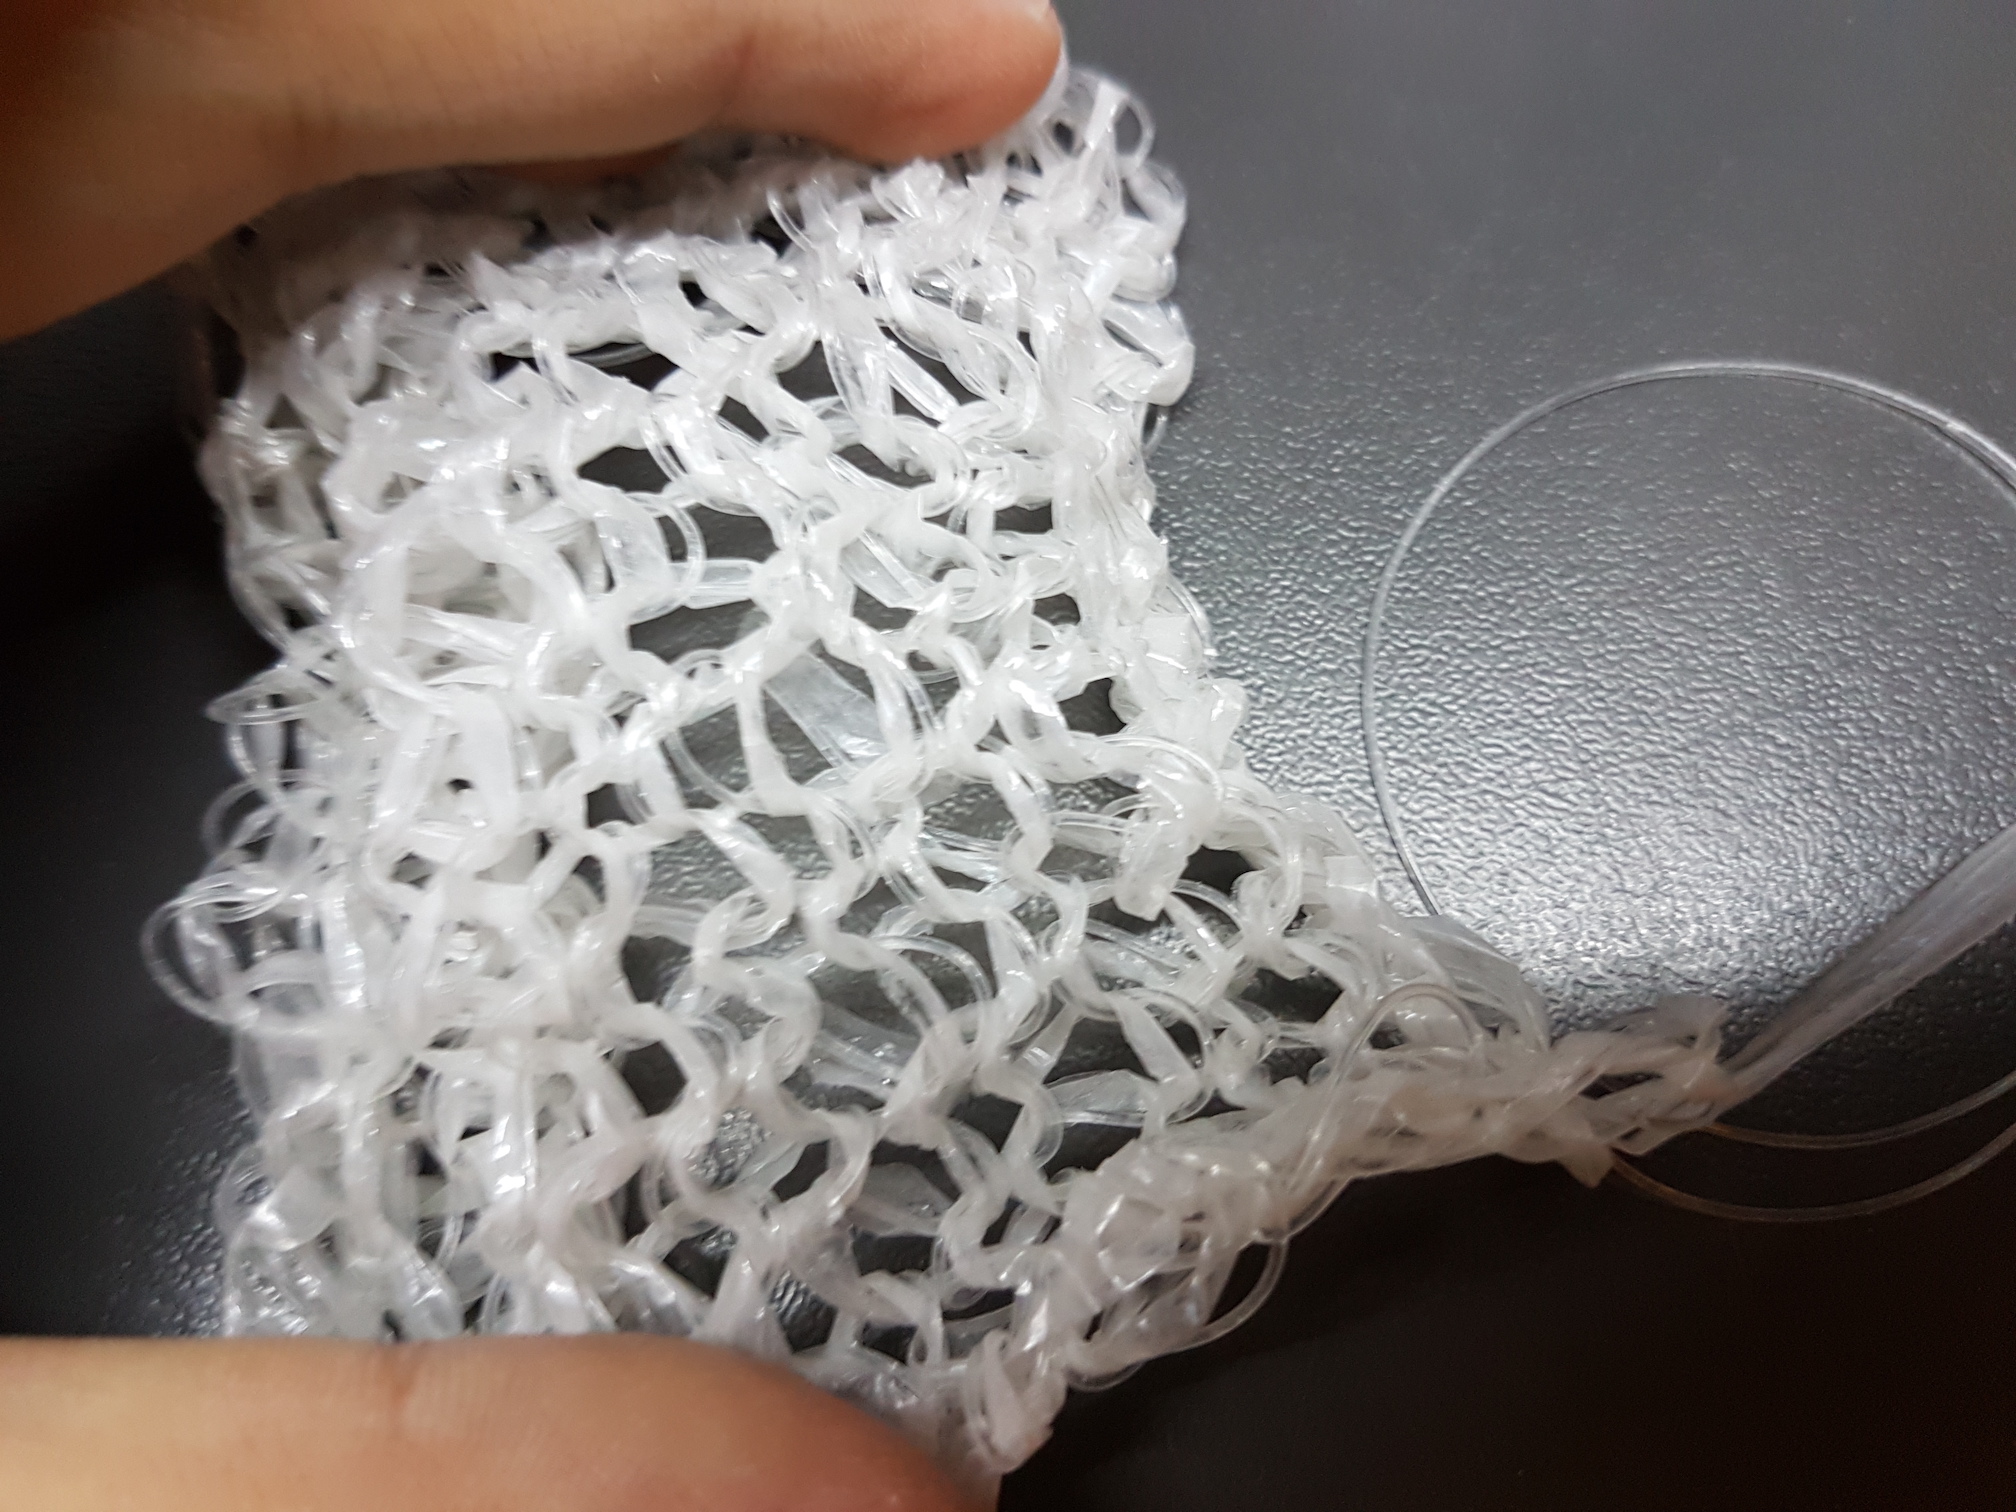
The next unconventional material I experimented with was knitting with plastic, specifically a used correction tape plastic film and nylon string.
White-out/ correction tape plastic film
The two types of plastic used made this sample was very springy and curl inwards.
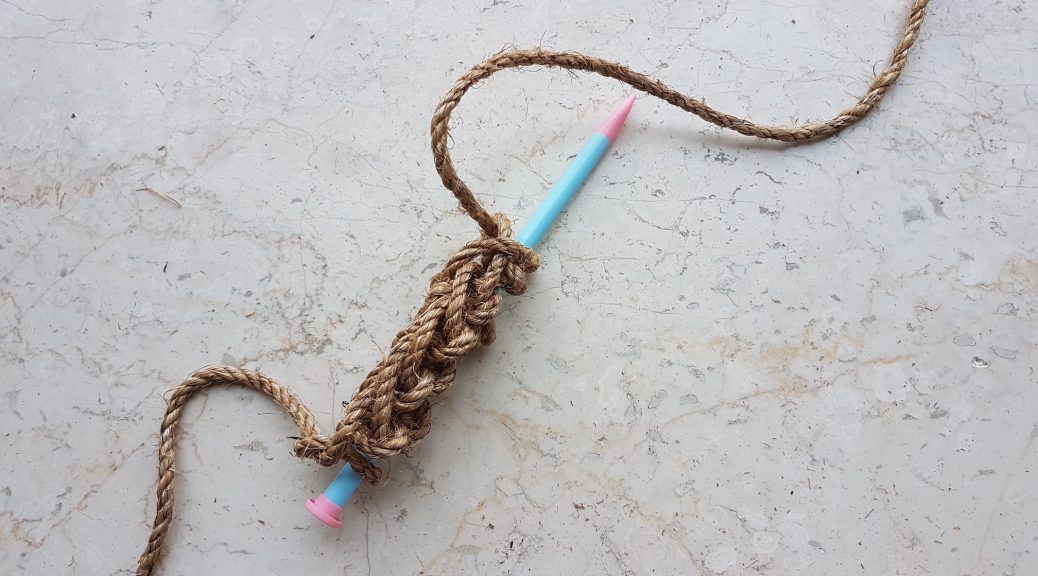
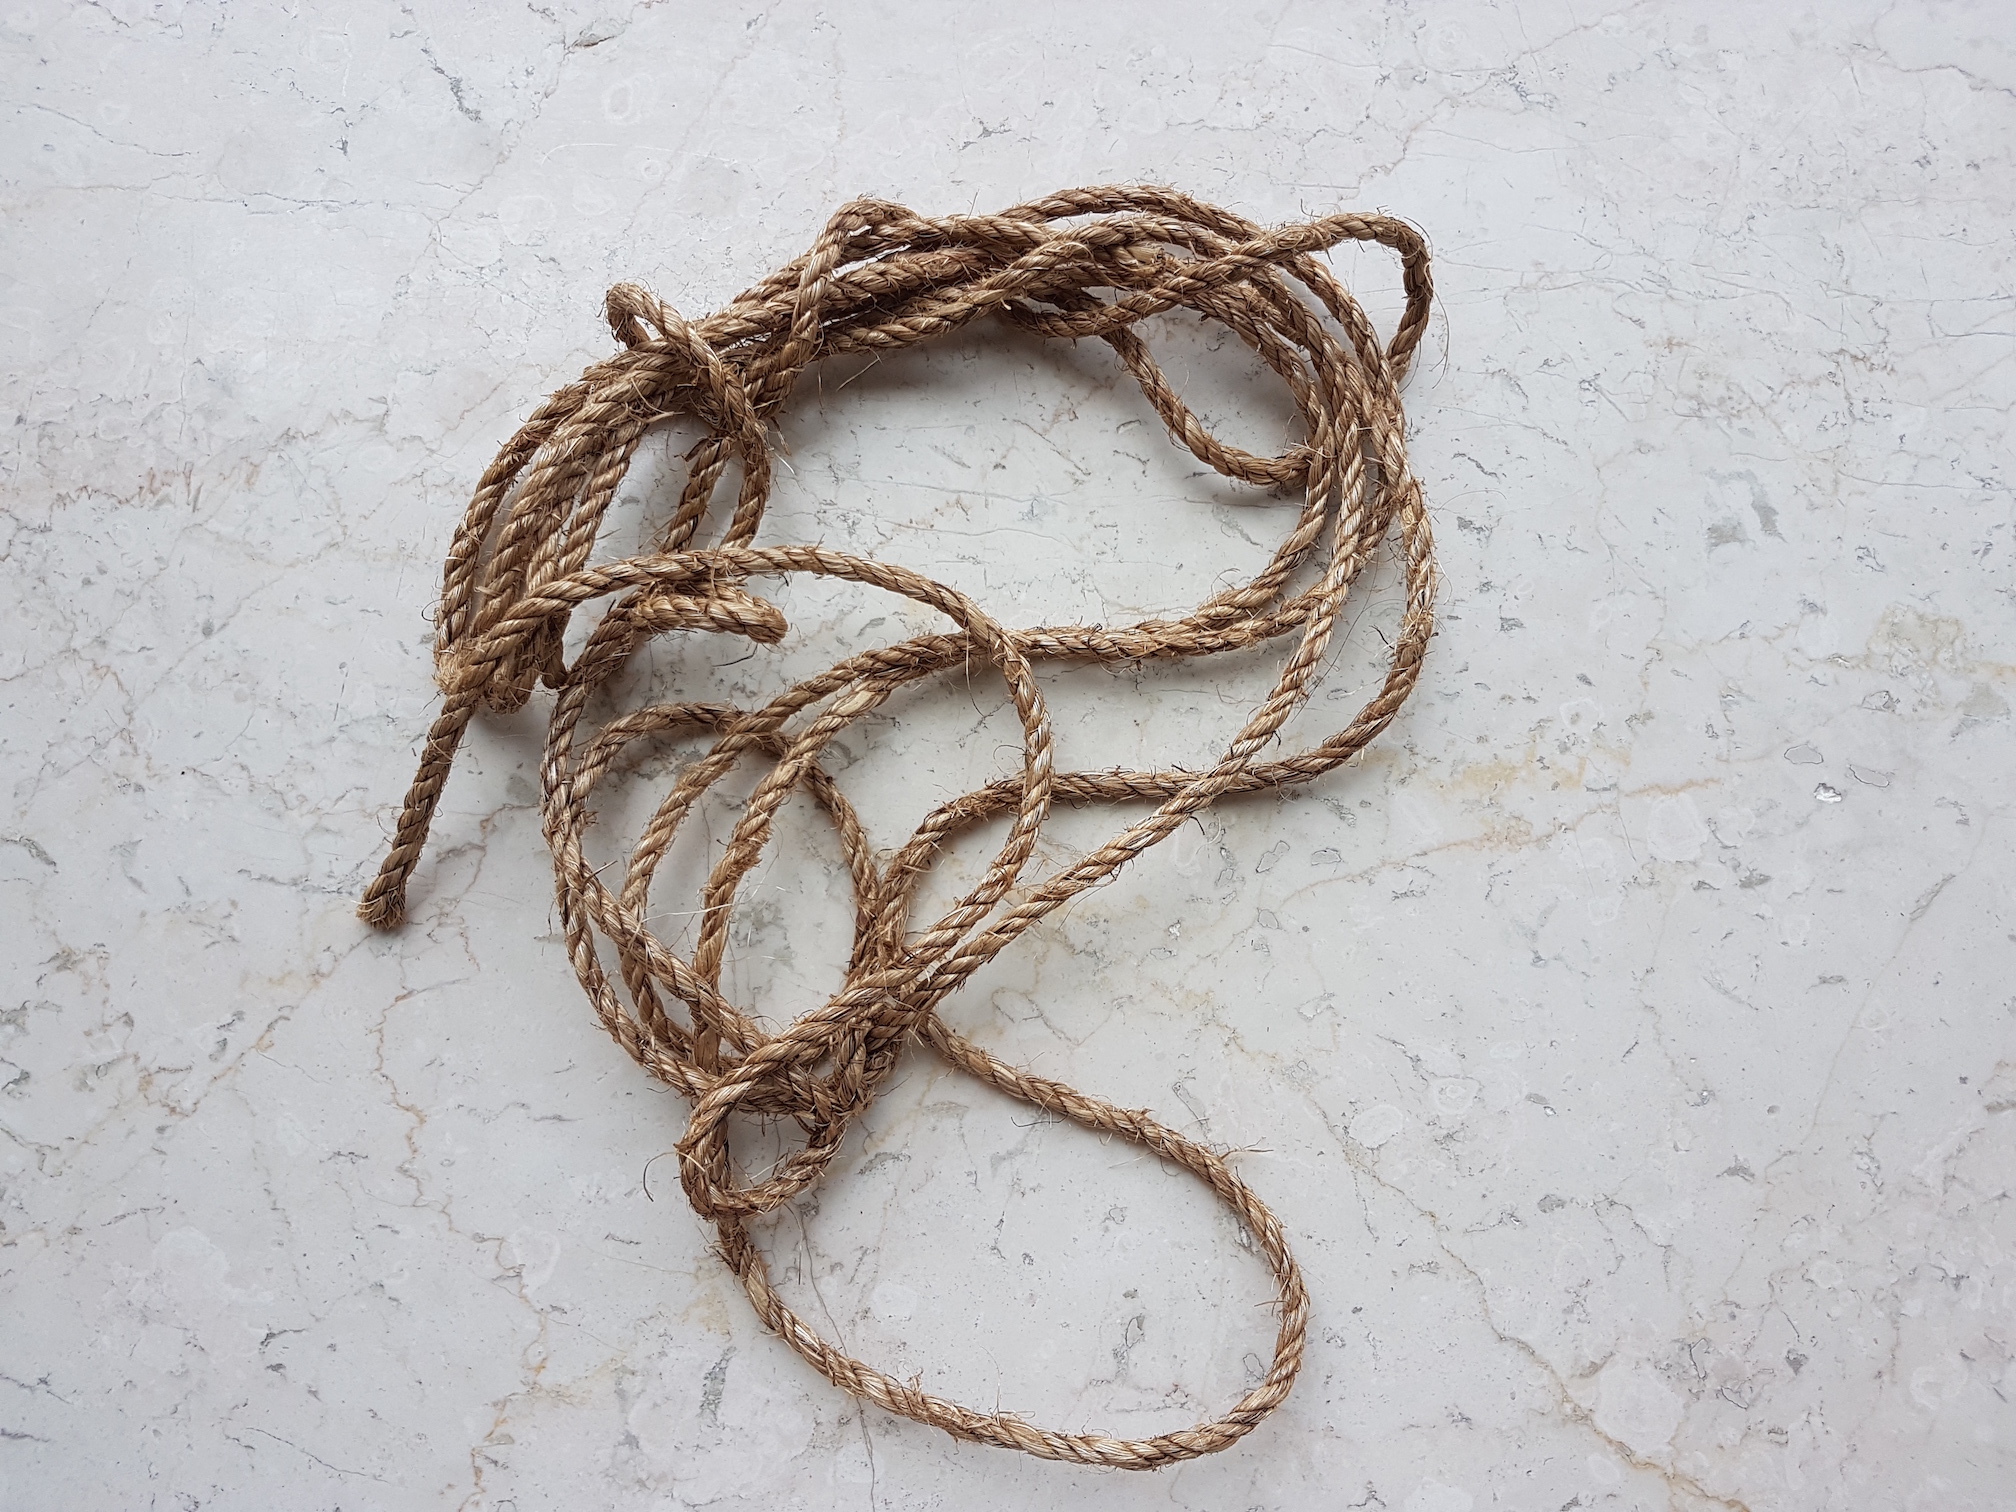
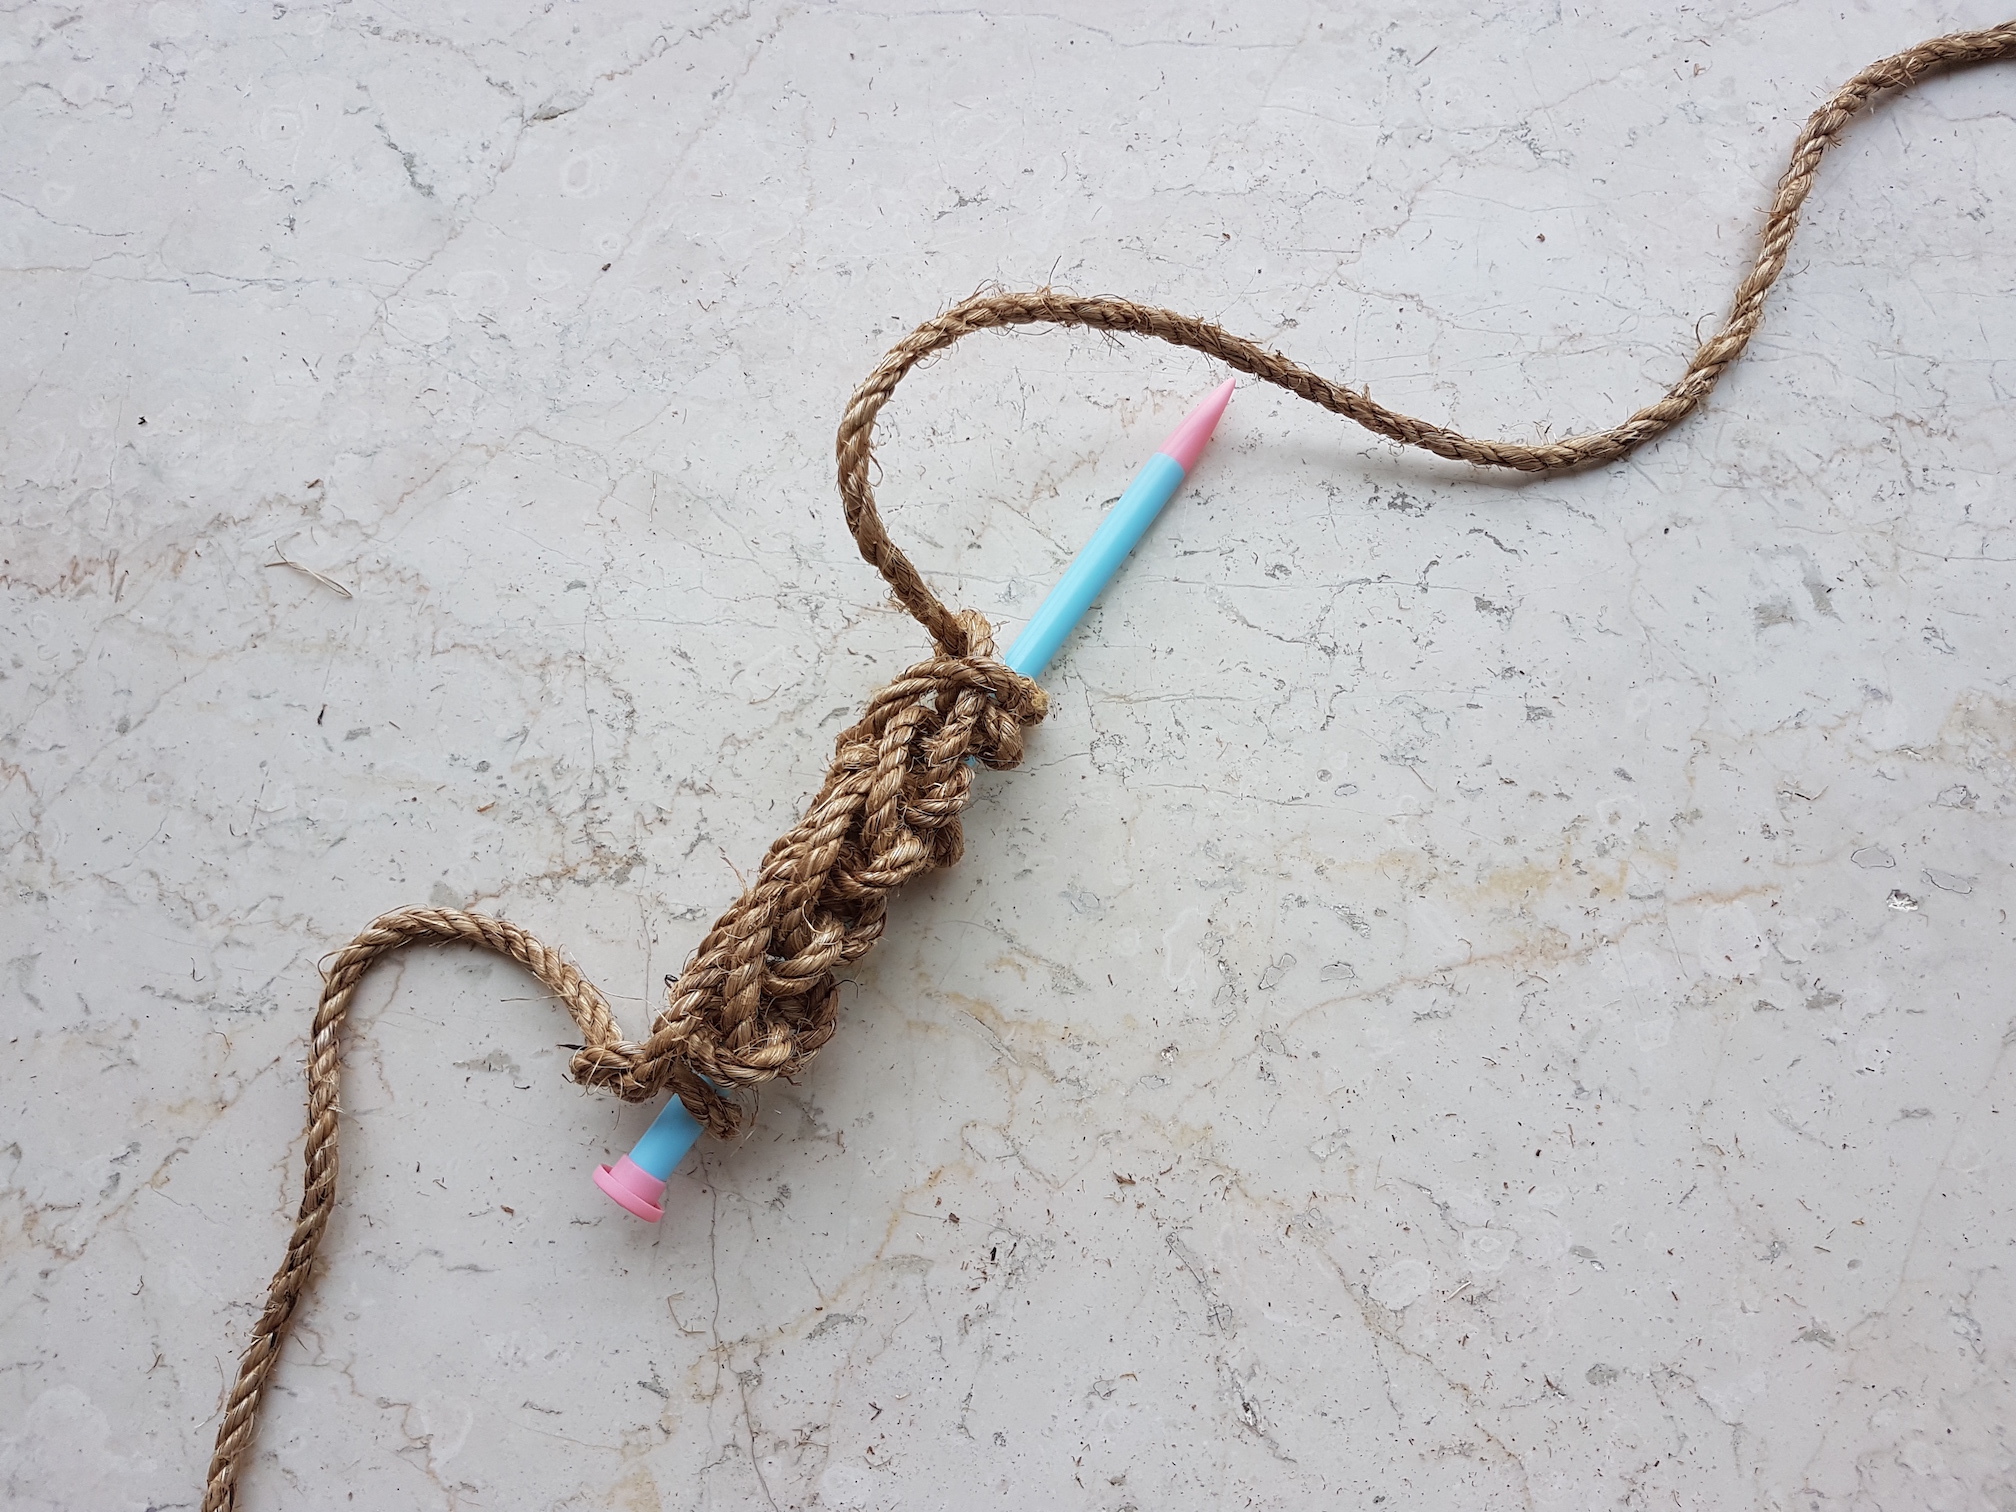
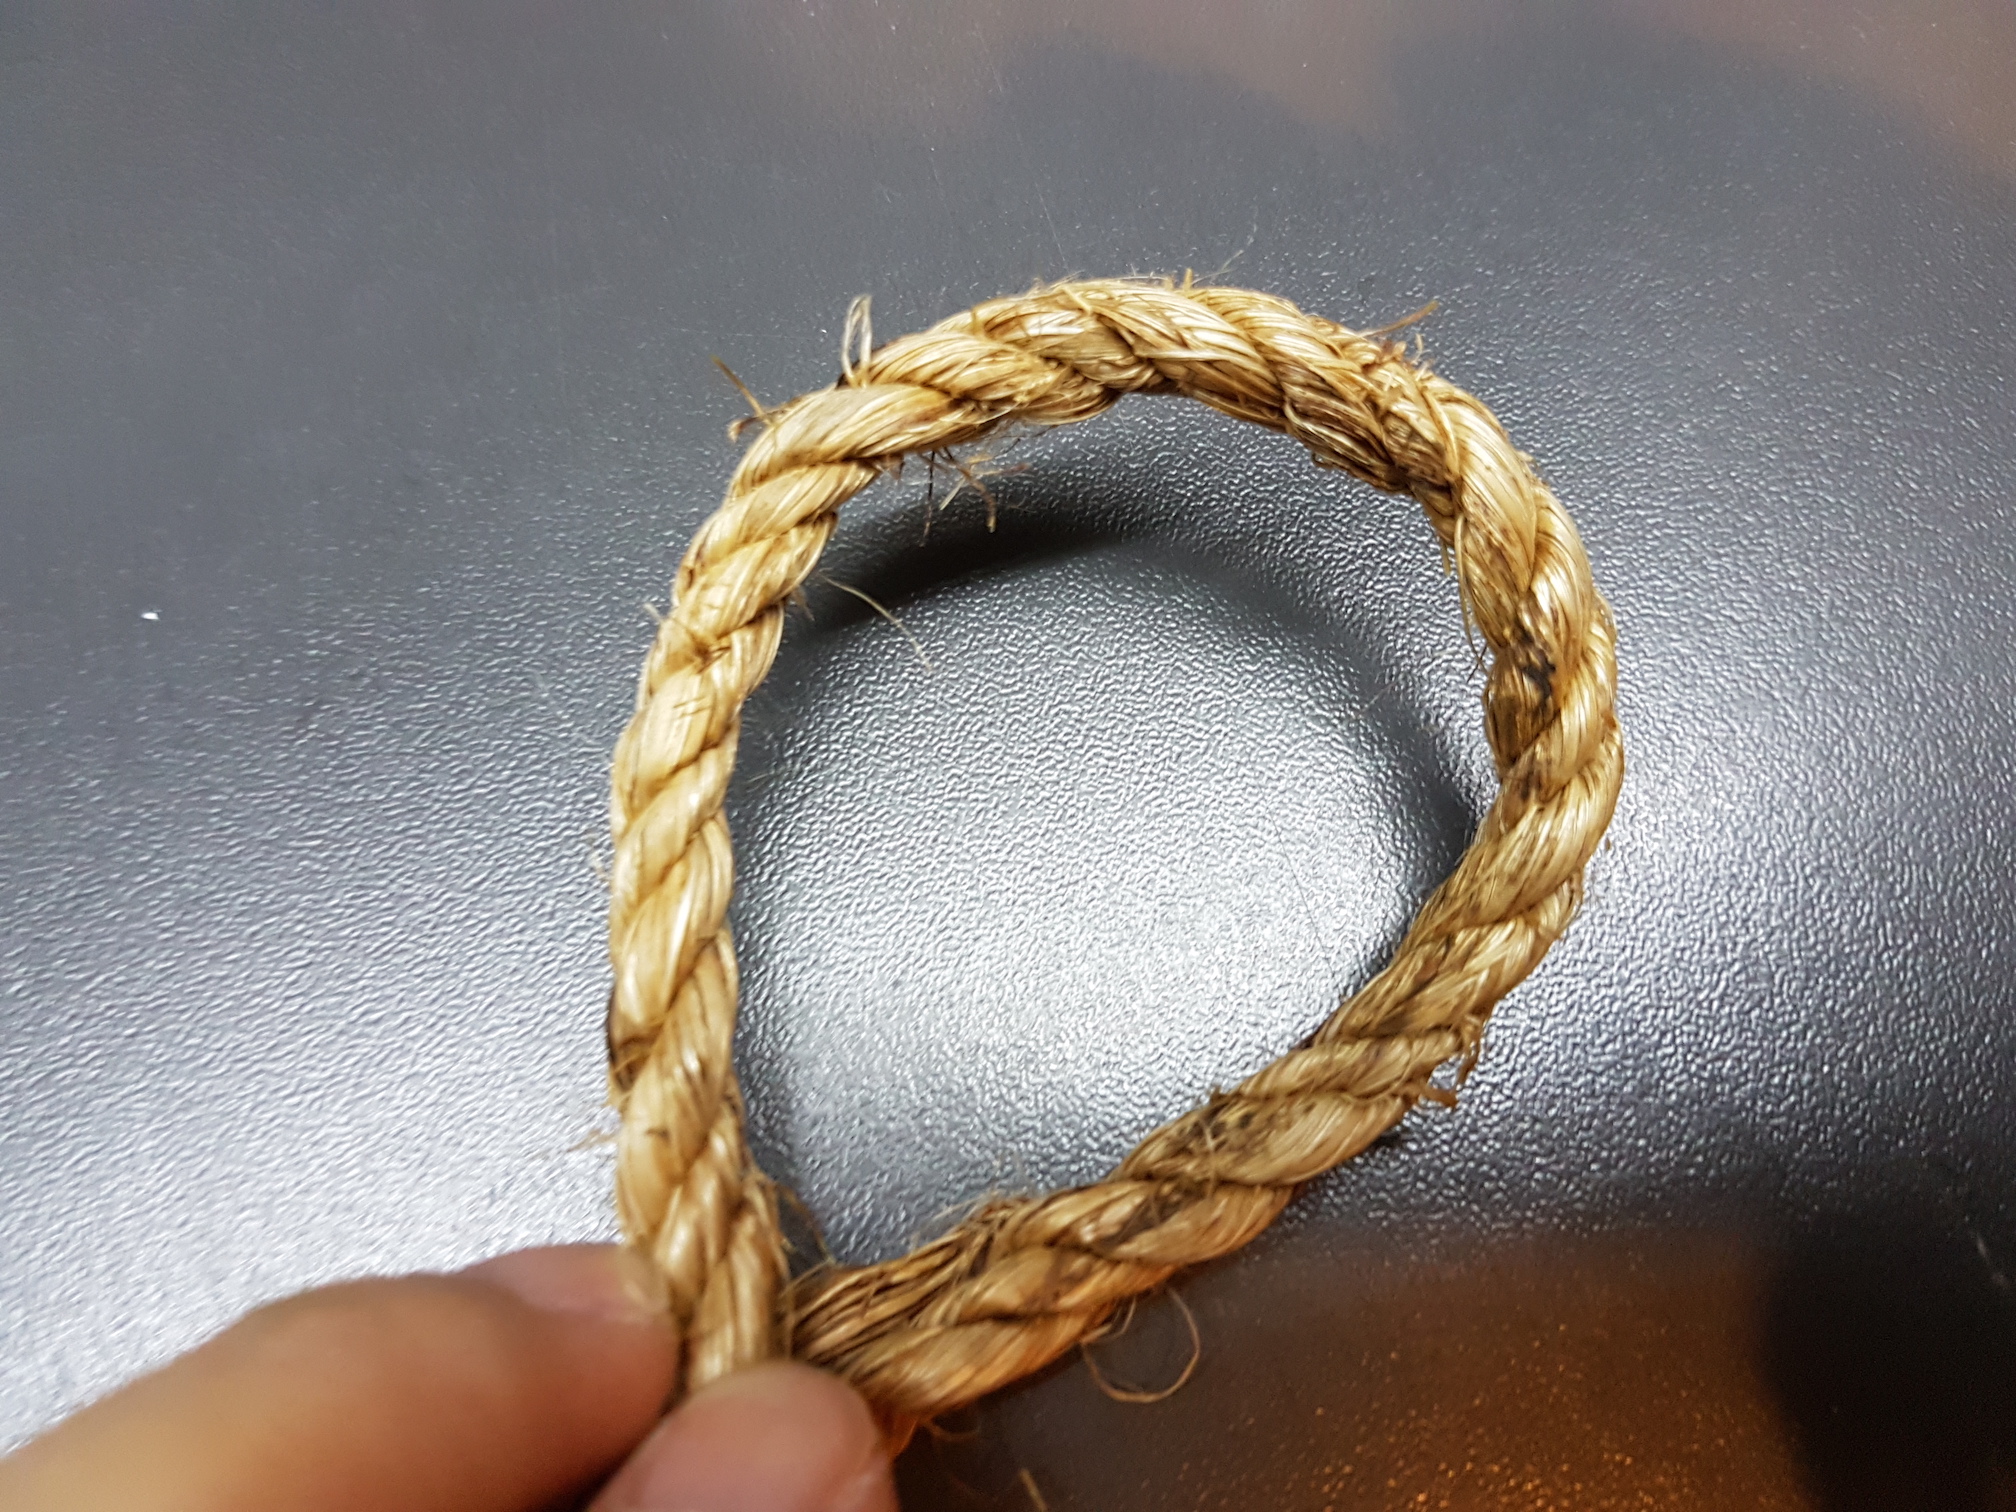
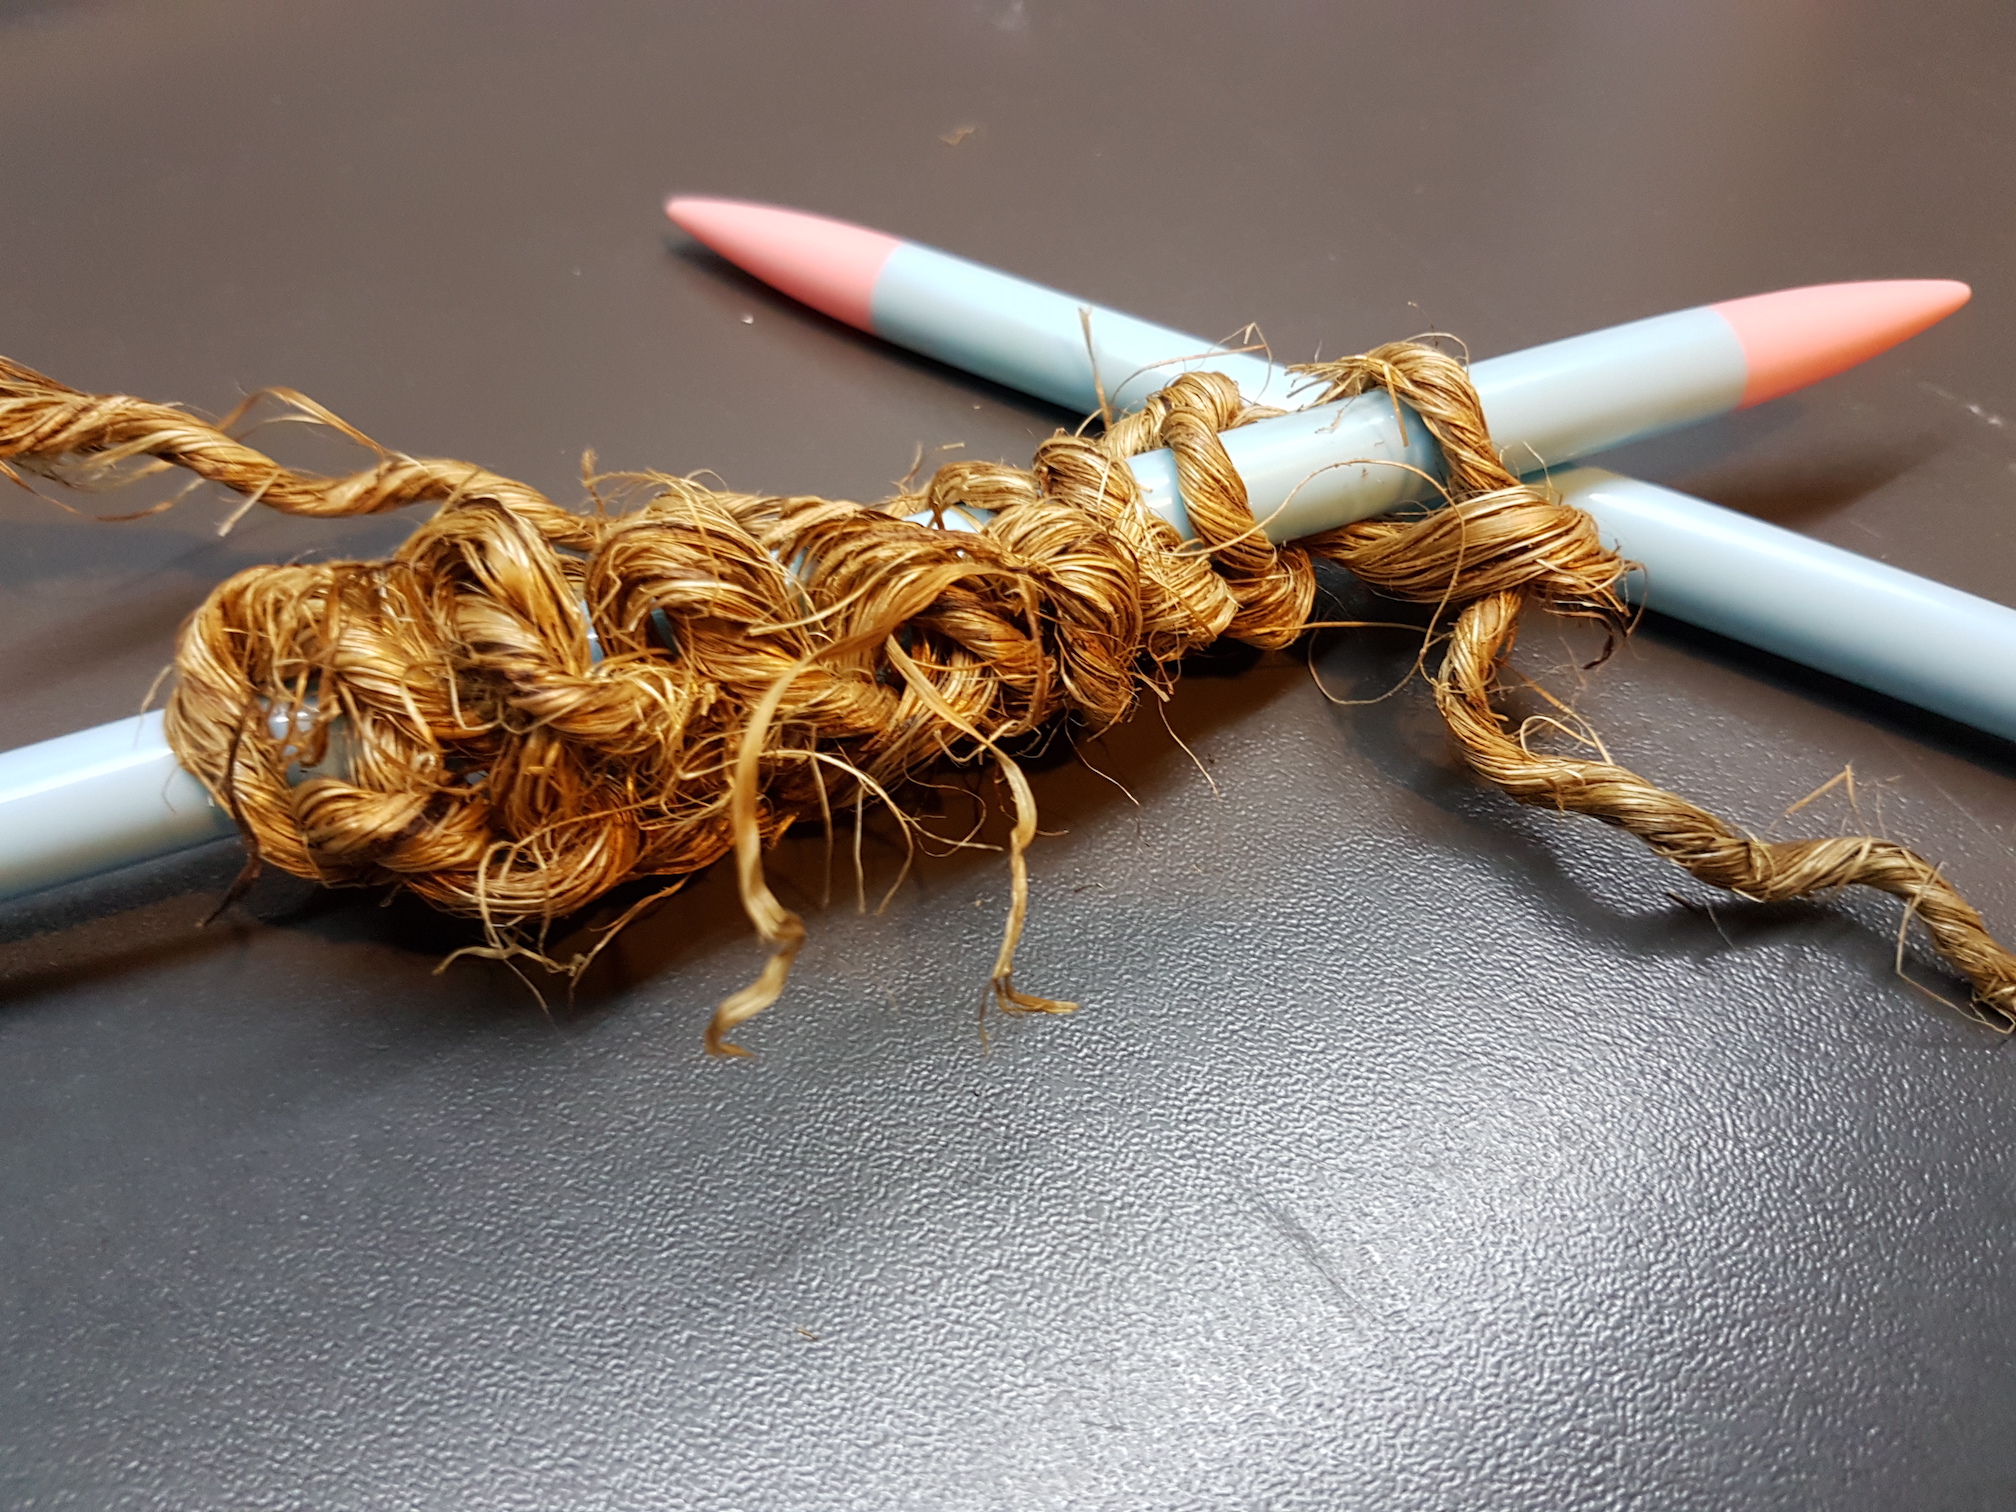
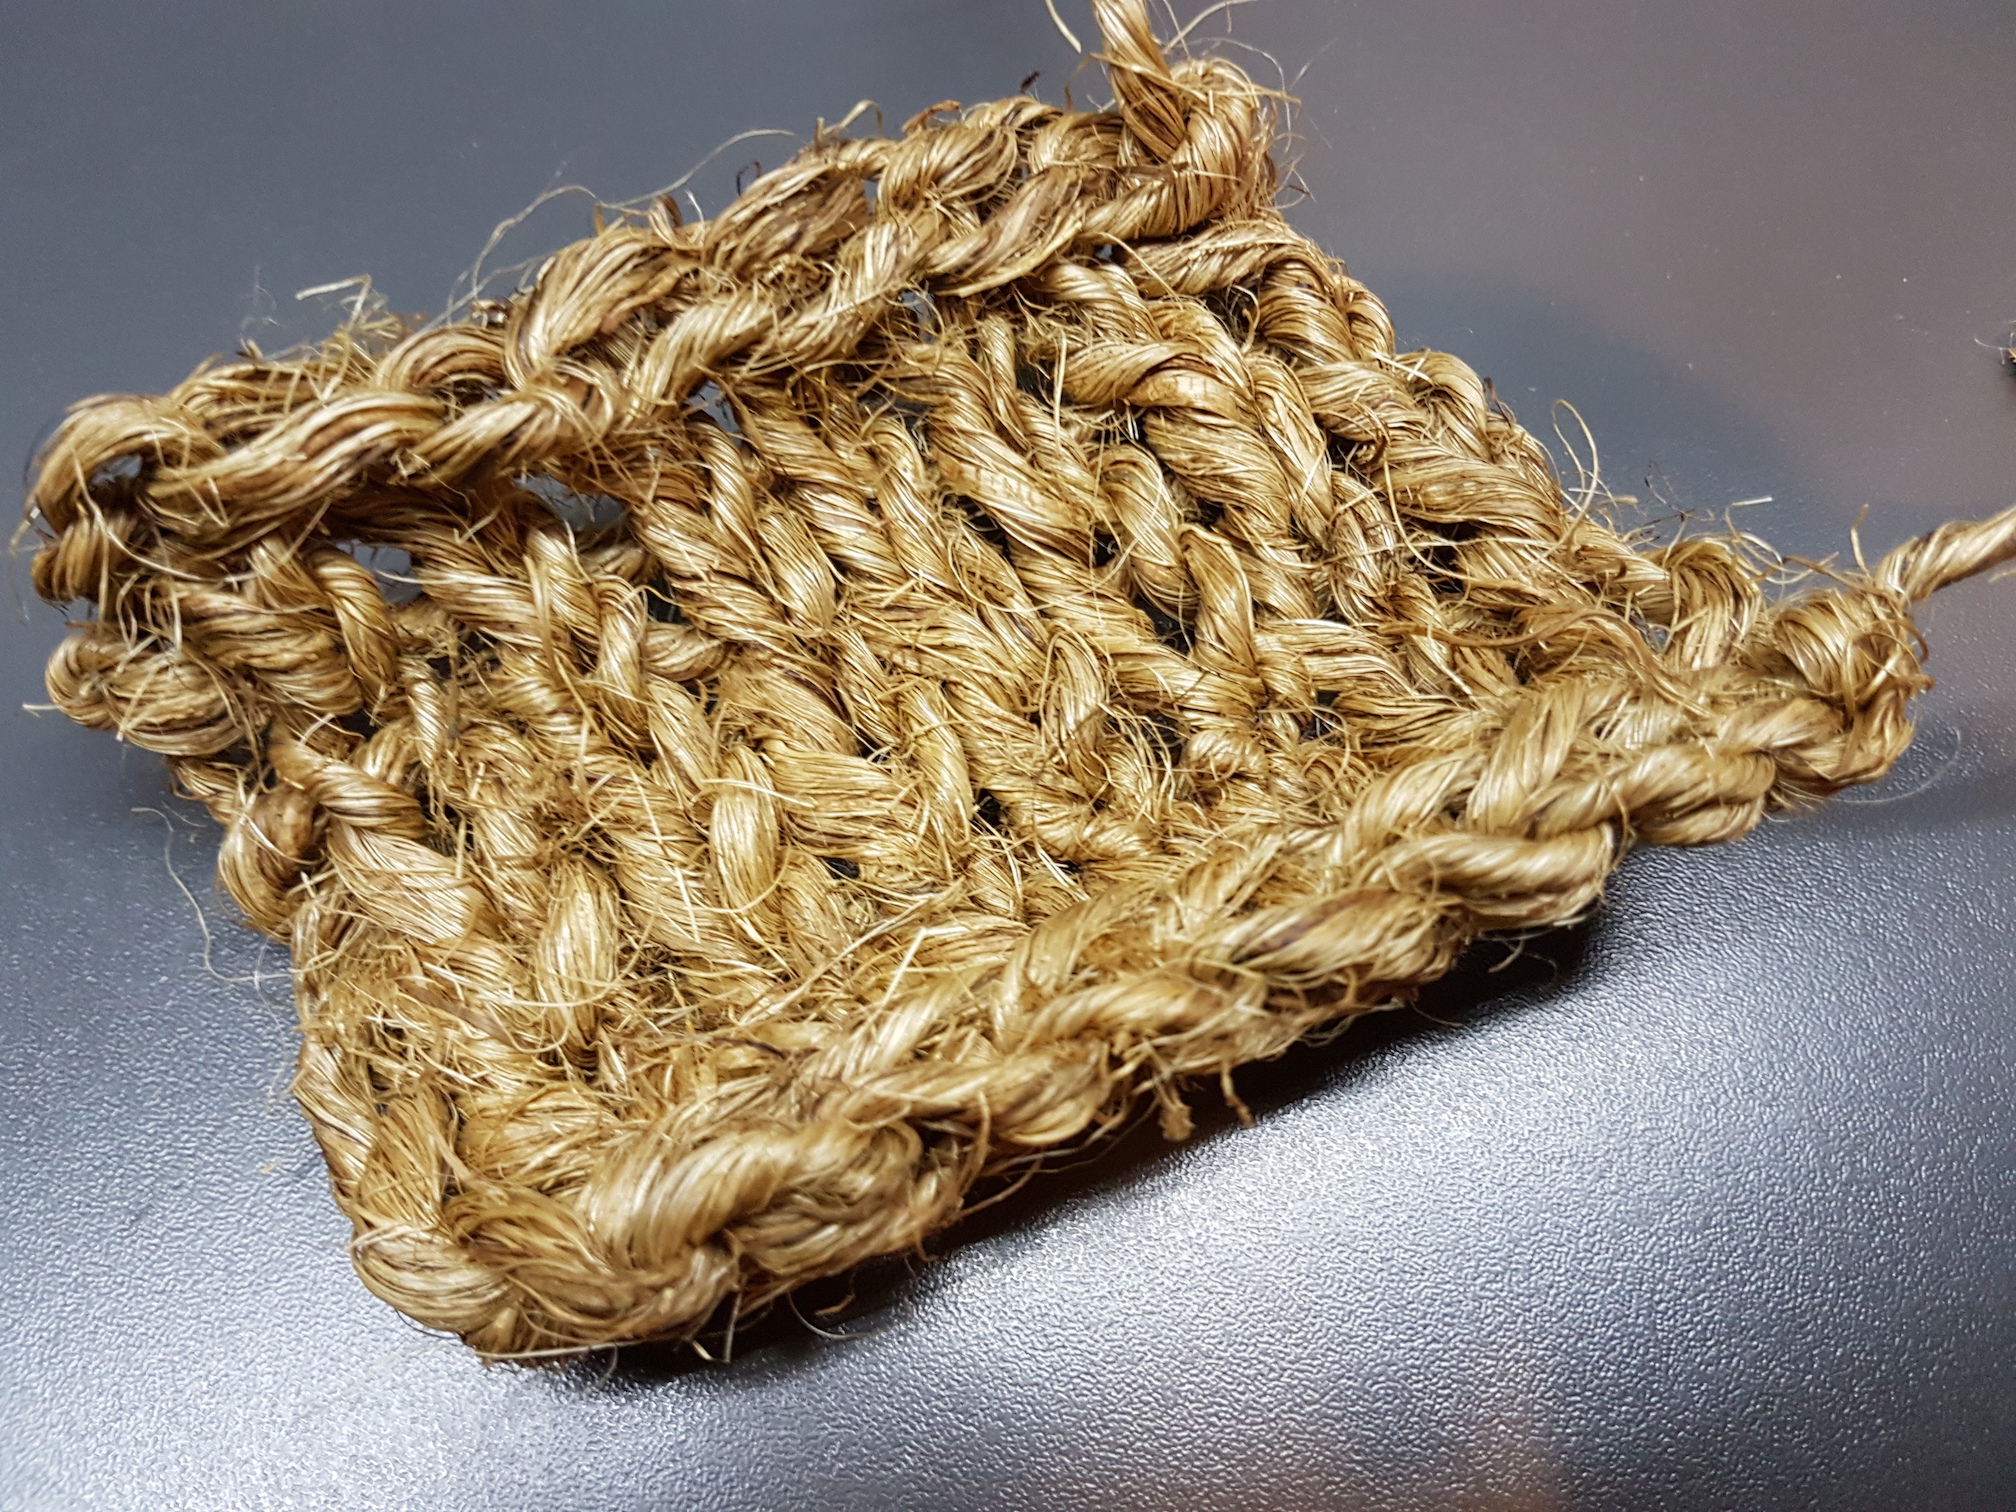
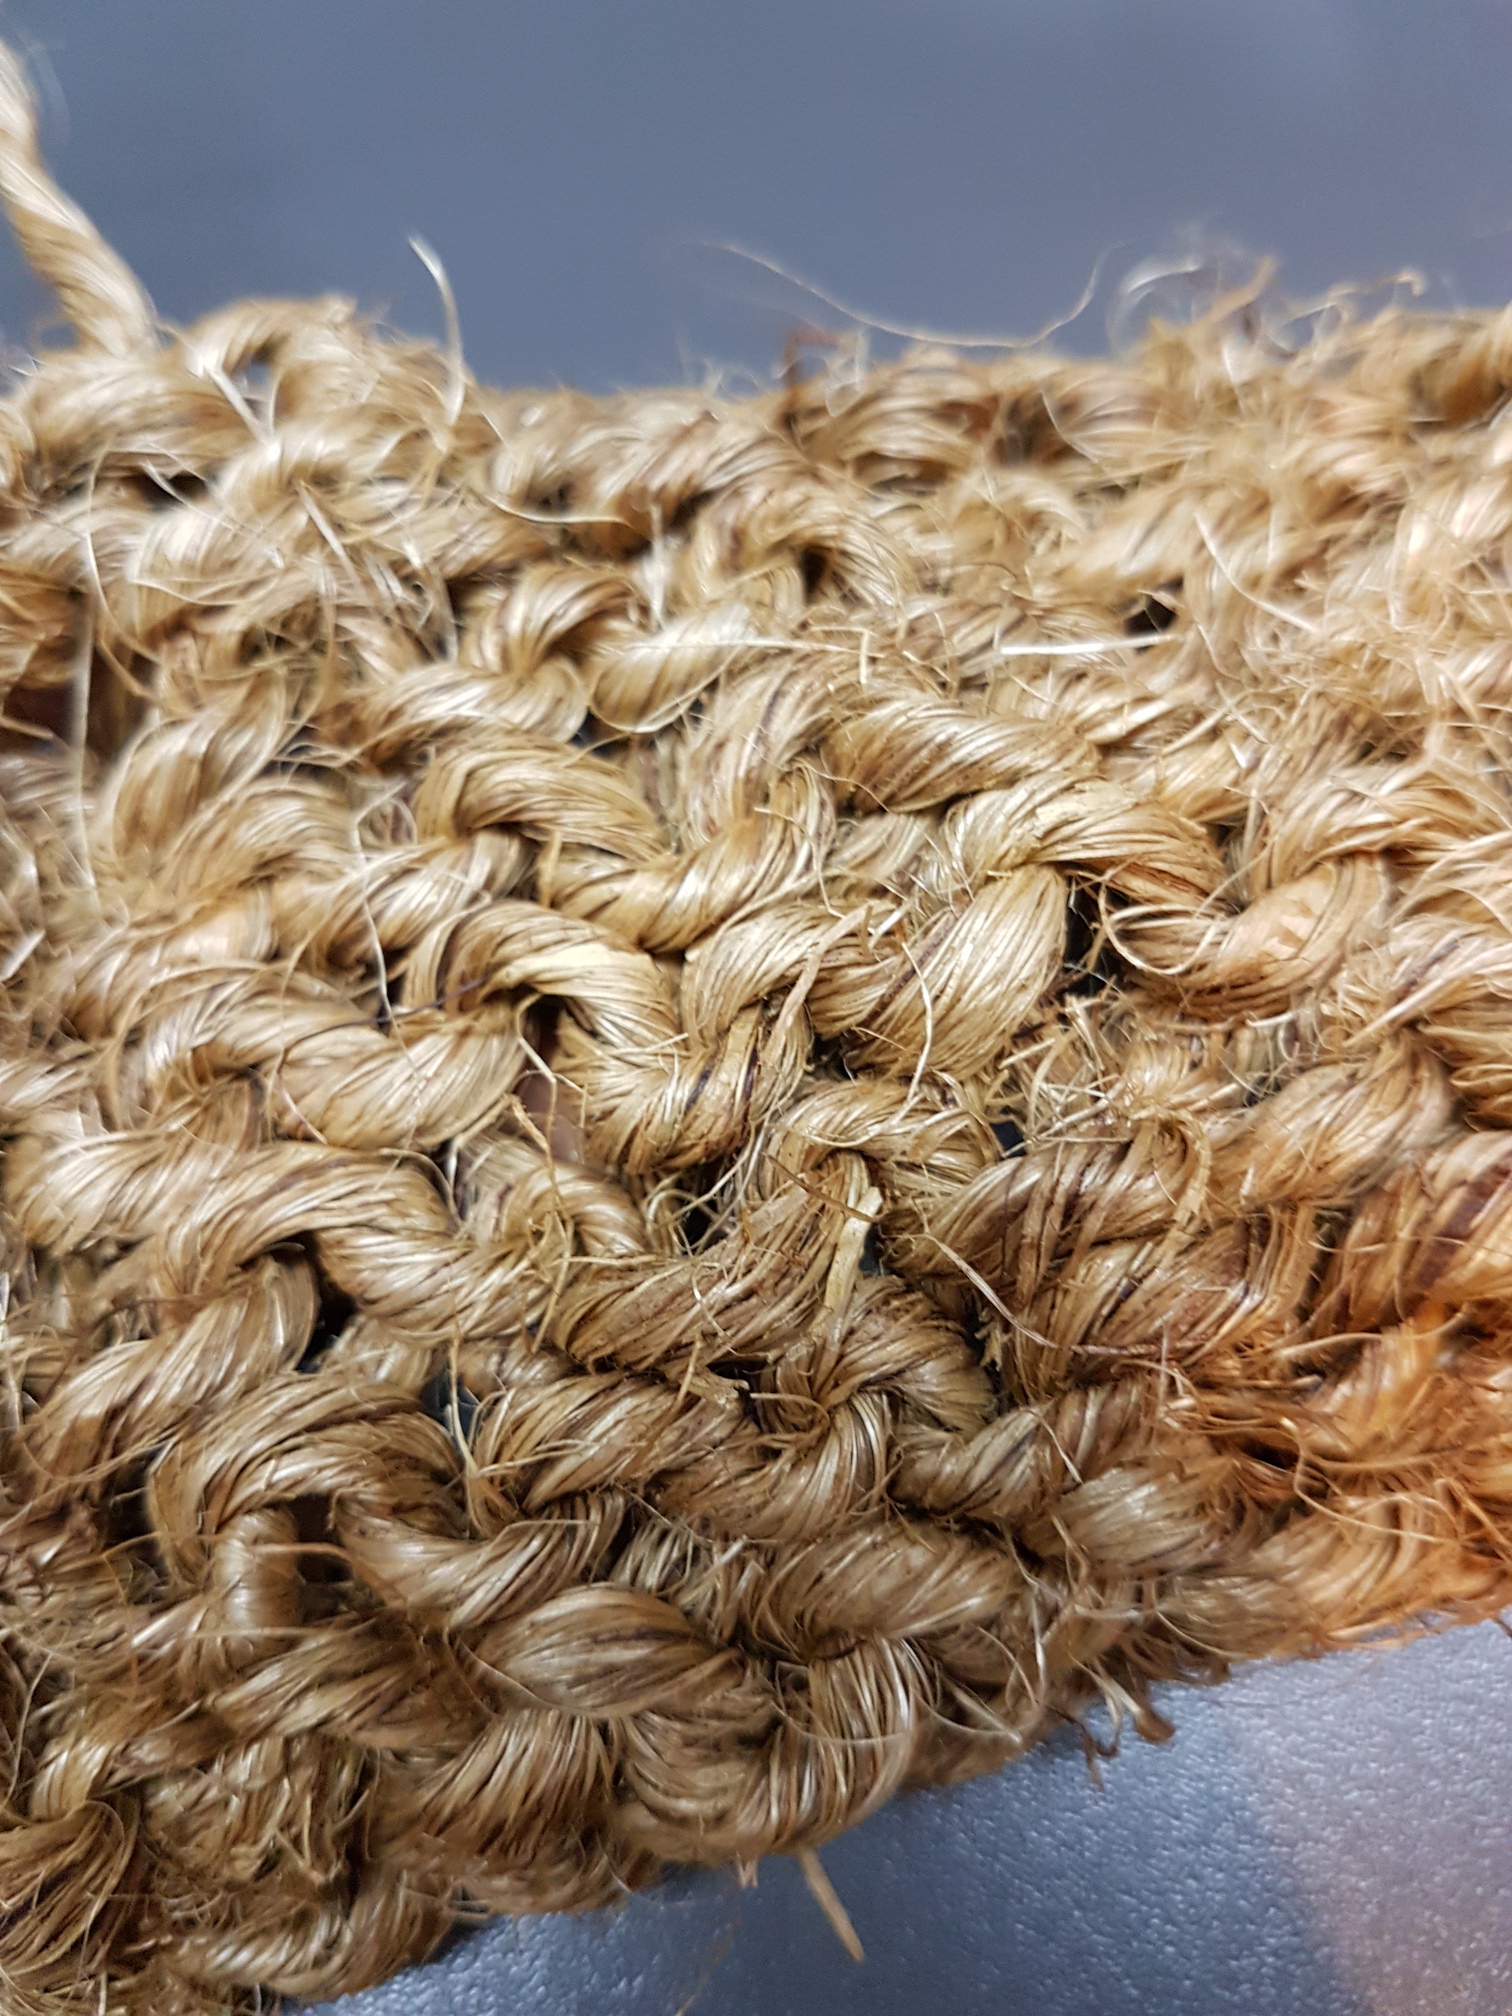
I also tried knitting with hemp rope. Rope, by nature, has a lot of friction in order to carry weights and maintain tension. It was very difficult to knit it because after 3 rows, the rope would be too stiff to manipulate.
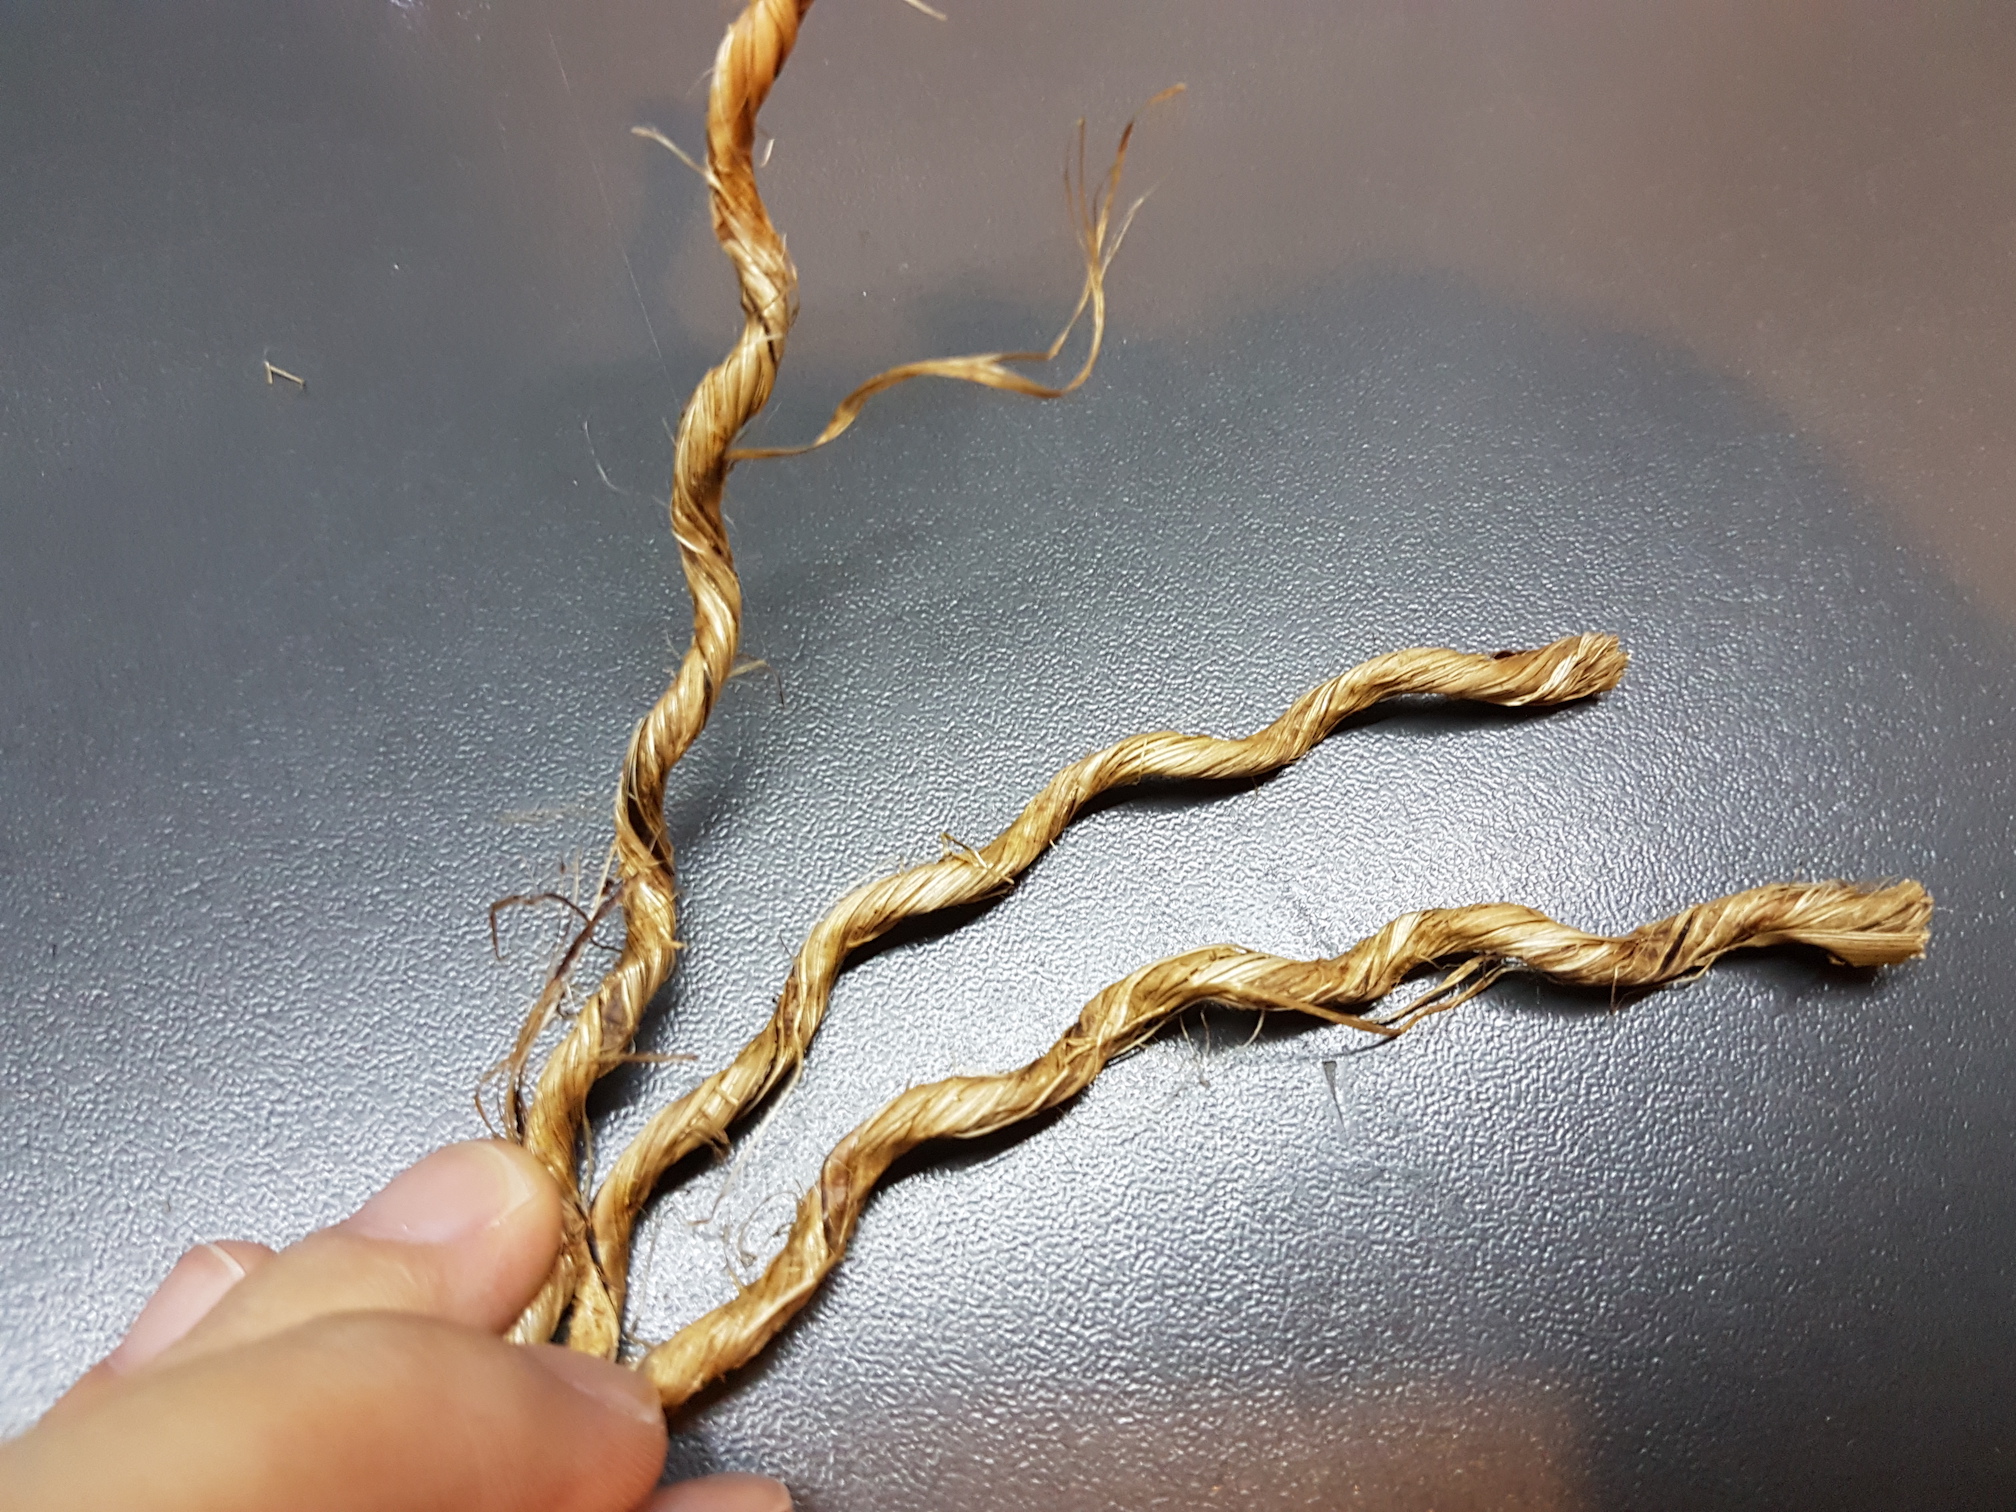
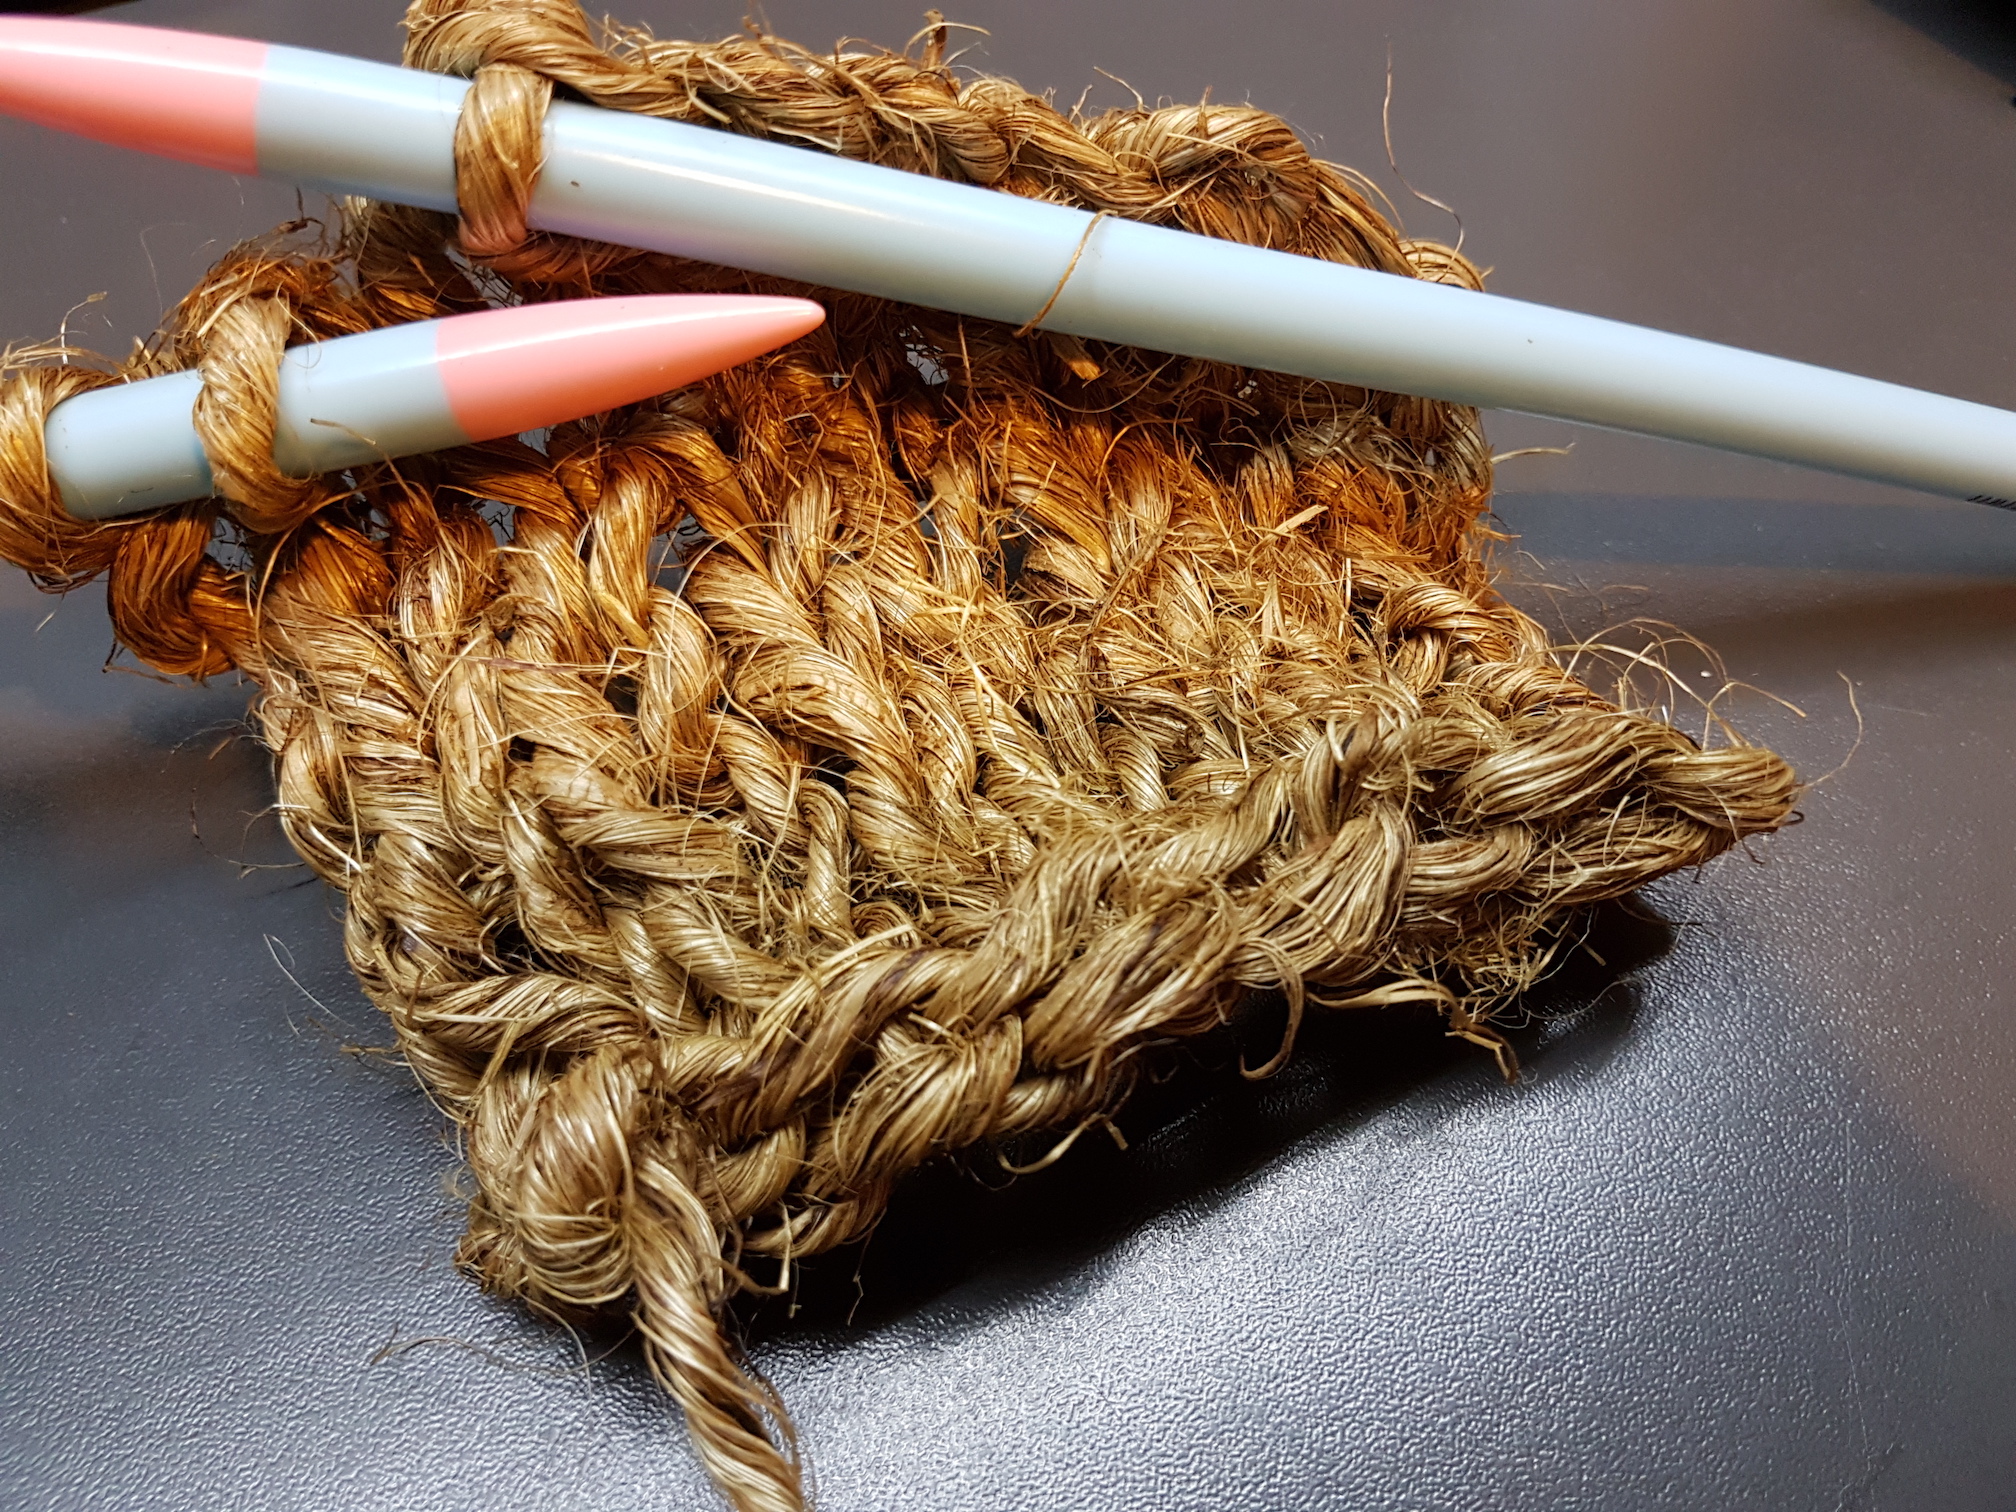
I tried it once more, this time separating the rope into three strands and knitting using just one.
Twisted hemp ropeSeparating the three strands
After this experimentation with knitting, I realise it’s an extremely versatile skill which can be applied to many different materials. It is not limited to wearables and clothing and can even be used as an interactive or smart fabric. I enjoy the calming, rhythmic movement of knitting and look forward to knitting a scarf for my loved ones this summer! 🙂
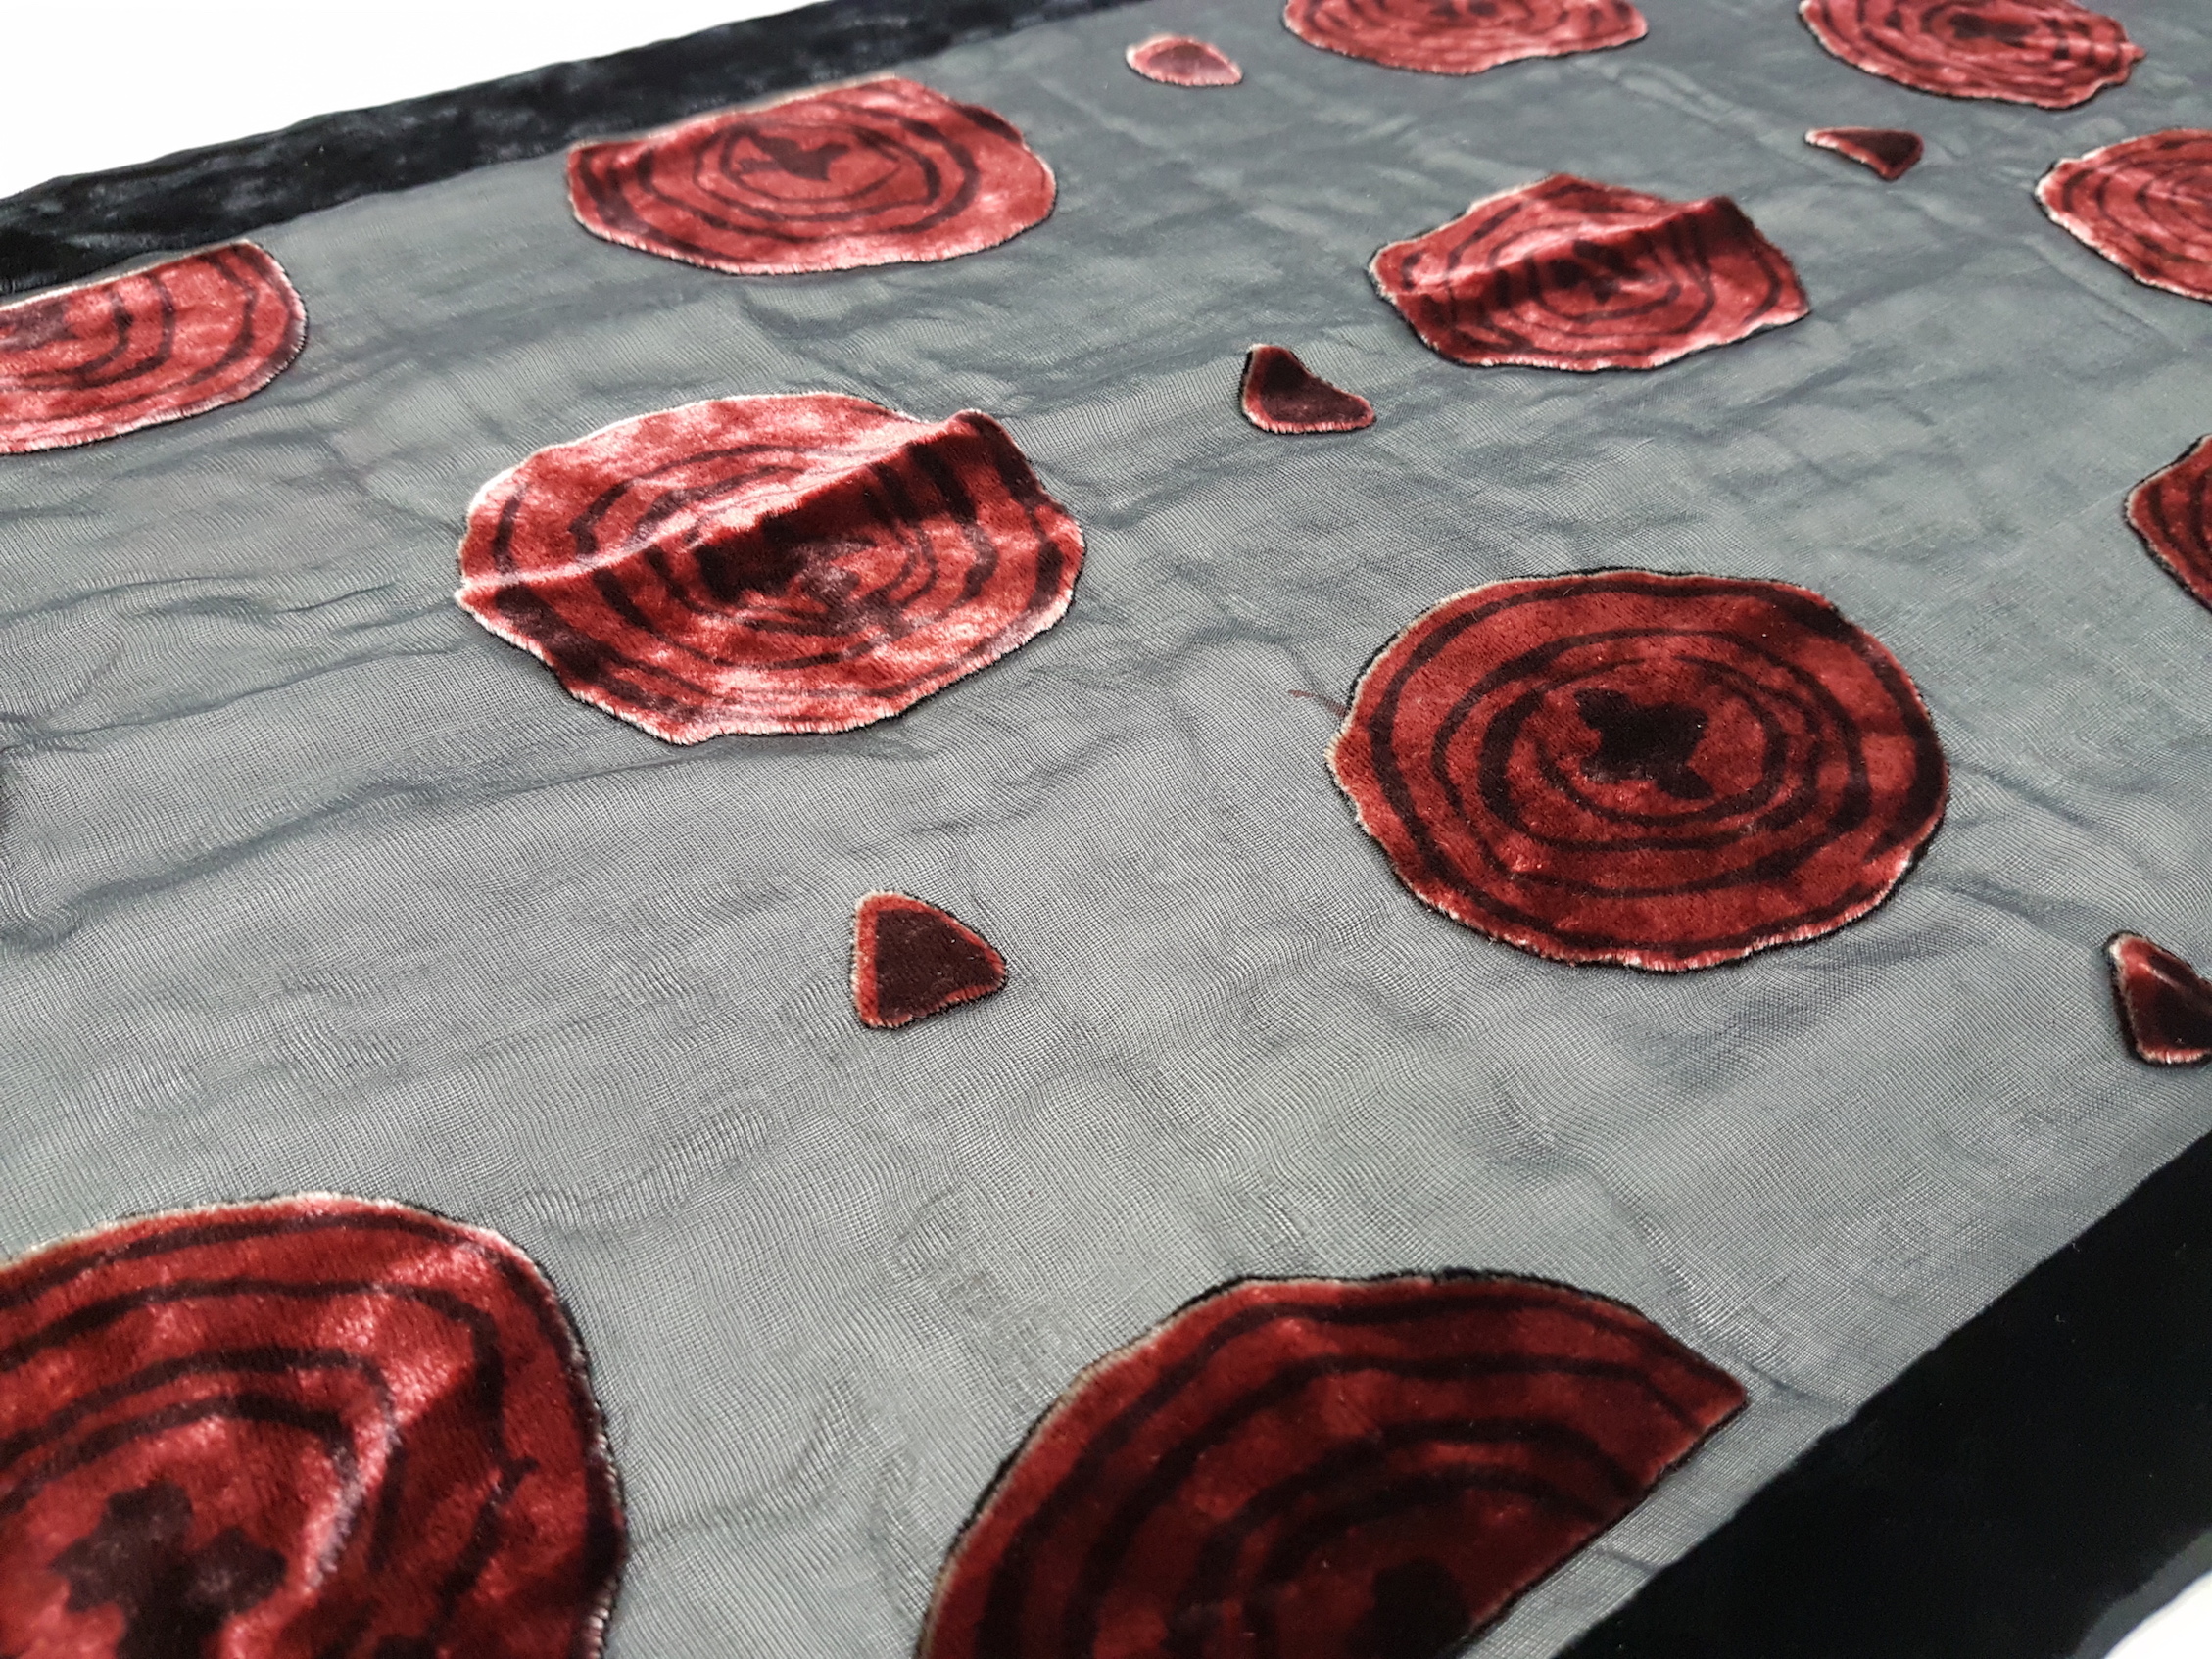
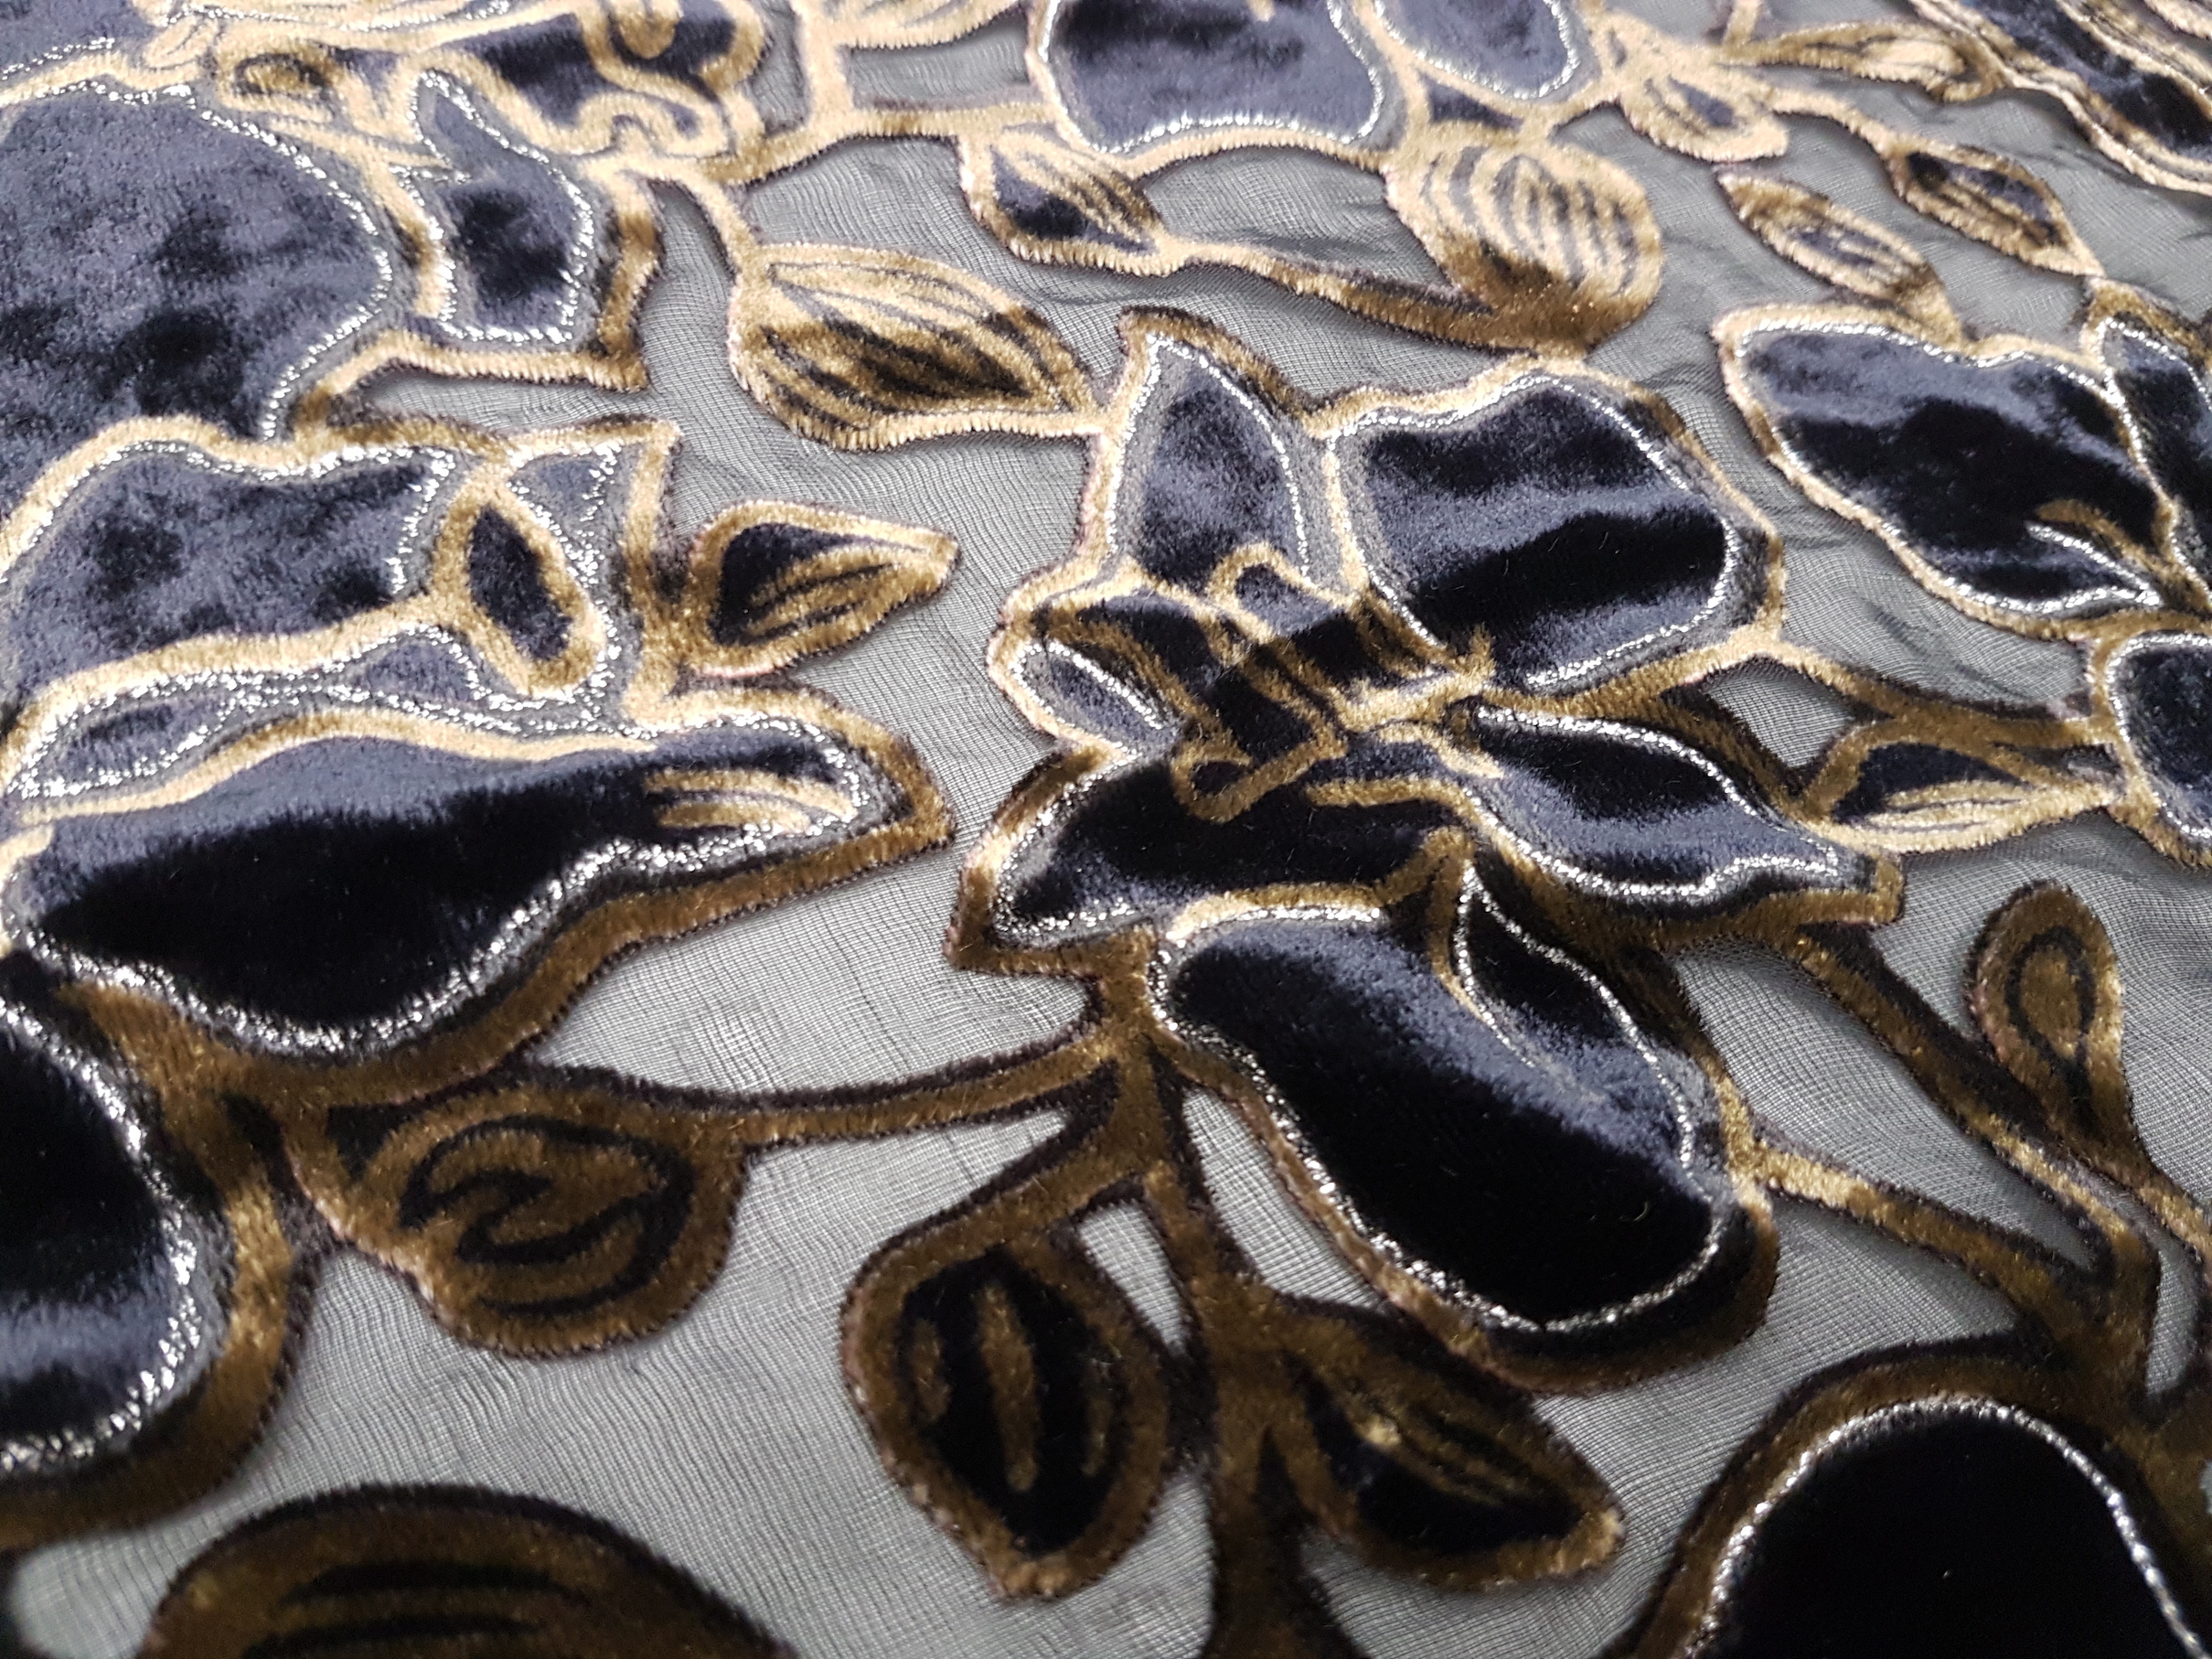
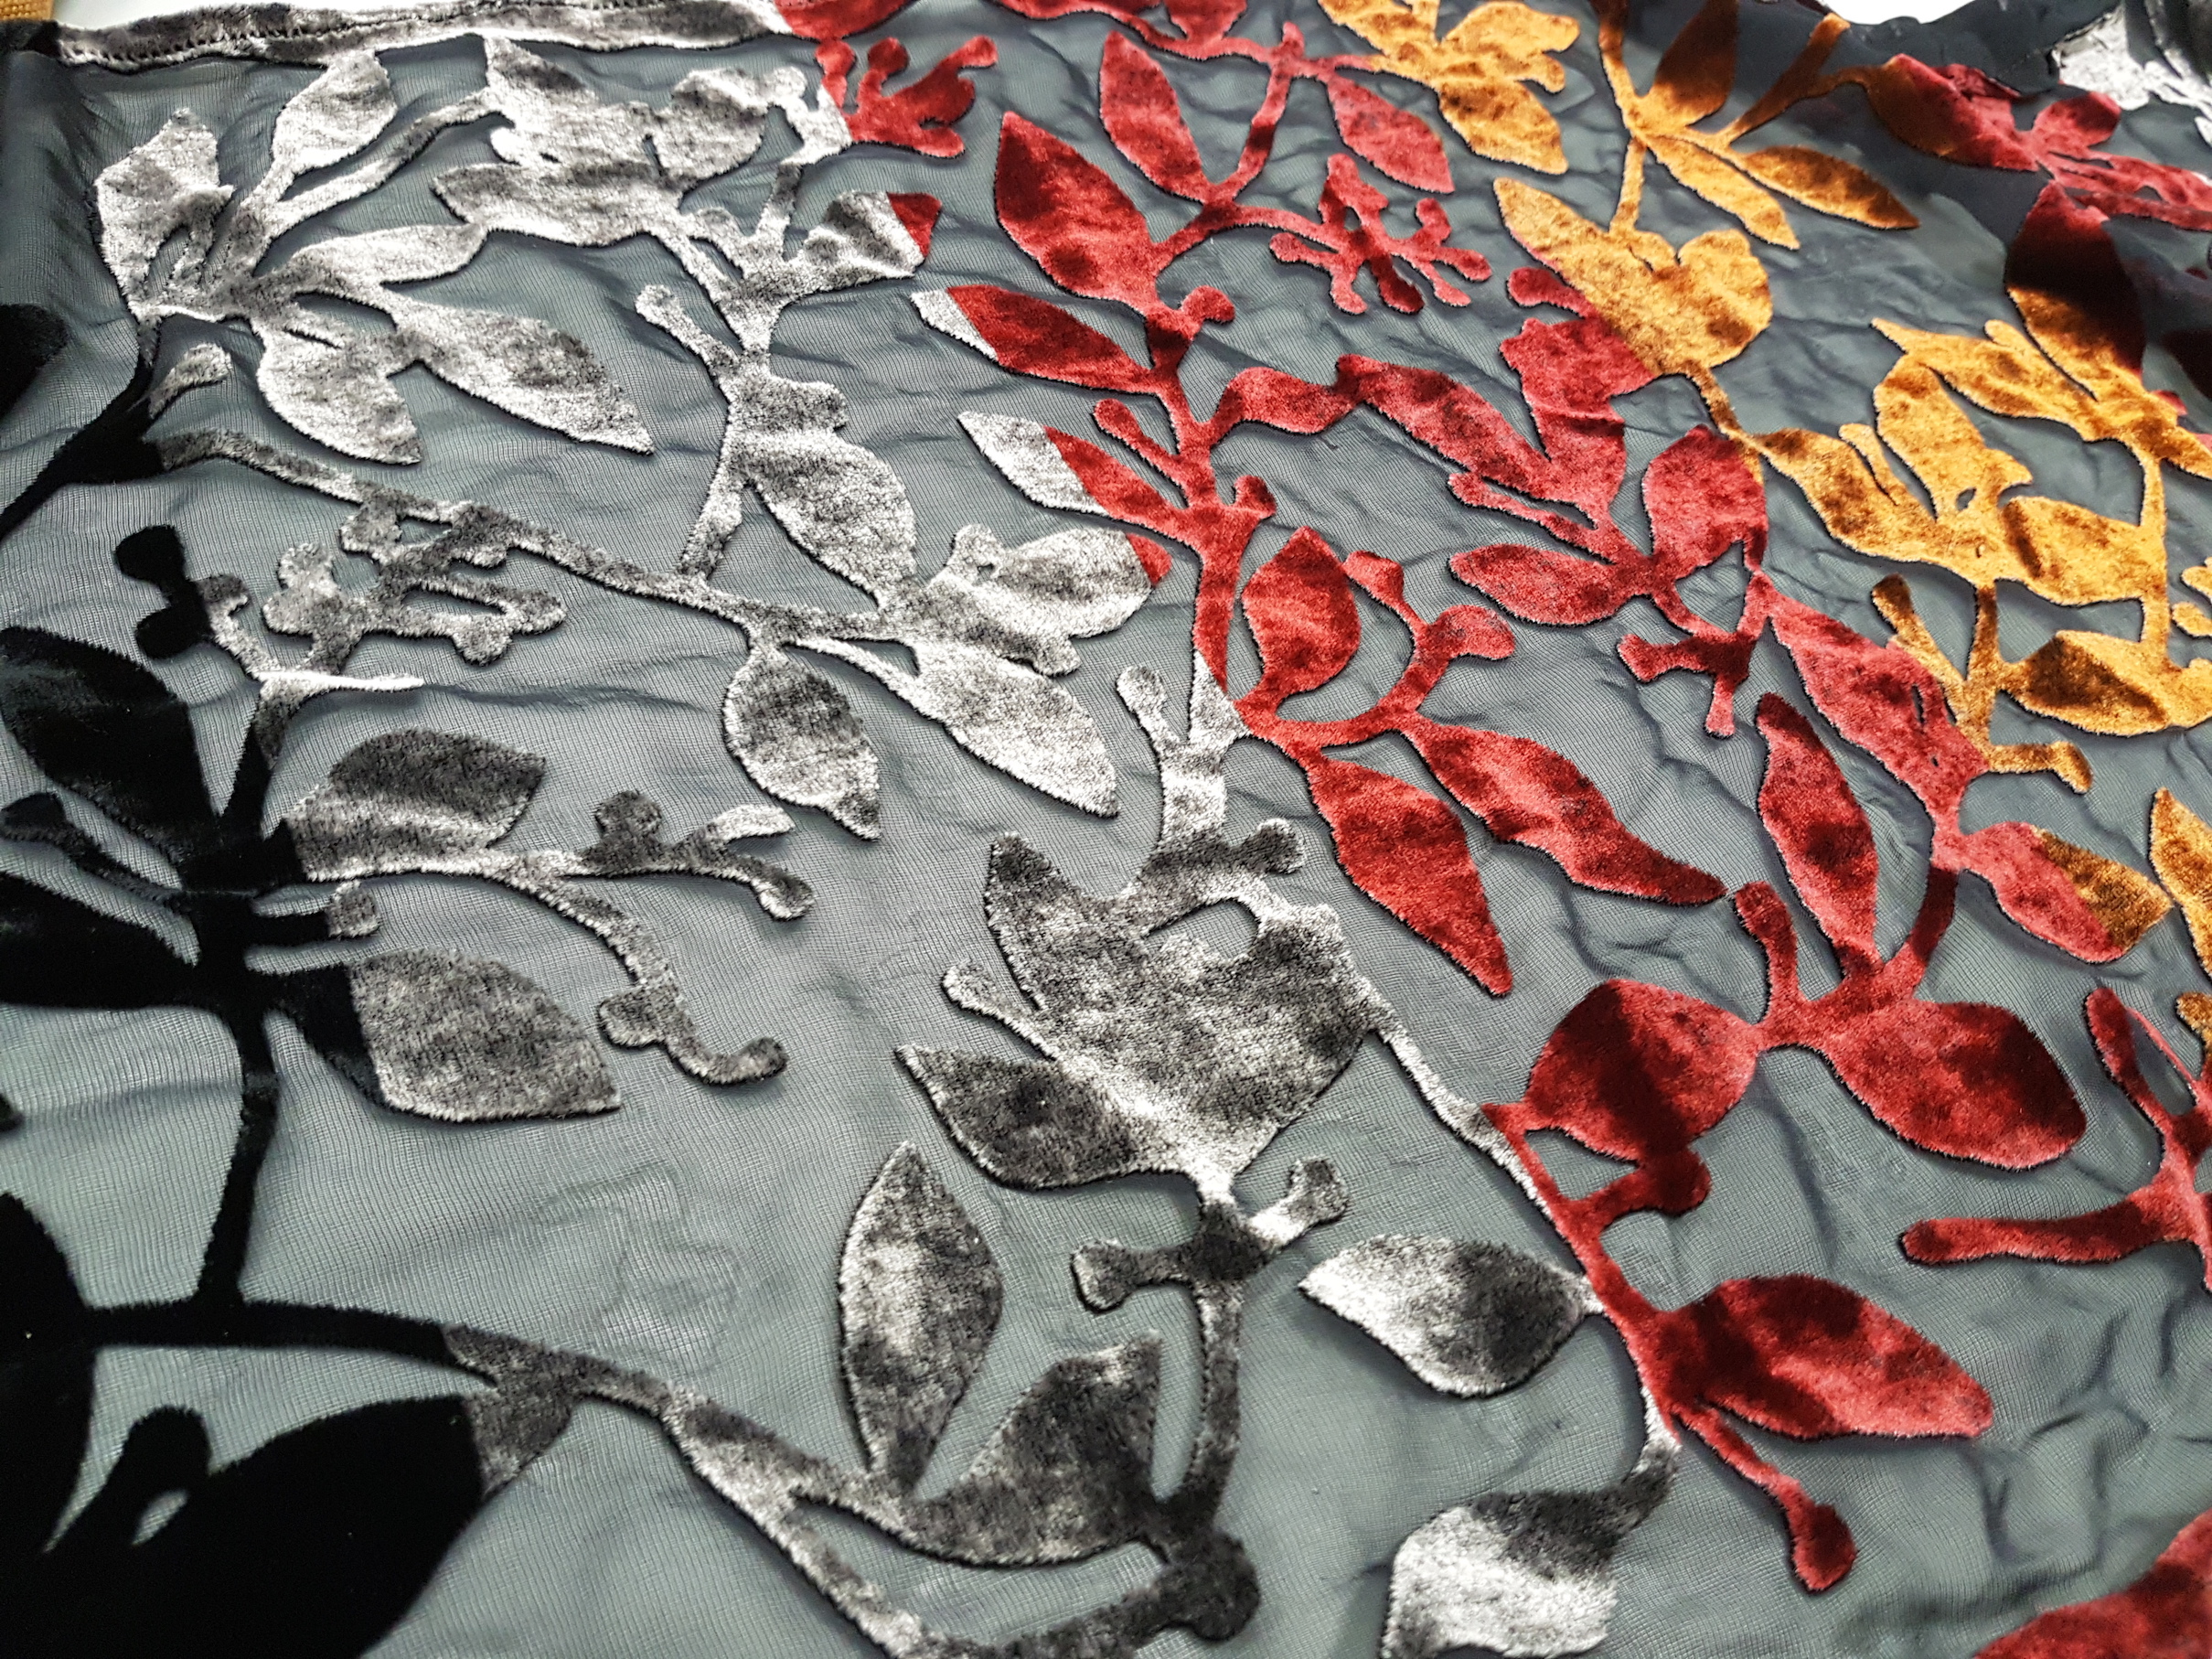
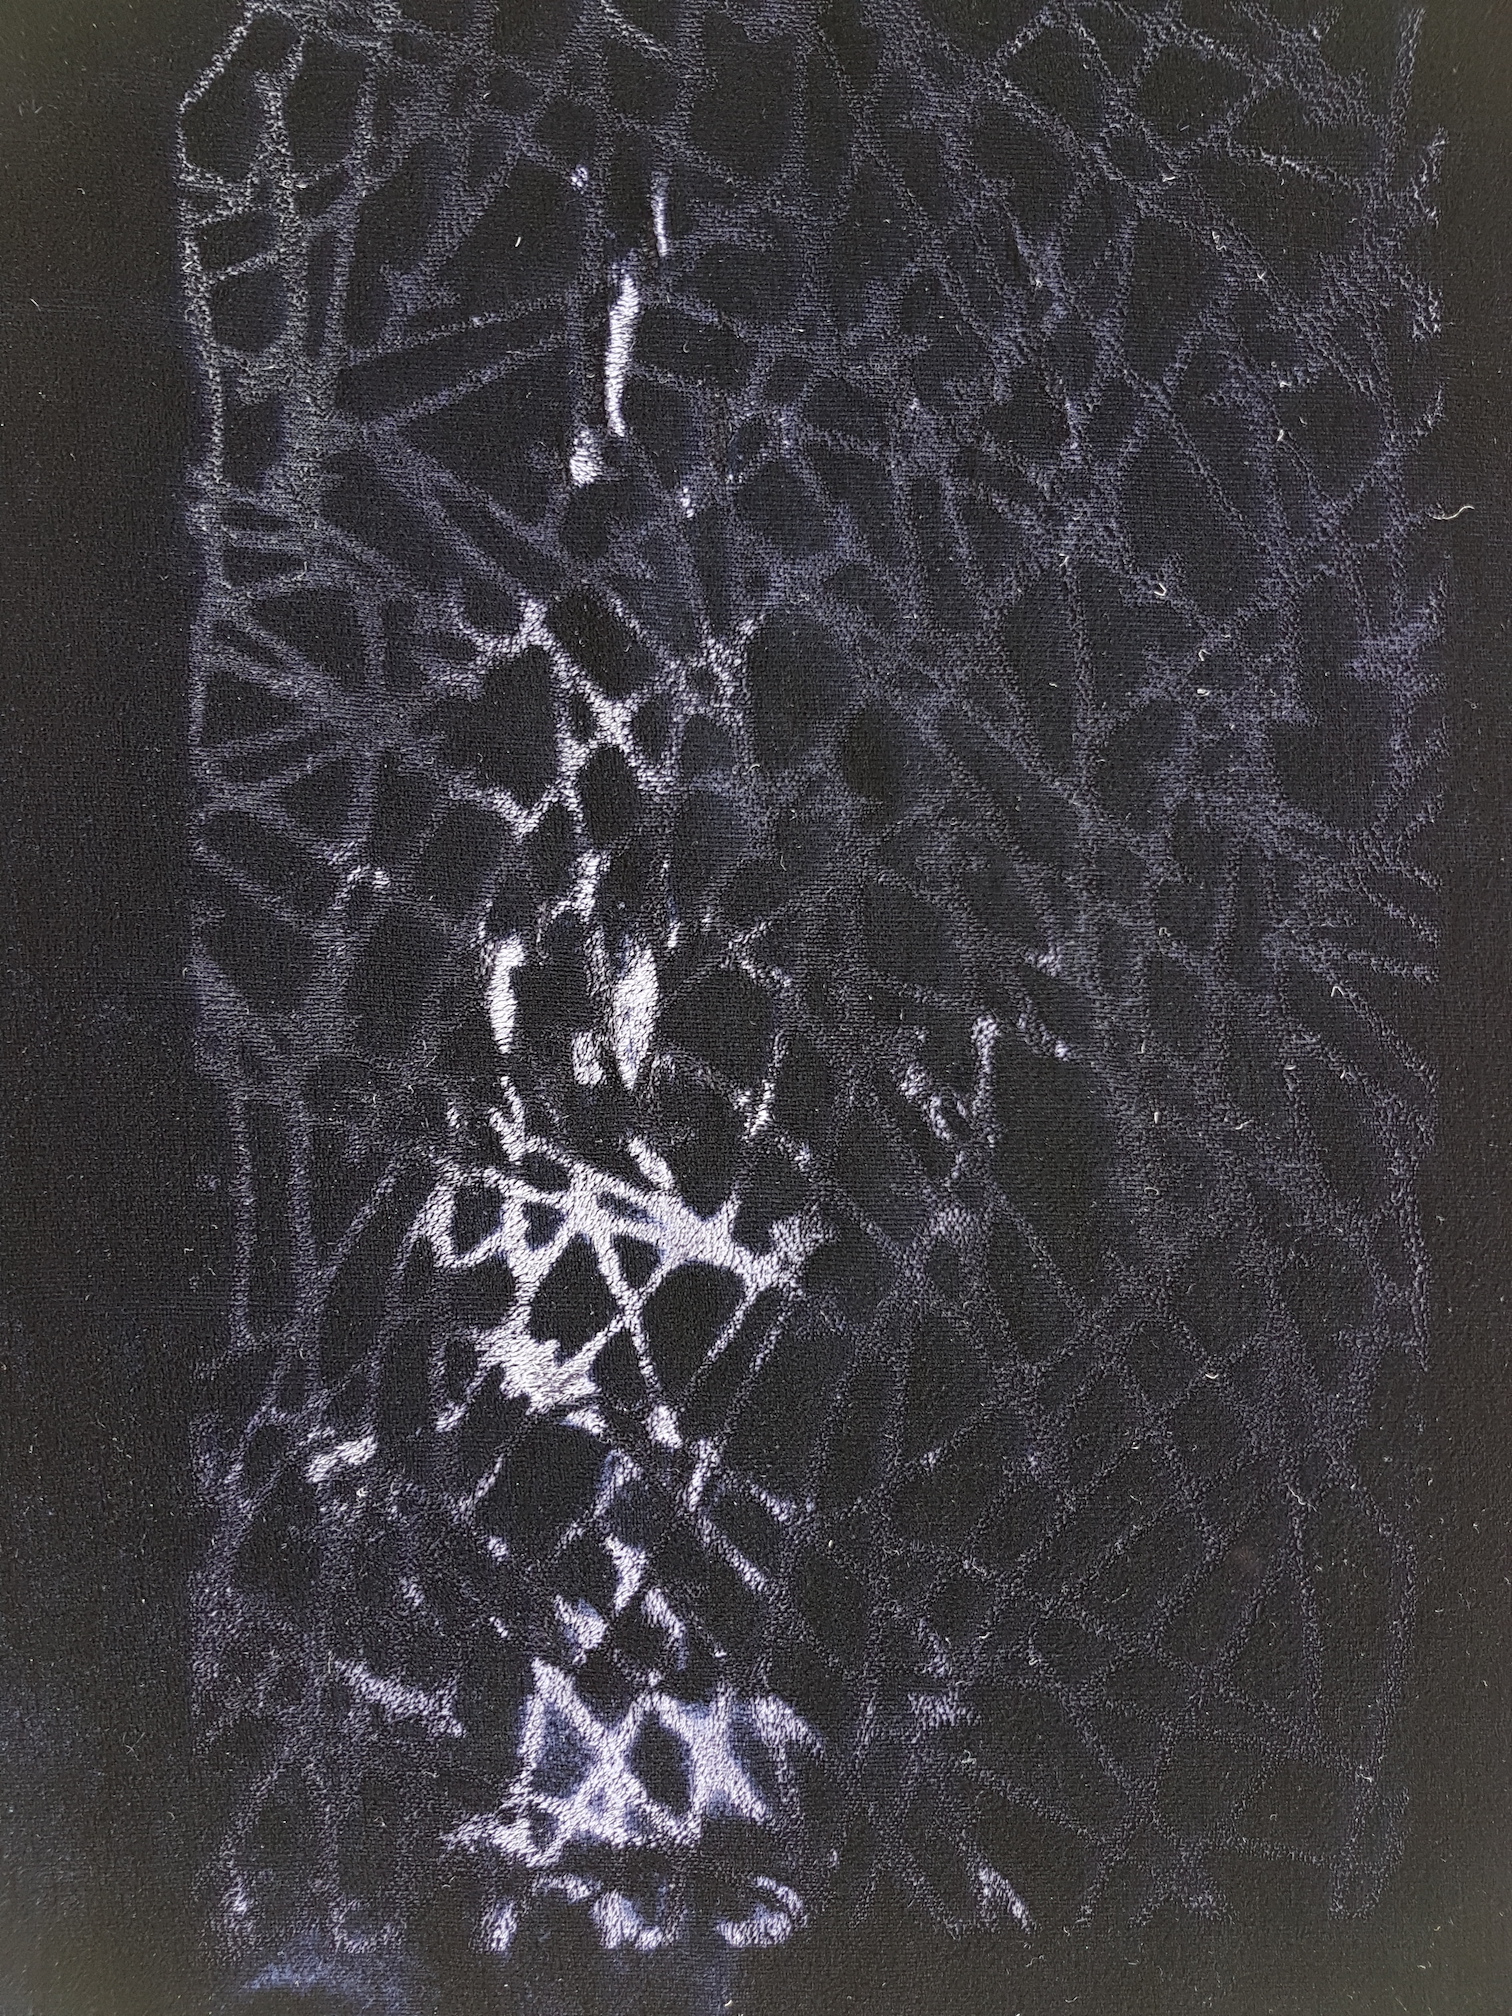
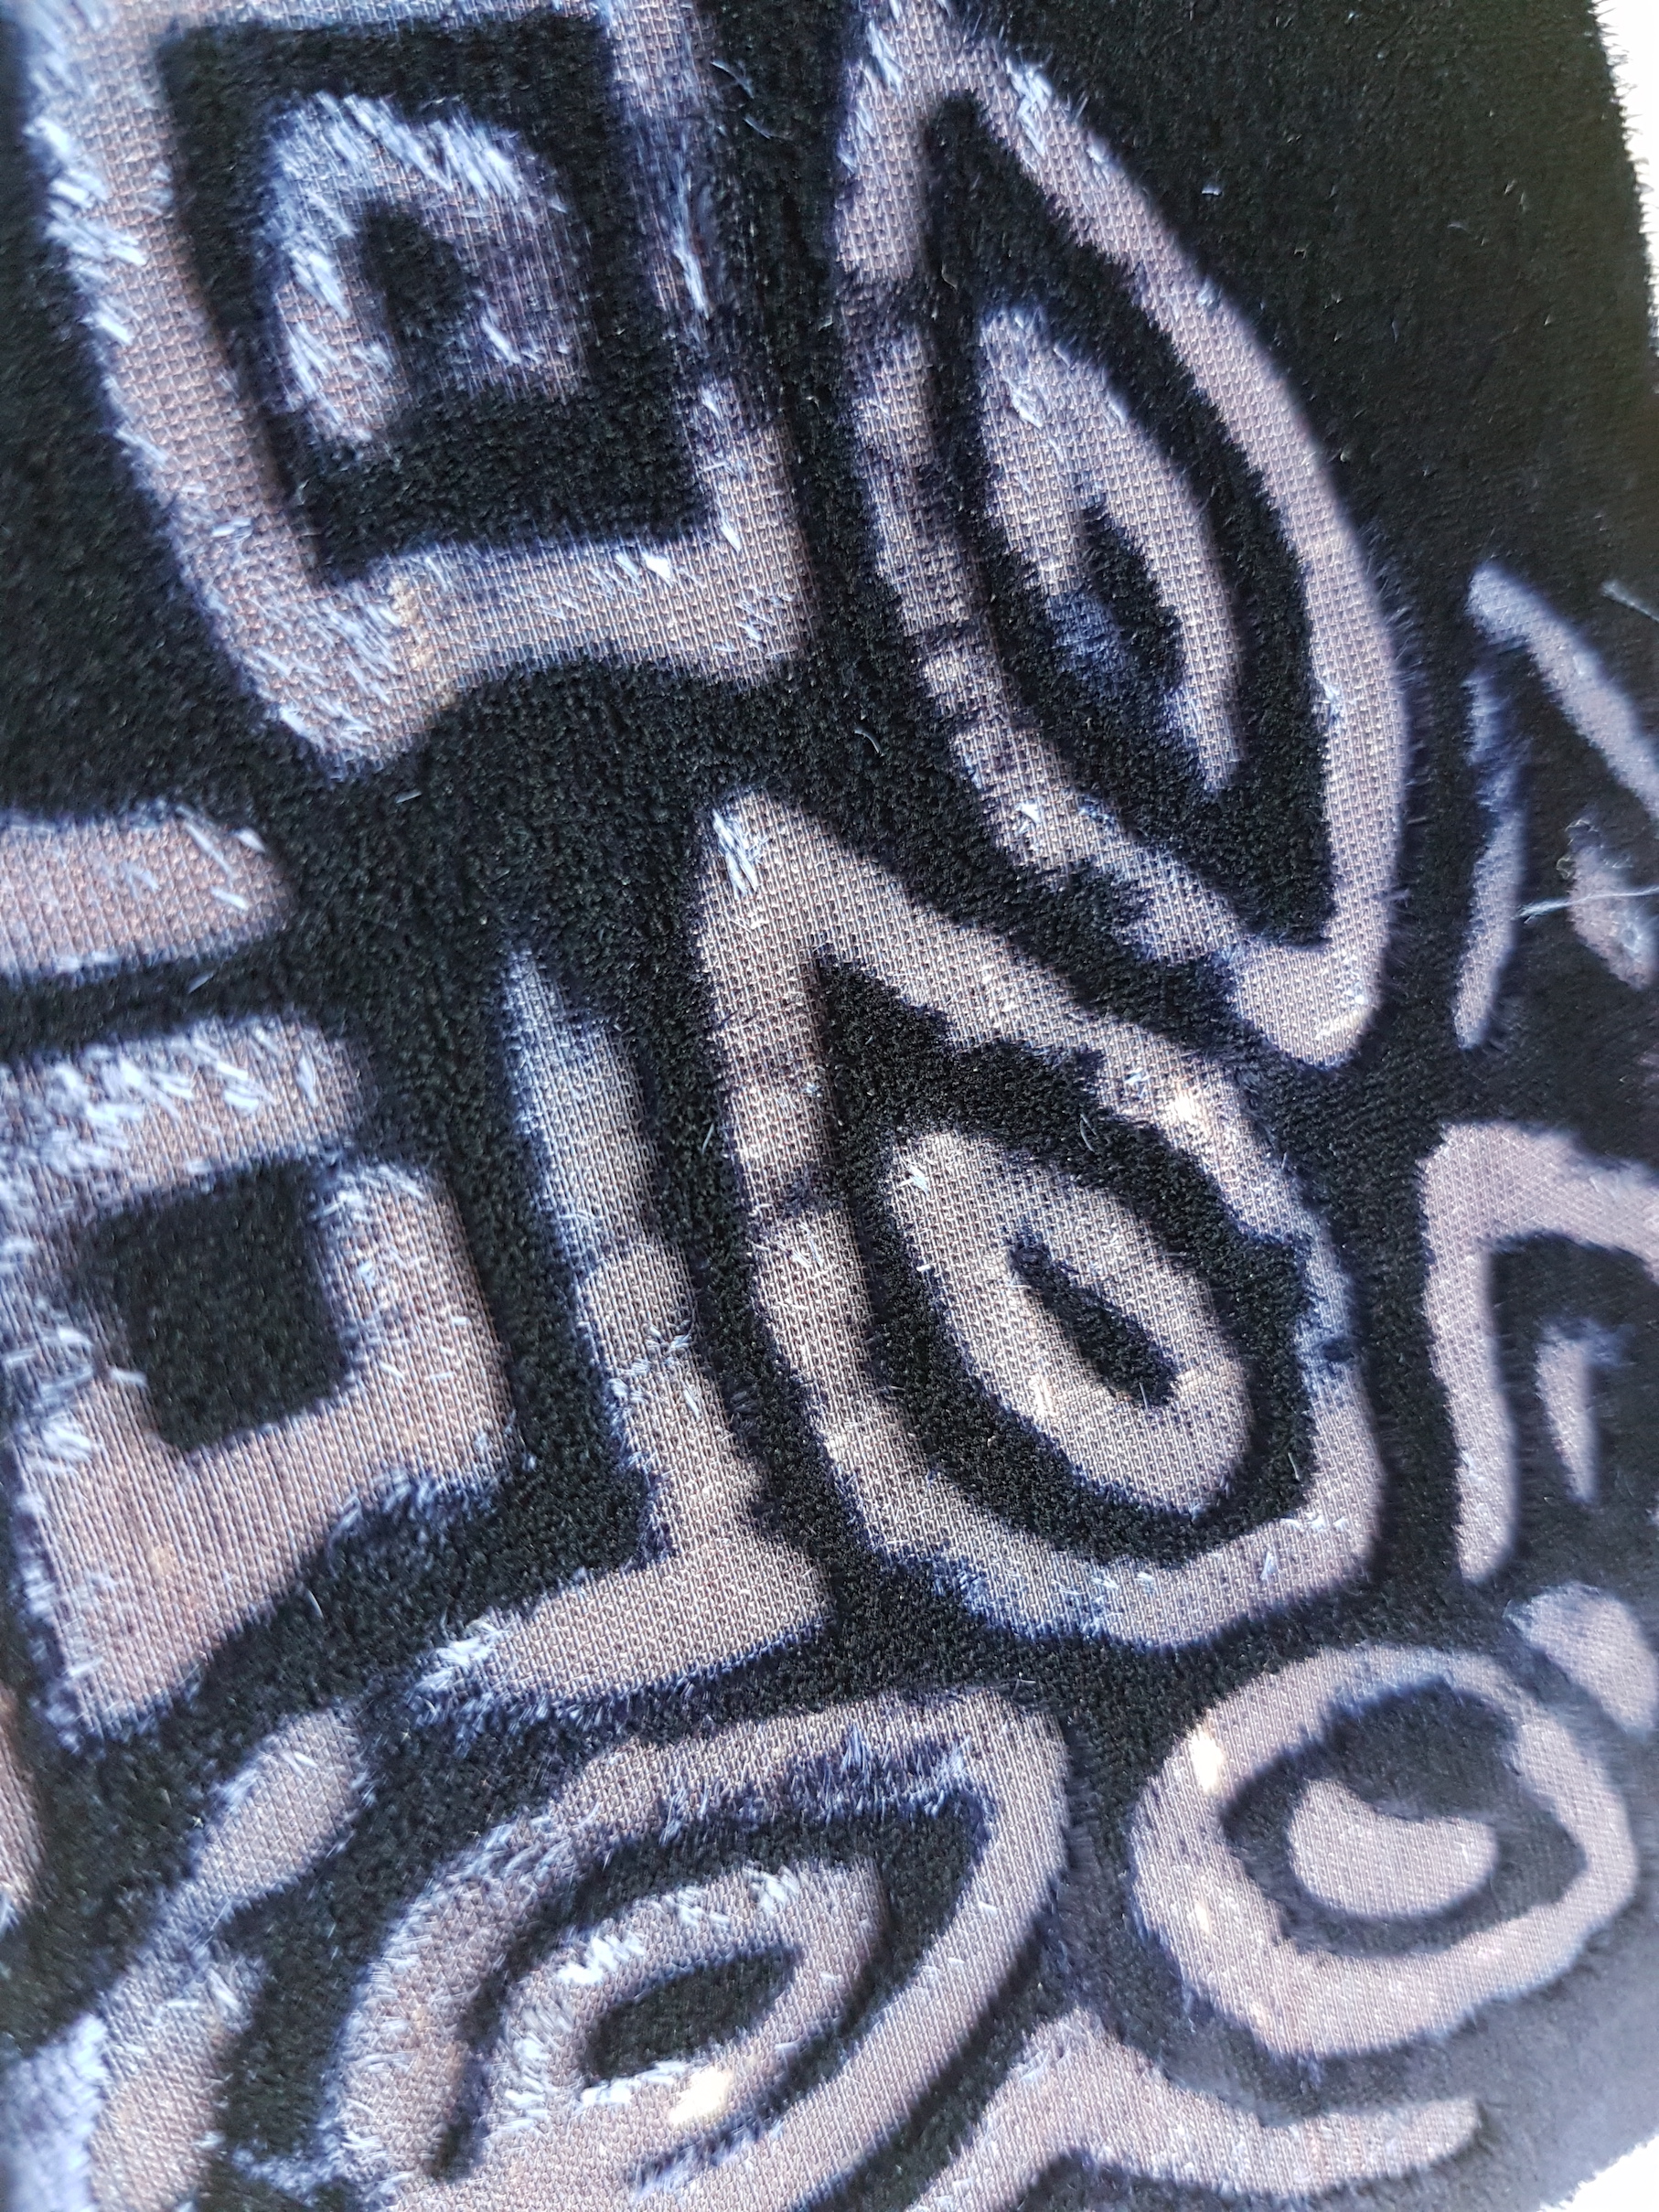
Devoré is a type of fibre etching technique use primarily on velvet. It creates decorative effects by removing the natural plant fibres from fabric blends. This process leaves behind only the semi-transparent synthetic fibres, creating contrasts between the two distinct integrated textures. Devoré, from the French verb dévorer, is an apt name for this technique as the fibre etch eats away the natural cellulose fibres.
Fibre etching can be achieved on a variety of materials such as fabric, paper and wood. Fibre-etched fabric is typically found in clothes, furniture covers, upholstery etc.
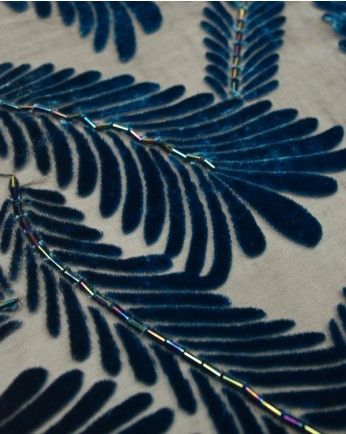
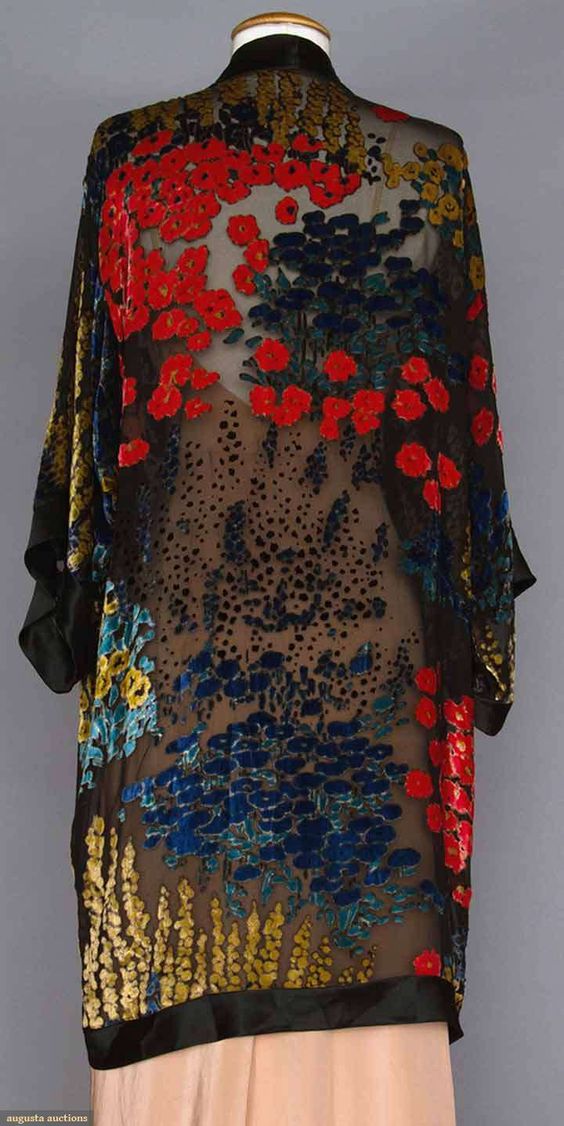
Lovely samples we saw in class:
More Devoré examples!
Materials needed
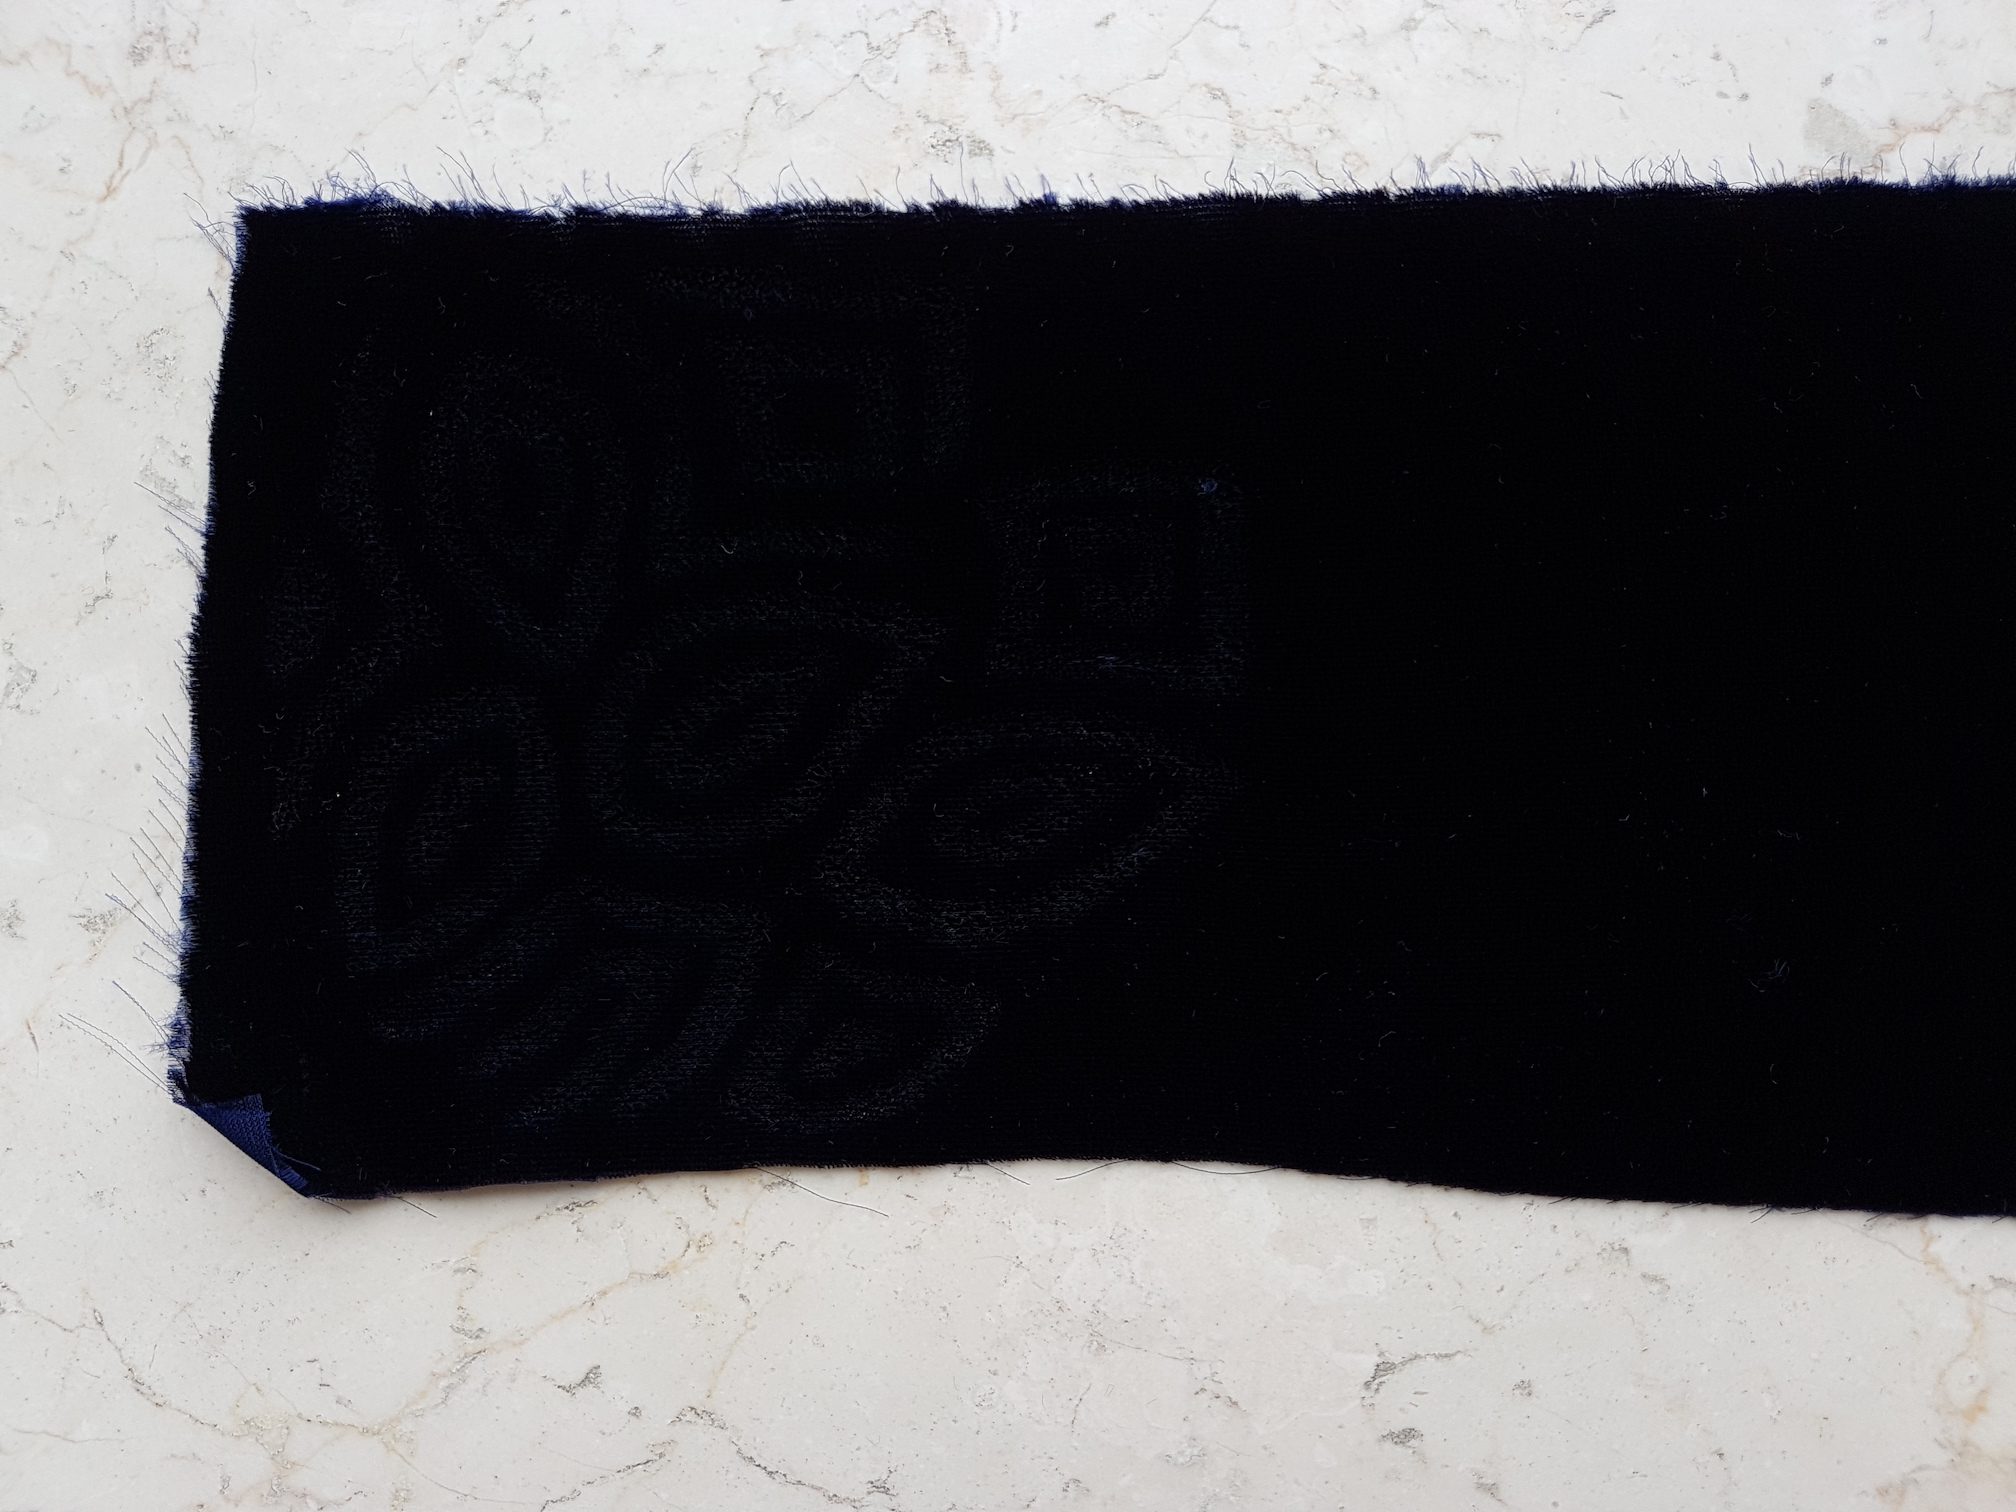
We experimented with Devoré using silk viscose velvet. It is very smooth with loose, fine fibres.
Fabric blend such as silk viscose velvet
Fibre etch remover gel
Silkscreen with design and Squeegee (optional)
Paintbrushes to paint on free hand designs
Steps
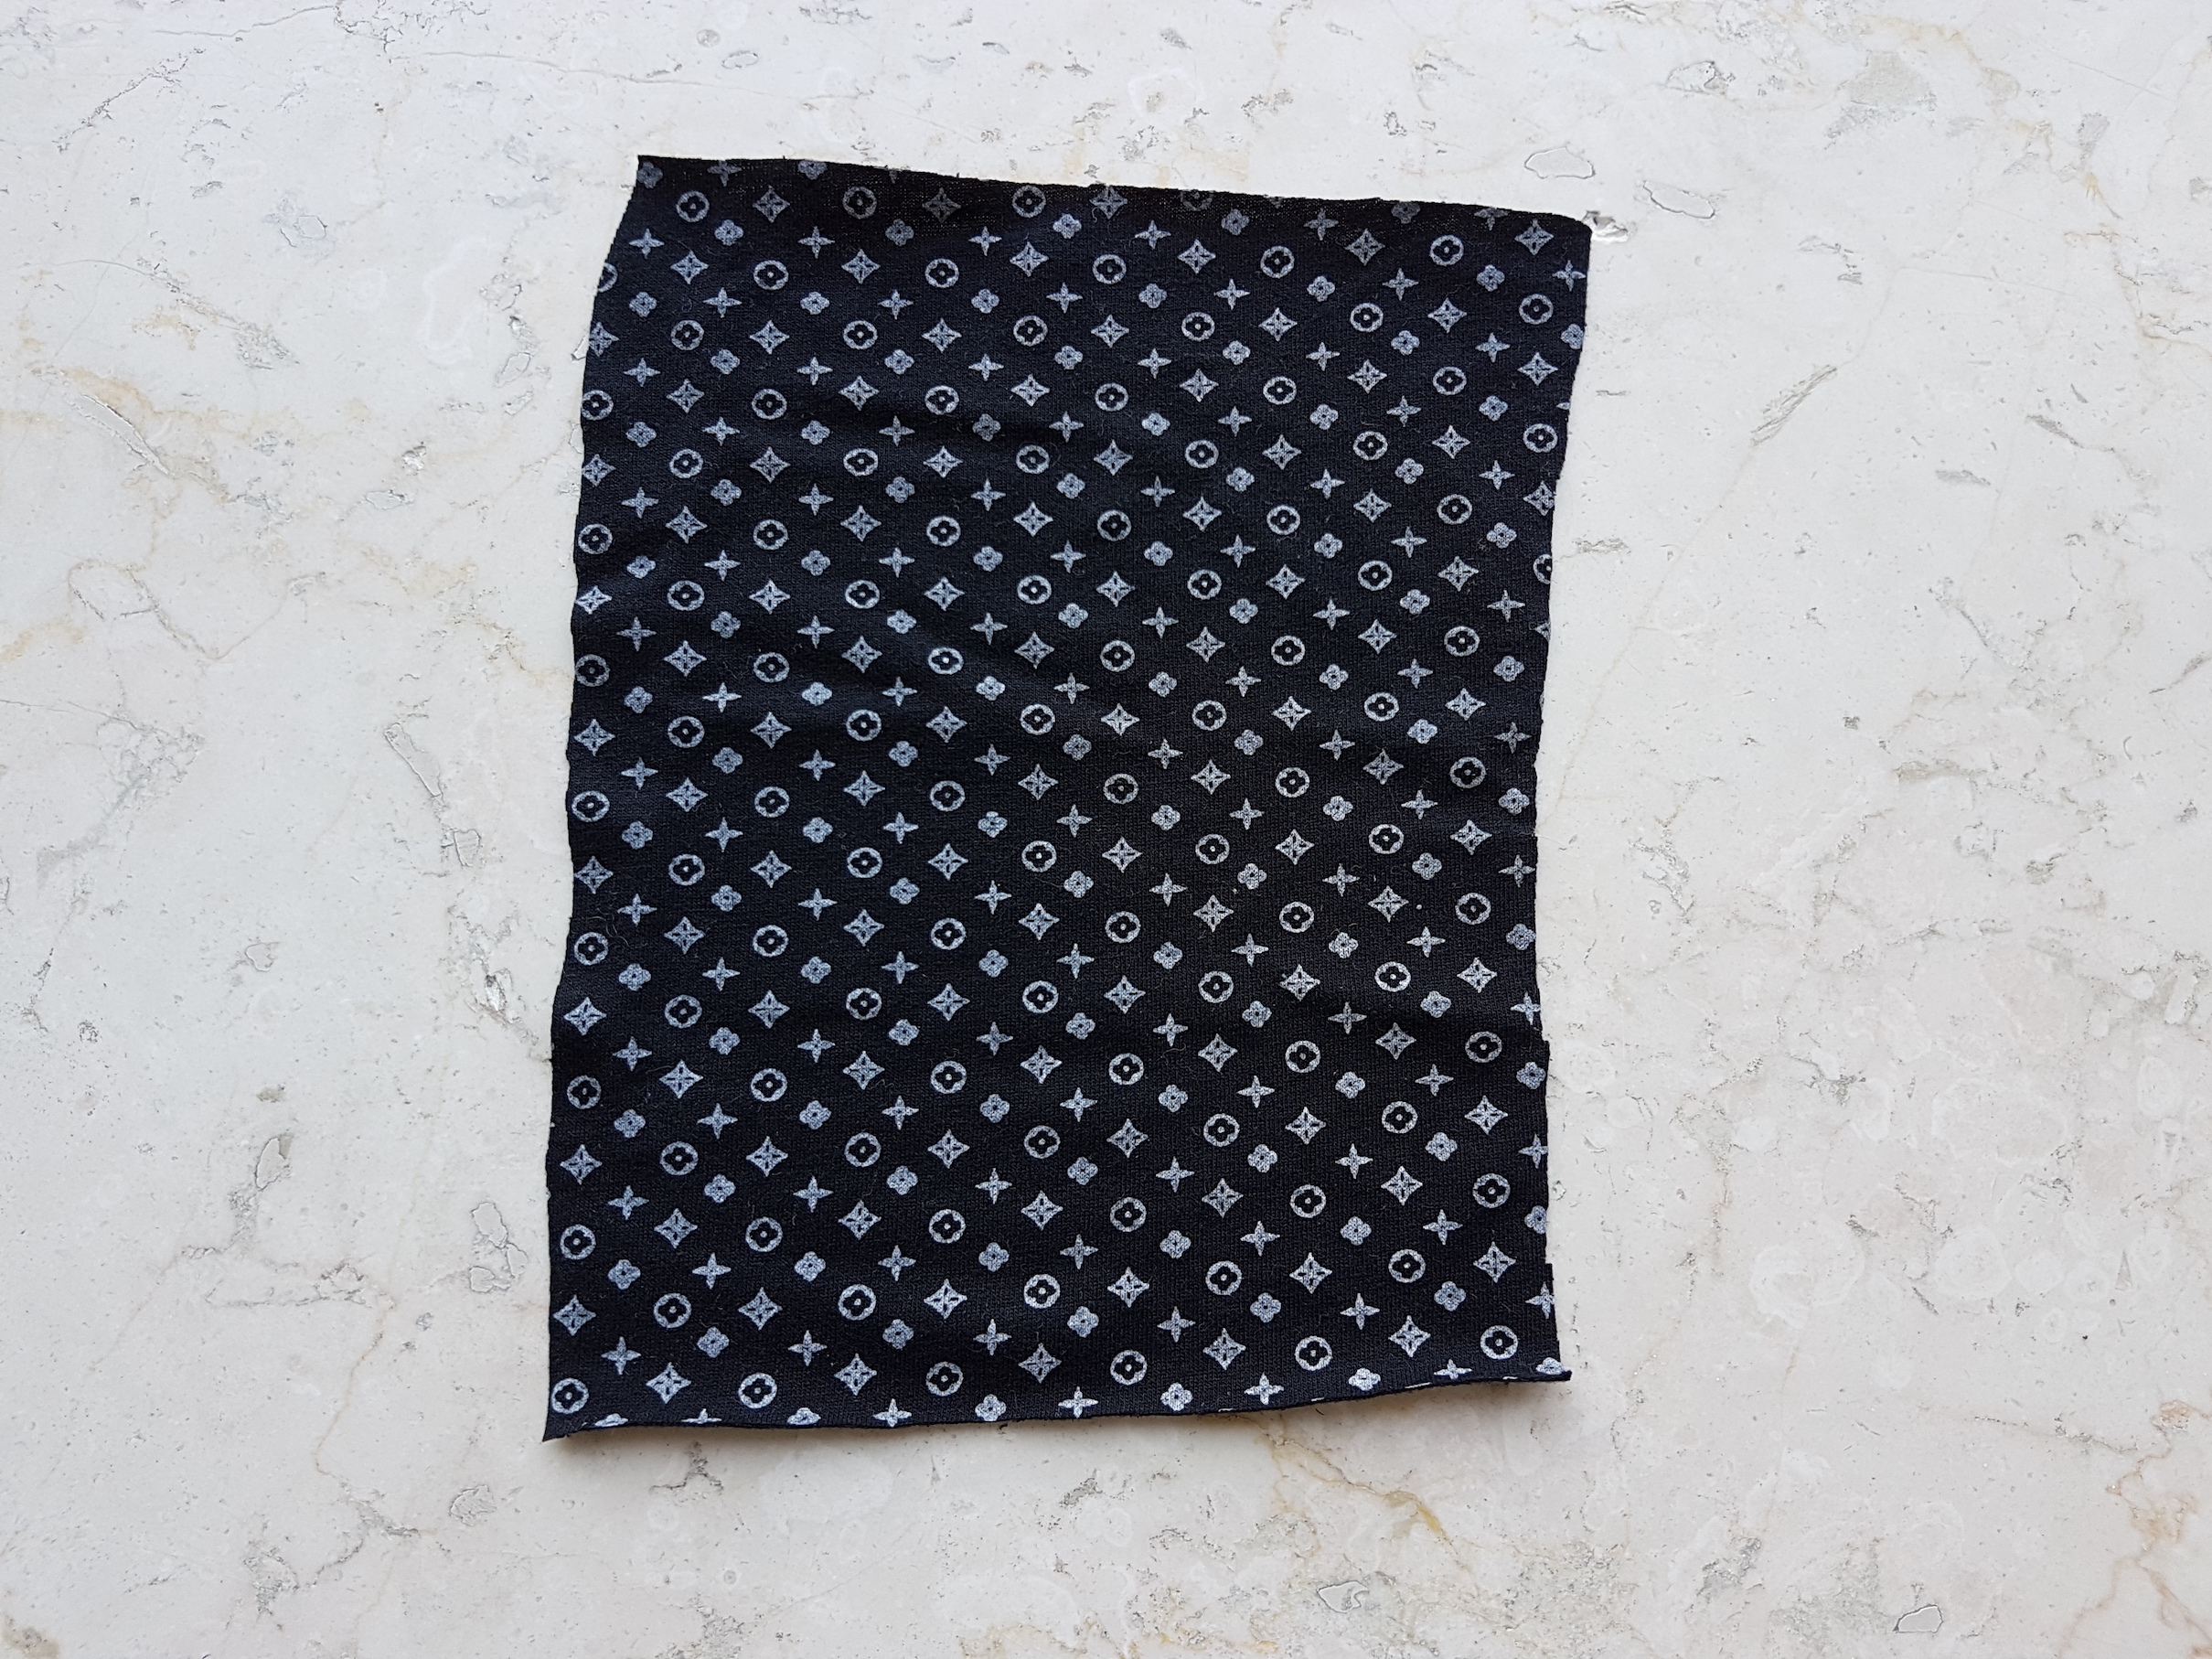
Print the design onto the fabric blend like we would do for a normal silkscreen print by adding the gel and running the squeegee with pressure over the surface.
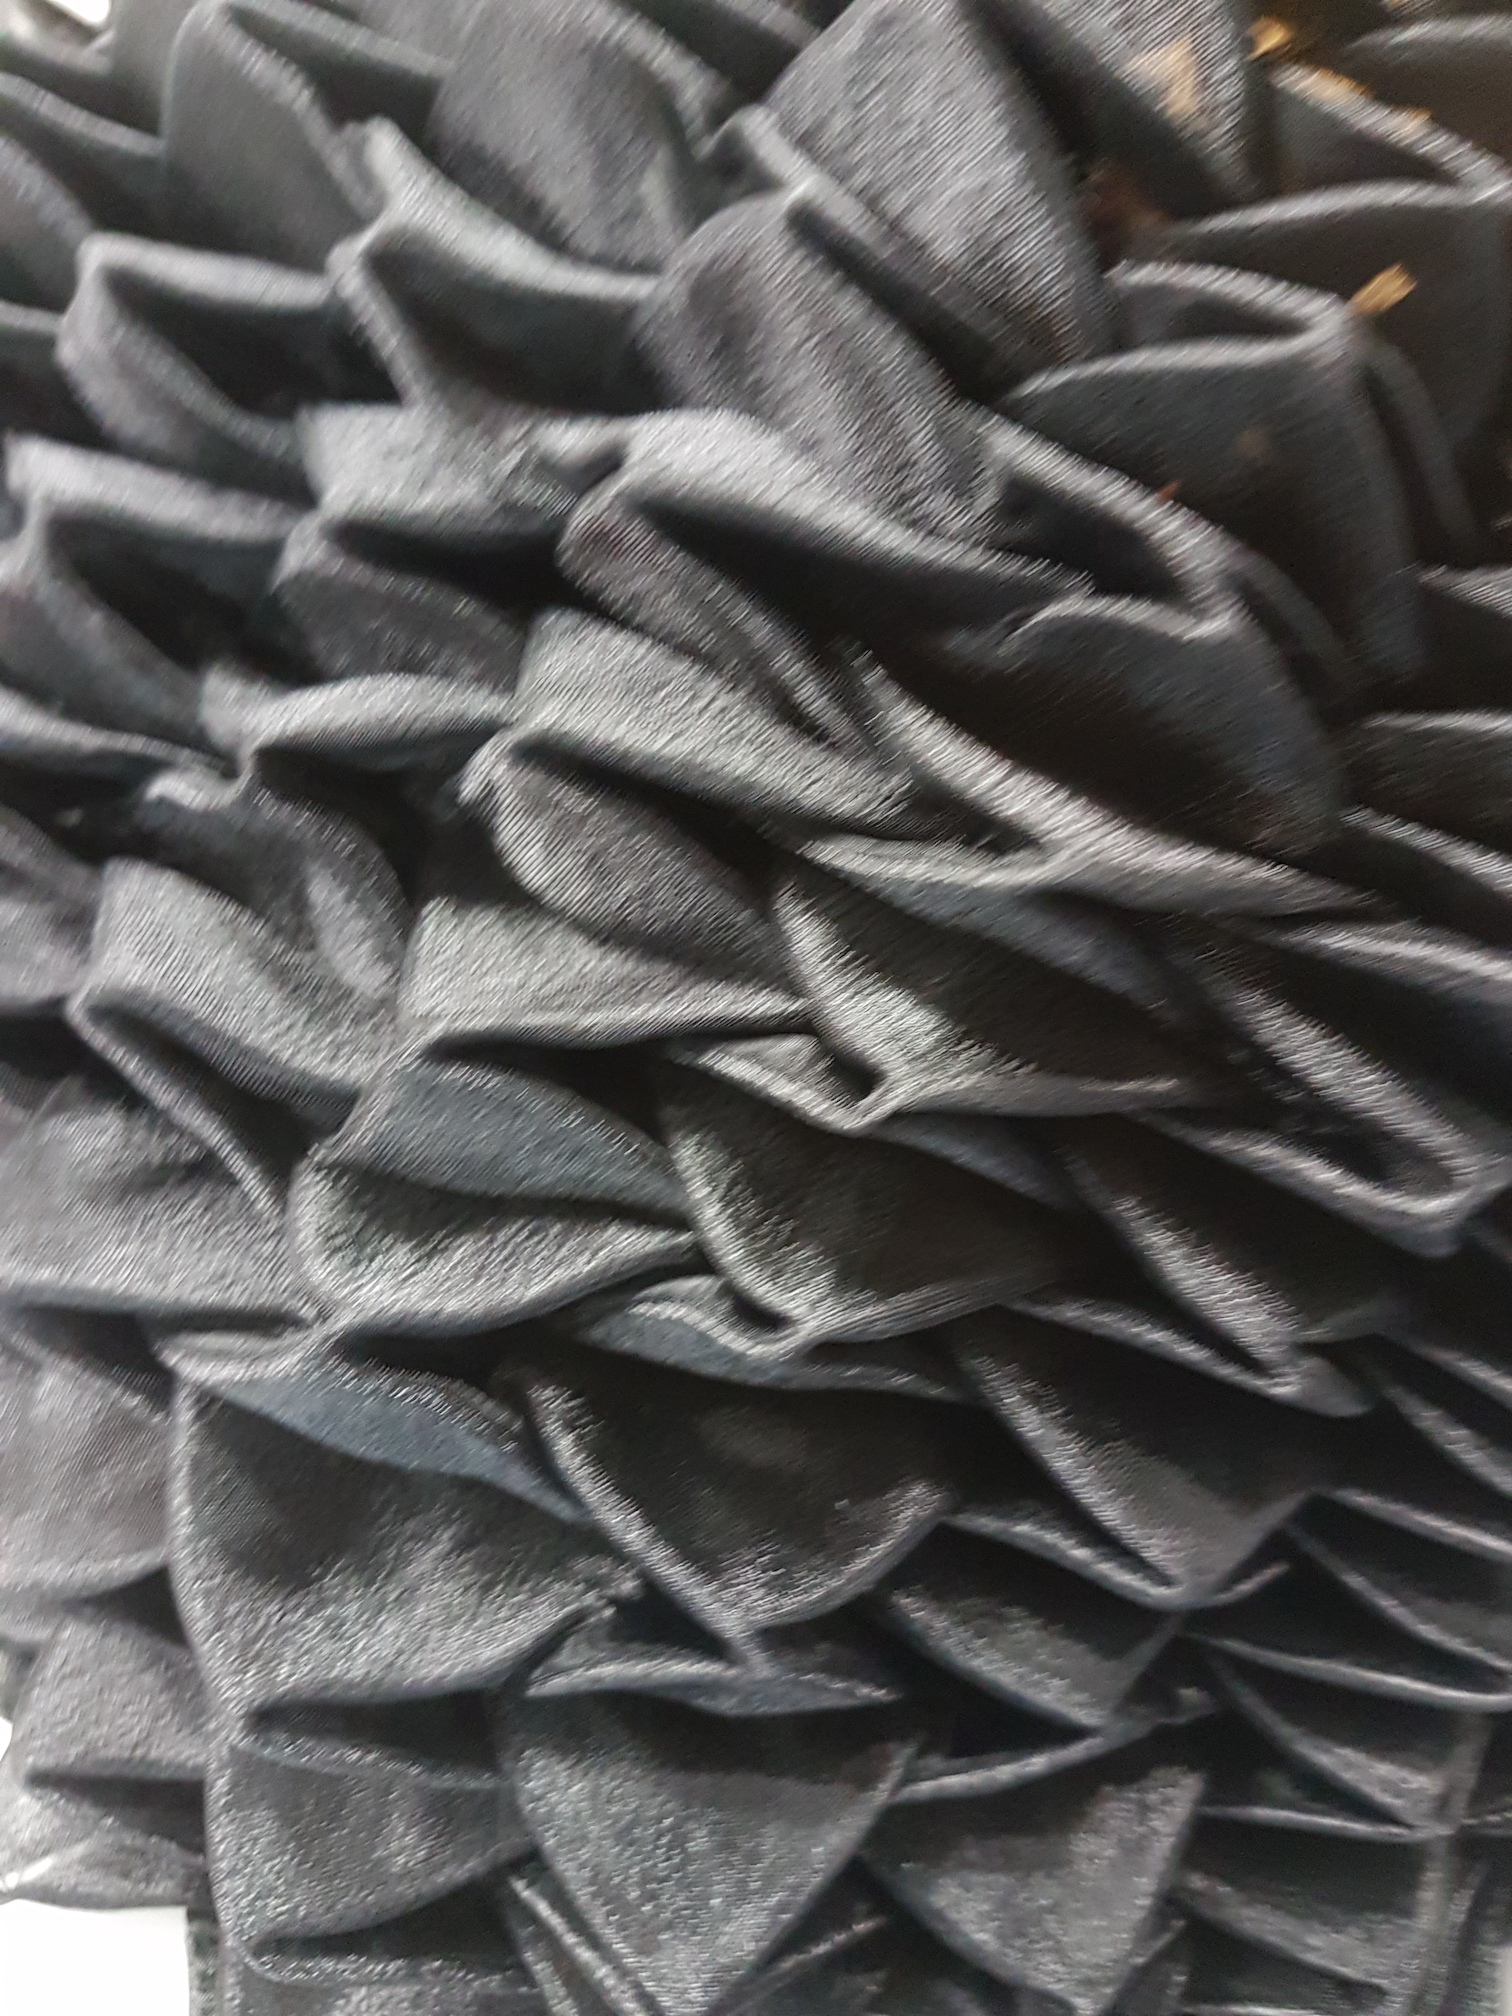
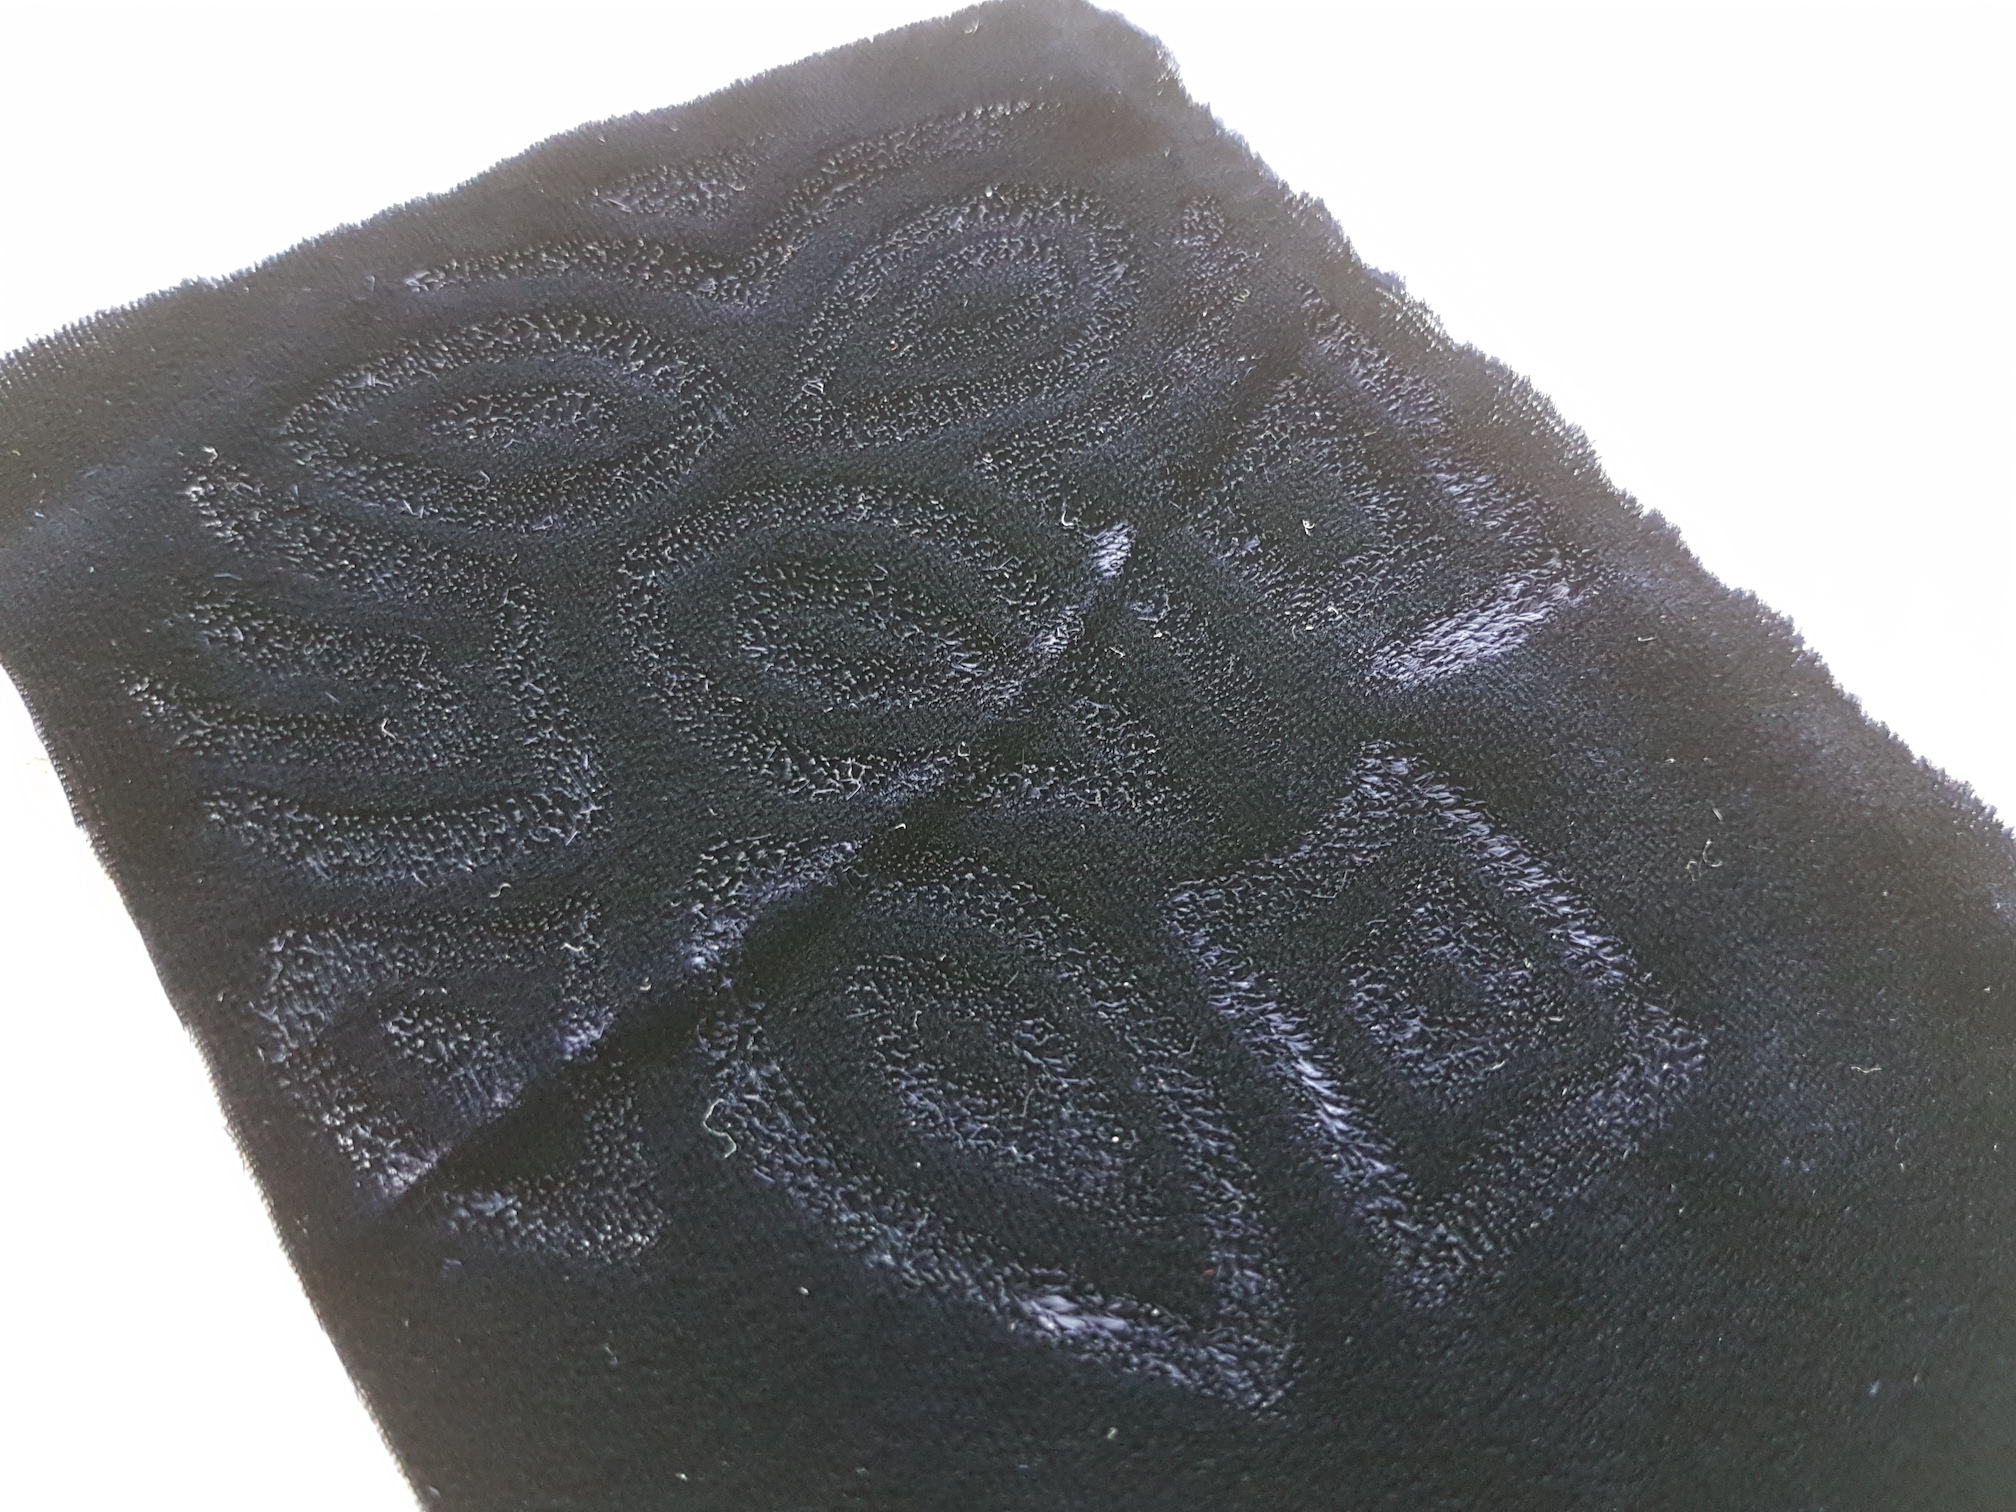
Velvet with design (the camera can’t pick up the dark fabric)Velvet with silkscreen printed design
(The velvet is a dark navy so the camera has trouble picking it up.)
Alternatively, paint on a design freehand.
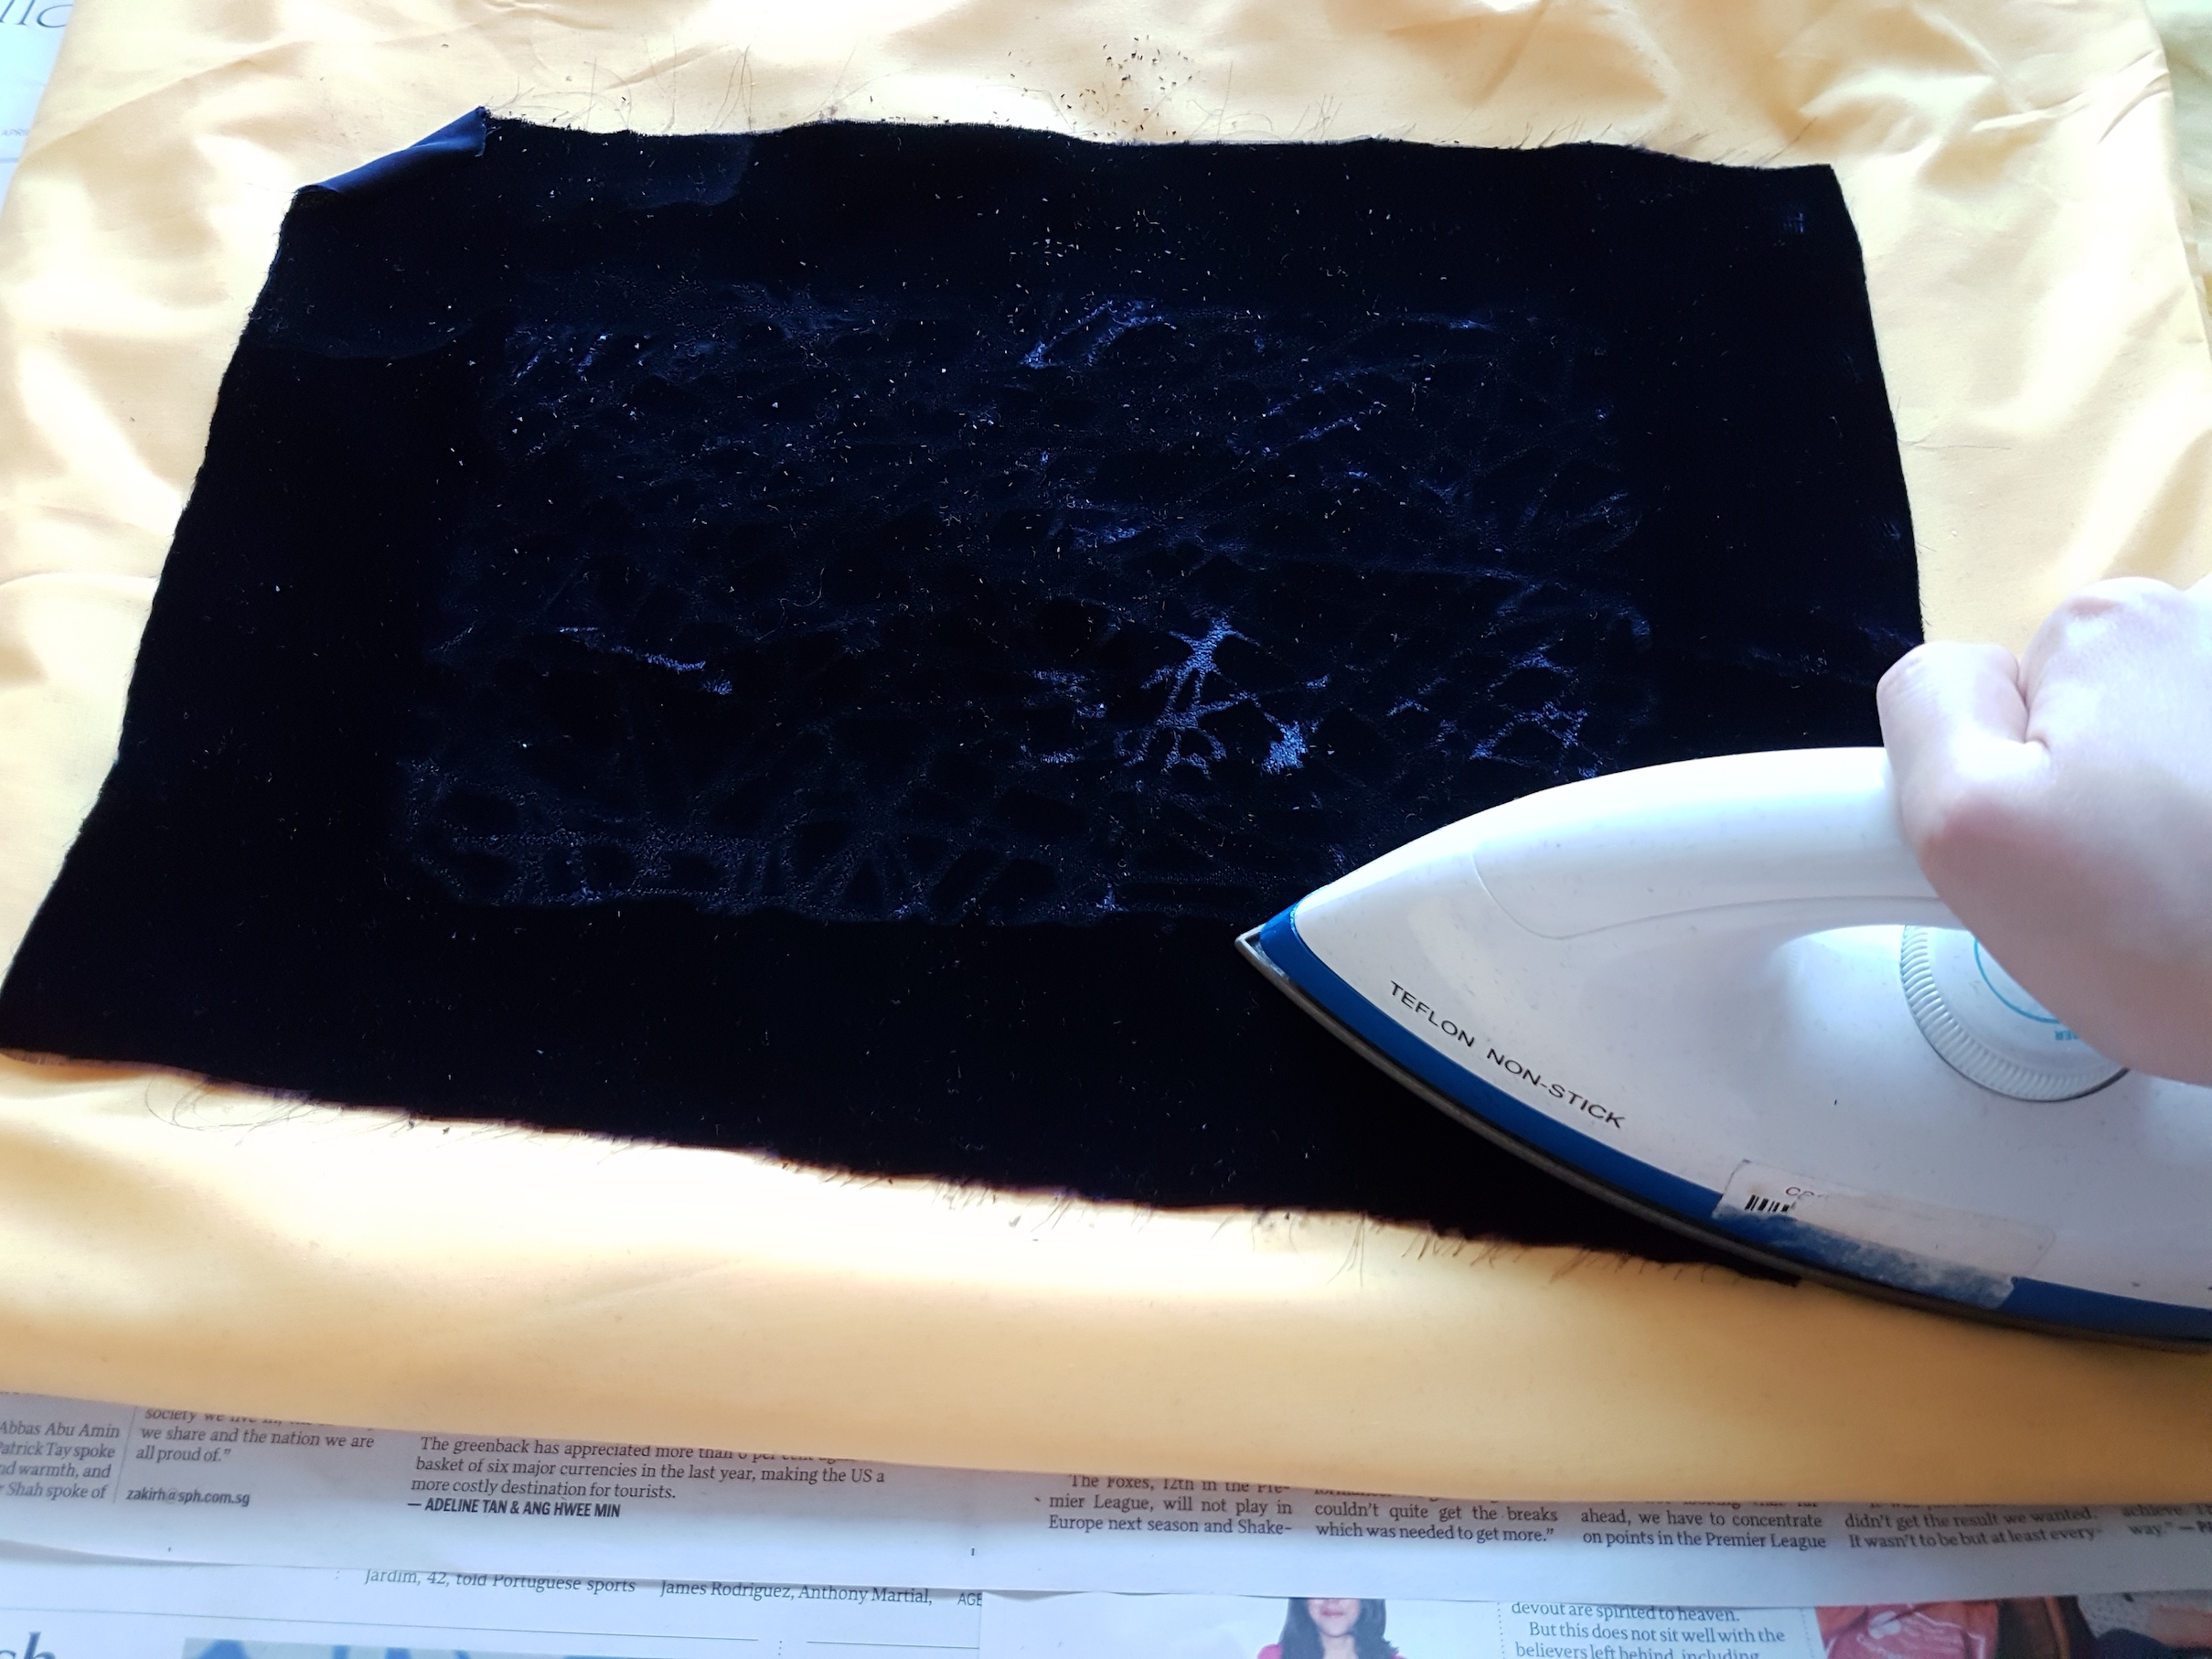
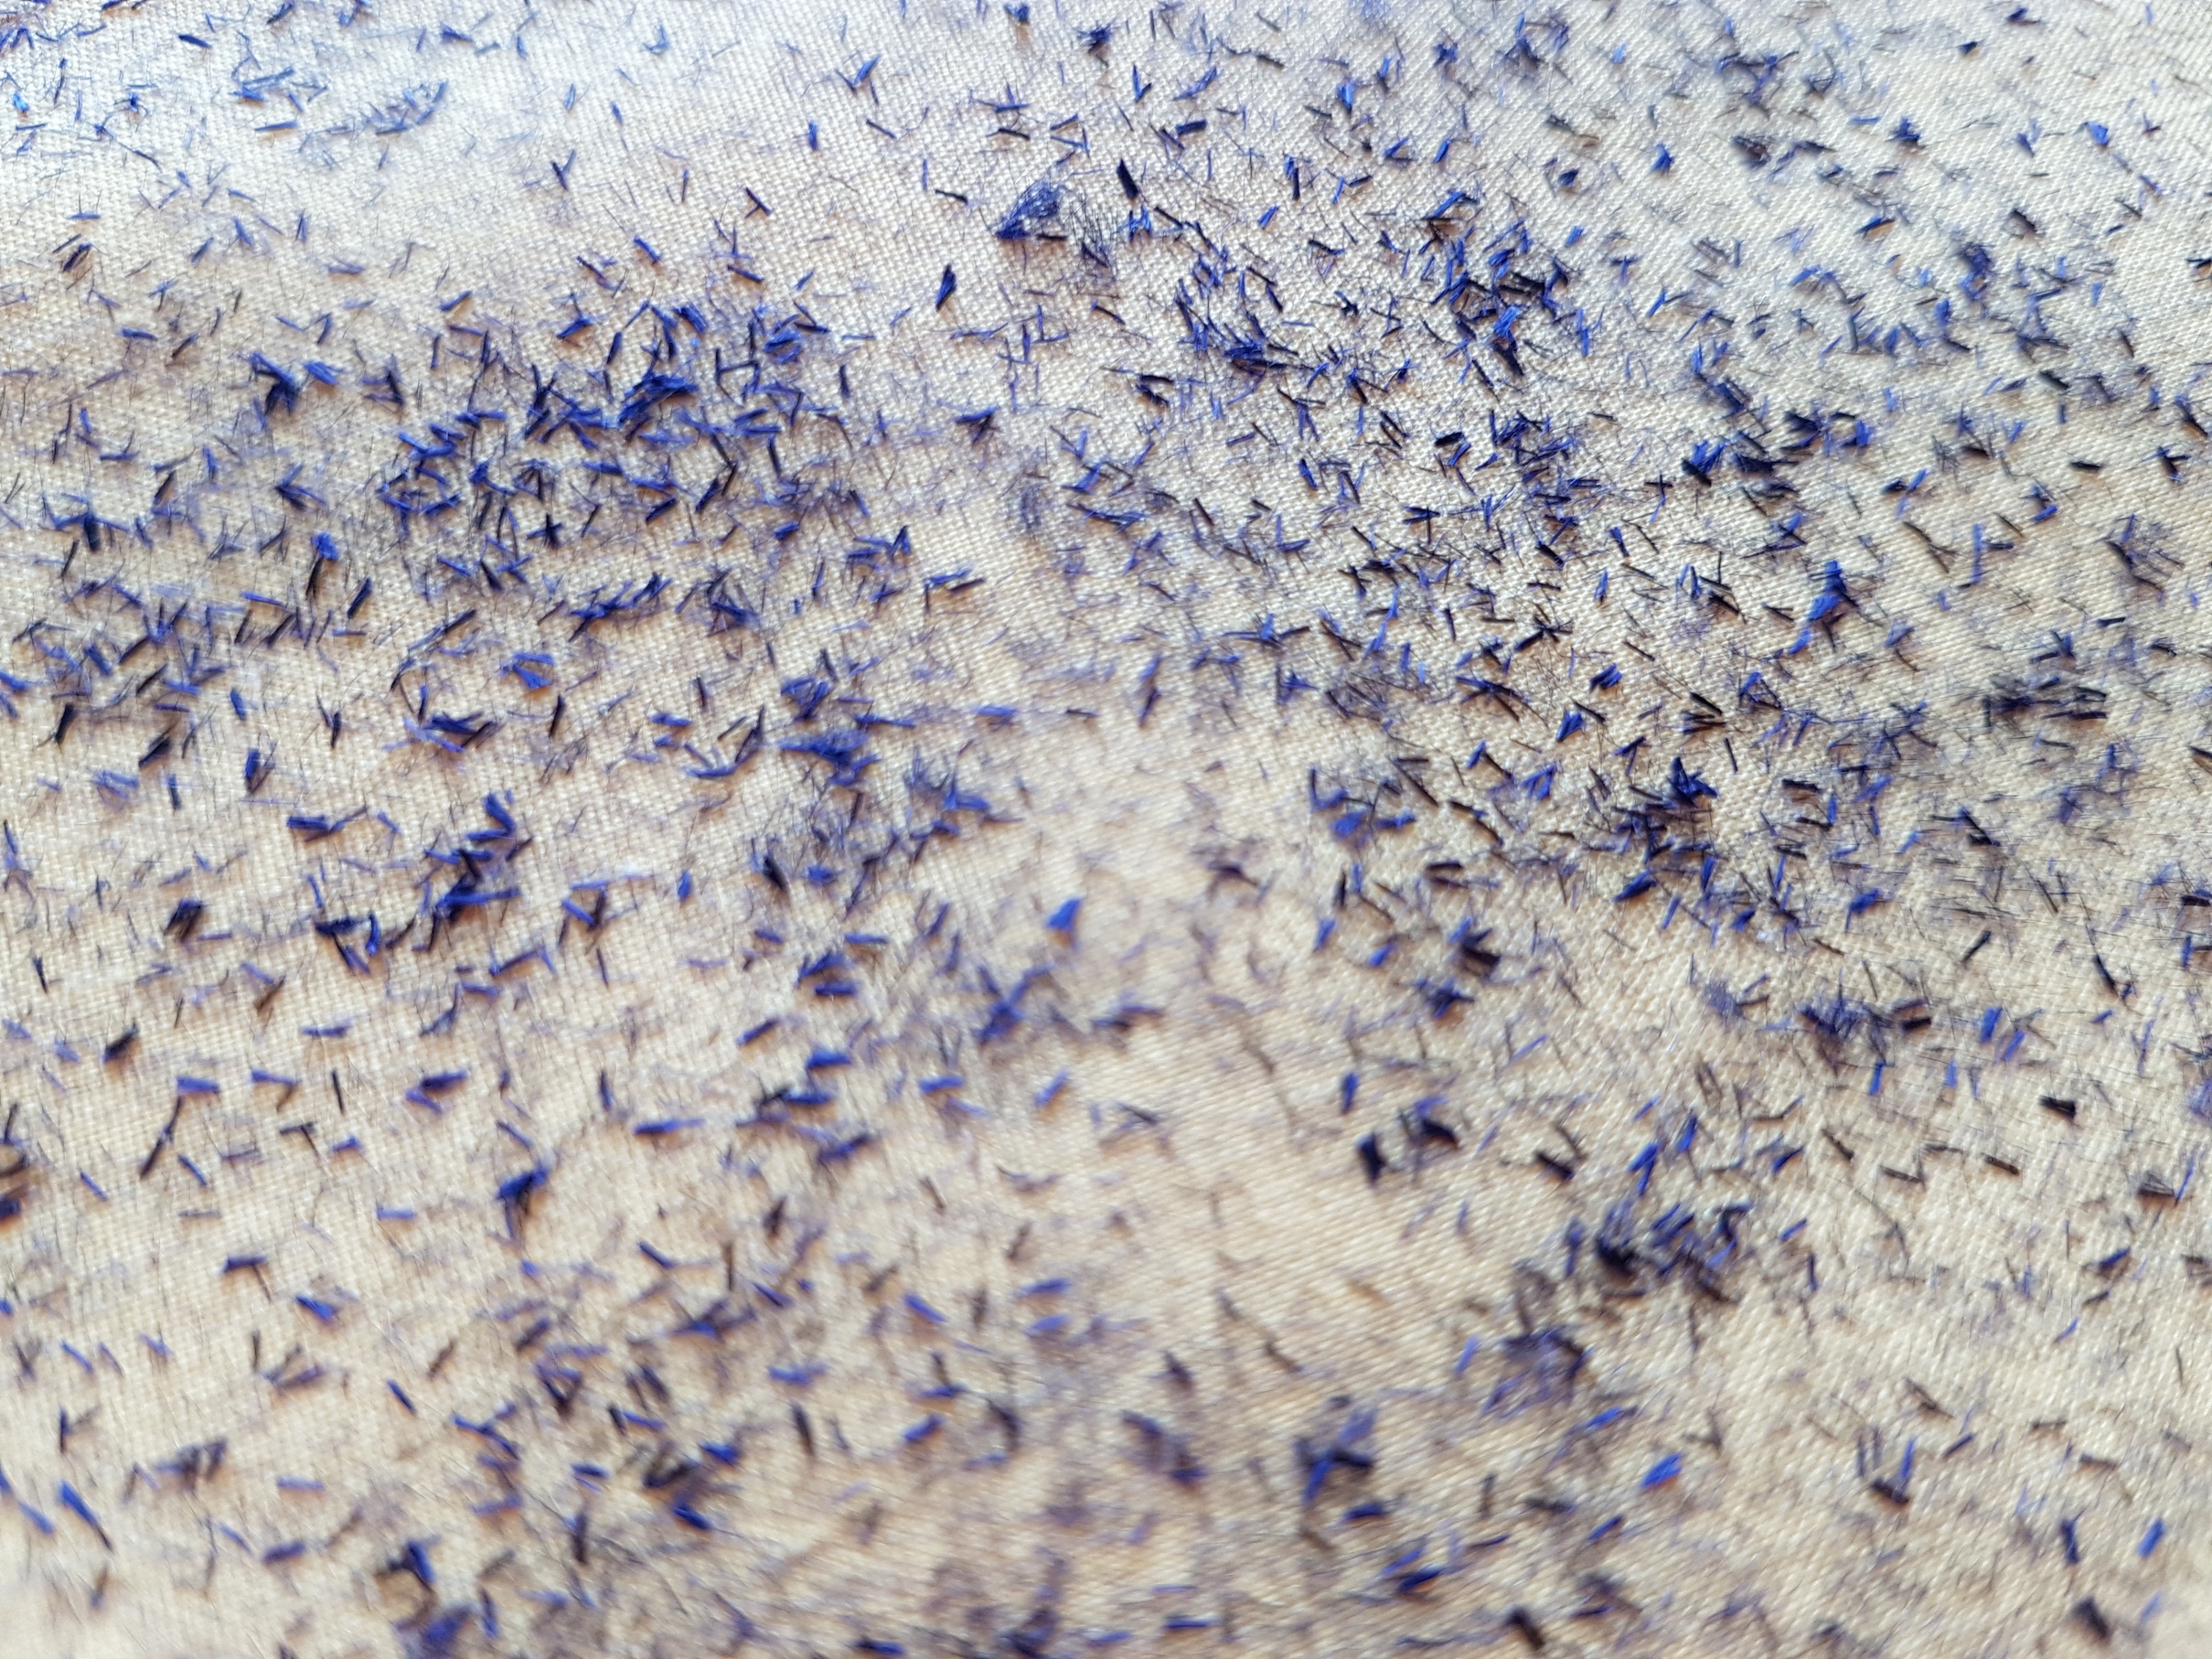
Leave the fibre etch gel to dry. Once completely dry, iron the fabric till the painted areas become stiff and slightly burnt. Either wash or brush the lose fibres off to reveal the synthetic fibres underneath.
Loose fibres after ironing
This double textured fabric is delicate and detailed. The scientific process by which the fibres are eliminated is also very interesting.
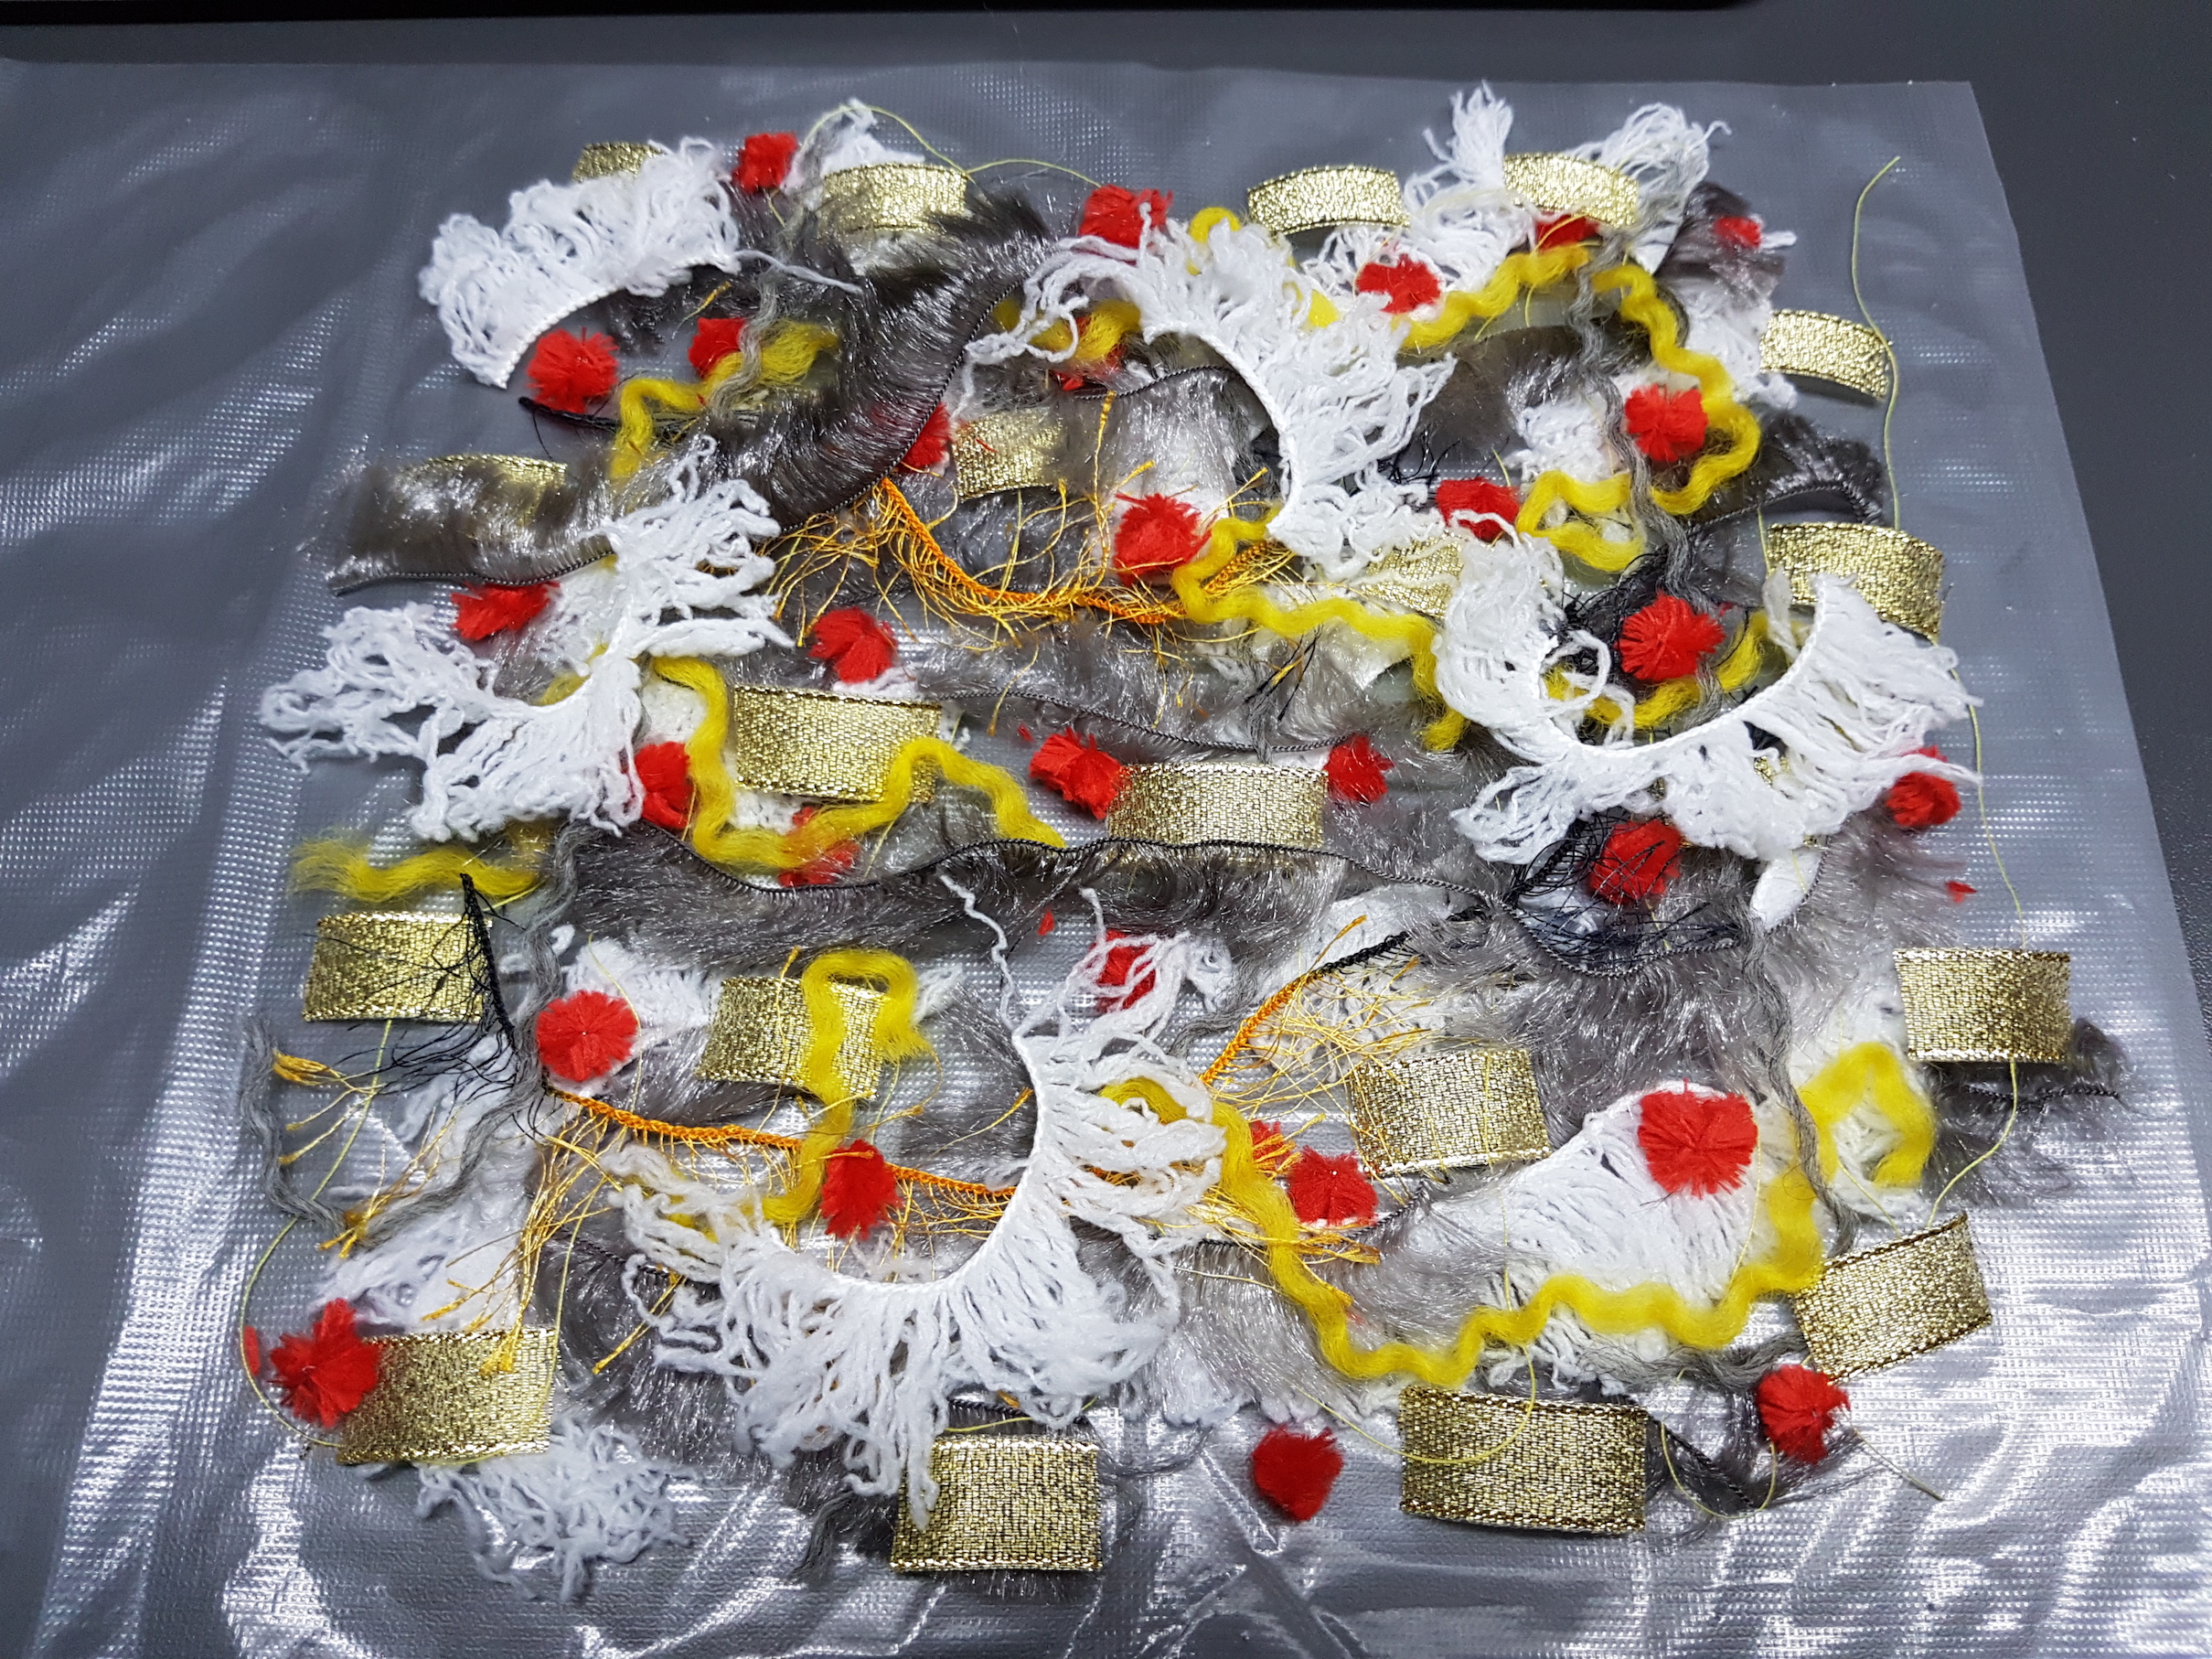
This week, we explored unconventional materials such as fabric of thread. It consists of a variety of threads, yarn, scrap fabric sewn together in a grid pattern to form a new one-of-a-kind fabric. The material is see-through and can be applied to many products such as scarves, clothing, containers etc. to create a unique aesthetic.
Materials needed:
Threads, yarns, scrap fabrics, trimmings of your choice! (Can even include small flat objects)
Sewing machine
Water soluble stabilizer
Acrylic spray (optional)
First we design our fabric of threads by arranging scrap yarn, ribbon or wool within the water soluble stabilizer. This particular fabric of thread includes yarn, acrylic fur, tiny pipe cleaners, ribbon and an assortment of coloured threads.
Arrange threads and trimmings within the water soluble stabilizer
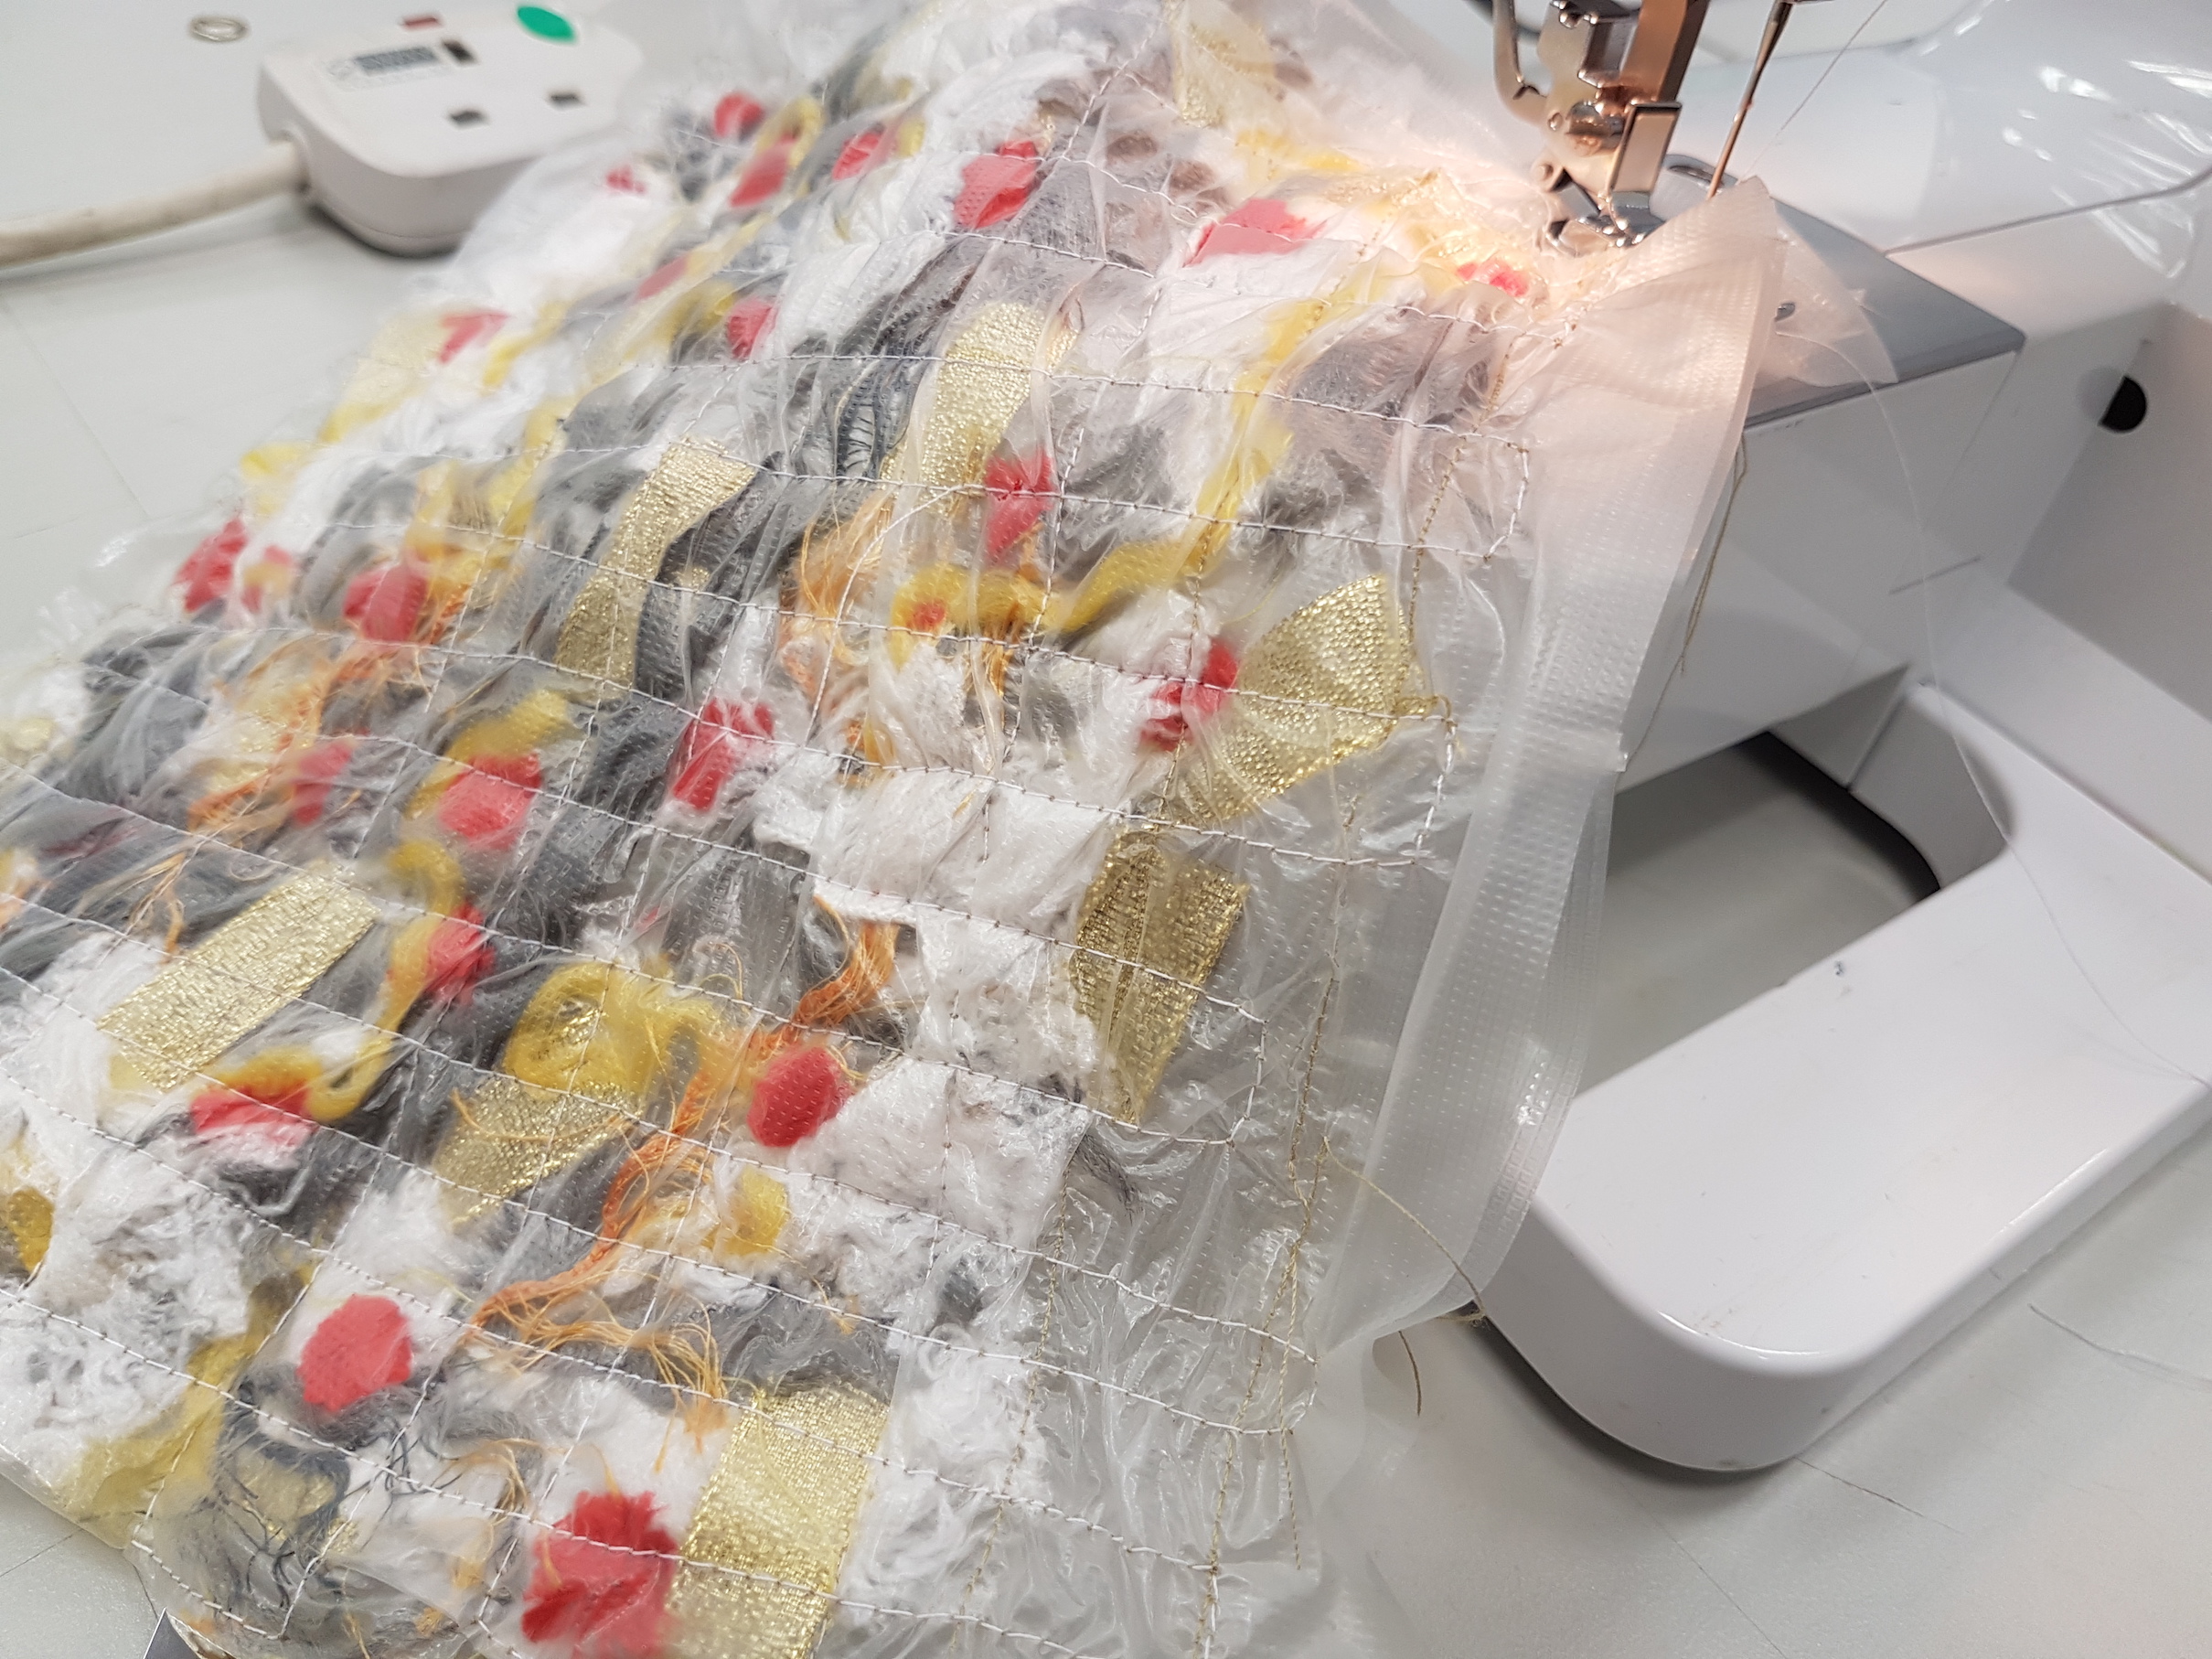
Fold the water soluble sheet in half, and pin the edges. This will help with the sewing process.
Start sewing!
Sew long lines across the fabric from edge to edge, removing pins as we encounter them. To change directions of sewing when we reach the edge of the sheet, we can either pivot at a right angle or reverse at a point.
Sewing a grid
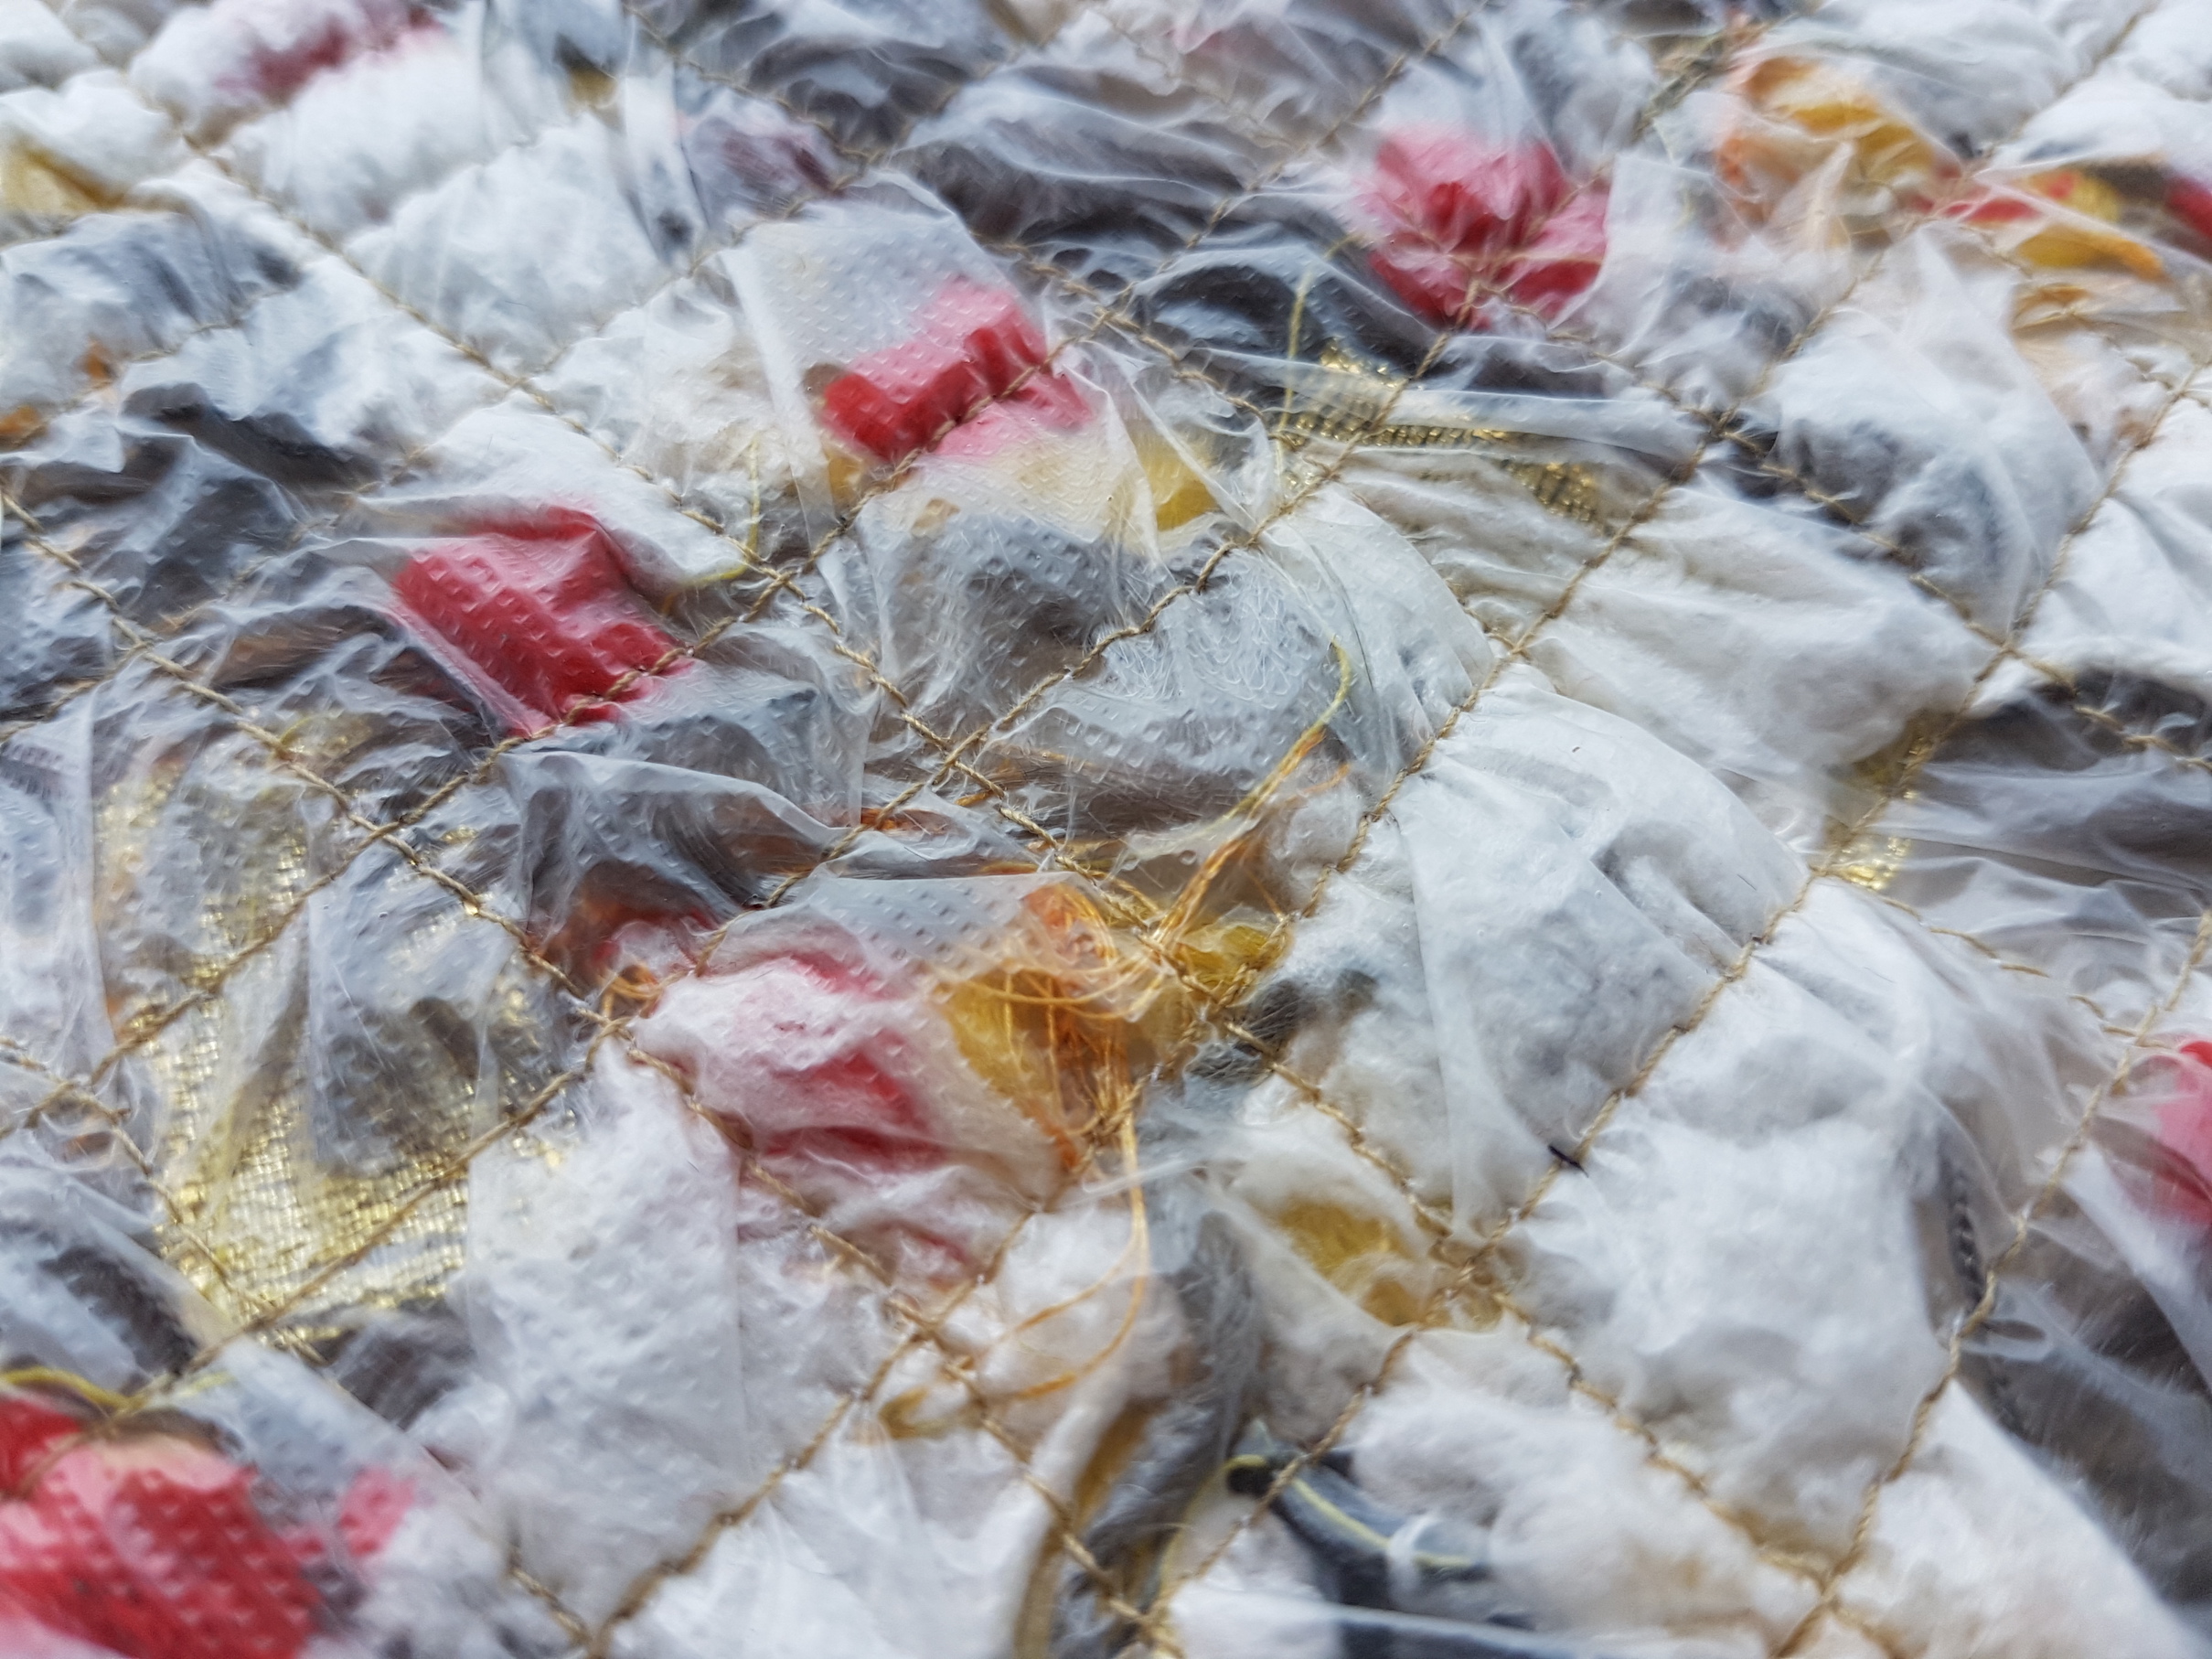
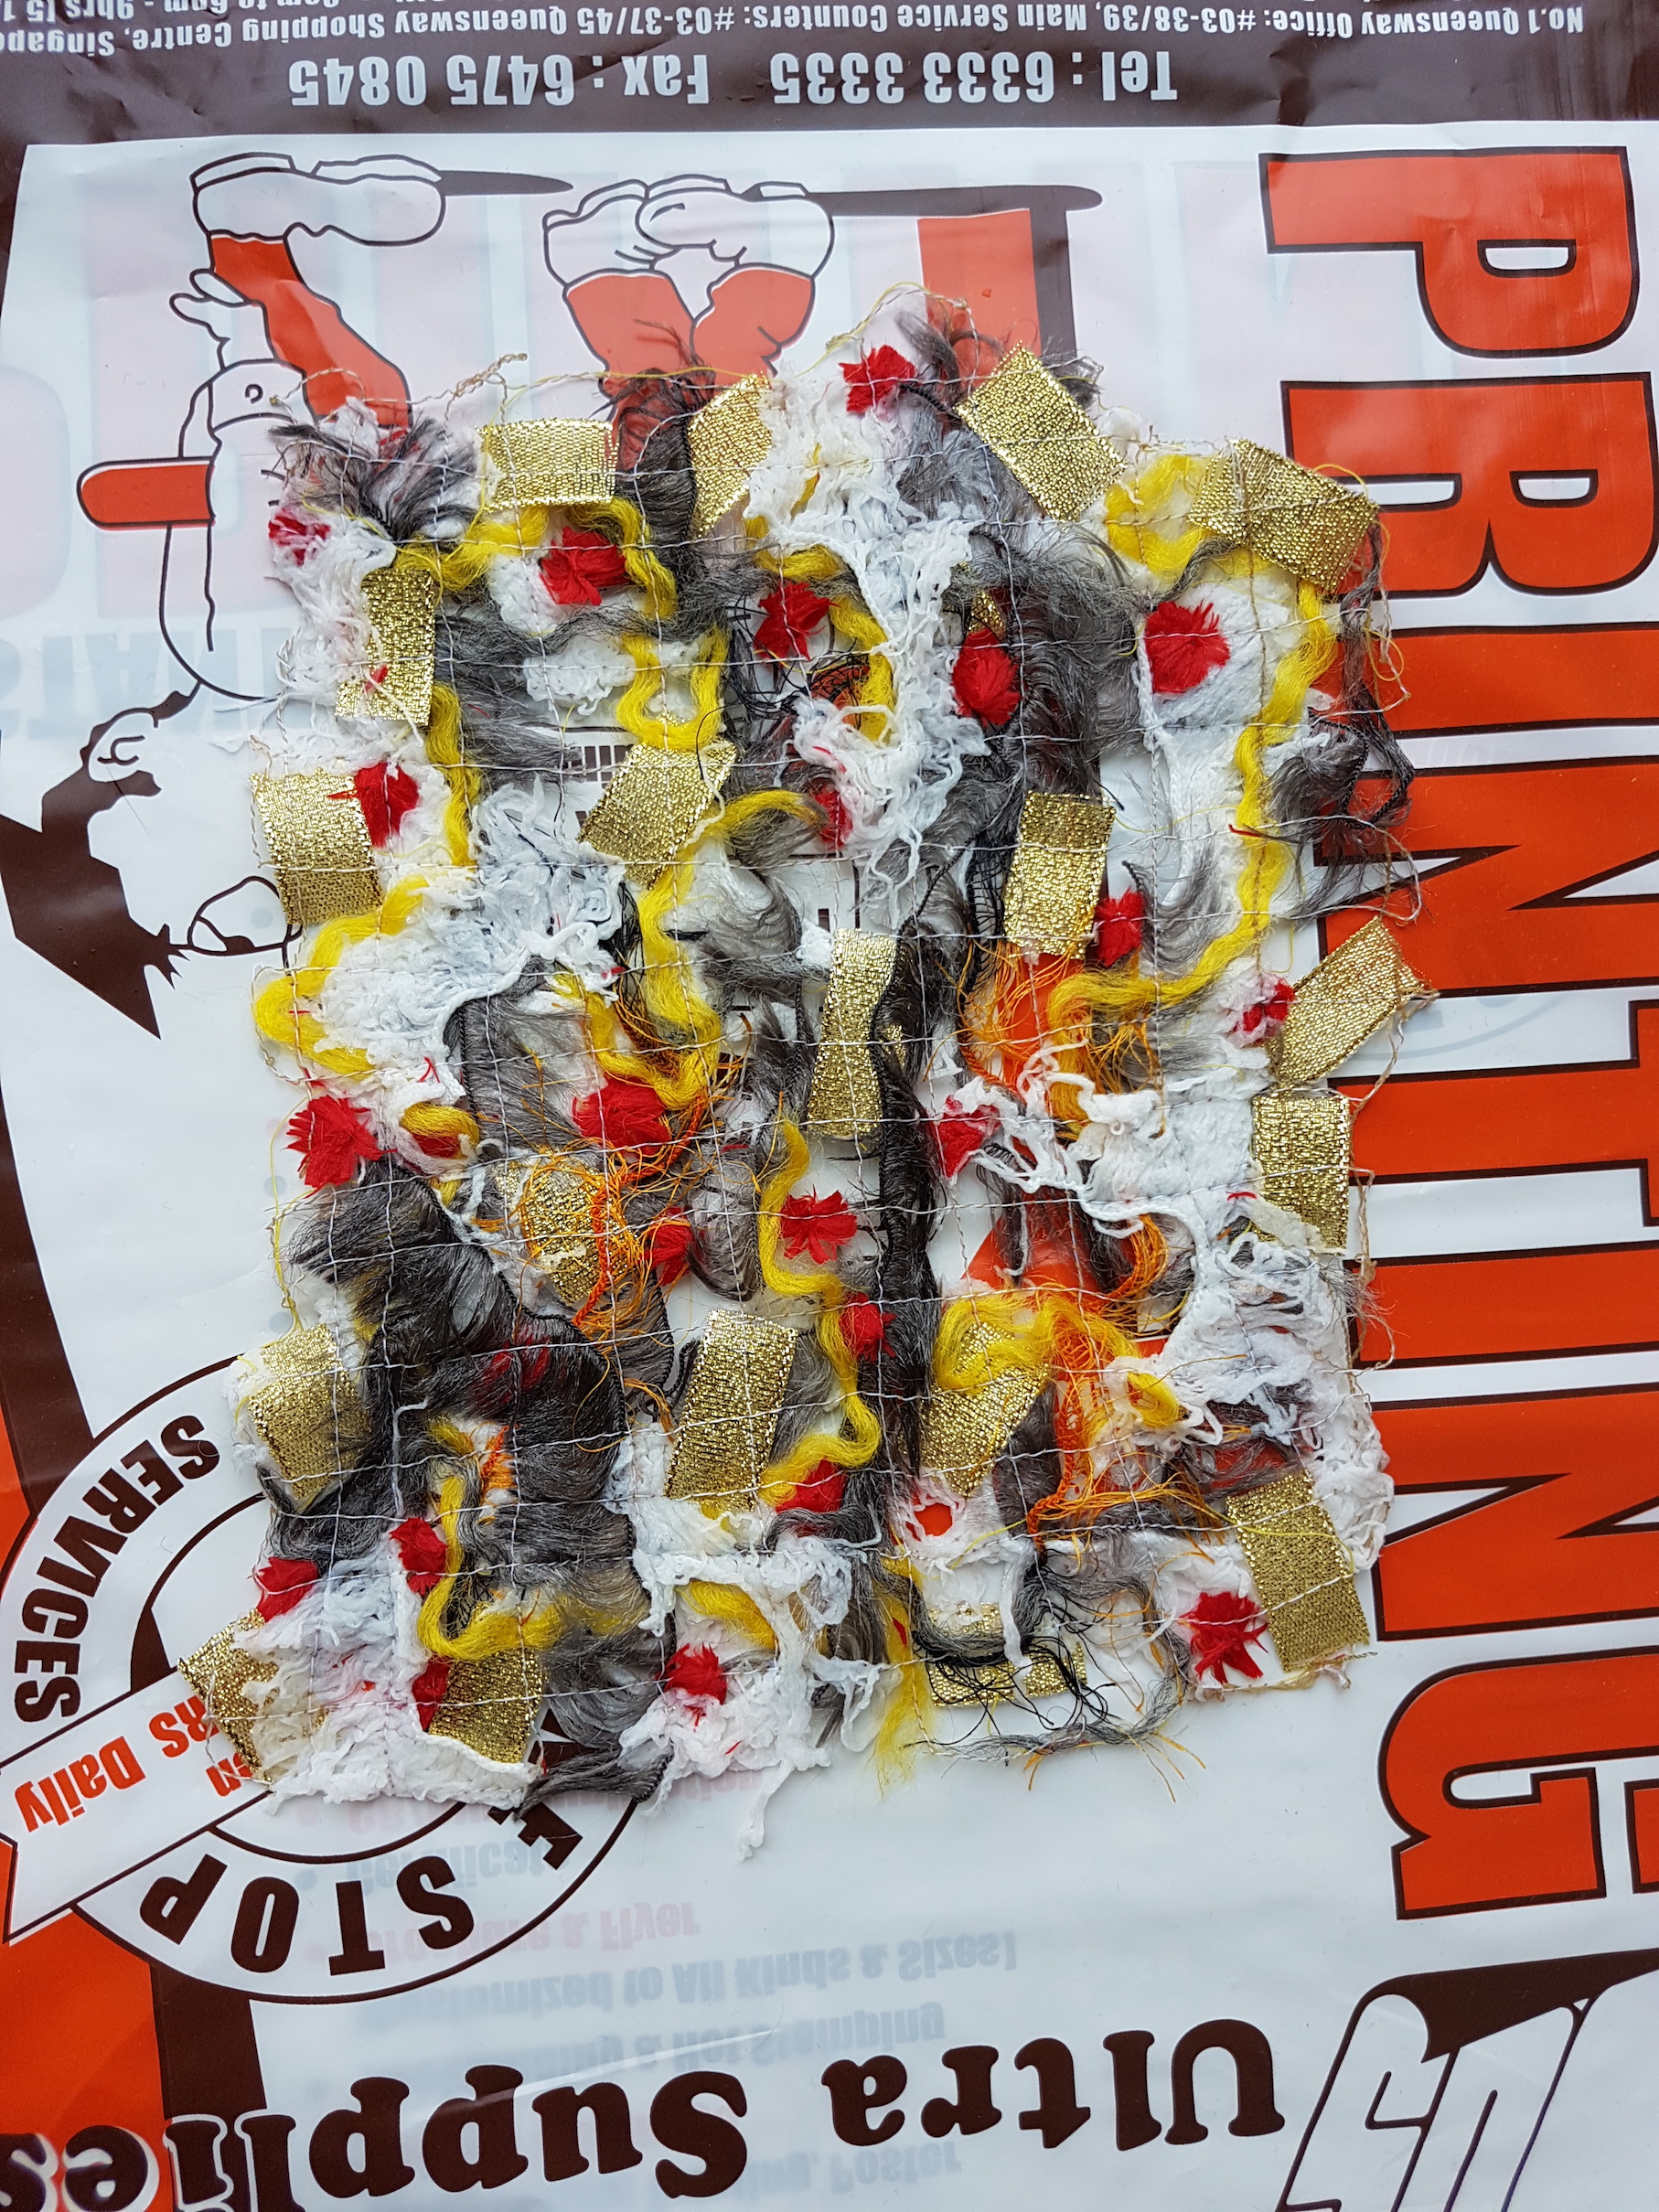
When all the horizontal rows are completed, form a grid by repeating rows vertically. This will help keep the threads in place once the water soluble material is washed off. I used 2 different thread colours to sew (grey ochre on one side, and white on the other).
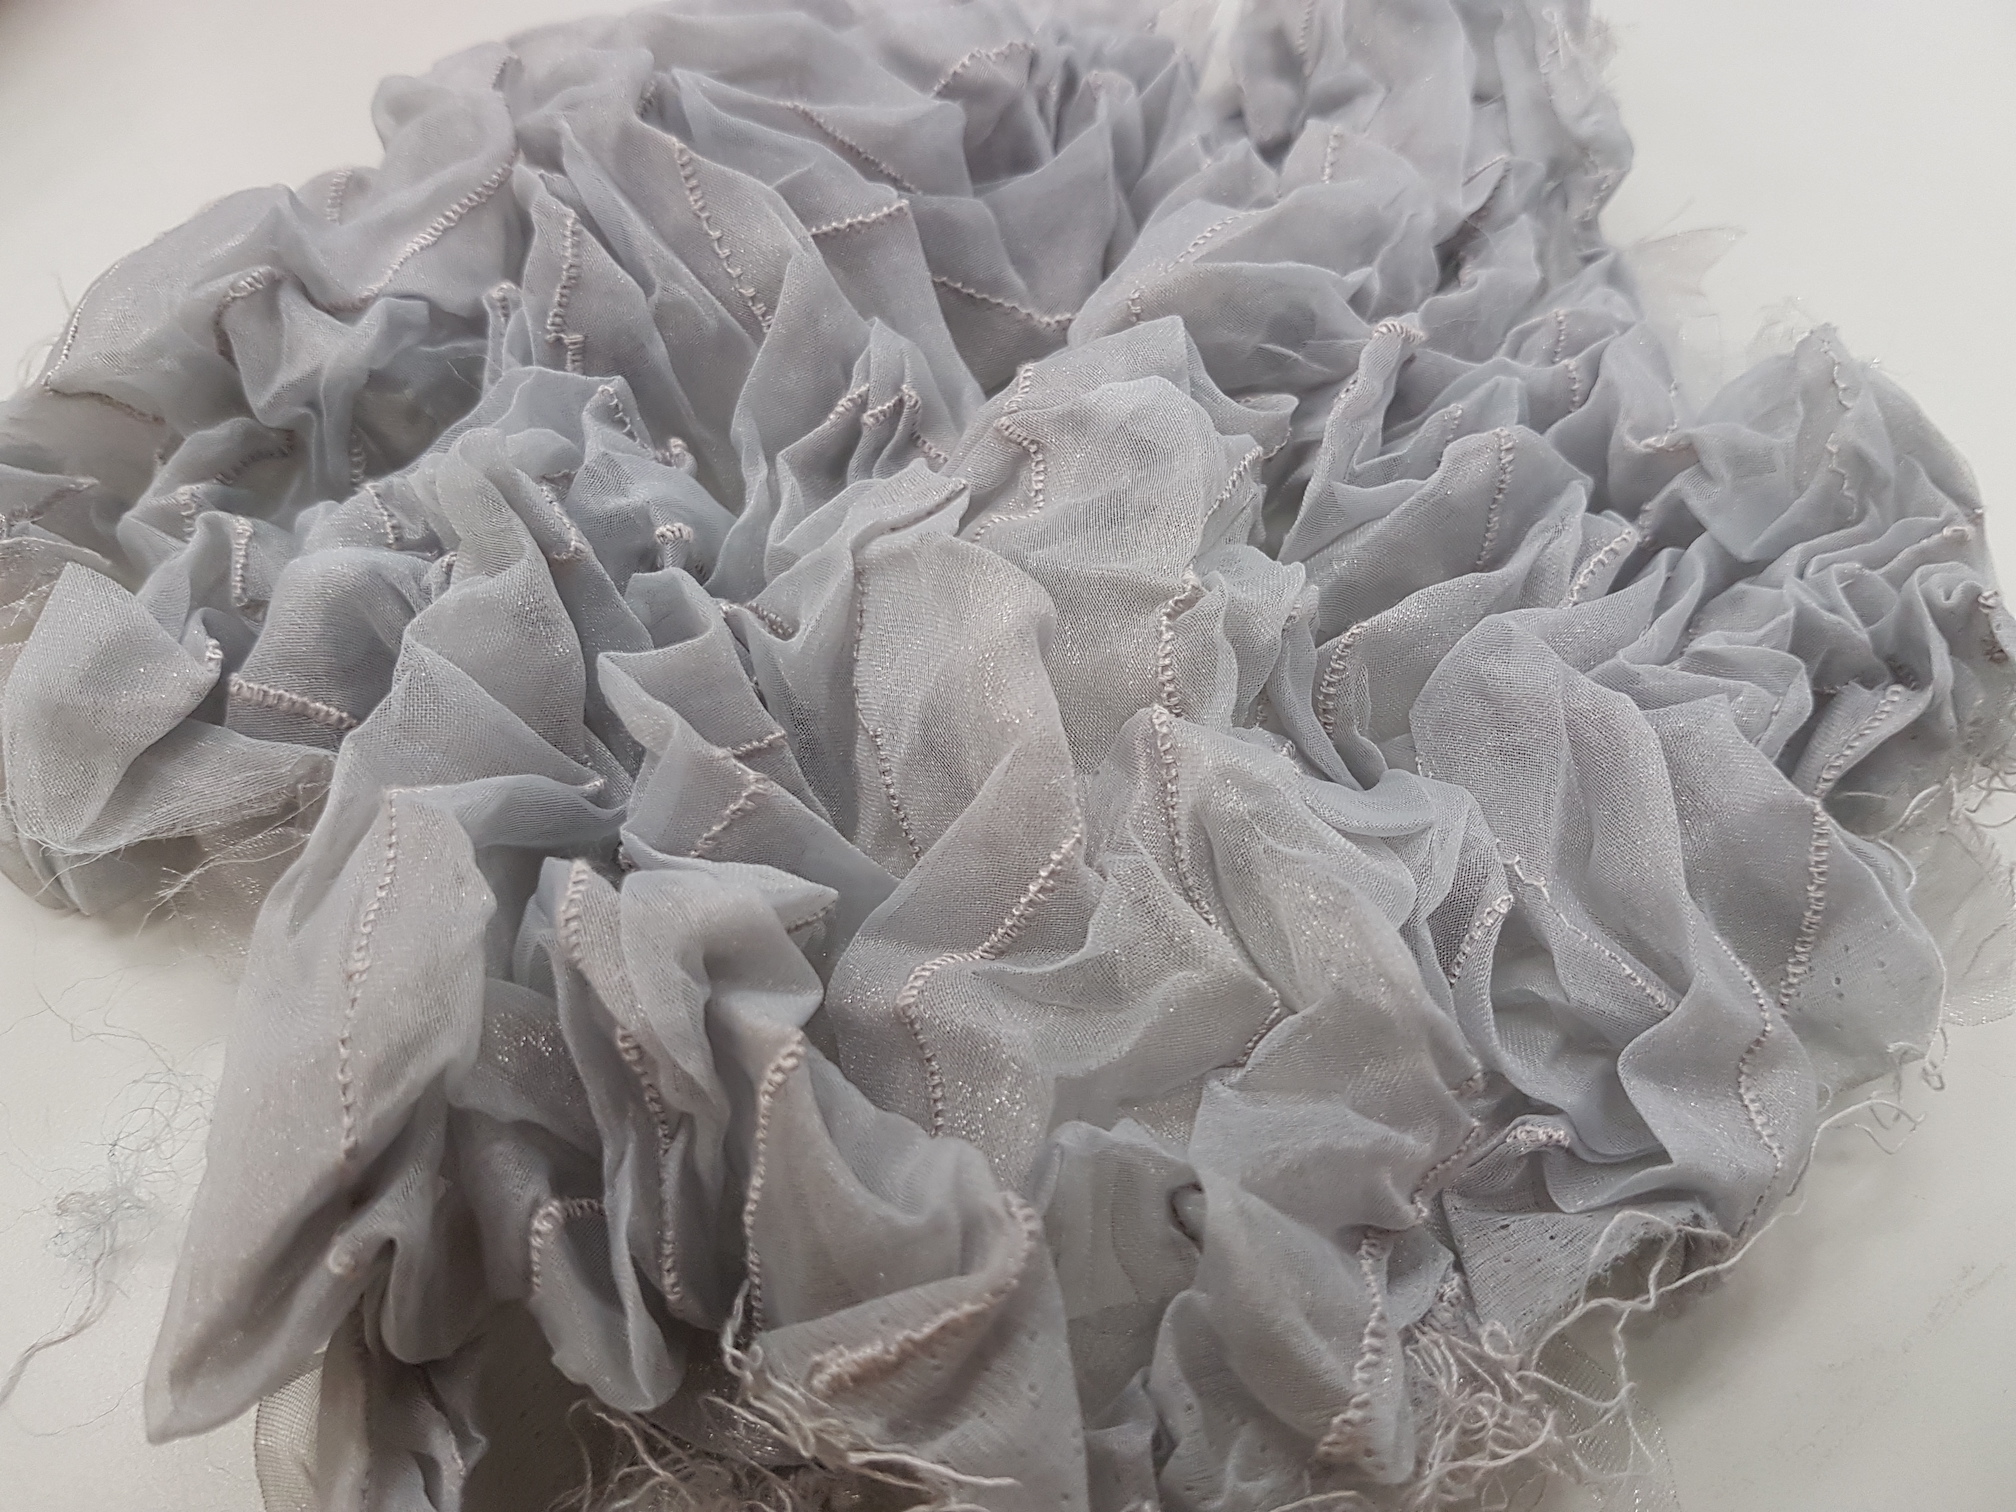
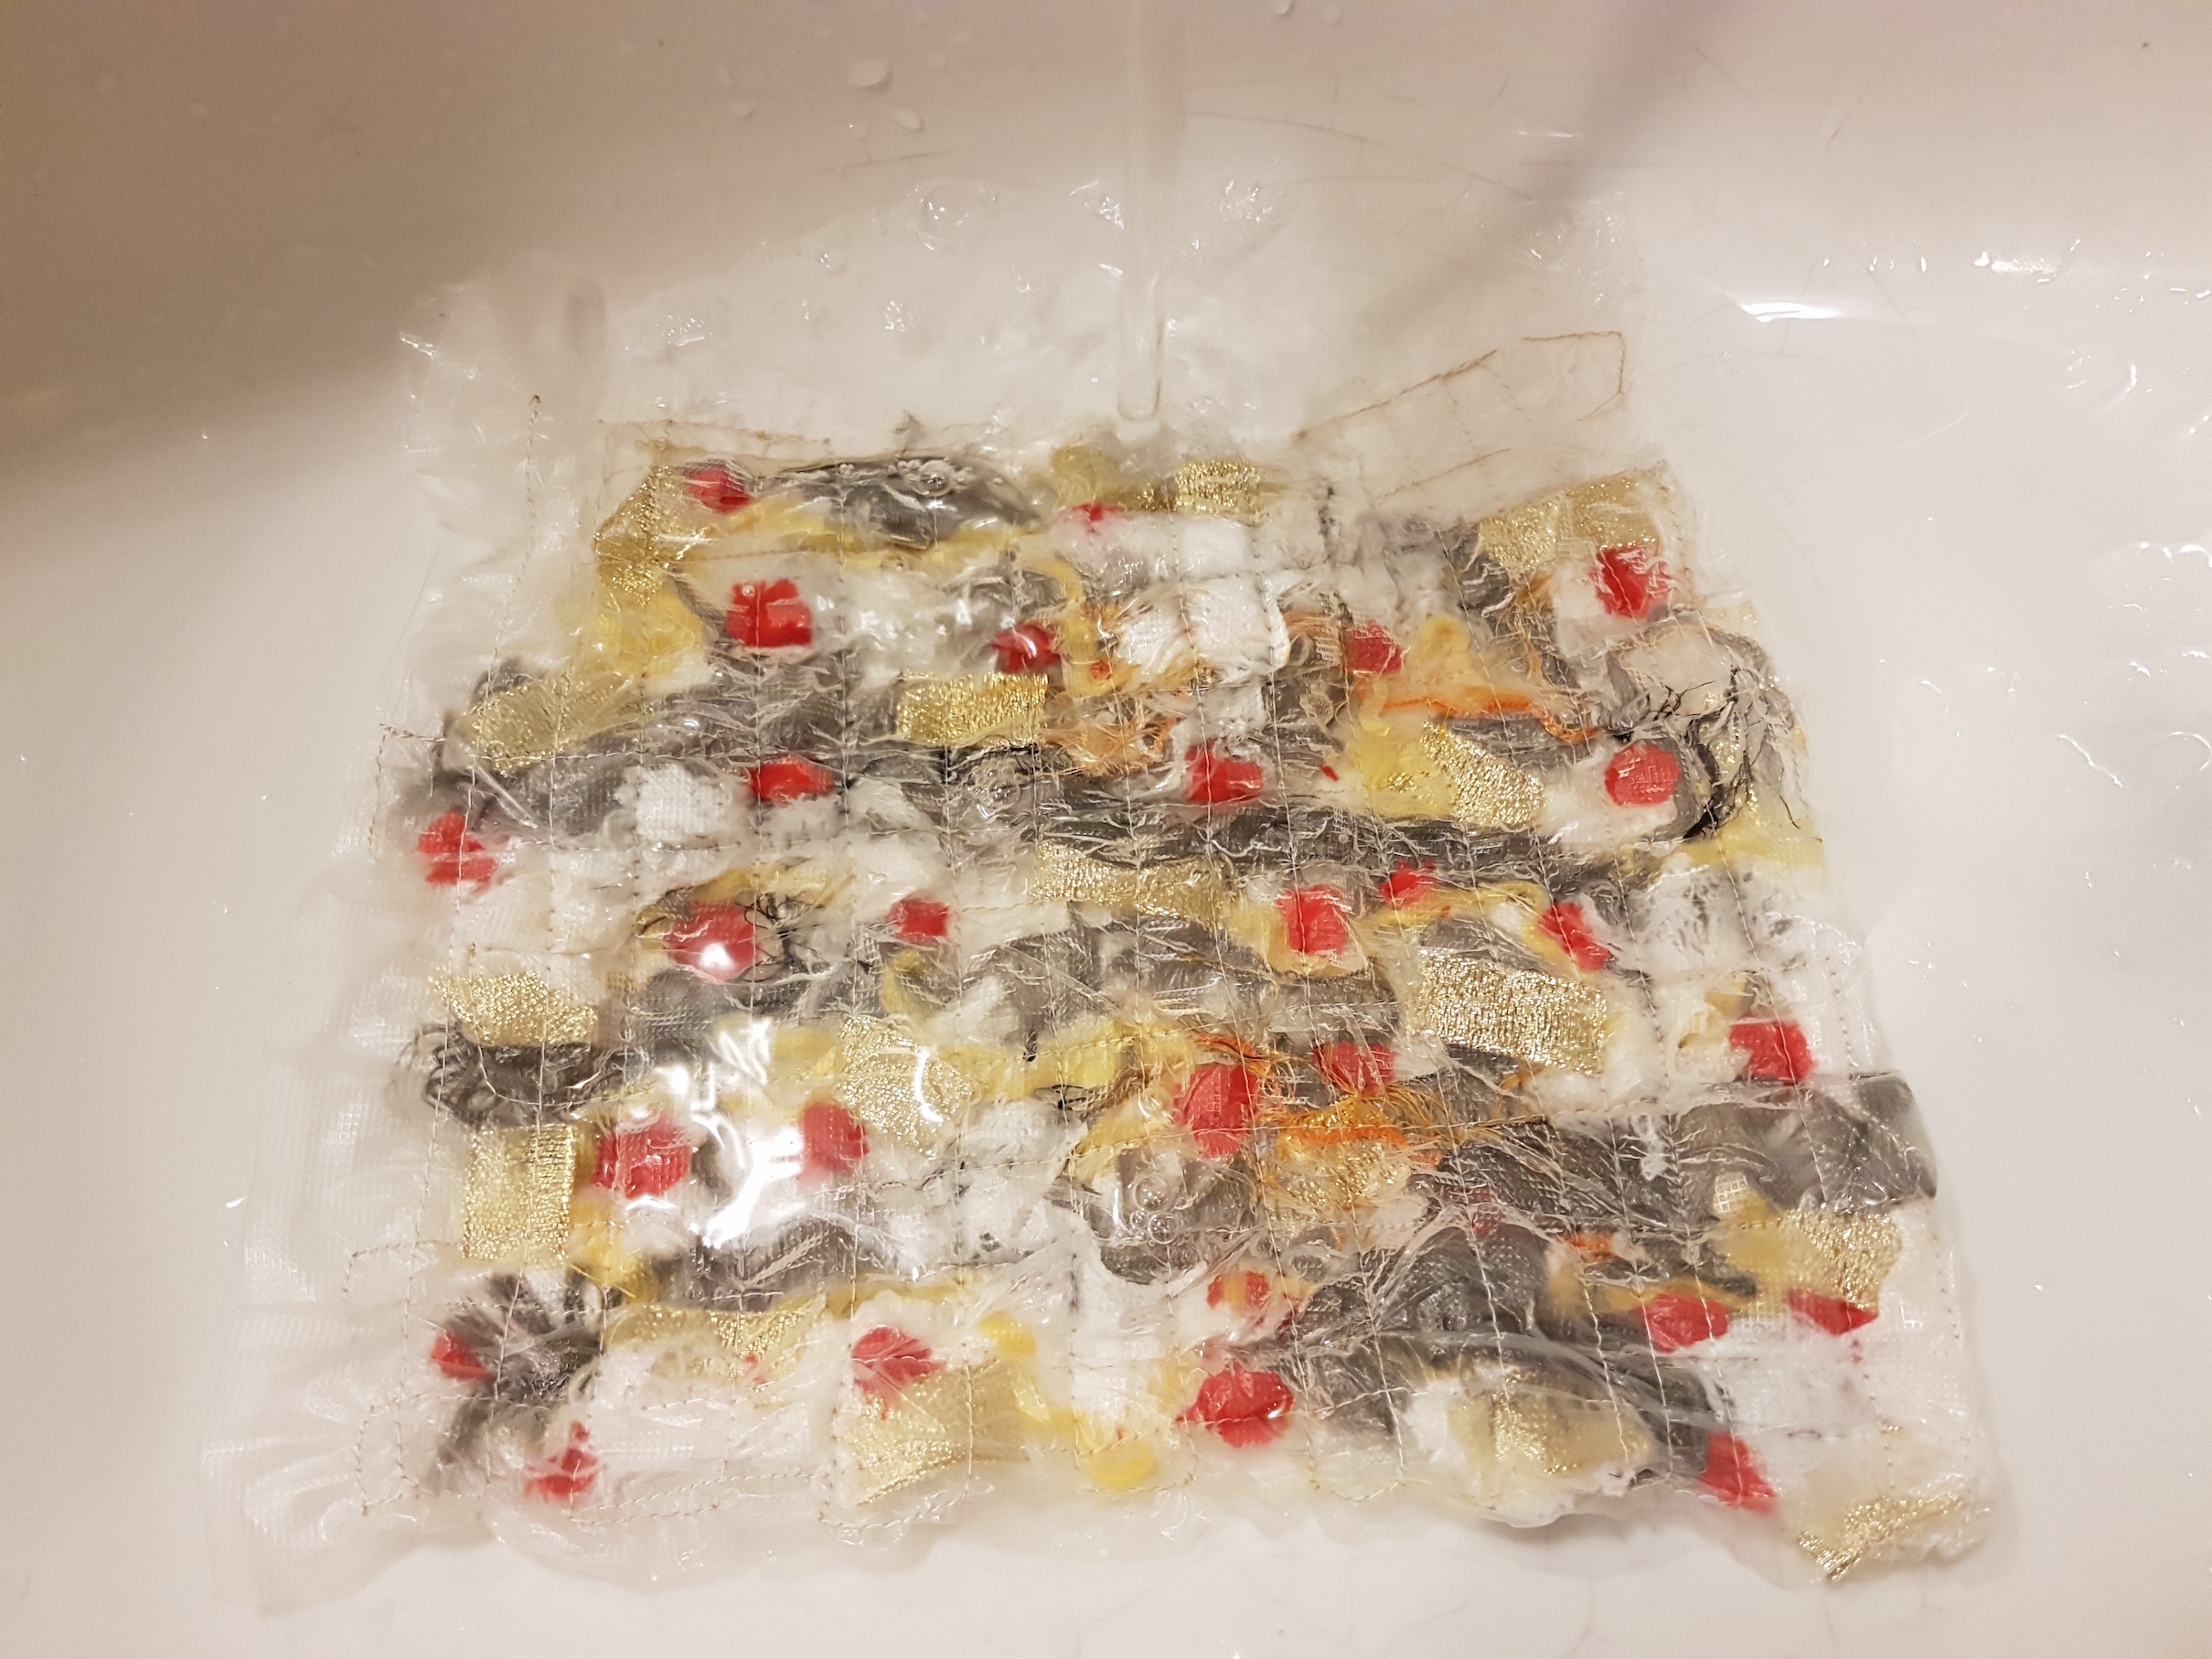
Next comes the exciting reveal! Rinse the fabric with water and watch the water soluble sheet dissolve. Rinse thoroughly for a softer fabric or for wearable products. Rinsing less rigorously will create a stiffer fabric which can be moulded to different shapes using an acrylic spray.
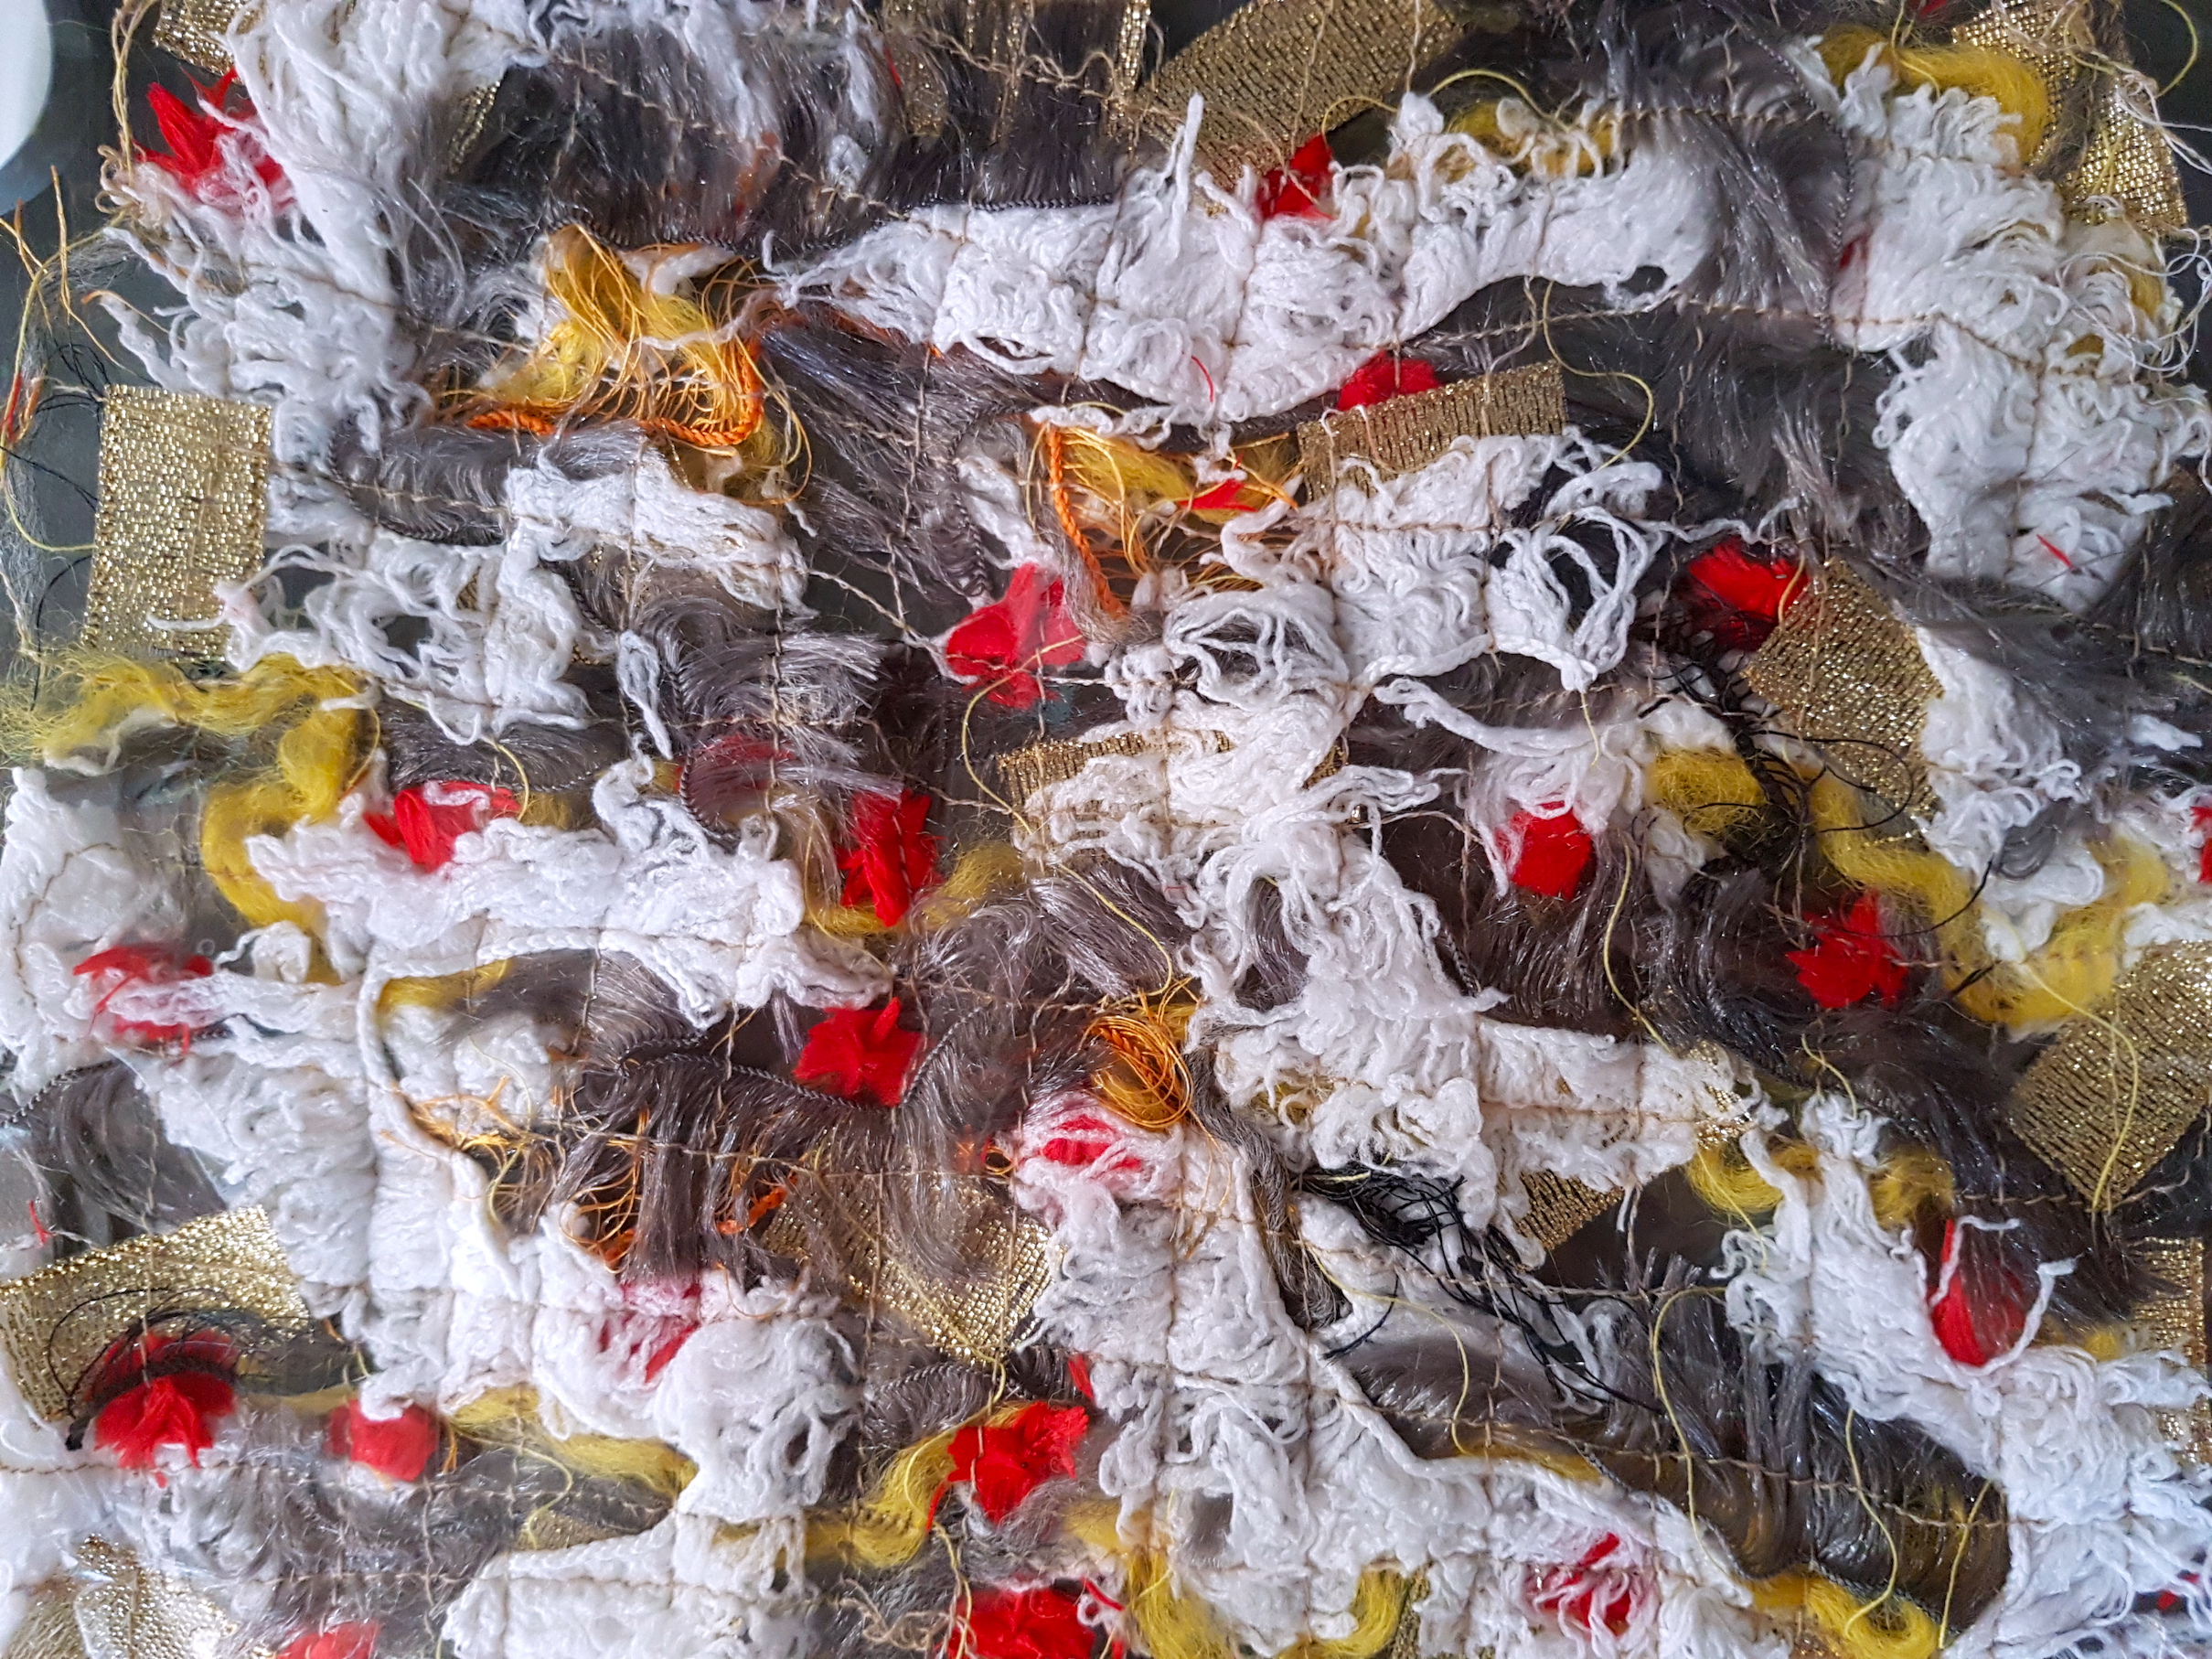
Final result
The final result is a one-of-a-kind fabric! I like how the possibilities are endless with fabric of thread. It is very customisable and the variety of materials creates an interesting, weaved semi-opaque textile.
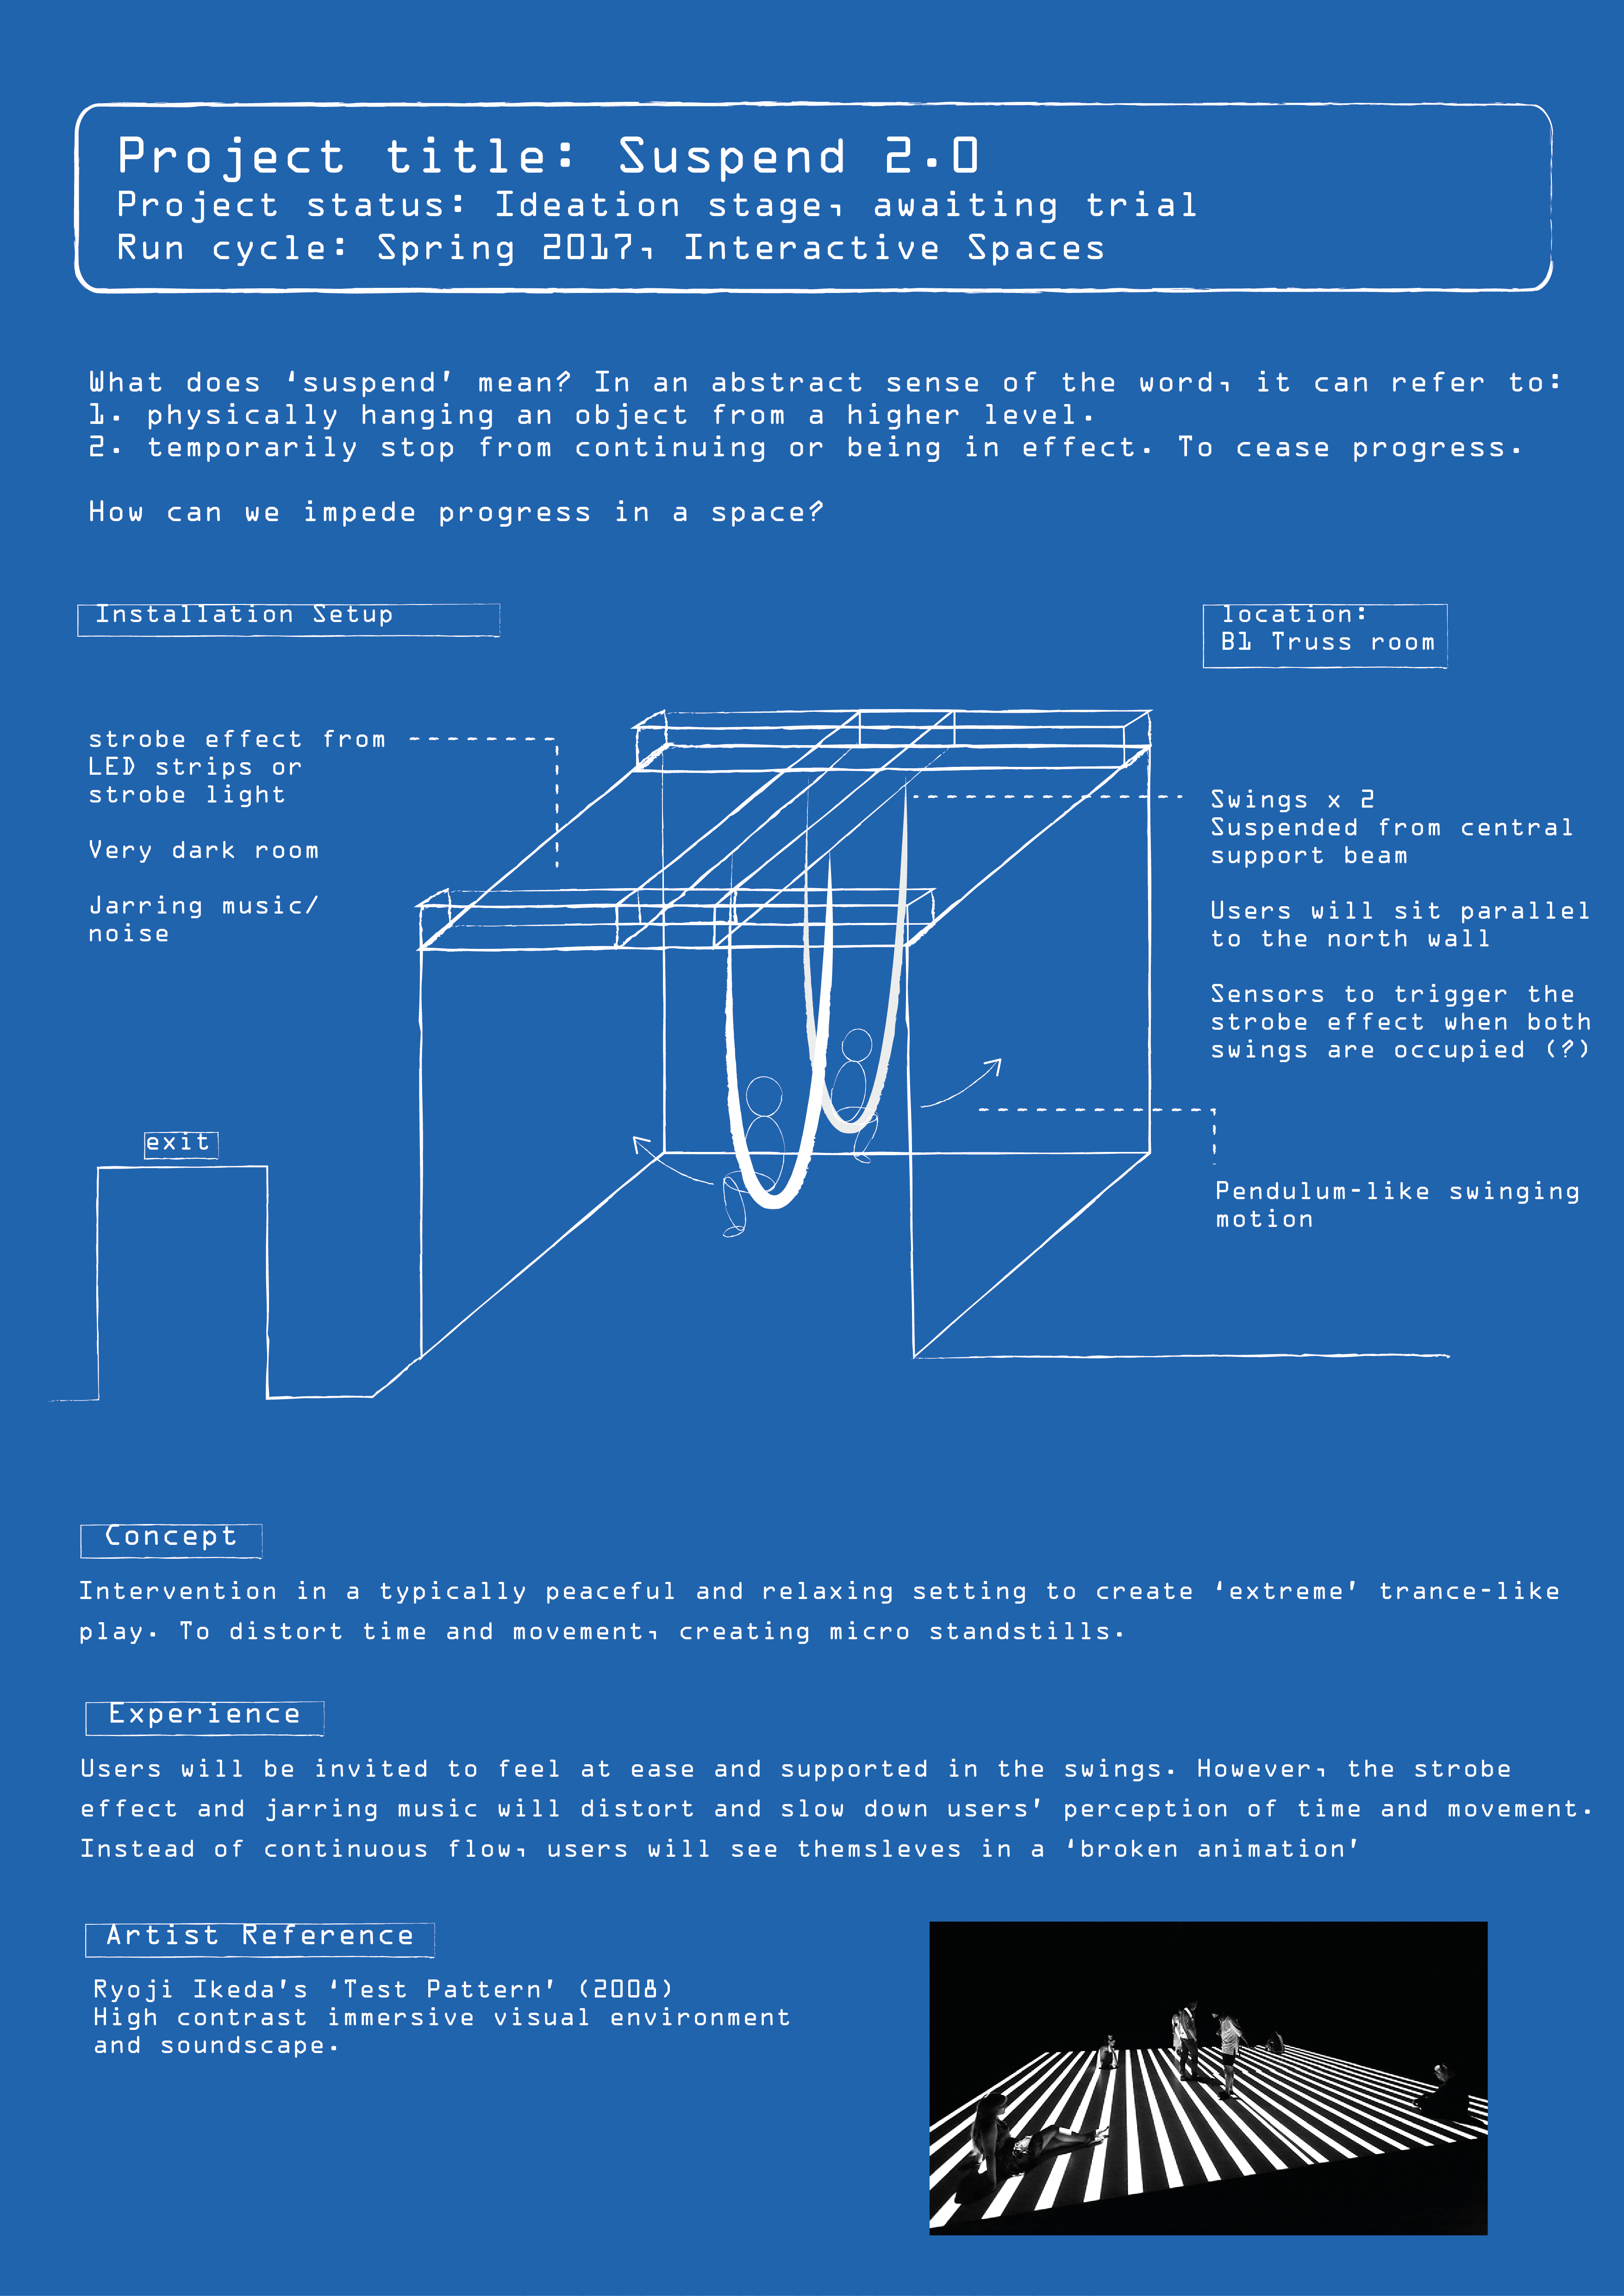
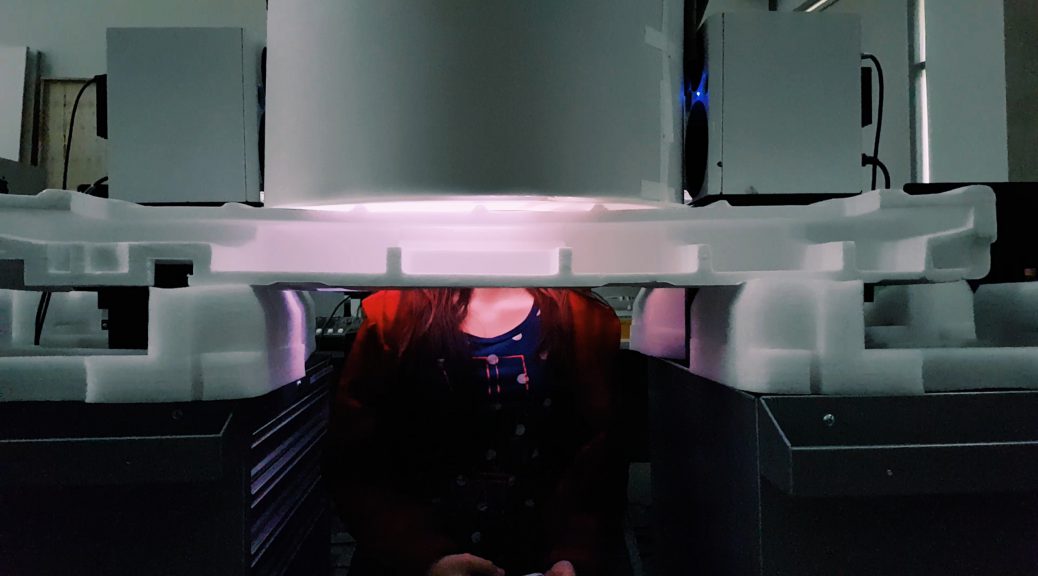
Suspend your Disbelief II is a development of my analogue midterm project. It incorporates sound and light to create an immersive and trance-like audiovisual environment. By introducing strobe light effect and a jarring soundscape, the work is an intervention of a typically peaceful and relaxing play environment. It also aims to distort movement and our perception of time and progress.
Suspend your Disbelief II poster presentation
Process
Some alterations needed!Reinforcements!
Some alterations were needed to customise the swings for the new space (Truss room). I chopped the longest swing into two pieces and made additional reinforcements to the centre. I also shortened the length of the sticks for a sleeker look and to allow for more movement.
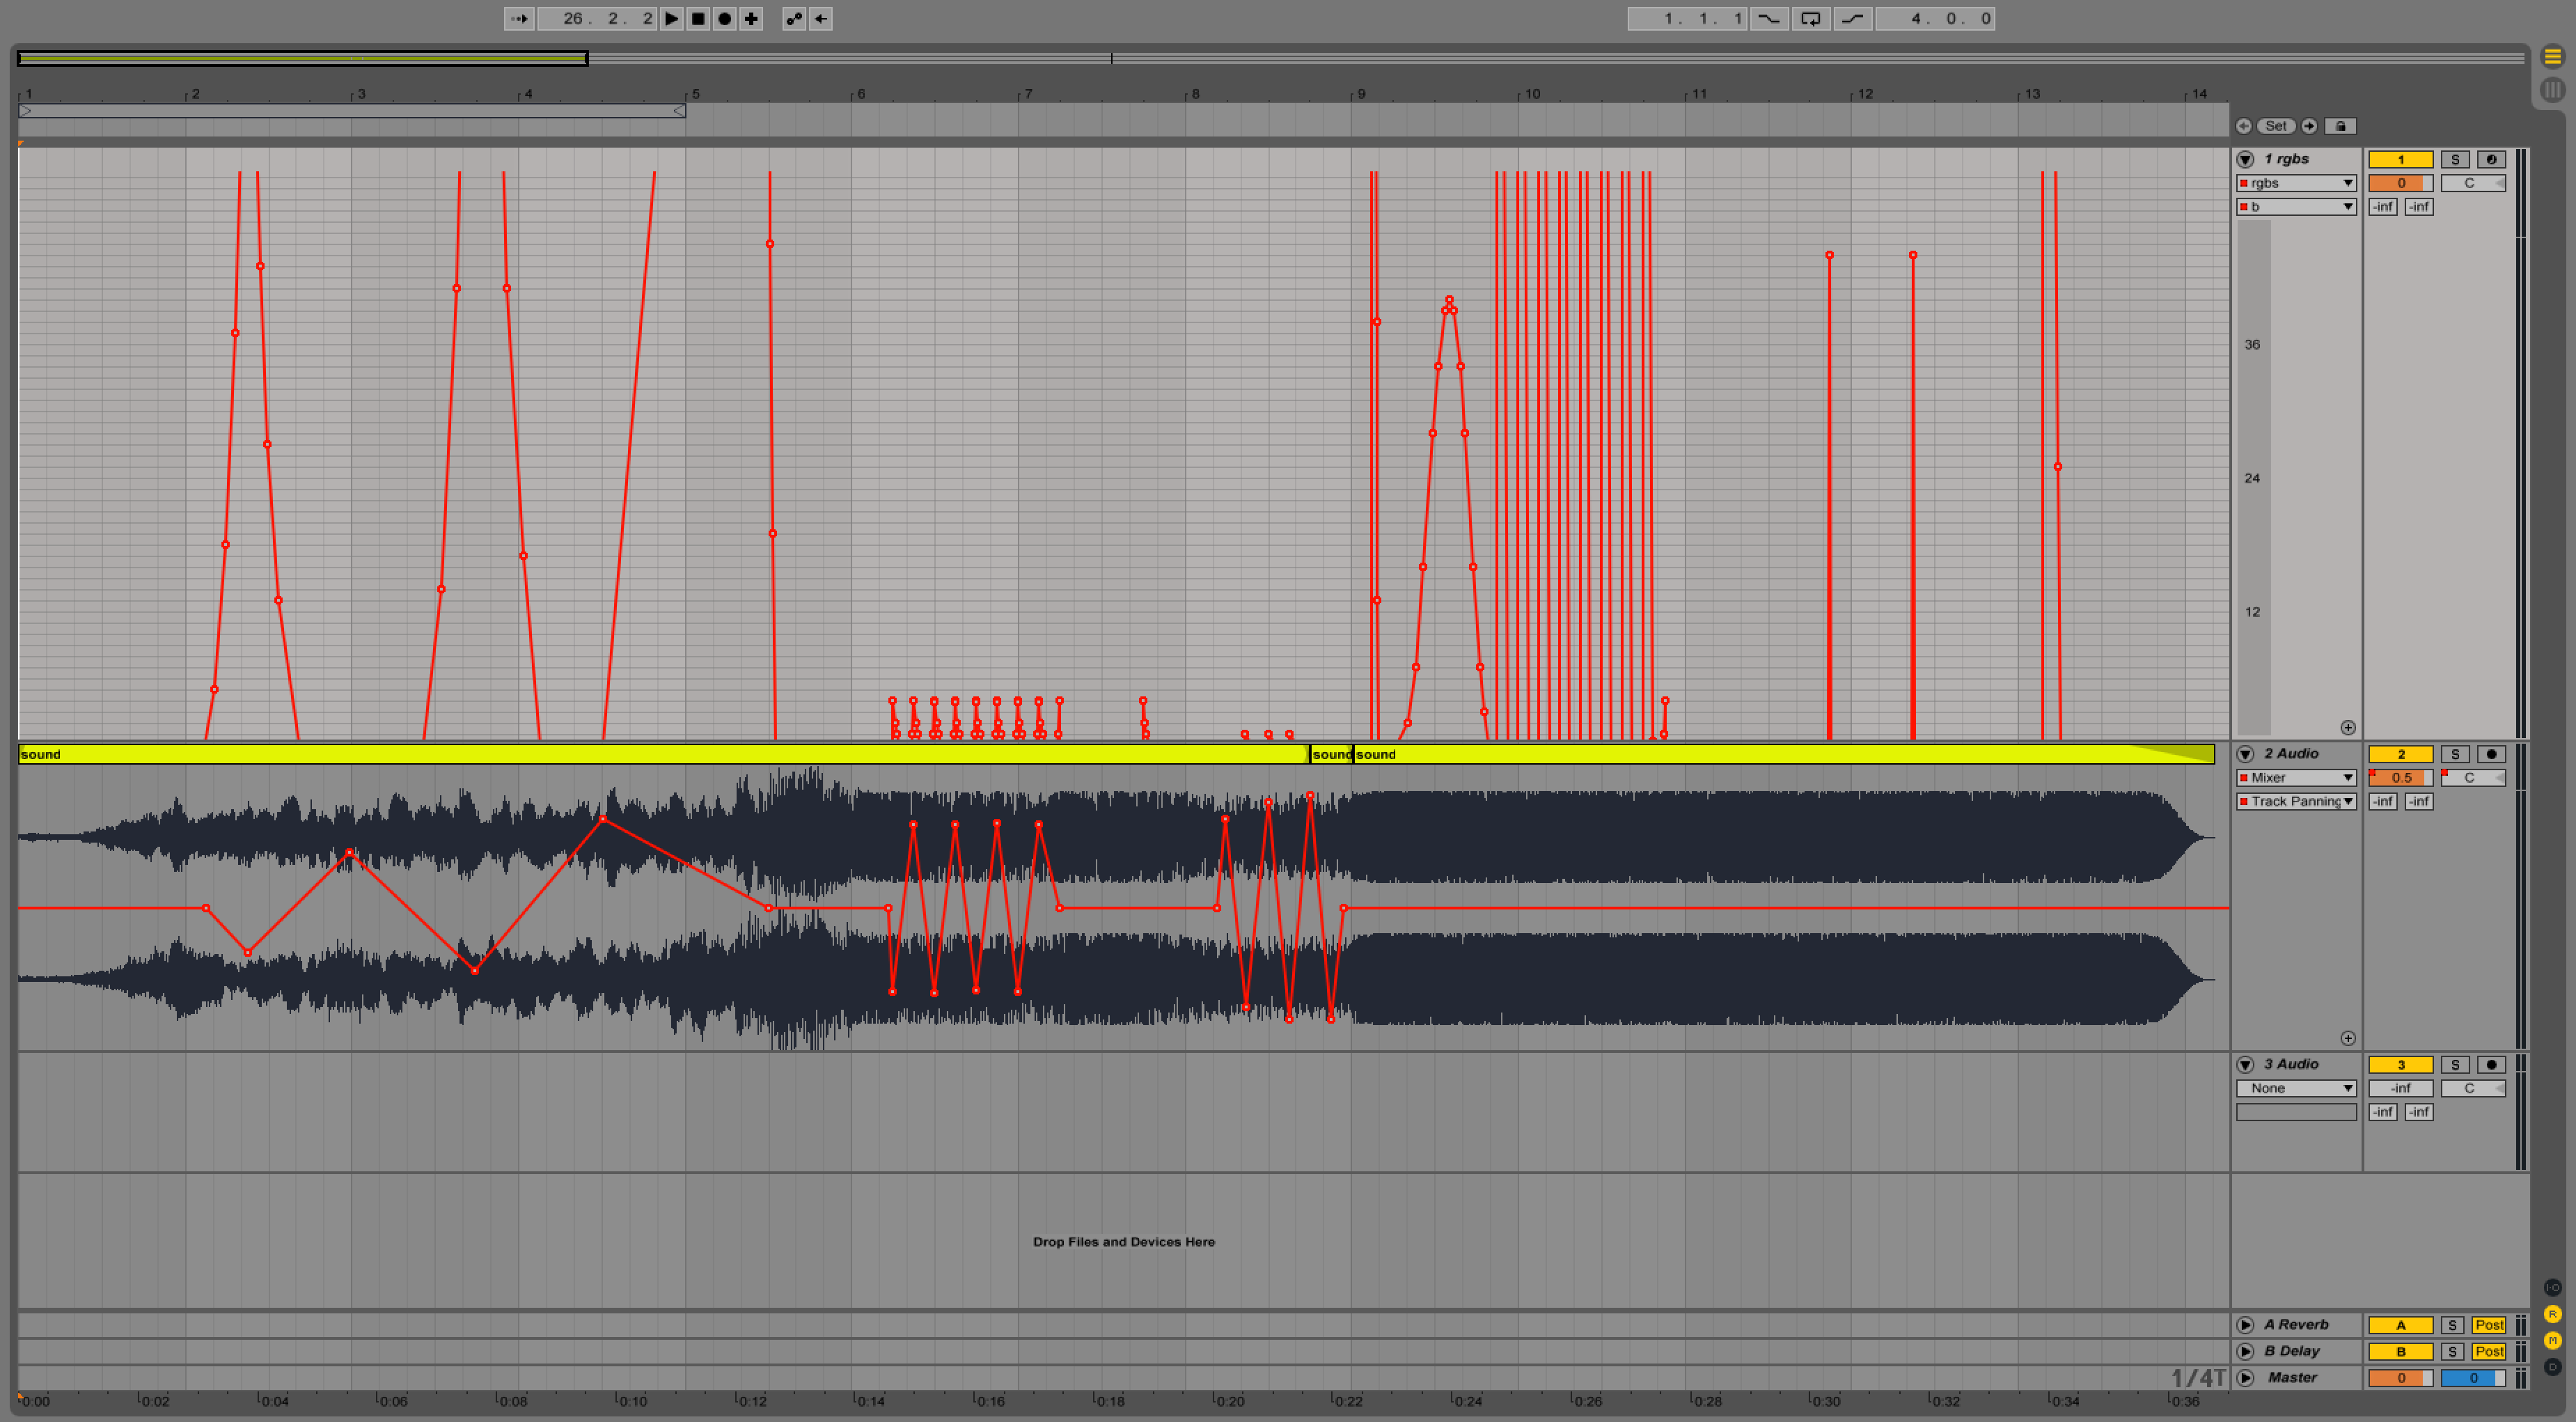
The soundscape consisted of a low-frequency drone in the background and 10 randomised accents. These accents were either
created or edited using Ableton Live. I adjusted each accent to make it sound as jarring and ‘noisy’ as possible while remaining unified as a soundscape. Each accent or delay also had a unique light pattern which emphasised its sound.
Some accents had a gradual circular panning effect or sudden jumps between corners but that was not included in the end due to technical difficulties in the space. Multichannel panning would have enhanced the effect of movement and confusion in the space, however, overall I think the result was alright without it. Oh well! 🙂
Video Documentation
Interestingly, when pairs of friends experienced the space together, they often wanted to hold hands and swing in unison. Their response was unexpected, but nonetheless very endearing.
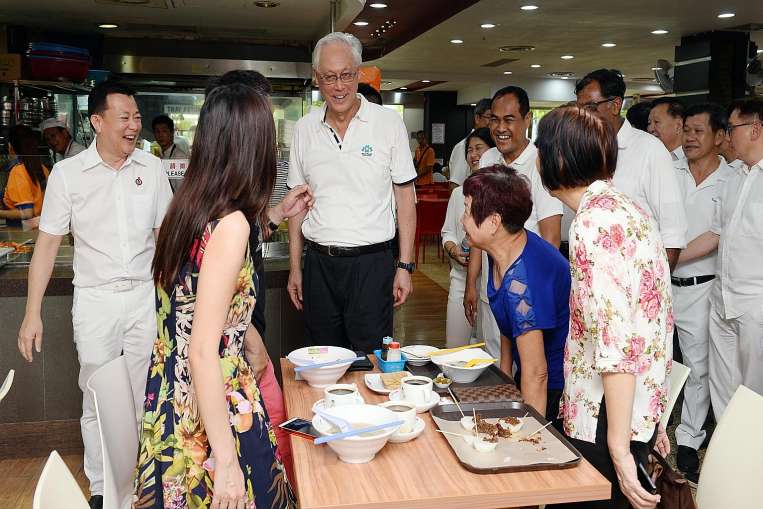
After announcing her intentions to run as an MP last week, this week’s broadcast explored the next step of the campaign narrative: conducting promotional activities.
This involved a quick meet-the-people session and guerrilla marketing tactics such as sticking posters, stickers and a surprise in public spaces.
Minister and entourage meeting citizens at a hawker centre
Accompanied by an entourage of assistants and photographers, MPs (Members of Parliament) usually go from table to table at hawker centres and briefly shake hands with citizens during election season. I wanted to parody this common MP behaviour in this week’s broadcast. I shook hands with some citizens and handed out flyers, encouraging them to vote for me in the supposed upcoming election.
I realise there are some limitations which we as social broadcasters have to be mindful of. For example, it was difficult to hold the camera, flyers and stickers at the same time, while speaking and shaking hands with citizens. We also need to manage camera angles and the light direction. It’s a bit unfortunate that subtle interactions such as my handshakes with the citizens were not caught within the frame.
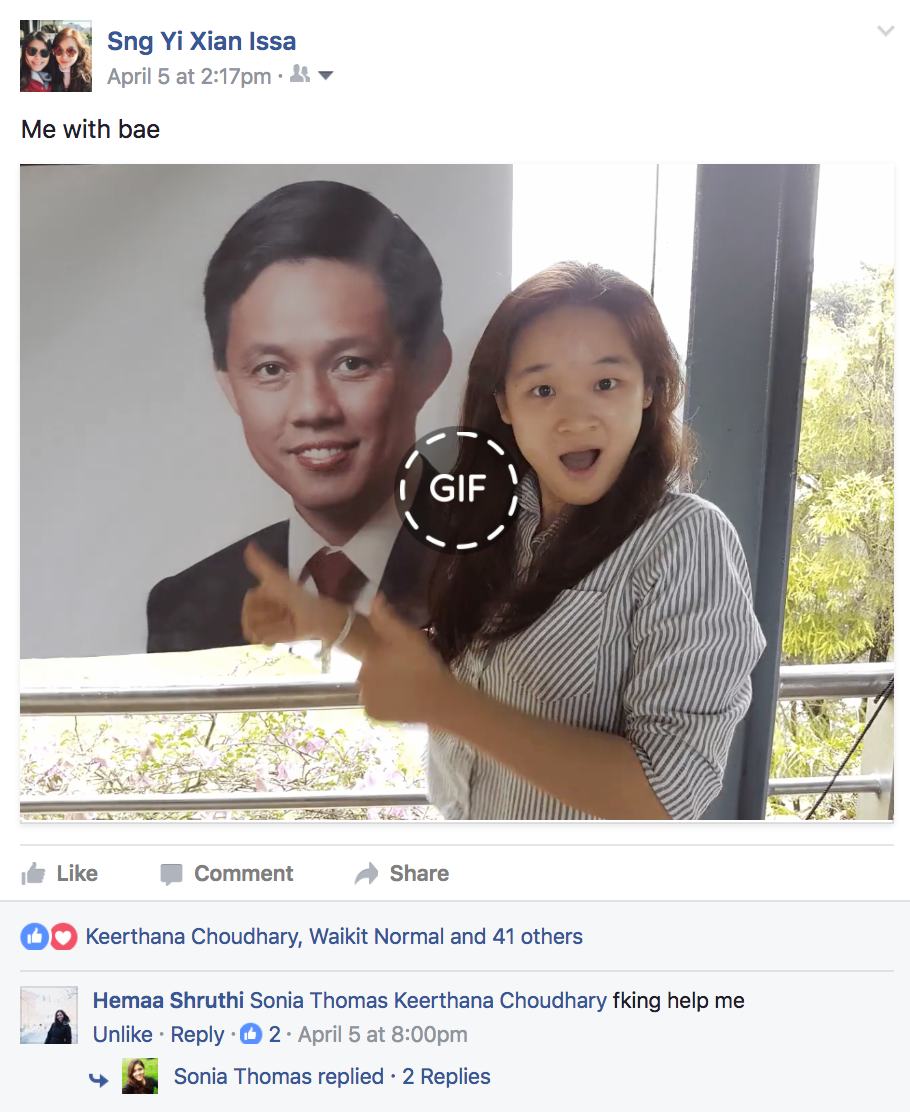
Furthermore, in line with Roxy’s position as a millennial politician, this week’s concept also experimented with guerrilla marketing and unconventional campaign promotion. In parallel with the Facebook live broadcasts, I experimented with other forms of internet culture and social networking by posting additional bits of (satirical) content like GIFs during the week. Not only does this help sustain interest in the project, it also helps flesh out Roxy as a character and show snippets of her unique and unorthodox campaign activities.
Still from my Facebook post
(This is a still of the GIF as I couldn’t embed it. Here’s the full post) The banner shows MP Chan Chun Sing who came to speak at NTU this week.
Still from my Facebook post
(This is a still of the GIF. Here’s the full post)
Another common MP behaviour is dancing at grassroots events. The dancing style is rather reserved, and MPs appear to be dancing out of obligation.
Surrounding the theme of unconventional marketing, this week’s broadcast was done as 2 mini-broadcasts.
Here’s part 1:
Beautifying public spaces with my face and first impromptu meet-the-ppl session. You're welcome NTU 🙂
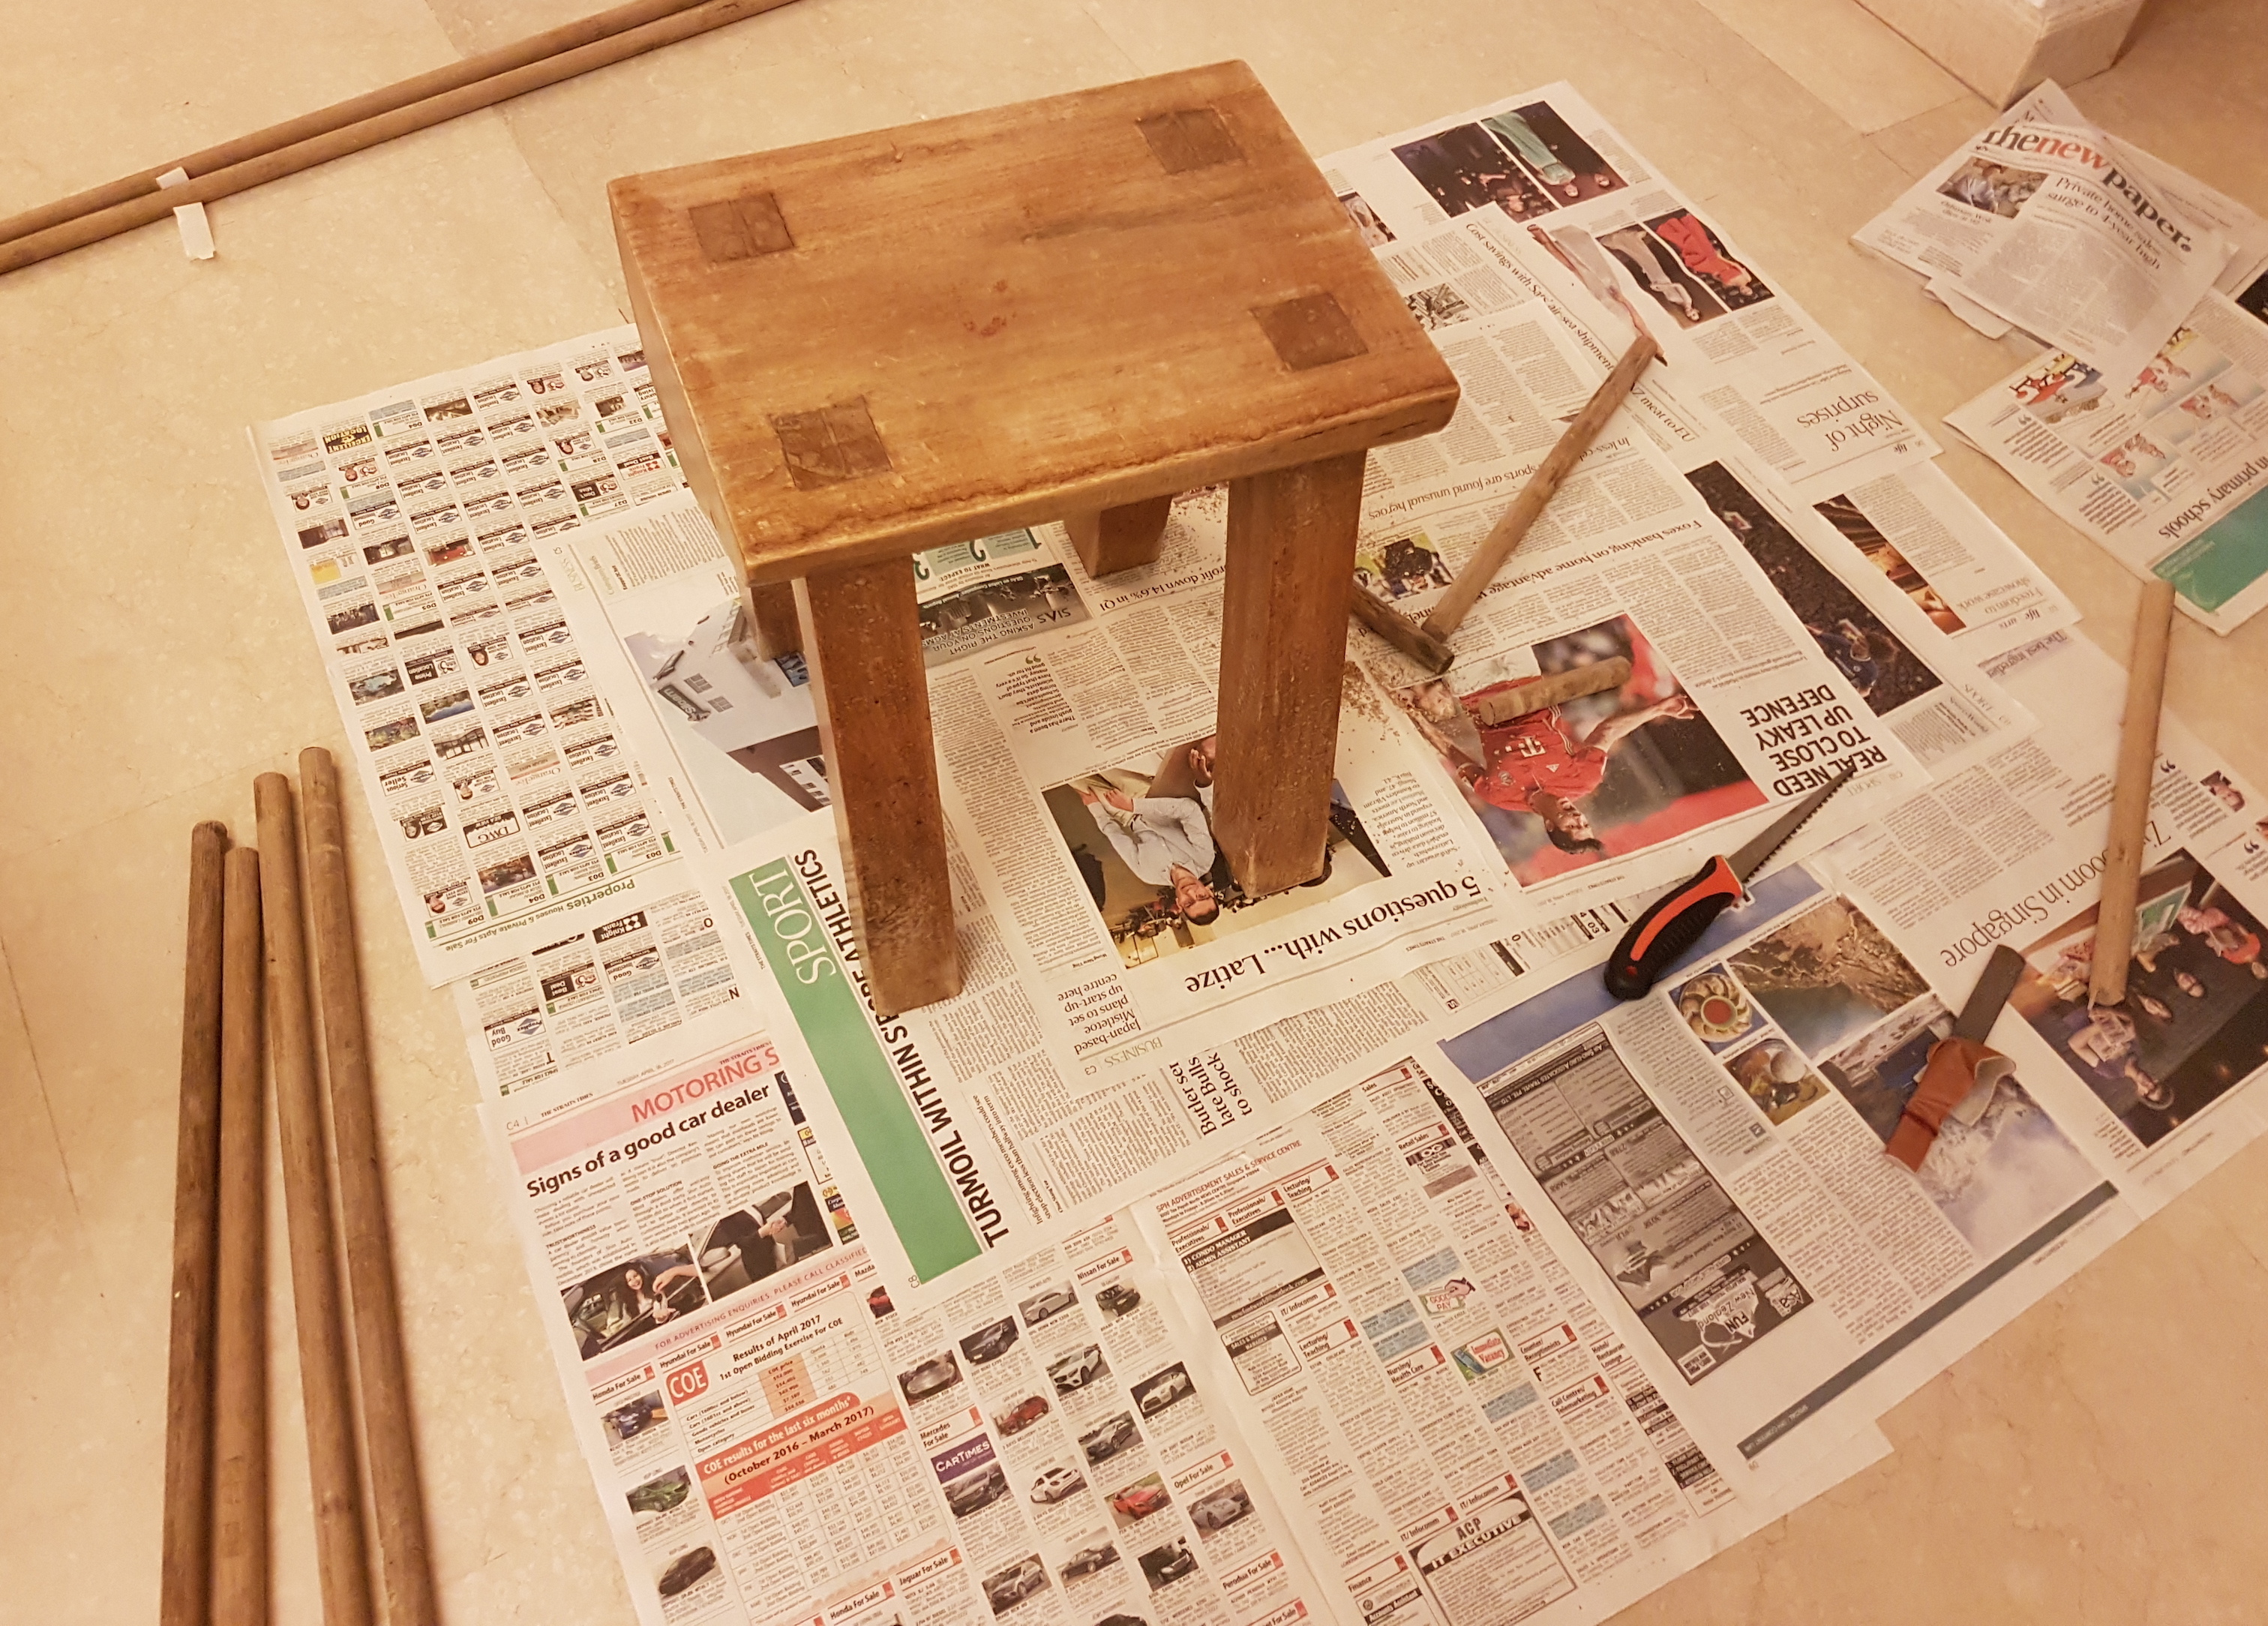
This week, I’m having some doubts about the feasibility of a Rube Goldberg machine as the focal point of the work, but more on that below. I also thought of some possible objects and devices to include in the installation. I’m starting to see some common strands but overall the installation will present an eclectic mix of curios within a surreal space. Perhaps it’s becoming a compilation of things I like and am fascinated by. However, I guess there’s nothing wrong with that either.
List of (possible) items to display
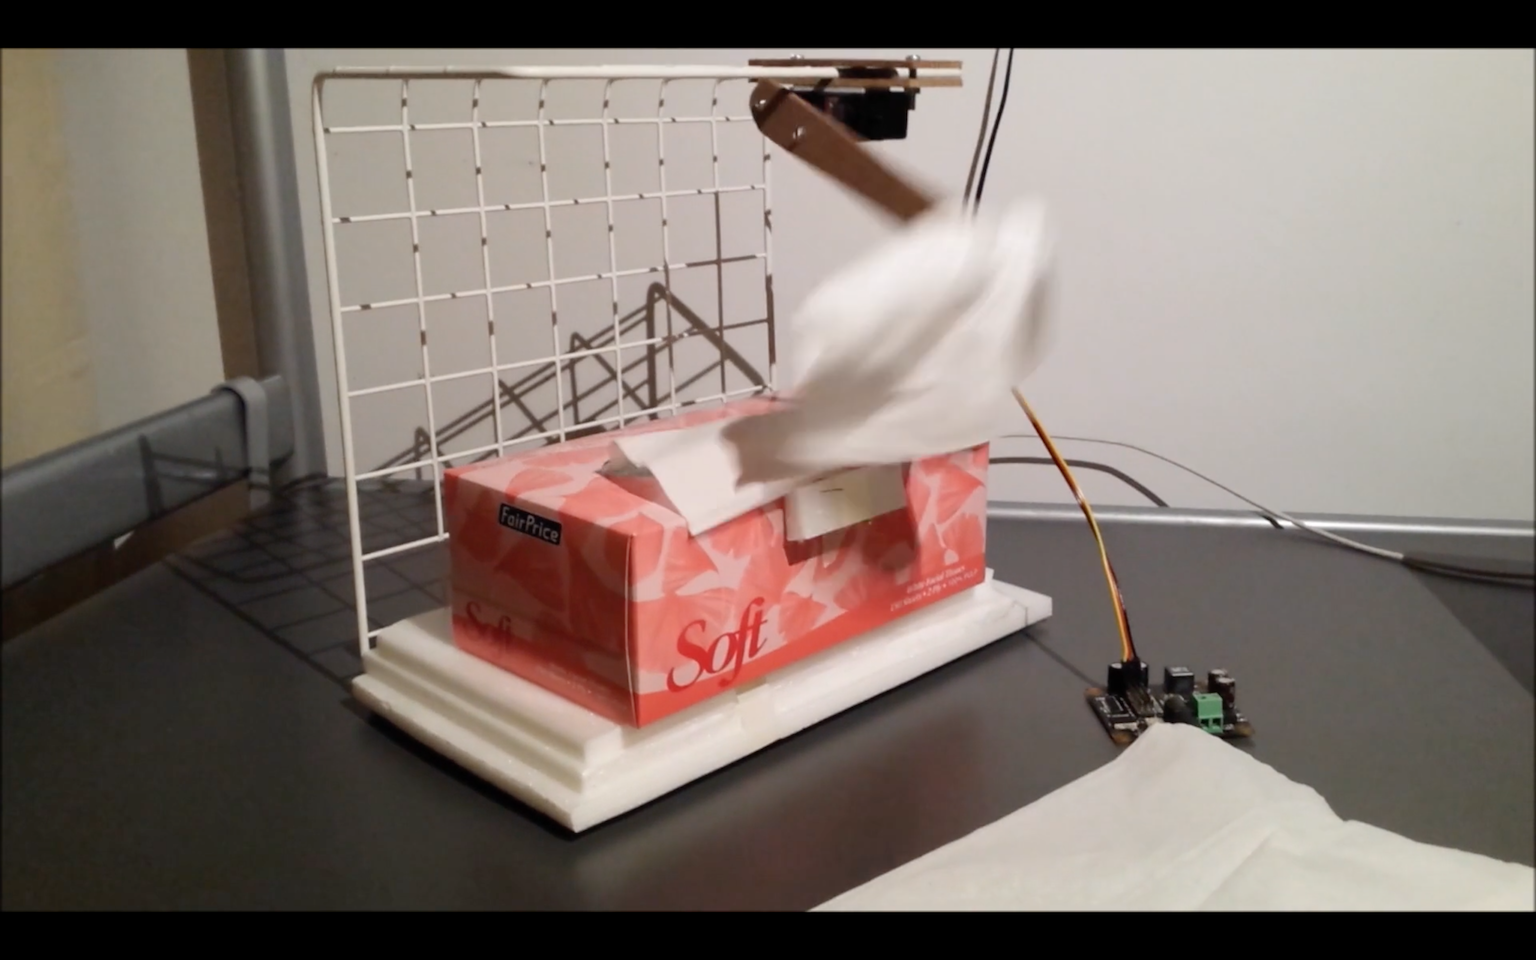
1. Interactive devices
A past prototype of a machine that offers tissues when you sneeze
This will be the most varied part of the project. These devices may be digital, analog, inventions, re-imagining of existing products etc.
Some possible rules, themes and constraints I could start from (evolving list):
– Reimagine common household items e.g. cups, saucers, clock
– A device that is made within a time limit e.g. 6 (wo)man-hours
– A device that solves a common problem
– A device that hurts
– A device that heals
– ………..
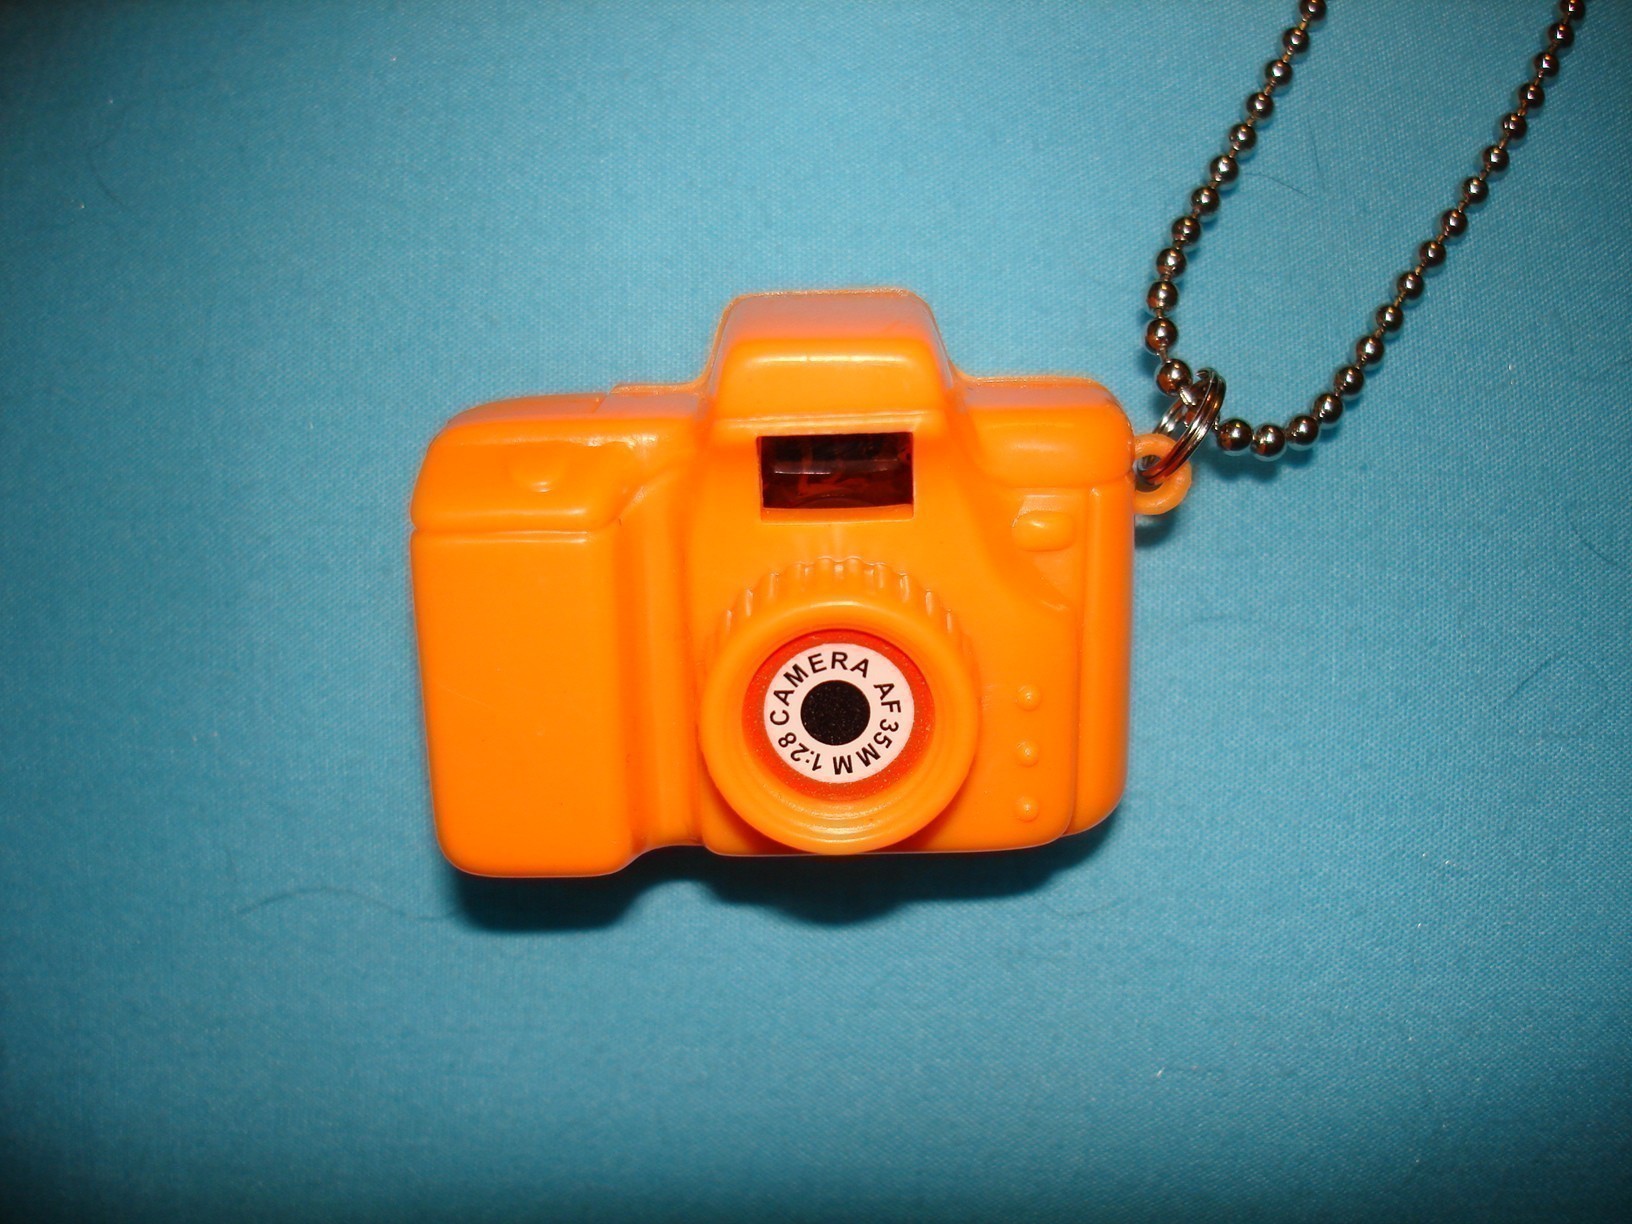
2. Private slide show cameras
Mini slideshow camera toy
Sometimes referred to as ‘view-masters’, these toy cameras usually come with a rotation of several pictures illustrating a children’s story. There are many types; full-size, tiny, single view, stereoscopic etc.
View-master with dinosaur pictures
I like how we use these simple toys in open spaces (in a shop, among others) but we alone watch the story unfold. Instead of the typical ‘3 little pigs’ or ‘elephant goes to the market’ images, these unassuming toy cameras will present alternative images and narratives which may be somewhat private or unsightly. They may show images of war, current affairs, childhood scenes, nudes, my ongoing semi-serious photo series of people who take insta photos in museums etc.
Perhaps I could use these as a form of documentation as well, showing my FYP process of conception and construction.
As part of process and idea documentation, as well as decoration to build up the workshop atmosphere. These paper works and images will be high curated and mounted onto the walls or scrapbooked.
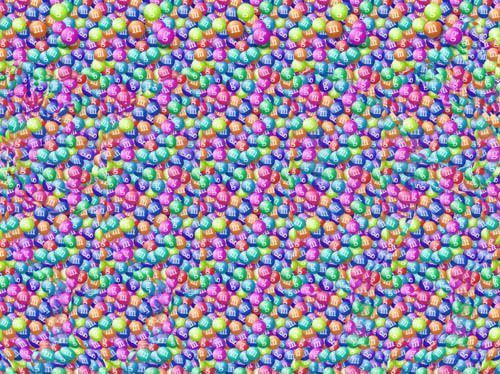
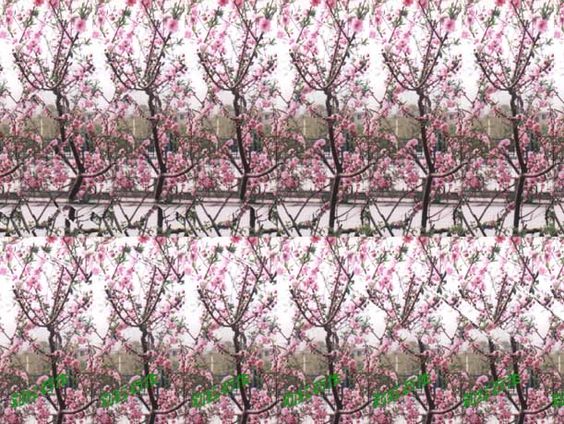
4. Secret stereograms
I could create stereograms and mount them on the Emporium wall at eye-level without explicit instructions. At first glance they will appear to be just print patterns or postcards. The 2 guiding dots on top of the image will help visitors ‘see’ and also serve to hint that they are stereograms.
5. Tiny boxes / environments that we peep into…
6. Something with living creatures…
Concerns regarding the Rube Goldberg Machine & other options?
Repeatability and automation
The strength of a Rube Goldberg Machines (RGM) arguably lies in how innovative the triggers and connections are. Creators often employ materials such as weights, liquids, fire that need to be repositioned and replaced after each run. This reset process usually takes a long time and is done by teams of people during competitions. As the installation will be up for an extended duration, the RGM must be able to reset simply, and preferably, automatically after each step of the sequence.
An alternative would be to record it beforehand and present the video with the stationary setup, as part of the installation. This isn’t a great option as screening a video will interrupt the illusion of the shop space.
Feasibility
The mechanics may not always work smoothly during the final show, with new hiccups occurring each run. A lot of time (at least 6 weeks) needs to be reserved for fine-tuning and banging out the hiccups.
Rube Goldberg Machines are usually built by a team of people, whether by engineers for competitions or by creative agencies for special projects. Automated resetting and fine-tuning aside, building a large RGM will be very difficult and time-consuming for a beginner to accomplish single-handedly. Creating precise motions is way more difficult than it seems. It requires an excellent understanding of physics and science, which can be acquired with time.
However, I’m weighing whether the steep difficulties of building an RGM will detract from the purpose of a final year project? While I’d love to build a RGM, it’s important to remember that becoming great at mechanical design shouldn’t be the goal, but rather a stepping stone and tool used to create a great interactive experience. It’s not about backing away from a challenge but rather picking suitable challenges to invest in.
Other options?
One option is to remove the Rube-Goldberg machine entirely. This is a bit sad, and I will need to find something to replace it to create focus in the installation. As of now, I don’t think that having many small and distinct devices is enough to create a rich experience. The project needs a central unifying focus to tie the disparate elements together.
Another option: Instead of having the RGM as the main installation, an option is to build a mini-RGM / kinetic sculpture as one of the smaller curios.
What fascinates me most about RGMs is the unexpected and whimsical motion. Perhaps I could further explore the topic of motion in another direction?
Some notes to self
RGMs are often humorous, satirical, reliable and made out of spare materials. Other than the challenges above, should more interaction should be included into the RGM? If so, how so? Also, some thoughts after watching many different RGMs:
Aesthetics, visuals, rhythm choreography! Although its important to get from A to B or create a specific action, these motions can be more than that, not unlike a dance or narrative with suspense, climax, build up etc.
Being slow is not a bad thing
Show the audience everything; design visual sequences
Local materials?
Documentation
As the installation is very much a product of process, good documentation is necessary. This will be done using various methods such as:
OSS progress updates (every 1 – 2 weeks)
A process log of what is done / accomplished each working day This will be useful in tracking progress and creating accountability.
Success and failure log
This will log how many iterations it took for a prototype to work.
The environment was enhanced by manipulating the audio panning and volume. This created direction and made the space more palpable. Also, having no light was at times more powerful than switching between colours due to the sudden contrast it created.
The circular arena seemed infinite, and even seemed to ‘disappear’ after a while due to its span covering our filed of vision.
[Breaking News] In response to the recent hikes in water prices, the government has announced new campaigns to help citizens conserve water. Molly Tan reports for the DNA.
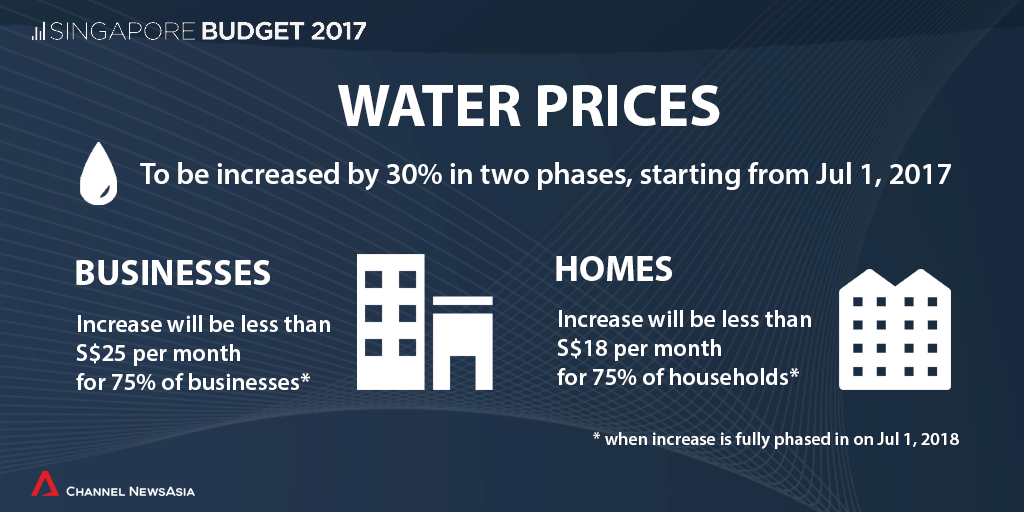
Infographic about the increase in water prices announced in the 2017 Budget. Image source: Channel News Asia
Recently, one of the largest news topics in Singapore has been the 30% hike in water prices. Water prices have not increased in the past 17 years, but will do so this July.
Location, location!
Apologies for the poor audio quality! The area was very windy, and I only realised it post-broadcast. As some of my questions can’t be heard clearly, here they are:
Q: Do you know about the recent 30% increase in water prices?
Q: What have you and your family been doing to save water?
Q: The government has just announced a bathe-less campaign to help people to conserve water. They will be providing residents with a government-issued deodorant which can be collected at community centres. Will you be collecting your government-issued deodorant?
Q: The tagline for this new campaign is ‘One People, One Nation, One Scent’. Do you think this is effective? (This is a pun on a national slogan ‘One People, One Nation, One Singapore’)
Some Post-broadcast Thoughts
Although the interviewees were uncertain and slightly taken aback by the fake news, they responded to the questions sincerely and thoughtfully. They were really nice about it and perhaps this was due to their awareness of being filmed.
This week’s broadcast has made me more aware of the limitations of a phone camera when broadcasting. I’ll also have to project my voice more in the future, especially when the camera is further away!