Tag Archives: organic

Thermoplastics & Vacuum-forming | week 12

Thermoplastics

Thermoplastics are fabrics that can be manipulated and shaped using heat and pleating, crushing or moulding techniques. When heated, the polyester organza will soften and take the shape of the mould or object and will retain this shape when it cools. The organza can be reshaped when heated once more to an even higher temperature.

Materials needed
  • 100% polyester organza (no nylon!)
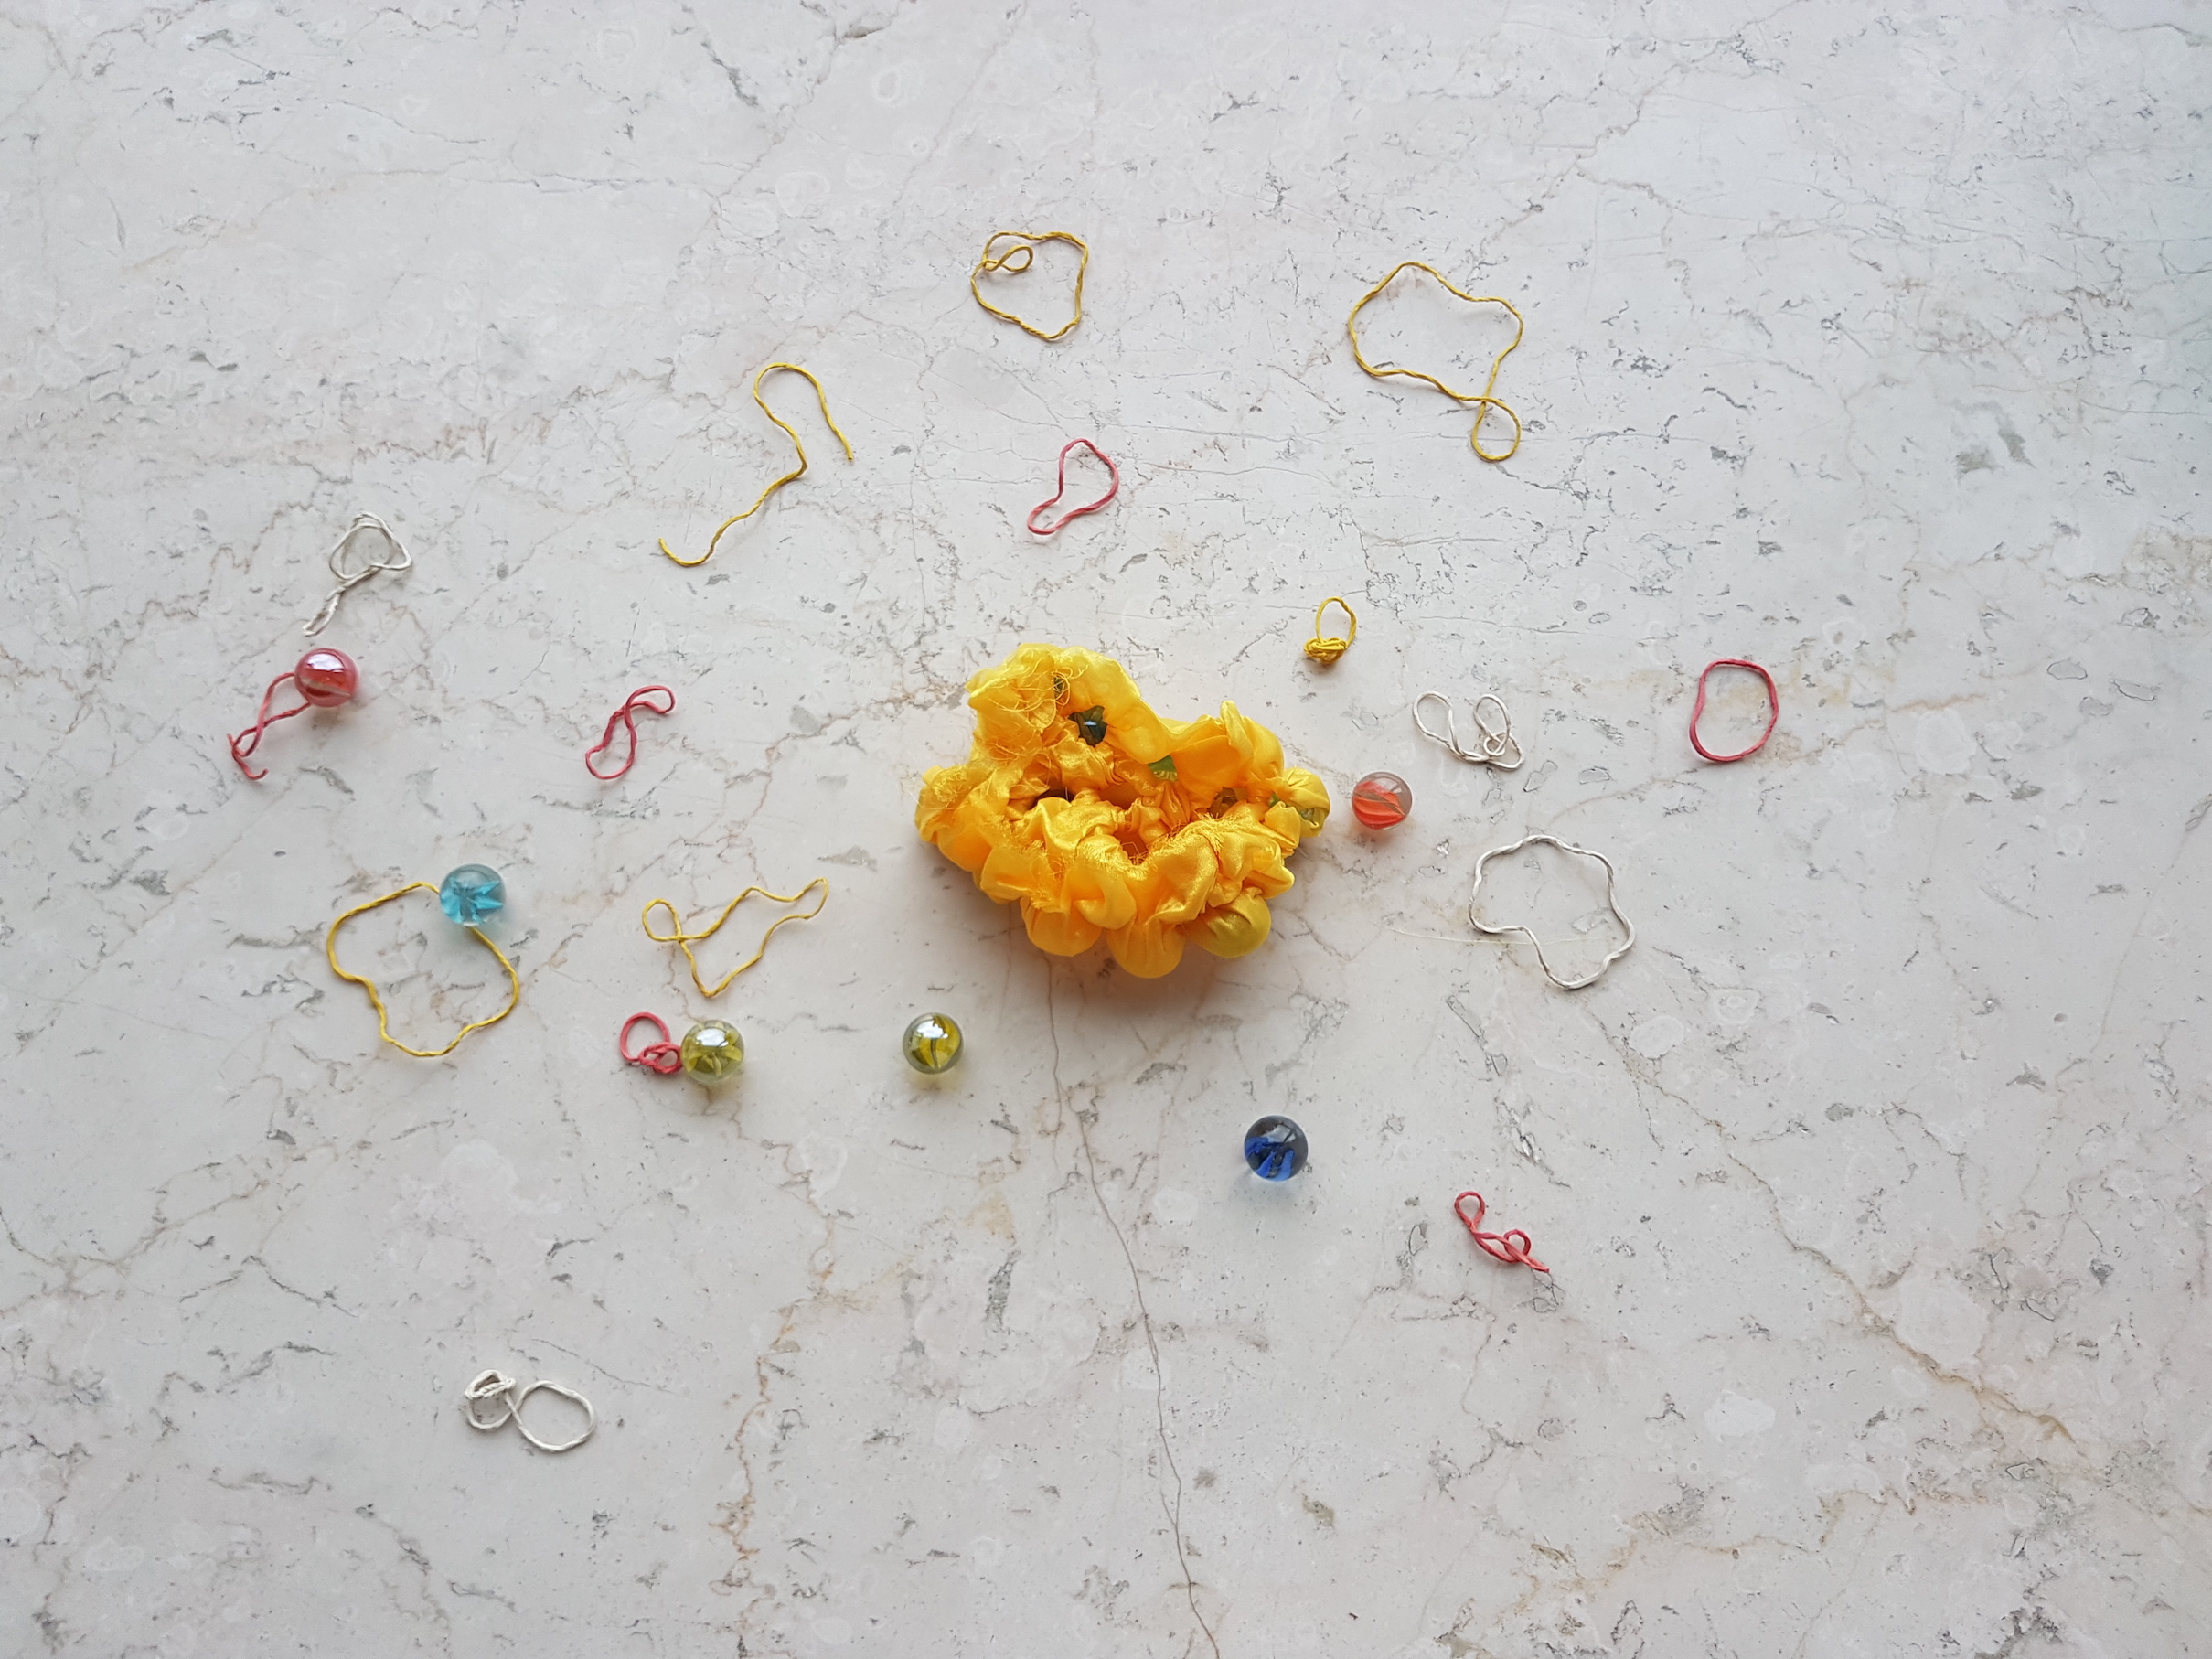
  • Objects to mould the organza with e.g. marbles, stones, glass beads etc
  • Aluminium foil to pleat the organza and wrap the sample
  • Large pot of water and stove
Applications

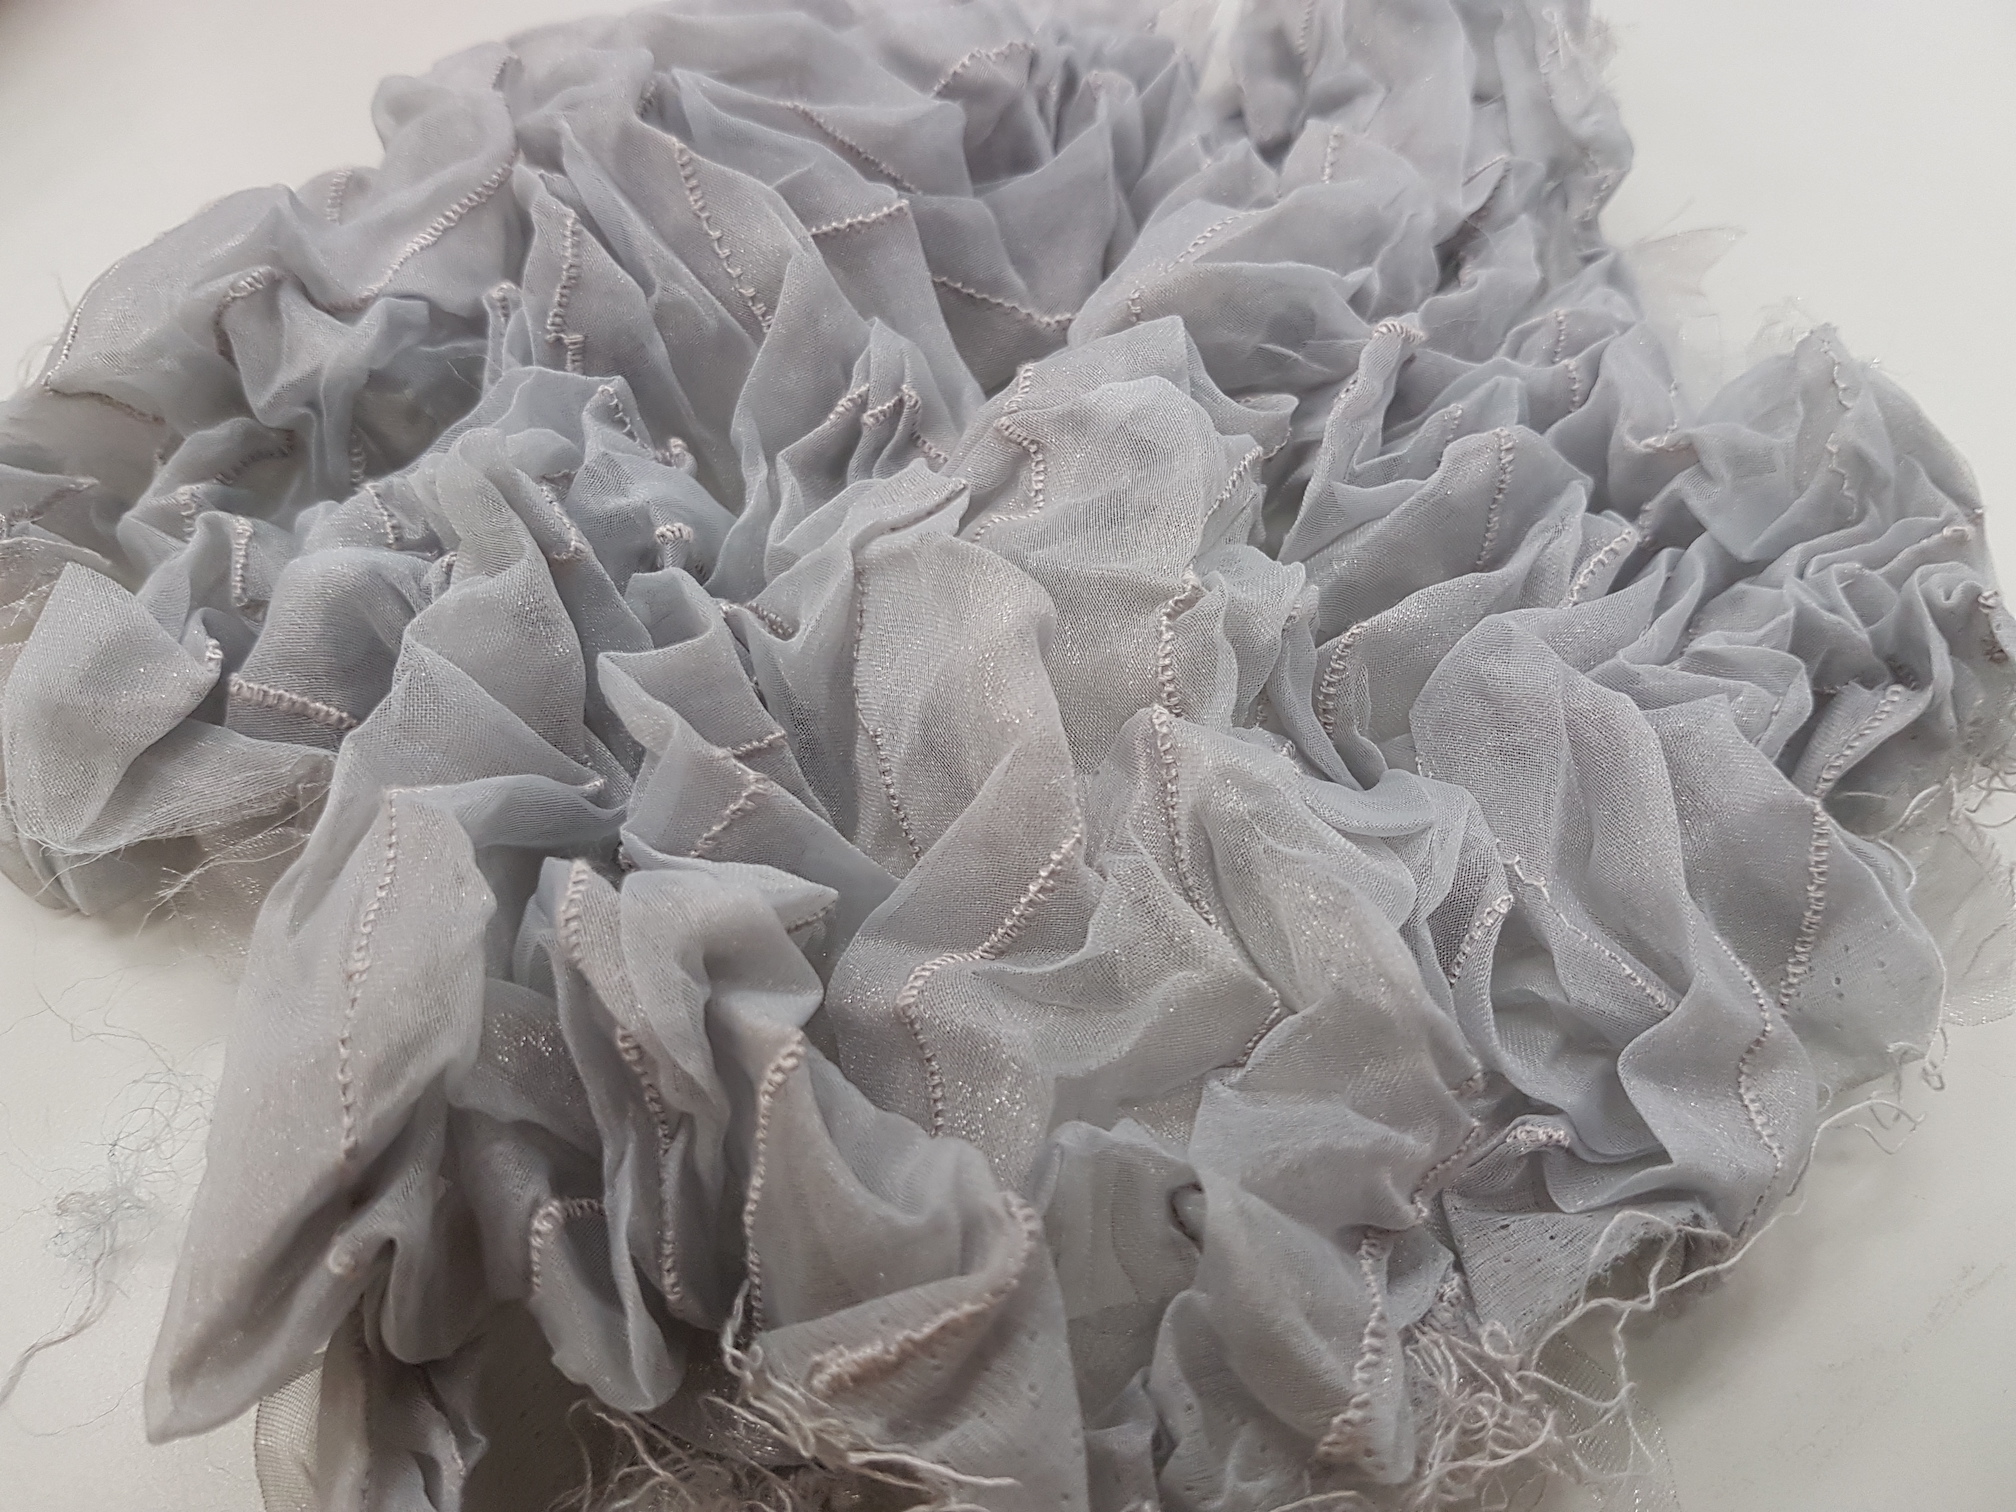
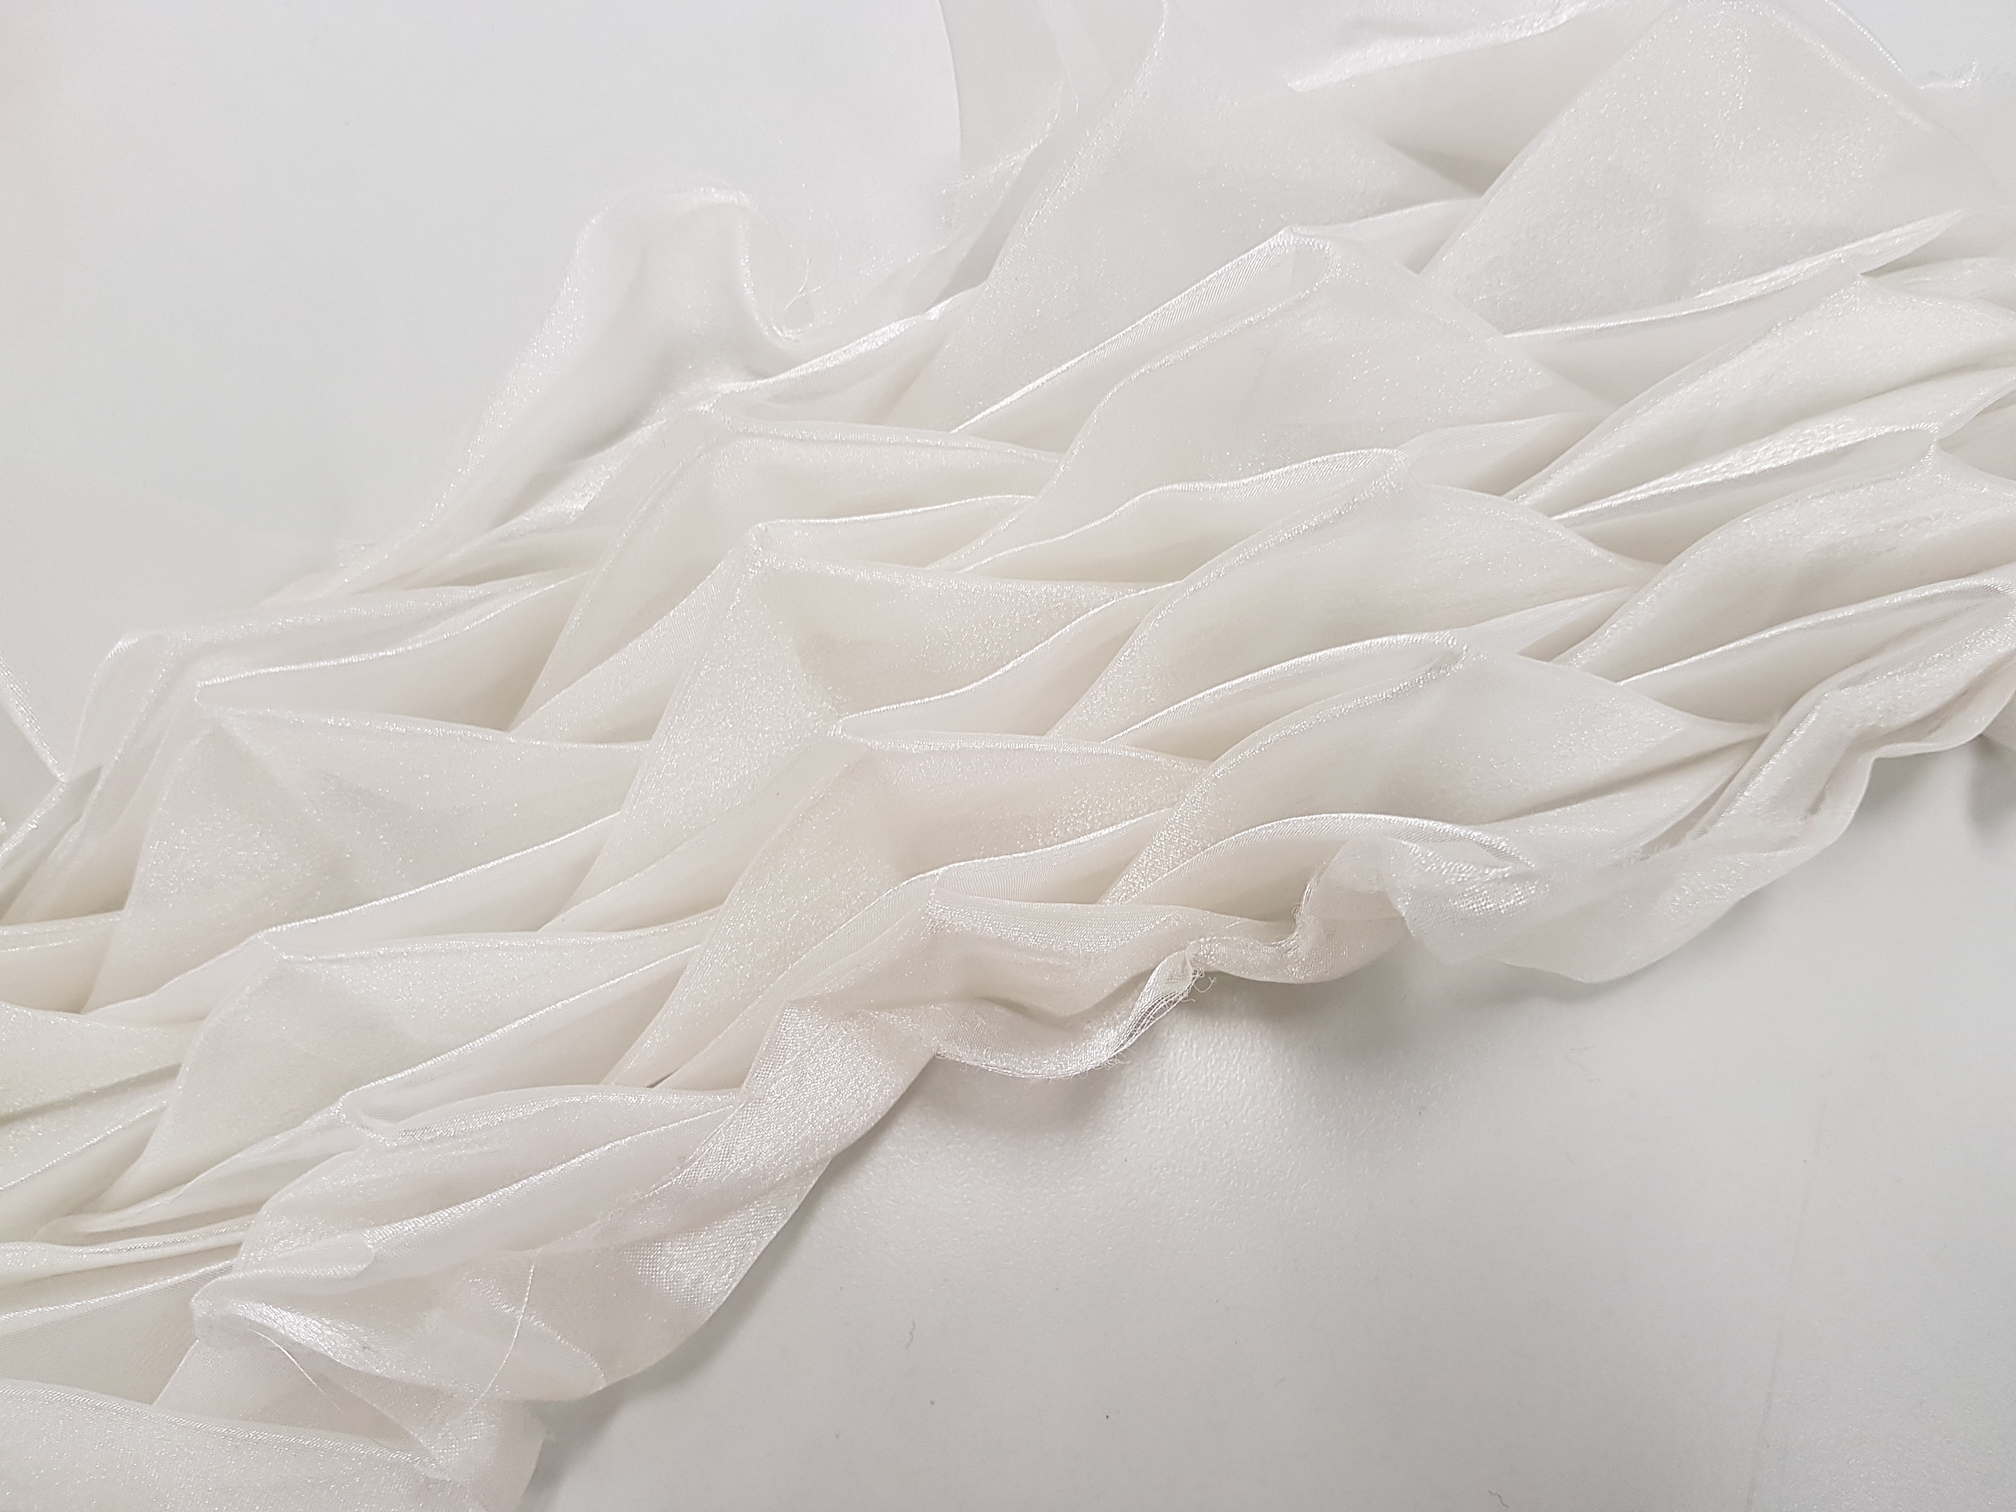
Heat set thermoplastics are sometimes used in decorative cushions or lamp shades due to their semi-transparent nature.

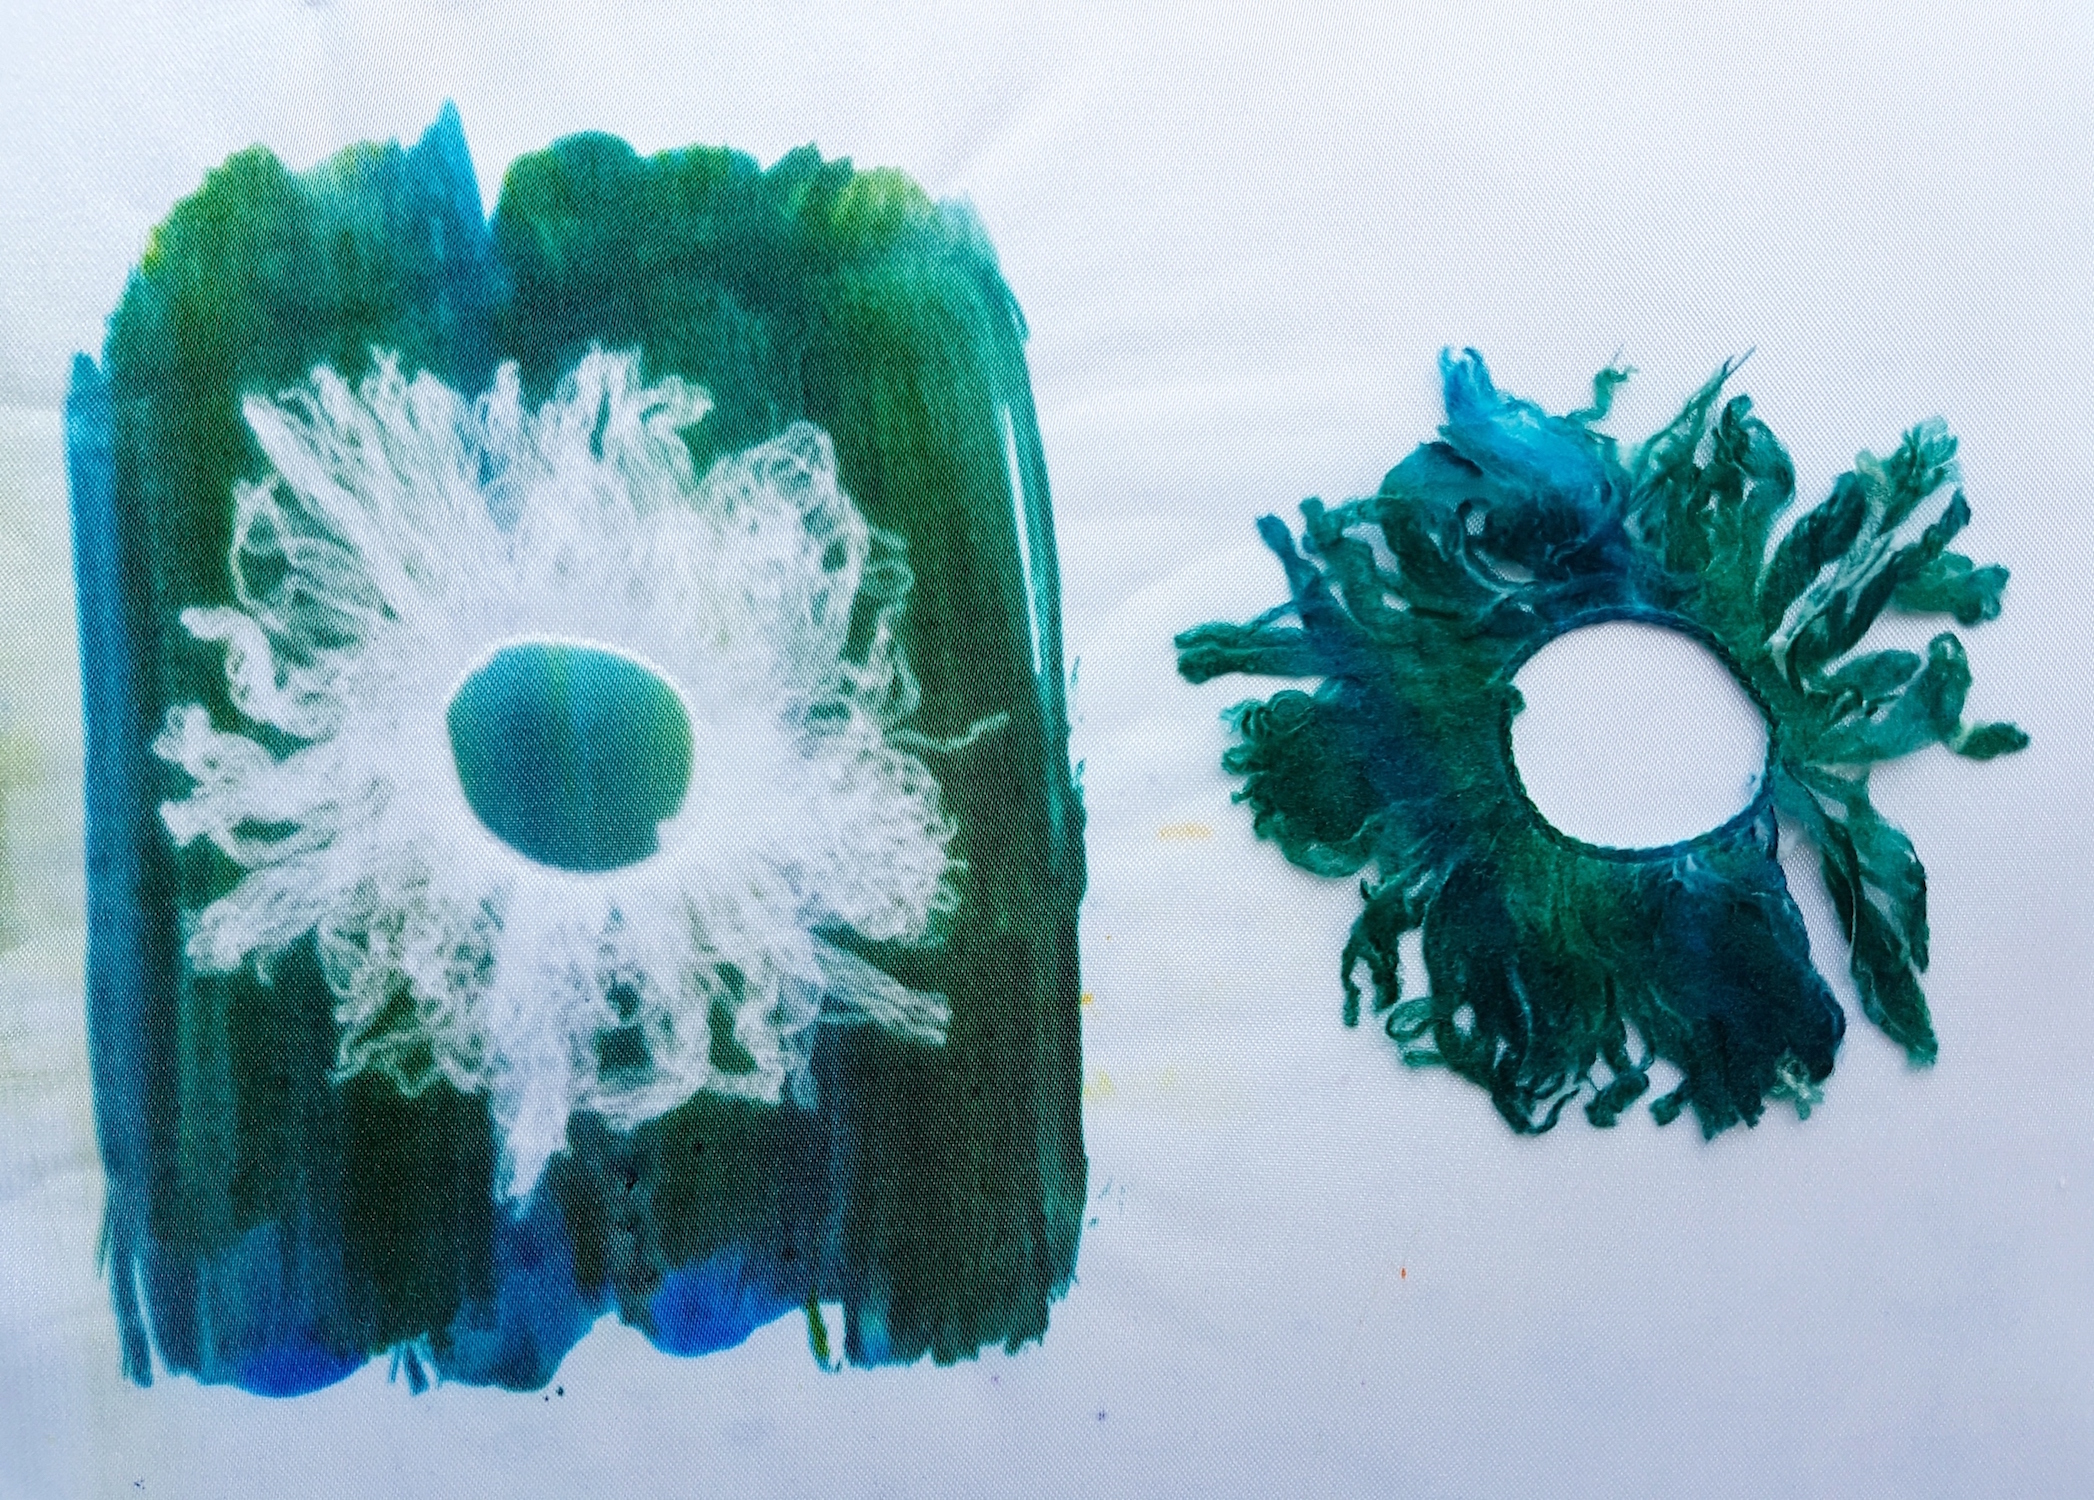
Here are some interesting samples which we saw in class:
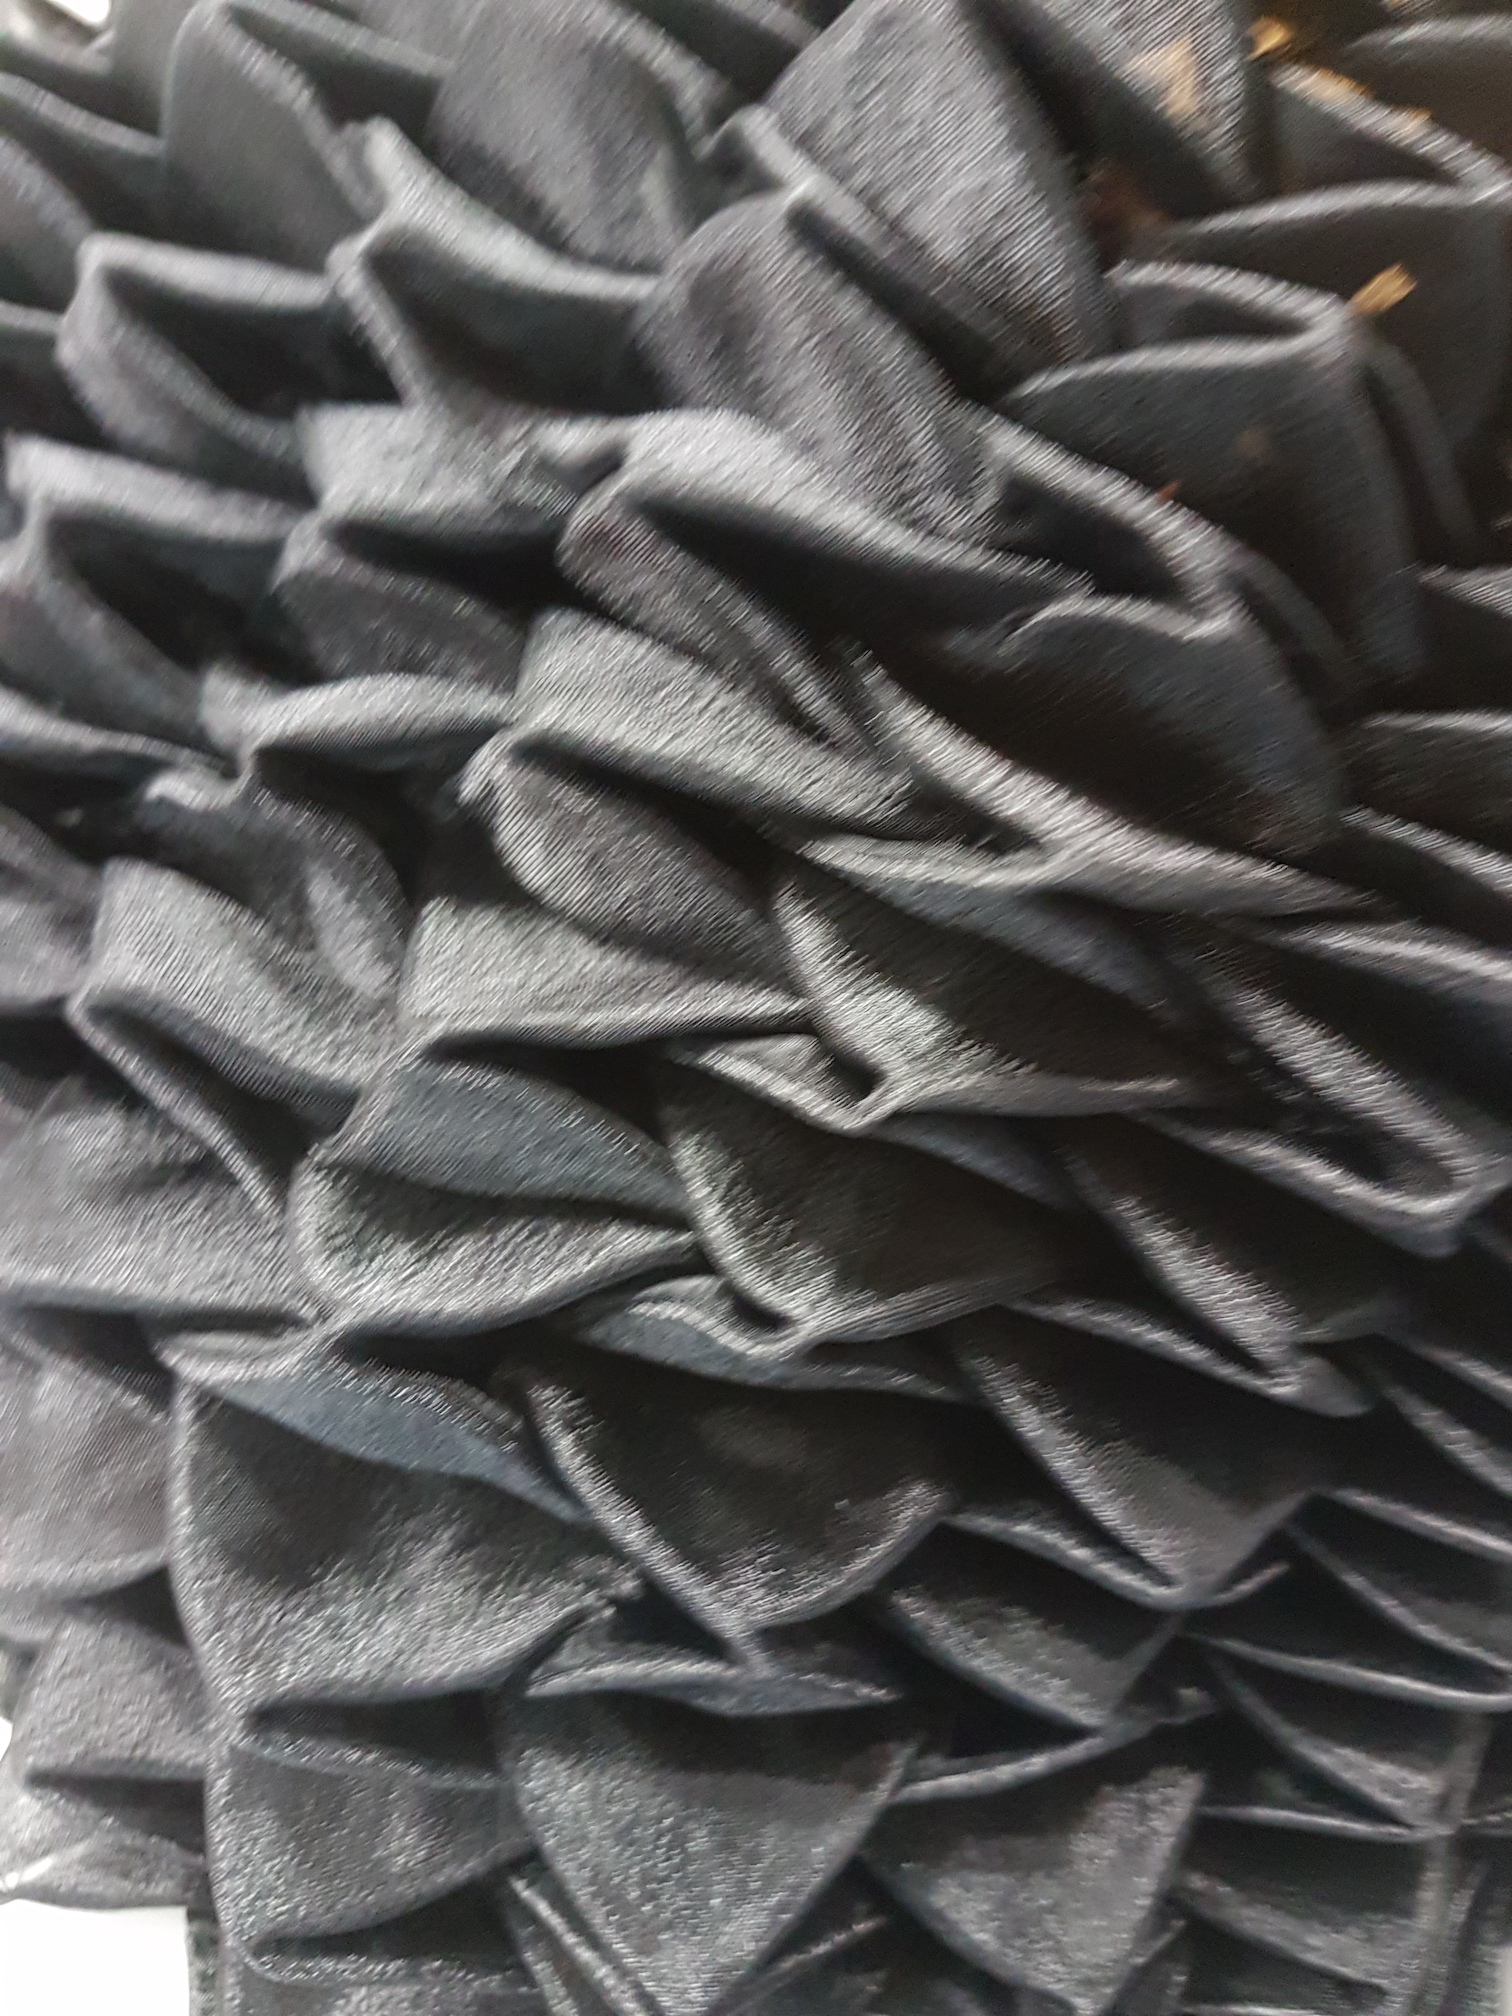
Process

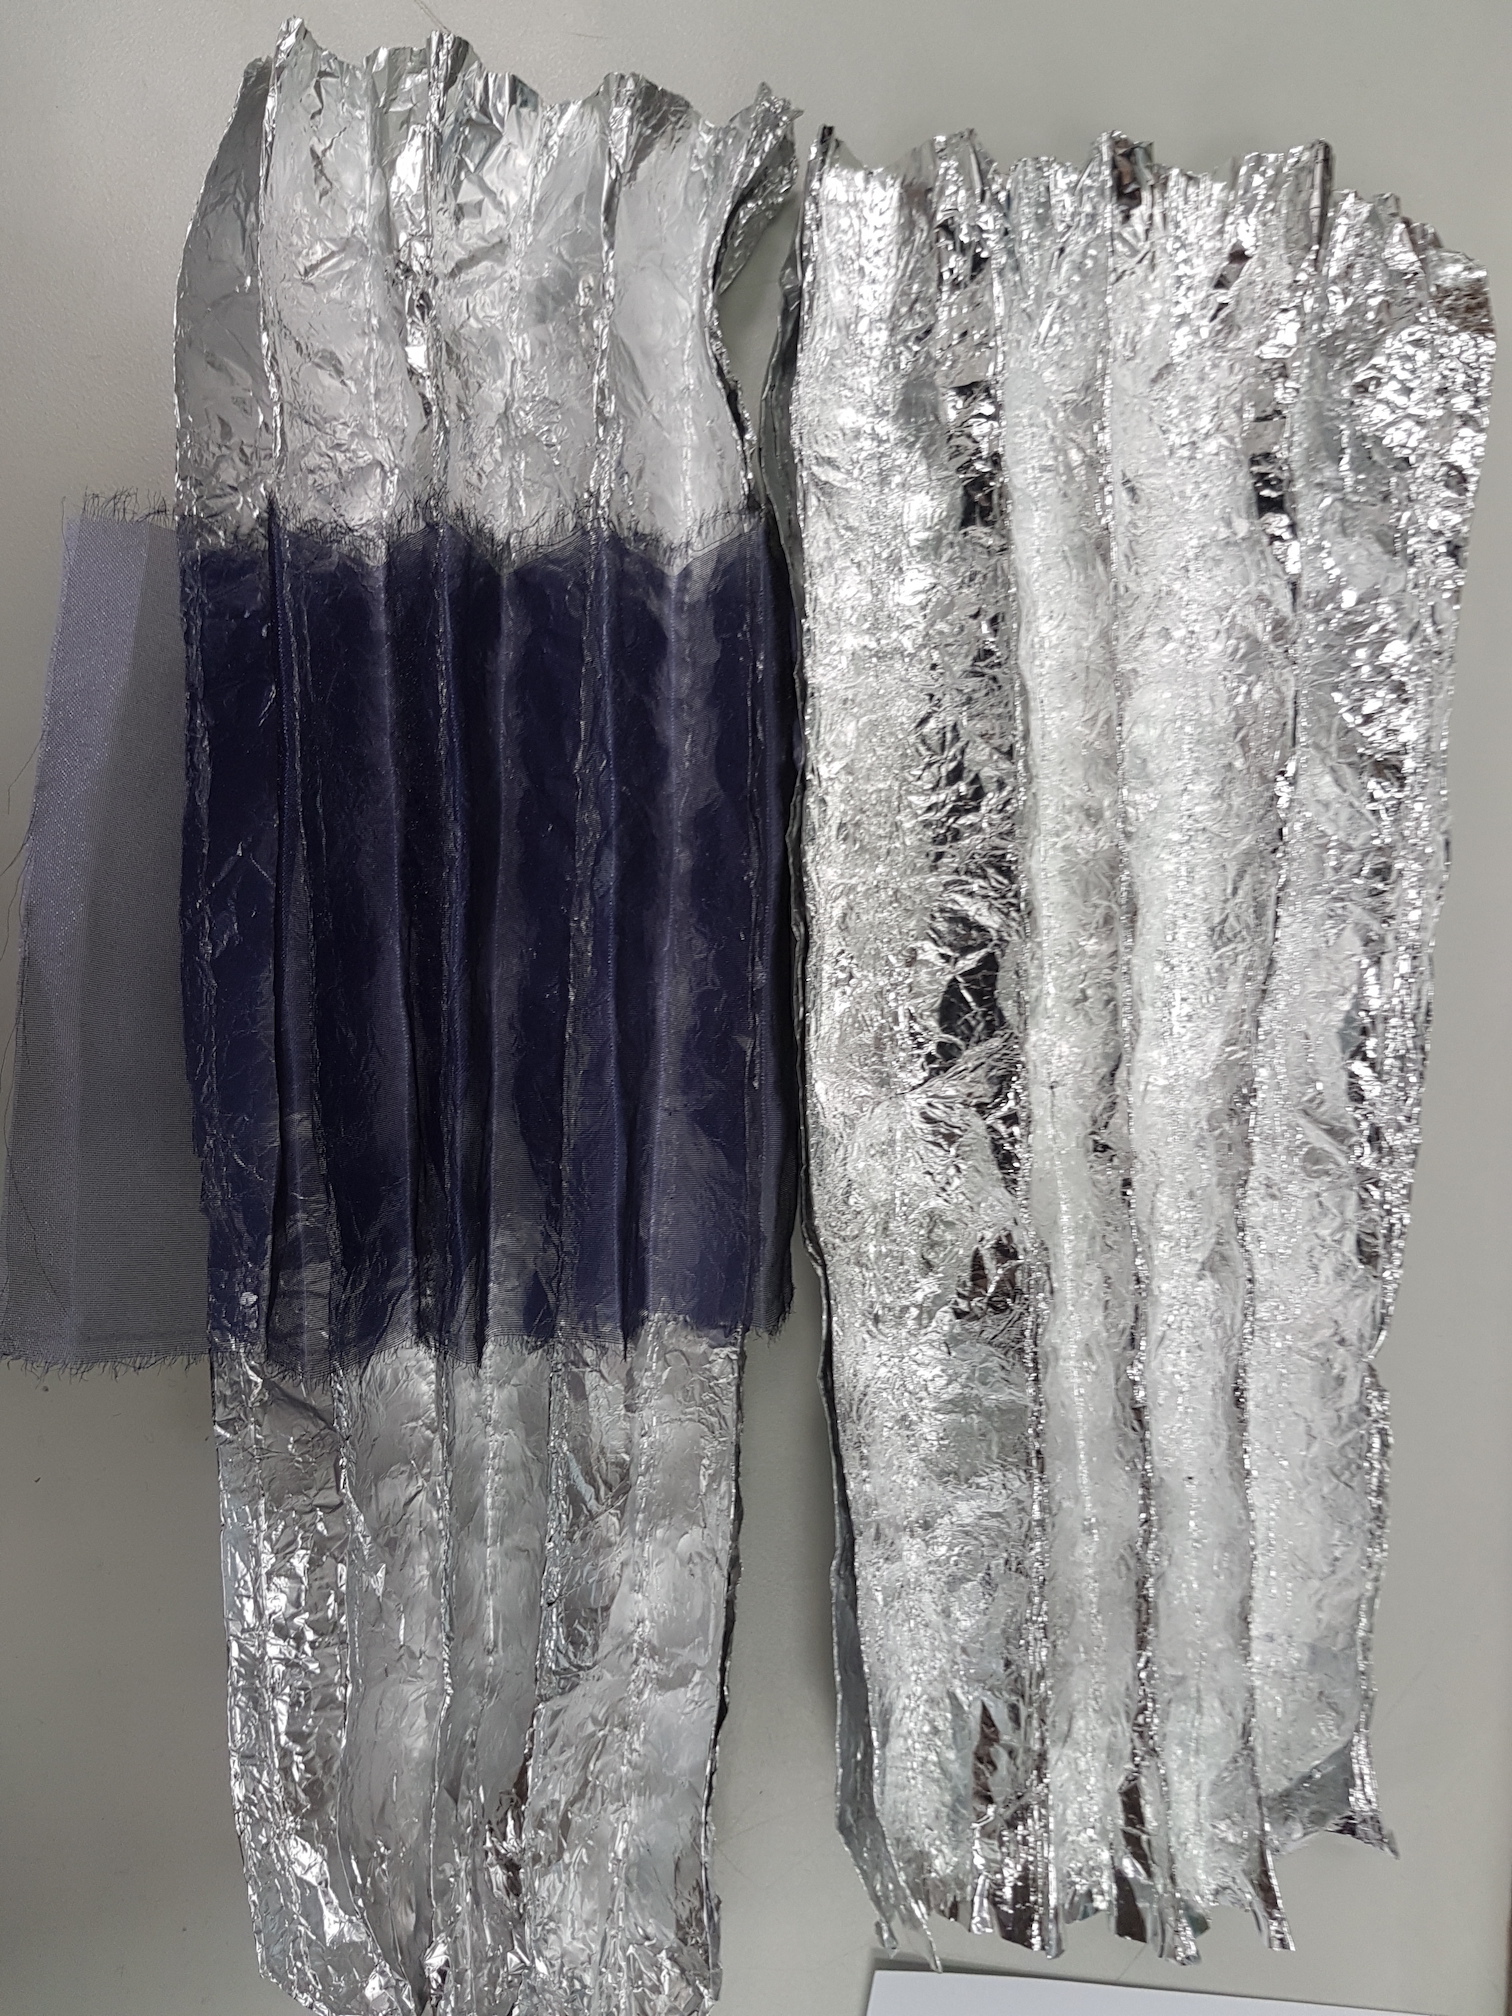
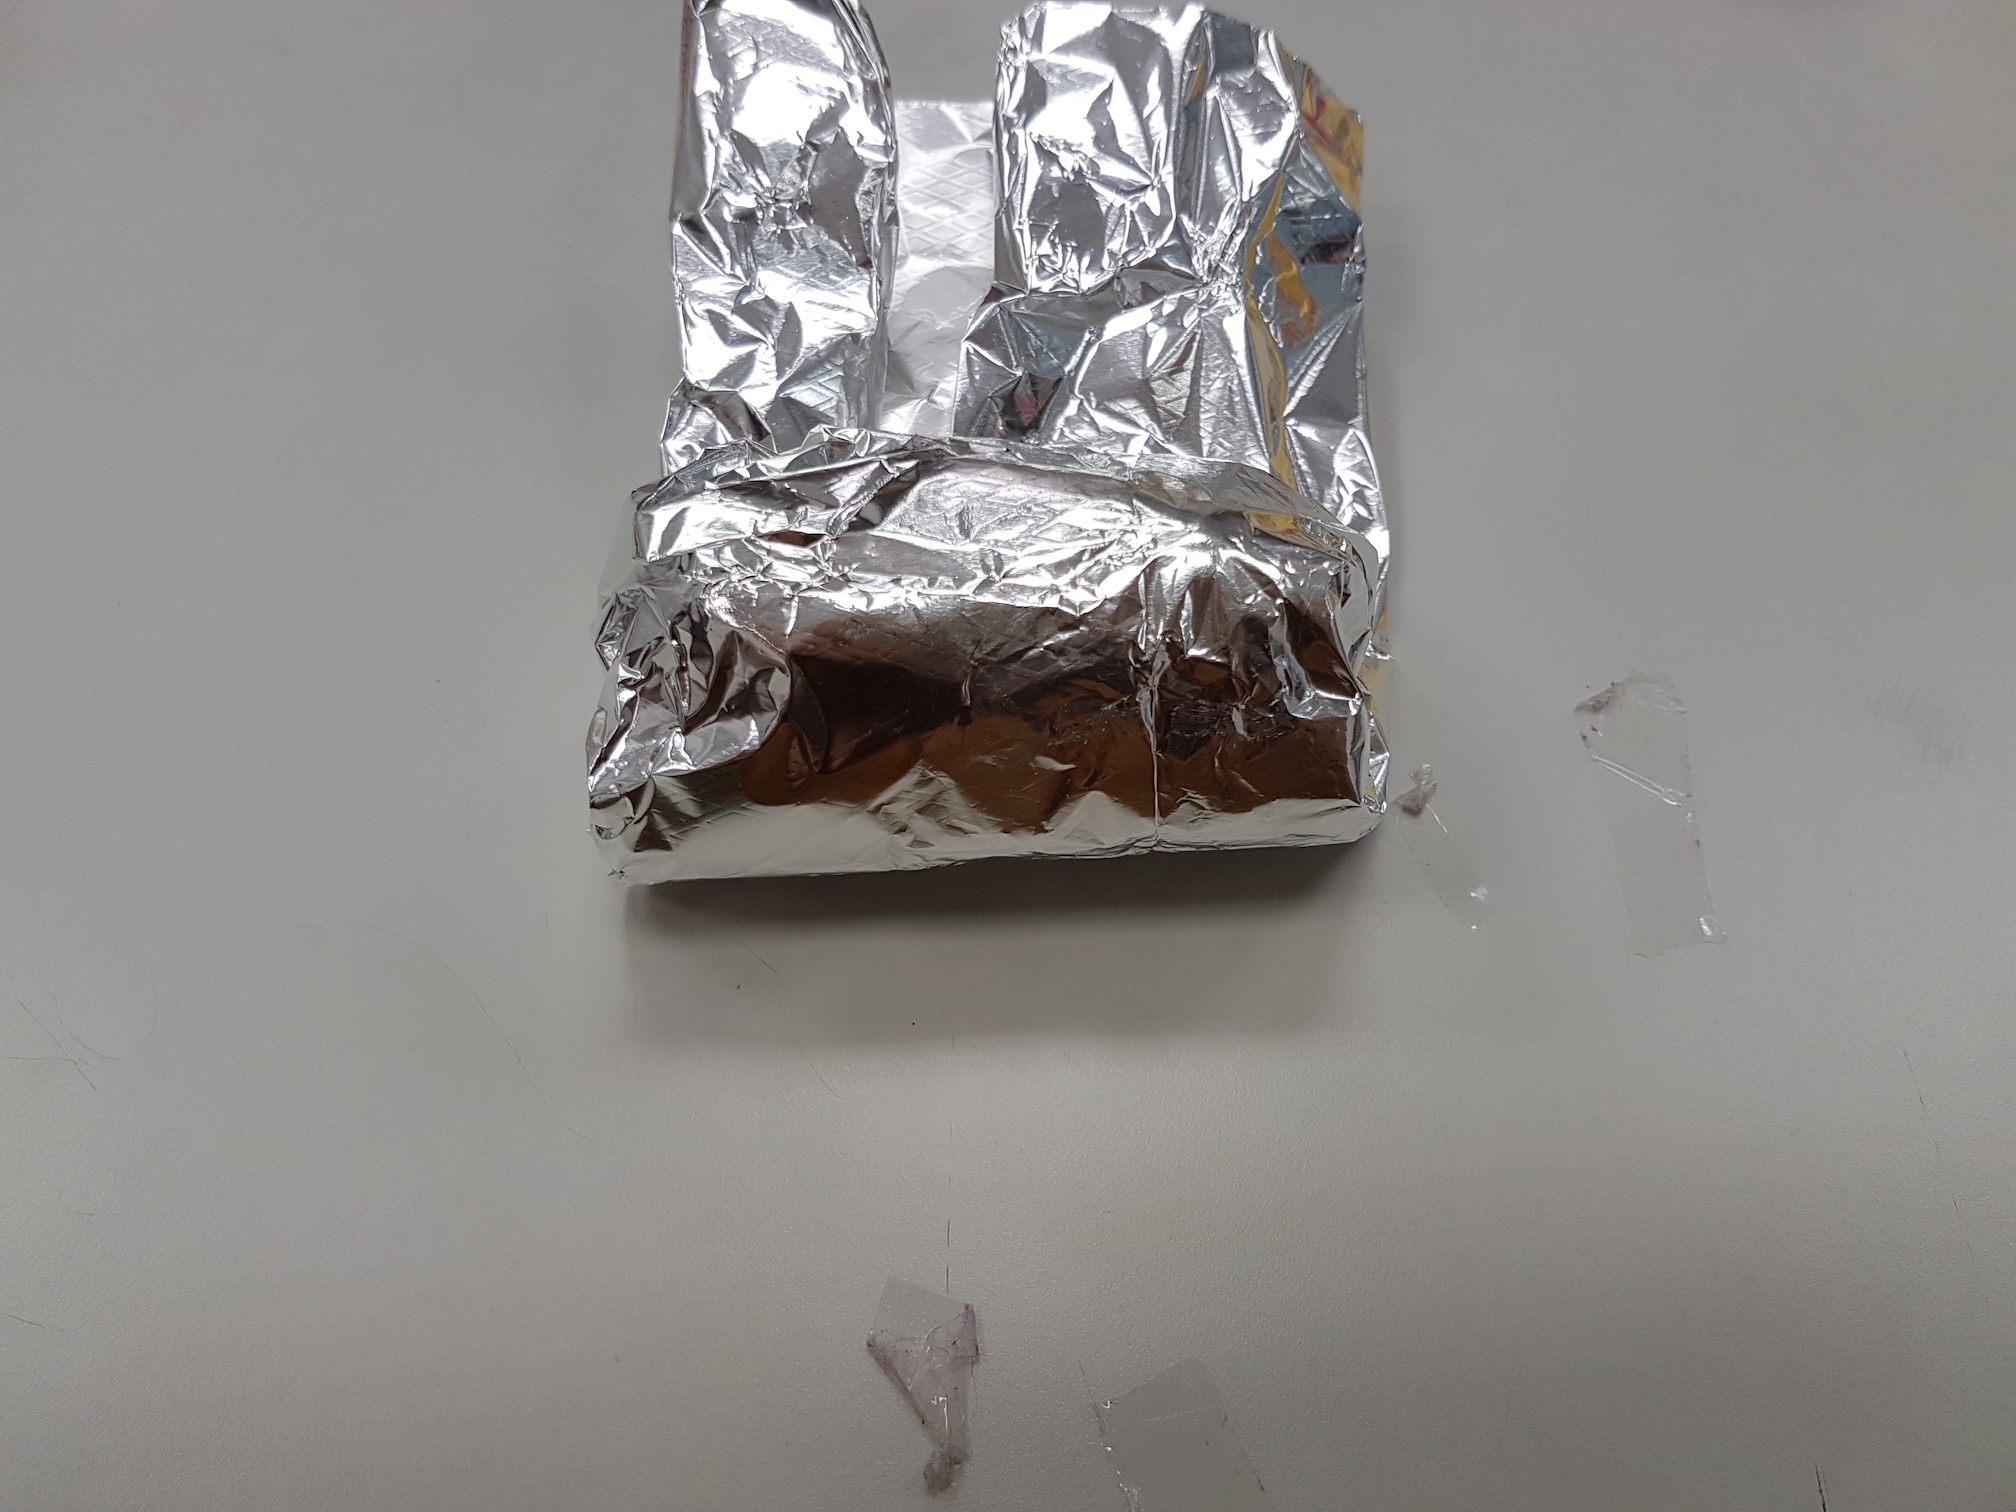
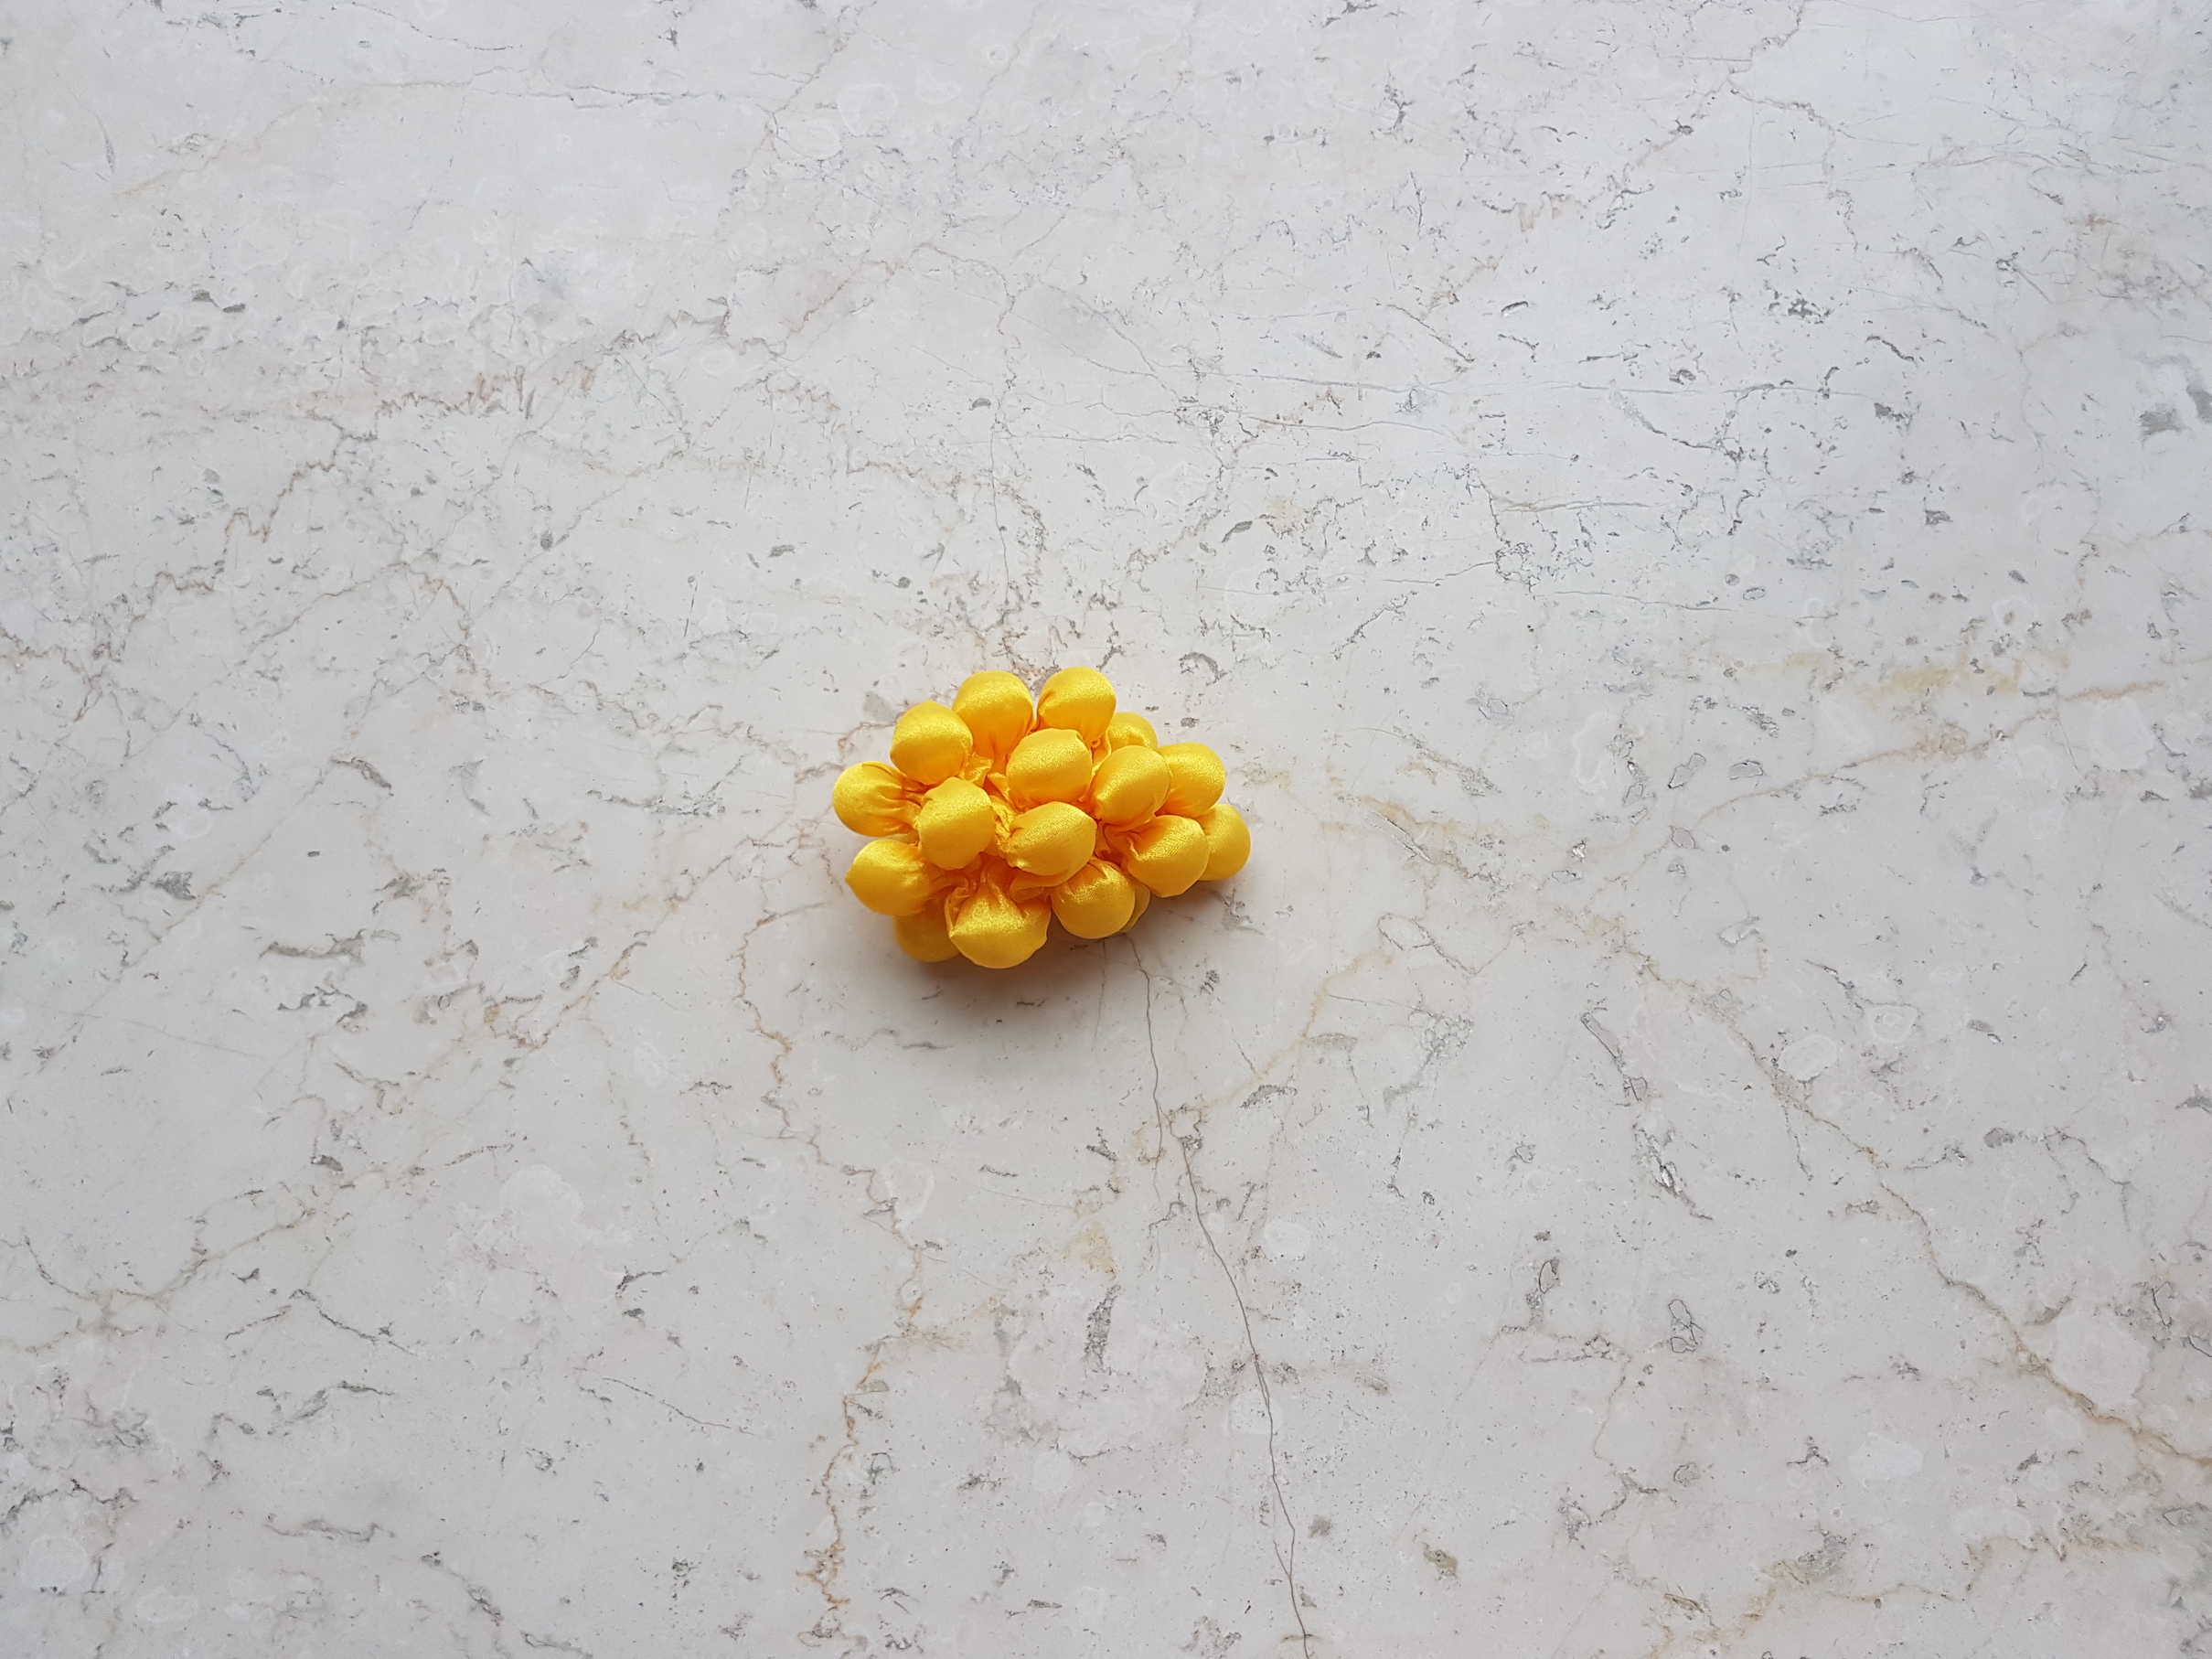
Mould, fold or manipulate the polyester organza using objects (e.g. marbles, stones) and secure with elastic bands. Alternatively, pleat and fold the polyester organza between sheets of plastic, paper or aluminium foil. Fold the organza into multiple layers to get a repeated pattern over a larger area of fabric. The sample below is folded into 4 layers.

Mould the polyester organza around marbles

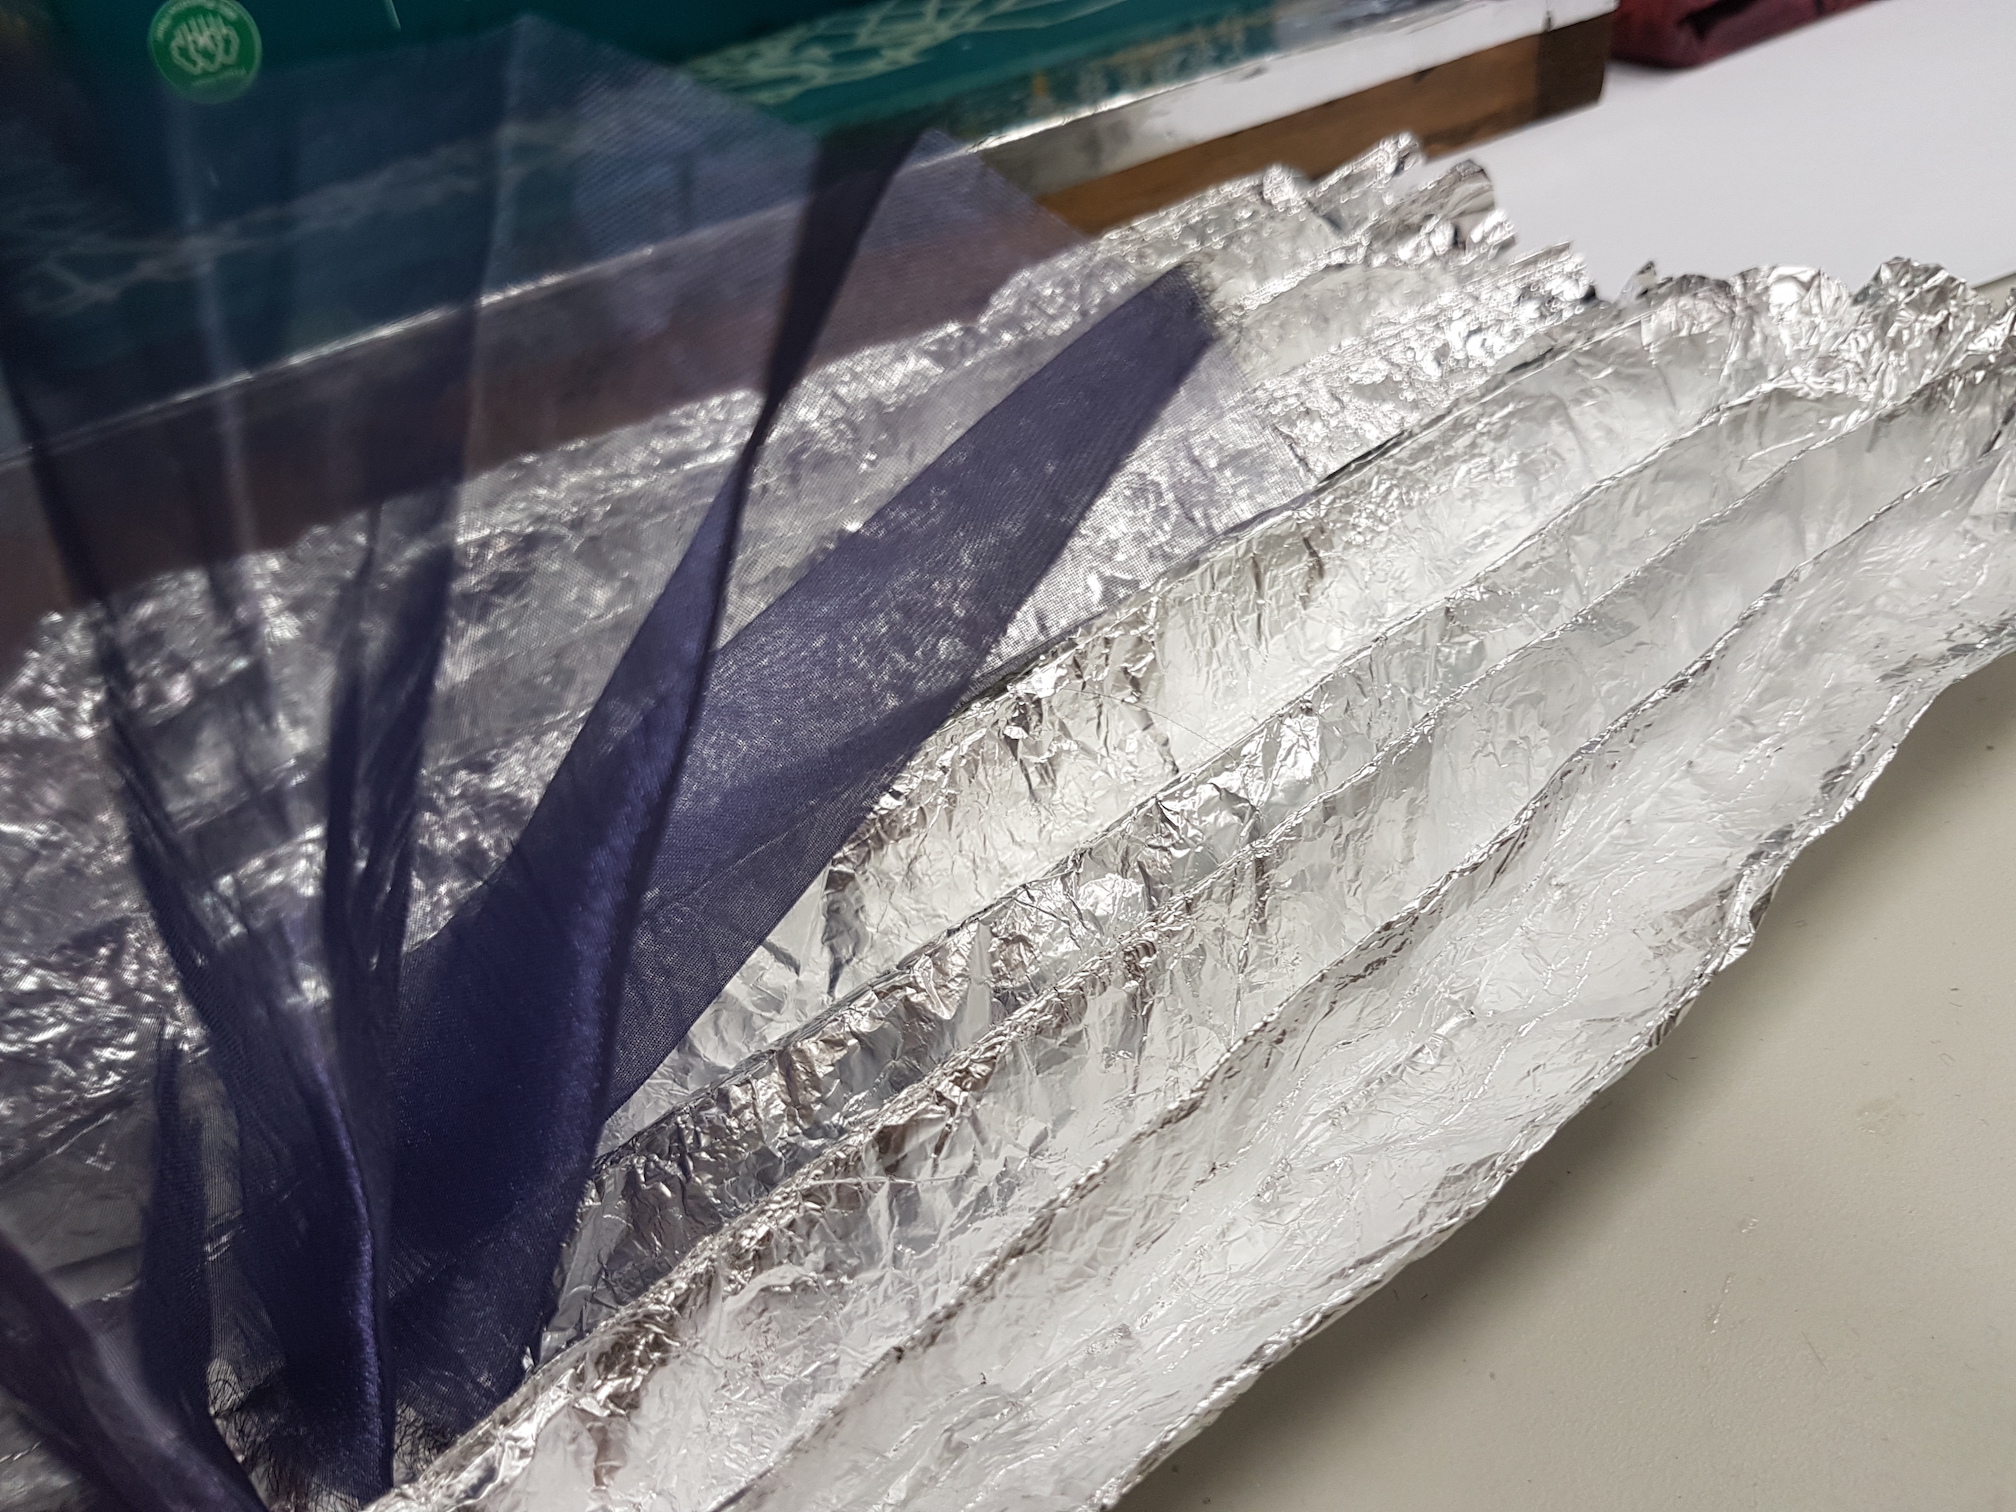
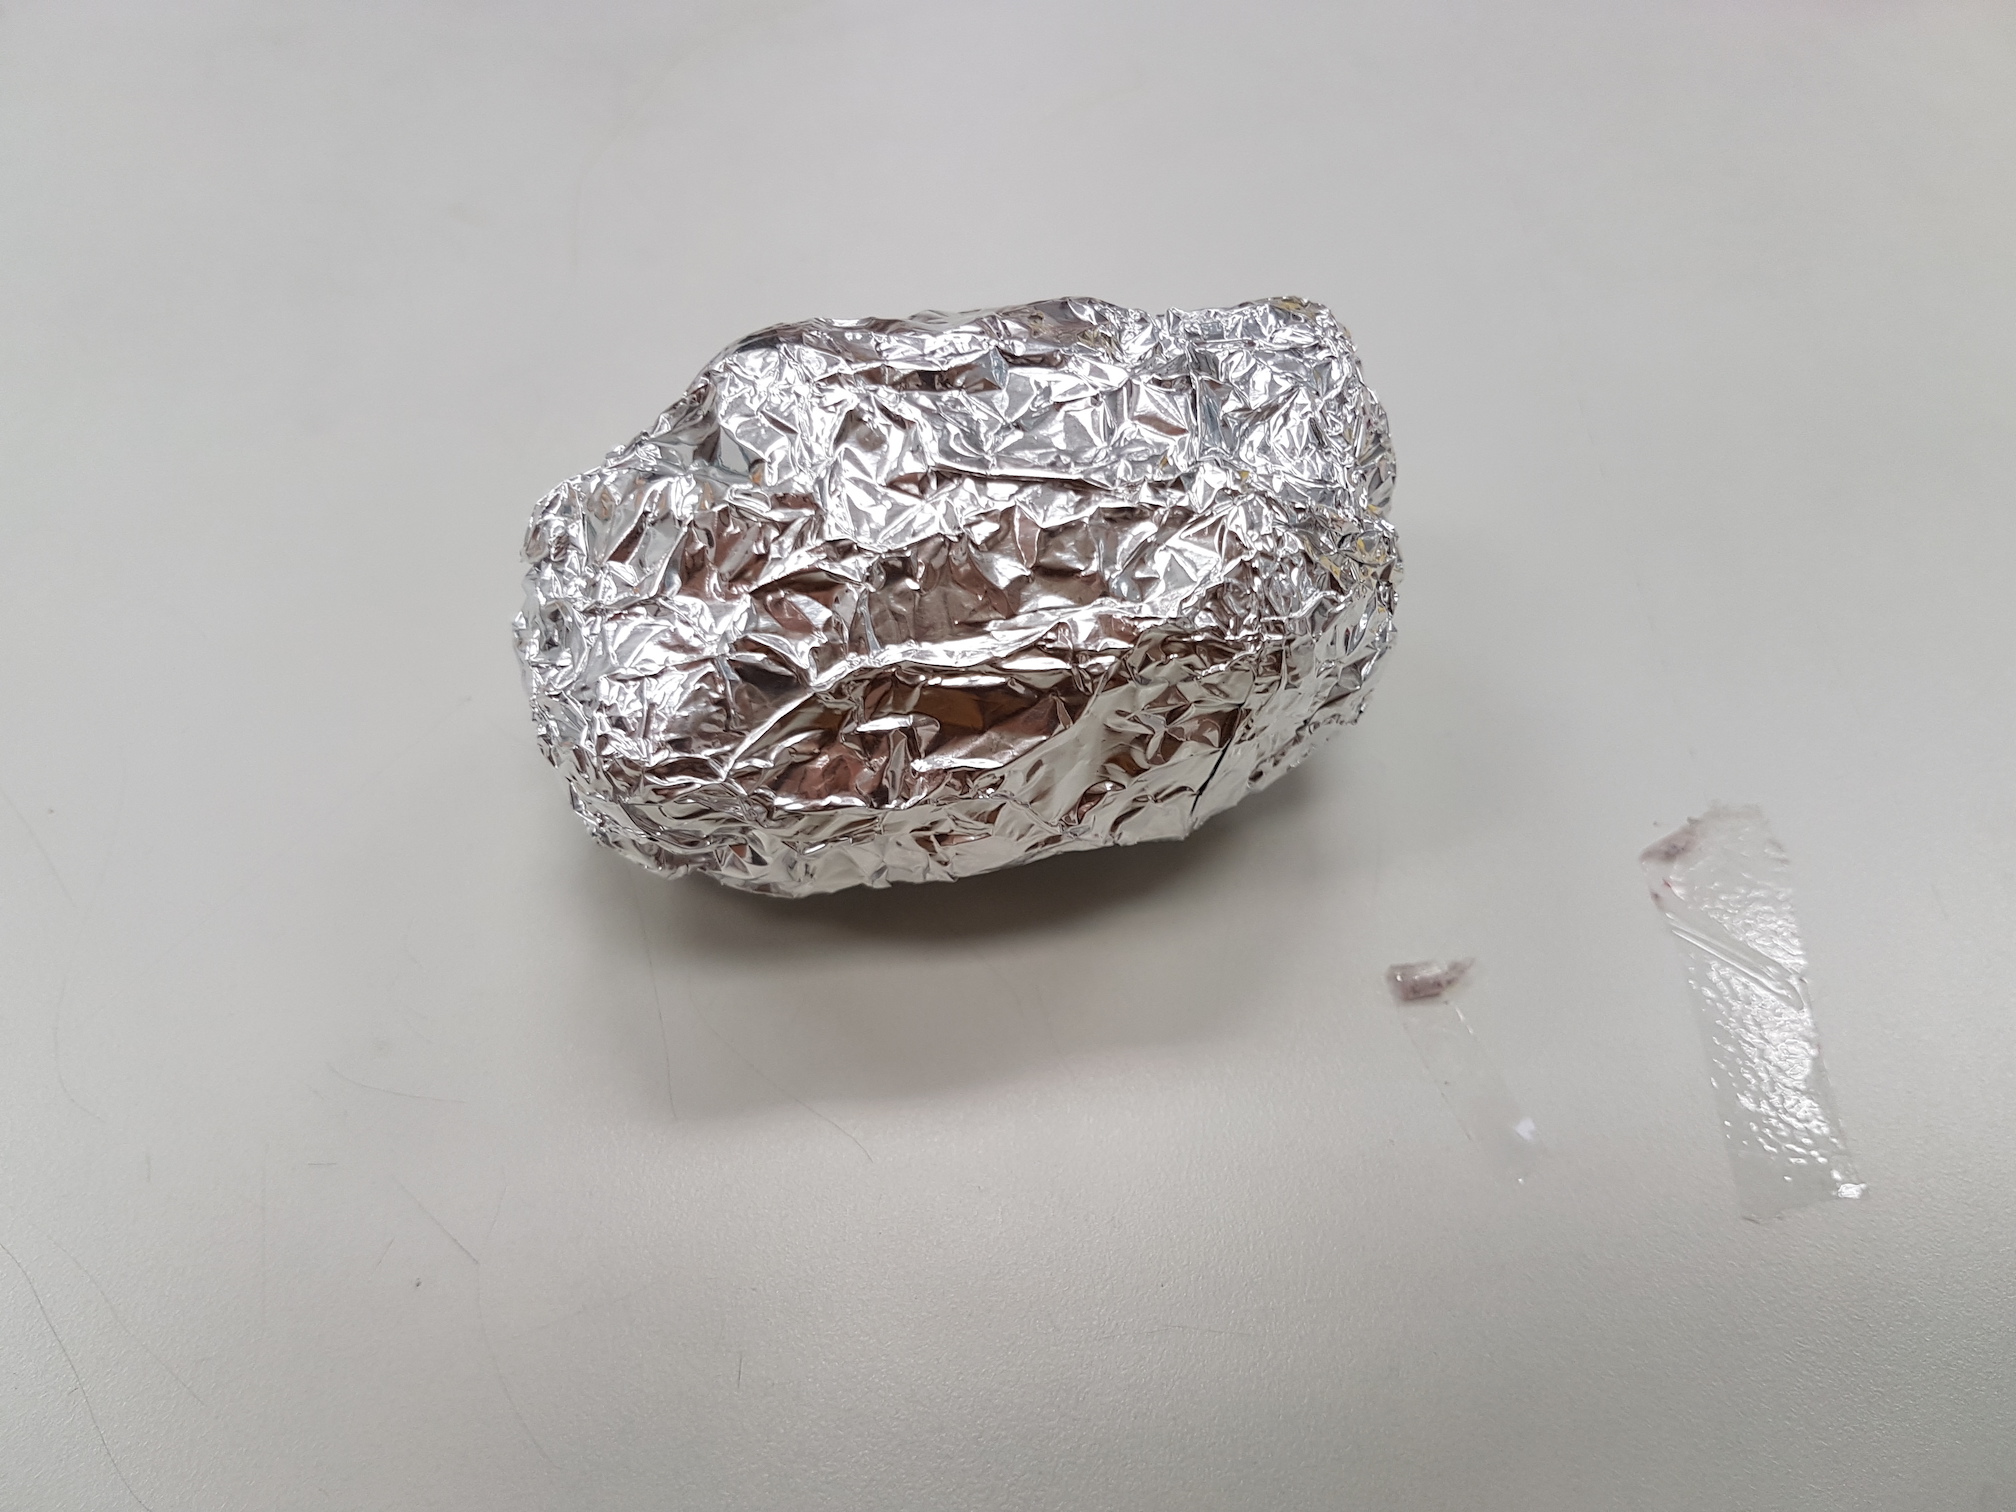
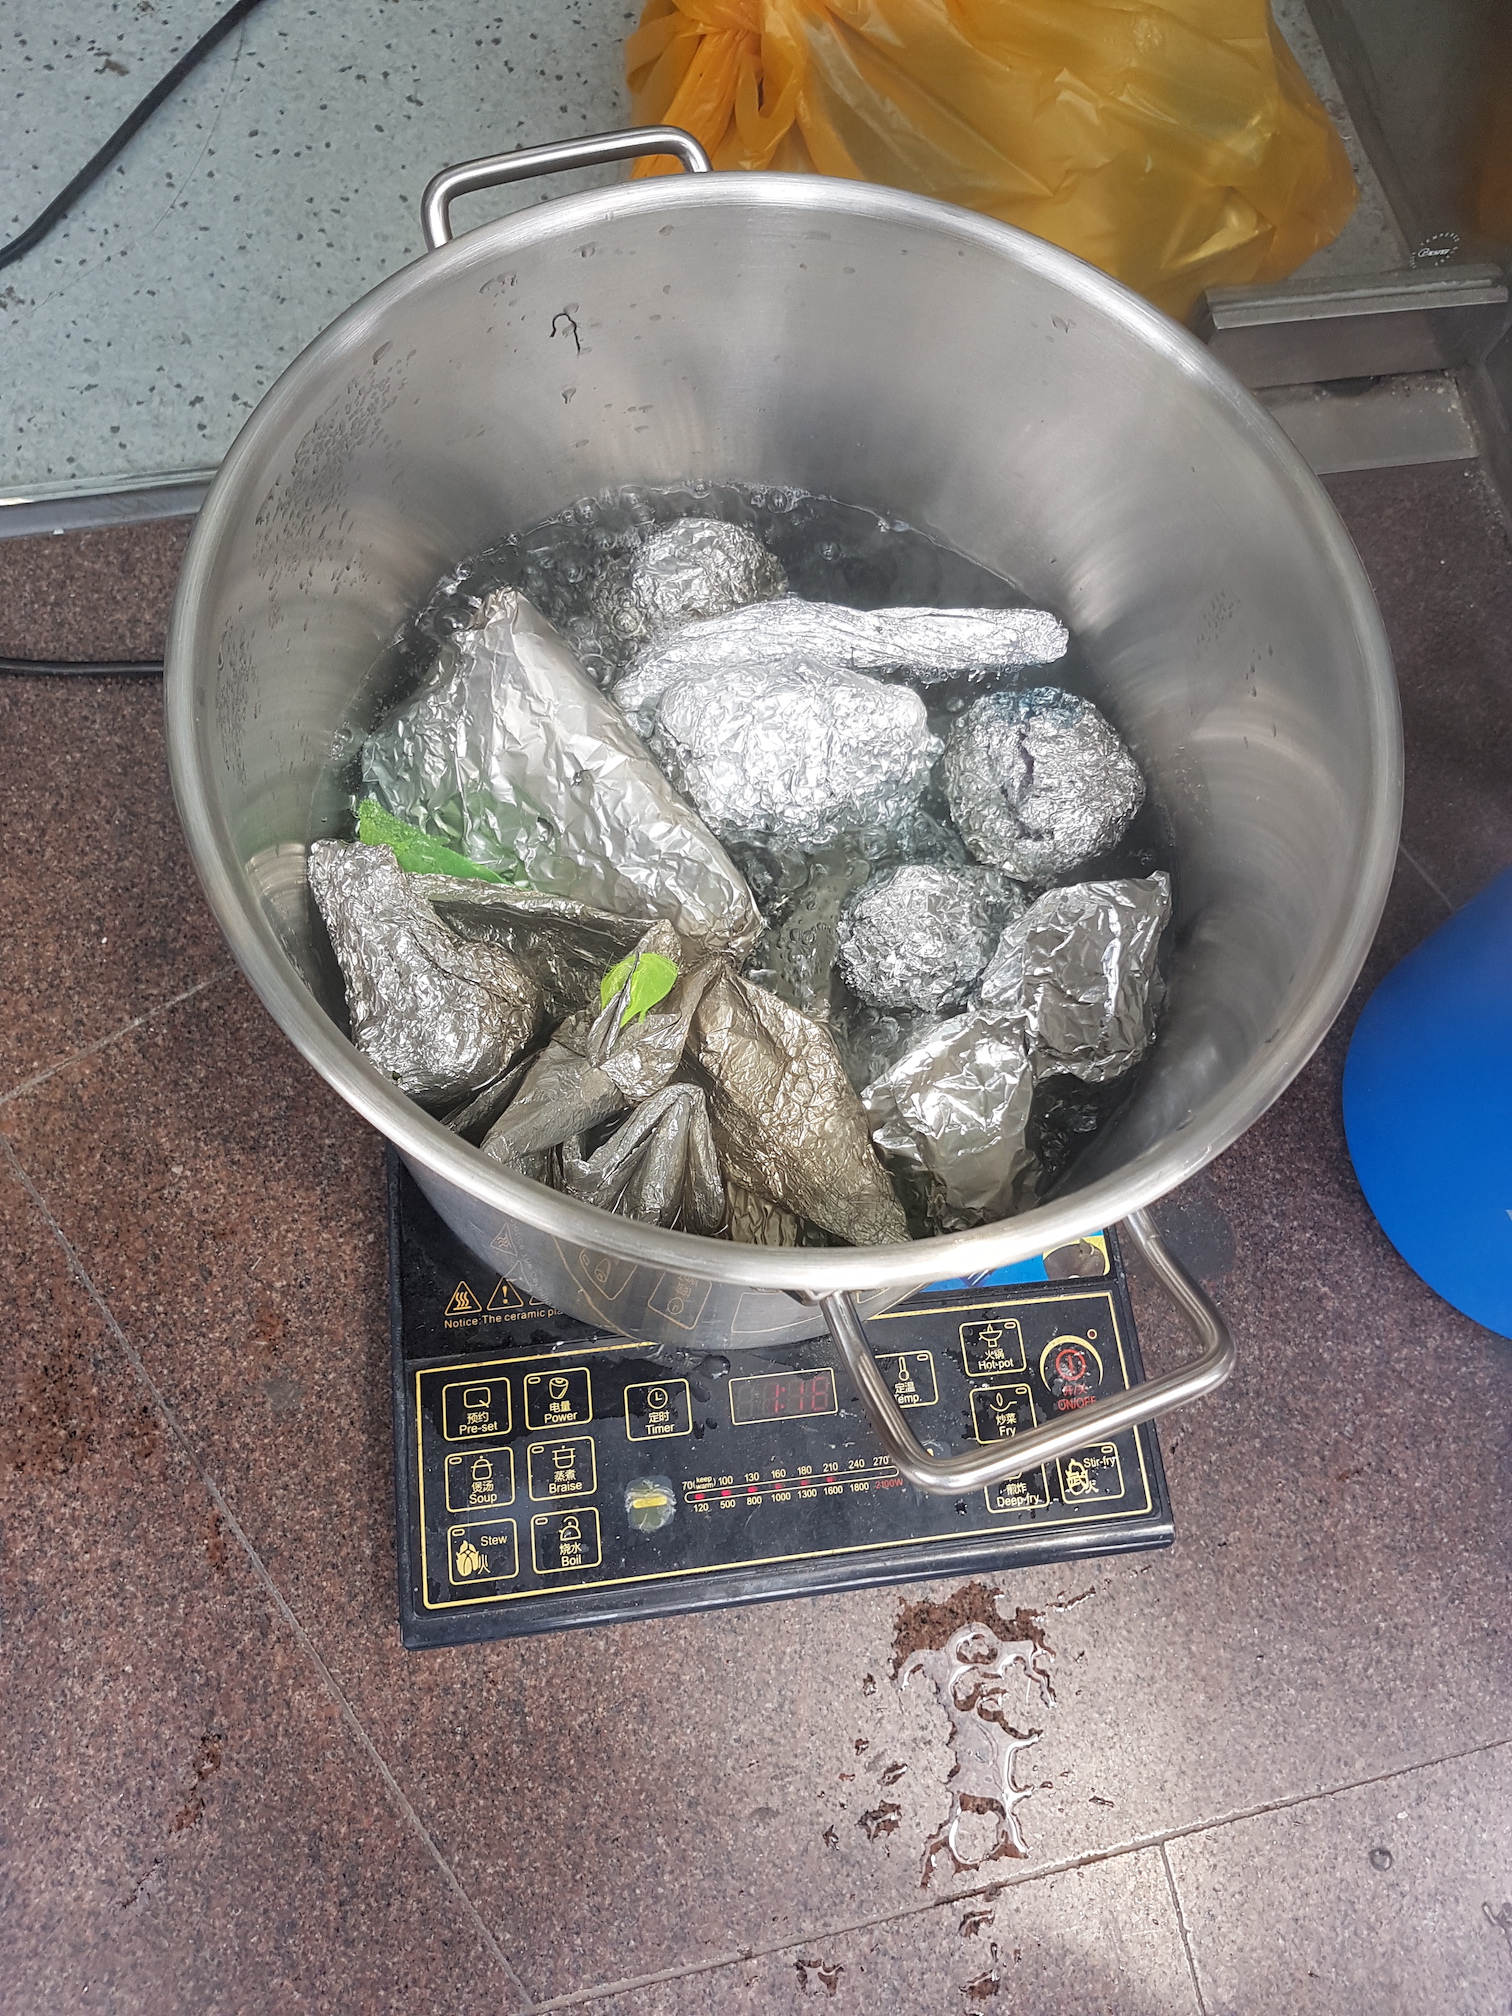
Wrap up the object in aluminium foil before boiling and steaming in hot water.

Wrap up in aluminium foil

Steam the samples

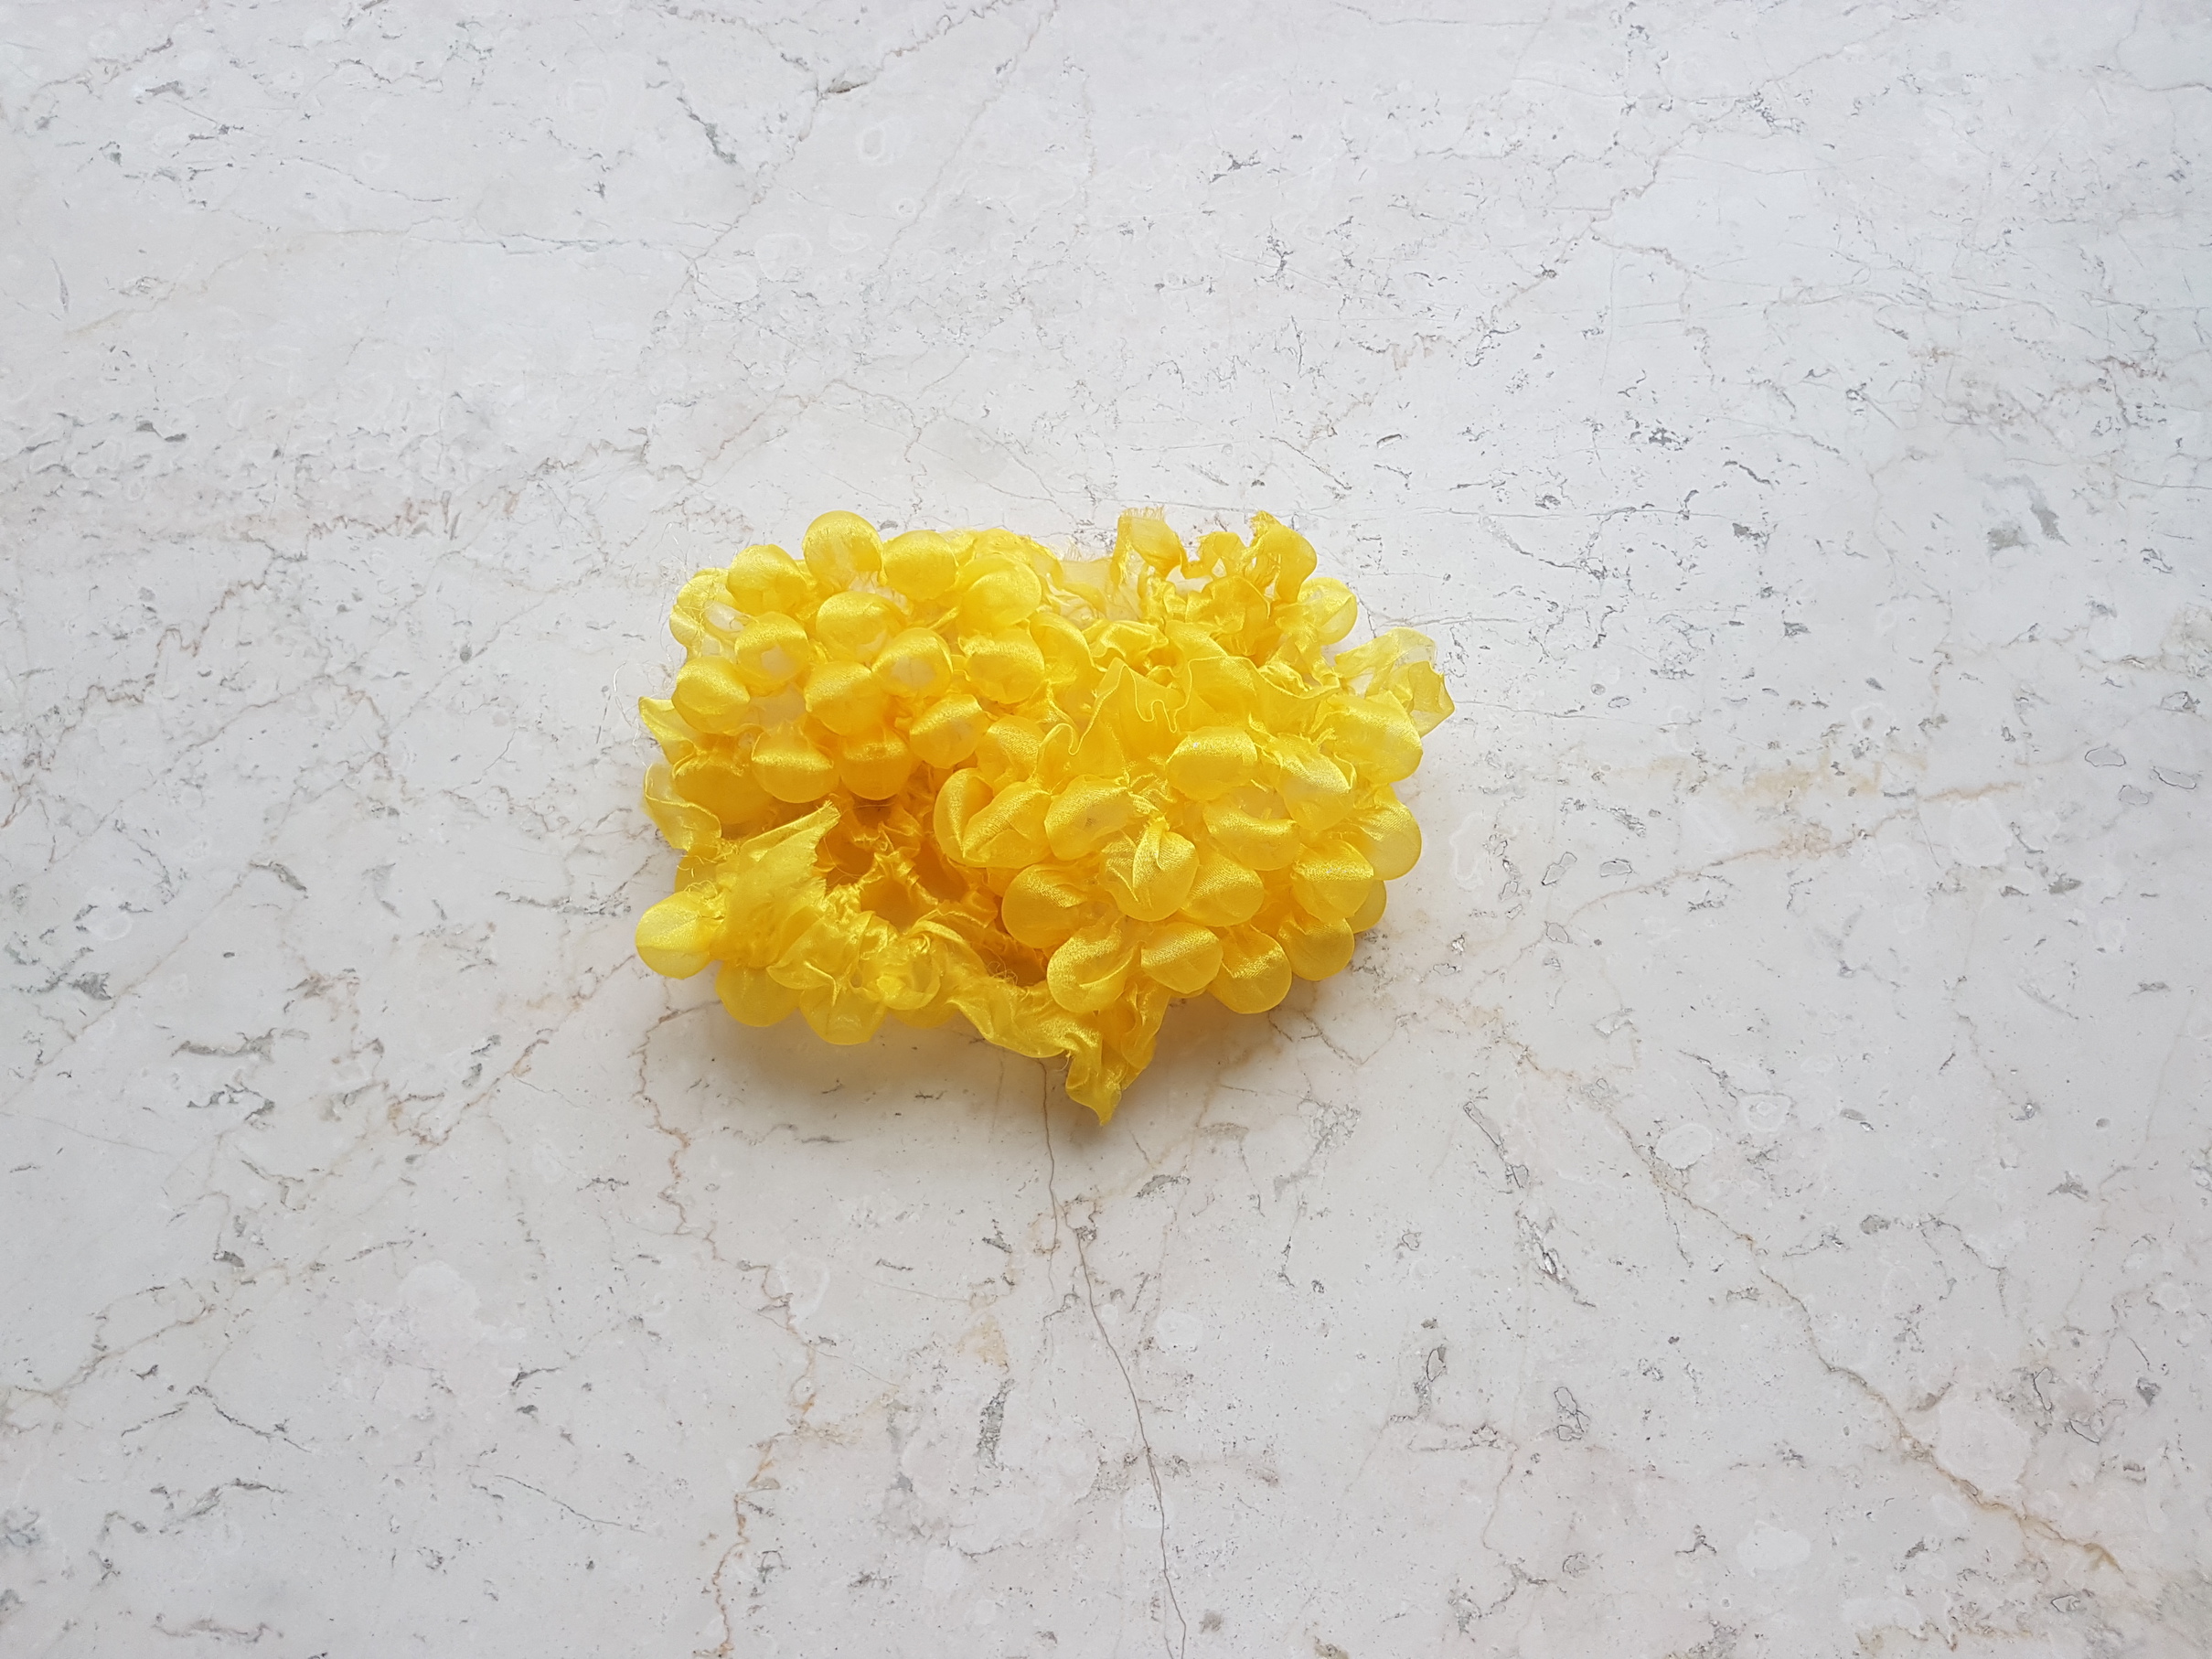
Unwrap the foil and let the organza cool down in the desired shape. Do not hang the fabric or remove the rubber bands or marbles when still warm, as this will loosen its shape.

Just boiled

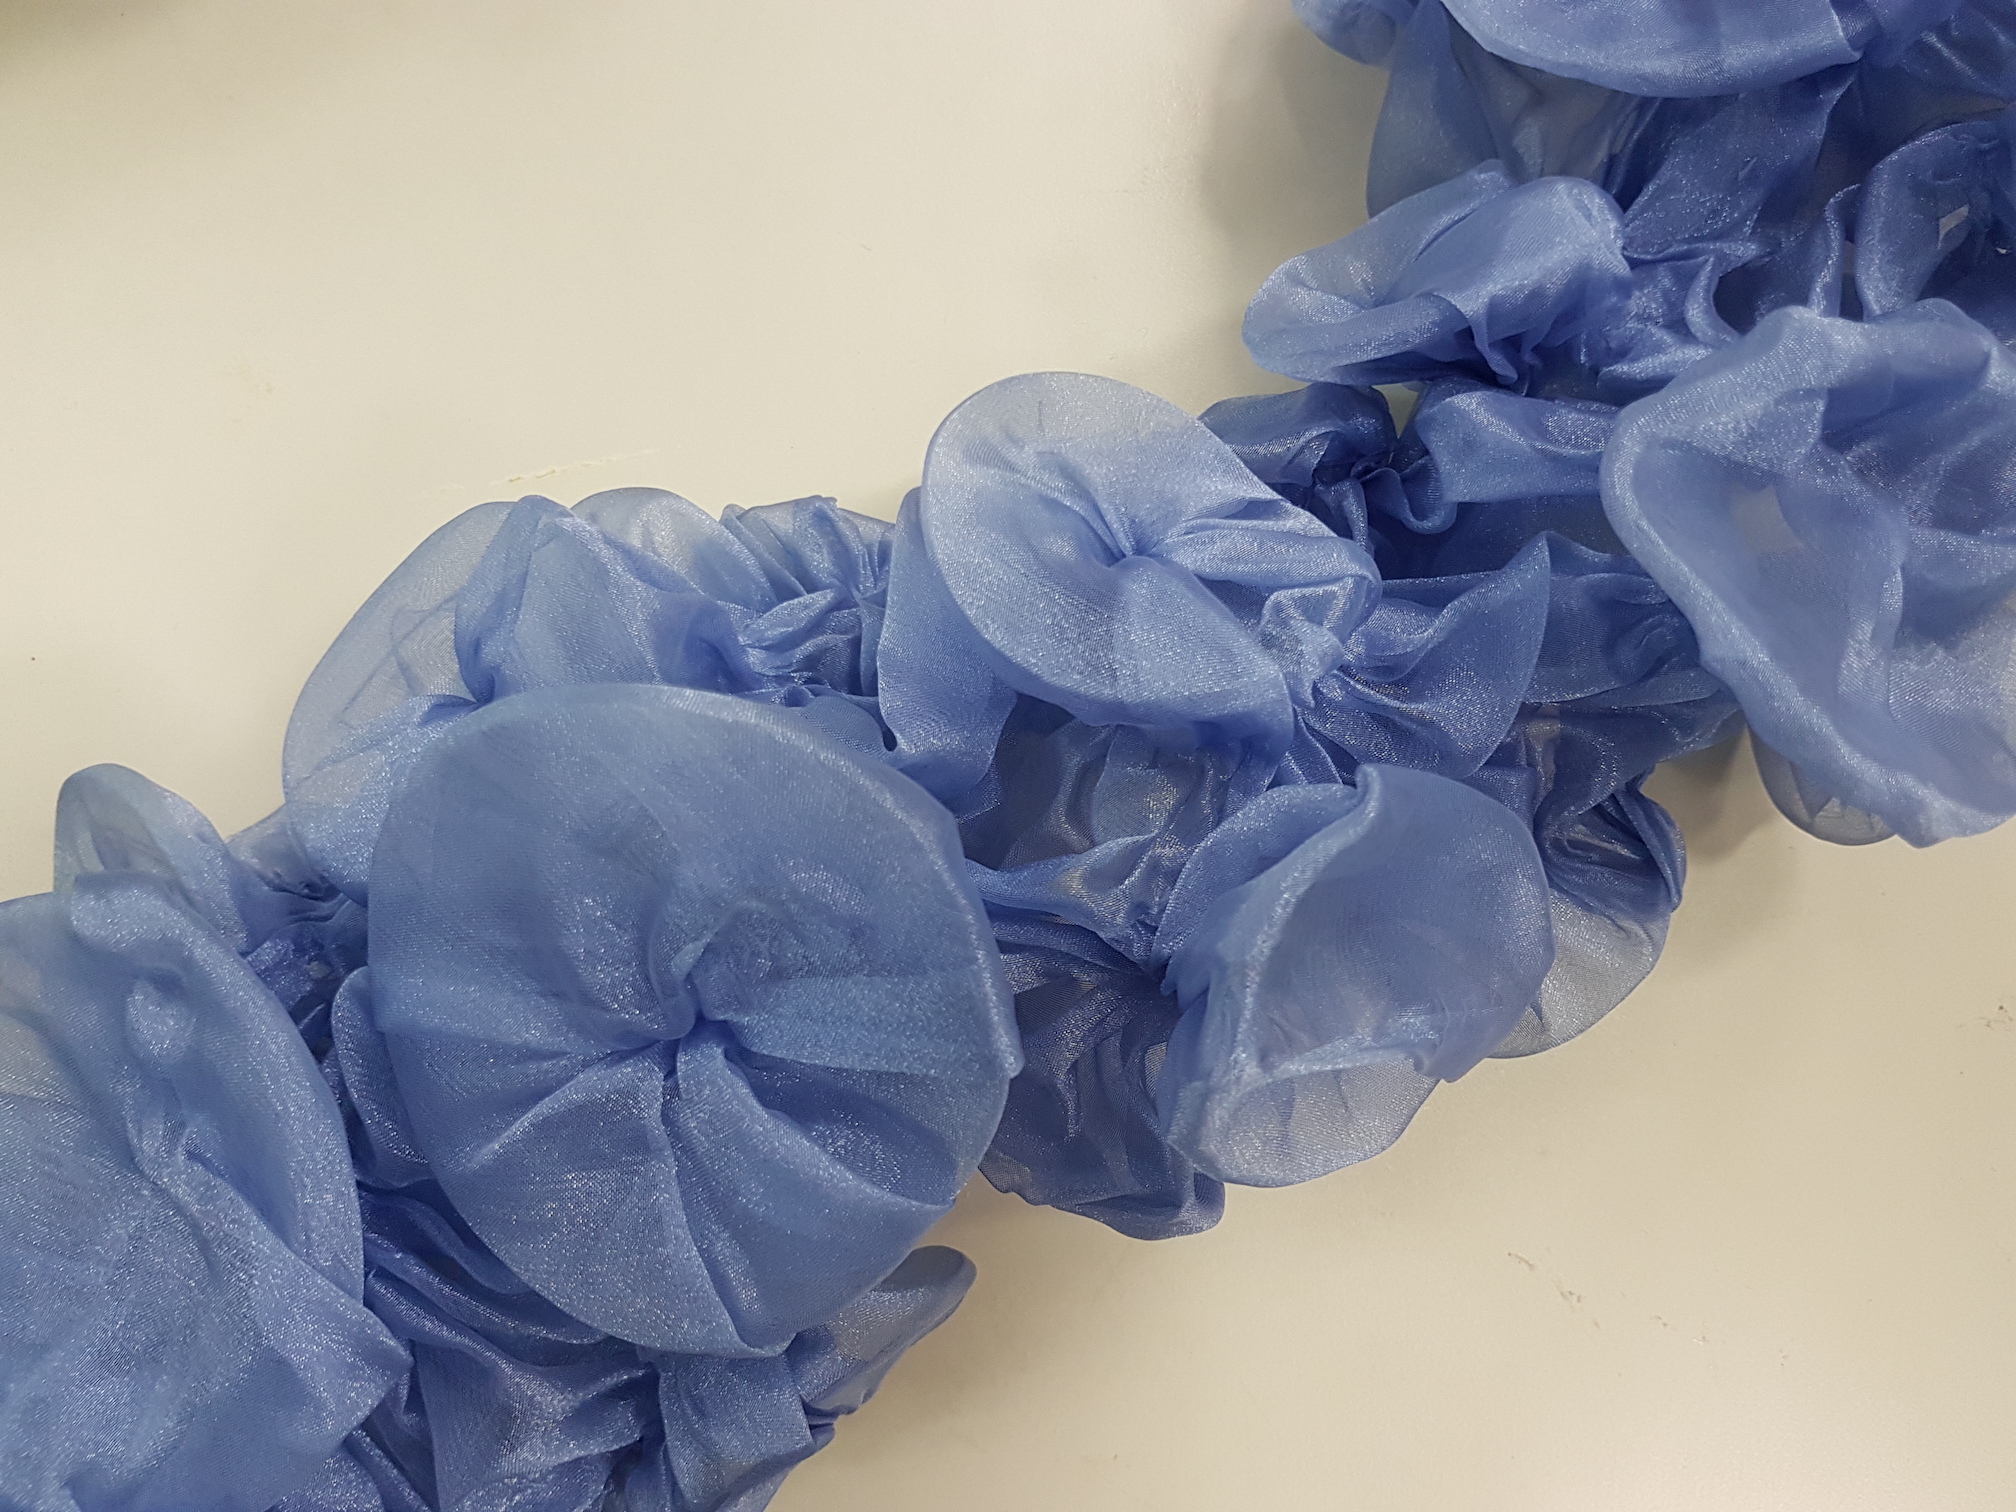
Remove the rubber bands and mould objects when dry.

All rubber bands removed

Mould the polyester organza around marbles
Fully expanded!

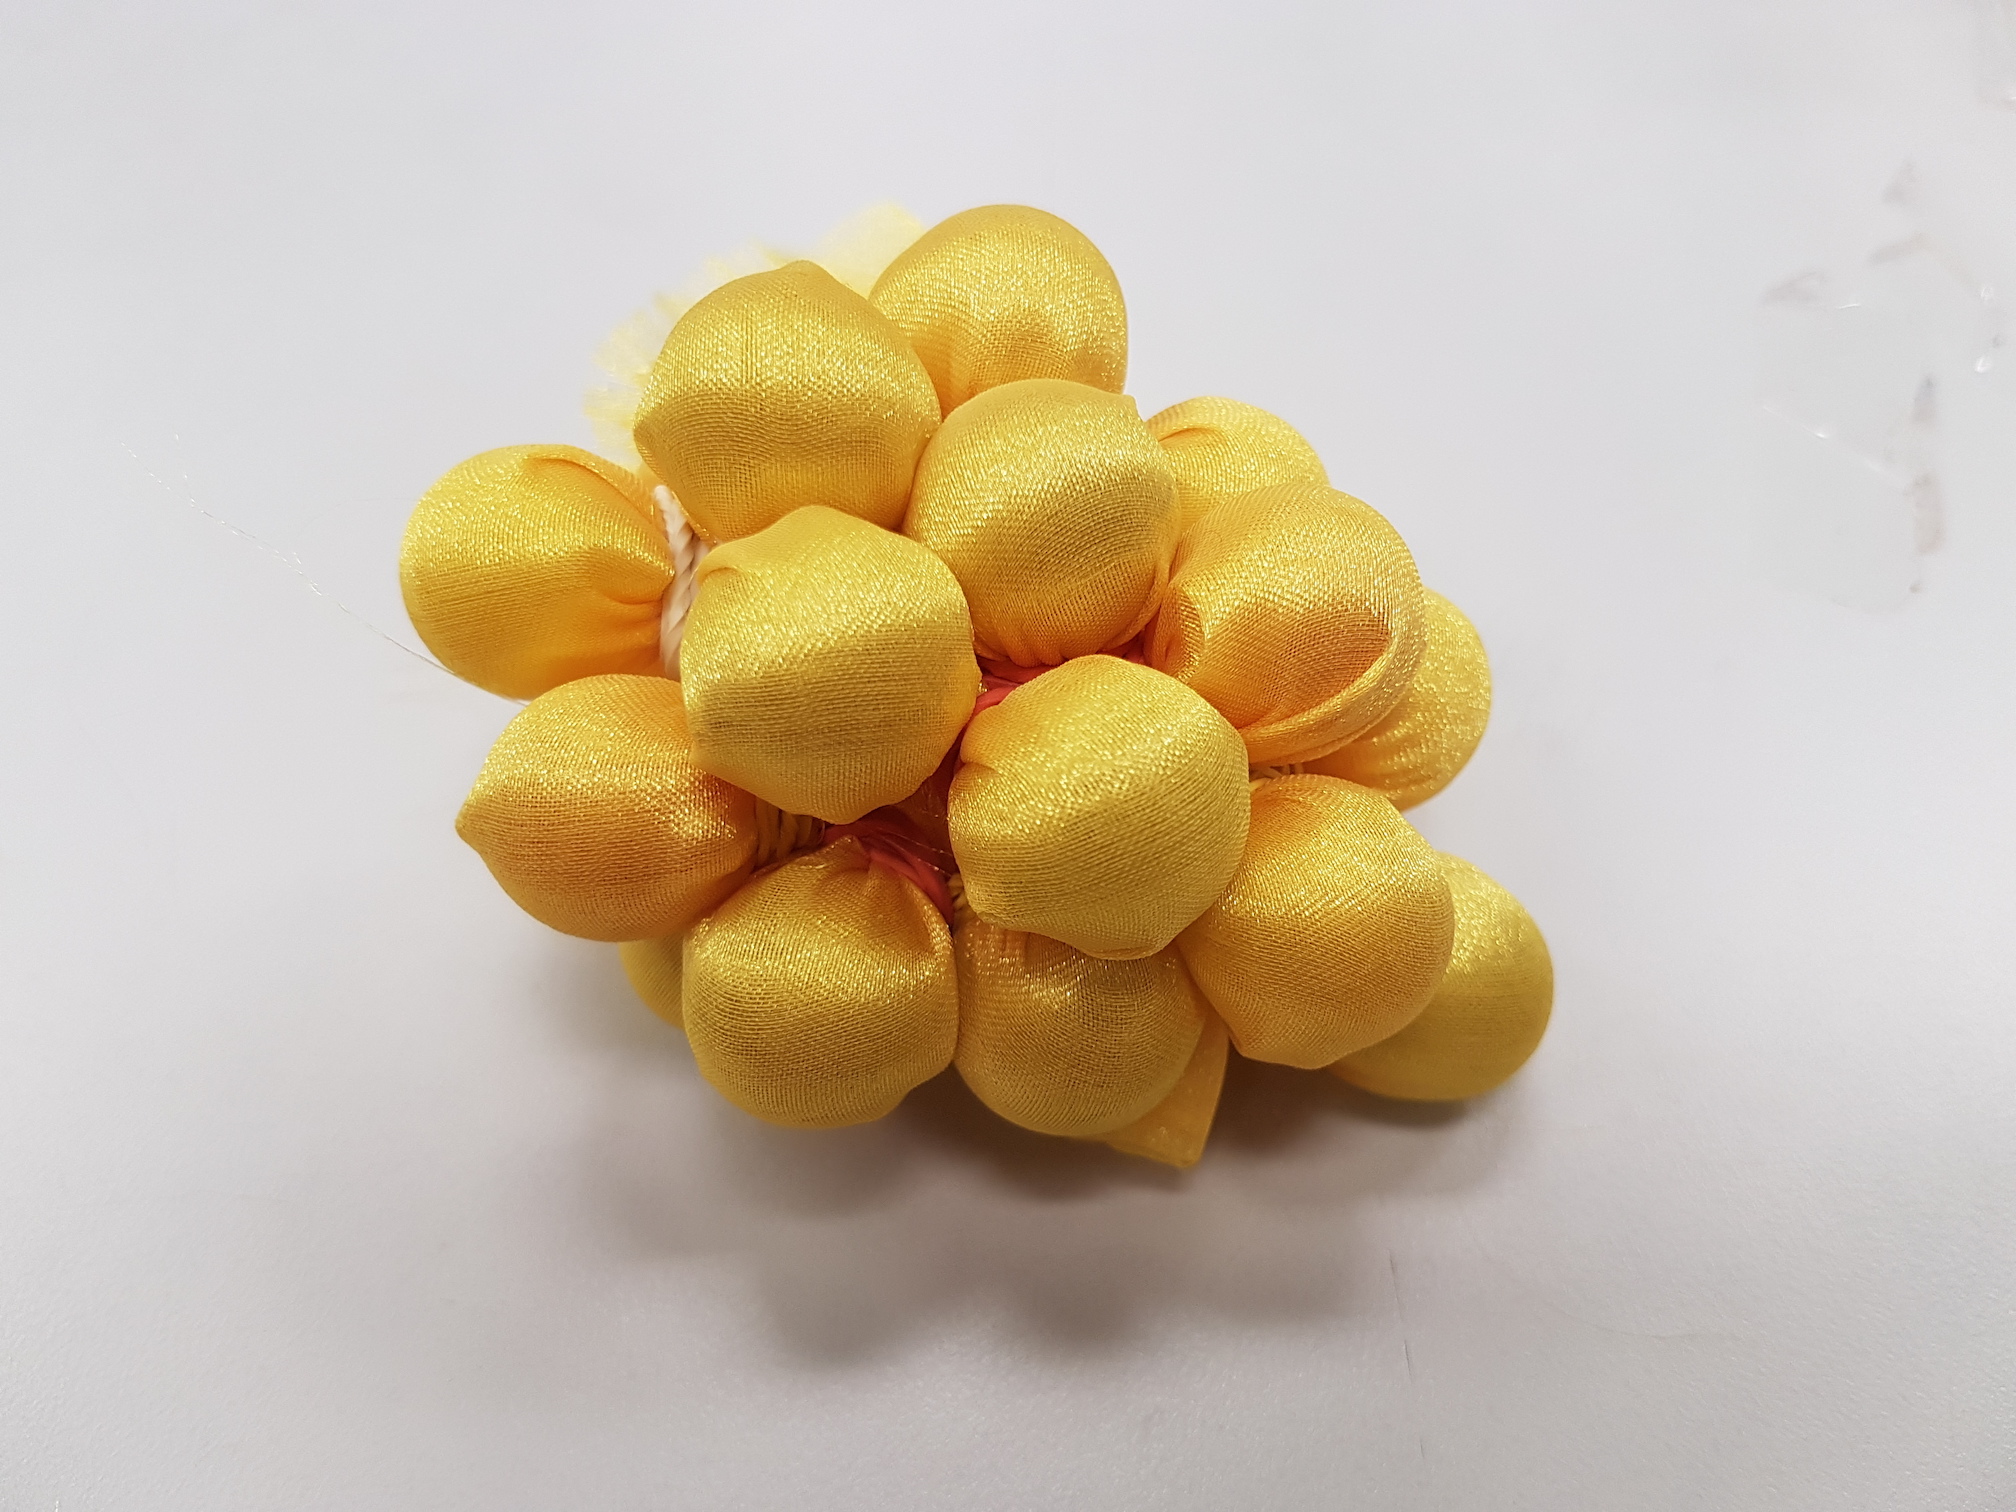
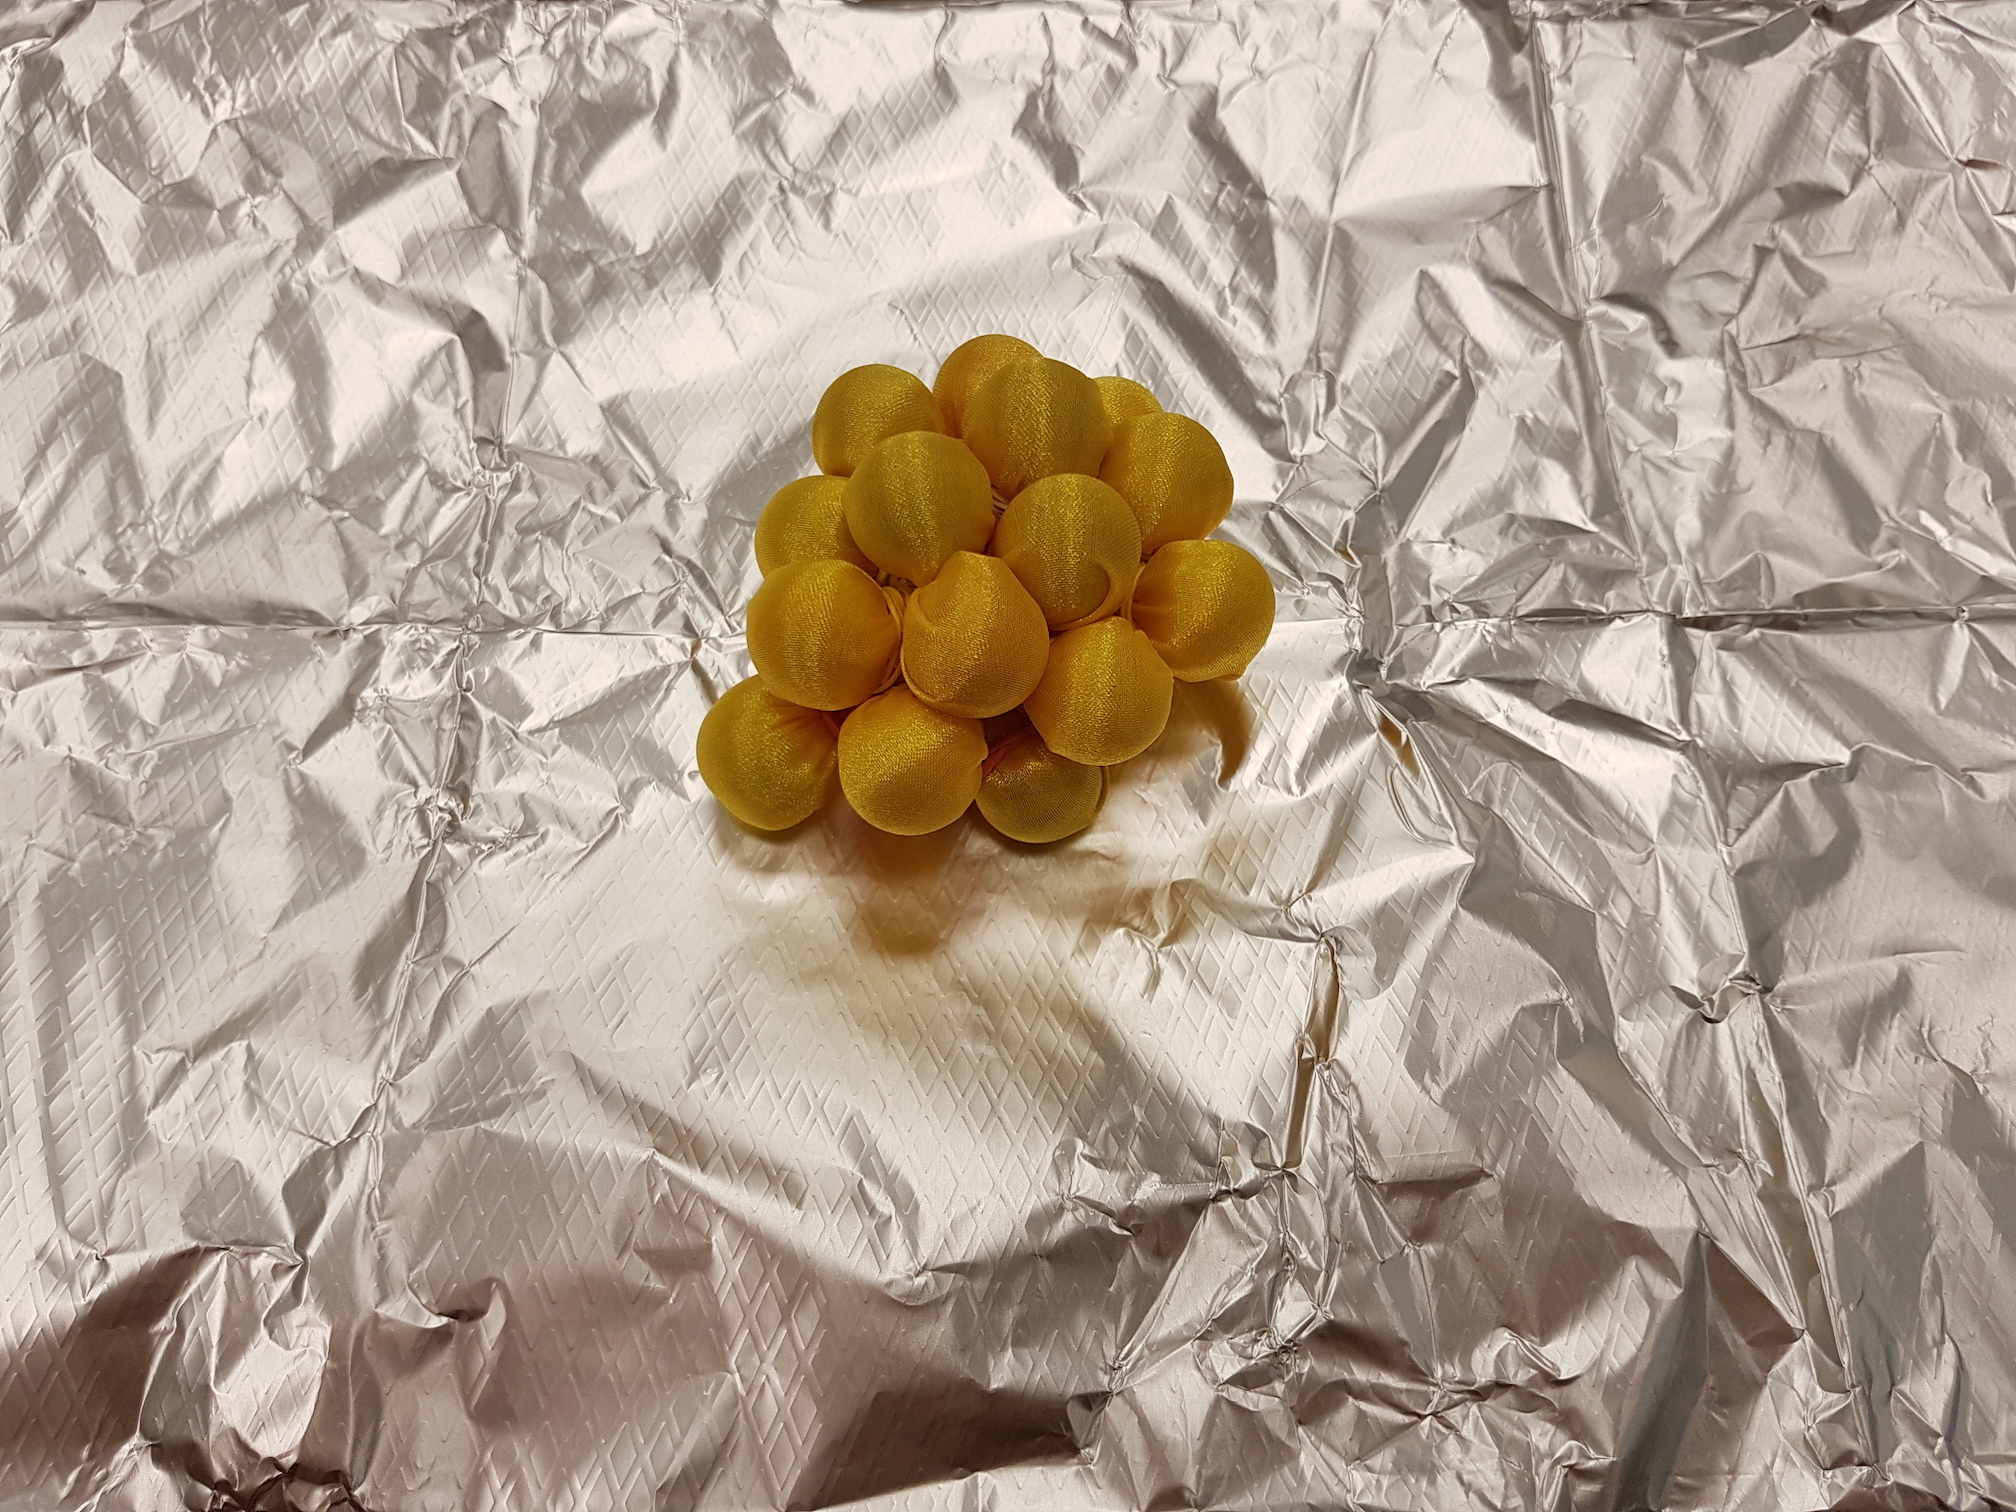
For my final project, I imitated the shape of the pine cone petal using thermoplastics. I wrapped organza around different sizes of disposable spoons to simulate the different petal sizes.

Final project sample inspired by the petals of pine cones

This technique of manipulating thermoplastics with heat is very interesting and enjoyable! It allows us to create organic shapes and mould a soft fabric into a rigid semi-translucent form. There are endless possibilities!
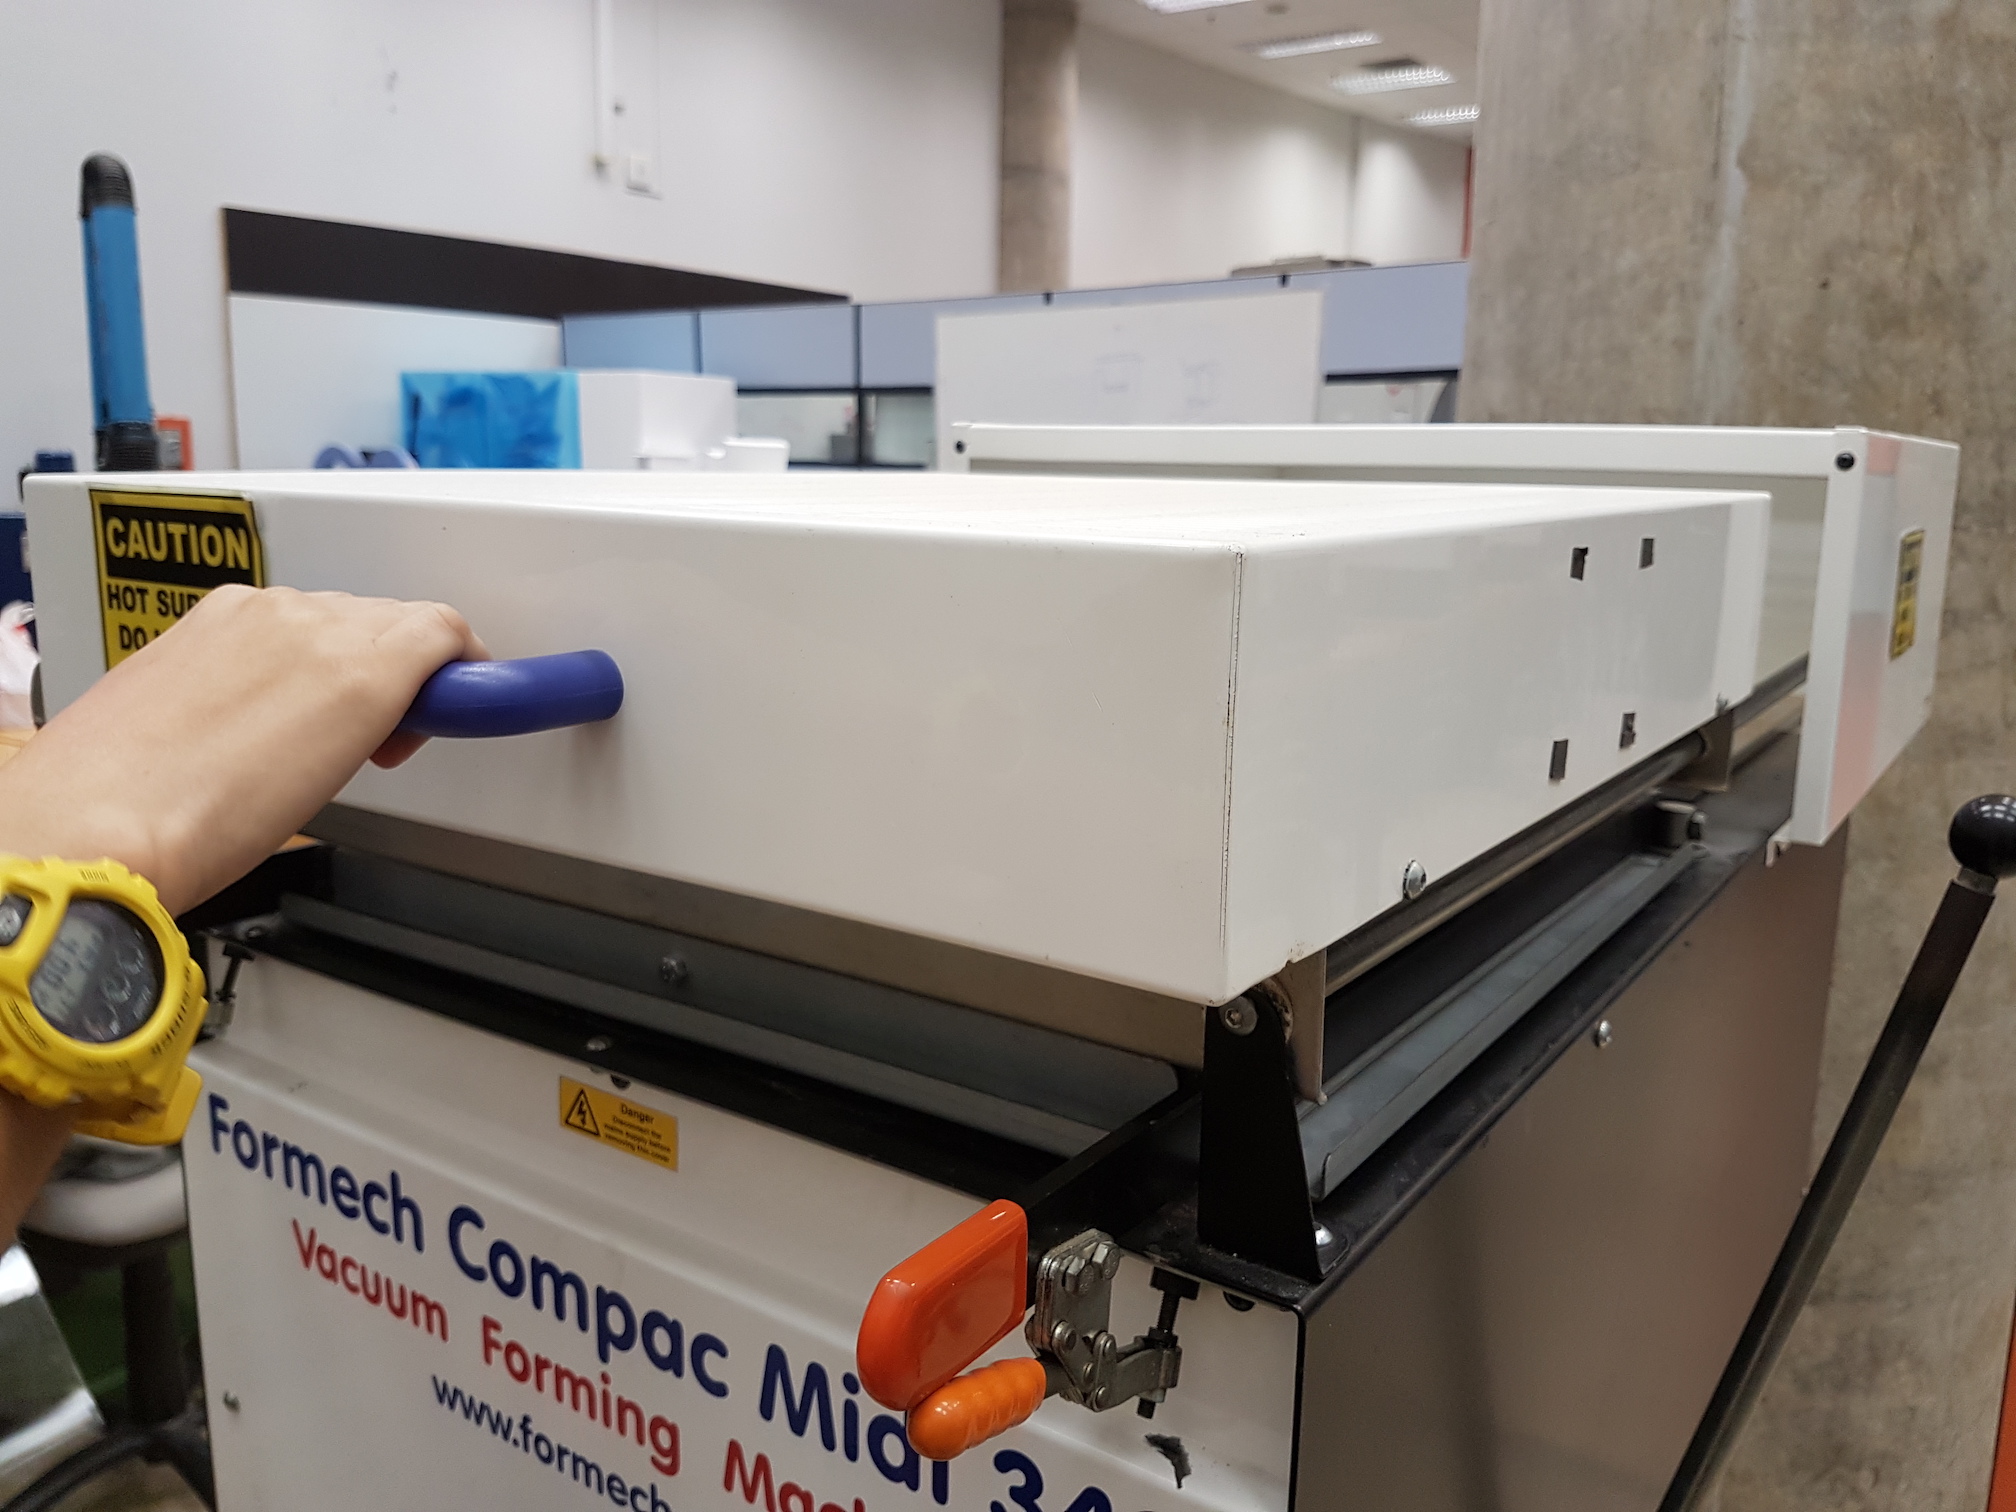
Vacuum-forming

Materials needed
  • Vacuum-forming machine
  • PVC plastic sheet
  • Objects to form around
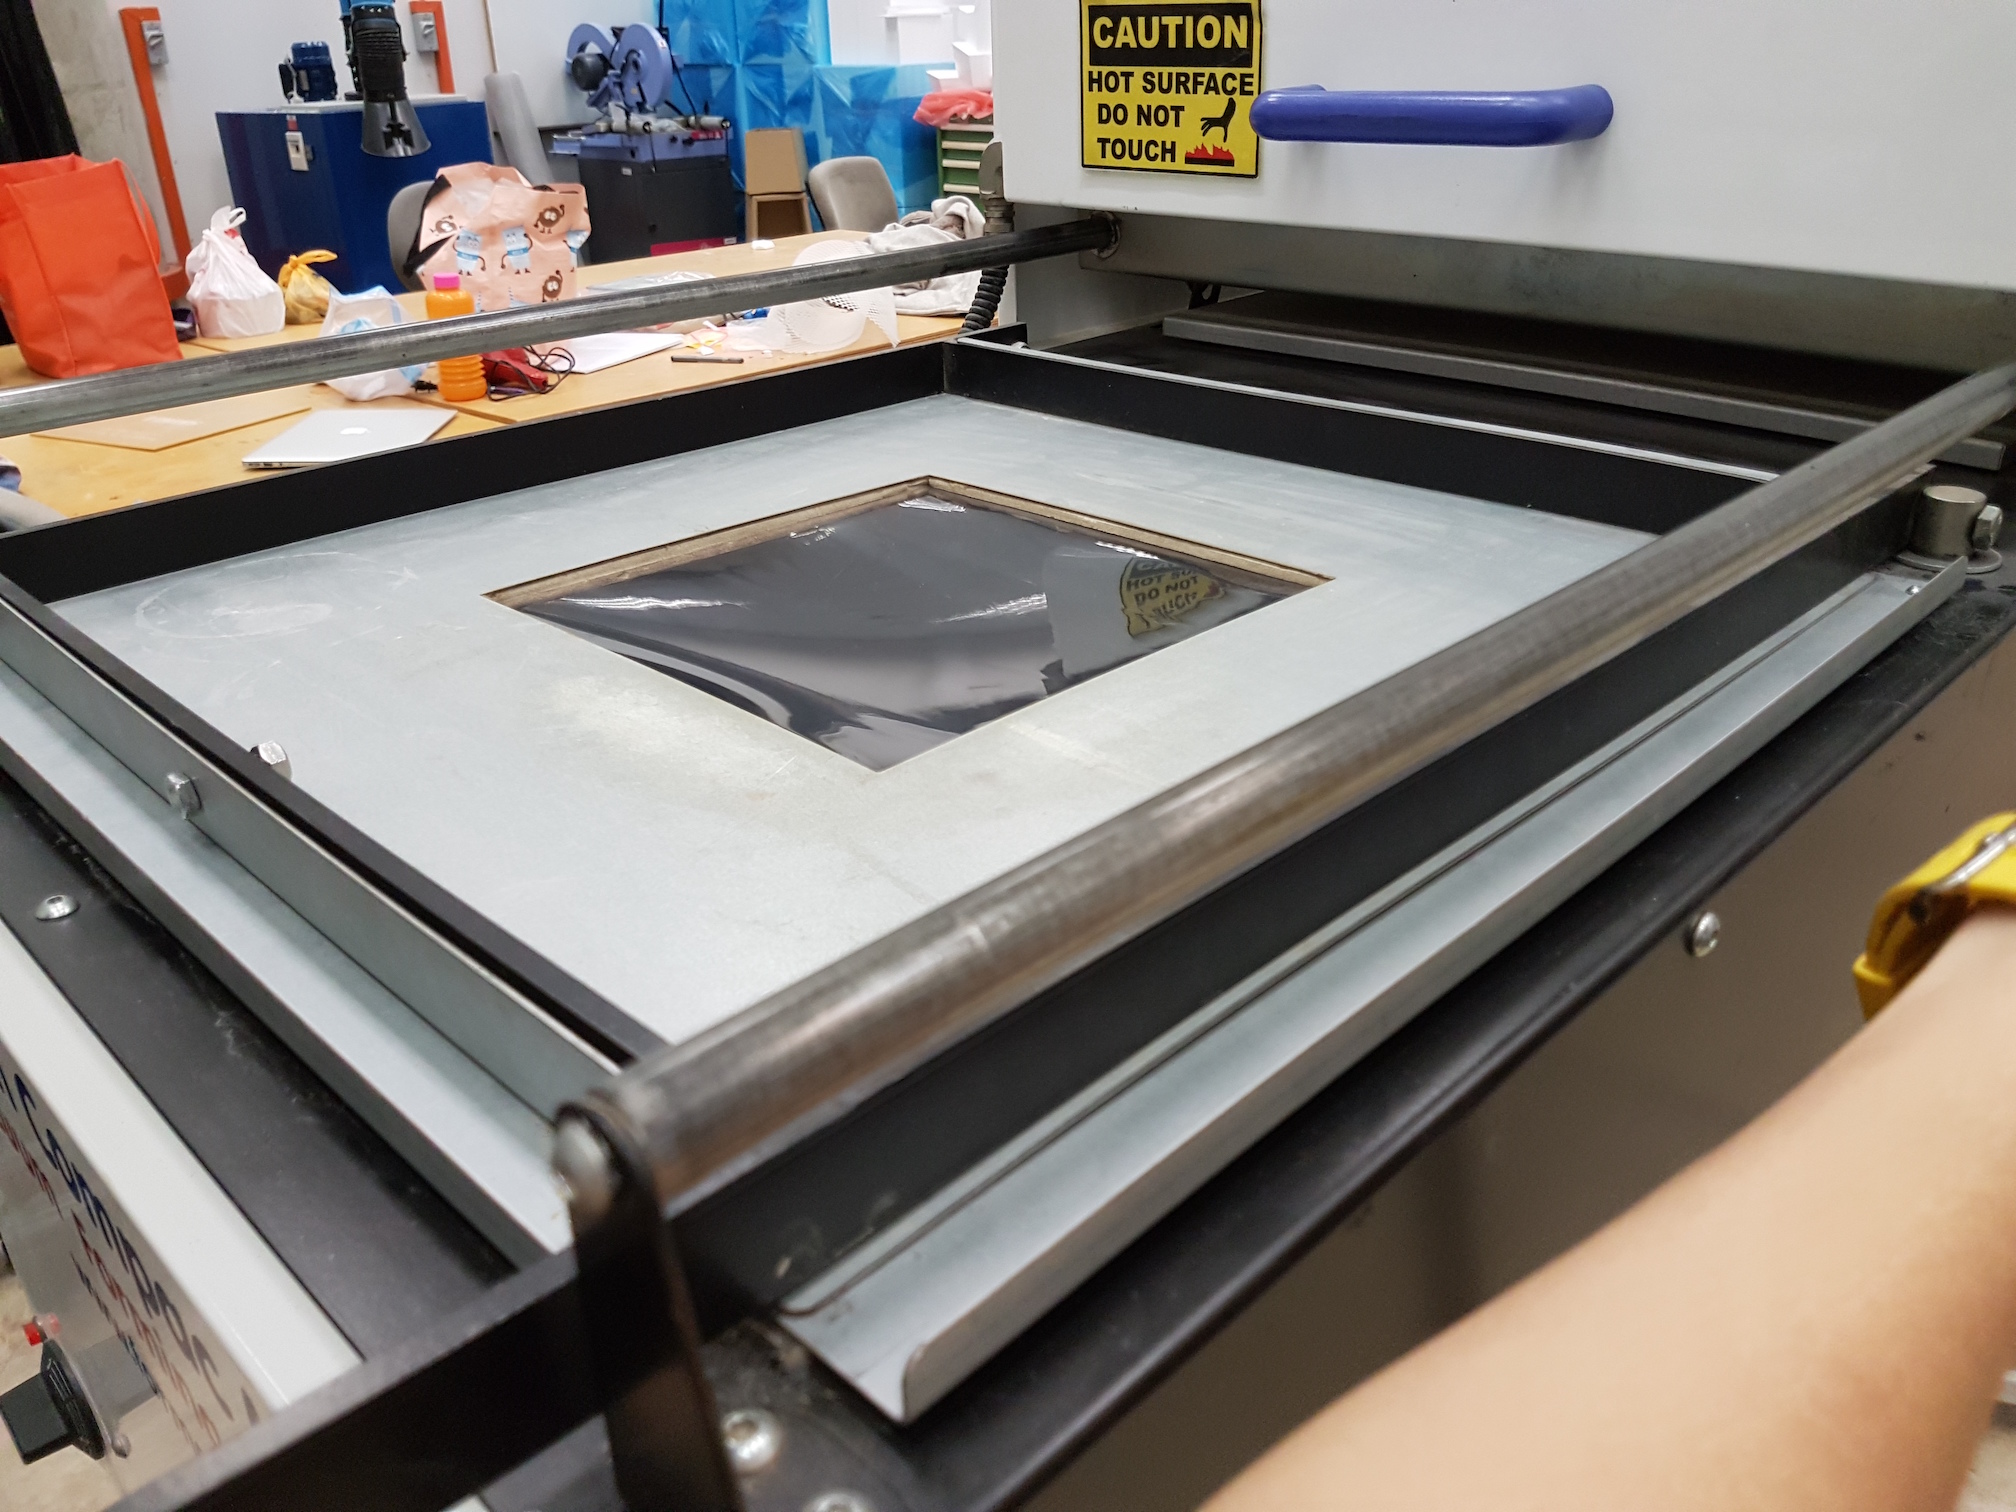
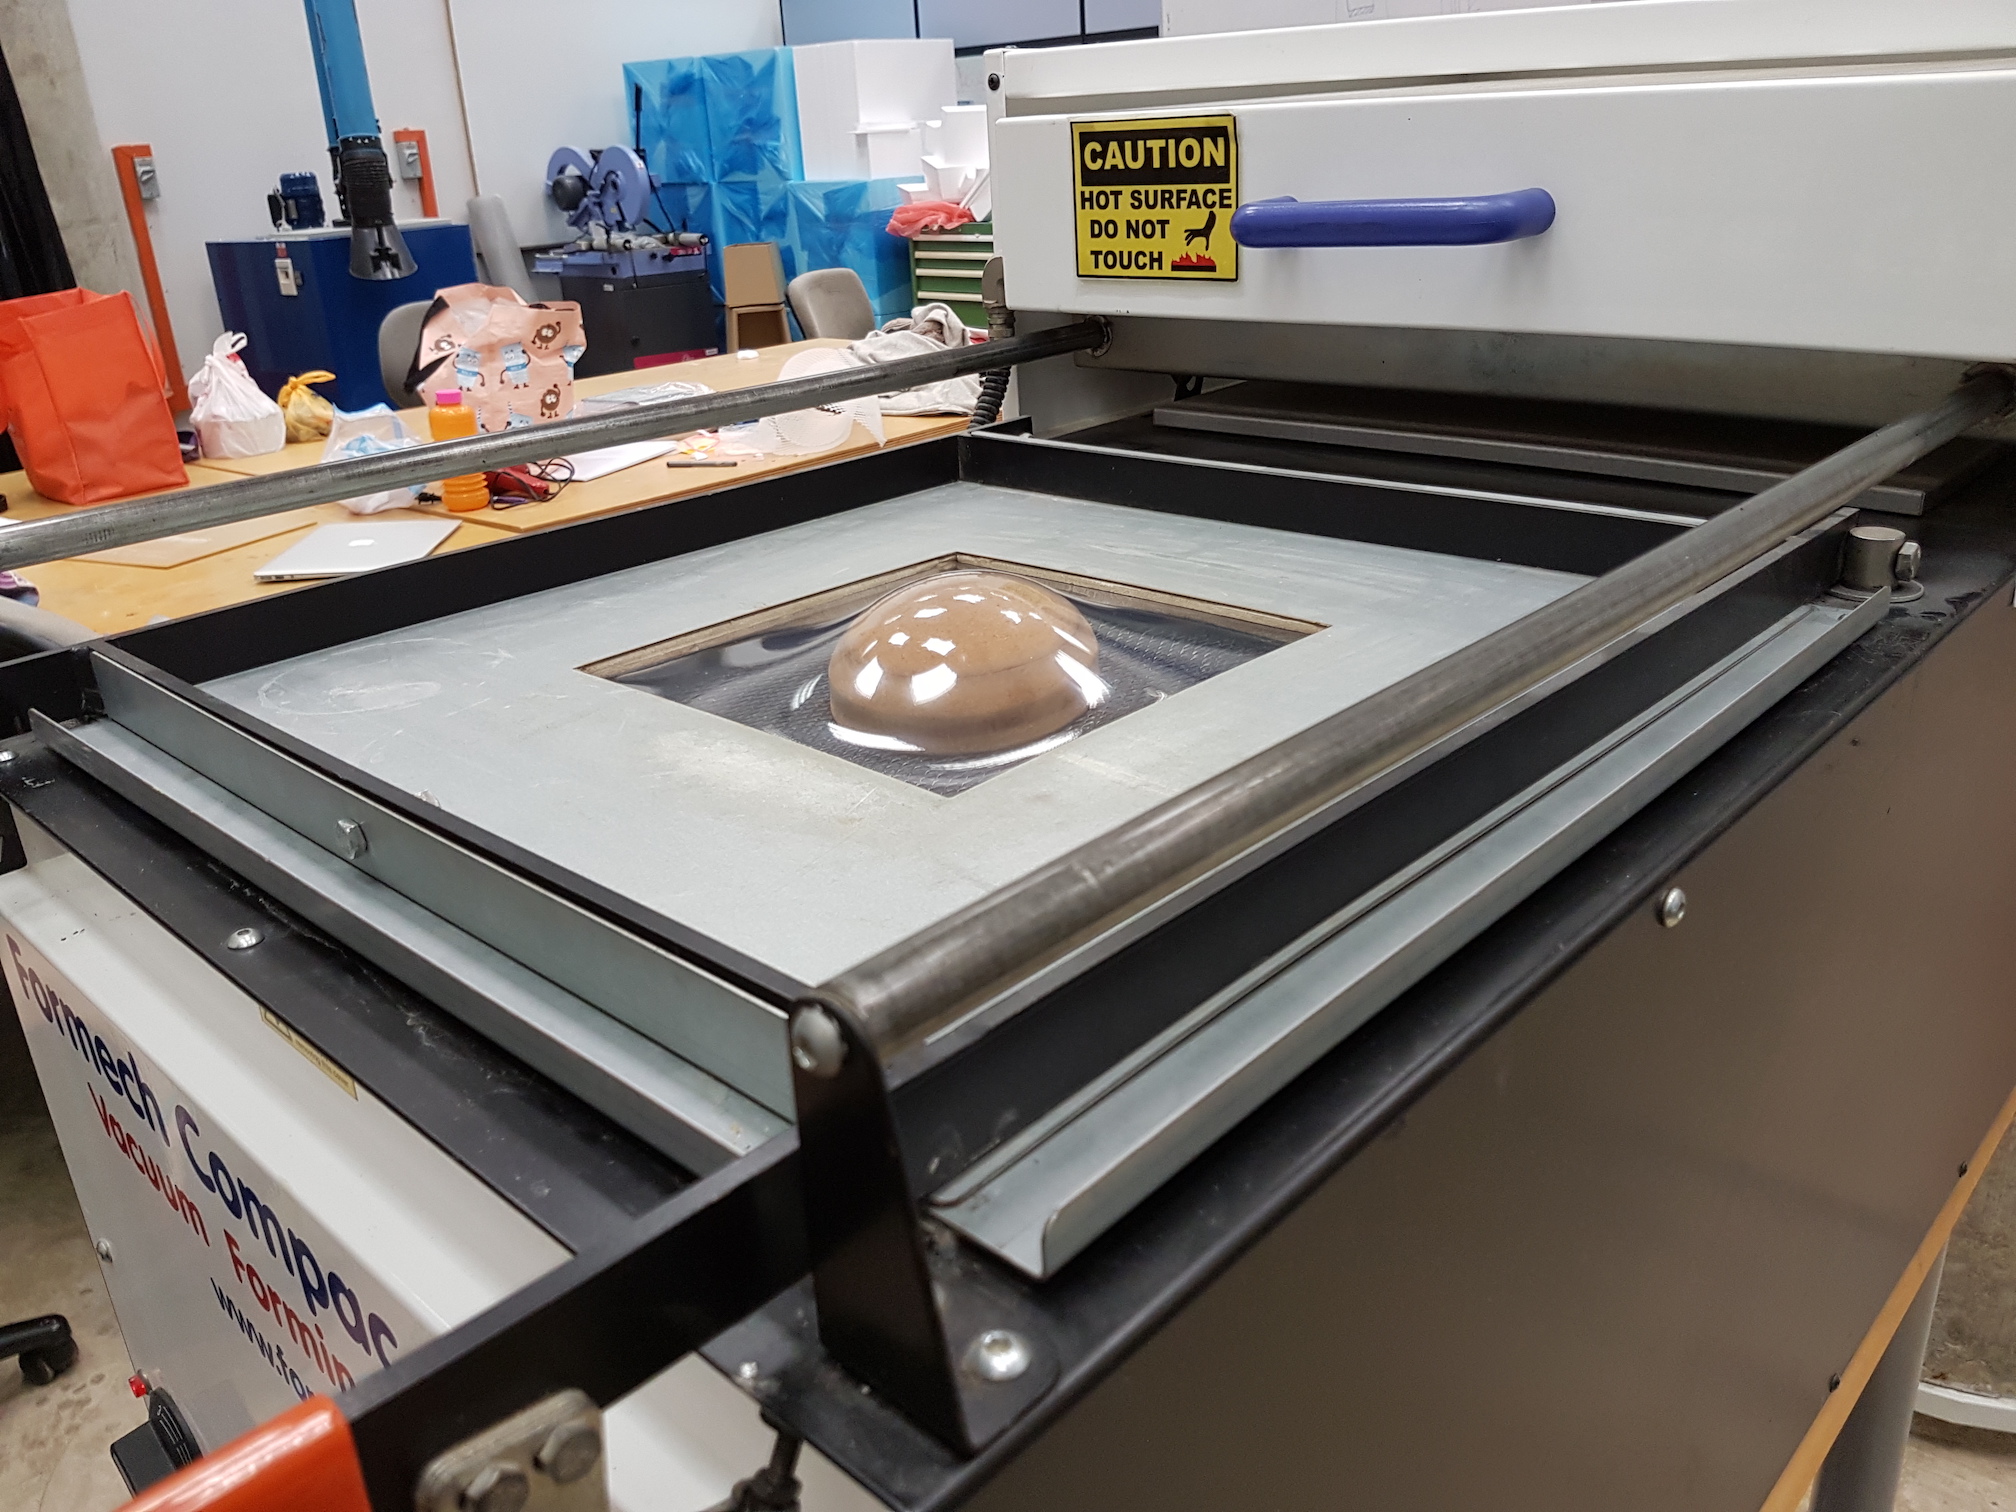
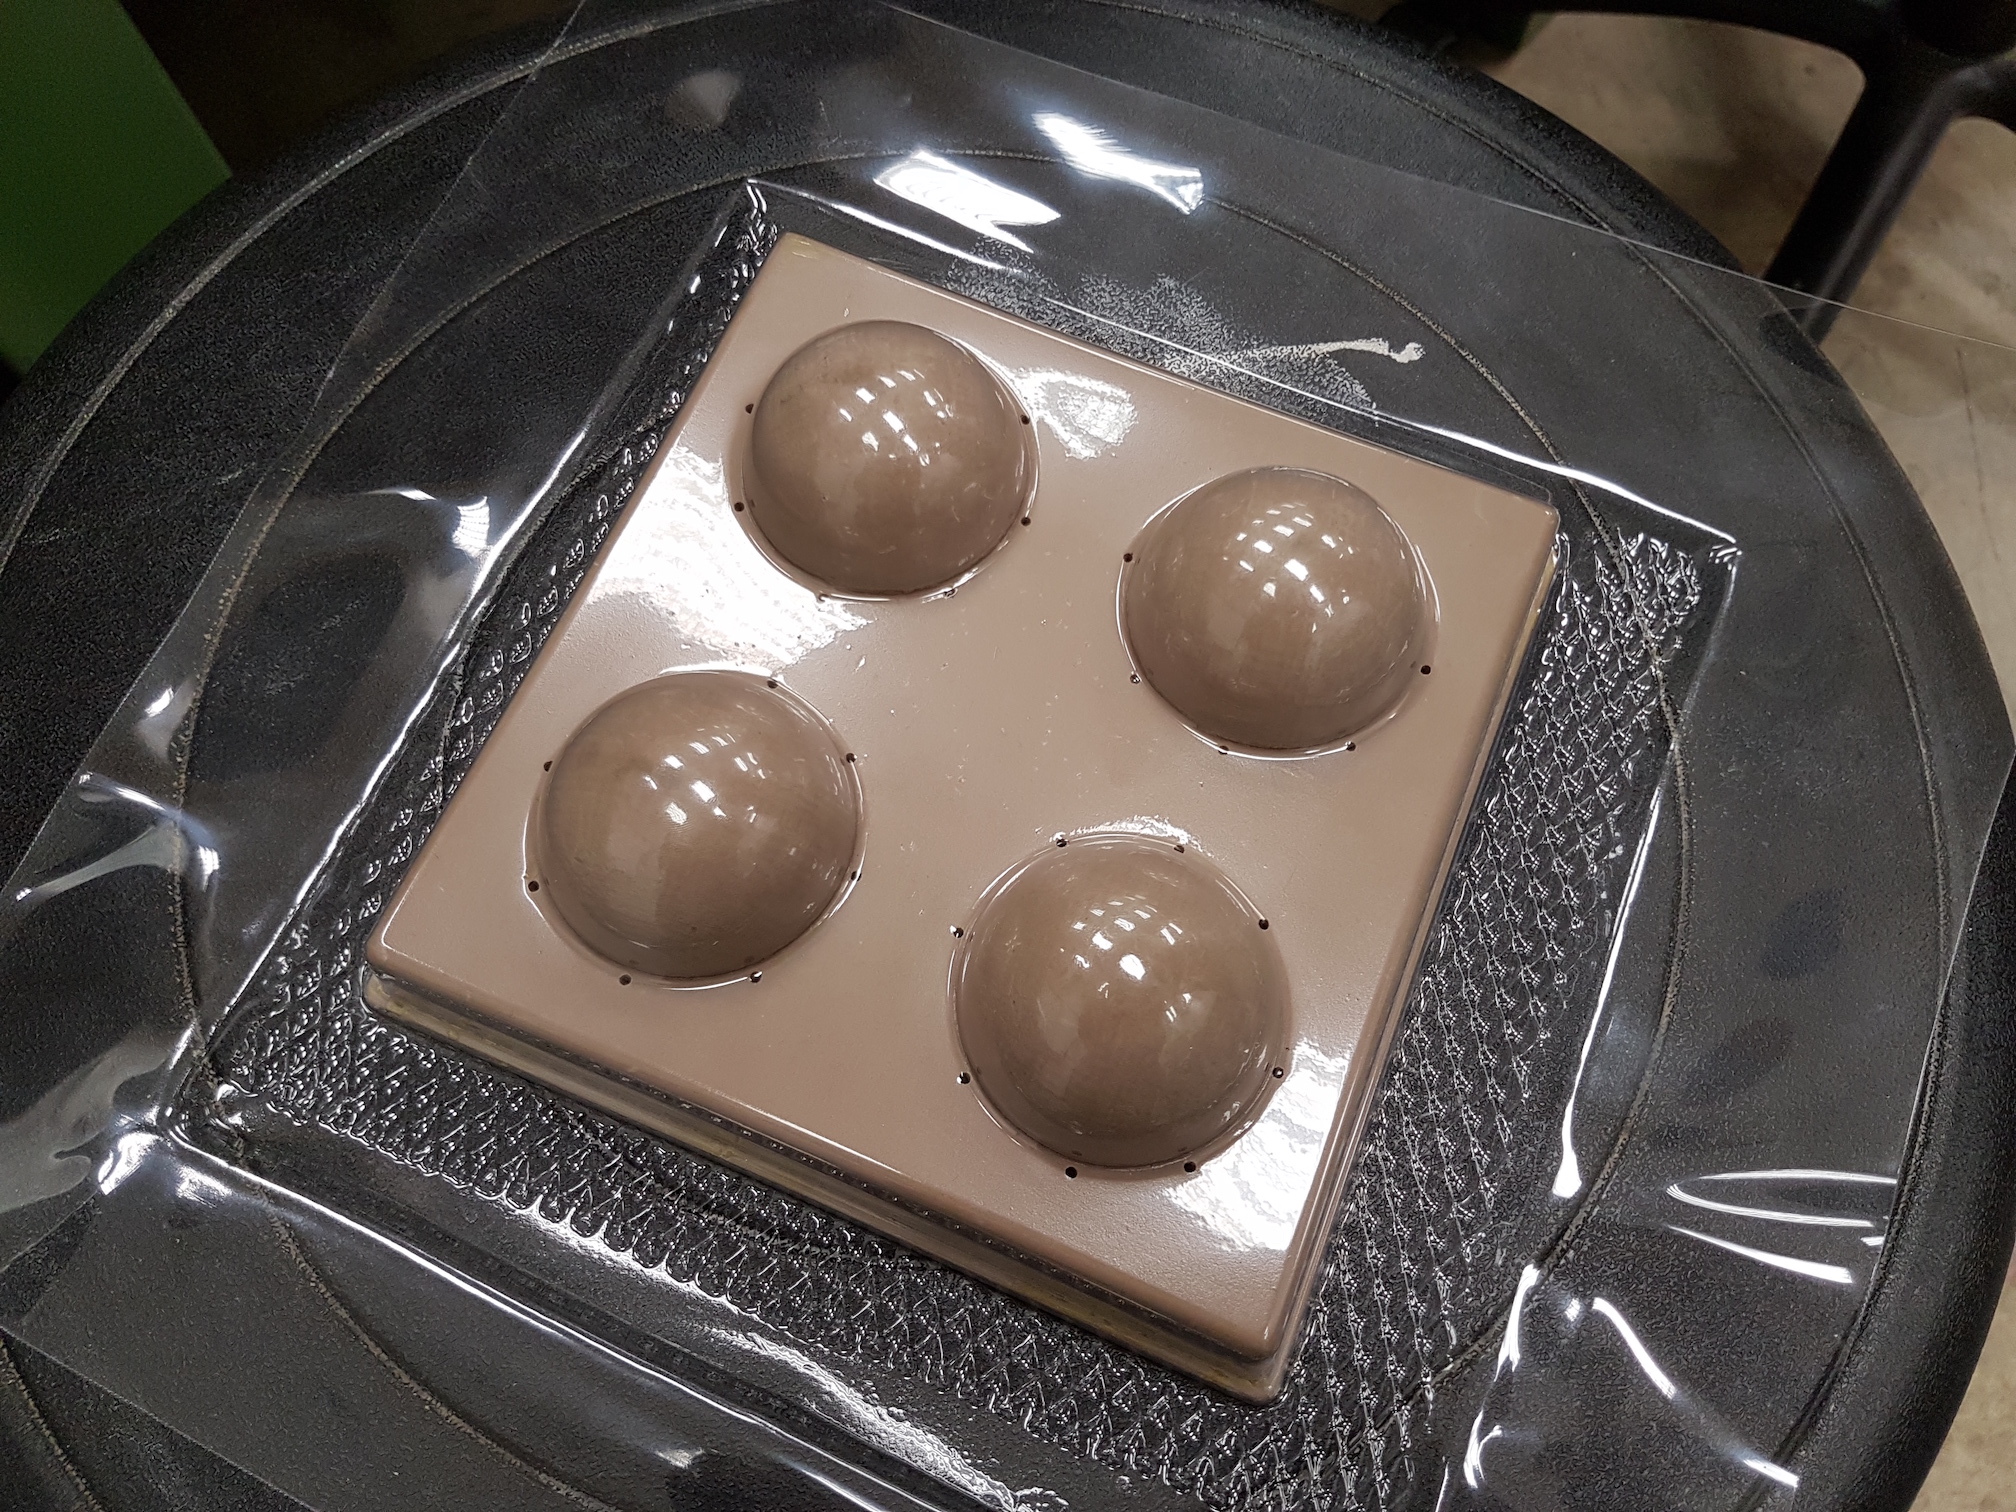
Process

Cut out an appropriate size of PVC sheet. The vacuum forming machine has 2 default sizes. Use objects with a concave shape so that they can be removed after forming such as domes (Spheres can’t be removed!). Vacuum forming can be used to create moulds for other materials such as latex and resin.

Transfer Printing | week 1 & 2

This week we explored various transfer printing methods such as dry transfer using fabric crayons, wet transfer (direct and indirect printing), and digital transfer. Although these methods are relatively simple, they can create amazing results.

Dry Transfer Printing using Fabric Crayons

Materials needed: Fabric crayons, an iron and some baking paper to protect the iron.

This method involves drawing onto paper using crayons, then transferring the drawn images onto satin polyester using heat. The colours produced are very vibrant and the process is simple and intuitive.

Tartan made using fabric crayons

The same drawing can be printed again, producing a lighter effect.

Crayon on paper before printing
Result after transfer printing
Pattern swatch made using fabric crayons

After drawing with the crayons, we can reframe the pattern by cutting out a specific shape (e.g. square, arch). The use of crayons allows free control and limitless organic shapes. Personally, I think these fluid shapes and organic patterns came out nicer than the earlier tartan prints (straighter and cleaner lines would make a crisper effect)!

Wet Transfer (Direct and Indirect Printing)

Materials needed: Ink, brushes, paper to paint on, flat objects, iron, baking paper.

Direct Printing

For this method, we paint the designs onto paper and transfer them onto satin polyester using heat. The colours produced are very vibrant and beautiful. However, a drawback is that the paints on paper look very different from the end result so it can be slightly unpredictable. Although the heating process requires more time than the crayons, it produces very saturated colours.

Direct printing. Technocolour mushroom
Top: painted ink on paper before printing. Bottom: result
Indirect Printing

Printing with objects in between the paint and the print surface. The flat objects (thread, flowers, yarn, feathers etc.) block out the ink and mark their shape onto the print.

Printing with ink and thread

As seen above, prints can be used more than once. The second print (right) produces a lighter, more ephemeral effect. Applying heat for a longer time produces a more intense colour outcome. Inks can also be mixed and overlaid to create interesting blends and effects.

Printing with ink and thread
Printing with flowers
Right: Gradient made using fabric crayons

Different inks can be overlaid to create denser patterns (top). I like how the ink can be applied in a very raw manner and preserves the brushstrokes.

Especially for thicker objects like flowers, we need to apply more pressure to the iron to get a clear shape of the object. When I first printed the flowers, the shape was quite indistinct so I went over again with more pressure to get crisper lines.

Printing with furry yarn

Digital Transfer

To be updated!