Tag Archives: suspension

Suspend your Disbelief 2.0 | Final Project | Documentation

Concept

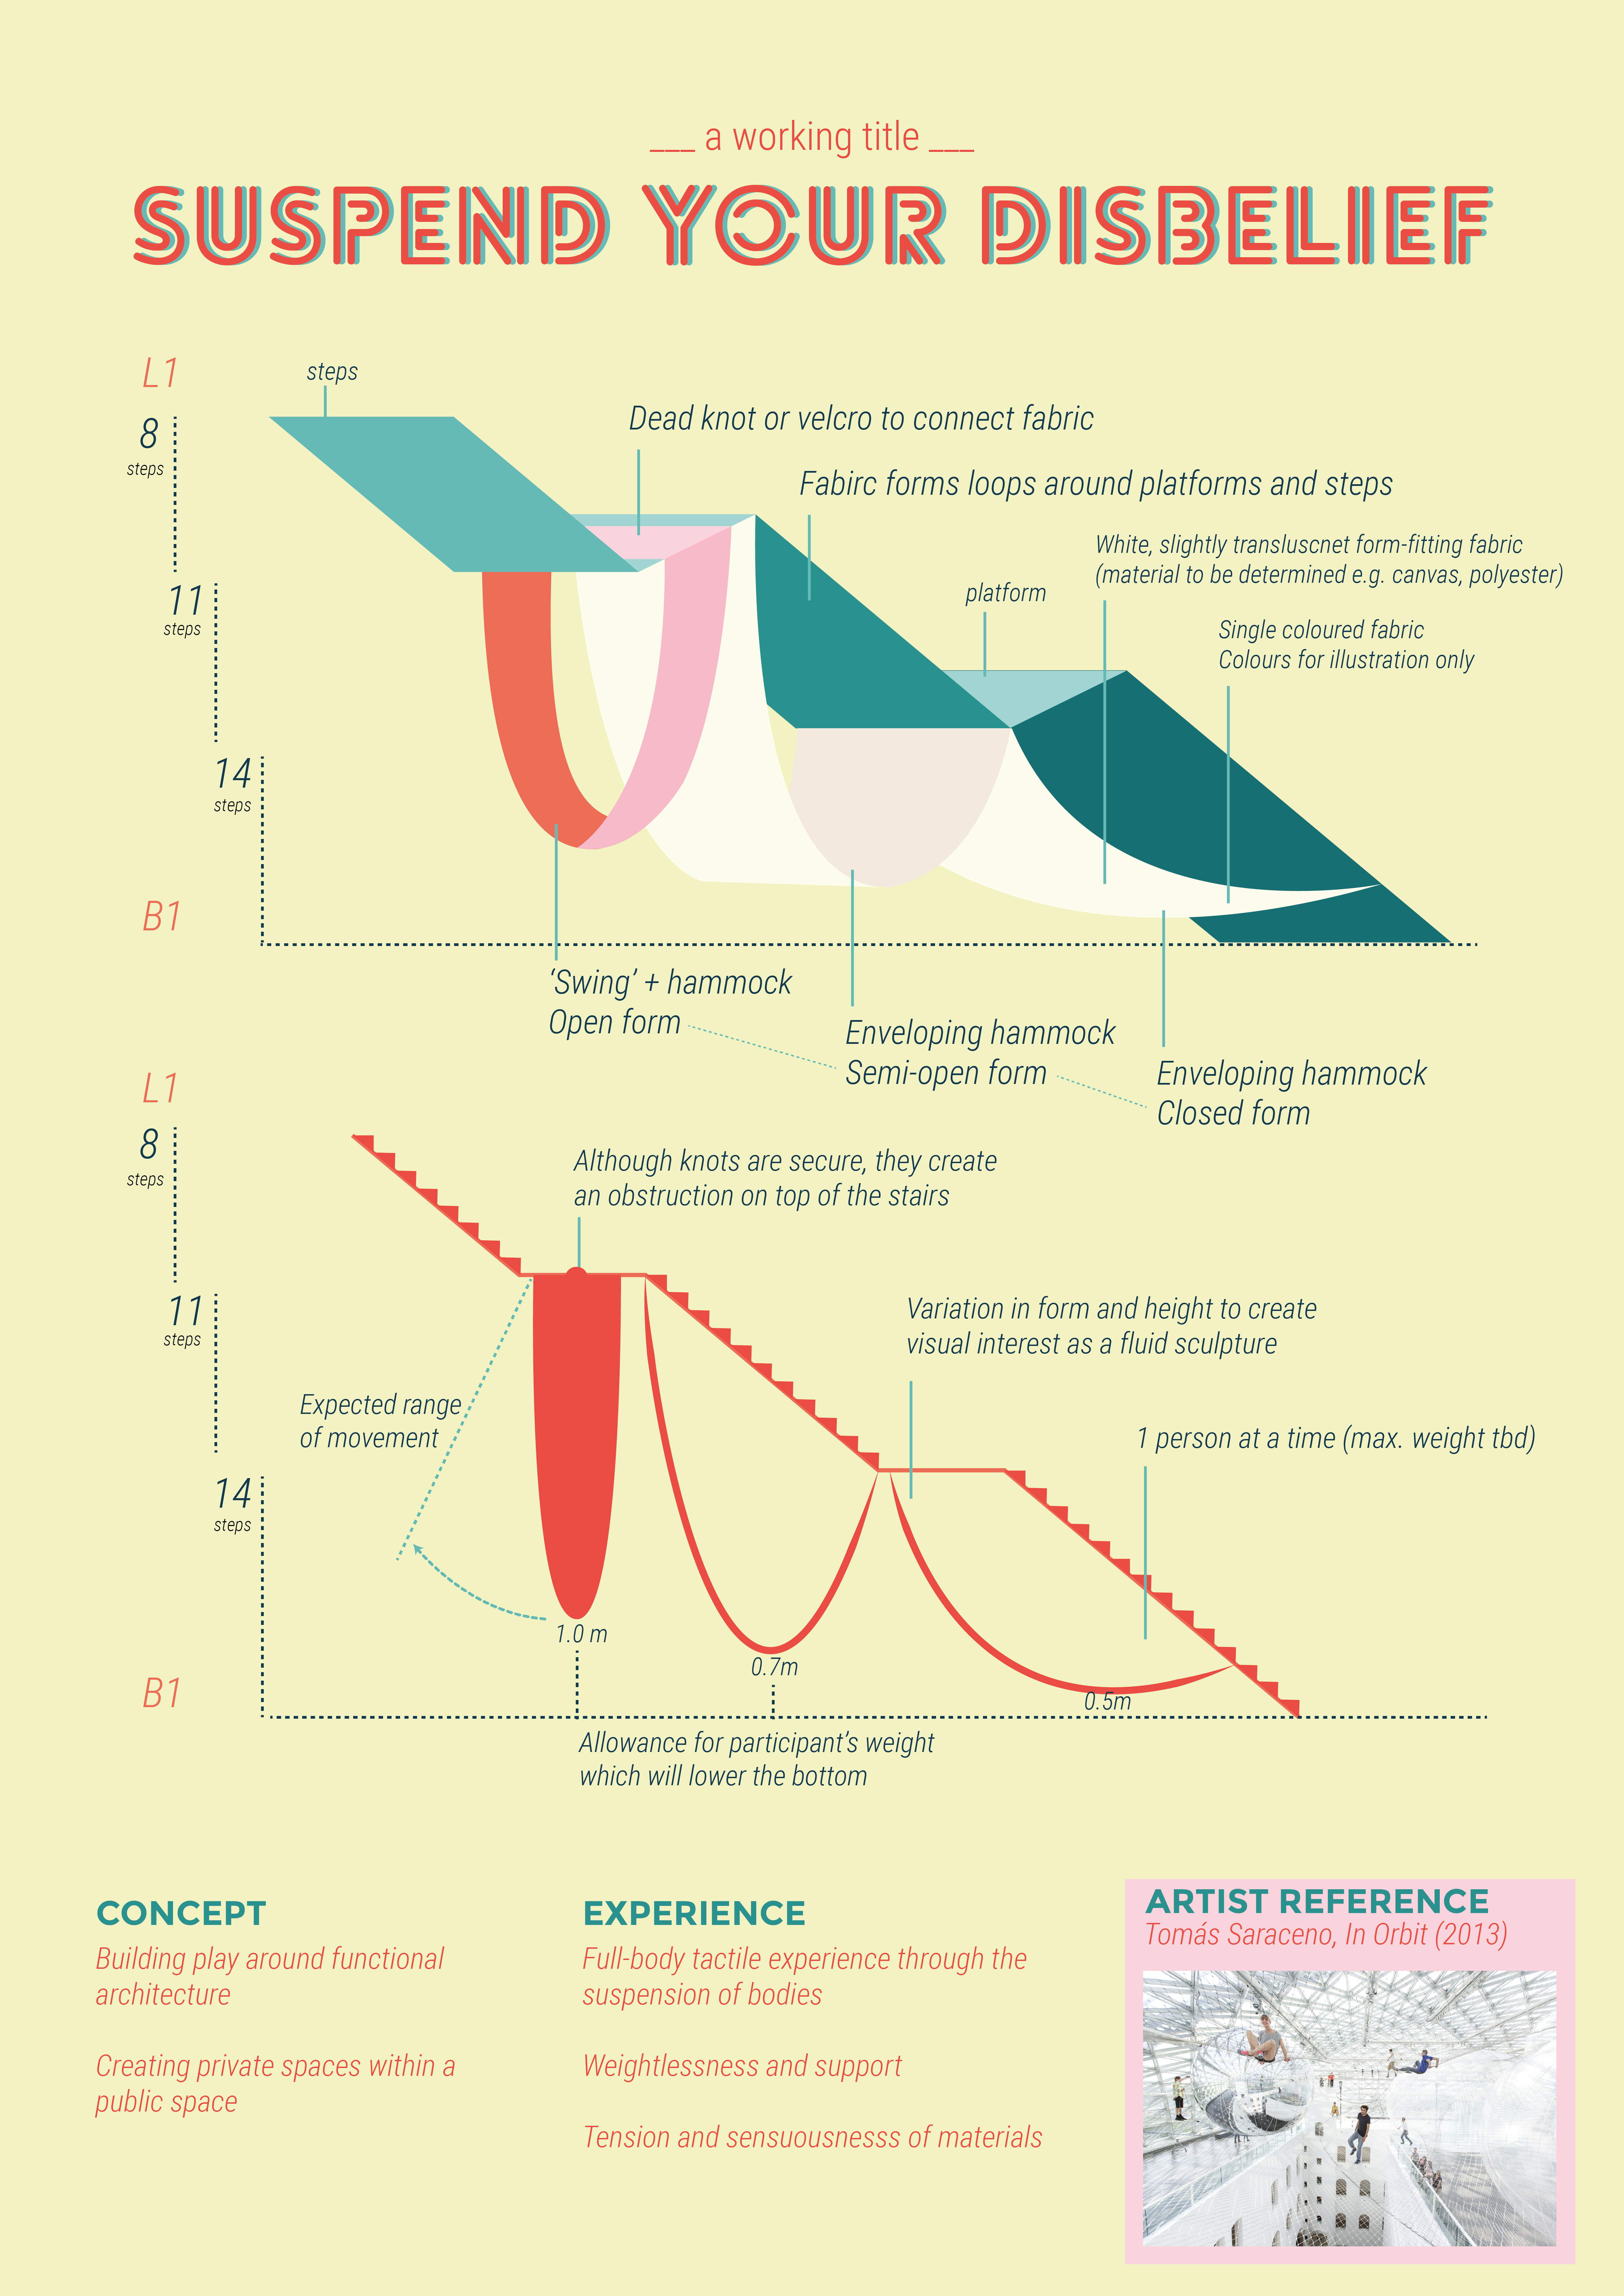
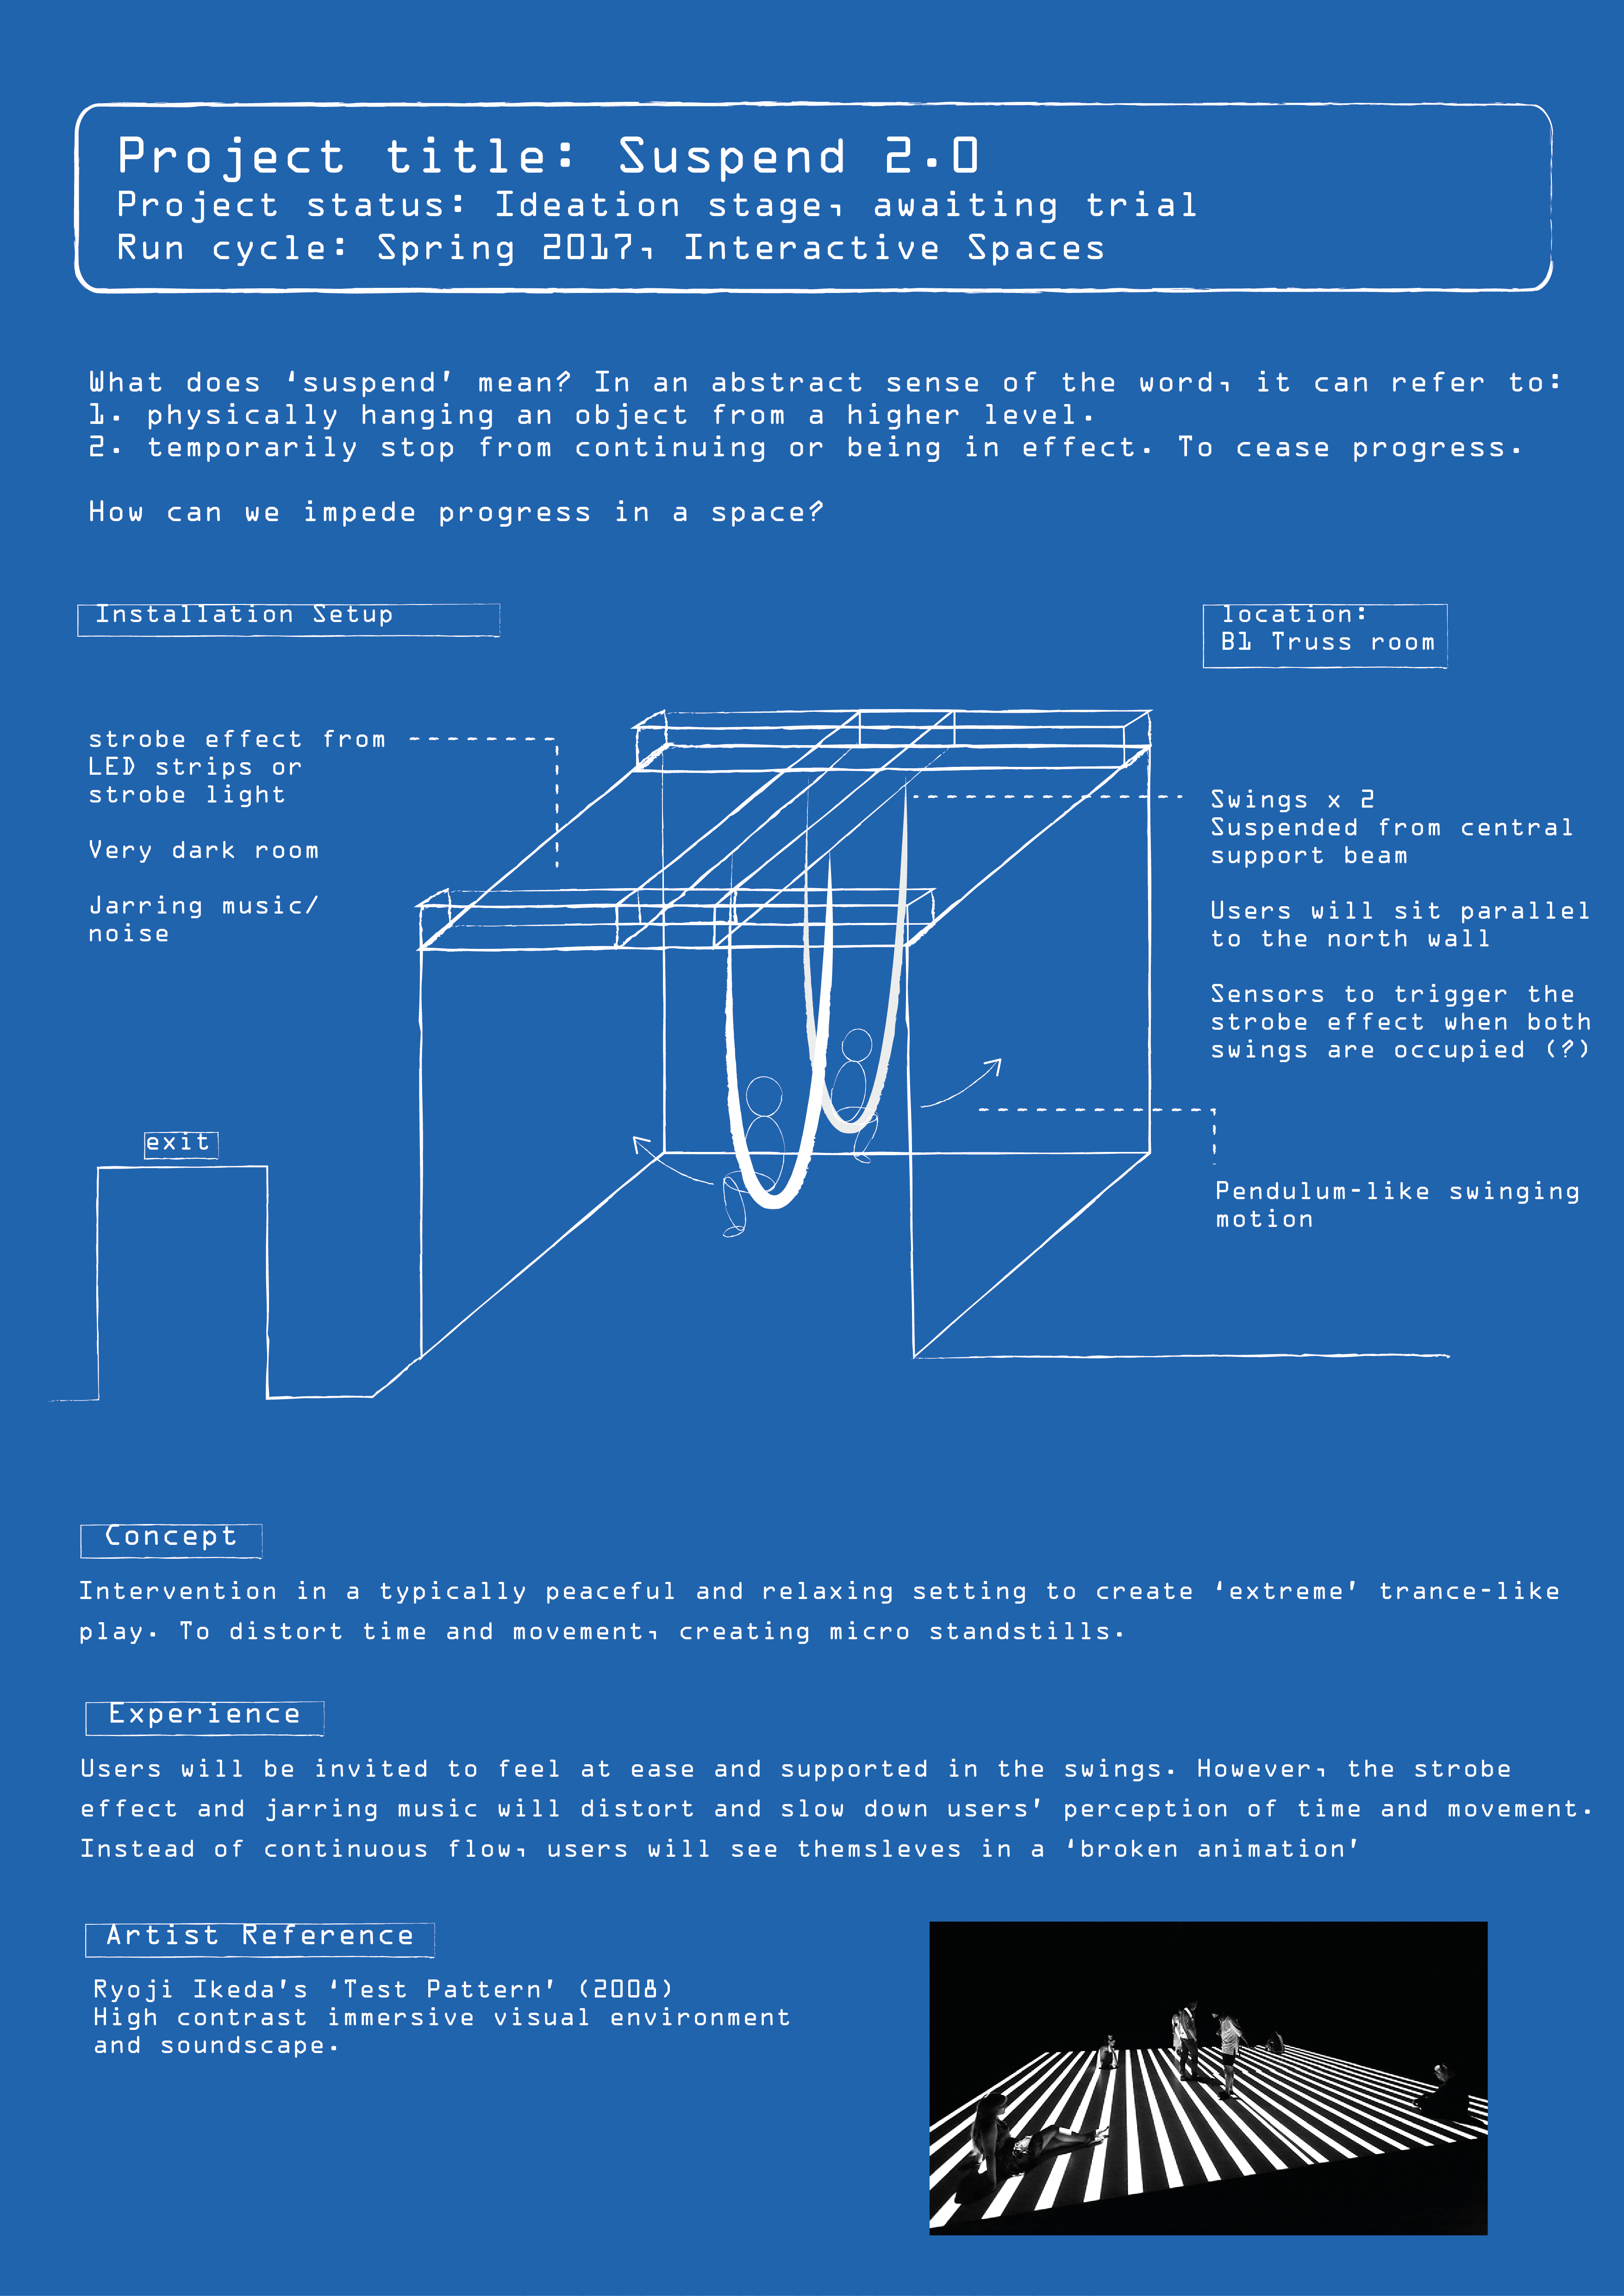
Suspend your Disbelief II is a development of my analogue midterm project. It incorporates sound and light to create an immersive and trance-like audiovisual environment. By introducing strobe light effect and a jarring soundscape, the work is an intervention of a typically peaceful and relaxing play environment. It also aims to distort movement and our perception of time and progress.

Suspend your Disbelief II poster presentation
Process
Some alterations needed!
Reinforcements!

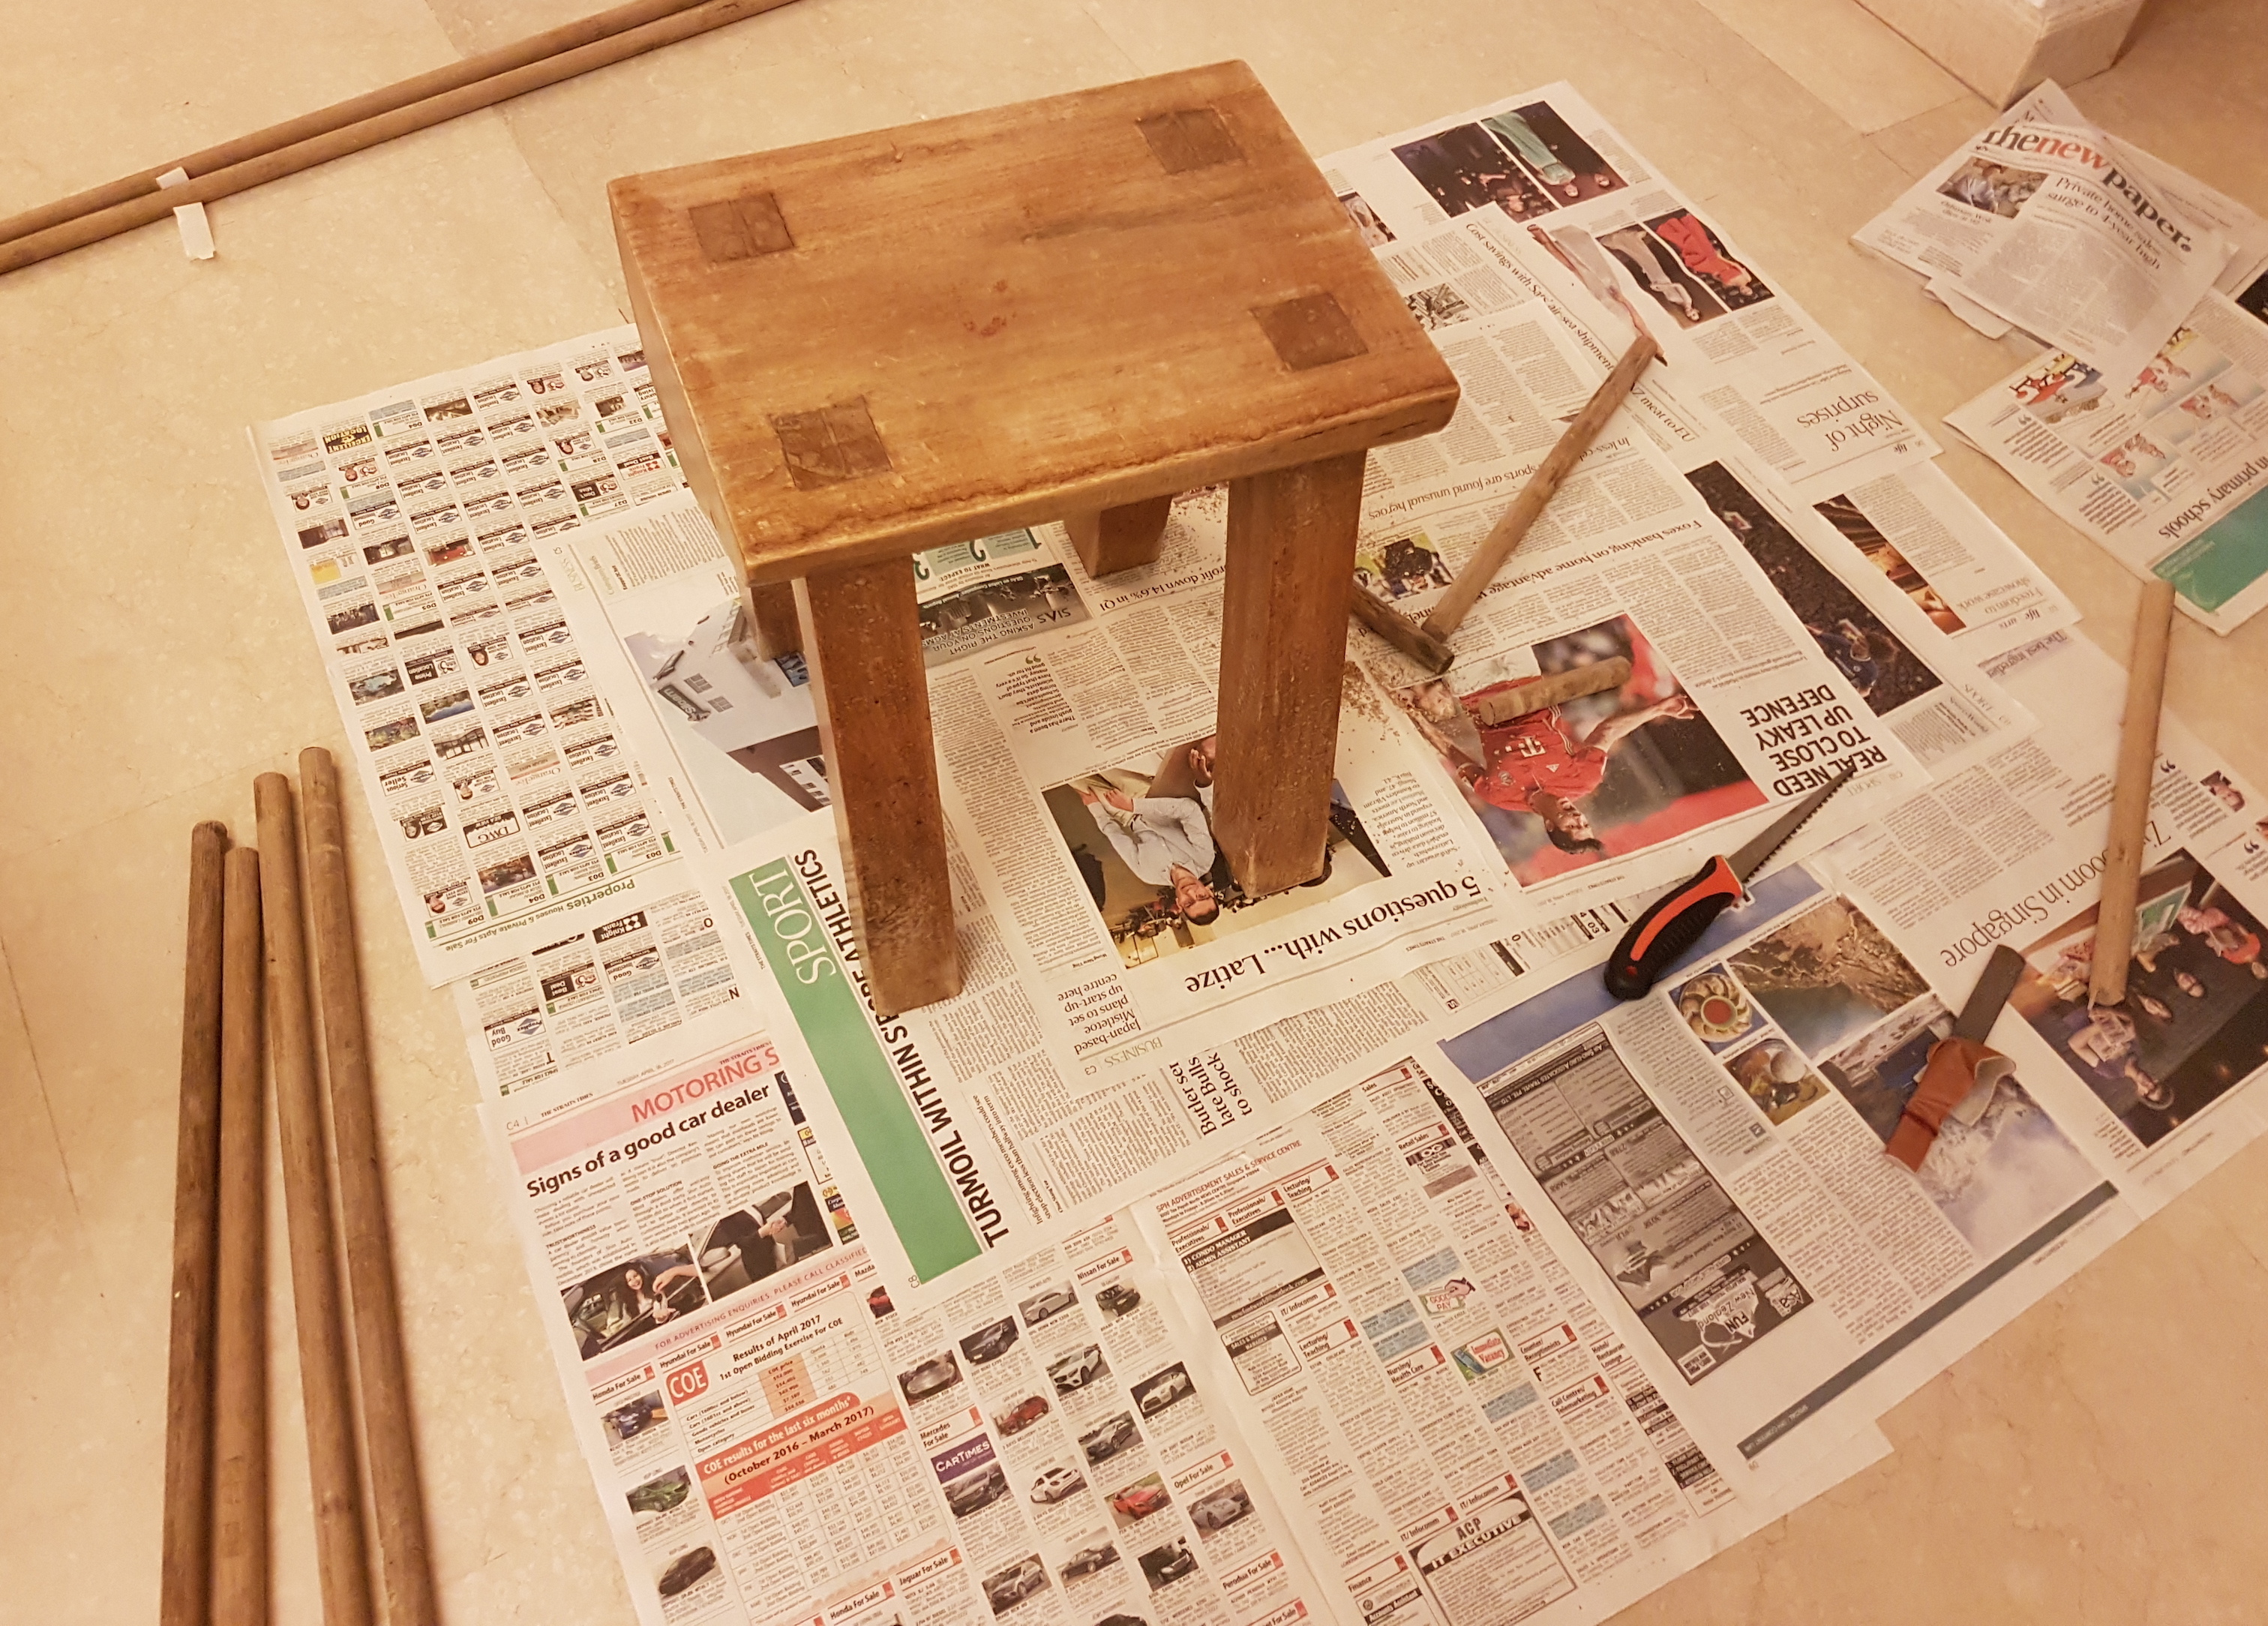
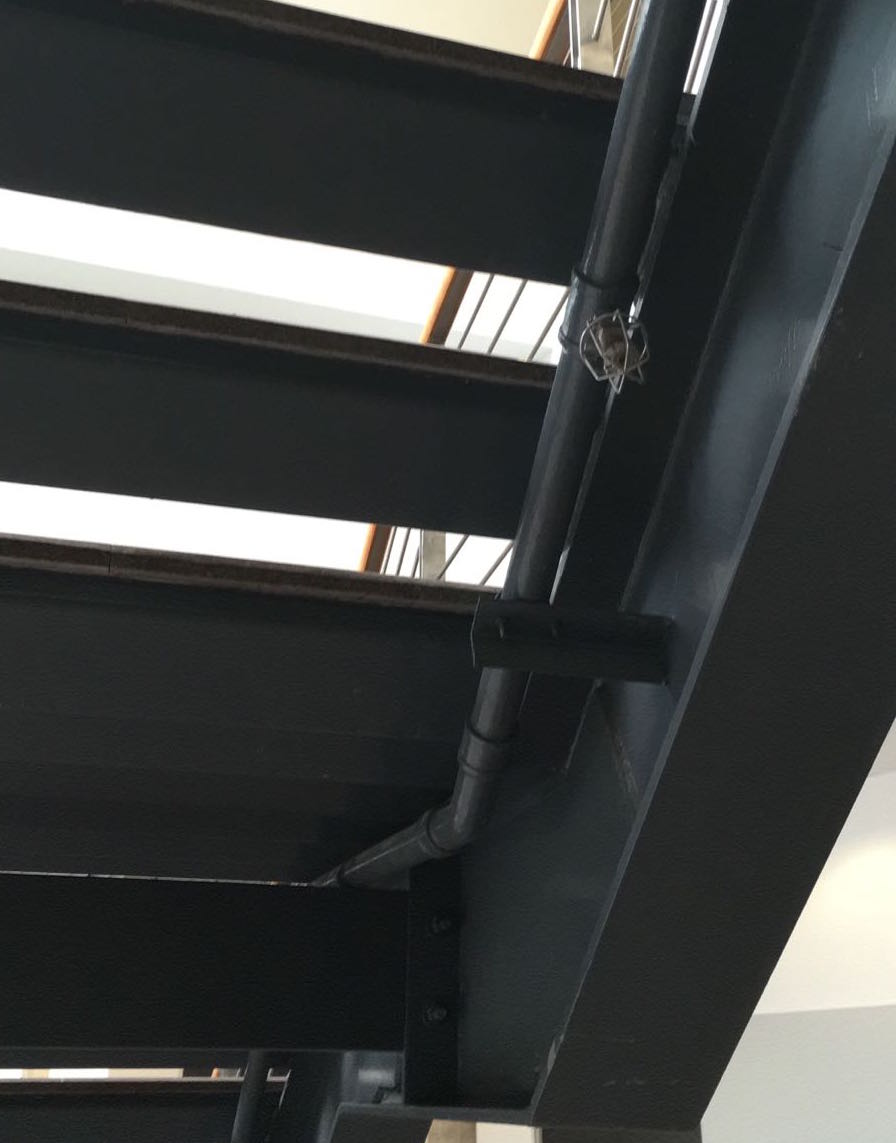
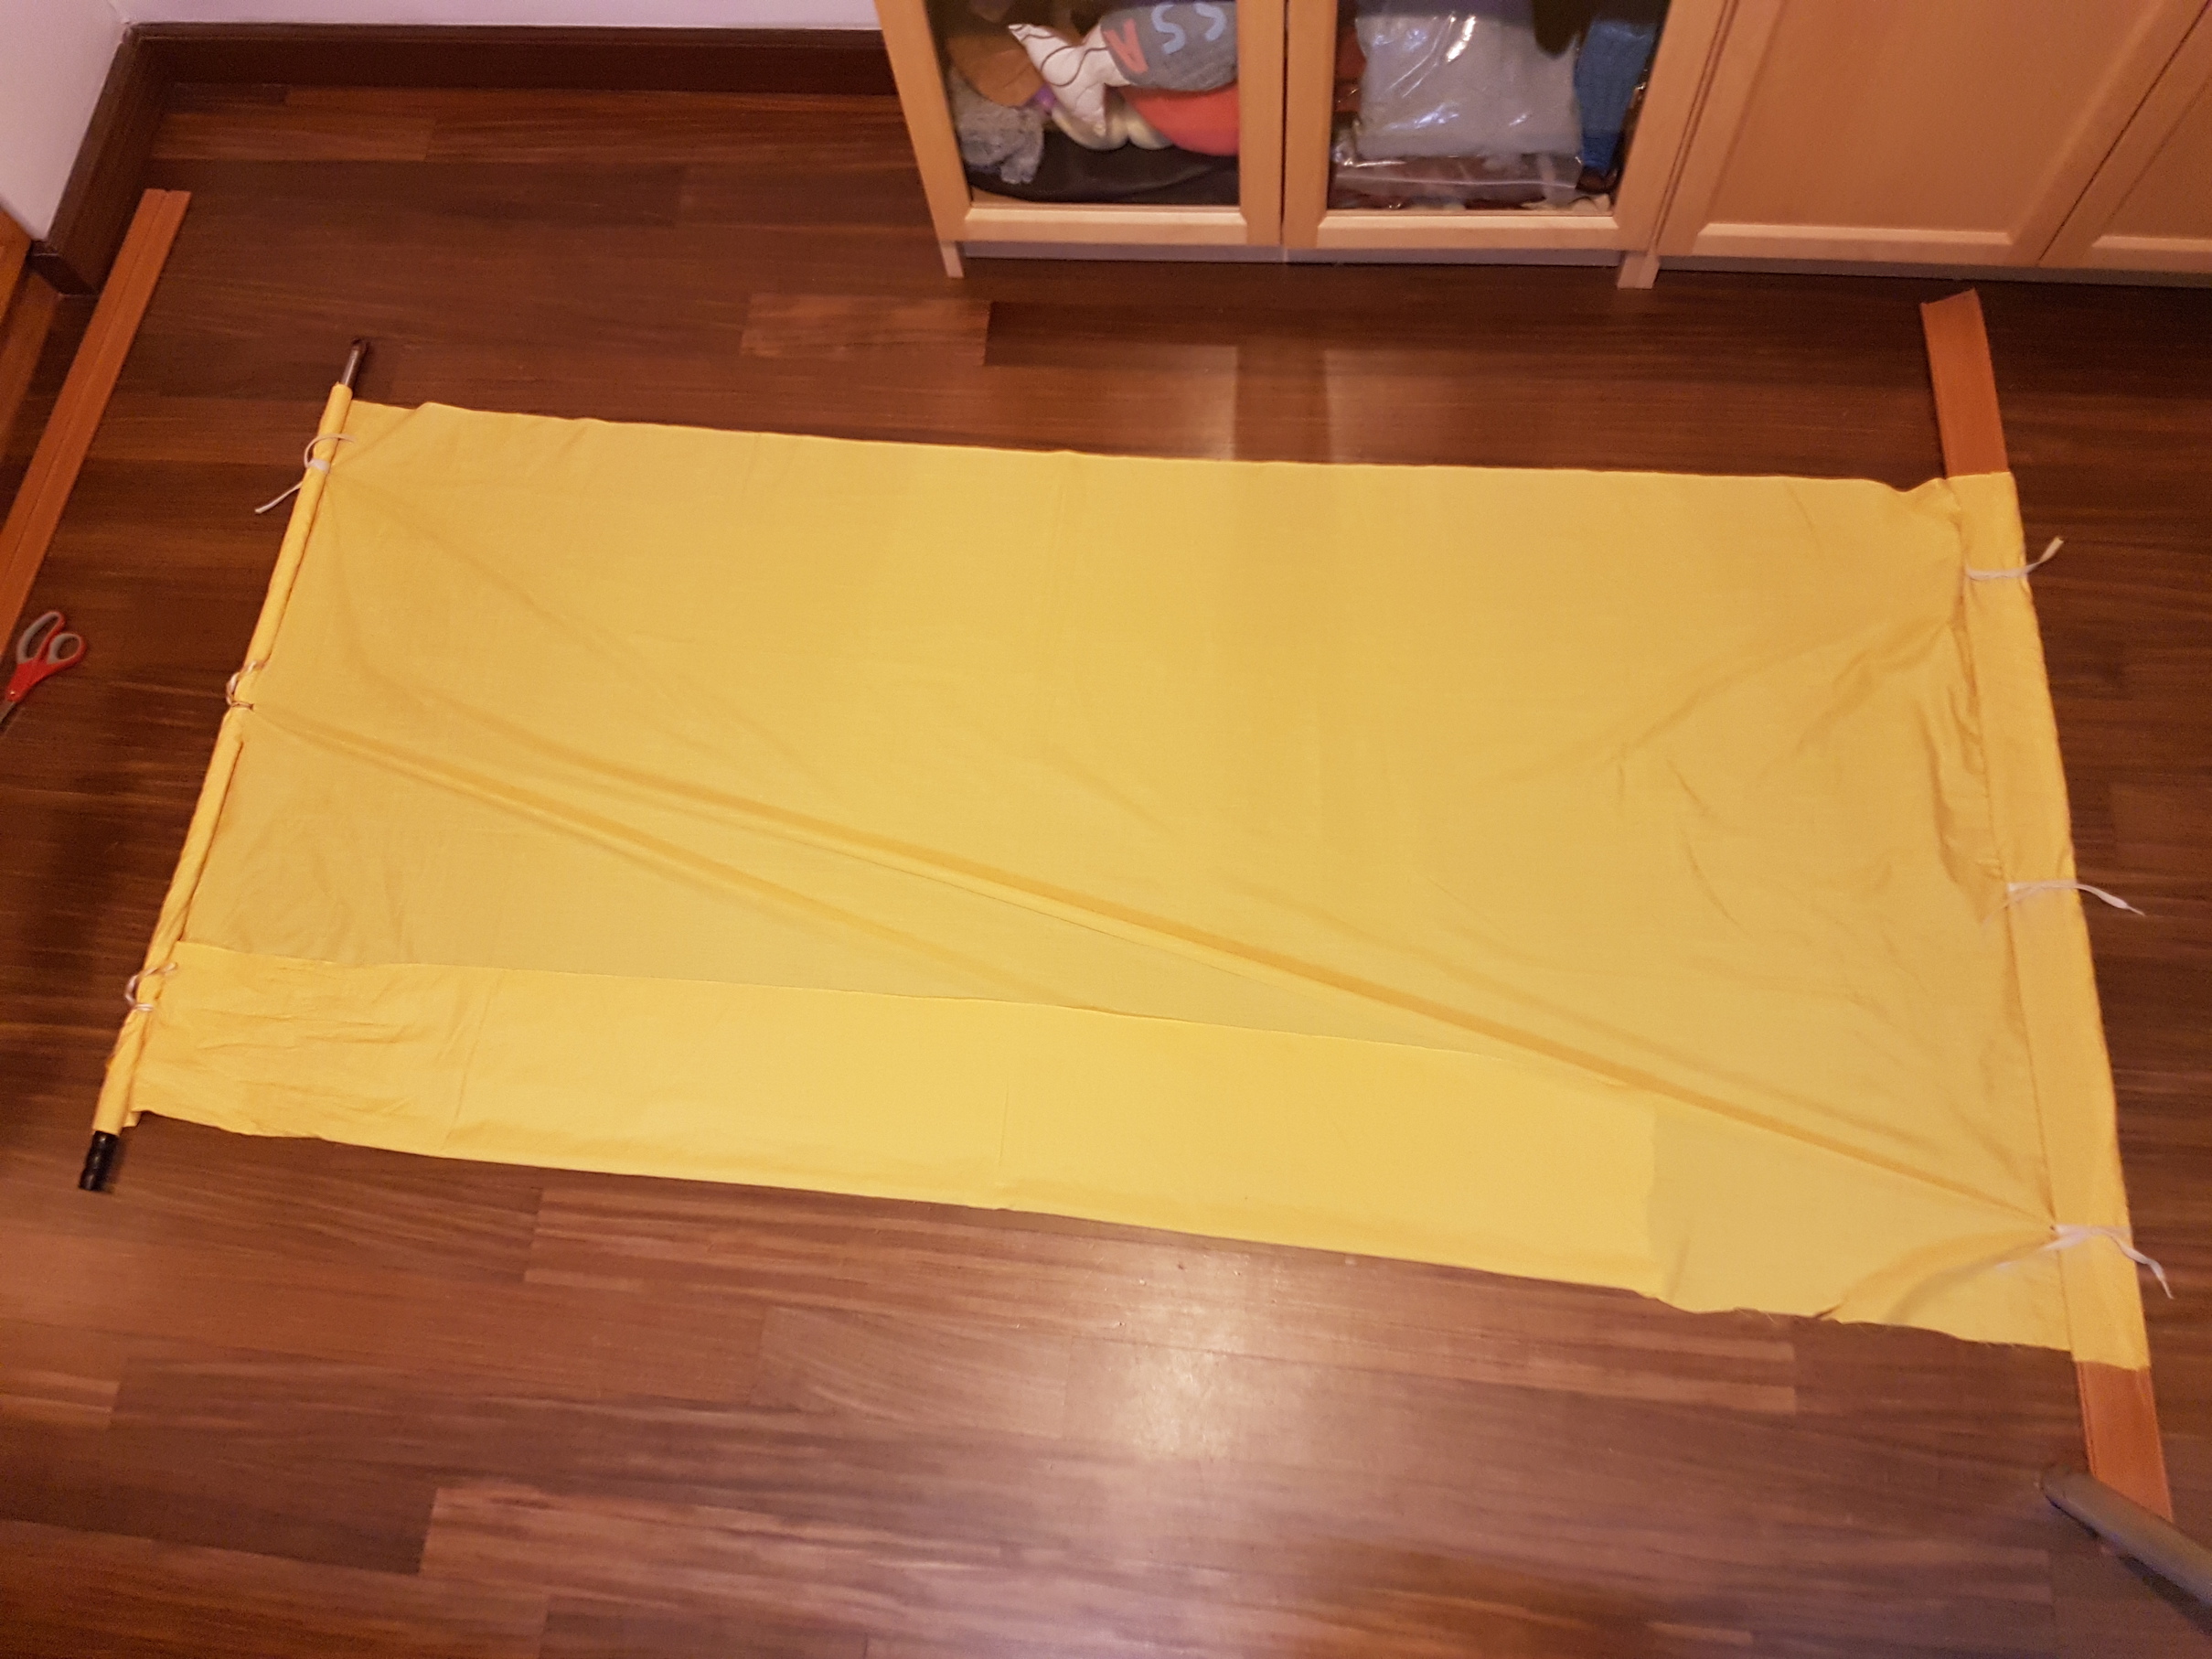
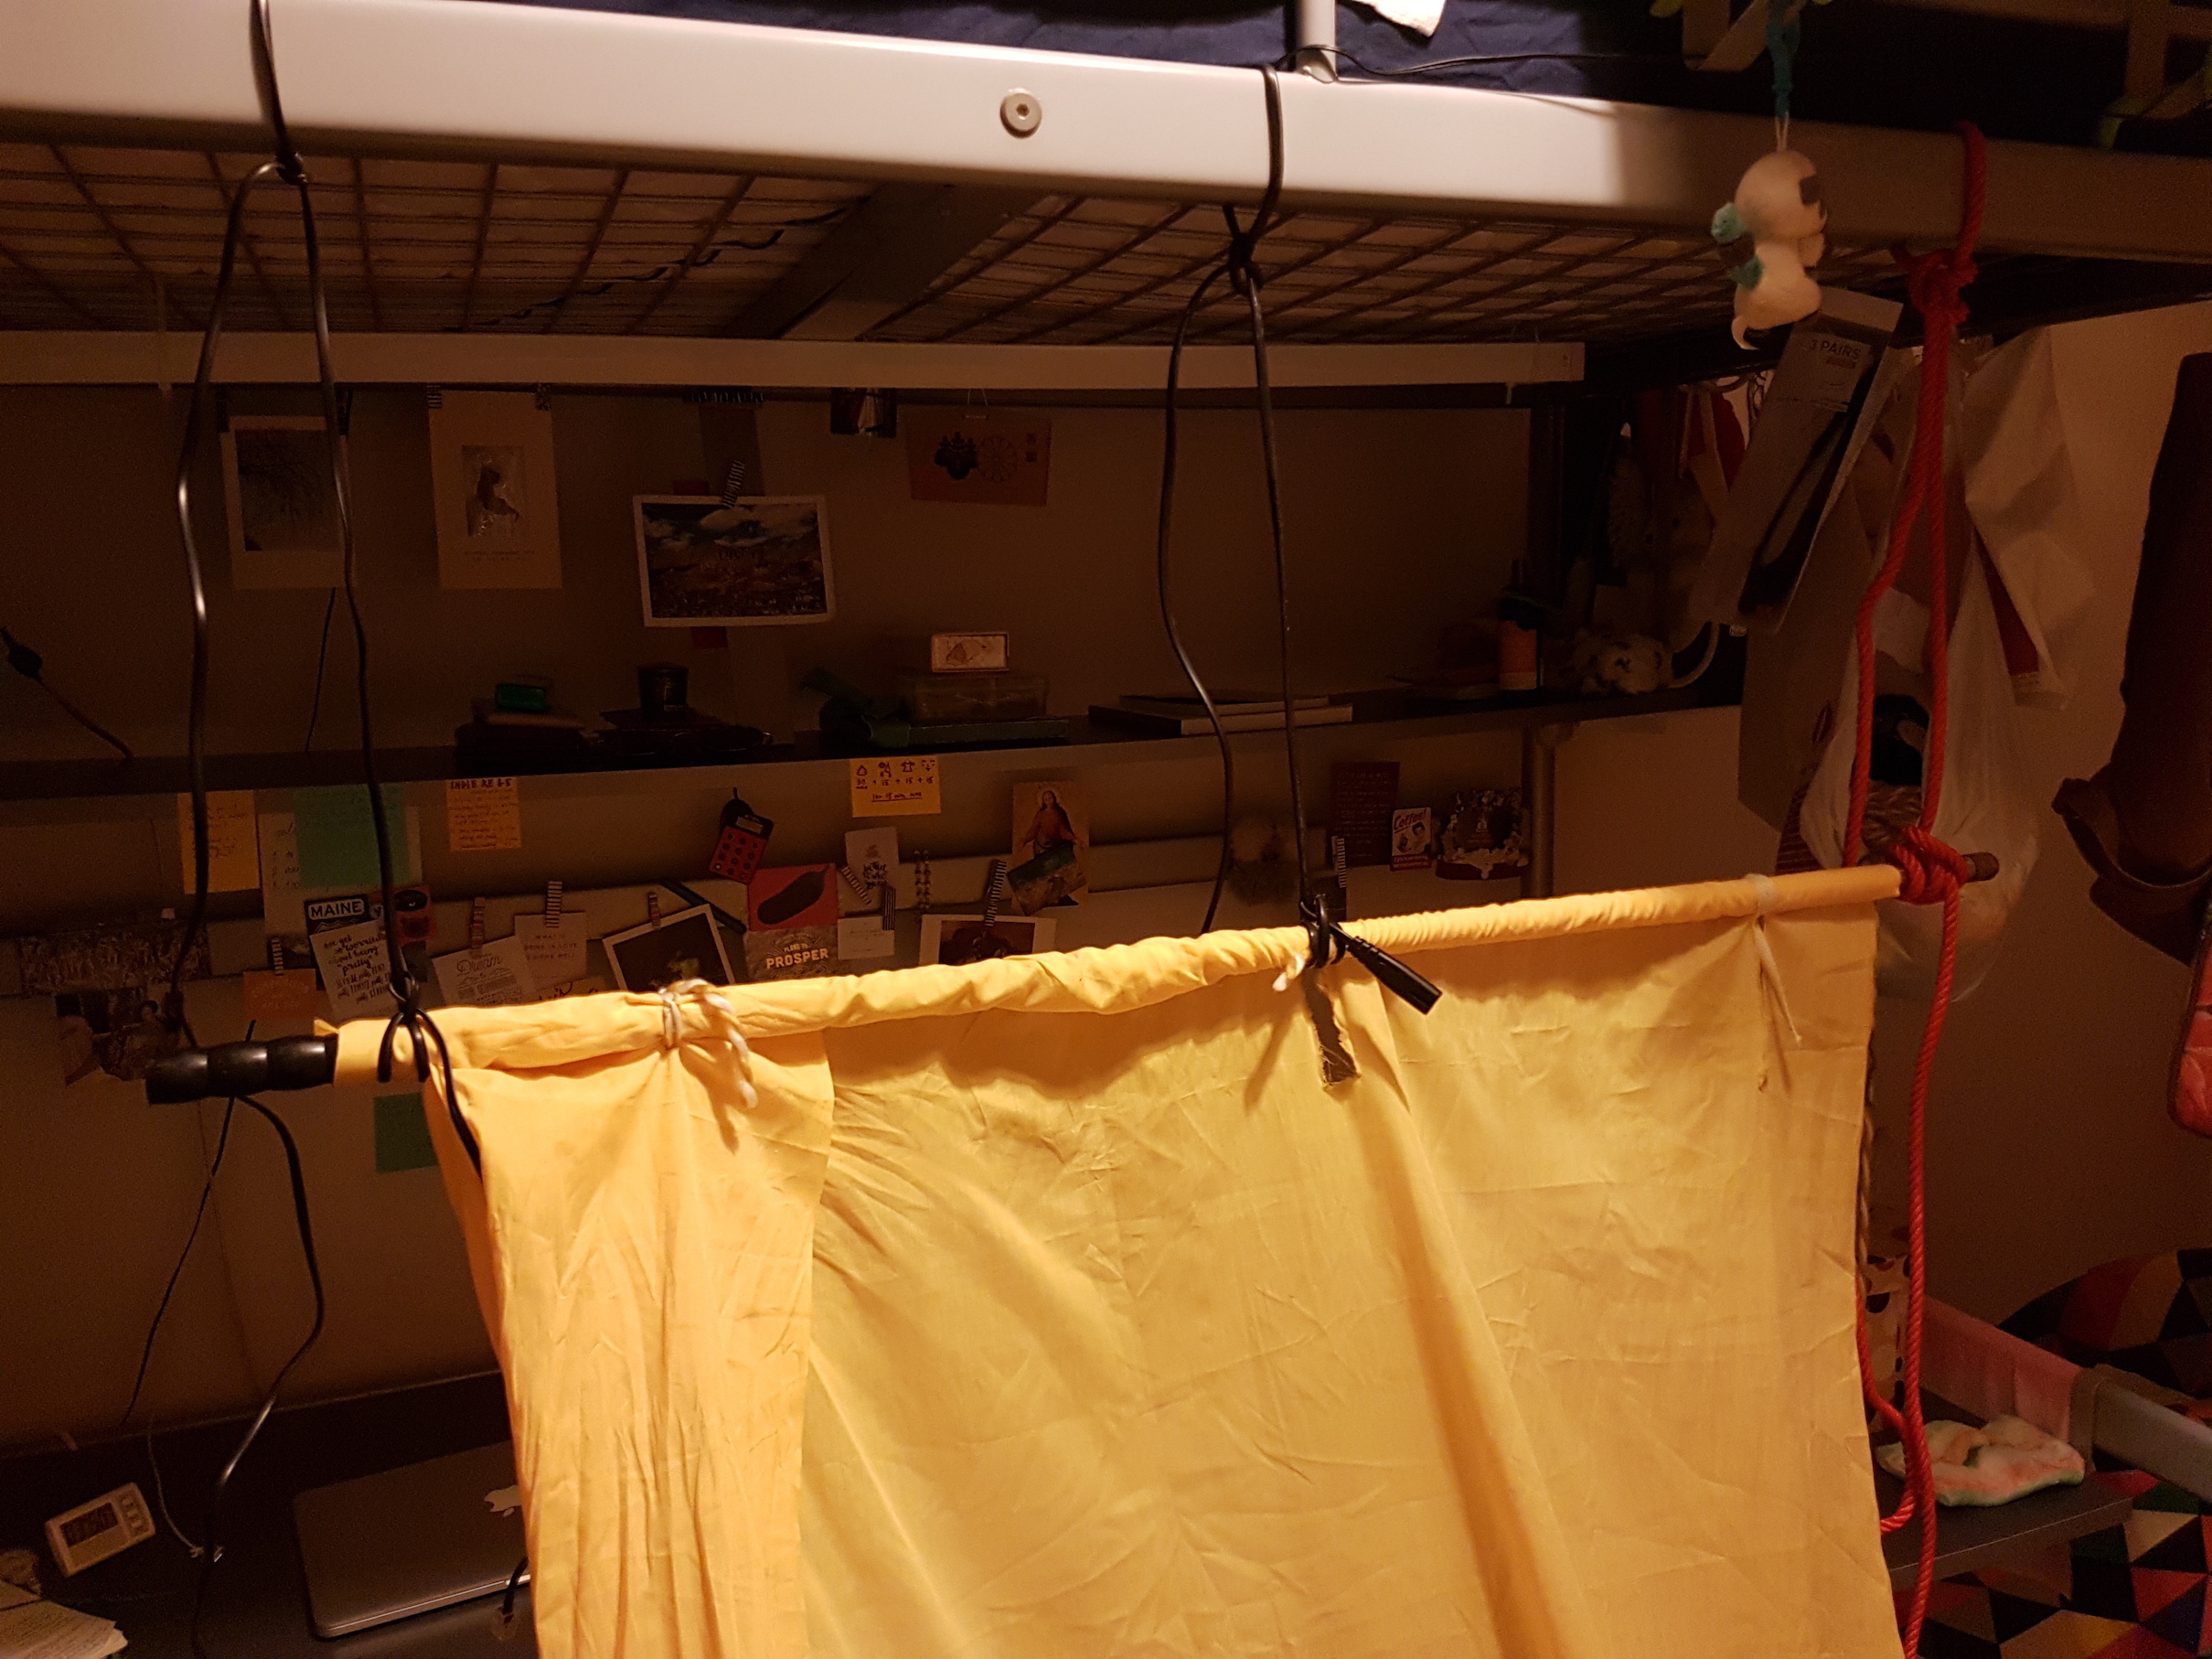
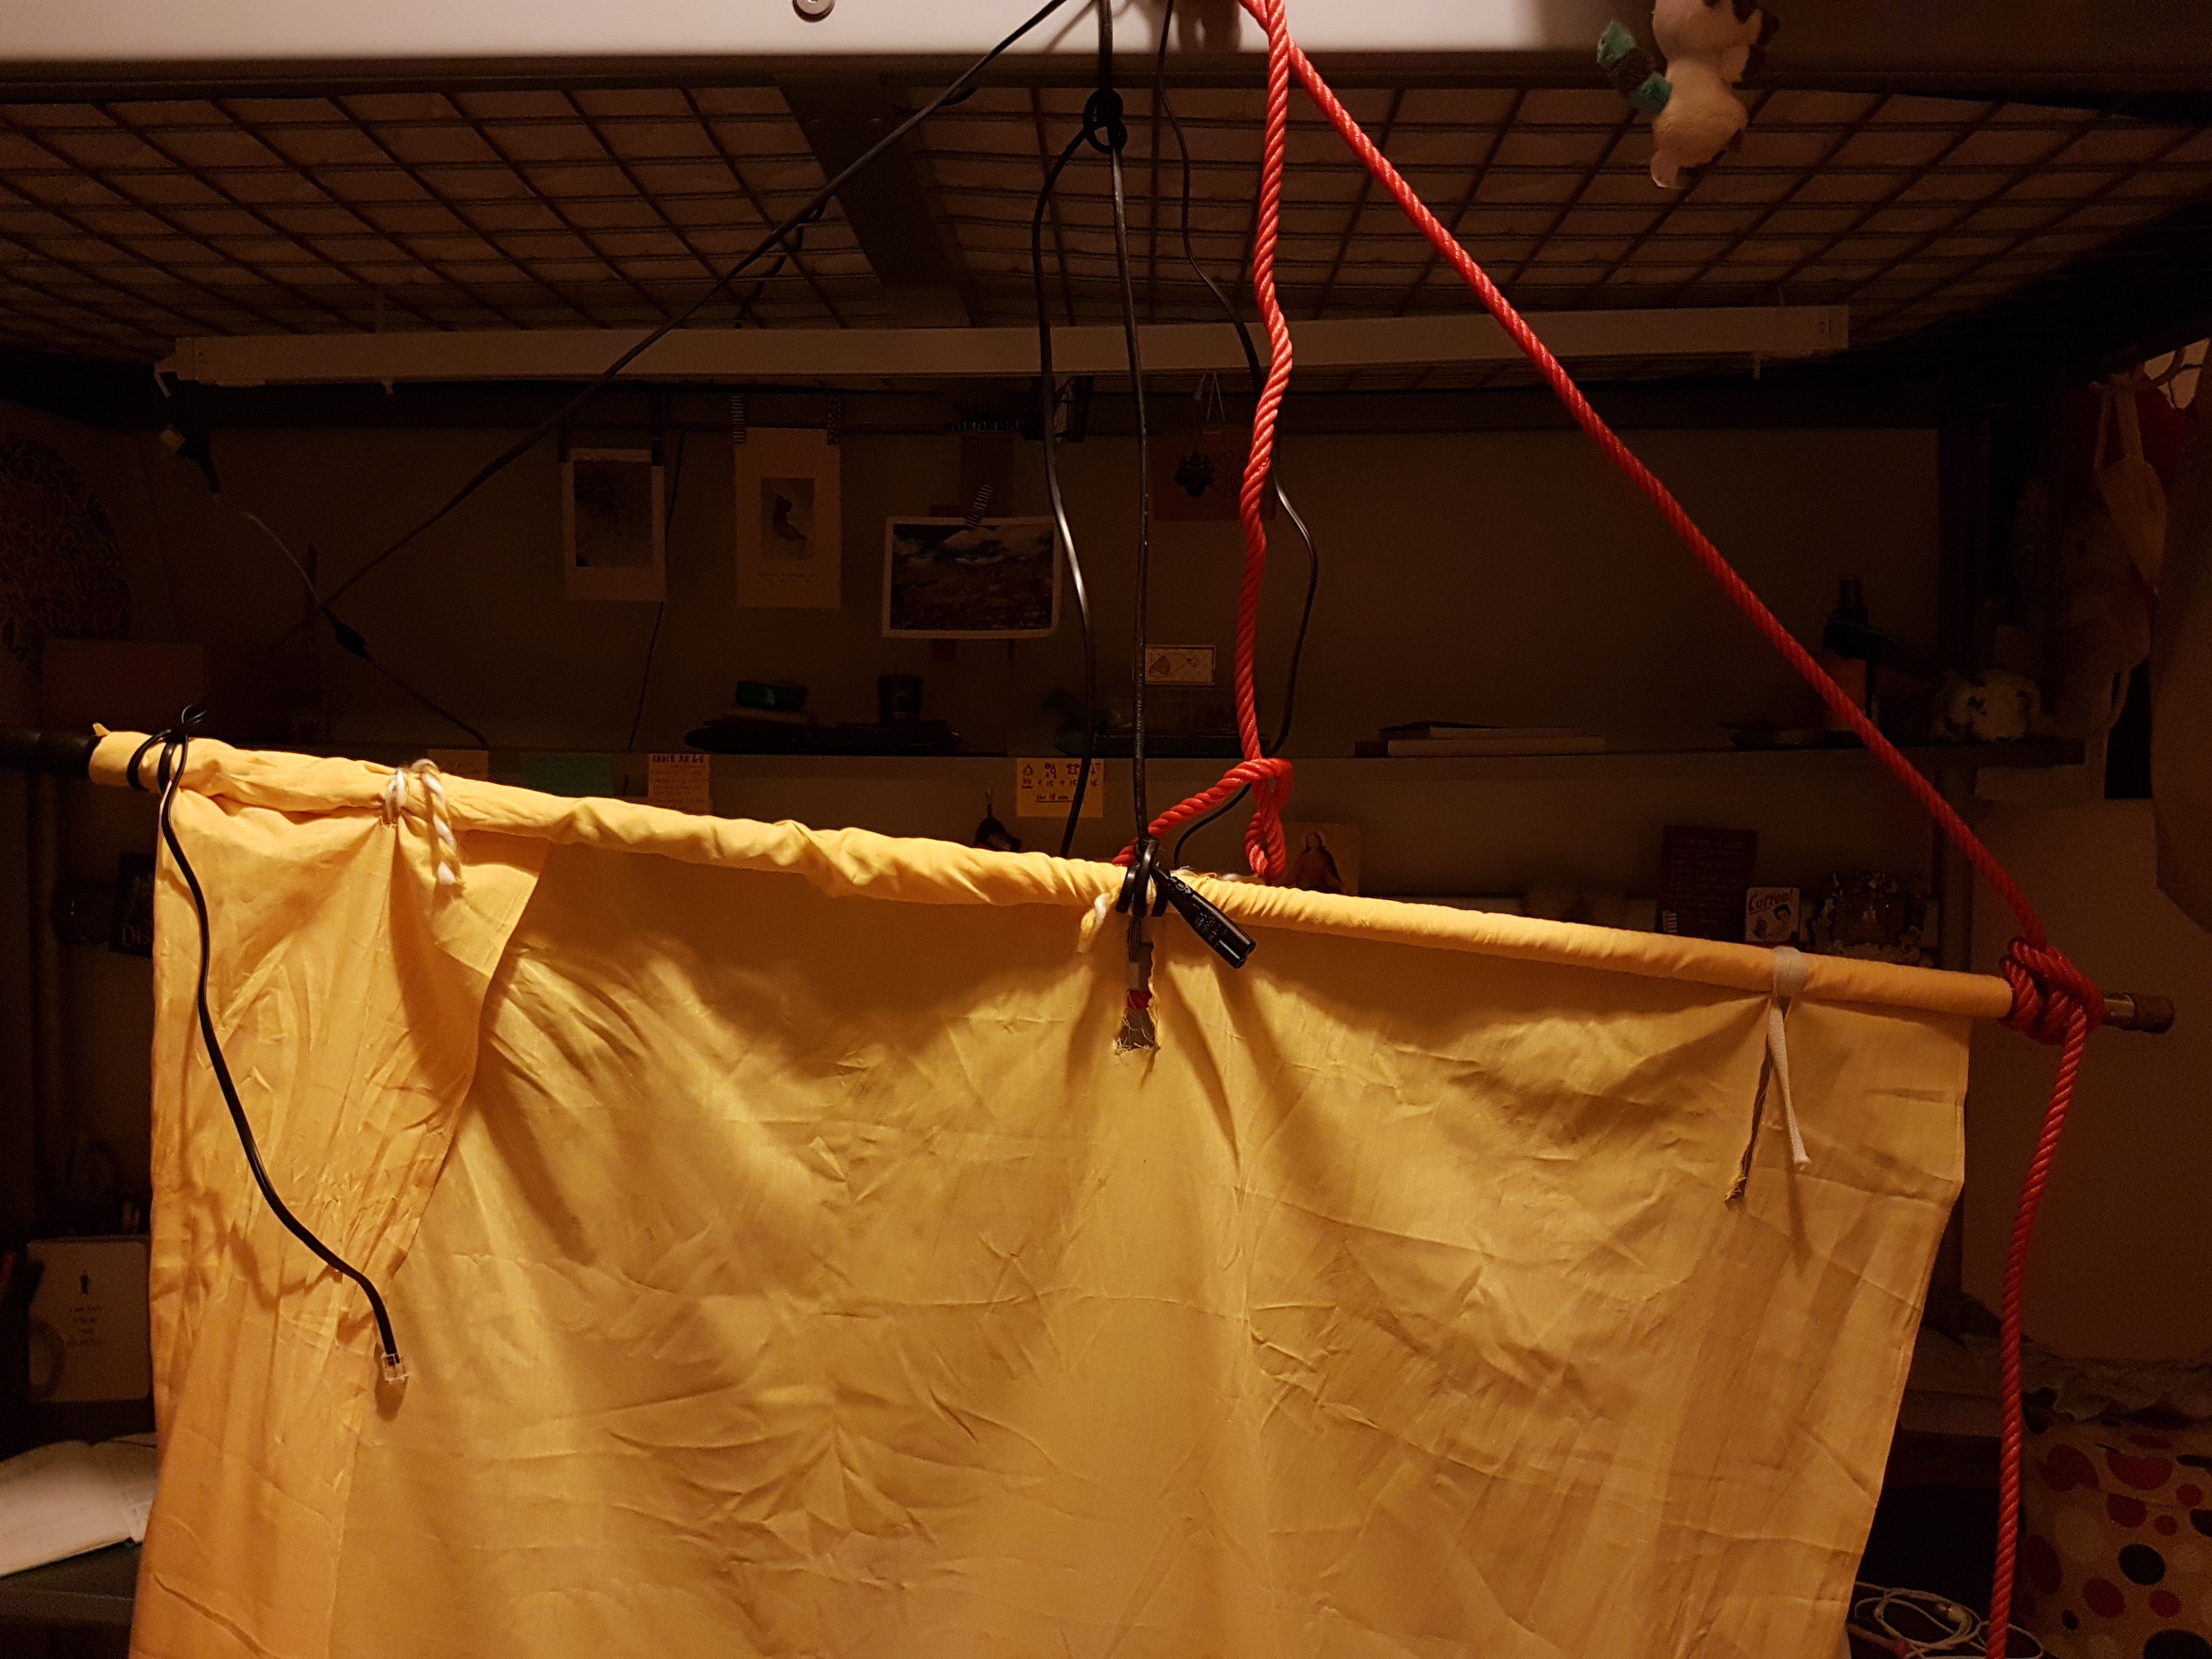
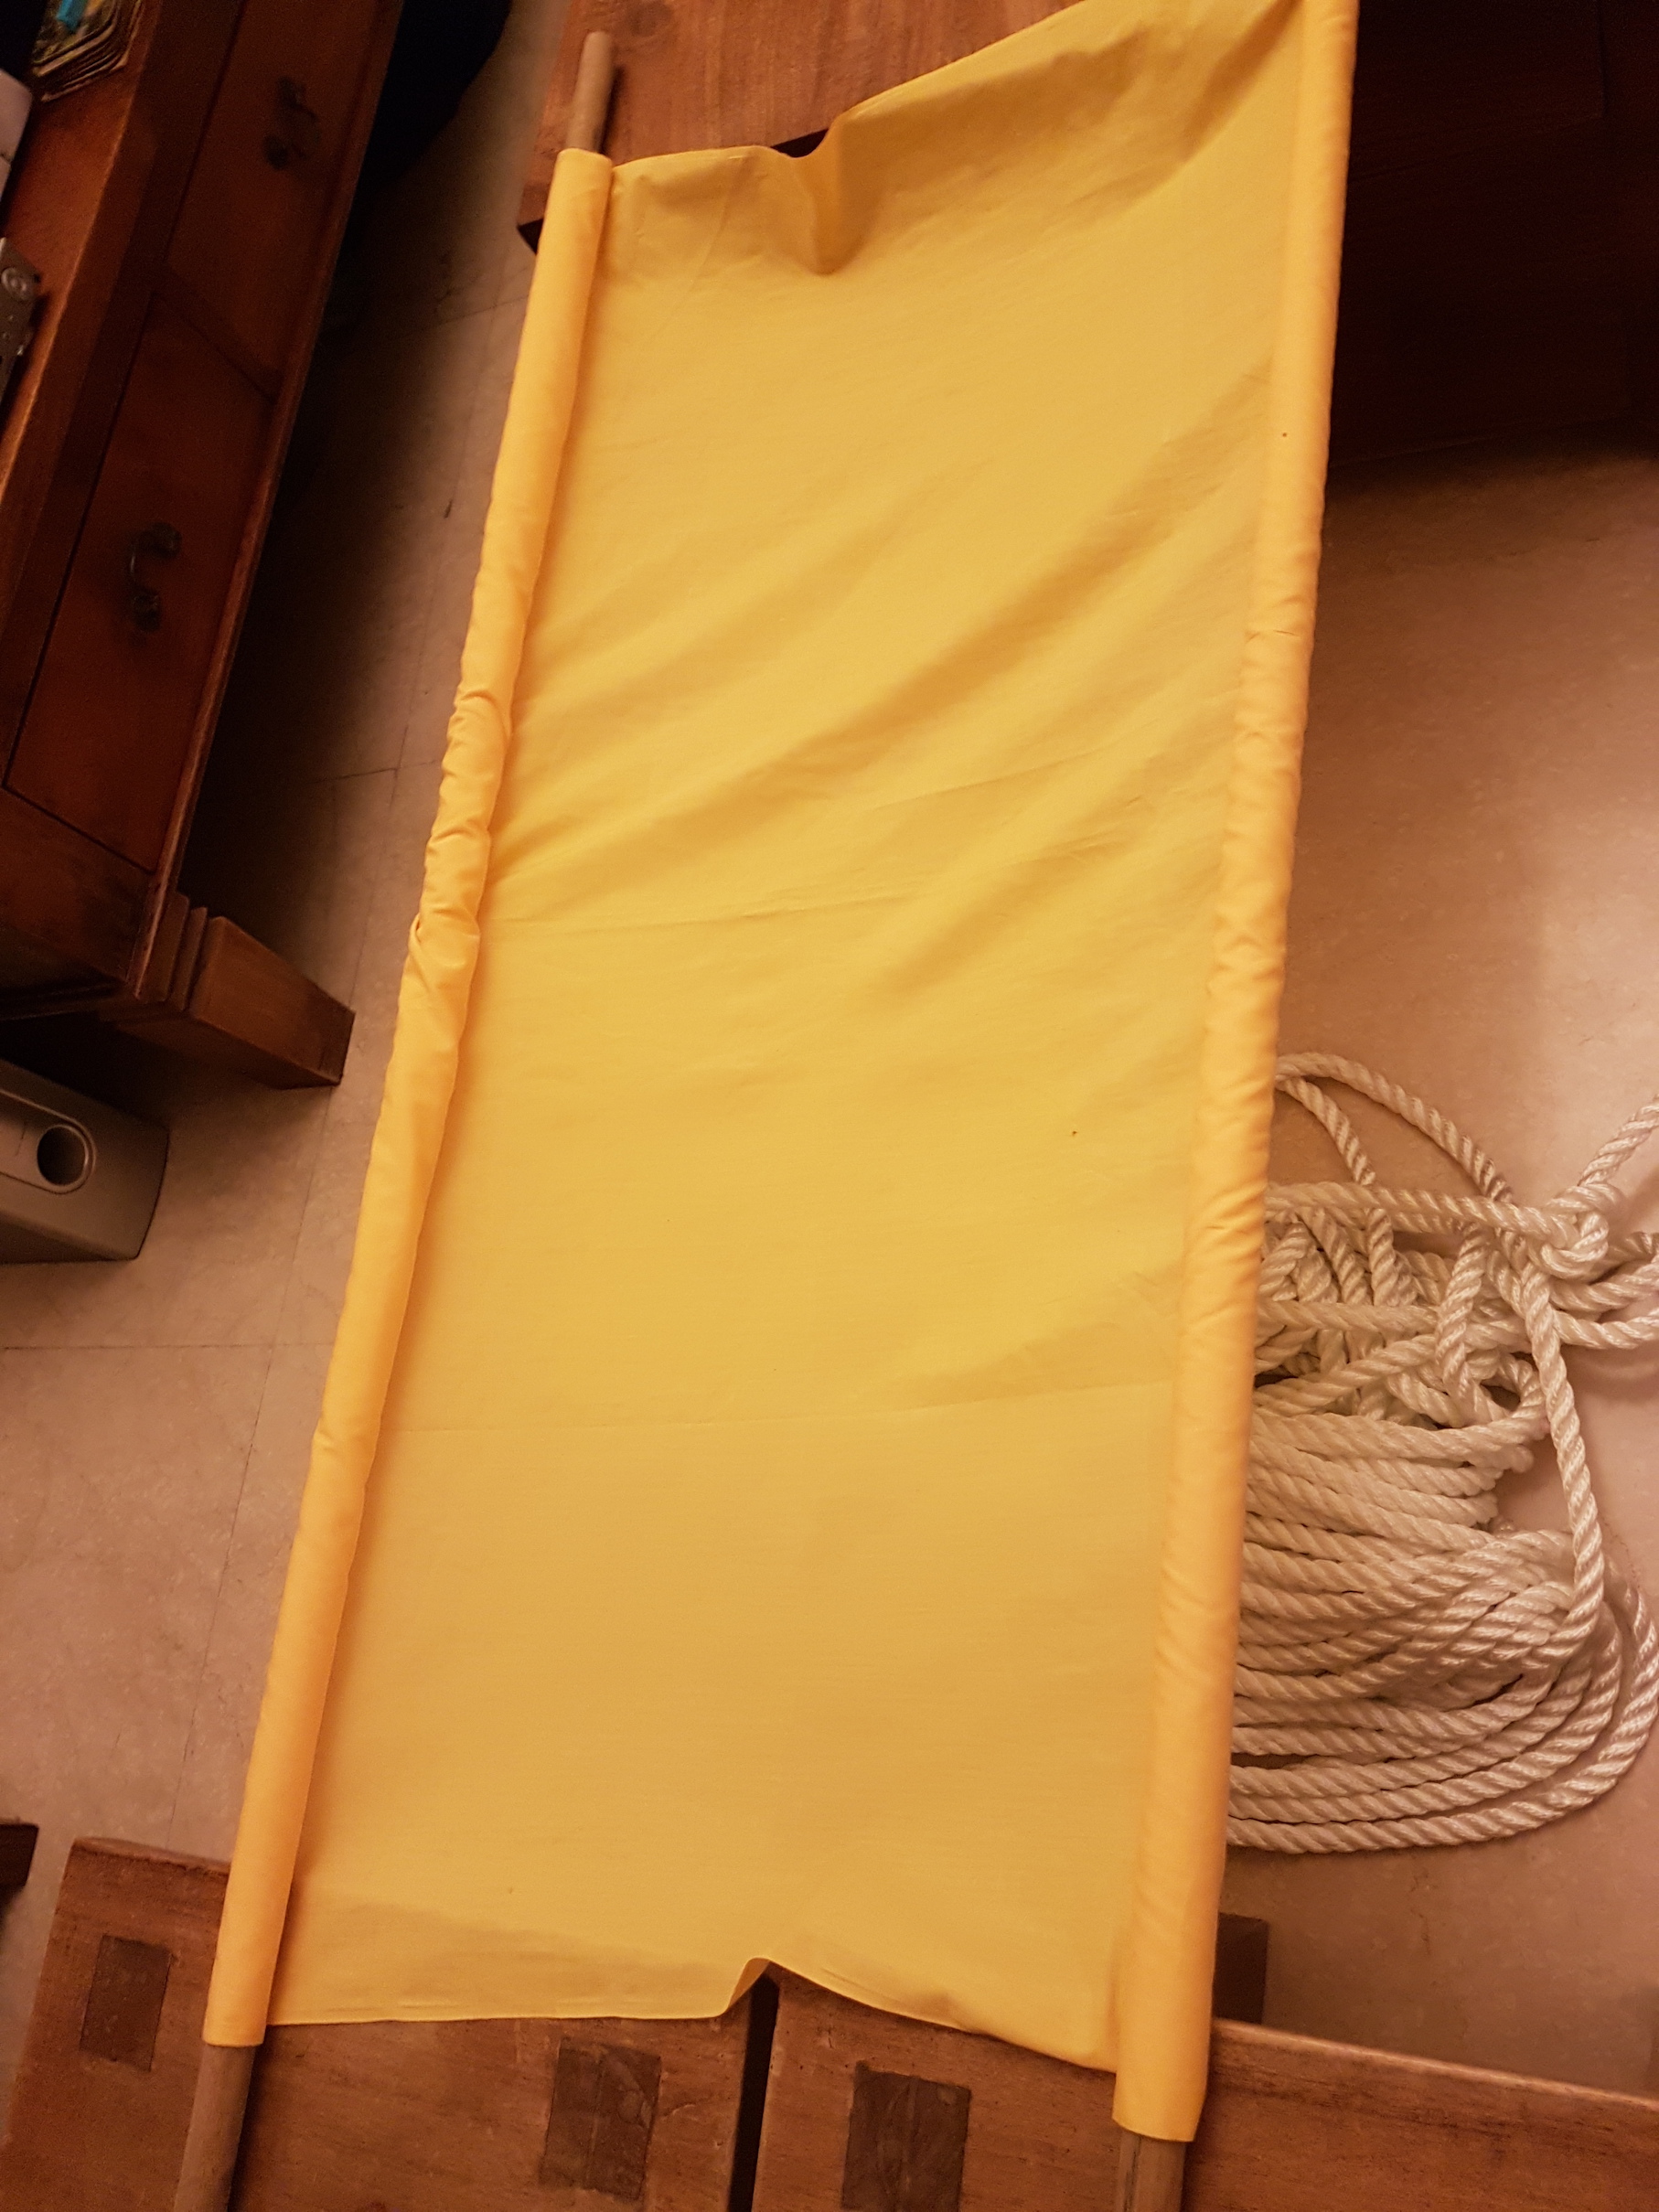
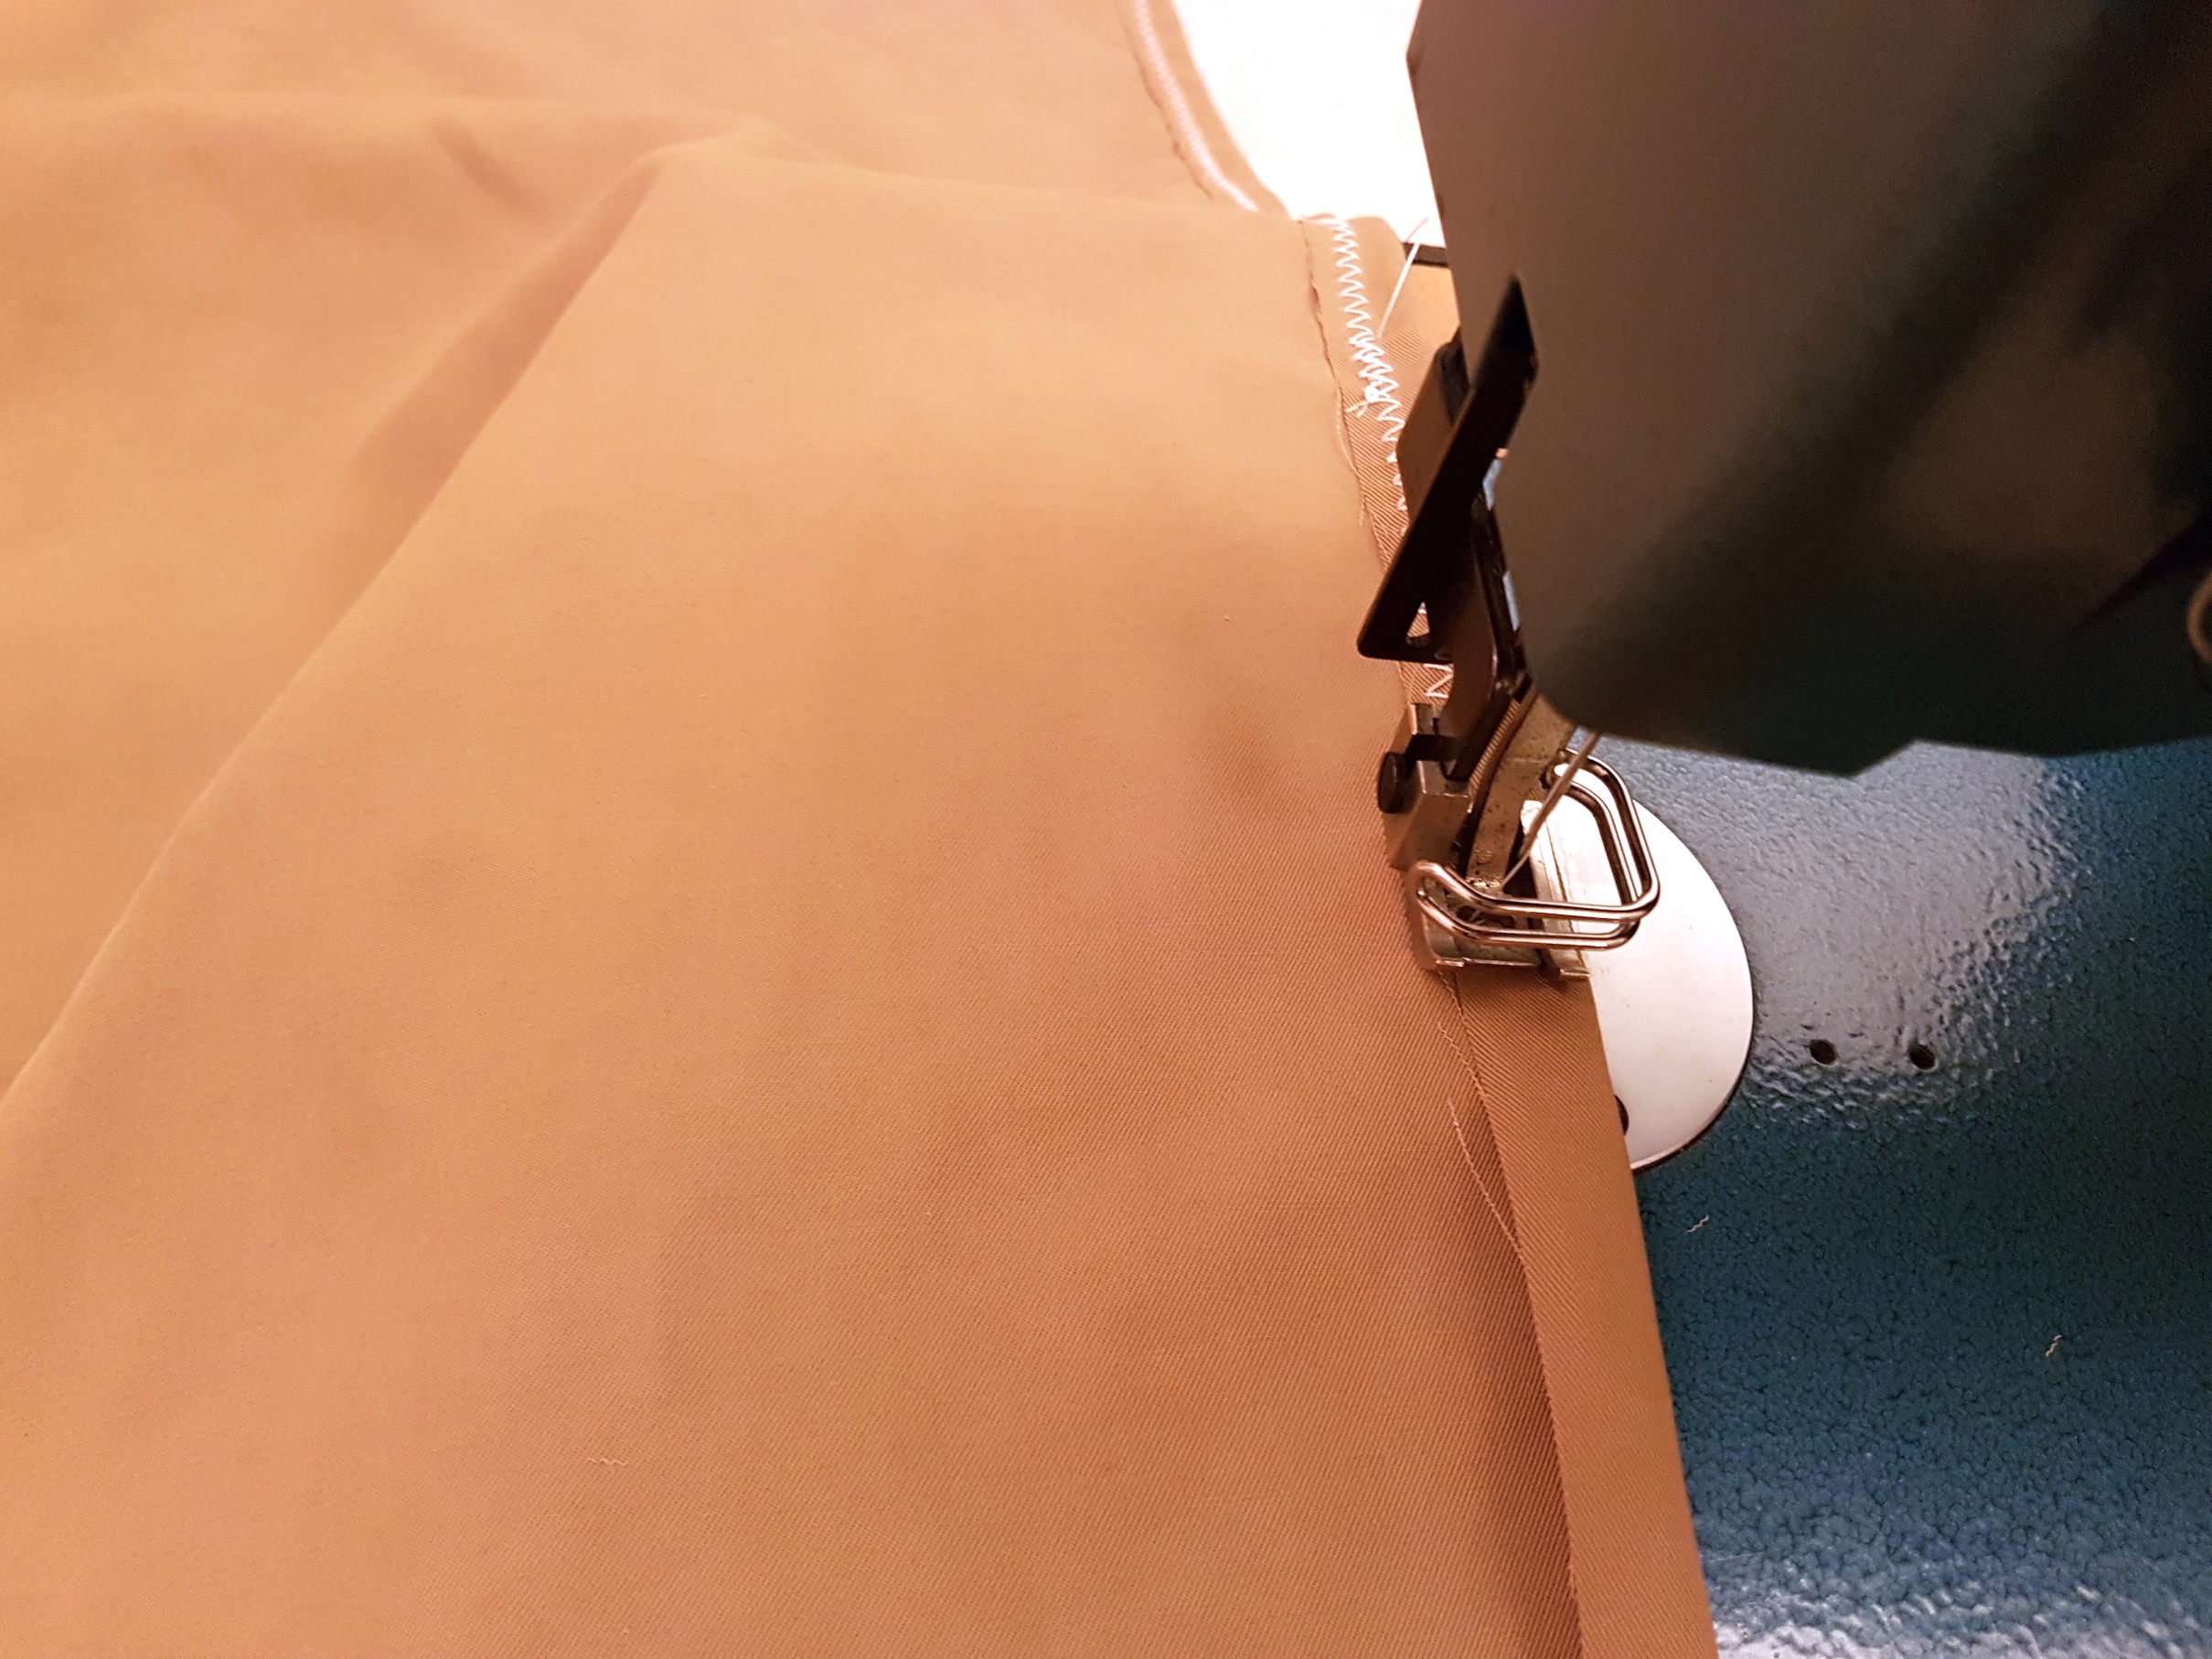
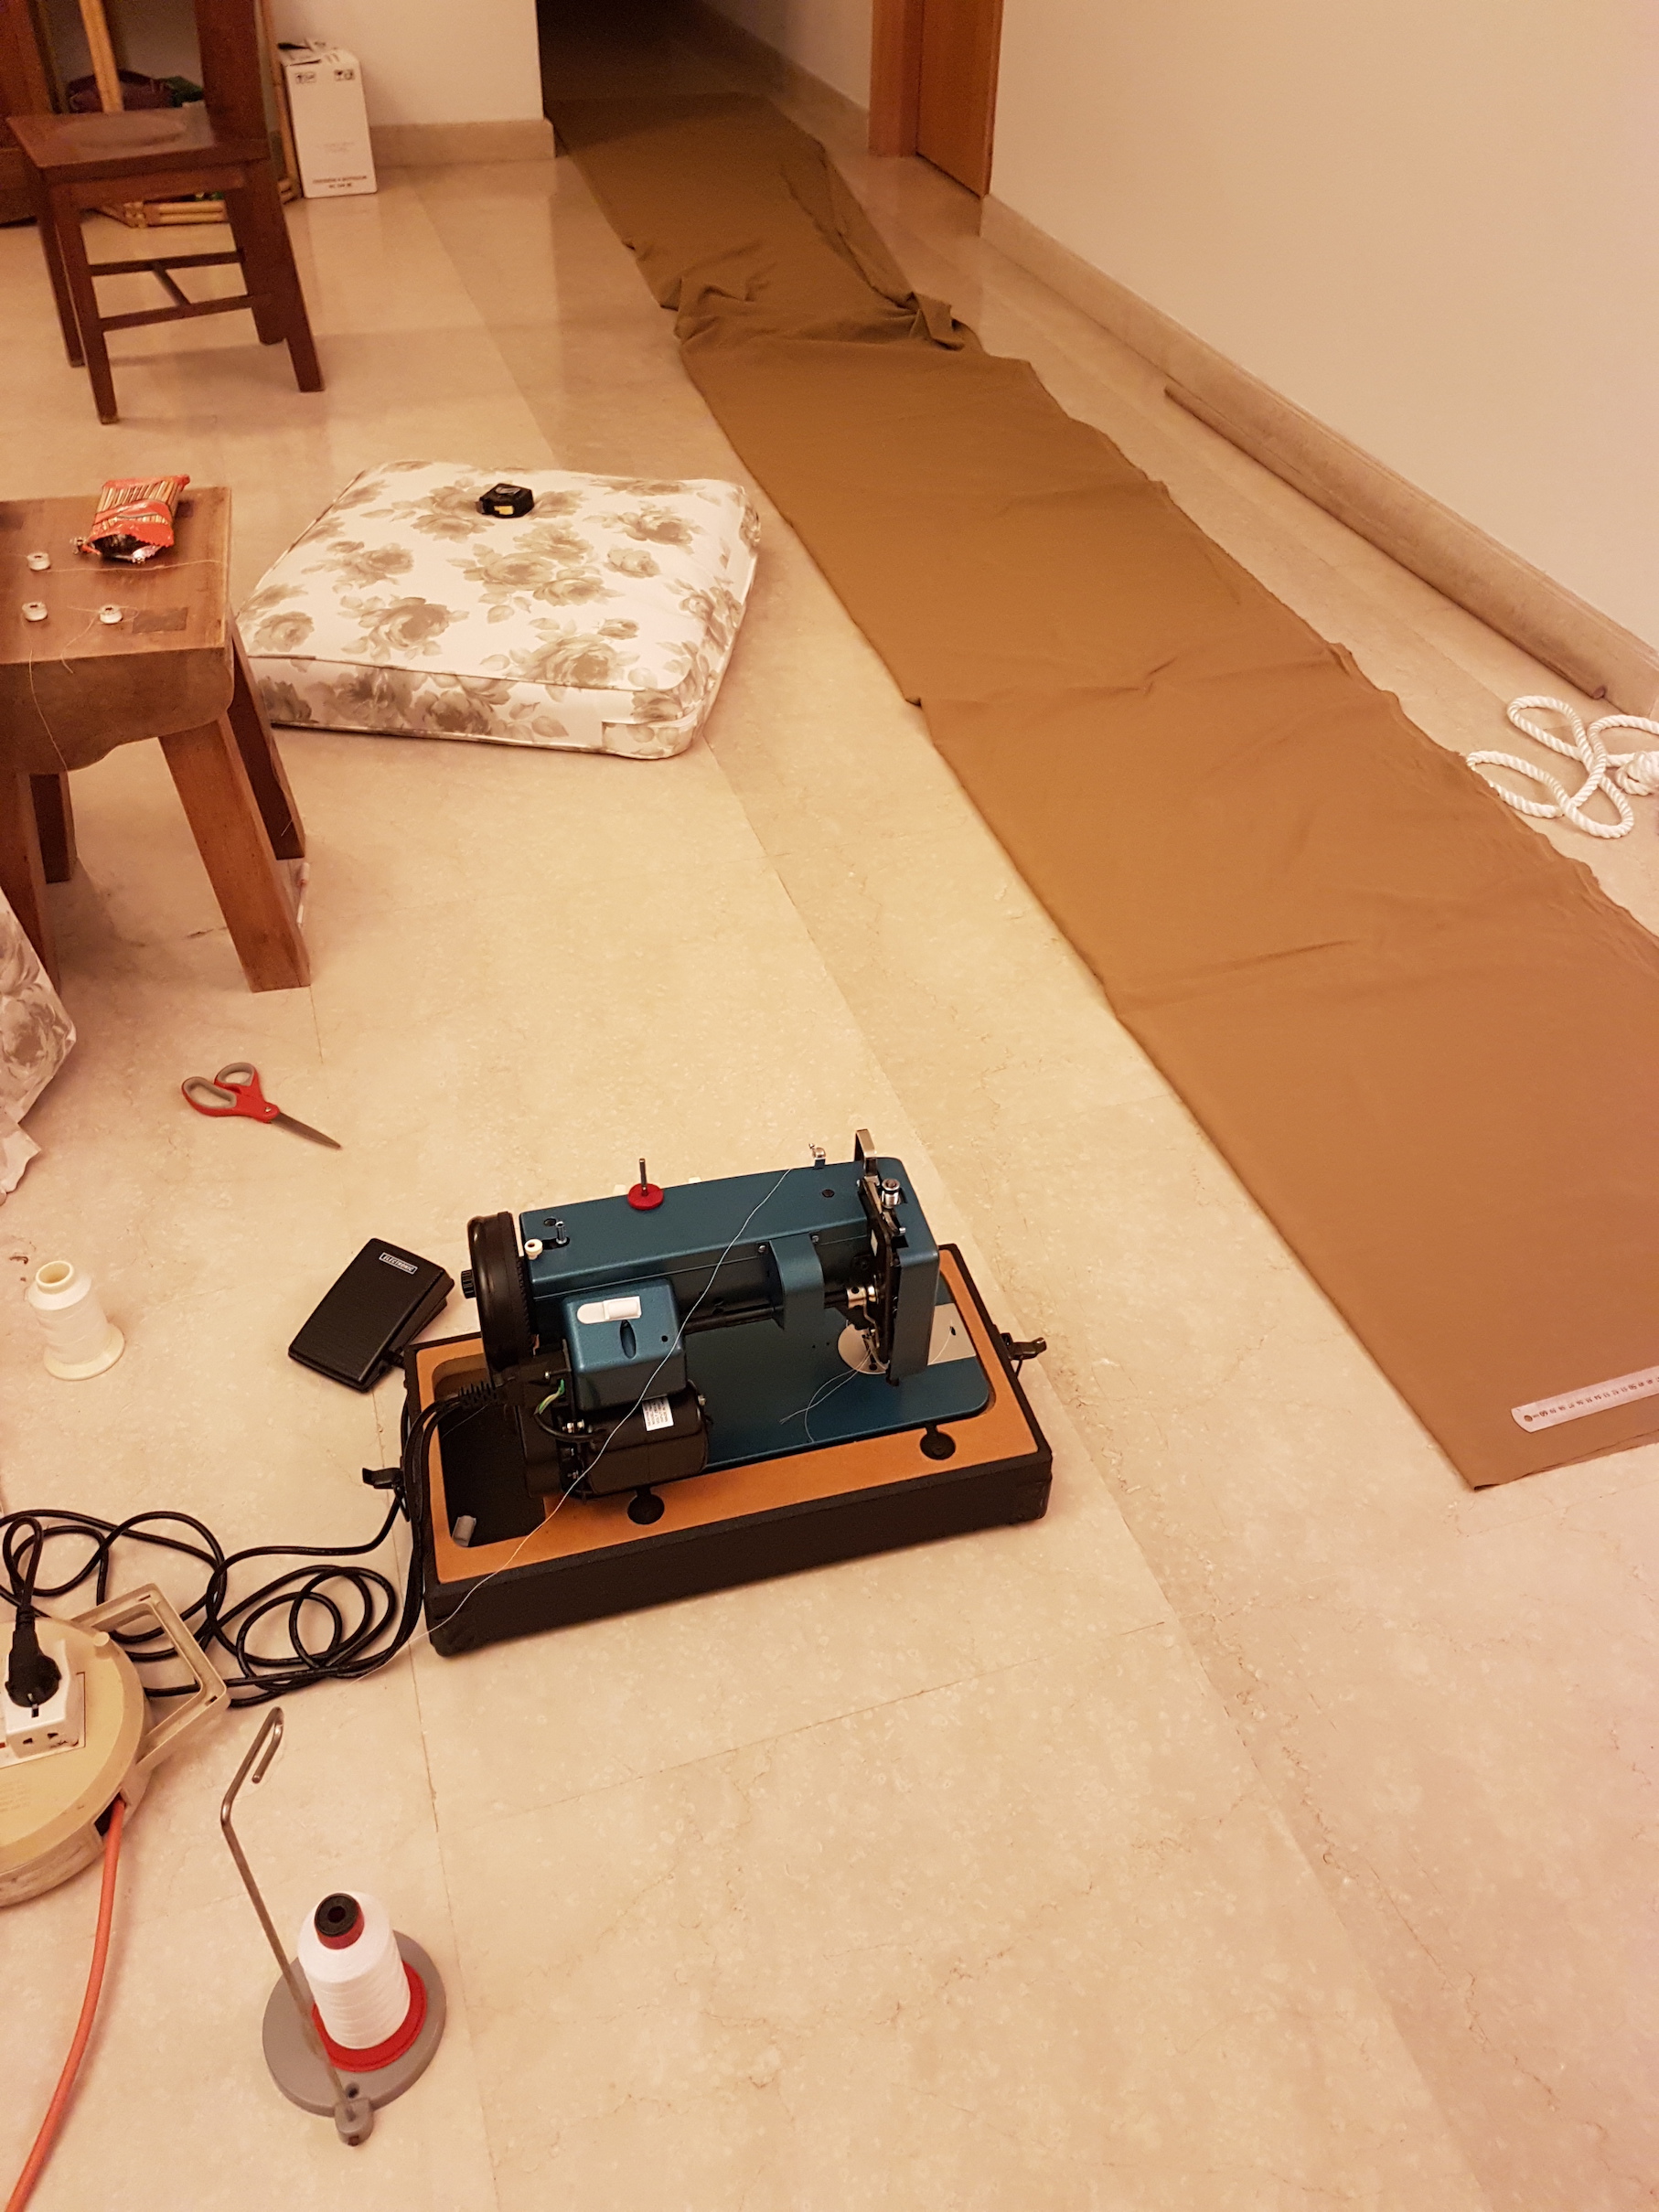
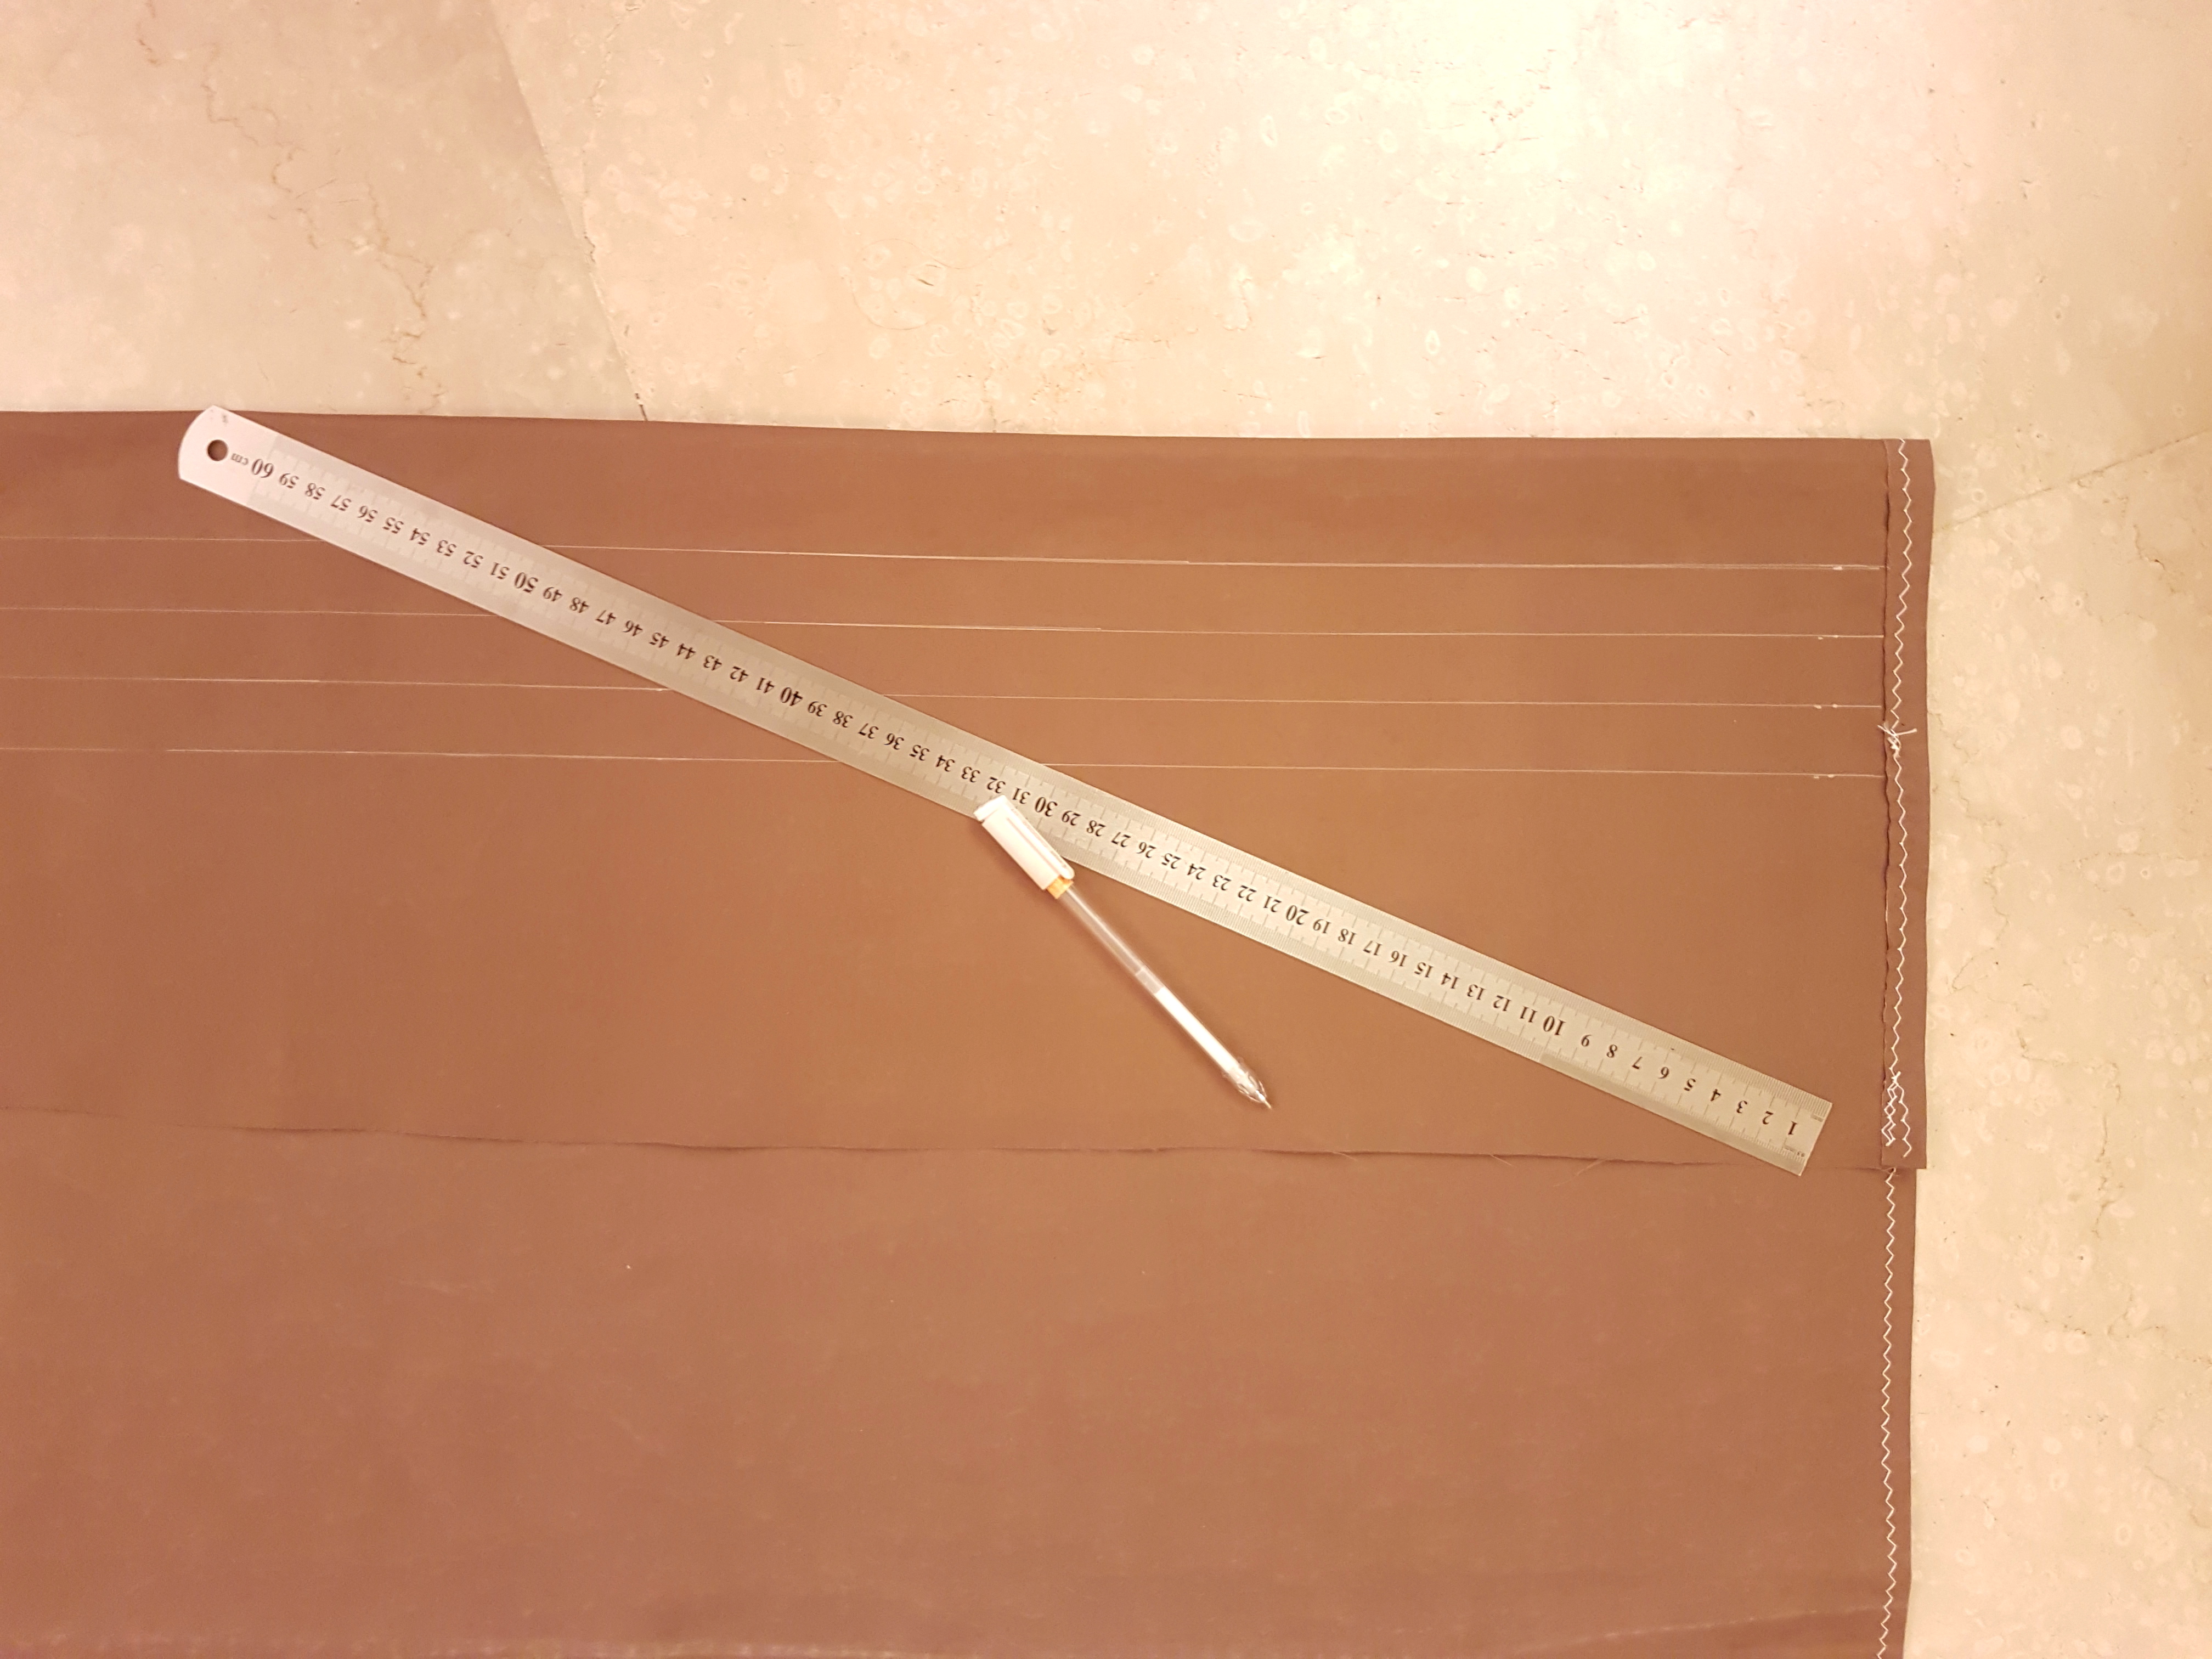
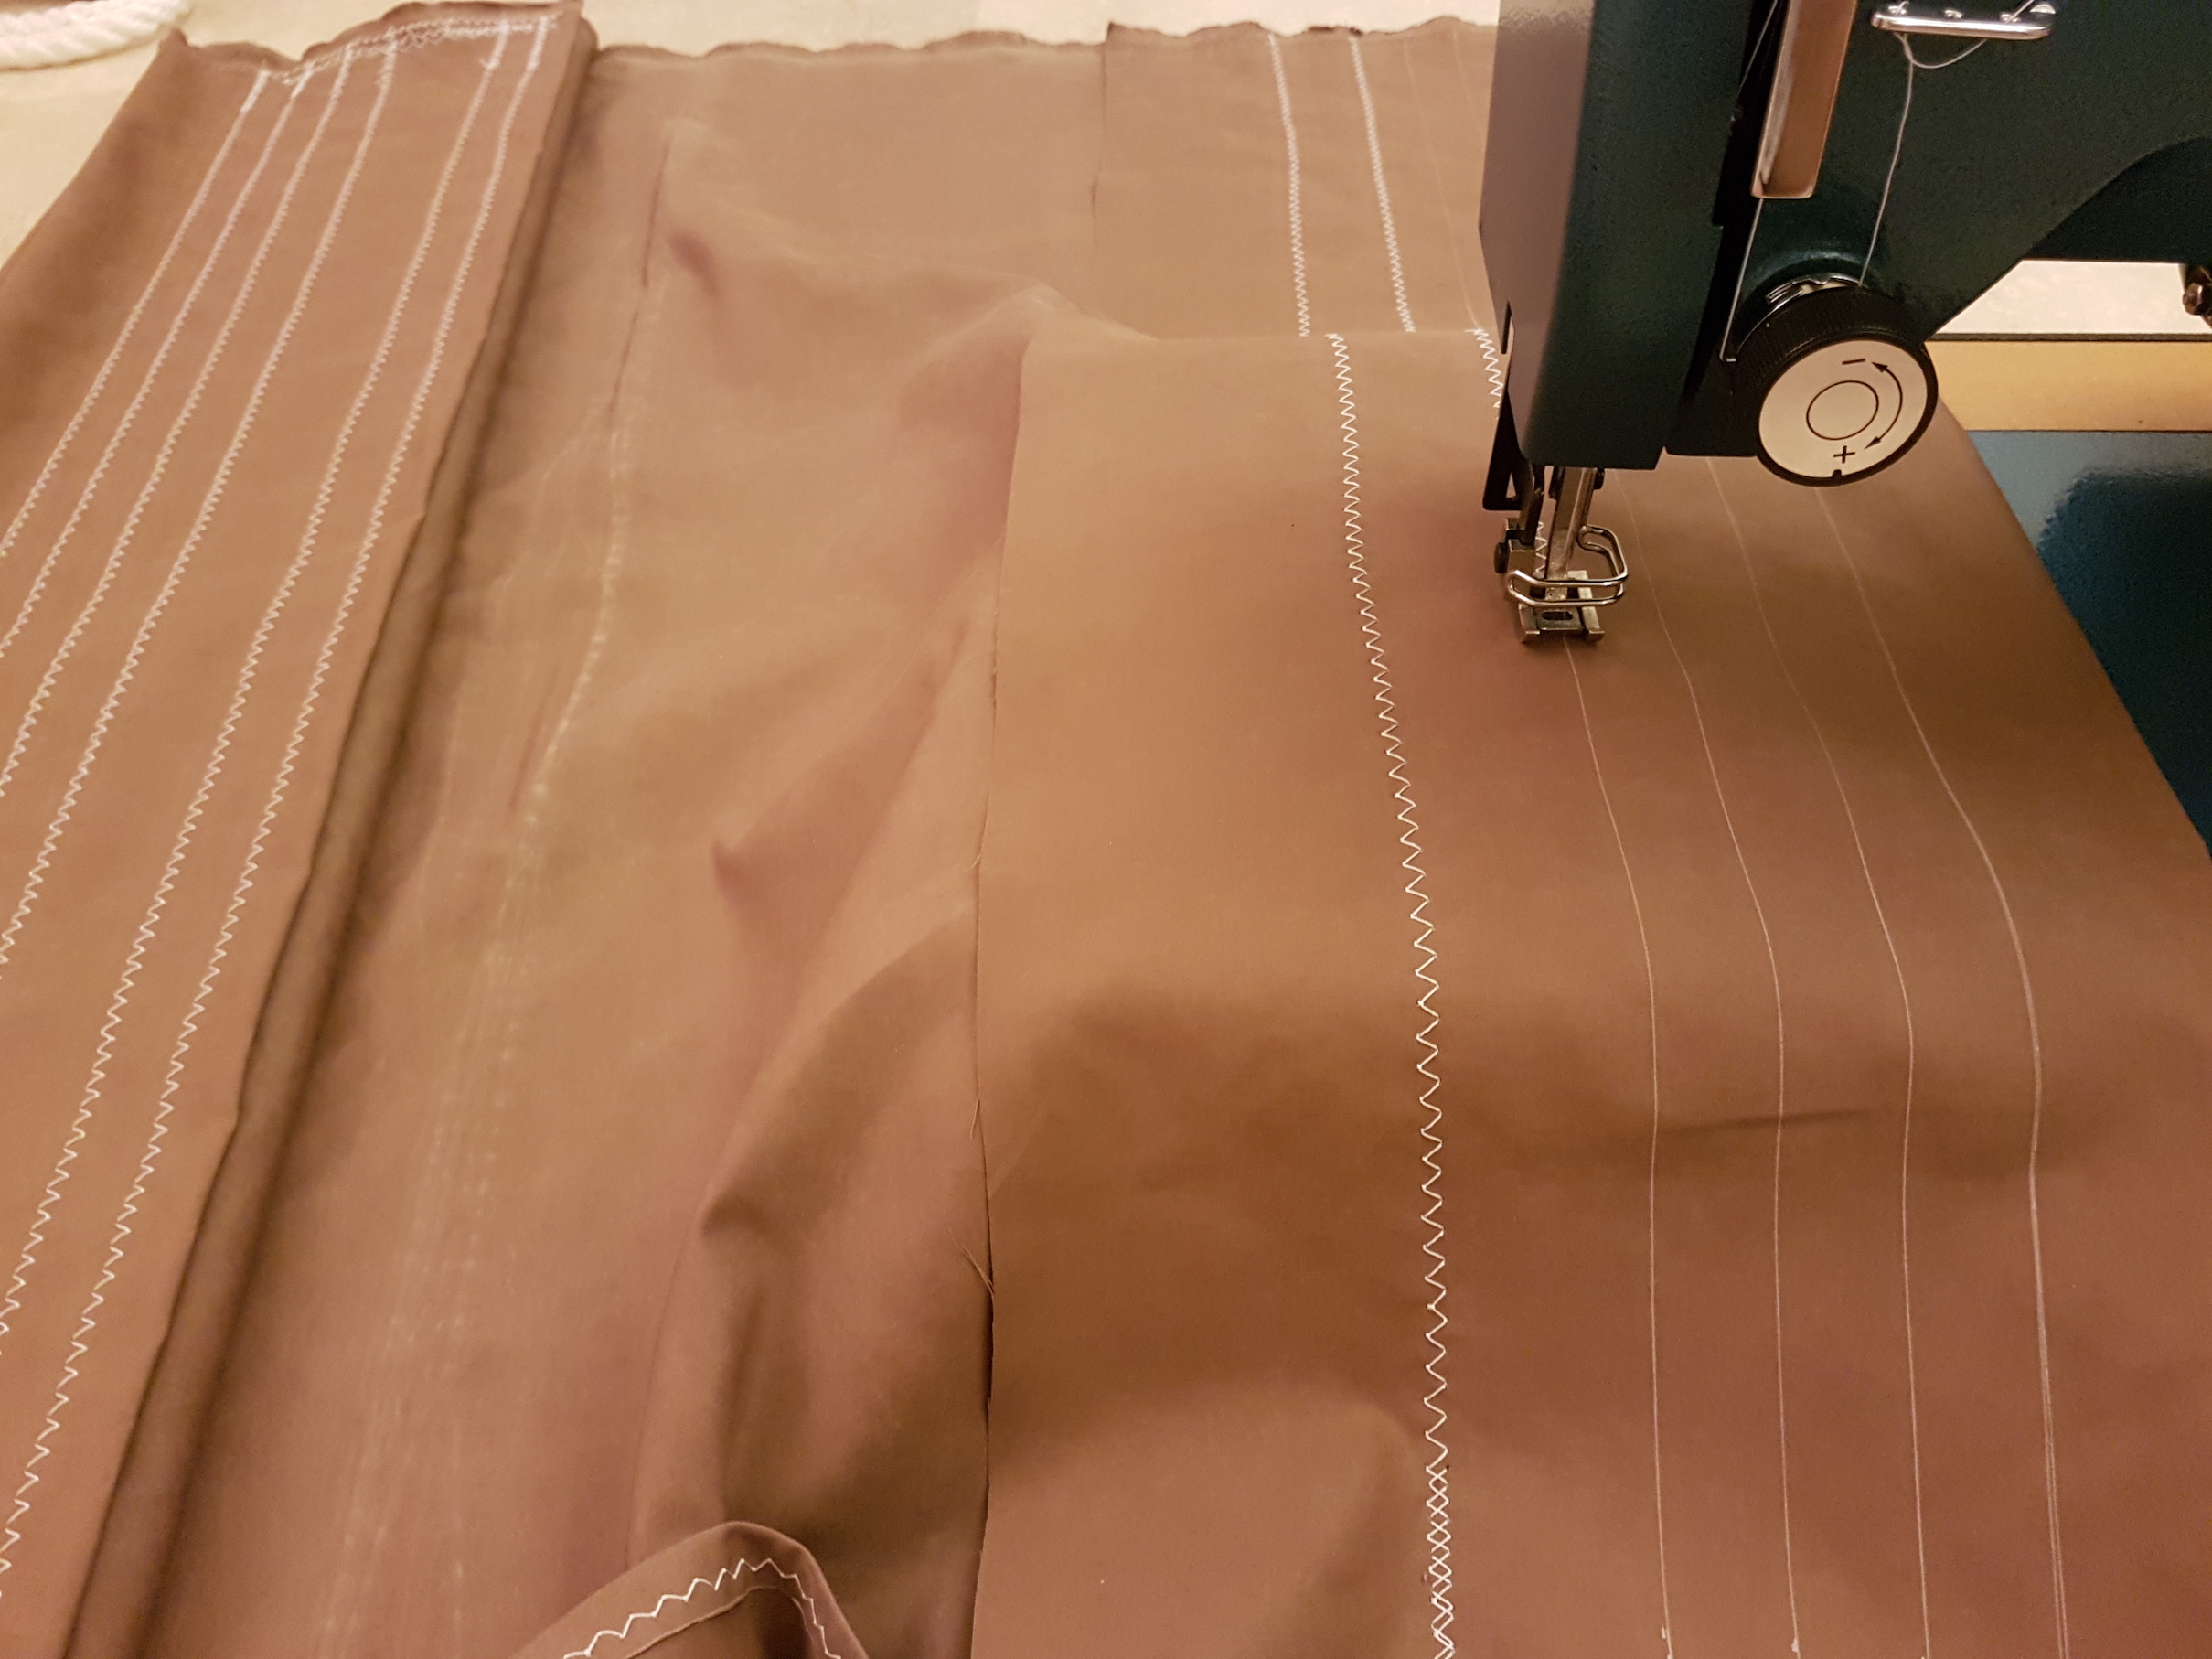
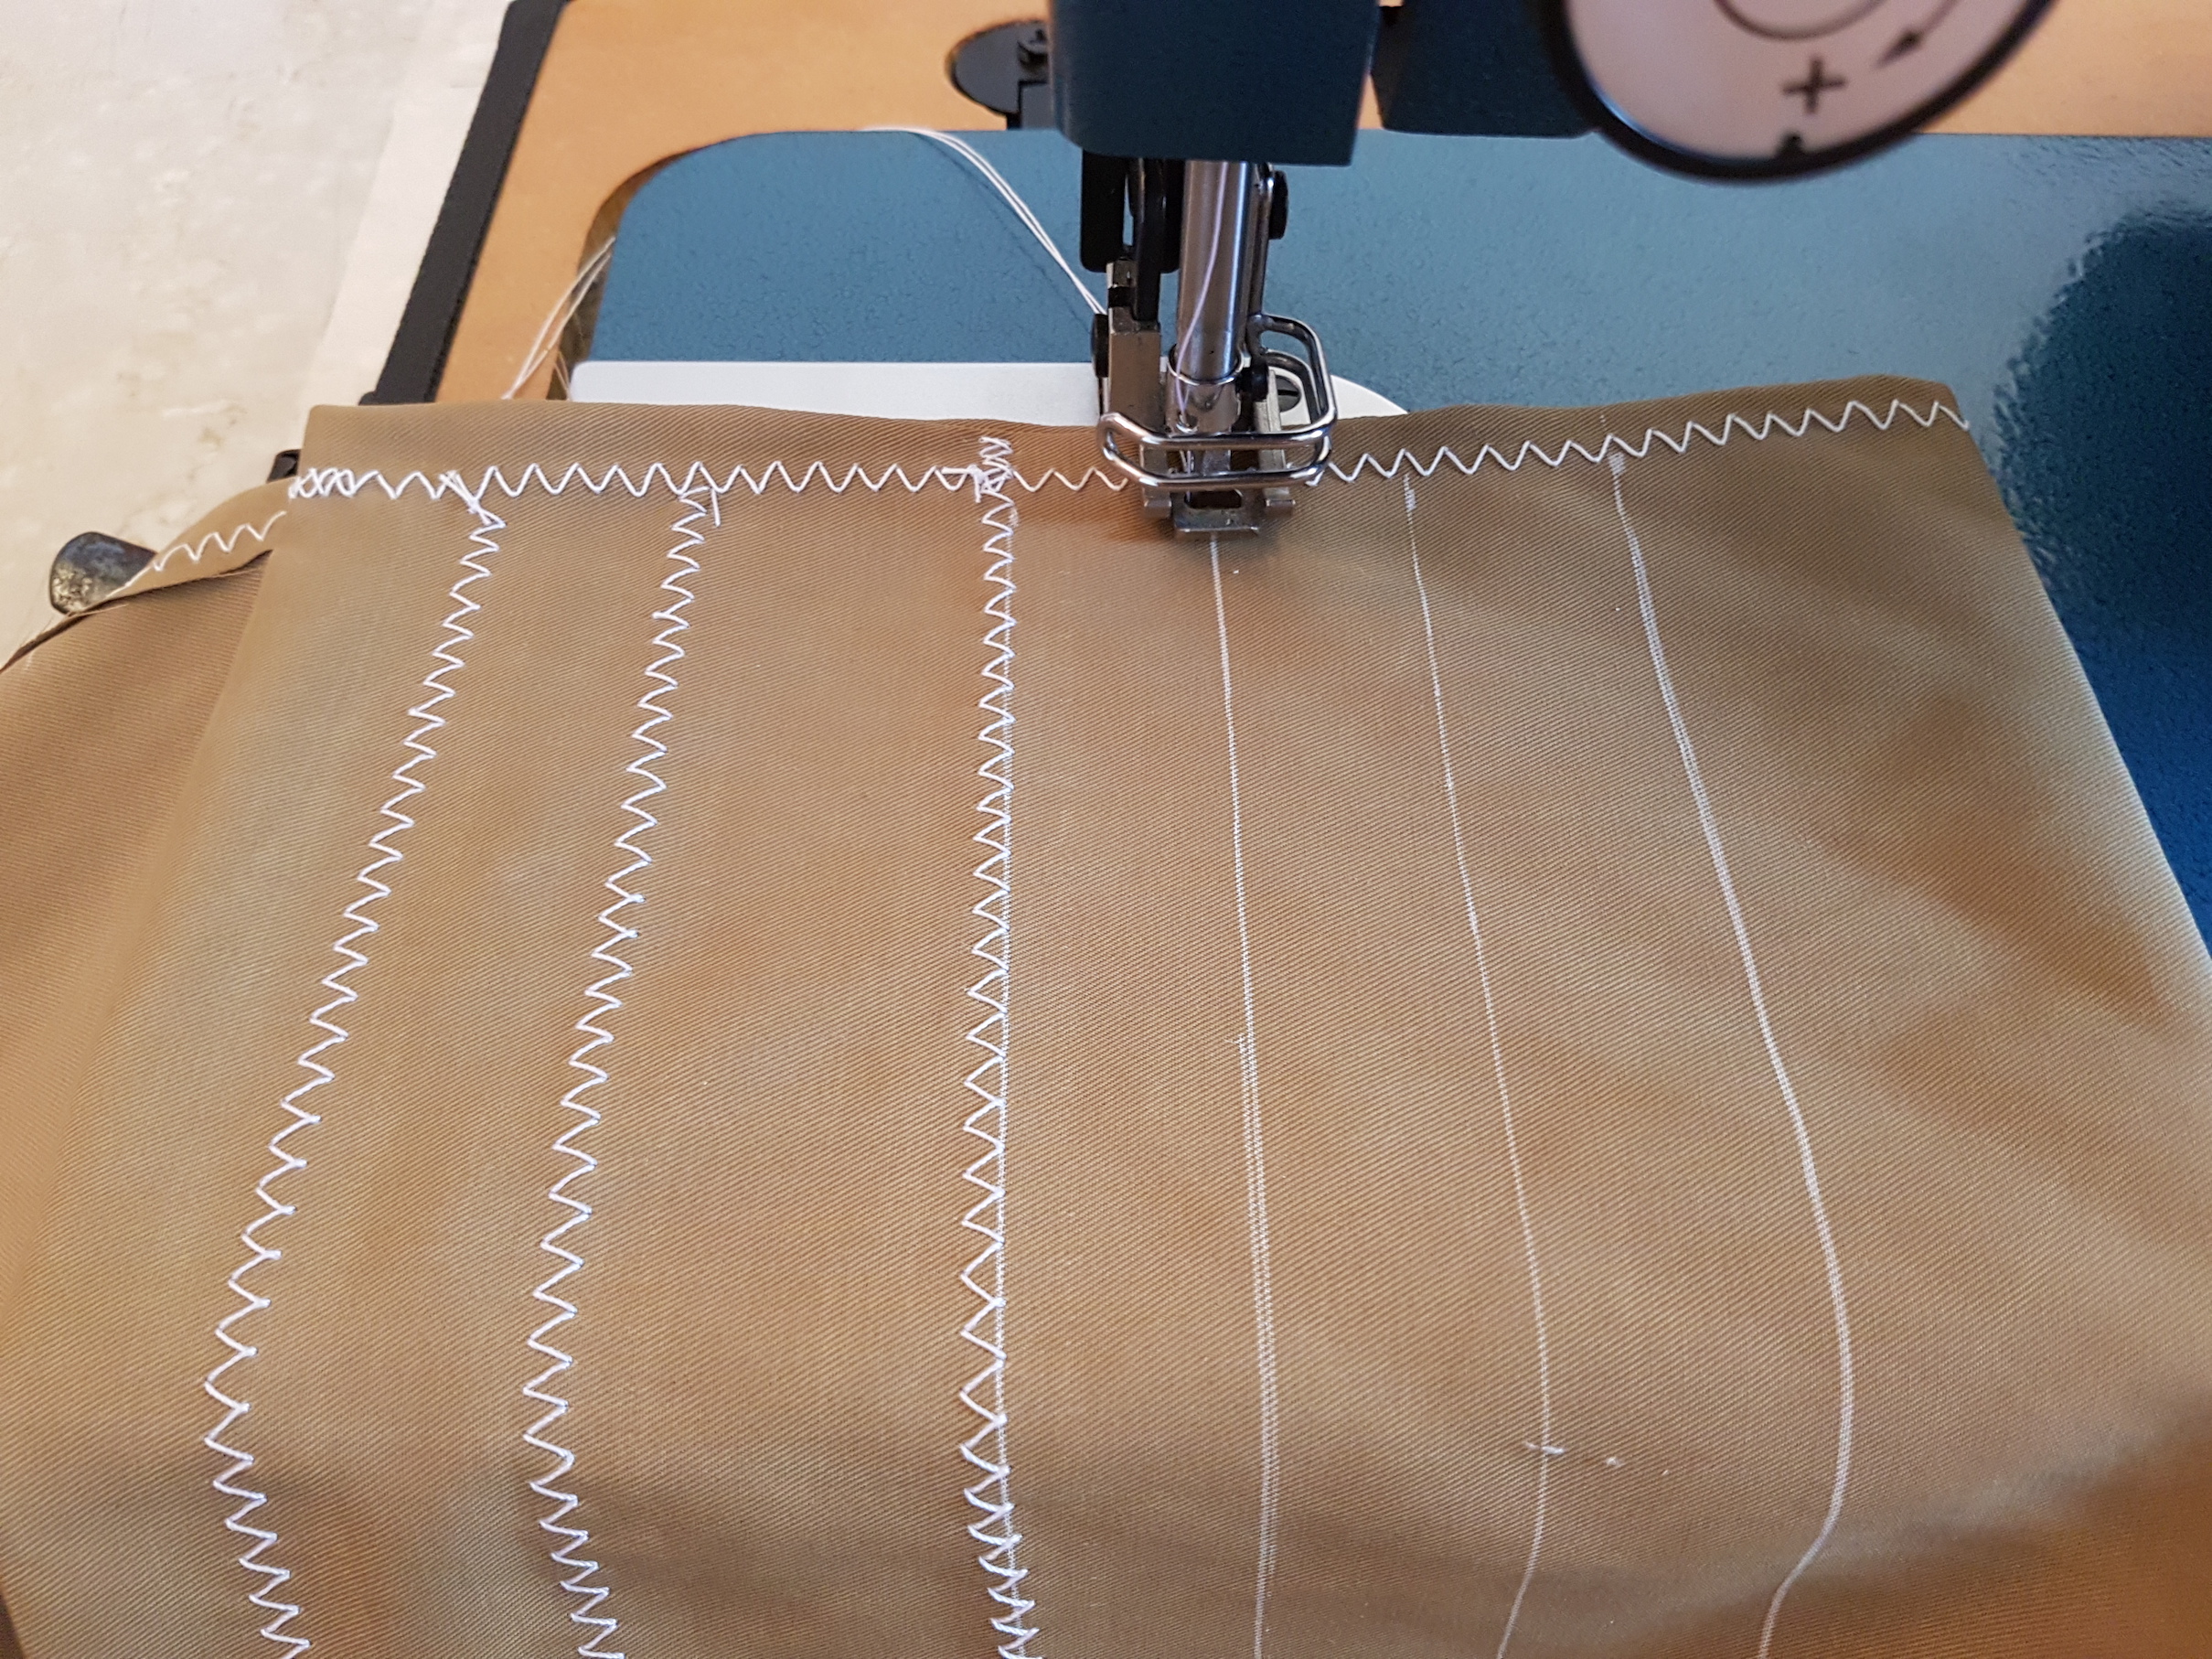
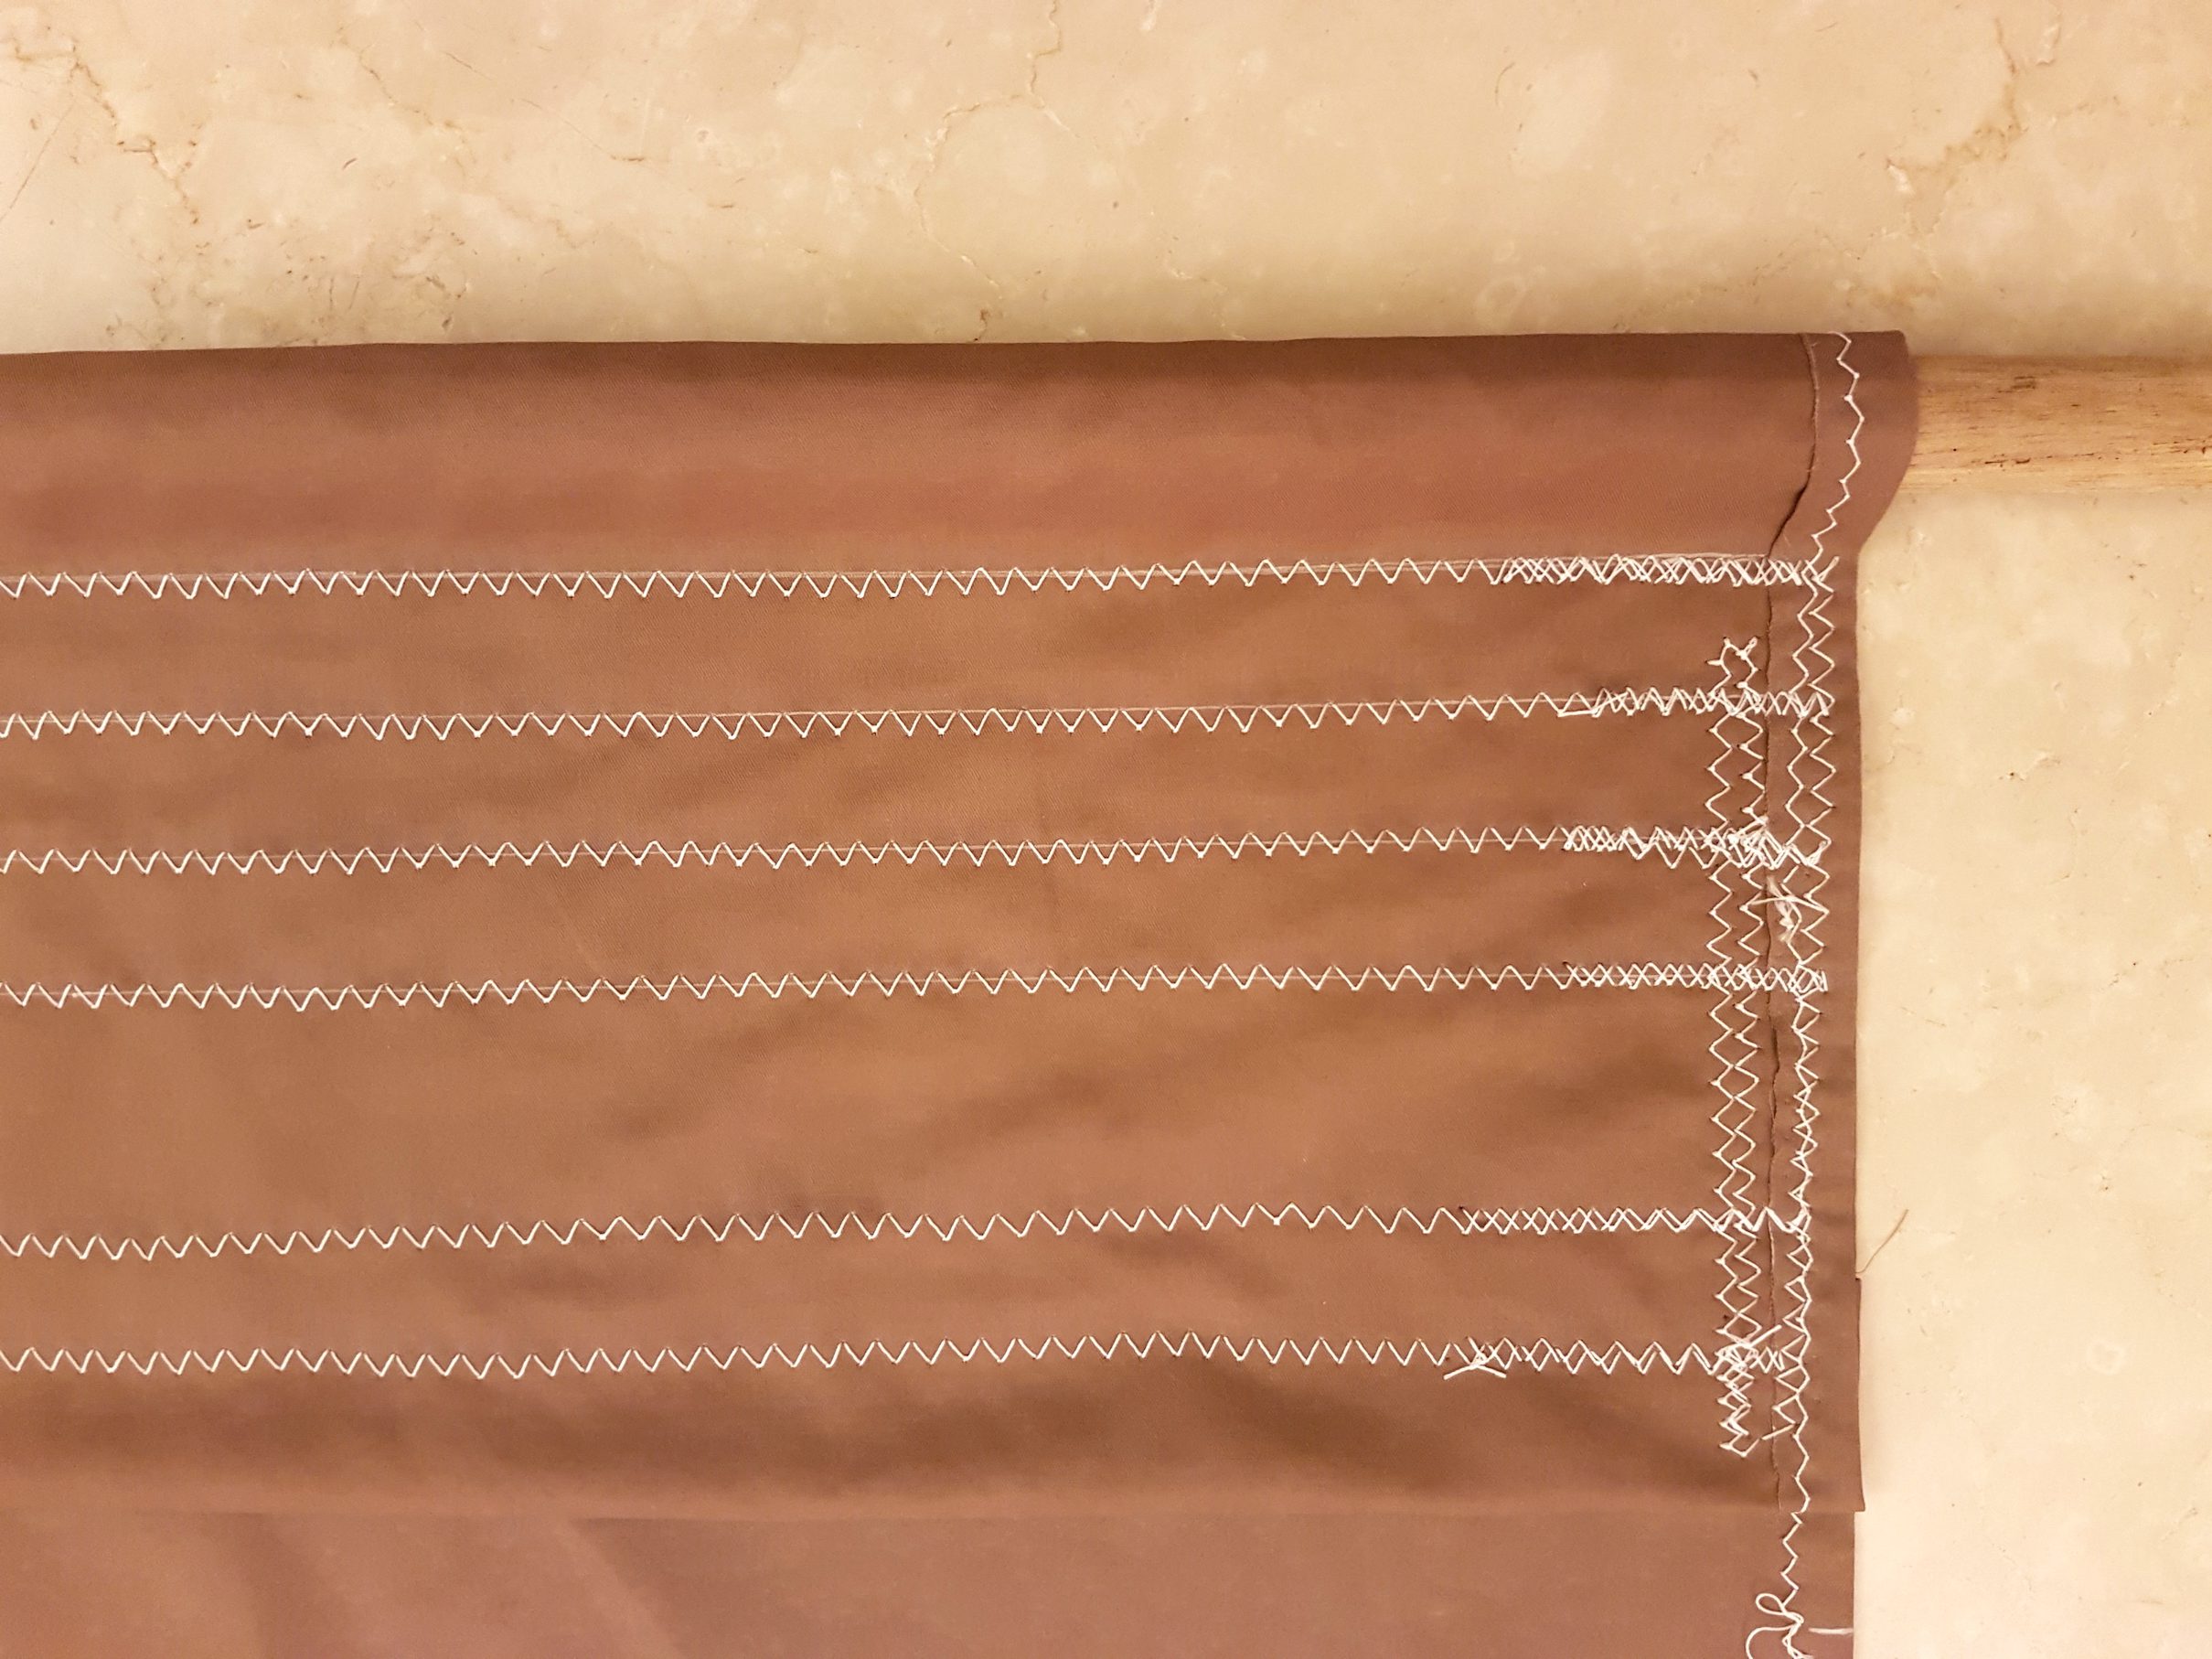
Some alterations were needed to customise the swings for the new space (Truss room). I chopped the longest swing into two pieces and made additional reinforcements to the centre. I also shortened the length of the sticks for a sleeker look and to allow for more movement.

The soundscape consisted of a low-frequency drone in the background and 10 randomised accents. These accents were either
created or edited using Ableton Live. I adjusted each accent to make it sound as jarring and ‘noisy’ as possible while remaining unified as a soundscape. Each accent or delay also had a unique light pattern which emphasised its sound.

Some accents had a gradual circular panning effect or sudden jumps between corners but that was not included in the end due to technical difficulties in the space. Multichannel panning would have enhanced the effect of movement and confusion in the space, however, overall I think the result was alright without it. Oh well! 🙂

Video Documentation

Interestingly, when pairs of friends experienced the space together, they often wanted to hold hands and swing in unison. Their response was unexpected, but nonetheless very endearing.

Suspend your Disbelief | Documentation | Analog Midterm

Some Thoughts on Process

What started as a working title became surprisingly apt when I had doubts about whether this project could be materialised. It reminded me of an article in the local newspaper a few weeks back about Christo and his 2 decade long project in Colorado. Interestingly, he mentioned in the interview how getting permits and approval was an integral element of the spirit of the project.

Variations between Planning and Execution

Initially, I intended the swing and larger hammock to be closer together. However, the larger hammock had to be placed further to the right, down the stairs so as to not obstruct the fire sprinklers.

Example of fire sprinkler underneath the staircase
Making a Prototype

Before getting loads of rope and fabric, I made a prototype using scrap materials such as wires, shoelaces and some spare cloth.

I tied this makeshift hammock onto my bed post and experimented with the placement of ropes (3 points vs. a single pivot) and the motion it created using each method.

Trying out these prototypes was very useful as it allowed me to gauge the strength of cloth needed and shorten the width of the hammocks based on the wood flexibility and strain. Instead of winding the fabric around the pole, I opted for sewing as it would be more secure and able to bare more weight.

Creating the Components
Choices at Chinatown! Too many!

As the forms in the installation become increasingly open from right to left, I choose 3 different earth tones to emphasise this gradation and complement the space underneath the stairs. The darkest fabric corresponds to the shallow hammock which is wedged by the stairs and forms an enclosed private space.

First, I cut the fabric to width. I initially intended the hammocks to be at least 1 metre in width. But due to the flexibility of the wood, this had to be reduced quite a bit.

Hemming the raw edge
Repeat with the other pieces of fabric

Drawing guide lines for sewing
Sewing strips of reinforcements
Trusty zig-zag stitch

For extra security, to bare heavy weight, and to prevent unravelling in case of wear and tear, I sewed several lines over a large area and ‘locked’ the sides.

Problems and Revisions
Trial installation on Sunday

During the initial setup on Sunday, 1 of the sticks broke in the middle after some use. Oh the horror! Each hammock/swing had 2 points of support on each side (4 points in total to share the load). To prevent excessive flexing and bending, I revised the design by adding an additional point of support at the centre of the wooden pole.

Revised design

I cut out a gap enough for the rope to go through and coil around the pole and reinforced the stitching with… more stitching!

Video Documentation